| Attack/s | Description |
|---|---|
| Melee Swings | The boss can perform between a 1 and 2 hit melee combo attack depending on your proximity to him. He will swing his scythe first one way and then the other. You will need to dodge or block to avoid the successive swings. |
| Scythe Slam | The Worshipper will slam his weapon into the ground, causing a blue aura to emanate around him for a short time after. This will stun you if you touch it, opening you up to one of the bad guys nasty melee attacks. |
| Rupture | The boss will smash the ground with his weapon and cause blue energy spikes to rupture from the ground beneath Harkyn. You need to keep moving to avoid them. |
| Skull Grenades | If you keep your distance form the boss, he will grab a handfull of skulls and throw them at you, detonating on impact. |
| Summon | The boss will stop and stick his arms in the air for a few seconds. This will summon Golems in cocoons. You can destroy the cocoons but if you take too long Golems will emerge and attack alongside the boss. |
| Energy Blast | The boss will fall to his knees and start signing a spell on the ground. Blue clouds will pop up over the graveyard and damage you if you touch them. after a short time the boss will unleash an energy blast that will kill anything in the graveyard not beneath one of the shelters. |
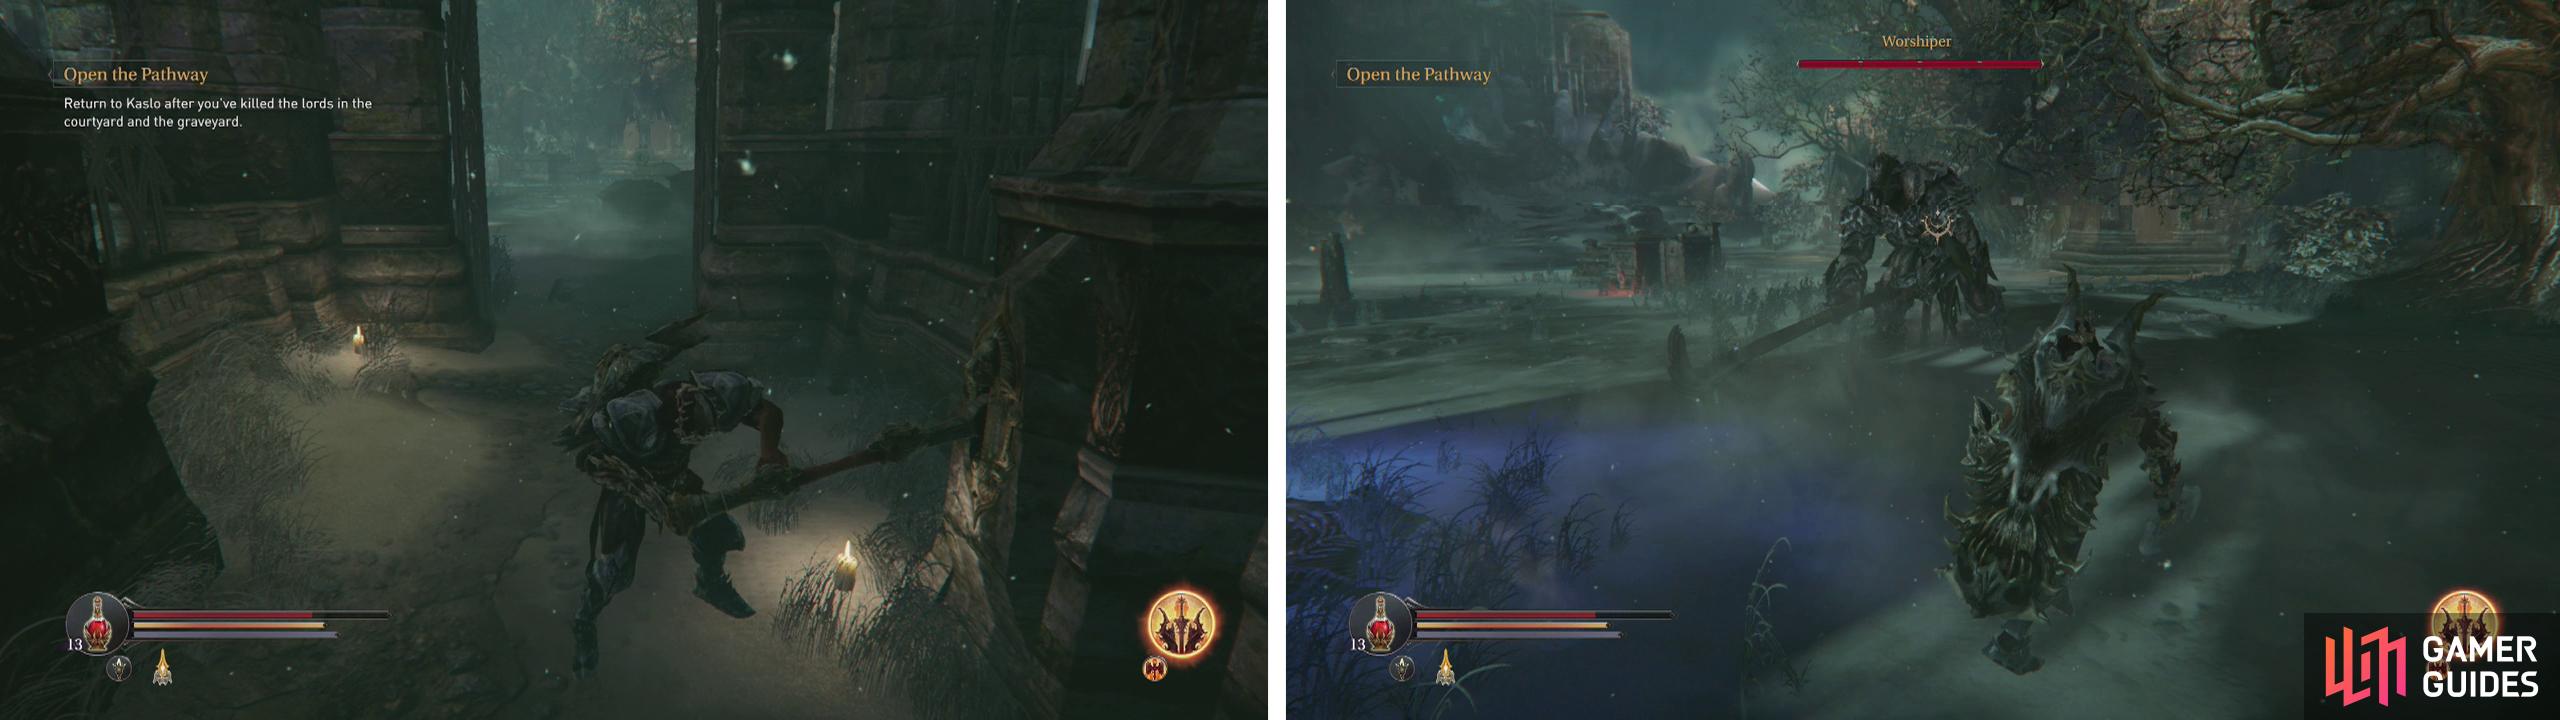
Pull the lever (left) and enter the graveyard to fight the Worshiper (right).
Combat Strategy:
As with the previous two bosses, we want to try and stay relatively close to the Worshipper to prevent him from using his ranged abilities too much and using your gauntlet to inflict small amounts of damage whilst awaiting an opening in the boss’s defences. Unfortunately, the boss is very quick to use his scythe slam stun technique due to his two hit melee attack has a very quick recovery time and if you get stuck in it, you are guaranteed to cop at least one melee strike for your trouble.
The Worshipper has numerous damaging attacks, but none more so than his energy blast, which we’ll just address quickly - this attack happens when the boss goes to his knees and starts making gestures with this hands. When you see him do this - DO NOT attack him, instead make your way to one of the five sheltered buildings inside the Graveyard. These are a safe zone. If you get caught outside one of these shelters when the attack goes off you will be killed instantly.
Early on there are two major openings we can exploit to land attacks during the fight. Firstly, when the boss hits the ground and summons the energy spikes he will be immobilised briefly. The attack causes three energy spikes to emerge from the ground beneath Harkyn. If you get your timing right, dodge the first two and then immediately run at the boss whilst avoiding the third and hit him once or twice with a melee attack. Secondly, if you can get the boss to use his melee attacks near one of the sheltered zones, if you can get him to break it, he will be stunned for a few seconds, allowing you to get a few taps in on him.

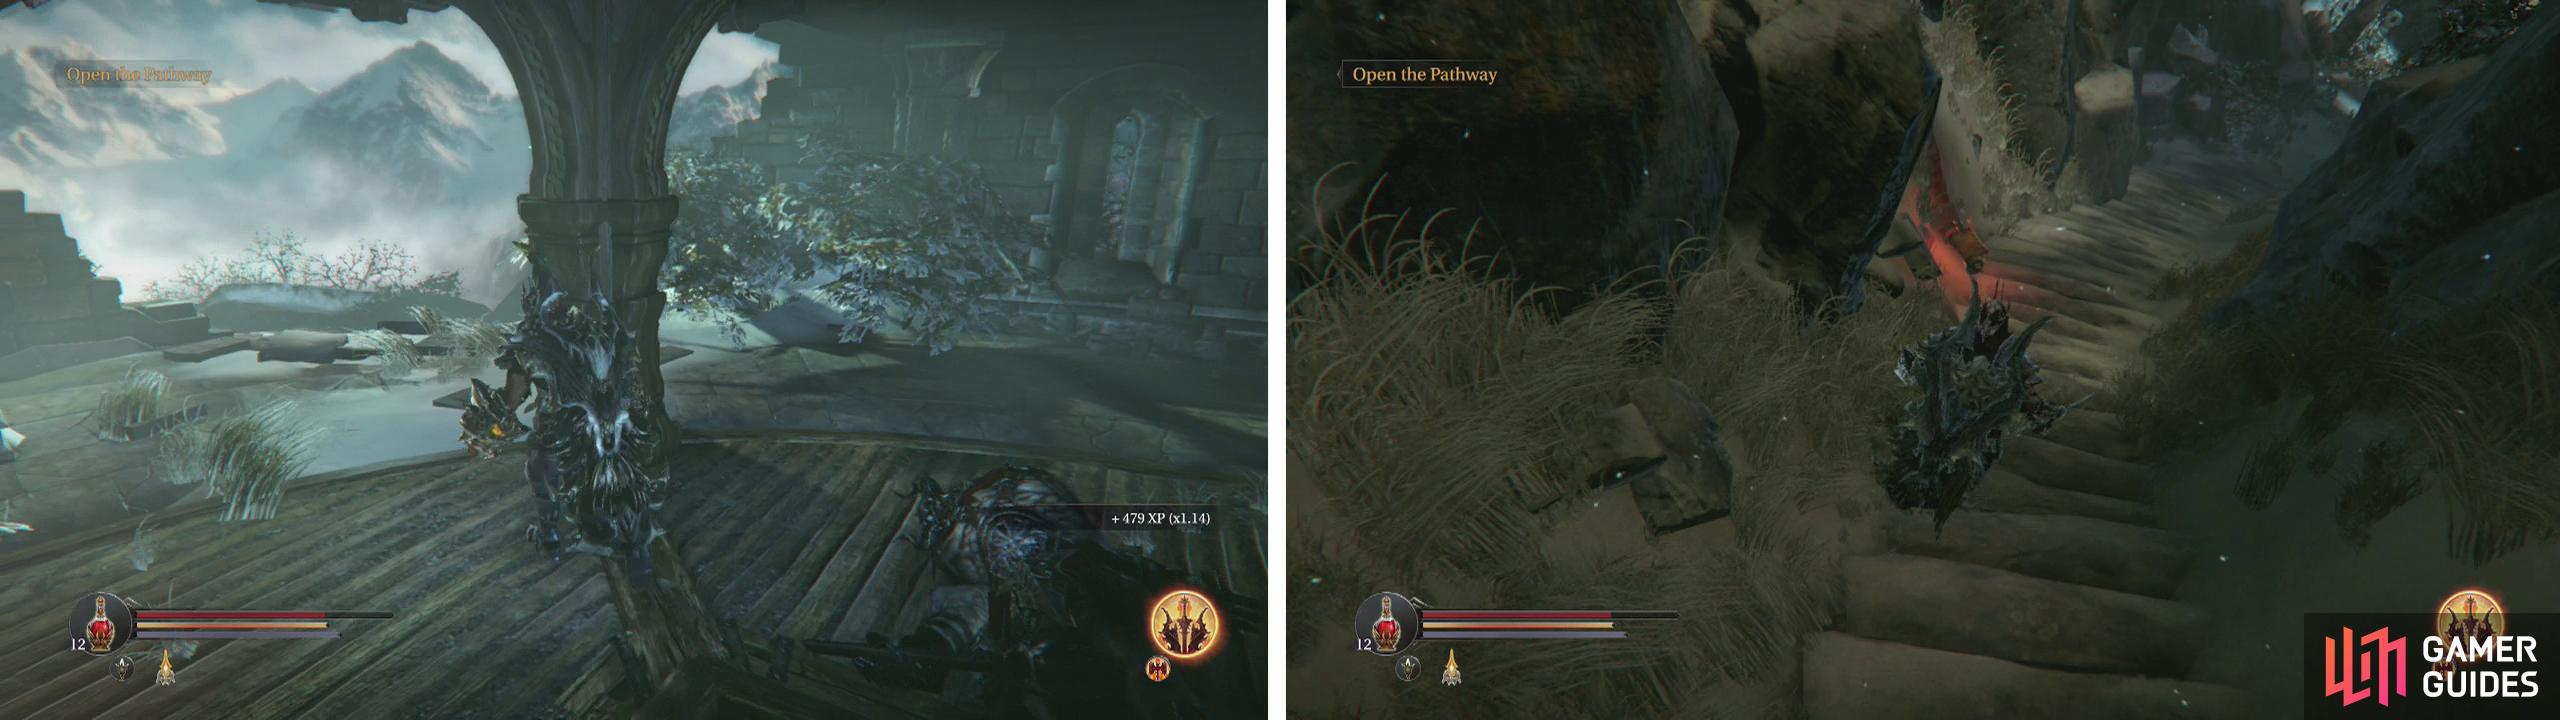
Avoid the blue clouds (left) as much as possible - they stun or hurt! when the Worshiper goes to his knees, get under cover immediately (right).
Once the boss loses a bit of health, the Worshipper will start to spawn a pair of Golems periodically to help him out. During his summoning animation (which takes several seconds) he is completely unguarded and you can definitely get in close and wail on him with a few melee attacks at this point. Just don’t stay too long after the animation finishes or that stun attack will get you.
The summoned Golems themselves will sit in a small crystal cocoon for a few moments before bursting out. Fortunately, if you can land a blow on the cocoons before this happens, it will be destroyed - an easy way to do this is to look in the general location of a cocoon and fire off your gauntlet, if you don’t have the boss locked on, it will automatically target the cocoon from a distance.
At this point, it is a matter of patience - wait for the boss to open his defences, destroy the Golem crystals as soon as possible and get into shelter when the Energy Blast goes off. It can be quite a tricky fight, but after a few attempts though, you’ll get the pattern down and you will find that it’s really not all that difficult after all!


Once the boss has dropped, loot him for a Sealed Rune (Big) and a new Weapon (Greataxe – Clawfinger) .
There are plenty of other bits and pieces lying around the graveyard to loot as well. In the very centre of the area is a Human Skull . Then starting at the entrance, cut a lap of the graveyard. Heading to the left you’ll find a Human Skull by the first set of graves. Past the first sheltered building you’ll find an Audio Note (Tales of Old: Kyle’s Grave) . Continue on to the next set of graves for another Human Skull .
We’ll then reach the entrance to the Catacombs. Ignore this for now and continue searching the graveyard. On the far side of the graveyard from the entrance you’ll find a Human Skull between the two sheltered buildings closest to the Catacombs. Just to the left of the third sheltered building you’ll find an Audio Note (Dimensions: Temple) .
Now return to Kaslo and speak to him. He’ll open a portal to the demon realm. That’s where we need to go next. Before we do that however, we’ll just take a brief detour.
Return back up the hill towards the main Keystone area and as you go you will see that with the death of the Worshiper the Loot Crystal #3 halfway up the hill has now become active.
Loot Crystal #3
Loot Crystal #3 - This is your first Proving Ground Arena! There is a Checkpoint and an Anvil located either side of the entrance warp crystal. The goal here is to fight off all the enemies to progress. To begin, stand on the circular panel in the very centre of the room. The waves include:
-
Shieldman and Marauder
-
Rogue, Crossbowman and Infected
-
Infected and Knight
Once all three waves have been defeated, step on the plate in the centre of the arena once more for a chest. Loot it for: -
Attribute Point Shard ,
-
a Spell Point Shard and
-
a Trinket (Back Breaker)
Return through the Loot Crystal to the real world.
Outer Walls
Backtrack to the burned Watchtower and from the room with the Marauder inside find the destroyed wall by the stairs and drop down to a small snowy path below. Here you will find a chest containing an Empty Bottle , Magic Resistance Shard and a Weapon (Greatsword – Guard’s Greatsword) there is also an Audio Note (Grim Places: Grim Graves) .
From the Burned Watchtower drop down from the broken wall to a path below (left). here you’ll find a chest and an Audio Note (right).
Follow the path to the end and drop into the graveyard. Return to Kaslo and enter the portal.

No Comments