| Attack/s | Description |
|---|---|
| Melee Swings | This is the boss’s standard attack when you stay in short-medium range. He will swing his pair of swords horizontally in front first one way, then the other. |
| Charge | The boss will lean forward and charge at you from a distance in an attempt to knock you down. This is usually followed up by a spinning blade combo attack. If he hits you with the charge, it is almost impossible to avoid the follow up attacks. |
| Kick | If you get in too close for some melee action, the boss will stick his swords in the ground, lean back and kick you. |
| Fireballs | The boss will stick both blades in the air and summon fireballs from each of the braziers in the area. They will lock on and home in on Harkyn. You will need to dodge and roll to avoid these. |
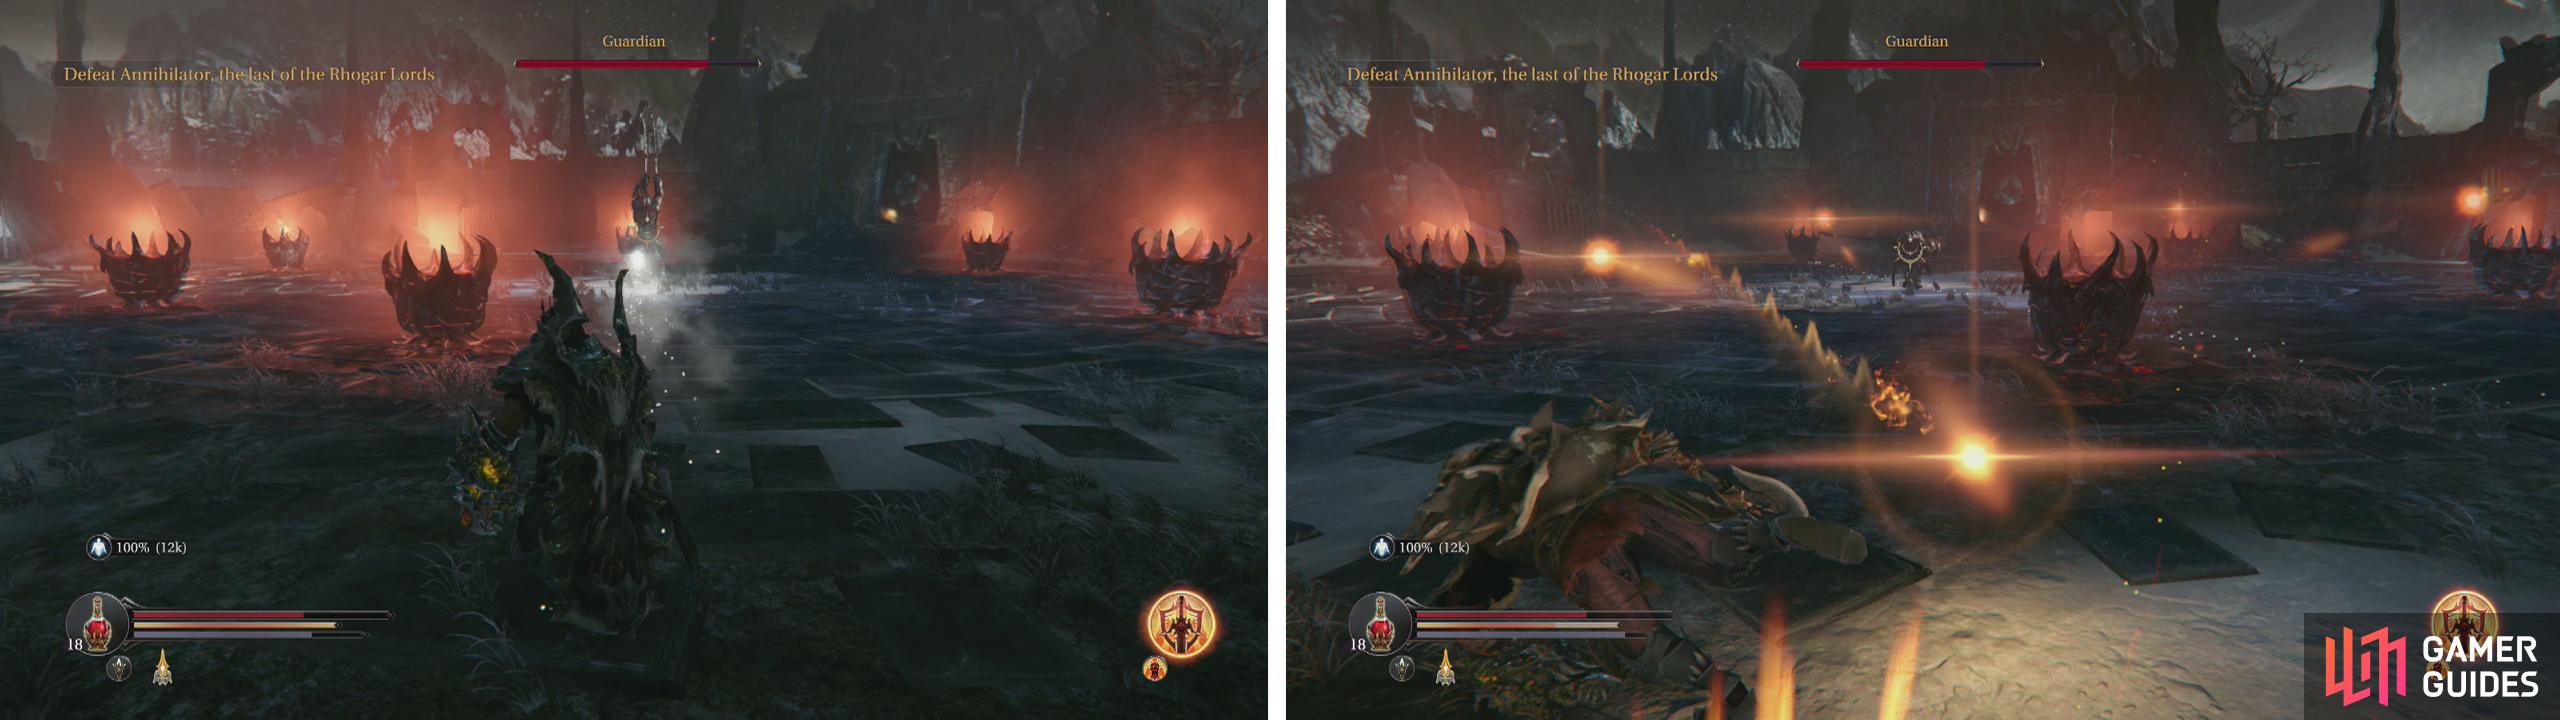
When the Guardian raises his swords (left) he is about to fire off his homing fireballs (right). Avoid at all costs!
Combat Strategy:
The fight with the Guardian requires a good deal of rolling and dodging as the boss will attack you relentlessly with his dual greatswords and magic fireball projectiles. As you may have guessed, most of the Guardian’s attacks are fire based, so having a shield or armor set socketed with runes providing fire resistance will reduce the damage he deals somewhat, however several of his moves can be incredibly destructive even with fire resistance maxed.
When the Guardian is not attempting to mash you with a charge and follow up melee combo (which is easily dodged), he is raising his hands and summoning a group of Harkyn-seeking fireballs that can hit you anywhere in the arena. The fireballs are most definitely the biggest threat during this encounter and require that you dodge twice, once just before the first fireball reaches you and then immediately once Harkyn has recovered from the first roll.

Dodge the boss’s charge (left) and then hit him once his combo finishes (right).
Perhaps not surprisingly, the best strategy for taking the Guardian down matches pretty much what we’ve done for all the bosses to this point - find and exploit the openings in the boss’s defences following specific attacks… And the best attack to do this on is the charge and melee combat follow up attack. To encourage the boss to perform this attack, try to stay at range until the boss charges, avoid it, wait a short moment then run up behind him and let him have it! Don’t get too greedy on your attacking though as the boss will perform a telegraphed kick, or a more deadly spinning retaliatory attack you if you stay near him for too long. Most of his melee combos that go longer than two swings (you’ll need to be close to him for it to happen) will also provide a slight pause and opening for an attack at the end. The boss will not switch tactics too much over the course of the battle, so you can pretty much rinse and repeat until he drops!
If all else fails, playing it safe and keeping your distance from the boss whilst using the gauntlet to dish out all of your damage is aso a valid strategy to take down the Guardian, however it will take significantly longer and will require a lot more precise dodging.
If you don’t mind missing out on the legendary version of the weapon the boss drops, there is another weakness that you can take advantage of. At the centre of the Eternal Flame area, you will have already noticed there are several braziers. These are used by the boss when he summons his flaming projectiles to shoot at you. Now if you can sprint at these with your shield up, you can knock them over. Doing this will cause the guardian to run over and fix it - leaving himself undefended for a short time.


Once the Guardian has been killed, loot his drops for a Weapon (Sword - Firewalker) and a Sealed Rune (Big) . Note that if you sent the deserters in to attack him previously, you will find their corpses on the side of the arena closest to where you entered. You can loot both of them for a Human Tattoo each and a Trinket (Amulet of the Betrayer) .
Inside the doorway closets to the stairs that we came into the arena from, you’ll find a Knight and a Loot Crystal. Kill the knight and enter the portal.
Loot Crystal #7
This is our third and final Infinite Void challenge. It is also the biggest and most difficult!
From the start location, move up to the fire you can see a short distance ahead. There are a total of six Infected guarding it. As you approach three of them will hop up and attempt to ambush you. Defend yourself and put them down before picking off the others nearby one at a time with your gauntlet.
On the far side of the campfire and to the right, you will see two sets of glowing symbols on the ground. Beyond the light of the fire, you should see a trail of these glowing symbols leading off into the distance.
Follow the one at the far side of the campfire first out through the darkness. Be careful when you reach the second symbol as there are 3-5 Infected in the darkness ahead. Although you may struggle to see them, you should still be able to lock them on from here and hit them with your gauntlet.
When it is safe, continue along the symbol path until you find a group of three chests. Loot them for… Nothing! As soon as you have looted the third, a Fire Beast and a Fire Golem will attack you from behind. Try to get the Fire Golems to explode first so that you can focus on the Fire Beast by itself. Avoid its attacks (they cause burning damage) and take it down.
Return to the campfire to see it is now inhabited by two Knights and a Tyrant. Kite the Knights around as you try to avoid the Tyrant and use your gauntlet and melee to take both of the Knights down. Now we can focus on the Tyrant. The urn containing his Tyrant Heart is in the darkness beyond the campfire and we’ll be unable to find it easily unless you kill the Tyrant once to watch him regenerate – follow the red light linking the Tyrant to the Tyrant Heart as he regenerates to find it. Once you’ve grabbed the heart, kill the Tyrant.
Once the fireplace is clear a chest will appear next to it. Open it to find an Attribute Point Shard and a new Weapon (Sword - Tribute) .
From the campfire, this time follow the symbol path to the right. Here you will find a red cloud that will transform into a ring of fire when you arrive. At this point you will need to eliminate a Spellcaster and two Shieldmen to leave. Try to focus on the Spellcaster first as its projectiles and life drain can severely mess up your combat ability.
After they have been killed, loot the chest that appears for a Magic Energy Shard and a new Weapon (Hammer - Fly) .
Now that all of your looting is done, return to the ‘real’ world.
Eternal Flame
Exit back to where we killed the Guardian. When you are ready to continue, use your gauntlet on the glyph blocking the passage out of the area, loot the chest behind it for some Armour (Chest and Head - Faith) and then enter the door ahead to enter the Chamber of Lies.
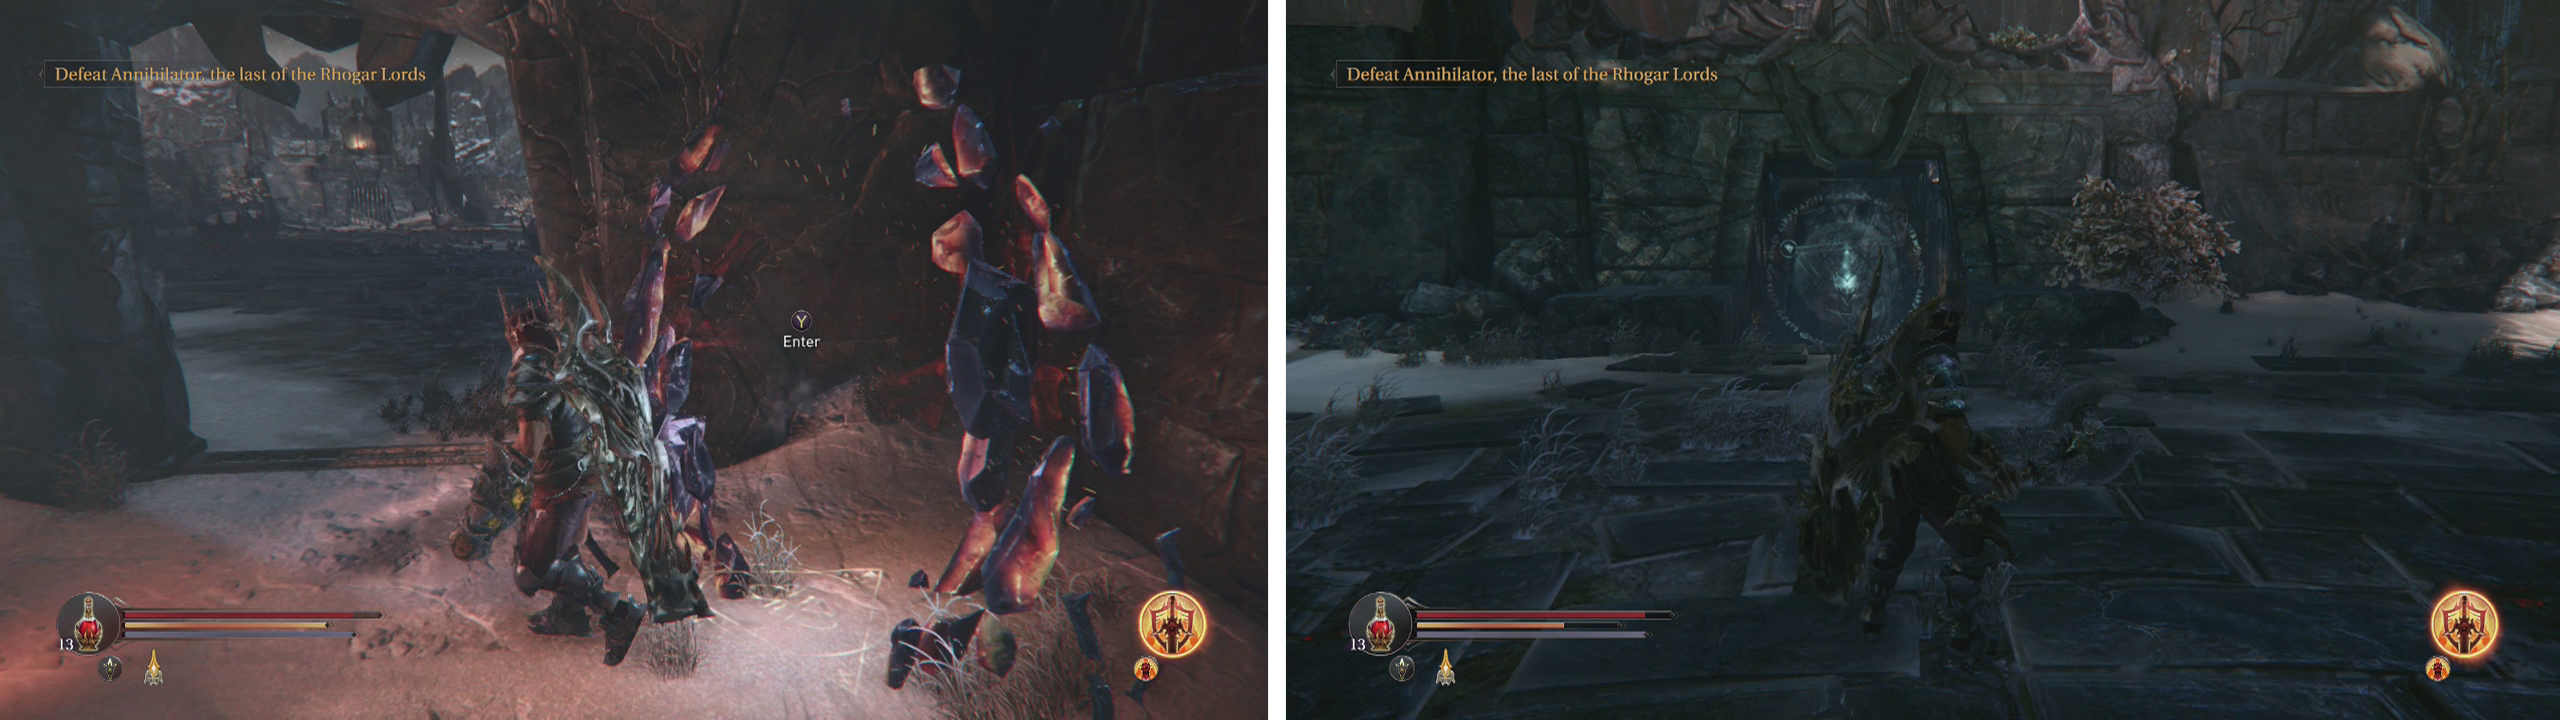
After the fight, enter Loot Crystal #7 (left). When you are good to continue remove the glyph from the back of the Eternal Flame arena (right).
No Comments