

Part 1: Infinity
From the start, turn around and proceed down the slope to the right. Continue to follow the set pathway through the jungle until you reach the room with the objective marker in it. Along with the dead marine, you will also find a pair of knights. They will teleport away when you drop down into the area. Interact with the objective marker on the ground and then loot the bodies nearby for some UNSC weaponry if you are interested in such things. There is also a box of grenades behind a tree at the far side of the area from where we entered.
Climb down the slope when you are ready to go. As you get around halfway down a good size group of crawlers (5-6) will appear in the clearing below on the ground and on the various trees, walls and stumps around the area. Once they are gone, work your way into the clearing and when you reach the other side another 8-10 crawlers will emerge from the trees in front along with a knight who will remain in the distance. Kill the lot and then, continue with the path around to the left.
Clear any remaining crawlers out of the area as you proceed. As the path becomes narrower, you’ll see into the next open area. Kill the watcher and any crawlers you can see before entering to finish off the rest. Continue around the large tree in the center of the zone and down the path opposite the entry. Check out the objective marker on the ground to pick up the Promethean vision ability. When we activate this, we’ll now be able to see enemies highlighted in red and be able to see through the fog that lies just ahead.
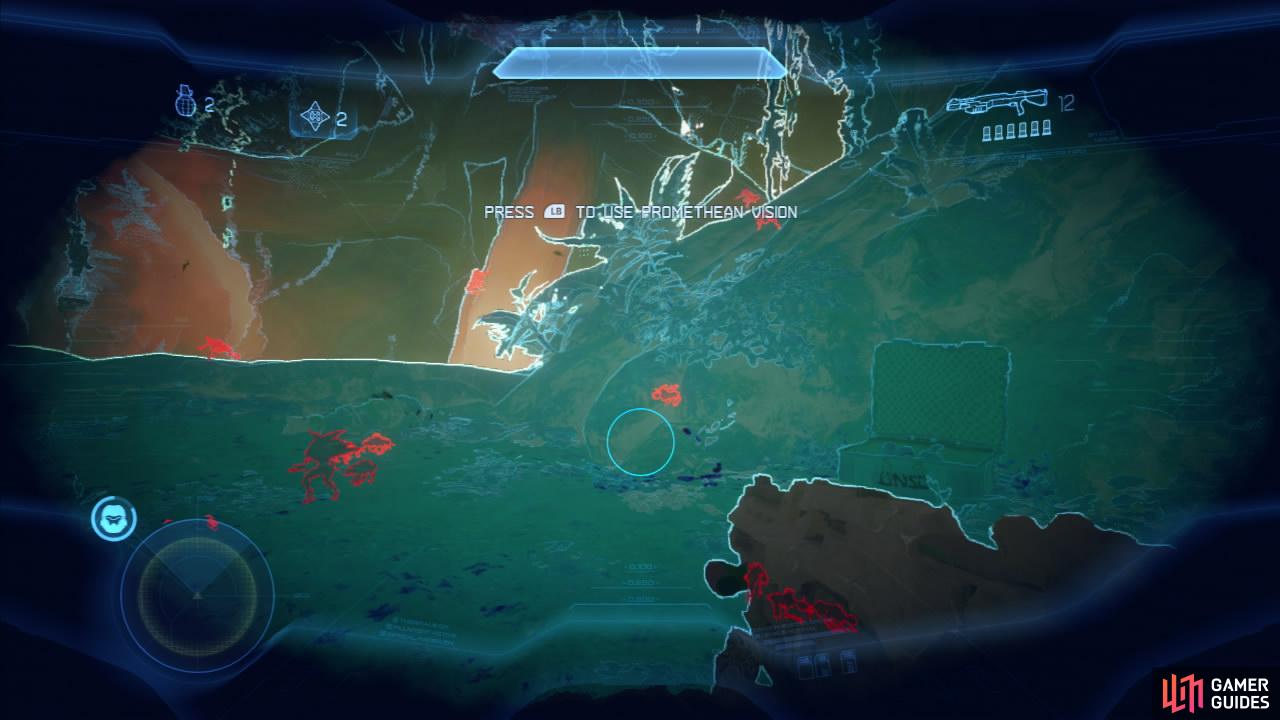
Move forward to the edge of the cliff and use Promethean vision to identify the knight and 7-8 crawlers below. Kill them all before dropping down to their level and heading to the right. Once you can go no further, look for a slope leading upwards to your right and kill the knight and the small group of crawlers that come down it. Climb the ramp and then ascend the tree roots to the left. Enter the clearing nearby and examine the objective marker.
Proceed a little further, and as you reach the top of the slope leading down to the next area, 6-7 crawlers will run by. Kill them all as you enter the area. Once they are dead, continue around the corner to the right and kill the knight, watcher and another group of crawlers here.
Remember to use the Promethean vision to tack down all of those pesky crawlers who might be hiding. Proceed into the area with the objective marker, kill any crawlers lurking about and then jump up to the structure approach the door for a short story scene.
Part 2: Reunited
We’ll now have a posse of marines to follow us around and provide a little support (actually they are fairly useless). However you should note that the mission-specific achievement for this level is to not allow any of these marines to die. So be sure to keep an eye on them if you want to earn that one! To do this, try to stand between them and the enemies if they get in a fire fight and if you see one of them go down, reload the previous checkpoint and try again.
$$$item 2131
Exit the building and turn to the right, kill the watcher, the pair of knights and large group of crawlers in the immediate area. Proceed further into the jungle when it is clear and follow the path to the left and up the ramp. Continue along the winding path here until you encounter a group of three crawlers and a knight. Deal with them before continuing.
When you reach the group of marines under fire (these guys, like the previously mentioned marines need to be protected for the mission specific achievement), continue down the slope and help them repel the crawlers, knights and watchers in the open area beyond their cover position.
When it gets quite, hop the marine’s defenses and clear out any remaining enemies before proceeding to the structure at the afar end of the area. As you approach a knight, a pair of watchers and another small group of crawlers will ambush you. During this encounter, a pair of Promethean laser emplacements may also be activated, so if they do, destroy them as well. Once everything is dead, head for the structure.
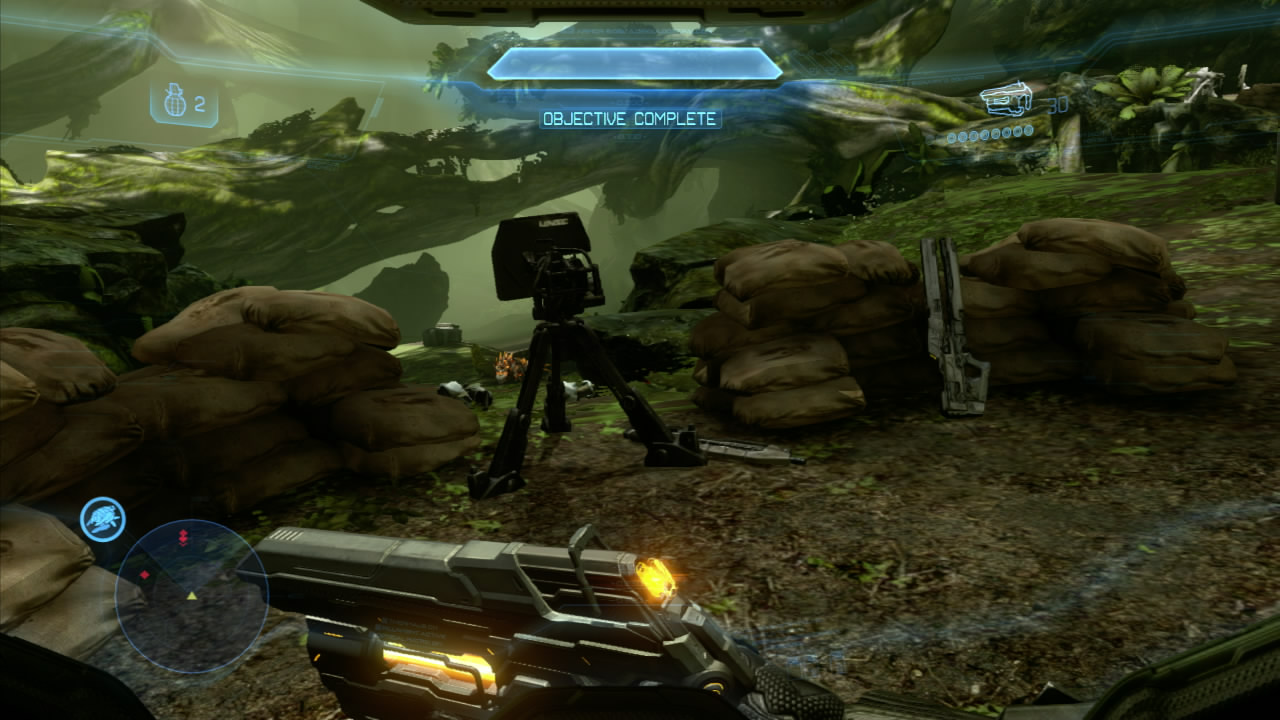
Place Cortana into the socket on the pillar to the right of the door and then defend the area for a few moments whilst she does her thing. You will have to fight off a healthy number of crawlers and a few knights, any remaining marines will help you out and there is also a gun turret here to make things easier if you wish to use it. Once time is up, Cortana will let you know she is finished and the door will open, giving you access to the next area.
We’ll be in a large open cave. We need to clear it of all enemies to create a landing zone. As you exit the tunnel, note that covenant and Promethean forces are now working together! Kill the knight and 5-6 grunts in front. Move into the main part of the cave and you will see a watcher, a couple of knights and a good number of jackals and grunts.
Once you have killed a few of the baddies here, a couple of phantoms will show up and drop off some additional covenant grunts and jackals, additionally a couple of extra knights seem to appear at this point too. Now all we need to do is simply clear the area until a friendly ship shoes up. Run over to it and wait until a scene plays.
Part 3: The Gun Show
From the start, run down the hill to the right and jump into the scorpion tank. After entering the tank, continue forward in the direction the tank is facing and use the tank shells to deal with any bad guys that get in your way. We’re essentially going to follow the linear path through covenant lines until we reach an open area. Make sure to destroy any ghosts that approach and destroy the wraiths (I counted three in this first part) in your path as well, you can also blow up all the the sniper hover towers along the way if you are into that kind of thing.
Once you reach the tunnel leading down, cruise to the bottom and park the tank on the circular platform. Ride it up to the inside of the Infinity. We are in a cargo bay of sorts and there are a large number of covenant forces here. There are hunters, grunts and elites. They should not bother you at all with the tank though, so take them all down. Once everything is dead, you’ll receive a transmission from the captain. Hop out of the tank and continue through the open door. Hit the switch at the top of the ramp inside.
Part 4: Shining Armor
Climb into the mantis. This is a suit of armor equipped with missiles (Left trigger) and a mini-gun (right trigger). Use the weapons to destroy the door at the bottom of the ramp and enter the hole you create. As with the previous tank section, the mantis is borderline indestructible on normal difficulty and still pretty sturdy on higher difficulties as well so it goes without saying that you’ll need to kill an abundance of enemies, kill anything that gets in the way.
Continue along the long hallway here and turn to the right. At the end of the hallway, turn left and continue up the ramp. At the top turn left and continue along the pathway and enter the door at the end. Kill the enemies inside and ride the lift up.
Part 5: Eviction Proceedings
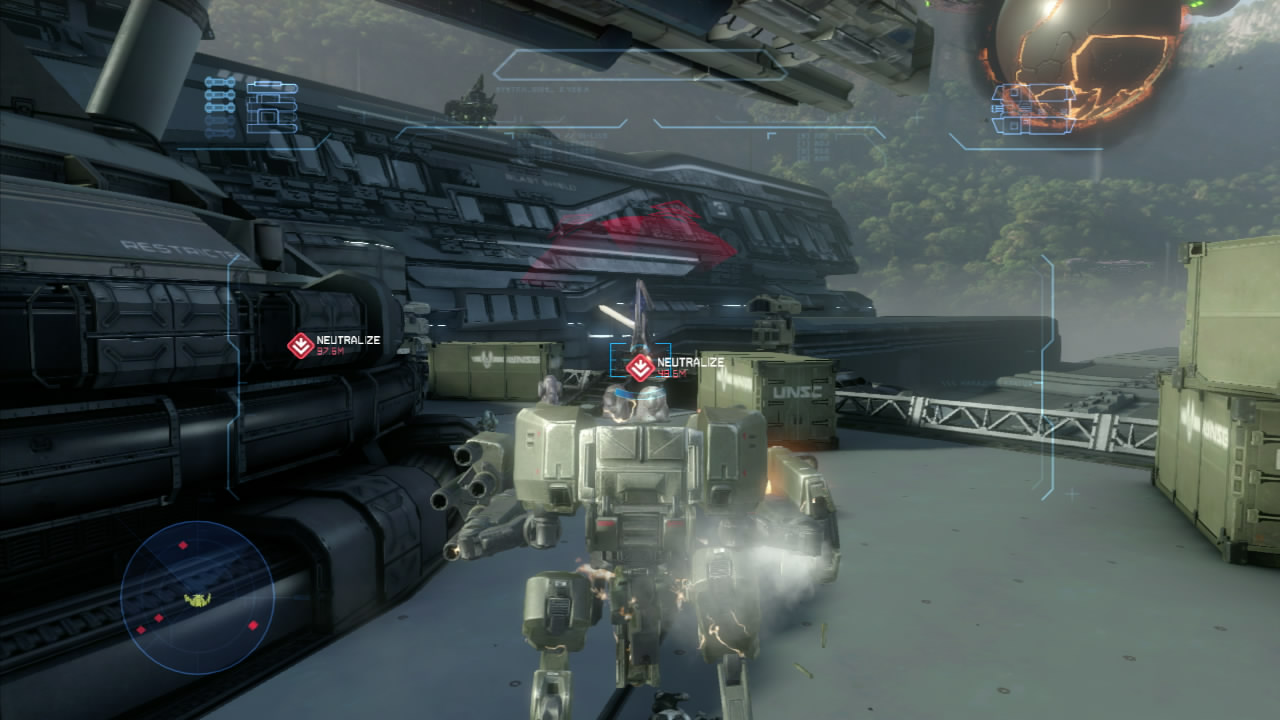
Exit the lift and continue through the door at the end of the short hallway. We are now in an outdoor area. In the center is a giant gun turret that we need to activate. To do this we need to destroy three covenant signal jammers. These are located against the far wall of the room as we enter, unfortunately there are a lot of enemies hanging out in this room. The lot of them can easily be taken down with rockets and a few rounds of the mini-gun. When you are ready, destroy the three marked jammers.
As you destroy them, a number of phantoms (I counted four) will swoop in to drop off additional covenant forces for you to blow up. Note that you can destroy the turrets on the bottoms of the phantoms so that they cannot shoot at you. Eliminate the enemies that they drop off. This will cause a number of banshees to come in and attack the area. Whilst this is going down another pair of phantoms will come in to drop off troops.
Kill them all and continue to shoot down banshees until the objective is complete.When prompted to do so, hop out of the mantis and activate the marked switch.After a few moments, a story scene will play to complete the mission.

No Comments