This is my Rifle, This is my Gun
Carried a UNSC weapon all the way through mission 3 on Heroic or harder

20
Part 1: Buried and Forgotten
As you begin the level, you should have the hardlight shield, if you wish to swap this out for an auto turret, you can find several of these sitting on pedestals lining the walls of the room. When you are ready, go through the door.
Make your way along the bridge here until you reach the circular platform ahead. As you approach a terminal will rise up. Stick Cortana into this for a short scene. Afterwards, hop off the platform and enter the portal that has appeared.
Follow the tunnel until you find yourself in an outside area. Ignore the retreating critters and continue around the path to the right. As you enter the next larger area you will be attacked. There are 6-7 crawlers here to kill. Simply pop them each once in their glowy spots to take them down! Proceed to the terminal opposite the entrance and activate the button here. A light bridge will appear behind it.
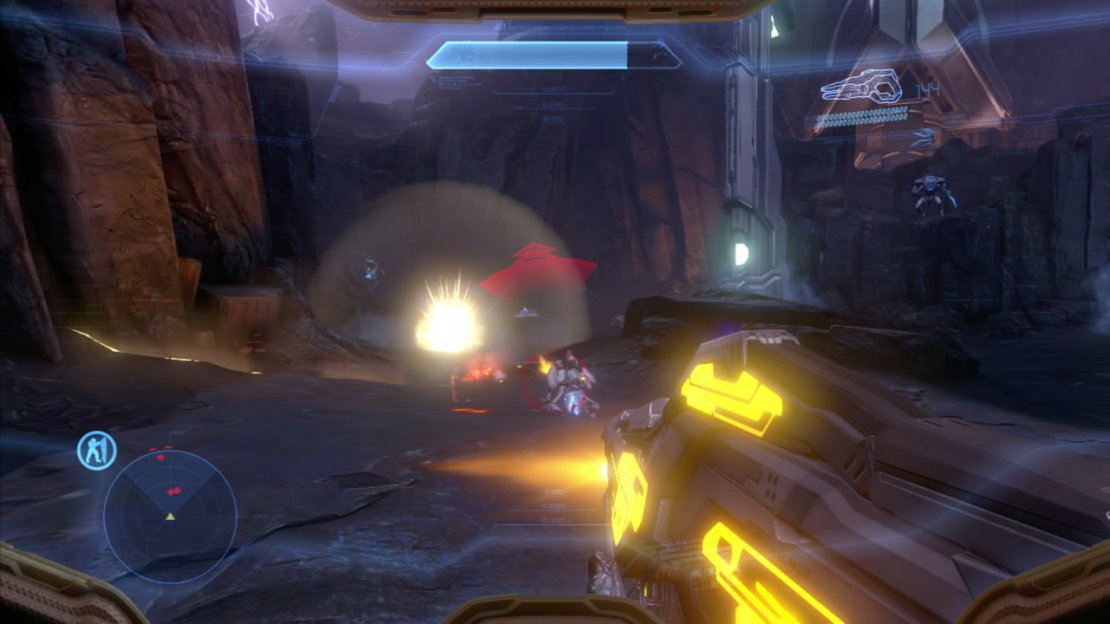
Cross the bridge and continue along the path. A short scene will play, hit the melee button when prompted to do so. Continue through the tunnel and follow the path outside until you see a rocky structure in front. Two pillars will raise either side of it and a knight will be standing on top of it waiting for you. Eliminate the crawlers that enter the area from the left hand side of the area before focusing your efforts on the knight, you will also find a watcher in the area too (flying enemies with the circular thrusters) - take the watcher down first as they can shield other units. Kill any remaining crawlers that may have joined the fray and then look behind the rocky structure to find a door we can enter.
Once inside, follow the tunnel to the end and exit into another large area. Kill the knight outside the door and then follow the passage between the rocks to the right to find another, murder his face off too. Follow the path back to the left and deal with the crawlers in the area, continue towards the glowing circular platform on the ground in front. As you approach, more crawlers will attack from the cliff to the right so deal with them before continuing.
Drop down to the platform below and you’ll find a watcher a knight and a few more crawlers here. Again deal with the crawlers and the watcher first before taking out the knight.
$$$item 2129
Climb the ramp to the left or right and enter the door at the top. Follow the hallway all the way to the end, note that there is a small side passage to the left containing some ammo if you are interested. When ready enter the door to the next area.
This room is quite large. From the elevated platform we are on, take note of the large structure in the center of the room. On the far side of this is a ramp leading up. Before we do that though, we will need to destroy three shield generators at ground level. The problem with this is there is an abundance of crawlers and knights (not to mention a watcher or two) occupying the area!
Each of the generators is located in a small, square structure with a ramp on one side and two open doorways allowing you to see all the way through the room. There are two of these located on the right side of the central structure and one on the left side. Take your time and try to eliminate the hostiles around each of the generators before approaching so they don’t distract you whilst you destroy them.
After the three generators are down, head to the ramp at the back of the central structure. A pair of watchers and a pair of knights will be waiting for you. Eliminate them and then climb the ramp. On this level, kill one more knight and then work your way around the platform, cruise up the next ramp and find the bridge leading to the next area.
Continue across this and activate the button at the end of the hall. Ride the elevator to the top and enter the next room. Run up to the spinning core and activate the panel to stop it. Proceed into the portal on the far side of the room.
Part 2: Enemy of my Enemy
You will find yourself back in the first room that we warped from earlier. This time, the portal on the right will be activated so head over here and enter it. Follow the tunnel all the way to the end and drop down the hole and push forward until you reach another outside area.
As you enter, you will see covenant drop pods landing in the area in front - the best thing about this? The covenant and Promethean forces will attack each other. There is an assortment of jackals, grunts and elites on the covenant side and the usual crawlers, knights and watchers on the Promethean side. If you wish you can blast through the lot, but on the higher difficulty levels. I’d recommend letting the two factions weaken each other a little before intervening to polish off any survivors.
Either way, once you leave the starting cave, you’ll need to make your way across the room to the right and when the coast is all clear, climb the ramp against the wall leading up to the left. Kill the knight around the corner, the Promethean laser emplacement on the wall in the distance and the group of watchers before continuing to the end and entering the passage to the right.
Here you will see two elites on ghosts get taken out by a knight. Kill him and then proceed down the path. Grab one of the ghosts to make the next section a little easier! Our goal is to reach a tunnel in the far left hand corner of the area, so either let the enemies thin themselves out, or take them out yourself as you make your way to the aforementioned tunnel. Inside, climb the ramp and follow the set passage until you exit out into another small area in front of a large structure.
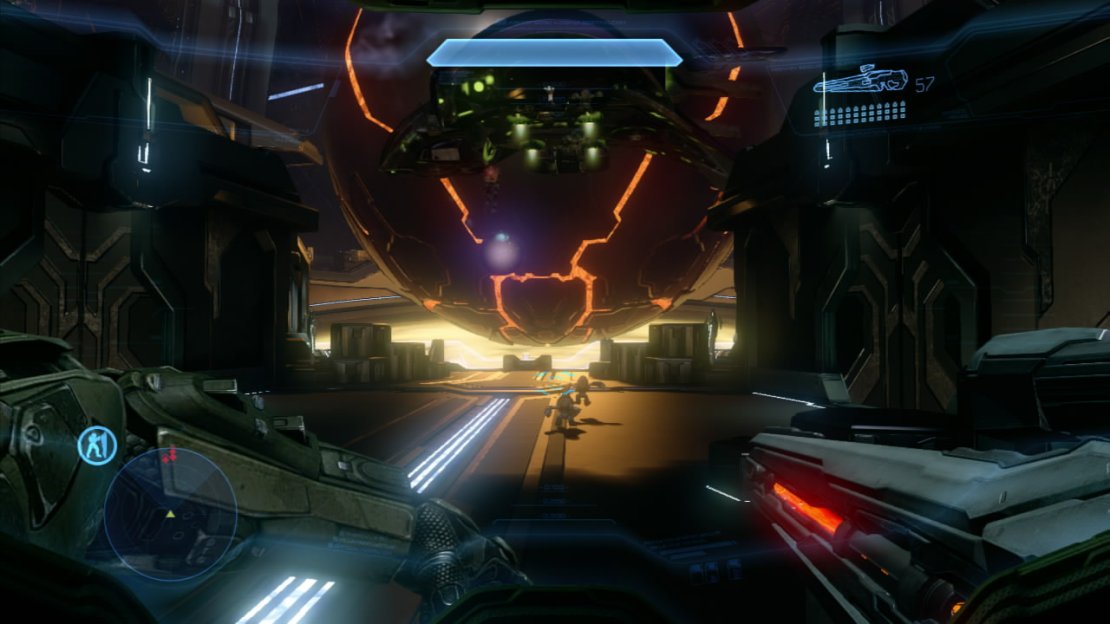
Kill the enemies and then enter the doorway. Follow the tunnel all the way to the end and exit into a familiar looking room. This room is almost identical to the earlier room where we had to destroy the three shield generators. We’ll need to do the same thing here, but this time its a little harder as there will be covenant forces with banshees and ghosts in addition to the standard infantry units. Note that in this room, there are two power core rooms on the left of the central structure and one on the right hand side.
Once you have destroyed all three power cores, continue up the ramp at the back of the central structure and across the bridge as we did previously, killing the 2-3 elites on the platforms here as you go. Once inside the main building, hit the switch to activate the lift.
At the top, run over and activate the panel in front of the spinning core to stop it. Continue through the portal at the back of the room. We’ll be back in the first portal room for the third time! Enter the next portal here.
Part 3: Almost Home
As you proceed down the ramp towards the circular structure a covenant ship will arrive in front and drop off a group of grunts and a sniper jackal. When they are dead, hit the button on the wall to the left and enter the door that opens.
At the top of the passage you’ll enter into a room with a fight going on between the covenant and the Prometheans. There are 2-3 elites, a few grunts and jackals, three knights and a watcher or two to watch out for. There is also a Promethean laser emplacement, so try and focus on that whilst the two other forces whittle themselves down. Once the fighting dies down, mop up any survivors and continue through the next door.
Step on the light covered floor at the back of the room to rise up to the next level exit the door into the next room. The first part of the room has a similar layout and enemy make up to the previous one, so either take down both sides or wait until the numbers are thinned out a little to press through. Continue to the far side of the room and climb the ramp on the left all the way to the top.
Kill the elites and knights here (I counted three of each) and the laser emplacement too before proceeding up the ramp and running over to activate the terminal here.
Part 4: Next Stop, Certain Death
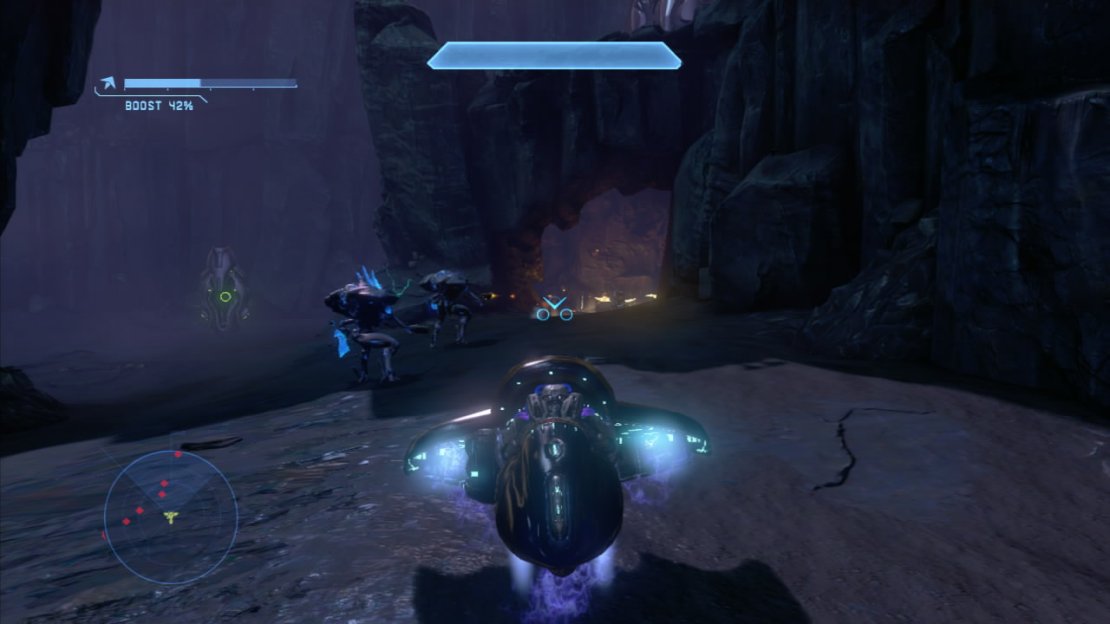
When you regain control of the chief, run forward and hop onto one of the ghosts. Remember the end of Halo: Combat Evolved and Halo 3? We’ll this is similar, we are going to have to pilot the ghost through a disintegrating environment. There’s no real challenge here, just avoid the obstacles that appear and make your way to the end of the linear area and jump into the portal at the end to complete the mission.
No Comments