| Location | Objective |
|---|---|
| Forest in Mokushu | Rout the enemy. |
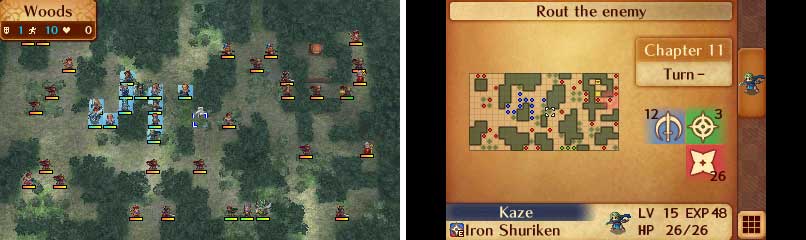
Map of Chapter 11
| Enemies |
|---|
| Diviner |
| Archer |
| Oni Savage |
| Samurai |
| Shrine Maiden |
| Spear Fighter |
| Ninja |
| Master Ninja |
| New Allies | Class | Recruit |
|---|---|---|
| Saizo | Ninja | Talk to him using your Avatar |
| Orochi | Diviner | Will join automatically with Saizo |
| Reina | Kinshi Knight | Will join automatically with Saizo |
| Kagero | Ninja | Automatically at the end of the chapter |

Talk to Saizo with your Avatar.
You should probably pair up the Avatar with Subaki if you brought him and work to getting to Saizo fast . Reina’s AI will launch her out to the ends of her very vast movement range to attack everyone. As a prepromoted unit, she will survive for longer than Saizo or Orochi would, but if you’re playing on Hard or Lunatic, she won’t hold up for long. If you want to make sure you get ’em all, you definitely want to get to Saizo and chat with him before Reina gets in trouble.
These Dragon Veins aren’t that helpful this time around, I’m afraid.
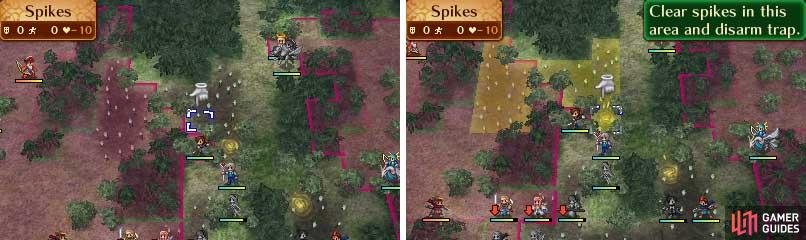
The big “trick” on this map is the traps . In the big open areas right around where your party starts are traps that appear once you move through them. These are stake traps and will deal damage every turn (which racks up fast) if you stand in them. Good experience for your healers, but as said, it adds up quickly. These traps come accompanied by Dragon Veins that can disable them, but be warned: the traps will activate again if you traverse the area again. What a pain, right? You might want to ignore the Dragon Veins altogether and focus on clearing the map quickly. There are Ninjas everywhere and the debuffing effect of Shurikens combined with the passive damage can really wreck your army.
Takumi will prove incredibly handy here. His high innated critical hit rate due to his class and his Fujin Yumi, plus the advantage bows have over Shuriken, means that he can get kills on Ninjas that everyone else’s attacks miss on. There are a couple of chests that you might want to ferry Kaze or Saizo on over to if you want their loot. The boss, Kotaro, will then await you.
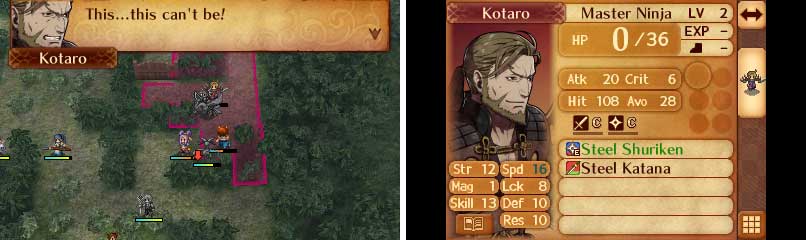
Put Kotaro in his place!
Kotaro as a Master Ninja will give out some interesting flavor dialogue if he does battle with Saizo. As a Master Ninja, he will be hard for most of your units to hit, and will likely double-hit most everyone in your army except your fellow Ninjas like Kaze. As said before, Takumi stands the best chance at hitting him hard, but you can feel free to swoop in and finish off with weaker units, or just do the tried-and-true method of ganging up on him and whittling him down. Note that Shuriken can hit from melee or range so you will always get a facefull of Shuriken as a counterattack no matter what you do.
After the chapter, Kagero, one of Ryoma’s retainers, will join you permanently, resulting in a total of three Ninjas you now can control. If this map didn’t show you the power of the Ninja, then I don’t know how I can convince you, but Ninja is one class that you should appreciate having multiple units of.
No Comments