(1 of 2) Check the map before each mission to get a measure of the enemy’s strength.
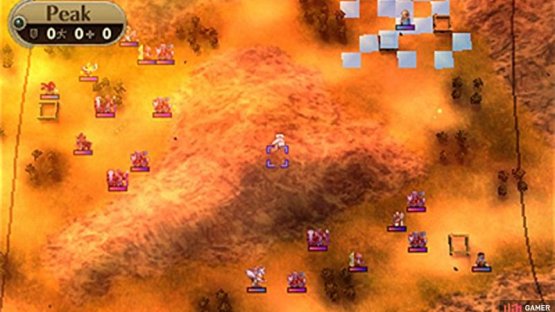
Check the map before each mission to get a measure of the enemy’s strength. (left), (right)
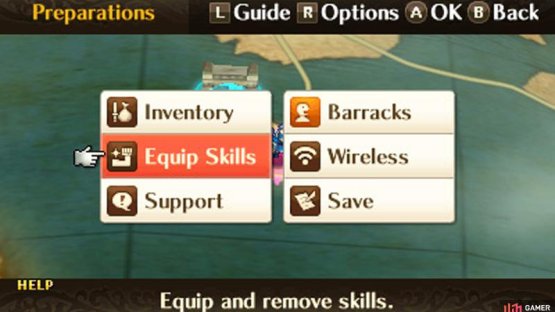
There’s a saying that “good preparation is half the battle” and that applies in Fire Emblem too.
The preparations screen can be accessed by pressing X when on the world map; it will also appear when you start a new mission.
Before a mission begins, you should make sure that all your characters’ inventories are organised; check they have good weapons and sufficient weapon uses. You don’t want Frederick to break his Silver Lance in the middle of a battle, for example! This also applies to healing items, such as Vulneraries.
Besides items, also check support relationships and whether any characters should use a Master Seal or Second Seal to change classes.
Select Units
If you just entered a mission, you will have the choice of selecting which characters to enter the battlefield. Typically you can’t bring your whole army along all the time; the message at the bottom of the top screen tells you how many characters you can send out.
Who you select will boil down to personal preference most of the time, but there may be times when you need to bring a certain character along to recruit another one. Note that Chrom will be forced to participate in most story missions; make sure you train the prince!
View Map
This option will appear before a mission.
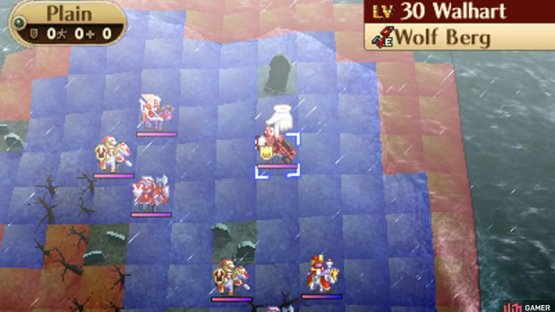
Before charging straight into battle, take some time to analyse the map and survey the field for enemies. Check for enemy weaknesses and for any strong enemies that will require your attention. If the enemies look strong, bring in more of your veteran units; if they’re mostly weak, you could bring out more units that need training.
Furthermore, you can swap the starting placements of characters on the map. If you need to rush, make sure all your high movement characters are near the front, for example. Conversely, if you need to fight defensively, make sure your tanks are ahead! Note that you usually cannot change Chrom’s initial placement.
(1 of 2) Have a look at what sort of enemies are prowling the battlefield.
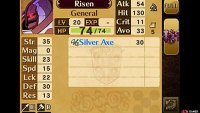
Have a look at what sort of enemies are prowling the battlefield. (left), (right)
Inventory
Manage your characters’ items.
Characters can hold onto a maximum of five weapons or items at one time. Any excess items are stored in the convoy – the item bank that is shared by everybody in the army.
While characters can only equip one weapon at a time, it may be useful to make them hold onto spare weapons, in case their primary weapon breaks. Initially, you should arm your characters with cheap weapons that have a high number of uses, such as the Bronze Sword or Iron Sword, so your characters can fight for ages without breaking their weapons.
Try reserving stronger weapons, such as the Killing Edge or Silver Sword (assuming your character can wield them), for when facing stronger enemies, such as bosses, No sense using stronger weapons on lackeys if you can defeat them just as easily with weaker weapons.
Additionally, where possible, keep a long-ranged weapon, such as a Javelin, to broaden your strategical options. These weapons can generally be weaker than direct-range weapons, but they can often prevent you from being counter-attacked by the enemy and save you from losing HP.
Note on Weapons
Weapons in Fire Emblem are divided into these categories: sword, lance, axe, bow, staff, tome, stone. A character can only wield weapons that are available to their class (see the bottom left of a character’s status screen).
Furthermore, each weapon has its own weapon rank or level, ranging from E all the way up to A. Similarly, characters can only equip a weapon if their own weapon level is equal or higher to the weapon’s.
Eg. Chrom can only equip a Silver Sword (B Rank) when he has a sword rank of B or A.
Characters can increase their weapon levels by constantly fighting with the corresponding weapon type or by using an Arm Scrolls item.
Support
From the “Support” menu, you can establish and improve relationships between units, as well as view special support conversations.
For more details, please check the “Support Relationships” page further along.
Equip Skills
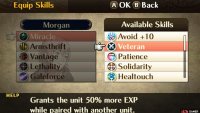
(1 of 2) Equipping good skills can make the difference between life and death.
Equipping good skills can make the difference between life and death. (left), More experience points means stronger characters in less time. (right)
Manage your characters’ skills.
Each character can equip a maximum of 5 skills at once; any extra skills are stored in the character’s skill bank. From this menu you can swap between a character’s active skills and the inactive ones in their bank.
Save
Once you’ve completed your preparations, save the game!
If you make a mistake during the mission and need to restart, at least you don’t have to go about all your preparations again.






No Comments