Overview
![This map is based around a border town in Kyrgyzstan and features a number of buildings, some derleic tanks and a good deal of debris. Teams start in the [Southeast Corner] and in the [Northwest Corner] of the map. The map consists of a large, stone [Hotel] in the very centre of the map, surrounded five other smaller buildings evenly spread around the various reaches of the map. The [Hotel] itself has an upper floor granting a vantage point over the southern part of the map. The approach from the south features a courtyard and stone walls, whilst the northern entrance backs straight out onto a street. To the north of the [Hotel] are a [Gas Station], a [Warehouse] and a [Work Shed]. The [Warehouse], like the hotel features a second floor with a vantage point overlooking the south. Further to the direct south of the [Hotel] is a locked house with a [Small Courtyard] behind it that houses the occasional objective. To the west of the [Hotel] is a [General Store], which like the [Hotel] and the [Warehouse] has a second floor that gives a nice vantage point, this overlooks the areas to the east of the [Genral Store]. Finally, to the south-East of the [Hotel] are a pair of buildings [Orange Building] and [Blue Building] that are joined together by a wall in the center. The [Blue Building] has an upper floor with a vantage point. It should be noted that behind every building and around every edge of the map are small alleyways, allowing players to quickly get around the various areas without being exposed to the fire of those in vantage points looking over the central areas. There is usually building access from both the central region and the alleyways behind which allows for a lot of sneakiness!](/assets/guides/20/24910-mpstandoff01jpg.jpg)
This map is based around a border town in Kyrgyzstan and features a number of buildings, some derleic tanks and a good deal of debris. Teams start in the [Southeast Corner] and in the [Northwest Corner] of the map. The map consists of a large, stone [Hotel] in the very centre of the map, surrounded five other smaller buildings evenly spread around the various reaches of the map. The [Hotel] itself has an upper floor granting a vantage point over the southern part of the map. The approach from the south features a courtyard and stone walls, whilst the northern entrance backs straight out onto a street. To the north of the [Hotel] are a [Gas Station], a [Warehouse] and a [Work Shed]. The [Warehouse], like the hotel features a second floor with a vantage point overlooking the south. Further to the direct south of the [Hotel] is a locked house with a [Small Courtyard] behind it that houses the occasional objective. To the west of the [Hotel] is a [General Store], which like the [Hotel] and the [Warehouse] has a second floor that gives a nice vantage point, this overlooks the areas to the east of the [Genral Store]. Finally, to the south-East of the [Hotel] are a pair of buildings [Orange Building] and [Blue Building] that are joined together by a wall in the center. The [Blue Building] has an upper floor with a vantage point. It should be noted that behind every building and around every edge of the map are small alleyways, allowing players to quickly get around the various areas without being exposed to the fire of those in vantage points looking over the central areas. There is usually building access from both the central region and the alleyways behind which allows for a lot of sneakiness!
Objective locations
Capture the Flag
Flag A - On the road in front of the [South East Corner] spawn point.
Flag B - On the road in front of the [North West Corner] spawn point.
Demolition
Site A - On the street below the statue outside the [General Store] .
Site B - On the ground floor of the [Hotel].
Domination
Flag A - On the road in front of the [South East Corner] spawn point.
Flag B - On the street outside the southern entrance to the [Hotel] .
Flag C - On the road in front of the [North West Corner] spawn point.
Hardpoint
Site 1 - In the courtyard on the southern side of the [Hotel].
Site 2 - Inside the [Warehouse] across the street to the north of the [Hotel] .
Site 3 - On the second floor of the [Blue Building] southeast of the [Hotel].
Site 4 - On the ground floor of the [General Store] to the west of the [Hotel] .
Headquarters
Site 1 - On the ground floor of the [Hotel].
Site 2 - Inside the [Gas Station] building.
Site 3 - In the [Small Courtyard] of the southernmost building on the map.
Site 4 - Inside the [Work Shed] on the north side of the map.
Site 5 - Inside the [Orange Building] southeast of the [Hotel].
Site 6 - Inside the [Blue Building] southeast of the [Hotel].
Site 7 - Inside the [Warehouse] across the street to the north of the [Hotel].
Search and Destroy
Site A - Near the [Small Courtyard] of the southernmost building on the map.
Site B - On the side of the street between the [Hotel] and the [Orange Building].
Suggested Loadouts
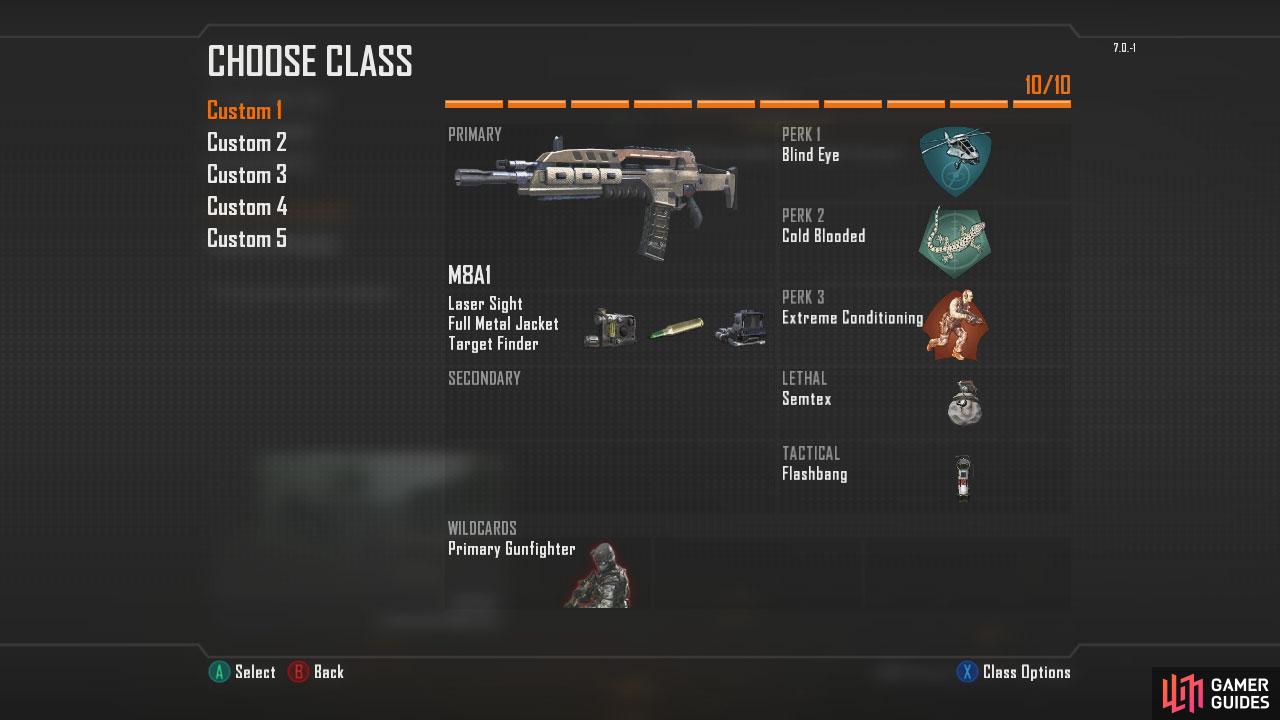
Short-Mid Range Primary Weapon > MSMC Primary Attachment > Long Barrel + Target Finder Secondary Weapon > Your Choice! Secondary Attachment > Your Choice! Lethal > Grenade OR Semtex Tactical > Flashbang Perk 1 > Lightweight Perk 2 > Toughness Perk 3 > Extreme Conditioning Wildcard > None! Note 1: The SMG listed is my favorite, but any one will do! Note 2: This set up will give the SMG a slightly longer range, making it effective both up close and at a medium distance as well. he grenades and flashbangs will help you out if you get in a tight spot, whilst the perks ensure you move silently, run for longer and can take a hit or two without flinching. Mid-Long Range Primary Weapon > M8A1 Primary Attachment > Laser Sight + (FMJ OR Extended Mag) + Target Finder Secondary Weapon > None! Secondary Attachment > None! Lethal > Semtex OR Grenade Tactical > Flashbang OR Smoke Grenade Perk 1 > Blind Eye Perk 2 > Cold Blooded Perk 3 > Extreme Conditioning Wildcard > Primary Gunfighter Note 1: The Assault Rifle listed is my favorite, but any one will do! Note 2: This set up will give you a great assault rifle perfect for mid-long range engagements. The FMJ OR Extended Magattachments can be mixed up to either provide additional damage or ammo whilst the other attachments increase range and accuracy. The perks ensure you will be harder to detect and can sprint further without stopping.
Map Specific Tactics:
Action Hot Spots
The maps largest point of conflict is the zone encompassing the streets to the north of the [Hotel] as well as the interior of the [Hotel] itself.
General Tips
With the mix of large indoor areas and expansive lines of sight outdoors, your best bet is to stick with an assault rifle.
Stay away from the hot spot areas unless you have absolutely no other options. Due to the conveniently placed rooftop vantage points, there is very little chance you will survive in the open for too long.
There are numerous passageways around the back of each building, allowing you quick, relatively safe access to most areas on the map and to flank enemies in the hot spots.
Sniping Positions
[Blue Building] : The [Blue Building] has an upper floor with a vantage point overlooking the major action hot spot.
[Hotel] second floor: The [Hotel] has an upper floor granting a vantage point over the southern part of the map.
[Warehouse] second floor: The [Warehouse], like the [Hotel], features a second floor with a vantage point overlooking the street below, the hotspot to the south and a view of the vantage point in the [General Store] nearby.
[General Store] second floor: To the west of the [Hotel] is a [General Store], which like the [Hotel] and the [Warehouse] has a second floor that gives a nice vantage point, this overlooks the areas to the east of the [Genral Store] and can also see into the vantage point of the nearby [Warehouse].
No Comments