S-Rank Targets
| **Time** | **Deaths** | **Spotted** |
|---|---|---|
| 1 minute 20 seconds | 0 | 0 |
Step 1
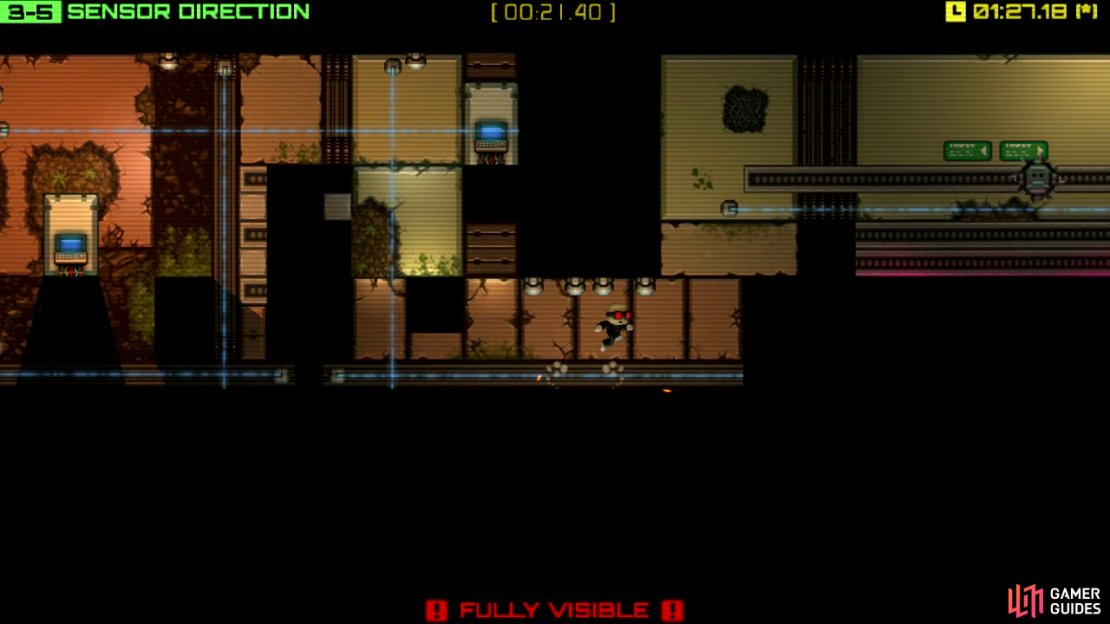
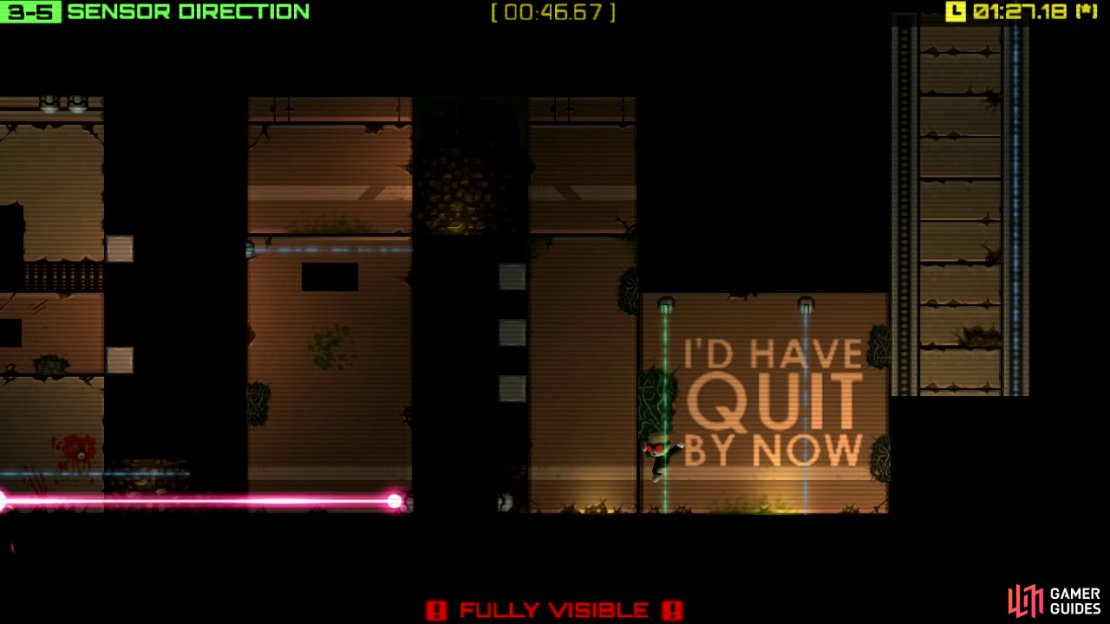
Crouch walk to the right then when you’re at the right side, jump up and left then over to the terminal. Once you’ve accessed it, leap up and to the right, pull yourself up then fall down to the floor below.
Step 2
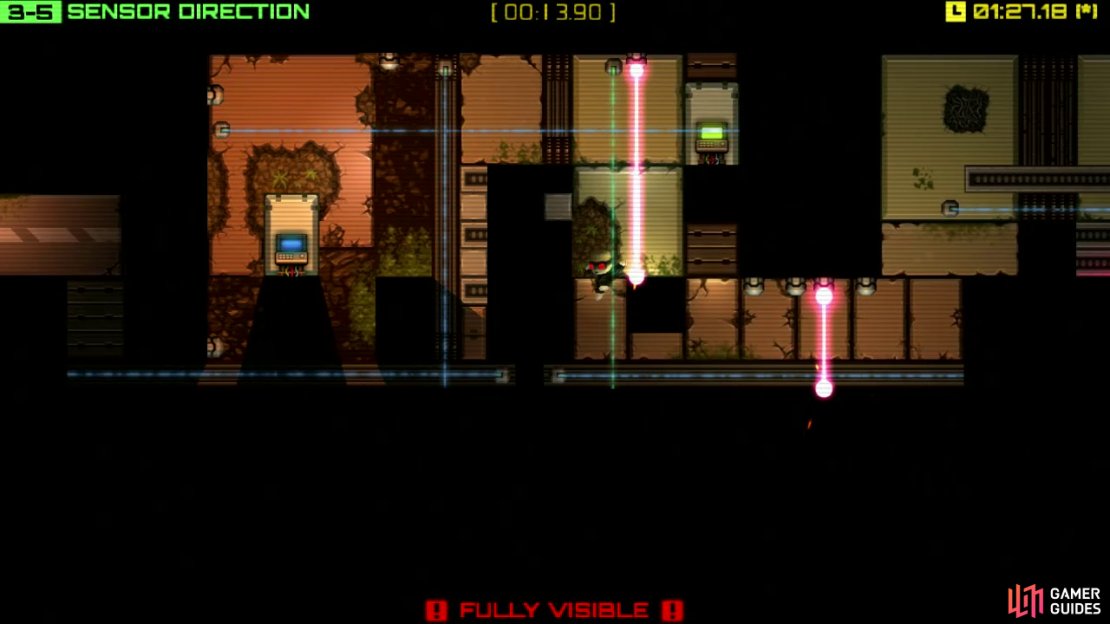
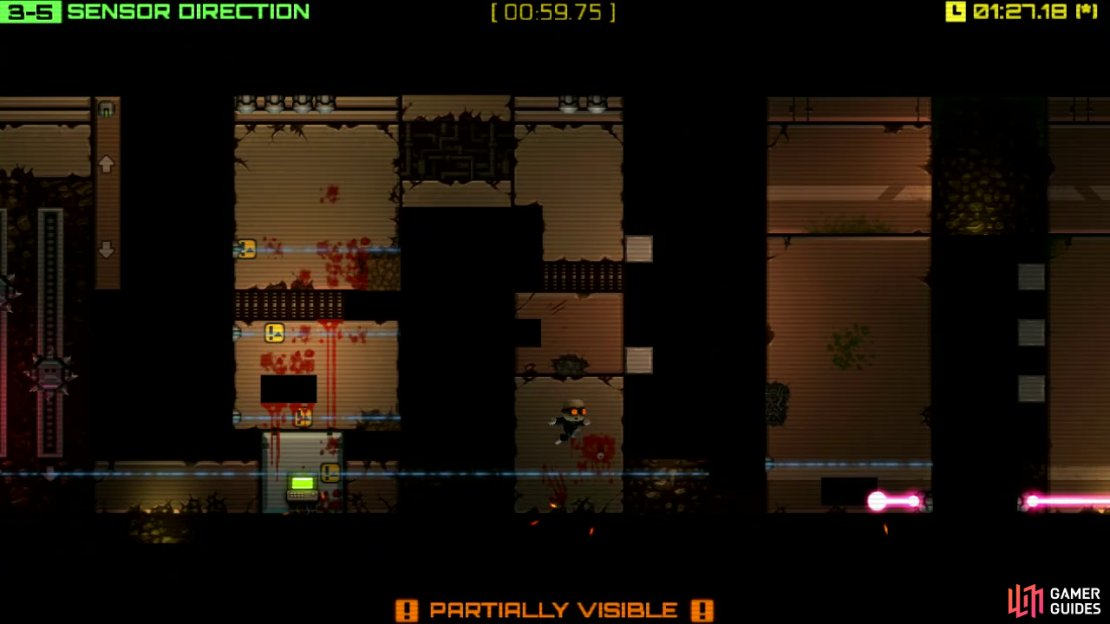
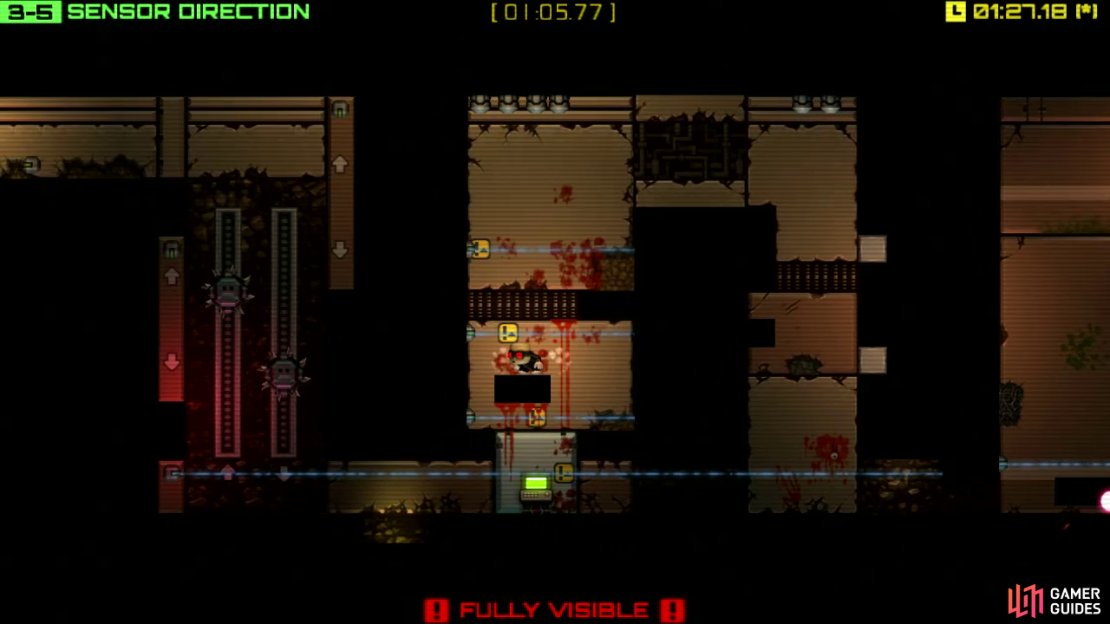
Jump up the right side of the square platform, then jump up and right to the next terminal. After falling back down you need to be careful with these two vertical lasers as they’ll activate when you’re touching the horizontal sensor. The trick is to jump over the sensor, past the first laser, then jump again in the middle so you’re in the air still as you pass the fourth and final laser.
Step 3
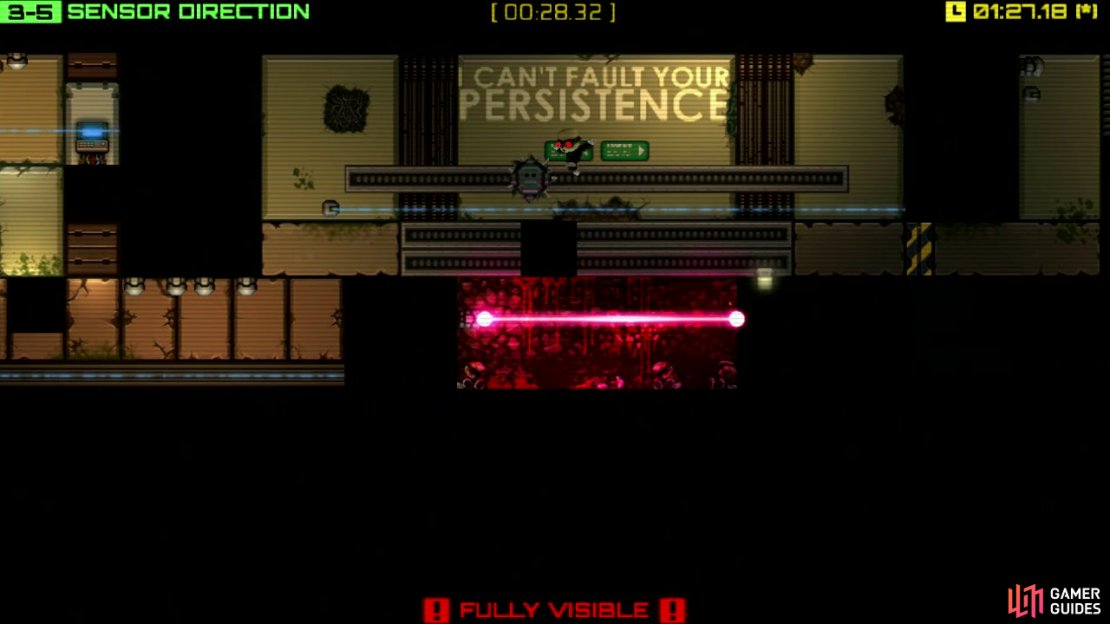
The next trap involves a horizontally moving grinder and a platform that only travels right when you’re touching it . There’s also a [Helix] here, so follow our strategy below if you’re still needing to grab it.
$$$item 3206
The basic principle of surviving this is to jump from one corner of the platform to the other as the grinder passes underneath you, then standing still until it gets close enough for you to jump over again. You need to keep this up until you reach the end.
Step 4
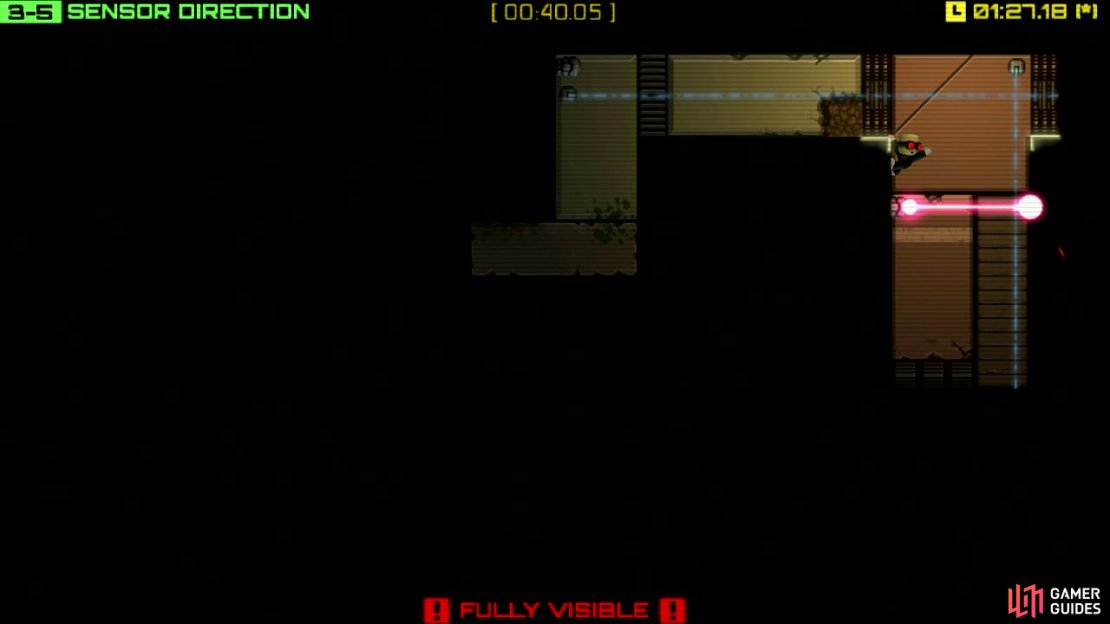
Hang off of the left-hand corner of the pit and then jump across to the right side where the vertical sensor is. Drop down here to remove the laser and start the platform to lower itself to the next set of traps.
Step 5
You need to position your leaps so you’re staying in-line with each vertical sensor (as this will turn the laser off). Jump from one sensor straight to the next then climb the wall ledges to the top of the platform.
Step 6
Stand on the floating platform and duck to start lowering yourself down towards the laser beam below. As soon as the block starts to block the laser get off of the platform! When you reach the next part with the sensor up above you, touching it will turn the lasers on . So crouch walk until you reach the far left and then jump right to the ledge then left then right again until you reach the top.
Step 7
Very Carefully drop down the platforms and be extra careful when dropping down onto the second one as it’s very easy to kill yourself (it’s smart to hold the duck button when walking on to it to prevent setting off this particular laser).Walk off the left side of this platform then drop down to the terminal and access it.
Step 8
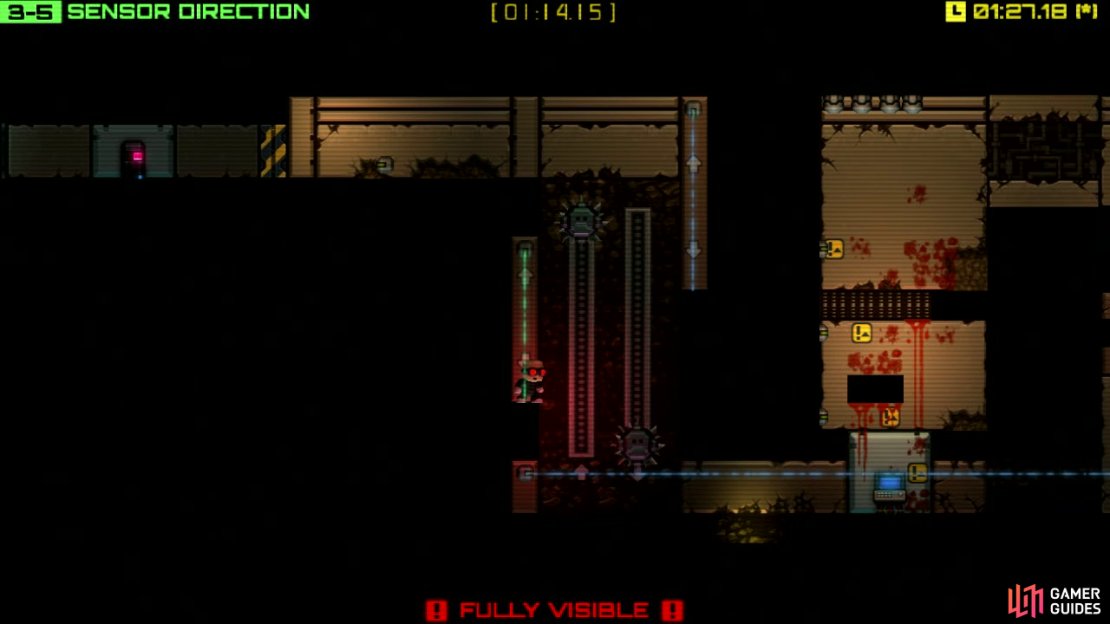
When you reach the part with the two vertically moving grinders, wait for the left one to start rising upwards . This is your cue to get ready to jump left to the vertical sensor in the wall. Don’t jump right until the left grinder is at the very top of its path! Then jump from the right side when it has started to descend again.
Step 9
Run left, flick the switch, duck until the sensor disappears then make a dash for the open exit!
No Comments