S-Rank Targets
| **Time** | **Deaths** | **Spotted** |
|---|---|---|
| 1 minute 15 seconds | 0 | 0 |
Step 1

Run to your right, over the switch on the ground, and it’ll light up the room for you. Climb up to the platform with the camera hovering above it and then you’ve got two ways to get past this camera (depending on which version of the game you’re playing).
PC, PS3 and Vita: The Slow (but Easy) Way: Jump to the platform on the right (beside the terminal), then jump up to the platform up on the left near the ceiling. you can then jump across the gap and sneak through the tunnel and drop down past the camera.
PC ONLY: The Fast (but Riskier) Way: Run towards the camera and time your jump so you’re holding the jump button down and you want to pass under the camera so you’re passing by it. This will keep you out of its vision cone and allow you to remain undetected (see screenshot above for the height you want).
Step 2
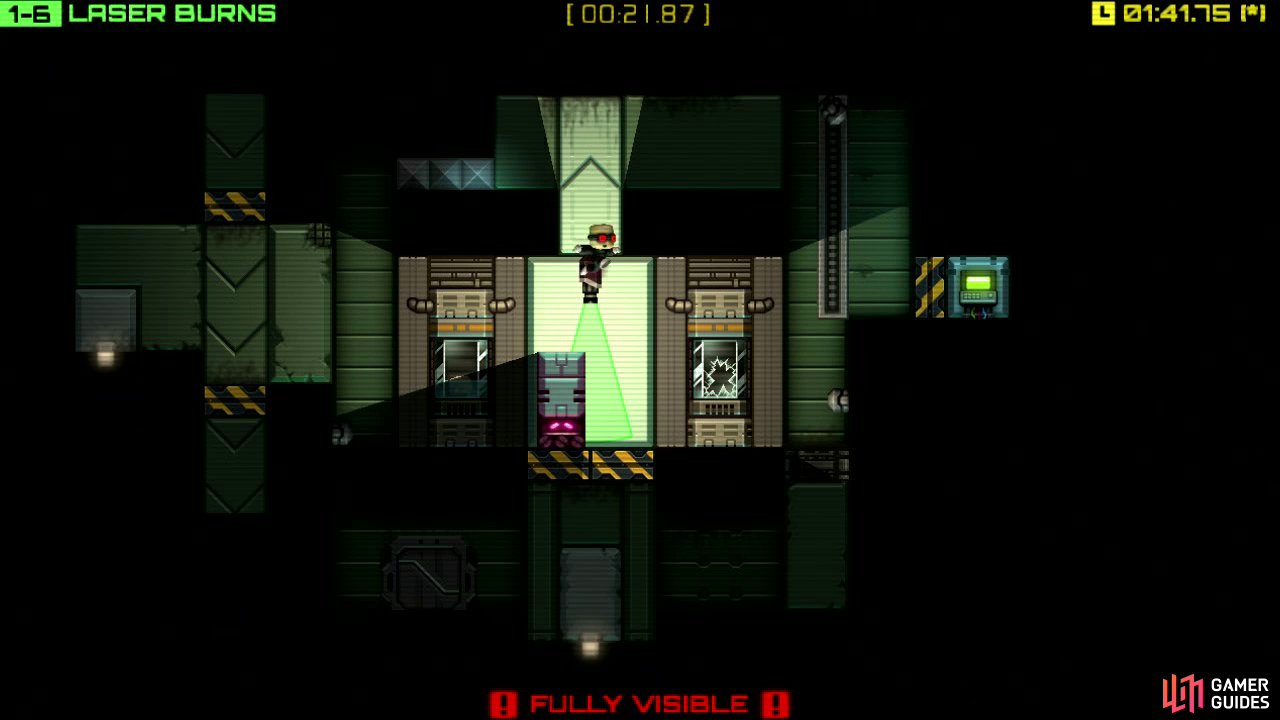
Run to the far left and stand on the switch to trigger a robot that will keep falling in a loop until you time it so the platforms close again, stopping the robot in front of you (you can do this quickly by stepping on it for a brief second, then immediately stepping back off it).
Push it until it’s under the camera (but leave it so it’s a bit more to the left as in the screenshot above). Now jump up and over the camera - via the platform above - and then drop down to the lower floor.
Step 3
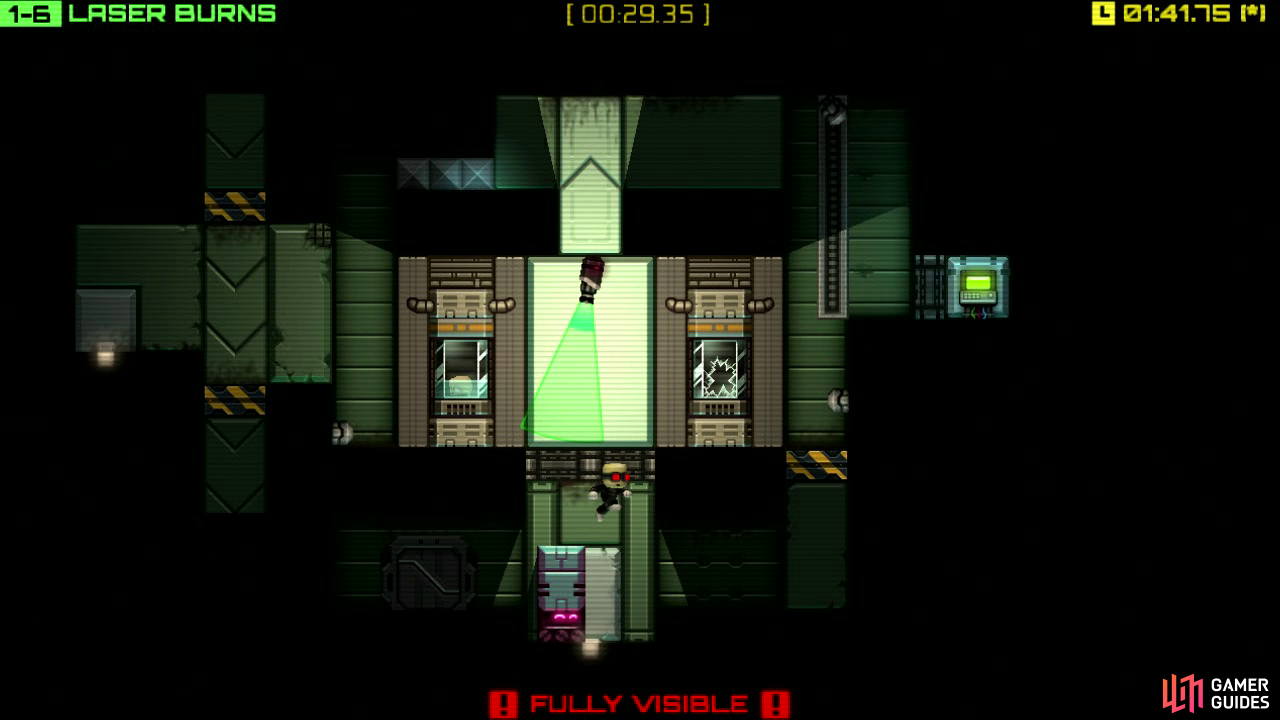
Stand on the switch on the floor and quickly move out of the way of the robot (before it falls on your head and squishes you). Now get on top of it and wait for the camera’s sweeping vision cone to be on the left part of its sweep. Jump up and climb up to the now accessible terminal on the right.
Step 4
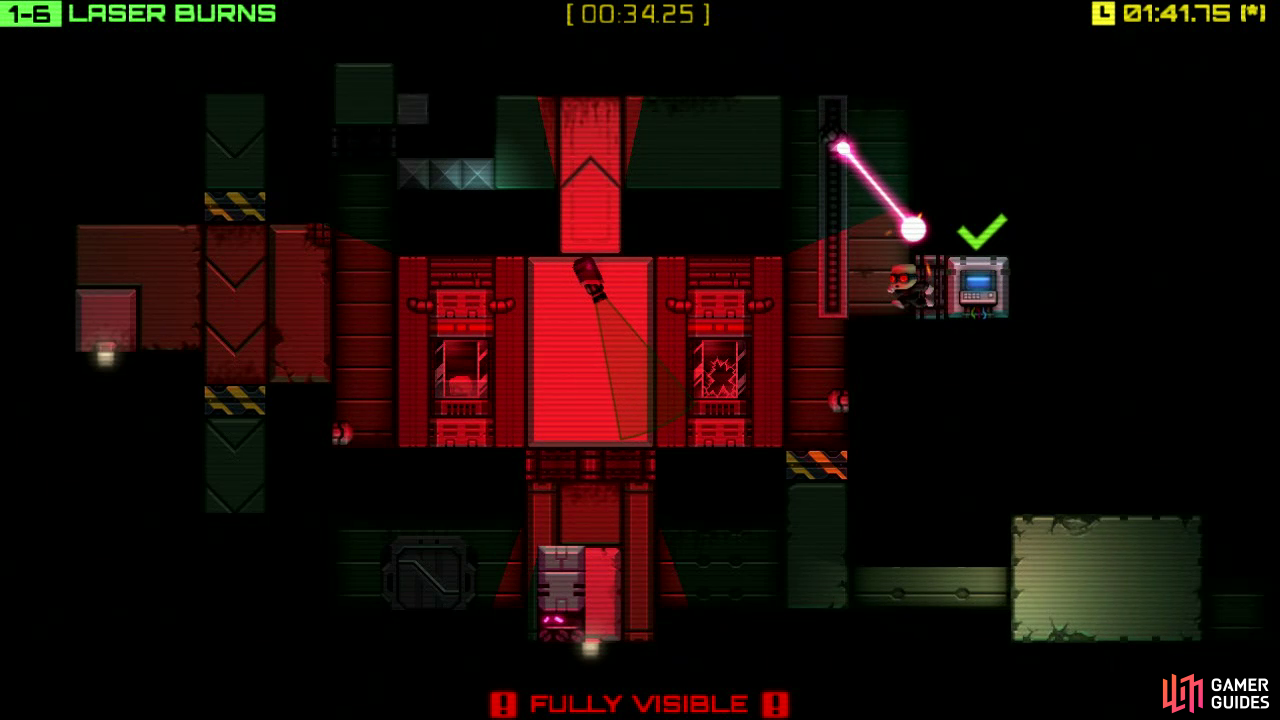
You now need to decide, very quickly, whether or not if you want to go for the freshly accessible [Helix] or head for the new room located on the bottom-right corner of the screen. There’s a laser coming down and pointing to your location, so whatever you want to do, do it fast!
$$$item 3187
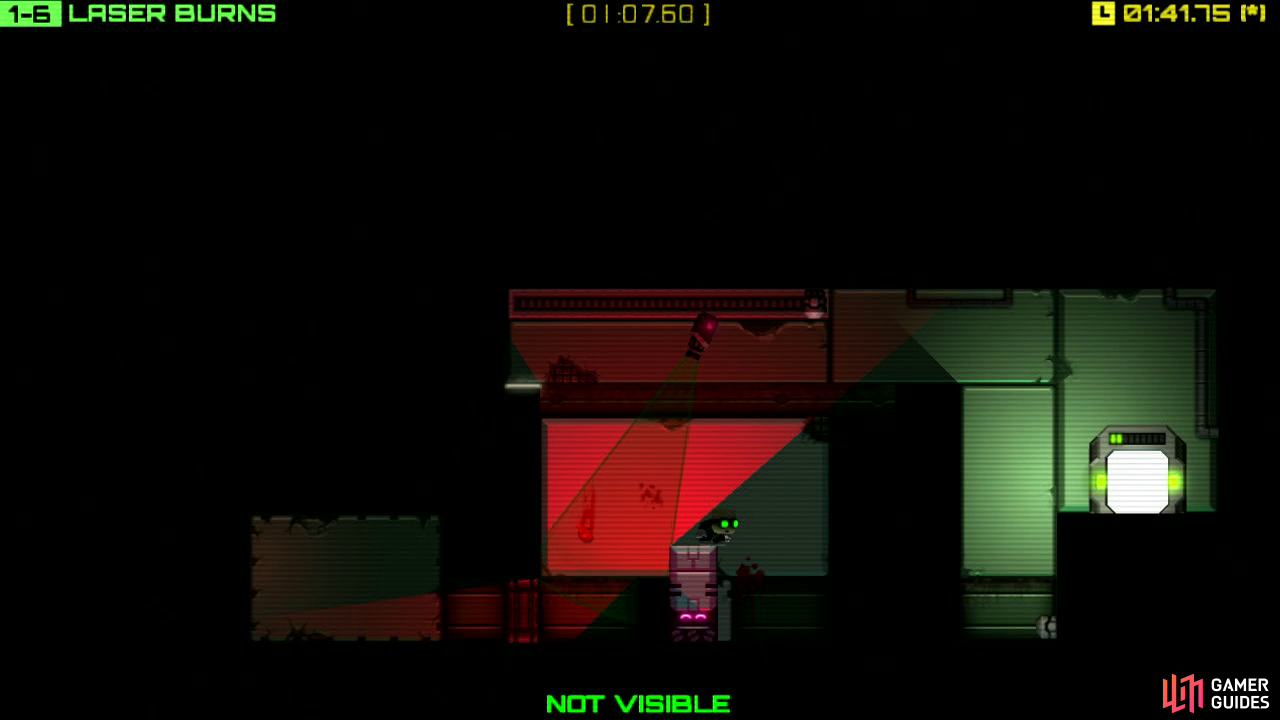
Step 5
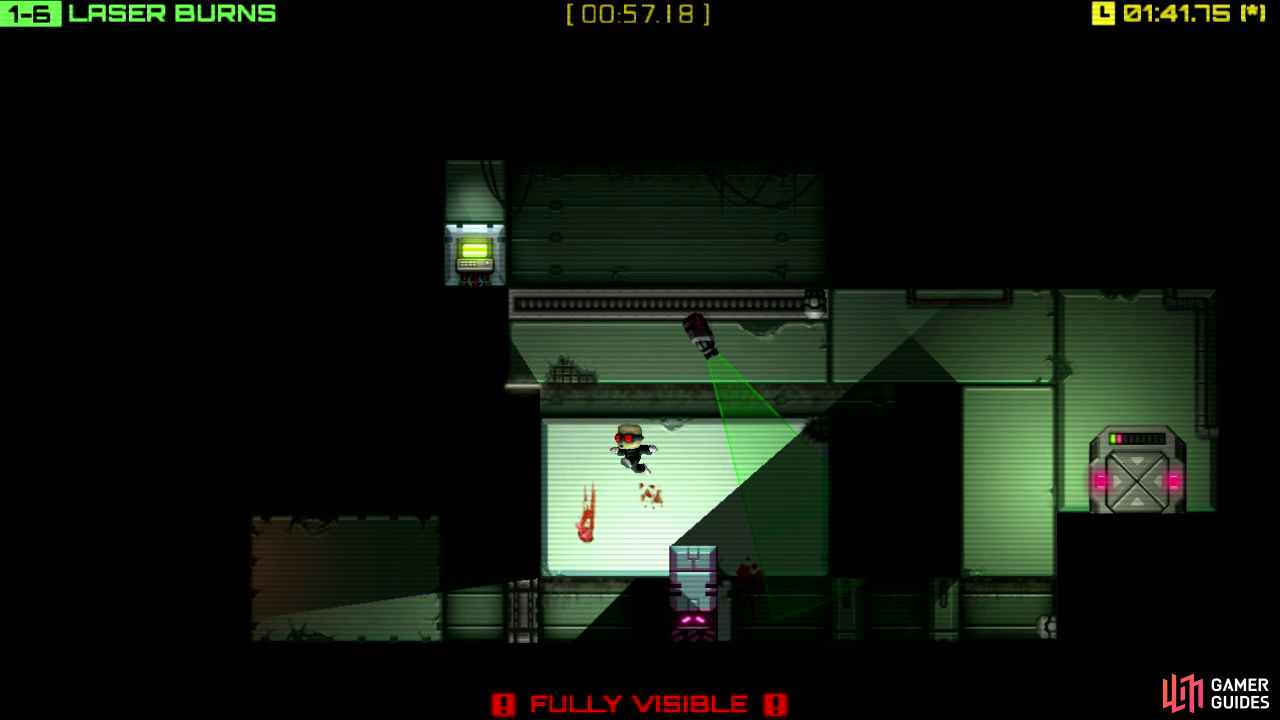
In the right-hand room you’ll encounter another sweeping camera, so wait for it to sweep to the far right and jump over the black barrier in the middle and duck down into the shadow here until the camera has panned fully left.
Run out, jump up to the exit, then jump left, push the robot down, go back down to the lower floor (via the right-hand side) and push the robot to the platform. This will create a new shadow on the right-side so; carefully time your jump up on top of the robot so that the camera is once again on the far-right of its sweep. Jump up and left from here towards the terminal in the upper-left corner of the room.
Step 6
Even though the room gets darker after hacking the terminal, the red-zone is still very much a danger zone for being spotted as you’ll be fully visible until you get back in the shadows. So with the camera once again fully panned to the right, jump down on top of the robot and duck here in the 45 degree shadow until the camera has passed overhead. Now jump up and over to the exit!
No Comments