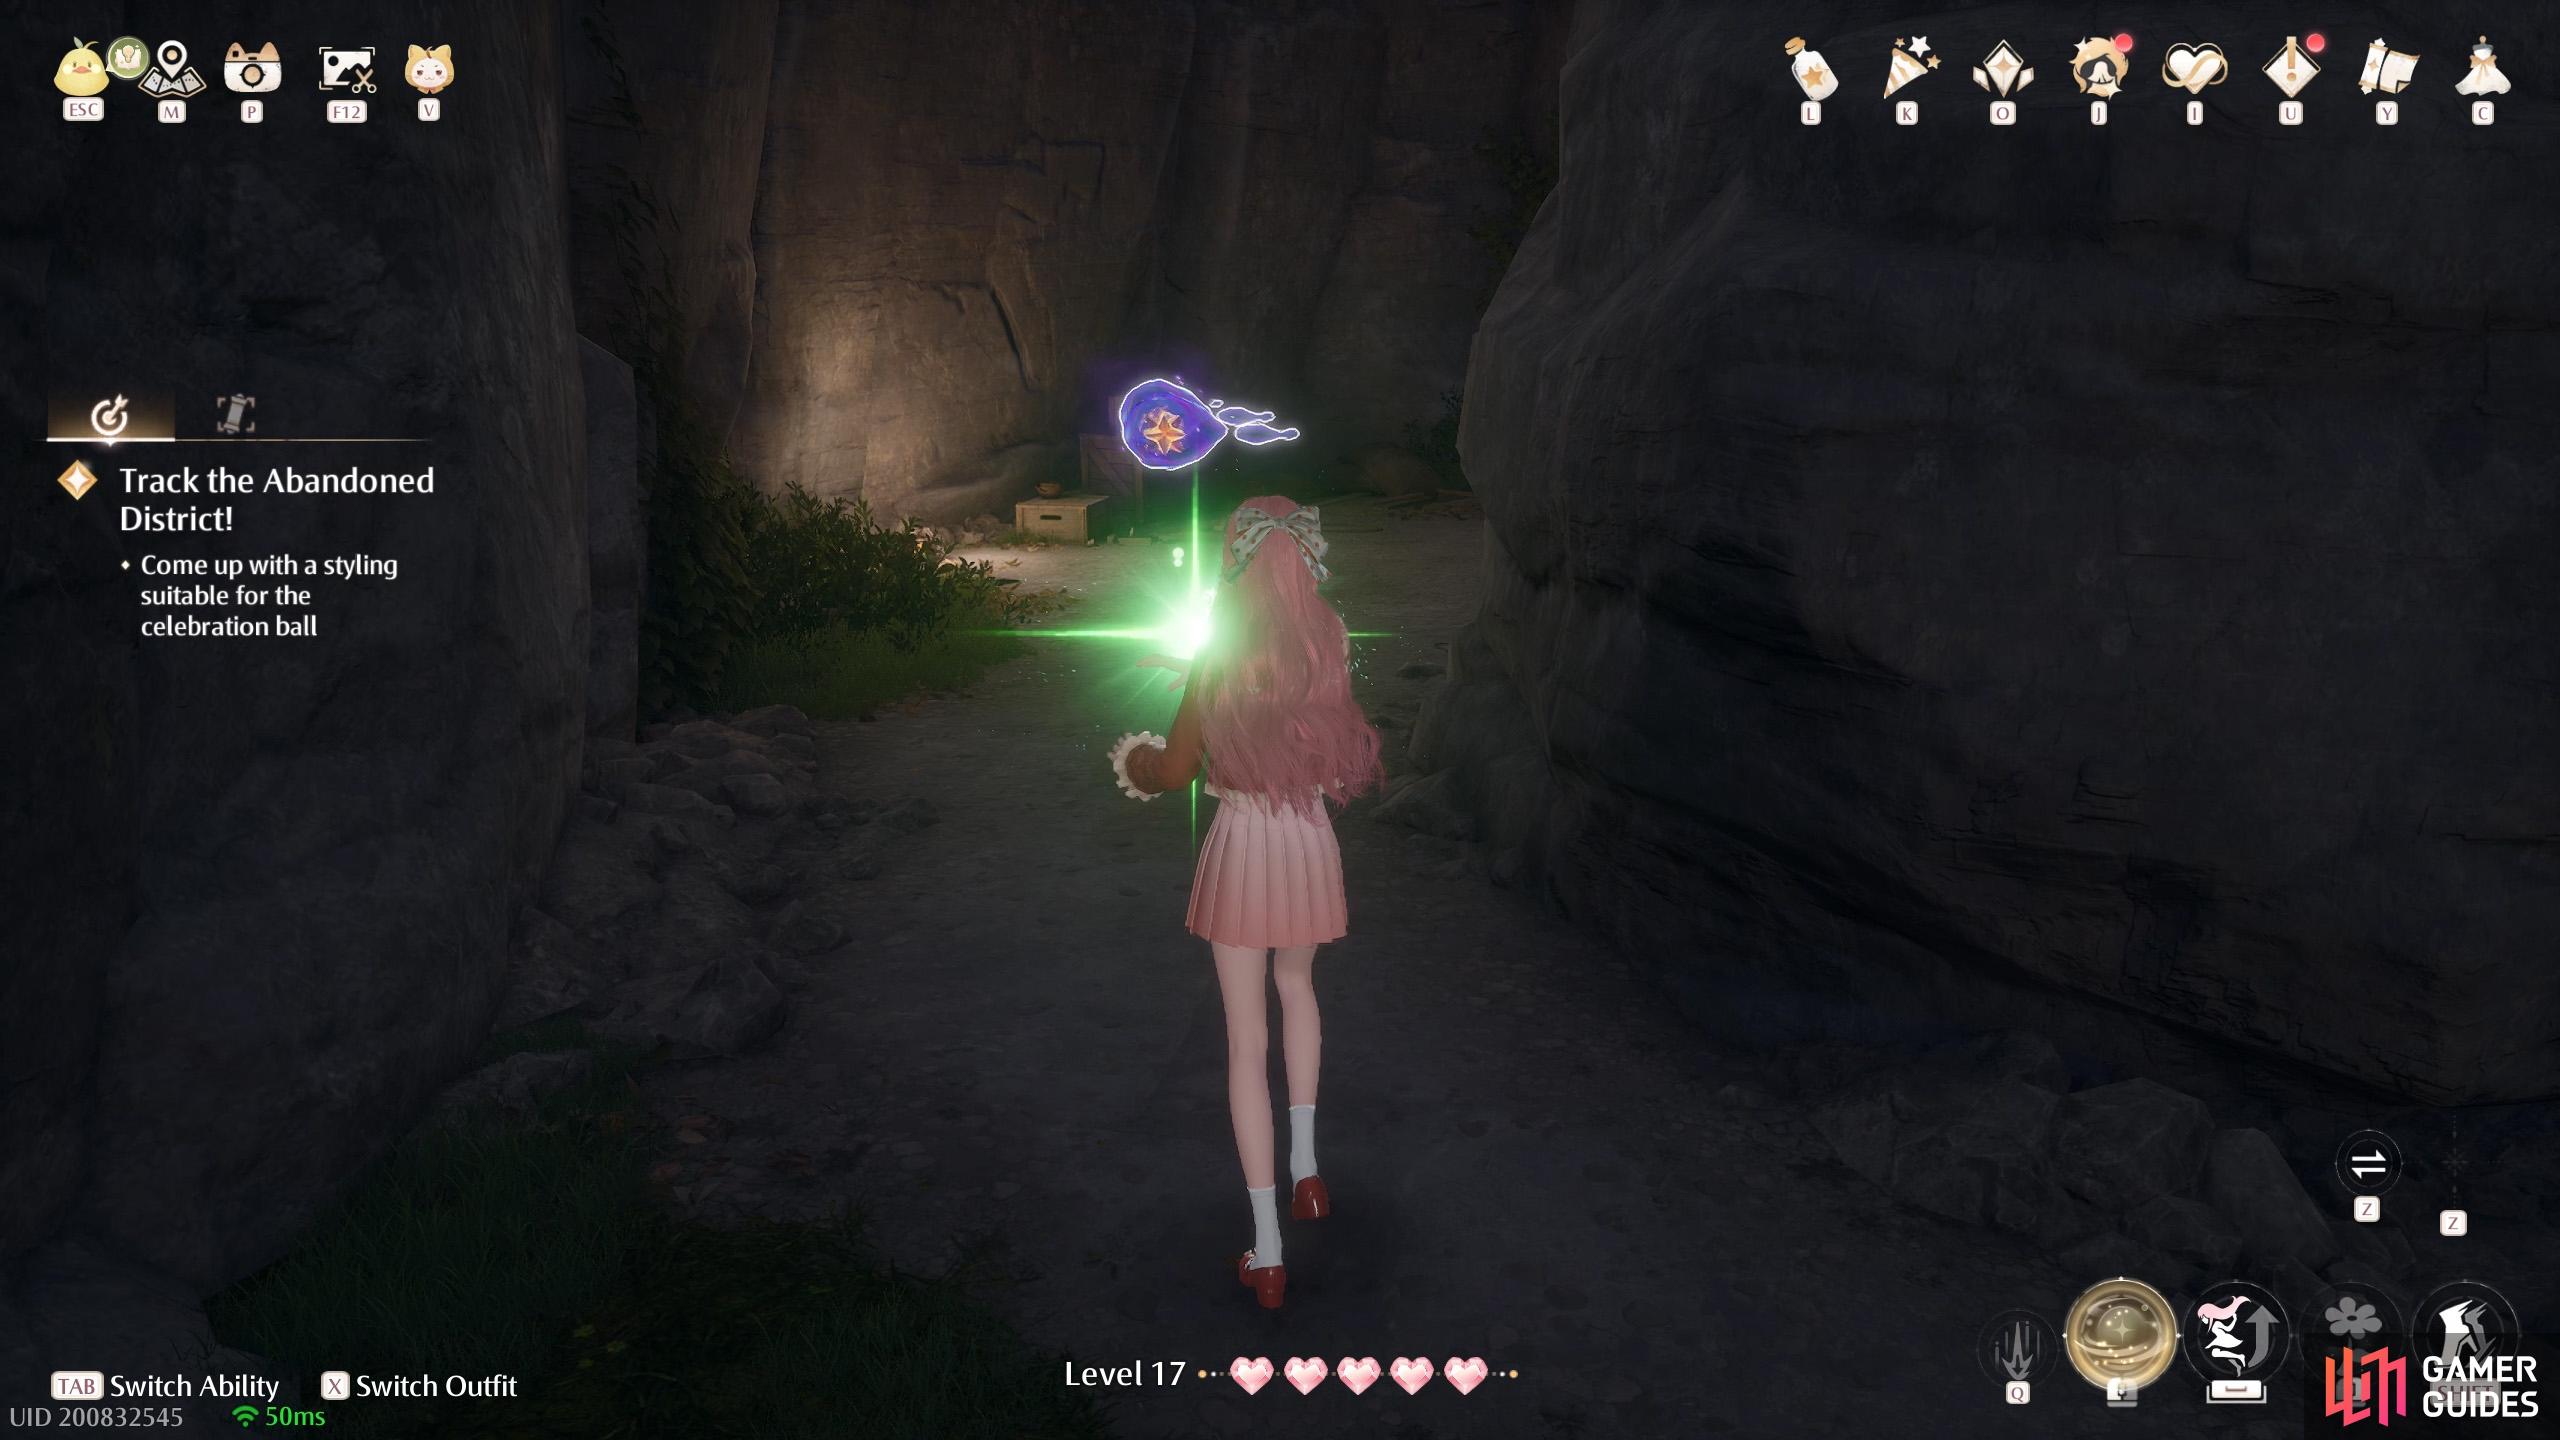
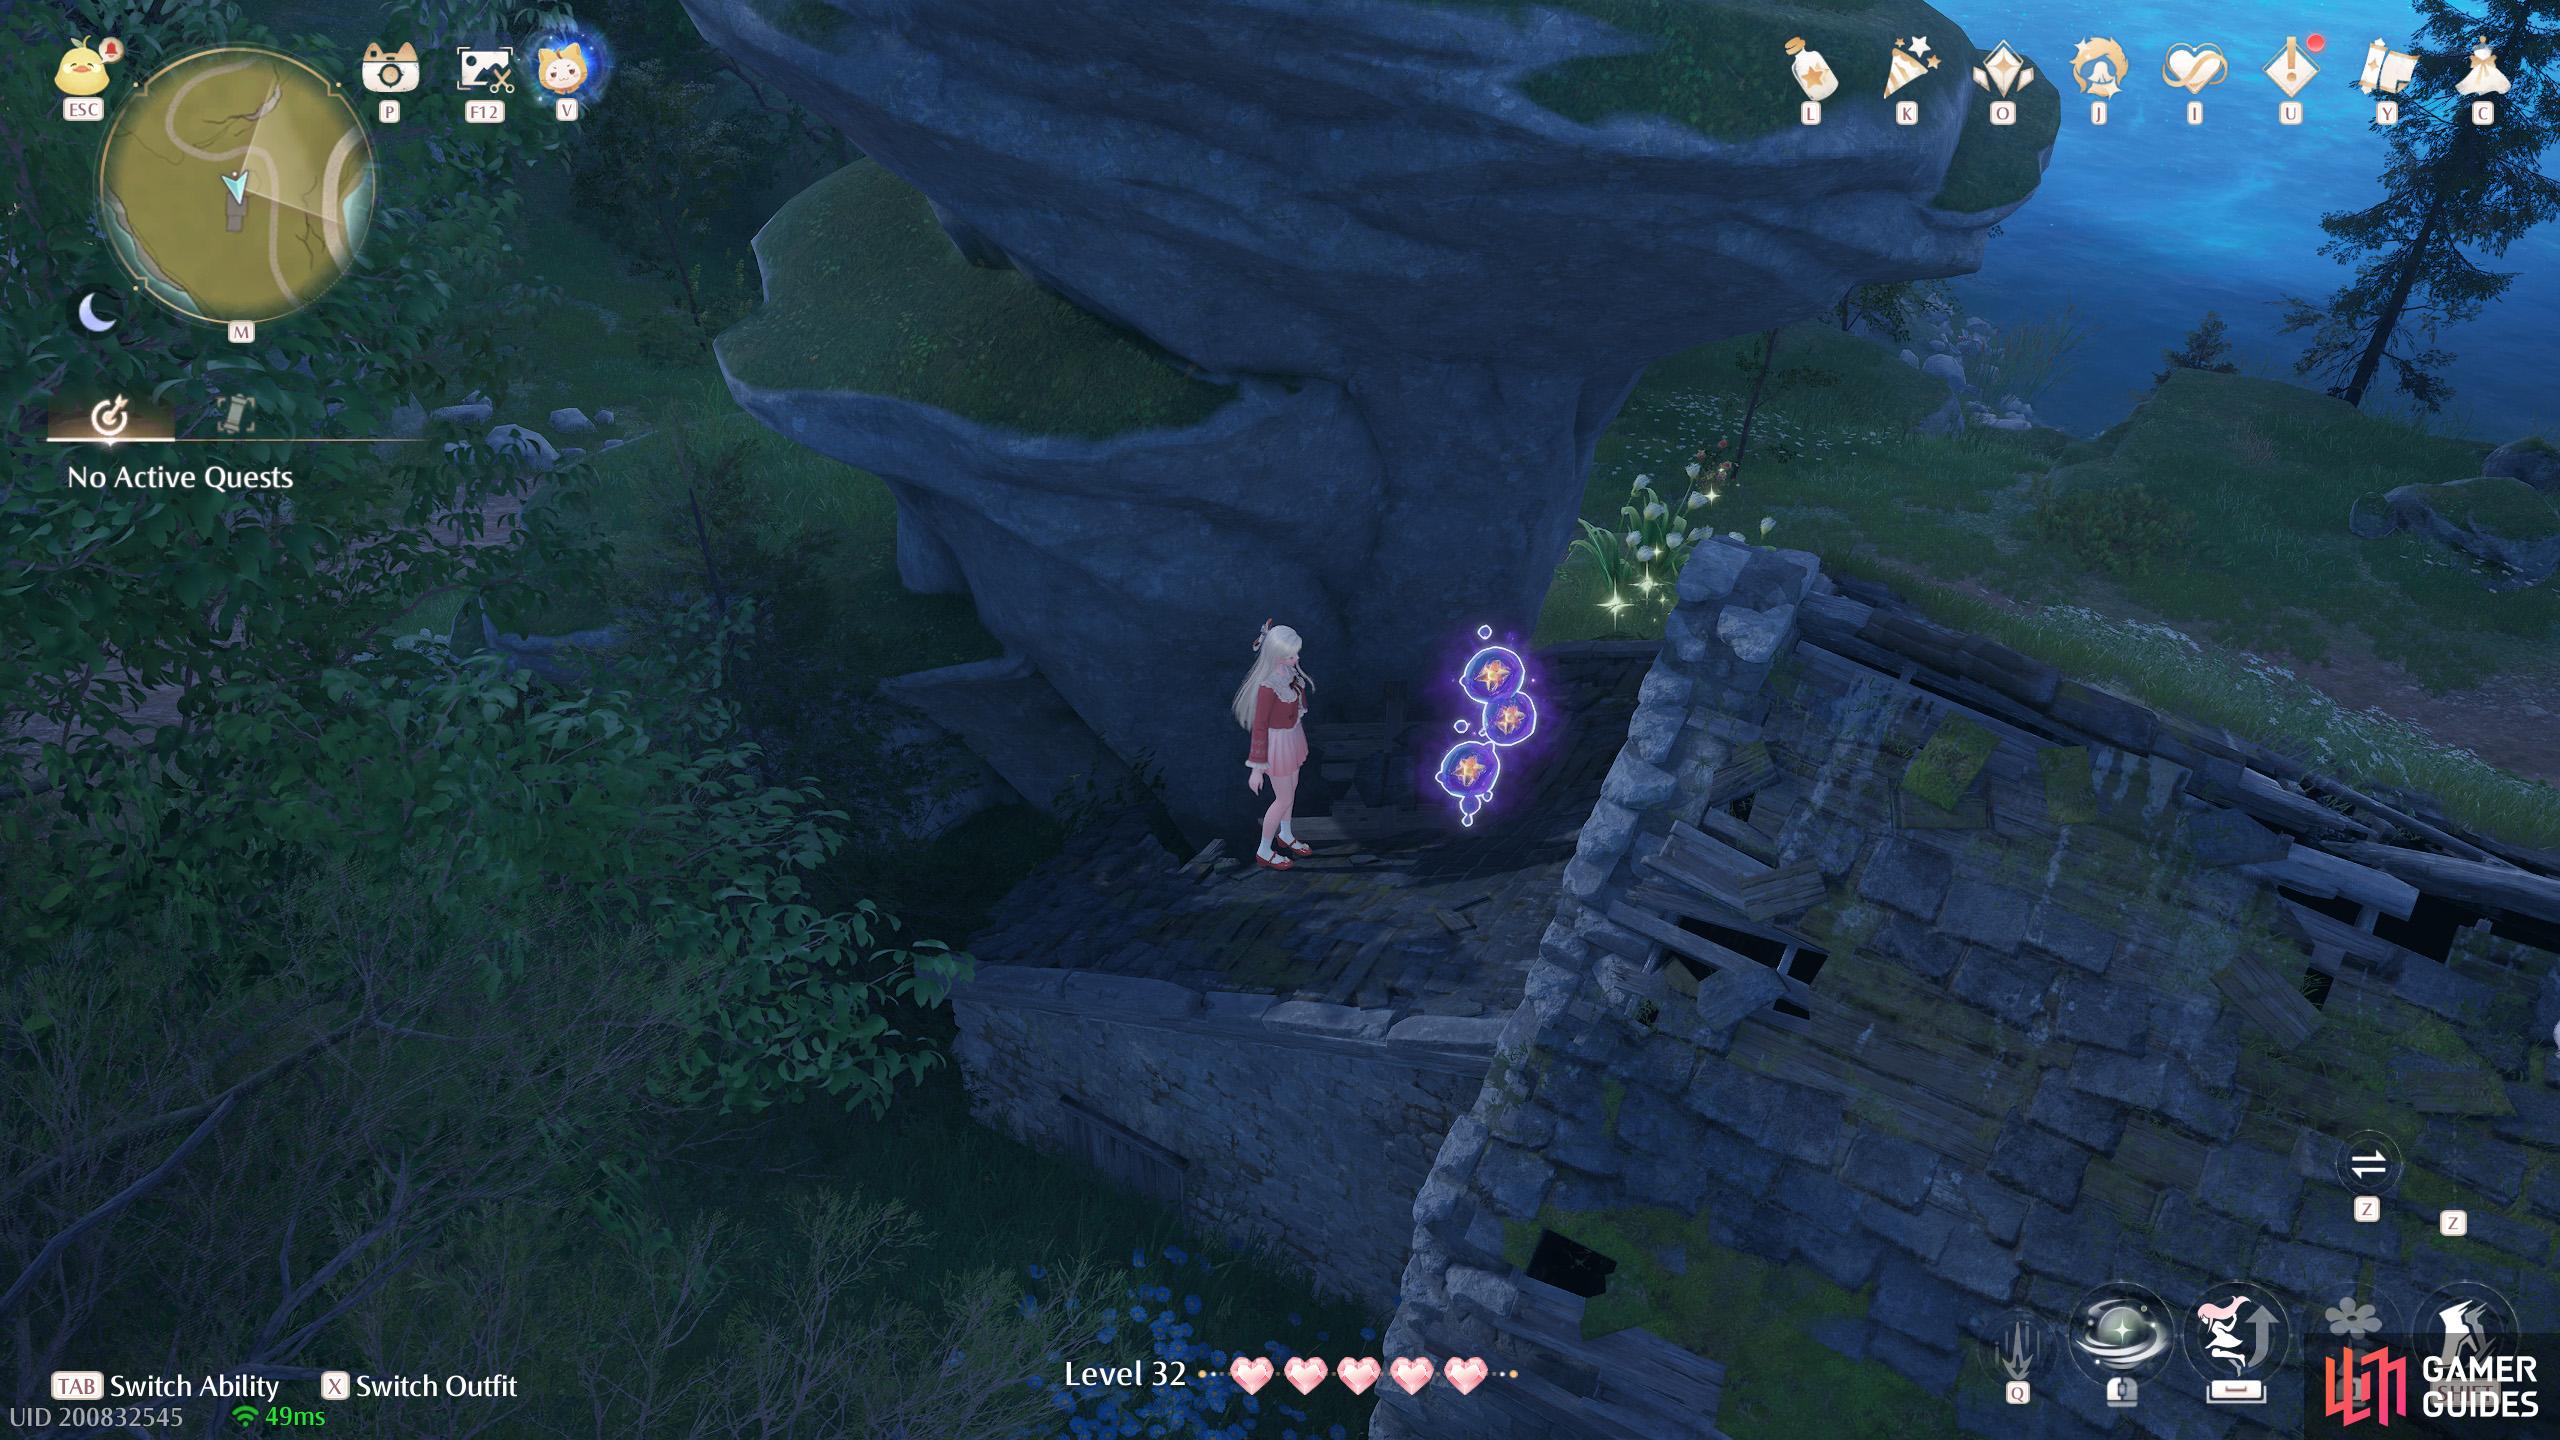
Description
Dewdrops spilled by Cadenceborns. They contain the most precious inspiration for creators.
Interactive Map Locations
1. Miraland Map
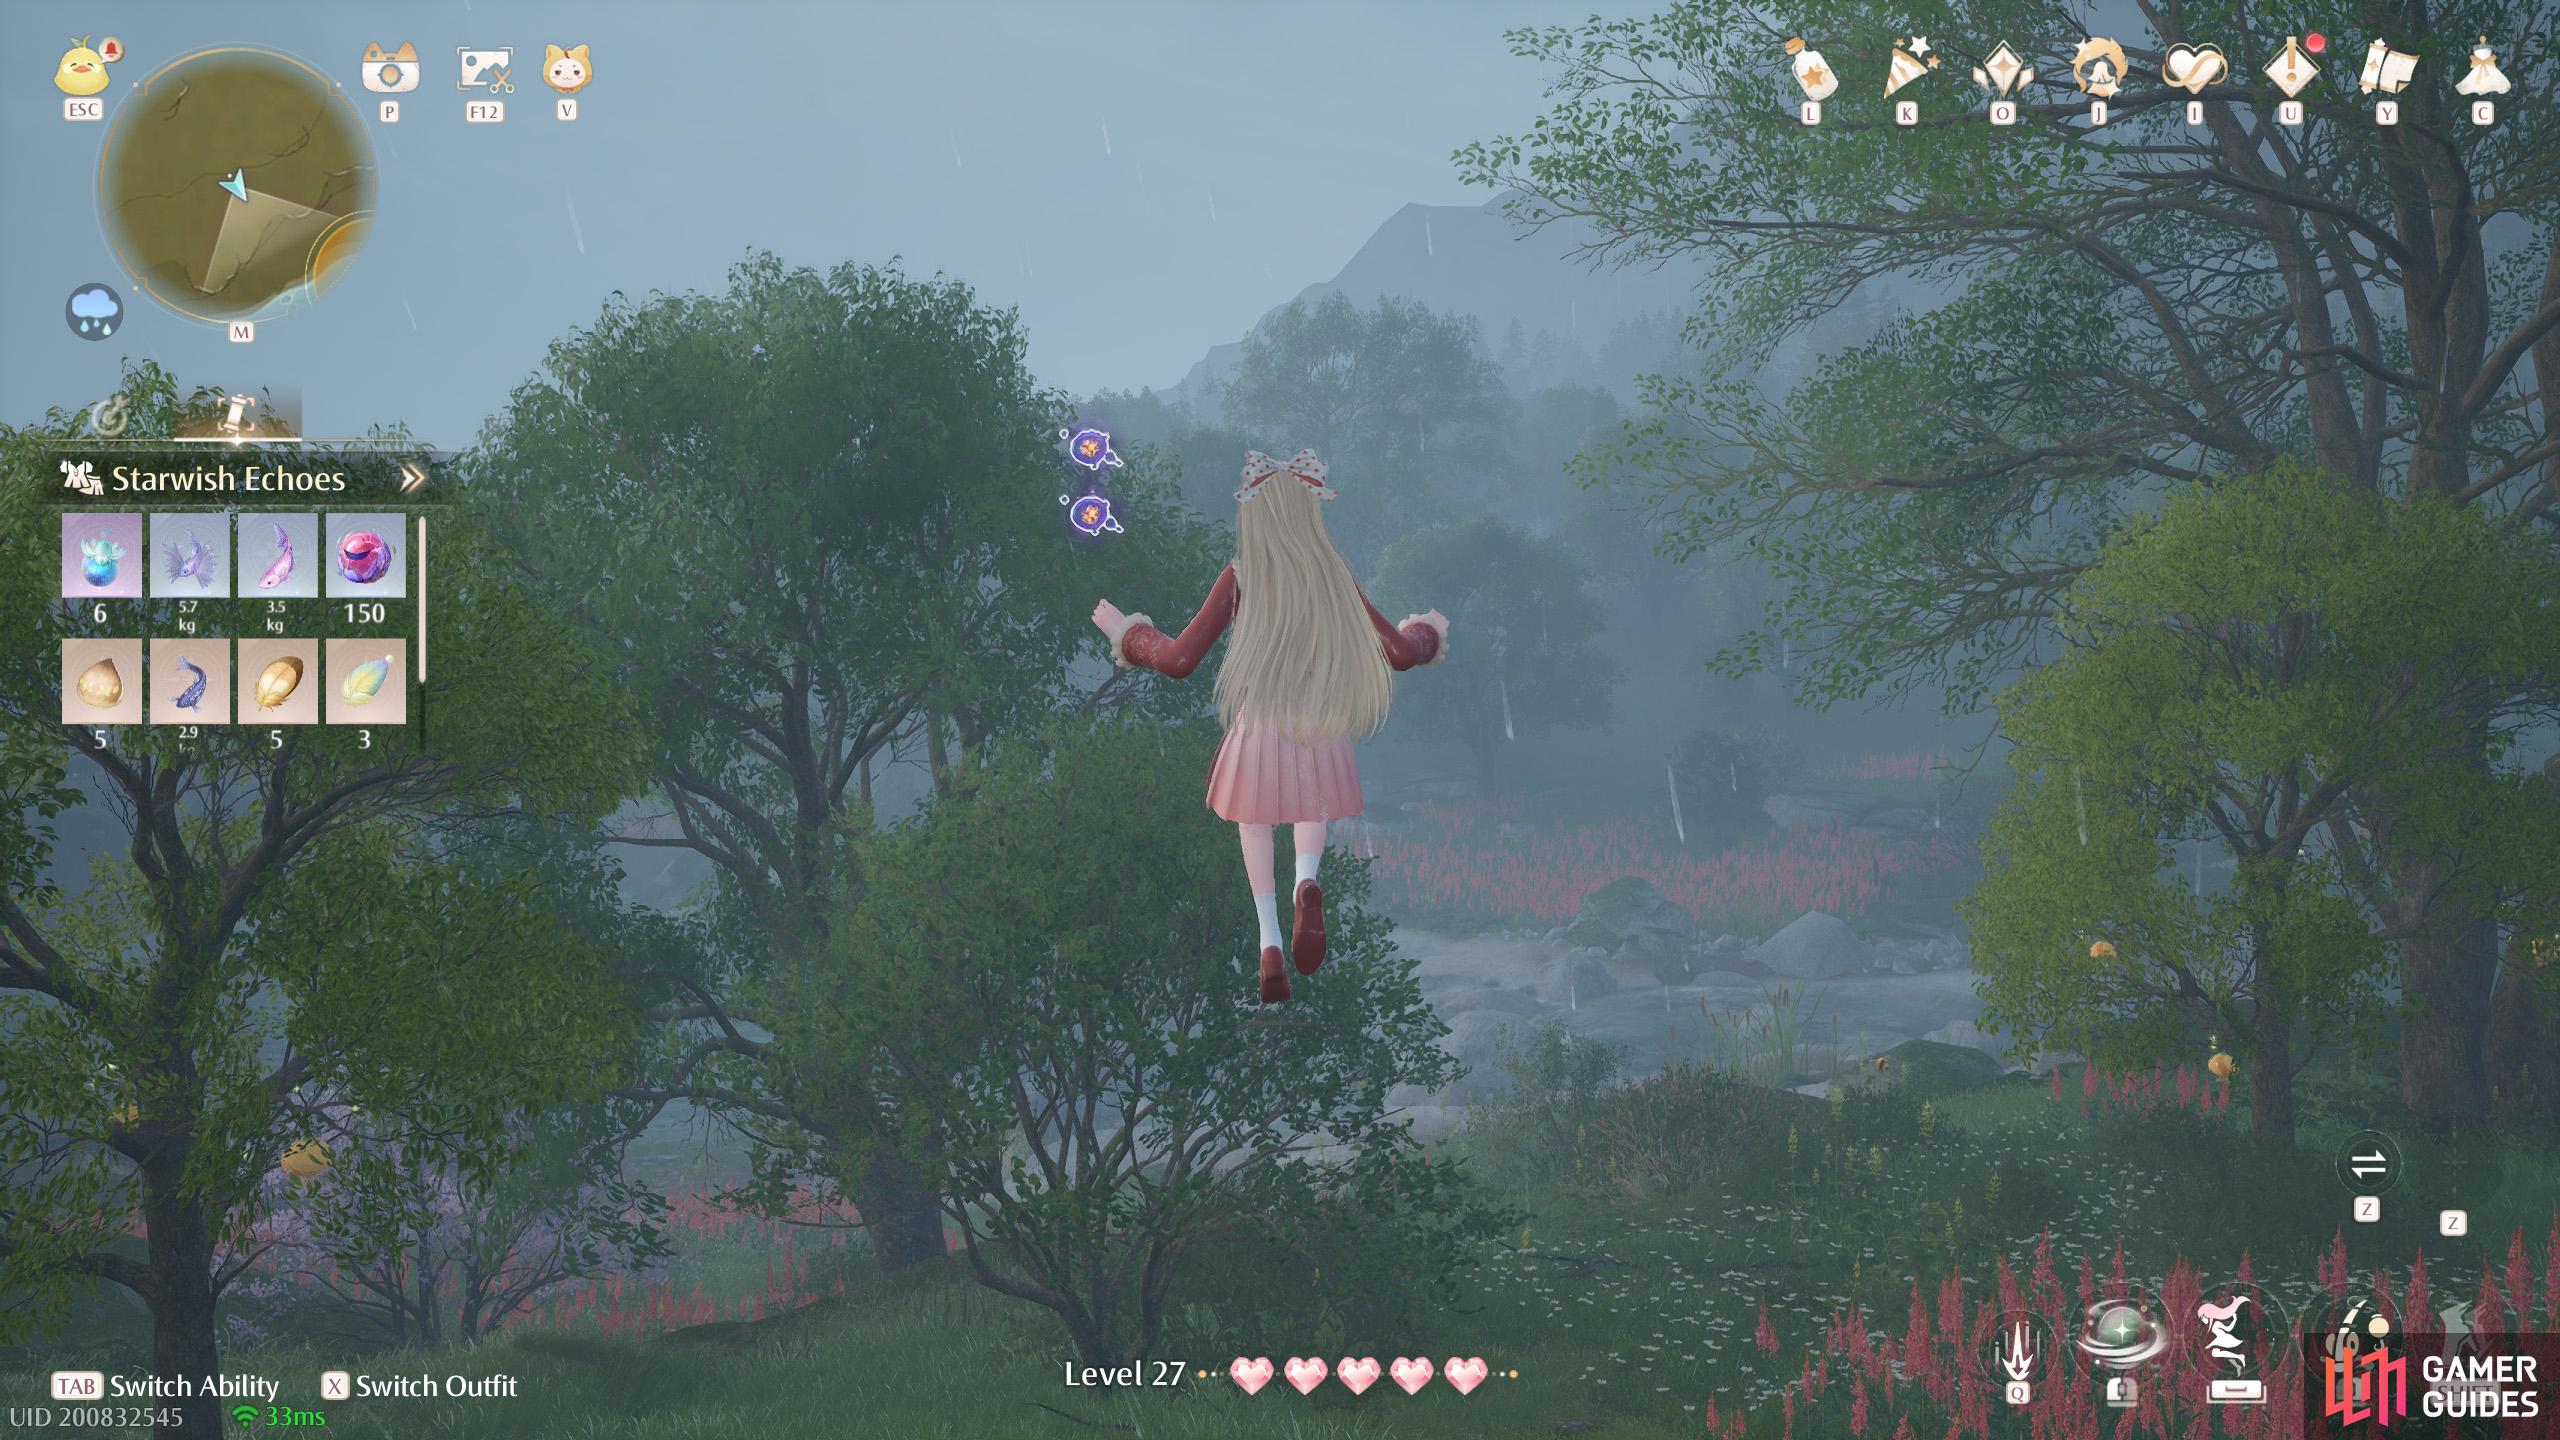
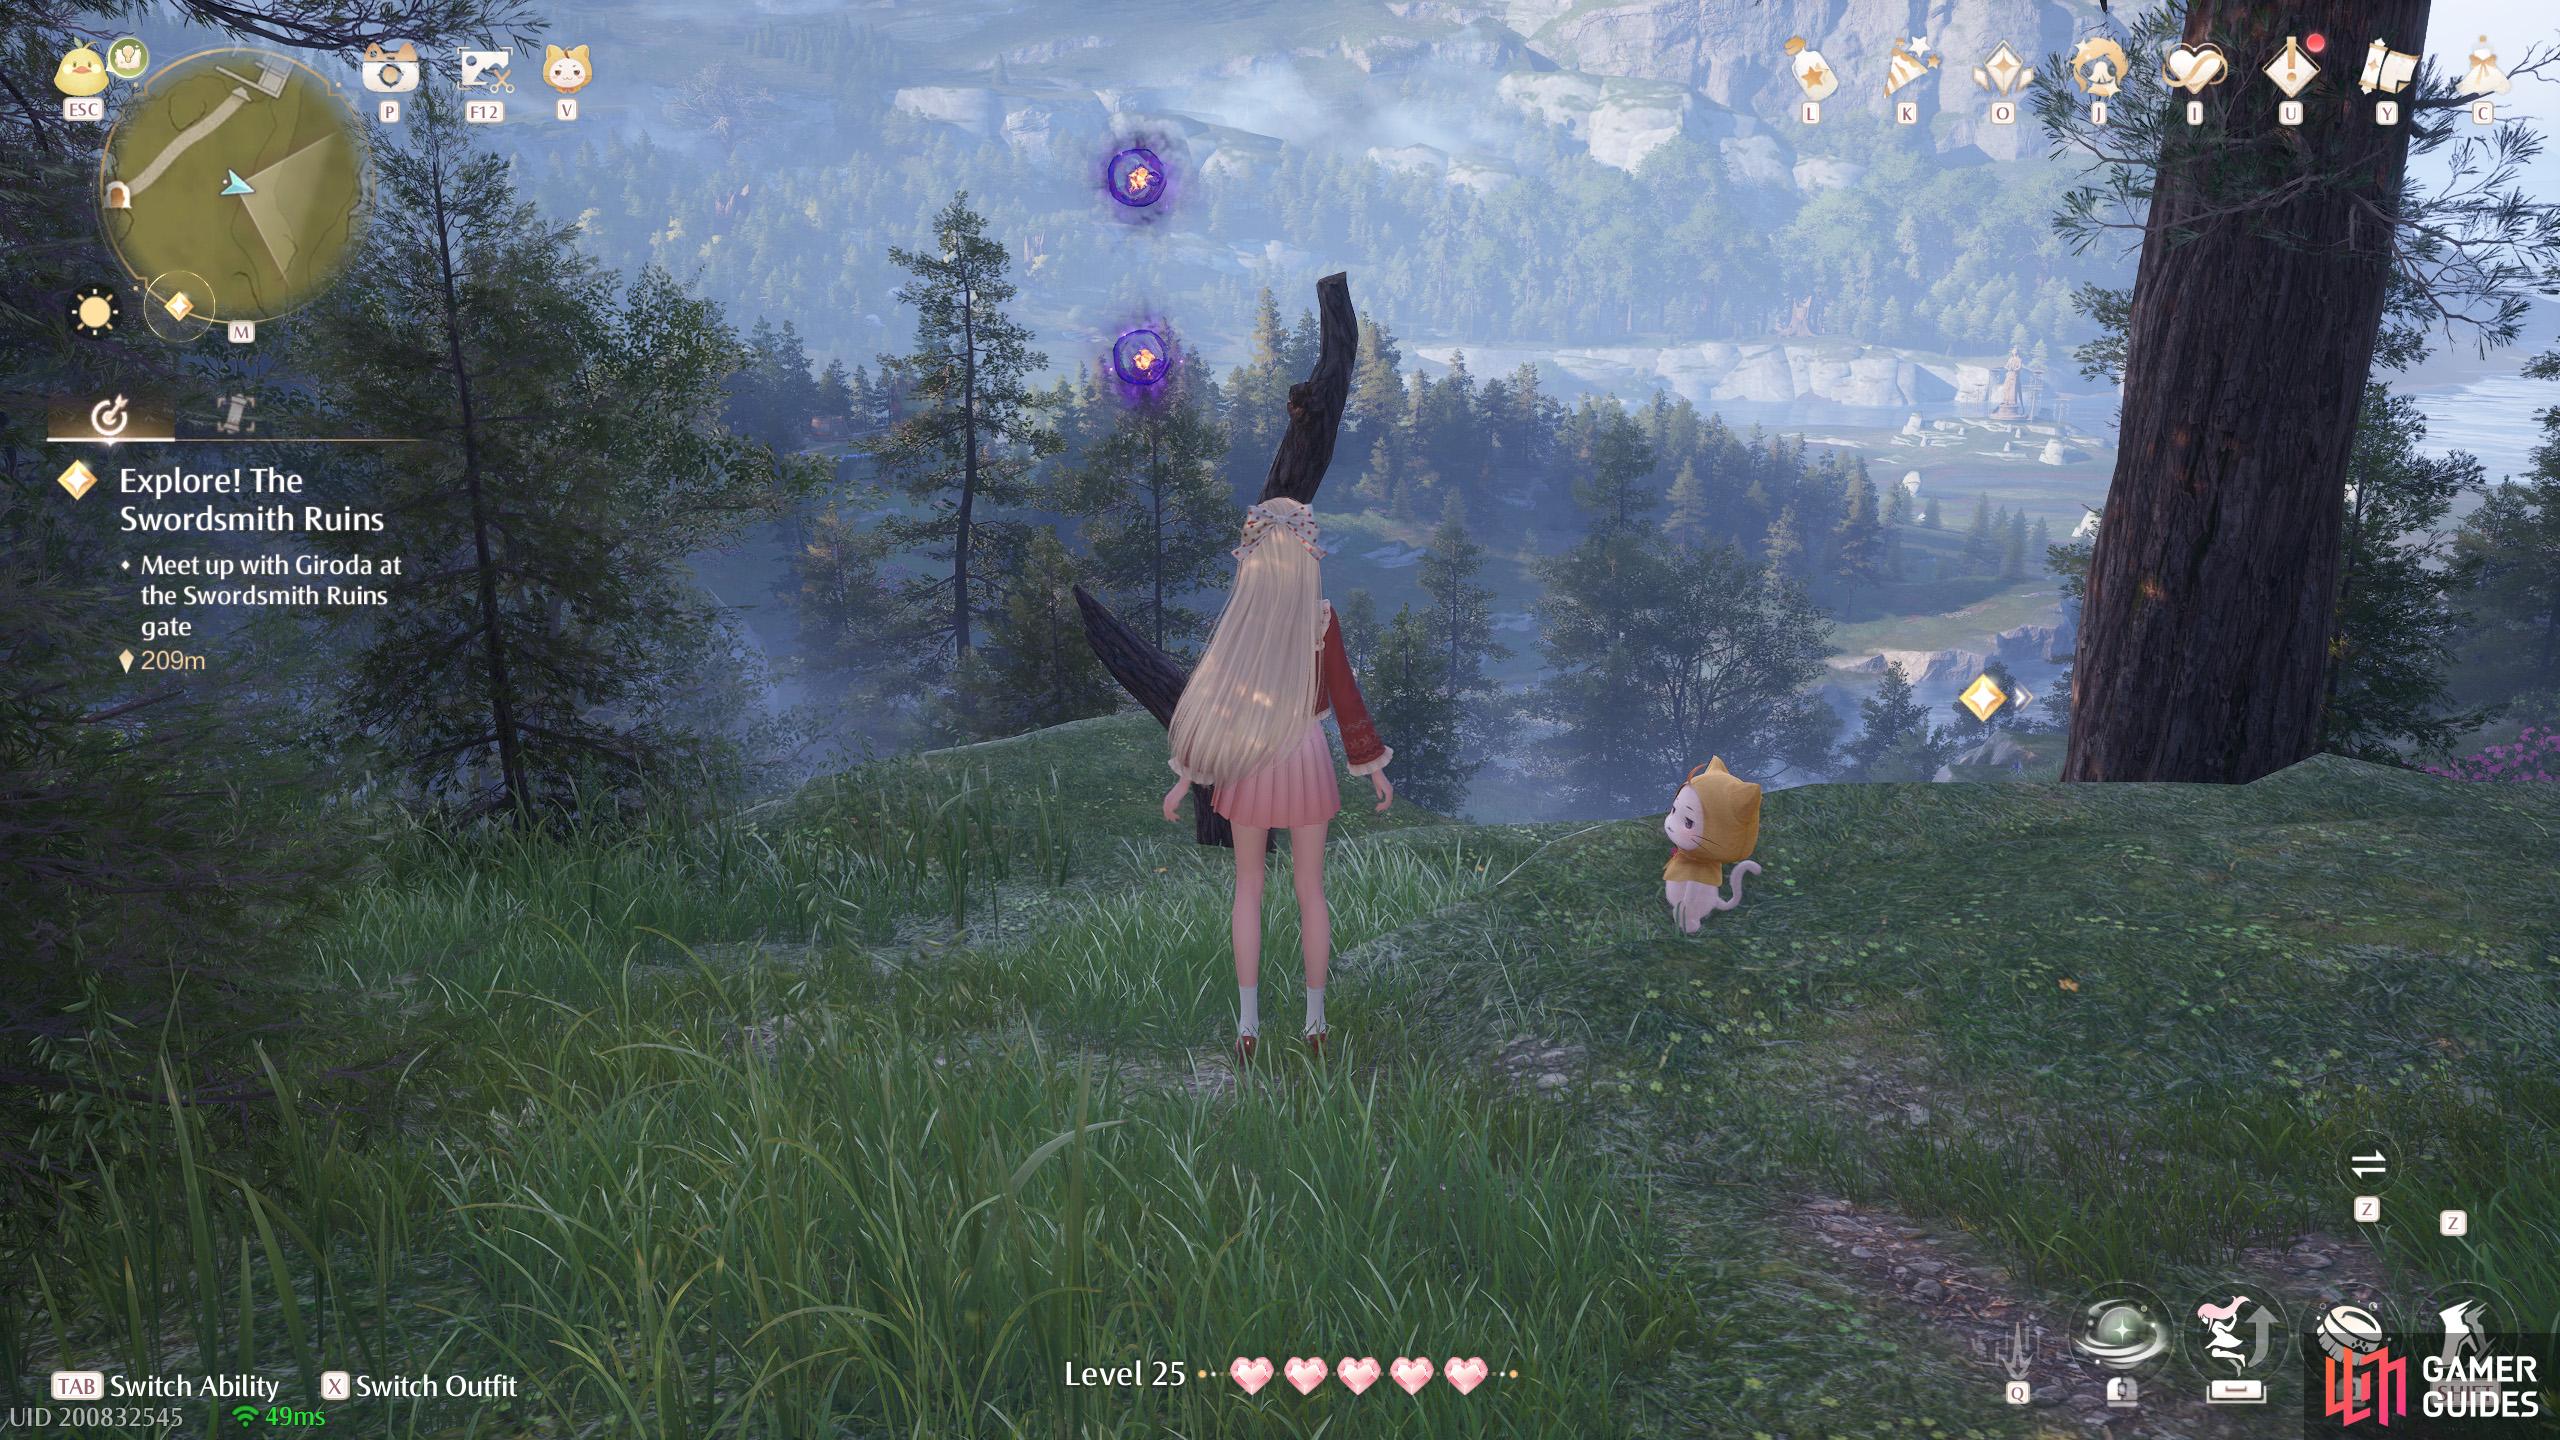
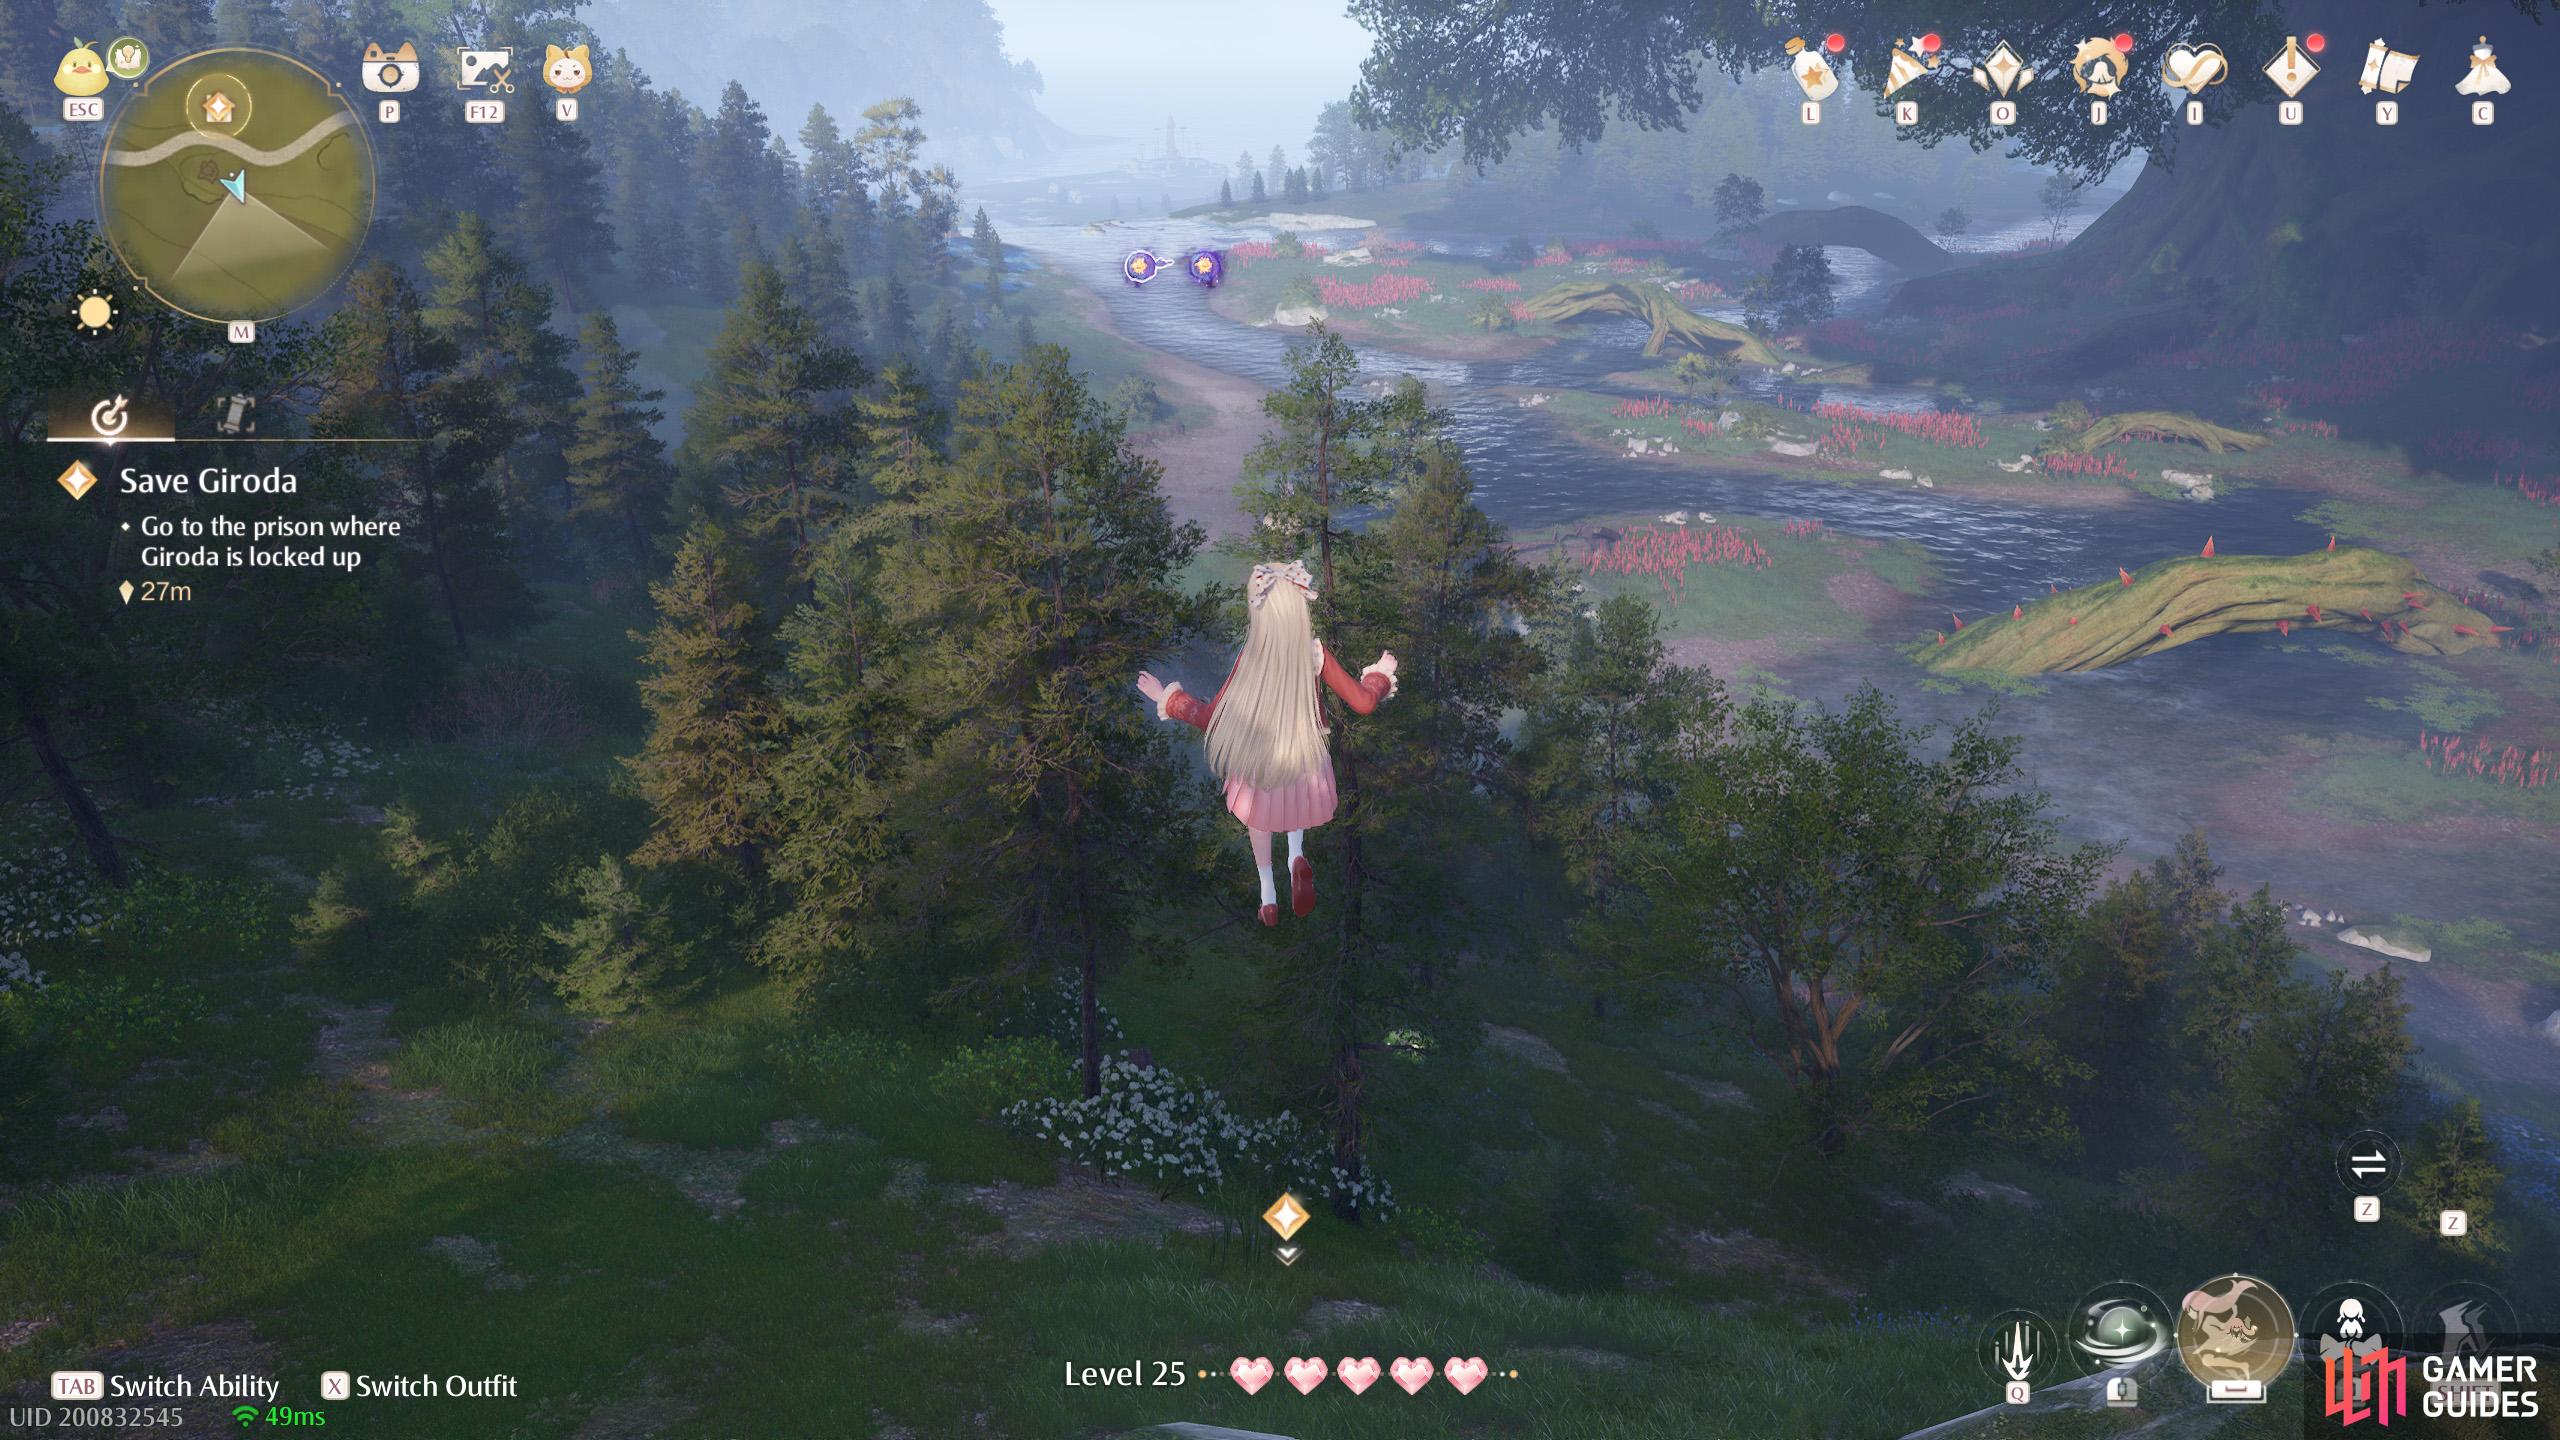
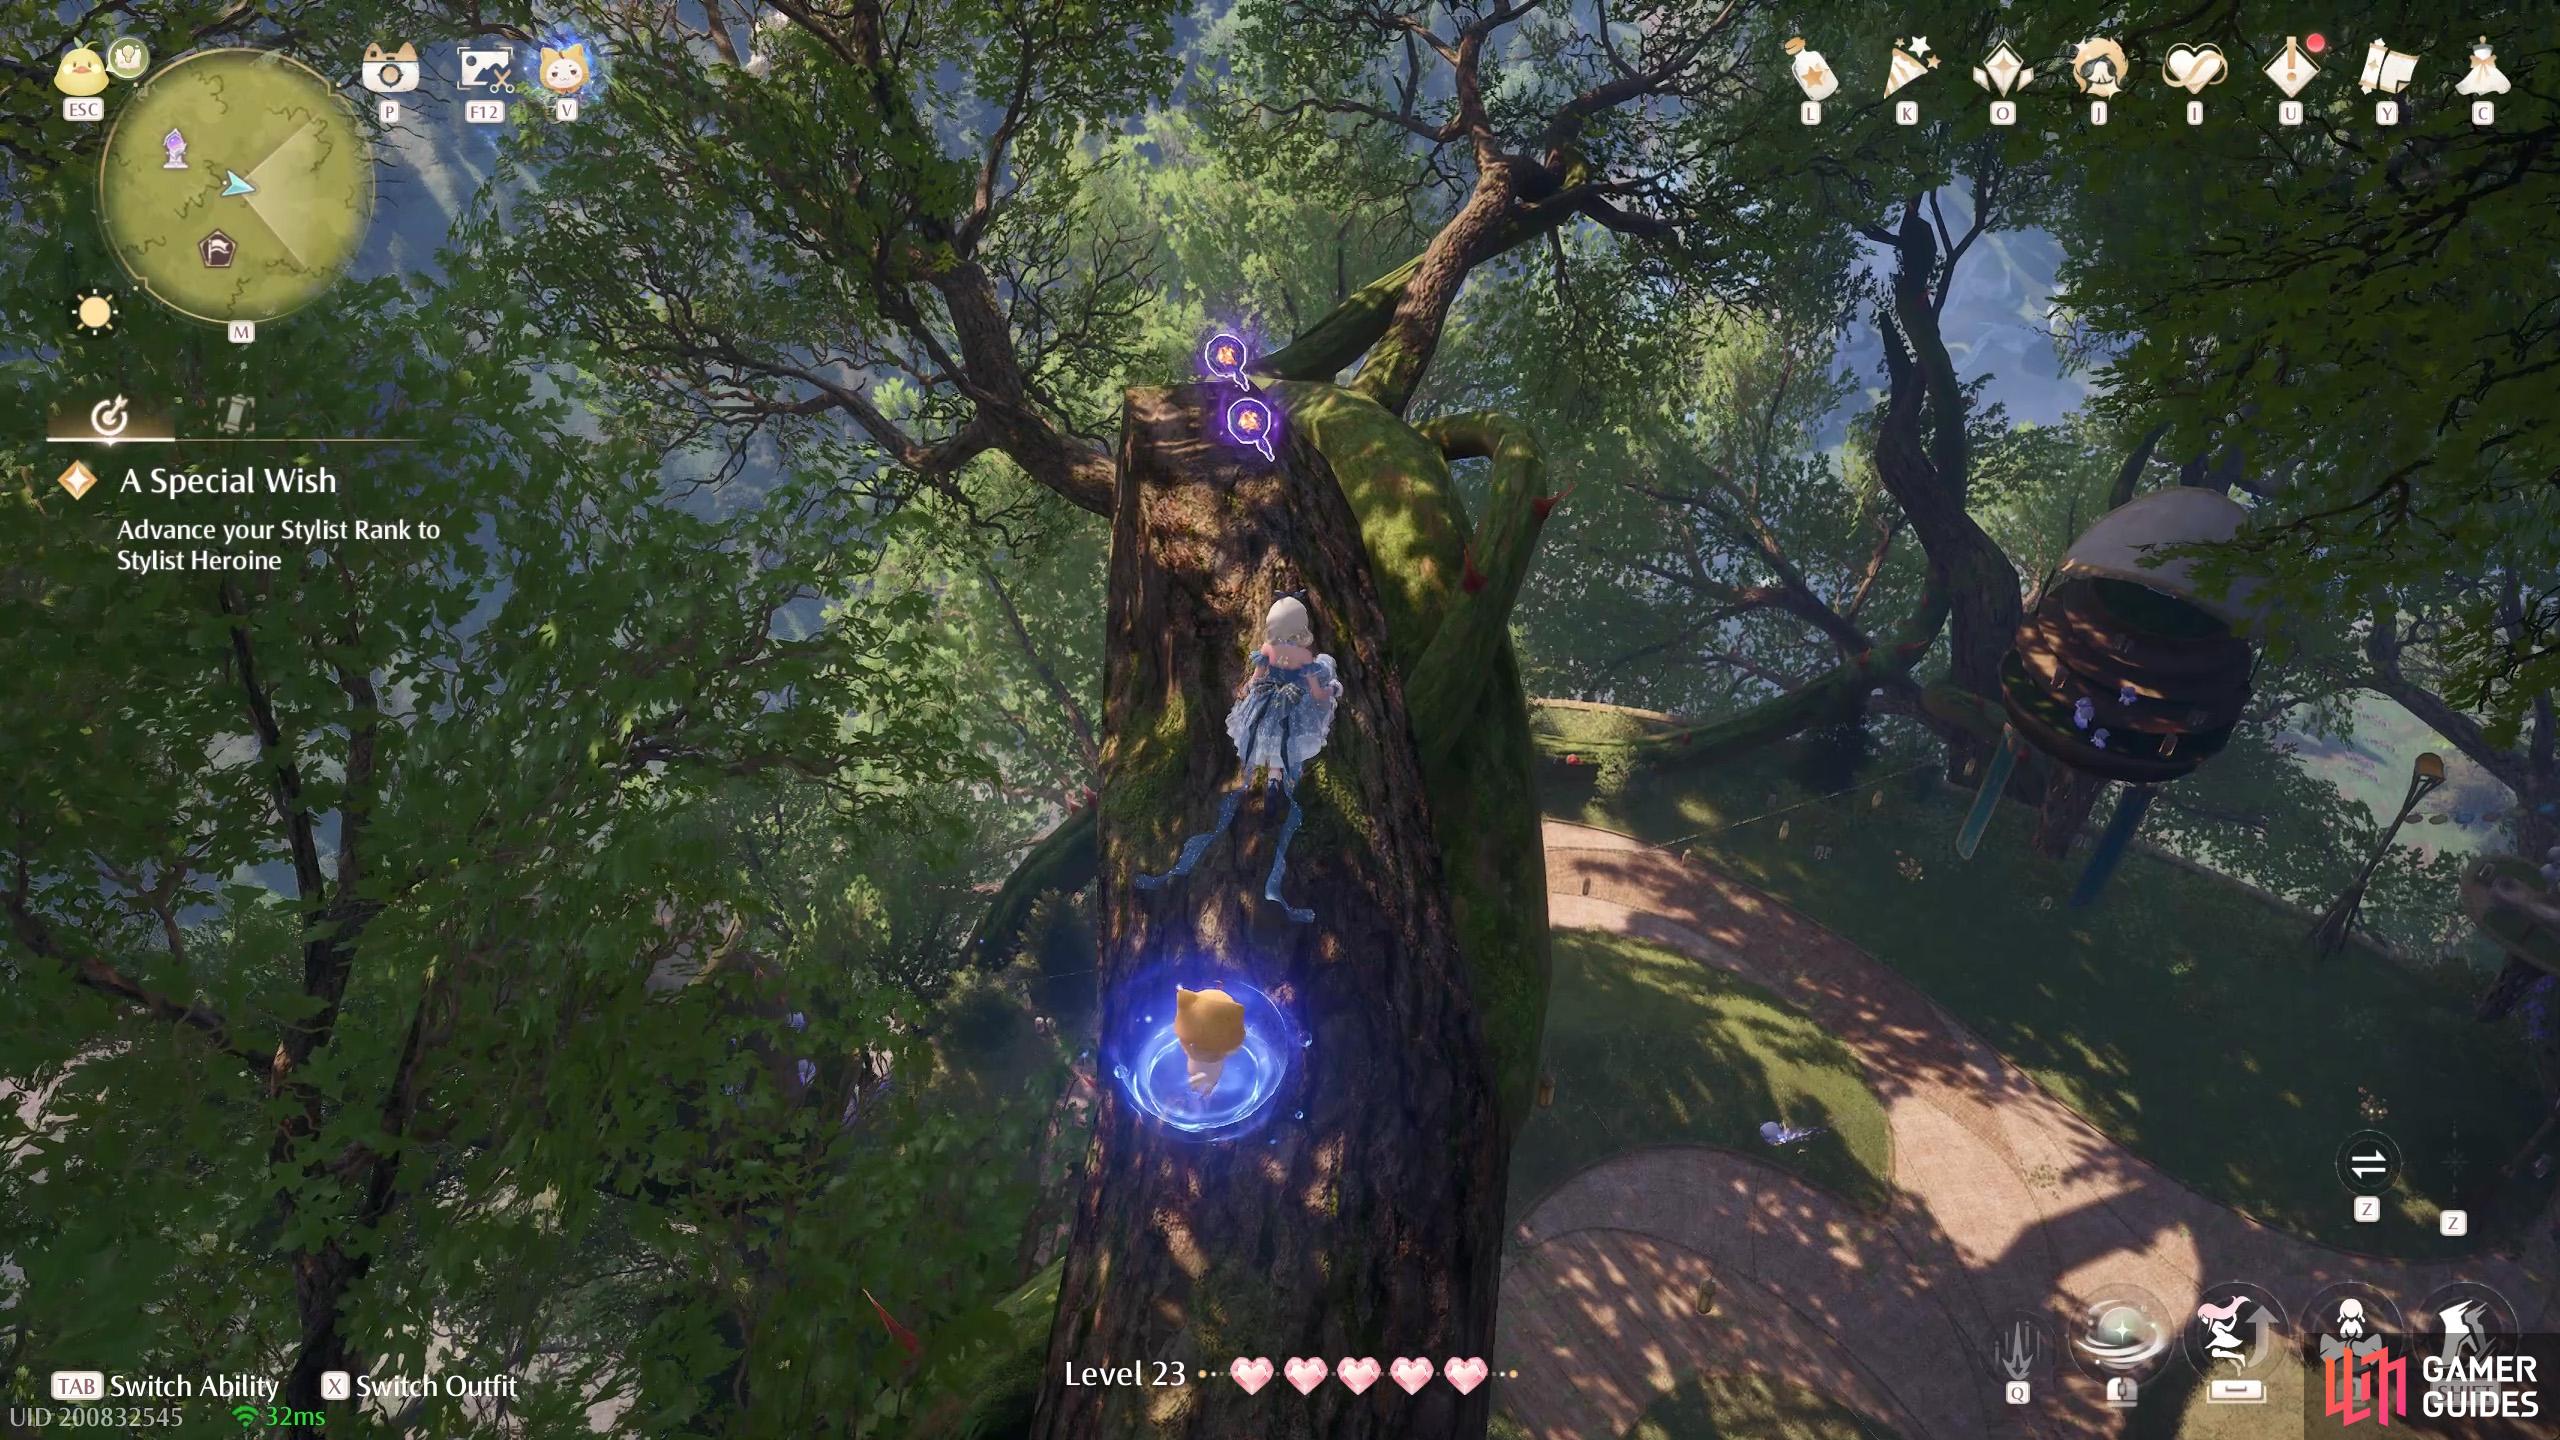
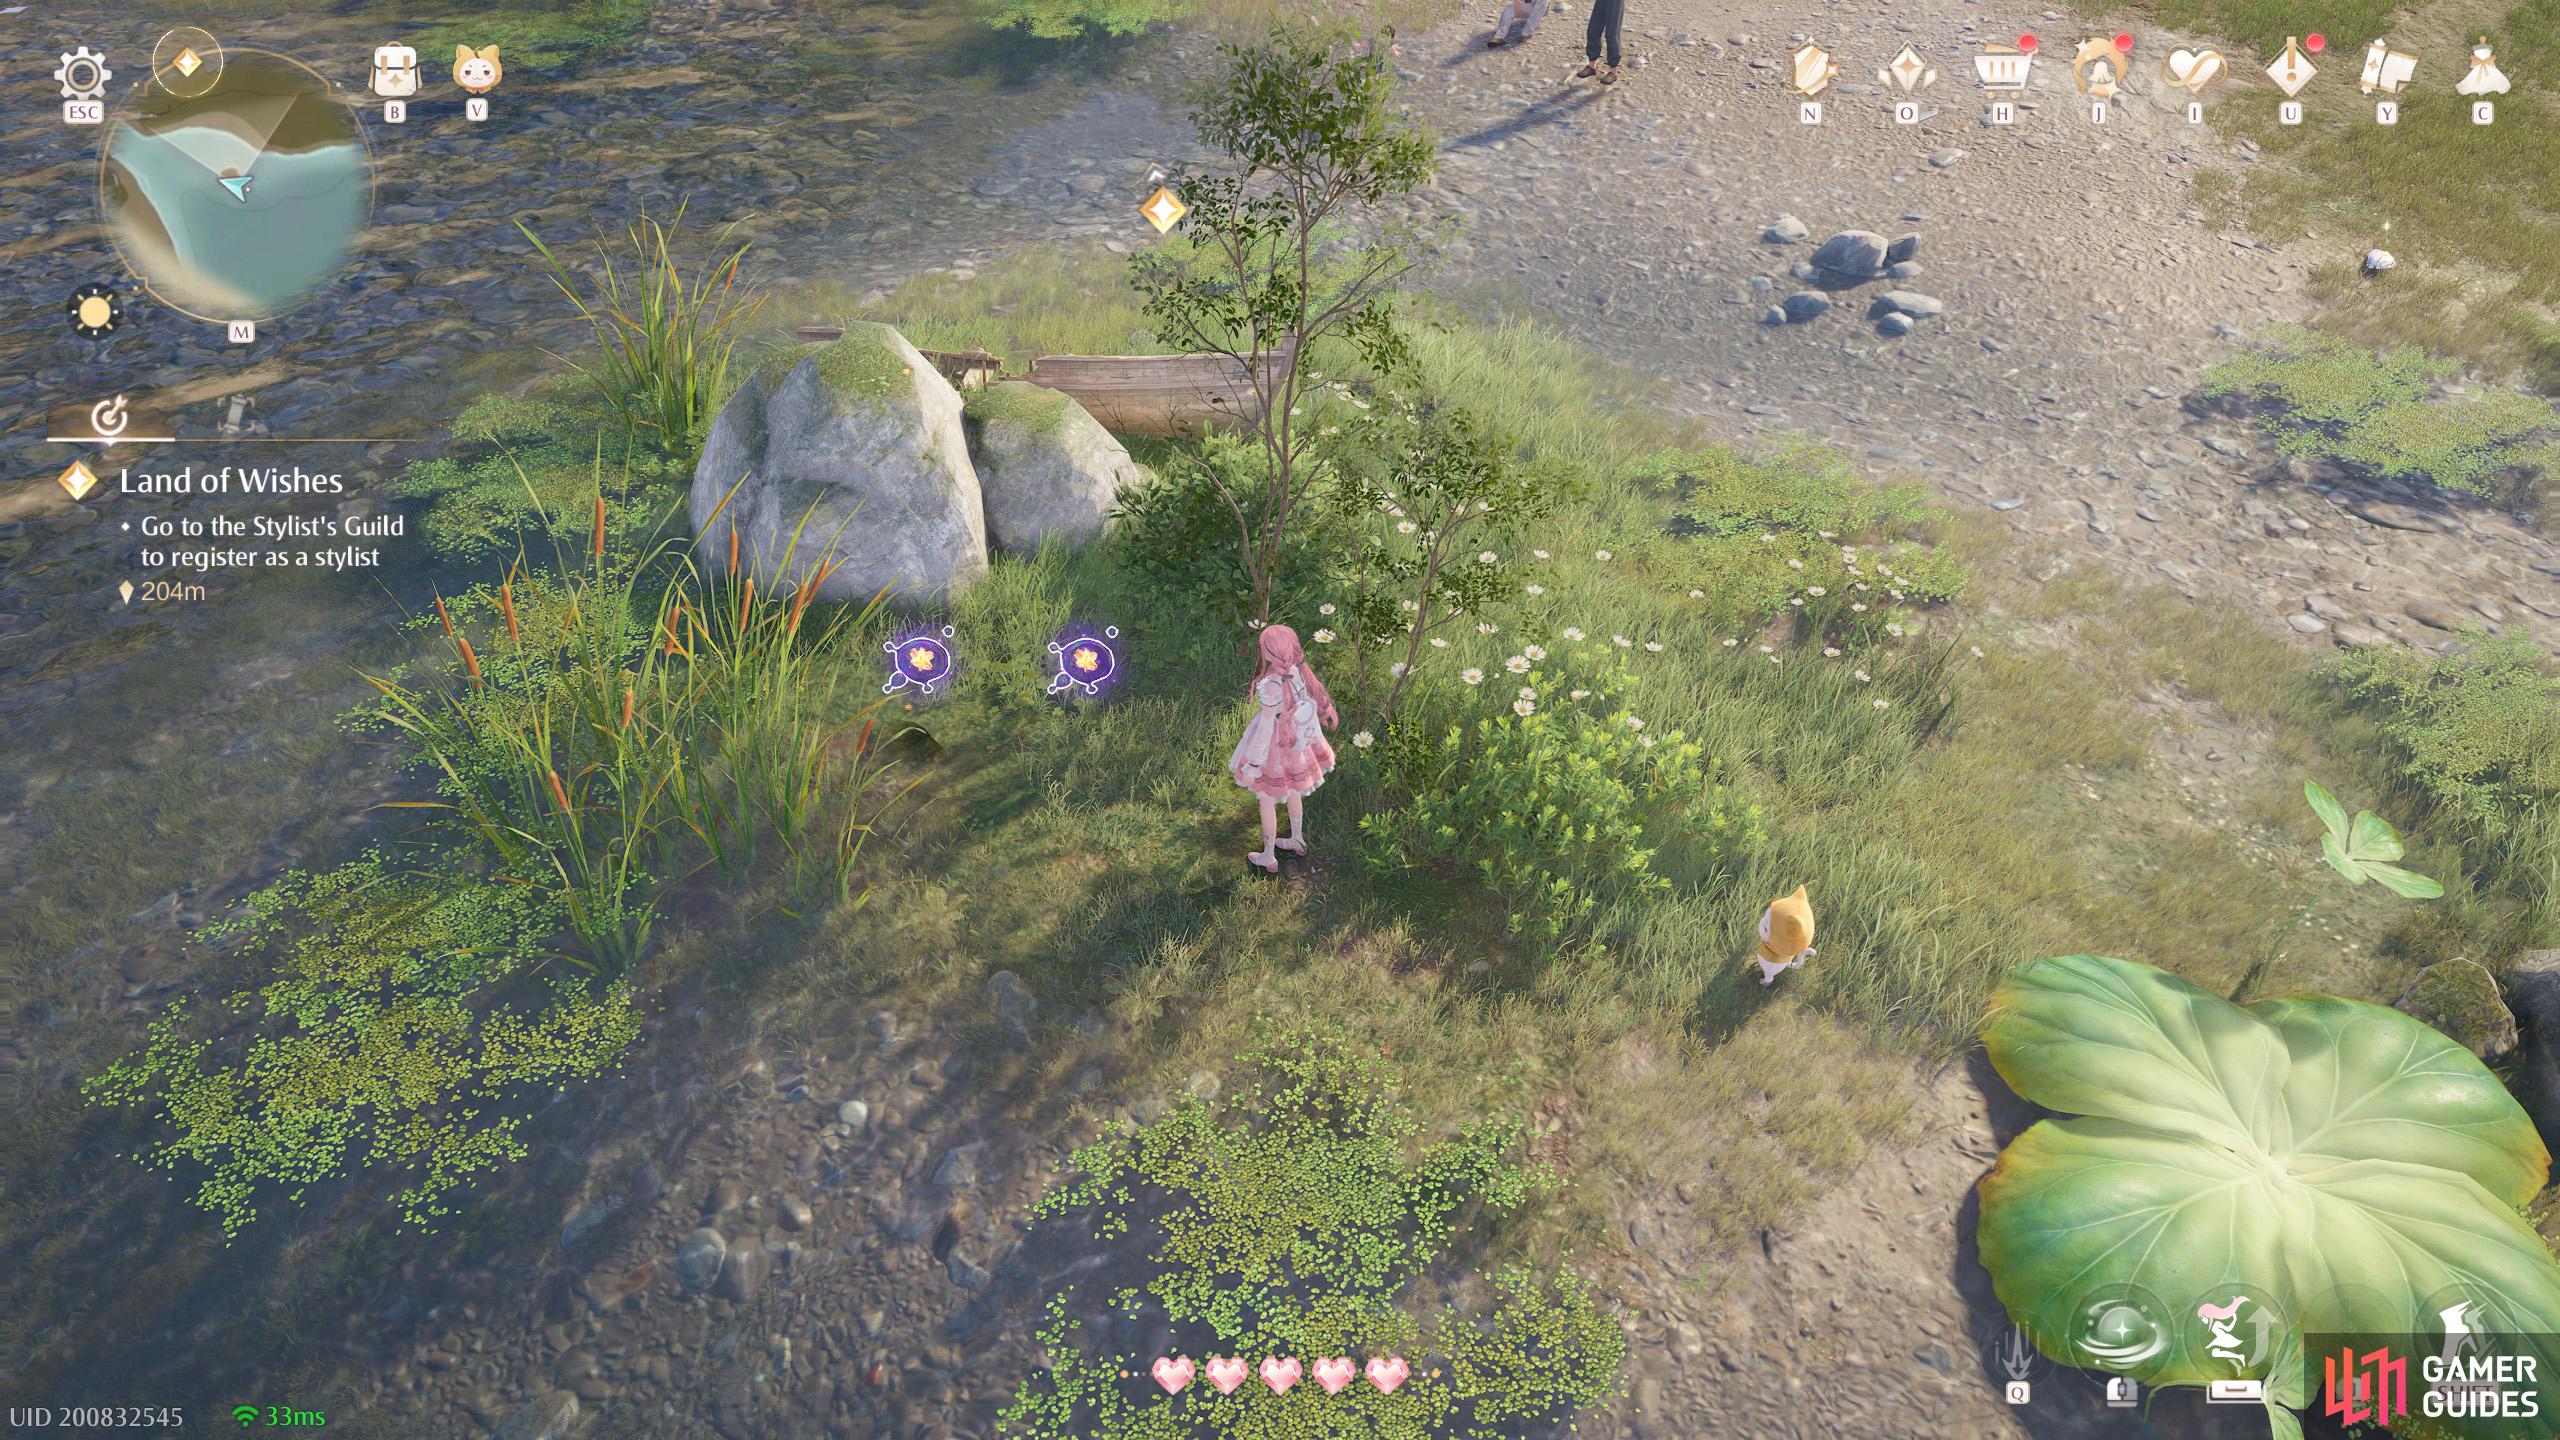
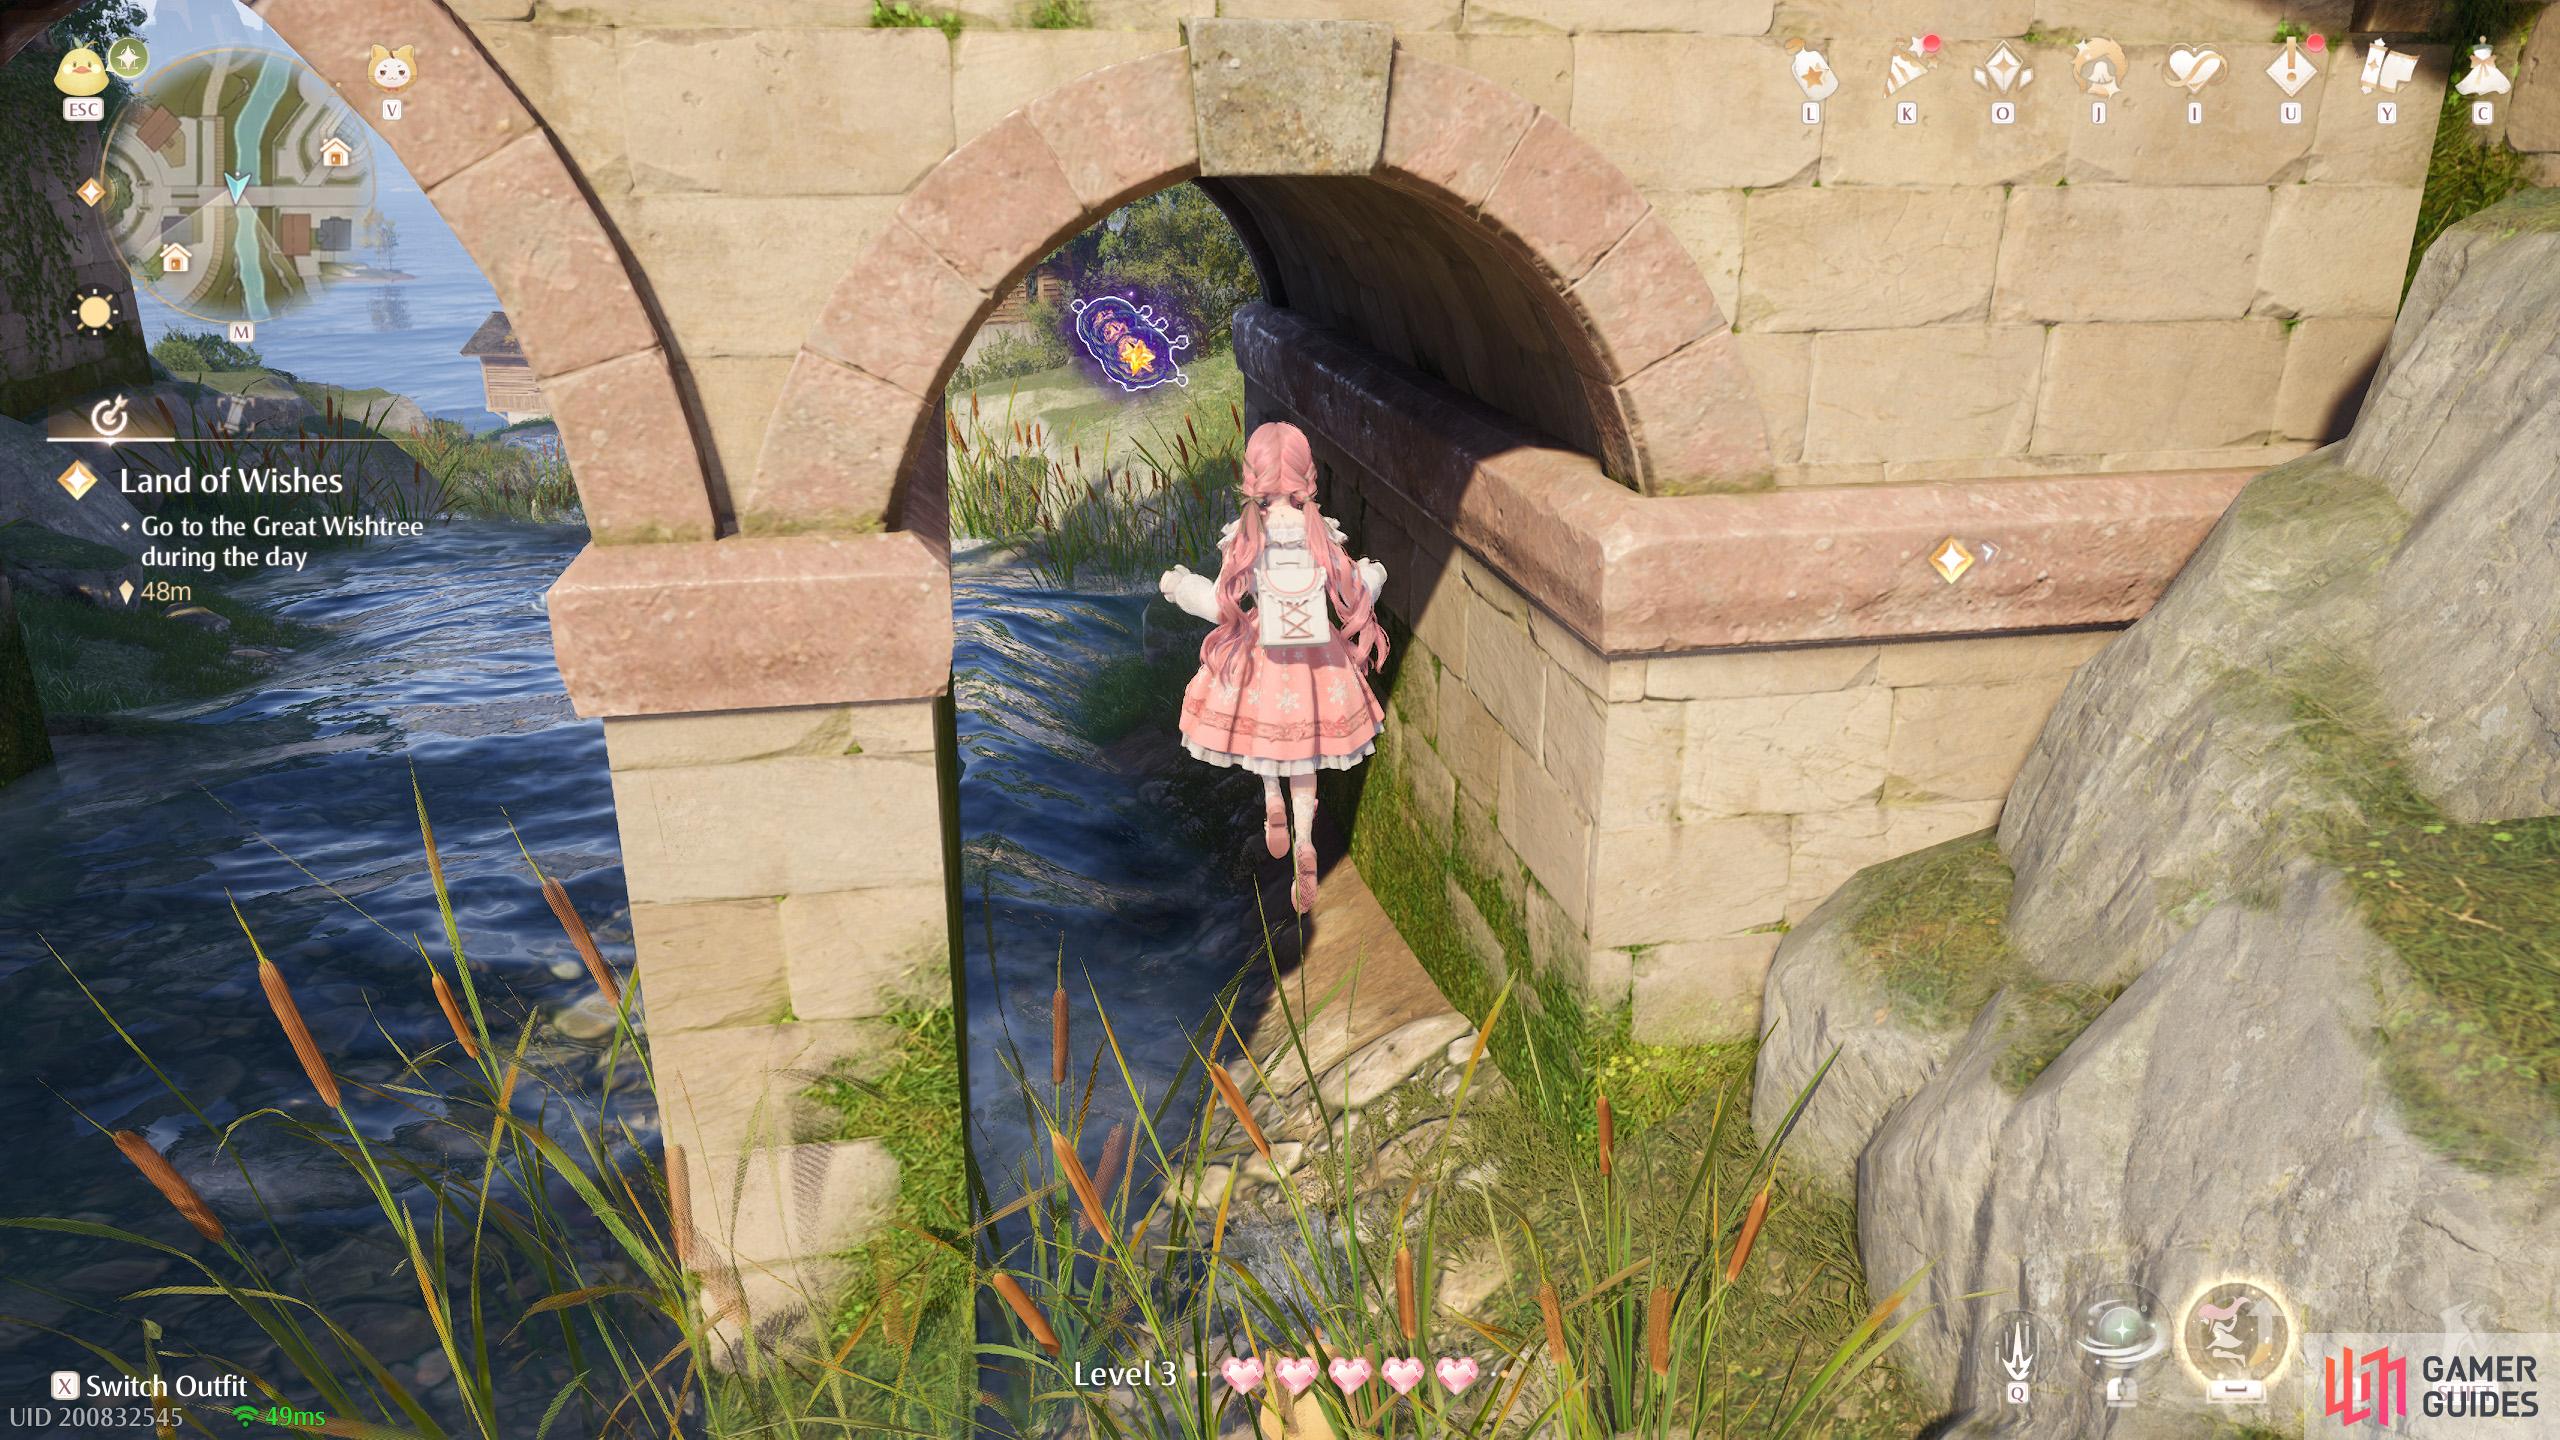
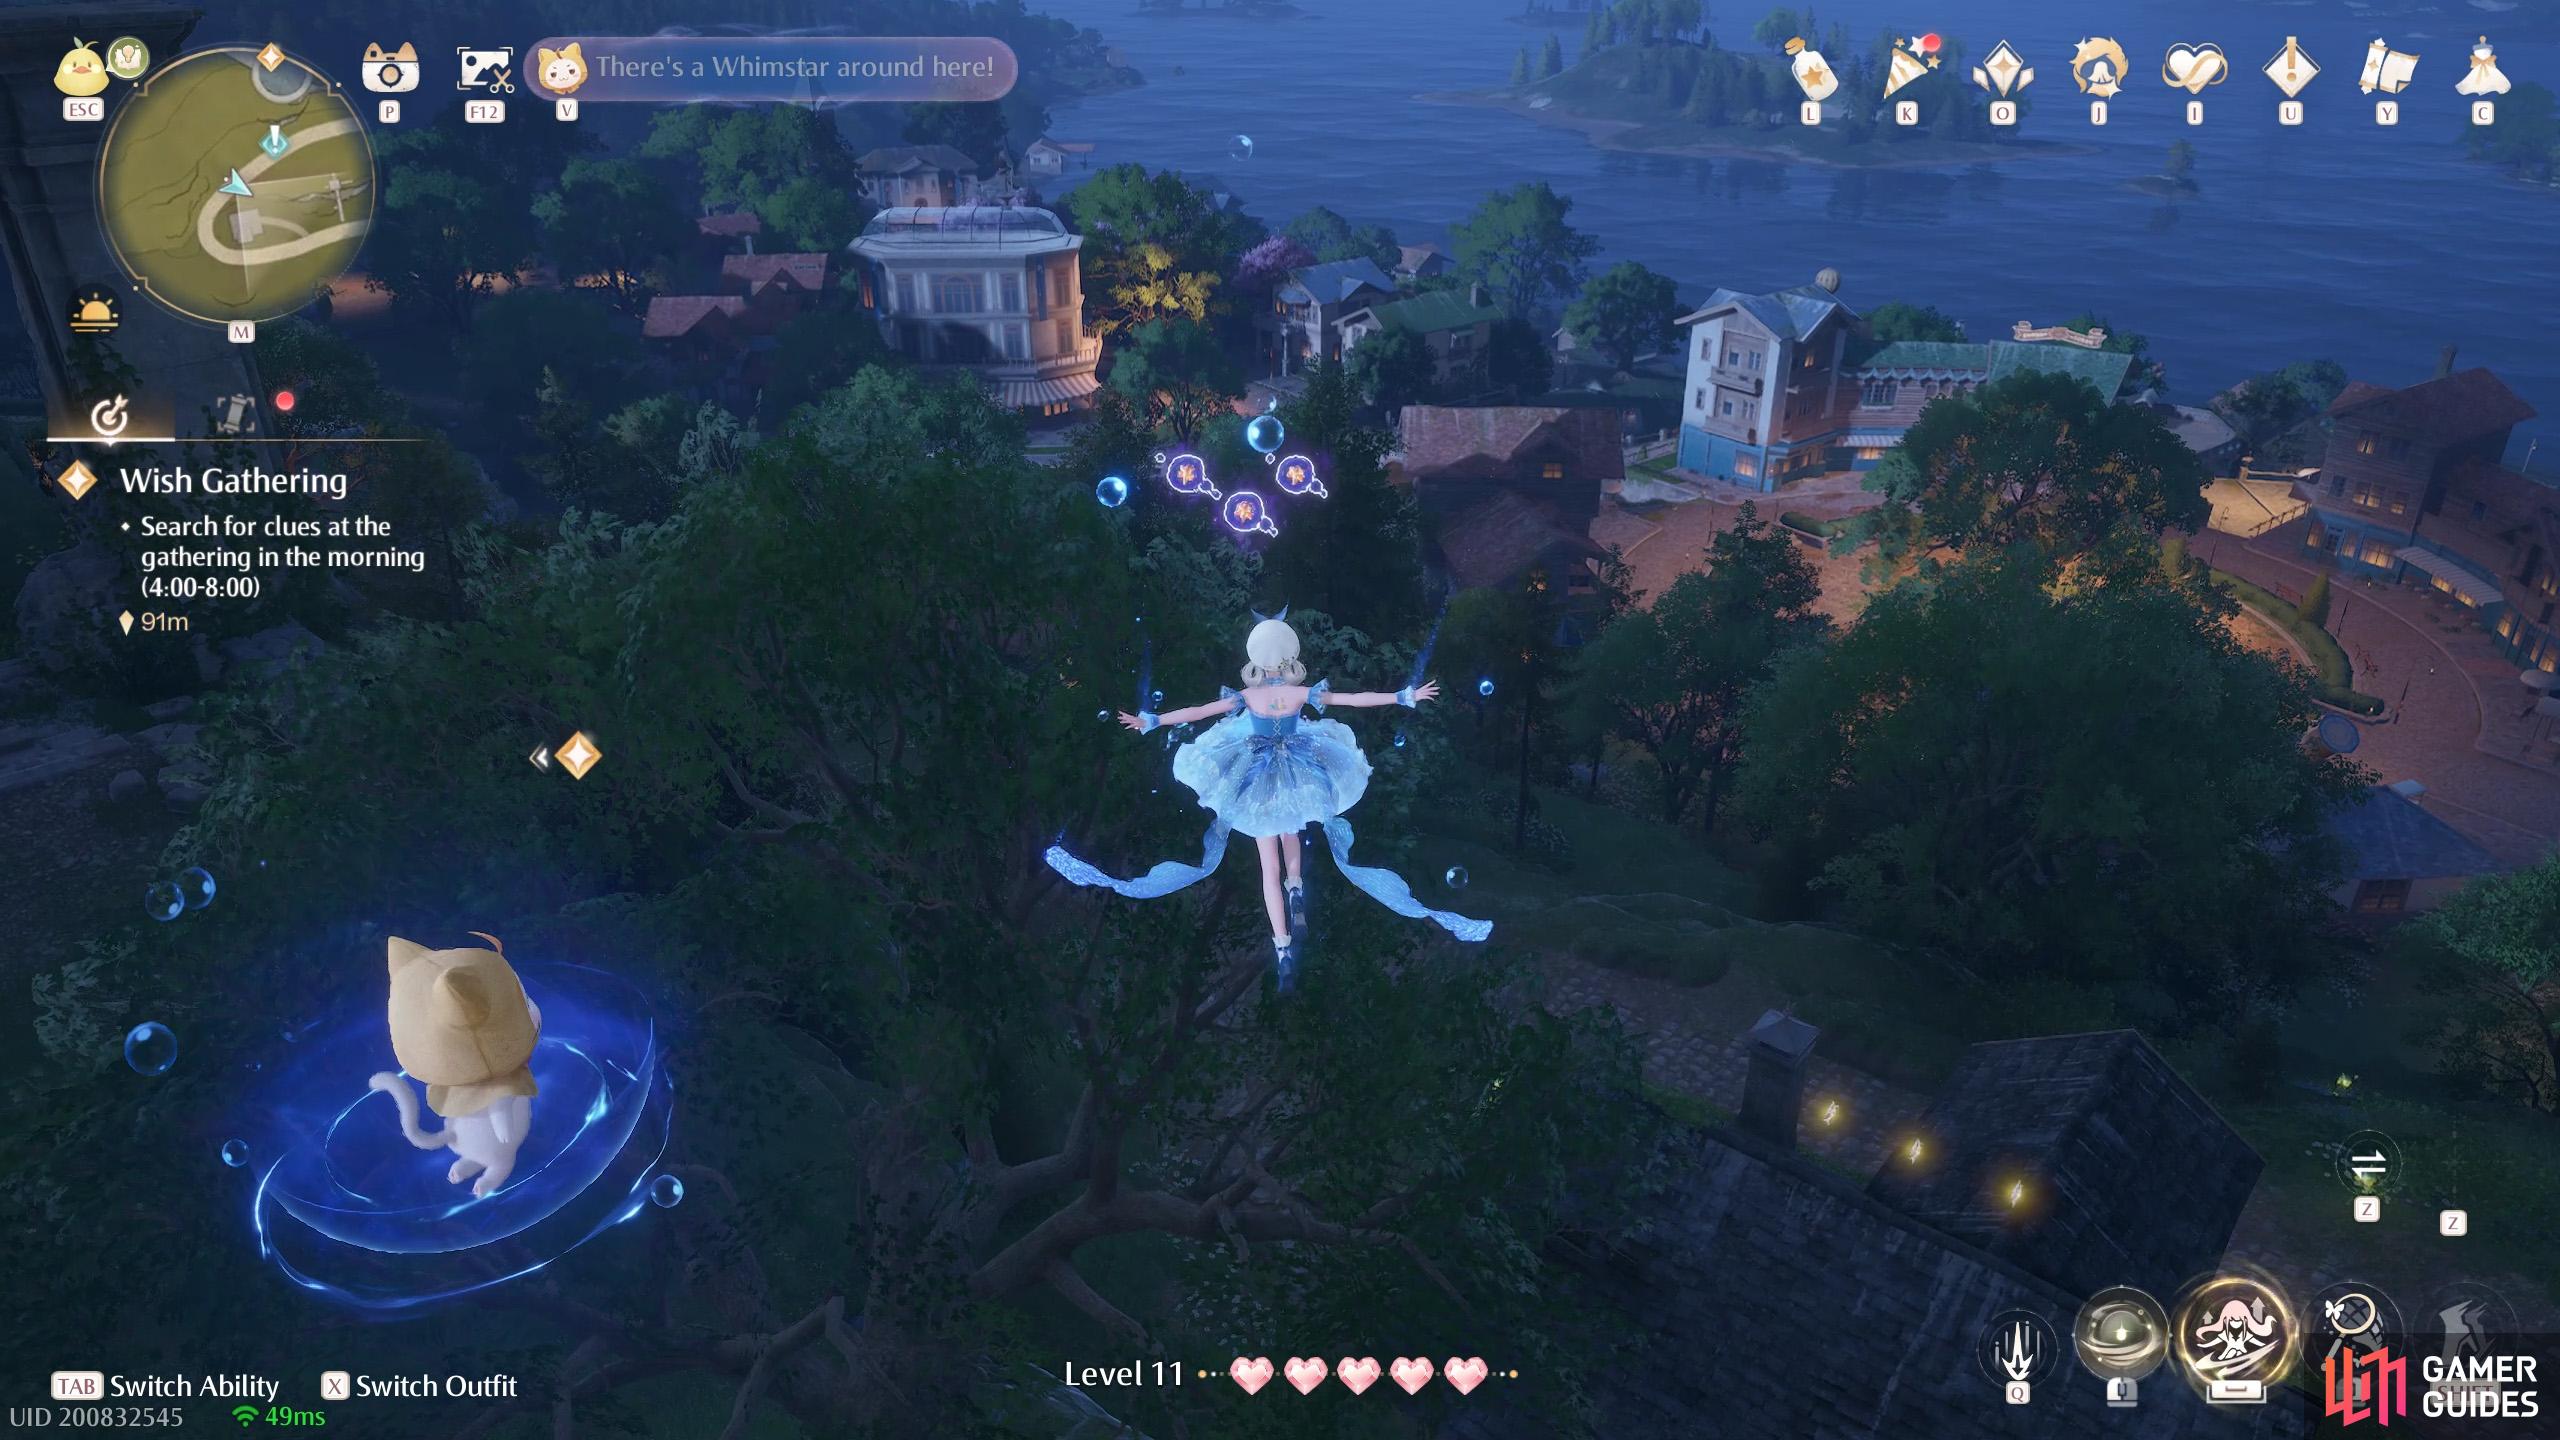
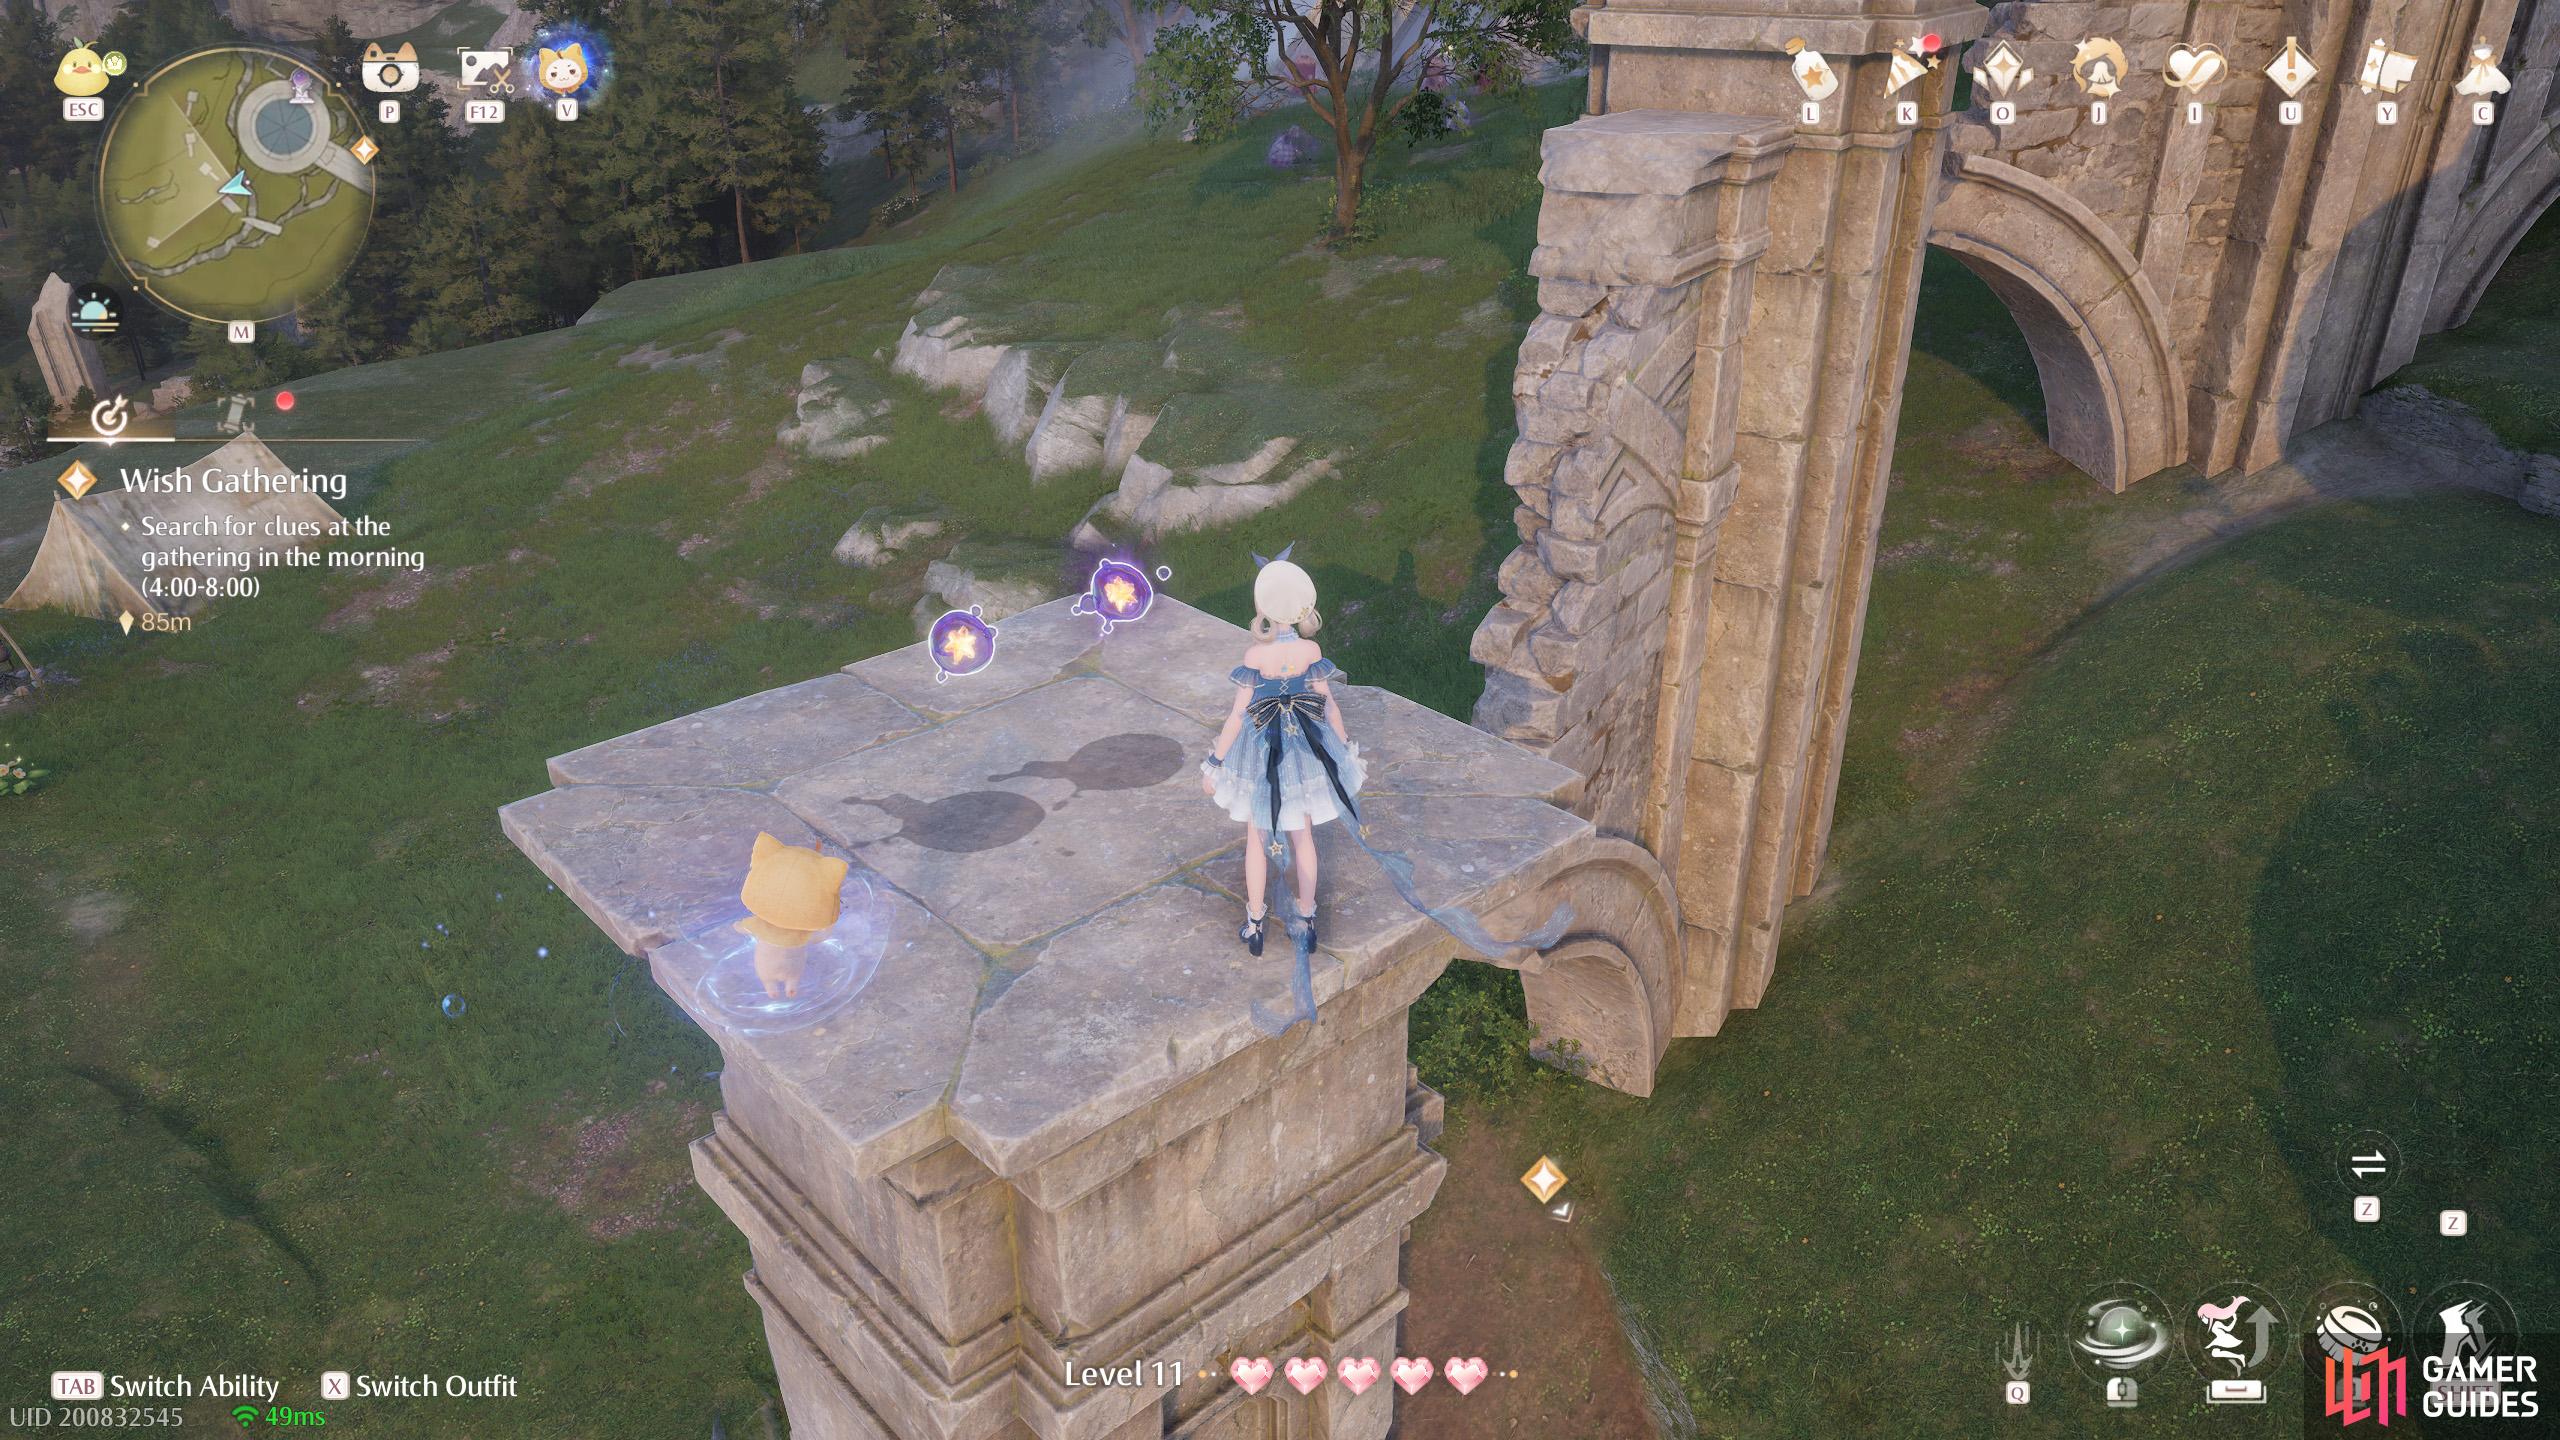
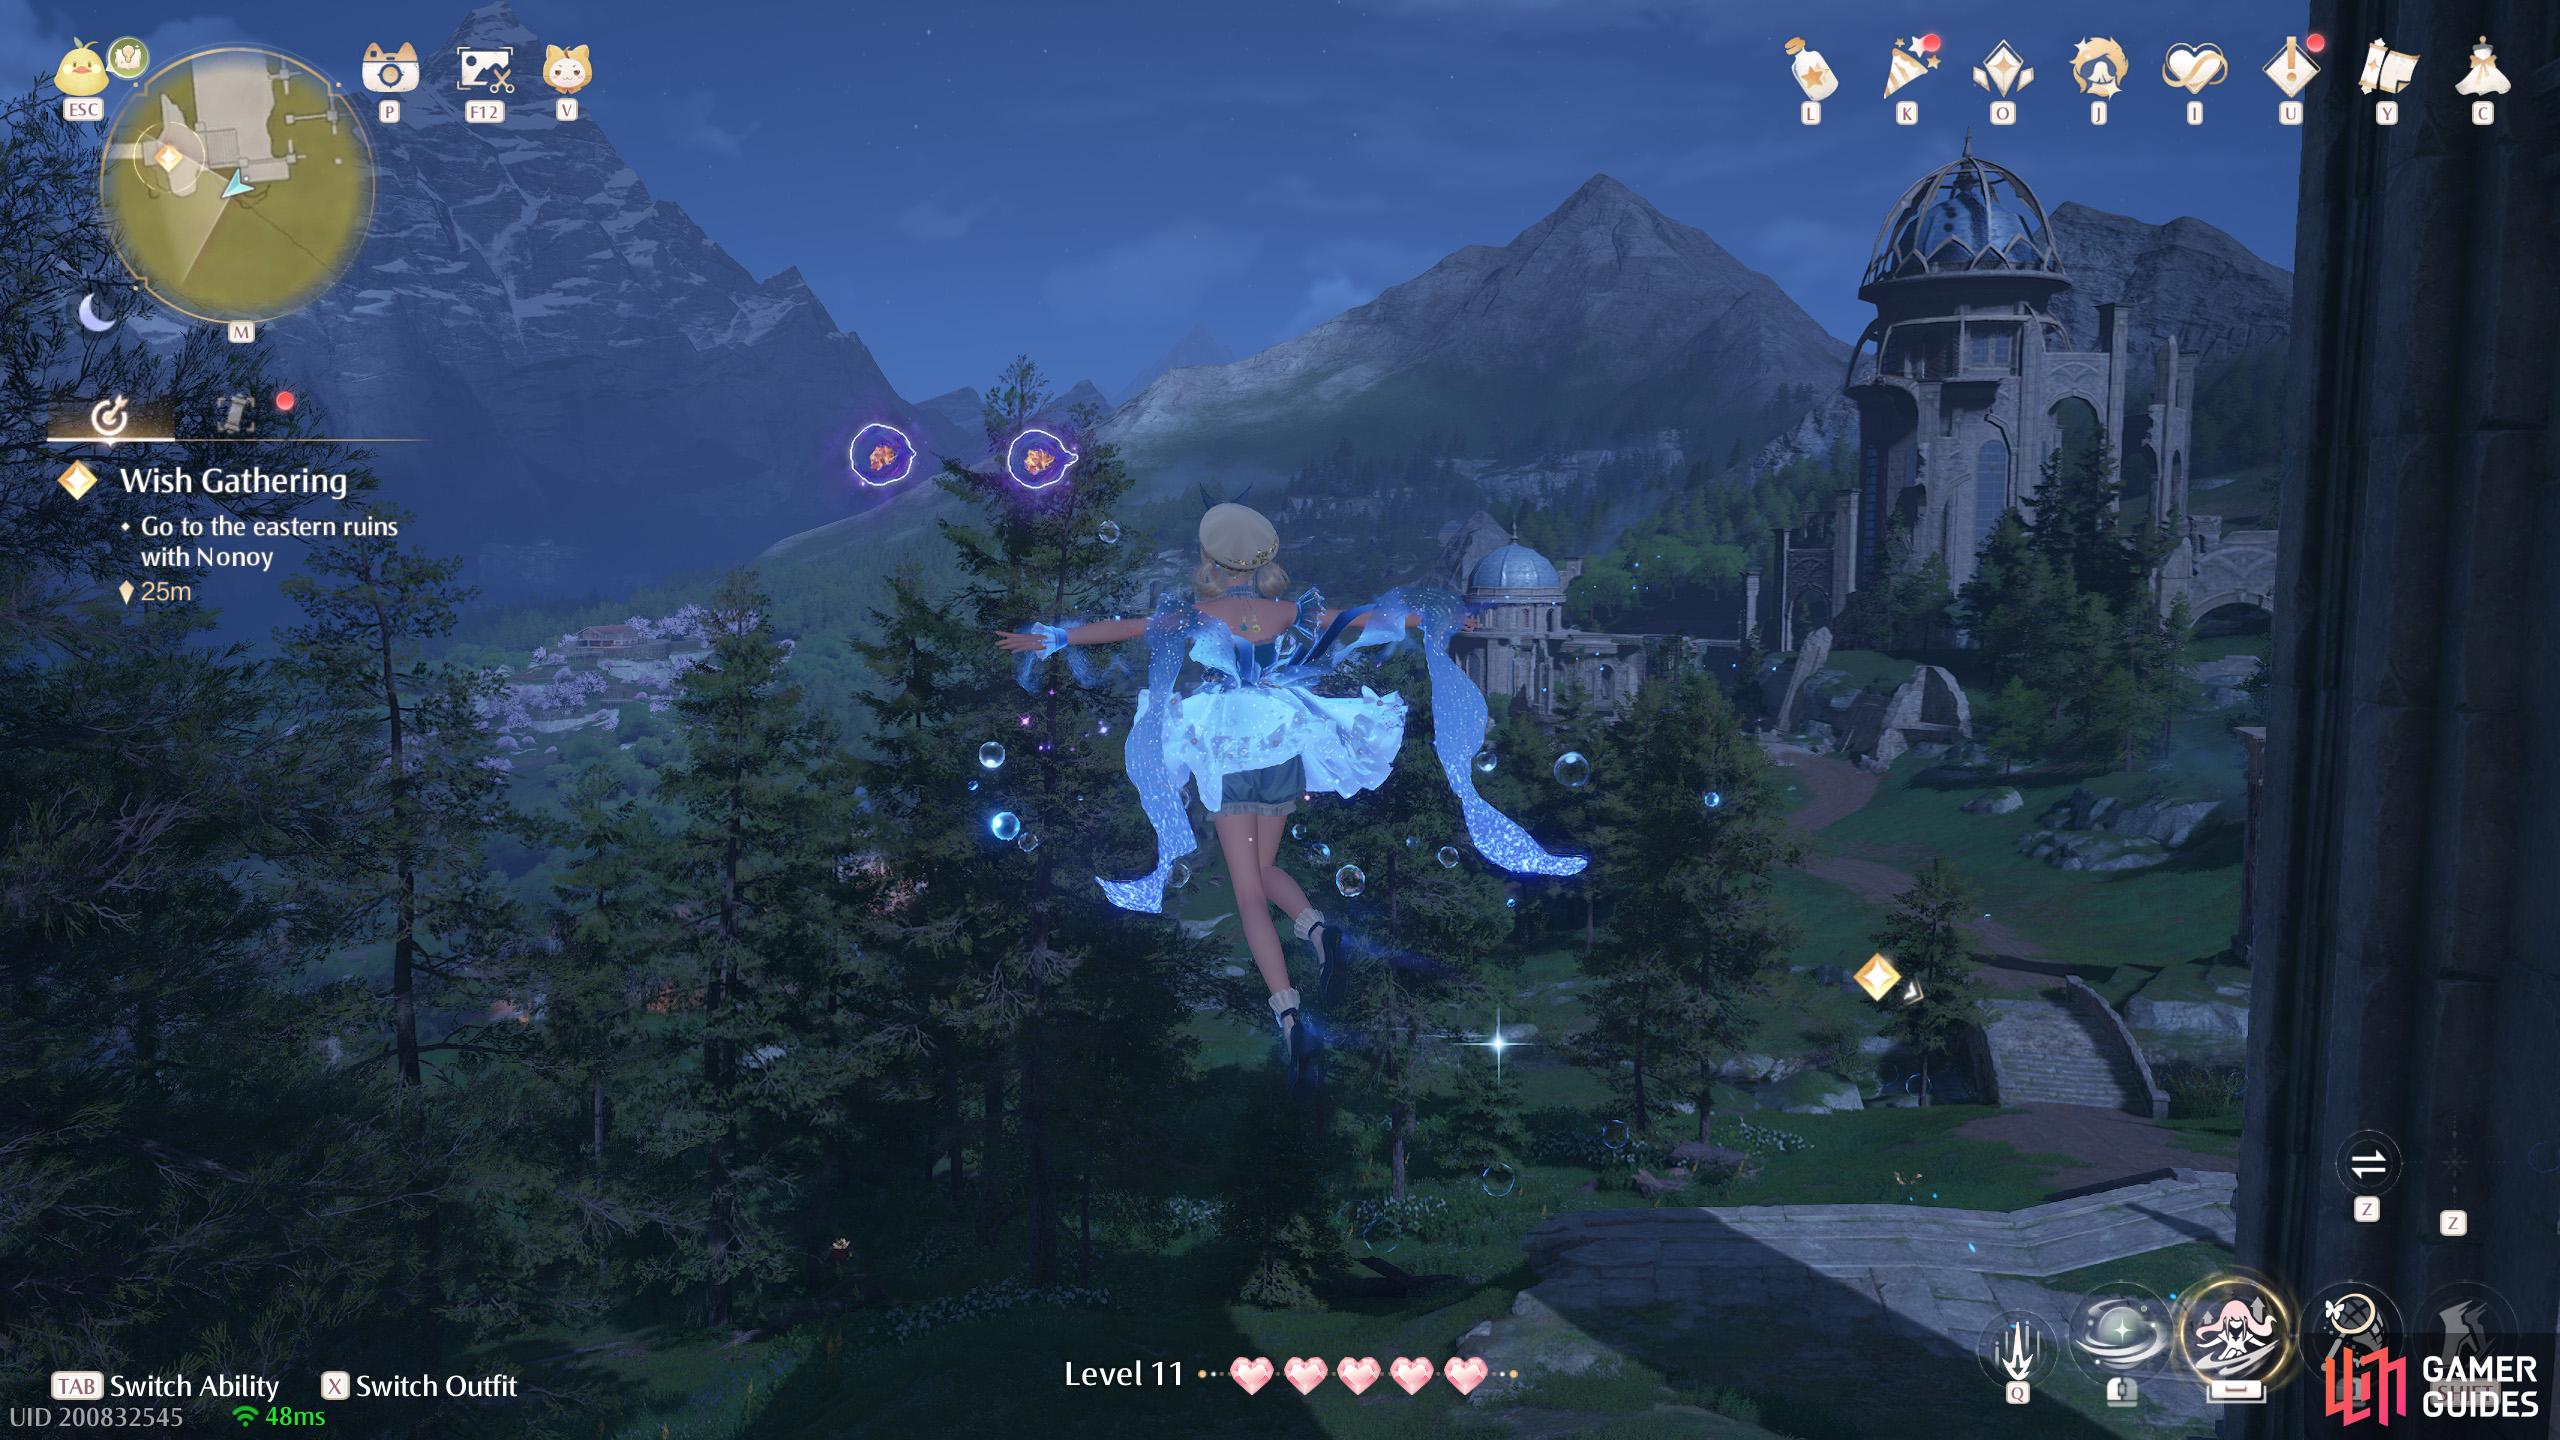
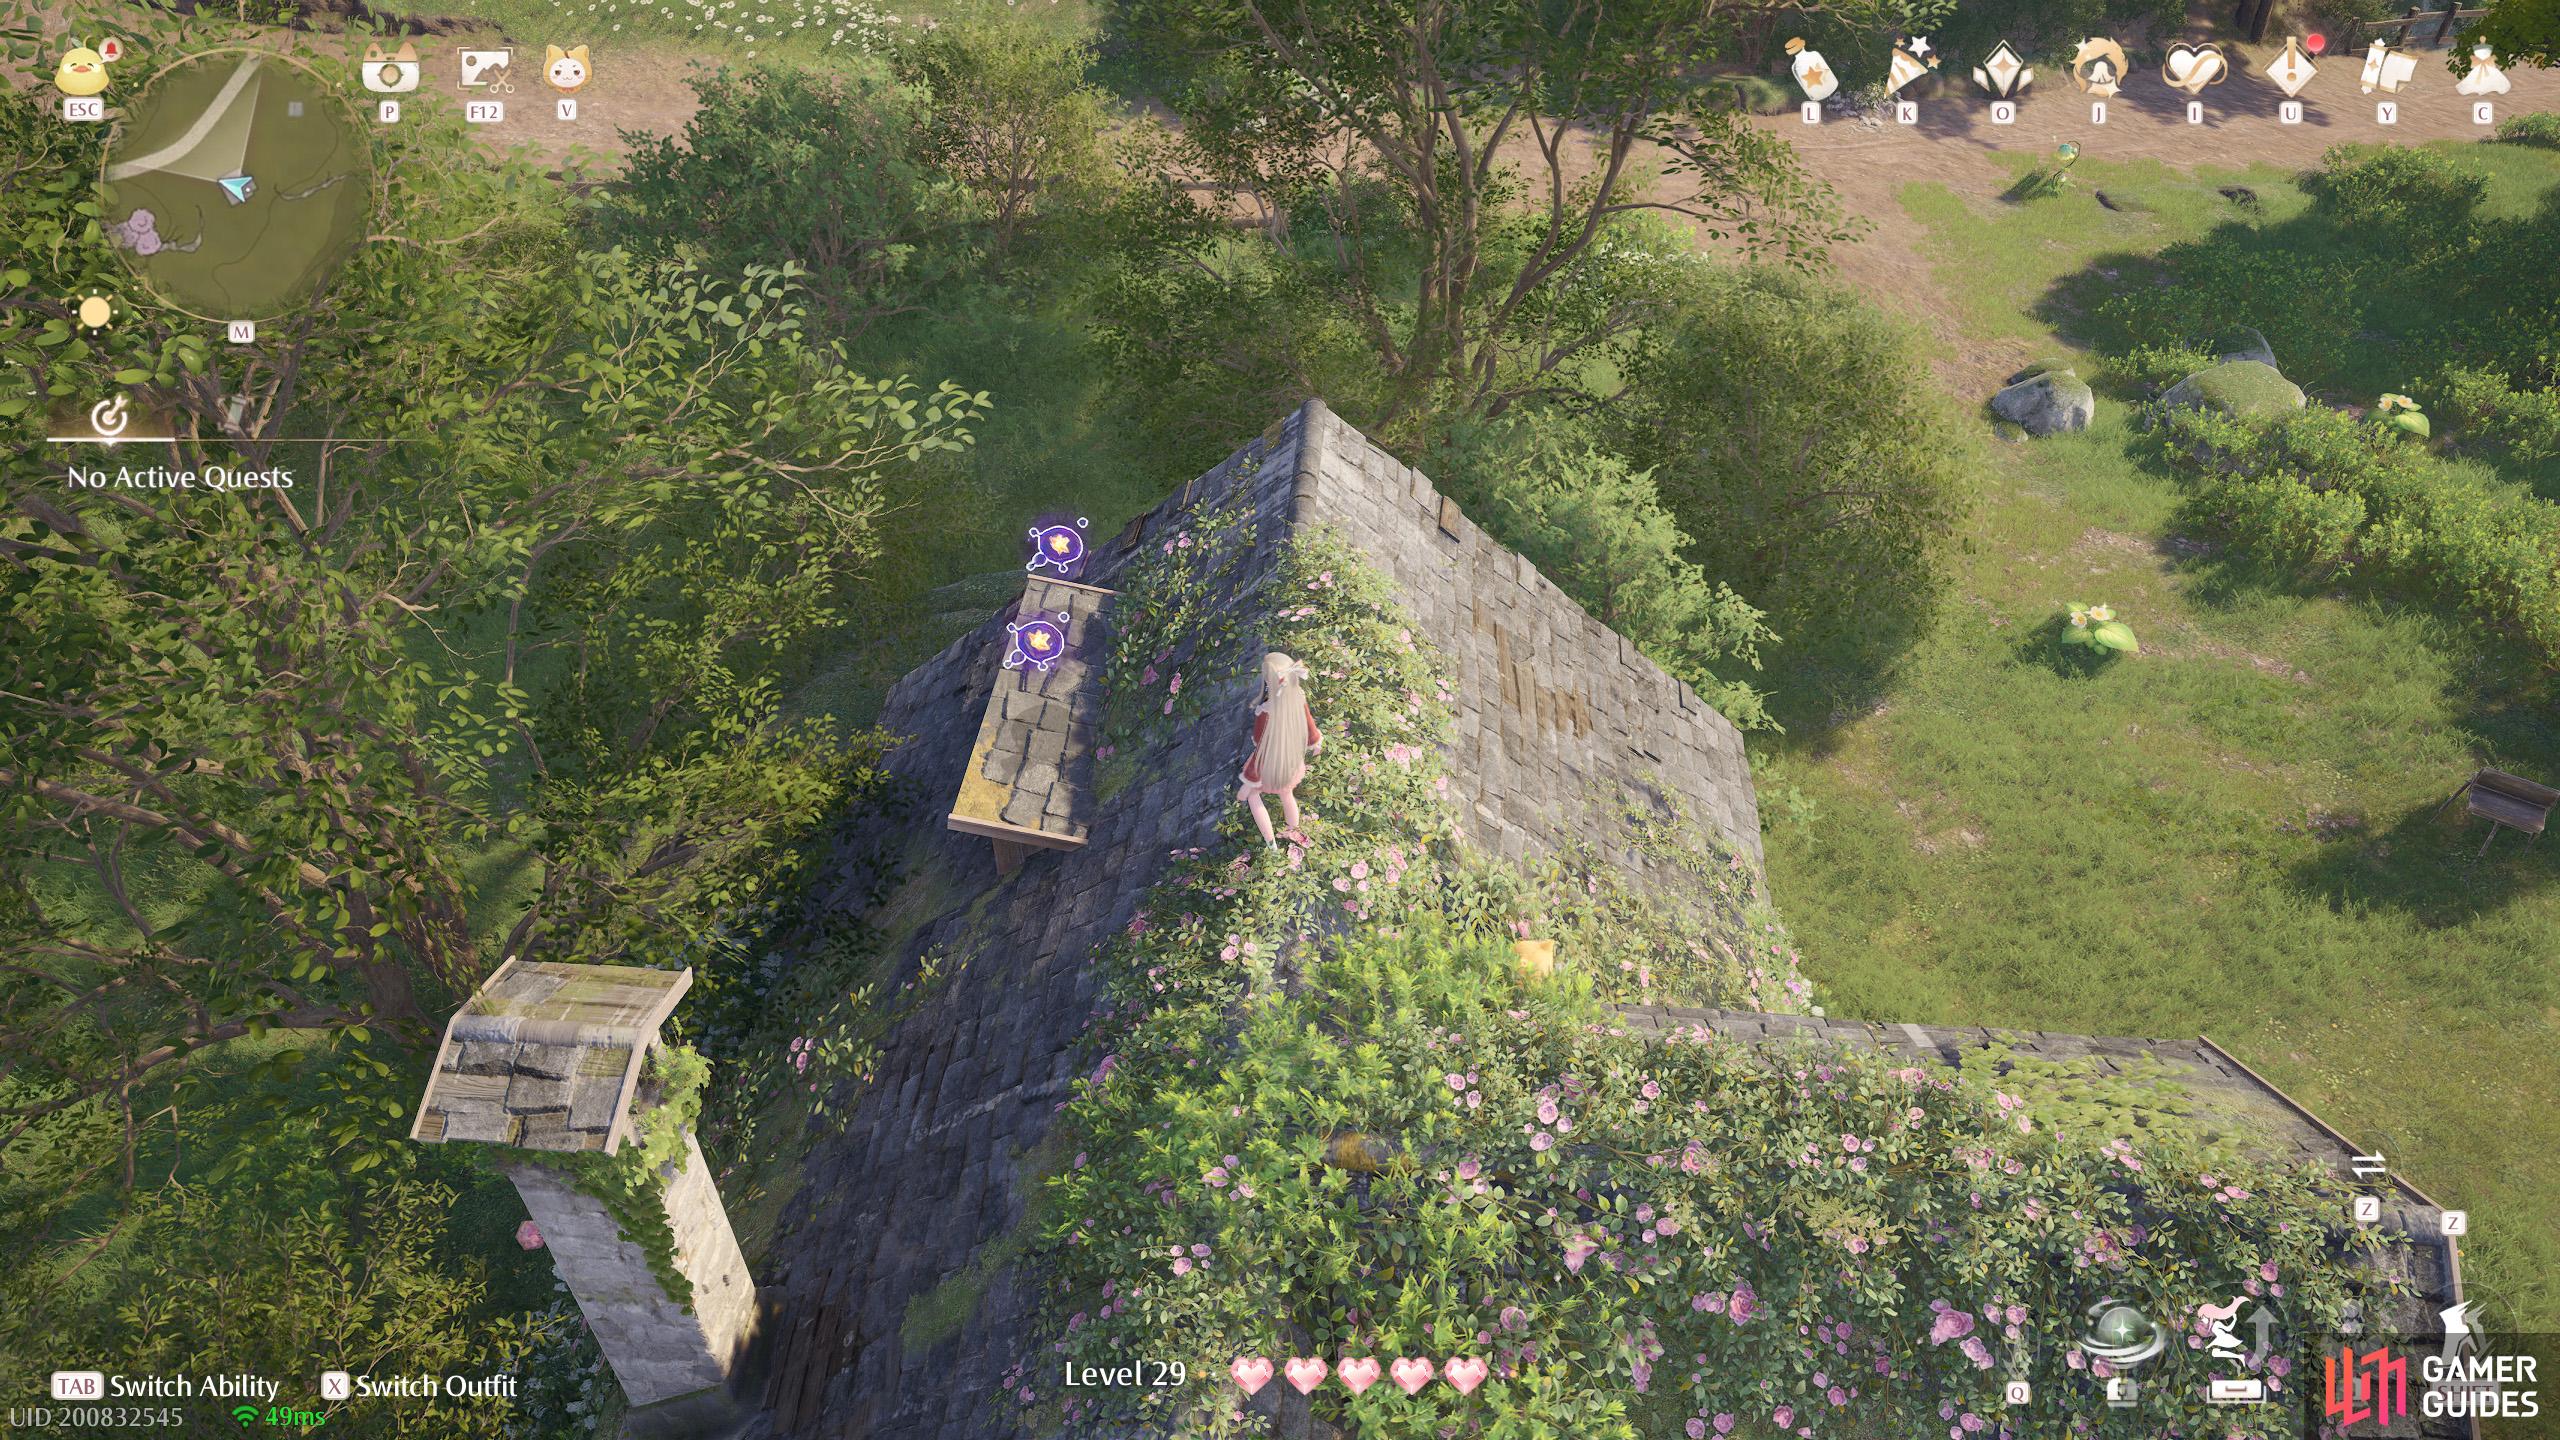
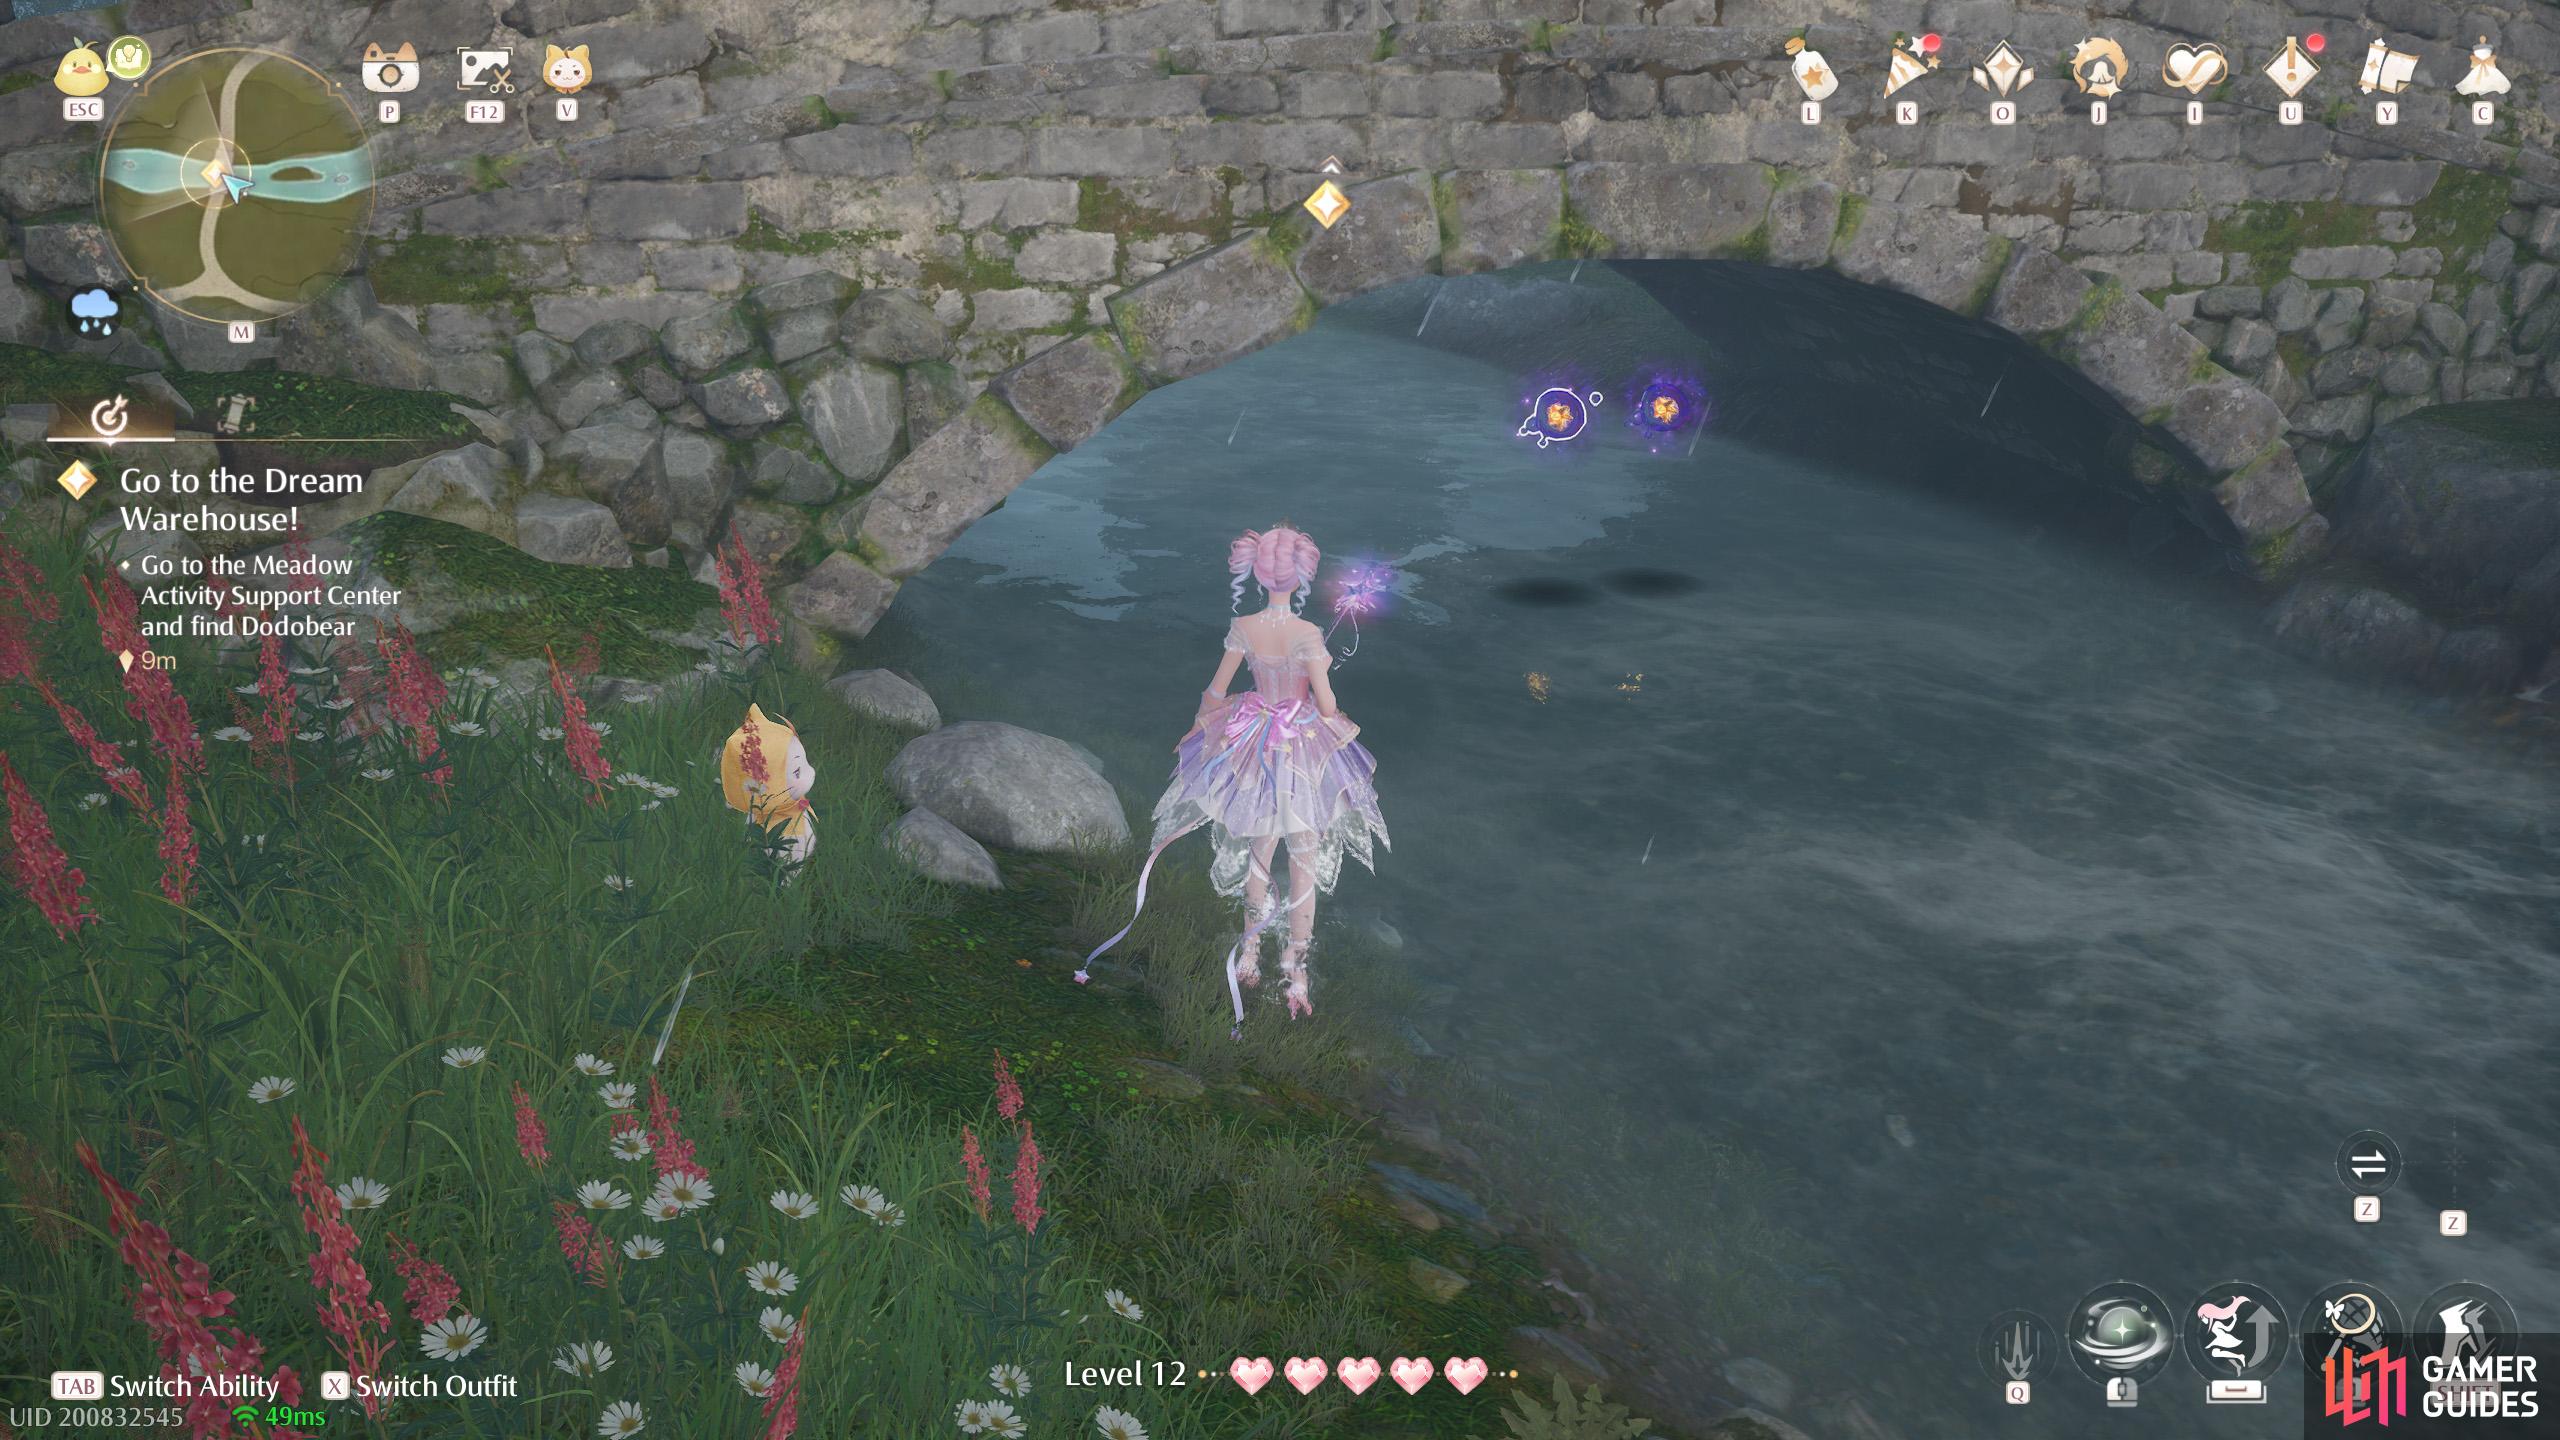
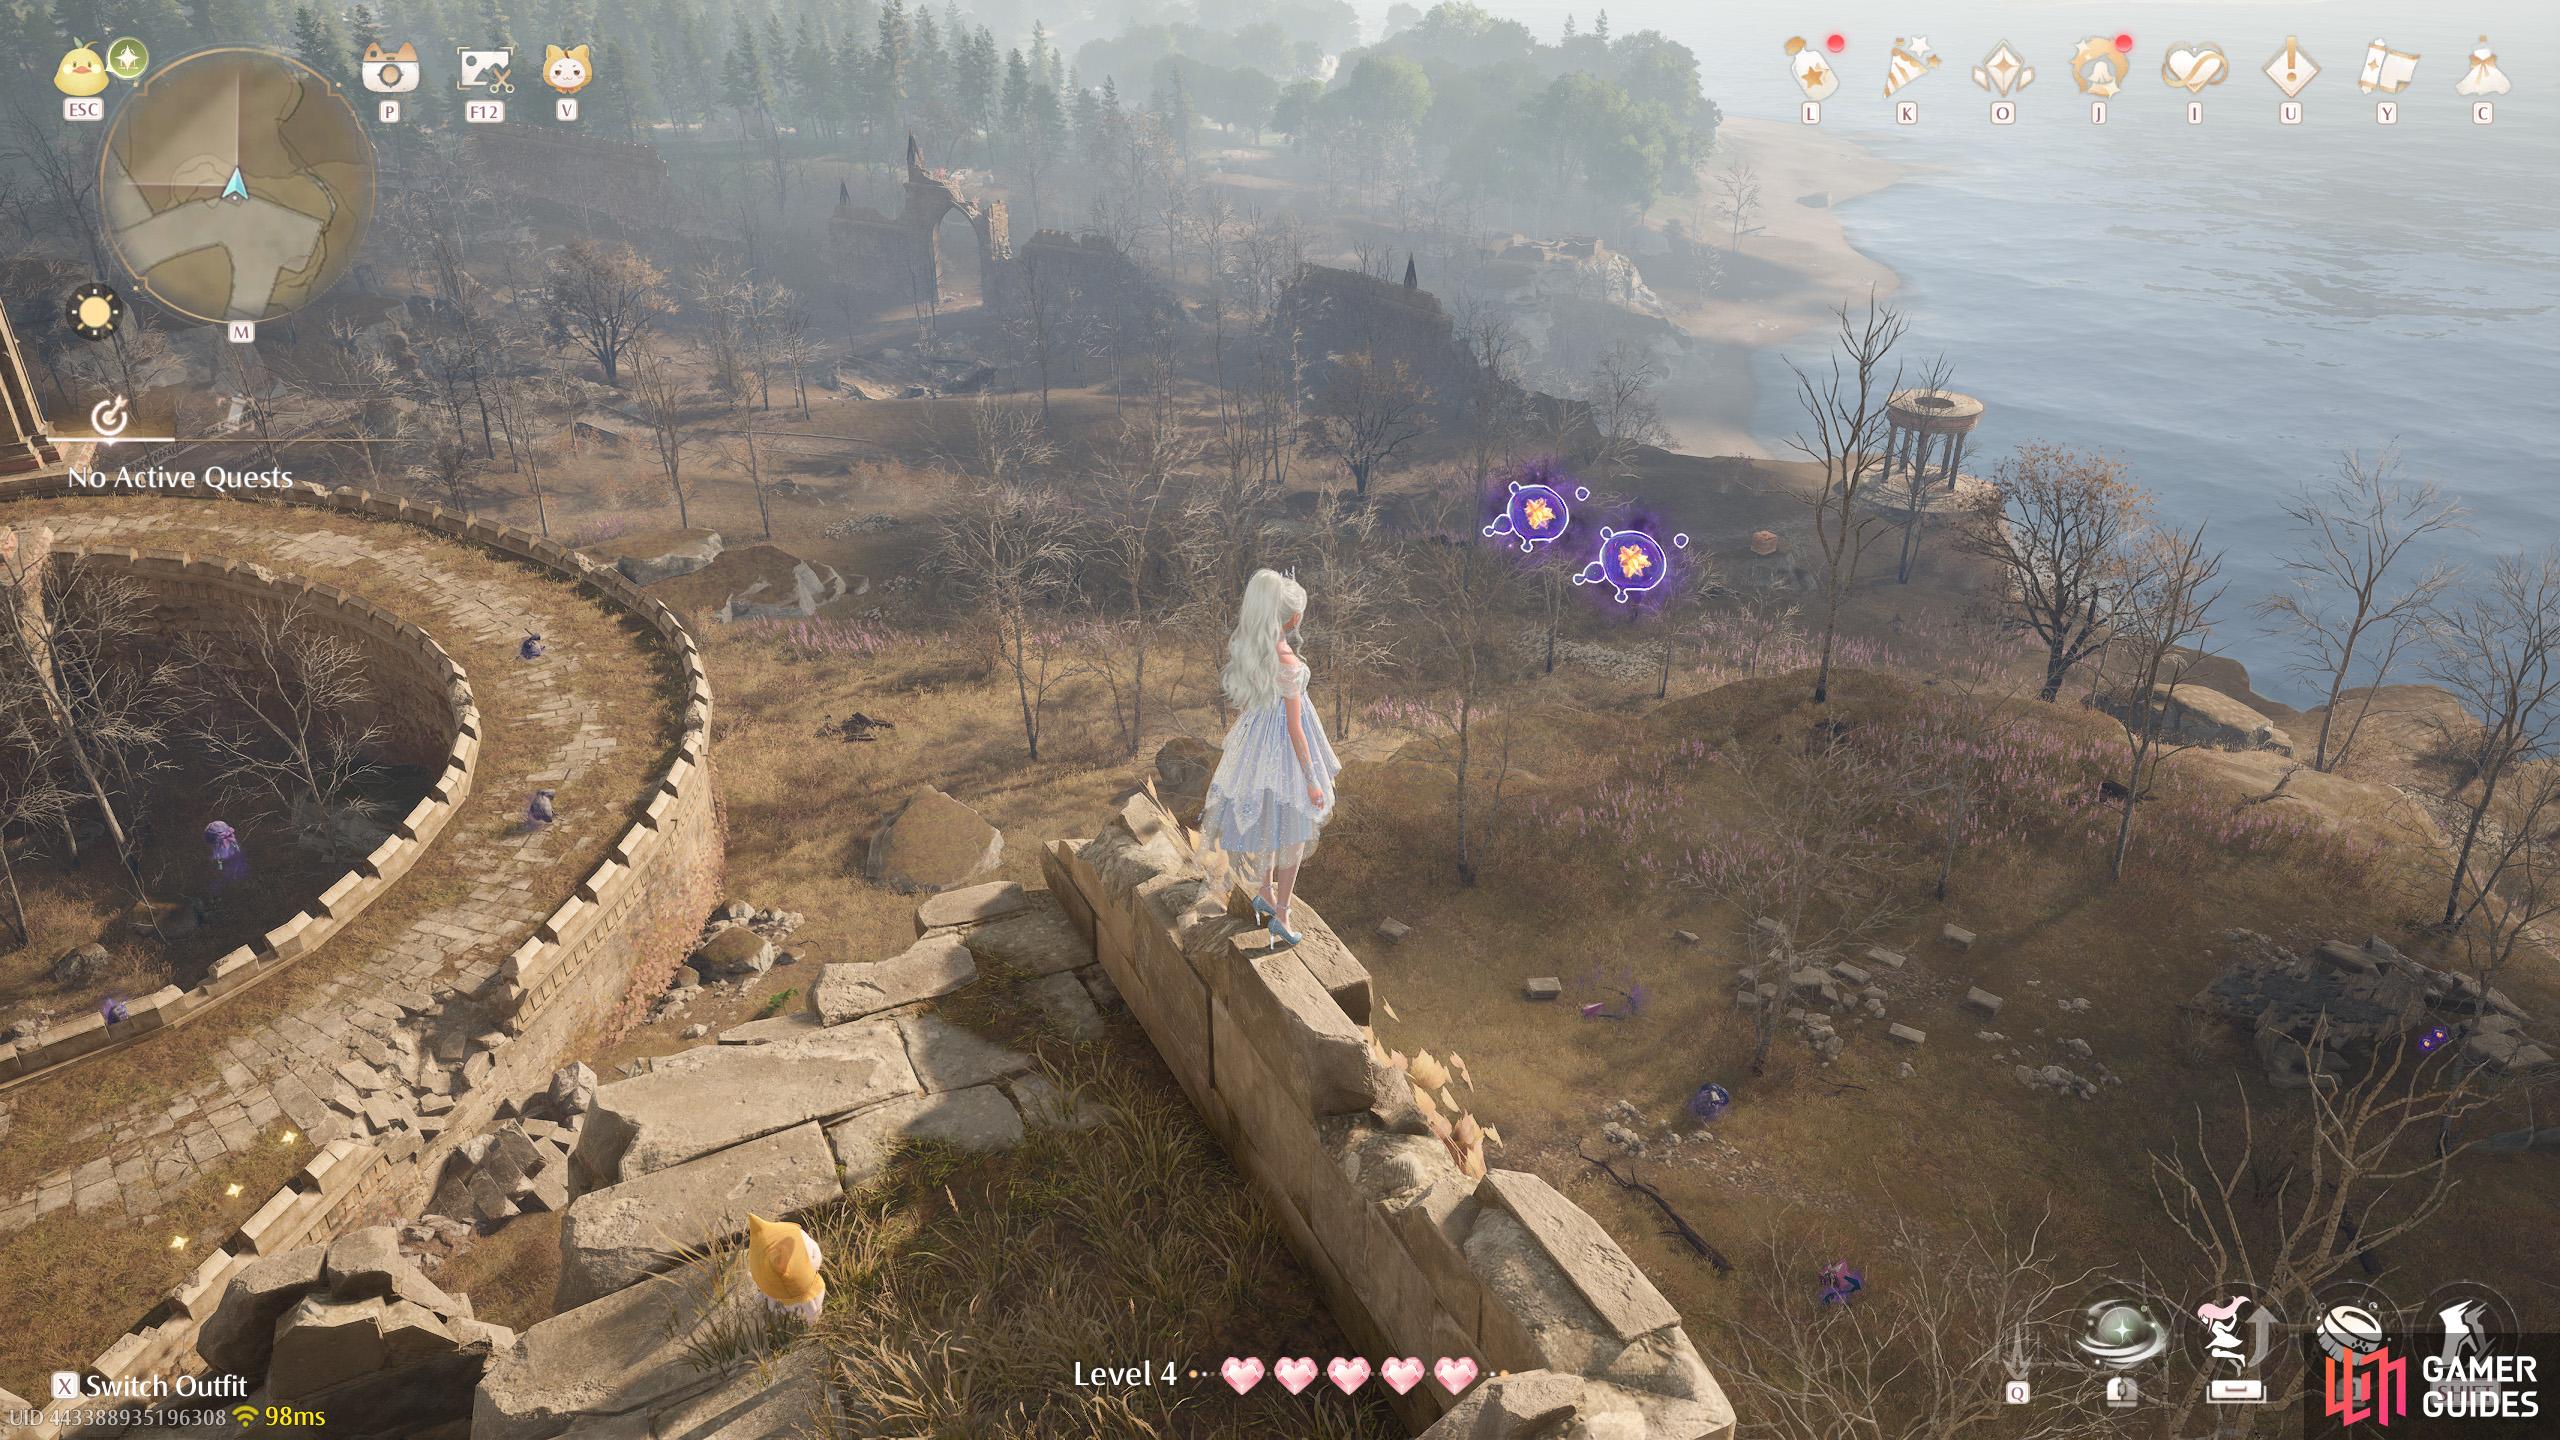
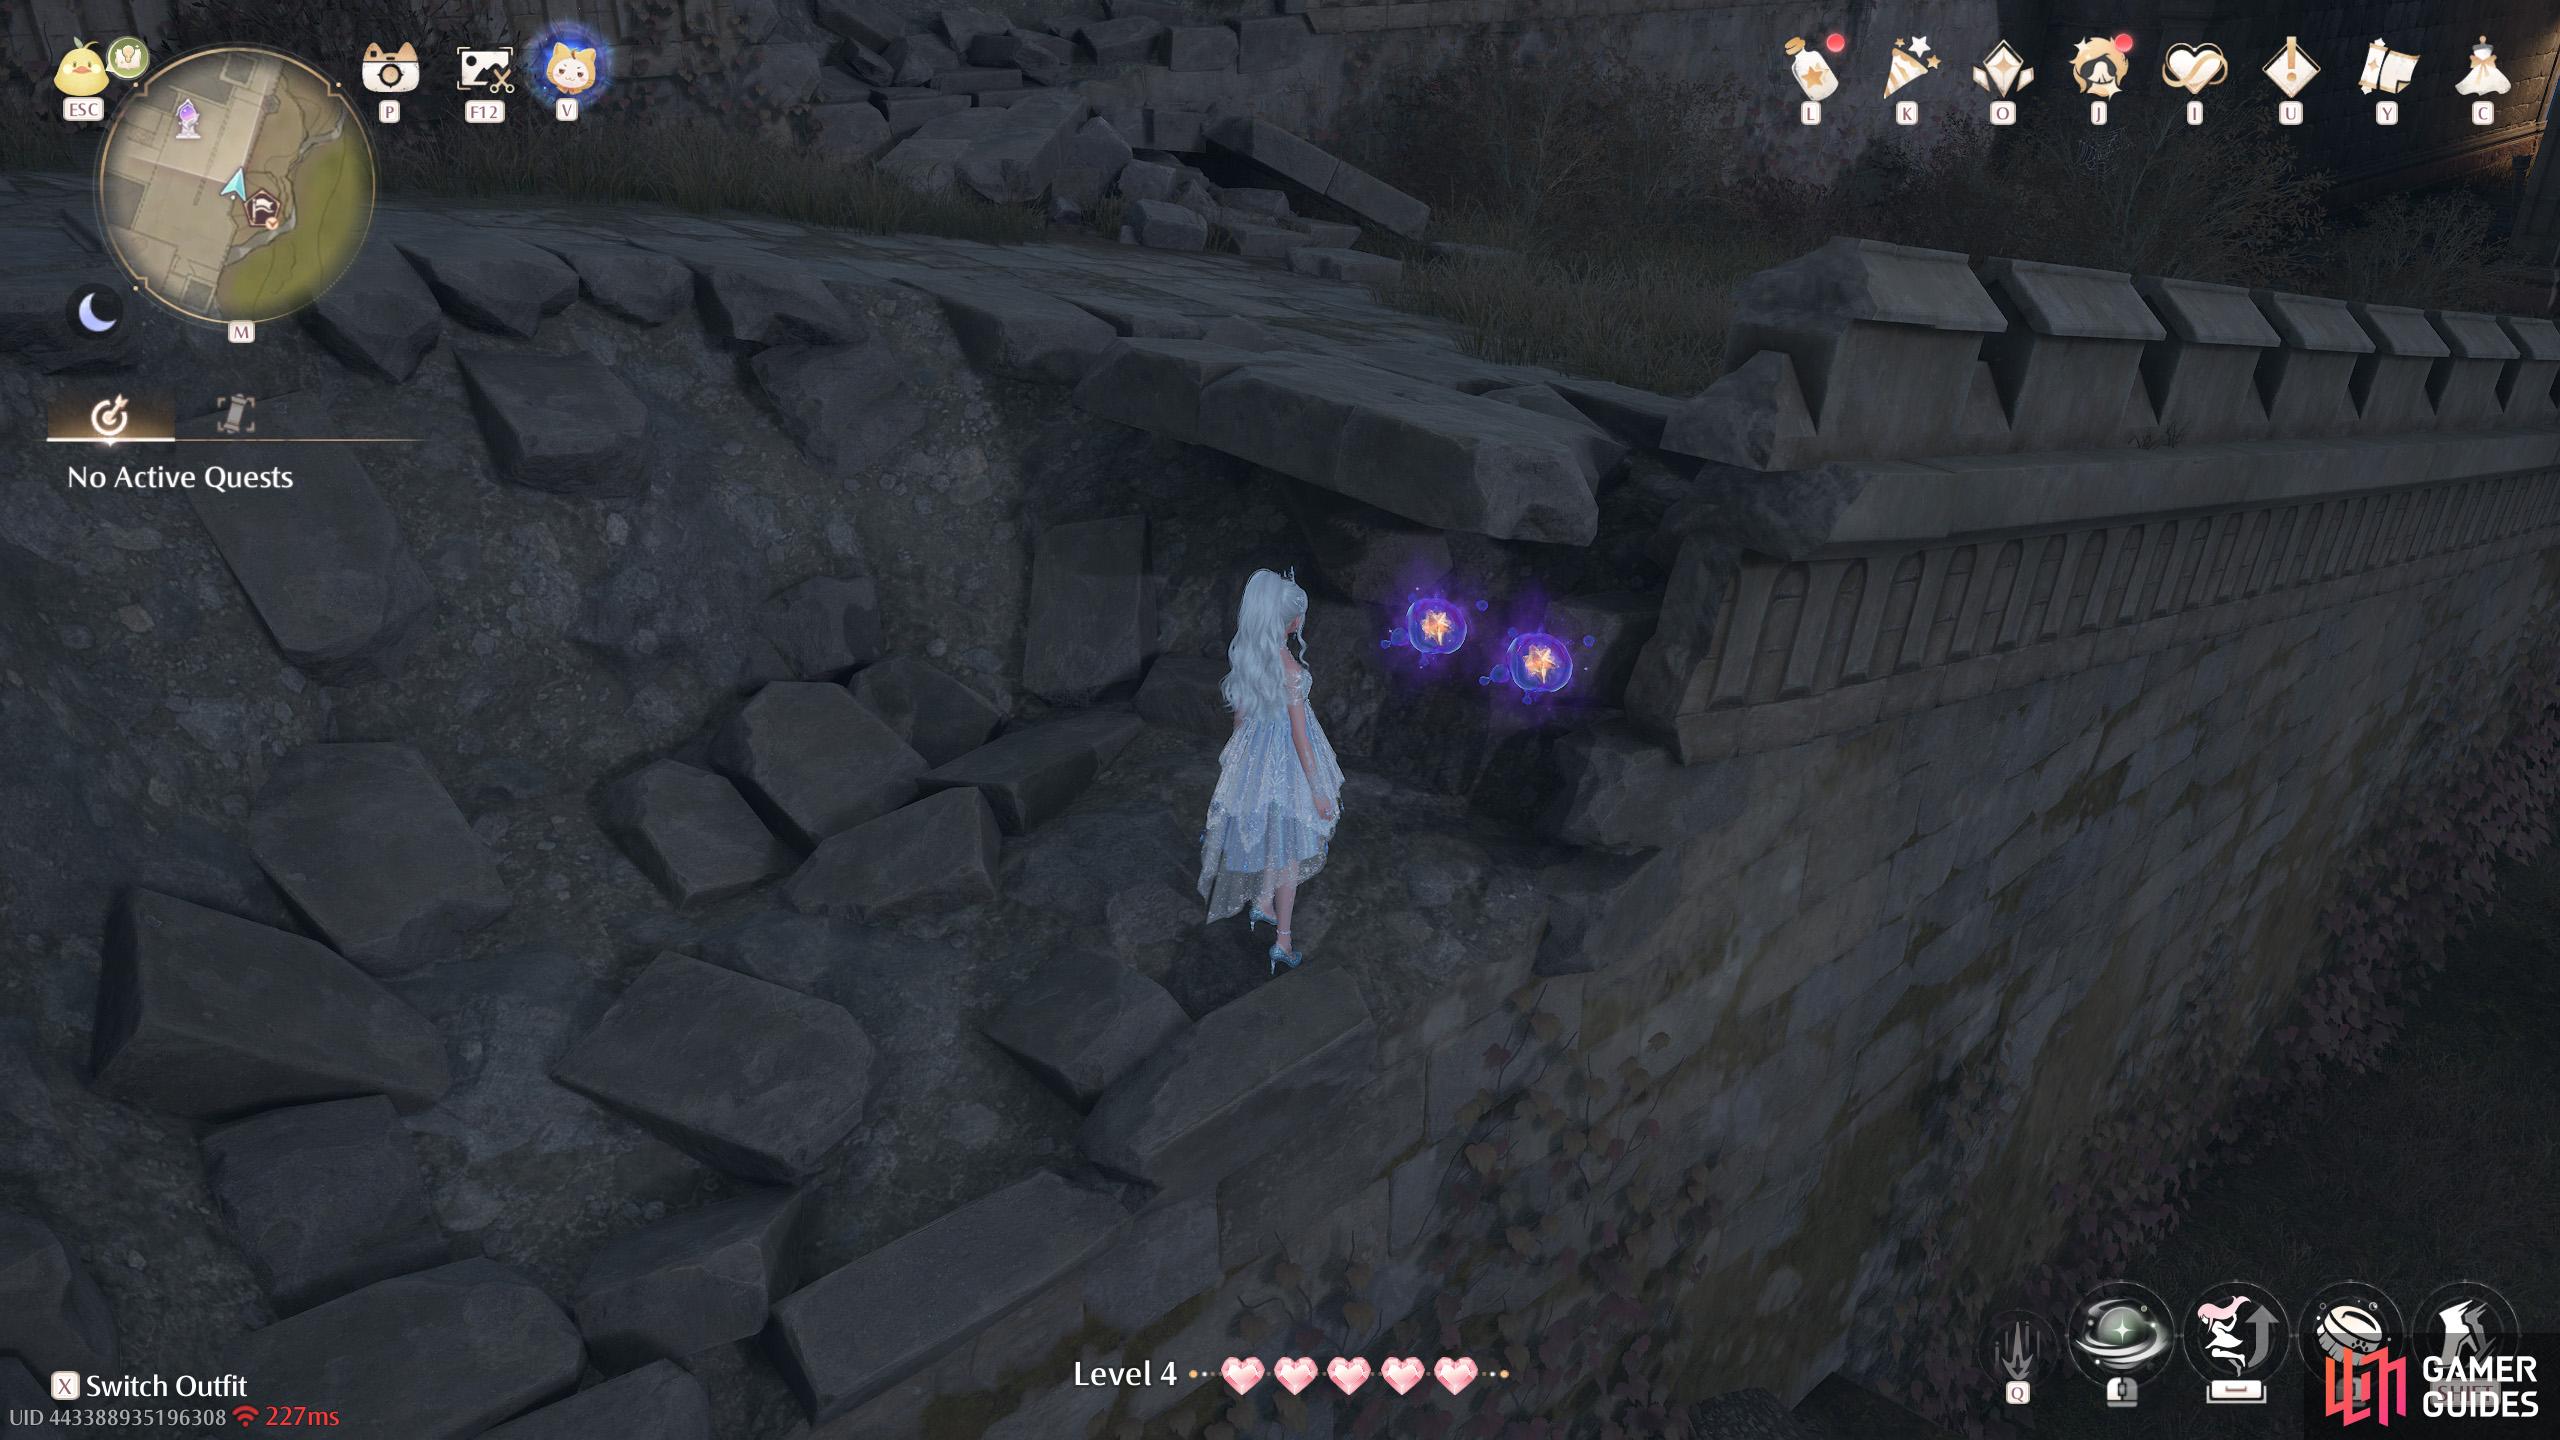
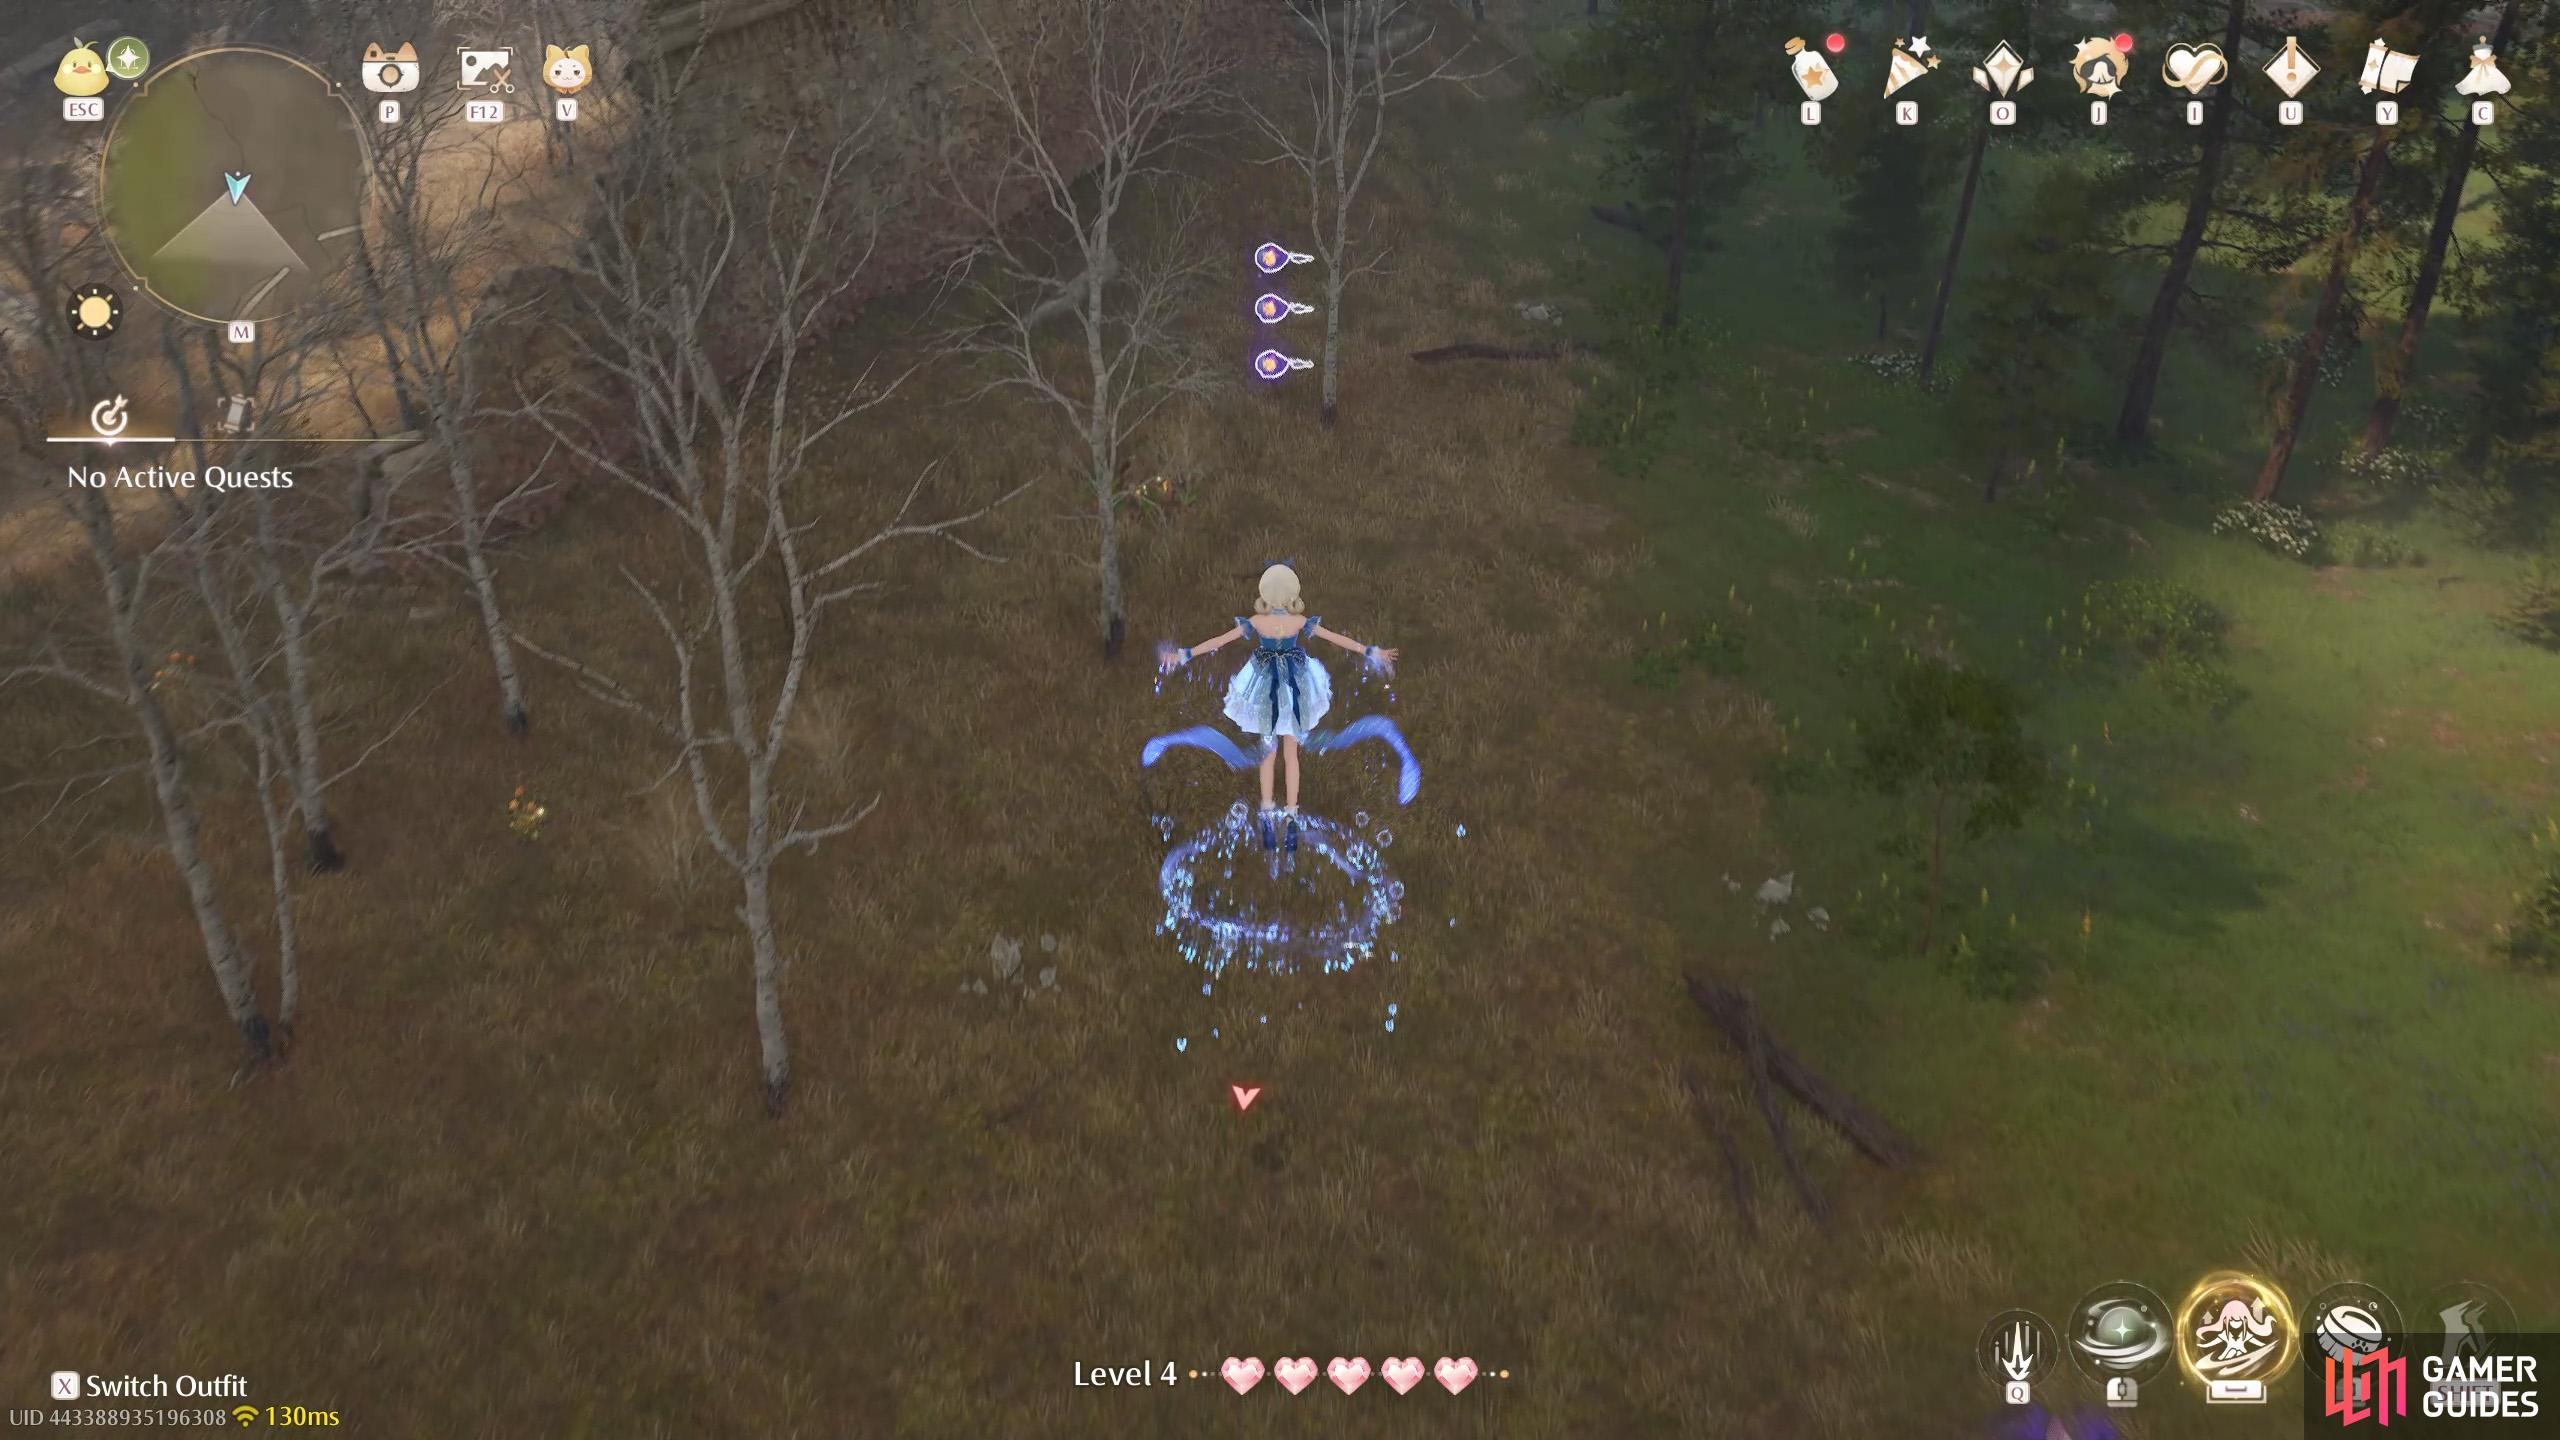
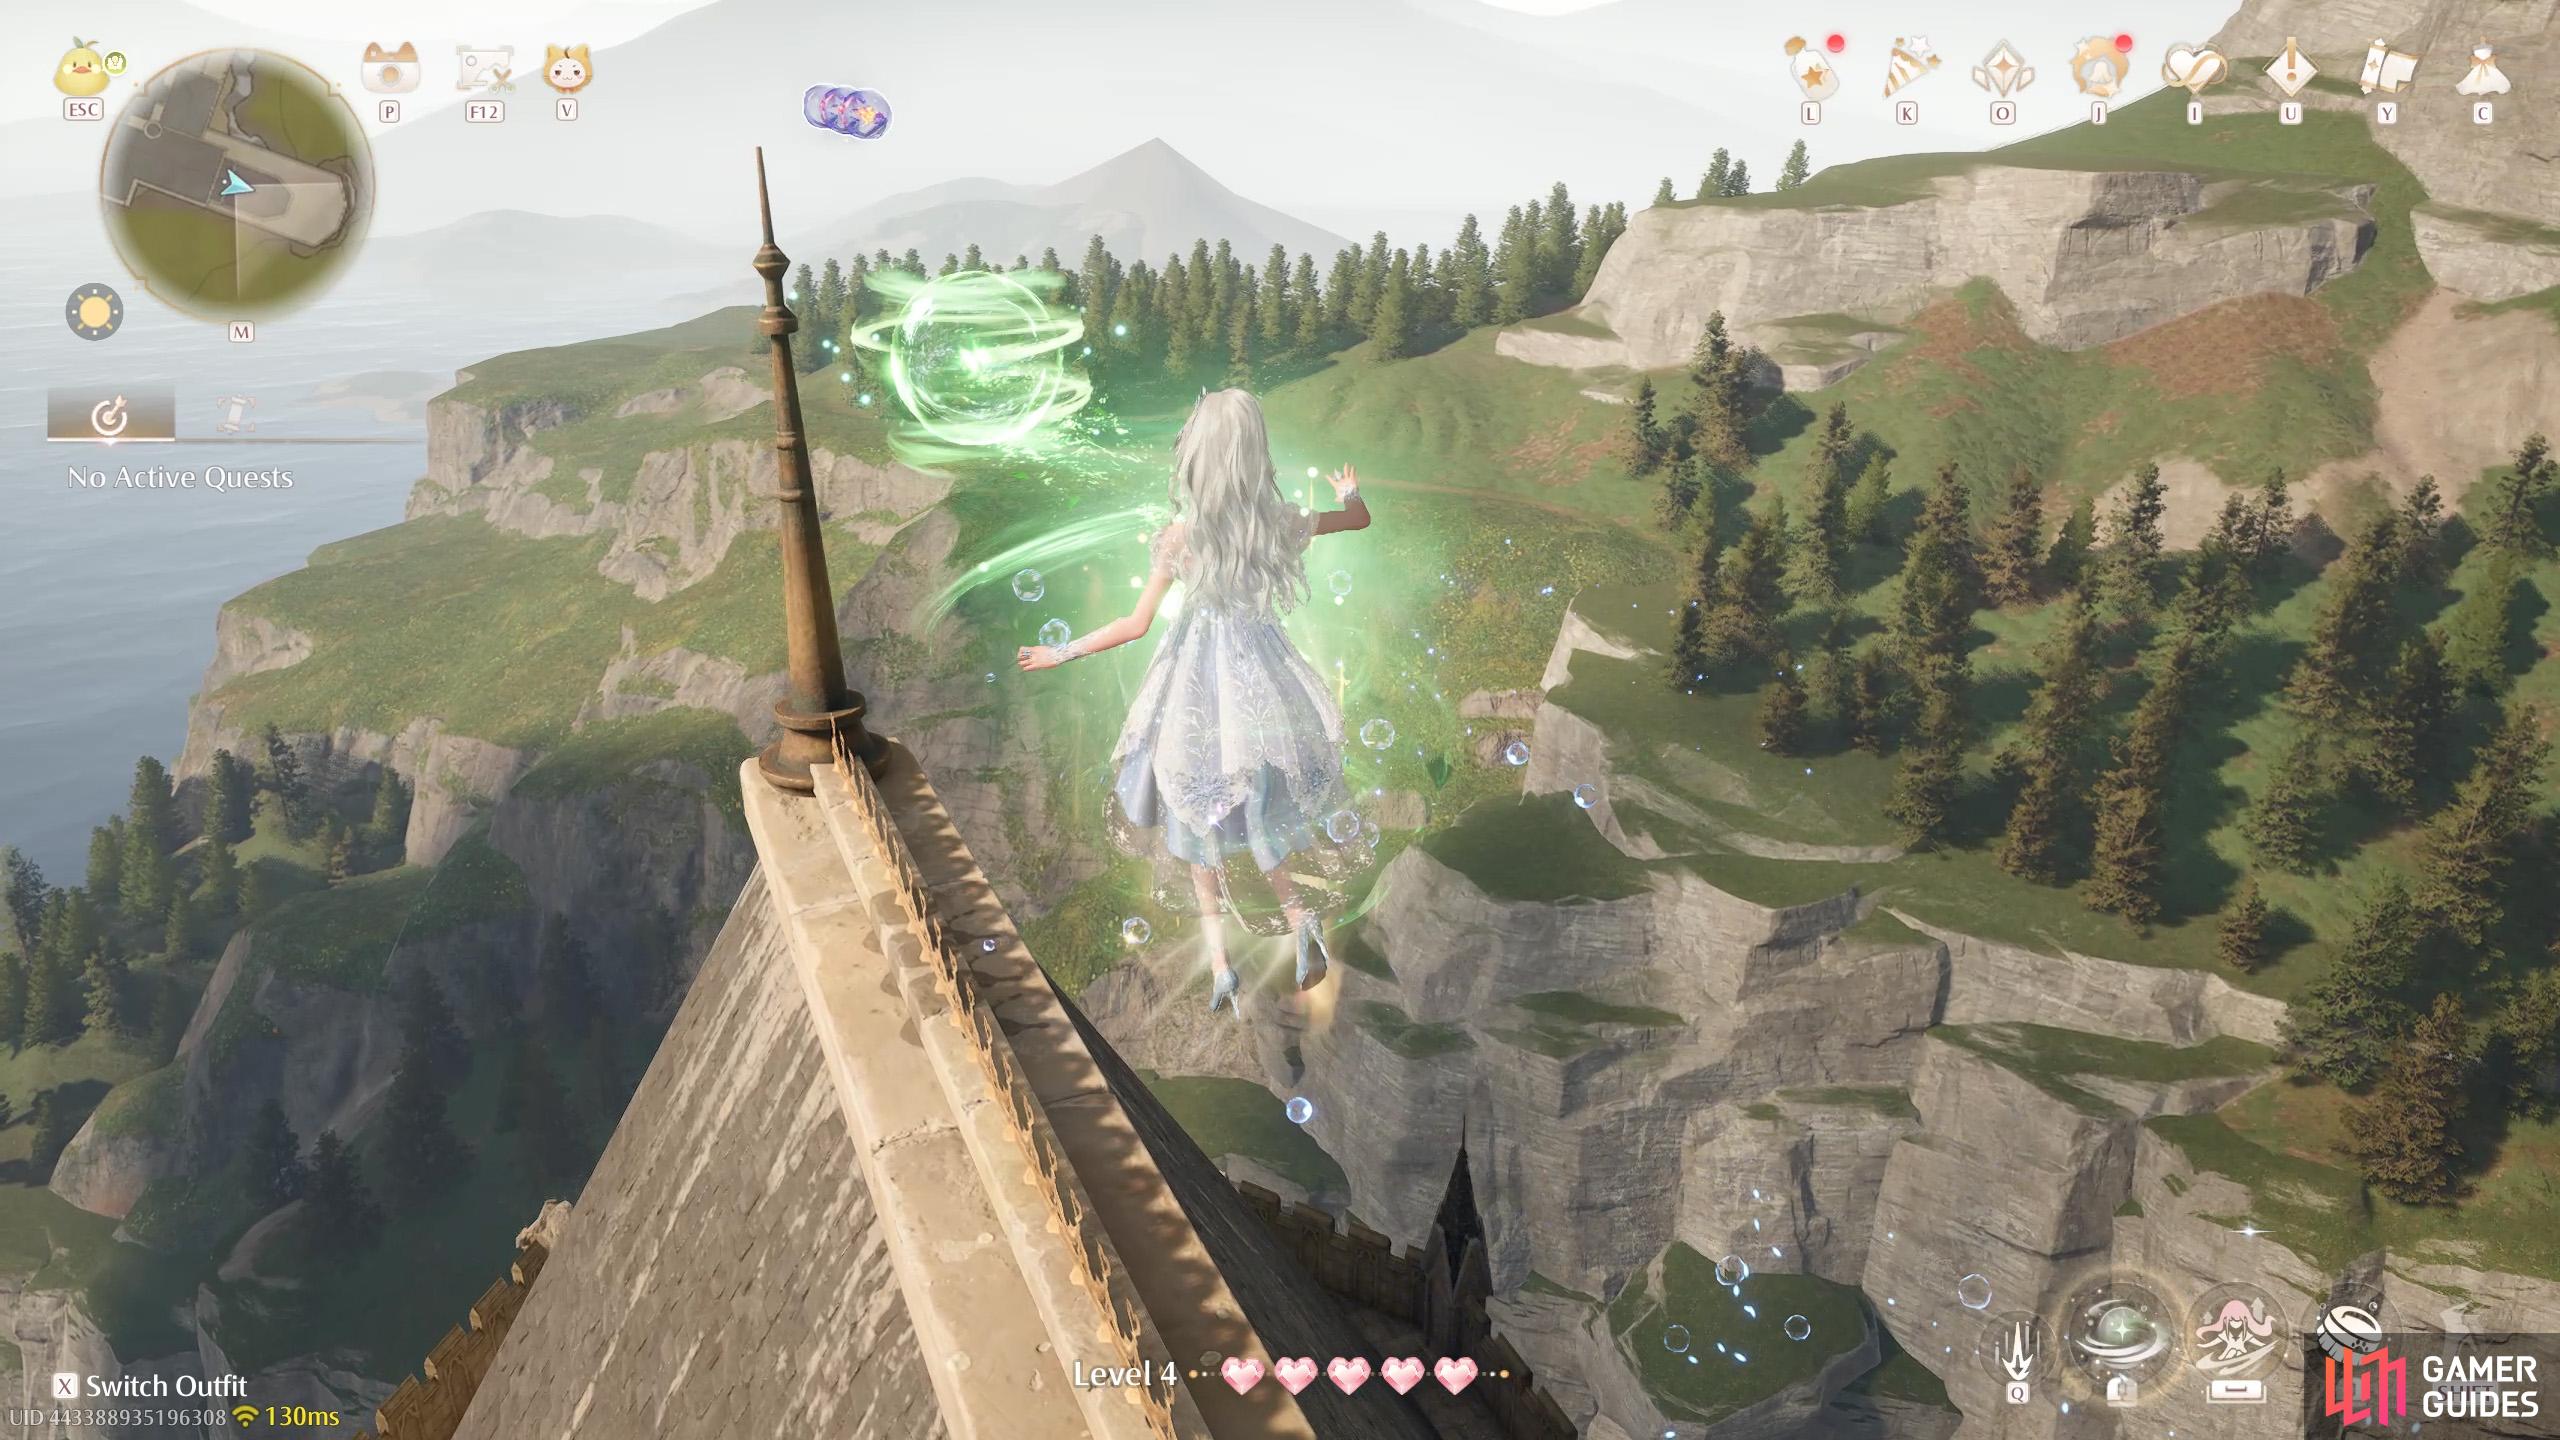
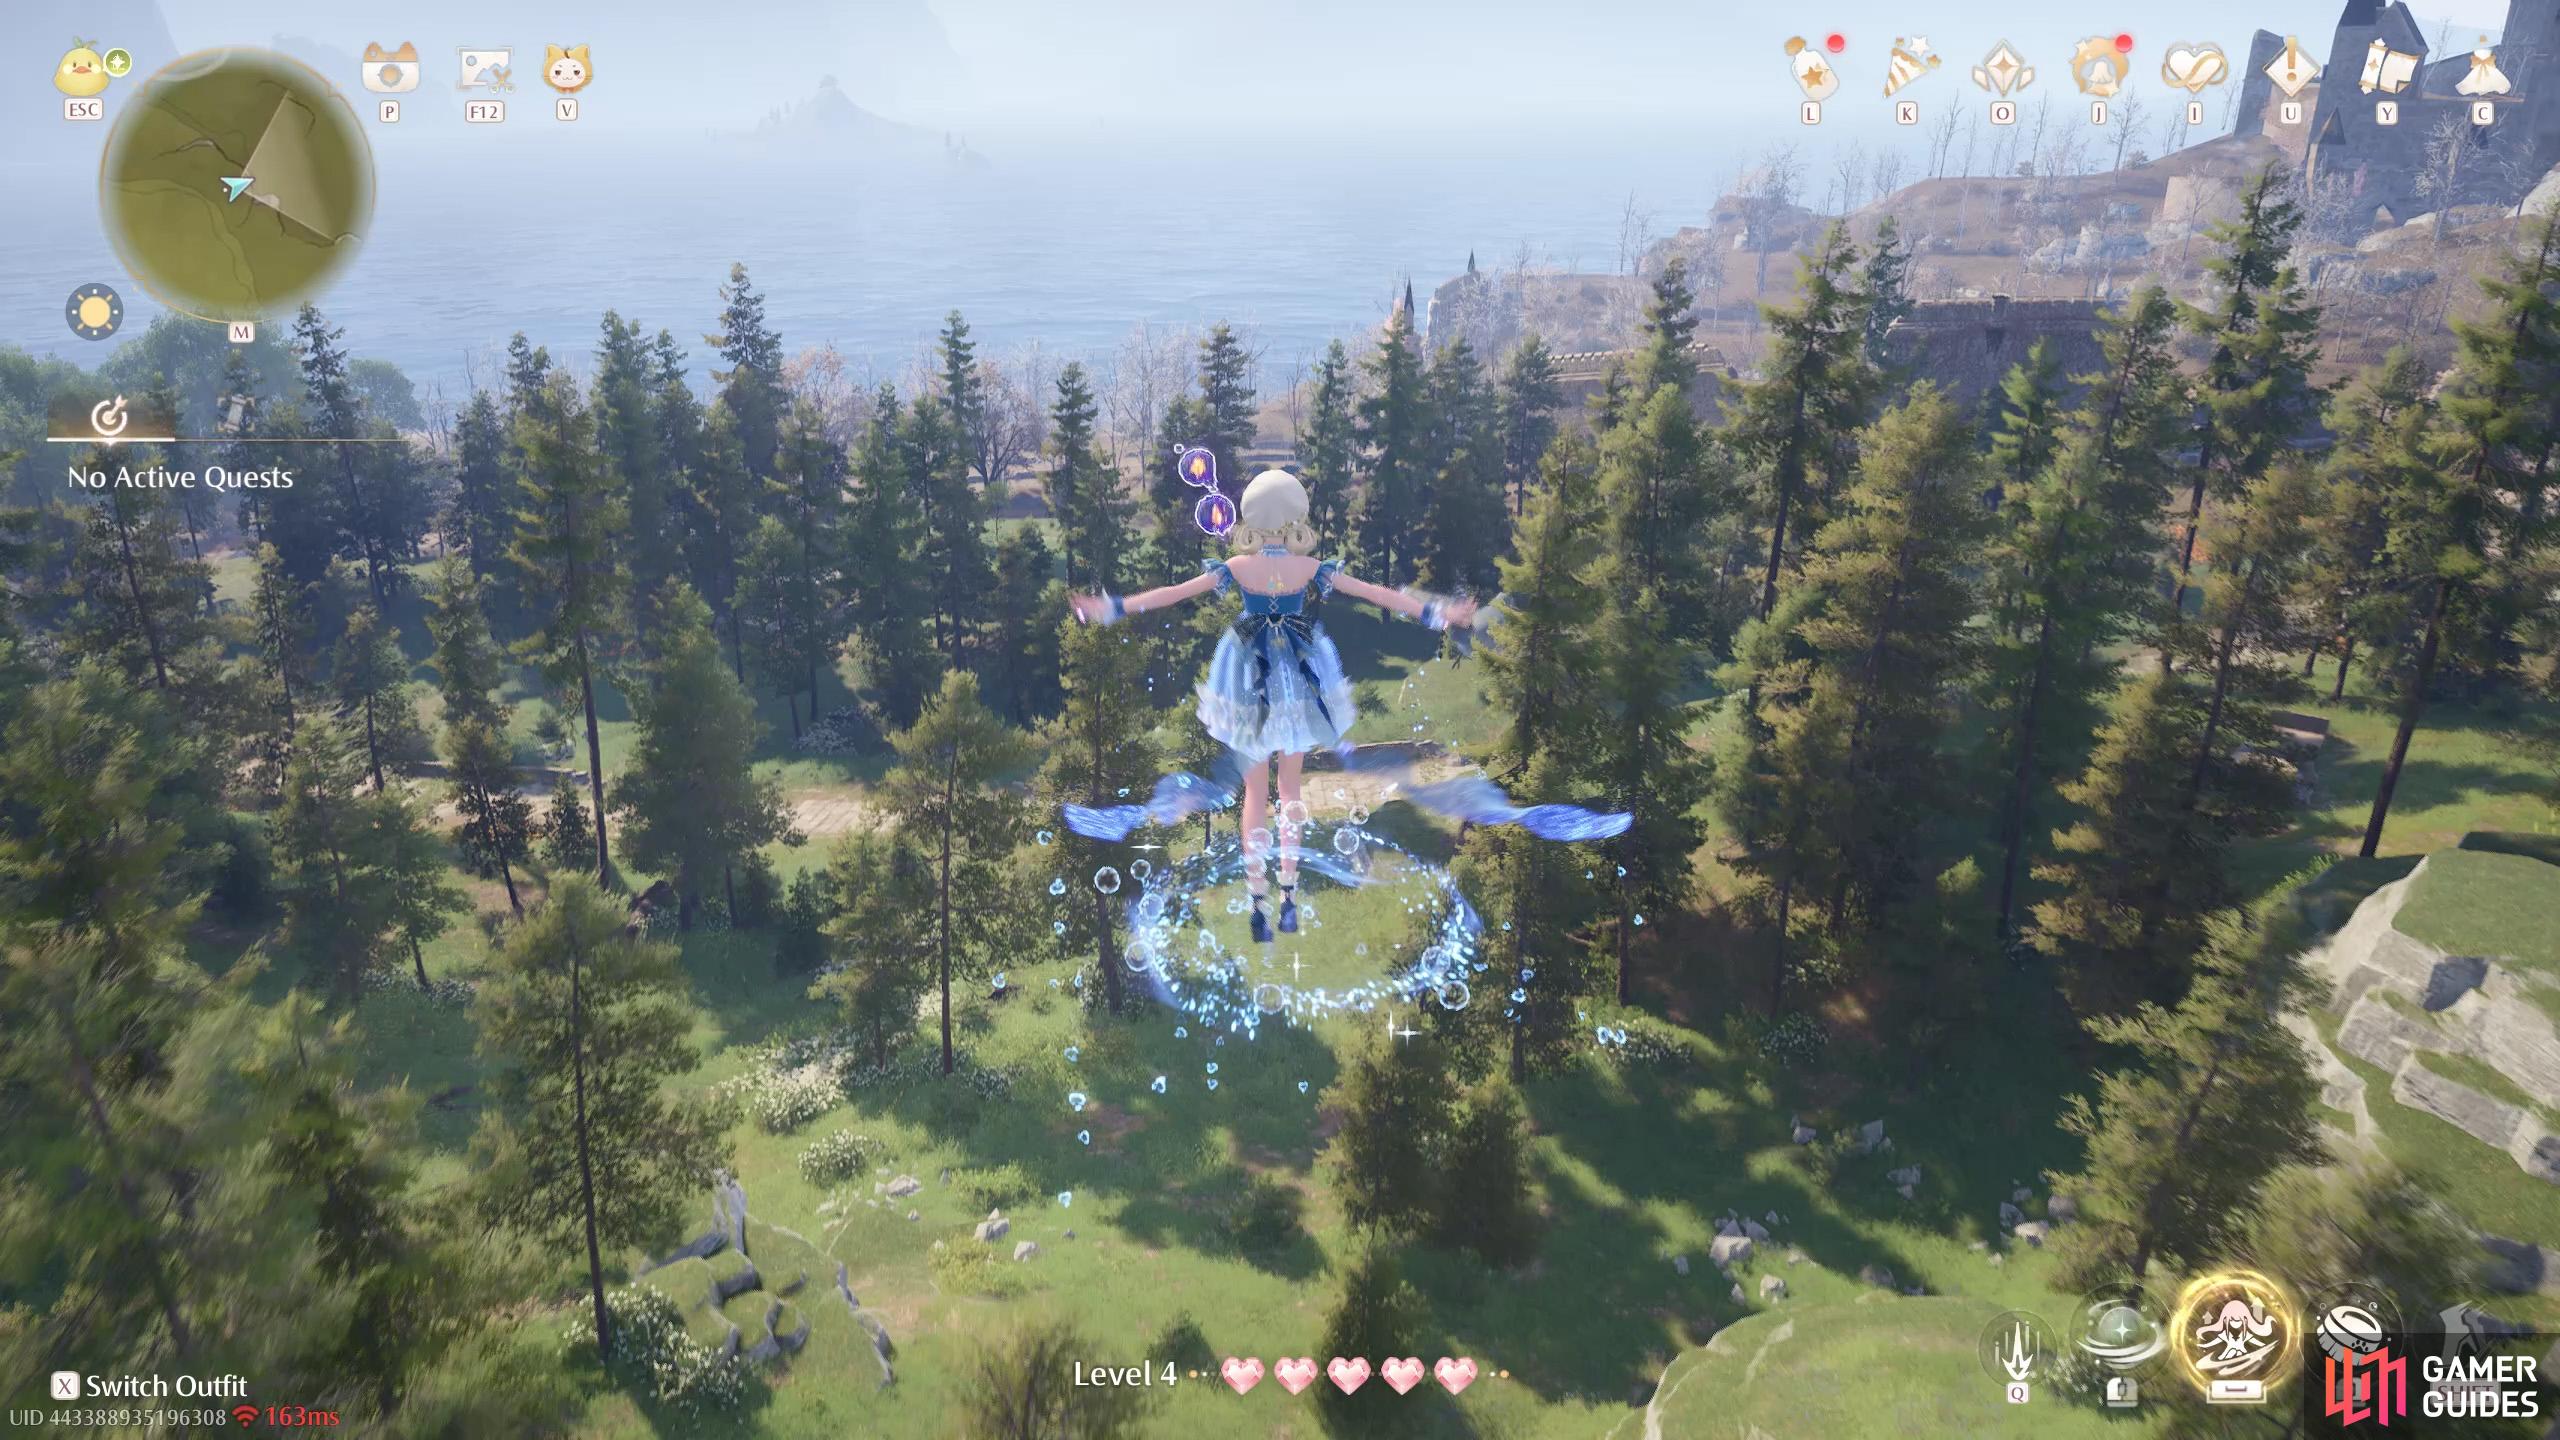
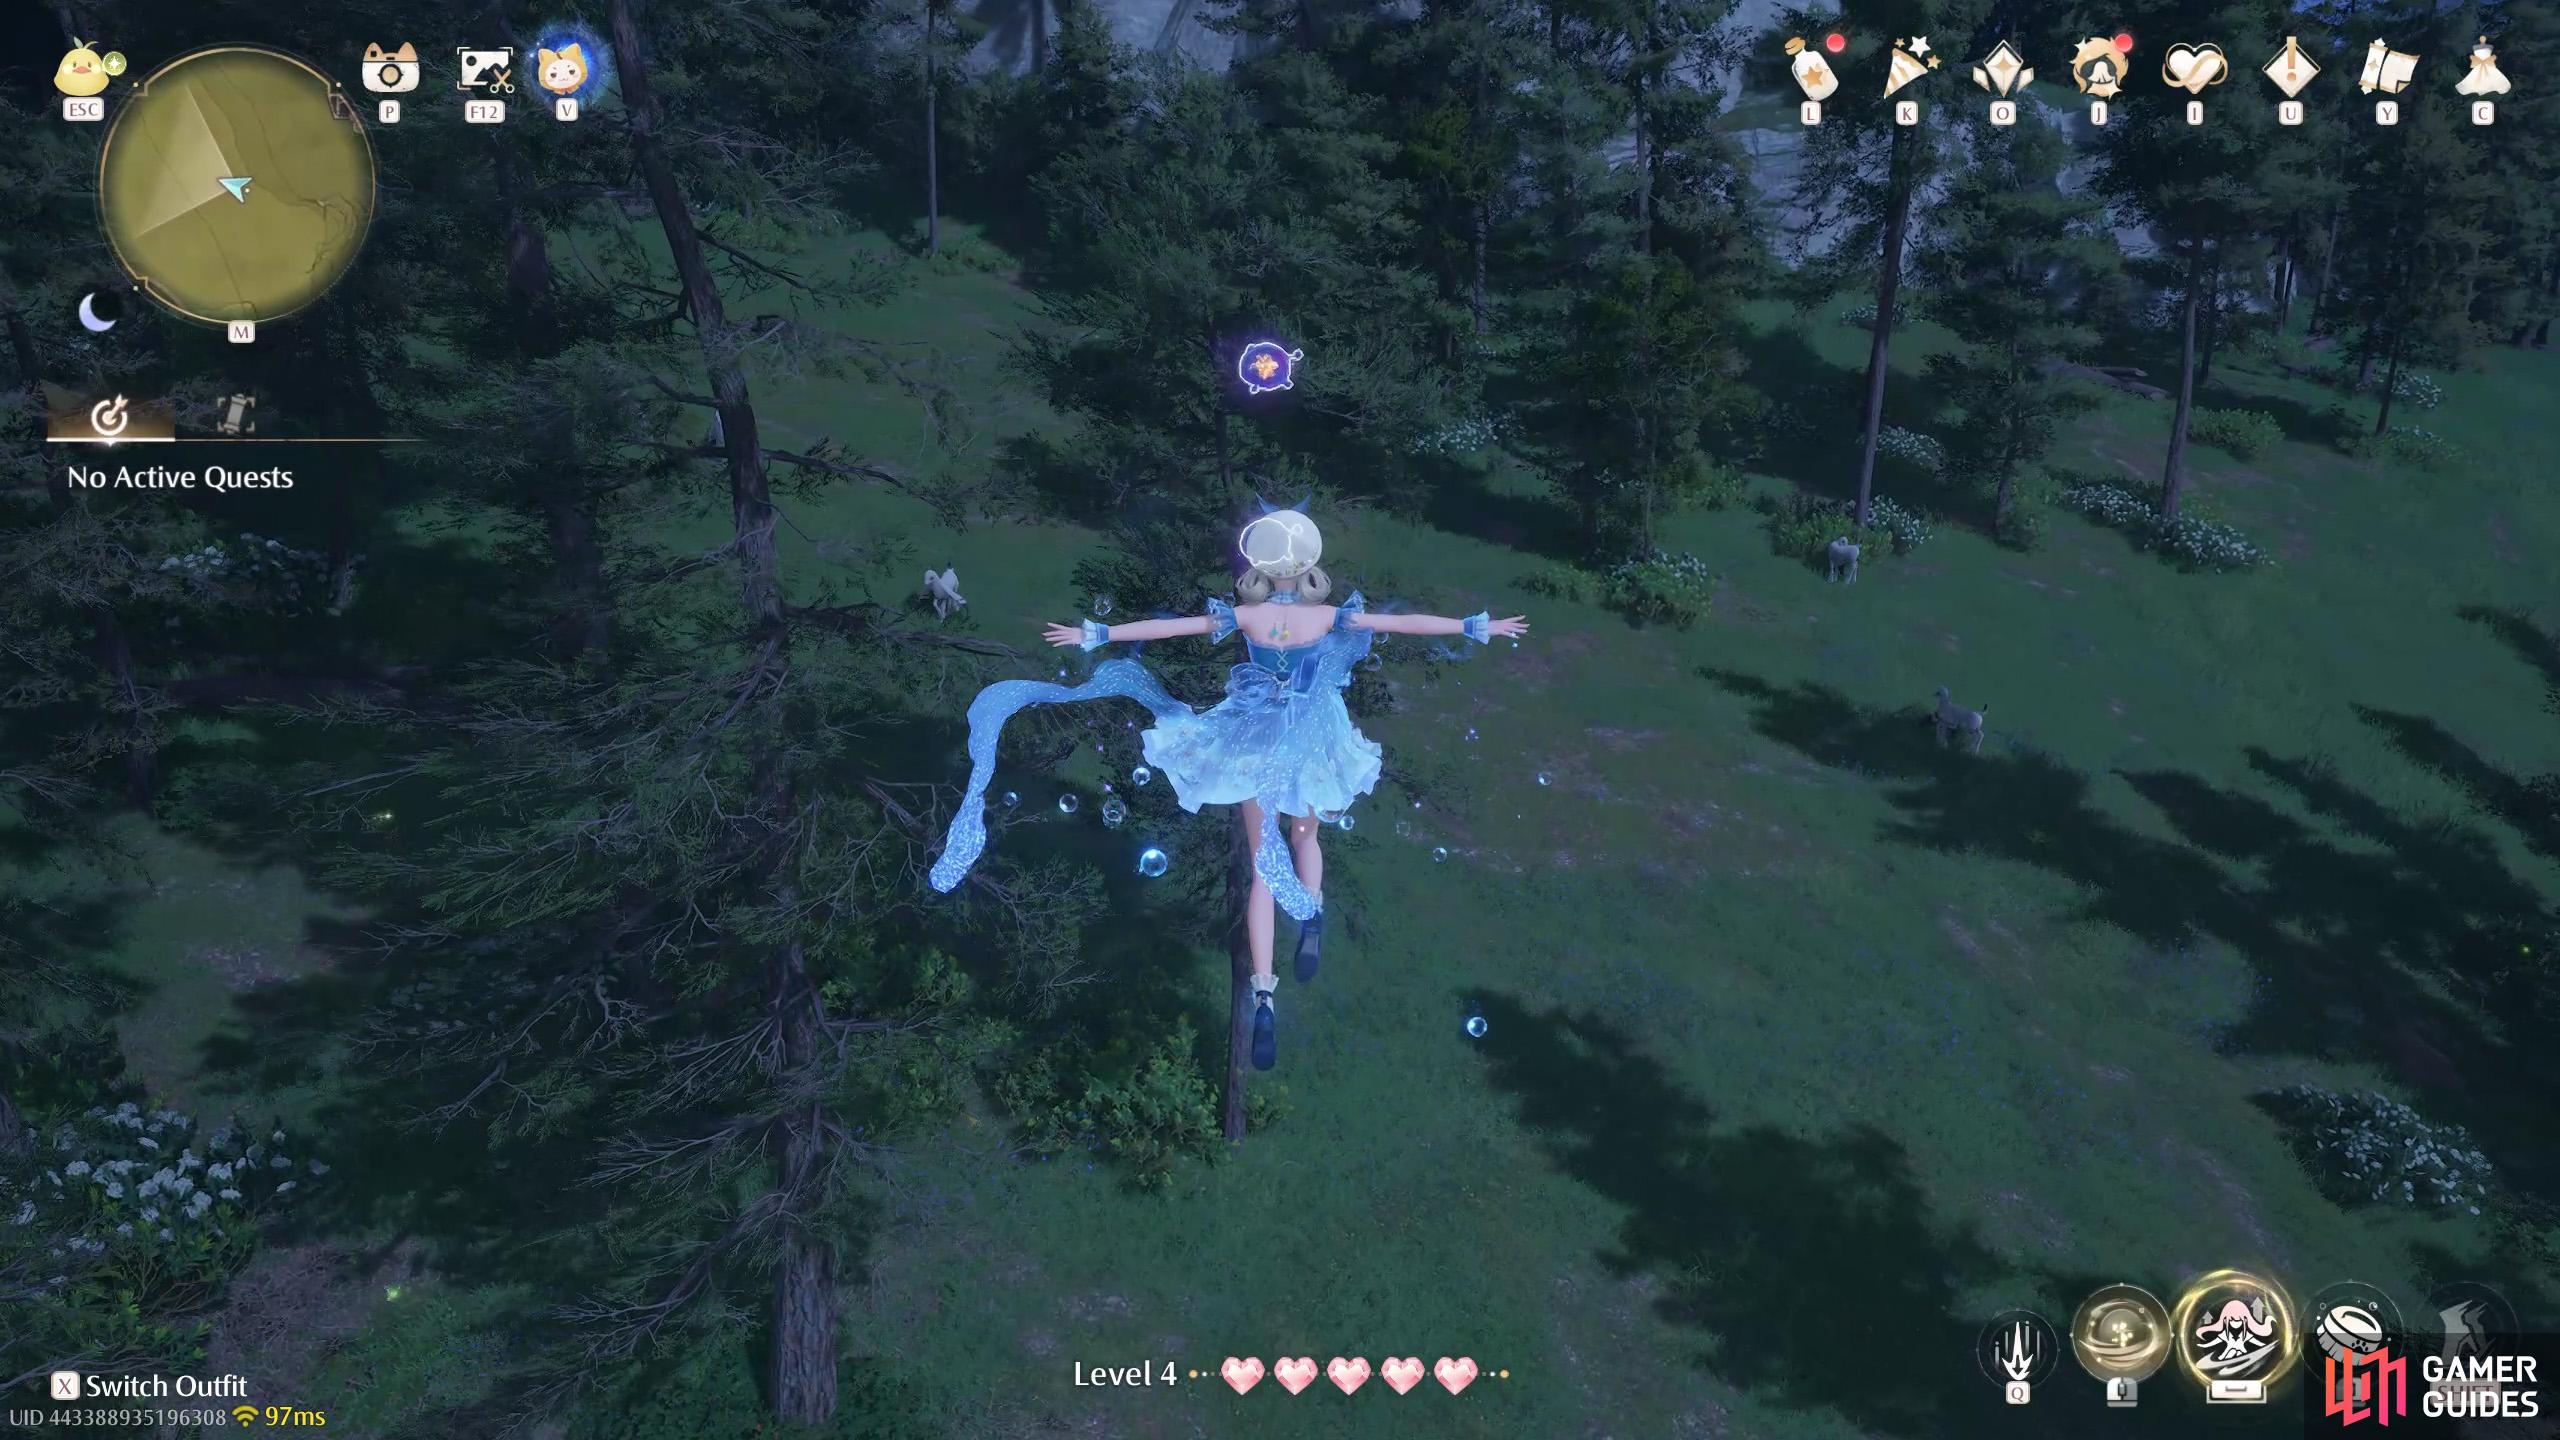
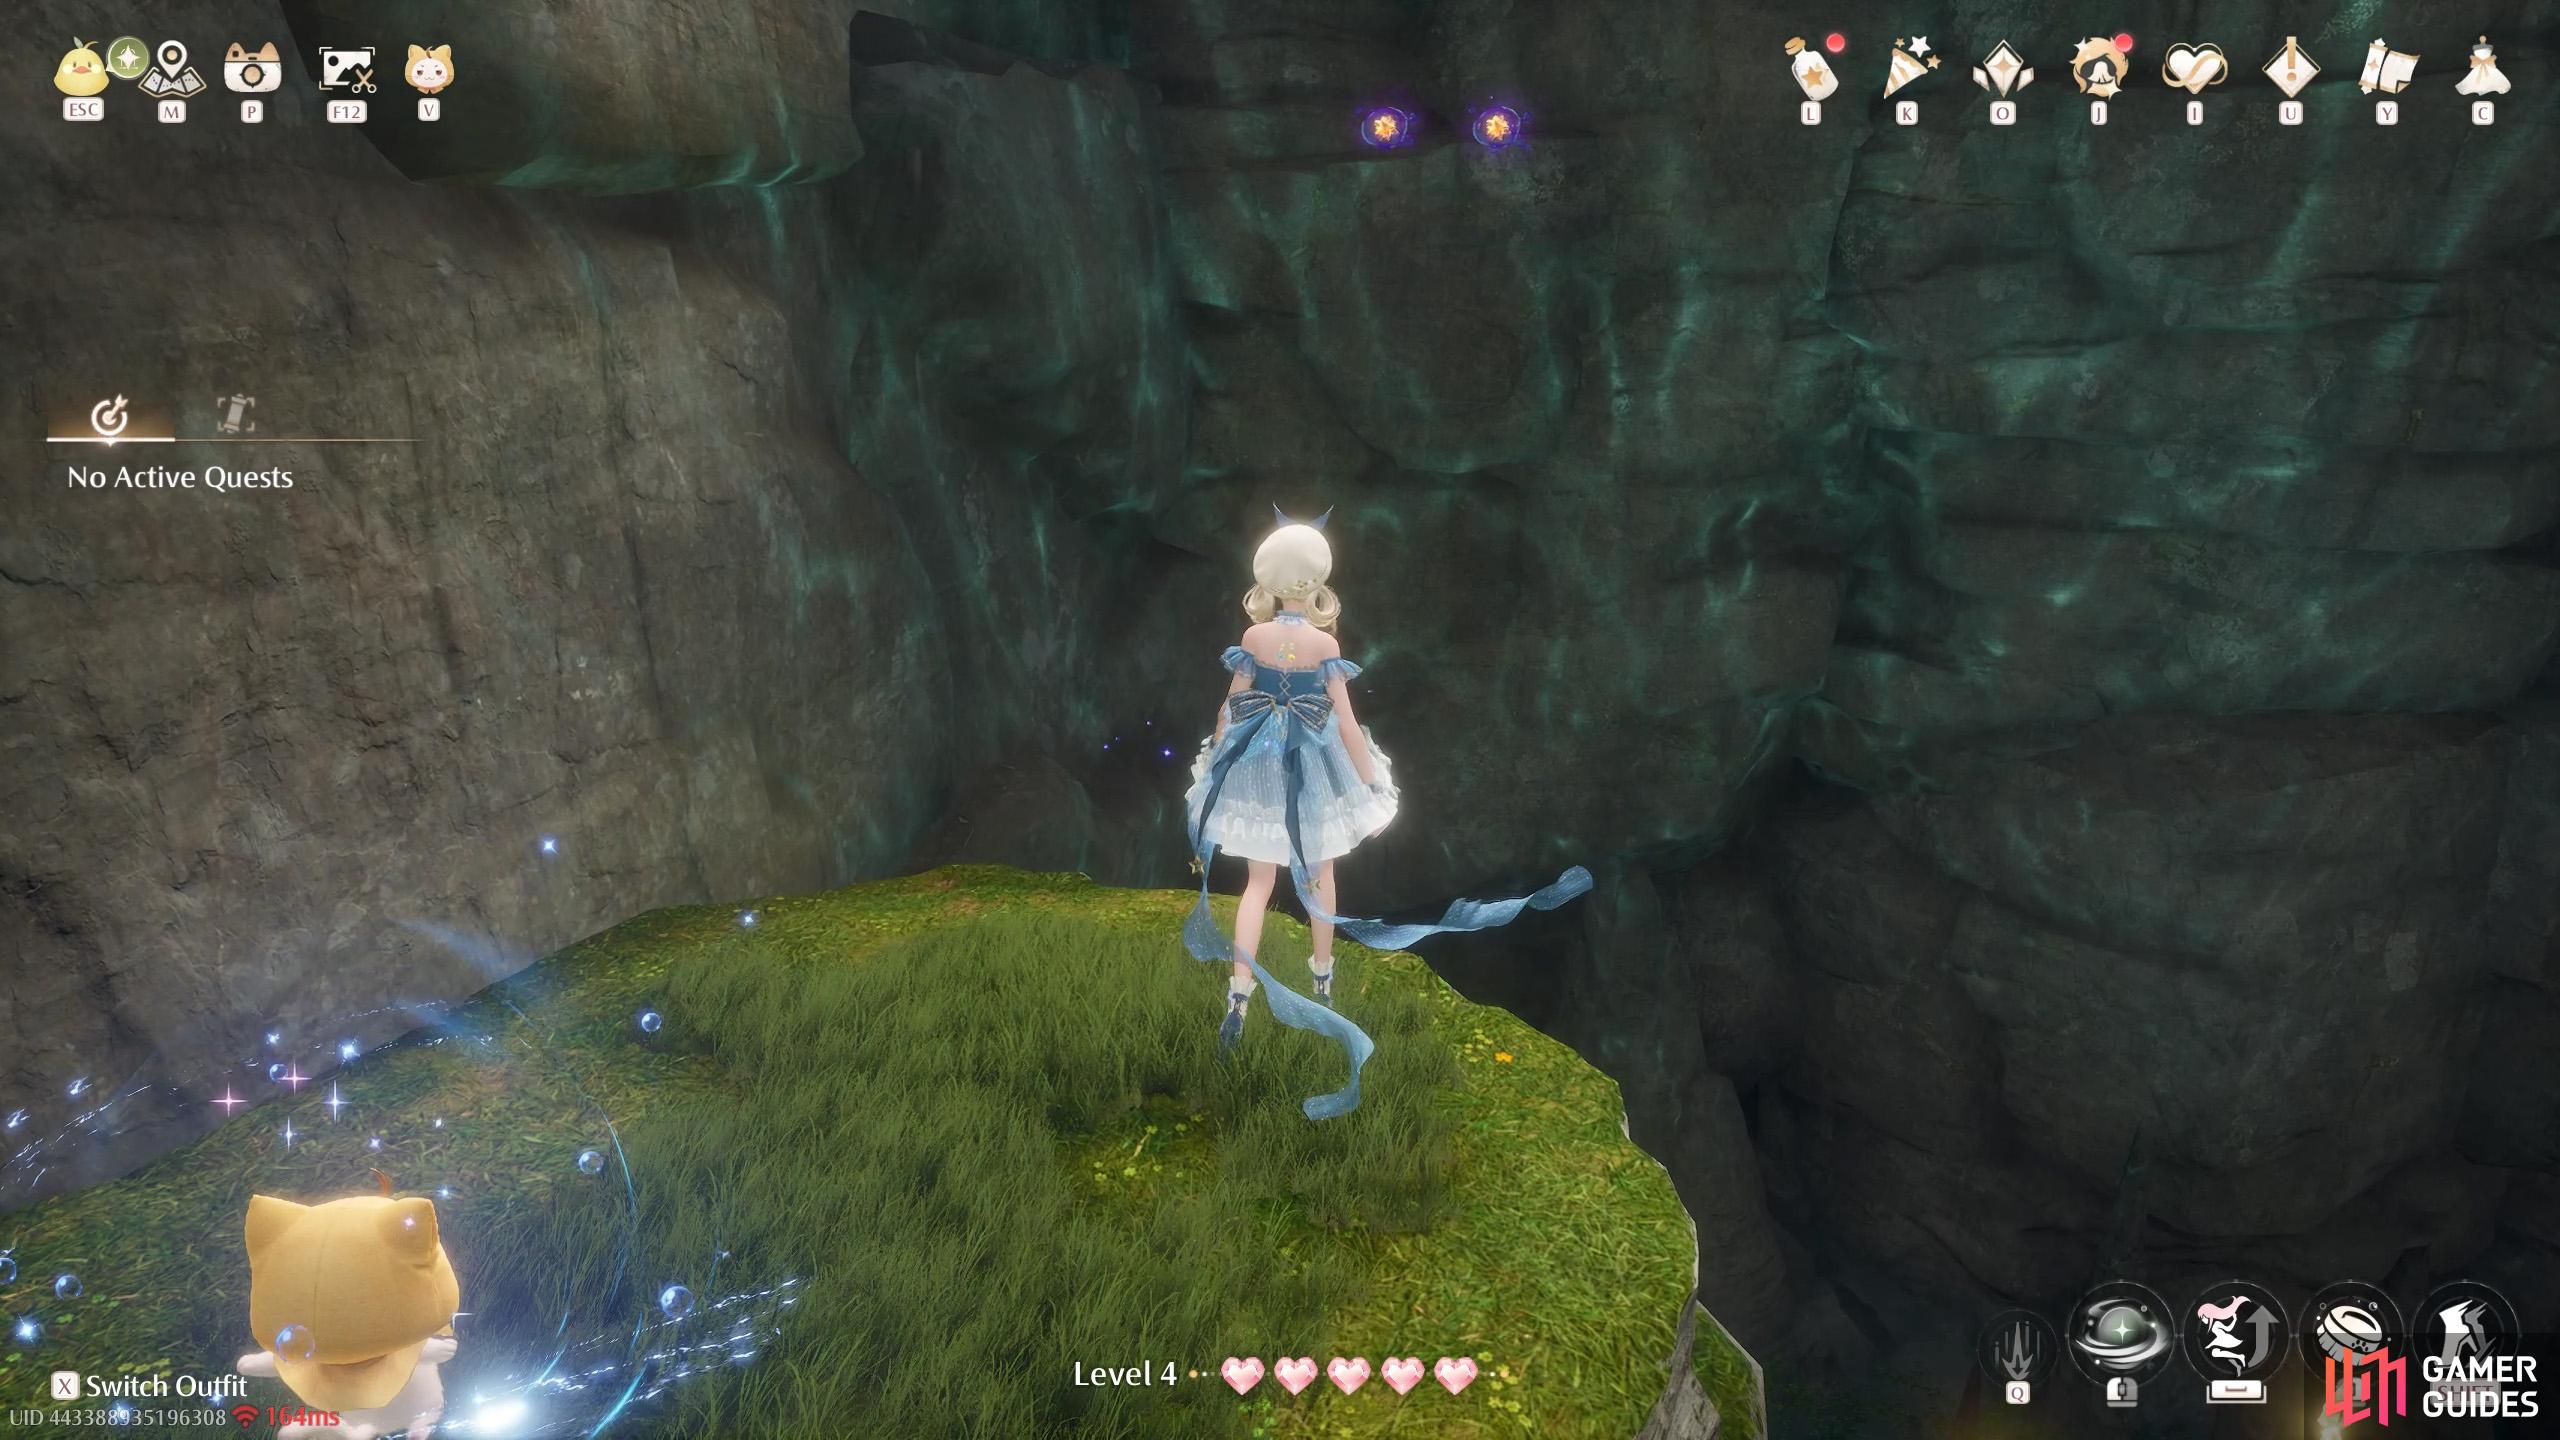
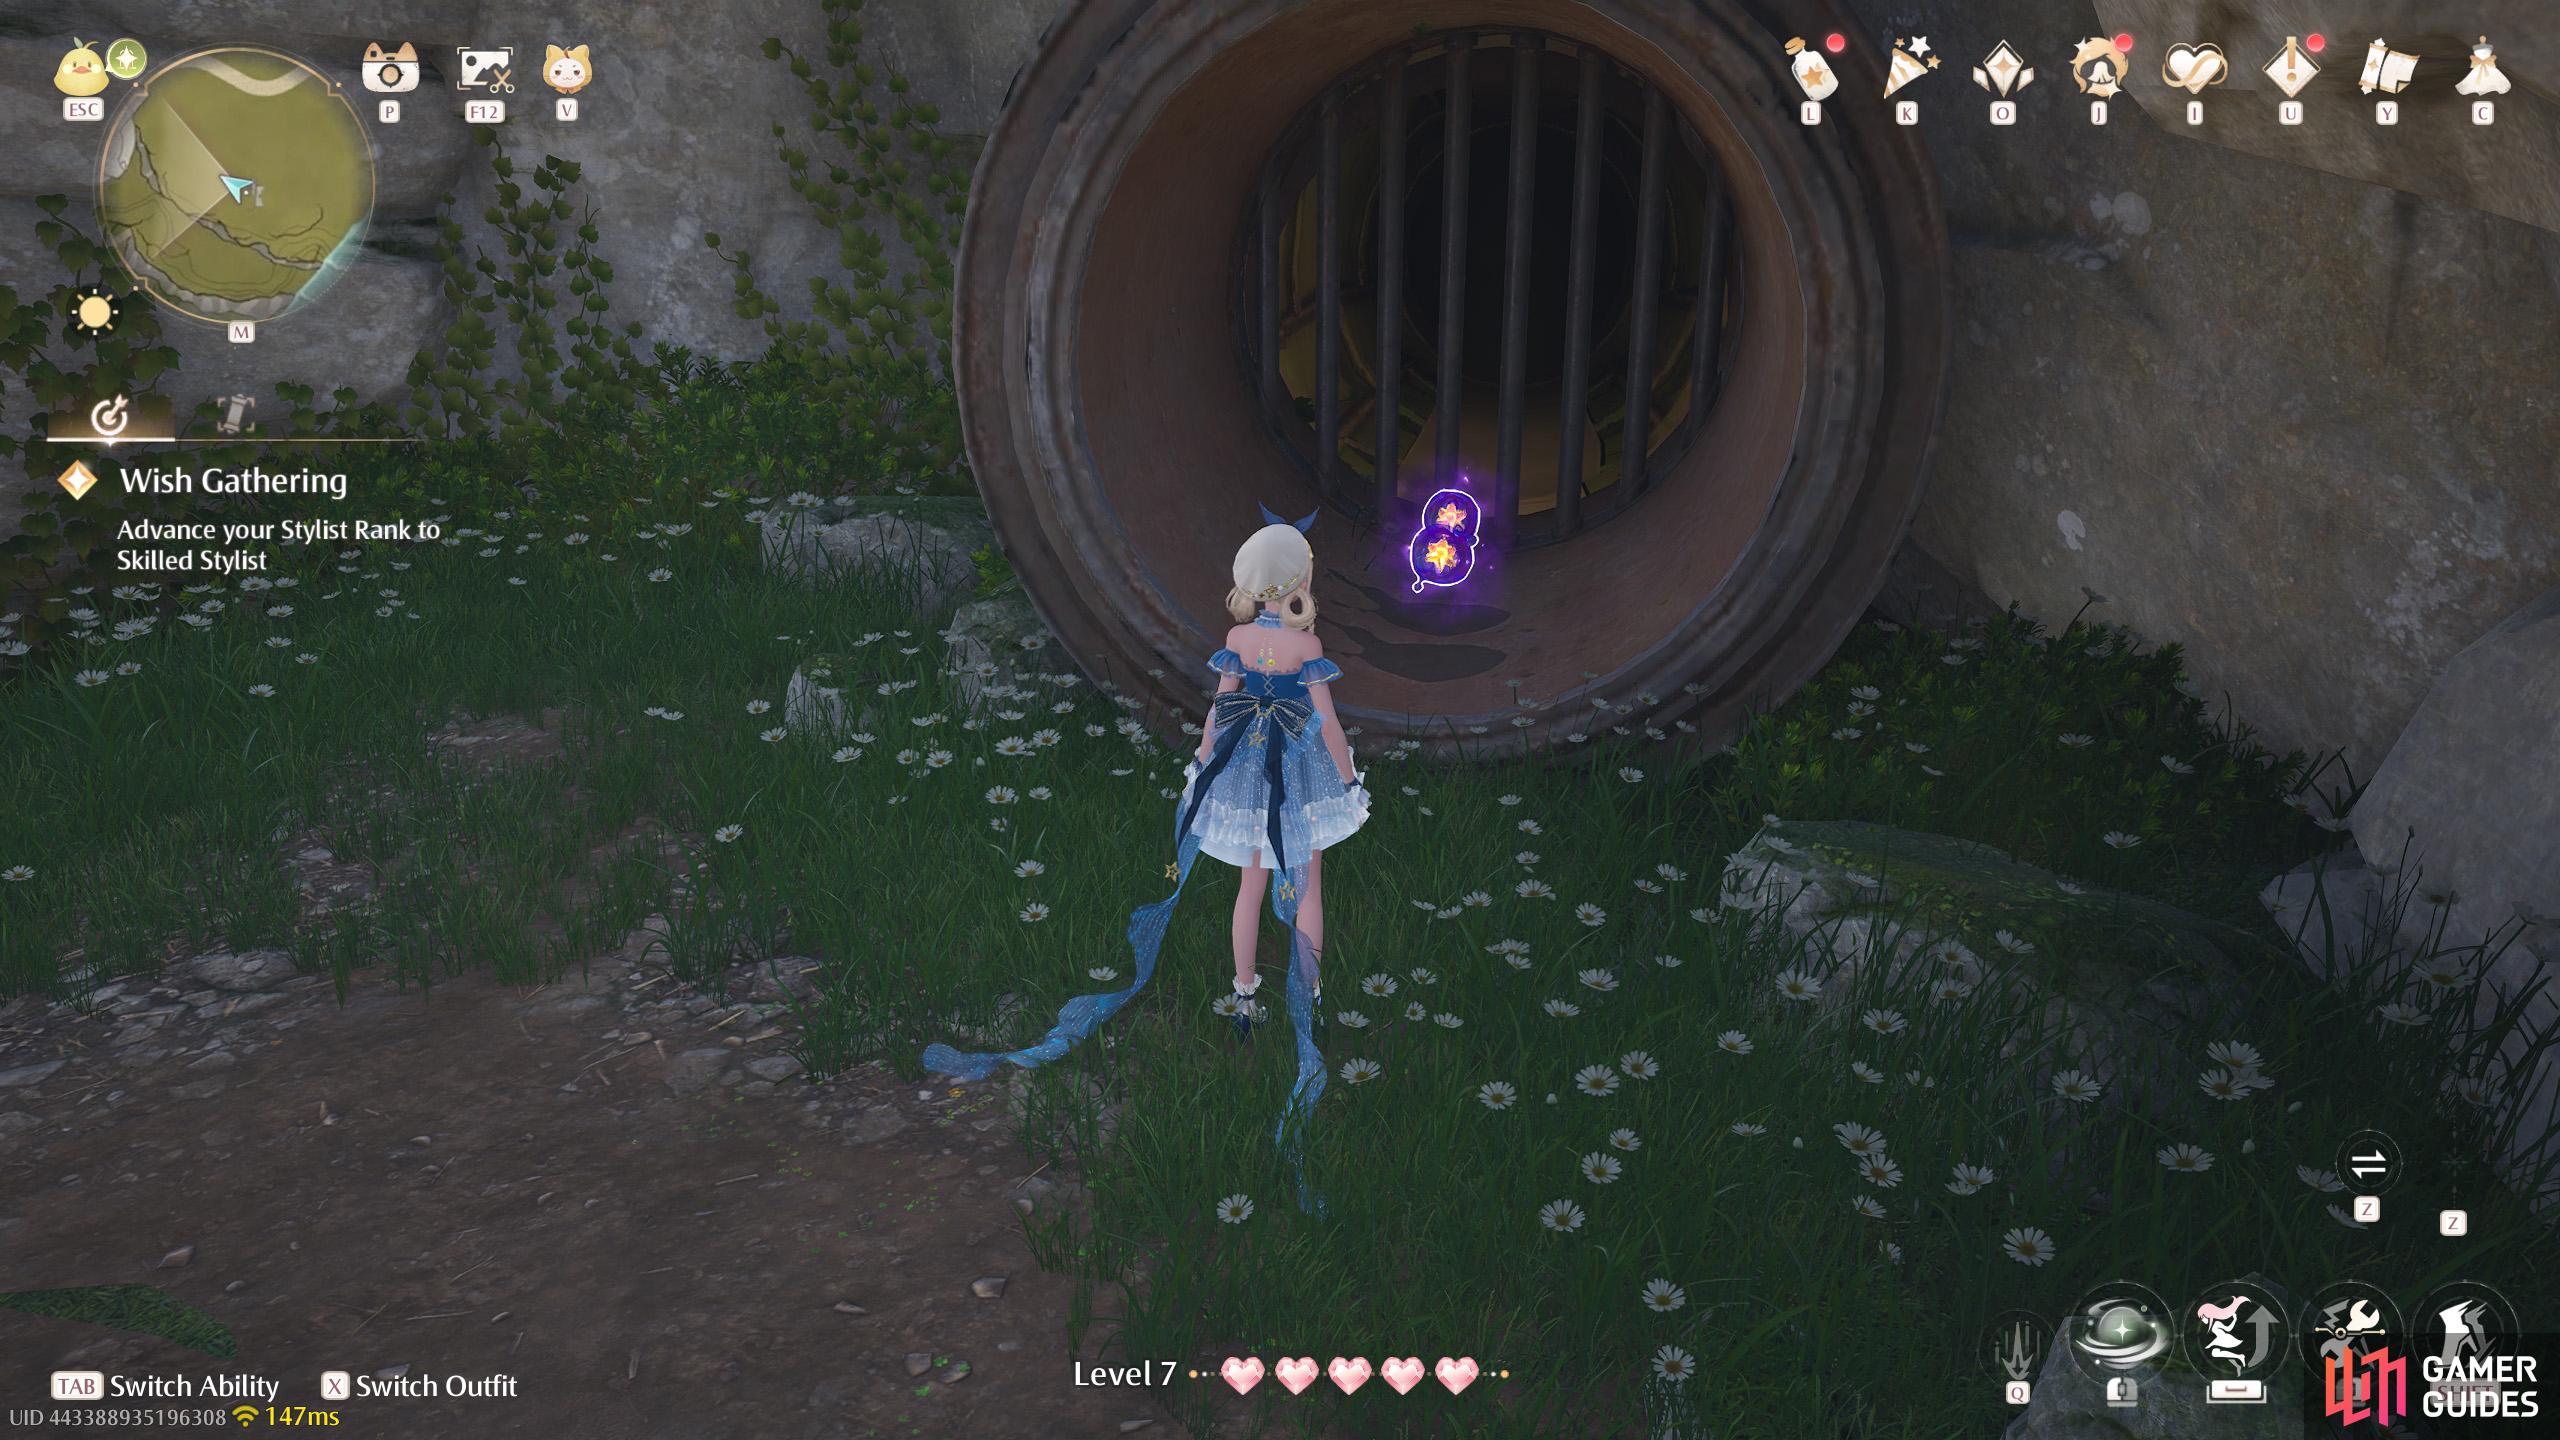
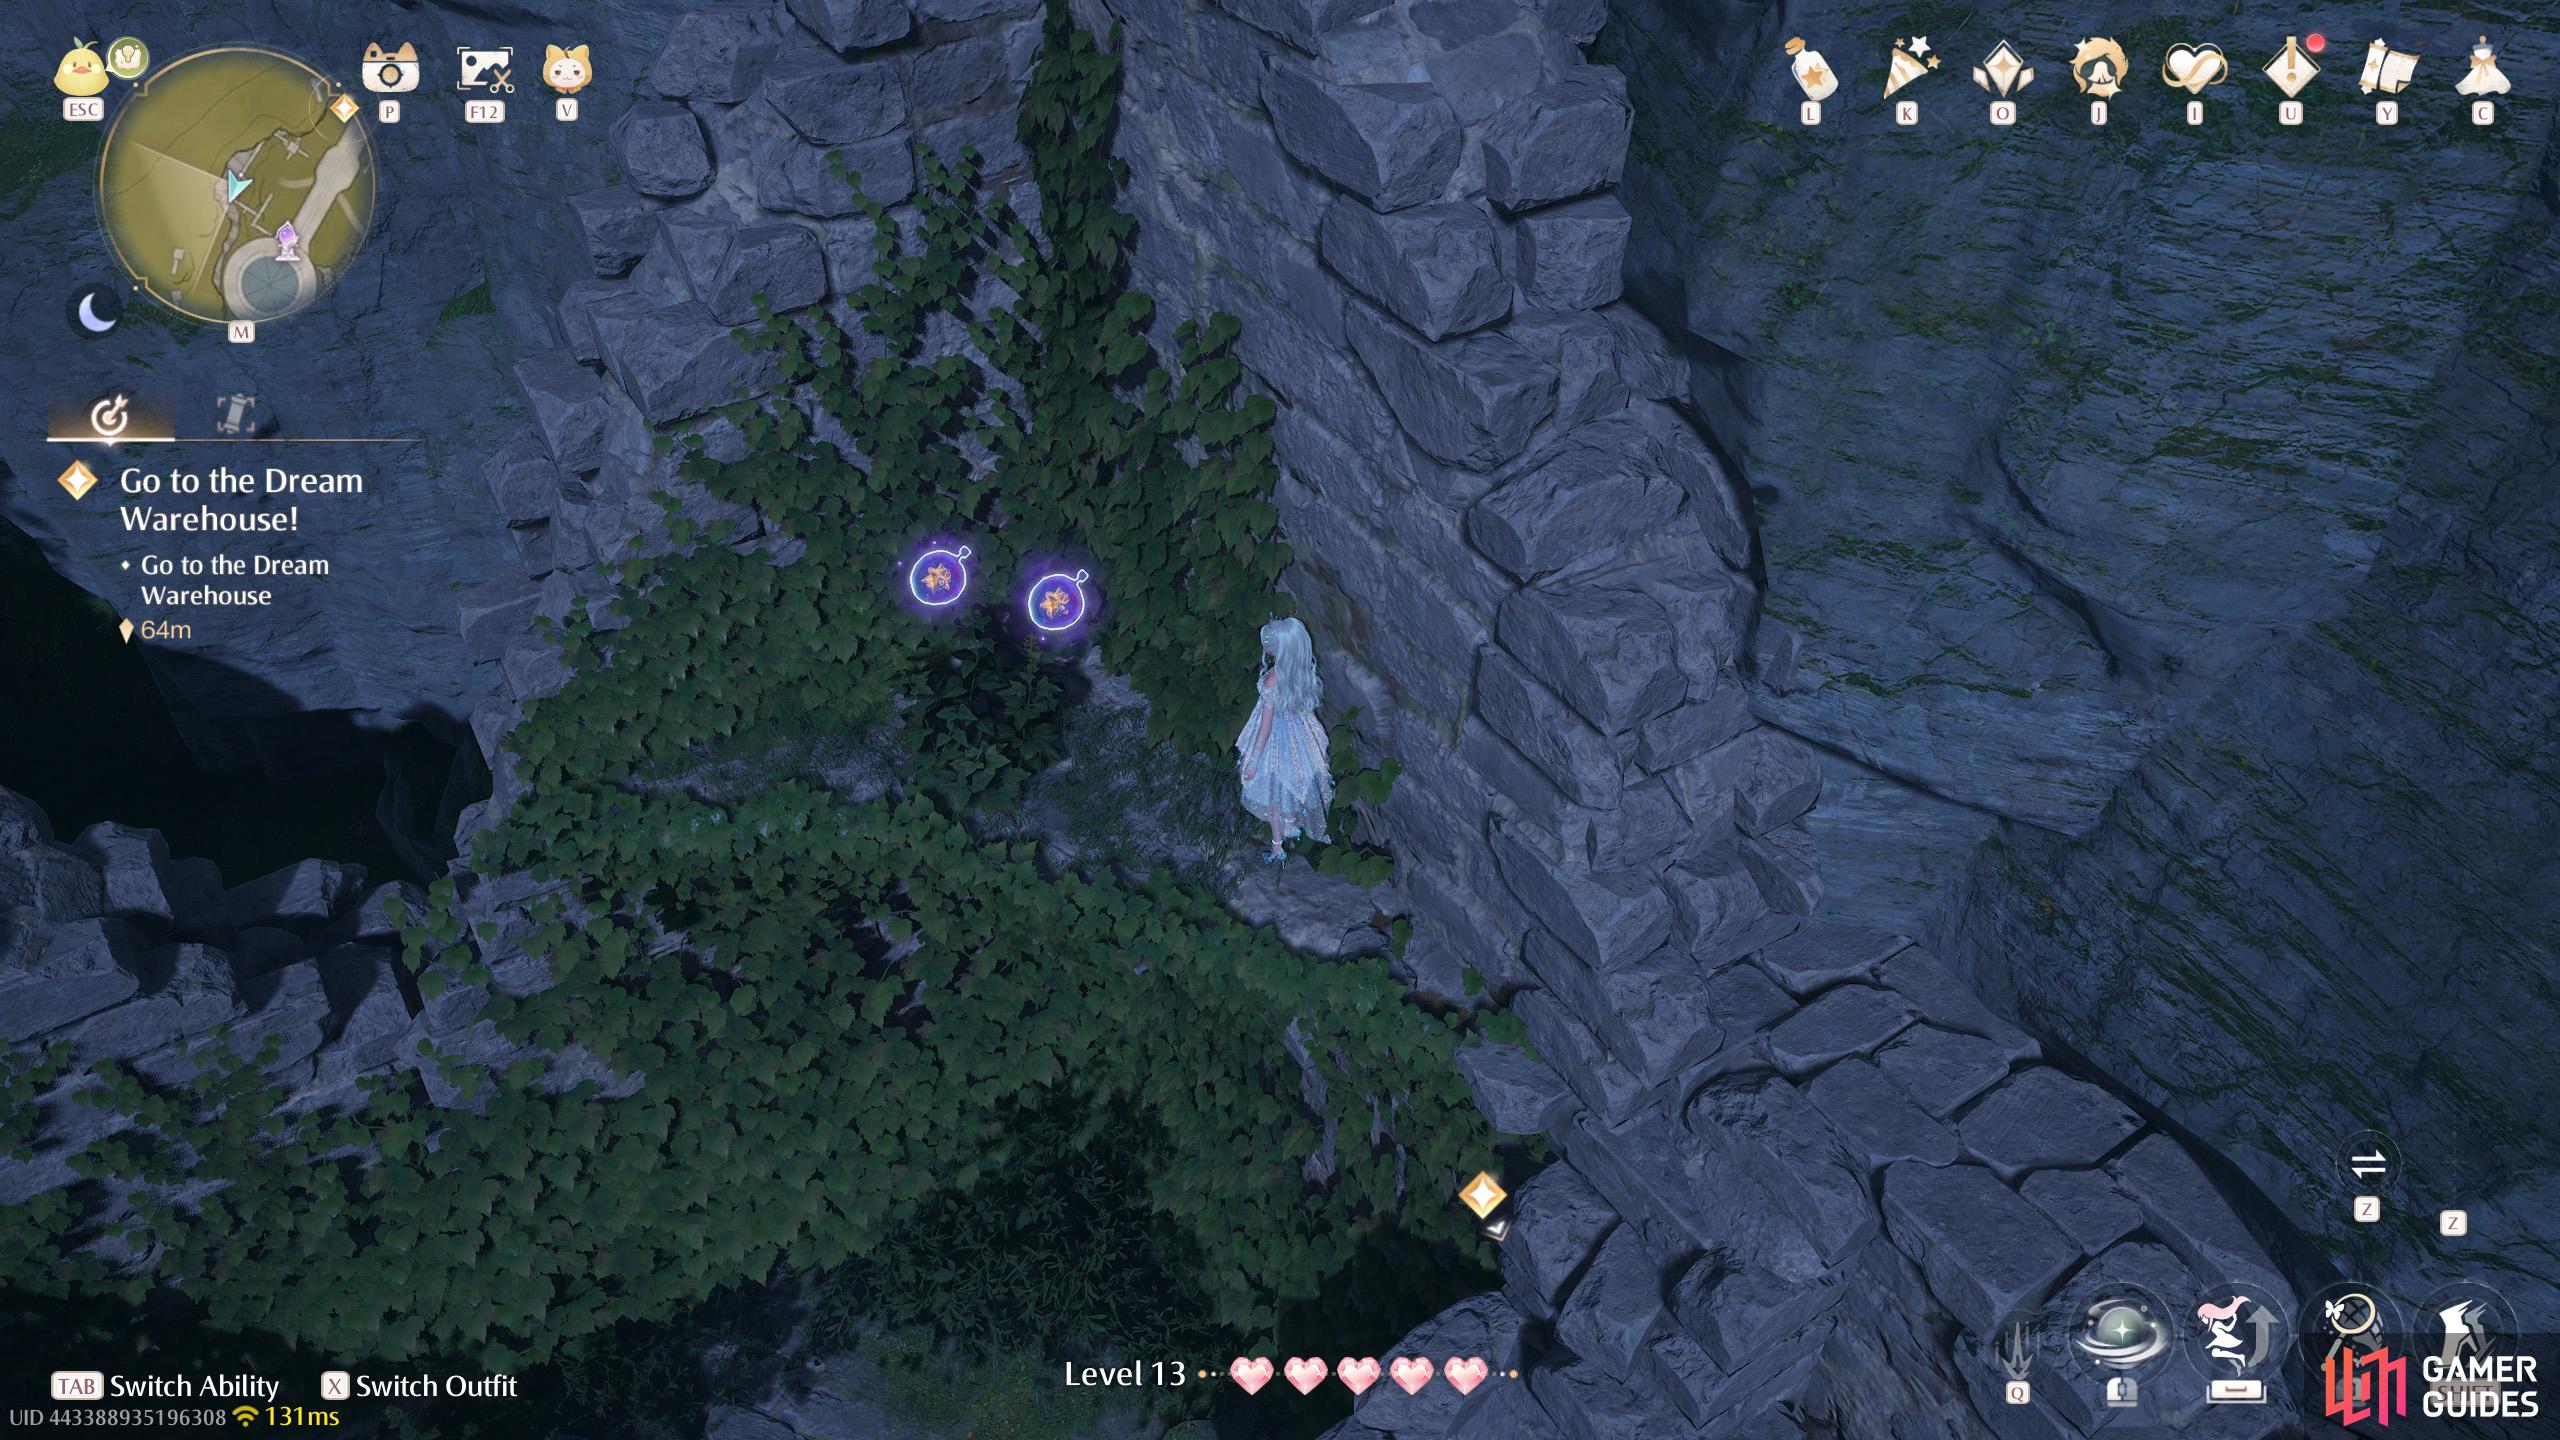
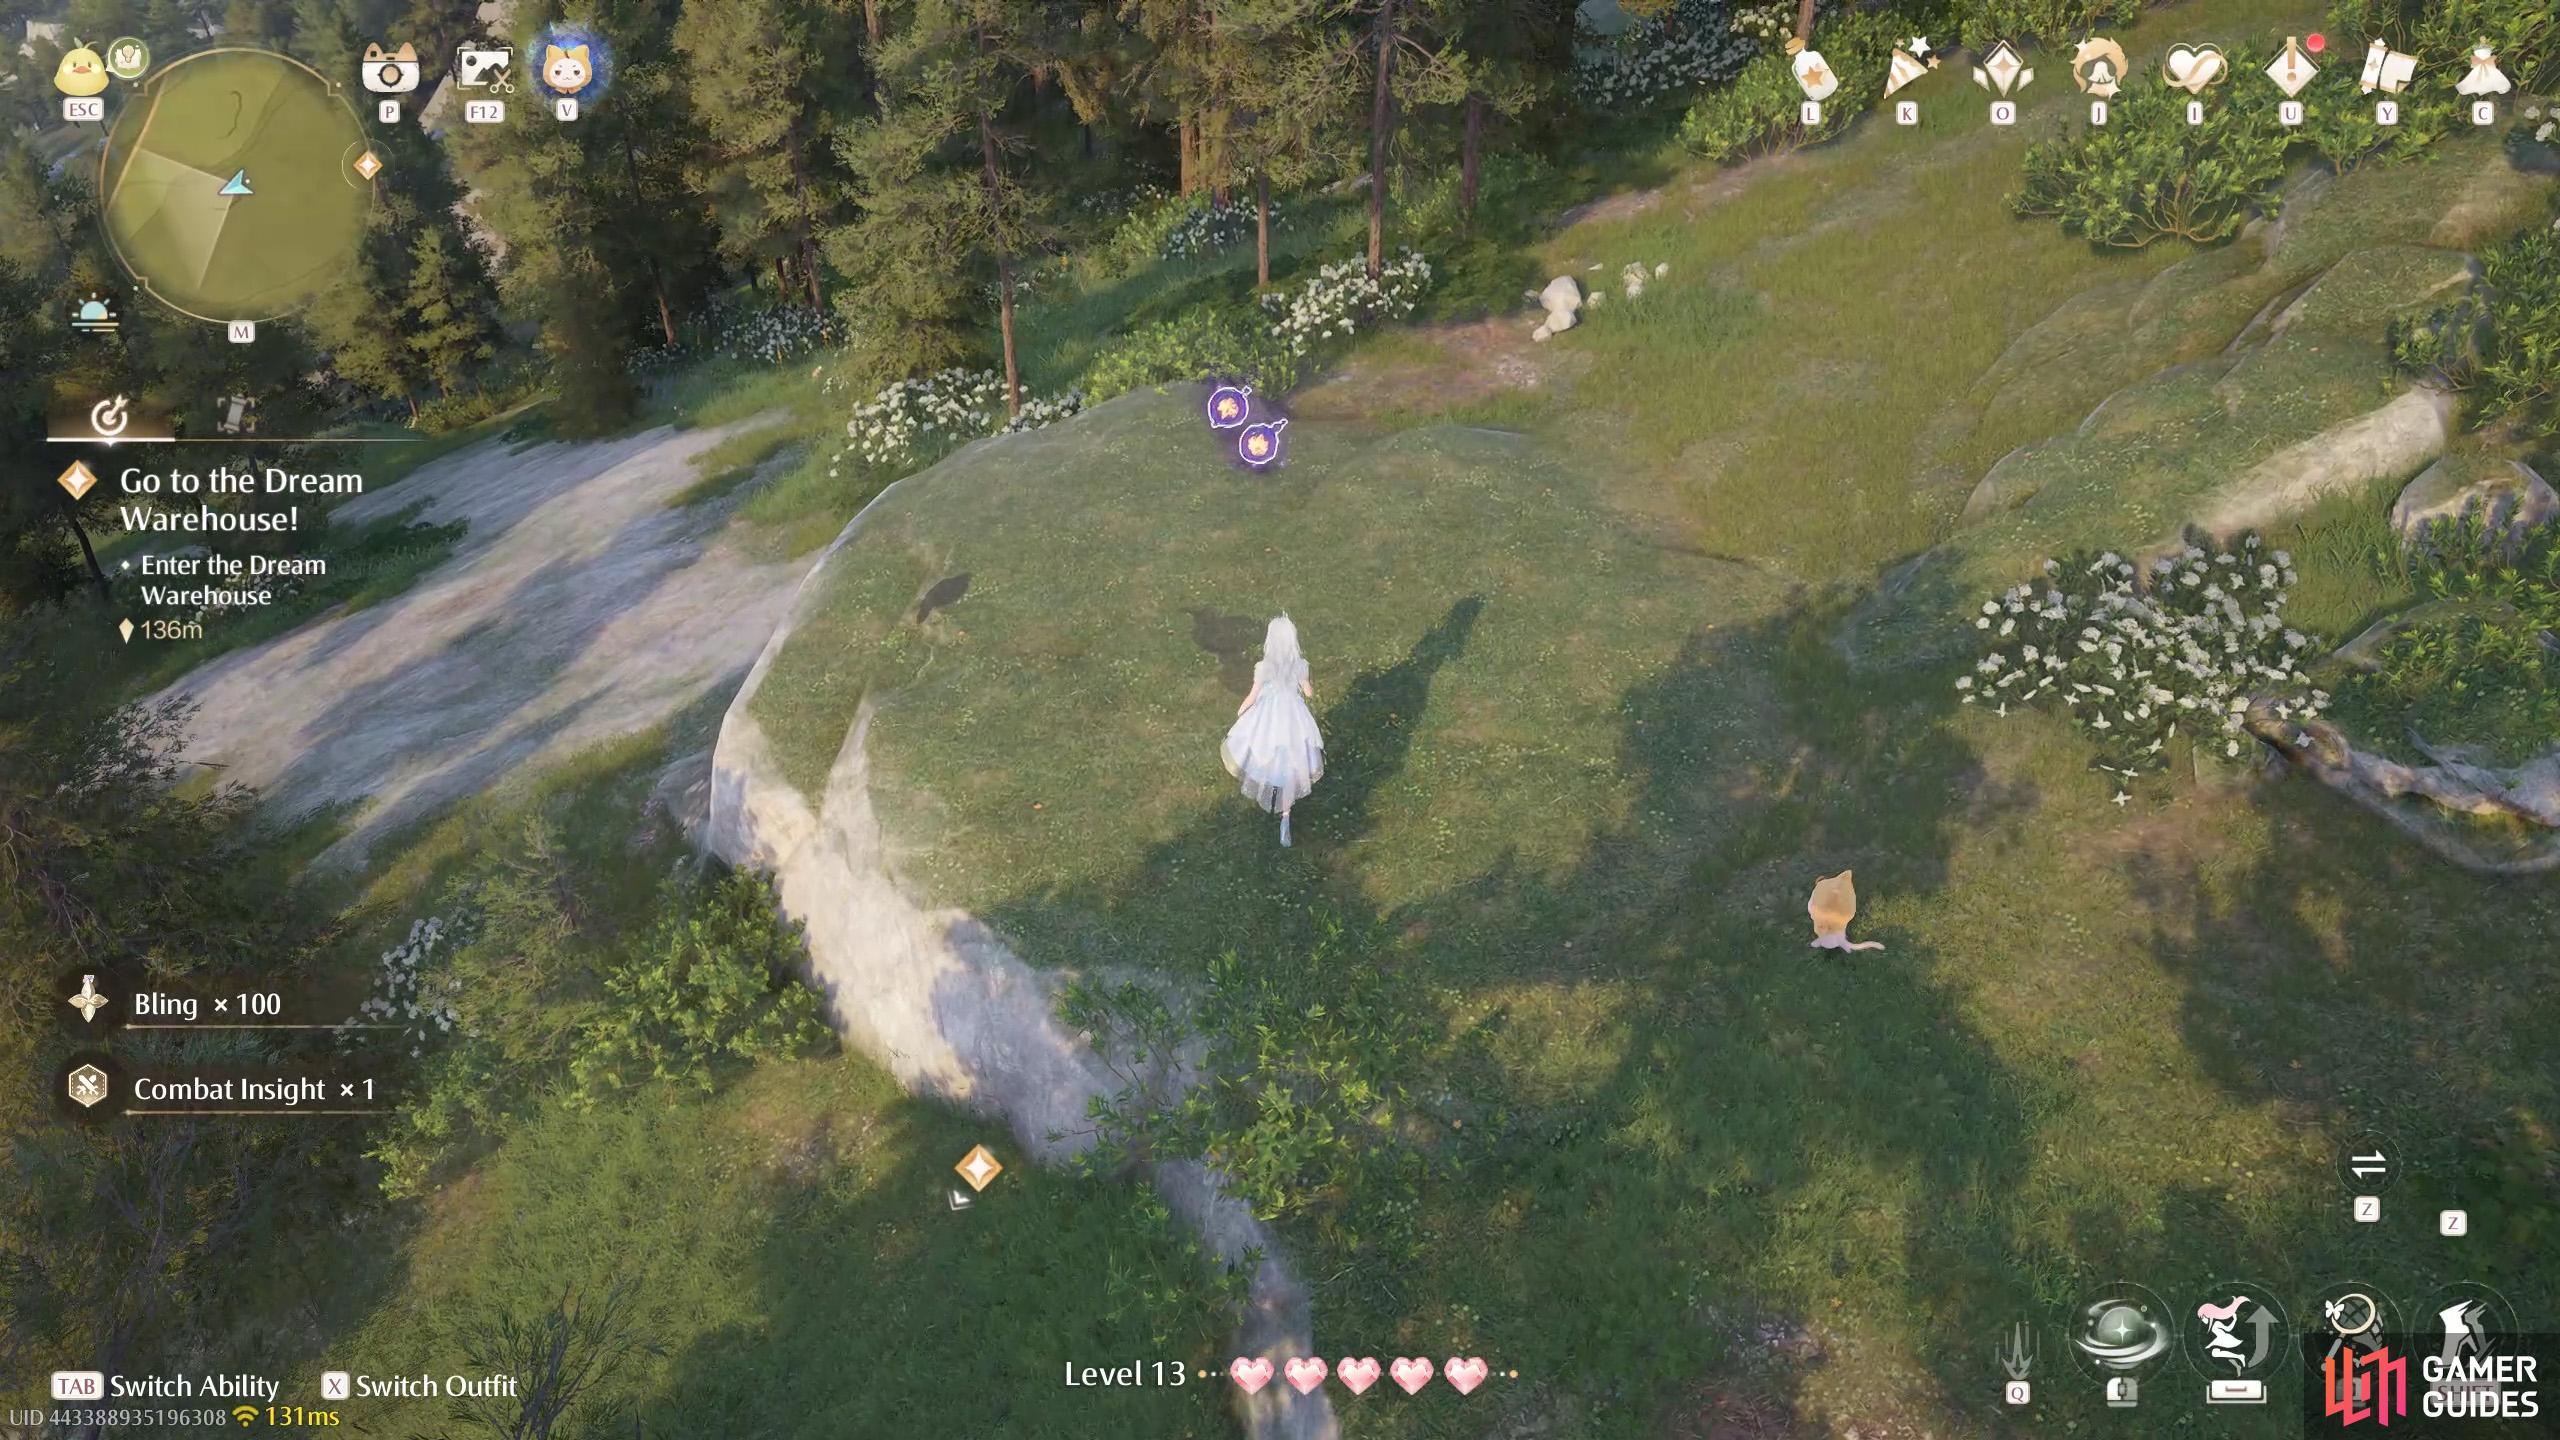
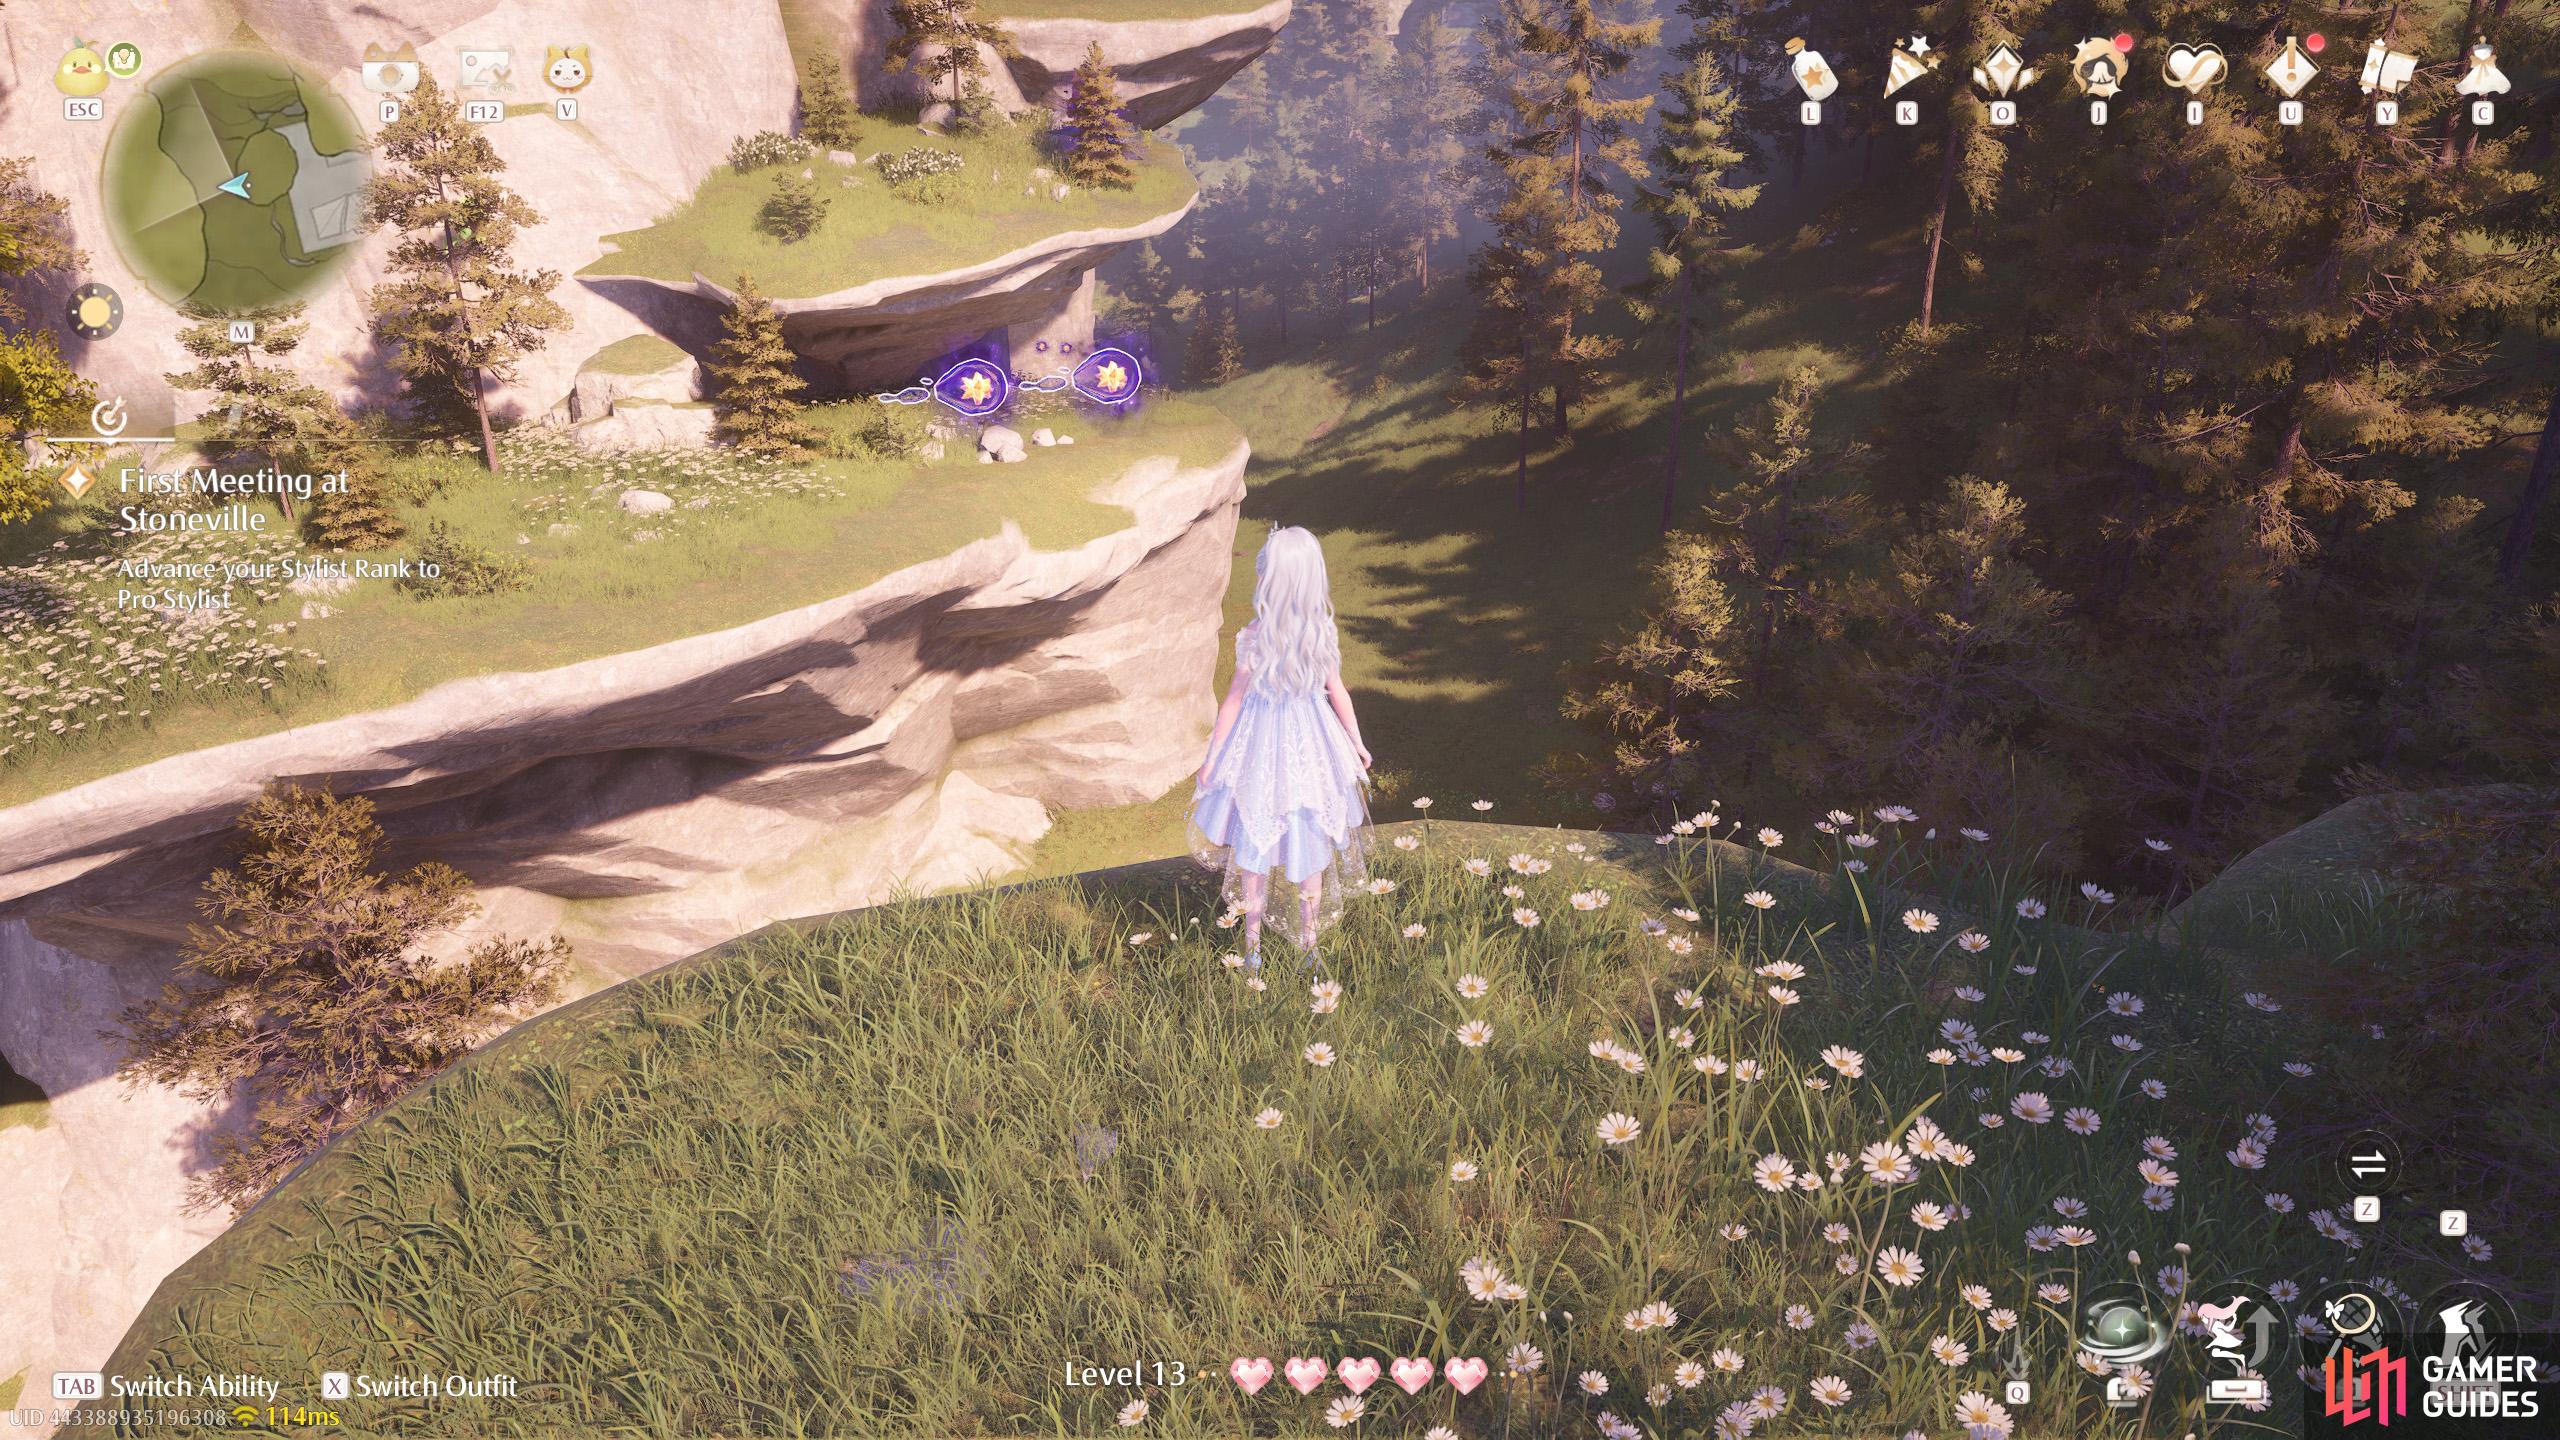
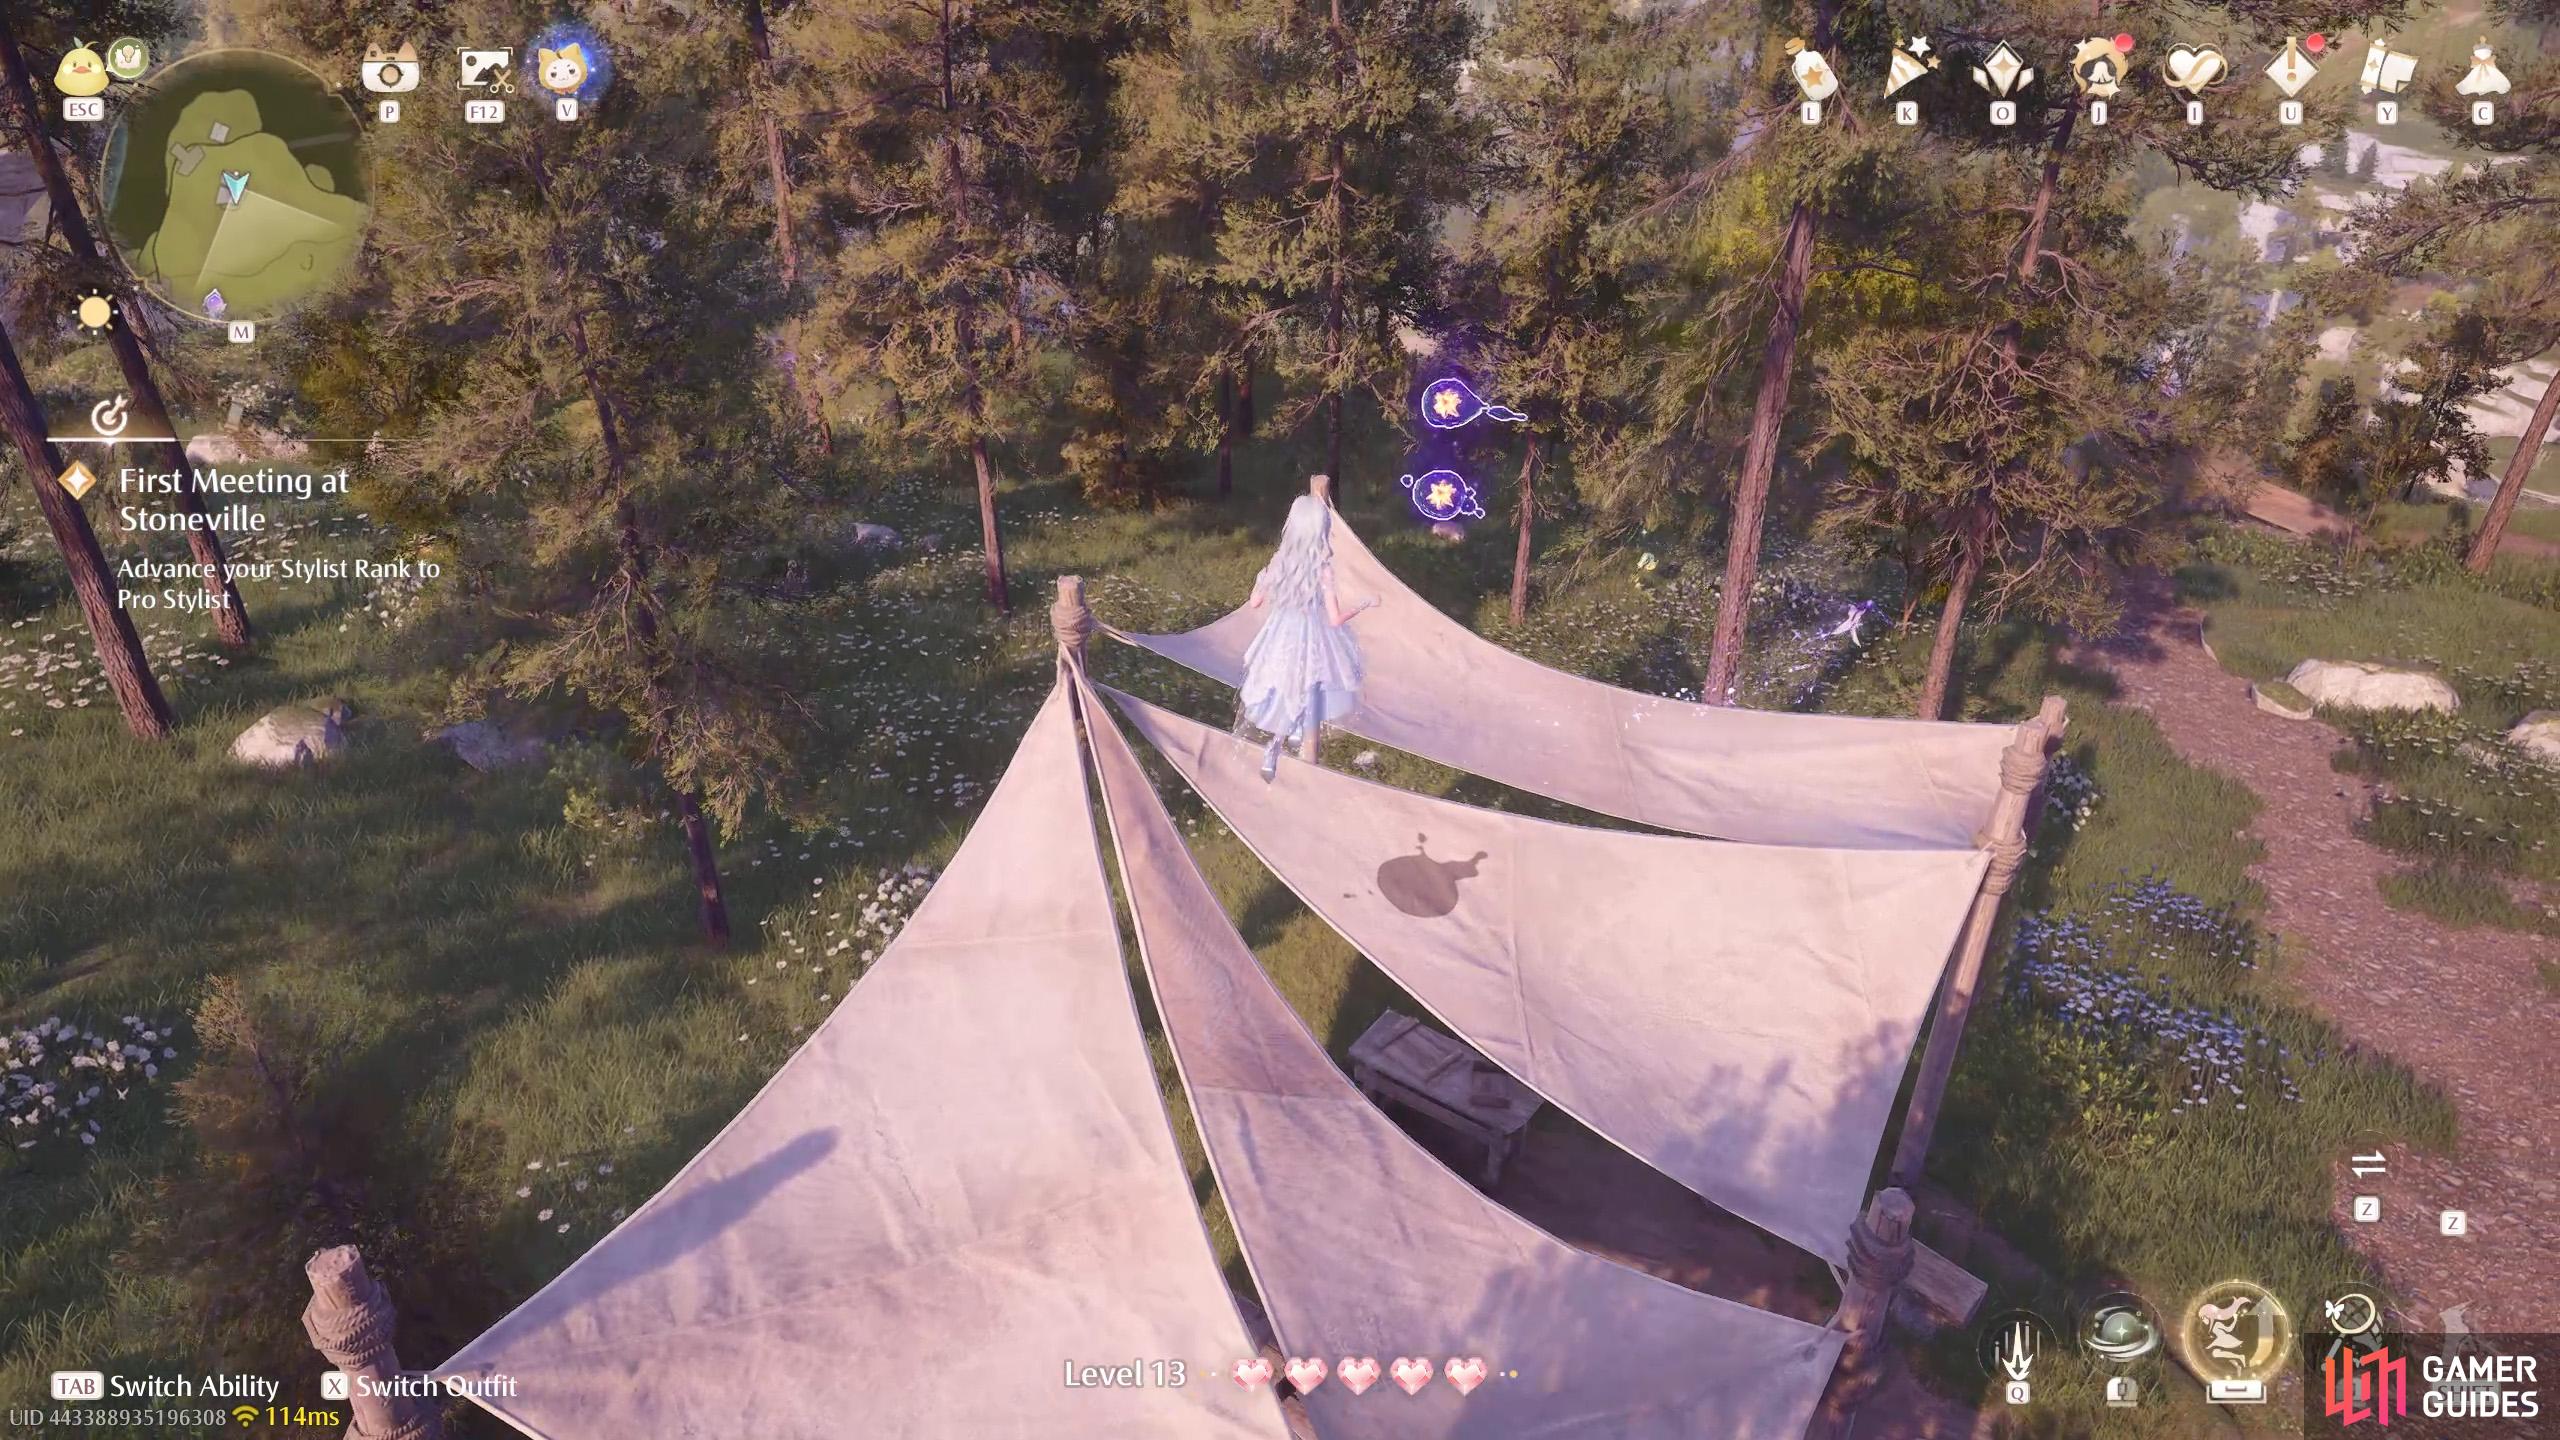
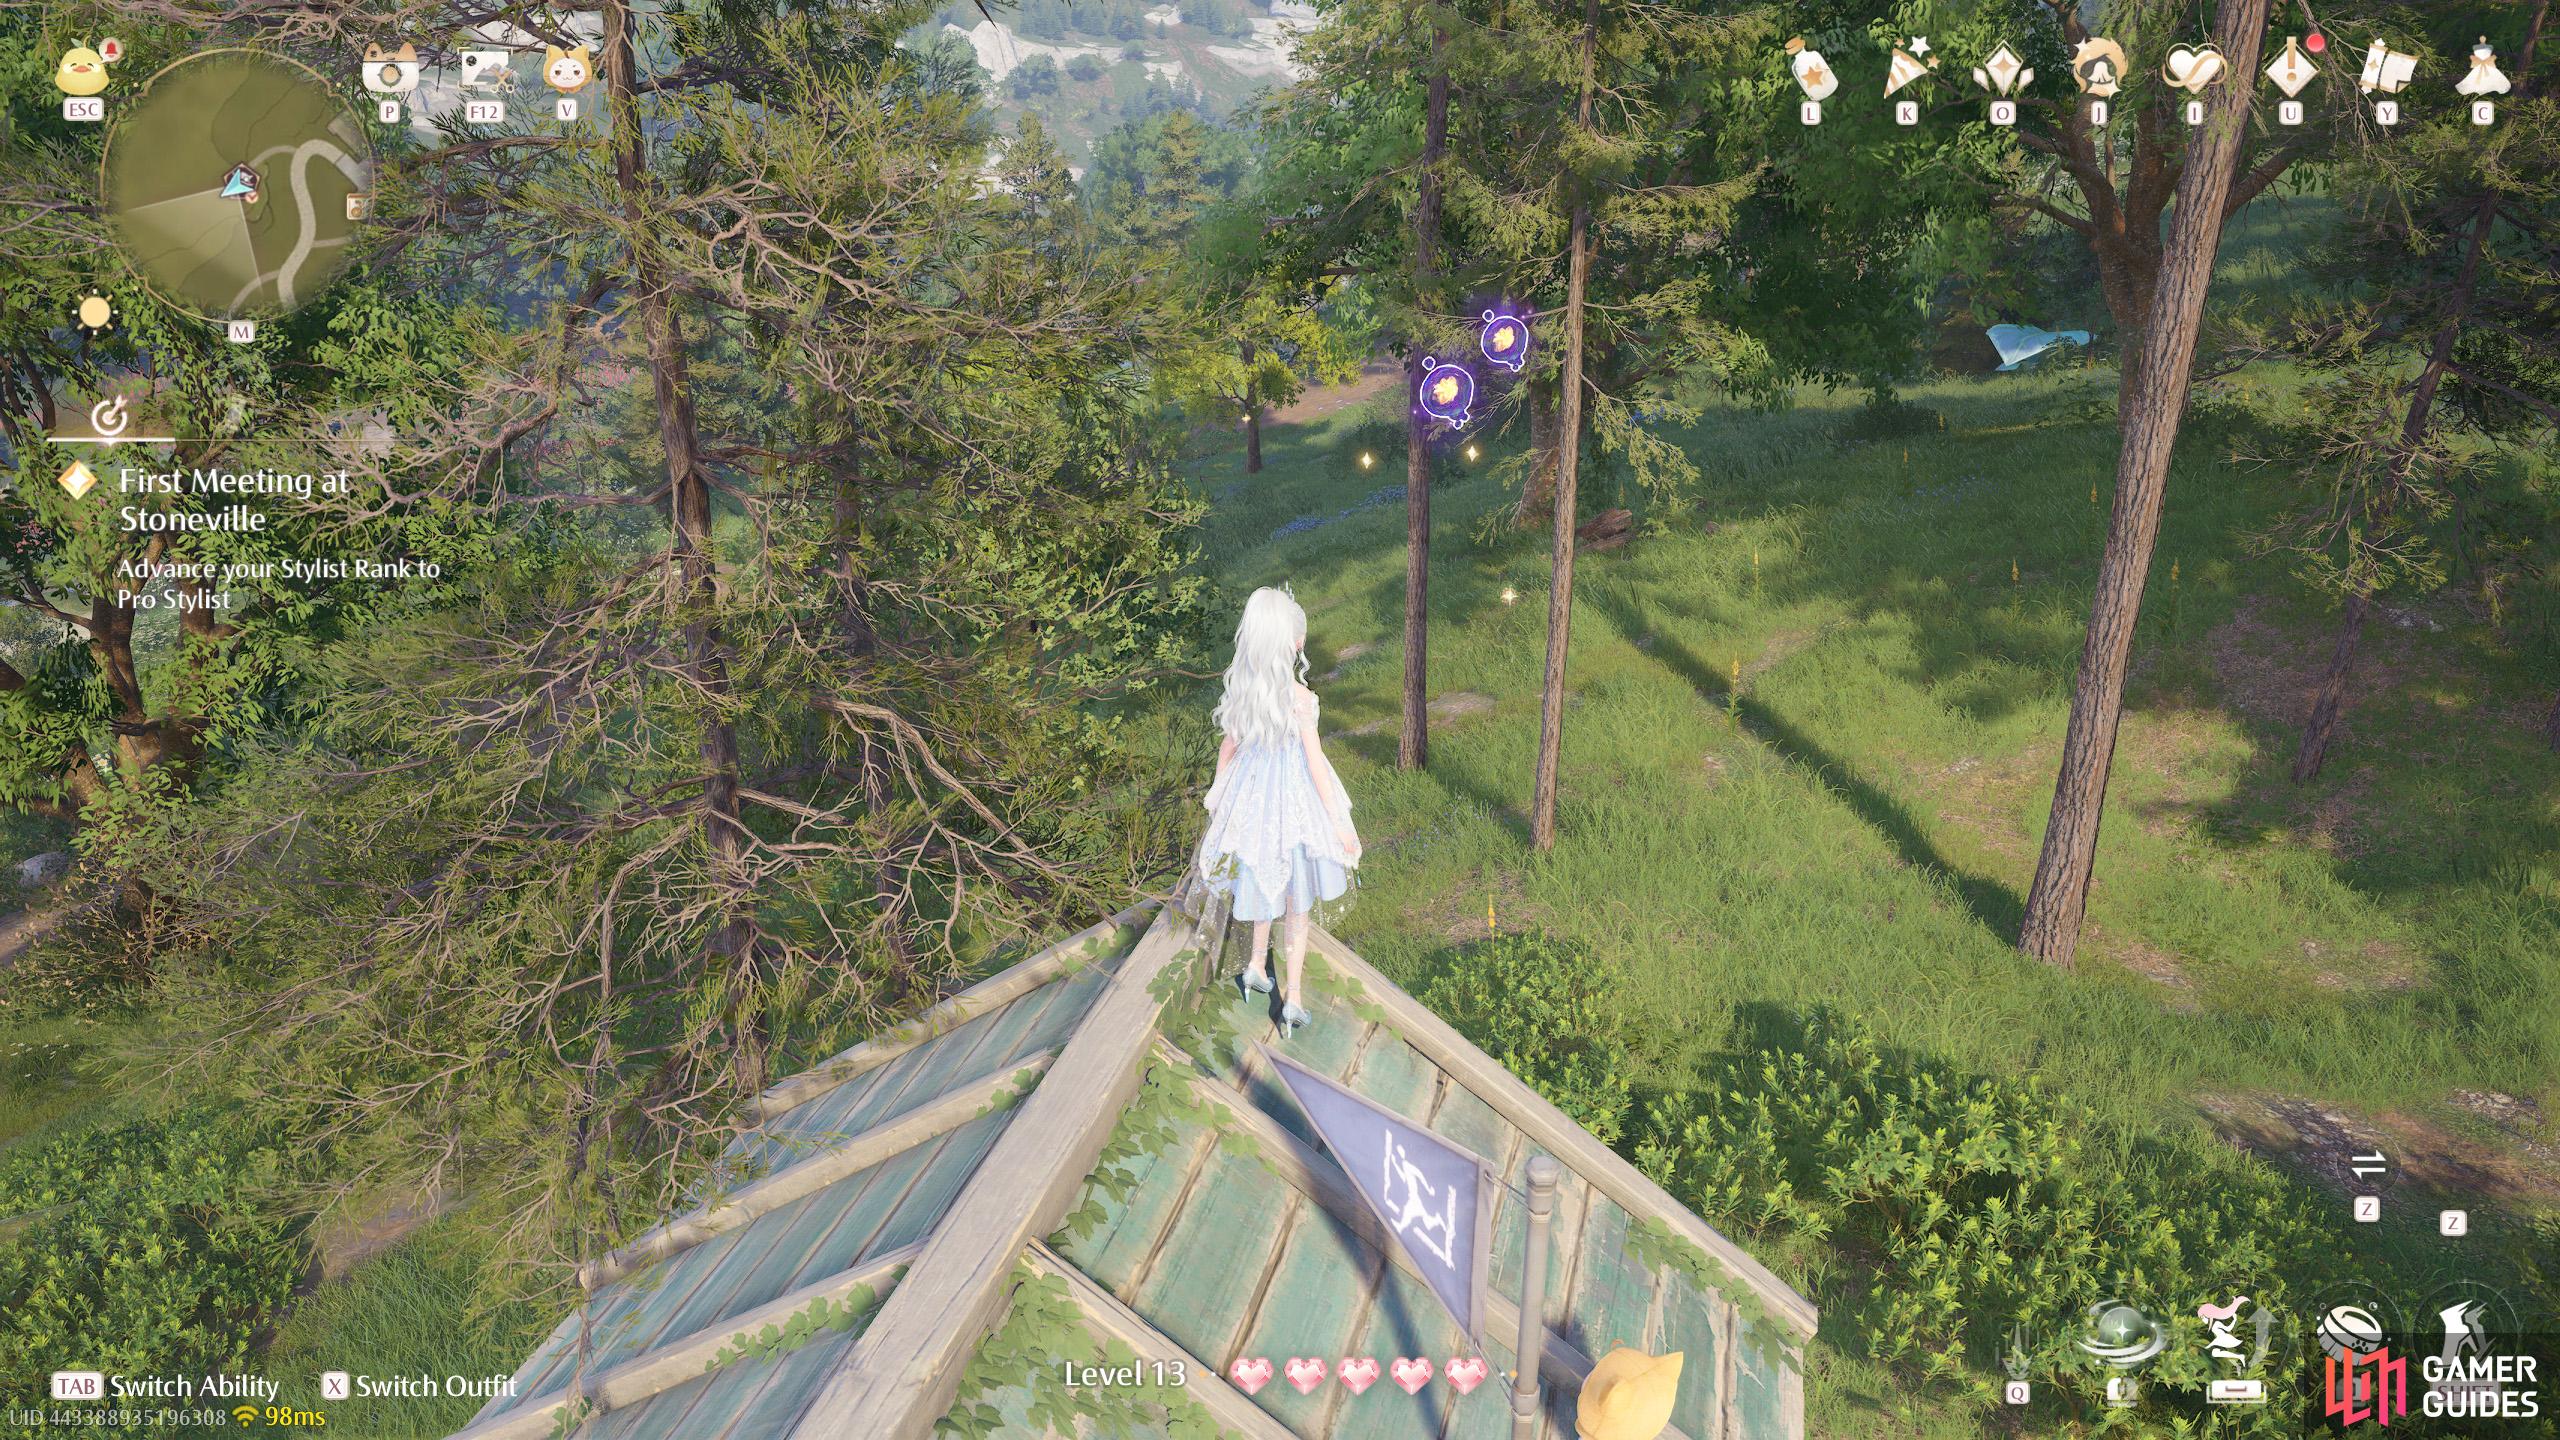
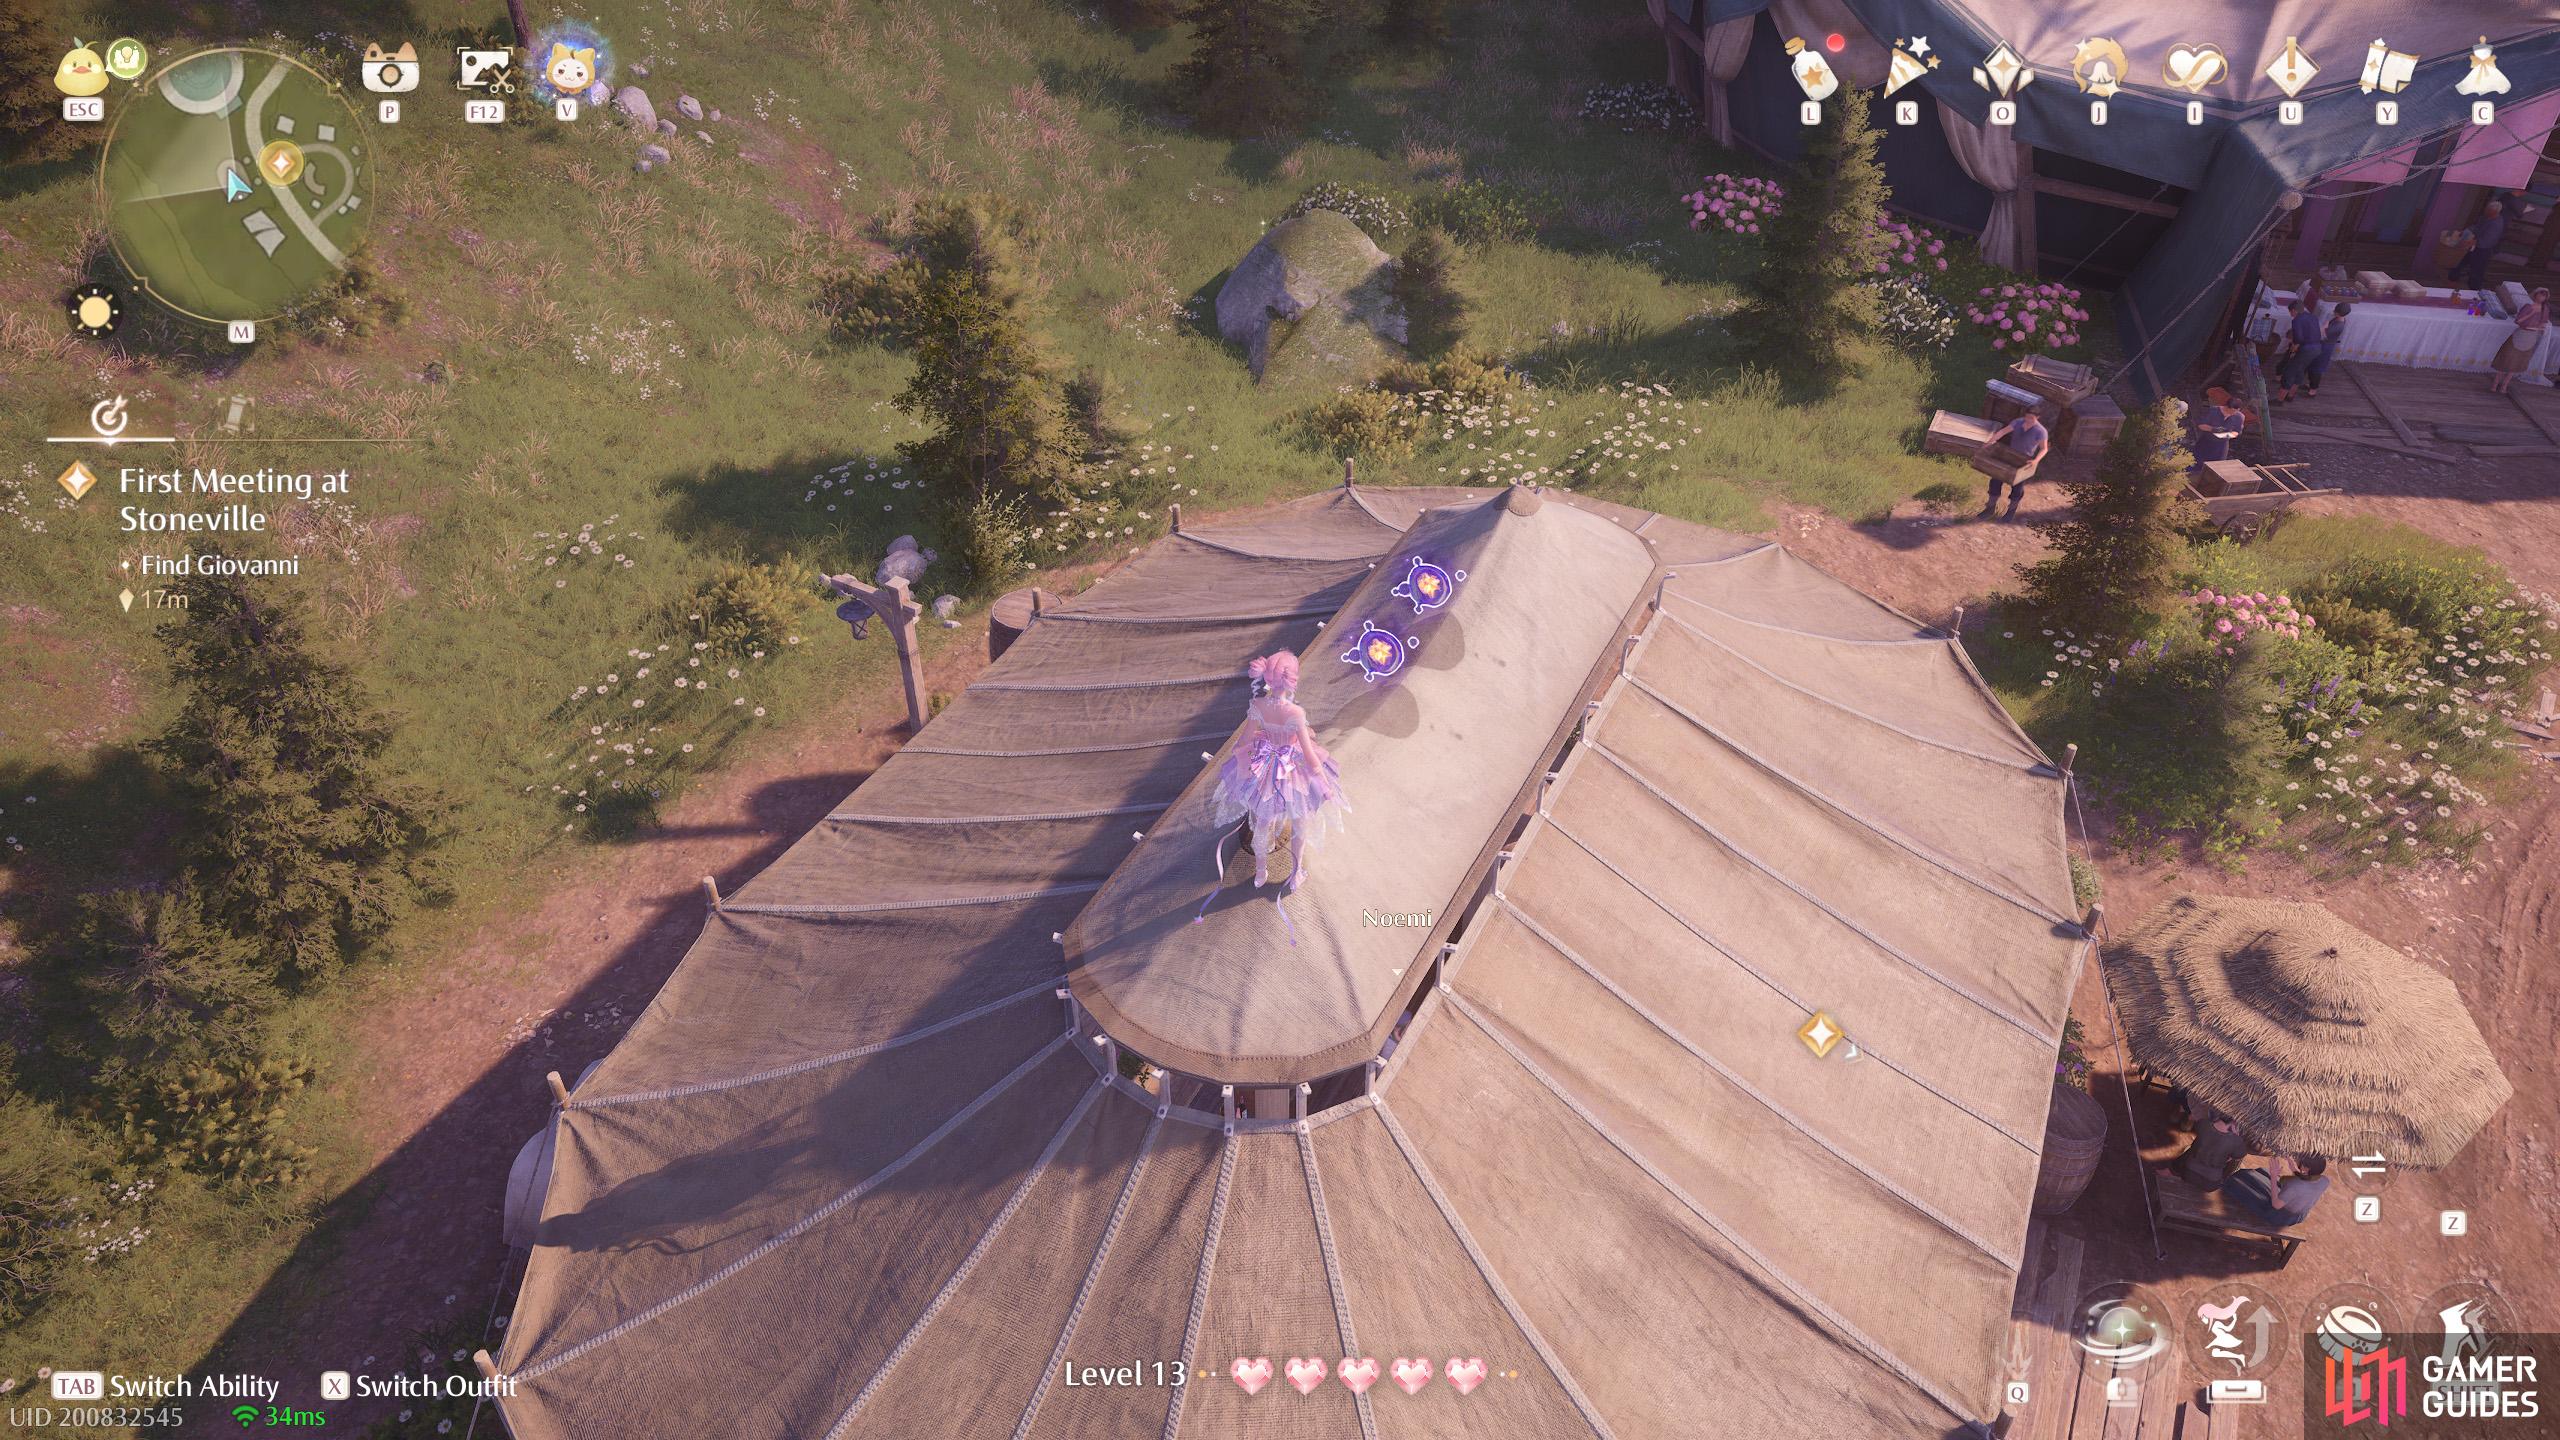
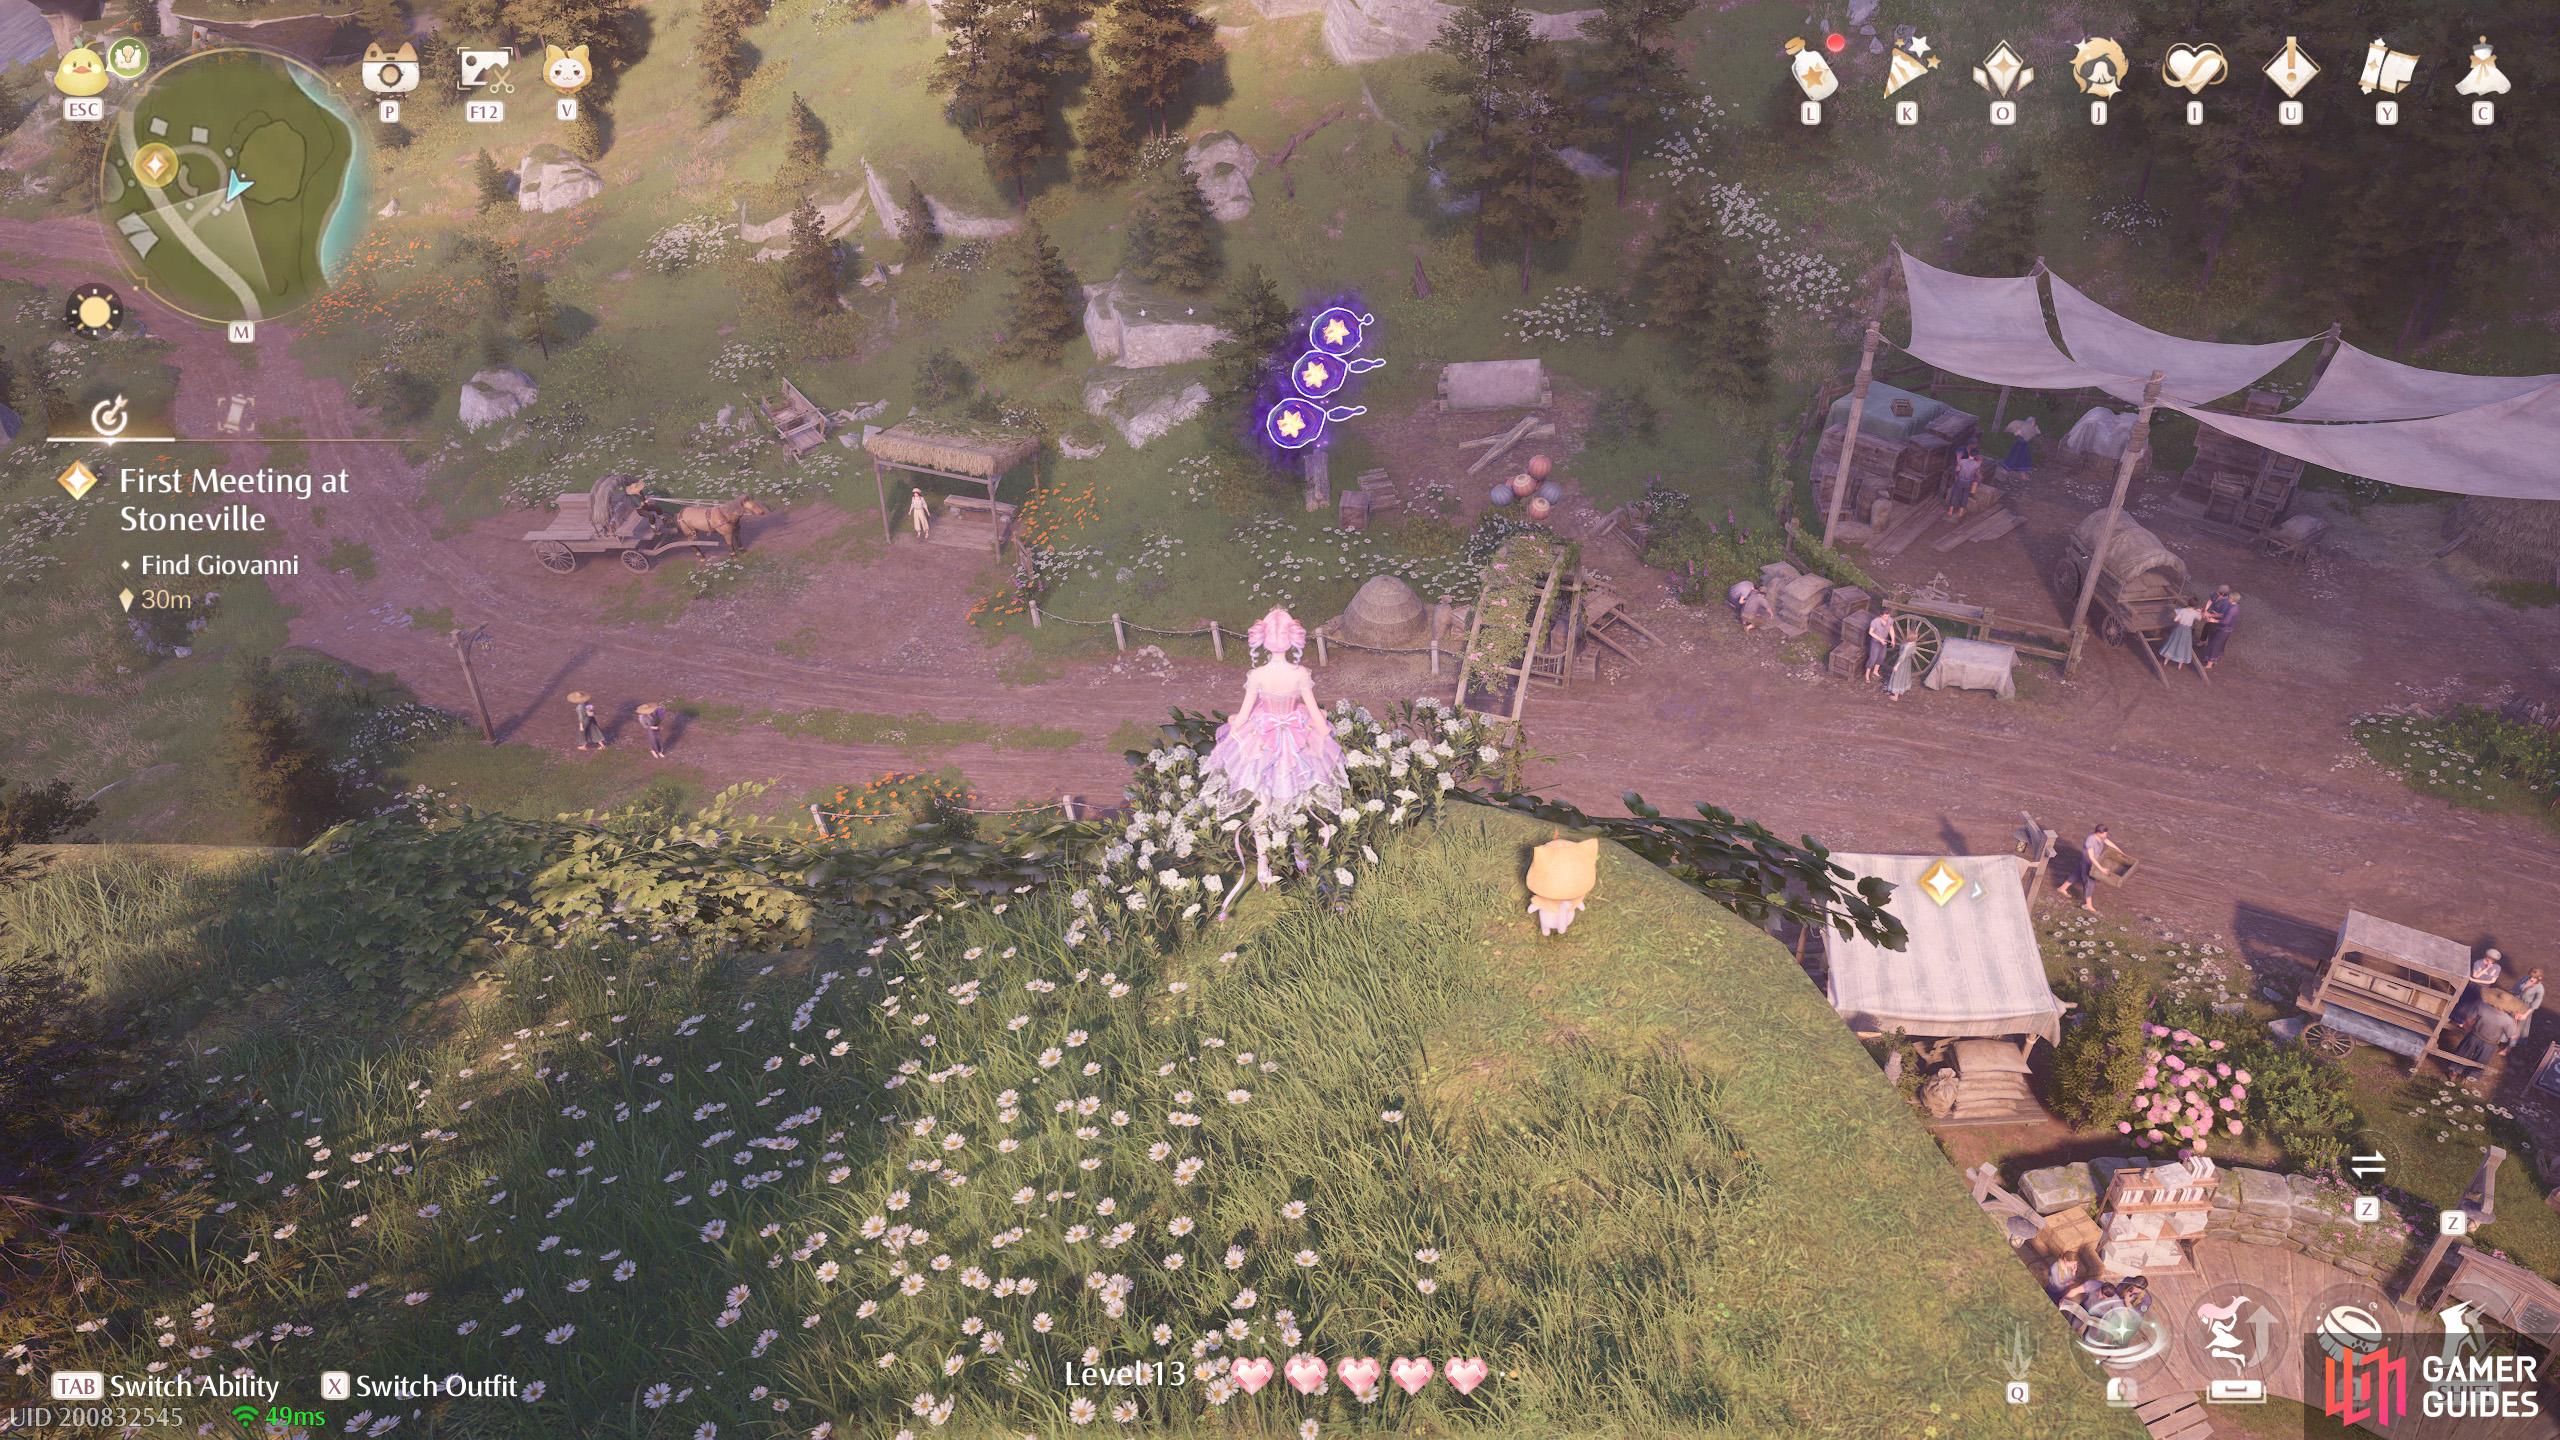
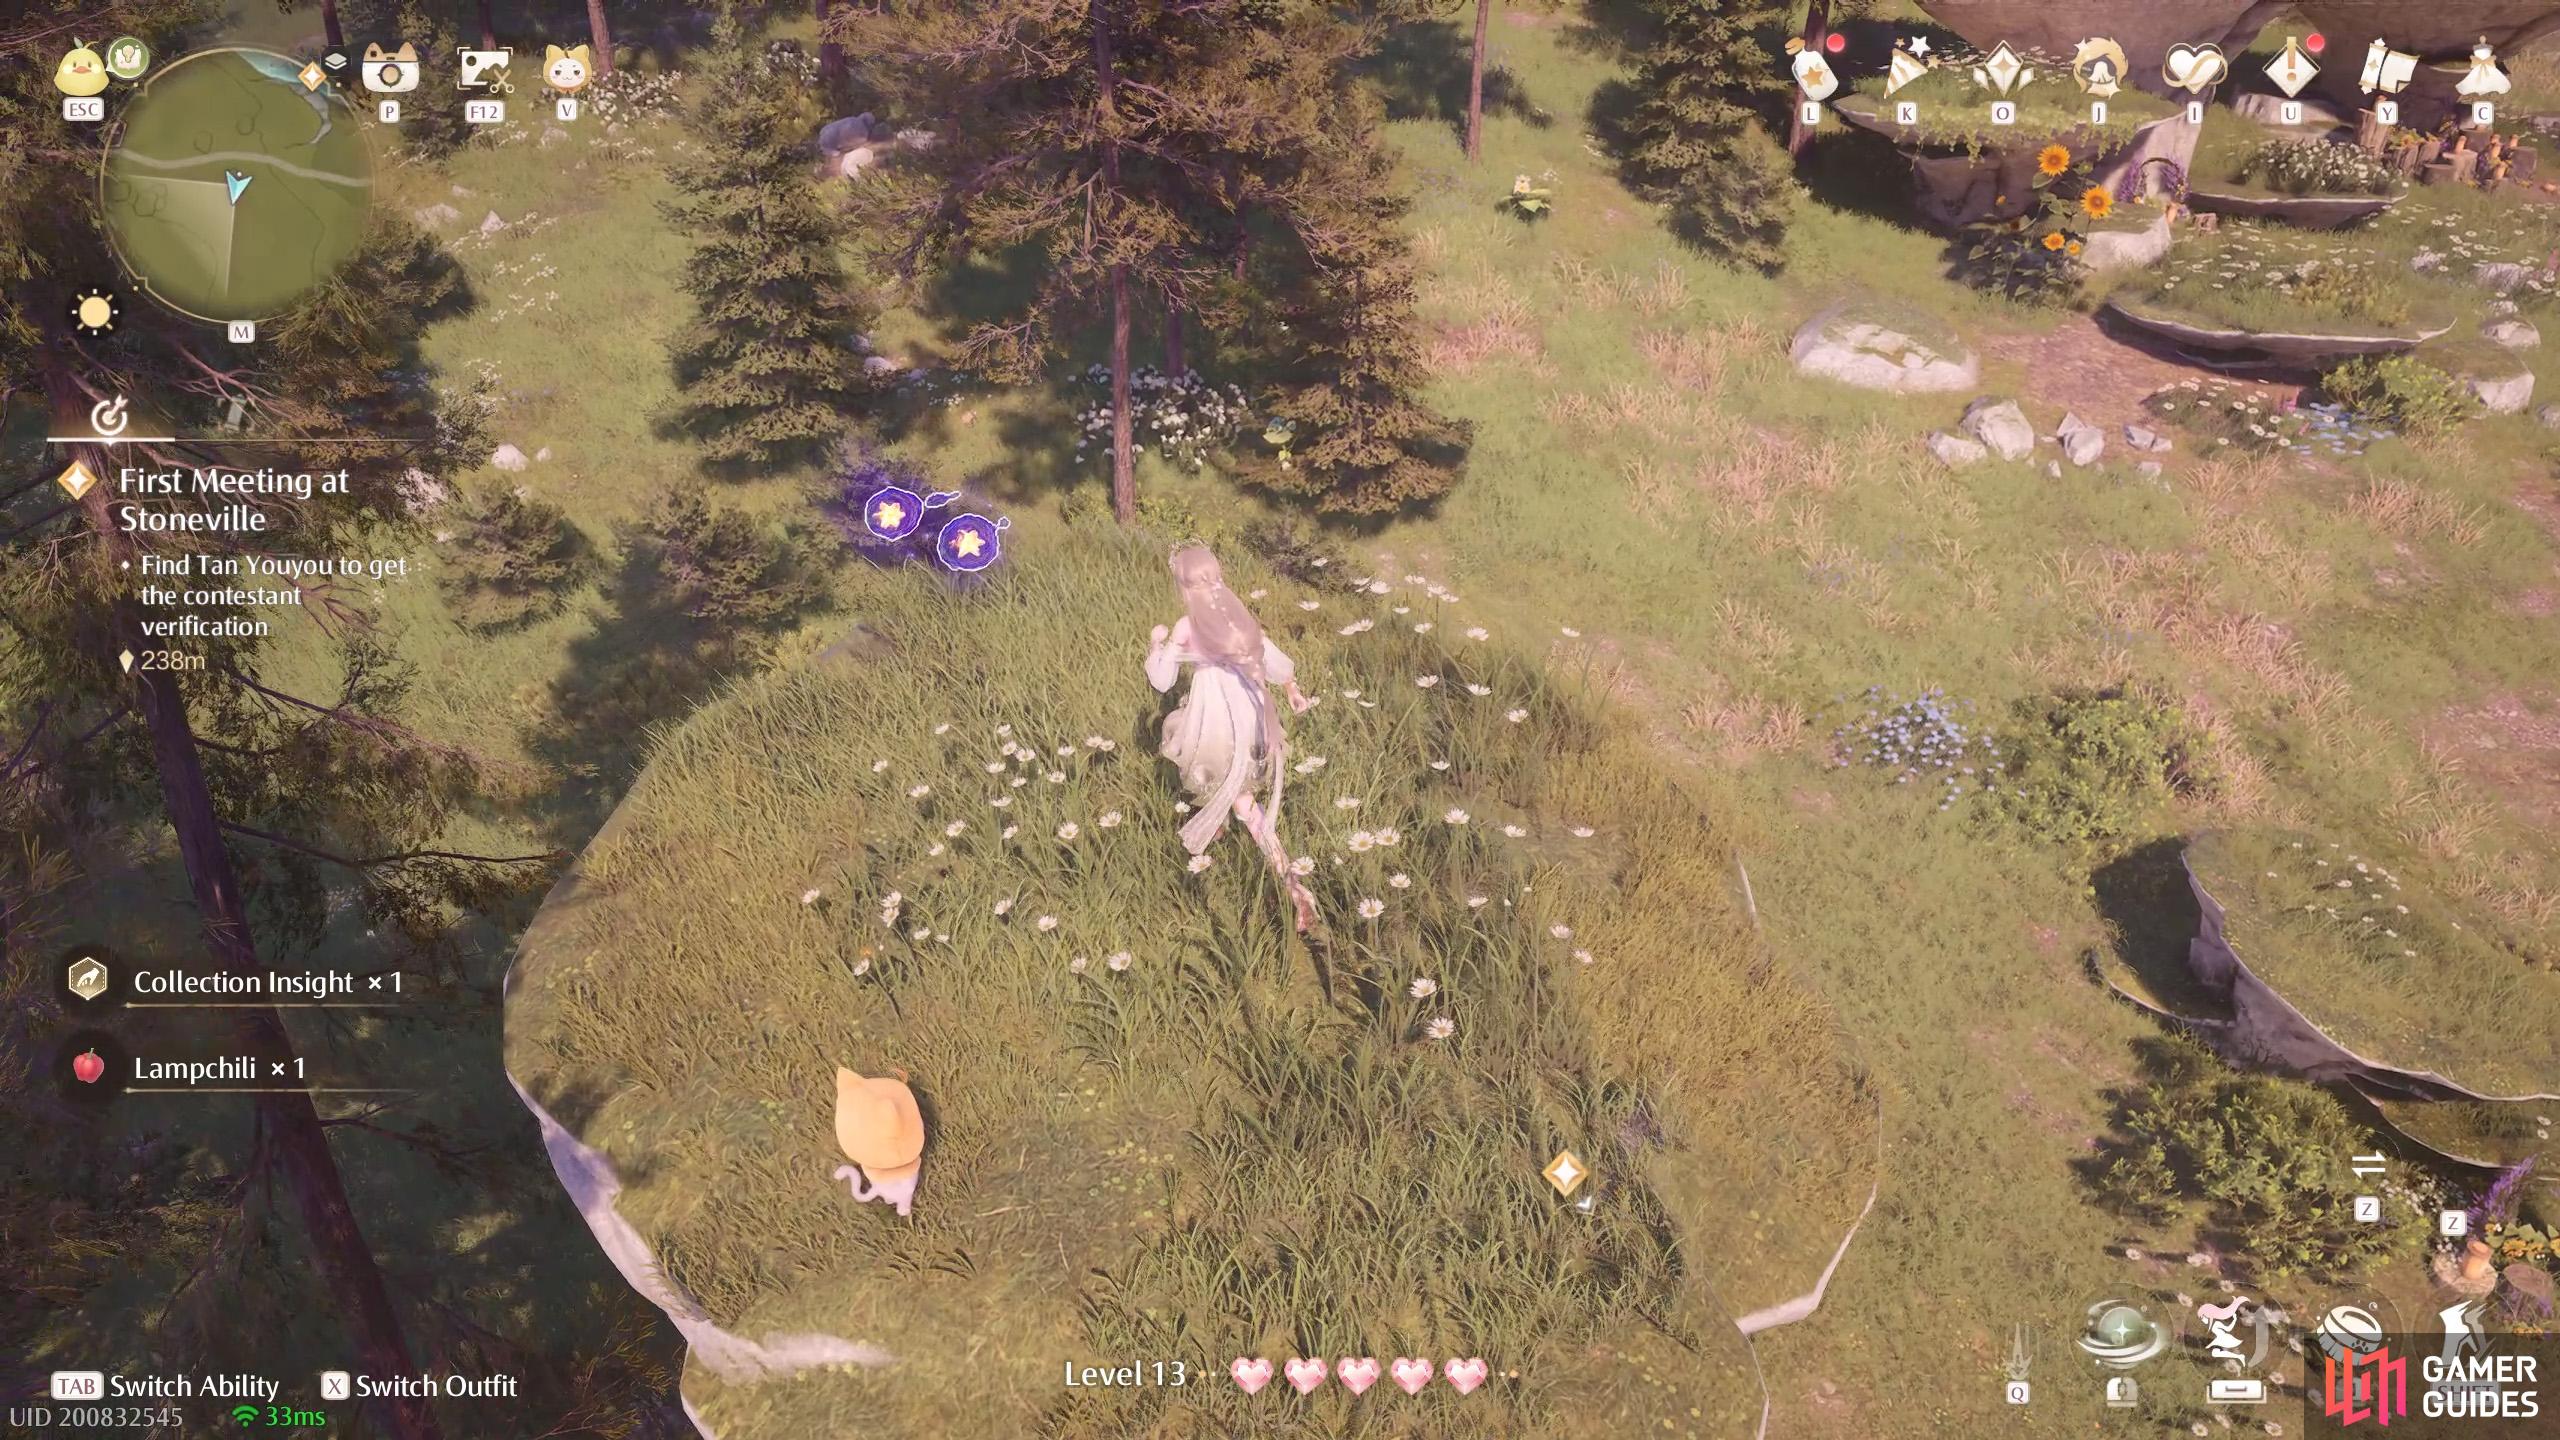
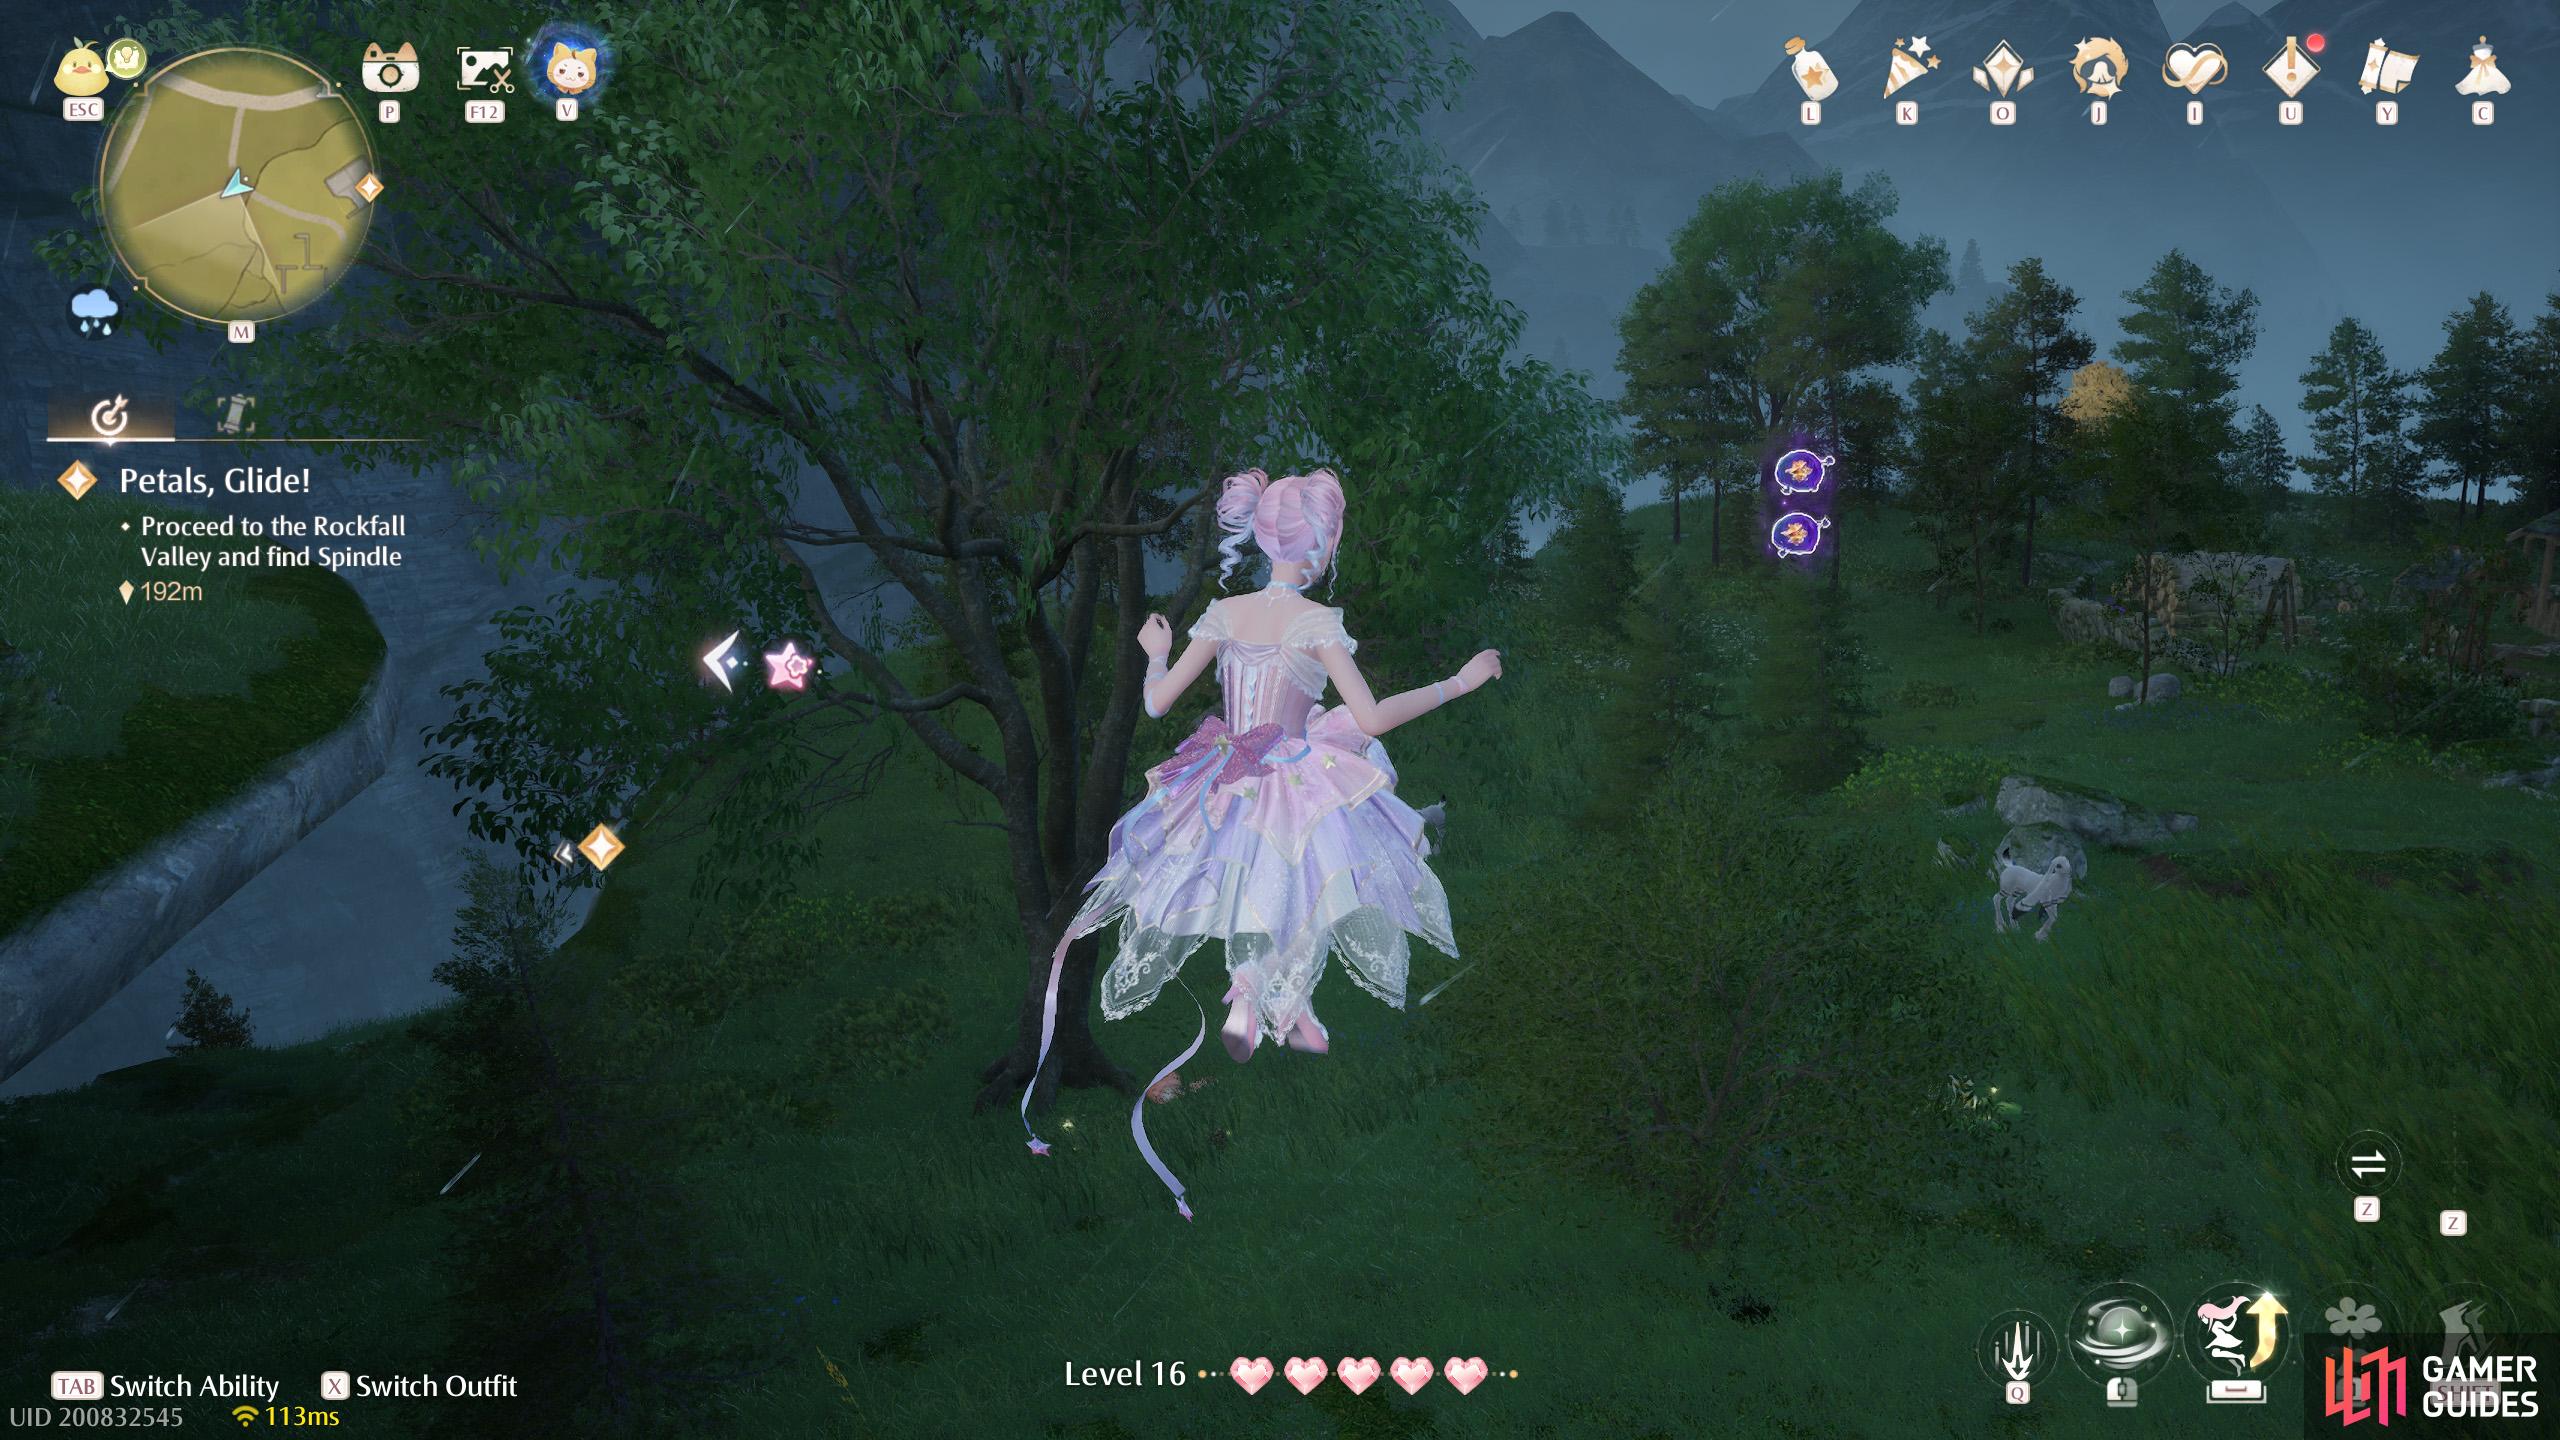
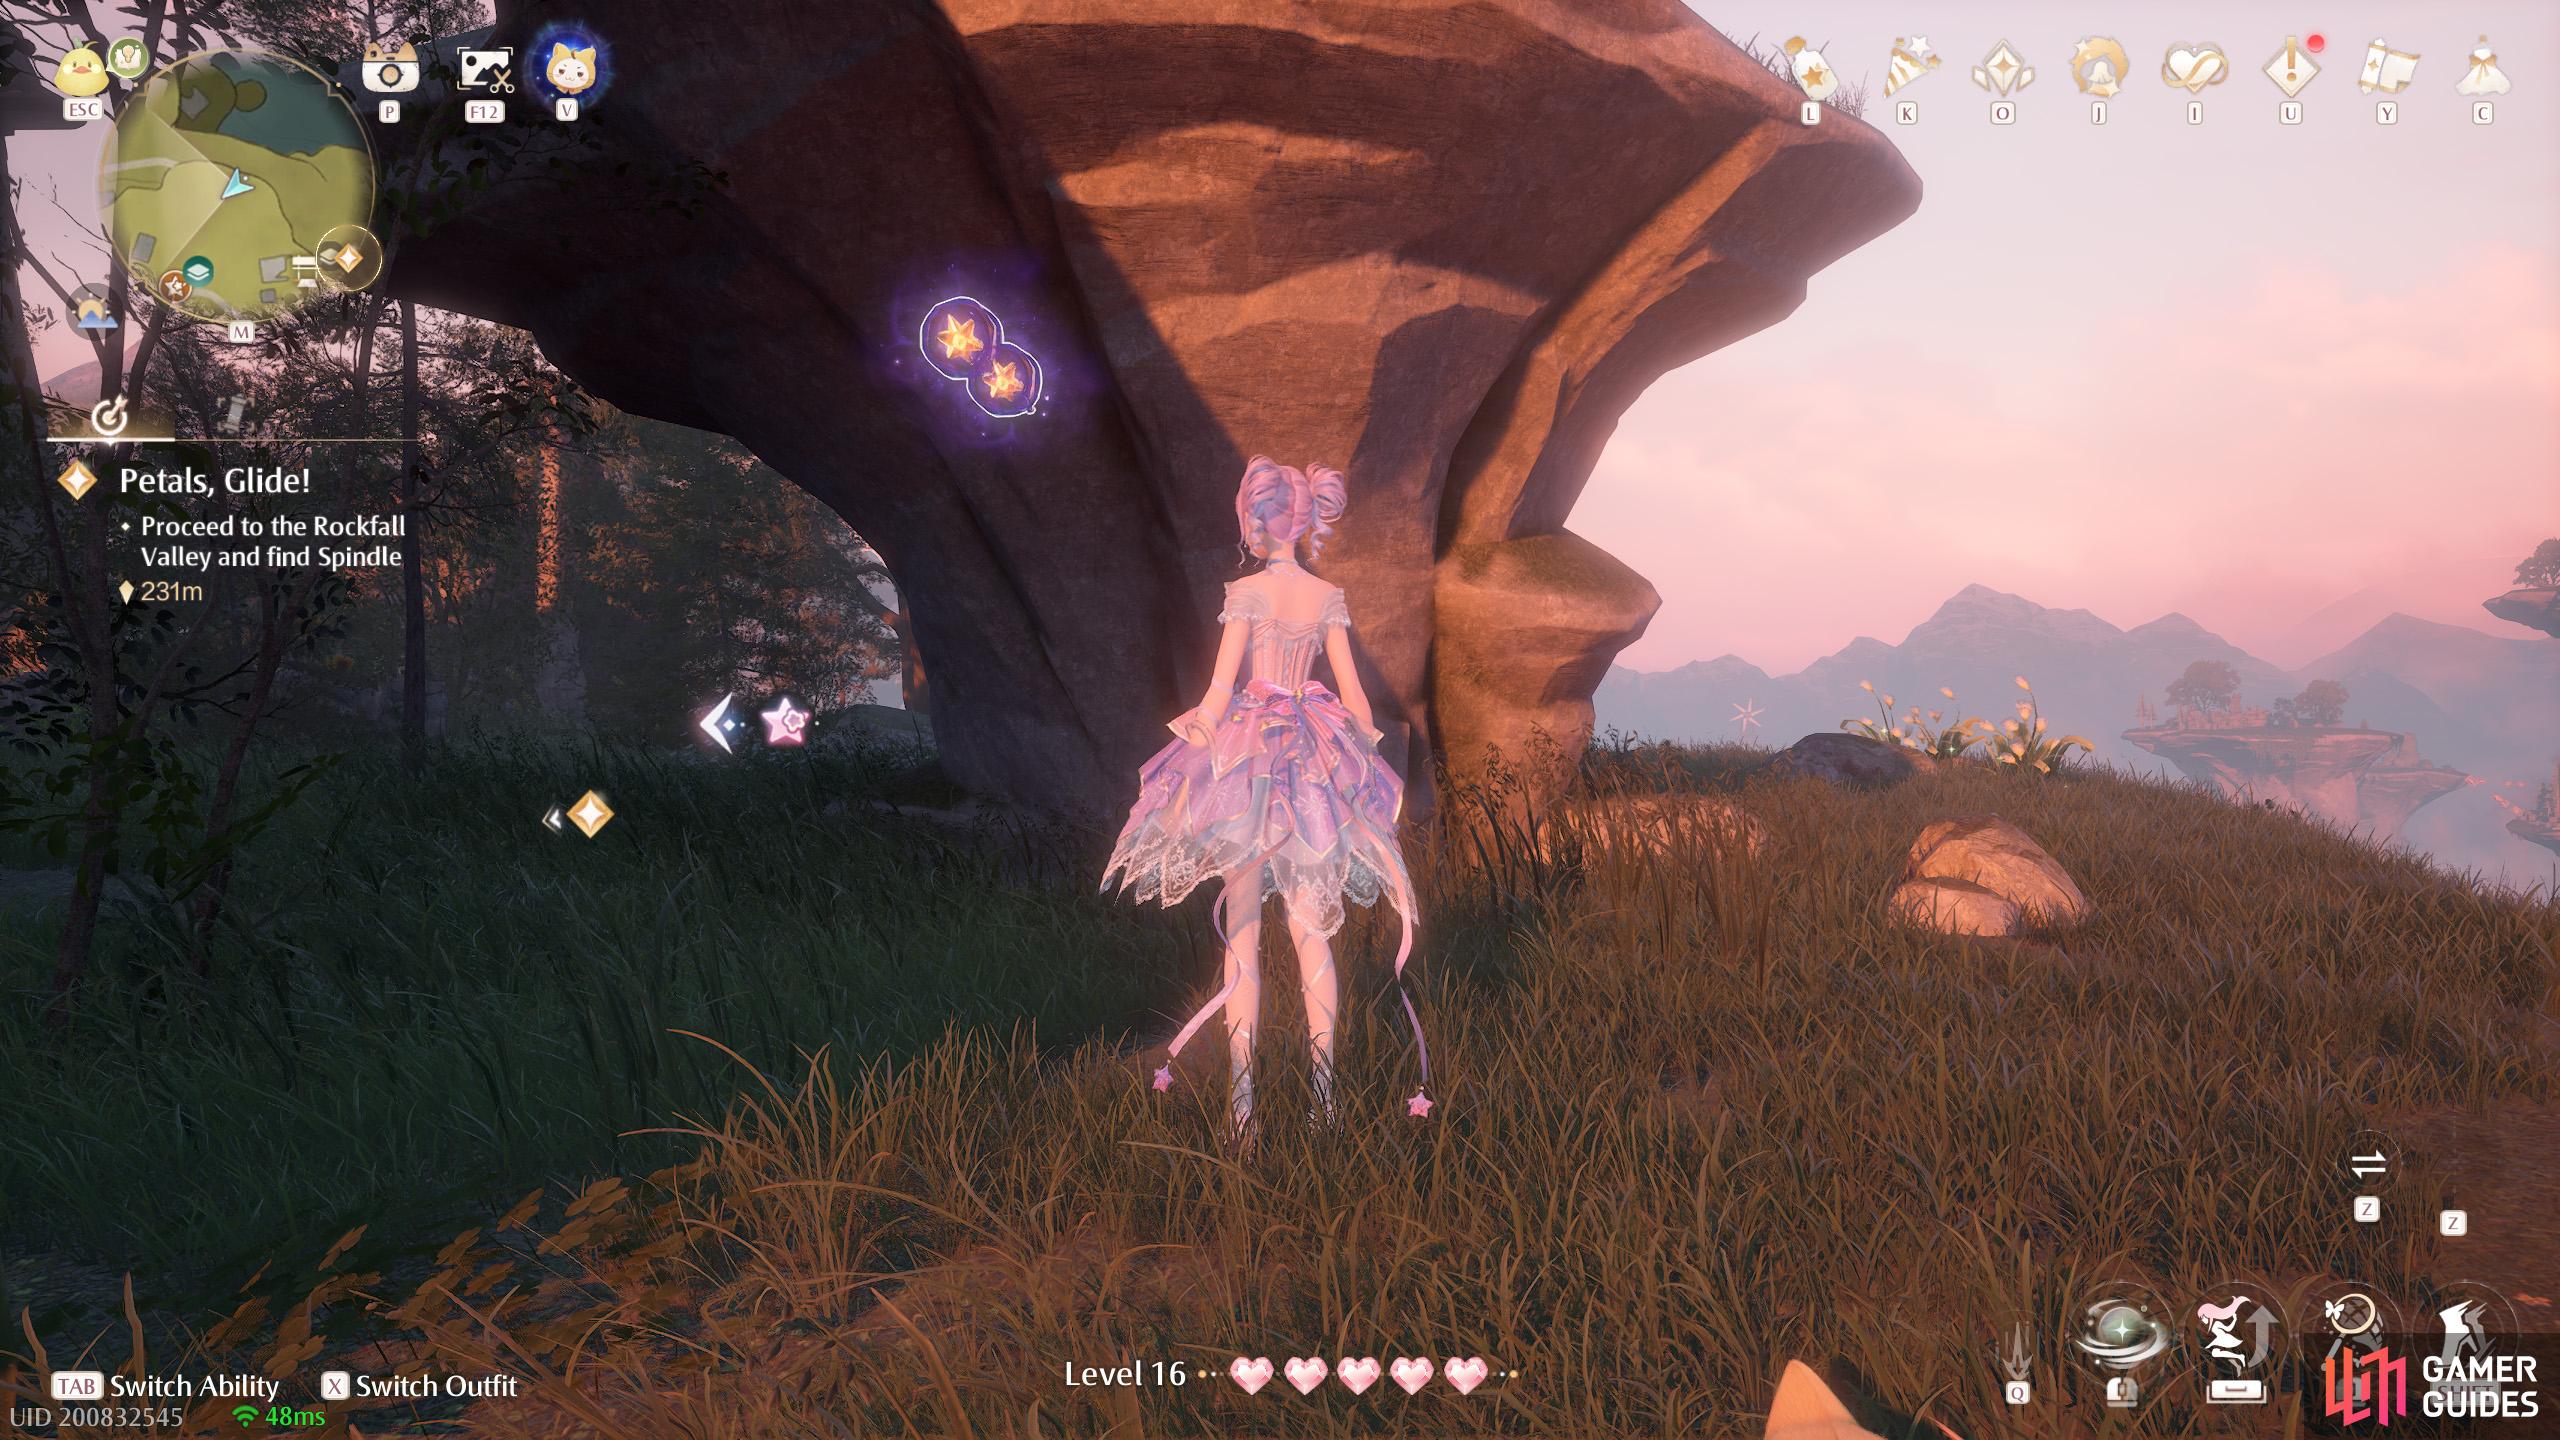
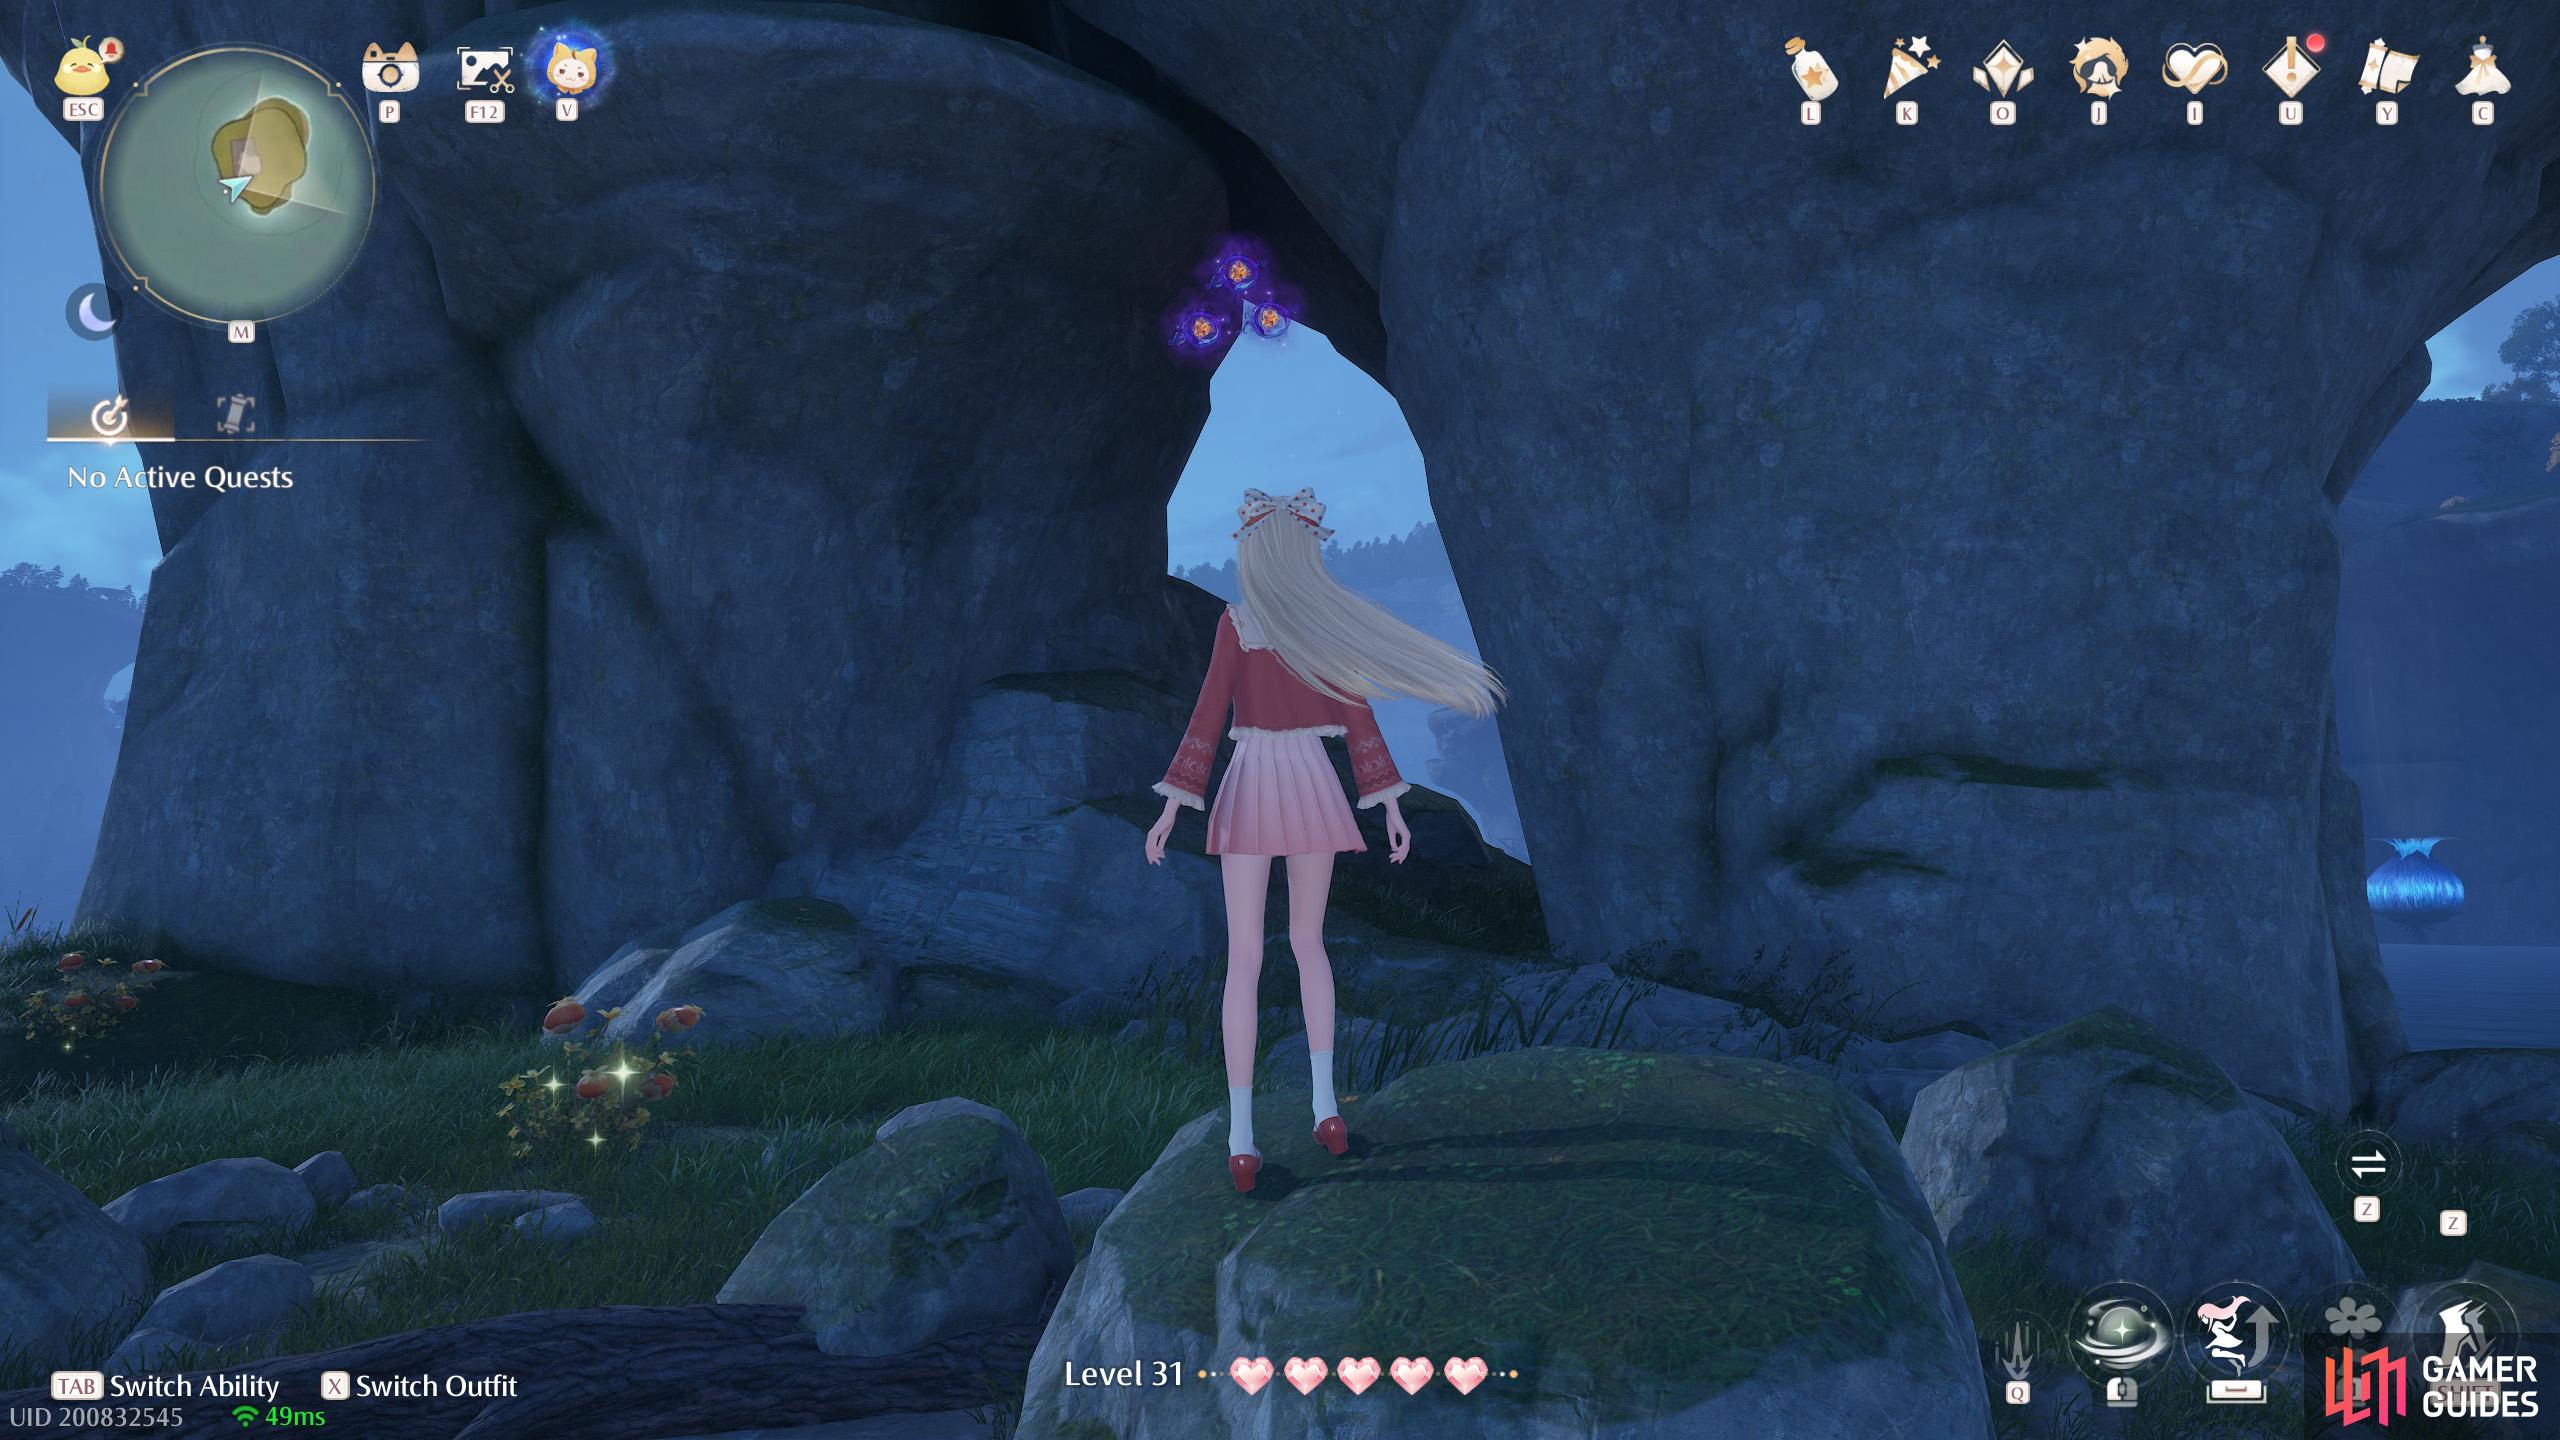
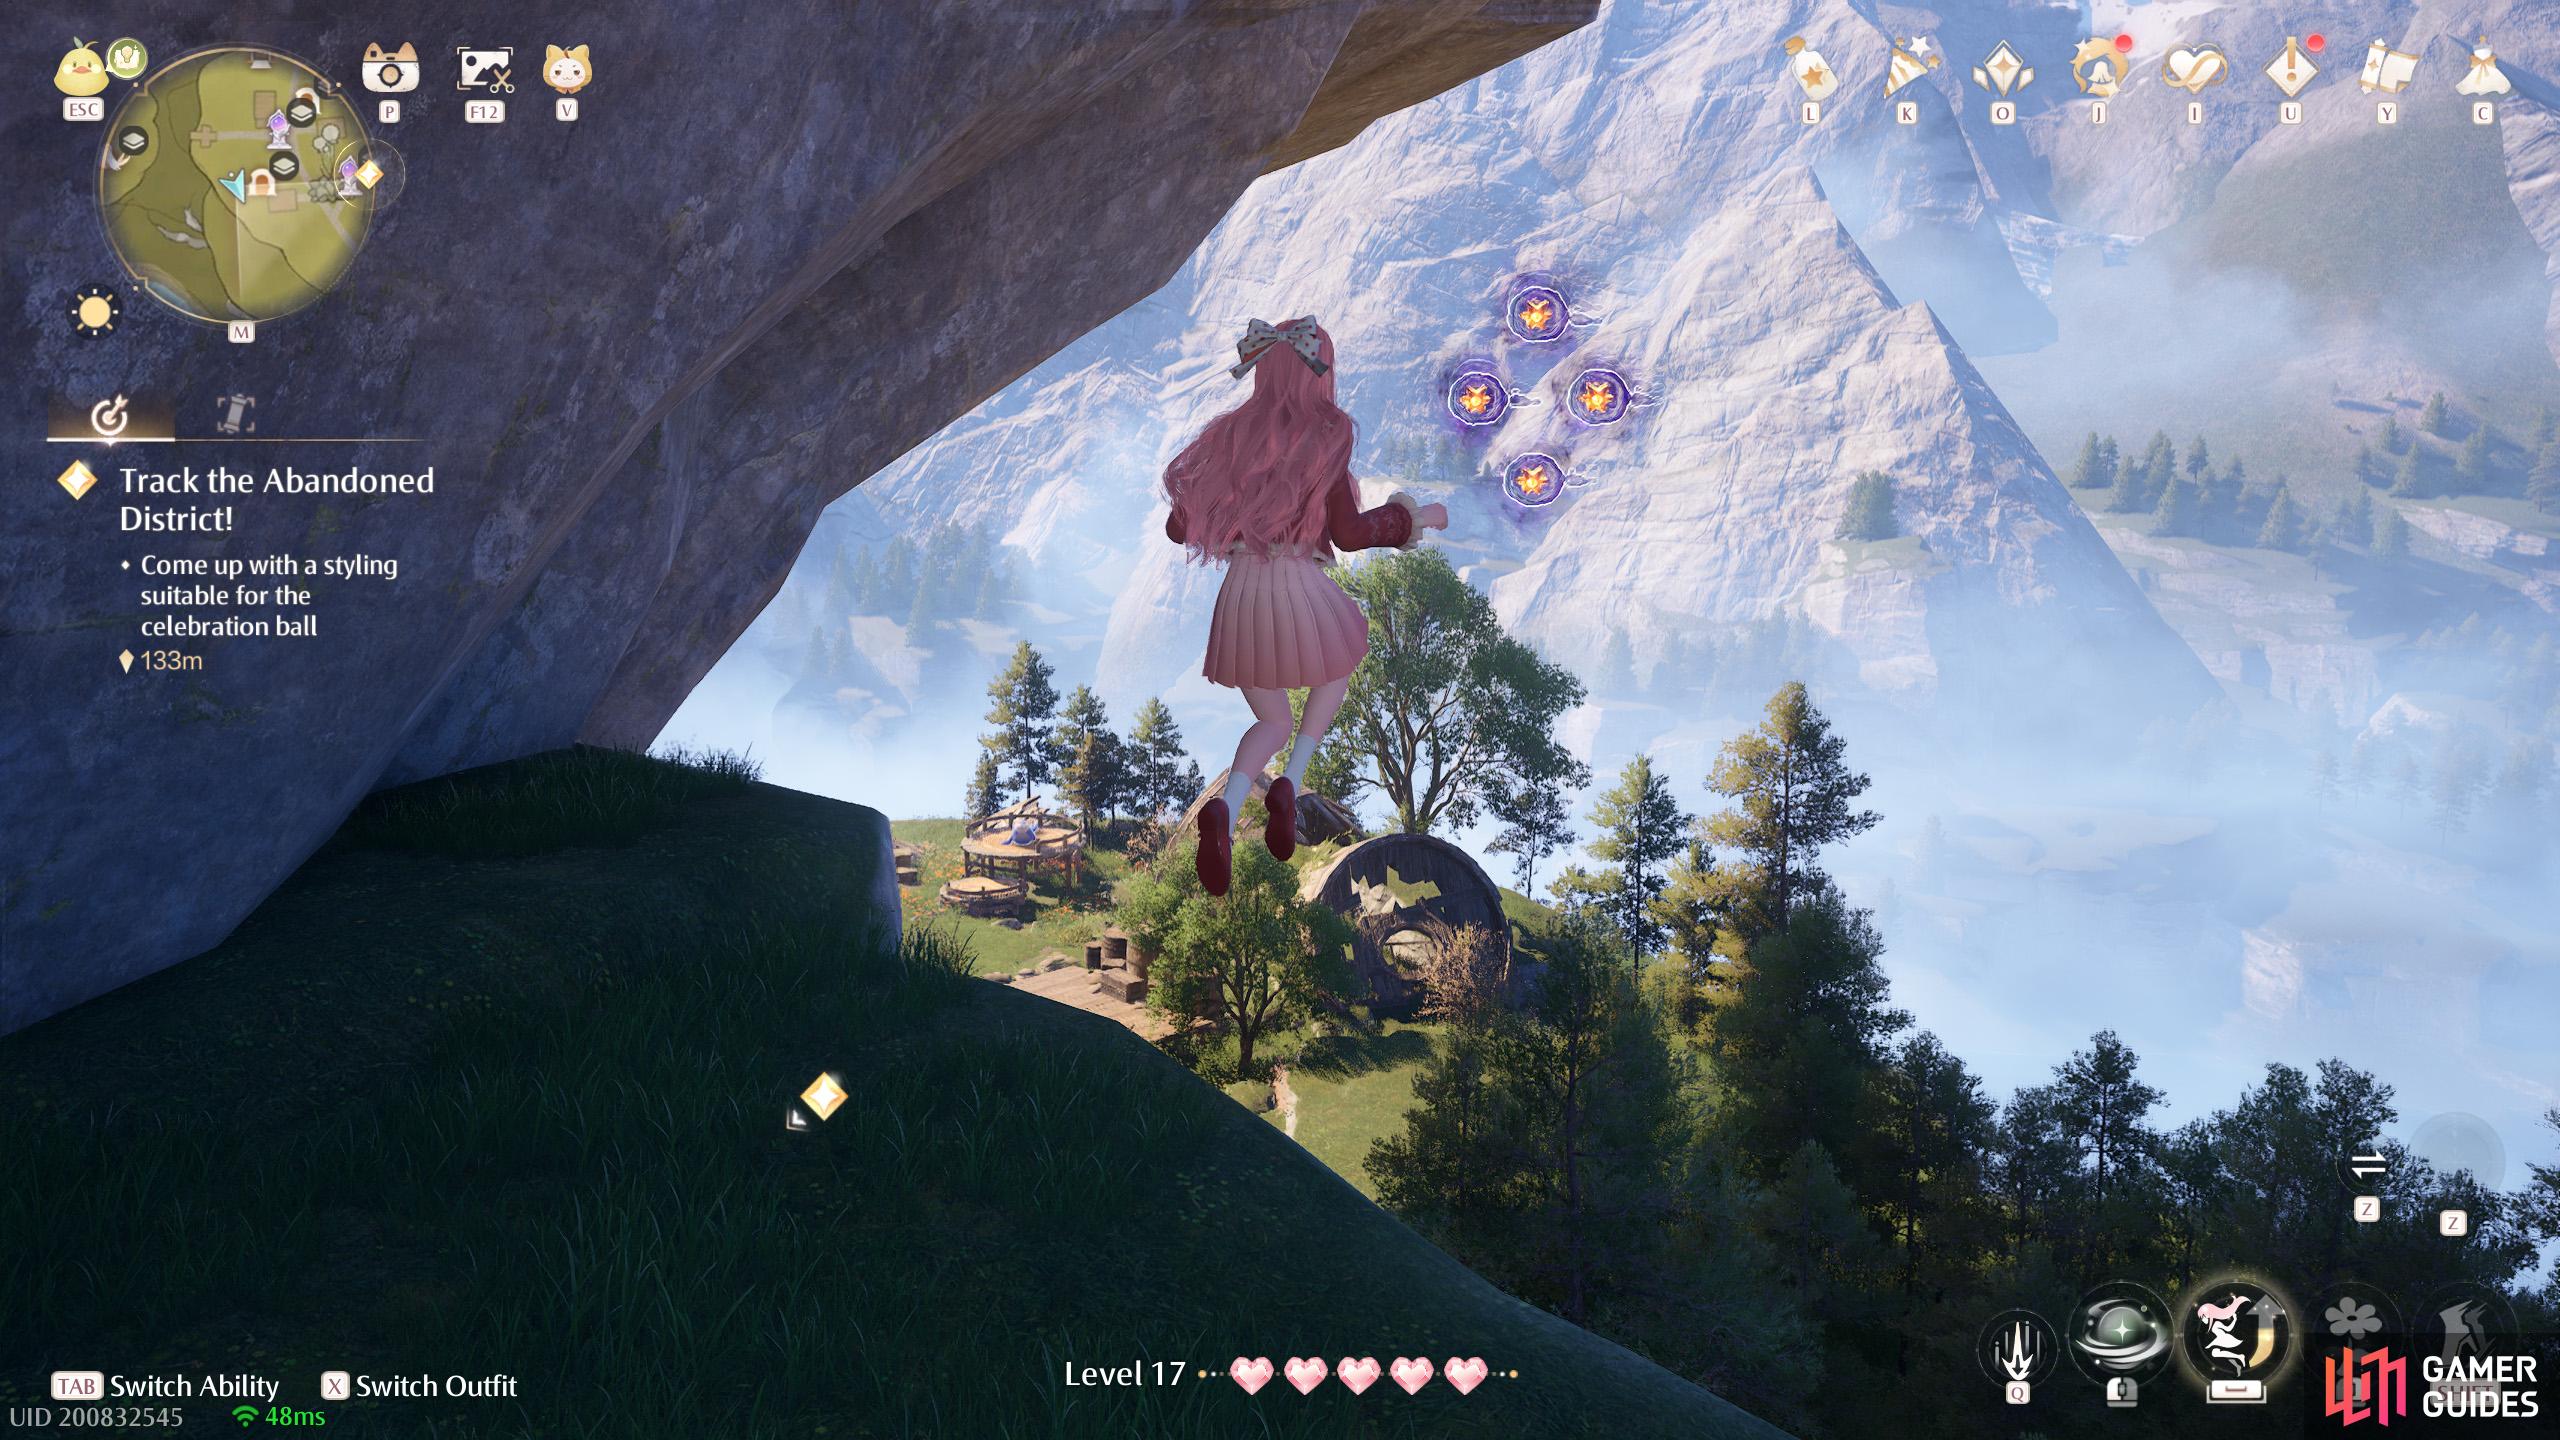
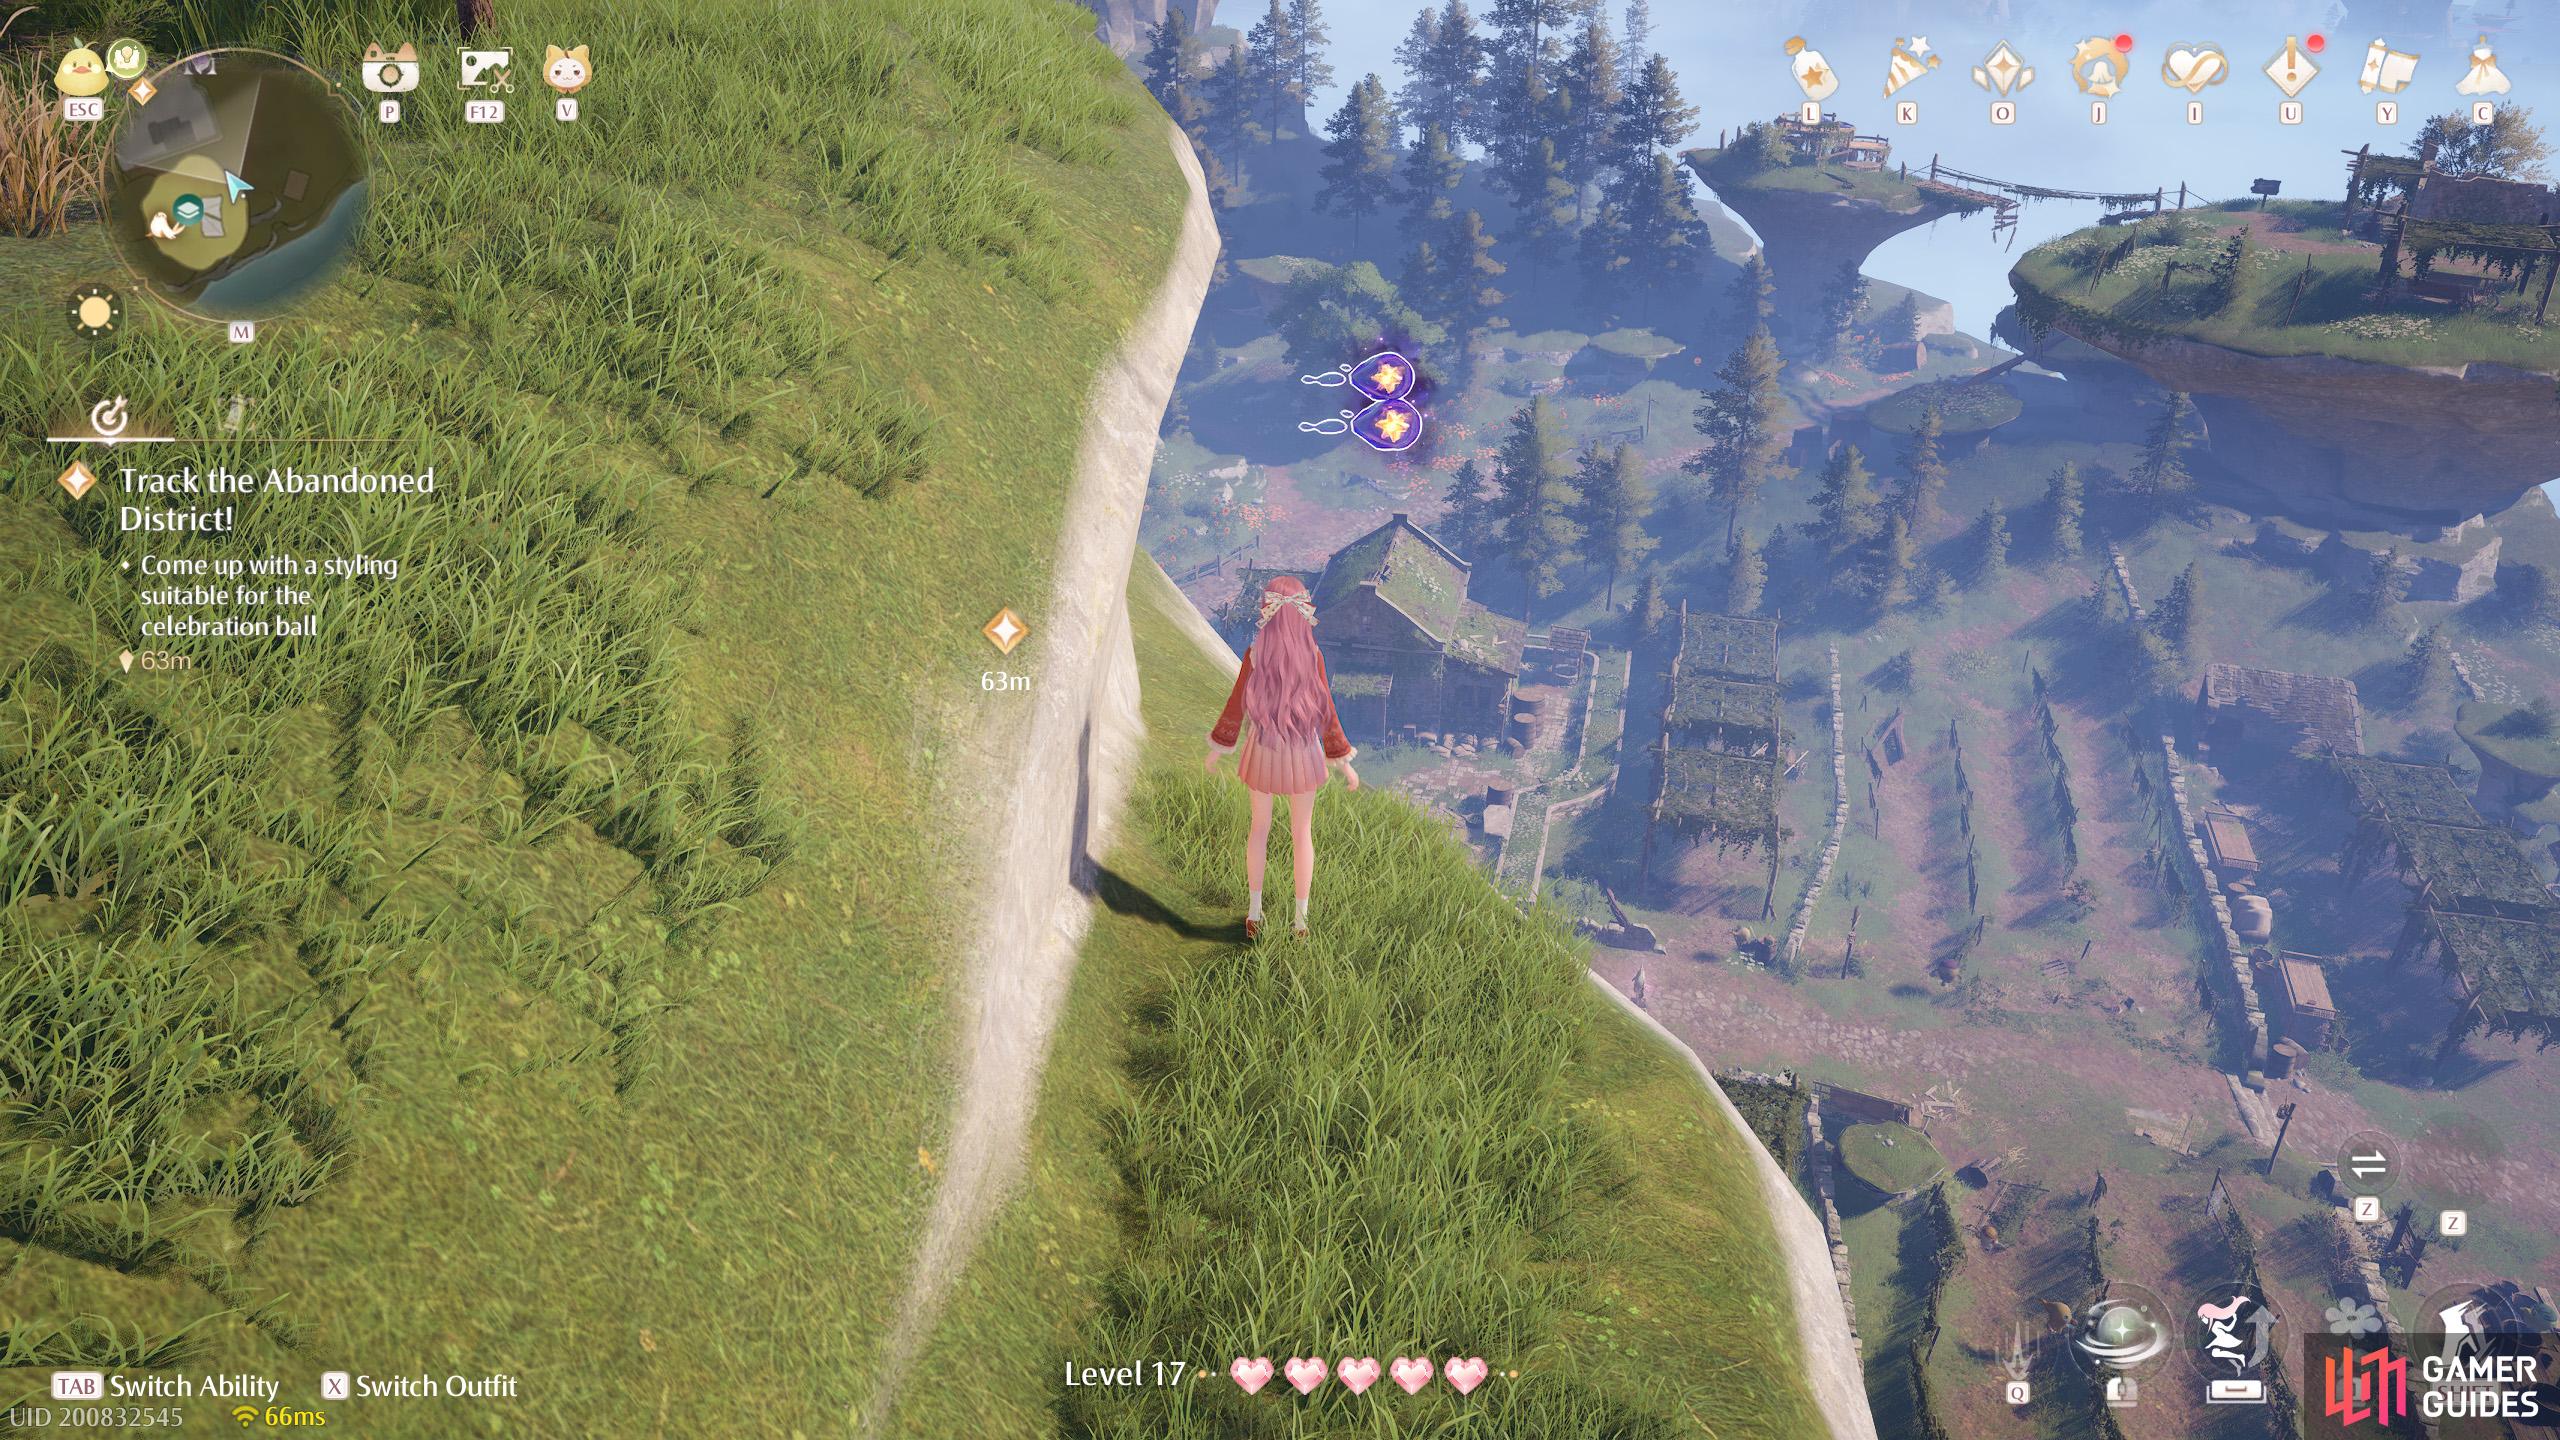
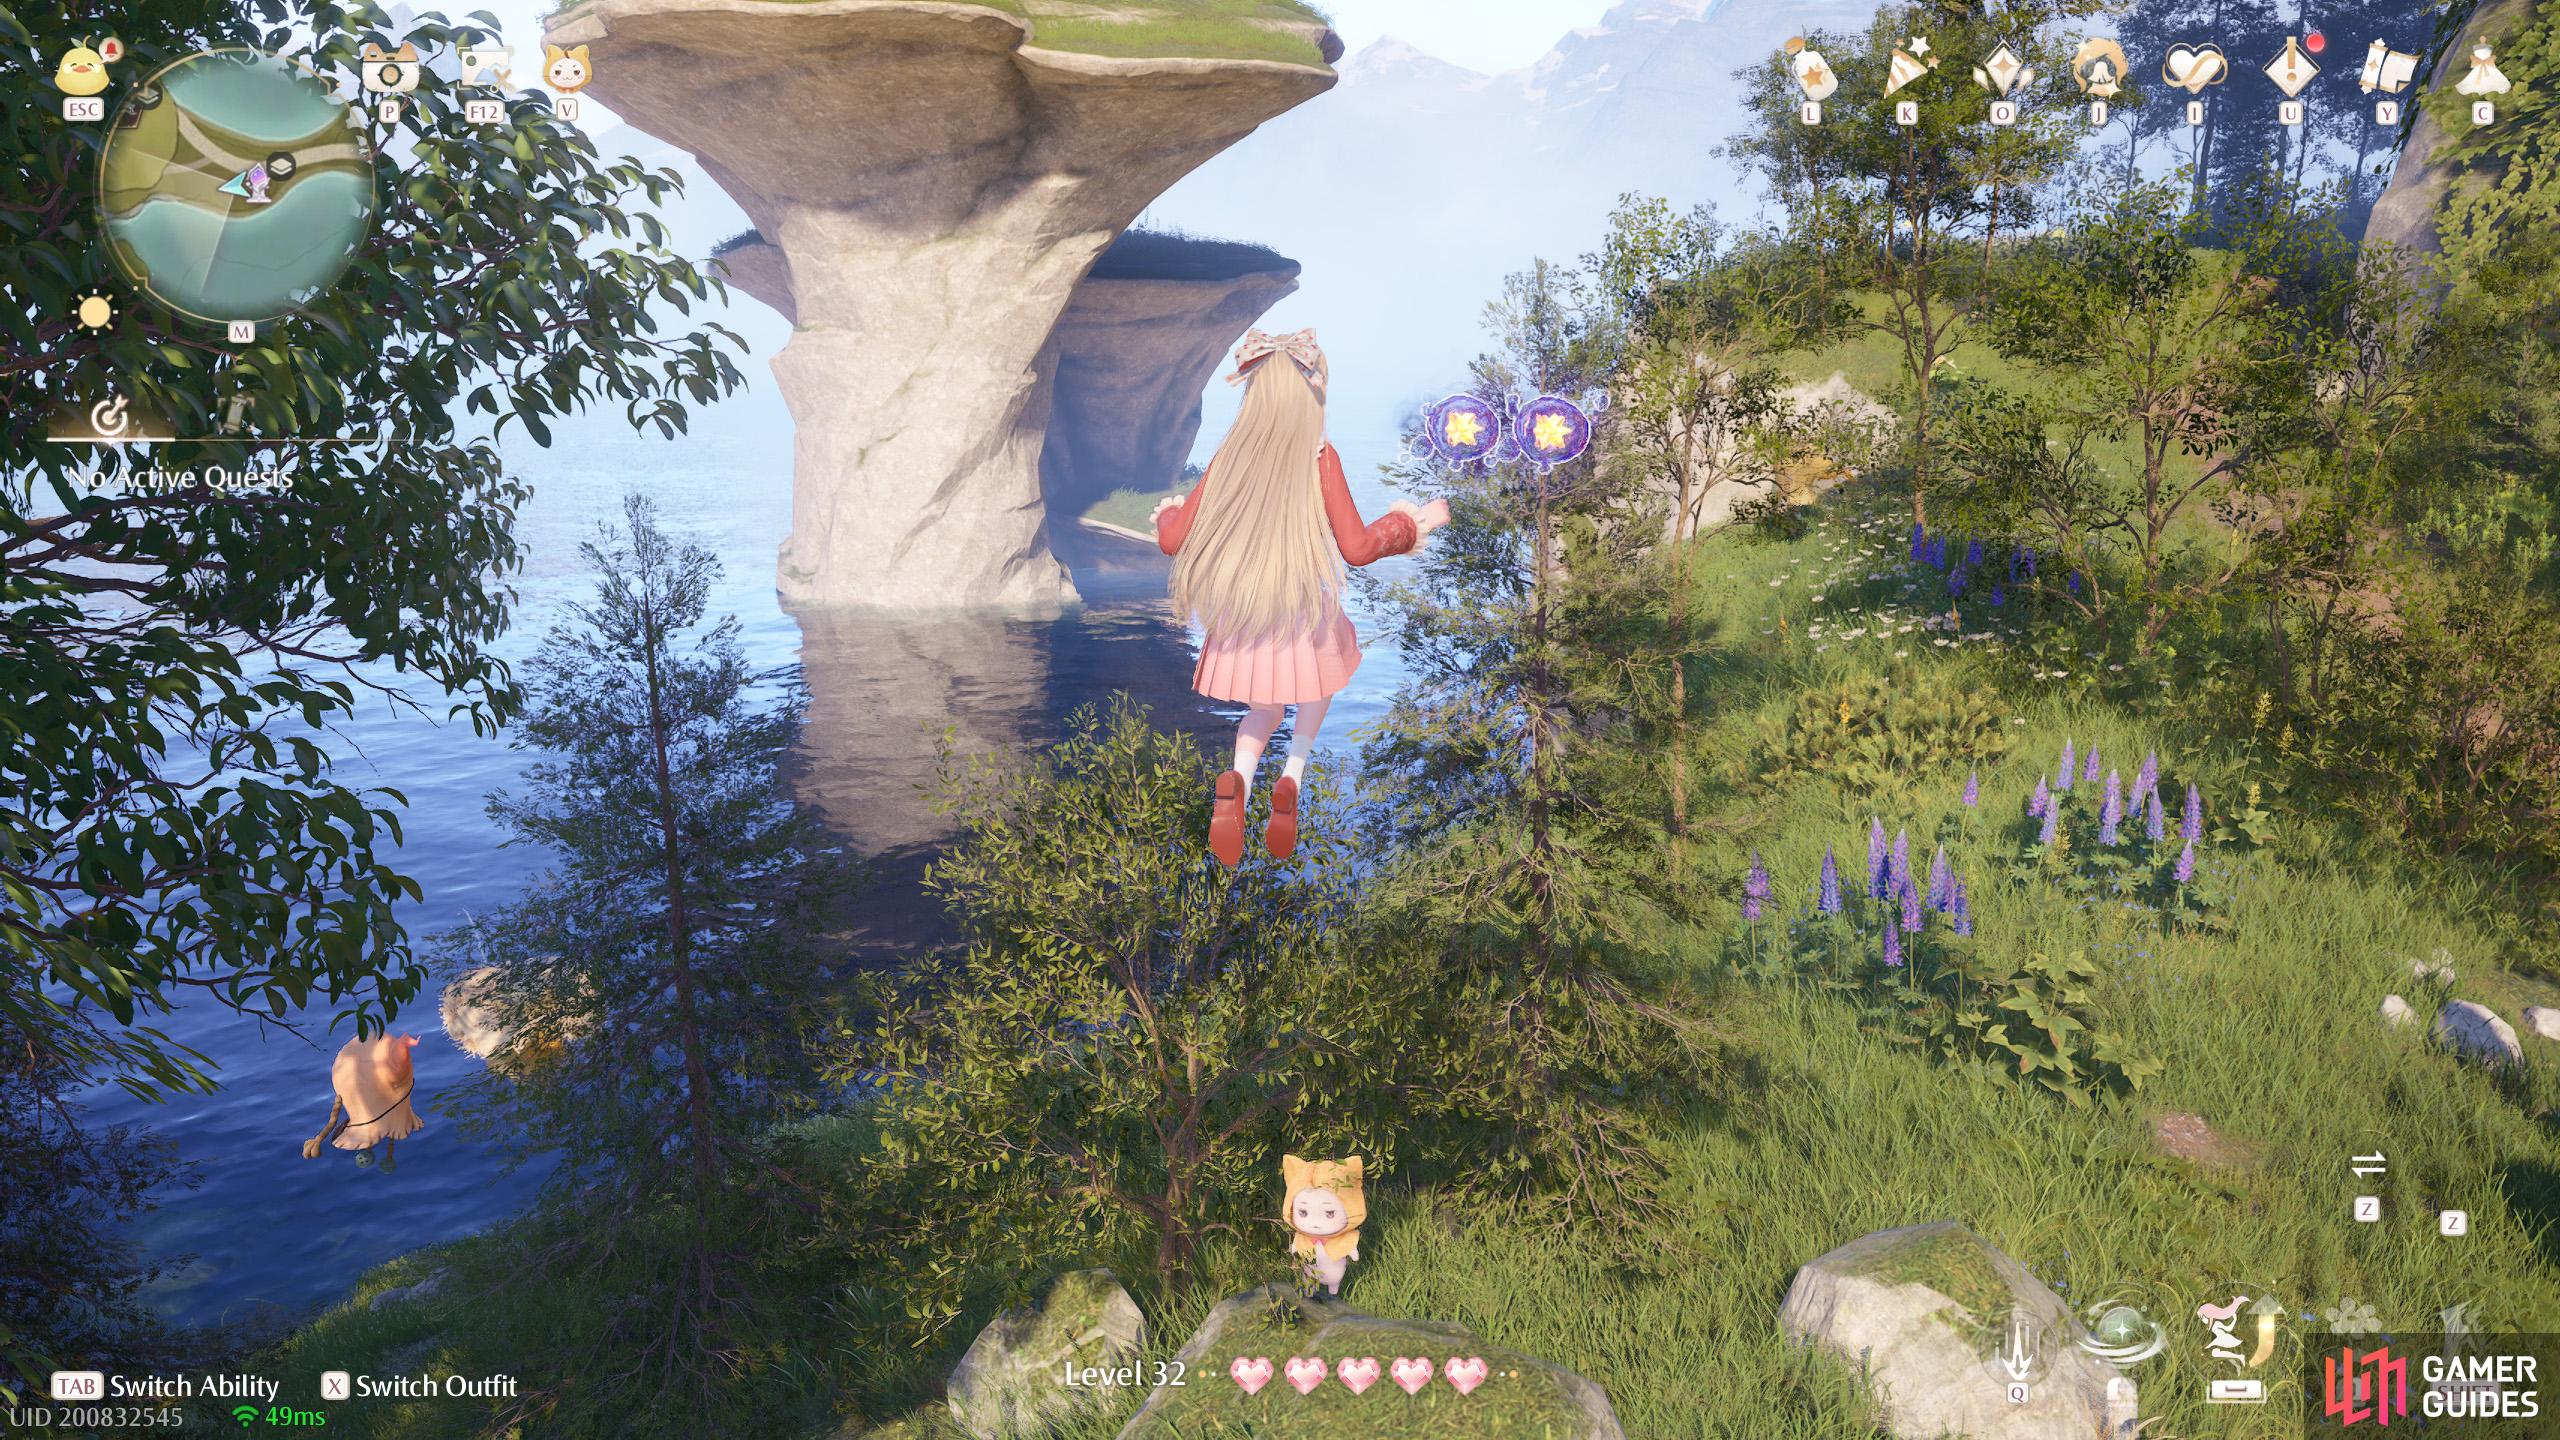
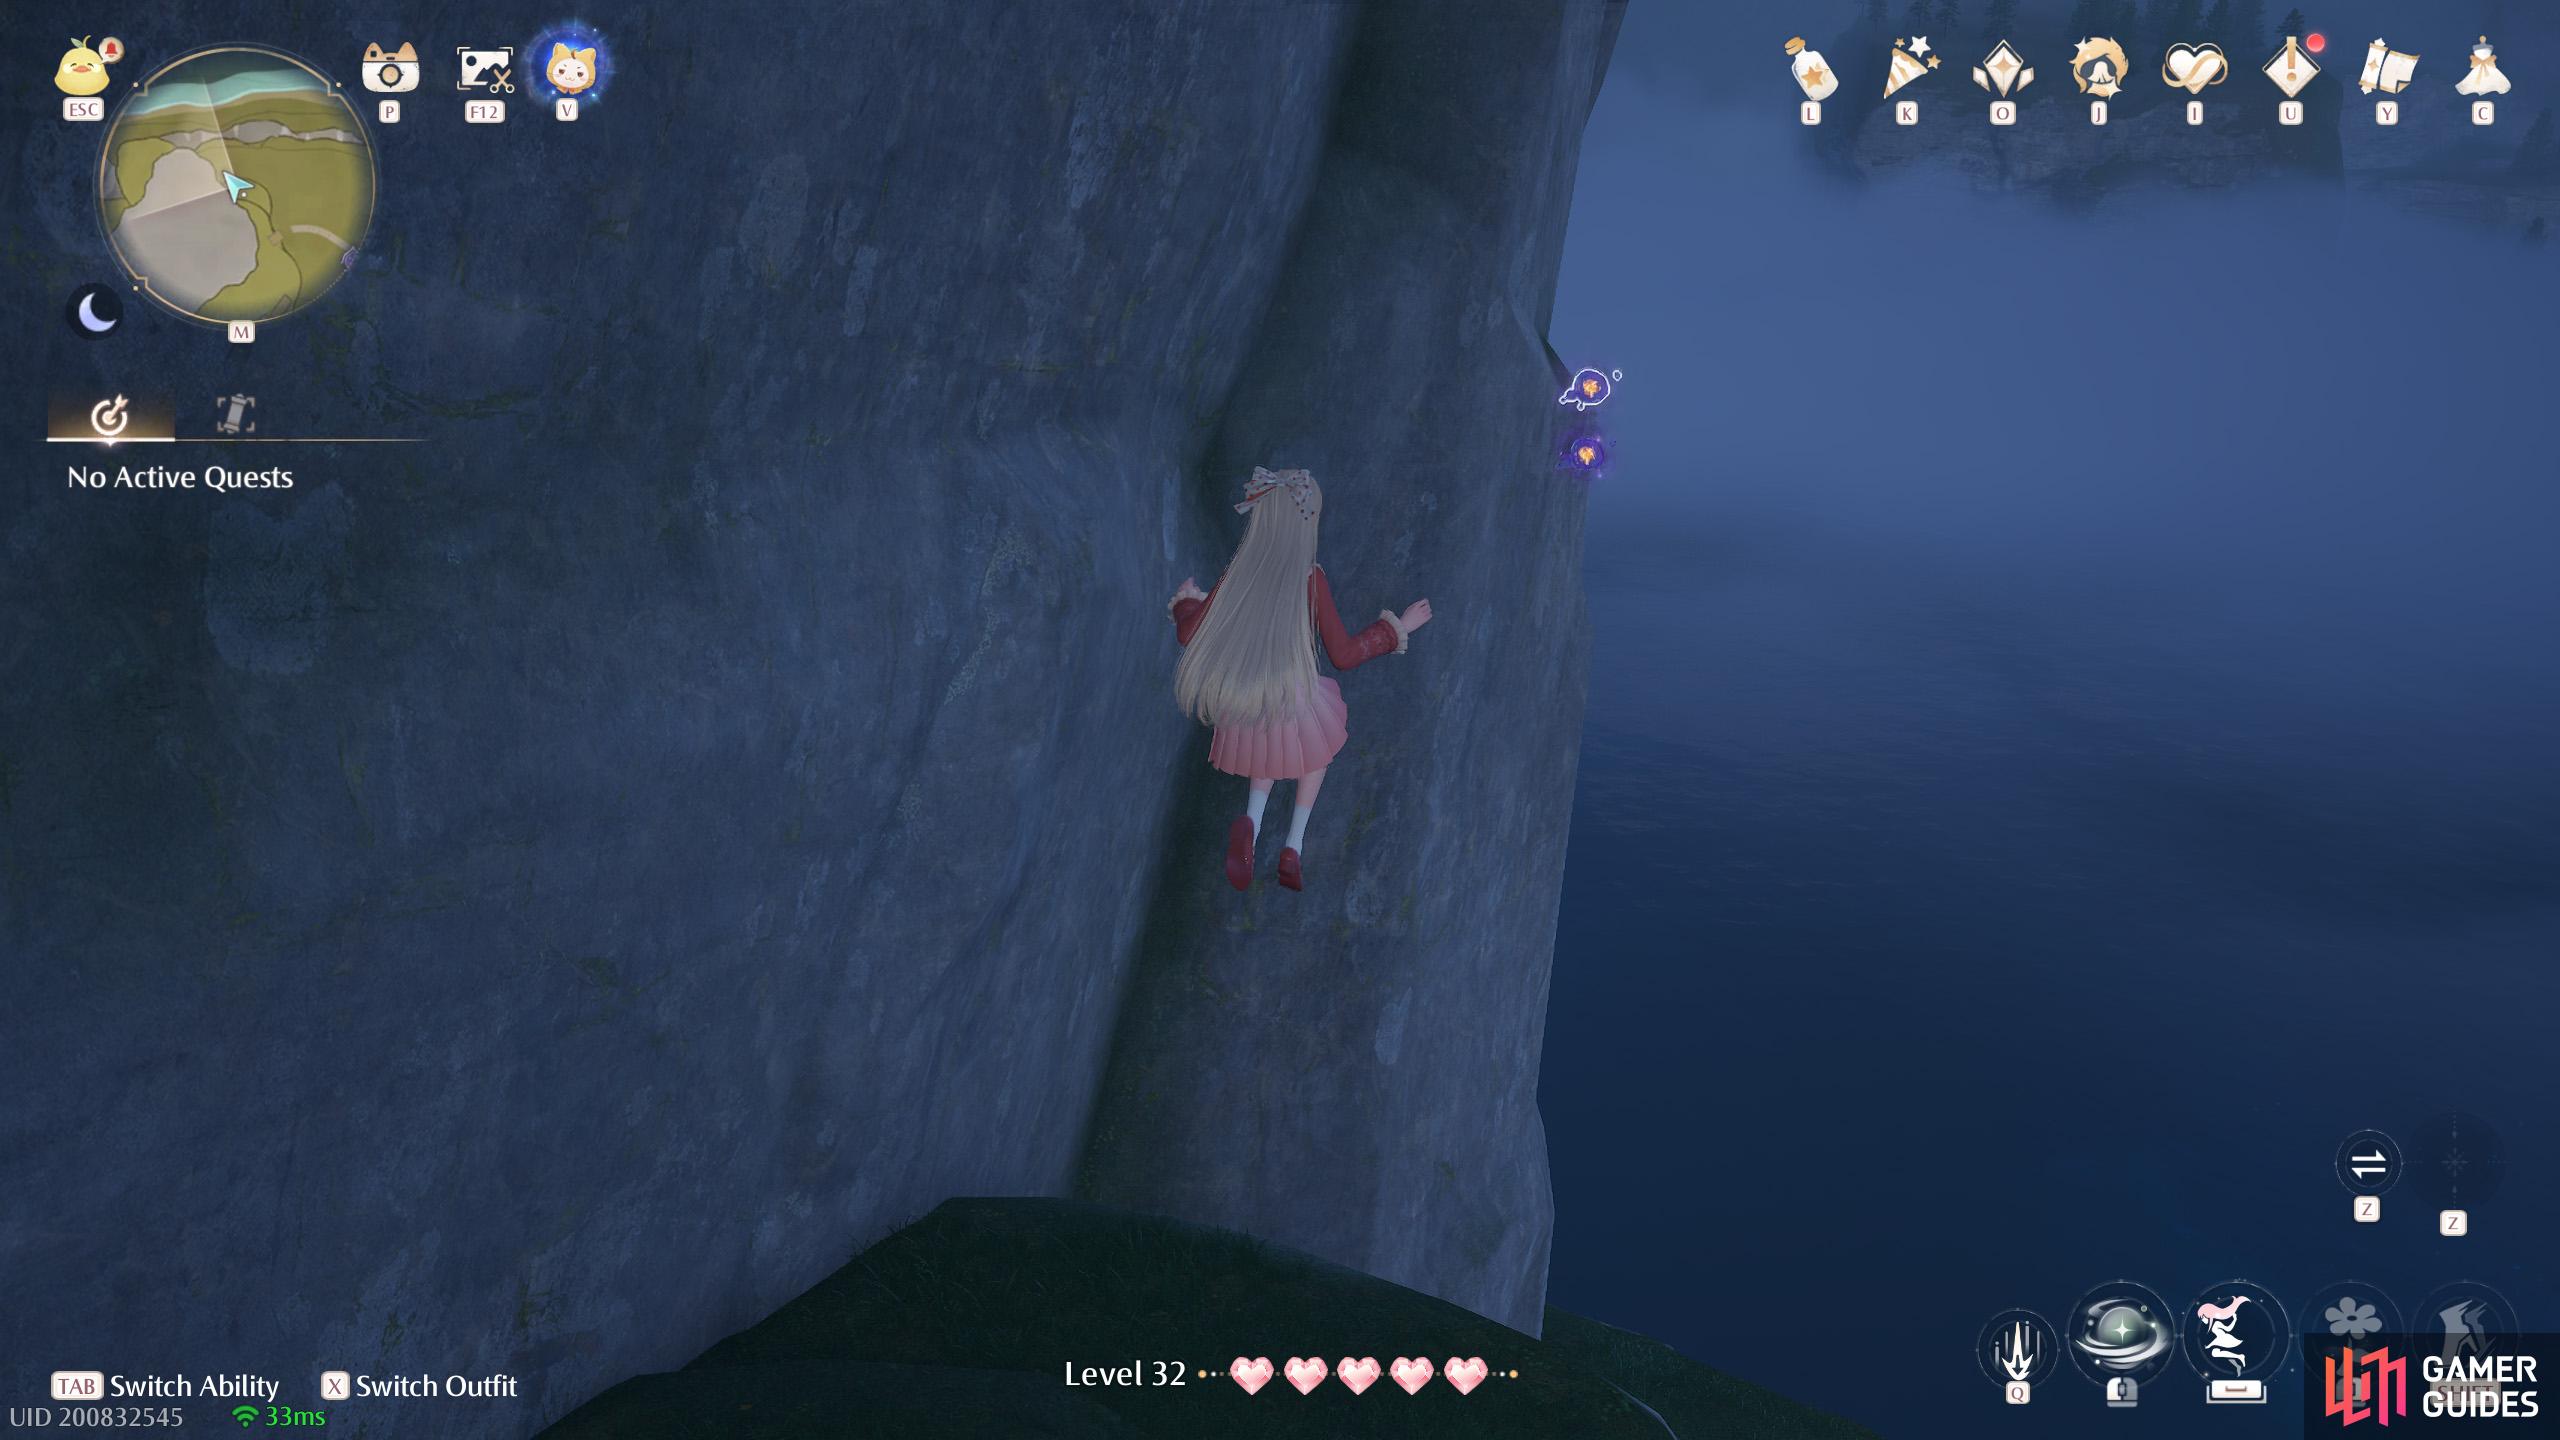
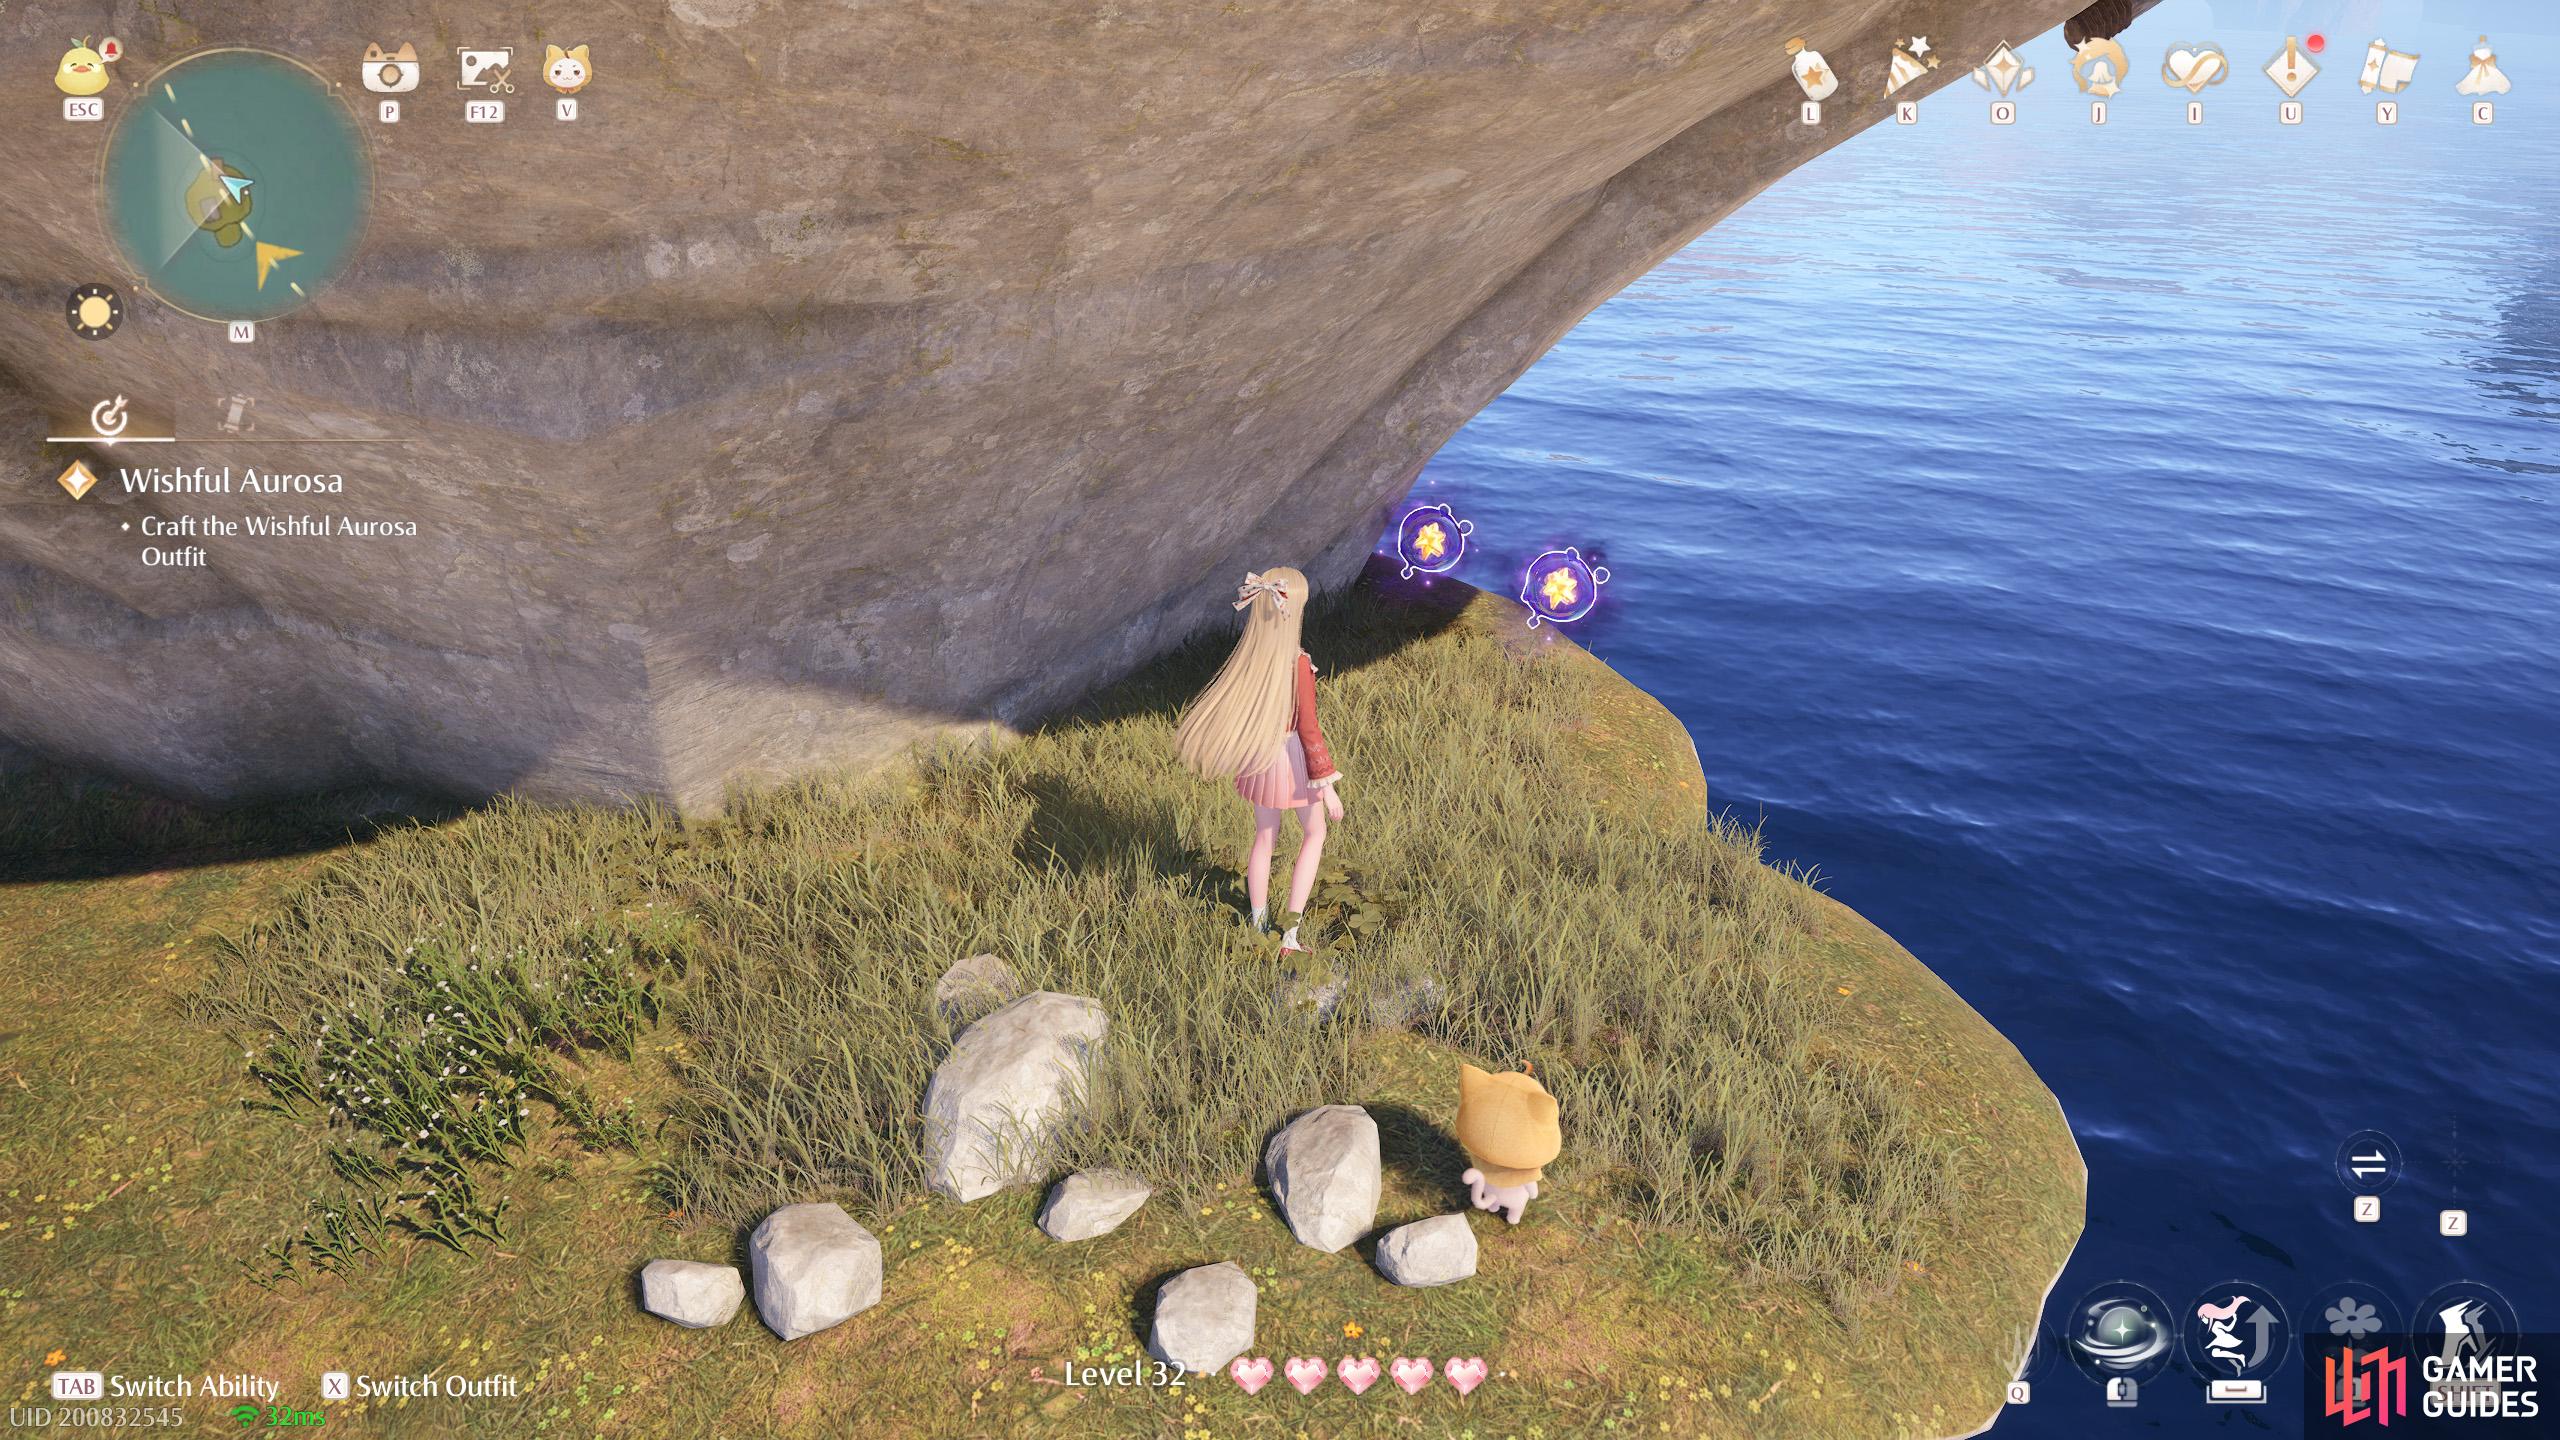
South from the ![]() Meadow Activity Support Center. Two of them in the sky. Can be reached by jumping.
Meadow Activity Support Center. Two of them in the sky. Can be reached by jumping.
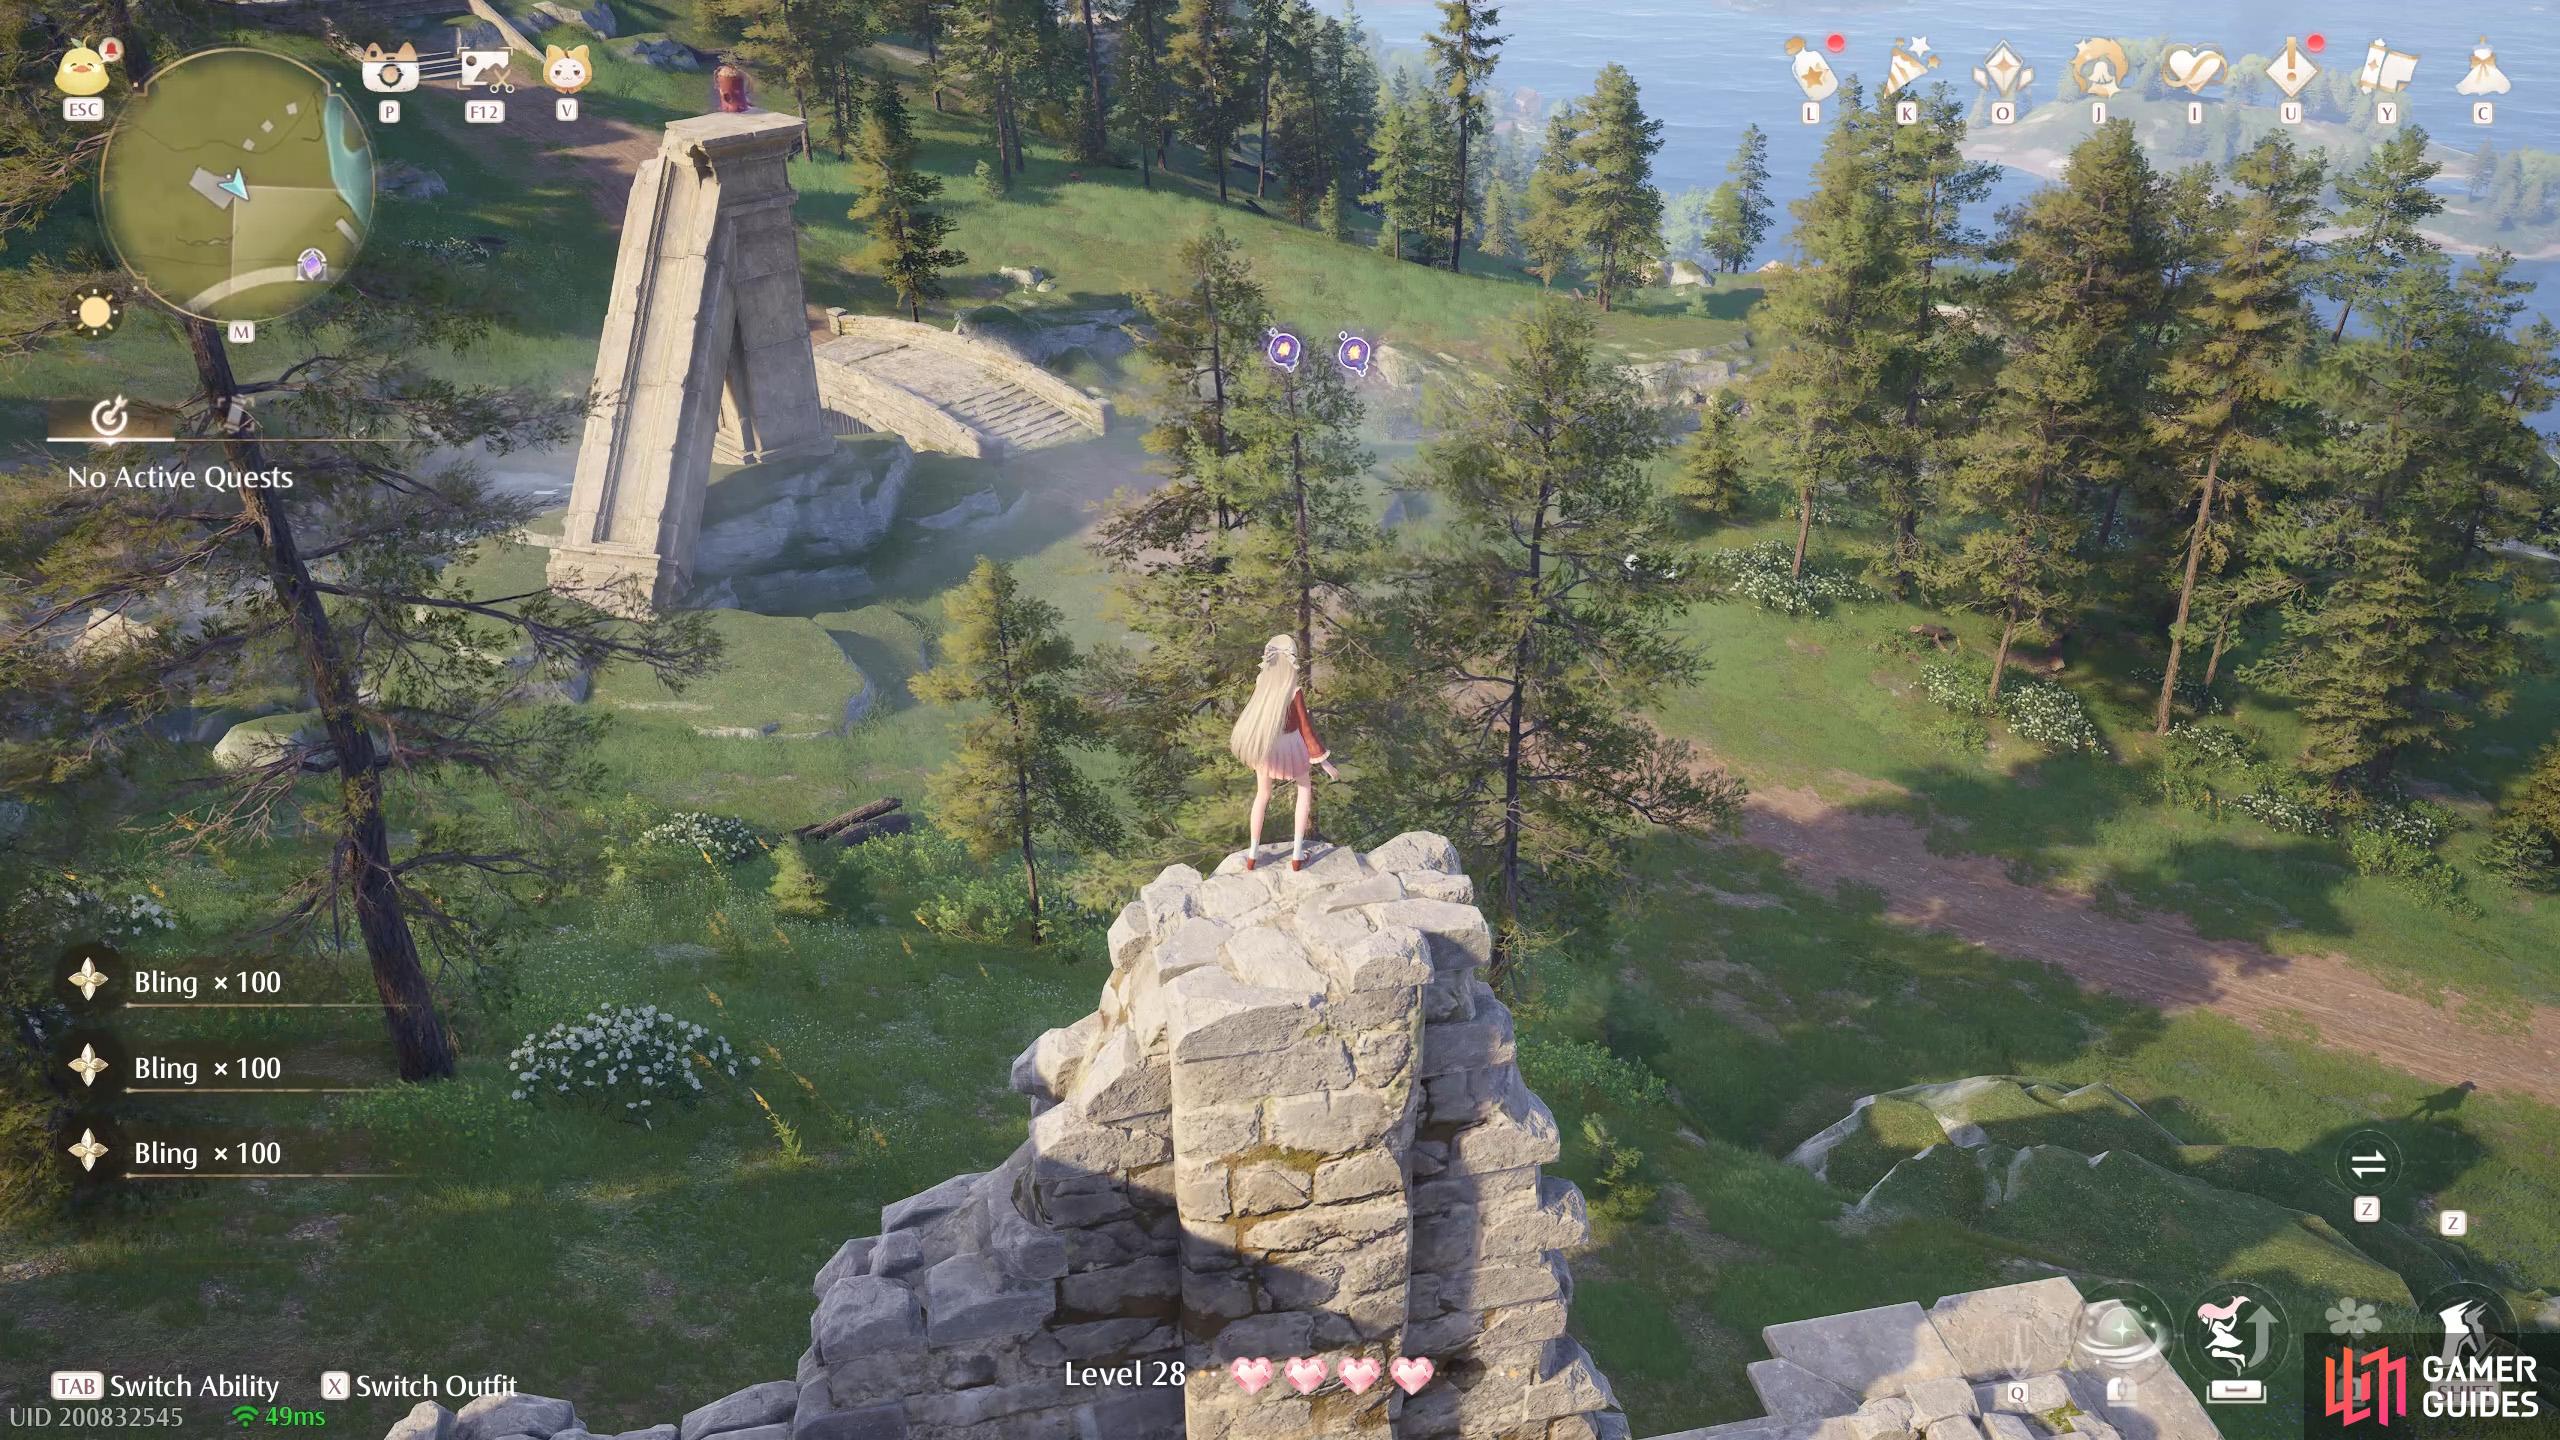
2. Miraland Map
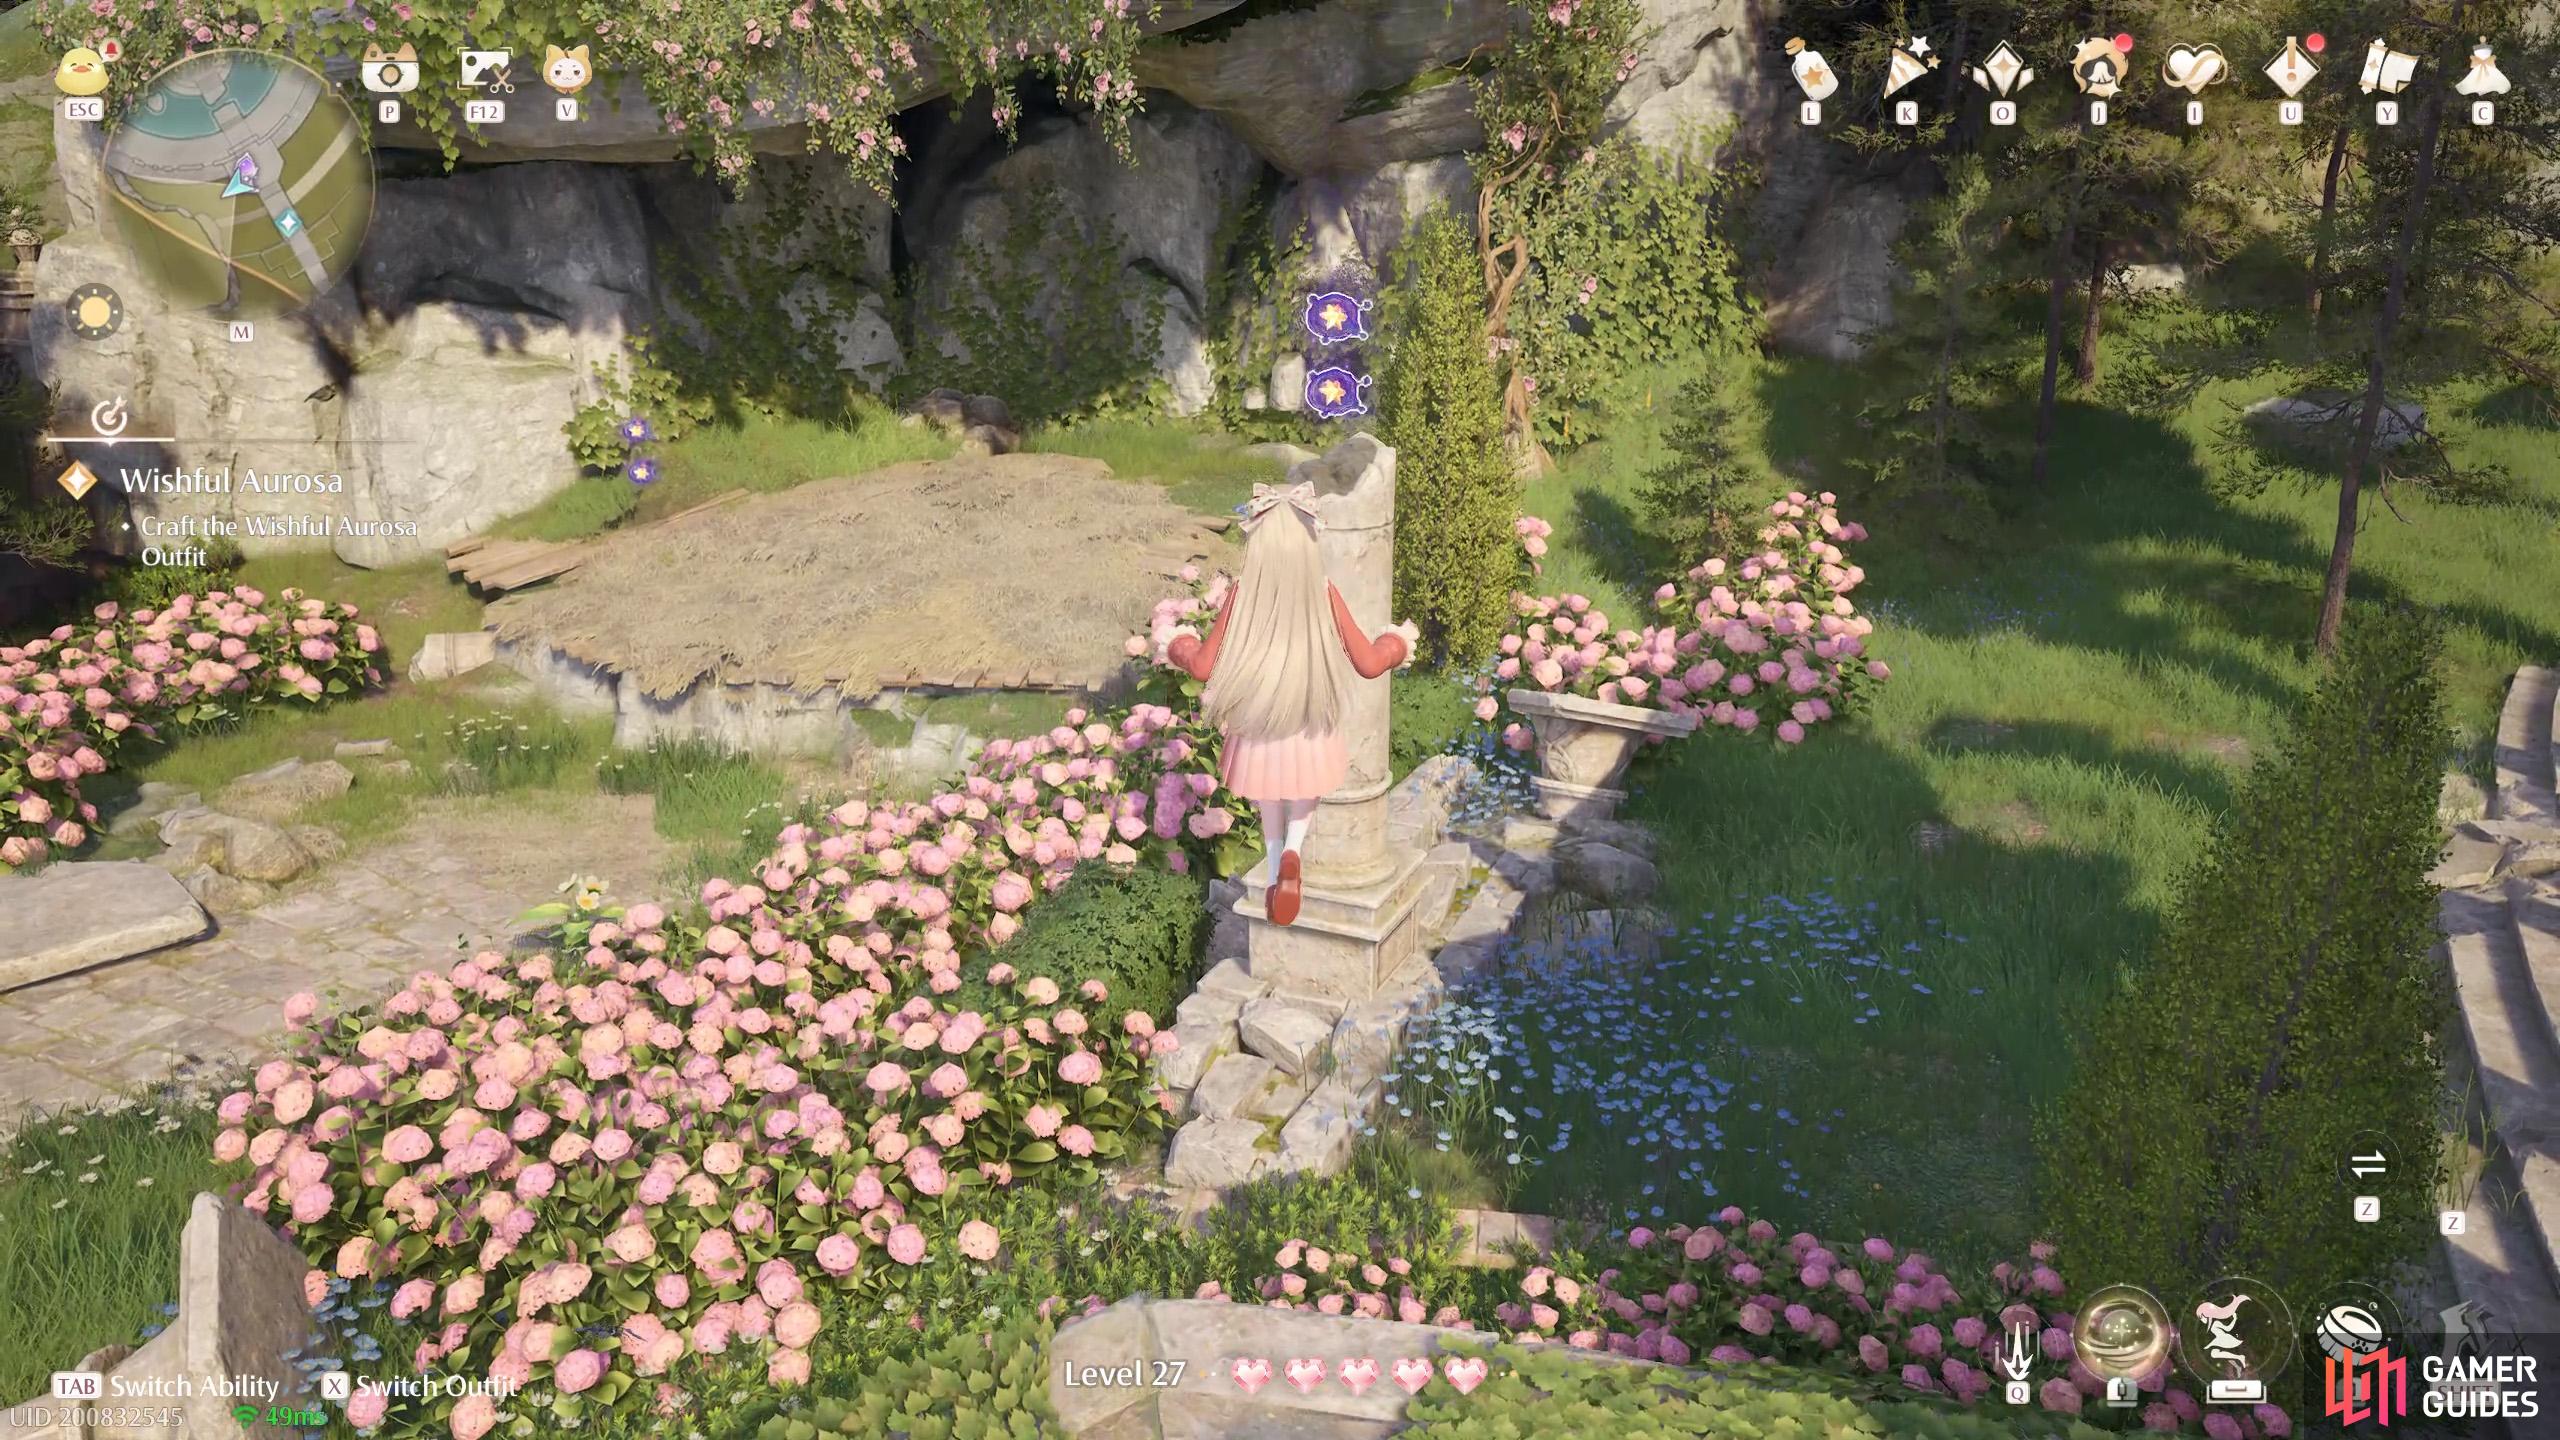
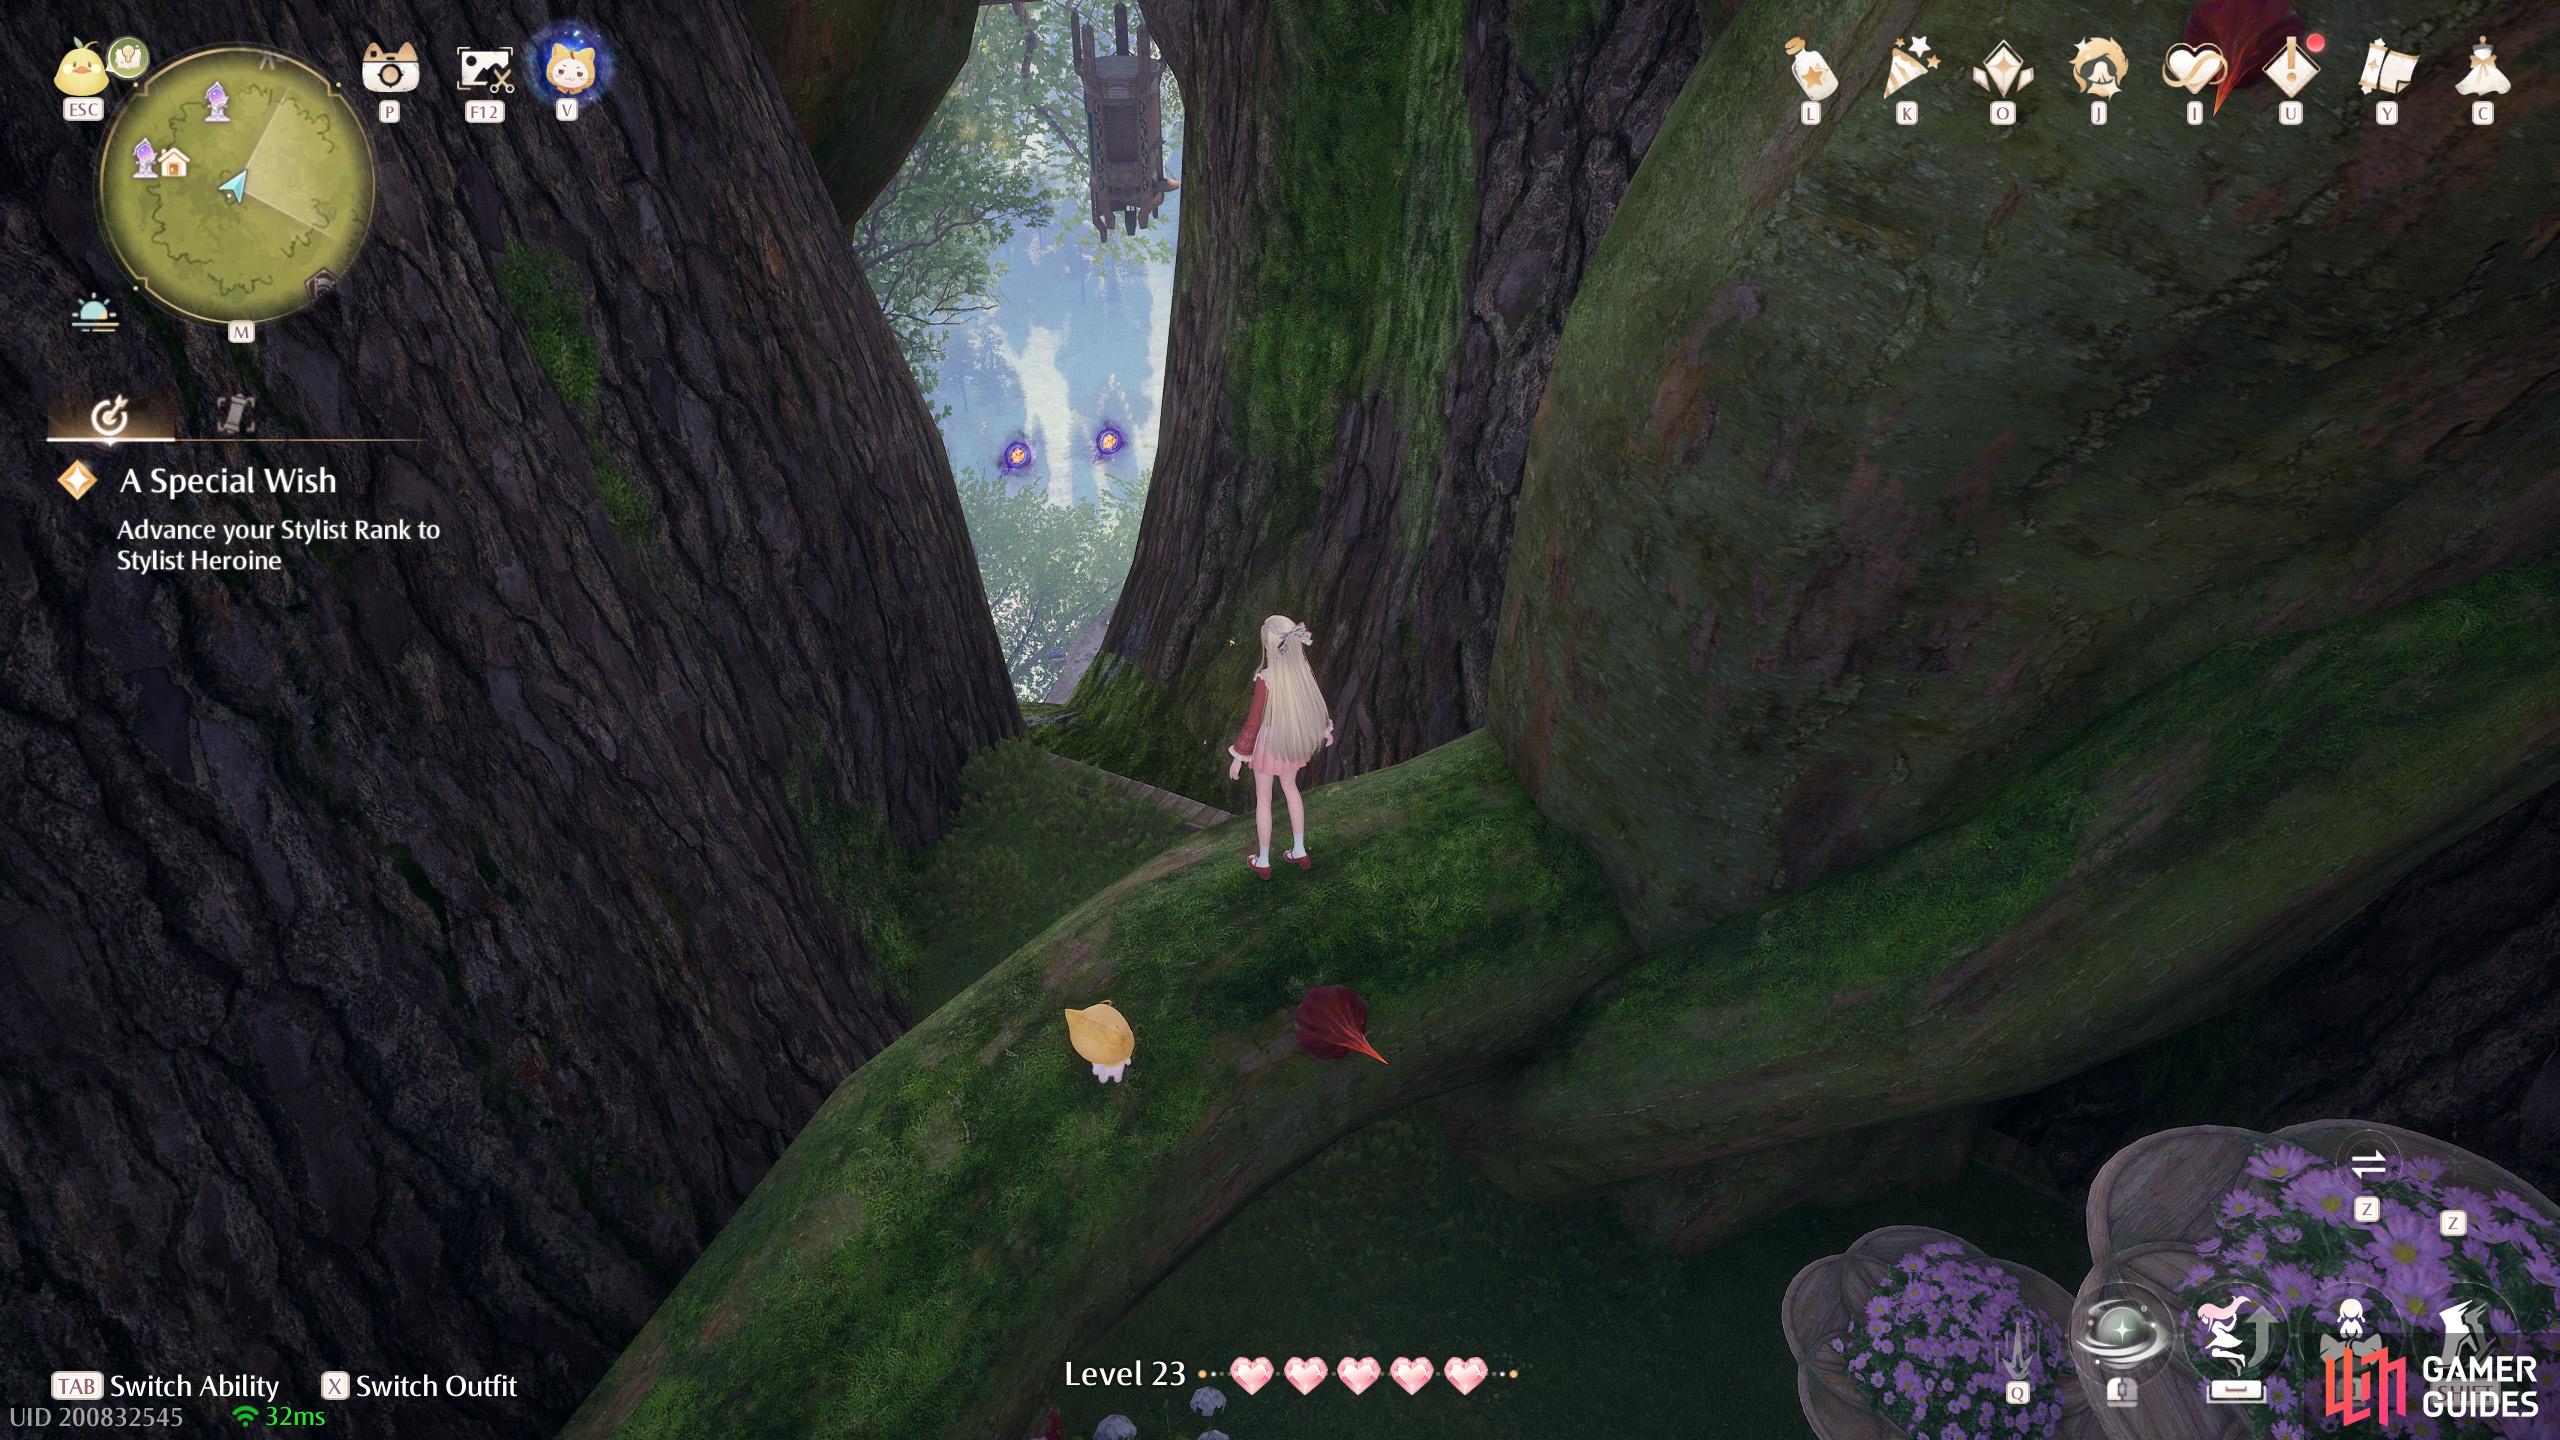
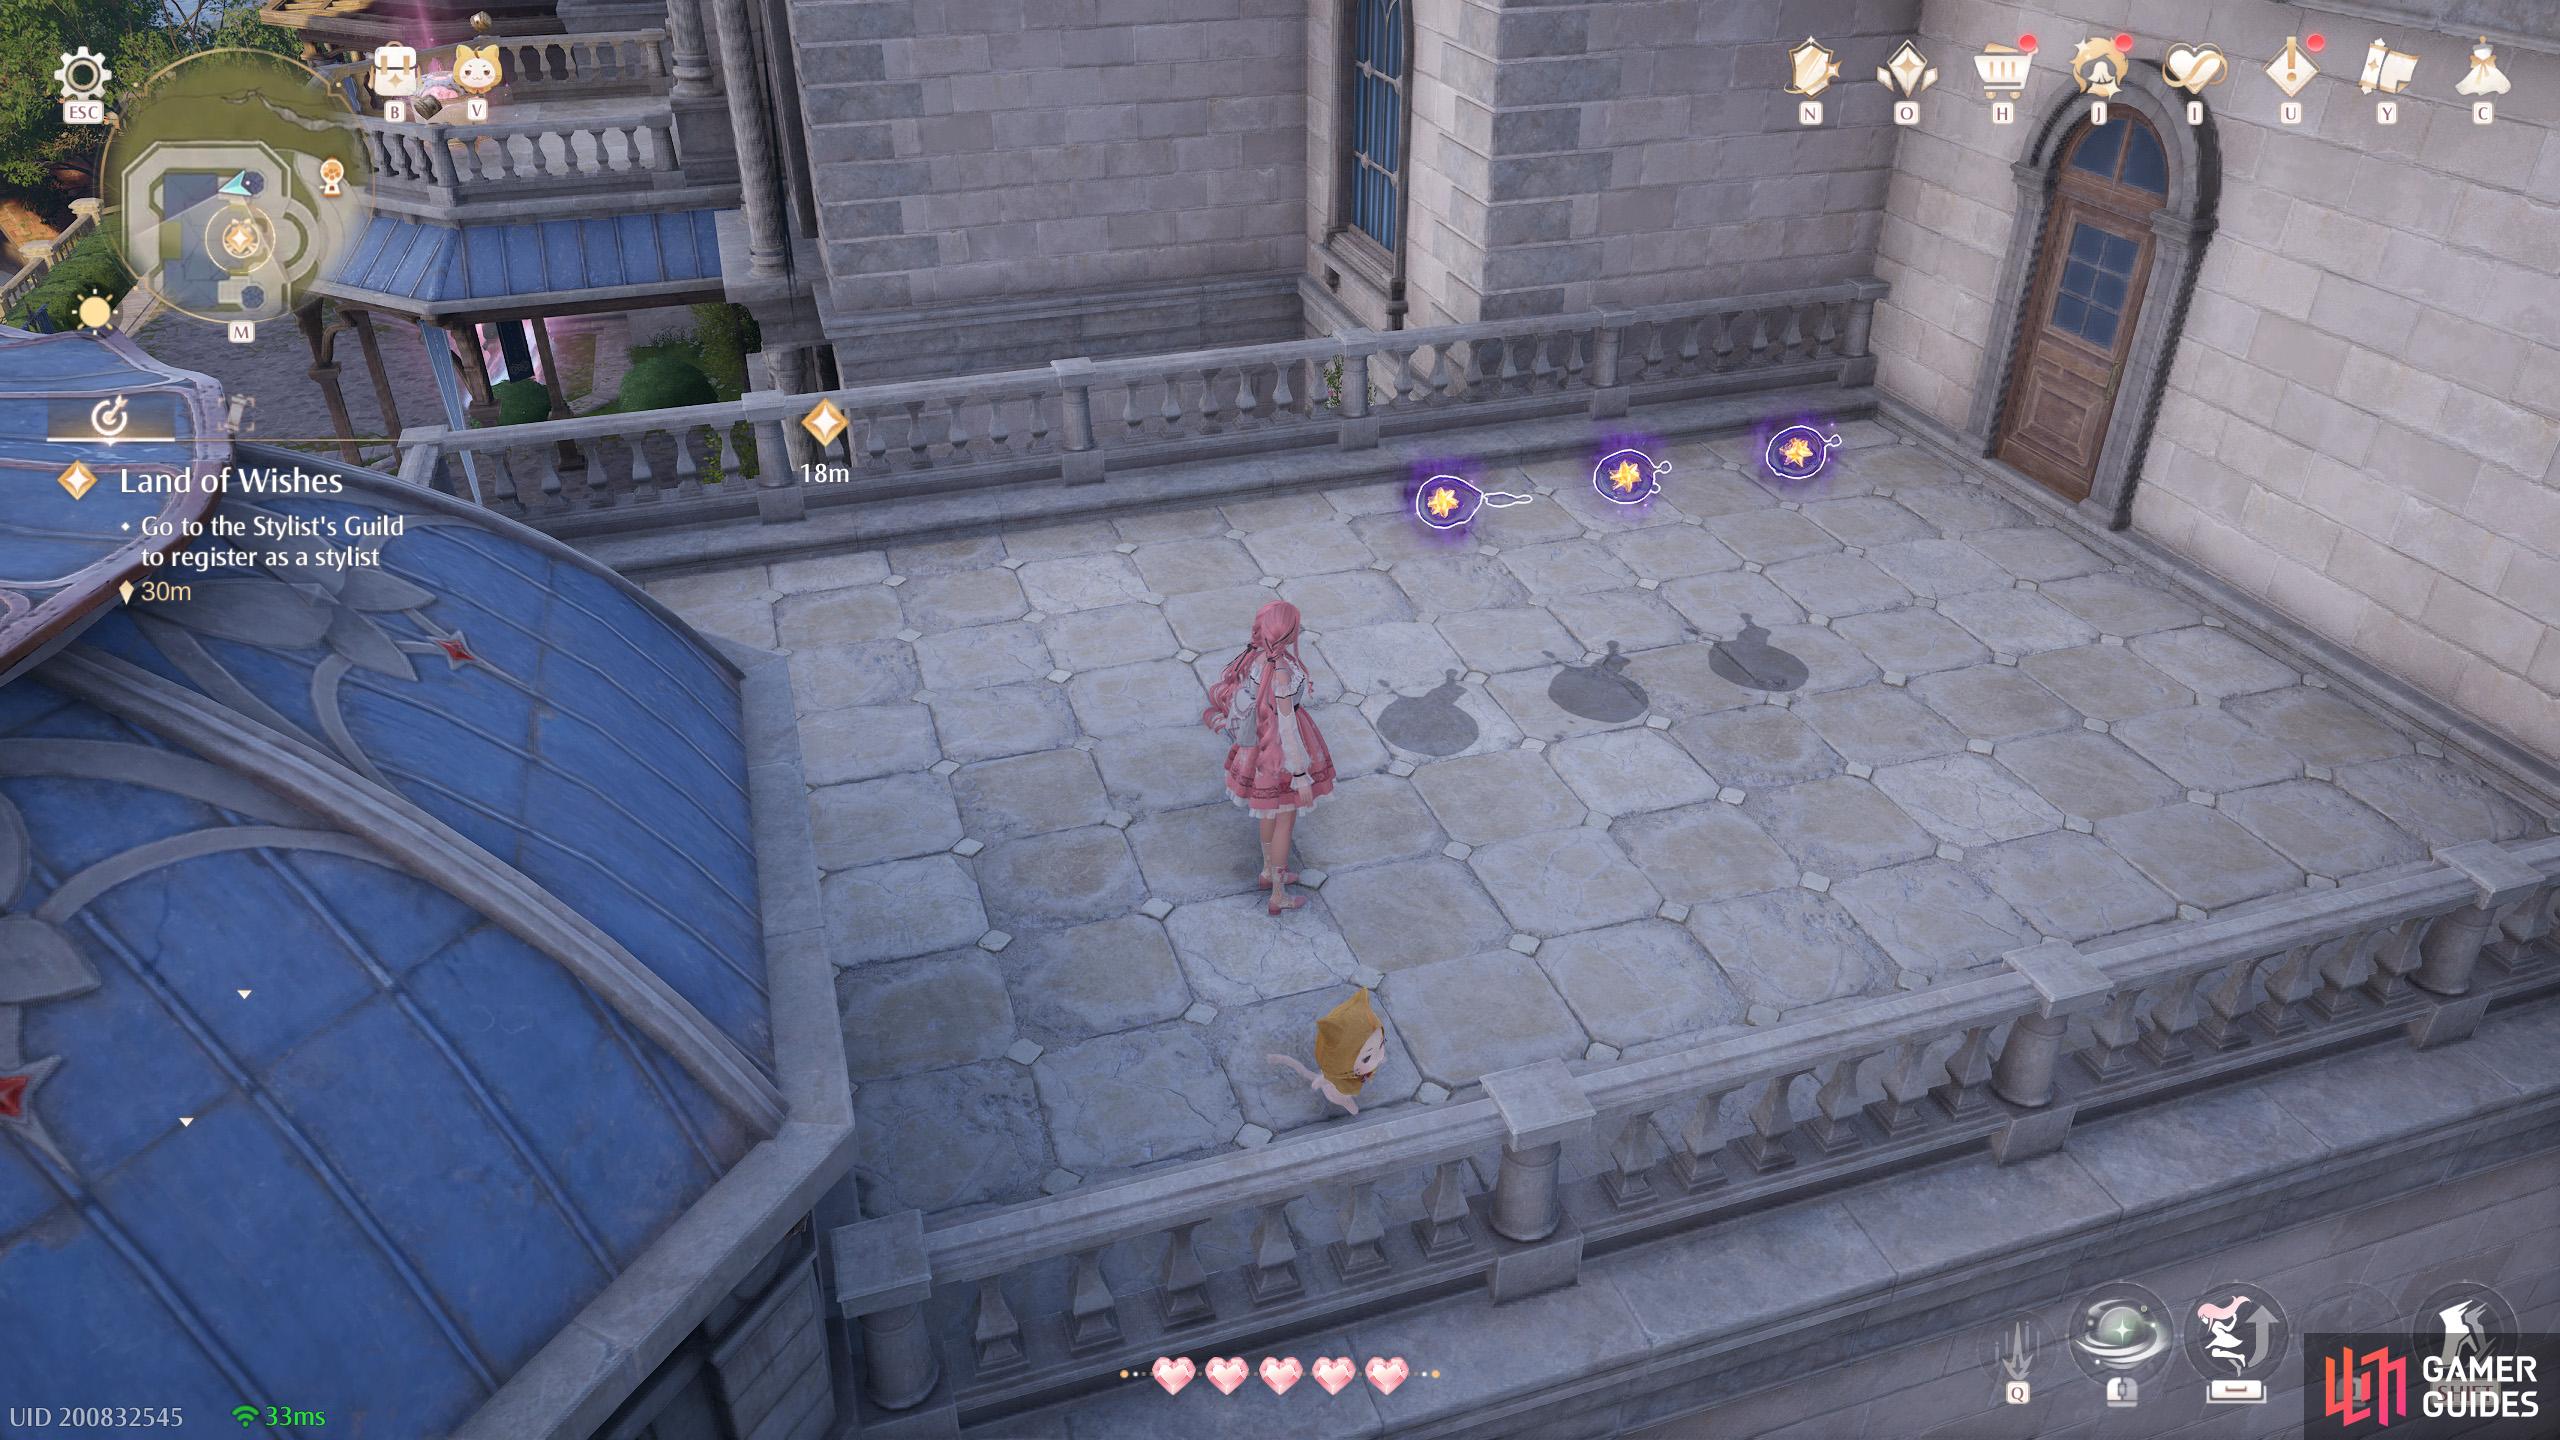
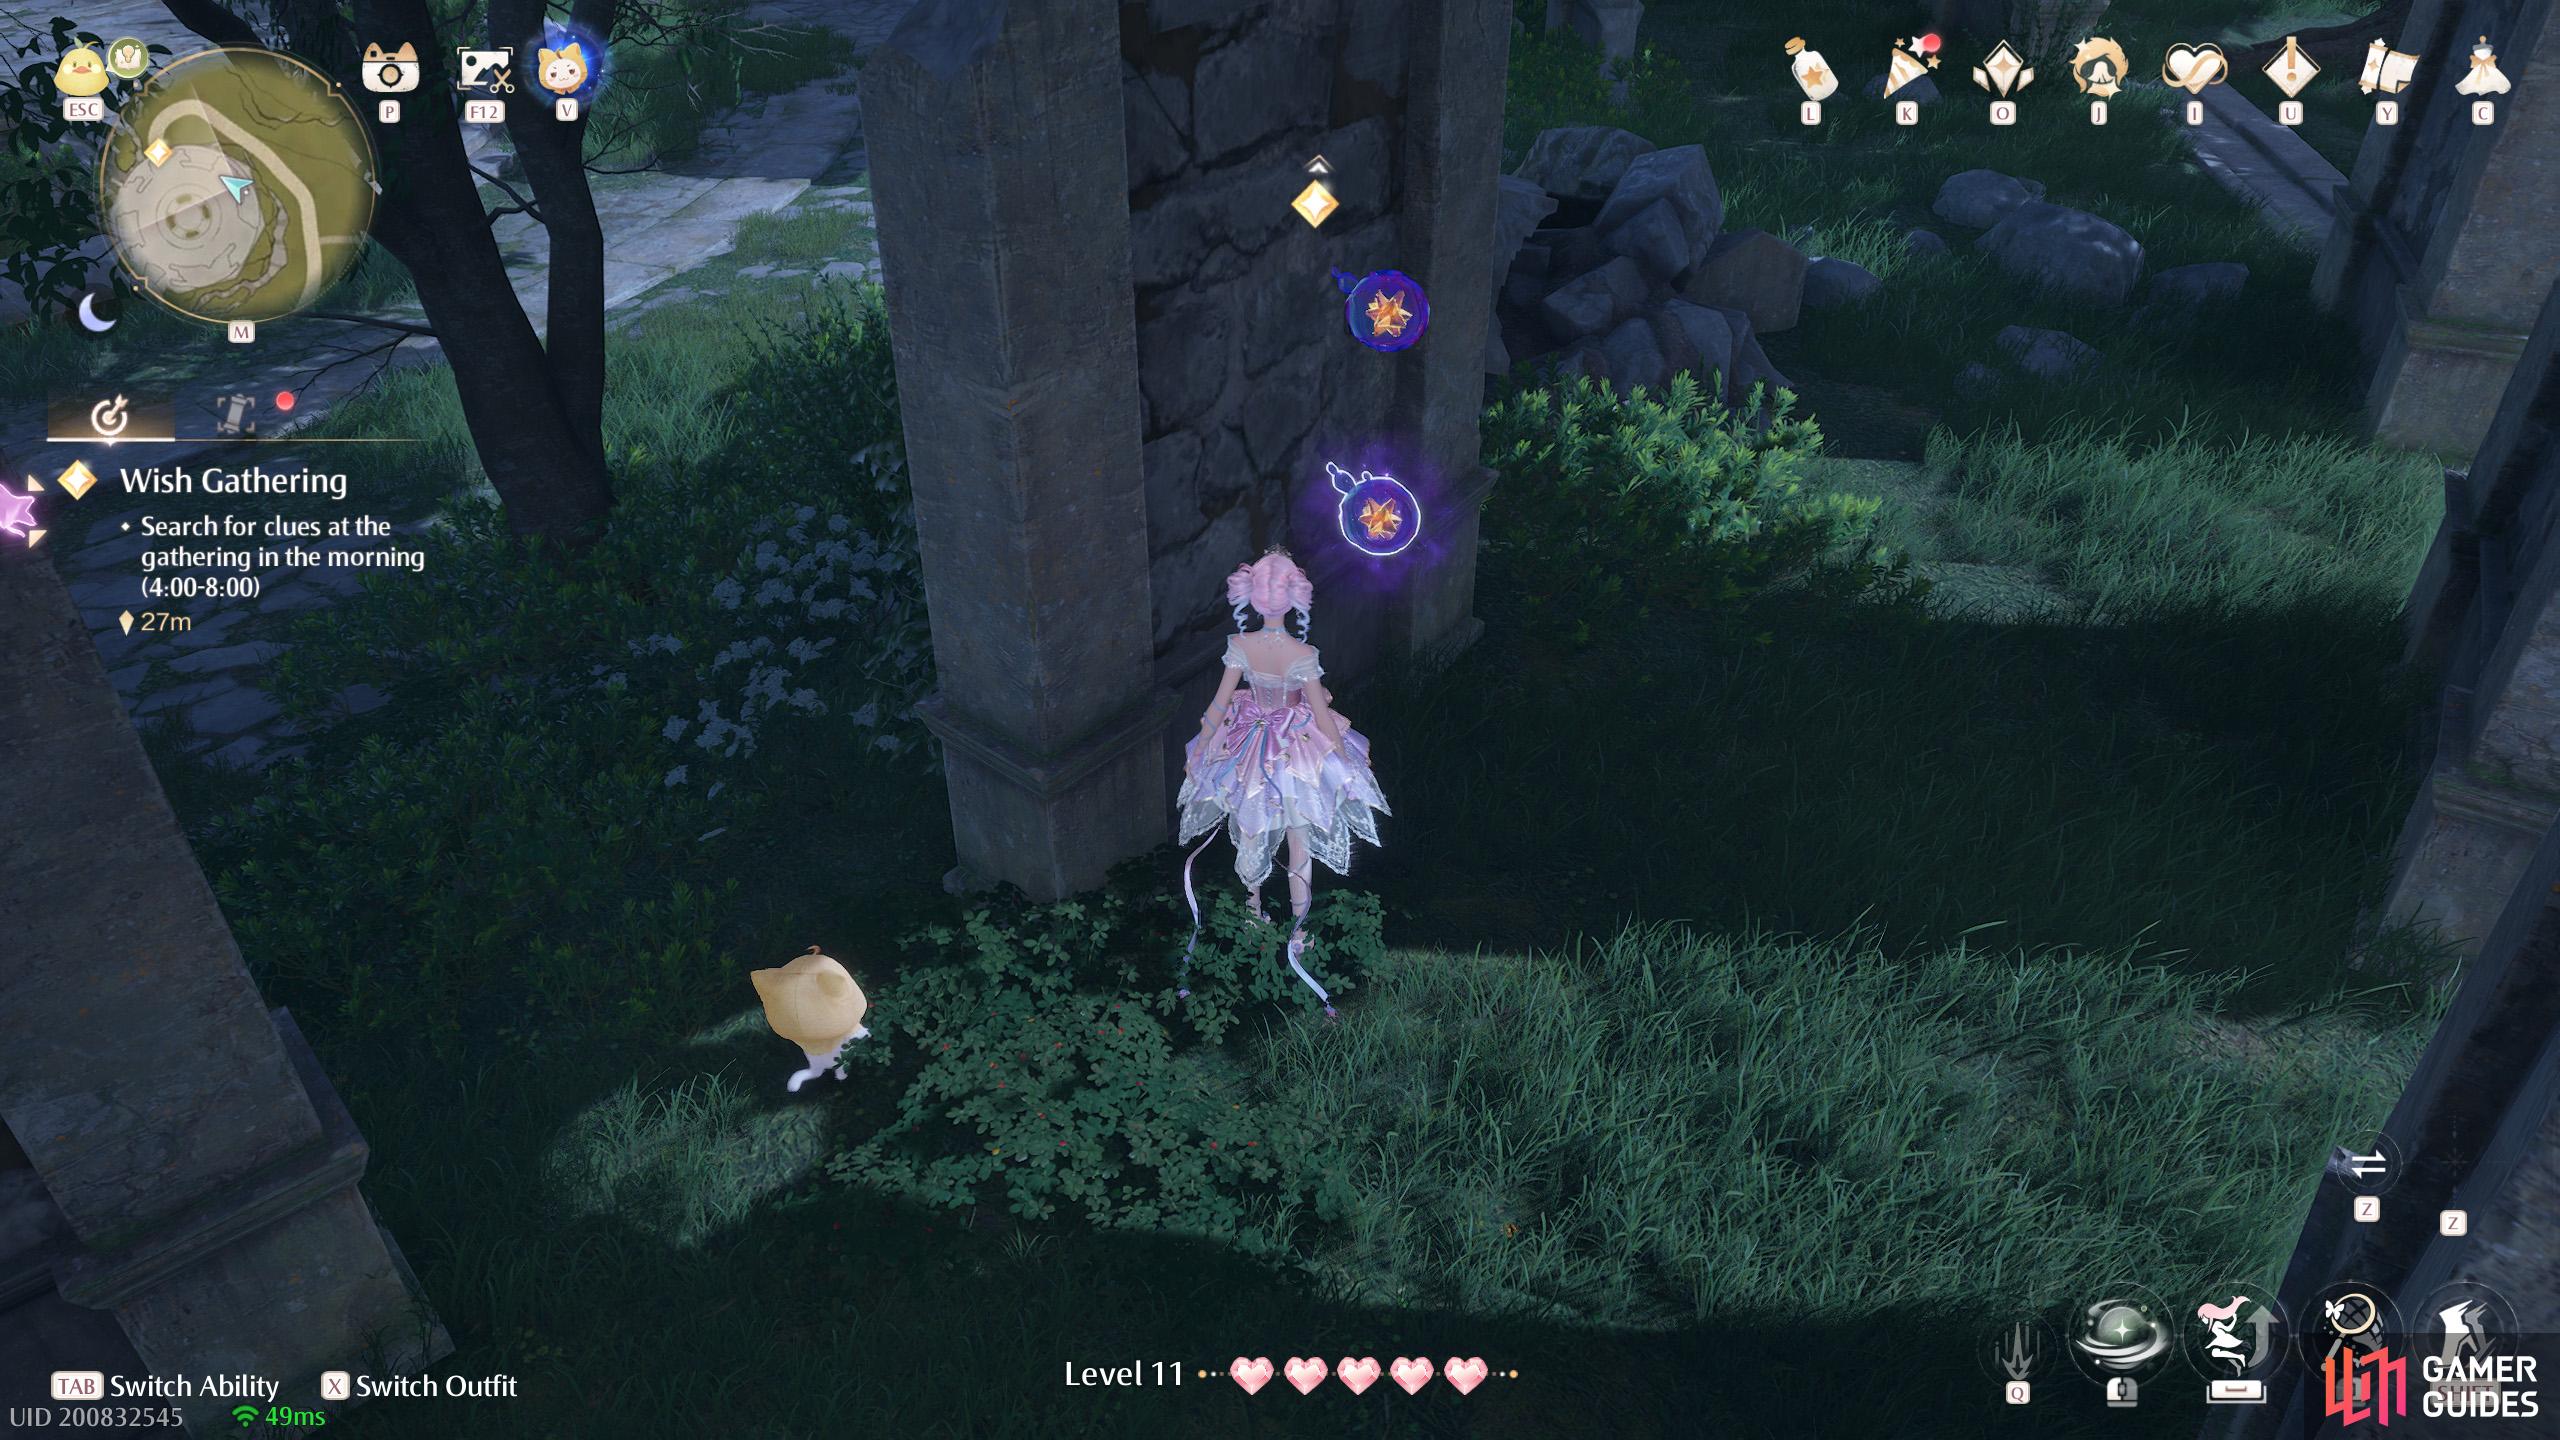
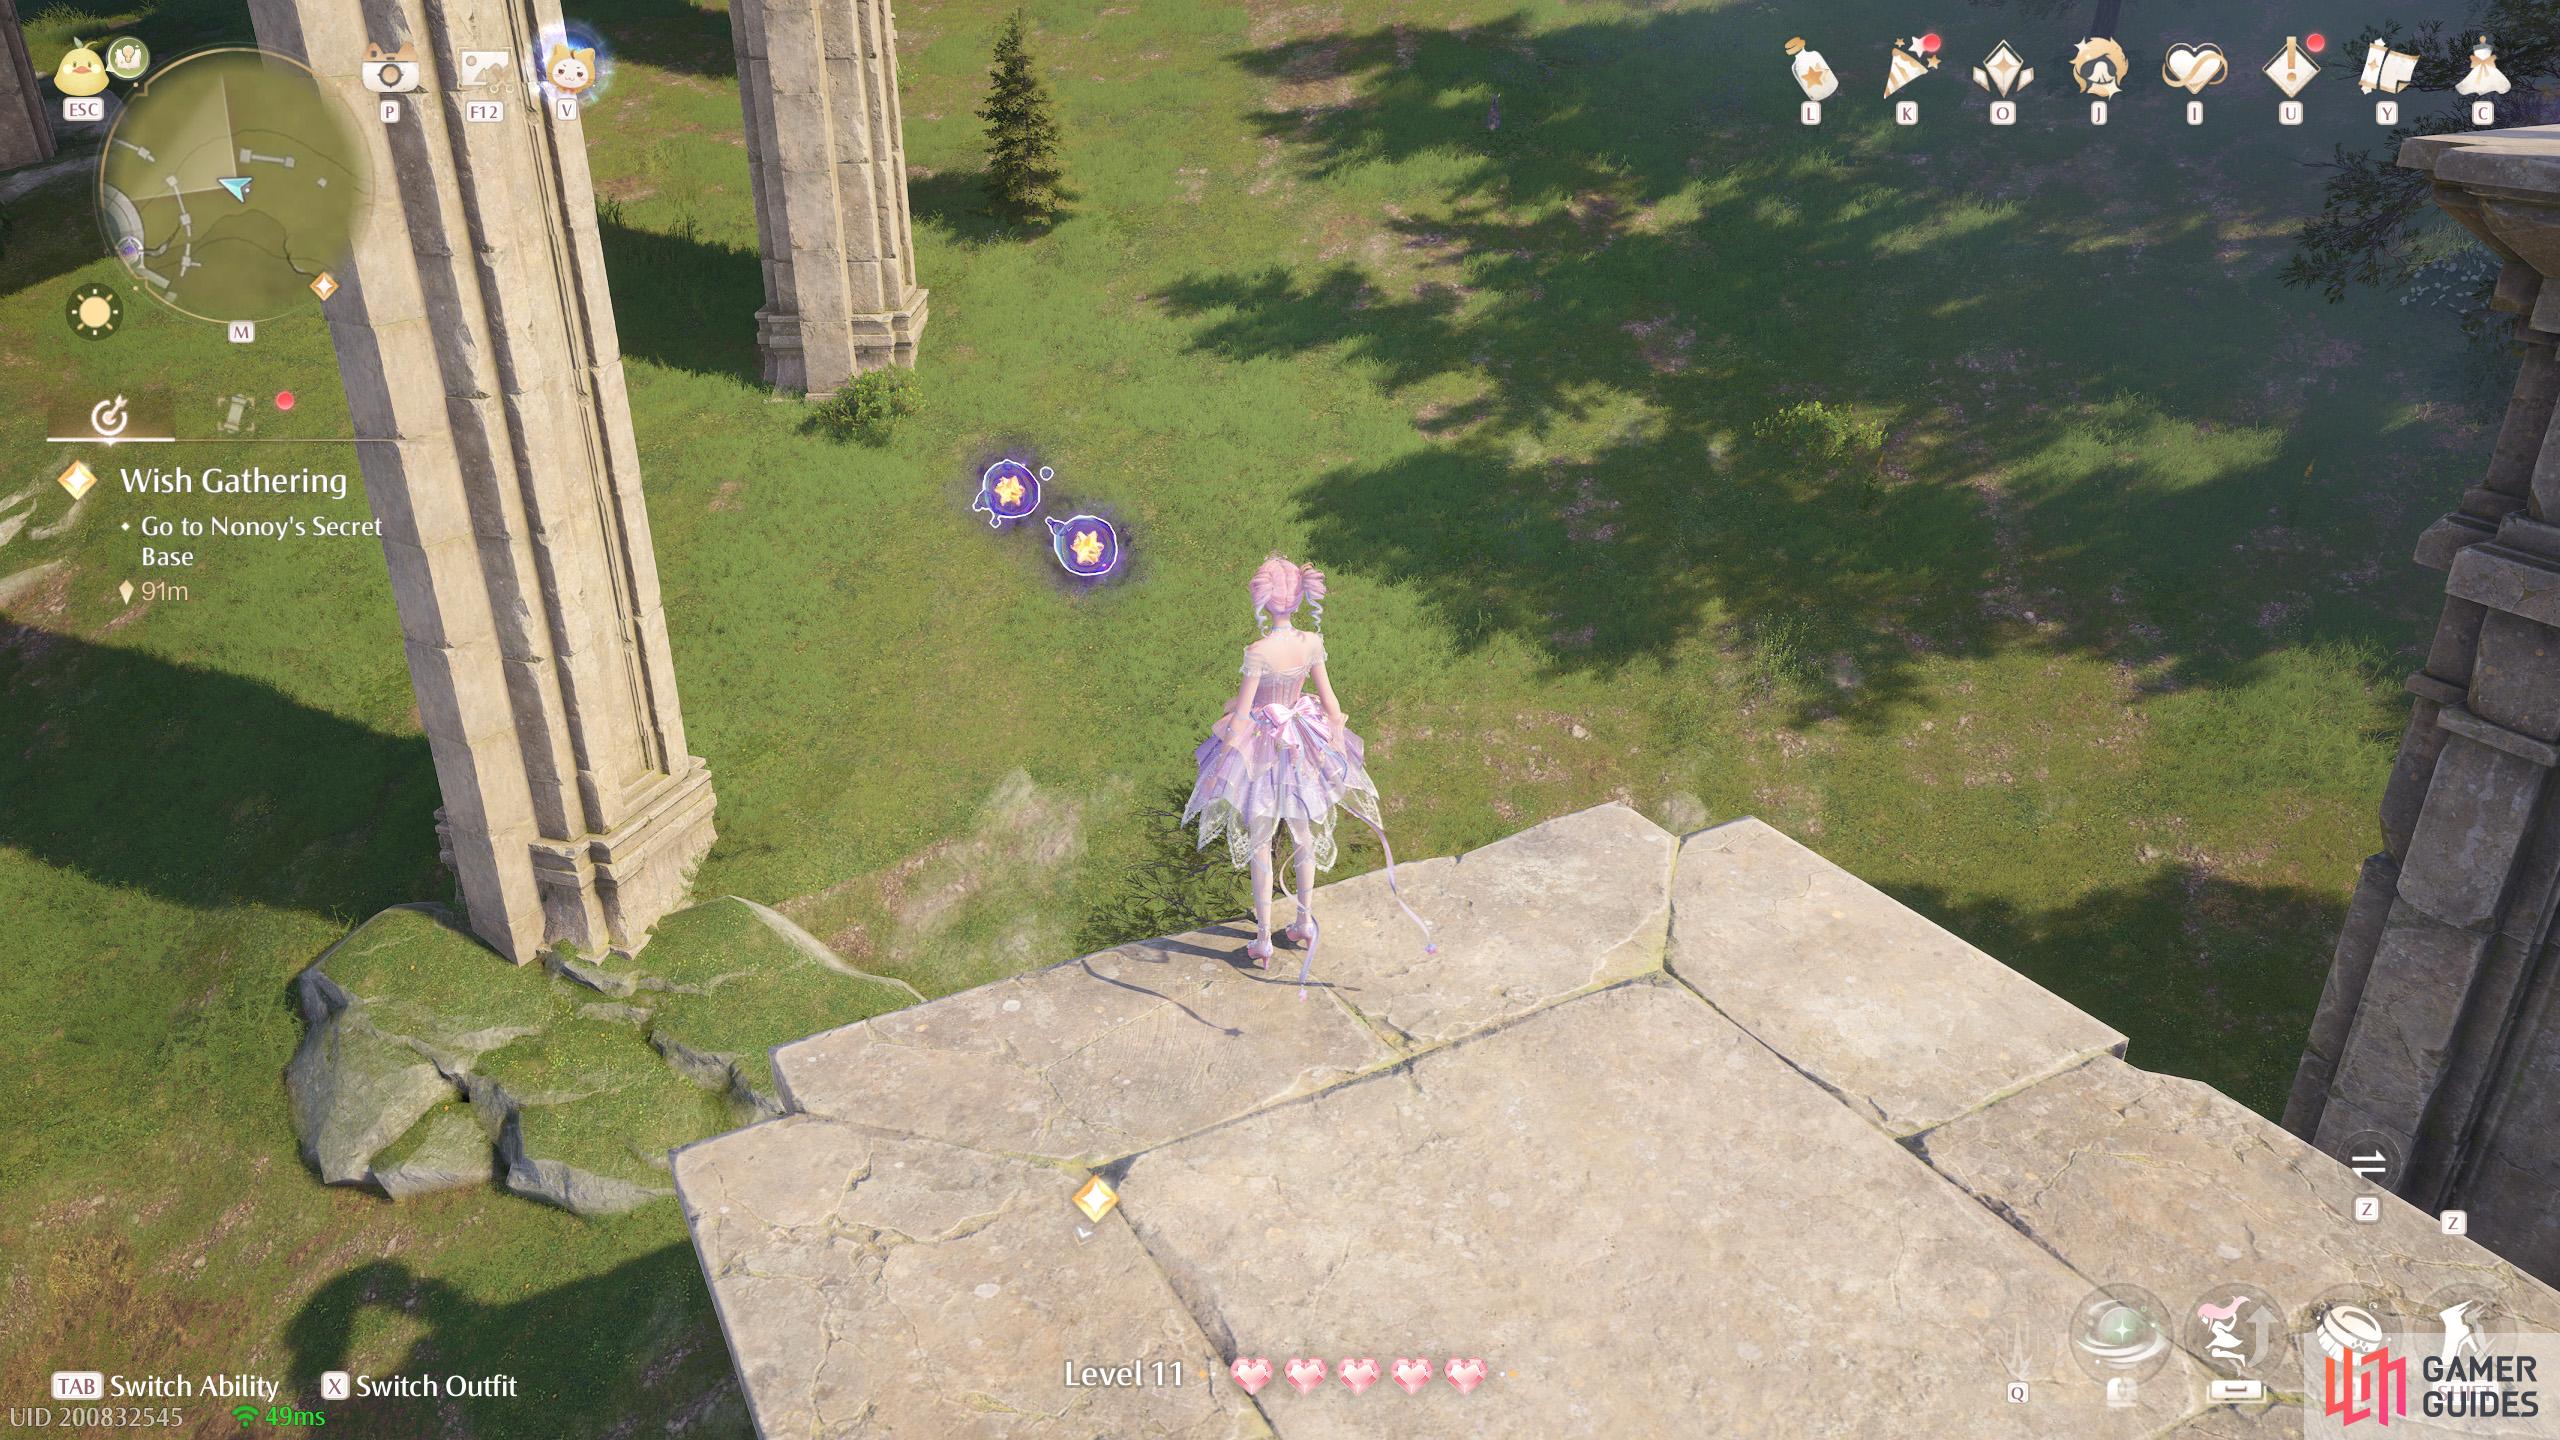
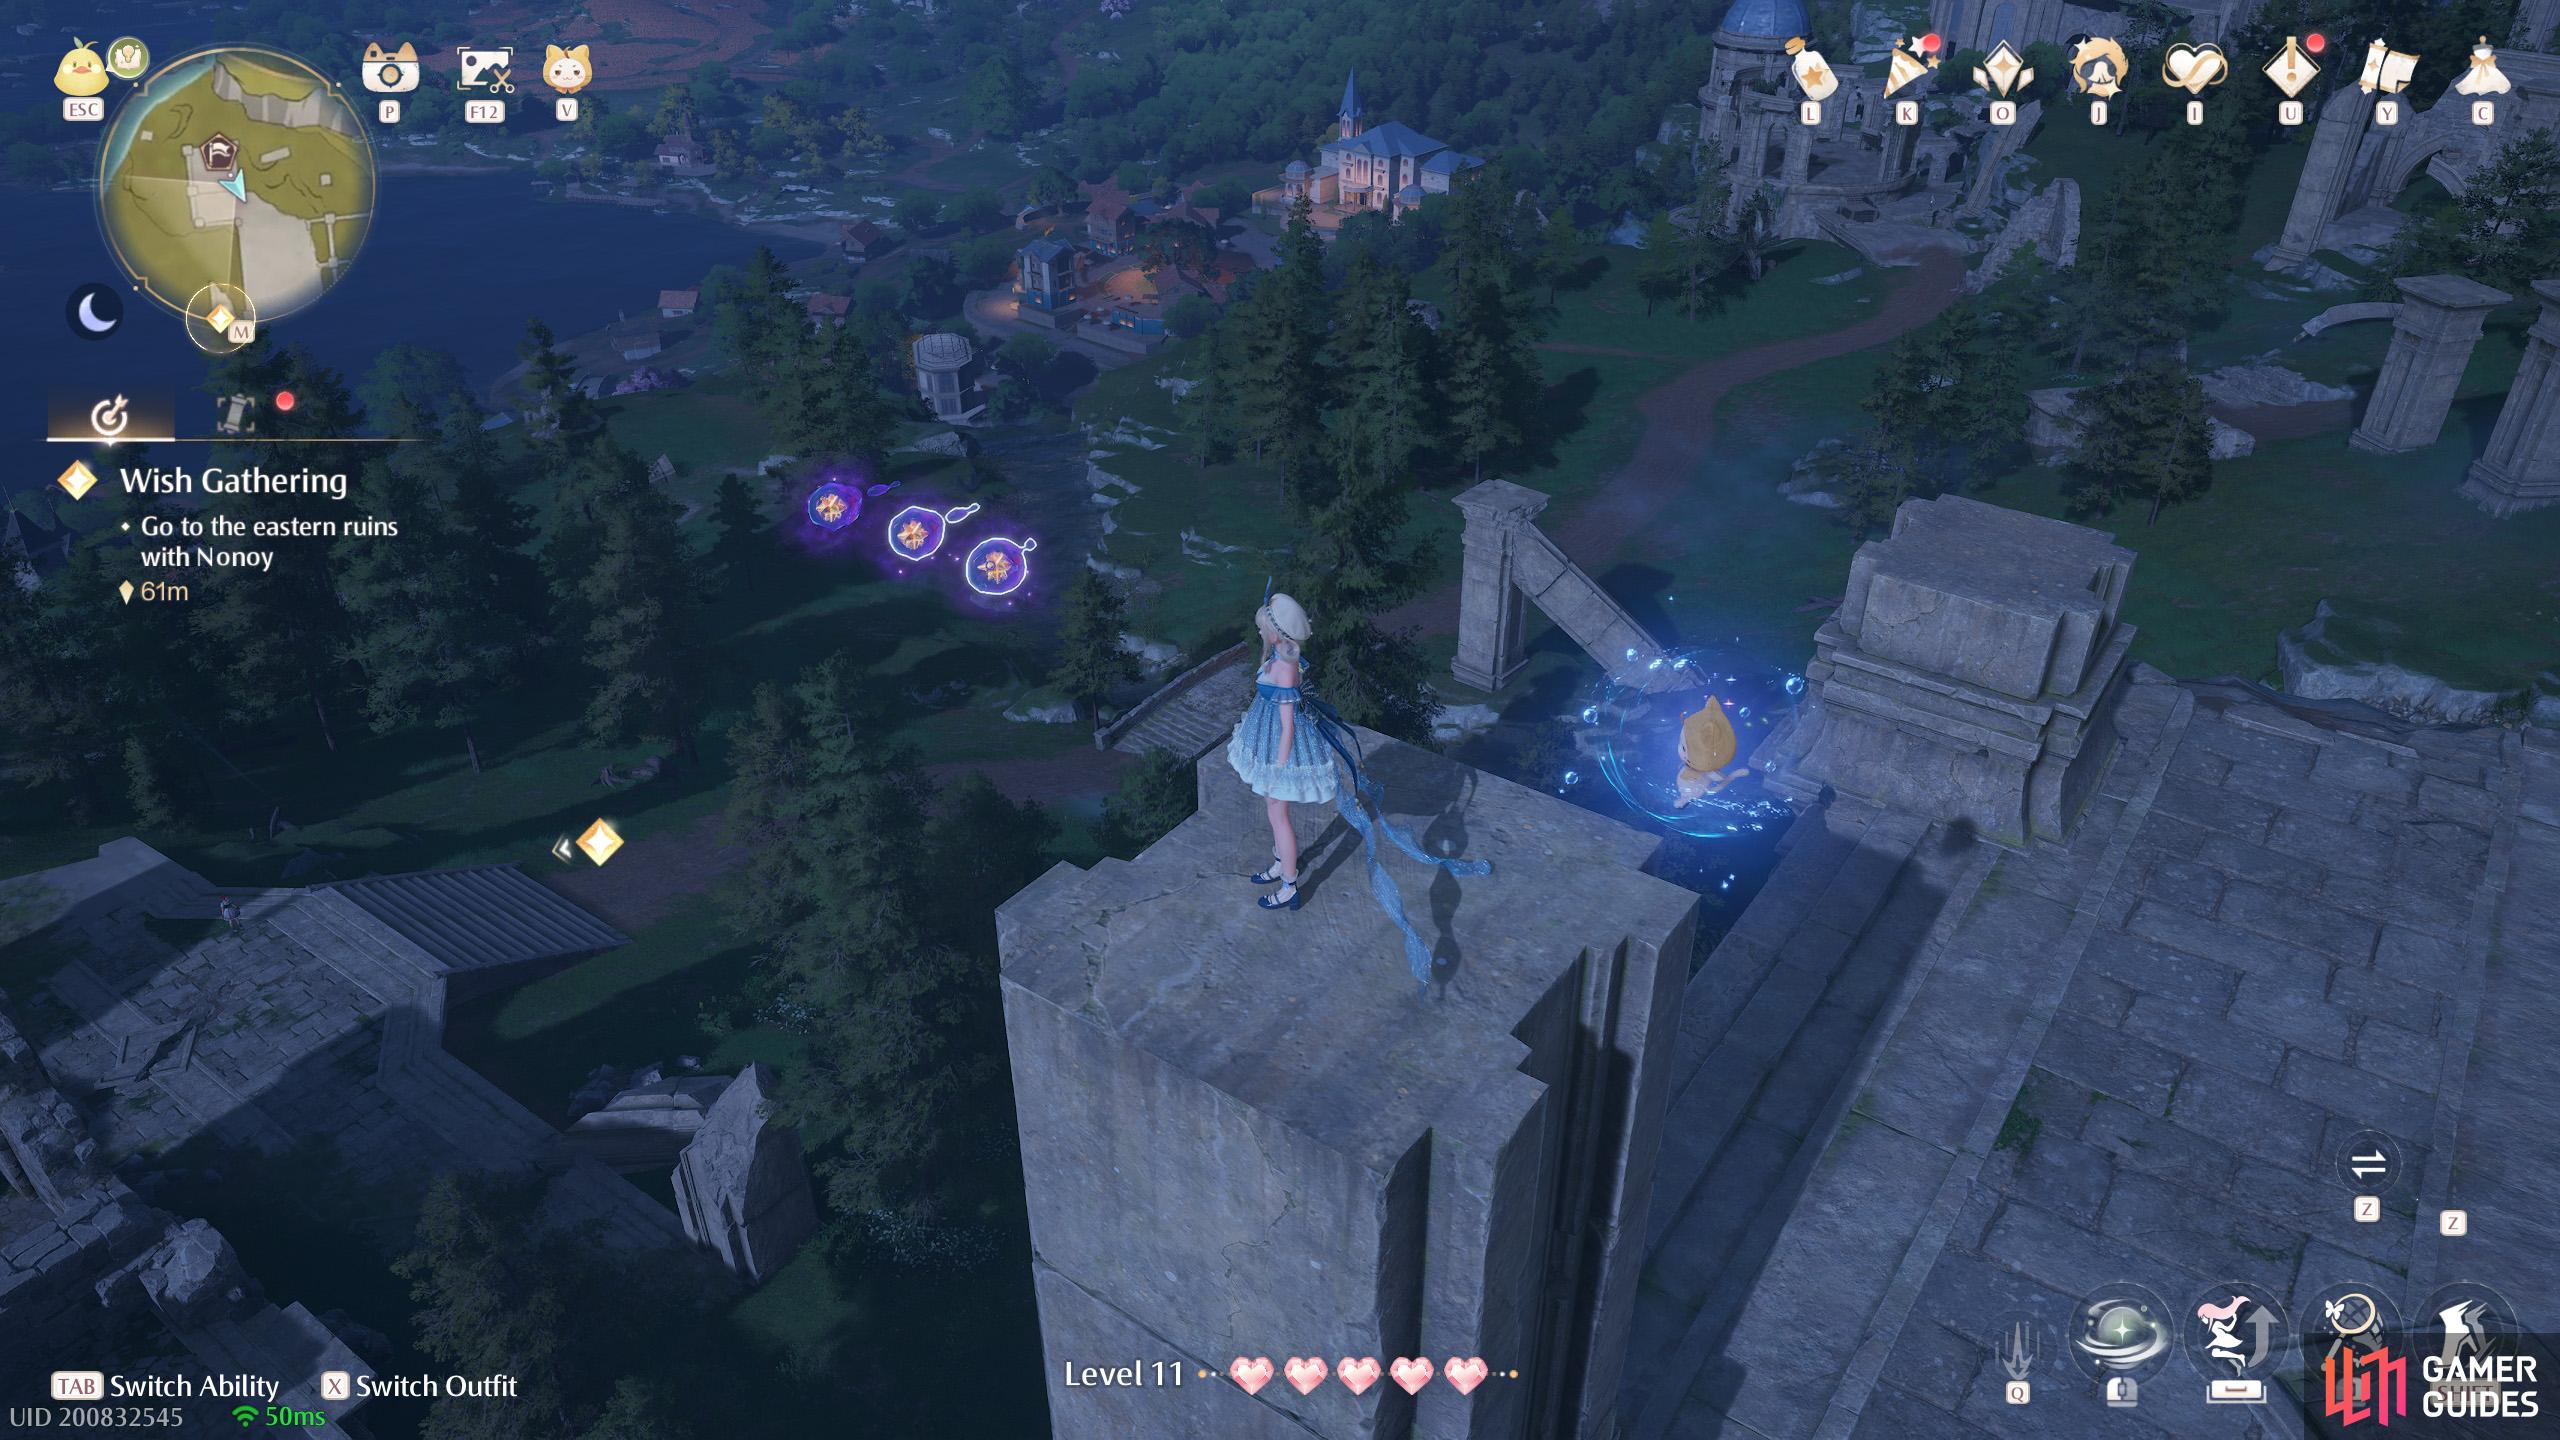
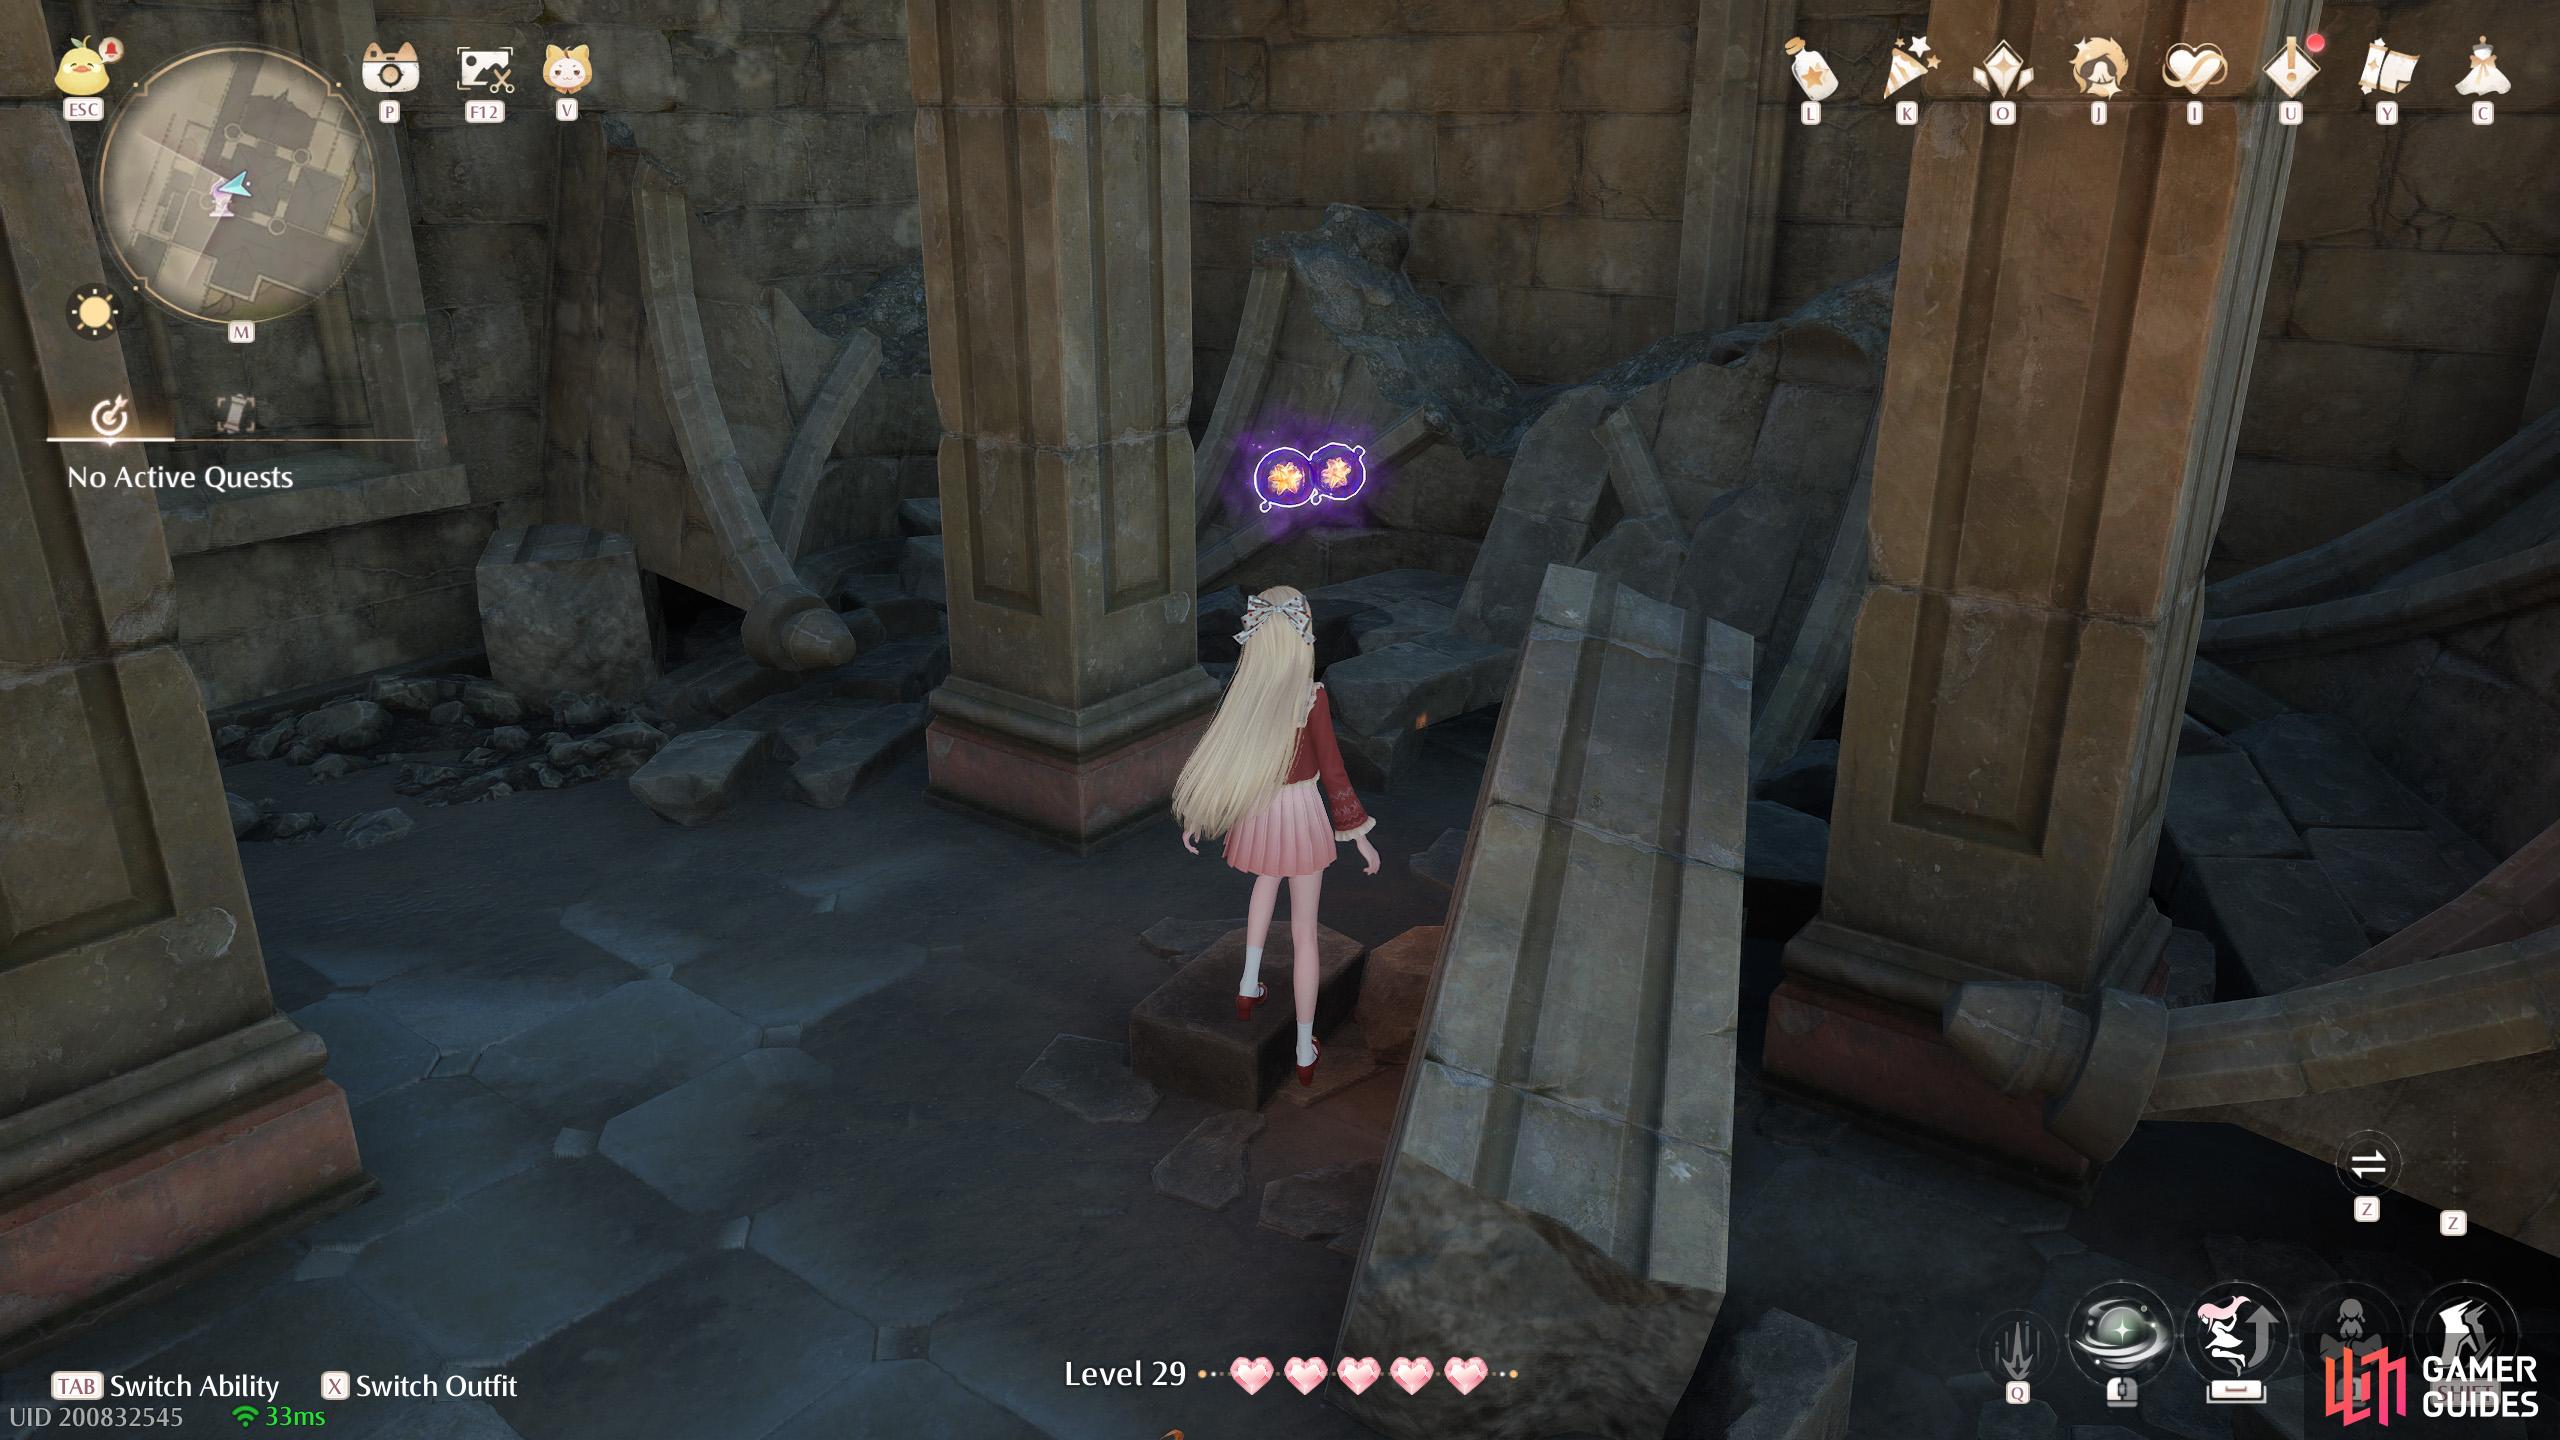
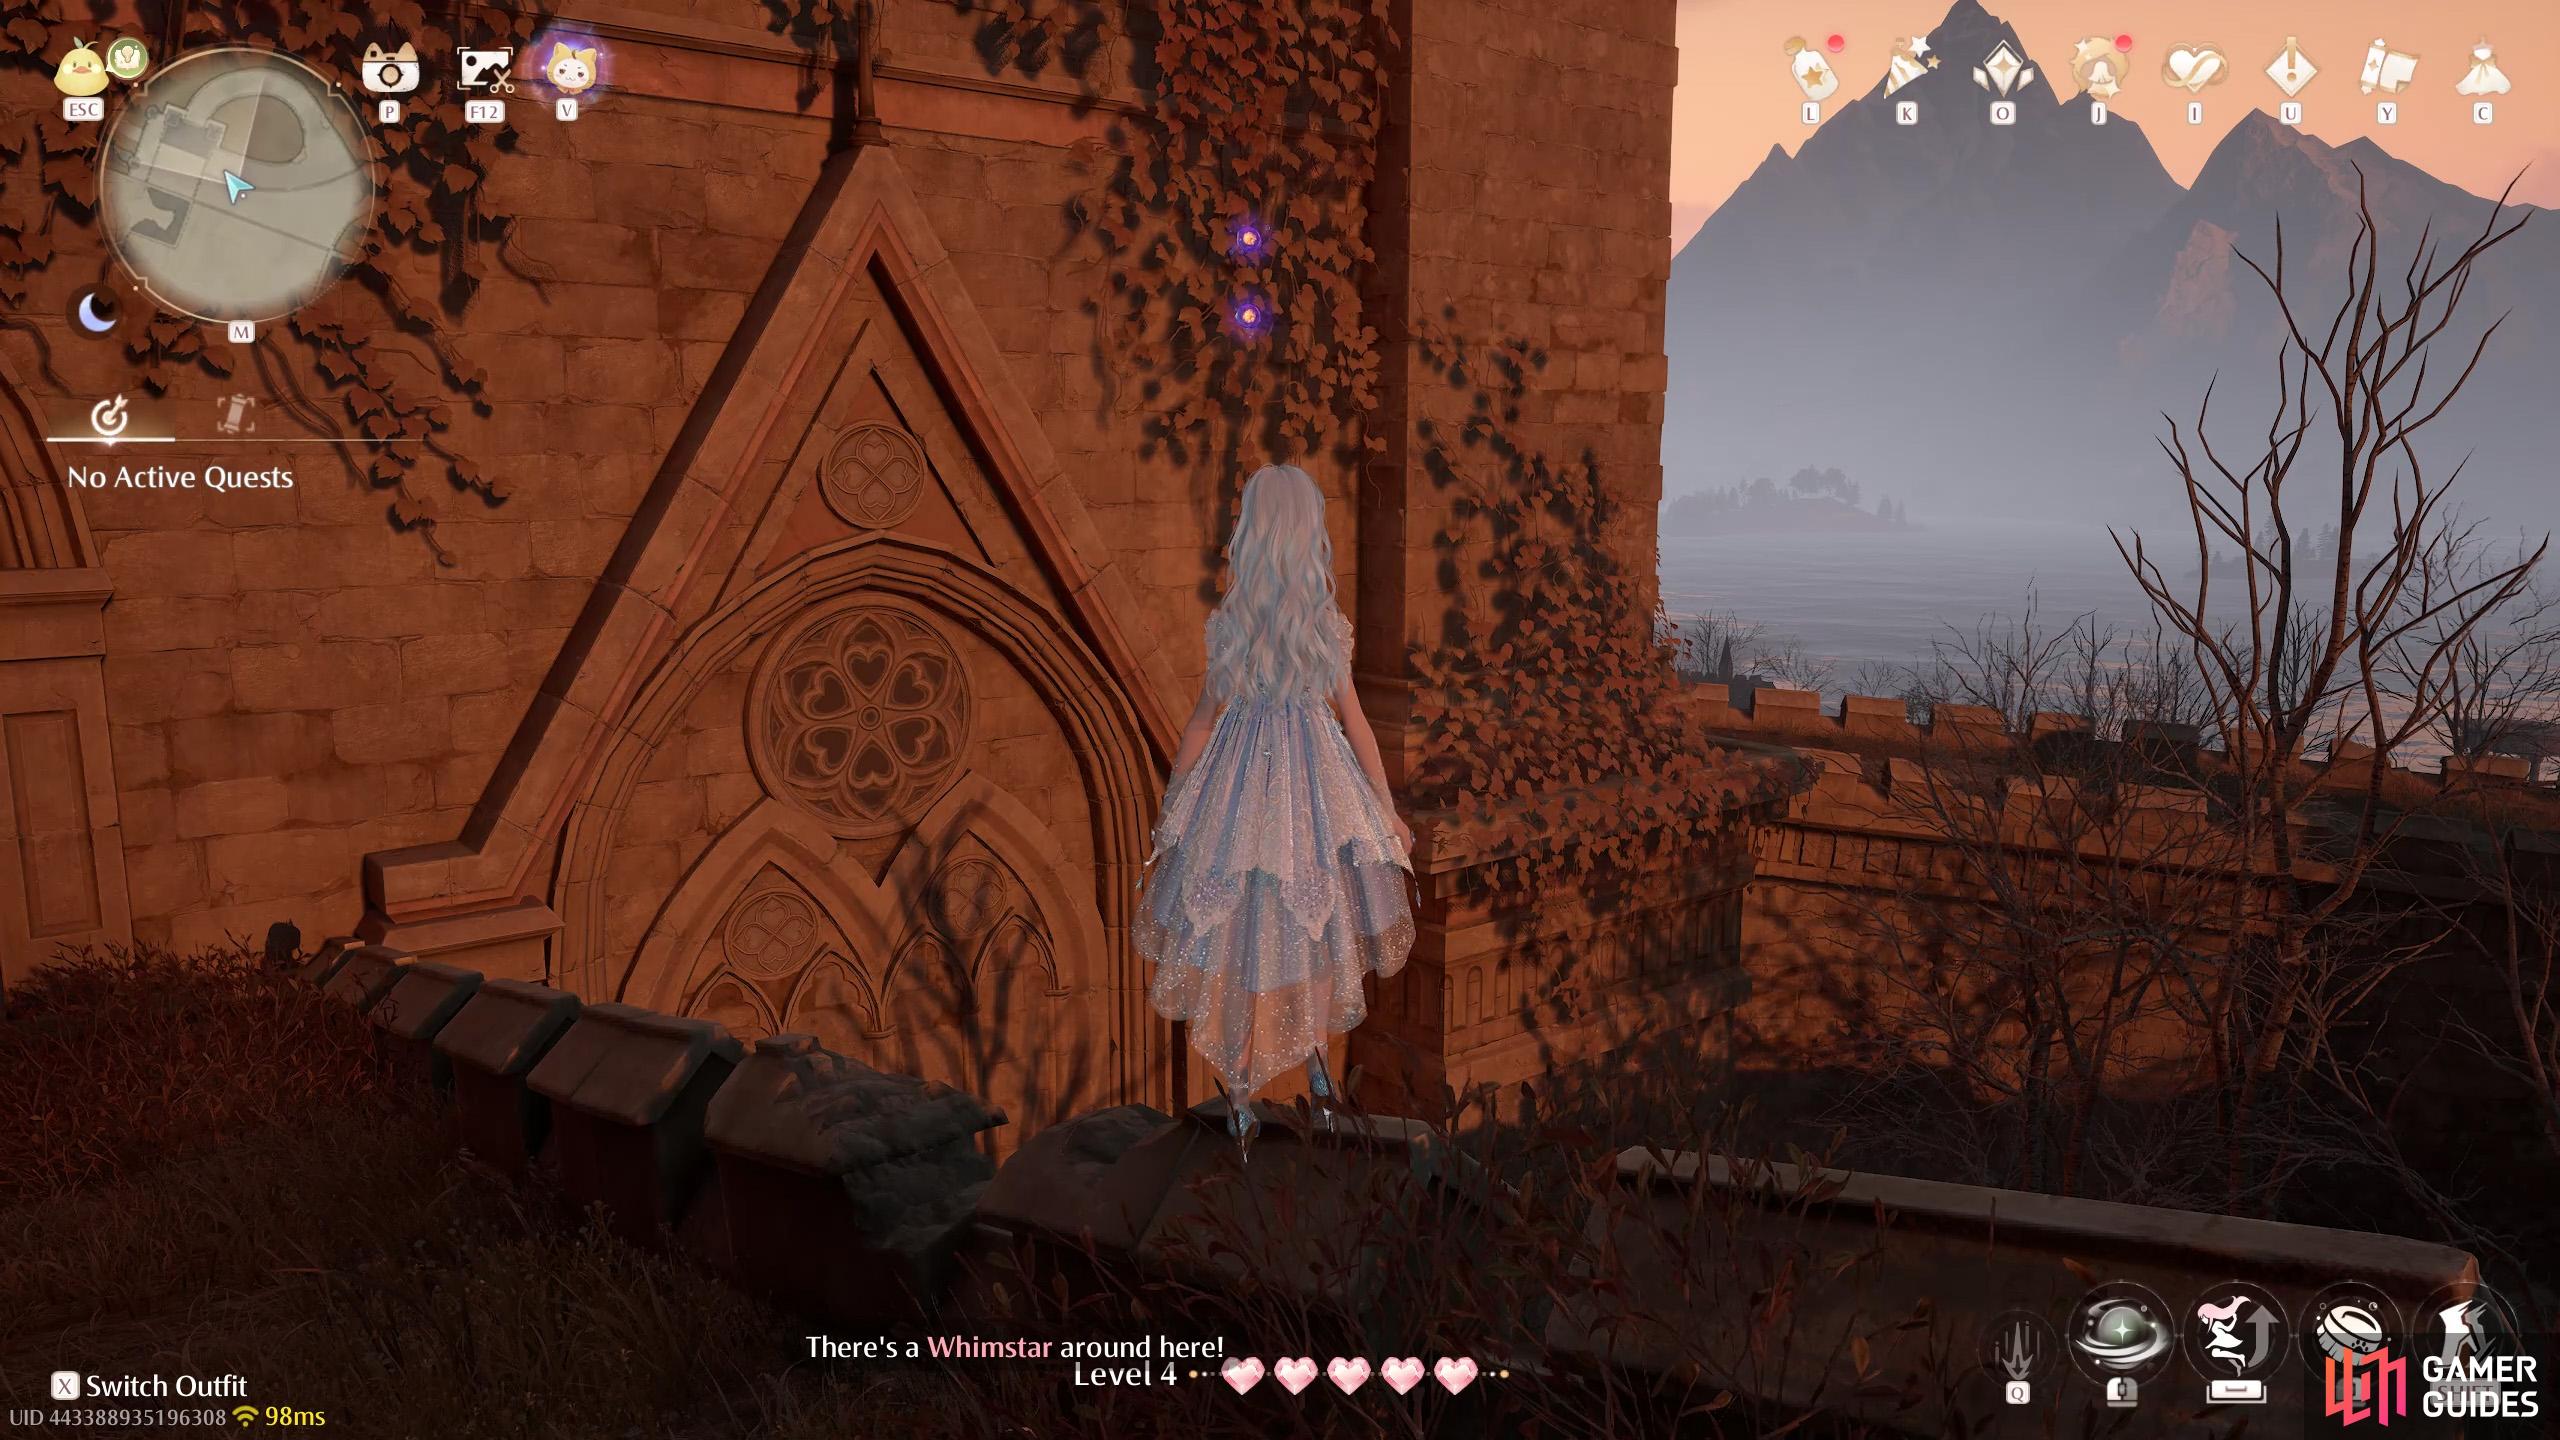
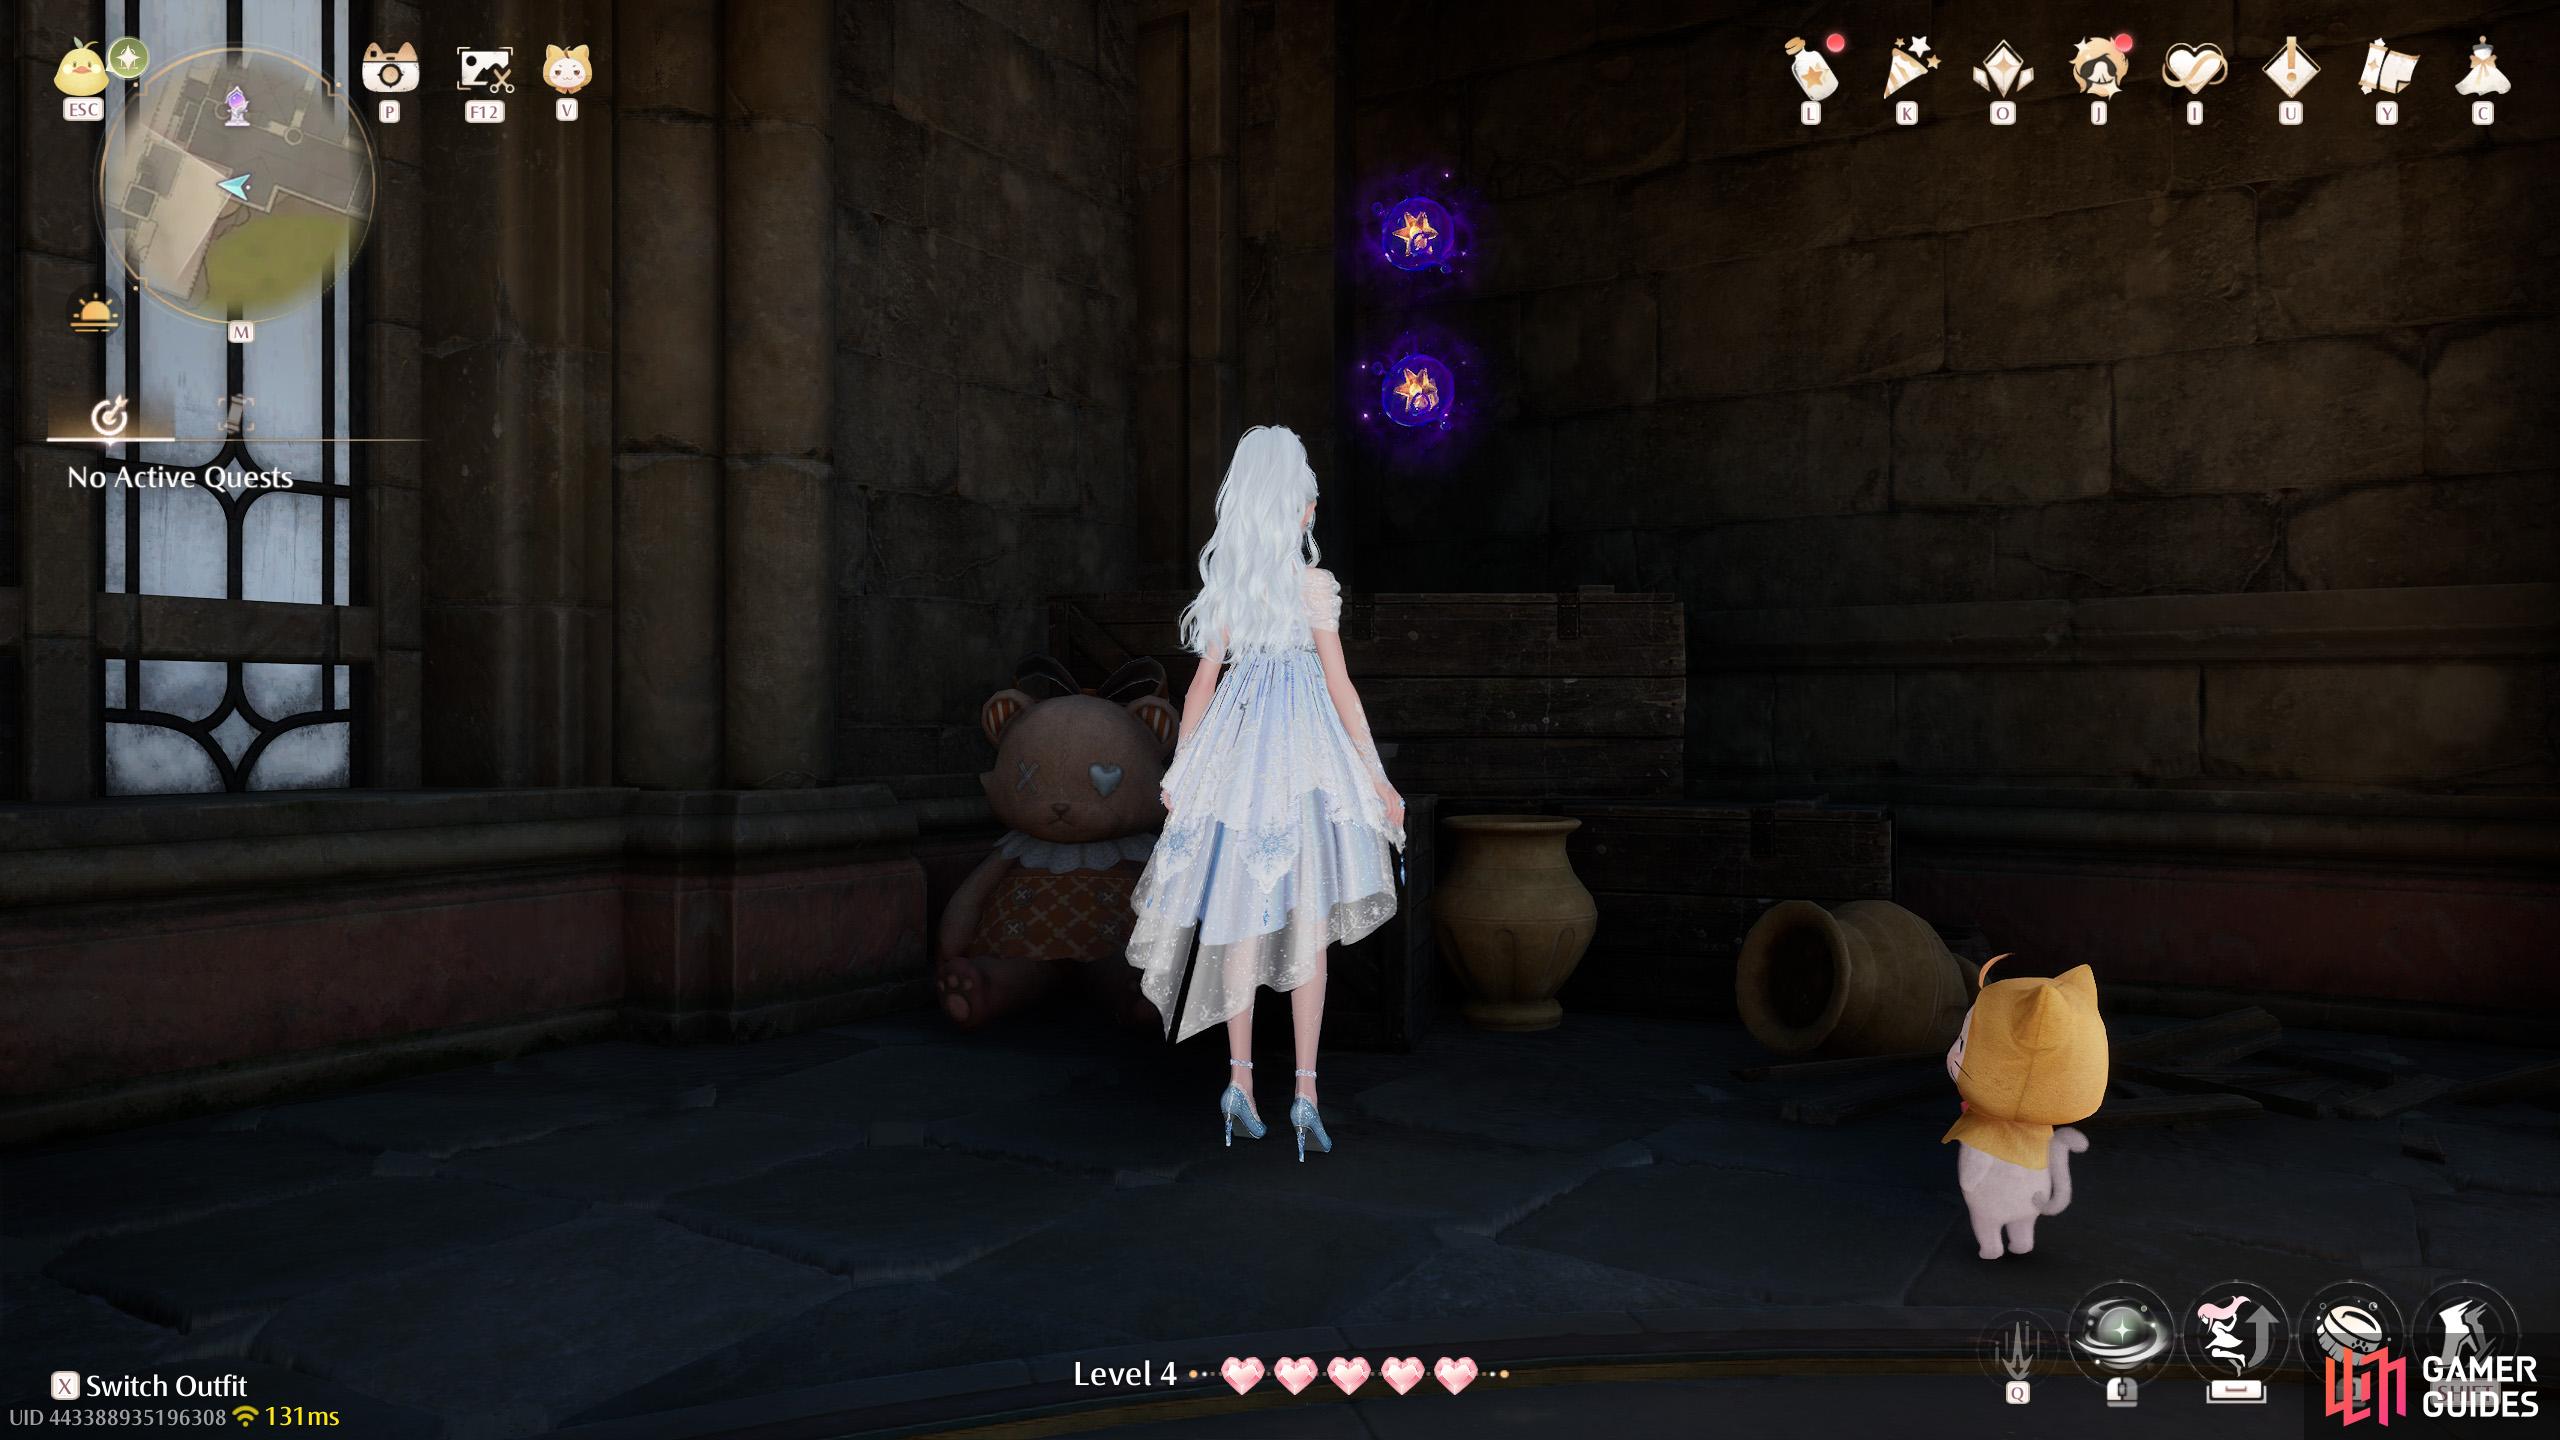
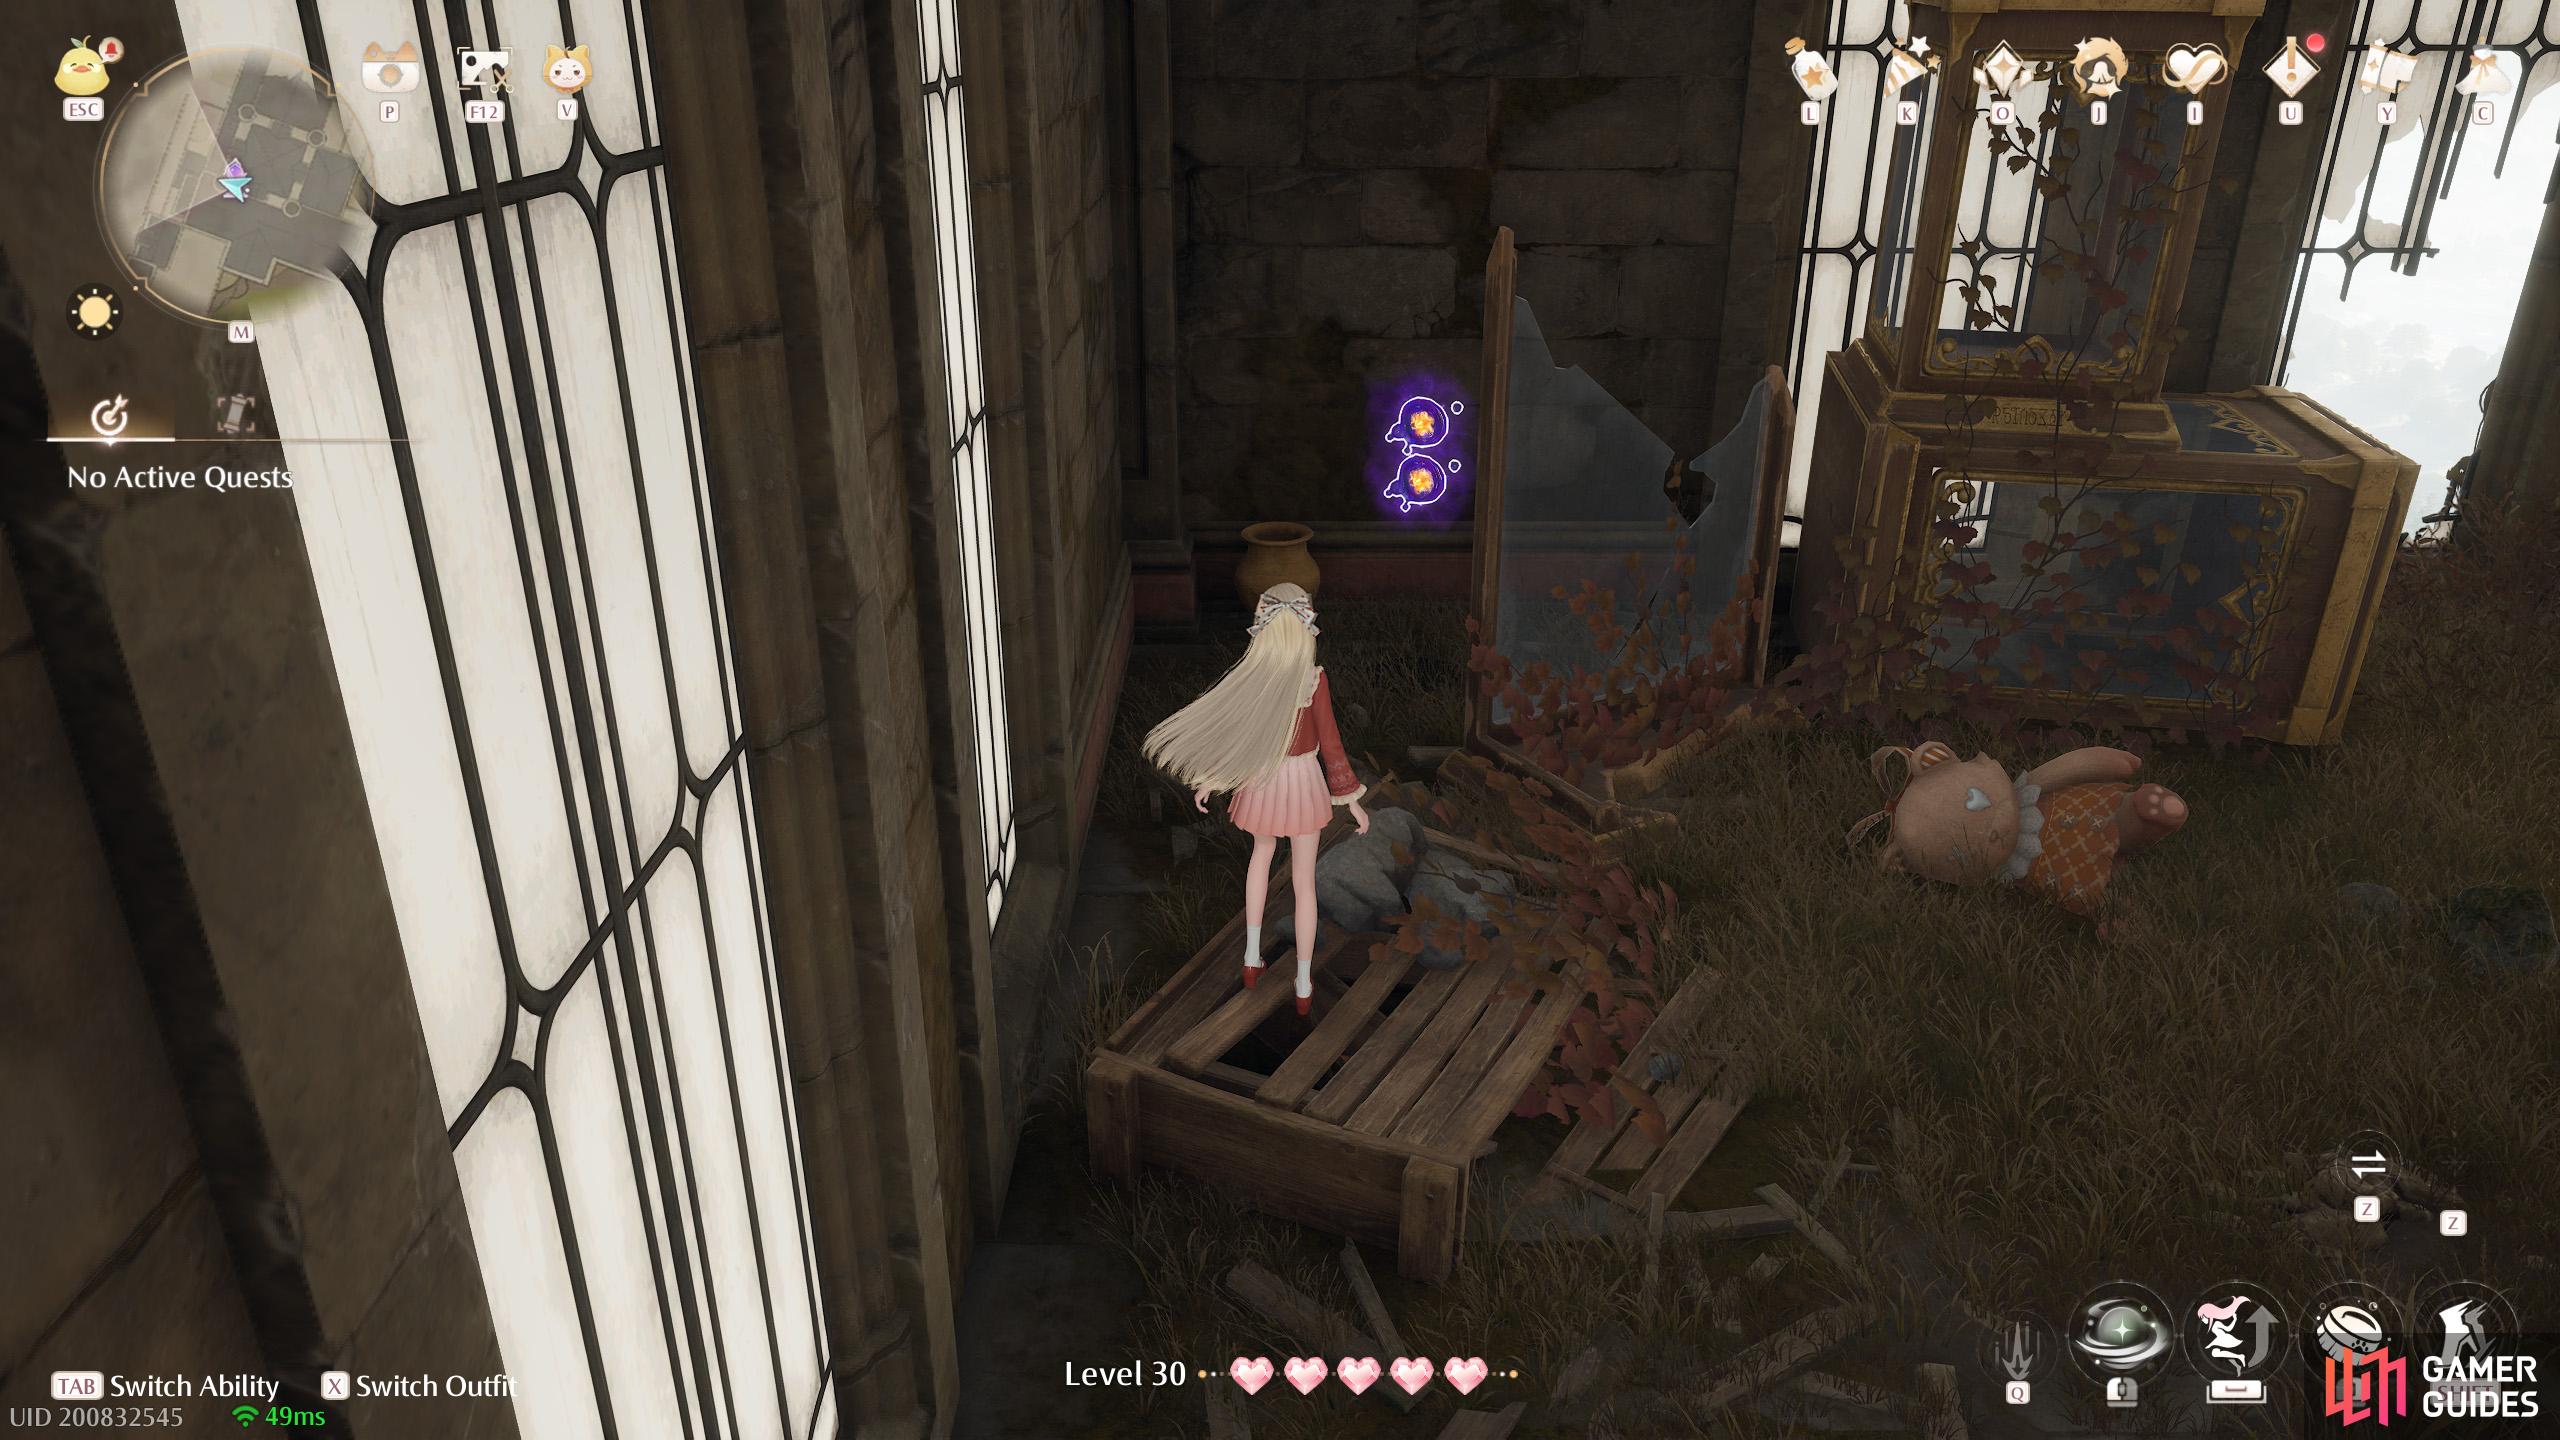
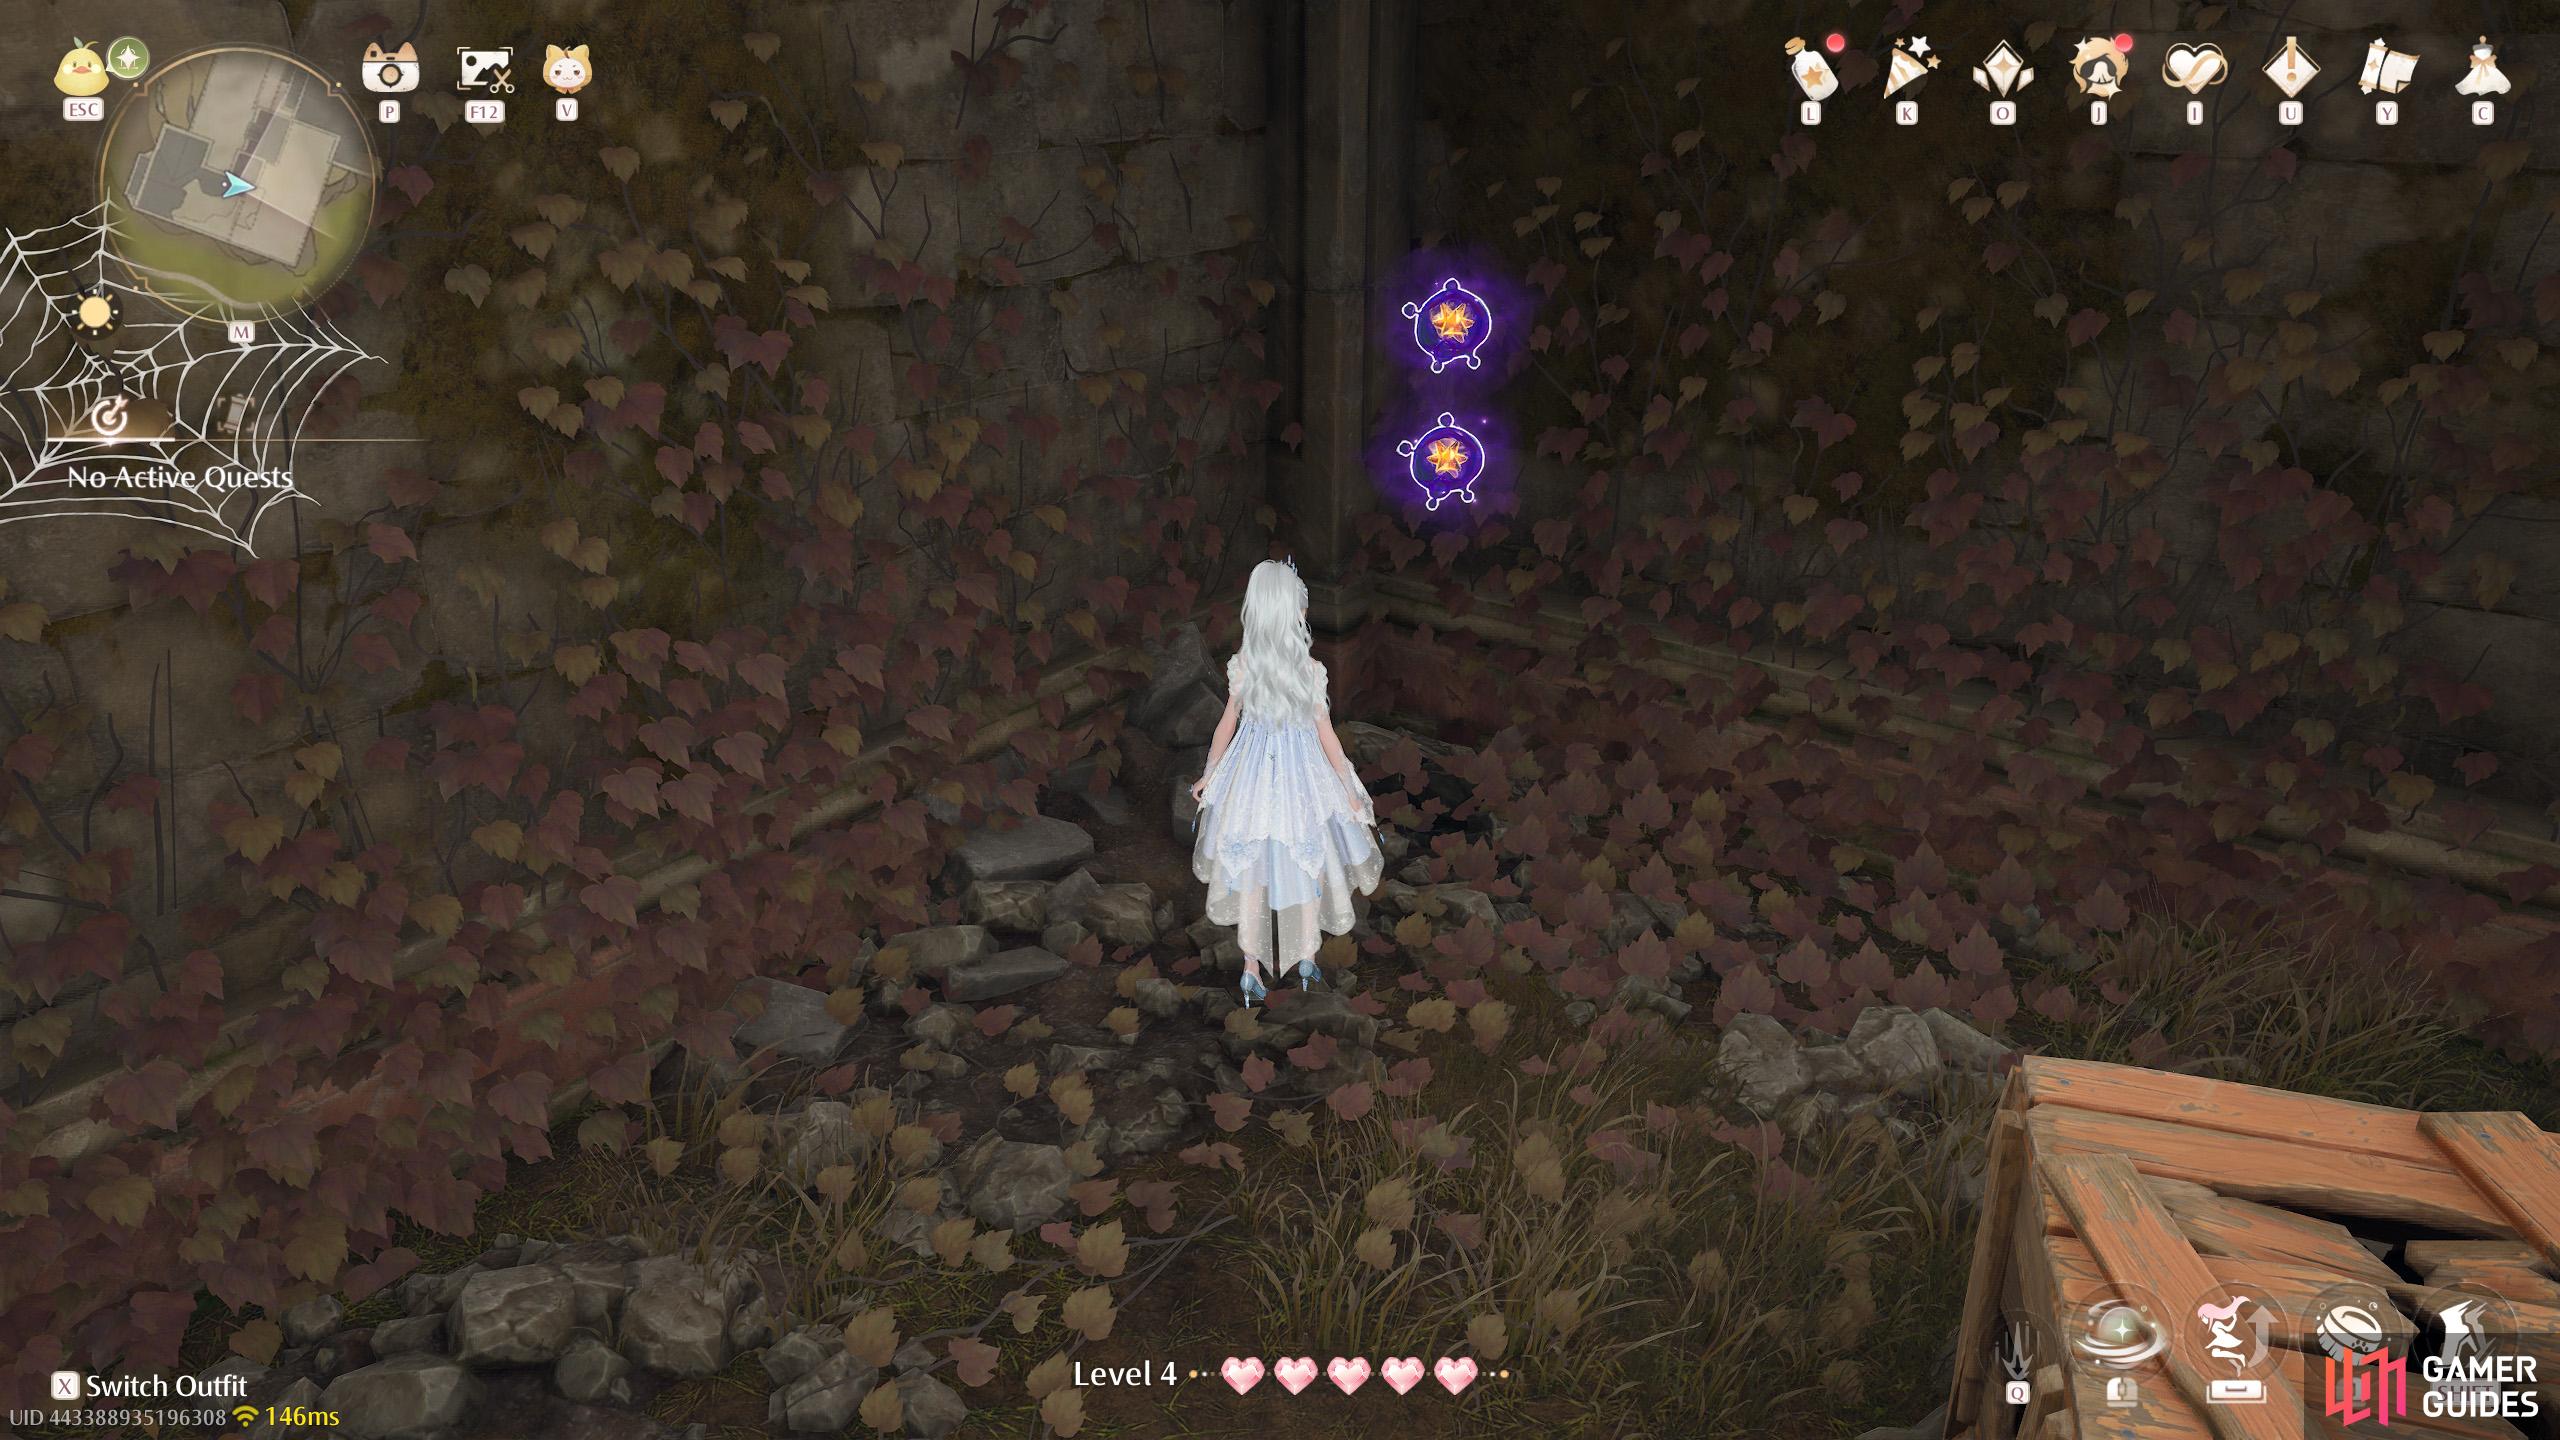
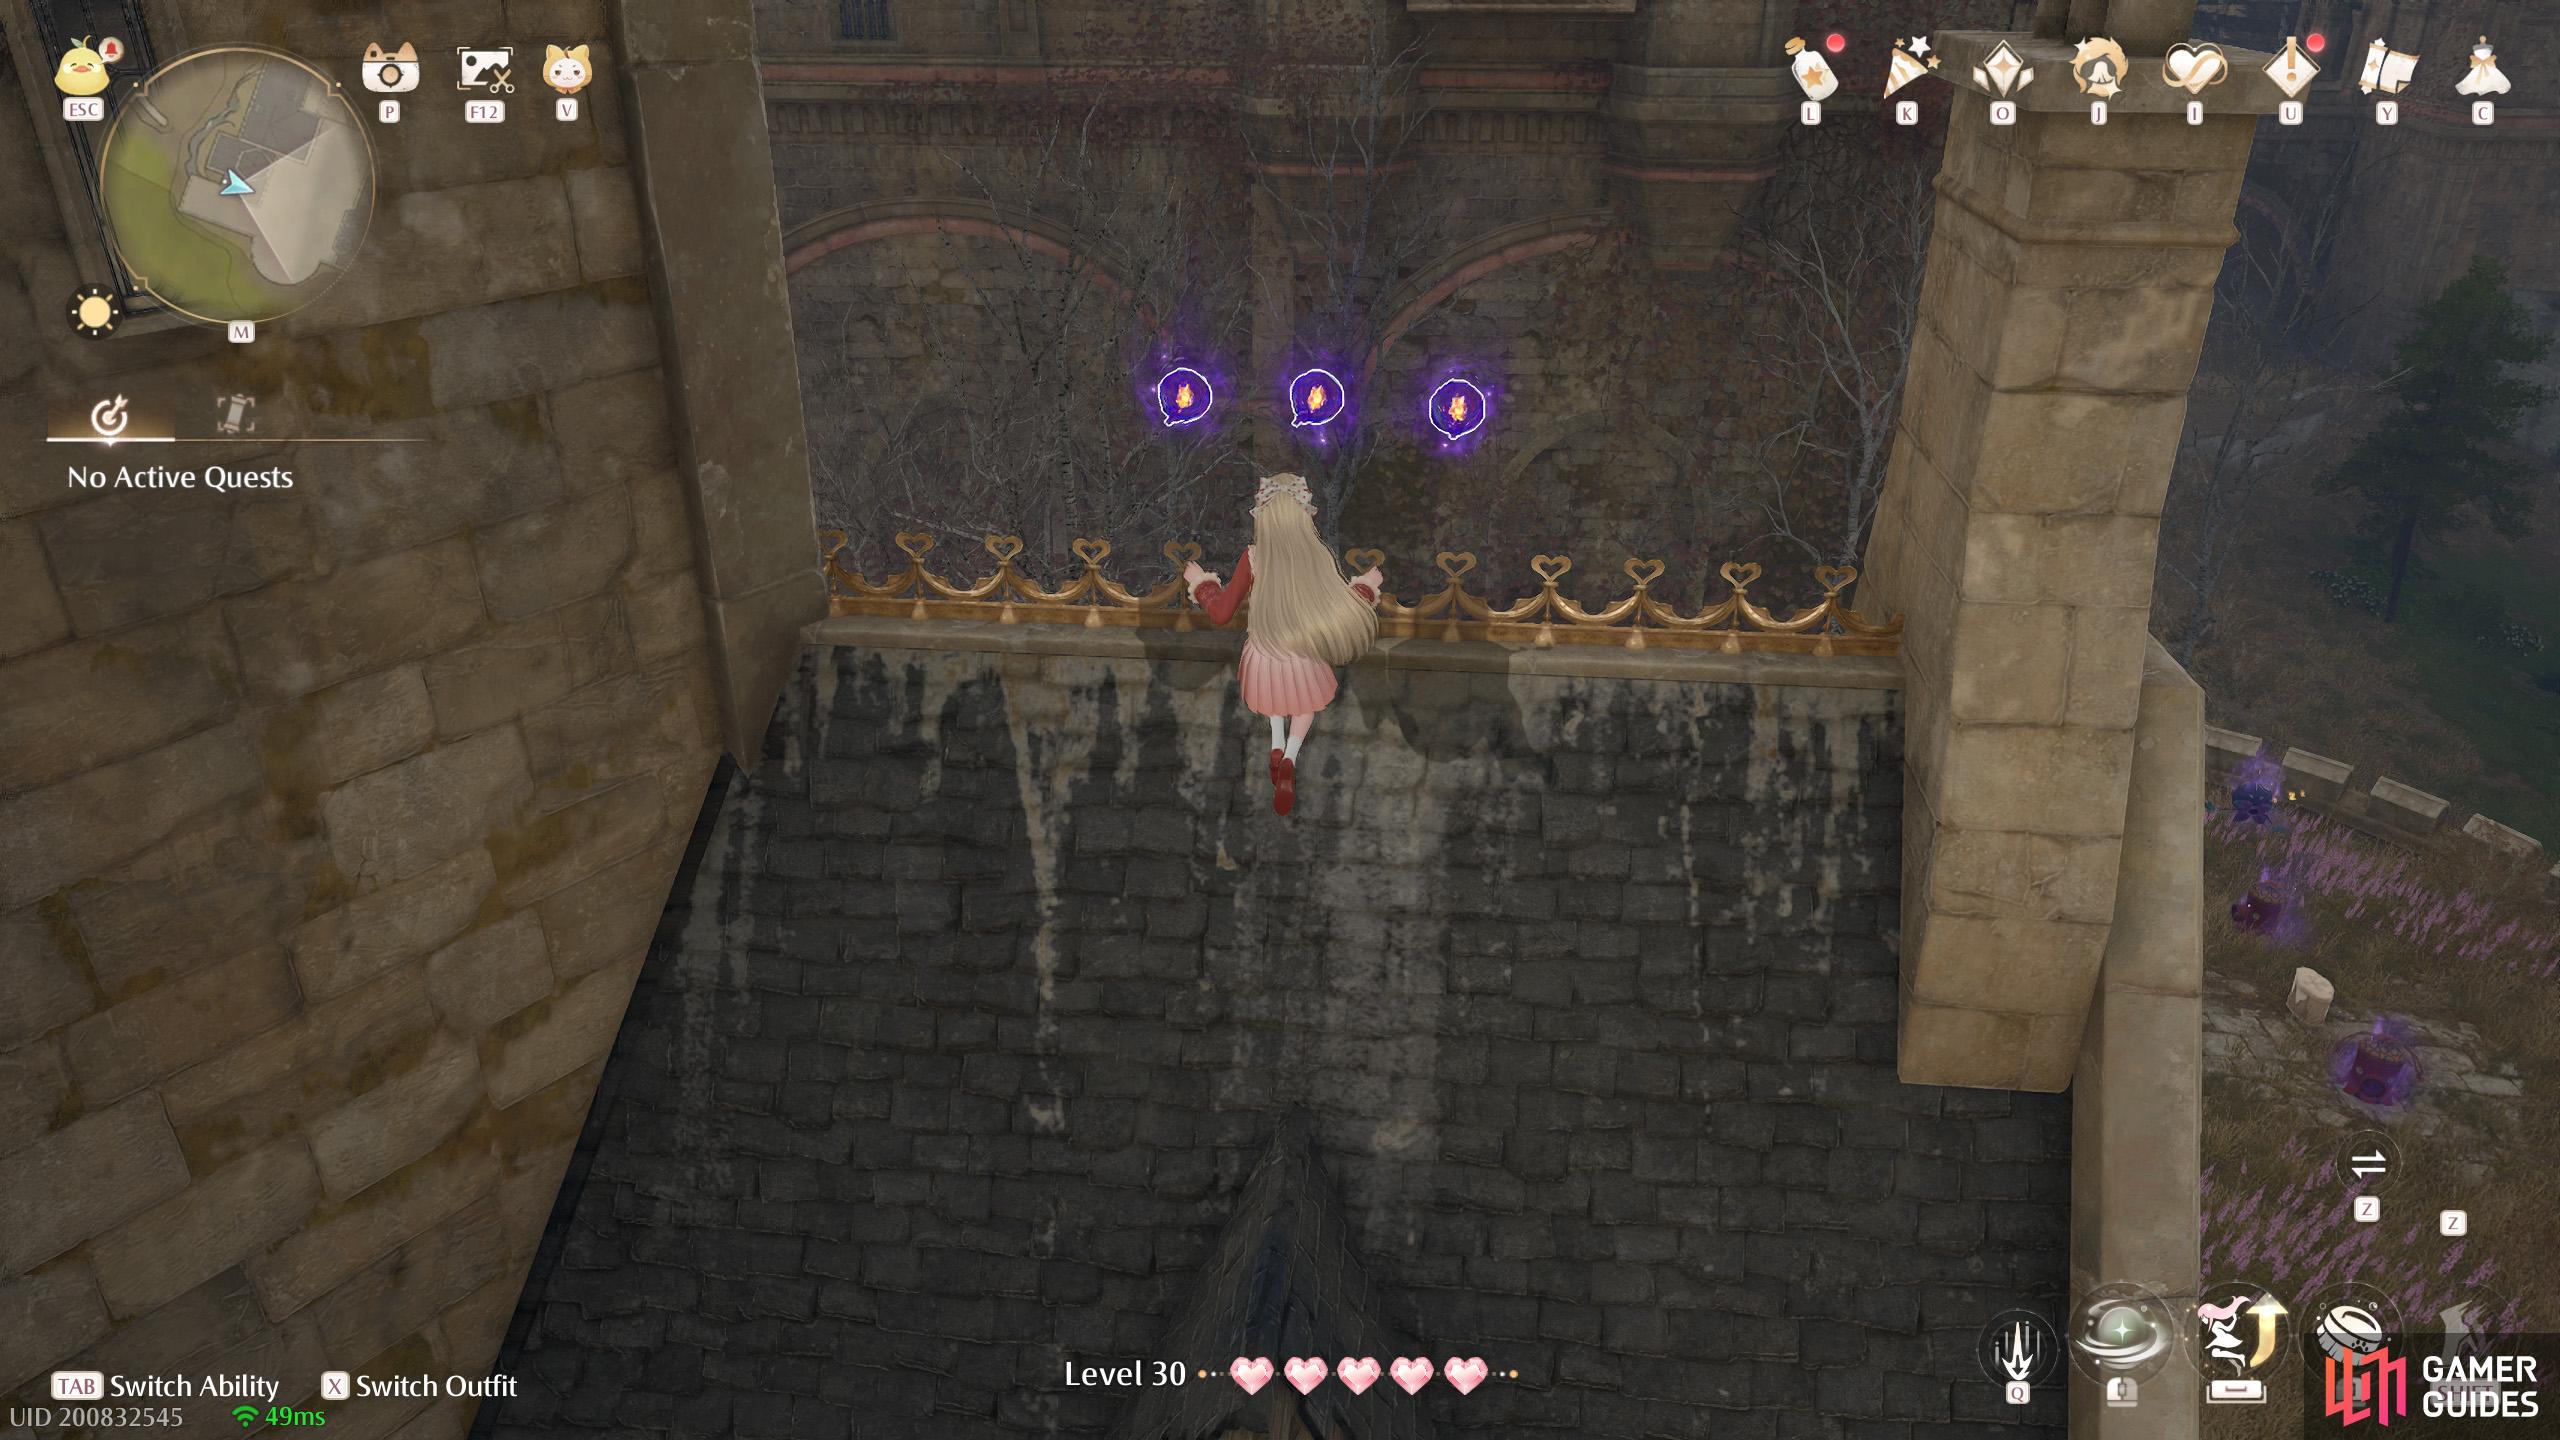
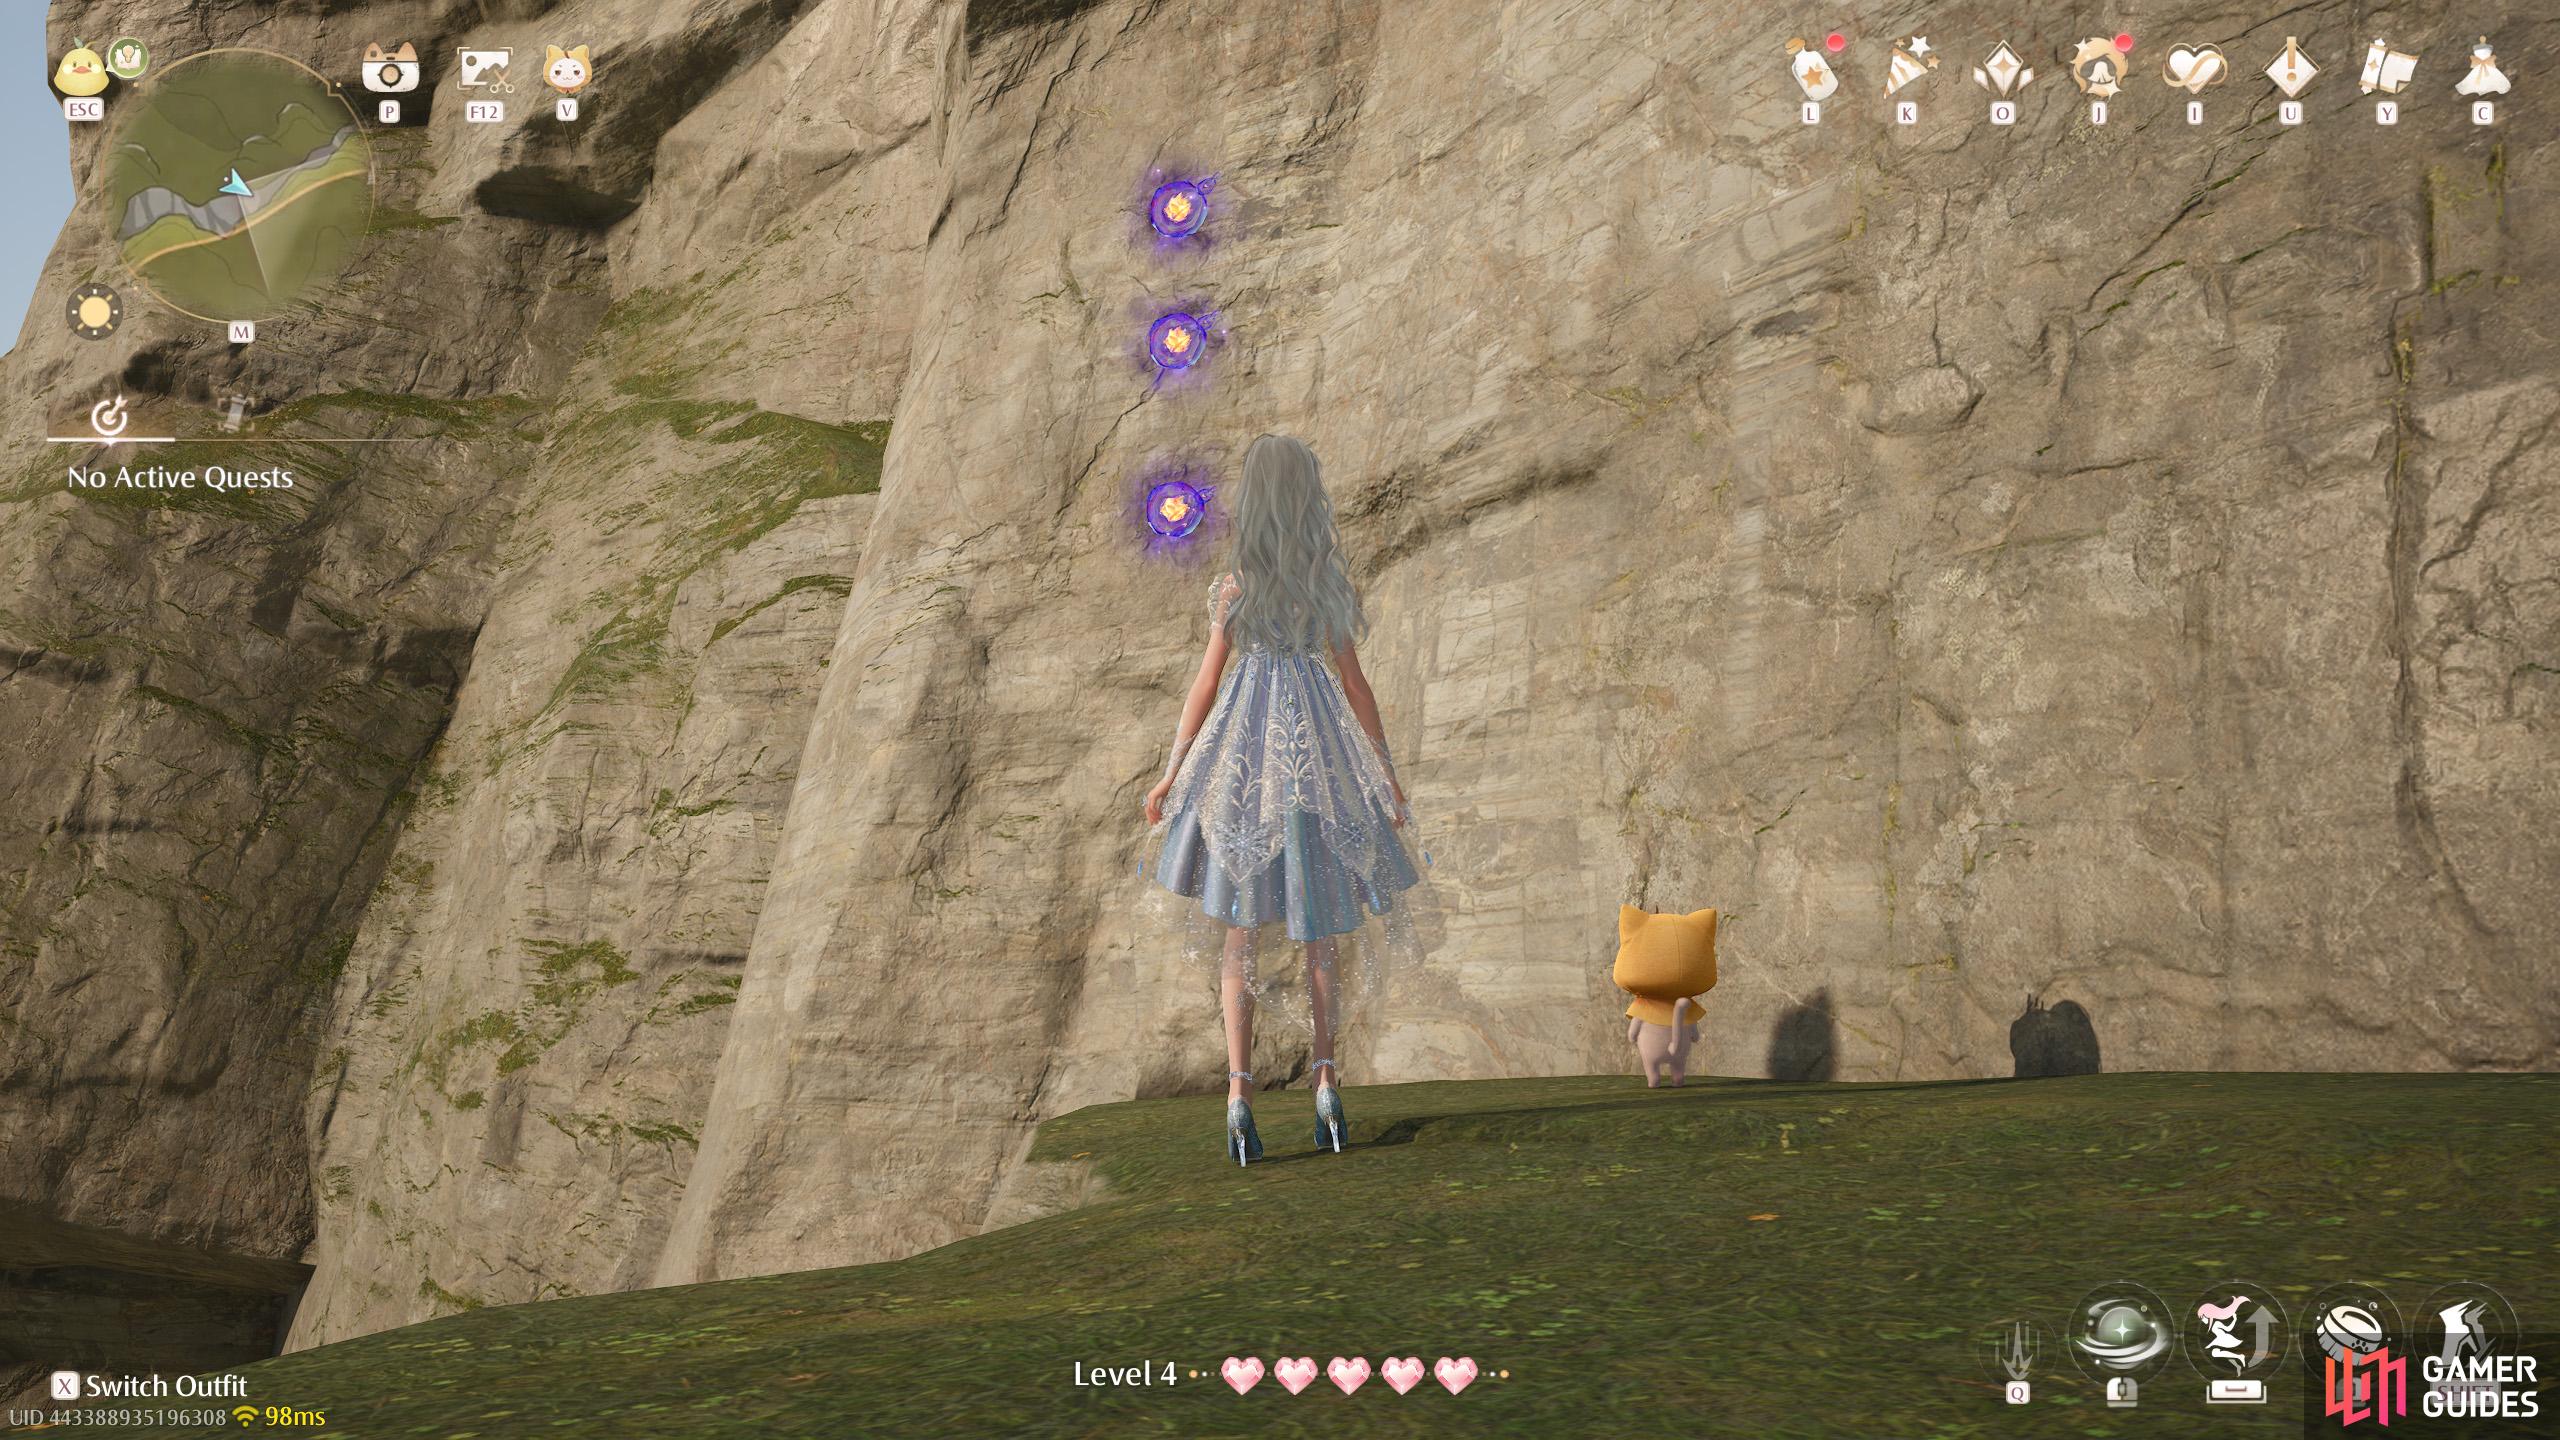
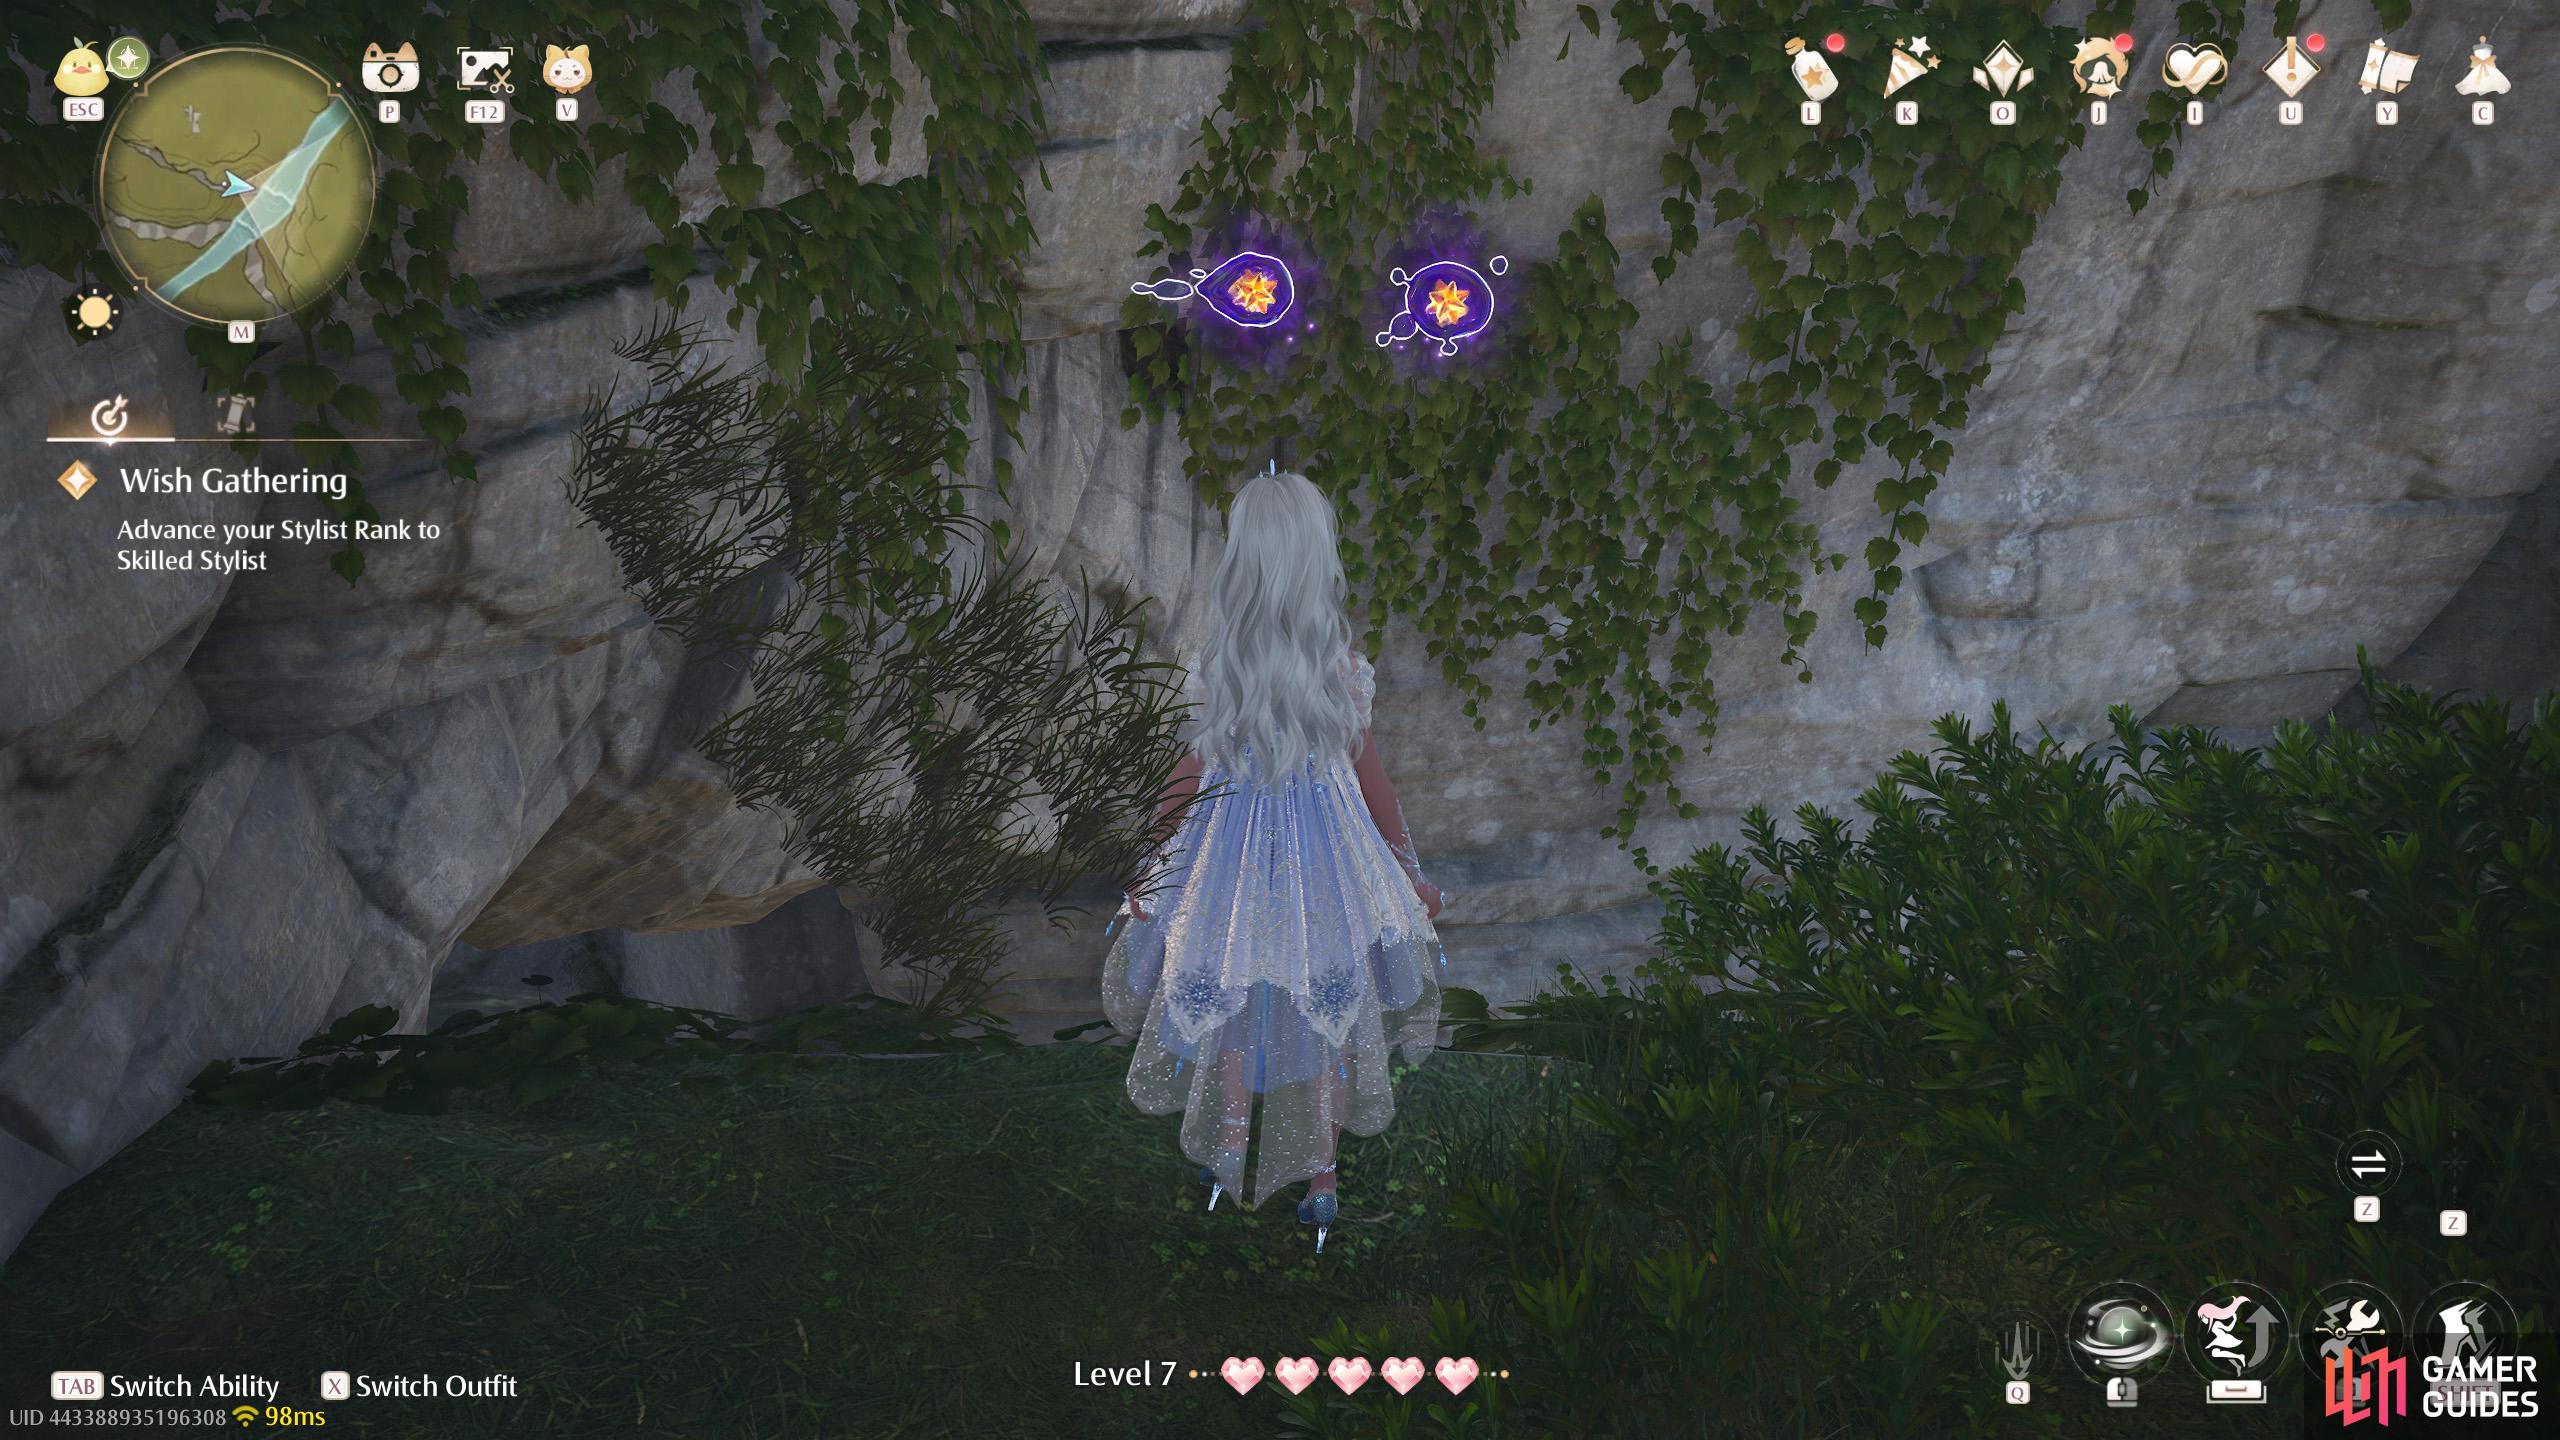
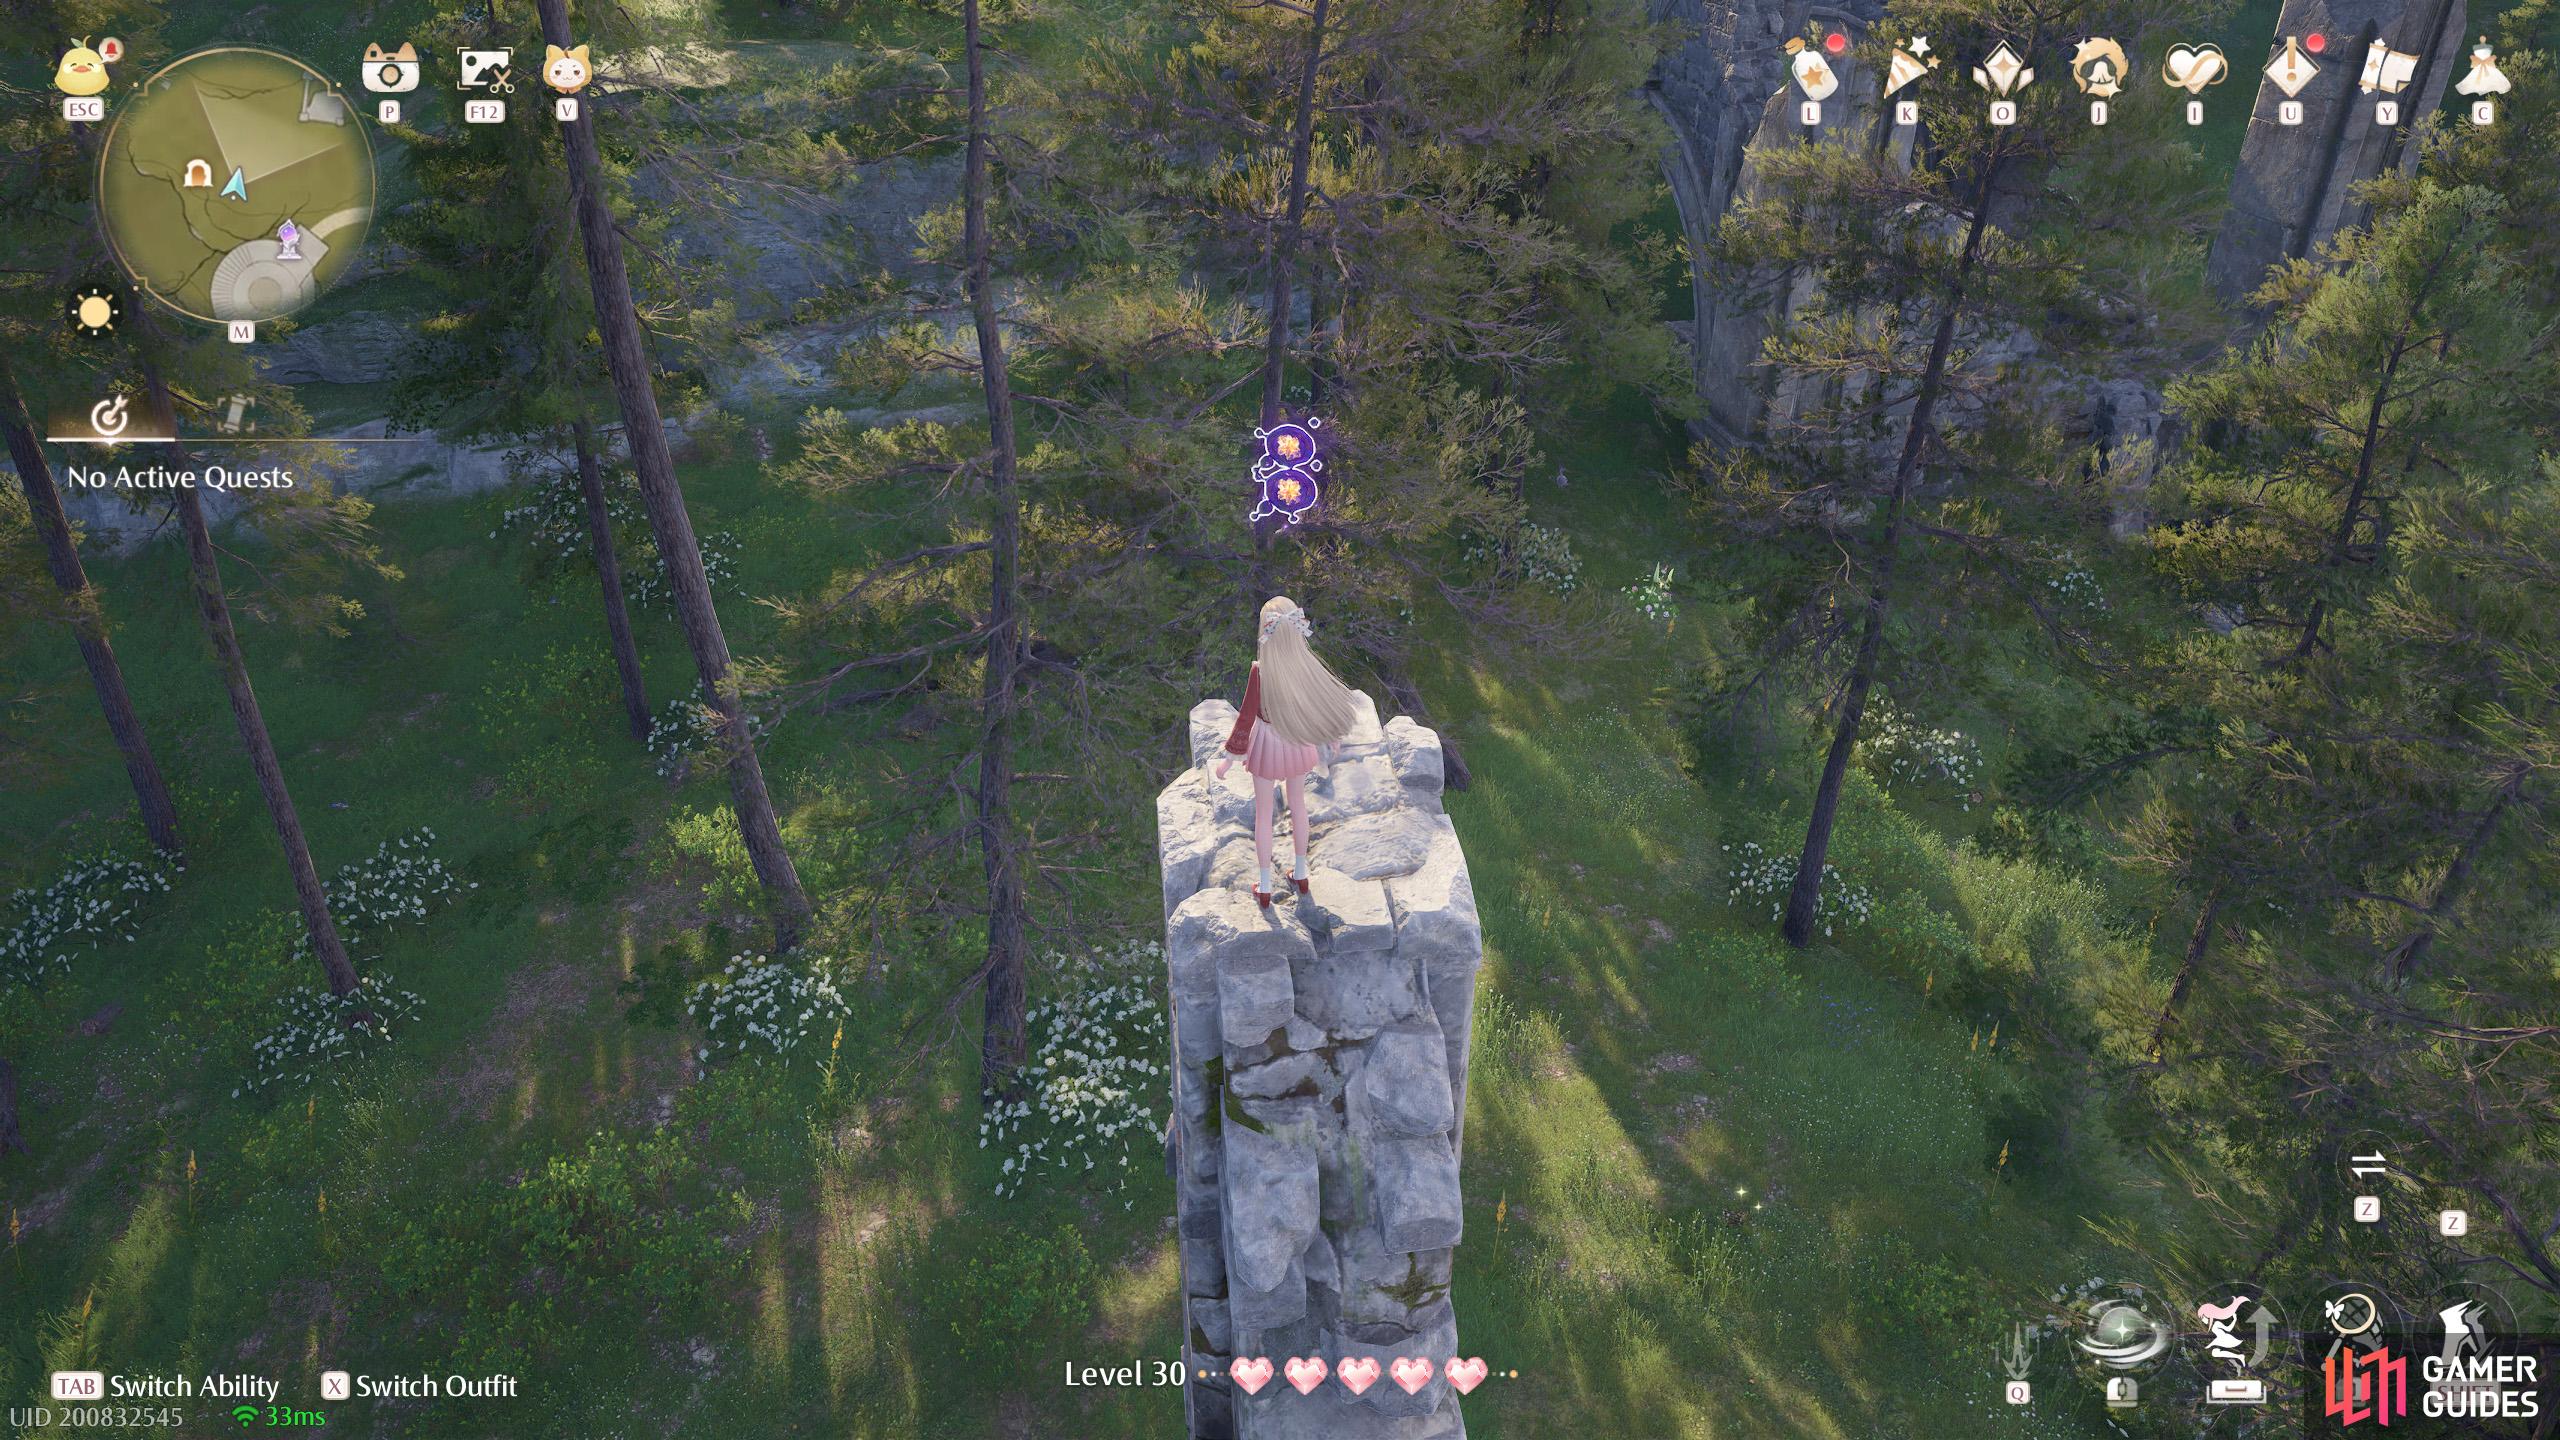
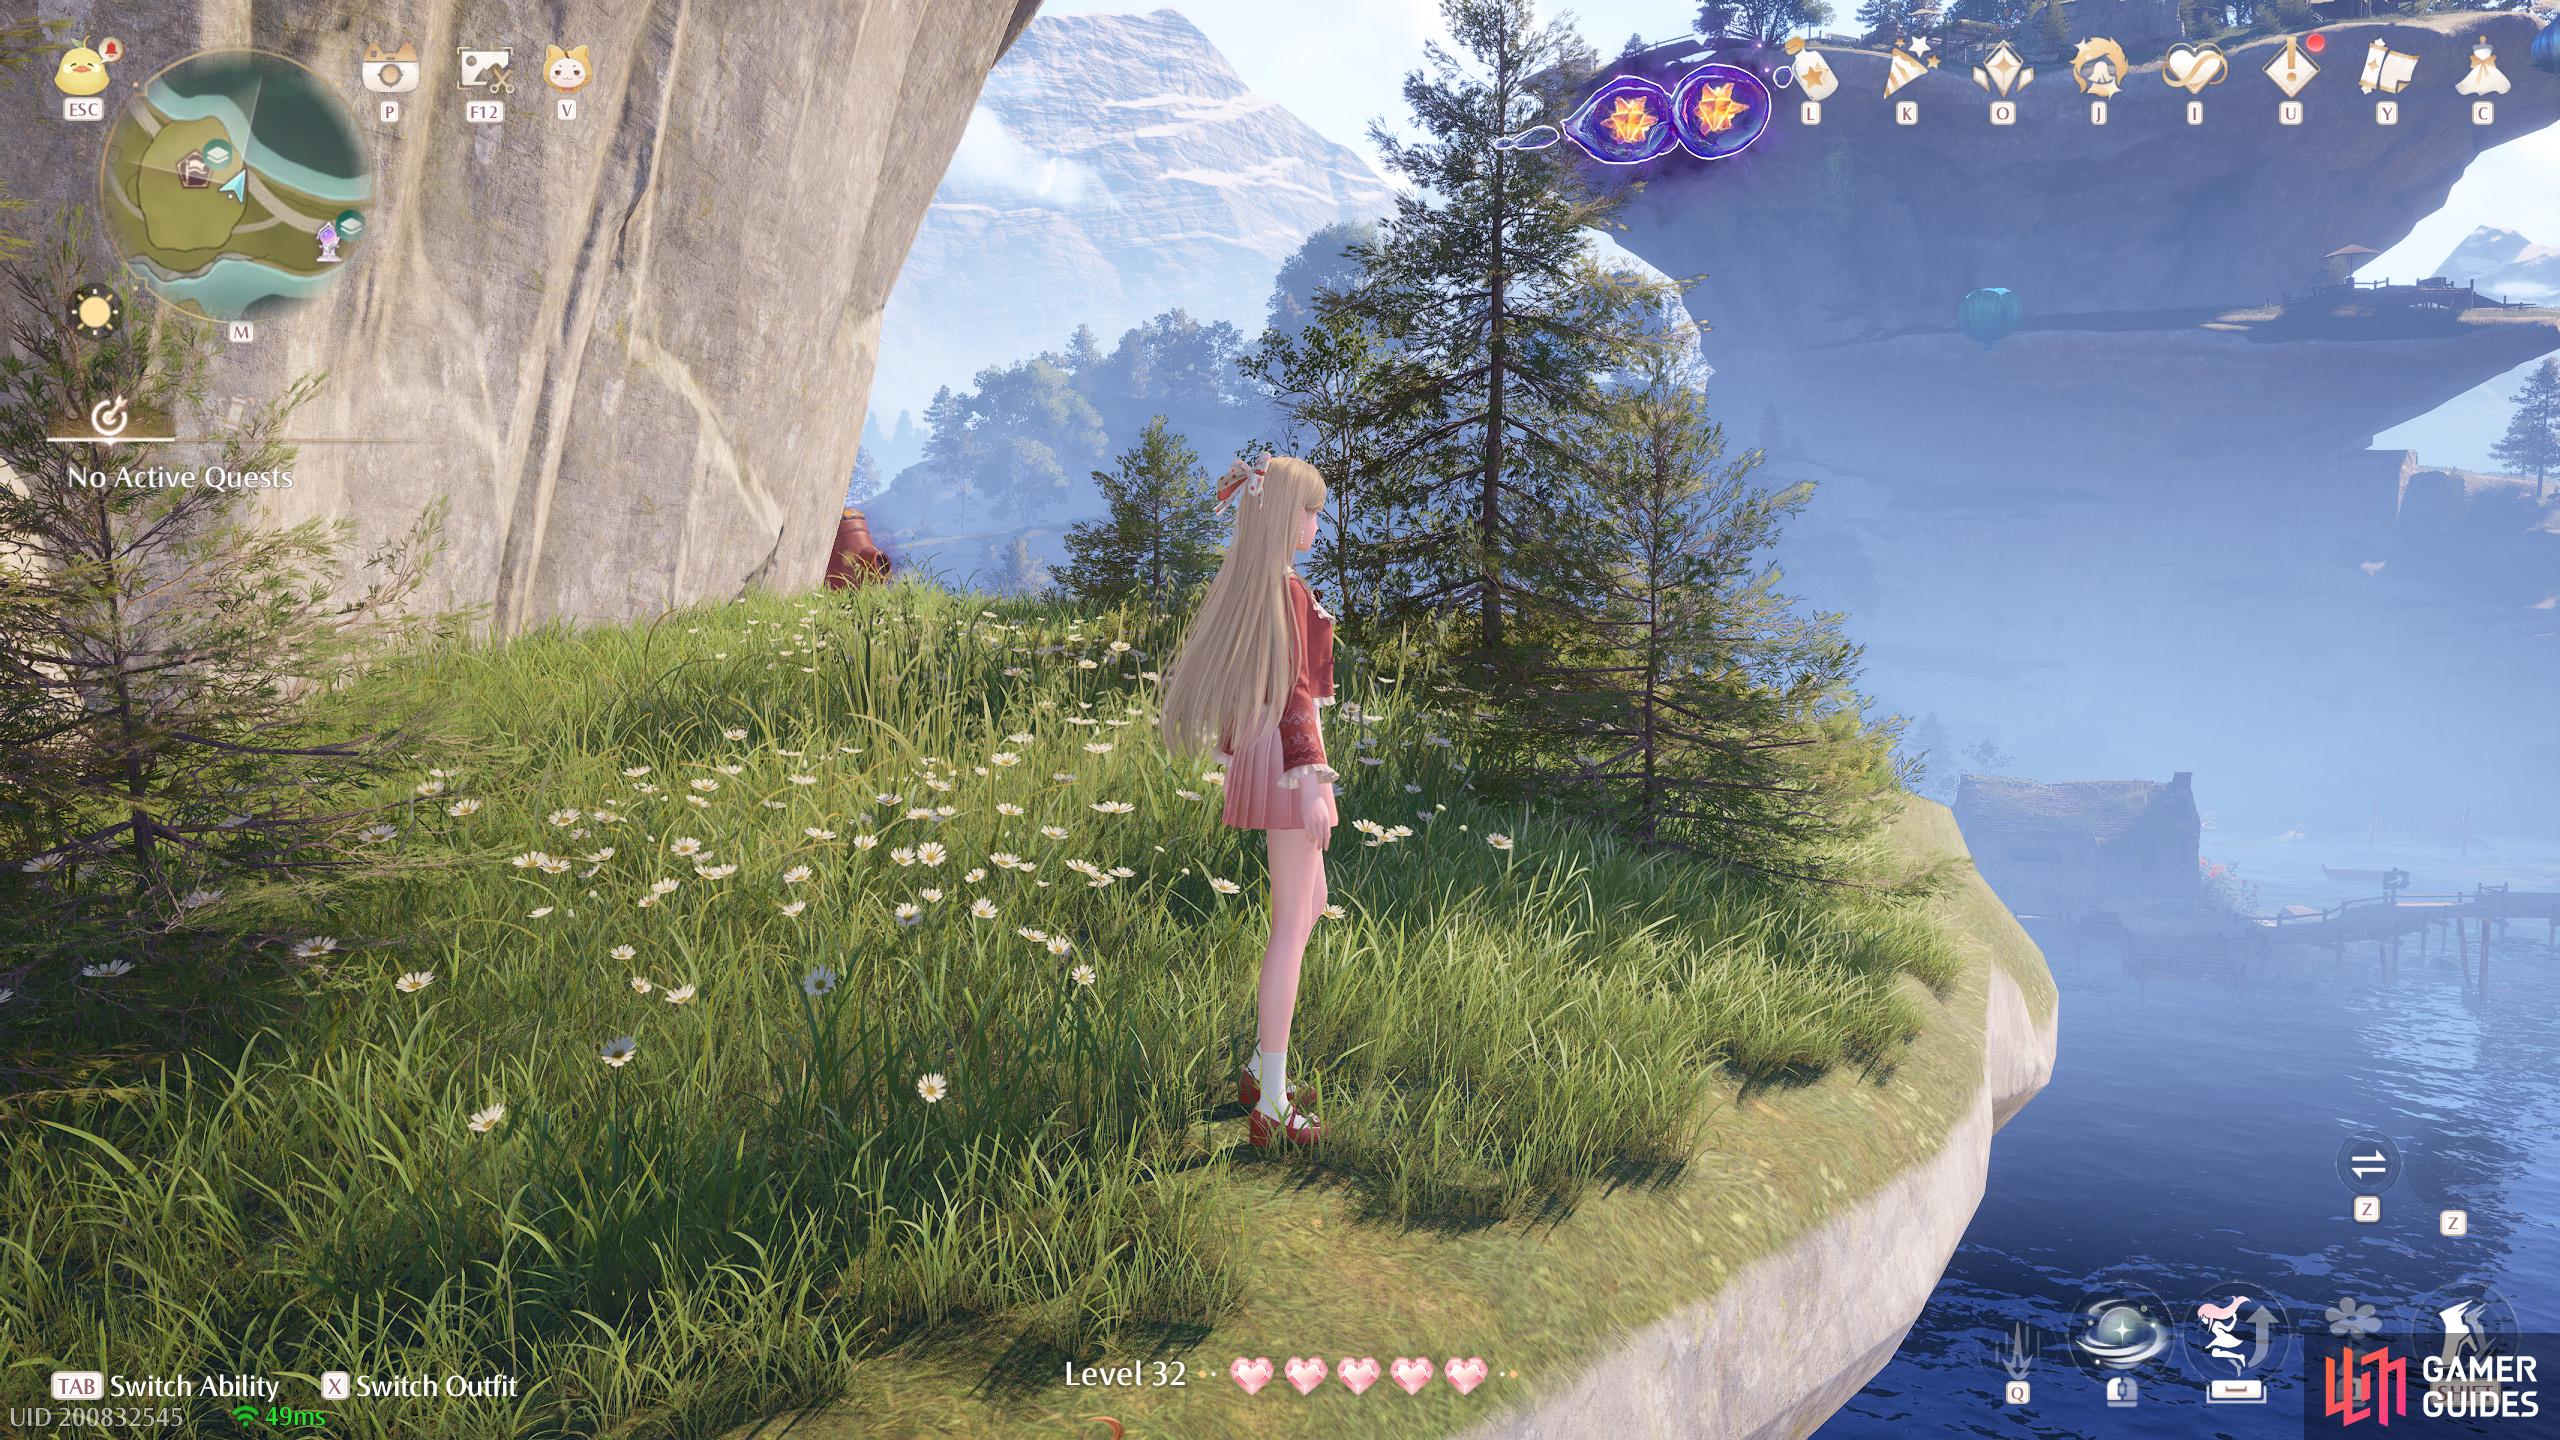
![]() Old Florawish Memorial. Two atop a broken pillar near the Warp Spire.
Old Florawish Memorial. Two atop a broken pillar near the Warp Spire.

3. Miraland Map
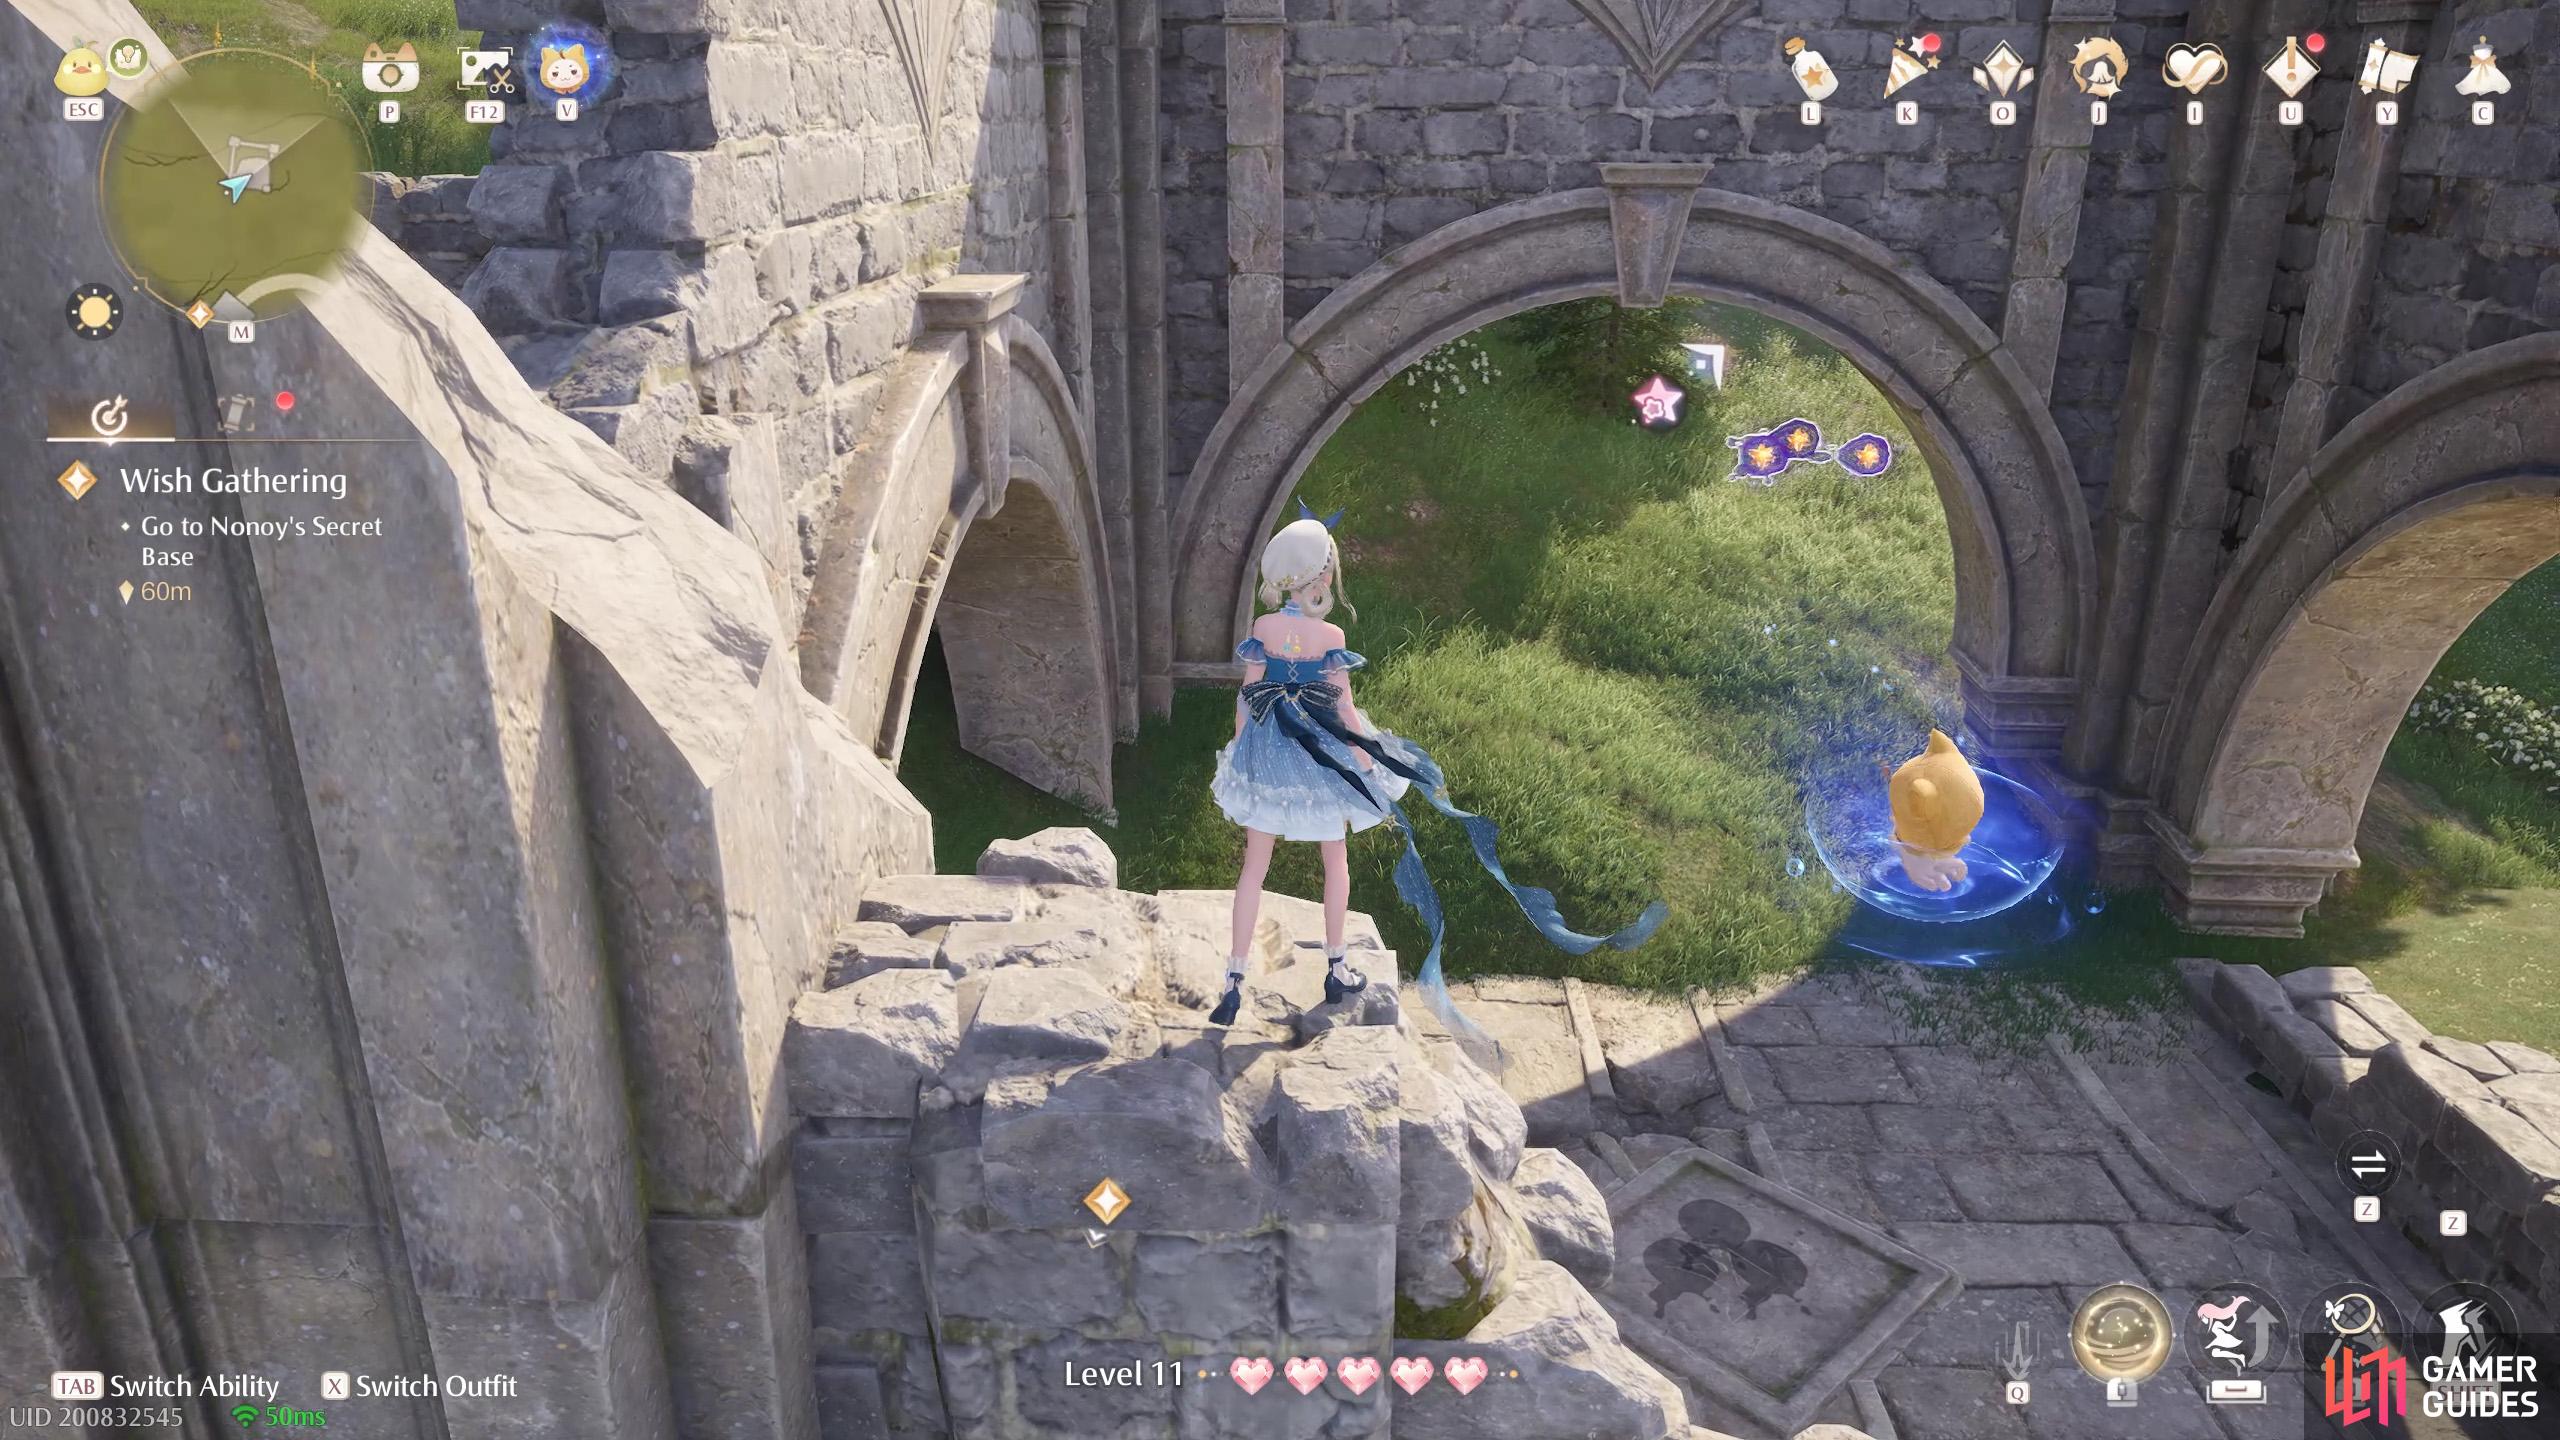
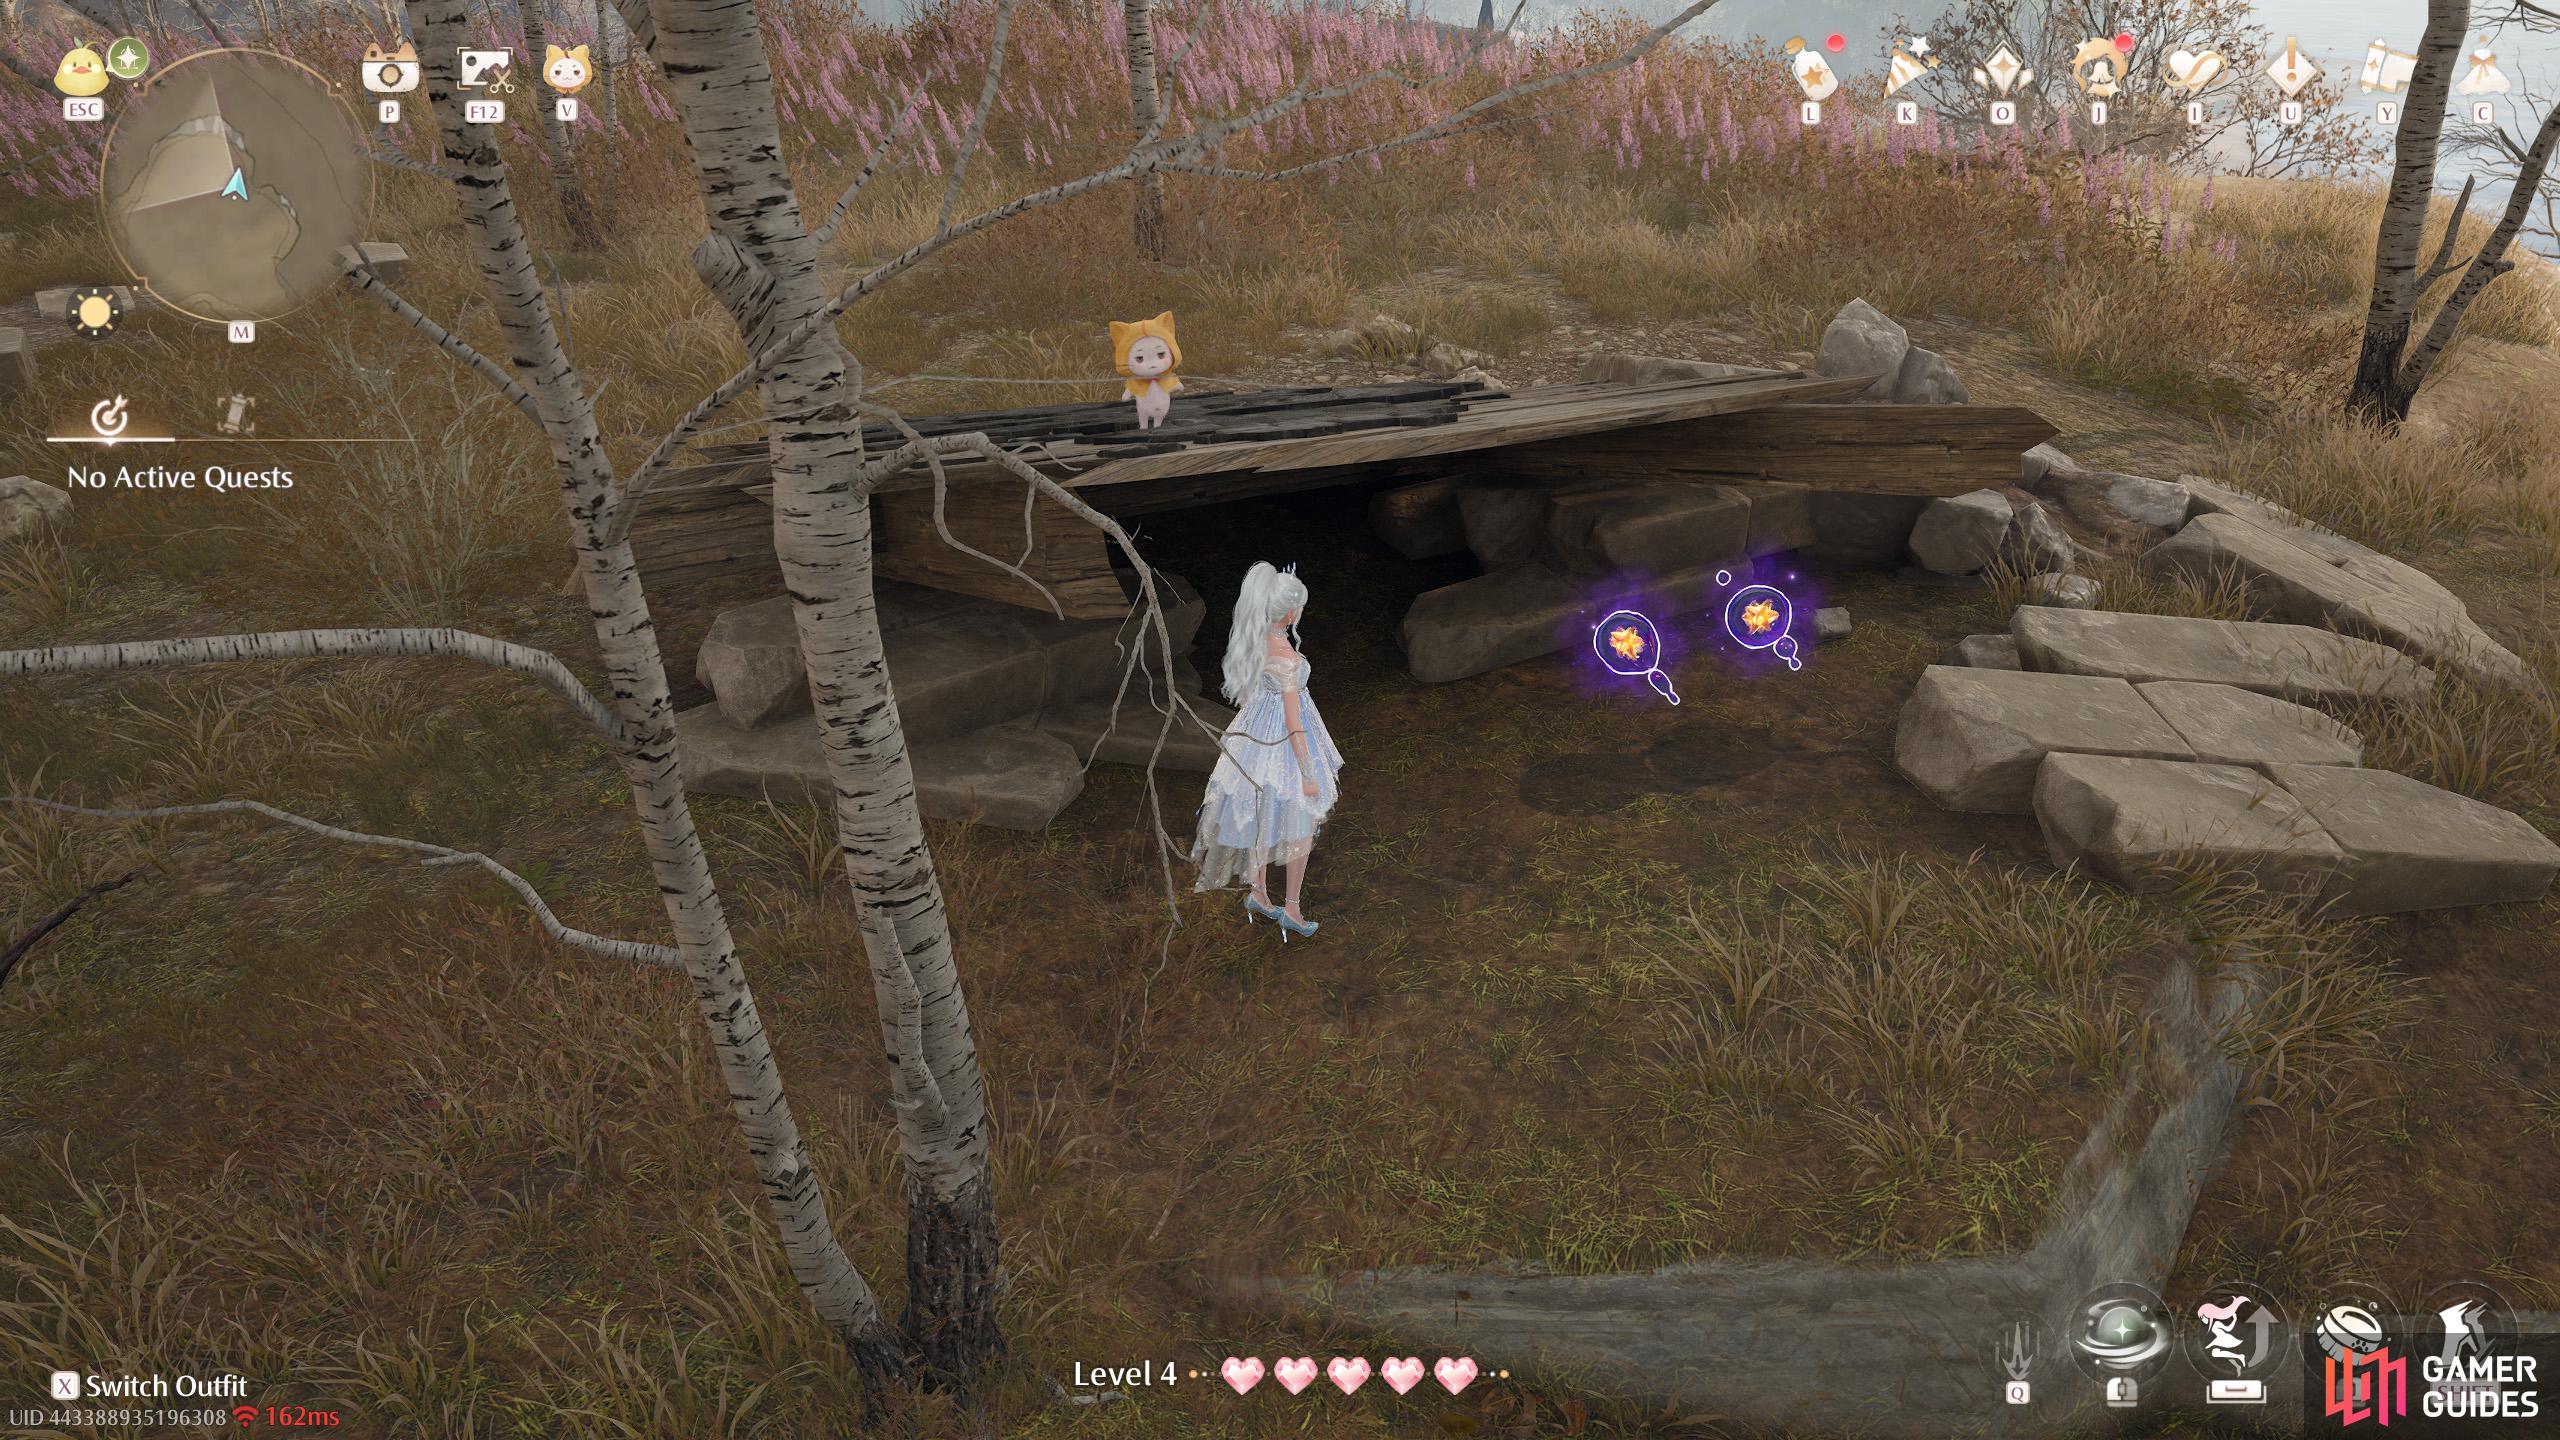
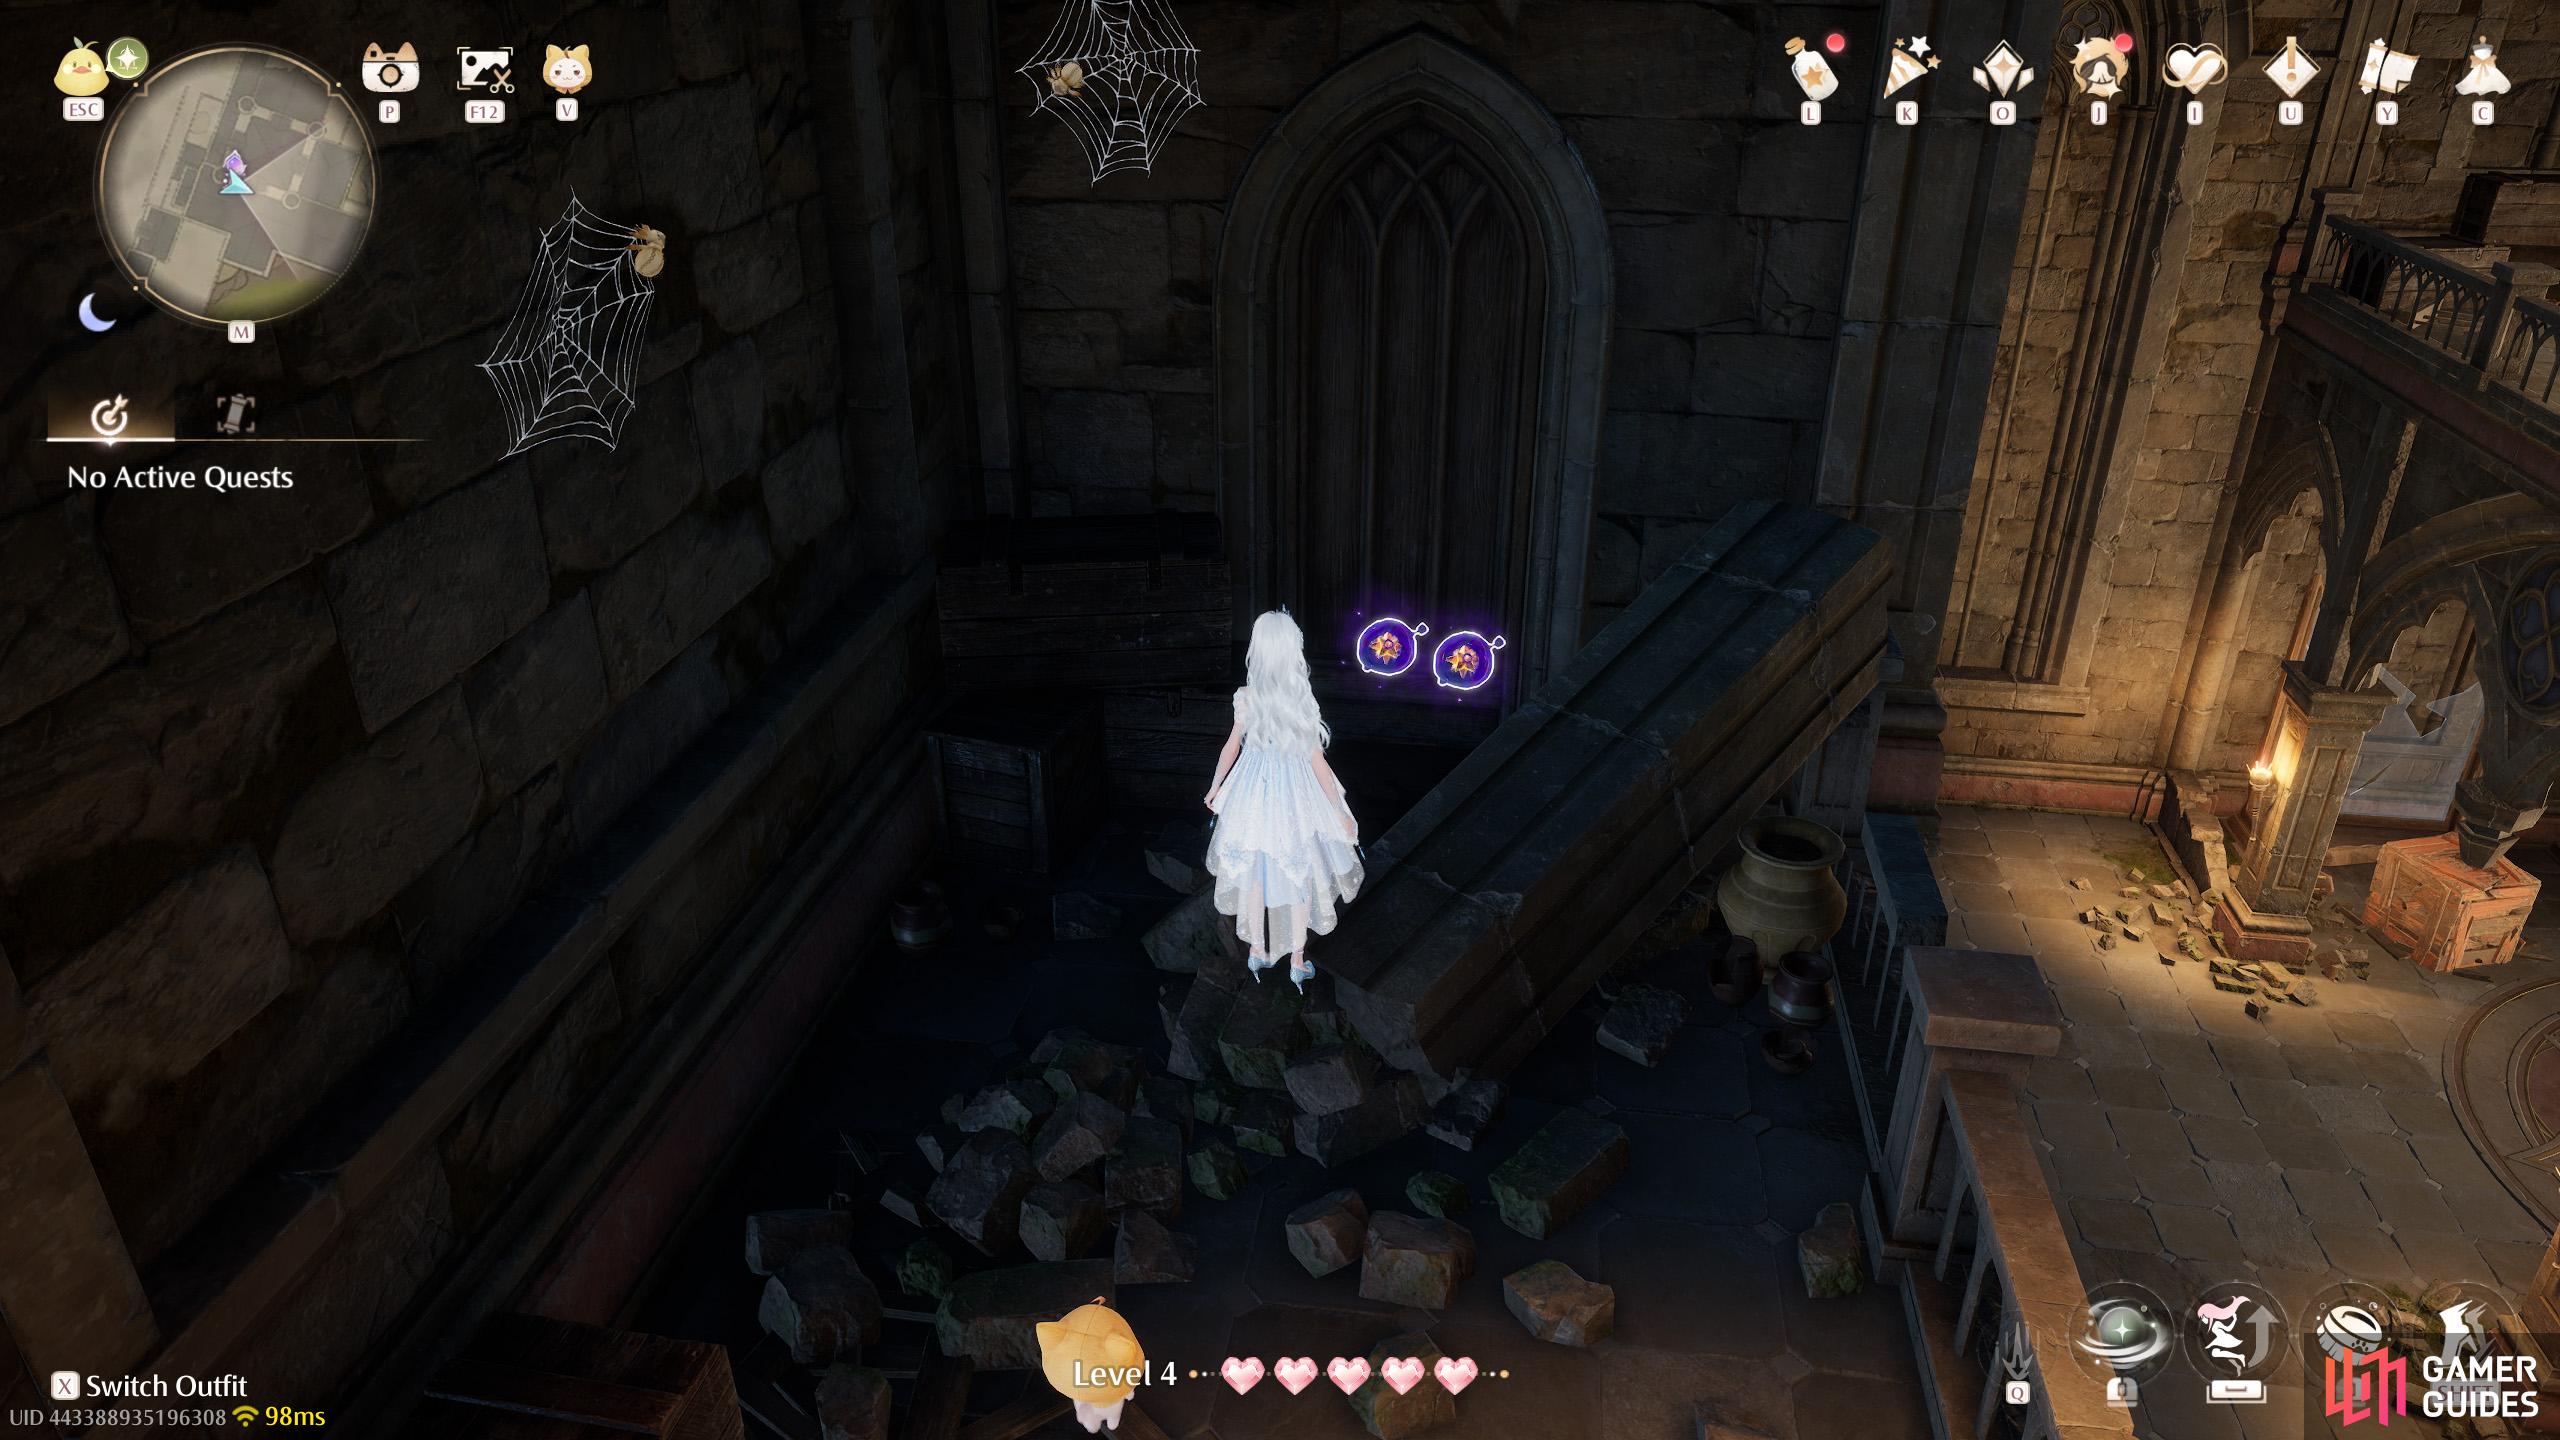
![]() Old Florawish Memorial. Two by the corner west from
Old Florawish Memorial. Two by the corner west from ![]() Kilo the Cadenceborn.
Kilo the Cadenceborn.
4. Miraland Map
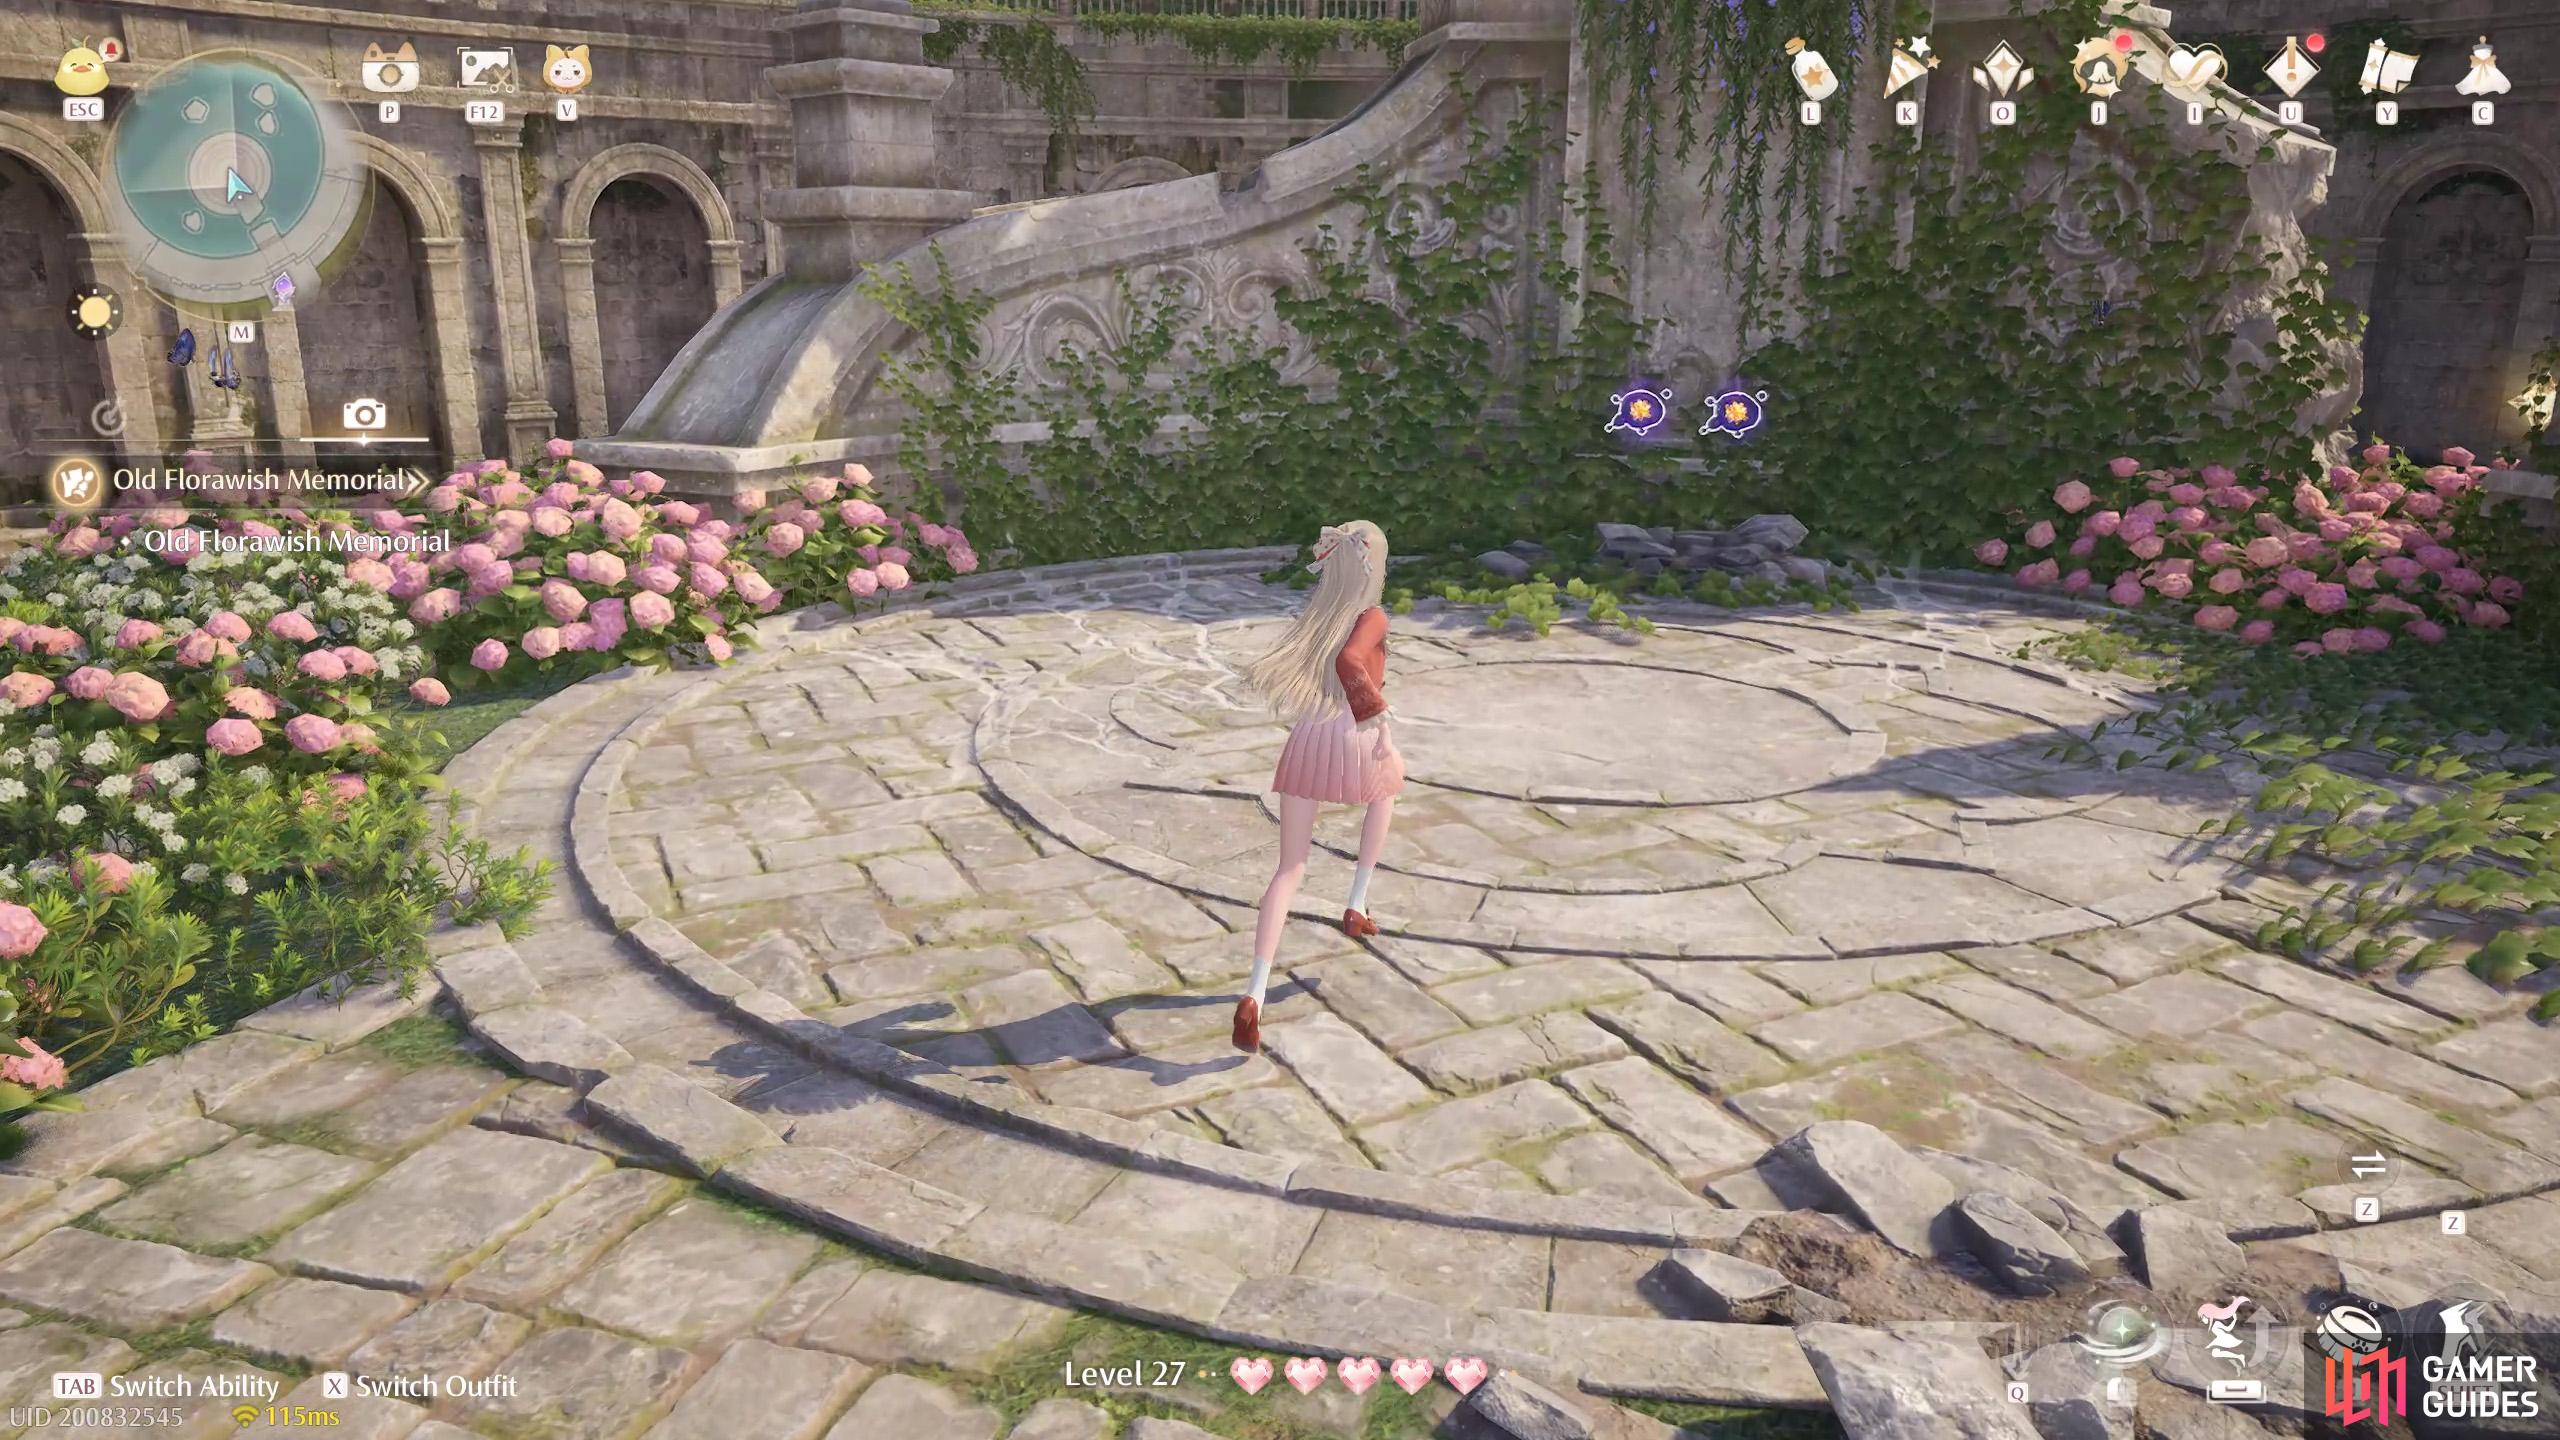
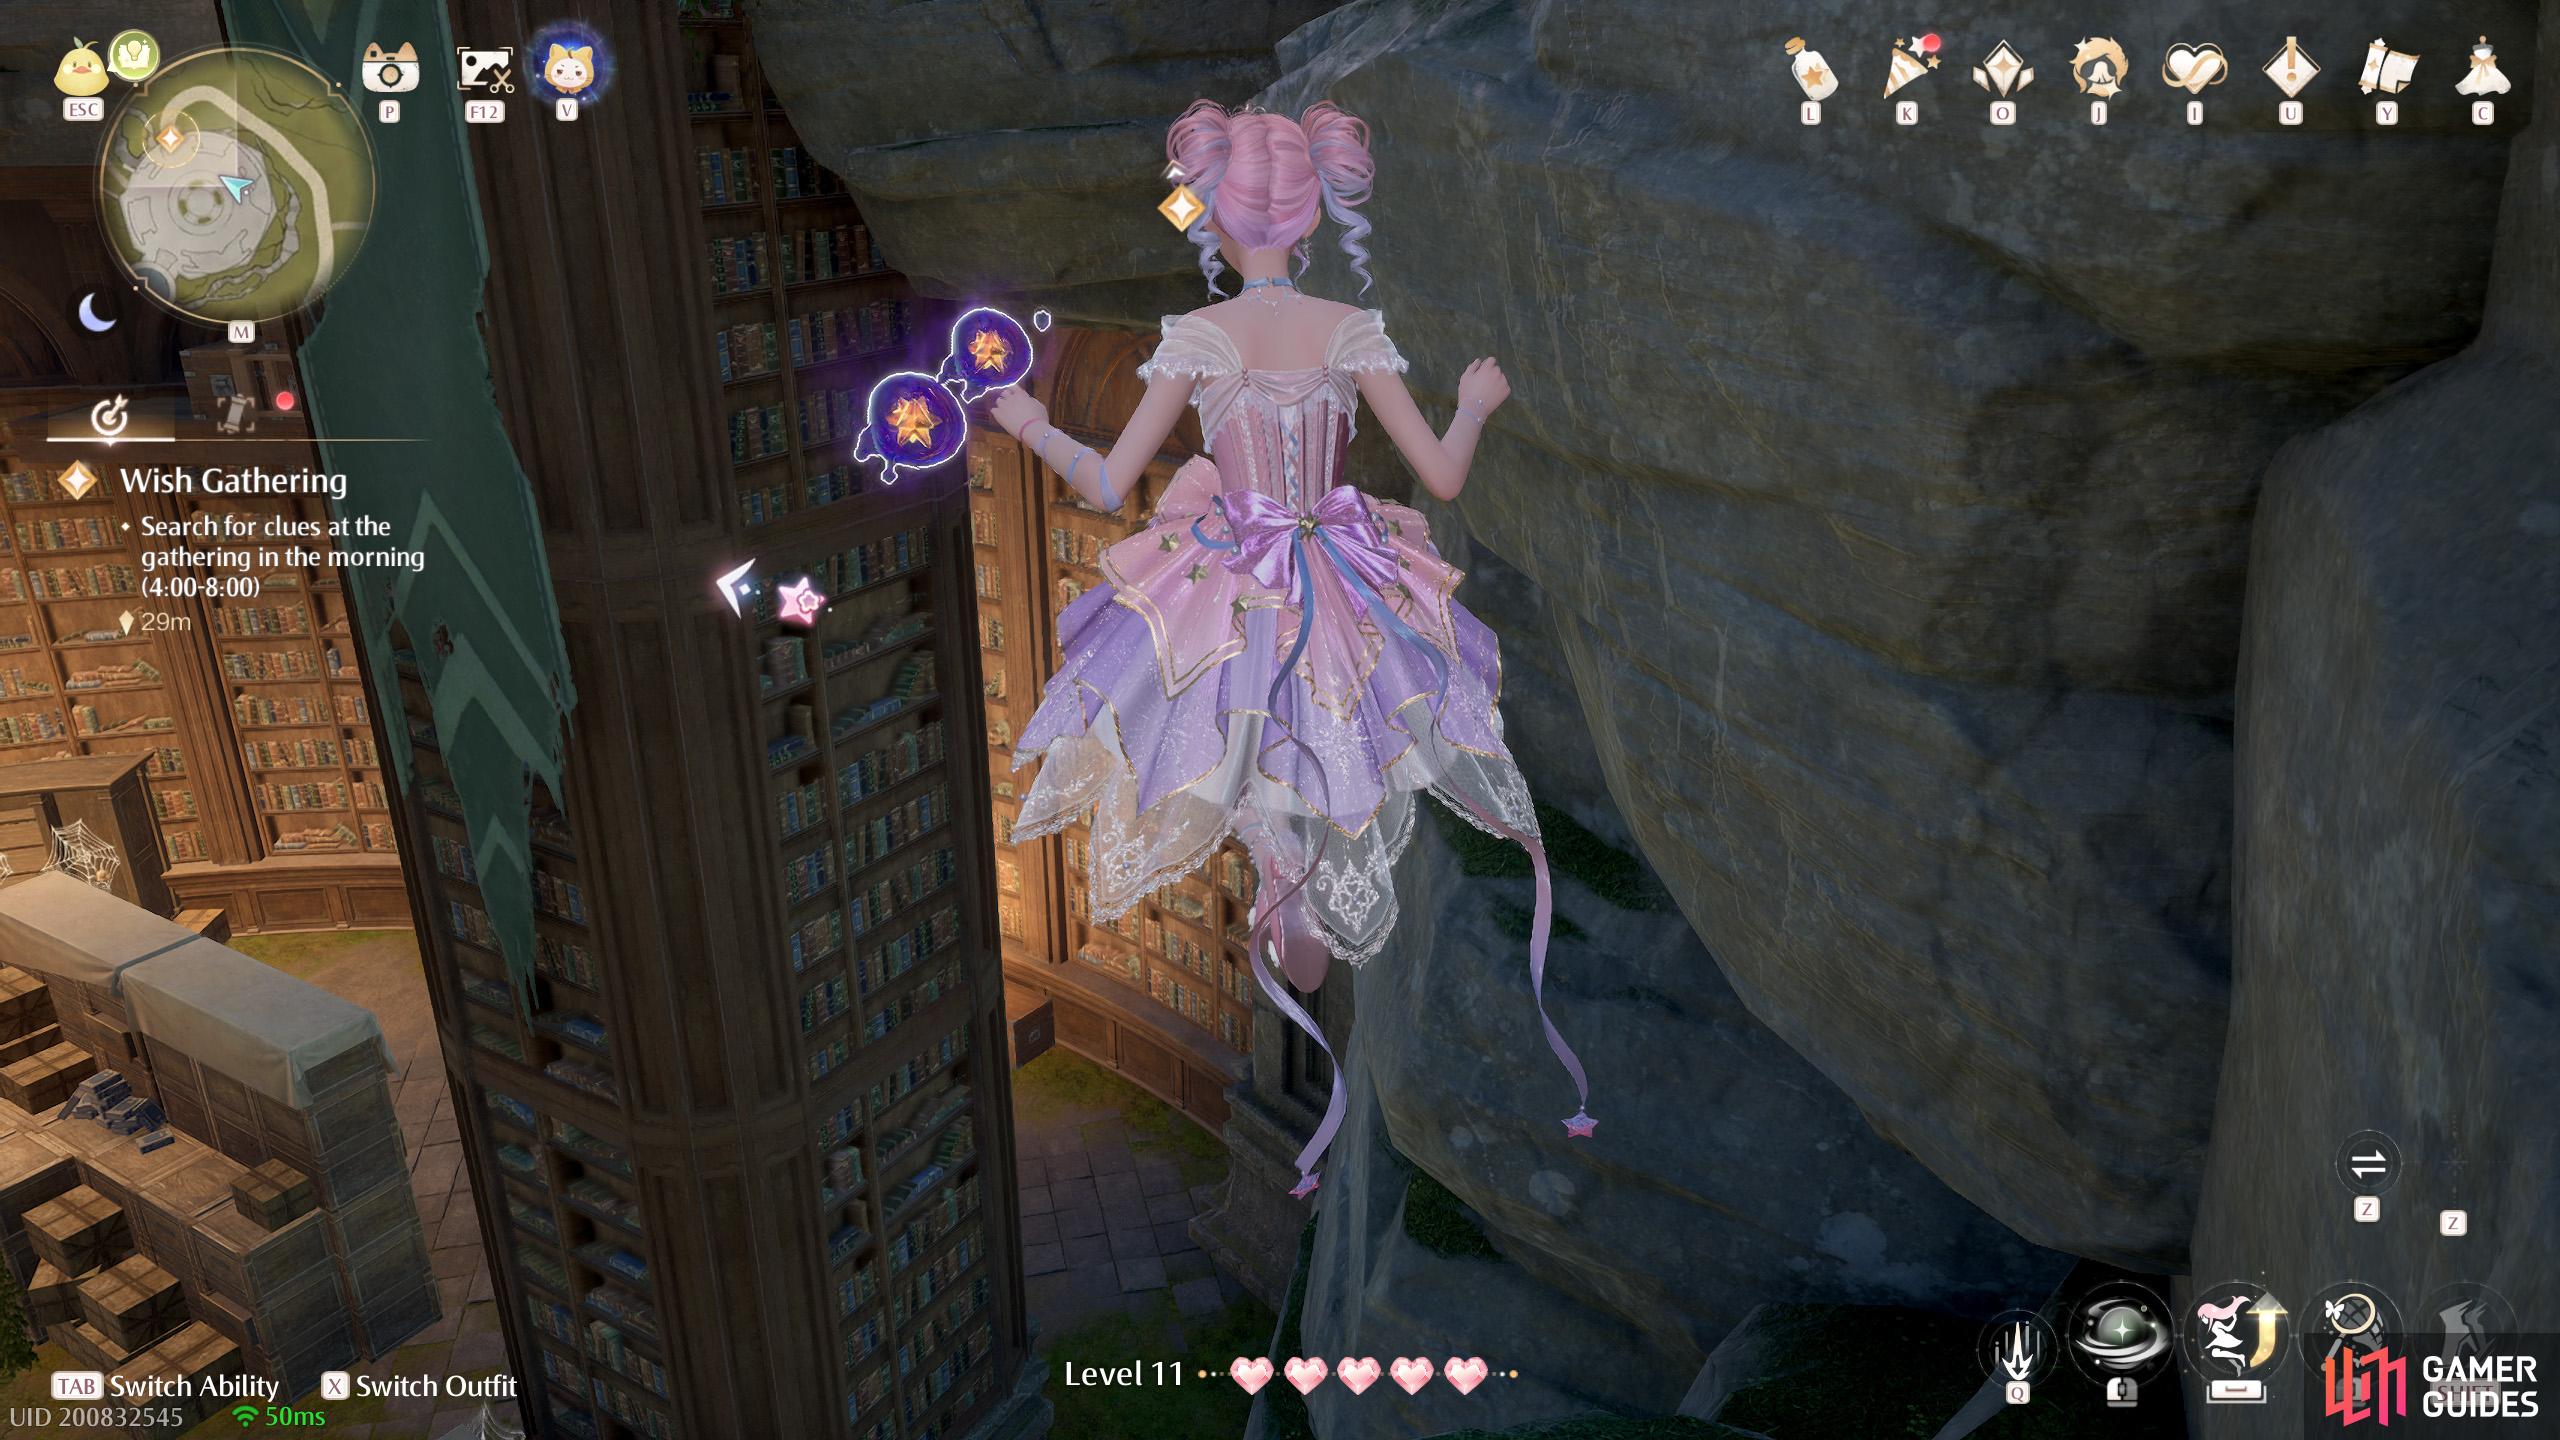
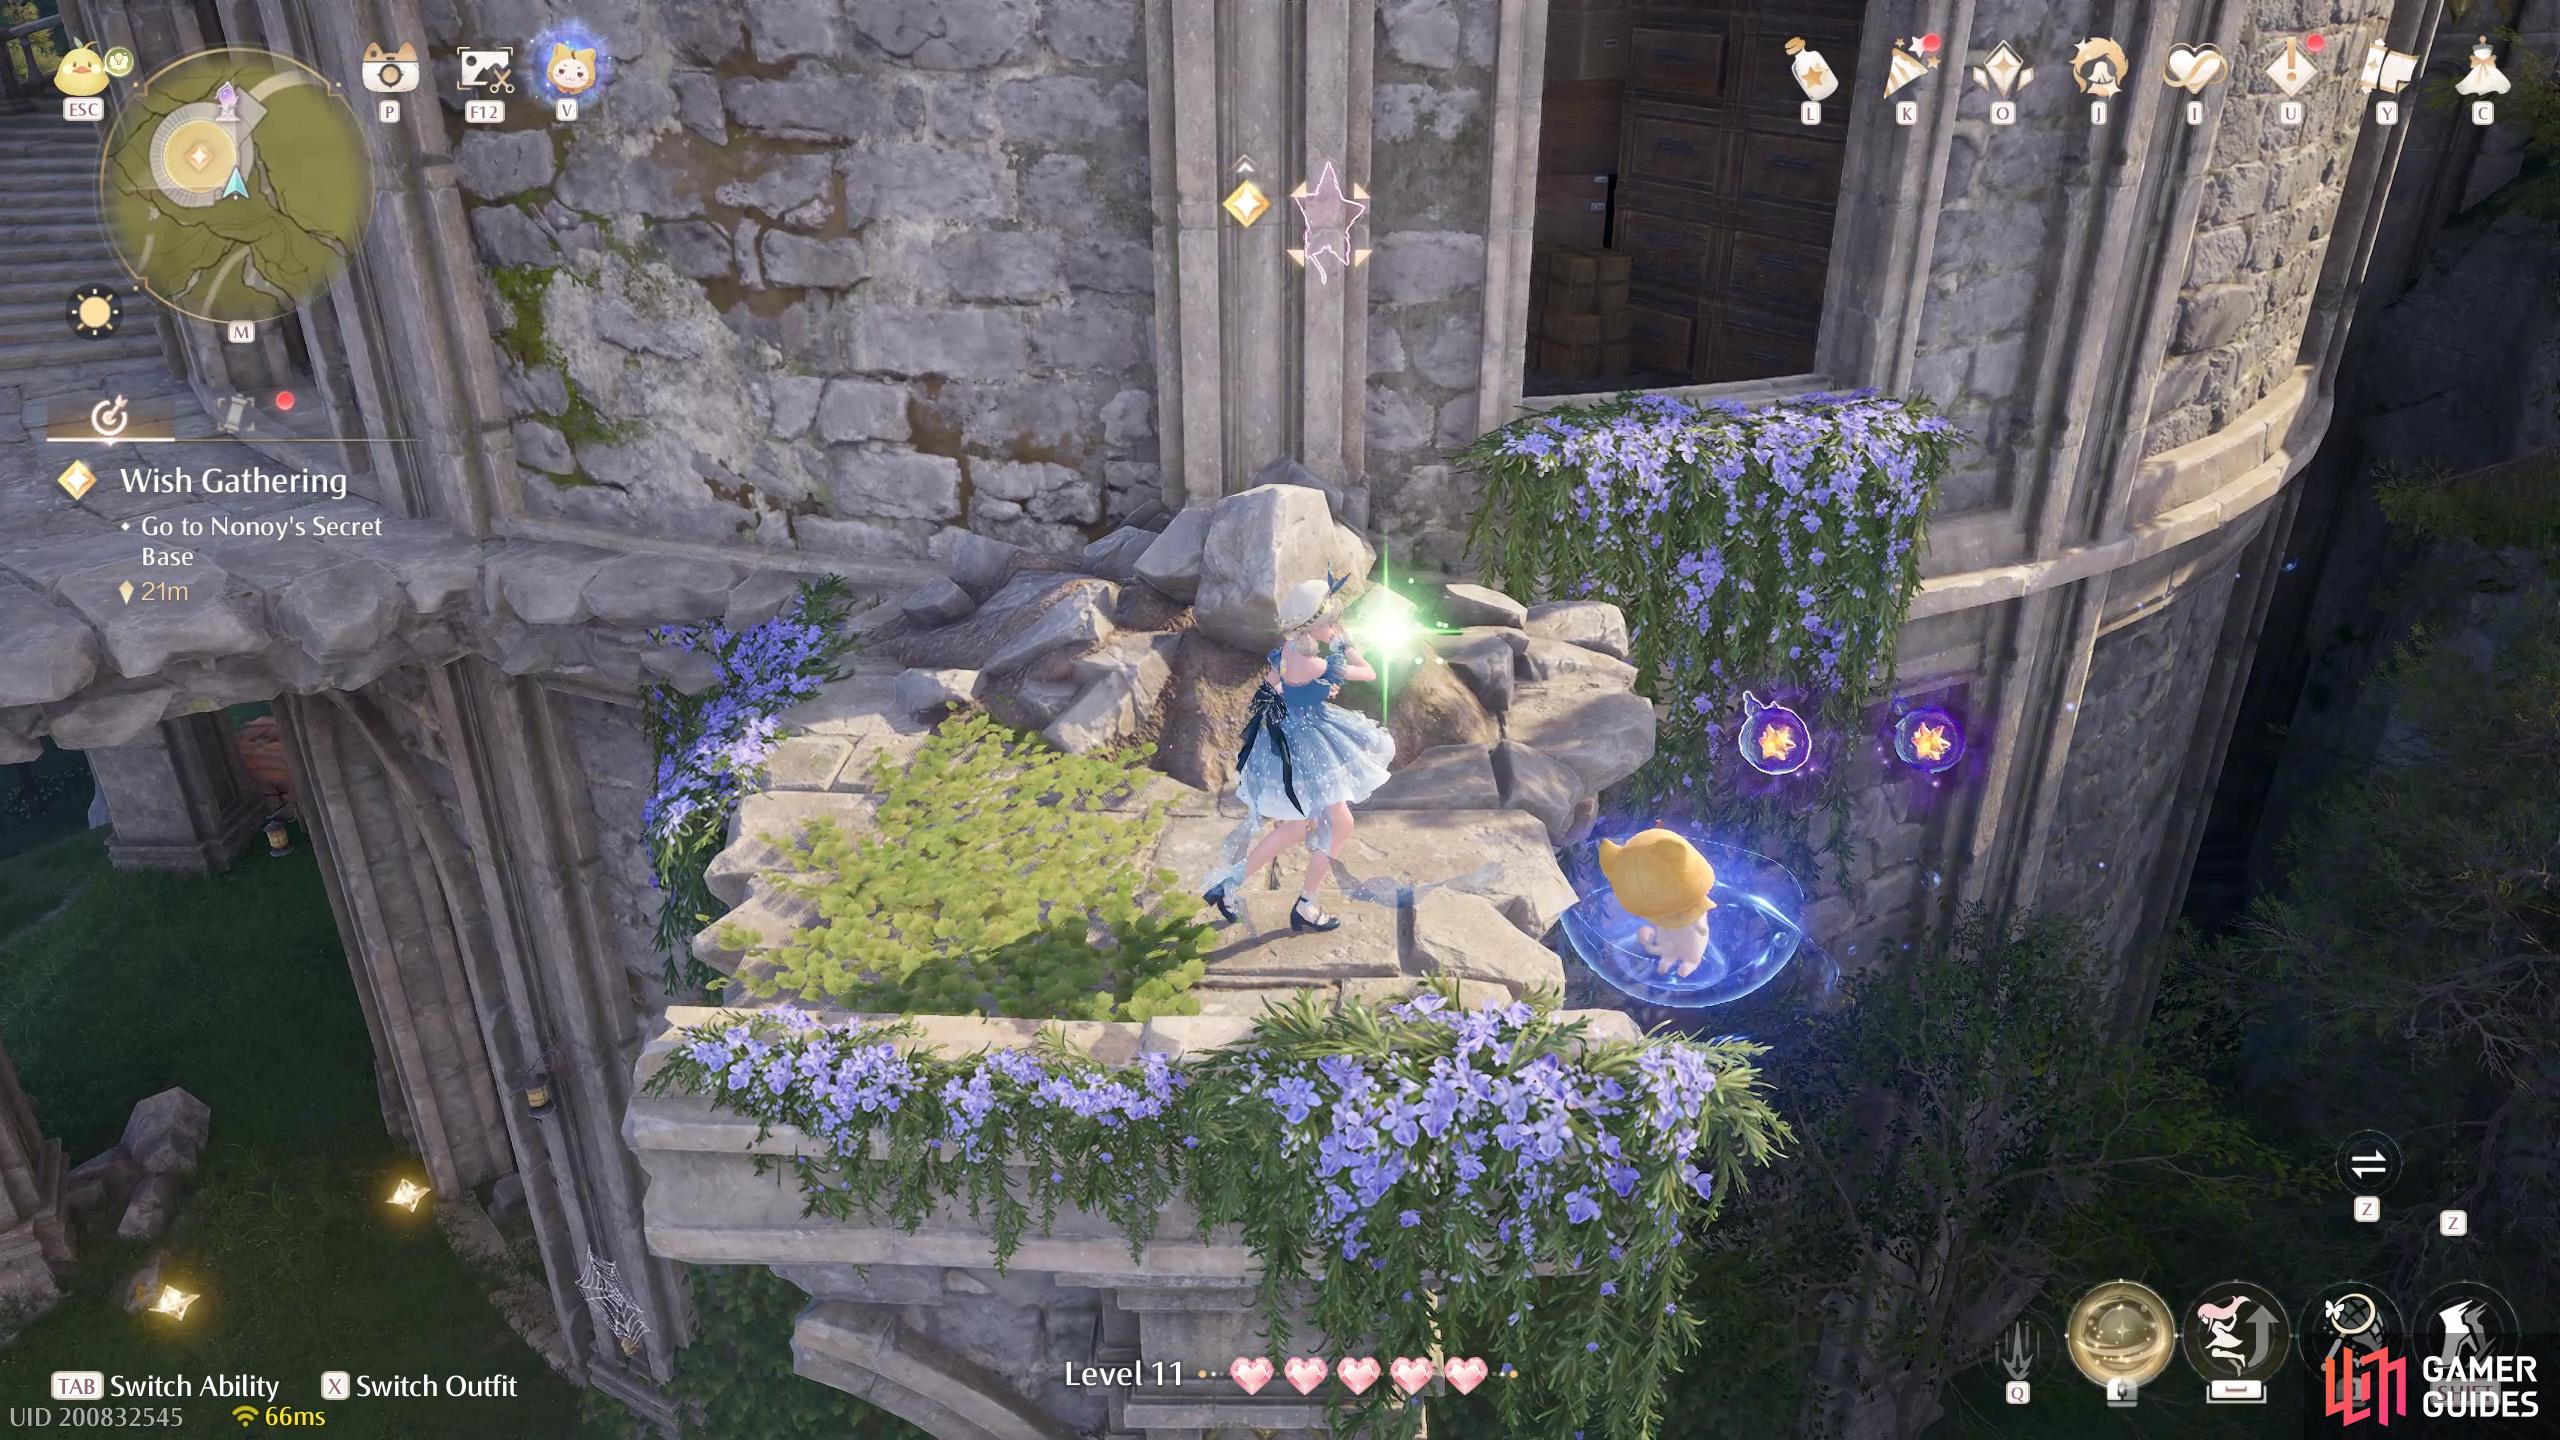
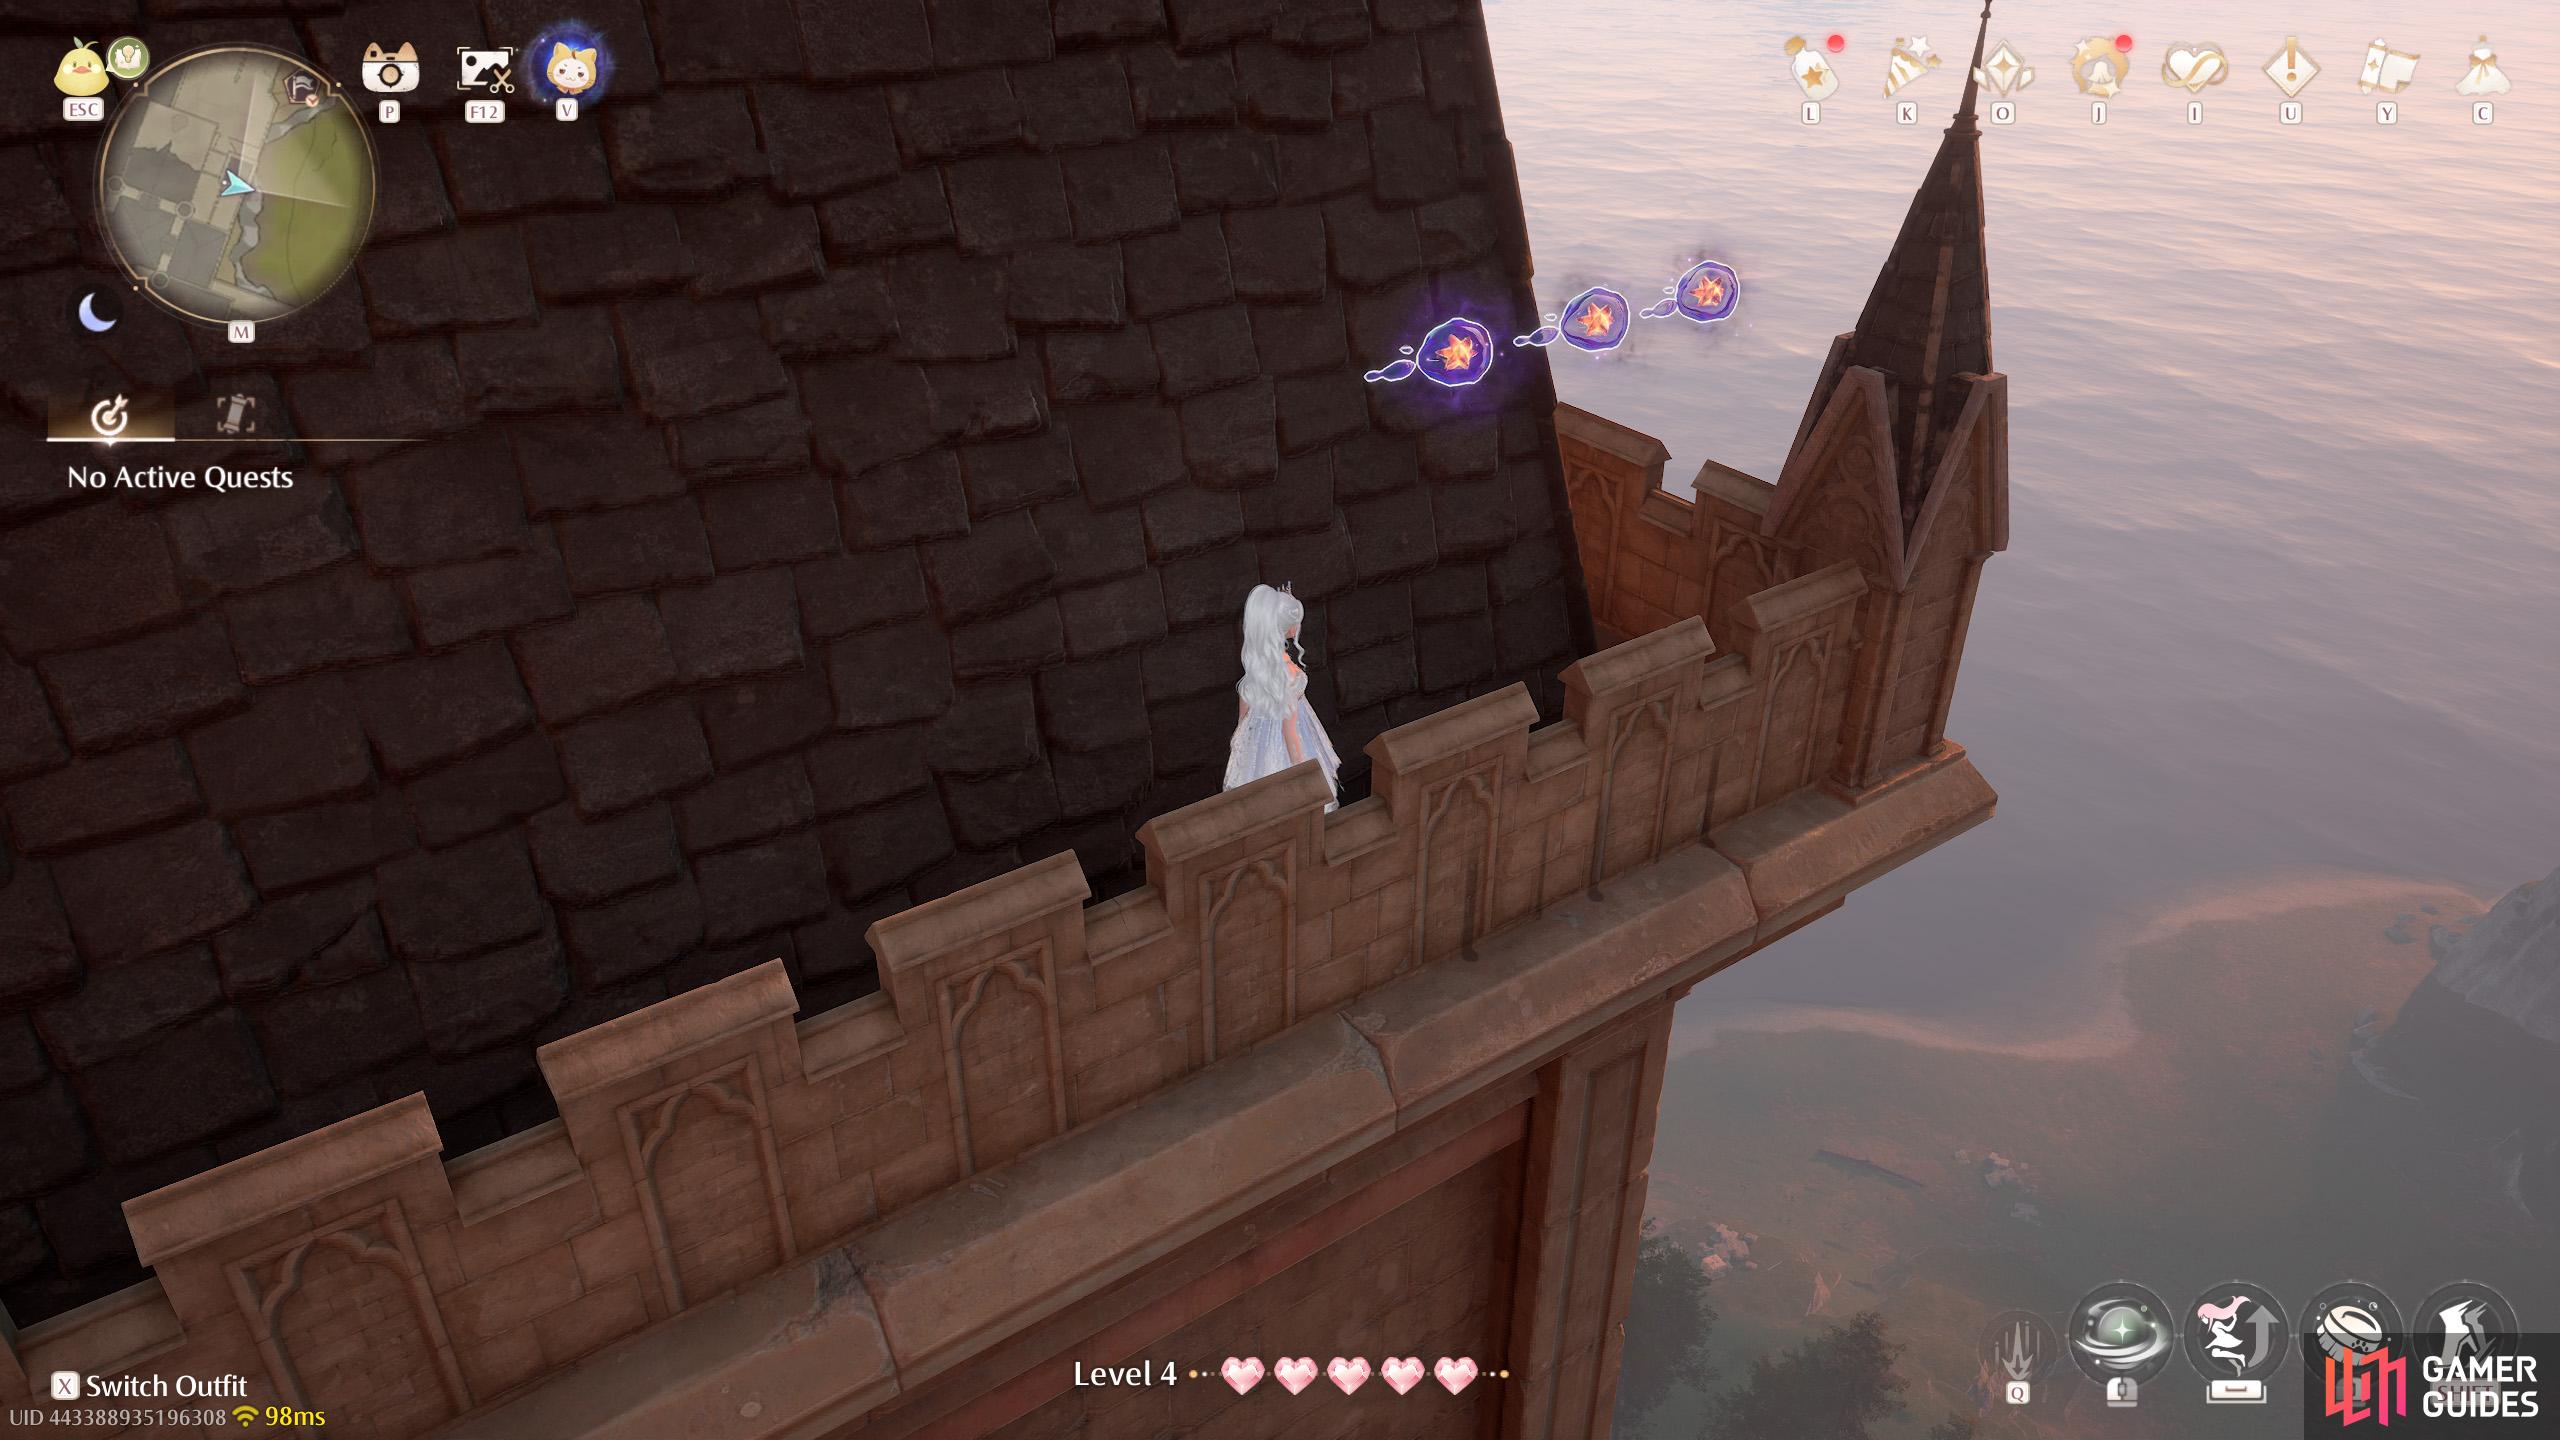
![]() Old Florawish Memorial. Two in front of the broken statue at the center.
Old Florawish Memorial. Two in front of the broken statue at the center.
5. Miraland Map
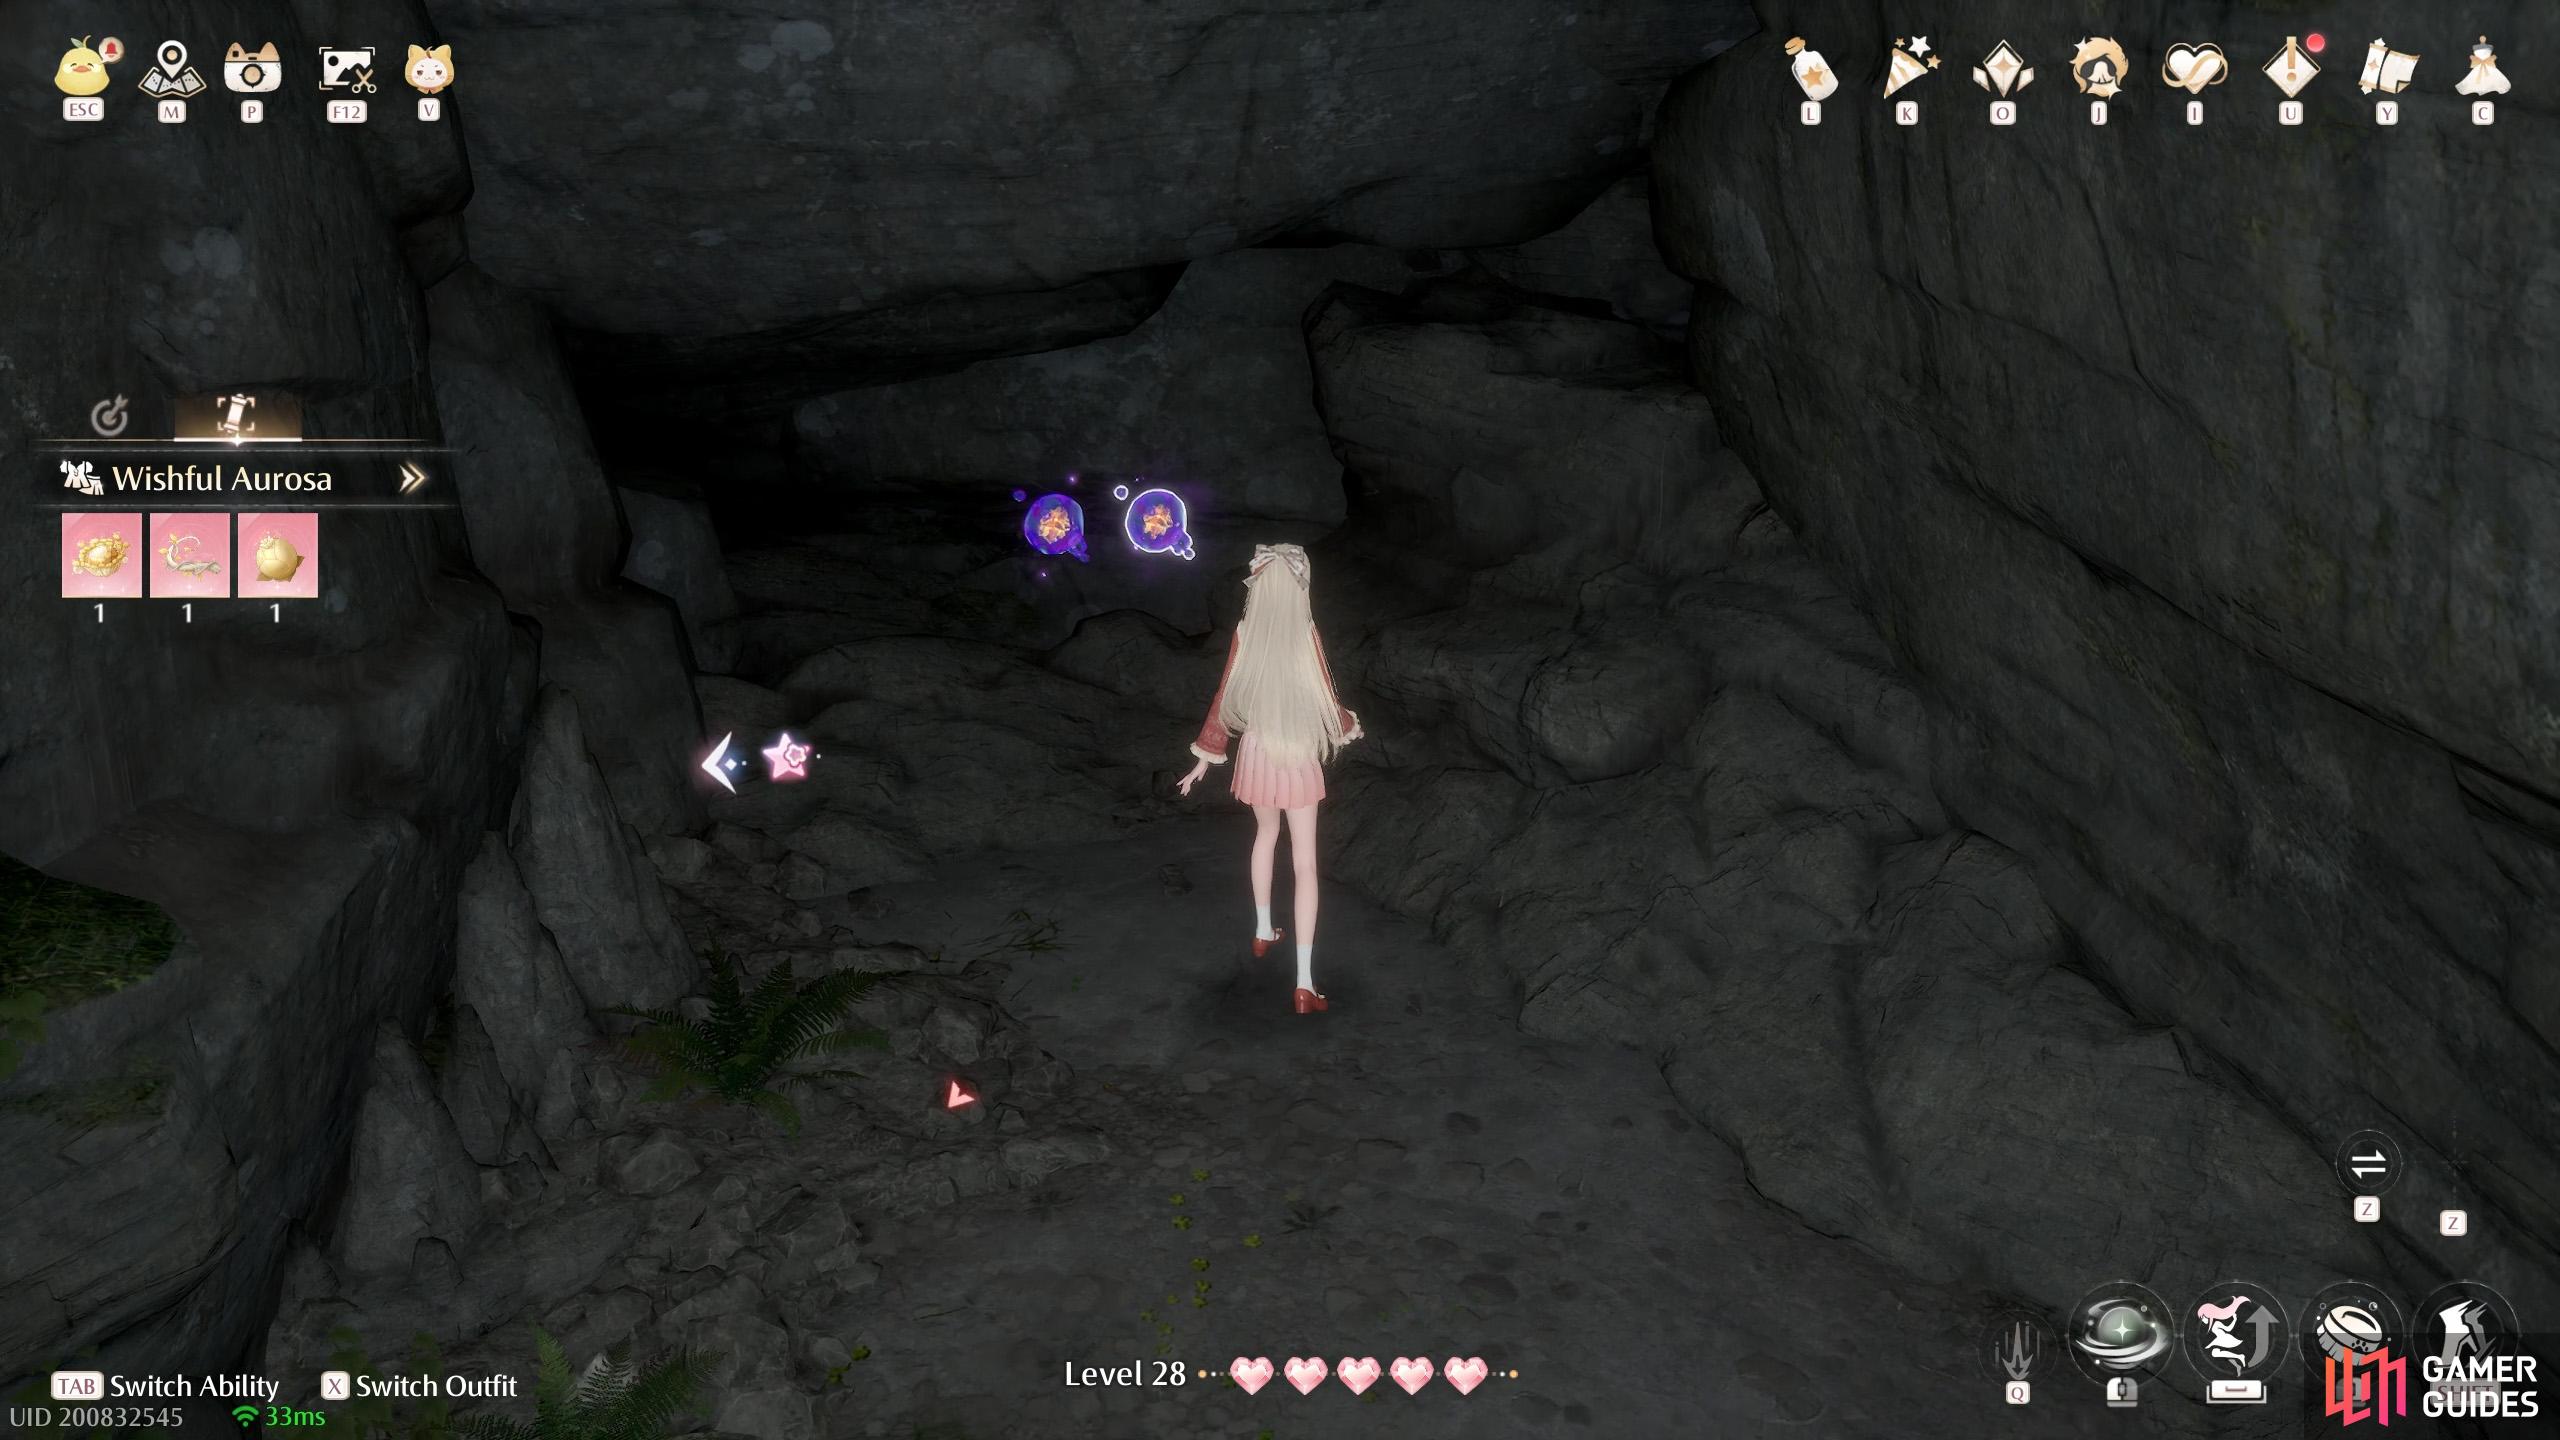
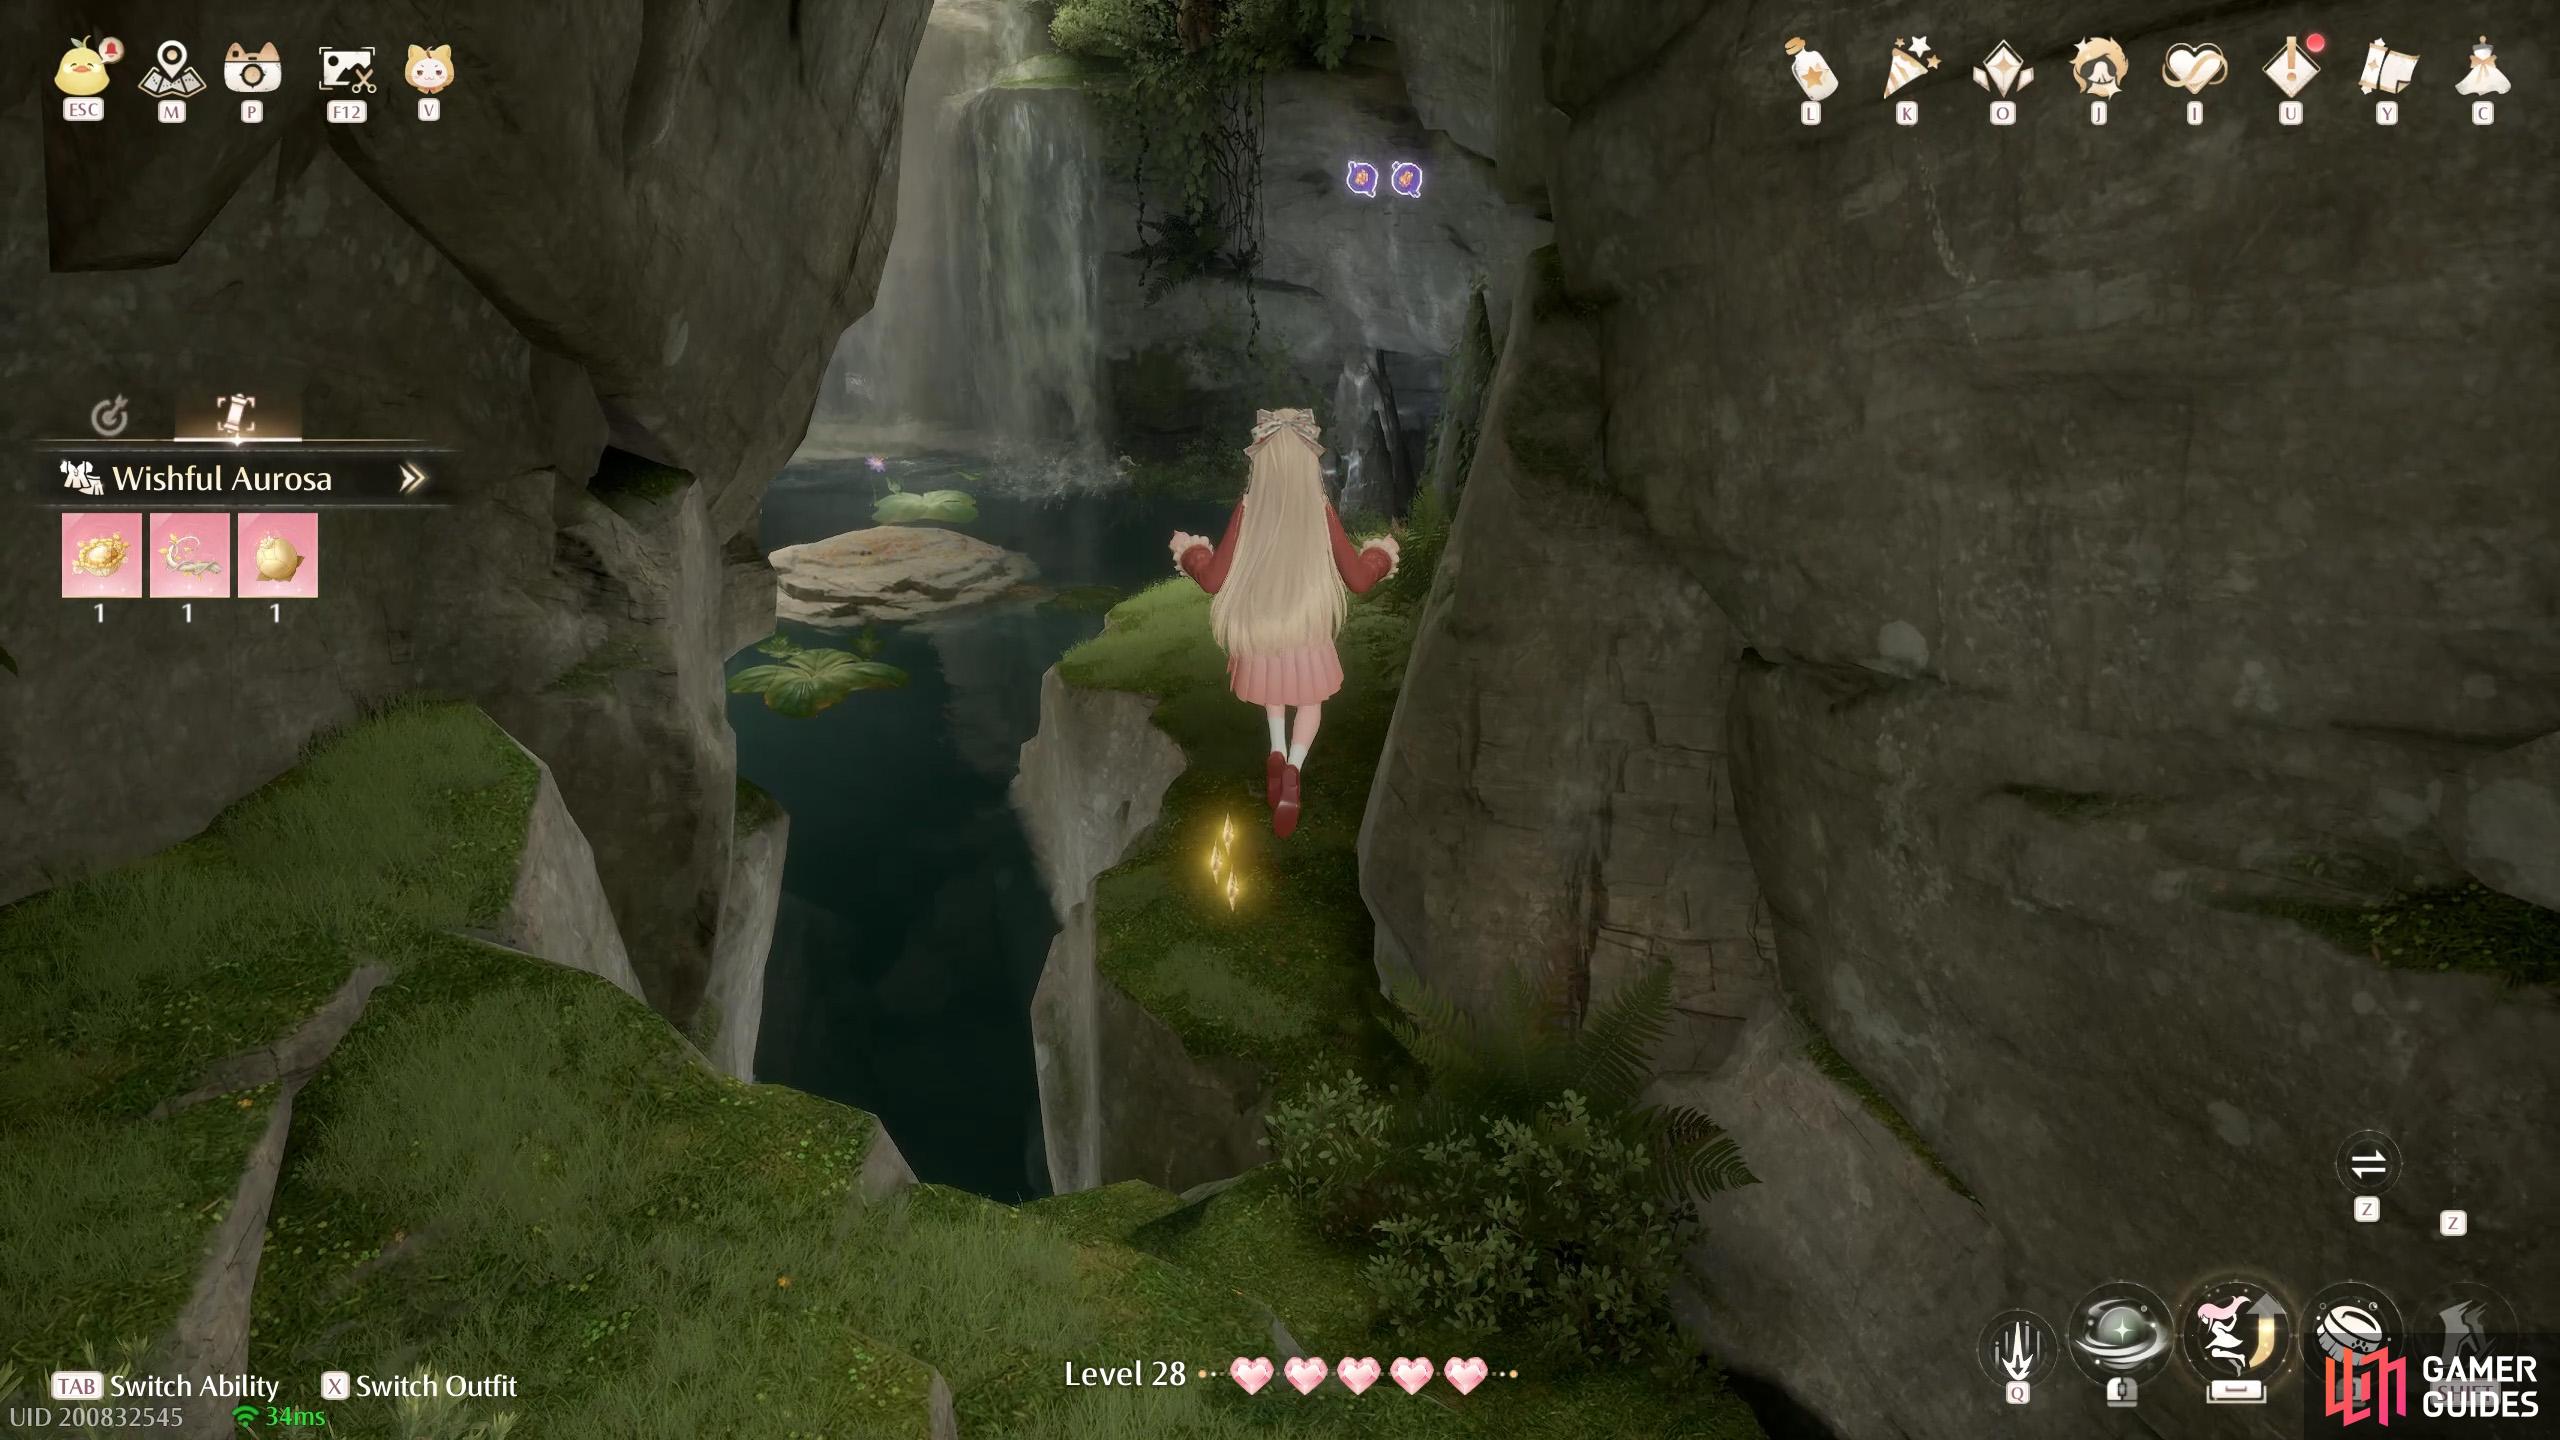
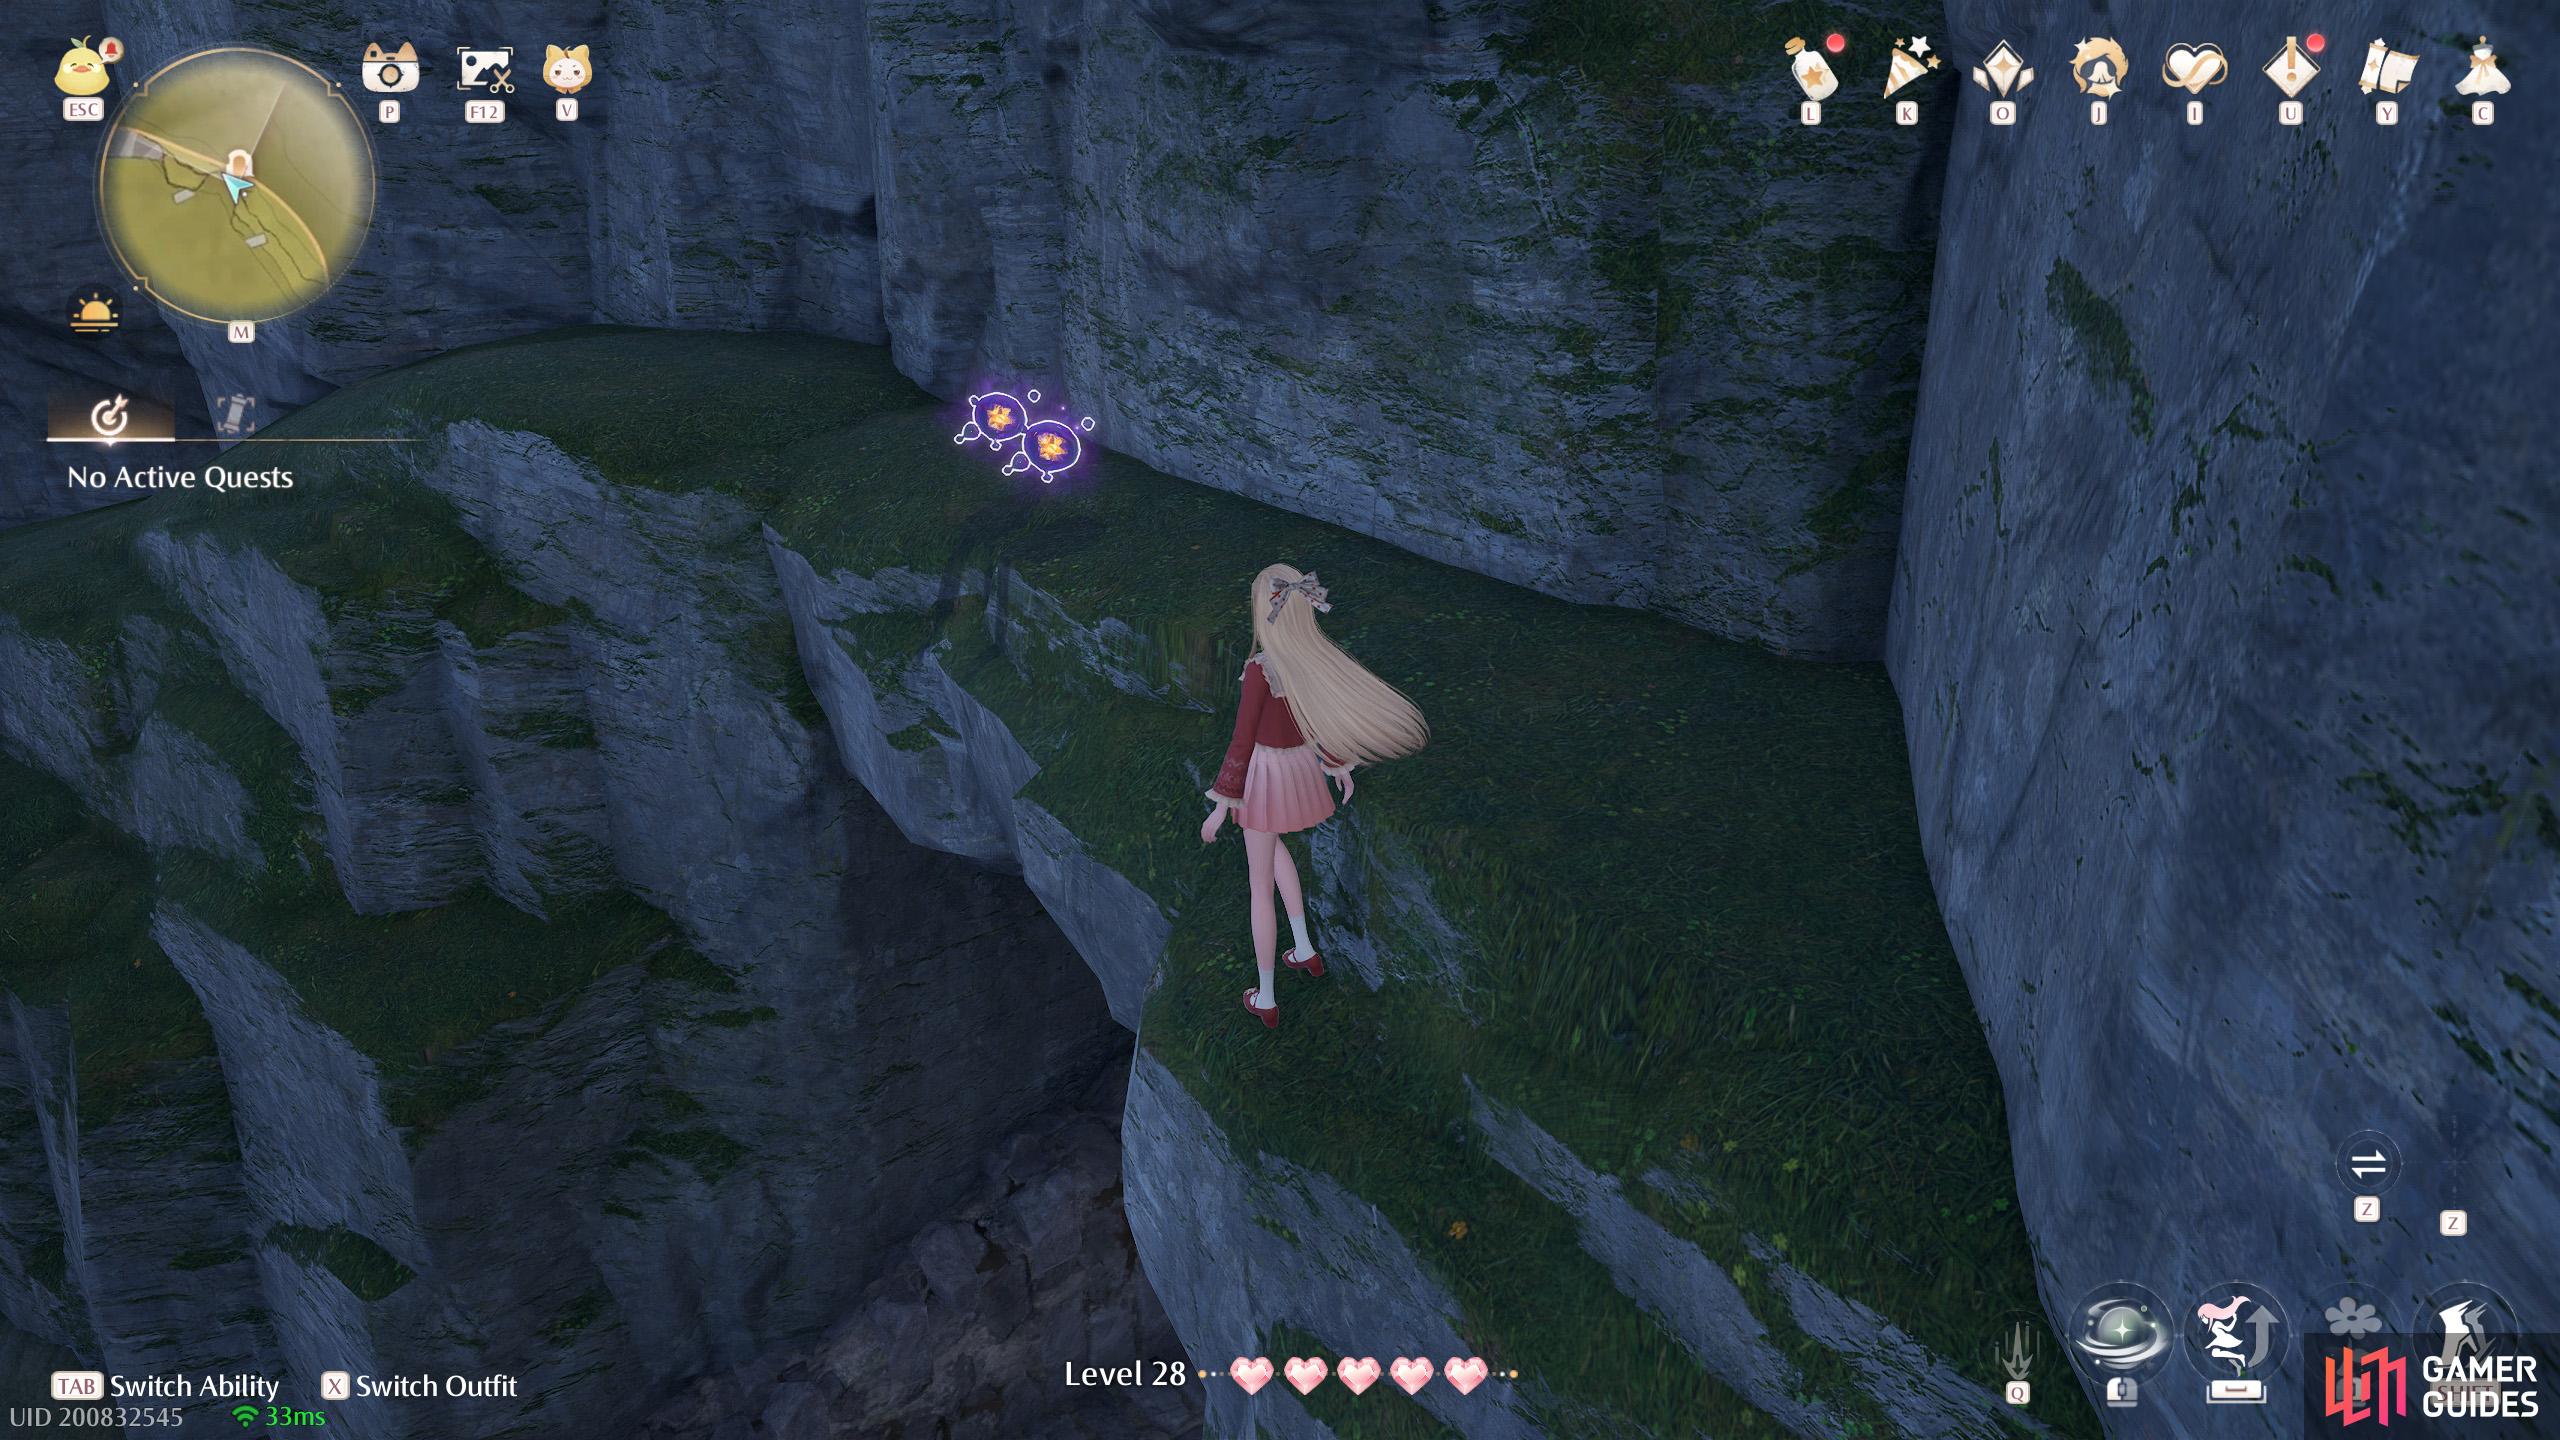
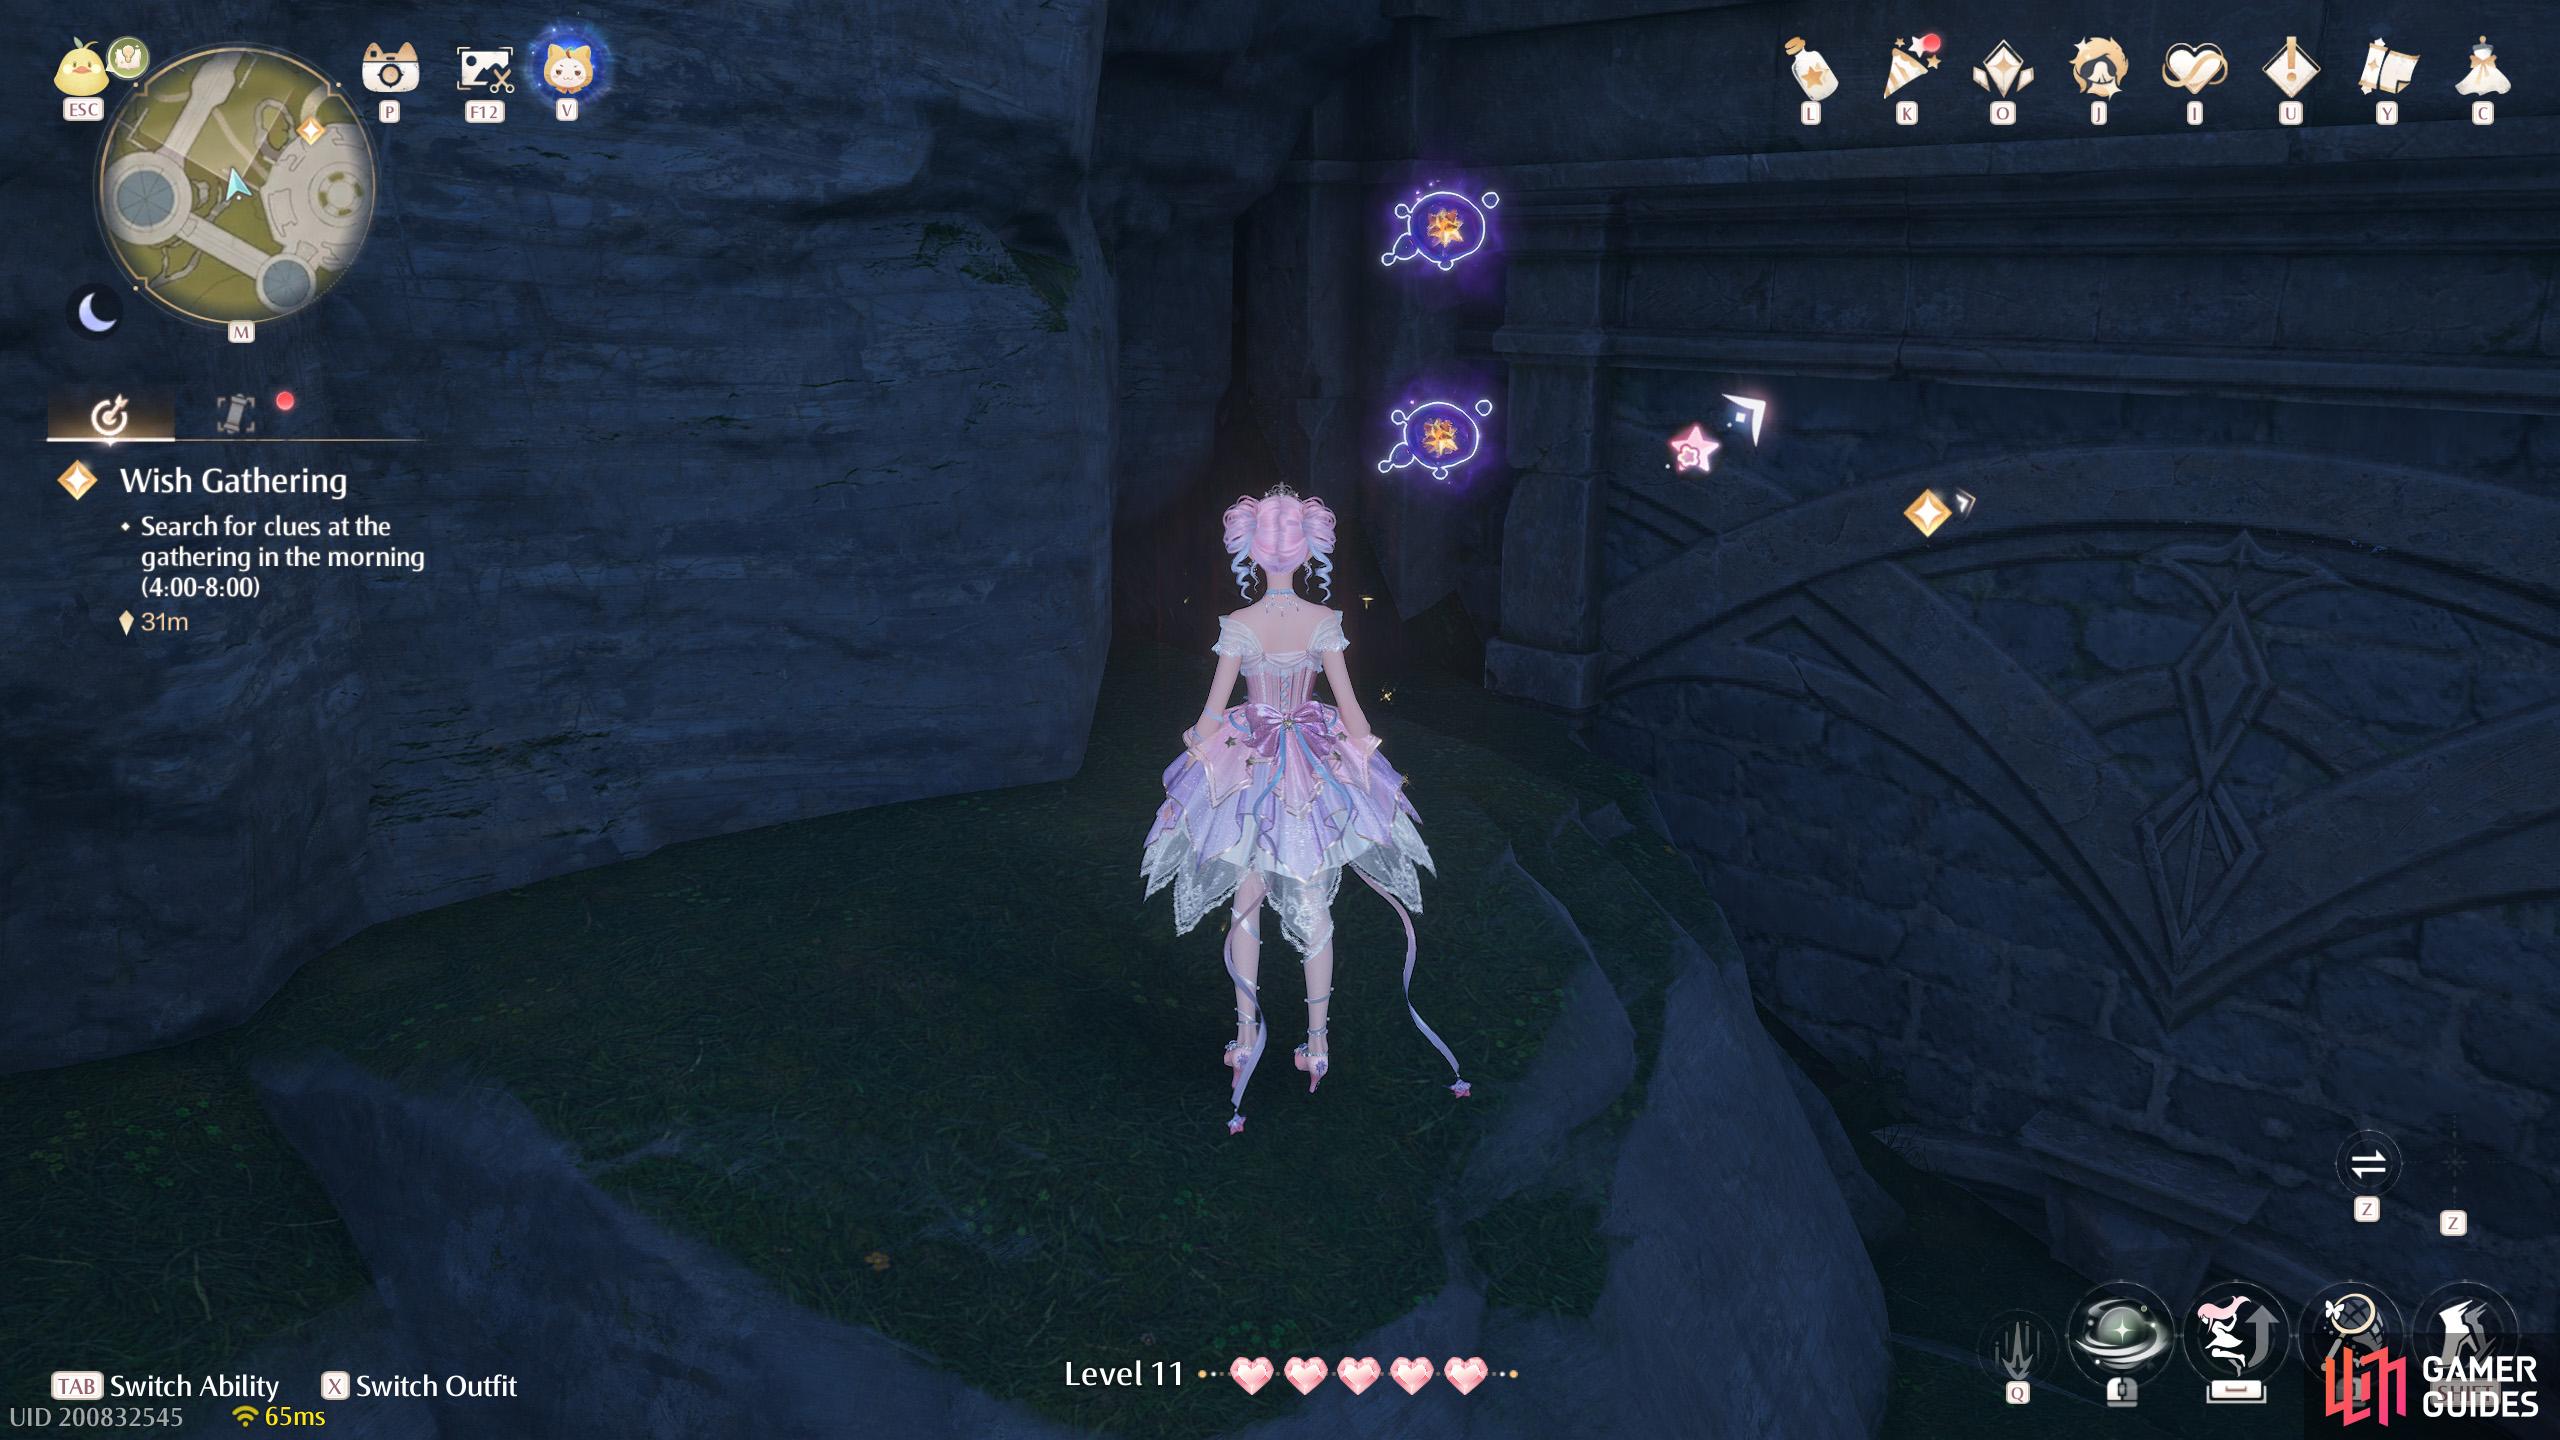
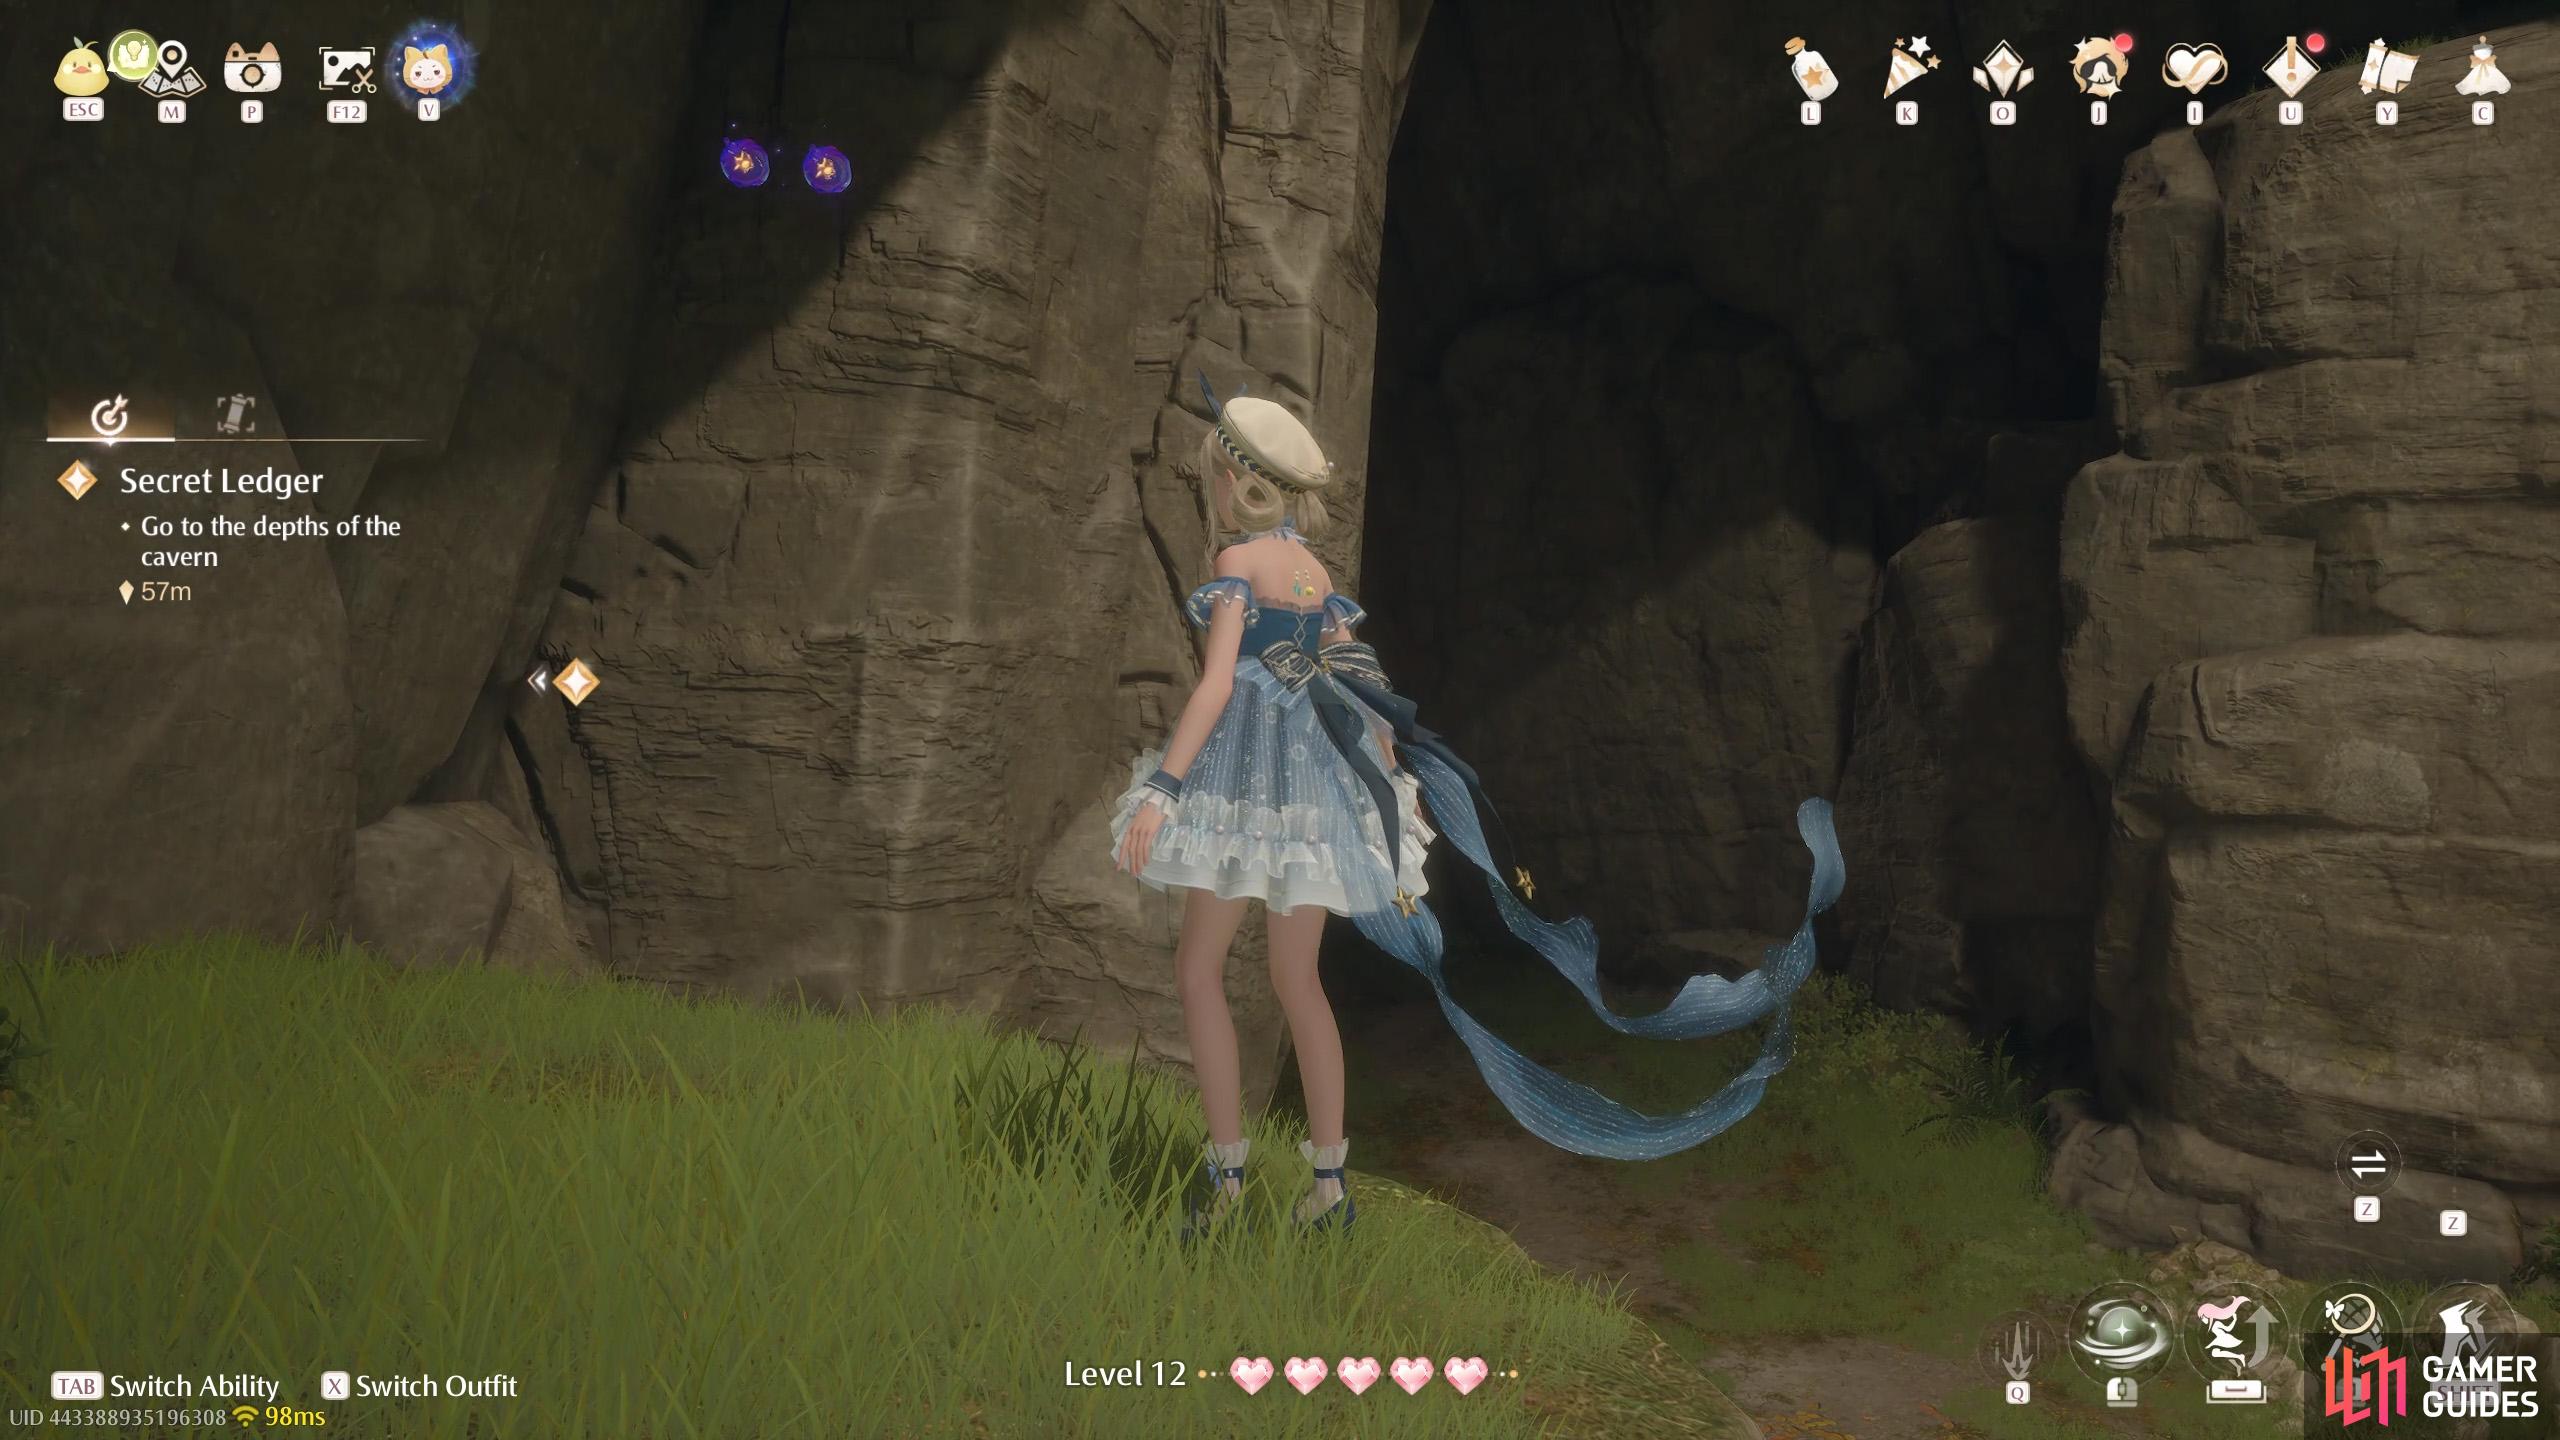
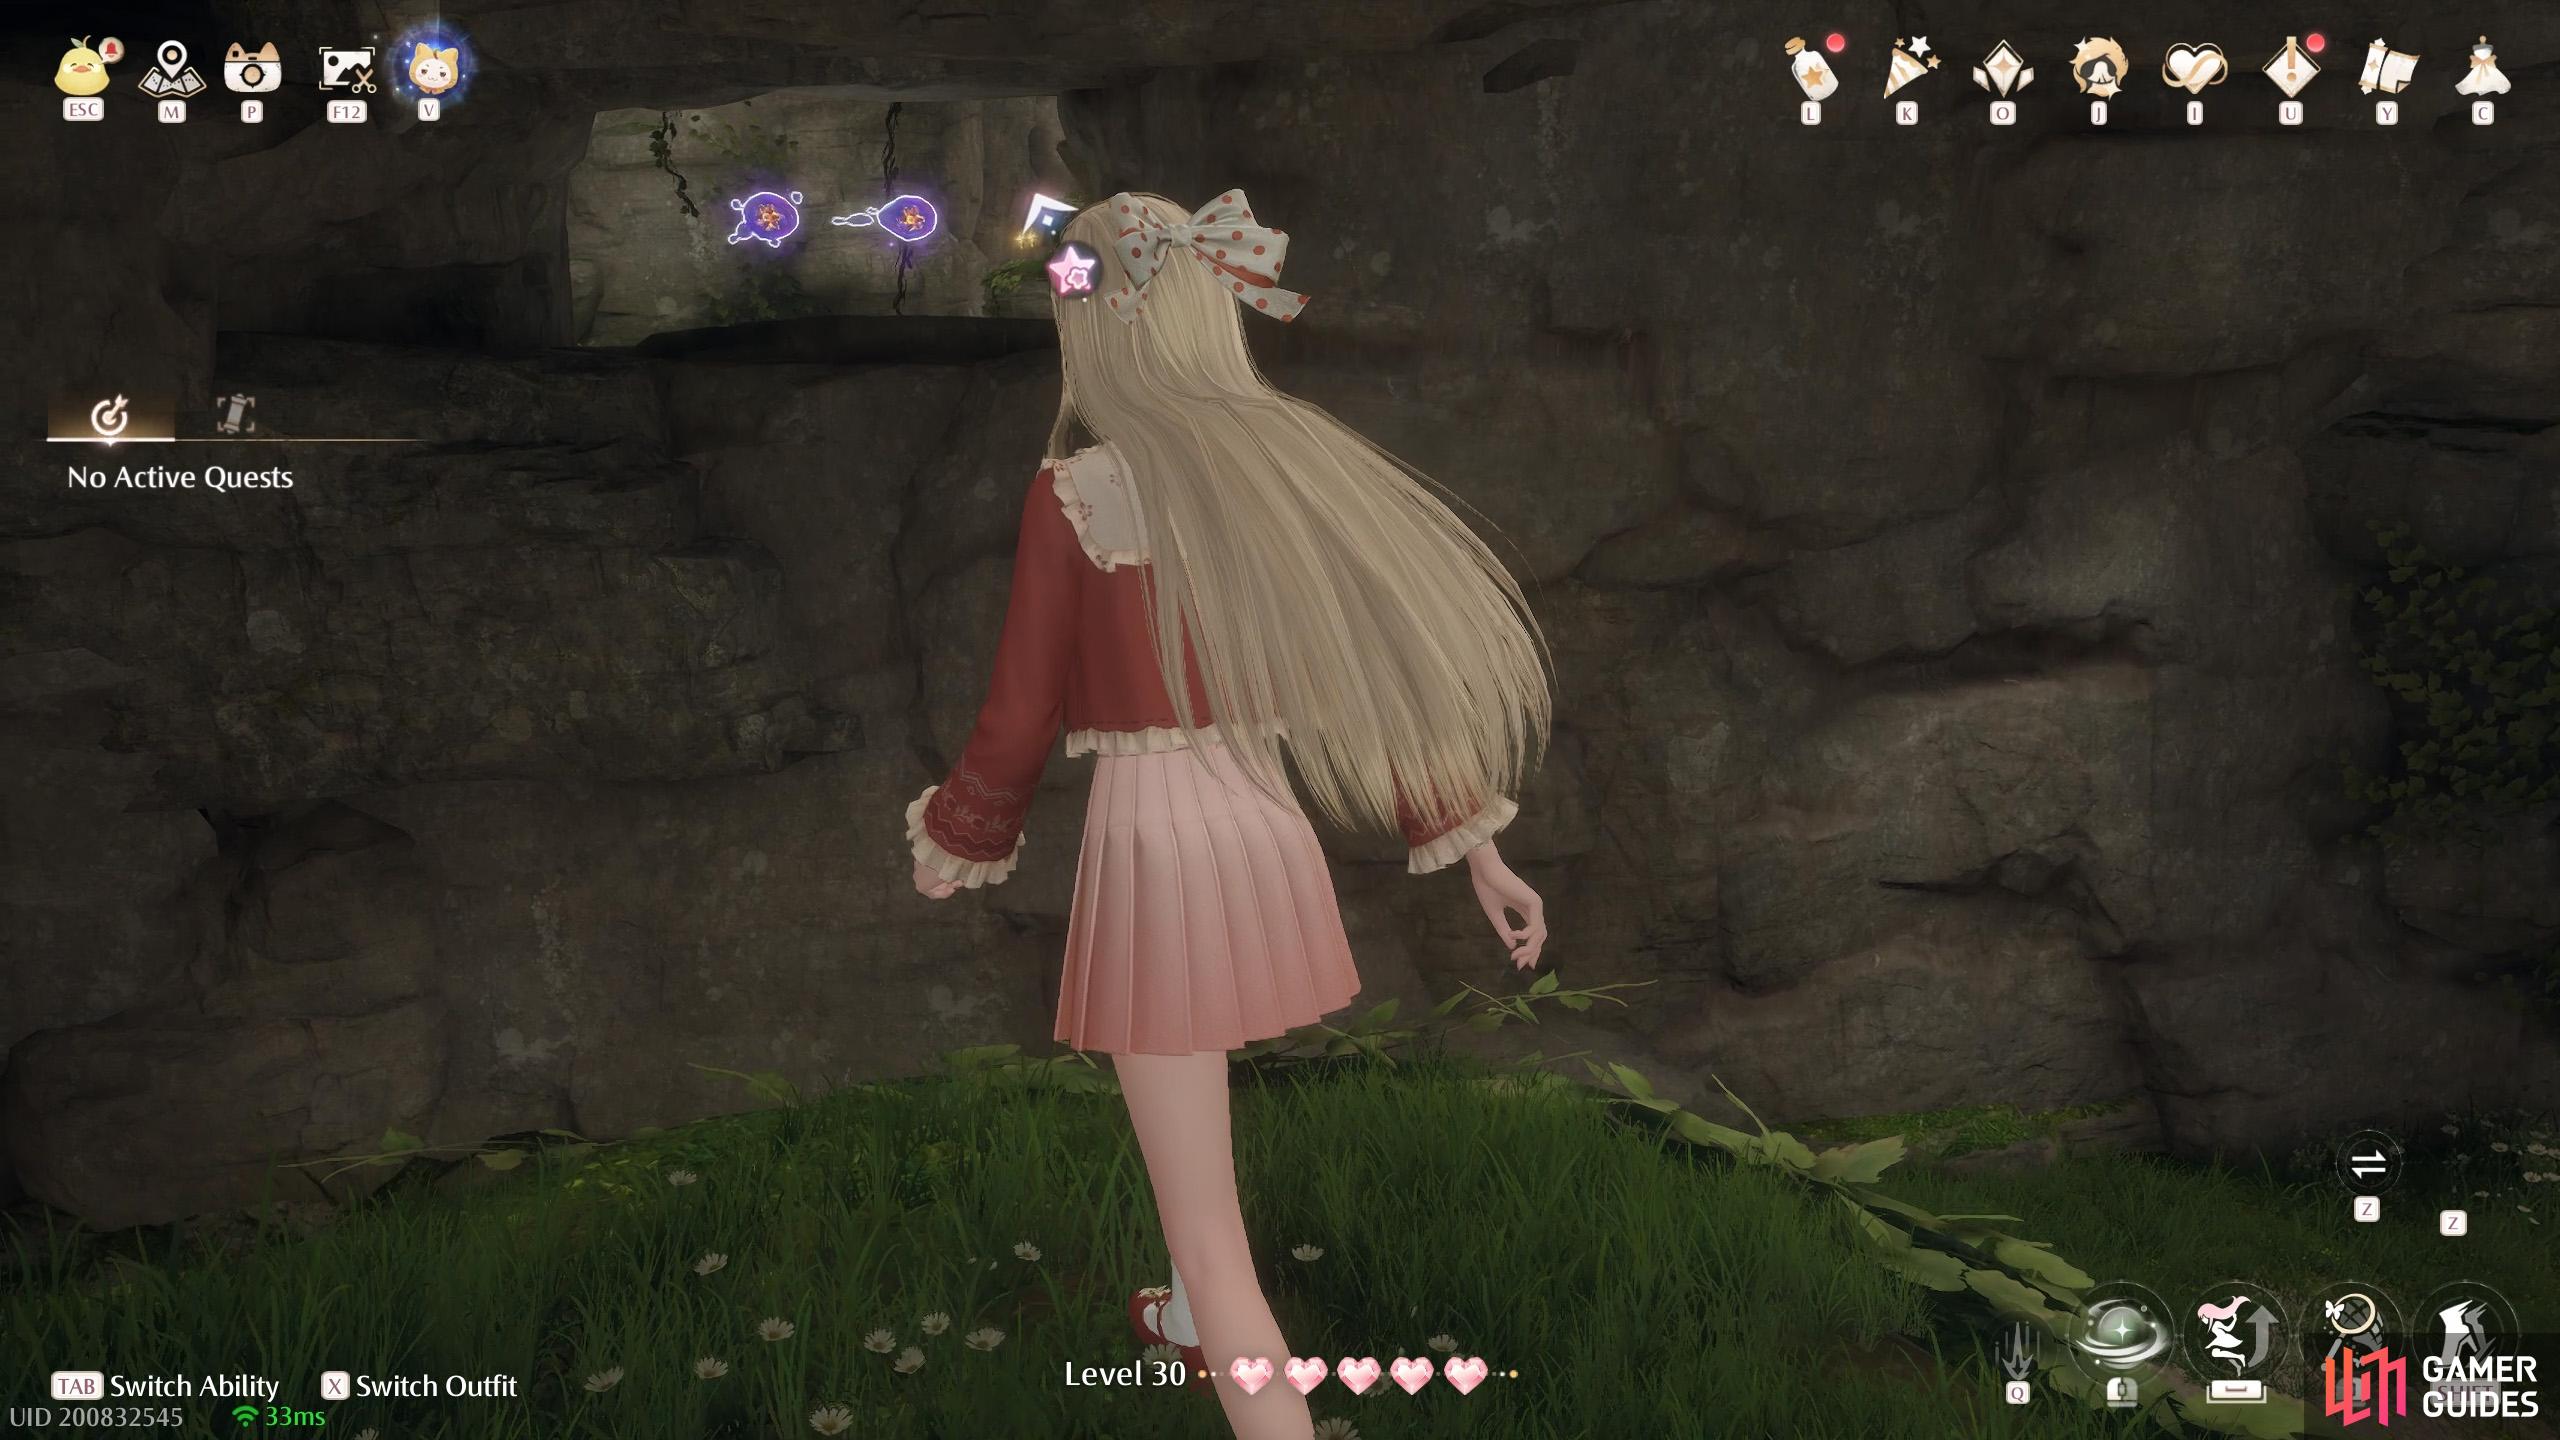
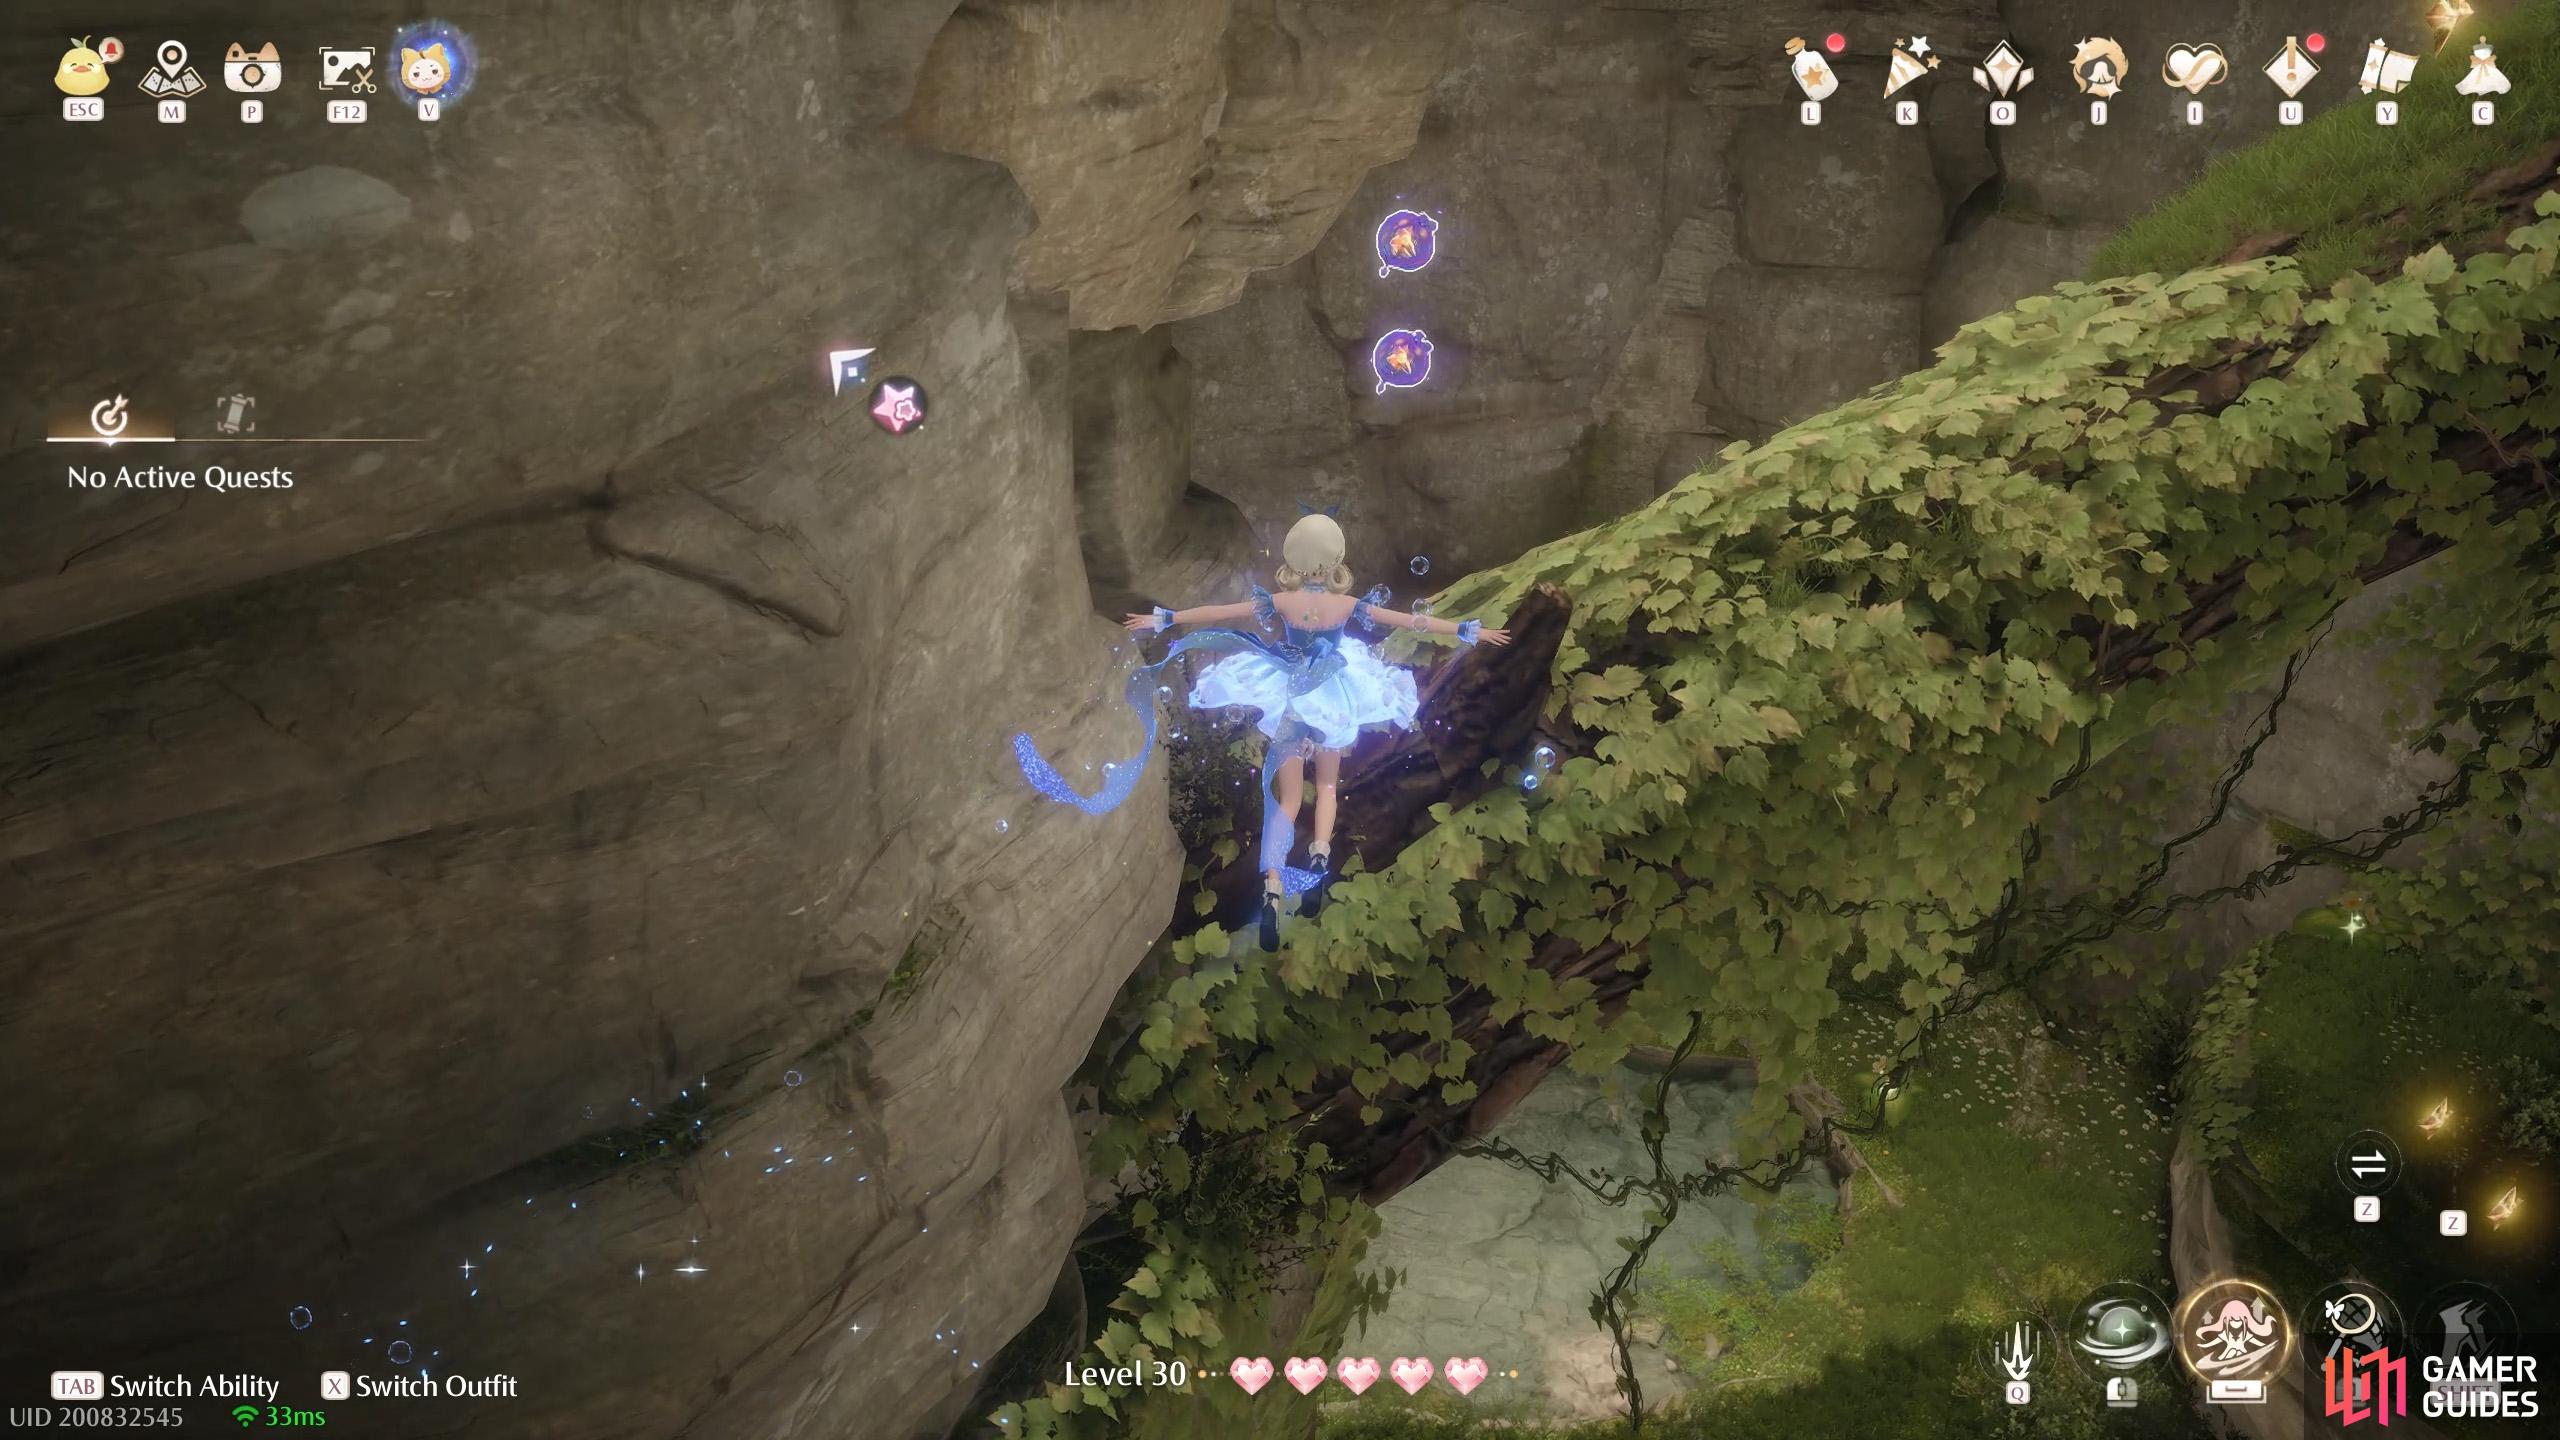
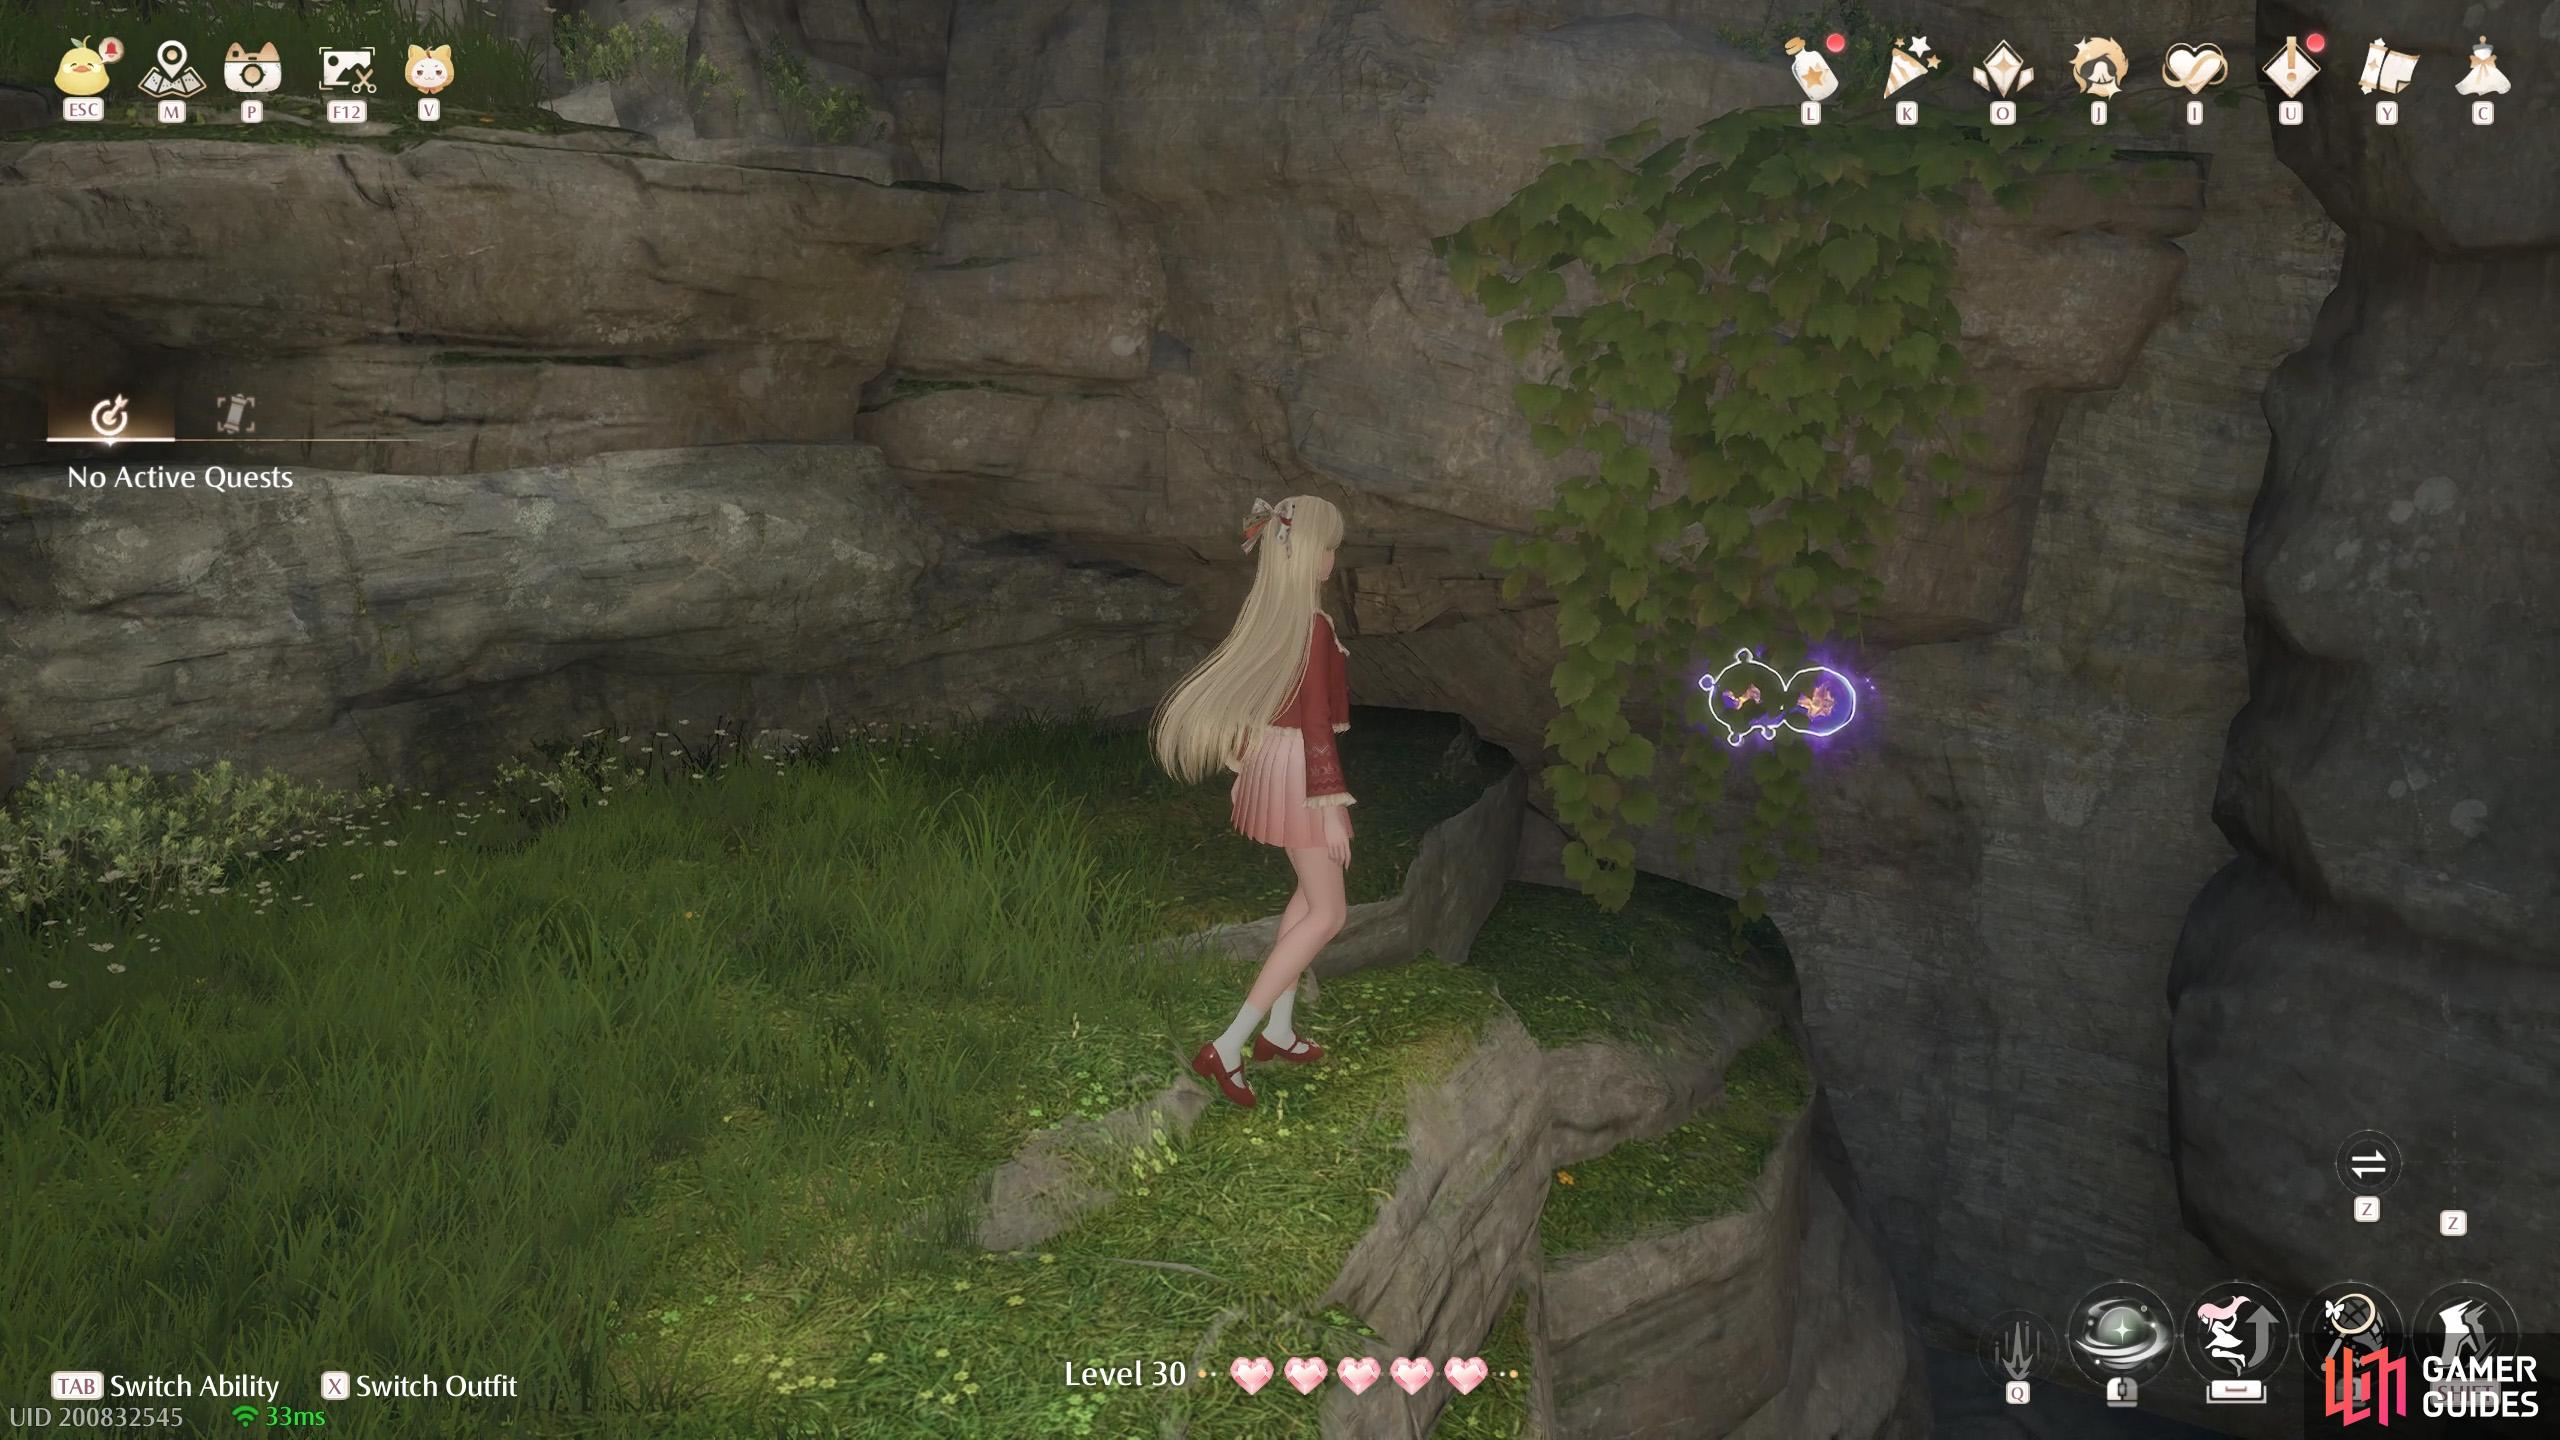
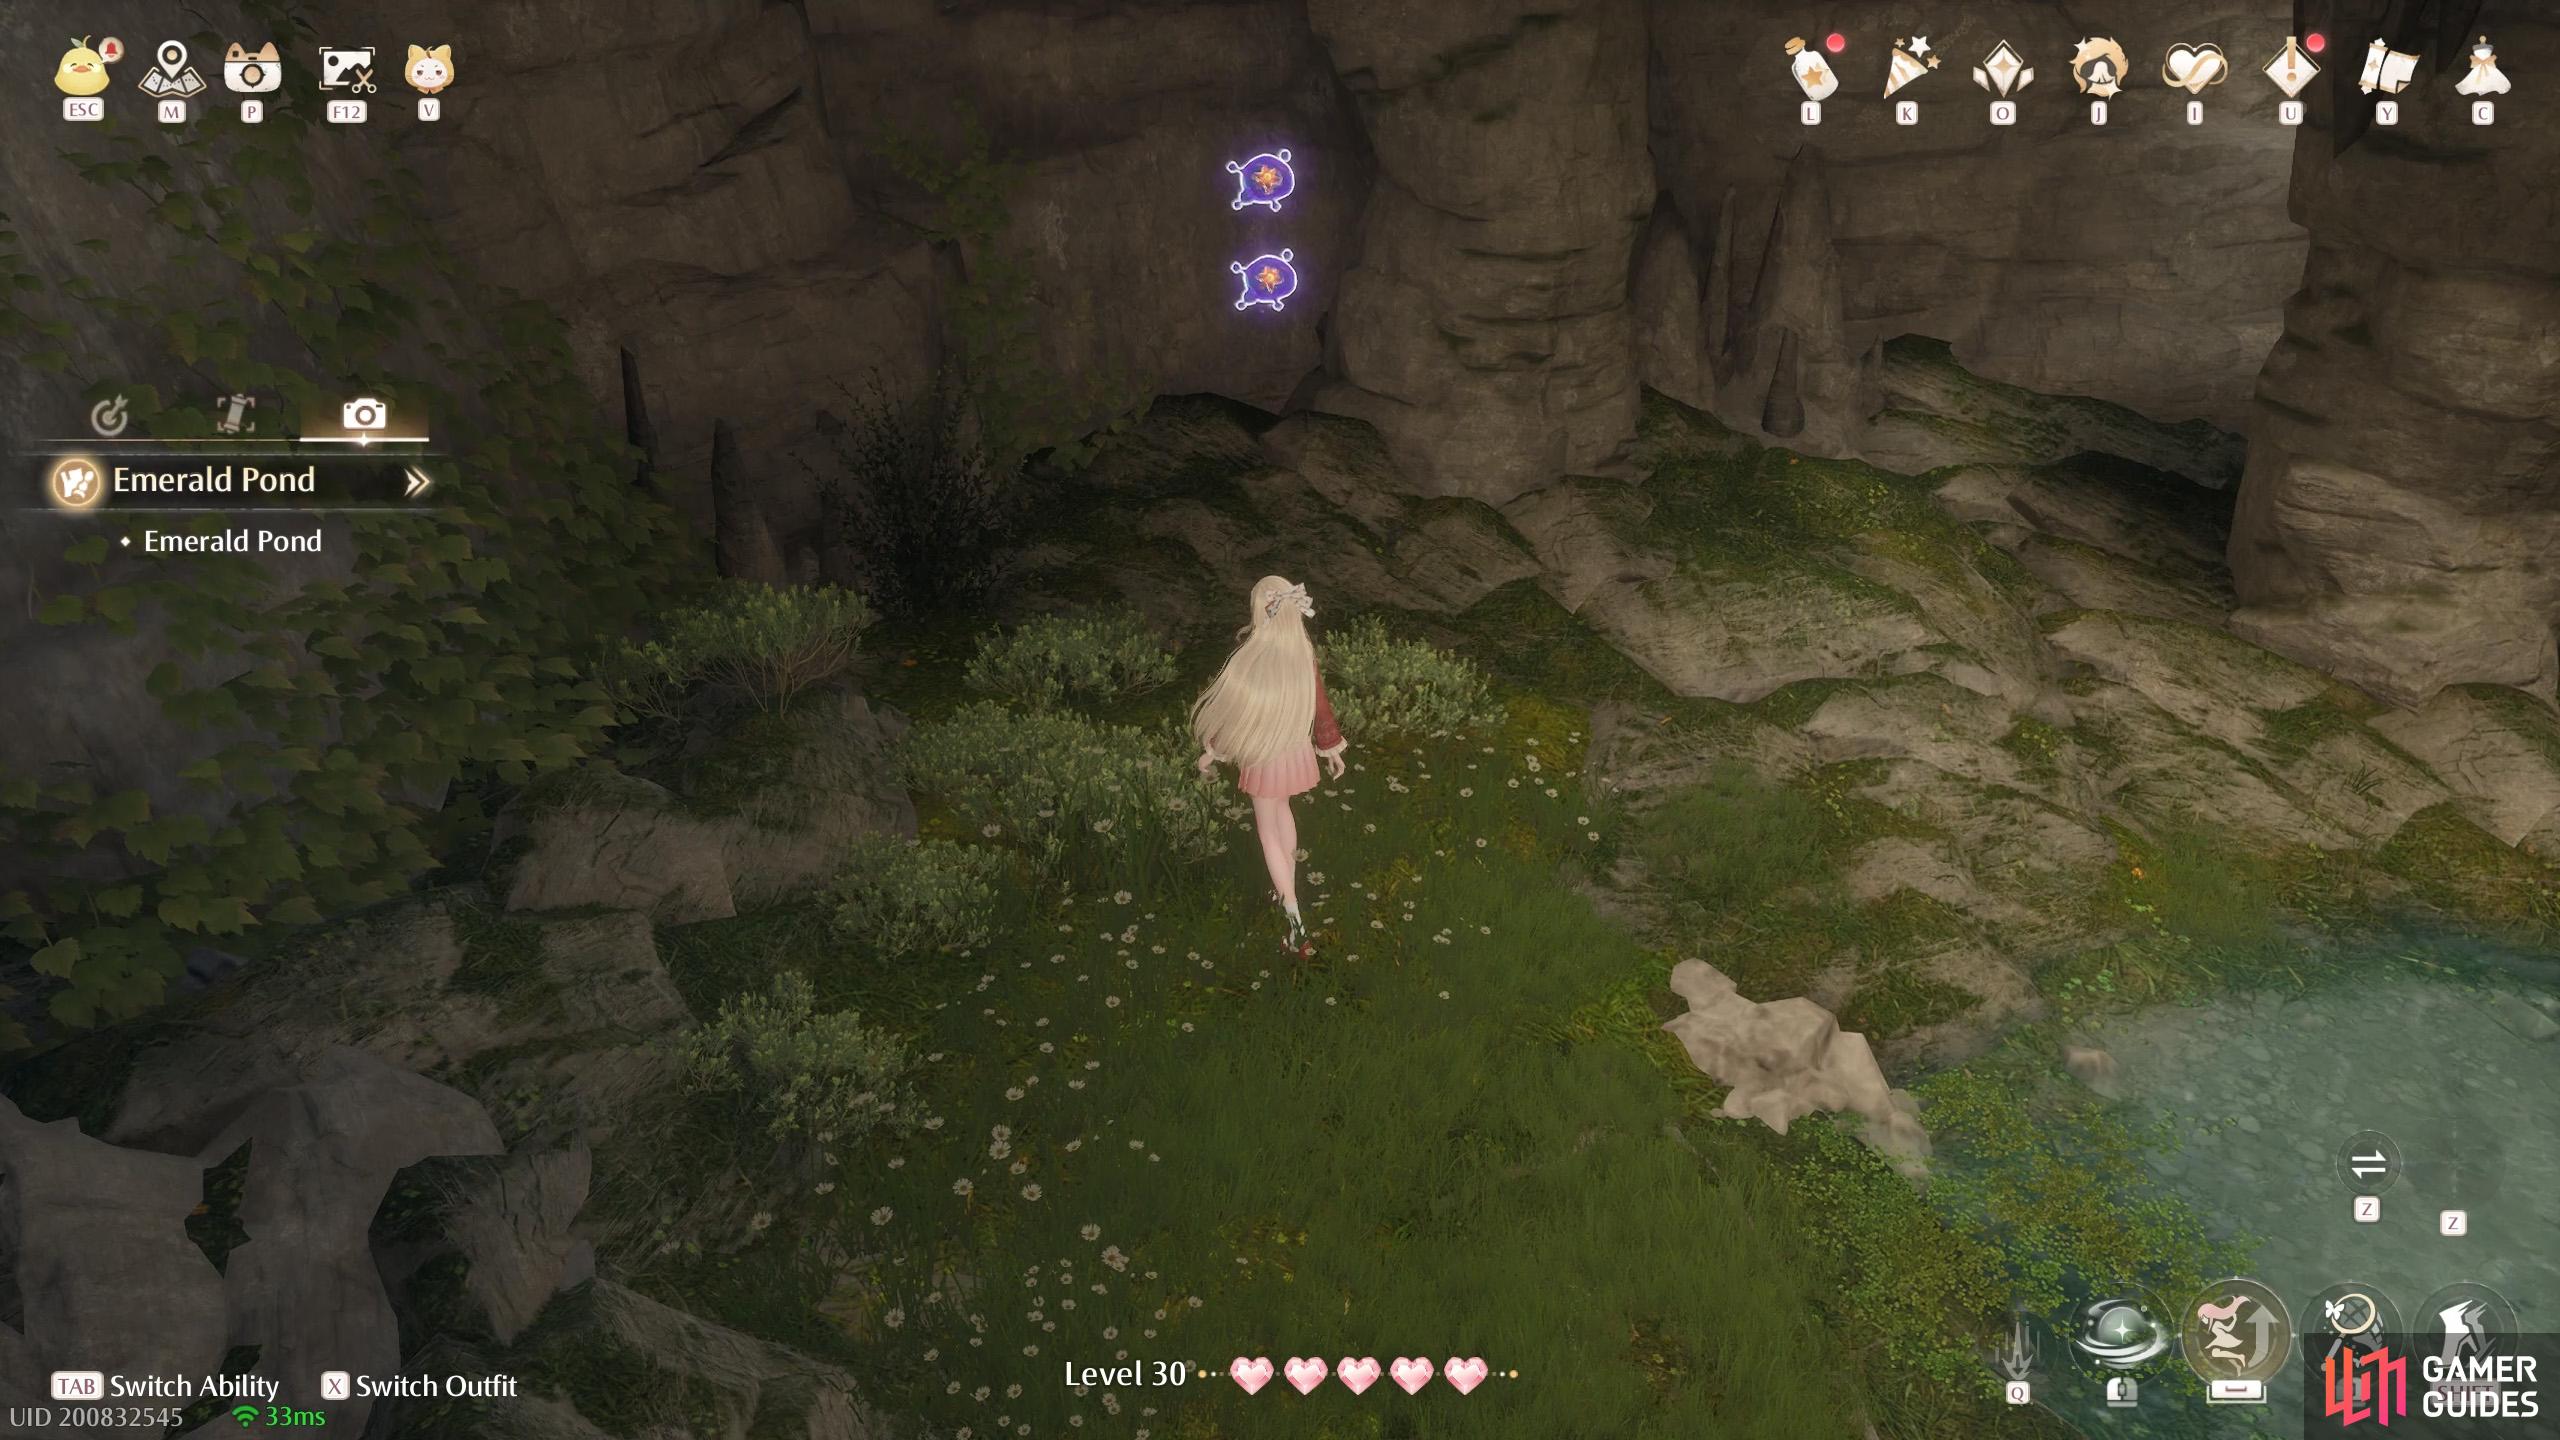
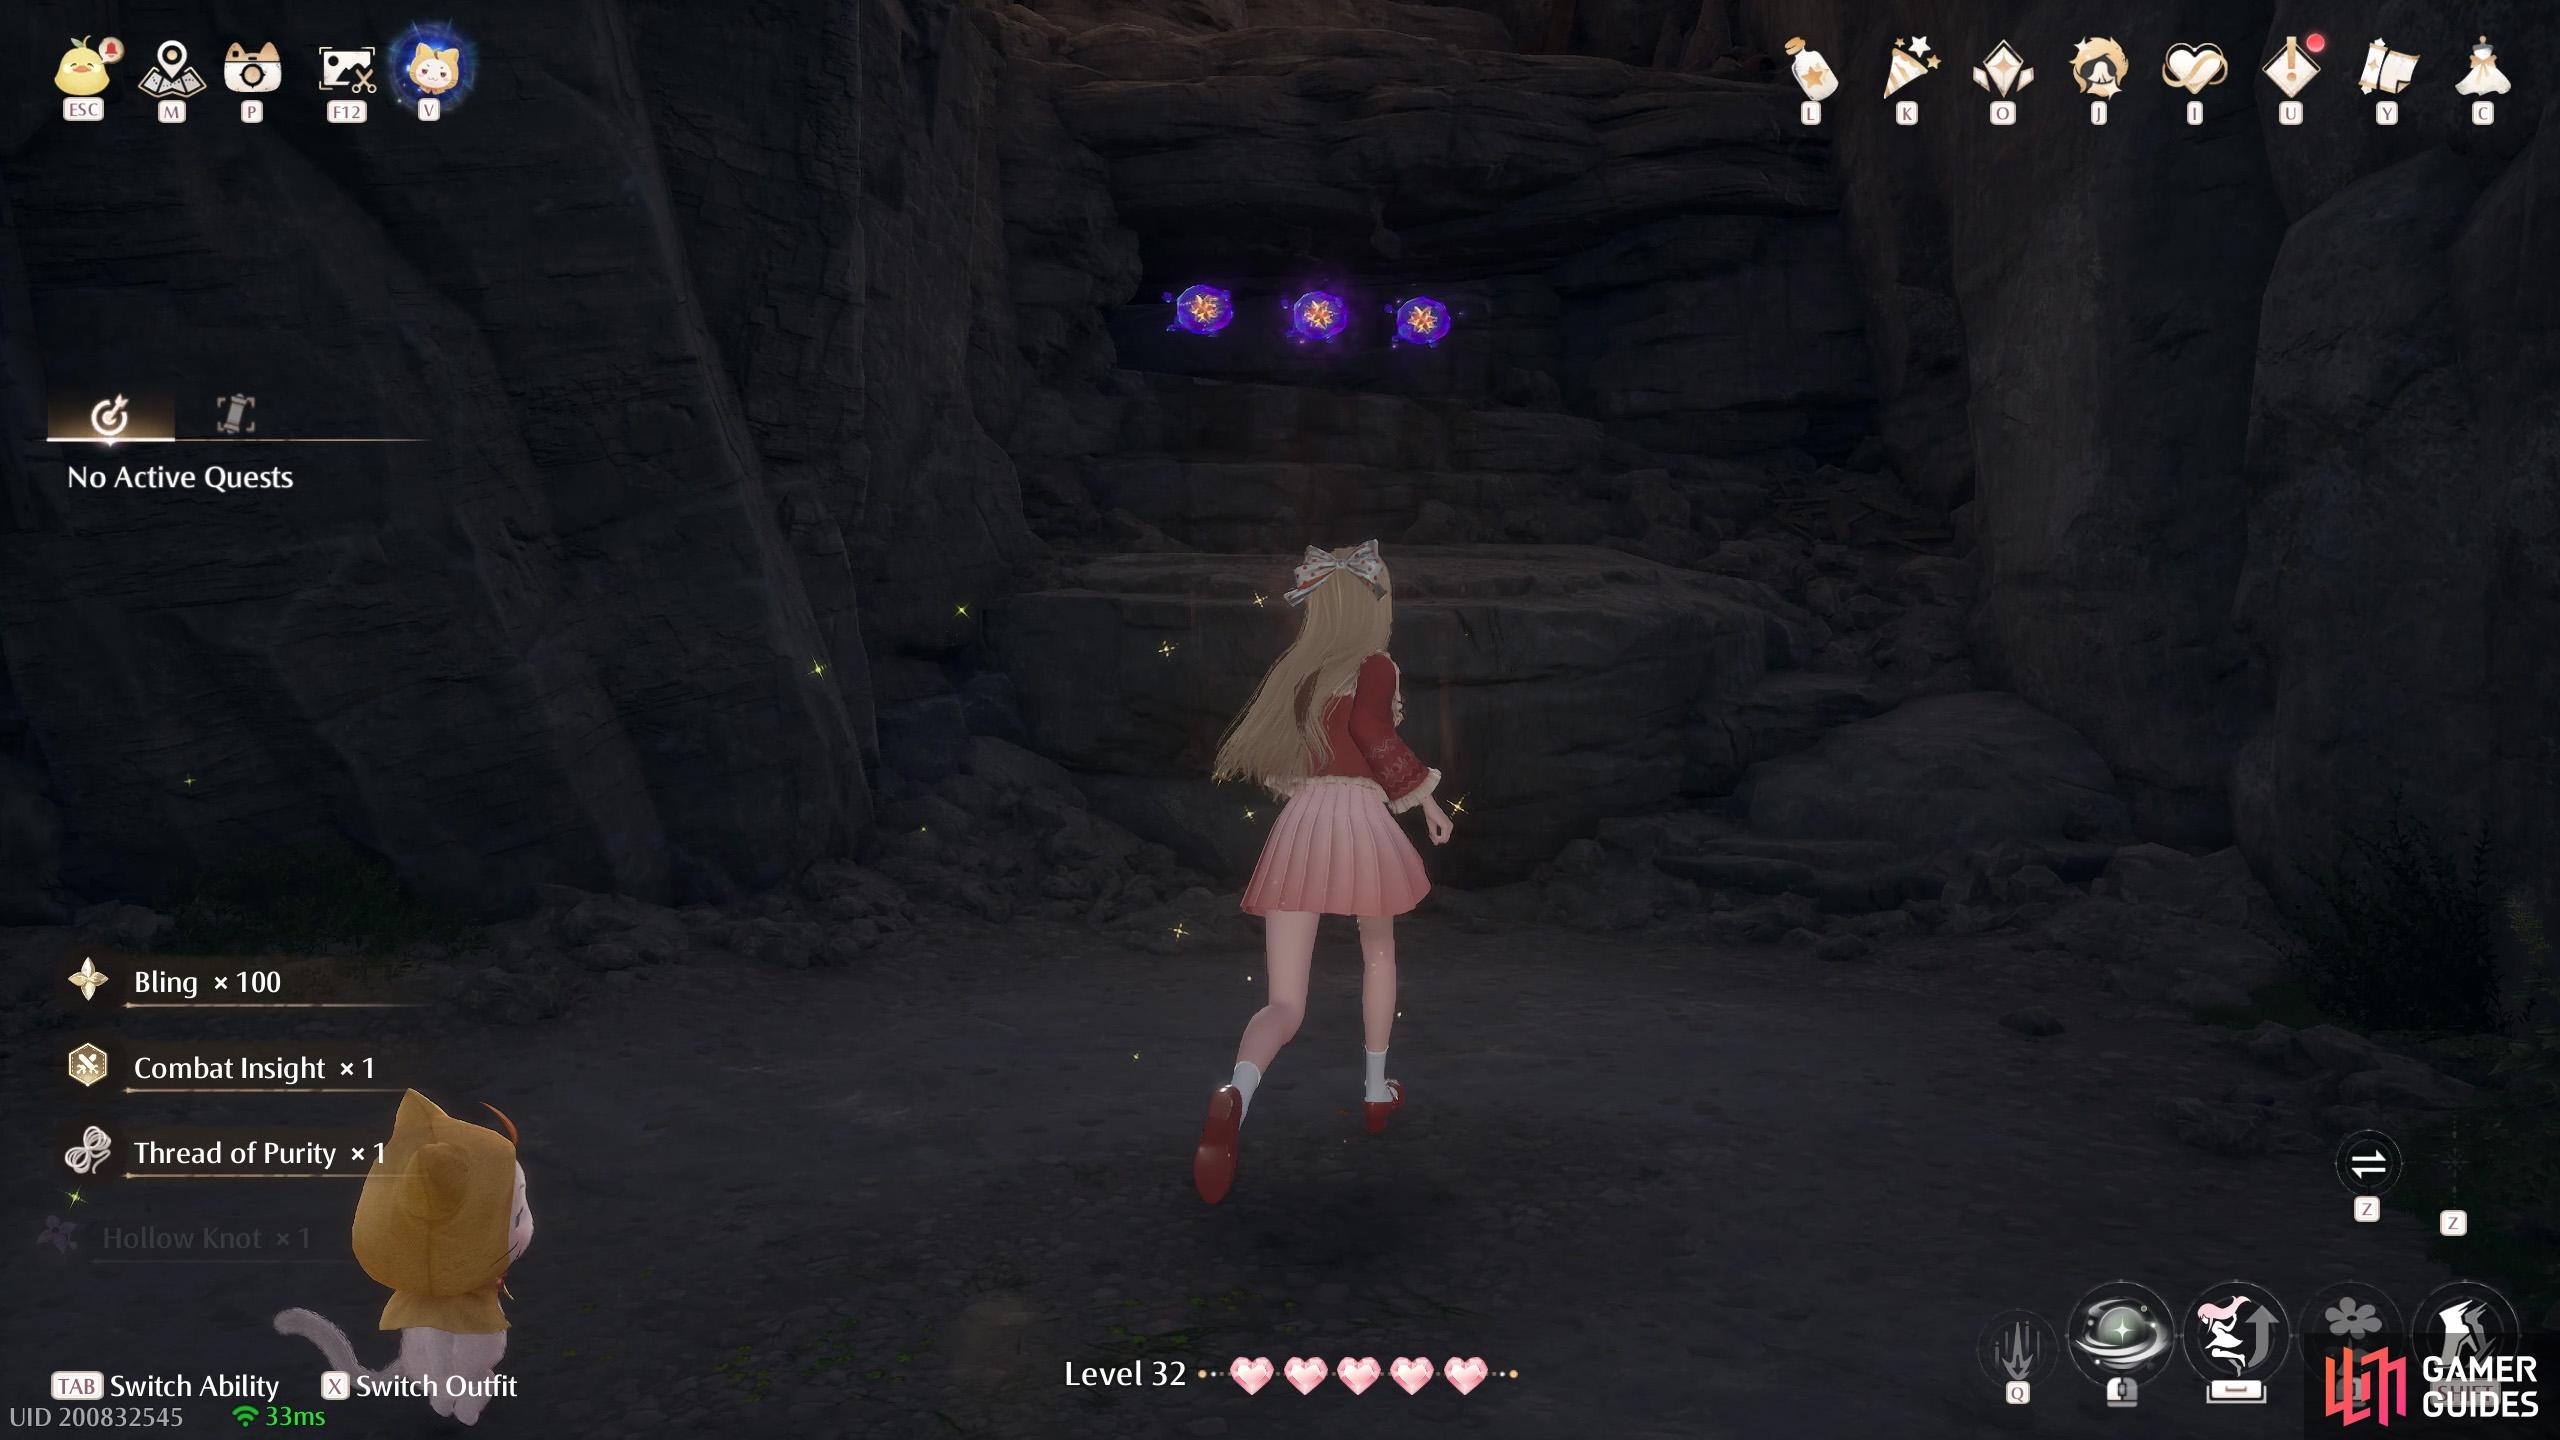
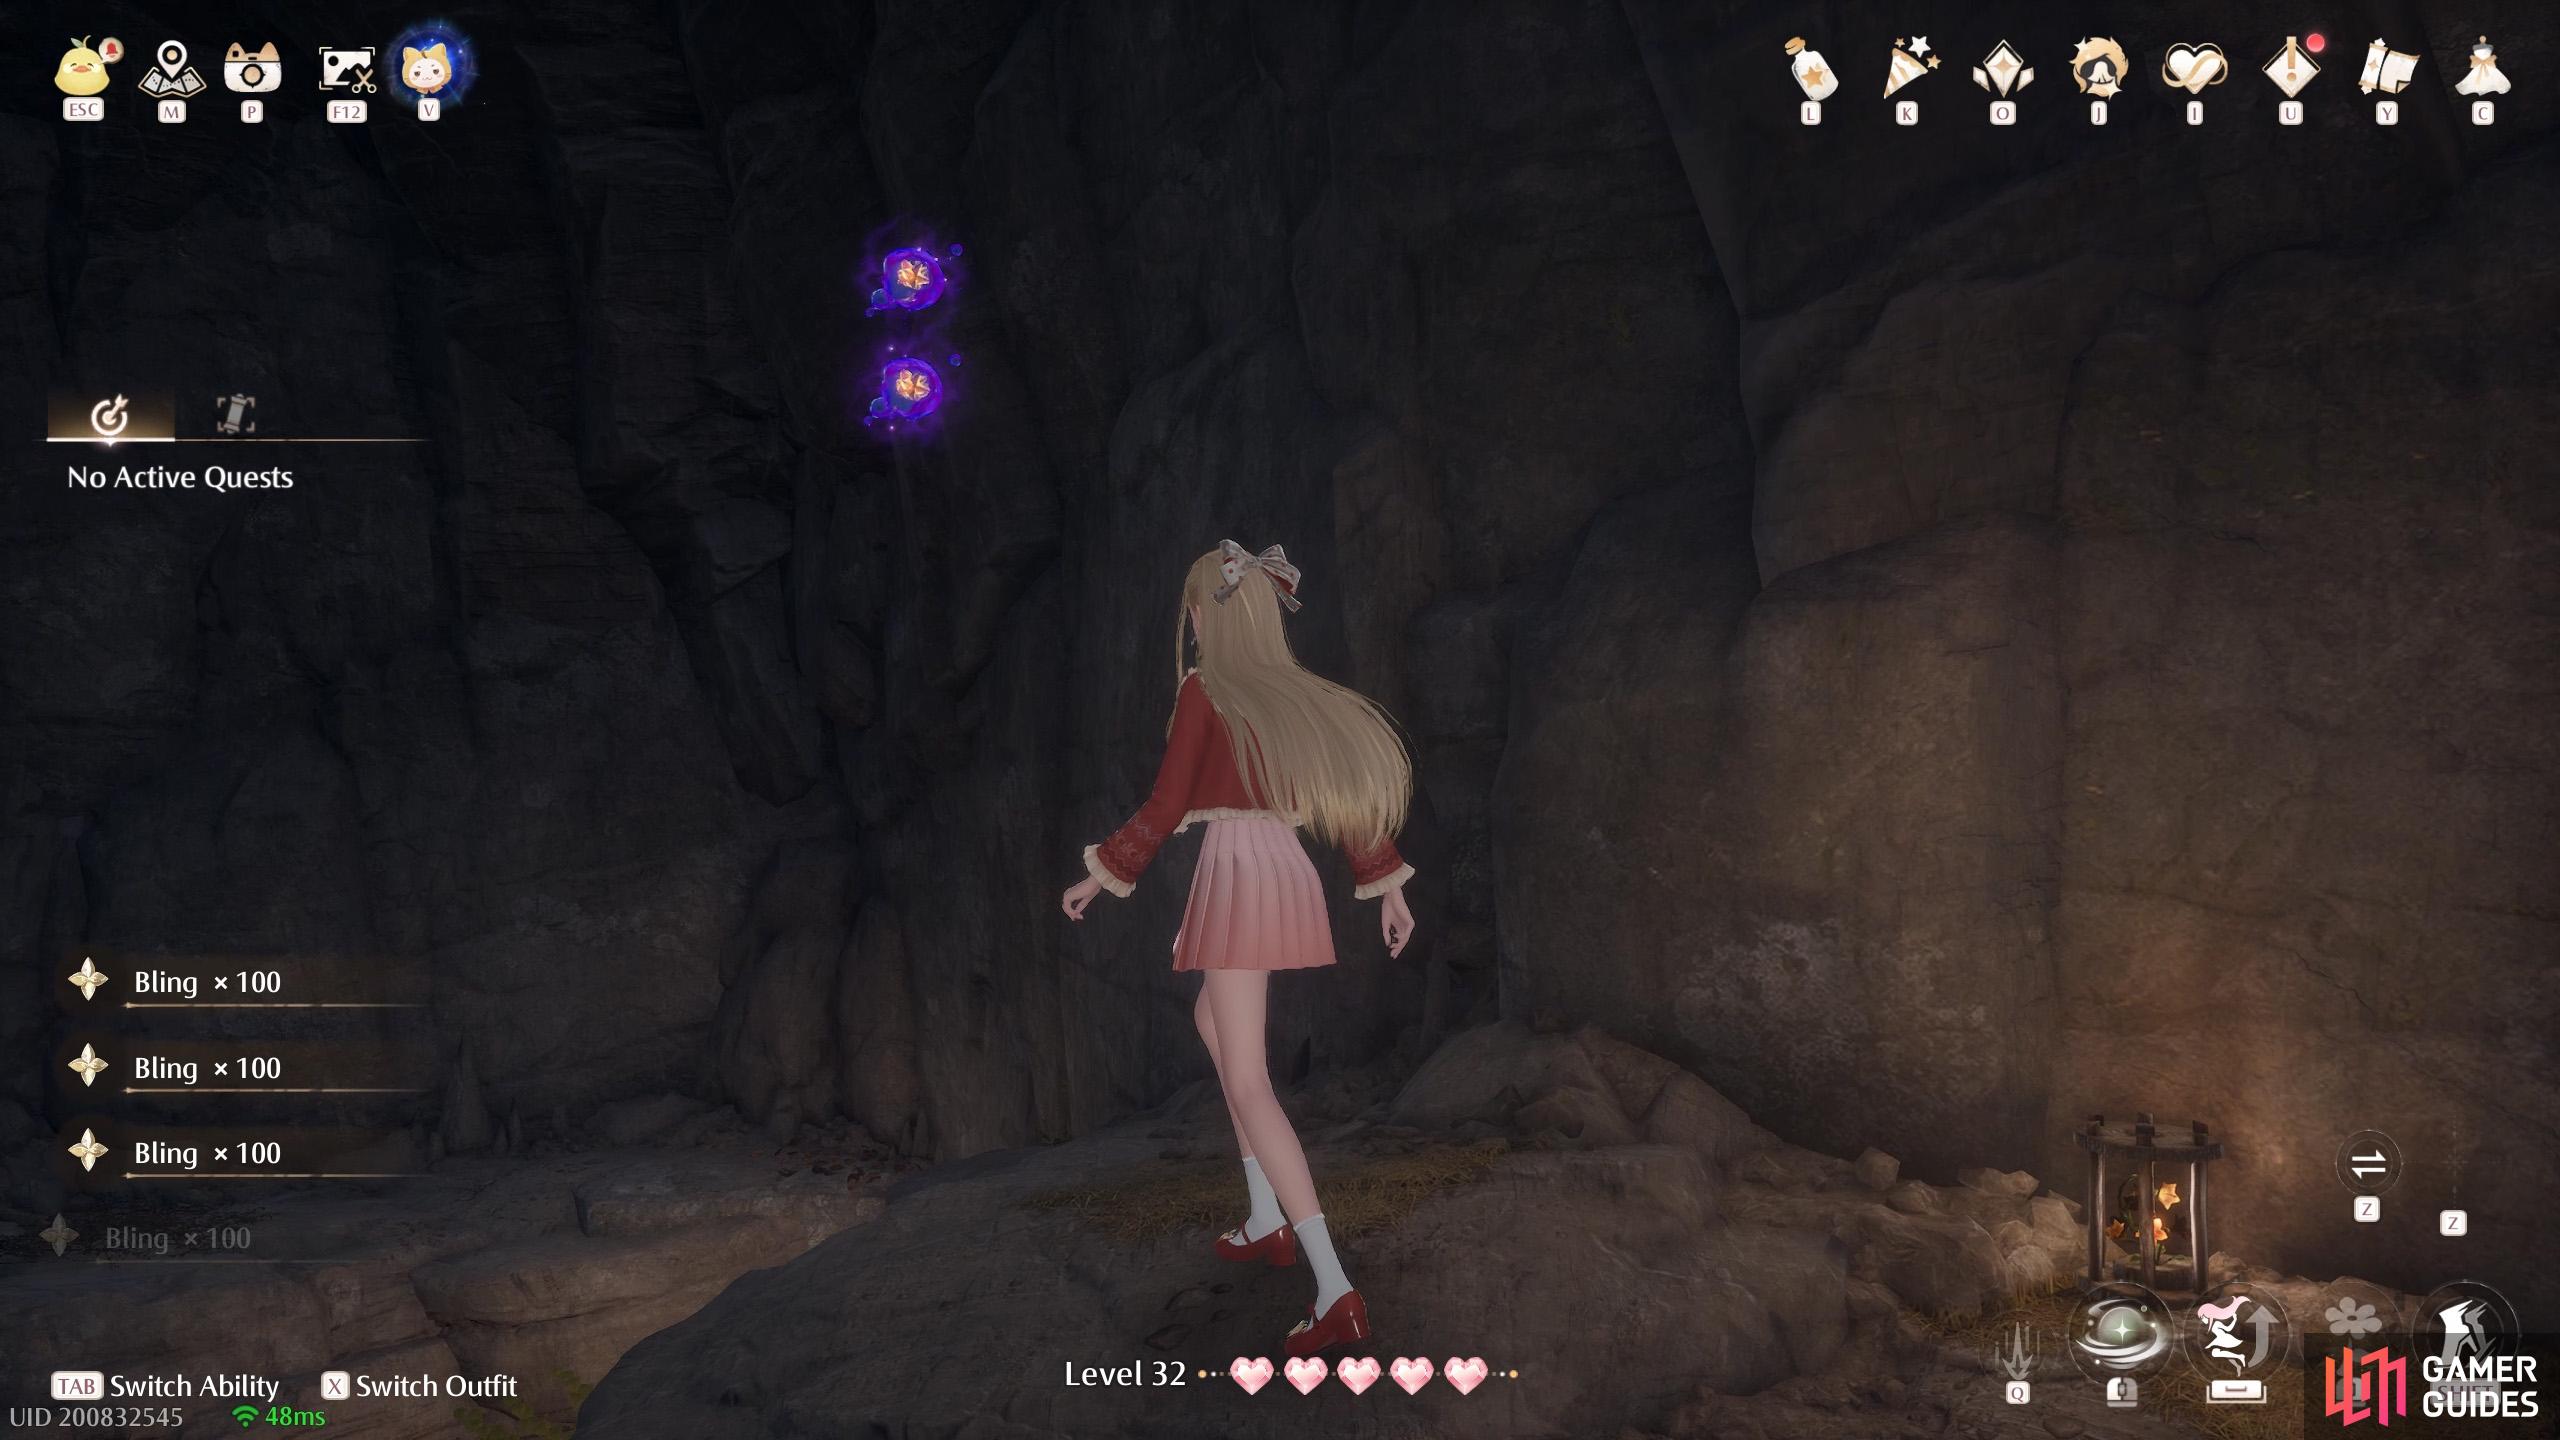
Inside ![]() Riverside Cavern. Two in a side tunnel before the enemies near the west cave entrance.
Riverside Cavern. Two in a side tunnel before the enemies near the west cave entrance.
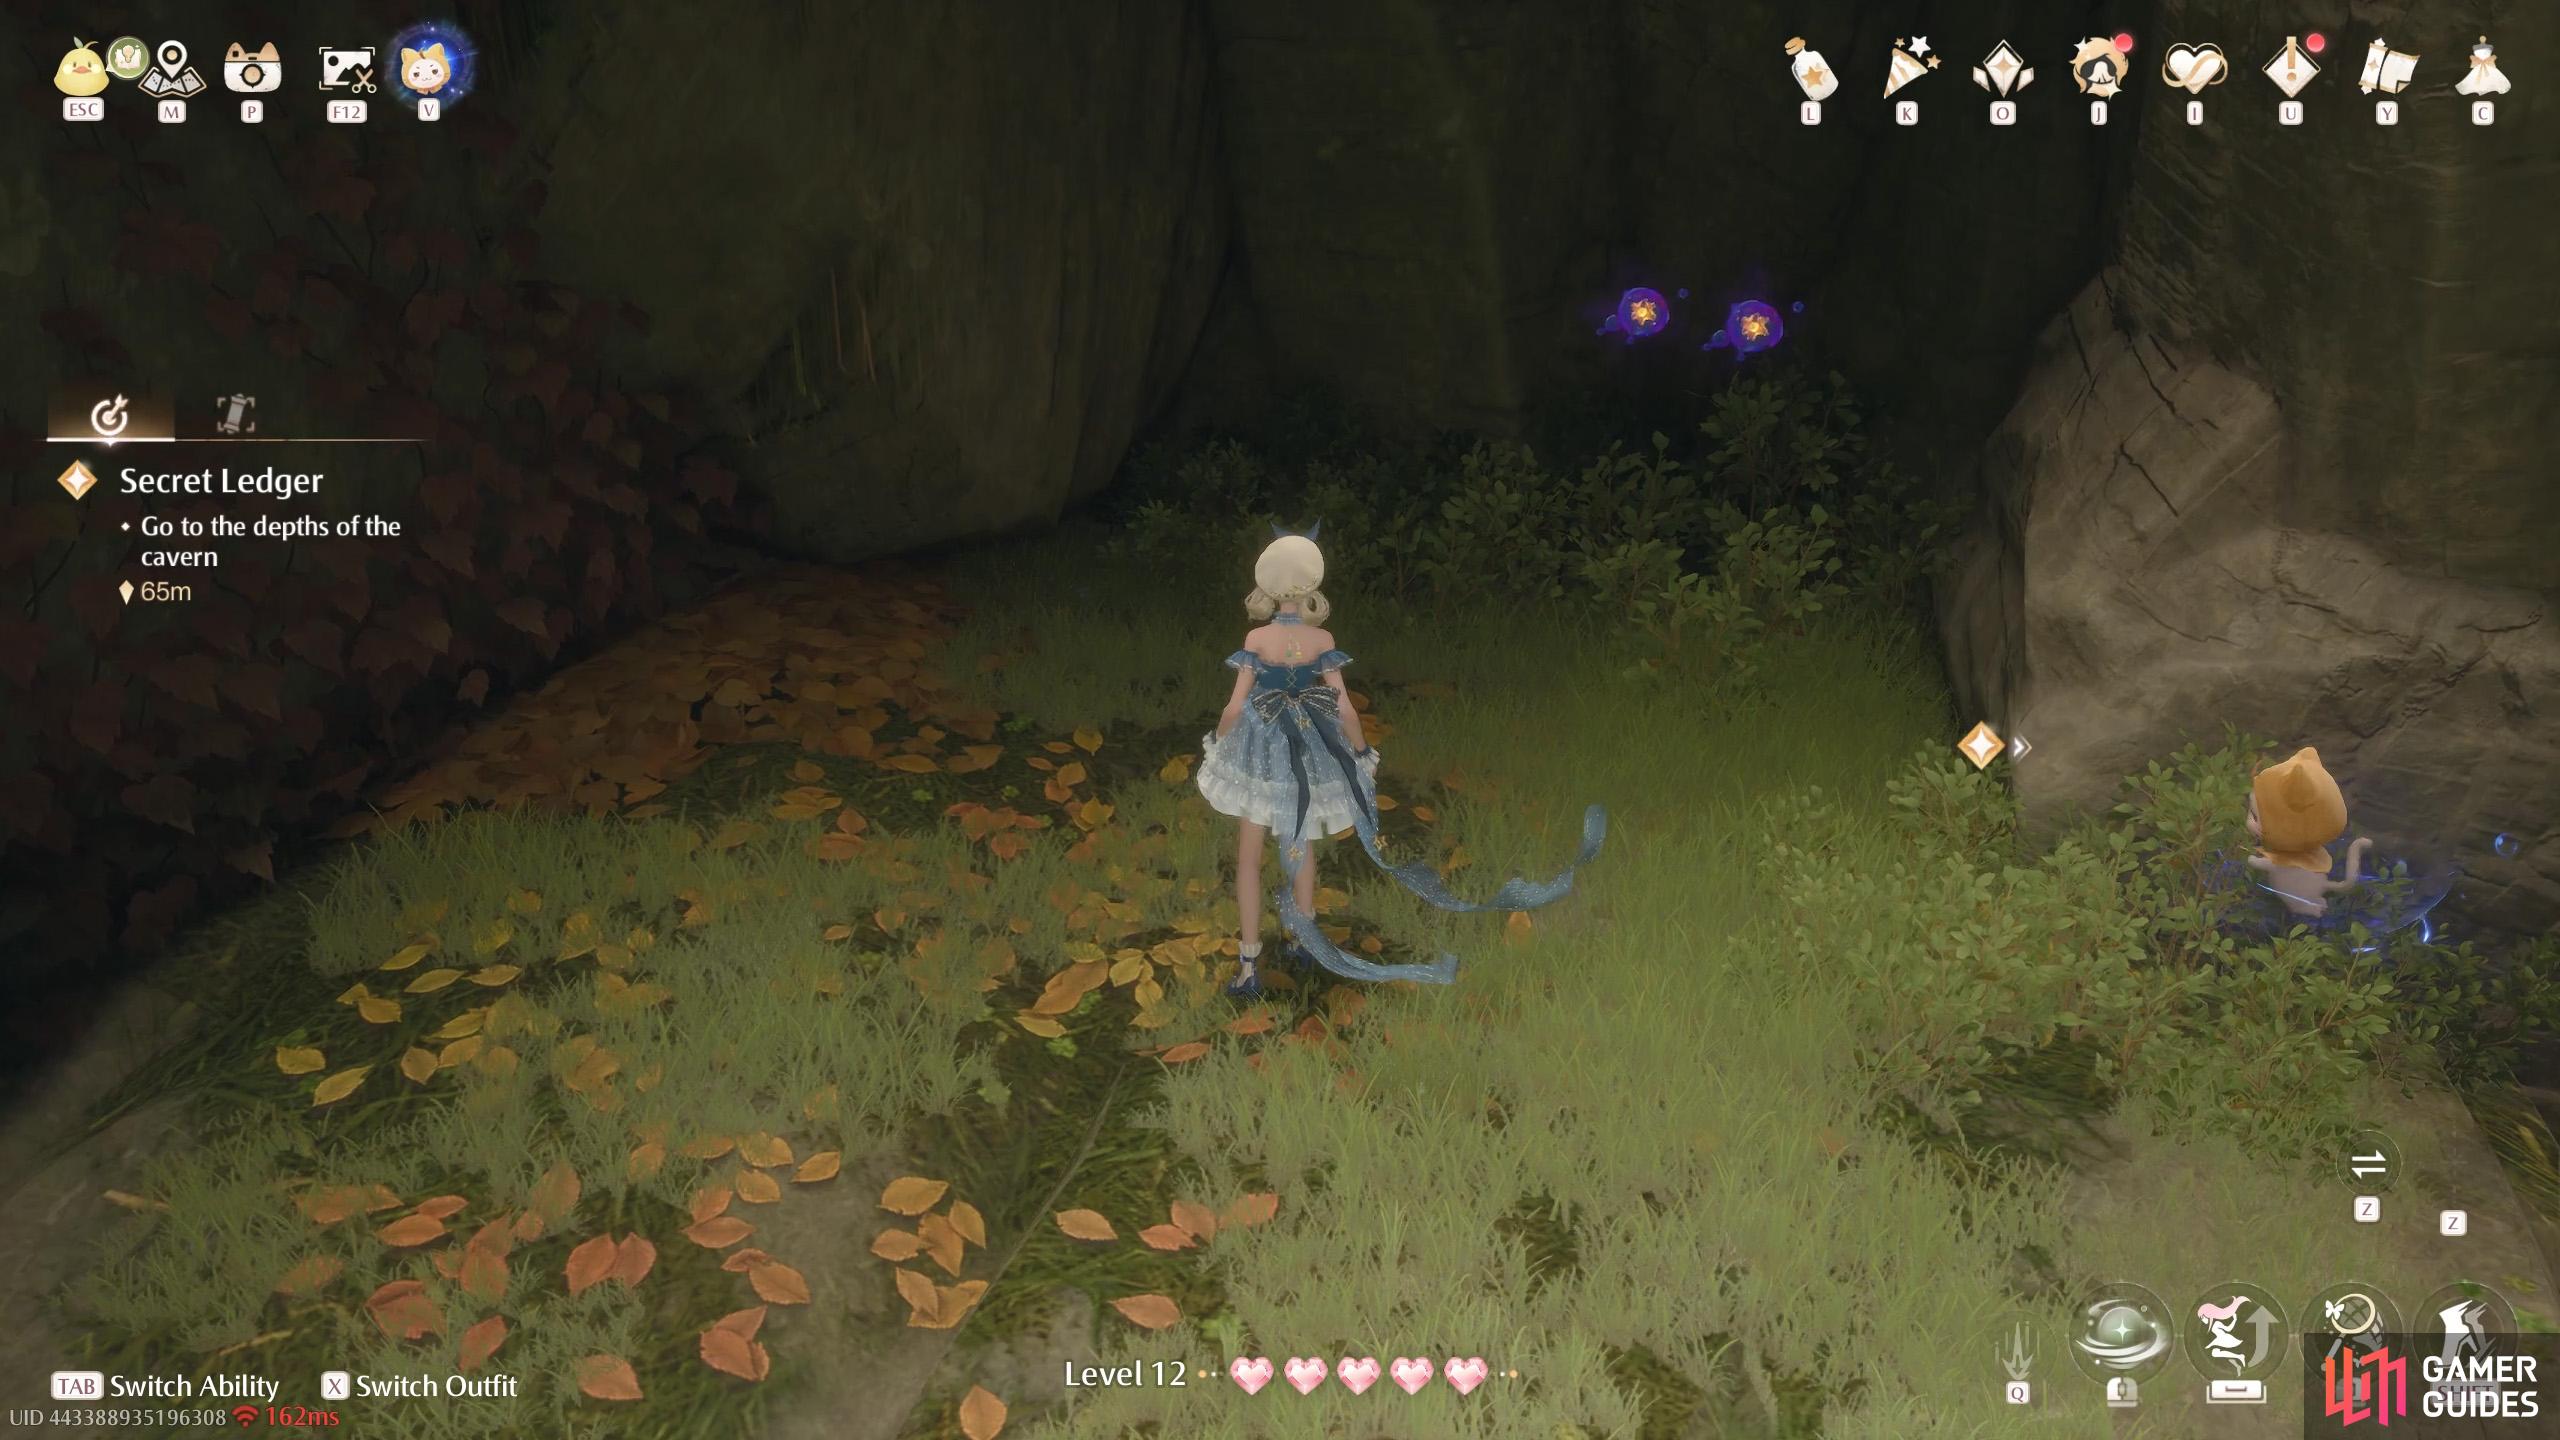
6. Miraland Map
Inside ![]() Riverside Cavern. Two off the ground, near the
Riverside Cavern. Two off the ground, near the ![]() Quiet Cenote (waterfall area) when coming from the west cave entrance.
Quiet Cenote (waterfall area) when coming from the west cave entrance.
7. Miraland Map
Inside ![]() Riverside Cavern. Two next to the
Riverside Cavern. Two next to the ![]() Quiet Cenote (waterfall). If coming from the west entrance, you may need to turn around.
Quiet Cenote (waterfall). If coming from the west entrance, you may need to turn around.
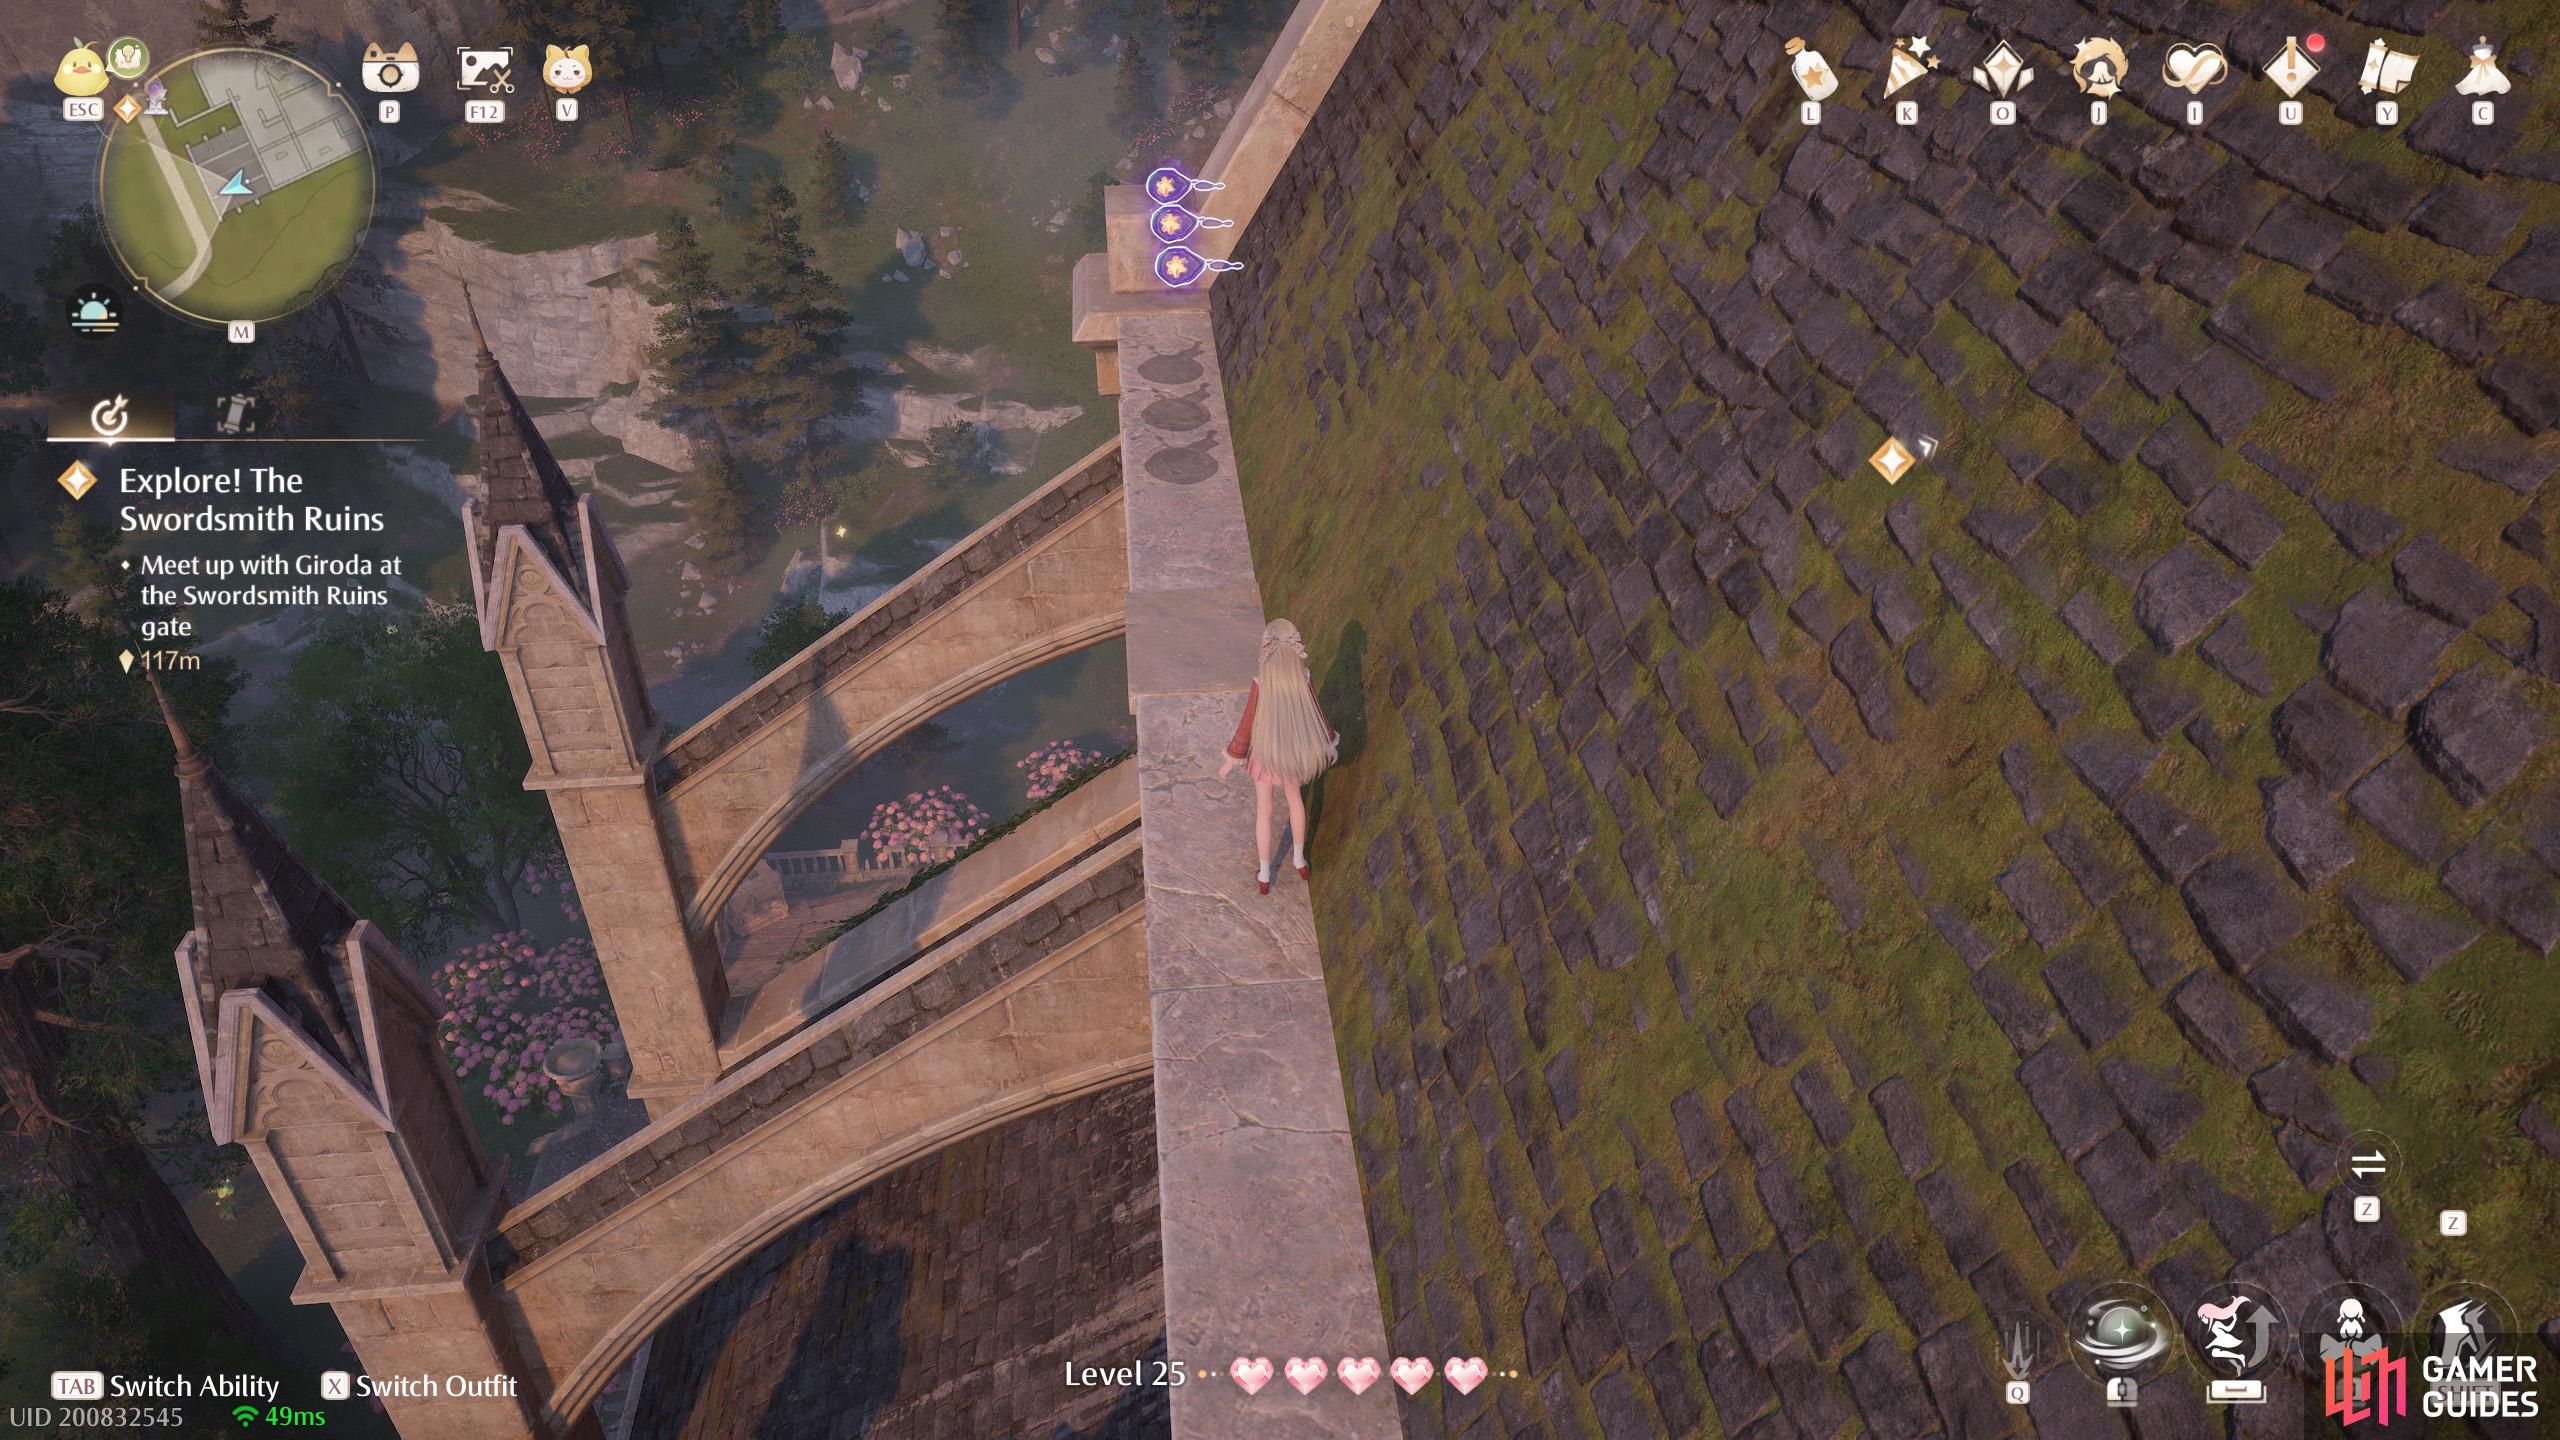
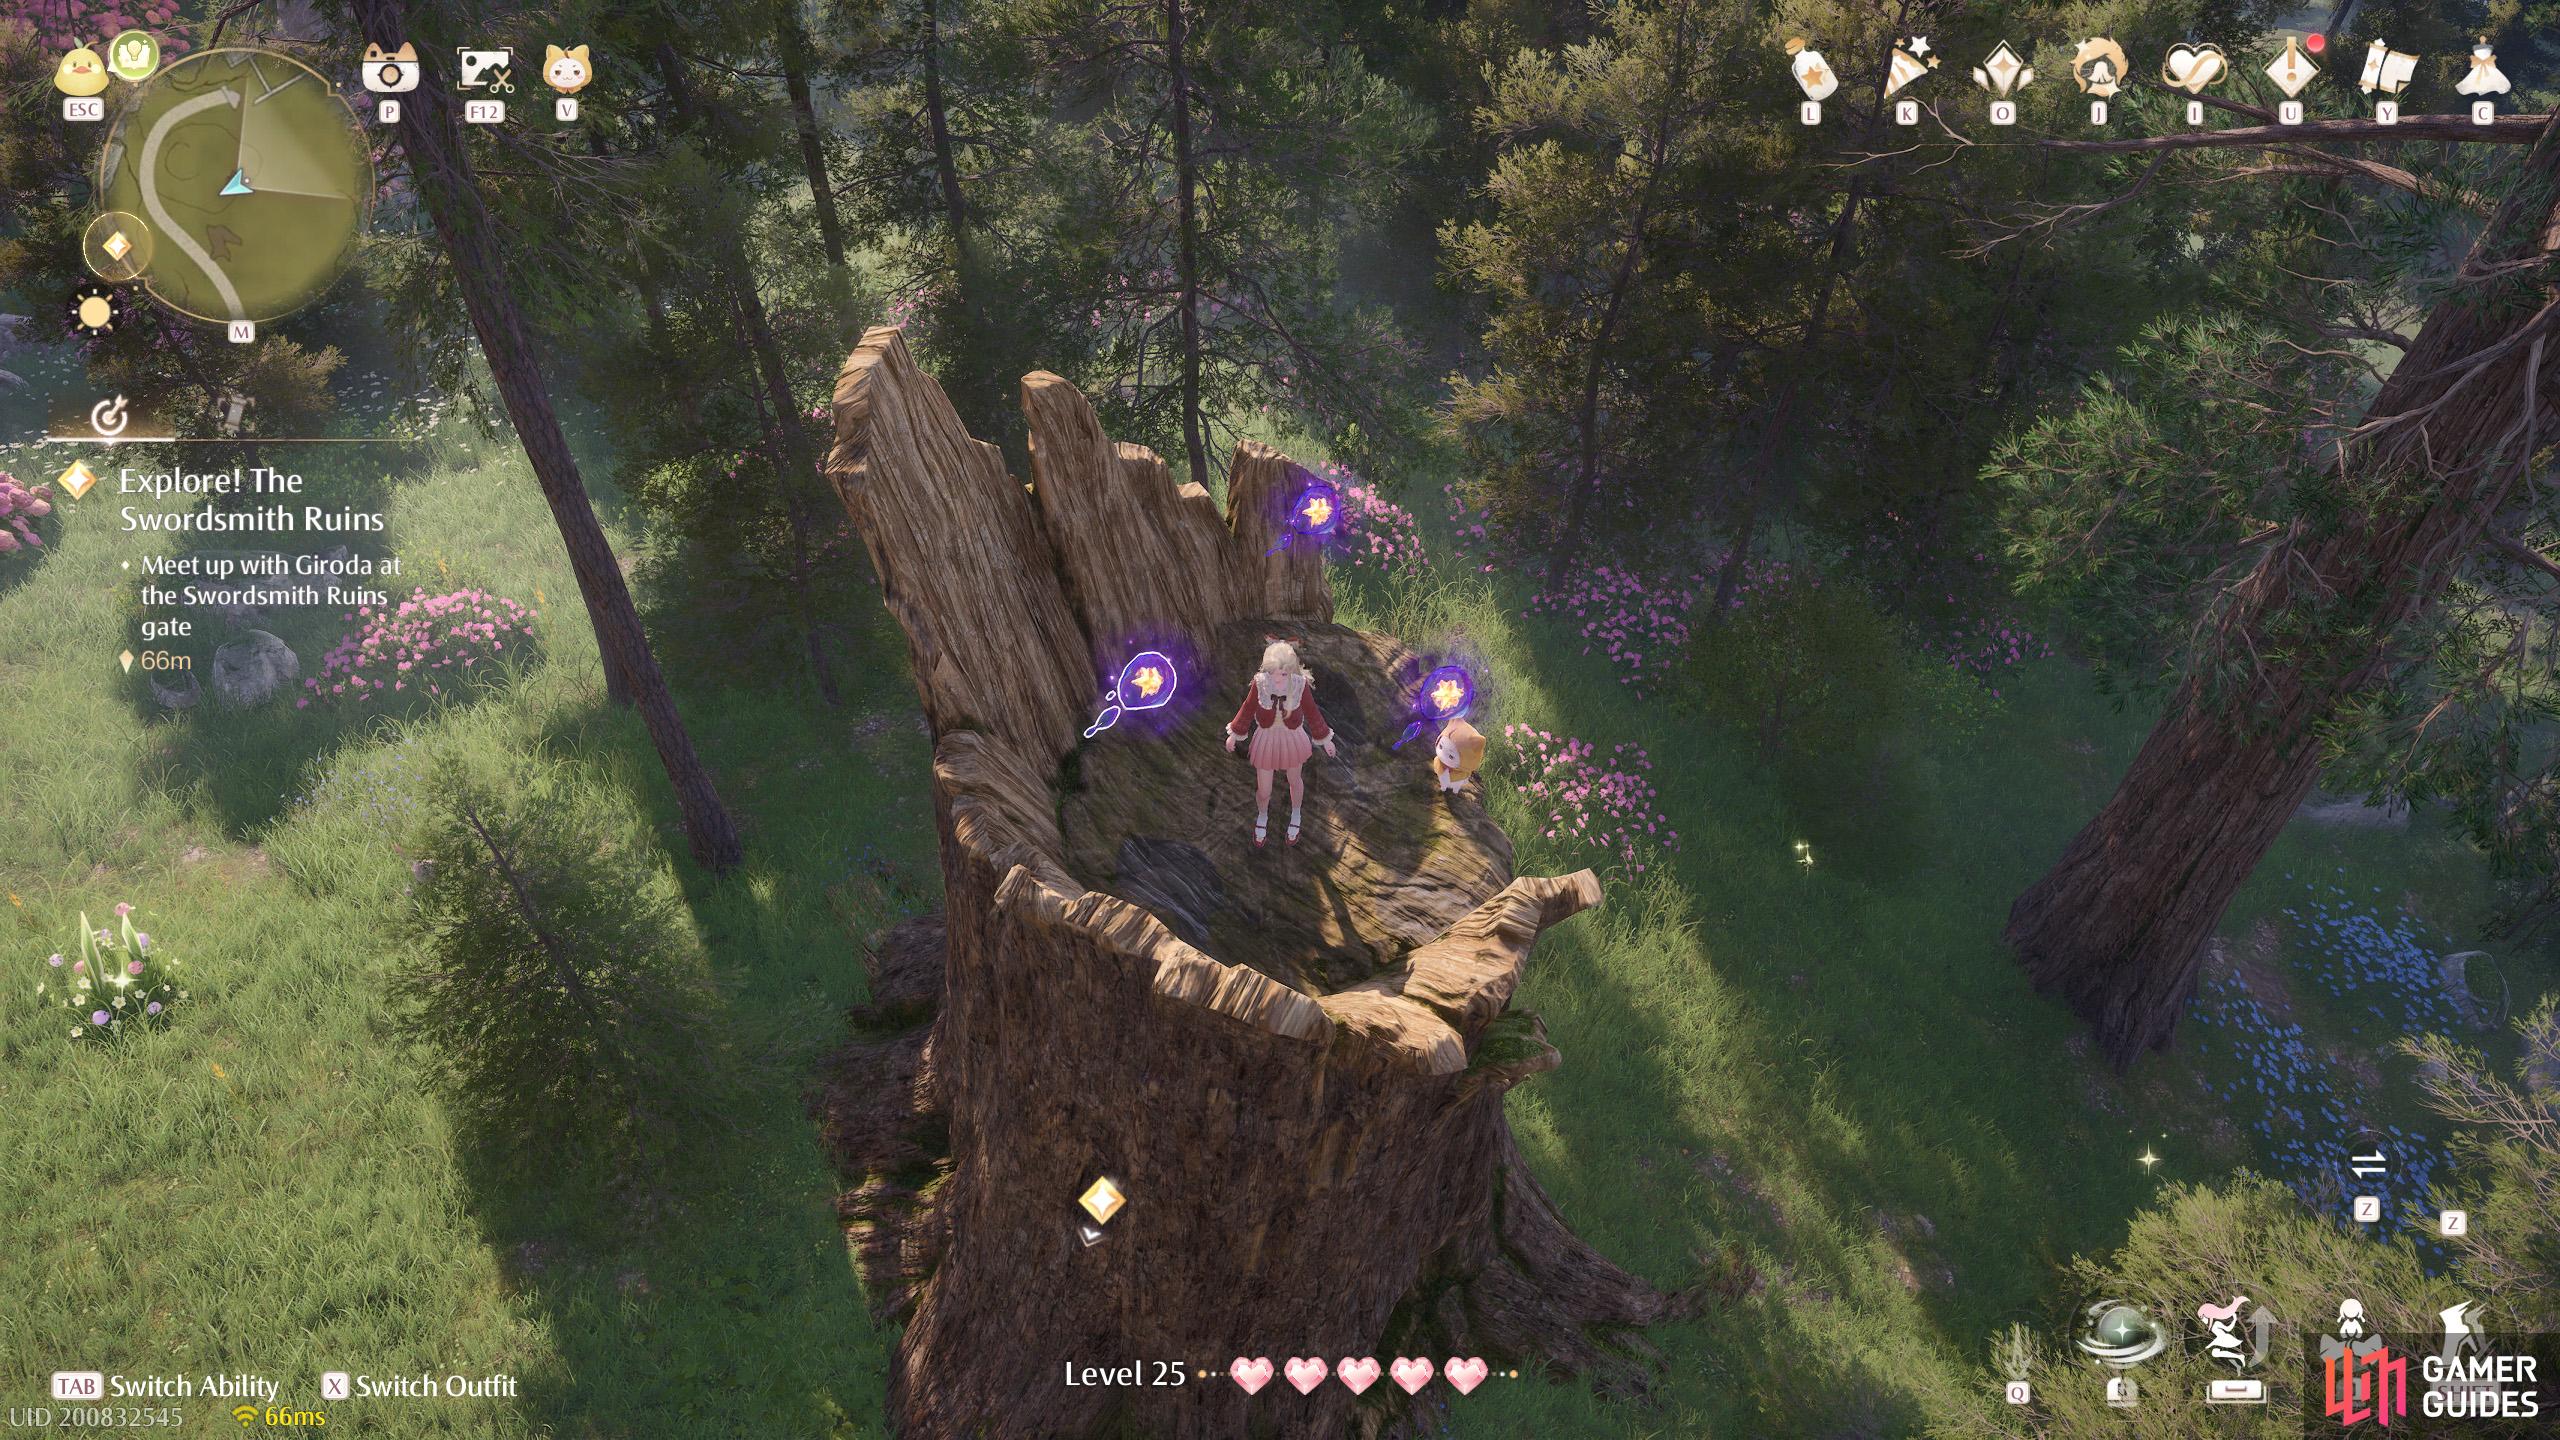
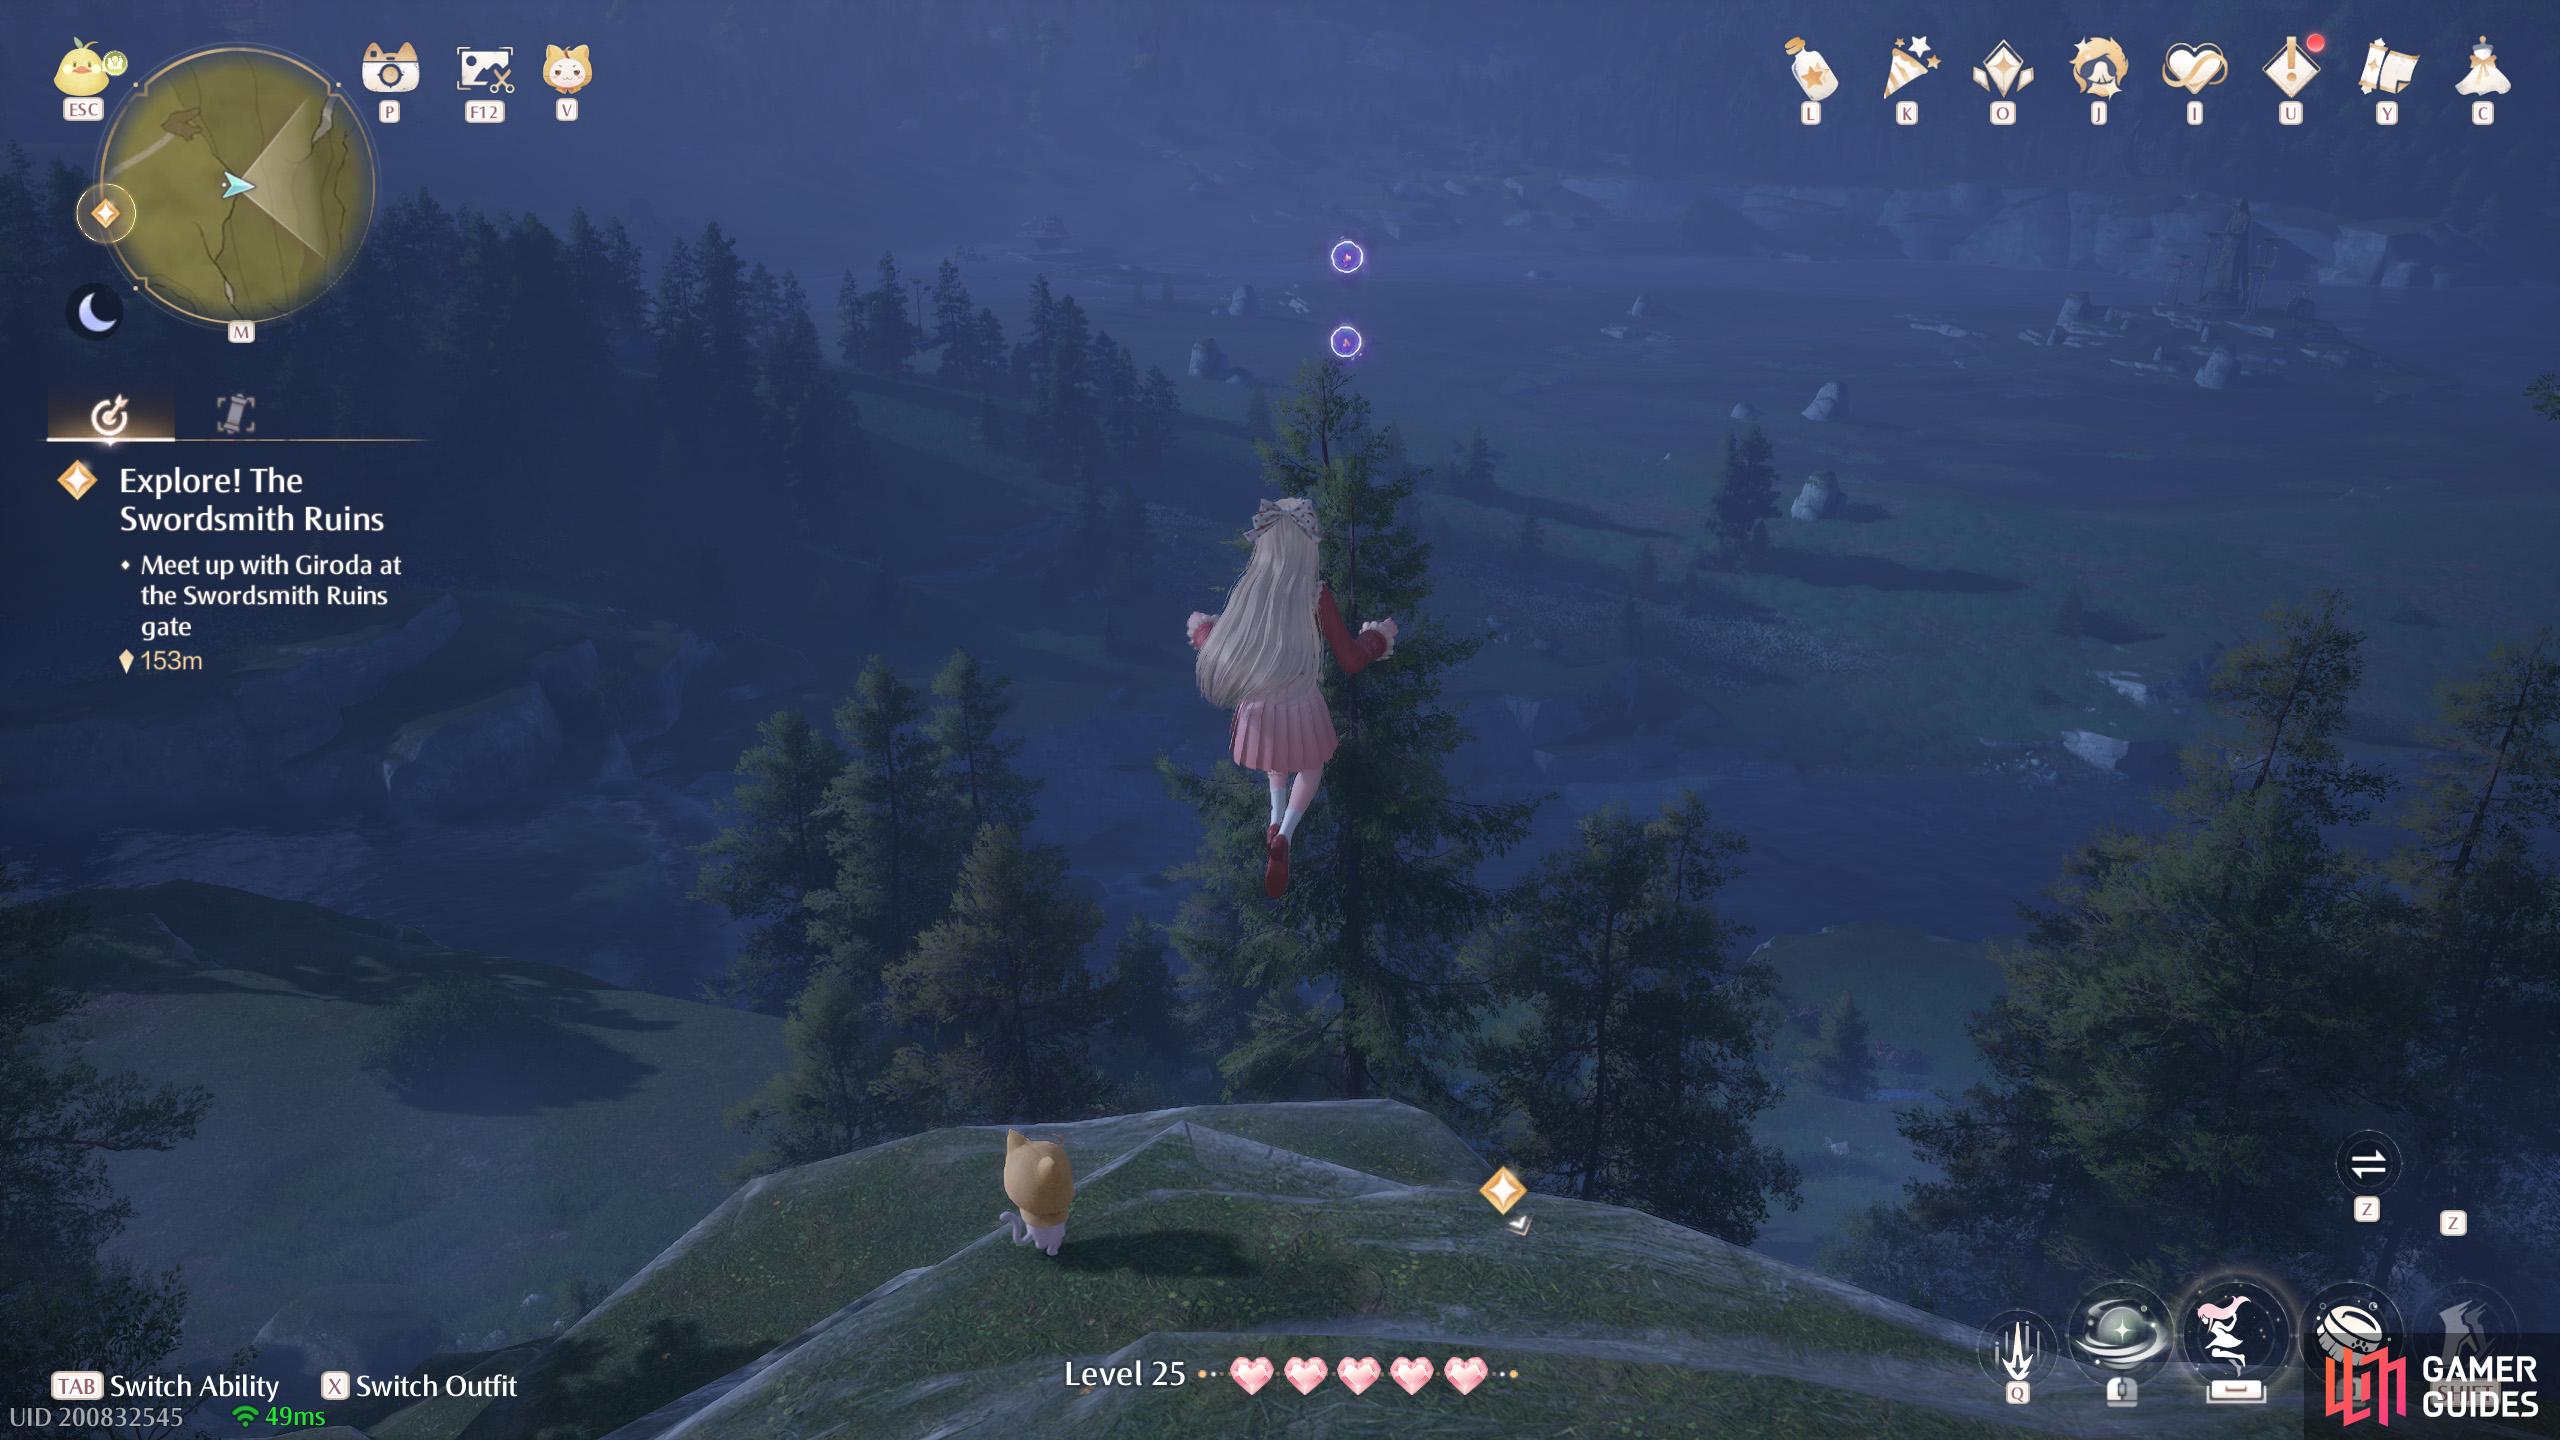
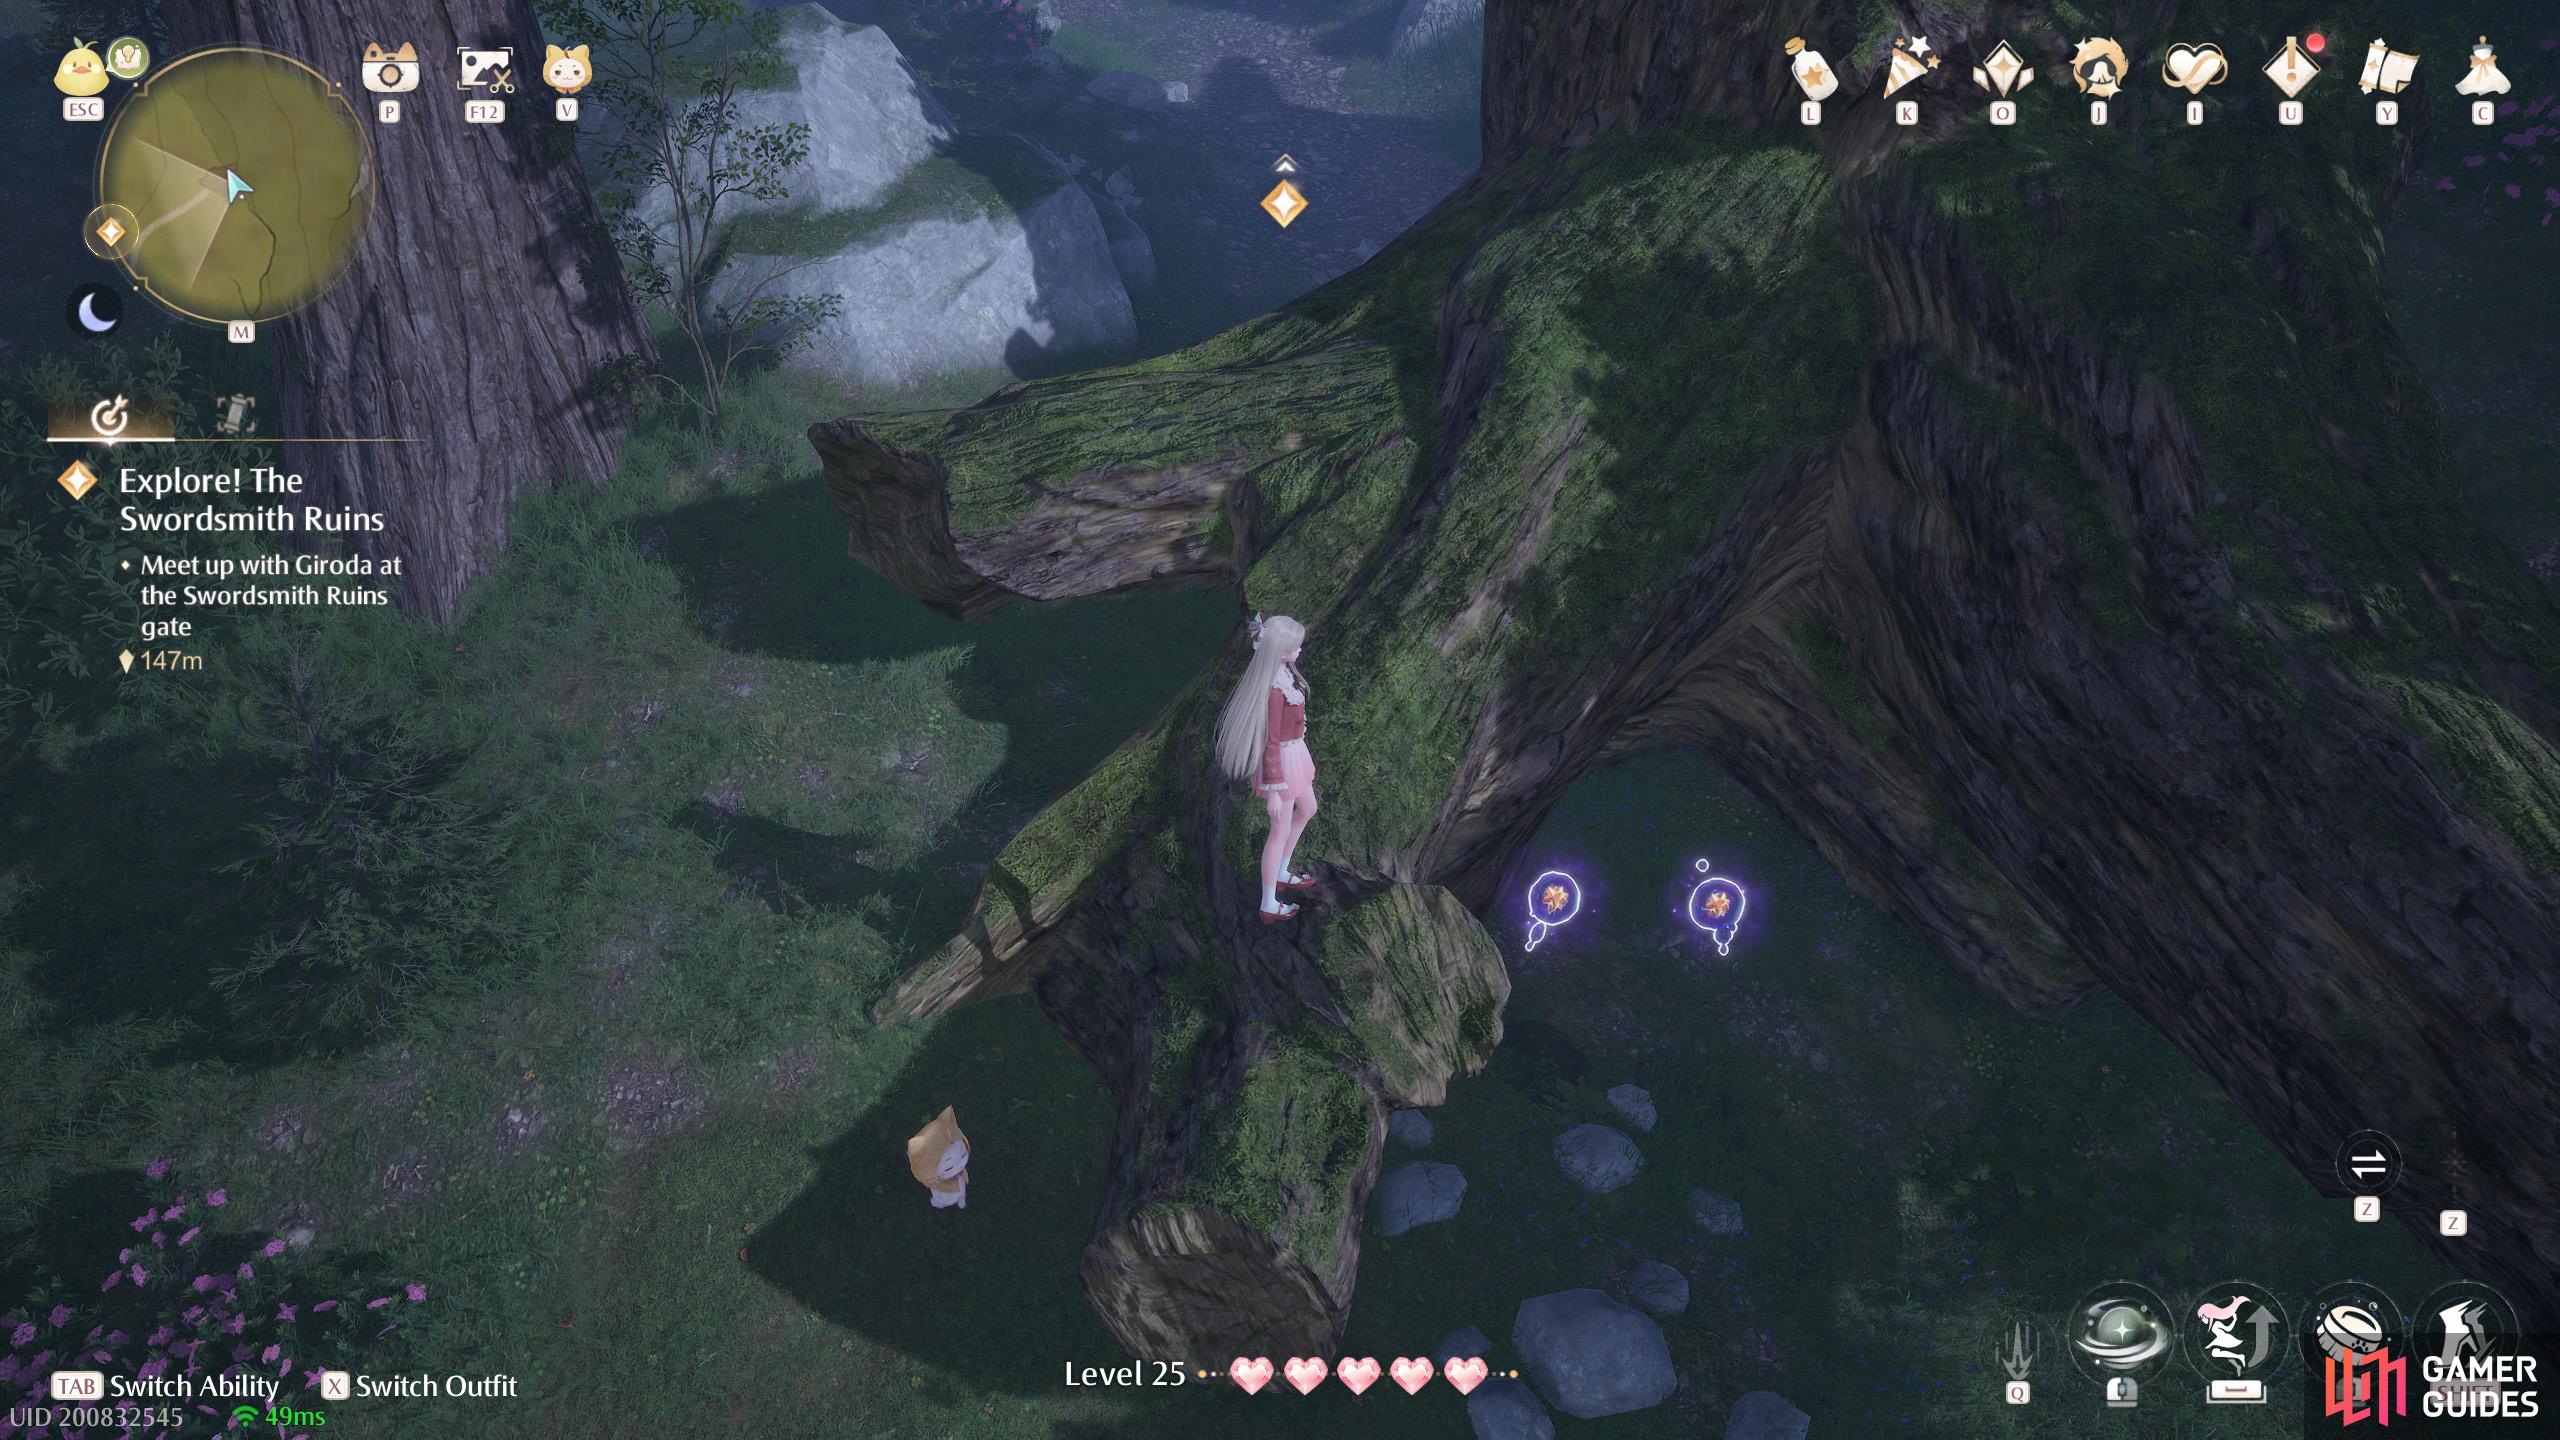
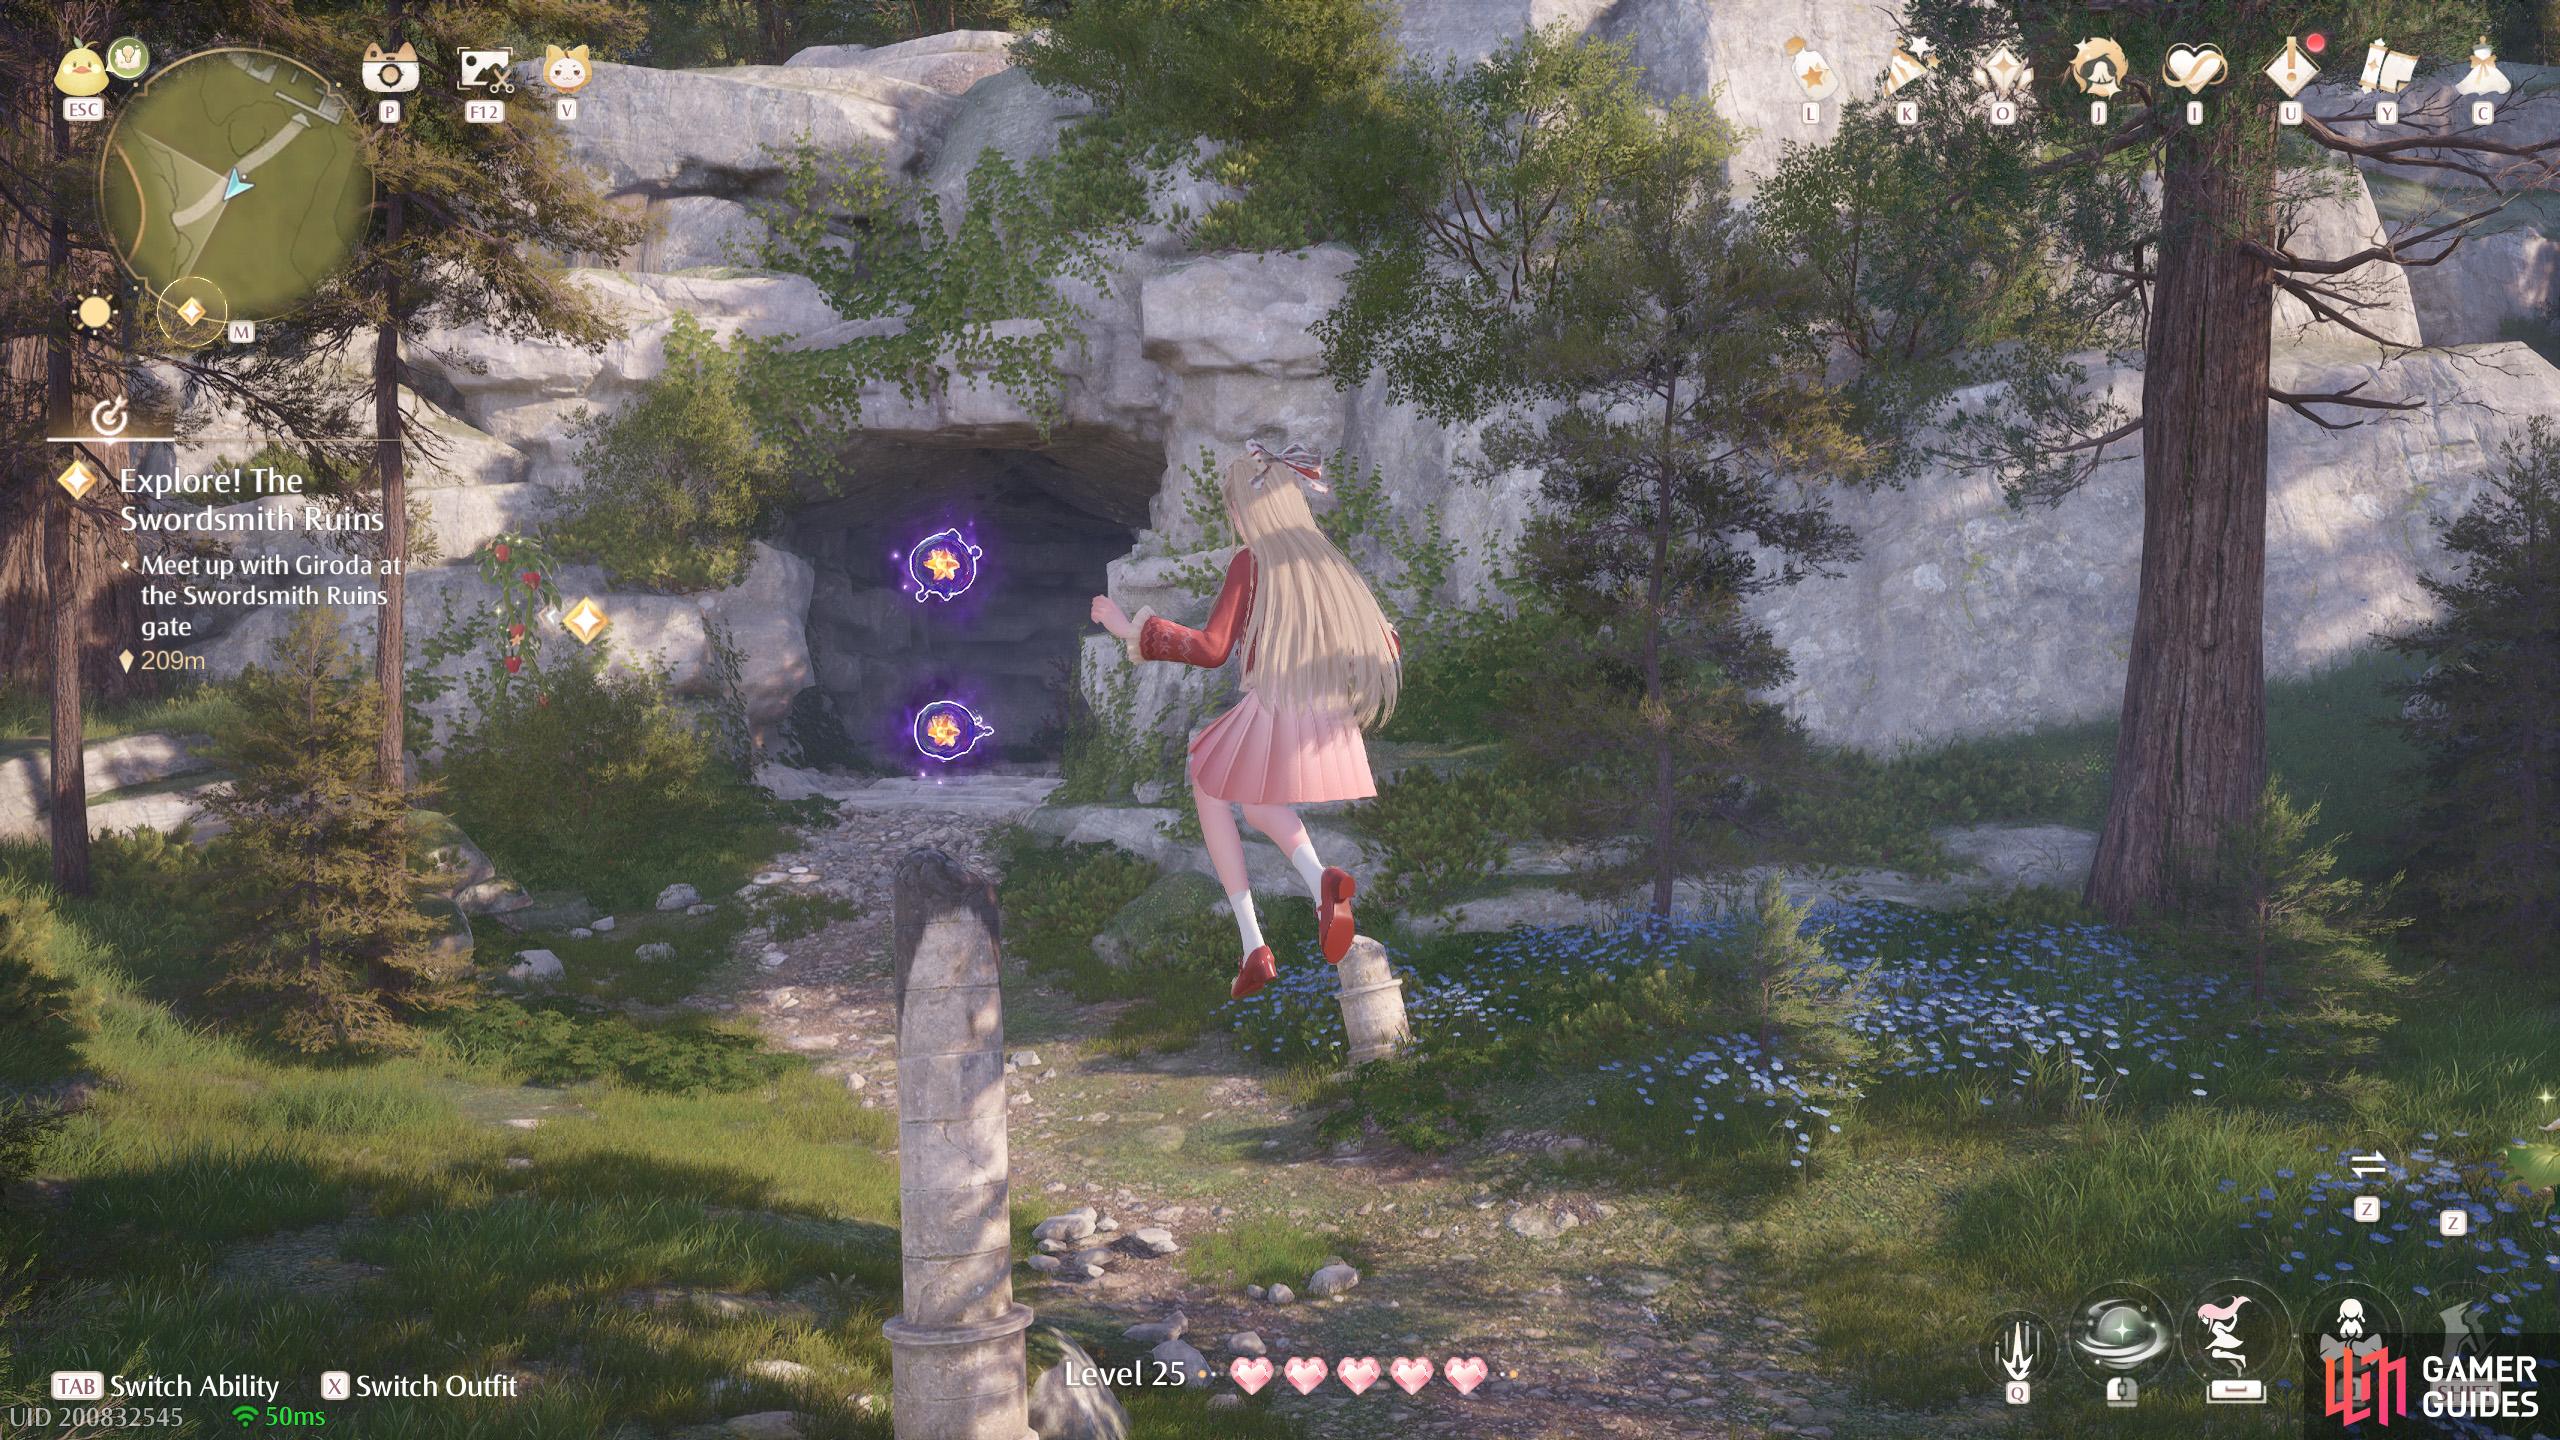
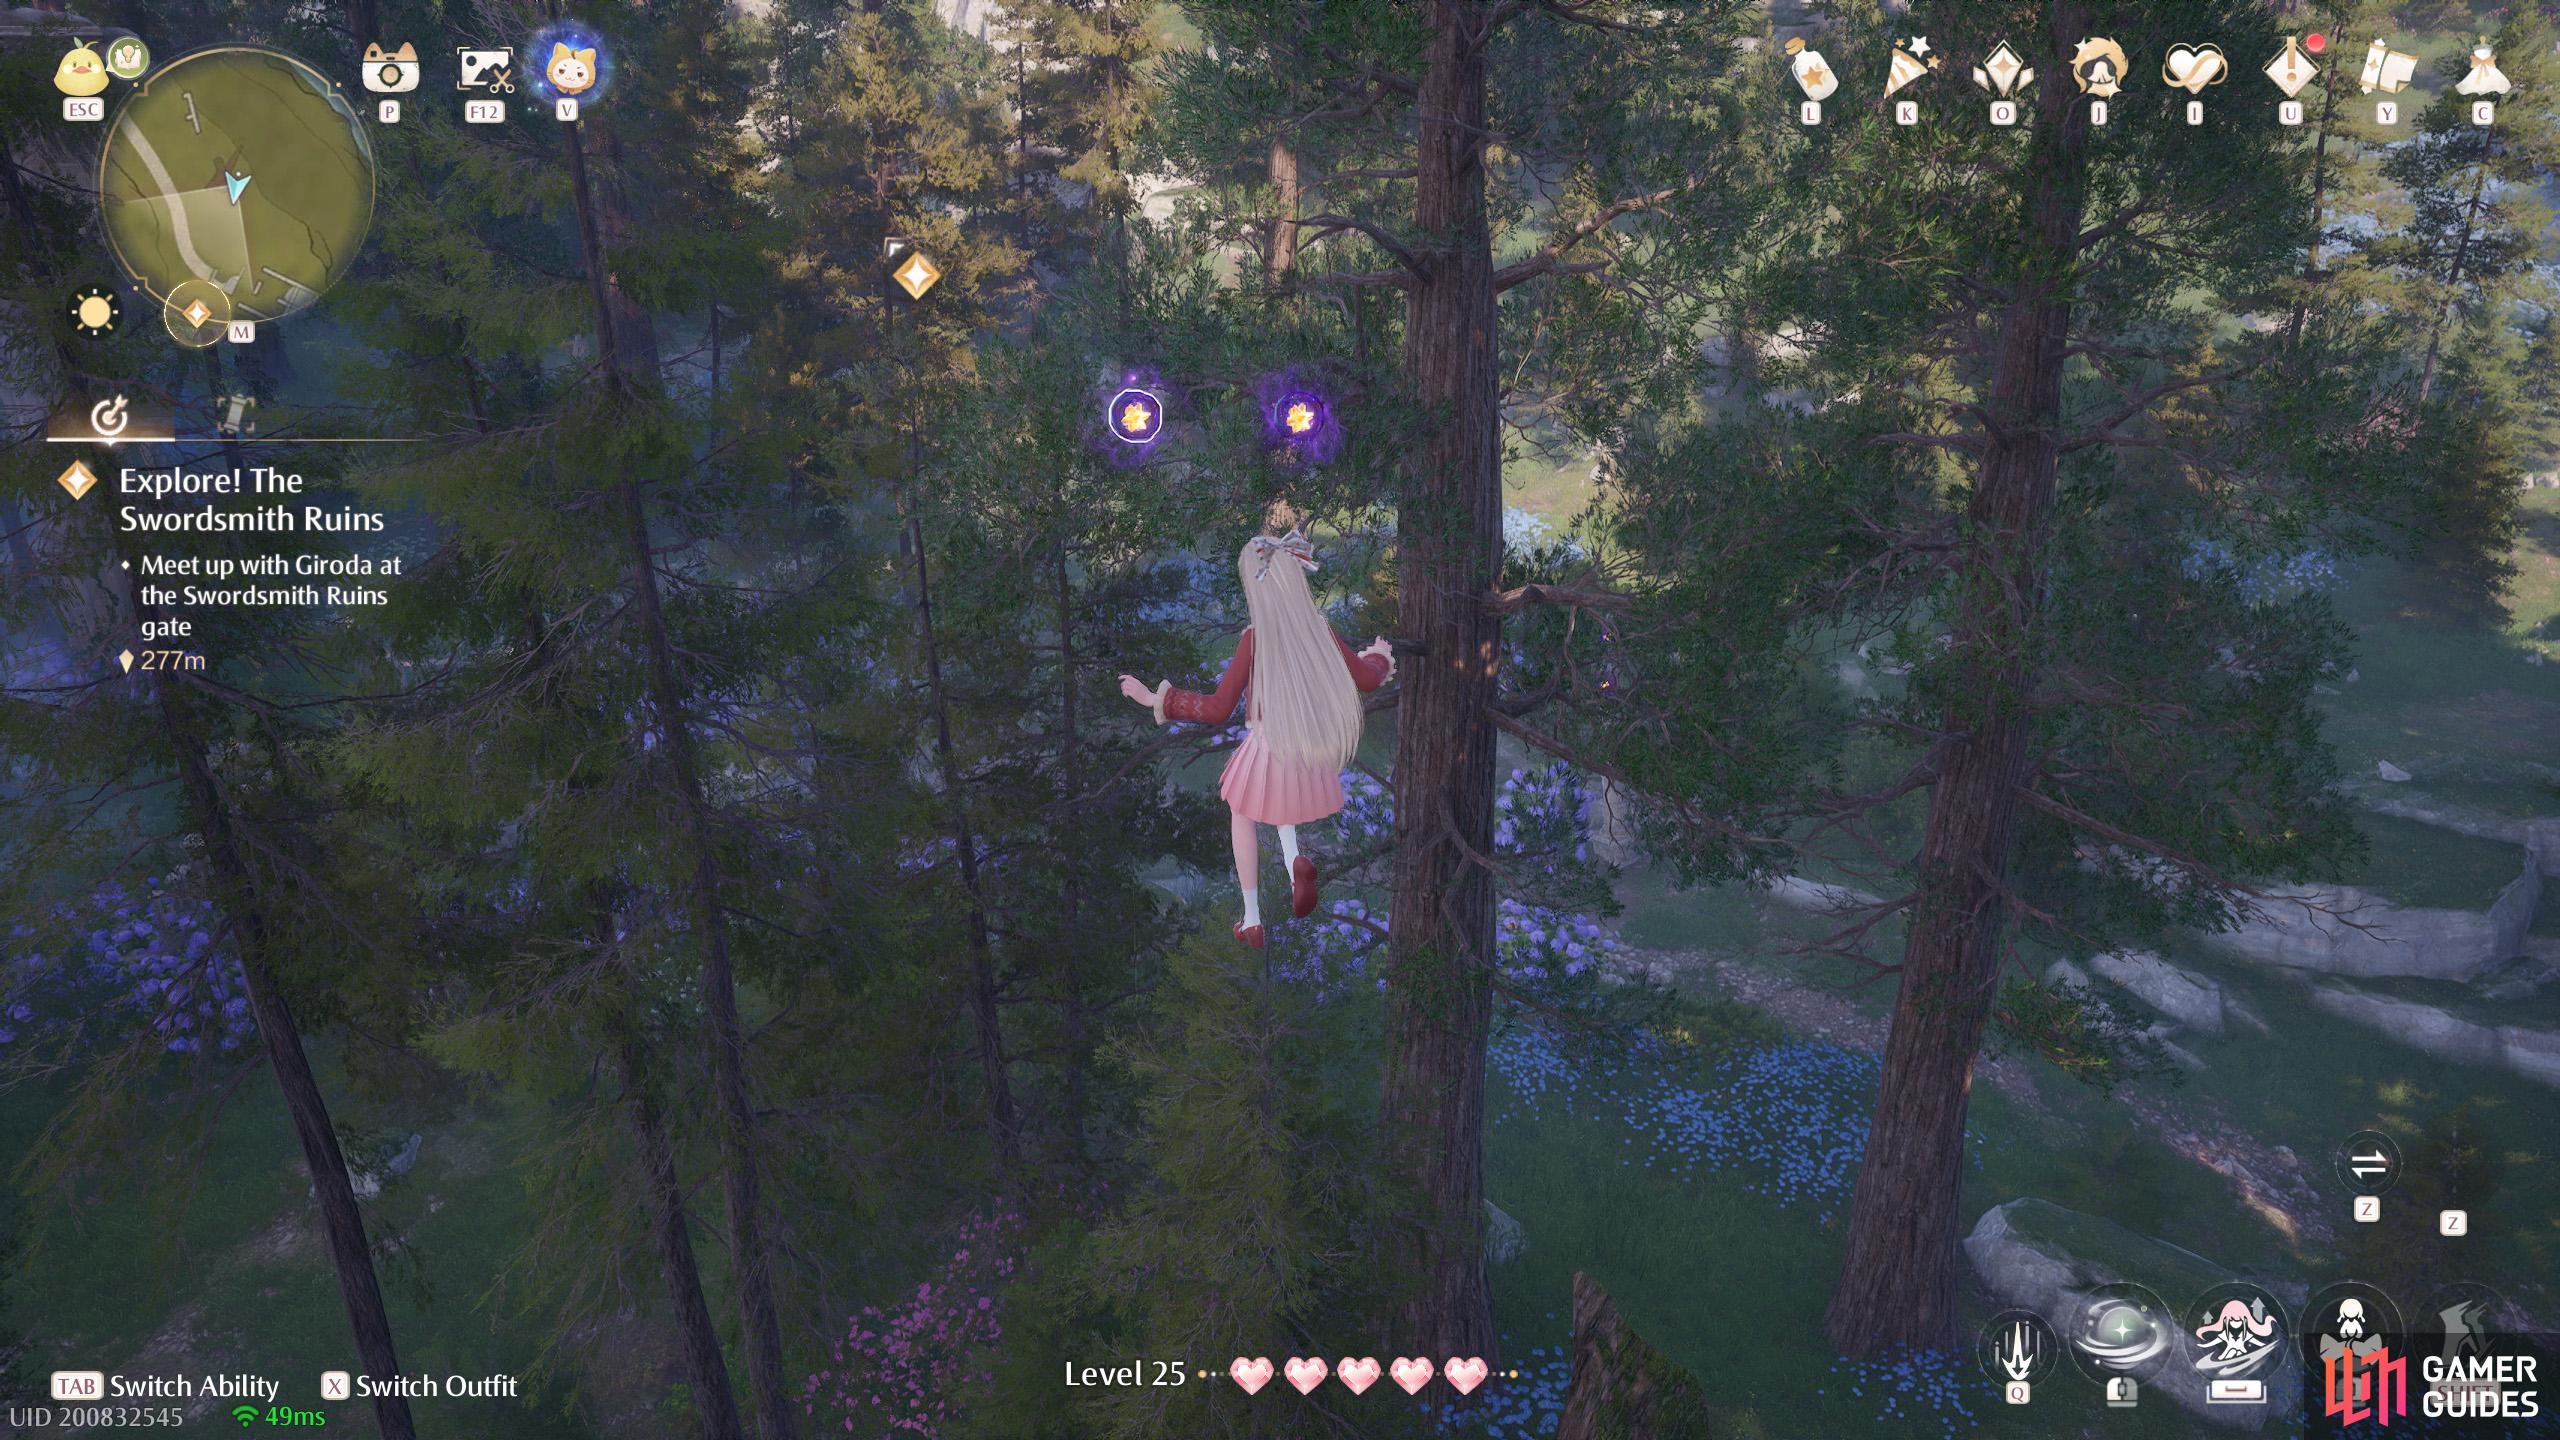
9. Miraland Map
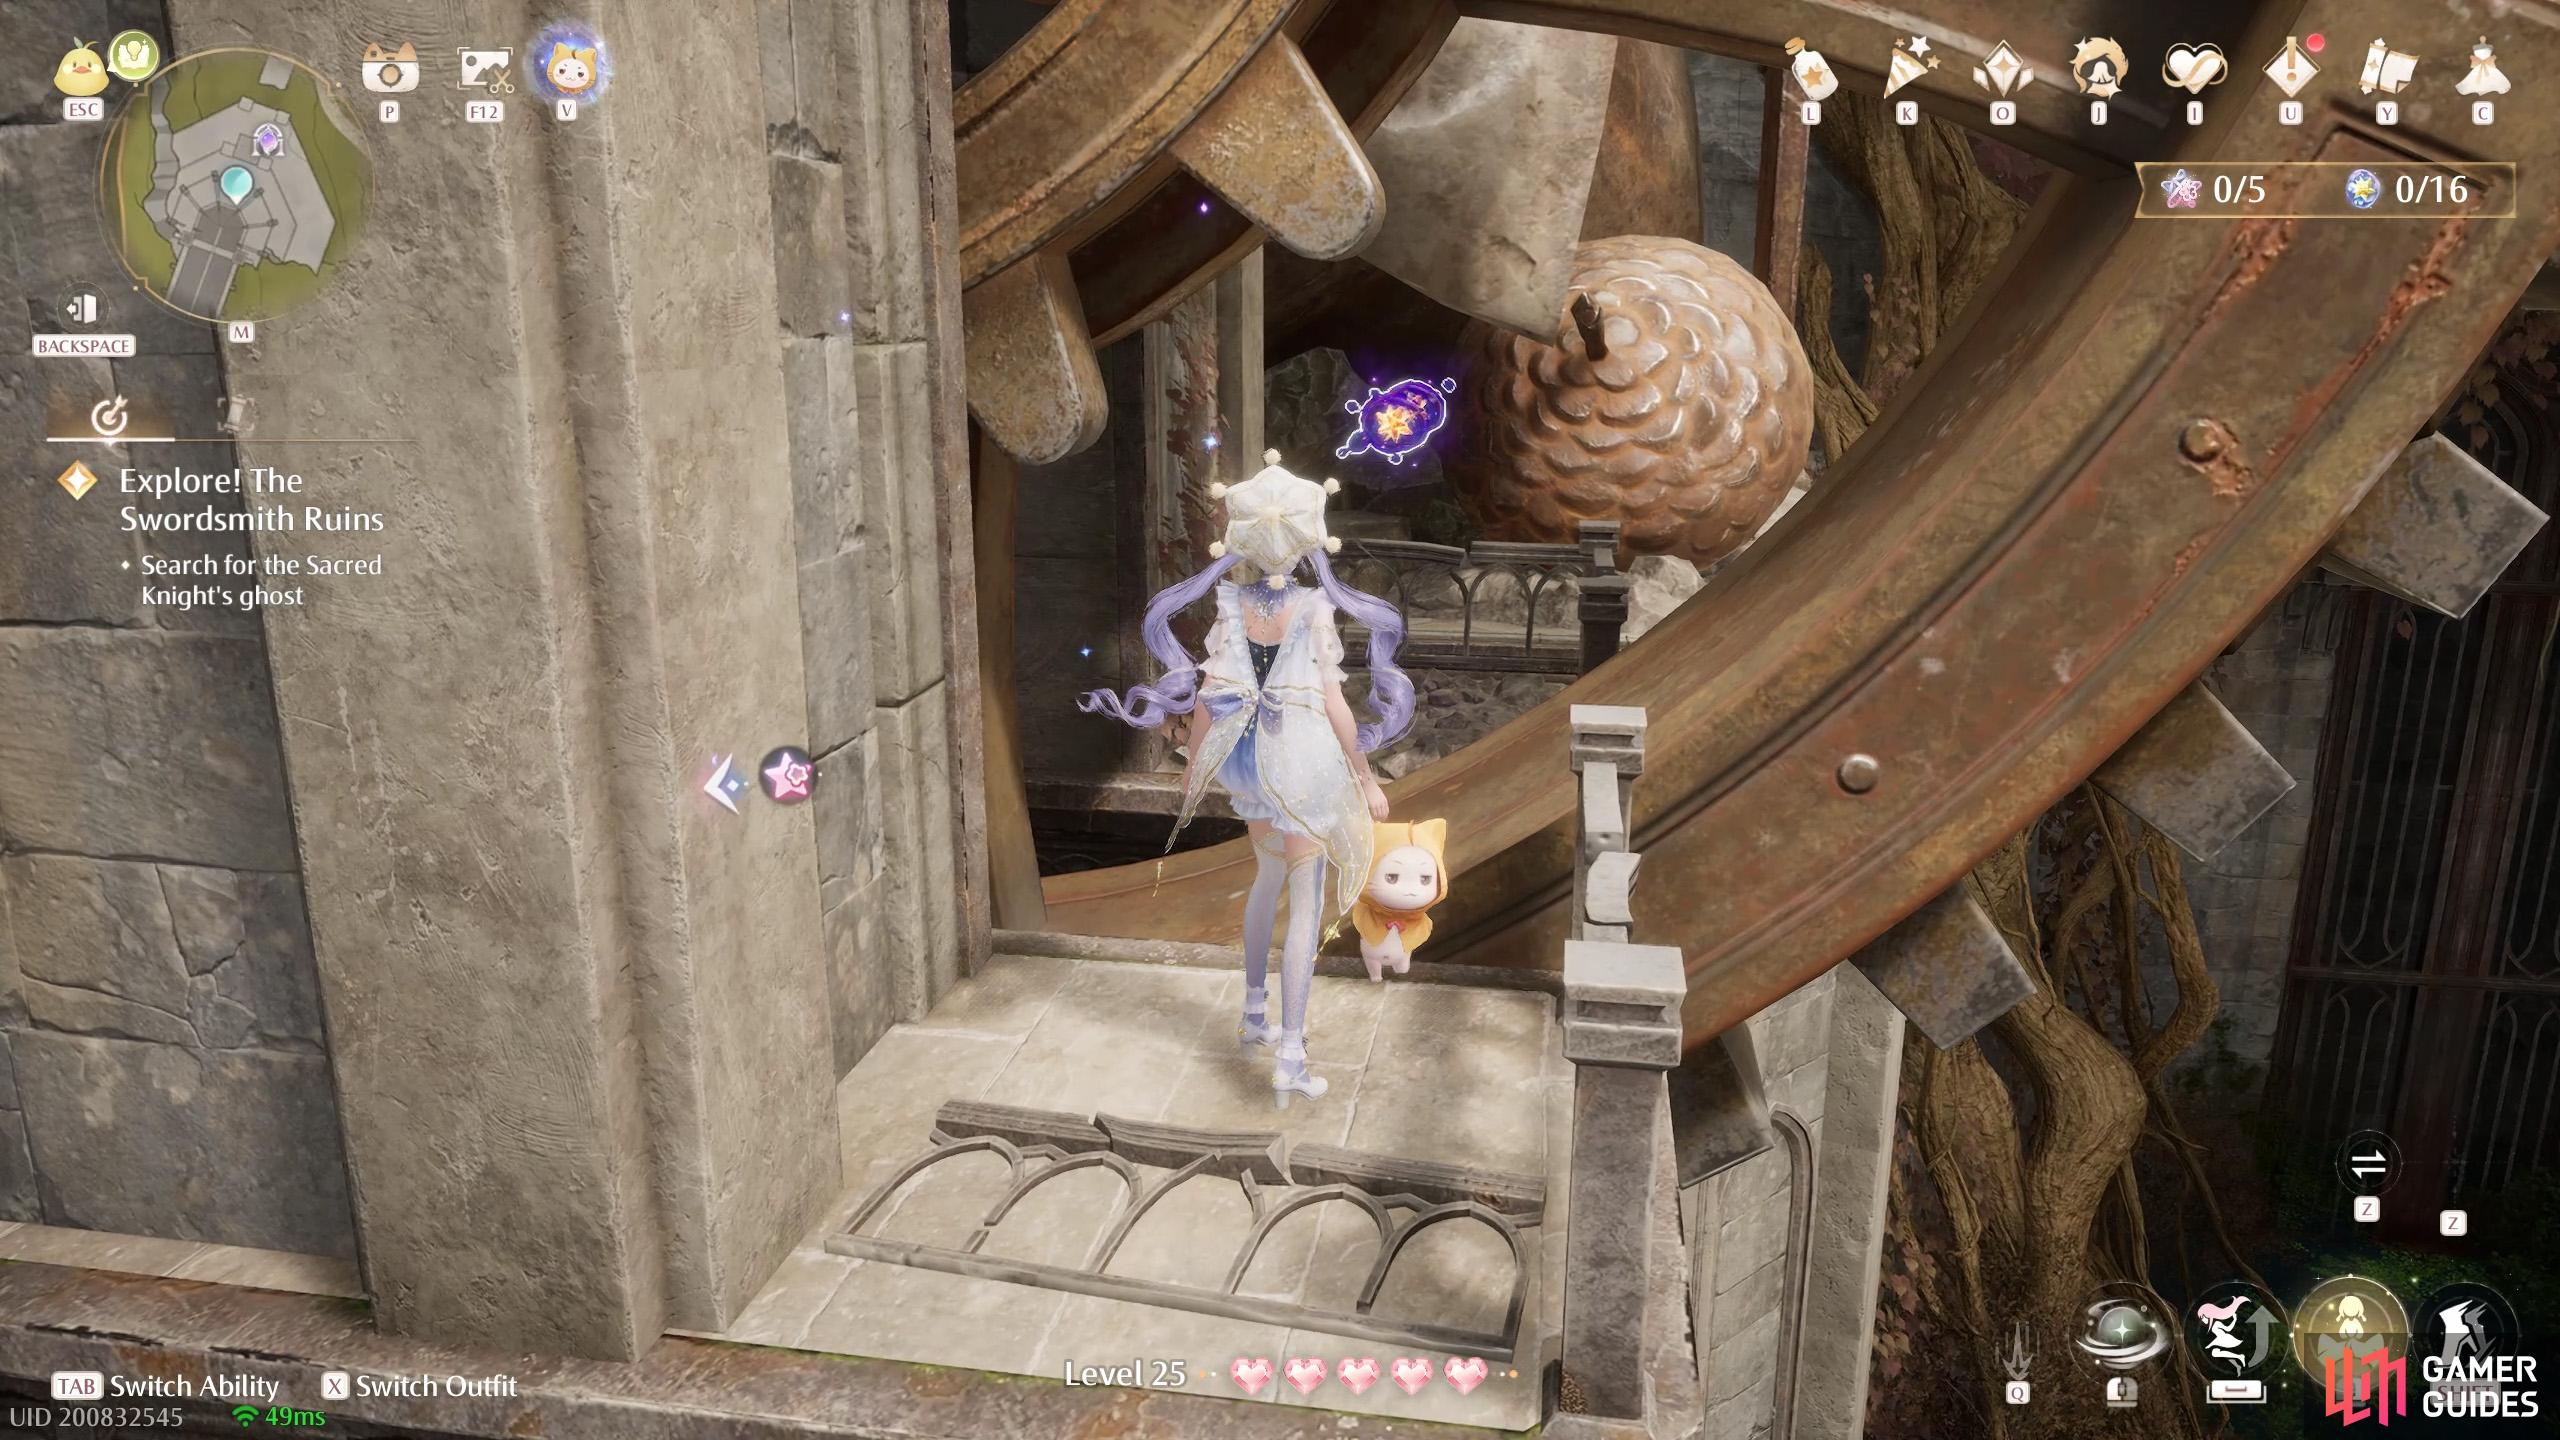
Inside the Swordsmith Ruins. In the first area, two in the corner to the left after riding the very first air vent.
10. Miraland Map
Inside the Swordsmith Ruins. After the Sword Courtyard checkpoint, two to the right after riding the air vent.
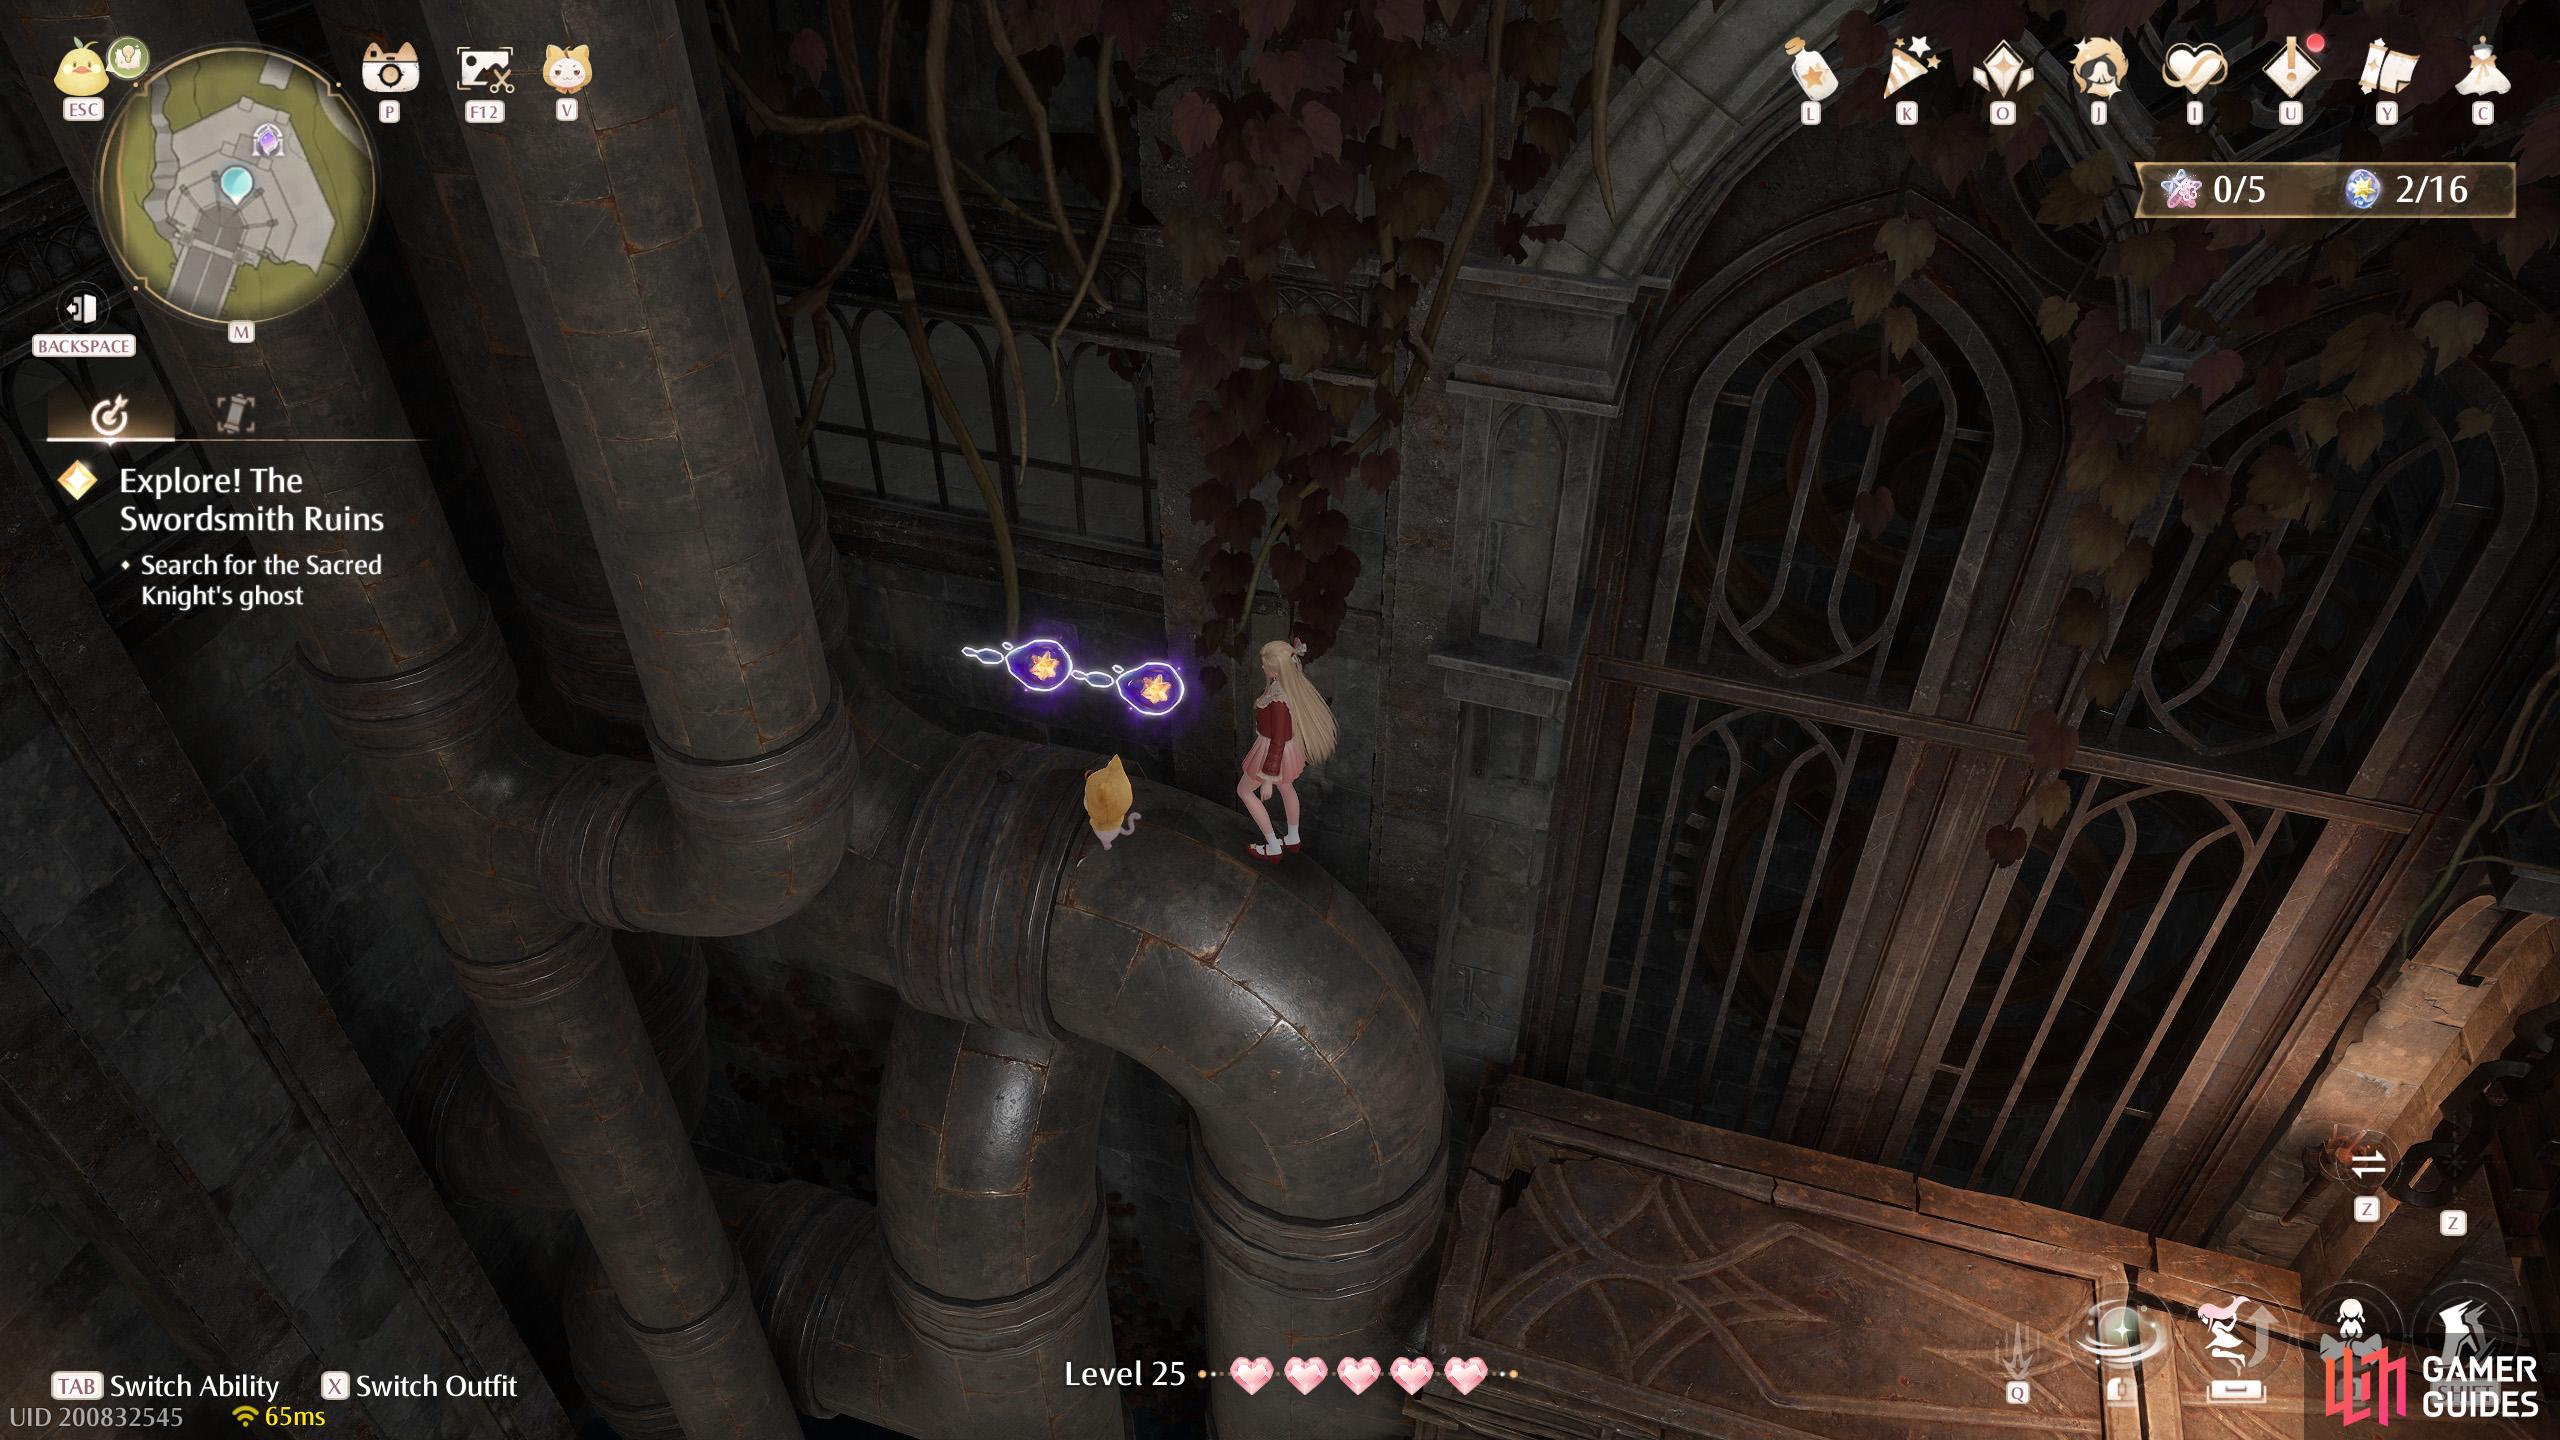
11. Miraland Map
Inside the Swordsmith Ruins. Two underneath the gears after going through the narrow pipe and before the double air vent.
12. Miraland Map
Inside the Swordsmith Ruins. Three underneath the broken bridge just before the 2nd checkpoint. Look for some wooden platforms to descend to.
13. Miraland Map
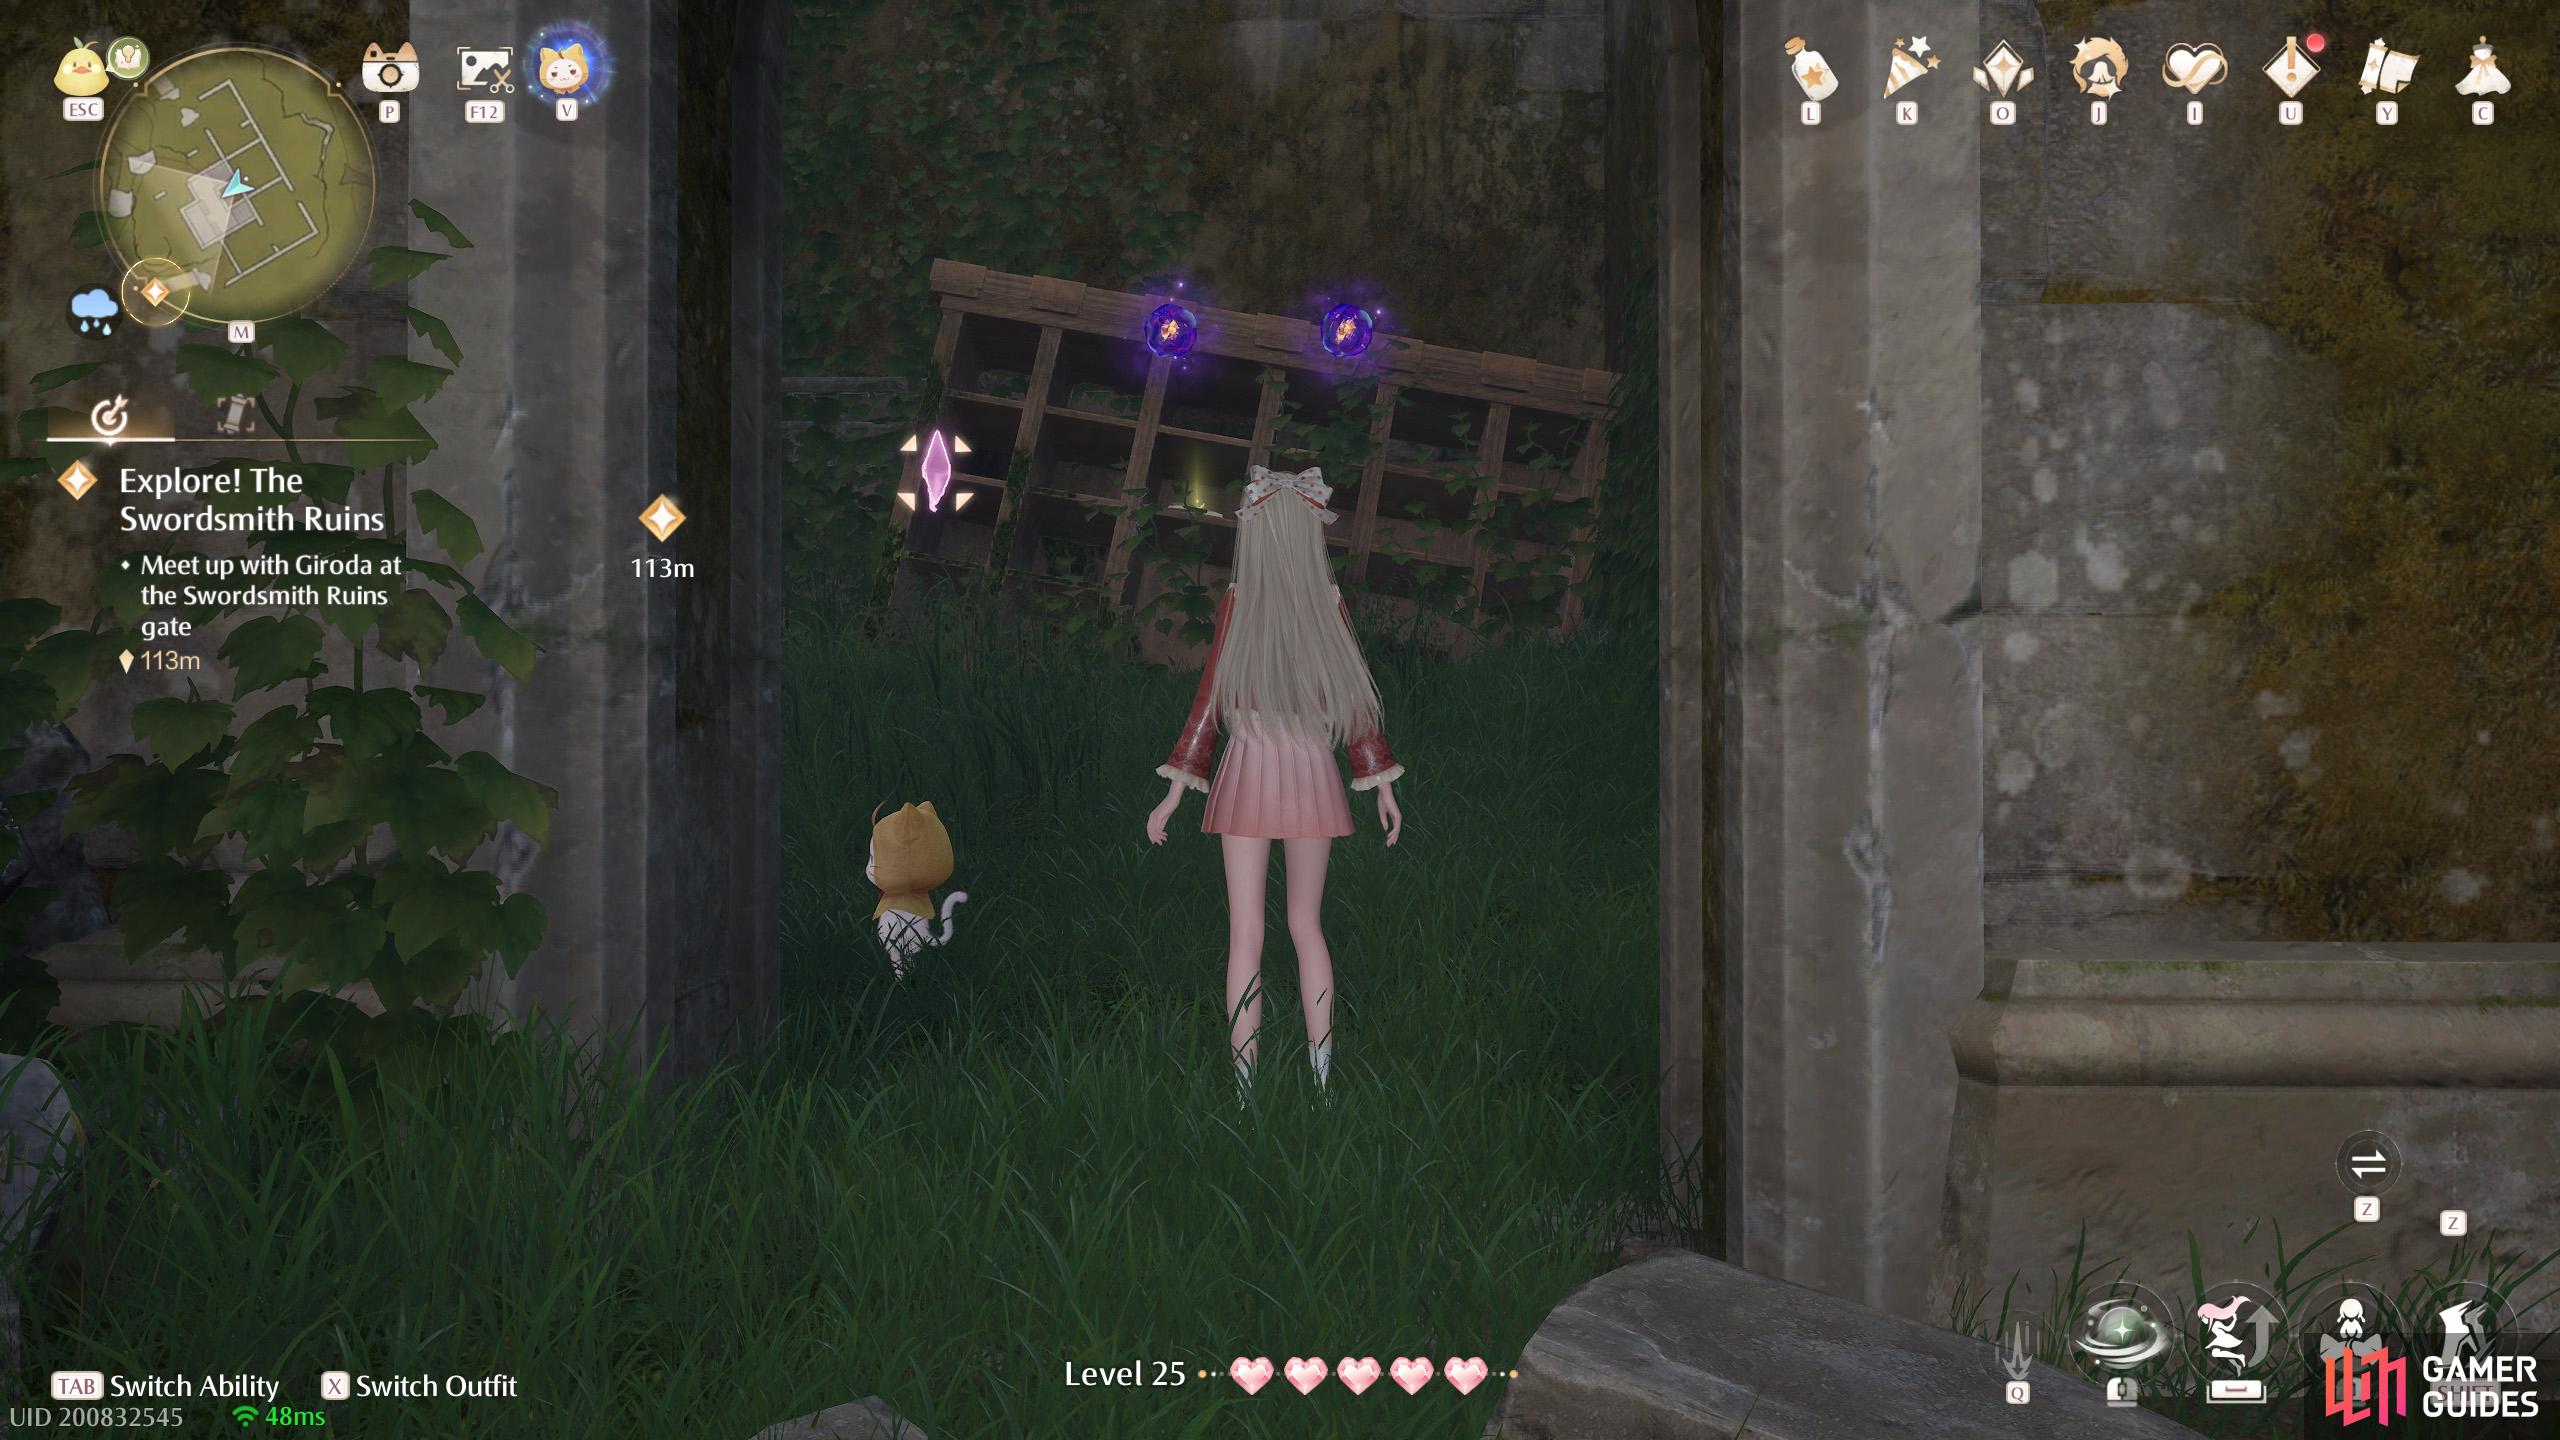
Inside the Swordsmith Ruins. Two to the left of the Ventilation Tunnel checkpoint.
14. Miraland Map
Inside the Swordsmith Ruins. Two off the ground at the Sacred Corridor.
15. Miraland Map
Inside the Swordsmith Ruins. Three near the upper exit of the hidden room with the laser-firing statue. (To find the room, from the checkpoint, go forward, then turn around to find a narrow pipe.)
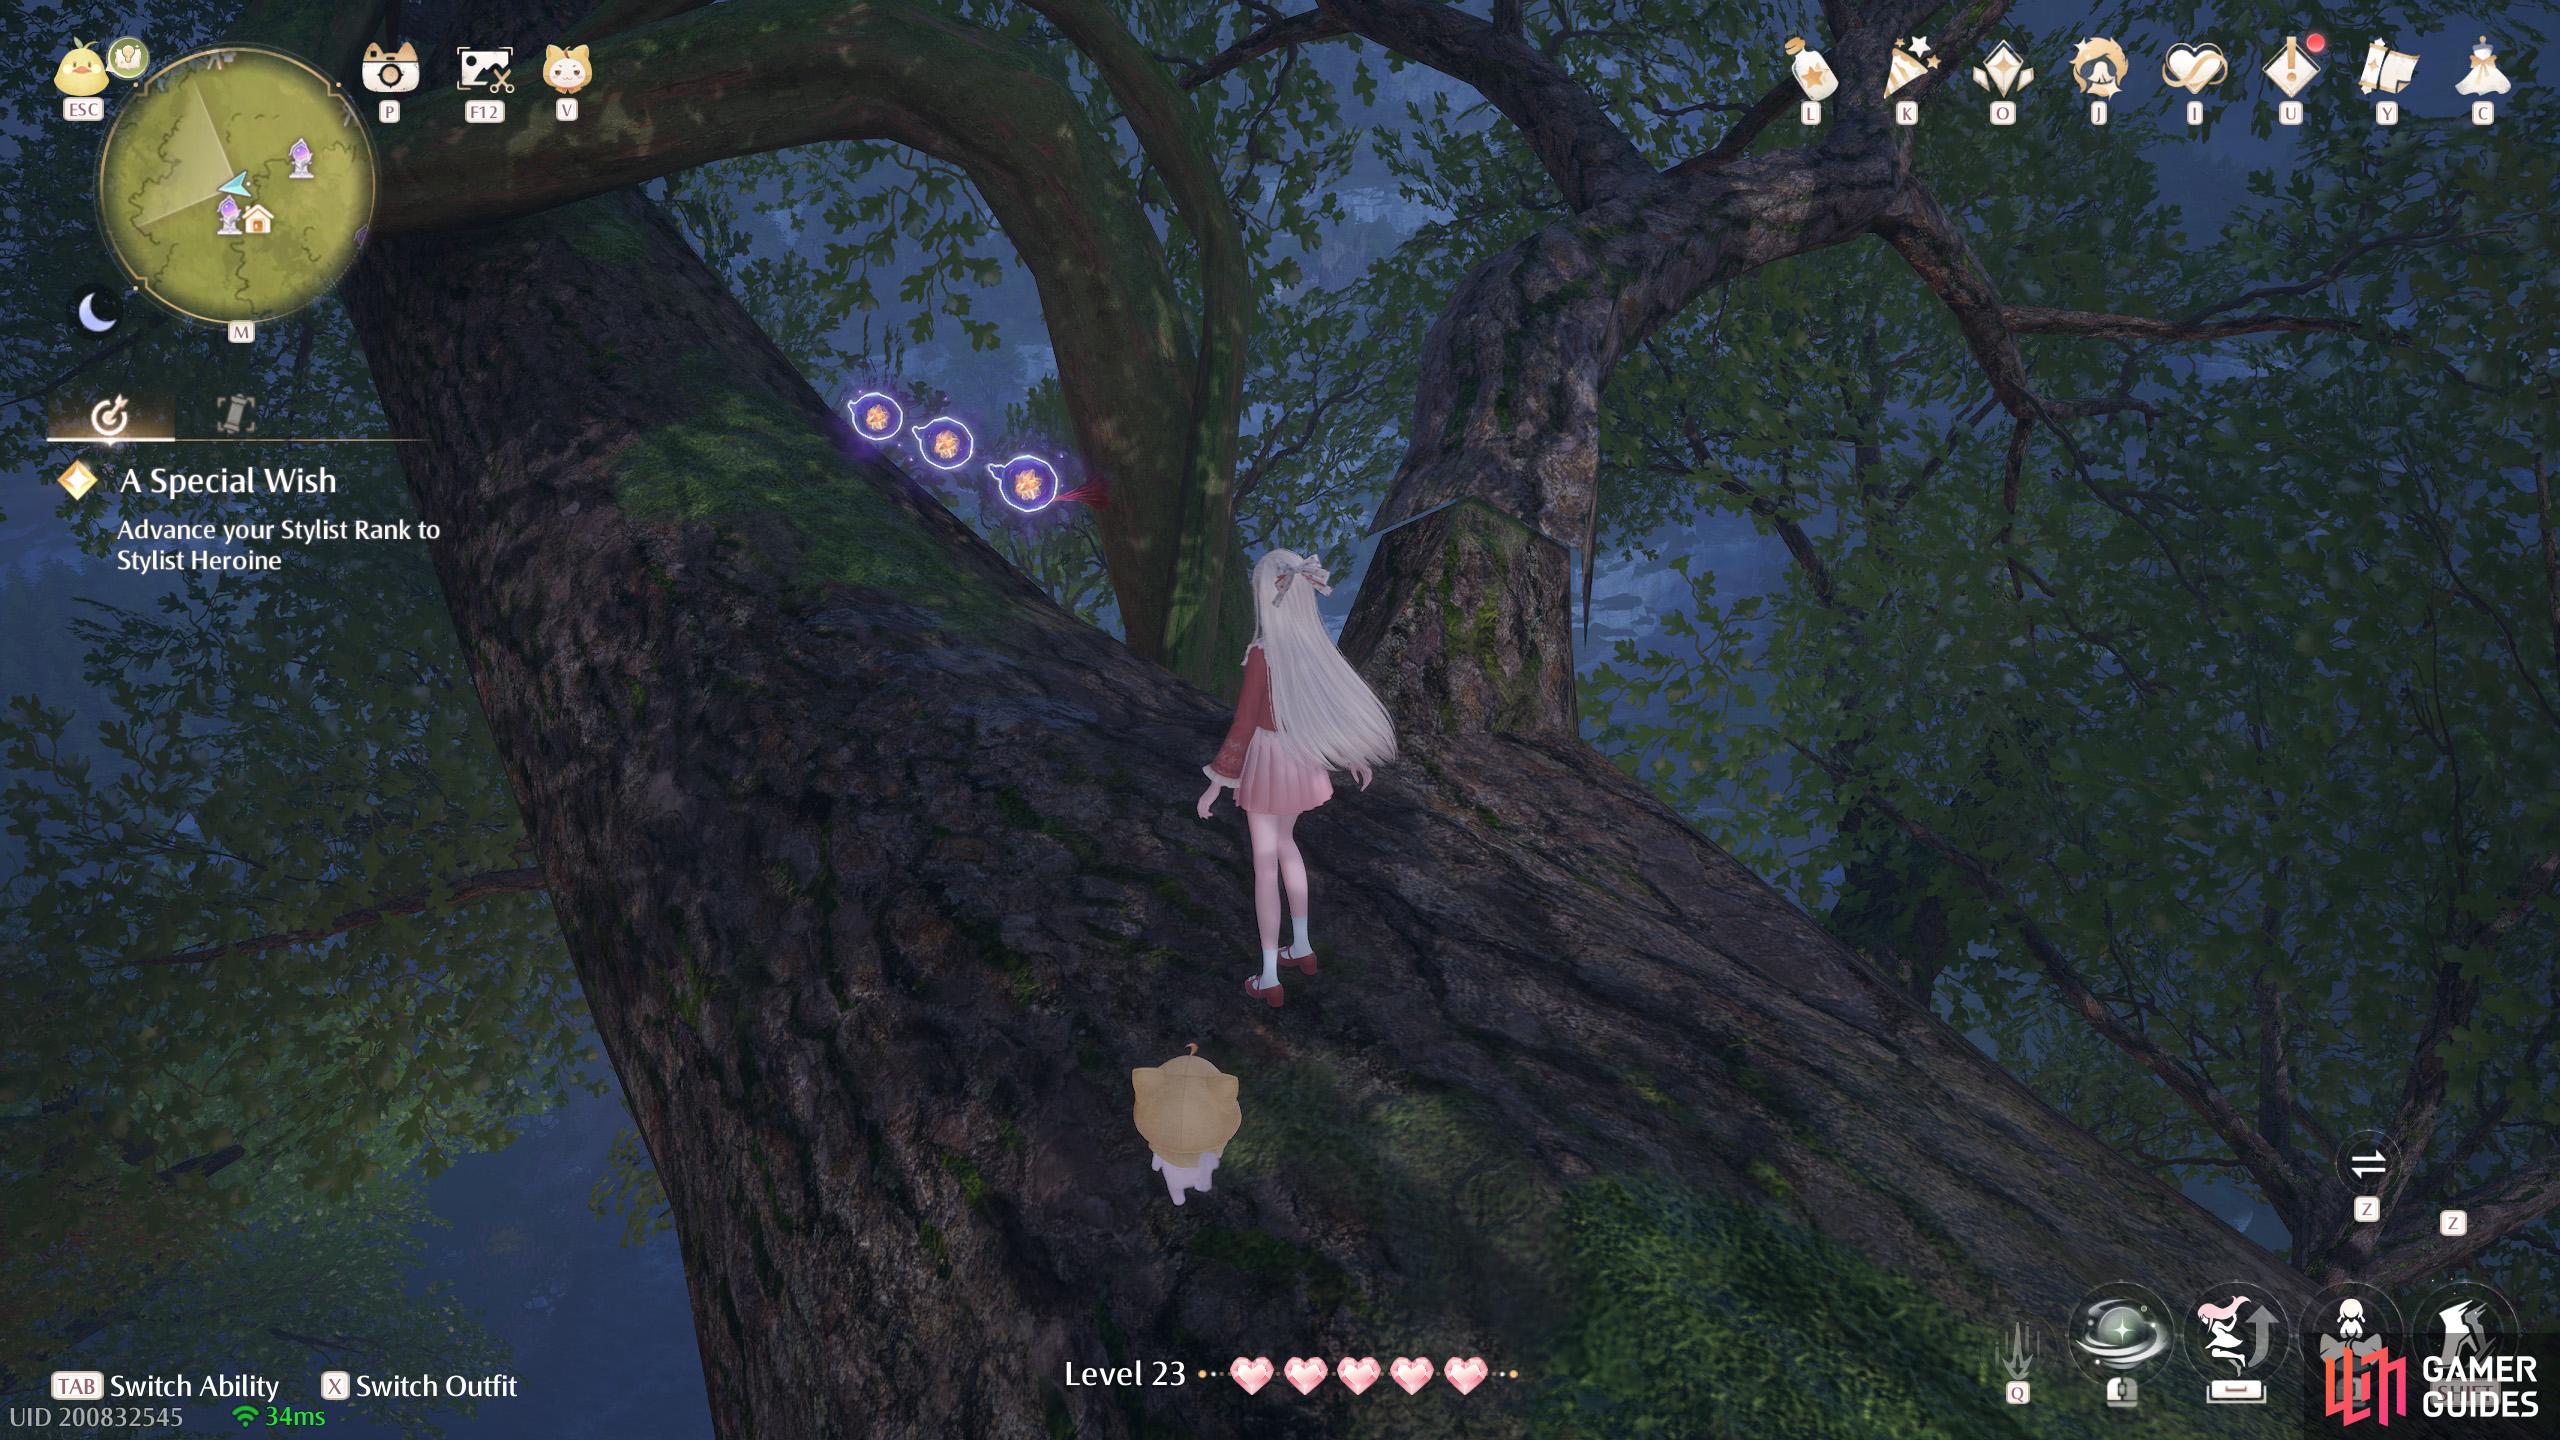
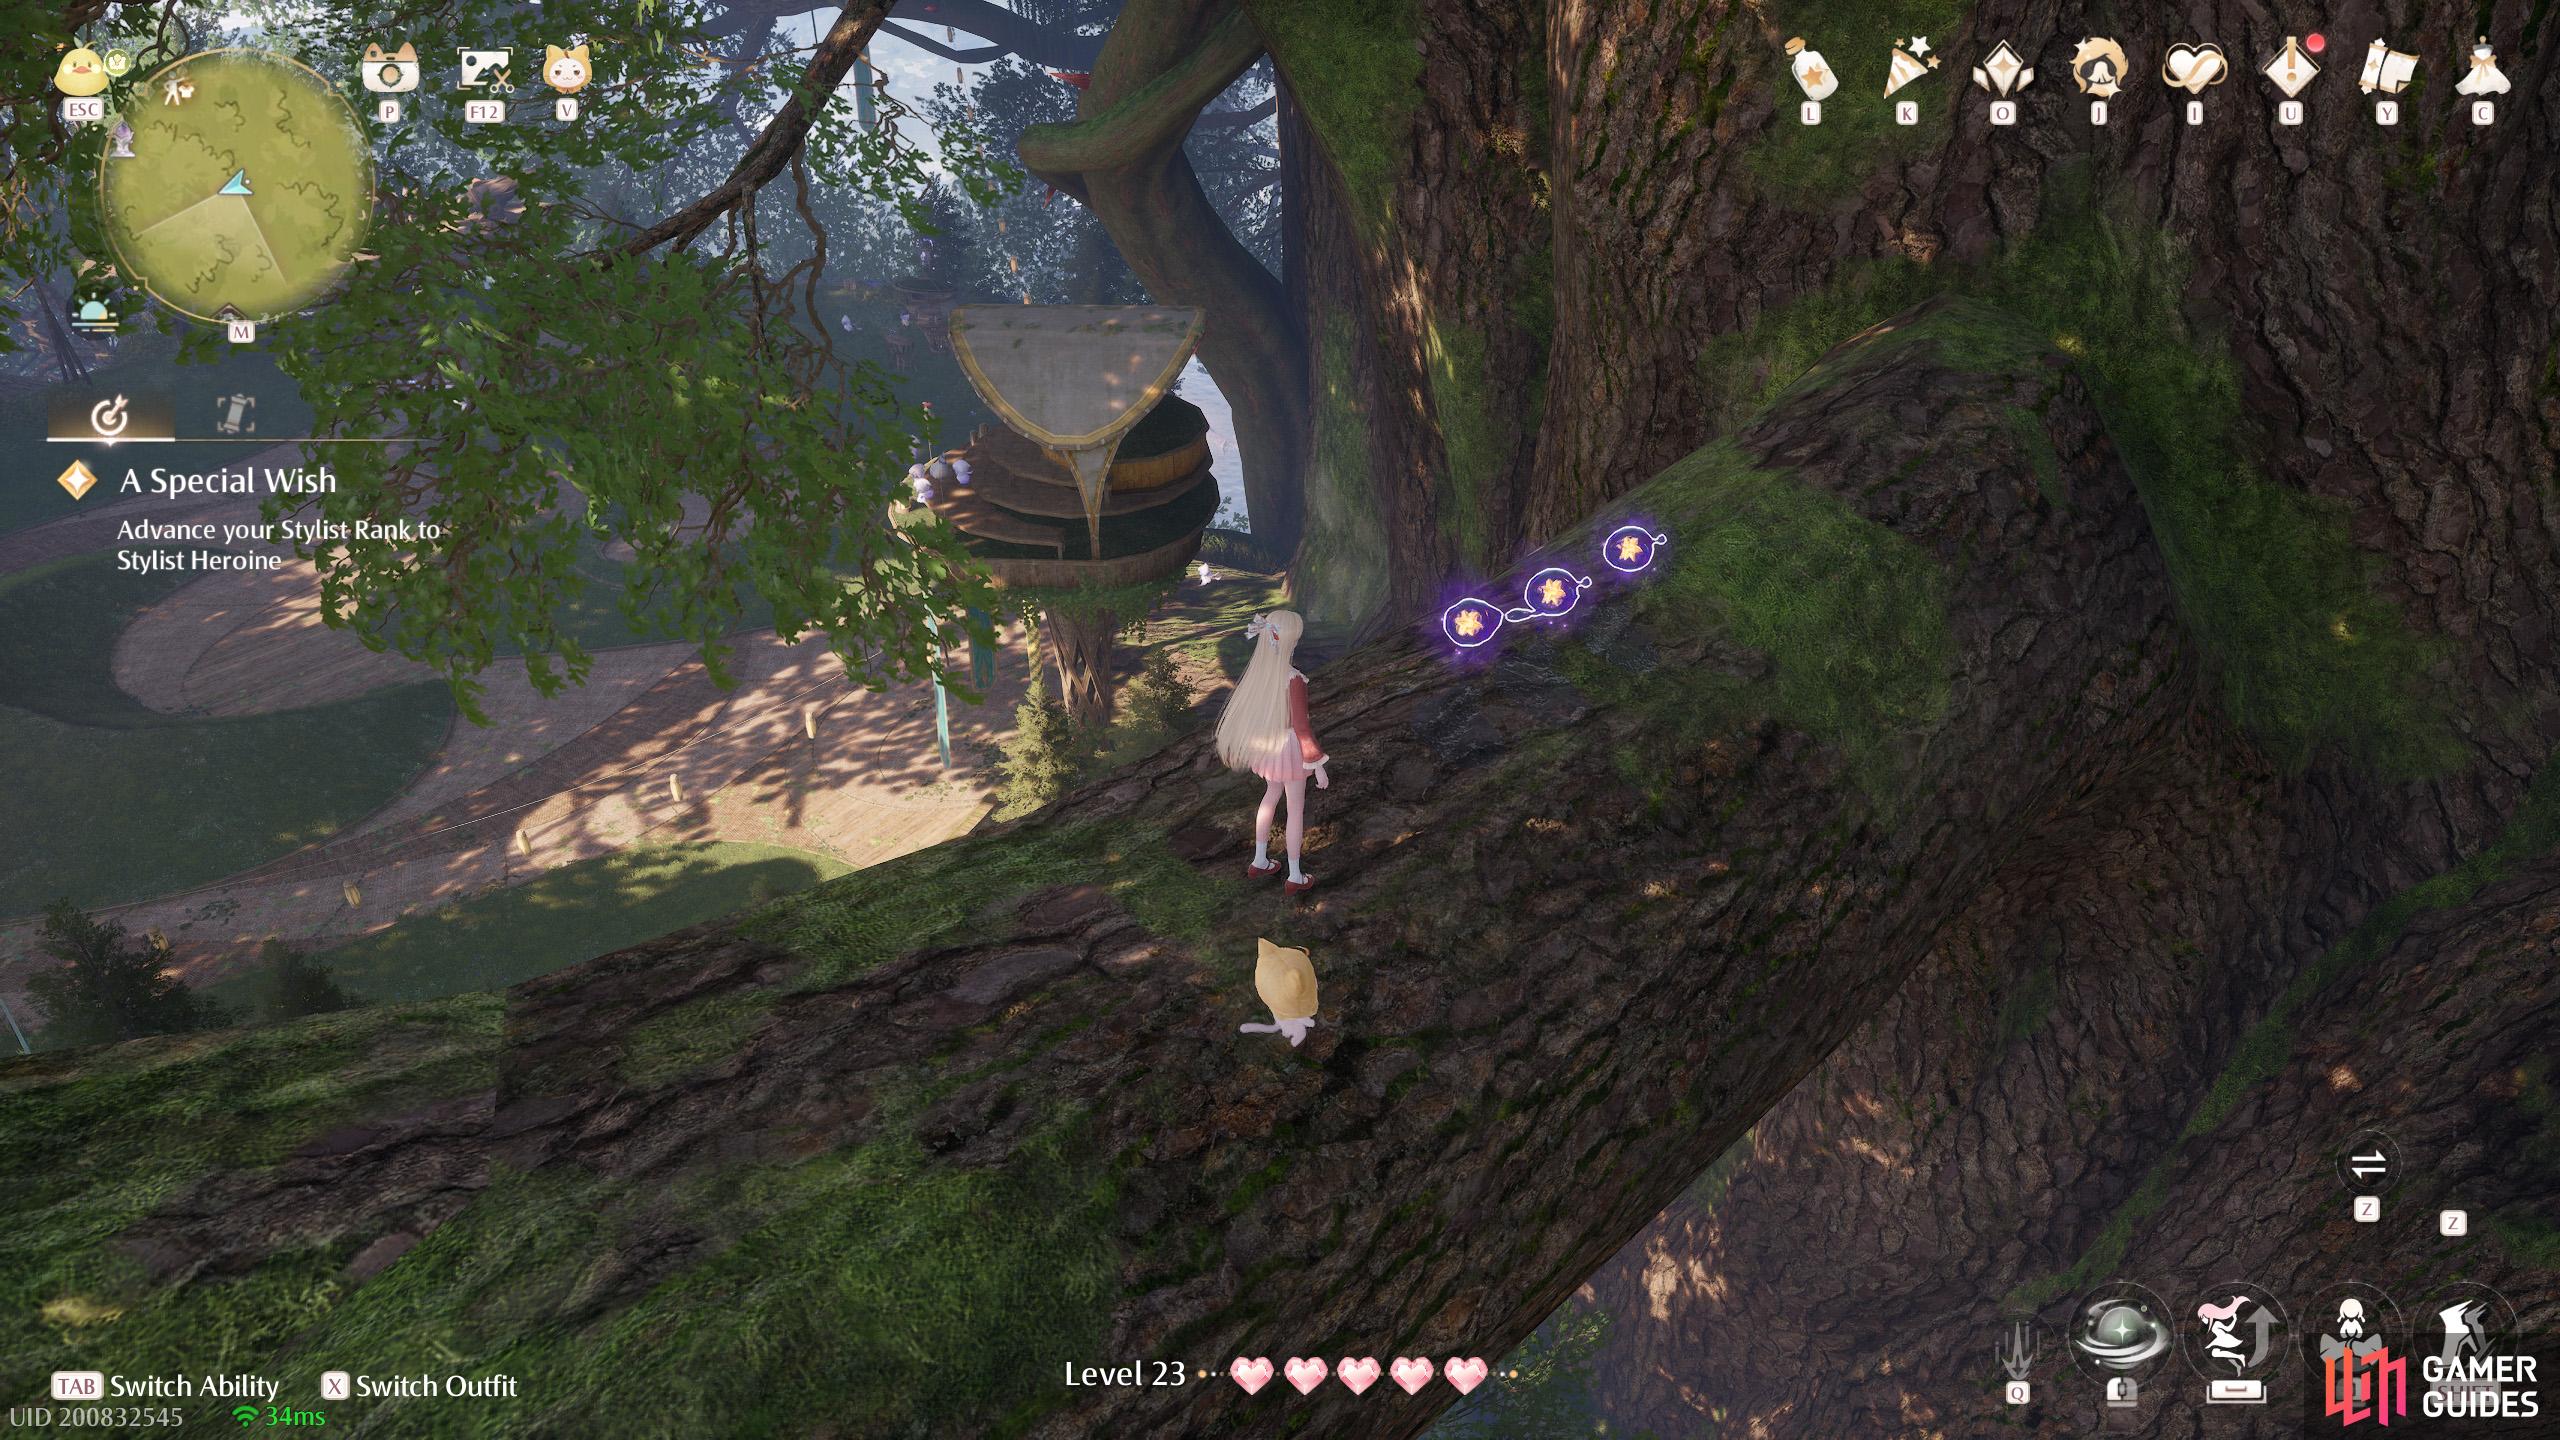
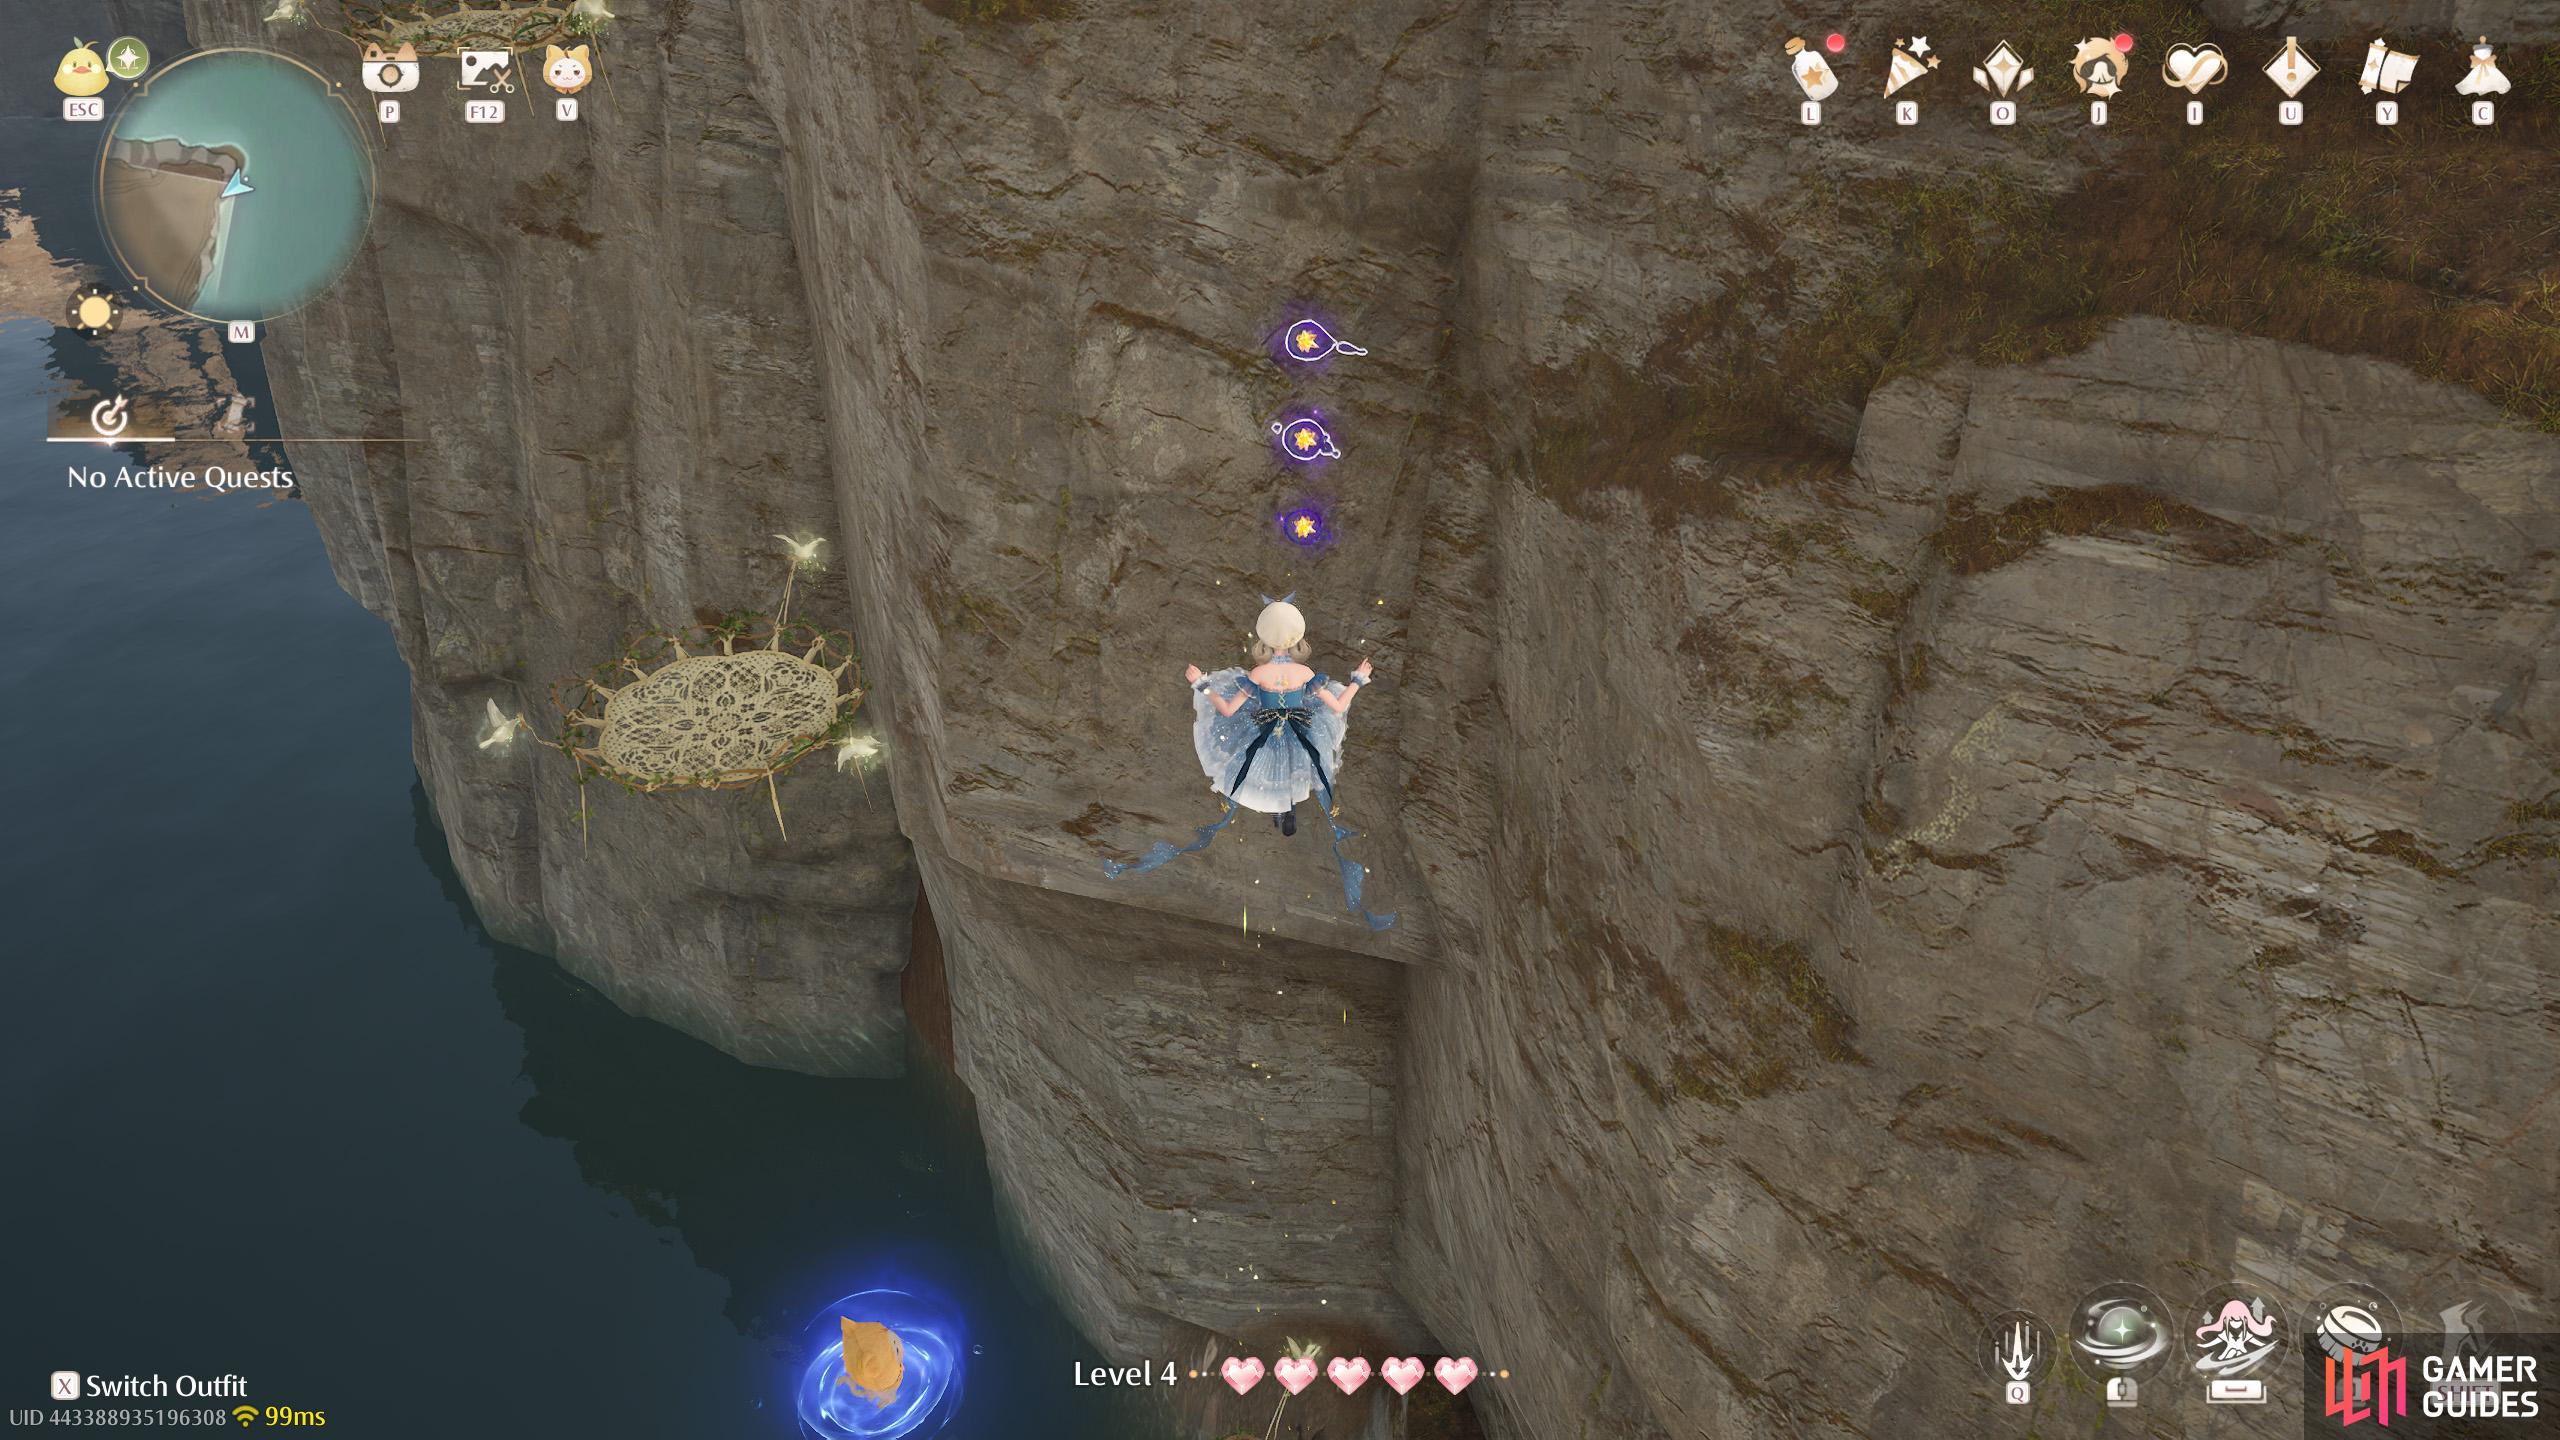
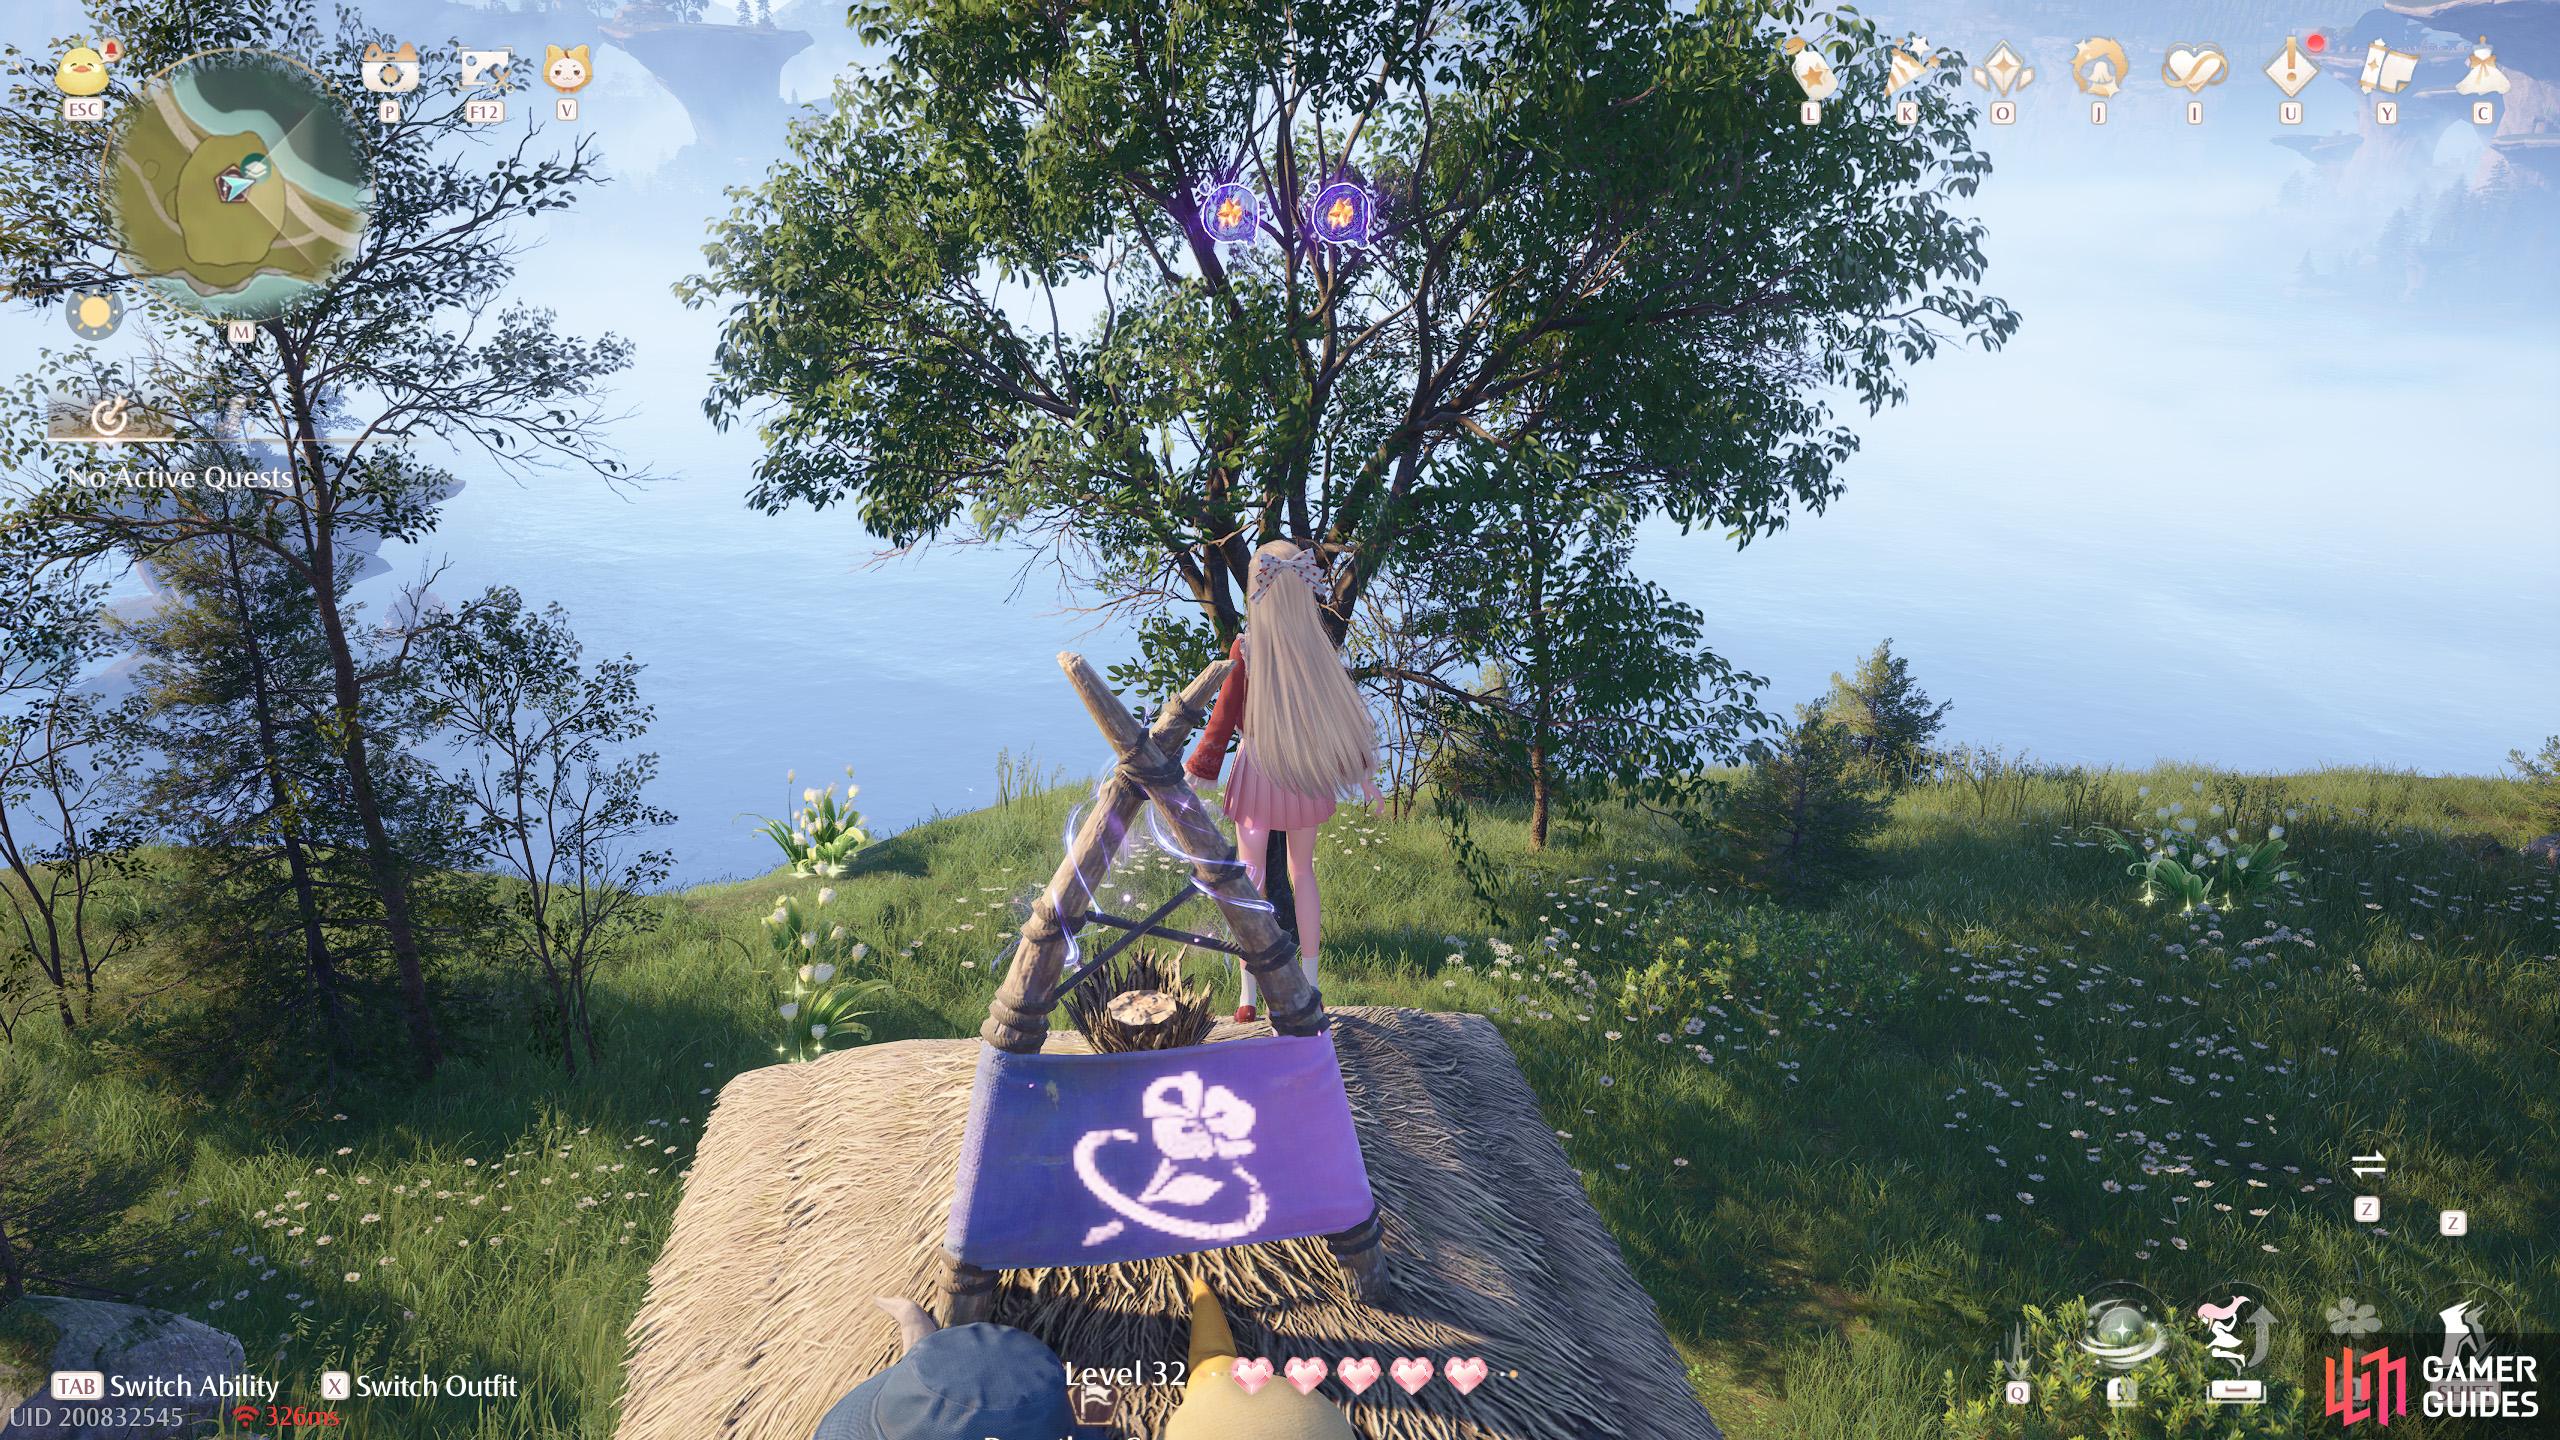
16. Miraland Map
Two near the very top of the ![]() Grand Millewish Tree. From the
Grand Millewish Tree. From the ![]() Garrison of the Paladins Warp Spire, head for the confetti cannon to the south, then climb up the nearby thick tree branch.
Garrison of the Paladins Warp Spire, head for the confetti cannon to the south, then climb up the nearby thick tree branch.
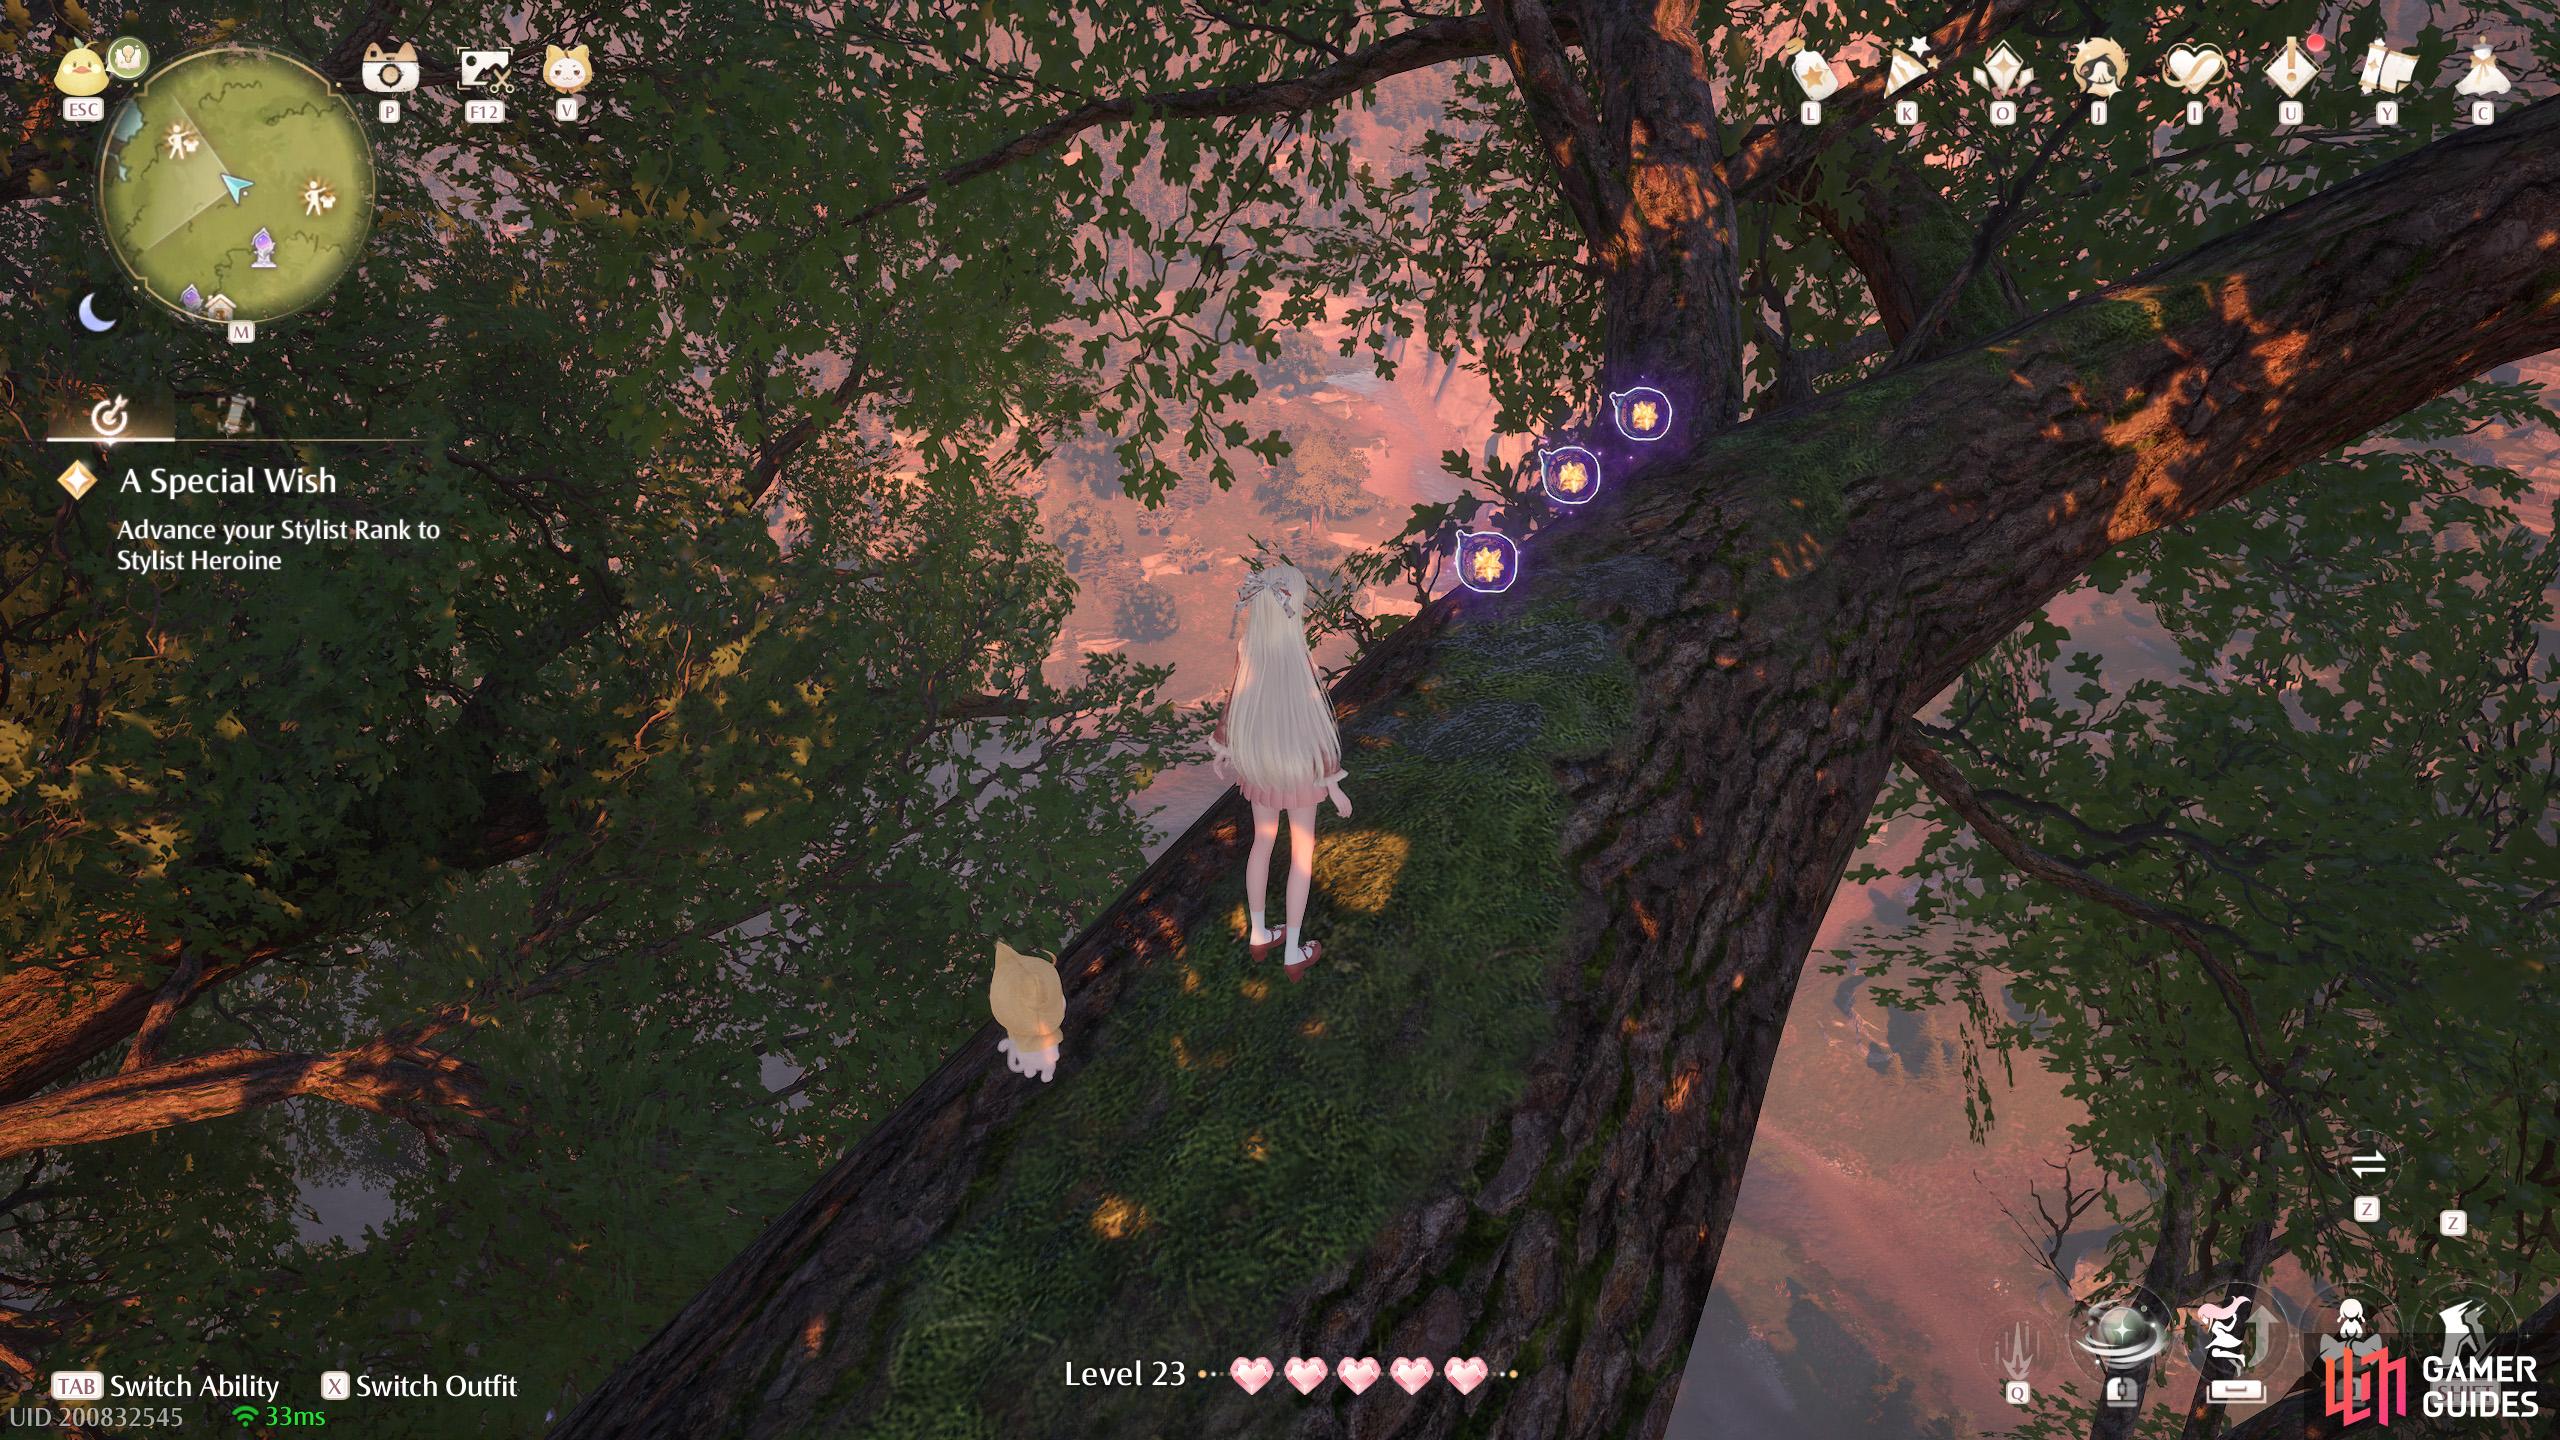
17. Miraland Map
Three near the very top of the ![]() Grand Millewish Tree. From the
Grand Millewish Tree. From the ![]() Garrison of the Paladins Warp Spire, head for the south-east corner where the scarecrows are stored. Then look for a thin tree branch nearby.
Garrison of the Paladins Warp Spire, head for the south-east corner where the scarecrows are stored. Then look for a thin tree branch nearby.

19. Miraland Map
Two inside the ![]() Ruins of the Guardians, around the corner after the final Iron Squirrel statue.
Ruins of the Guardians, around the corner after the final Iron Squirrel statue.
20. Miraland Map
Two high up in the air near the south-east corner of the ![]() Ruins of the Guardians.
Ruins of the Guardians.
22. Miraland Map
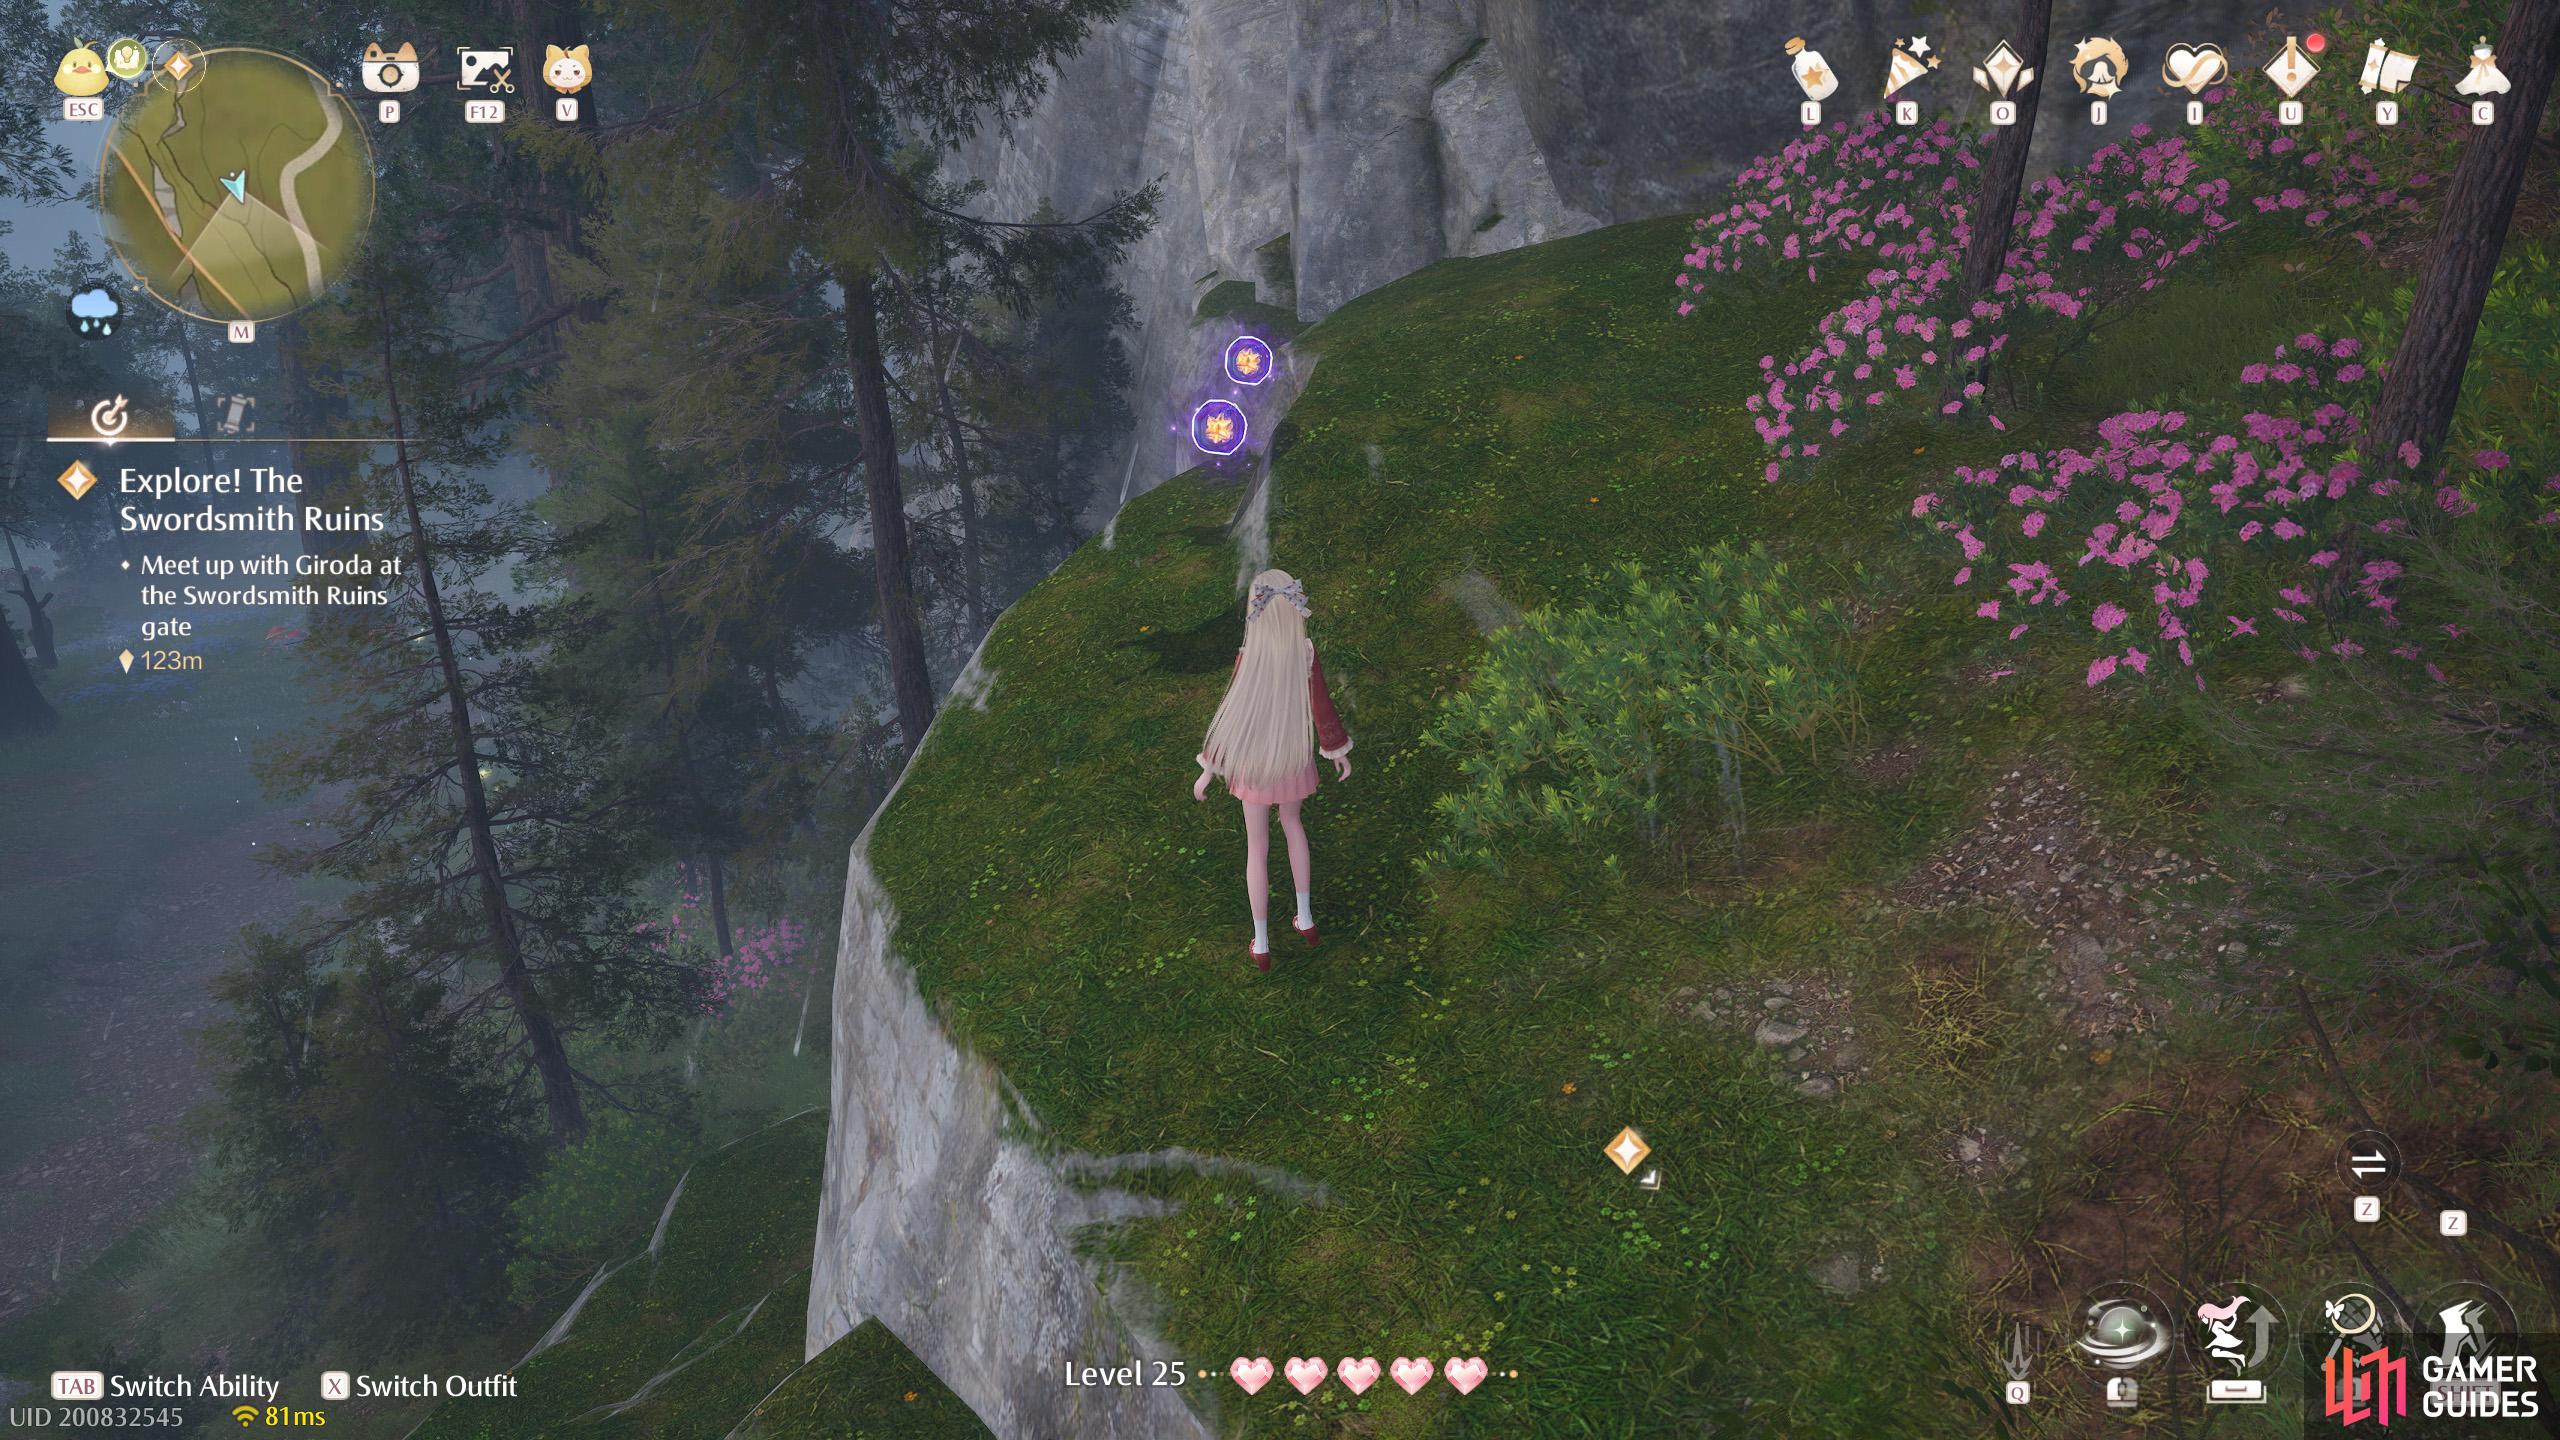
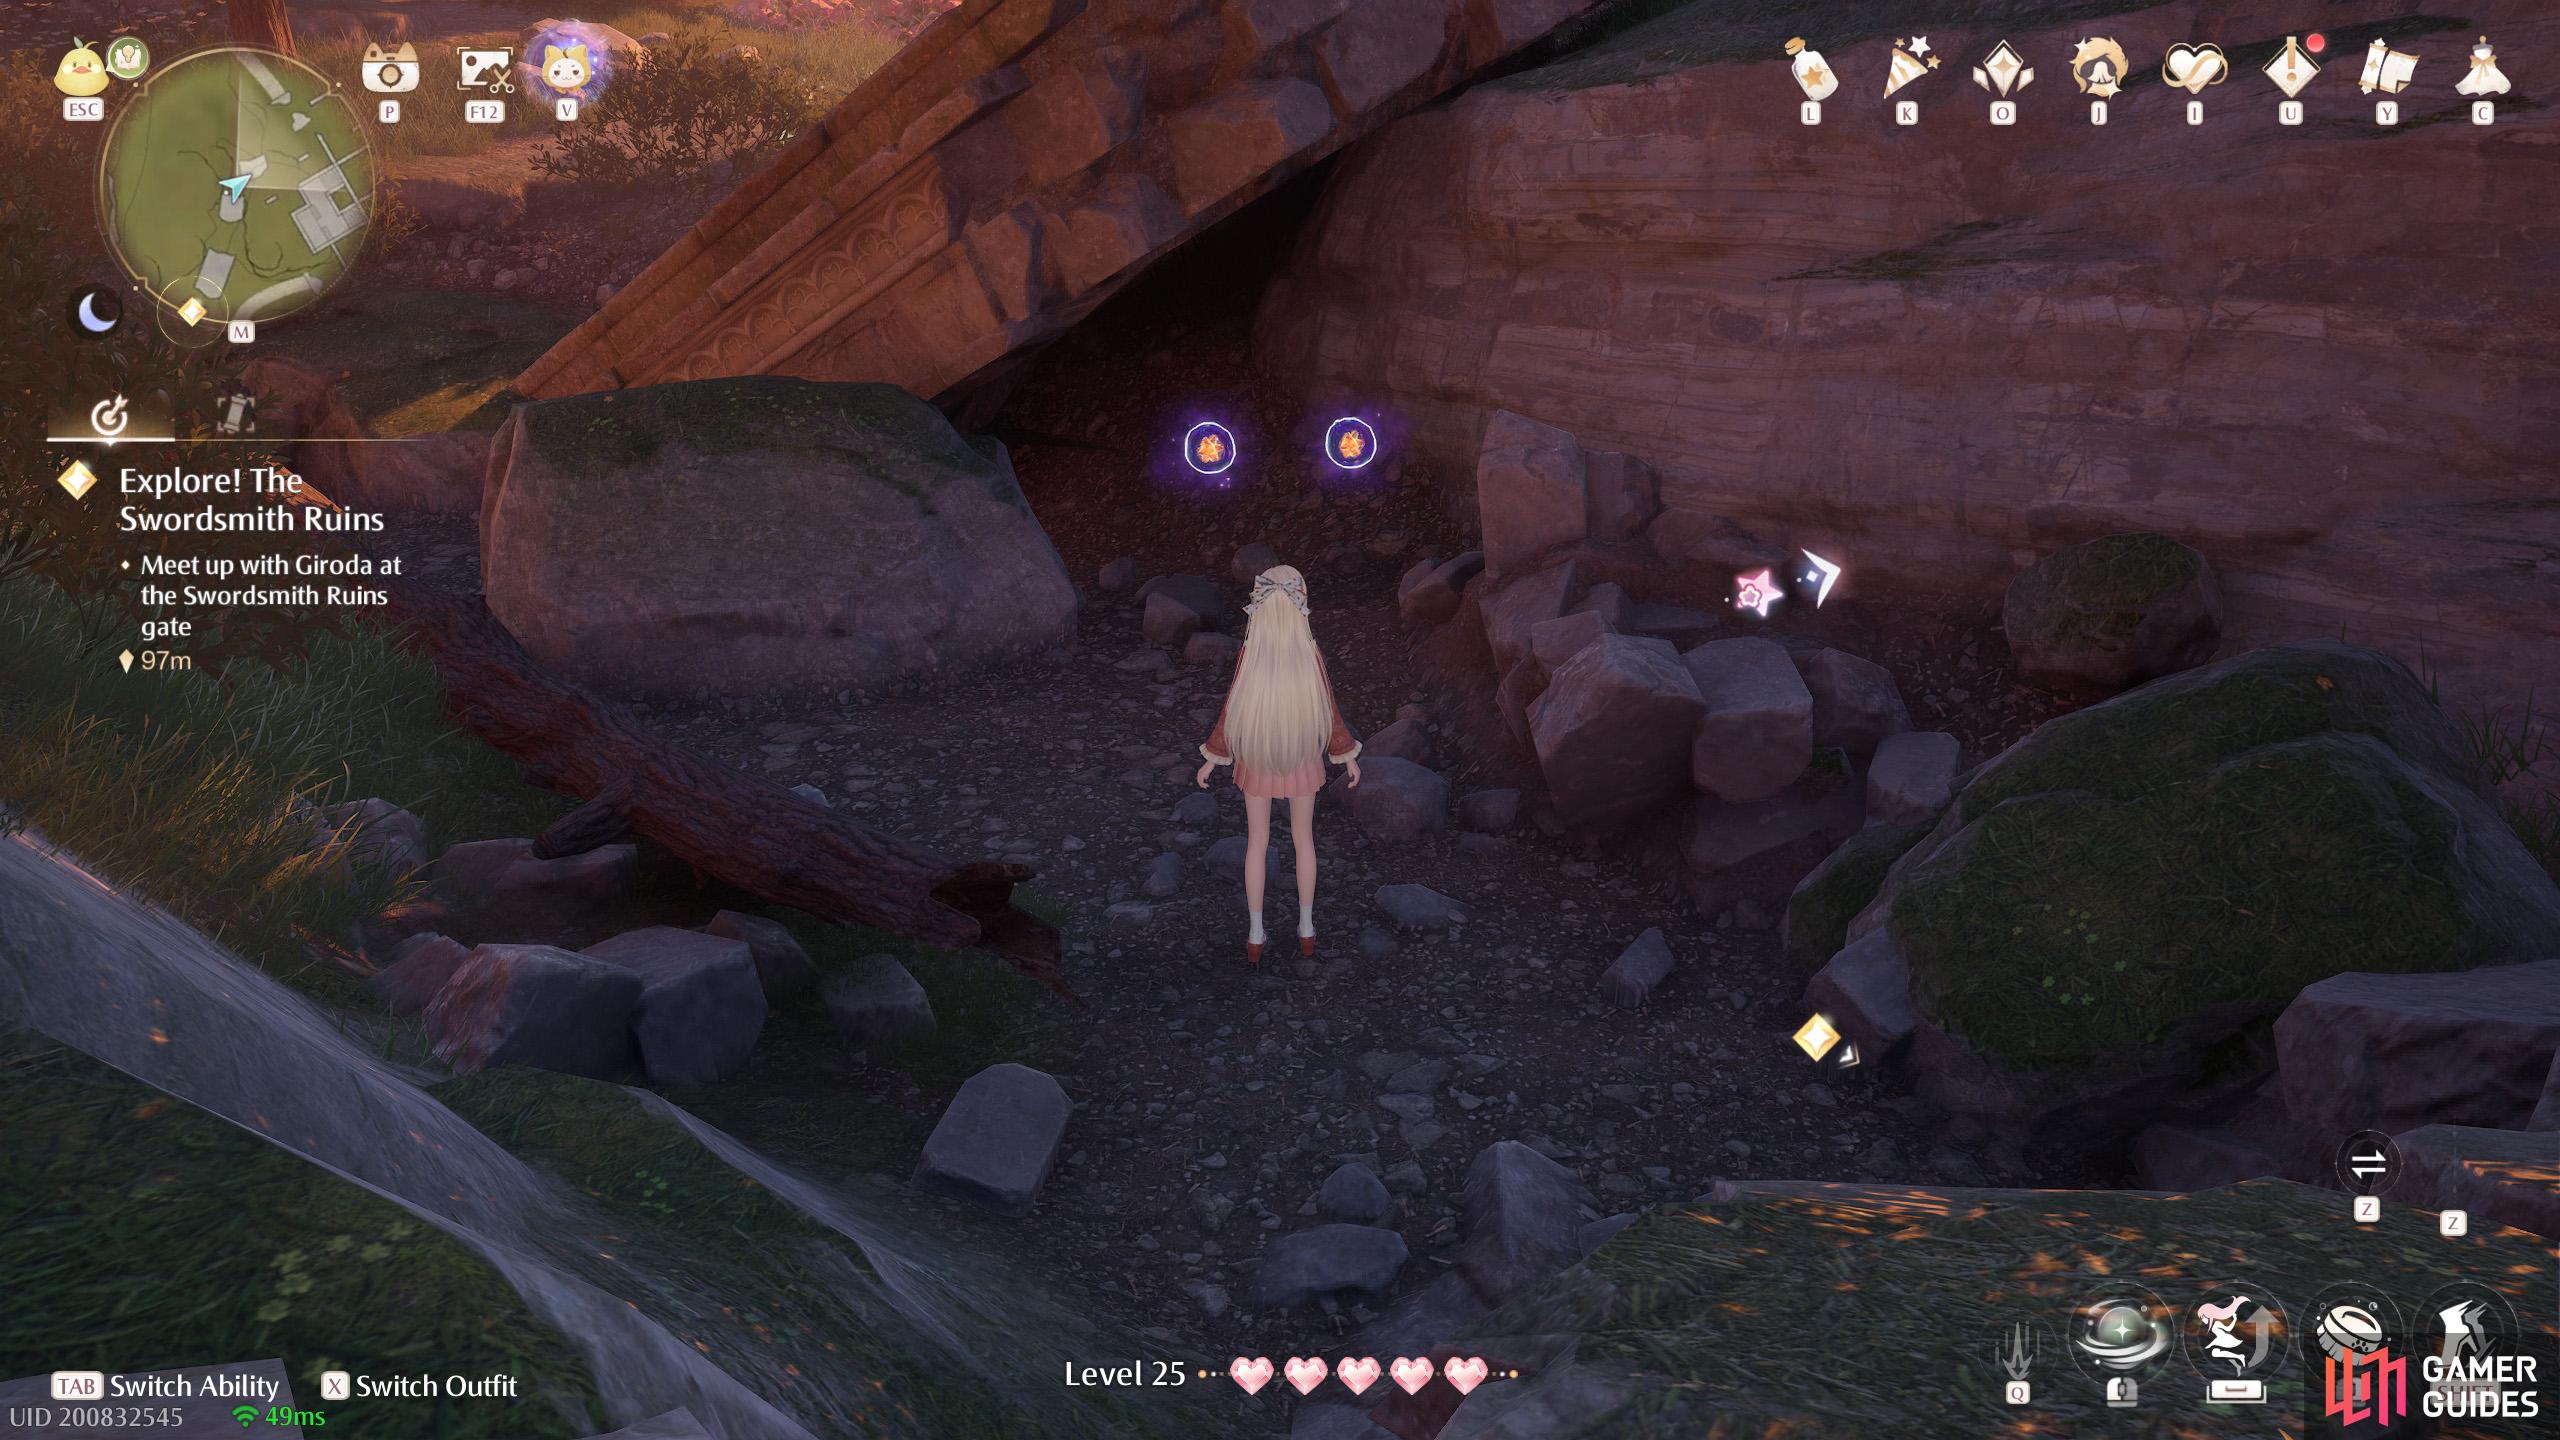
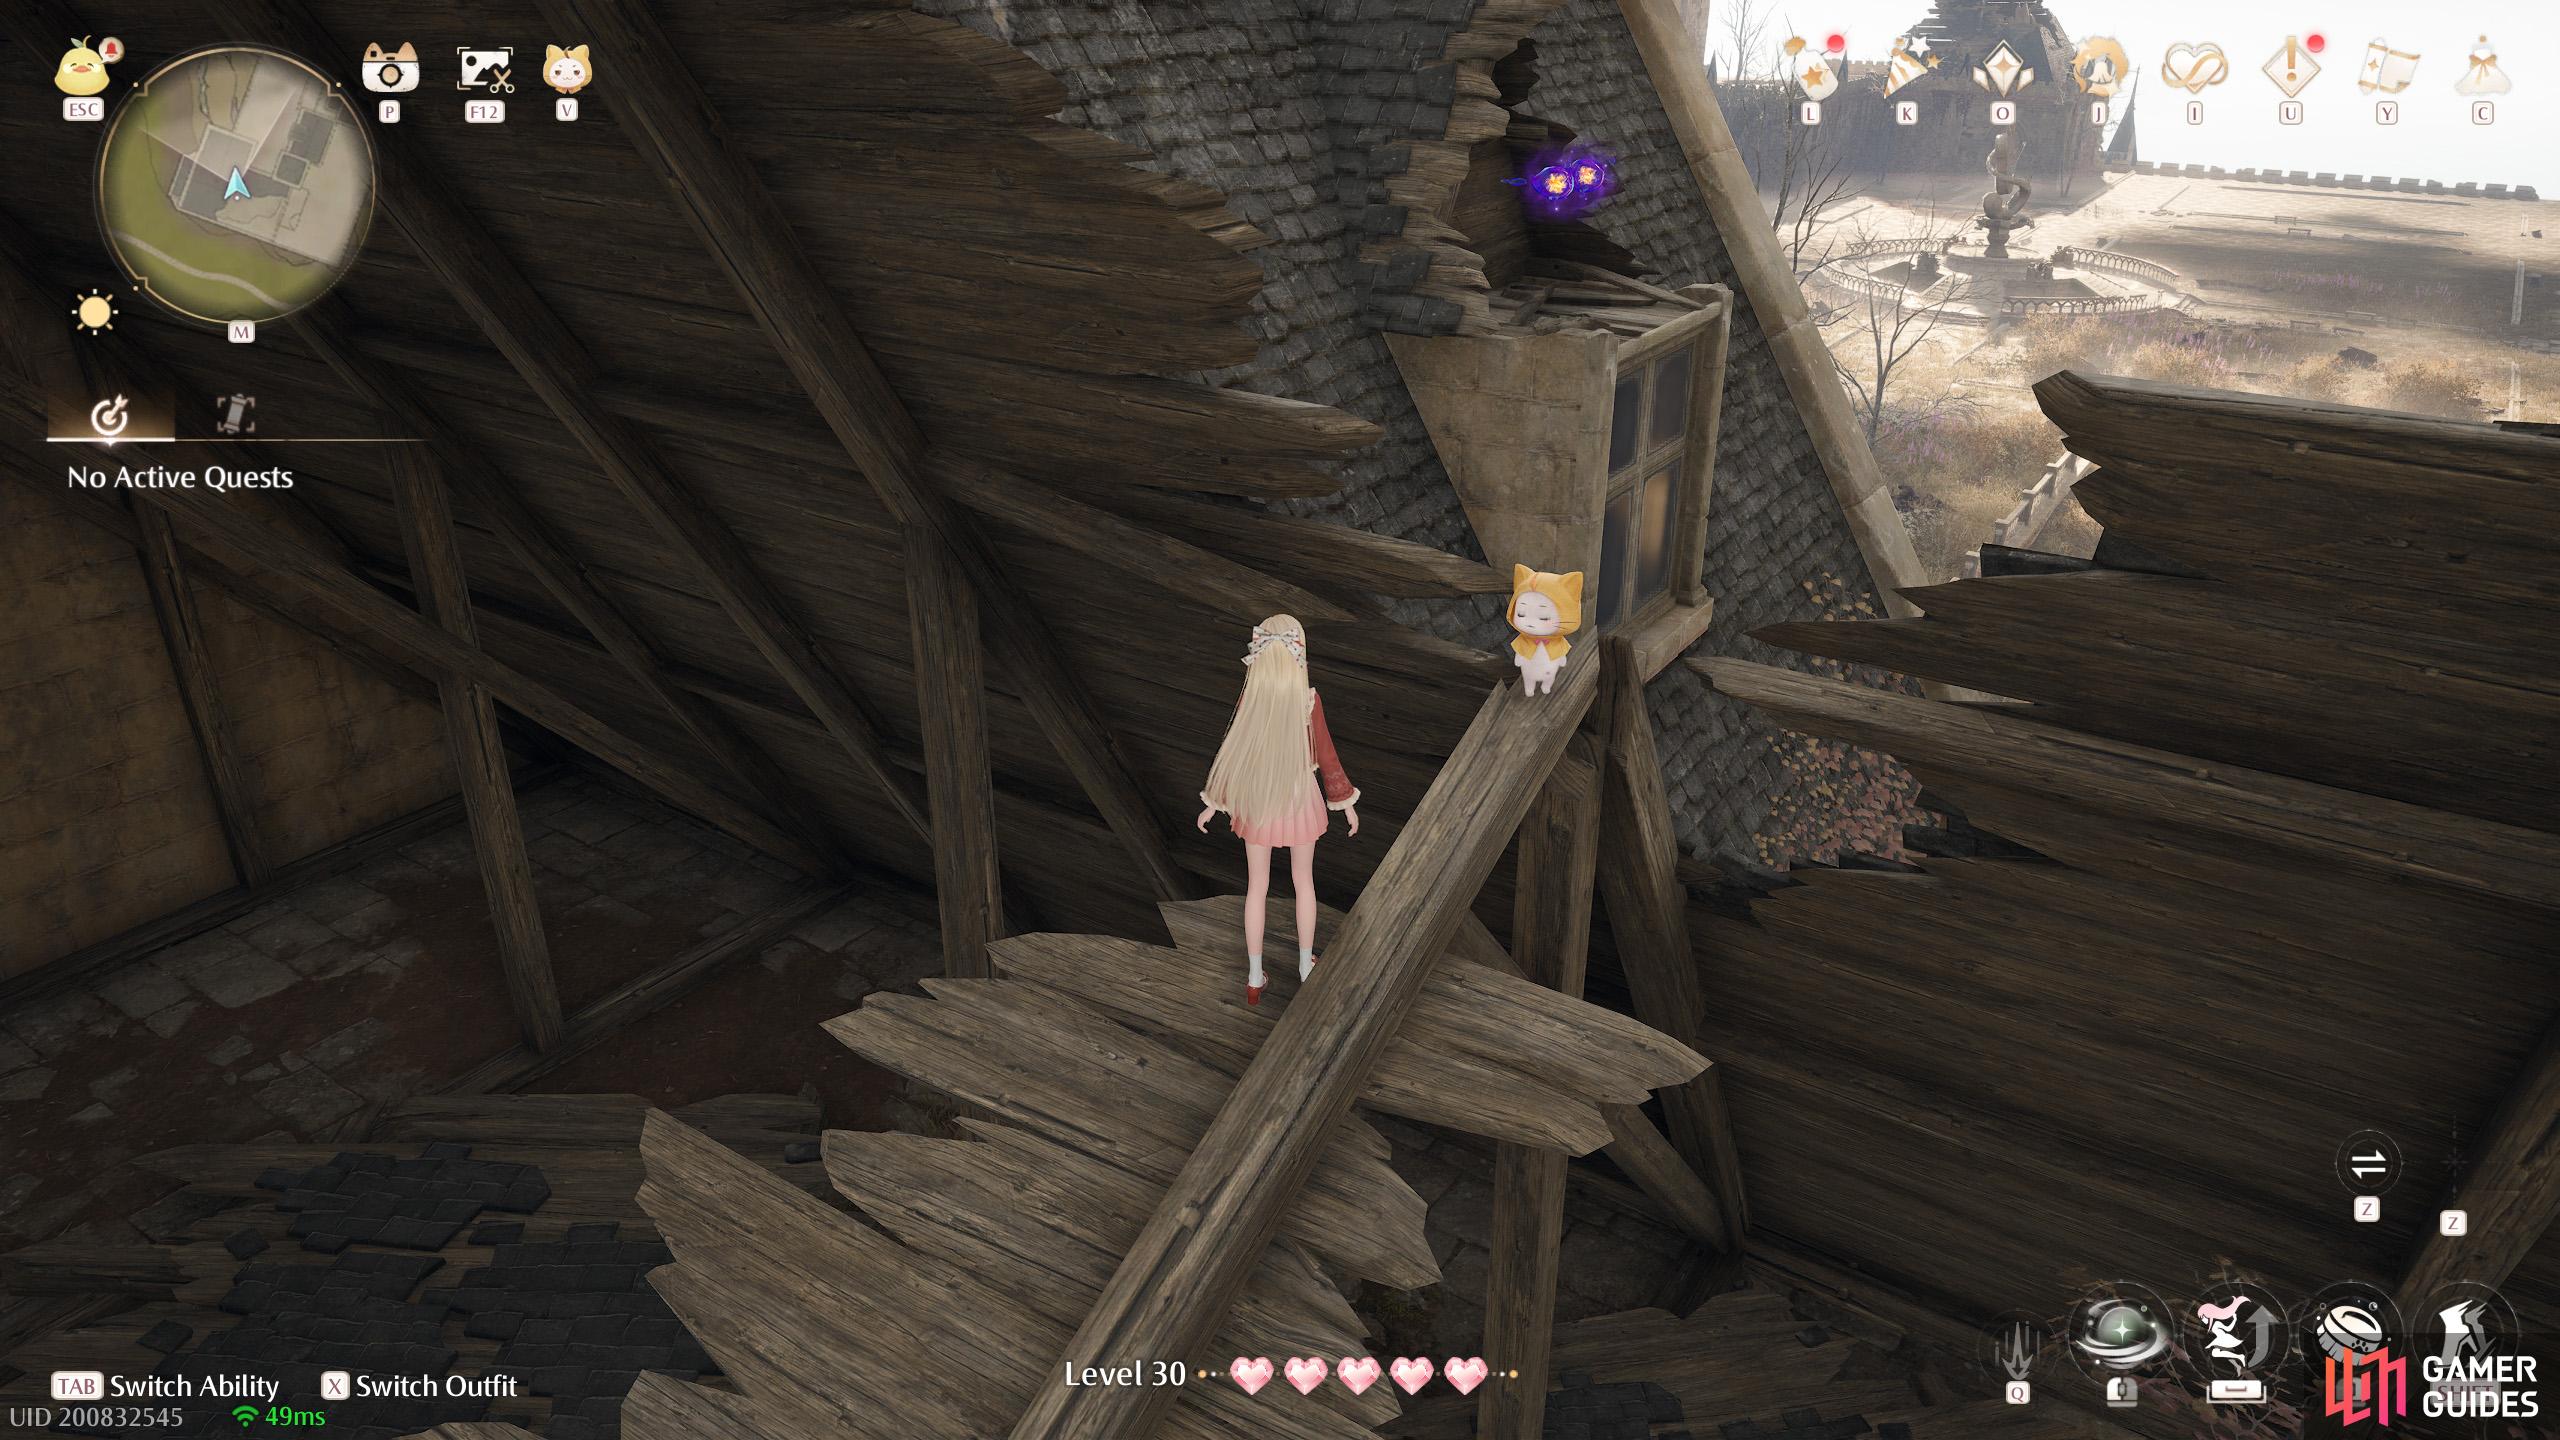
At the top level of the Swordsmith Ruins (exterior), floating high up. There’s a leaf trampoline around the west side.
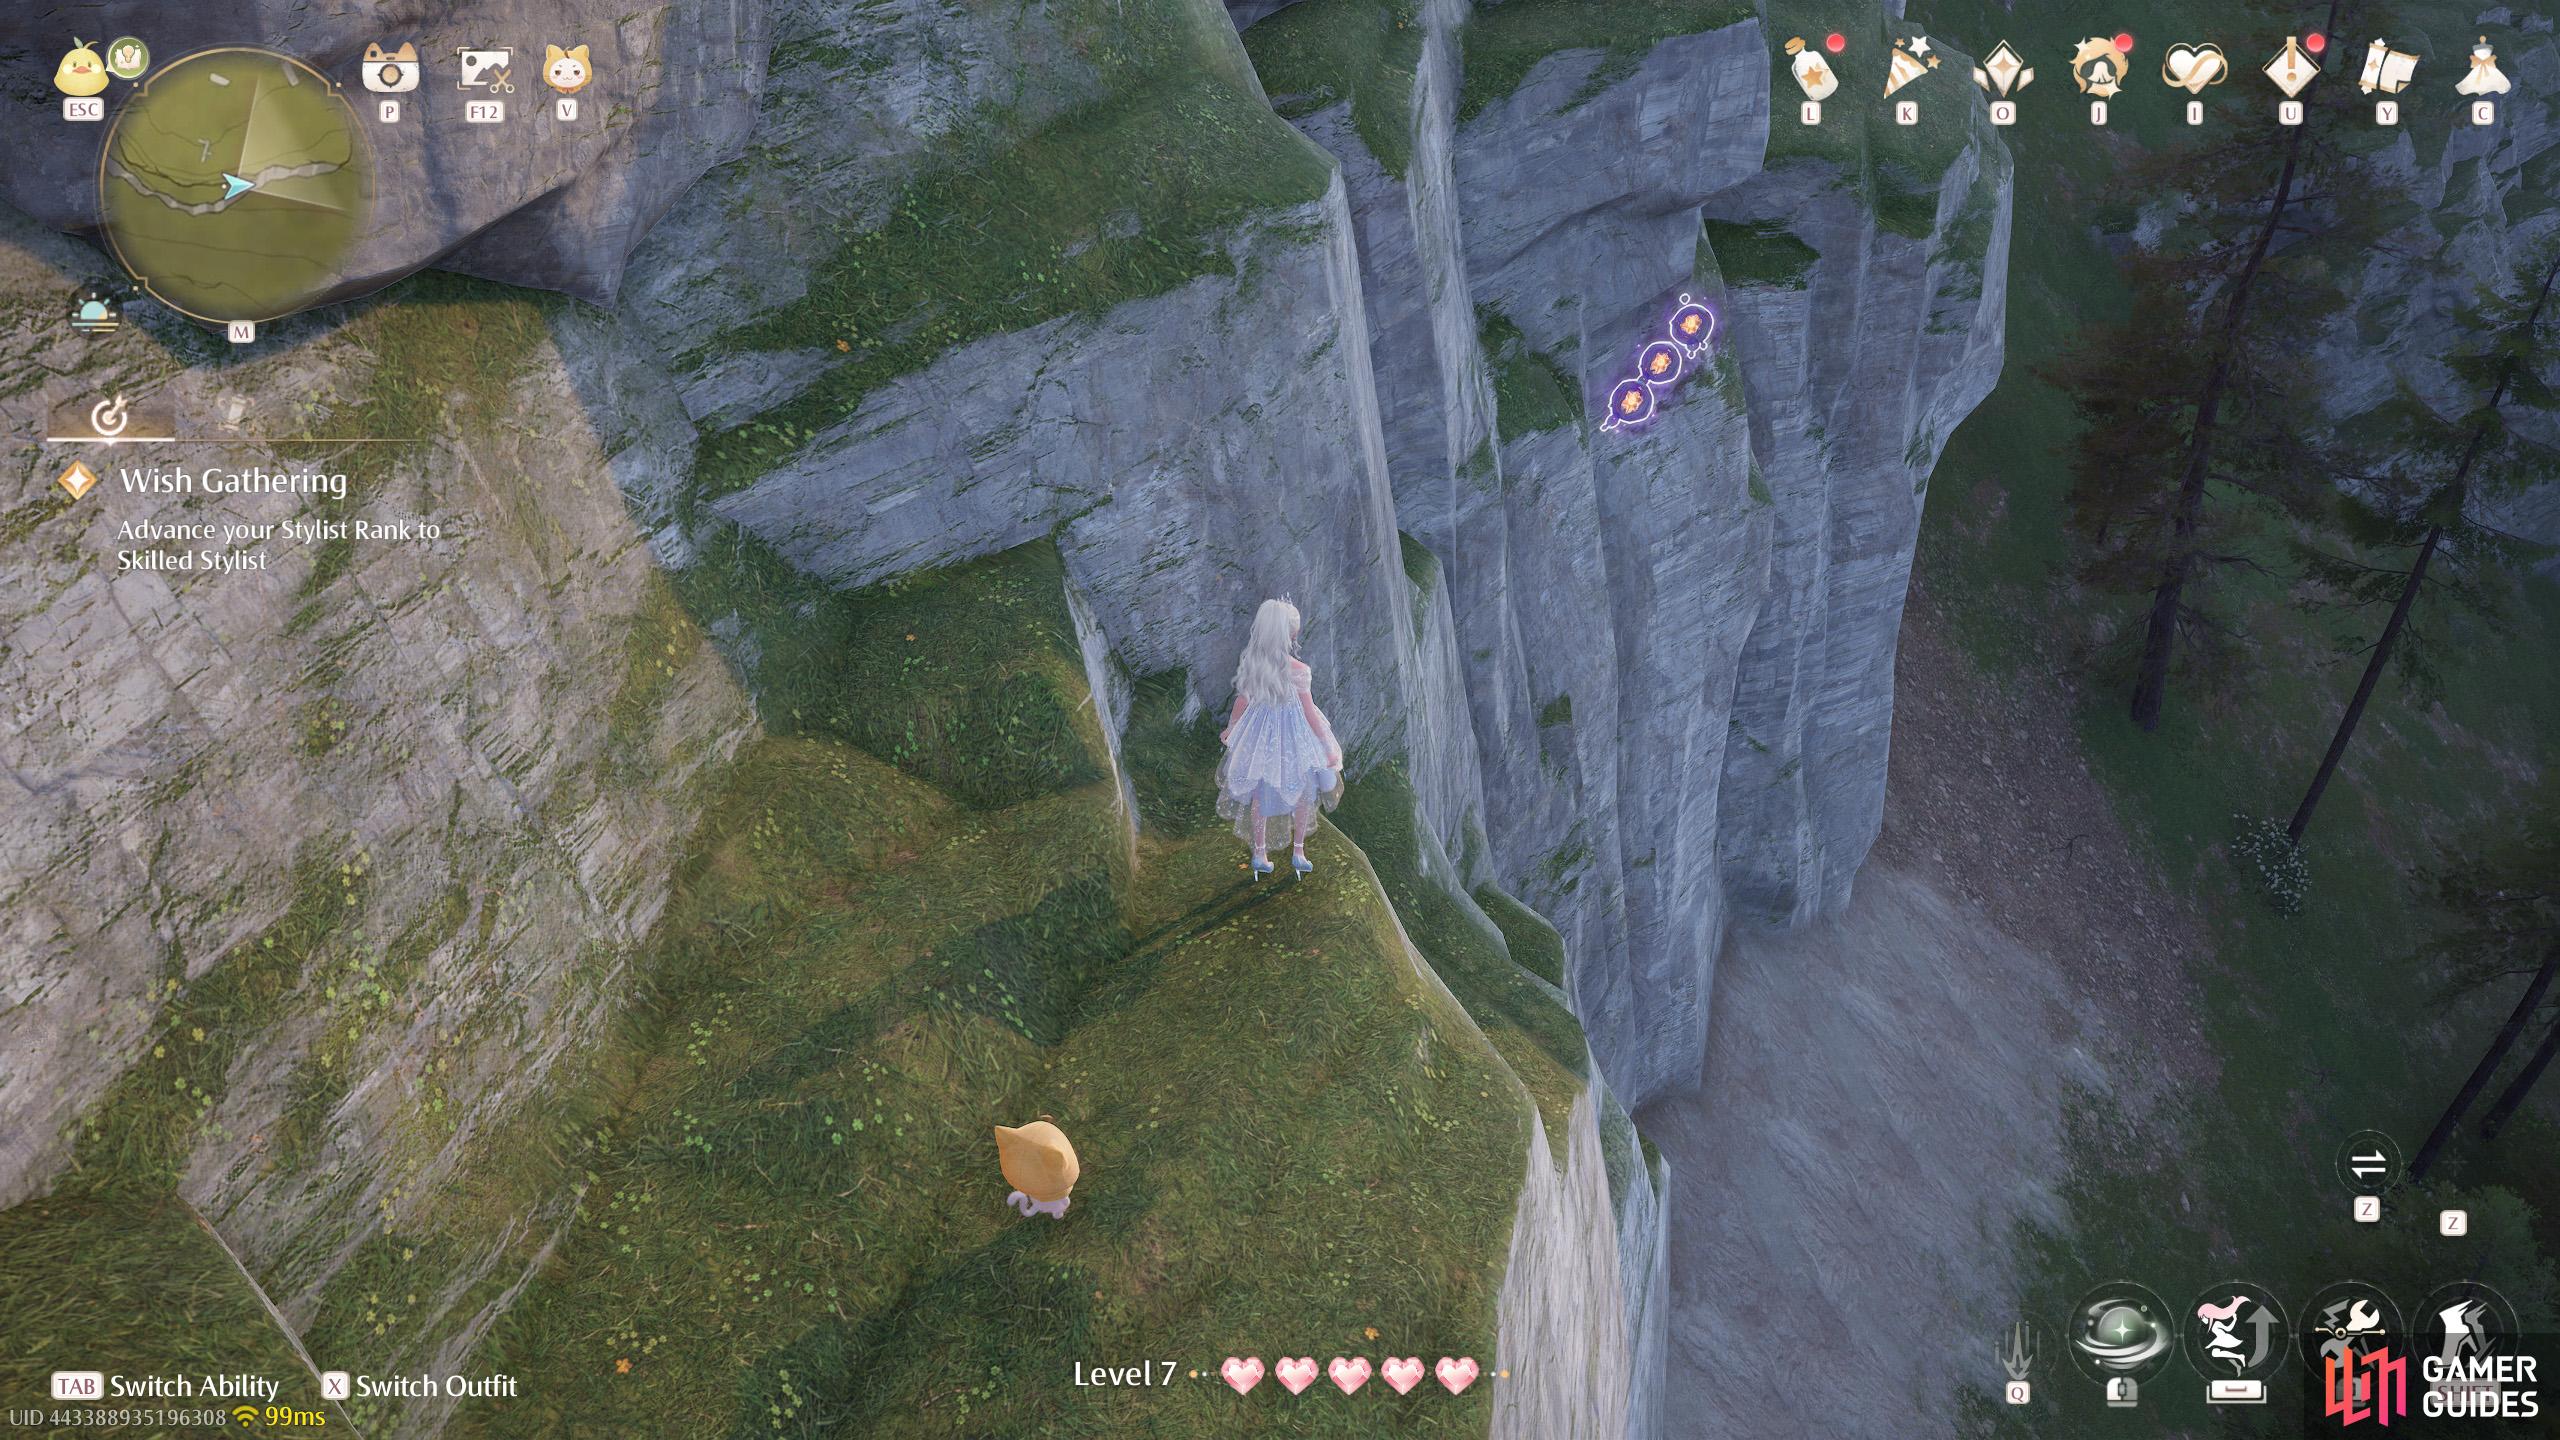
23. Miraland Map
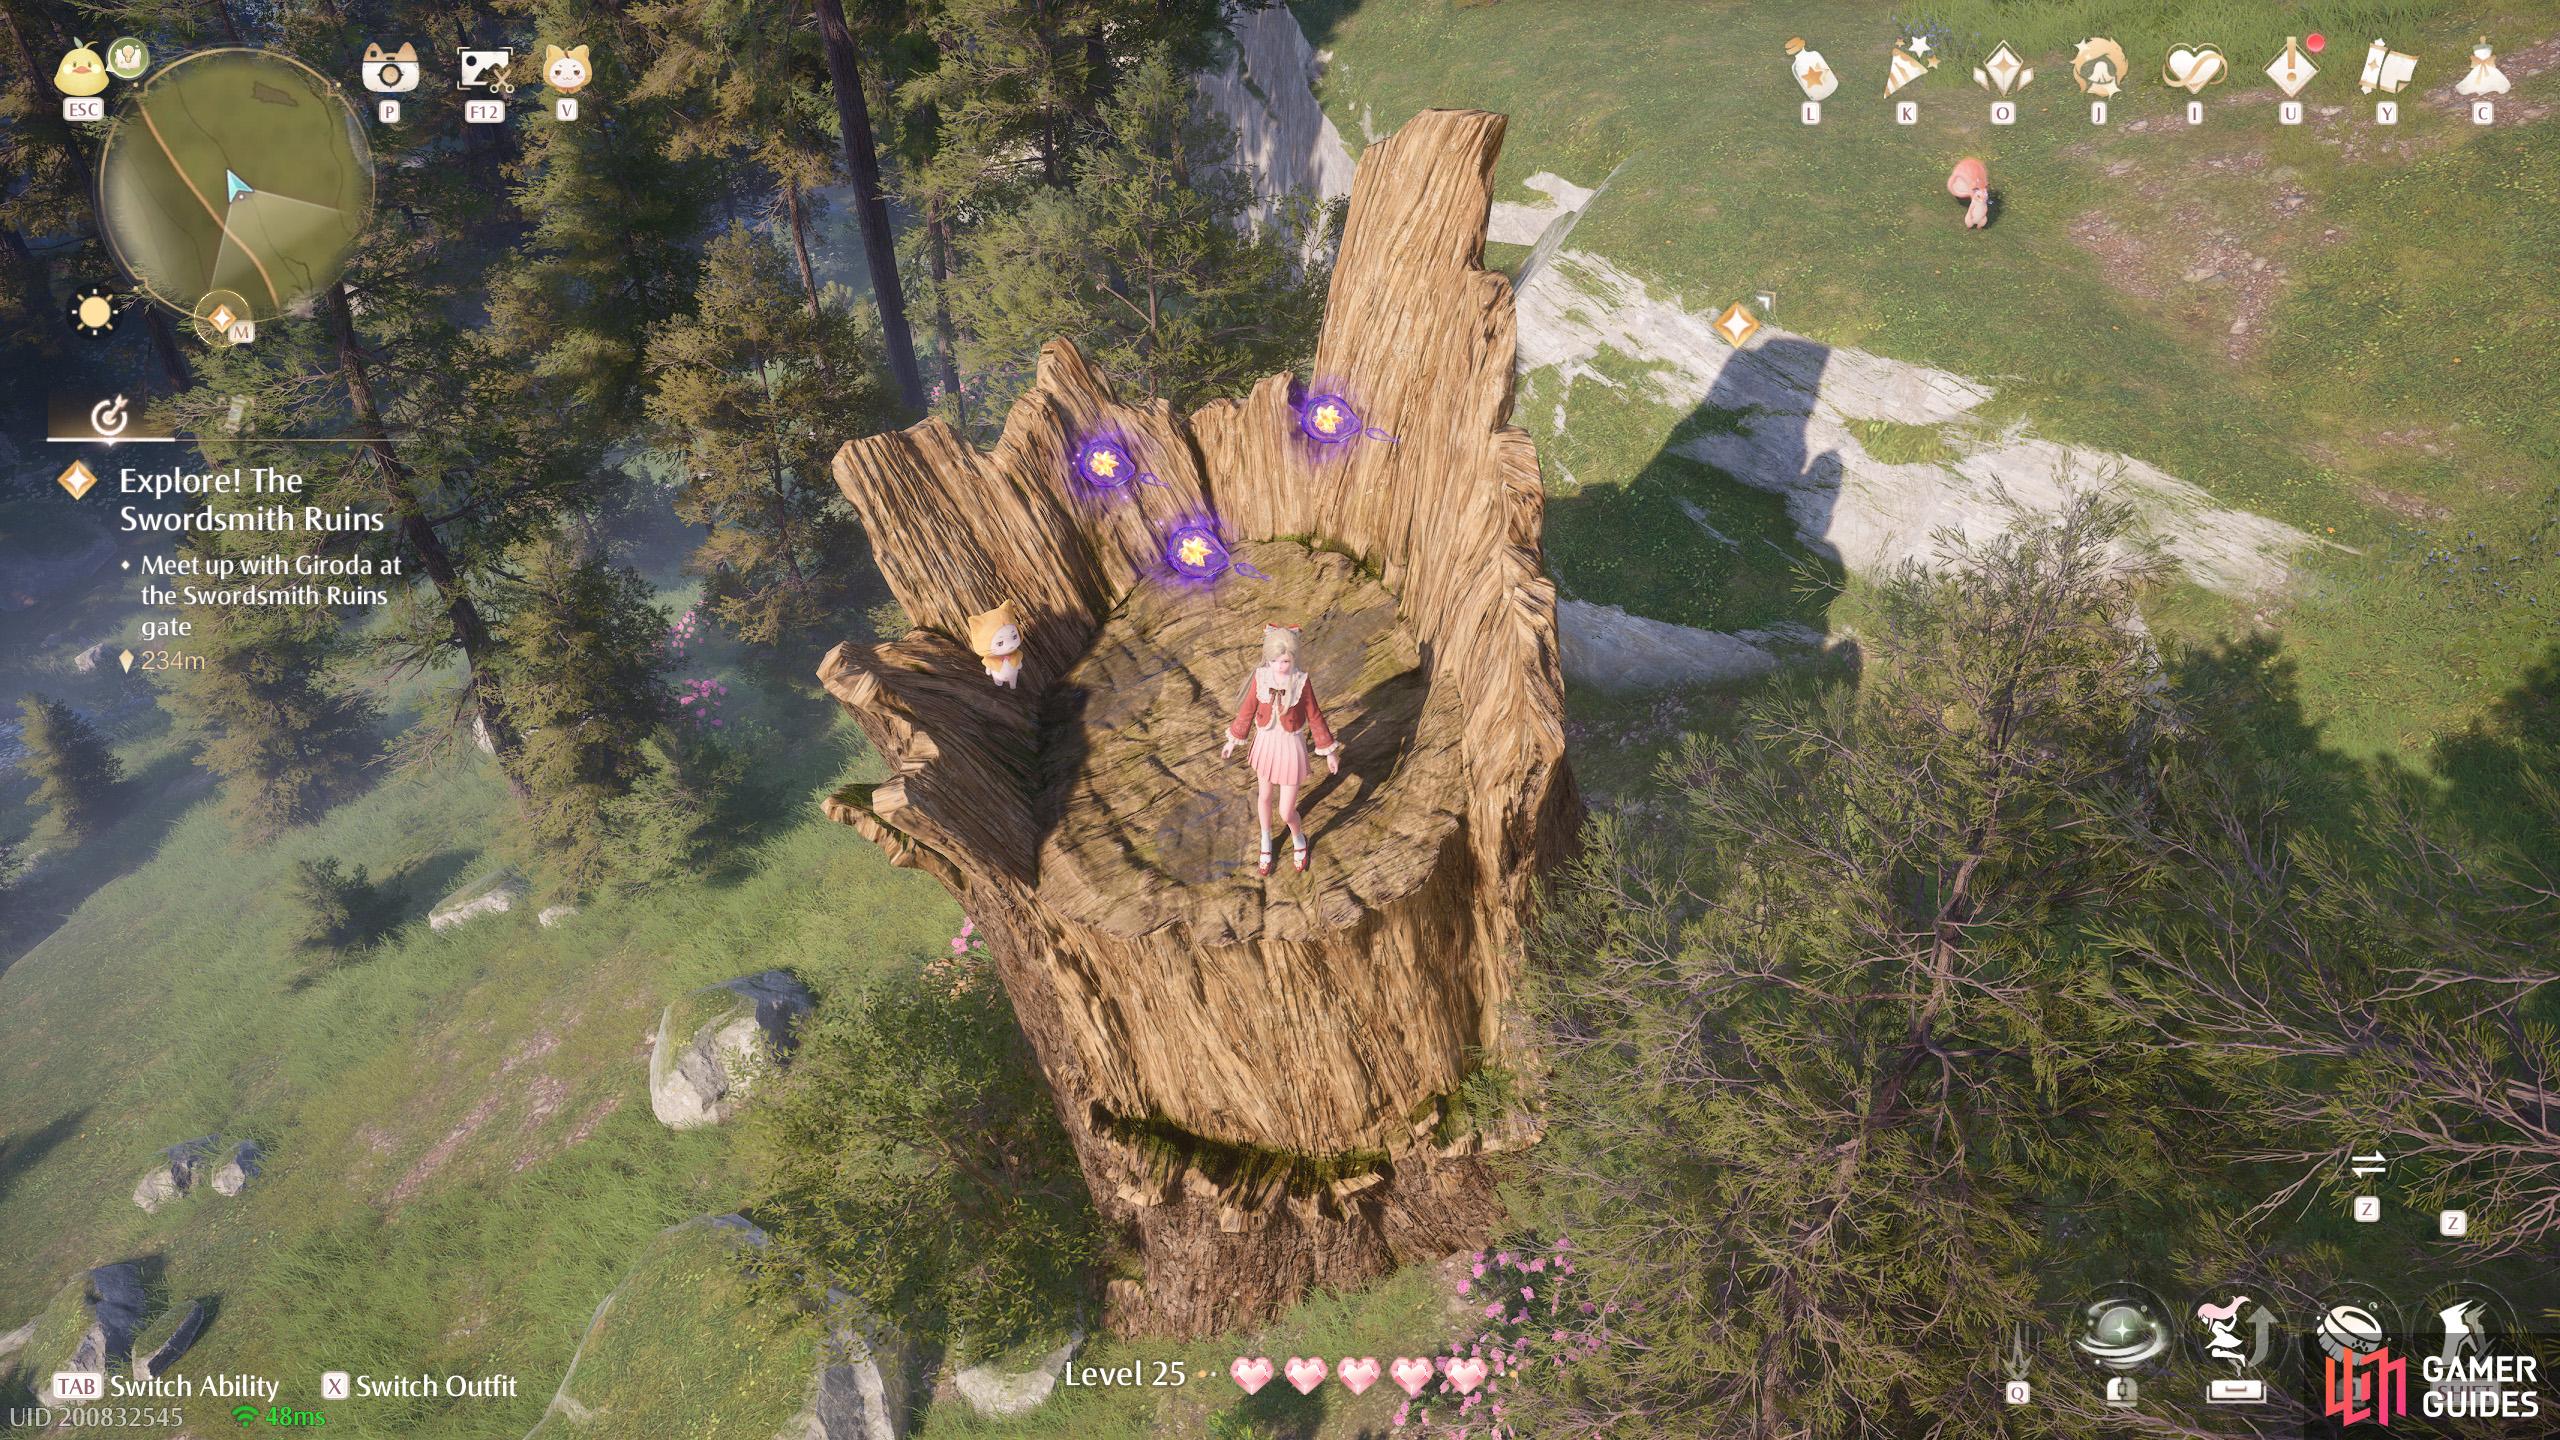
North of the ![]() Ruins of the Guardians Warp Spire. Three atop a tree stump along the way to the Swordsmith Ruins.
Ruins of the Guardians Warp Spire. Three atop a tree stump along the way to the Swordsmith Ruins.
24. Miraland Map
Two in the center of the ruined building along the way to the Swordsmith Ruins, guarded by Iron Squirrel statues.
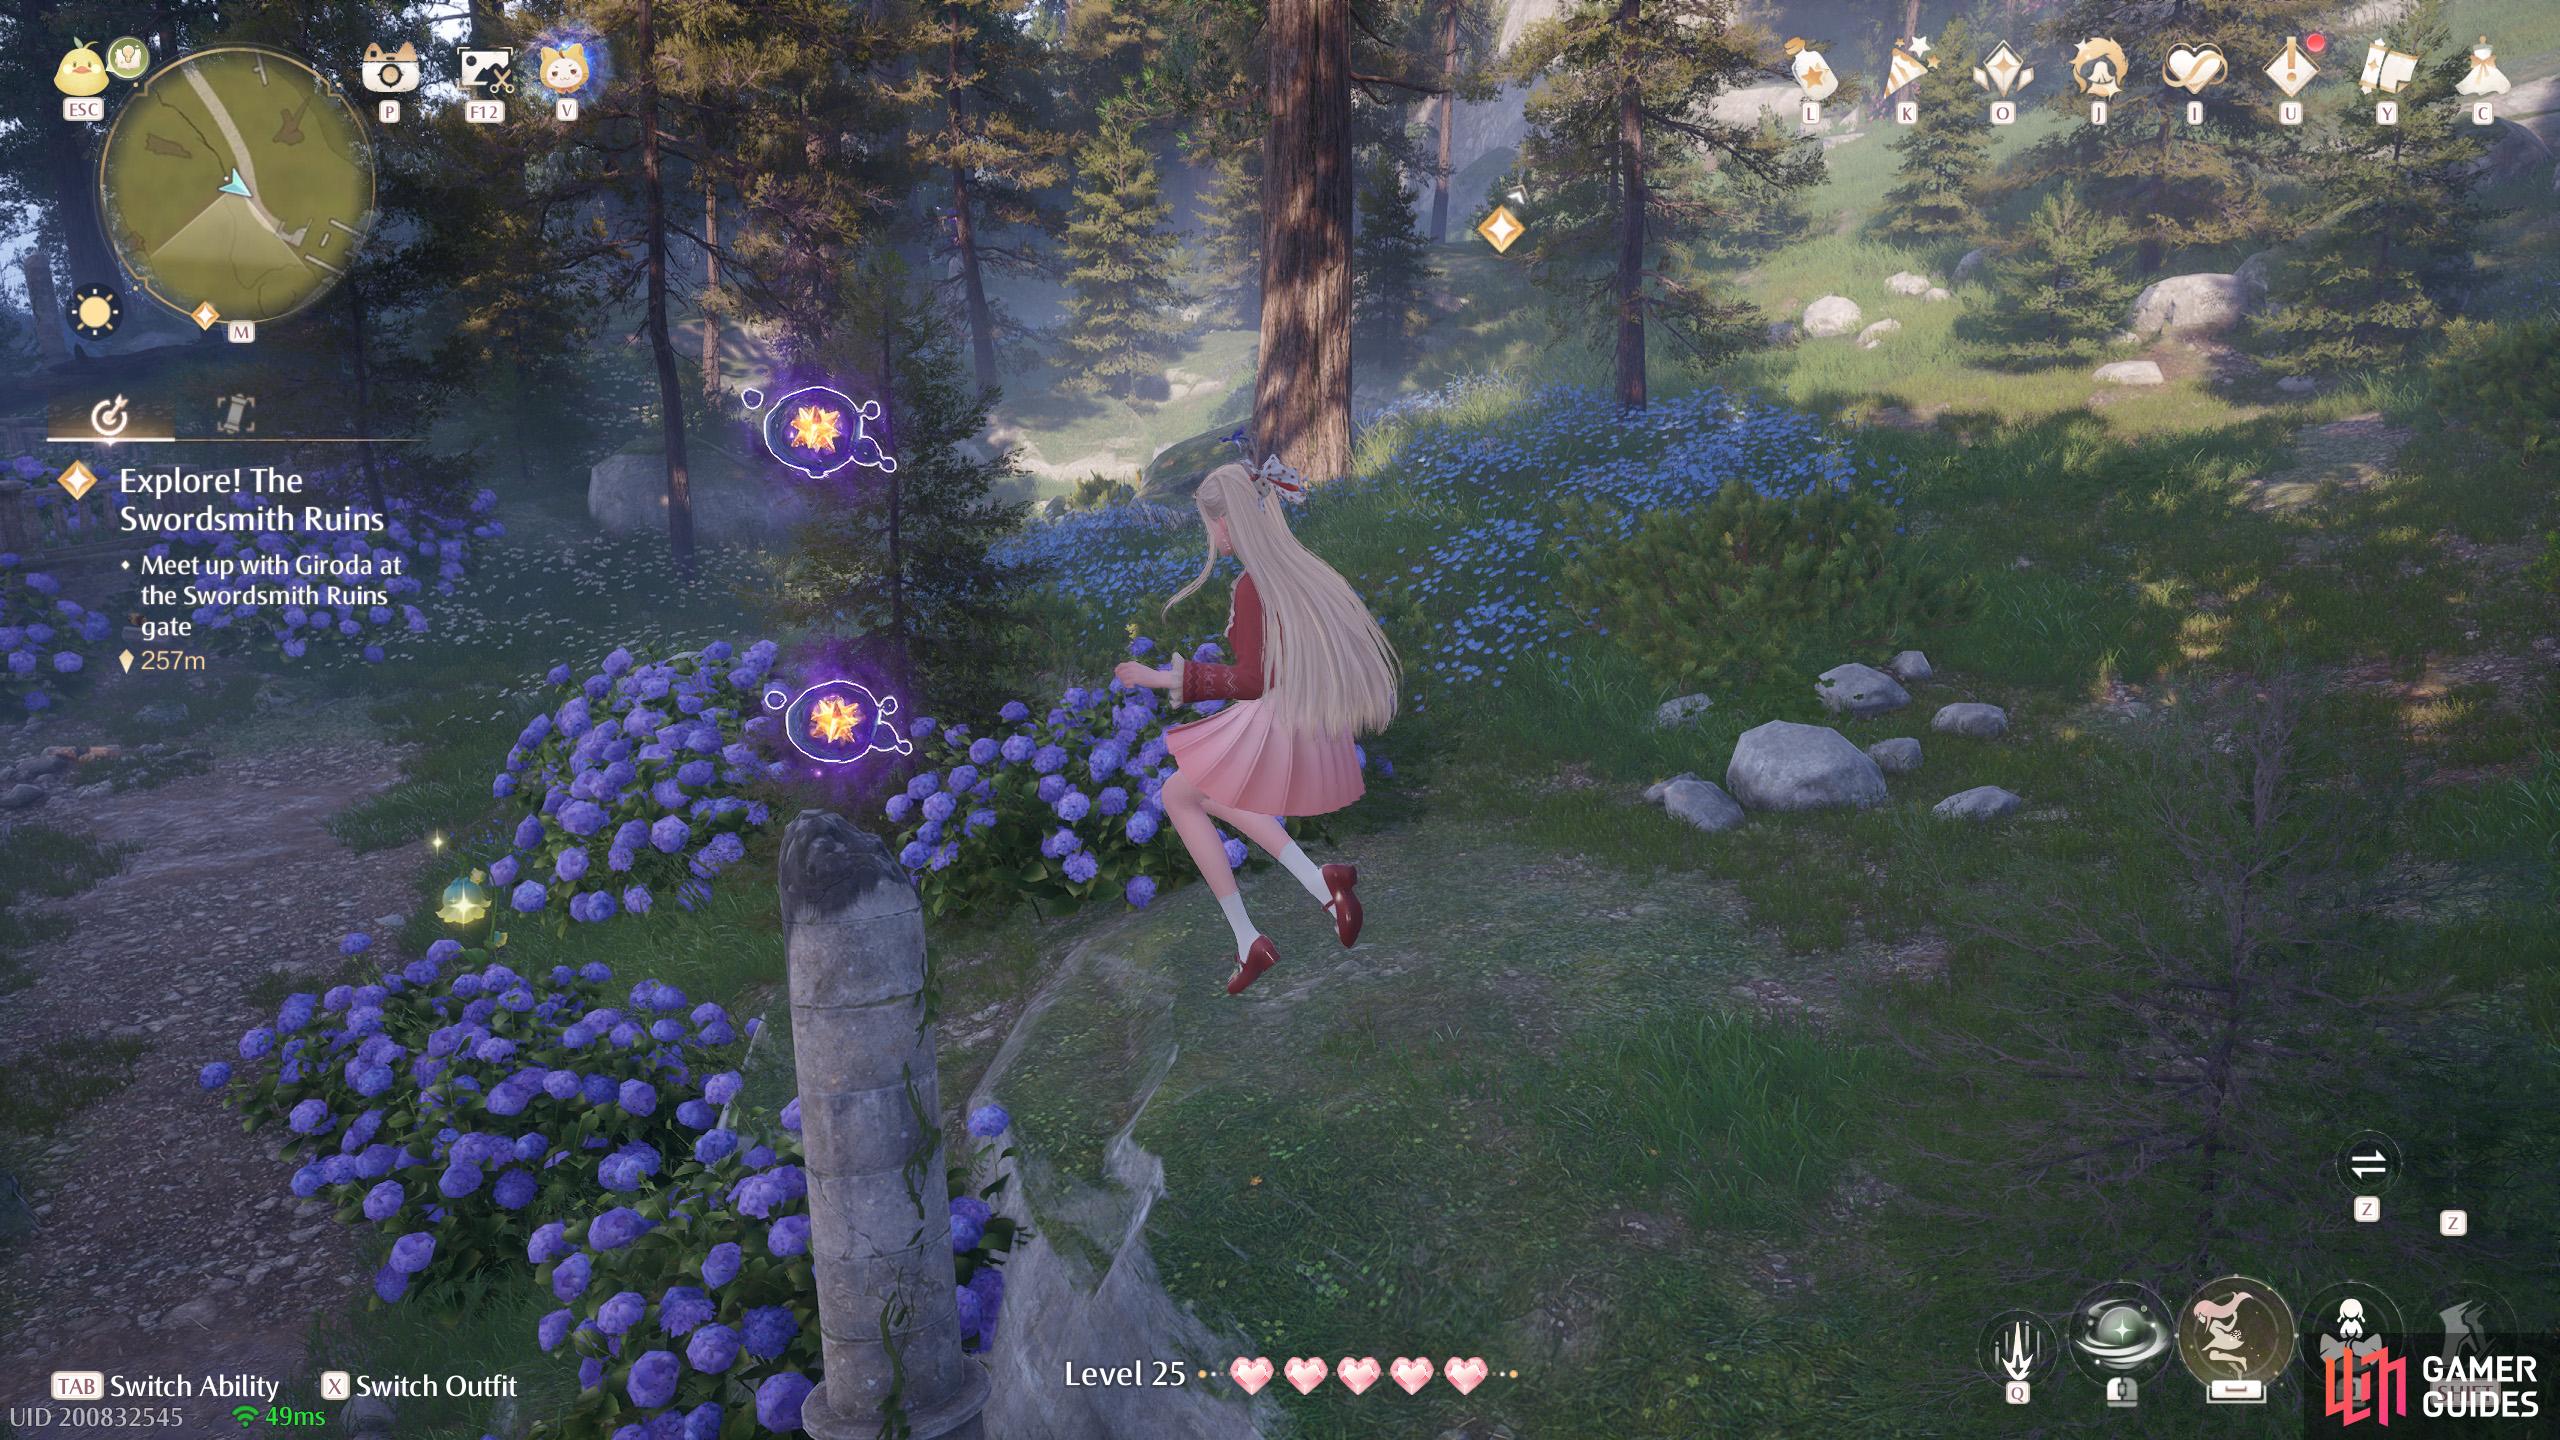
26. Miraland Map
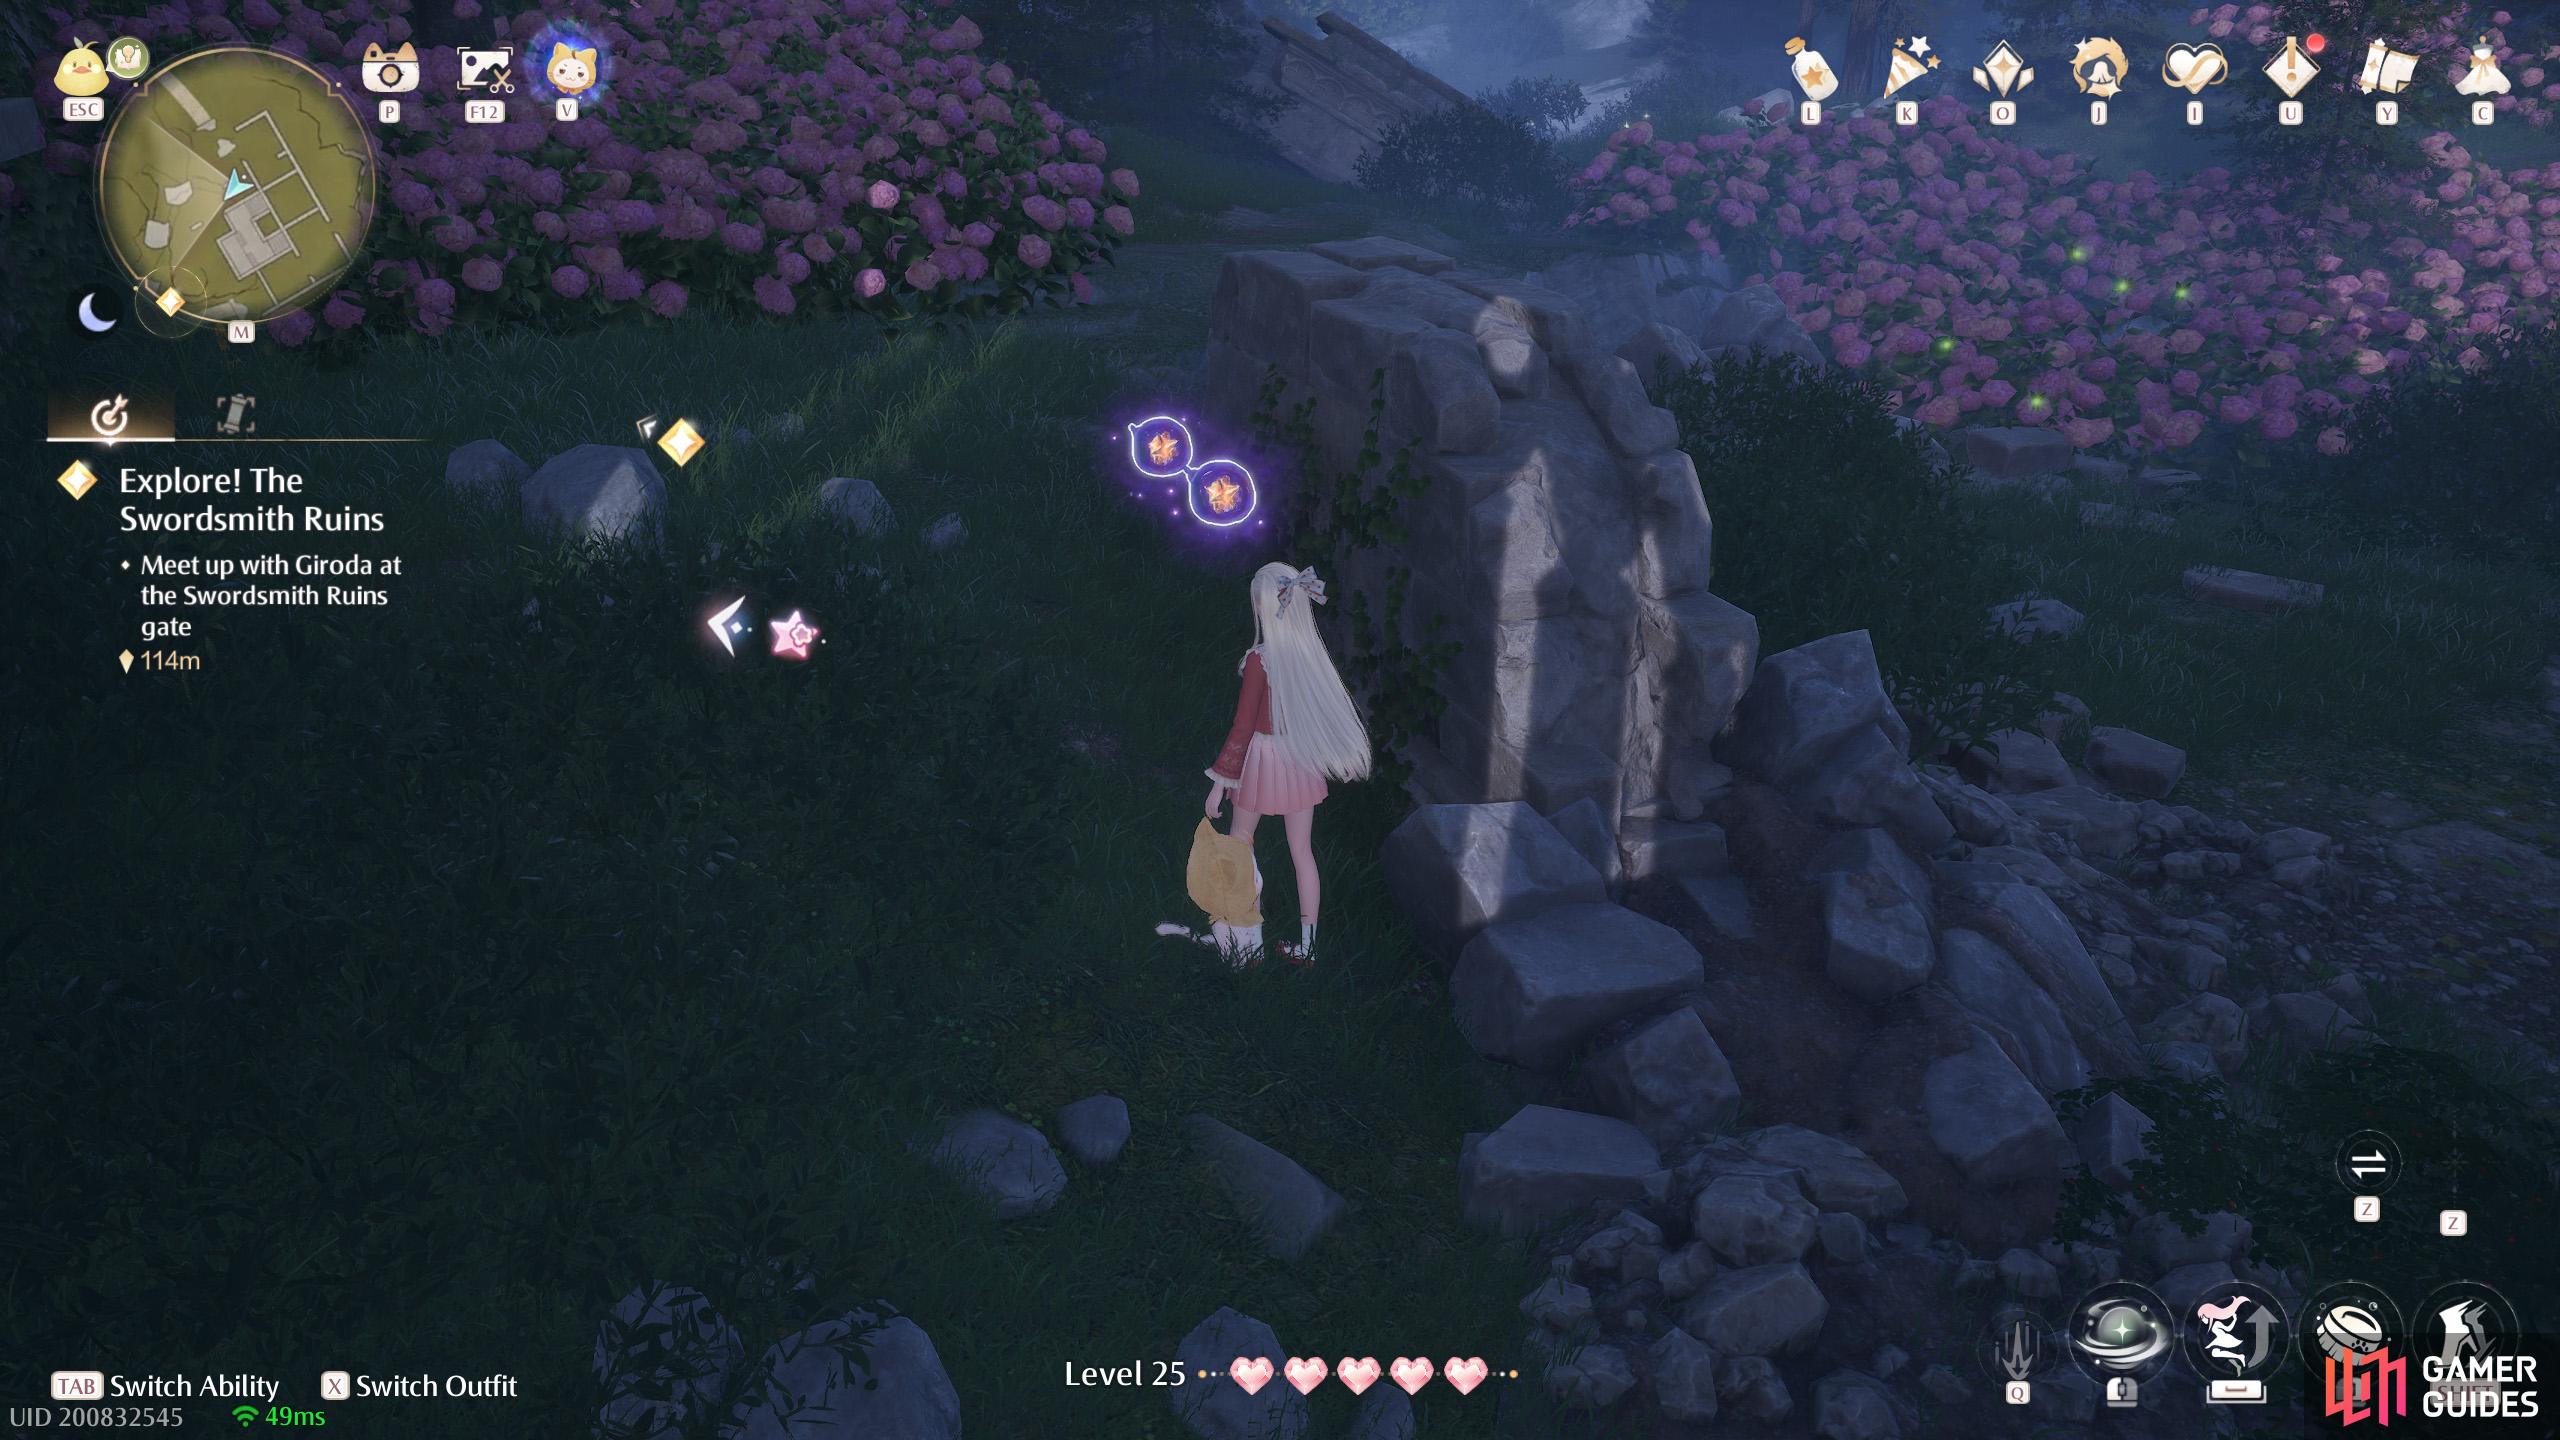
Two behind a collapsed wall near a ruined building along the way to the Swordsmith Ruins.
27. Miraland Map
East from the ![]() Swordsmith Ruins Gate Warp Spire. Two floating in the air, away from the cliff edge.
Swordsmith Ruins Gate Warp Spire. Two floating in the air, away from the cliff edge.
28. Miraland Map
Two inside a tree trunk east from the ![]() Swordsmith Ruins Gate, near the cliff edge.
Swordsmith Ruins Gate, near the cliff edge.
29. Miraland Map
Three floating high up near a group of Esselings, east from a ruined building near the Swordsmith Ruins.
30. Miraland Map
Two high up in the sky along the way to the Swordsmith Ruins. Eliminate the Esseling guarding the leaf trampoline, so you can use it to bounce up.
31. Miraland Map
Two above a small forked tree, east from the ![]() Outer Swordsmith Ruins Cavern north entrance.
Outer Swordsmith Ruins Cavern north entrance.
32. Miraland Map
Two above a broken pillar, near the ![]() Outer Swordsmith Ruins Cavern north entrance.
Outer Swordsmith Ruins Cavern north entrance.
33. Miraland Map
Three atop a tree stump west from a small building with a single Iron Squirrel Statue.
34. Miraland Map
Two atop a broken pillar south from the ![]() Swordsmith Ruins Entrance Warp Spire.
Swordsmith Ruins Entrance Warp Spire.
35. Miraland Map
Two high up in the air south from the ![]() Swordsmith Ruins Entrance Warp Spire. Use the leaf trampoline next to the fallen tree.
Swordsmith Ruins Entrance Warp Spire. Use the leaf trampoline next to the fallen tree.
36. Miraland Map
Two off the ground, north from the ![]() Swordsmith Ruins Entrance Warp Spire.
Swordsmith Ruins Entrance Warp Spire.
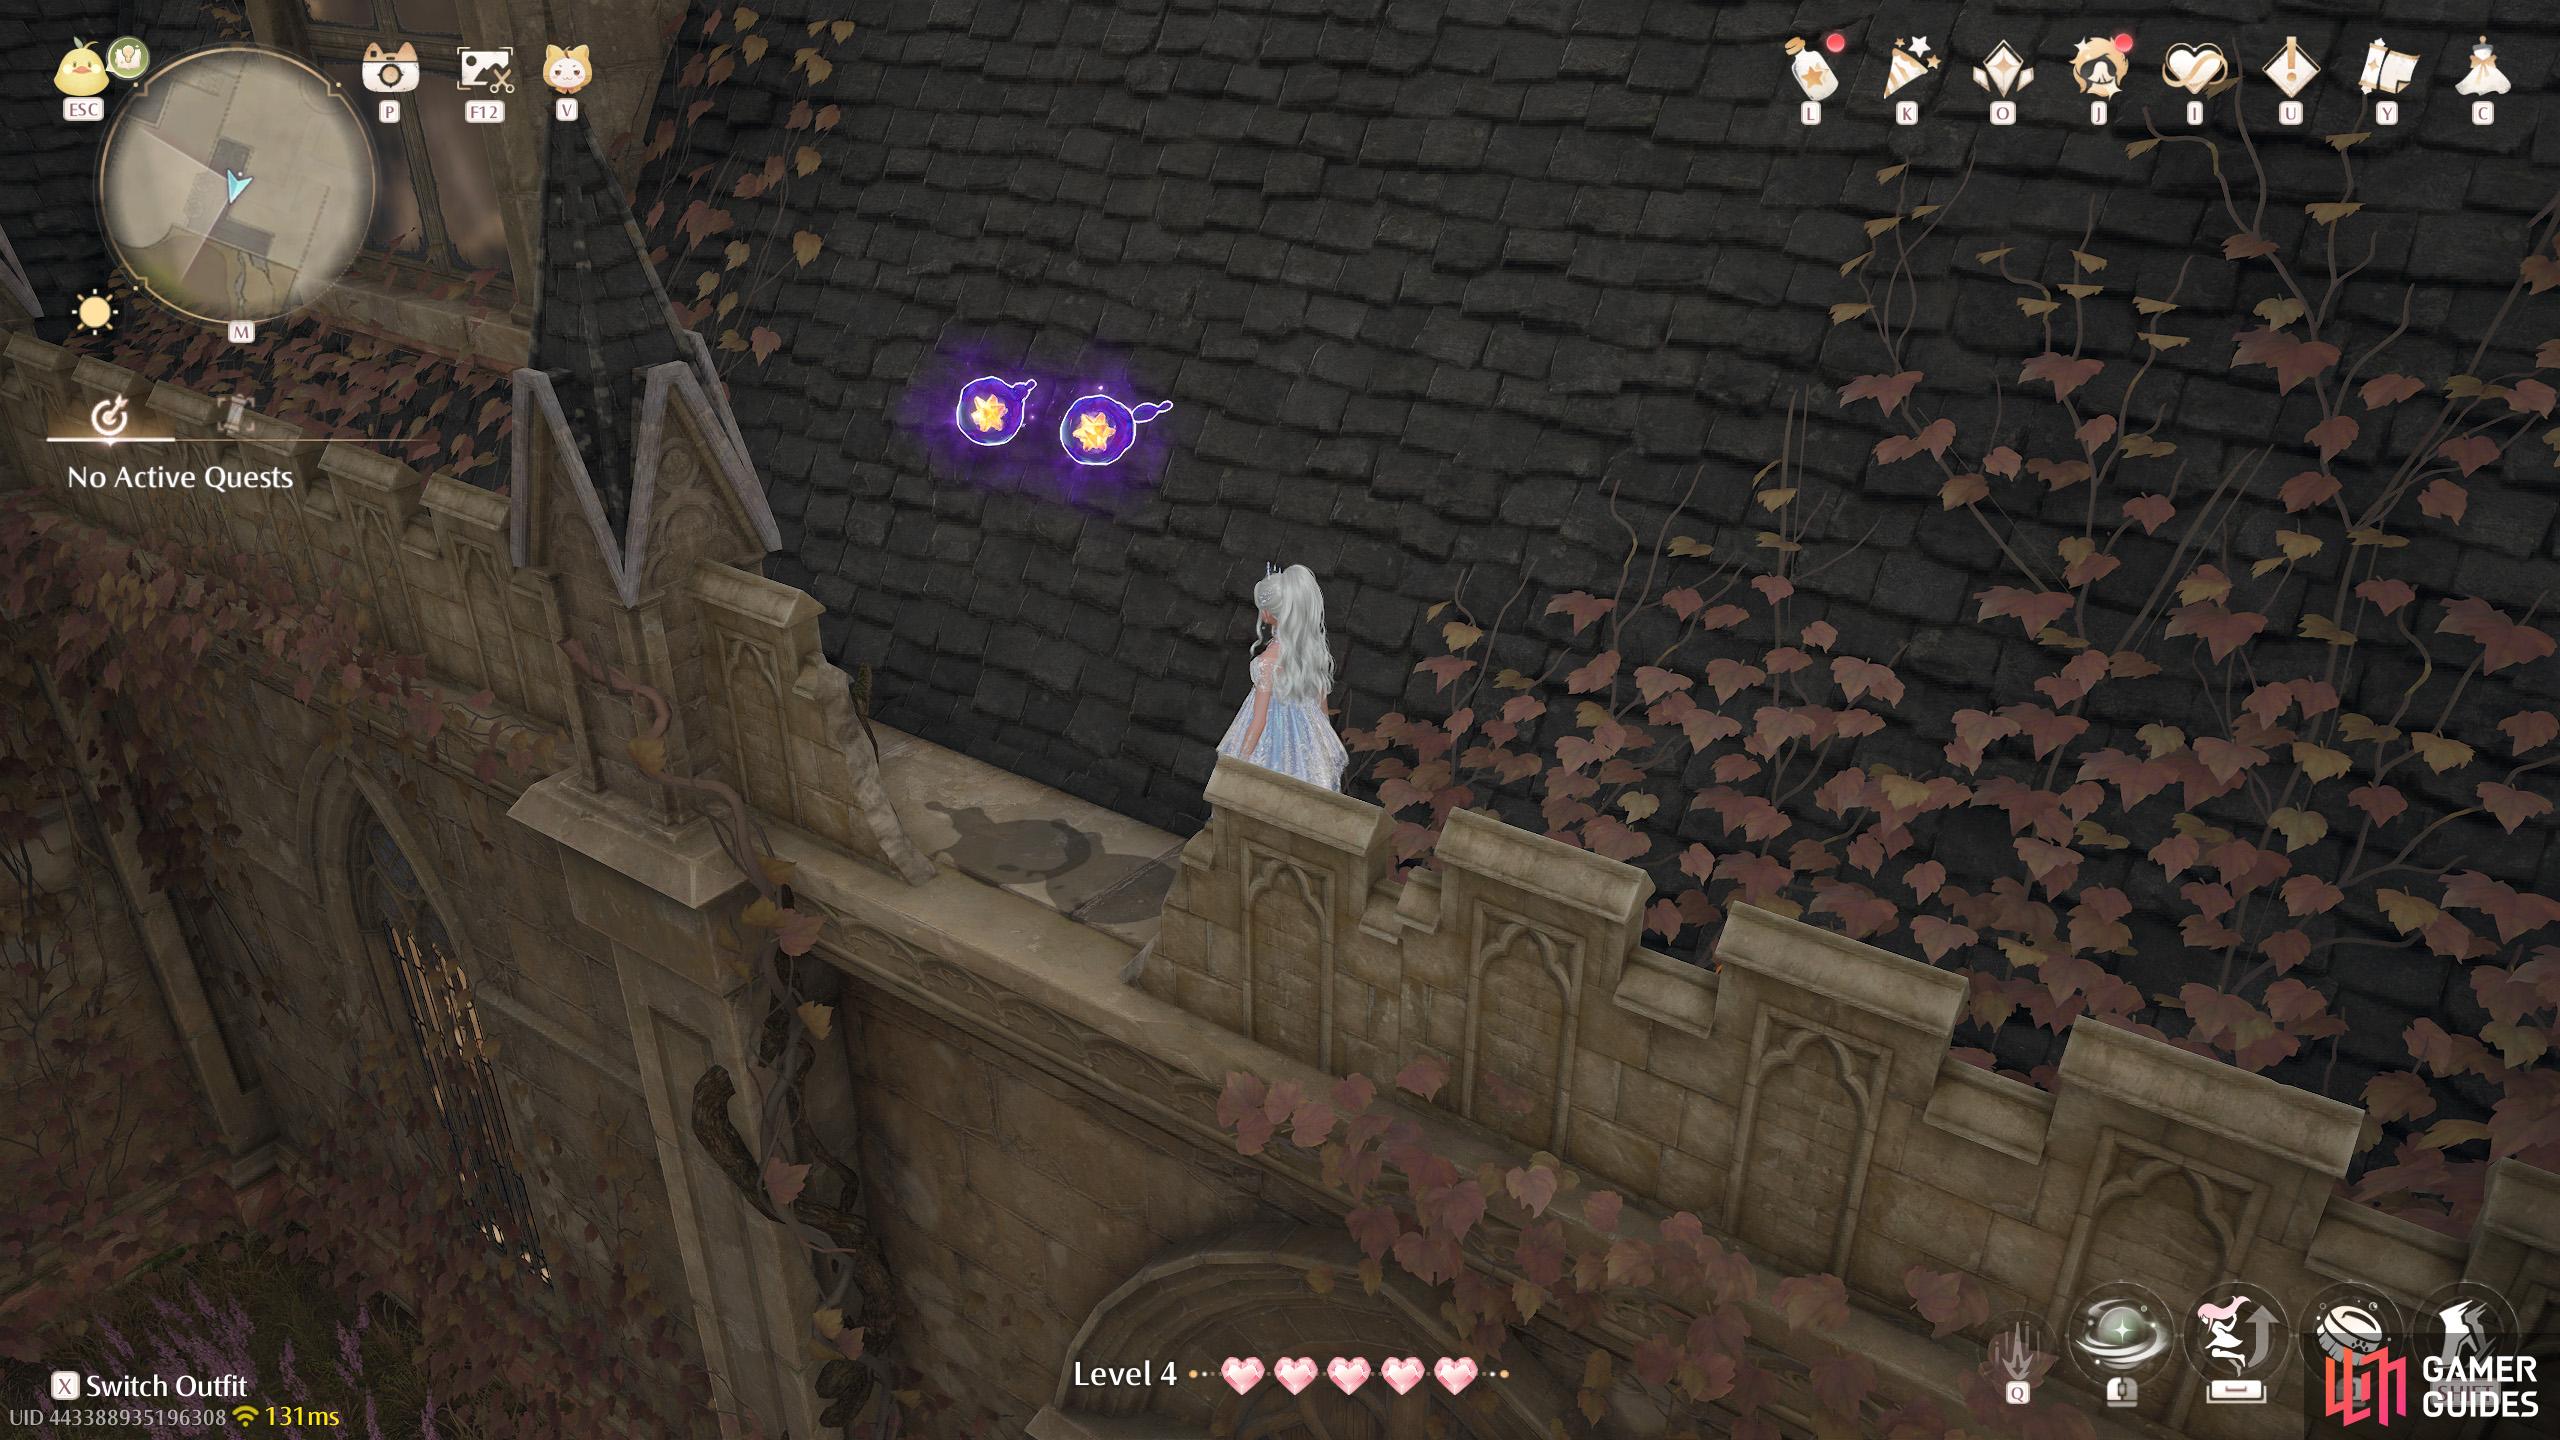
37. Miraland Map
Two atop the stone wall west from the ![]() Swordsmith Ruins Entrance Warp Spire.
Swordsmith Ruins Entrance Warp Spire.
38. Miraland Map
South of ![]() Shoal Slope. Two off the ground west from the minigame stall.
Shoal Slope. Two off the ground west from the minigame stall.
39. Miraland Map
Two high in the air near the ![]() Cavern Prison. You can jump from the nearby tree trunk.
Cavern Prison. You can jump from the nearby tree trunk.
41. Miraland Map
Two high in the air south from the ![]() Secluded Cave. Defeat the Esseling sitting on the Leaf Trampoline, then bounce up.
Secluded Cave. Defeat the Esseling sitting on the Leaf Trampoline, then bounce up.
42. Miraland Map
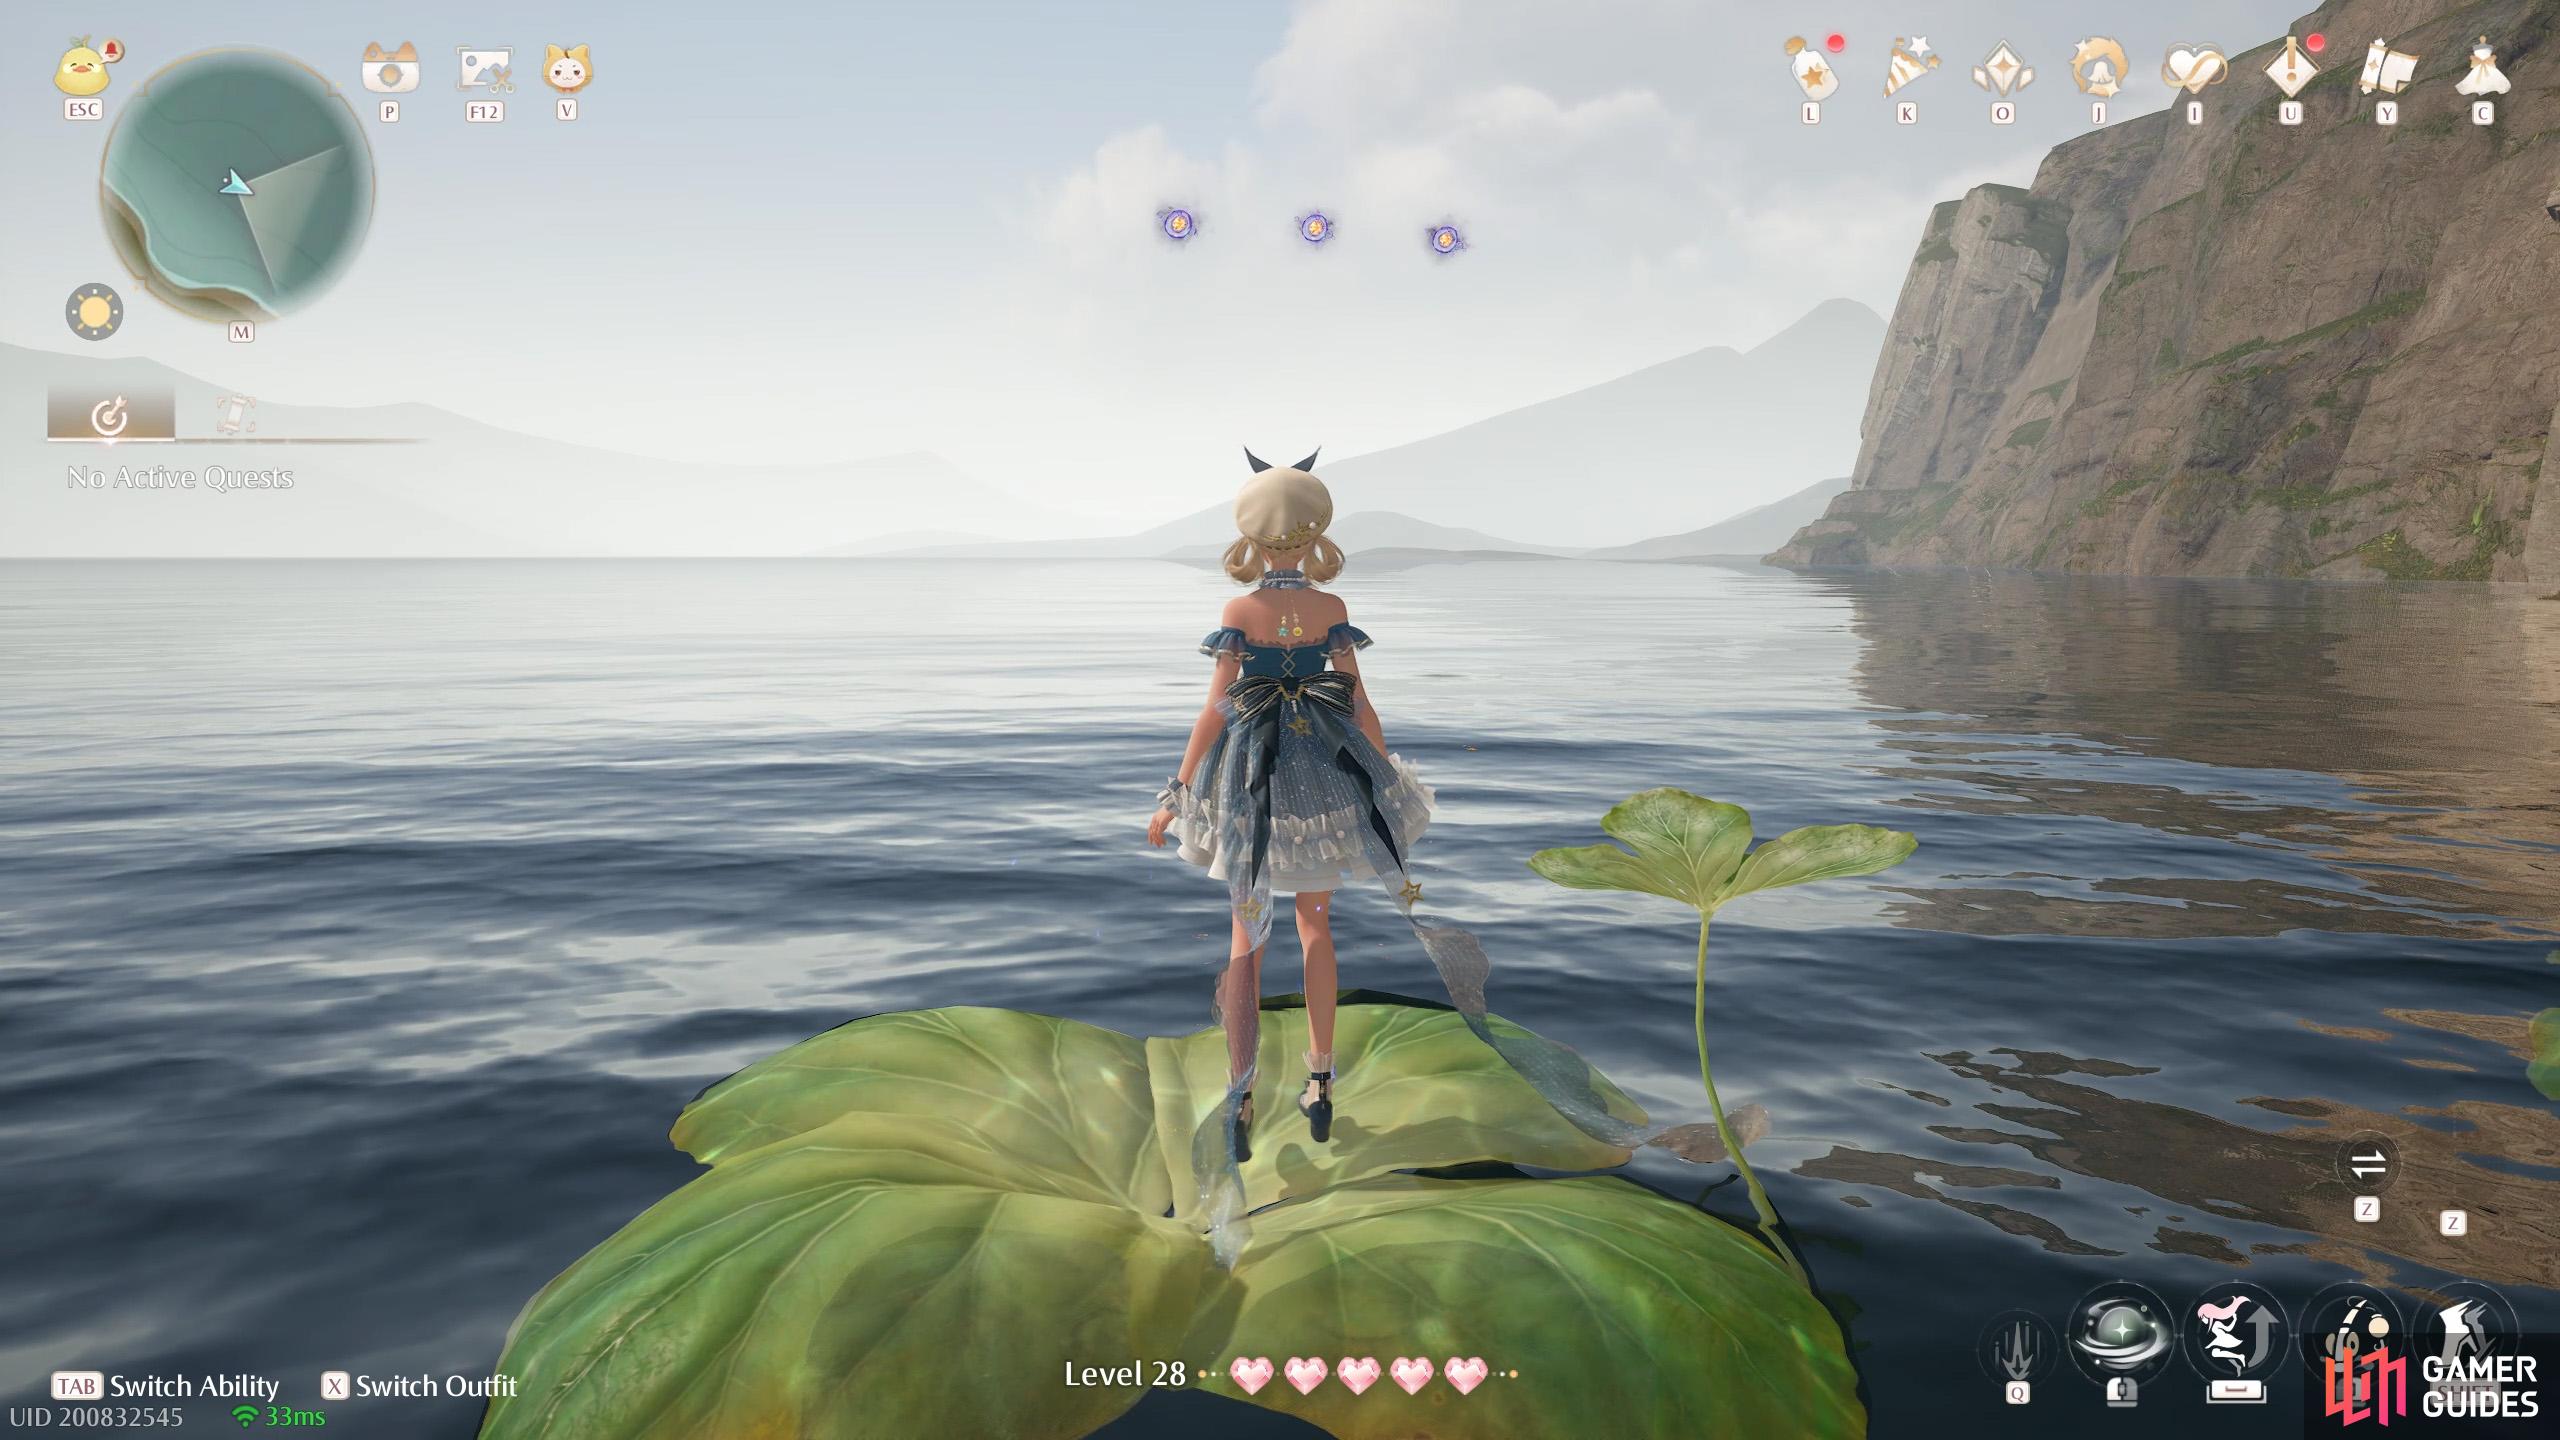
East from the ![]() Secluded Cave. Three at the end of a lily pad path.
Secluded Cave. Three at the end of a lily pad path.
43. Miraland Map
Two off the ground along the eastern slope near the Swordsmith Ruins. You can jump from higher up the slope etc.
44. Miraland Map
Two atop a thorny branch near the base of the ![]() Grand Millewish Tree. Not sure what this horse is doing here…
Grand Millewish Tree. Not sure what this horse is doing here…
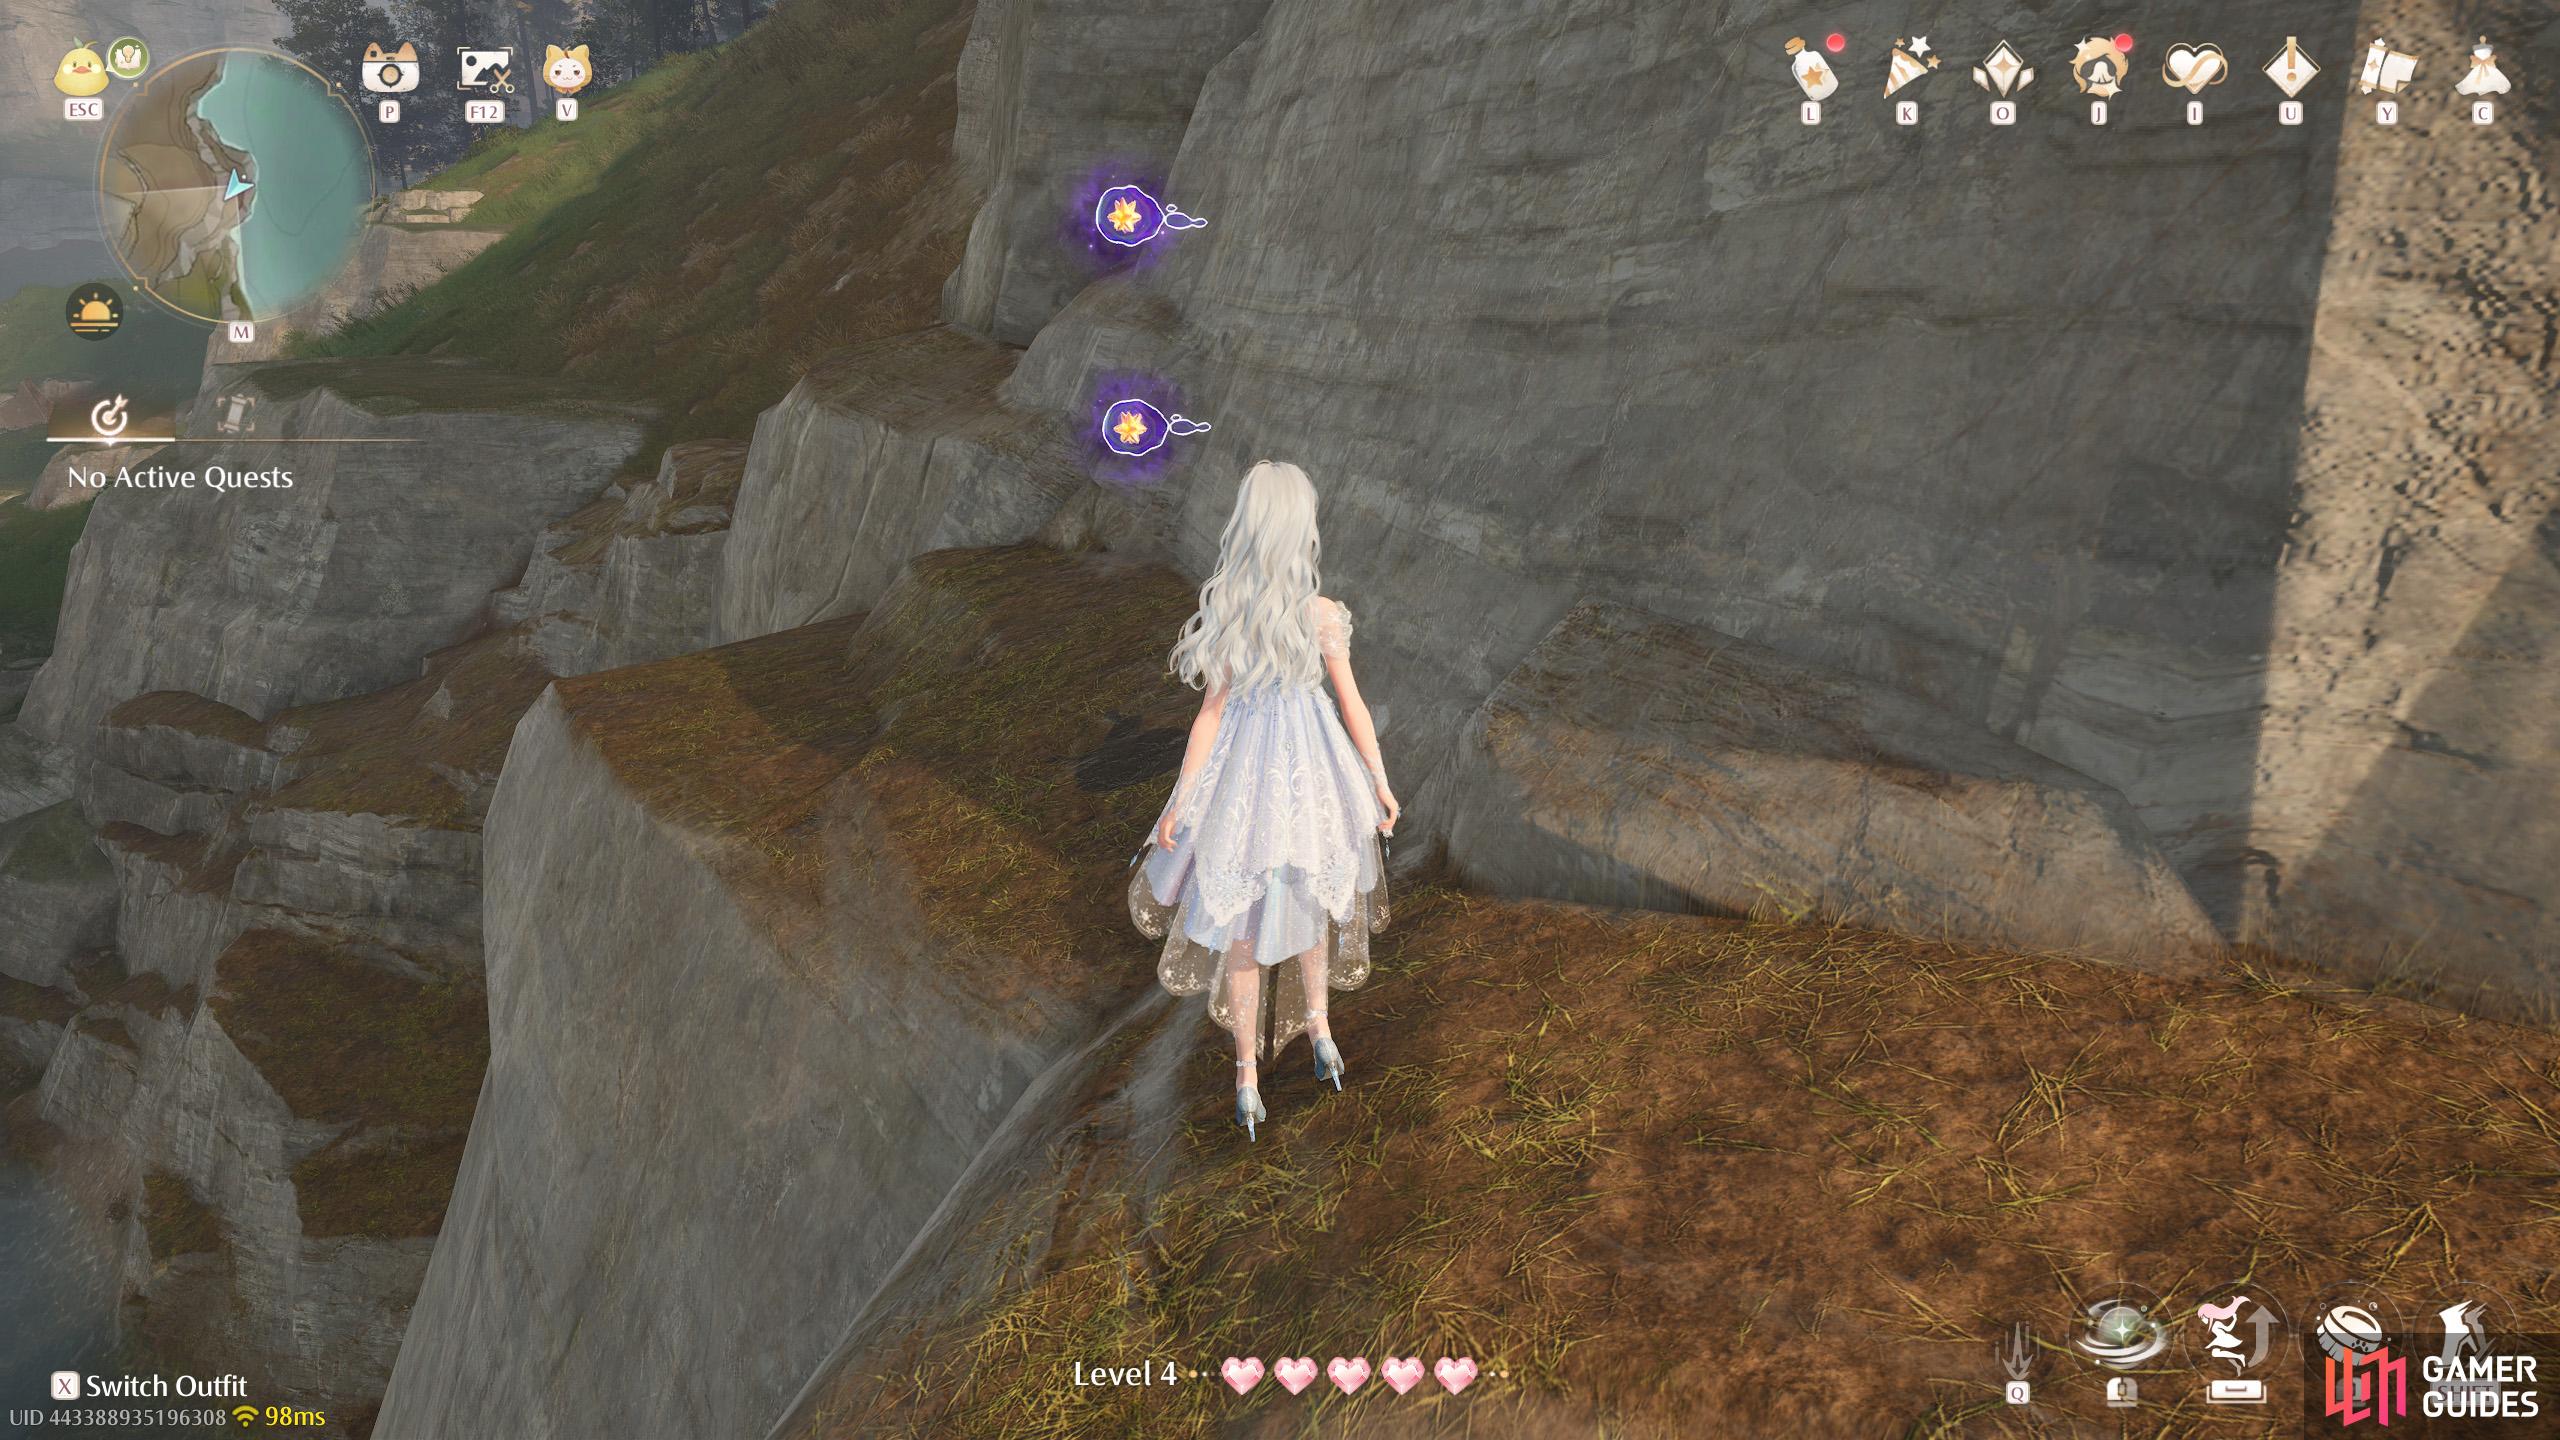
45. Miraland Map
Three atop a thorny branch near the base of the ![]() Grand Millewish Tree.
Grand Millewish Tree.
46. Miraland Map
Two high up in the air between two trees east from the ![]() Swordsmith Ruins Gate. Near the step-like cliff.
Swordsmith Ruins Gate. Near the step-like cliff.
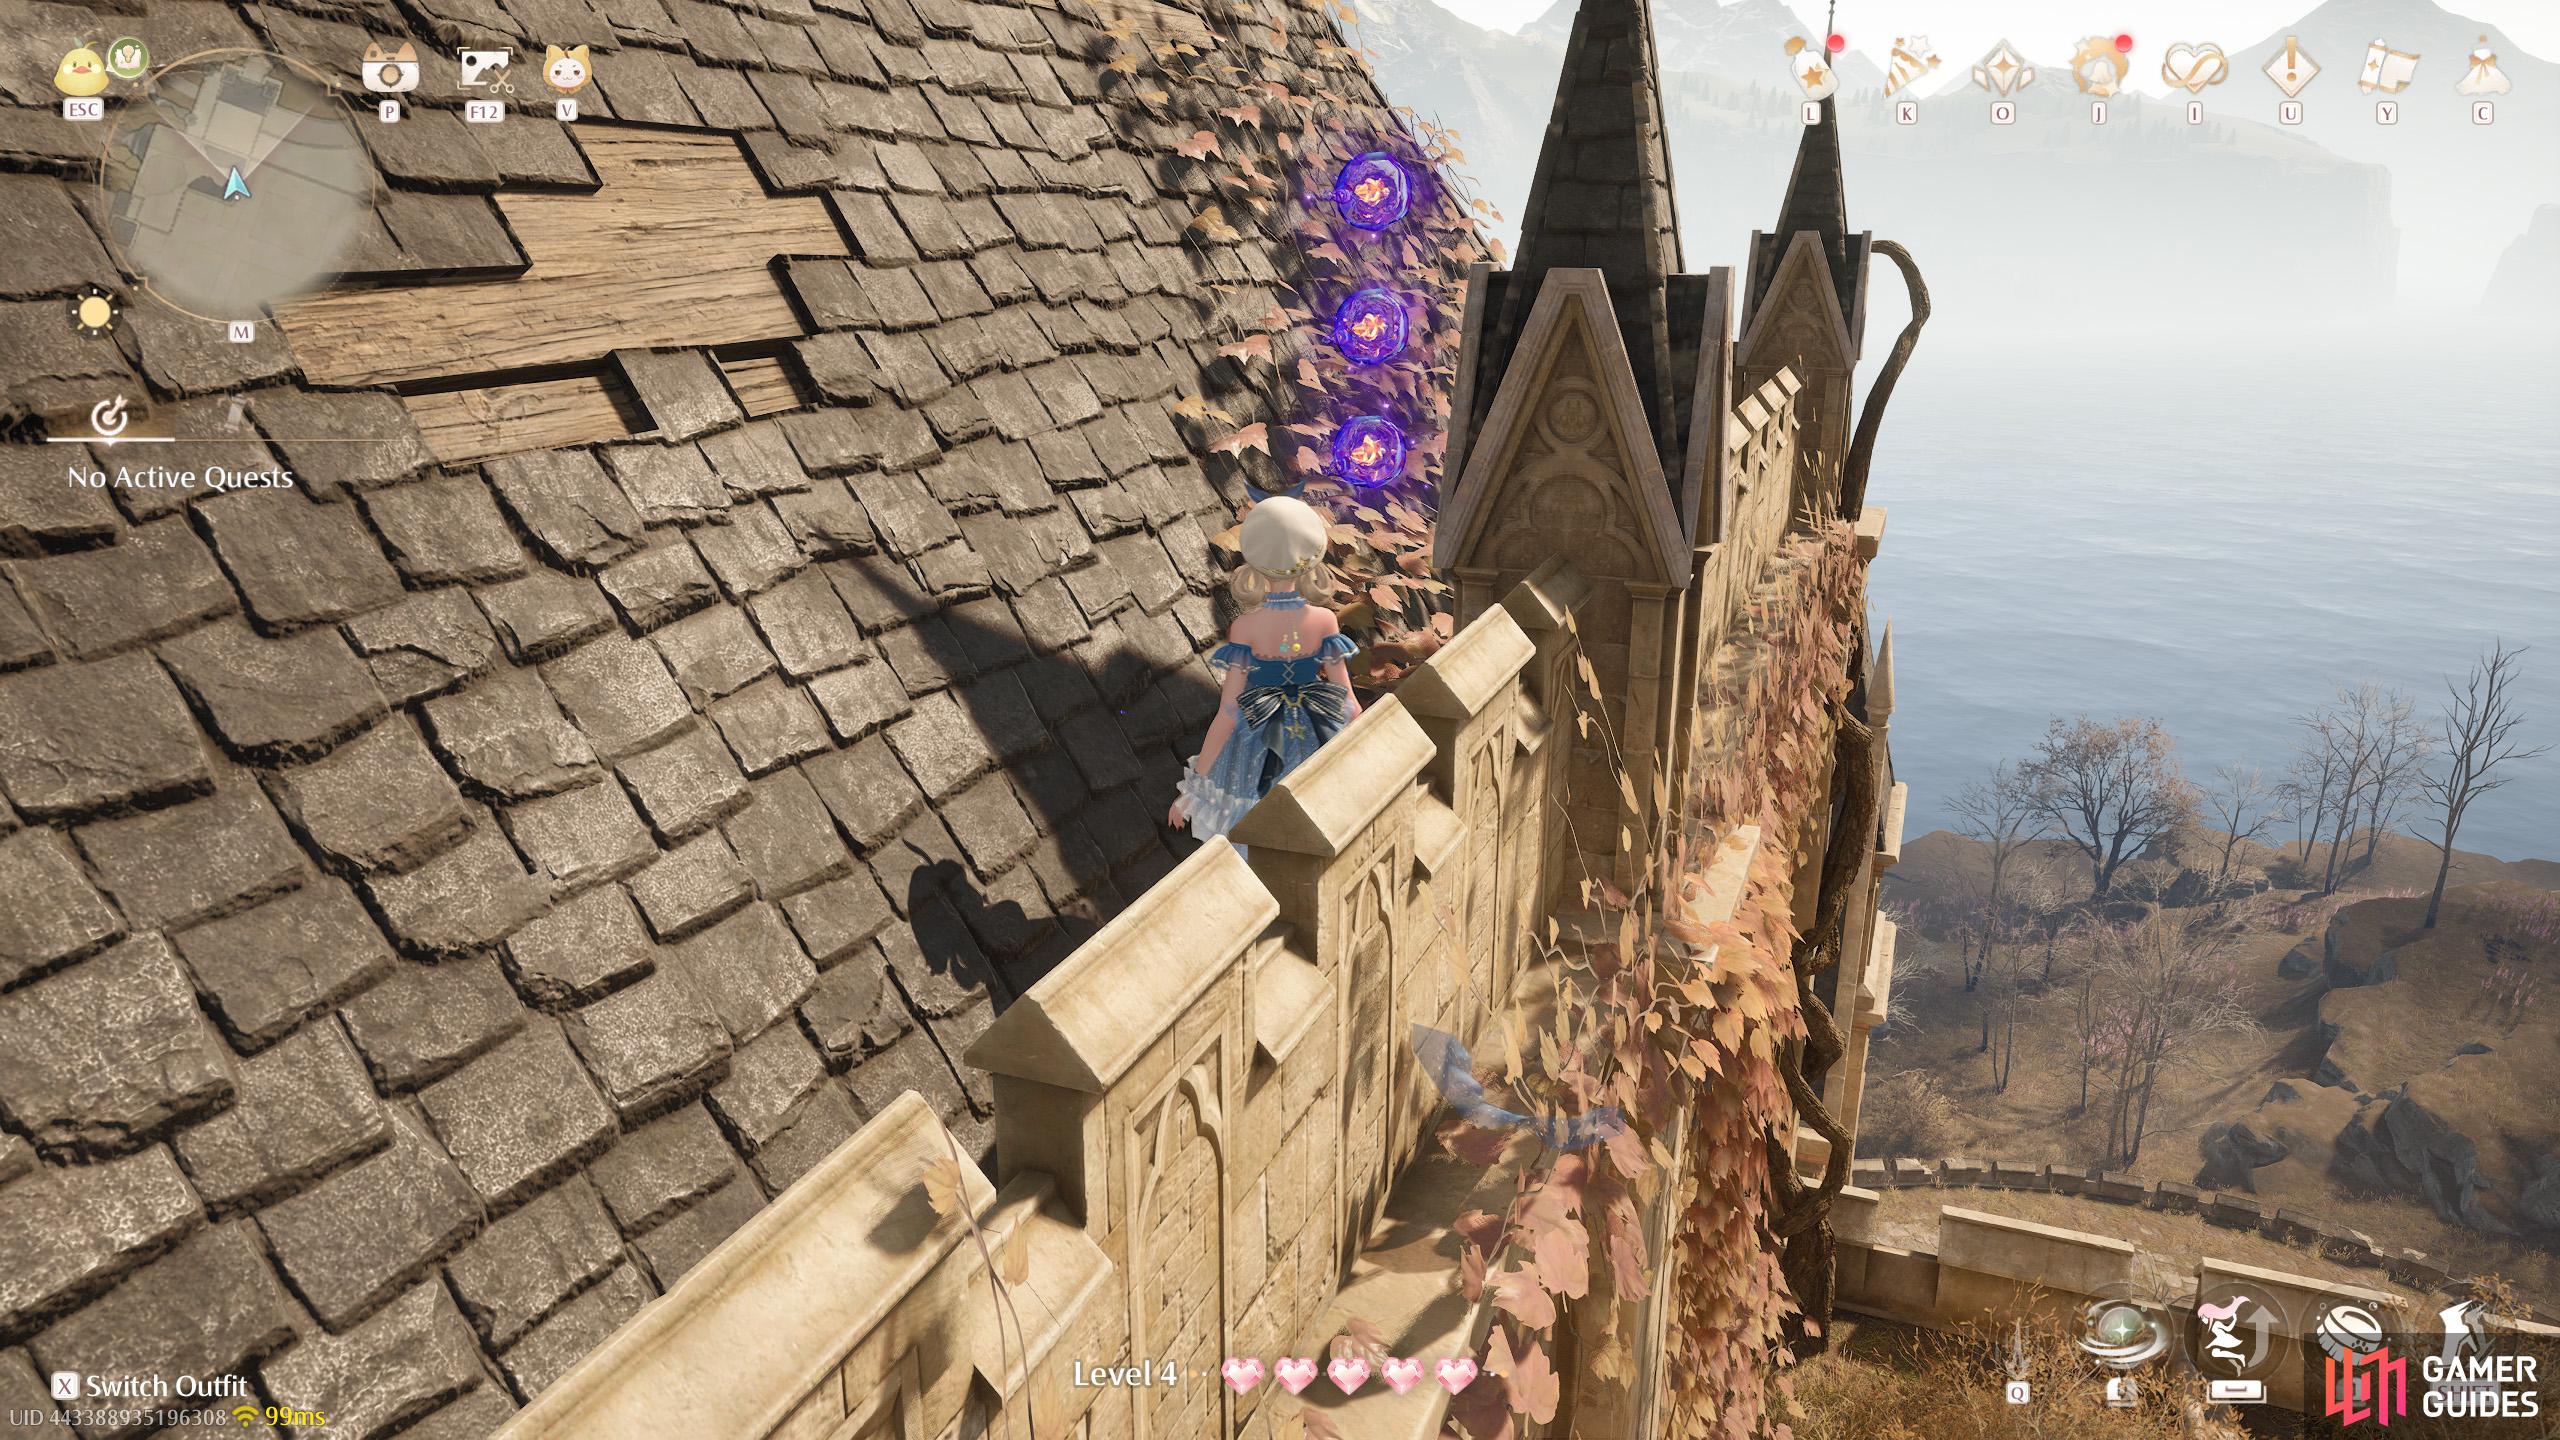
47. Miraland Map
Three near the very top of the ![]() Grand Millewish Tree. From the
Grand Millewish Tree. From the ![]() Garrison of the Paladins Warp Spire, look north-west. Float over to the thin vines and then jump up to the thick tree branch. From there, head towards the tip of the thick tree branch.
Garrison of the Paladins Warp Spire, look north-west. Float over to the thin vines and then jump up to the thick tree branch. From there, head towards the tip of the thick tree branch.
48. Miraland Map
Three near the very top of the ![]() Grand Millewish Tree. From the
Grand Millewish Tree. From the ![]() Garrison of the Paladins Warp Spire, look north-west. Float over to the thin vines and then jump up to the thick tree branch. From there, jump to the nearby thick tree branch and carefully follow it to the end.
Garrison of the Paladins Warp Spire, look north-west. Float over to the thin vines and then jump up to the thick tree branch. From there, jump to the nearby thick tree branch and carefully follow it to the end.
49. Miraland Map
Two in the air near the very top of the ![]() Grand Millewish Tree. From the
Grand Millewish Tree. From the ![]() Garrison of the Paladins Warp Spire, go straight ahead. They’re behind the tall building. (Also check the back of the building for a treasure chest.)
Garrison of the Paladins Warp Spire, go straight ahead. They’re behind the tall building. (Also check the back of the building for a treasure chest.)
50. Miraland Map
Three high up the ![]() Grand Millewish Tree. From the
Grand Millewish Tree. From the ![]() Garrison of the Paladins Warp Spire, head for the confetti canon, then drop down to the south-east. They’re on a tree branch above the
Garrison of the Paladins Warp Spire, head for the confetti canon, then drop down to the south-east. They’re on a tree branch above the ![]() Wishball field.
Wishball field.
51. Miraland Map
Two high up the ![]() Grand Millewish Tree. From the
Grand Millewish Tree. From the ![]() Garrison of the Paladins Warp Spire, drop down to the south-east. They’re on a thin tree branch above the west side of the
Garrison of the Paladins Warp Spire, drop down to the south-east. They’re on a thin tree branch above the west side of the ![]() Wishball field.
Wishball field.
52. Miraland Map
Two high up the ![]() Grand Millewish Tree. From the
Grand Millewish Tree. From the ![]() Temple of Wishes Warp Spire, head east and go around the side of the temple. Look towards your left to find a gap in the tree trunks–and these two sneaky buggers.
Temple of Wishes Warp Spire, head east and go around the side of the temple. Look towards your left to find a gap in the tree trunks–and these two sneaky buggers.
53. Miraland Map
Three high up the ![]() Grand Millewish Tree. From the
Grand Millewish Tree. From the ![]() Garrison of the Paladins Warp Spire, face east then float down, while veering to the left. Land on the thick tree branch overlooking the
Garrison of the Paladins Warp Spire, face east then float down, while veering to the left. Land on the thick tree branch overlooking the ![]() Wishball field from the side.
Wishball field from the side.

56. Miraland Map
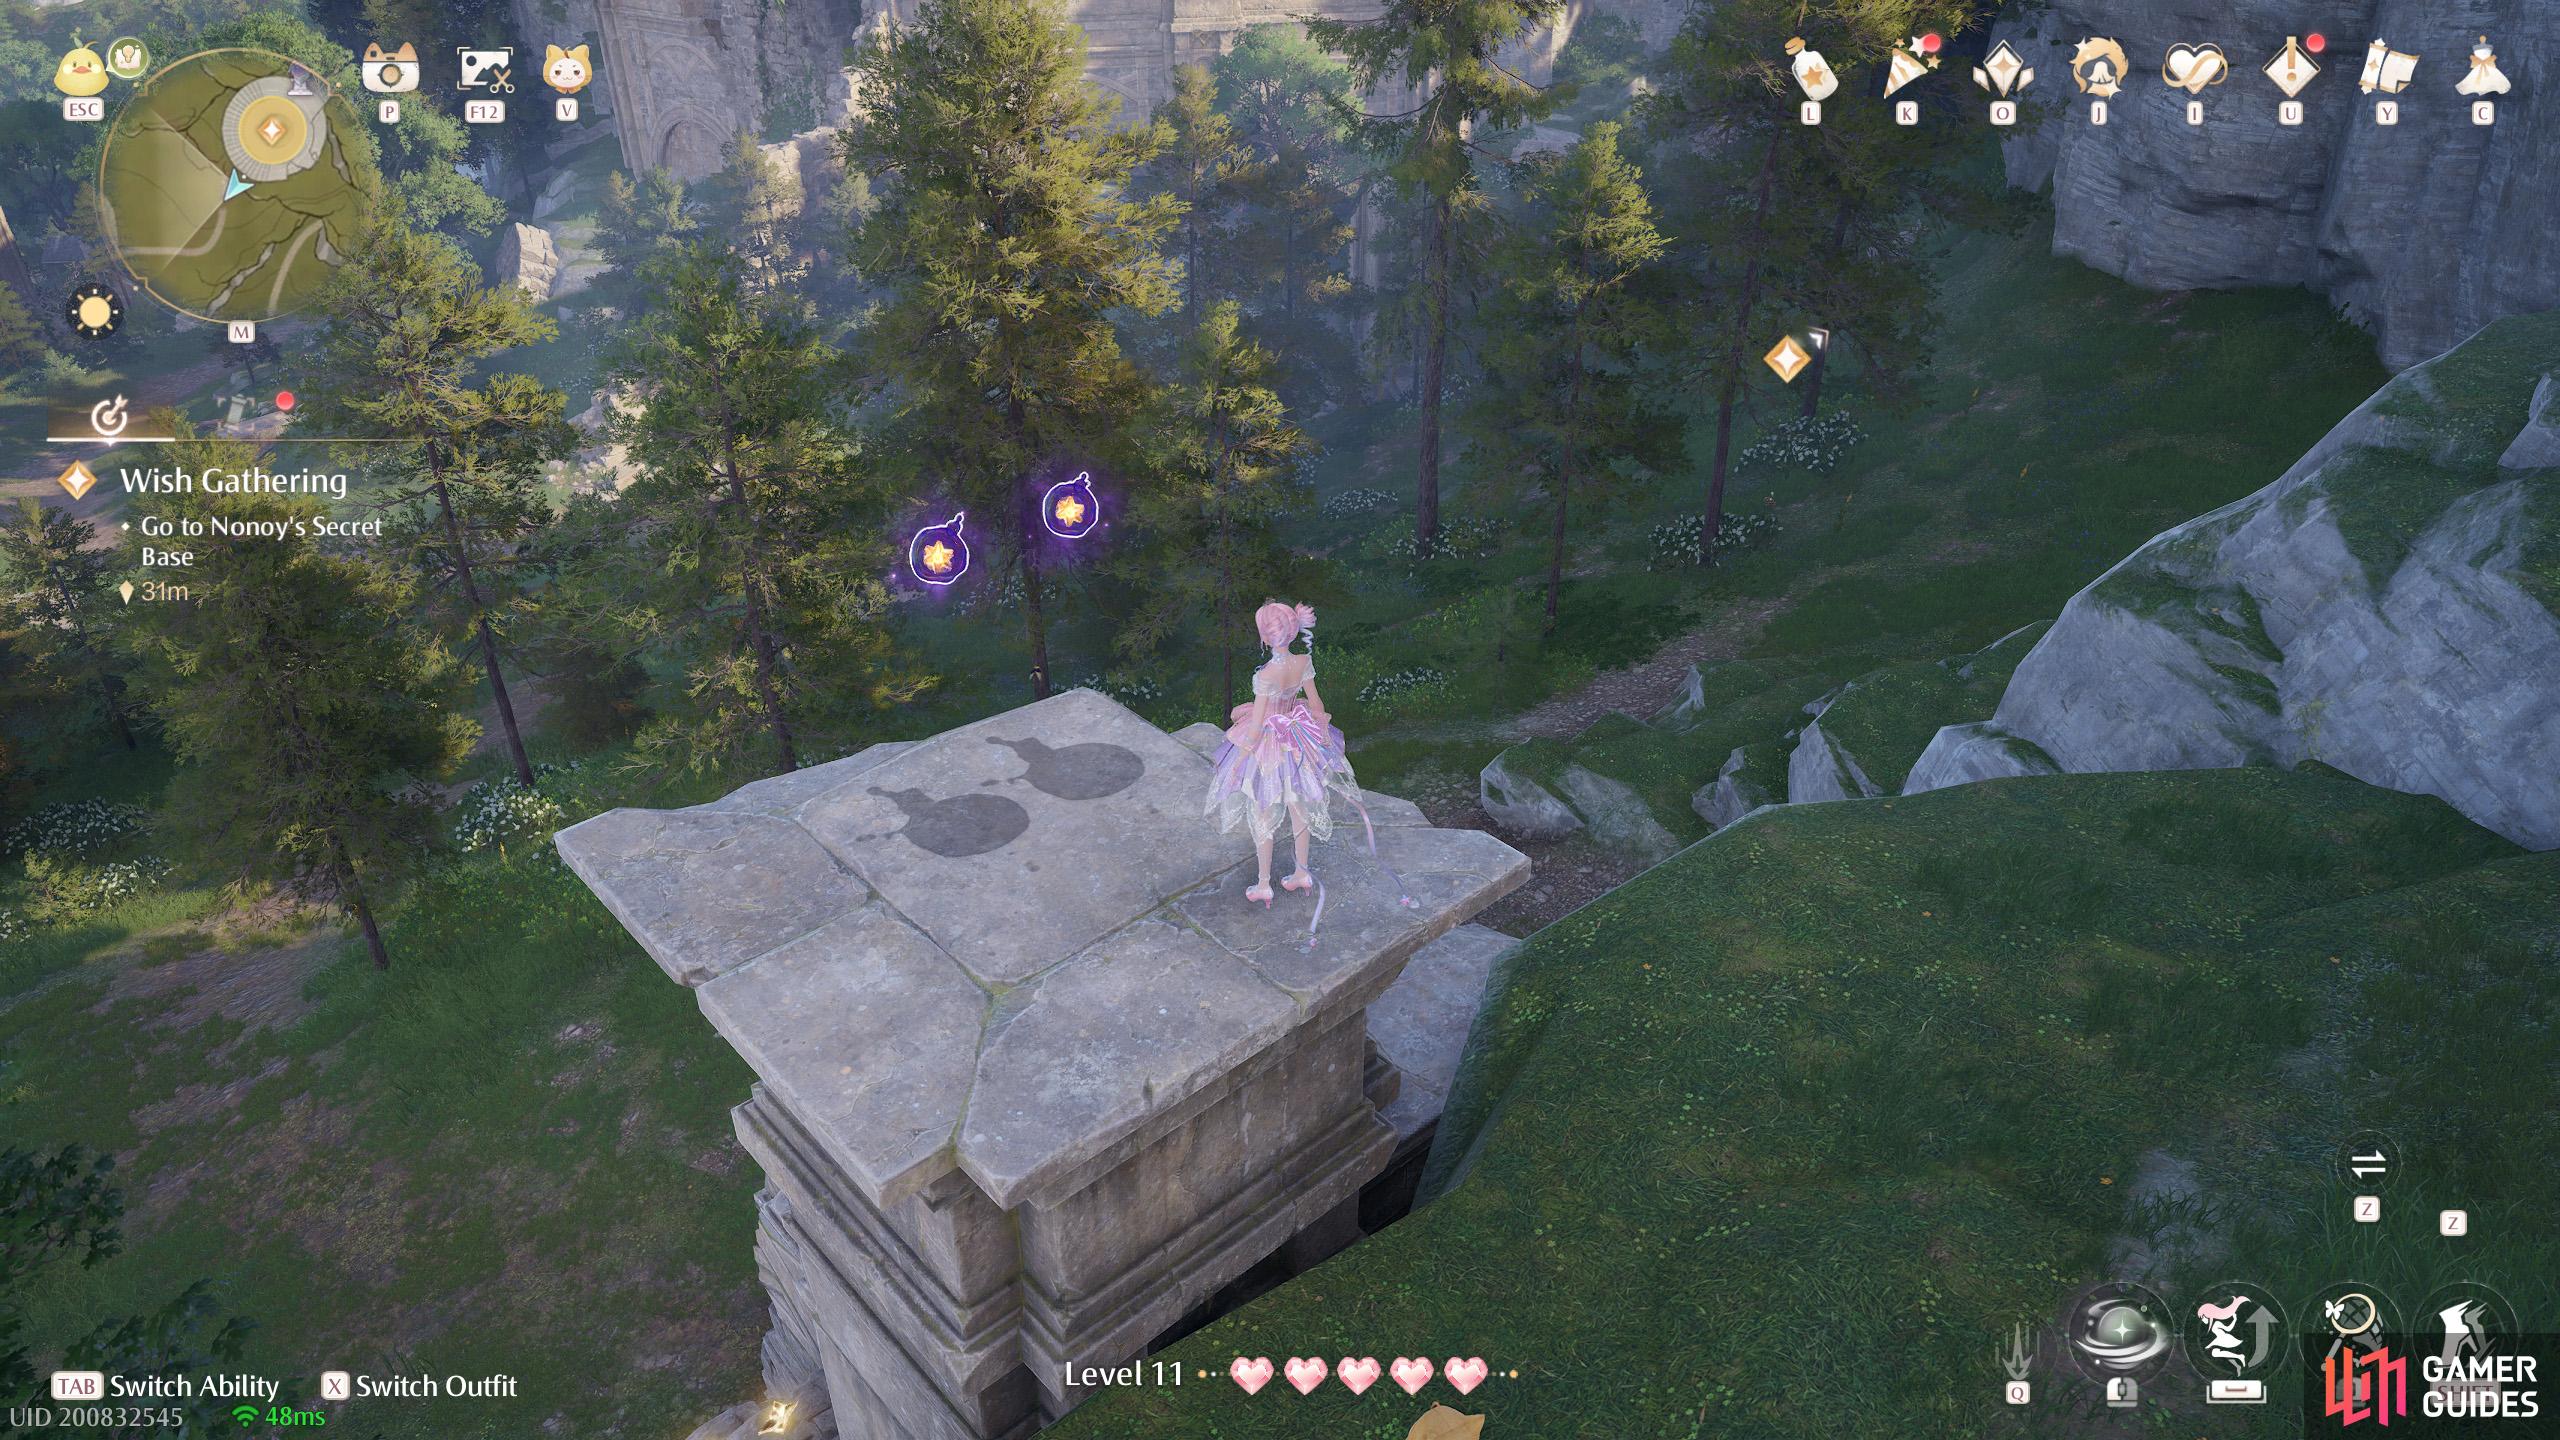
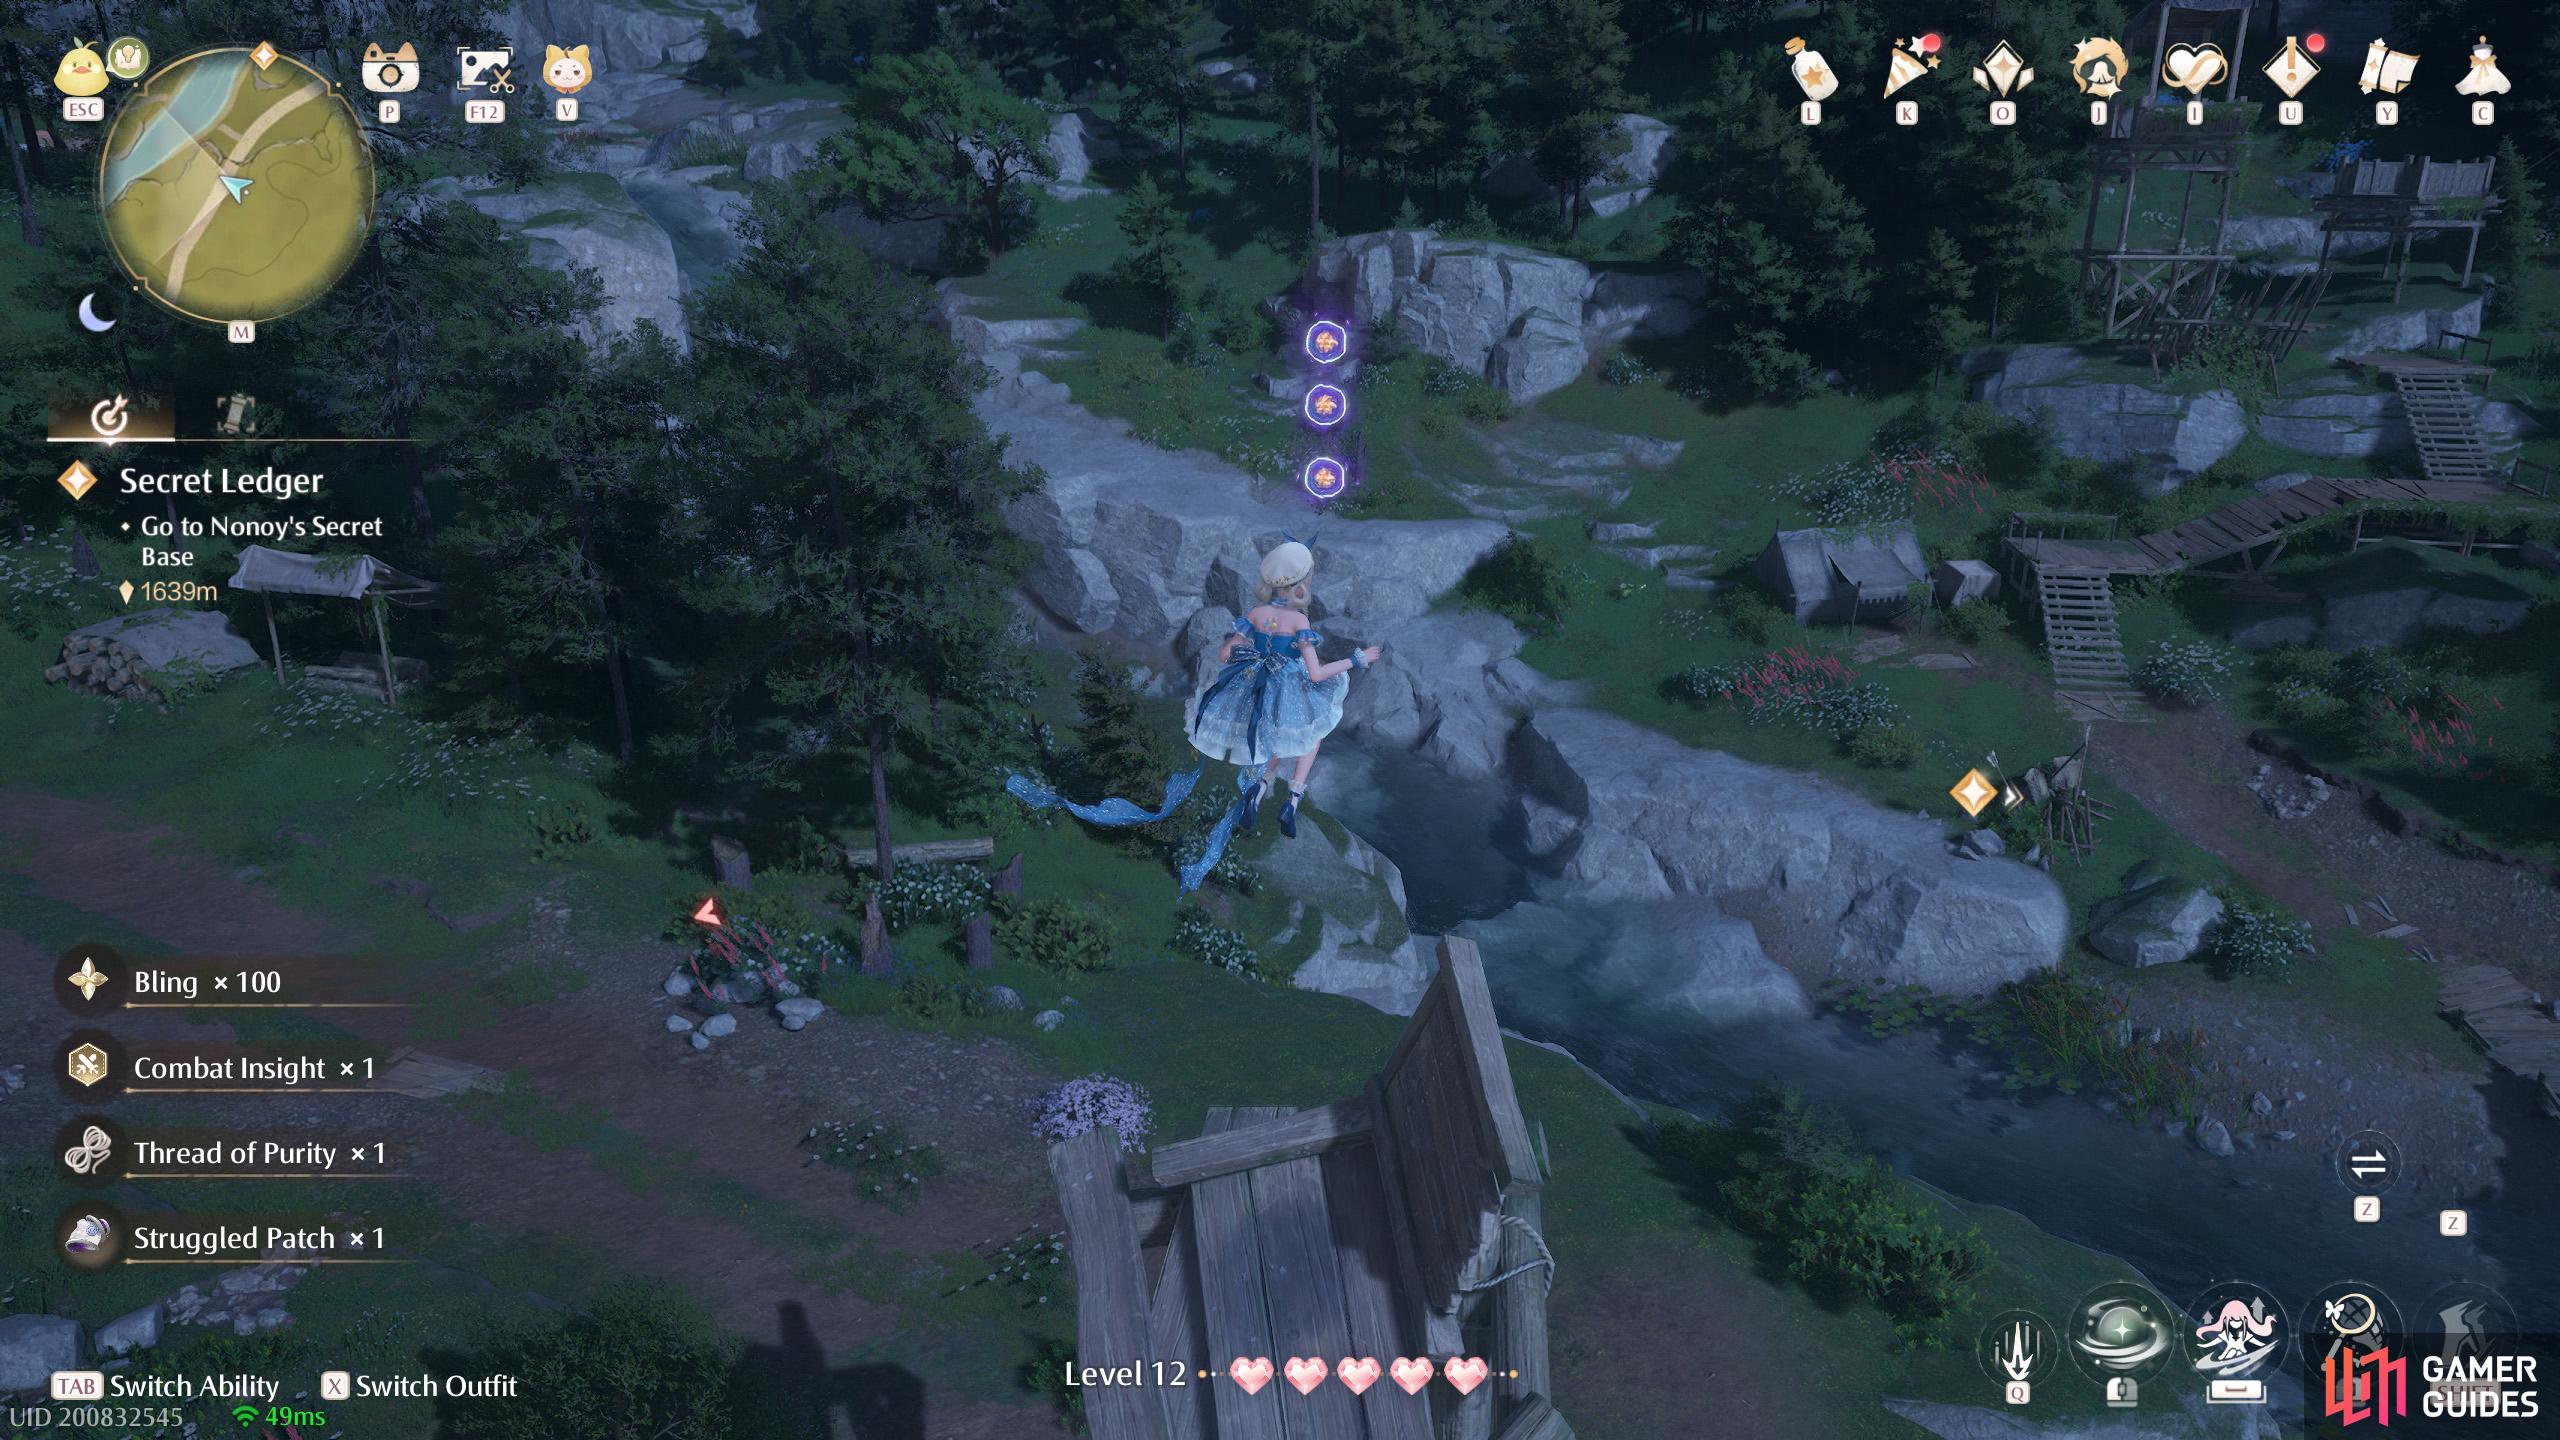
Two high up, east from the ![]() Secret Base. You can climb up the nearby collapsed wall to reach them.
Secret Base. You can climb up the nearby collapsed wall to reach them.
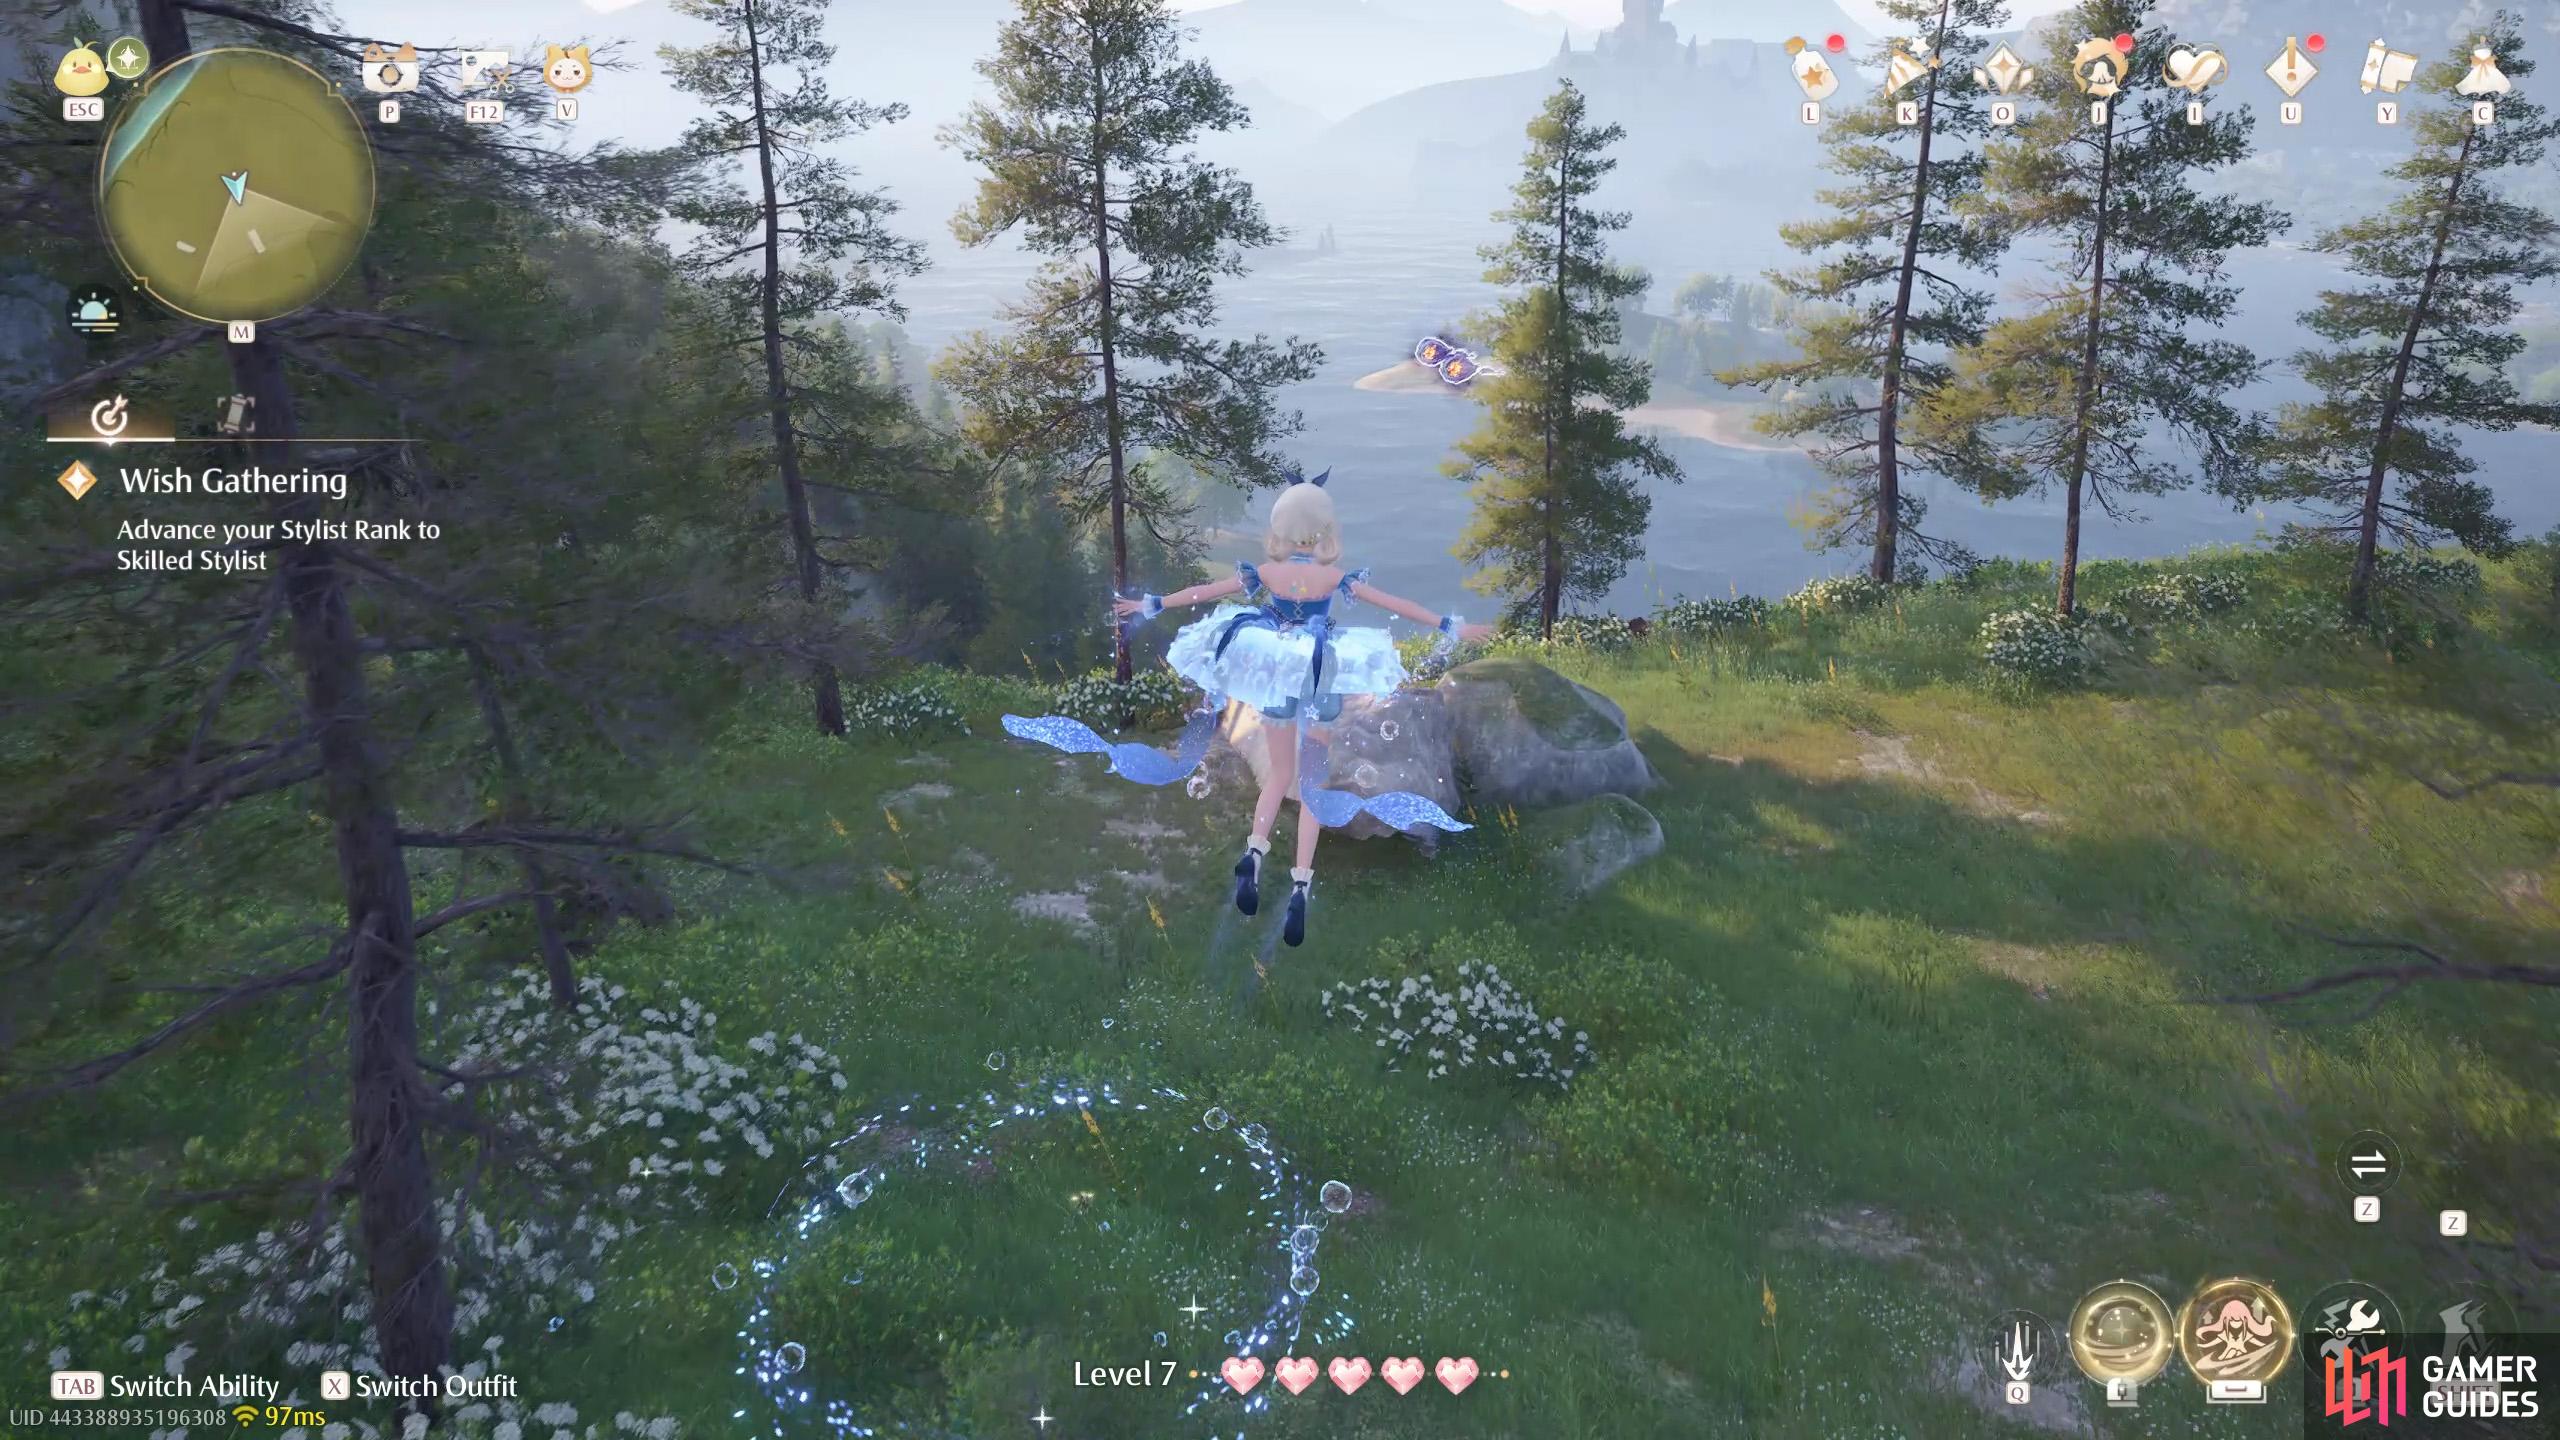
58. Miraland Map
Three east from the ![]() Queen’s Palace Ruins, floating above the sea. Float across the lily pads, then double jump to get within shooting range.
Queen’s Palace Ruins, floating above the sea. Float across the lily pads, then double jump to get within shooting range.
59. Miraland Map
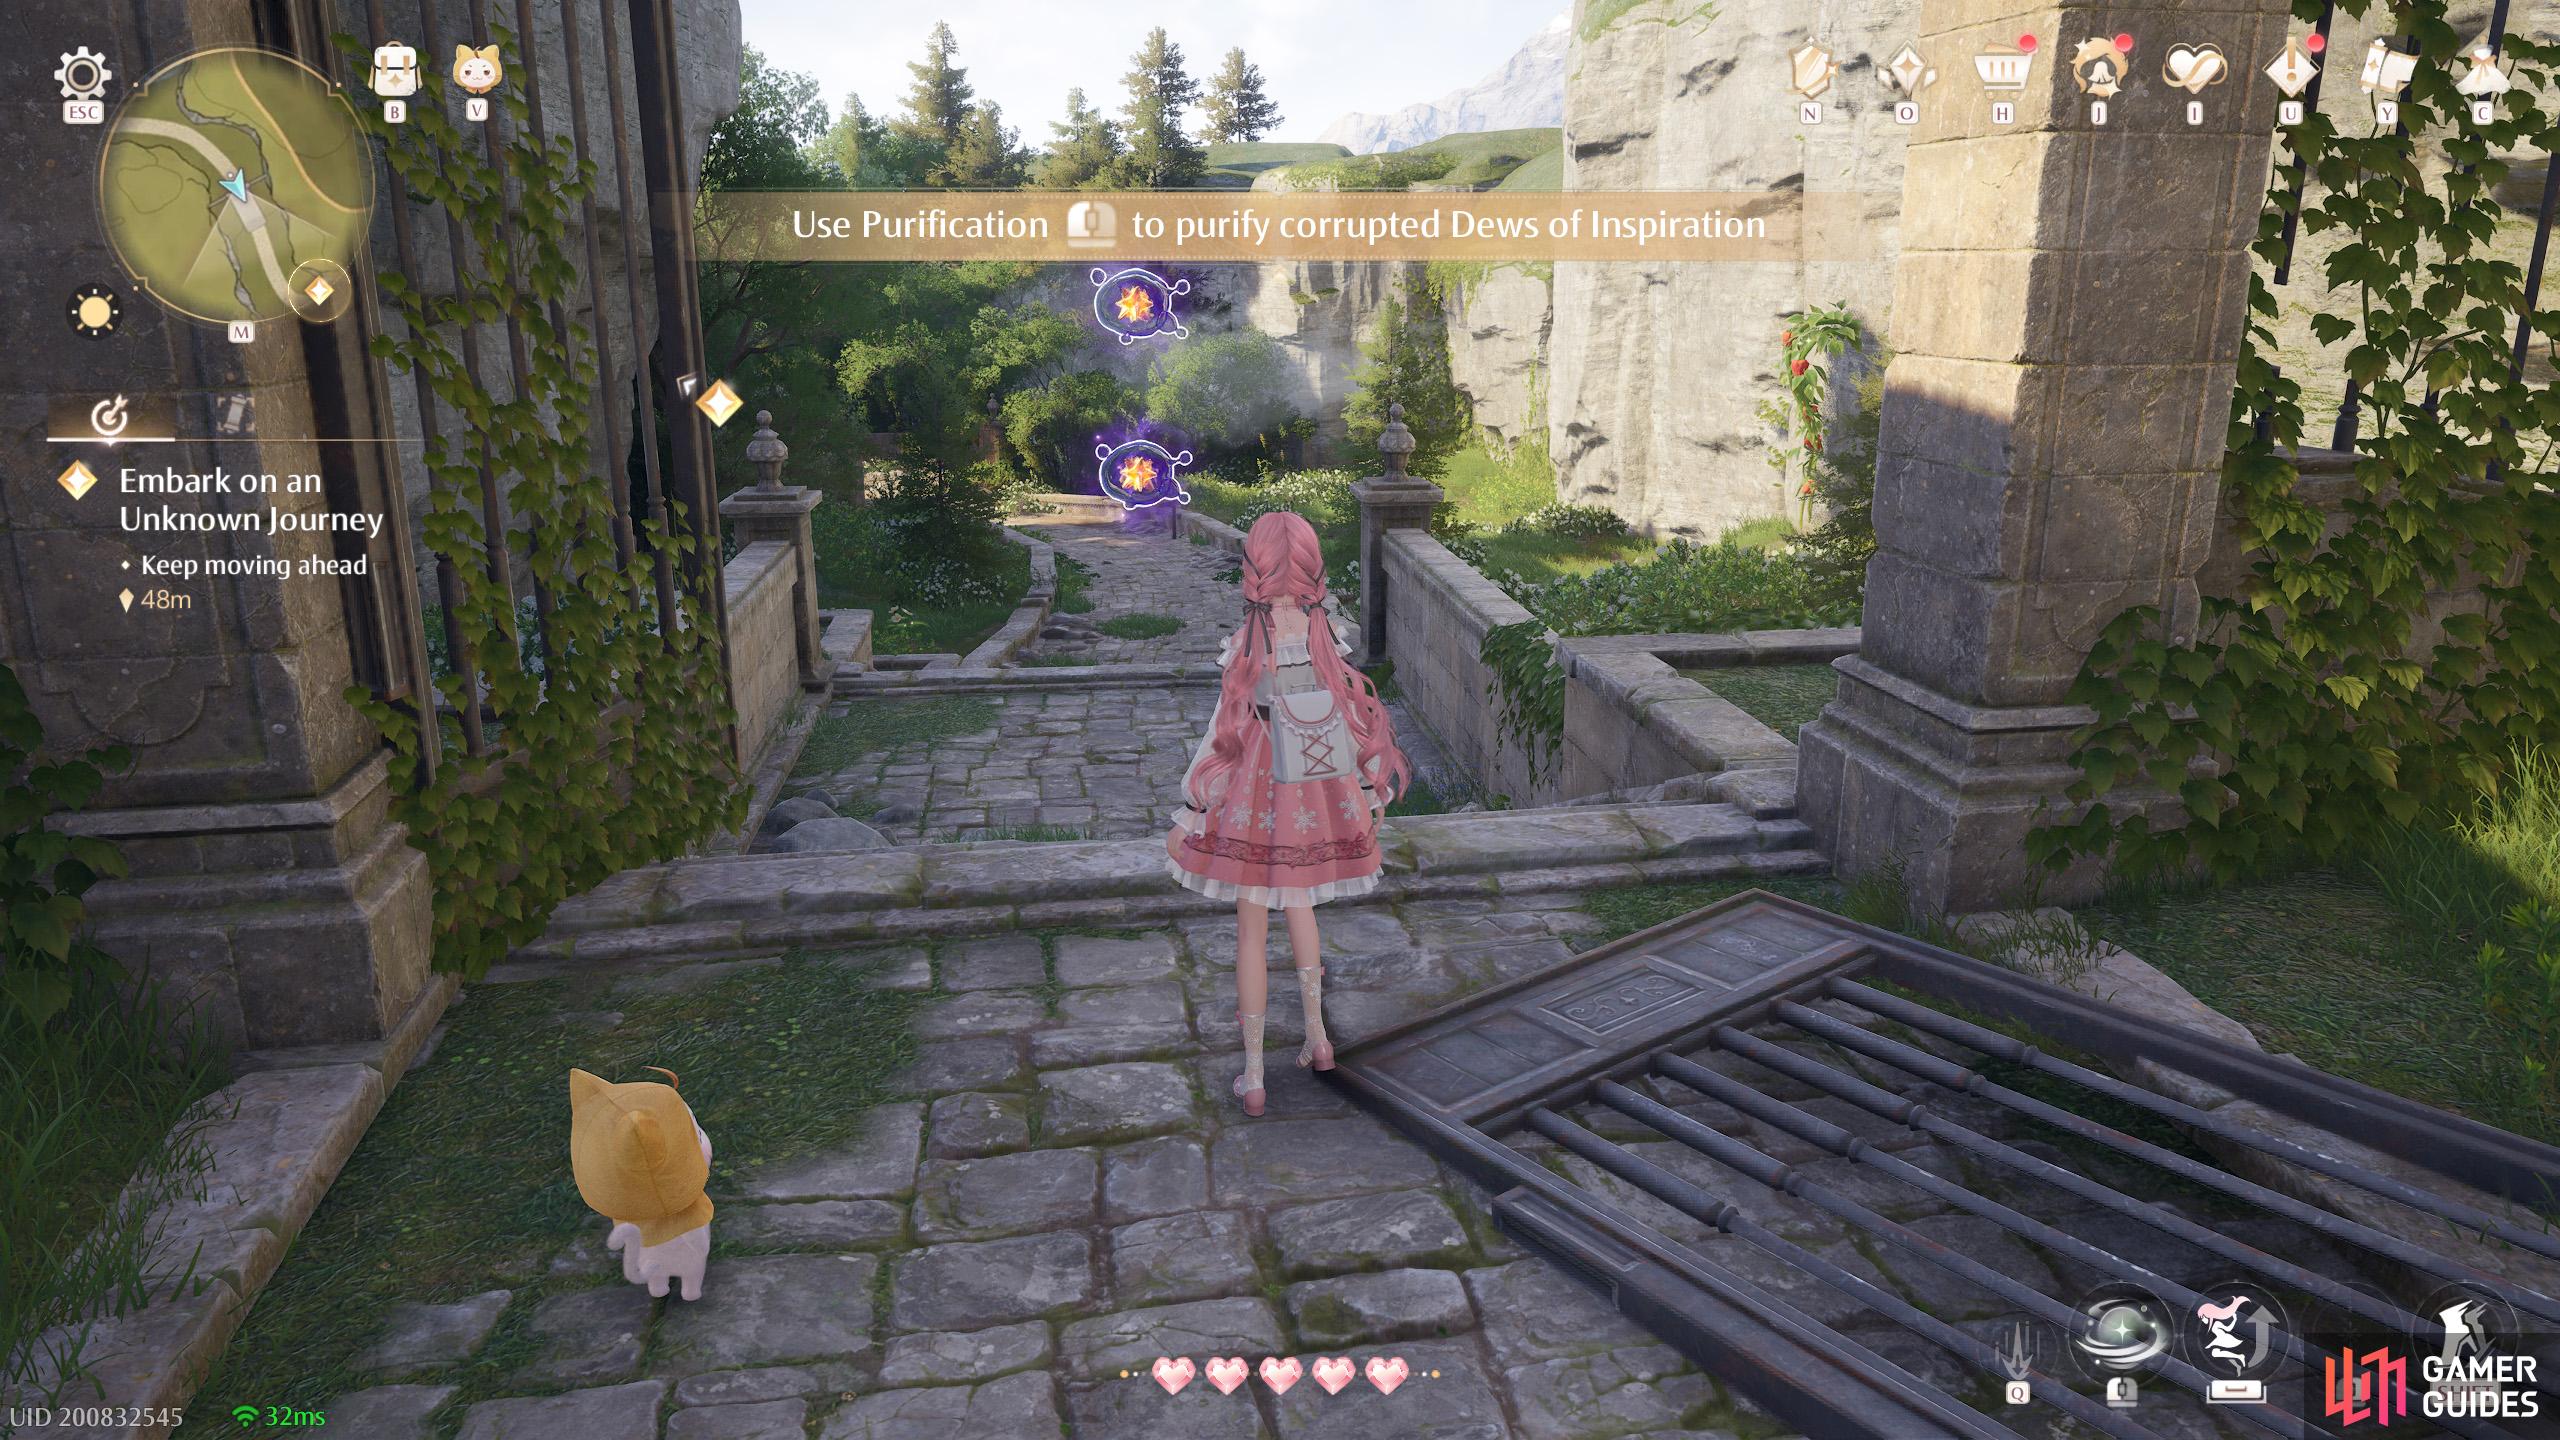
Two while leaving the ![]() Memorial Mountains. You’ll be directed by the tutorial to purify them.
Memorial Mountains. You’ll be directed by the tutorial to purify them.
62. Miraland Map
Three on a windowsill around the east side of Great Wishtree Square.
63. Miraland Map
Two floating near the rooftop of the houses east from ![]() Marques Boutique.
Marques Boutique.
64. Miraland Map
Three under the bridge when exiting Great Wishtree Square from the east.


72. Miraland Map
Two inside the waterfall cave, at the top level, above a pipe near the exit.
73. Miraland Map
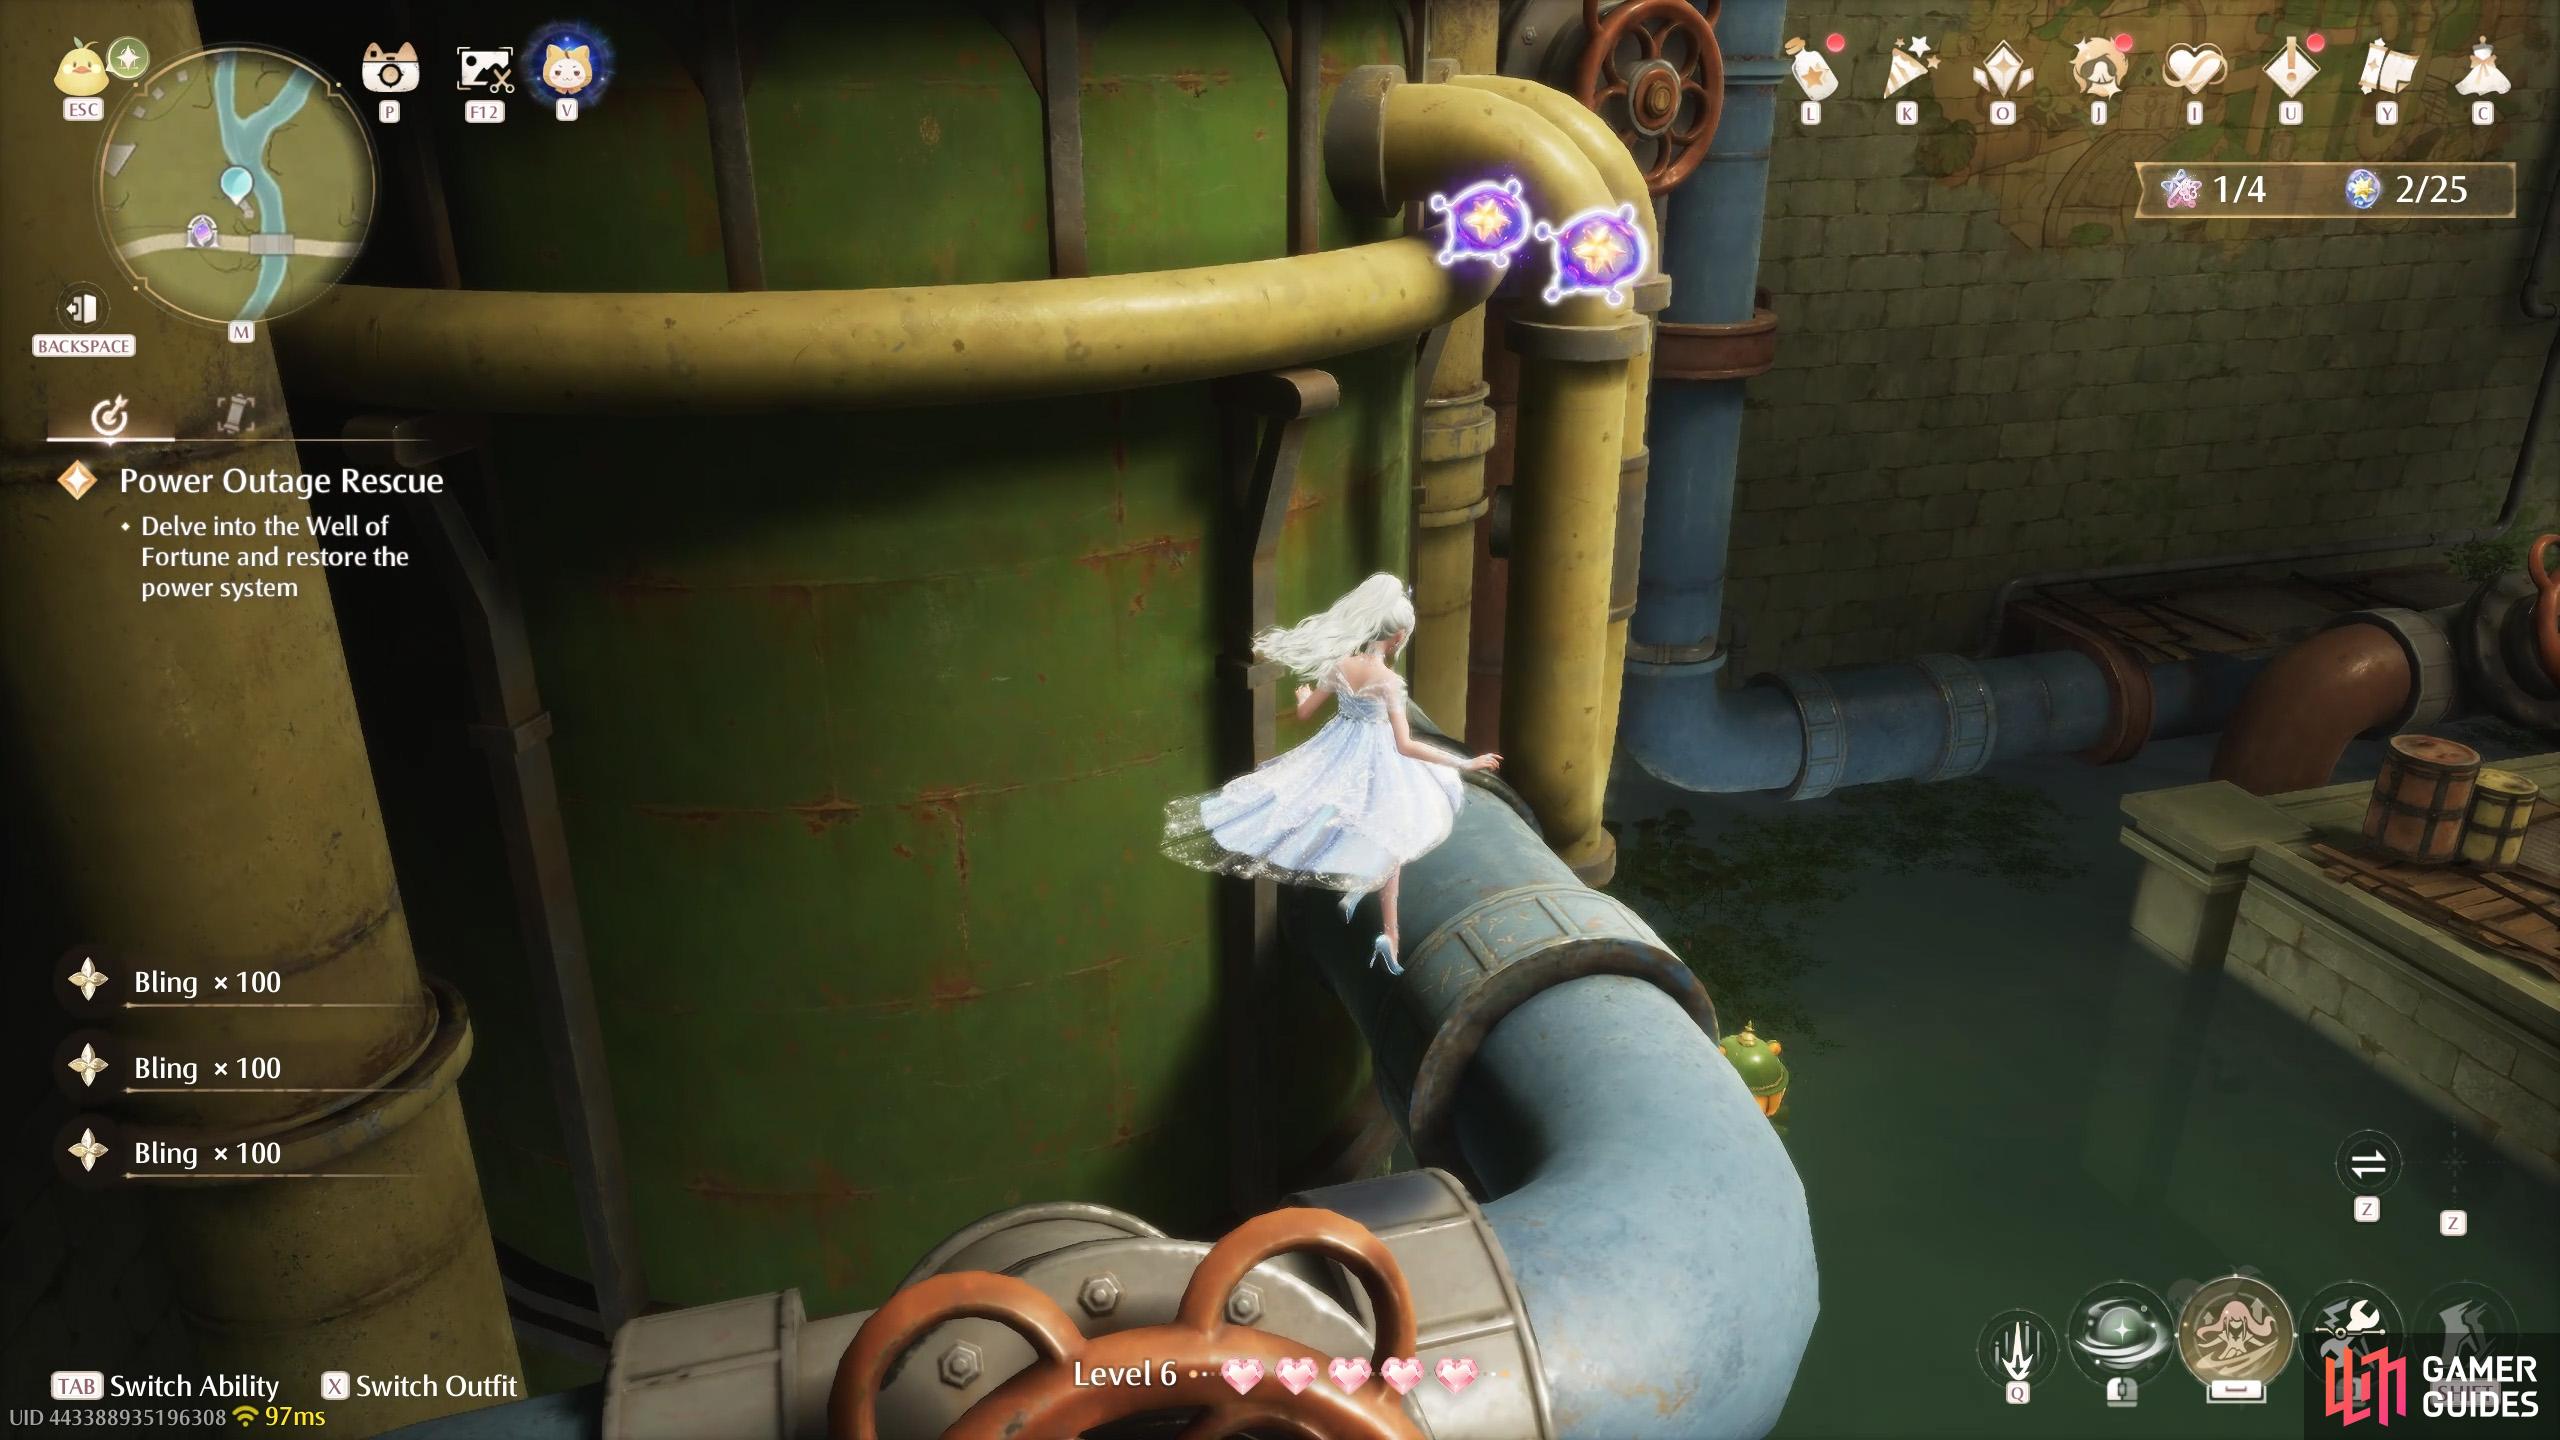
Two inside the cave where the ![]() Well of Fortune is, high up along the ledges. Head west from the Warp Spire to find a way up.
Well of Fortune is, high up along the ledges. Head west from the Warp Spire to find a way up.
74. Miraland Map
Three high above the house north of ![]() Marques Boutique. You can float down from the cliff to the north-west, near the Whimflutter.
Marques Boutique. You can float down from the cliff to the north-west, near the Whimflutter.
76. Miraland Map
Two underneath the ![]() Florawish gathering spot. Look for a cracked wooden board east of the central statue that you can break with a jumping attack. They’re near where you land.
Florawish gathering spot. Look for a cracked wooden board east of the central statue that you can break with a jumping attack. They’re near where you land.
77. Miraland Map
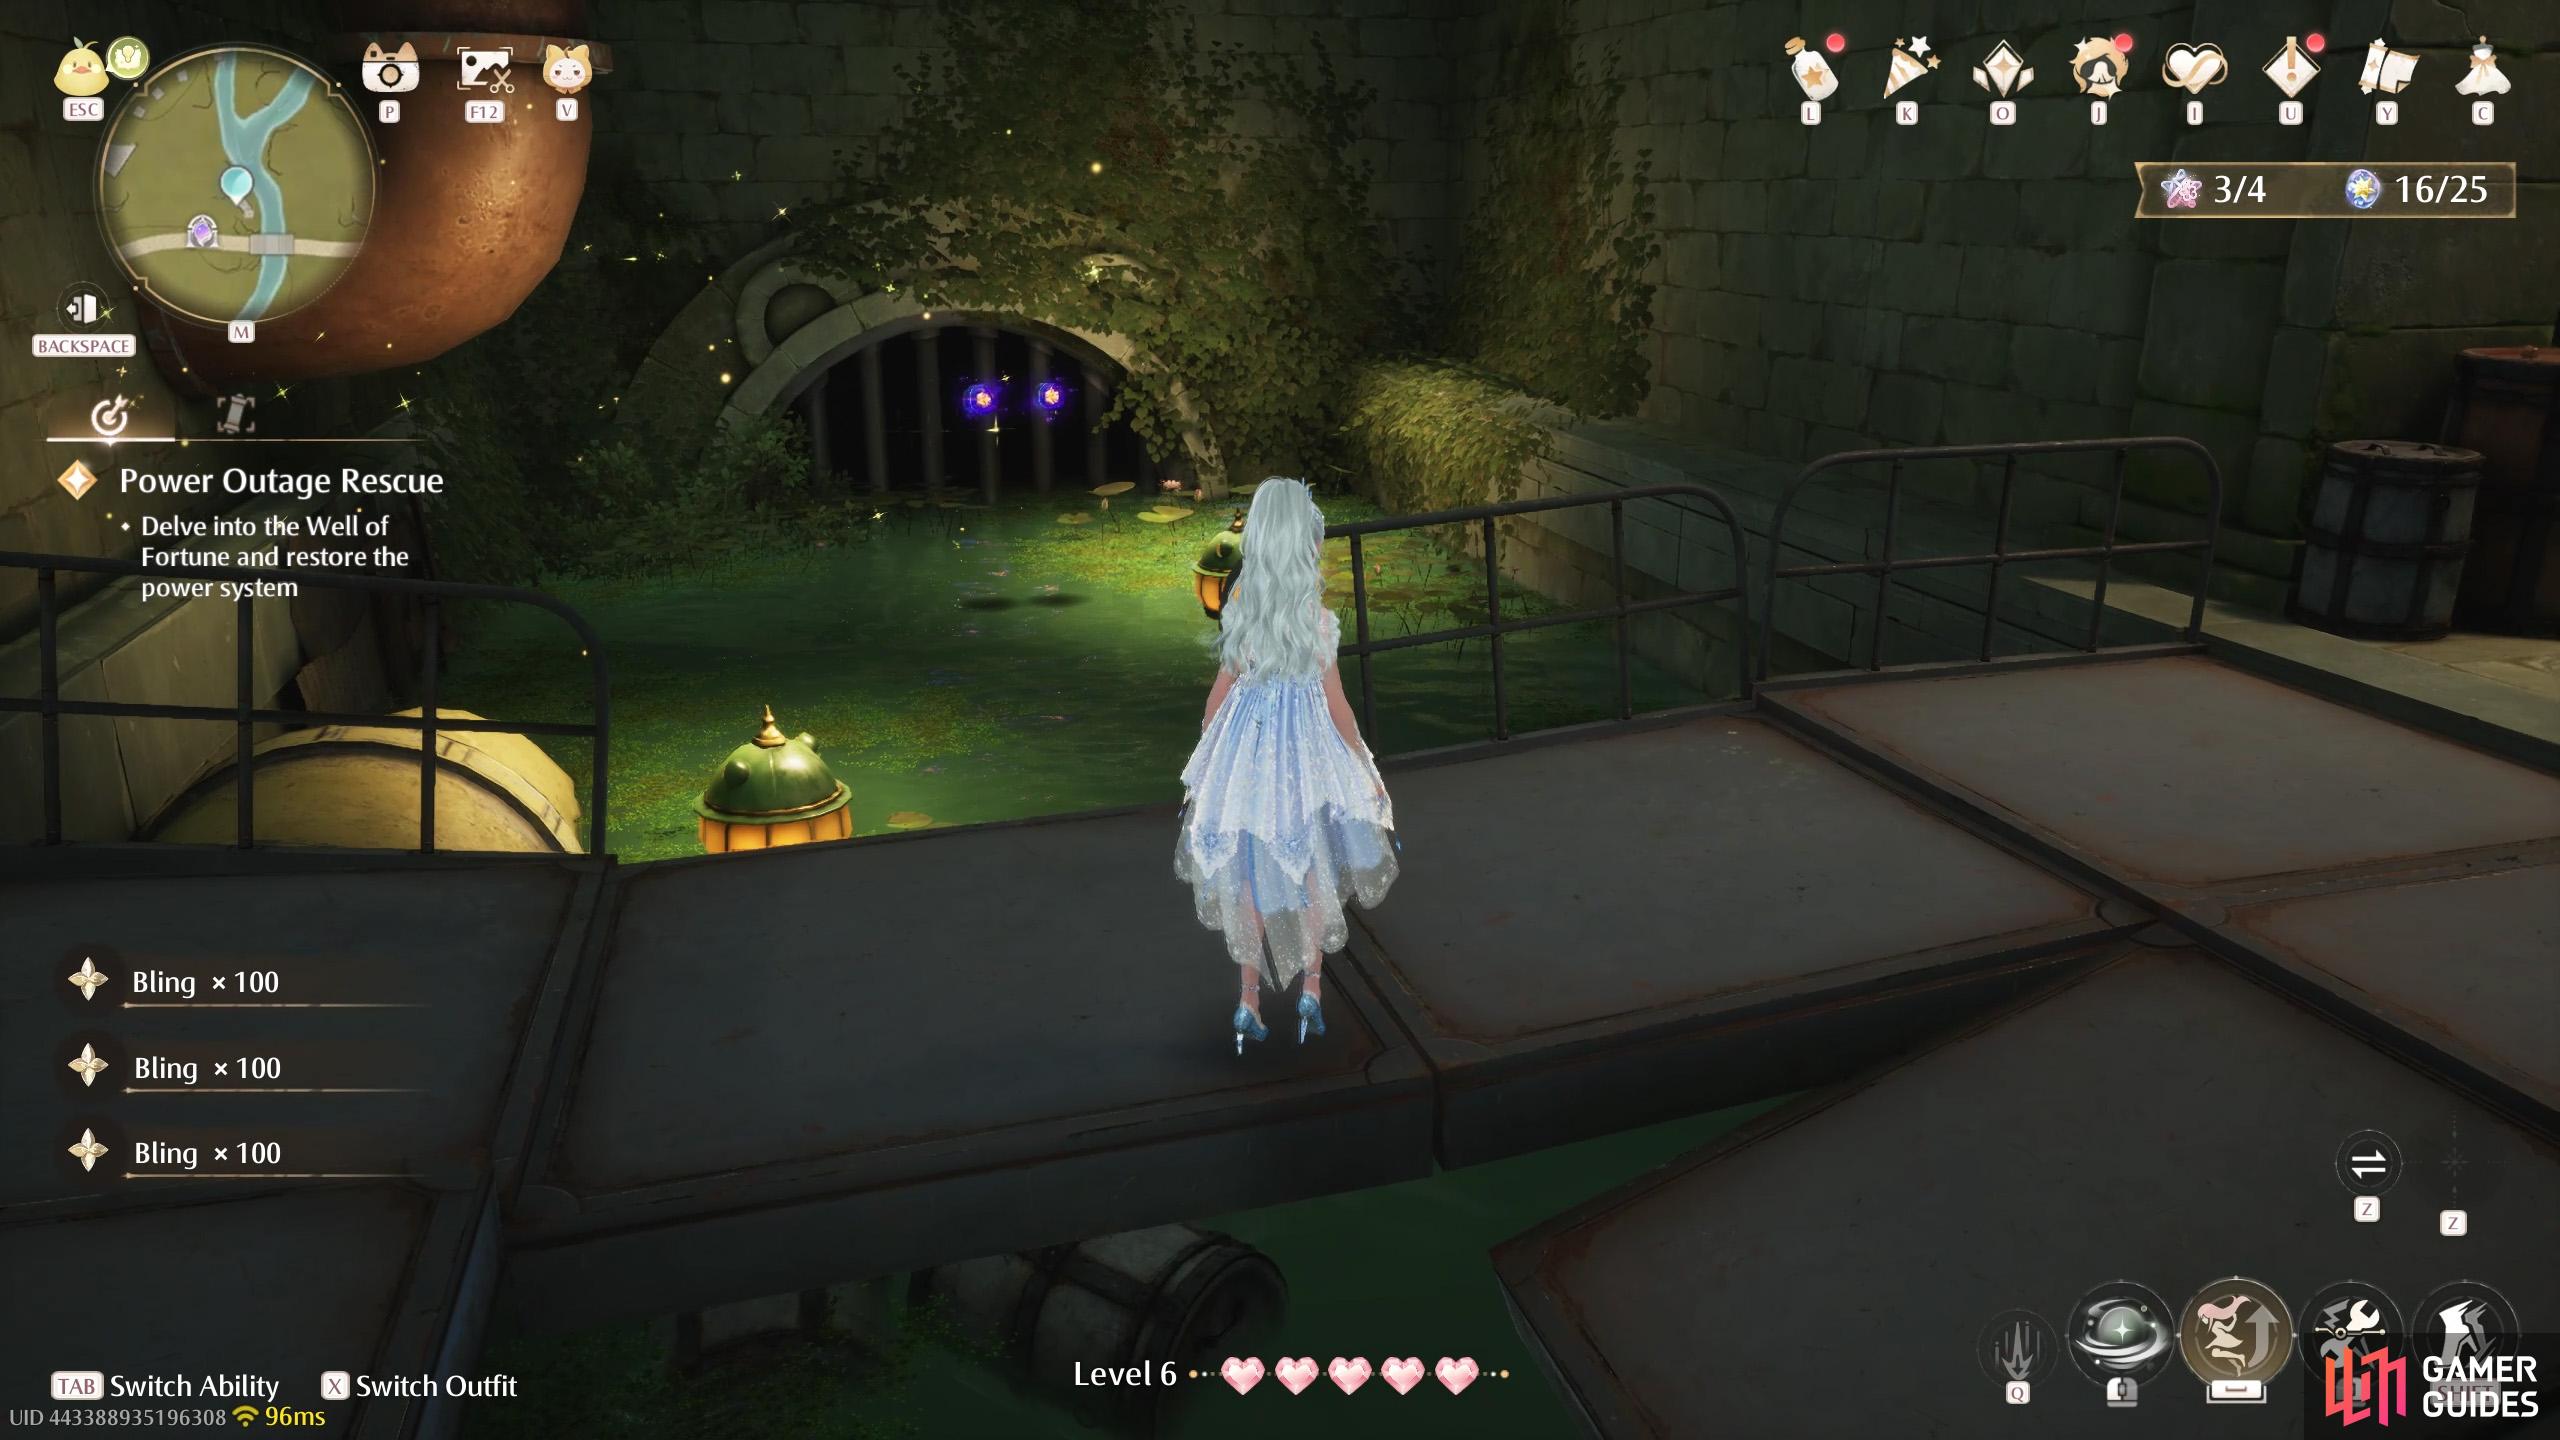
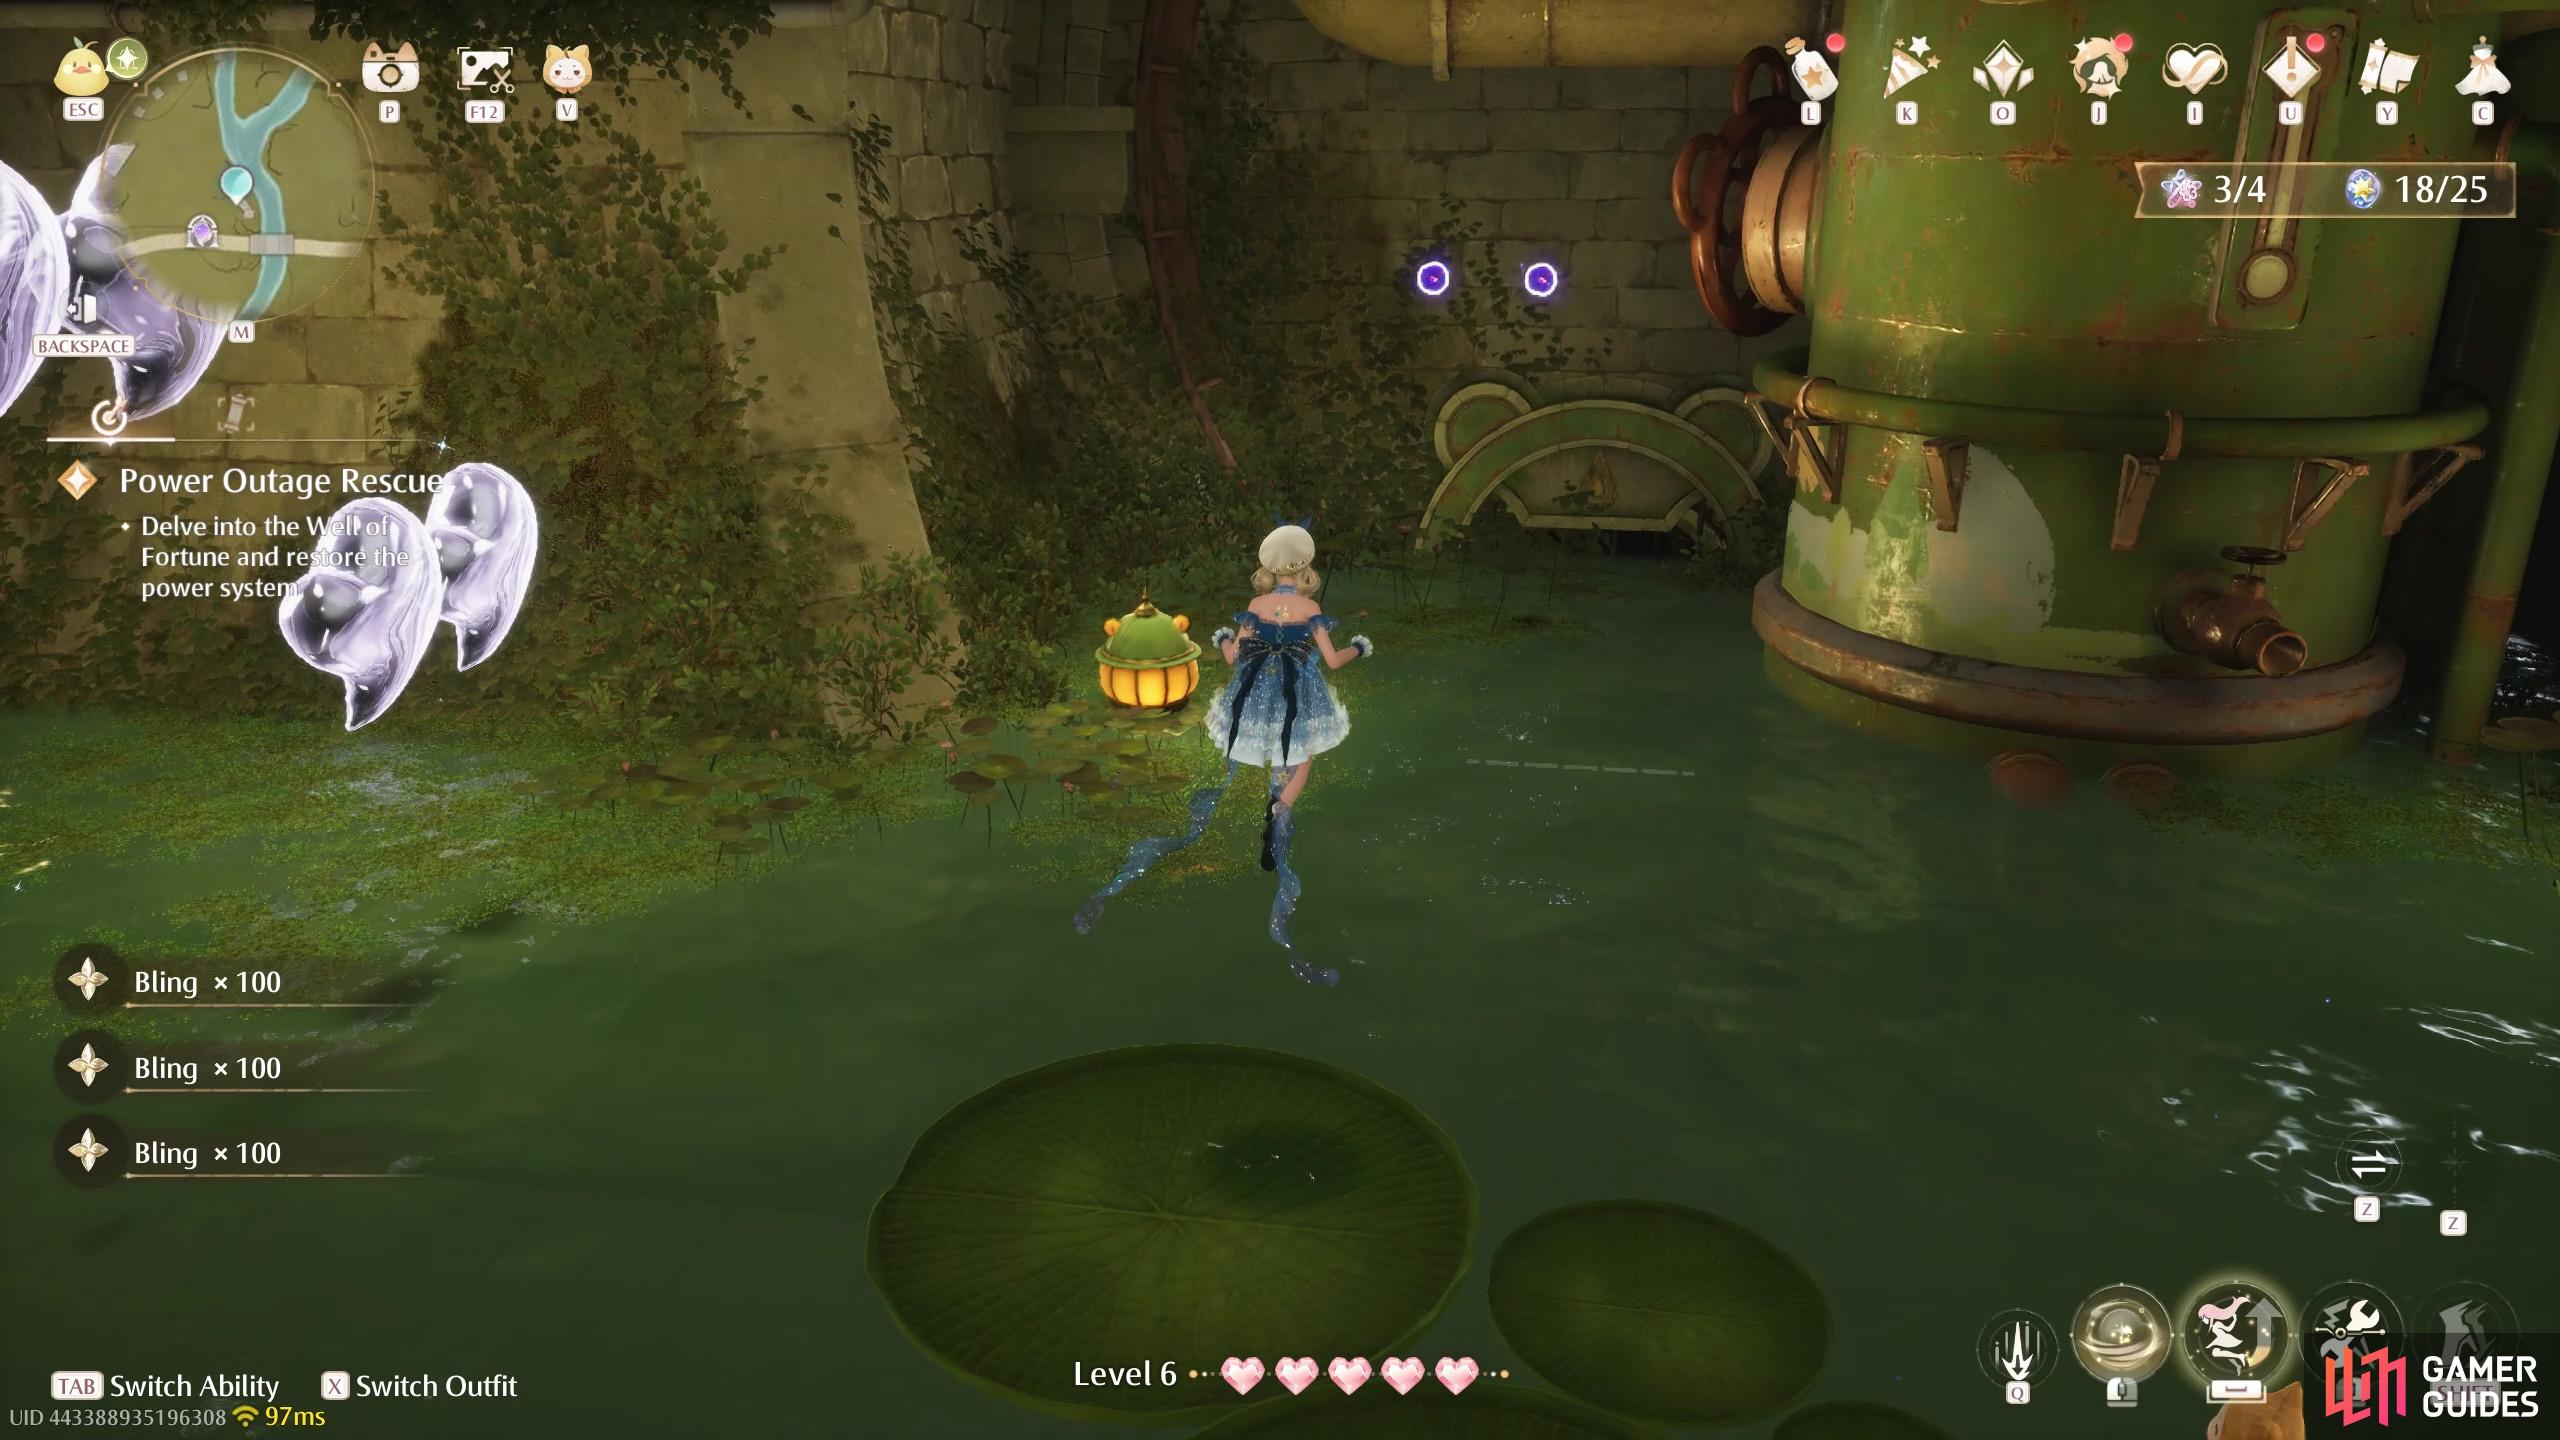
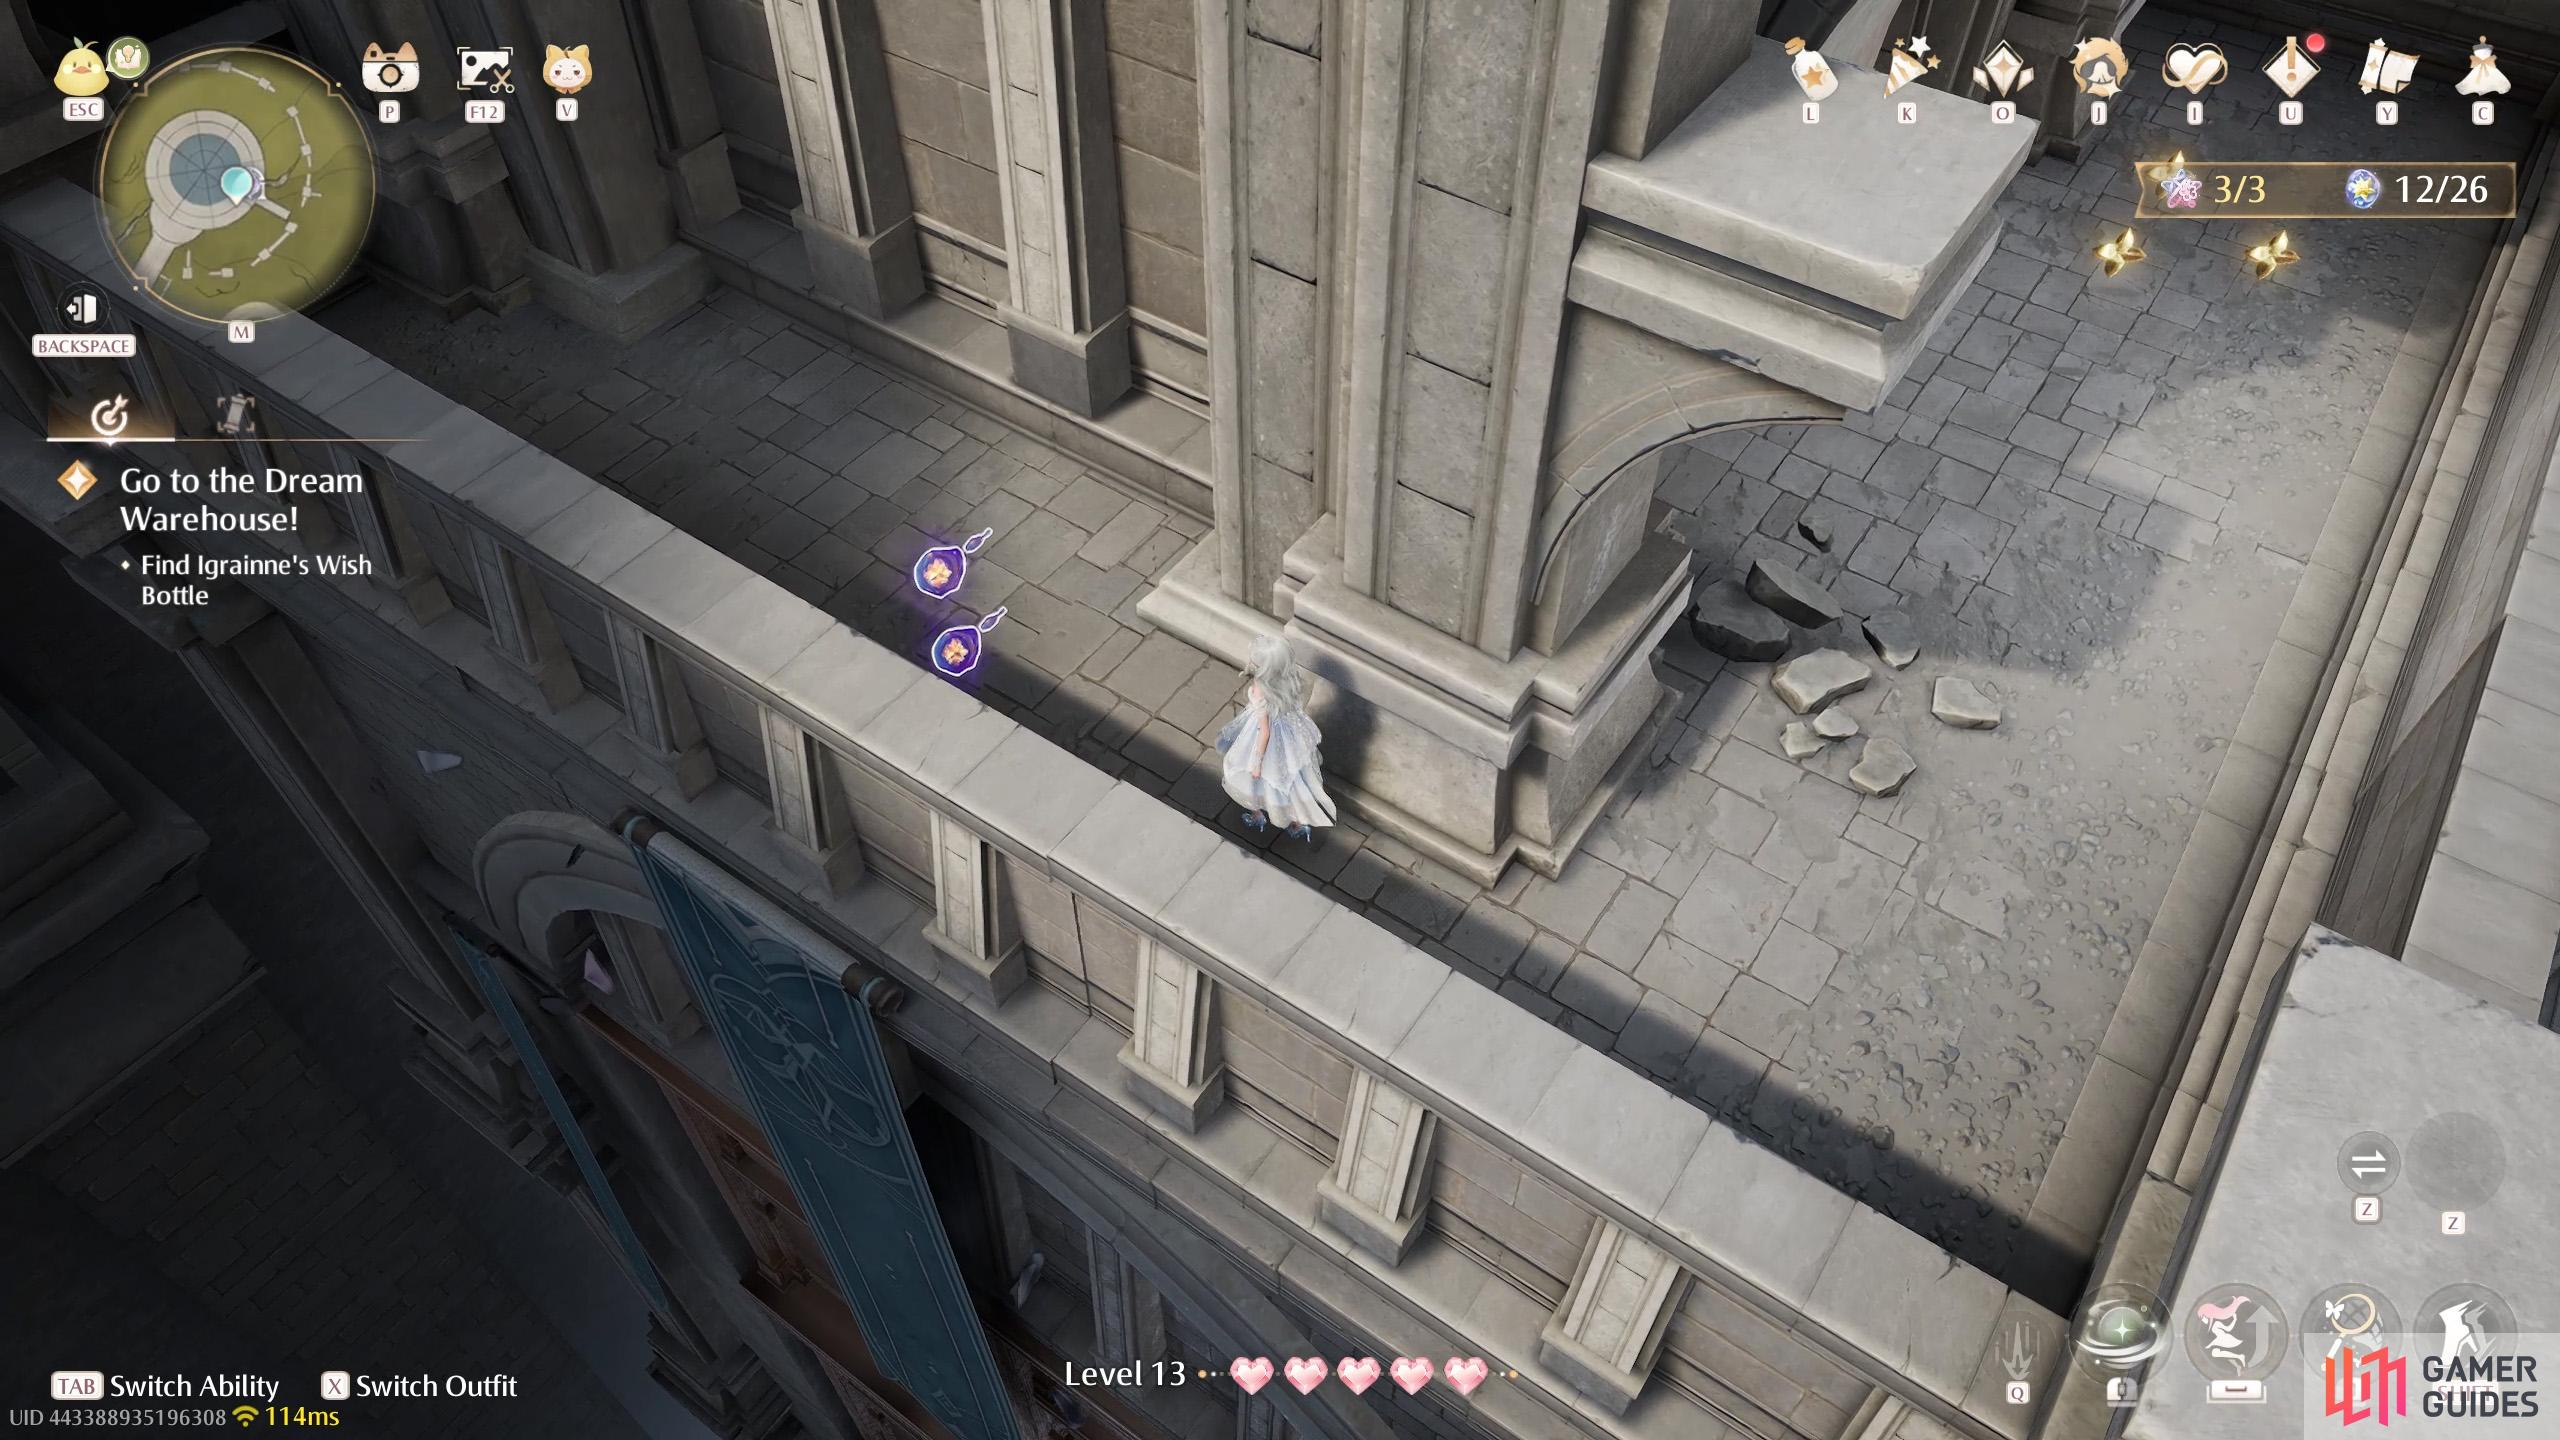
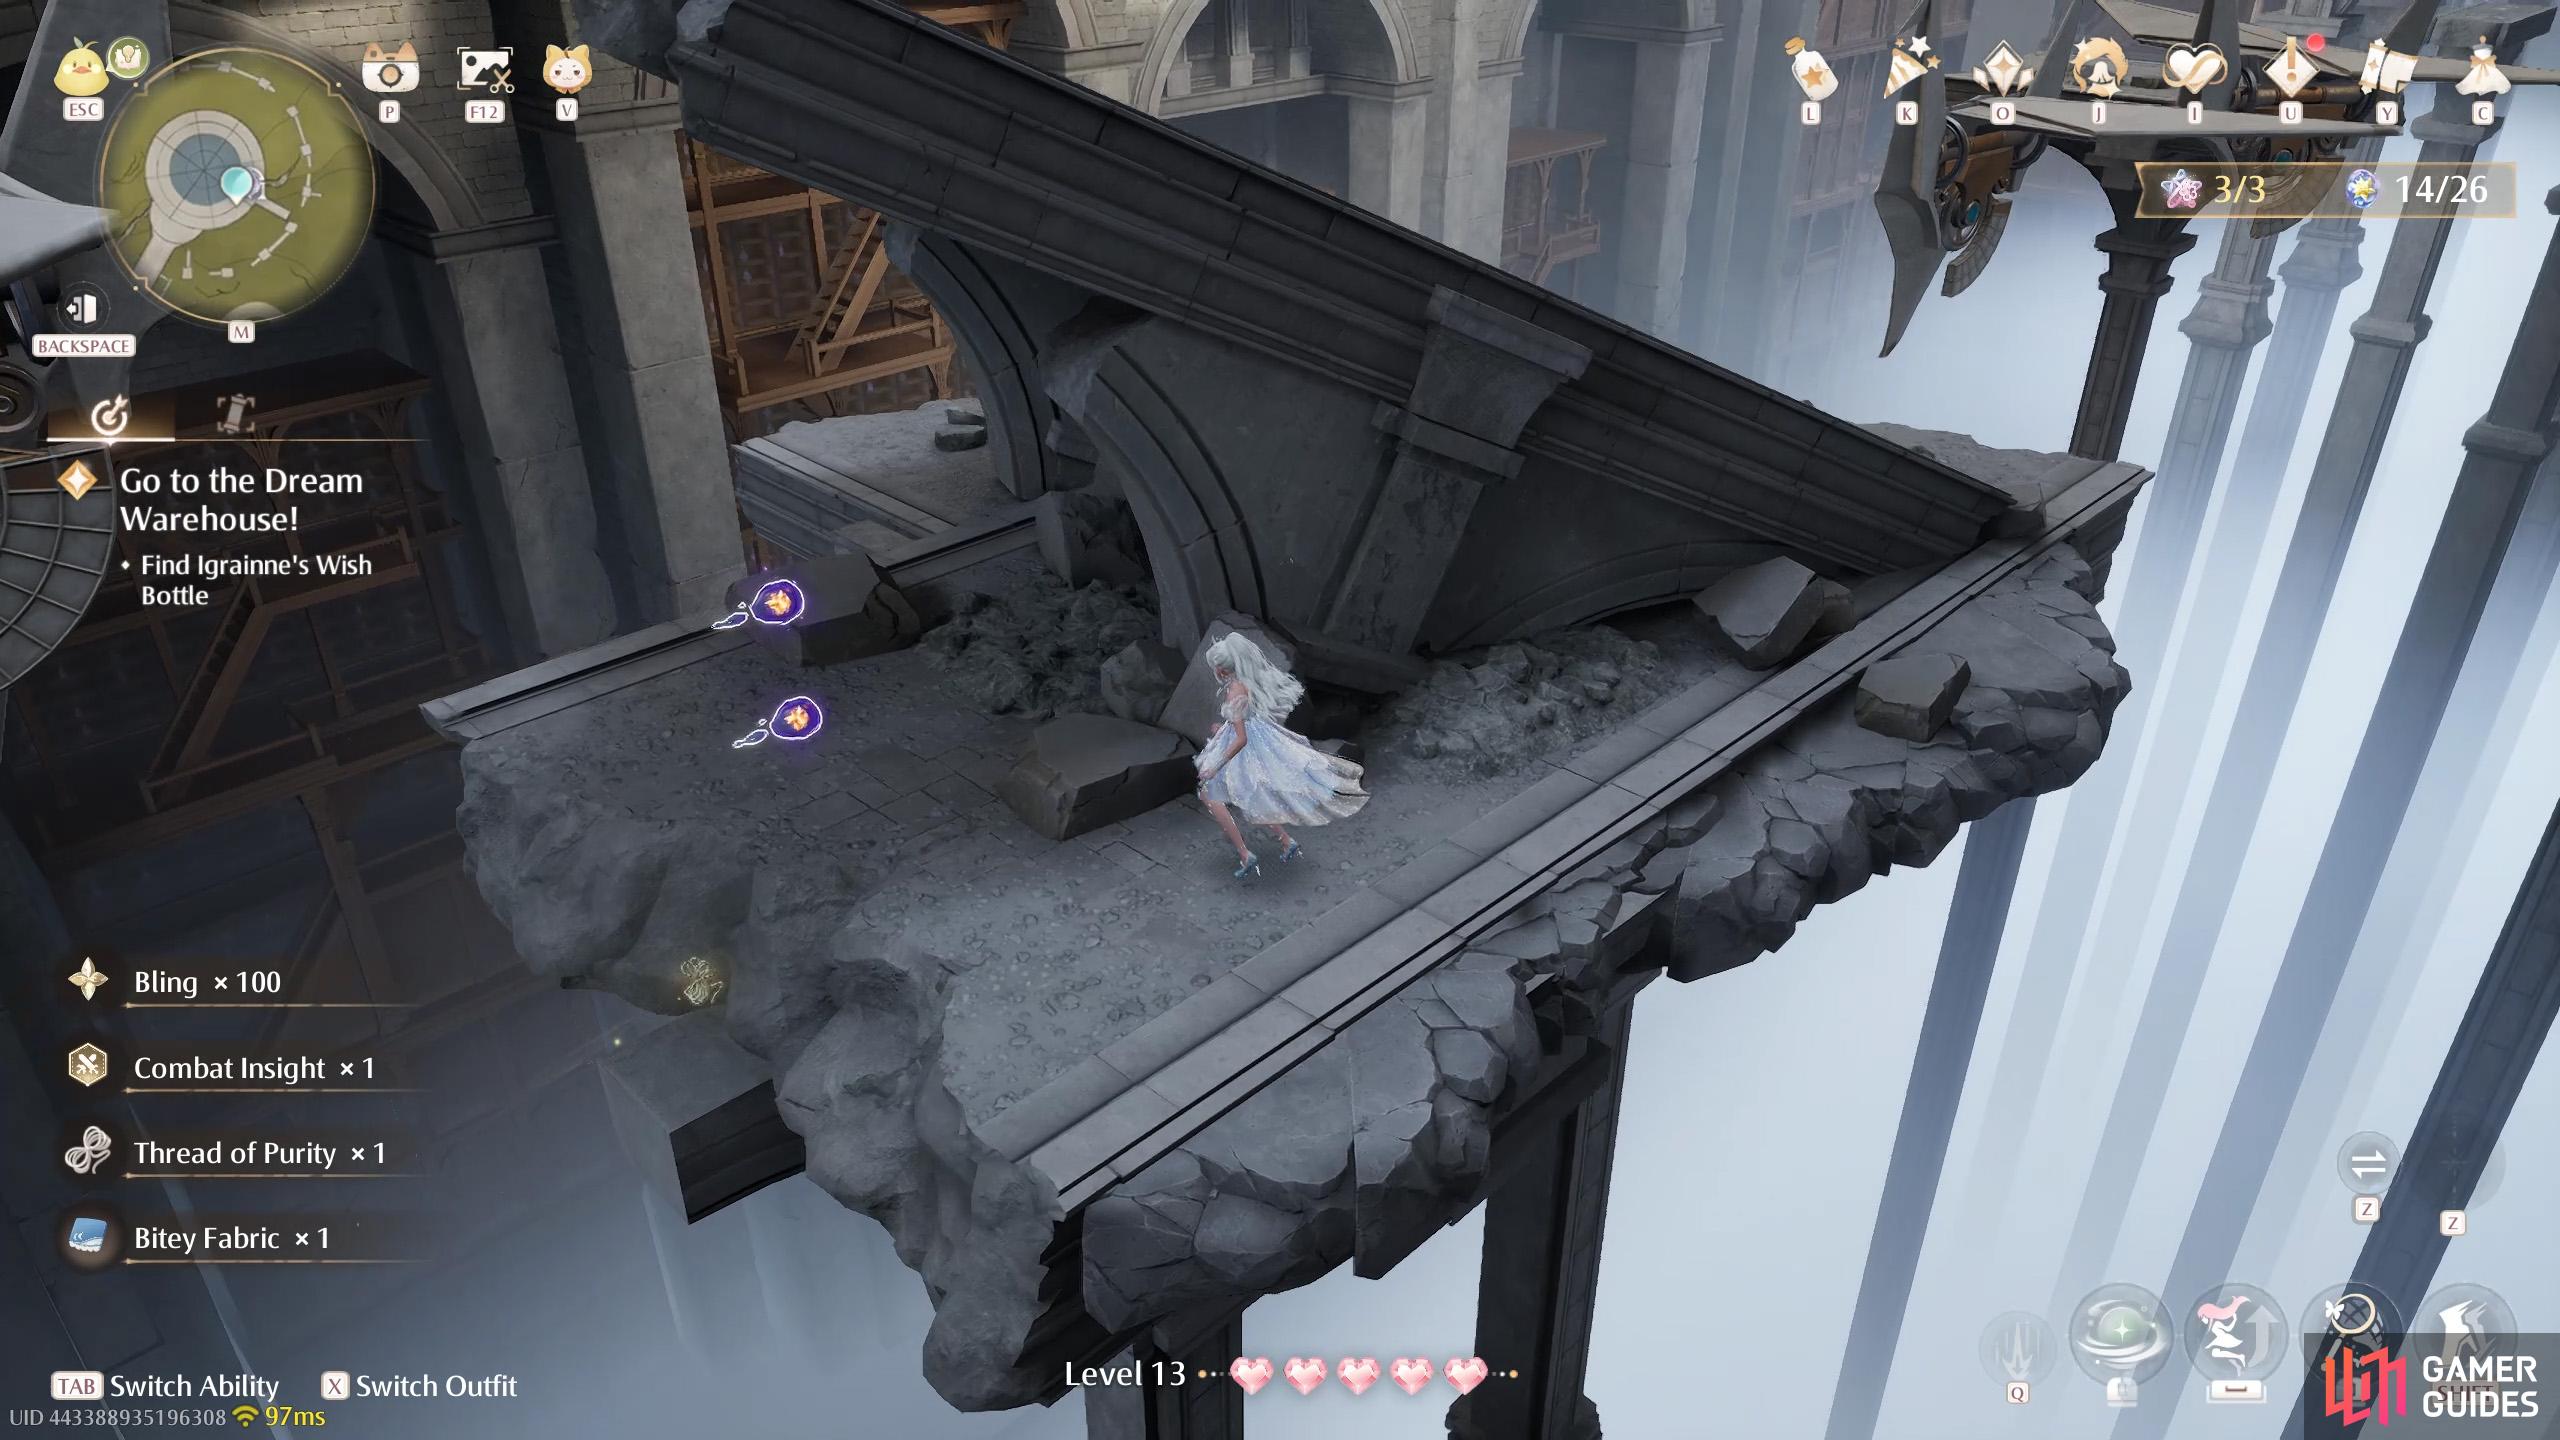
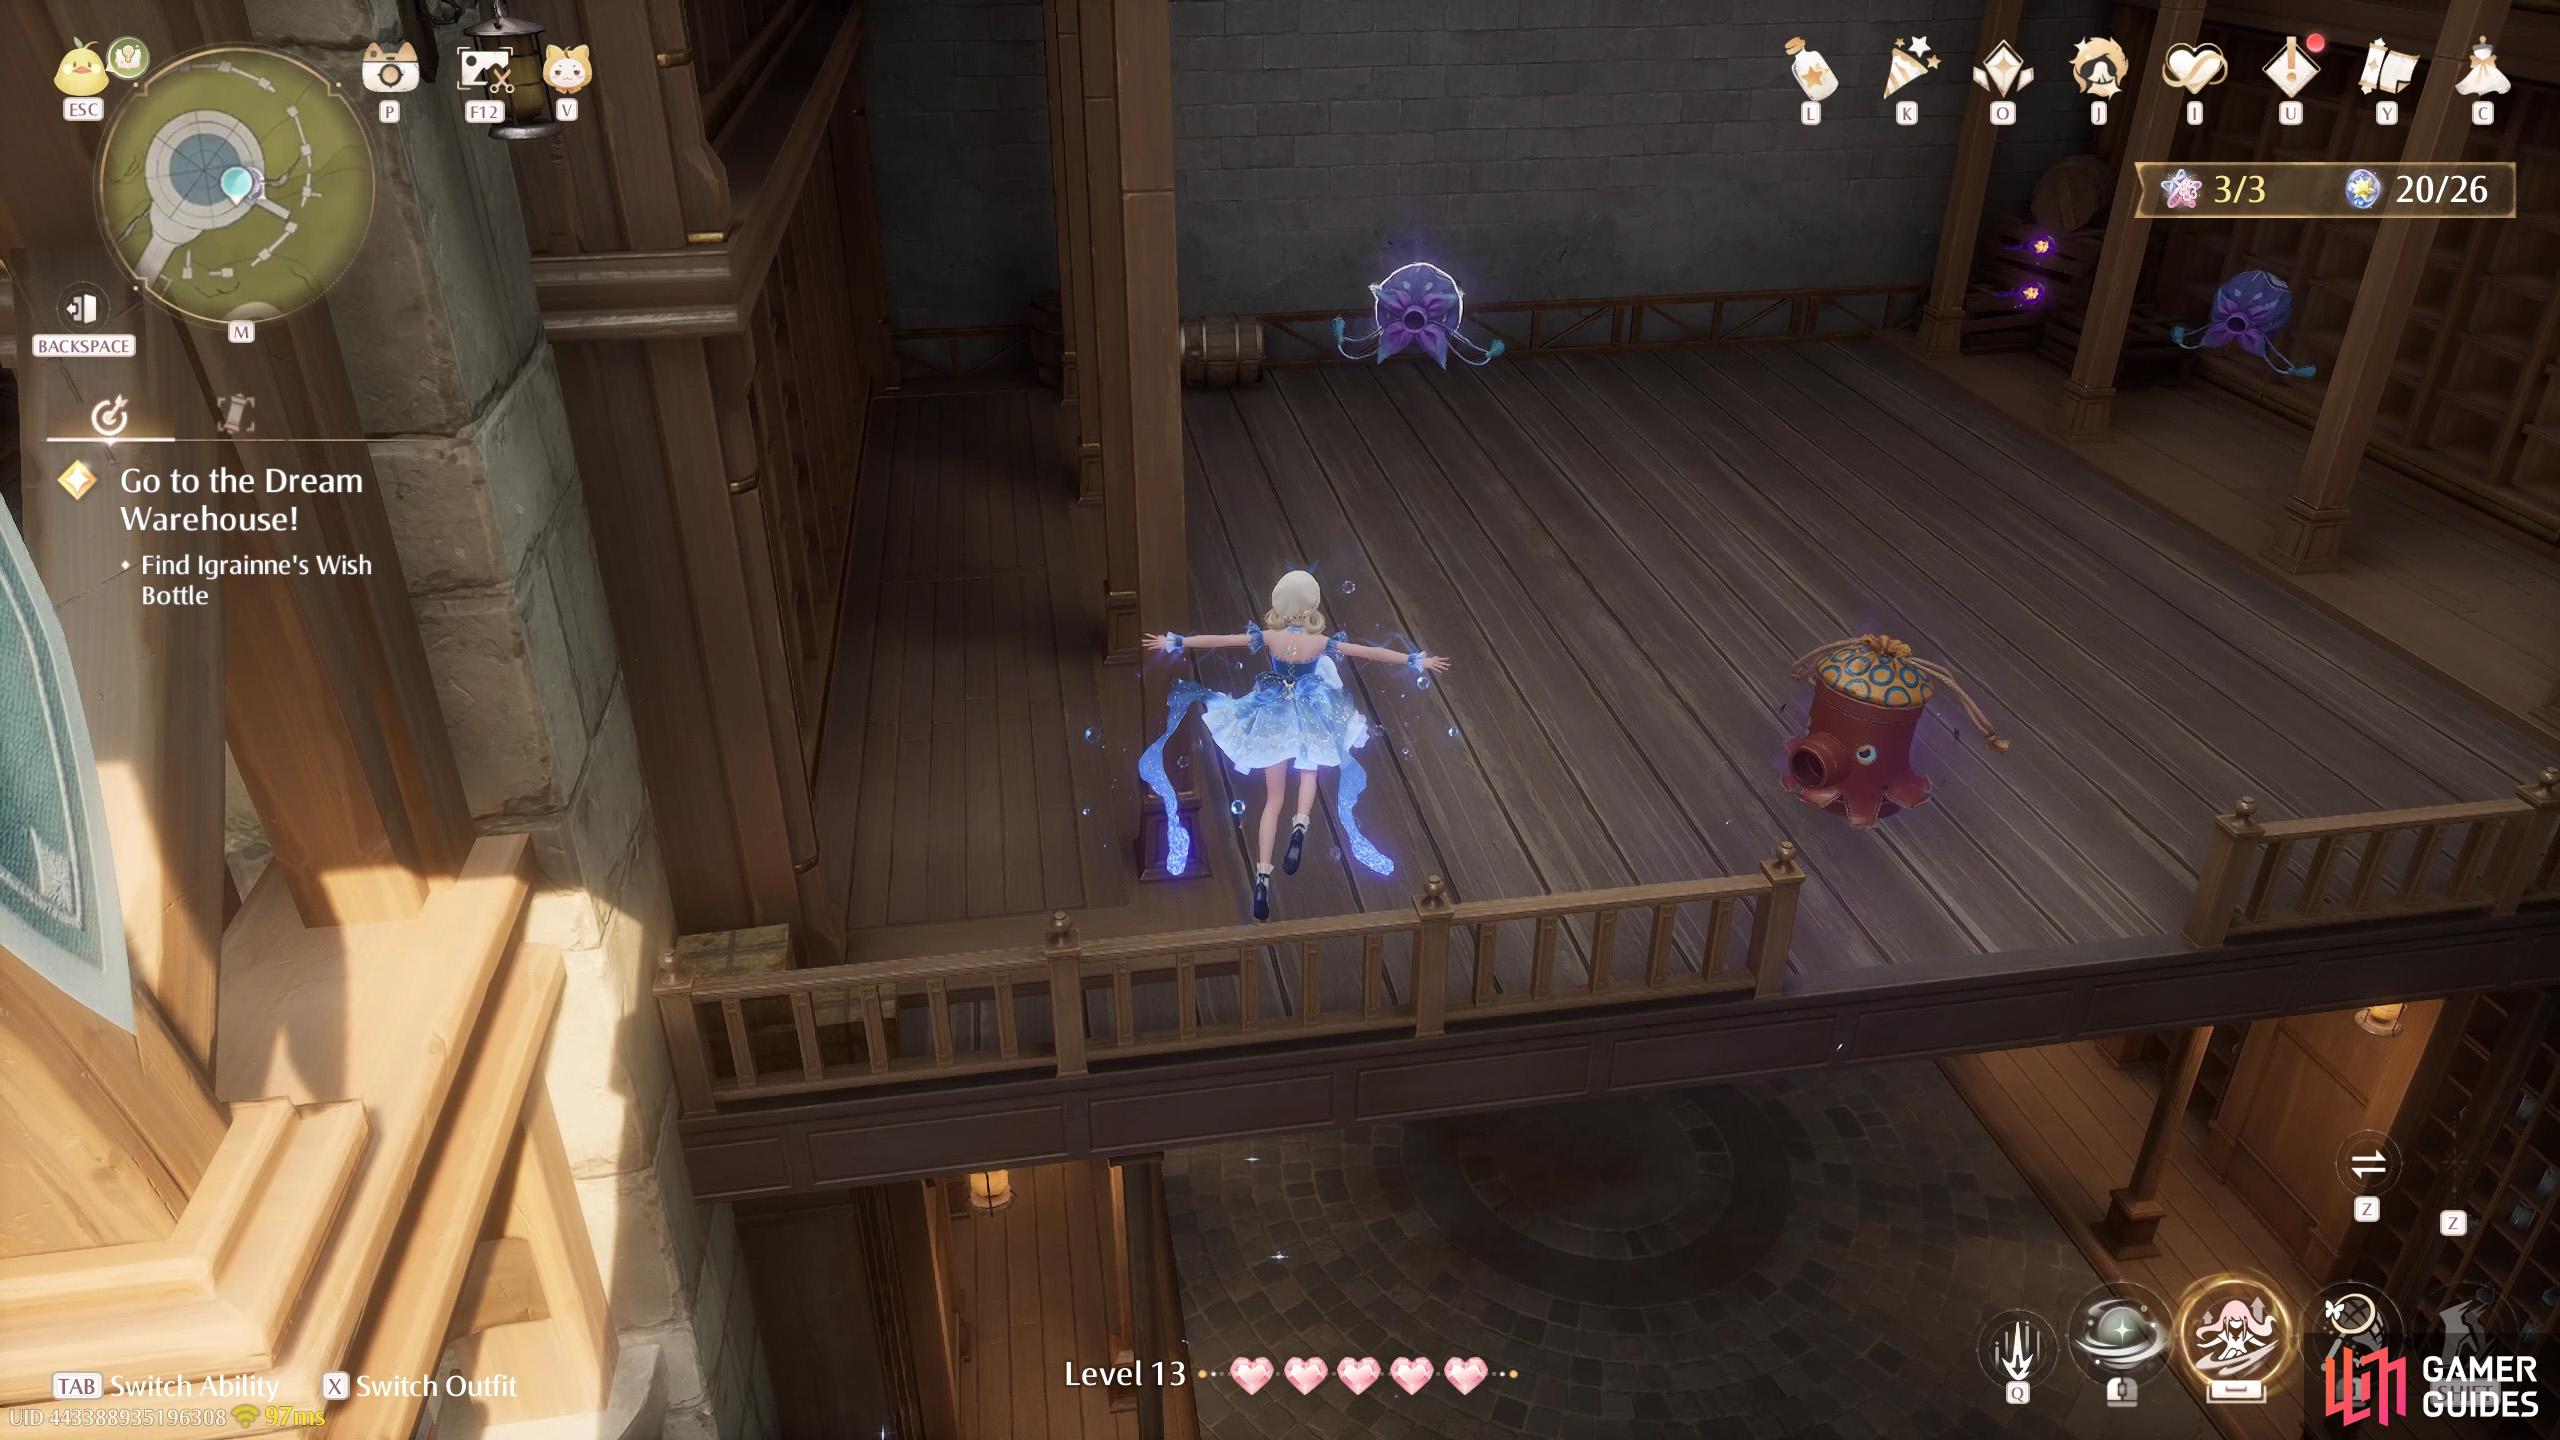
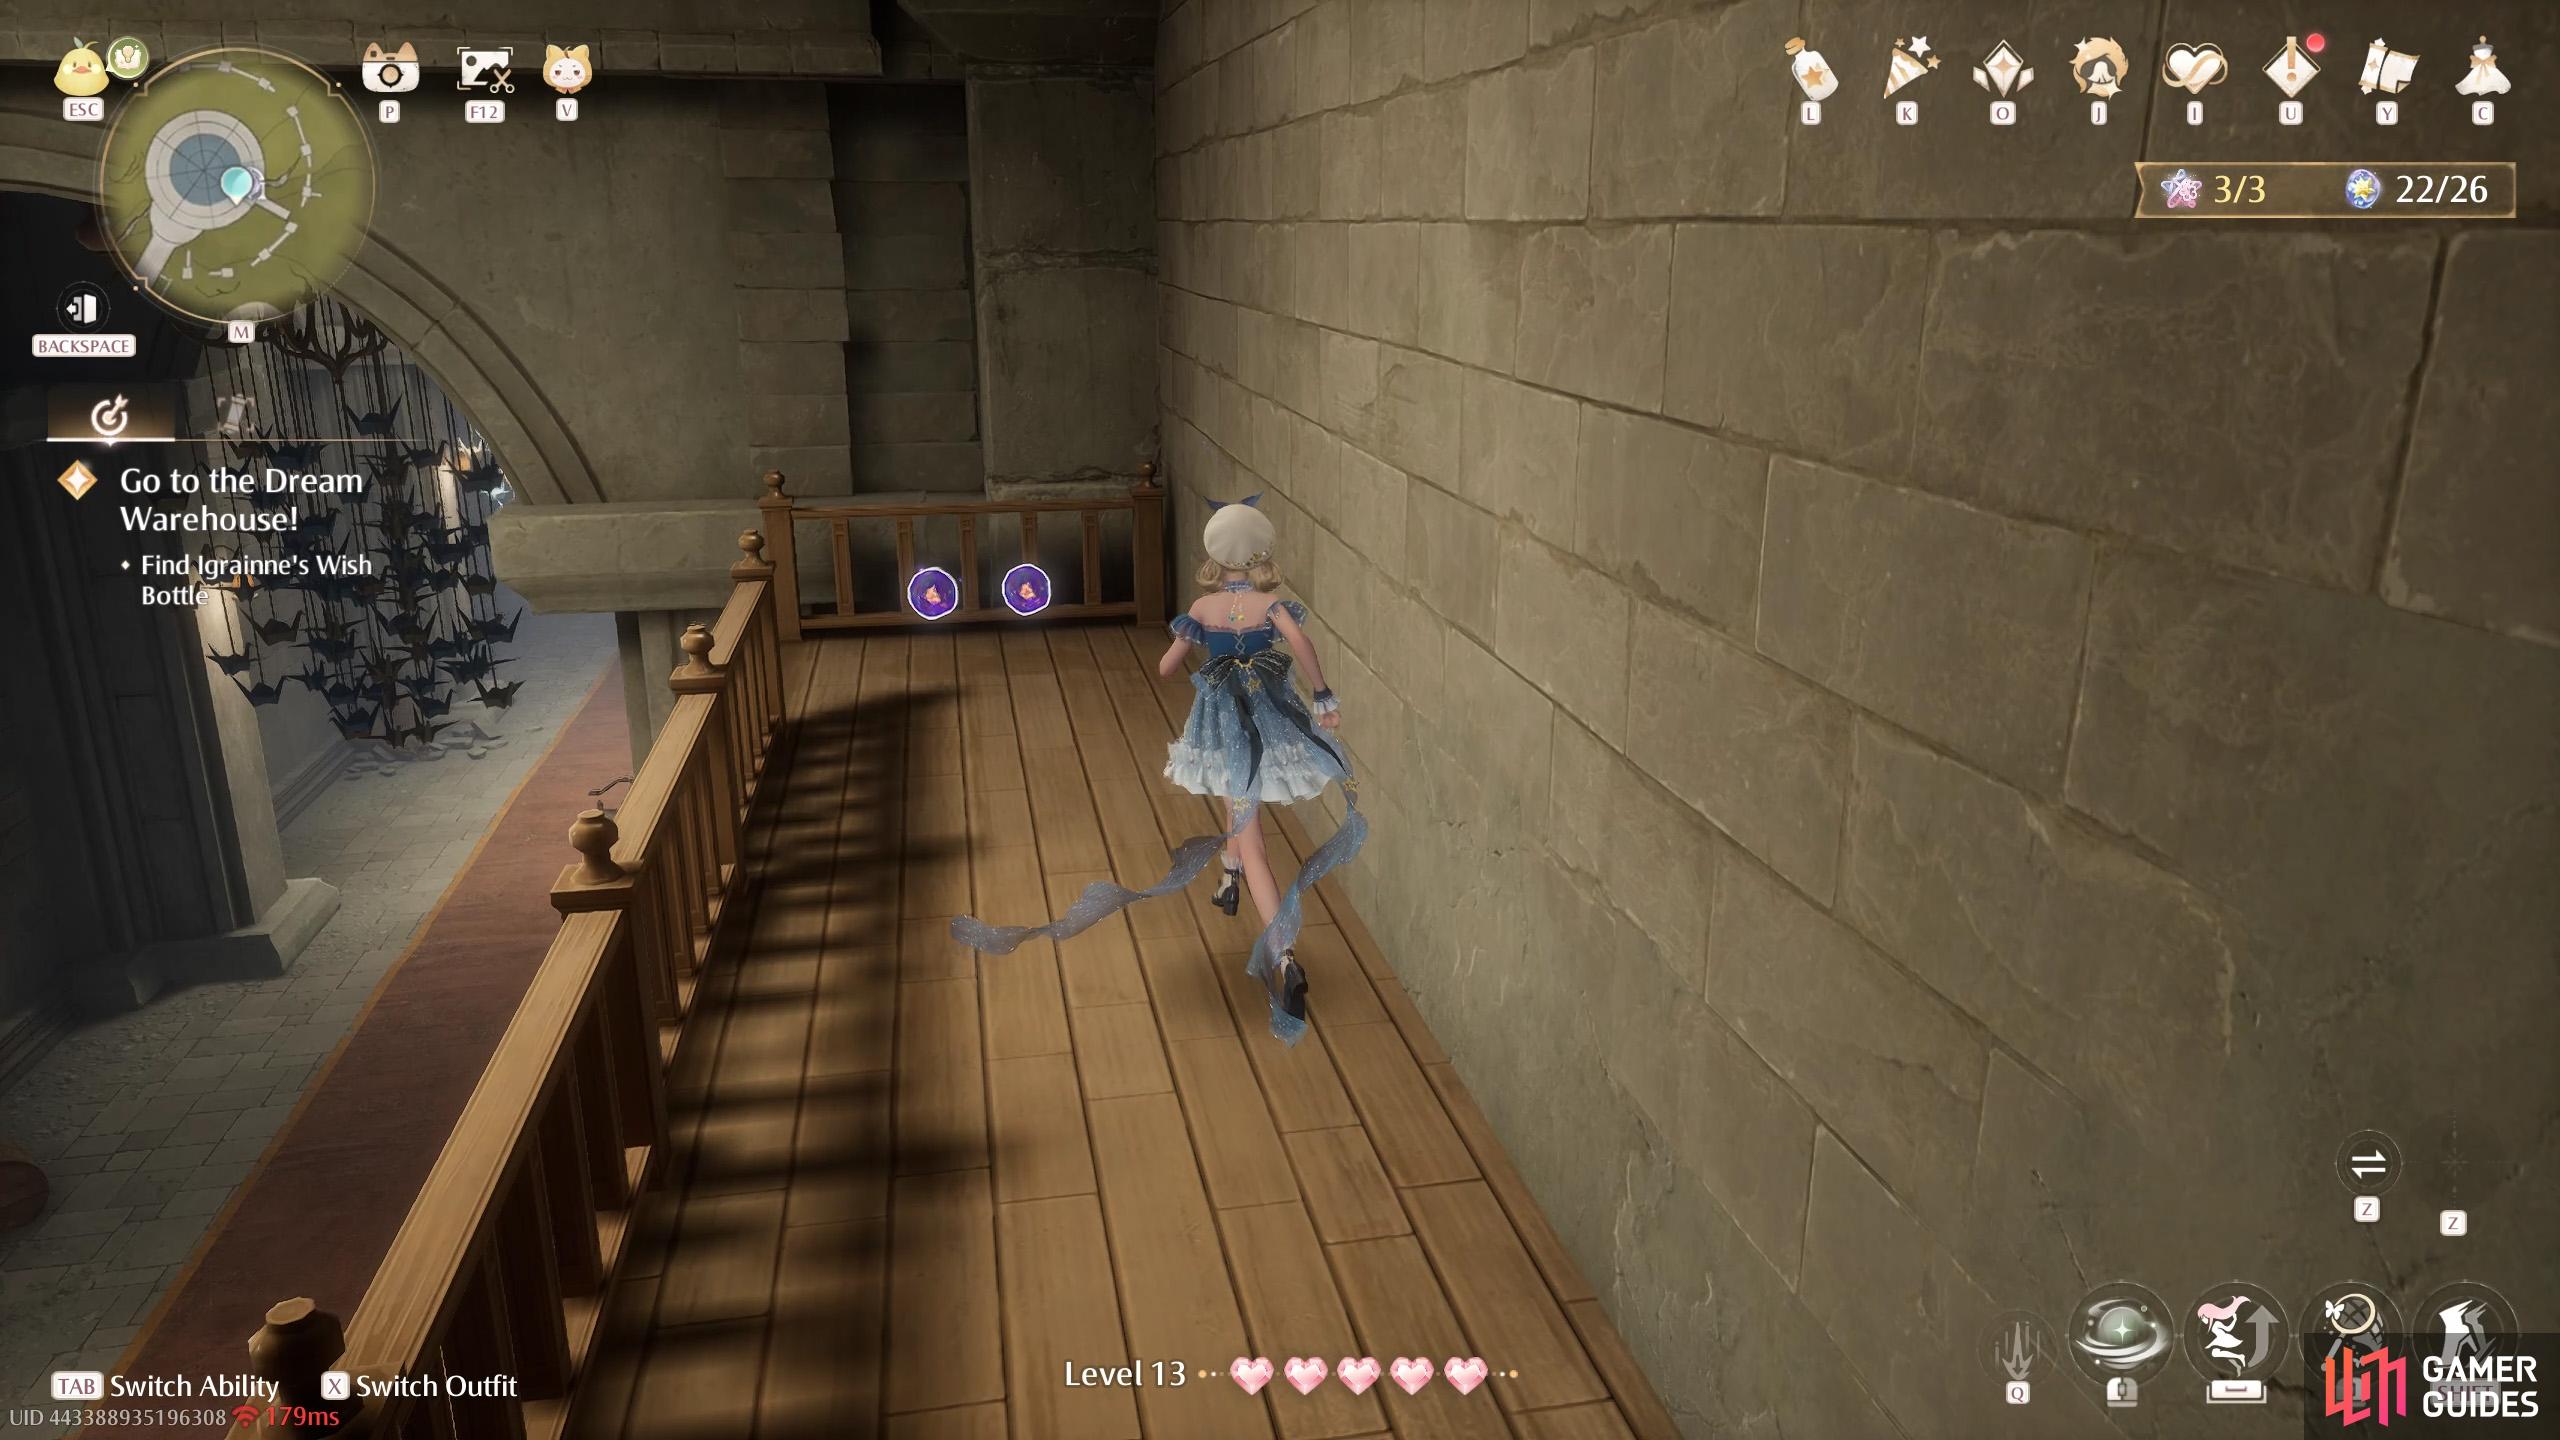
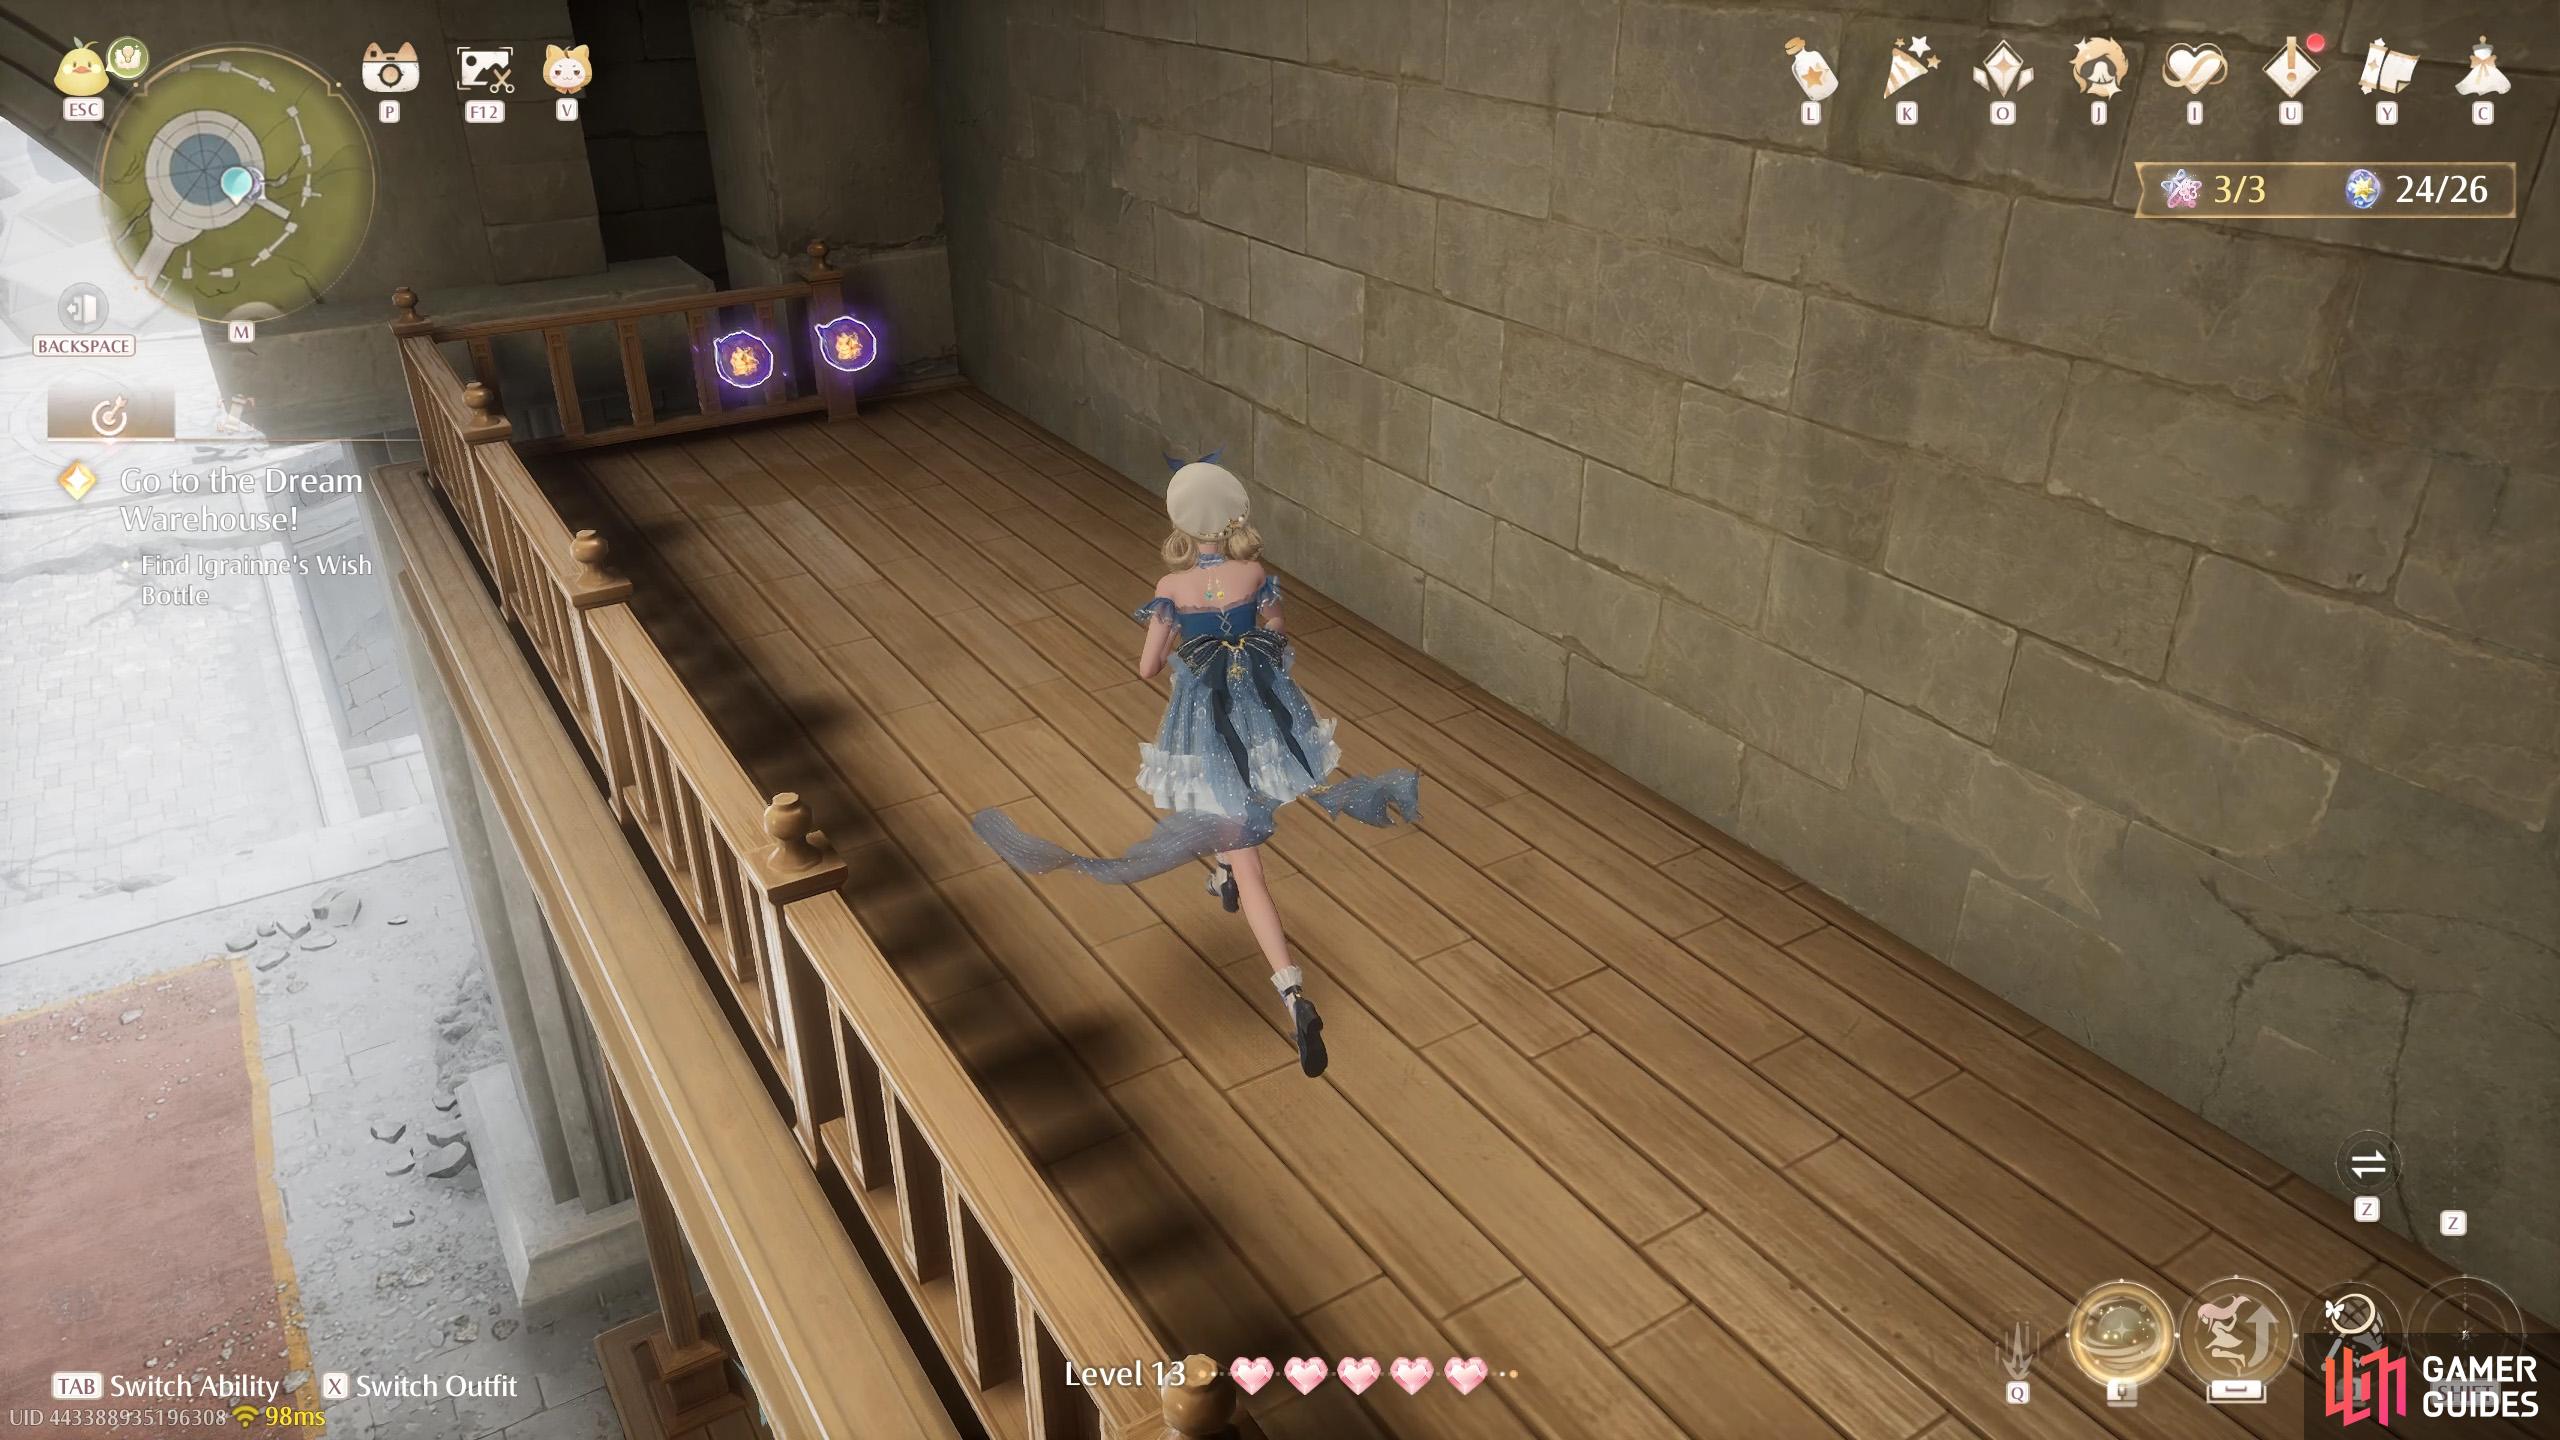
Two in the corner of the depression east of the ![]() Dream Warehouse Tower.
Dream Warehouse Tower.
81. Miraland Map
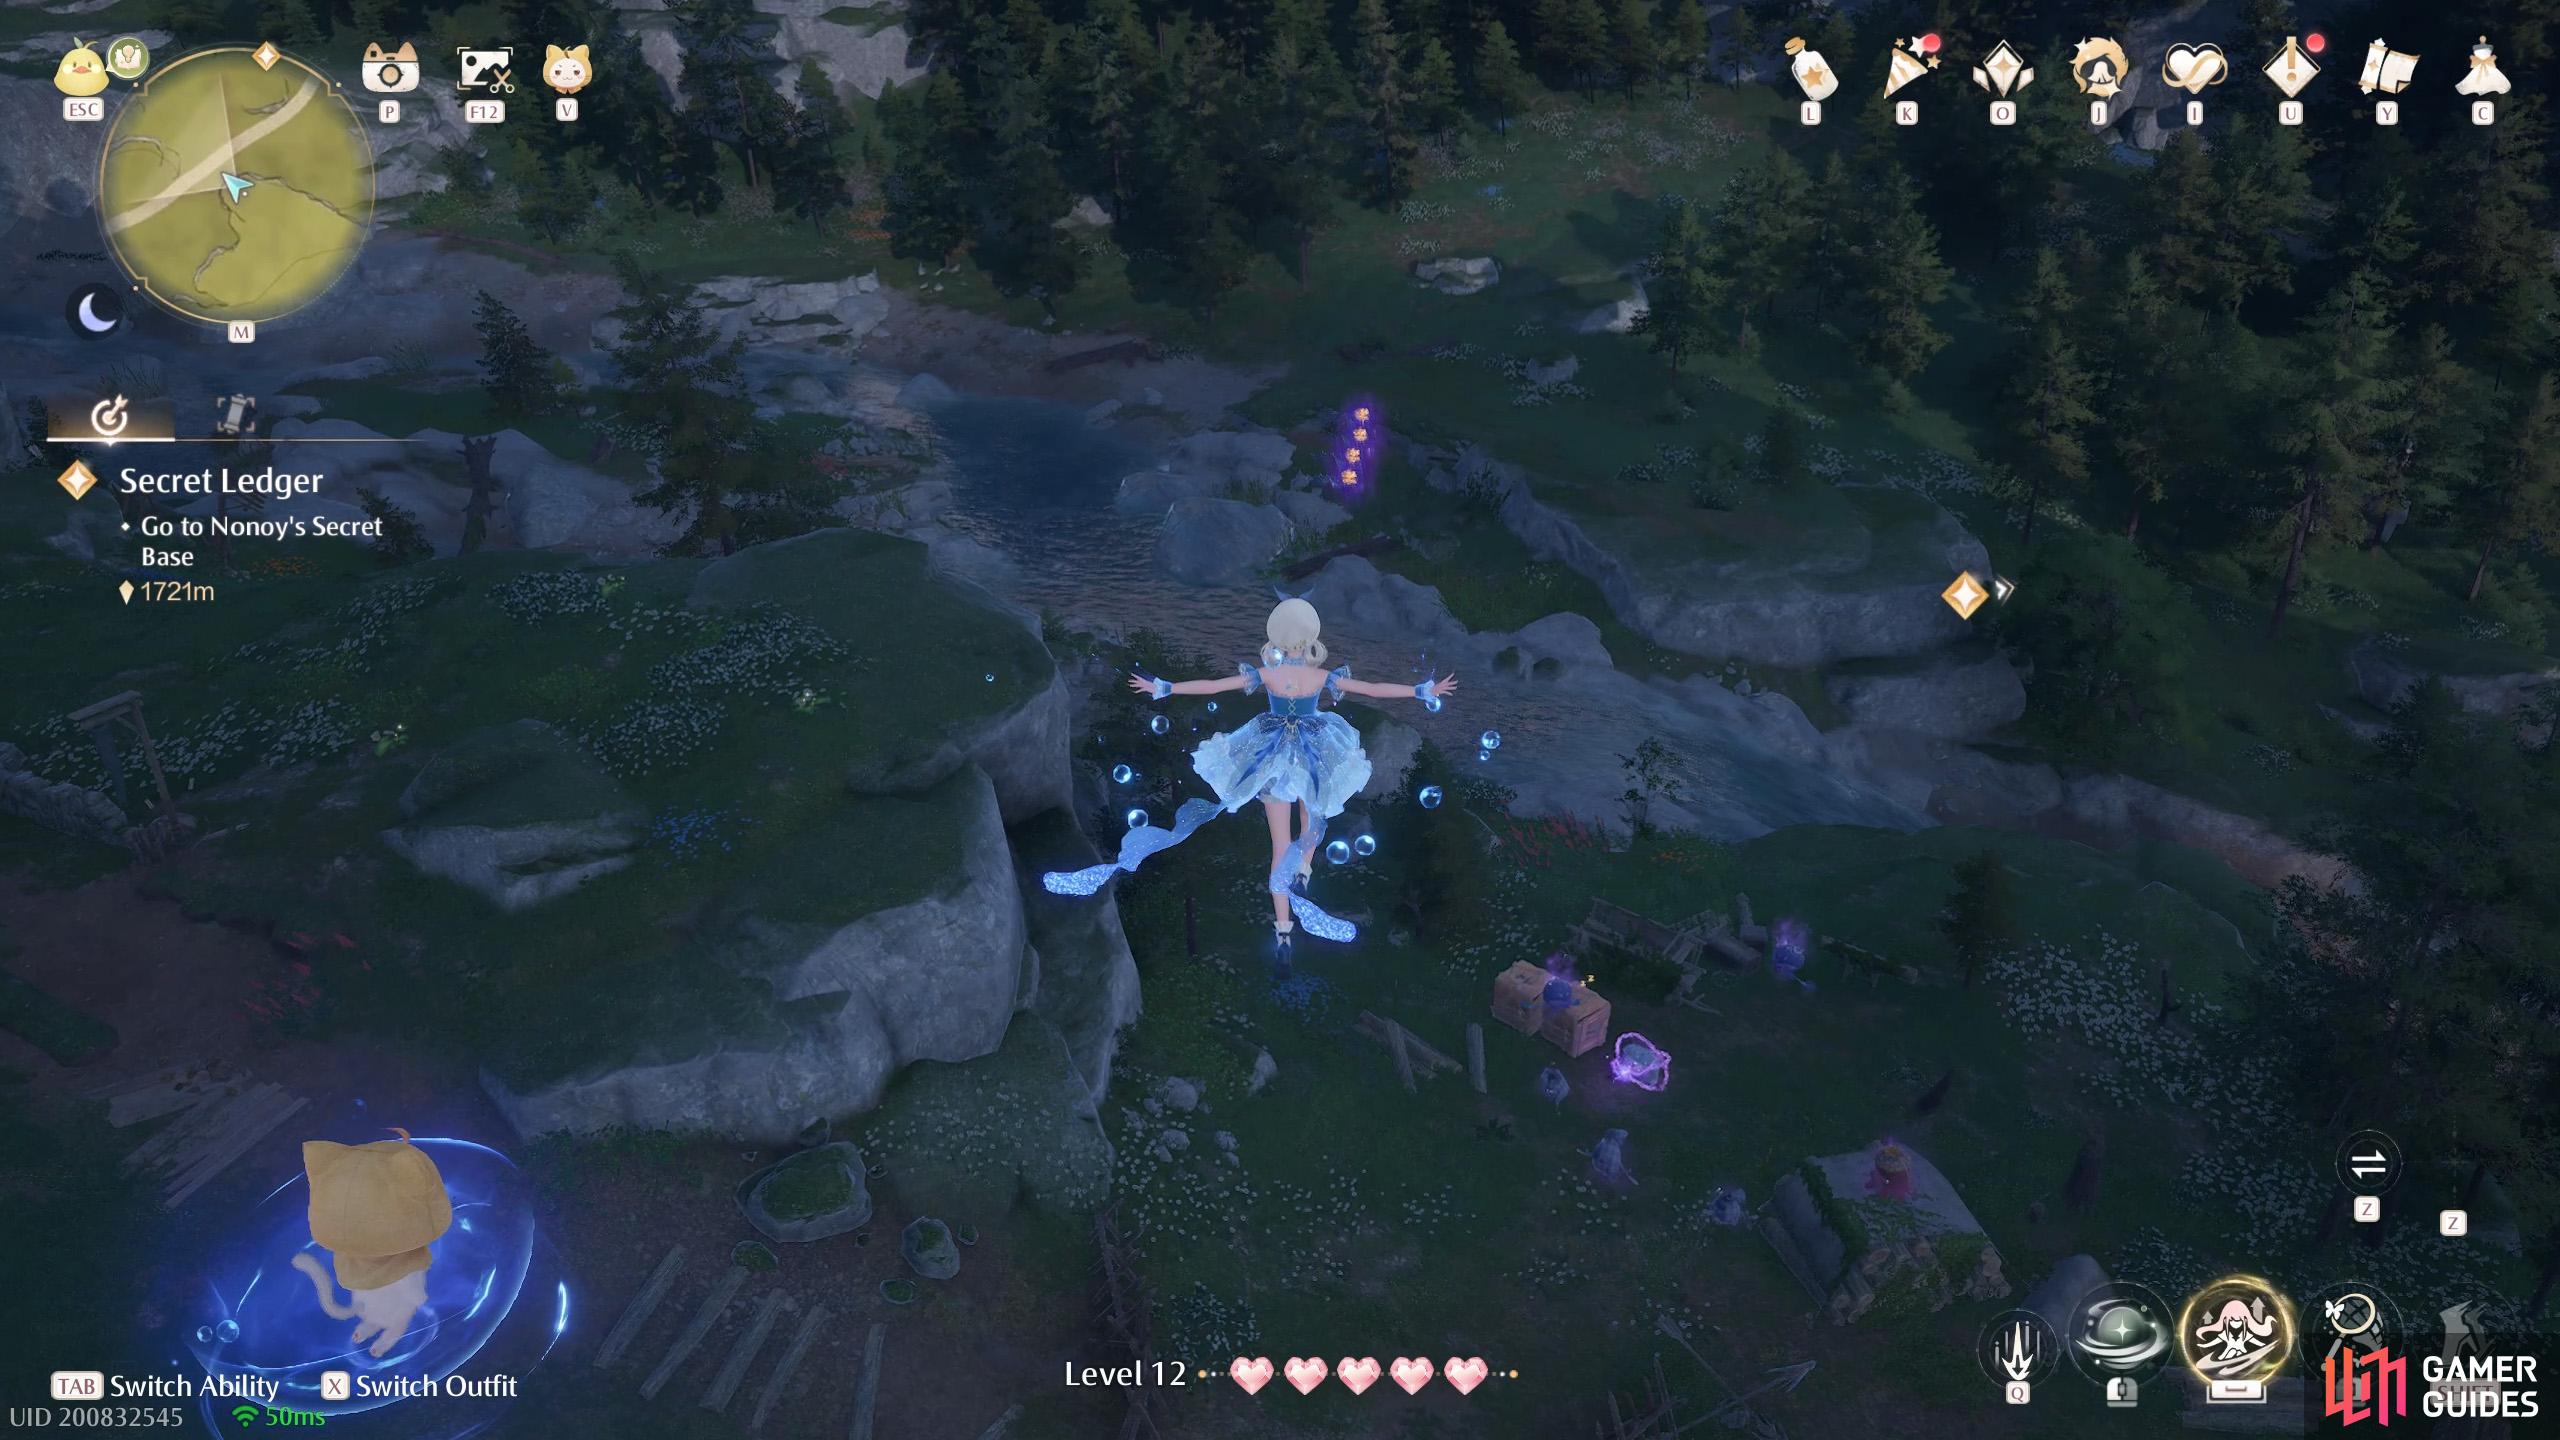
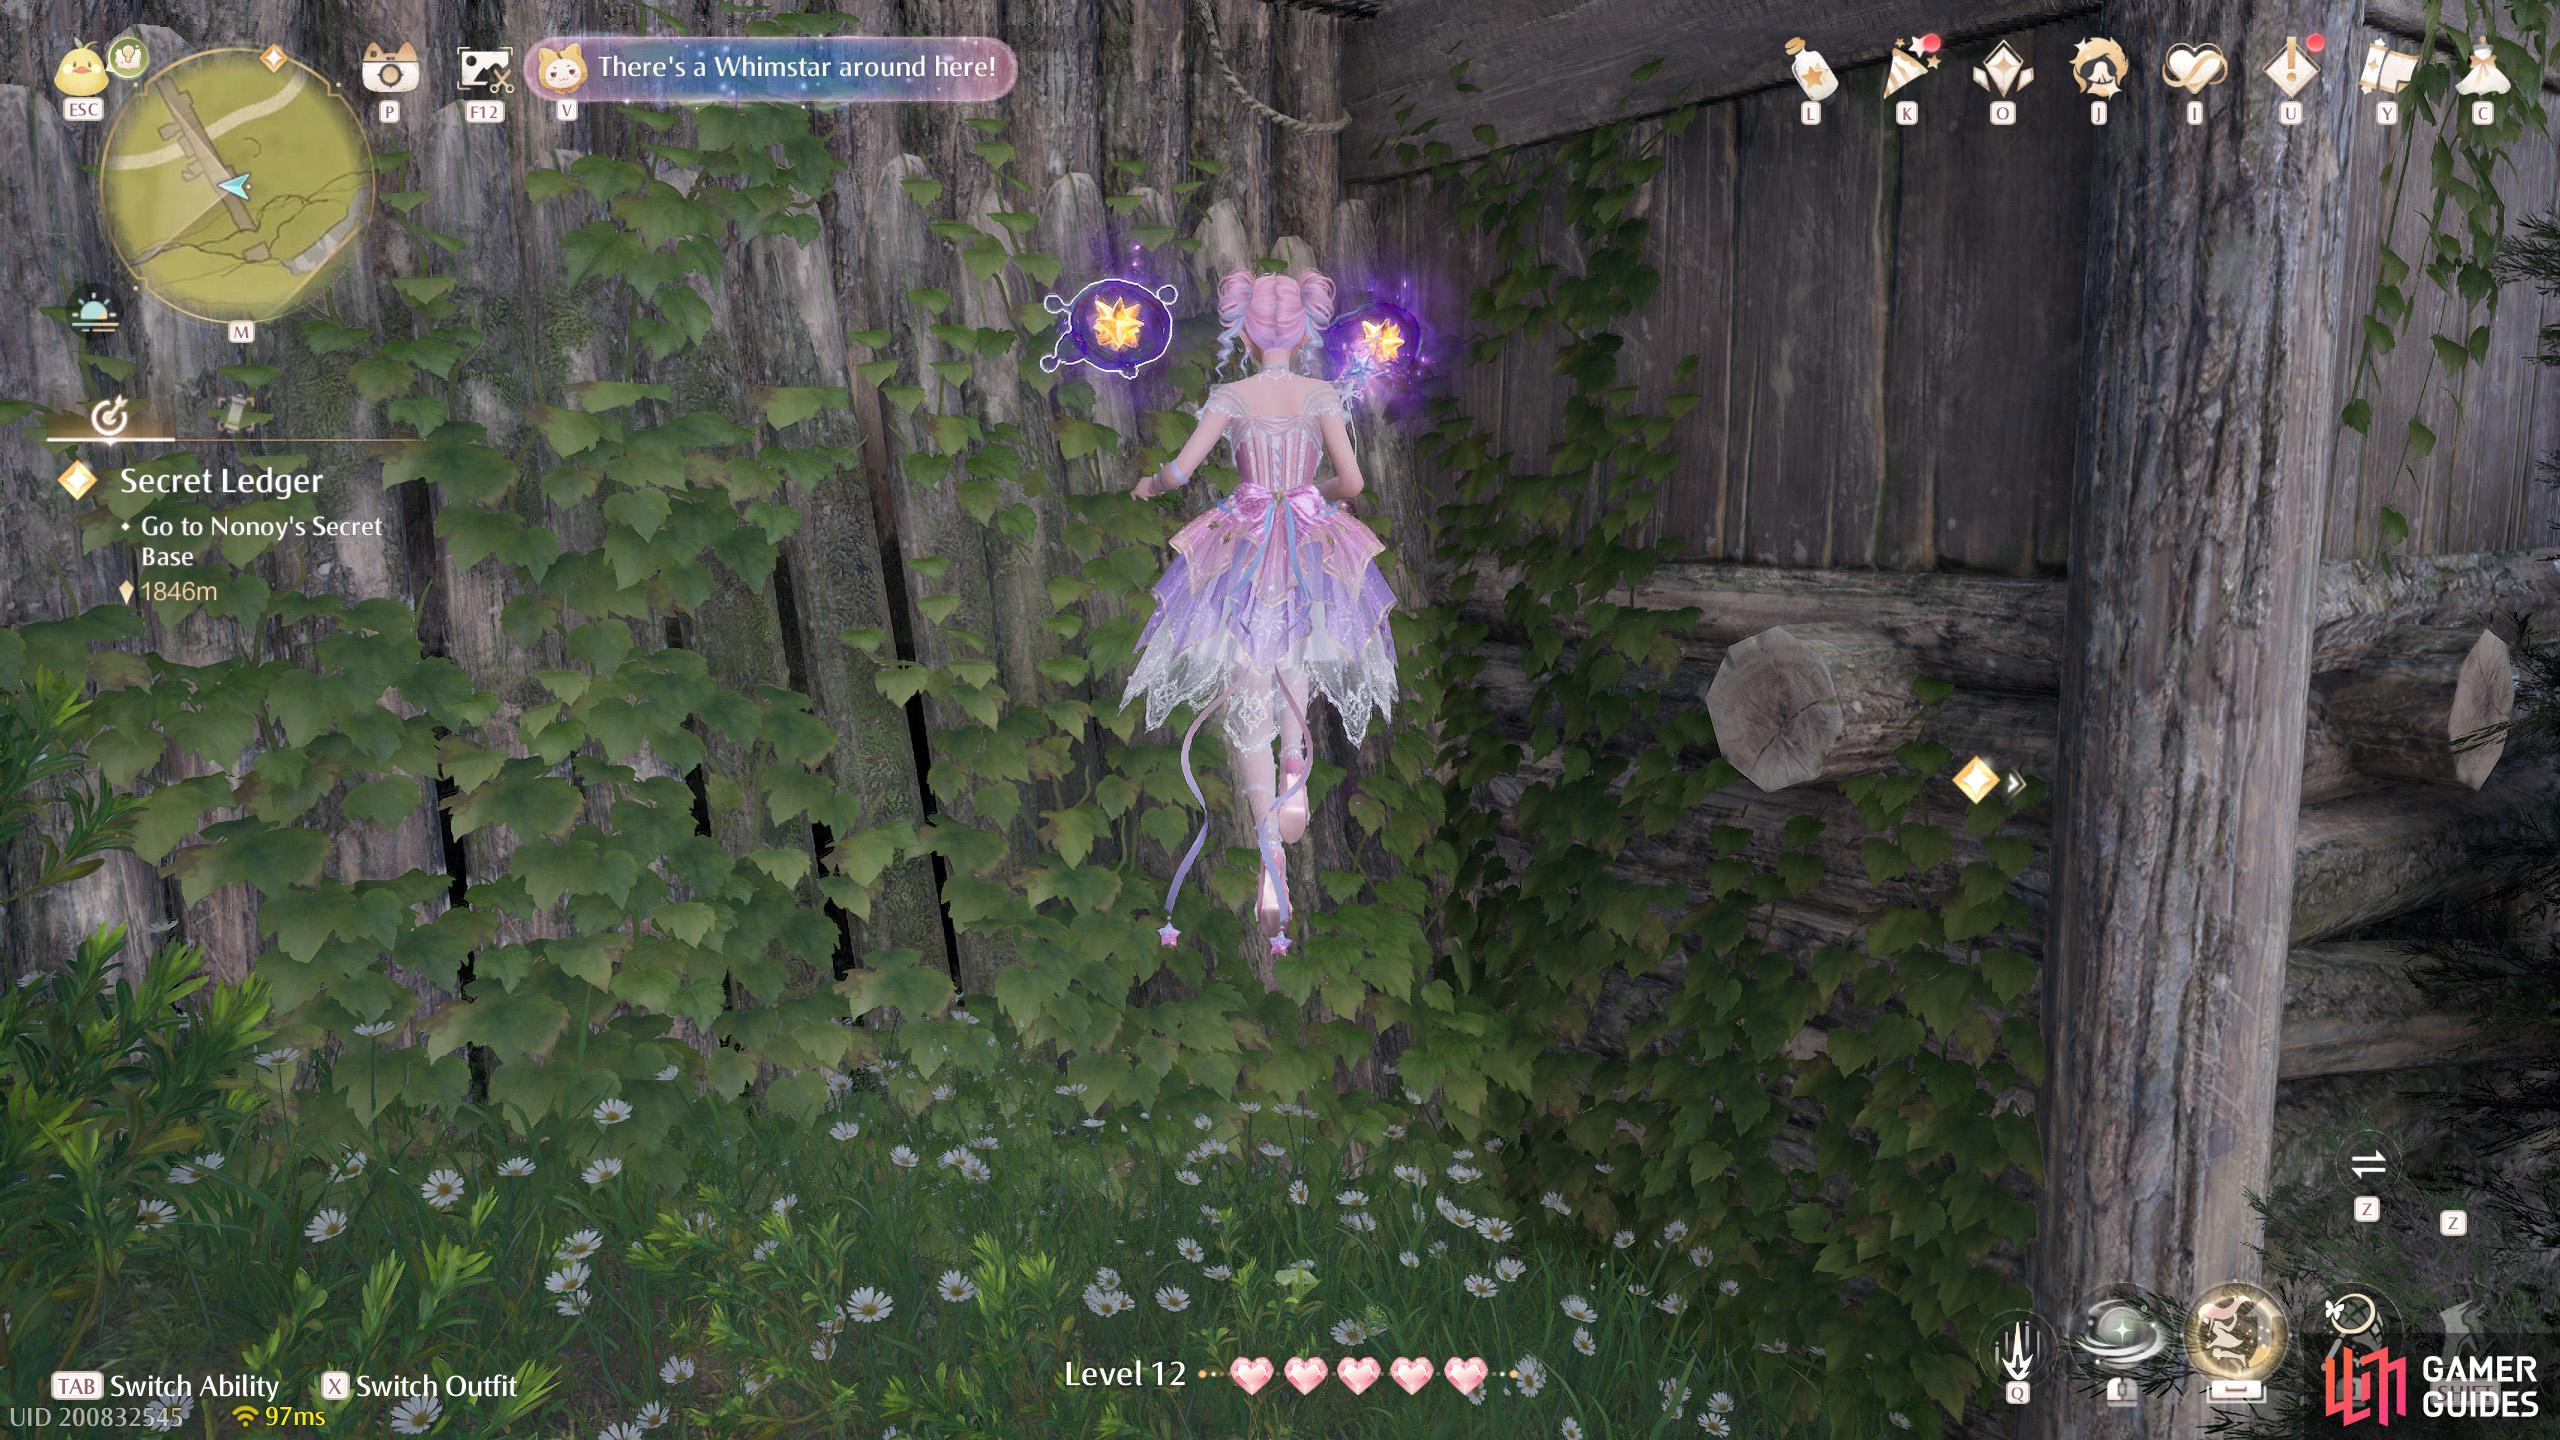
Two floating along the south-east side of the ![]() Secret Base, middle level.
Secret Base, middle level.

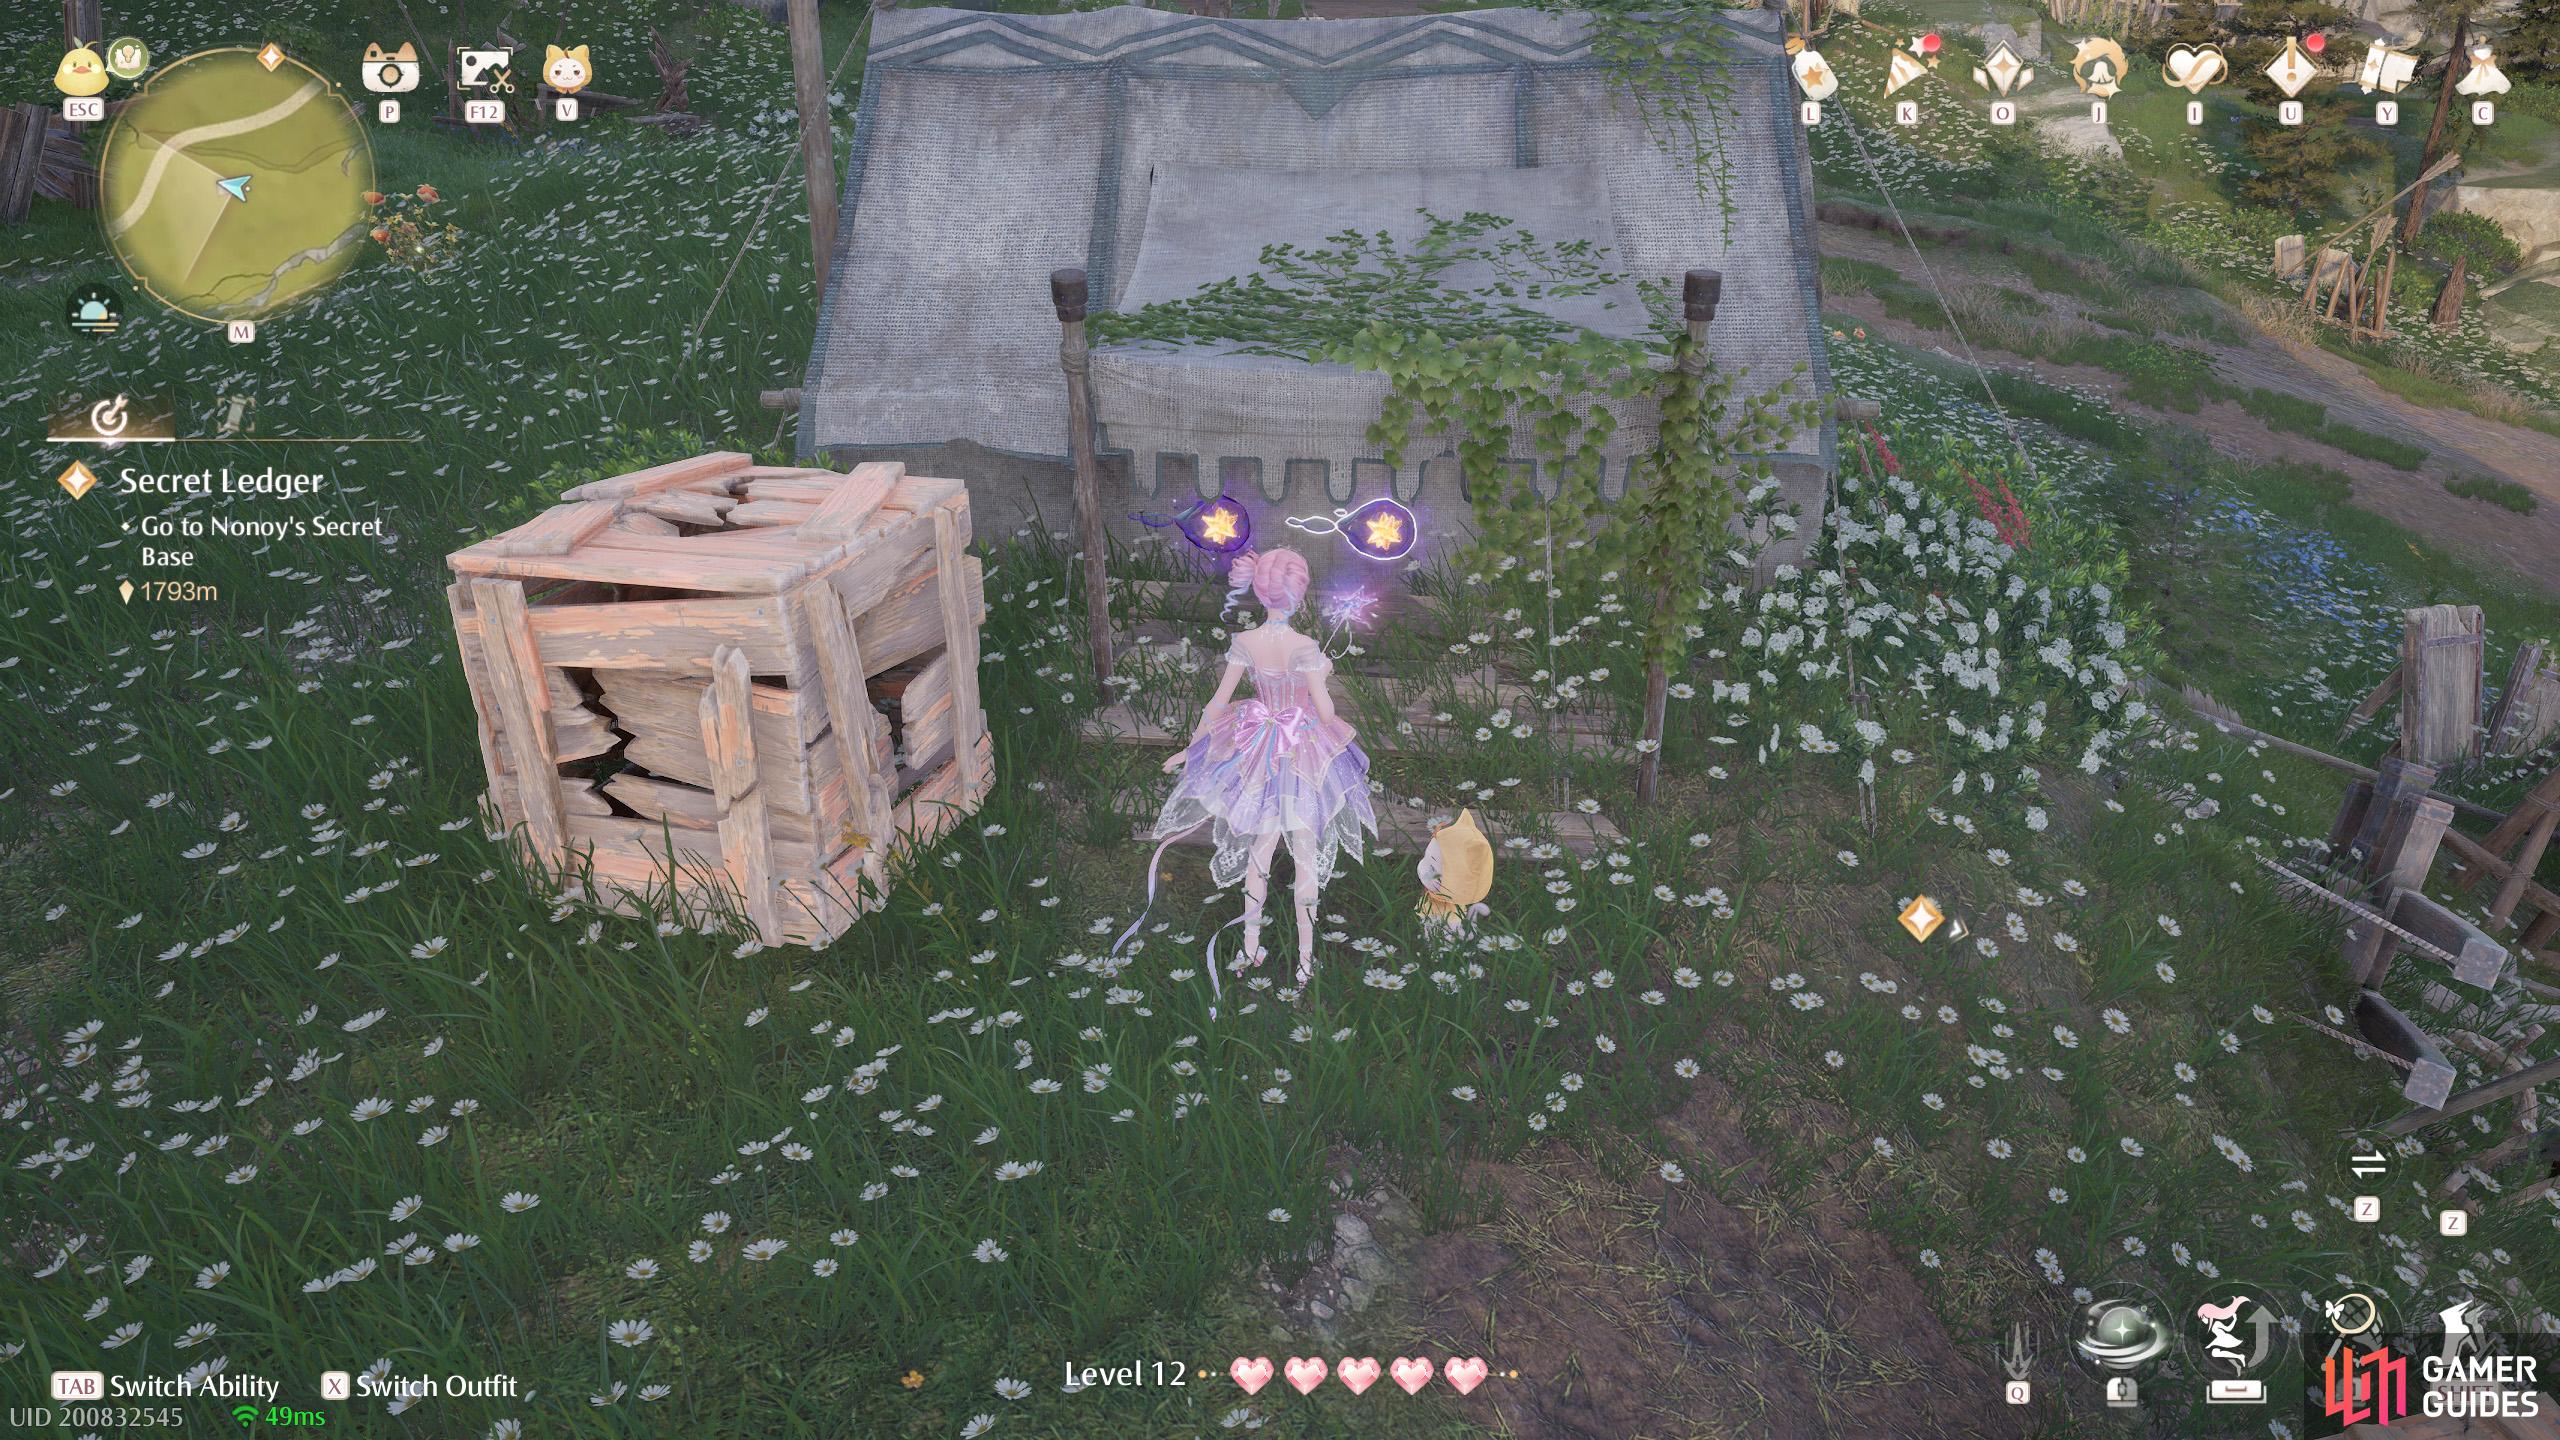
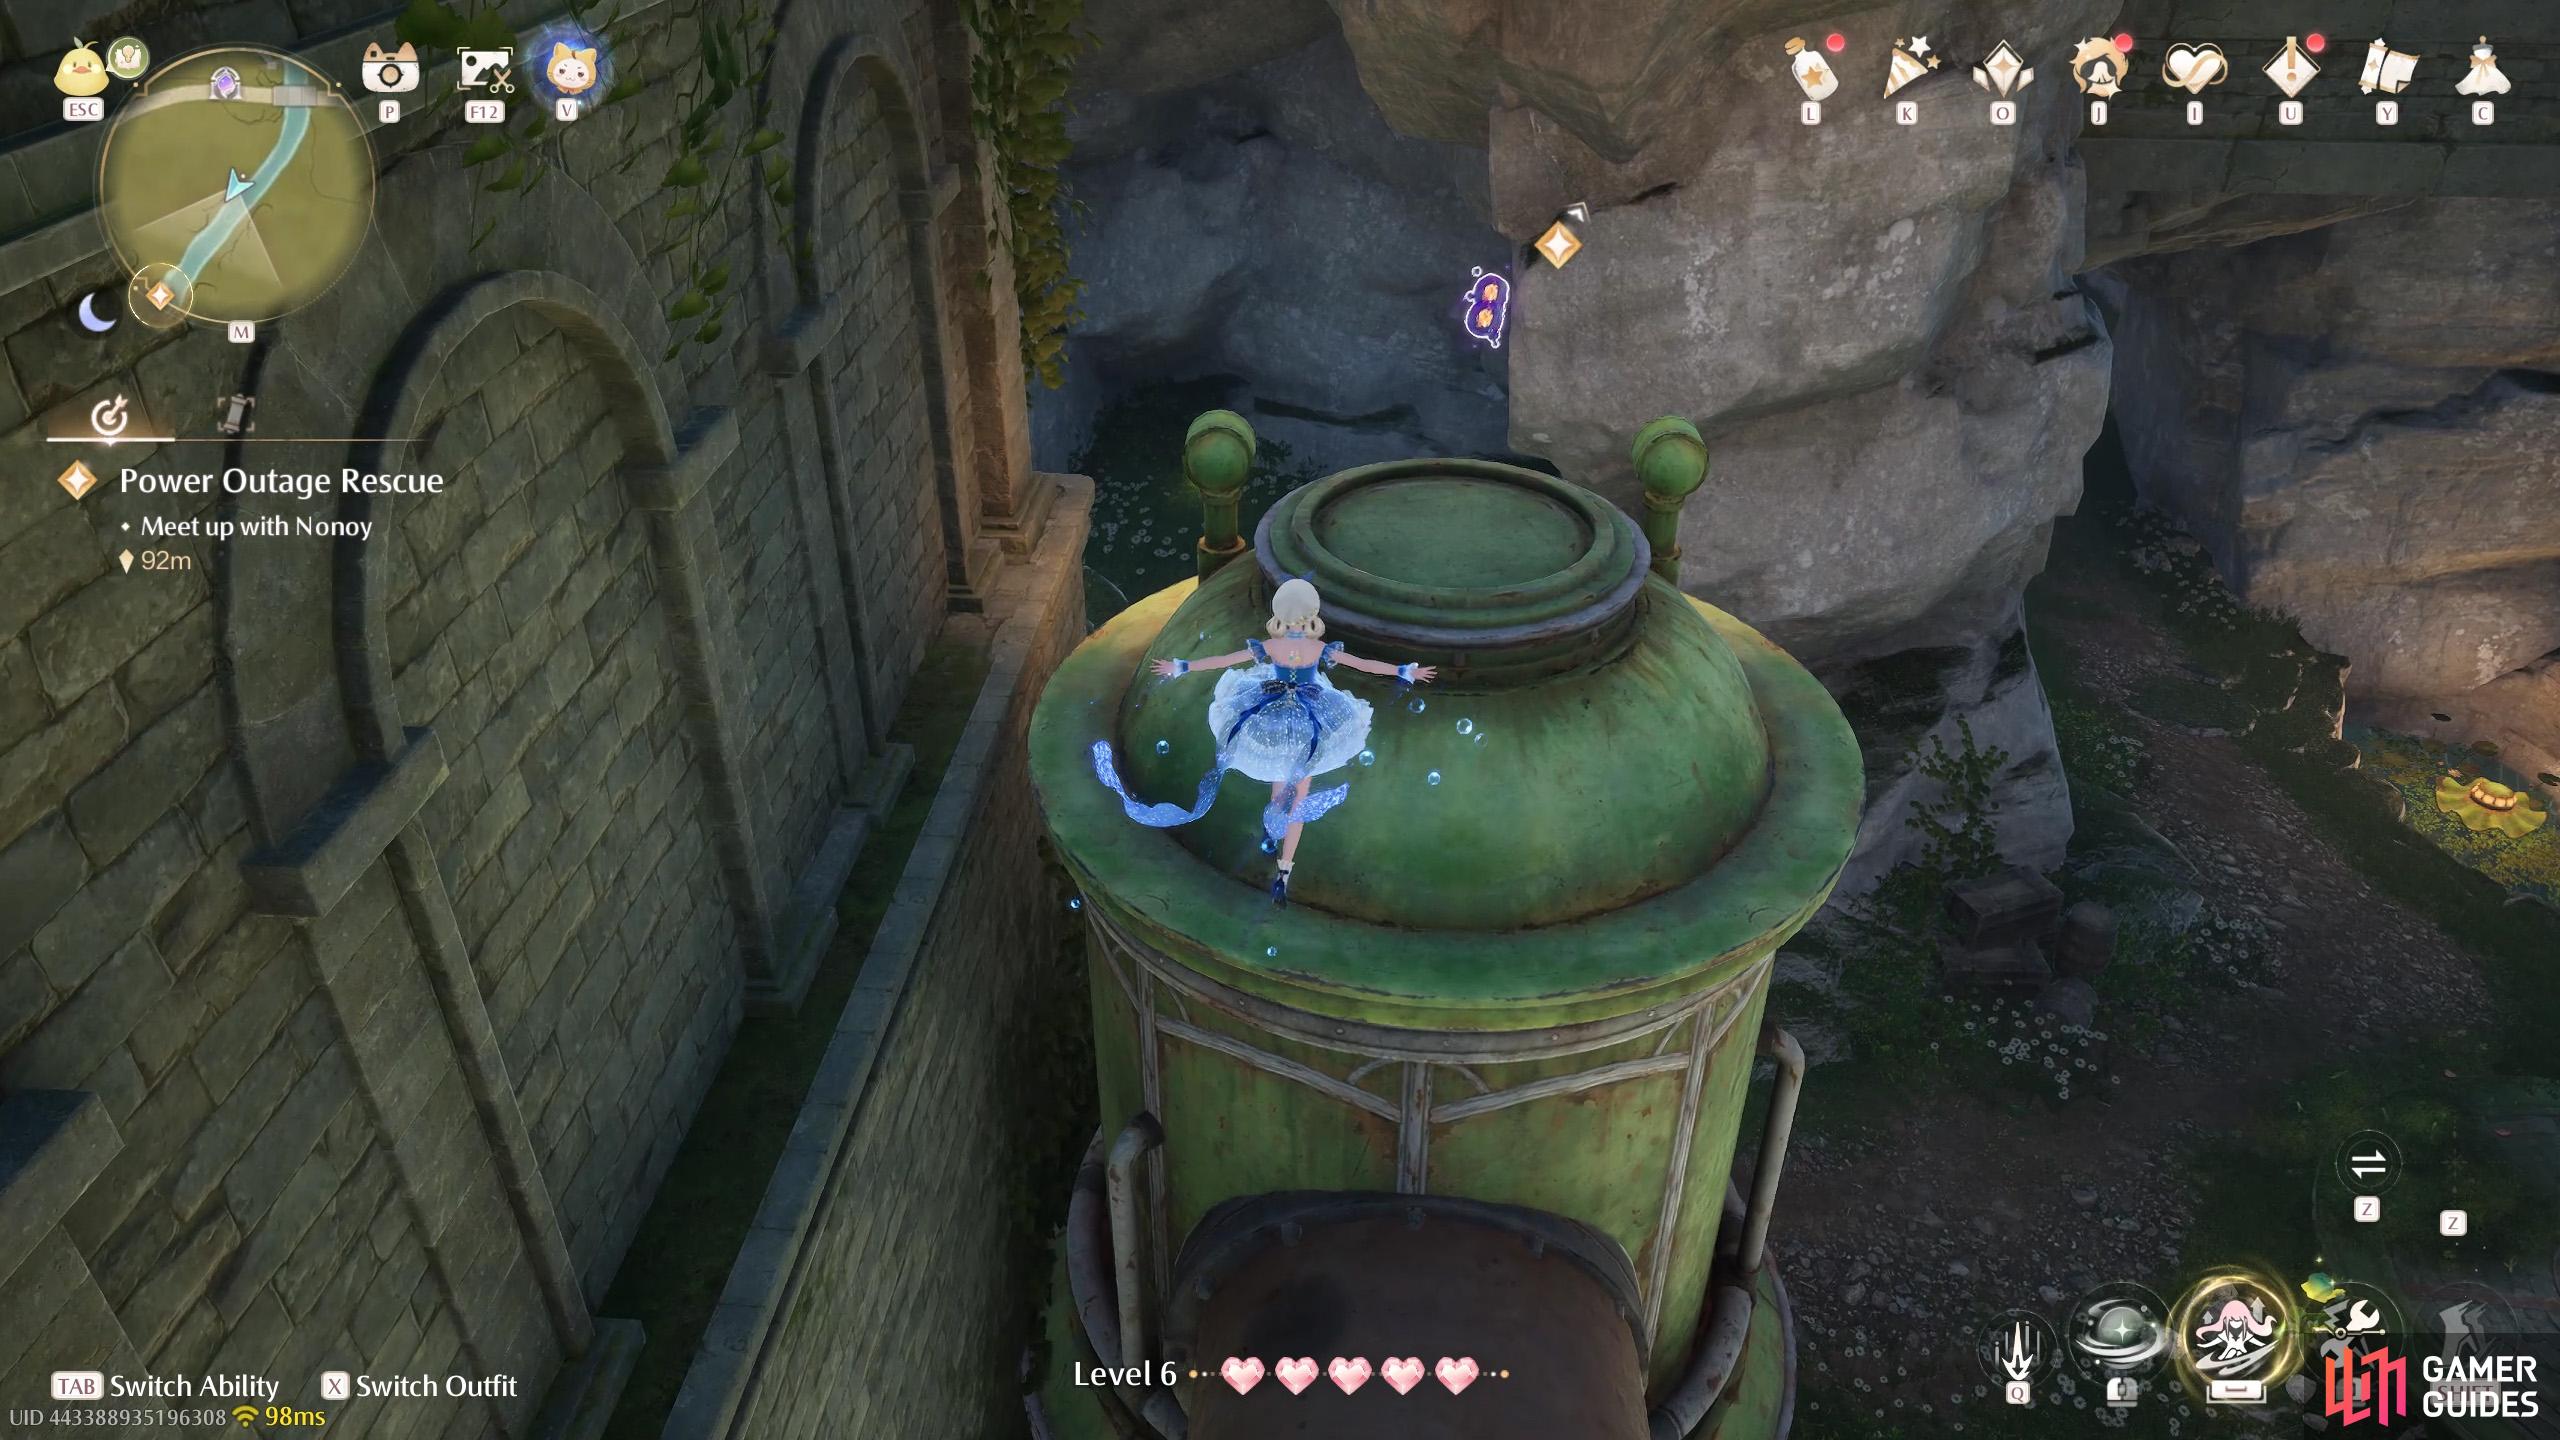
83. Miraland Map
Two atop a stone pillar a short distance south-west from the ![]() Secret Base.
Secret Base.

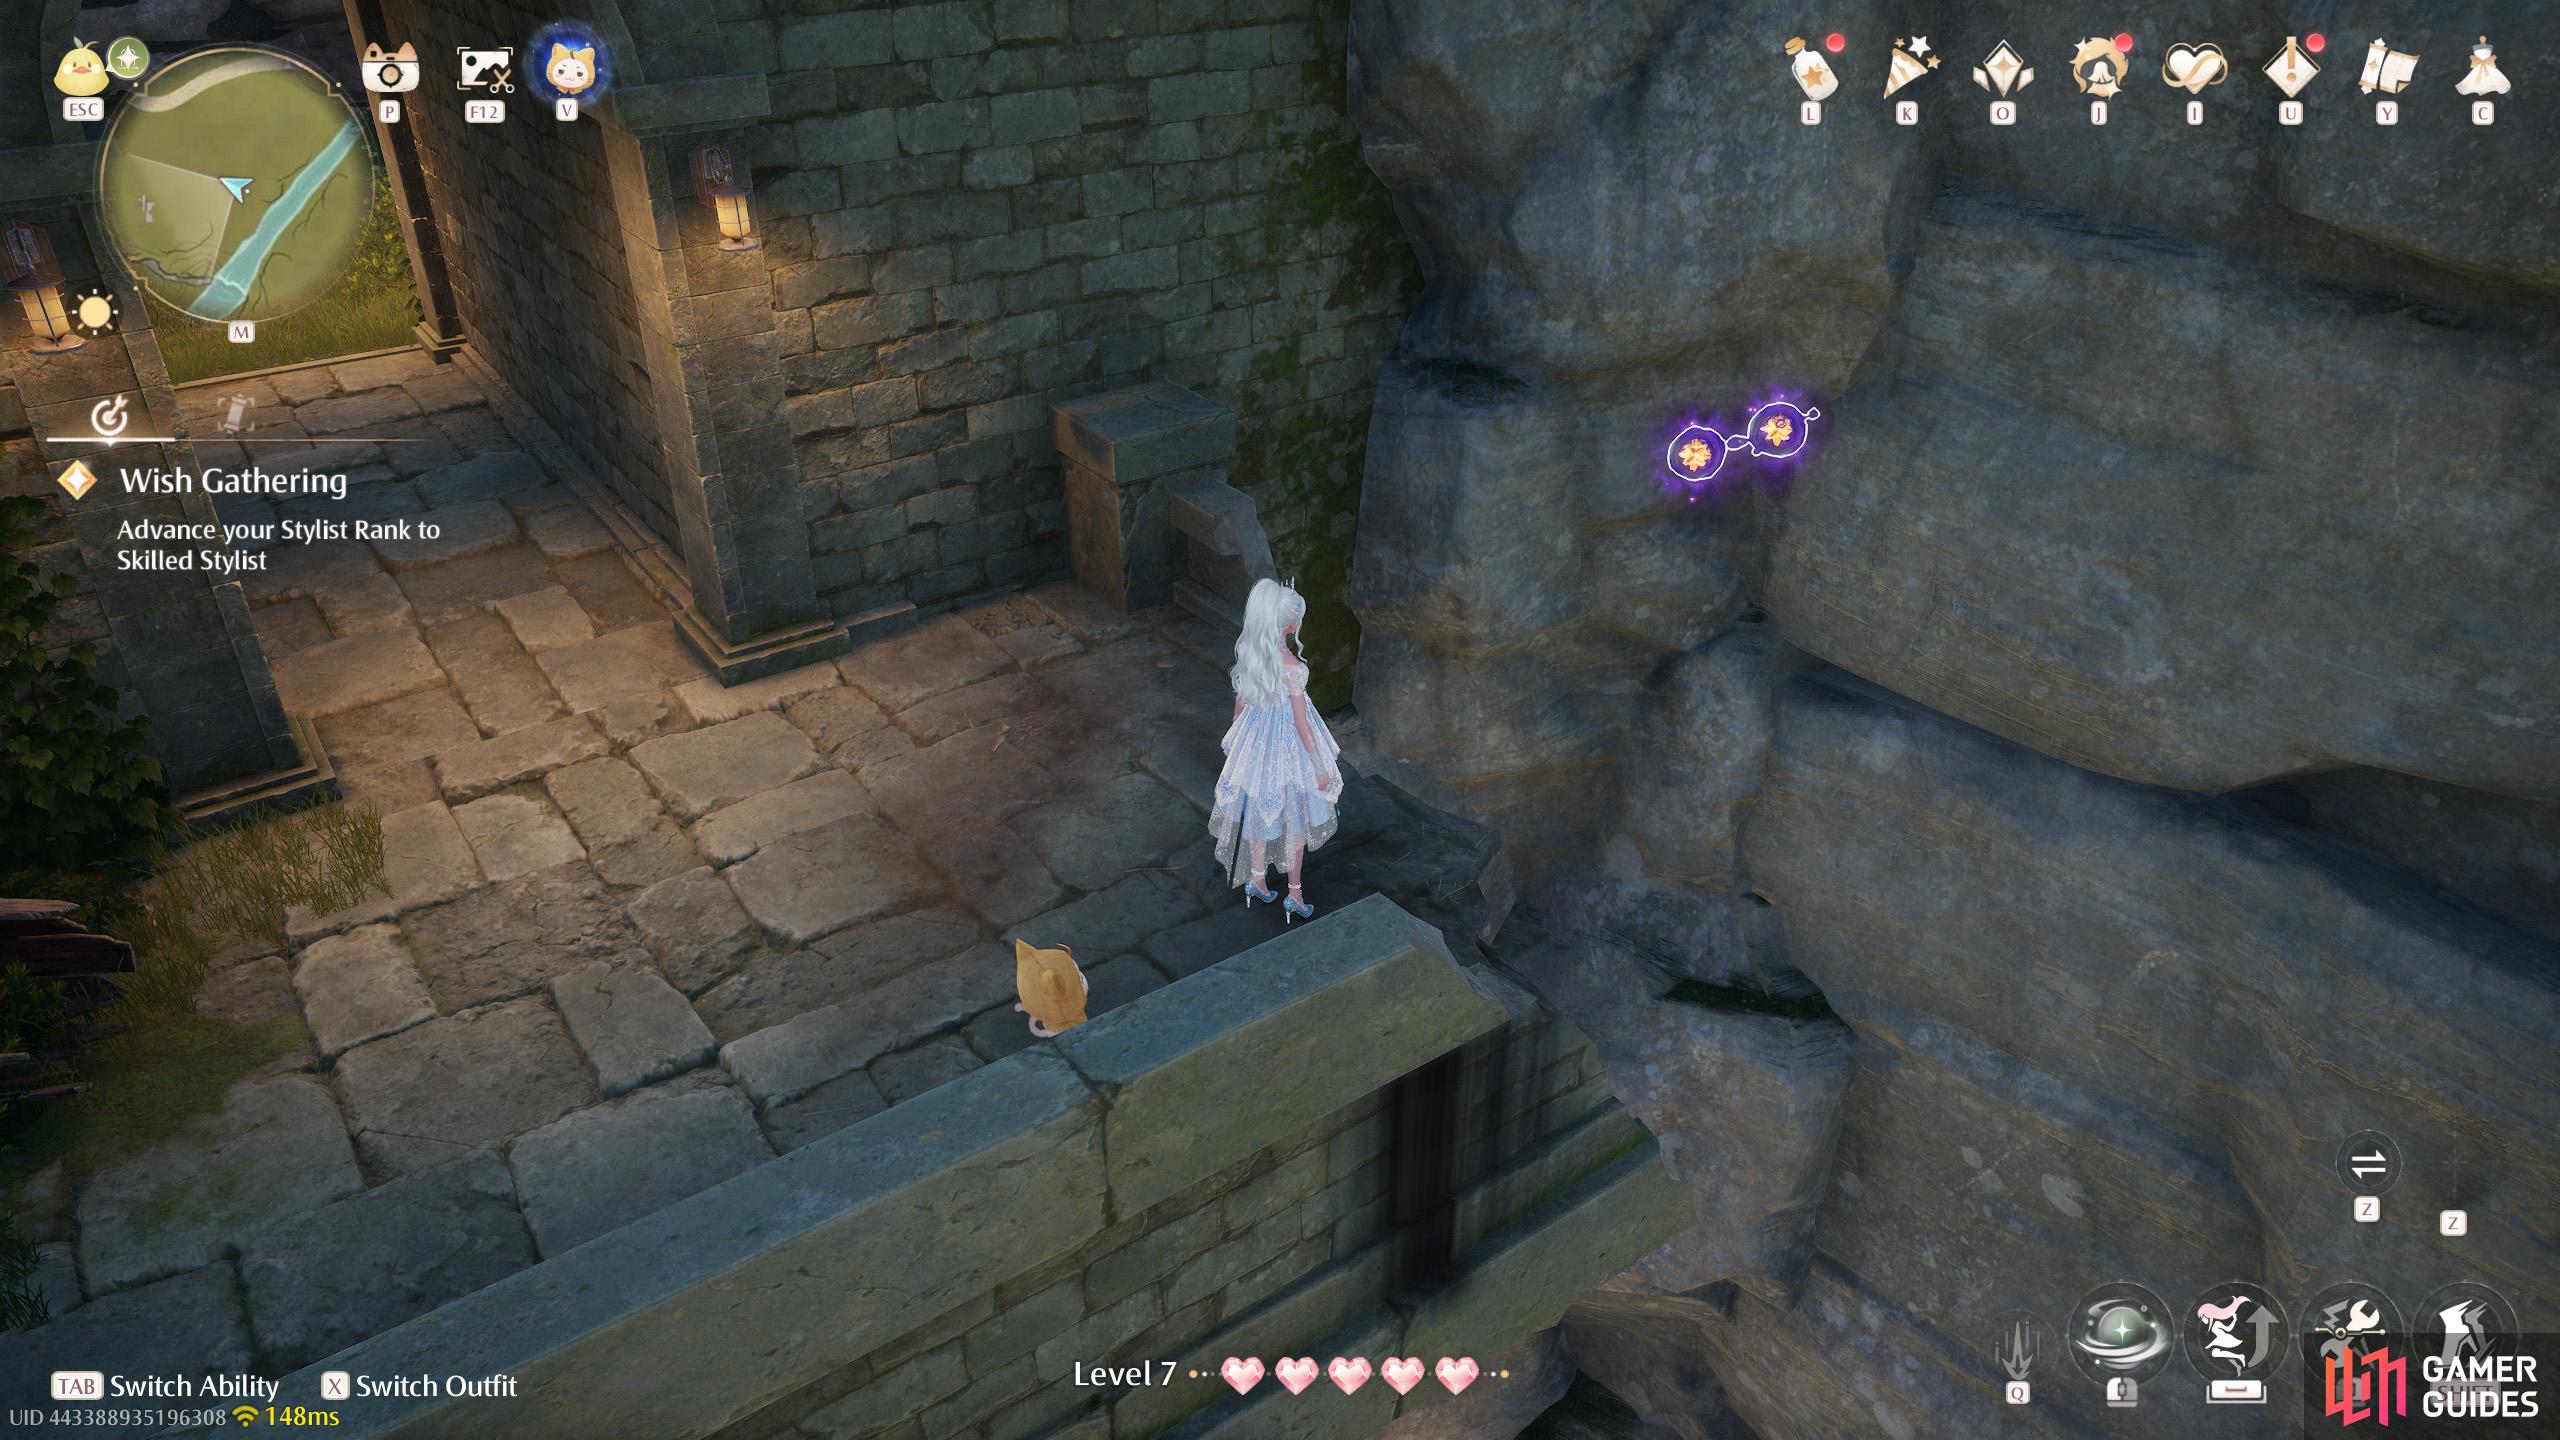
85. Miraland Map
At the ruins east from the ![]() Secret Base. Three underneath the stone platform.
Secret Base. Three underneath the stone platform.
86. Miraland Map
At the ruins east from the ![]() Secret Base. Two floating at the end of a narrow path.
Secret Base. Two floating at the end of a narrow path.
87. Miraland Map
At the ruins east from the ![]() Secret Base. Atop the eastern edge of the ruins.
Secret Base. Atop the eastern edge of the ruins.
88. Miraland Map
At the ruins east from the ![]() Secret Base. Two floating high up near the south side of the ruins.
Secret Base. Two floating high up near the south side of the ruins.
89. Miraland Map
At the ruins east from the ![]() Secret Base. Three near a stone pillar around the minigame stand.
Secret Base. Three near a stone pillar around the minigame stand.

91. Miraland Map
Two on a stone pillar north-east from ![]() Cicia Art Academy Field Base.
Cicia Art Academy Field Base.
92. Miraland Map
Two floating above a stone pillar north-east from ![]() Cicia Art Academy Field Base.
Cicia Art Academy Field Base.
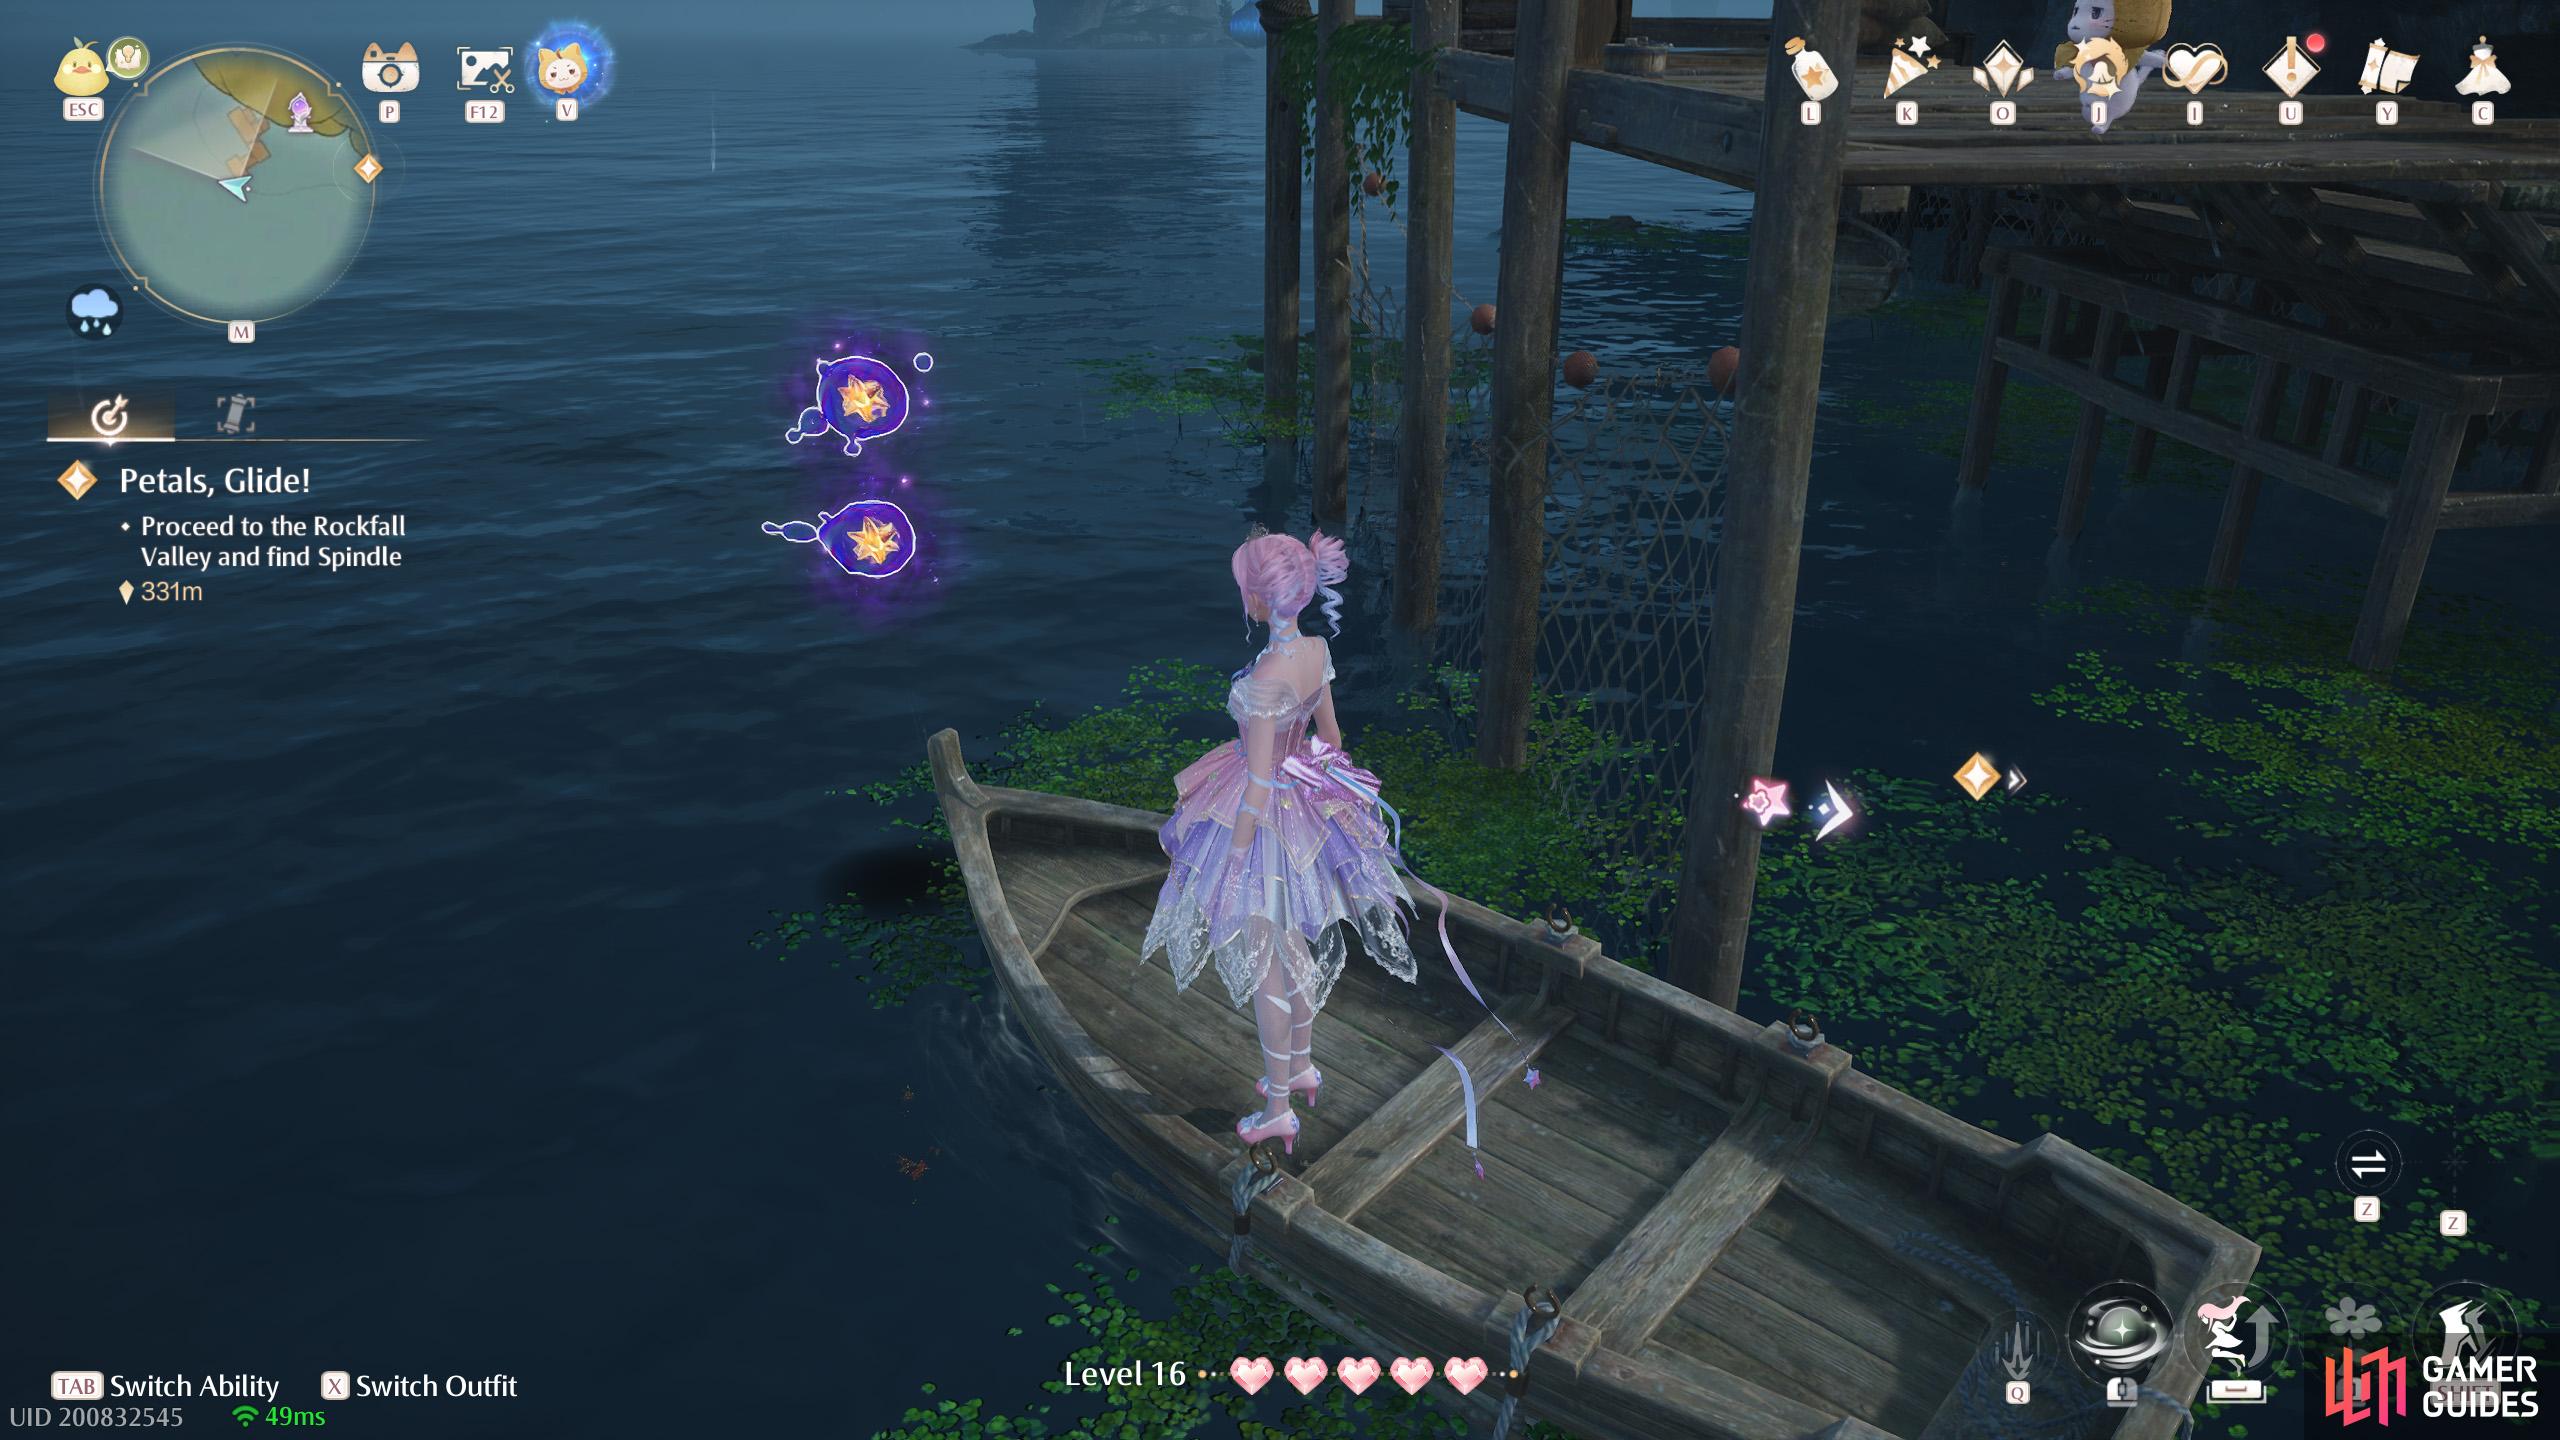
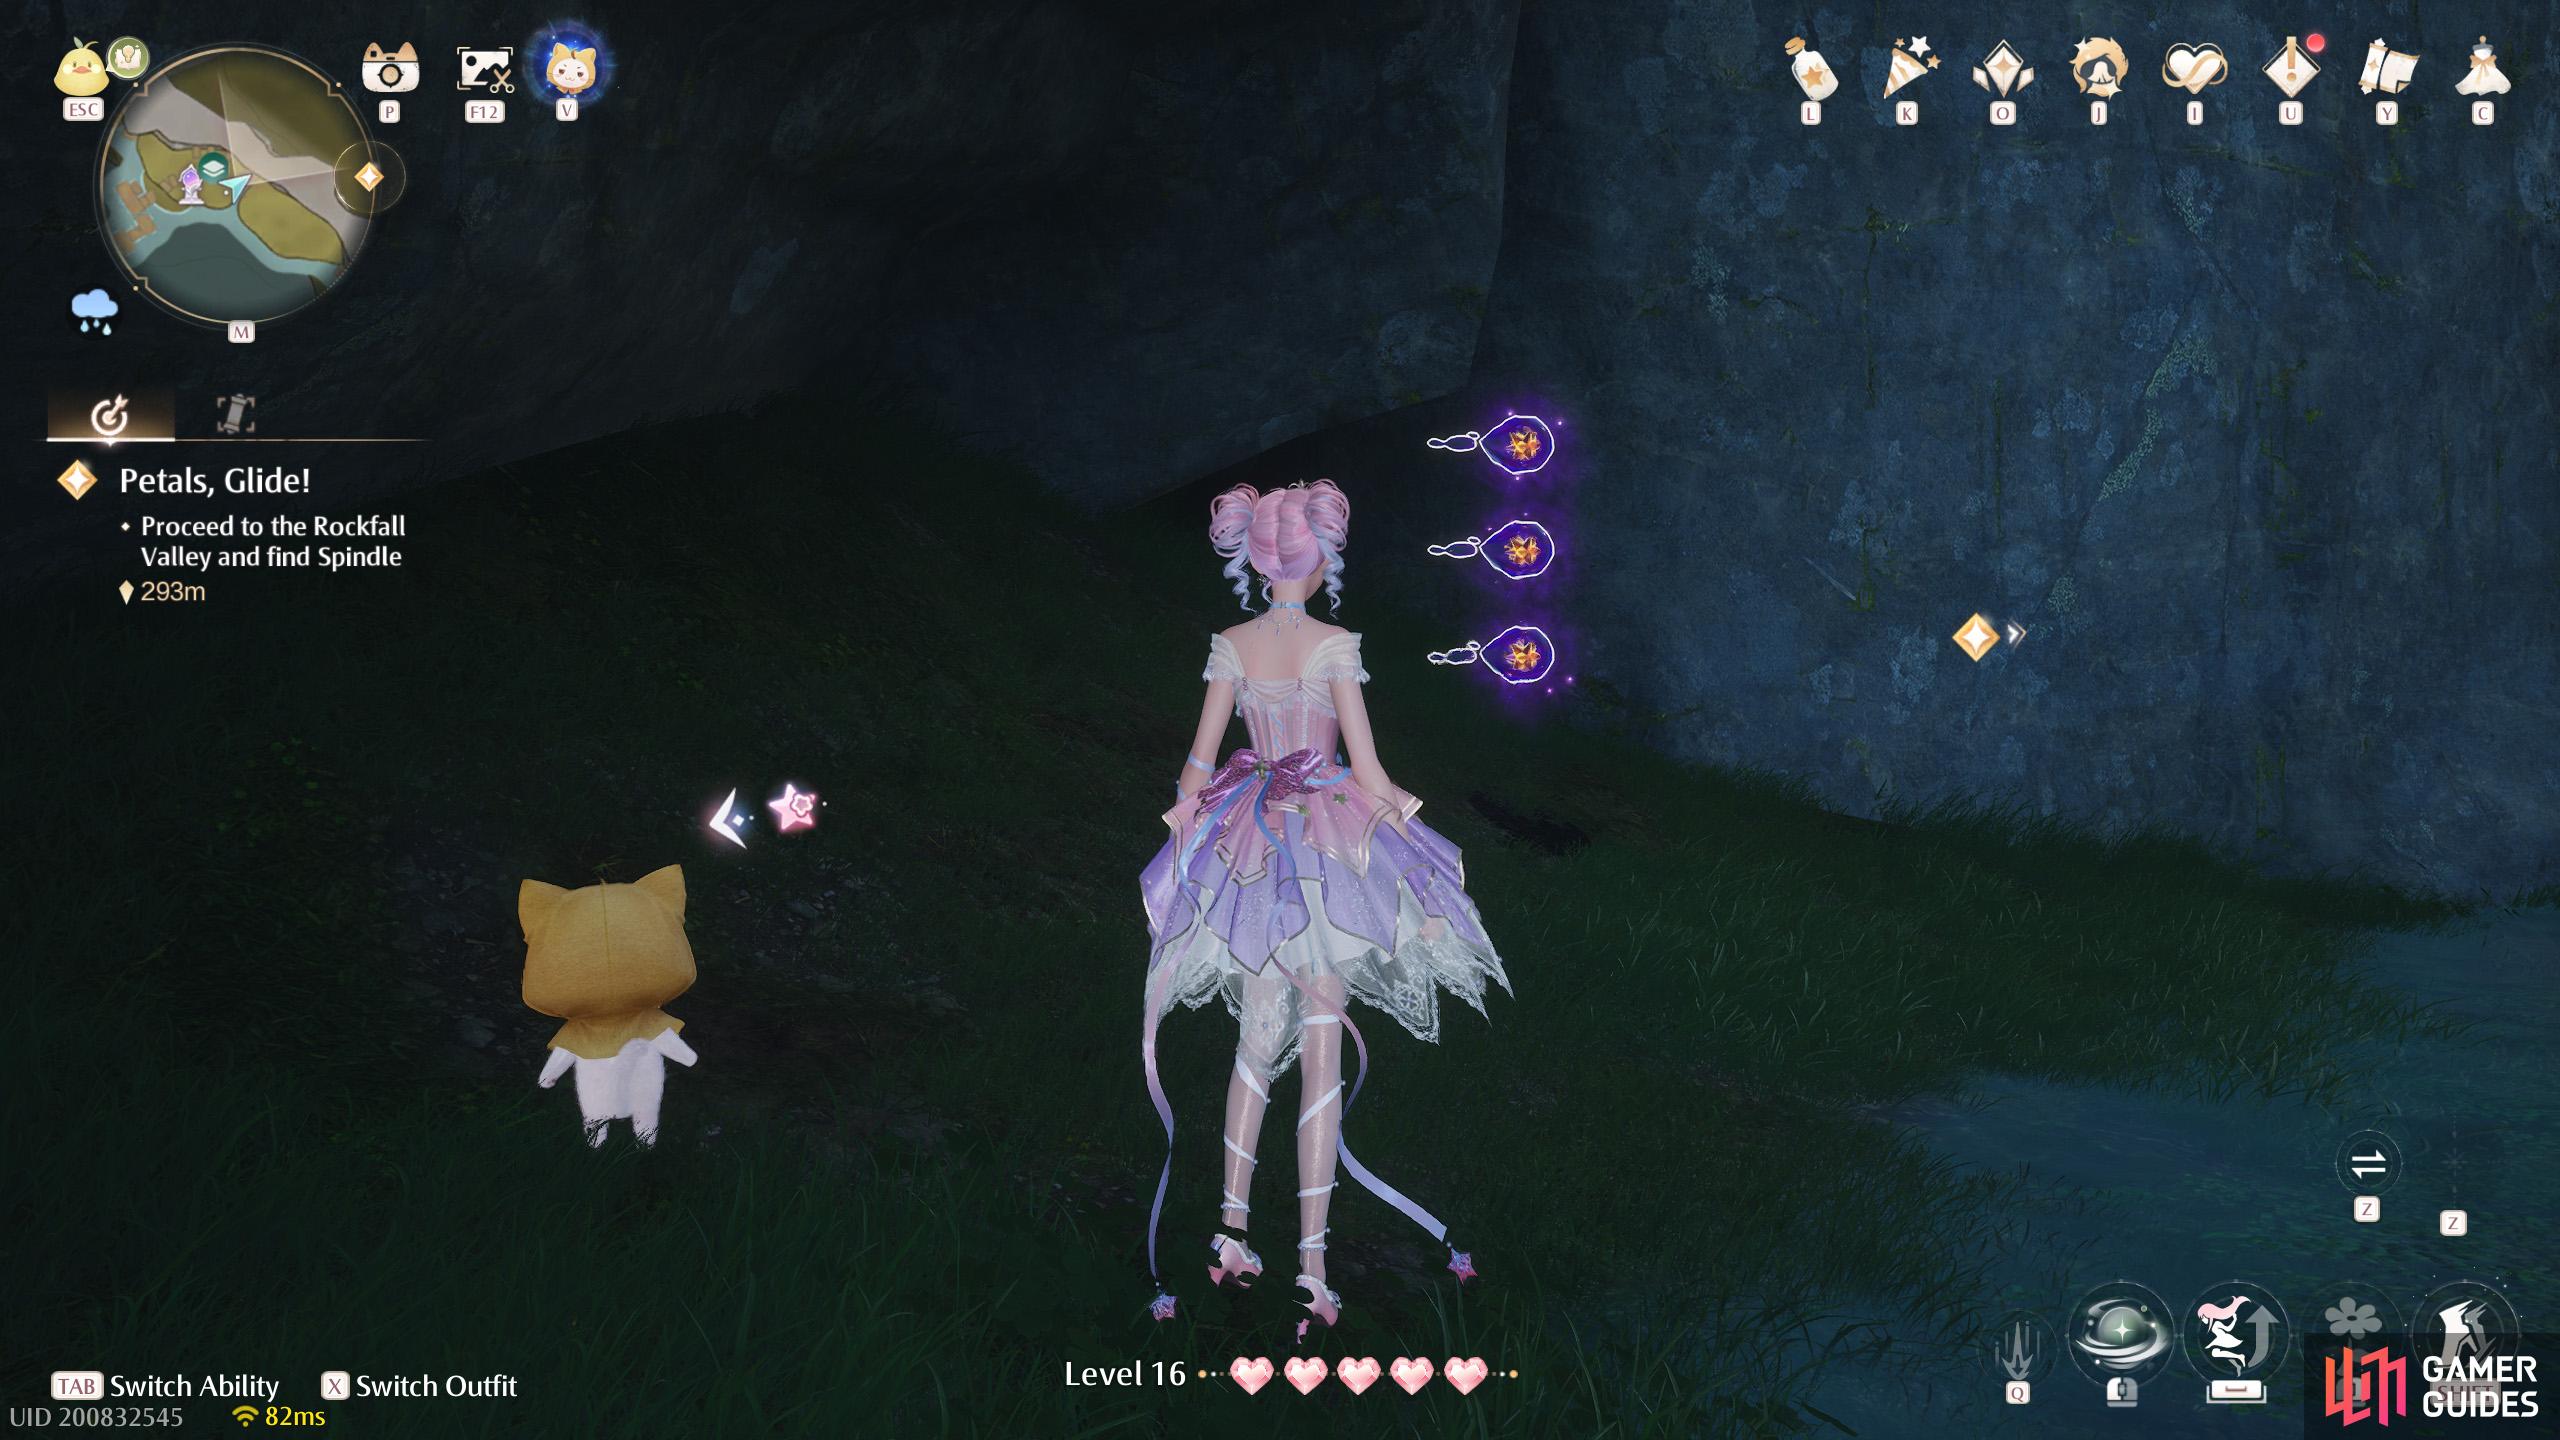
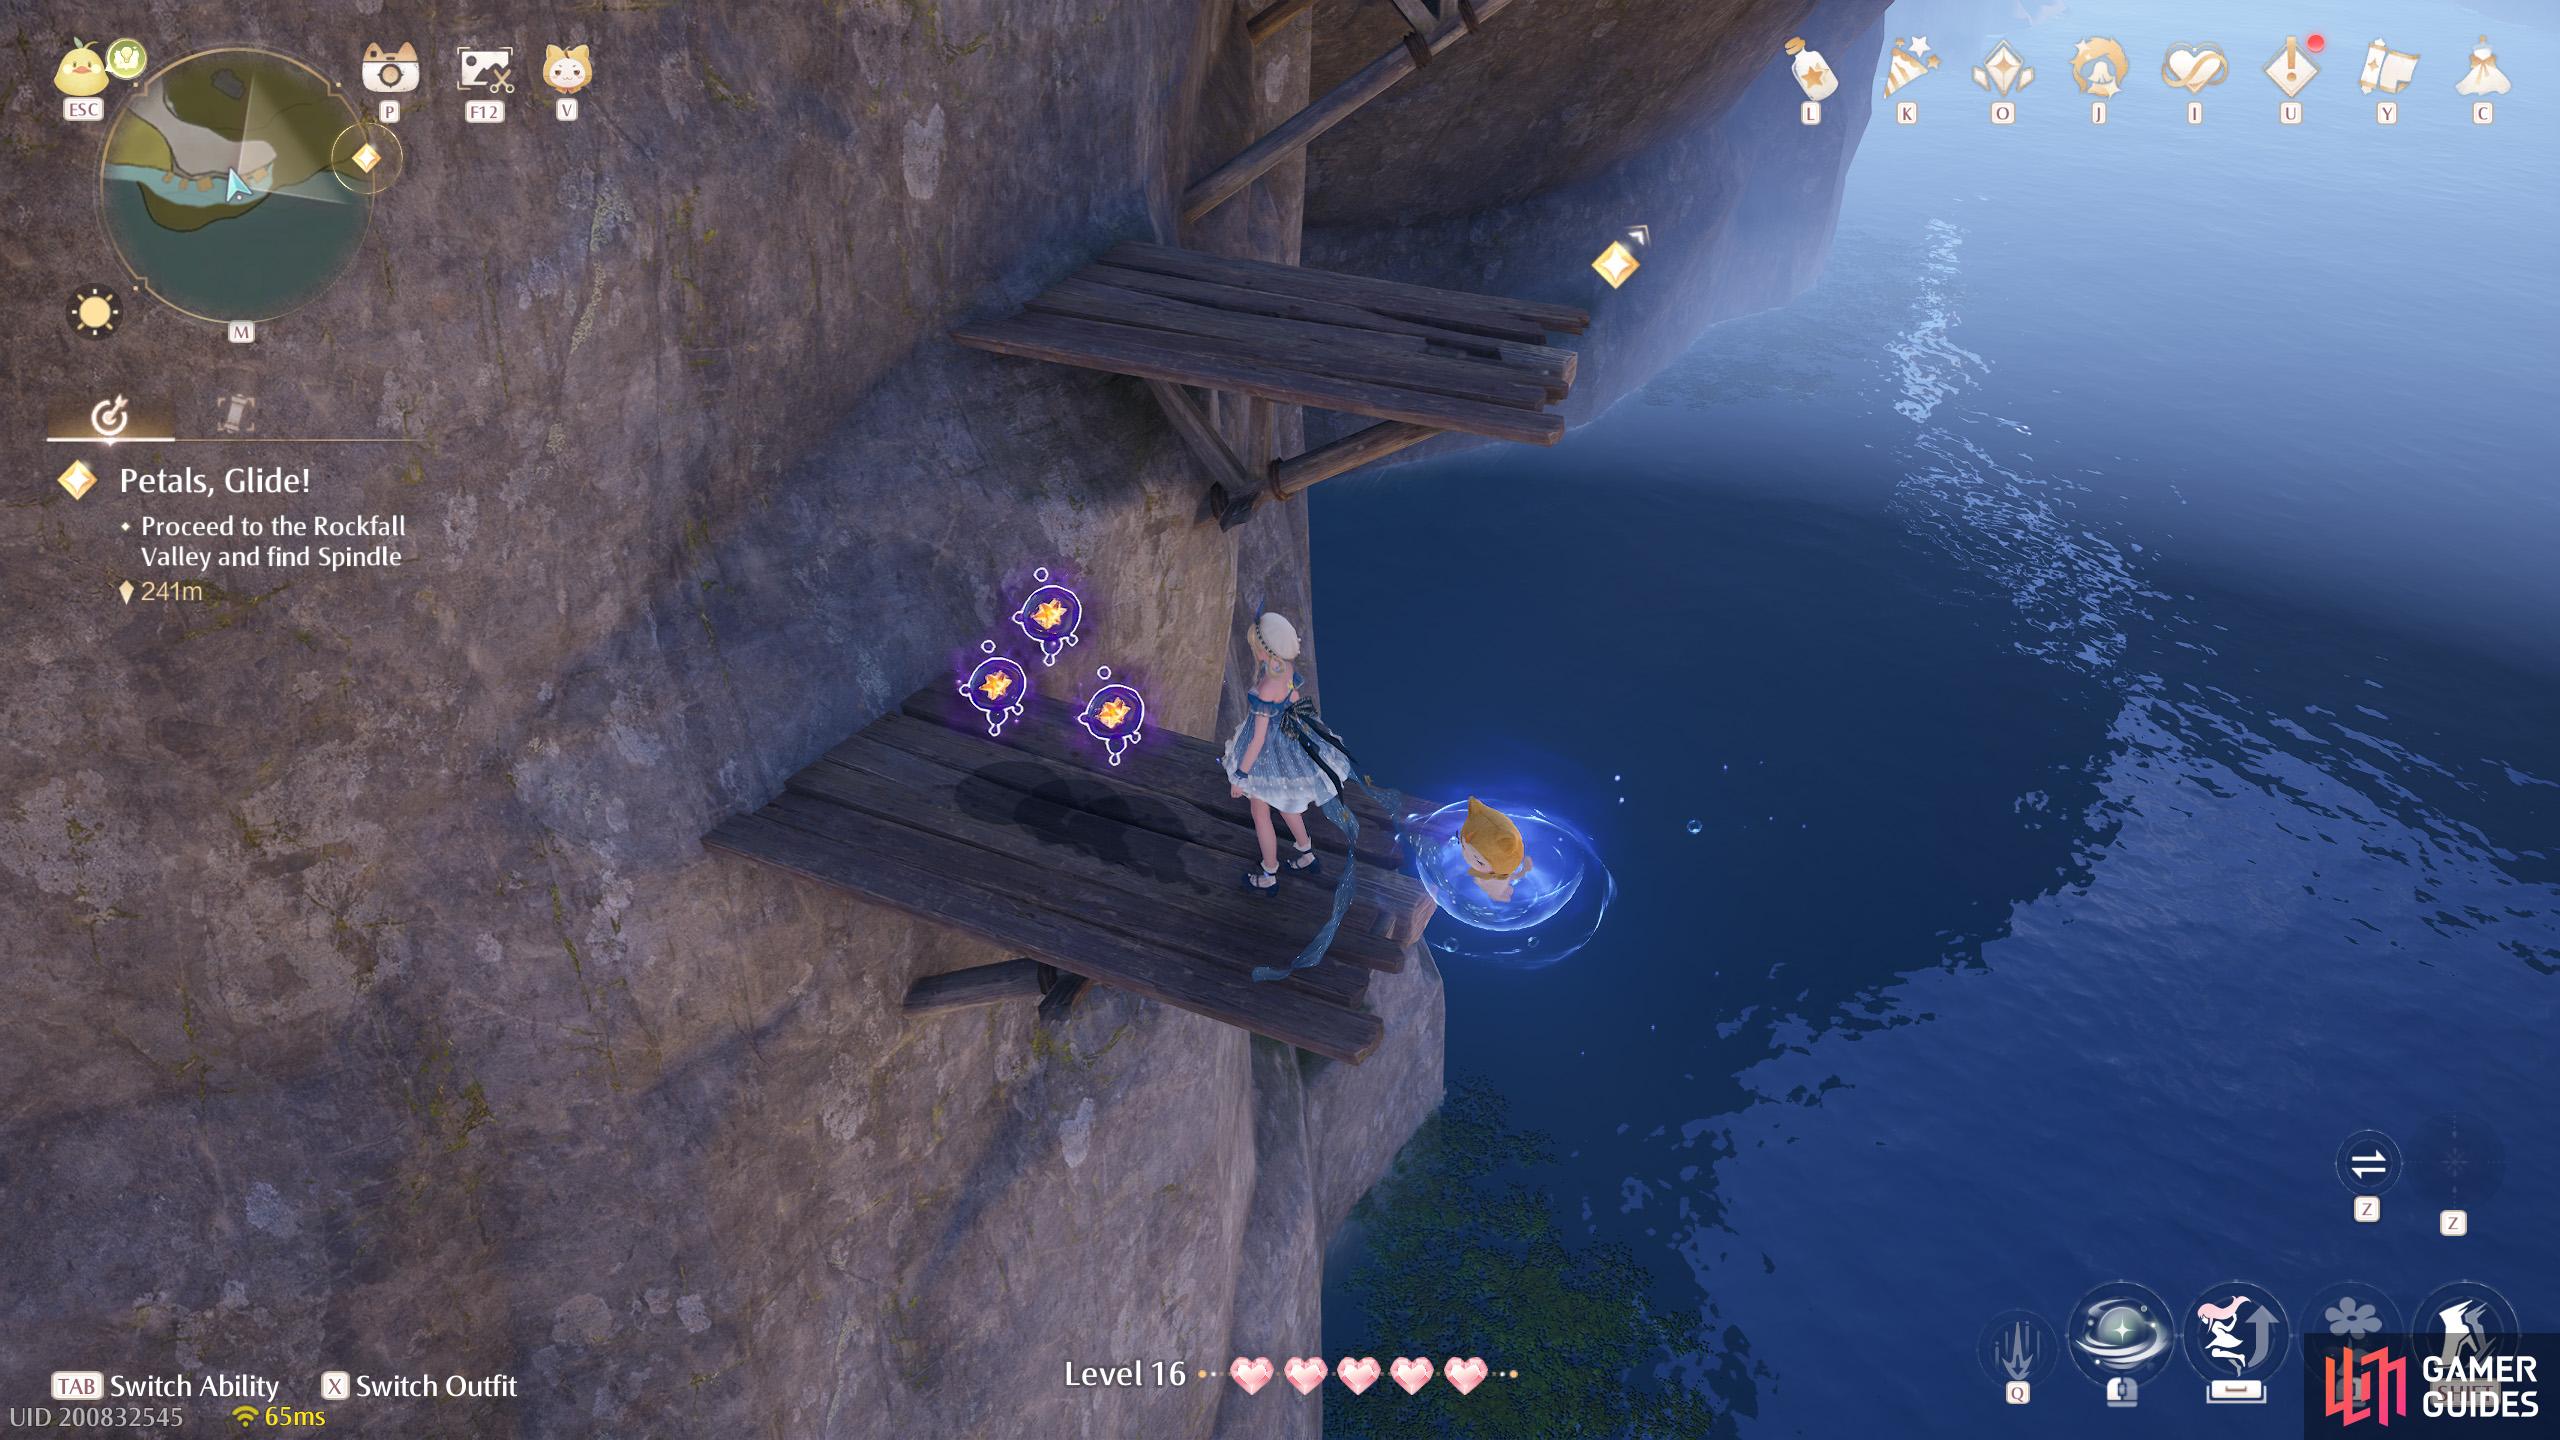
93. Miraland Map
Two above the overgrown house east of ![]() Cicia Art Academy Field Base.
Cicia Art Academy Field Base.
94. Miraland Map
Two floating high up near the overgrown building east of ![]() Cicia Art Academy Field Base. To reach them, jump from the roof.
Cicia Art Academy Field Base. To reach them, jump from the roof.
95. Miraland Map
Two floating high up, west from ![]() The Leisureely Anglers Florawish Branch. You can reach if you jump from the west.
The Leisureely Anglers Florawish Branch. You can reach if you jump from the west.
96. Miraland Map
Two atop a tree north of the ![]() Bug Catcher’s Cabin. It’s nigh impossible to see them. Stand on the top of the nearby minigame stall, then float north-east.
Bug Catcher’s Cabin. It’s nigh impossible to see them. Stand on the top of the nearby minigame stall, then float north-east.
97. Miraland Map
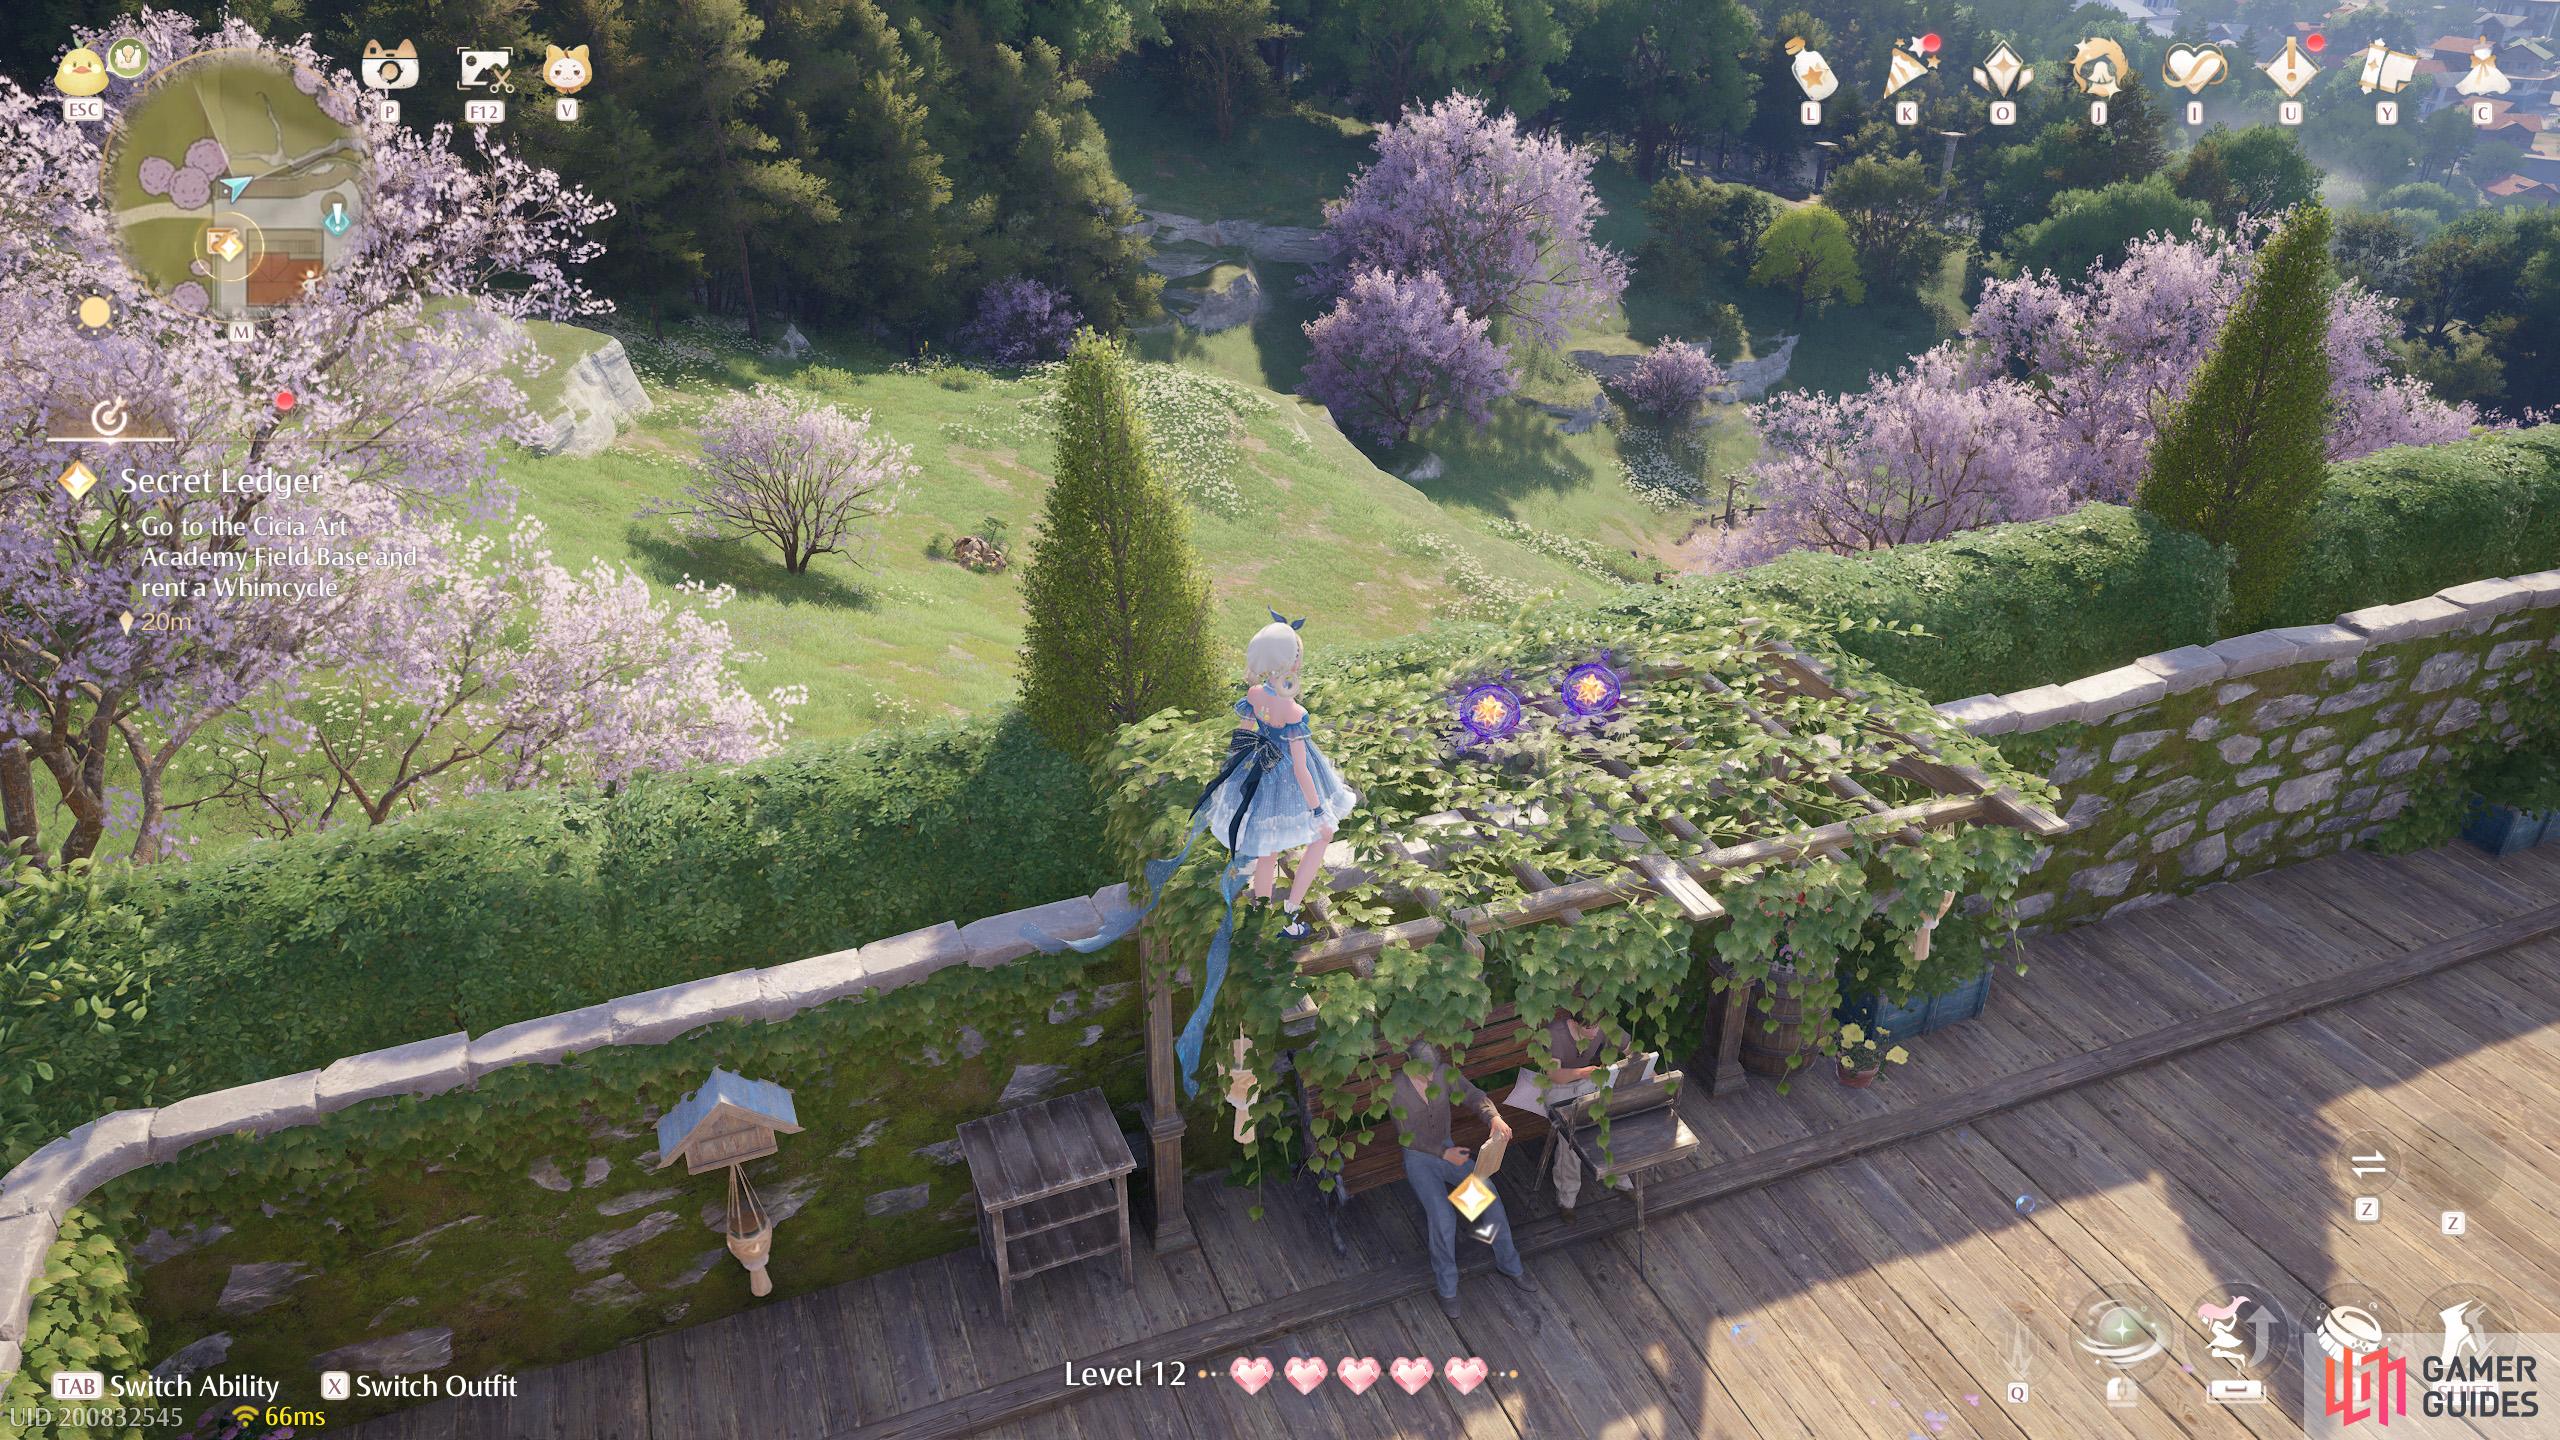
Two atop the veranda around the north-west corner of ![]() Cicia Art Academy Field Base.
Cicia Art Academy Field Base.
98. Miraland Map
Two next to the wooden platform along the east side of ![]() Cicia Art Academy Field Base.
Cicia Art Academy Field Base.
99. Miraland Map
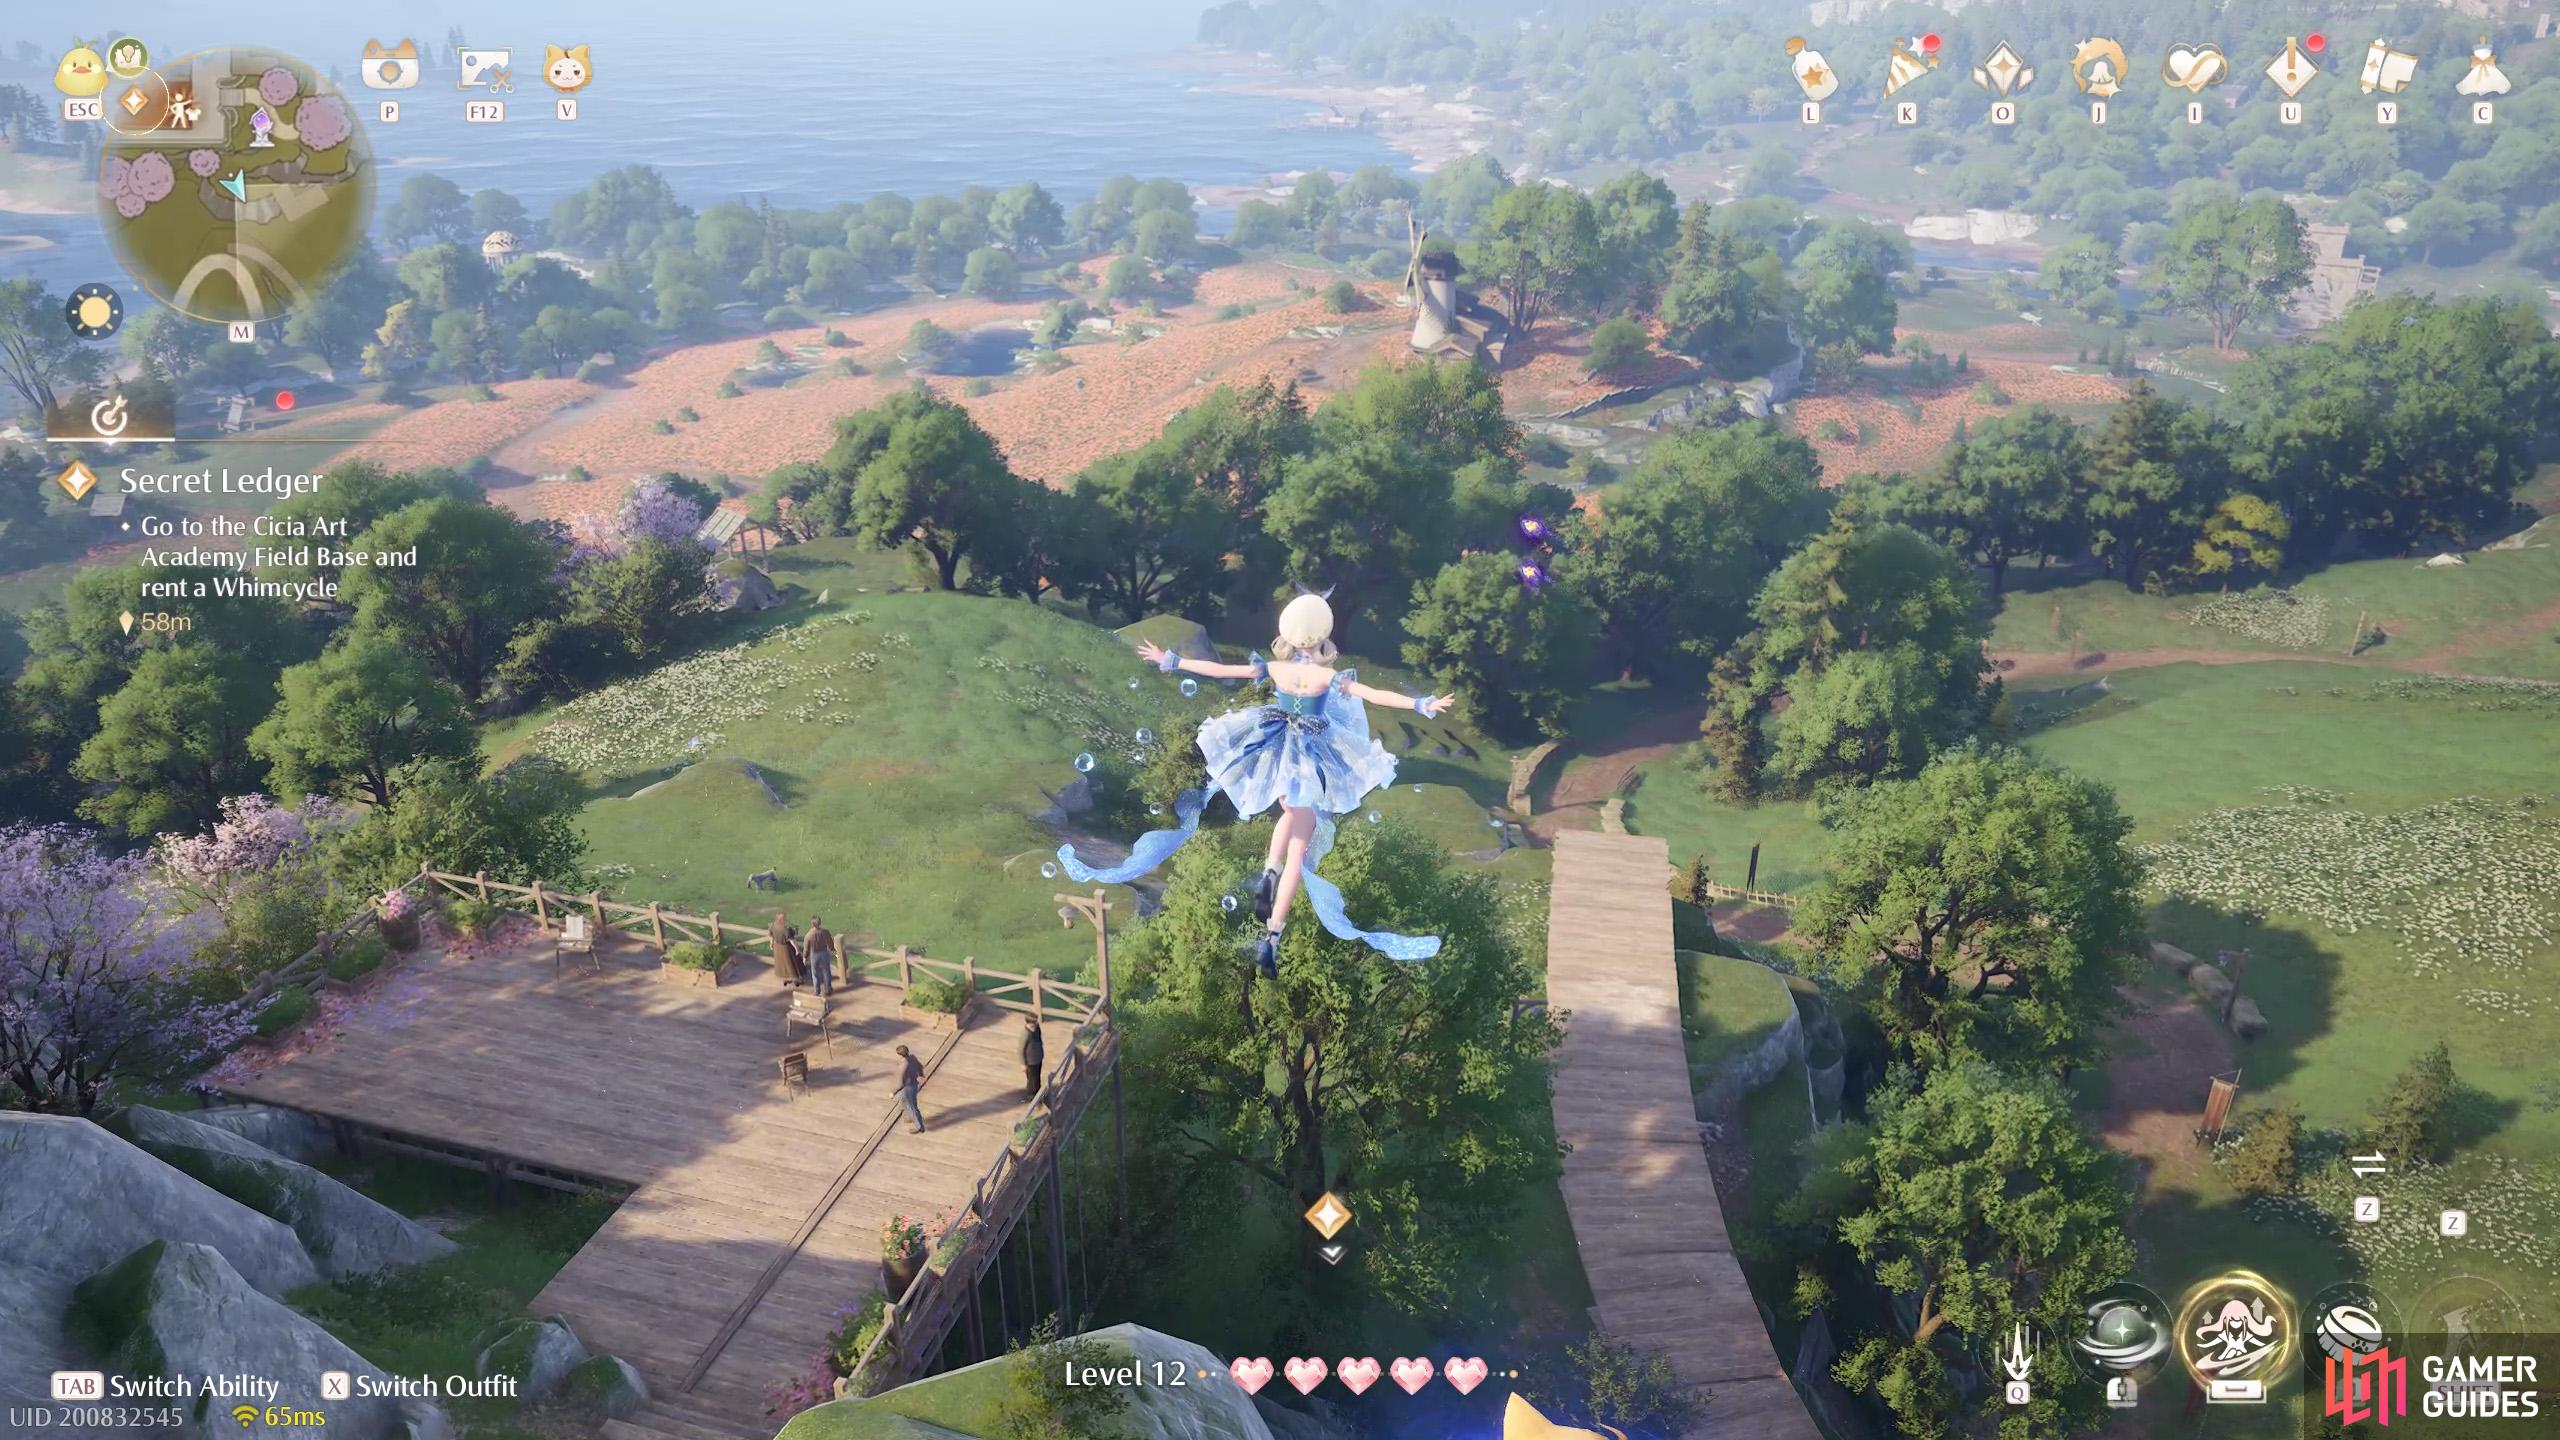
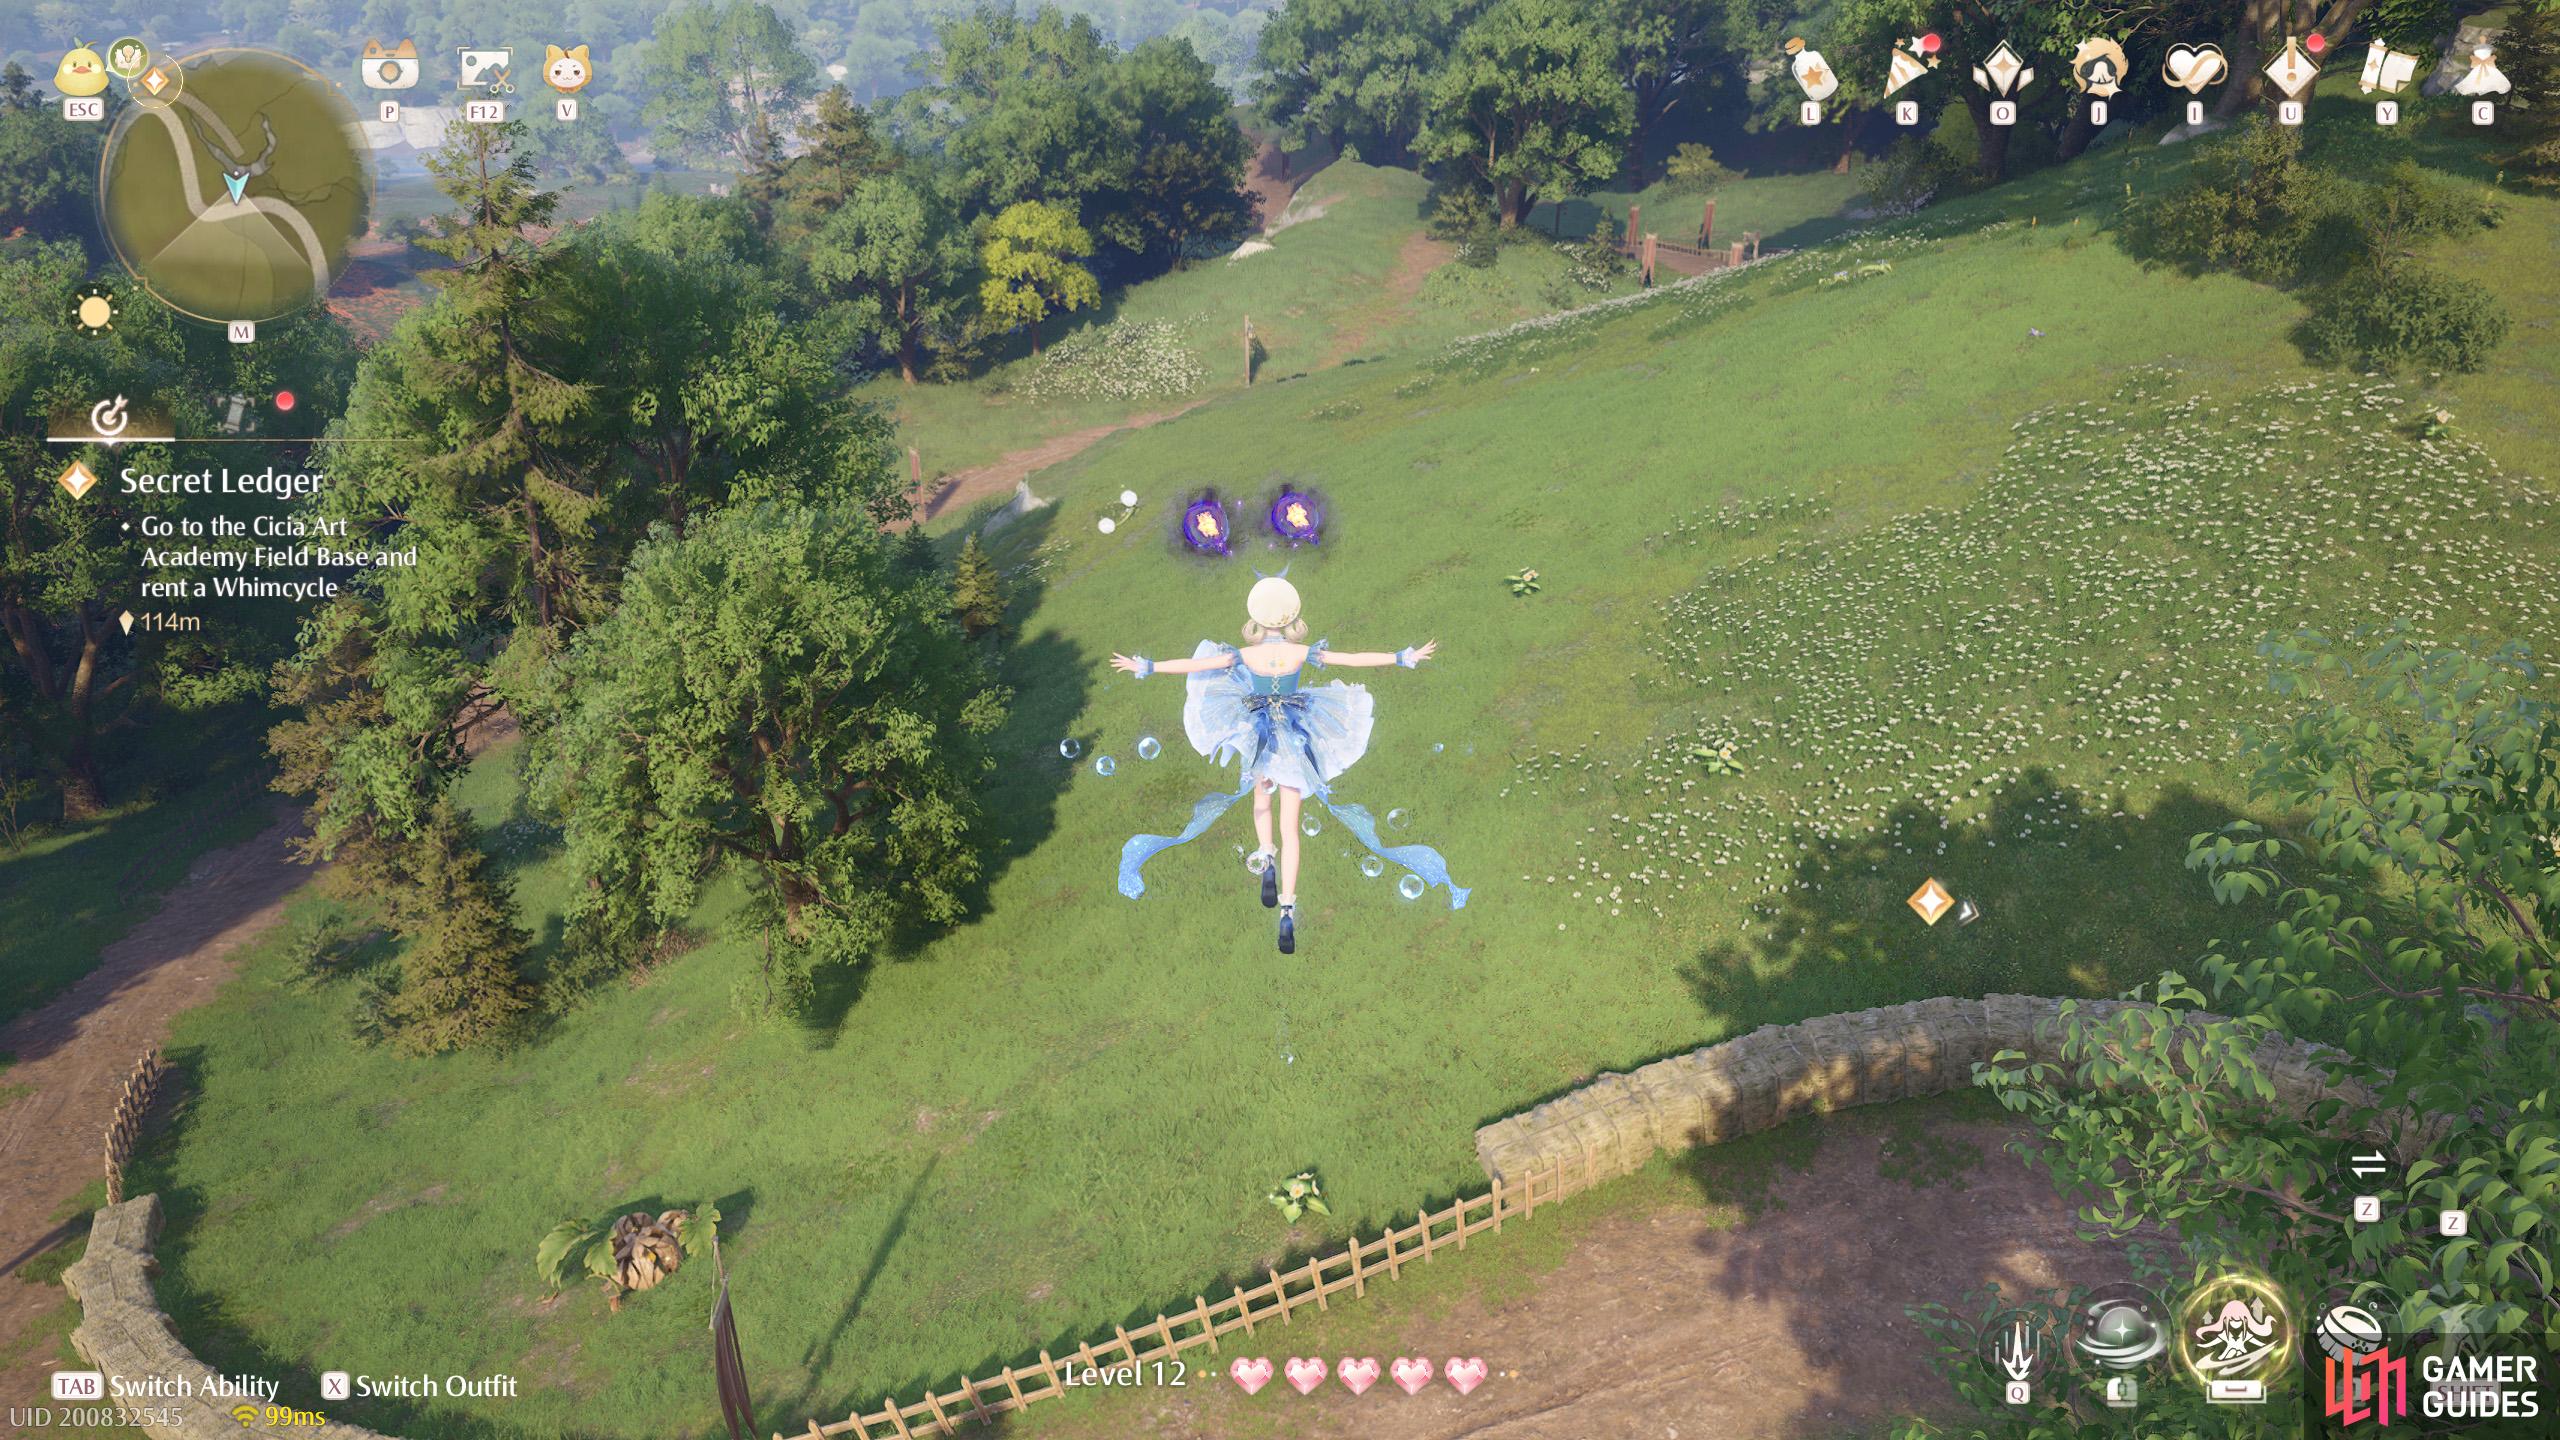
Two floating high up in the air around the south side of ![]() Cicia Art Academy Field Base. You can jump from the north-west.
Cicia Art Academy Field Base. You can jump from the north-west.
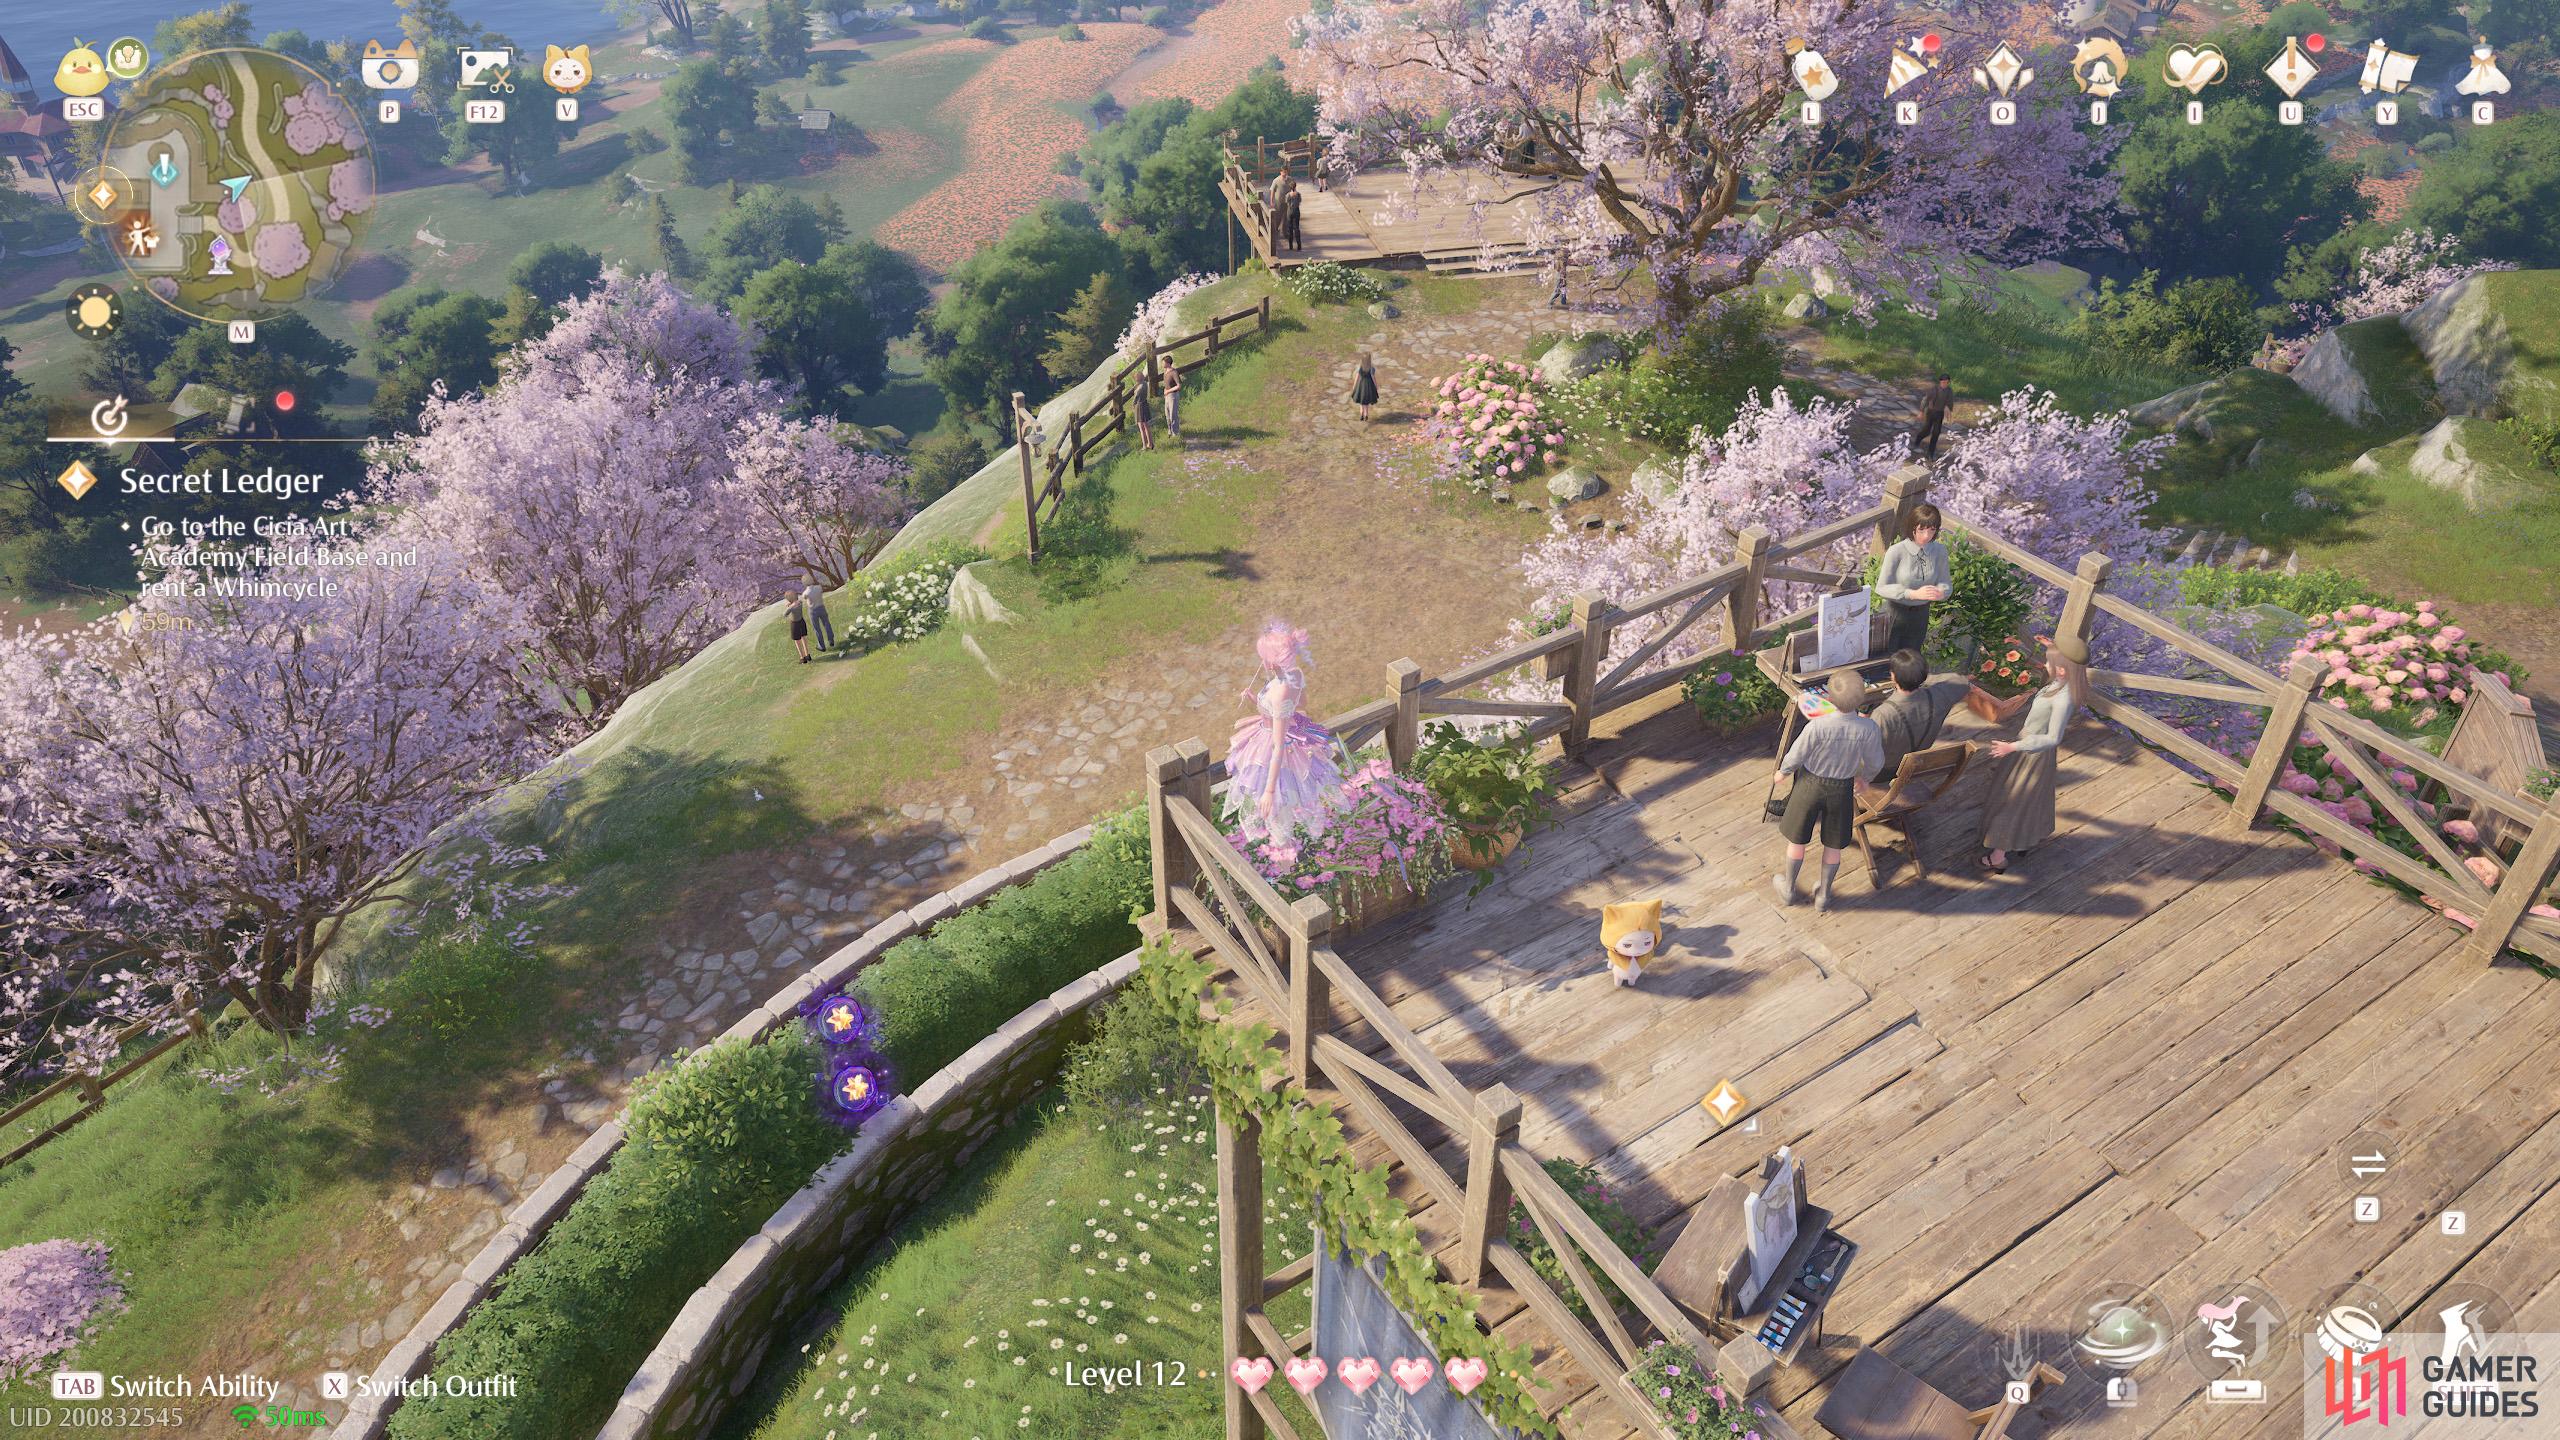
100. Miraland Map
Two in the air south from ![]() Cicia Art Academy Field Base. Near the end of a wooden path.
Cicia Art Academy Field Base. Near the end of a wooden path.

101. Miraland Map
Three behind the display west from ![]() Cicia Art Academy Field Base.
Cicia Art Academy Field Base.
102. Miraland Map
Two floating around the back of the ![]() Meadow Activity Support Center.
Meadow Activity Support Center.
103. Miraland Map
Two floating high up north-east from the ![]() Meadow Activity Support Center. There’s a ledge to the north you can jump from.
Meadow Activity Support Center. There’s a ledge to the north you can jump from.
104. Miraland Map
Four floating north-west from the ![]() Meadow Activity Support Center building. You can leap from the rooftop.
Meadow Activity Support Center building. You can leap from the rooftop.
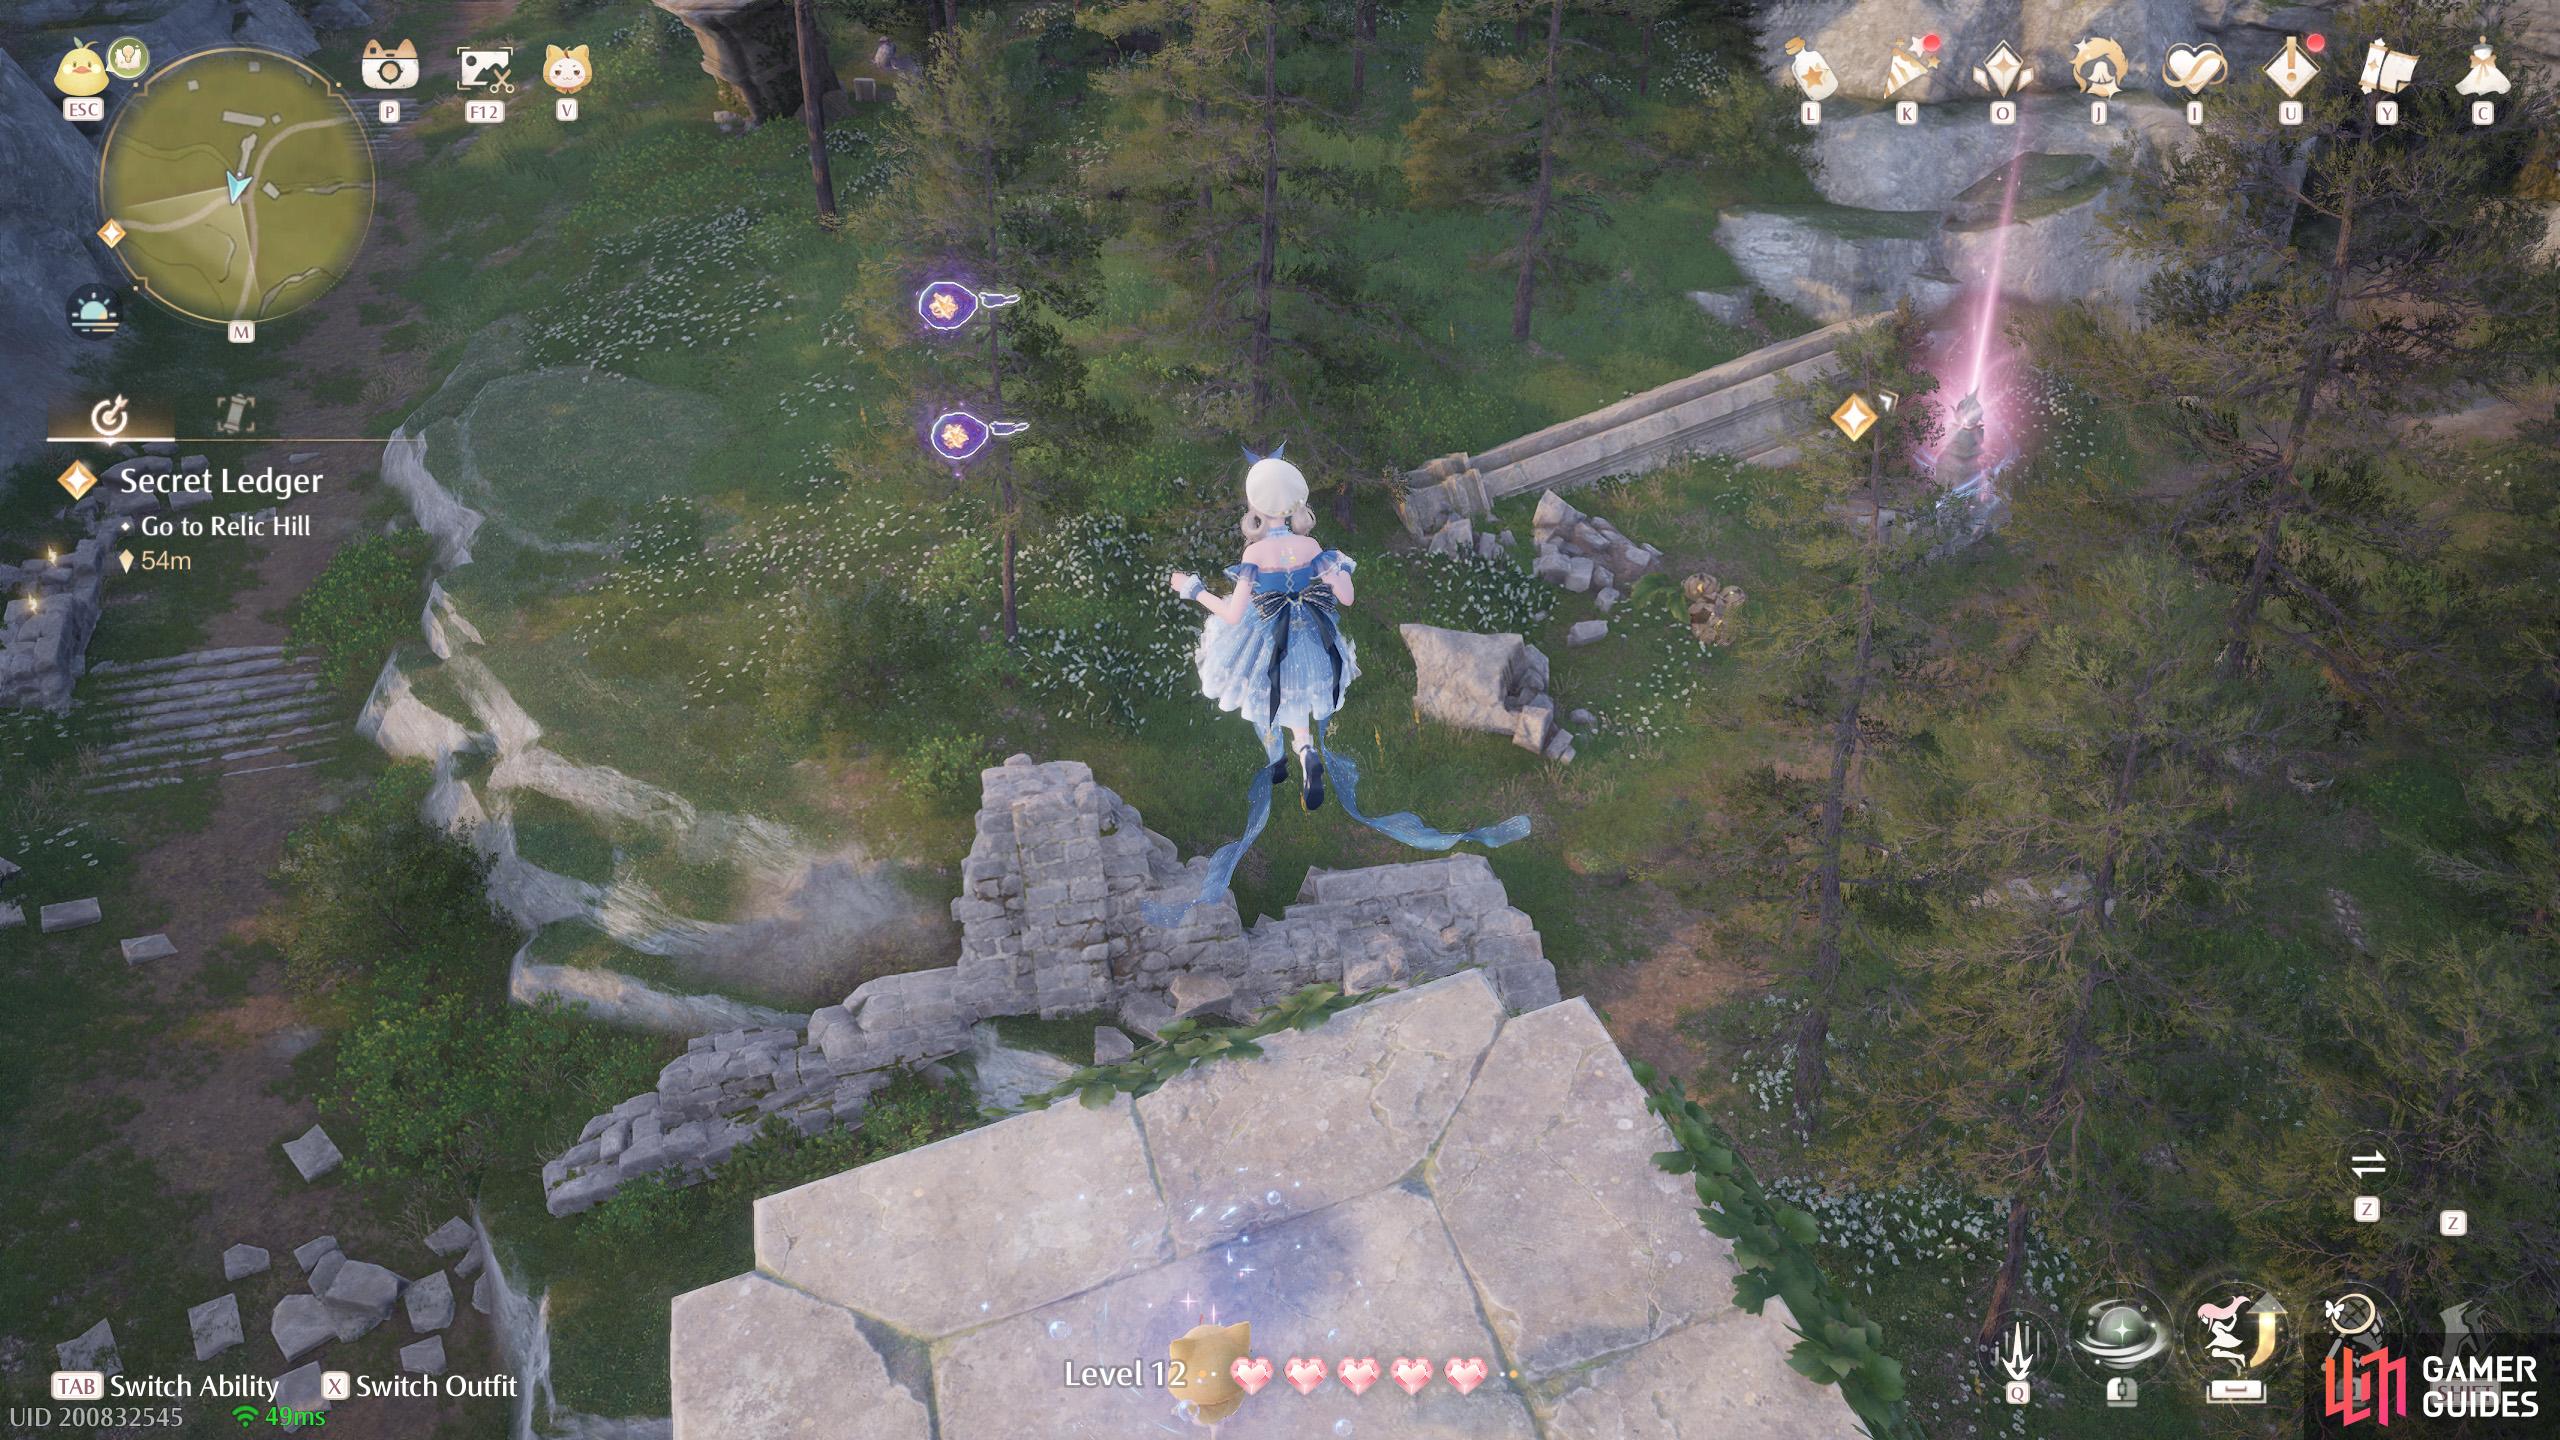
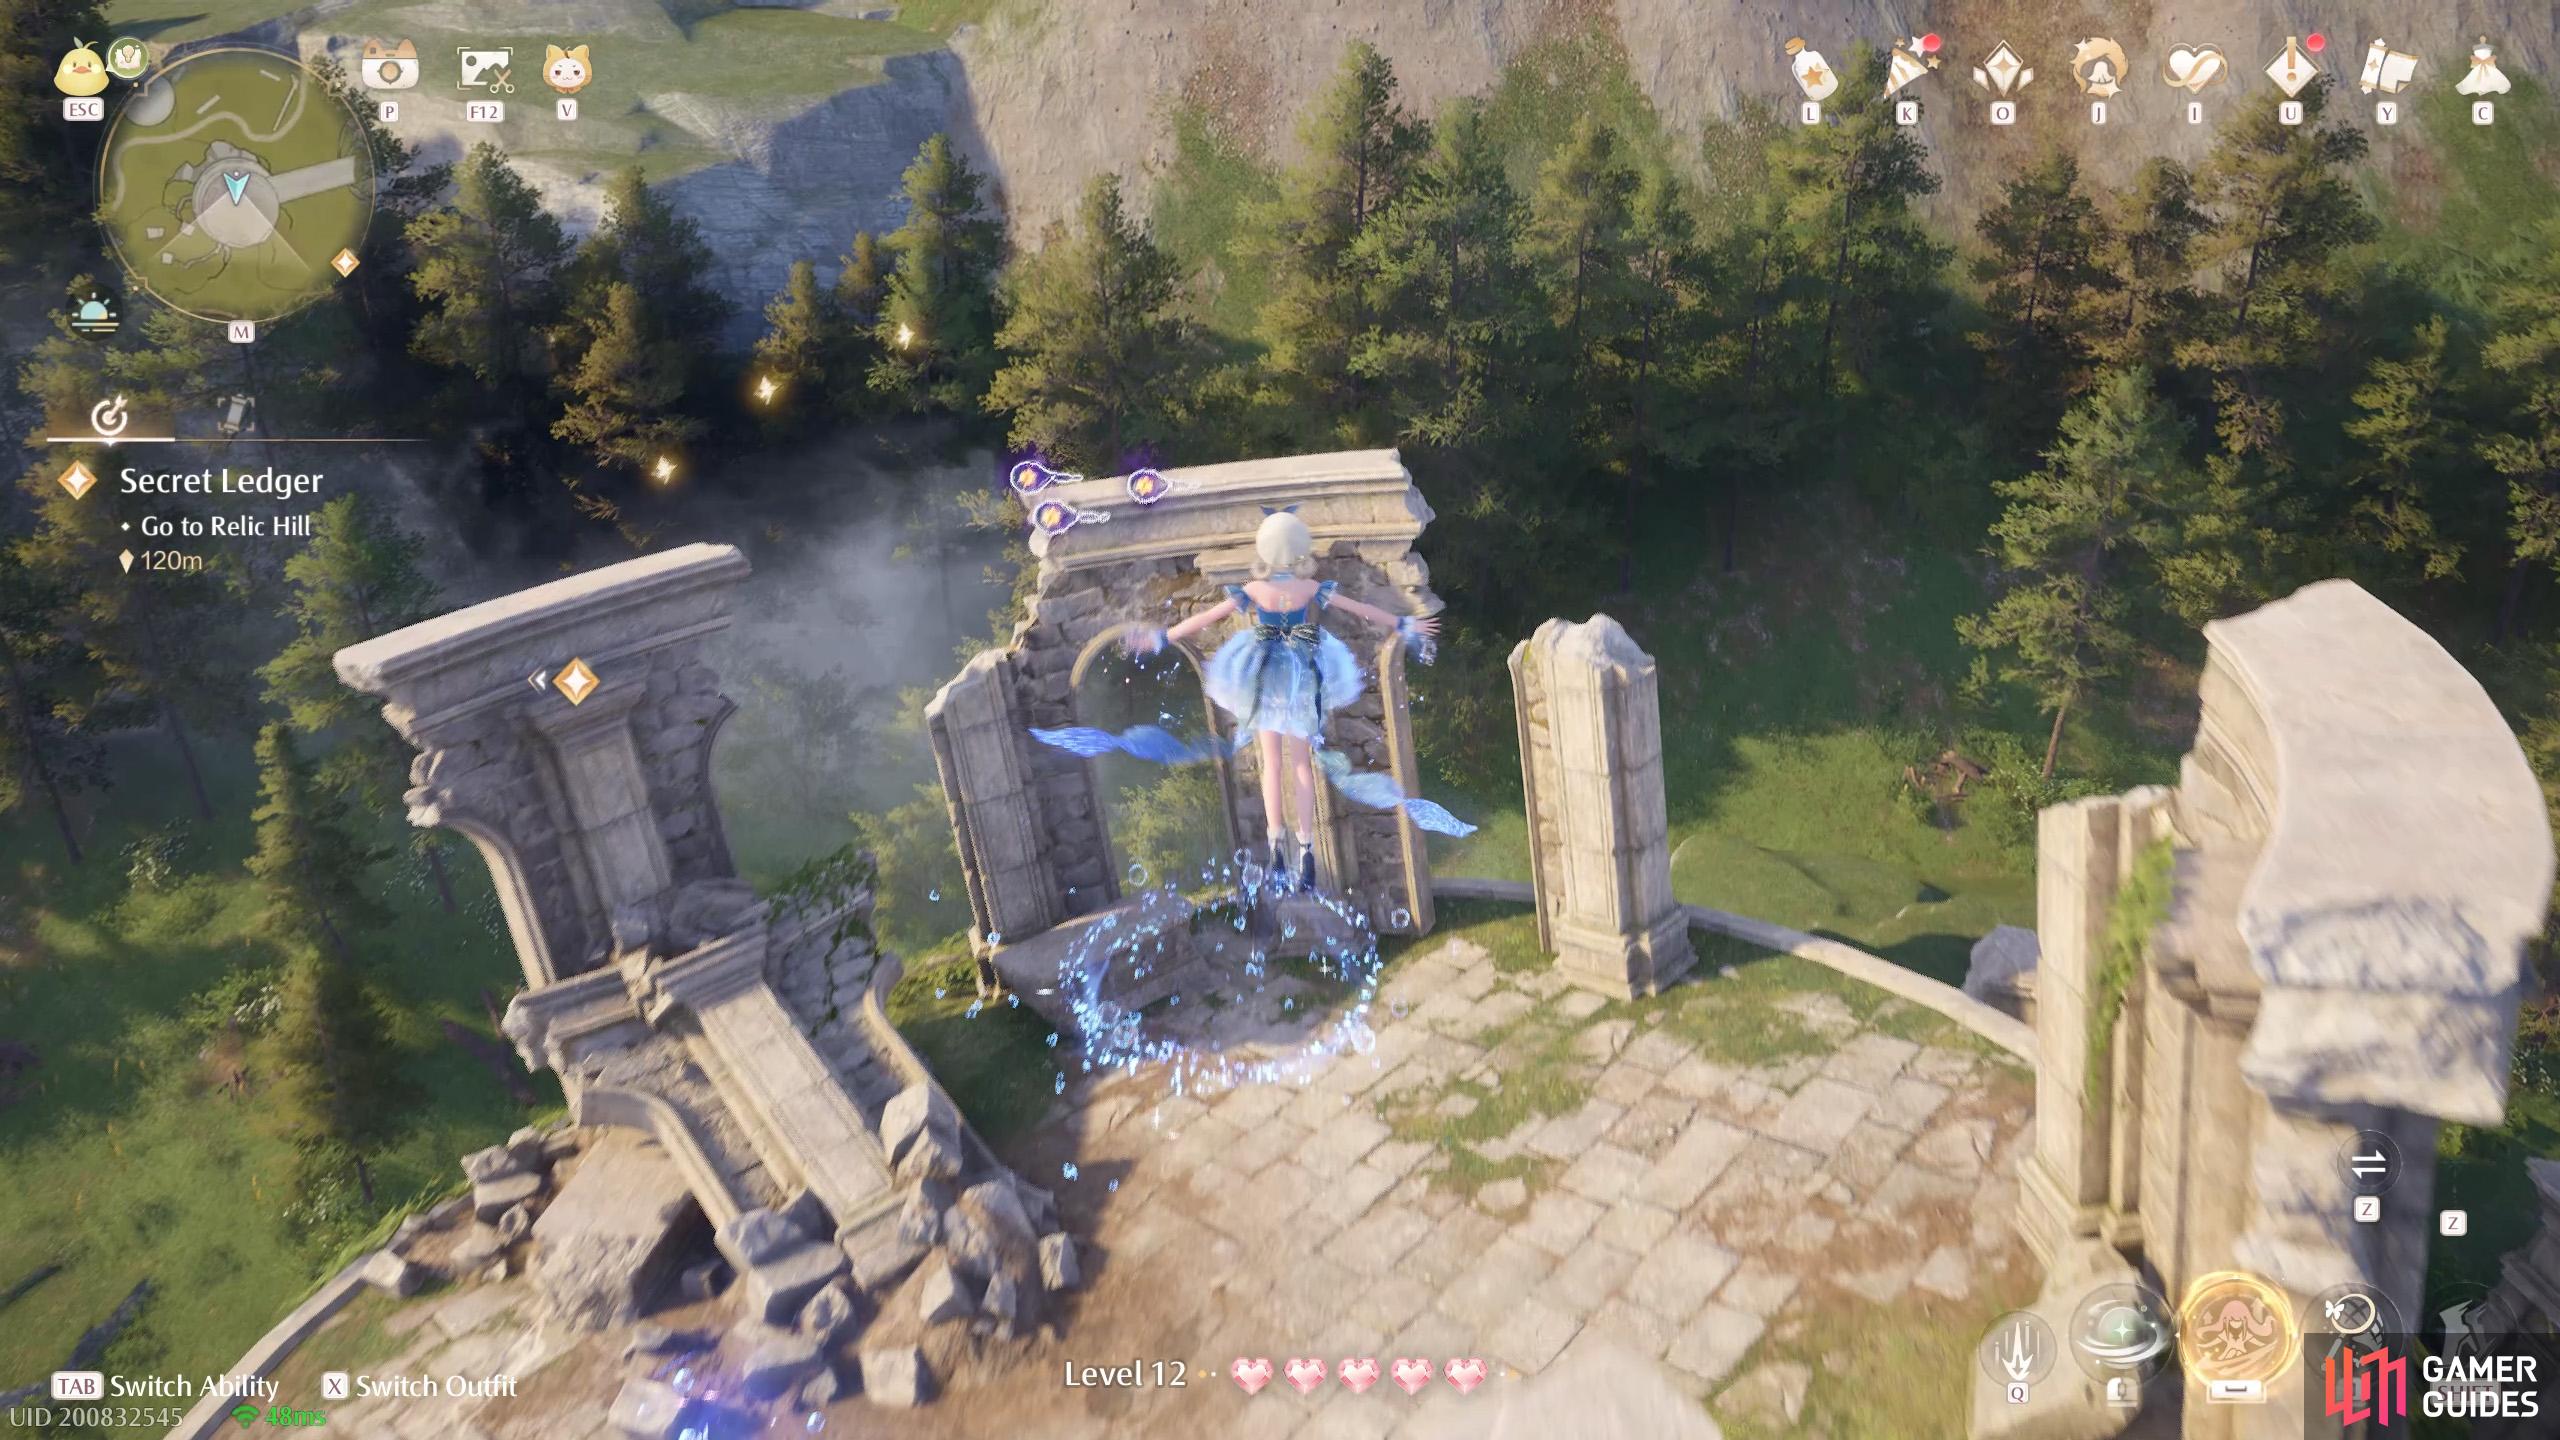
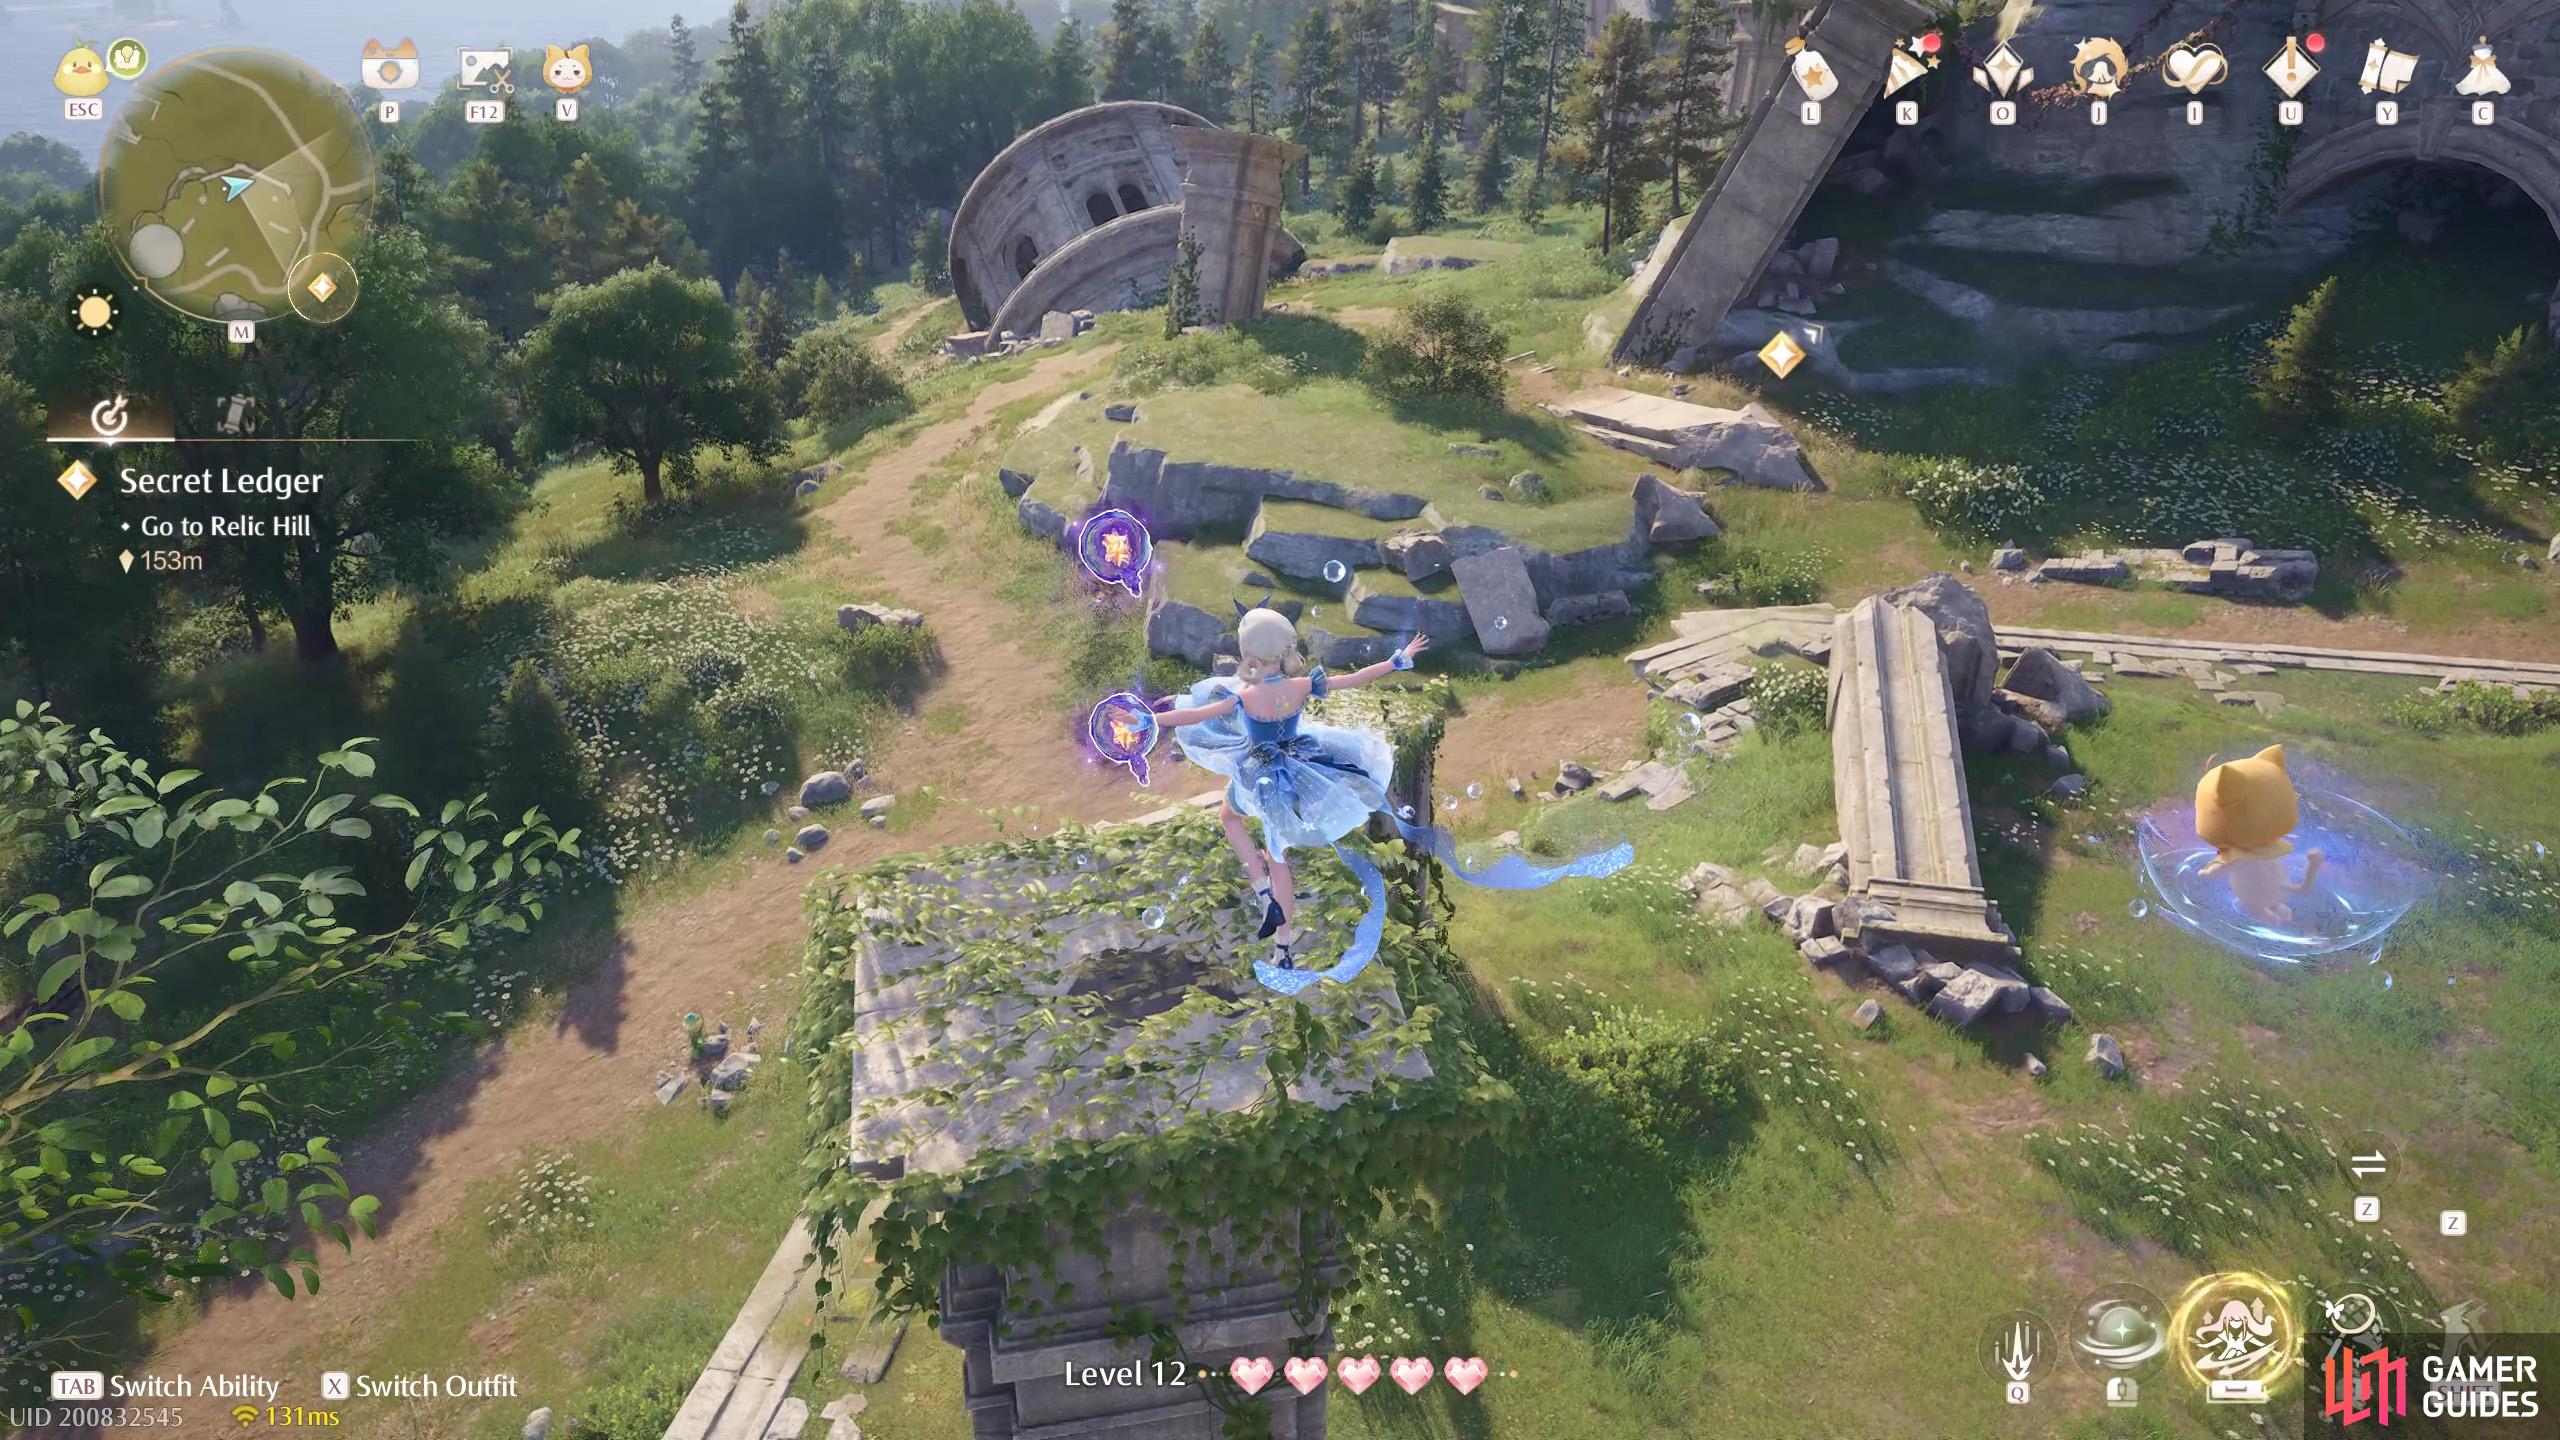
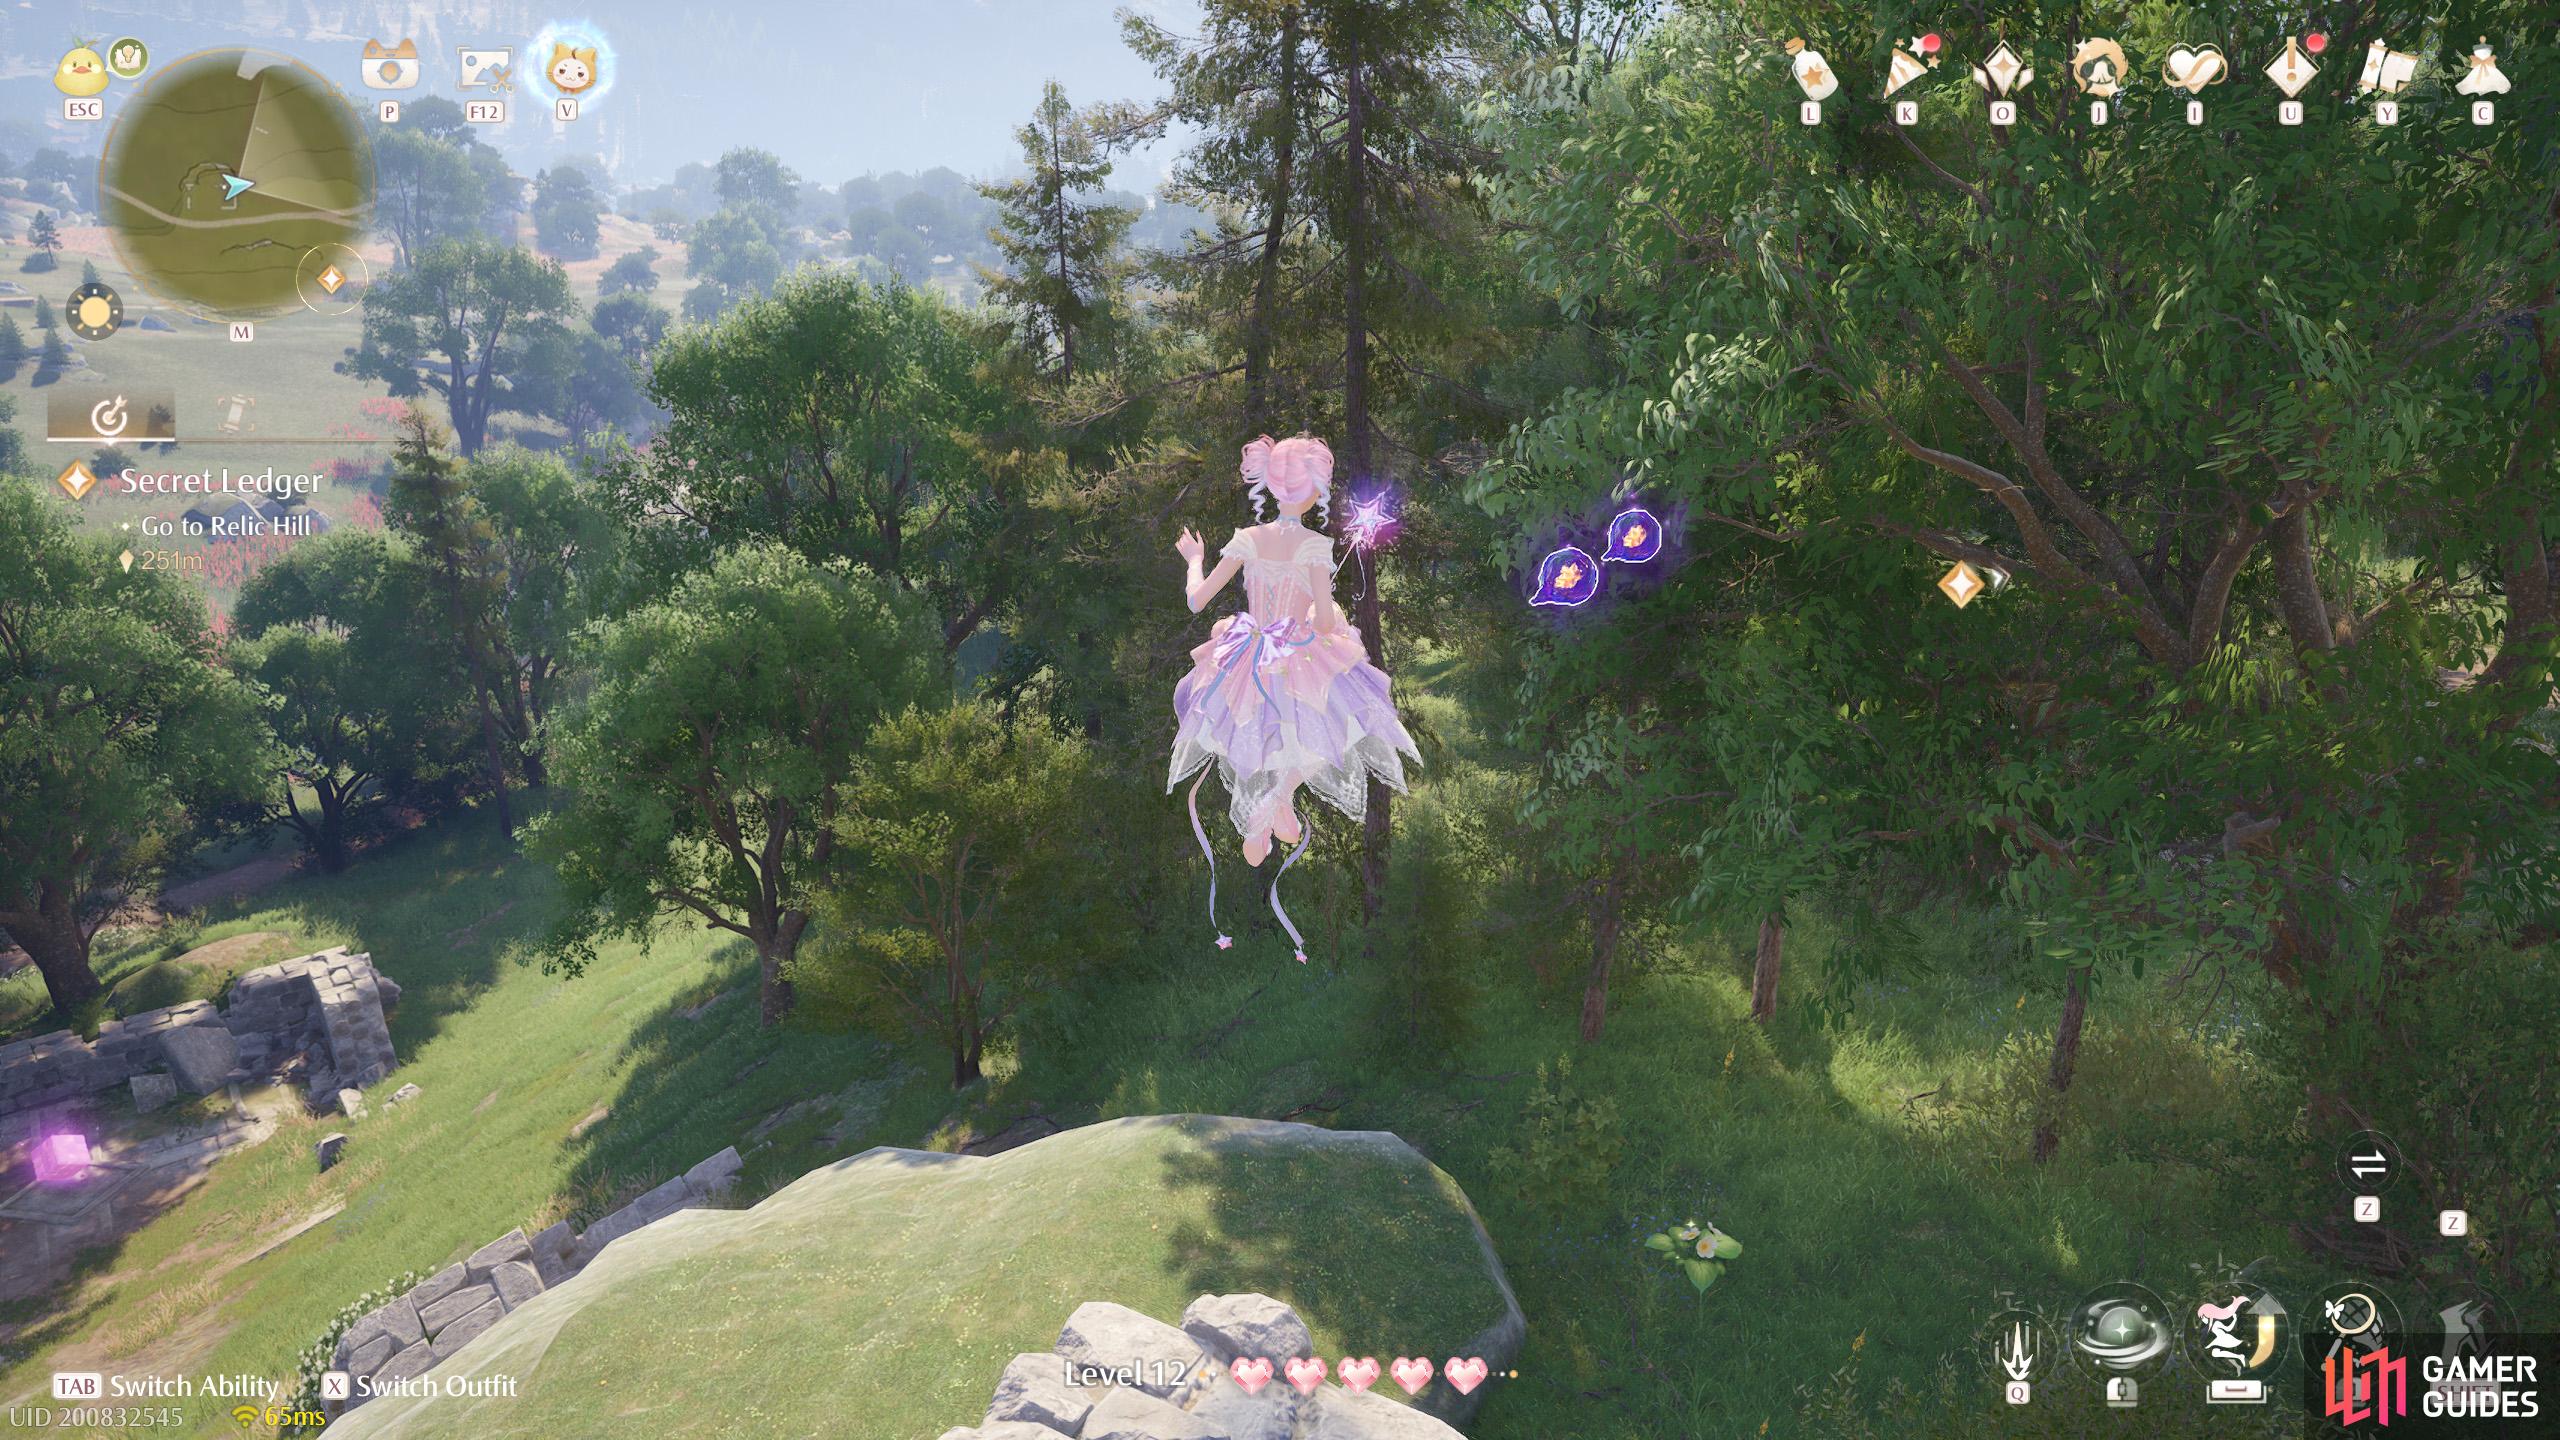
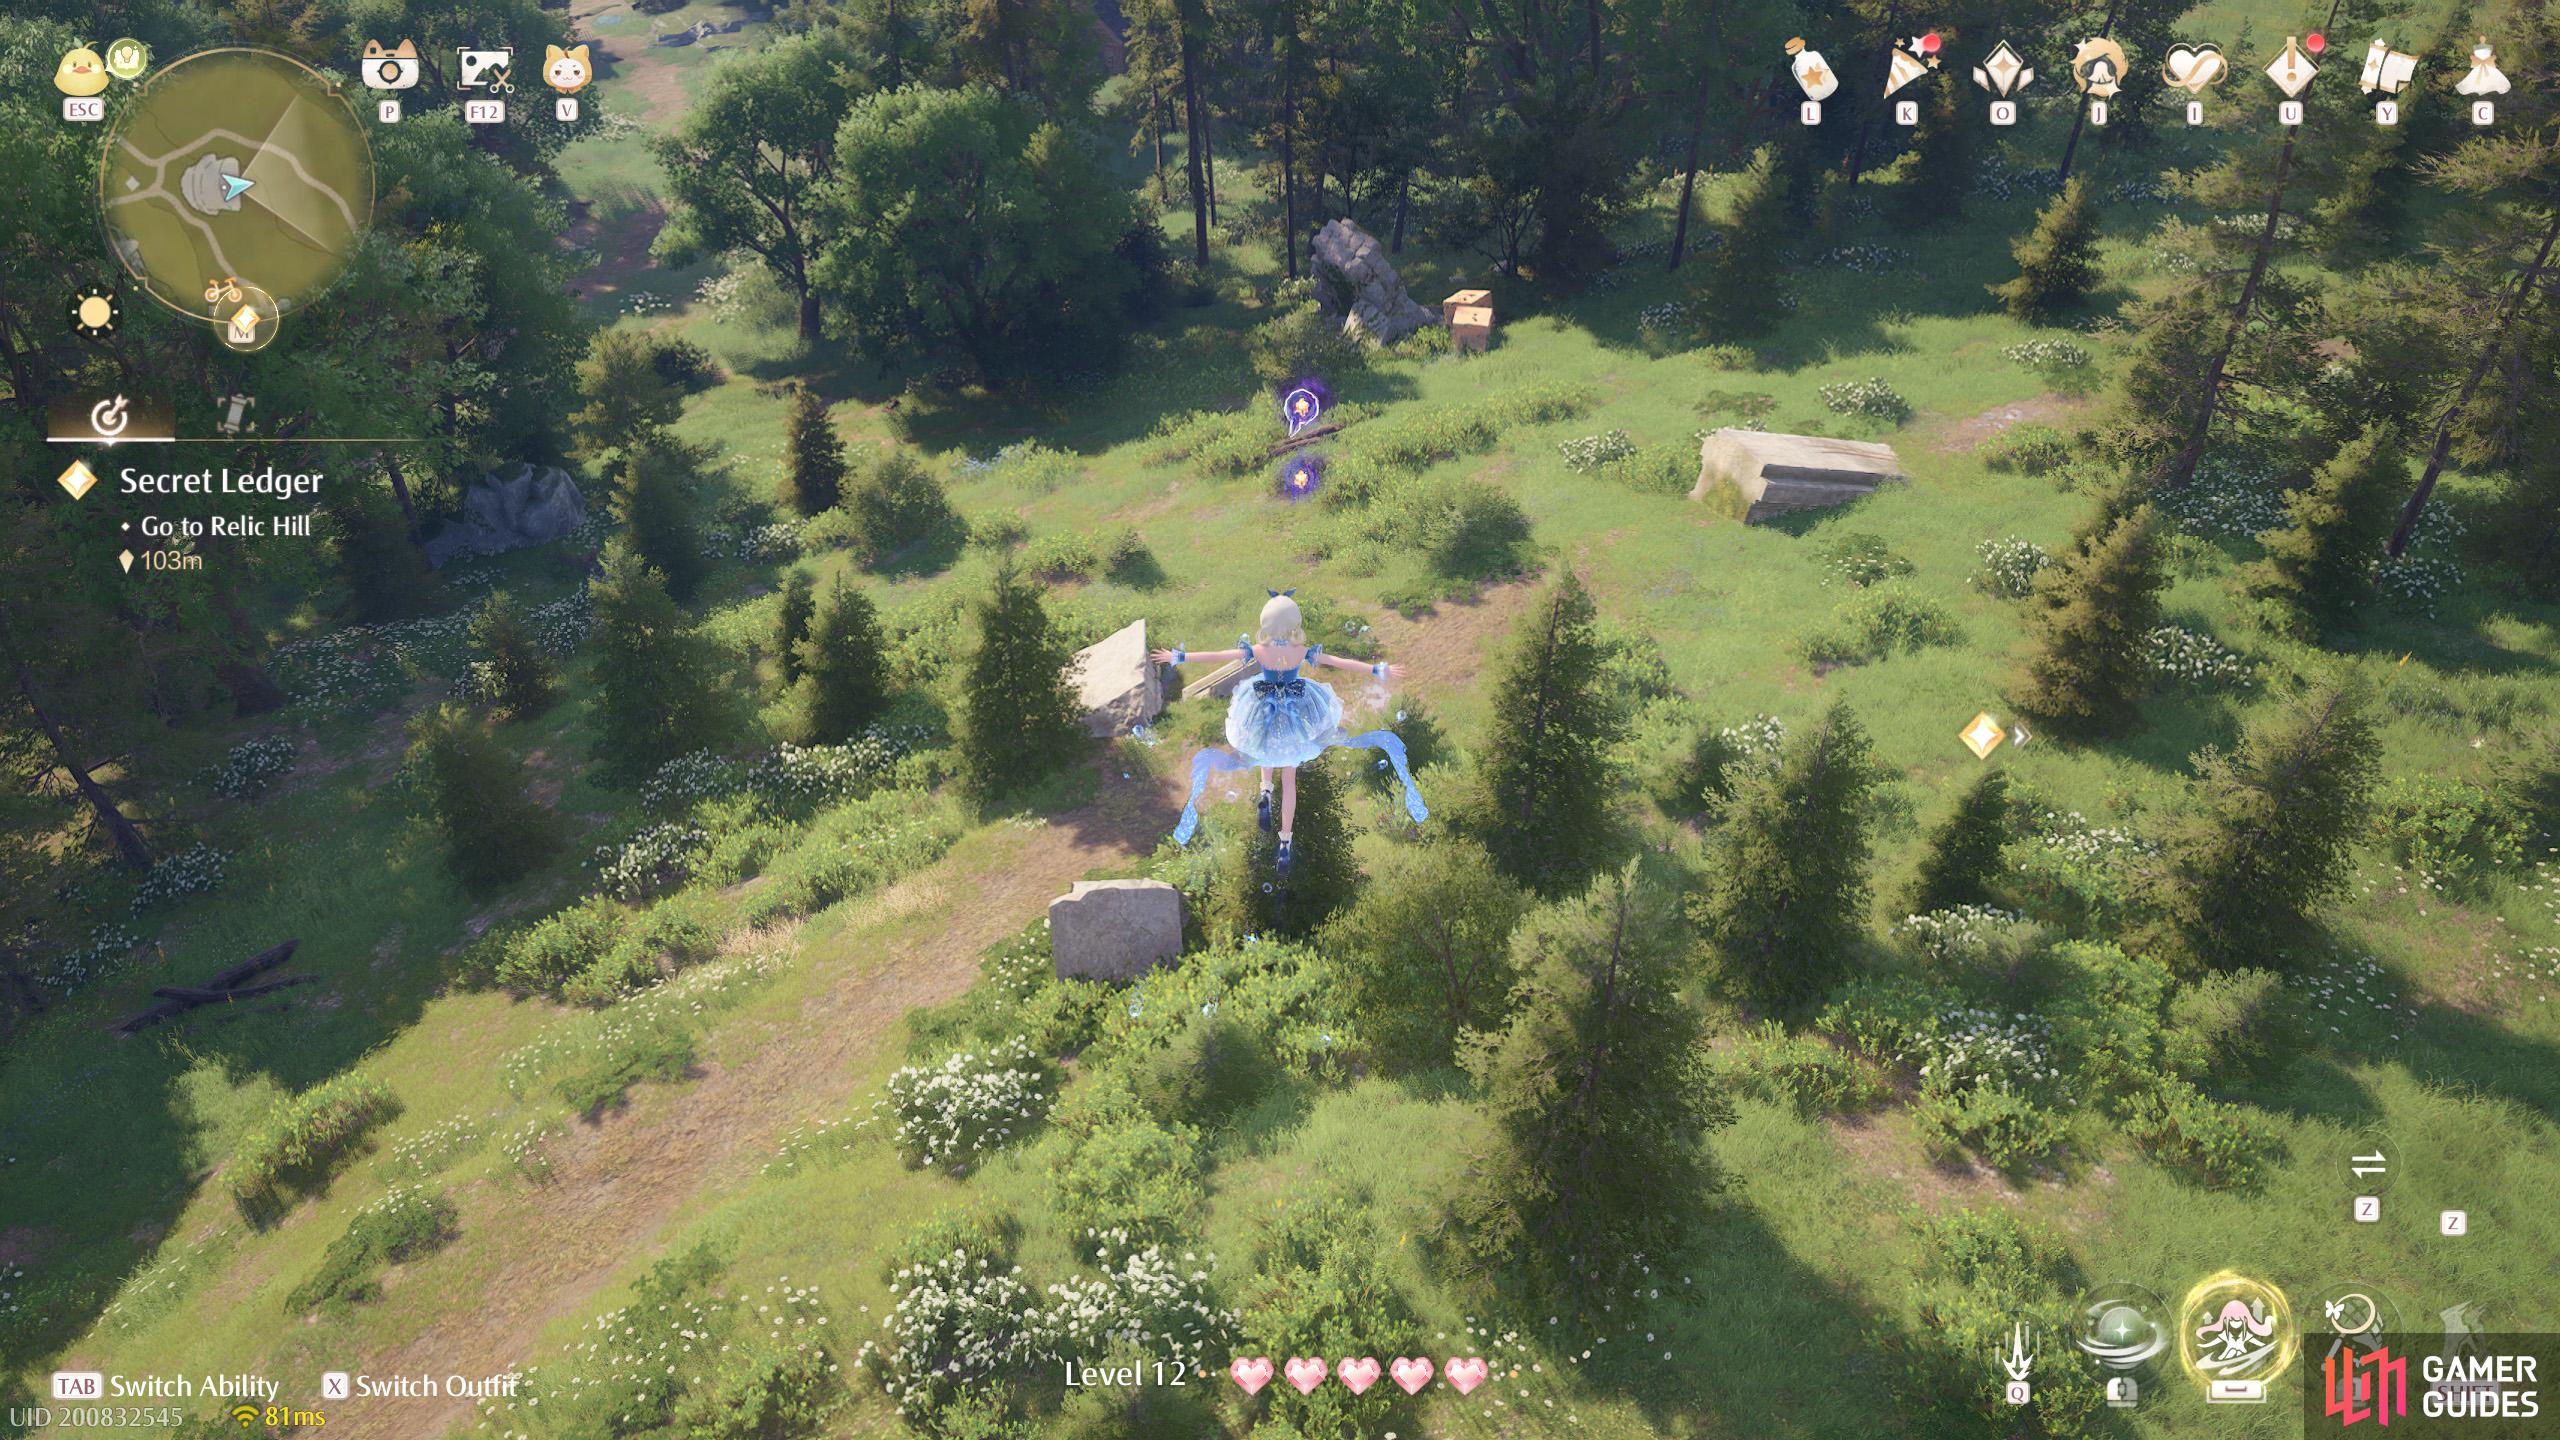
107. Miraland Map
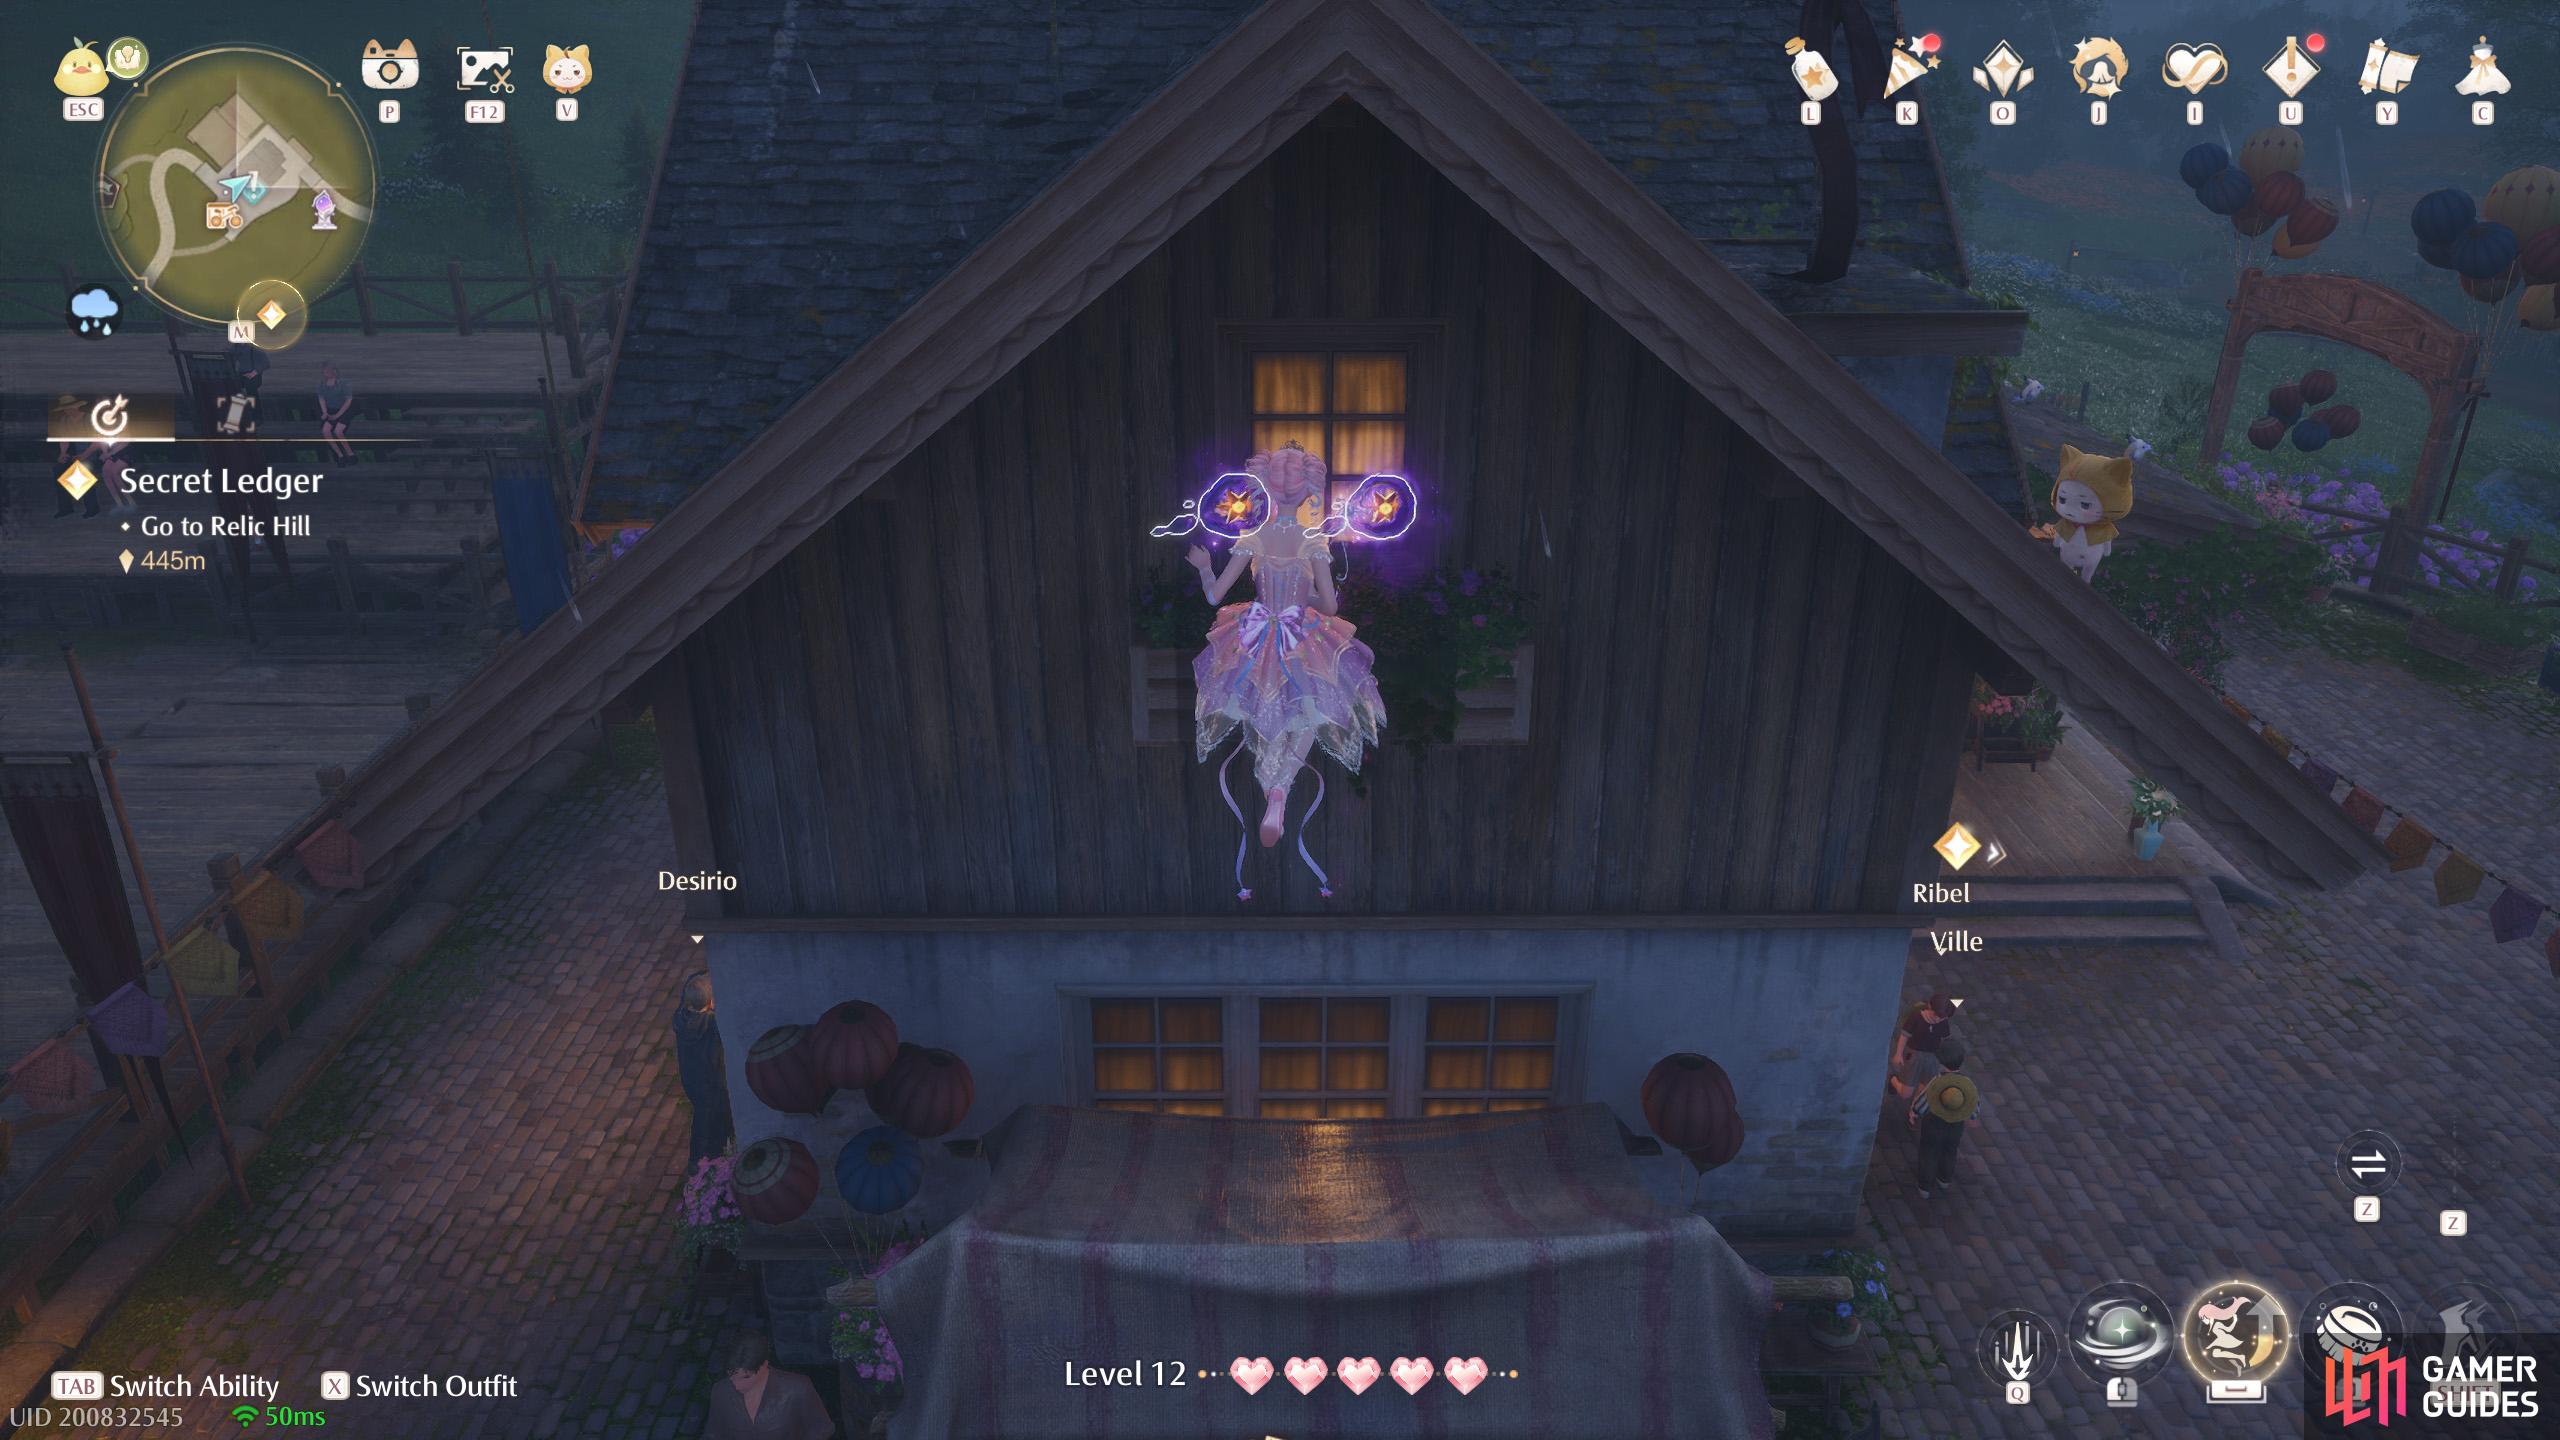
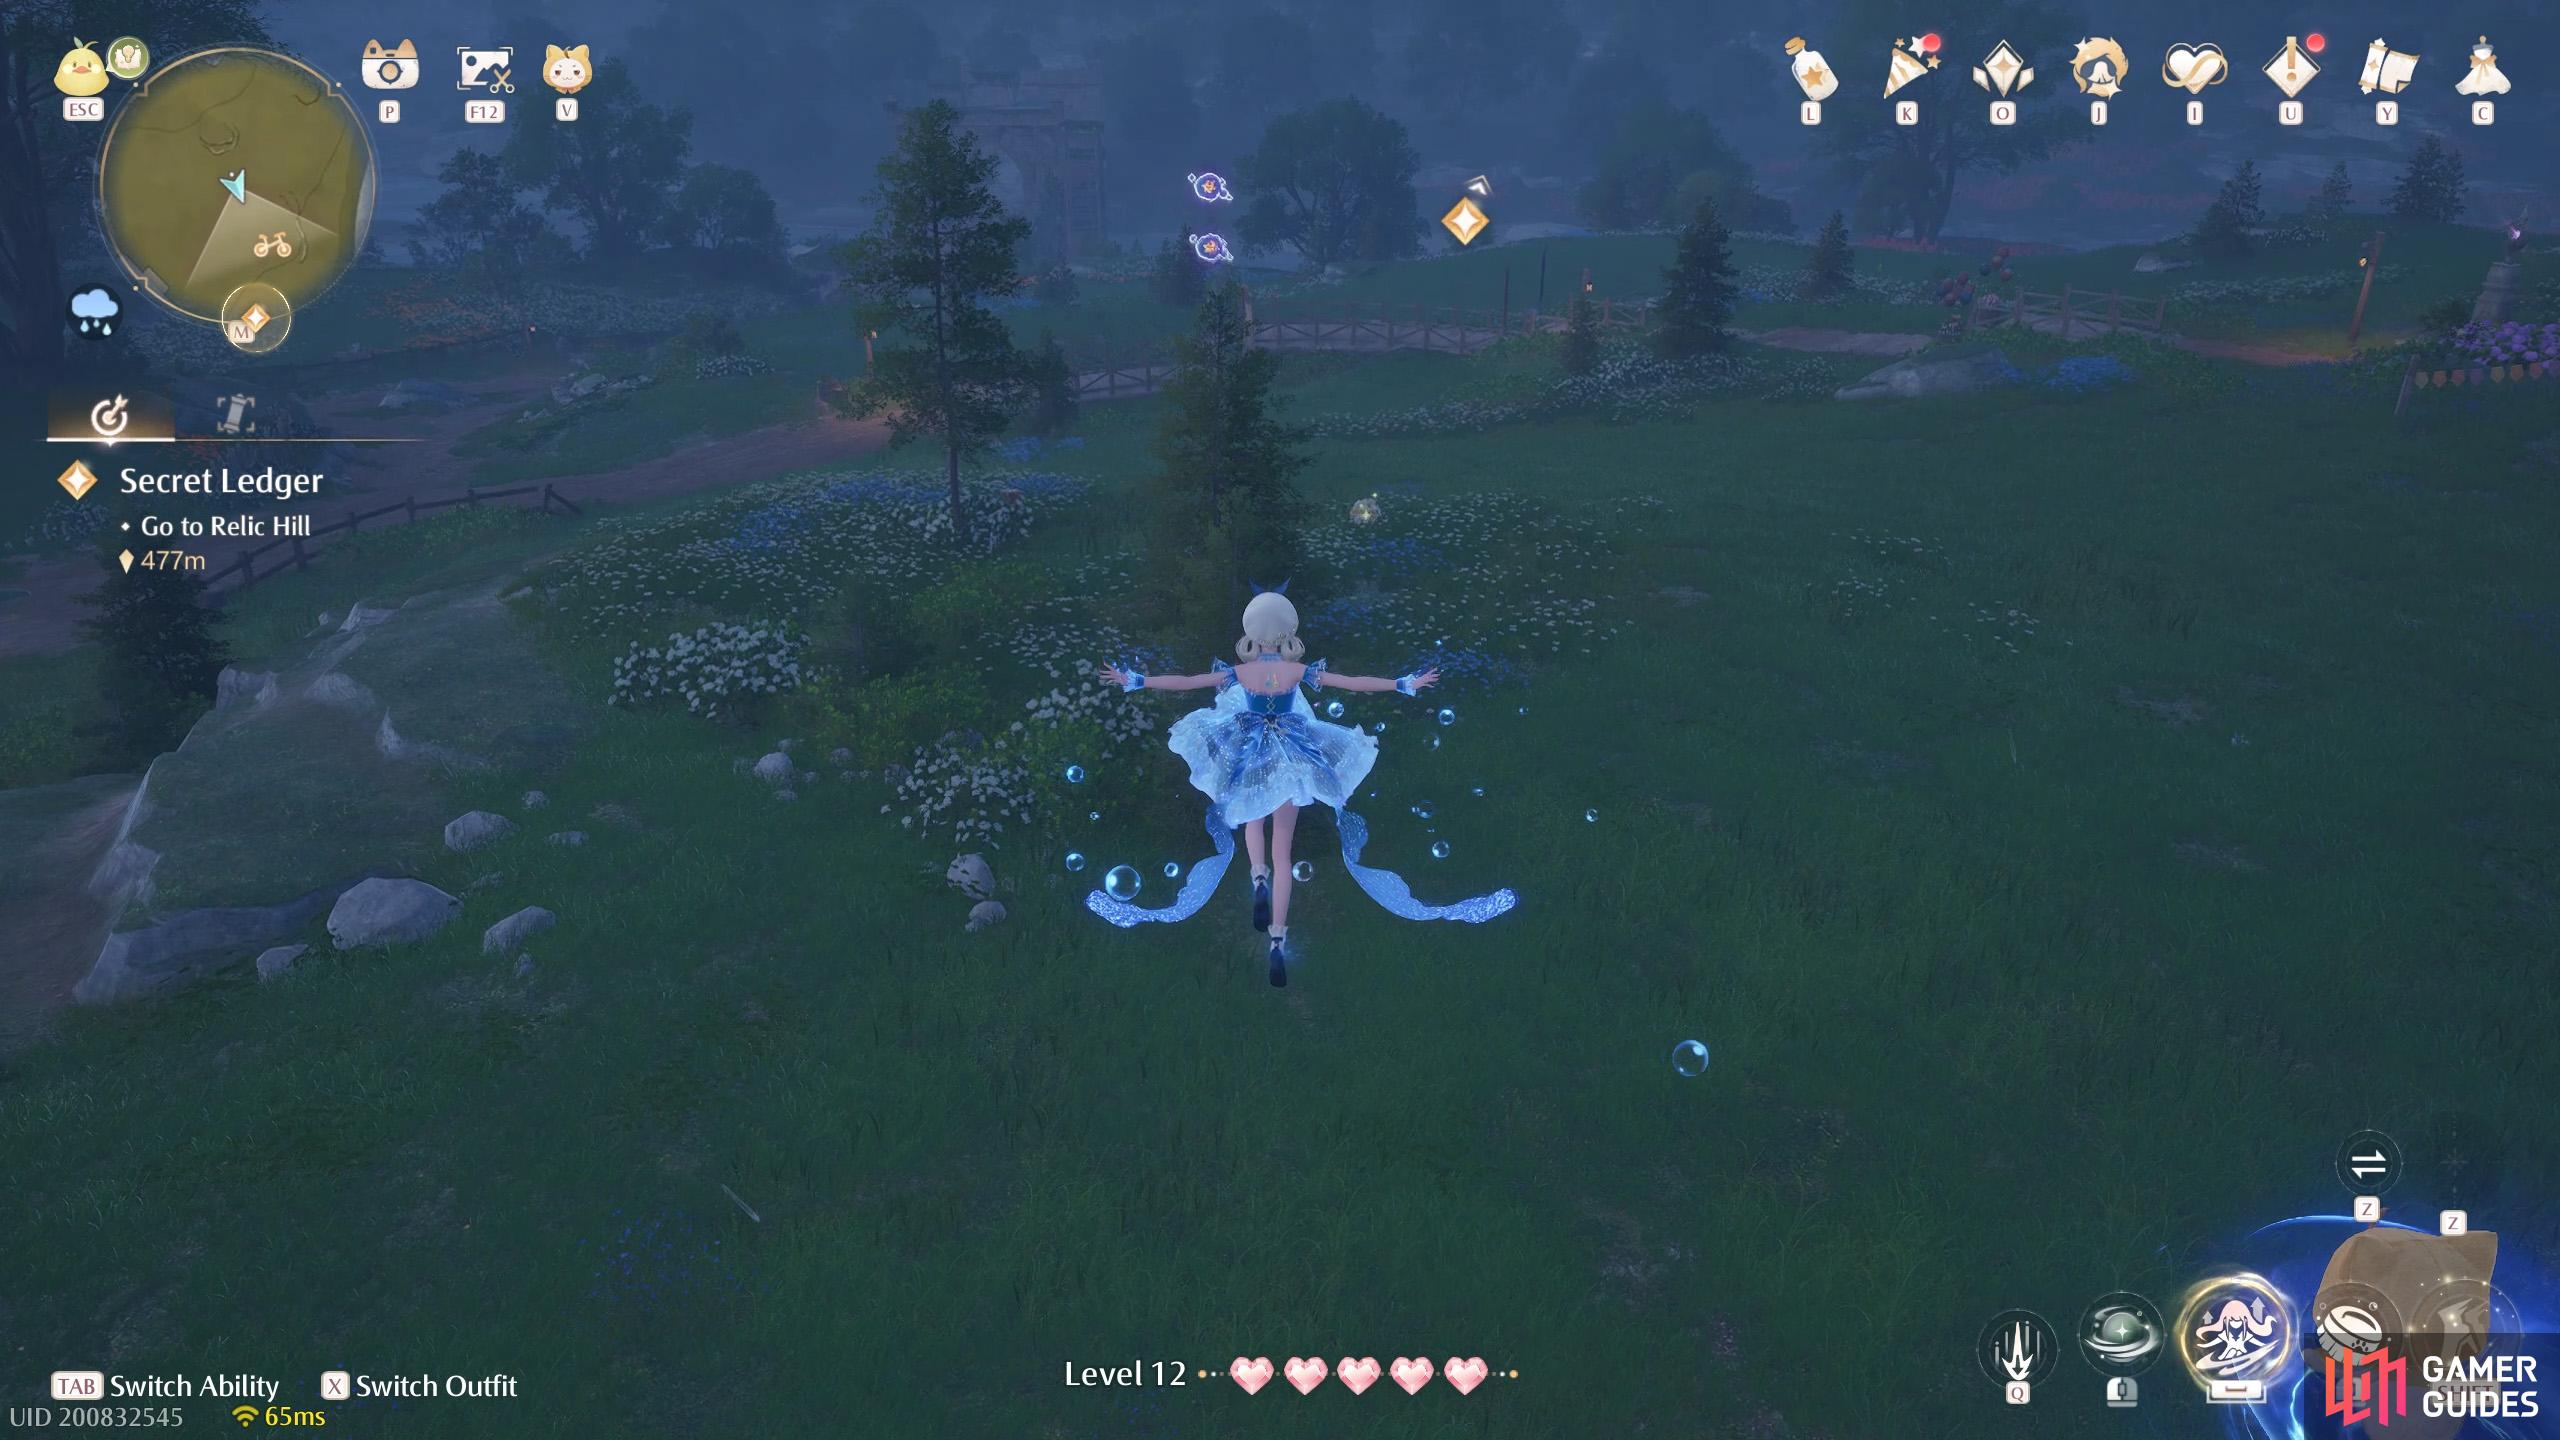
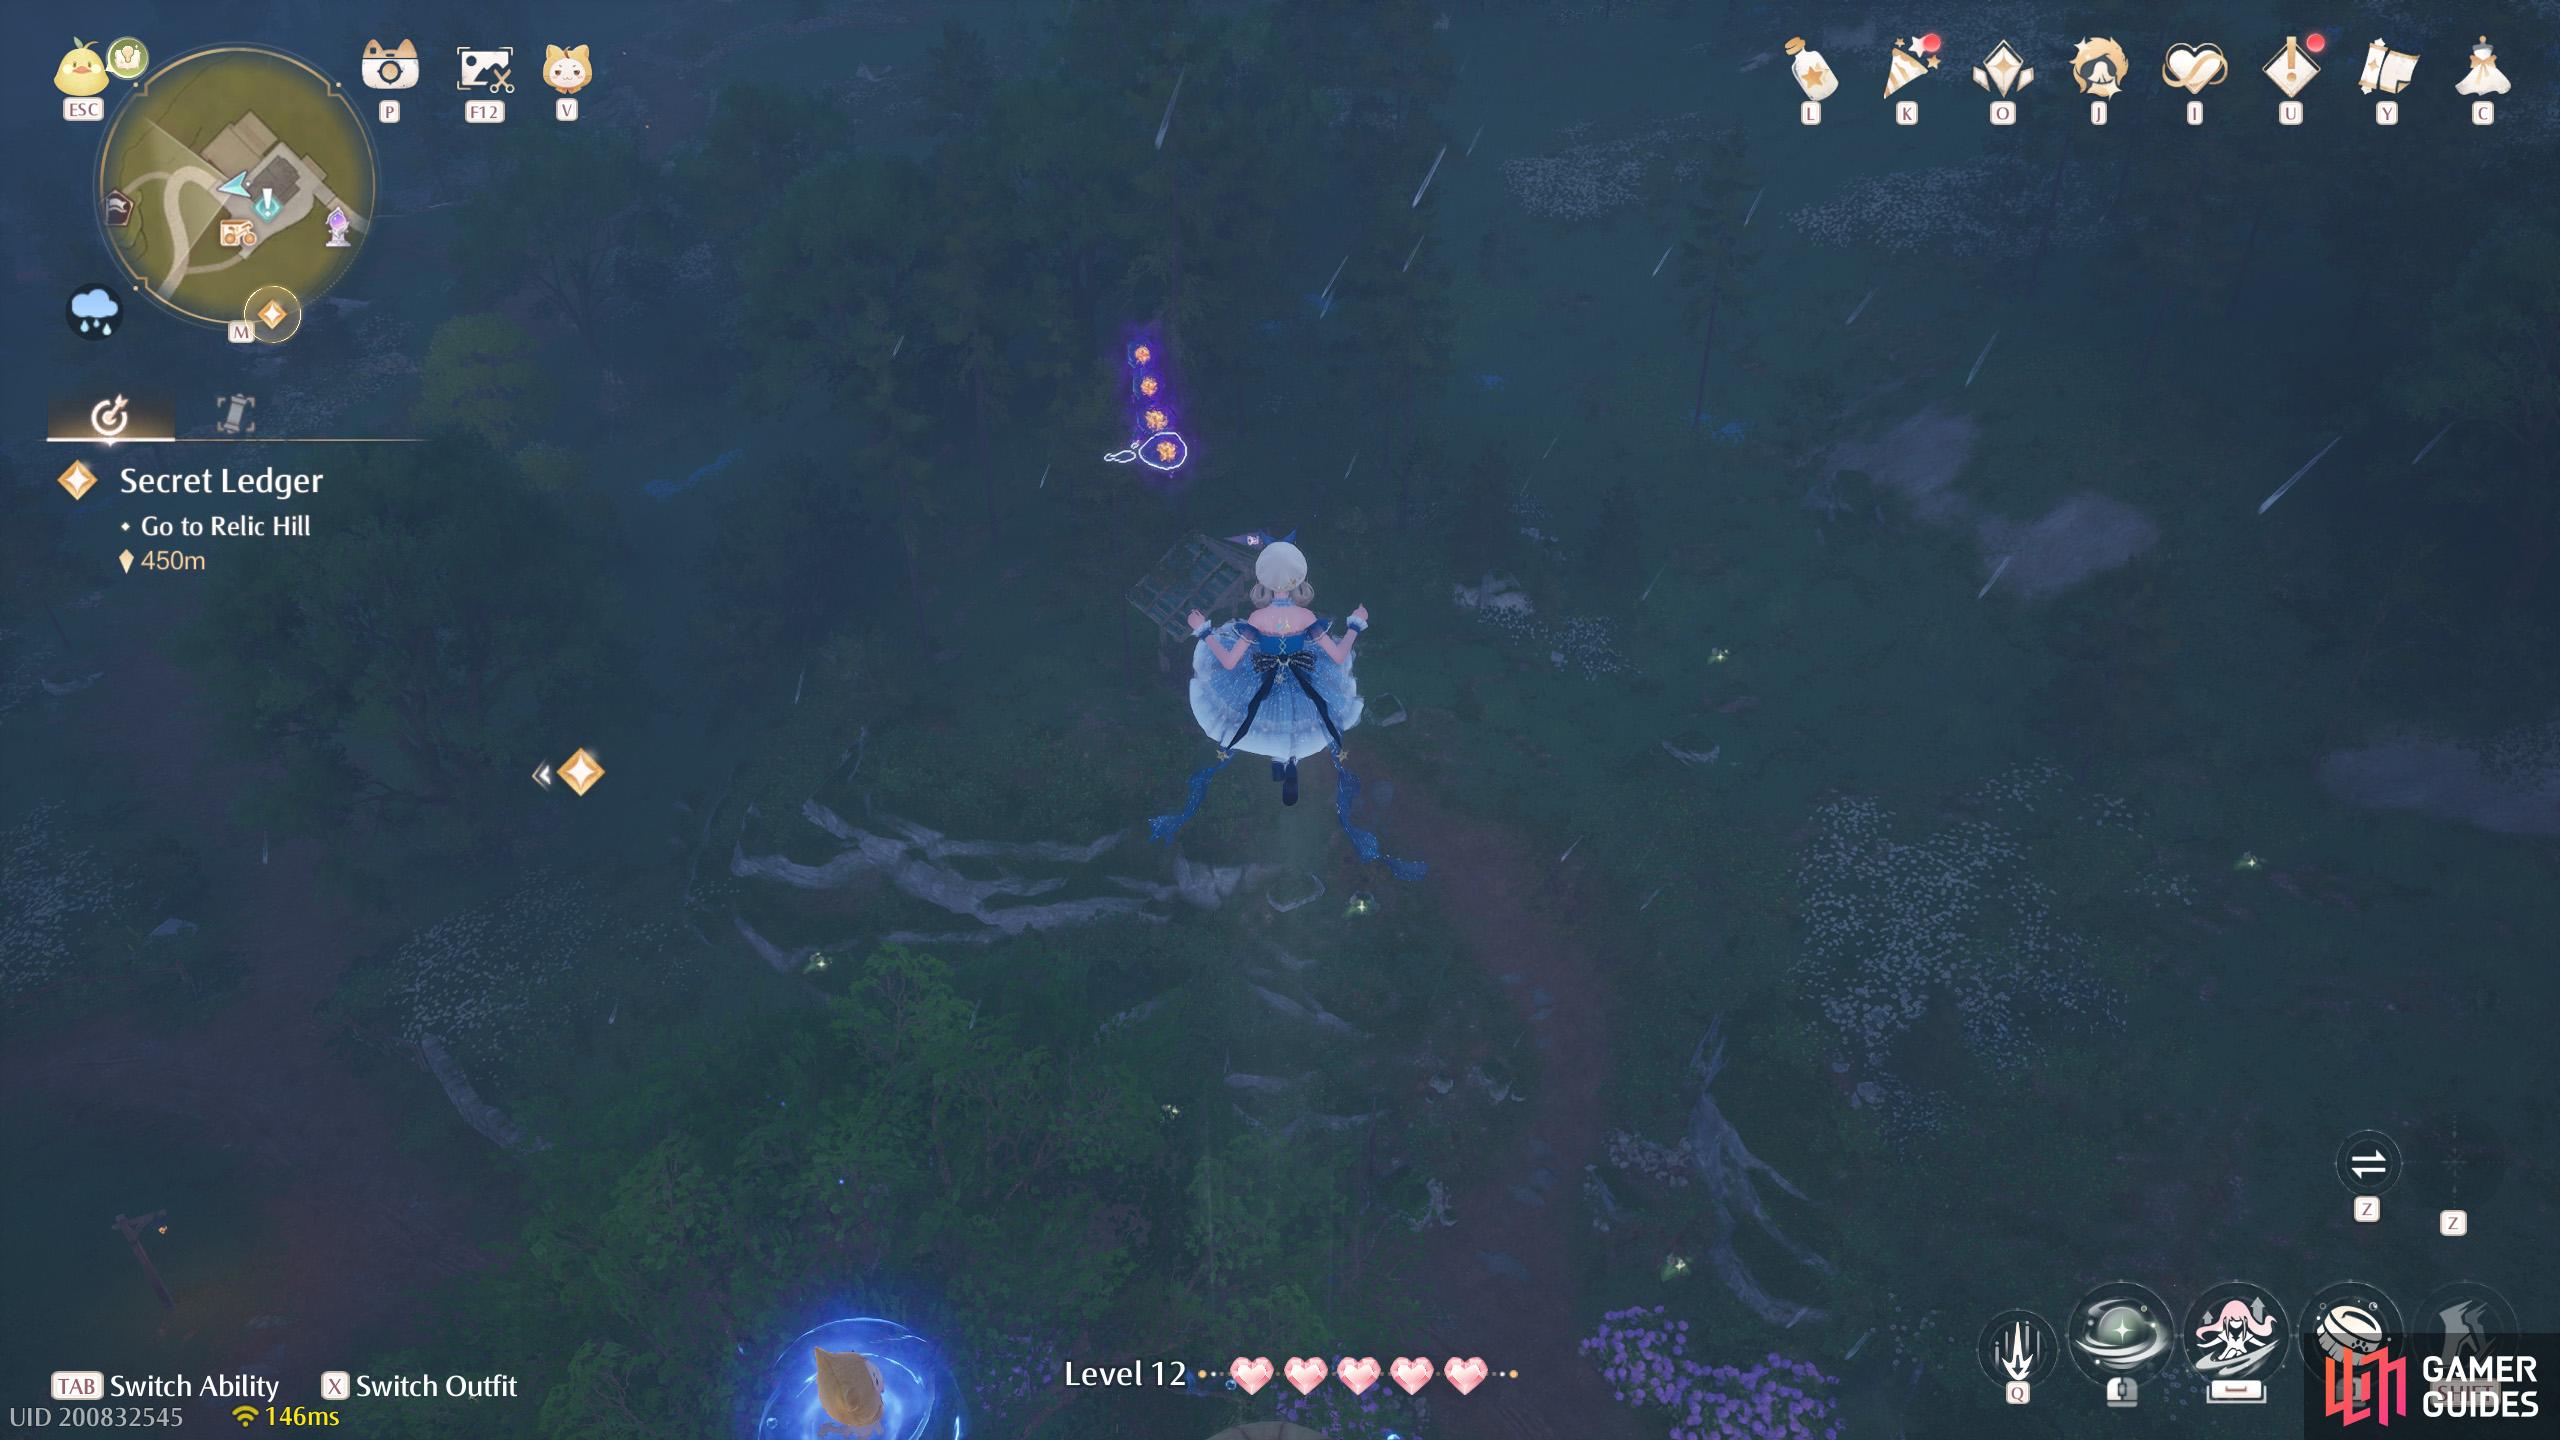
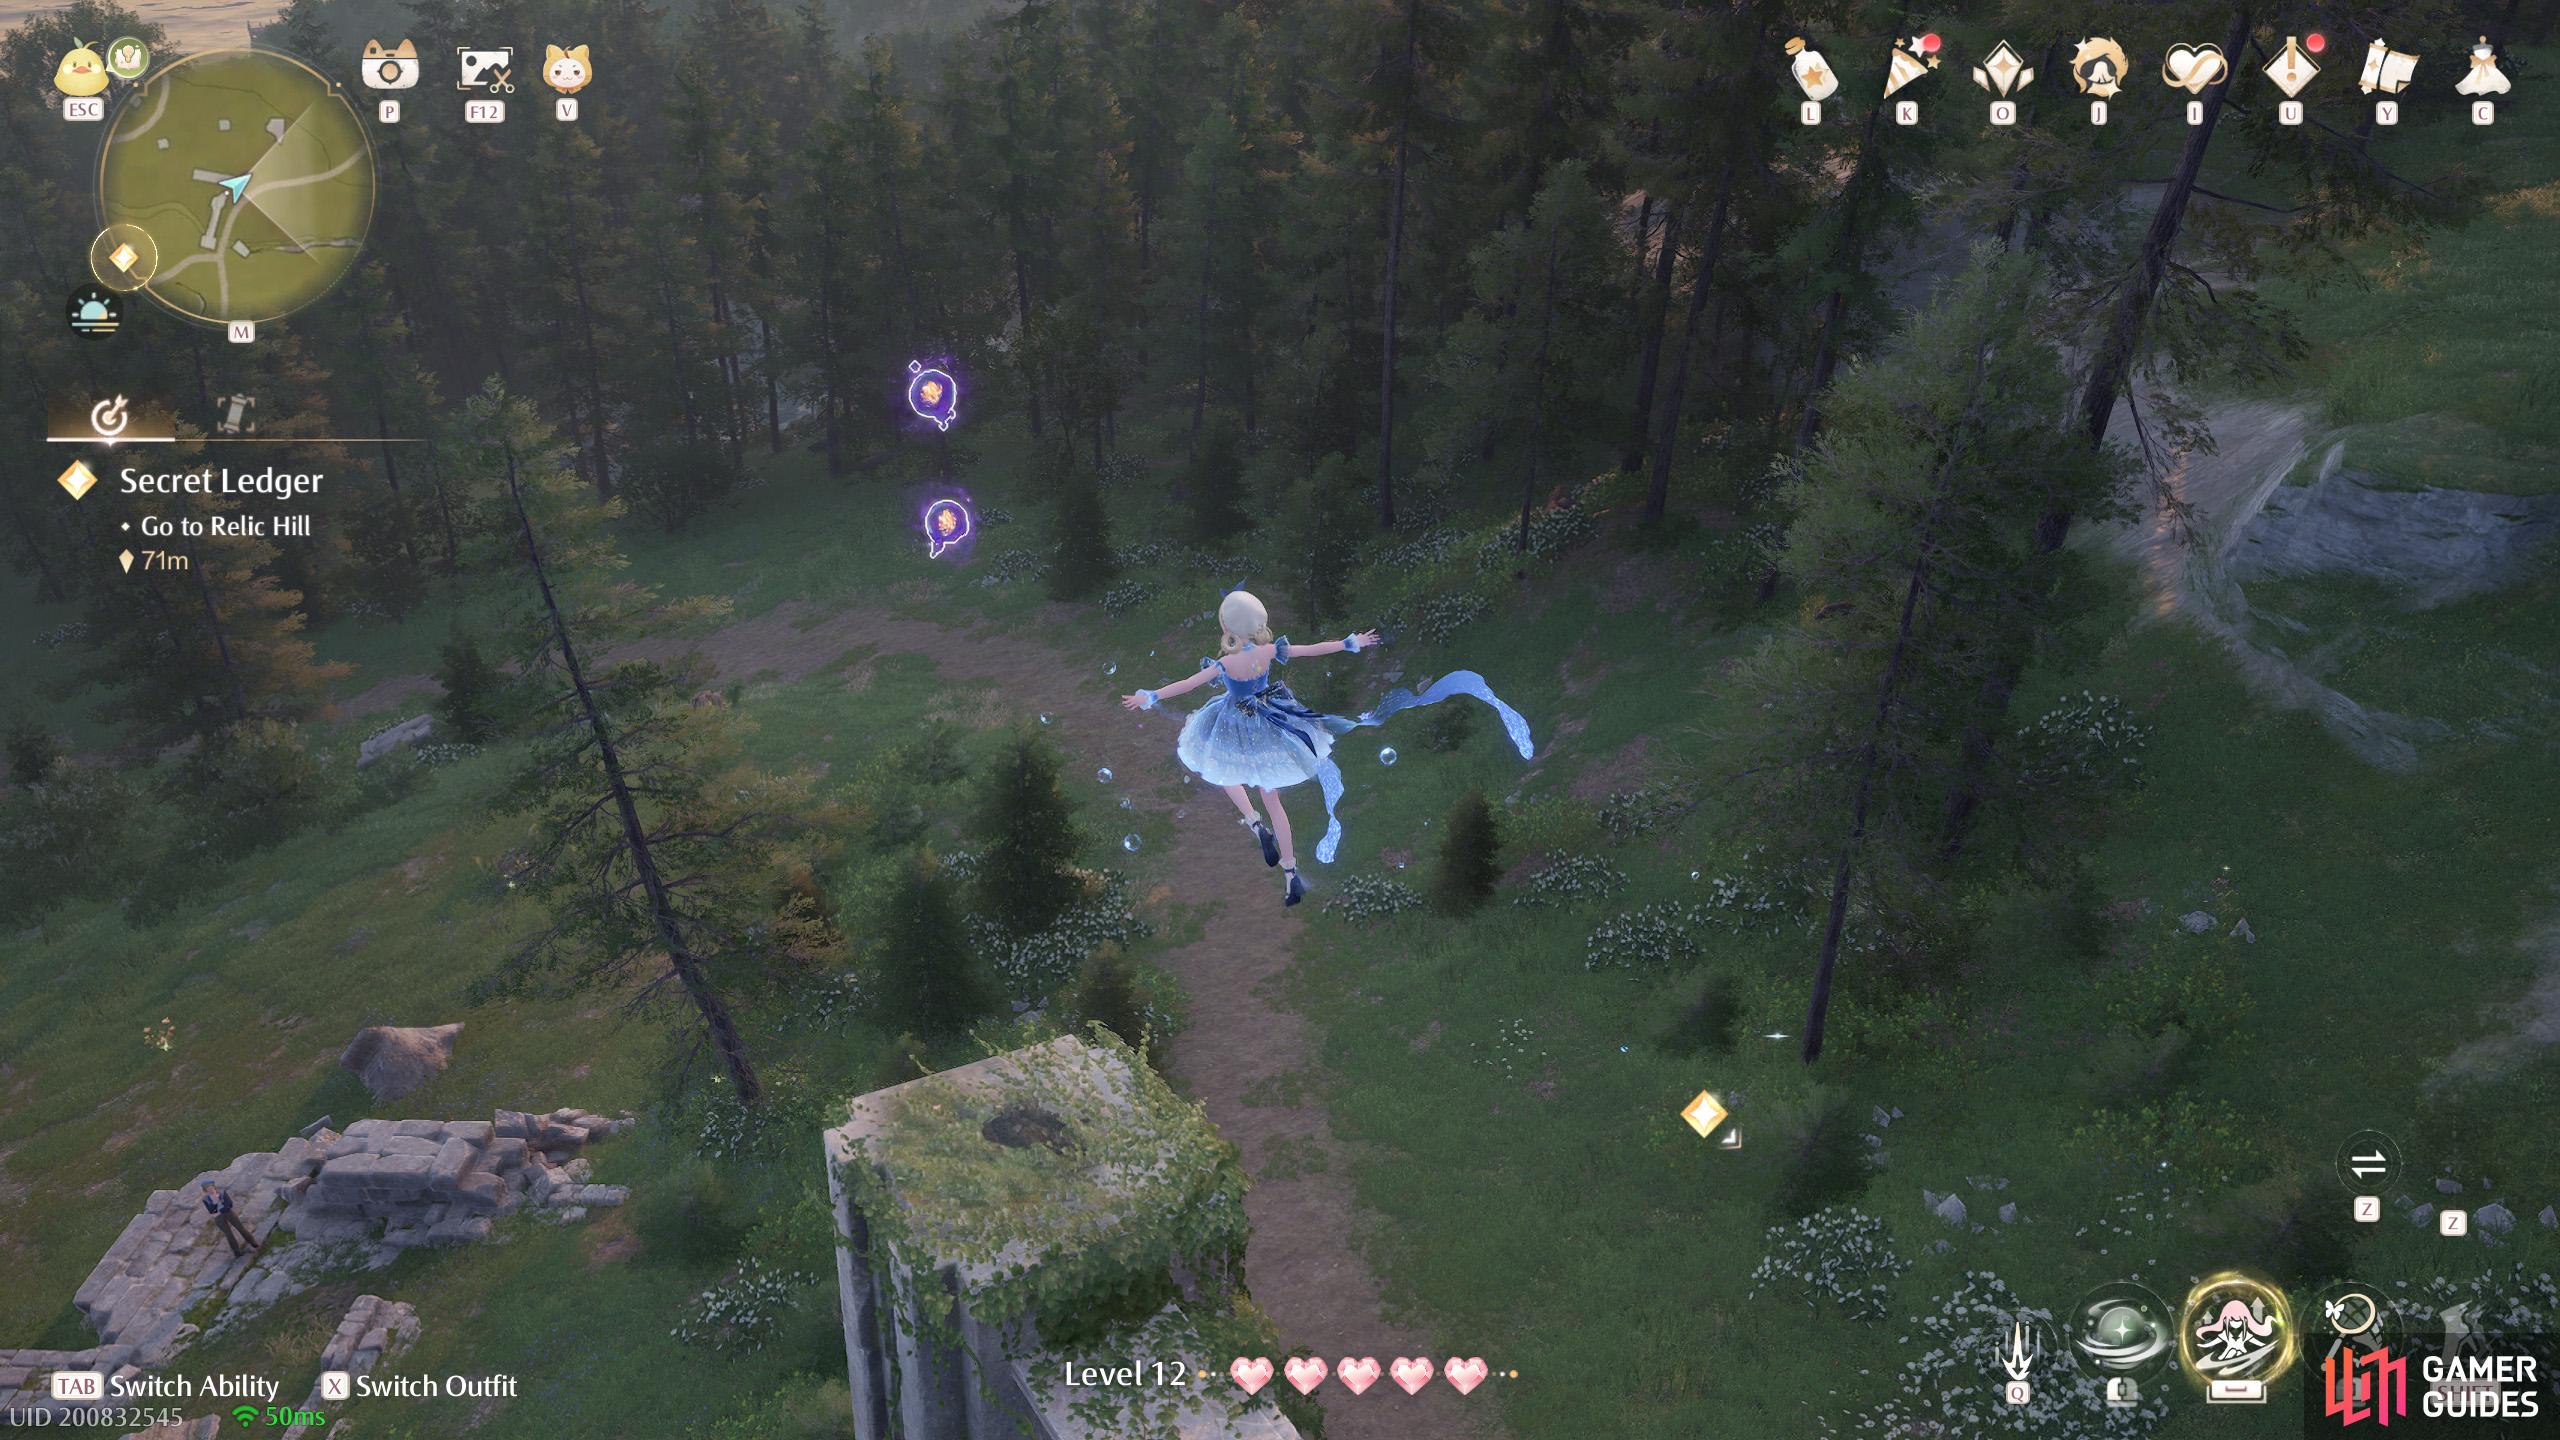
West from ![]() Relic Hill. Floating high up at the center of the circular ruins.
Relic Hill. Floating high up at the center of the circular ruins.
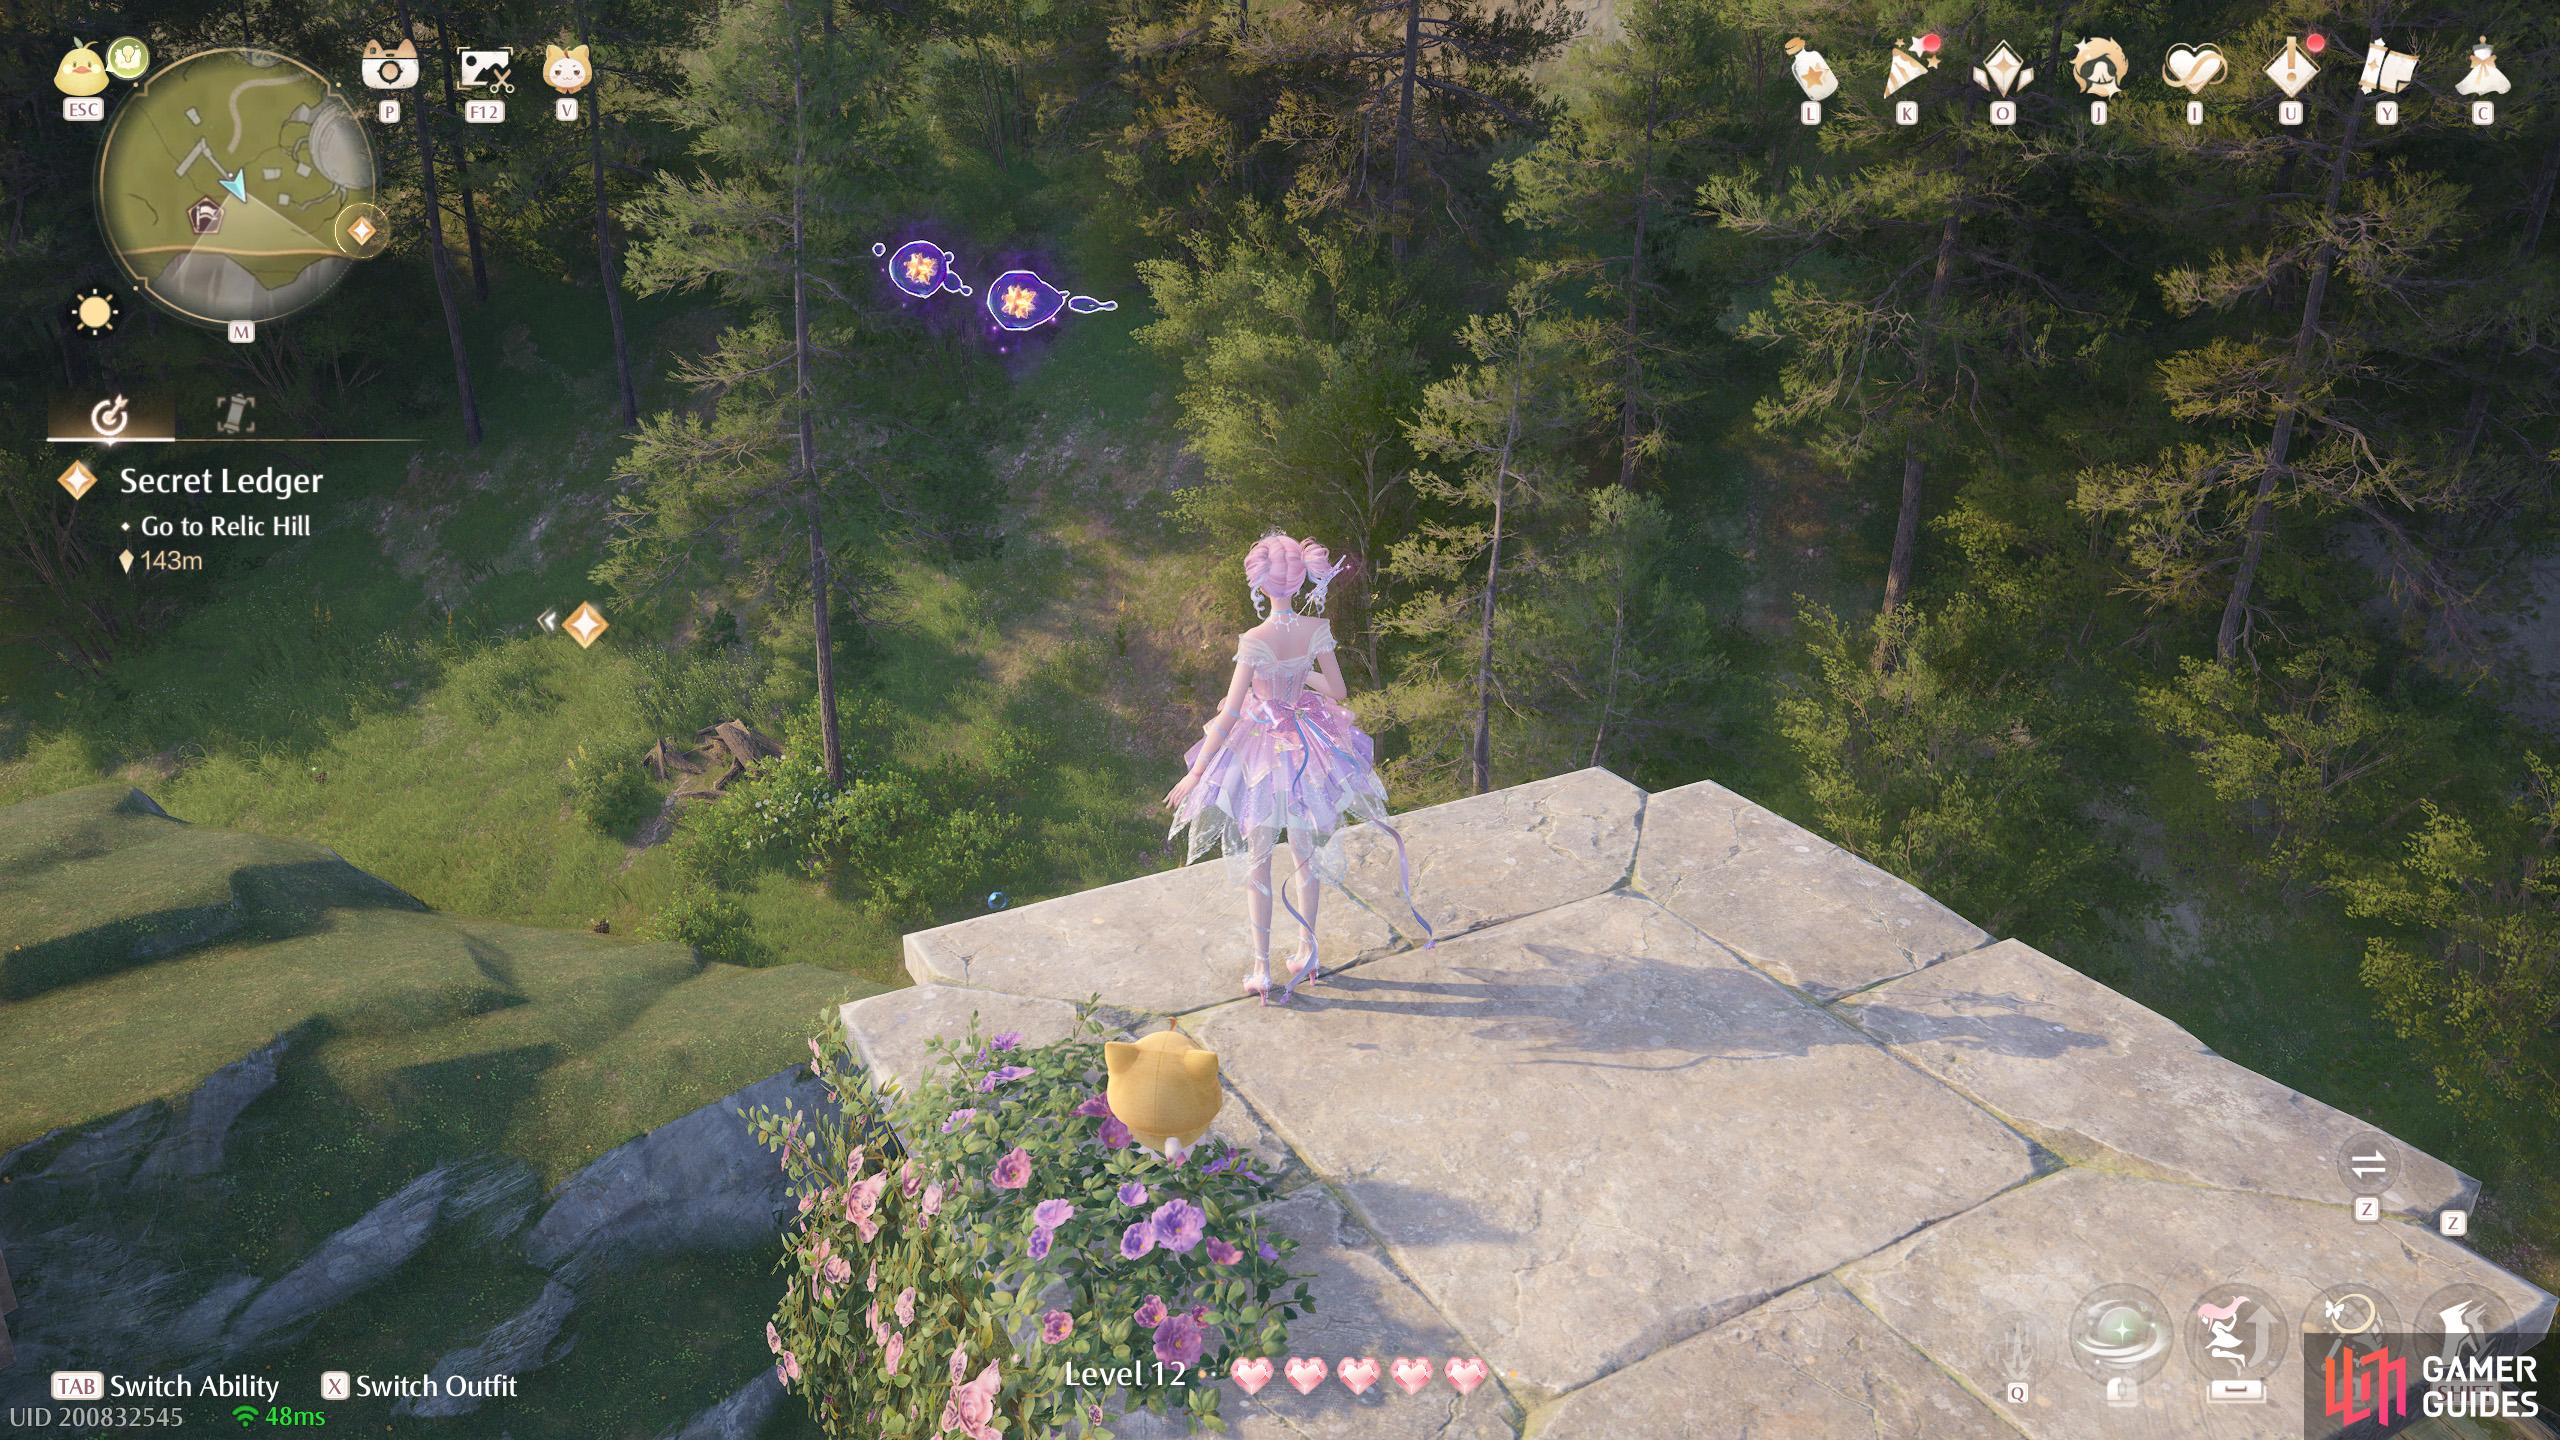
108. Miraland Map
West from ![]() Relic Hill. Floating near a stone pillar, not far from a minigame stall.
Relic Hill. Floating near a stone pillar, not far from a minigame stall.
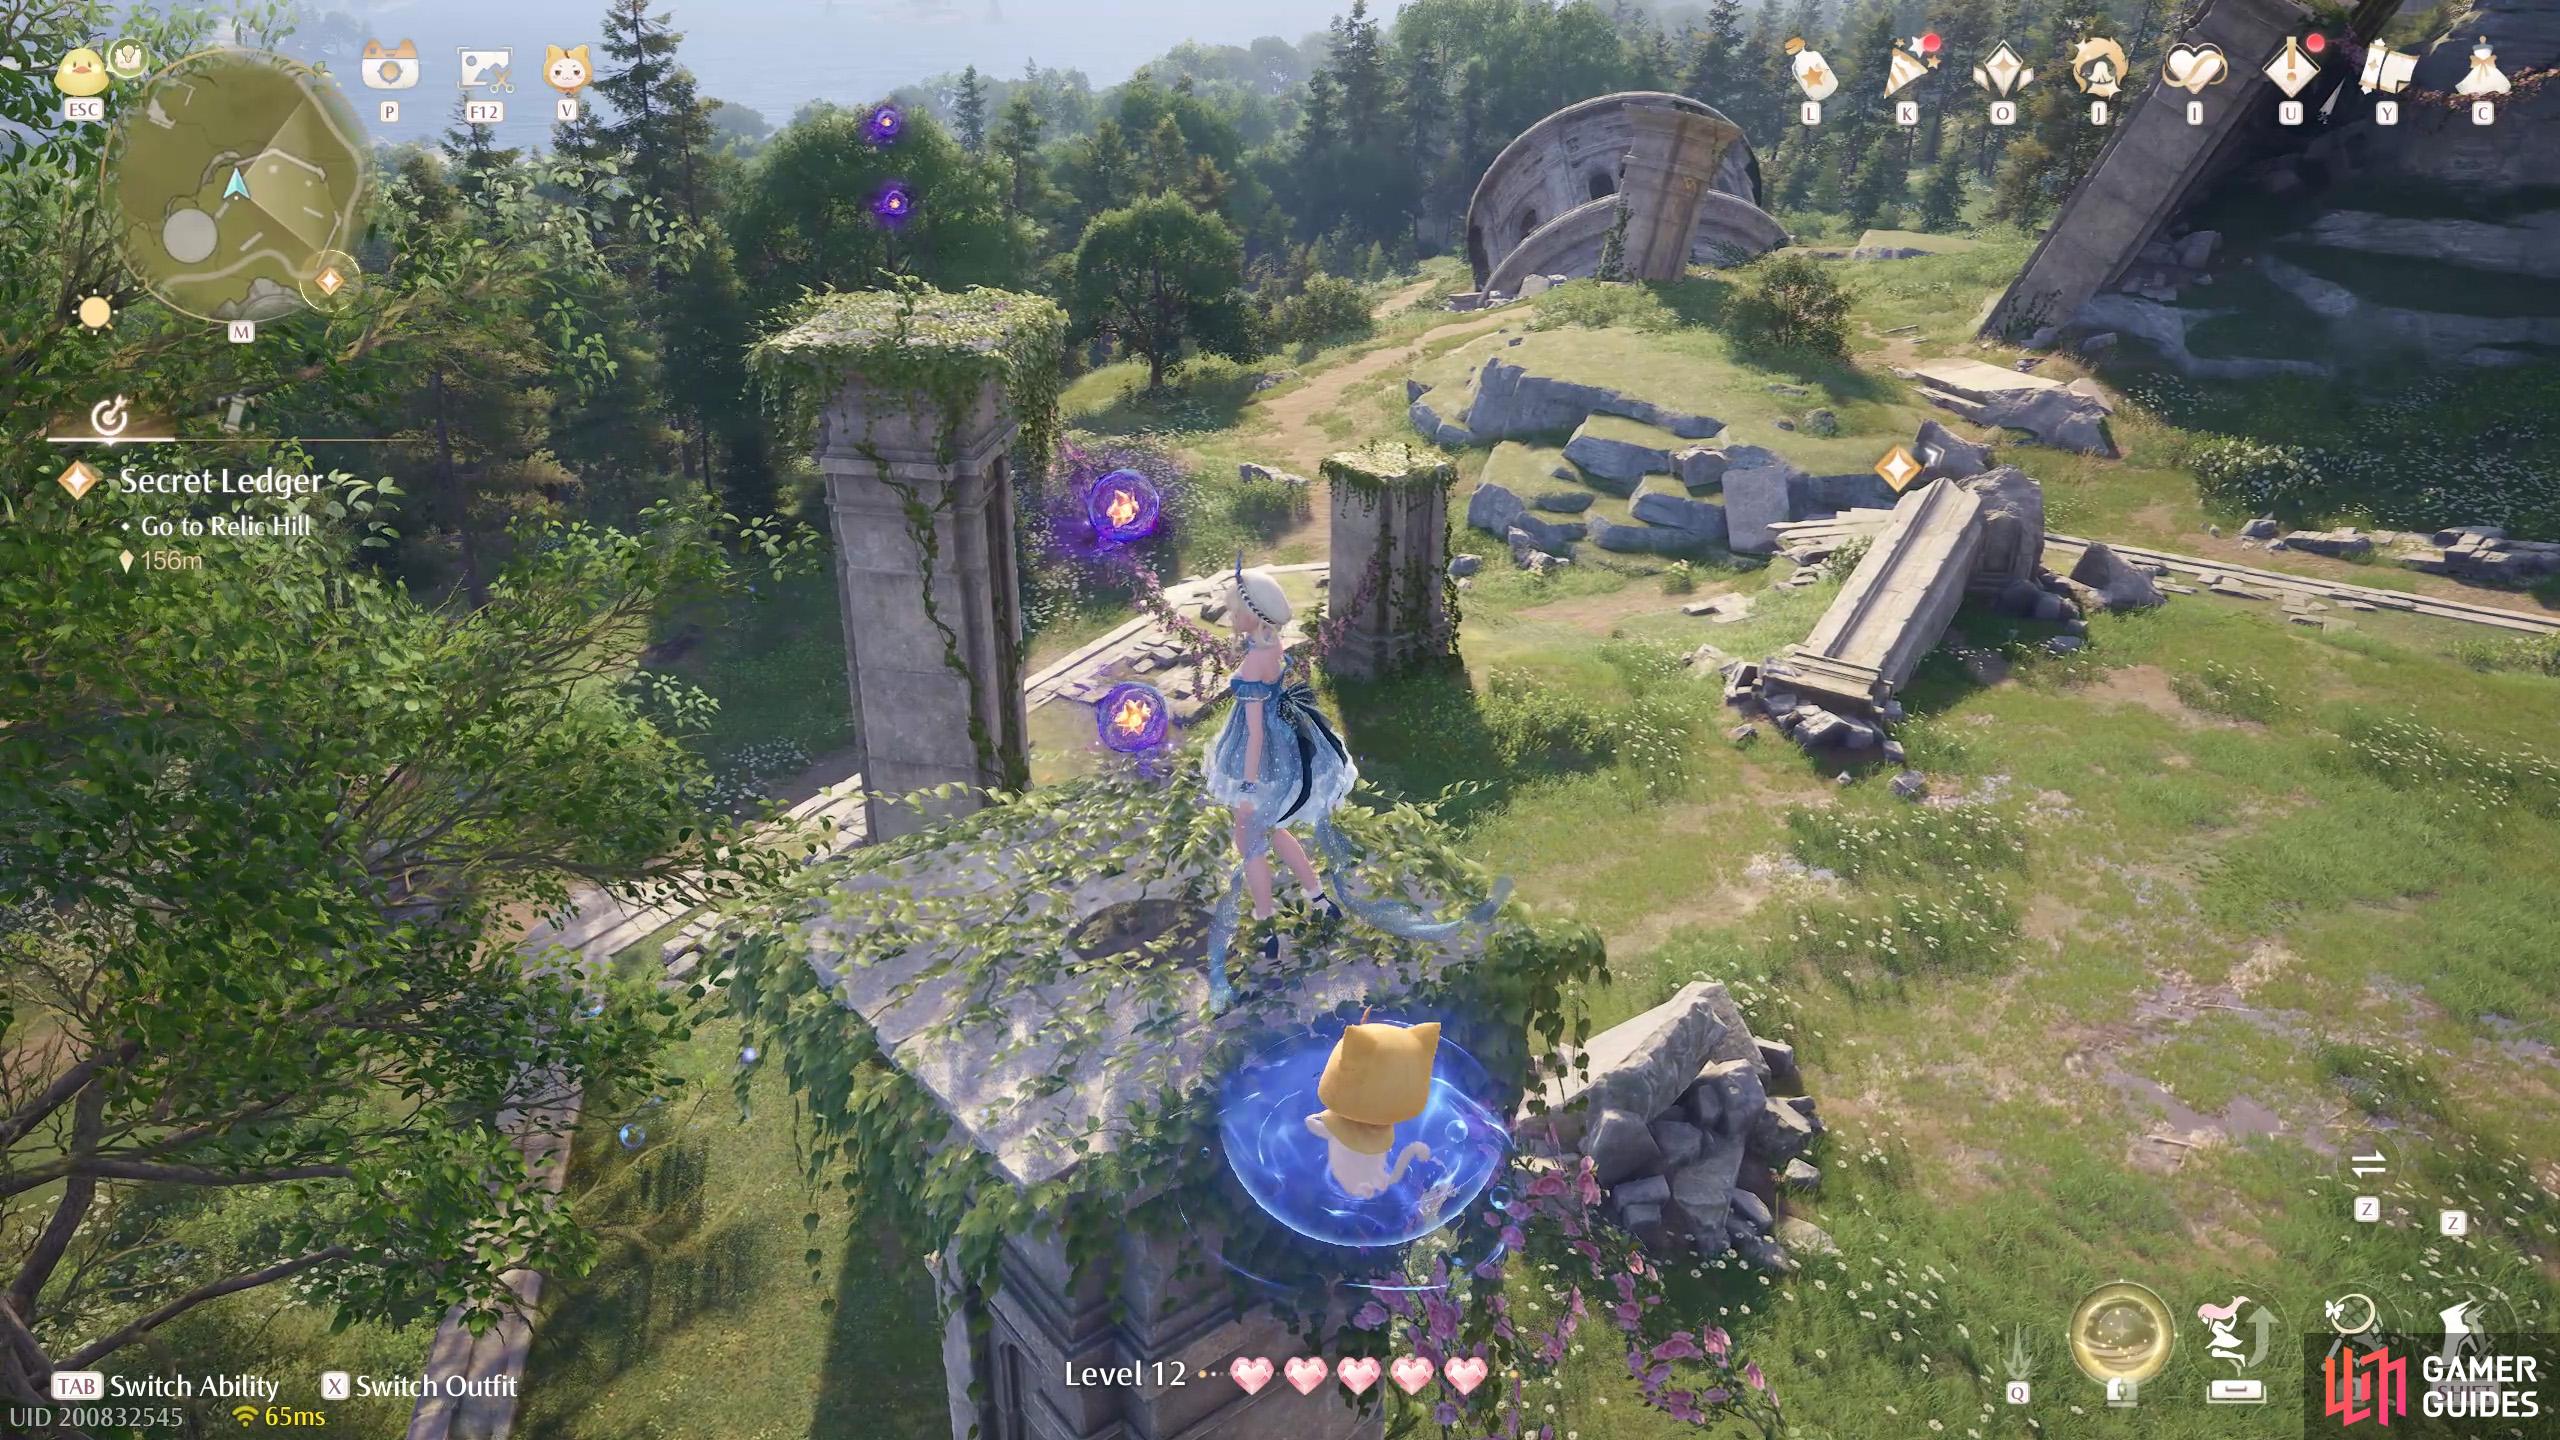
109. Miraland Map
North-west of ![]() Relic Hill. Two atop a stone pillar near the
Relic Hill. Two atop a stone pillar near the ![]() Shaky Branch chest.
Shaky Branch chest.
110. Miraland Map
North-west of ![]() Relic Hill. Two atop another stone pillar near the
Relic Hill. Two atop another stone pillar near the ![]() Shaky Branch chest.
Shaky Branch chest.
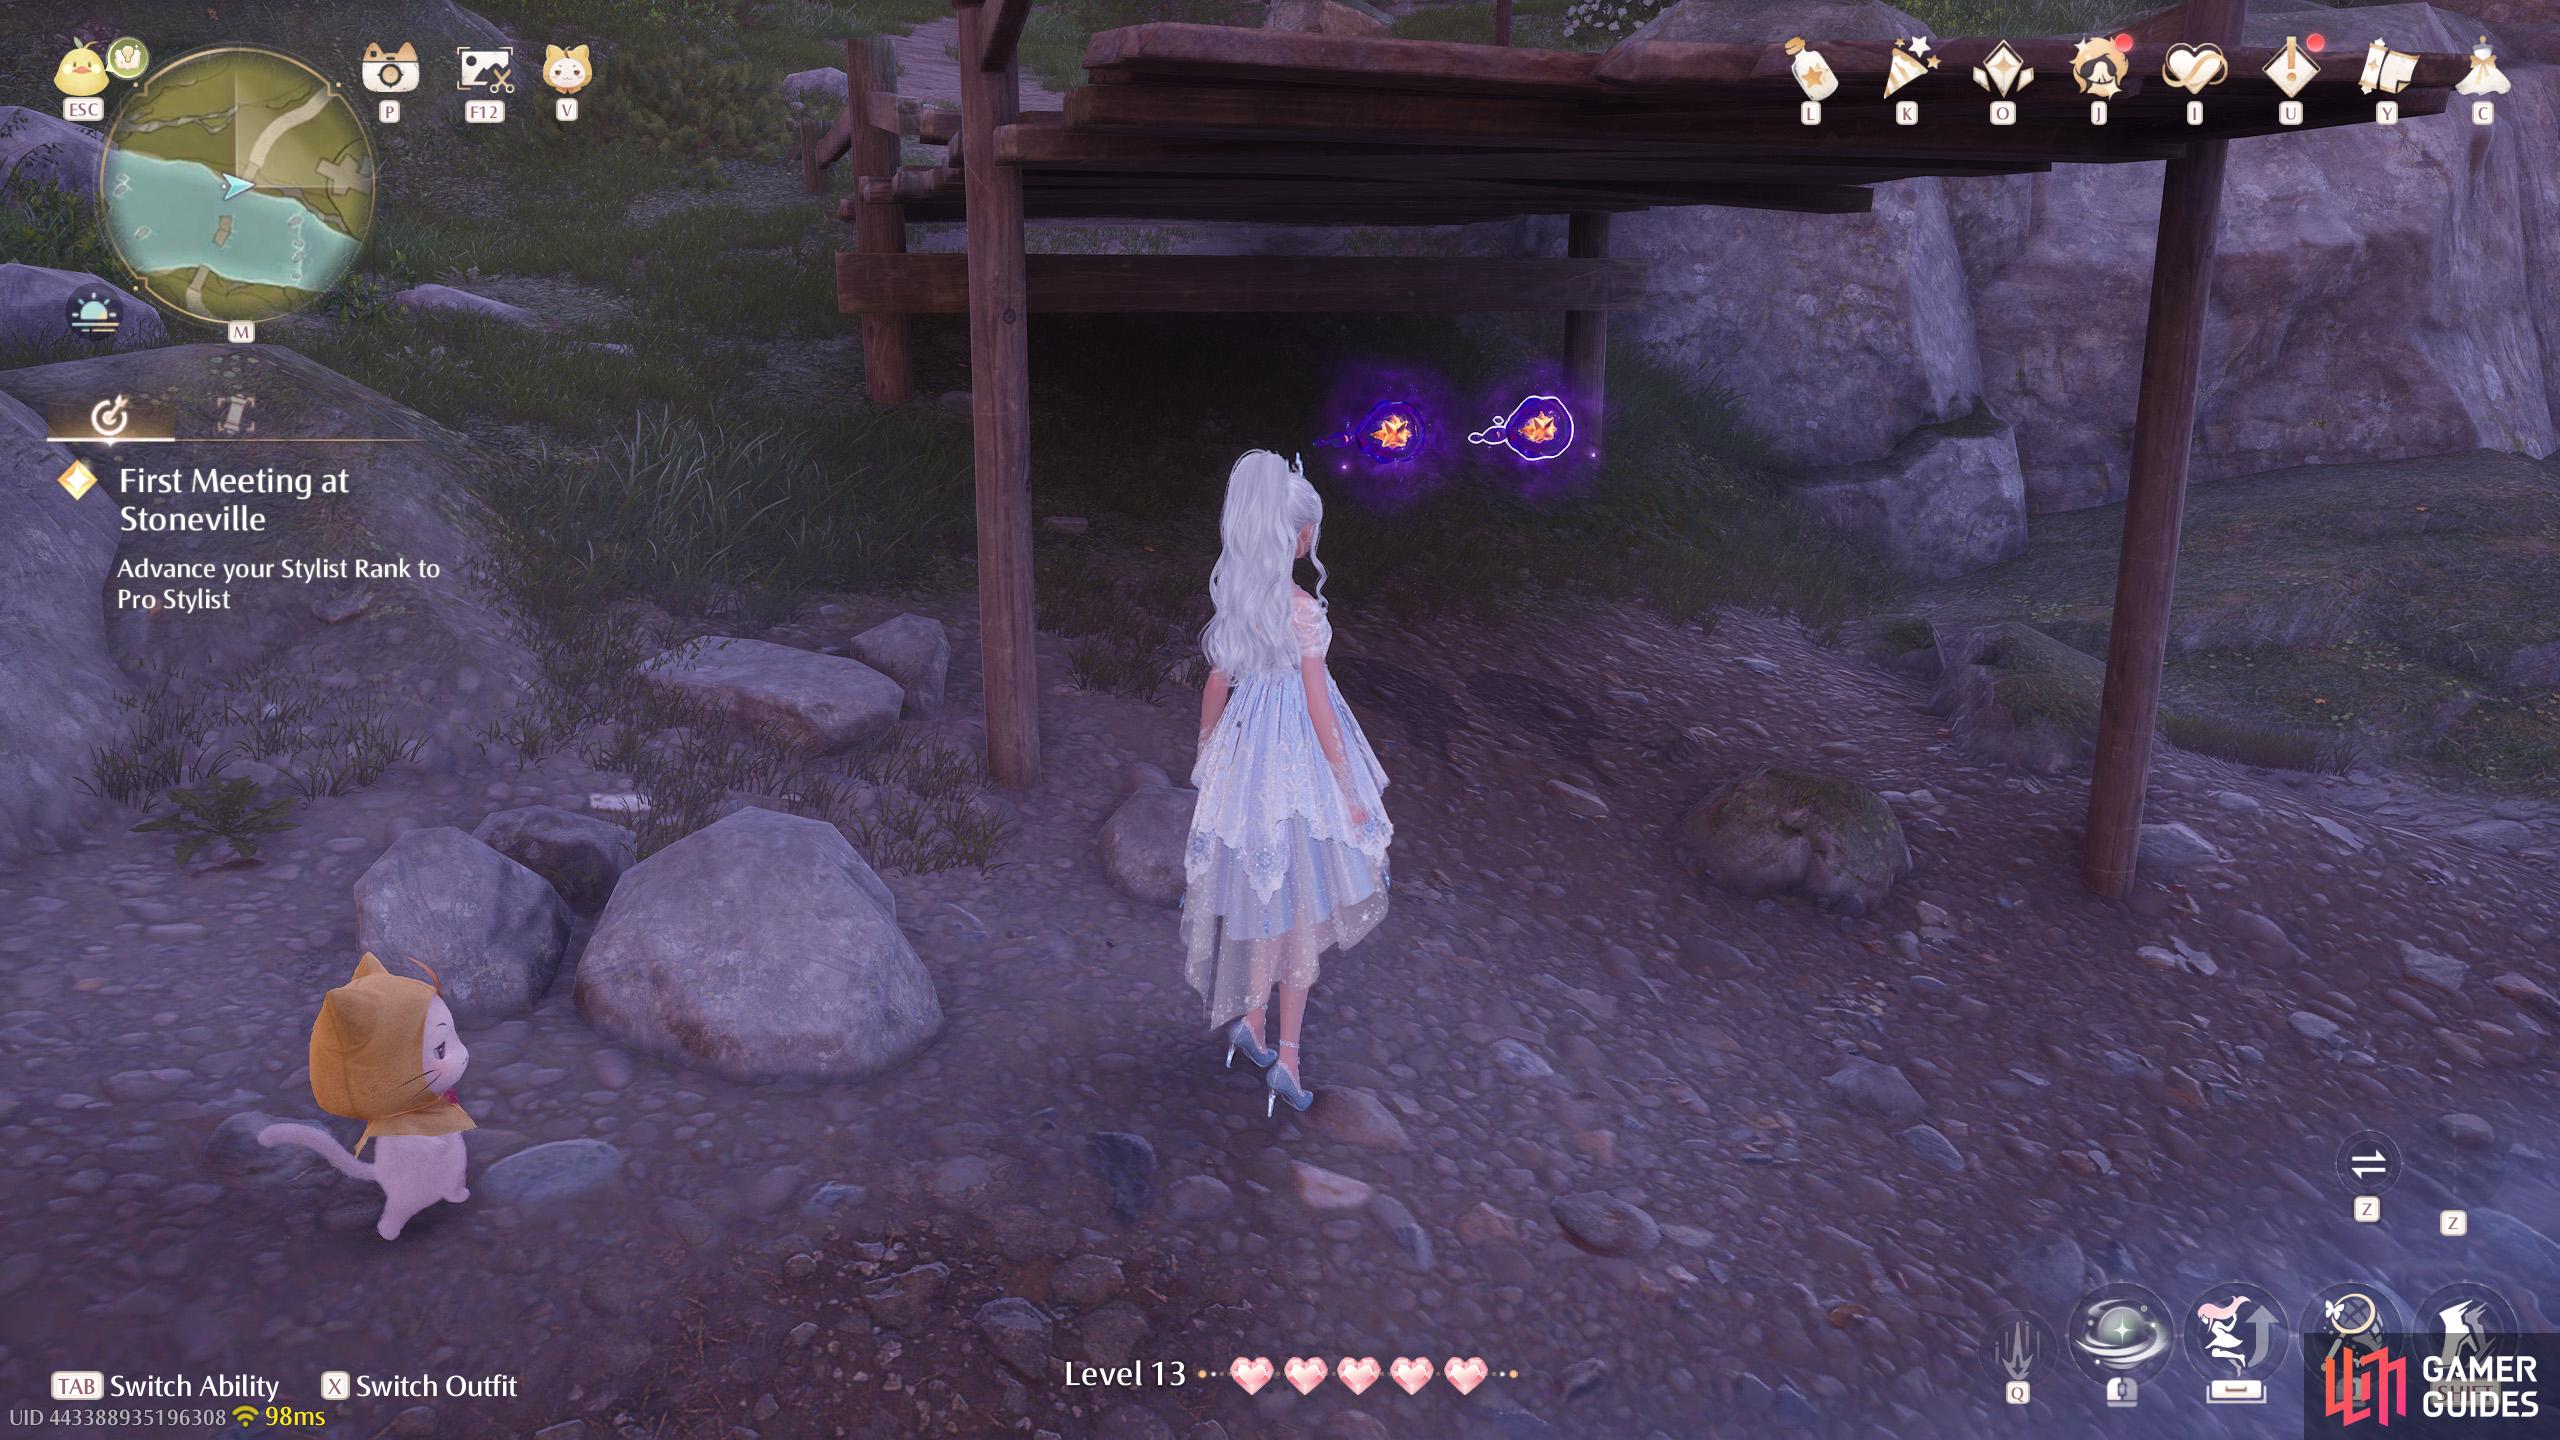
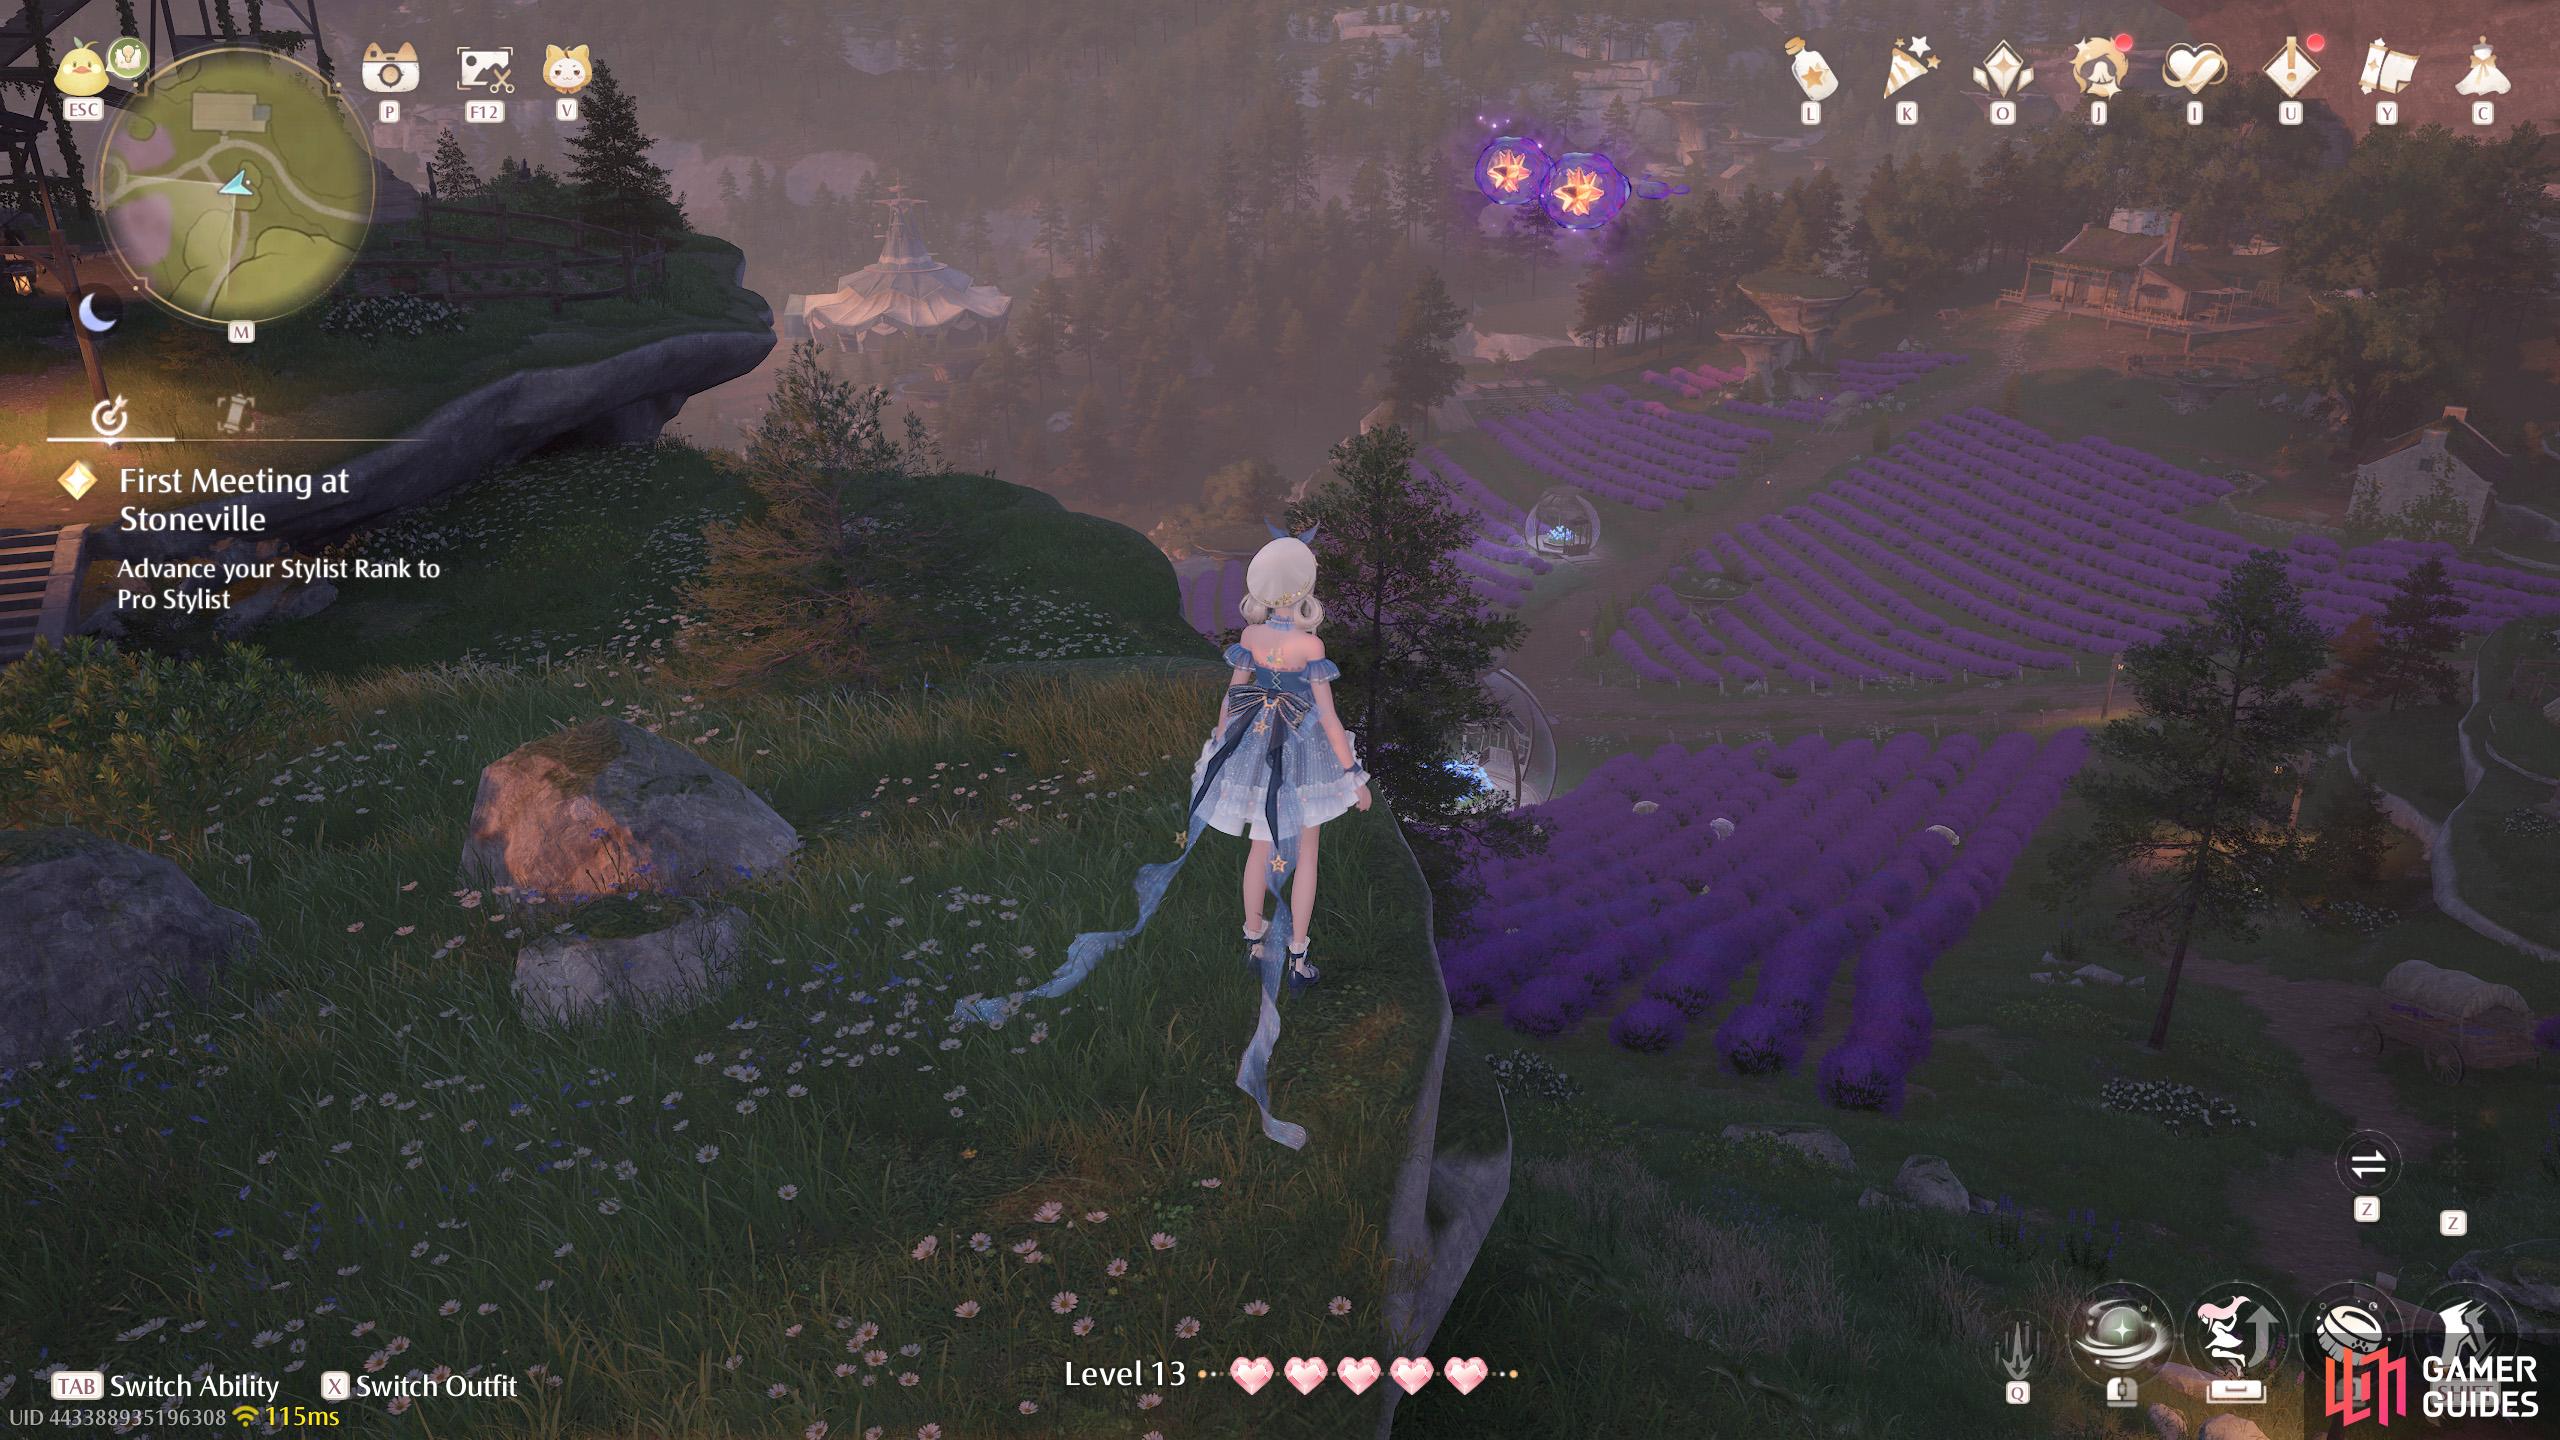
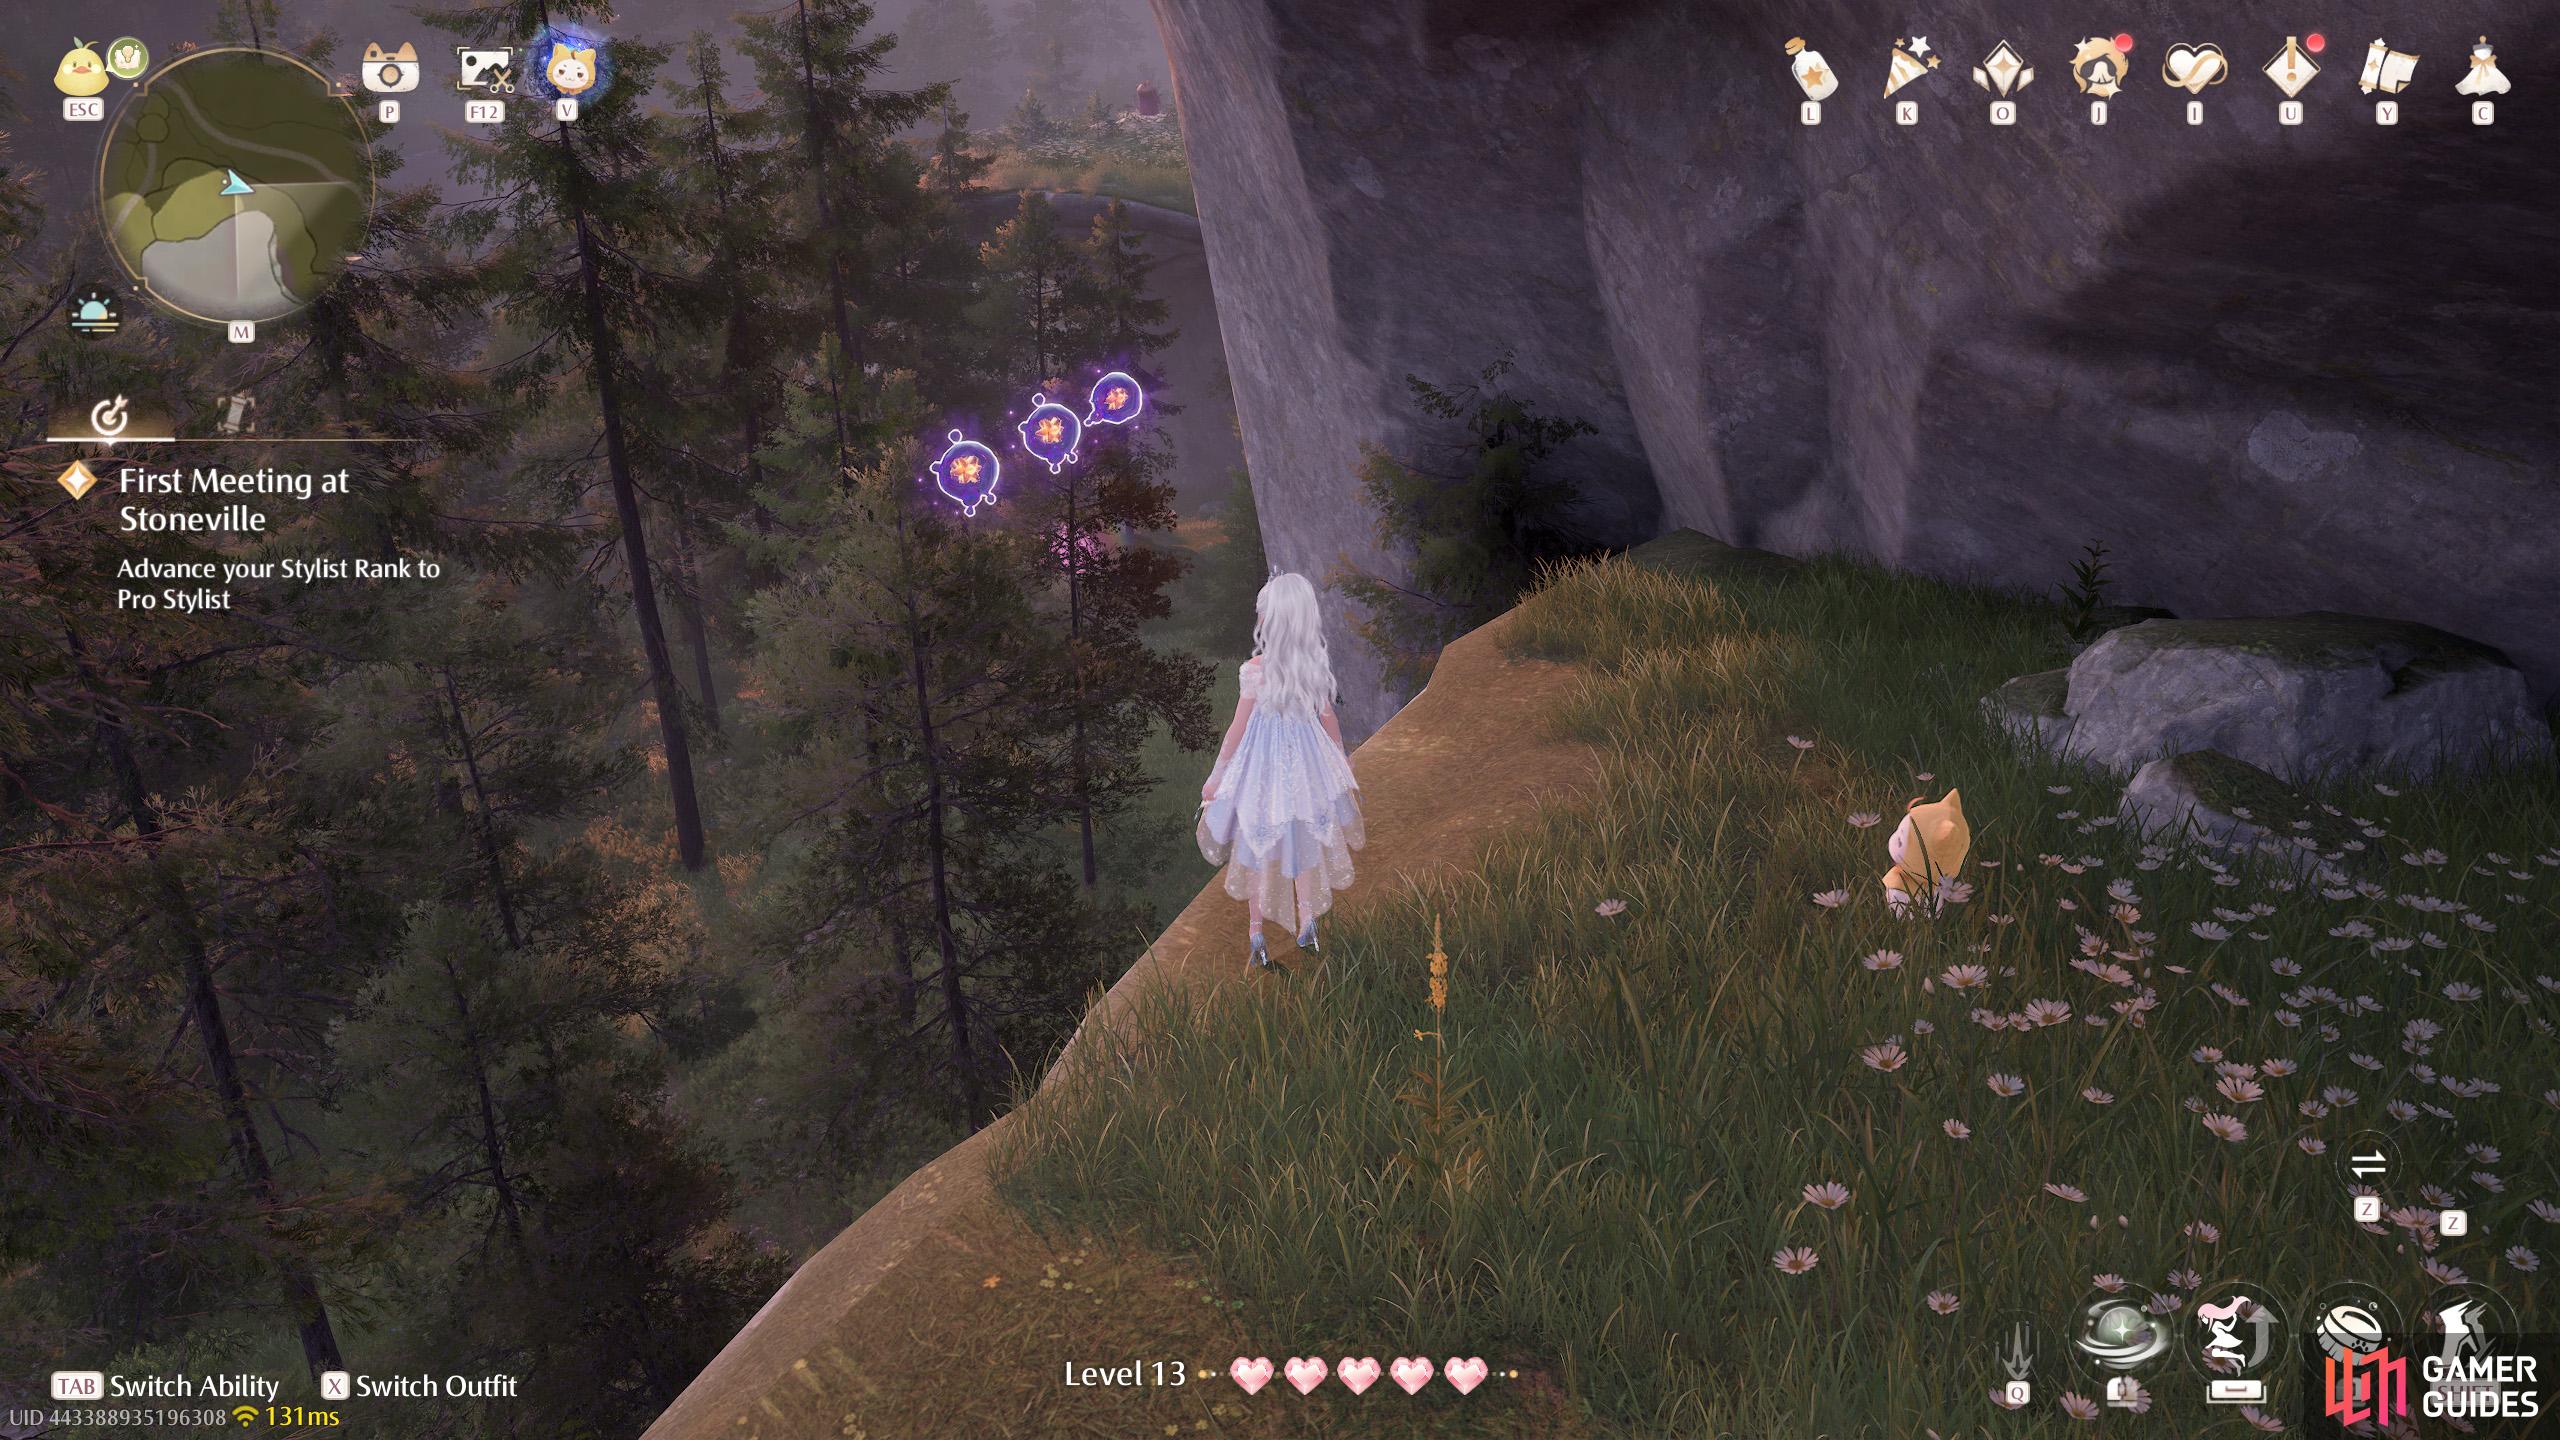
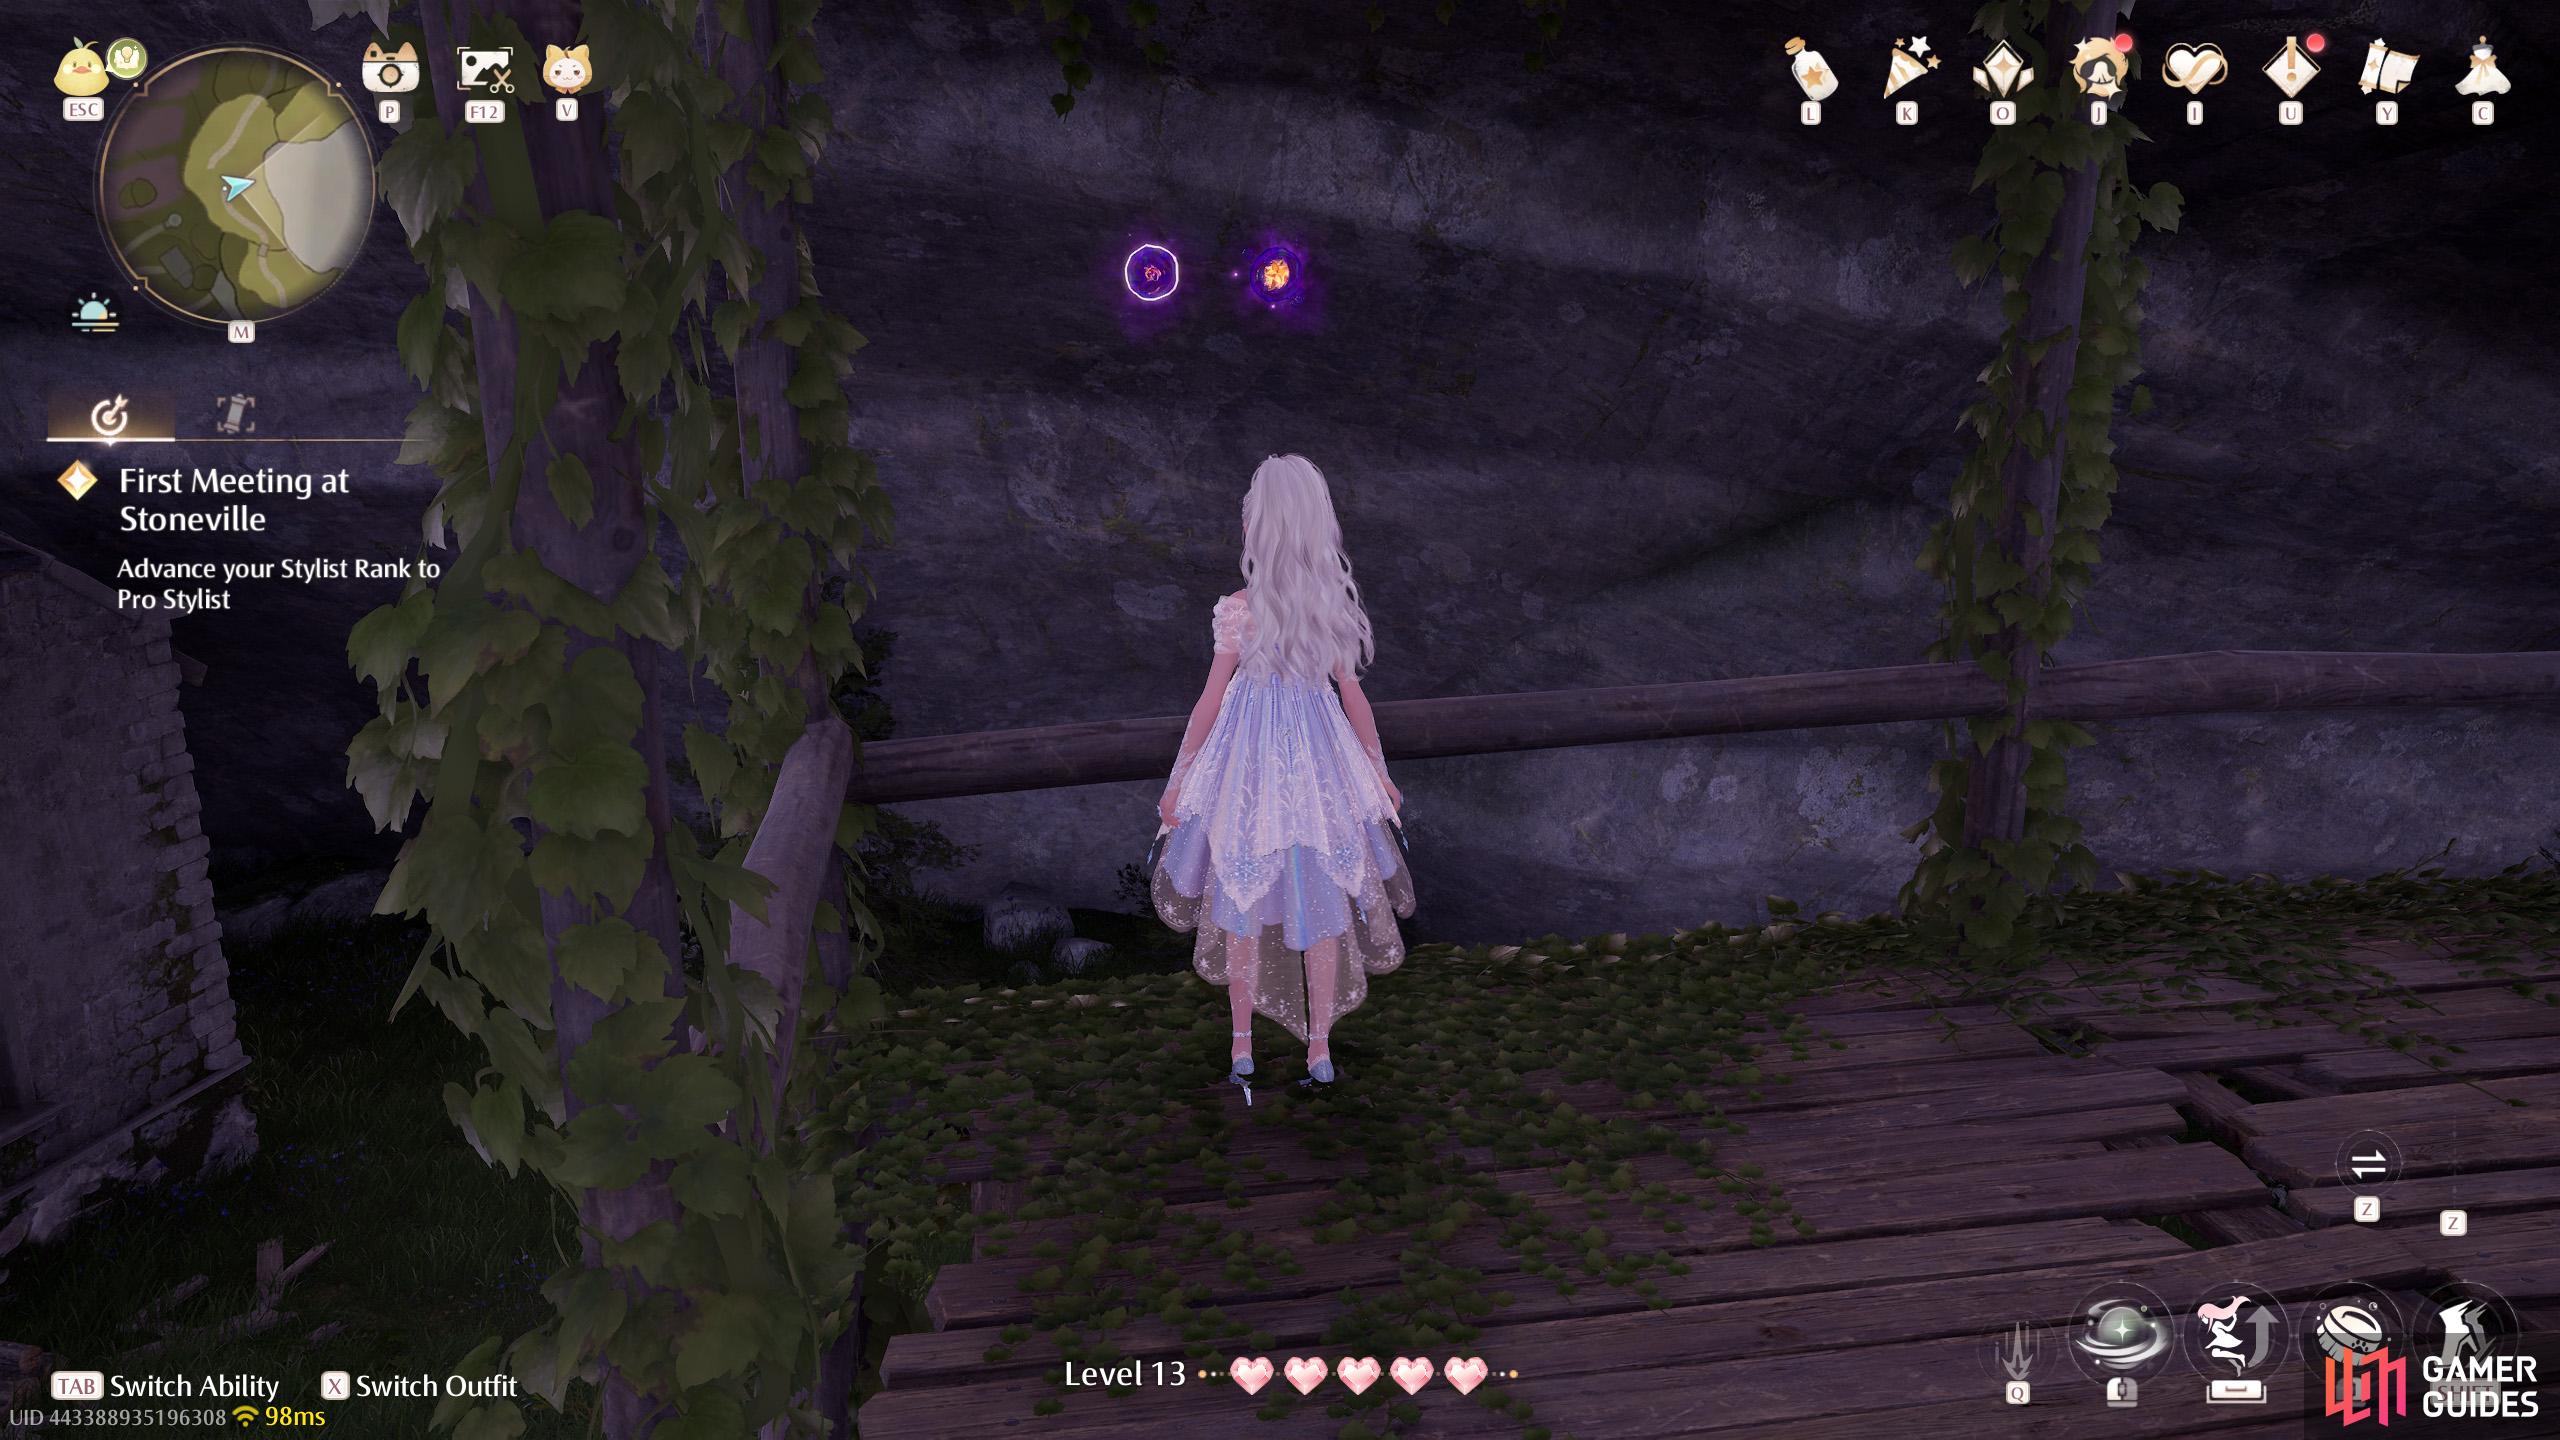
111. Miraland Map
South-east from ![]() Stoneville Entrance. Two floating high up near a collapsed wall.
Stoneville Entrance. Two floating high up near a collapsed wall.
112. Miraland Map
North of ![]() Relic Hill. Two floating high up. You can jump from the west.
Relic Hill. Two floating high up. You can jump from the west.
113. Miraland Map
South of ![]() Relic Hill. Floating high up. You can jump from the north.
Relic Hill. Floating high up. You can jump from the north.
114. Miraland Map
South-east from ![]() Abandoned Fanatic Wisher Camp Outpost. Two on a wooden stand.
Abandoned Fanatic Wisher Camp Outpost. Two on a wooden stand.
115. Miraland Map
A short distance north-west from ![]() Abandoned Fanatic Wisher Camp Outpost. Two among some the wooden wreckage.
Abandoned Fanatic Wisher Camp Outpost. Two among some the wooden wreckage.
116. Miraland Map
South-west from ![]() Abandoned Fanatic Wisher Camp Outpost. Three floating high up. You can jump from the south-east.
Abandoned Fanatic Wisher Camp Outpost. Three floating high up. You can jump from the south-east.
117. Miraland Map
South-west from ![]() Abandoned Fanatic Wisher Camp Outpost. Two floating above the river.
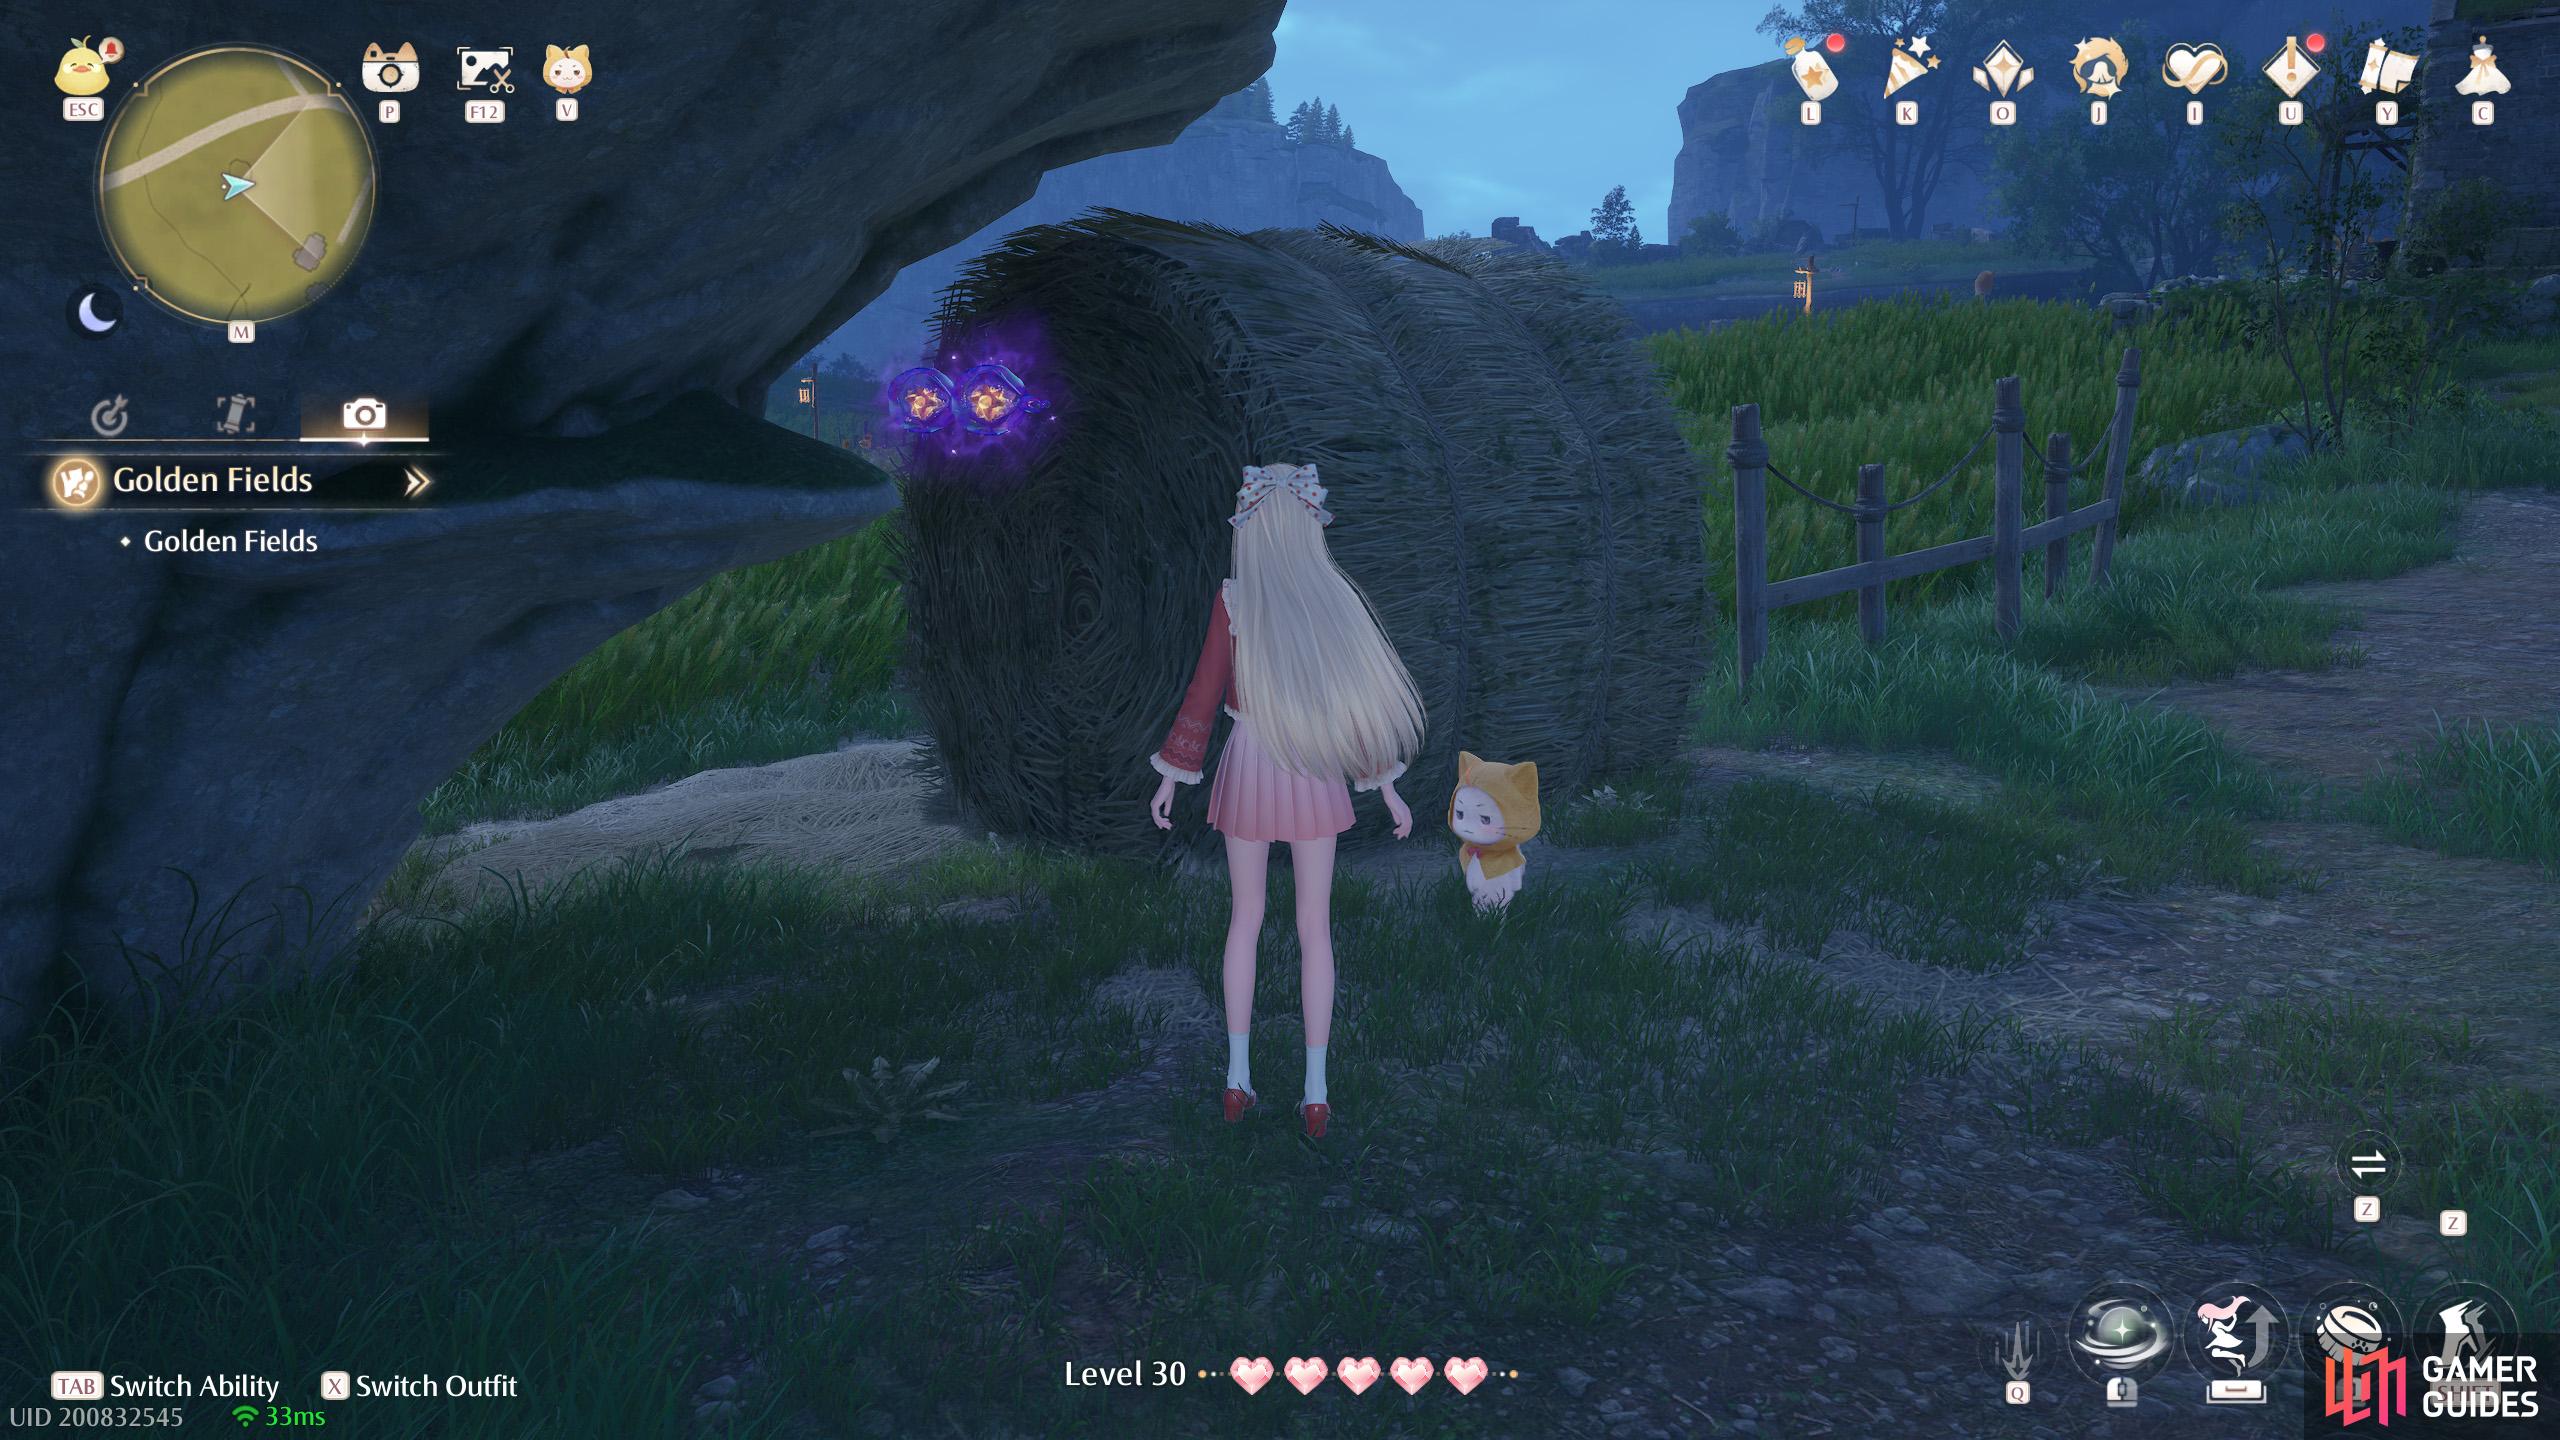
Abandoned Fanatic Wisher Camp Outpost. Two floating above the river.
118. Miraland Map
South-west from ![]() Abandoned Fanatic Wisher Camp Outpost. Three floating above a broken wooden stand.
Abandoned Fanatic Wisher Camp Outpost. Three floating above a broken wooden stand.
119. Miraland Map
South-west of ![]() Abandoned Fanatic Wisher Camp Outpost. Four floating high above the road. There’s a leaf trampoline to the south-east.
Abandoned Fanatic Wisher Camp Outpost. Four floating high above the road. There’s a leaf trampoline to the south-east.
120. Miraland Map
Short distance south-east of ![]() Abandoned Fanatic Wisher Camp. Two floating near a broken wooden stand.
Abandoned Fanatic Wisher Camp. Two floating near a broken wooden stand.
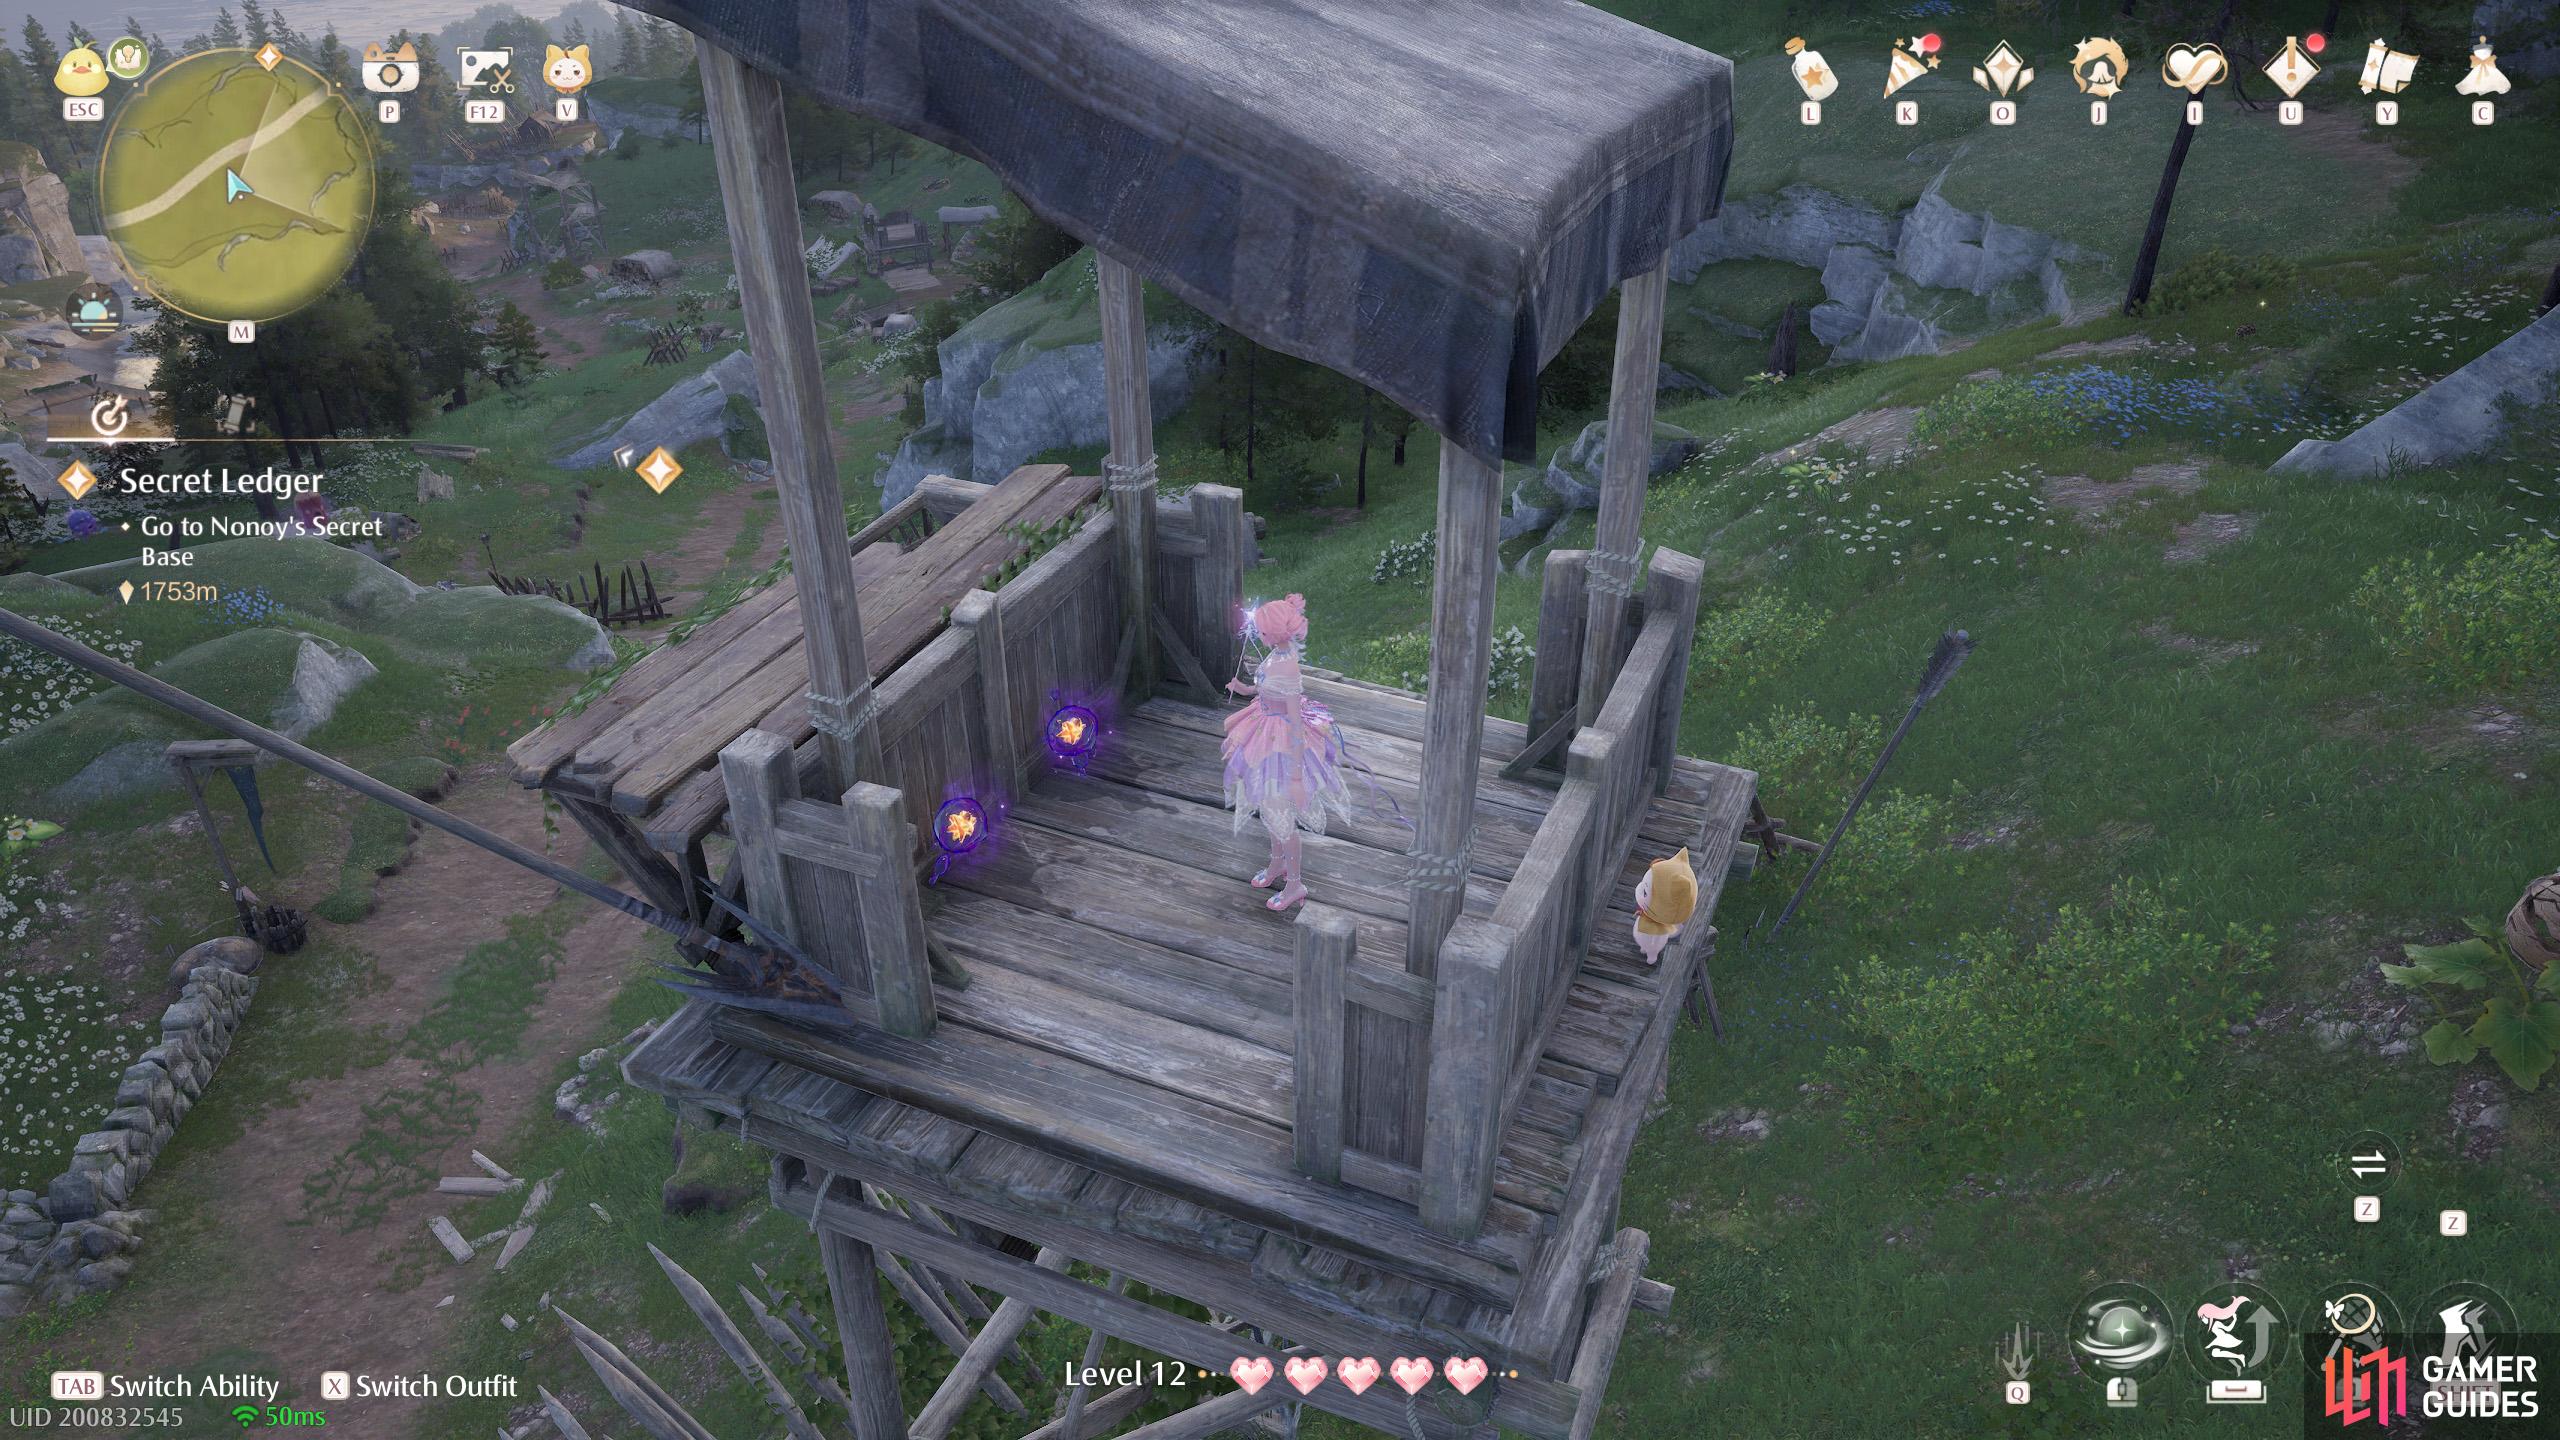
121. Miraland Map
North-east from ![]() Abandoned Fanatic Wisher Camp. Two inside a wooden watchtower.
Abandoned Fanatic Wisher Camp. Two inside a wooden watchtower.
124. Miraland Map
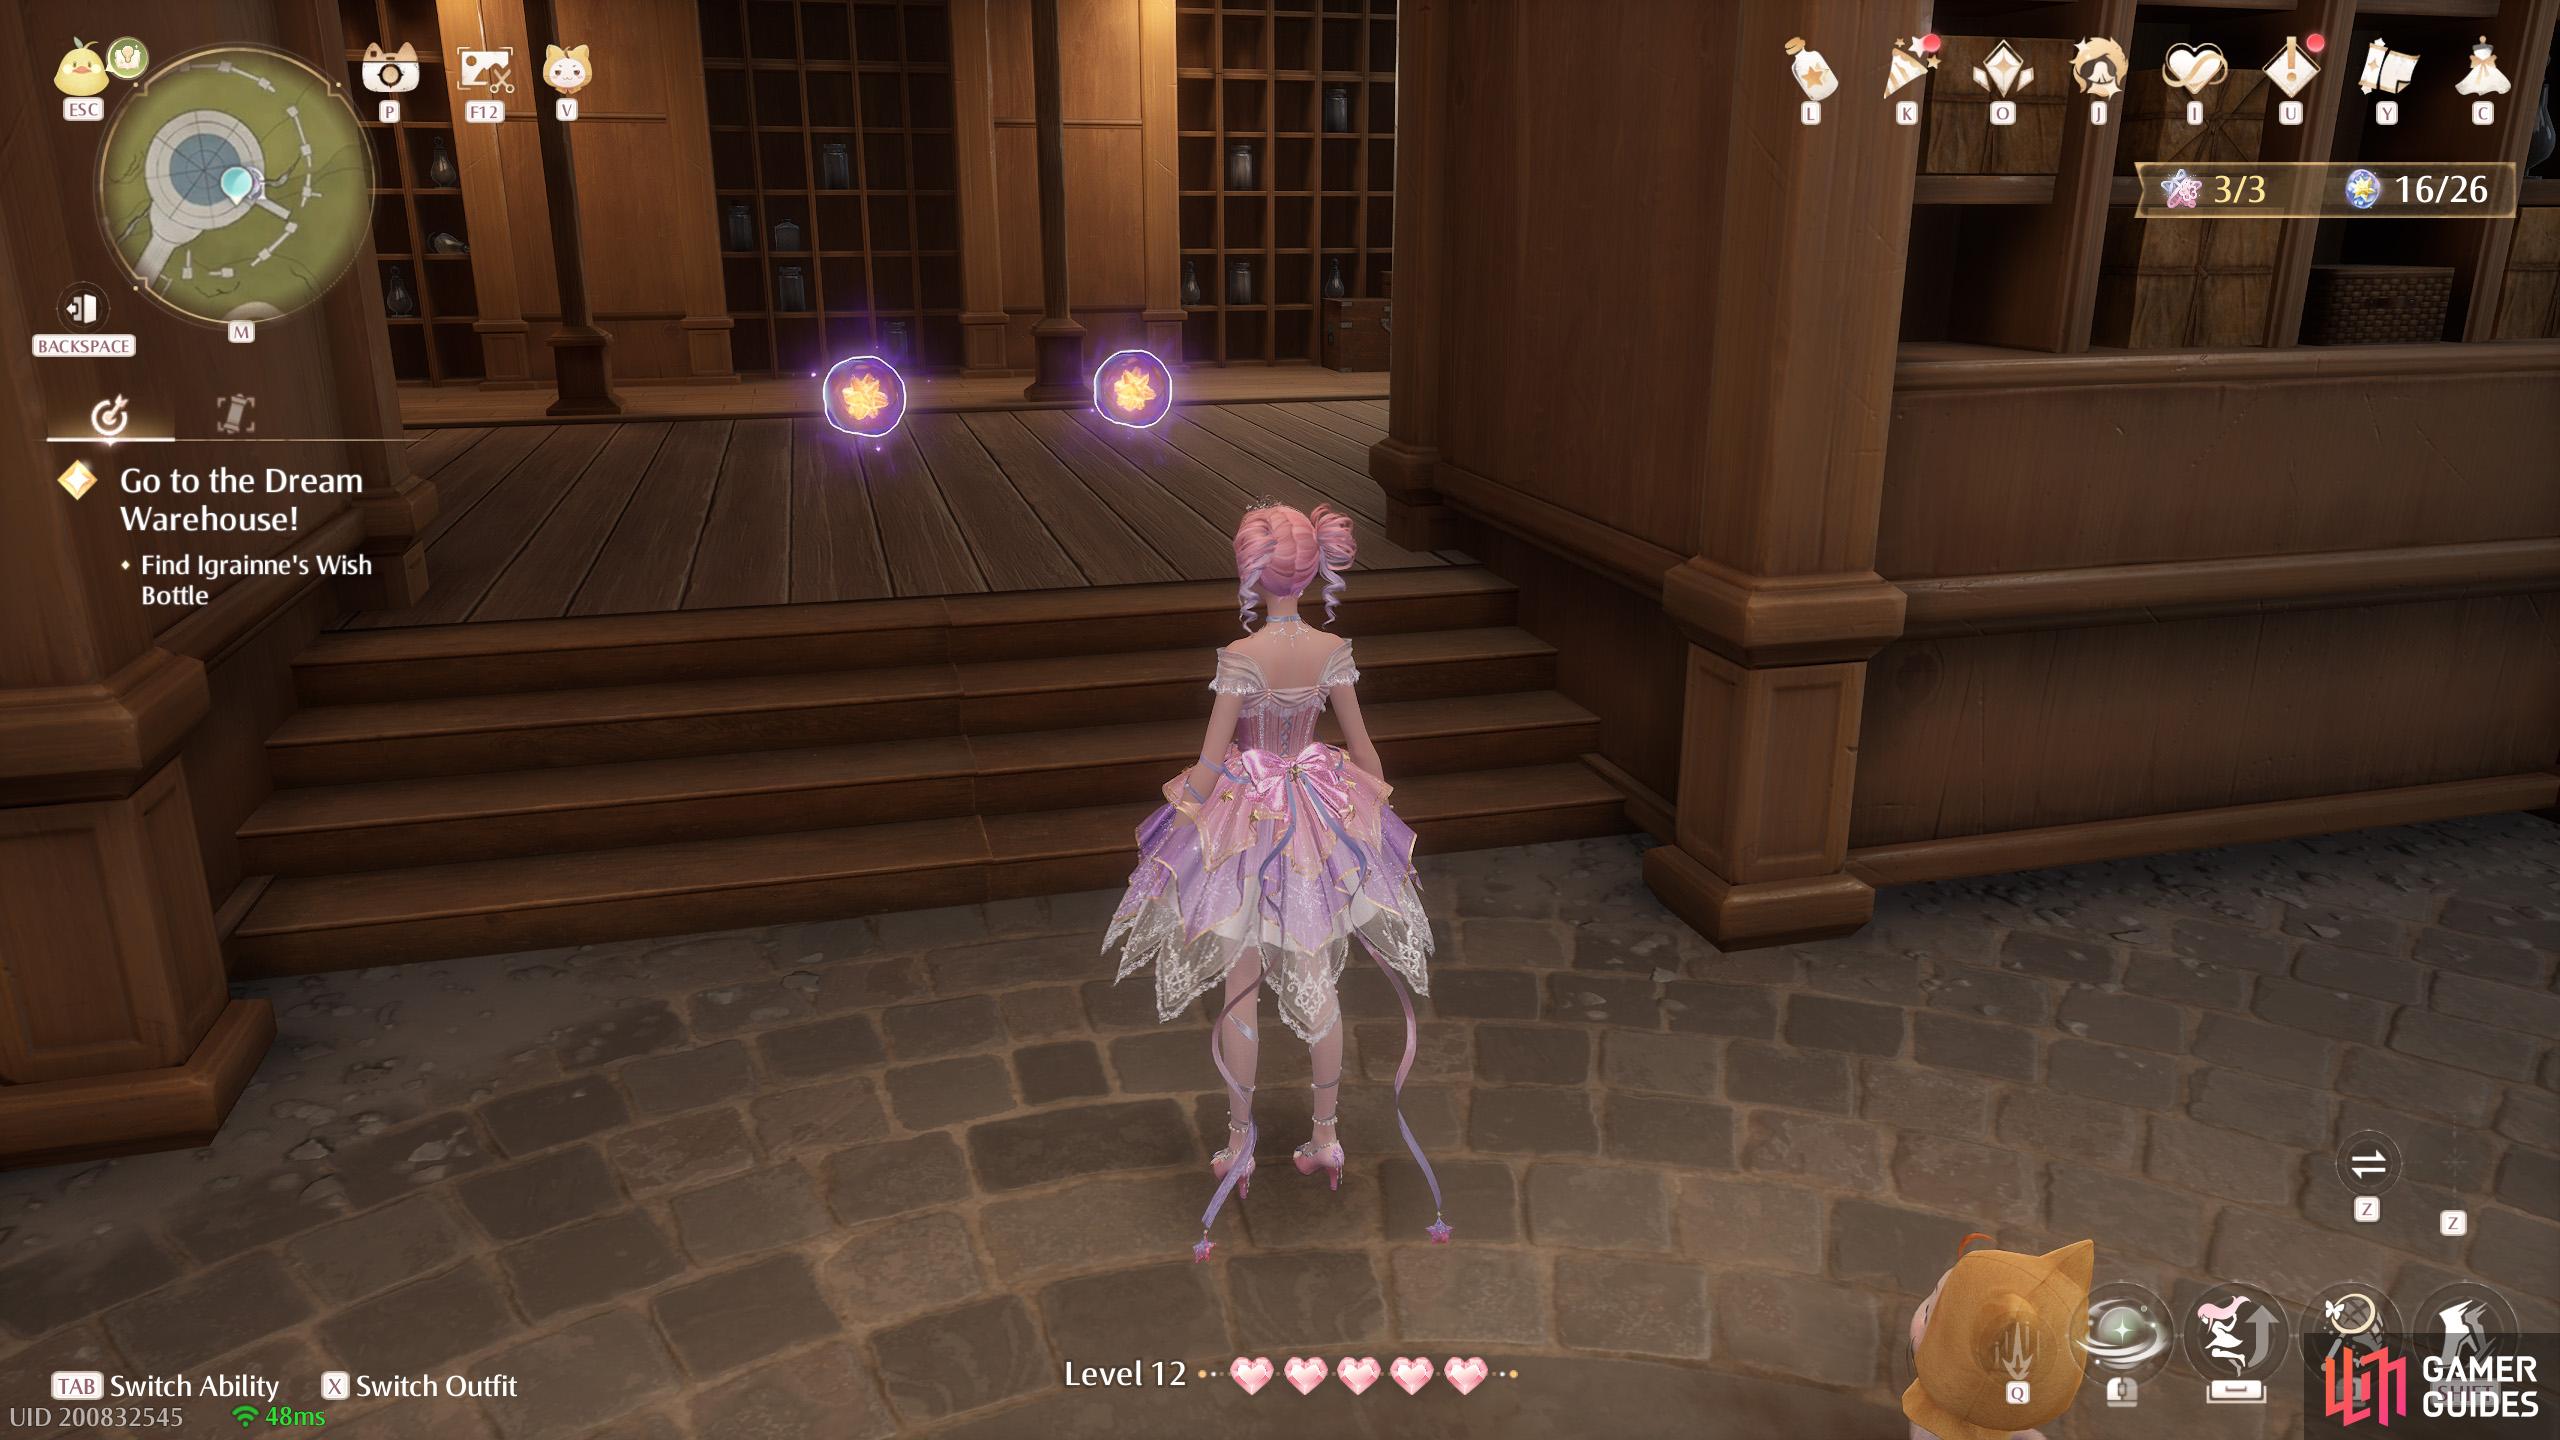
South-east of ![]() Dream Warehouse Rooftop. Three along the outer stone ring, between the dividing pillars.
Dream Warehouse Rooftop. Three along the outer stone ring, between the dividing pillars.
127. Miraland Map
North-east of ![]() Stoneville Entrance. Two floating near the minigame stall.
Stoneville Entrance. Two floating near the minigame stall.
128. Miraland Map
South of ![]() Ray and Wing’s. Two floating near the roof of the blue house.
Ray and Wing’s. Two floating near the roof of the blue house.
130. Miraland Map
At the ground floor of the ![]() Queen’s Palace Ruins High Tower, in a corner by the entrance.
Queen’s Palace Ruins High Tower, in a corner by the entrance.
131. Miraland Map
South-east from the ![]() Queen’s Palace Ruins Front Yard. Two high up in the air. You can jump from near the minigame stall. If you miss, there’s a leaf trampoline you can use to get back up halfway, enough to reach.
Queen’s Palace Ruins Front Yard. Two high up in the air. You can jump from near the minigame stall. If you miss, there’s a leaf trampoline you can use to get back up halfway, enough to reach.

132. Miraland Map
East of the ![]() Queen’s Palace Ruins Front Yard. Floating by the side of the wall. You can head north from the minigame stall.
Queen’s Palace Ruins Front Yard. Floating by the side of the wall. You can head north from the minigame stall.
133. Miraland Map
North-east of the ![]() Queen’s Palace Ruins High Tower. Three under the collapsed roof. You can reach it by jumping from near the
Queen’s Palace Ruins High Tower. Three under the collapsed roof. You can reach it by jumping from near the ![]() Whimstar to the north. Or you can float down from the top of the tower.
Whimstar to the north. Or you can float down from the top of the tower.
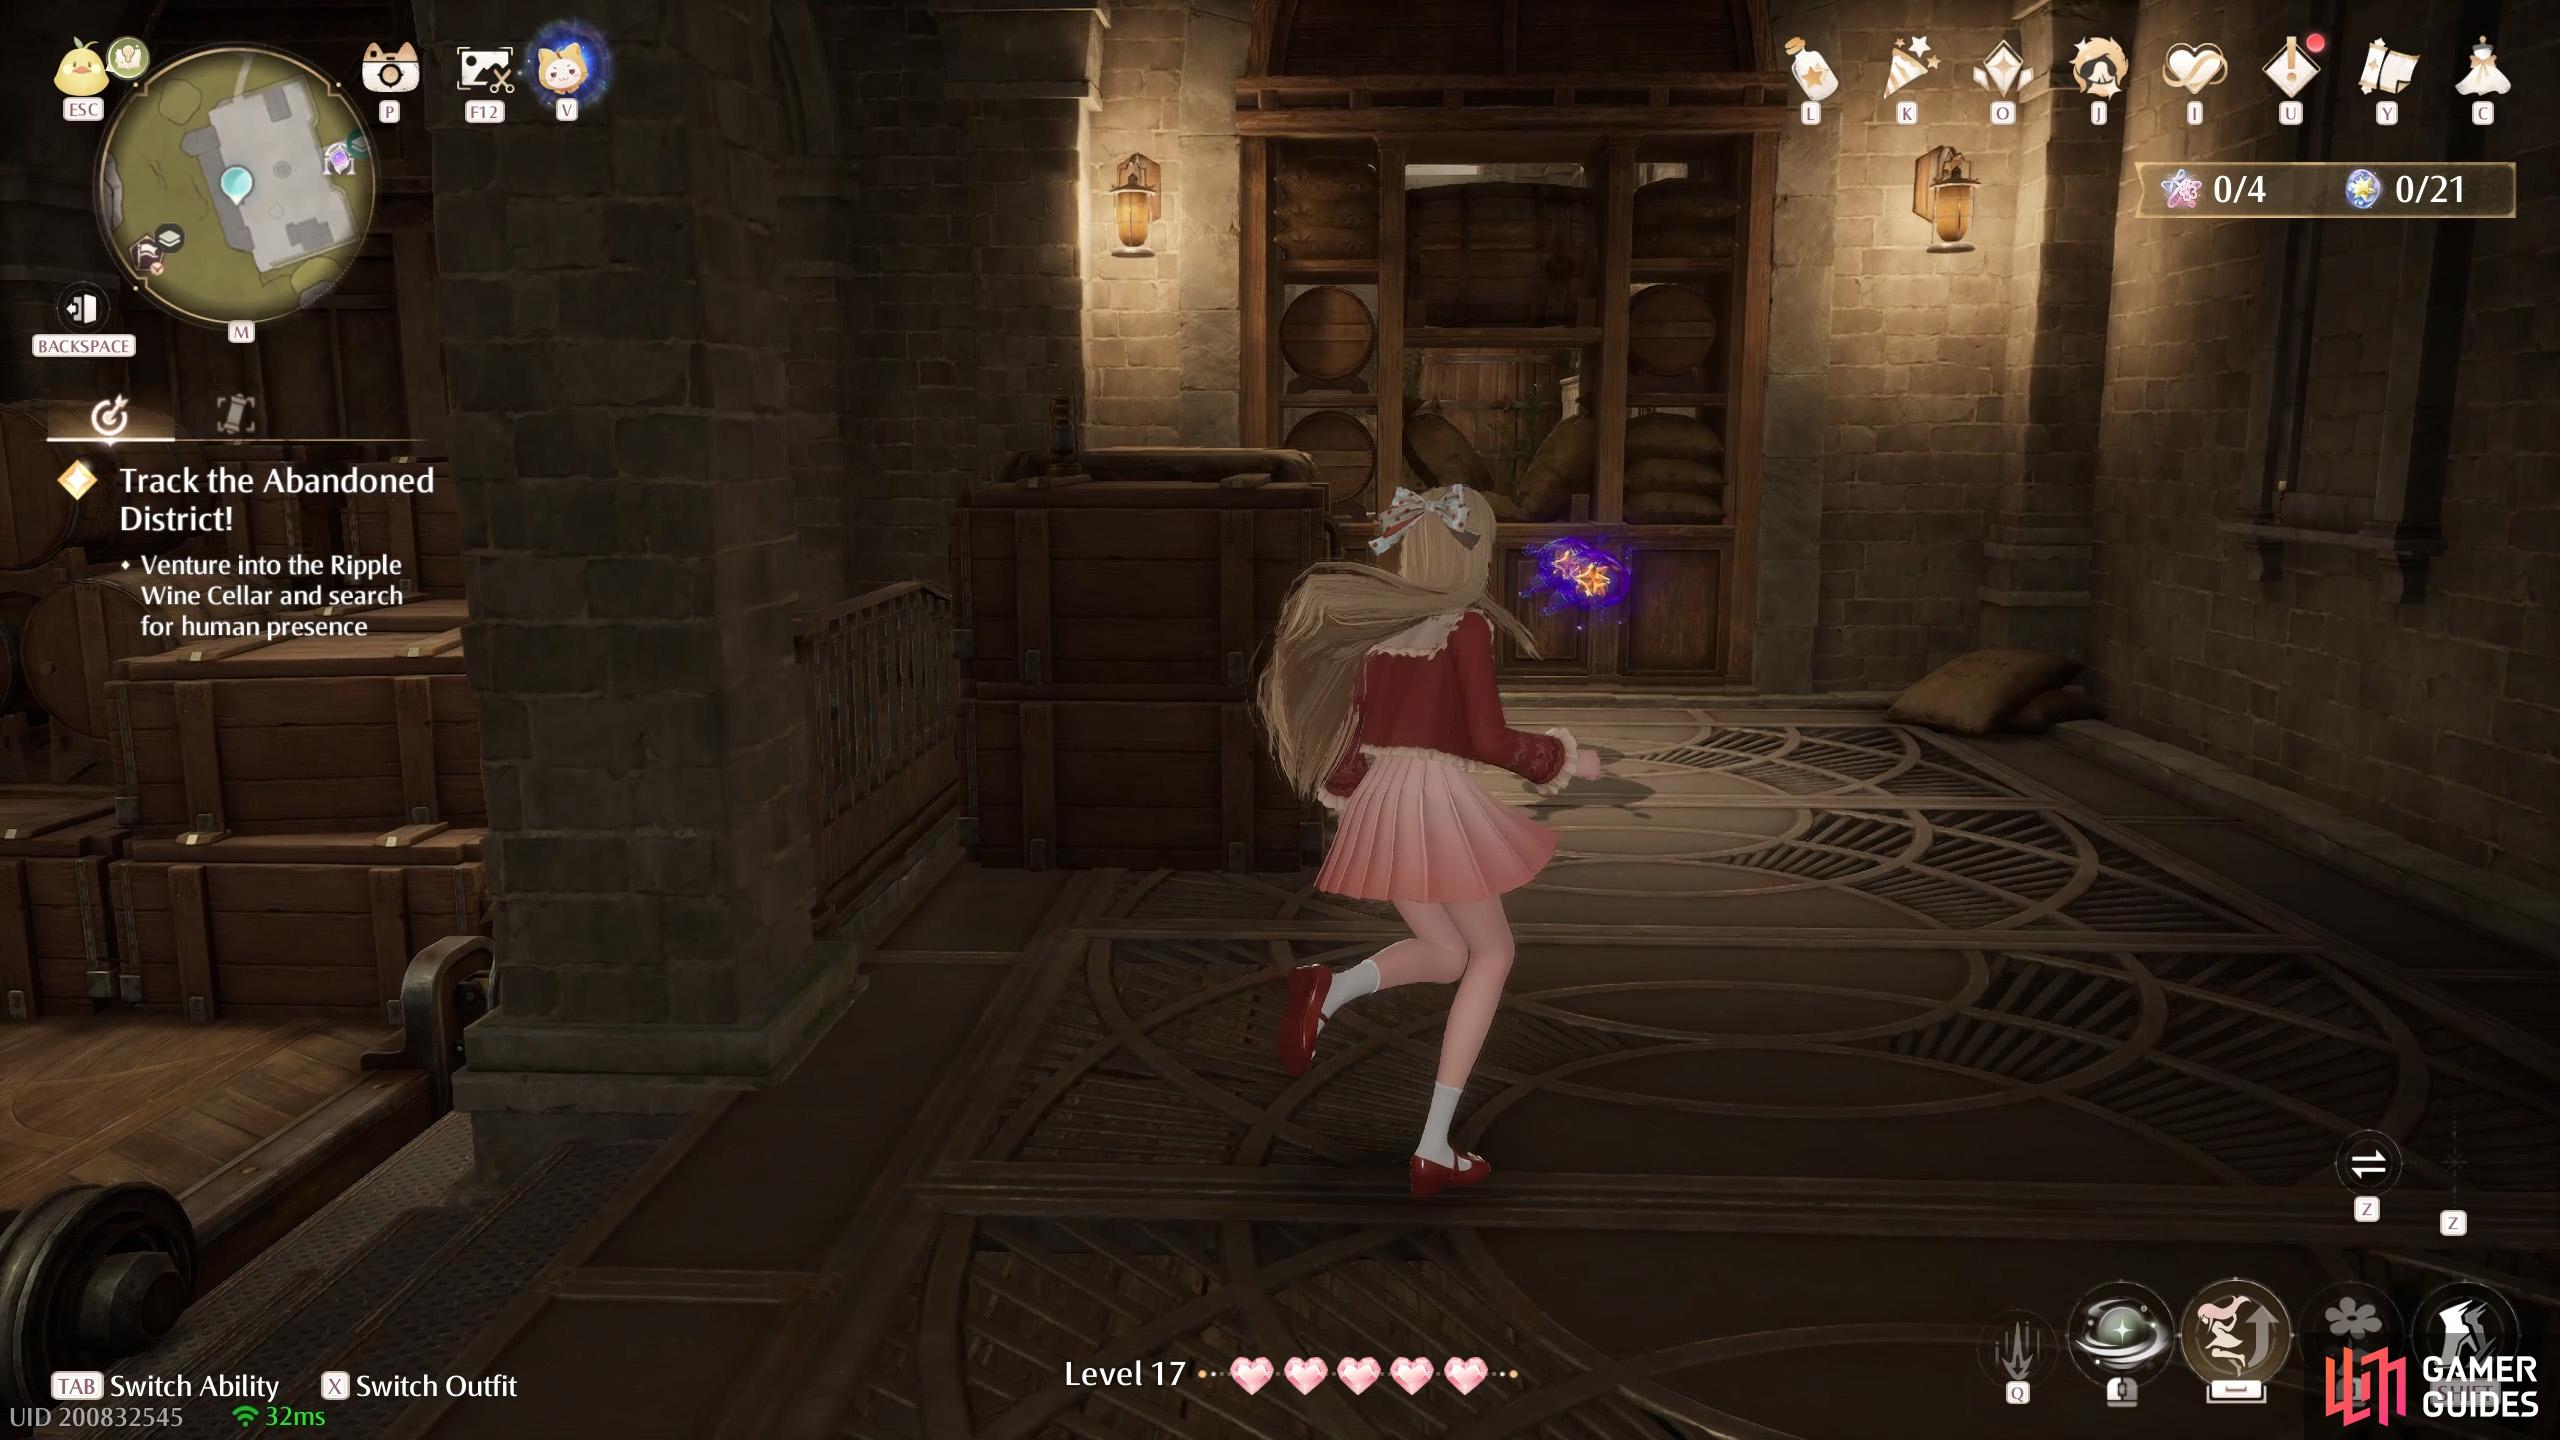
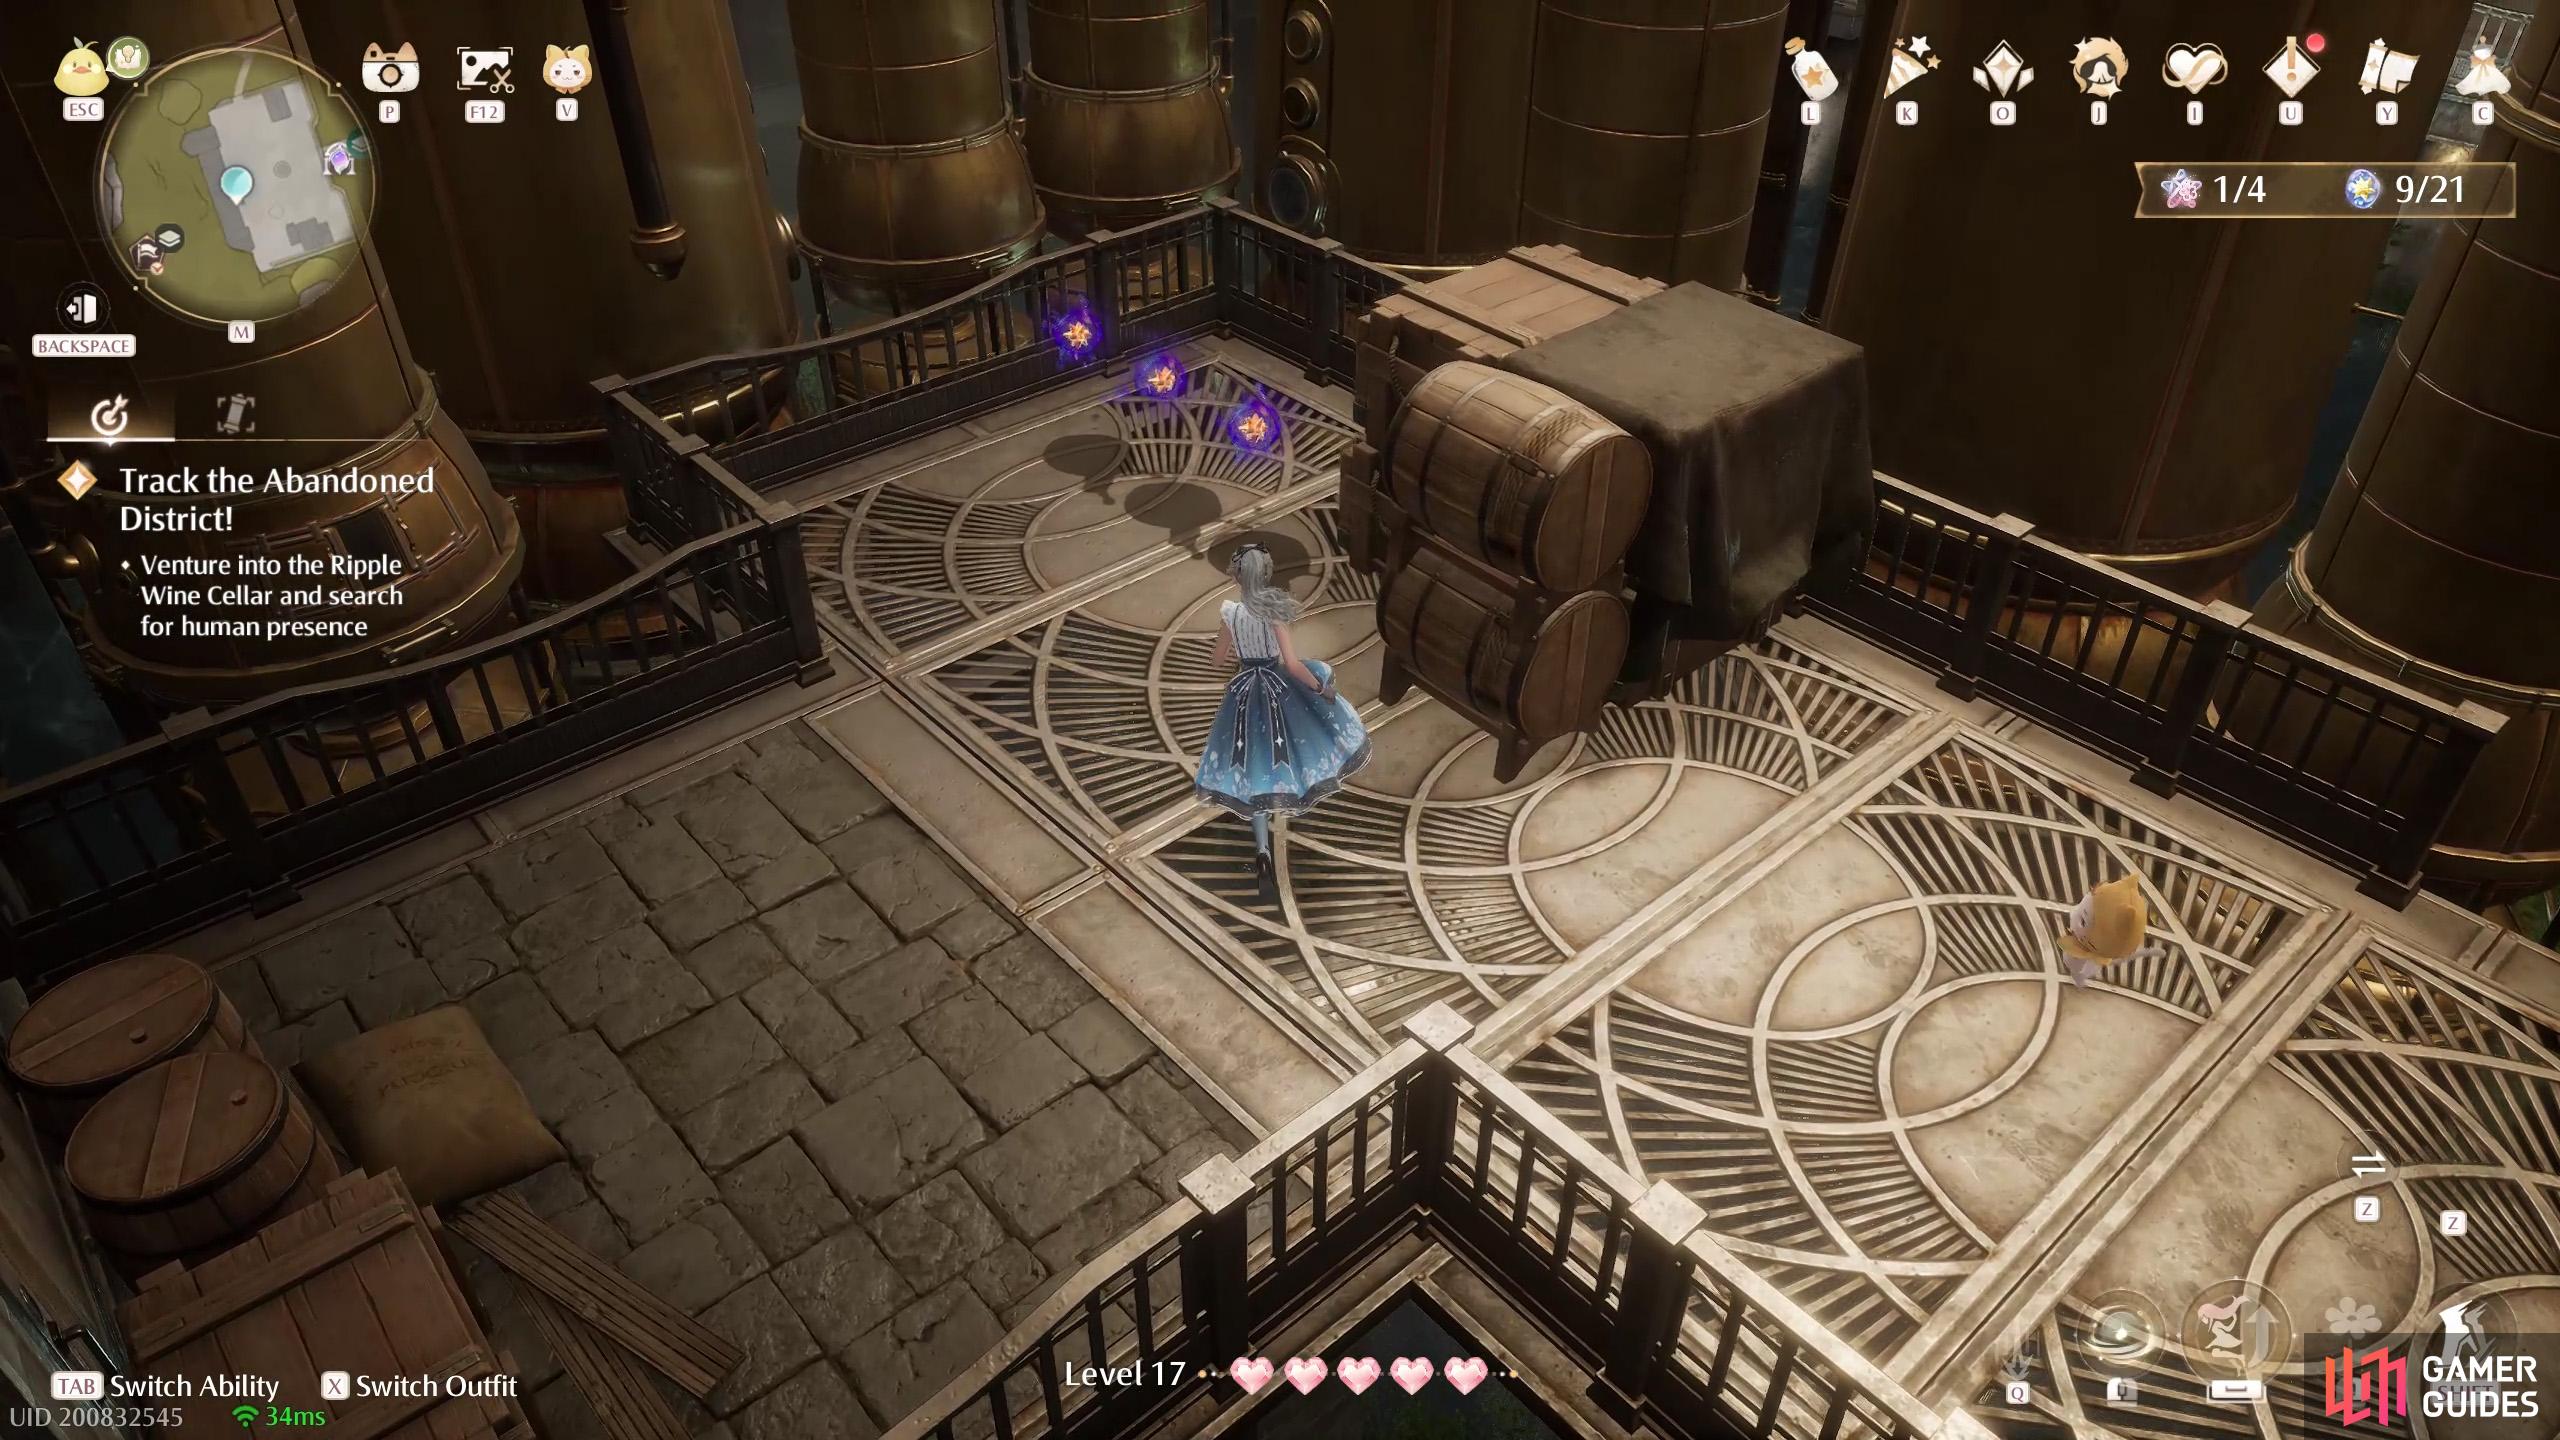
134. Miraland Map
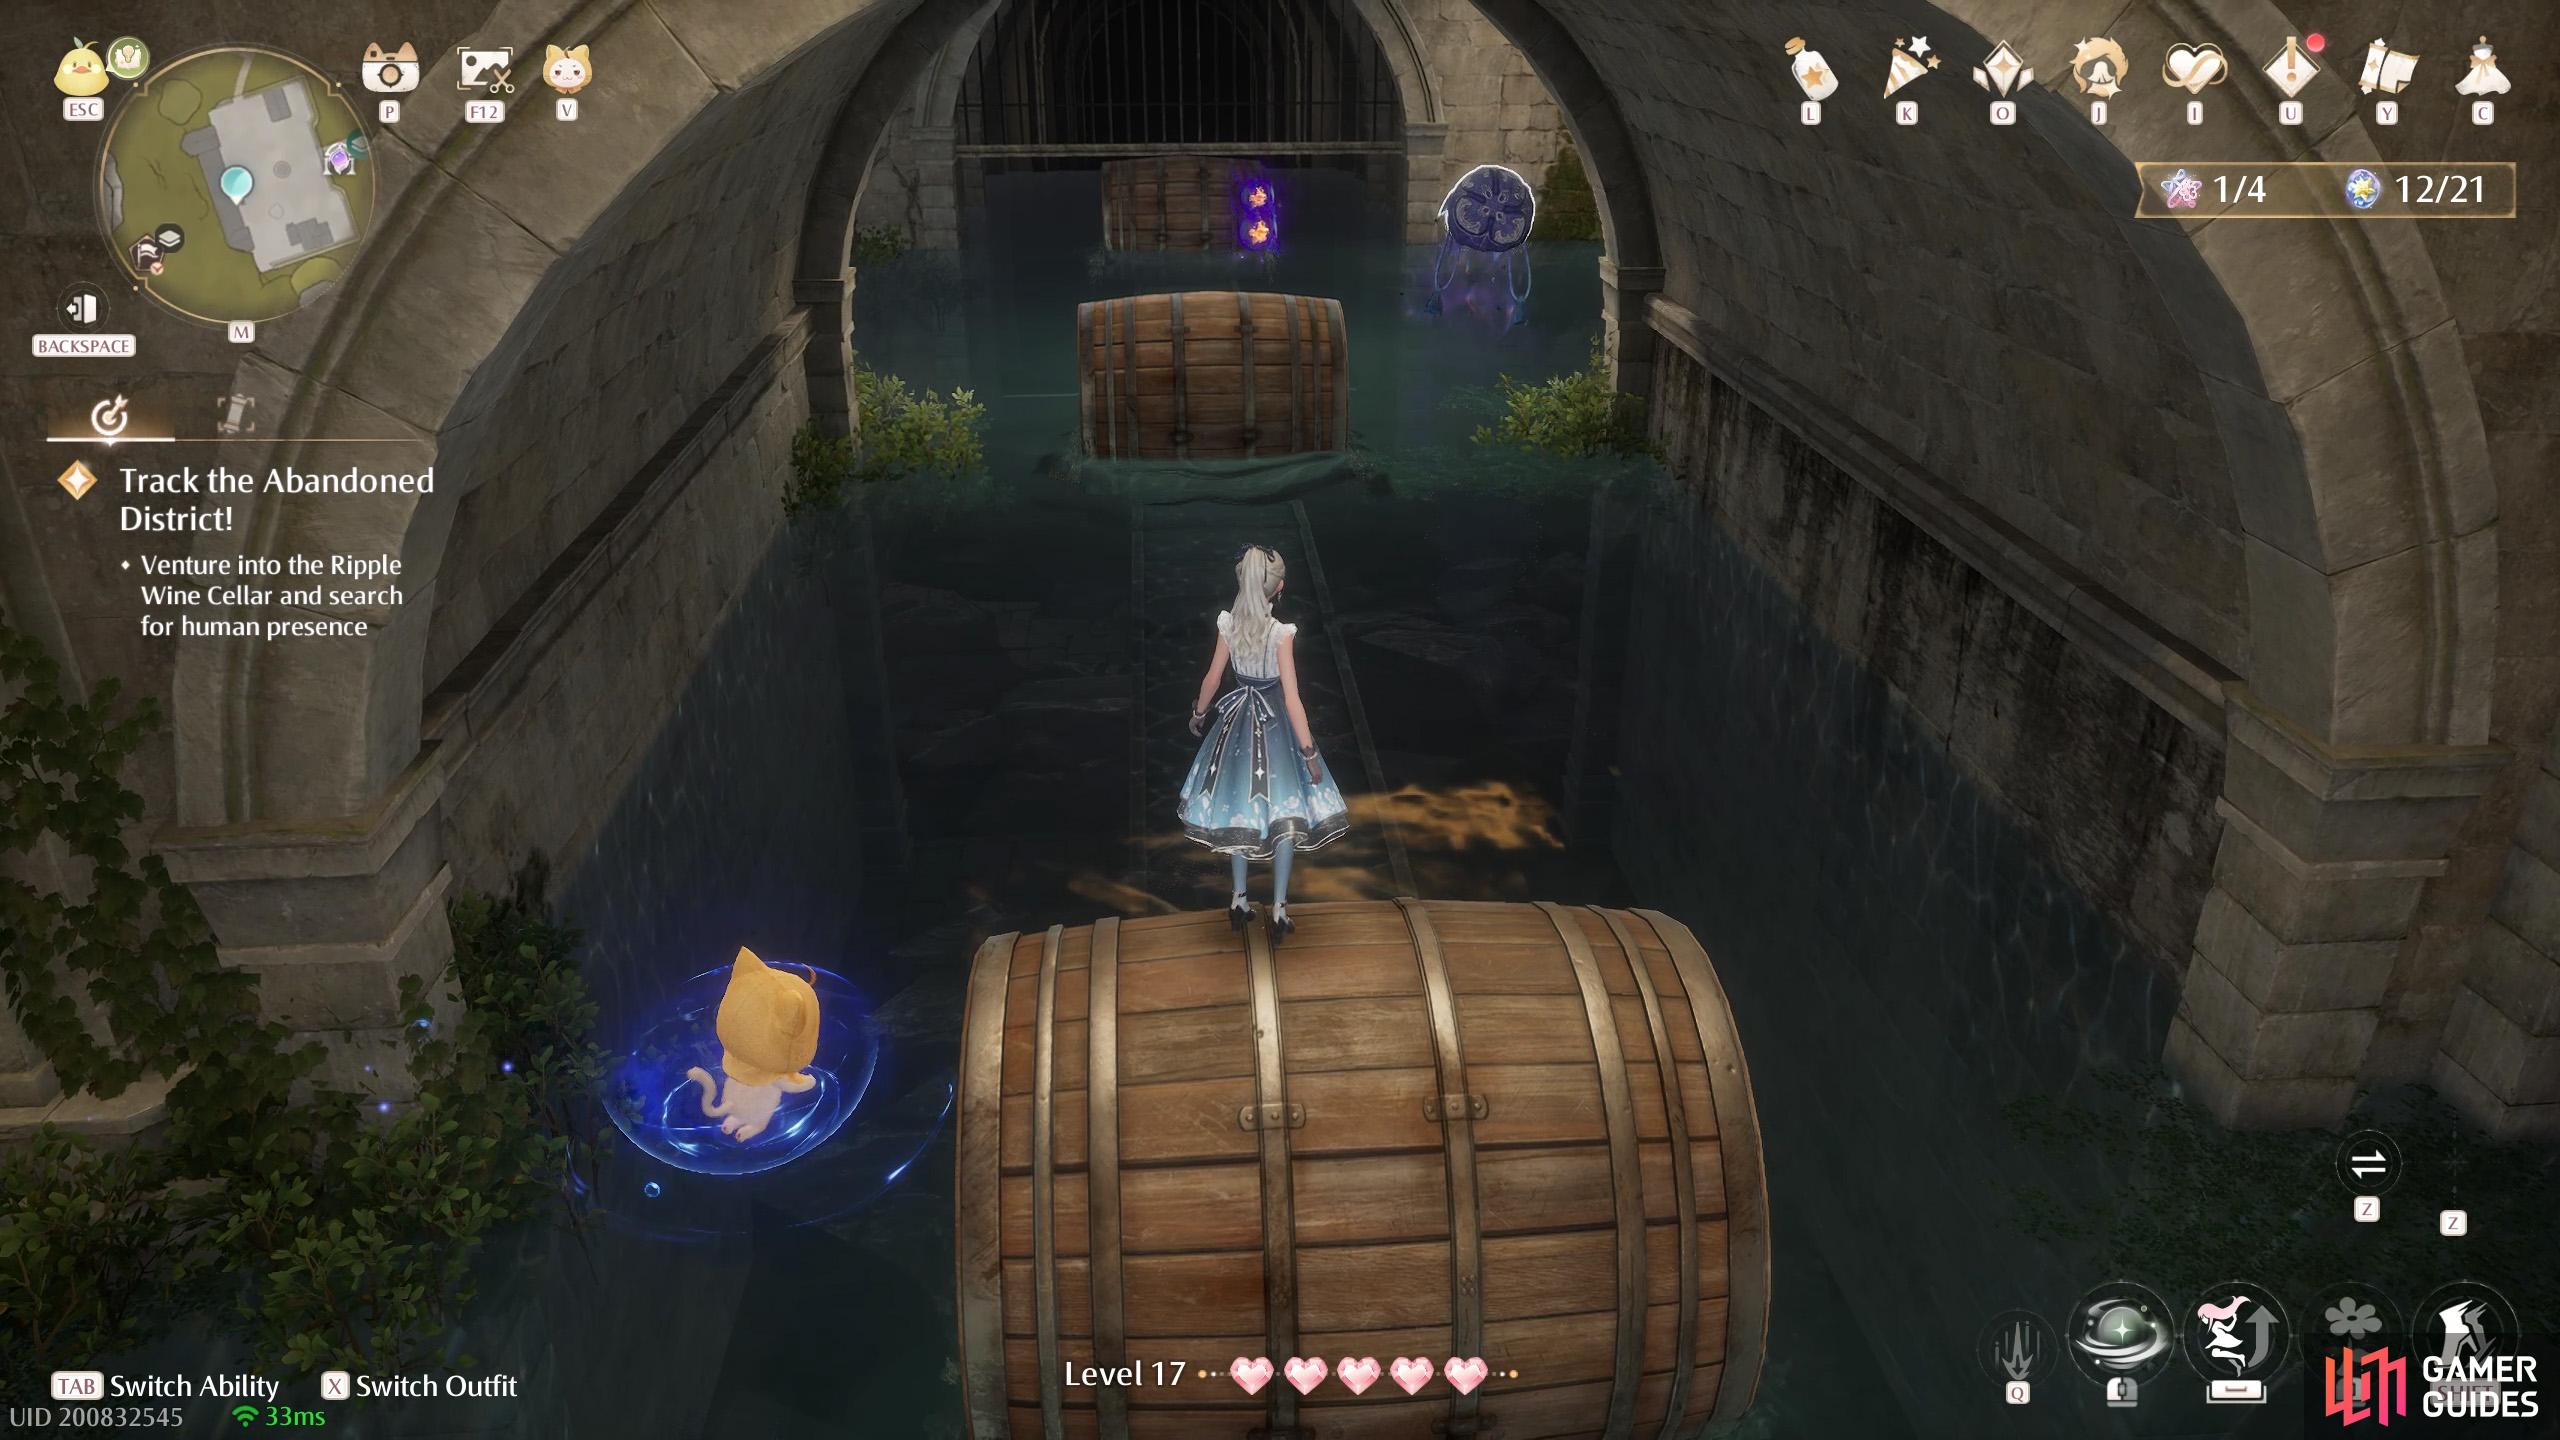
East of the ![]() Queen’s Palace Ruins High Tower. Two floating near the outer corner.
Queen’s Palace Ruins High Tower. Two floating near the outer corner.
135. Miraland Map
North-east of the ![]() Queen’s Palace Ruins Front Yard. Two floating high up, next to the collapsed rampart.
Queen’s Palace Ruins Front Yard. Two floating high up, next to the collapsed rampart.
136. Miraland Map
North of the ![]() Queen’s Palace Ruins Front Yard. Two underneath some rubble.
Queen’s Palace Ruins Front Yard. Two underneath some rubble.
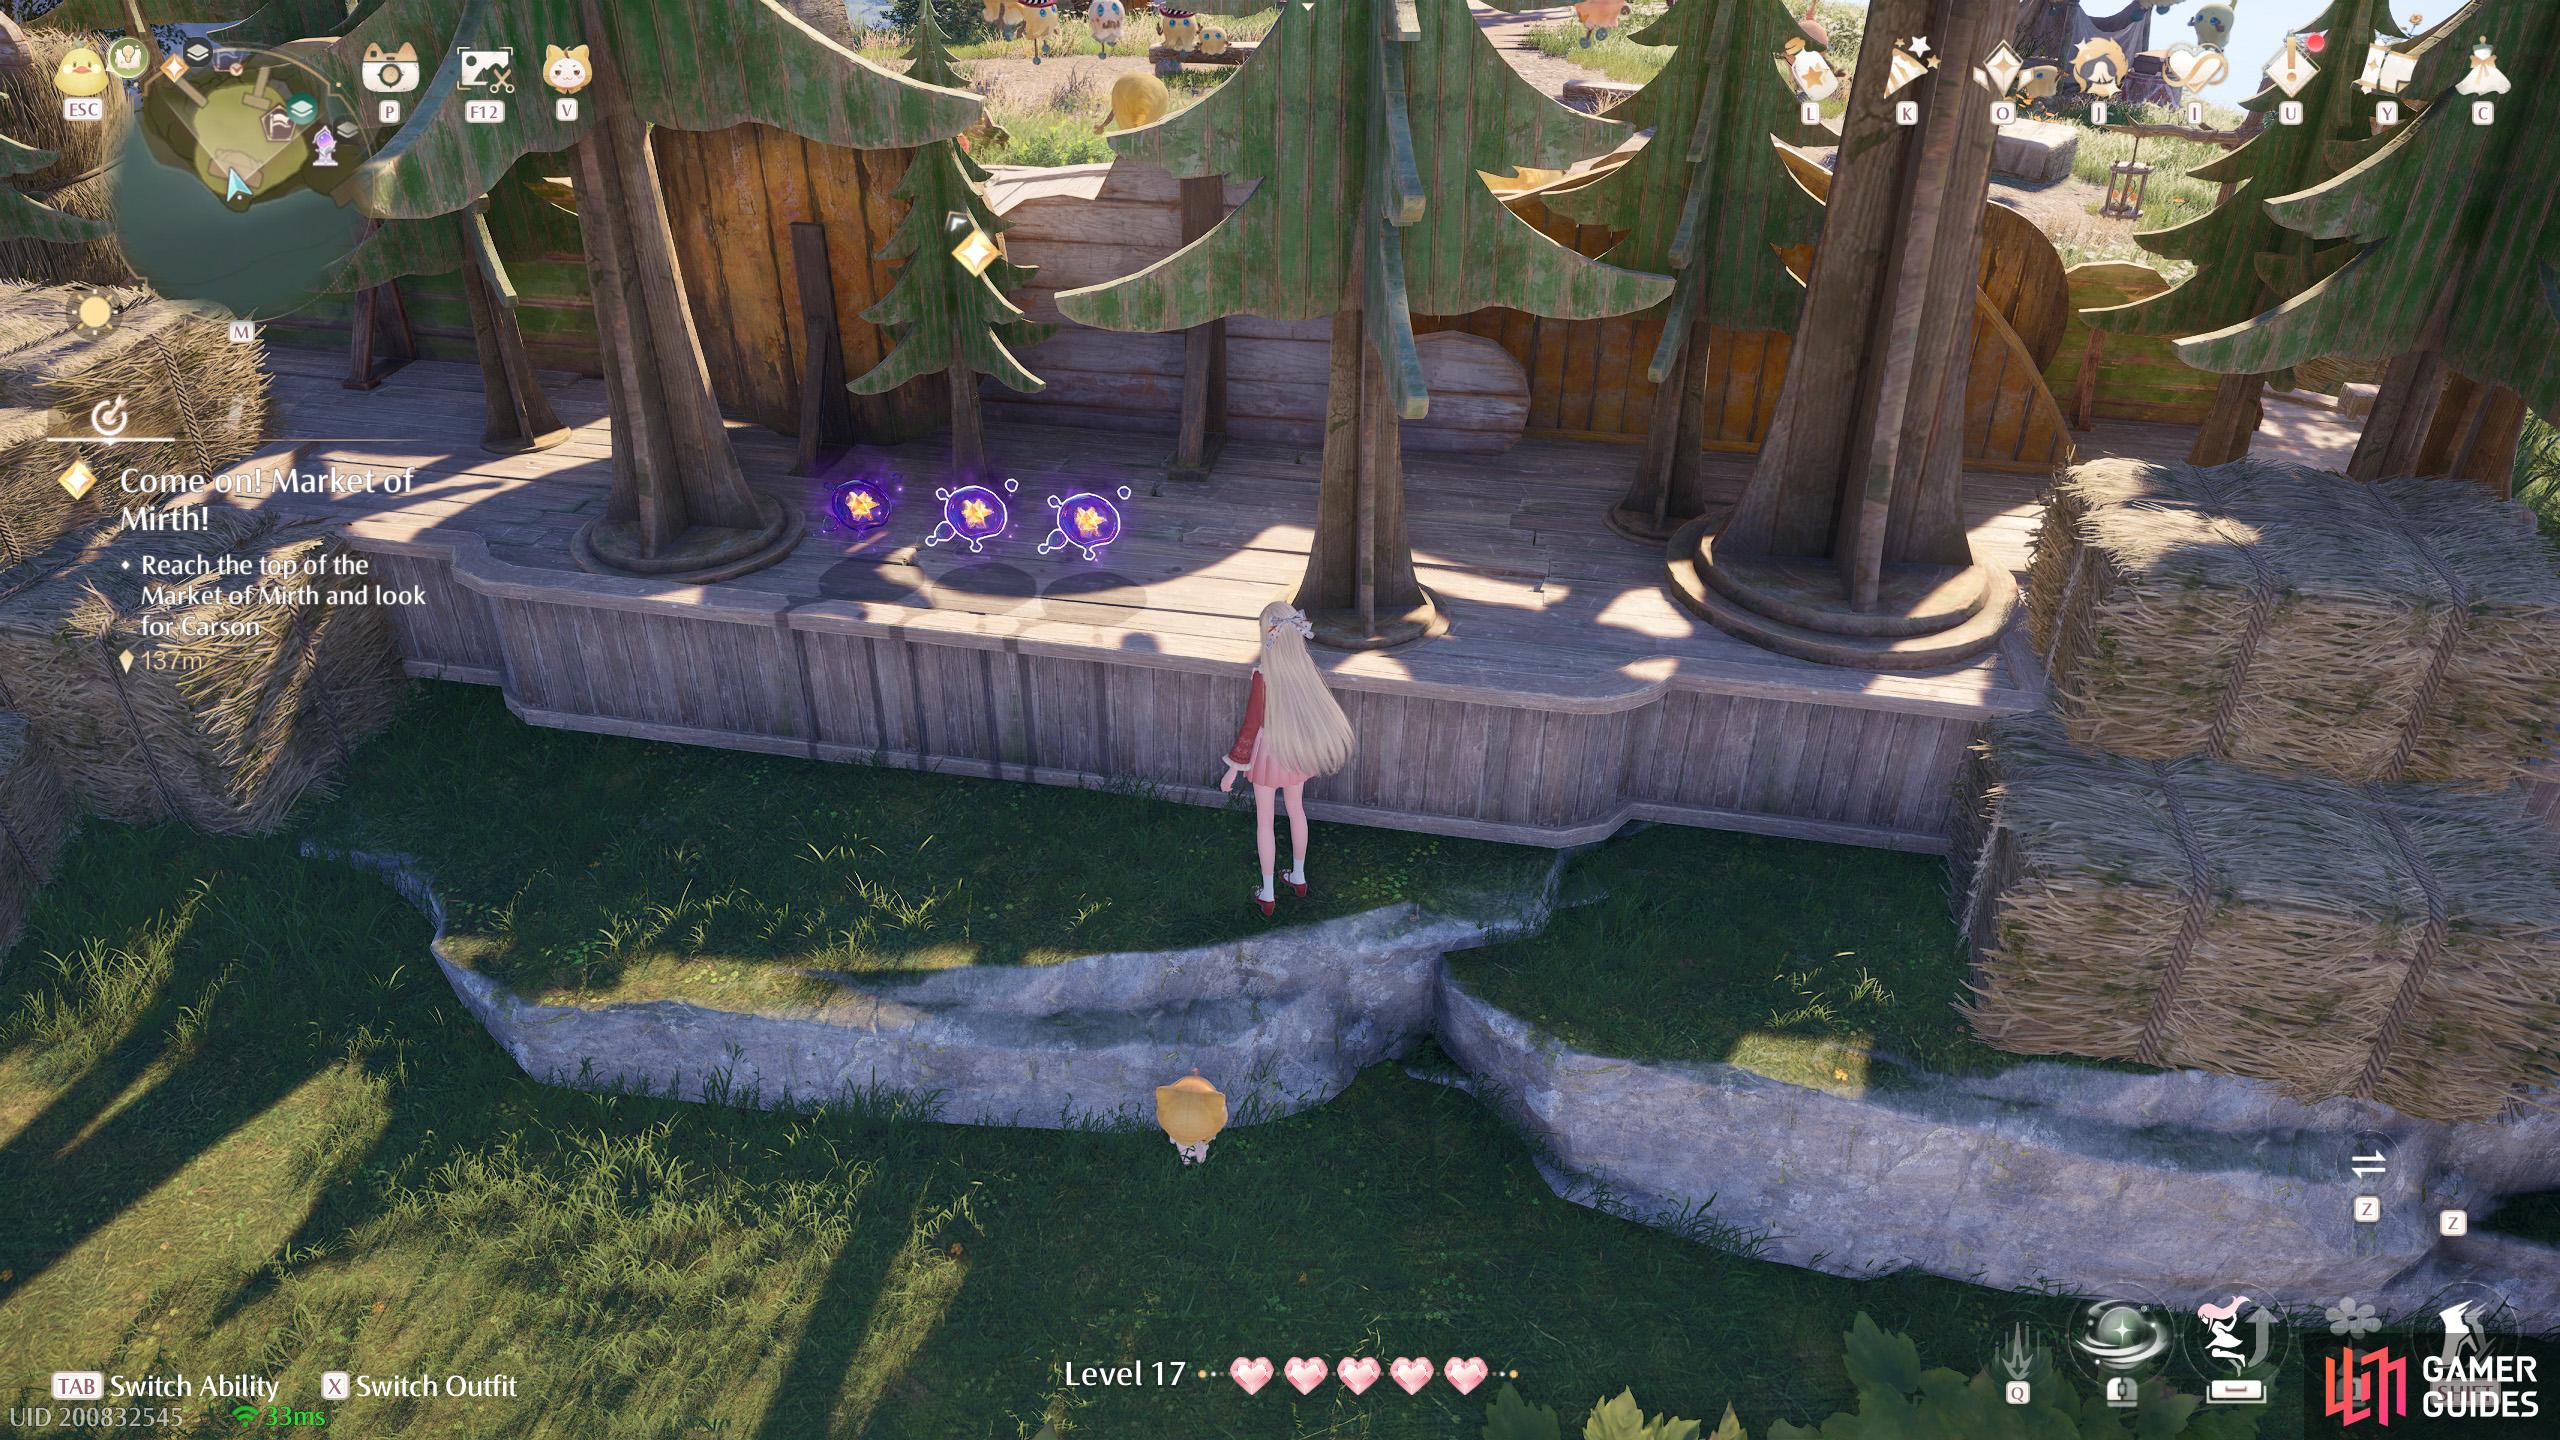
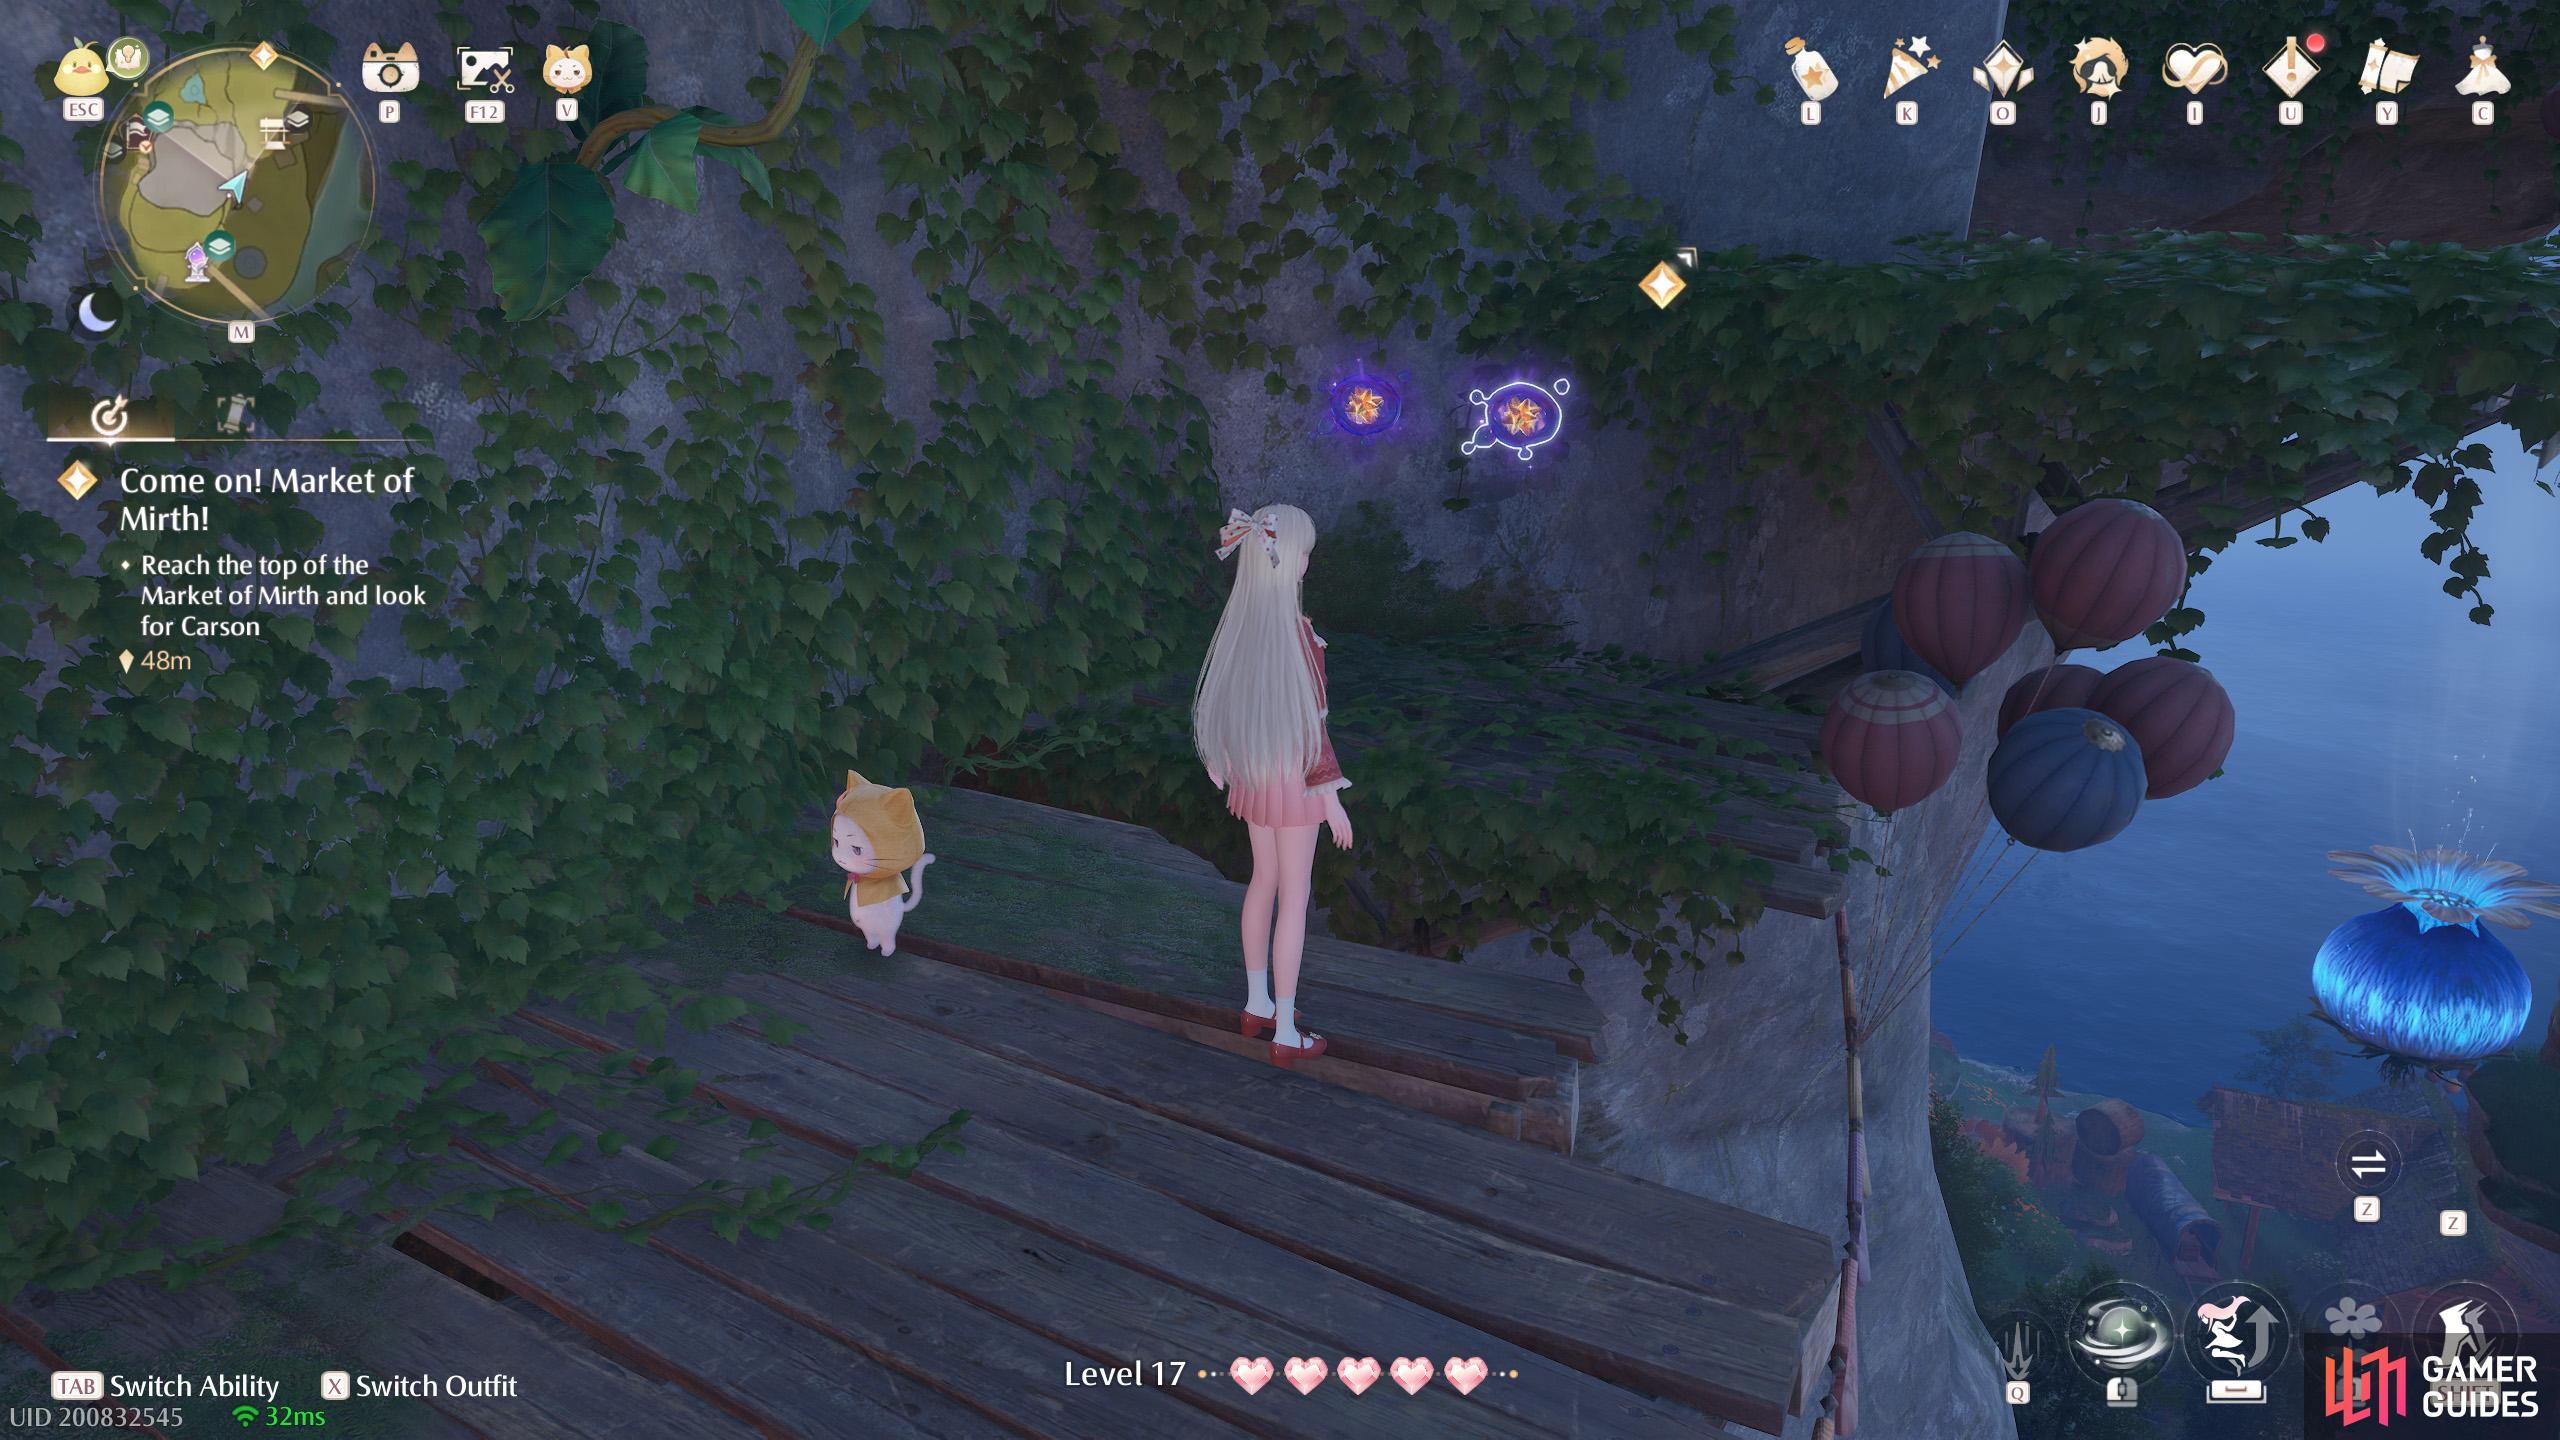
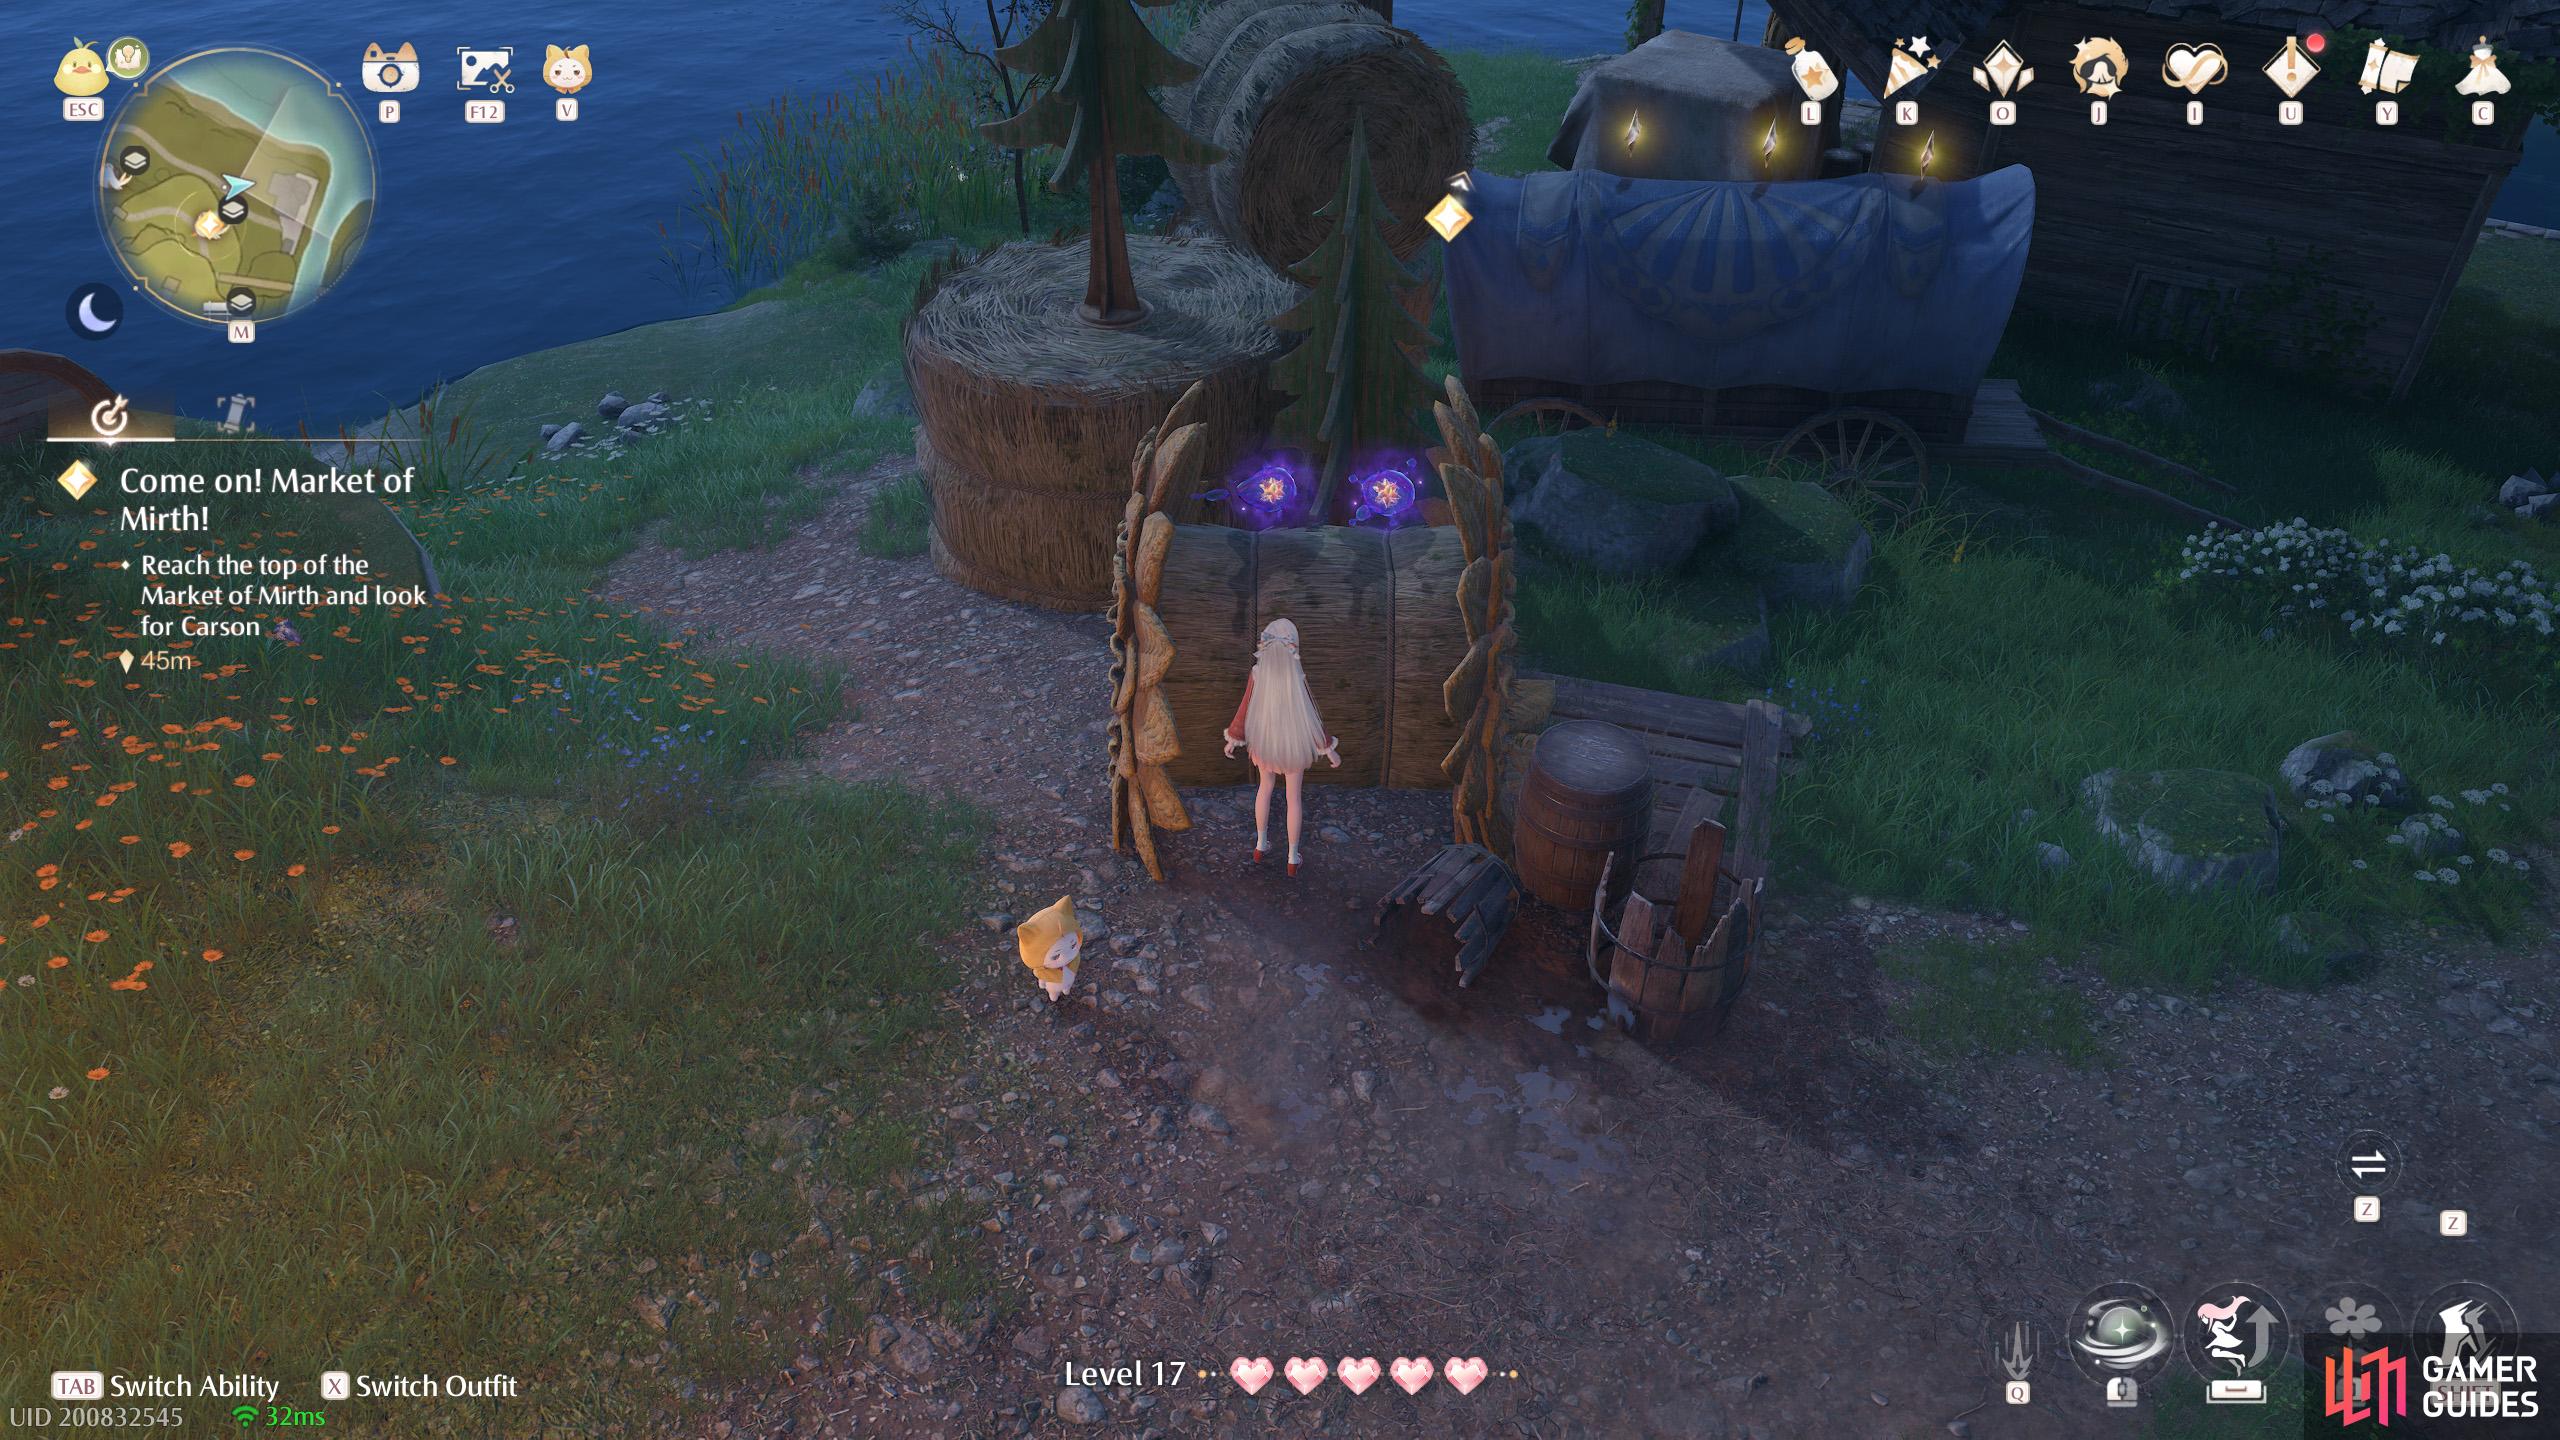
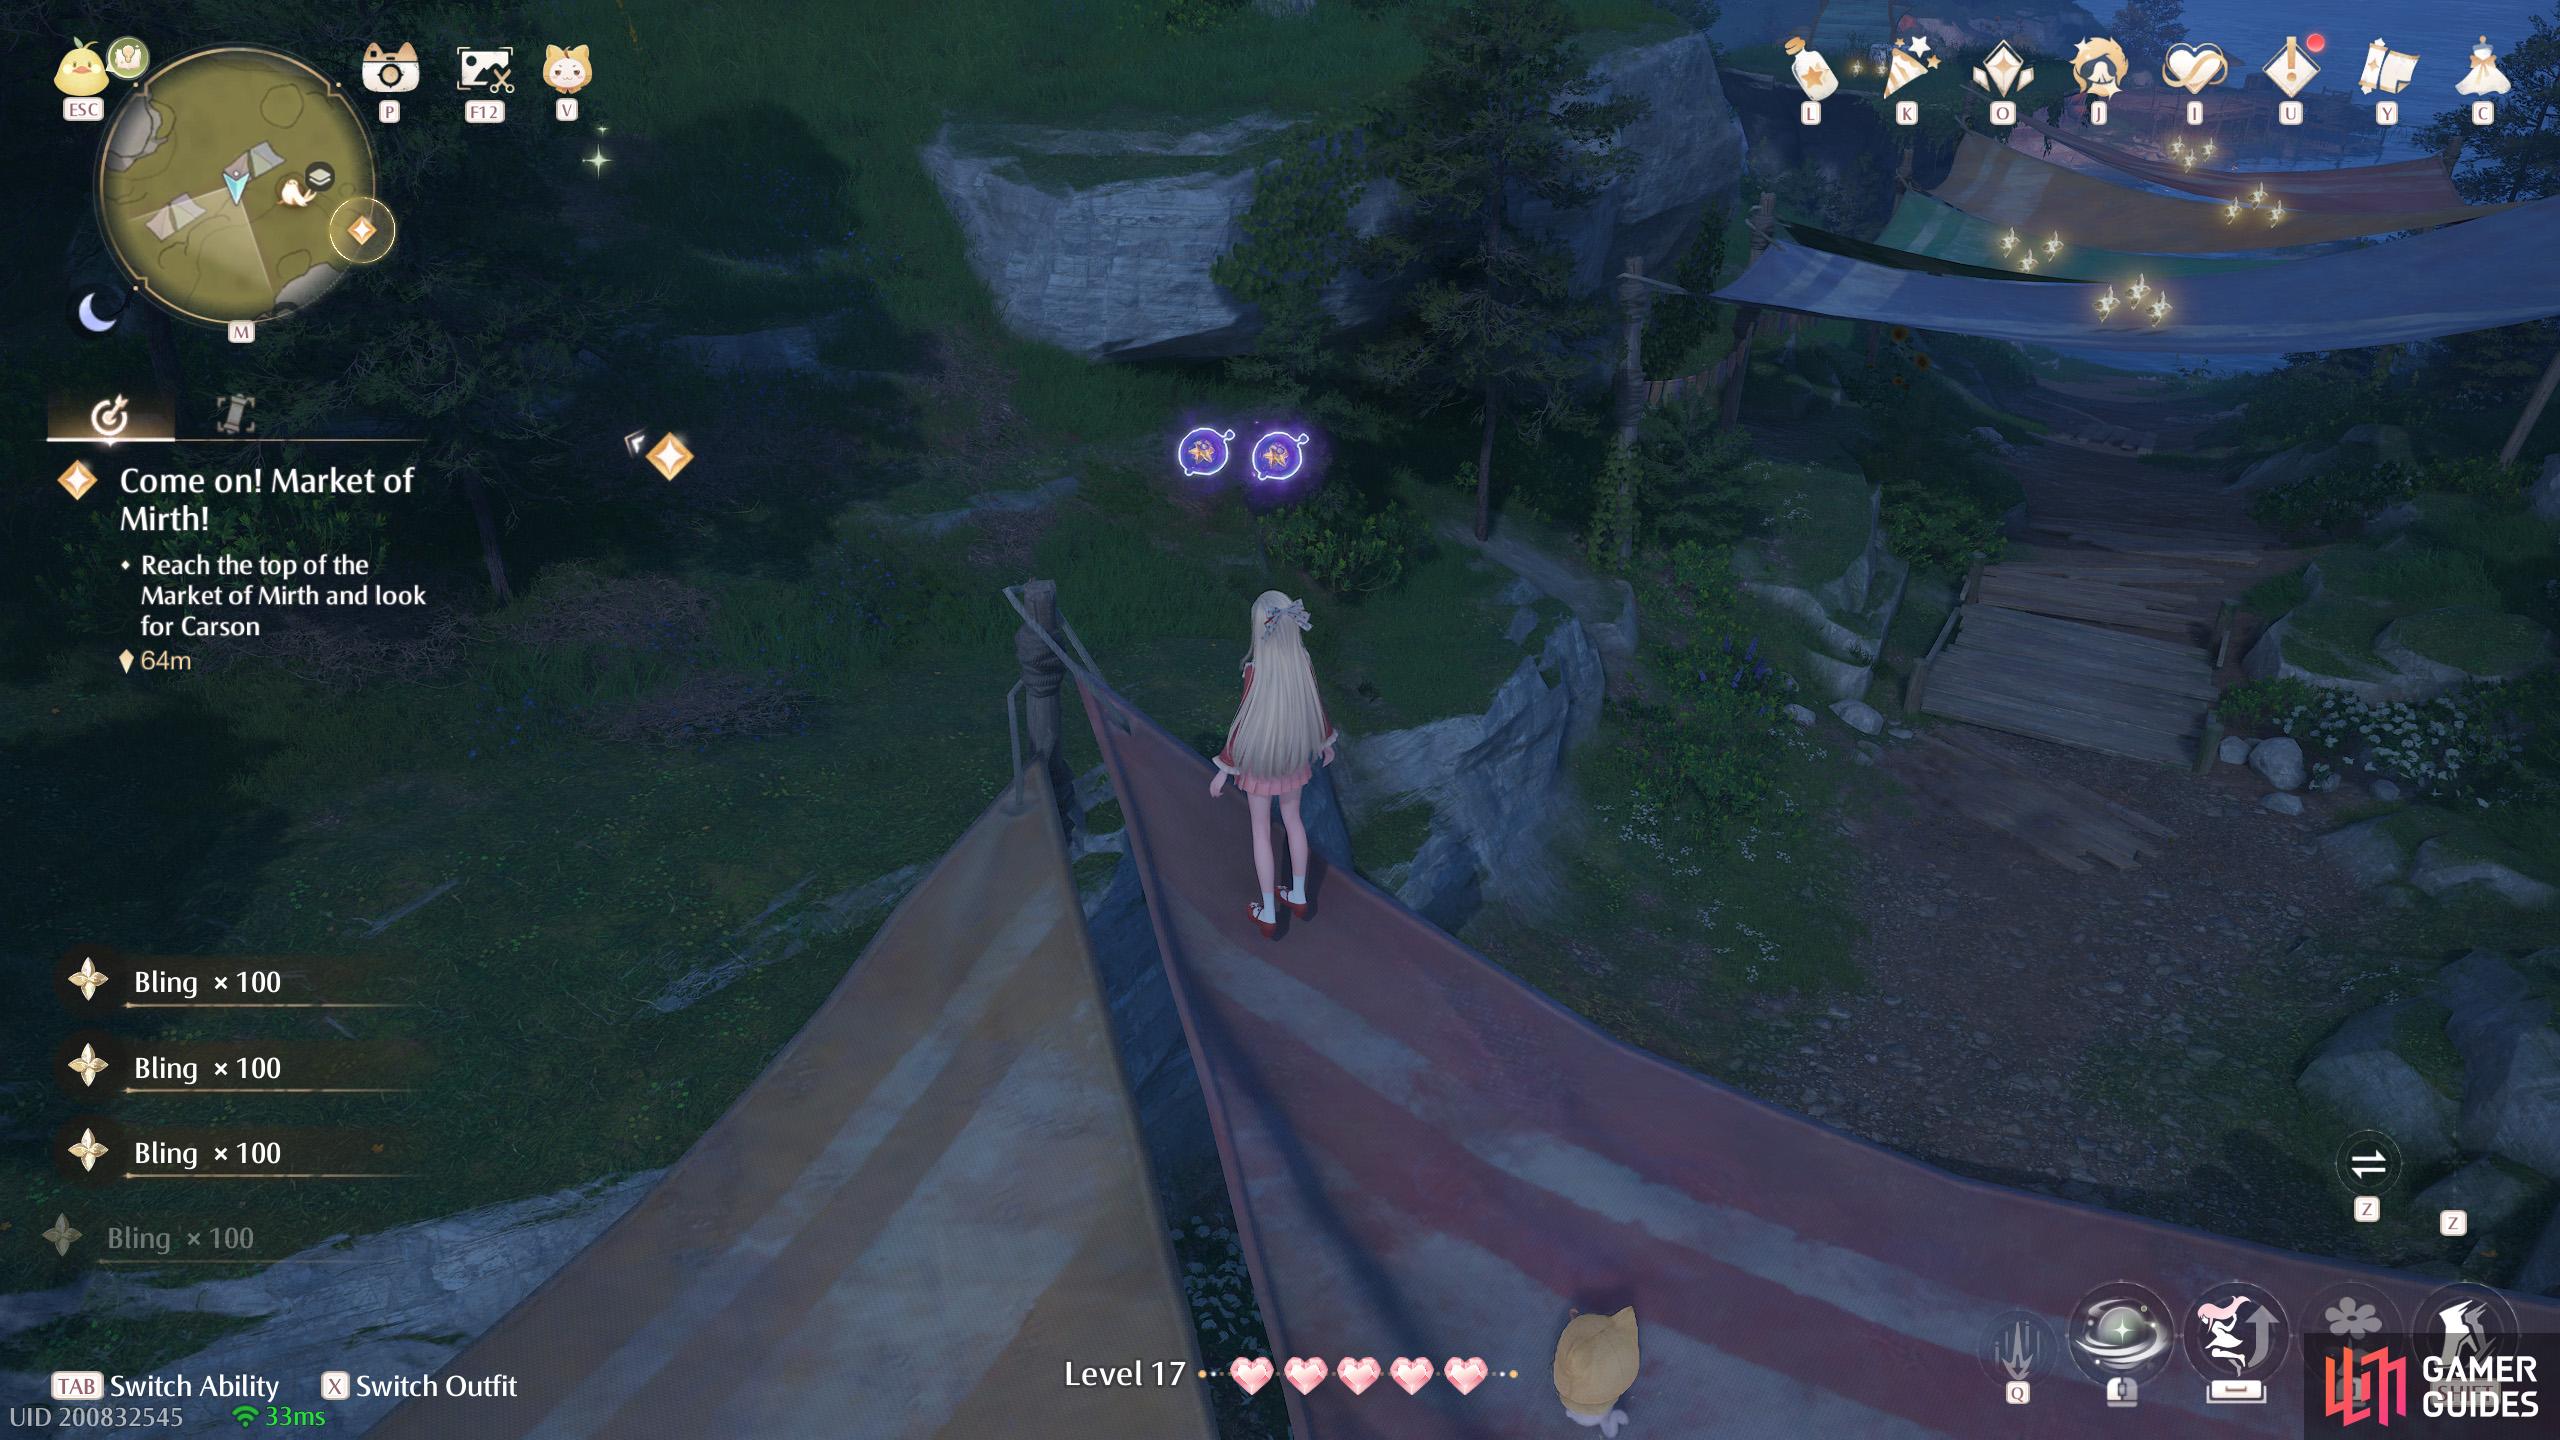
137. Miraland Map
North-east of the ![]() Queen’s Palace Ruins Front Yard. Three by the side of the cliff, near the Whimink. There are wishnets down there so you can get back up.
Queen’s Palace Ruins Front Yard. Three by the side of the cliff, near the Whimink. There are wishnets down there so you can get back up.
138. Miraland Map
North-east of the ![]() Queen’s Palace Ruins Front Yard. Two by the cliff side, somewhat near the sea.
Queen’s Palace Ruins Front Yard. Two by the cliff side, somewhat near the sea.
139. Miraland Map
South-east of the ![]() Queen’s Palace Ruins Front Yard. Two at the collapsed part of the wall near the minigame stall.
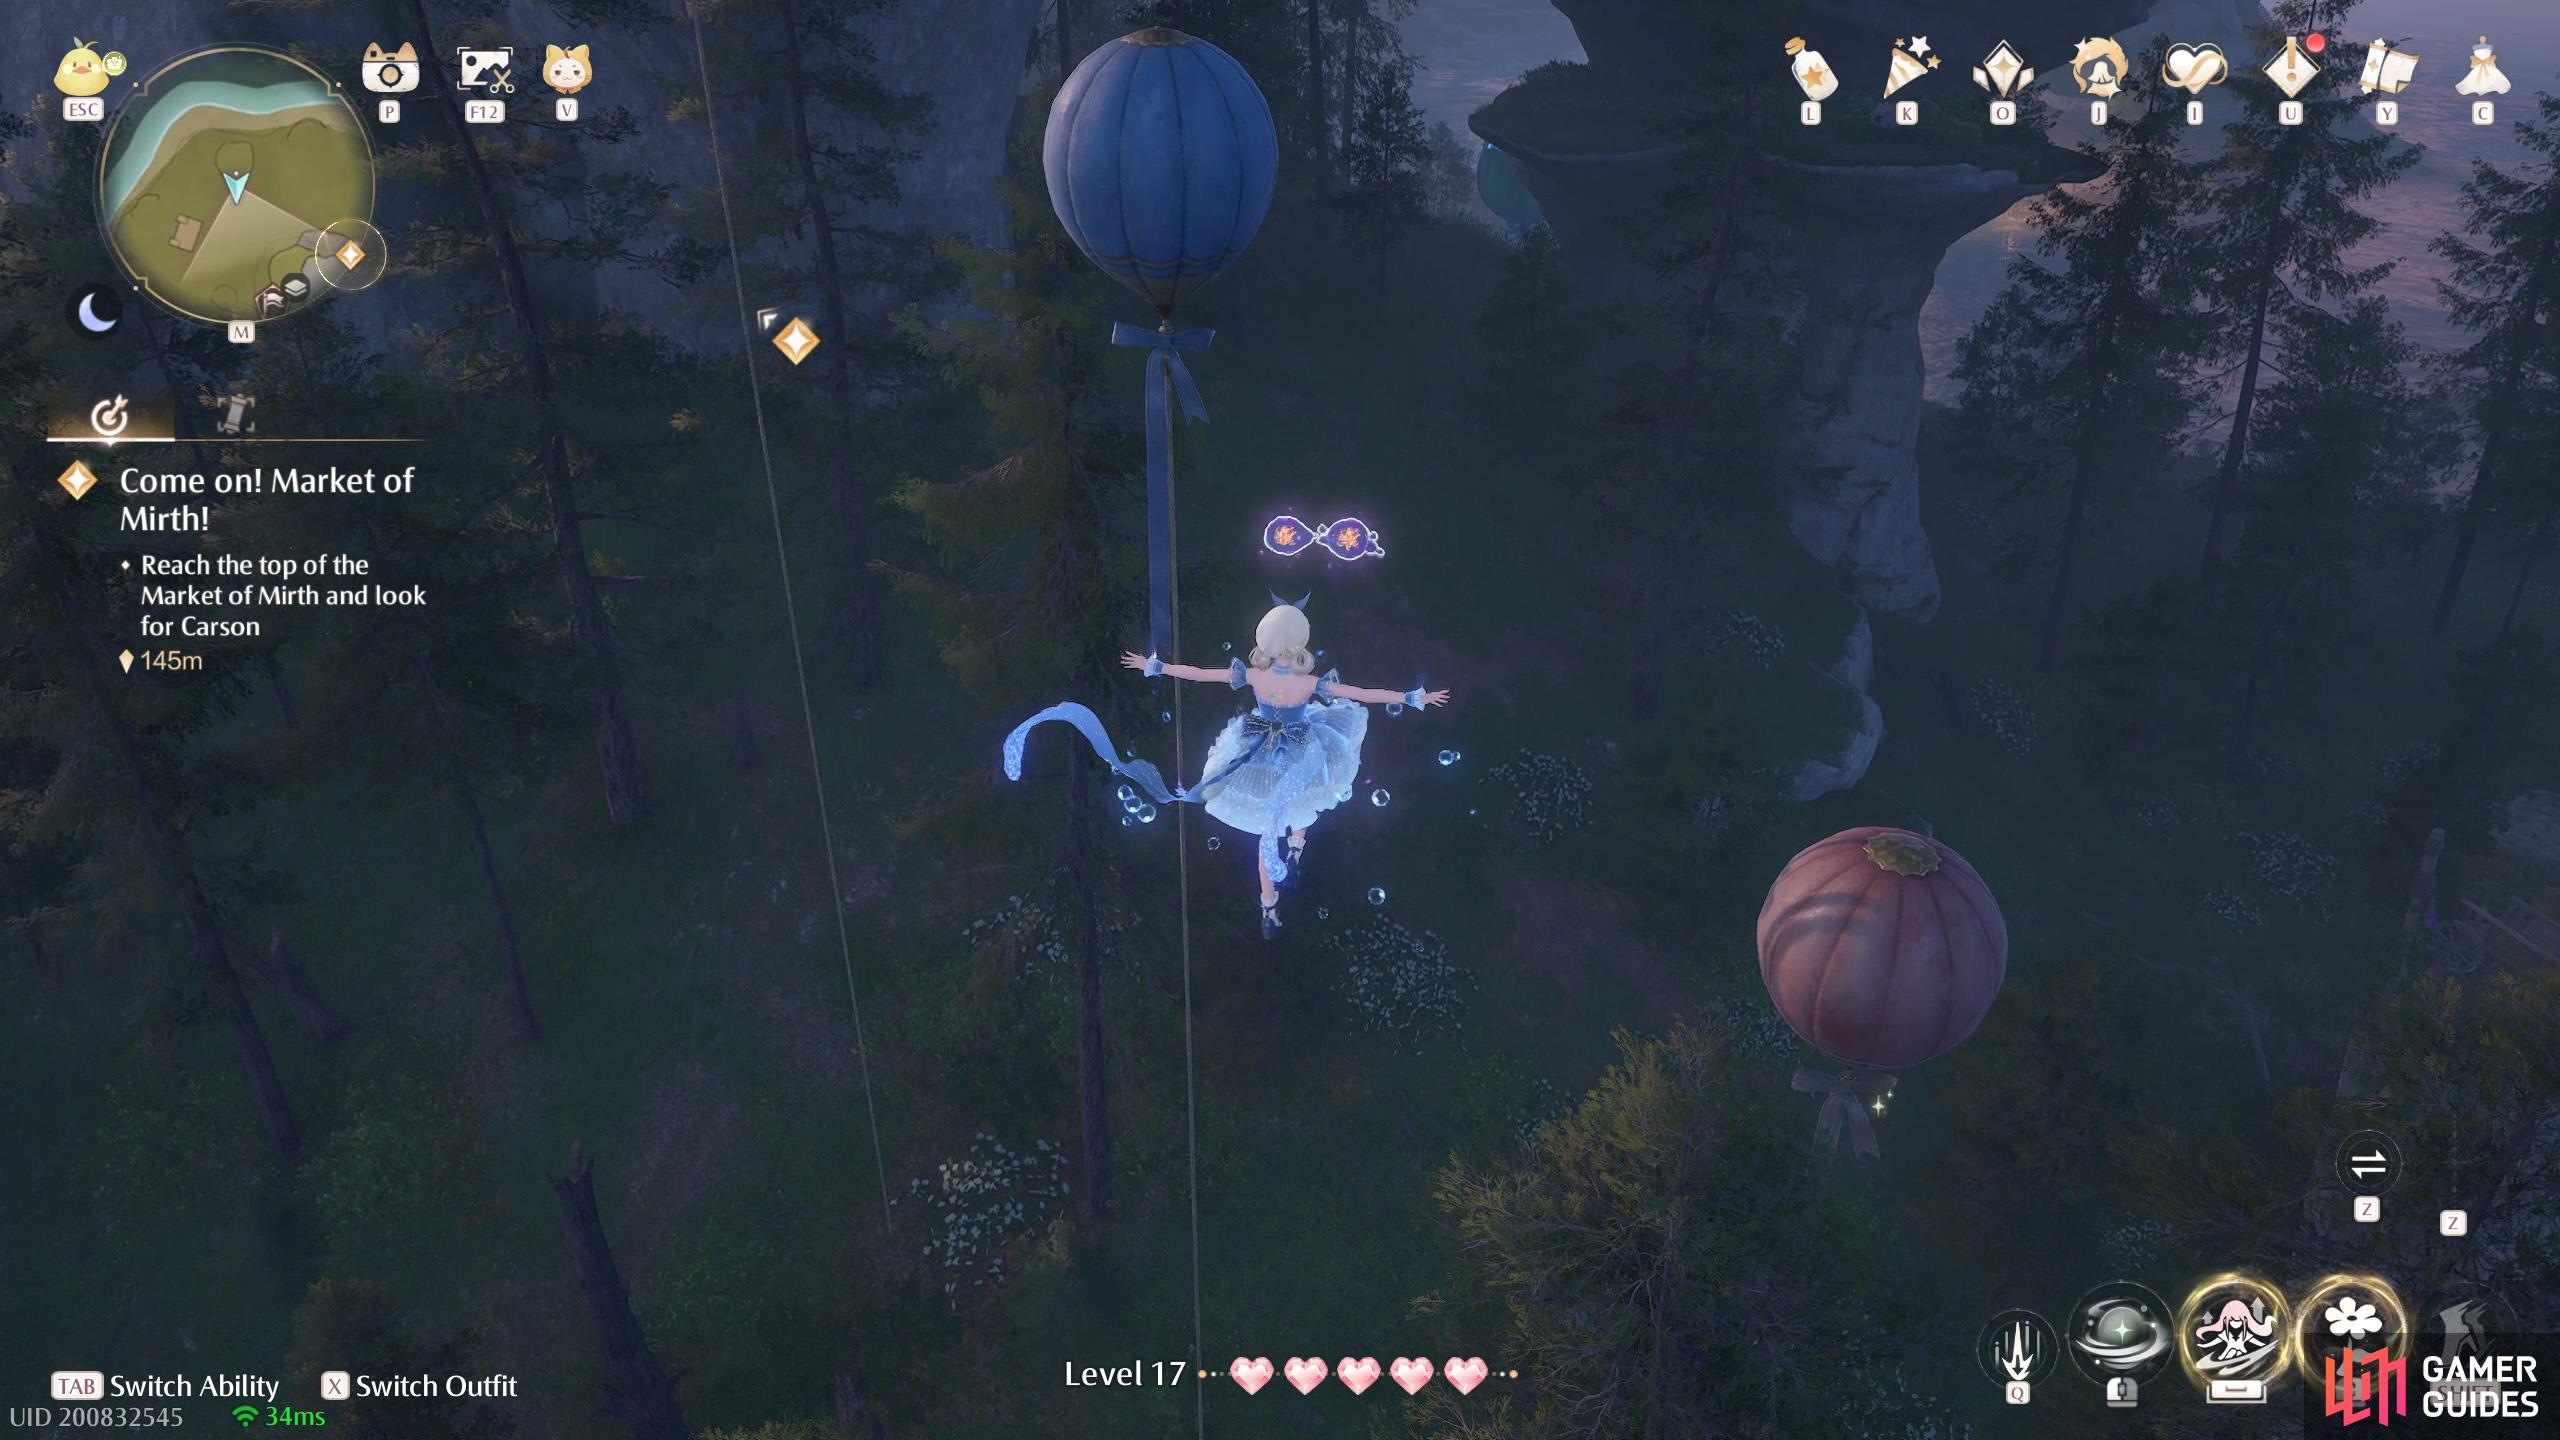
Queen’s Palace Ruins Front Yard. Two at the collapsed part of the wall near the minigame stall.
140. Miraland Map
North-west of the ![]() Queen’s Palace Ruins Front Yard. Two floating near the north-west entrance. You can jump from the south.
Queen’s Palace Ruins Front Yard. Two floating near the north-west entrance. You can jump from the south.
141. Miraland Map
South of the ![]() Queen’s Palace Ruins Entrance. Two floating above the statue.
Queen’s Palace Ruins Entrance. Two floating above the statue.
142. Miraland Map
South of the ![]() Queen’s Palace Ruins Entrance. Two floating west from the statue.
Queen’s Palace Ruins Entrance. Two floating west from the statue.
143. Miraland Map
South-west of the ![]() Queen’s Palace Ruins Entrance. Three floating high up. There’s a leaf trampoline guarded by an Esseling nearby.
Queen’s Palace Ruins Entrance. Three floating high up. There’s a leaf trampoline guarded by an Esseling nearby.
144. Miraland Map
South side of the ![]() Queen’s Palace Ruins. In the room with Esselings, accessible via the north-west. In a corner on the lower level.
Queen’s Palace Ruins. In the room with Esselings, accessible via the north-west. In a corner on the lower level.
145. Miraland Map
South side of the ![]() Queen’s Palace Ruins. In the room with Esselings, accessible via the north-west. On the upper level, opposite the treasure chest.
Queen’s Palace Ruins. In the room with Esselings, accessible via the north-west. On the upper level, opposite the treasure chest.
146. Miraland Map
Tower at the east side of the ![]() Queen’s Palace Ruins. You can float down from the top of the
Queen’s Palace Ruins. You can float down from the top of the ![]() Queen’s Palace Ruins High Tower or through the crack in the wall halfway up, near a treasure chest.
Queen’s Palace Ruins High Tower or through the crack in the wall halfway up, near a treasure chest.
147. Miraland Map
At the top level of the ![]() Queen’s Palace Ruins High Tower. Two in the south-west corner.
Queen’s Palace Ruins High Tower. Two in the south-west corner.
148. Miraland Map
East of the ![]() Queen’s Palace Ruins High Tower. Three on a high up rooftop. You can climb up from further north (slightly hard). Or float down from the top of the tower, ideally from the northern windows (fairly easy).
Queen’s Palace Ruins High Tower. Three on a high up rooftop. You can climb up from further north (slightly hard). Or float down from the top of the tower, ideally from the northern windows (fairly easy).
149. Miraland Map
South of the ![]() Queen’s Palace Ruins Front Yard. Two floating near the castle wall. You can reach it from a leaf trampoline to the west, near the curio entrance
Queen’s Palace Ruins Front Yard. Two floating near the castle wall. You can reach it from a leaf trampoline to the west, near the curio entrance
150. Miraland Map
West of the ![]() Queen’s Palace Ruins High Tower. Two floating by the side of the wall, near the slope.
Queen’s Palace Ruins High Tower. Two floating by the side of the wall, near the slope.
151. Miraland Map
South-west of the ![]() Queen’s Palace Ruins High Tower. Two in a corner inside the southernmost room.
Queen’s Palace Ruins High Tower. Two in a corner inside the southernmost room.
152. Miraland Map
![]() Queen’s Palace Ruins, south-west corner of the central plaza, two on the rooftop. Use a nearby leaf trampoline to get up.
Queen’s Palace Ruins, south-west corner of the central plaza, two on the rooftop. Use a nearby leaf trampoline to get up.
153. Miraland Map
![]() Queen’s Palace Ruins. North side of the central plaza, three behind a collapsed roof. You can climb up from the nearby doorway.
Queen’s Palace Ruins. North side of the central plaza, three behind a collapsed roof. You can climb up from the nearby doorway.

154. Miraland Map
South-west of the ![]() Queen’s Palace Ruins Front Yard. Inside the nearest room. Two floating above a corner.
Queen’s Palace Ruins Front Yard. Inside the nearest room. Two floating above a corner.
155. Miraland Map
Short distance west from the ![]() Queen’s Palace Ruins Front Yard Warp Spire. On a rooftop. You can climb up from the nearby room to the south.
Queen’s Palace Ruins Front Yard Warp Spire. On a rooftop. You can climb up from the nearby room to the south.
156. Miraland Map
South-east from the ![]() Queen’s Palace Ruins High Tower. Three atop the furthest rooftop. You can get here by floating down from the high tower. Jump from the west-facing windows and travel counter-clockwise around the tower until you can head east.
Queen’s Palace Ruins High Tower. Three atop the furthest rooftop. You can get here by floating down from the high tower. Jump from the west-facing windows and travel counter-clockwise around the tower until you can head east.
157. Miraland Map
South-east from the Queen’s Ruins Entrance. Two floating in the air with a leaf trampoline nearby.
158. Miraland Map
North of the ![]() Queen’s Palace Ruins Front Yard. Two floating by the cliff side, on the shore.
Queen’s Palace Ruins Front Yard. Two floating by the cliff side, on the shore.
159. Miraland Map
South of the ![]() Queen’s Palace Ruins Entrance. Behind some rubble to the east of the road.
Queen’s Palace Ruins Entrance. Behind some rubble to the east of the road.

160. Miraland Map
![]() Queen’s Palace Ruins. Western outer wall. Two floating near the top of the wall. You can climb up from the north.
Queen’s Palace Ruins. Western outer wall. Two floating near the top of the wall. You can climb up from the north.
161. Miraland Map
![]() Queen’s Palace Ruins. Around the south-west corner. Three on the rooftop. There’s a leaf trampoline nearby that you can use to launch up. Beware of the Esseling up here. After landing on the wooden boards above the window, you need to jump onto the triangular roof segment.
Queen’s Palace Ruins. Around the south-west corner. Three on the rooftop. There’s a leaf trampoline nearby that you can use to launch up. Beware of the Esseling up here. After landing on the wooden boards above the window, you need to jump onto the triangular roof segment.
162. Miraland Map
South-west from the ![]() Queen’s Palace Ruins High Tower. Two on the rooftop, above a window. You can float down from the top of the tower. Or jump over from the south, where the
Queen’s Palace Ruins High Tower. Two on the rooftop, above a window. You can float down from the top of the tower. Or jump over from the south, where the ![]() Whimstar is.
Whimstar is.
163. Miraland Map
A short distance south-west from the ![]() Queen’s Palace Ruins High Tower. Three high up by the side of the wall. You can float down from the top of the tower. There’s a
Queen’s Palace Ruins High Tower. Three high up by the side of the wall. You can float down from the top of the tower. There’s a ![]() Whimstar nearby, higher up. Tip: There’s a small ledge to the south if you land before purifying the dew and can’t reach them all.
Whimstar nearby, higher up. Tip: There’s a small ledge to the south if you land before purifying the dew and can’t reach them all.
164. Miraland Map
South of the ![]() Queen’s Palace Ruins Front Yard. Two to the east of the first leaf trampoline.
Queen’s Palace Ruins Front Yard. Two to the east of the first leaf trampoline.
165. Miraland Map
North of ![]() Queen’s Palace Ruins West Forest. Two floating high up. Use the leaf trampoline to reach them.
Queen’s Palace Ruins West Forest. Two floating high up. Use the leaf trampoline to reach them.
166. Miraland Map
Short distance north of ![]() Queen’s Palace Ruins West Forest. Four floating near the top of a rock mound.
Queen’s Palace Ruins West Forest. Four floating near the top of a rock mound.
167. Miraland Map
East of ![]() Queen’s Palace Ruins West Forest. Two floating high up, with a leaf trampoline nearby/
Queen’s Palace Ruins West Forest. Two floating high up, with a leaf trampoline nearby/
168. Miraland Map
South-east from ![]() Lakeside Hill Lane. Three floating high up, with a leaf trampoline below guarded by an Esseling.
Lakeside Hill Lane. Three floating high up, with a leaf trampoline below guarded by an Esseling.
169. Miraland Map
South of ![]() Queen’s Palace Ruins West Forest. Two floating high up with a leaf trampoline nearby.
Queen’s Palace Ruins West Forest. Two floating high up with a leaf trampoline nearby.
170. Miraland Map
North of ![]() Heartcraft Kingdom Outpost. Three up the cliff side. There’s a leaf trampoline nearby, surrounded by a few Esselings.
Heartcraft Kingdom Outpost. Three up the cliff side. There’s a leaf trampoline nearby, surrounded by a few Esselings.
171. Miraland Map
South-west from ![]() Queen’s Palace Ruins High Tower. Two floating in the air with a leaf trampoline below.
Queen’s Palace Ruins High Tower. Two floating in the air with a leaf trampoline below.
172. Miraland Map
Inside the ![]() Lakeside Cliff Cavern. Two floating above the entrance to the room with the treasure chest guarded by Esselings. After opening the chest, look for some steps nearby, where the
Lakeside Cliff Cavern. Two floating above the entrance to the room with the treasure chest guarded by Esselings. After opening the chest, look for some steps nearby, where the ![]() Bling is.
Bling is.
173. Miraland Map
Inside the ![]() Lakeside Cliff Cavern. In the water area, take a left. There are two floating at the end of this side area.
Lakeside Cliff Cavern. In the water area, take a left. There are two floating at the end of this side area.
174. Miraland Map
West of ![]() Lakeside Cliff Cavern. Three by the cliff face, on higher ground. There are three Esselings surrounding them.
Lakeside Cliff Cavern. Three by the cliff face, on higher ground. There are three Esselings surrounding them.
175. Miraland Map
Small house east of ![]() Daisy Inn. Two floating on top of the ledge at the back.
Daisy Inn. Two floating on top of the ledge at the back.
176. Miraland Map
North of the ![]() Well of Fortune entrance, underground. Before jumping into the hole, check one of the far corners.
Well of Fortune entrance, underground. Before jumping into the hole, check one of the far corners.

177. Miraland Map
Underground. West from the ![]() Well of Fortune. Two floating in the area near the stairs.
Well of Fortune. Two floating in the area near the stairs.
178. Miraland Map
Underground, south of the ![]() Well of Fortune. Two floating above a pipe valve. There are steps nearby where you can climb up.
Well of Fortune. Two floating above a pipe valve. There are steps nearby where you can climb up.
179. Miraland Map
North of the ![]() Mayor’s Residence. Three floating by the cliff side, high up. There’s a slope to the east.
Mayor’s Residence. Three floating by the cliff side, high up. There’s a slope to the east.
180. Miraland Map
South of the ![]() Well of Fortune. Two floating in the air. You can double jump from atop the nearby rubble. Or float down from the north-west.
Well of Fortune. Two floating in the air. You can double jump from atop the nearby rubble. Or float down from the north-west.
181. Miraland Map
Underground, south of the ![]() Well of Fortune. Two floating near a ledge on the middle level. You can enter from the side entrance near
Well of Fortune. Two floating near a ledge on the middle level. You can enter from the side entrance near ![]() Nonoy’s Home. Or the upper entrance to the south, then drop down.
Nonoy’s Home. Or the upper entrance to the south, then drop down.
182. Miraland Map
Underground, south-west of the ![]() Well of Fortune. Two next to a pipe near an area where you can fish. You can enter via the side entrance near
Well of Fortune. Two next to a pipe near an area where you can fish. You can enter via the side entrance near ![]() Nonoy’s Home. It’s below the metal stairs.
Nonoy’s Home. It’s below the metal stairs.
183. Miraland Map
Underground, south of the ![]() Well of Fortune. Two floating above the lower entrance. You need to enter from the side entrance near
Well of Fortune. Two floating above the lower entrance. You need to enter from the side entrance near ![]() Nonoy’s Home or the upper entrance, higher up the cliff.
Nonoy’s Home or the upper entrance, higher up the cliff.
184. Miraland Map
Inside ![]() Relic Hill Cavern. Two floating near the entrance to the water area. Before going to the water area, take a left and go around.
Relic Hill Cavern. Two floating near the entrance to the water area. Before going to the water area, take a left and go around.
185. Miraland Map
Inside ![]() Relic Hill Cavern. Two in a corner of the cavern. Near the start of the water area, take a left before the steps and go around.
Relic Hill Cavern. Two in a corner of the cavern. Near the start of the water area, take a left before the steps and go around.

186. Miraland Map
Inside ![]() Relic Hill Cavern. Two hidden near the water. After grabbing the
Relic Hill Cavern. Two hidden near the water. After grabbing the ![]() Whimstar, drop down to where the lily pads are.
Whimstar, drop down to where the lily pads are.
187. Miraland Map
Inside ![]() Hillside Cavern. Take a left. After jumping up a few times, two of them are floating high to the right.
Hillside Cavern. Take a left. After jumping up a few times, two of them are floating high to the right.
188. Miraland Map
Inside ![]() Hillside Cavern. Take a left. After jumping up three times or so, there are two to the right, around the corner.
Hillside Cavern. Take a left. After jumping up three times or so, there are two to the right, around the corner.
189. Miraland Map
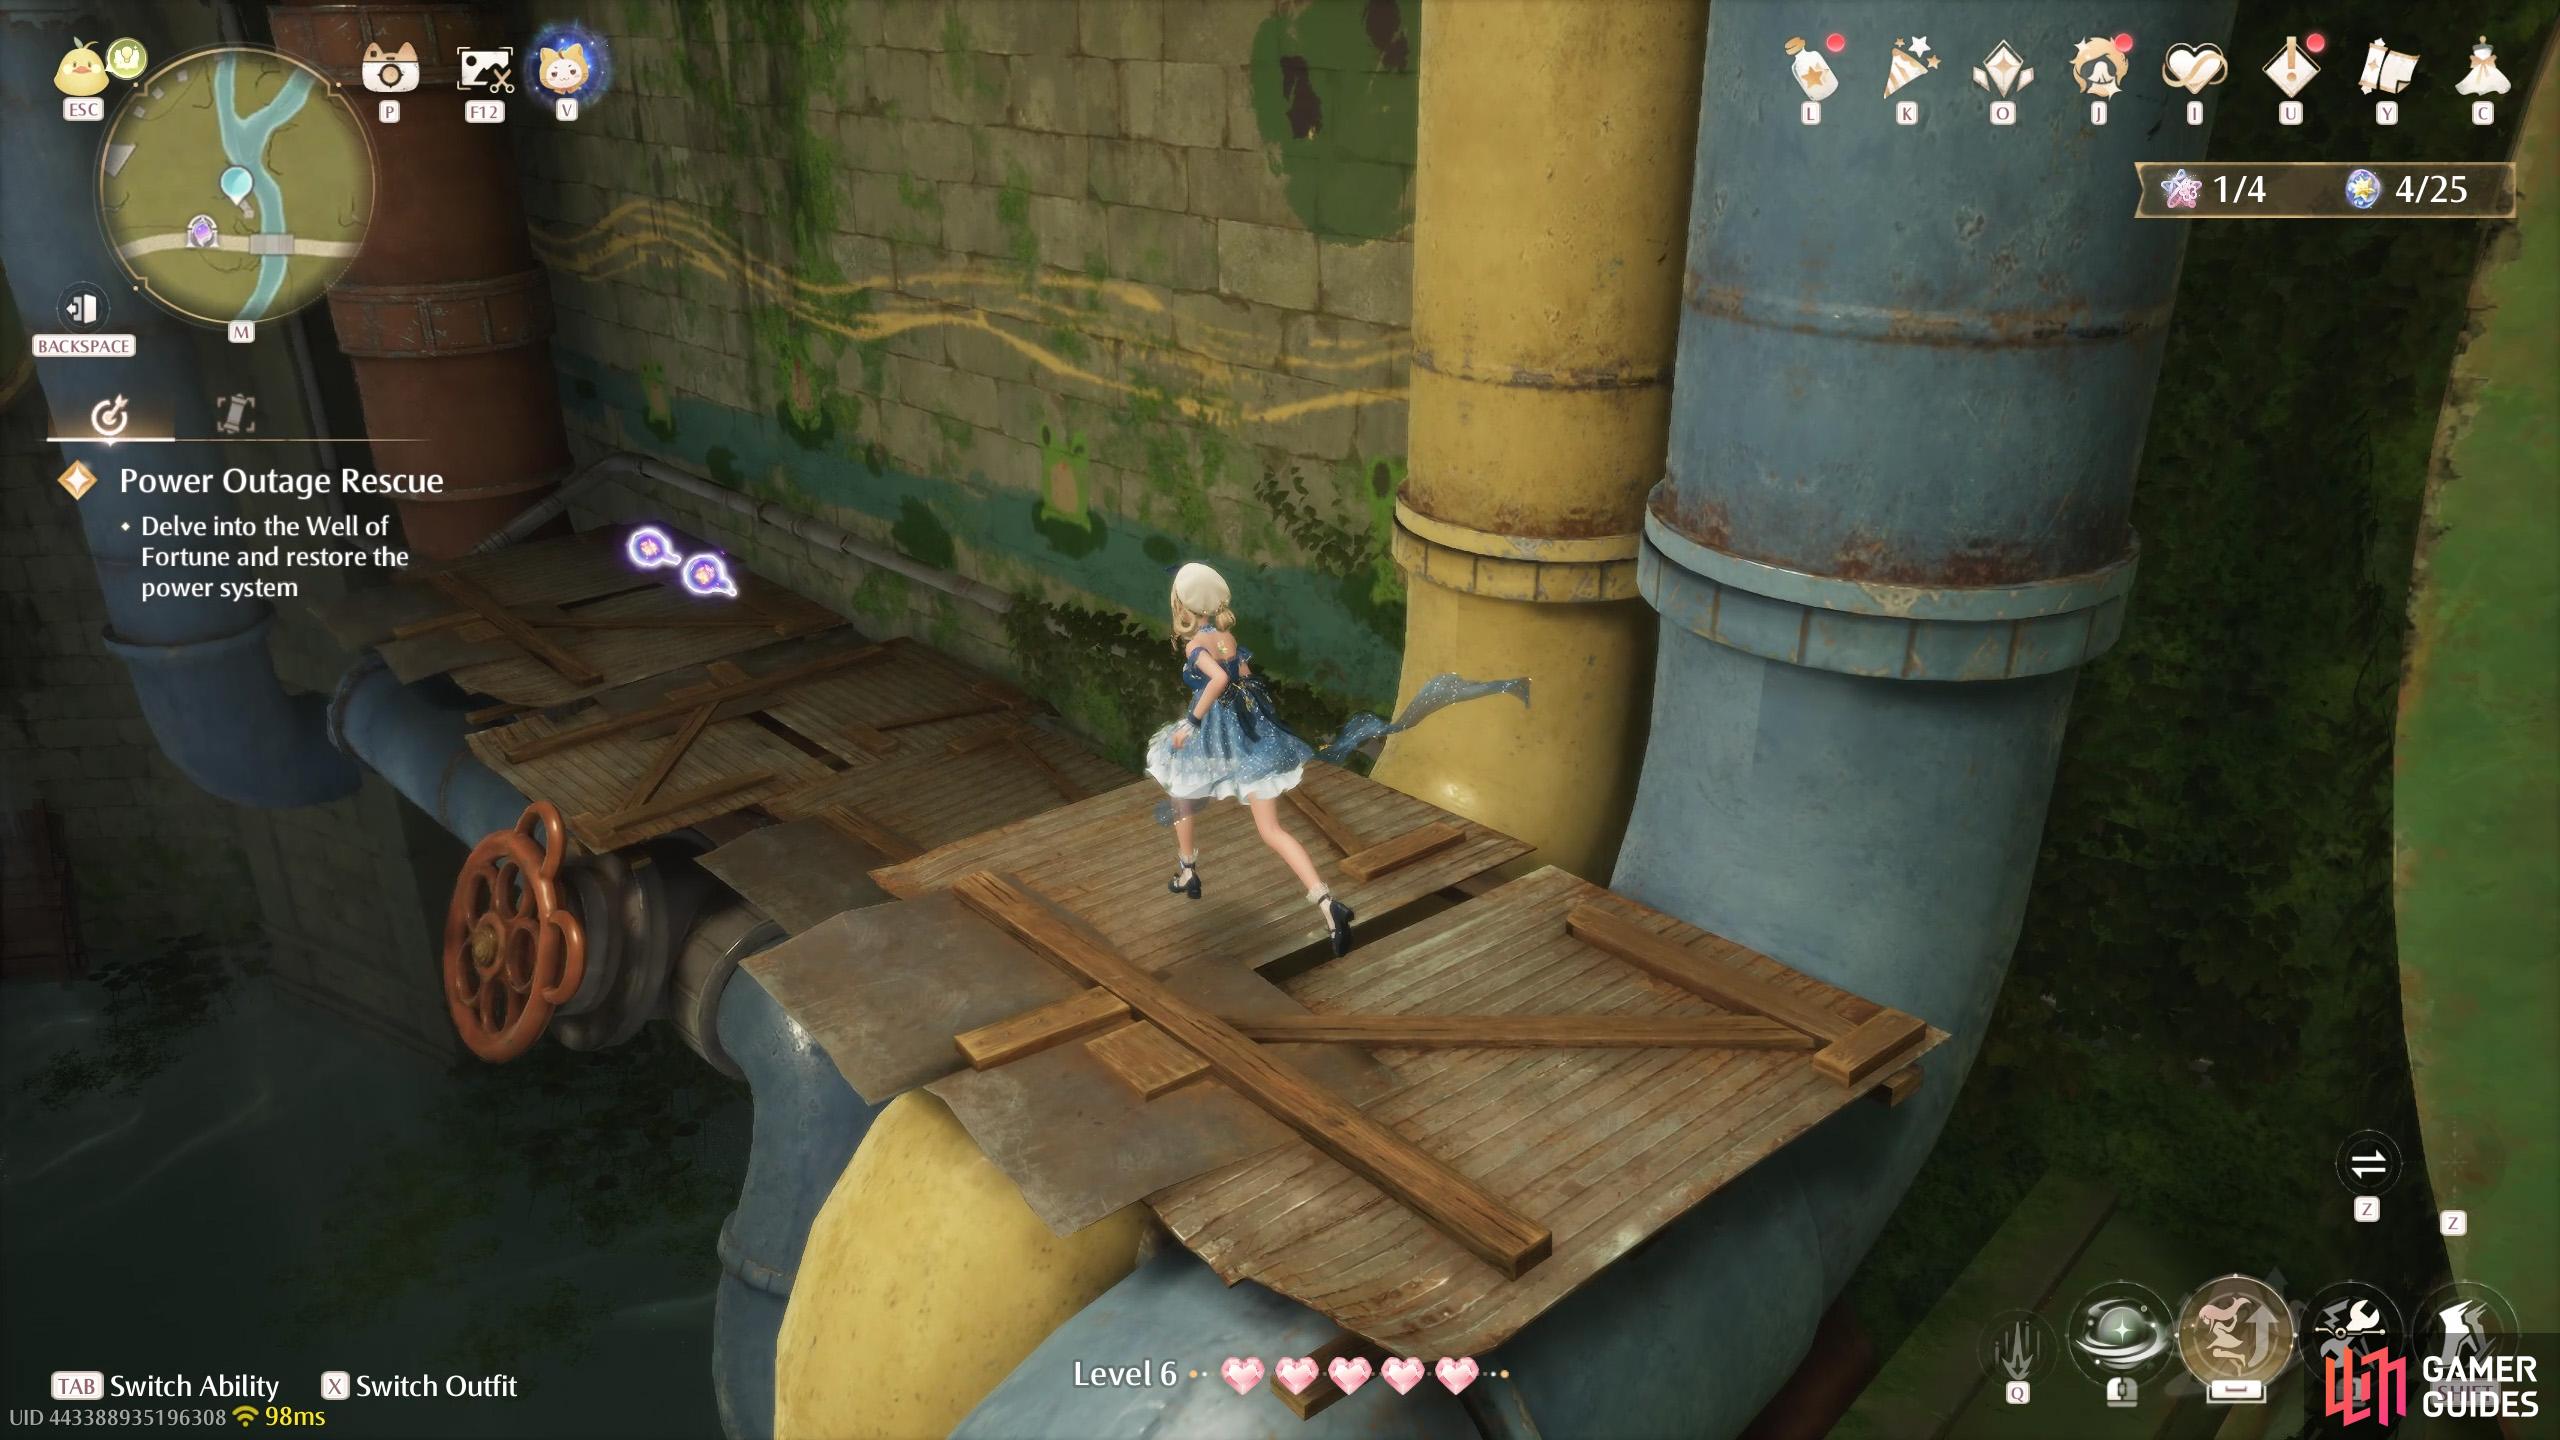
![]() Well of Fortune. Near the beginning. After going around the first corner, turn right to find three of these around the next corner.
Well of Fortune. Near the beginning. After going around the first corner, turn right to find three of these around the next corner.
190. Miraland Map
![]() Well of Fortune. From the first checkpoint, go along the left side of the water area. Two of these are found at the end.
Well of Fortune. From the first checkpoint, go along the left side of the water area. Two of these are found at the end.
191. Miraland Map
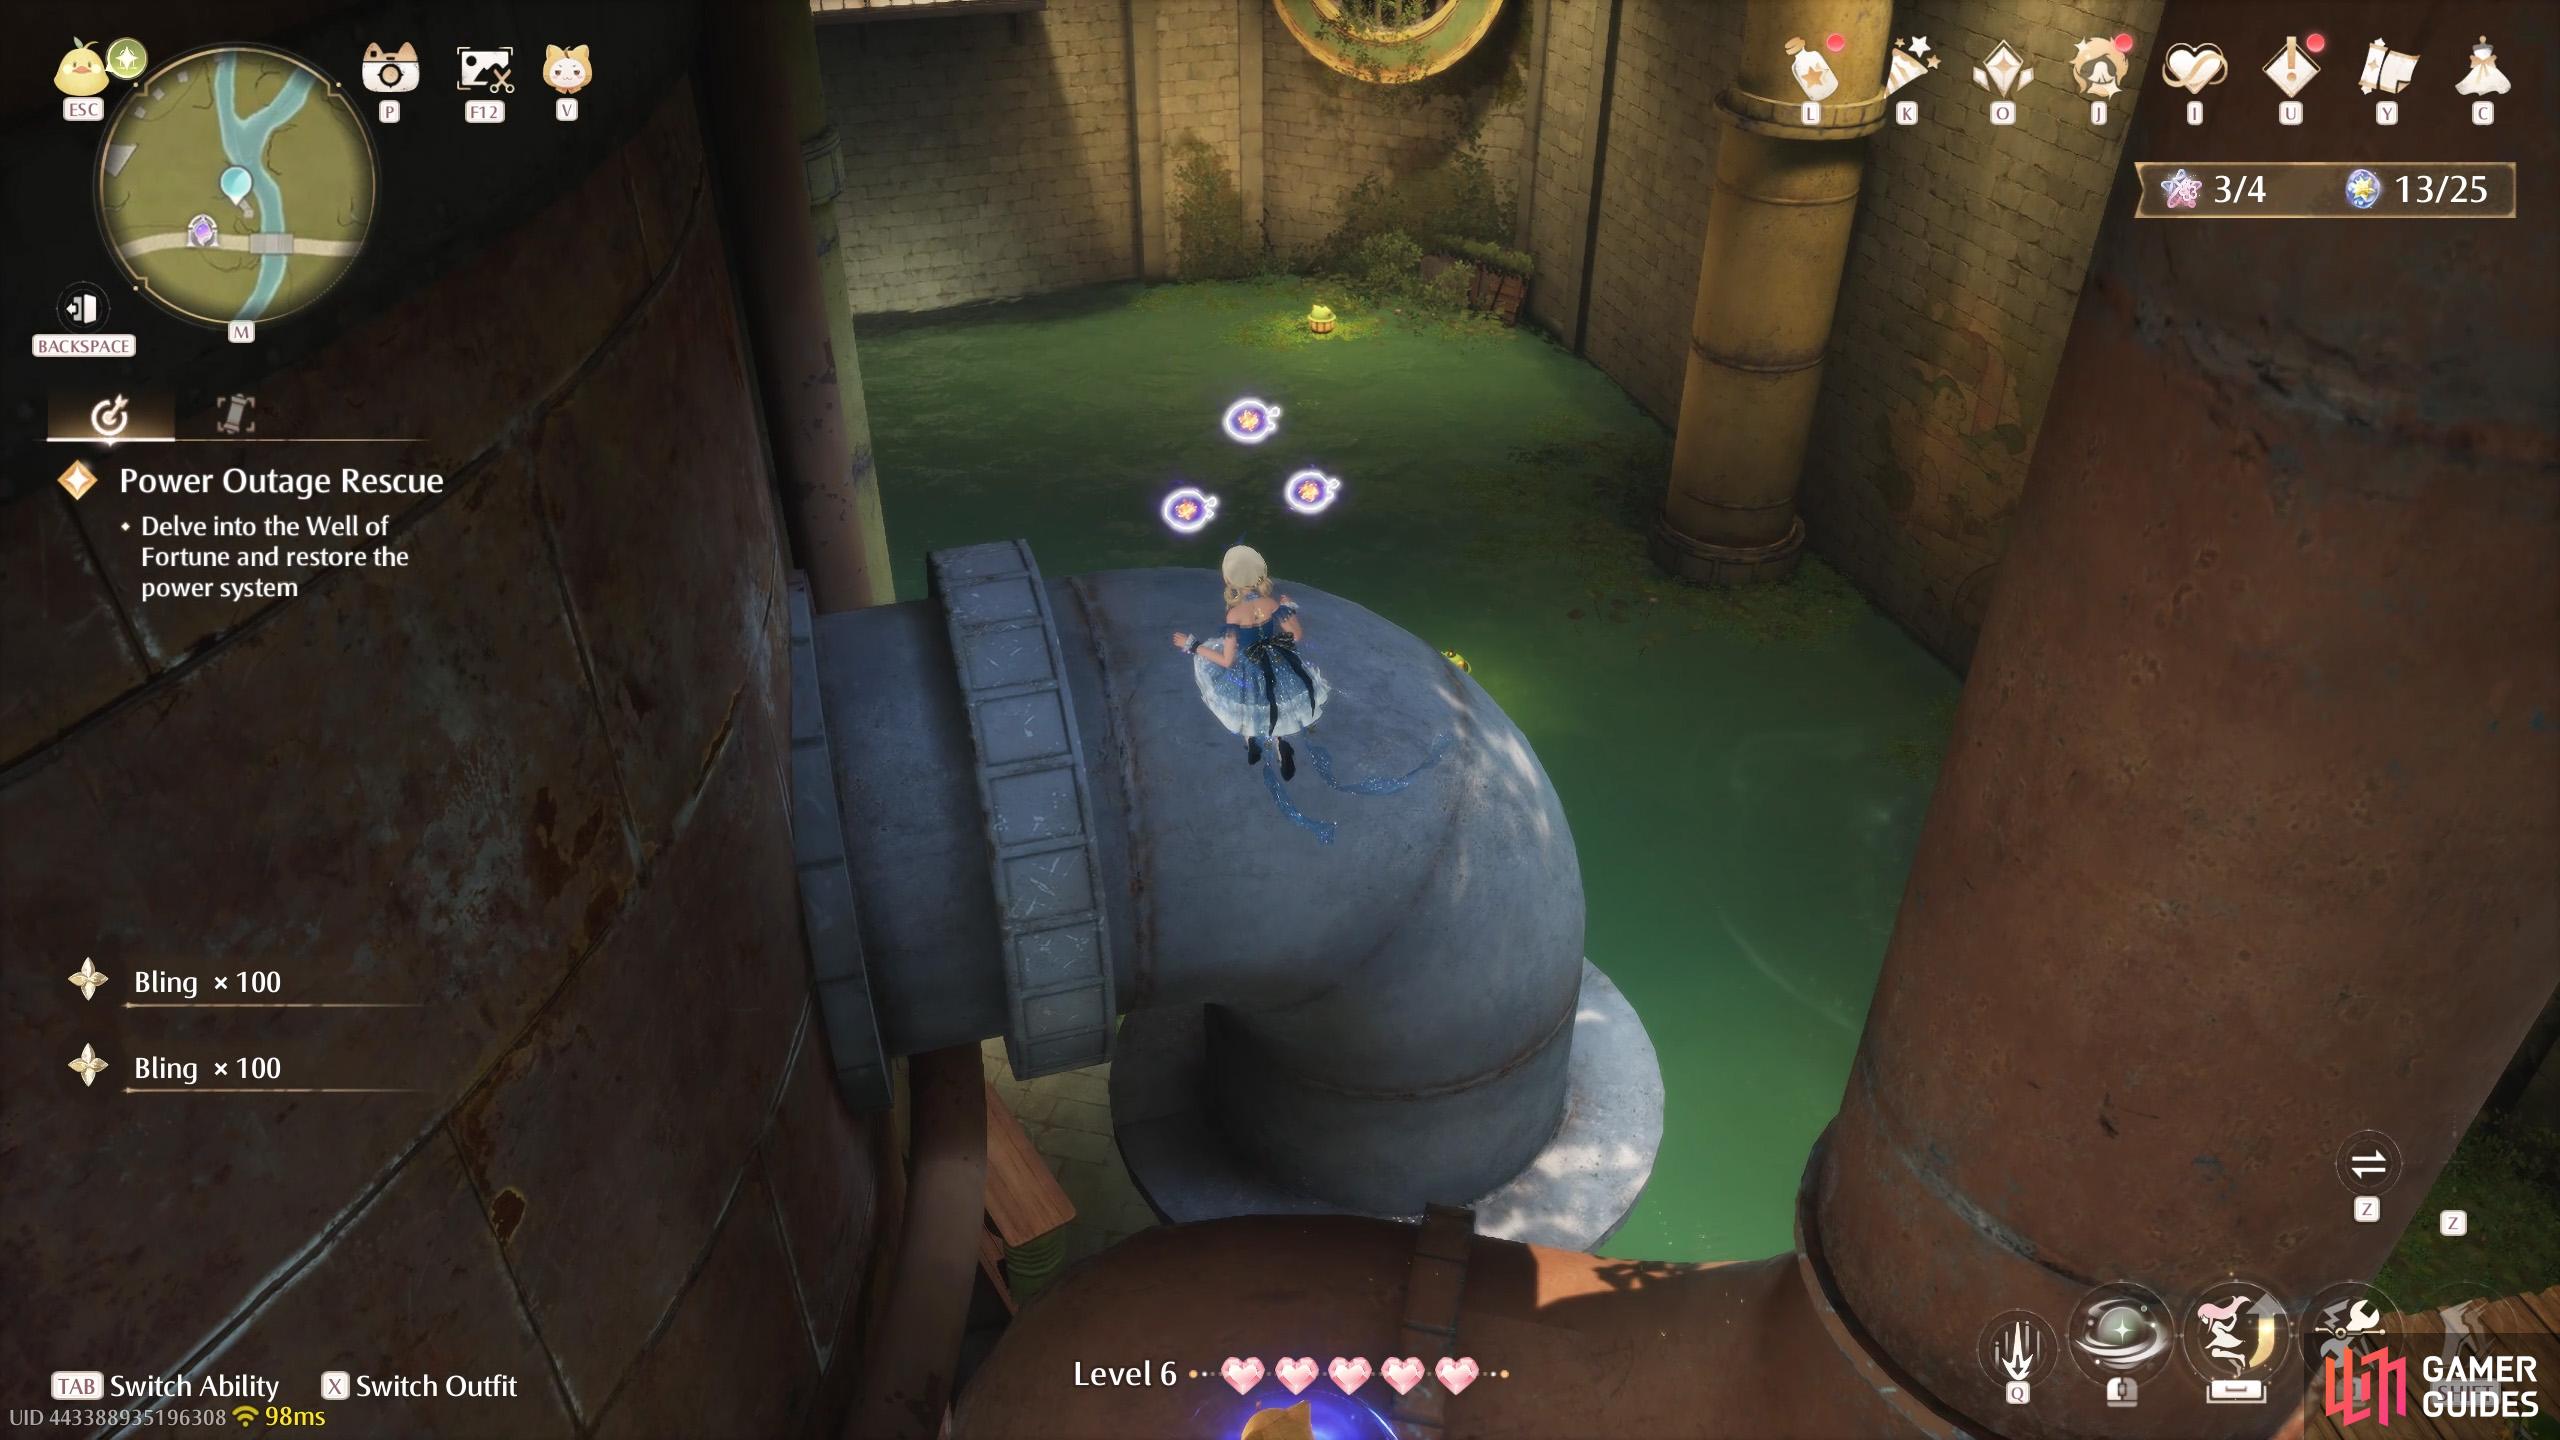
![]() Well of Fortune. In the area where you rescue the Big Croaker, two are floating above some pipes in a far corner.
Well of Fortune. In the area where you rescue the Big Croaker, two are floating above some pipes in a far corner.
192. Miraland Map
![]() Well of Fortune. In the area where you rescue the Big Croaker. Two are located left from the exit.
Well of Fortune. In the area where you rescue the Big Croaker. Two are located left from the exit.

193. Miraland Map
![]() Well of Fortune. After the area where you rescue the Big Croaker. Two floating high above the frog structure. Use the ledges to reach it.
Well of Fortune. After the area where you rescue the Big Croaker. Two floating high above the frog structure. Use the ledges to reach it.
194. Miraland Map
![]() Well of Fortune. After going down the water slide, turn left. There are three floating high up in this side area.
Well of Fortune. After going down the water slide, turn left. There are three floating high up in this side area.

195. Miraland Map
![]() Well of Fortune. In the room with Lil’ Croaker (who’s actually big). Two around the back of the central column.
Well of Fortune. In the room with Lil’ Croaker (who’s actually big). Two around the back of the central column.
196. Miraland Map
![]() Well of Fortune. In the room with Lil’ Croaker (who’s actually big). Three floating around the top of the central column. They’re near the
Well of Fortune. In the room with Lil’ Croaker (who’s actually big). Three floating around the top of the central column. They’re near the ![]() Whimstar so hard to miss.
Whimstar so hard to miss.
197. Miraland Map
![]() Well of Fortune. Just before the 2nd checkpoint, look left to find two floating above the water.
Well of Fortune. Just before the 2nd checkpoint, look left to find two floating above the water.
198. Miraland Map
![]() Well of Fortune. Near the 2nd checkpoint, Winding Waterway. After jumping across a few lily pads, look right to find two floating above the water.
Well of Fortune. Near the 2nd checkpoint, Winding Waterway. After jumping across a few lily pads, look right to find two floating above the water.

199. Miraland Map
![]() Well of Fortune. In the area with the giant lily pad, jump to the platform on the left. Two of these are floating near the tree trunk. They’re the last ones!
Well of Fortune. In the area with the giant lily pad, jump to the platform on the left. Two of these are floating near the tree trunk. They’re the last ones!
201. Miraland Map
![]() Dream Warehouse Tower. Three high above the roof spire. Use a nearby wishnet to jump high enough. To reach the roof, jump from the nearby
Dream Warehouse Tower. Three high above the roof spire. Use a nearby wishnet to jump high enough. To reach the roof, jump from the nearby ![]() Whimstar to the west.
Whimstar to the west.
202. Miraland Map
Short distance north-west from the ![]() Dream Warehouse Tower Warp Spire. Two at the corner of the ruins, up on a ledge.
Dream Warehouse Tower Warp Spire. Two at the corner of the ruins, up on a ledge.
203. Miraland Map
North-west from the ![]() Dream Warehouse Tower Warp Spire. Two on a ledge with some Esselings nearby.
Dream Warehouse Tower Warp Spire. Two on a ledge with some Esselings nearby.
204. Miraland Map
North of the ![]() Kingdom Guards’ Office. Two floating to the east of the gray-roofed home.
Kingdom Guards’ Office. Two floating to the east of the gray-roofed home.
205. Miraland Map
South-west of ![]() Rockfall Valley. Three underneath the wooden walkway.
Rockfall Valley. Three underneath the wooden walkway.
206. Miraland Map
South-west of ![]() Rockfall Valley. Two underneath the north end of the broken bridge.
Rockfall Valley. Two underneath the north end of the broken bridge.
207. Miraland Map
East of the ![]() Dye Workshop Stonetree. Two floating at the edge of the small stonetree. You can jump from the east.
Dye Workshop Stonetree. Two floating at the edge of the small stonetree. You can jump from the east.
208. Miraland Map
West of the ![]() Dye Workshop Stonetree. Two floating above the canopy near the catapult.
Dye Workshop Stonetree. Two floating above the canopy near the catapult.
209. Miraland Map
Short distance south-east from the ![]() Dye Workshop Stonetree. Three floating near the edge of the stonetree.
Dye Workshop Stonetree. Three floating near the edge of the stonetree.
210. Miraland Map
Short distance north of the ![]() Gliding Training Stonetree. Two floating above the canopy.
Gliding Training Stonetree. Two floating above the canopy.
211. Miraland Map
Short distance north-east of ![]() Lavenfringe Fields. Two near the top of a shed, on ground level.
Lavenfringe Fields. Two near the top of a shed, on ground level.

212. Miraland Map
North-east side of the ![]() Dye Workshop. Four atop the highest chimney. You can climb from the north side of the building.
Dye Workshop. Four atop the highest chimney. You can climb from the north side of the building.
213. Miraland Map
Short distance west of the ![]() Dye Workshop entrance. Three floating above the circular area.
Dye Workshop entrance. Three floating above the circular area.

214. Miraland Map
East of the ![]() Dye Workshop entrance. Two floating around the east side of the stonetree, partway up.
Dye Workshop entrance. Two floating around the east side of the stonetree, partway up.
215. Miraland Map
East of the ![]() Dye Workshop entrance. Two floating above a pumpkin house at the top of the stonetree.
Dye Workshop entrance. Two floating above a pumpkin house at the top of the stonetree.
216. Miraland Map
Short distance north of the ![]() Flamecrest Stonetree. Two floating near the top of a small stonetree.
Flamecrest Stonetree. Two floating near the top of a small stonetree.
217. Miraland Map
North side of the ![]() Flamecrest Stonetree. Three floating by the edge partway up.
Flamecrest Stonetree. Three floating by the edge partway up.
218. Miraland Map
West side of the ![]() Flamecrest Stonetree. Two floating next to the wooden stairway.
Flamecrest Stonetree. Two floating next to the wooden stairway.
219. Miraland Map
![]() Flamecrest Stonetree. Two floating above the canopy next to the Warp Spire.
Flamecrest Stonetree. Two floating above the canopy next to the Warp Spire.
220. Miraland Map
West of the ![]() Meadow Activity Support Center. Two floating above the minigame stall.
Meadow Activity Support Center. Two floating above the minigame stall.
221. Miraland Map
South of the ![]() Village Fork. Two floating around the south side of the lake stonetree.
Village Fork. Two floating around the south side of the lake stonetree.
222. Miraland Map
![]() Dream Warehouse Rooftop. In the entrance area. Two in the bottom-left corner, on a high up platform.
Dream Warehouse Rooftop. In the entrance area. Two in the bottom-left corner, on a high up platform.
223. Miraland Map
![]() Dream Warehouse Rooftop. In the entrance area. Two in the bottom-right corner, on a high up platform.
Dream Warehouse Rooftop. In the entrance area. Two in the bottom-right corner, on a high up platform.
224. Miraland Map
![]() Dream Warehouse Rooftop. In the entrance area. Two floating around the top-left corner, along the way to the exit.
Dream Warehouse Rooftop. In the entrance area. Two floating around the top-left corner, along the way to the exit.
225. Miraland Map
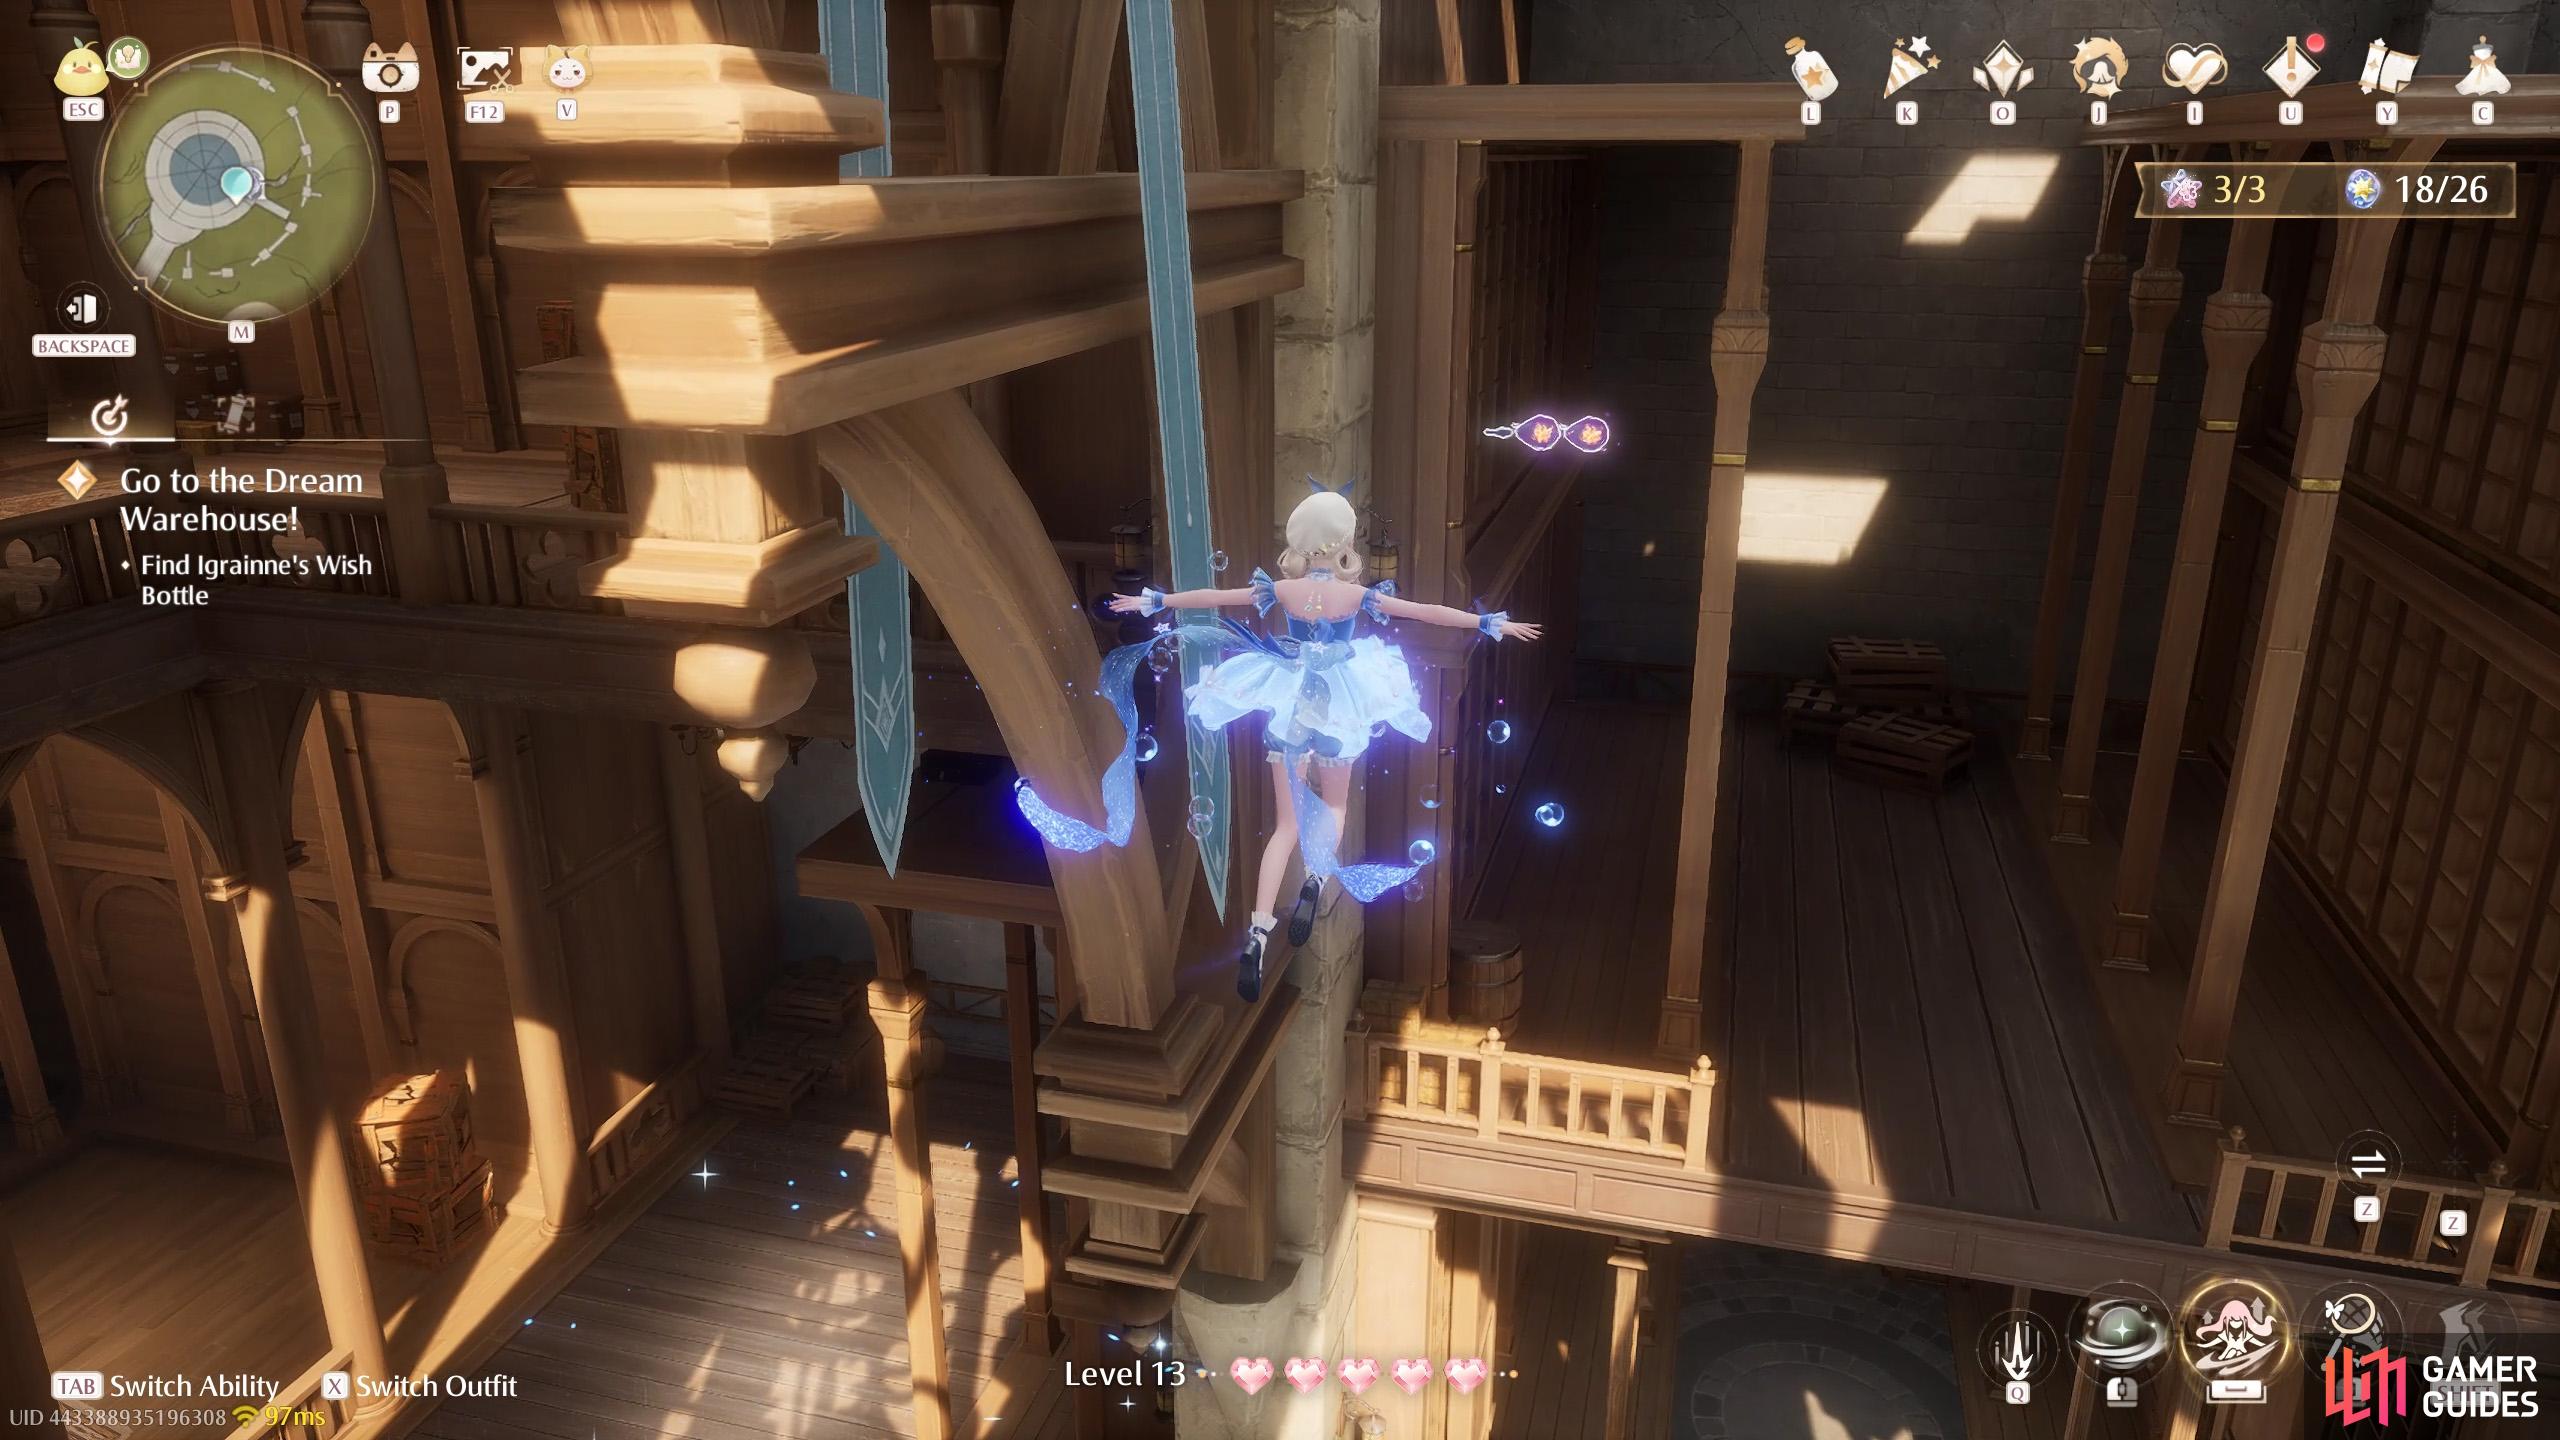
![]() Dream Warehouse Rooftop. In the second area, the Reception Room Back Window. After riding the first platform and jumping across the gap, turn right and ride the platform. There are two near an Esseling partway up.
Dream Warehouse Rooftop. In the second area, the Reception Room Back Window. After riding the first platform and jumping across the gap, turn right and ride the platform. There are two near an Esseling partway up.
226. Miraland Map
![]() Dream Warehouse Rooftop. In the second area, the Reception Room Back Window. After defeating the first Esseling guarding a paper crane, drop down to the lower platforms. Two of these are next to a pillar along the way to the elevator platform.
Dream Warehouse Rooftop. In the second area, the Reception Room Back Window. After defeating the first Esseling guarding a paper crane, drop down to the lower platforms. Two of these are next to a pillar along the way to the elevator platform.
227. Miraland Map
![]() Dream Warehouse Rooftop. After reaching the “After the Corner” checkpoint. Along the way, you’ll reach a really broken big platform. Two of them are on the lower level.
Dream Warehouse Rooftop. After reaching the “After the Corner” checkpoint. Along the way, you’ll reach a really broken big platform. Two of them are on the lower level.
228. Miraland Map
![]() Dream Warehouse Rooftop. After reaching the “After the Corner” checkpoint. After jumping across several paper cranes to grab a
Dream Warehouse Rooftop. After reaching the “After the Corner” checkpoint. After jumping across several paper cranes to grab a ![]() Whimstar, drop down to find two of these near the back.
Whimstar, drop down to find two of these near the back.
229. Miraland Map
![]() Dream Warehouse Rooftop. After reaching the “After the Corner” checkpoint. Two behind a ramp, with an Esseling nearby. They’re after the 3rd
Dream Warehouse Rooftop. After reaching the “After the Corner” checkpoint. Two behind a ramp, with an Esseling nearby. They’re after the 3rd ![]() Whimstar.
Whimstar.
230. Miraland Map
![]() Dream Warehouse Rooftop. In the 3rd area, Paper Crane Warehouse. Two around the left side where a bunch of Esselings are.
Dream Warehouse Rooftop. In the 3rd area, Paper Crane Warehouse. Two around the left side where a bunch of Esselings are.
231. Miraland Map
![]() Dream Warehouse Rooftop. In the 3rd area, Paper Crane Warehouse. Two floating around the right side, on the higher level.
Dream Warehouse Rooftop. In the 3rd area, Paper Crane Warehouse. Two floating around the right side, on the higher level.
232. Miraland Map
![]() Dream Warehouse Rooftop. In the 3rd area, Paper Crane Warehouse. Two at the bottom-right corner, on the higher level. Surrounded by Esselings.
Dream Warehouse Rooftop. In the 3rd area, Paper Crane Warehouse. Two at the bottom-right corner, on the higher level. Surrounded by Esselings.
233. Miraland Map
![]() Dream Warehouse Rooftop. At the corridor before the final checkpoint. Two around the left side, on the high level.
Dream Warehouse Rooftop. At the corridor before the final checkpoint. Two around the left side, on the high level.
234. Miraland Map
![]() Dream Warehouse Rooftop. At the corridor before the final checkpoint. Two around the right side, on the high level.
Dream Warehouse Rooftop. At the corridor before the final checkpoint. Two around the right side, on the high level.
236. Miraland Map
South-west of the ![]() Village Fork. Two above a canopy near the market.
Village Fork. Two above a canopy near the market.
237. Miraland Map
Short distance east from the ![]() Warehouse Cavern. Two atop a crumbling wall. You can jump up the east side, where the
Warehouse Cavern. Two atop a crumbling wall. You can jump up the east side, where the ![]() Bling is.
Bling is.
238. Miraland Map
Inside ![]() Warehouse Cavern. Two near the beginning. When the cavern opens up, jump on the steps on the right. Two of them are inside a natural window on the opposite side.
Warehouse Cavern. Two near the beginning. When the cavern opens up, jump on the steps on the right. Two of them are inside a natural window on the opposite side.
239. Miraland Map
Inside ![]() Warehouse Cavern. Near the first treasure chest. Two floating around the back. There’s an Esseling here.
Warehouse Cavern. Near the first treasure chest. Two floating around the back. There’s an Esseling here.
240. Miraland Map
Inside ![]() Warehouse Cavern. In the area where you can drop down, jump on the platforms where the
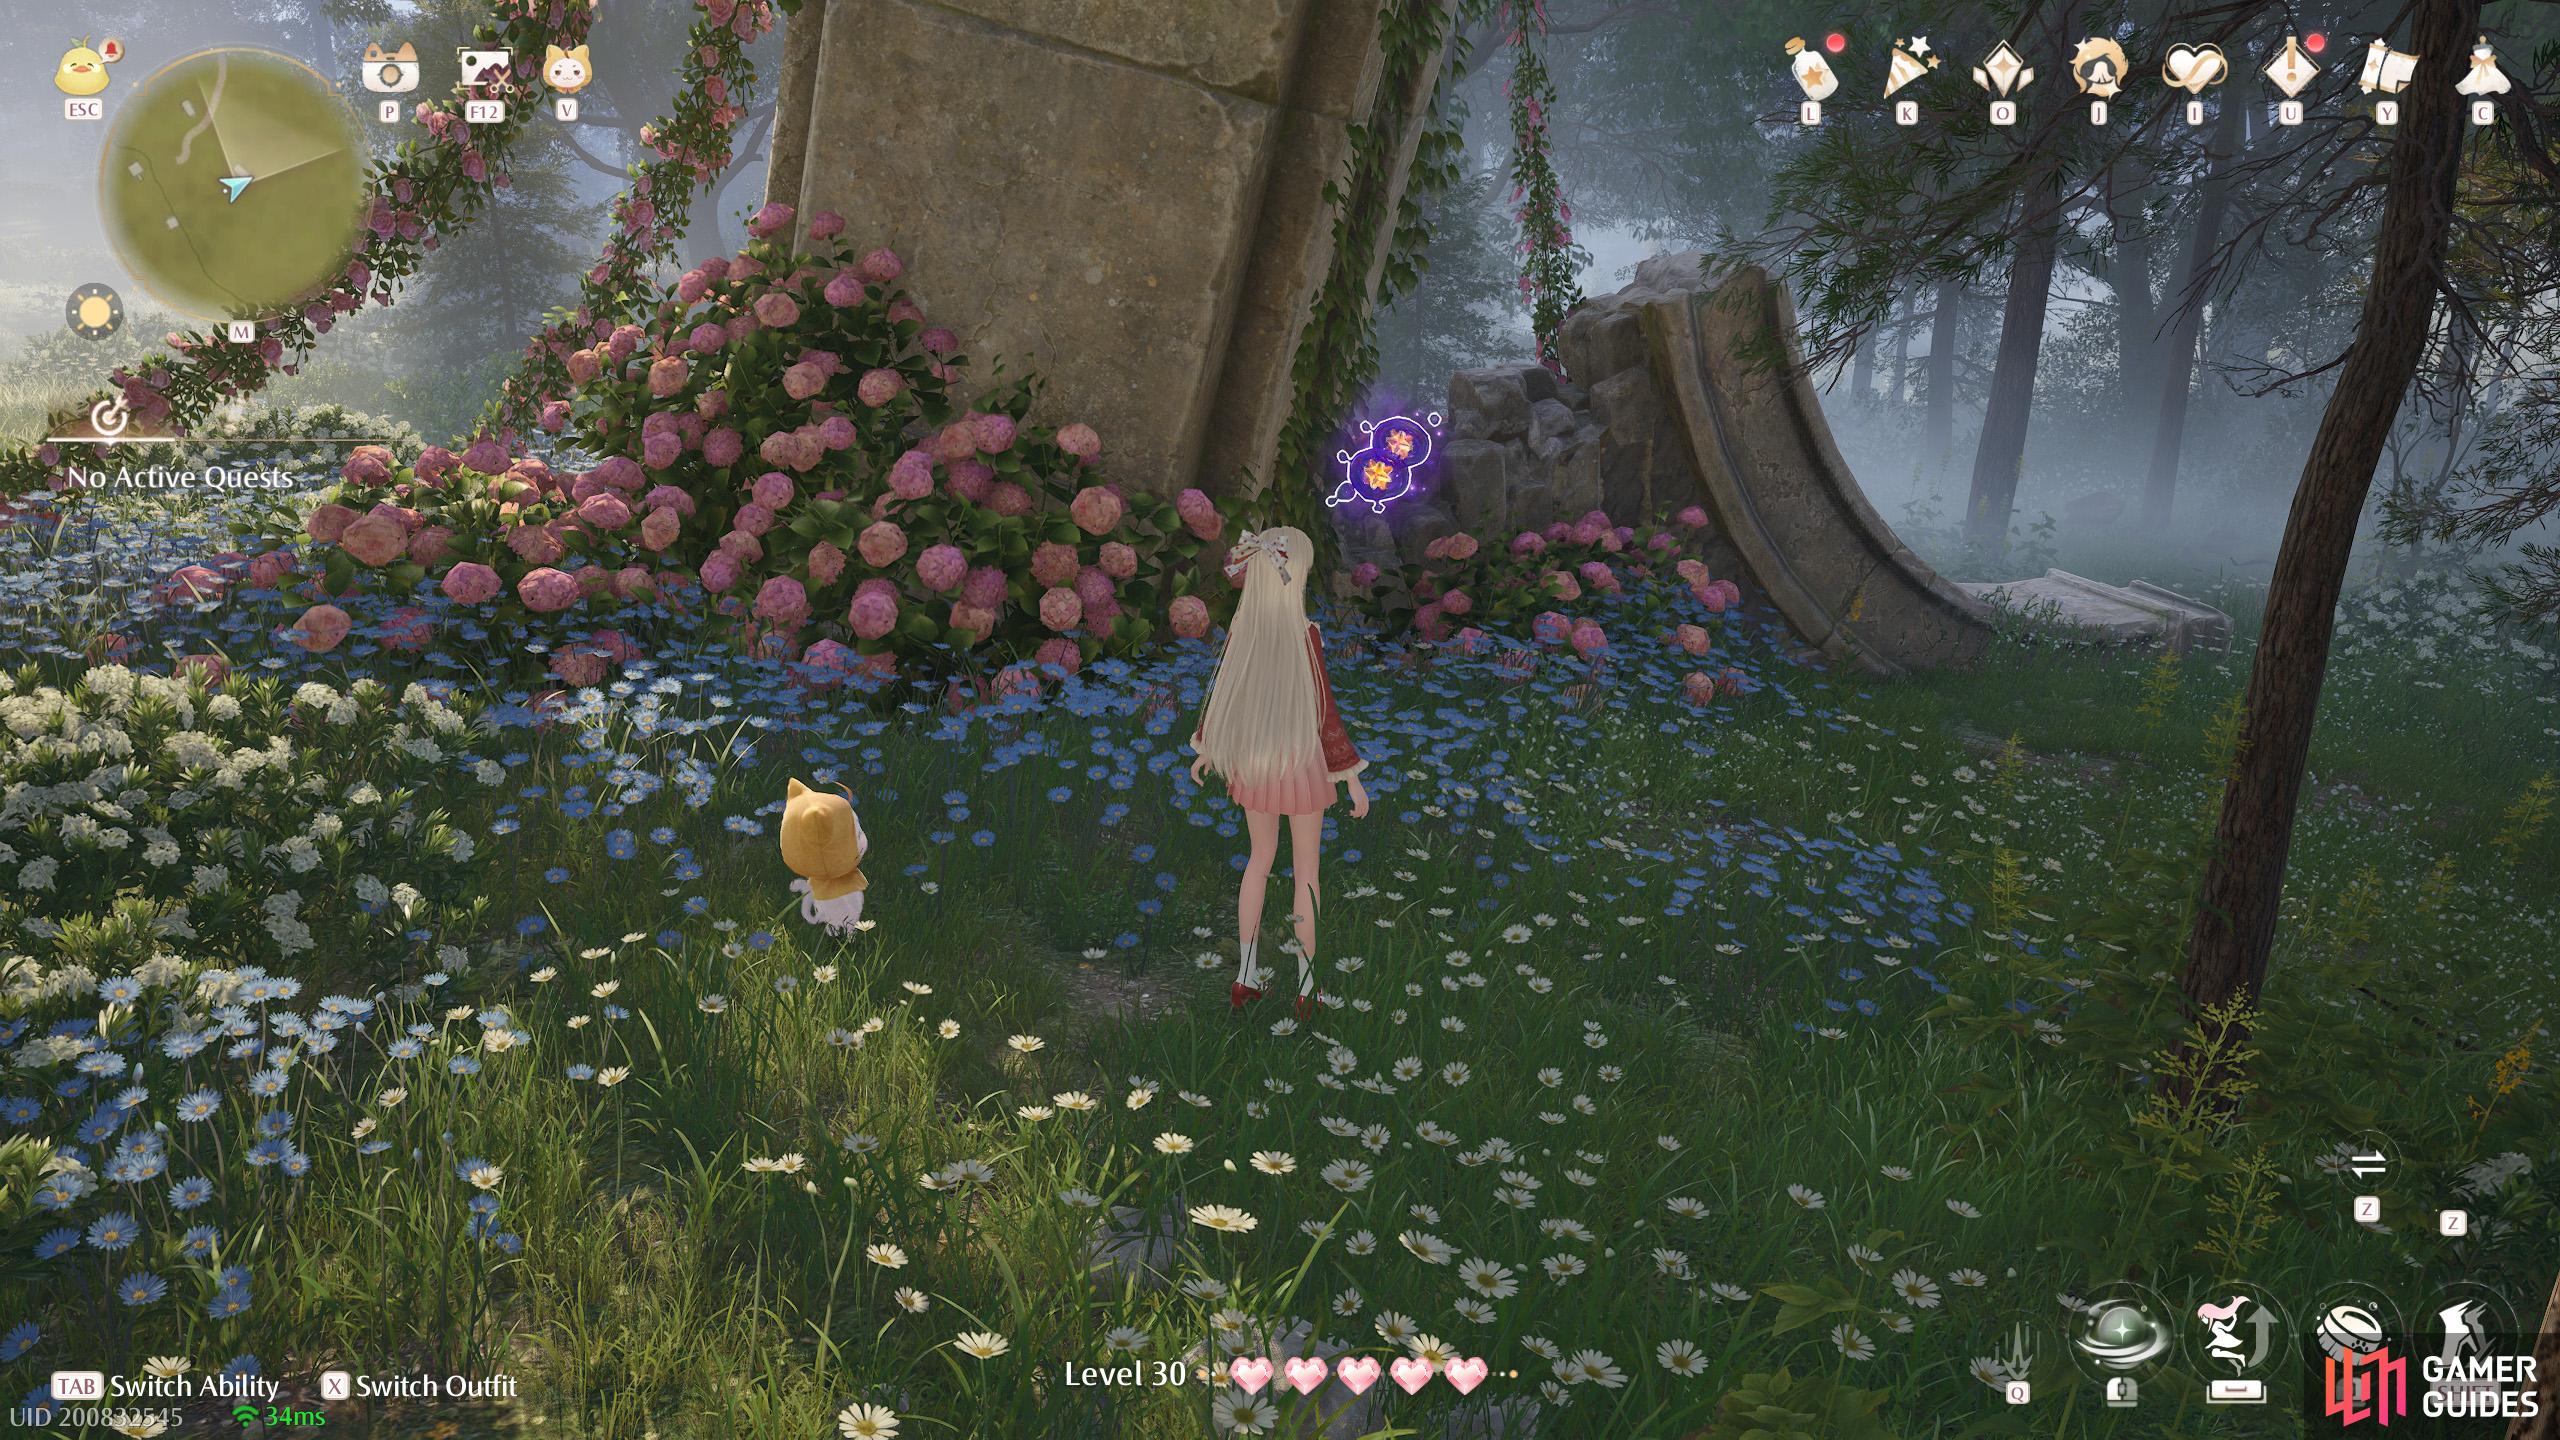
Warehouse Cavern. In the area where you can drop down, jump on the platforms where the ![]() Bling is and jump over to the tree branch above. Two of these can be found there. You can also get here from the other direction, after visiting
Bling is and jump over to the tree branch above. Two of these can be found there. You can also get here from the other direction, after visiting ![]() Emerald Pond.
Emerald Pond.
241. Miraland Map
Inside ![]() Warehouse Cavern. Two on the highest level, on a slightly lower ledge, partially obscured by some vines. They’re near the
Warehouse Cavern. Two on the highest level, on a slightly lower ledge, partially obscured by some vines. They’re near the ![]() Whimstar.
Whimstar.
242. Miraland Map
Inside ![]() Warehouse Cavern. Two floating high up on the highest level, along the way to the exit. You need to jump across to a ledge on the opposite side.
Warehouse Cavern. Two floating high up on the highest level, along the way to the exit. You need to jump across to a ledge on the opposite side.
243. Miraland Map
Inside ![]() Warehouse Cavern. In the area where you can drop down, drop down and turn around. There are two at the end, past the Esselings.
Warehouse Cavern. In the area where you can drop down, drop down and turn around. There are two at the end, past the Esselings.
245. Miraland Map
Inside ![]() Warehouse Cavern. On the highest level, past the
Warehouse Cavern. On the highest level, past the ![]() Herbal Scent chest and across the exit.
Herbal Scent chest and across the exit.
246. Miraland Map
South-west corner of ![]() Cicia Art Academy Field Base. Three floating above some trees near the rooftop.
Cicia Art Academy Field Base. Three floating above some trees near the rooftop.
248. Miraland Map
North-east of ![]() Golden Fields Old Dock. Two between a stone clump and a haystack.
Golden Fields Old Dock. Two between a stone clump and a haystack.
249. Miraland Map
South-west of the ![]() Dye Workshop Stonetree. Three on a small, half-submerged island in the river.
Dye Workshop Stonetree. Three on a small, half-submerged island in the river.
250. Miraland Map
West of ![]() Stoneville Entrance, near the top of the river source. Two on the west side of the river.
Stoneville Entrance, near the top of the river source. Two on the west side of the river.
251. Miraland Map
Two a short distance west of the ![]() Flower Fields Viewpoint, in the gap between the cliffs and the small stonetree.
Flower Fields Viewpoint, in the gap between the cliffs and the small stonetree.
252. Miraland Map
South-west of the ![]() Village Fork. Three floating over the south-west corner of the stonetree next to the market.
Village Fork. Three floating over the south-west corner of the stonetree next to the market.
253. Miraland Map
East of ![]() Village Fork. Two floating on a rooftop. After triggering a nearby
Village Fork. Two floating on a rooftop. After triggering a nearby ![]() Whimstar, you’ll end up near here.
Whimstar, you’ll end up near here.
254. Miraland Map
South-east from the ![]() Flamecrest Stonetree Warp Spire. Two floating near a ledge.
Flamecrest Stonetree Warp Spire. Two floating near a ledge.
255. Miraland Map
South-east from the ![]() Flamecrest Stonetree. Two floating near the east end of the suspension bridge, lower down.
Flamecrest Stonetree. Two floating near the east end of the suspension bridge, lower down.
256. Miraland Map
North-east of the ![]() Village Fork. Two on top of a small stonetree north from the path.
Village Fork. Two on top of a small stonetree north from the path.
257. Miraland Map
Short distance south-east from the ![]() Flamecrest Stonetree Warp Spire. Three partway up the stonetree. If you come from the south-western suspension bridge, they’re on the right.
Flamecrest Stonetree Warp Spire. Three partway up the stonetree. If you come from the south-western suspension bridge, they’re on the right.

258. Miraland Map
North of the ![]() Village Fork. Three floating near the top of a greenhouse dome on the east side of the road.
Village Fork. Three floating near the top of a greenhouse dome on the east side of the road.
259. Miraland Map
South-west of the ![]() Lavenfringe Fields Warp Spire. Two floating near the top of a small stonetree.
Lavenfringe Fields Warp Spire. Two floating near the top of a small stonetree.
261. Miraland Map
West of the ![]() Village Fork. Two atop a small stonetree. North-east of
Village Fork. Two atop a small stonetree. North-east of ![]() Stoneville Outskirts Cavern.
Stoneville Outskirts Cavern.
262. Miraland Map
Inside ![]() Stoneville Outskirts Cavern. After a group of Esselings surrounding a flower, you need to jump up on some small stonetrees. Two of these are floating near the top of the highest stonetree.
Stoneville Outskirts Cavern. After a group of Esselings surrounding a flower, you need to jump up on some small stonetrees. Two of these are floating near the top of the highest stonetree.
263. Miraland Map
Inside ![]() Stoneville Outskirts Cavern. After jumping across the first set of stonetrees, straight ahead there’s a small pool area. Two are floating near the bottom. You can also reach this area from higher up.
Stoneville Outskirts Cavern. After jumping across the first set of stonetrees, straight ahead there’s a small pool area. Two are floating near the bottom. You can also reach this area from higher up.

264. Miraland Map
Inside ![]() Stoneville Outskirts Cavern. After fighting through the narrow bridge lined with tree roots, there’s a group of enemies around a flower. Two of these are near the bottom-right corner.
Stoneville Outskirts Cavern. After fighting through the narrow bridge lined with tree roots, there’s a group of enemies around a flower. Two of these are near the bottom-right corner.
265. Miraland Map
Inside ![]() Stoneville Outskirts Cavern. Near the end, there’s a narrow bridge where six Jelly Pouch Esselings suddenly emerge. Two of these are on the right side, lower down, near another Esseling.
Stoneville Outskirts Cavern. Near the end, there’s a narrow bridge where six Jelly Pouch Esselings suddenly emerge. Two of these are on the right side, lower down, near another Esseling.
266. Miraland Map
South of the ![]() Gliding Training Stonetree, high up in the air near the minigame stall. You can float down from the south.
Gliding Training Stonetree, high up in the air near the minigame stall. You can float down from the south.
267. Miraland Map
East from the ![]() Gliding Training Stonetree Warp Spire, two near the edge of the stonetree.
Gliding Training Stonetree Warp Spire, two near the edge of the stonetree.
268. Miraland Map
Short distance north-west of the ![]() Village Fork. Three floating near the top of the greenhouse dome.
Village Fork. Three floating near the top of the greenhouse dome.

269. Miraland Map
East of the ![]() Lavenfringe Fields Warp Spire. Two floating near the top of a small stonetree.
Lavenfringe Fields Warp Spire. Two floating near the top of a small stonetree.
270. Miraland Map
West from the ![]() Village Fork. Two atop a small stonetree north of the big tent.
Village Fork. Two atop a small stonetree north of the big tent.
271. Miraland Map
The next big stonetree east from the ![]() Dye Workshop Stonetree. Four on a mound, surrounding by Esselings.
Dye Workshop Stonetree. Four on a mound, surrounding by Esselings.
272. Miraland Map
Two around the east side of the ![]() Dye Workshop Stonetree, partway up. Under a leaf trampoline.
Dye Workshop Stonetree, partway up. Under a leaf trampoline.
274. Miraland Map
North-west from the ![]() Cicchetto Manor Warp Spire. Two floating near a rooftop chimney.
Cicchetto Manor Warp Spire. Two floating near a rooftop chimney.
275. Miraland Map
South-west of ![]() Beside the Golden Fields. Two floating around the bundle of haystacks.
Beside the Golden Fields. Two floating around the bundle of haystacks.
276. Miraland Map
South-west of the ![]() Golden Fields Old Dock. Two floating near a small boat by the pier.
Golden Fields Old Dock. Two floating near a small boat by the pier.
277. Miraland Map
Short distance east from the ![]() Golden Fields Old Dock. Three on the lowest level, near the water’s edge.
Golden Fields Old Dock. Three on the lowest level, near the water’s edge.
278. Miraland Map
South-east from the ![]() Golden Fields Old Dock. On the lower level. Three on one of the narrow wooden platforms along the south side. Don’t glide up using the air jet –continue onwards instead.
Golden Fields Old Dock. On the lower level. Three on one of the narrow wooden platforms along the south side. Don’t glide up using the air jet –continue onwards instead.
279. Miraland Map
South from the ![]() Beside the Golden Fields Warp Spire. Underneath the stonetree canopy. Two floating in the air near the curio entrance.
Beside the Golden Fields Warp Spire. Underneath the stonetree canopy. Two floating in the air near the curio entrance.
280. Miraland Map
South-west of ![]() Beside the Golden Fields. Where the two houses are. Three floating high up near the chimney of the northern house.
Beside the Golden Fields. Where the two houses are. Three floating high up near the chimney of the northern house.

281. Miraland Map
South of ![]() Beside the Golden Fields, on higher ground. Two near the south-eastern small ruins.
Beside the Golden Fields, on higher ground. Two near the south-eastern small ruins.

282. Miraland Map
South of ![]() Beside the Golden Fields, on higher ground. Three at the south-western small ruins.
Beside the Golden Fields, on higher ground. Three at the south-western small ruins.
283. Miraland Map
Short distance north of ![]() Beside the Golden Fields, on higher ground, but underneath the stonetree canopy. Two in a corner, near a wagon and haystack.
Beside the Golden Fields, on higher ground, but underneath the stonetree canopy. Two in a corner, near a wagon and haystack.
284. Miraland Map
North of ![]() Beside the Golden Fields, on higher ground, but underneath the stonetree canopy. Two floating near a northern ledge.
Beside the Golden Fields, on higher ground, but underneath the stonetree canopy. Two floating near a northern ledge.
285. Miraland Map
North-west of ![]() Golden Fields Stonetree Top, on the middle level. Two floating high up, next to a tree.
Golden Fields Stonetree Top, on the middle level. Two floating high up, next to a tree.
286. Miraland Map
Inside ![]() Golden Fields Cavern. Two on the highest level, where the big group of Esselings is. Also near the
Golden Fields Cavern. Two on the highest level, where the big group of Esselings is. Also near the ![]() Whimstar.
Whimstar.
287. Miraland Map
![]() Golden Fields Cavern. Three above the north entrance. If you came from that way, it’s easy to miss (since you have to turn around).
Golden Fields Cavern. Three above the north entrance. If you came from that way, it’s easy to miss (since you have to turn around).
288. Miraland Map
Short distance north-east from ![]() Golden Fields Stonetree Top. Two near a pumpkin cart.
Golden Fields Stonetree Top. Two near a pumpkin cart.
289. Miraland Map
North-west from ![]() Golden Fields Stonetree Top. Two by the side of a small stonetree. Not too far from the windmill.
Golden Fields Stonetree Top. Two by the side of a small stonetree. Not too far from the windmill.
290. Miraland Map
West of ![]() Golden Fields Stonetree Top. Two floating near the top of the windmill. You can glide down from the east.
Golden Fields Stonetree Top. Two floating near the top of the windmill. You can glide down from the east.
291. Miraland Map
West of ![]() Golden Fields Stonetree Top. Two floating high up, a short distance north-west from the windmill.
Golden Fields Stonetree Top. Two floating high up, a short distance north-west from the windmill.
292. Miraland Map
North of ![]() Beside the Ripple Wine Cellar. Three around the north side of the stonetree column.
Beside the Ripple Wine Cellar. Three around the north side of the stonetree column.
293. Miraland Map
Small stonetree west from the ![]() Golden Fields stonetree. You can glide over there. Three floating near the center of the island, on the lowest level.
Golden Fields stonetree. You can glide over there. Three floating near the center of the island, on the lowest level.
294. Miraland Map
Short distance north-west from ![]() Beside the Ripple Wine Cellar. Two near a rooftop.
Beside the Ripple Wine Cellar. Two near a rooftop.
296. Miraland Map
Near ![]() Beside the Ripple Wine Cellar. Two next to an extremely short stonetree.
Beside the Ripple Wine Cellar. Two next to an extremely short stonetree.
297. Miraland Map
Inside ![]() Ripple Estate Cliffside Cavern. After gliding up the air-blowing plant, go up the steps straight ahead to find two of these. If you turn right instead, you can find them if you turn around.
Ripple Estate Cliffside Cavern. After gliding up the air-blowing plant, go up the steps straight ahead to find two of these. If you turn right instead, you can find them if you turn around.
298. Miraland Map
Inside ![]() Ripple Estate Cliffside Cavern. Around the halfway point. Just before the wind circle, there’s two on the left side of the column.
Ripple Estate Cliffside Cavern. Around the halfway point. Just before the wind circle, there’s two on the left side of the column.

299. Miraland Map
Inside ![]() Ripple Estate Cliffside Cavern. After going through the wind circle, turn right to find three of these.
Ripple Estate Cliffside Cavern. After going through the wind circle, turn right to find three of these.
301. Miraland Map
South of ![]() Barrel Grove, on the lowest level. Three floating near the southern shore.
Barrel Grove, on the lowest level. Three floating near the southern shore.
302. Miraland Map
West of ![]() Barrel Grove. Four floating around the west side of the giant stonetree’s trunk, on a ledge just underneath the stonetree canopy.
Barrel Grove. Four floating around the west side of the giant stonetree’s trunk, on a ledge just underneath the stonetree canopy.
303. Miraland Map
Atop the medium stonetree south of ![]() Beside the Ripple Wine Cellar. Two floating around the east side.
Beside the Ripple Wine Cellar. Two floating around the east side.
304. Miraland Map
Inside ![]() Estate Roadside Cavern. Near the beginning, head left to find two in an alcove.
Estate Roadside Cavern. Near the beginning, head left to find two in an alcove.
305. Miraland Map
Inside ![]() Estate Roadside Cavern. Near the area with the
Estate Roadside Cavern. Near the area with the ![]() Whimstar. After dropping down again, there are two Esselings on the ground and a treasure chest in front, higher up. These two are on the ground in the opposite direction. (Basically, turn around.)
Whimstar. After dropping down again, there are two Esselings on the ground and a treasure chest in front, higher up. These two are on the ground in the opposite direction. (Basically, turn around.)
306. Miraland Map
Inside ![]() Estate Roadside Cavern. In the section where you need to fight Esselings, with water on both sides. About halfway along, there are two up on a ledge, with three Spear Sacks in front.
Estate Roadside Cavern. In the section where you need to fight Esselings, with water on both sides. About halfway along, there are two up on a ledge, with three Spear Sacks in front.
307. Miraland Map
Inside ![]() Estate Roadside Cavern. After riding the first set of wind circles, there are two floating near the left side of a column. On the right side is an Esseling holding onto a spore that produces an air-blowing plant.
Estate Roadside Cavern. After riding the first set of wind circles, there are two floating near the left side of a column. On the right side is an Esseling holding onto a spore that produces an air-blowing plant.
308. Miraland Map
North-west from ![]() Golden Fields Stonetree Top. Two floating high up. There’s a small stonetree nearby; you can just about reach by performing a double jump at the top.
Golden Fields Stonetree Top. Two floating high up. There’s a small stonetree nearby; you can just about reach by performing a double jump at the top.
309. Miraland Map
West from ![]() Golden Fields Stonetree Top. Two floating under the stonetree canopy. On the next level down, there’s a ramp nearby you can use to jump from.
Golden Fields Stonetree Top. Two floating under the stonetree canopy. On the next level down, there’s a ramp nearby you can use to jump from.
310. Miraland Map
Inside the Ripple Wine Cellar. In the room with the first checkpoint, Transport Path, go around to the left to find two of these.
311. Miraland Map
Inside the Ripple Wine Cellar. After the first checkpoint, Transport Path, begin riding the platform train. Then jump and enter the nearby tunnel on the right. Two of these are found there.
312. Miraland Map
Inside the Ripple Wine Cellar. After riding the first platform train, two up on the wooden platform along the right side.
313. Miraland Map
Inside the Ripple Wine Cellar. After the second checkpoint, Reserve Vault. Three inside a cavern towards the left. Roll the second barrel forward, following the ![]() Bling. Then float inside.
Bling. Then float inside.
314. Miraland Map
Inside the Ripple Wine Cellar. After the second checkpoint, Reserve Vault. In the area with barrels rolling in a line. Head left from the start. There are three behind a box on the metal platform.
315. Miraland Map
Inside the Ripple Wine Cellar. After the second checkpoint, Reserve Vault. In the area with barrels rolling in a line. Where there’s three lines of barrels, ride the third line towards the end. Next, jump back towards the first line. Two of these are along the tunnel, with an Esseling nearby.

316. Miraland Map
Inside the Ripple Wine Cellar. After the second checkpoint, Reserve Vault. In the area with barrels rolling in a line. Where there’s three lines of barrels, ride the third line towards the end. Next, jump back towards the first line. Follow the path to find a ![]() Whimstar. From the star, go up the stairs and jump on a nearby pipe to find these two at the end.
Whimstar. From the star, go up the stairs and jump on a nearby pipe to find these two at the end.
317. Miraland Map
Inside the Ripple Wine Cellar. Before the big staircase, in the area with multiple big barrels that you can roll. Two at the far left corner.
318. Miraland Map
Inside the Ripple Wine Cellar. Before the big staircase, in the area with multiple big barrels that you can roll. In front of the tunnel on the right, roll the big barrel in the direction of the ![]() Bling. There are three of these in the enclosed area.
Bling. There are three of these in the enclosed area.
319. Miraland Map
Short distance south-east from ![]() Market of Mirth Entrance. Three underneath the pier.
Market of Mirth Entrance. Three underneath the pier.
320. Miraland Map
Short distance north-west of ![]() Market of Mirth Entrance. Three on the tent canopy.
Market of Mirth Entrance. Three on the tent canopy.
321. Miraland Map
North-west of ![]() Market of Mirth Entrance. On the lower level. Two next to some haystacks on a higher up platform. Near the tent canopy.
Market of Mirth Entrance. On the lower level. Two next to some haystacks on a higher up platform. Near the tent canopy.
322. Miraland Map
South-west from ![]() Market of Mirth Entrance. On the lower level, two floating atop a small stonetree.
Market of Mirth Entrance. On the lower level, two floating atop a small stonetree.
323. Miraland Map
South-west from ![]() Market of Mirth Entrance. On the middle level. Two behind the stage near the
Market of Mirth Entrance. On the middle level. Two behind the stage near the ![]() Market of Mirth photo spot).
Market of Mirth photo spot).
324. Miraland Map
Short distance north-east of ![]() Market of Mirth Summit Path. On the middle level. Two along the east path.
Market of Mirth Summit Path. On the middle level. Two along the east path.
325. Miraland Map
North-east of ![]() Market of Mirth Summit Path. Two on top of a decorated haystack roll.
Market of Mirth Summit Path. Two on top of a decorated haystack roll.
326. Miraland Map
North of ![]() Market of Mirth Summit Path. Two near the edge of a tent canopy.
Market of Mirth Summit Path. Two near the edge of a tent canopy.
327. Miraland Map
Near the stonetree north-west of ![]() Market of Mirth Summit Path. Underneath the stonetree canopy. Two floating near some balloons.
Market of Mirth Summit Path. Underneath the stonetree canopy. Two floating near some balloons.
328. Miraland Map
North-west of ![]() Market of Mirth Summit Path. Underneath the stonetree canopy. Four floating underneath the highest ledge, near the curio entrance.
Market of Mirth Summit Path. Underneath the stonetree canopy. Four floating underneath the highest ledge, near the curio entrance.
329. Miraland Map
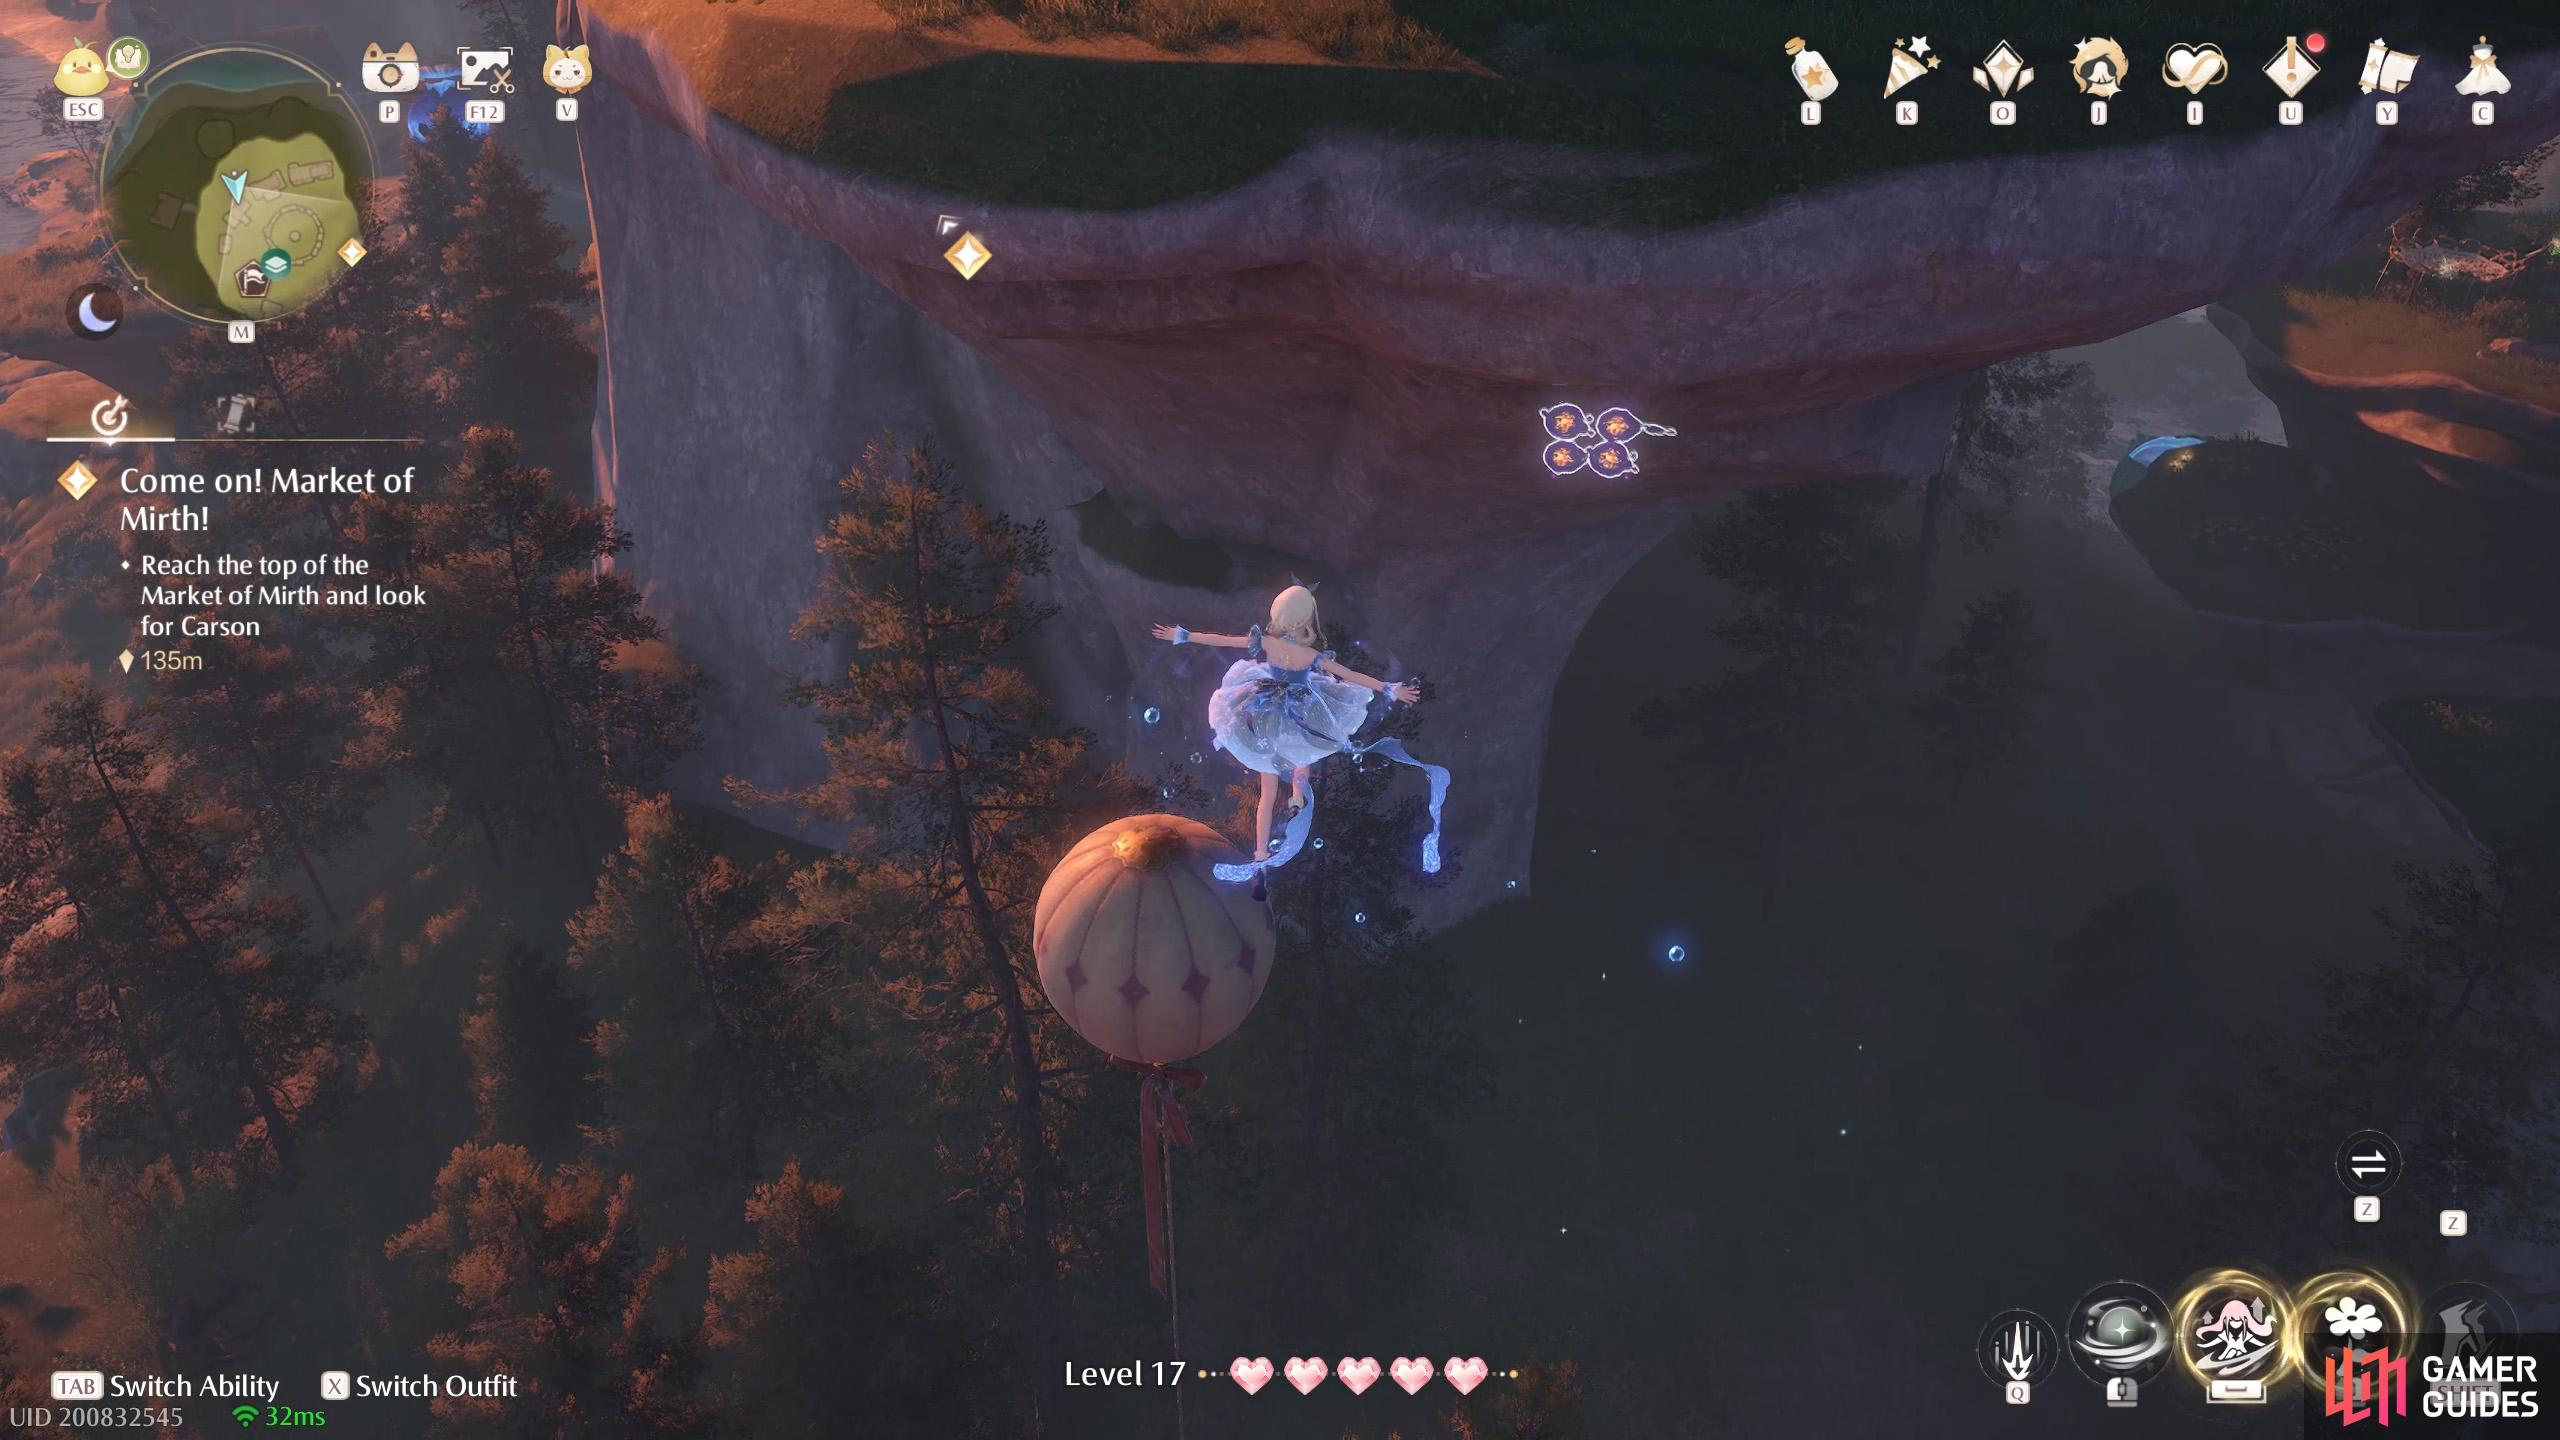
Atop the medium stonetree north of ![]() Market of Mirth Entrance. Two behind the stage.
Market of Mirth Entrance. Two behind the stage.
330. Miraland Map
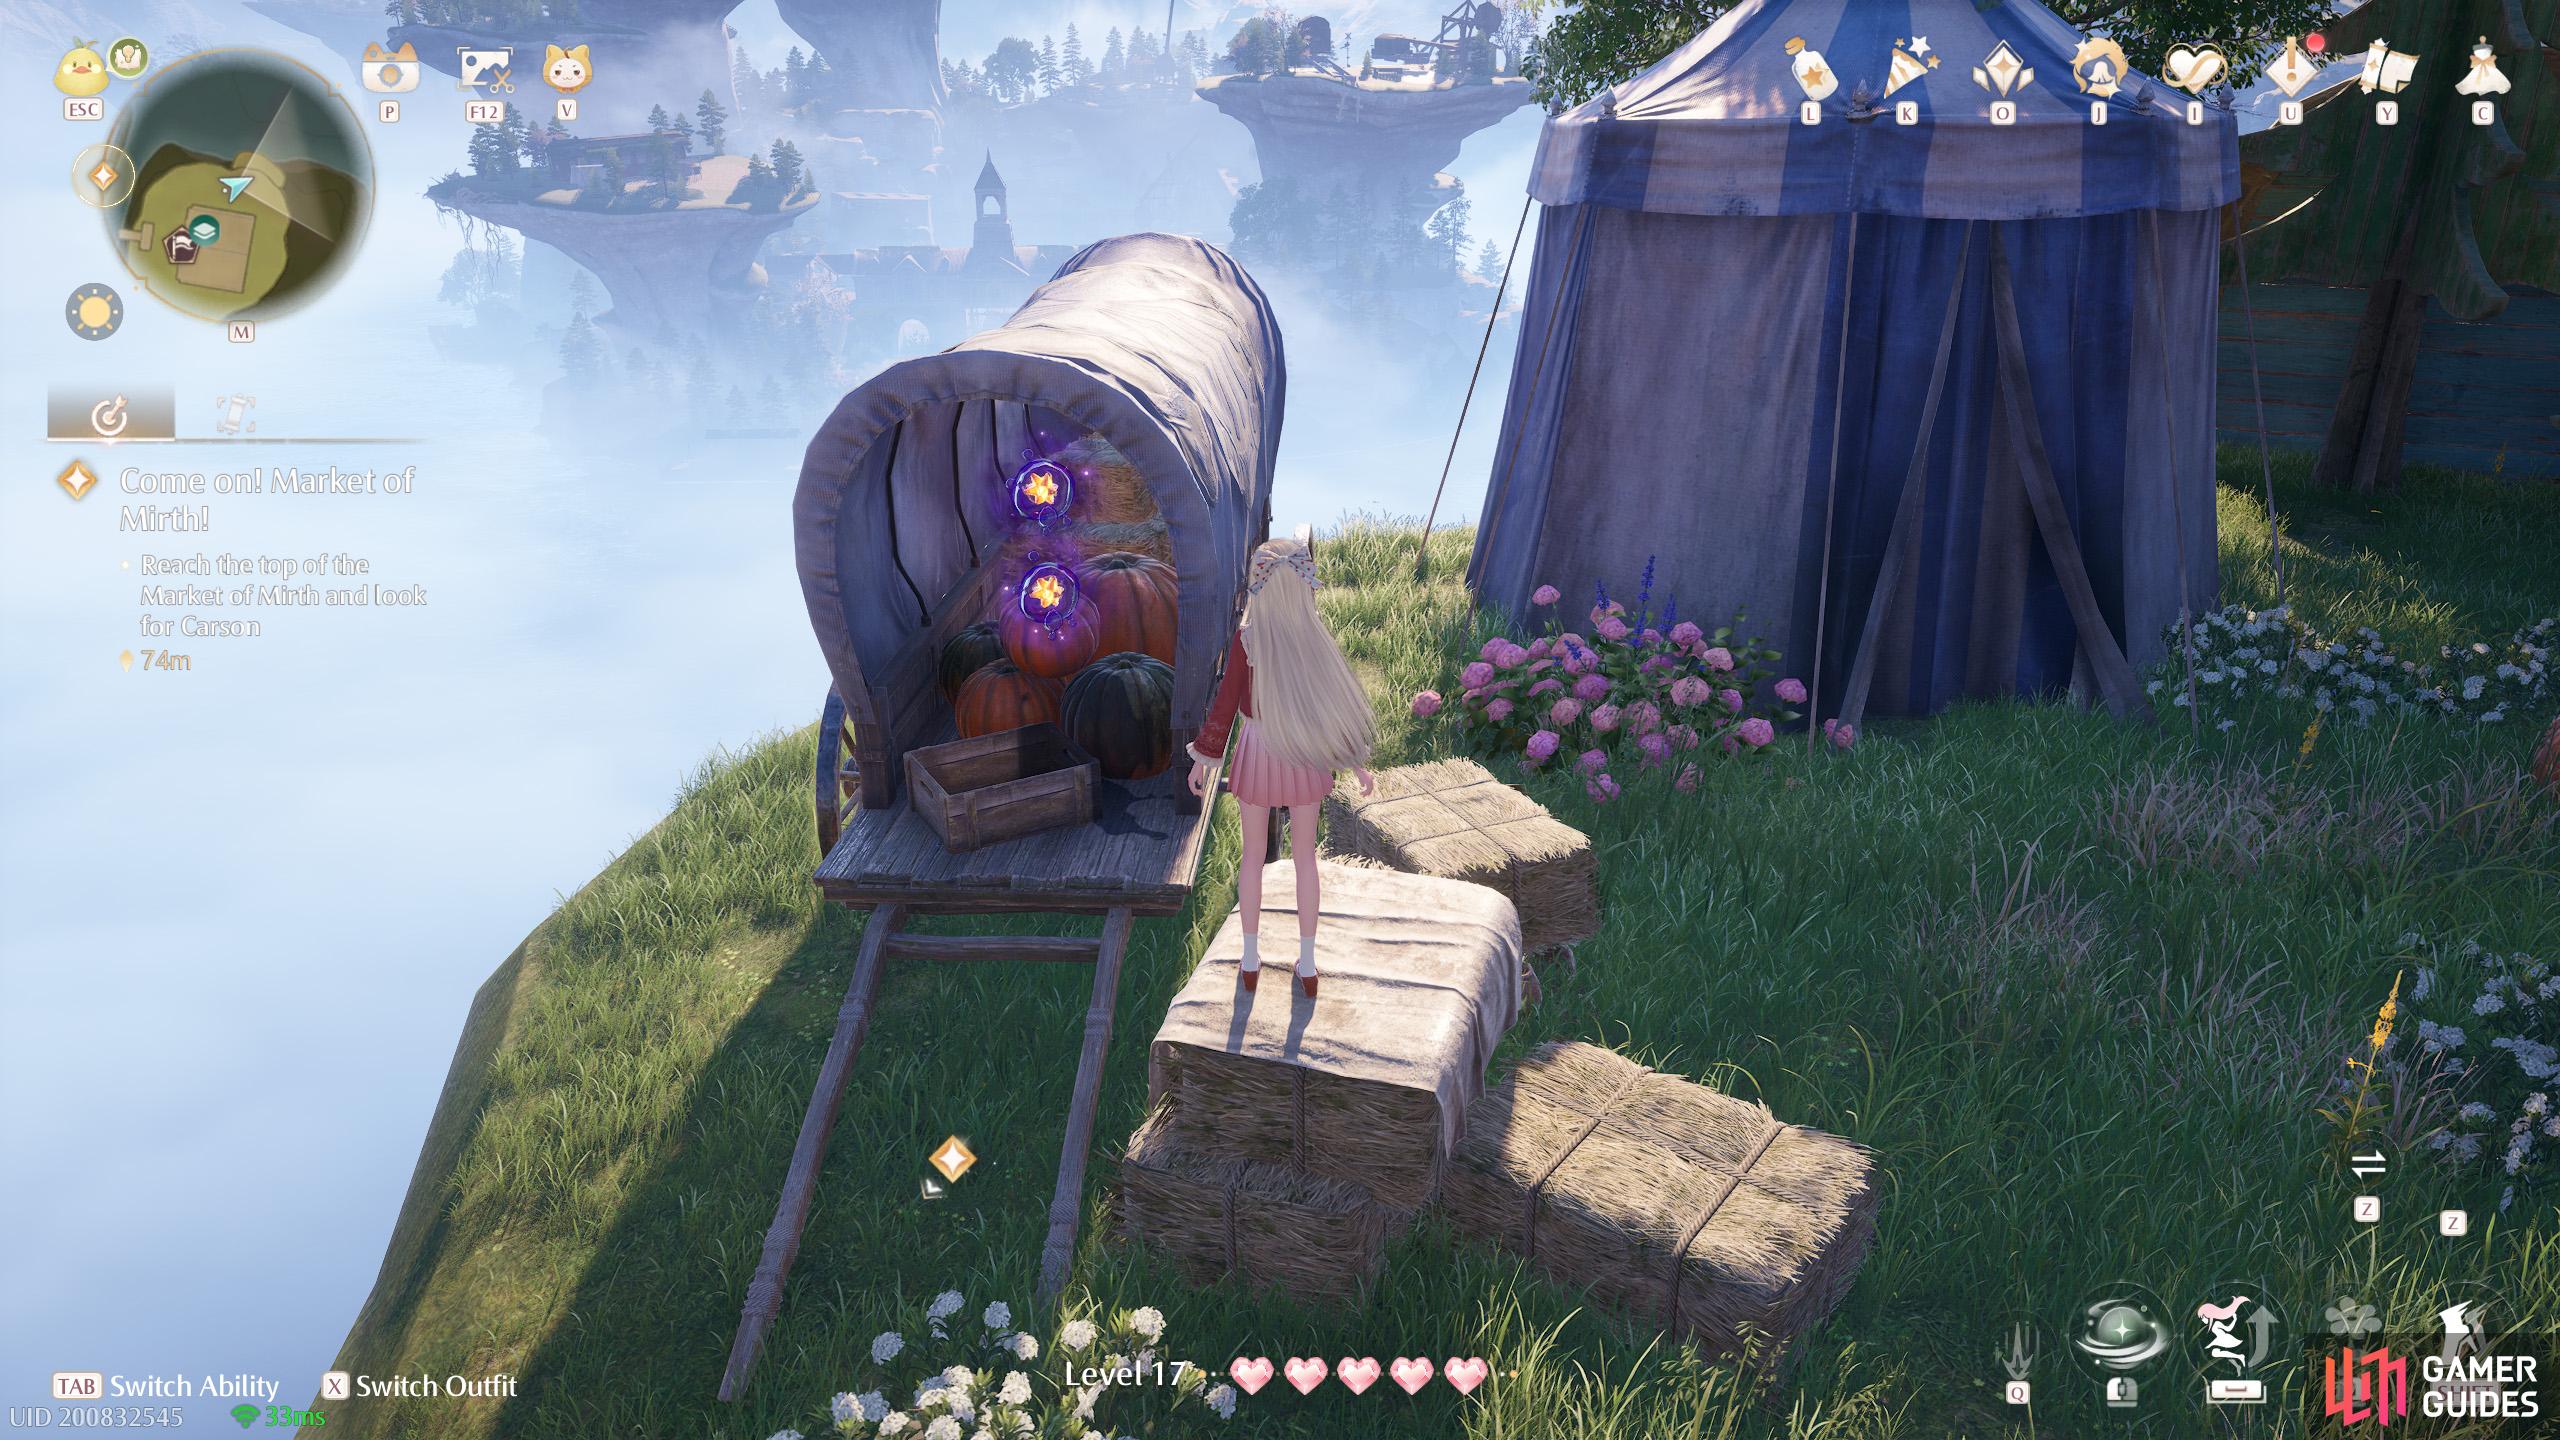
Atop the medium stonetree north of ![]() Market of Mirth Entrance. Two in a pumpkin-carrying wagon on the left side of the wooden stage.
Market of Mirth Entrance. Two in a pumpkin-carrying wagon on the left side of the wooden stage.
331. Miraland Map
A short distance west from ![]() Stellar Fishing Ground Trail. Two floating above a small mound.
Stellar Fishing Ground Trail. Two floating above a small mound.
332. Miraland Map
West from ![]() Stellar Fishing Ground Trail. Two floating near a high up ledge underneath the stonetree canopy. There are Esselings nearby. You can get up via the far south.
Stellar Fishing Ground Trail. Two floating near a high up ledge underneath the stonetree canopy. There are Esselings nearby. You can get up via the far south.
333. Miraland Map
West from ![]() Stellar Fishing Ground Trail. Two floating near the top of the minigame stall atop the medium stonetree.
Stellar Fishing Ground Trail. Two floating near the top of the minigame stall atop the medium stonetree.
334. Miraland Map
North-west from ![]() Stellar Fishing Ground Trail. Three between a damaged home and a small stonetree.
Stellar Fishing Ground Trail. Three between a damaged home and a small stonetree.
335. Miraland Map
North-west from ![]() Stellar Fishing Ground Peak. Two floating near the north-east side of the central stonetree’s trunk, partway up.
Stellar Fishing Ground Peak. Two floating near the north-east side of the central stonetree’s trunk, partway up.
336. Miraland Map
West from ![]() Stellar Fishing Ground Peak. Atop the central medium stonetree. Two floating around the north-west corner.
Stellar Fishing Ground Peak. Atop the central medium stonetree. Two floating around the north-west corner.

337. Miraland Map
South-west from ![]() Stellar Fishing Ground Peak. On the top level of the central medium stonetree. Two near the south-east corner, next to a rock mound.
Stellar Fishing Ground Peak. On the top level of the central medium stonetree. Two near the south-east corner, next to a rock mound.
338. Miraland Map
West from ![]() Stellar Fishing Ground Peak. On the top level of the central medium stonetree. Two under a wooden platform around the east side.
Stellar Fishing Ground Peak. On the top level of the central medium stonetree. Two under a wooden platform around the east side.
339. Miraland Map
West from ![]() Stellar Fishing Ground Peak. On the top level of the central medium stonetree. Two floating above a small stonetree east from the center.
Stellar Fishing Ground Peak. On the top level of the central medium stonetree. Two floating above a small stonetree east from the center.
340. Miraland Map
Inside ![]() Stellar Fishing Ground Cavern. In the initial area with the air-blowing plant, enter via one of the two lower entrances. If you enter from the lowest, you’ll find these three if you keep going left, past some Esselings. If you enter from the higher one, after dropping down, turn around.
Stellar Fishing Ground Cavern. In the initial area with the air-blowing plant, enter via one of the two lower entrances. If you enter from the lowest, you’ll find these three if you keep going left, past some Esselings. If you enter from the higher one, after dropping down, turn around.
341. Miraland Map
Inside ![]() Stellar Fishing Ground Cavern. In the initial area with the air-blowing plant, enter via one of the two lower entrances. In the next tunnel area, jump across the ledges where the
Stellar Fishing Ground Cavern. In the initial area with the air-blowing plant, enter via one of the two lower entrances. In the next tunnel area, jump across the ledges where the ![]() Bling is. You’ll find these two near the furthest ledge.
Bling is. You’ll find these two near the furthest ledge.
342. Miraland Map
East of ![]() Stellar Fishing Ground Peak. On a ledge at the east side of this stonetree, underneath the canopy. Near the south entrance of
Stellar Fishing Ground Peak. On a ledge at the east side of this stonetree, underneath the canopy. Near the south entrance of ![]() Stellar Fishing Ground Cavern. Two floating above a tree.
Stellar Fishing Ground Cavern. Two floating above a tree.
343. Miraland Map
West of ![]() Stellar Fishing Ground Peak. On ground level, two near the base of the medium stonetree.
Stellar Fishing Ground Peak. On ground level, two near the base of the medium stonetree.

344. Miraland Map
South-west of ![]() Stellar Fishing Ground Peak. Two underneath the wooden pier, near the broken part of the pier.
Stellar Fishing Ground Peak. Two underneath the wooden pier, near the broken part of the pier.
345. Miraland Map
South-east of ![]() Stellar Fishing Ground Peak. At the far-off small stonetree. Two near a ledge around the north-east side, partway up.
Stellar Fishing Ground Peak. At the far-off small stonetree. Two near a ledge around the north-east side, partway up.
346. Miraland Map
South-east of ![]() Stellar Fishing Ground Peak. At the far-off small stonetree. Two floating high up near the center of the stonetree canopy.
Stellar Fishing Ground Peak. At the far-off small stonetree. Two floating high up near the center of the stonetree canopy.
347. Miraland Map
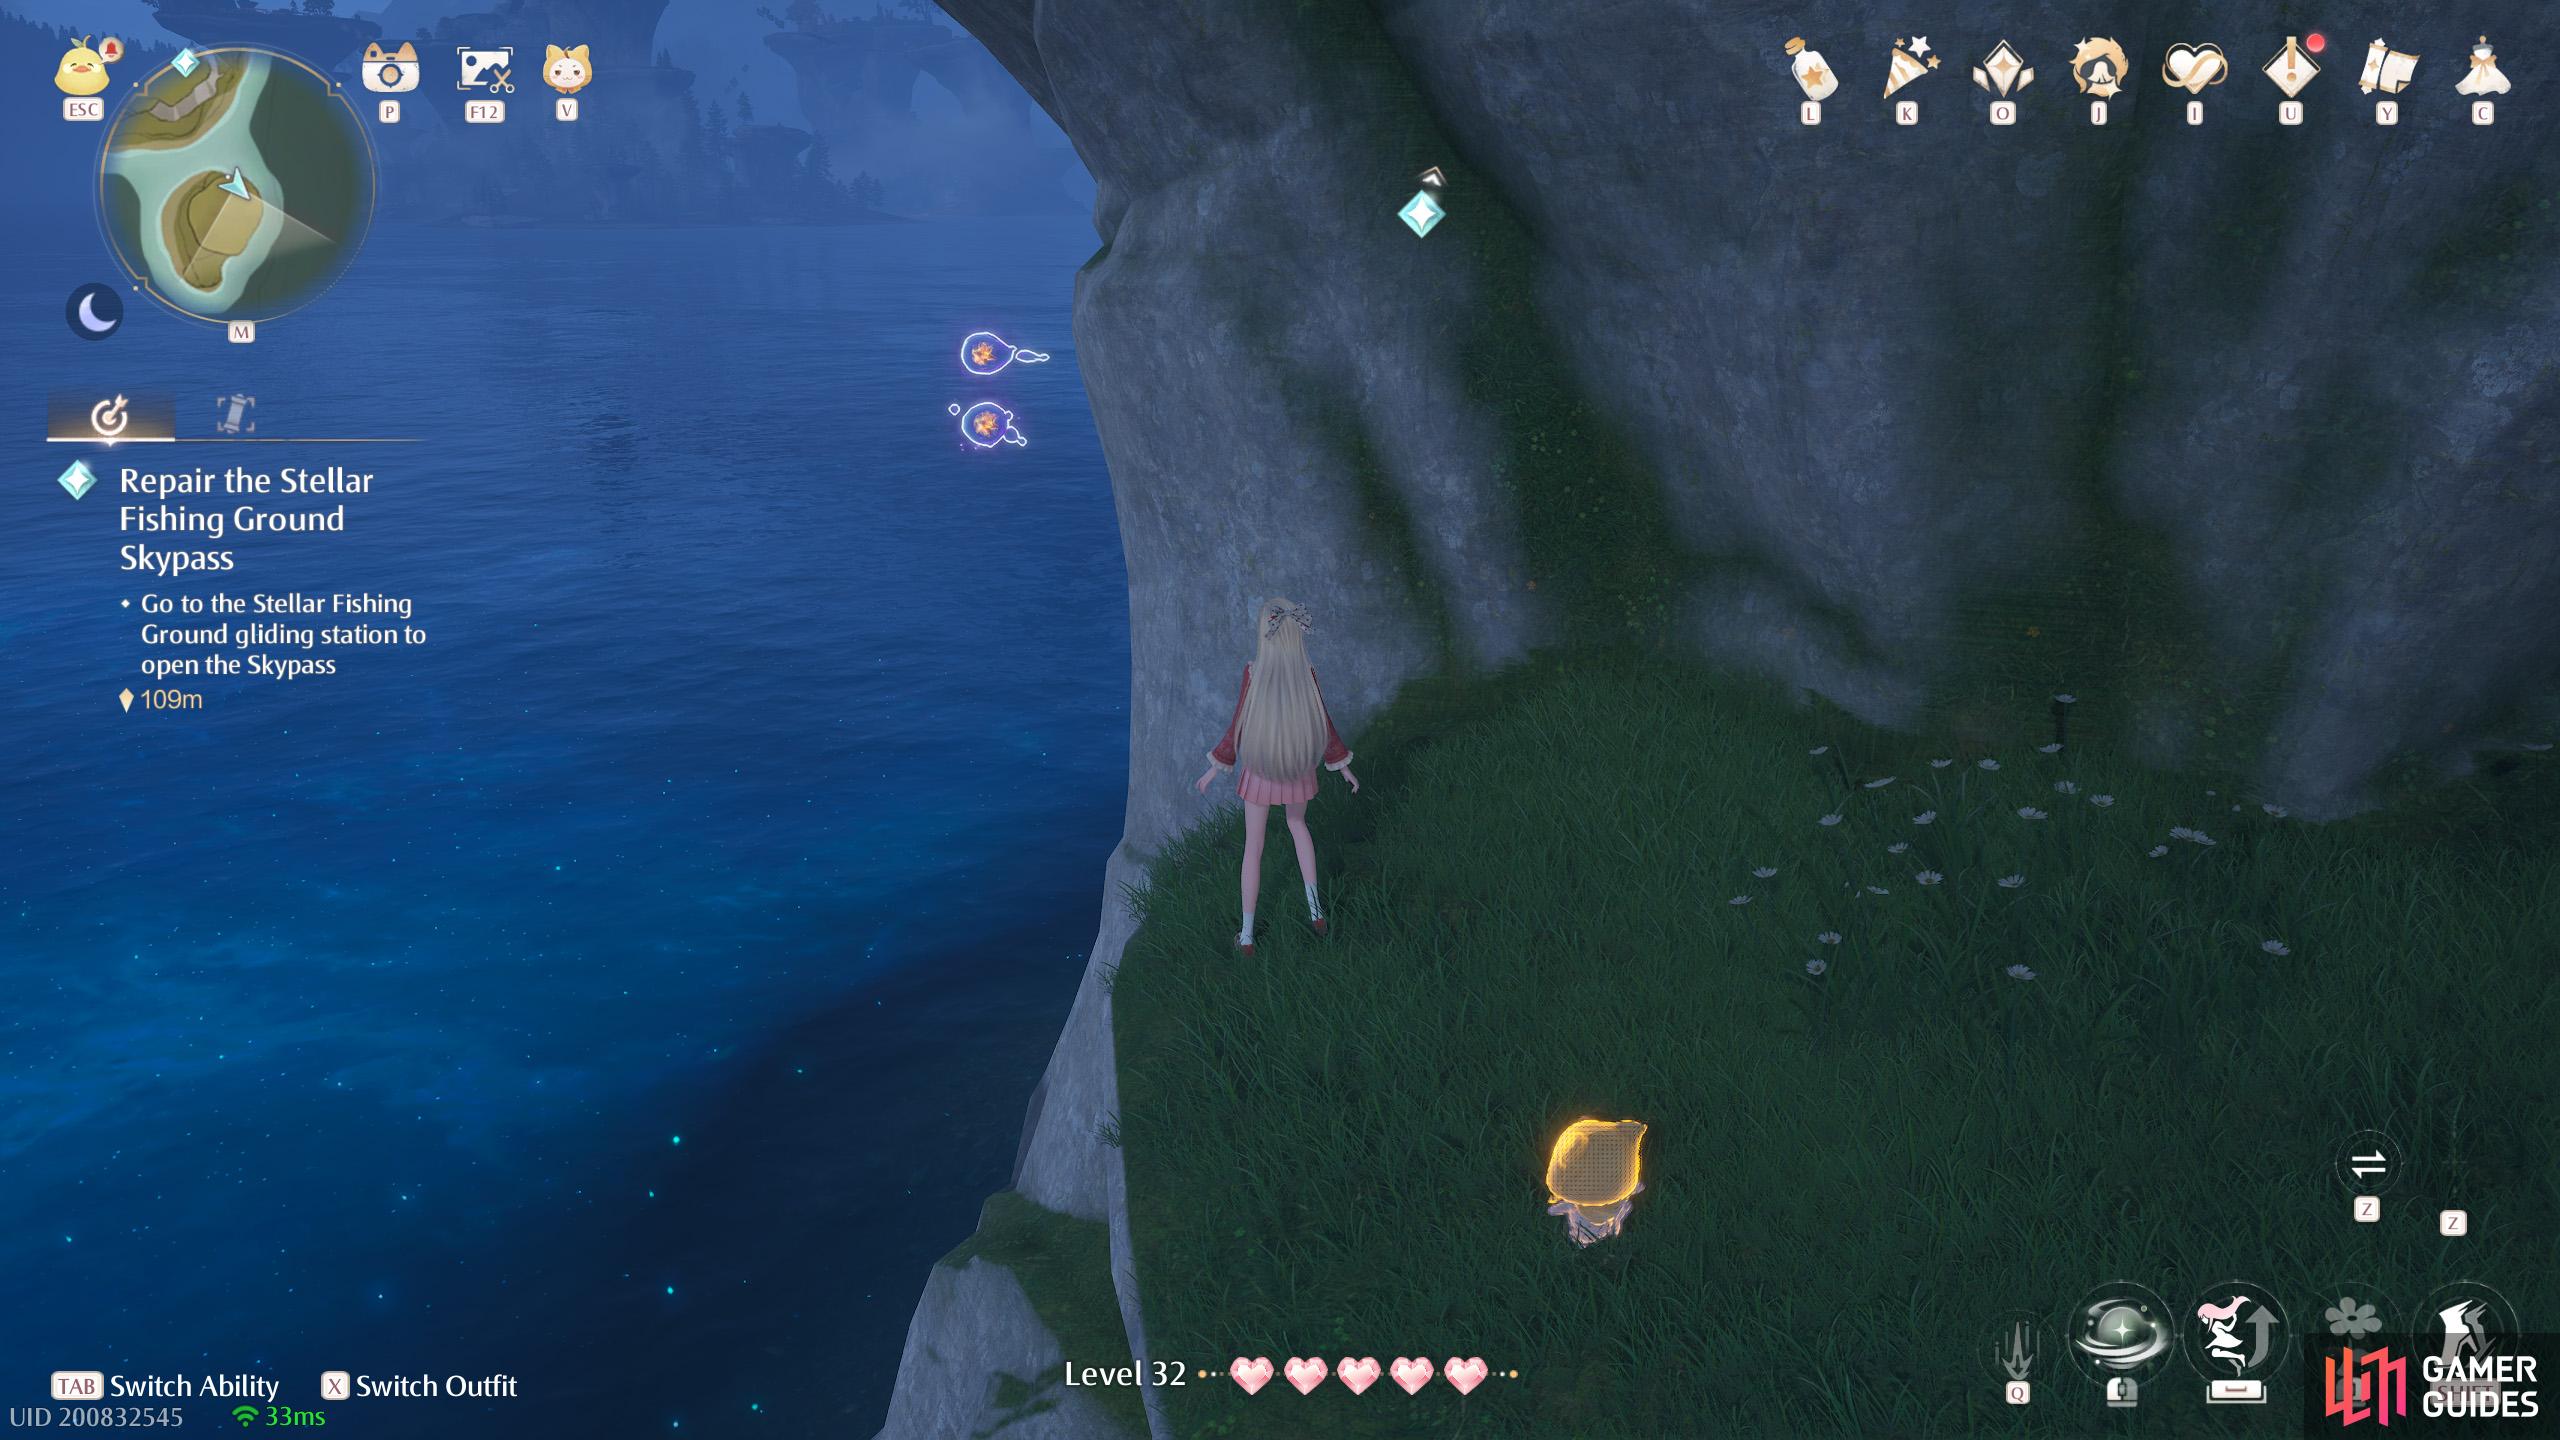
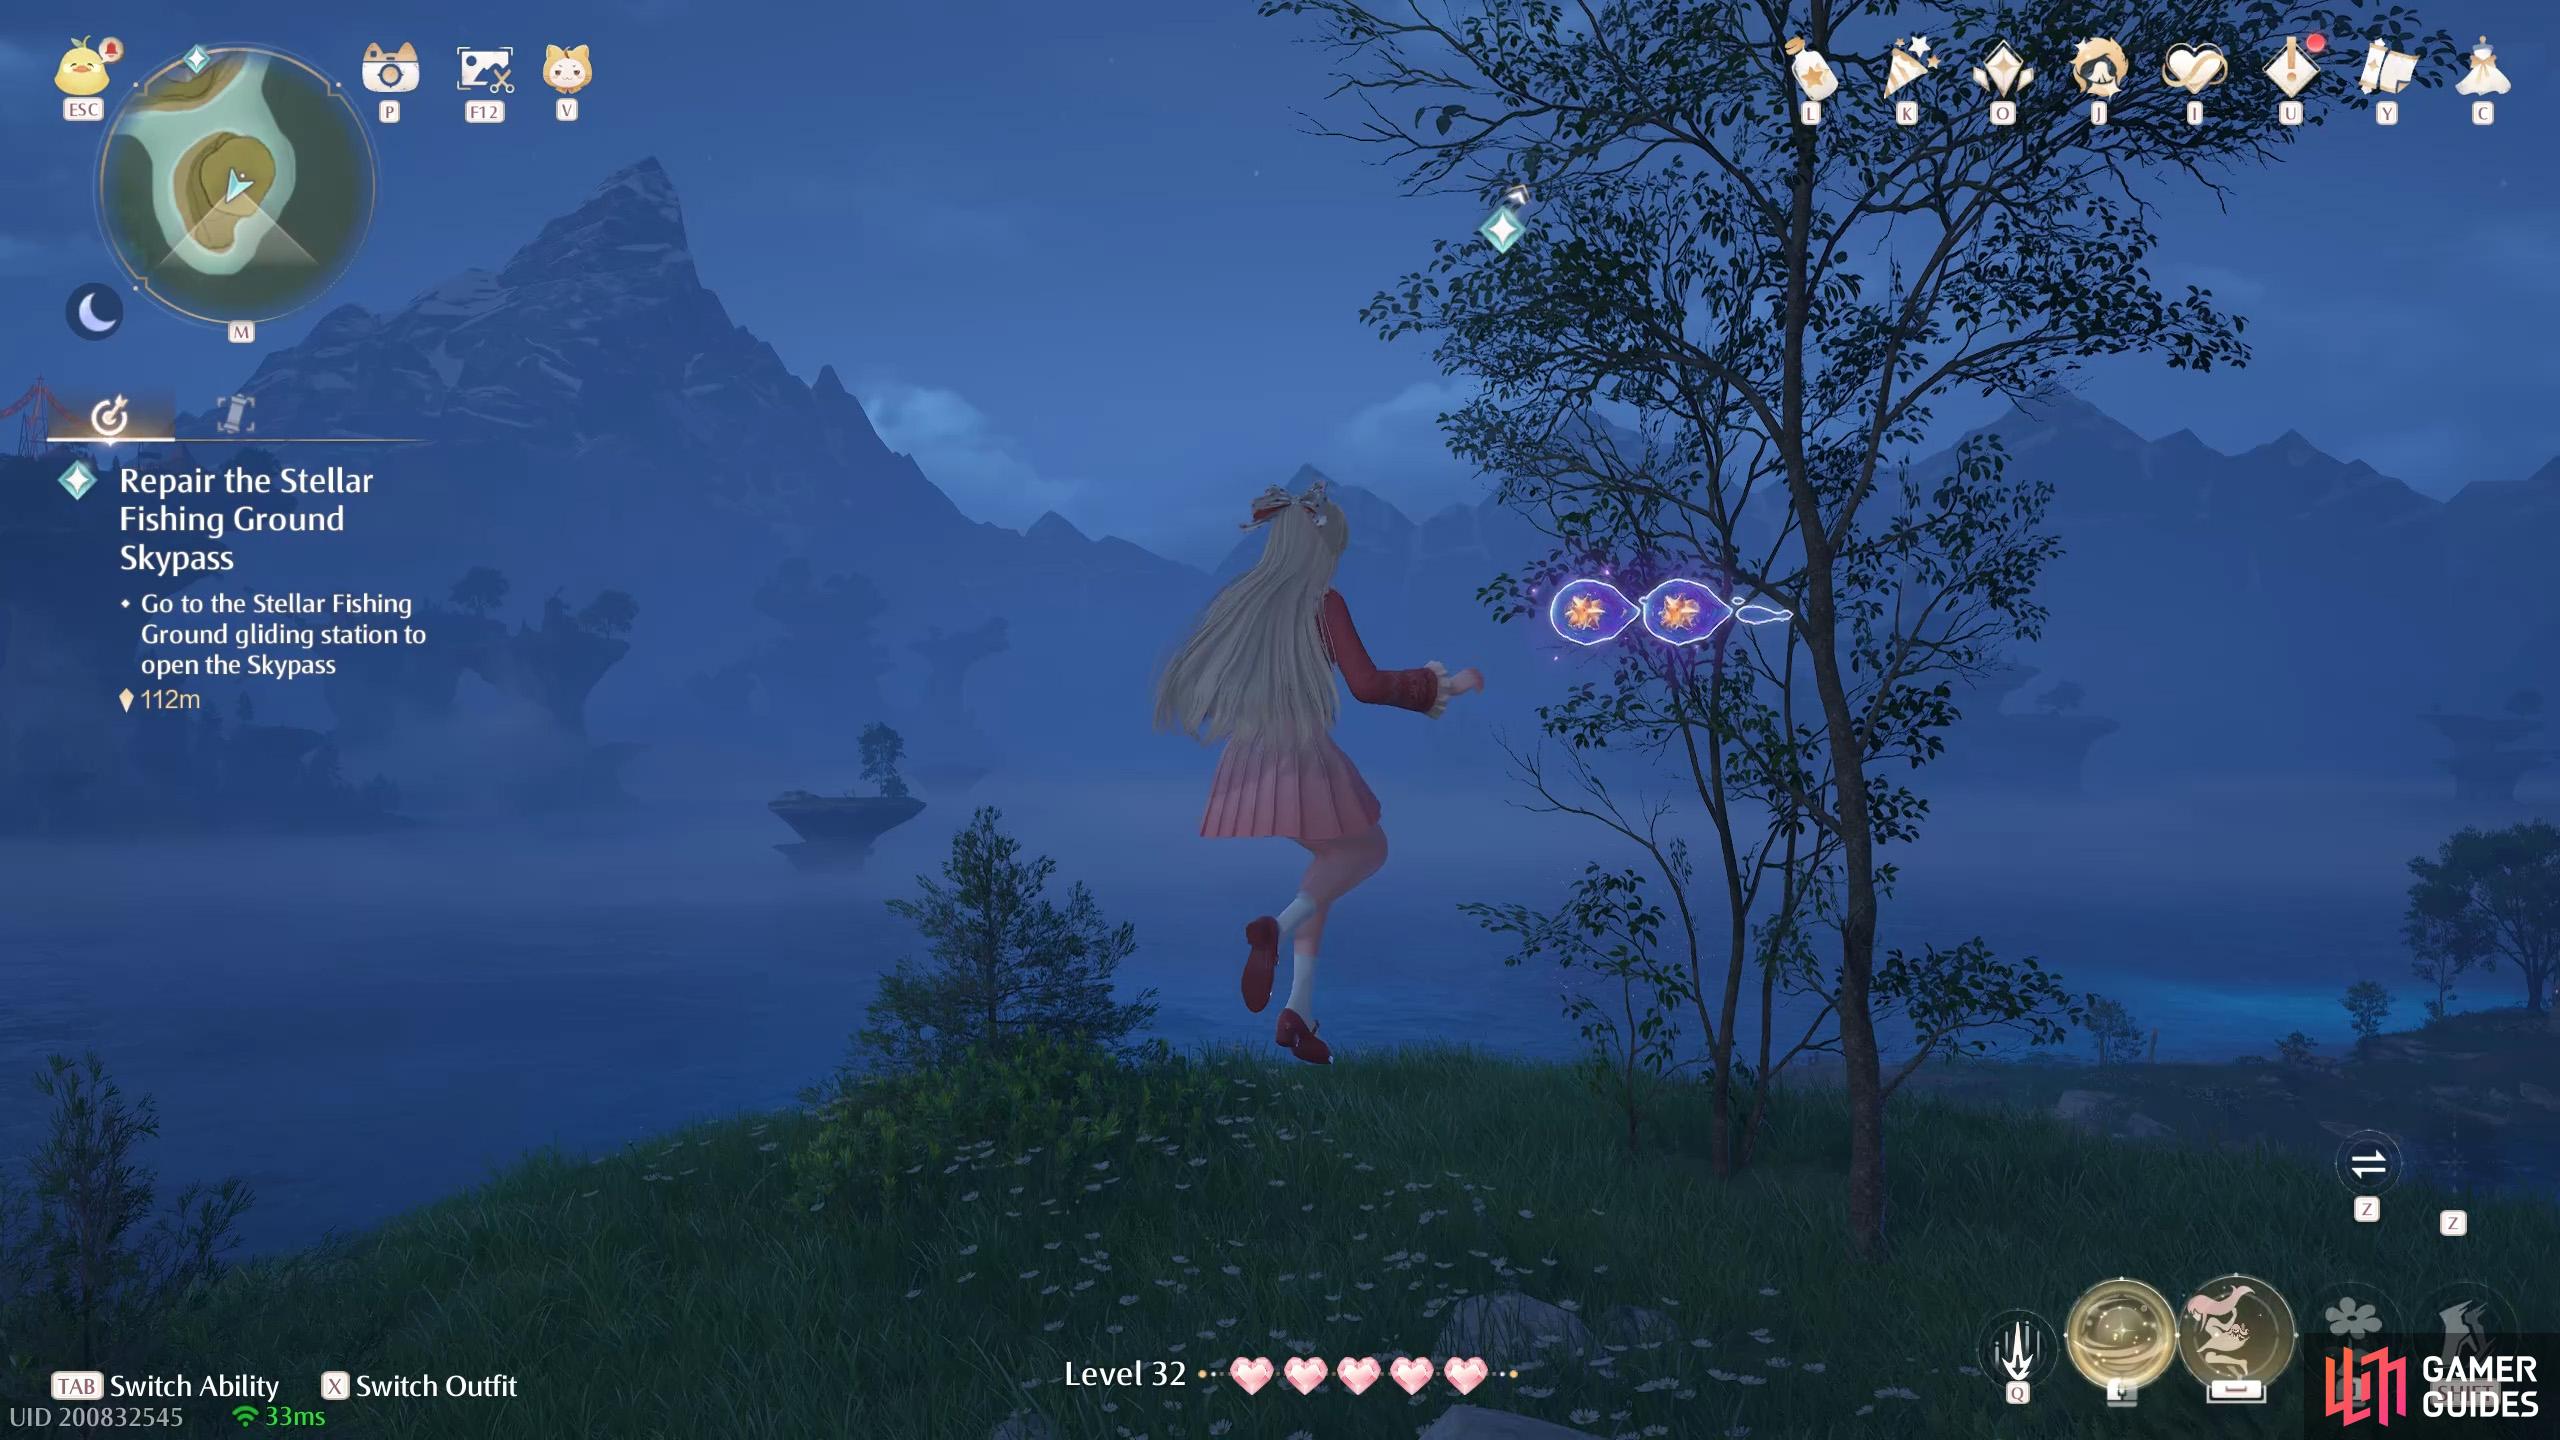
Short distance north-east of ![]() Stellar Fishing Ground Peak. Three floating near a tree next to a small hill.
Stellar Fishing Ground Peak. Three floating near a tree next to a small hill.
348. Miraland Map
East of ![]() Stellar Fishing Ground Trail. Two next to the north side of the wooden pier.
Stellar Fishing Ground Trail. Two next to the north side of the wooden pier.
349. Miraland Map
Small stonetree halfway between the ![]() Market of Mirth stonetree and the Stellar Fishing Grounds stonetree. Two around the east side of the trunk, under the stonetree canopy.
Market of Mirth stonetree and the Stellar Fishing Grounds stonetree. Two around the east side of the trunk, under the stonetree canopy.
350. Miraland Map
South-west from ![]() Market of Mirth Summit Path. On the bottom level. Three next to a circular wooden board on a low ledge.
Market of Mirth Summit Path. On the bottom level. Three next to a circular wooden board on a low ledge.
351. Miraland Map
South-west from ![]() Market of Mirth Summit Path. On the middle level, underneath the stonetree canopy. Two on a small ledge. If you trigger the
Market of Mirth Summit Path. On the middle level, underneath the stonetree canopy. Two on a small ledge. If you trigger the ![]() Whimstar to the west, you’ll end up near here.
Whimstar to the west, you’ll end up near here.
352. Miraland Map
Atop the stonetree south of ![]() Market of Mirth Summit Path. Three behind the head of the central haystack creature.
Market of Mirth Summit Path. Three behind the head of the central haystack creature.
353. Miraland Map
Atop the stonetree west of ![]() Market of Mirth Summit Path. Four near the top of the windmill in the north-west corner.
Market of Mirth Summit Path. Four near the top of the windmill in the north-west corner.
355. Miraland Map
Short distance south of the ![]() Handsome Lads Circus Warp Spire. Two floating high in the air, above the pole near the gliding station. Jump on the balloons from the circus tent to get up.
Handsome Lads Circus Warp Spire. Two floating high in the air, above the pole near the gliding station. Jump on the balloons from the circus tent to get up.
356. Miraland Map
Inside ![]() Market of Mirth Cavern. Near the start, after dropping down, two floating straight ahead at the back, near a dimly lit ledge.
Market of Mirth Cavern. Near the start, after dropping down, two floating straight ahead at the back, near a dimly lit ledge.
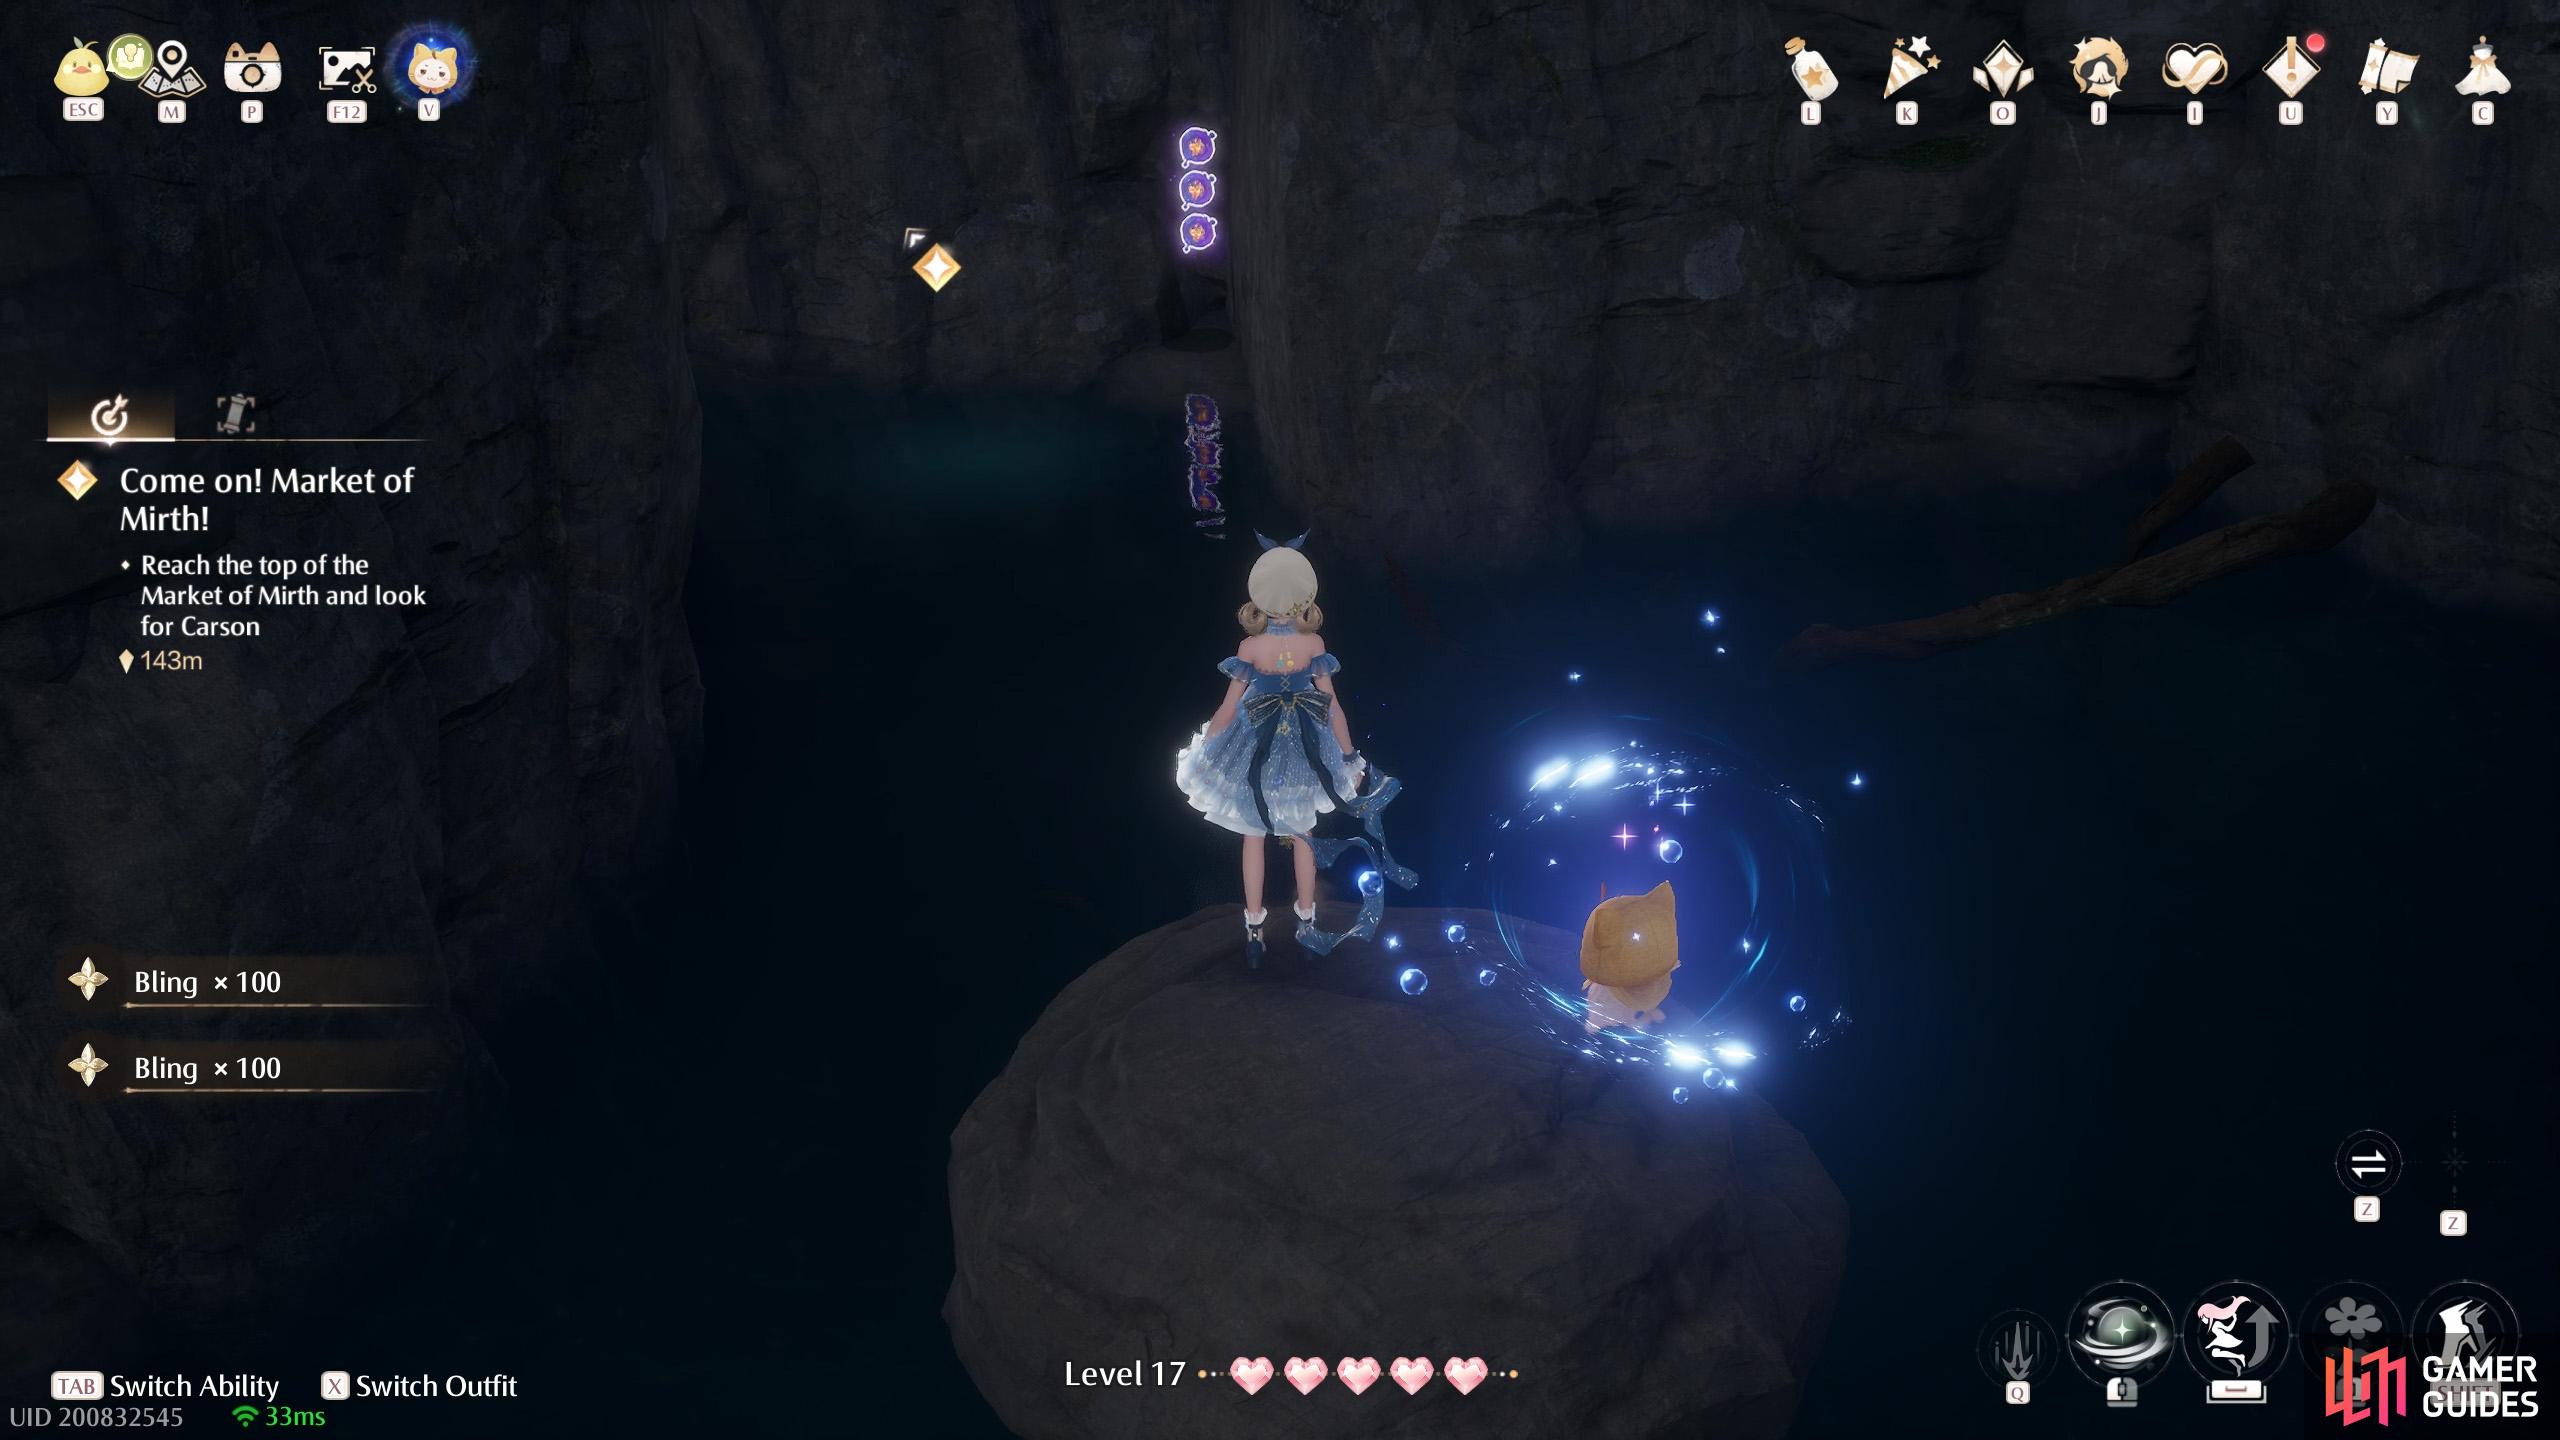
357. Miraland Map
Inside ![]() Market of Mirth Cavern. In the water area after dropping down at the start. On the last stepping stone before leaving this area, turn left to find three around the corner.
Market of Mirth Cavern. In the water area after dropping down at the start. On the last stepping stone before leaving this area, turn left to find three around the corner.
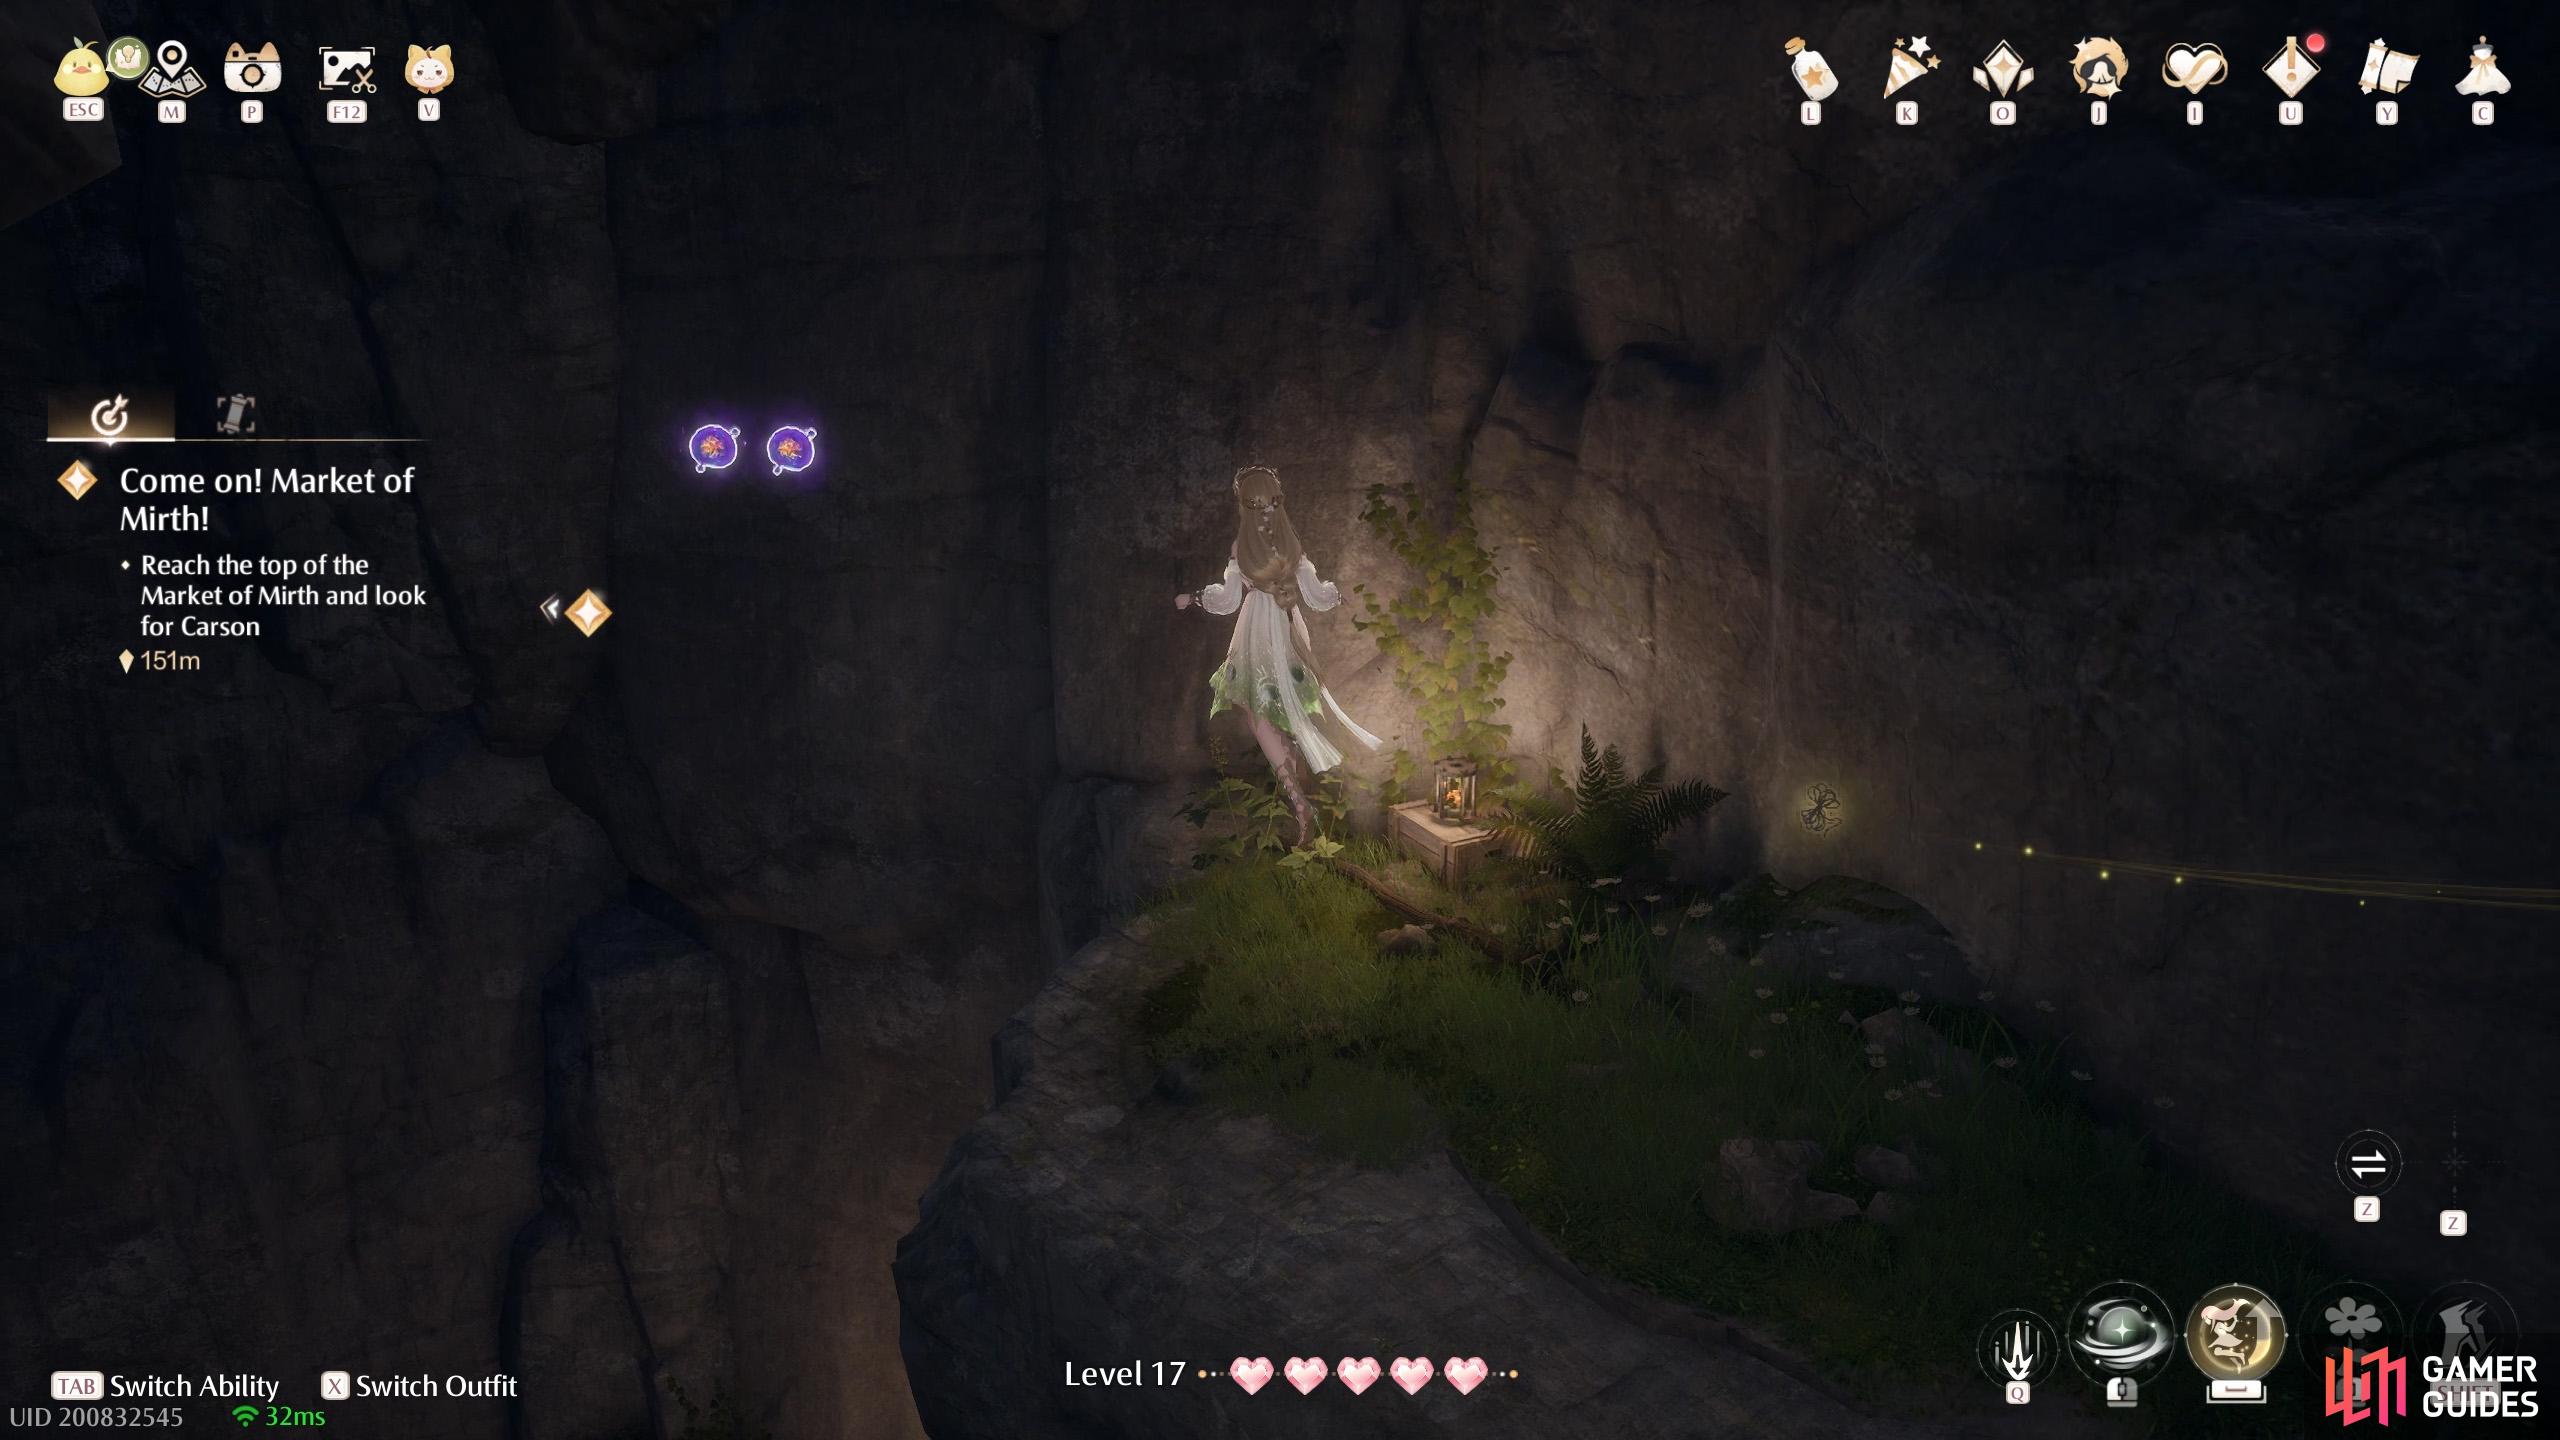
358. Miraland Map
Inside ![]() Market of Mirth Cavern. Halfway through, there’s a section where you jump up some ledges. At the top, there’s an exit leading to an air-blowing plant. Instead, continue left to a different area. Keep going to the end, where there’s a spore held by an Esseling. These two are floating on the left of the ledge.
Market of Mirth Cavern. Halfway through, there’s a section where you jump up some ledges. At the top, there’s an exit leading to an air-blowing plant. Instead, continue left to a different area. Keep going to the end, where there’s a spore held by an Esseling. These two are floating on the left of the ledge.

359. Miraland Map
East of ![]() Handsome Lads Circus. At the east side of the island. Two on top of a haystack roll.
Handsome Lads Circus. At the east side of the island. Two on top of a haystack roll.

360. Miraland Map
Short distance south-west from ![]() Handsome Lads Circus. Two floating high in the sky, above a pole. Jump on the balloons from the circus tent to get up.
Handsome Lads Circus. Two floating high in the sky, above a pole. Jump on the balloons from the circus tent to get up.
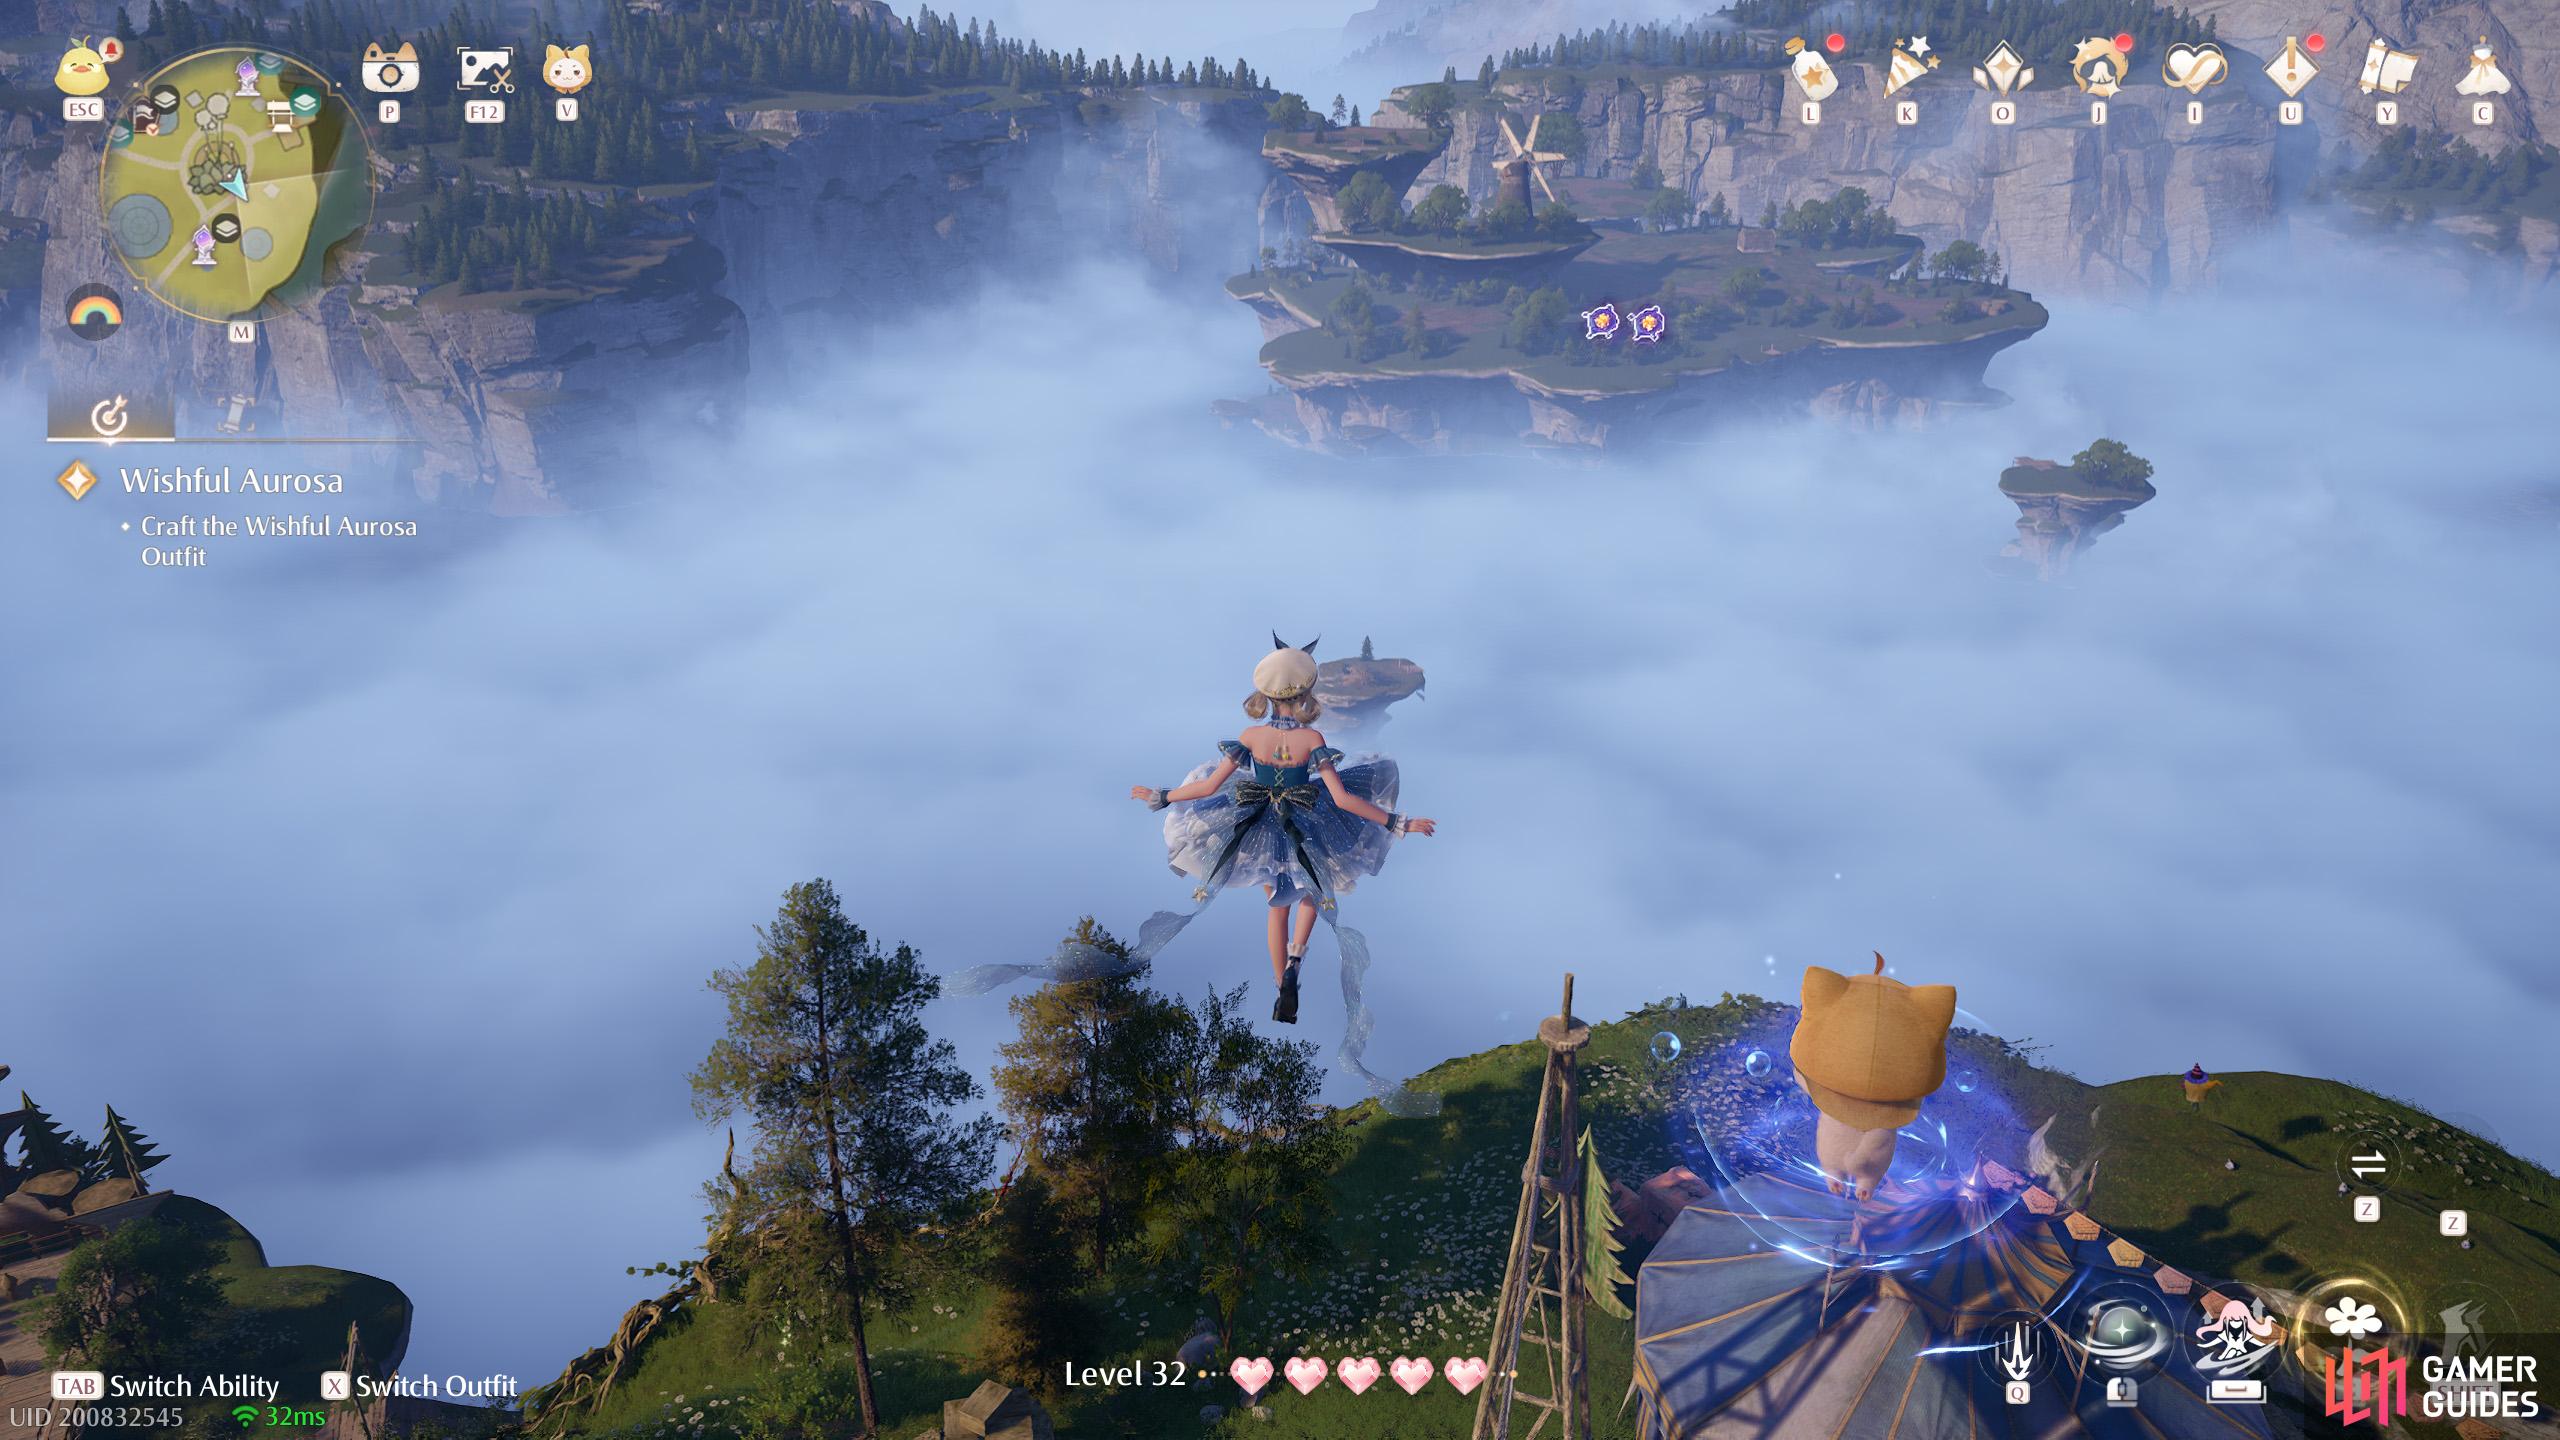
361. Miraland Map
South of ![]() Handsome Lads Circus. Two floating high up in the sky, above a pole. Jump on the balloons from the circus tent to get up.
Handsome Lads Circus. Two floating high up in the sky, above a pole. Jump on the balloons from the circus tent to get up.
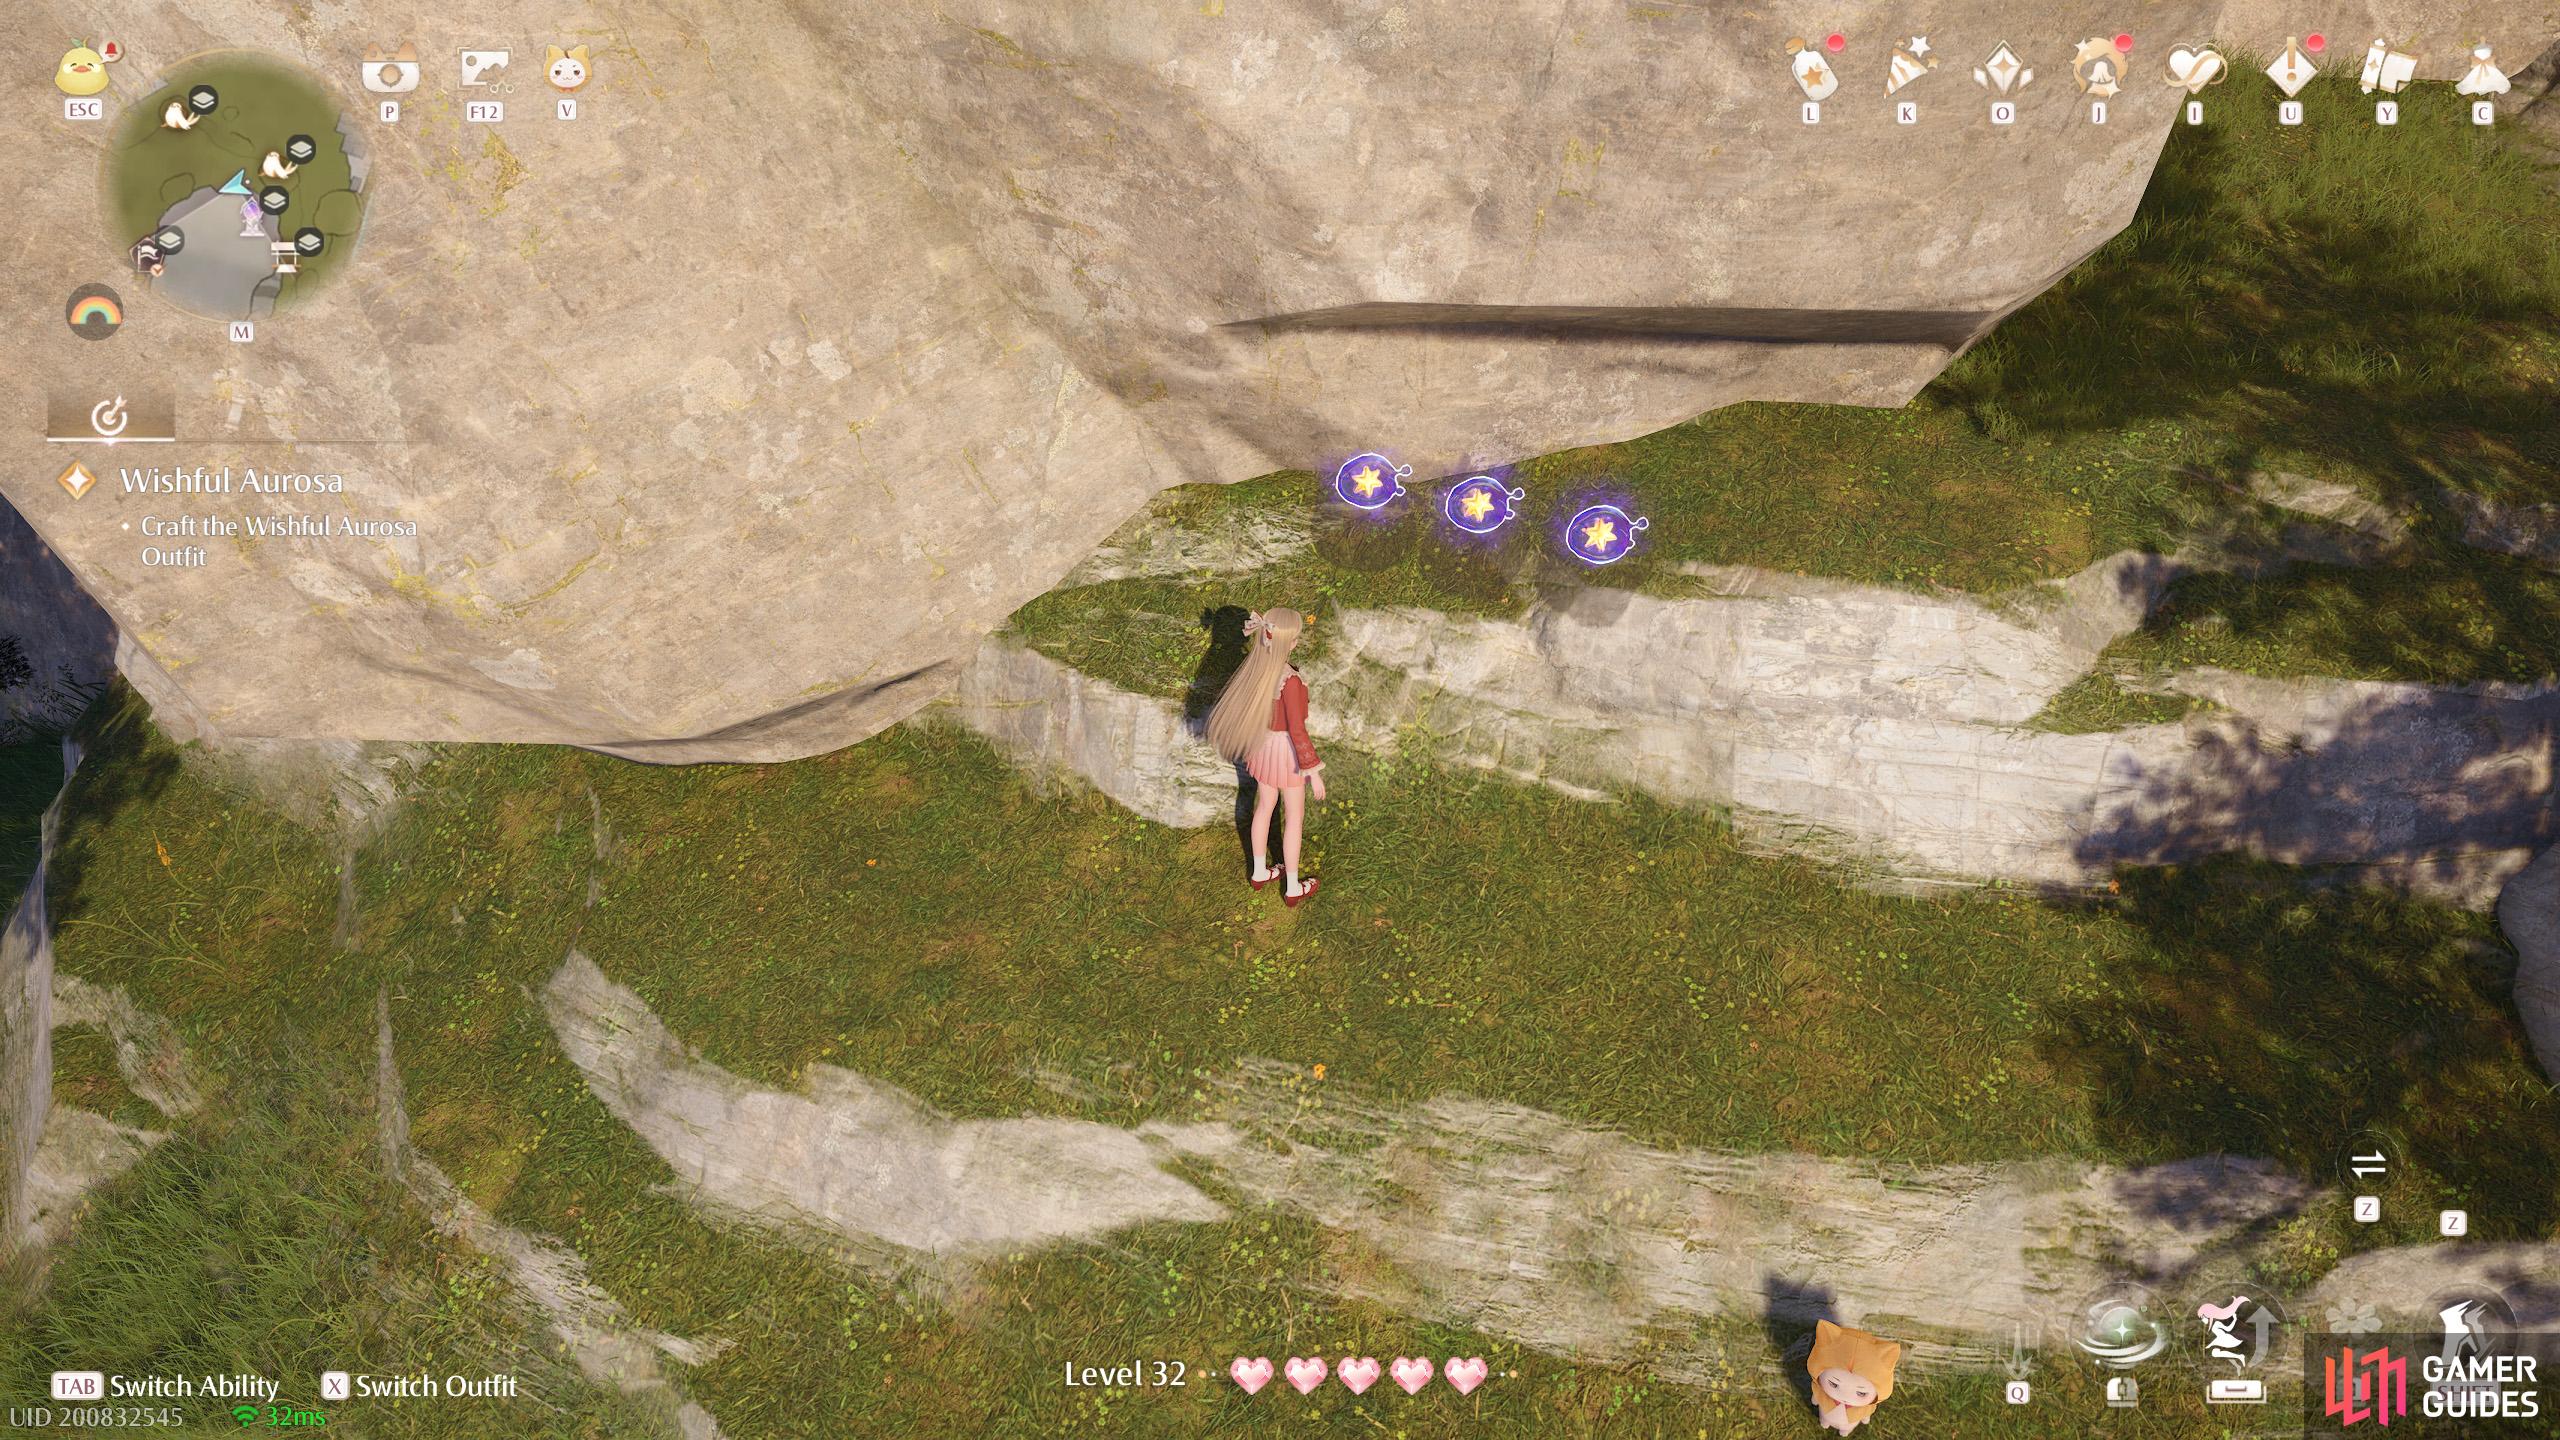
362. Miraland Map
Near the ![]() Handsome Lads Circus Warp Spire, on the lower level. Three near the base of the stonetree trunk.
Handsome Lads Circus Warp Spire, on the lower level. Three near the base of the stonetree trunk.
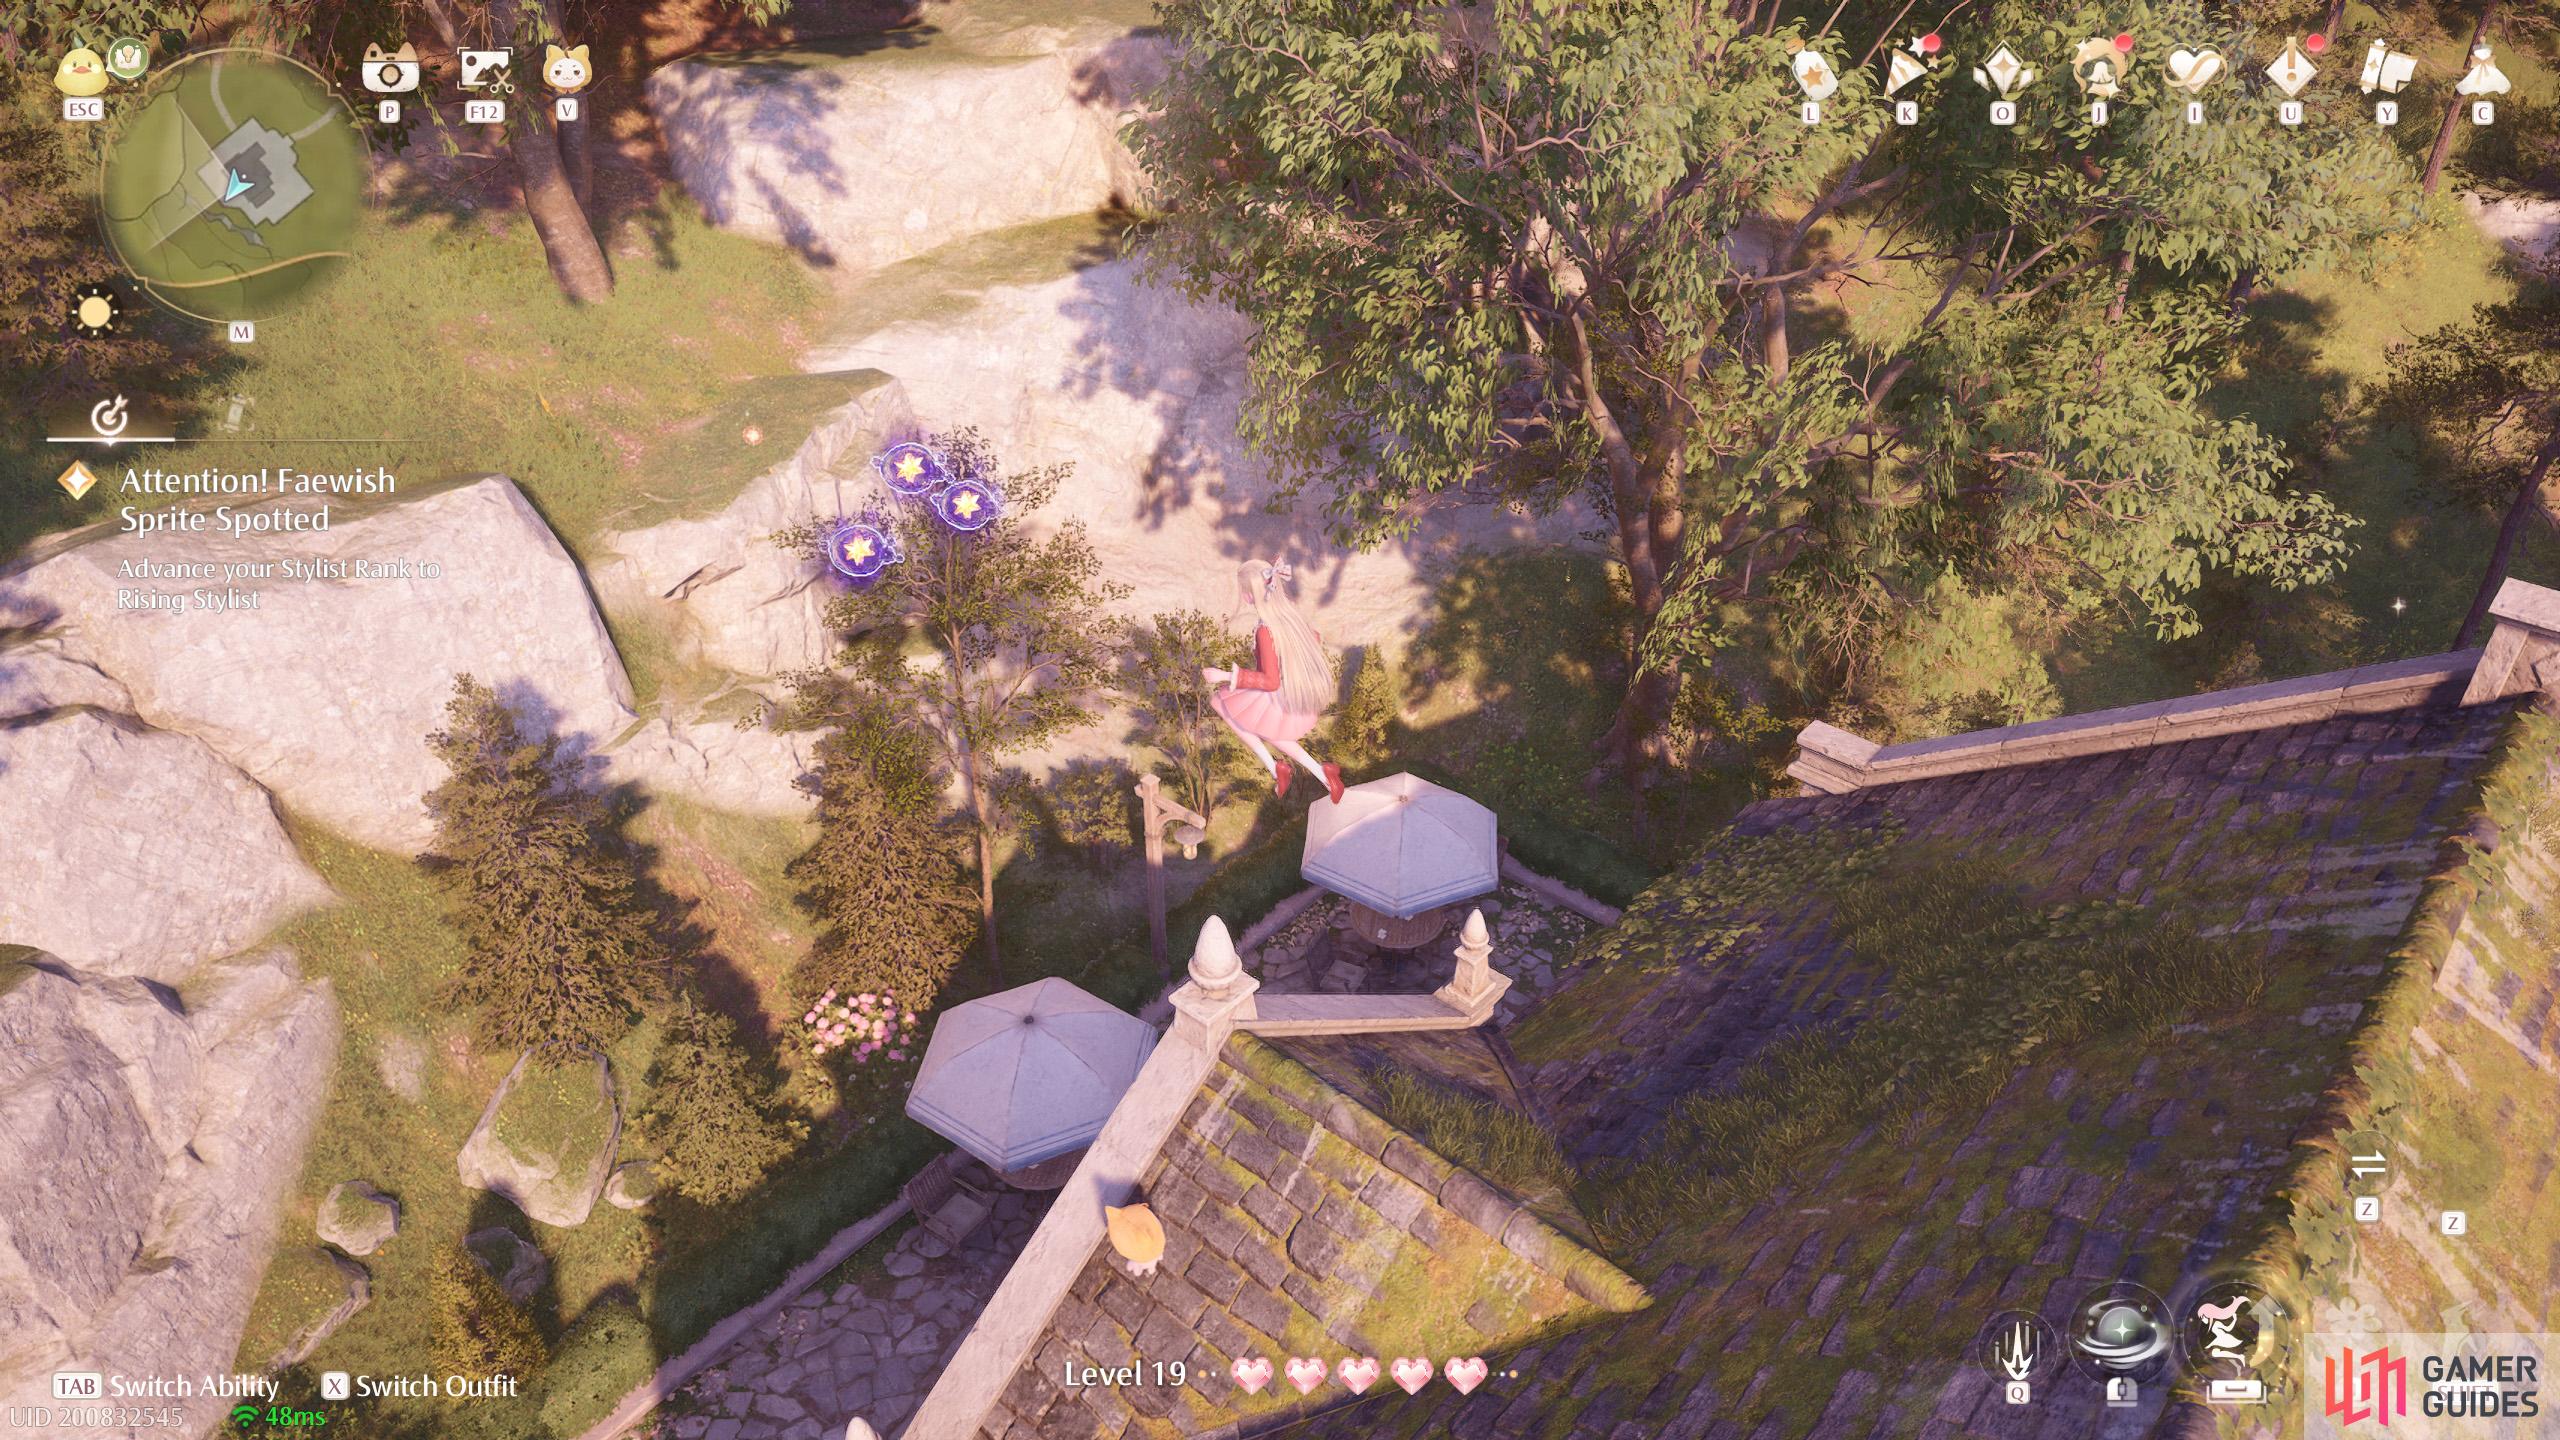
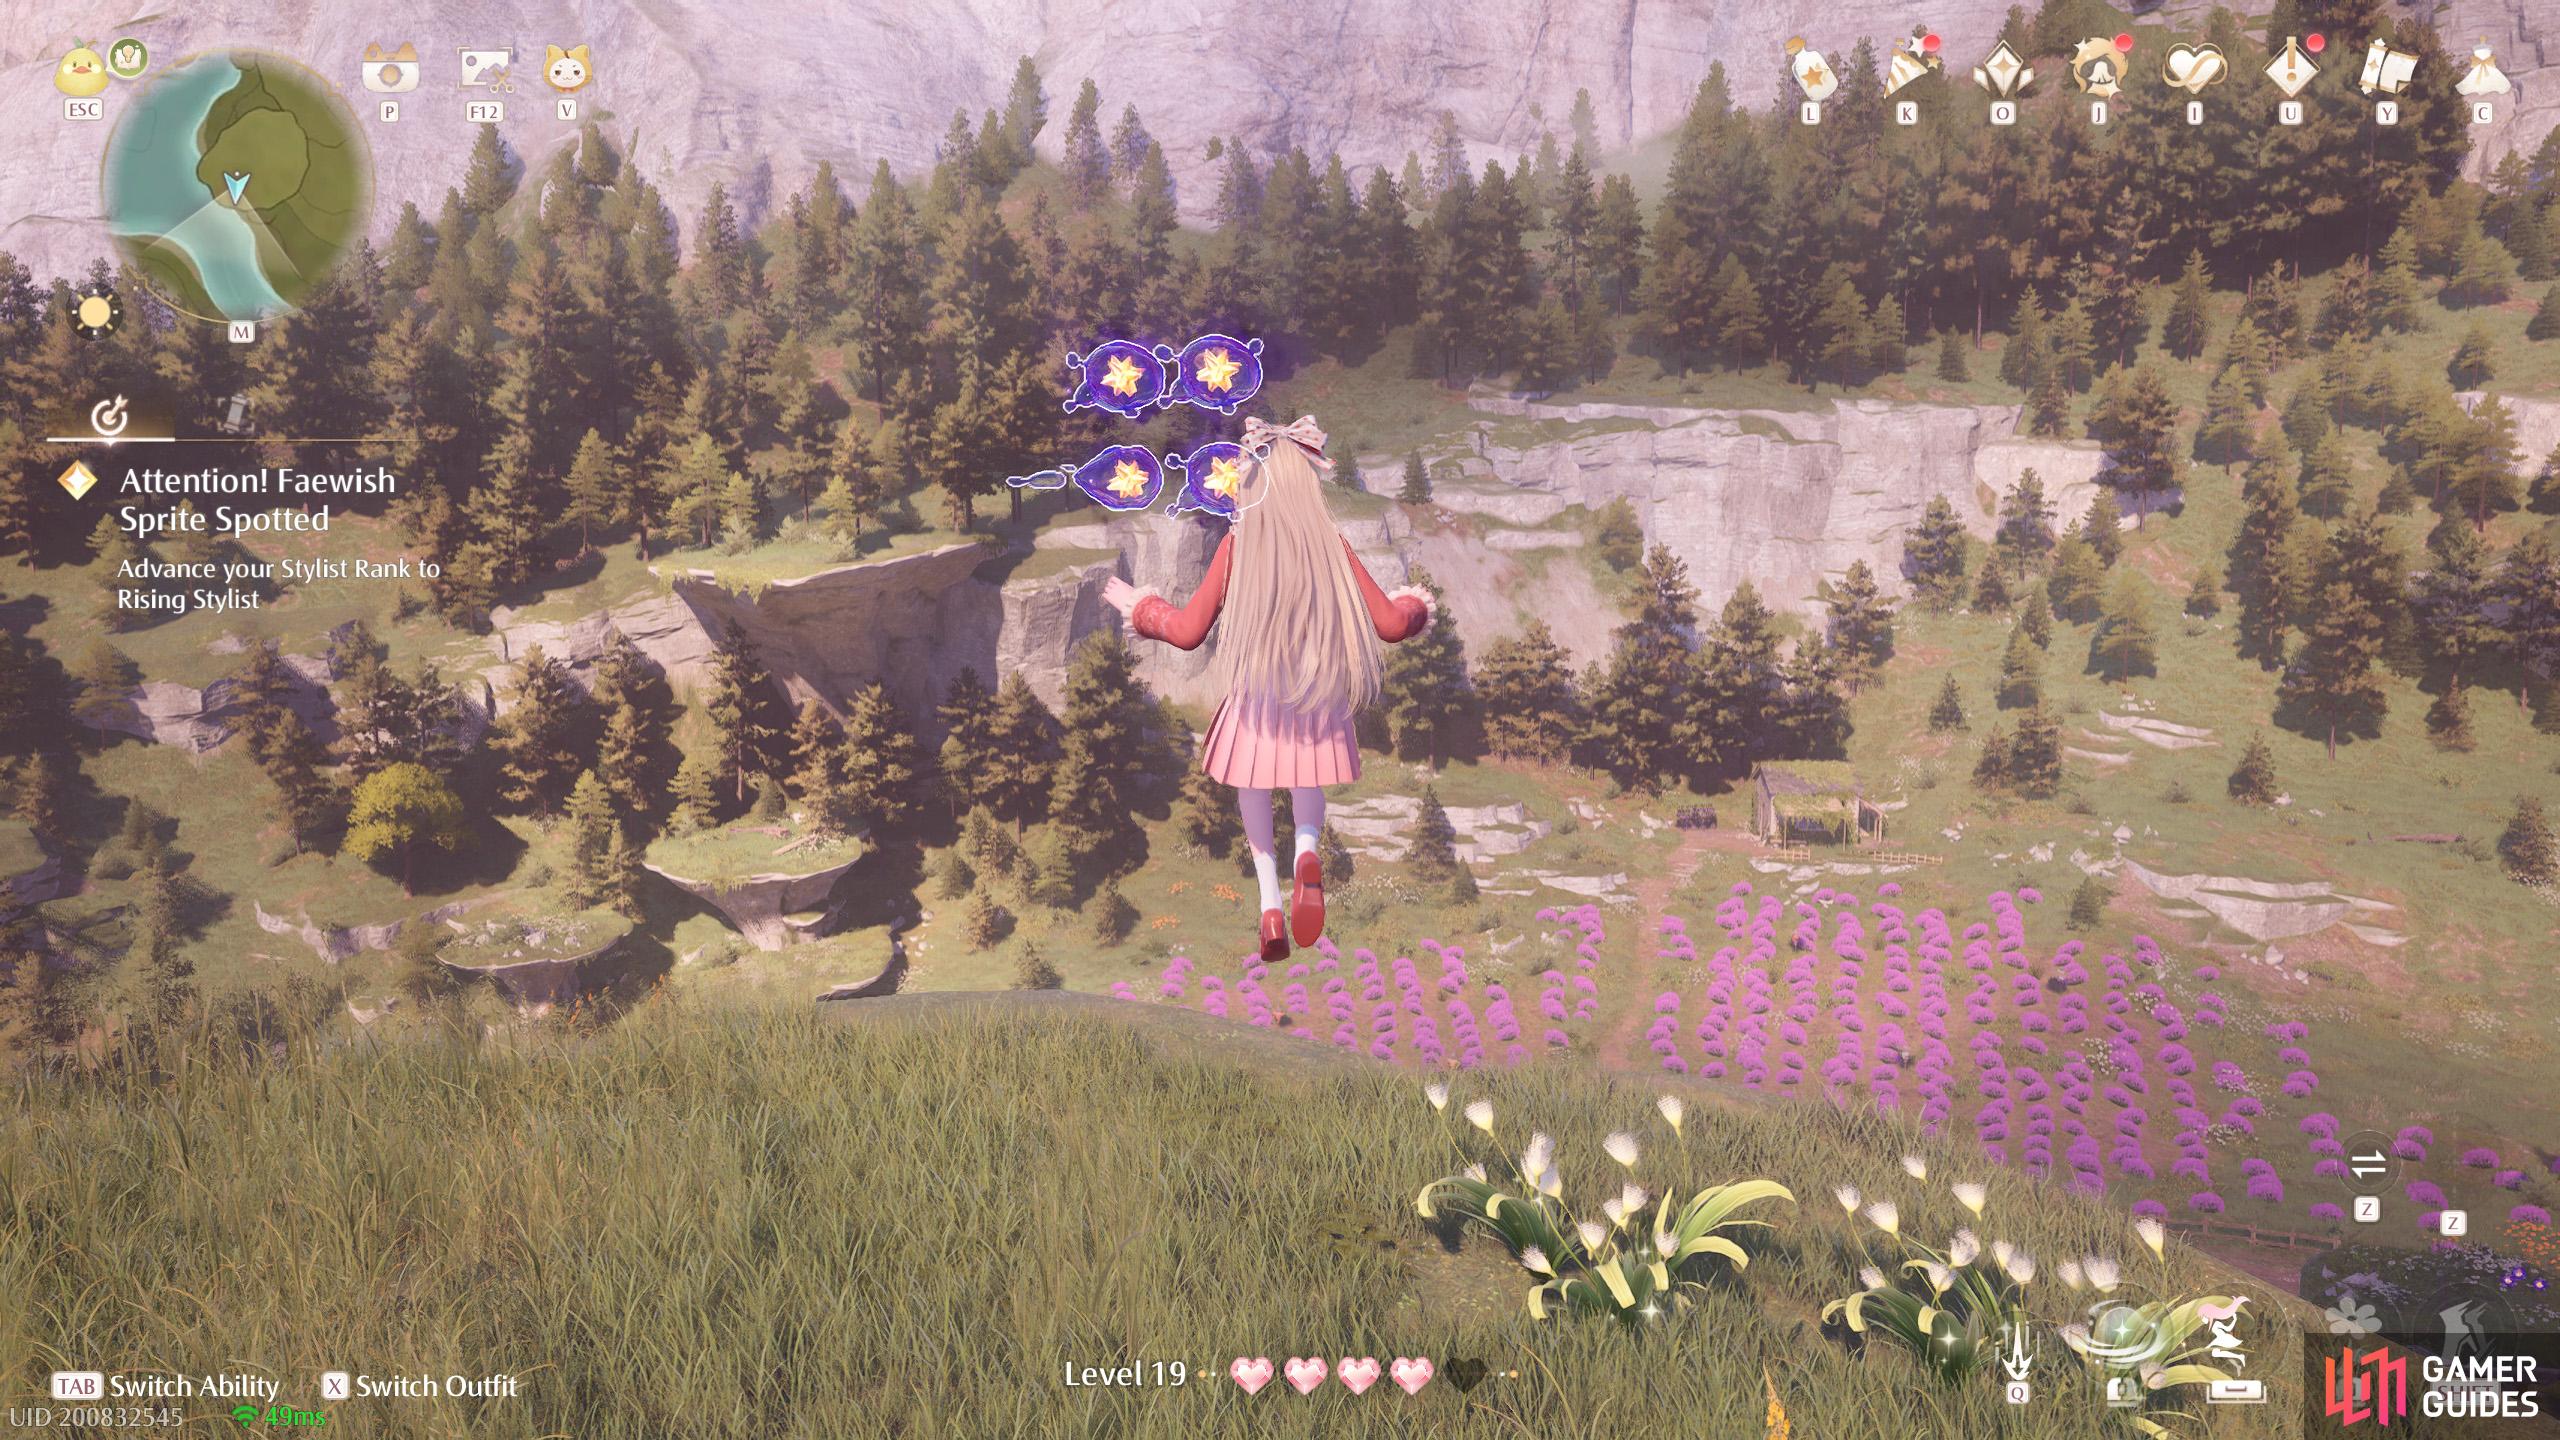
364. Miraland Map
North-east of the ![]() Lakeheart Stonetree photo spot, atop the medium stonetree. Four near the south edge.
Lakeheart Stonetree photo spot, atop the medium stonetree. Four near the south edge.
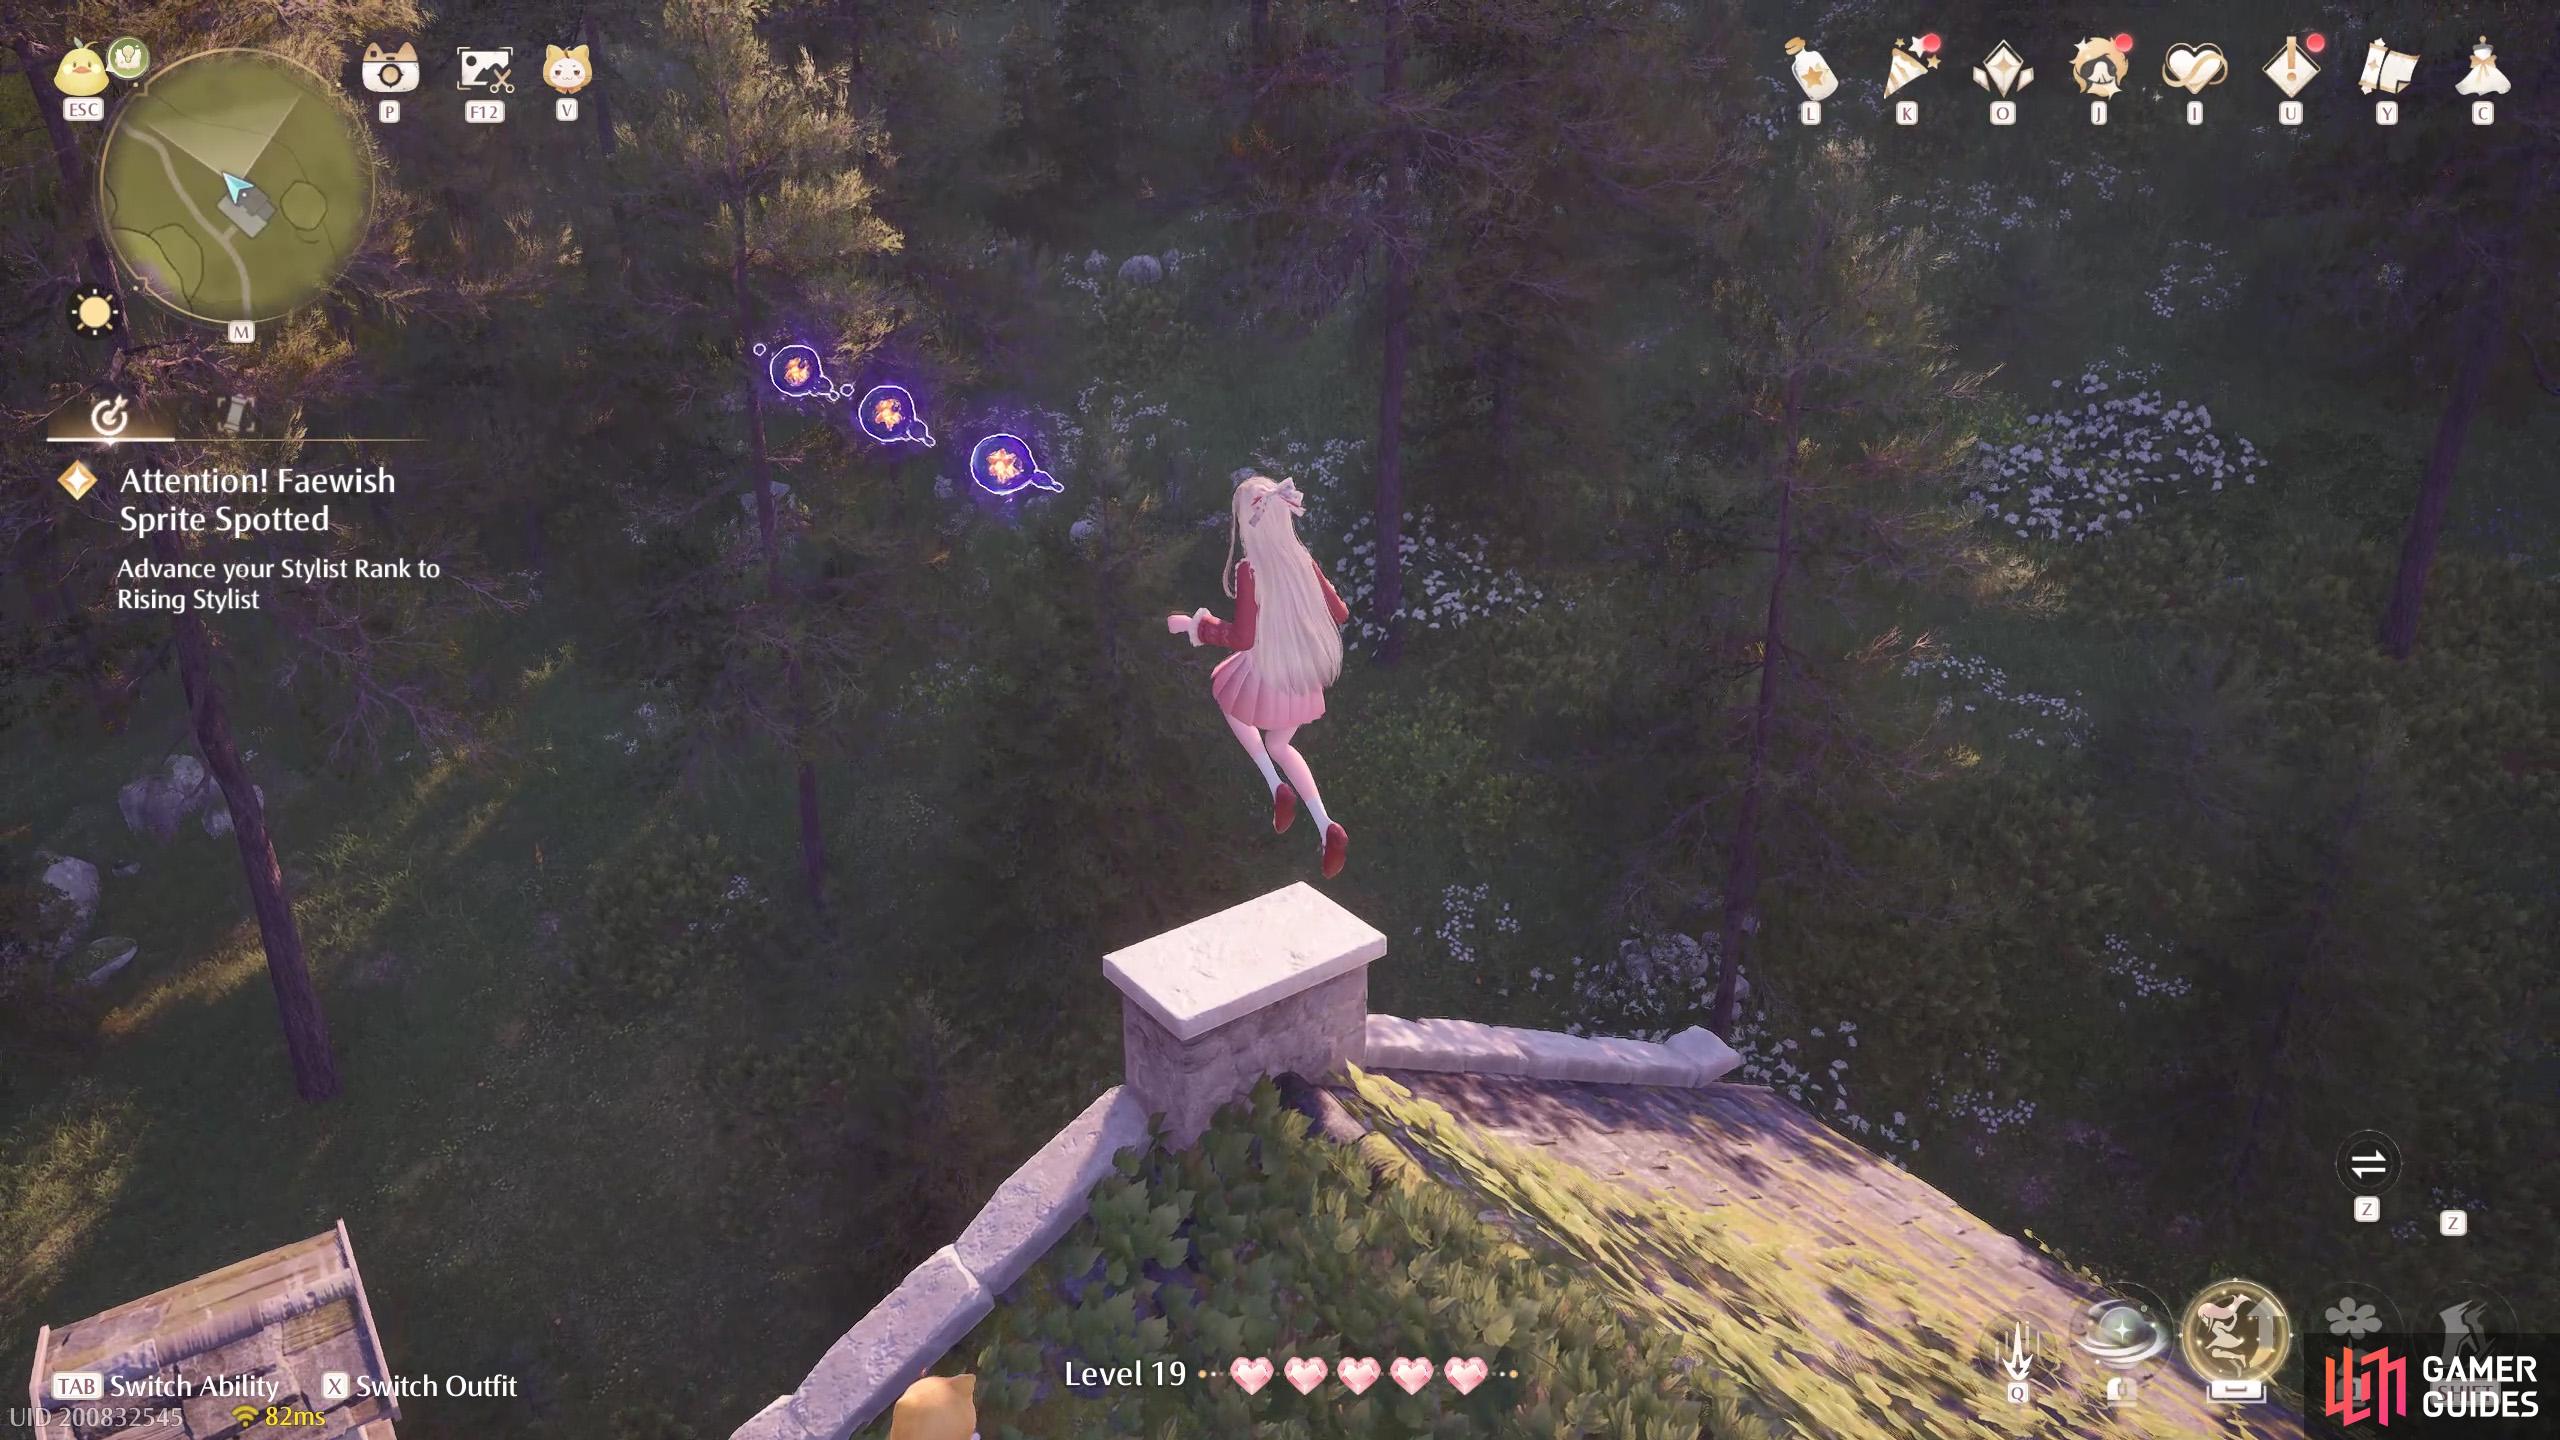
365. Miraland Map
East of ![]() Flamecrest Stonetree. Three floating near the chimney of the lone house.
Flamecrest Stonetree. Three floating near the chimney of the lone house.
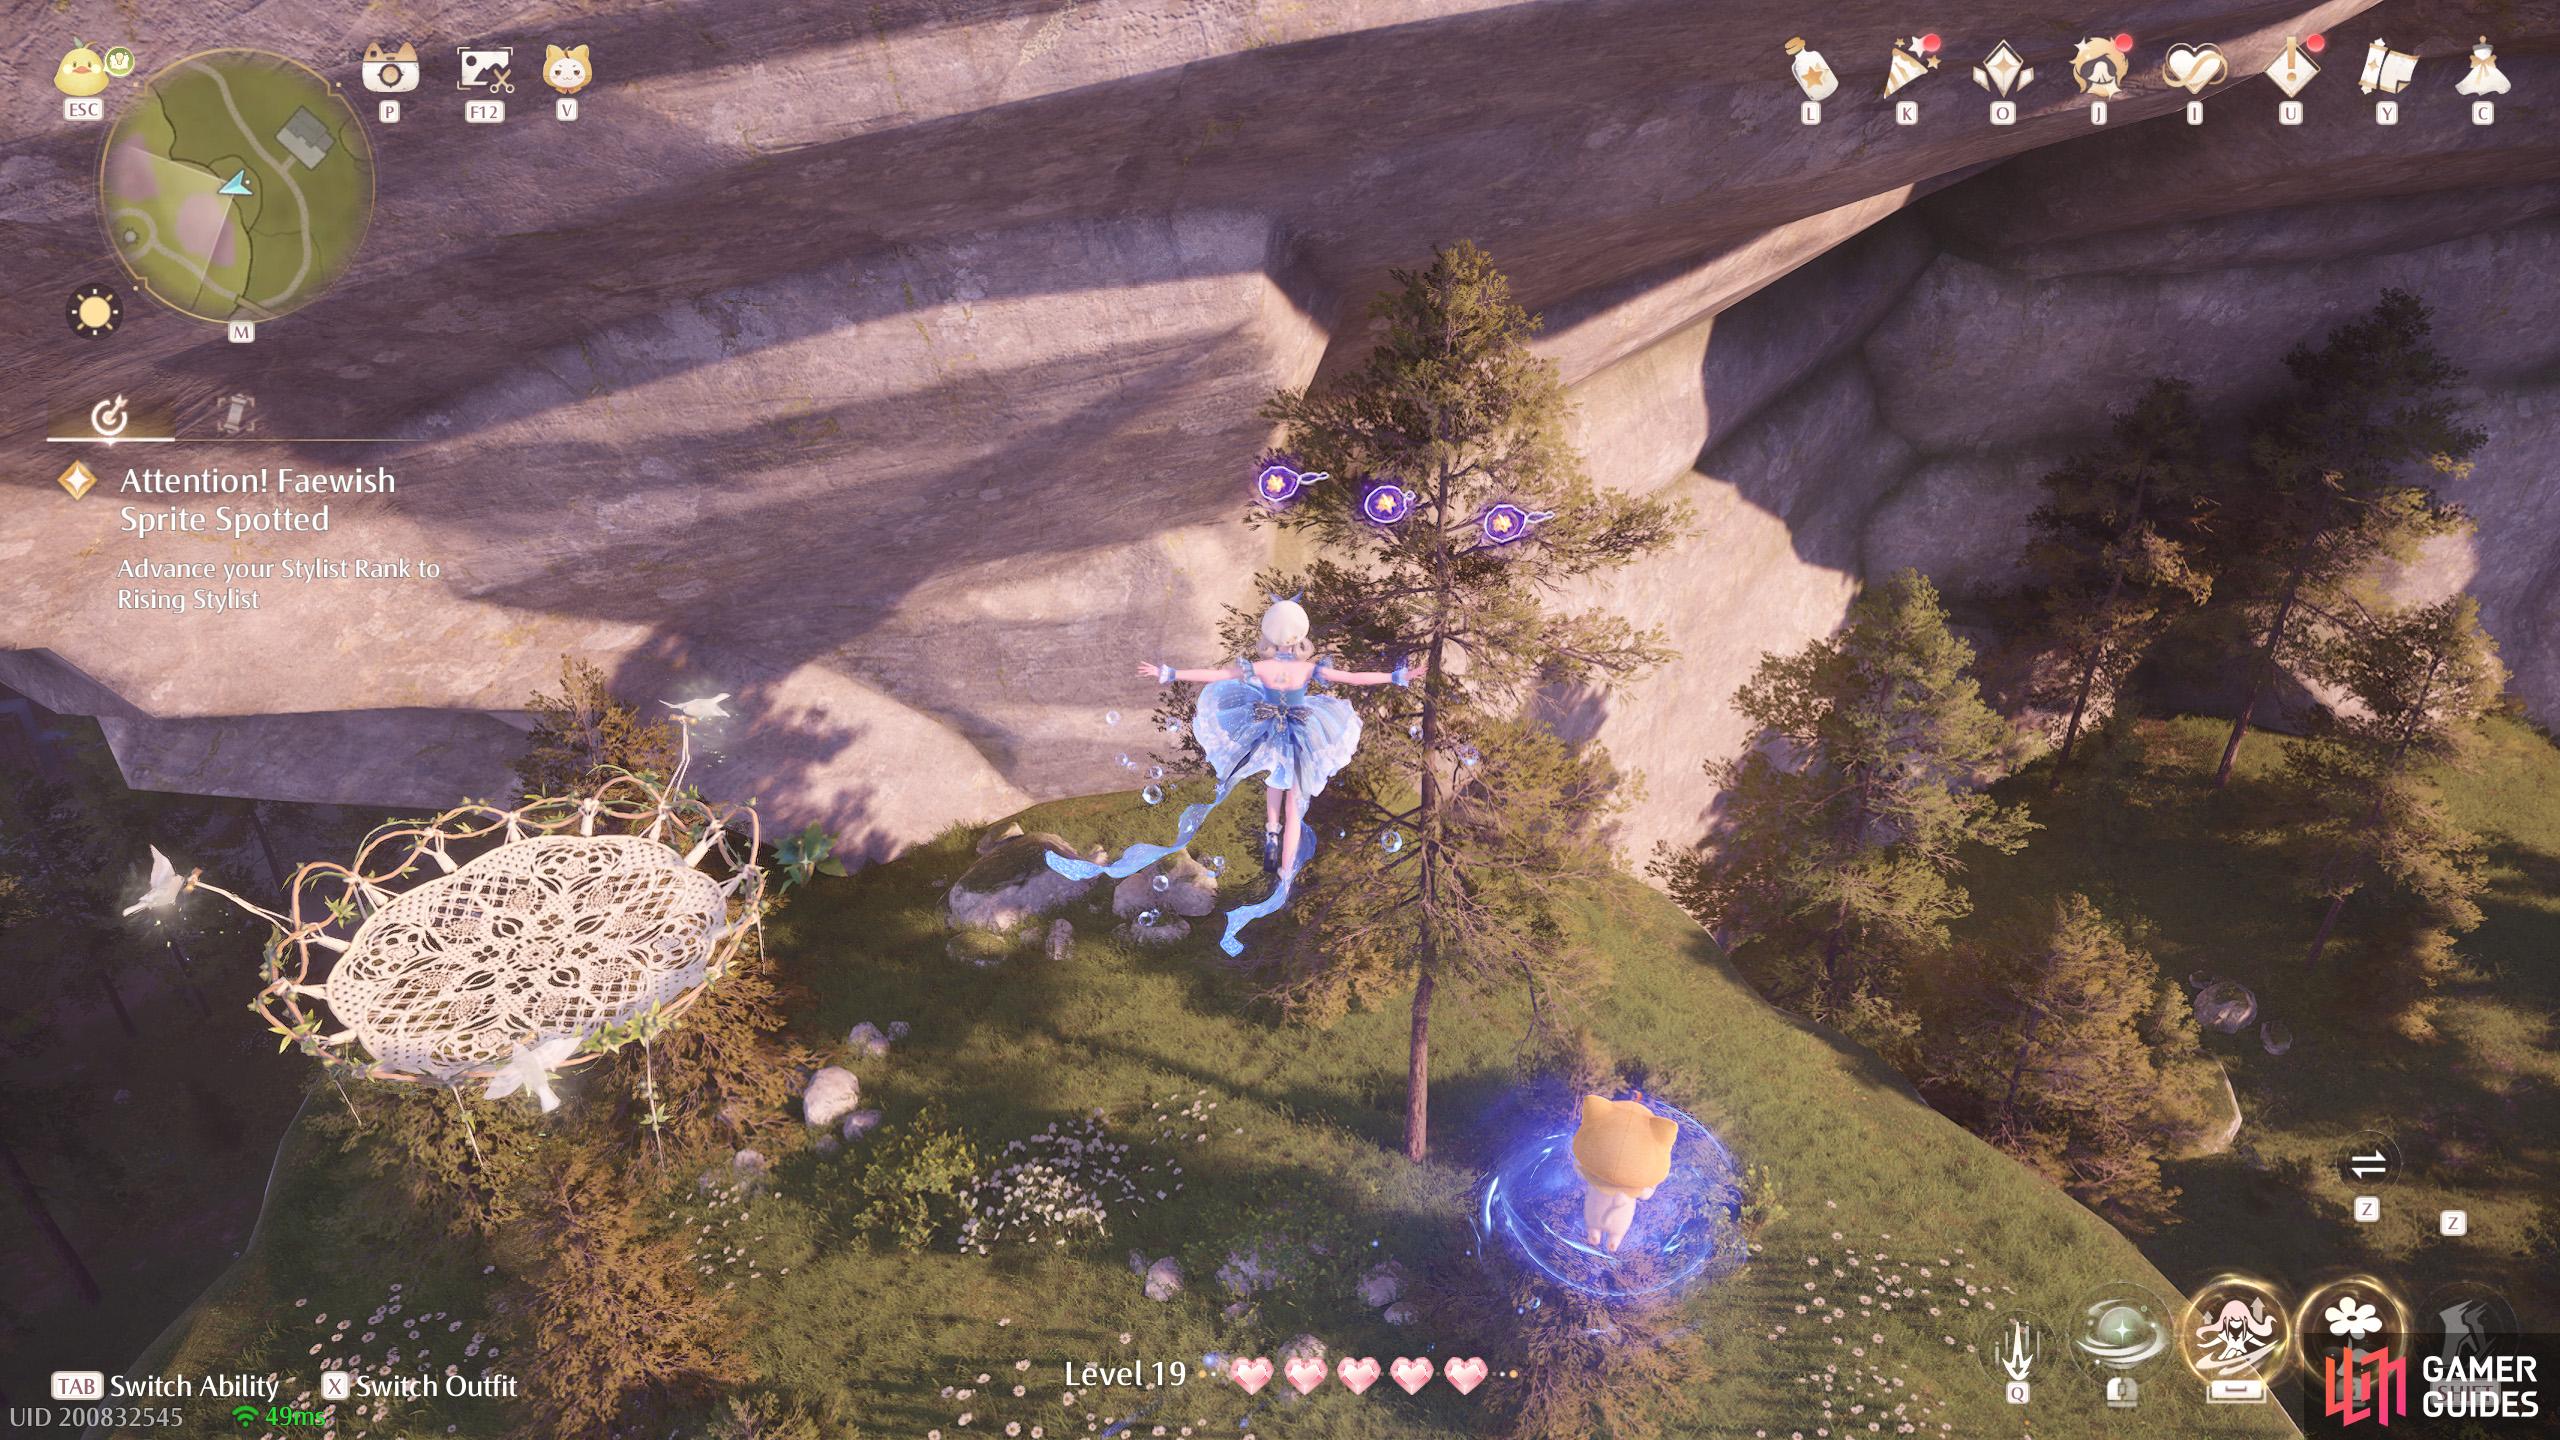
366. Miraland Map
East of ![]() Flamecrest Stonetree. Three floating near a tree on a ledge partway up. There are wishnets nearby and some nasty Esselings.
Flamecrest Stonetree. Three floating near a tree on a ledge partway up. There are wishnets nearby and some nasty Esselings.
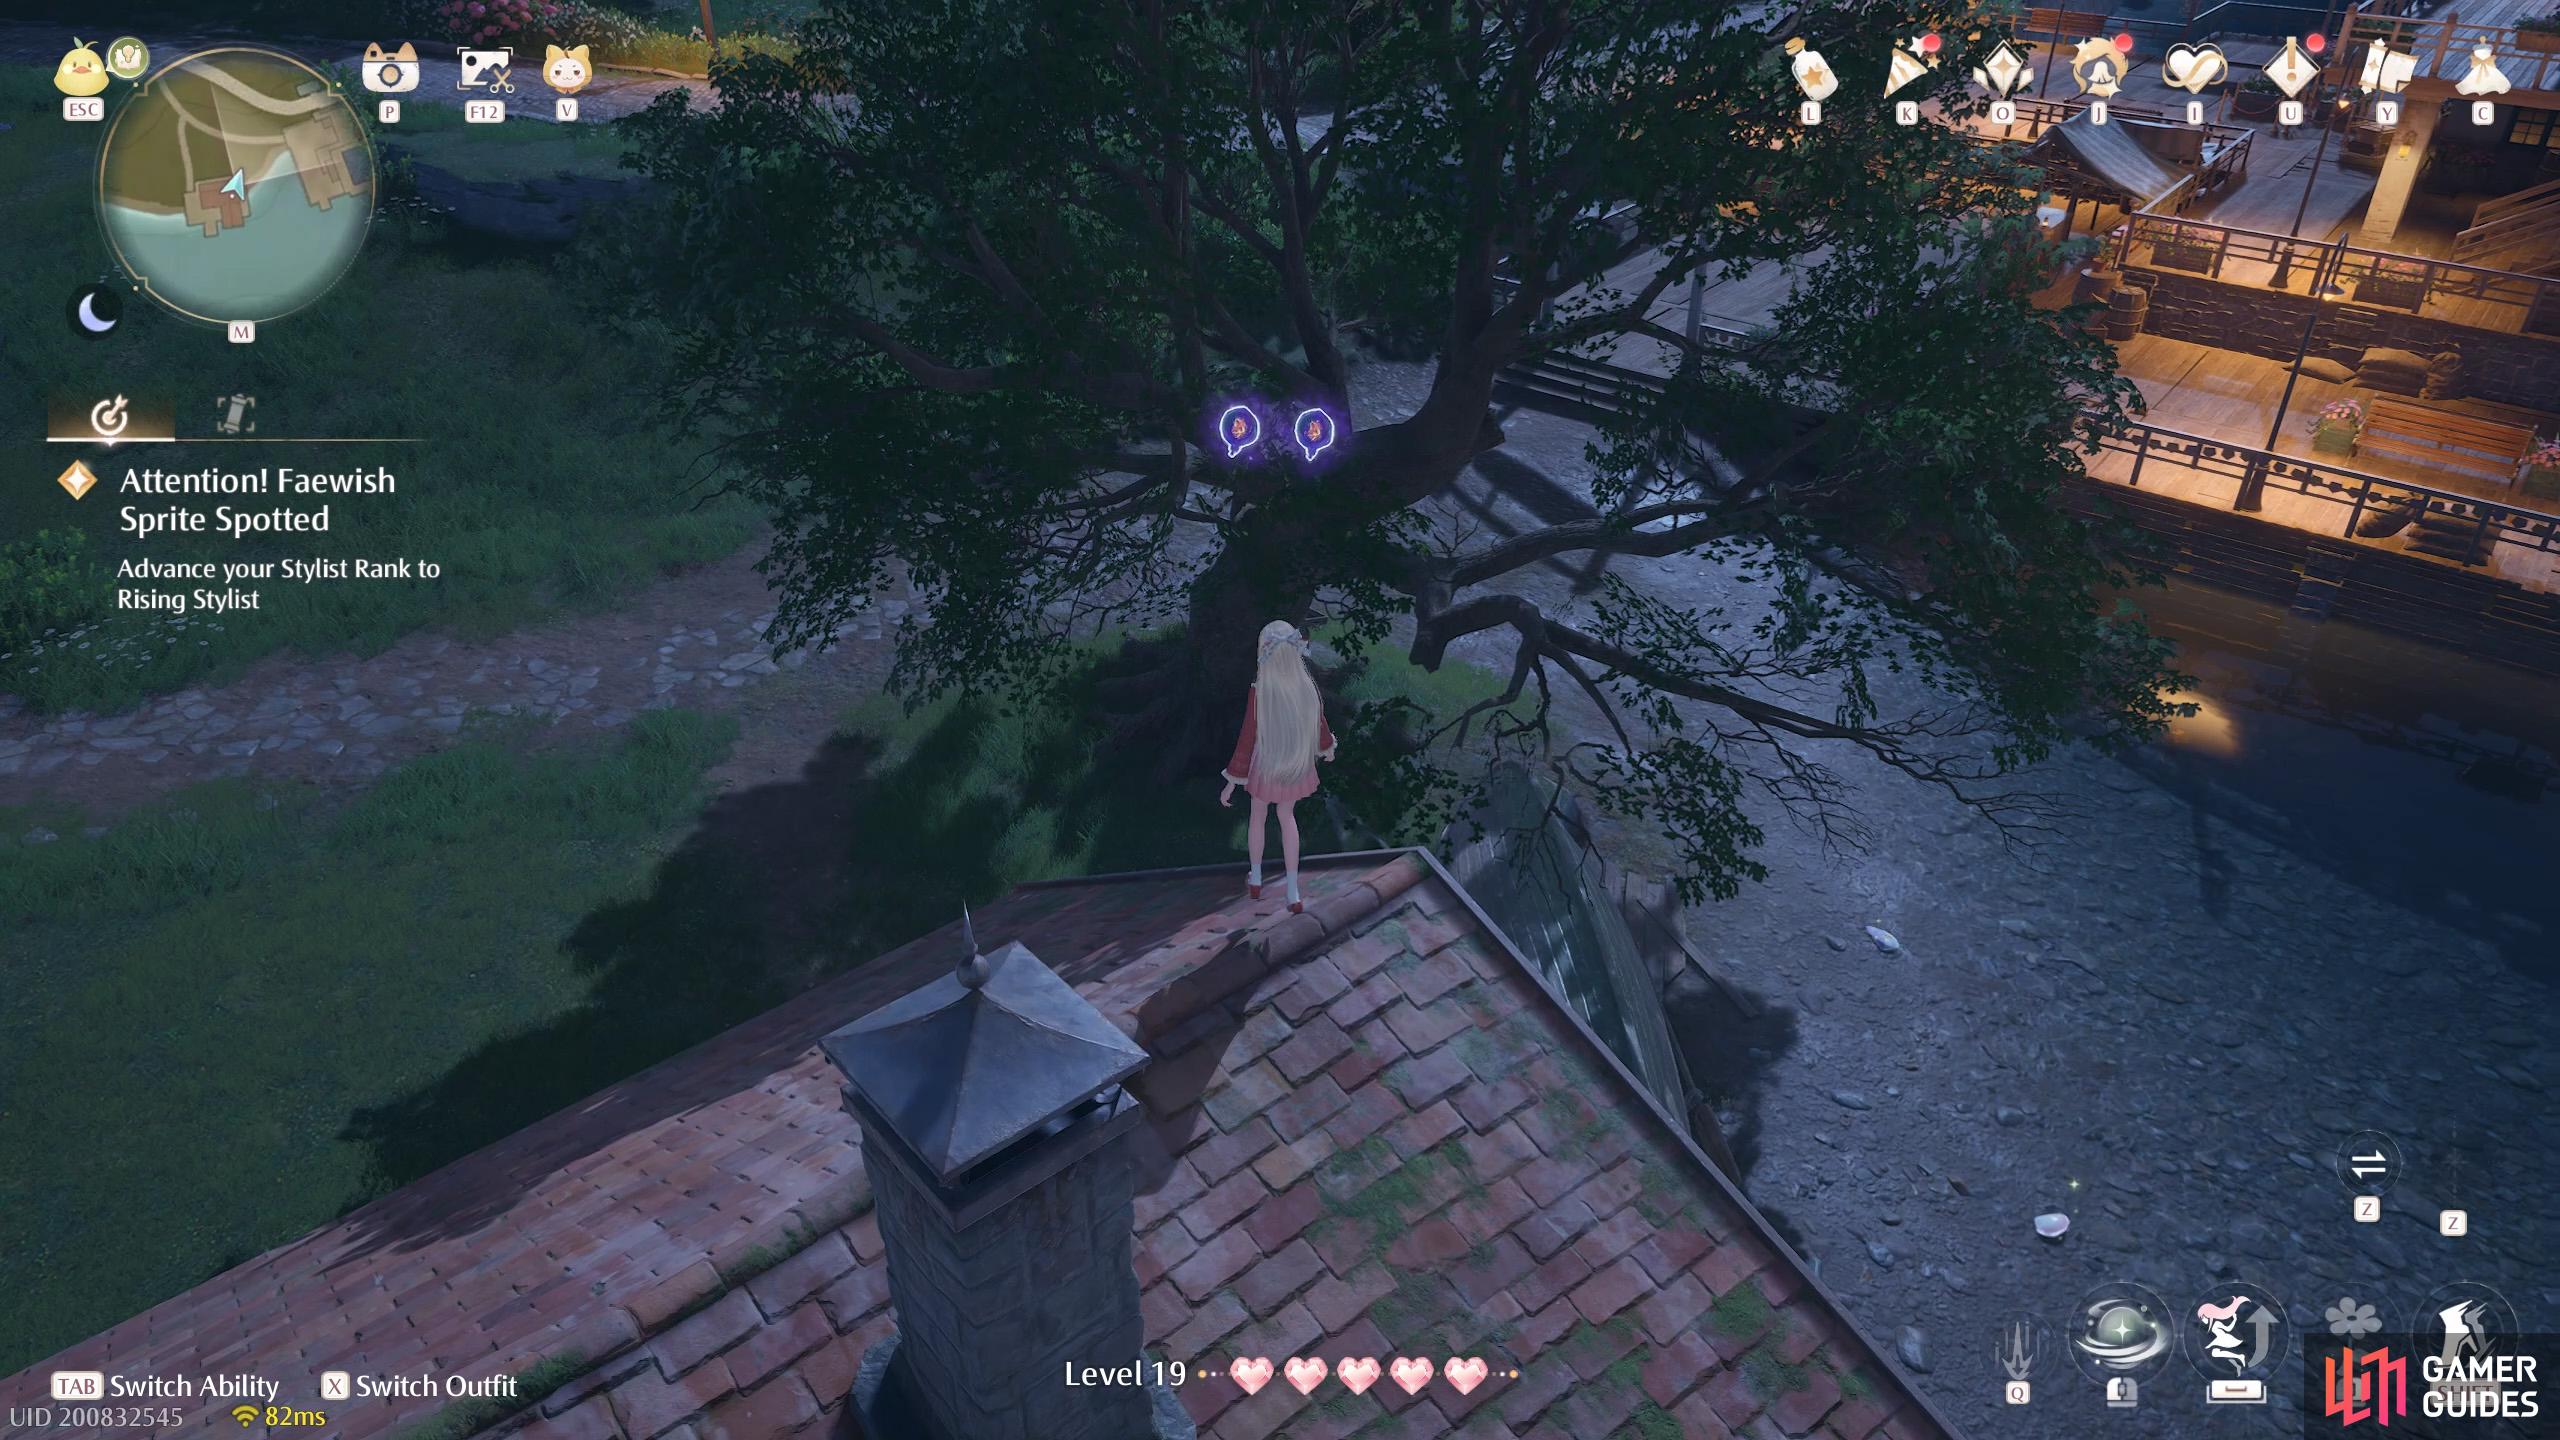
367. Miraland Map
South of ![]() In Front of the Mayor’s Residence. Two floating near the corner of the rooftop.
In Front of the Mayor’s Residence. Two floating near the corner of the rooftop.
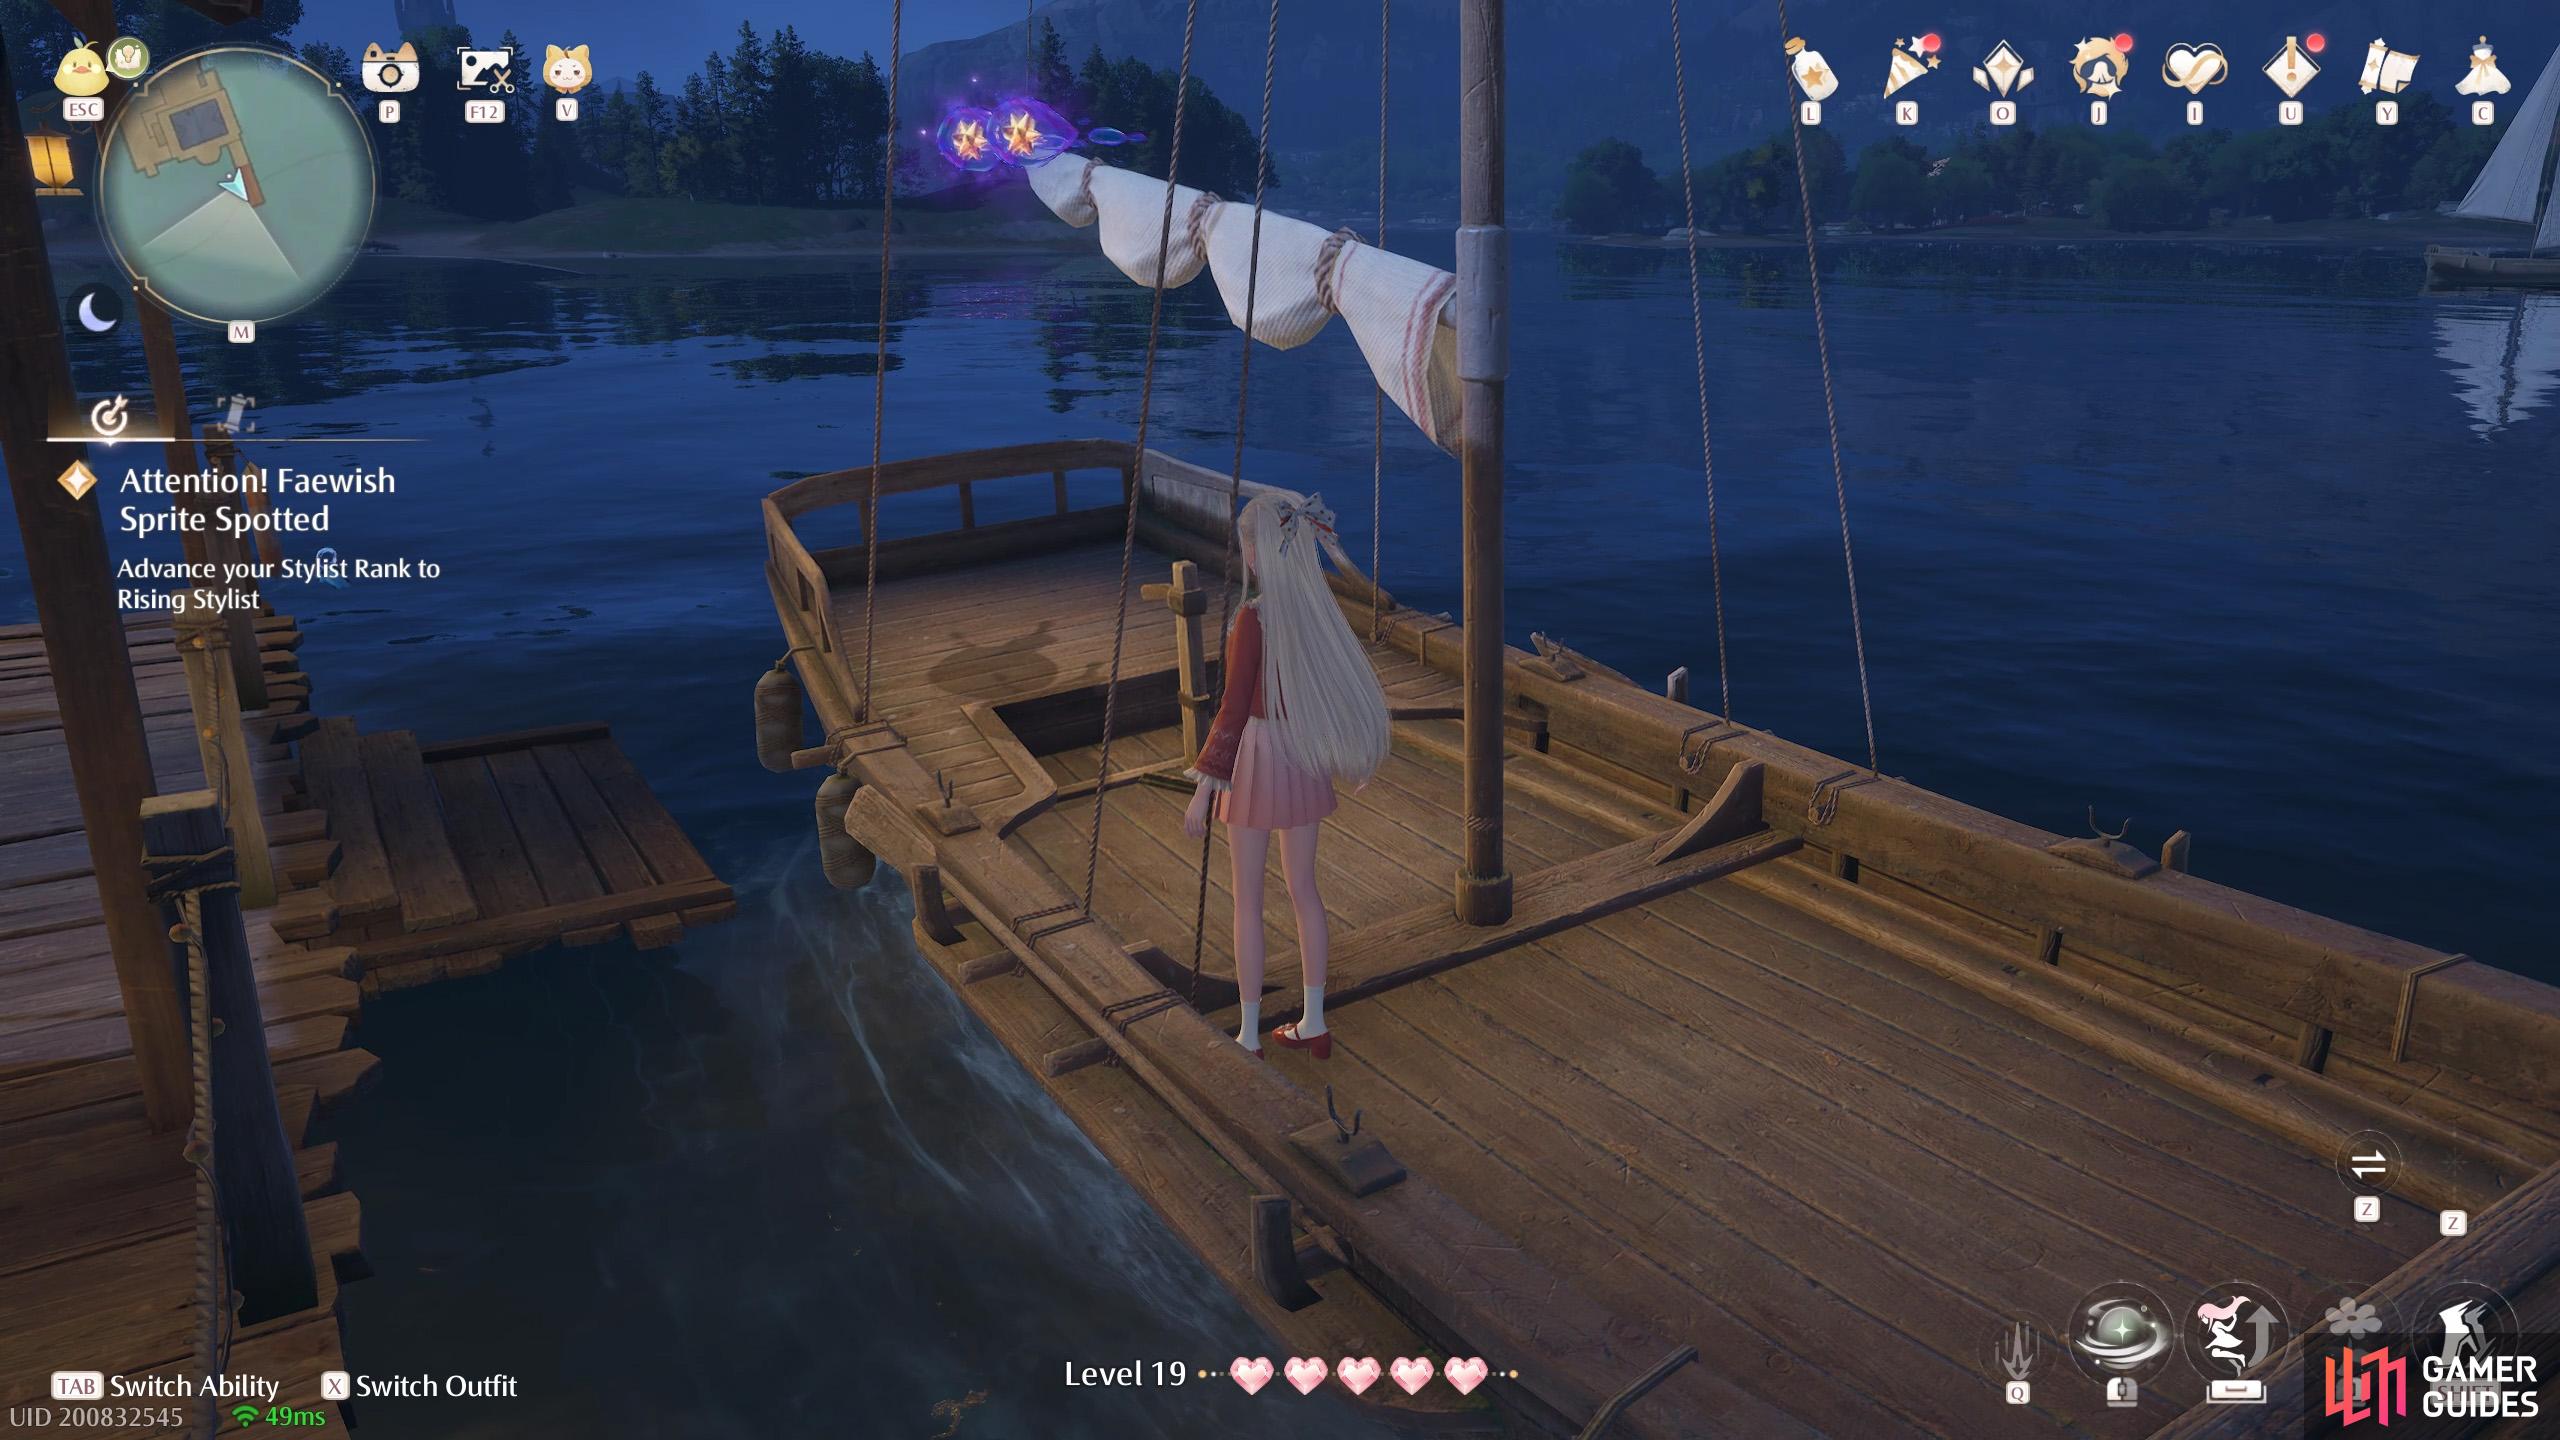
368. Miraland Map
At the wharf south of the ![]() Mayor’s Residence. Two floating above a small sailboat at the pier.
Mayor’s Residence. Two floating above a small sailboat at the pier.
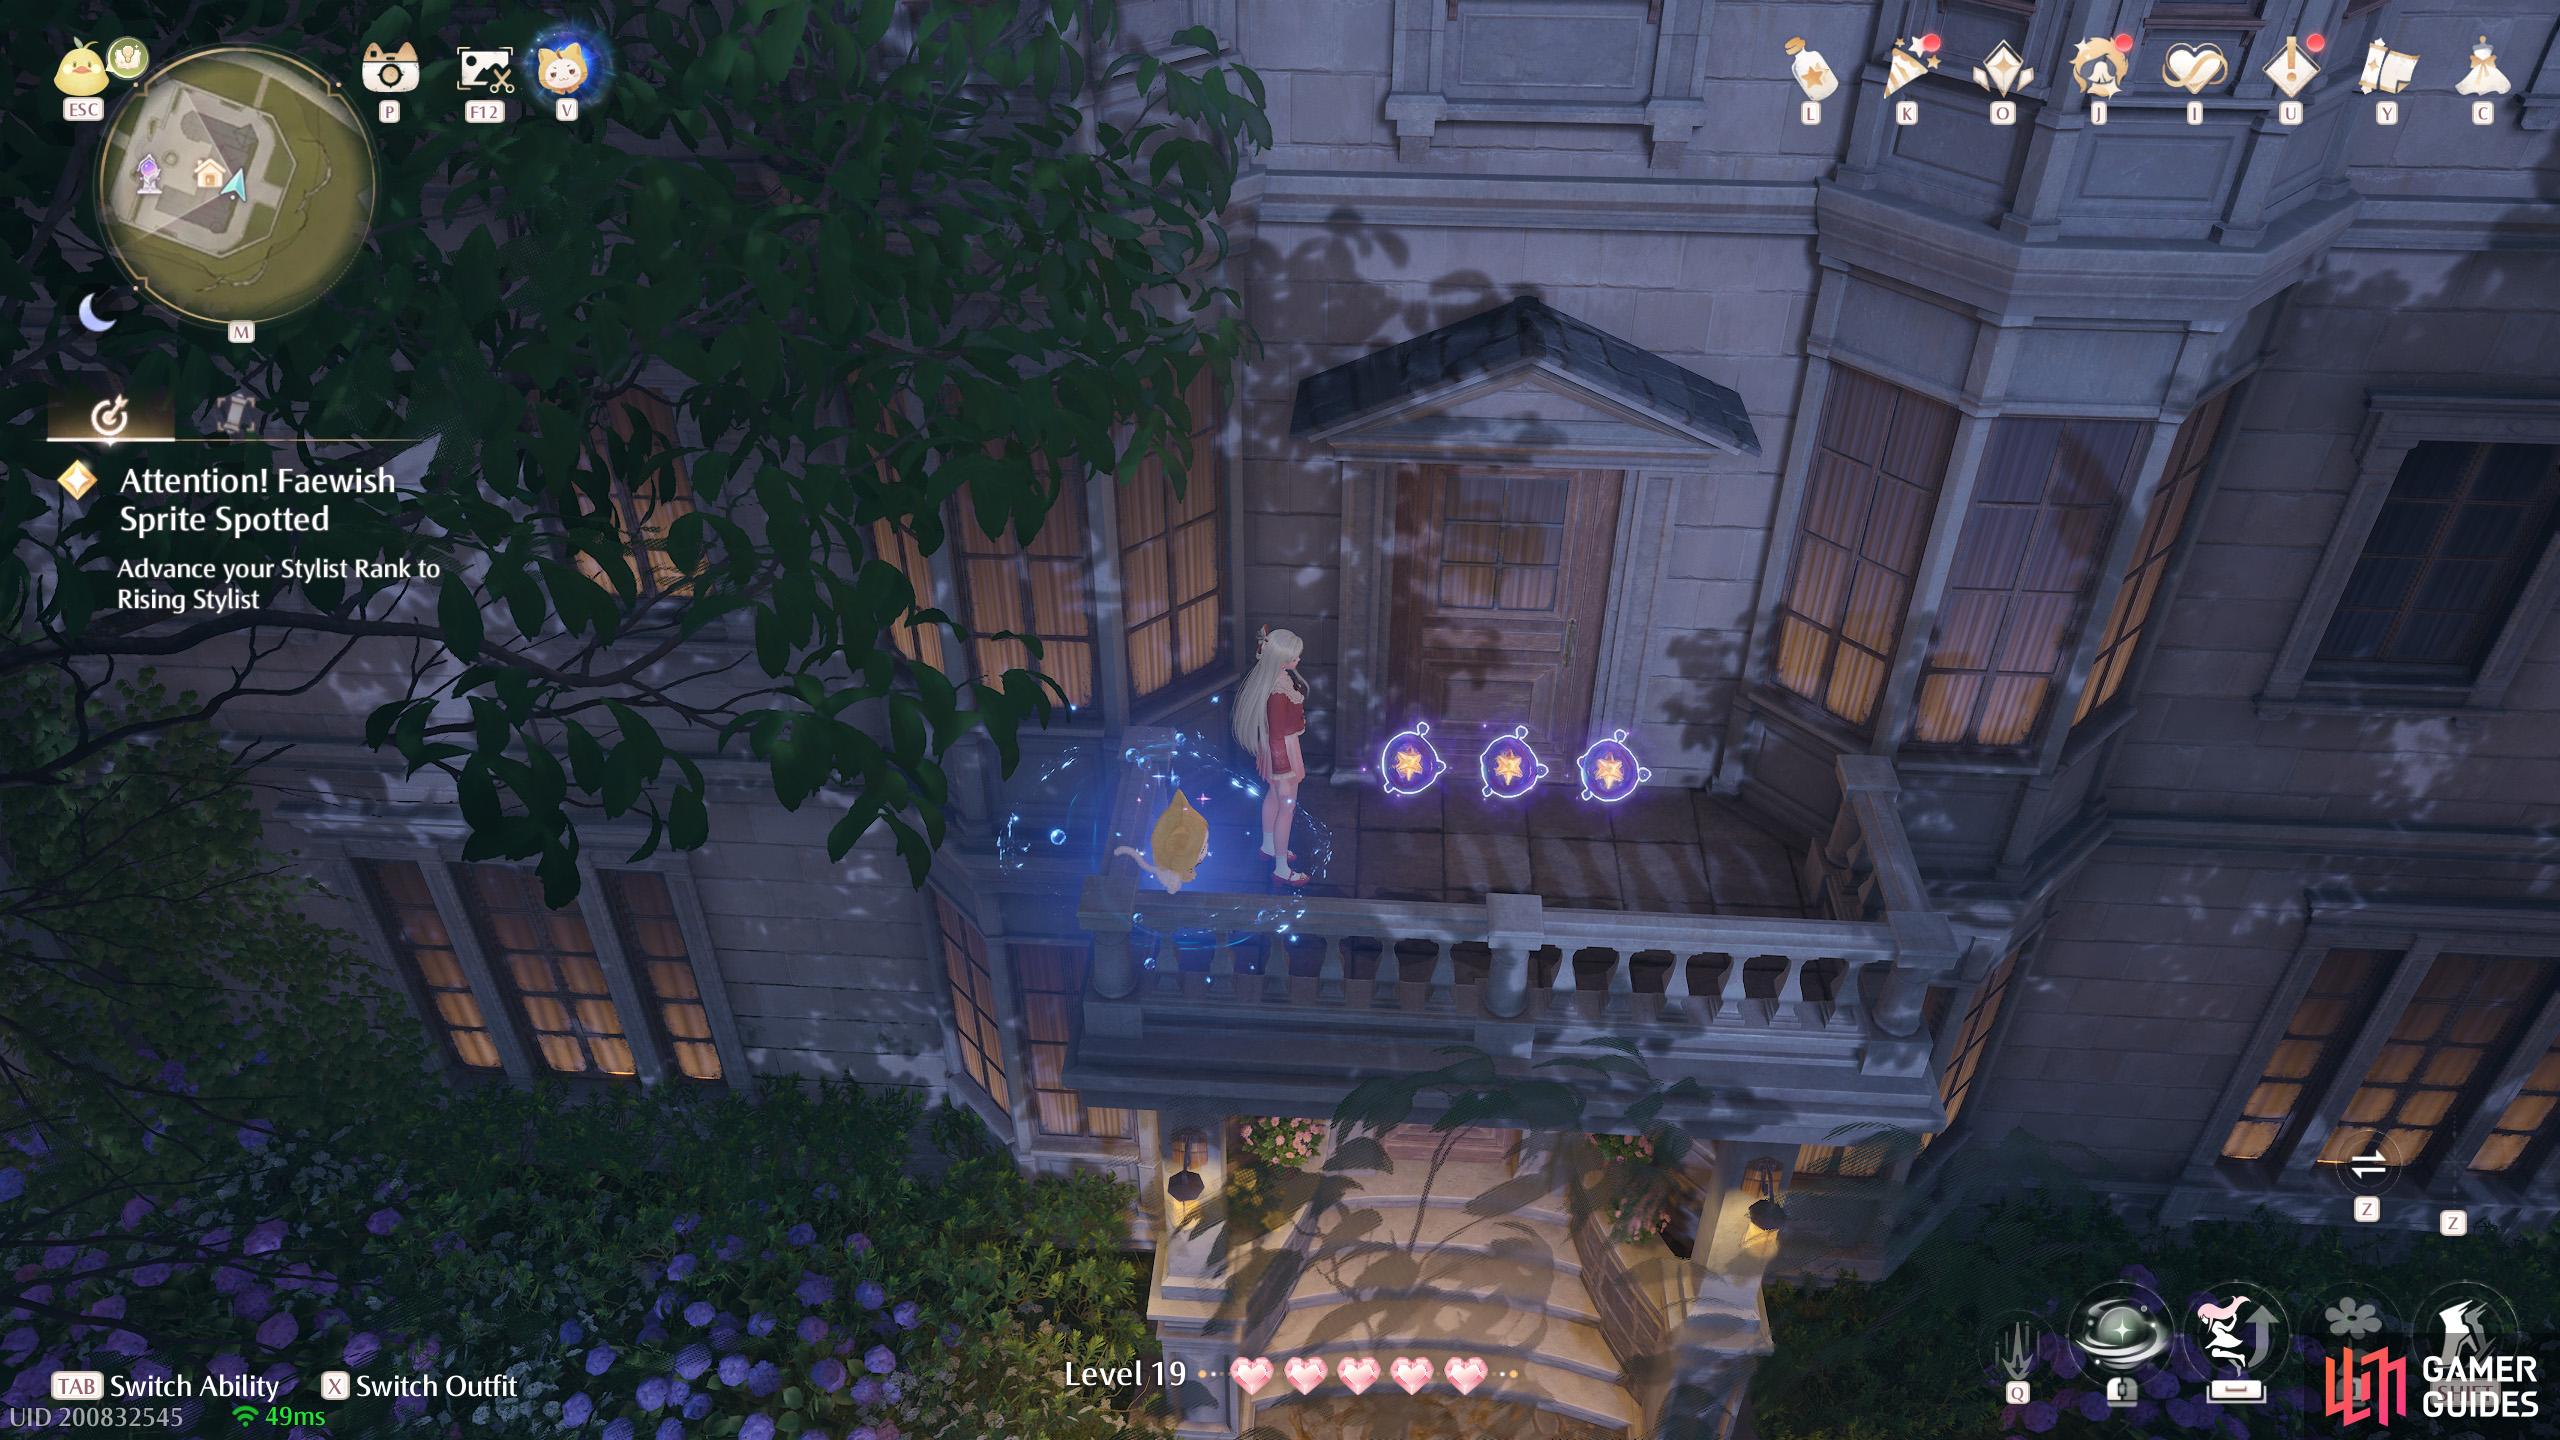
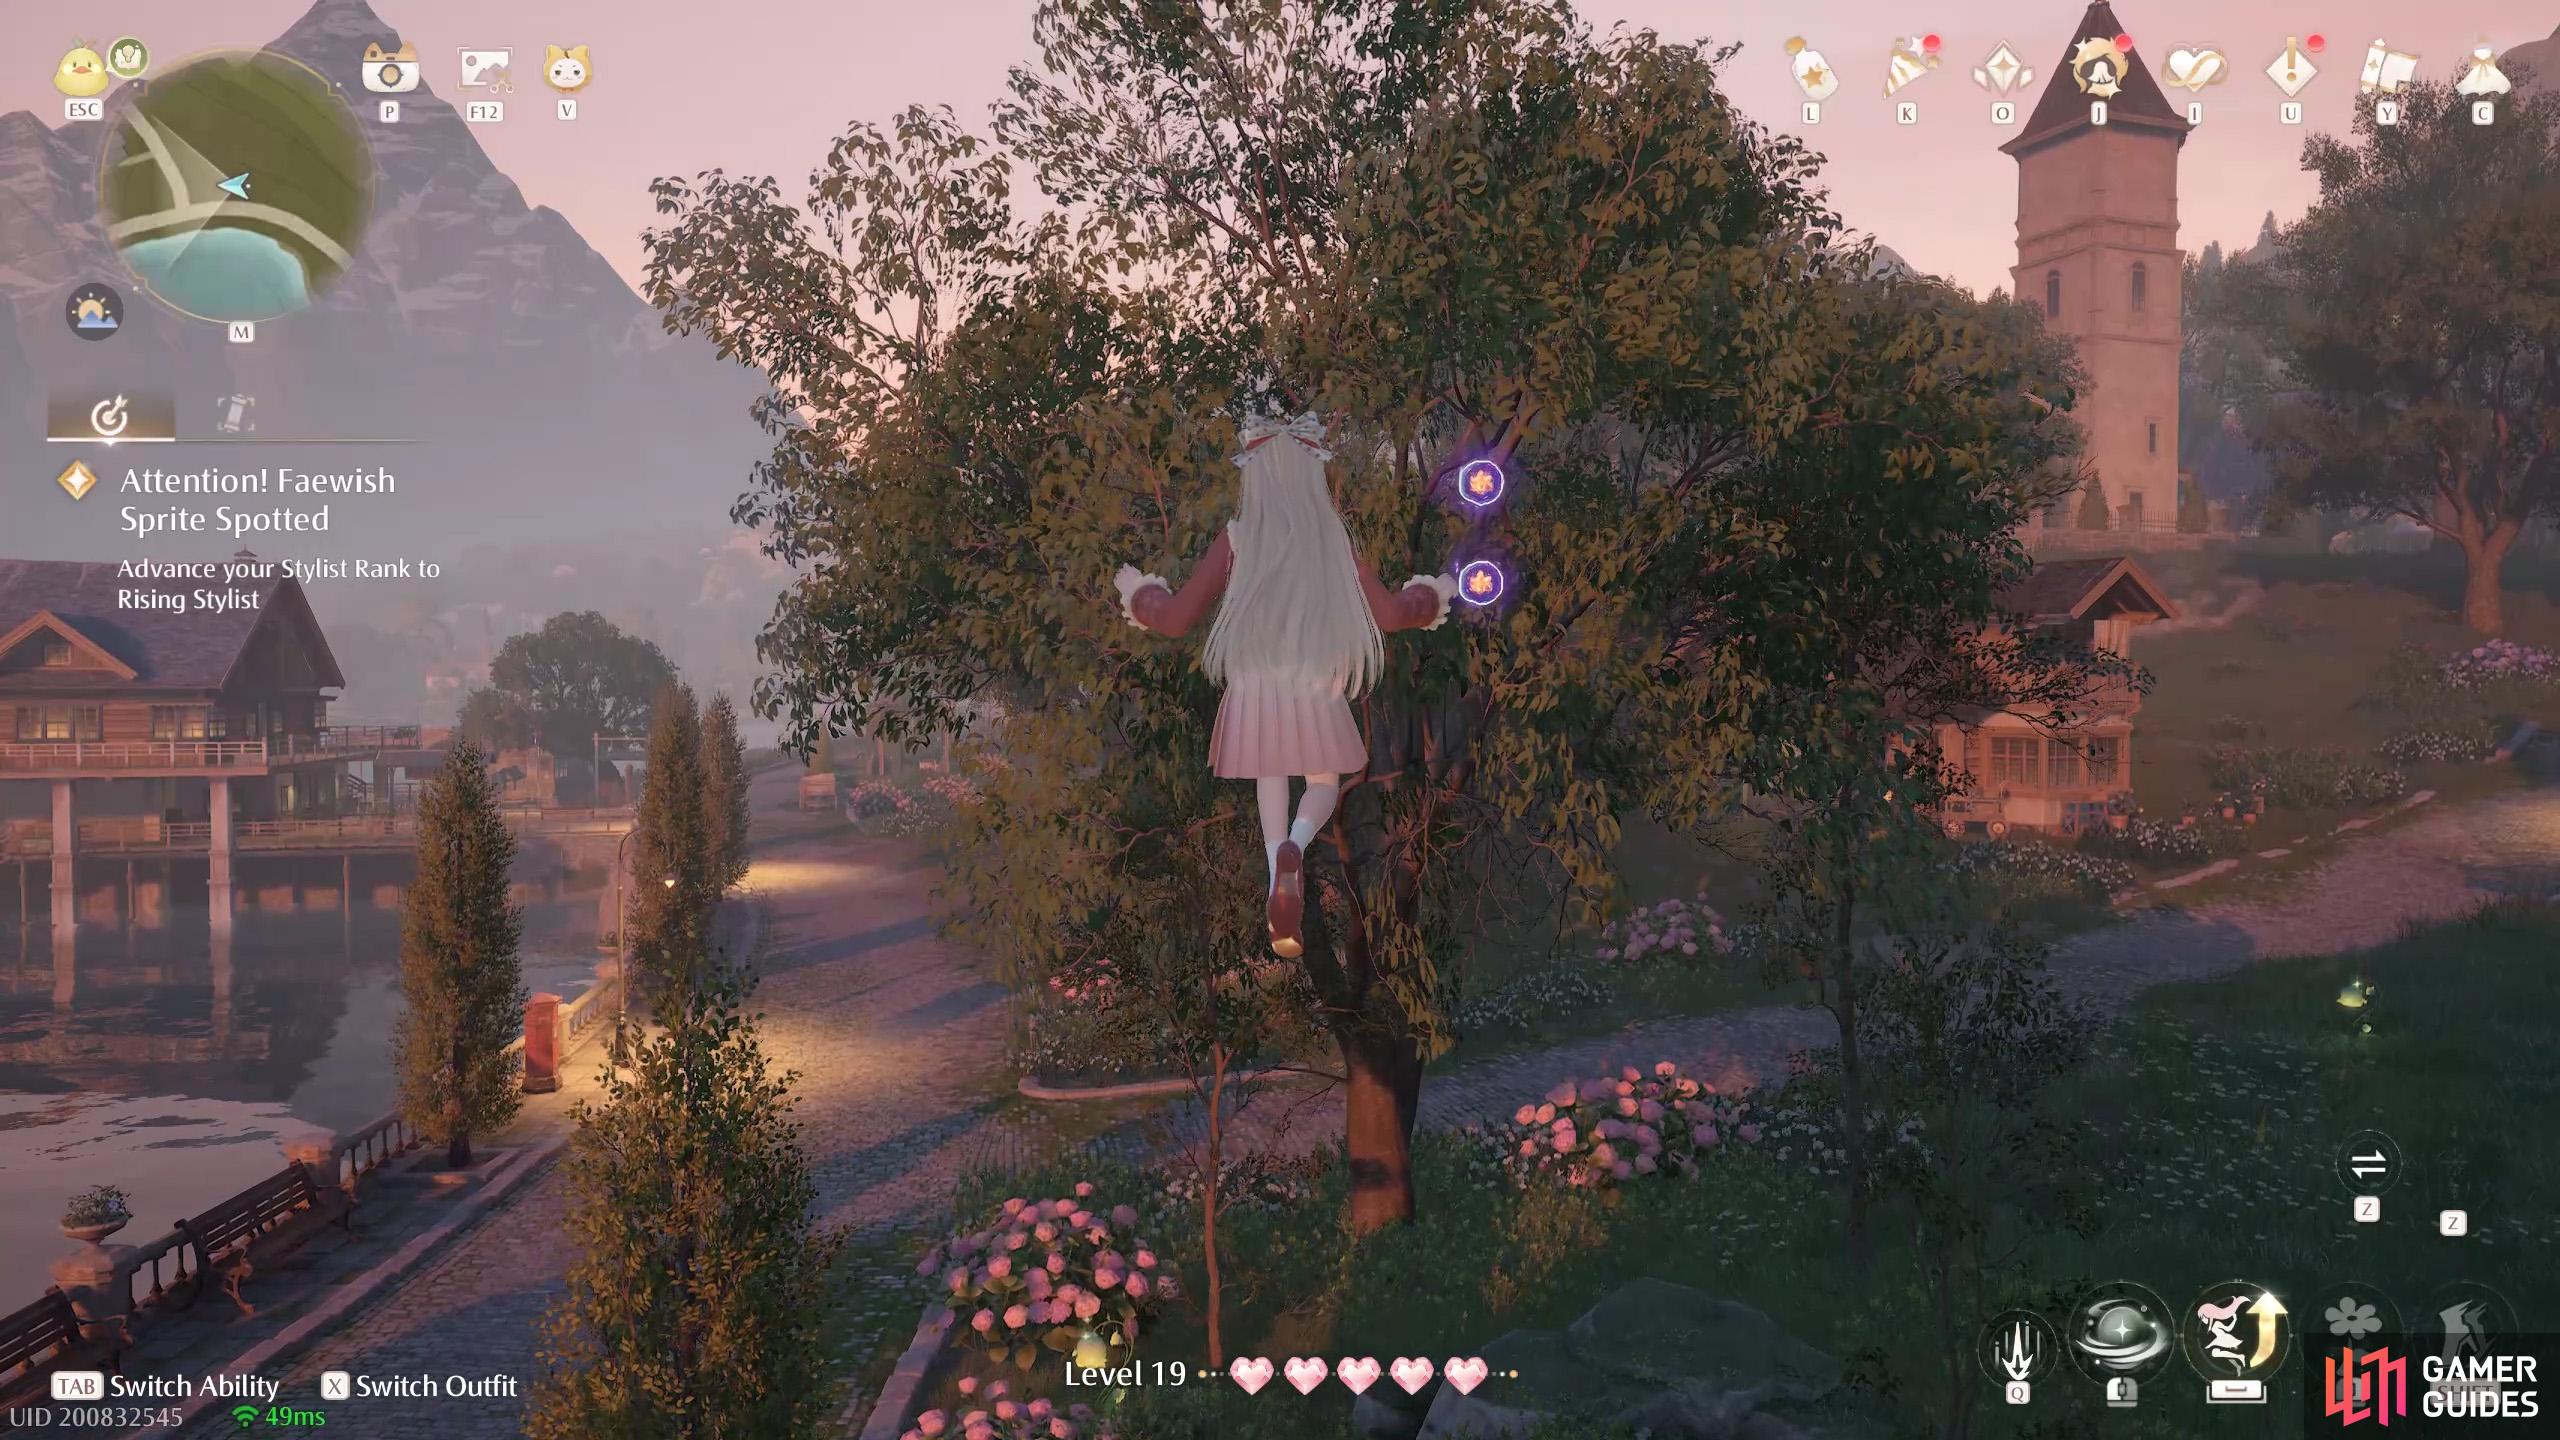
370. Miraland Map
East of the ![]() Mayor’s Residence. Two floating near a tree around the fork in the road. You can jump from a nearby veranda.
Mayor’s Residence. Two floating near a tree around the fork in the road. You can jump from a nearby veranda.
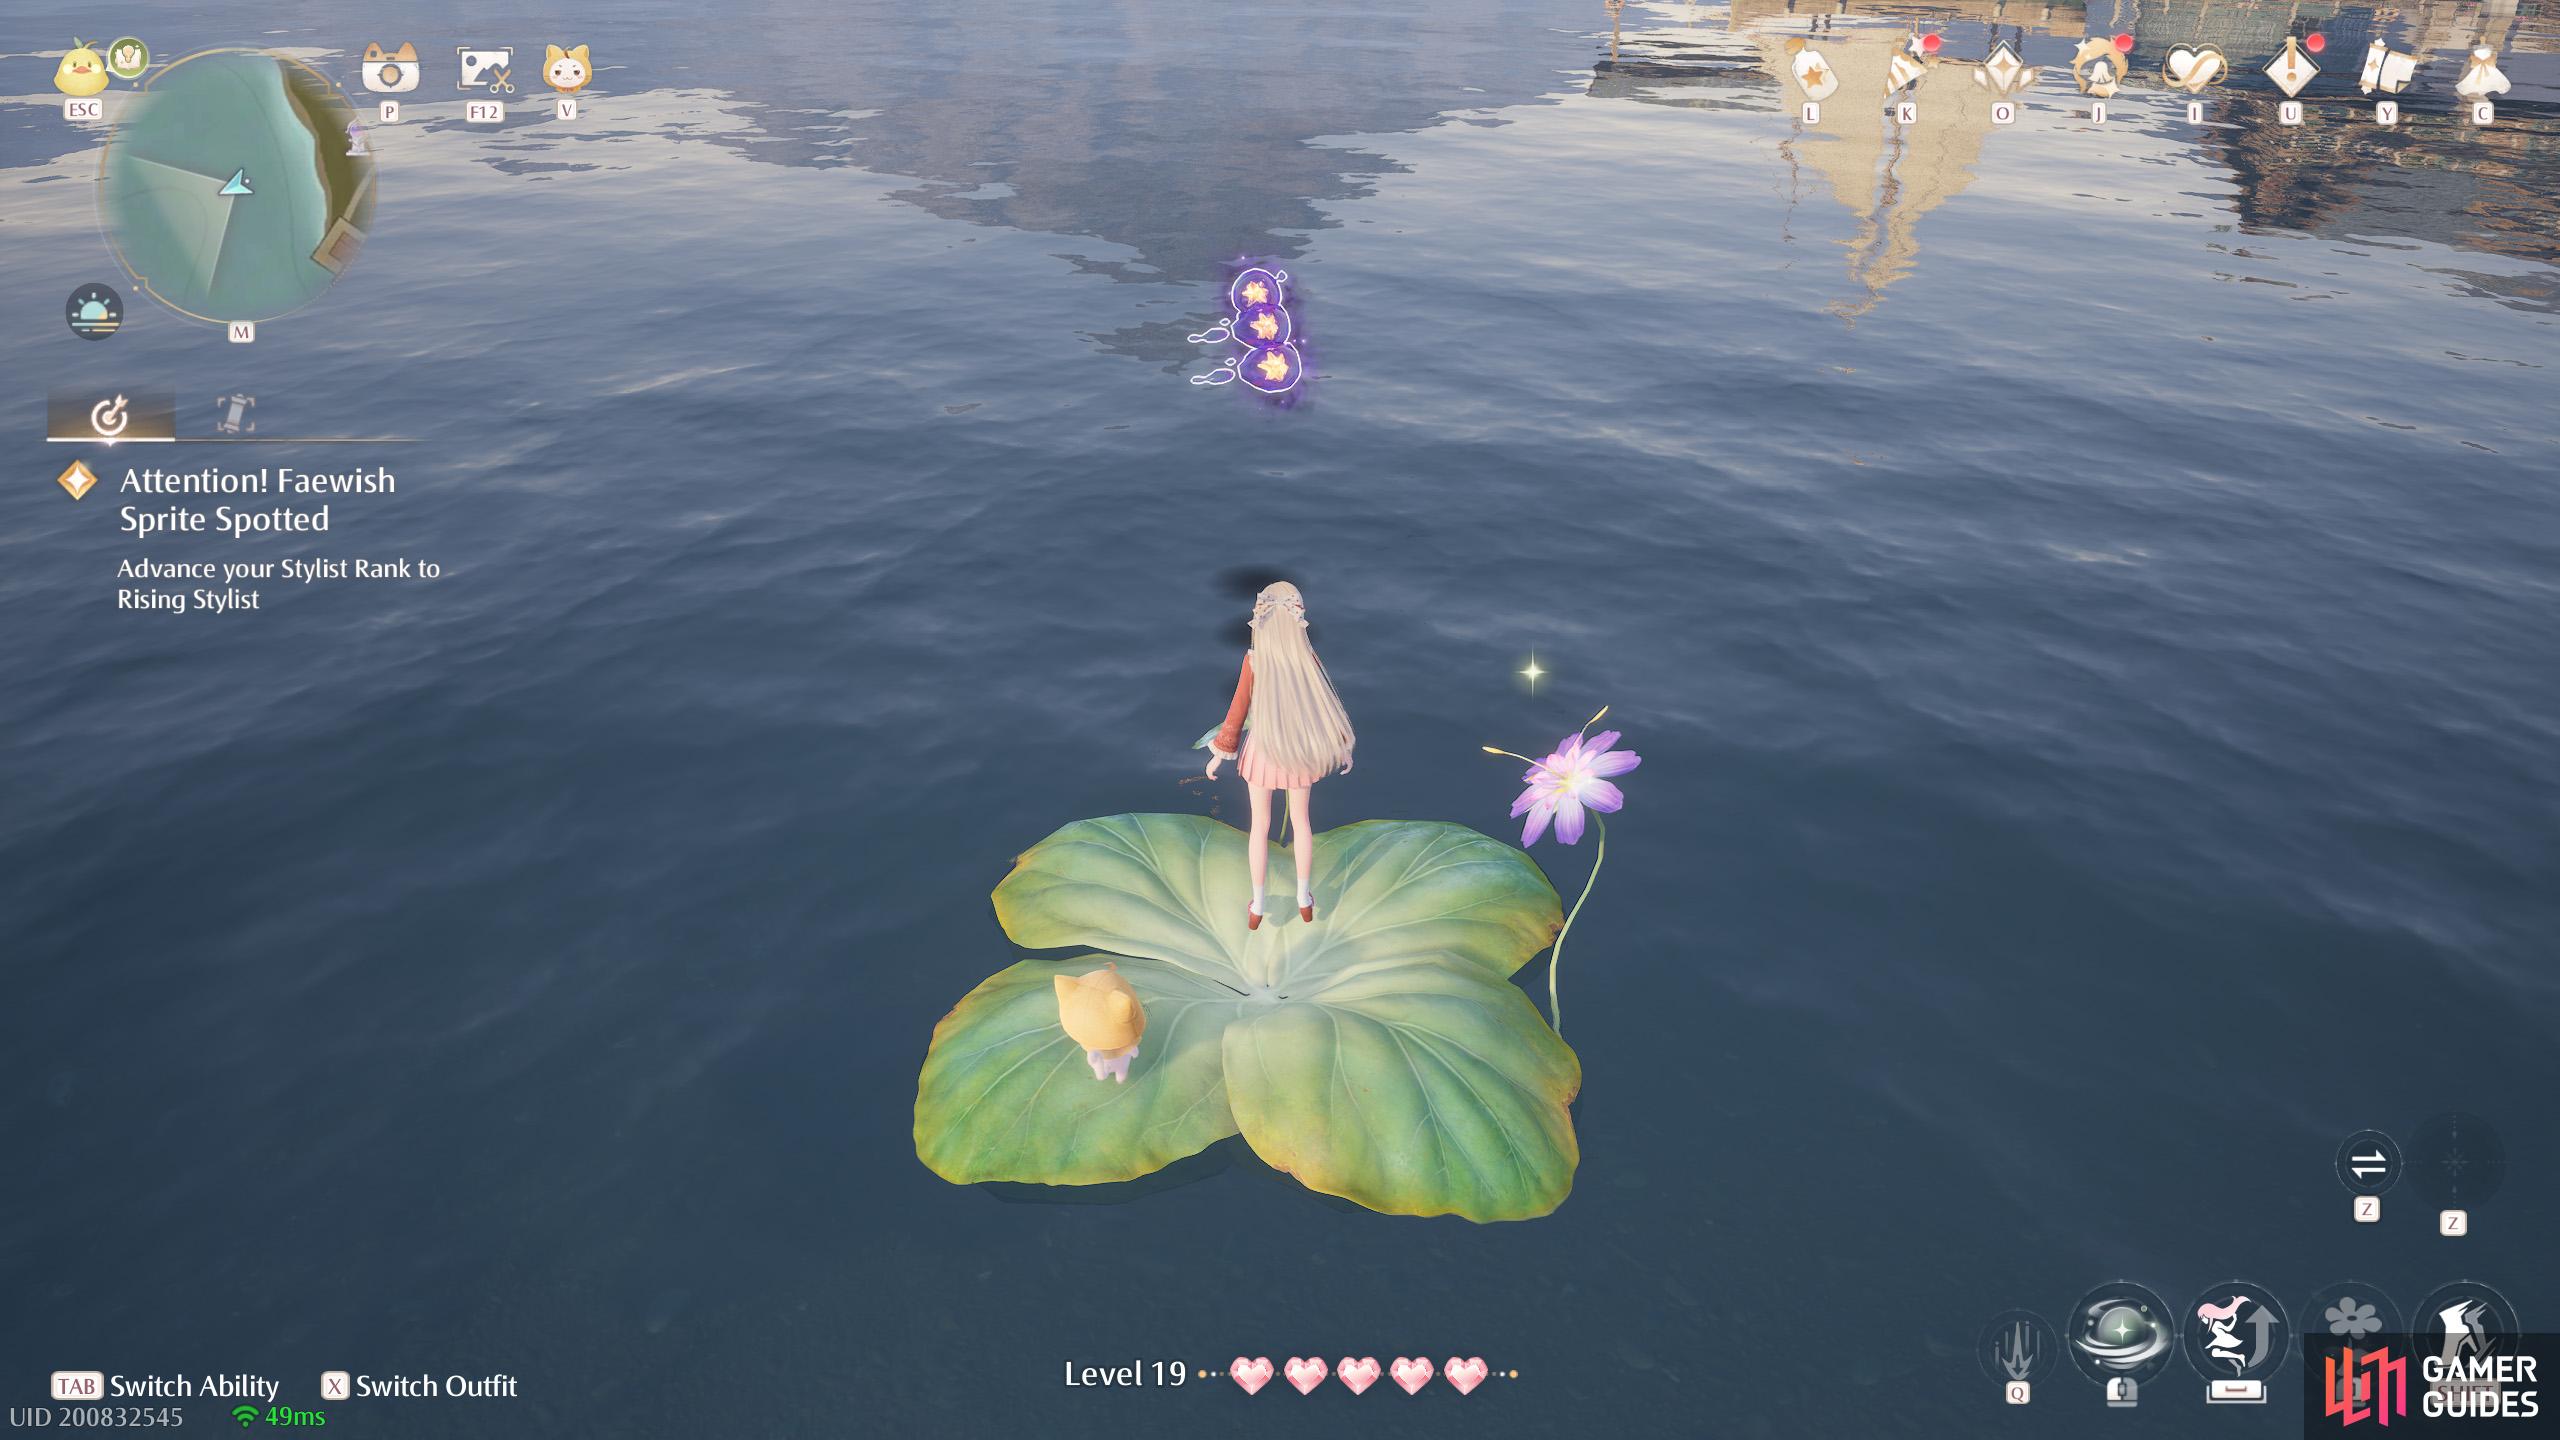
371. Miraland Map
West of ![]() Stitch Street. Three floating above the water. Jump across the lily pads to reach.
Stitch Street. Three floating above the water. Jump across the lily pads to reach.
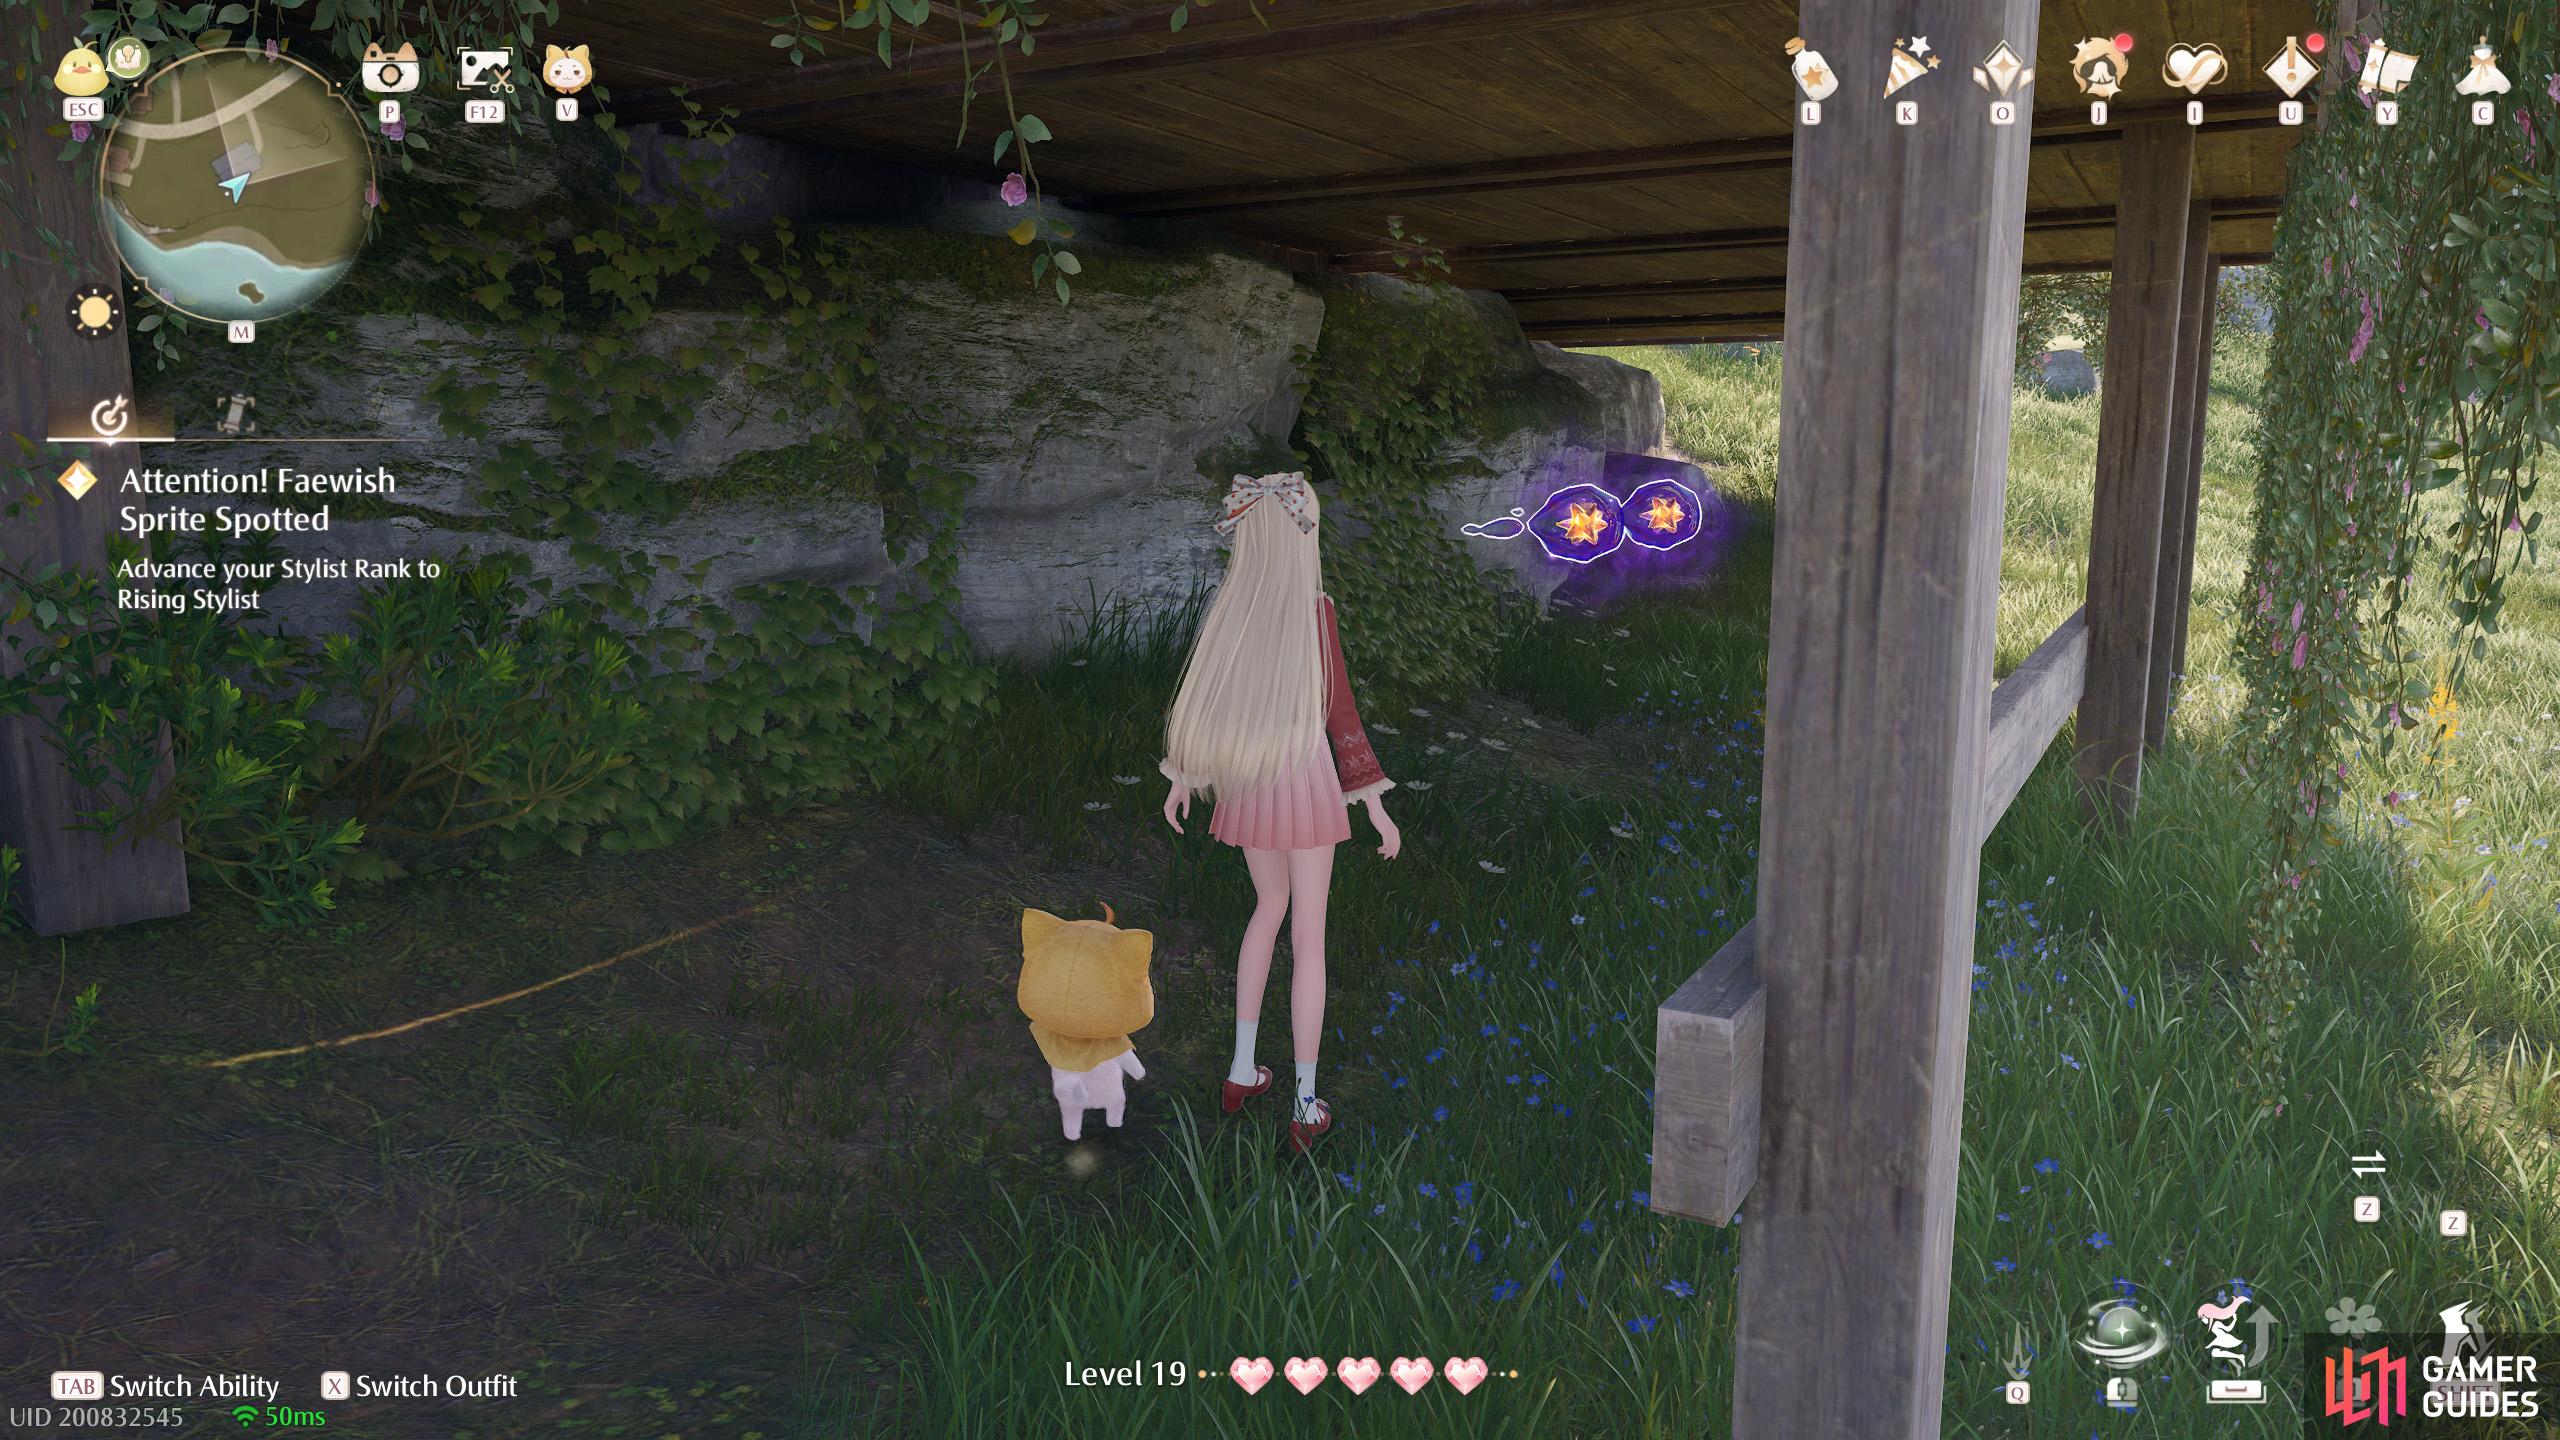
372. Miraland Map
East of ![]() Florawish Lane. Two underneath the wooden platform supporting the house.
Florawish Lane. Two underneath the wooden platform supporting the house.
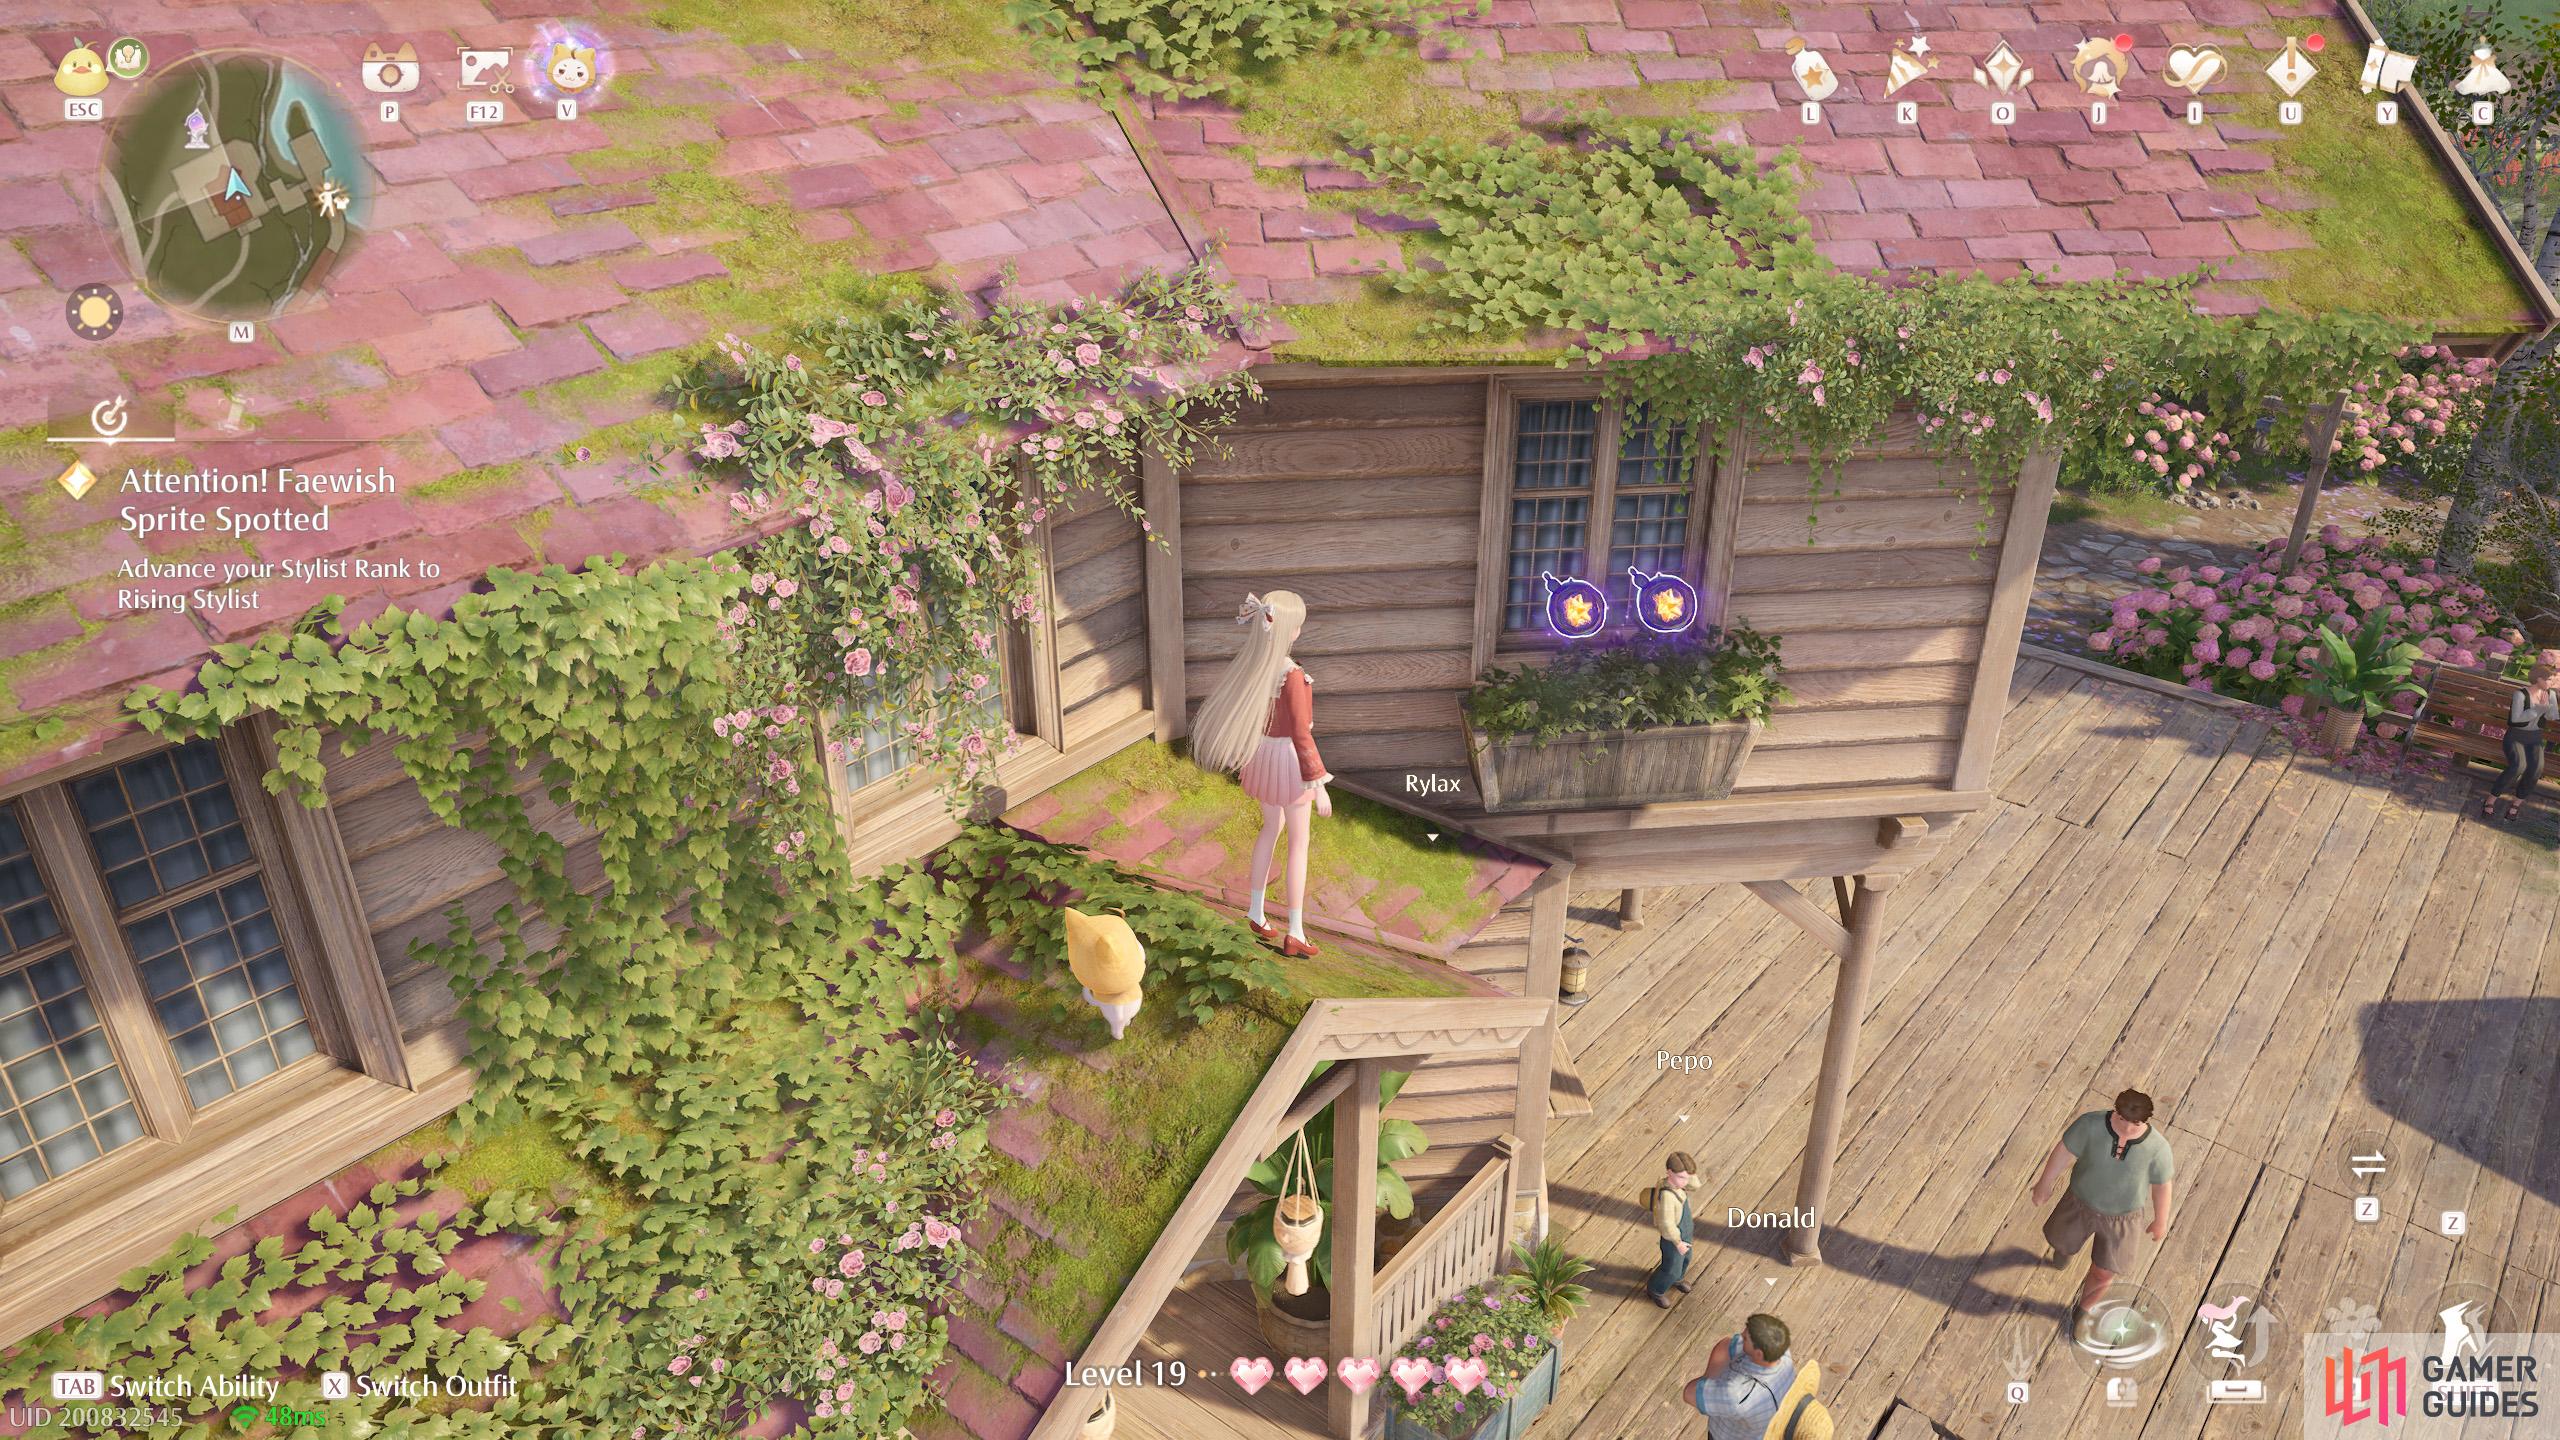
373. Miraland Map
At ![]() The Leisureely Anglers Florawish Branch. Two on a high up windowsill at the north-east side of the building.
The Leisureely Anglers Florawish Branch. Two on a high up windowsill at the north-east side of the building.
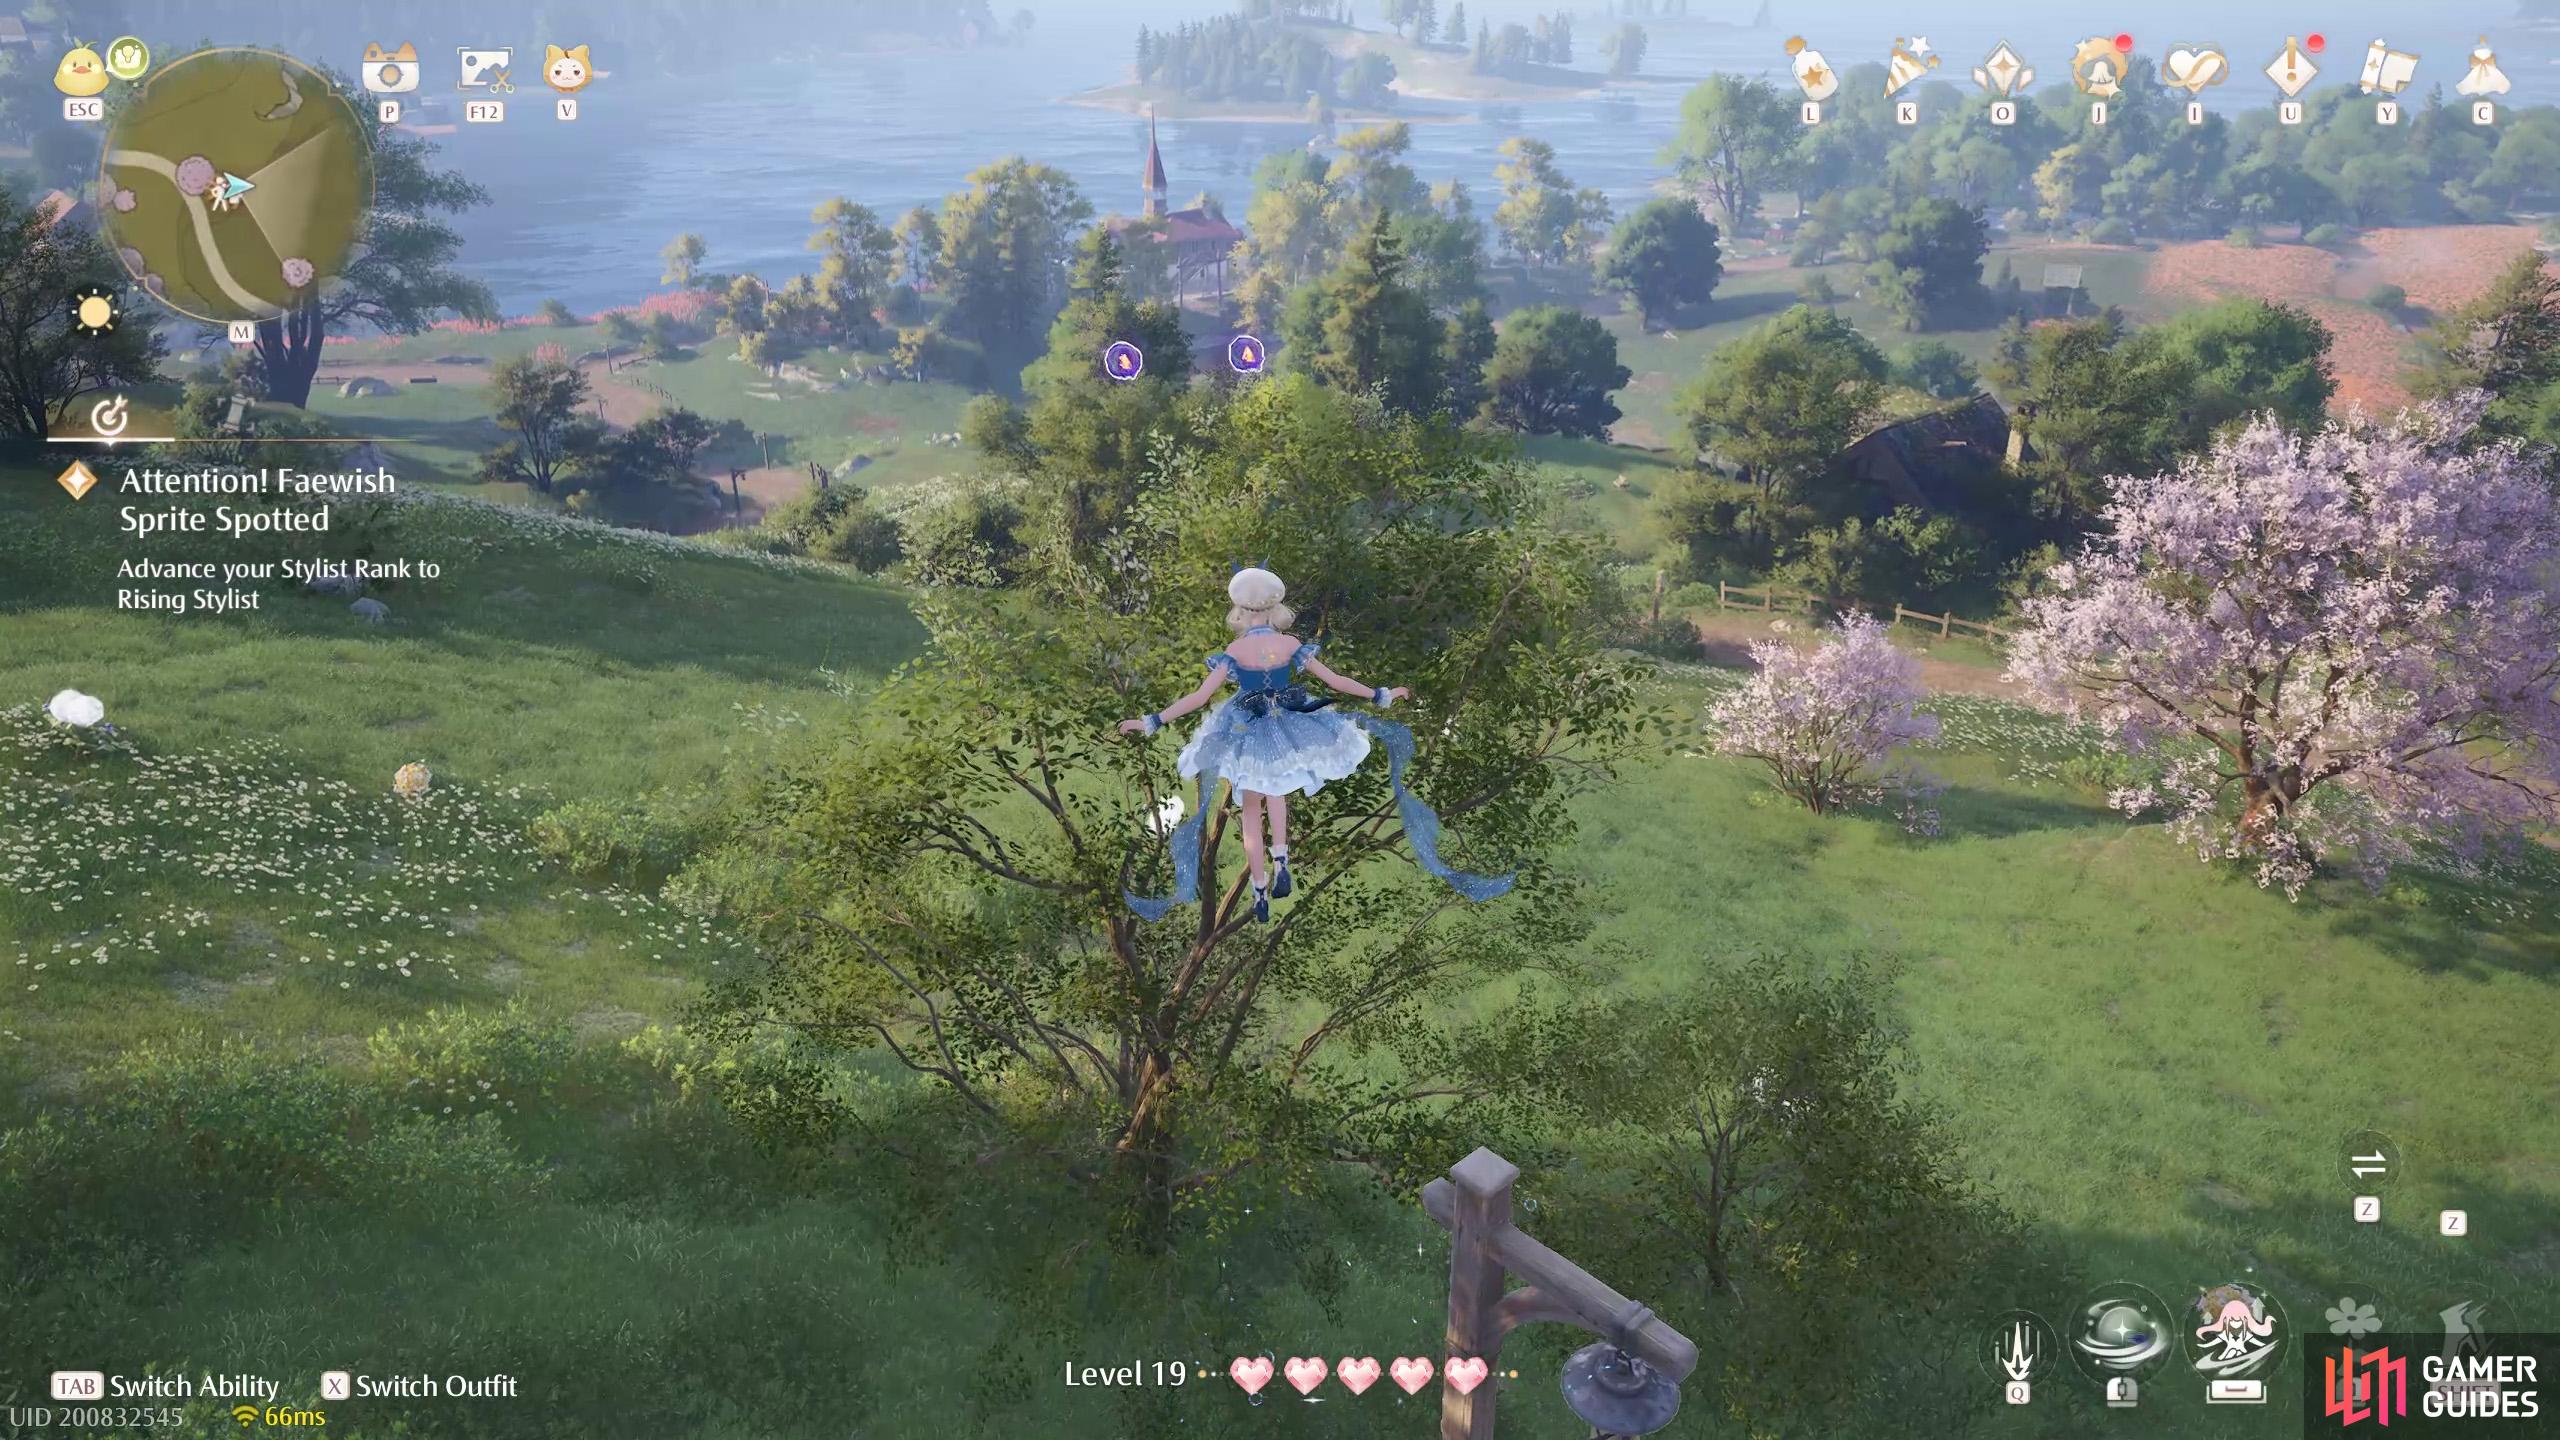
374. Miraland Map
North-east from ![]() Cicia Art Academy Field Base. Two floating above some trees next to a wooden observation platform.
Cicia Art Academy Field Base. Two floating above some trees next to a wooden observation platform.
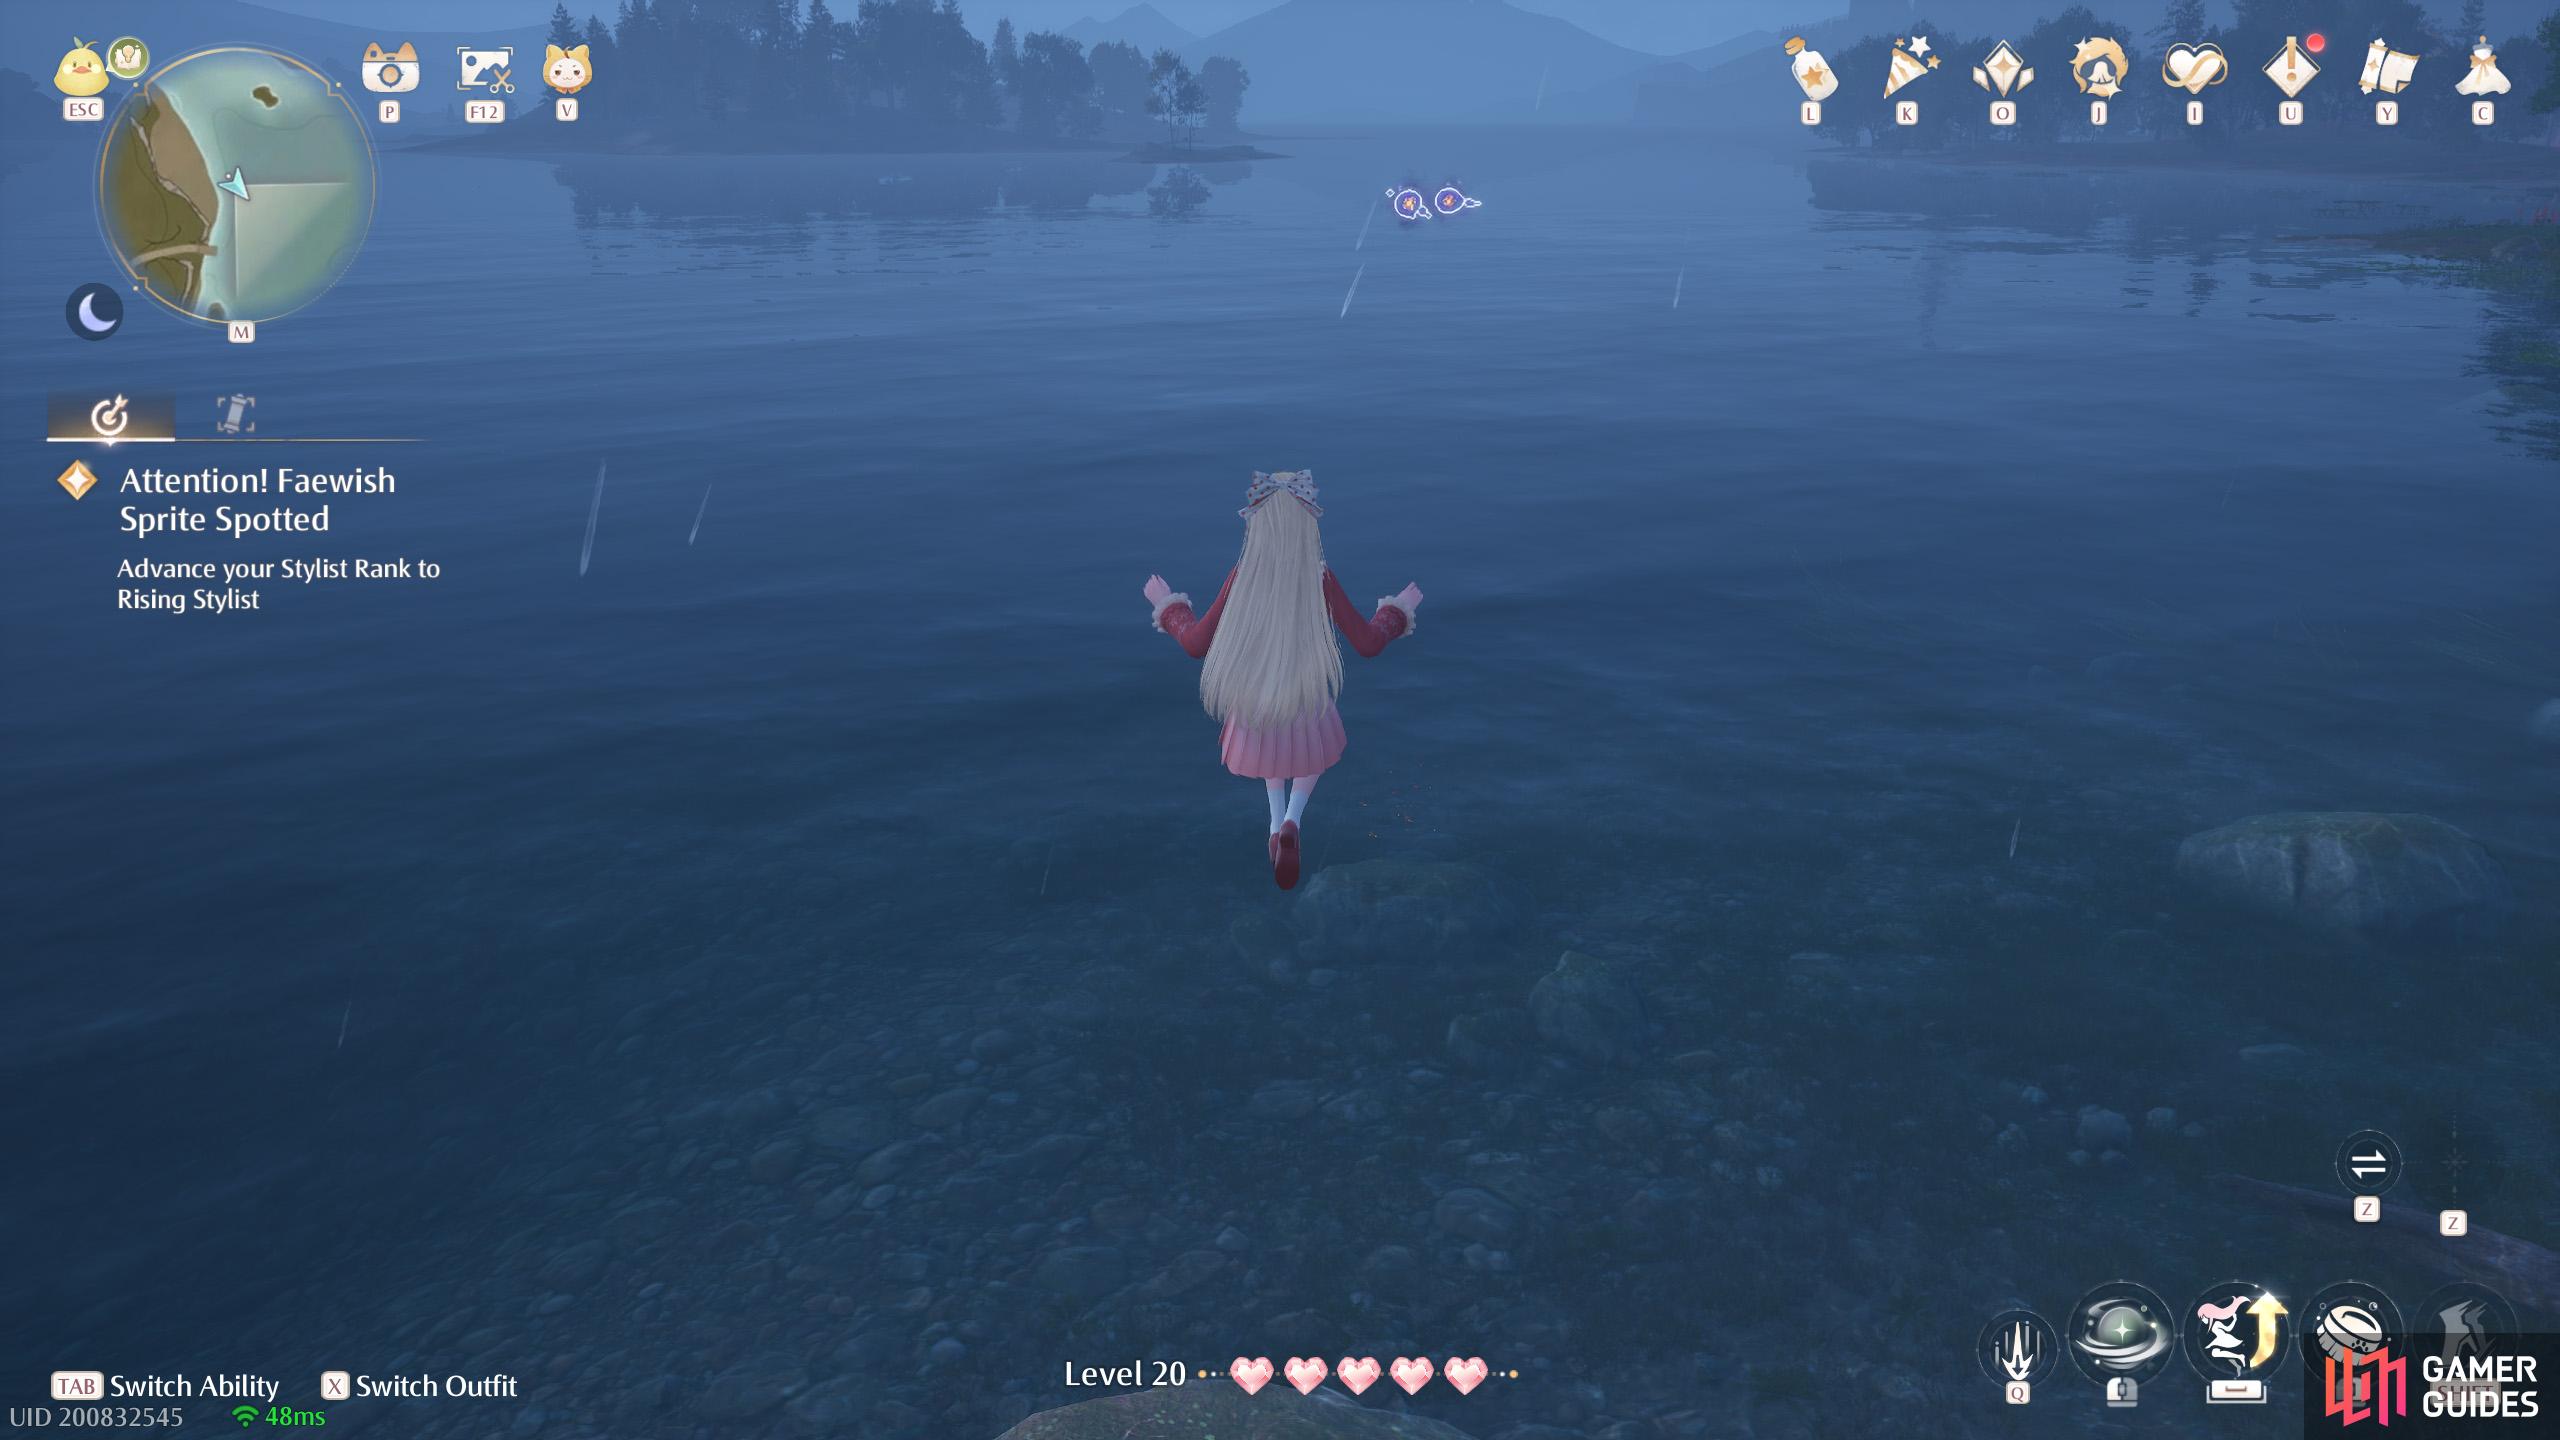
375. Miraland Map
North-east of ![]() The Leisureely Anglers Florawish Branch. Two floating past the shore.
The Leisureely Anglers Florawish Branch. Two floating past the shore.
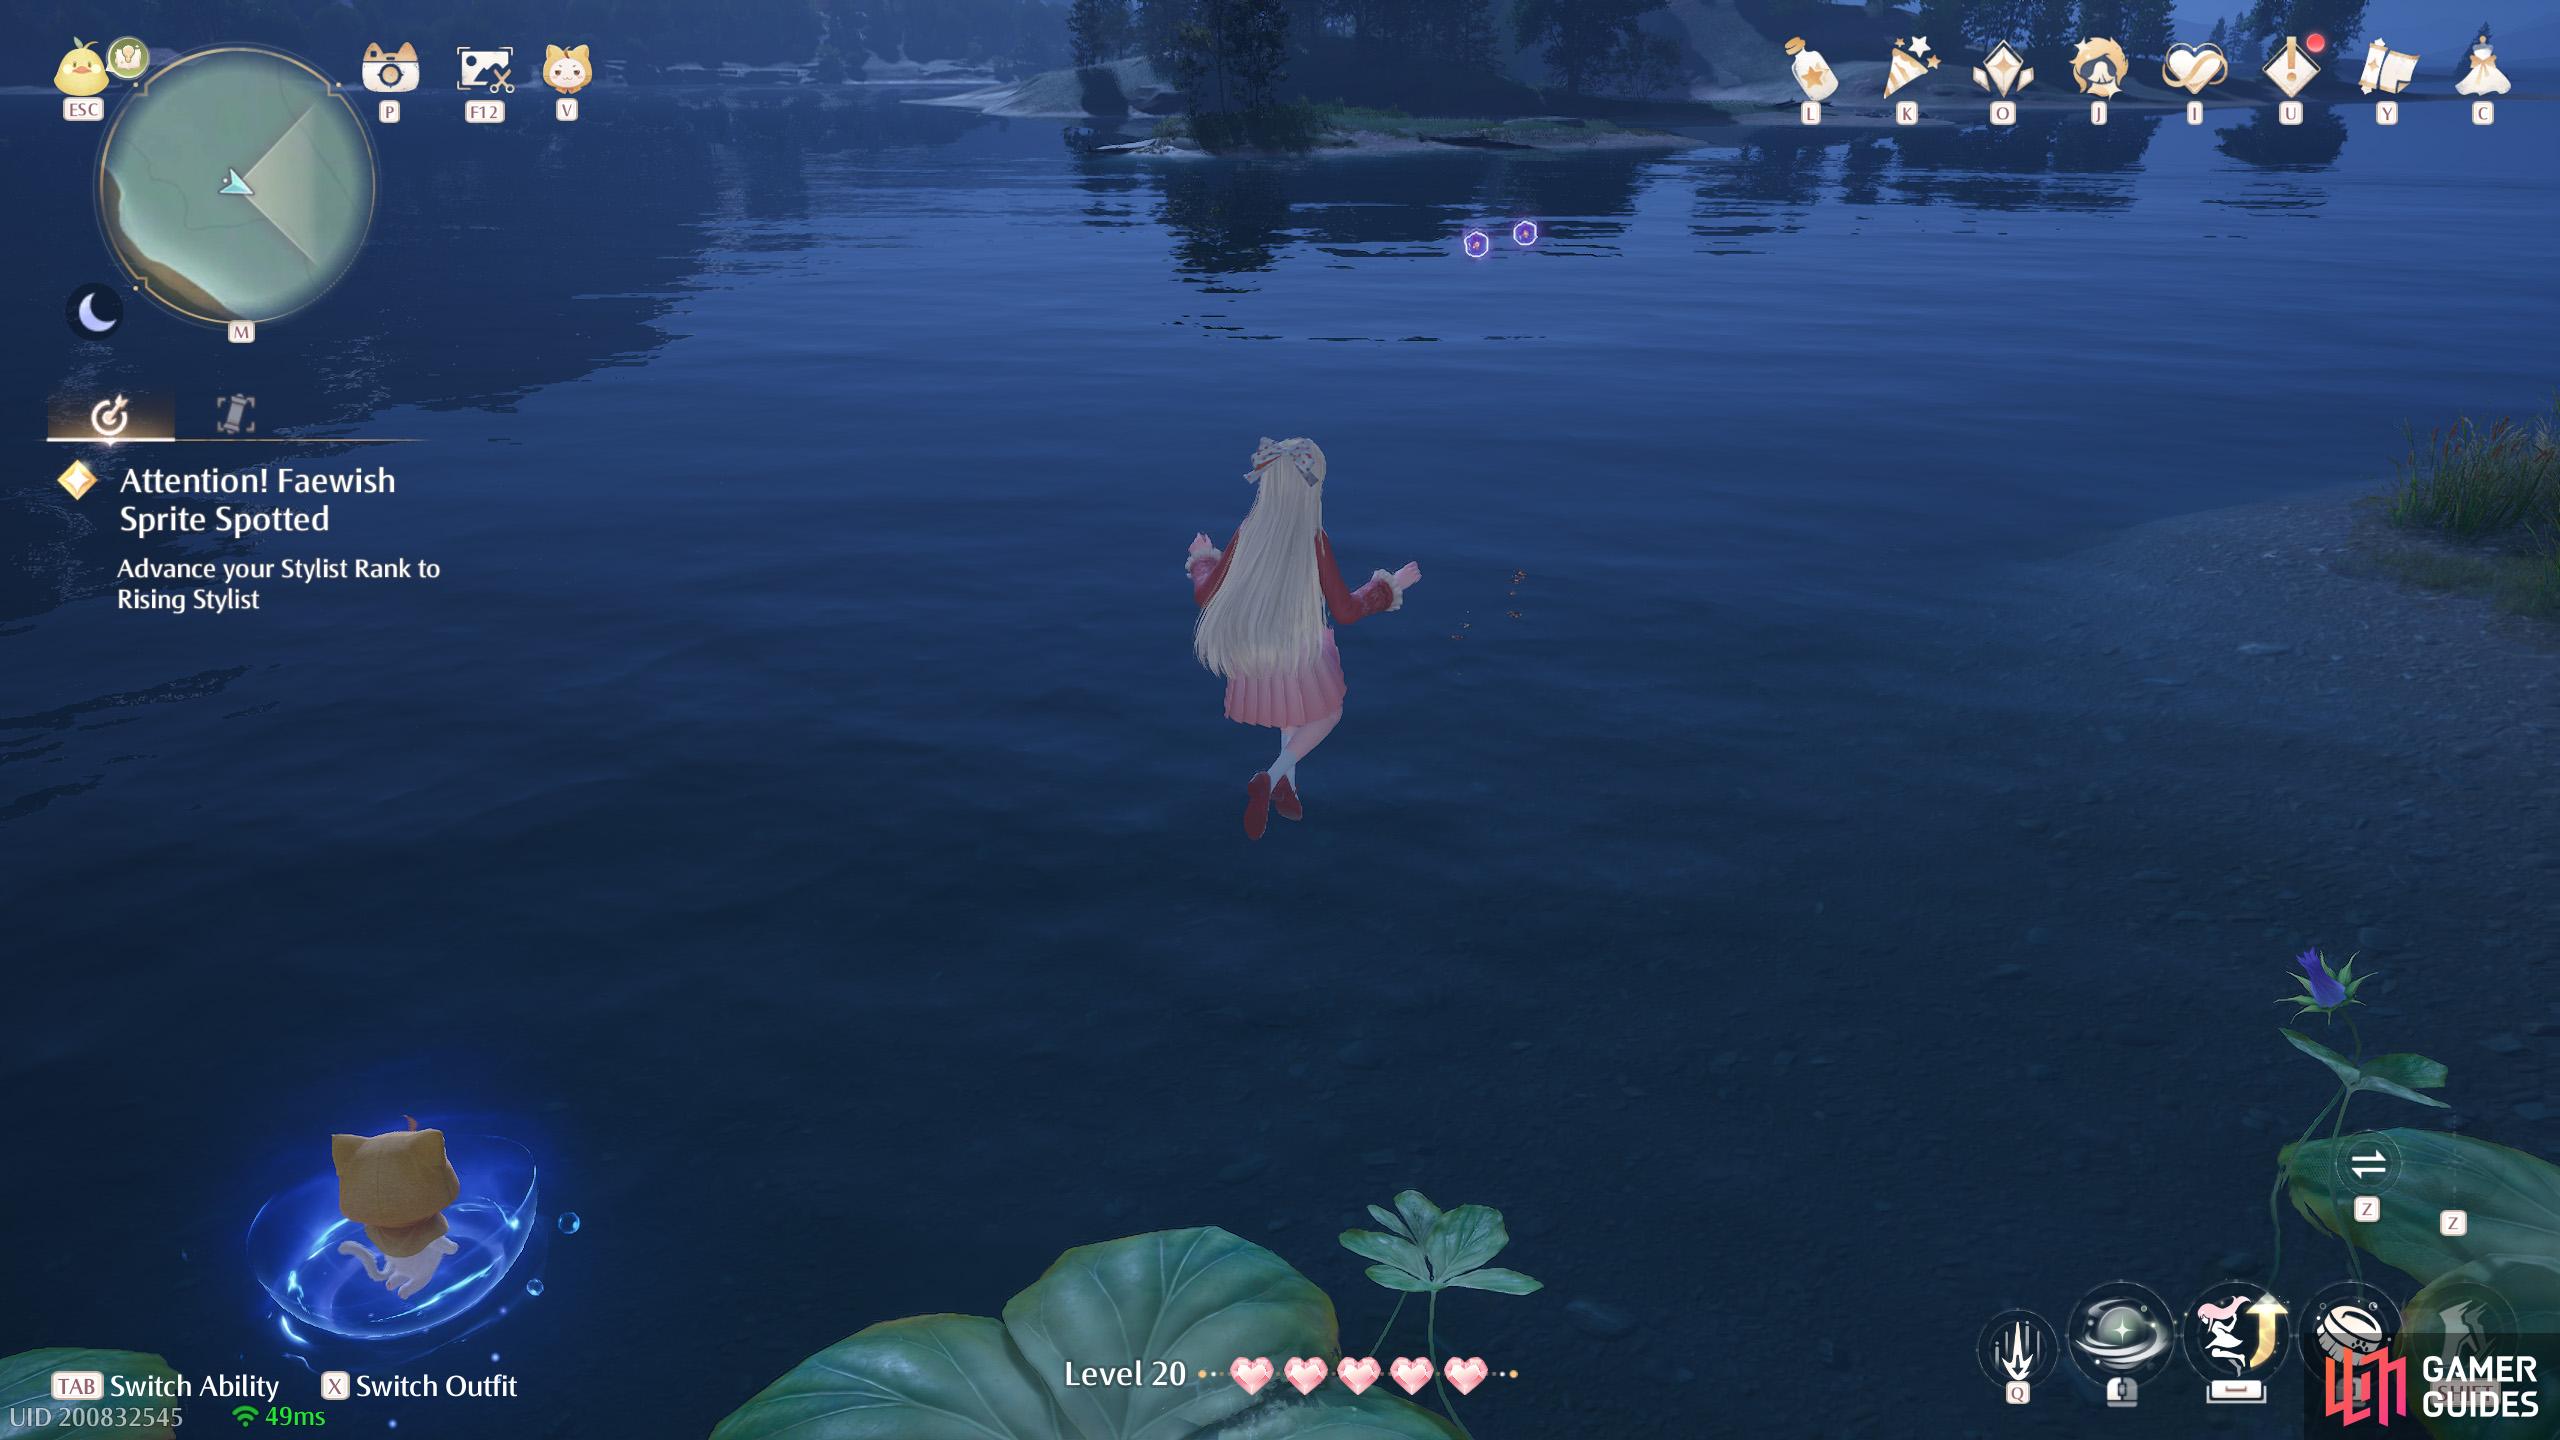
376. Miraland Map
South-east of ![]() The Leisureely Anglers Florawish Branch. Two floating above the water. Jump across the lily pads to reach them.
The Leisureely Anglers Florawish Branch. Two floating above the water. Jump across the lily pads to reach them.
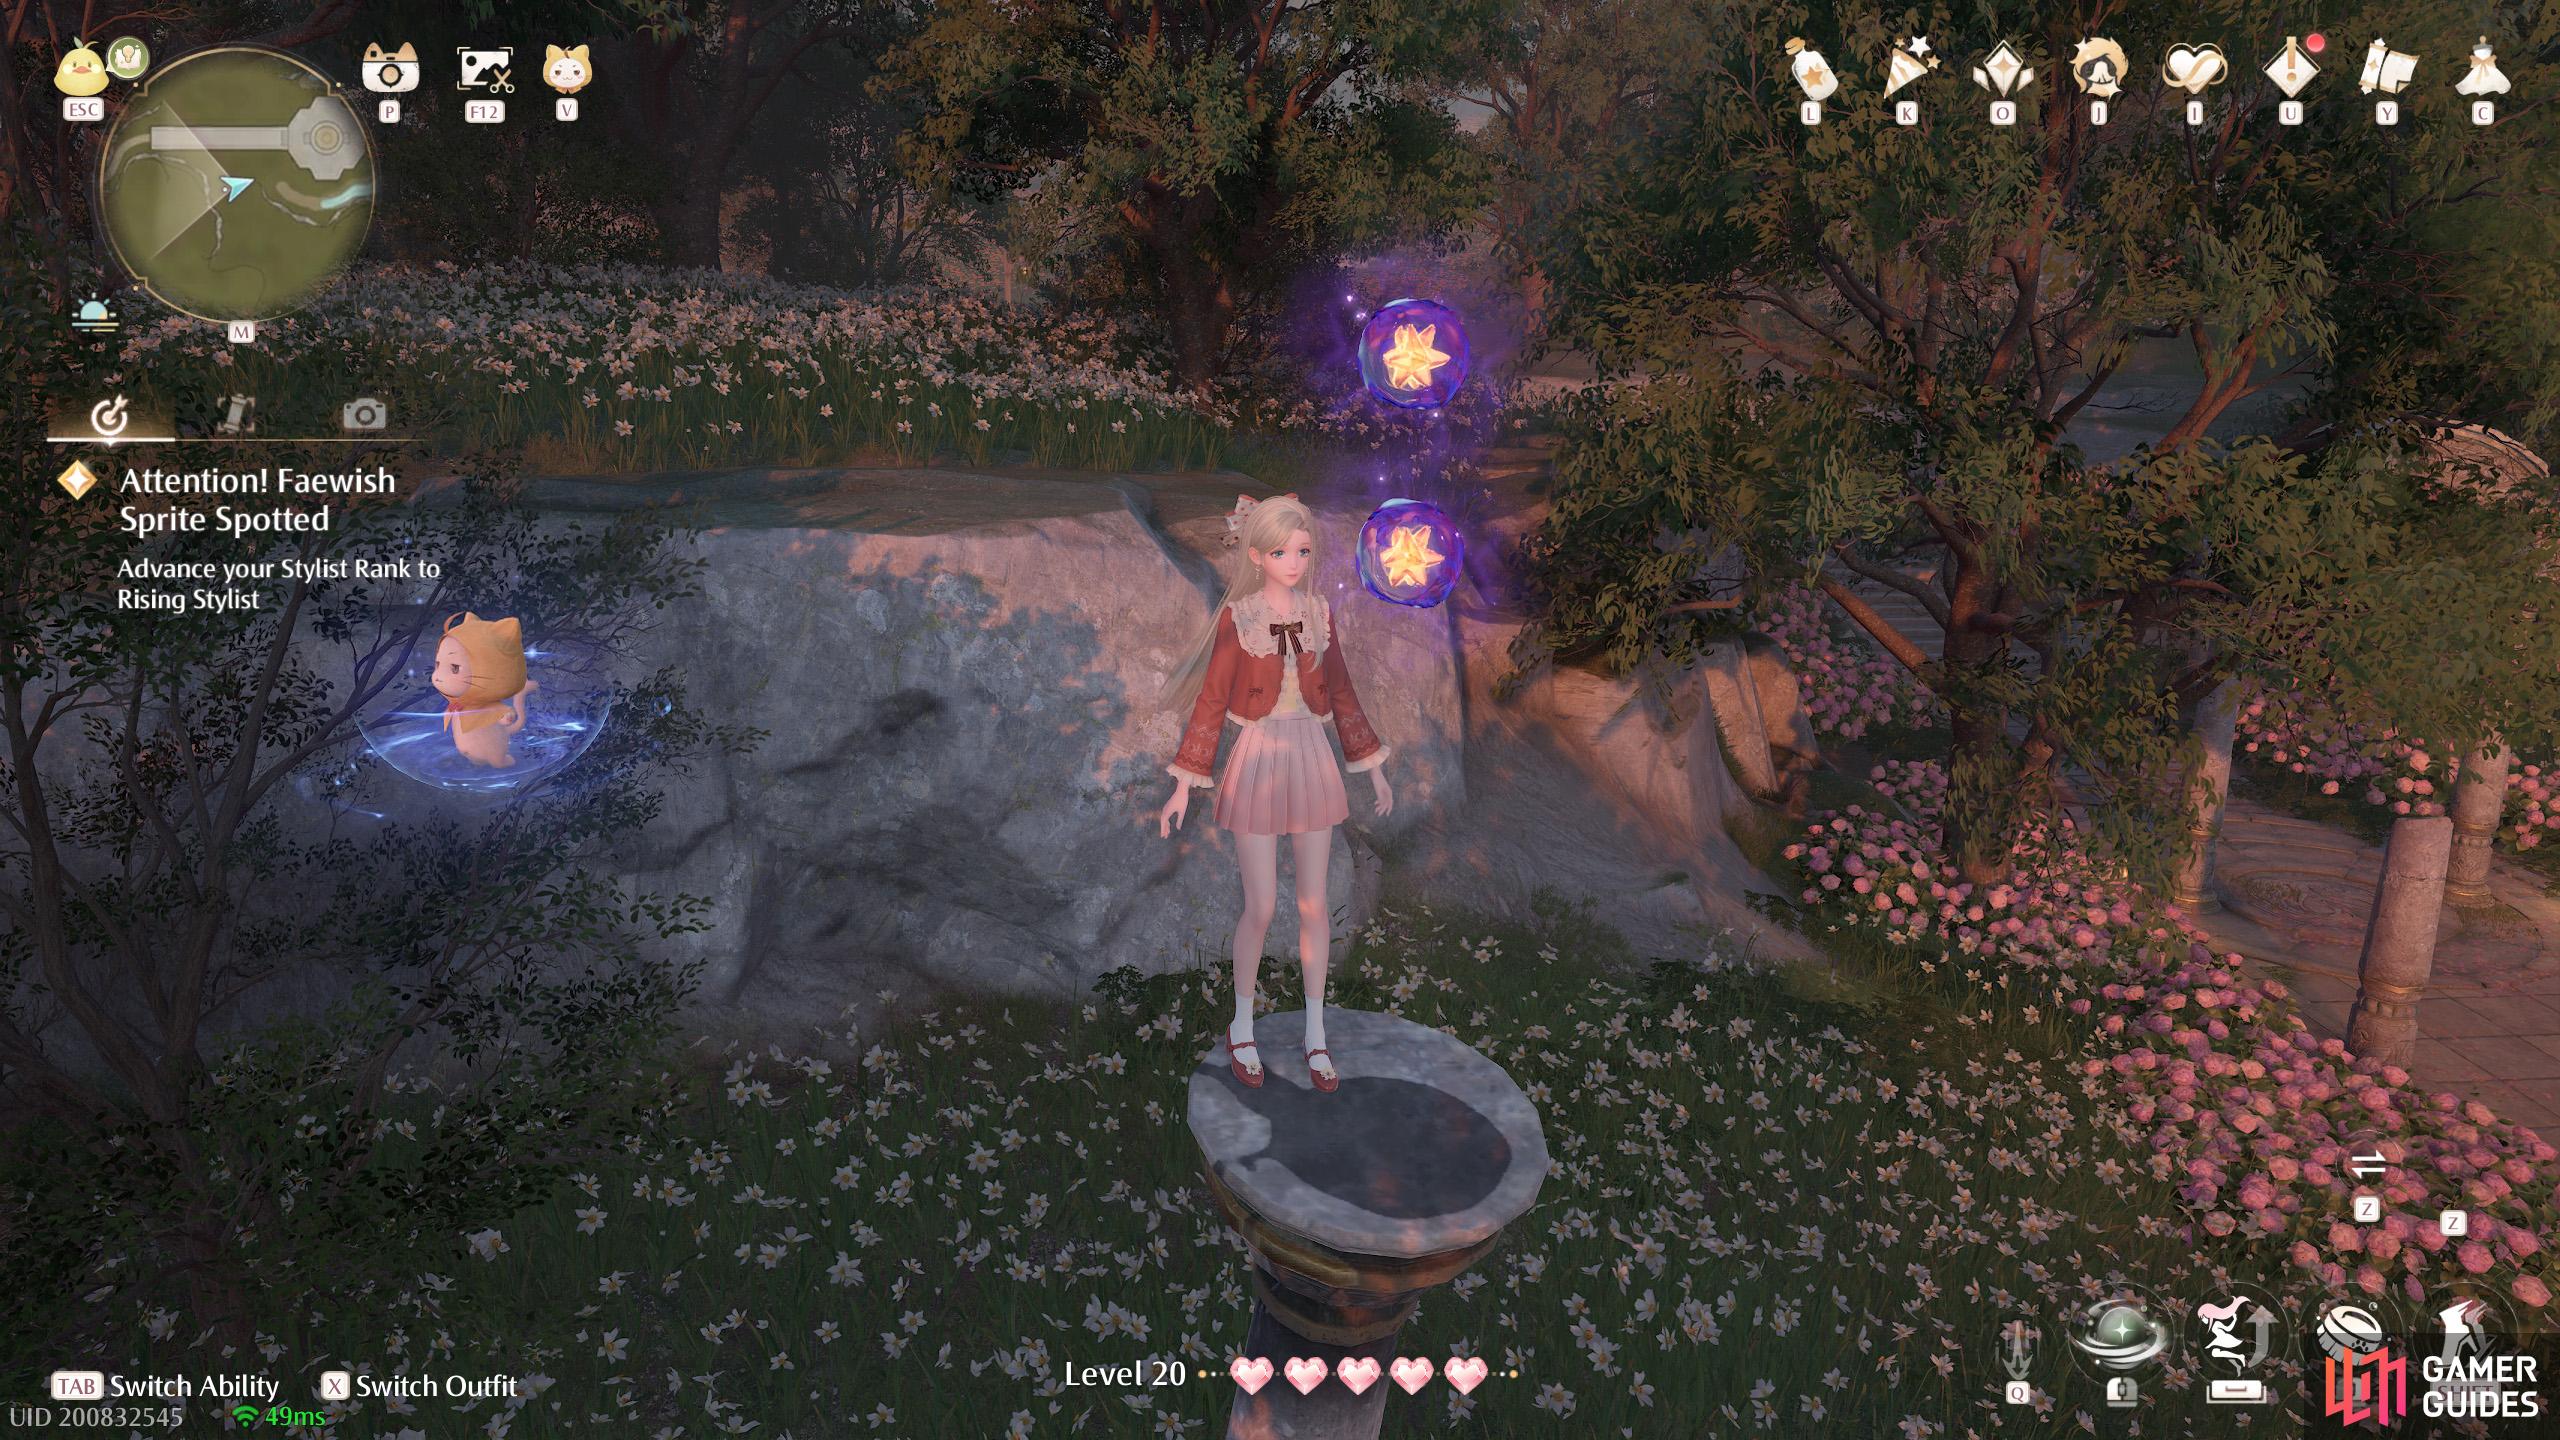
377. Miraland Map
Short distance west from the ![]() Swan Gazebo, on the south side of the path. Two floating above a pillar.
Swan Gazebo, on the south side of the path. Two floating above a pillar.
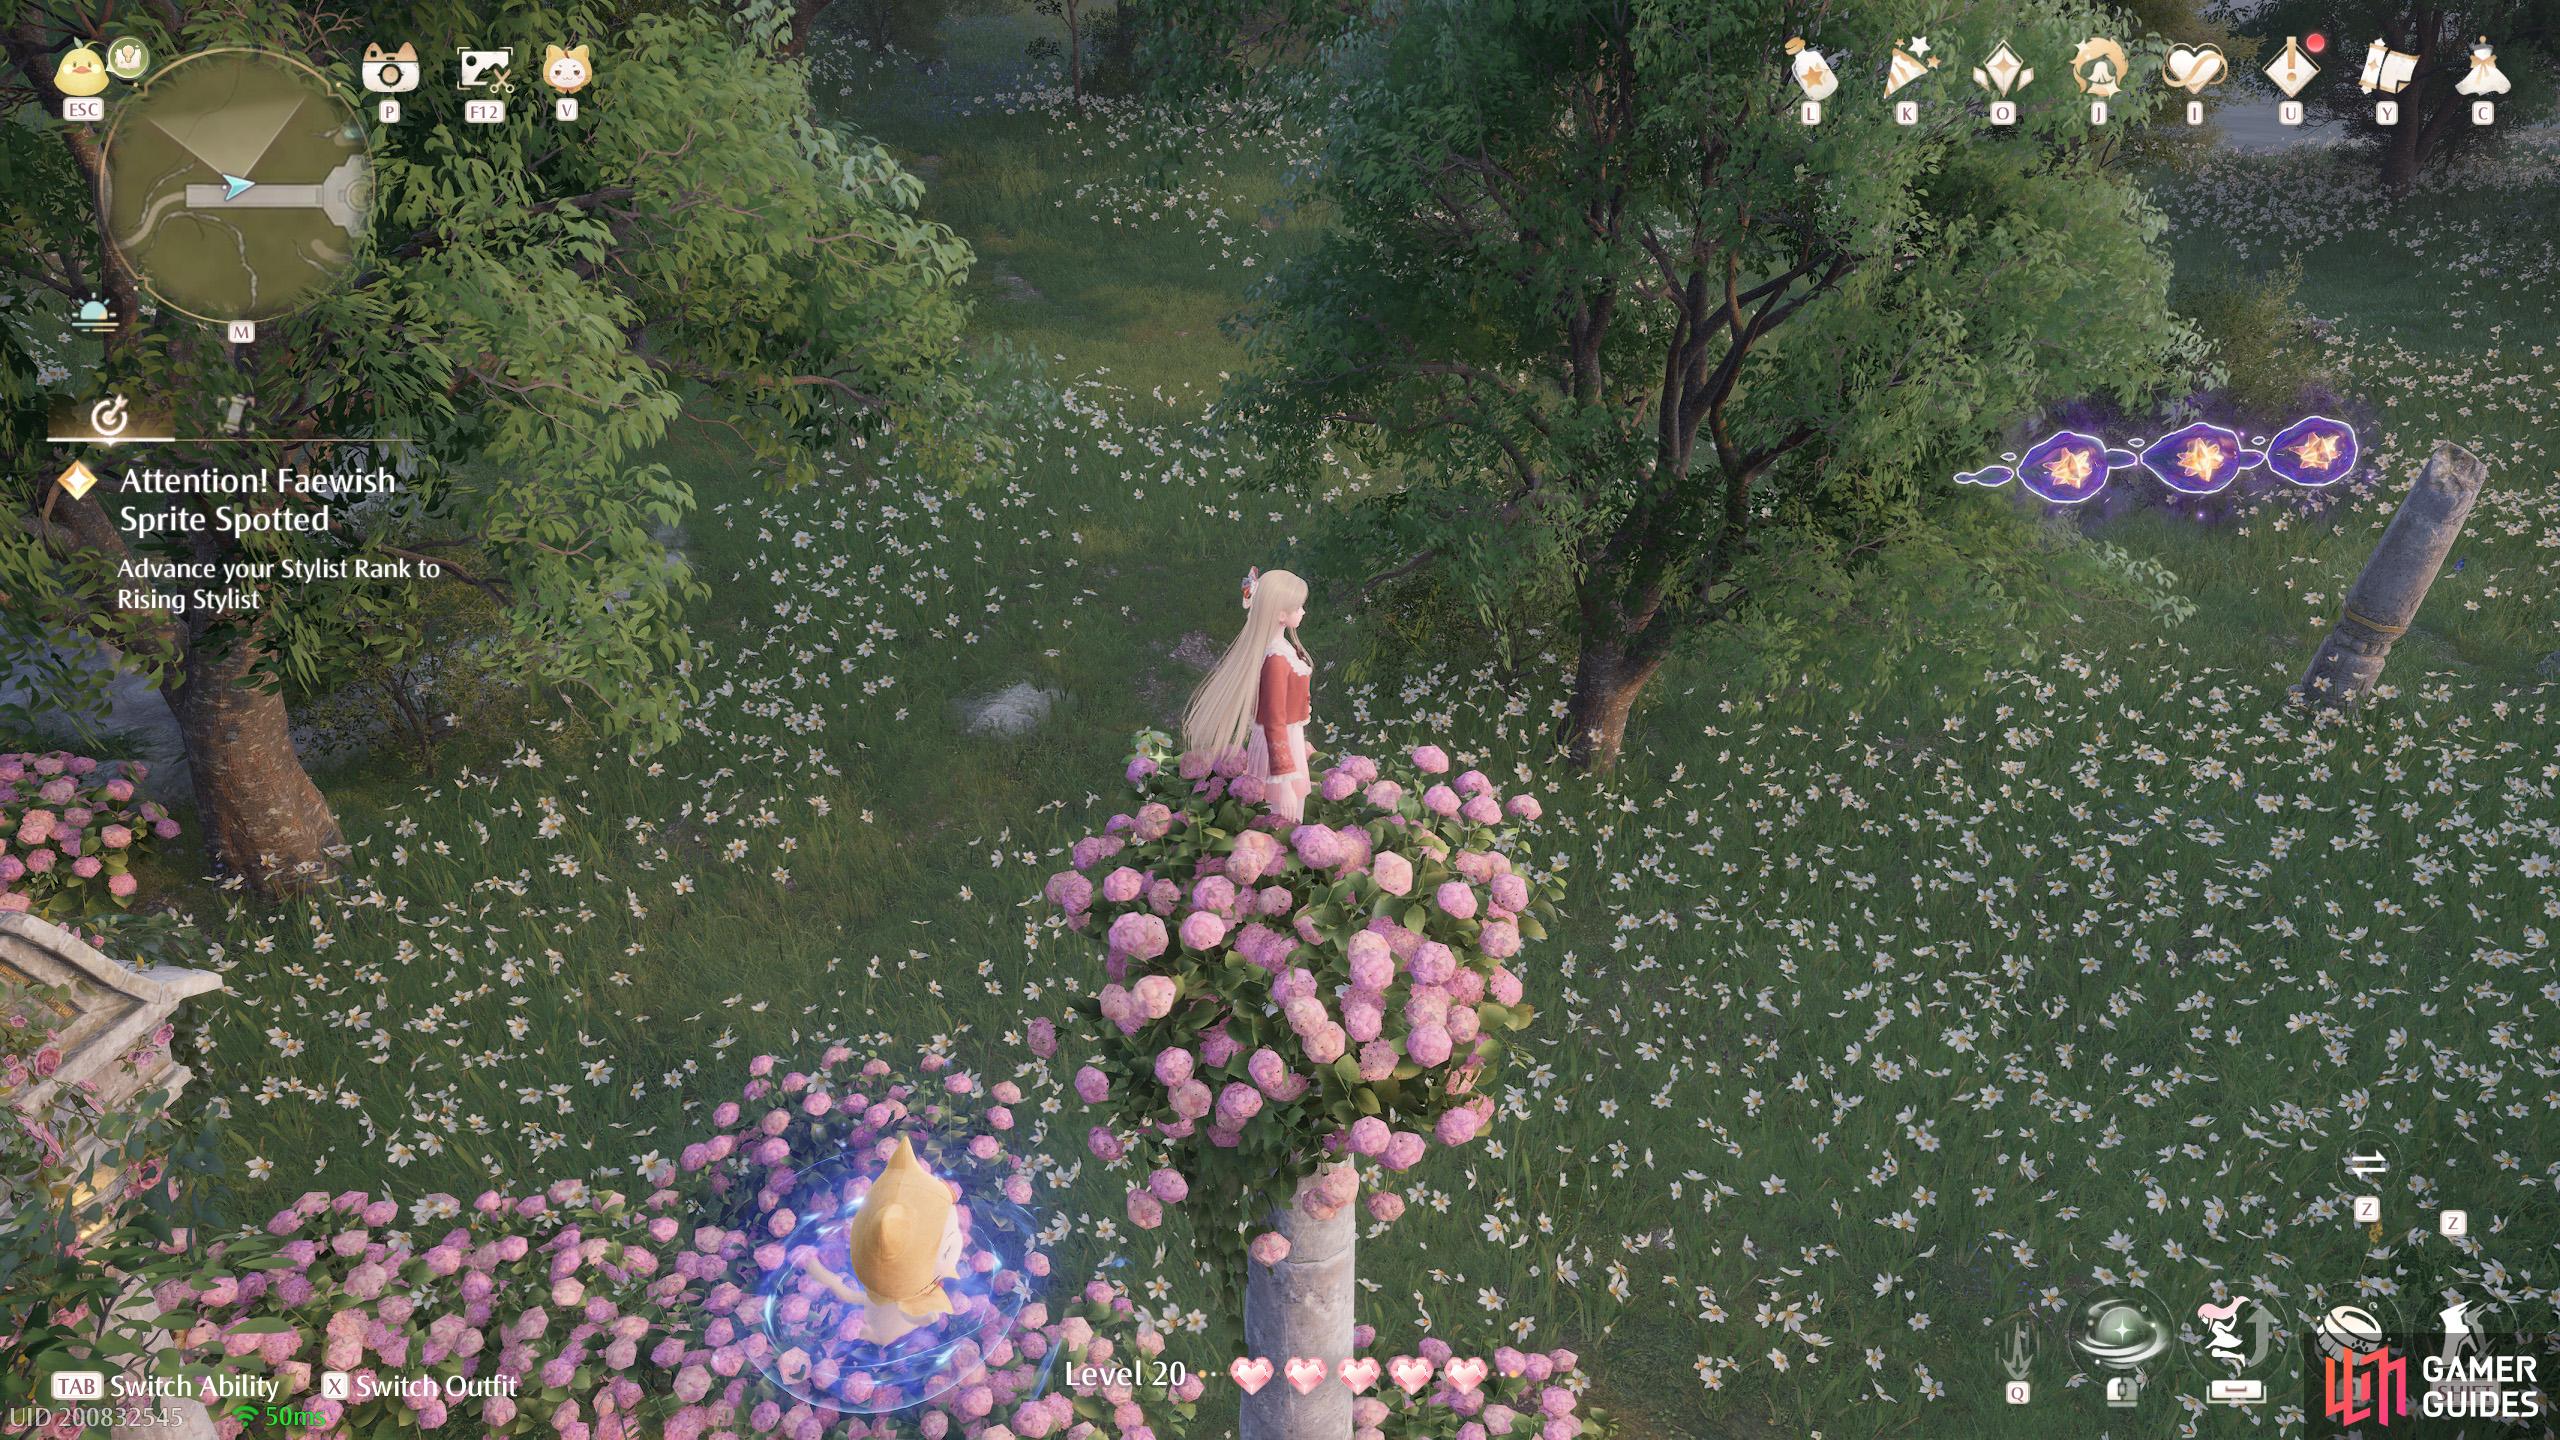
378. Miraland Map
Short distance west from the ![]() Swan Gazebo, on the north side of the path. Three floating in the air, between some pillars. You can jump up from the south-west.
Swan Gazebo, on the north side of the path. Three floating in the air, between some pillars. You can jump up from the south-west.
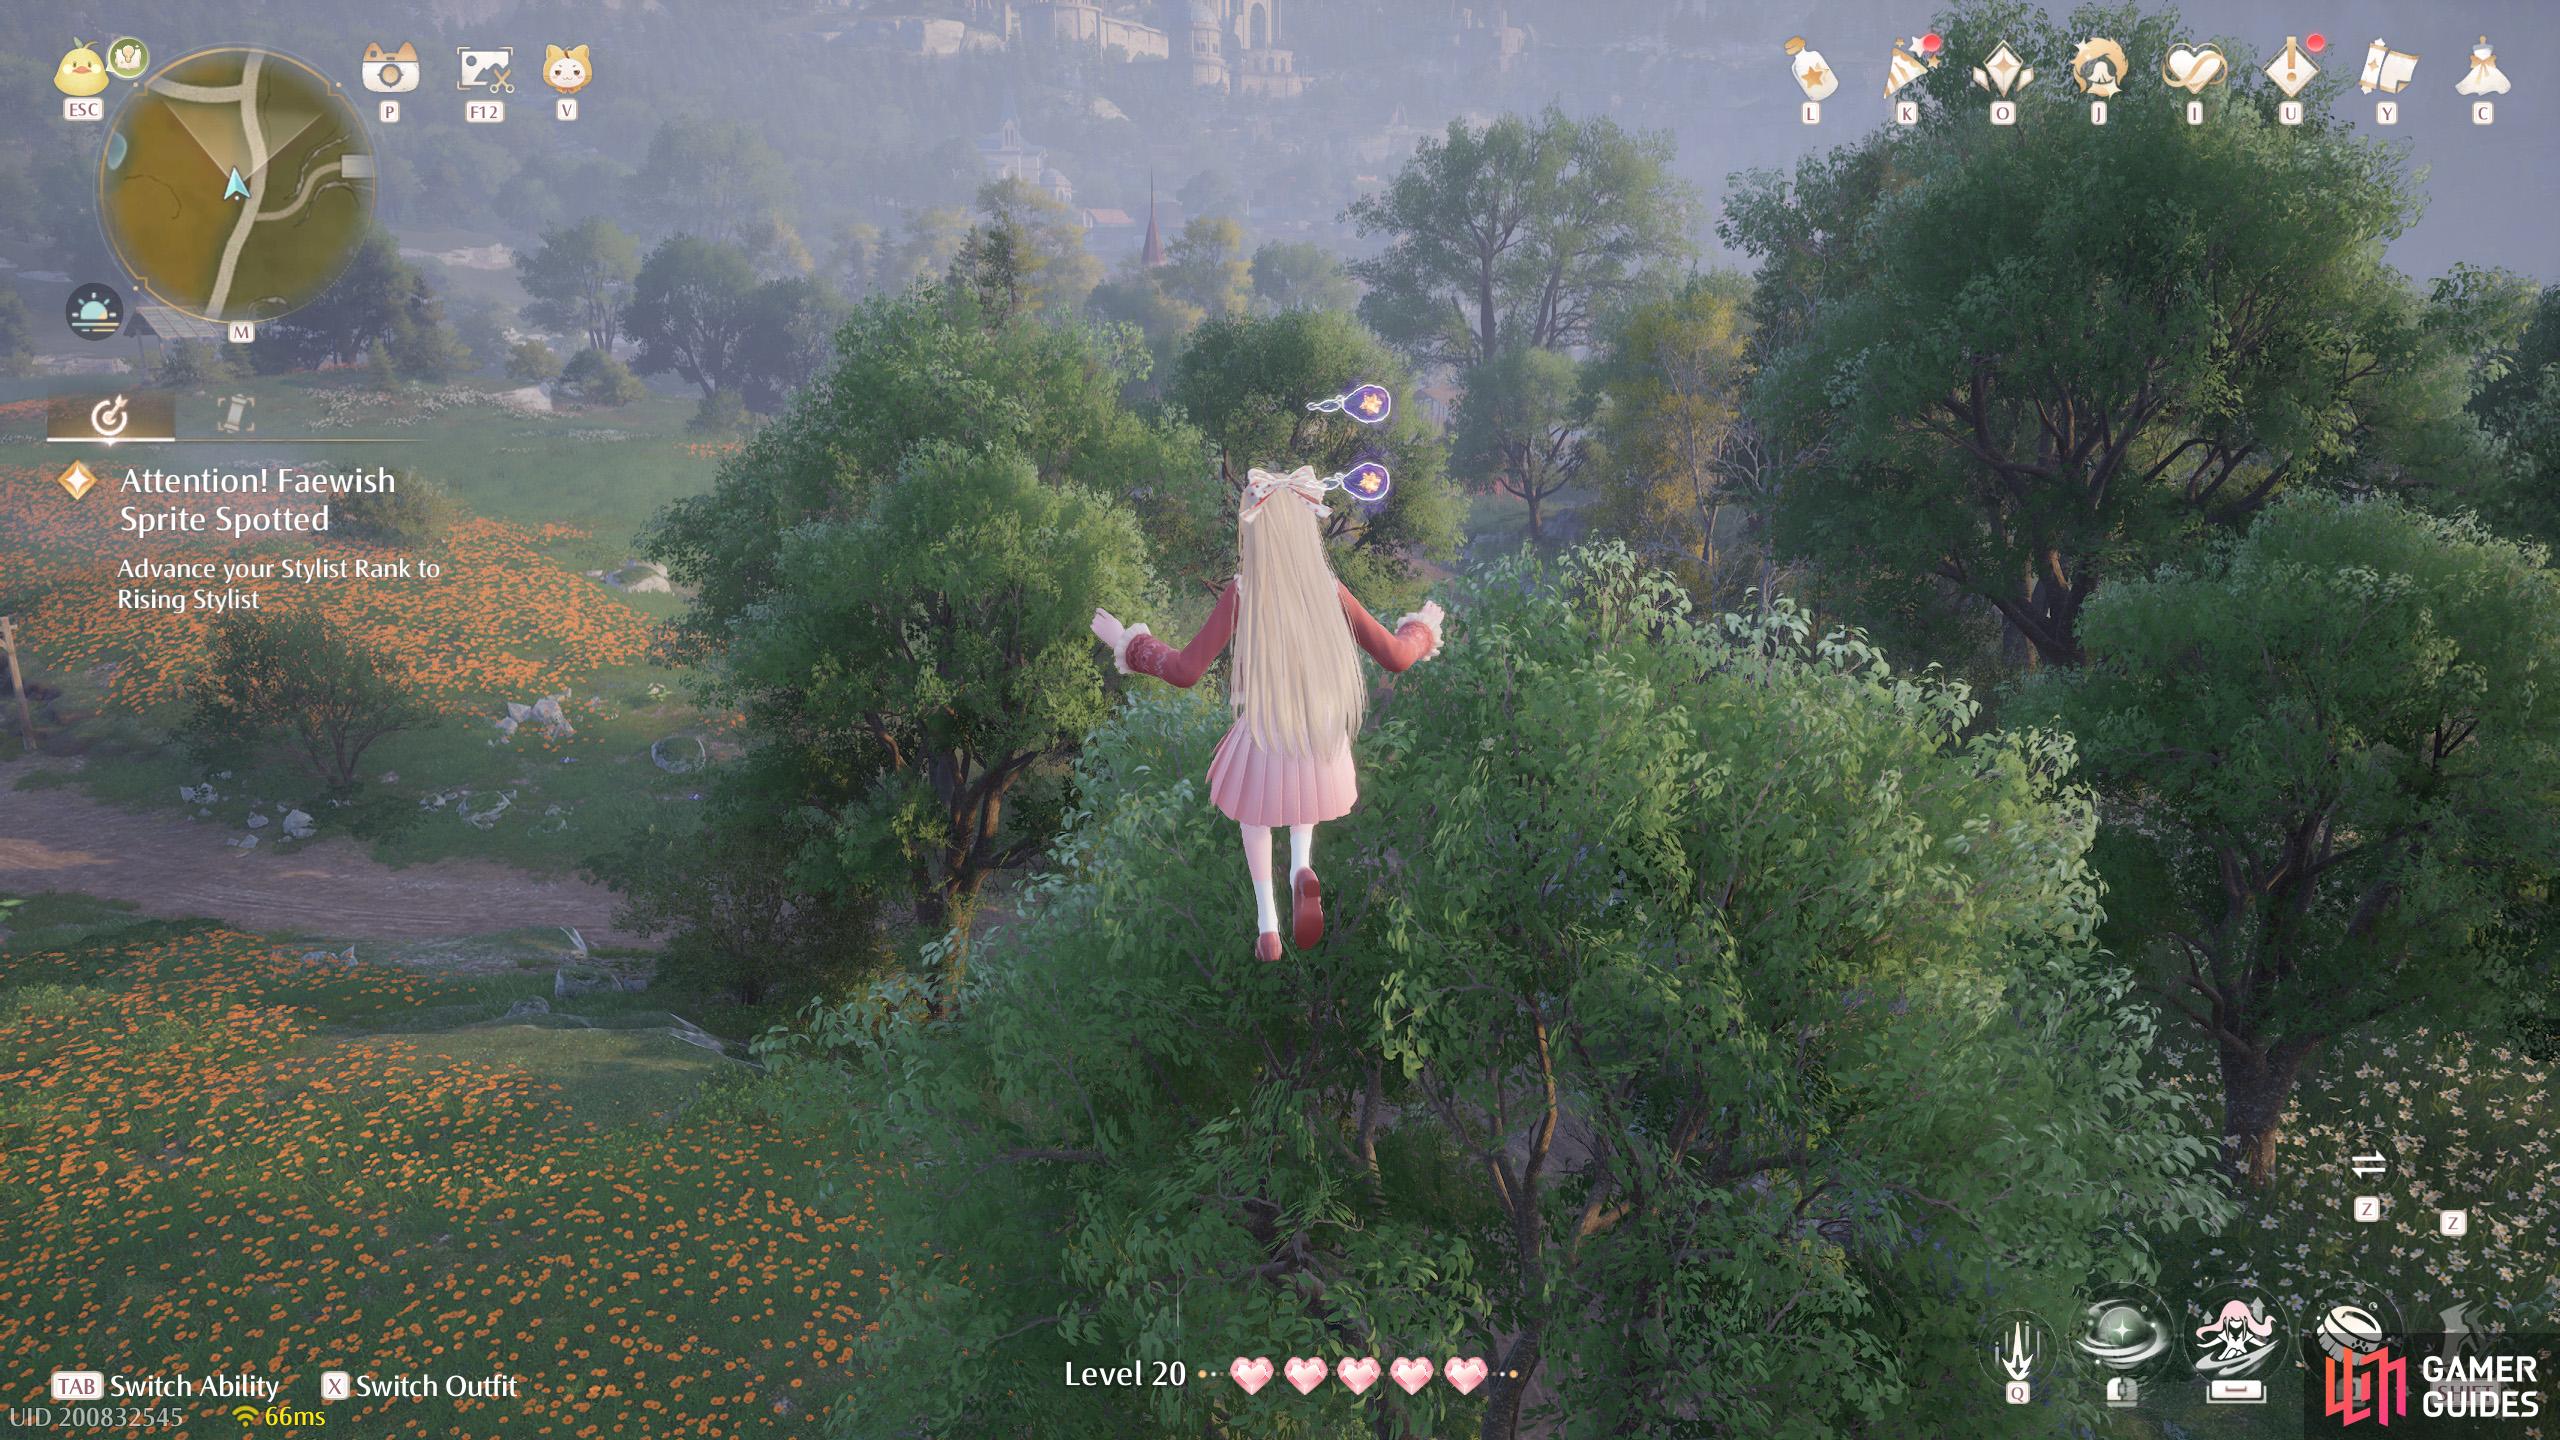
379. Miraland Map
West from the ![]() Swan Gazebo. Two floating high up near a fork in the road. Jump on the leaf trampoline to reach.
Swan Gazebo. Two floating high up near a fork in the road. Jump on the leaf trampoline to reach.
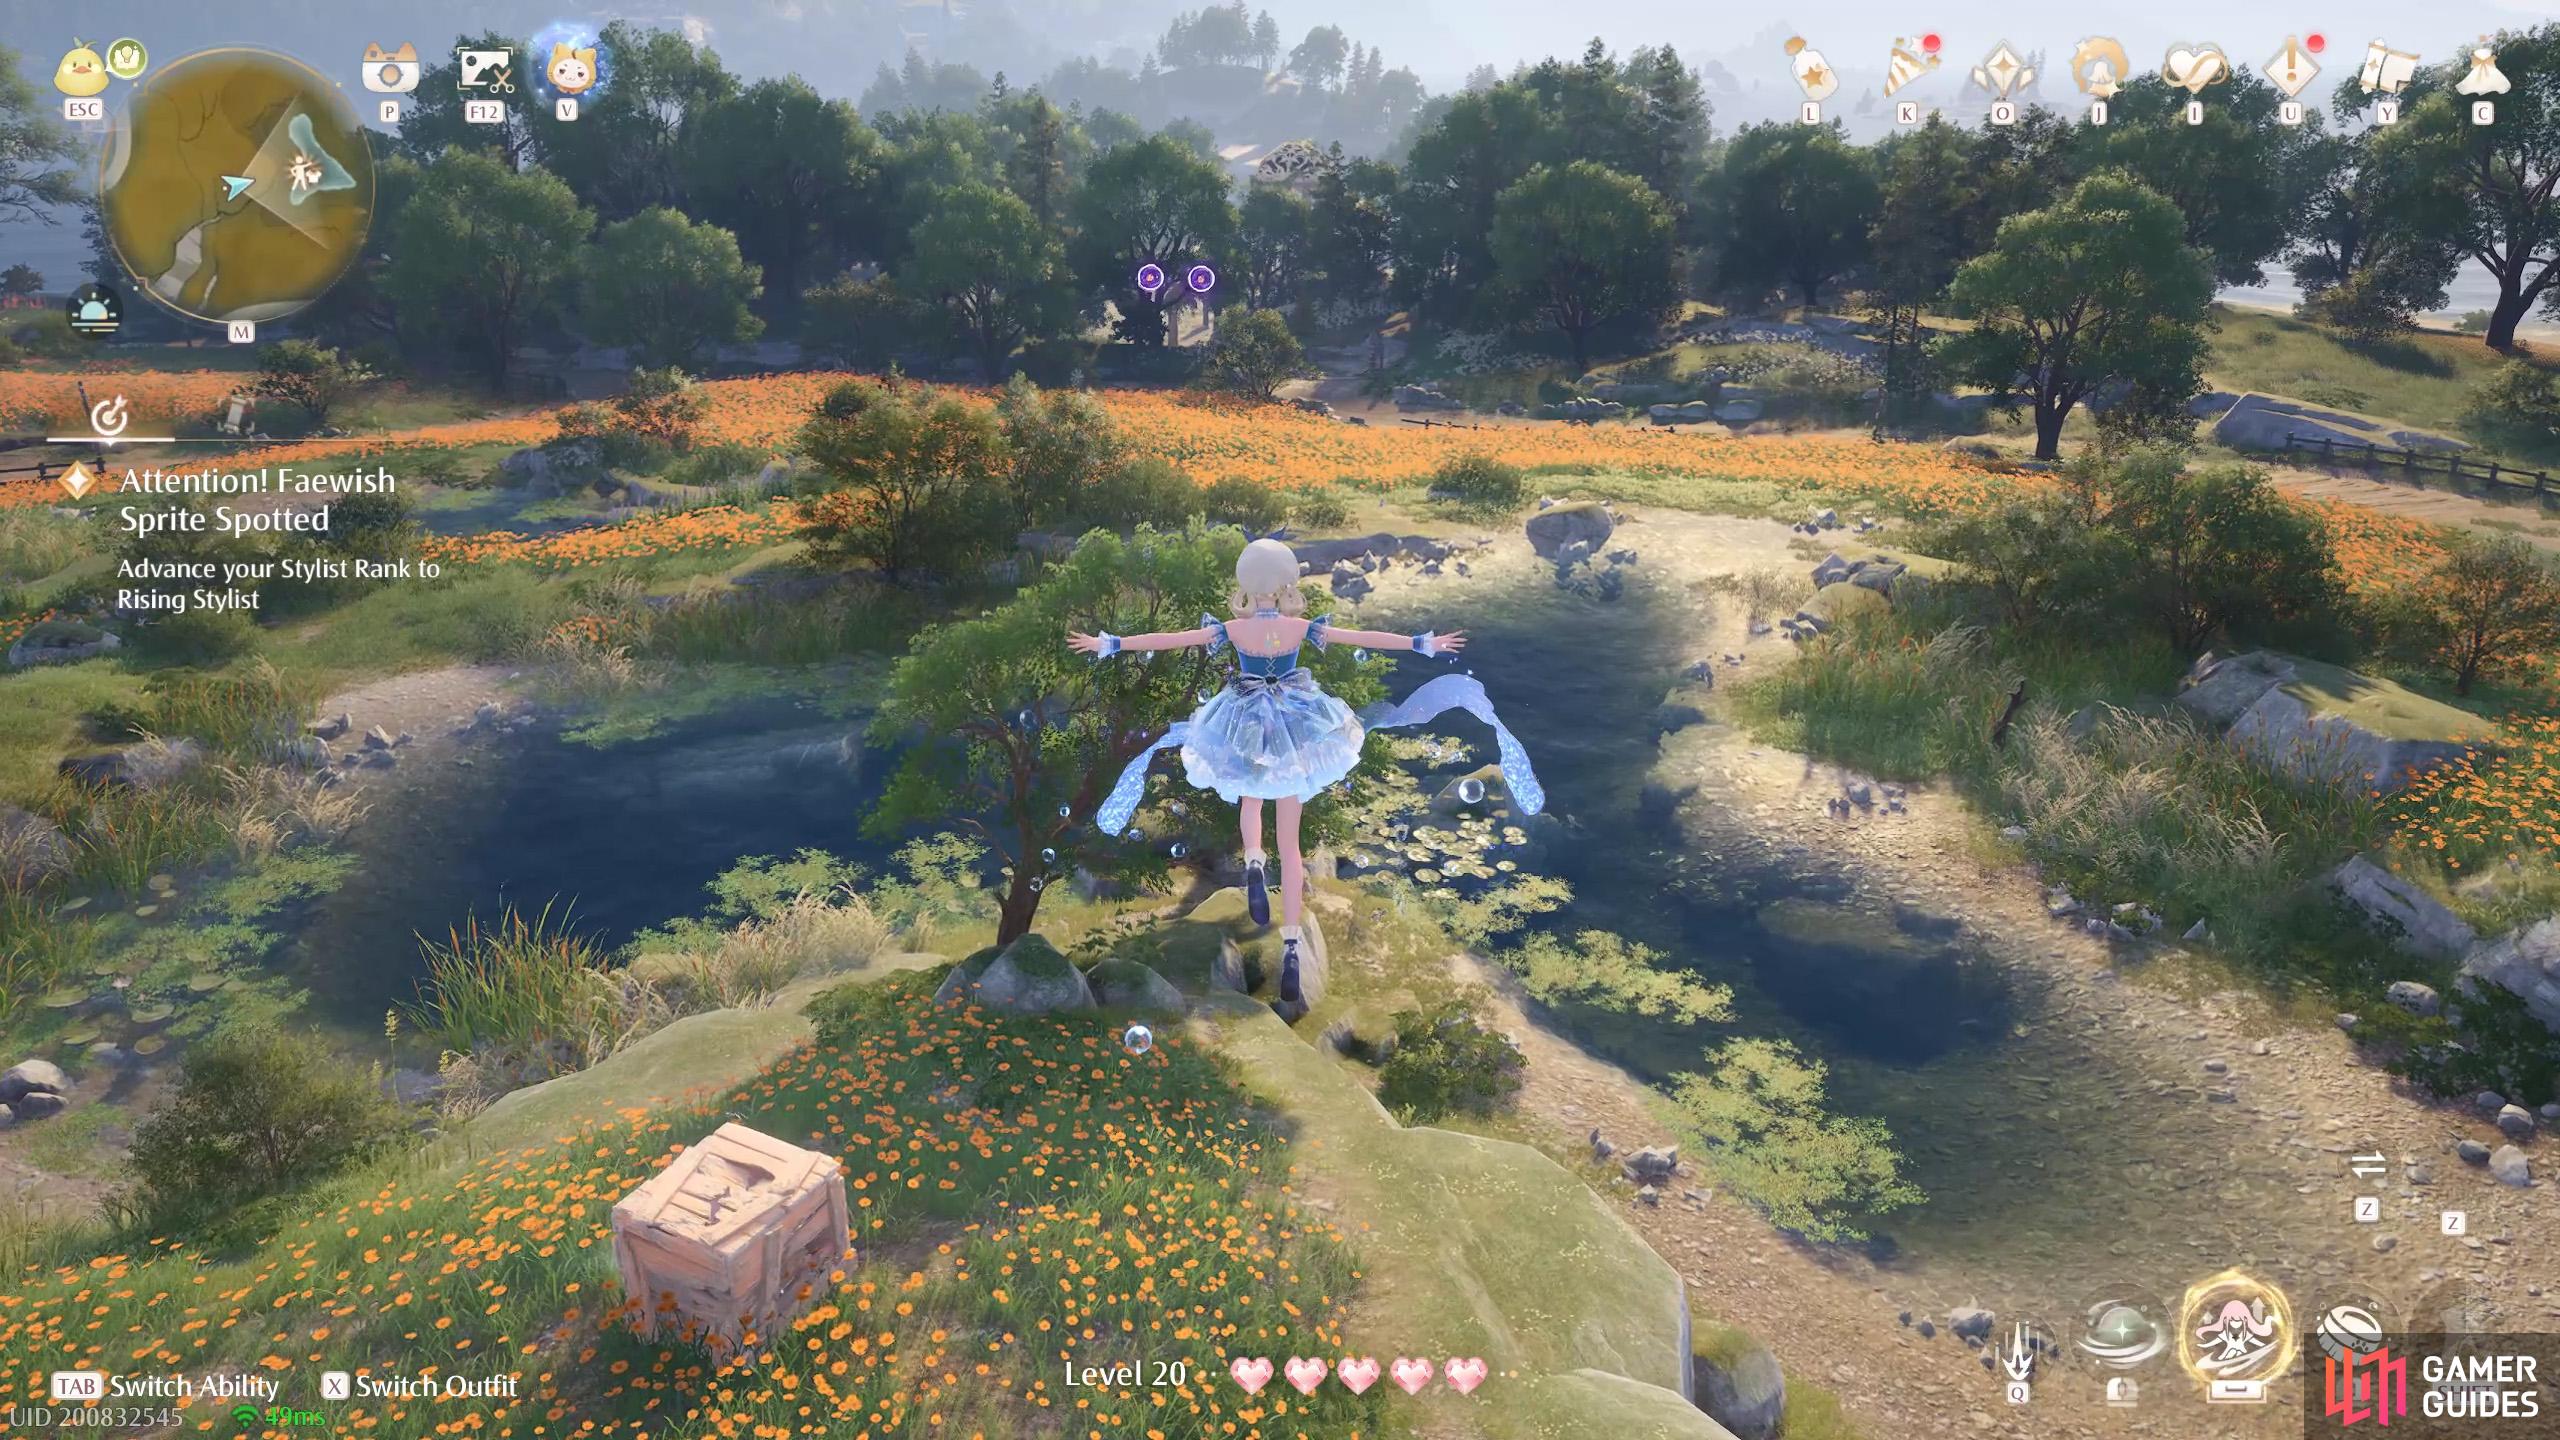
380. Miraland Map
East from ![]() Bug Catcher’s Cabin. Two floating above the tree at the center of the pond. You can float down from the west.
Bug Catcher’s Cabin. Two floating above the tree at the center of the pond. You can float down from the west.
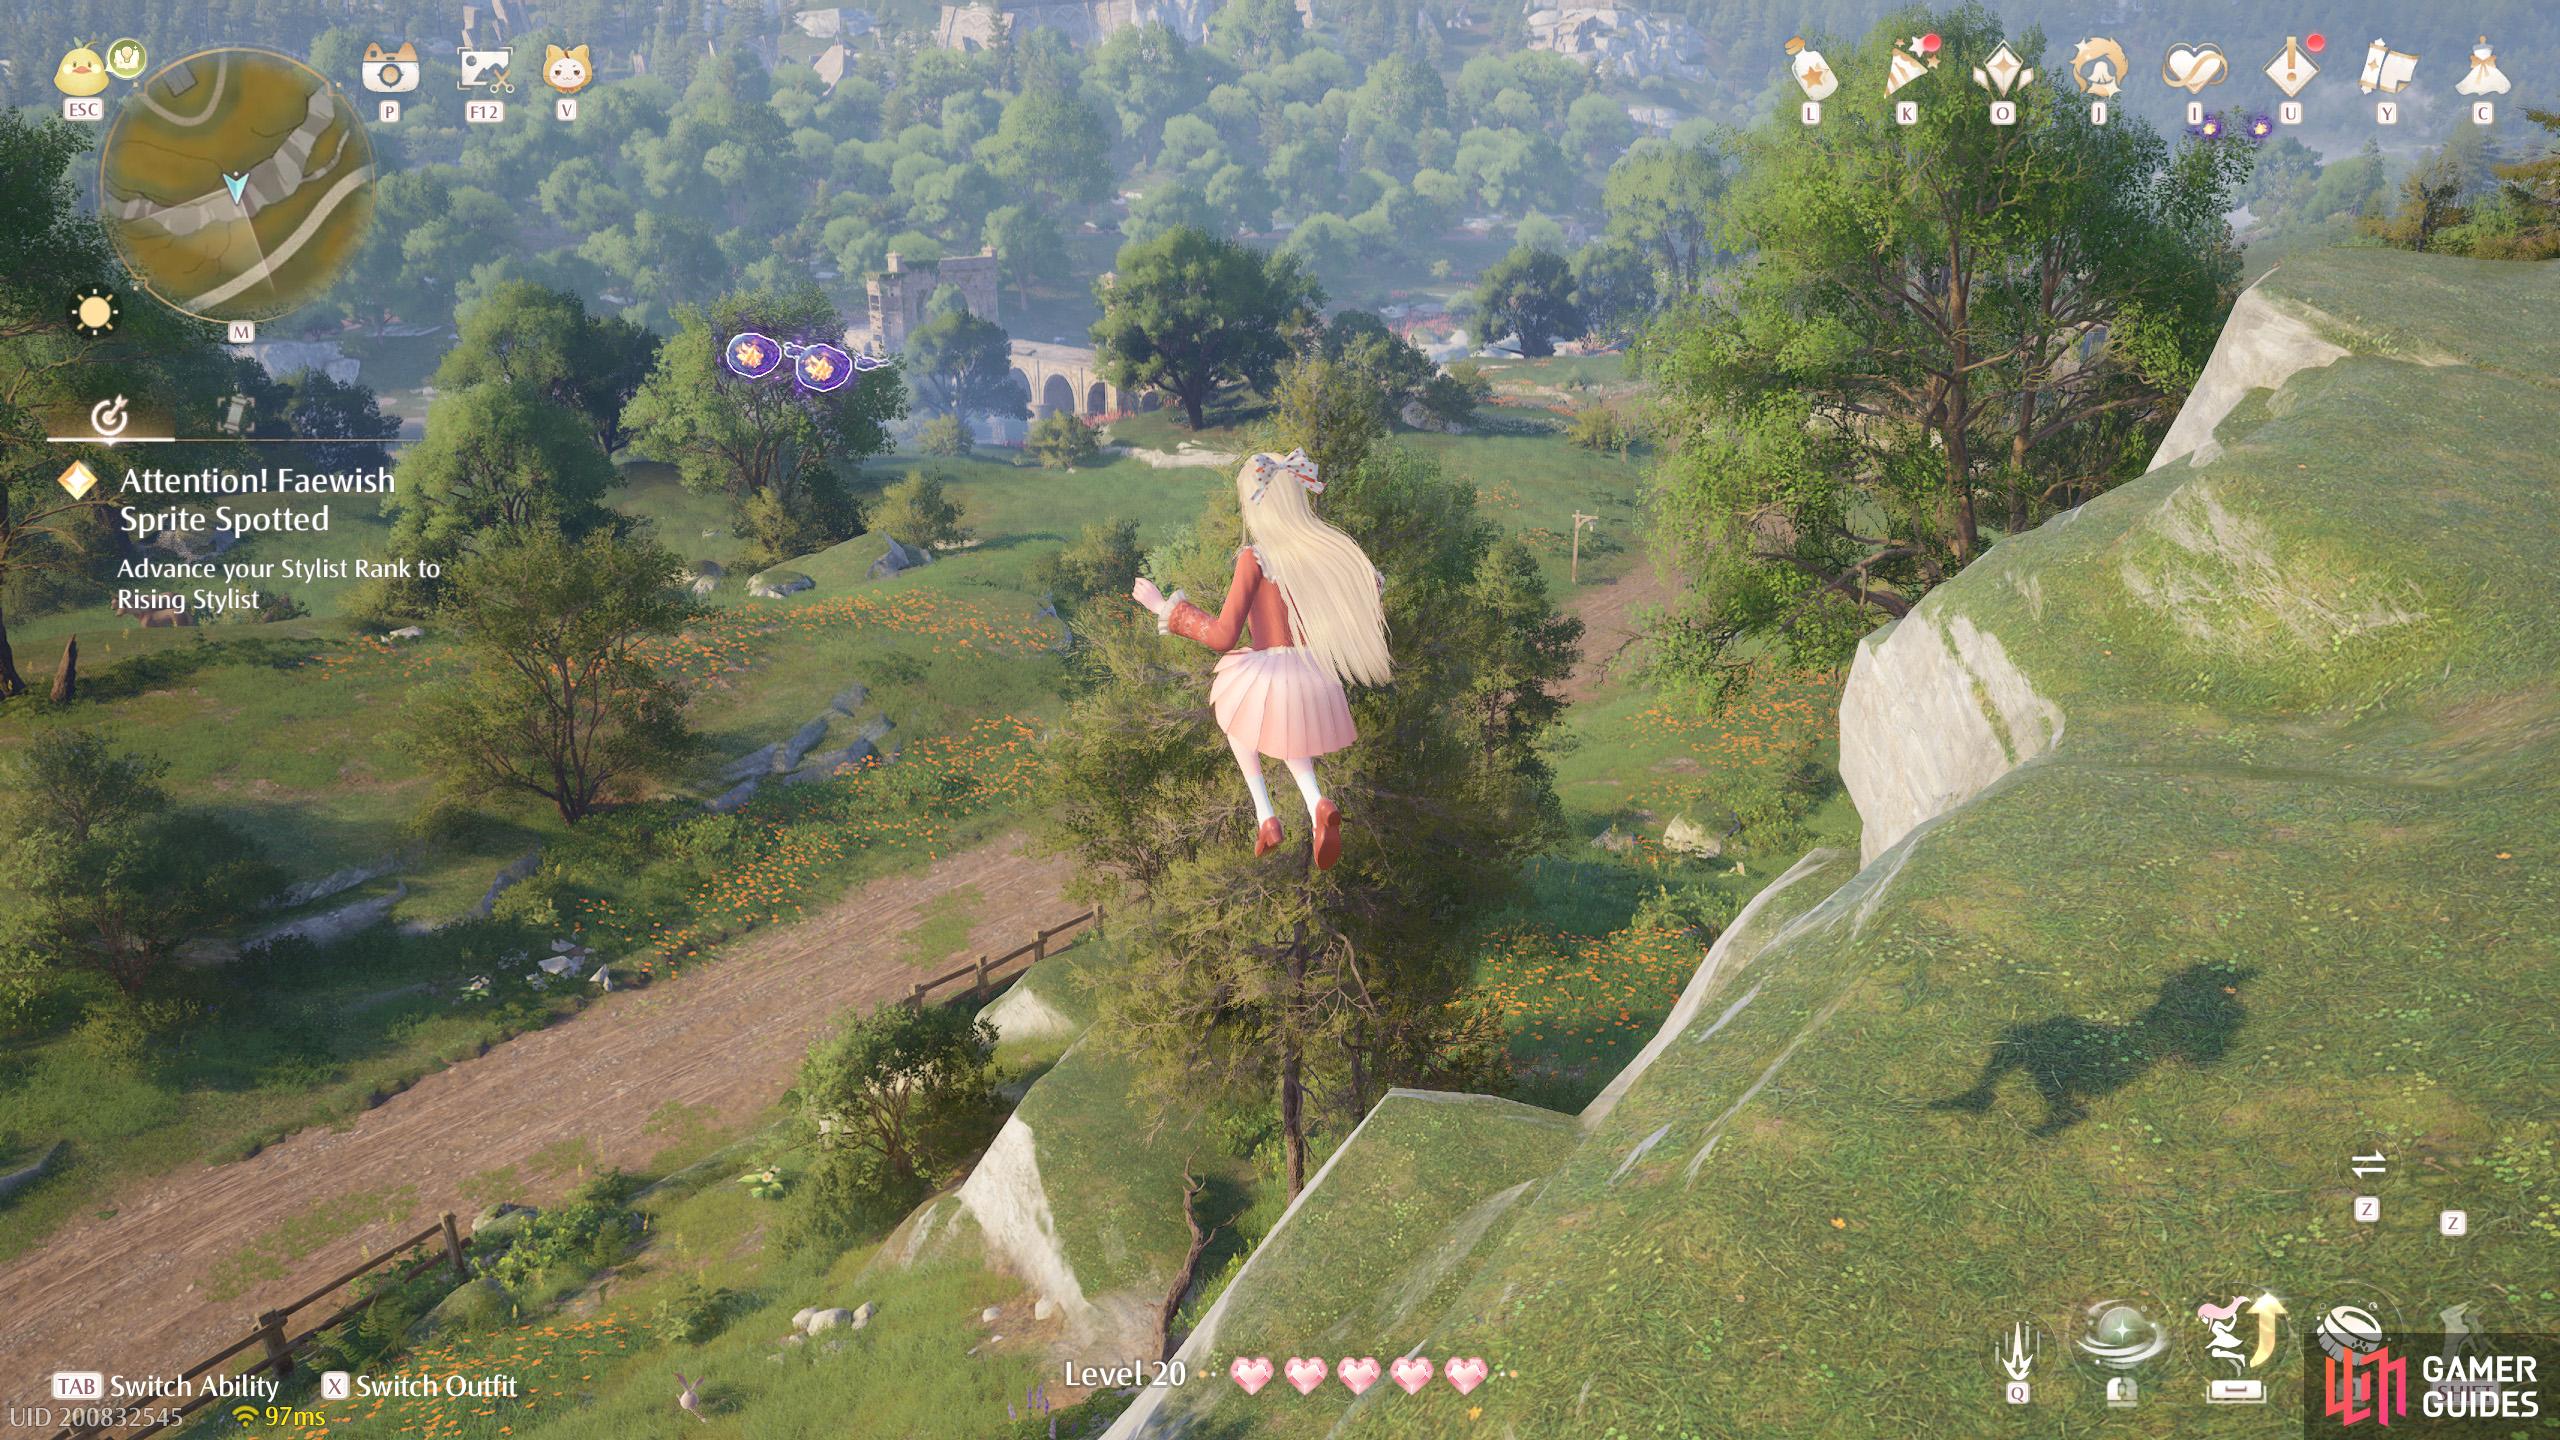
381. Miraland Map
South of ![]() Bug Catcher’s Cabin. Two floating past the edge of the hill
Bug Catcher’s Cabin. Two floating past the edge of the hill
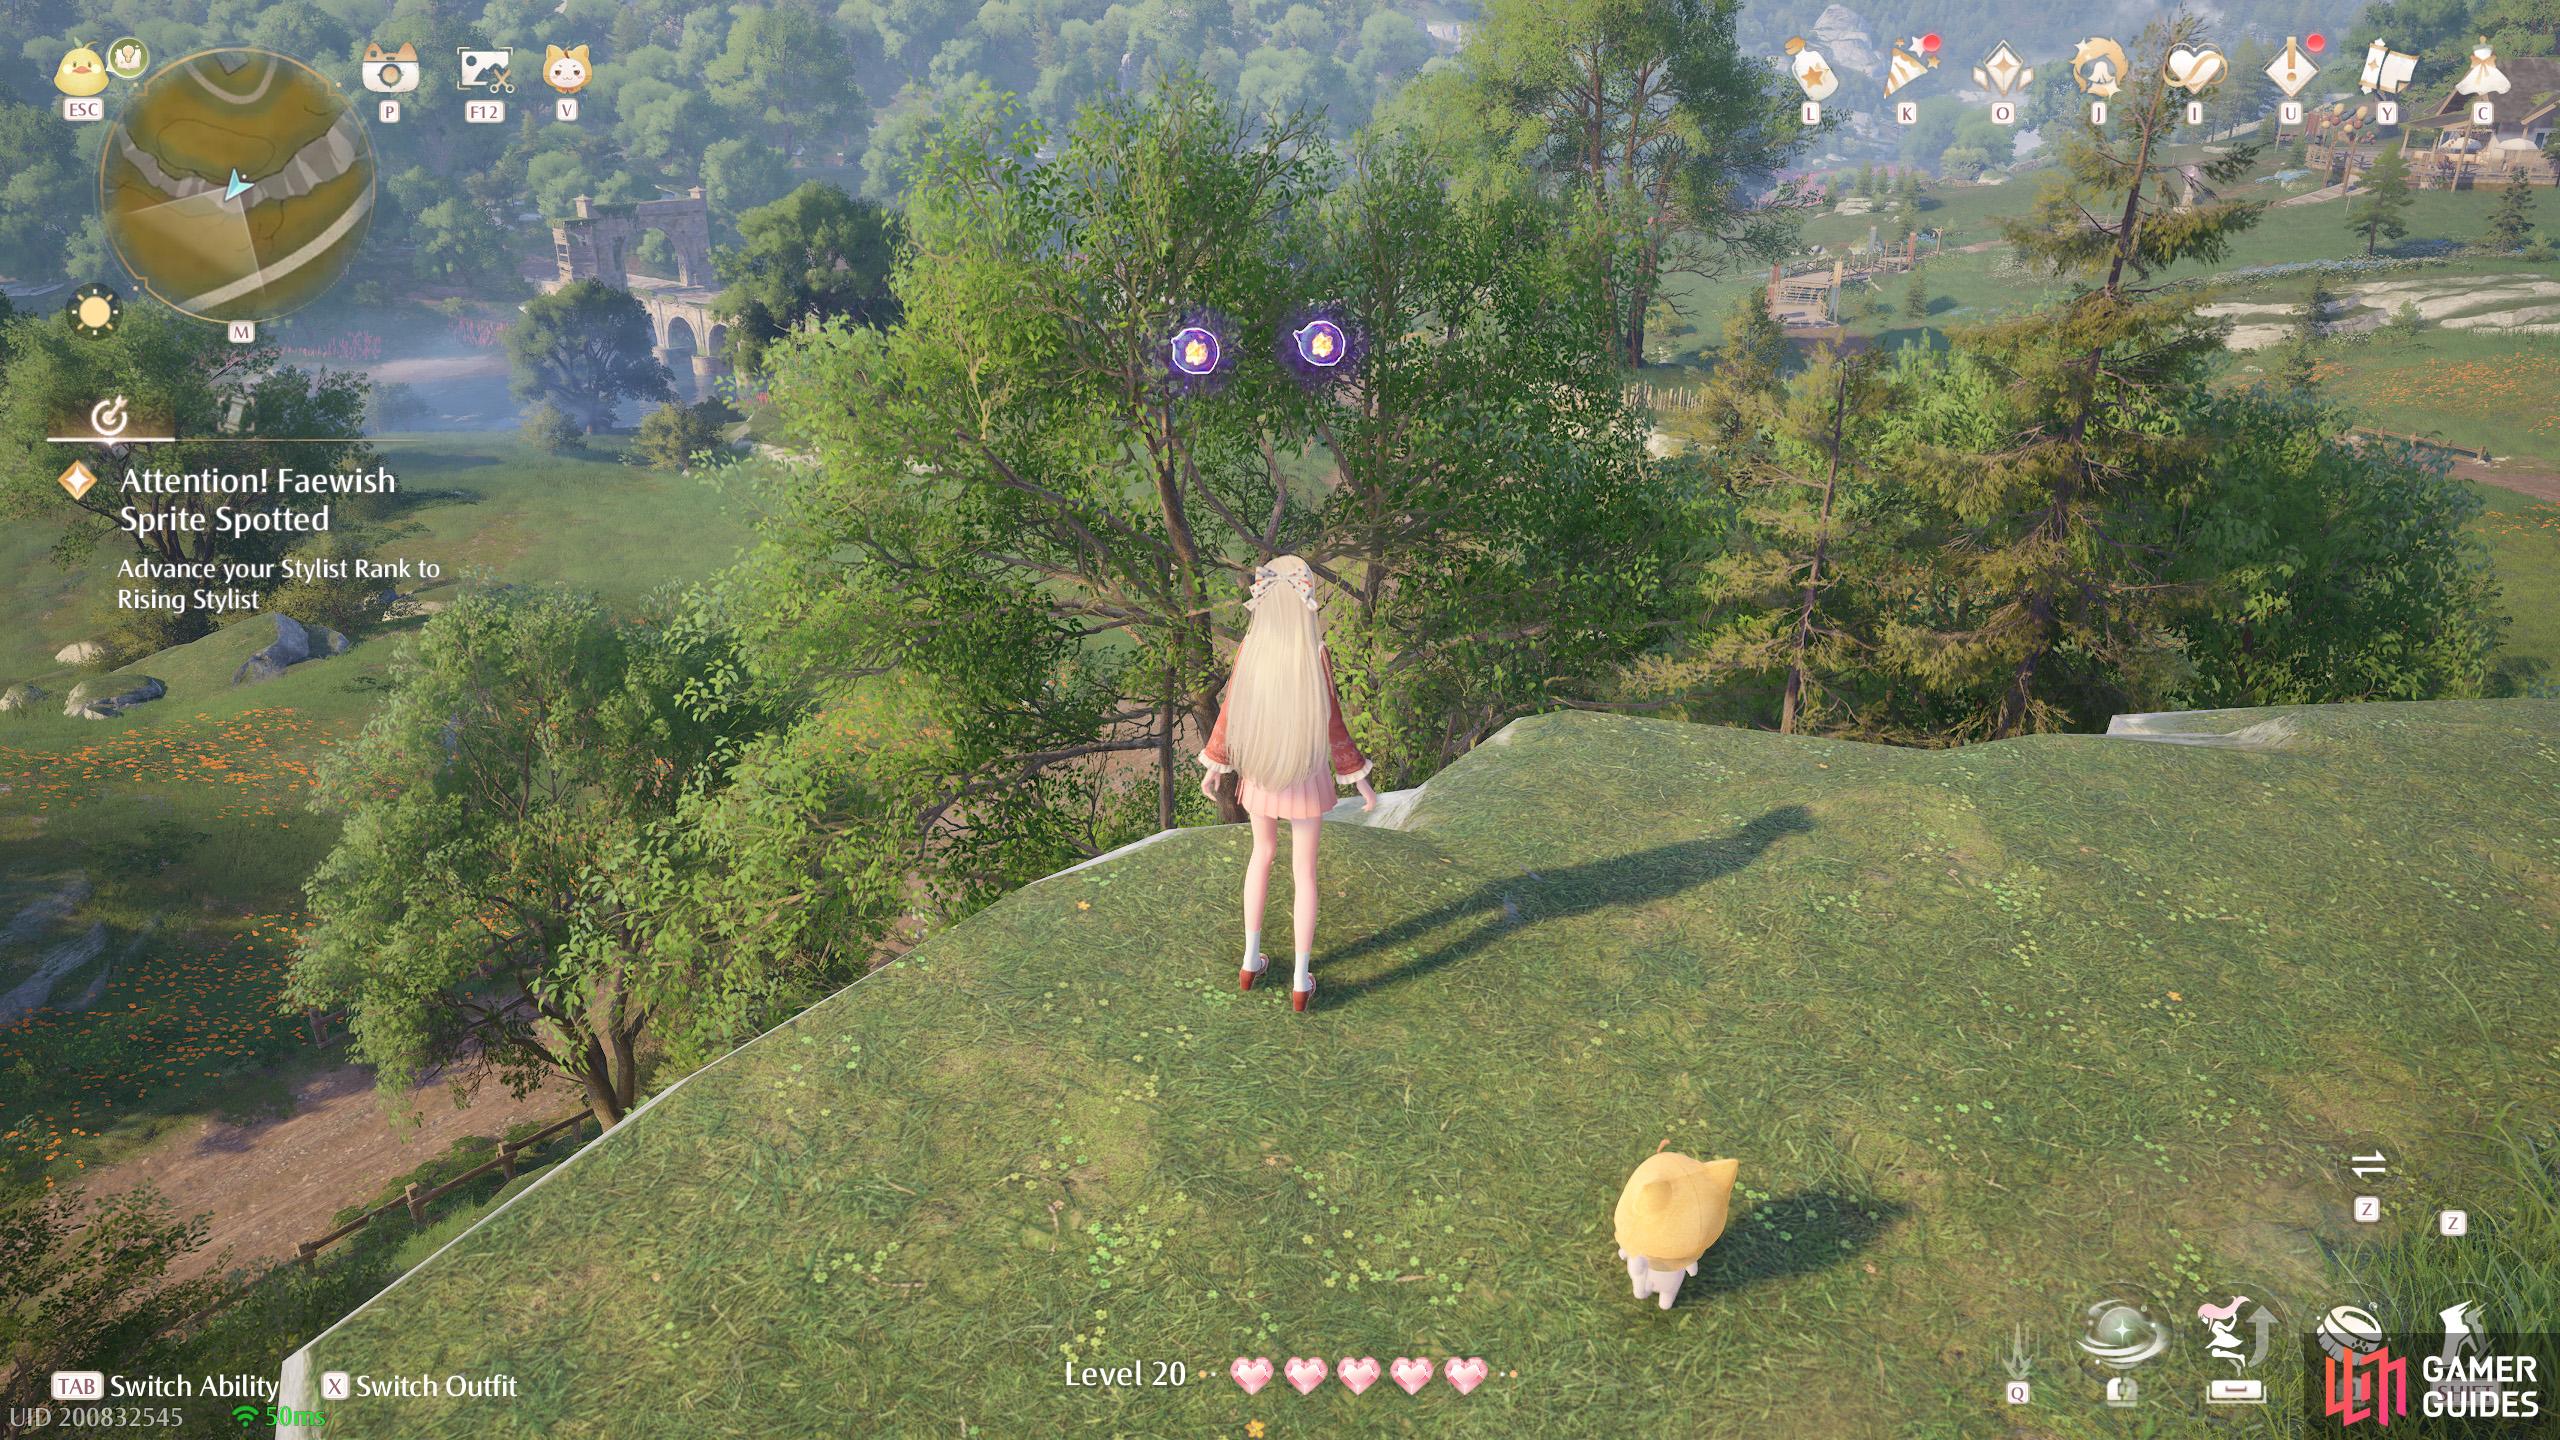
382. Miraland Map
South of ![]() Bug Catcher’s Cabin. Two floating near the edge of the hill.
Bug Catcher’s Cabin. Two floating near the edge of the hill.
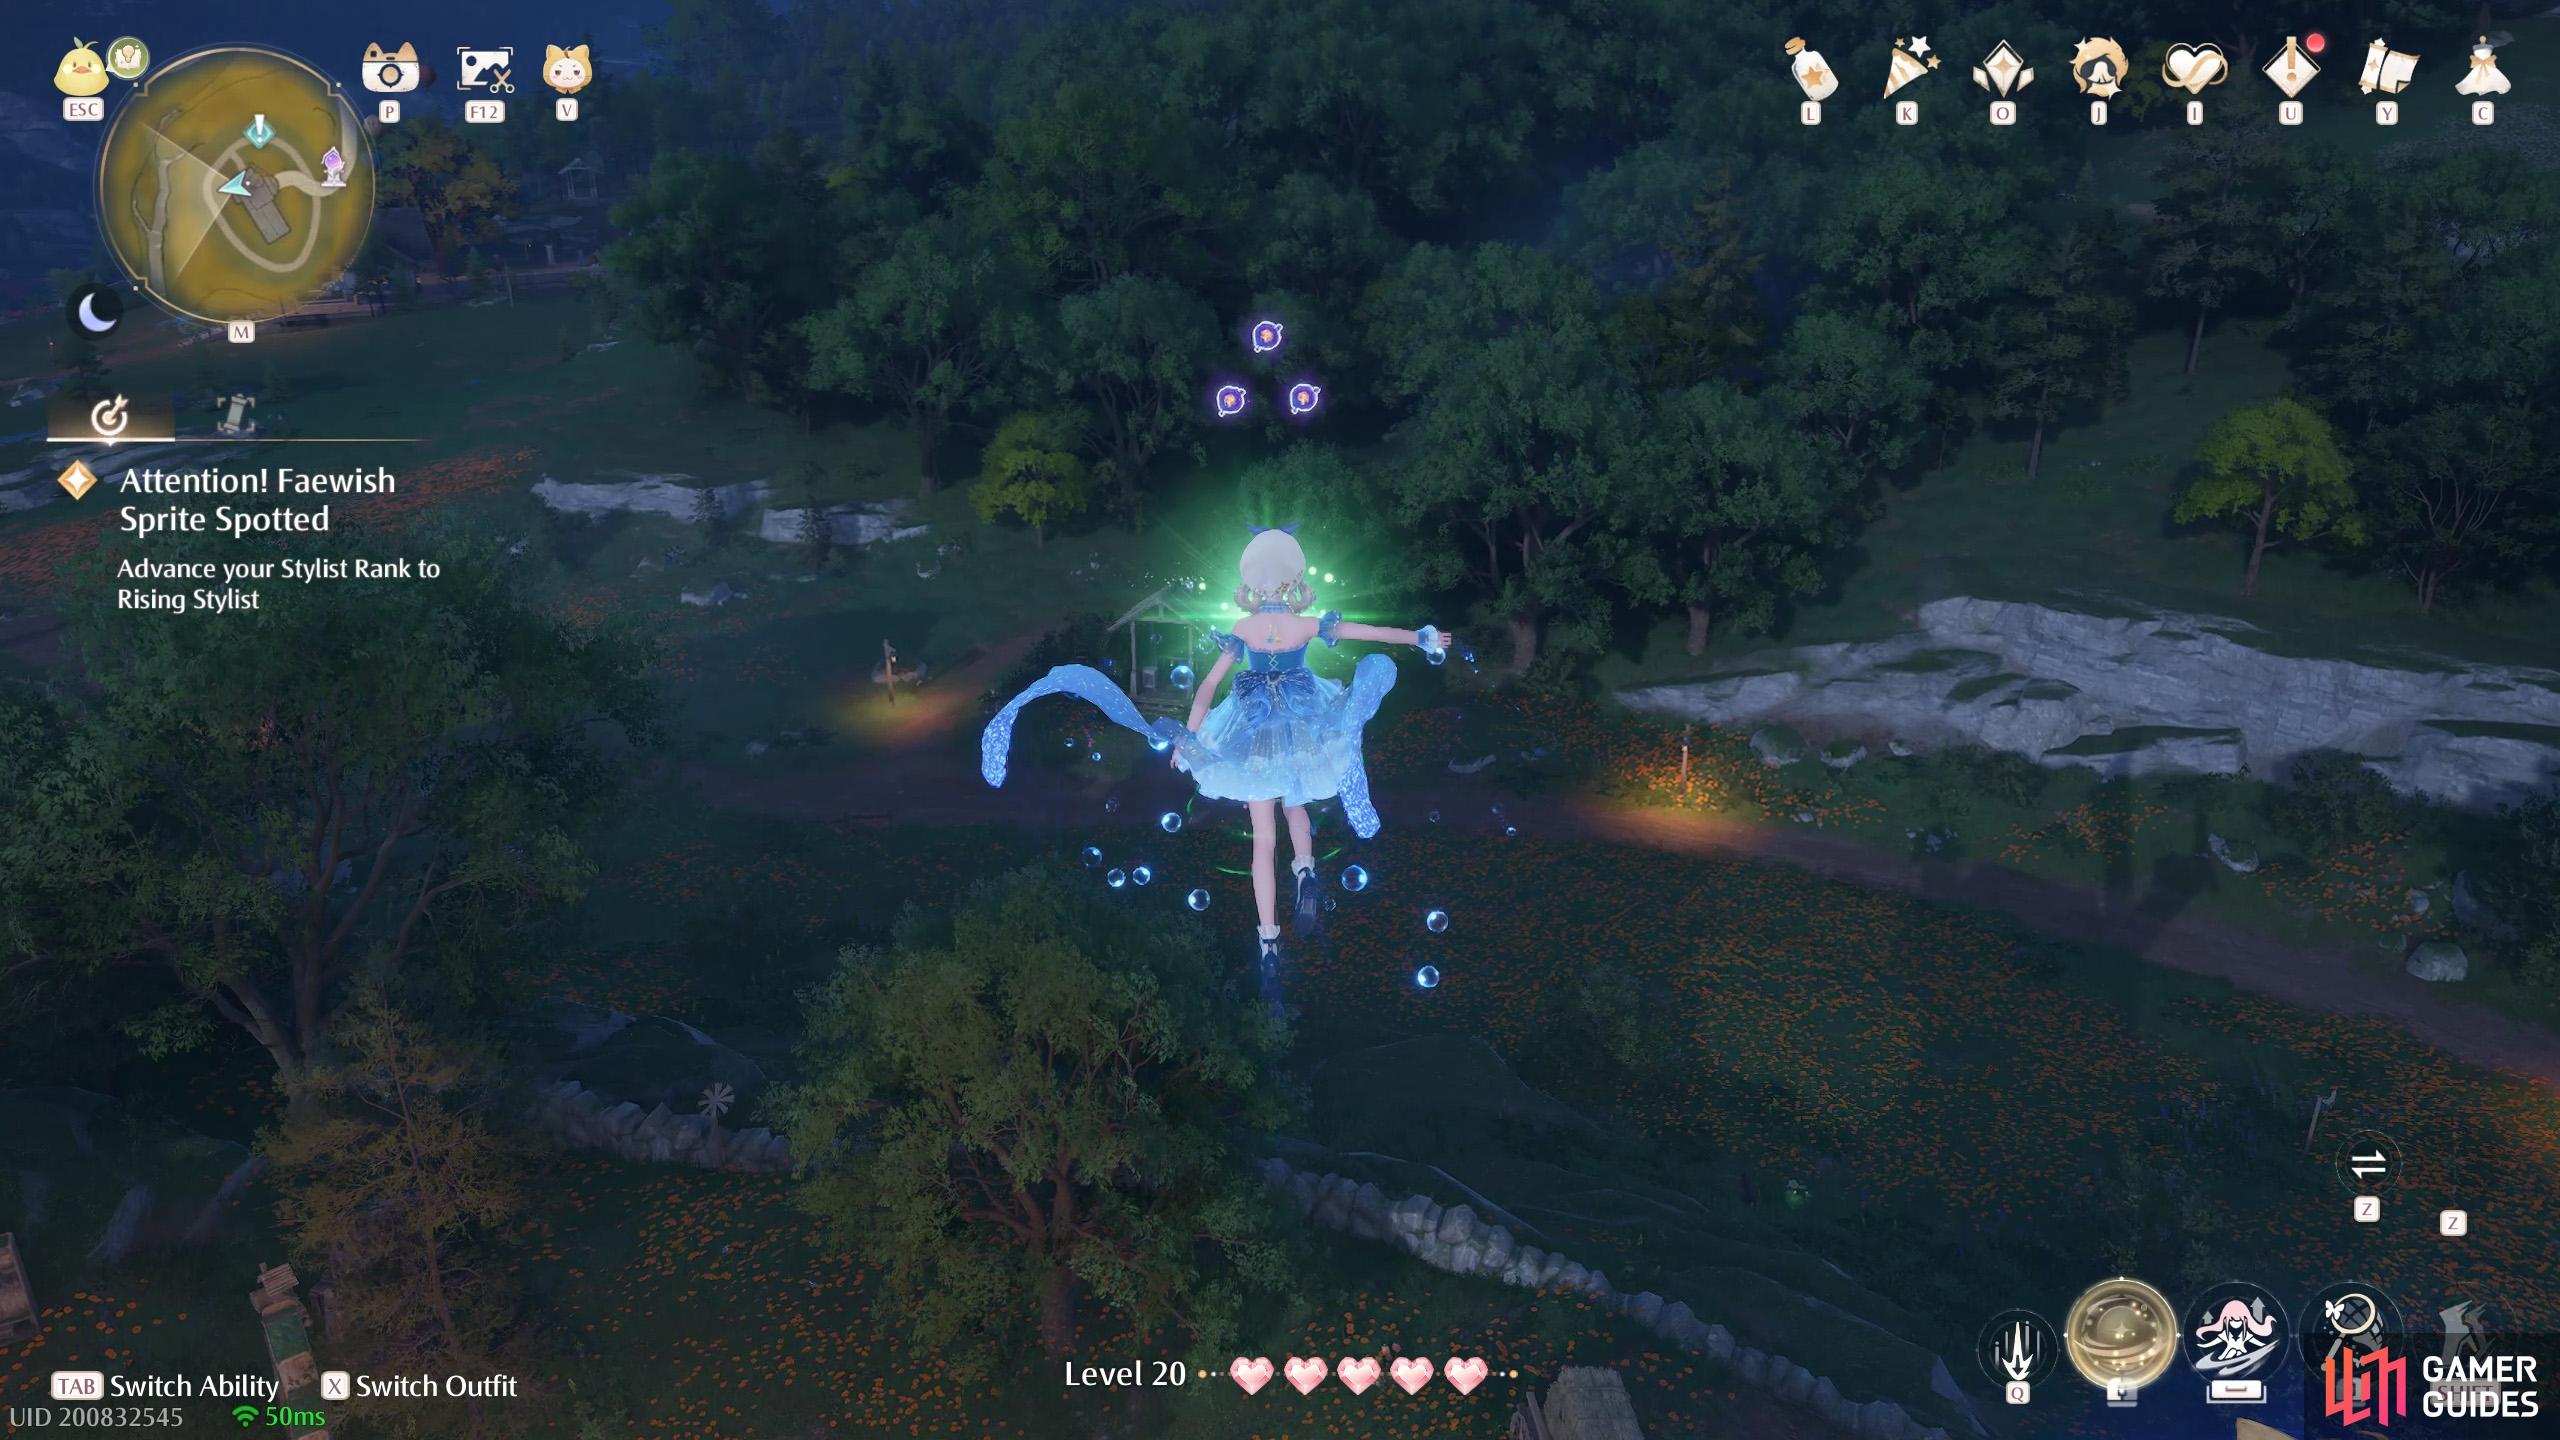
383. Miraland Map
At the ![]() Bug Catcher’s Cabin. Three floating high up, west from the top of the windmill. You can jump on the back of the windmill blades to get up.
Bug Catcher’s Cabin. Three floating high up, west from the top of the windmill. You can jump on the back of the windmill blades to get up.
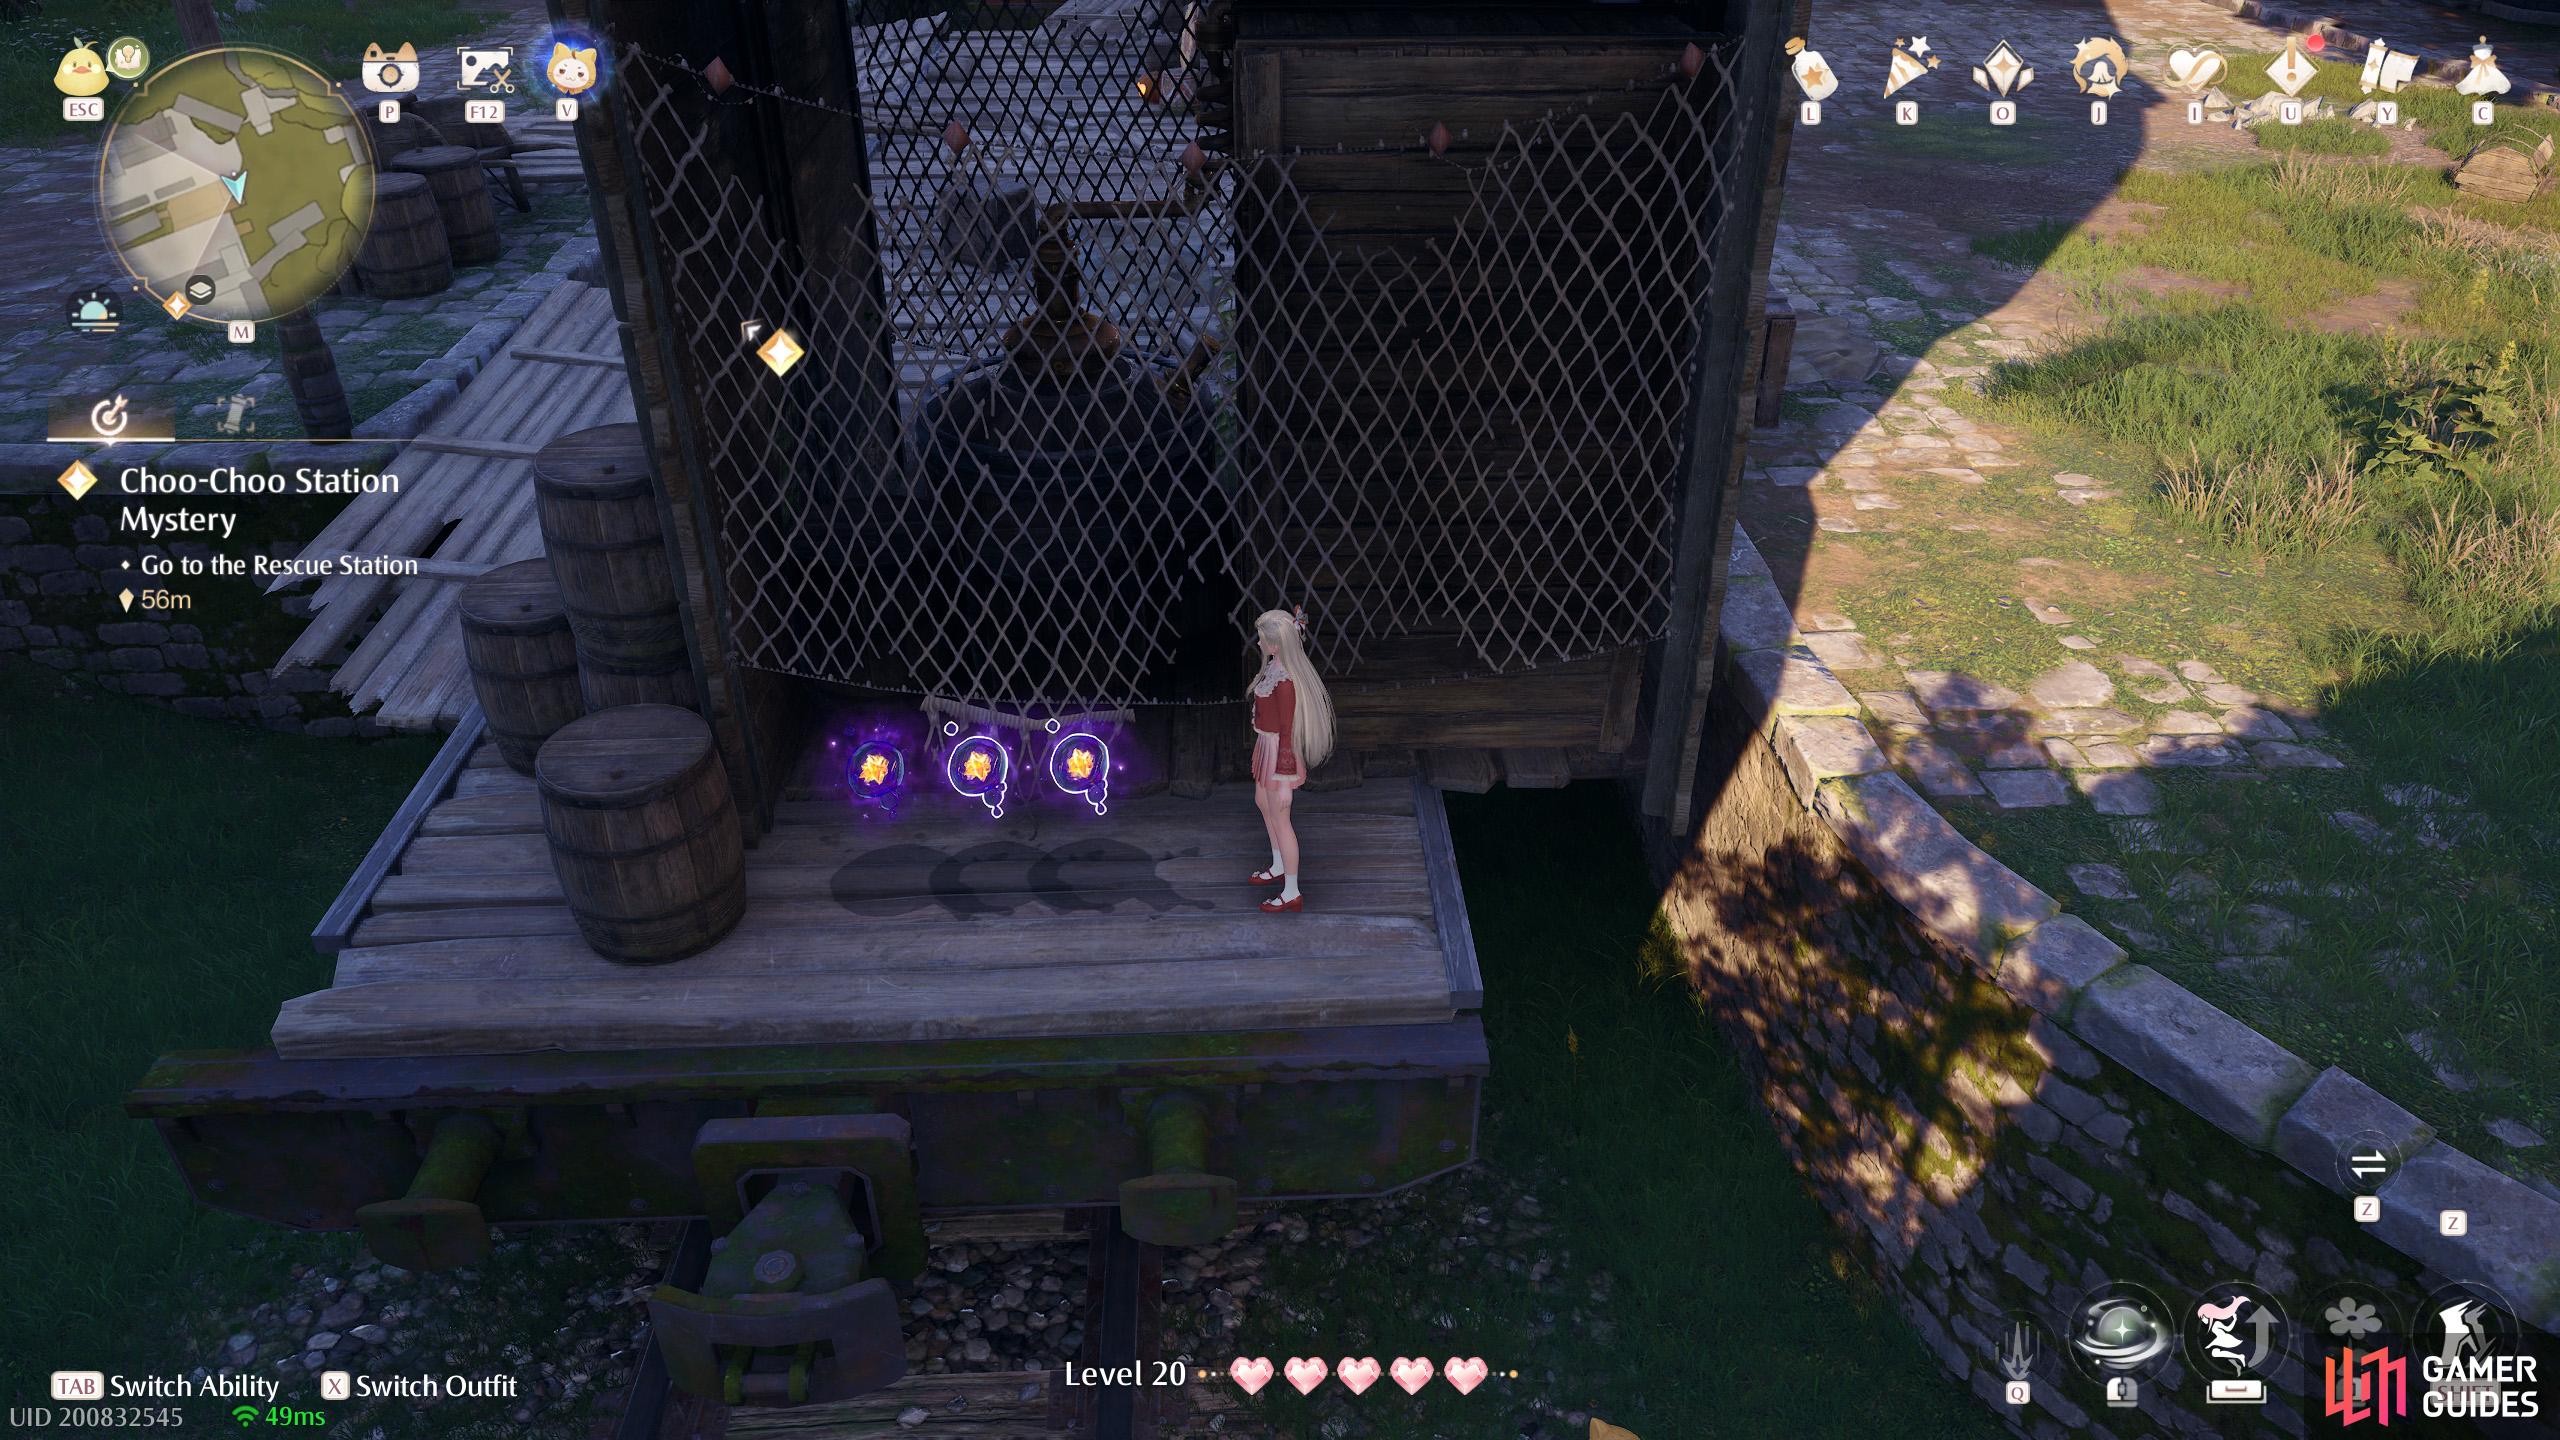
384. Miraland Map
Short distance north of ![]() Choo-Choo Station Shipping Center. Three behind a metal wire fence.
Choo-Choo Station Shipping Center. Three behind a metal wire fence.
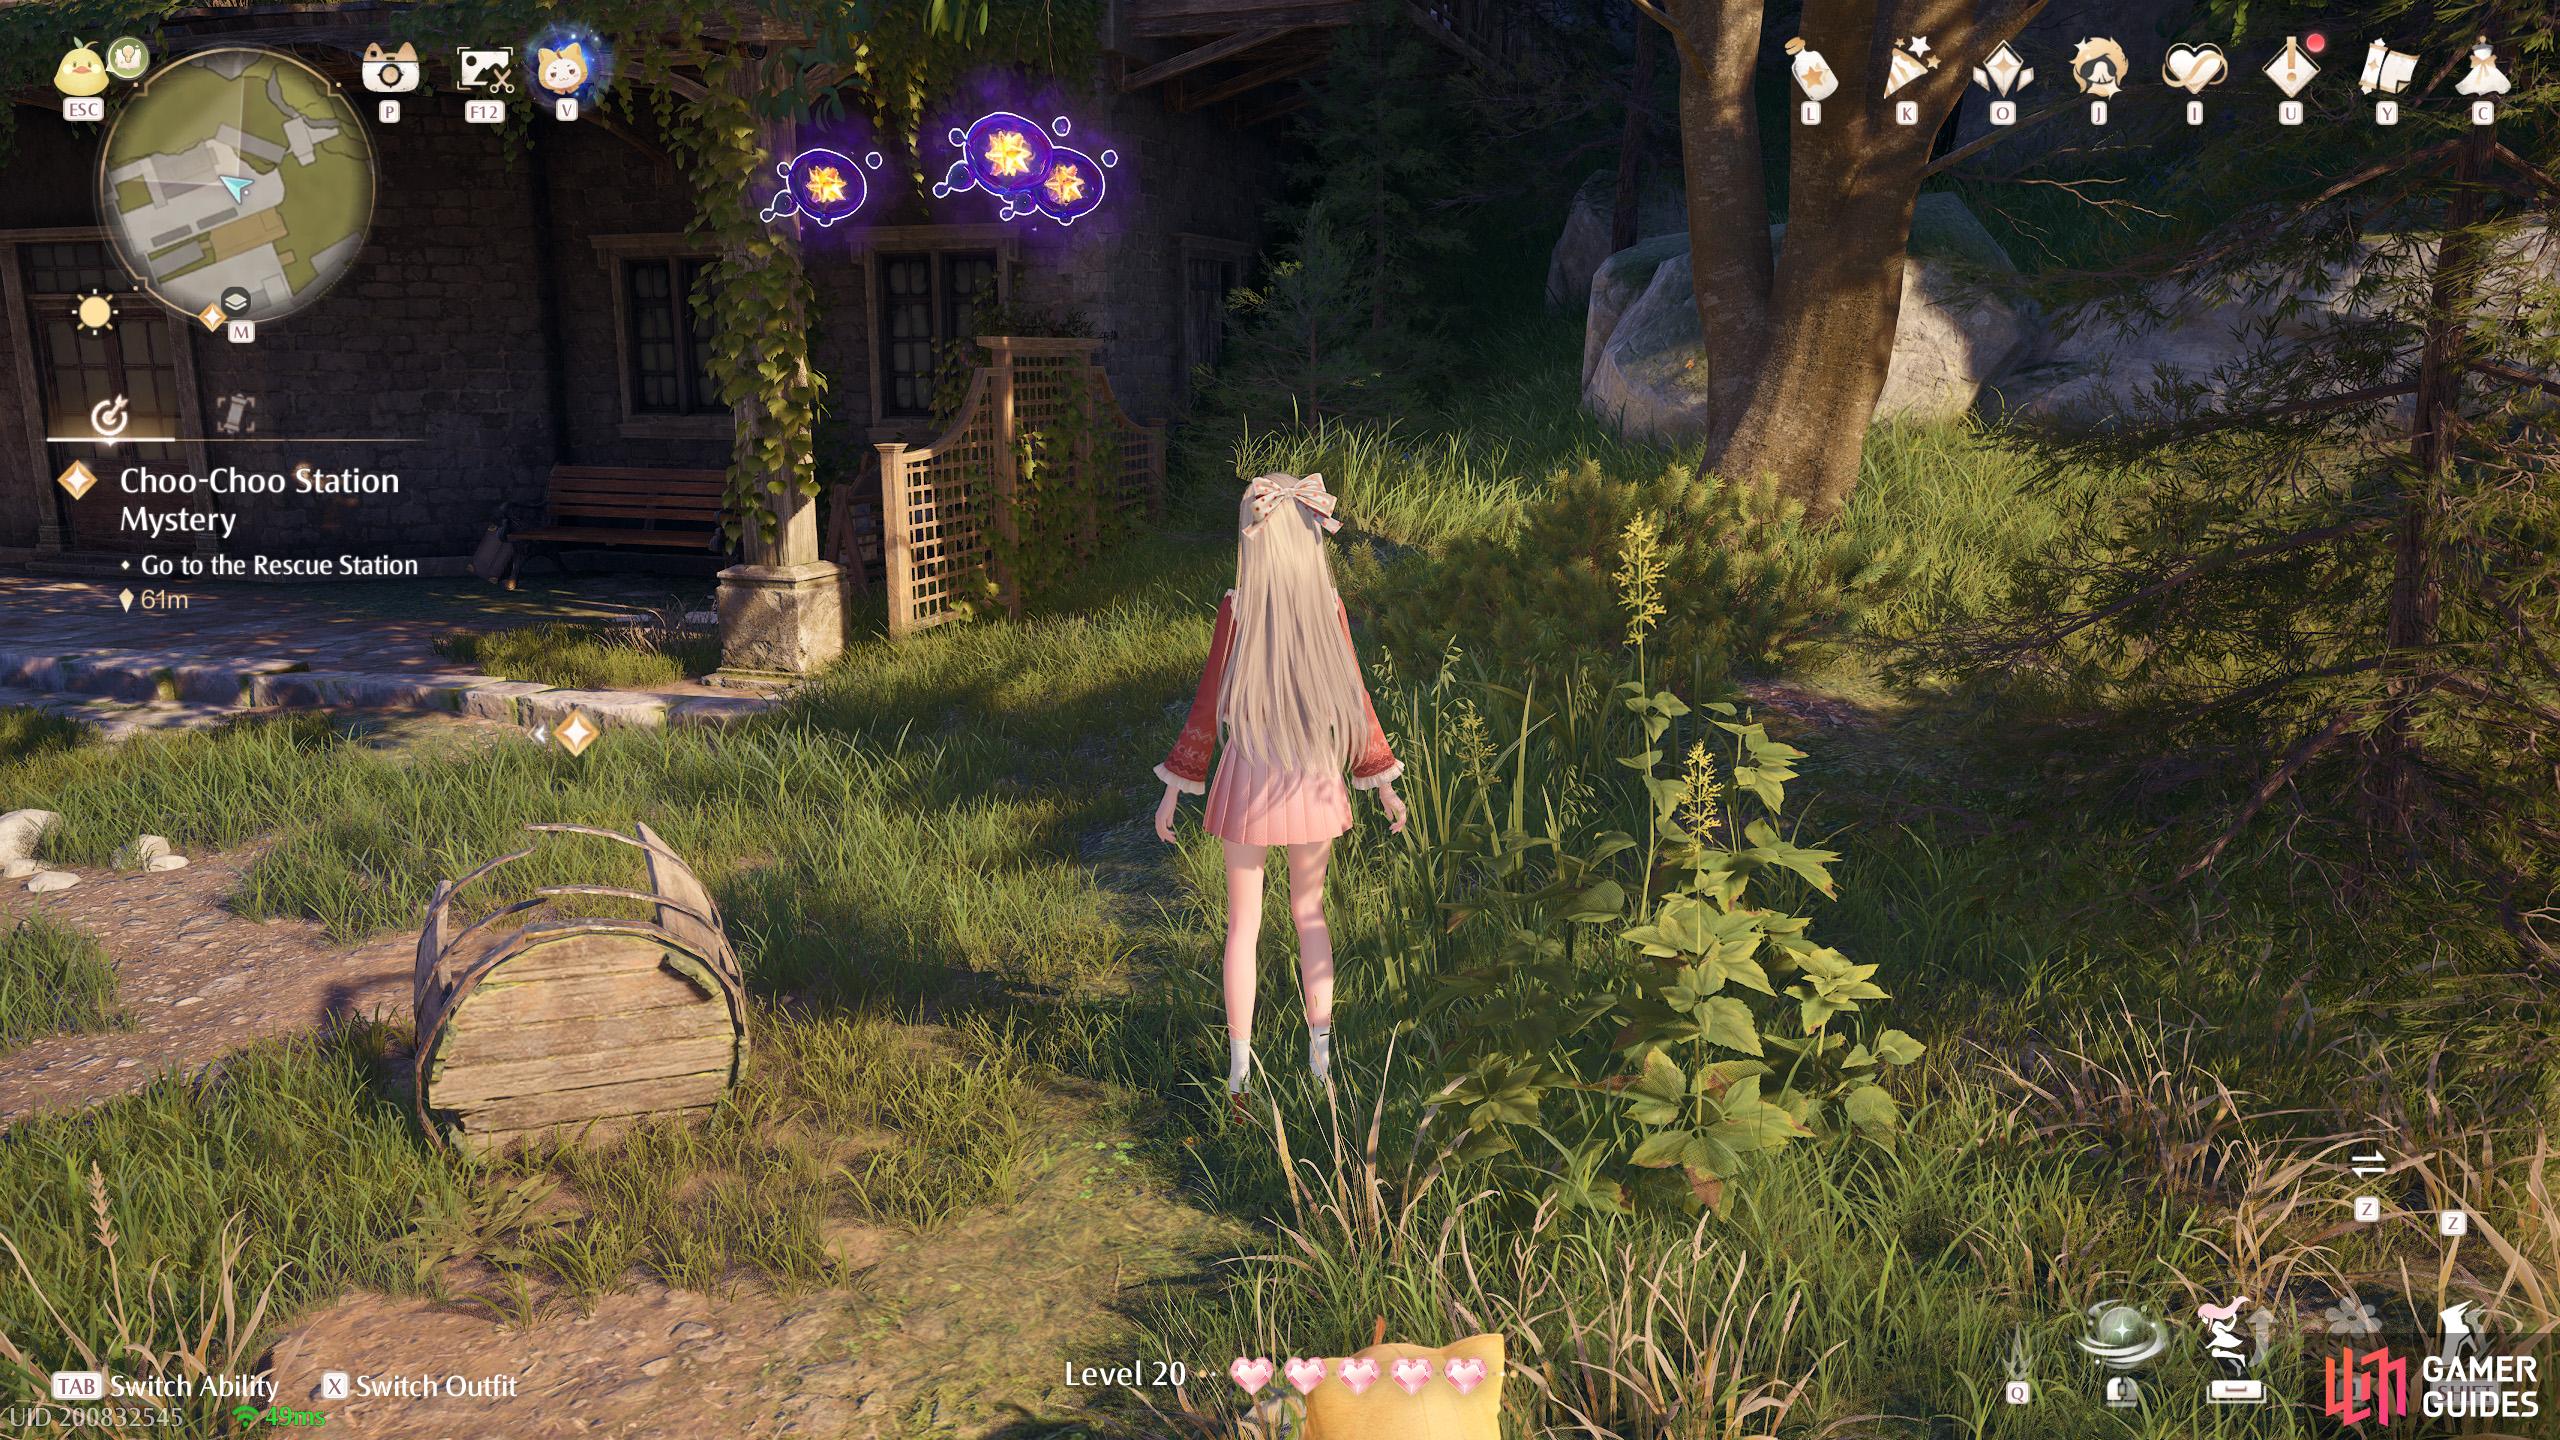
385. Miraland Map
North of ![]() Choo-Choo Station Shipping Center. Three floating in the air near the corner of a shelter.
Choo-Choo Station Shipping Center. Three floating in the air near the corner of a shelter.

386. Miraland Map
North of ![]() Choo-Choo Station Shipping Center. Three on top of the roof, behind a wooden board.
Choo-Choo Station Shipping Center. Three on top of the roof, behind a wooden board.
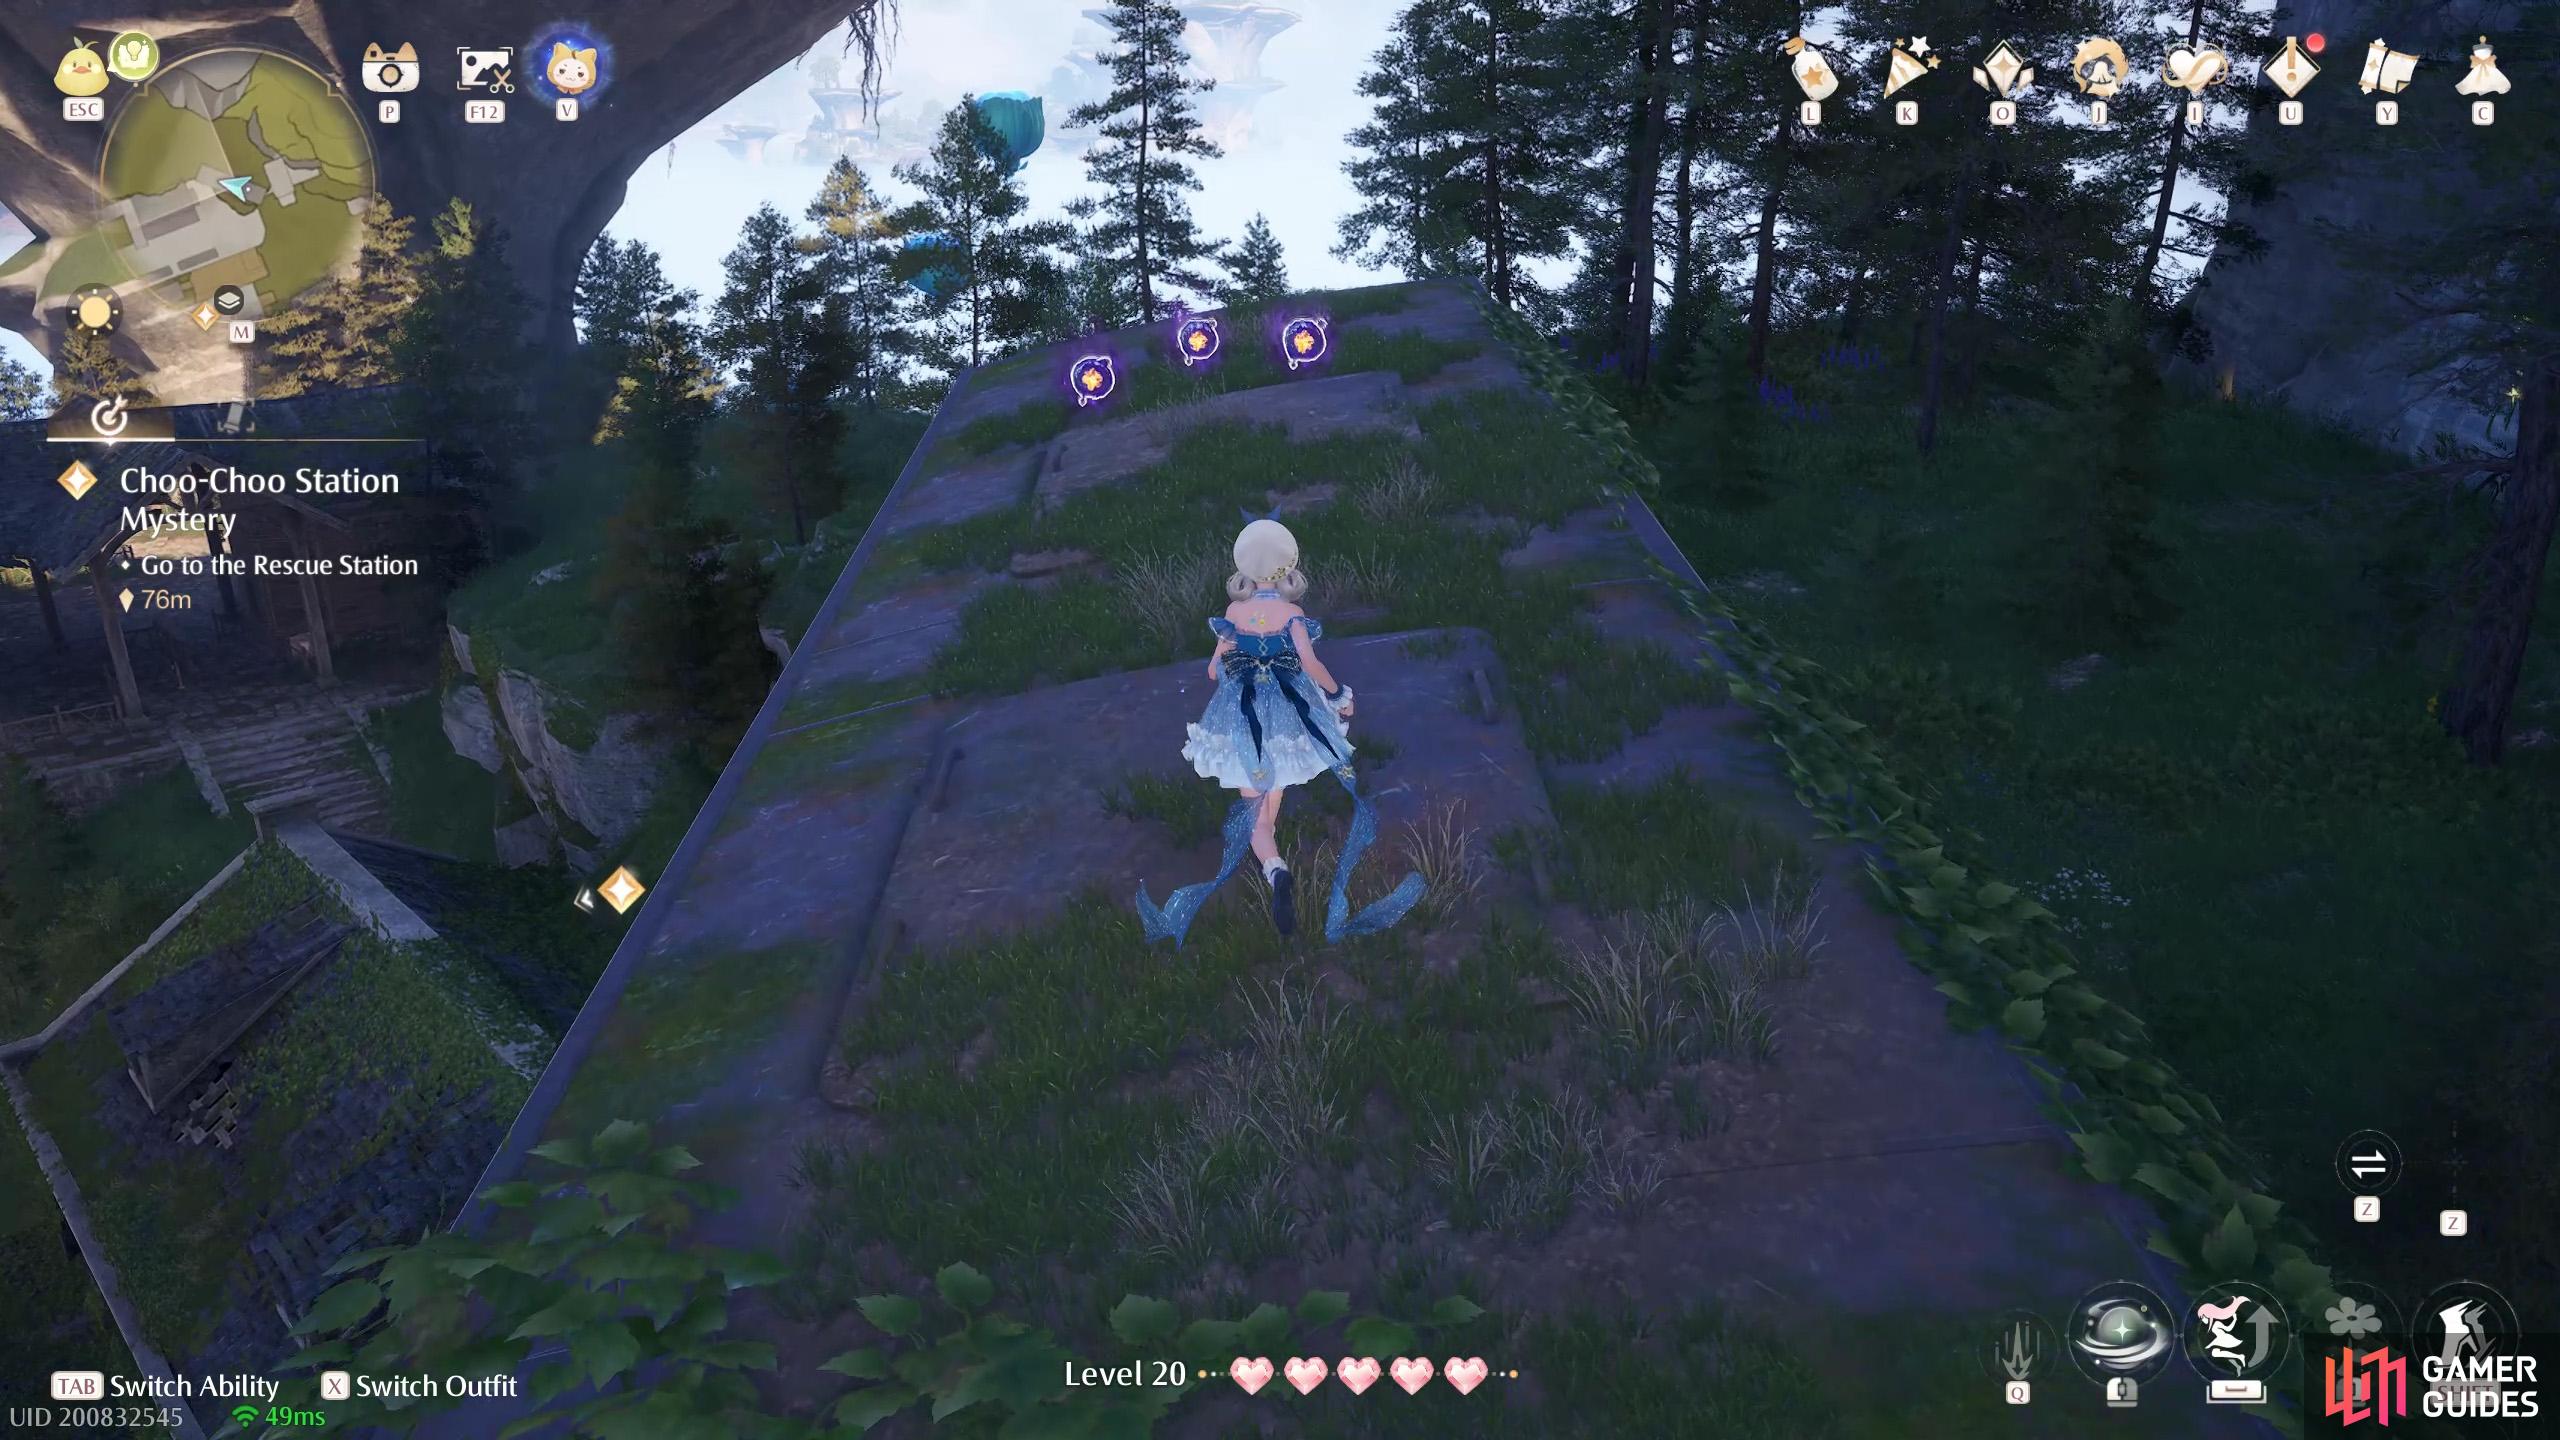
387. Miraland Map
North of ![]() Choo-Choo Station Shipping Center. Three at the end of a high up train carriage.
Choo-Choo Station Shipping Center. Three at the end of a high up train carriage.
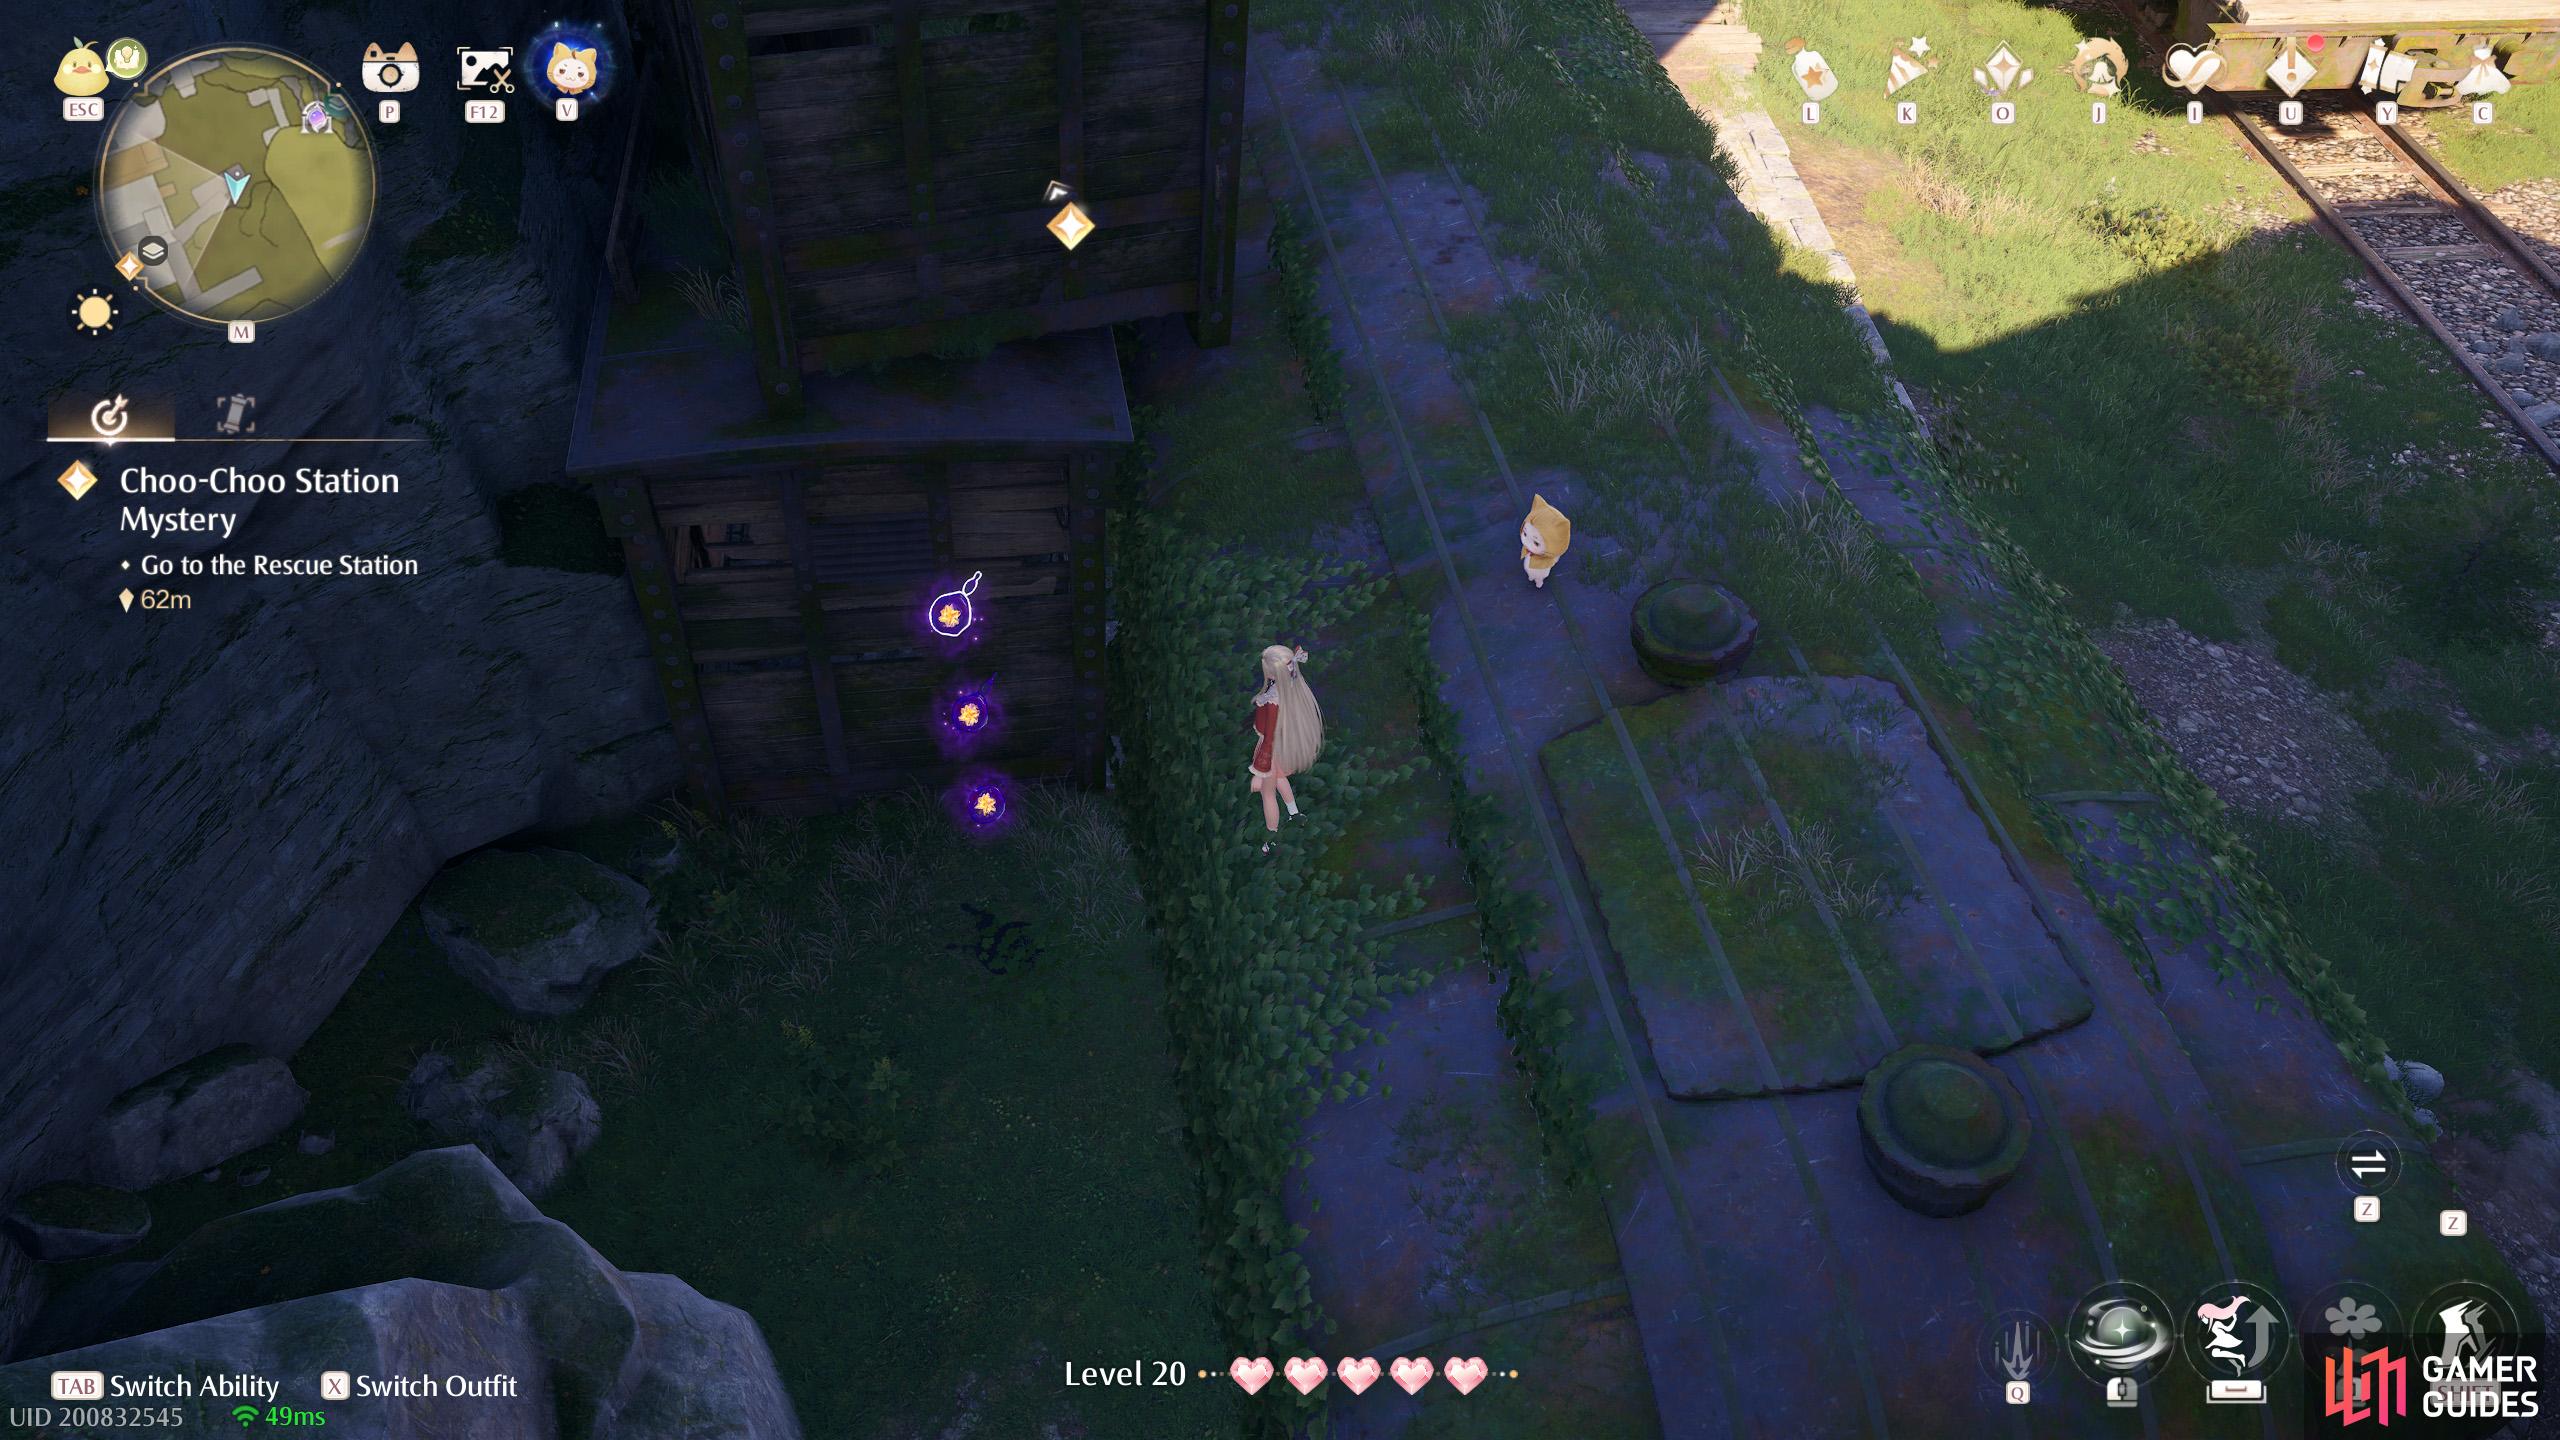
388. Miraland Map
Short distance north-east from ![]() Choo-Choo Station Shipping Center. Three in a partially closed off area.
Choo-Choo Station Shipping Center. Three in a partially closed off area.
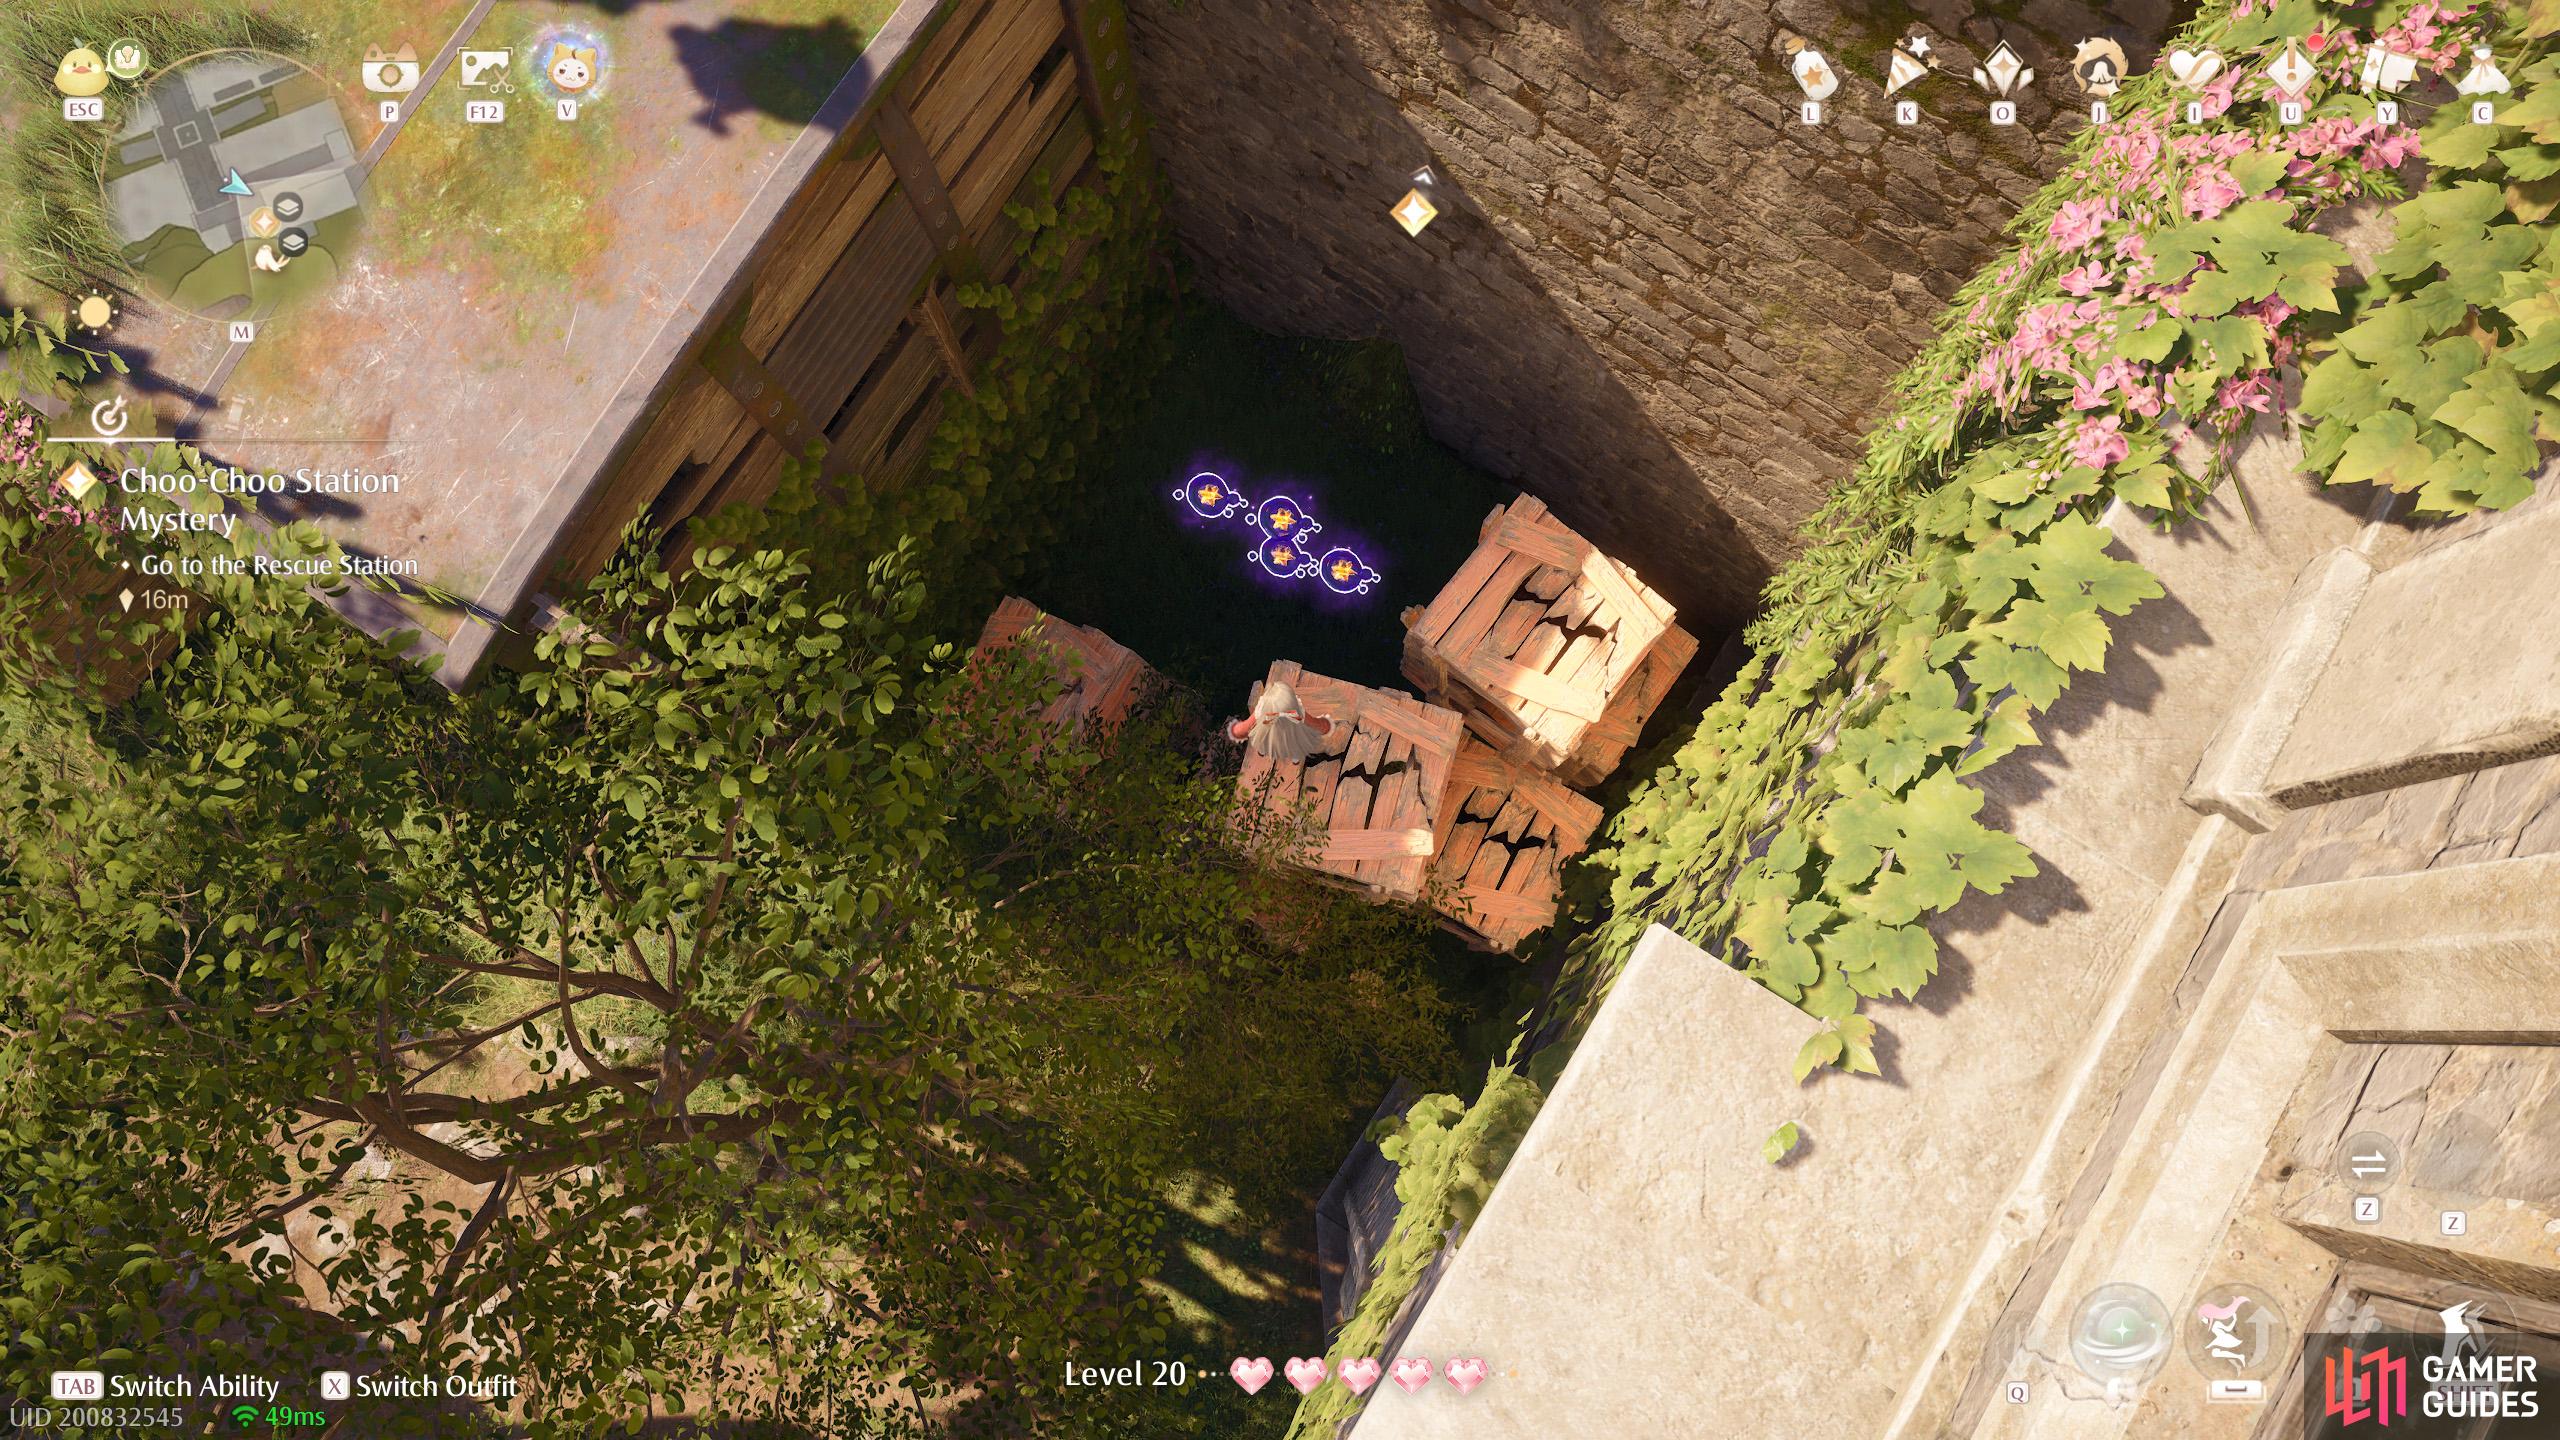
389. Miraland Map
Short distance west from ![]() Choo-Choo Station Shipping Center. Four inside a narrow space, surrounded by wooden boxes.
Choo-Choo Station Shipping Center. Four inside a narrow space, surrounded by wooden boxes.
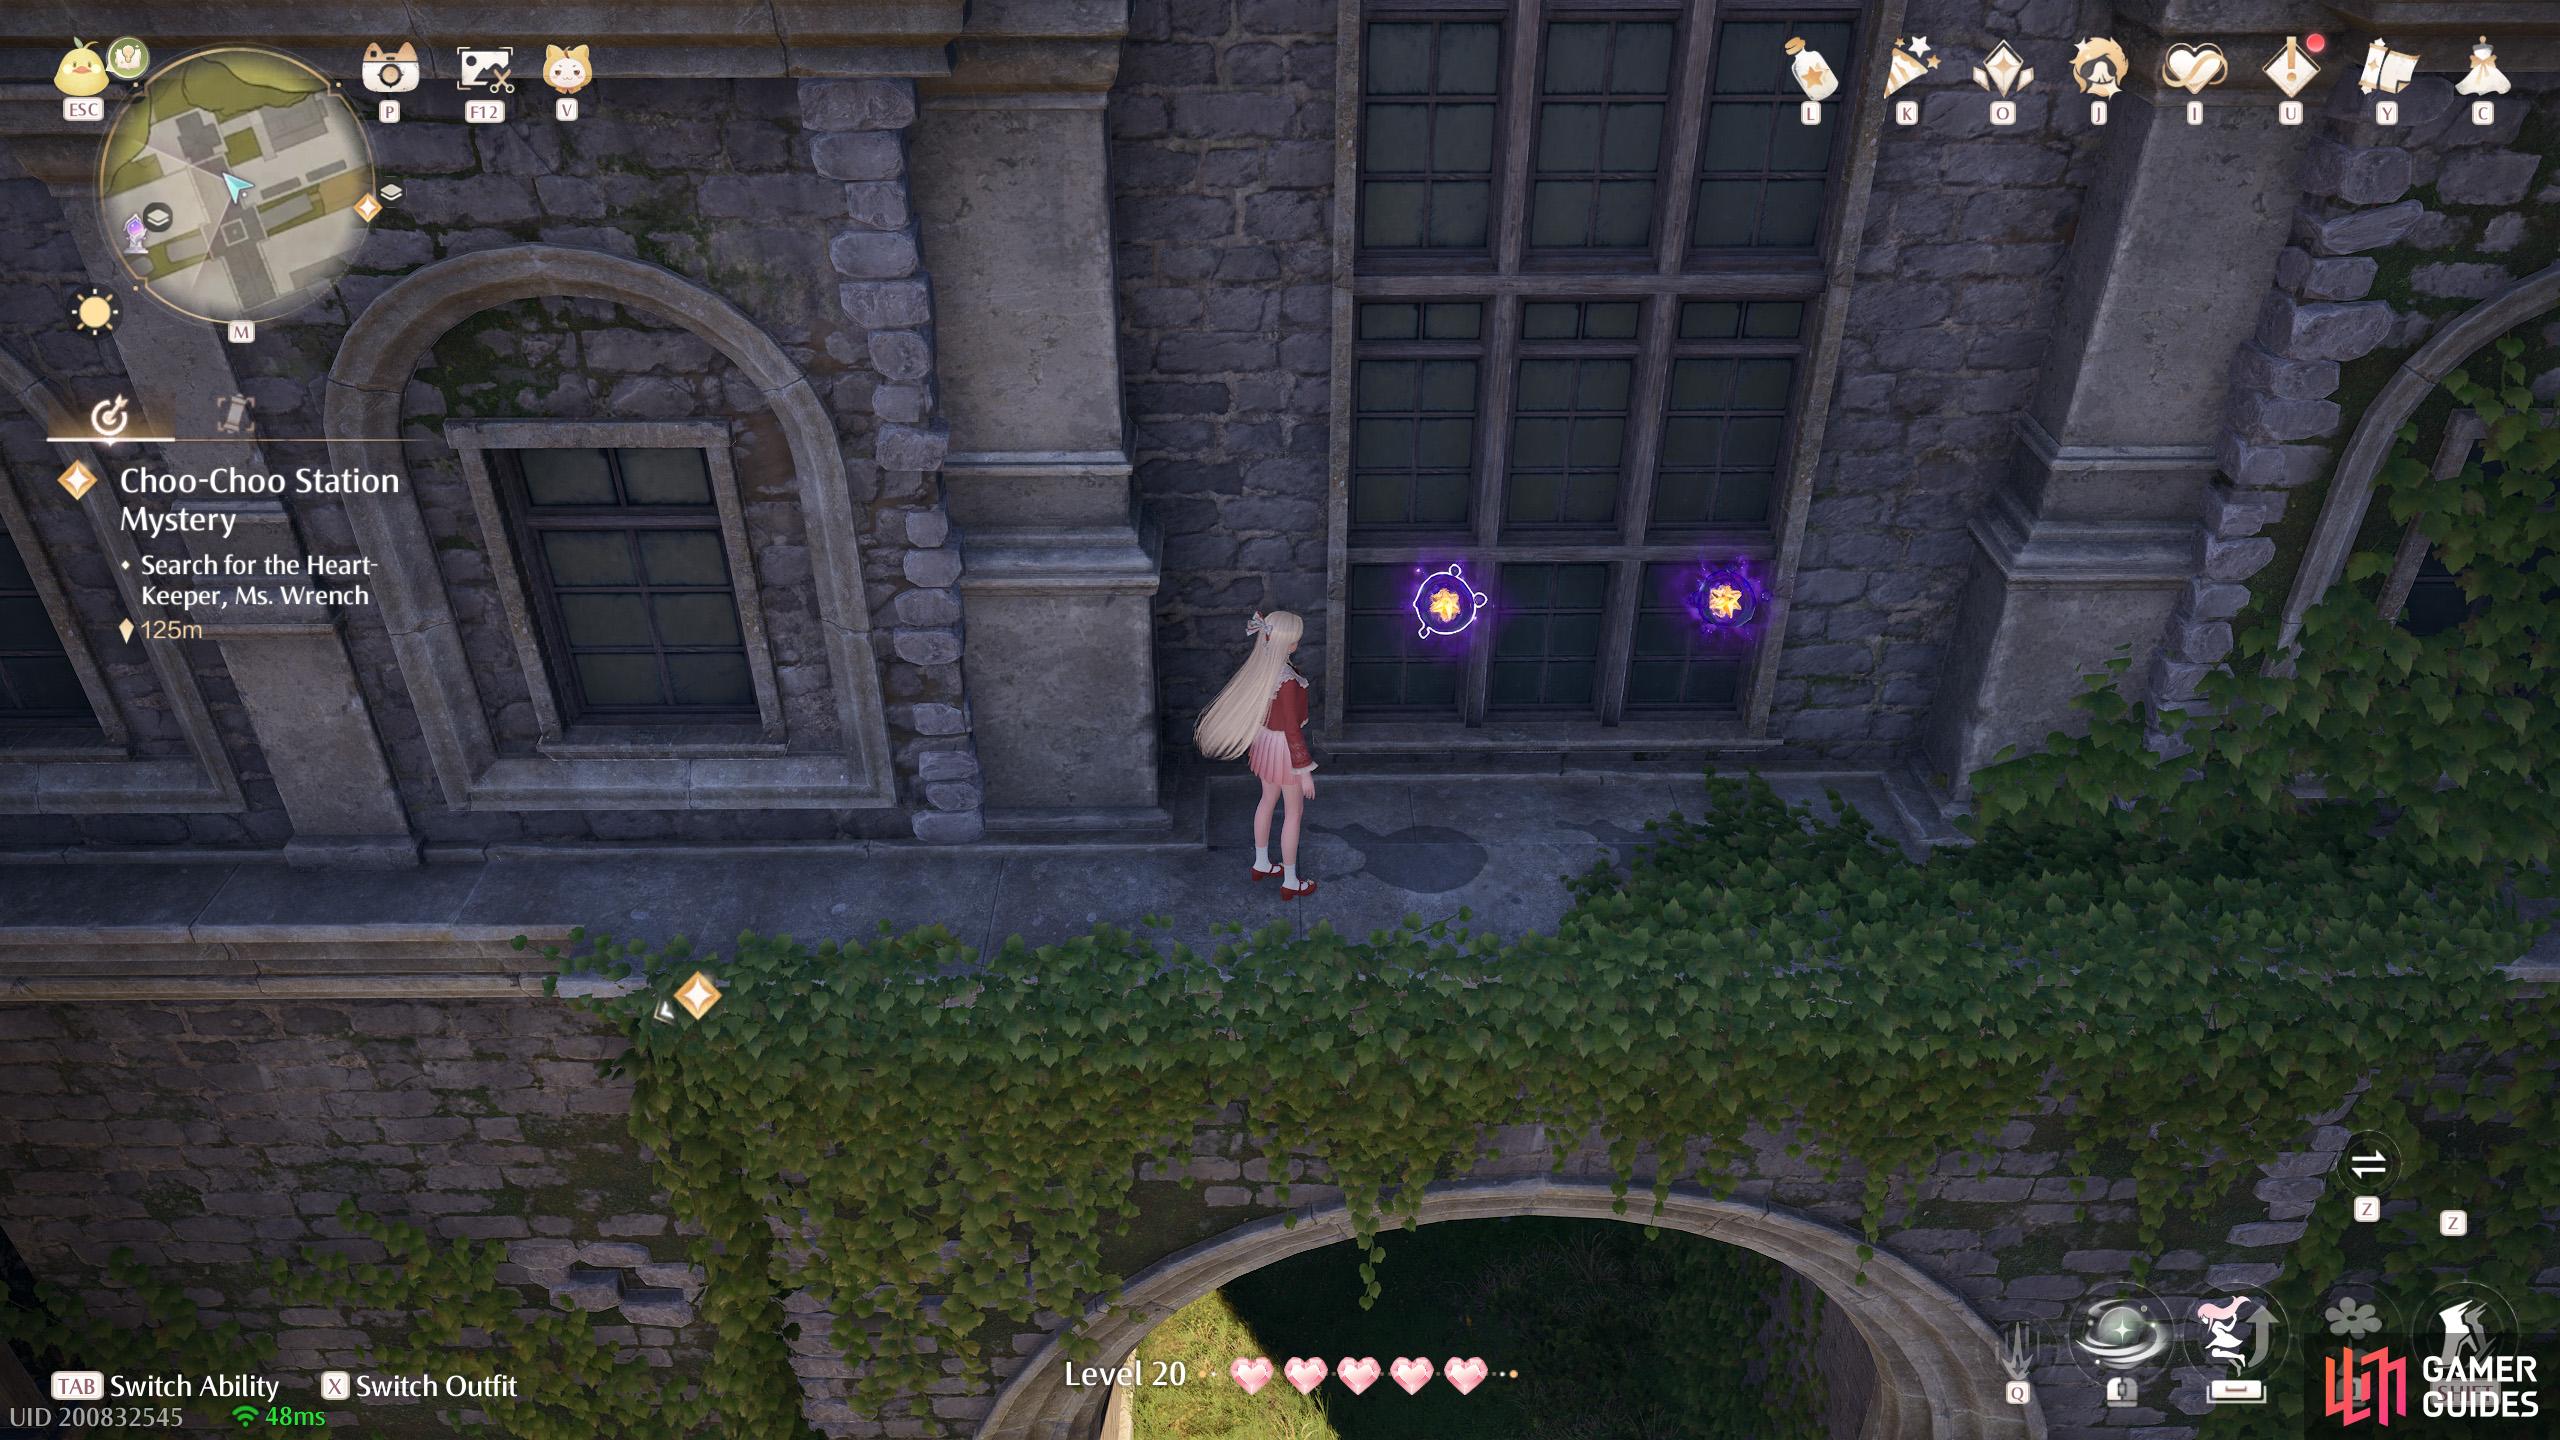
390. Miraland Map
Short distance east of ![]() Choo-Choo Station Old Platform. Two on the roof of the entrance building, towards the north, on the east side.
Choo-Choo Station Old Platform. Two on the roof of the entrance building, towards the north, on the east side.
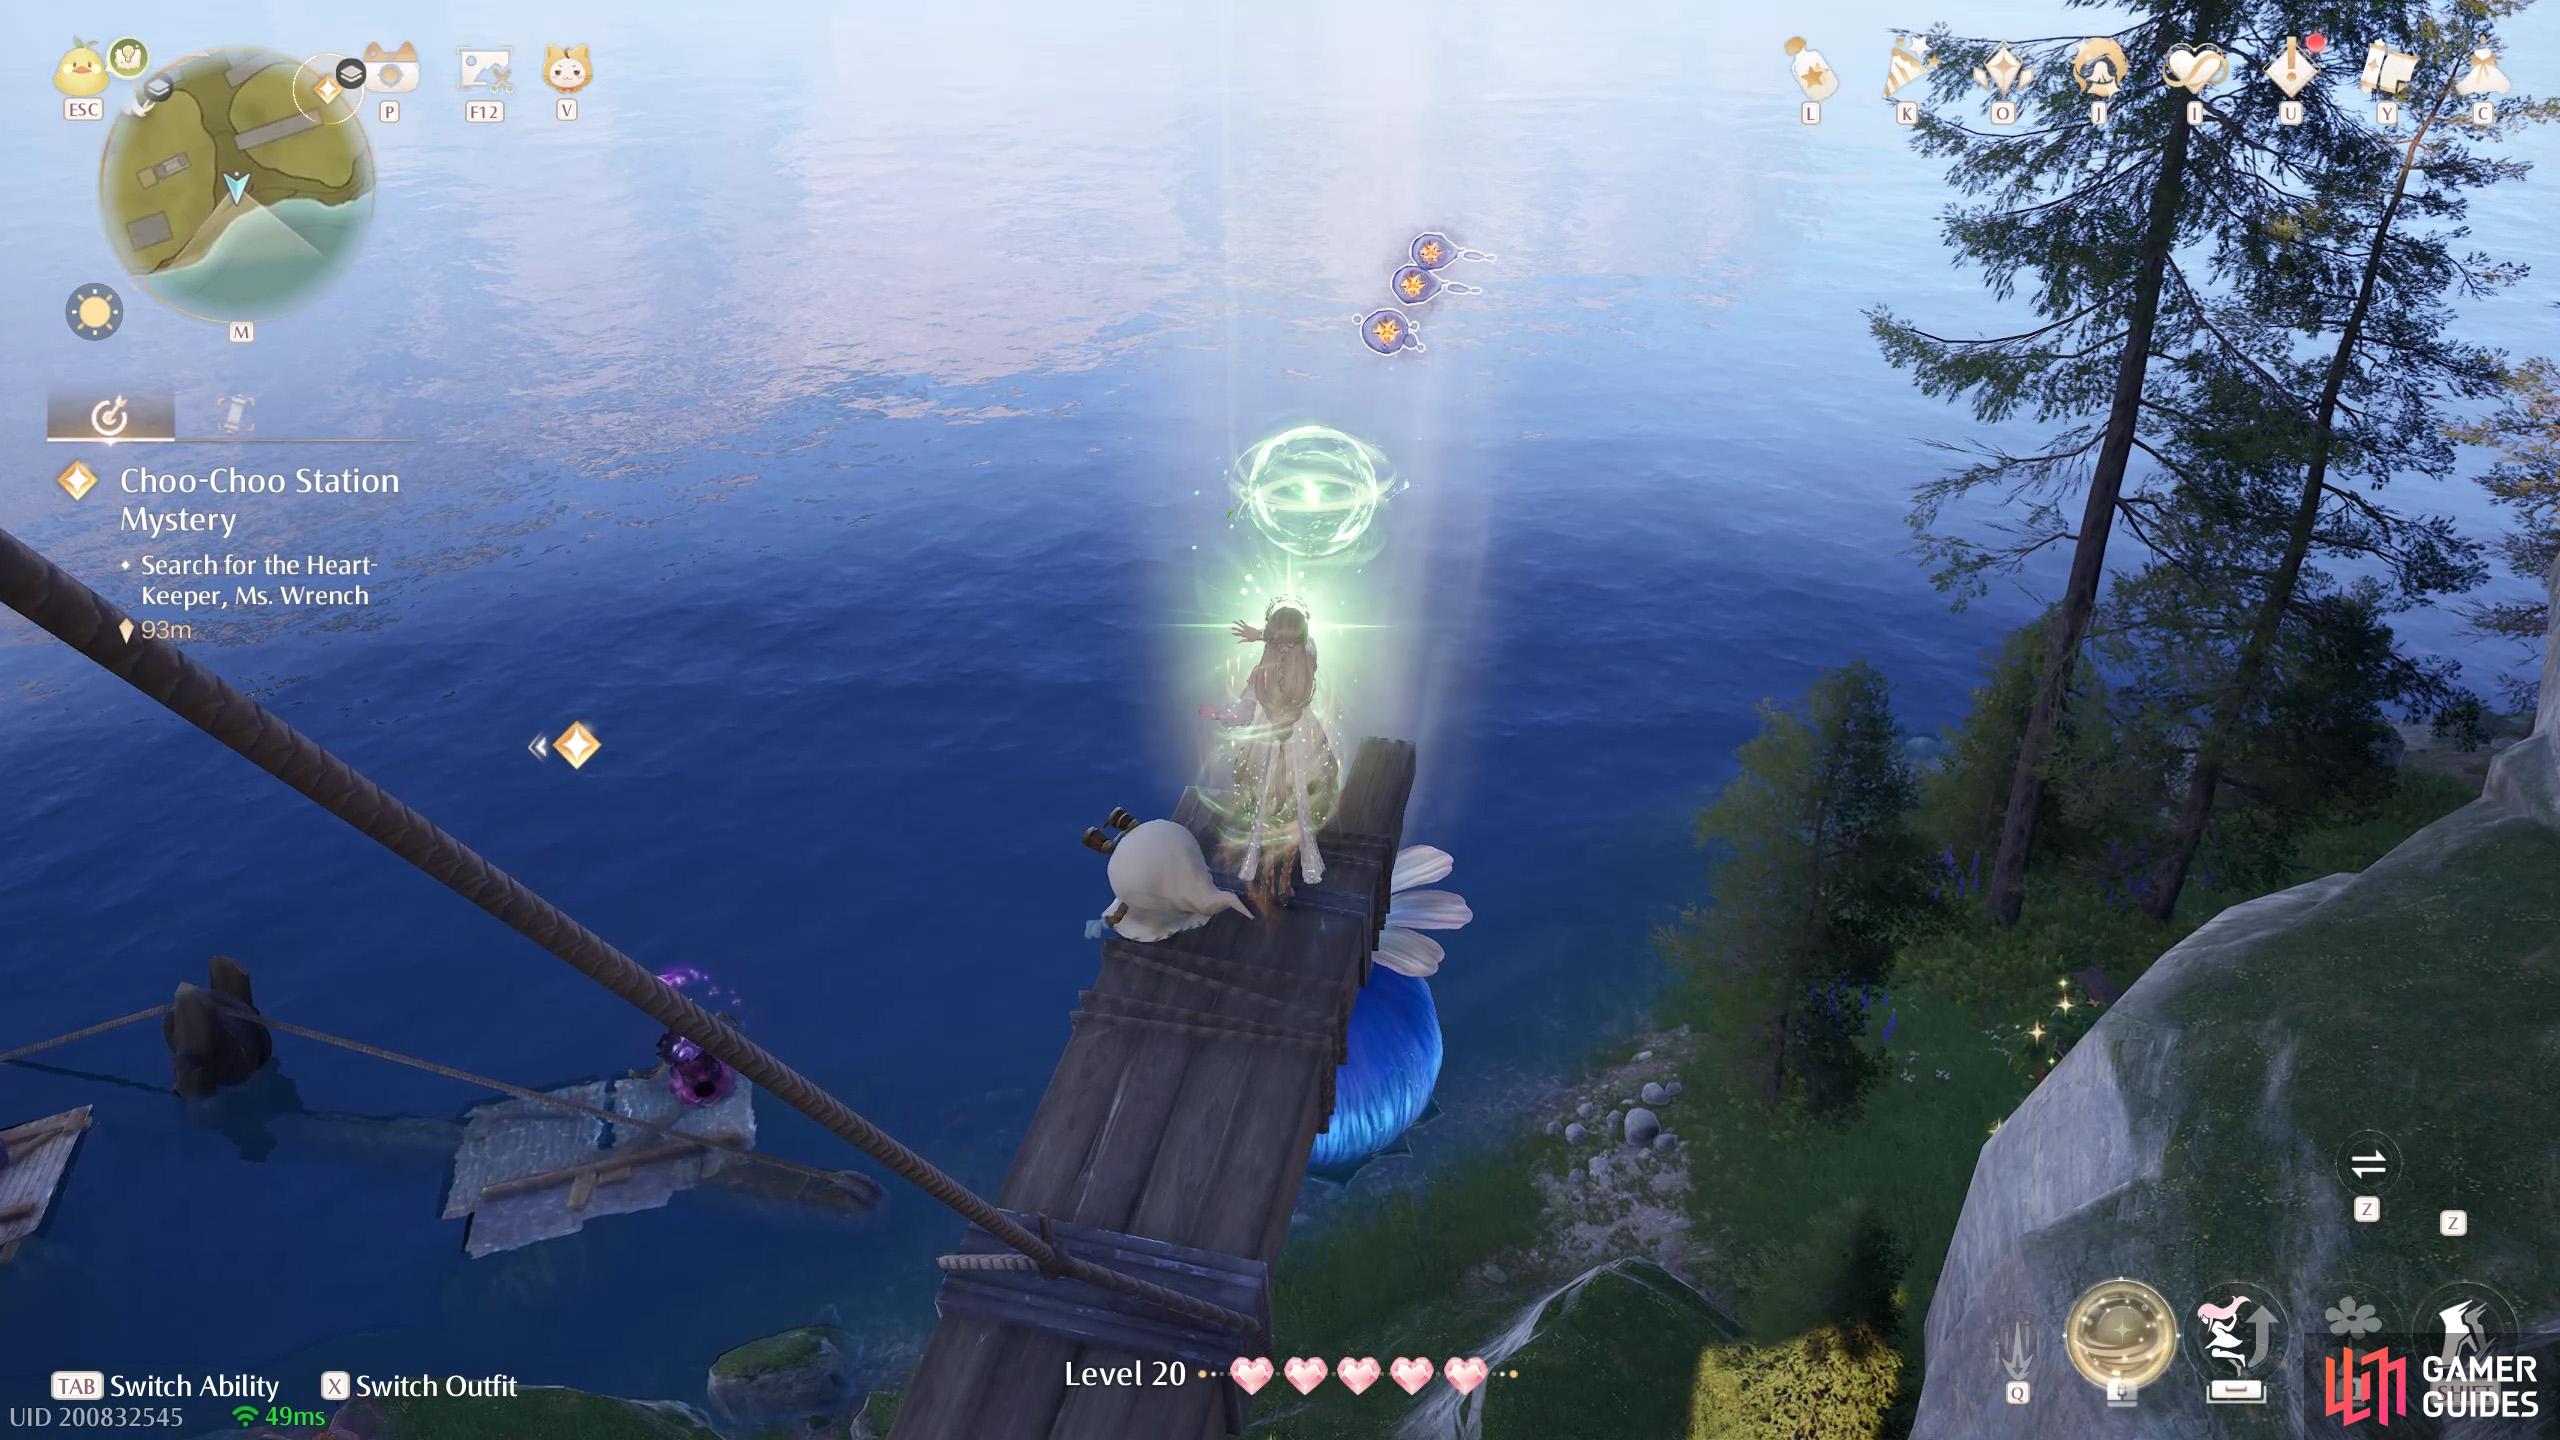
391. Miraland Map
South from ![]() Choo-Choo Station Shipping Center. Three floating at the end of a wooden beam.
Choo-Choo Station Shipping Center. Three floating at the end of a wooden beam.
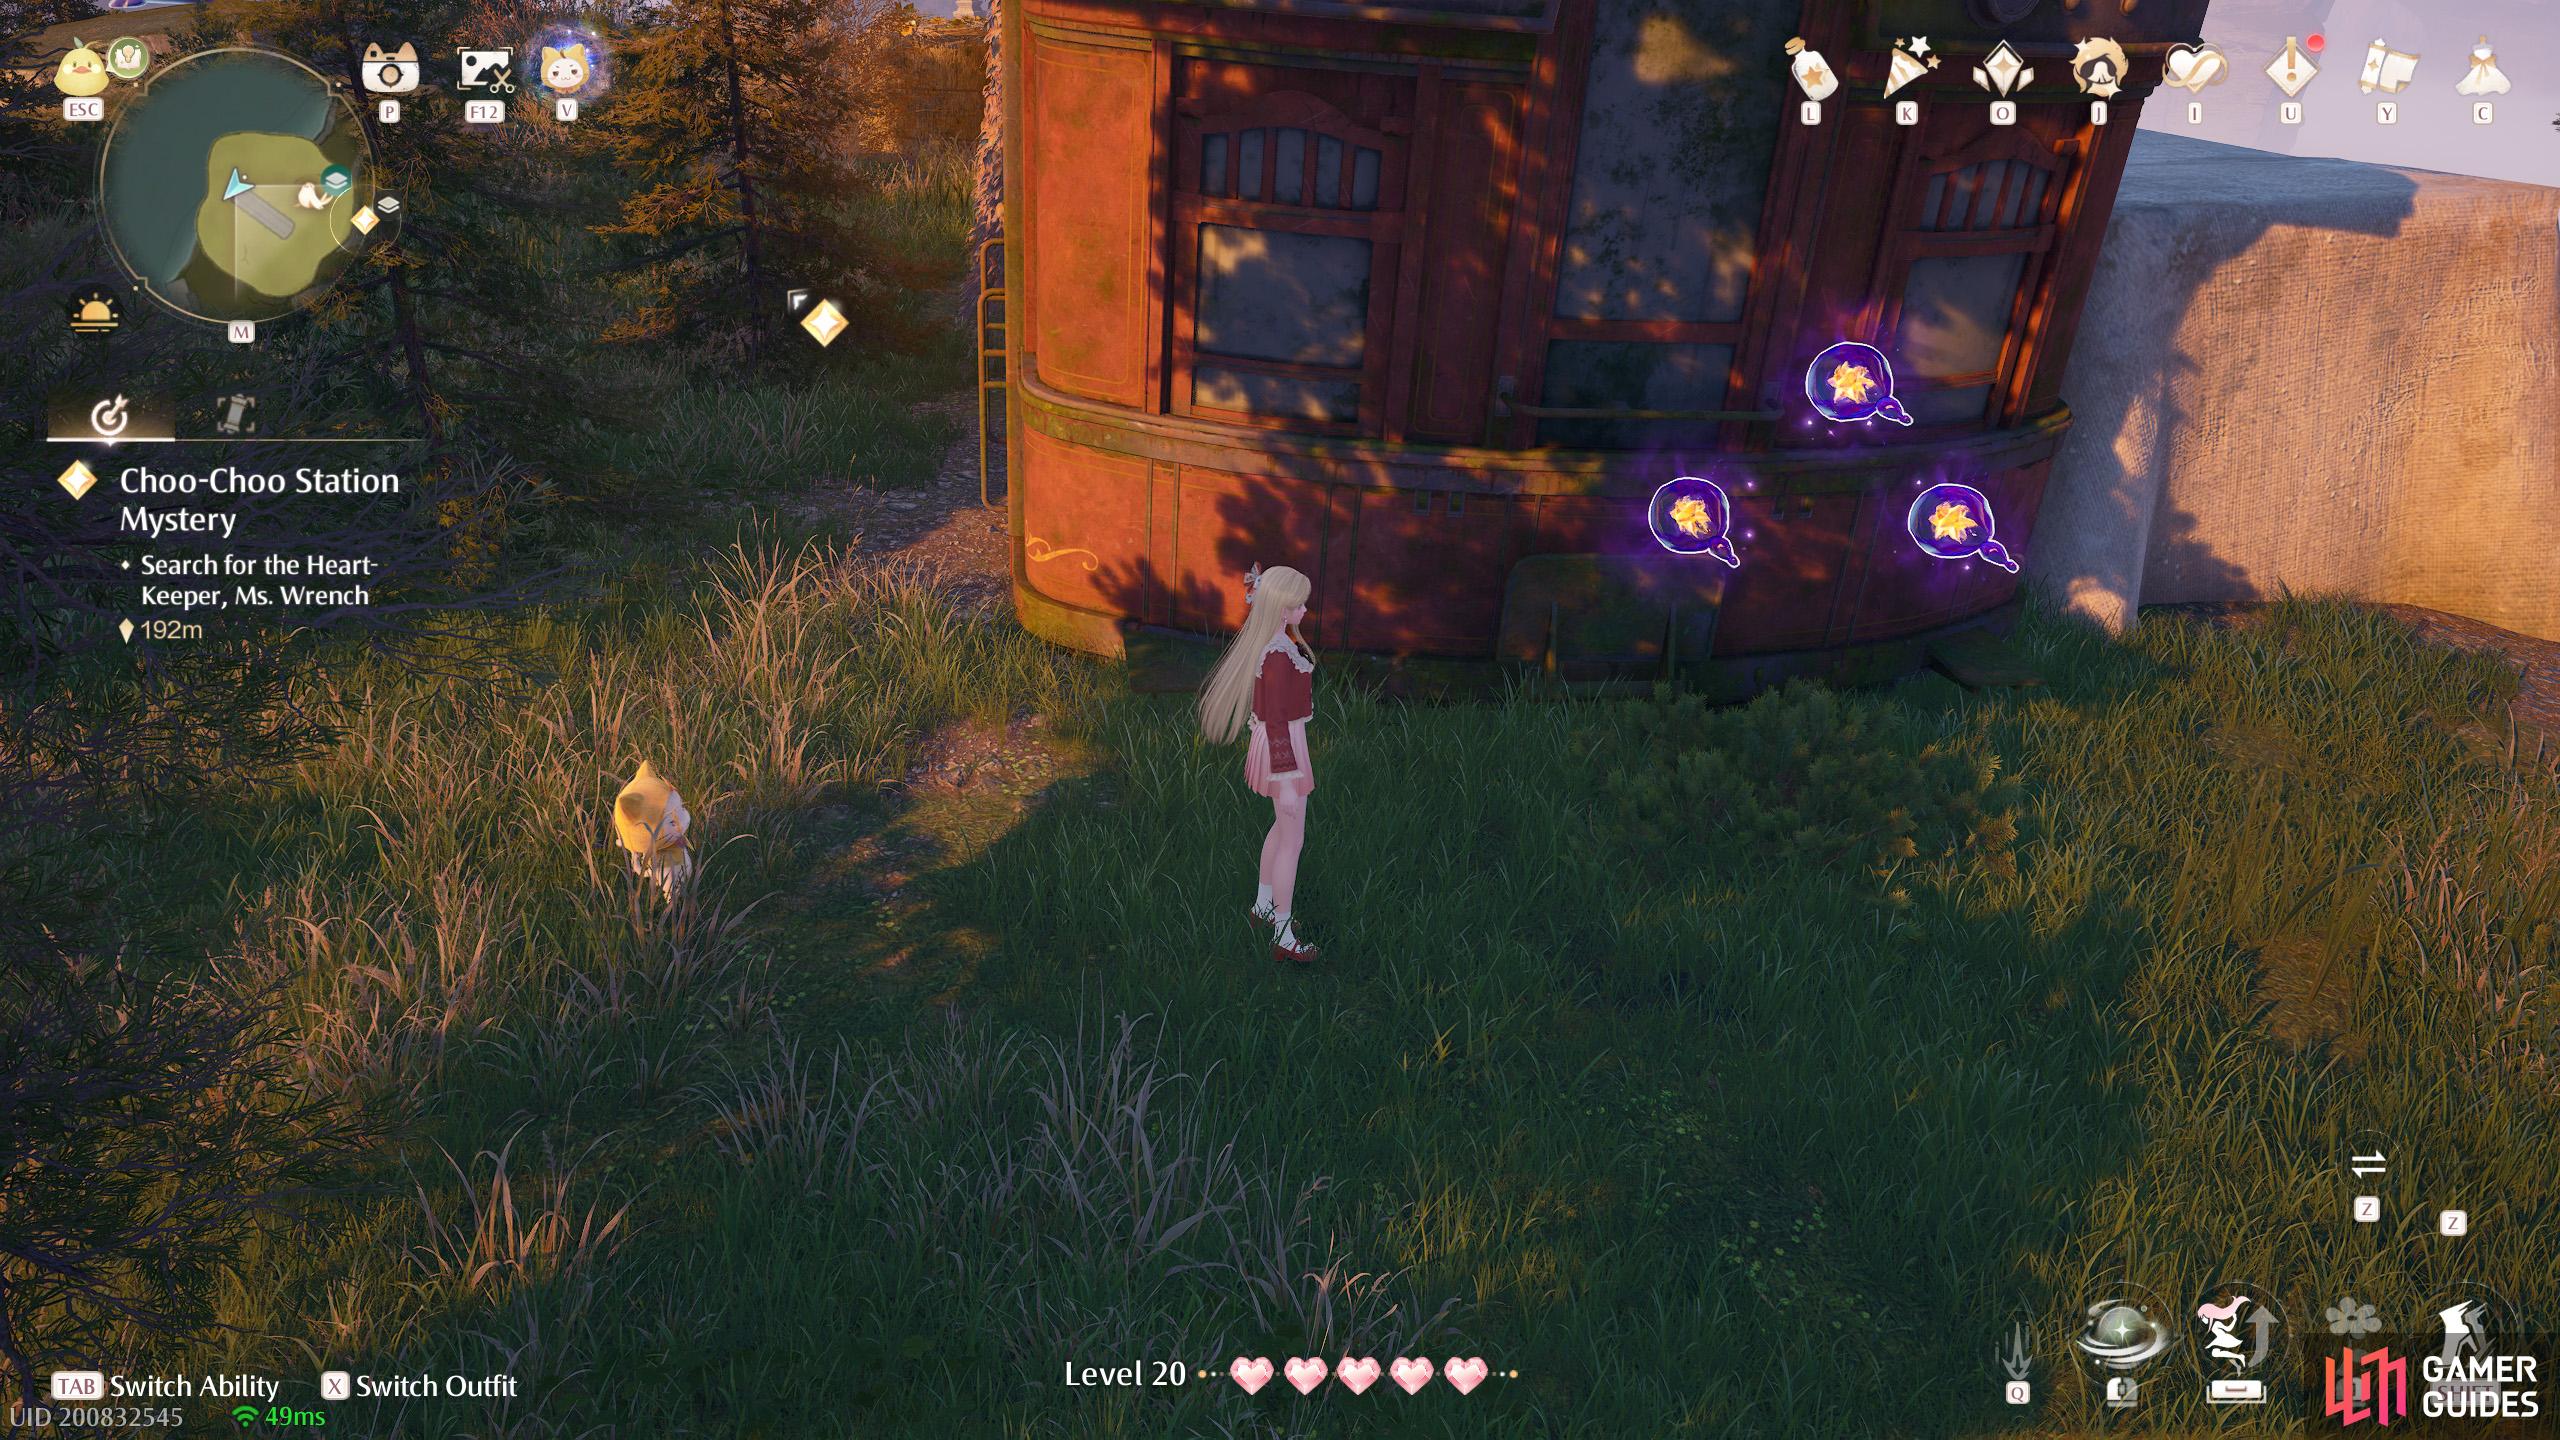
392. Miraland Map
North-west of ![]() Choo-Choo Station Old Platform. Atop a medium stonetree. Three behind the train carriage.
Choo-Choo Station Old Platform. Atop a medium stonetree. Three behind the train carriage.
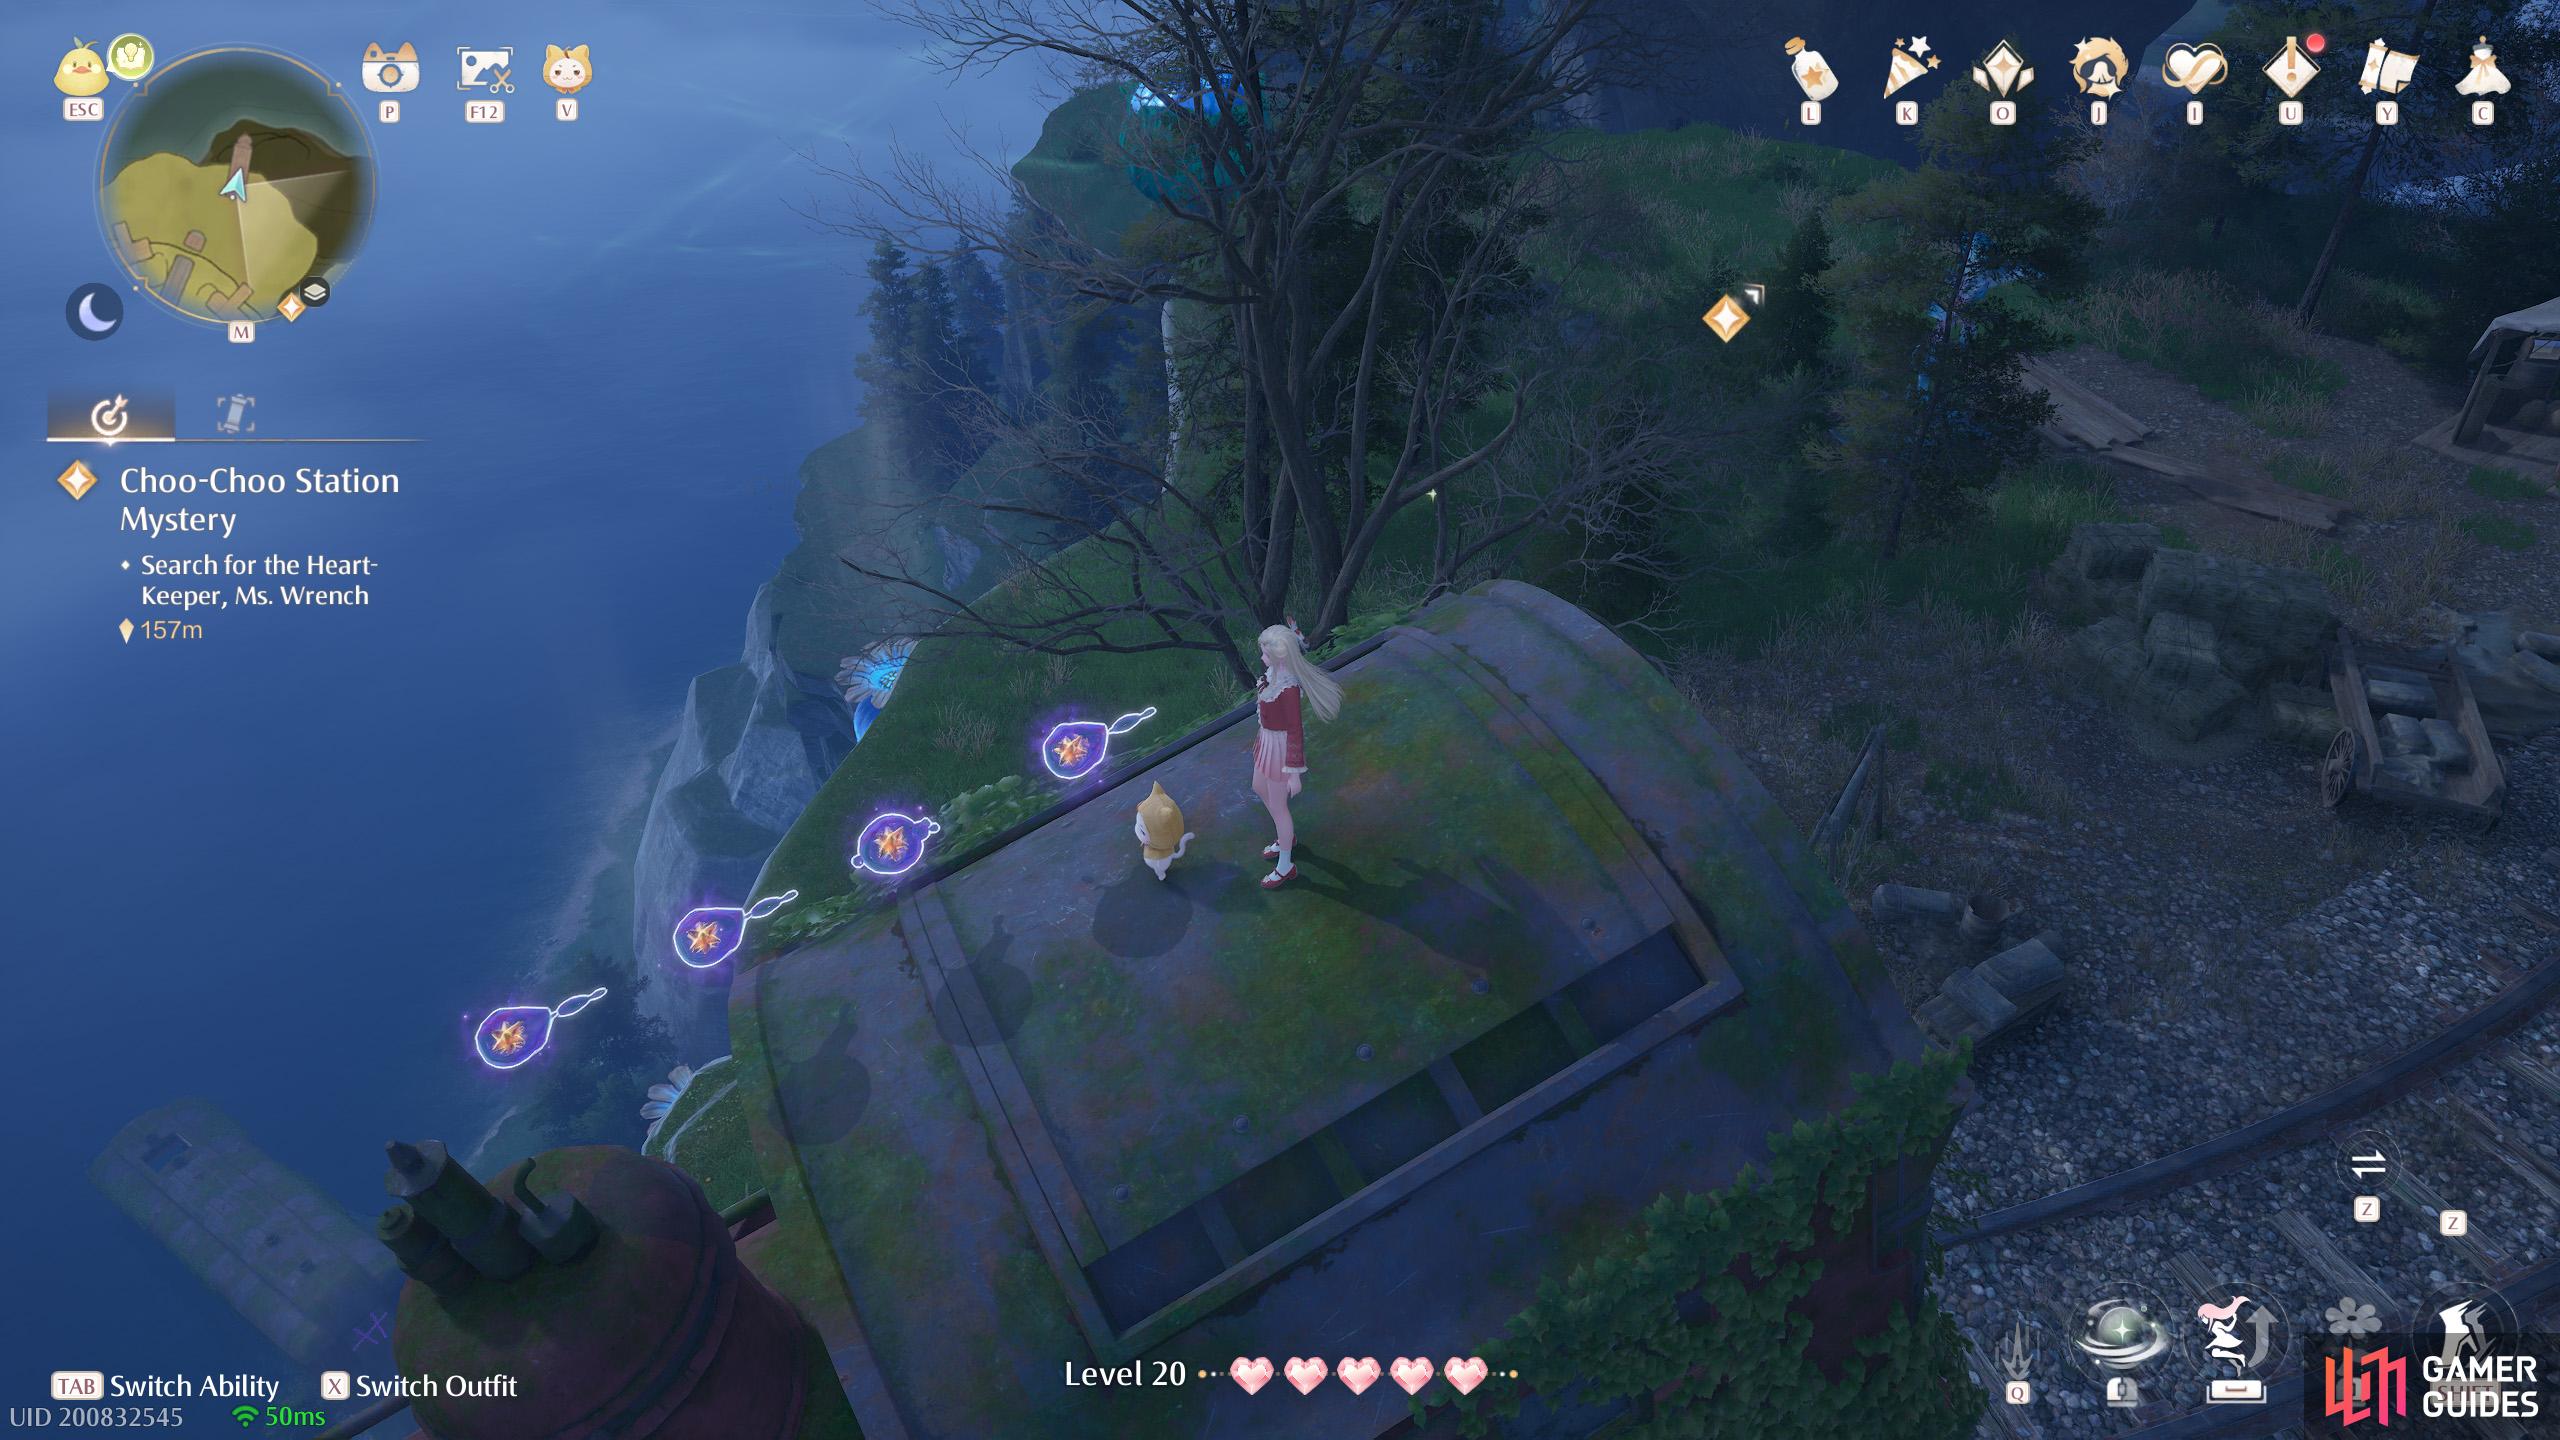
393. Miraland Map
North of ![]() Choo-Choo Station Stonetree Top. Four atop the locomotive that’s dangerously near the edge.
Choo-Choo Station Stonetree Top. Four atop the locomotive that’s dangerously near the edge.
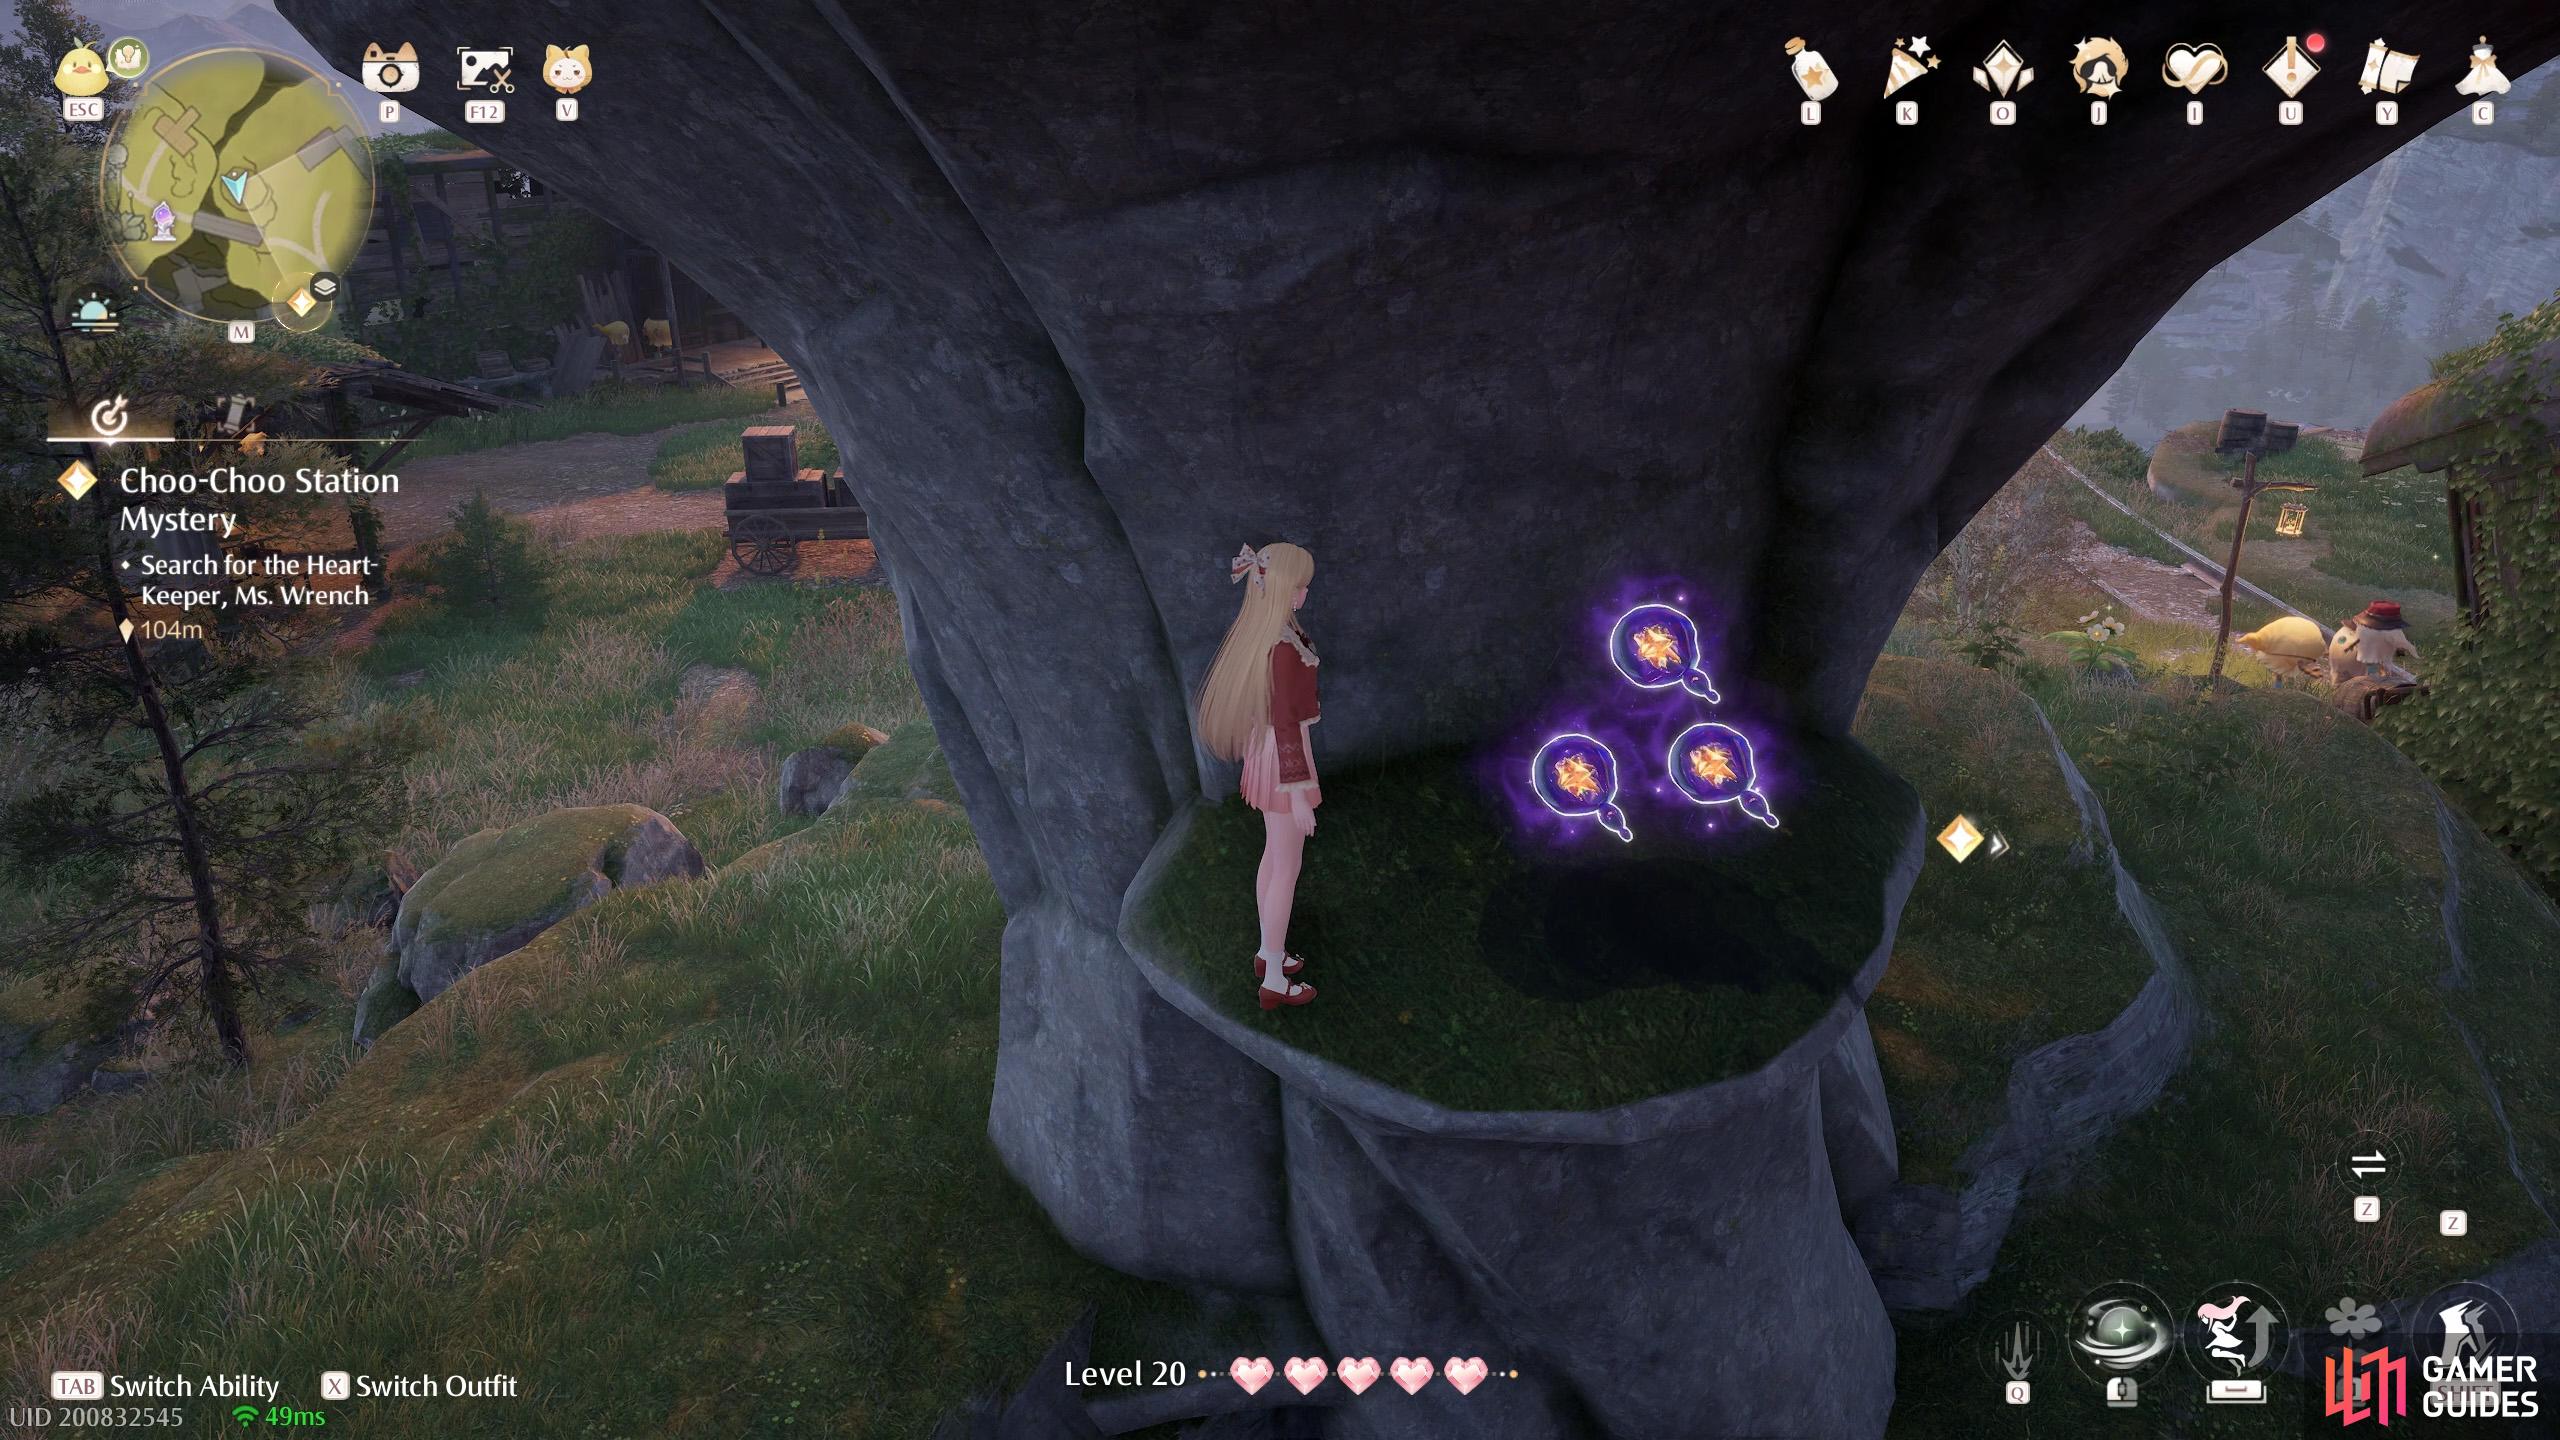
394. Miraland Map
Short distance east of ![]() Choo-Choo Station Stonetree Top. Three underneath the nearby small stonetree. There’s a bunch of wooden boxes on top.
Choo-Choo Station Stonetree Top. Three underneath the nearby small stonetree. There’s a bunch of wooden boxes on top.
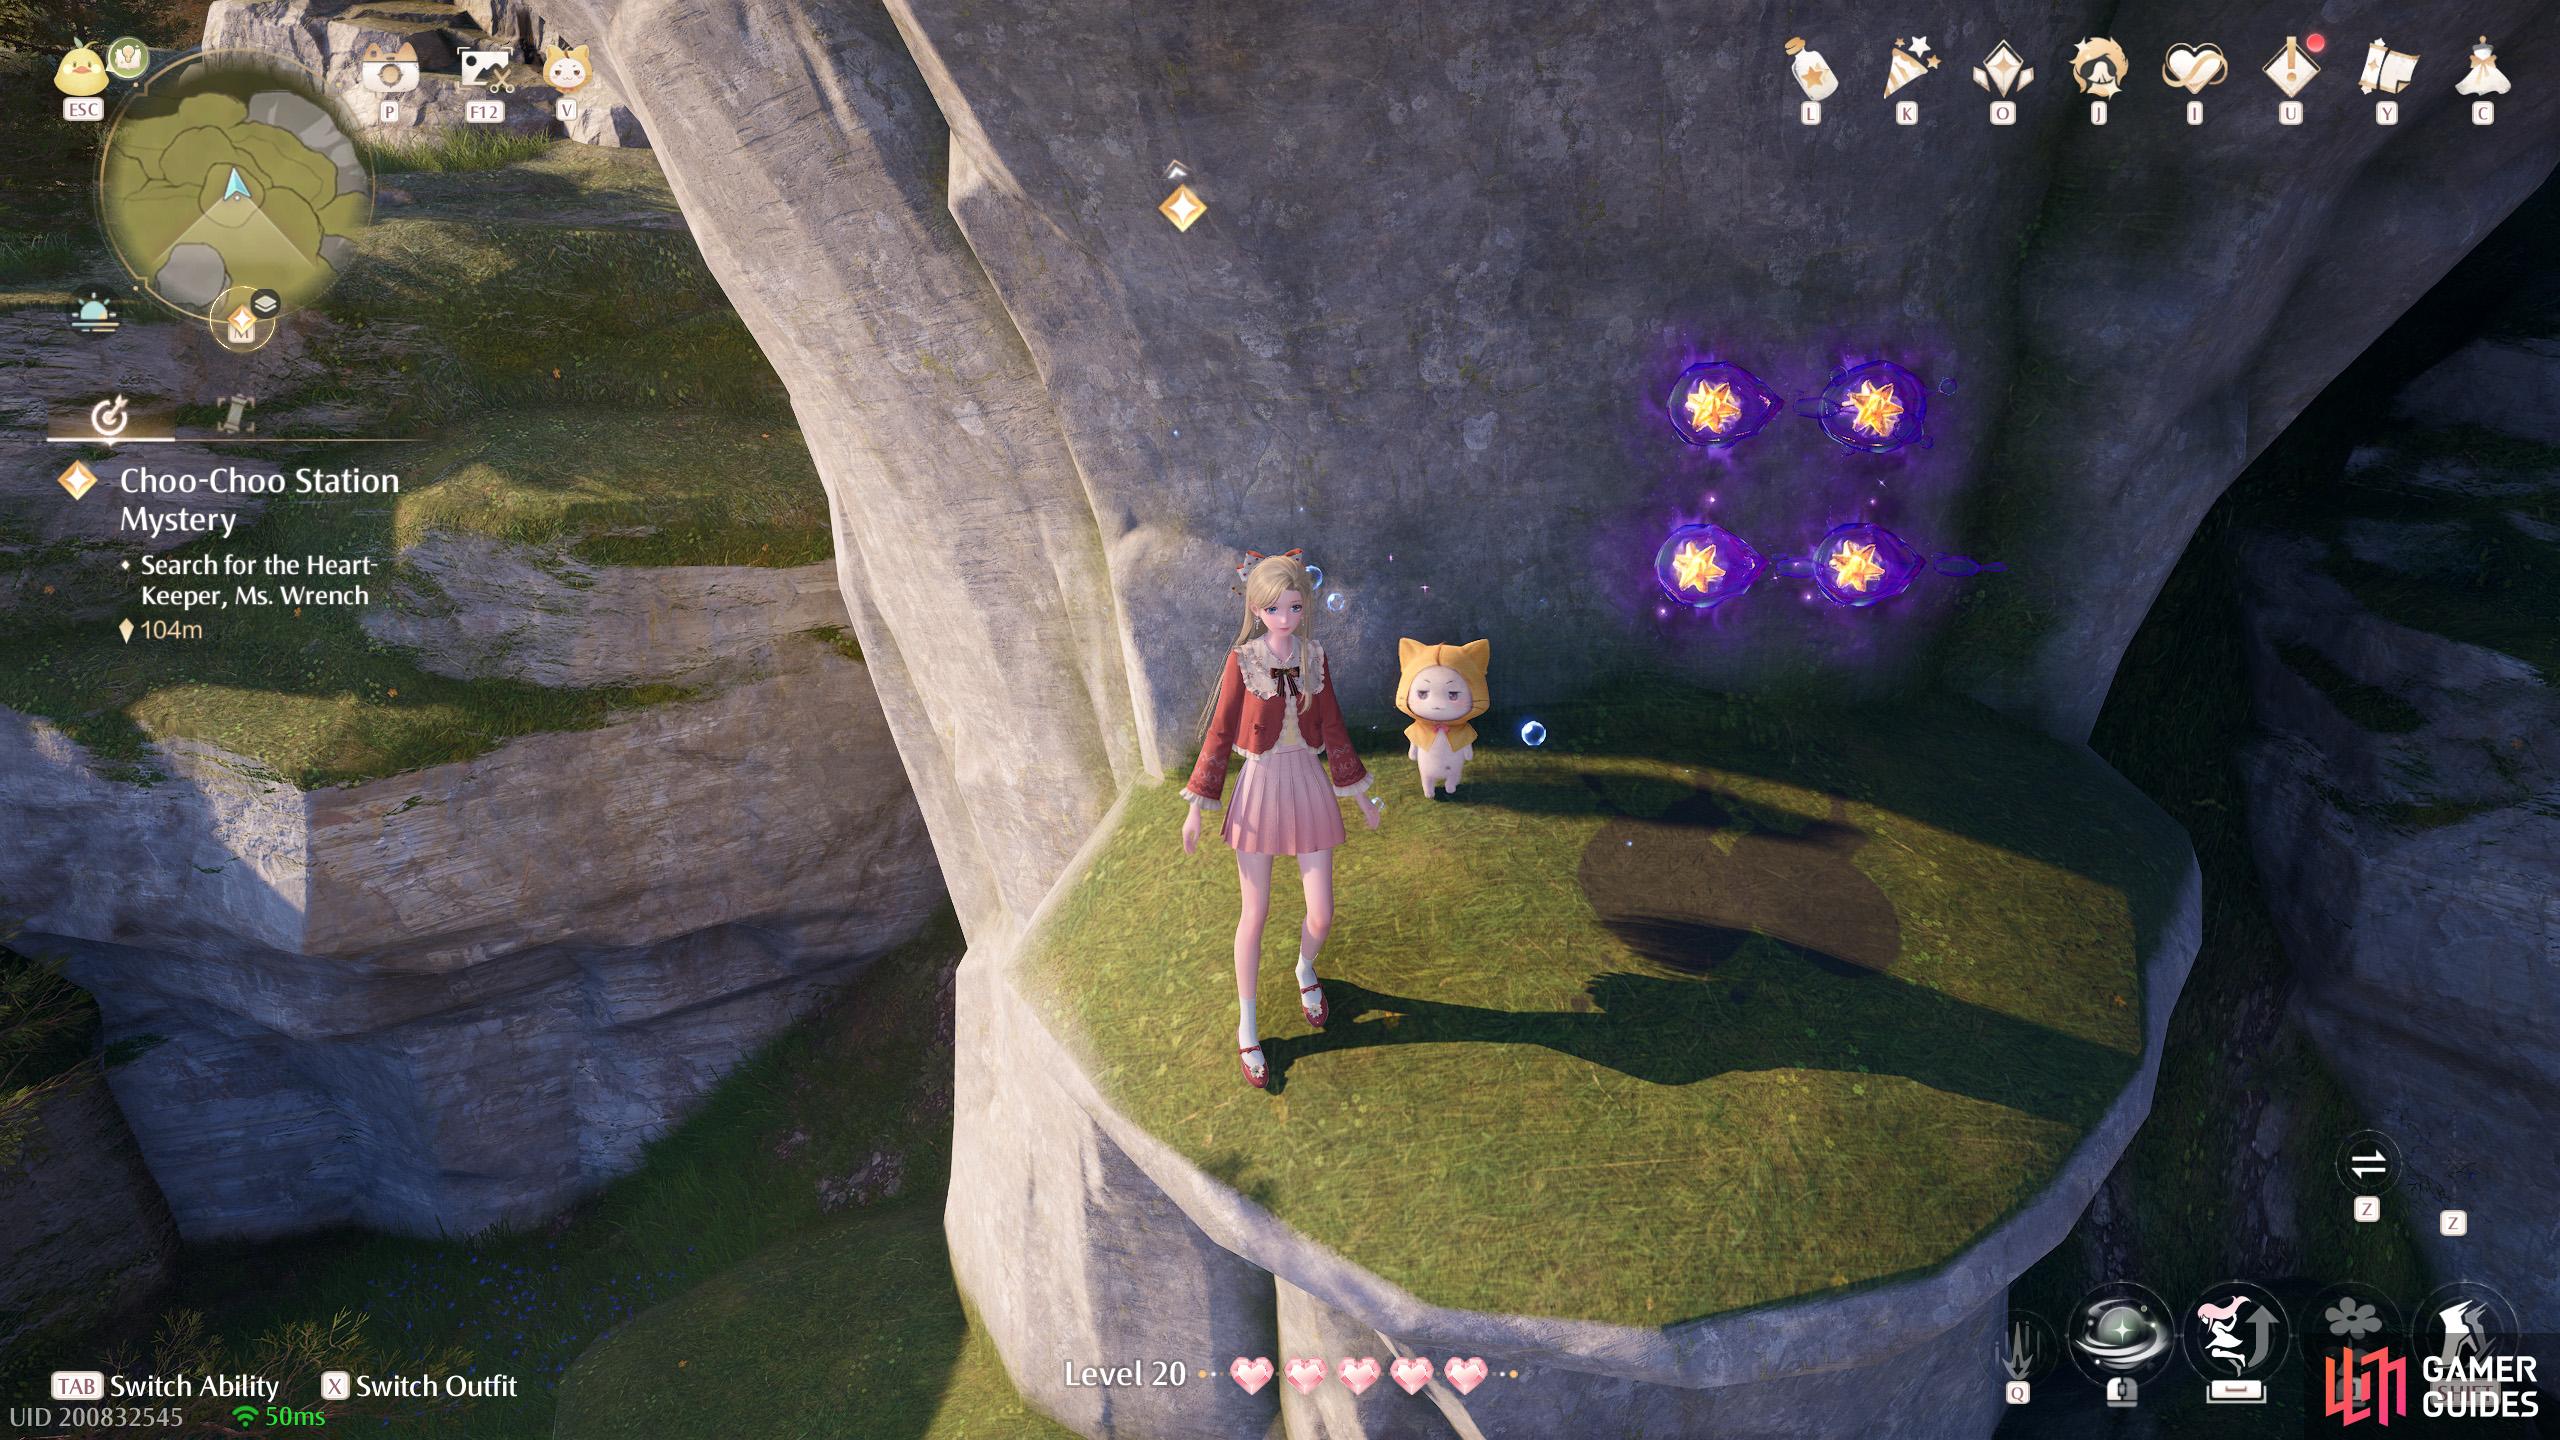
395. Miraland Map
North of ![]() Ghost Train Entrance, on the lower/middle level. Four on a ledge at the north side of a small-ish stonetree that has a Stonedew Flora on top.
Ghost Train Entrance, on the lower/middle level. Four on a ledge at the north side of a small-ish stonetree that has a Stonedew Flora on top.
396. Miraland Map
East from ![]() Ghost Train Entrance. Four atop the giant tunnel entrance.
Ghost Train Entrance. Four atop the giant tunnel entrance.
397. Miraland Map
East from ![]() Ghost Train Entrance, on the lower level. Three inside the giant tunnel.
Ghost Train Entrance, on the lower level. Three inside the giant tunnel.
398. Miraland Map
South-east of ![]() Ghost Train Entrance, atop a medium stonetree. Two on a haystack column, behind a wooden board.
Ghost Train Entrance, atop a medium stonetree. Two on a haystack column, behind a wooden board.
399. Miraland Map
Short distance south-west of ![]() Choo-Choo Station Stonetree Top. Three atop a small stonetree.
Choo-Choo Station Stonetree Top. Three atop a small stonetree.
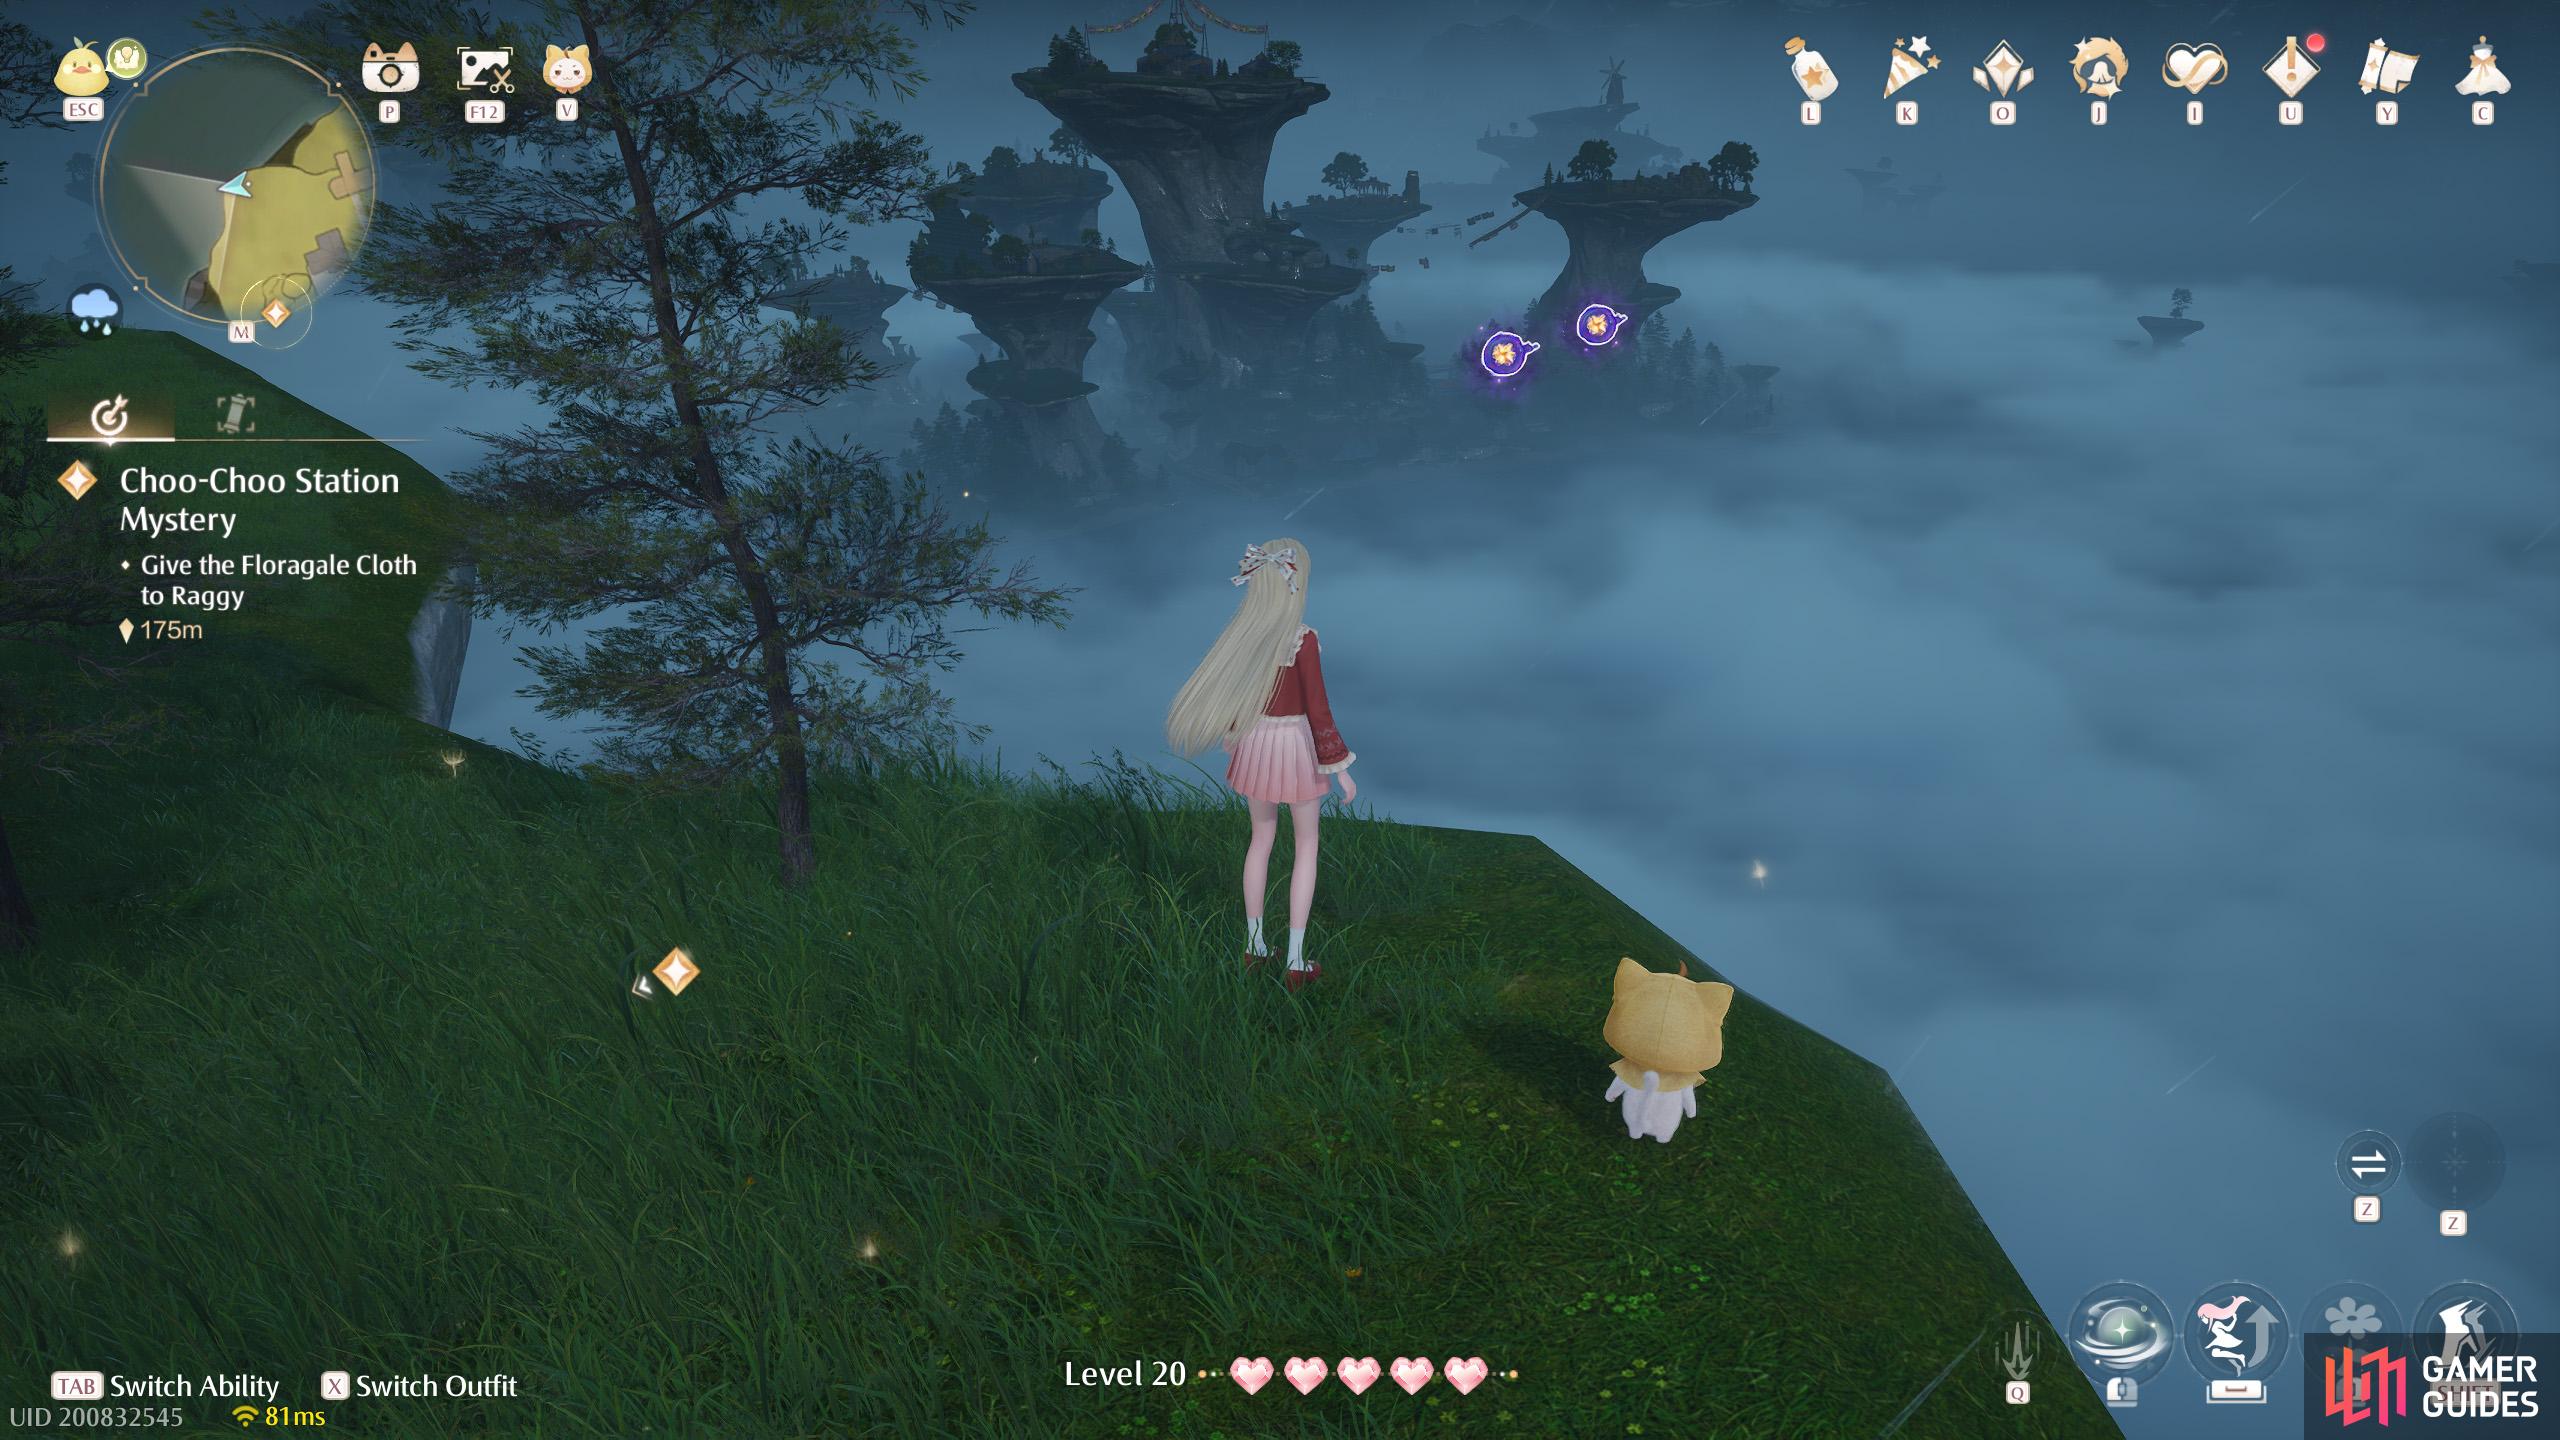
400. Miraland Map
North-west of ![]() Choo-Choo Station Stonetree Top. Two floating near the edge. There’s a bunch of
Choo-Choo Station Stonetree Top. Two floating near the edge. There’s a bunch of ![]() Windbloom nearby.
Windbloom nearby.
401. Miraland Map
Short distance east of ![]() Prosperville Entrance. Two floating high up next to a tree. You can jump from atop a nearby well.
Prosperville Entrance. Two floating high up next to a tree. You can jump from atop a nearby well.
402. Miraland Map
East of ![]() Choo-Choo Station Repair Station. Three near the south side of the train carriage.
Choo-Choo Station Repair Station. Three near the south side of the train carriage.
403. Miraland Map
South-east of ![]() Choo-Choo Station Repair Station. Four at the end of a wooden beam south from the train carriage. You can push a nearby crate closer so you can jump across.
Choo-Choo Station Repair Station. Four at the end of a wooden beam south from the train carriage. You can push a nearby crate closer so you can jump across.
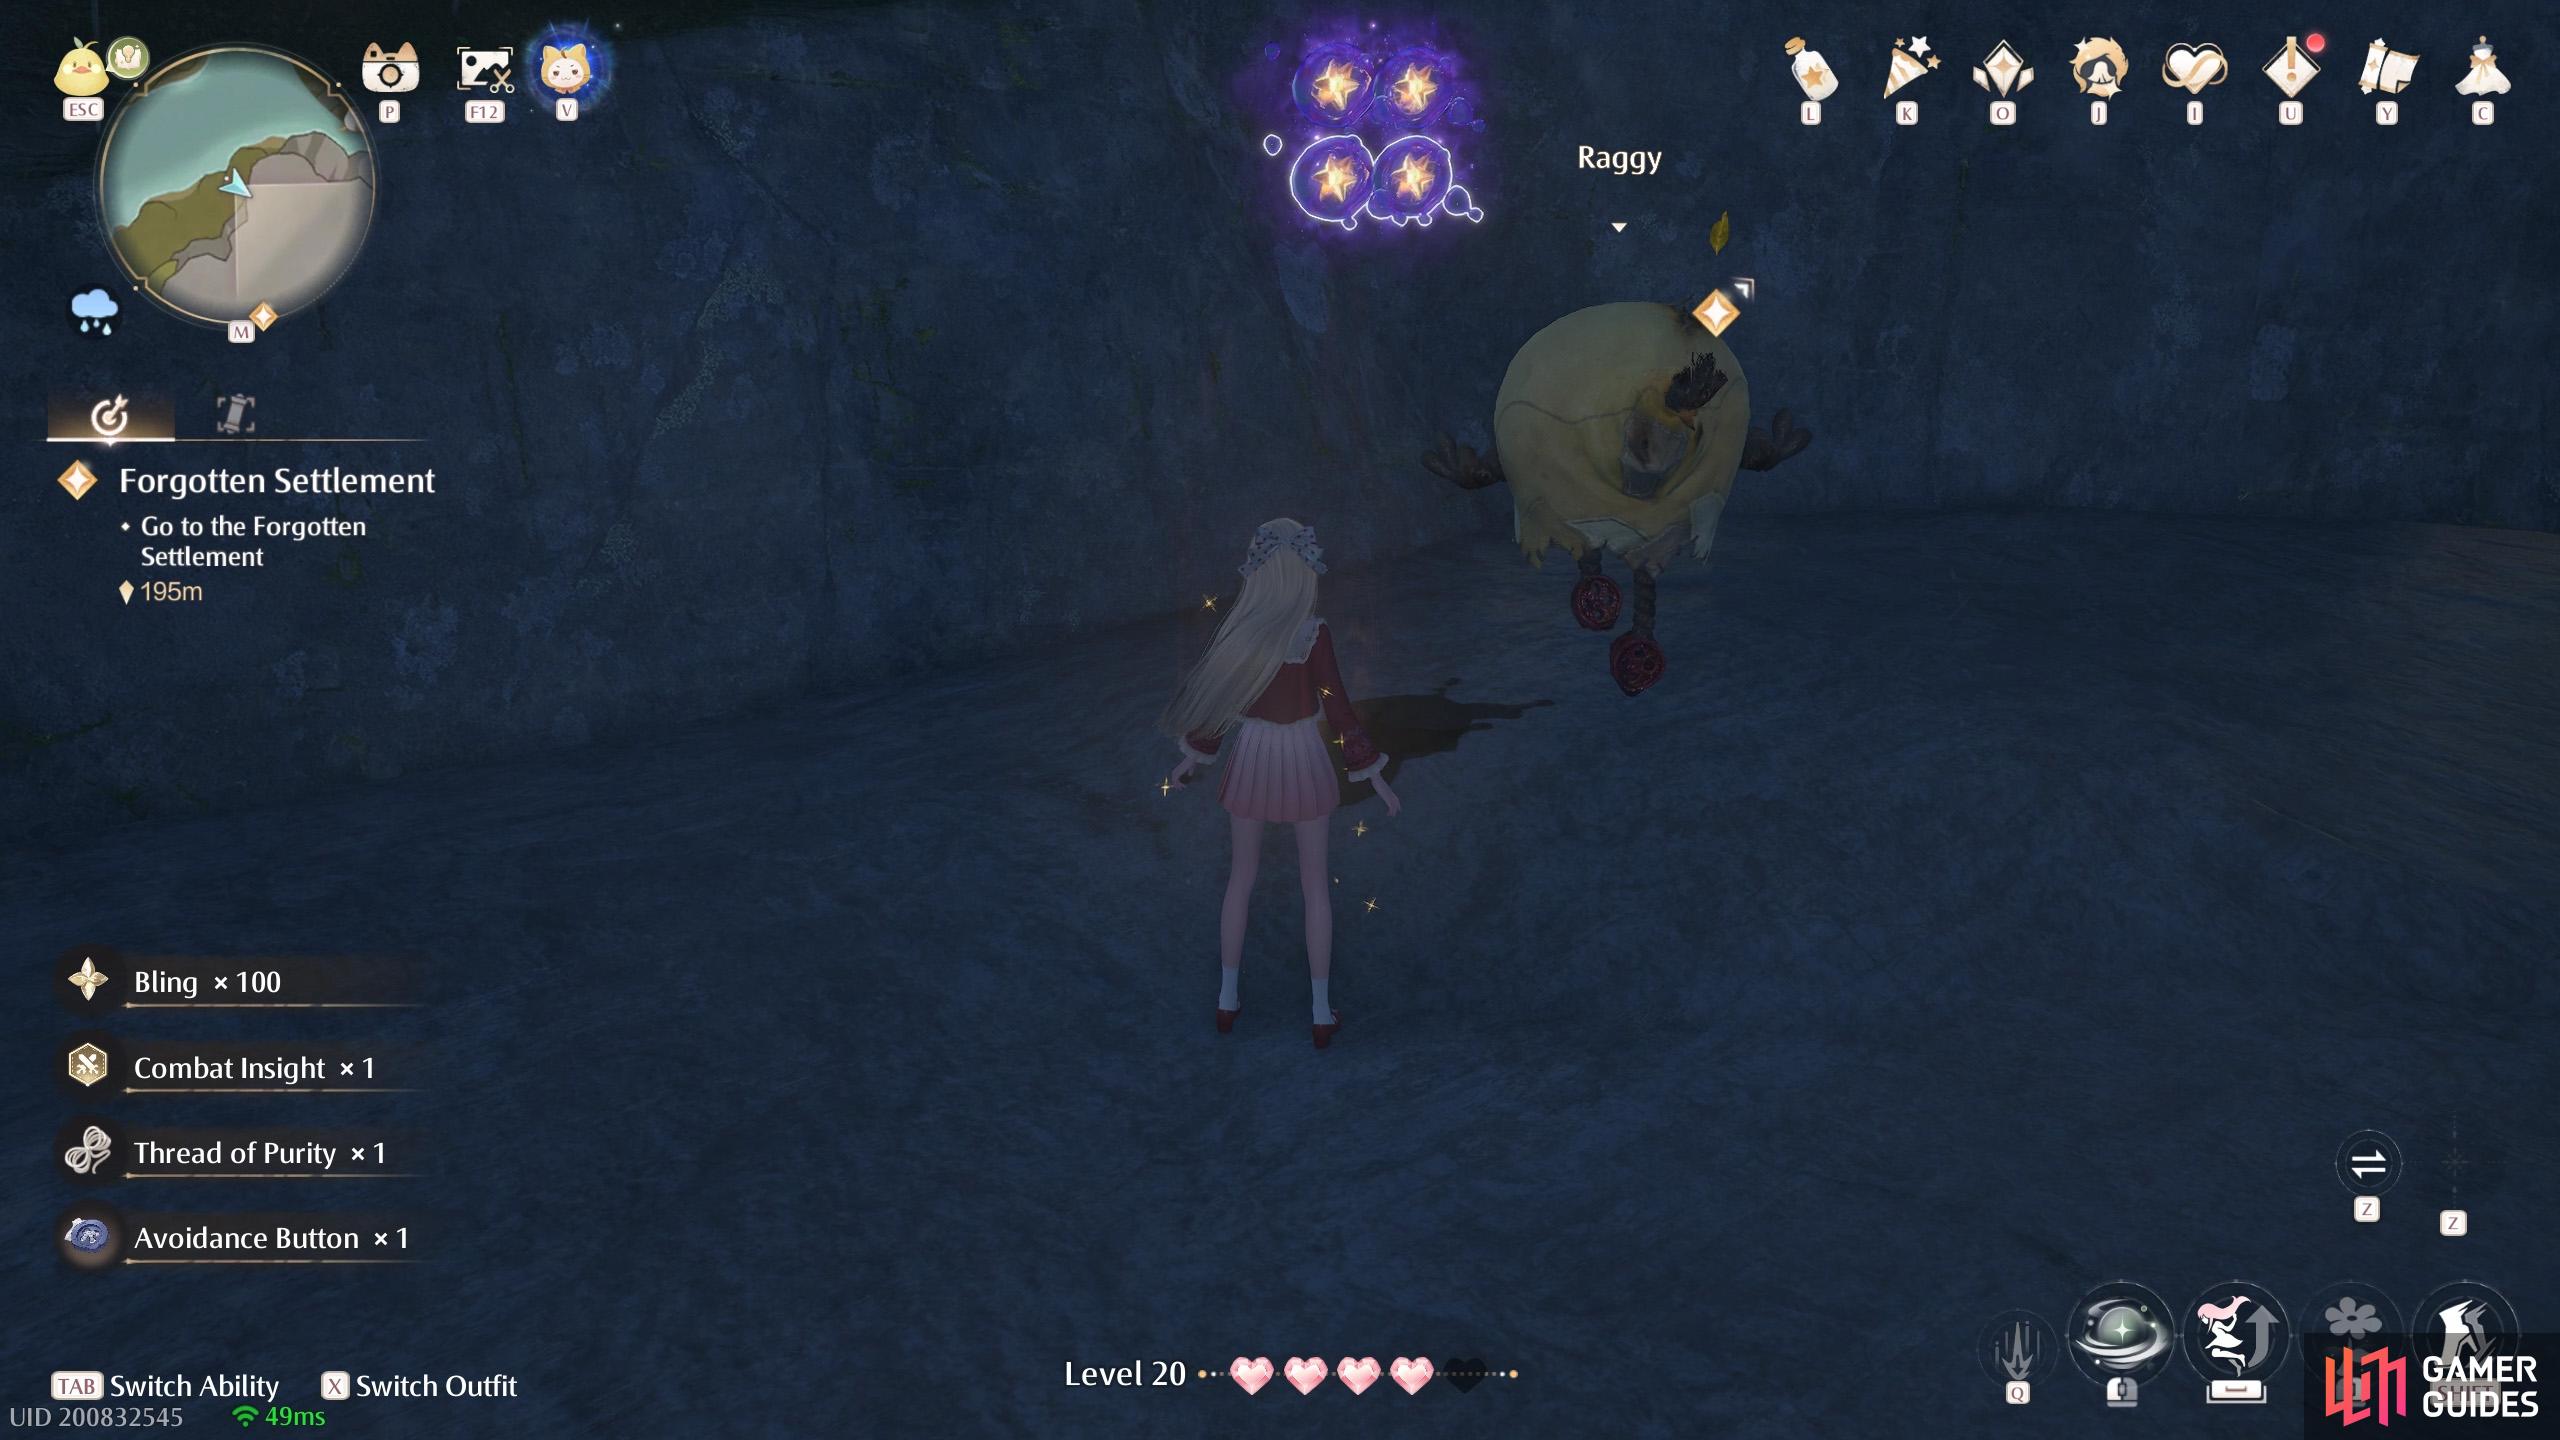
404. Miraland Map
South-east of ![]() Forgotten Village Dwelling, on the lowest level. Four at the north-west side of the giant stonetree, surrounded by a gang of Esselings.
Forgotten Village Dwelling, on the lowest level. Four at the north-west side of the giant stonetree, surrounded by a gang of Esselings.
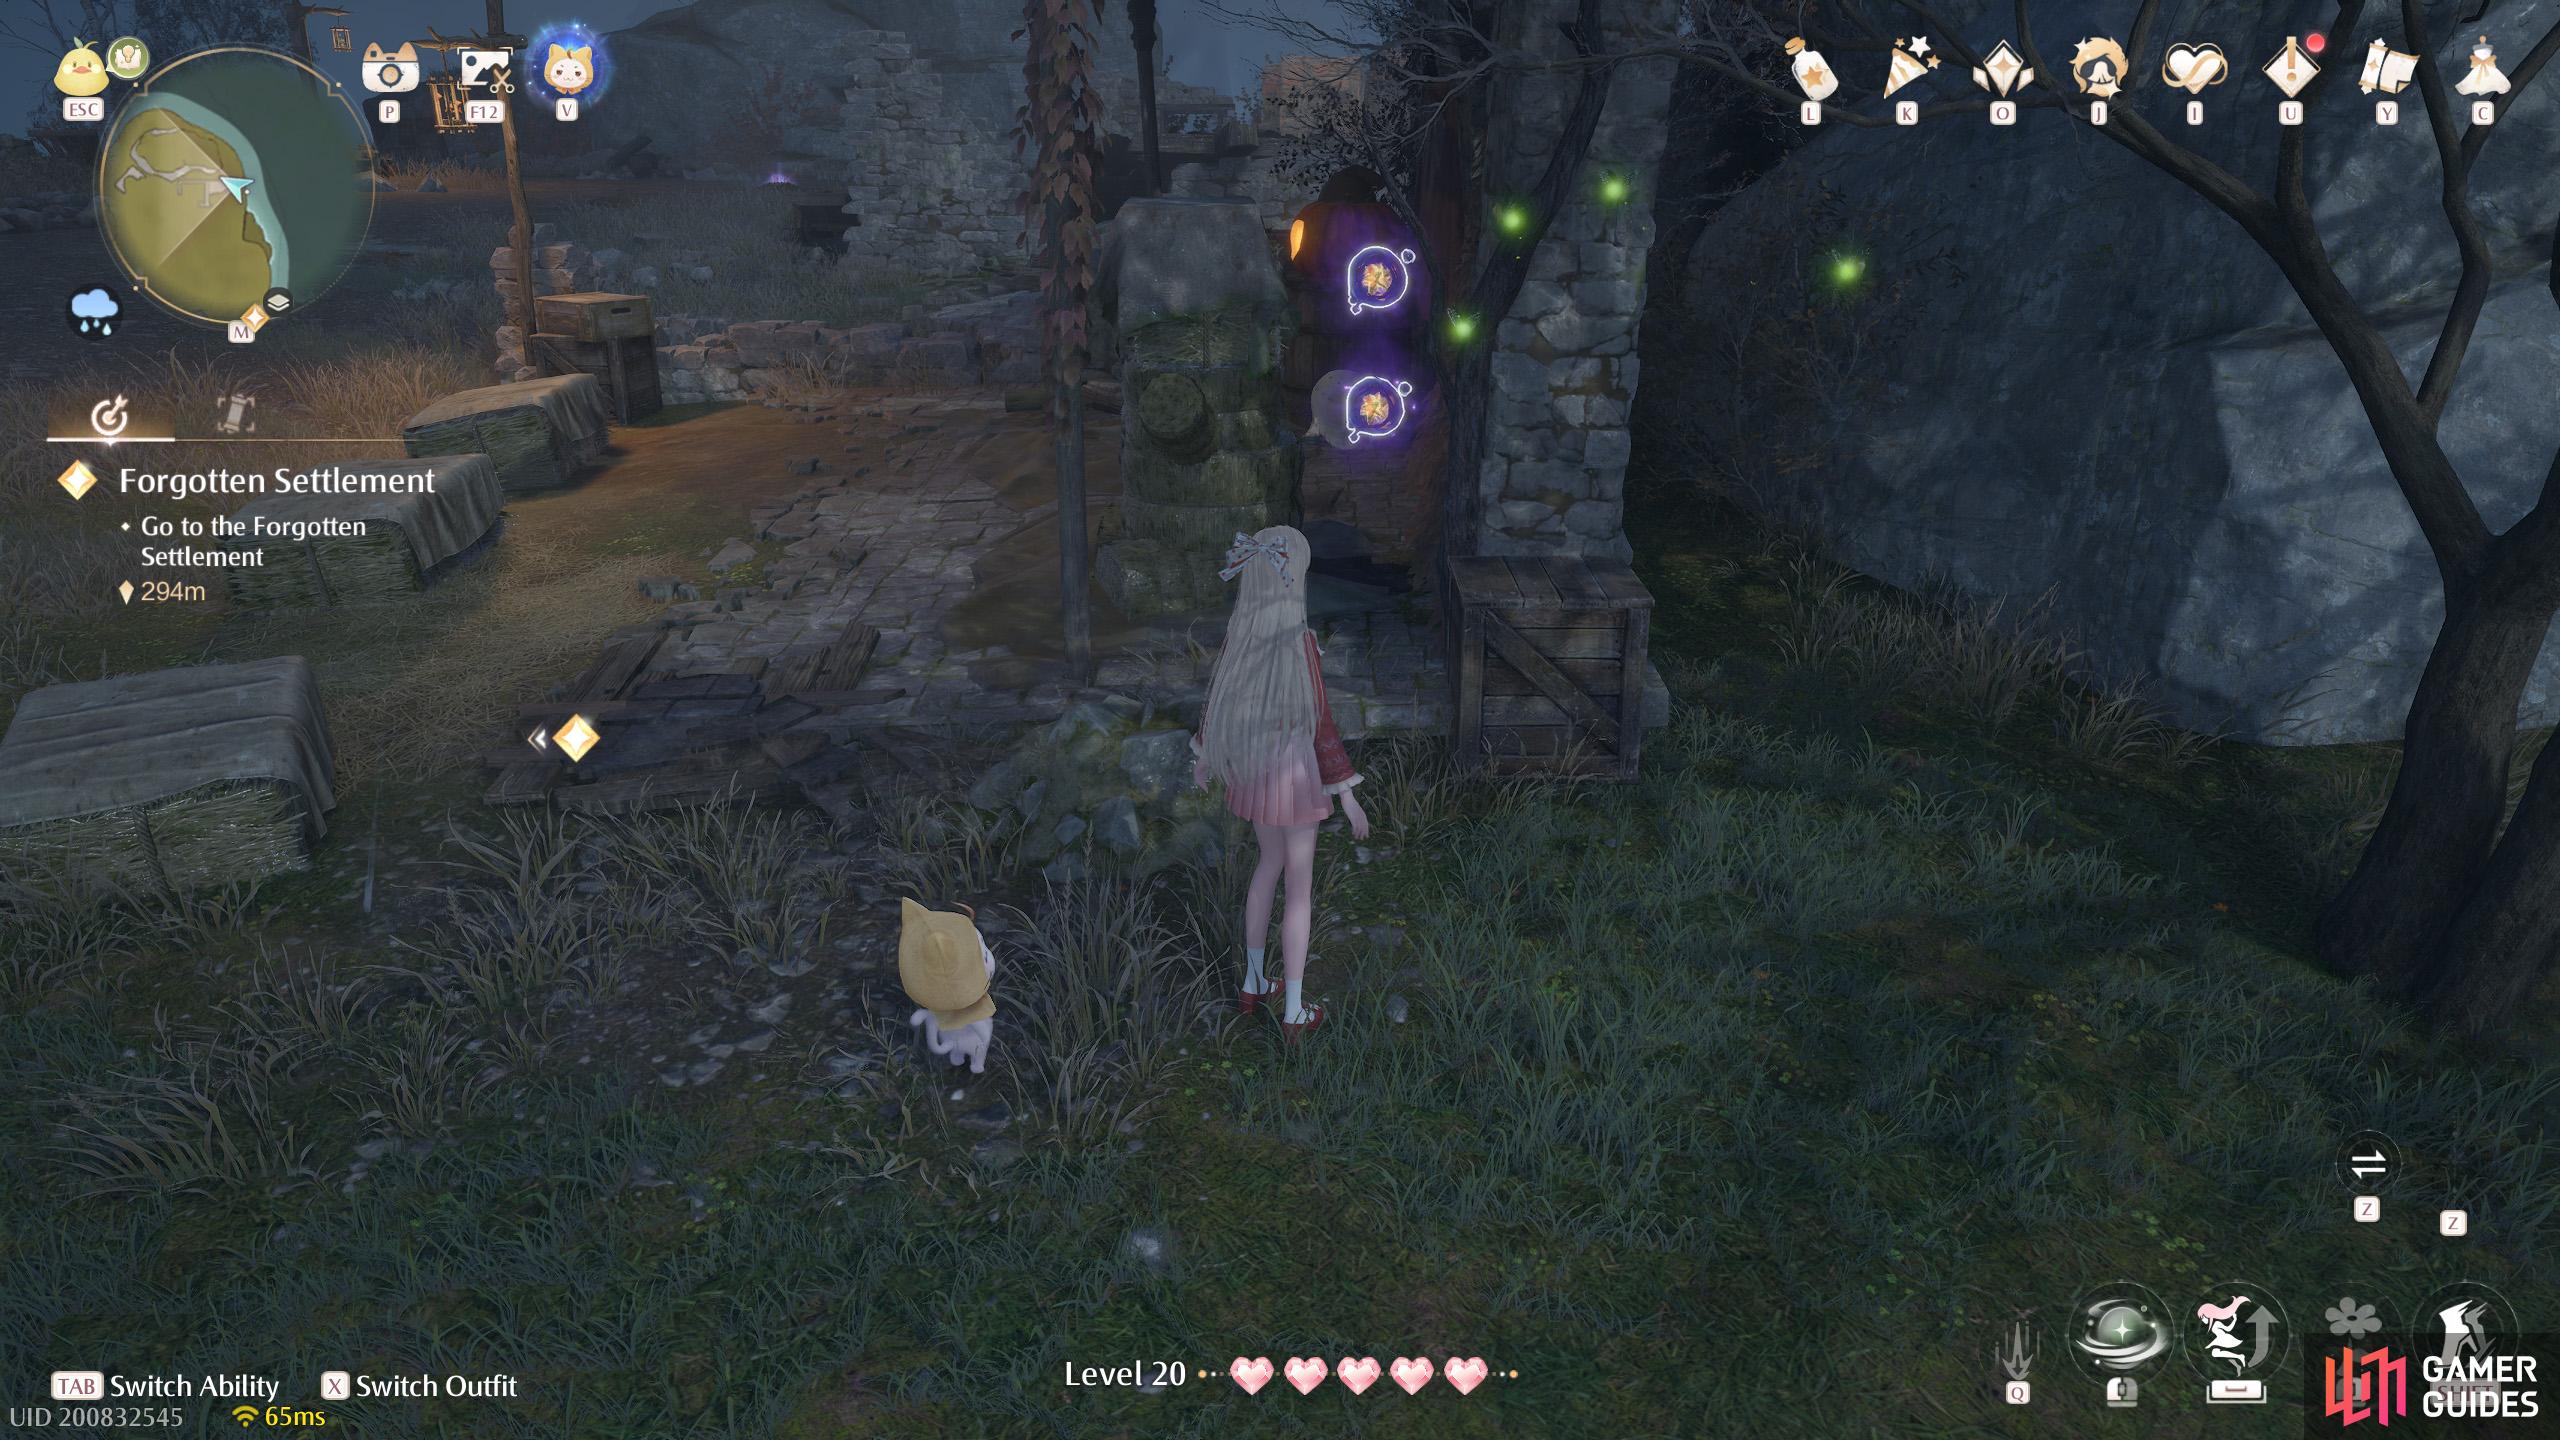
405. Miraland Map
North-east of ![]() Forgotten Village Dwelling. Two behind a haystack dummy inside a small shelter.
Forgotten Village Dwelling. Two behind a haystack dummy inside a small shelter.
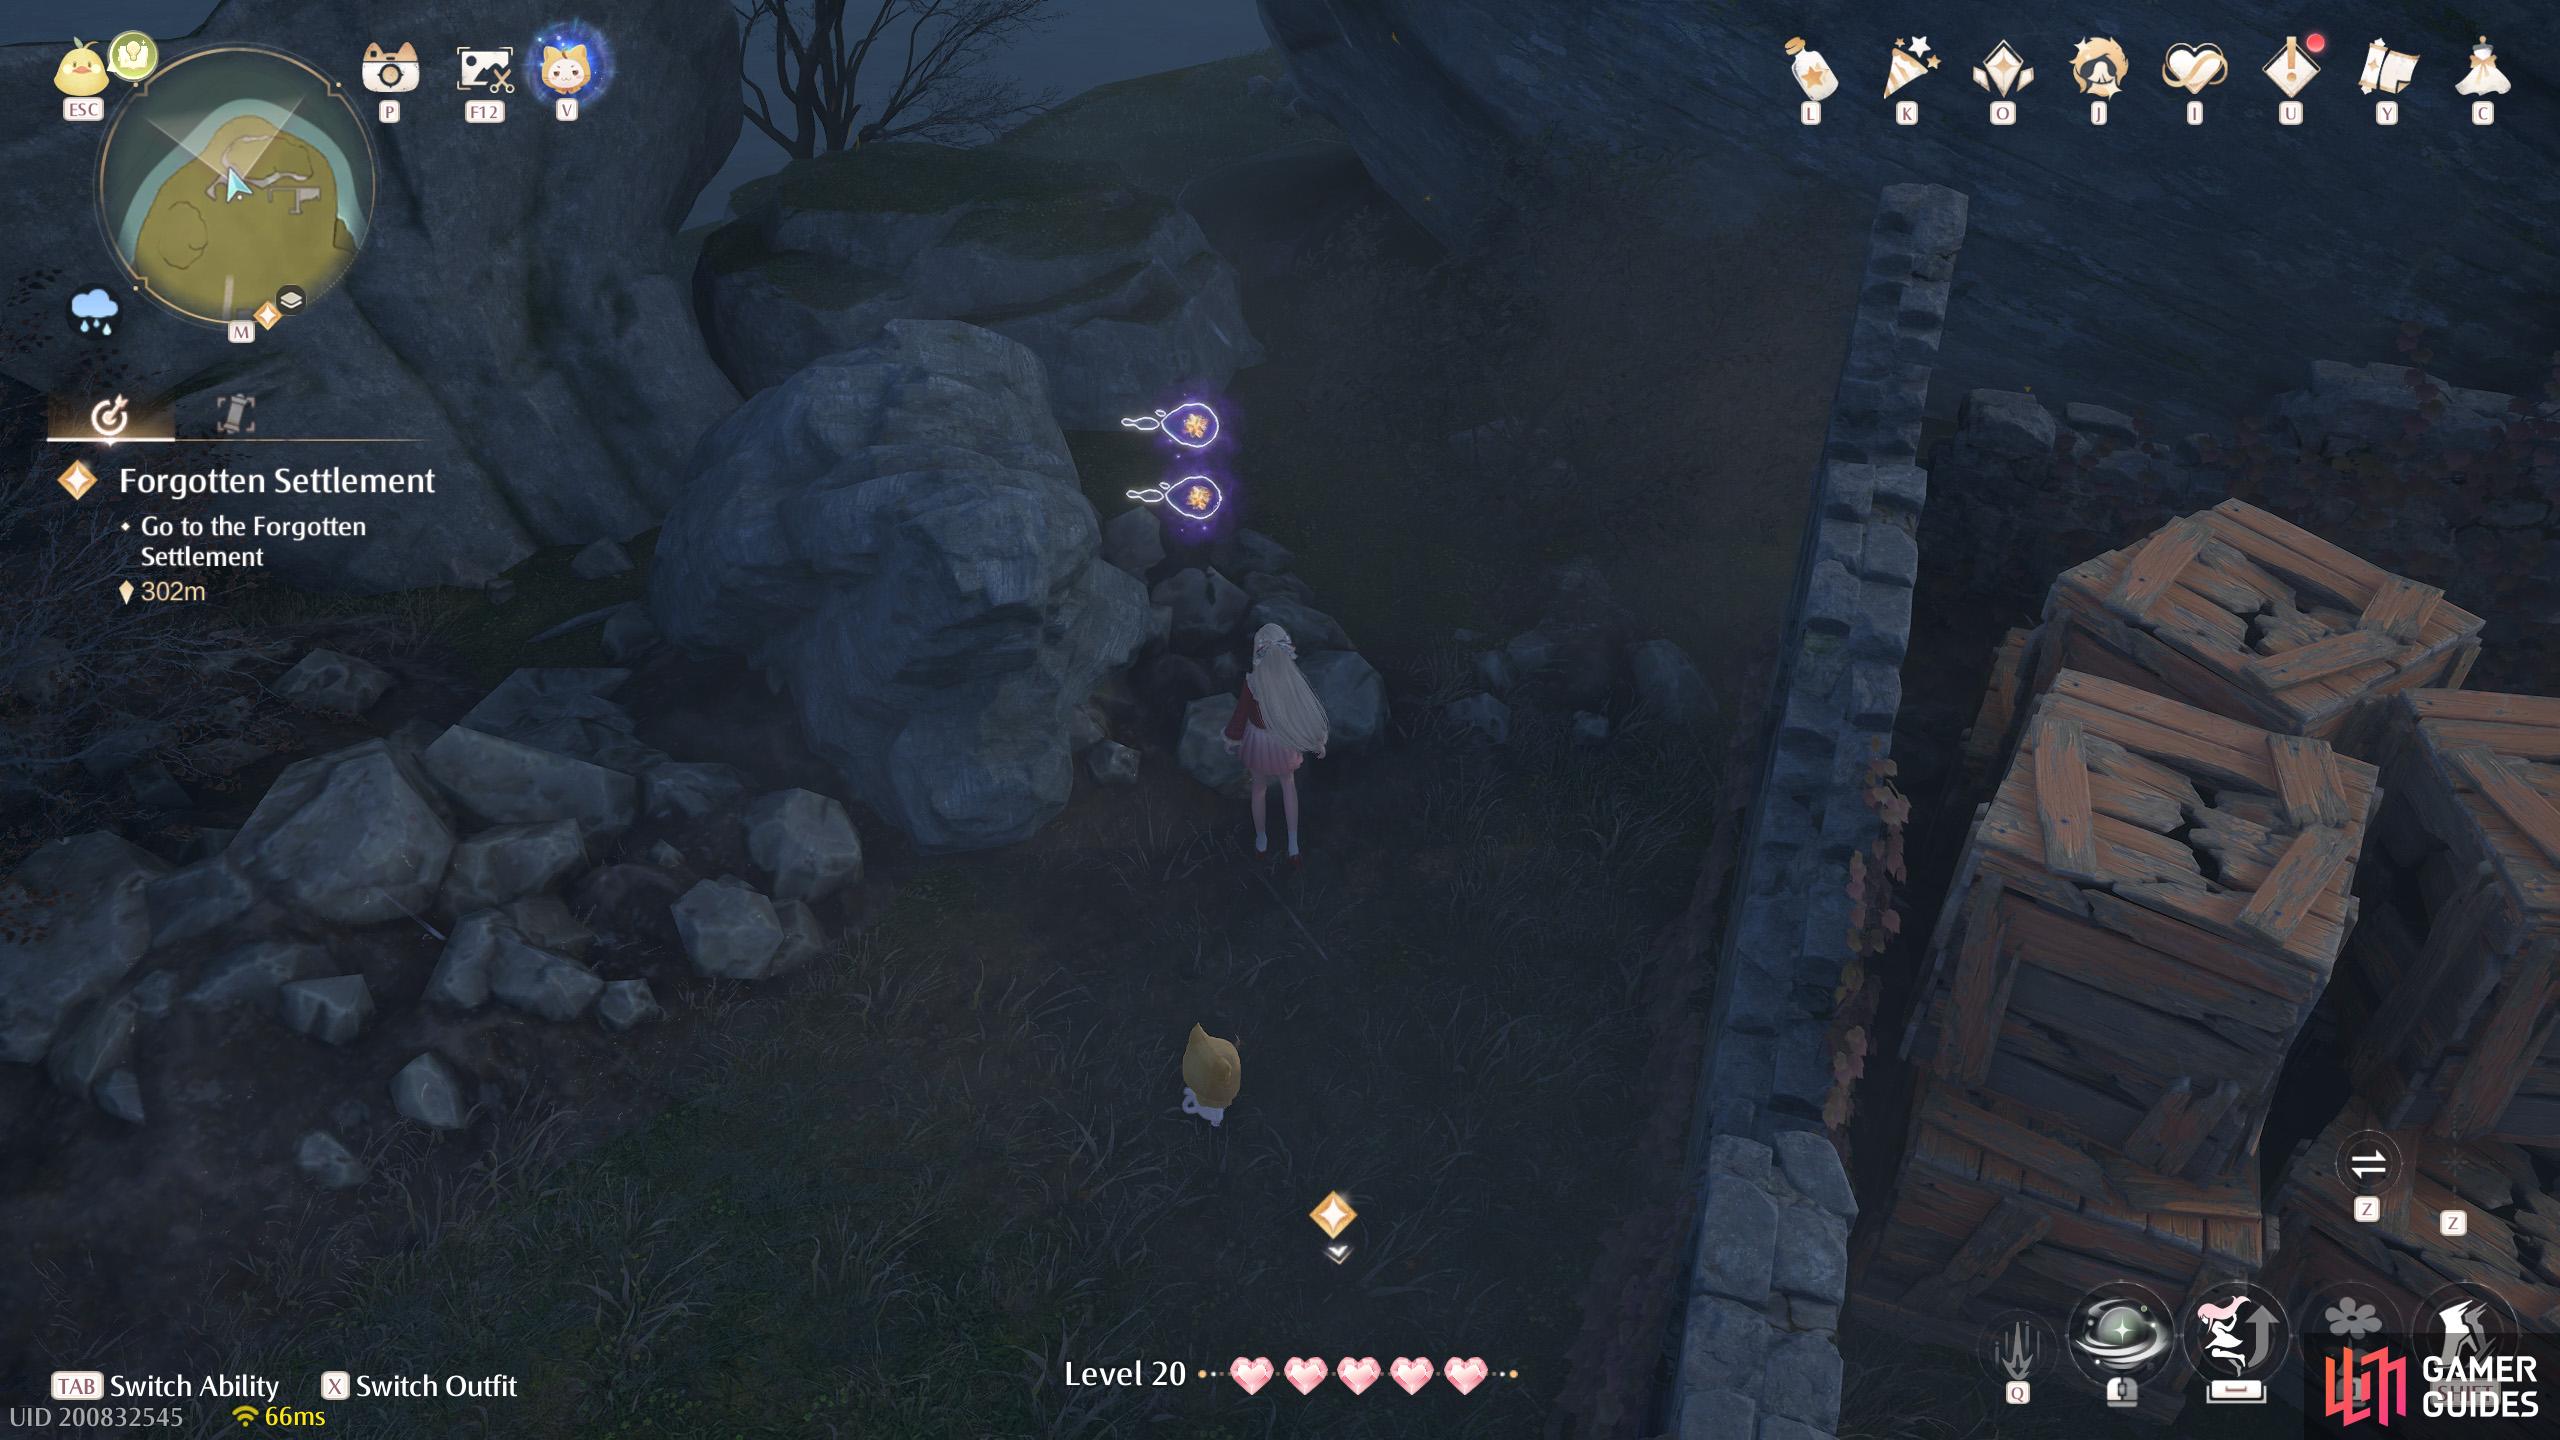
406. Miraland Map
North of ![]() Forgotten Village Dwelling. Two between some rocks and a collapsed wall.
Forgotten Village Dwelling. Two between some rocks and a collapsed wall.
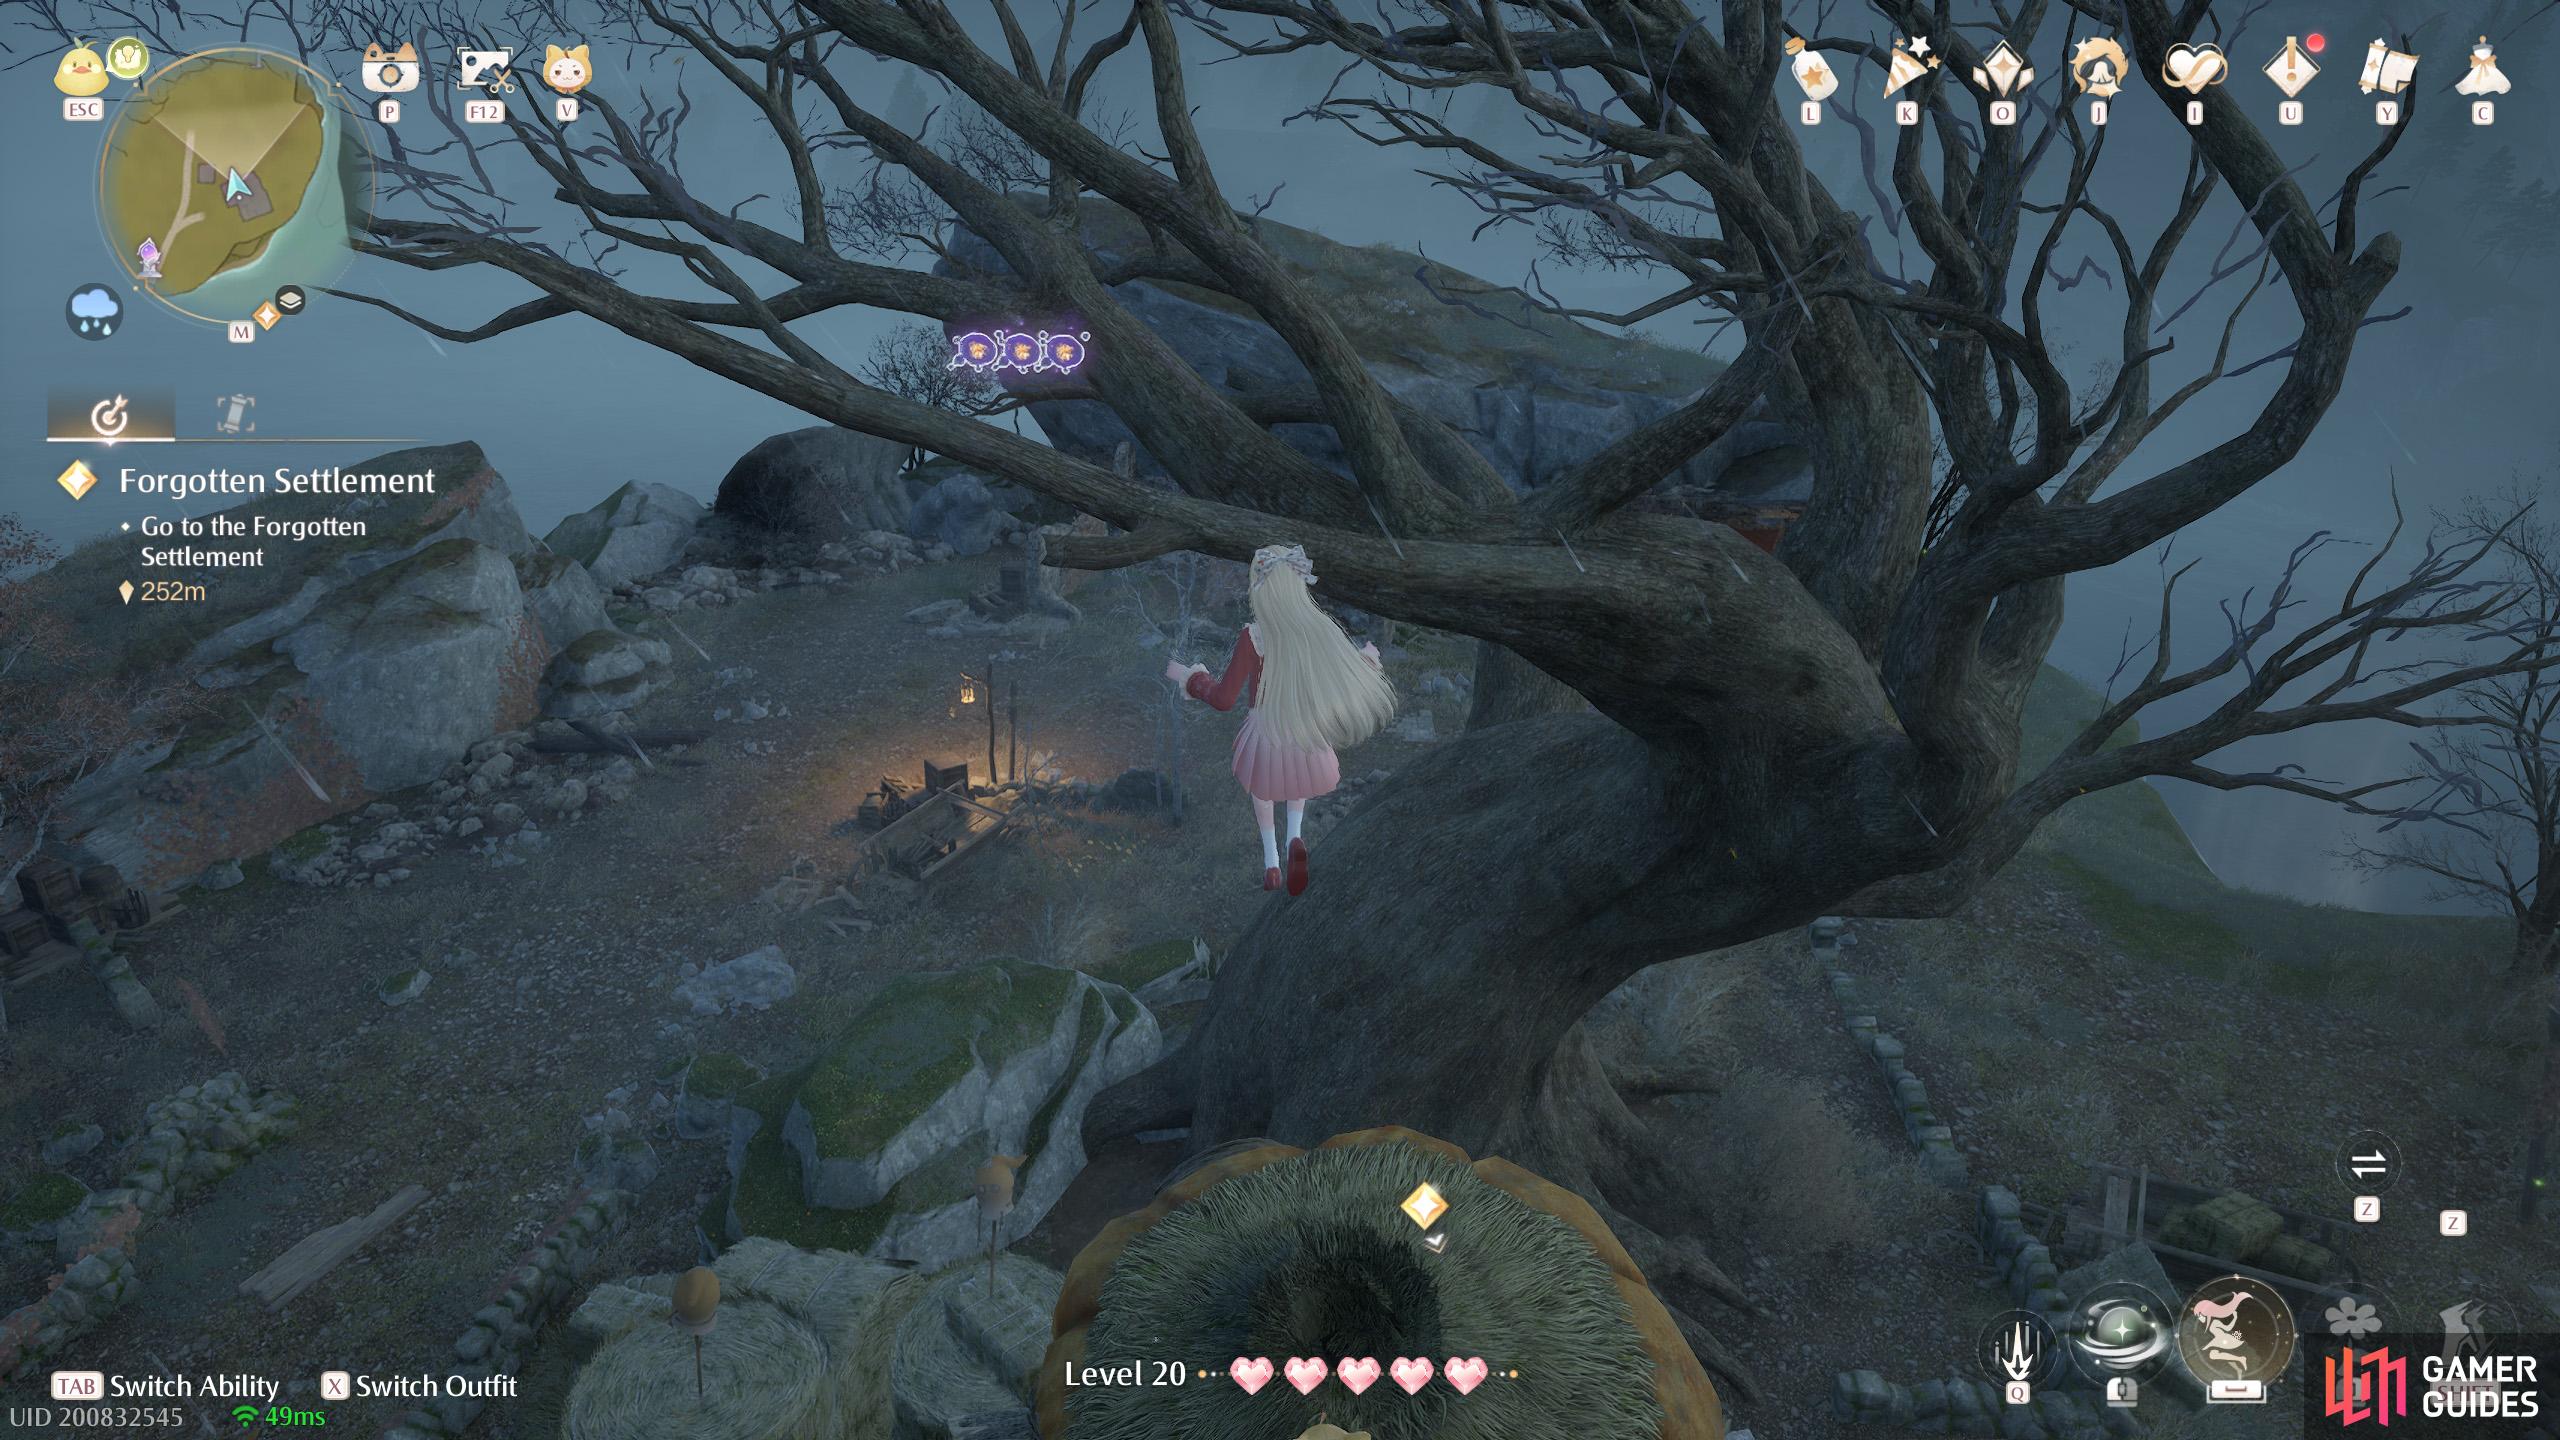
407. Miraland Map
Short distance north-east of ![]() Forgotten Village Dwelling. Three among the tree branches north of the nearby home.
Forgotten Village Dwelling. Three among the tree branches north of the nearby home.
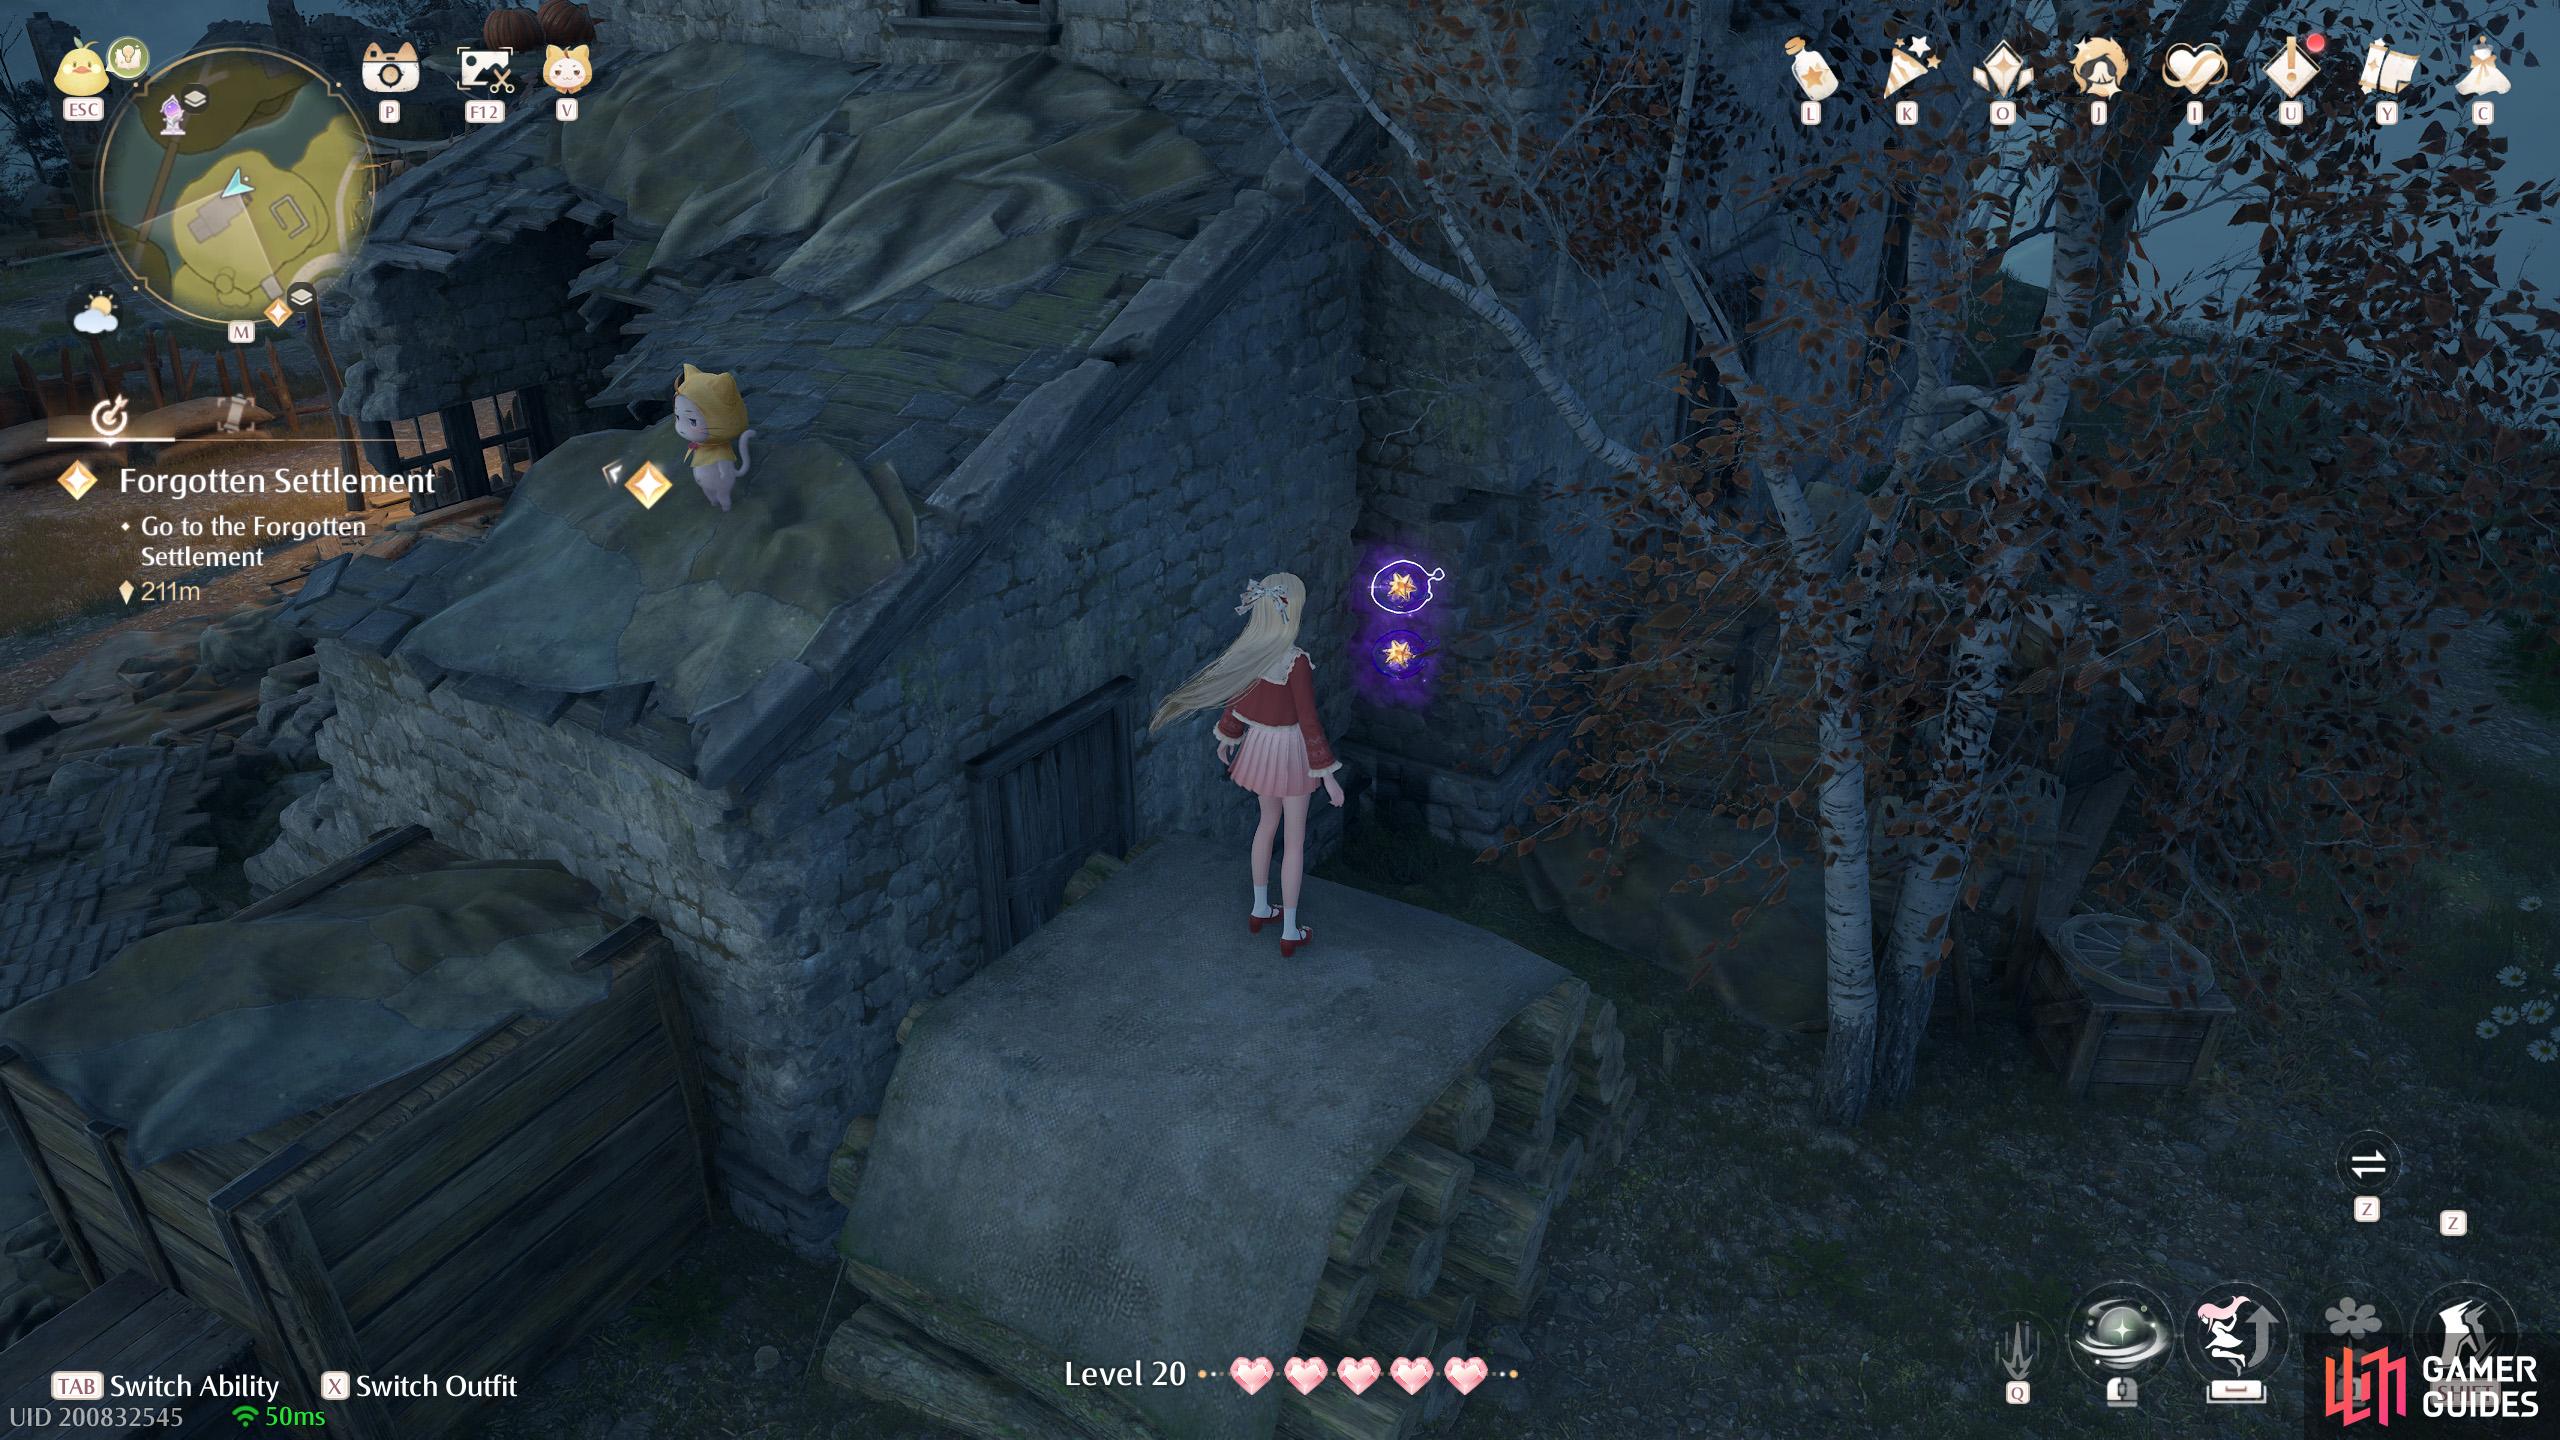
408. Miraland Map
South-east of ![]() Forgotten Village Dwelling. Two behind a building, higher up.
Forgotten Village Dwelling. Two behind a building, higher up.
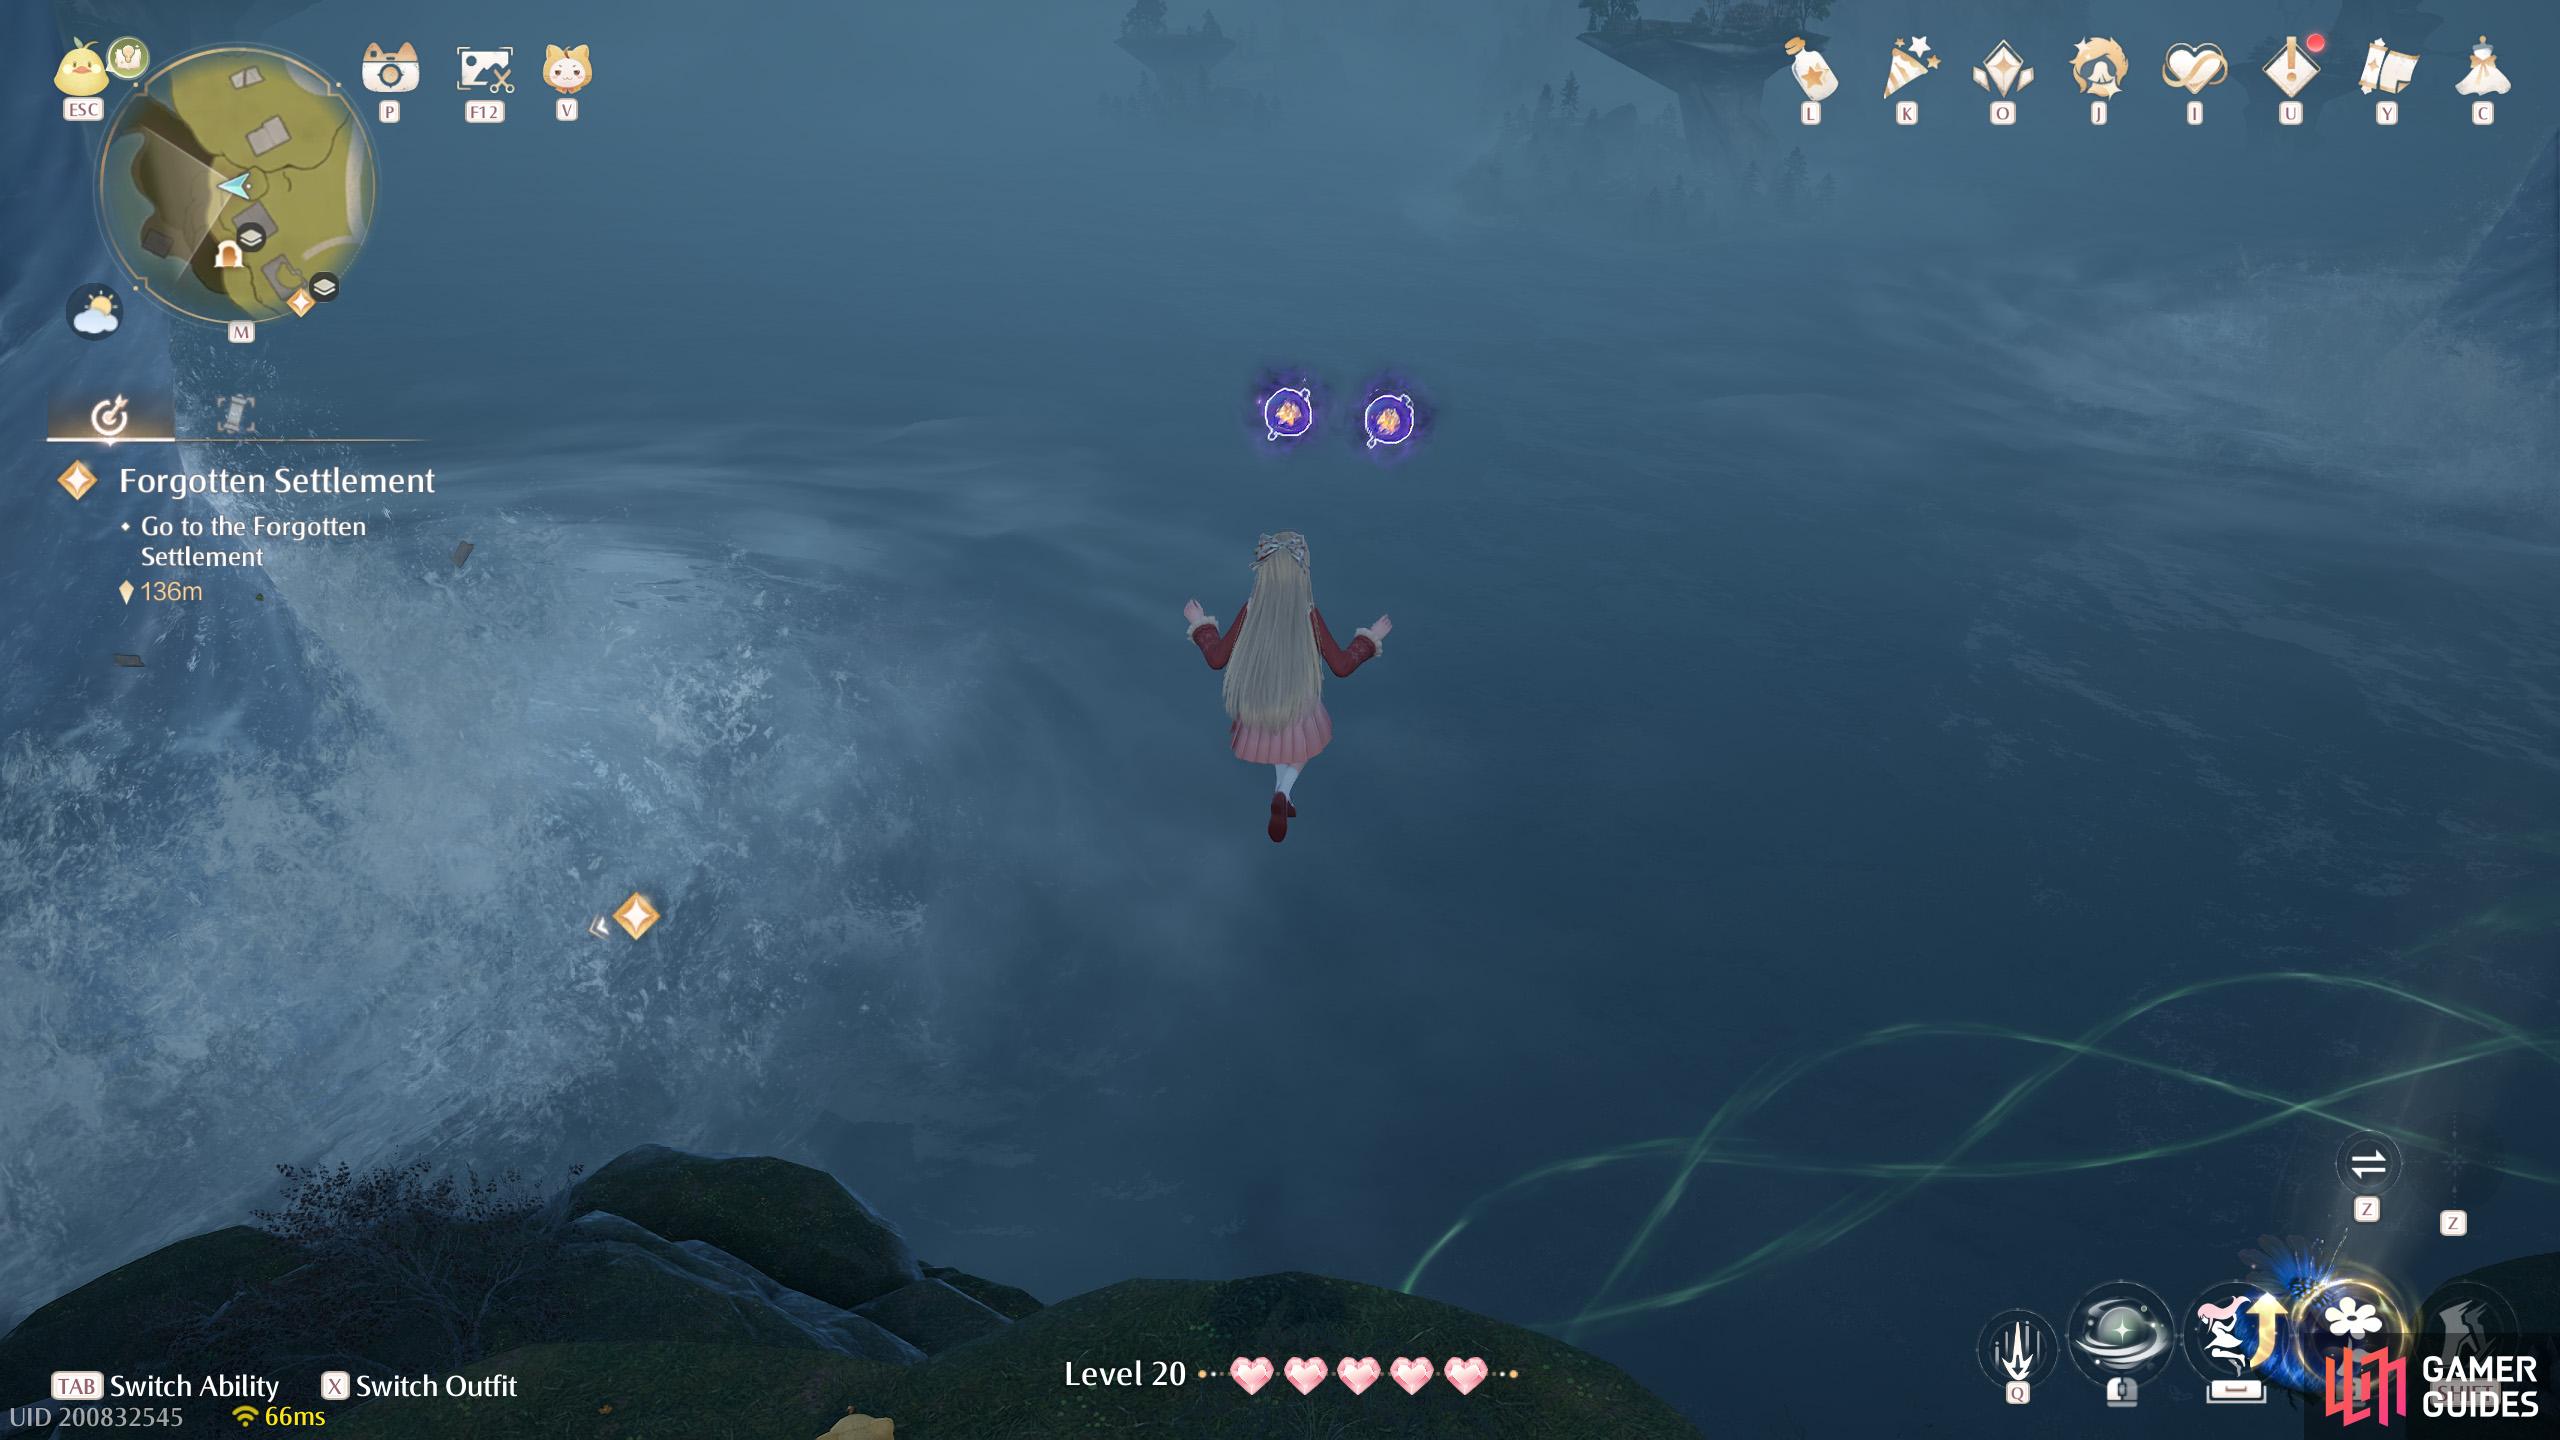
409. Miraland Map
Short distance north of ![]() Prosperville Cavern, on the middle level. Two near the top of a small stonetree.
Prosperville Cavern, on the middle level. Two near the top of a small stonetree.
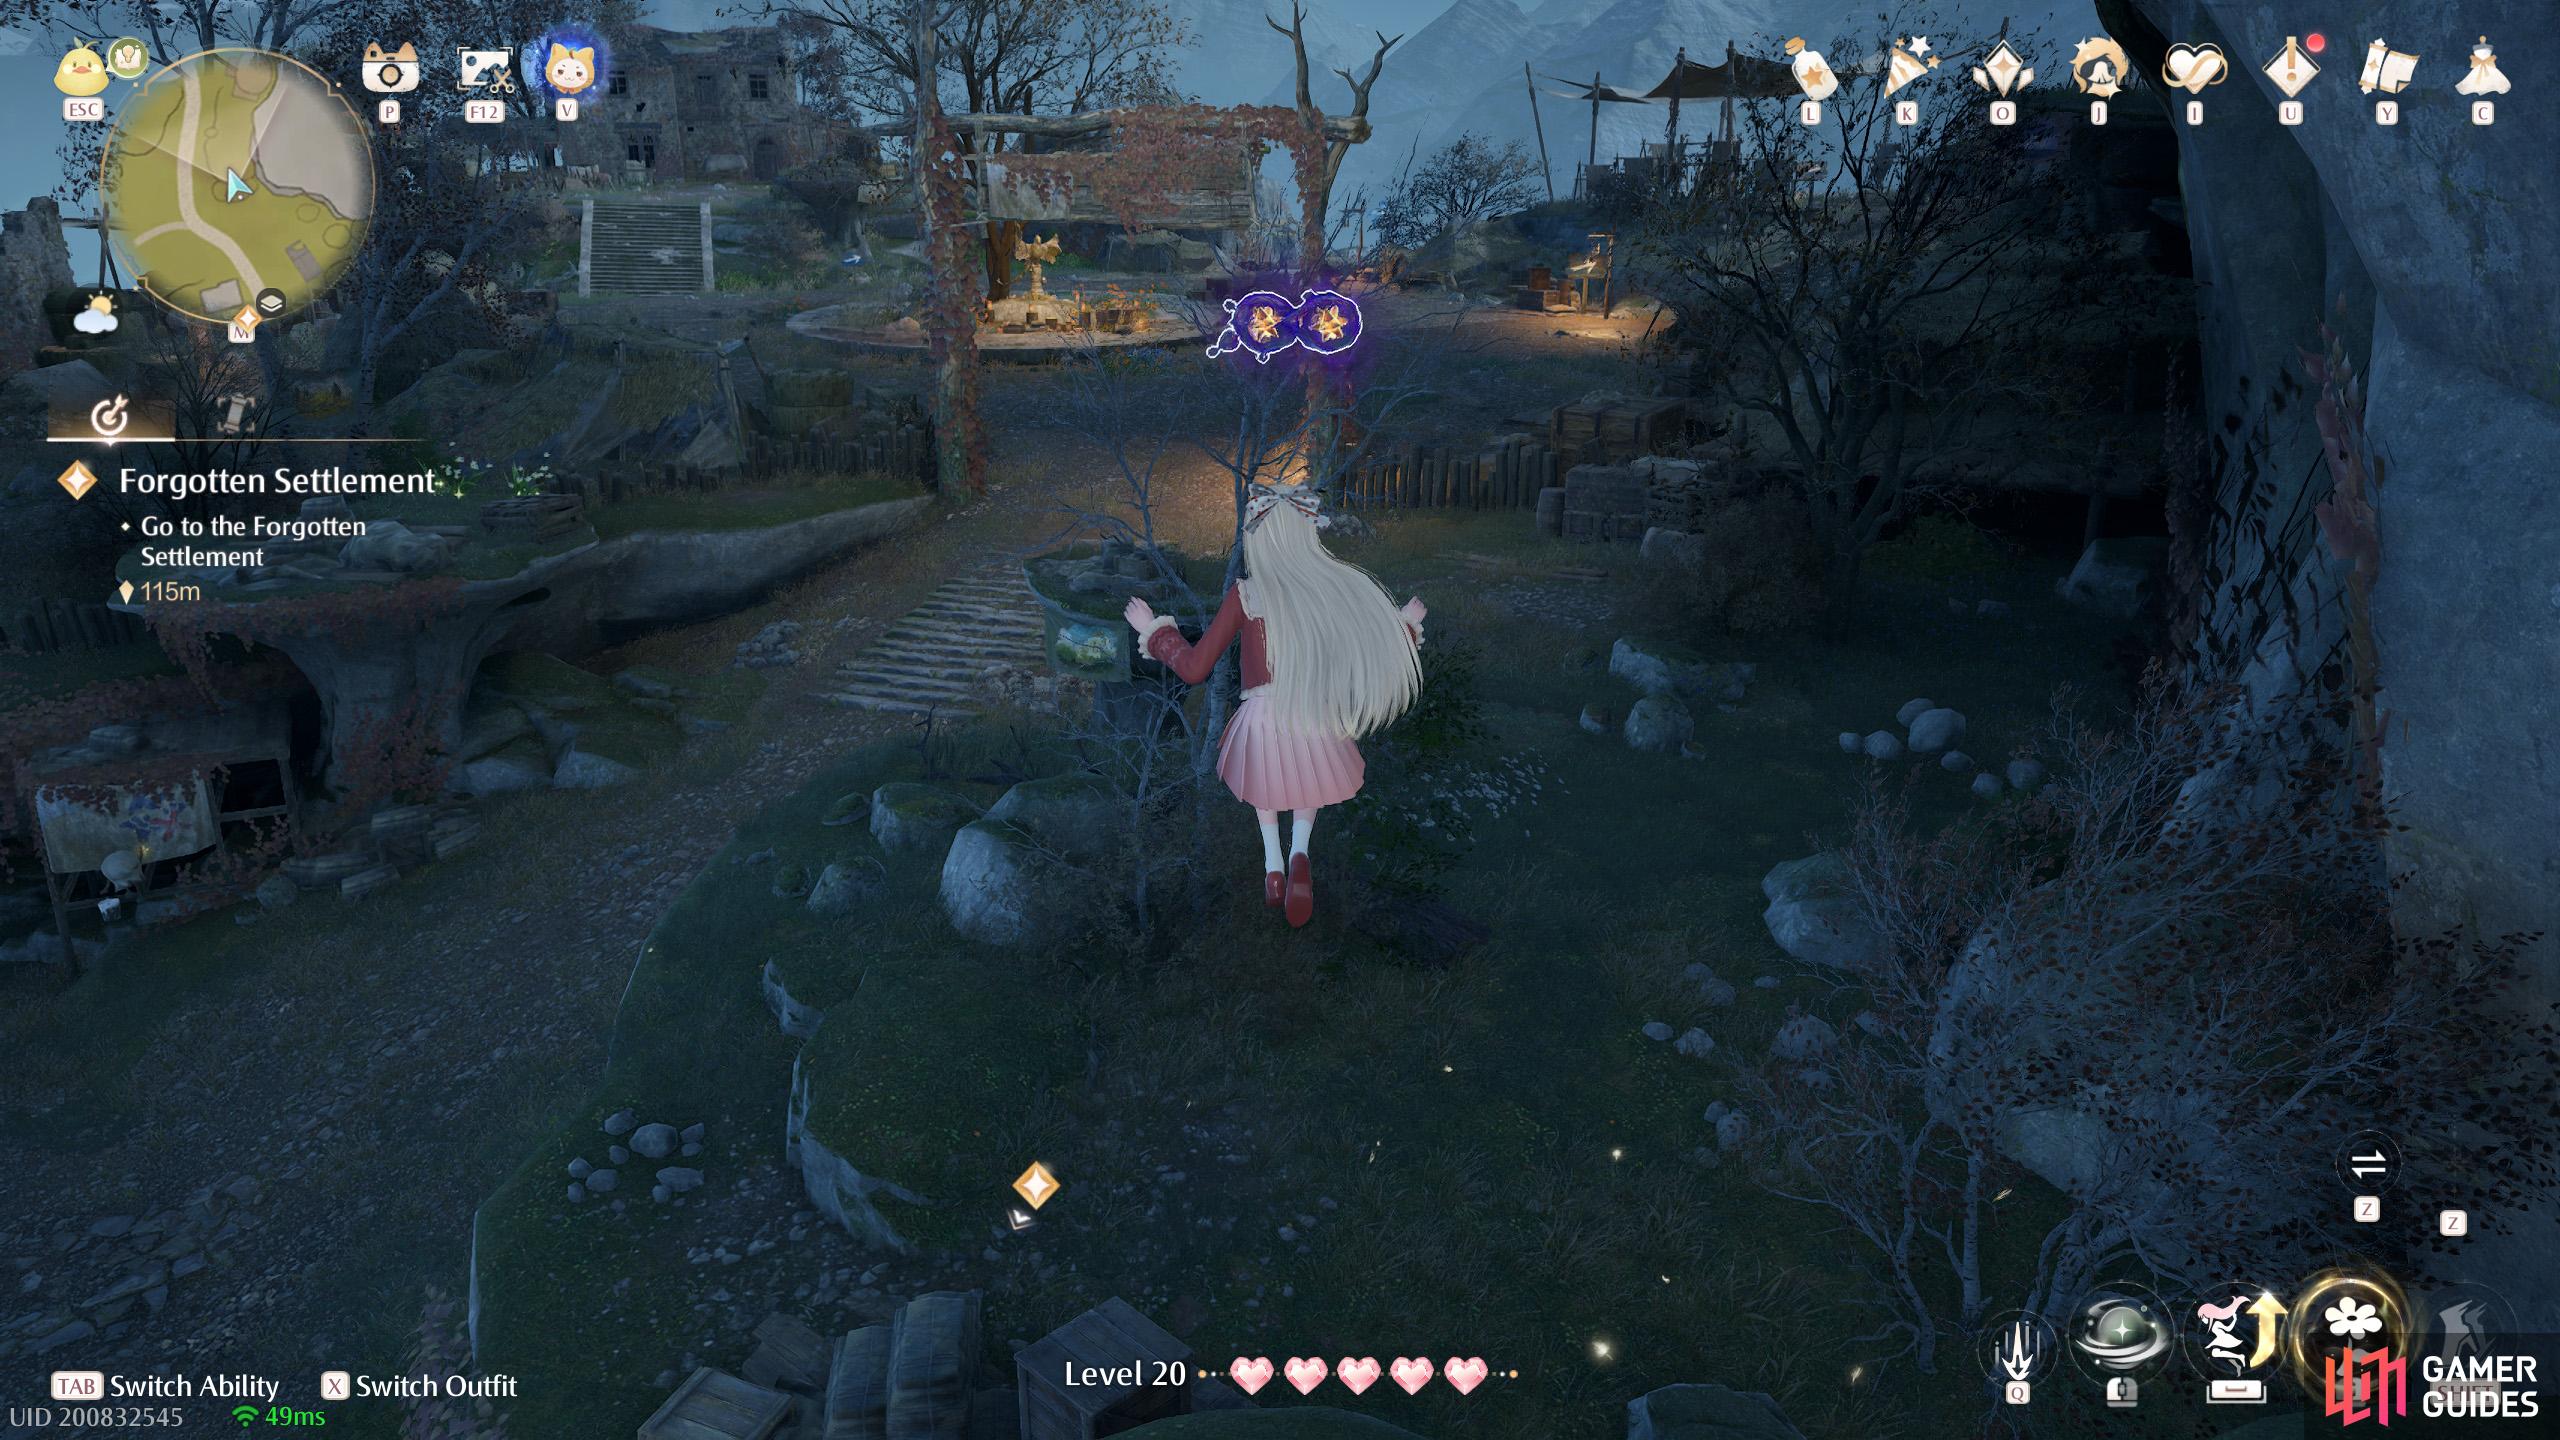
410. Miraland Map
South-east of ![]() Forgotten Village Dwelling, on the middle level. Two floating in the air near a withered tree.
Forgotten Village Dwelling, on the middle level. Two floating in the air near a withered tree.

411. Miraland Map
North-east of ![]() Prosperville Entrance, on the middle level. Two on a wagon near the wall painting.
Prosperville Entrance, on the middle level. Two on a wagon near the wall painting.
412. Miraland Map
Inside ![]() Market of Mirth Entrance Cavern. In the initial area with the air-blowing plant. Two near the south entrance/exit.
Market of Mirth Entrance Cavern. In the initial area with the air-blowing plant. Two near the south entrance/exit.
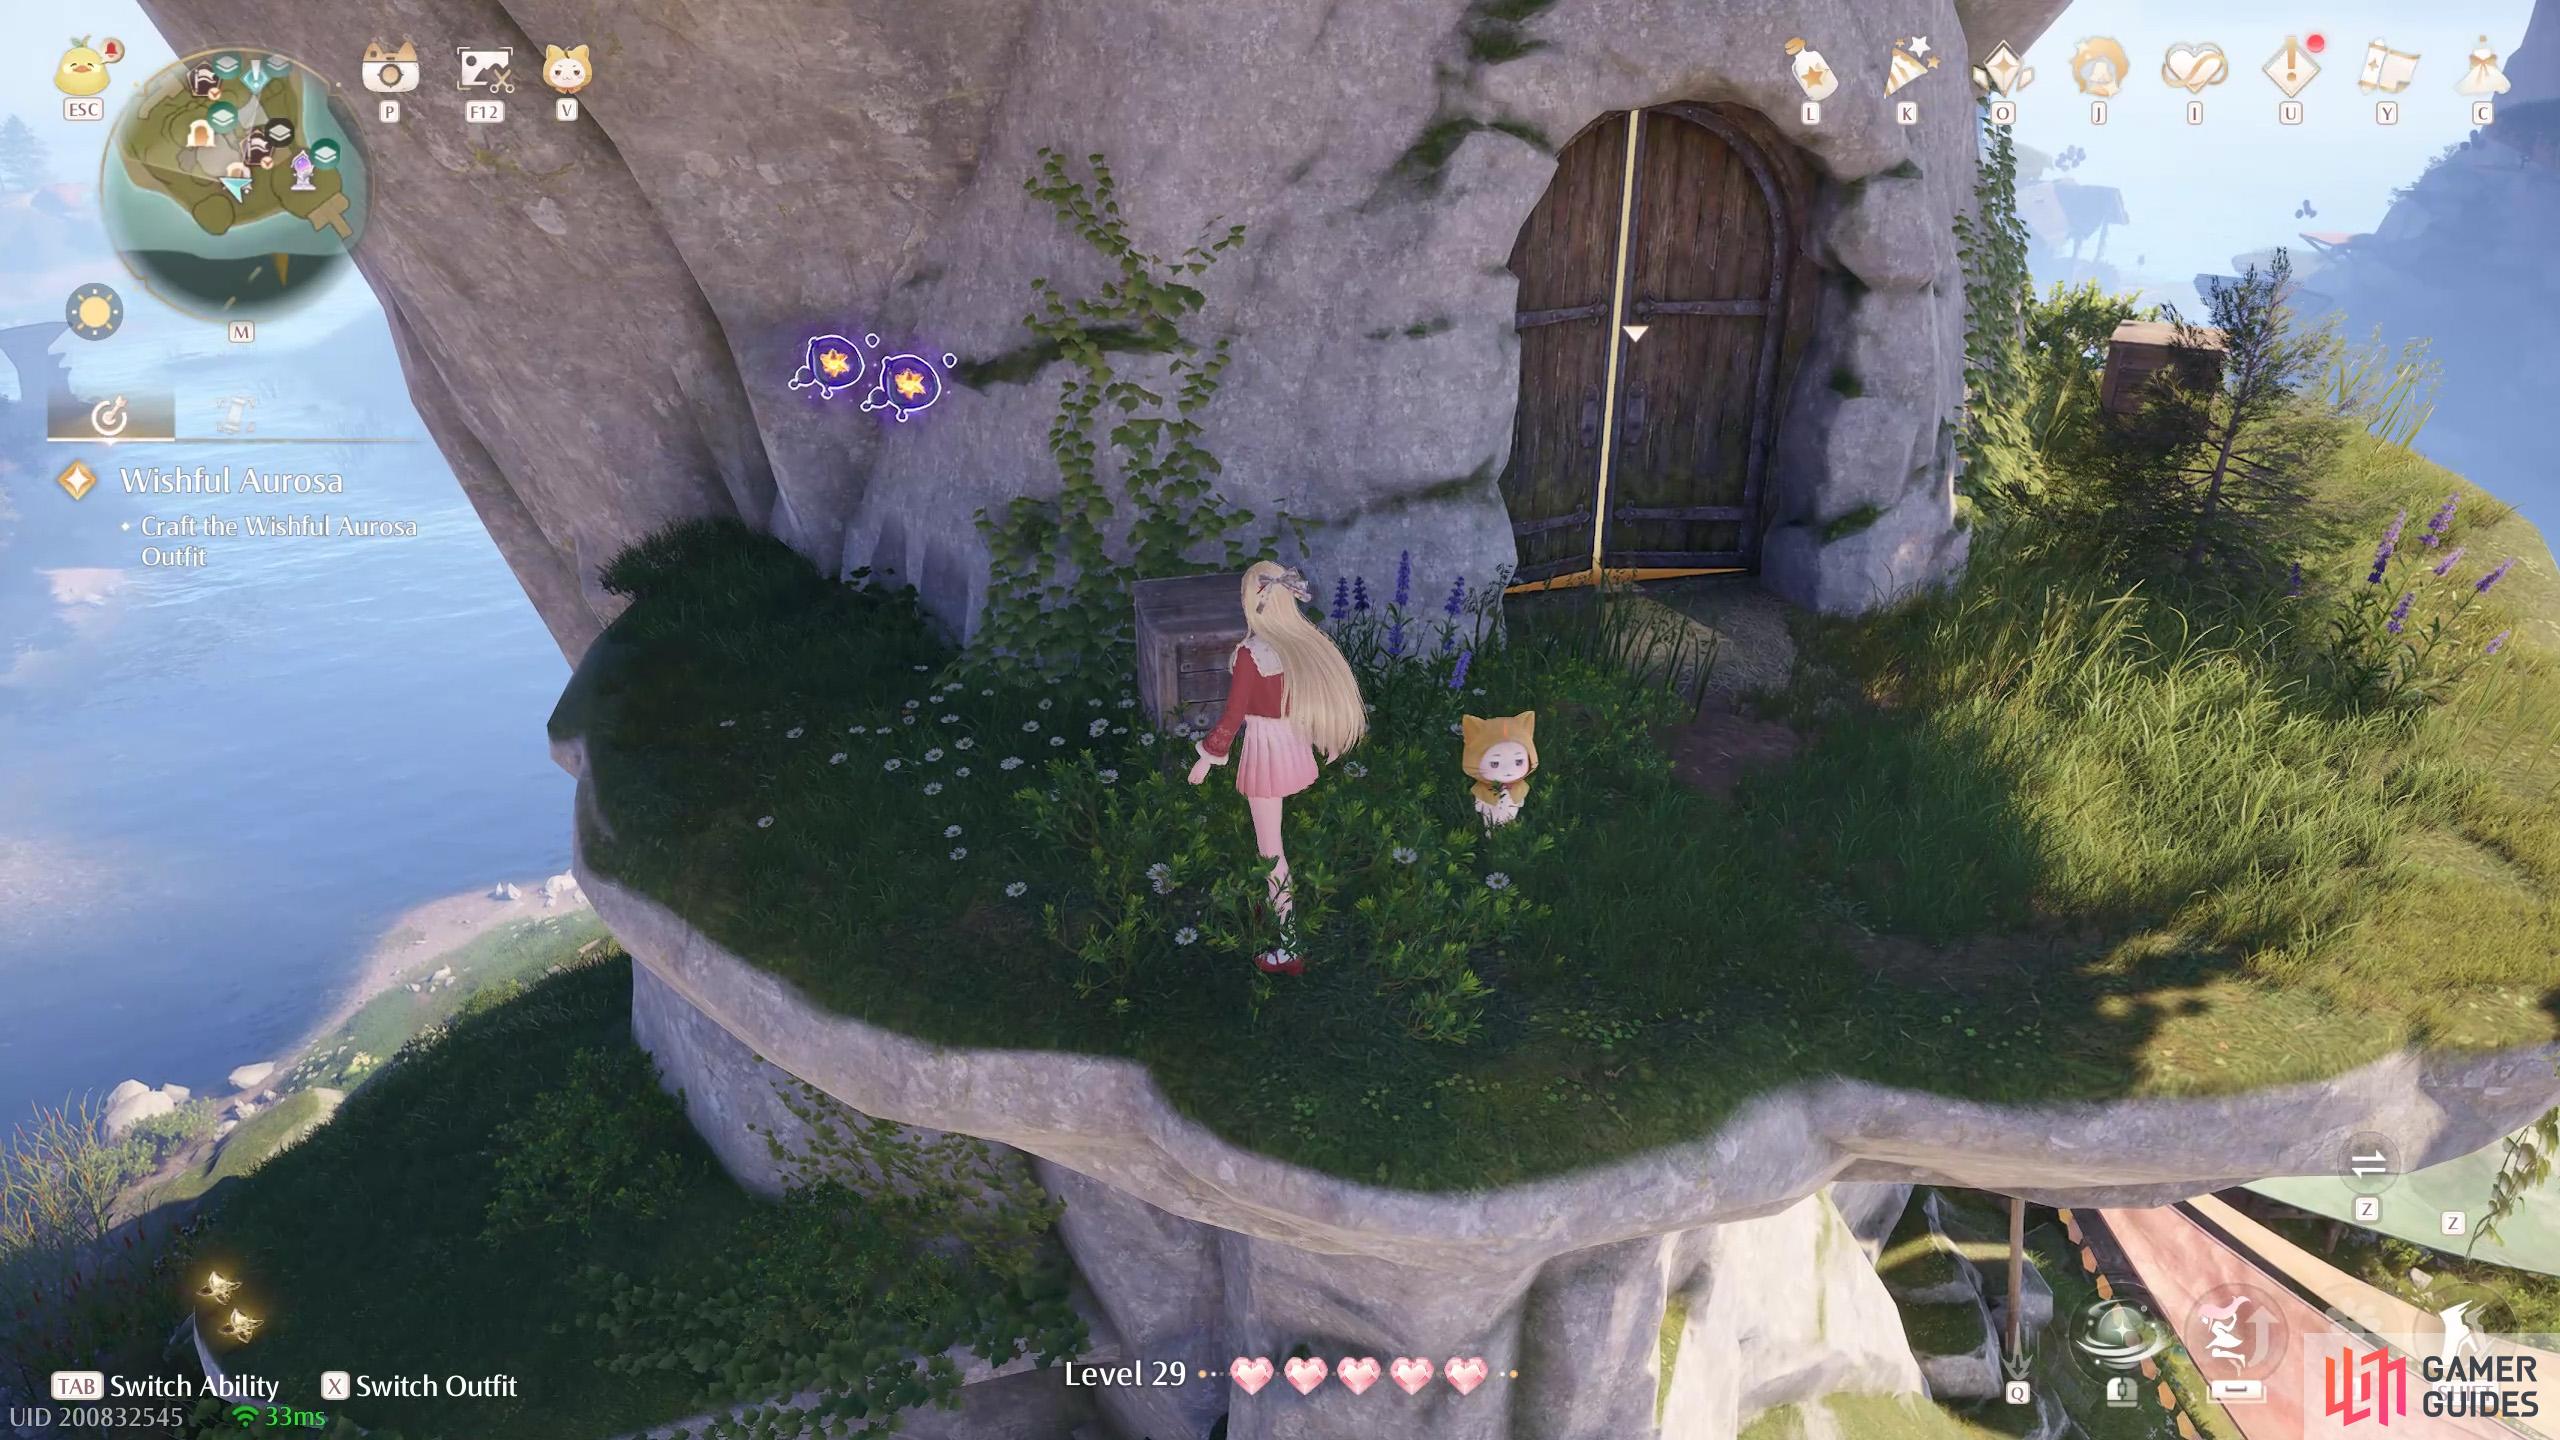
413. Miraland Map
Short distance west from the south entrance to ![]() Market of Mirth Entrance Cavern, two on a ledge underneath the stonetree canopy.
Market of Mirth Entrance Cavern, two on a ledge underneath the stonetree canopy.
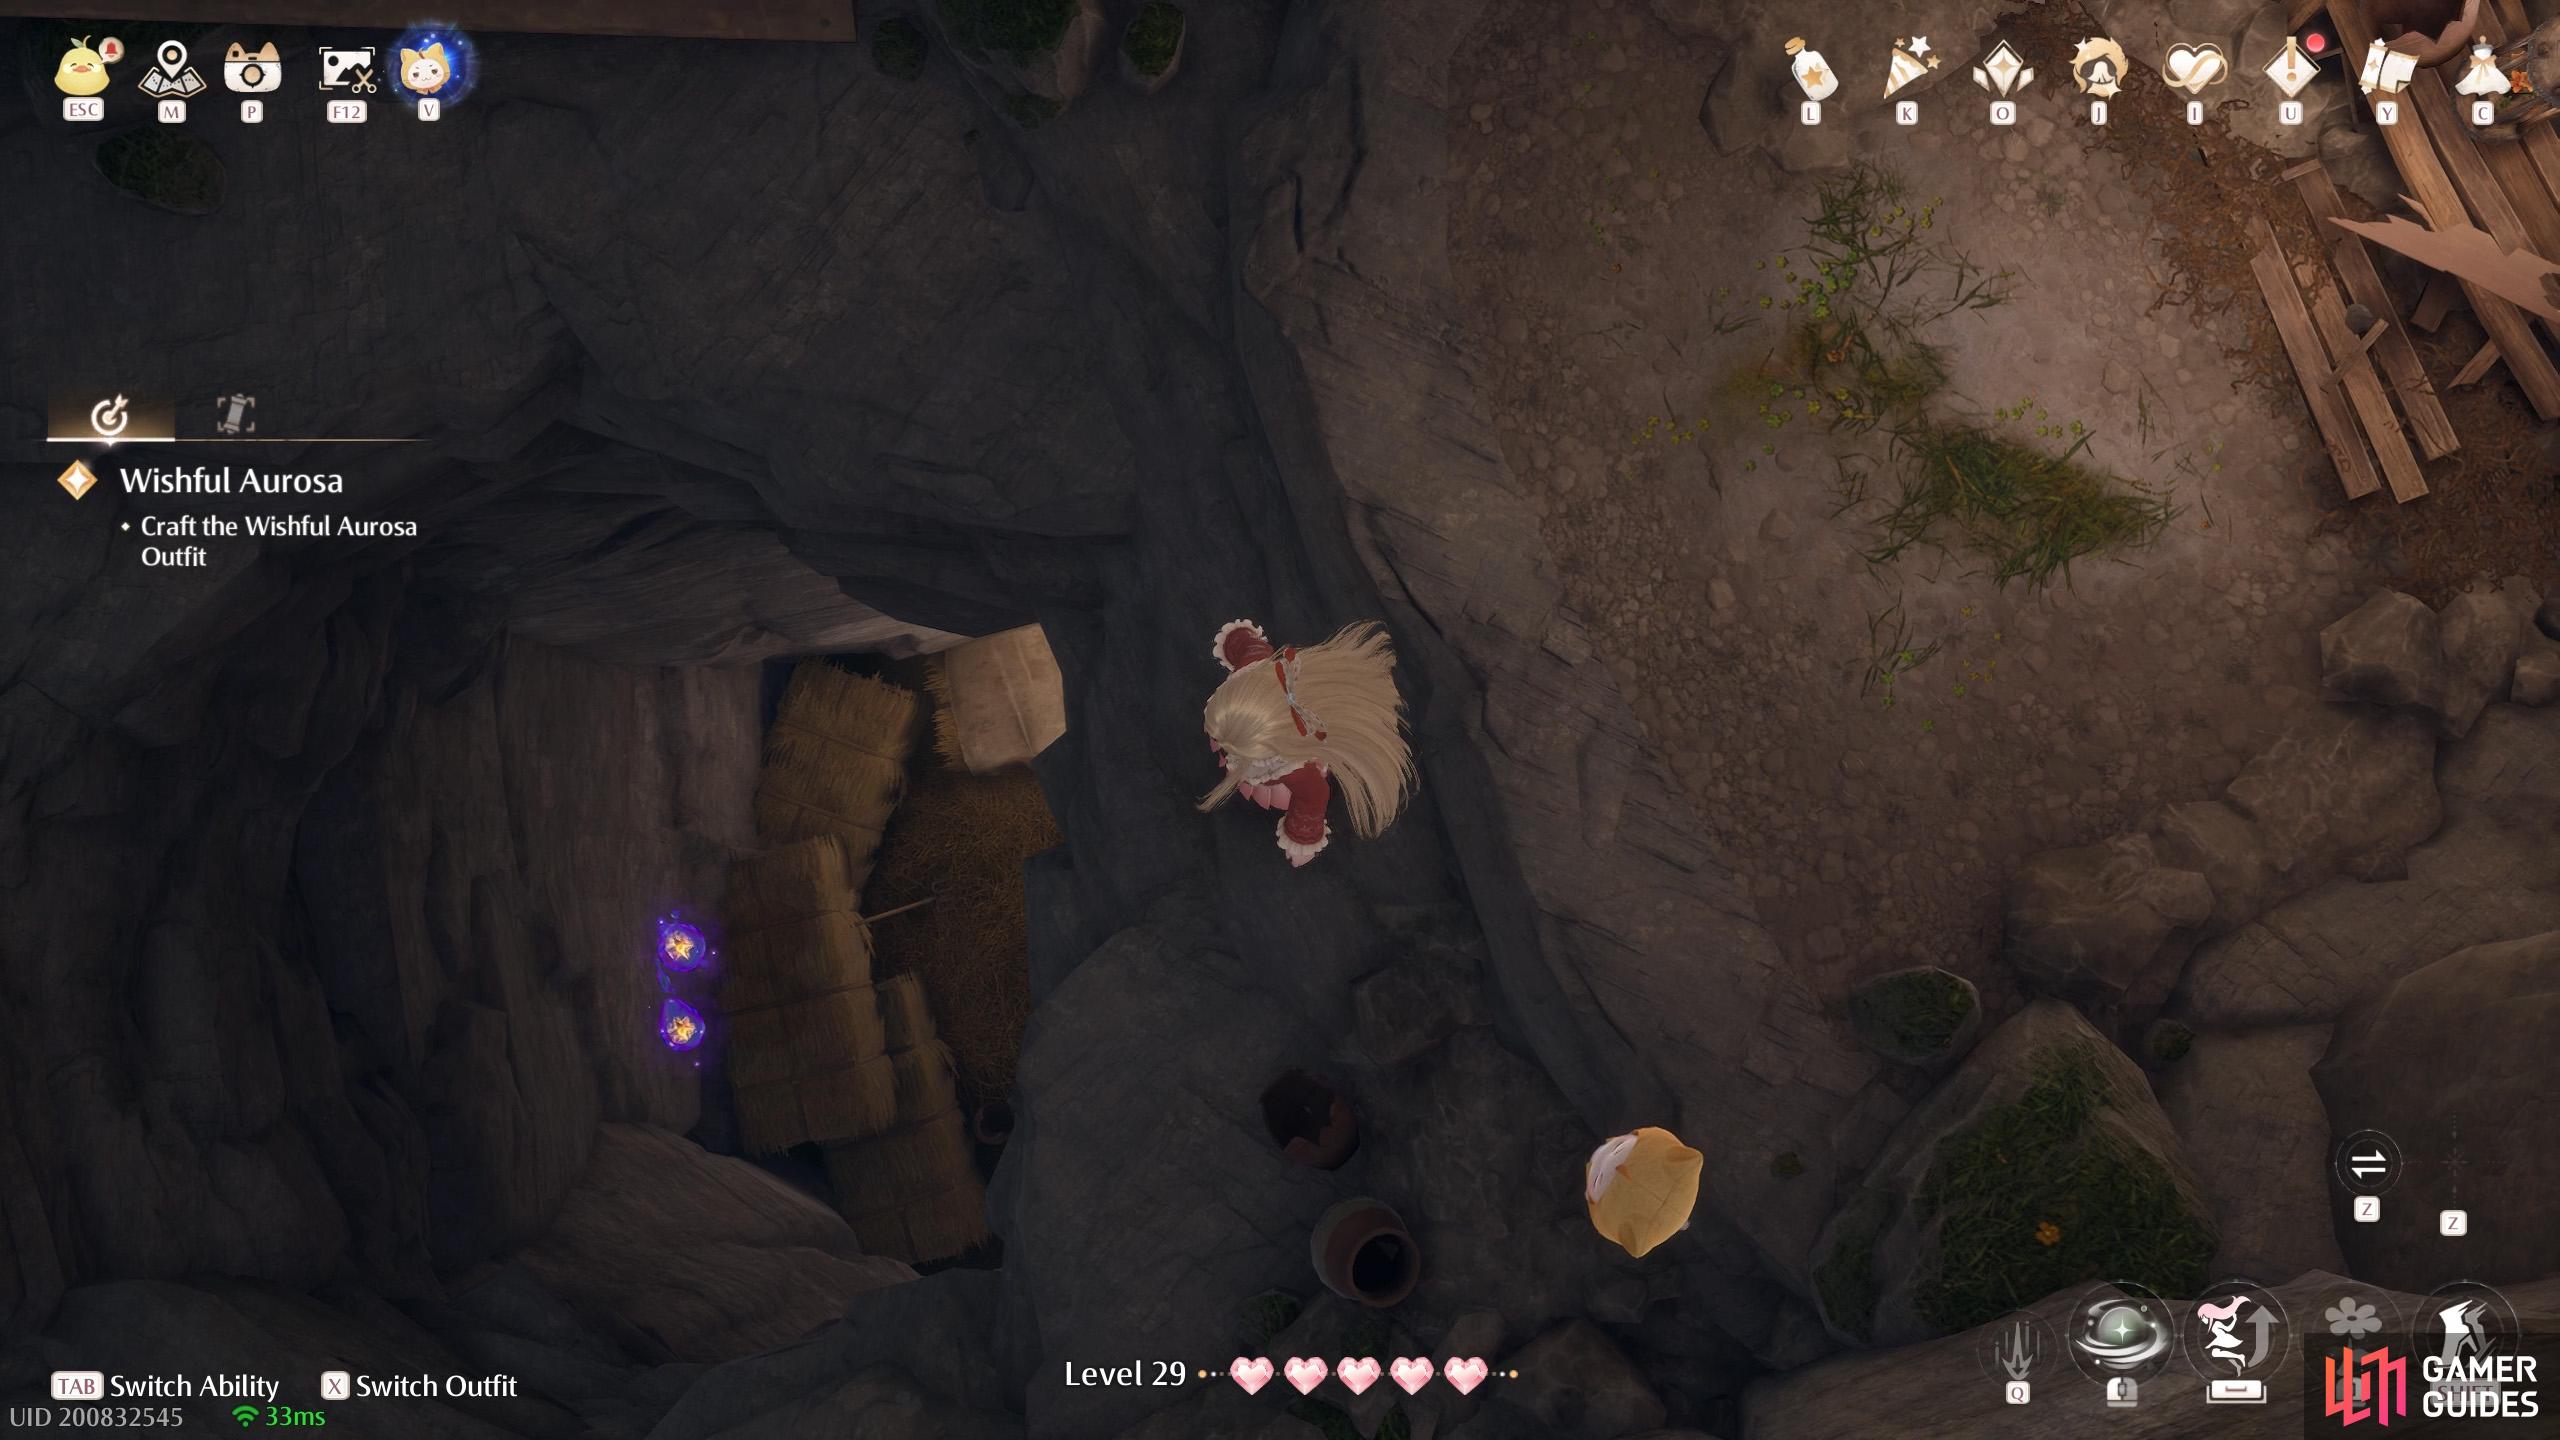
414. Miraland Map
Inside ![]() Market of Mirth Entrance Cavern. In the initial area, enter the entrance opposite the north entrance, slightly higher up. Or the entrance near the bottom without
Market of Mirth Entrance Cavern. In the initial area, enter the entrance opposite the north entrance, slightly higher up. Or the entrance near the bottom without ![]() Bling (on the left side when coming from the north entrance). If you enter from the first option, drop down the hole near the treasure chest. Either way, there are two in this short tunnel.
Bling (on the left side when coming from the north entrance). If you enter from the first option, drop down the hole near the treasure chest. Either way, there are two in this short tunnel.
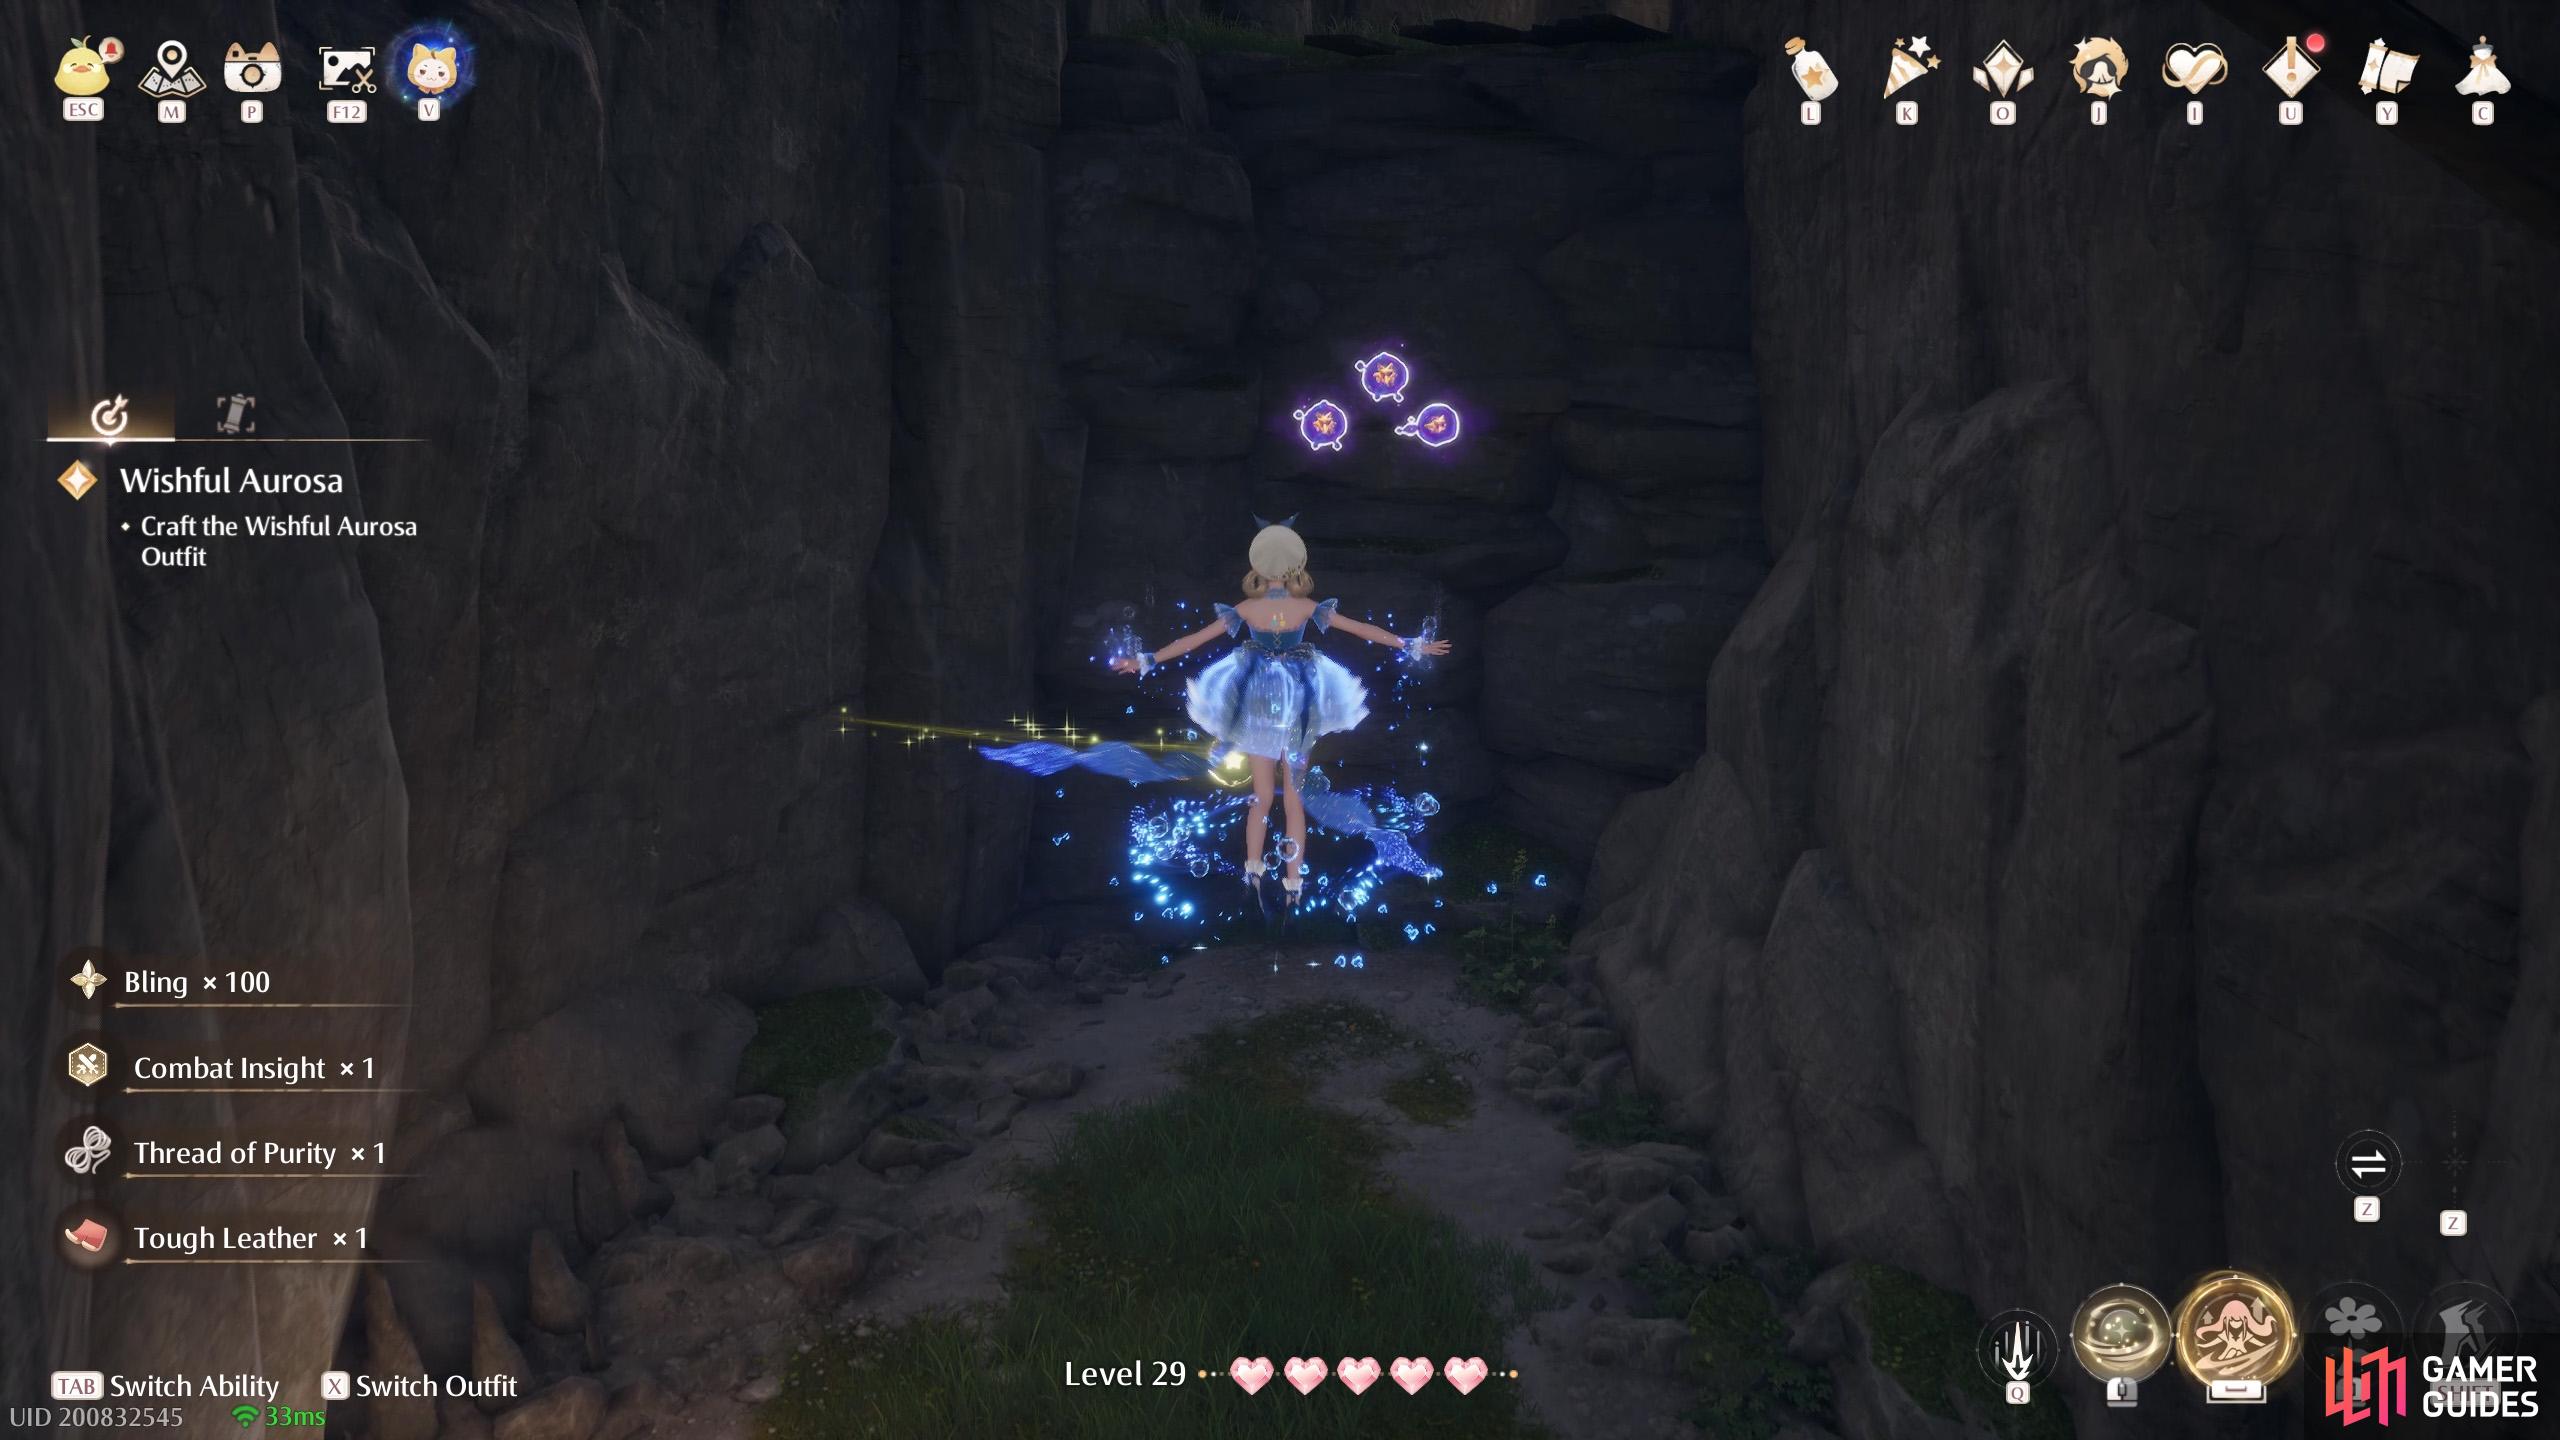
415. Miraland Map
Inside ![]() Market of Mirth Entrance Cavern. In the initial area, enter the entrance near the bottom where there’s
Market of Mirth Entrance Cavern. In the initial area, enter the entrance near the bottom where there’s ![]() Bling (on the right side when coming from the north entrance). Turn right to find three at the back, along with some Esselings.
Bling (on the right side when coming from the north entrance). Turn right to find three at the back, along with some Esselings.
416. Miraland Map
Inside ![]() Campsite Cavern. When the area opens up, head left. When there’s water on the right hand side, jump down onto the stepping stones. Then turn around to find two near the wall. Can’t fool us!
Campsite Cavern. When the area opens up, head left. When there’s water on the right hand side, jump down onto the stepping stones. Then turn around to find two near the wall. Can’t fool us!
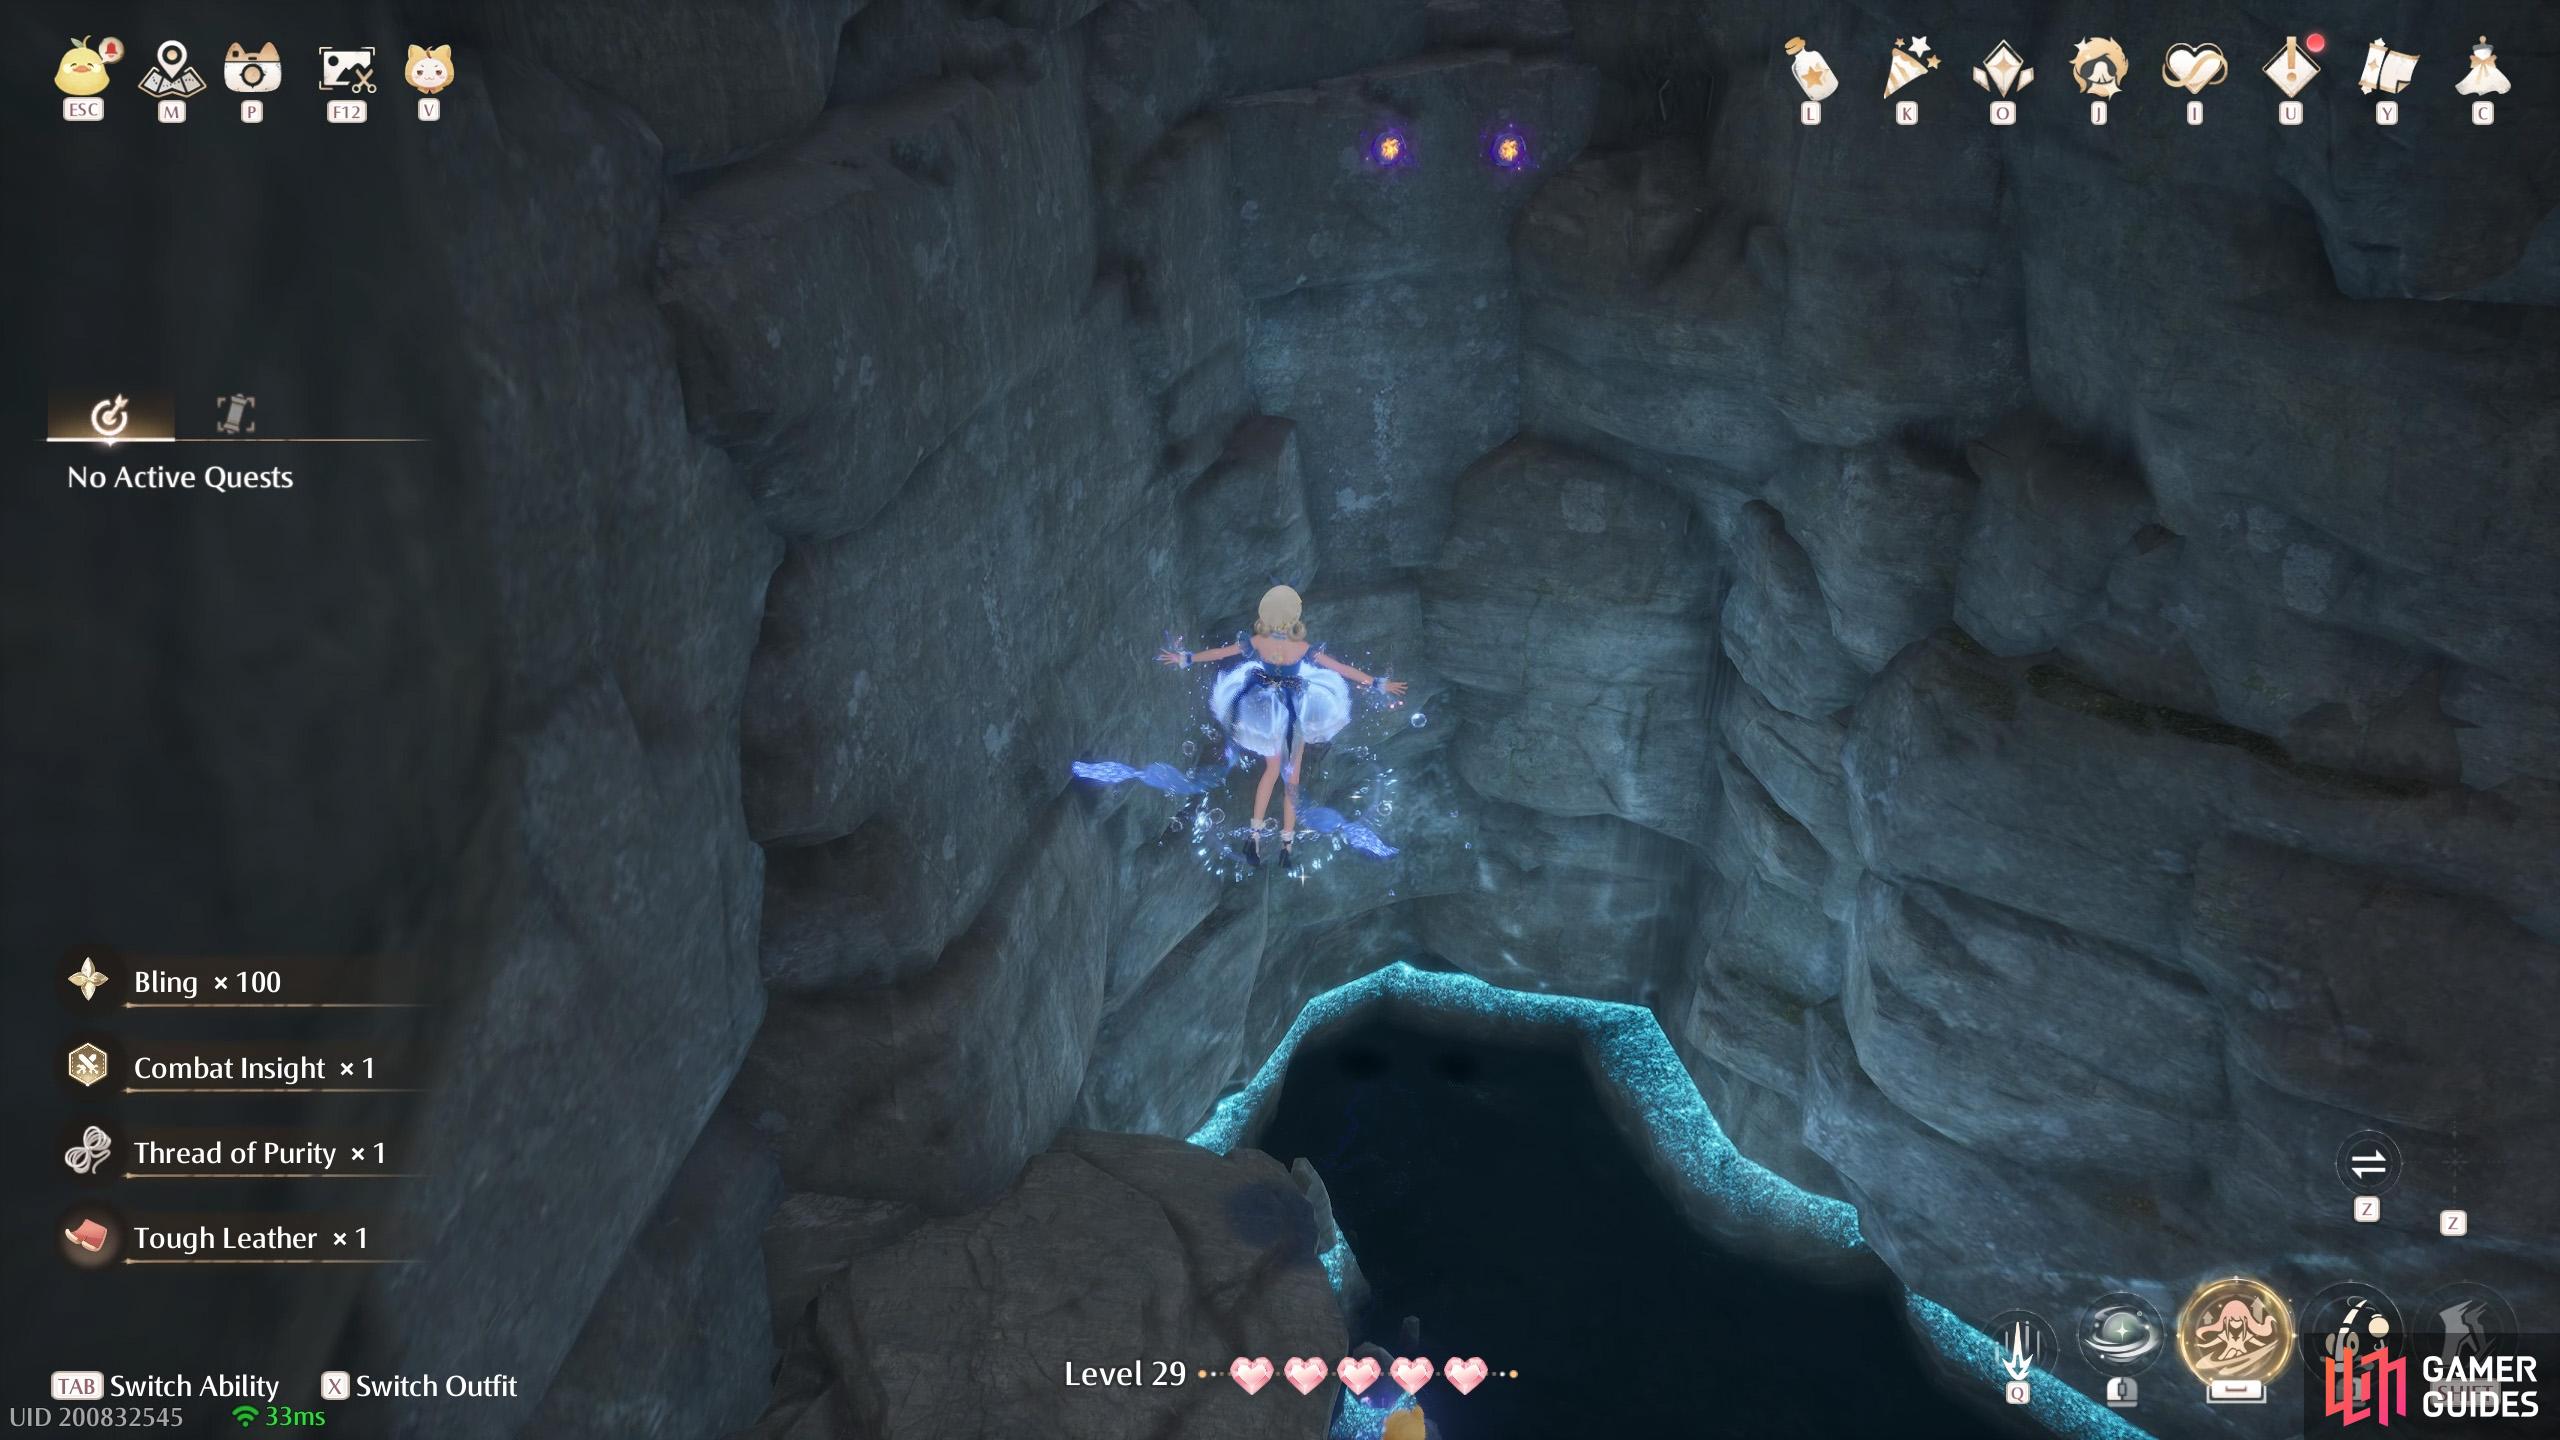
417. Miraland Map
Inside ![]() Campsite Cavern. Along the left-hand side path. At a corner, there’s a small group of Esselings, including one on a higher ledge. Jump on that ledge to find two floating high up near the back. If you’re finding it difficult to reach them, jump onto the small sloping part of the wall on the left.
Campsite Cavern. Along the left-hand side path. At a corner, there’s a small group of Esselings, including one on a higher ledge. Jump on that ledge to find two floating high up near the back. If you’re finding it difficult to reach them, jump onto the small sloping part of the wall on the left.
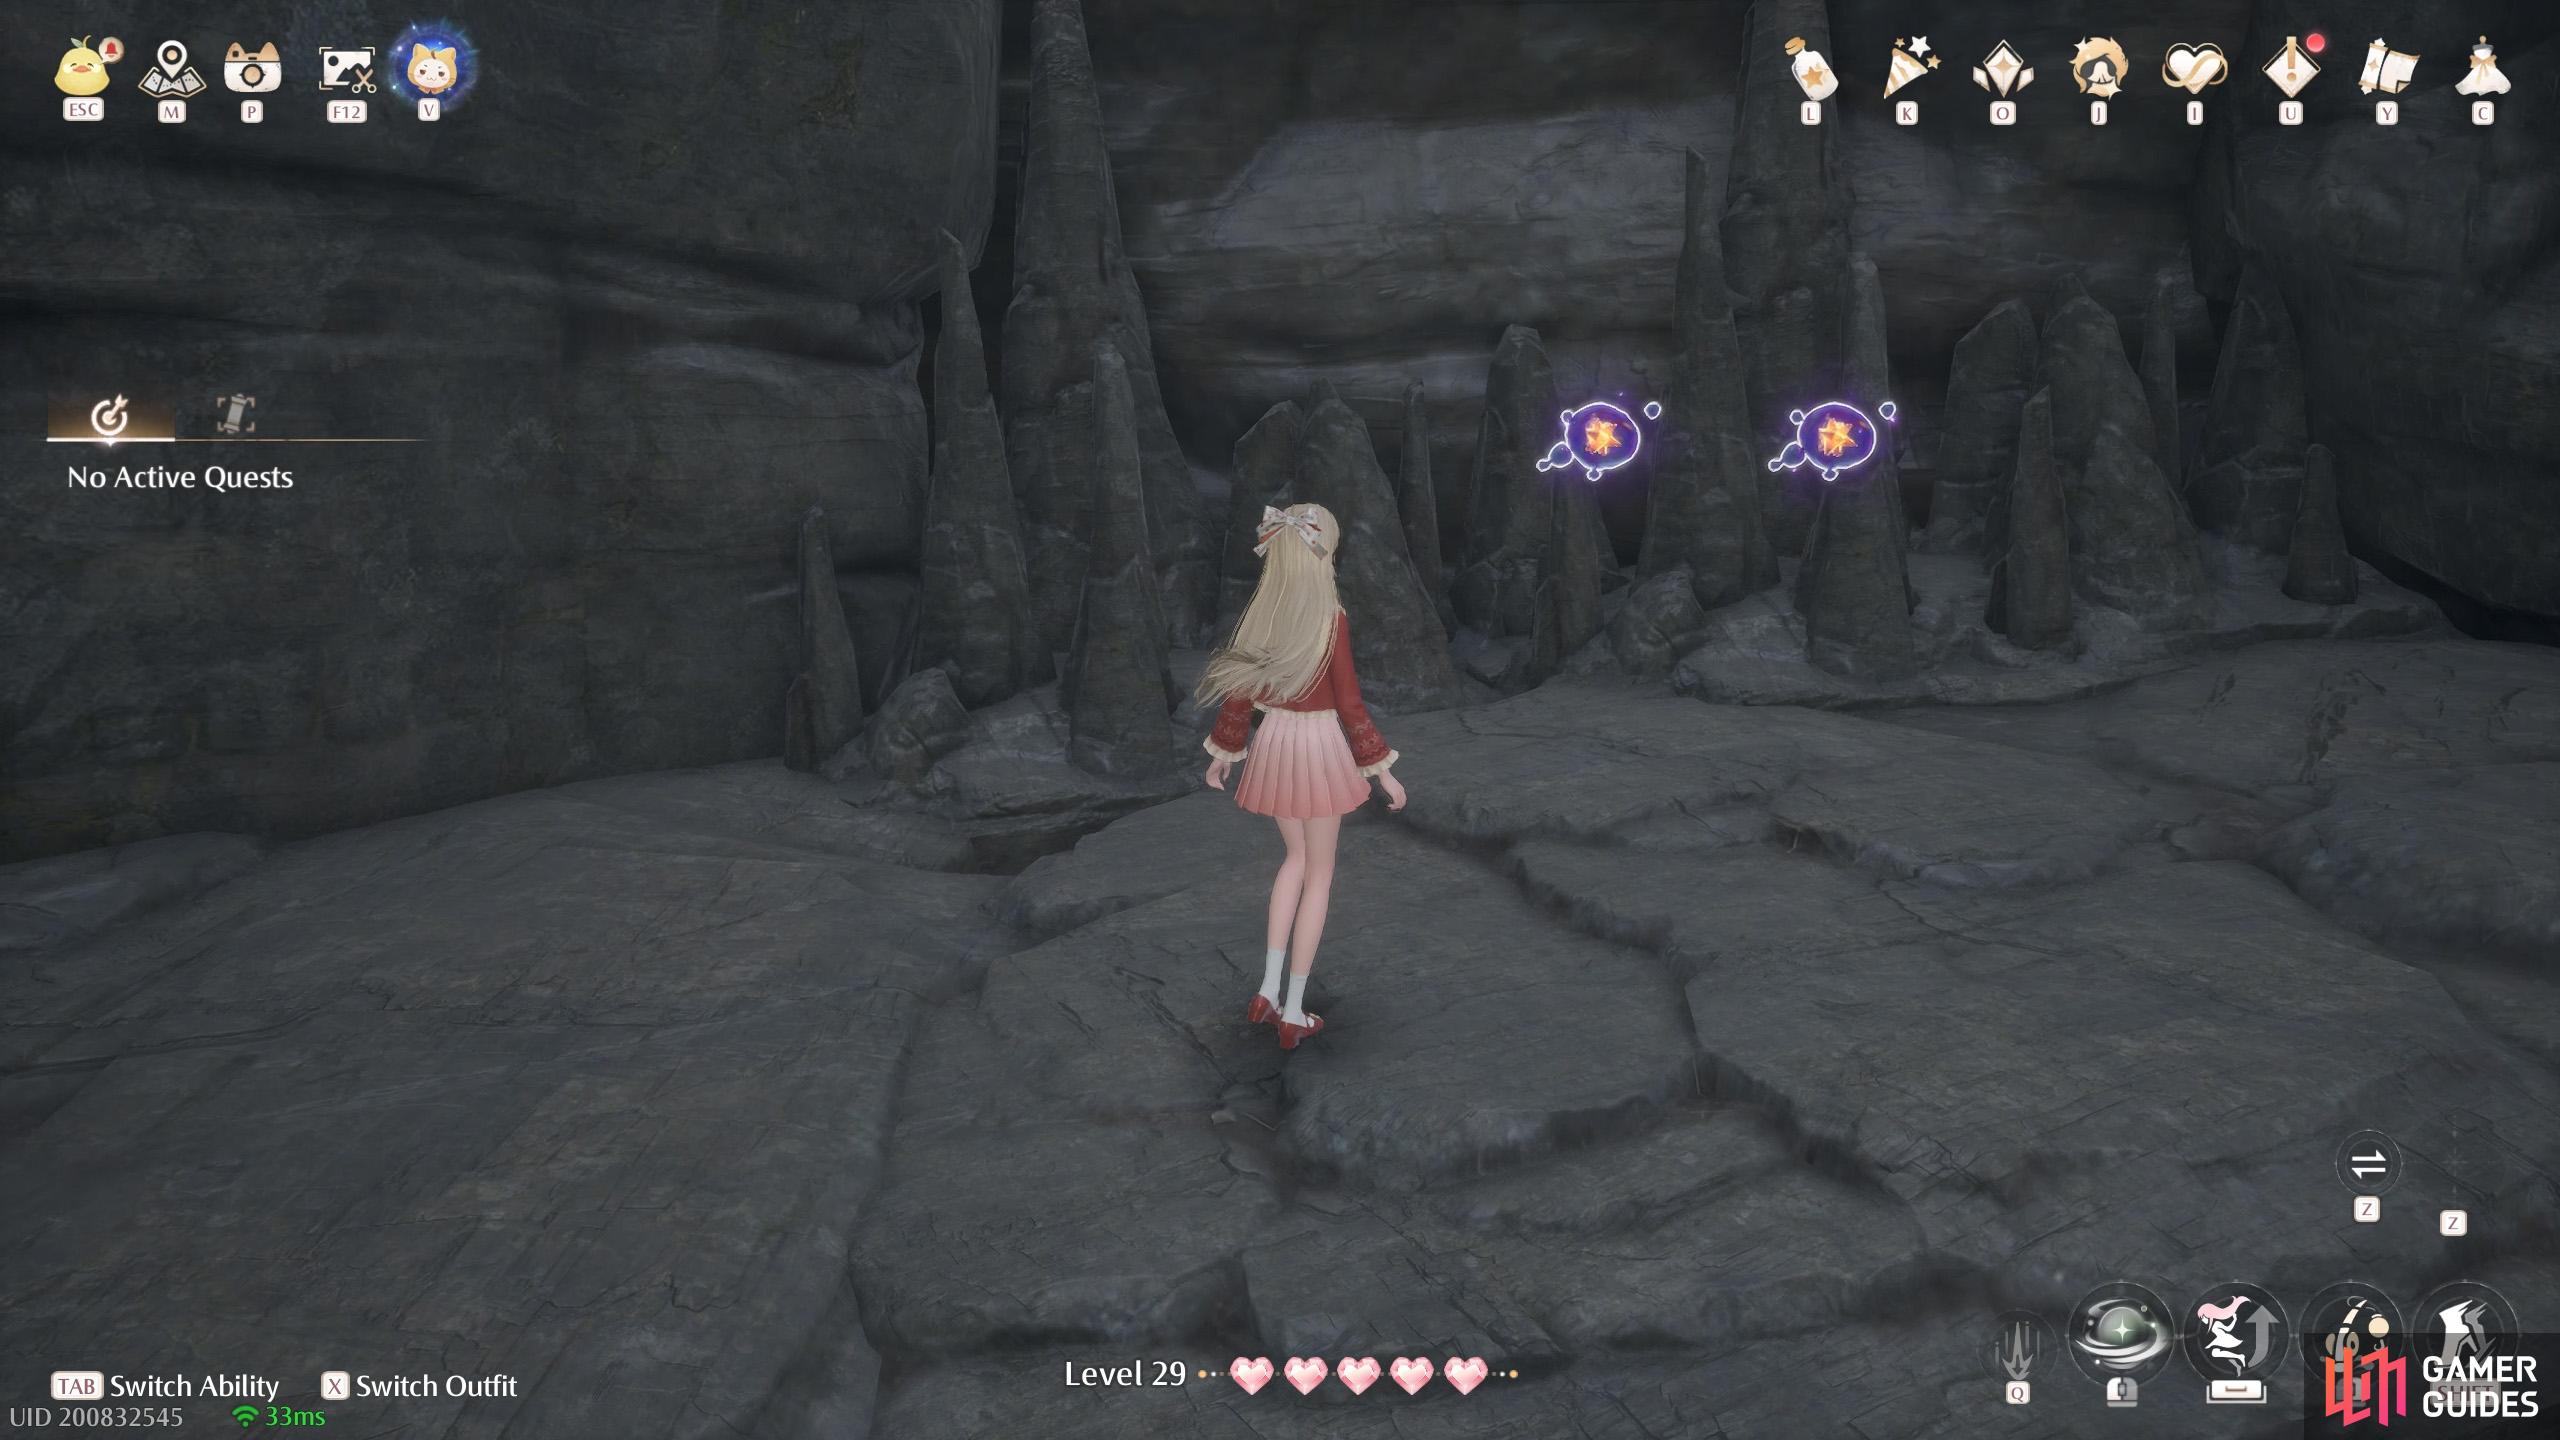
418. Miraland Map
Inside ![]() Campsite Cavern. Two near some jagged rocks just past the stepping stone bridge–also, where the
Campsite Cavern. Two near some jagged rocks just past the stepping stone bridge–also, where the ![]() Abandoned Fanatic Wisher Camp (Photo Spot) is. If you’re coming from the left-hand side path, otherwise they’re before the bridge if you’re coming from the right.
Abandoned Fanatic Wisher Camp (Photo Spot) is. If you’re coming from the left-hand side path, otherwise they’re before the bridge if you’re coming from the right.
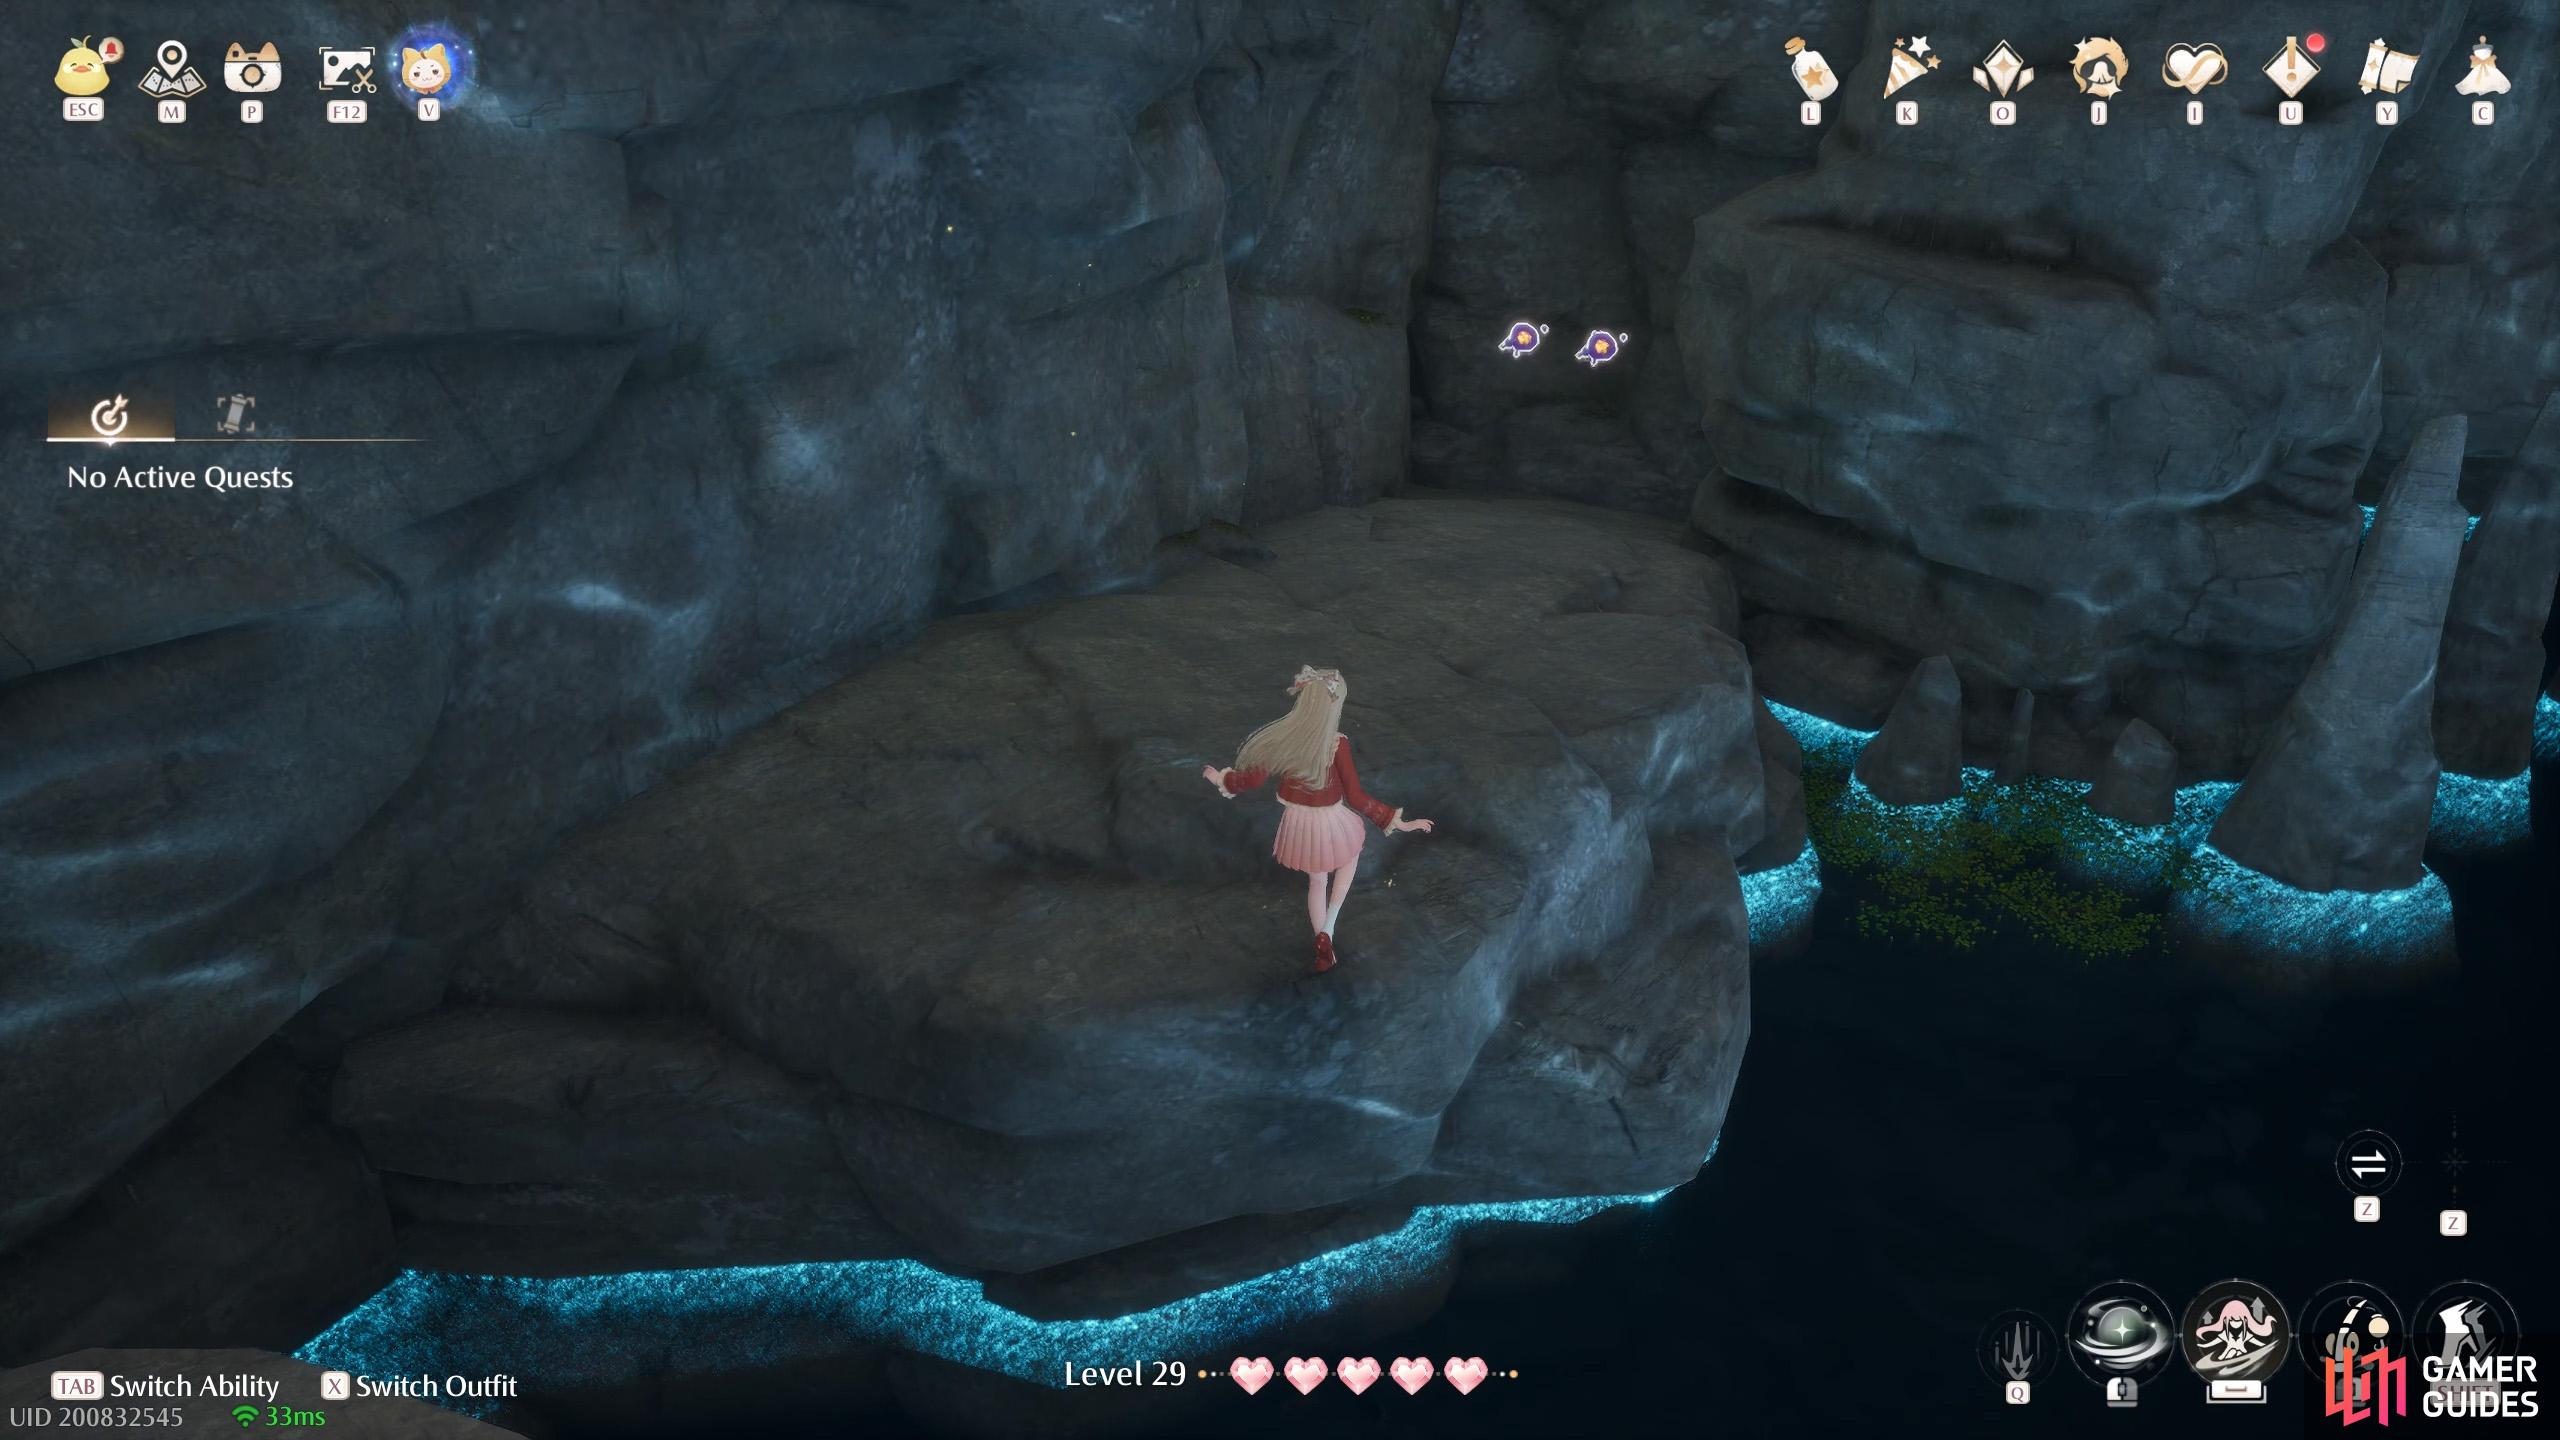
419. Miraland Map
Inside ![]() Campsite Cavern. Near the stepping stone bridge (and the photo spot), two in a far corner. If you came from the left path, jump onto the higher ground, then head right. If you came from the right path, follow the slope left.
Campsite Cavern. Near the stepping stone bridge (and the photo spot), two in a far corner. If you came from the left path, jump onto the higher ground, then head right. If you came from the right path, follow the slope left.

420. Miraland Map
Inside ![]() Campsite Cavern. Near the start of the right path, up on the higher ground to the right. If you came from the left path, you’ll eventually loop back here (in which case, it’ll be on your left). Defeat the Esseling atop the rock mound, then stand on top to reach two of these floating high up near a stalactite.
Campsite Cavern. Near the start of the right path, up on the higher ground to the right. If you came from the left path, you’ll eventually loop back here (in which case, it’ll be on your left). Defeat the Esseling atop the rock mound, then stand on top to reach two of these floating high up near a stalactite.
421. Miraland Map
Inside ![]() Campsite Cavern. Head along the middle path, which leads up the cavern. Stick to the left. Eventually, there’s a group of Esselings and a treasure chest. Turn around to find two of these floating slightly lower down. You can reach them by landing on a ledge to the left.
Campsite Cavern. Head along the middle path, which leads up the cavern. Stick to the left. Eventually, there’s a group of Esselings and a treasure chest. Turn around to find two of these floating slightly lower down. You can reach them by landing on a ledge to the left.
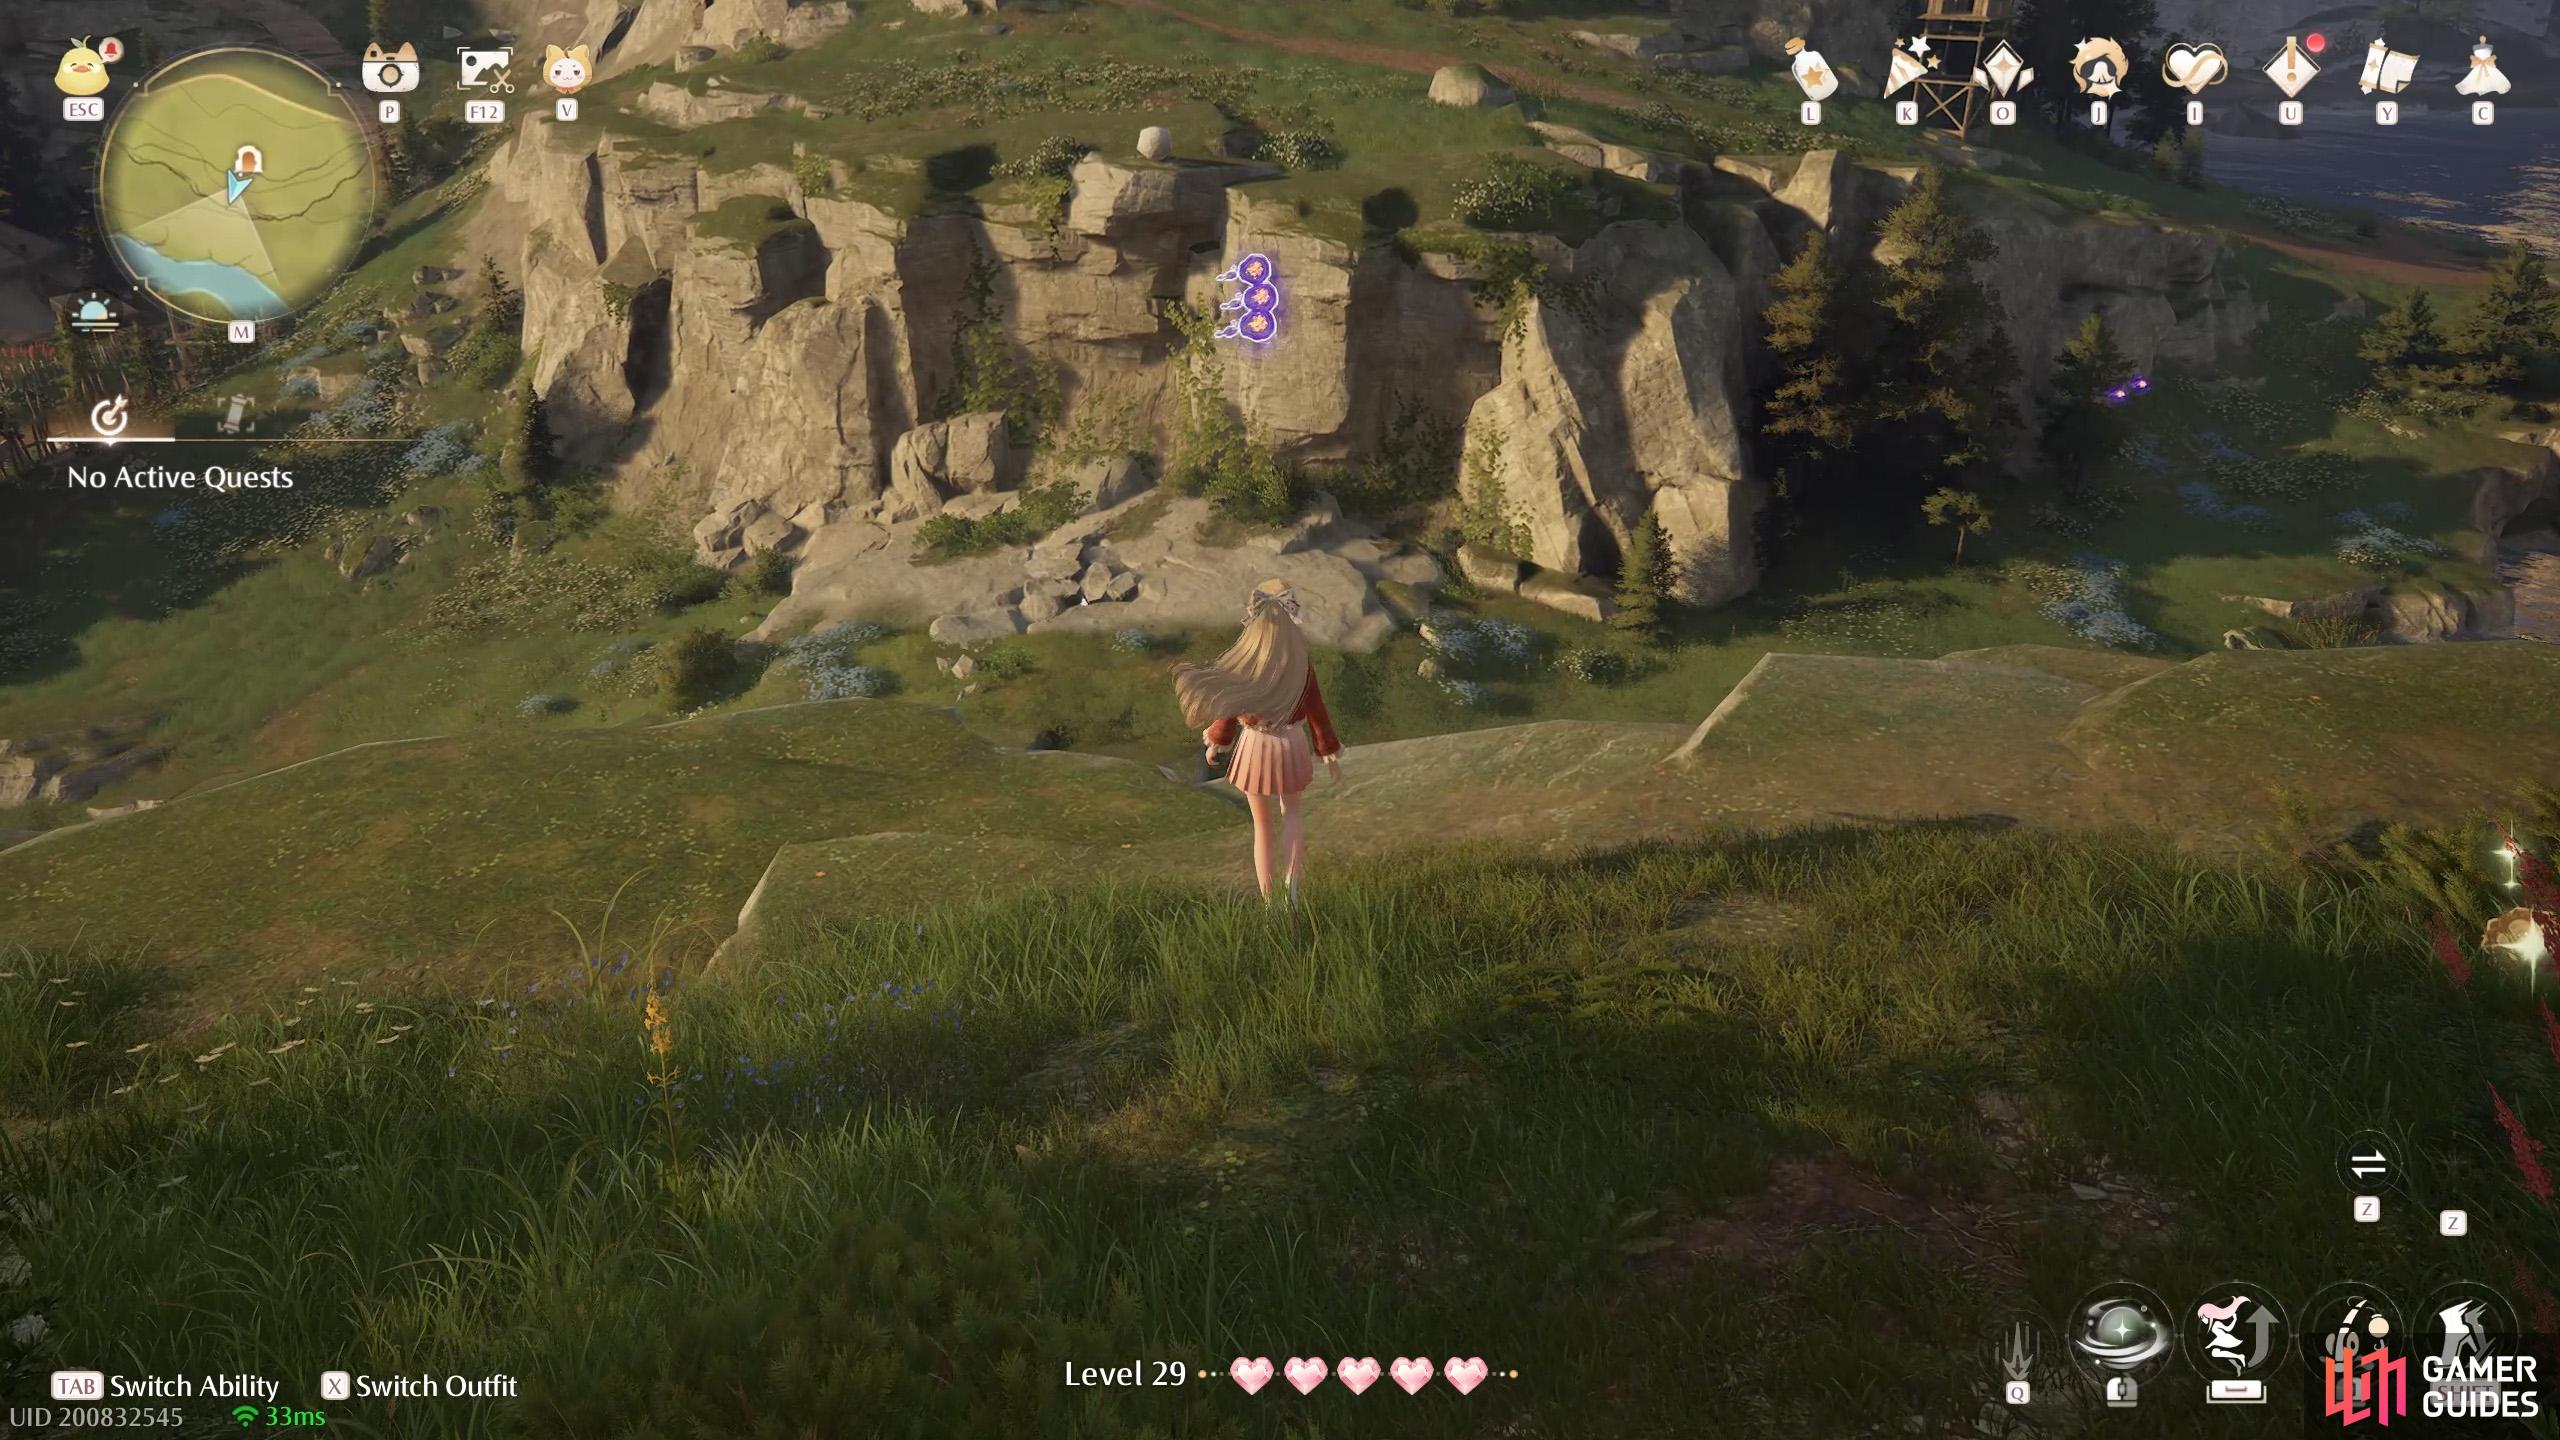
422. Miraland Map
Three just outside the west exit/entrance of ![]() Campsite Cavern. If you don’t want to go through the cave, you can also jump from the west.
Campsite Cavern. If you don’t want to go through the cave, you can also jump from the west.
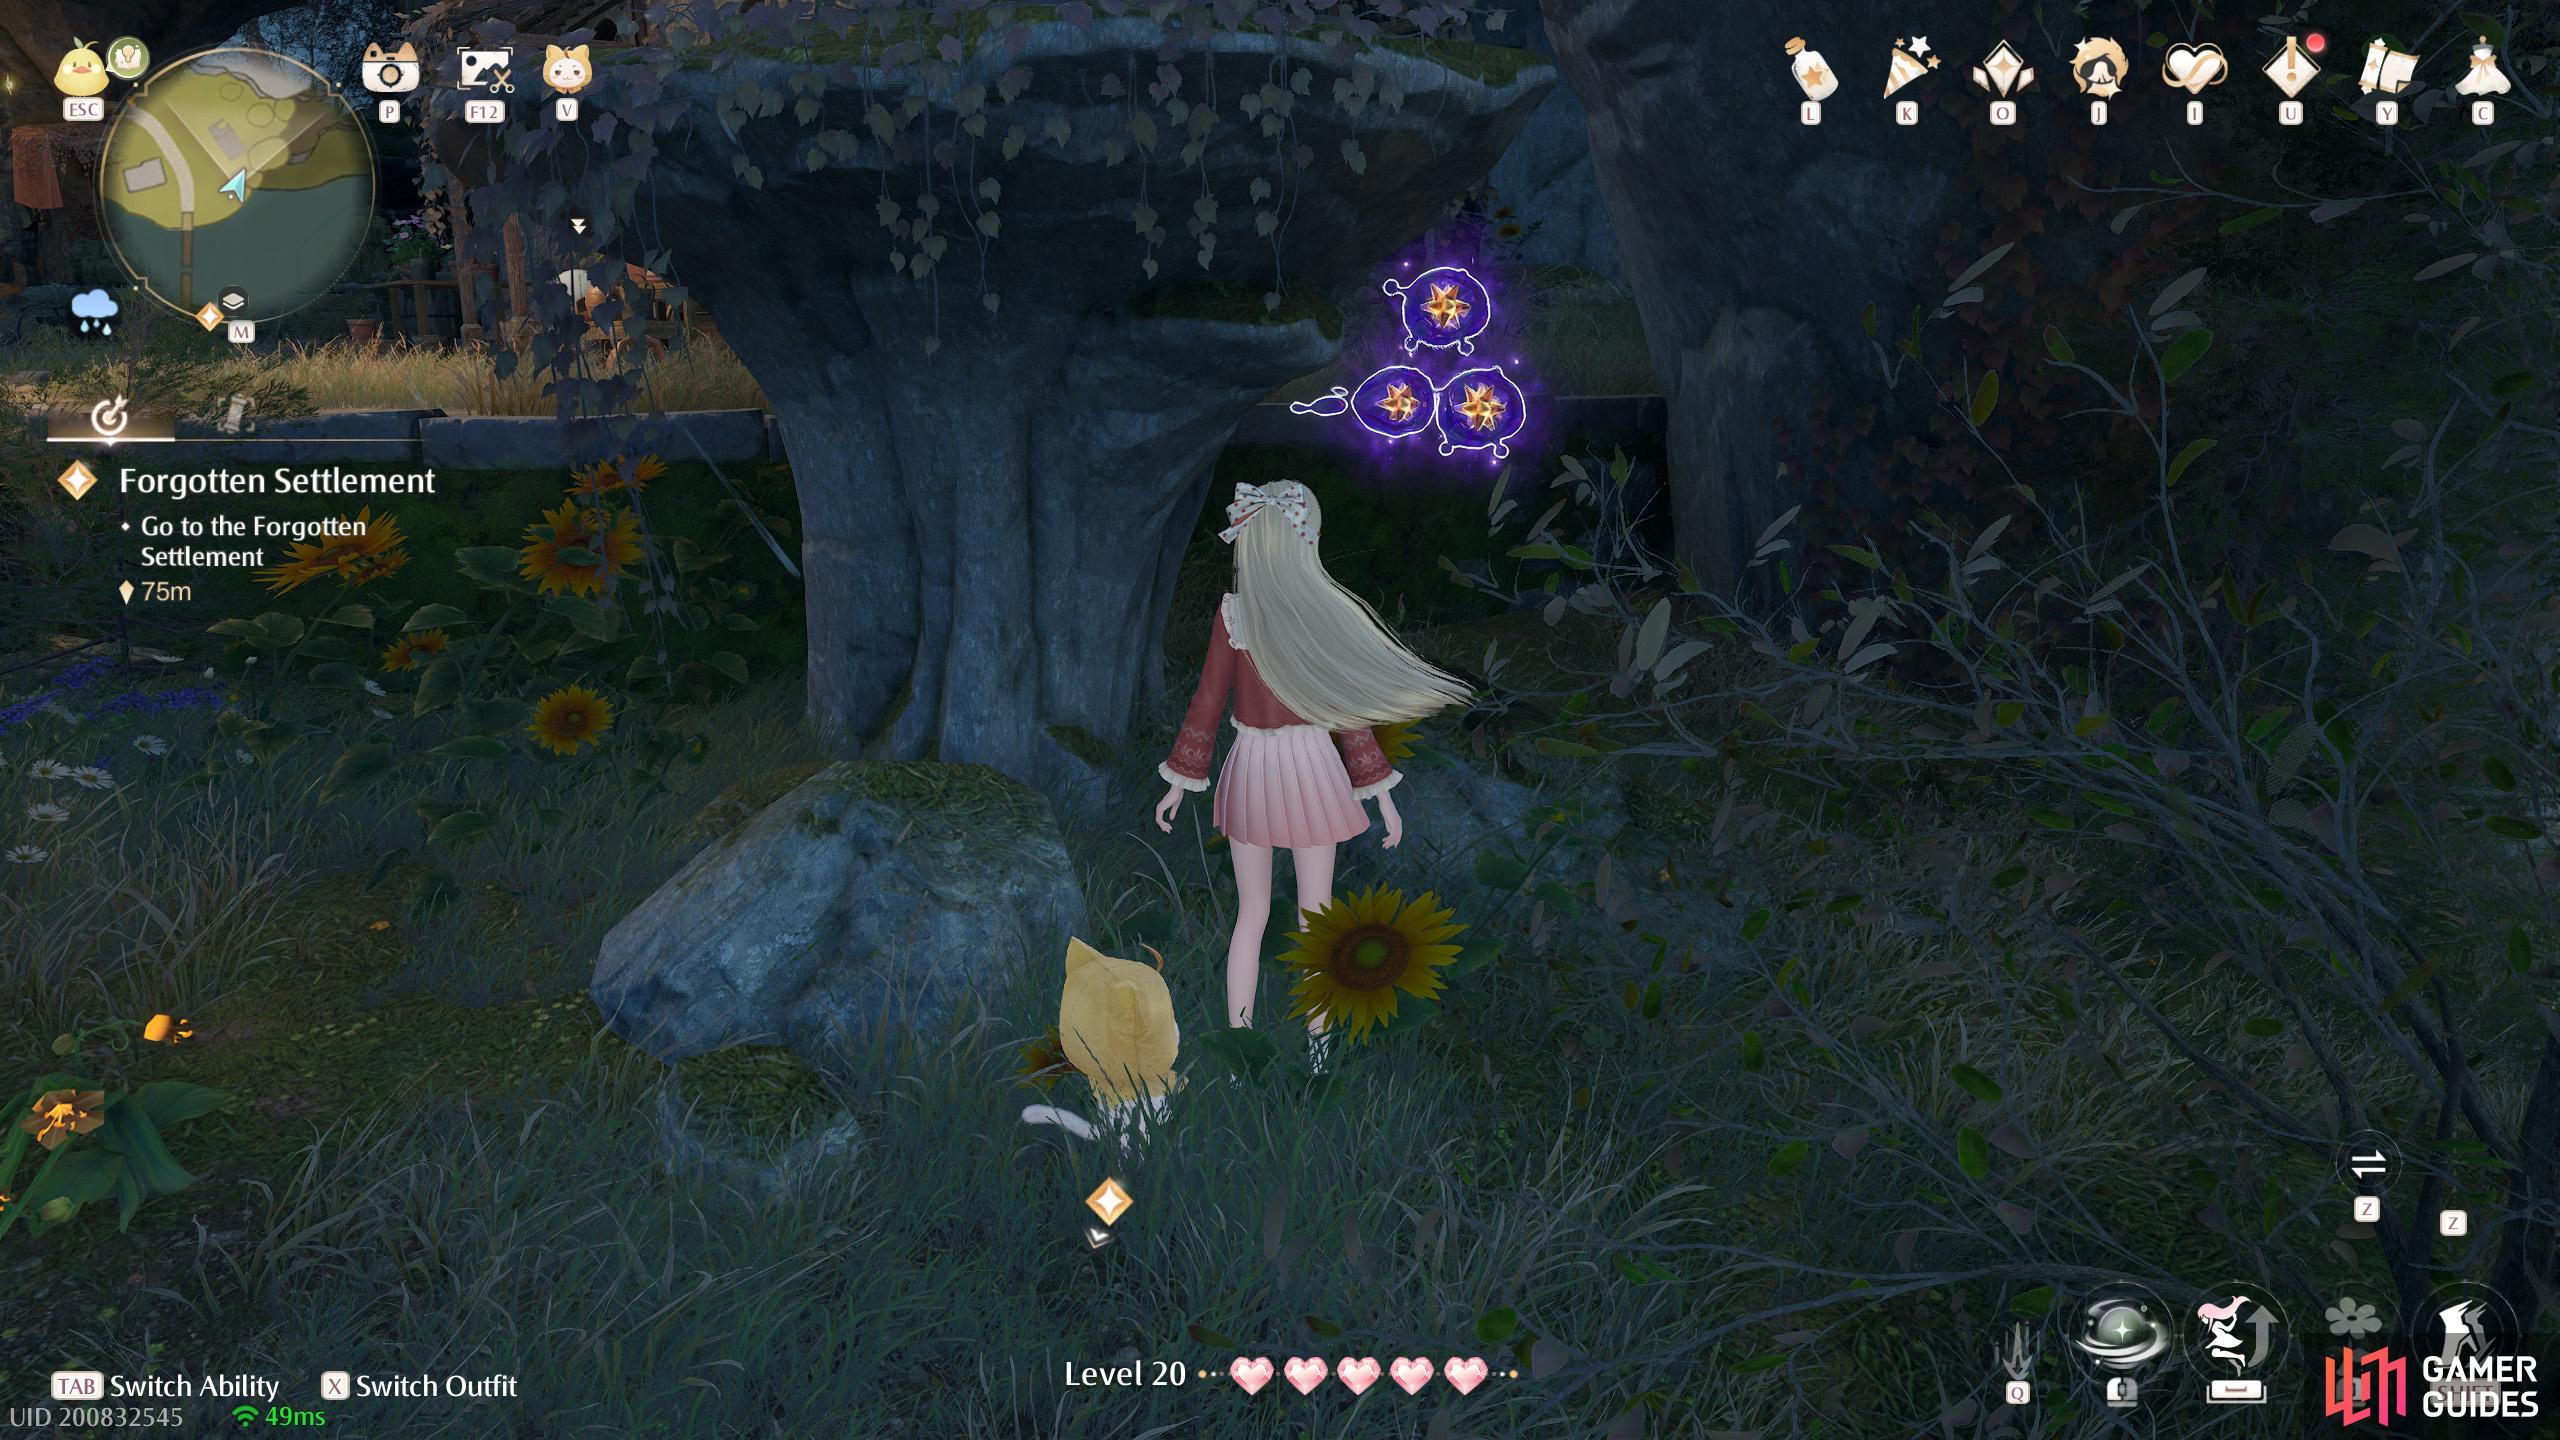
423. Miraland Map
North-east of ![]() Prosperville Entrance, on the middle level. Three between two small stonetrees near the north end of the suspension bridge.
Prosperville Entrance, on the middle level. Three between two small stonetrees near the north end of the suspension bridge.
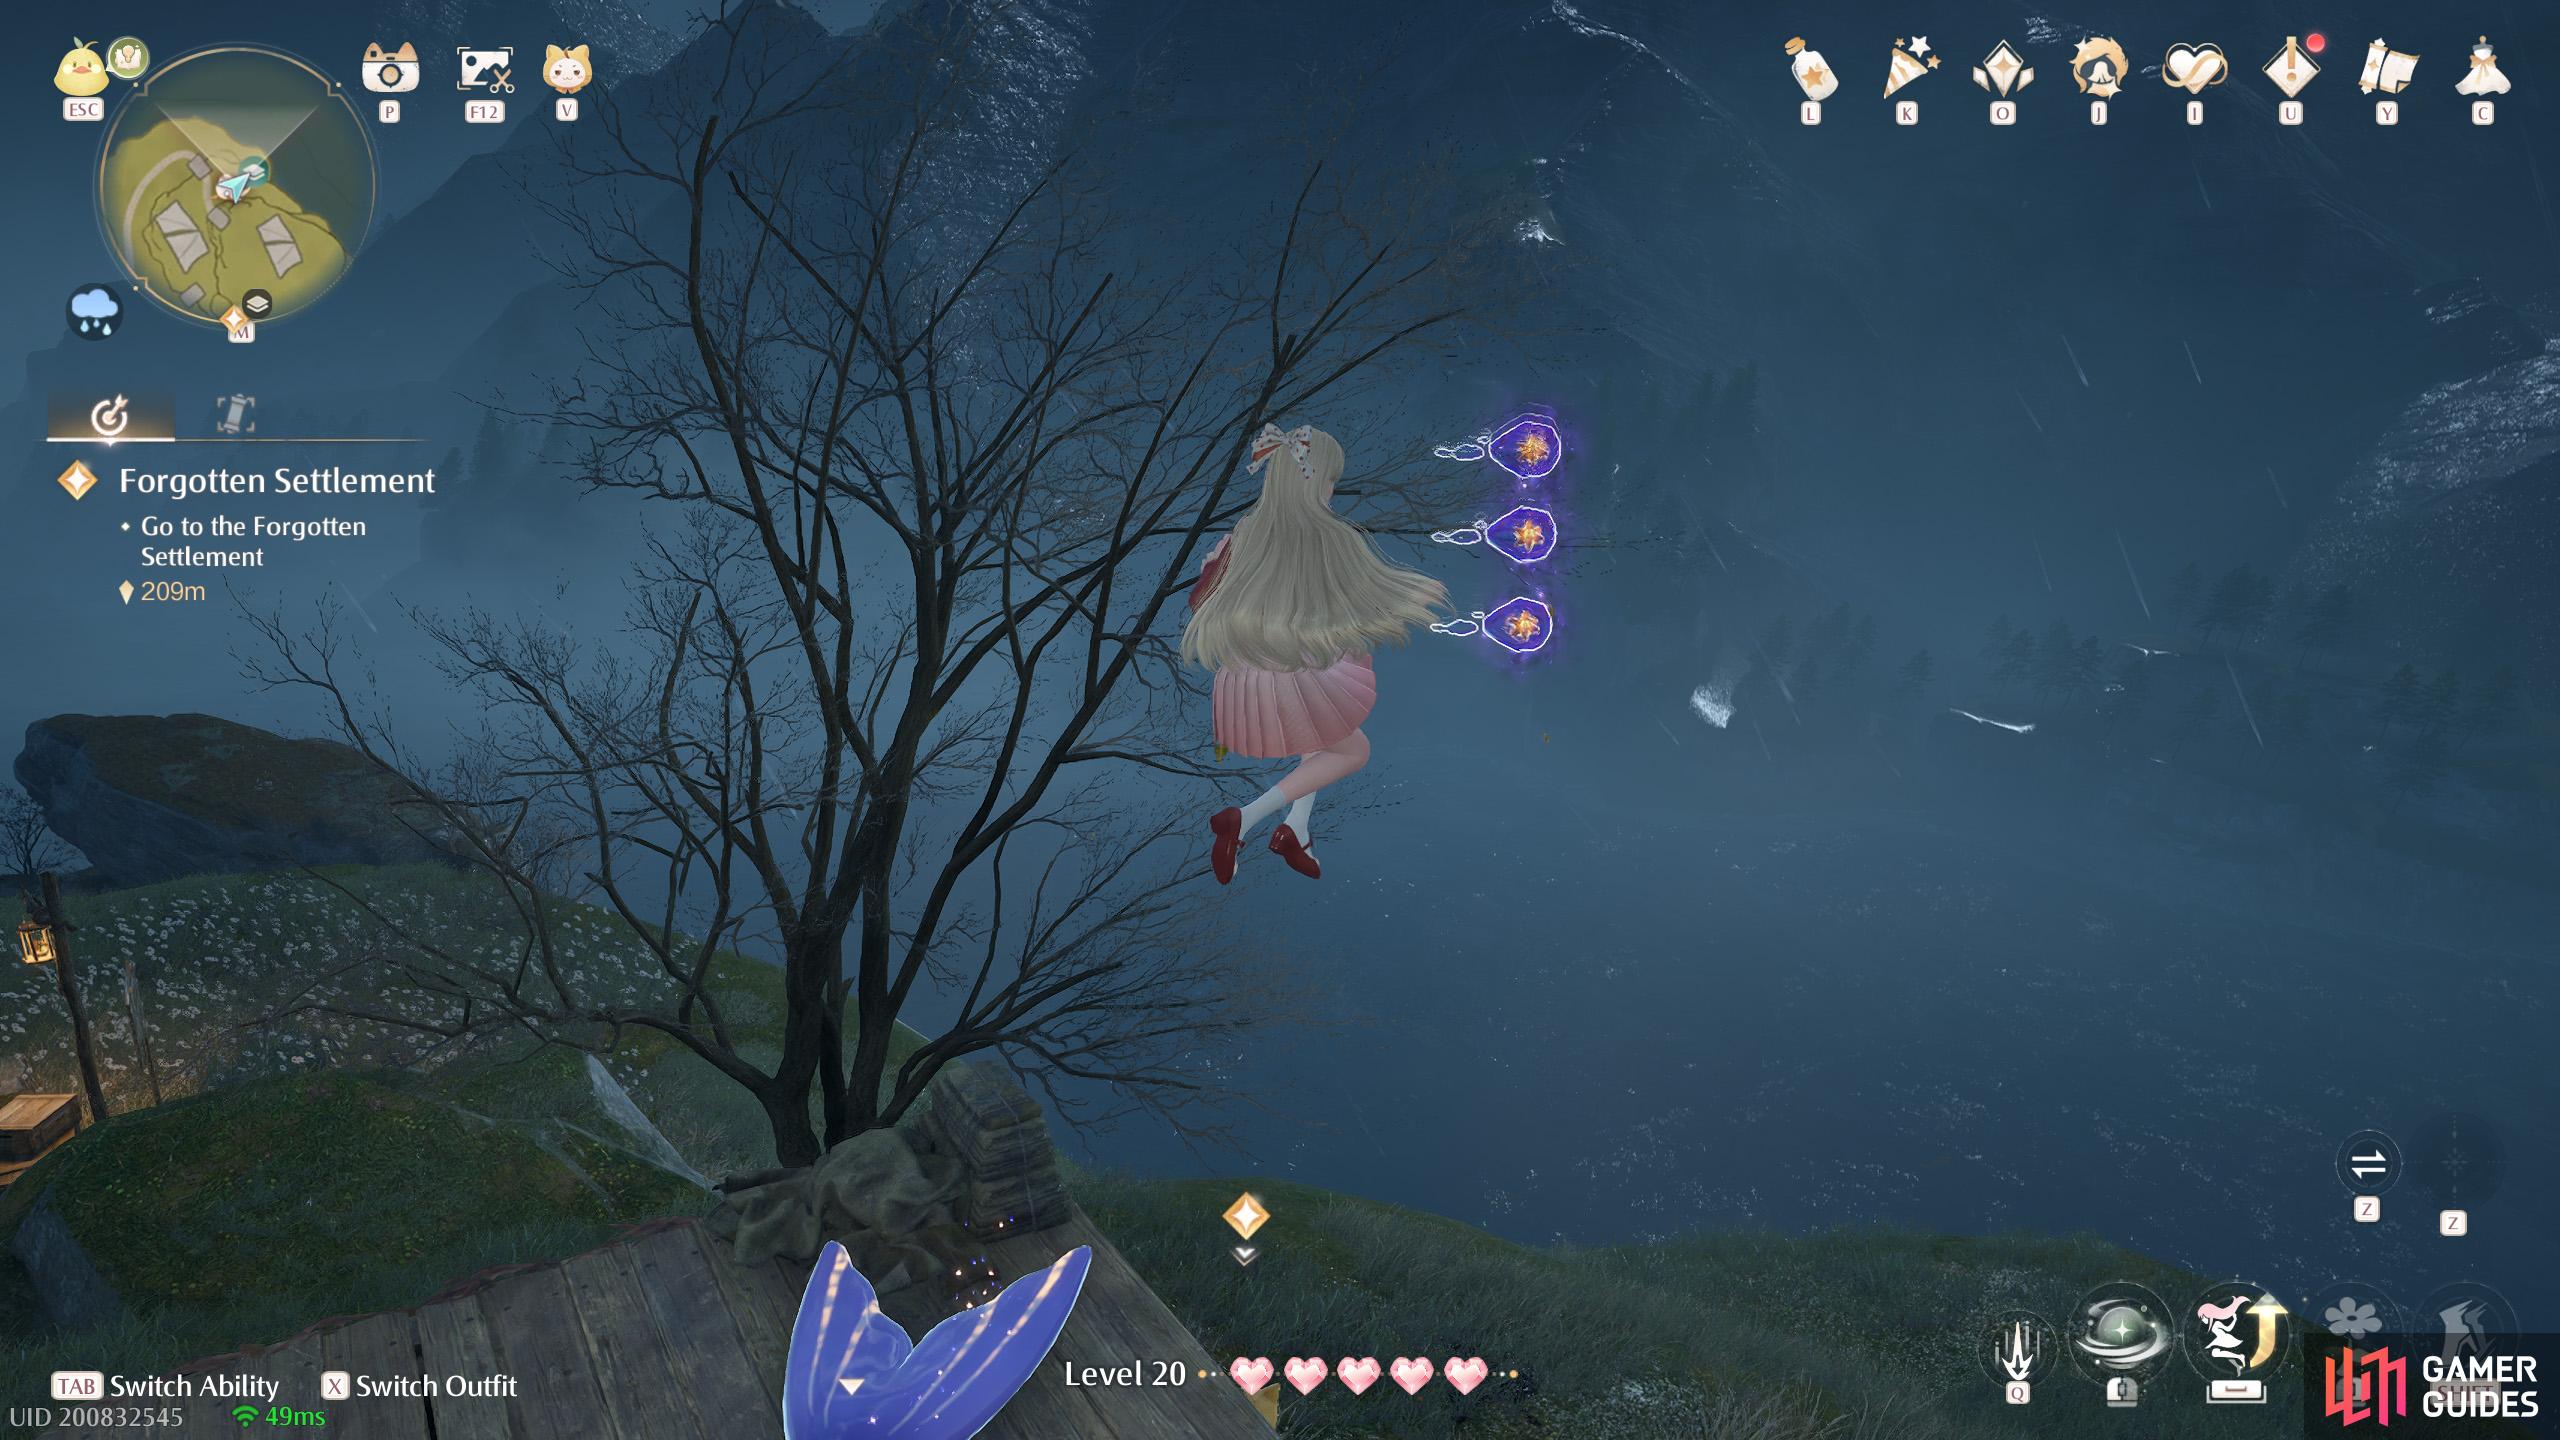
424. Miraland Map
North of the ![]() Stone Seles Warp Spire, on the middle level. Three floating near the
Stone Seles Warp Spire, on the middle level. Three floating near the ![]() Catapult Seal.
Catapult Seal.
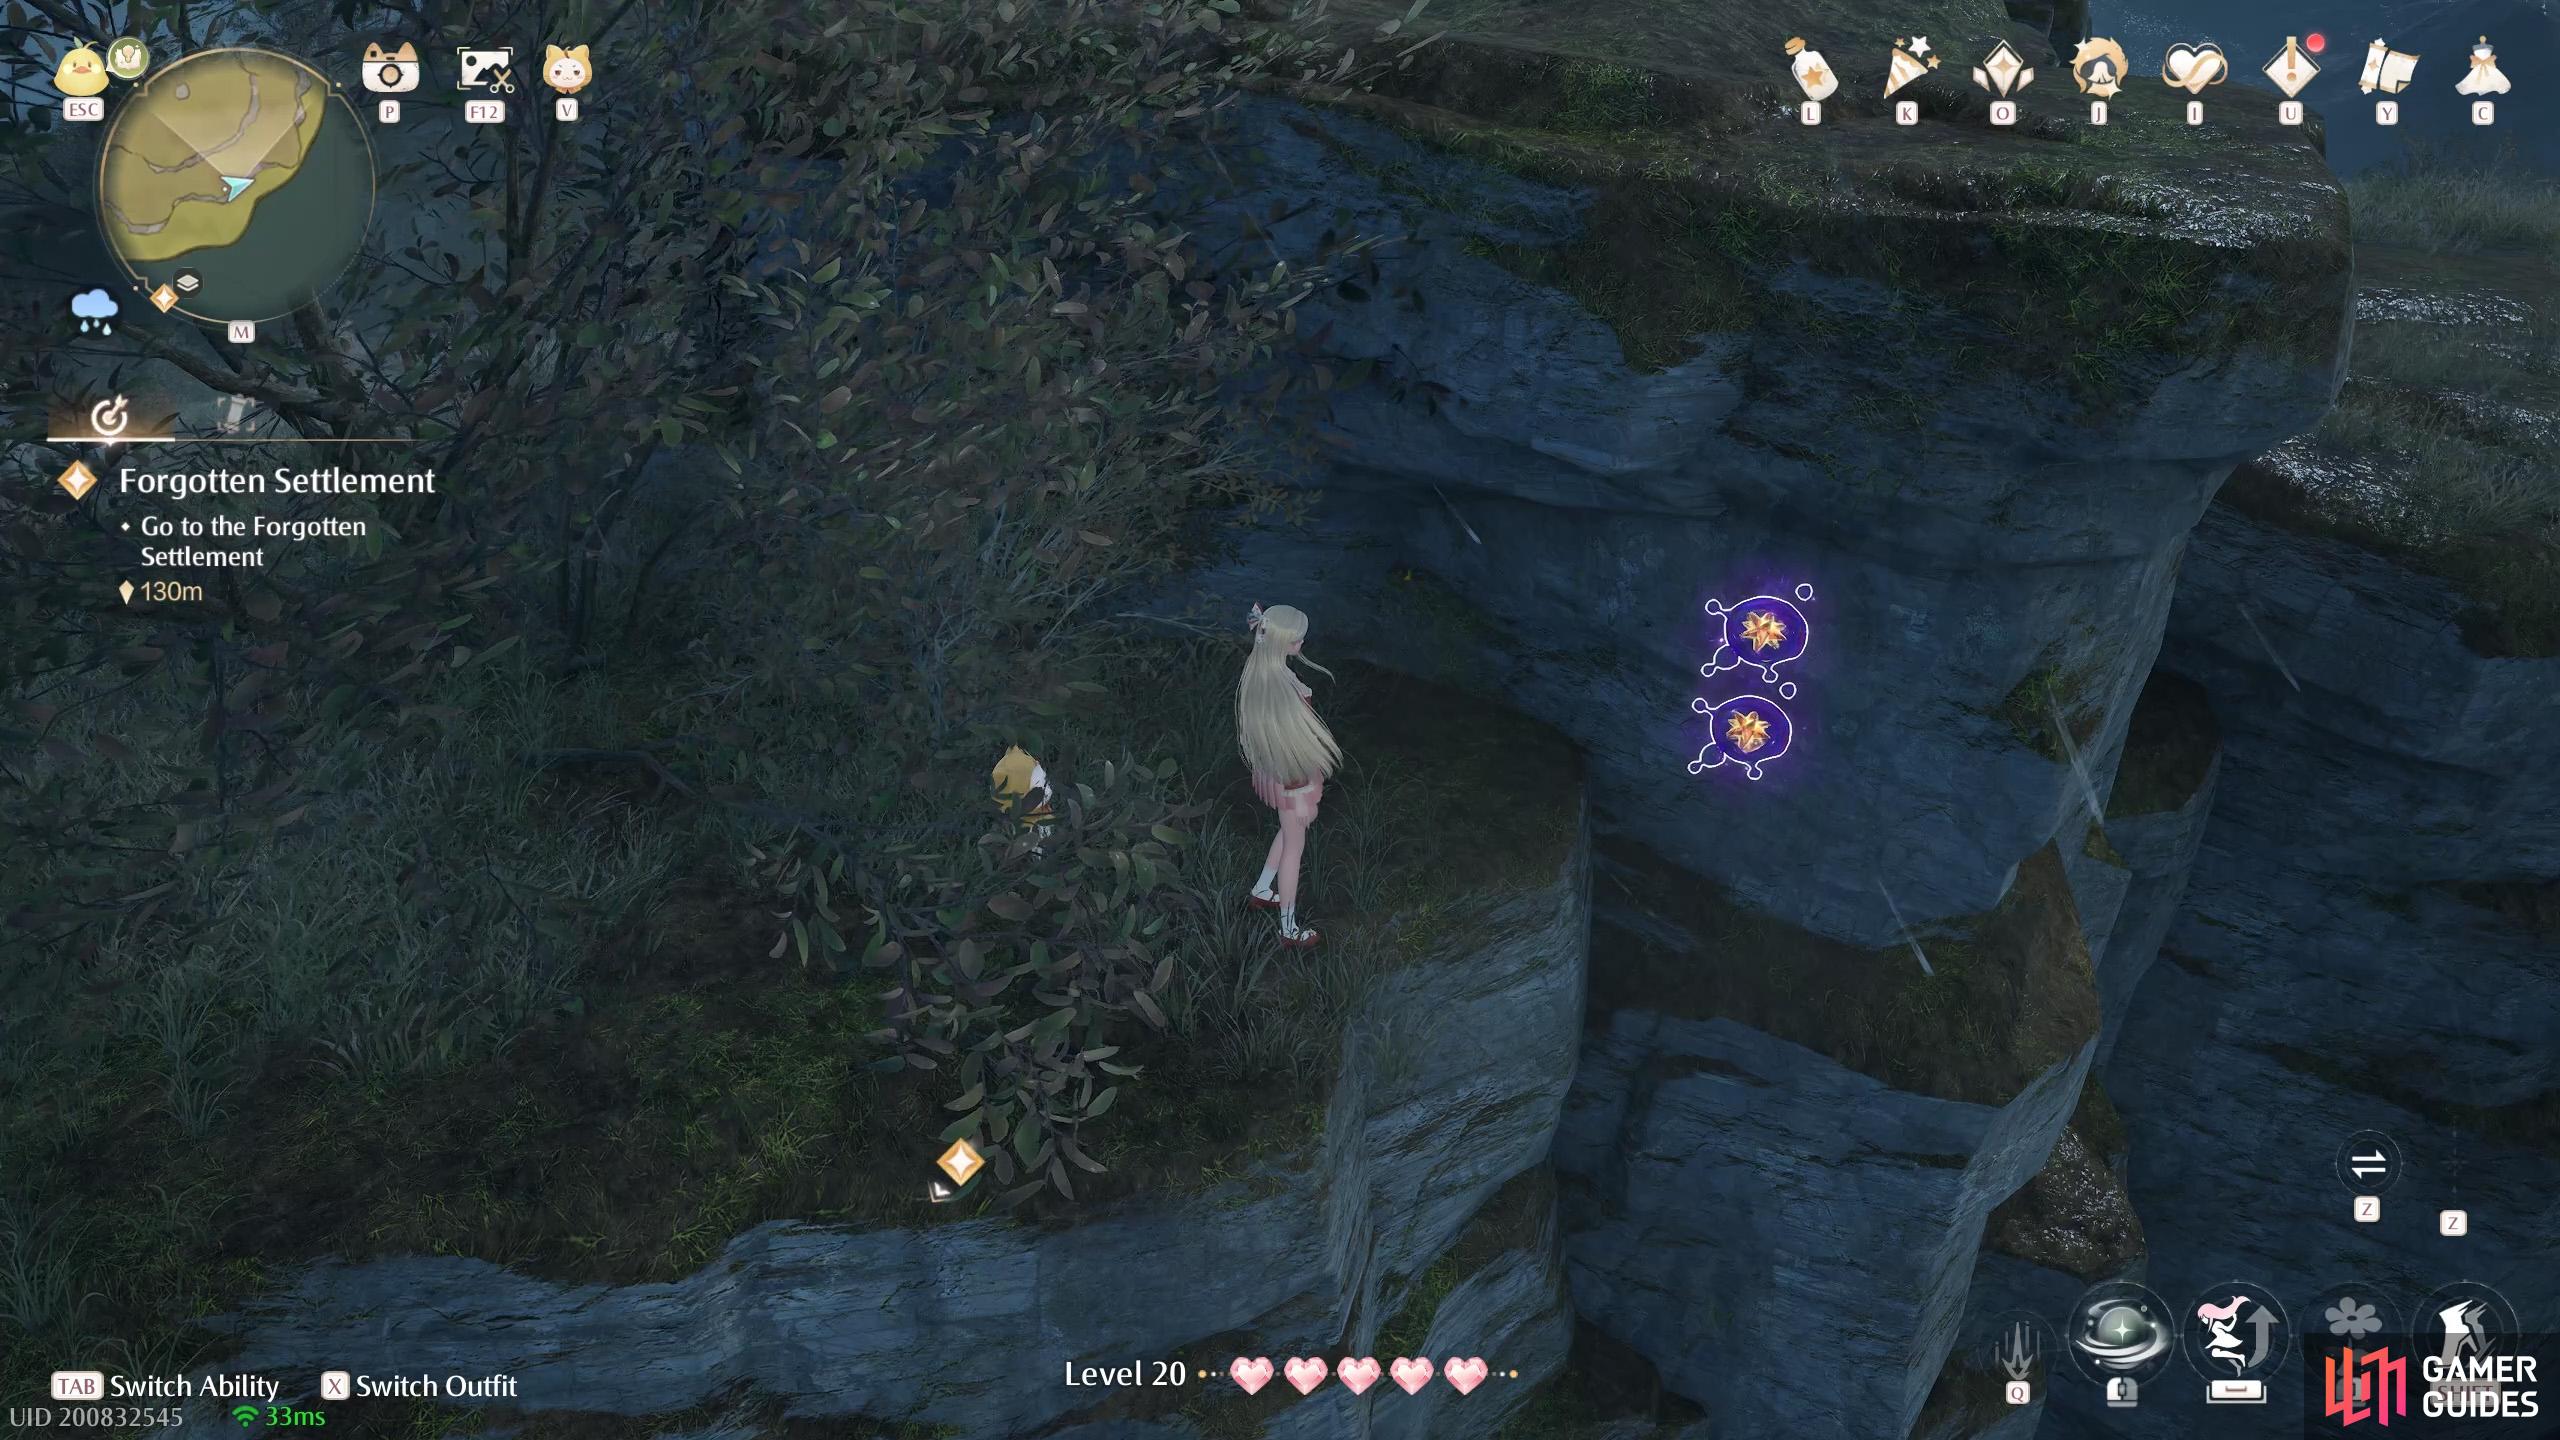
425. Miraland Map
South-east from ![]() Stone Seles, on the top level. Two on higher ground, floating near the edge.
Stone Seles, on the top level. Two on higher ground, floating near the edge.
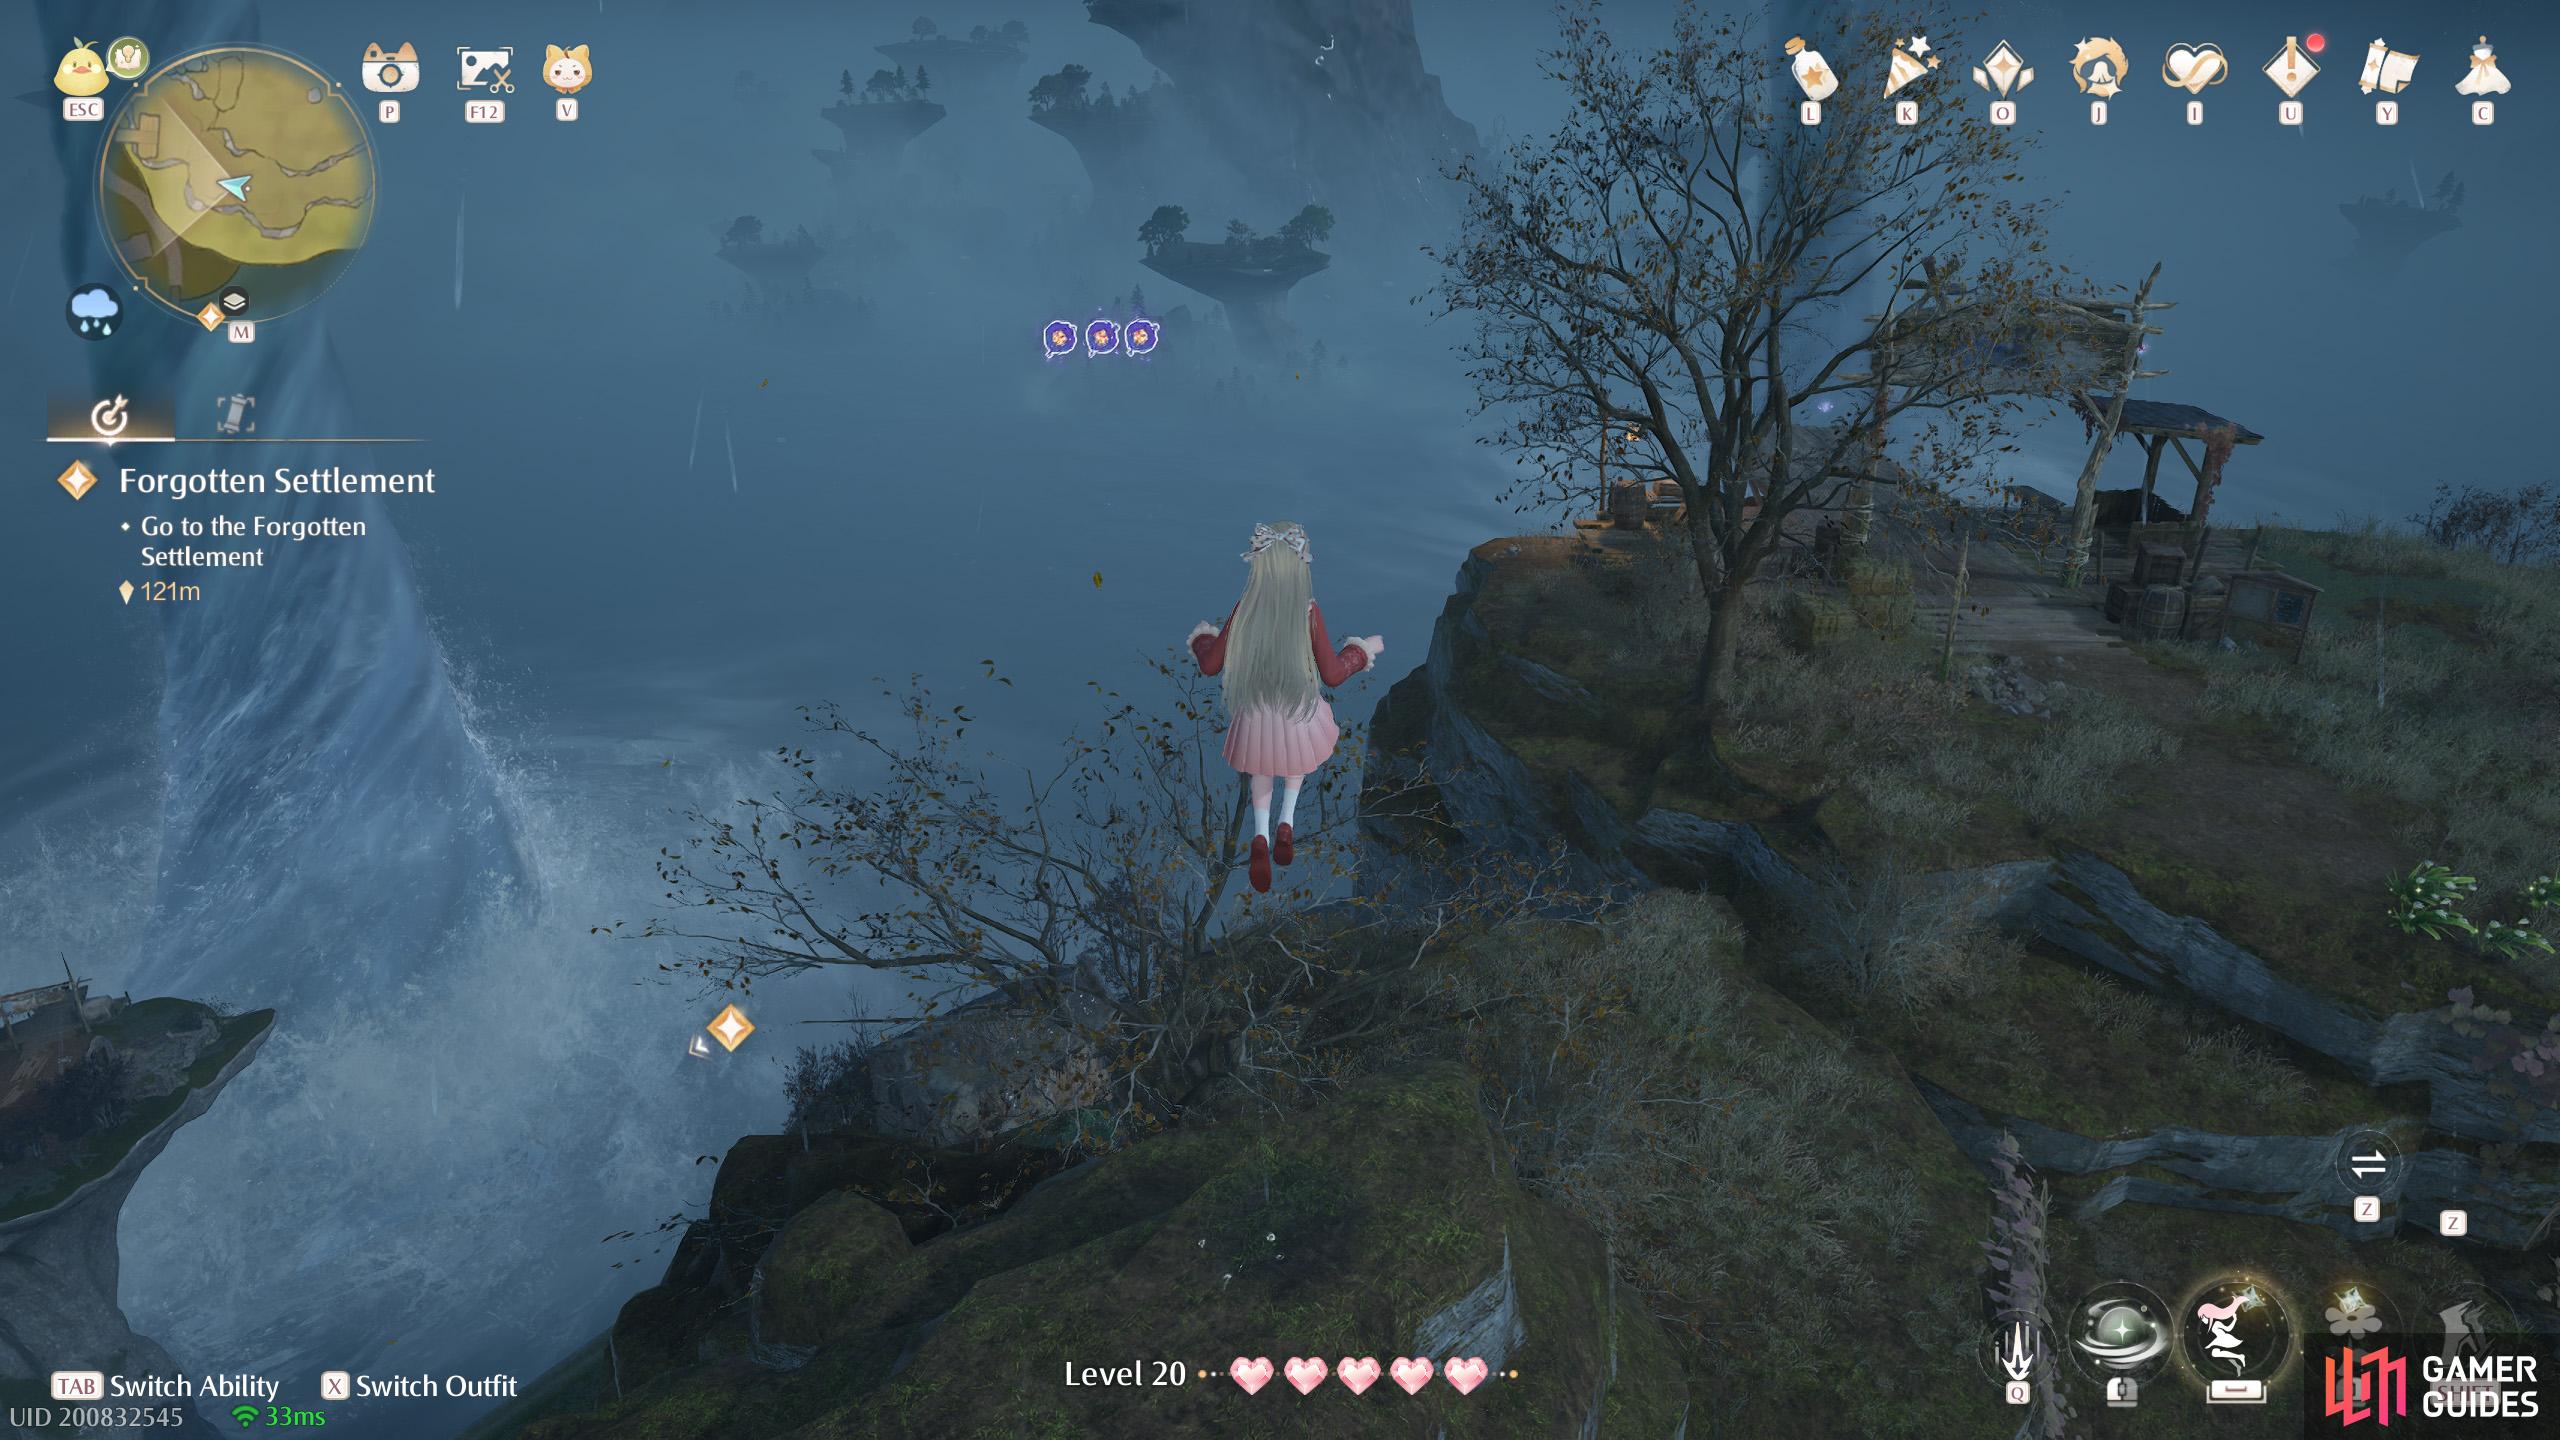
426. Miraland Map
South of ![]() Stone Seles, on the top level. Three floating near the top of a mound.
Stone Seles, on the top level. Three floating near the top of a mound.

427. Miraland Map
East of ![]() Choo-Choo Station Old Platform. Two inside the occupied train carriage.
Choo-Choo Station Old Platform. Two inside the occupied train carriage.
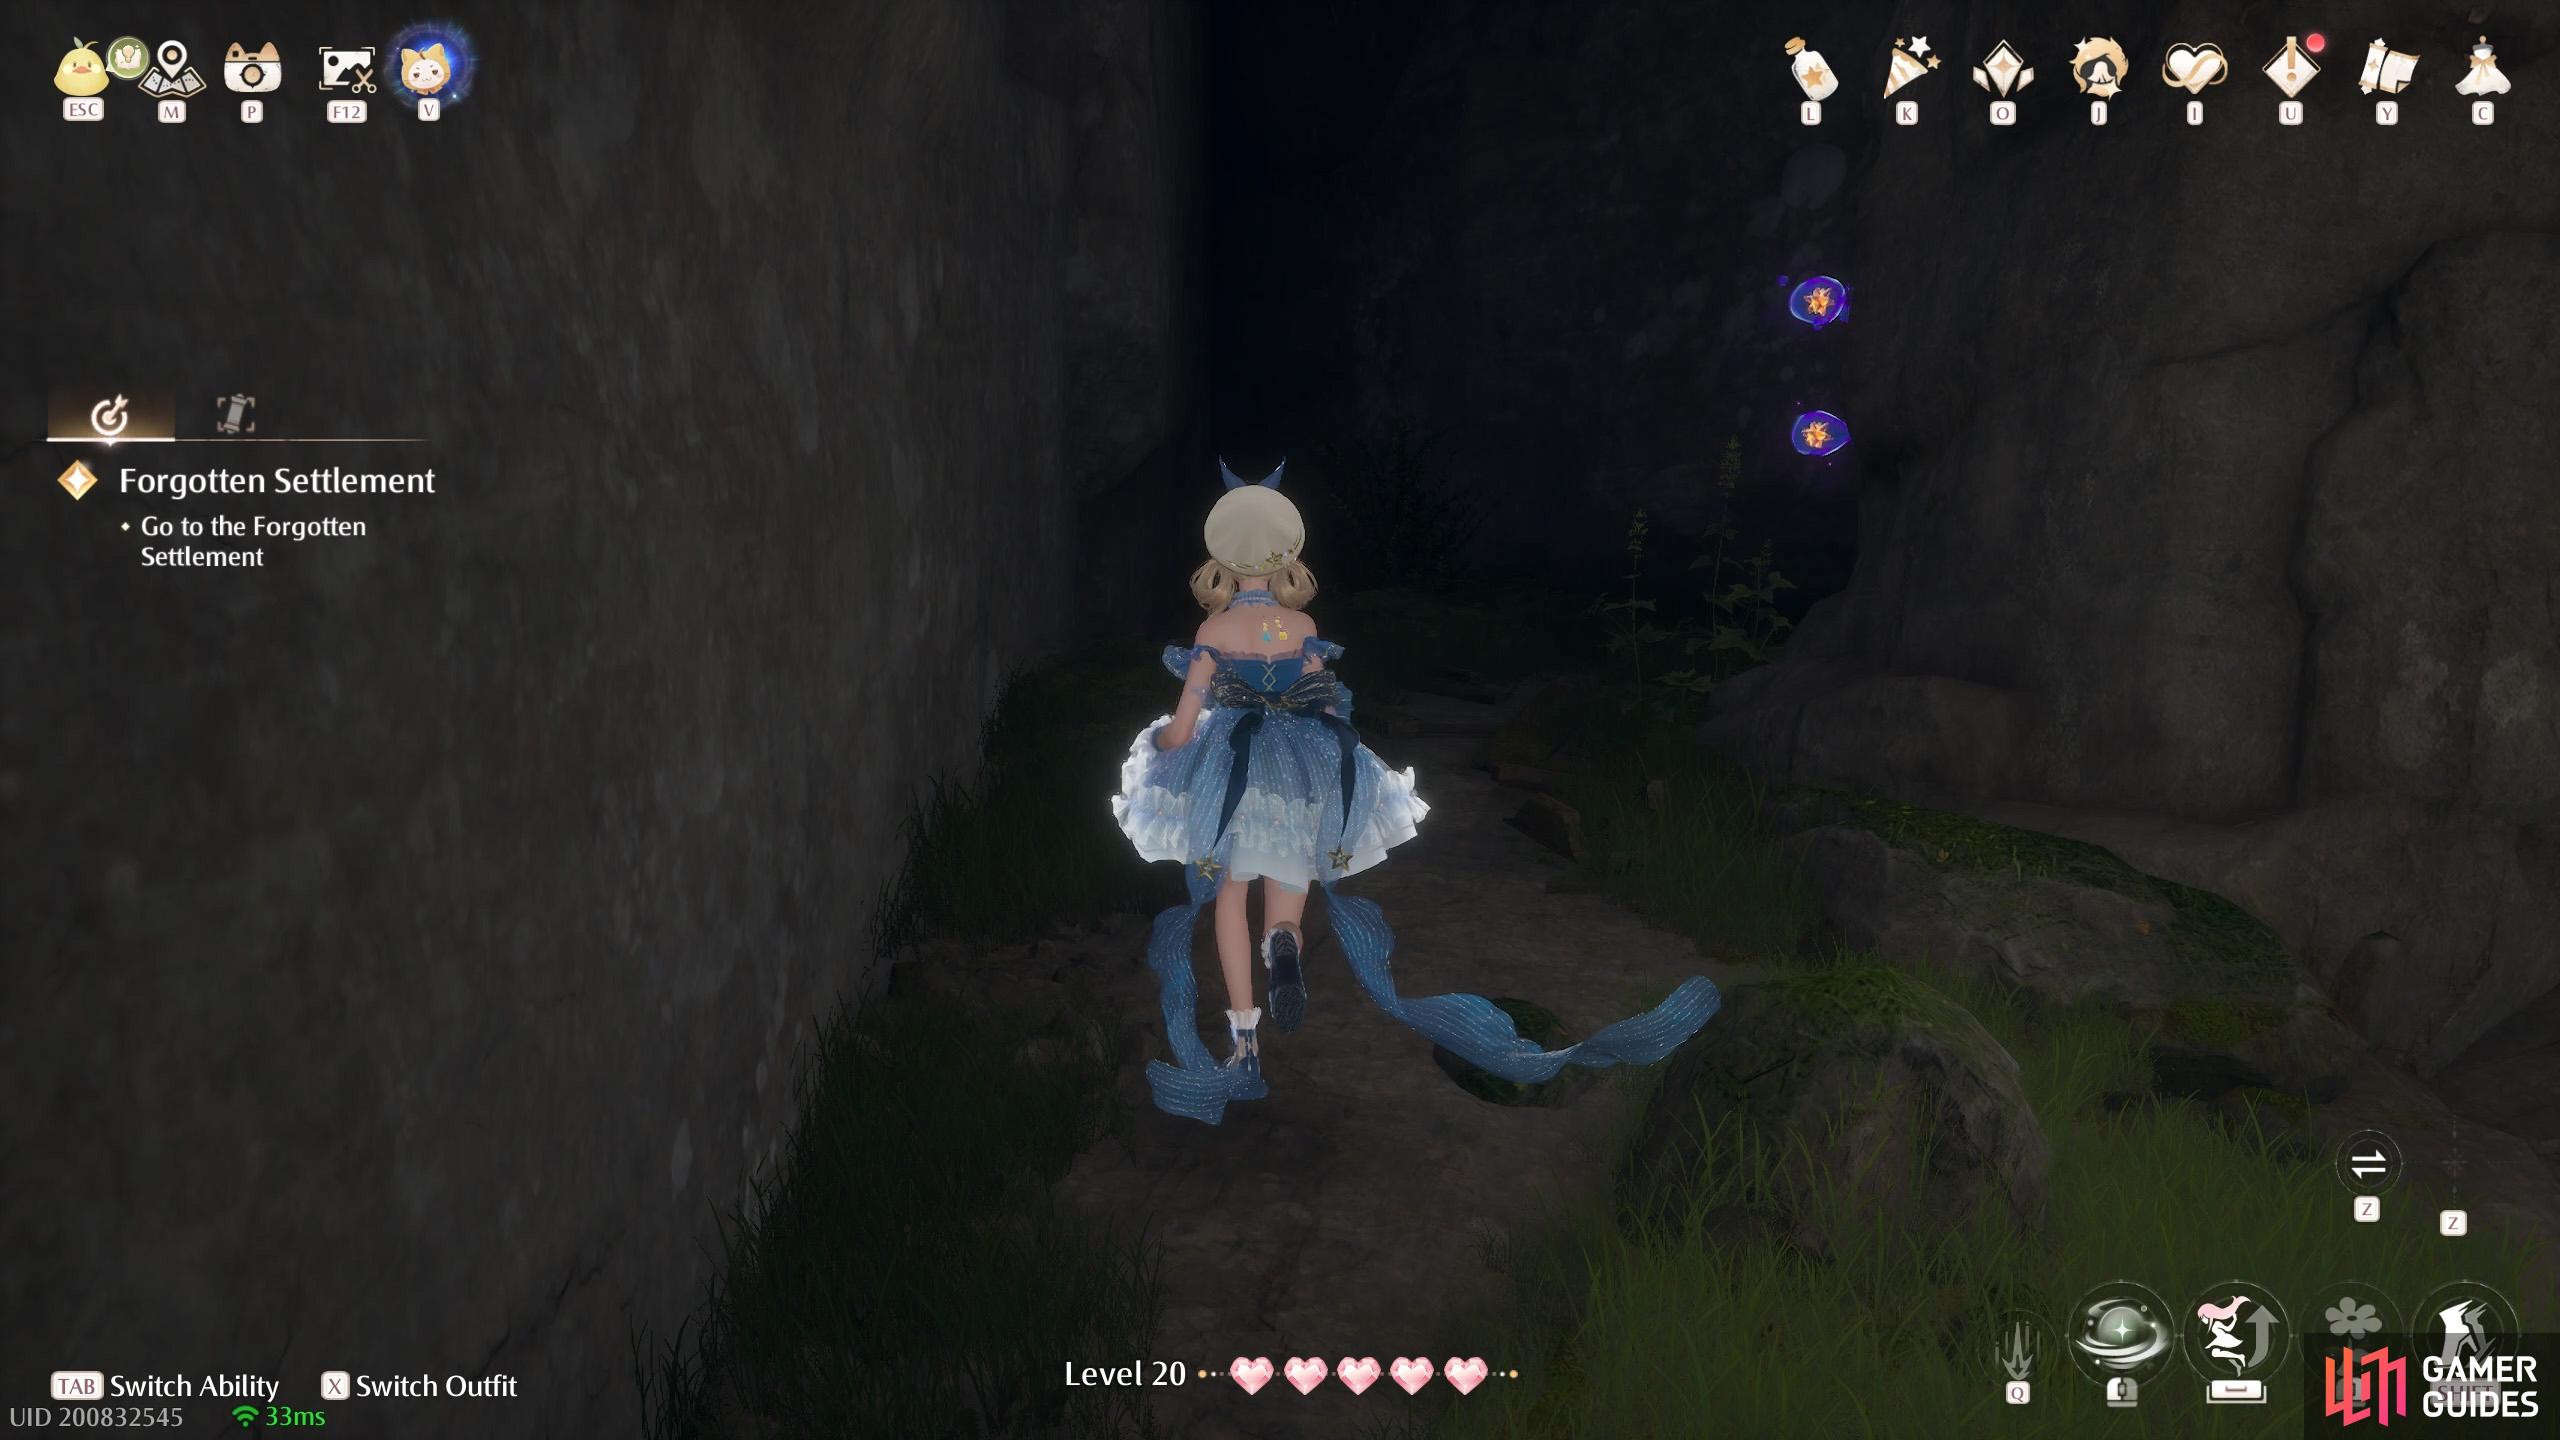
428. Miraland Map
Inside ![]() Choo-Choo Station Cavern. In the area with a tall stonetree at the center and wind circles nearby. Climb to the top of the stonetree and jump to the left where the dimly-lit alcove is. These two are hiding just around the corner. Sneaky.
Choo-Choo Station Cavern. In the area with a tall stonetree at the center and wind circles nearby. Climb to the top of the stonetree and jump to the left where the dimly-lit alcove is. These two are hiding just around the corner. Sneaky.
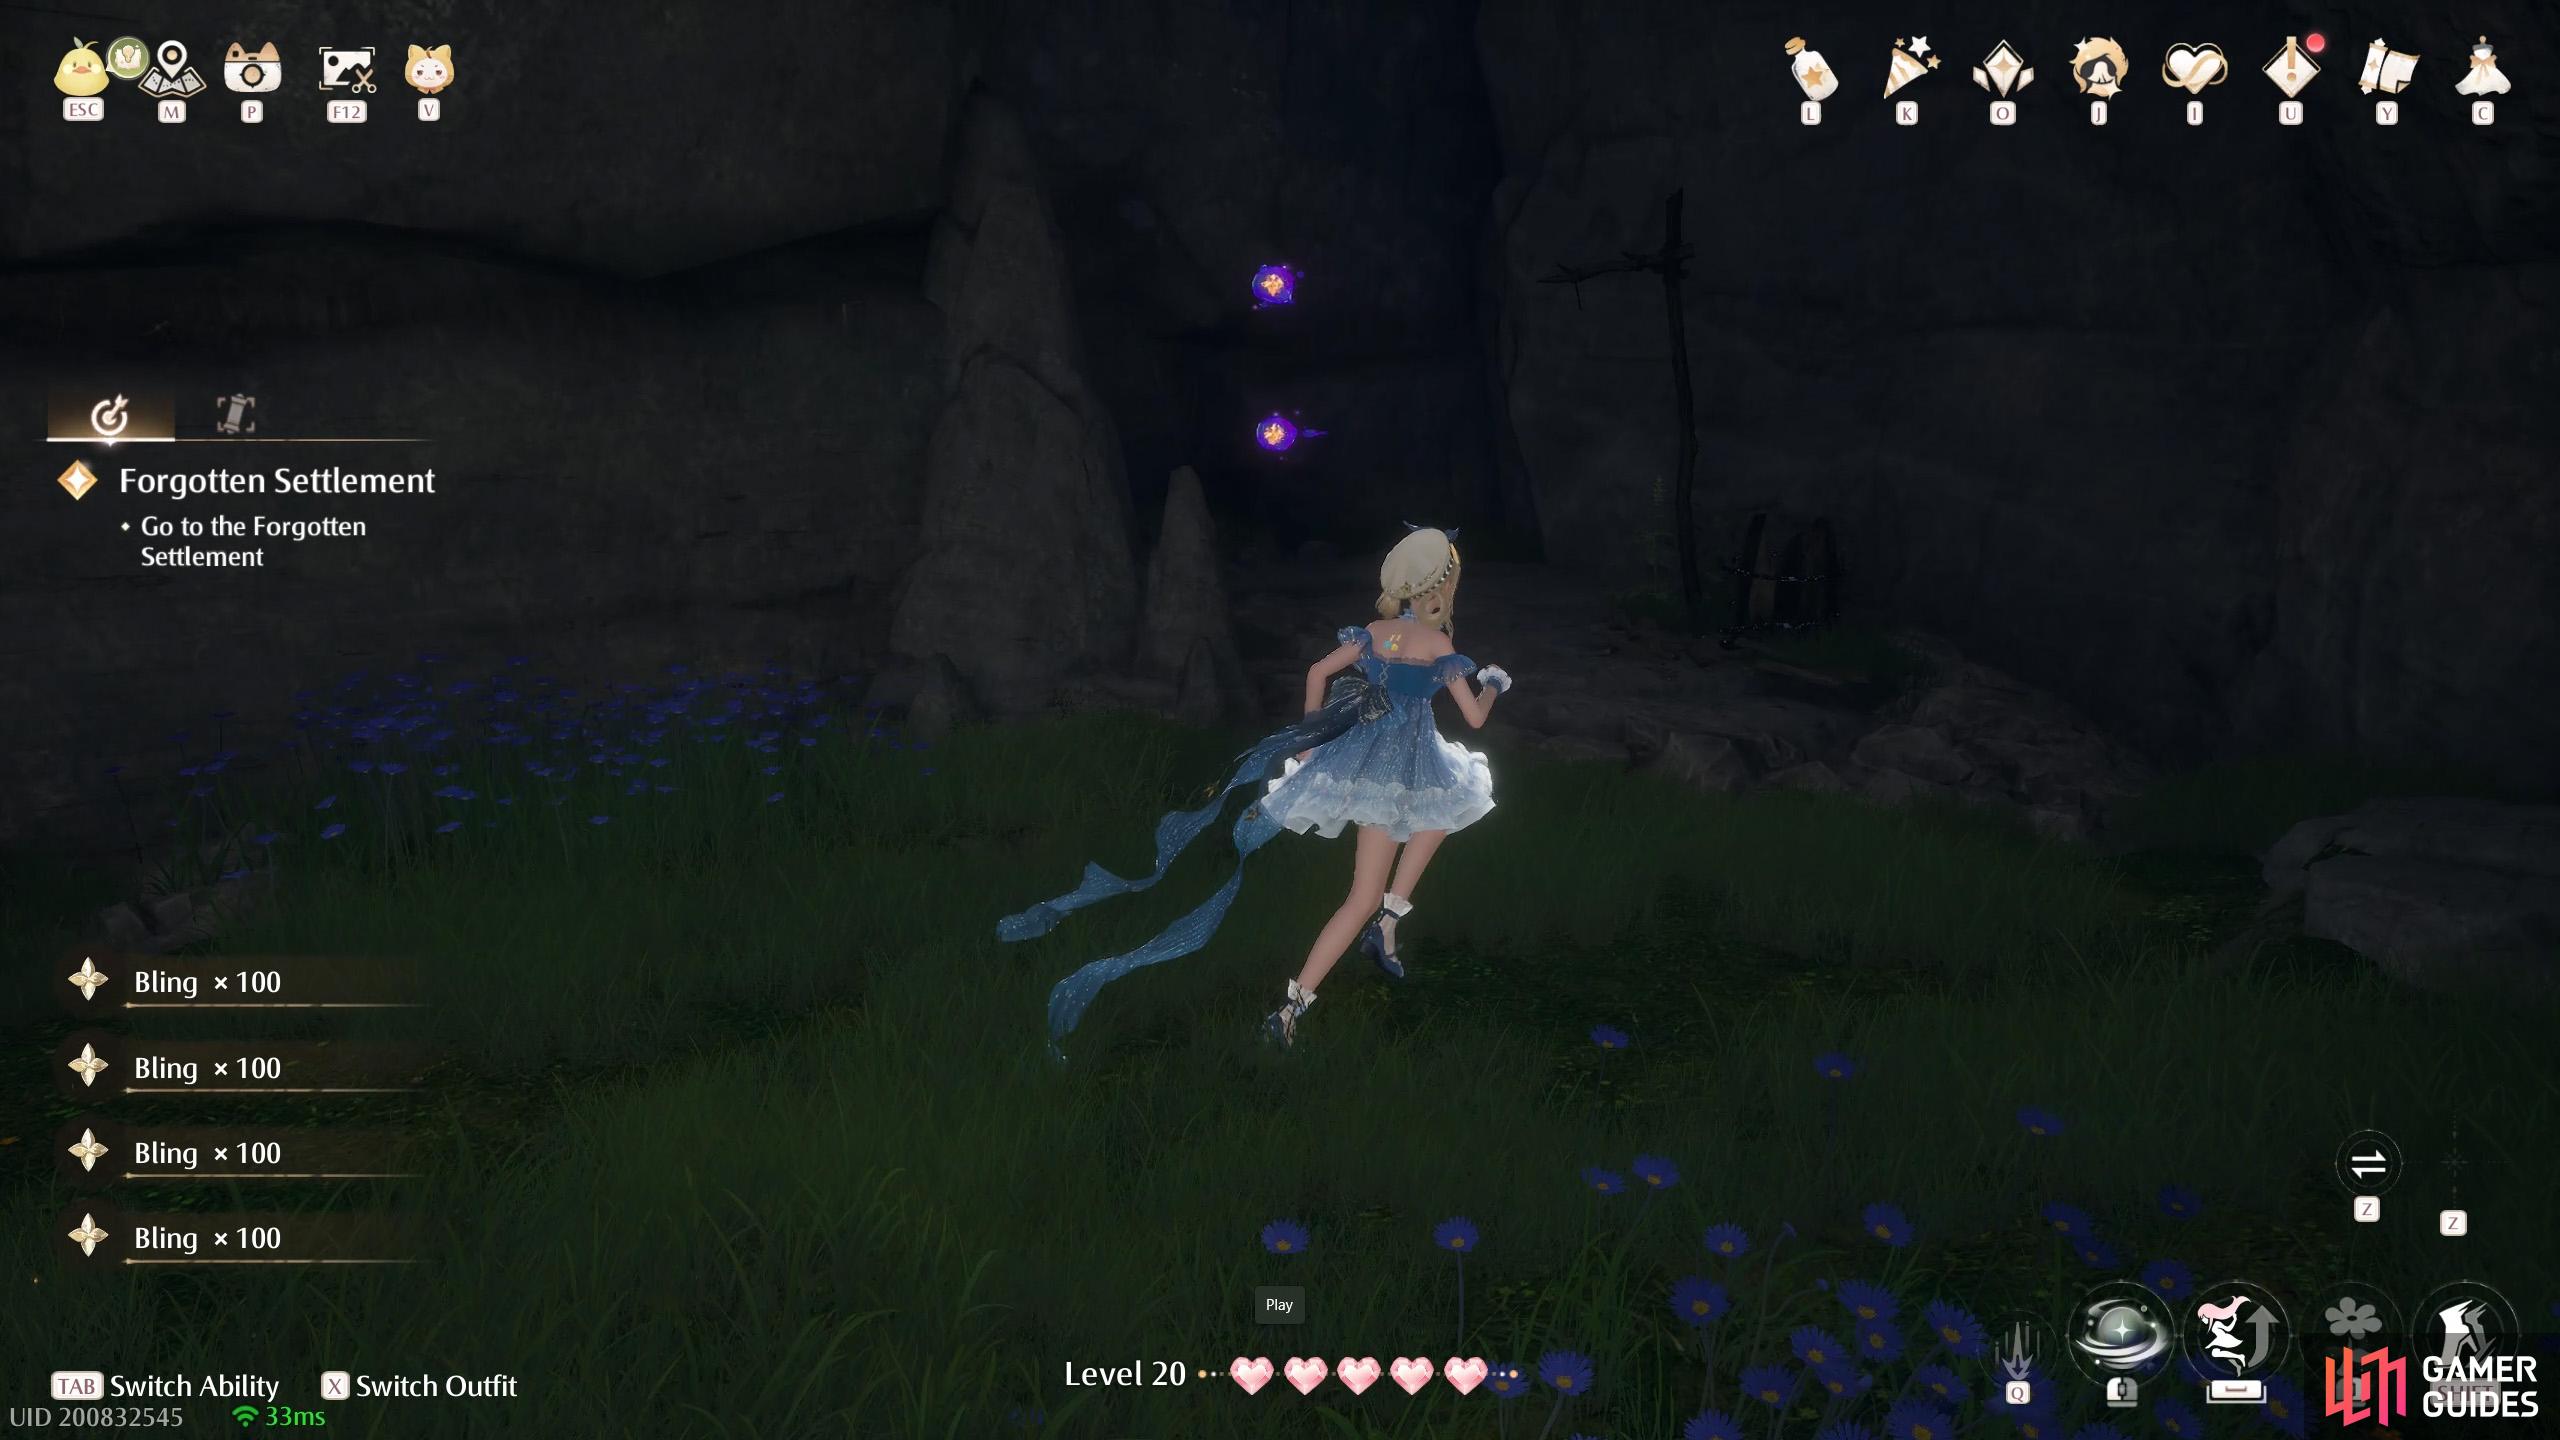
429. Miraland Map
Inside ![]() Choo-Choo Station Cavern. As you begin gliding through the wind circles, on the left side–near a bouncing plant–is an alcove with a line of
Choo-Choo Station Cavern. As you begin gliding through the wind circles, on the left side–near a bouncing plant–is an alcove with a line of ![]() Bling. Go over there and you’ll find these two at the back.
Bling. Go over there and you’ll find these two at the back.
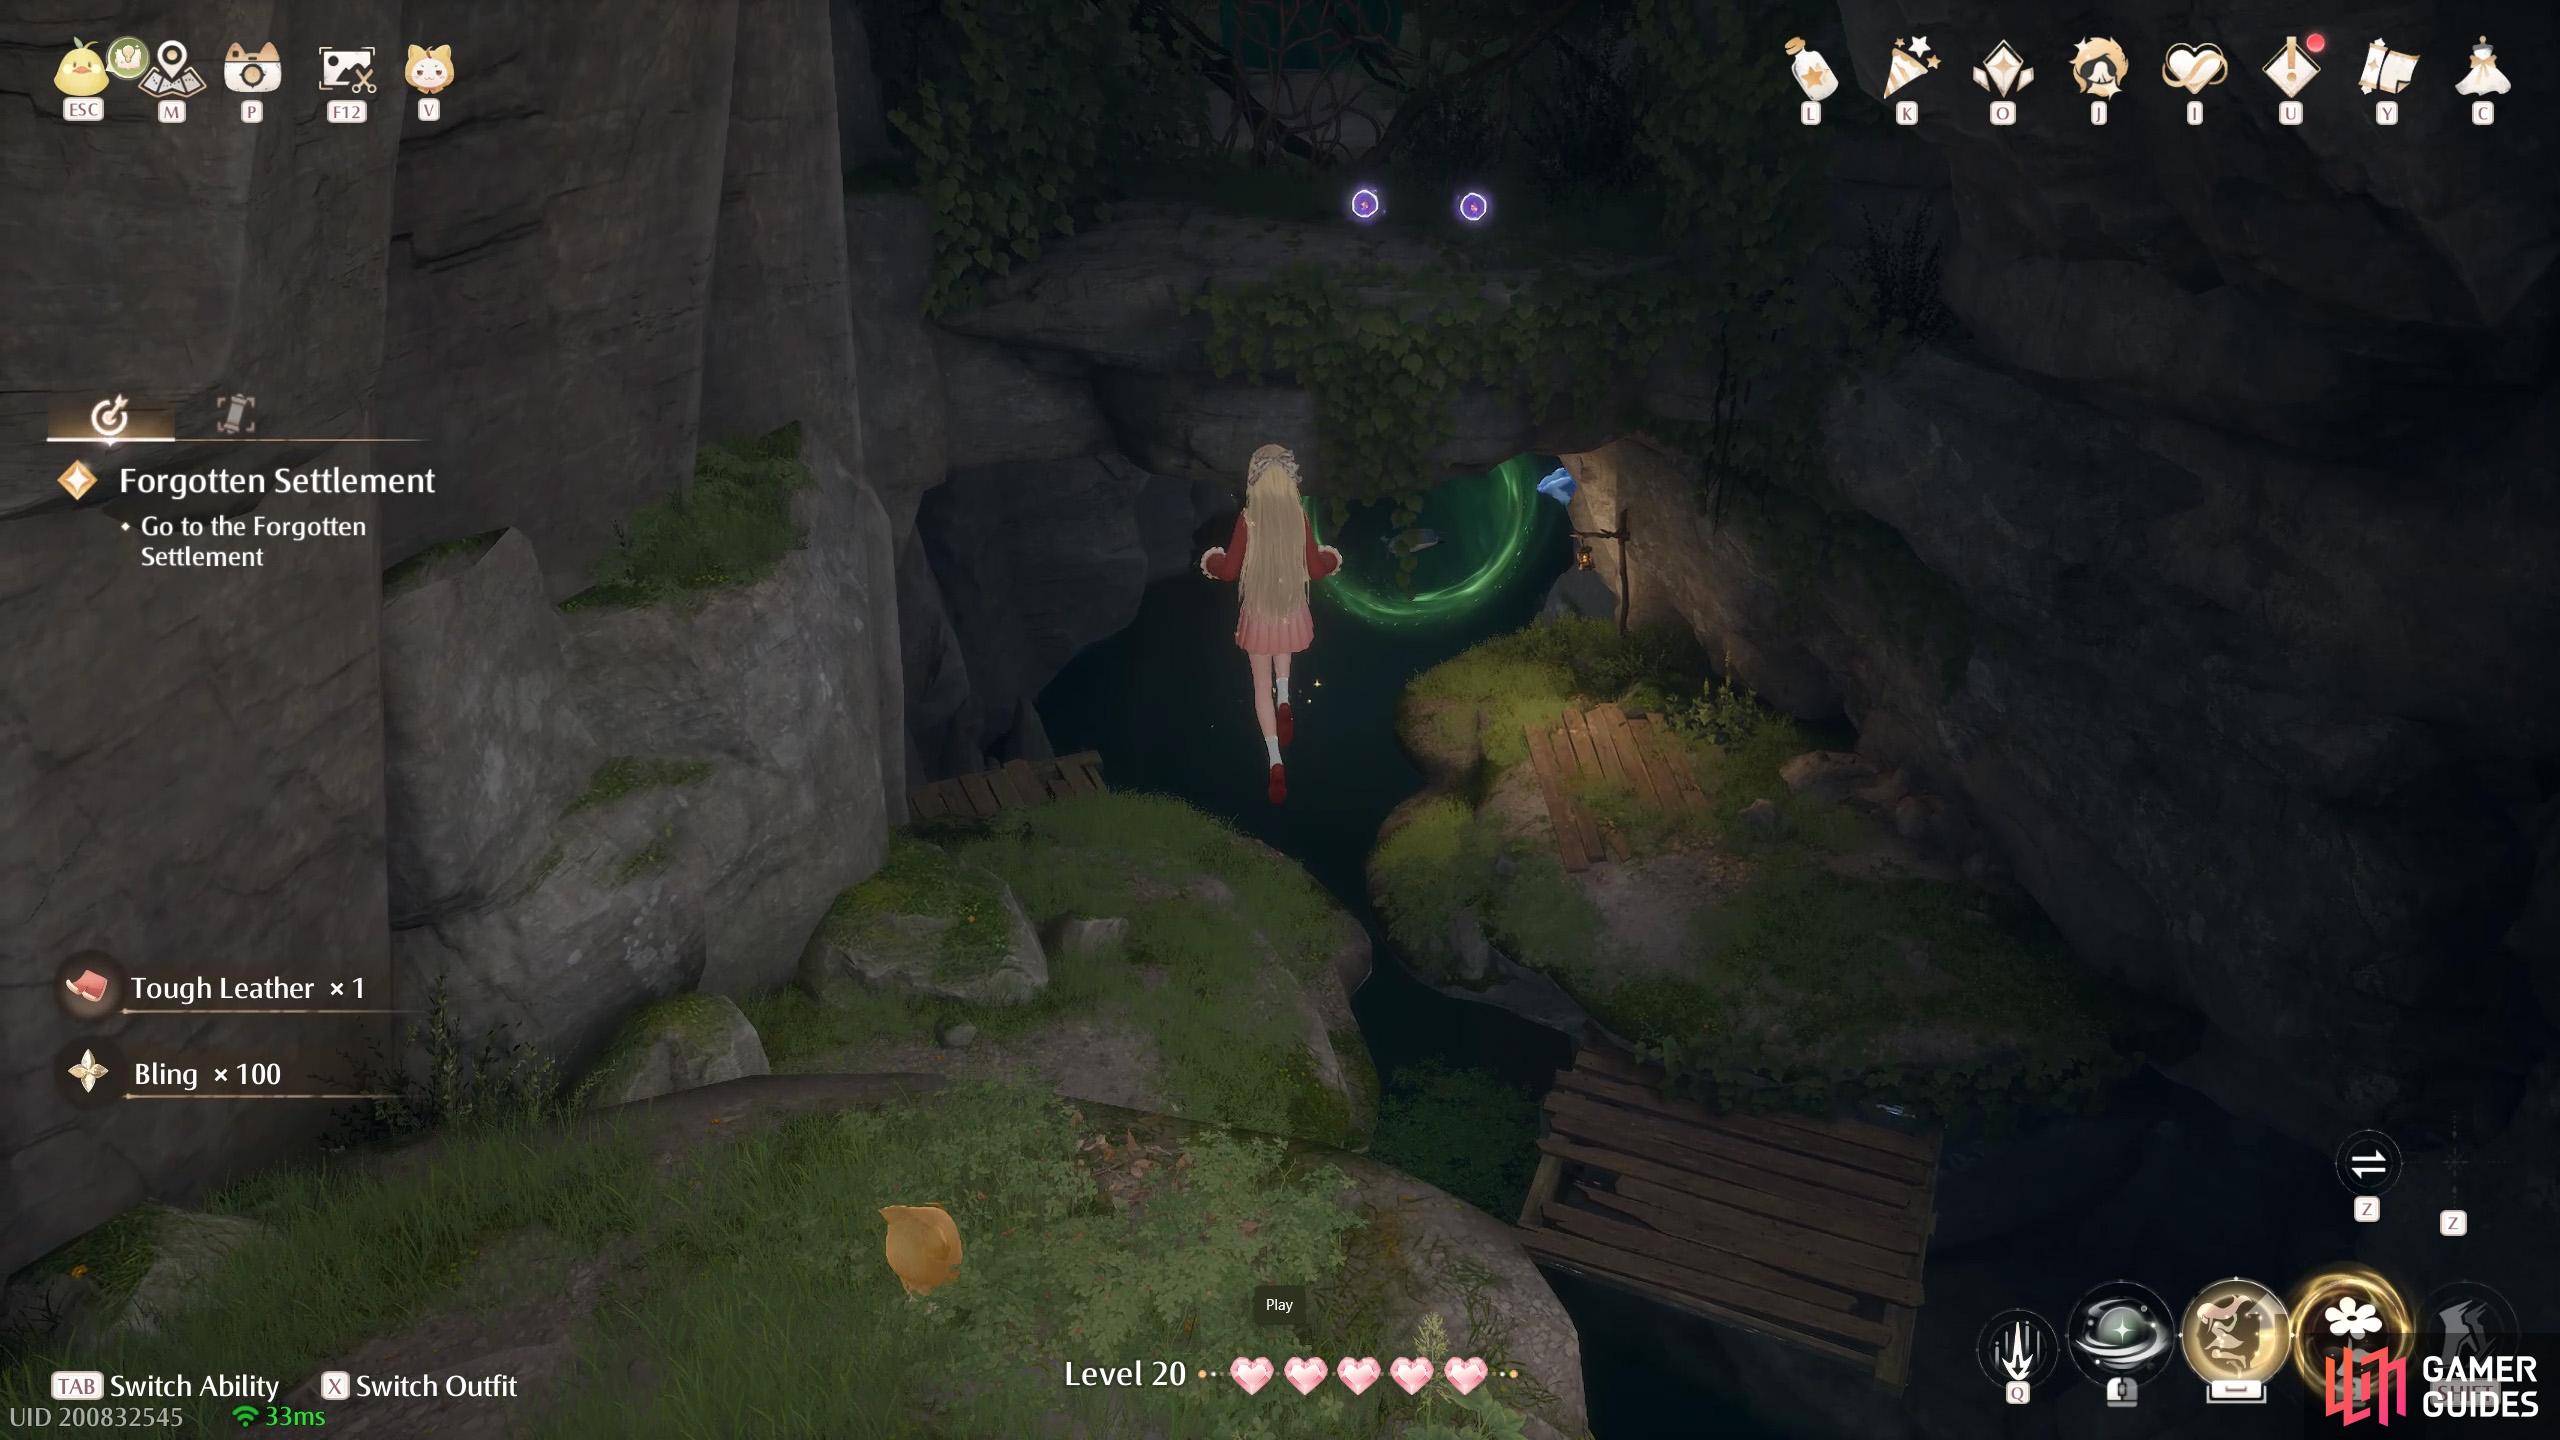
430. Miraland Map
Inside ![]() Choo-Choo Station Cavern. After the first set of wind circles, you’ll reach a corner with some Esselings. After turning the corner, you’ll find these two floating high up, straight ahead.
Choo-Choo Station Cavern. After the first set of wind circles, you’ll reach a corner with some Esselings. After turning the corner, you’ll find these two floating high up, straight ahead.
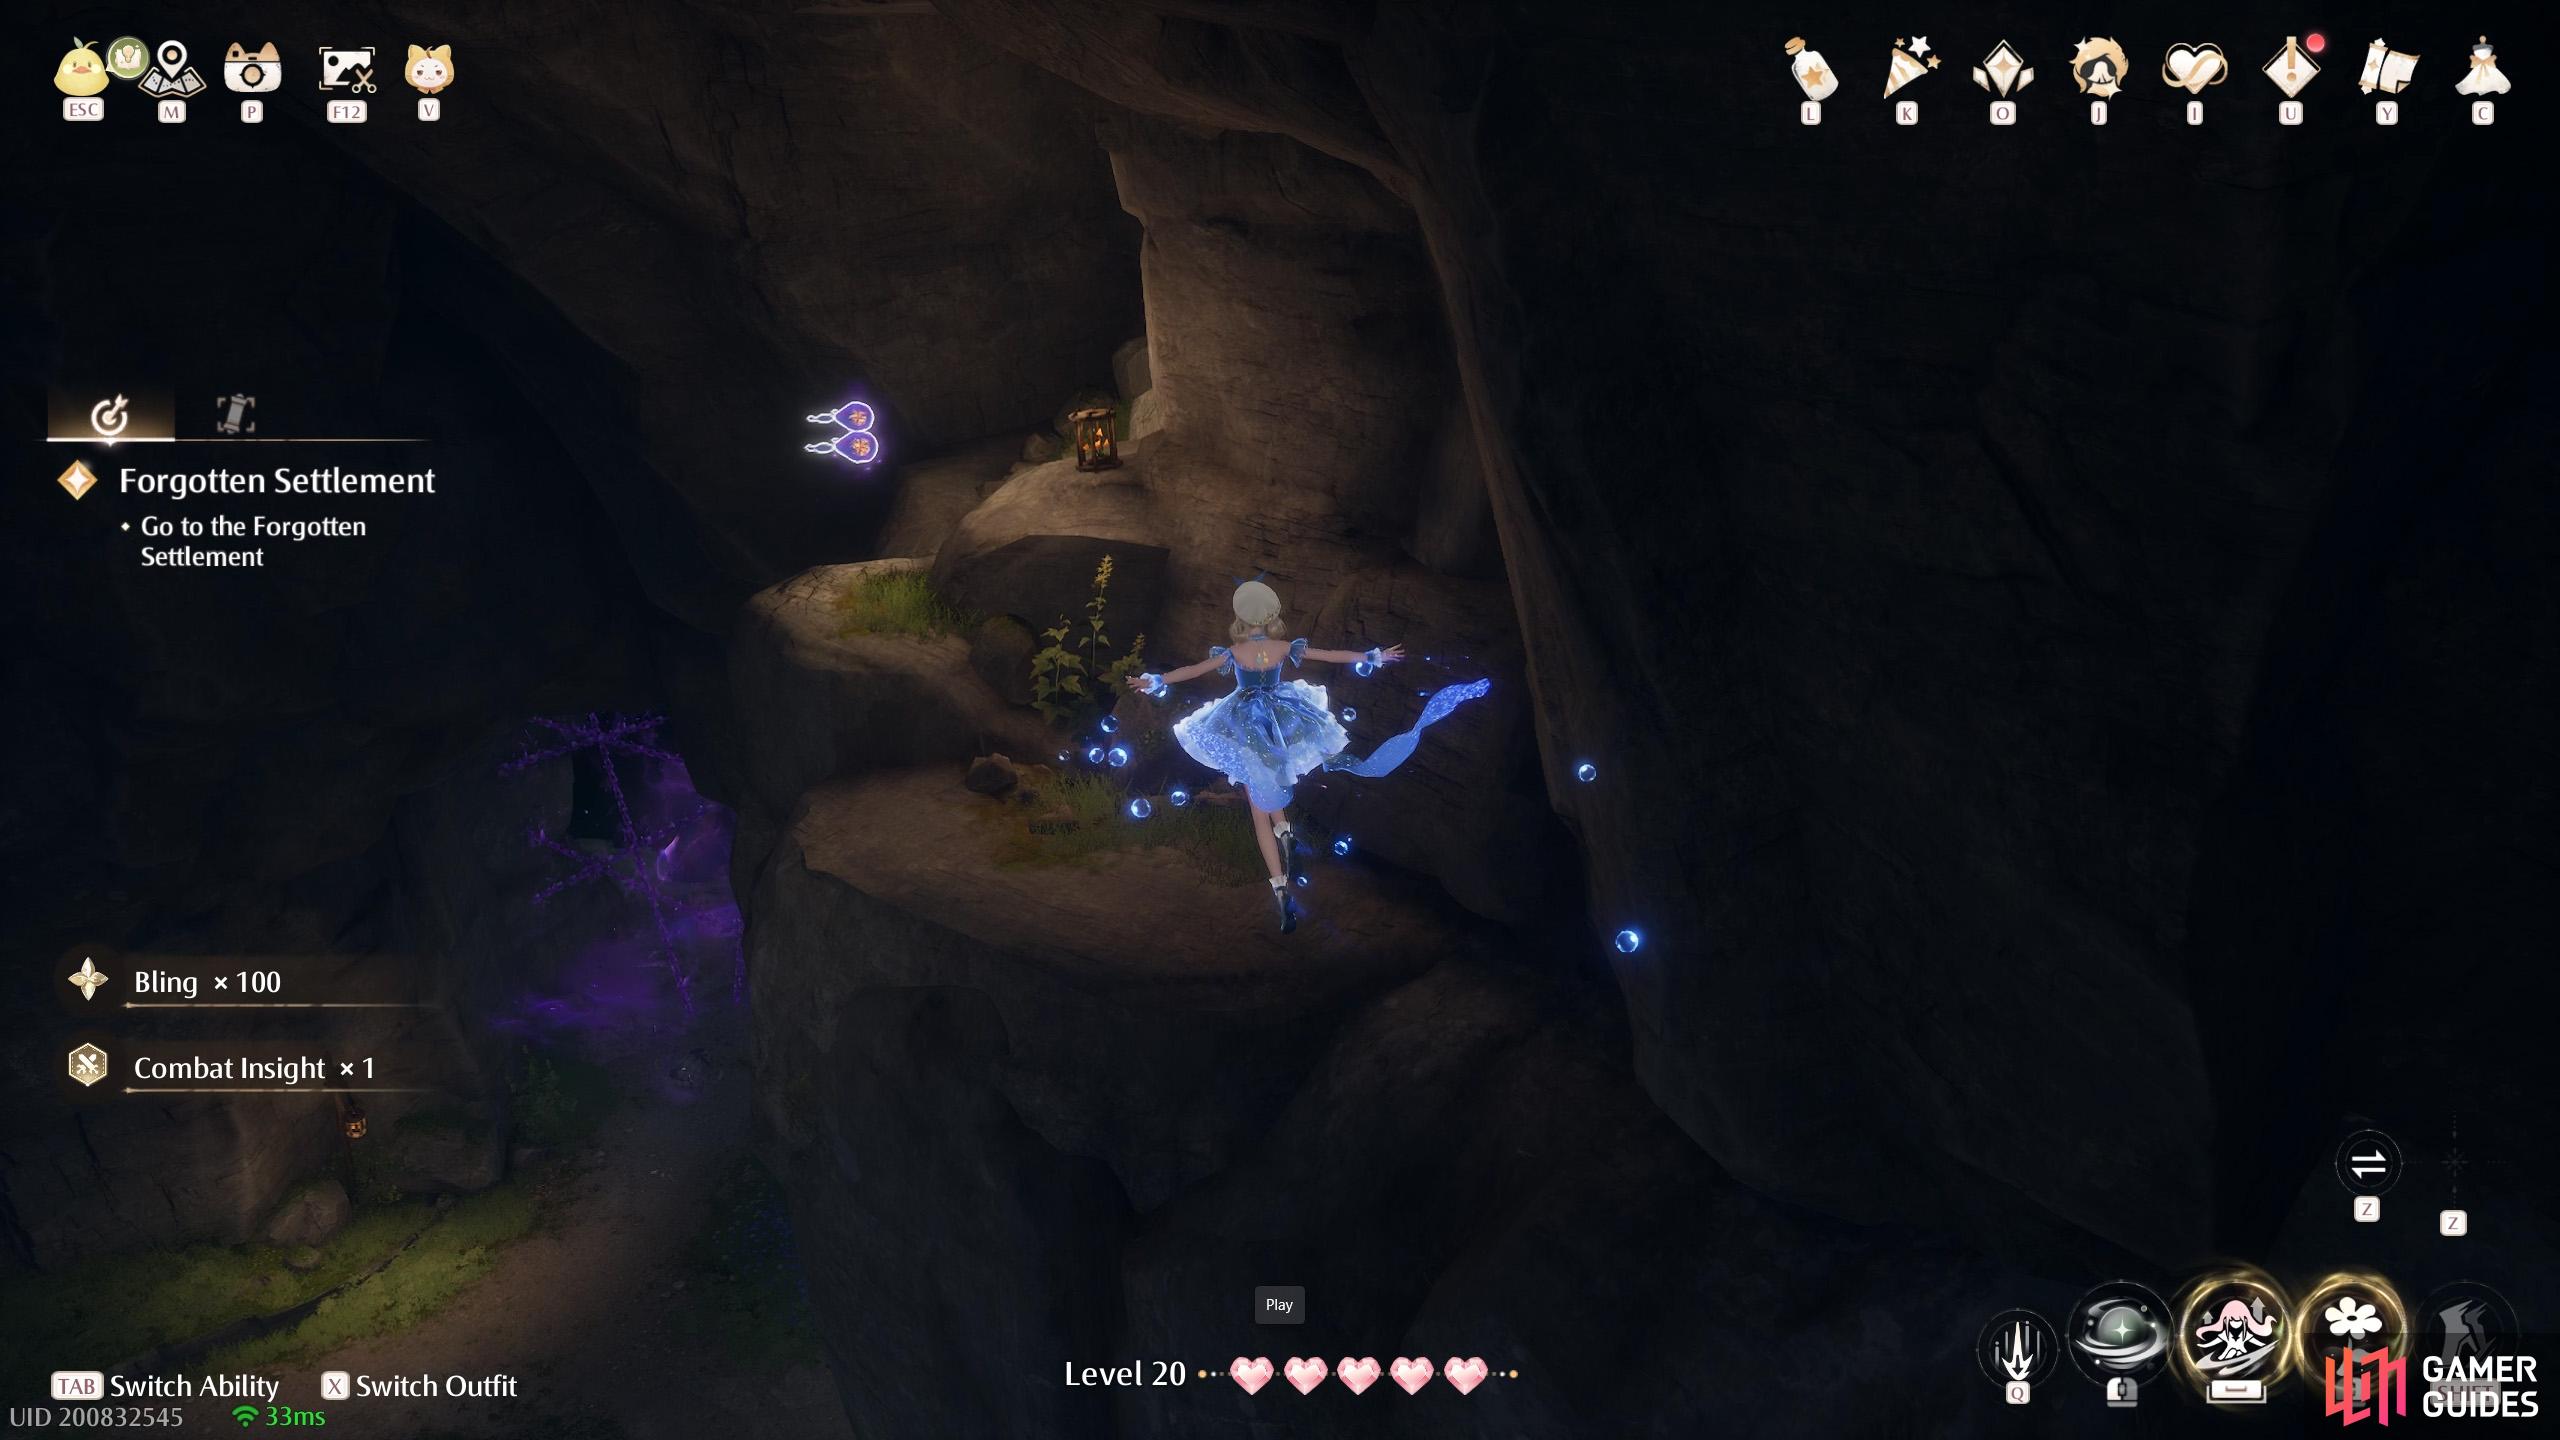
431. Miraland Map
Inside ![]() Choo-Choo Station Cavern. After the second set of wind circles (well, just one circle), there’s a group of Esselings including one protecting a spore. Release the spore, so it grows into an air-blowing plant. Then ride the air current up. Turn around to find a
Choo-Choo Station Cavern. After the second set of wind circles (well, just one circle), there’s a group of Esselings including one protecting a spore. Release the spore, so it grows into an air-blowing plant. Then ride the air current up. Turn around to find a ![]() Whimstar up ahead, guarded by Esselings. After picking it up or otherwise, turn around again to find a path with more Esselings. Fight your way to the end to find two of these floating near a ledge at the back.
Whimstar up ahead, guarded by Esselings. After picking it up or otherwise, turn around again to find a path with more Esselings. Fight your way to the end to find two of these floating near a ledge at the back.
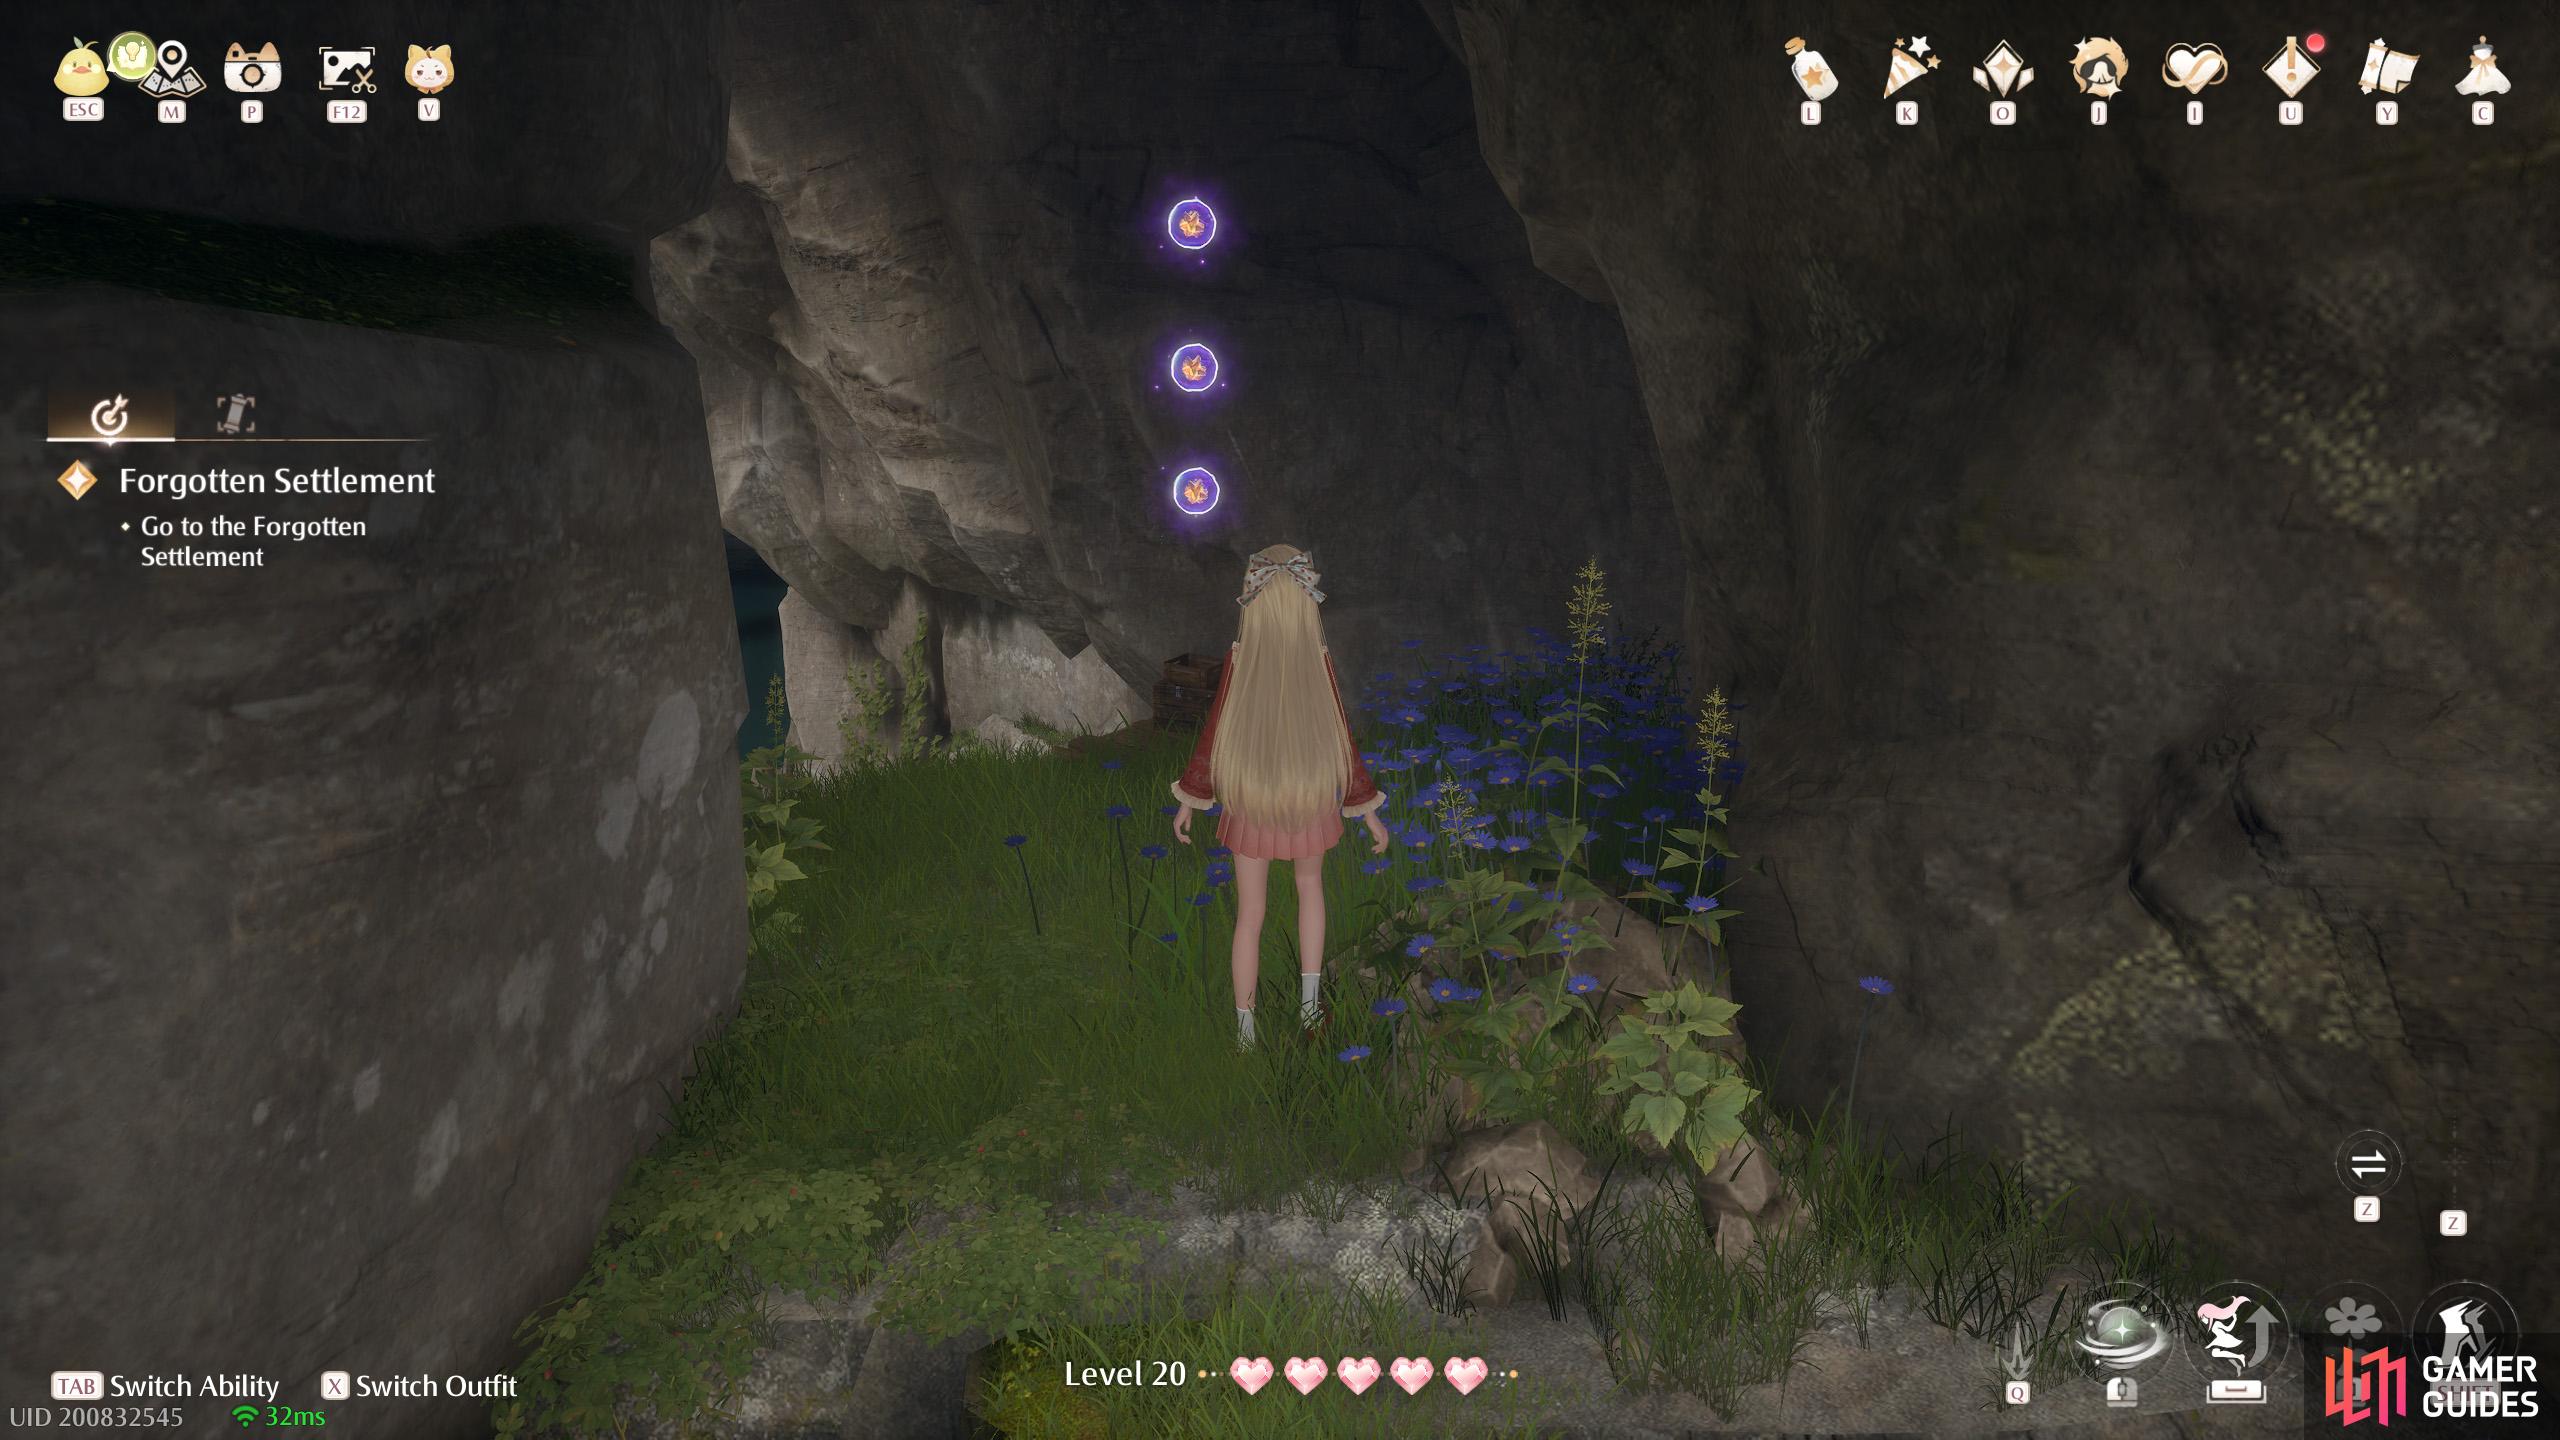
432. Miraland Map
Inside ![]() Choo-Choo Station Cavern. Near the beginning, there are some wooden boards on the ground. Use a jumping attack to break them and go down. Below, there’s a group of Esselings and a treasure chest. Make your way to the exit, where the air-blowing plant is. At the end, as you return to the main path, there are three floating past the ledge.
Choo-Choo Station Cavern. Near the beginning, there are some wooden boards on the ground. Use a jumping attack to break them and go down. Below, there’s a group of Esselings and a treasure chest. Make your way to the exit, where the air-blowing plant is. At the end, as you return to the main path, there are three floating past the ledge.

433. Miraland Map
Inside ![]() Prosperville Cavern. Near the start, at the pool area with two Esselings. Three straight ahead. Seems a bit too easy?
Prosperville Cavern. Near the start, at the pool area with two Esselings. Three straight ahead. Seems a bit too easy?
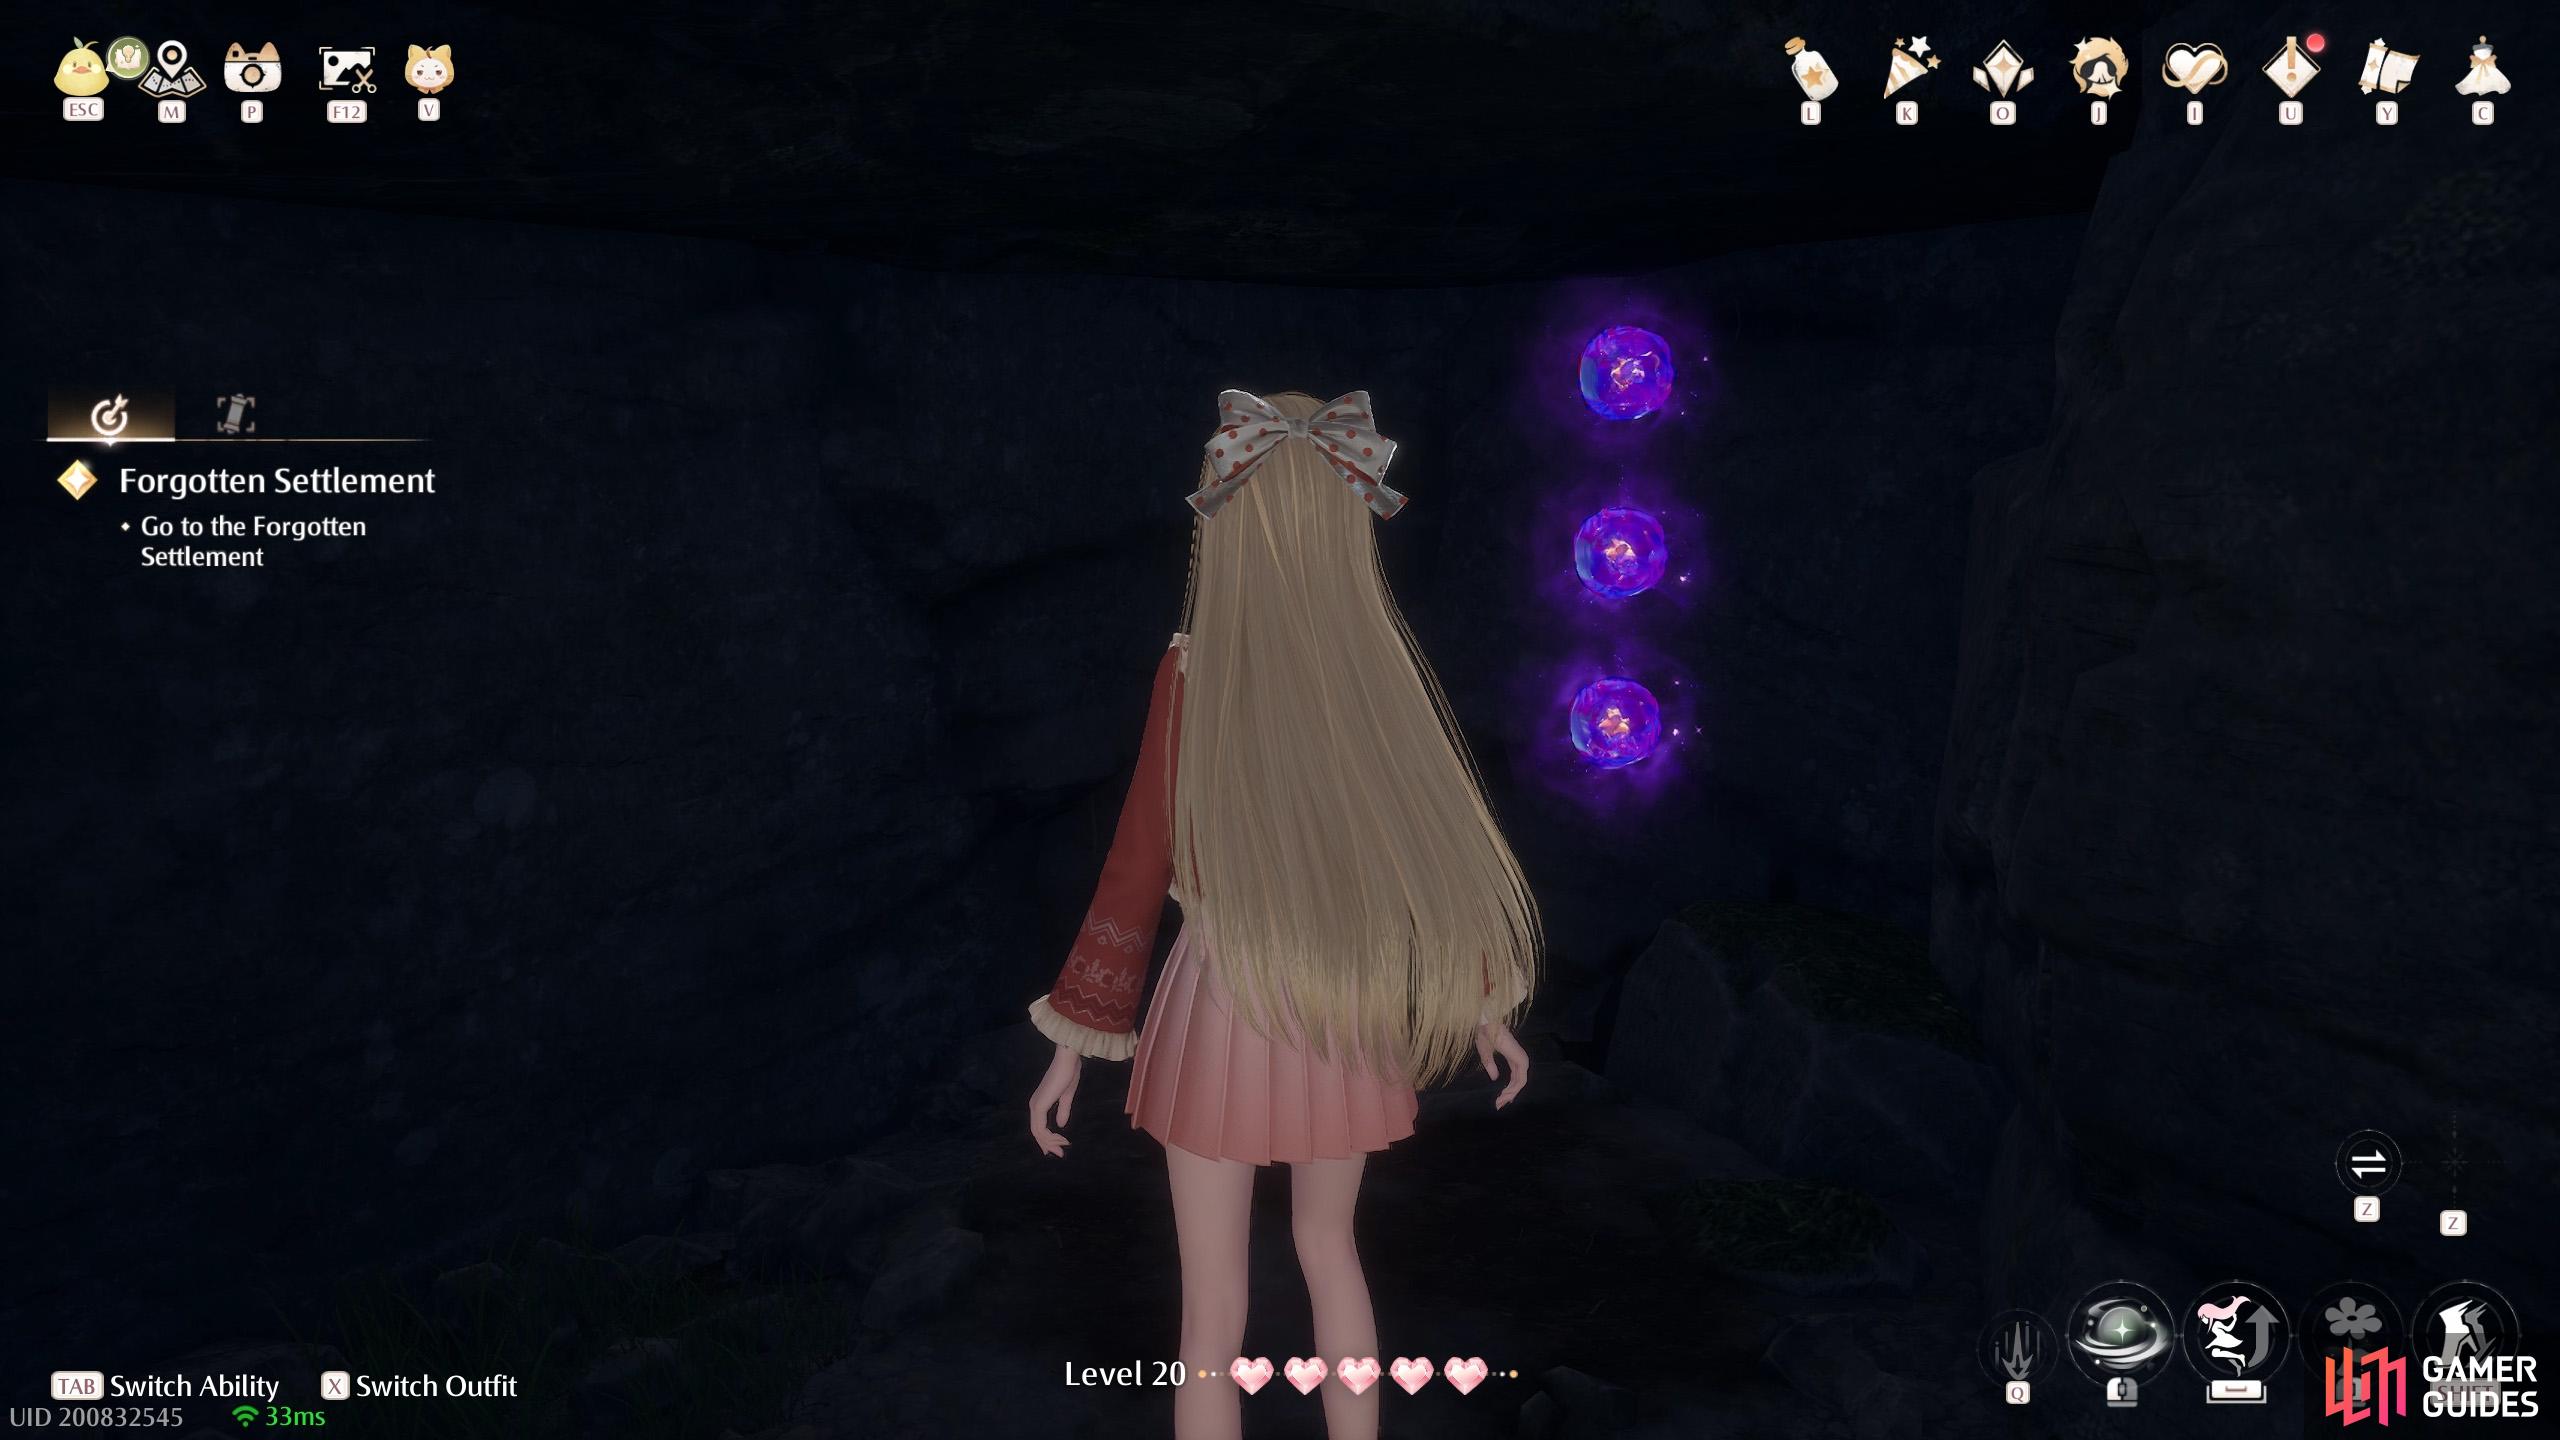
434. Miraland Map
Inside ![]() Prosperville Cavern. After the small pool area, there’s a small area where you jump on some ledges/steps. Drop down and go to the back. There are three hidden behind the furthest ledge/step. OK, this one stumped us for a bit.
Prosperville Cavern. After the small pool area, there’s a small area where you jump on some ledges/steps. Drop down and go to the back. There are three hidden behind the furthest ledge/step. OK, this one stumped us for a bit.
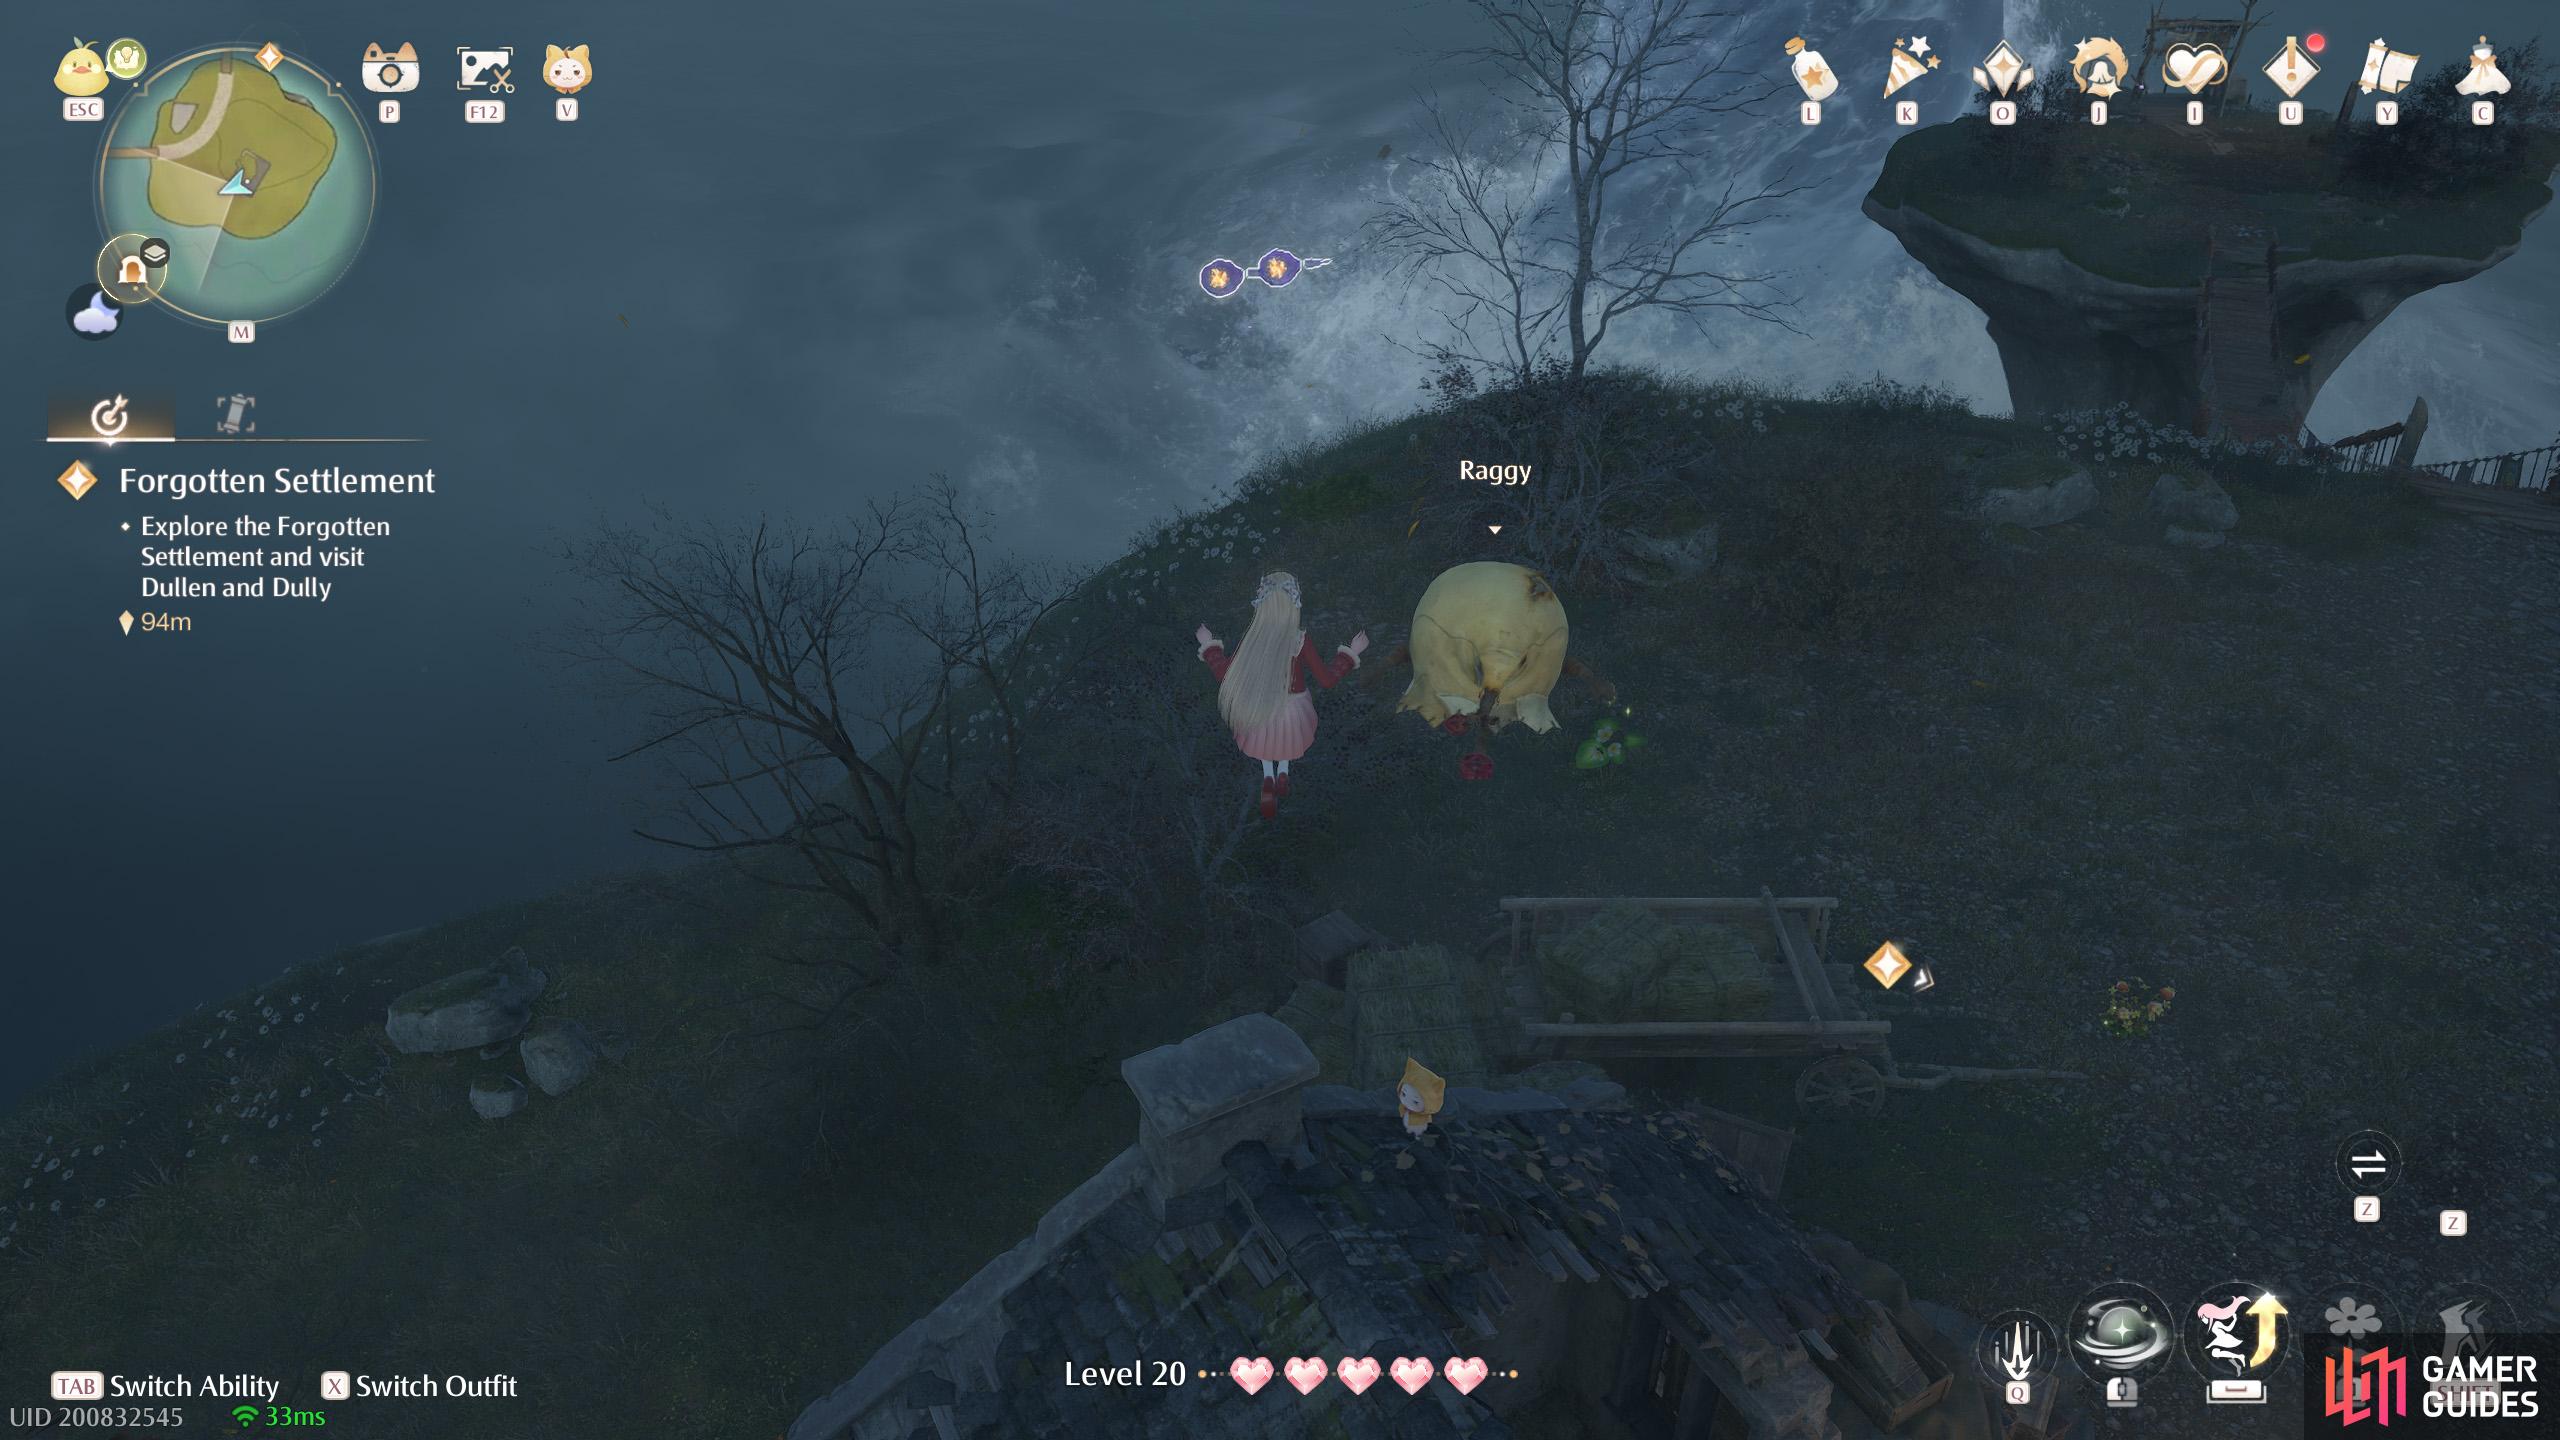
435. Miraland Map
East of ![]() Prosperville Entrance. Two floating near the chimney atop the rooftop.
Prosperville Entrance. Two floating near the chimney atop the rooftop.
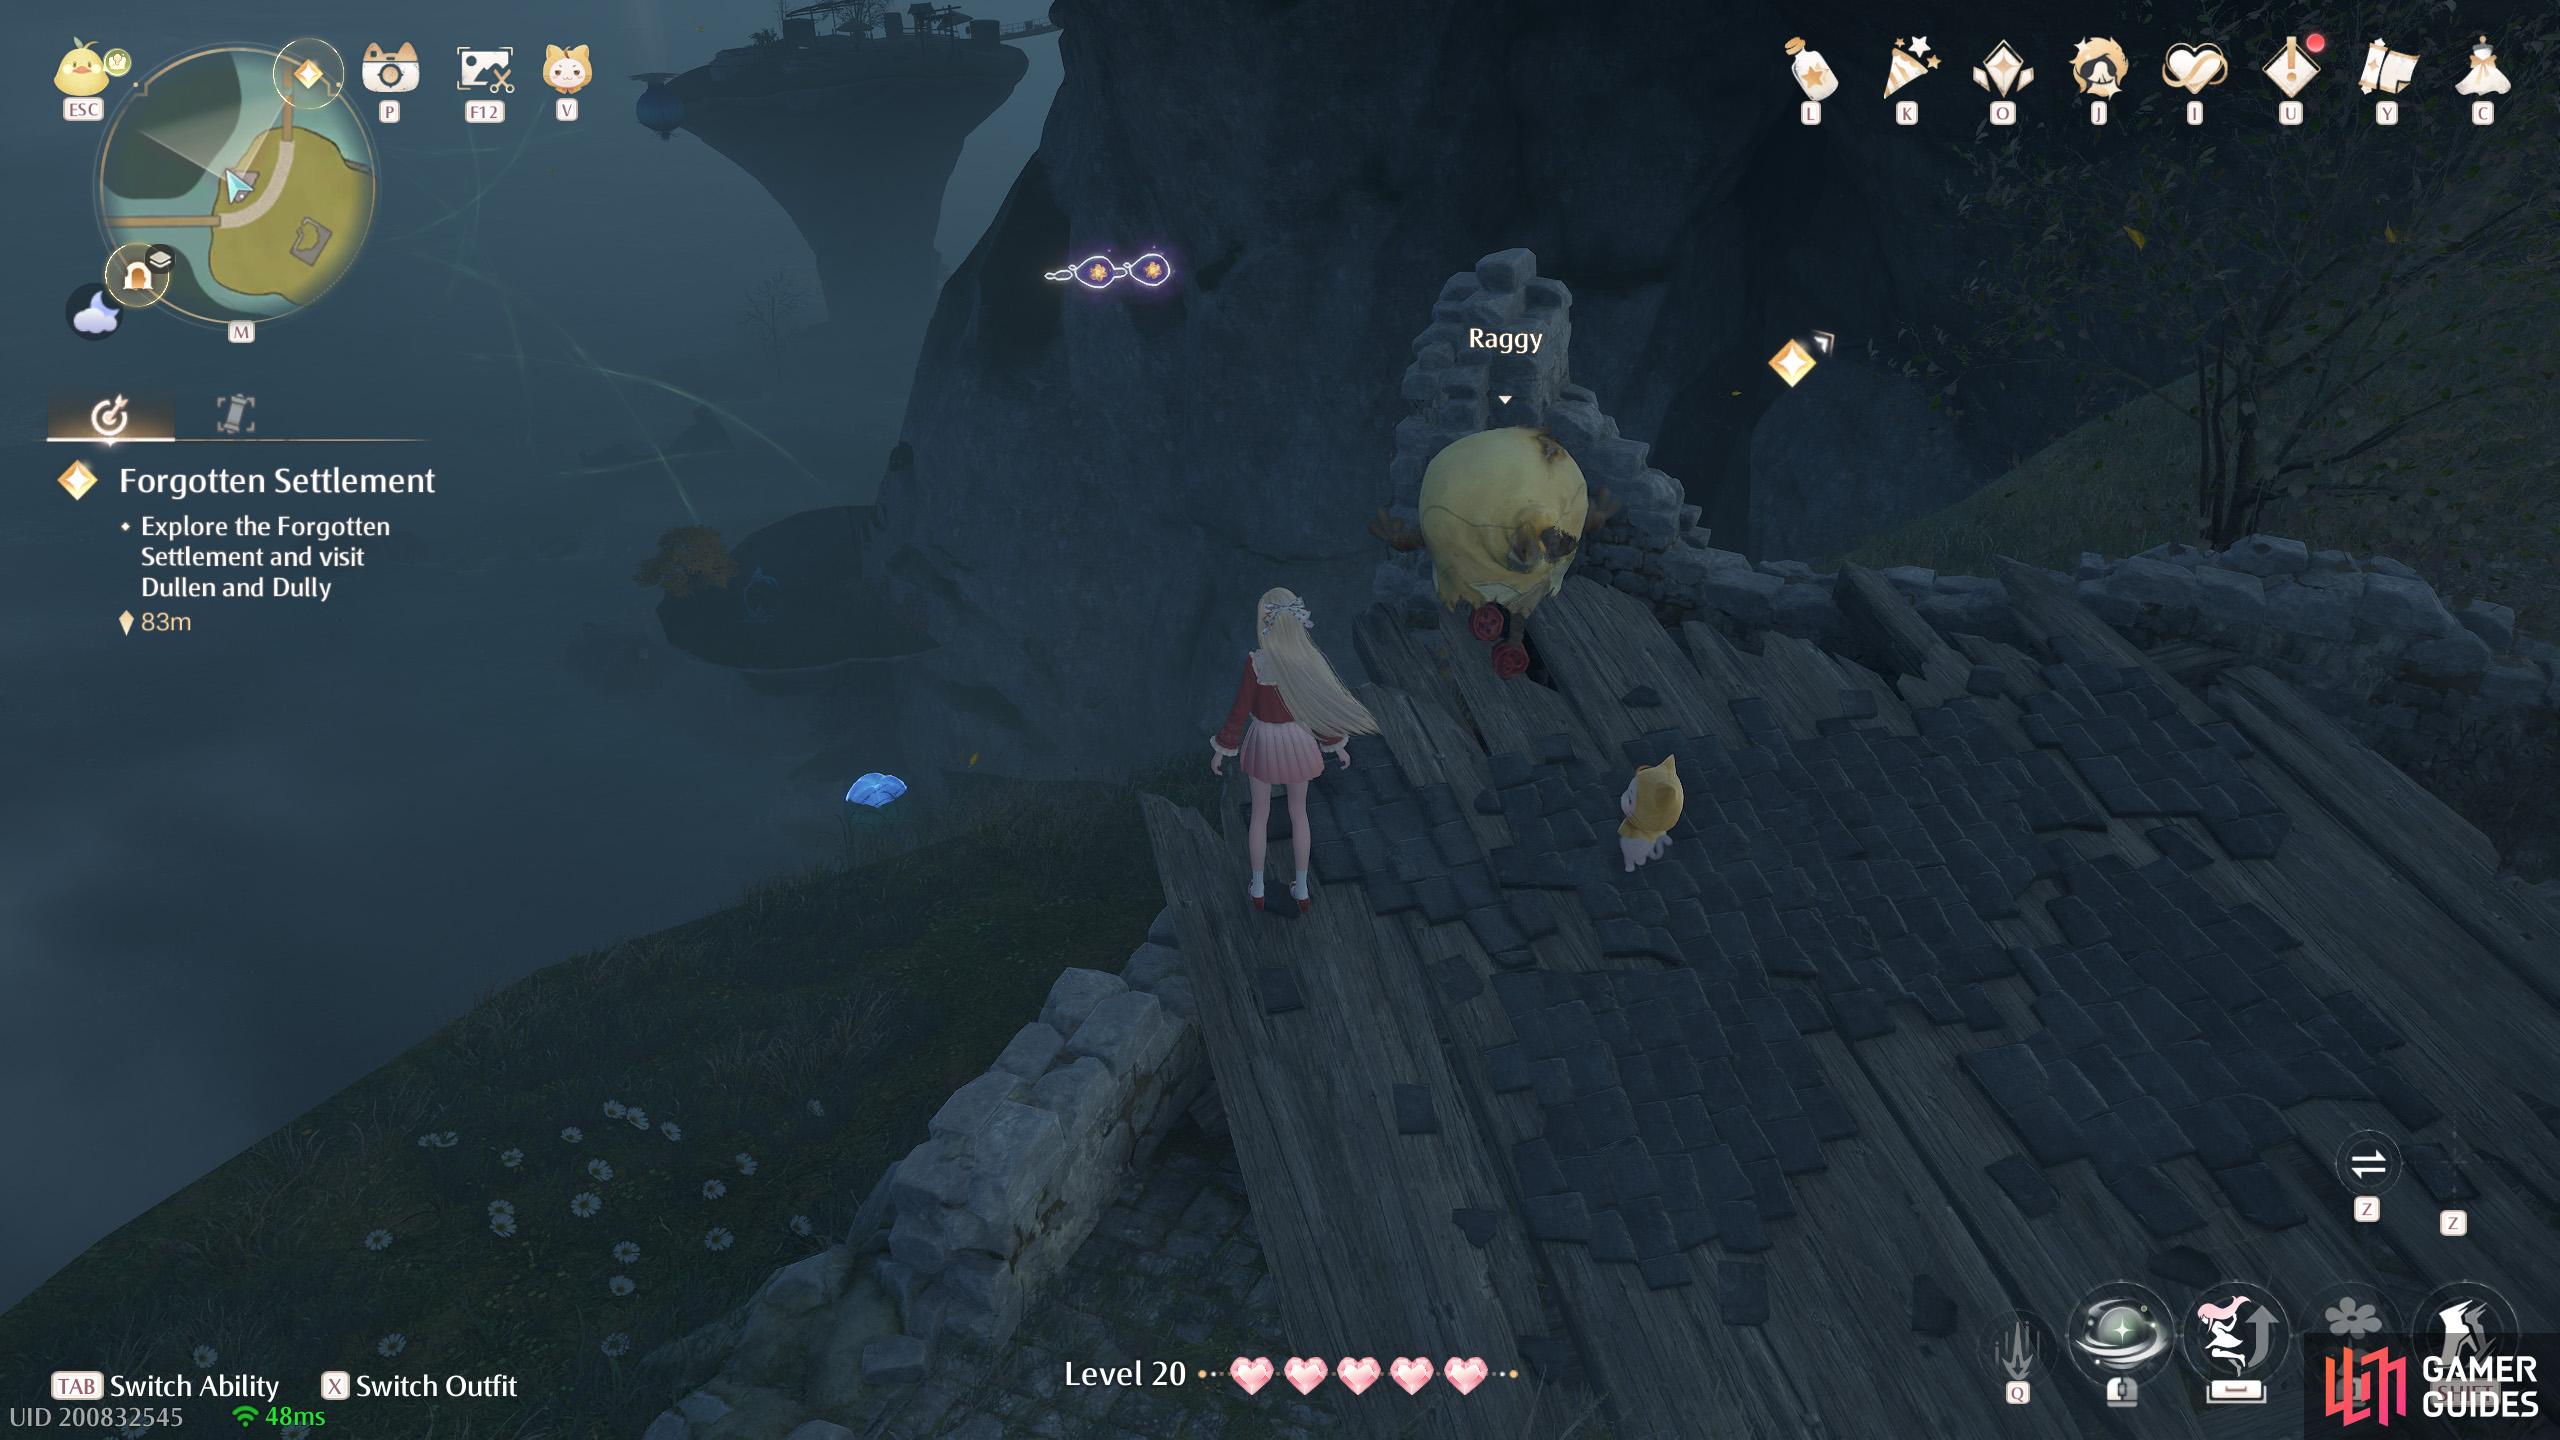
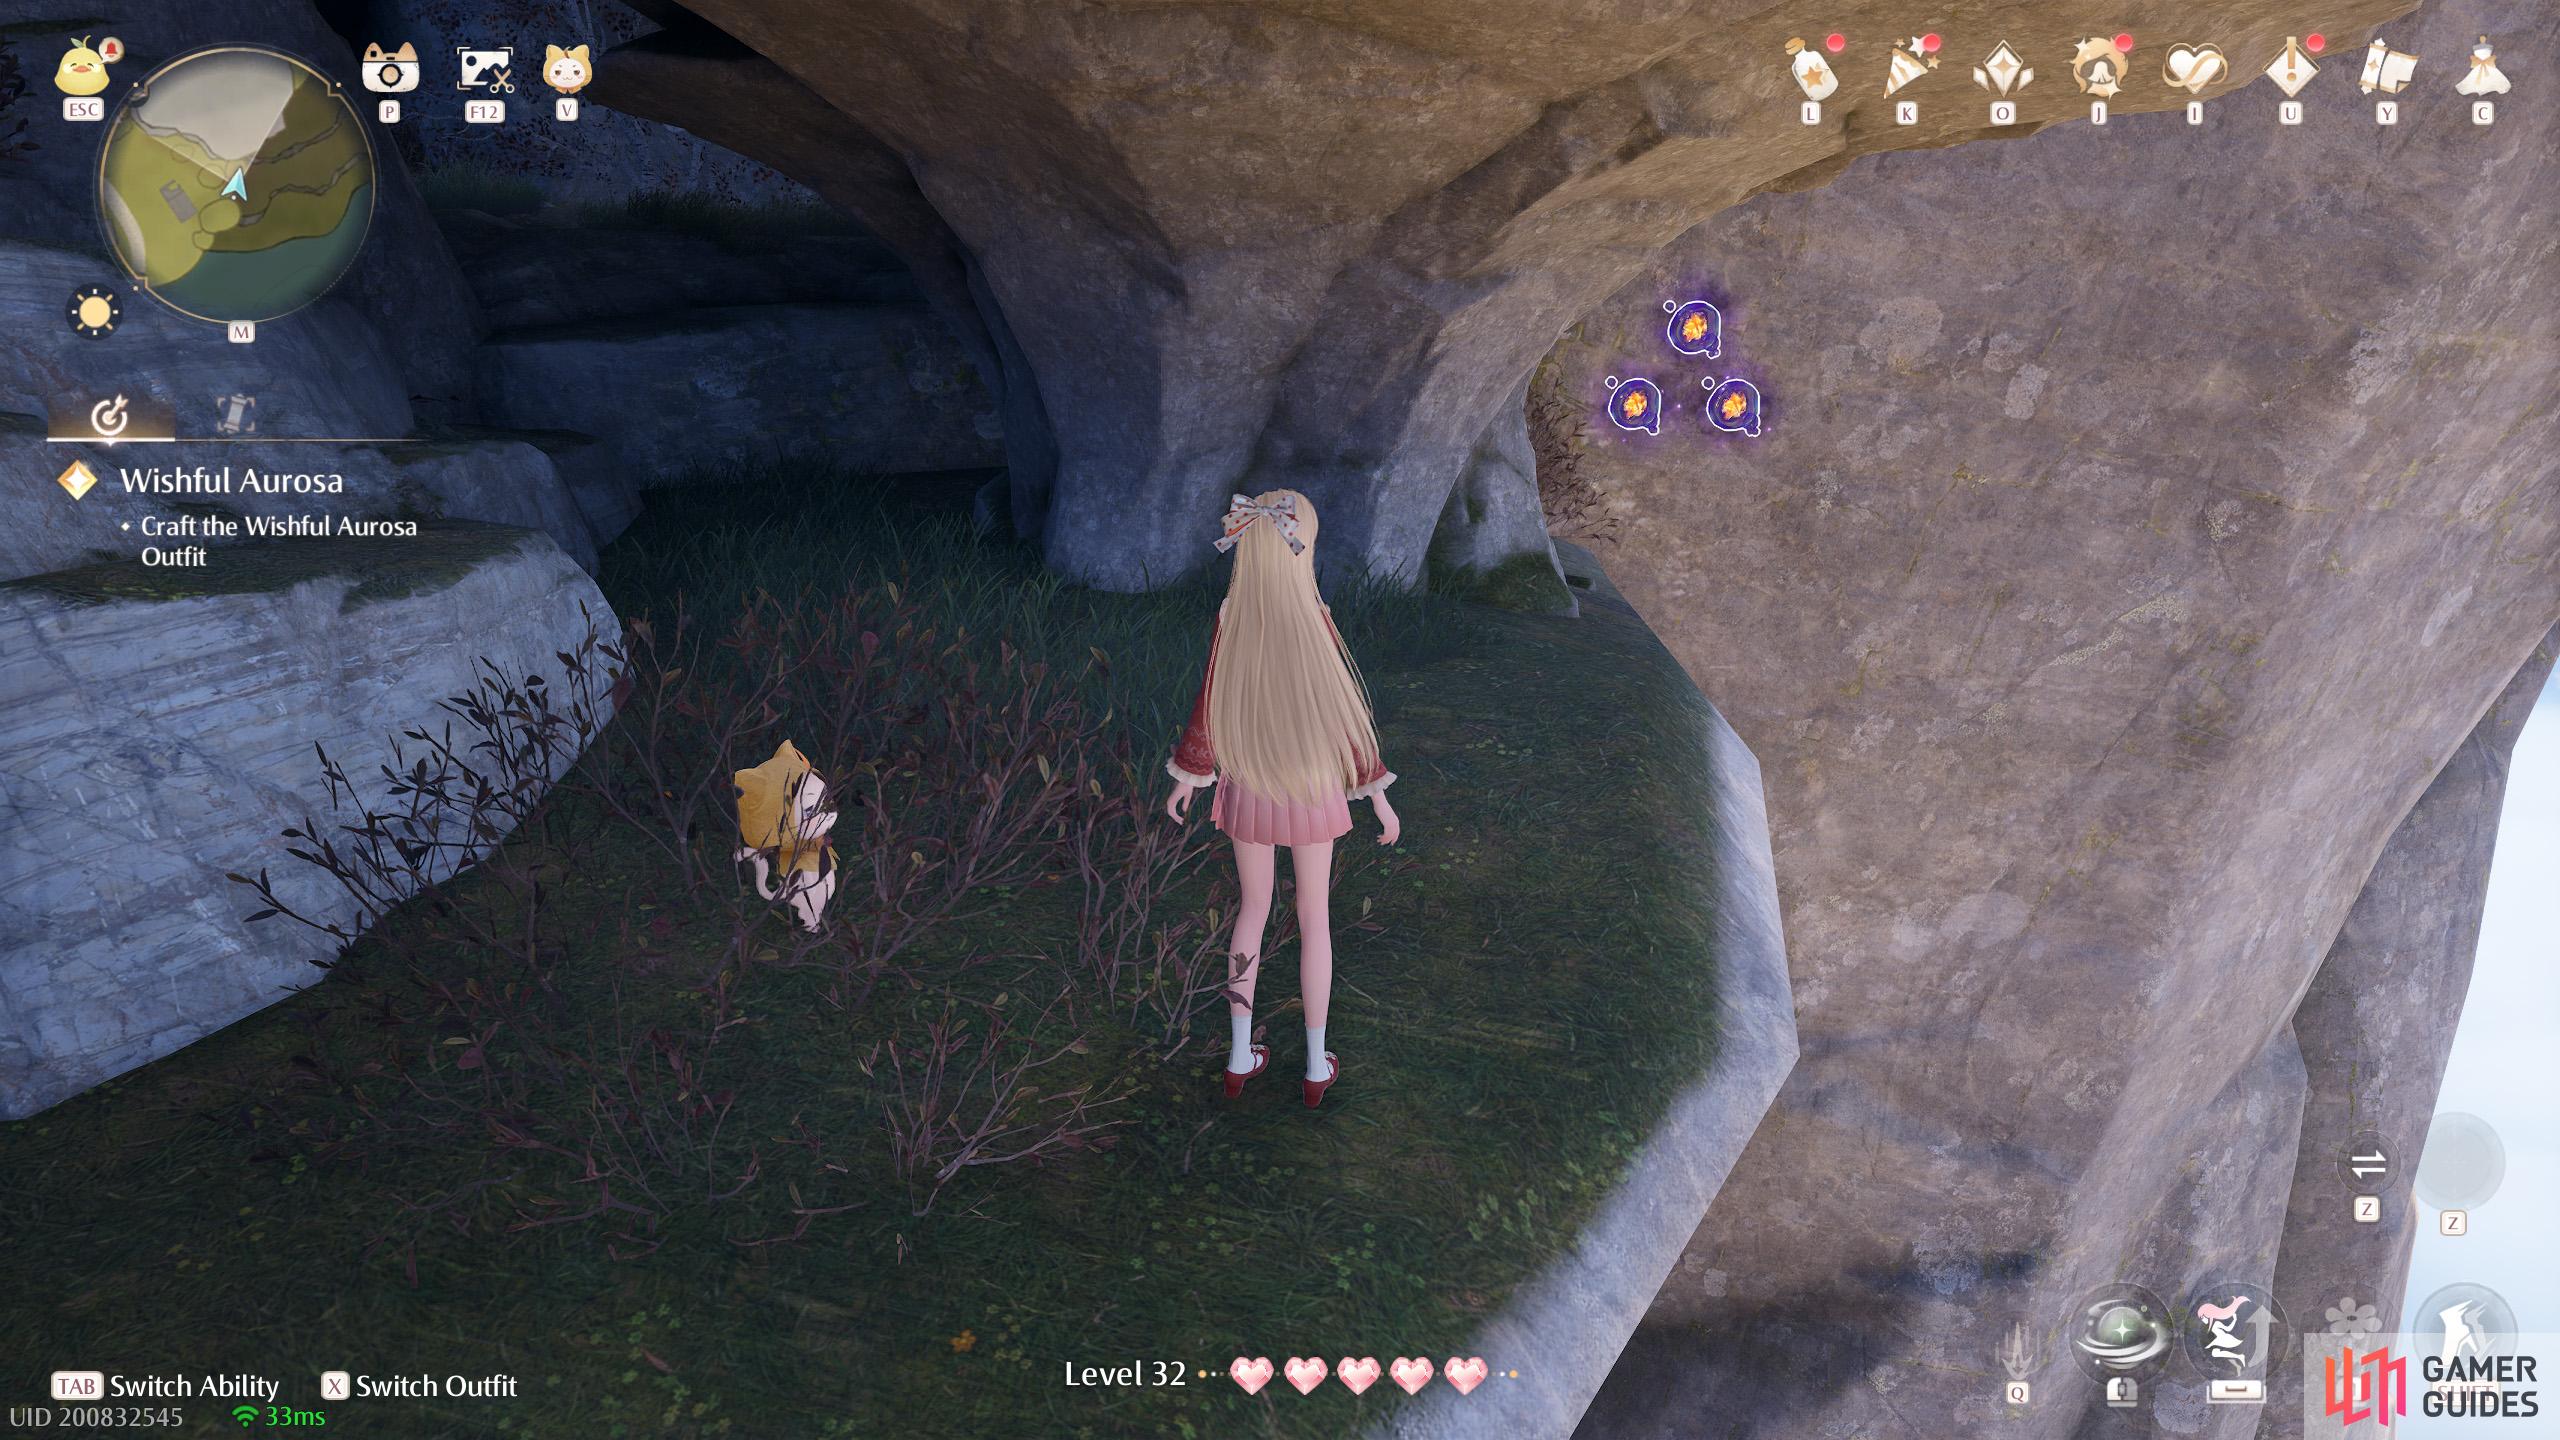
437. Miraland Map
North-east of ![]() Prosperville Entrance, on the middle level. From the north end of the half-broken suspension bridge, head as far east as you can. These three are floating near the base of the last stall stonetree.
Prosperville Entrance, on the middle level. From the north end of the half-broken suspension bridge, head as far east as you can. These three are floating near the base of the last stall stonetree.
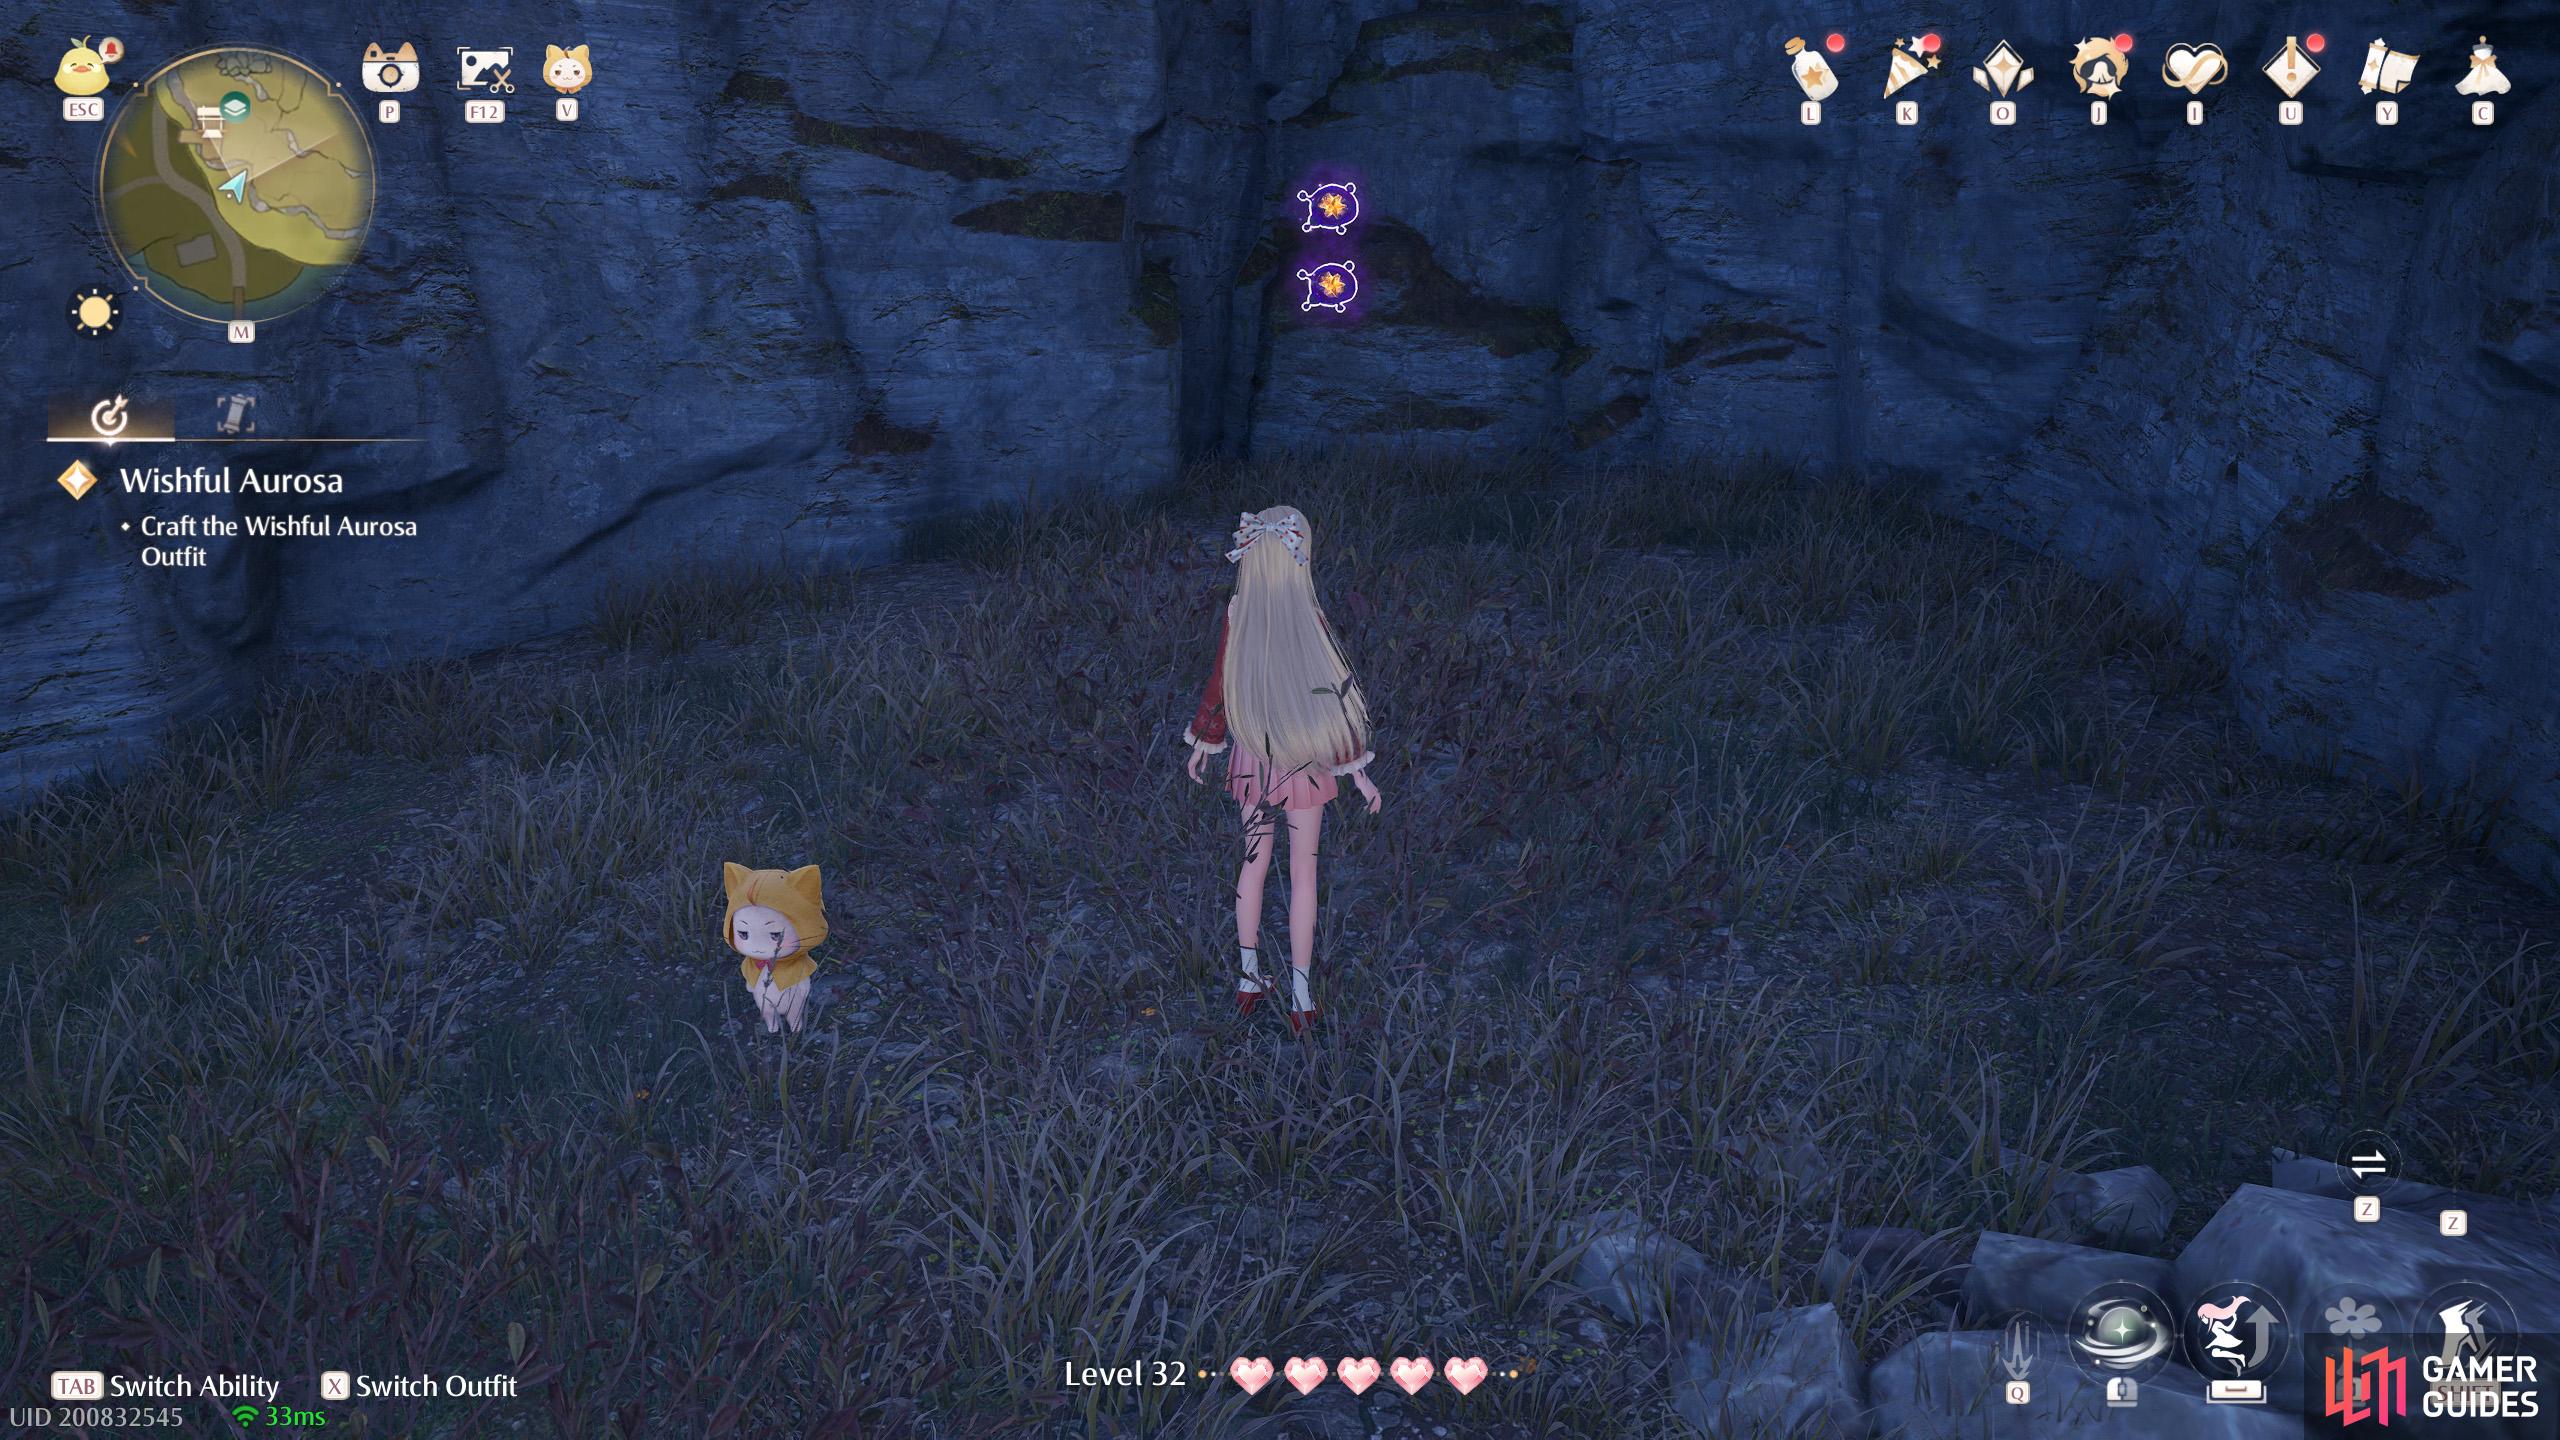
438. Miraland Map
South from ![]() Stone Seles, on the top level. Two in a corner near the outer edge.
Stone Seles, on the top level. Two in a corner near the outer edge.
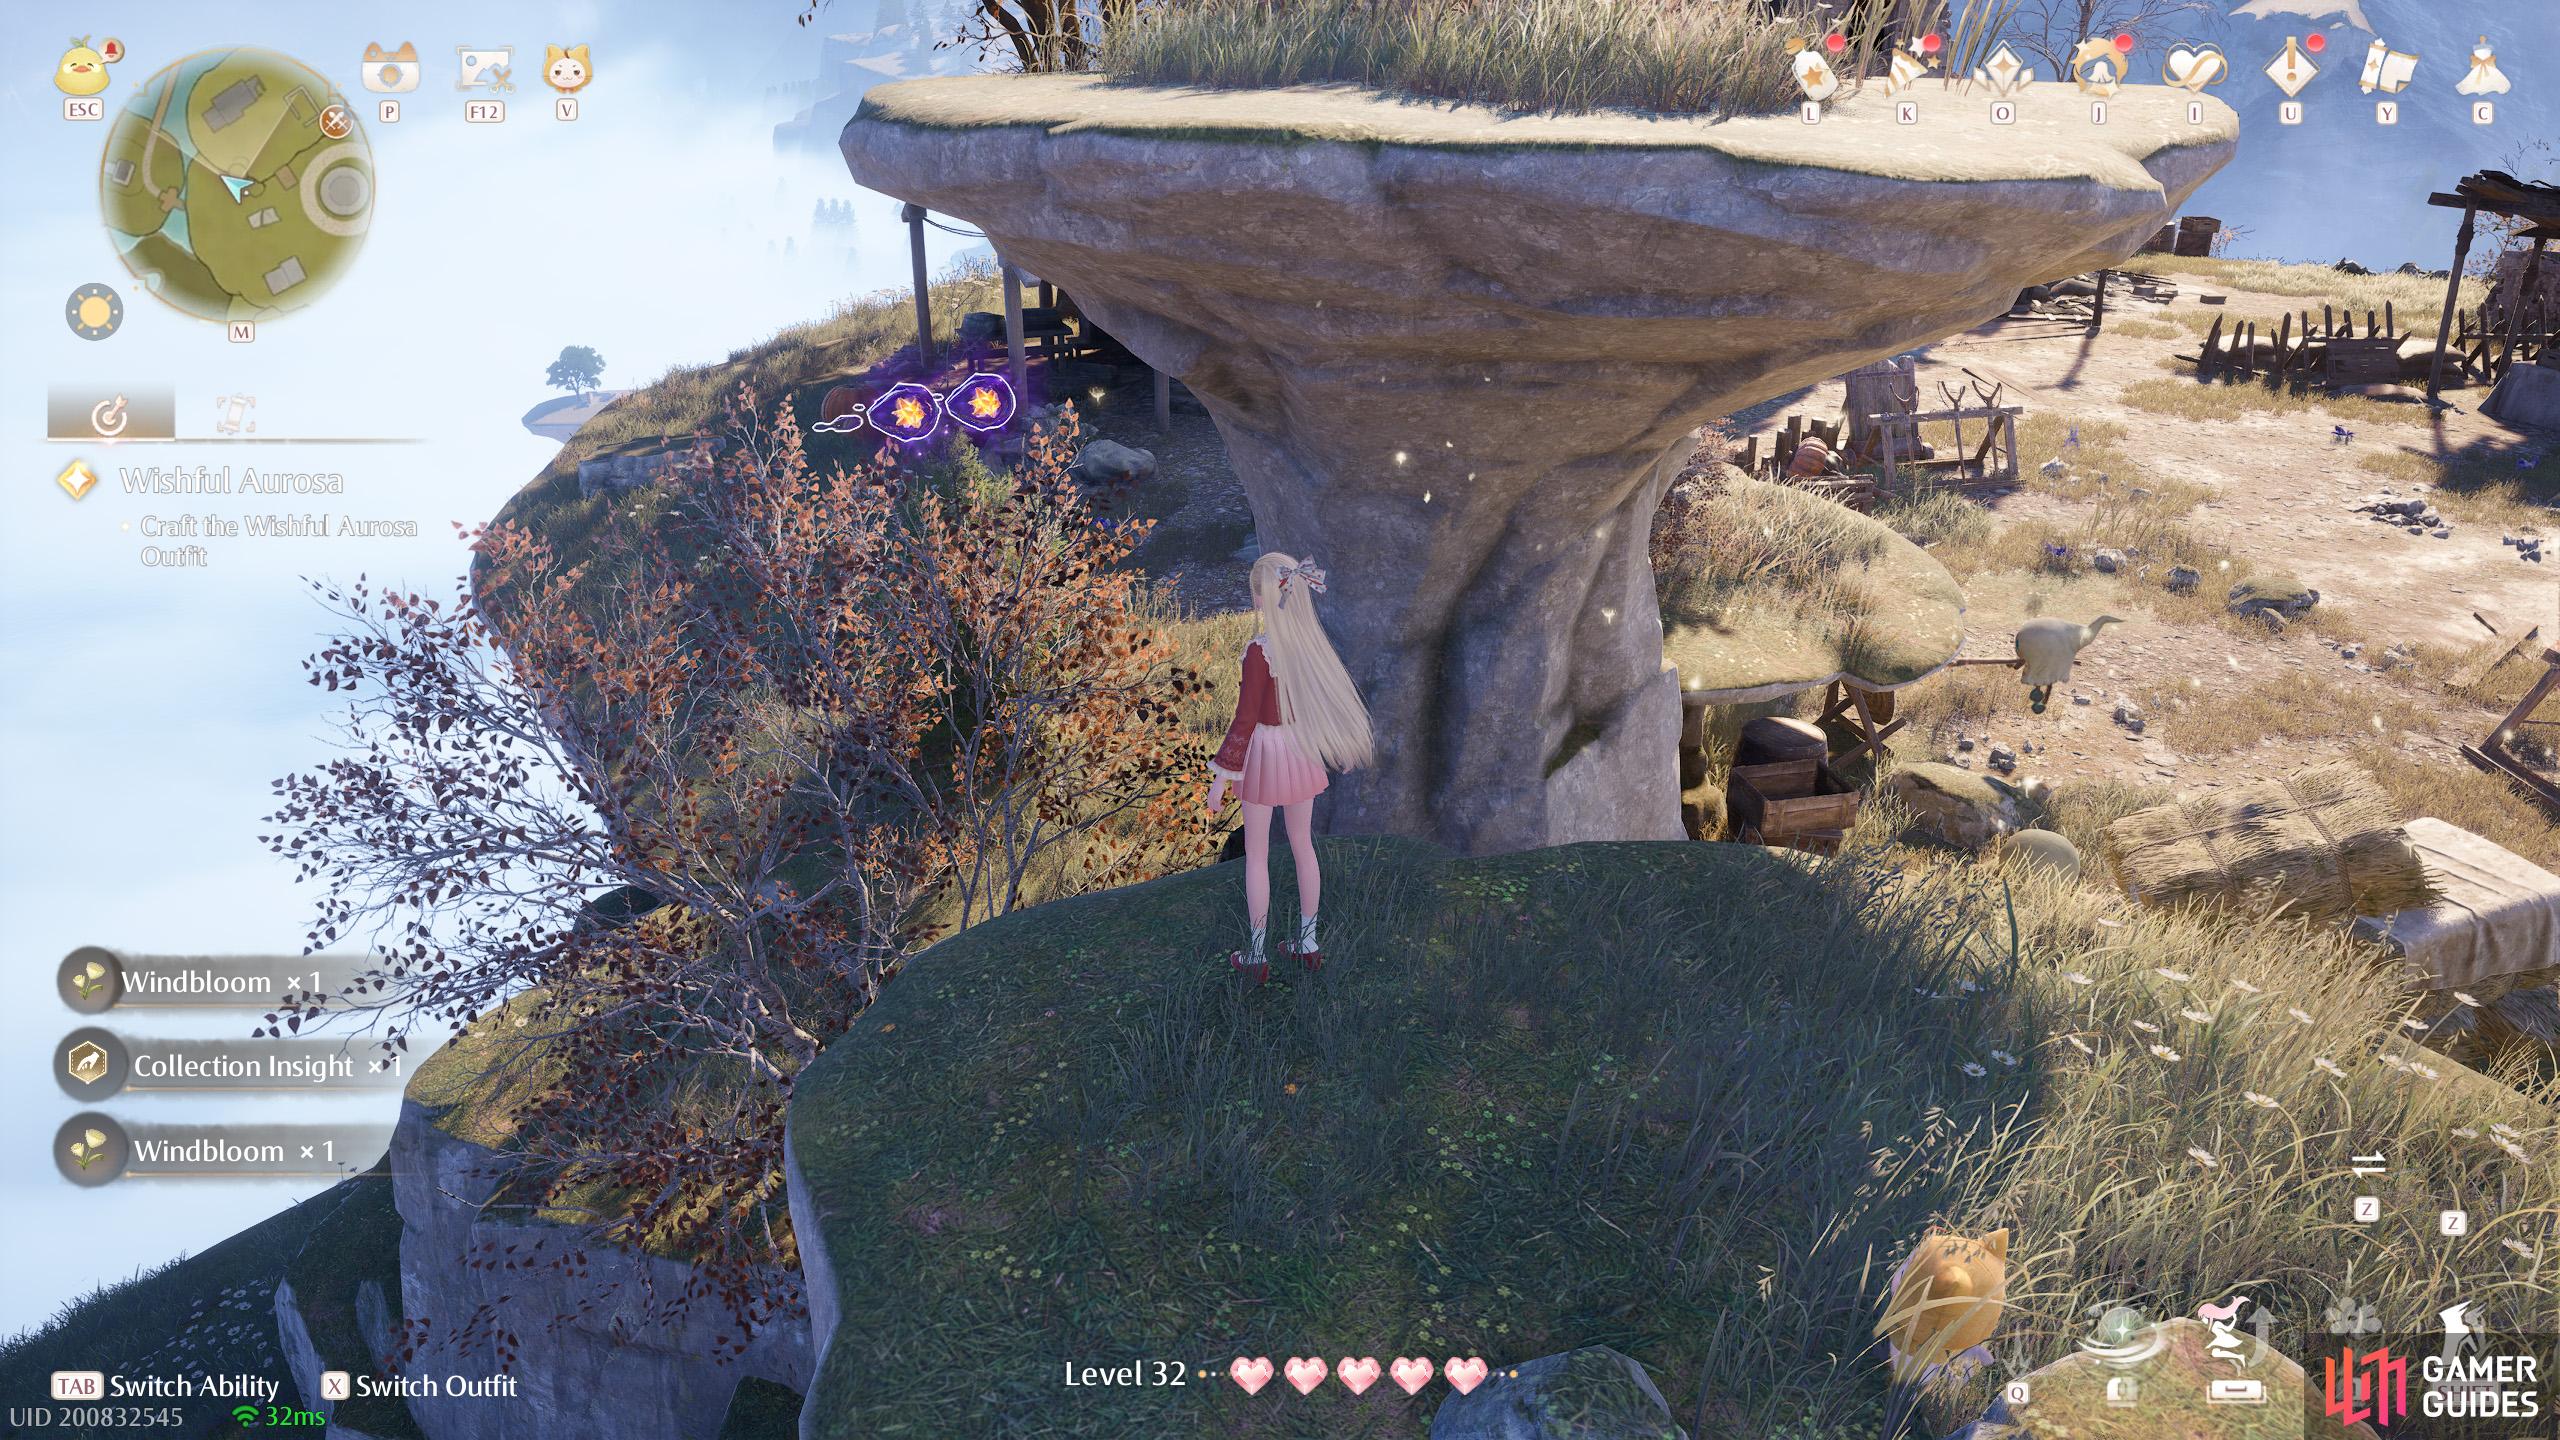
439. Miraland Map
South of ![]() Forgotten Village Dwelling and slightly east. On the middle level. Two near a pair of stonetrees a short distance west from the village square.
Forgotten Village Dwelling and slightly east. On the middle level. Two near a pair of stonetrees a short distance west from the village square.

440. Miraland Map
North-west of ![]() Volunteer Corps Watchtower (west). On level 2F. Three inside a hoop near the minigame stall.
Volunteer Corps Watchtower (west). On level 2F. Three inside a hoop near the minigame stall.
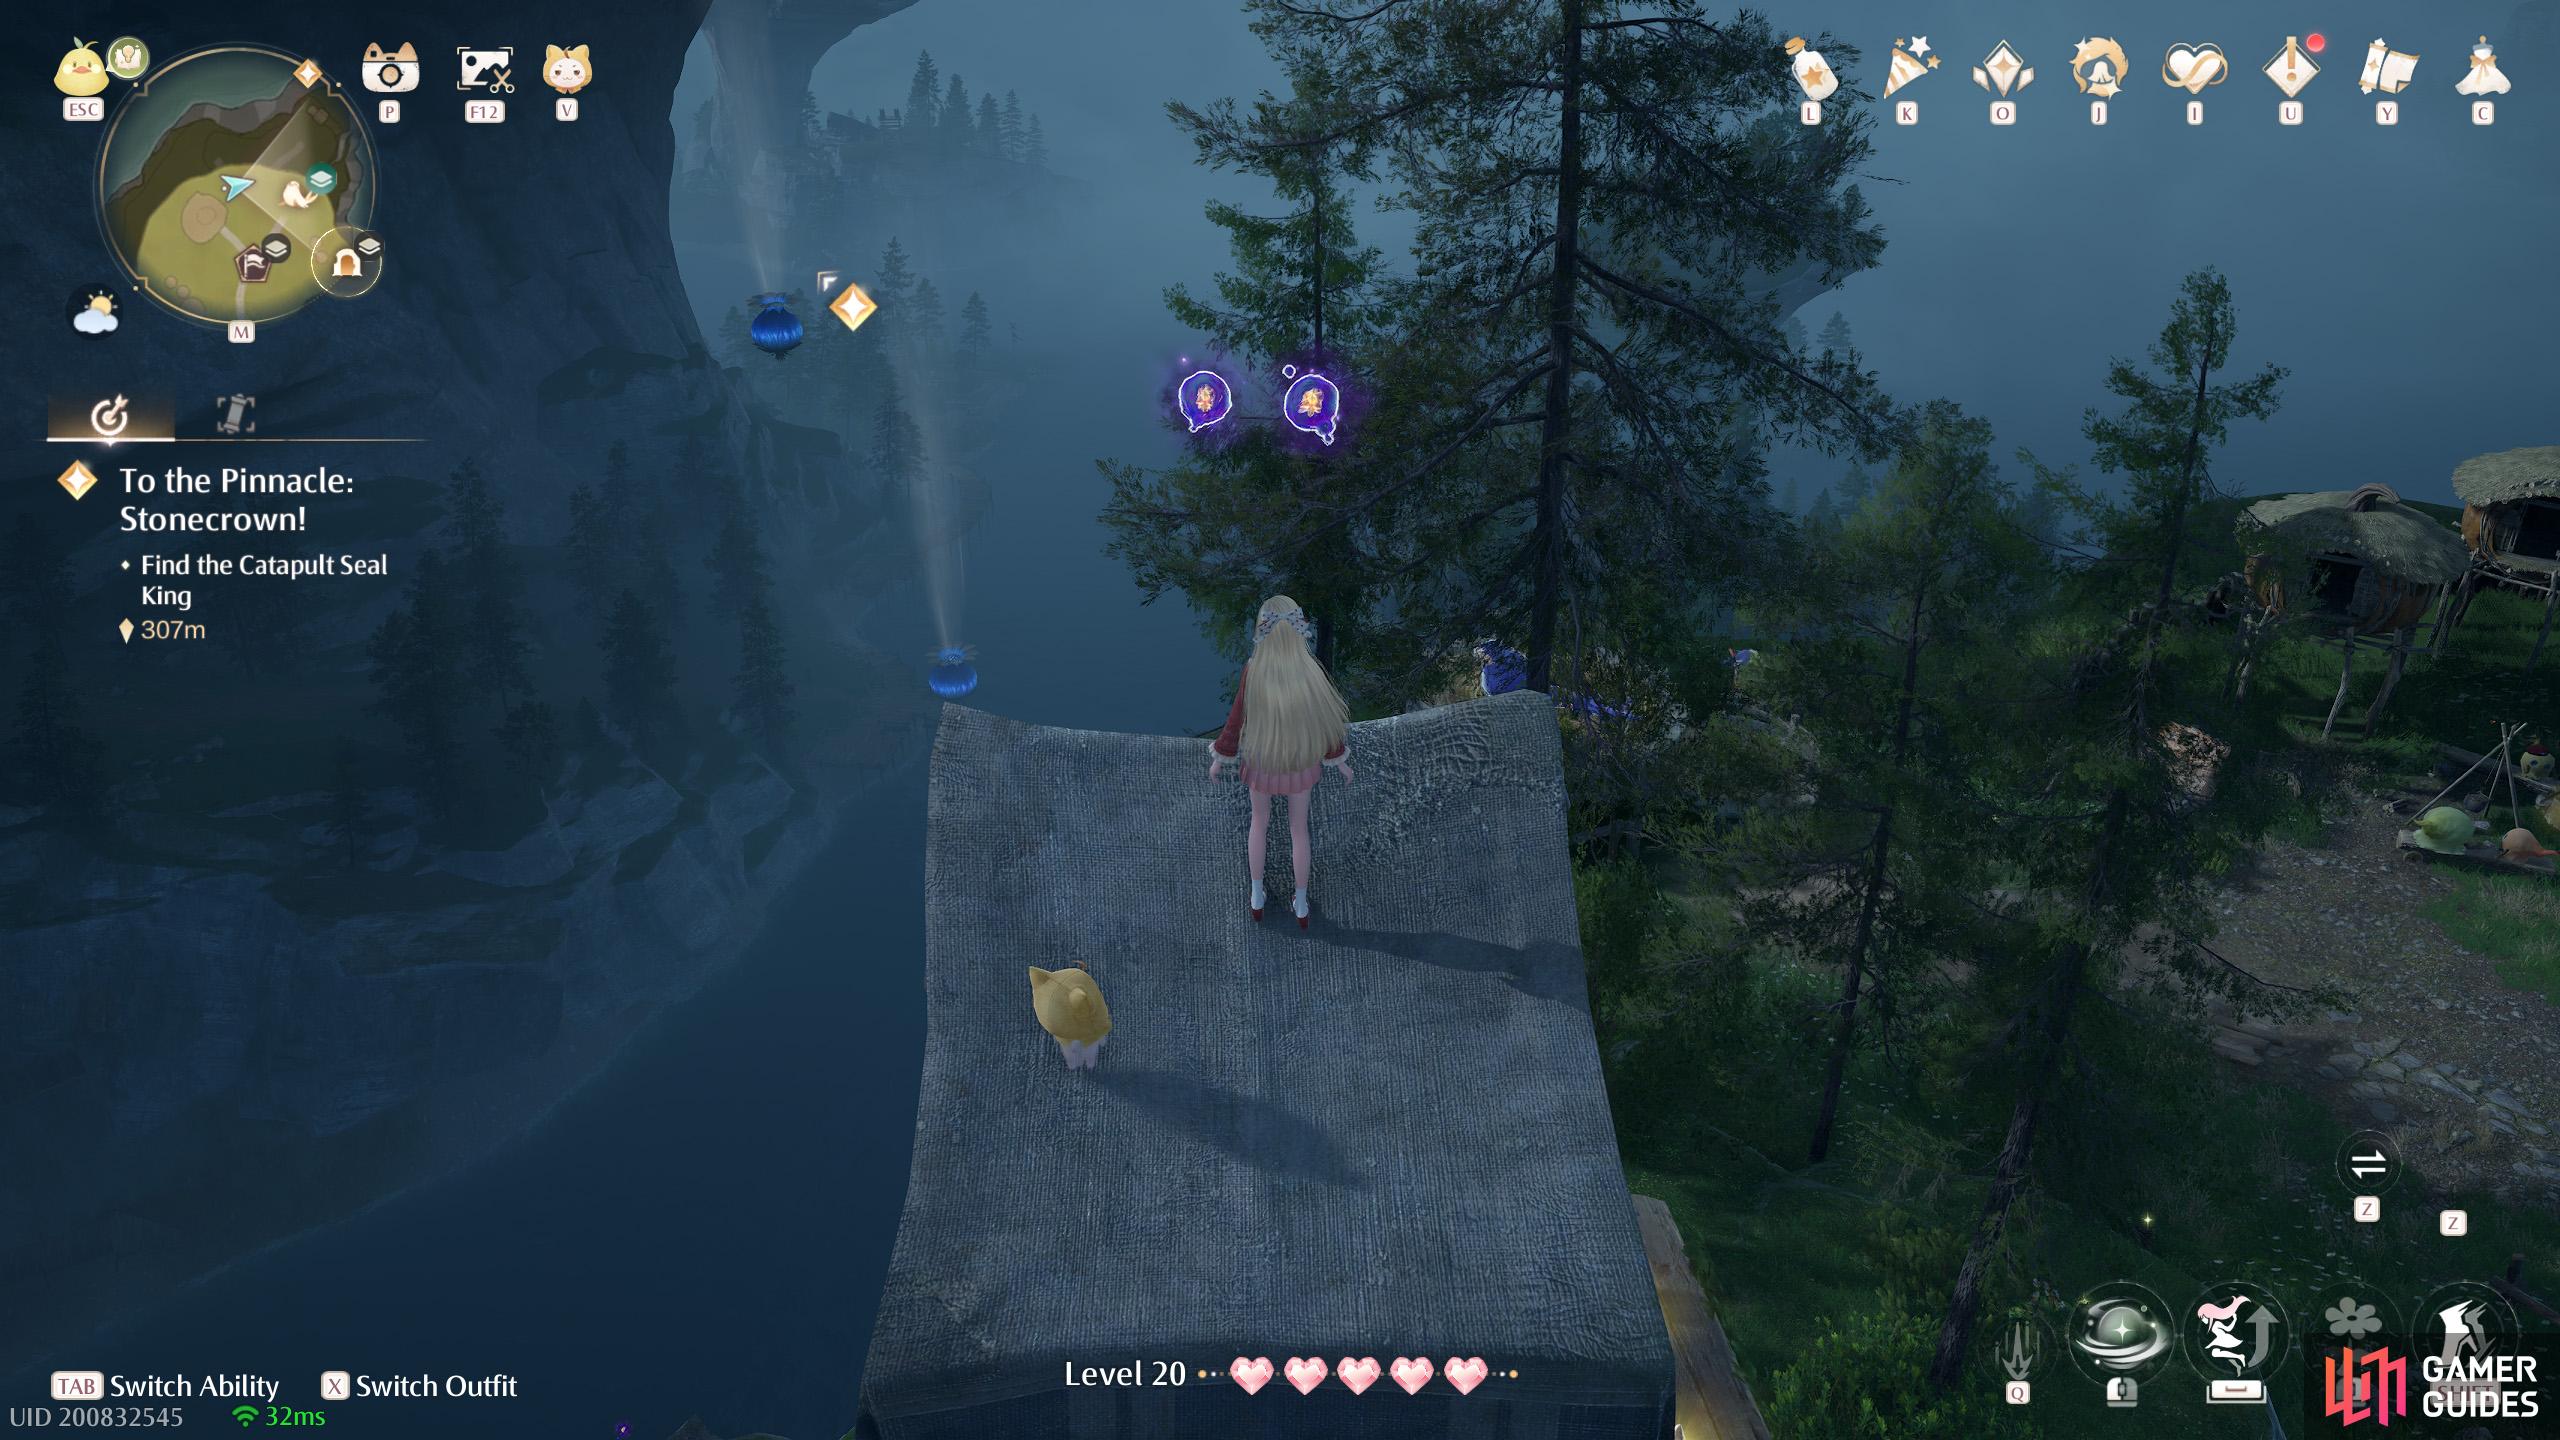
441. Miraland Map
South-west of ![]() Volunteer Corps Watchtower (west), at the far-off medium stonetree. Two atop the watchtower.
Volunteer Corps Watchtower (west), at the far-off medium stonetree. Two atop the watchtower.
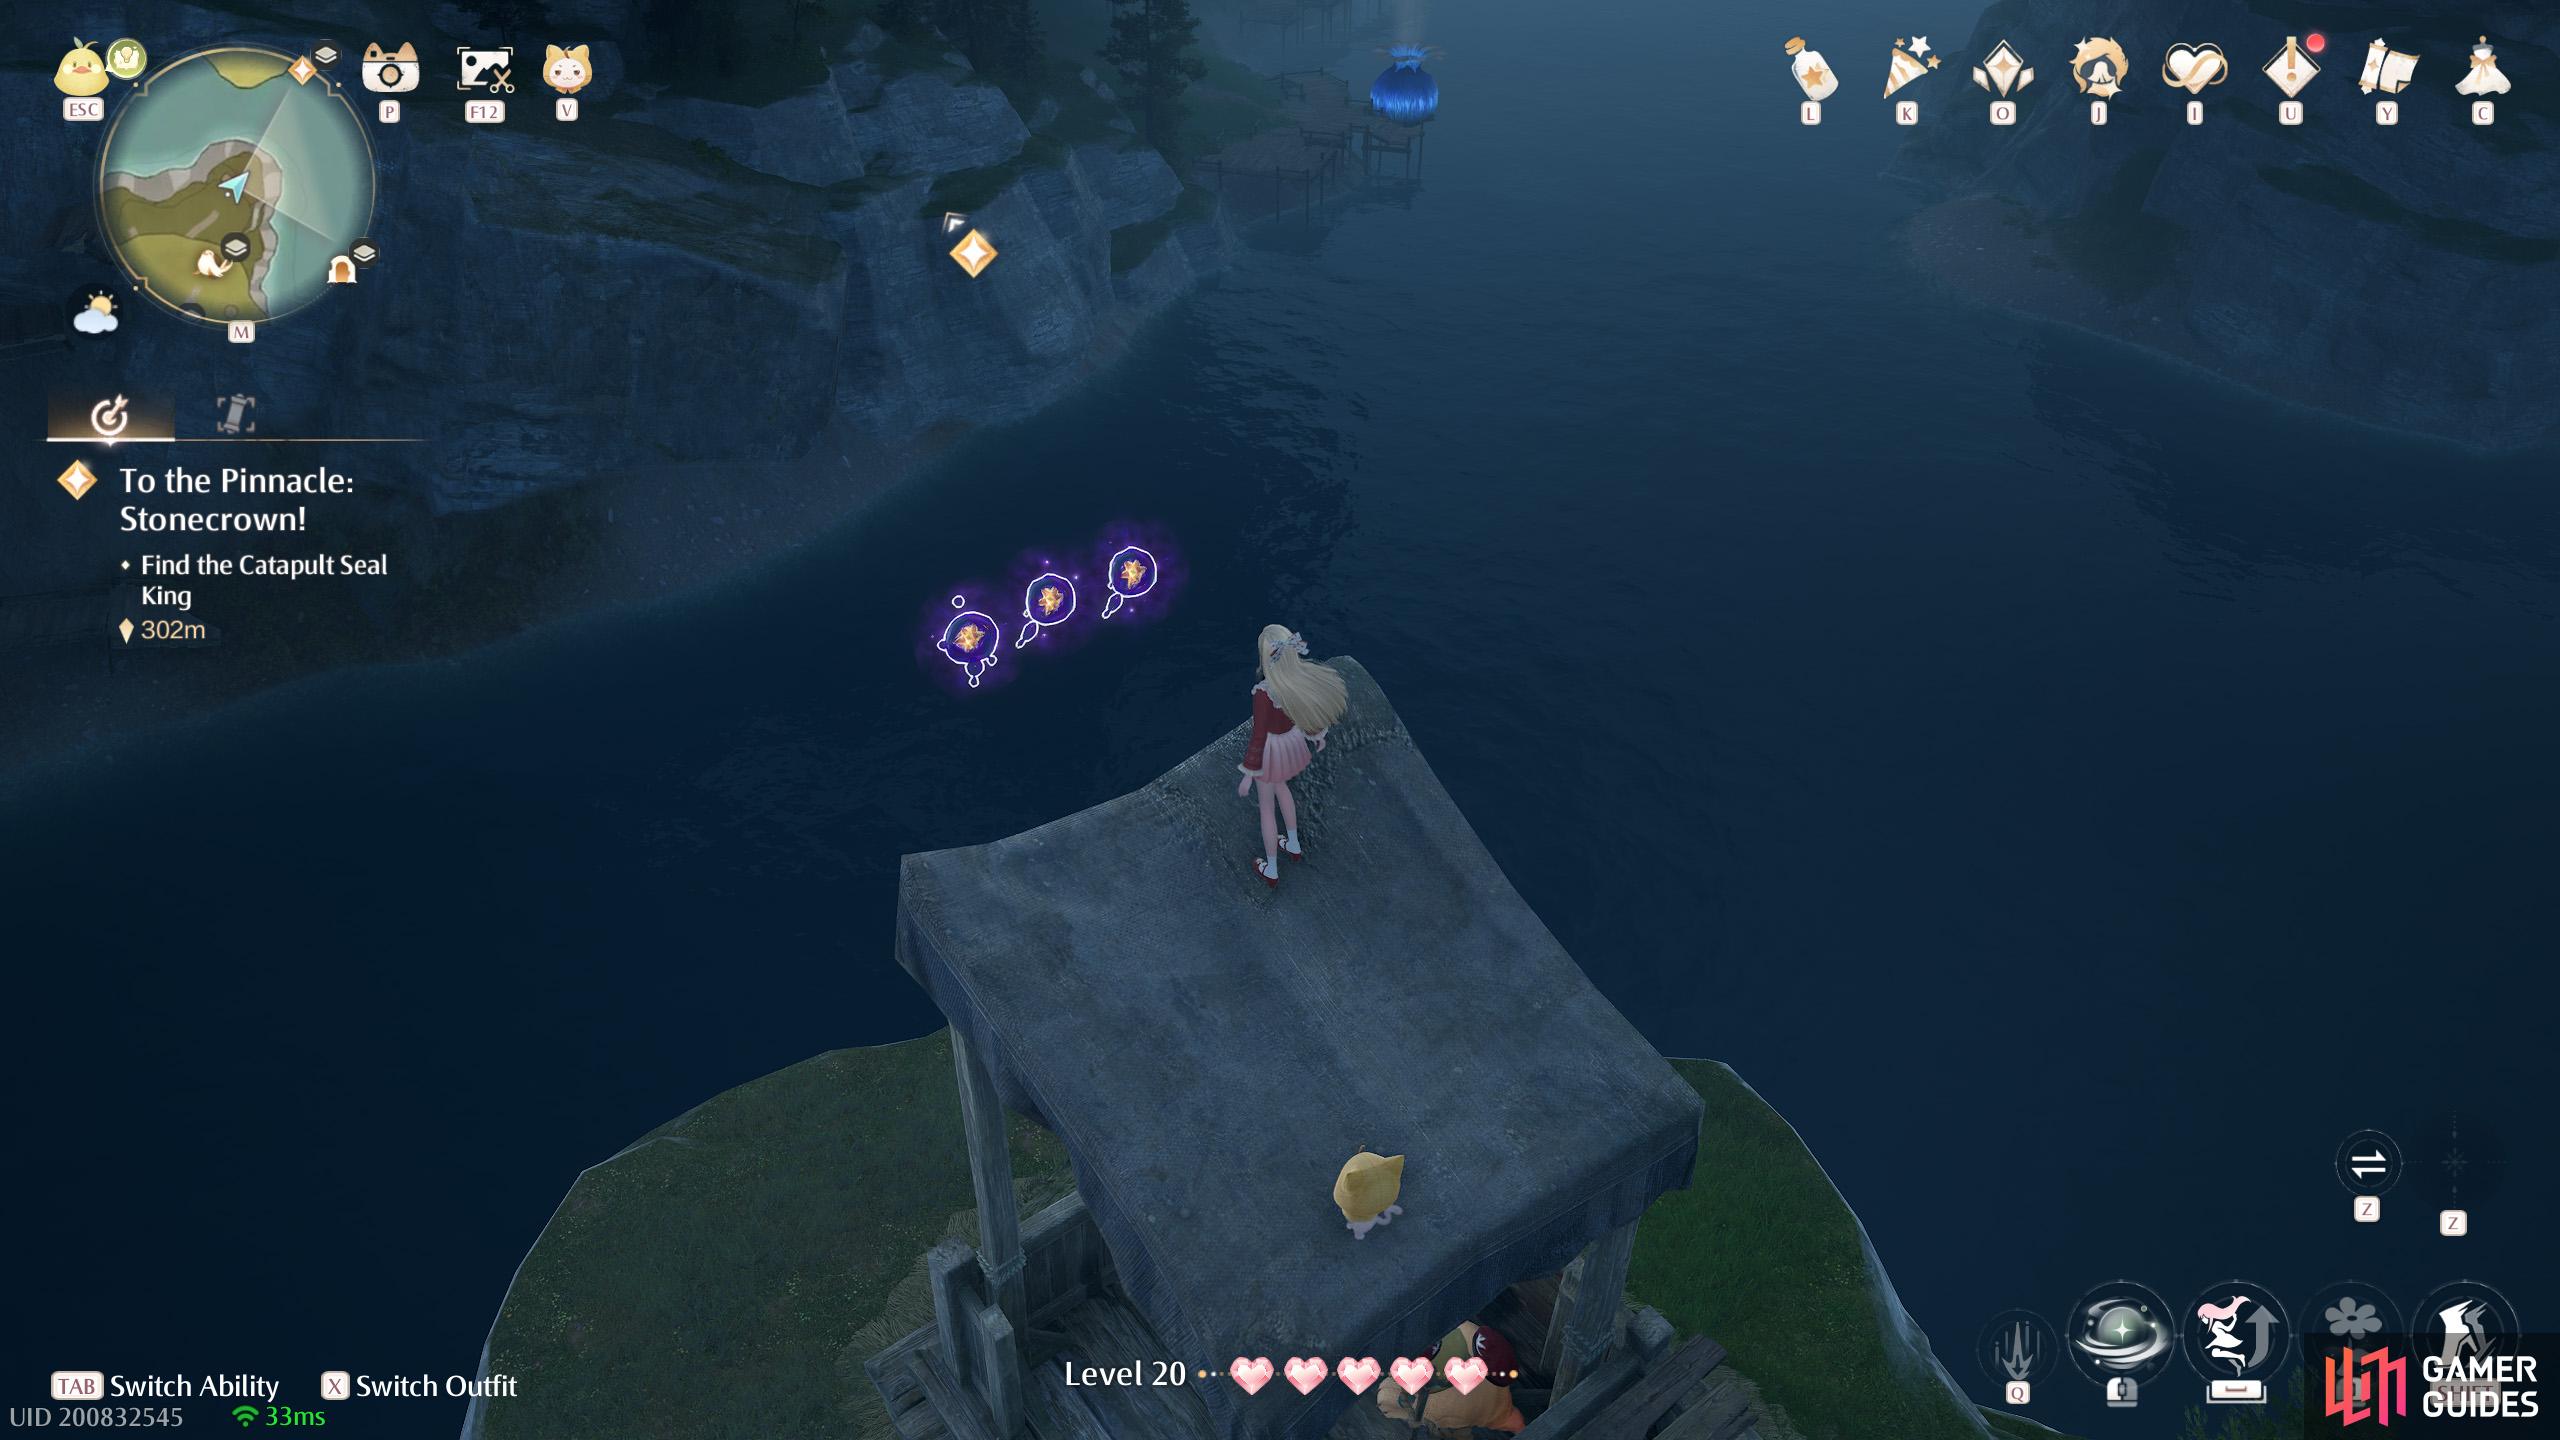
442. Miraland Map
At the medium stonetree south-west of ![]() Volunteer Corps Watchtower (west). On the ground level. Three atop a watchtower at the north side.
Volunteer Corps Watchtower (west). On the ground level. Three atop a watchtower at the north side.
443. Miraland Map
Medium stonetree south of ![]() Stonecrown Peak. Near ground level. Two atop the watchtower around the north side.
Stonecrown Peak. Near ground level. Two atop the watchtower around the north side.
444. Miraland Map
Short distance south of ![]() Volunteer Corps Watchtower (east). On ground level. Two underneath the wooden pier, at the center of the bendy section.
Volunteer Corps Watchtower (east). On ground level. Two underneath the wooden pier, at the center of the bendy section.
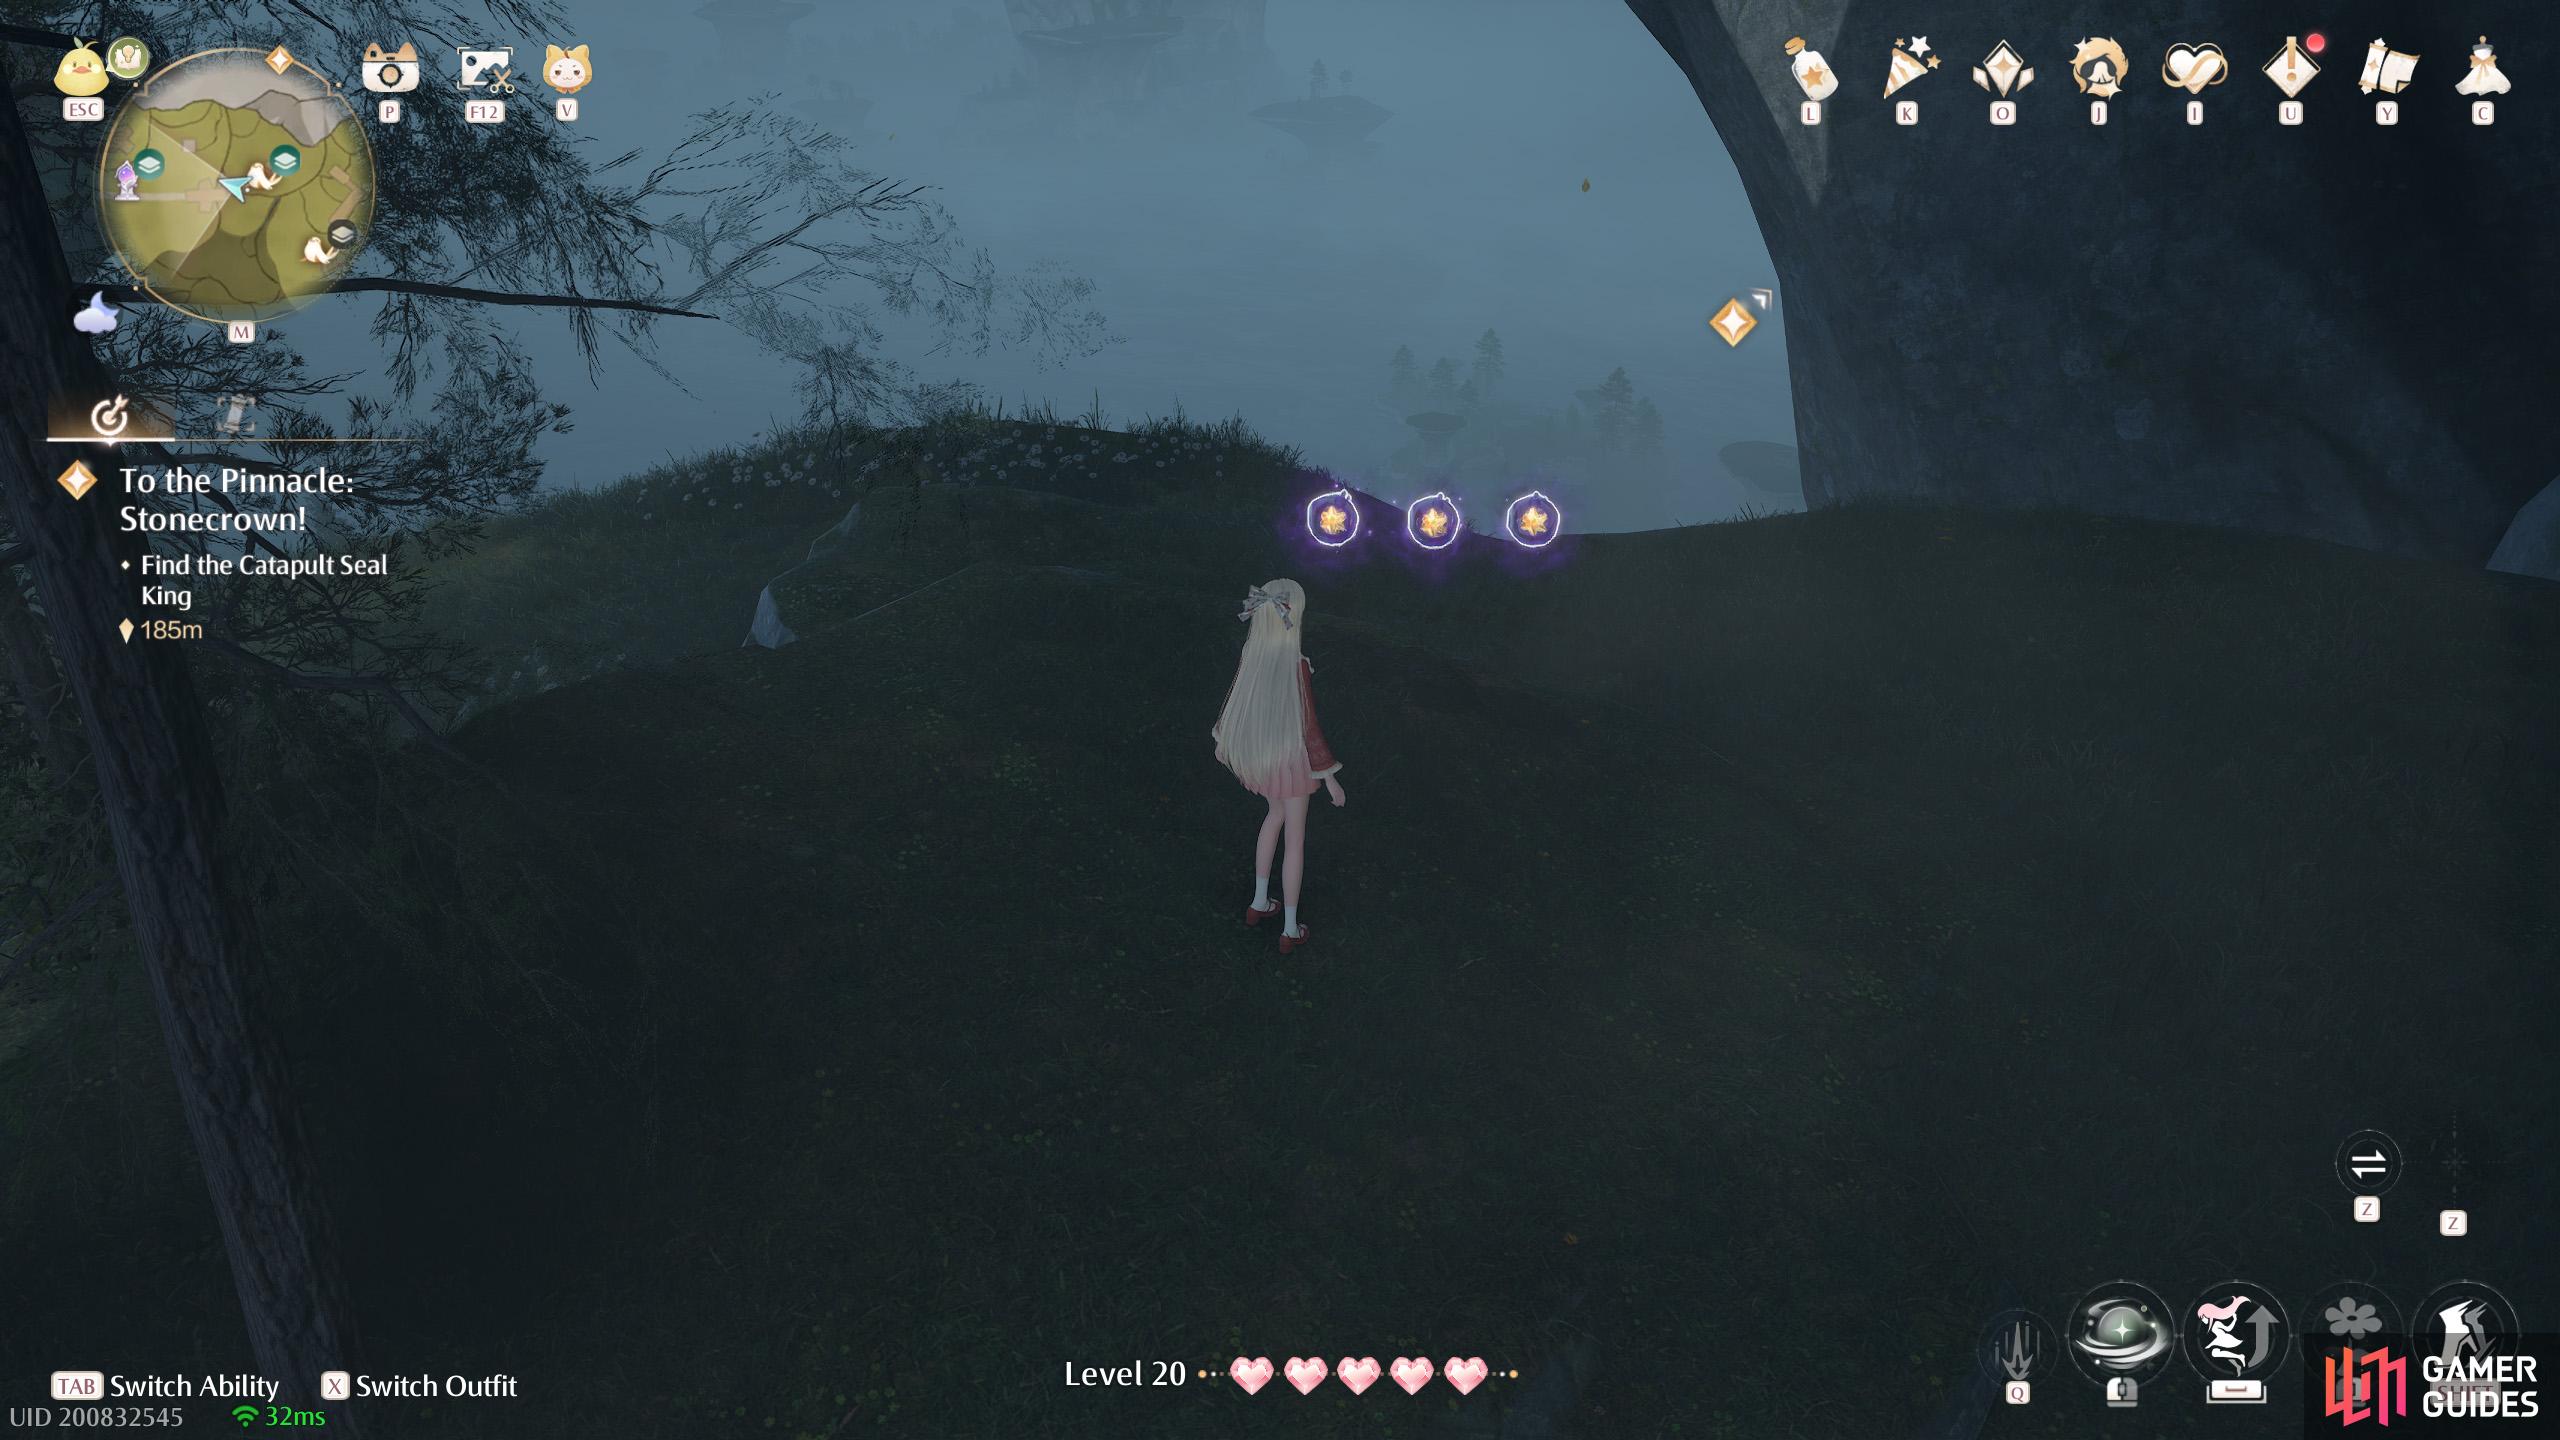
445. Miraland Map
West and slightly north from ![]() Volunteer Corps Watchtower (east). On Level 2F. Three on a wide ledge underneath a nearby
Volunteer Corps Watchtower (east). On Level 2F. Three on a wide ledge underneath a nearby ![]() Catapult Seal.
Catapult Seal.
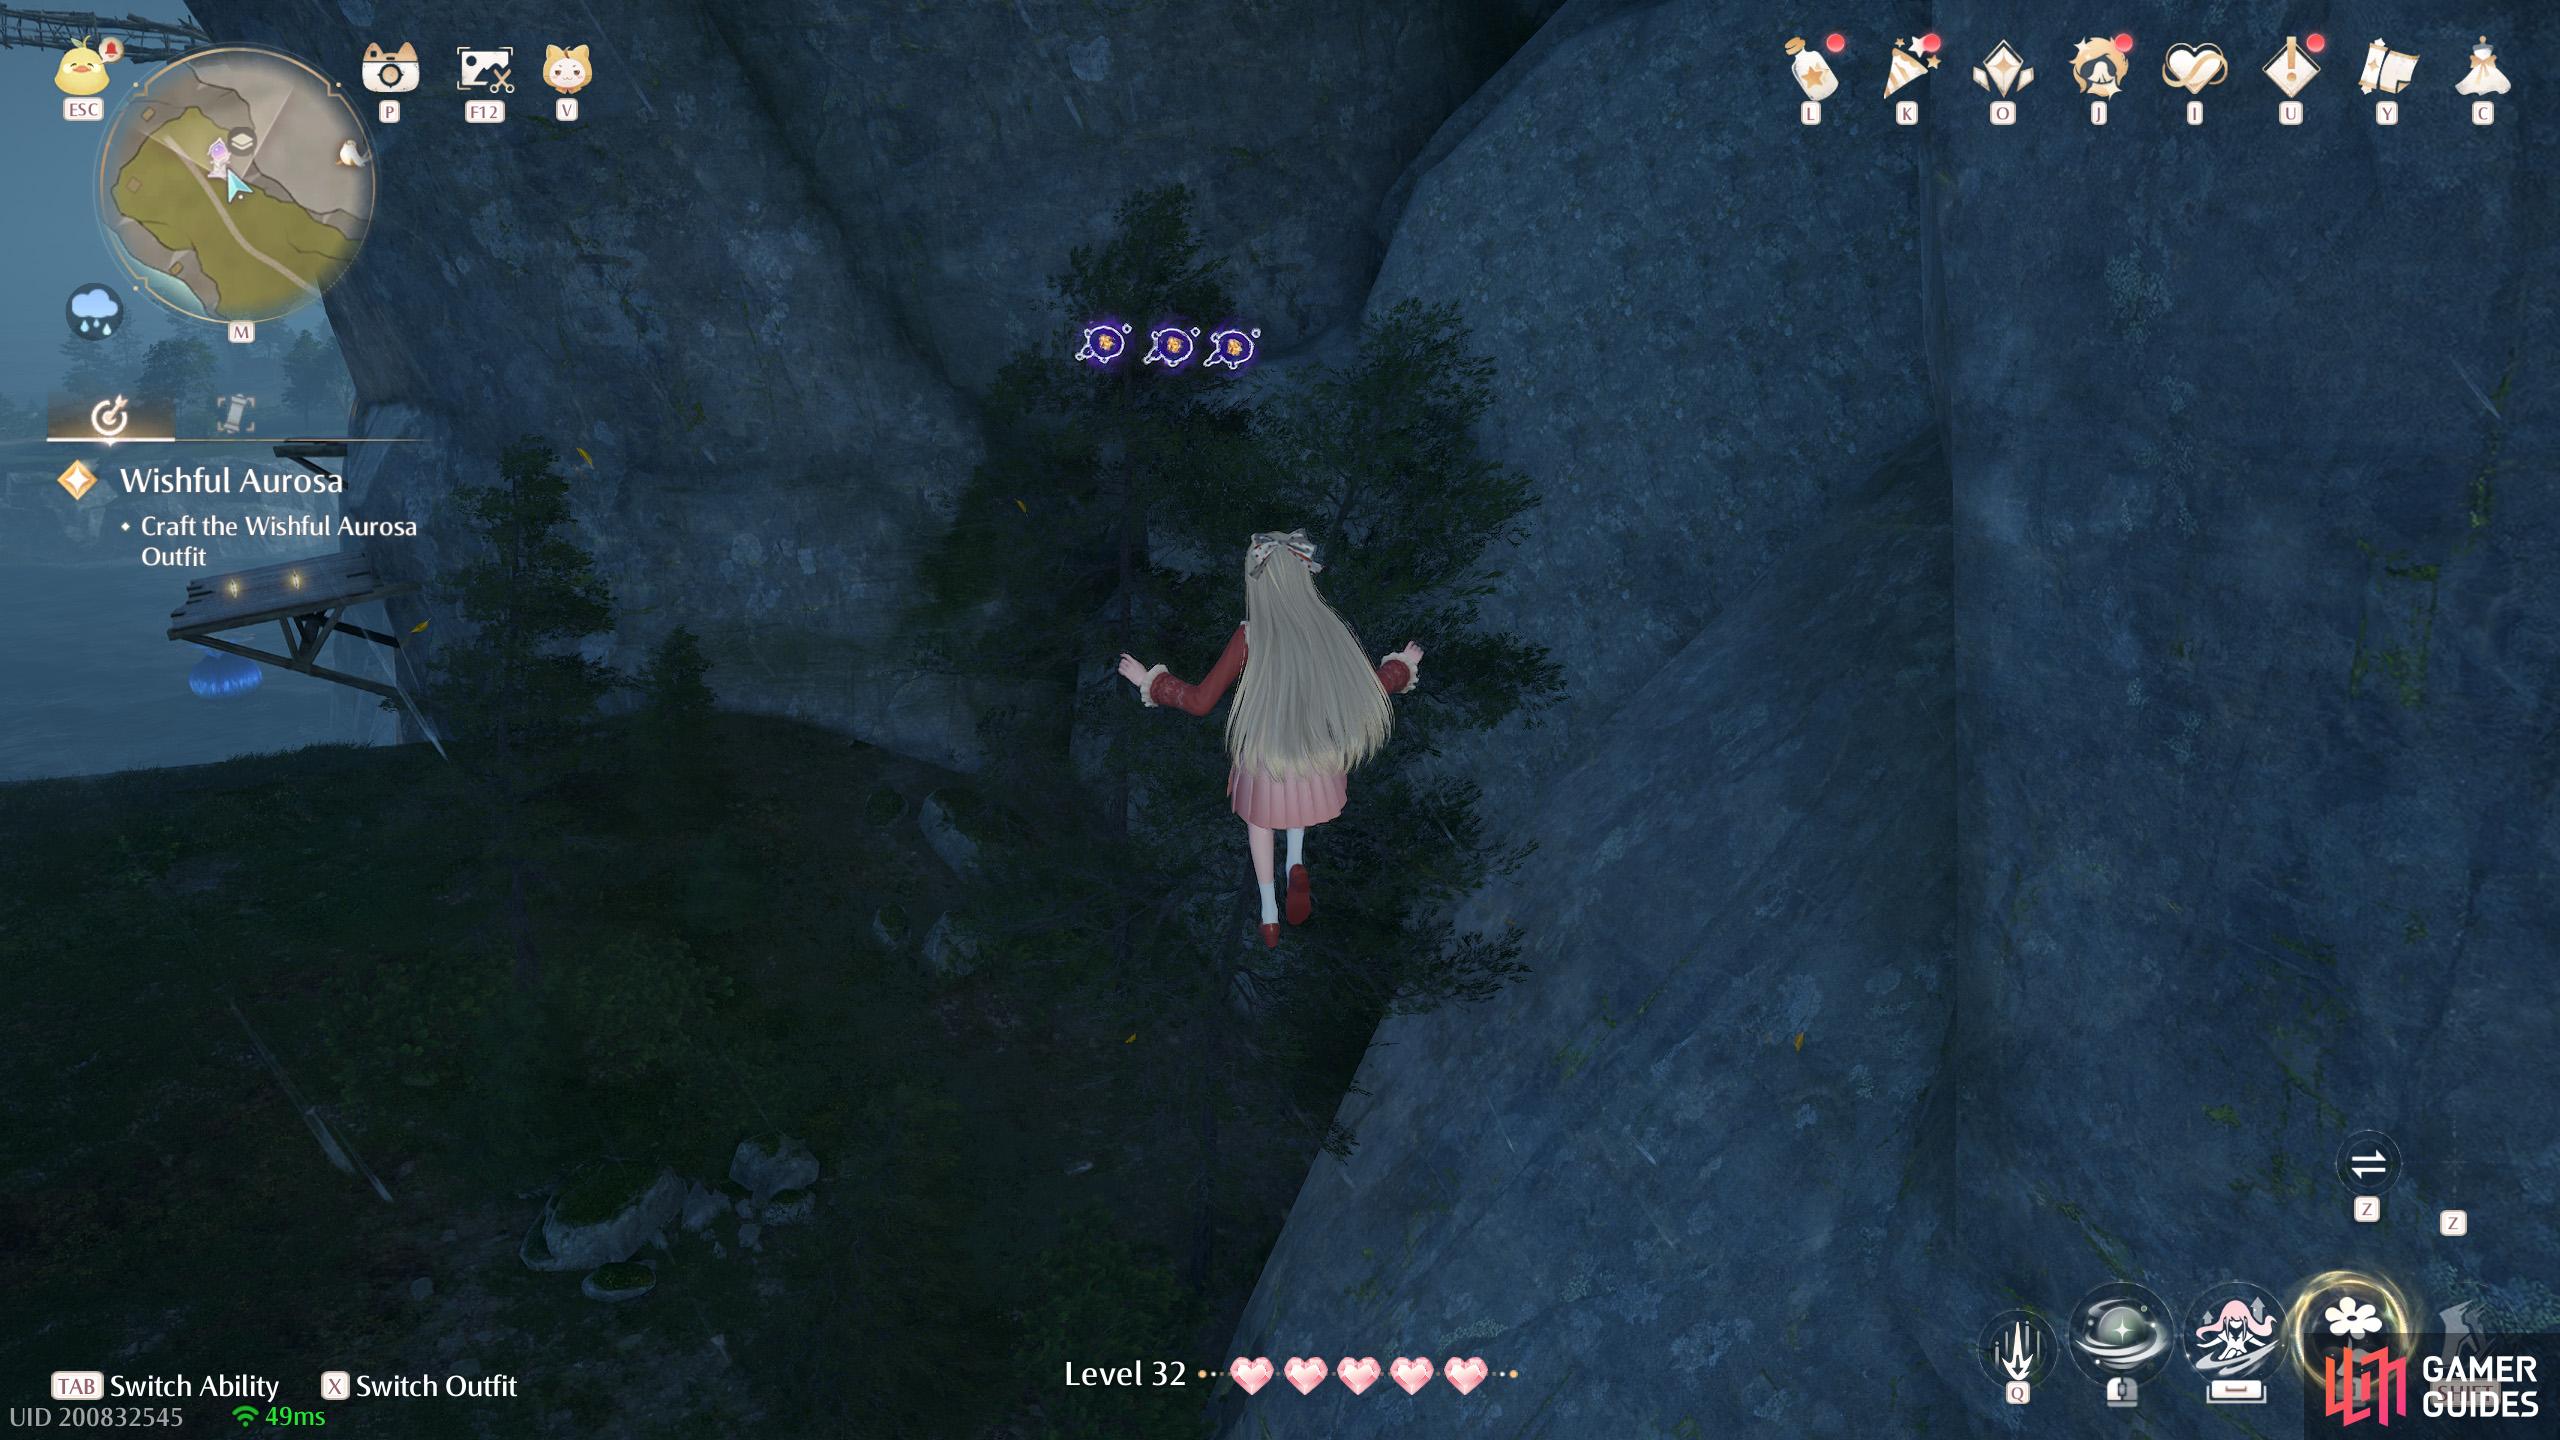
446. Miraland Map
Short distance south-east of ![]() Volunteer Corps Watchtower (west). On the ground level. Three floating high up. There’s a leaf trampoline nearby, but you’ll need to defeat the Esseling squatting on it first.
Volunteer Corps Watchtower (west). On the ground level. Three floating high up. There’s a leaf trampoline nearby, but you’ll need to defeat the Esseling squatting on it first.
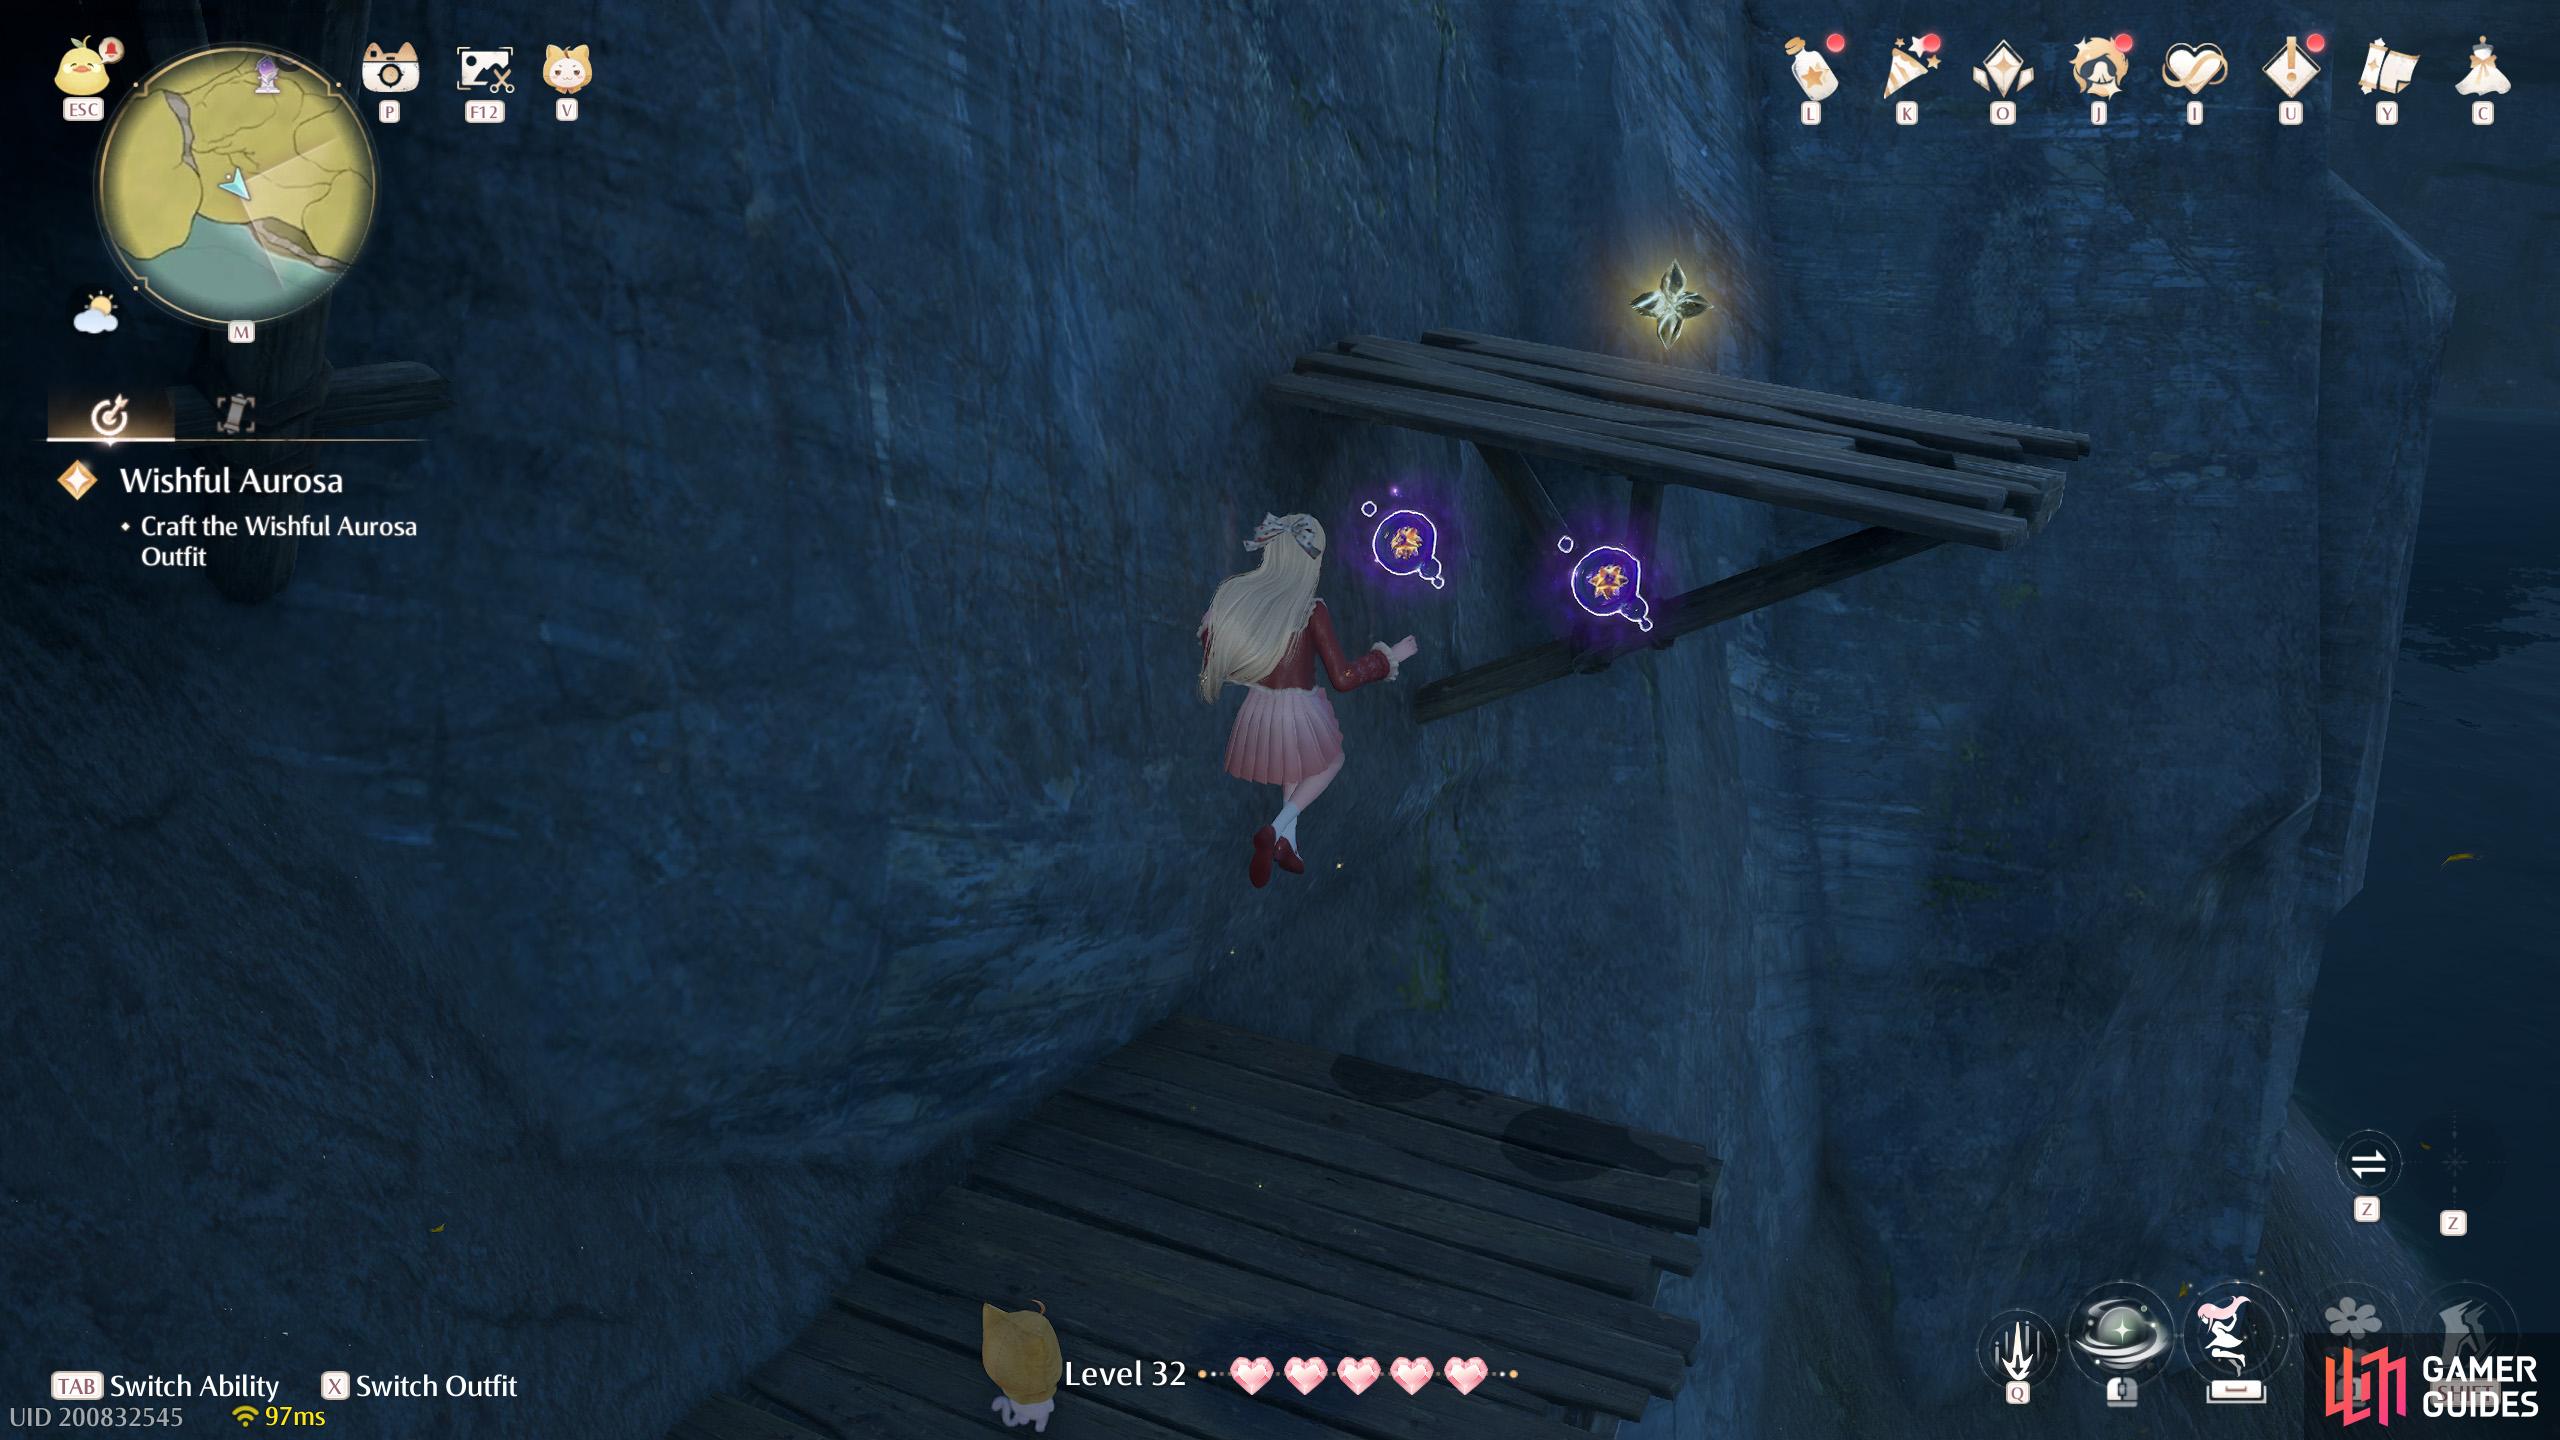
447. Miraland Map
South of ![]() Volunteer Corps Watchtower (west). On ground level. Two around the wooden planks that you can use to climb back up from the shore.
Volunteer Corps Watchtower (west). On ground level. Two around the wooden planks that you can use to climb back up from the shore.
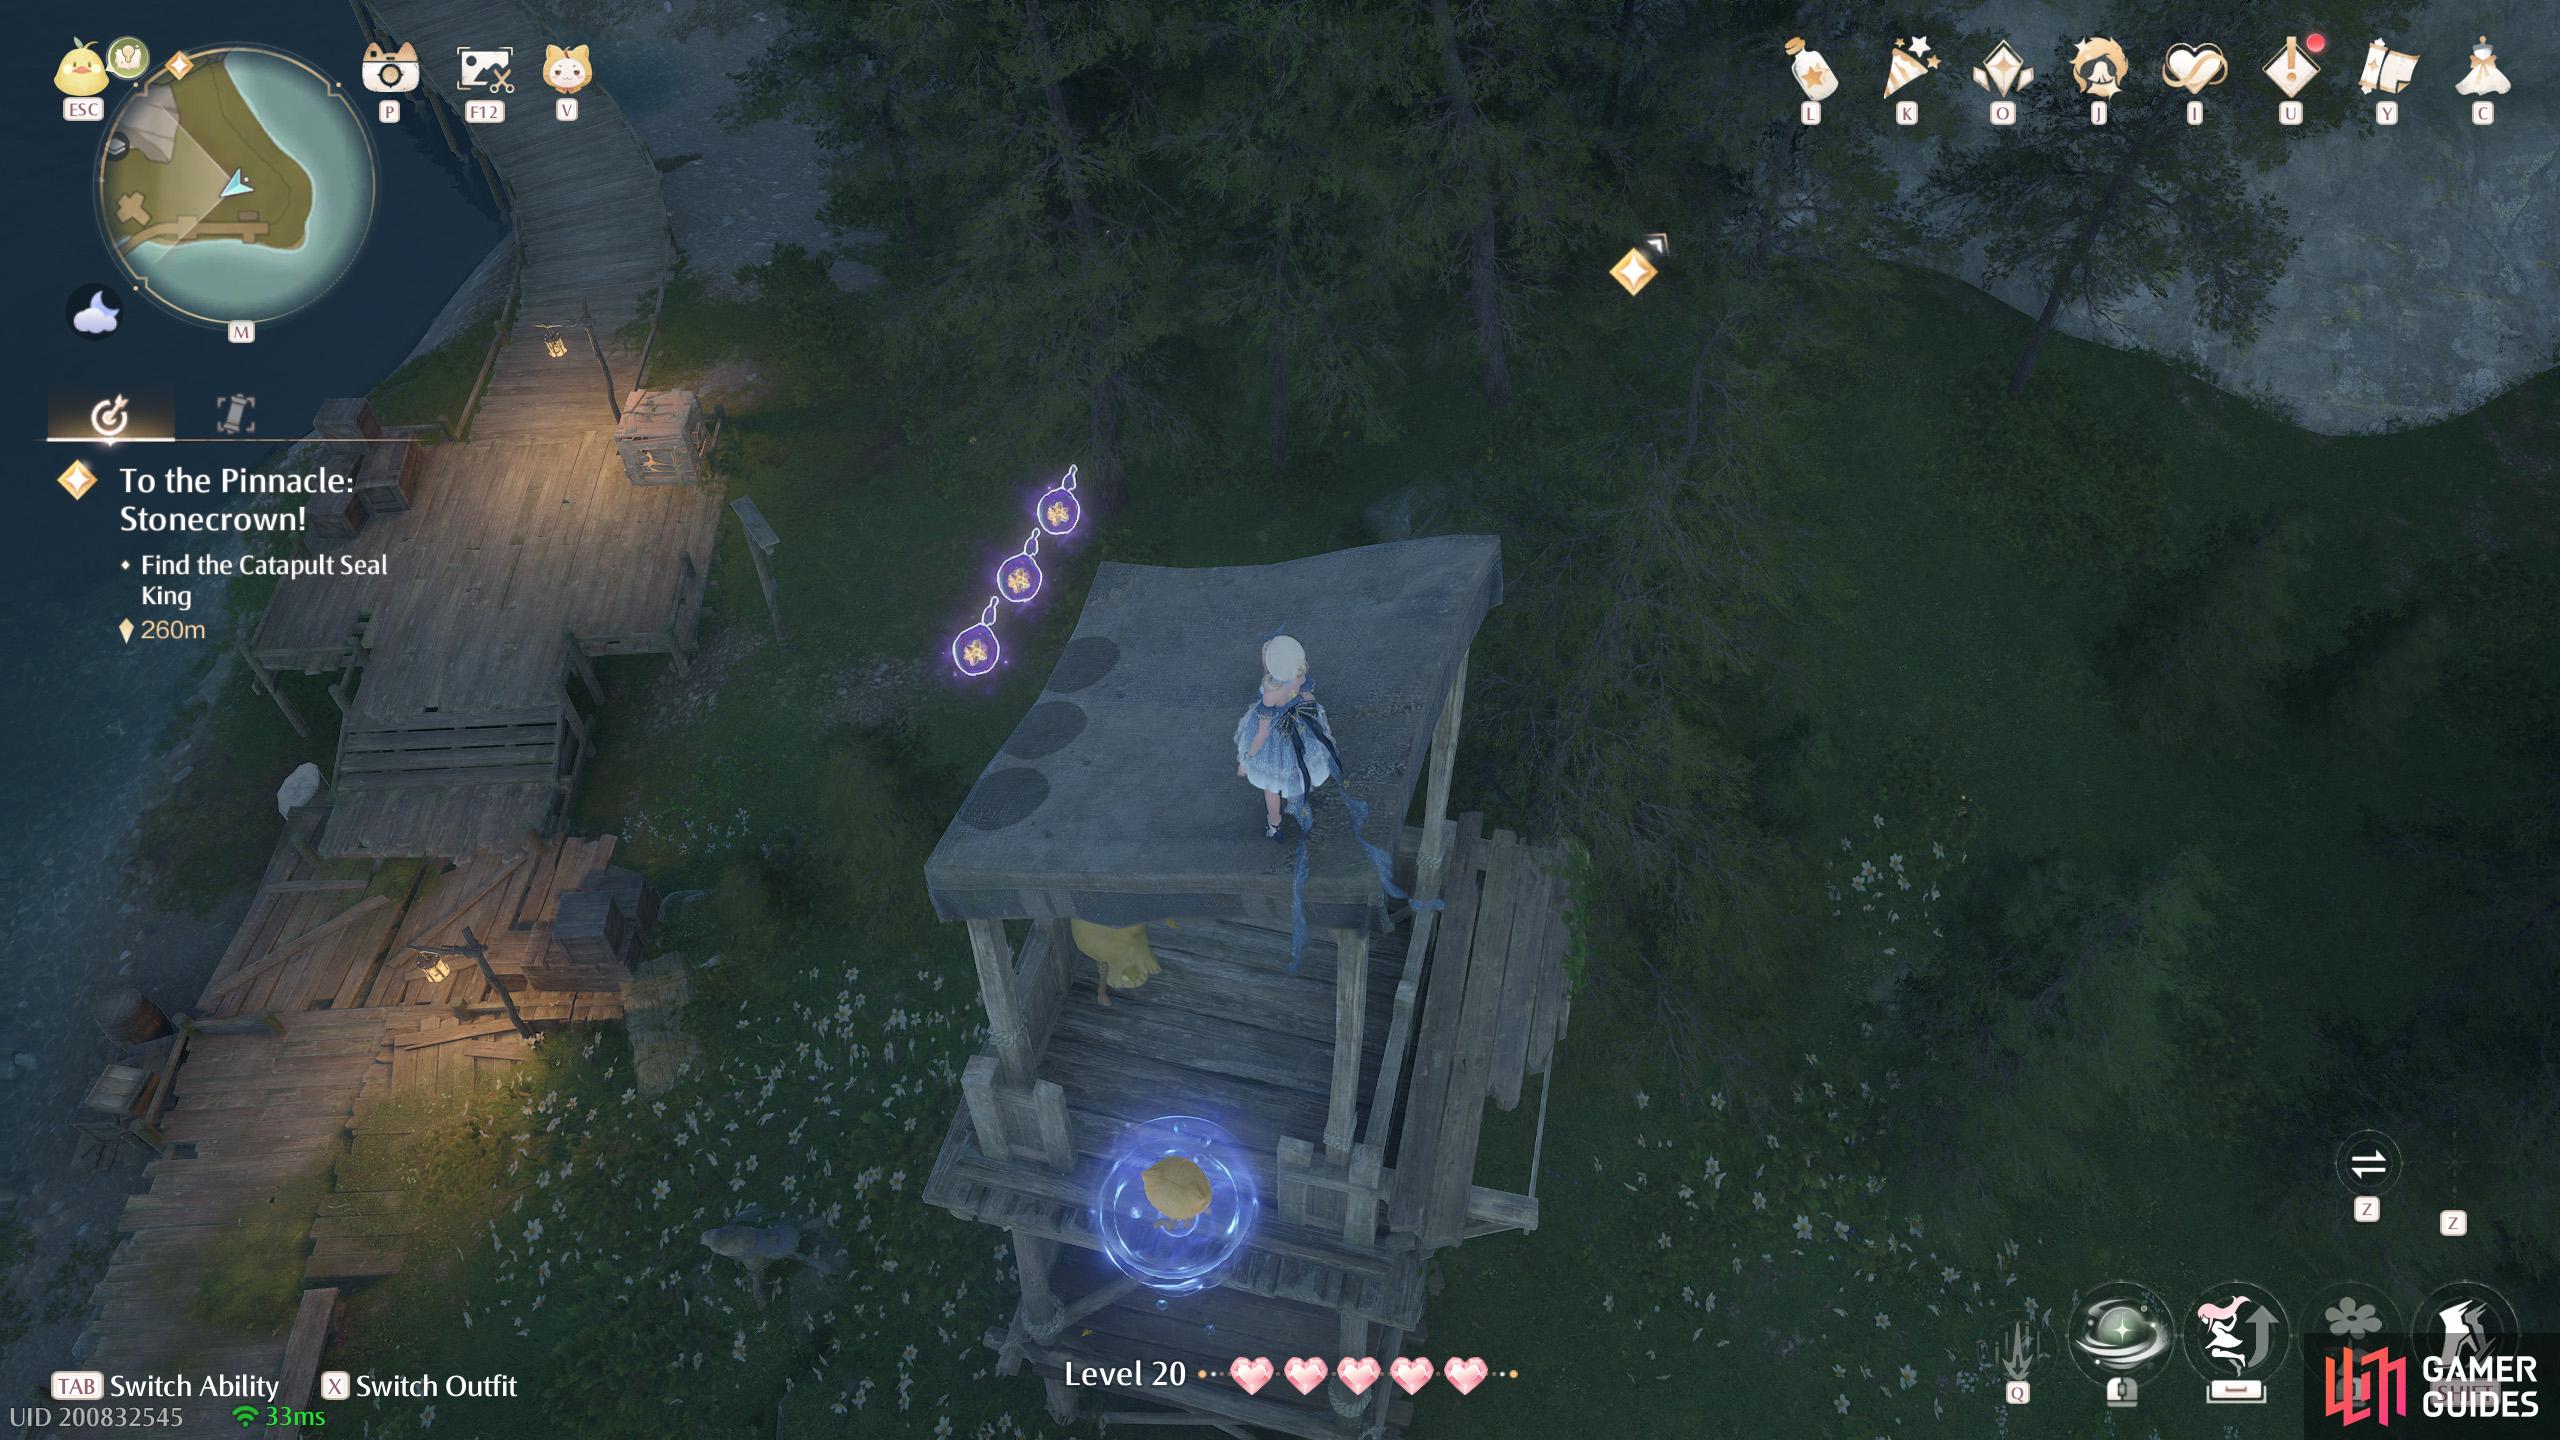
448. Miraland Map
East of ![]() Volunteer Corps Watchtower (east). Near ground level. Three floating atop a watchtower.
Volunteer Corps Watchtower (east). Near ground level. Three floating atop a watchtower.
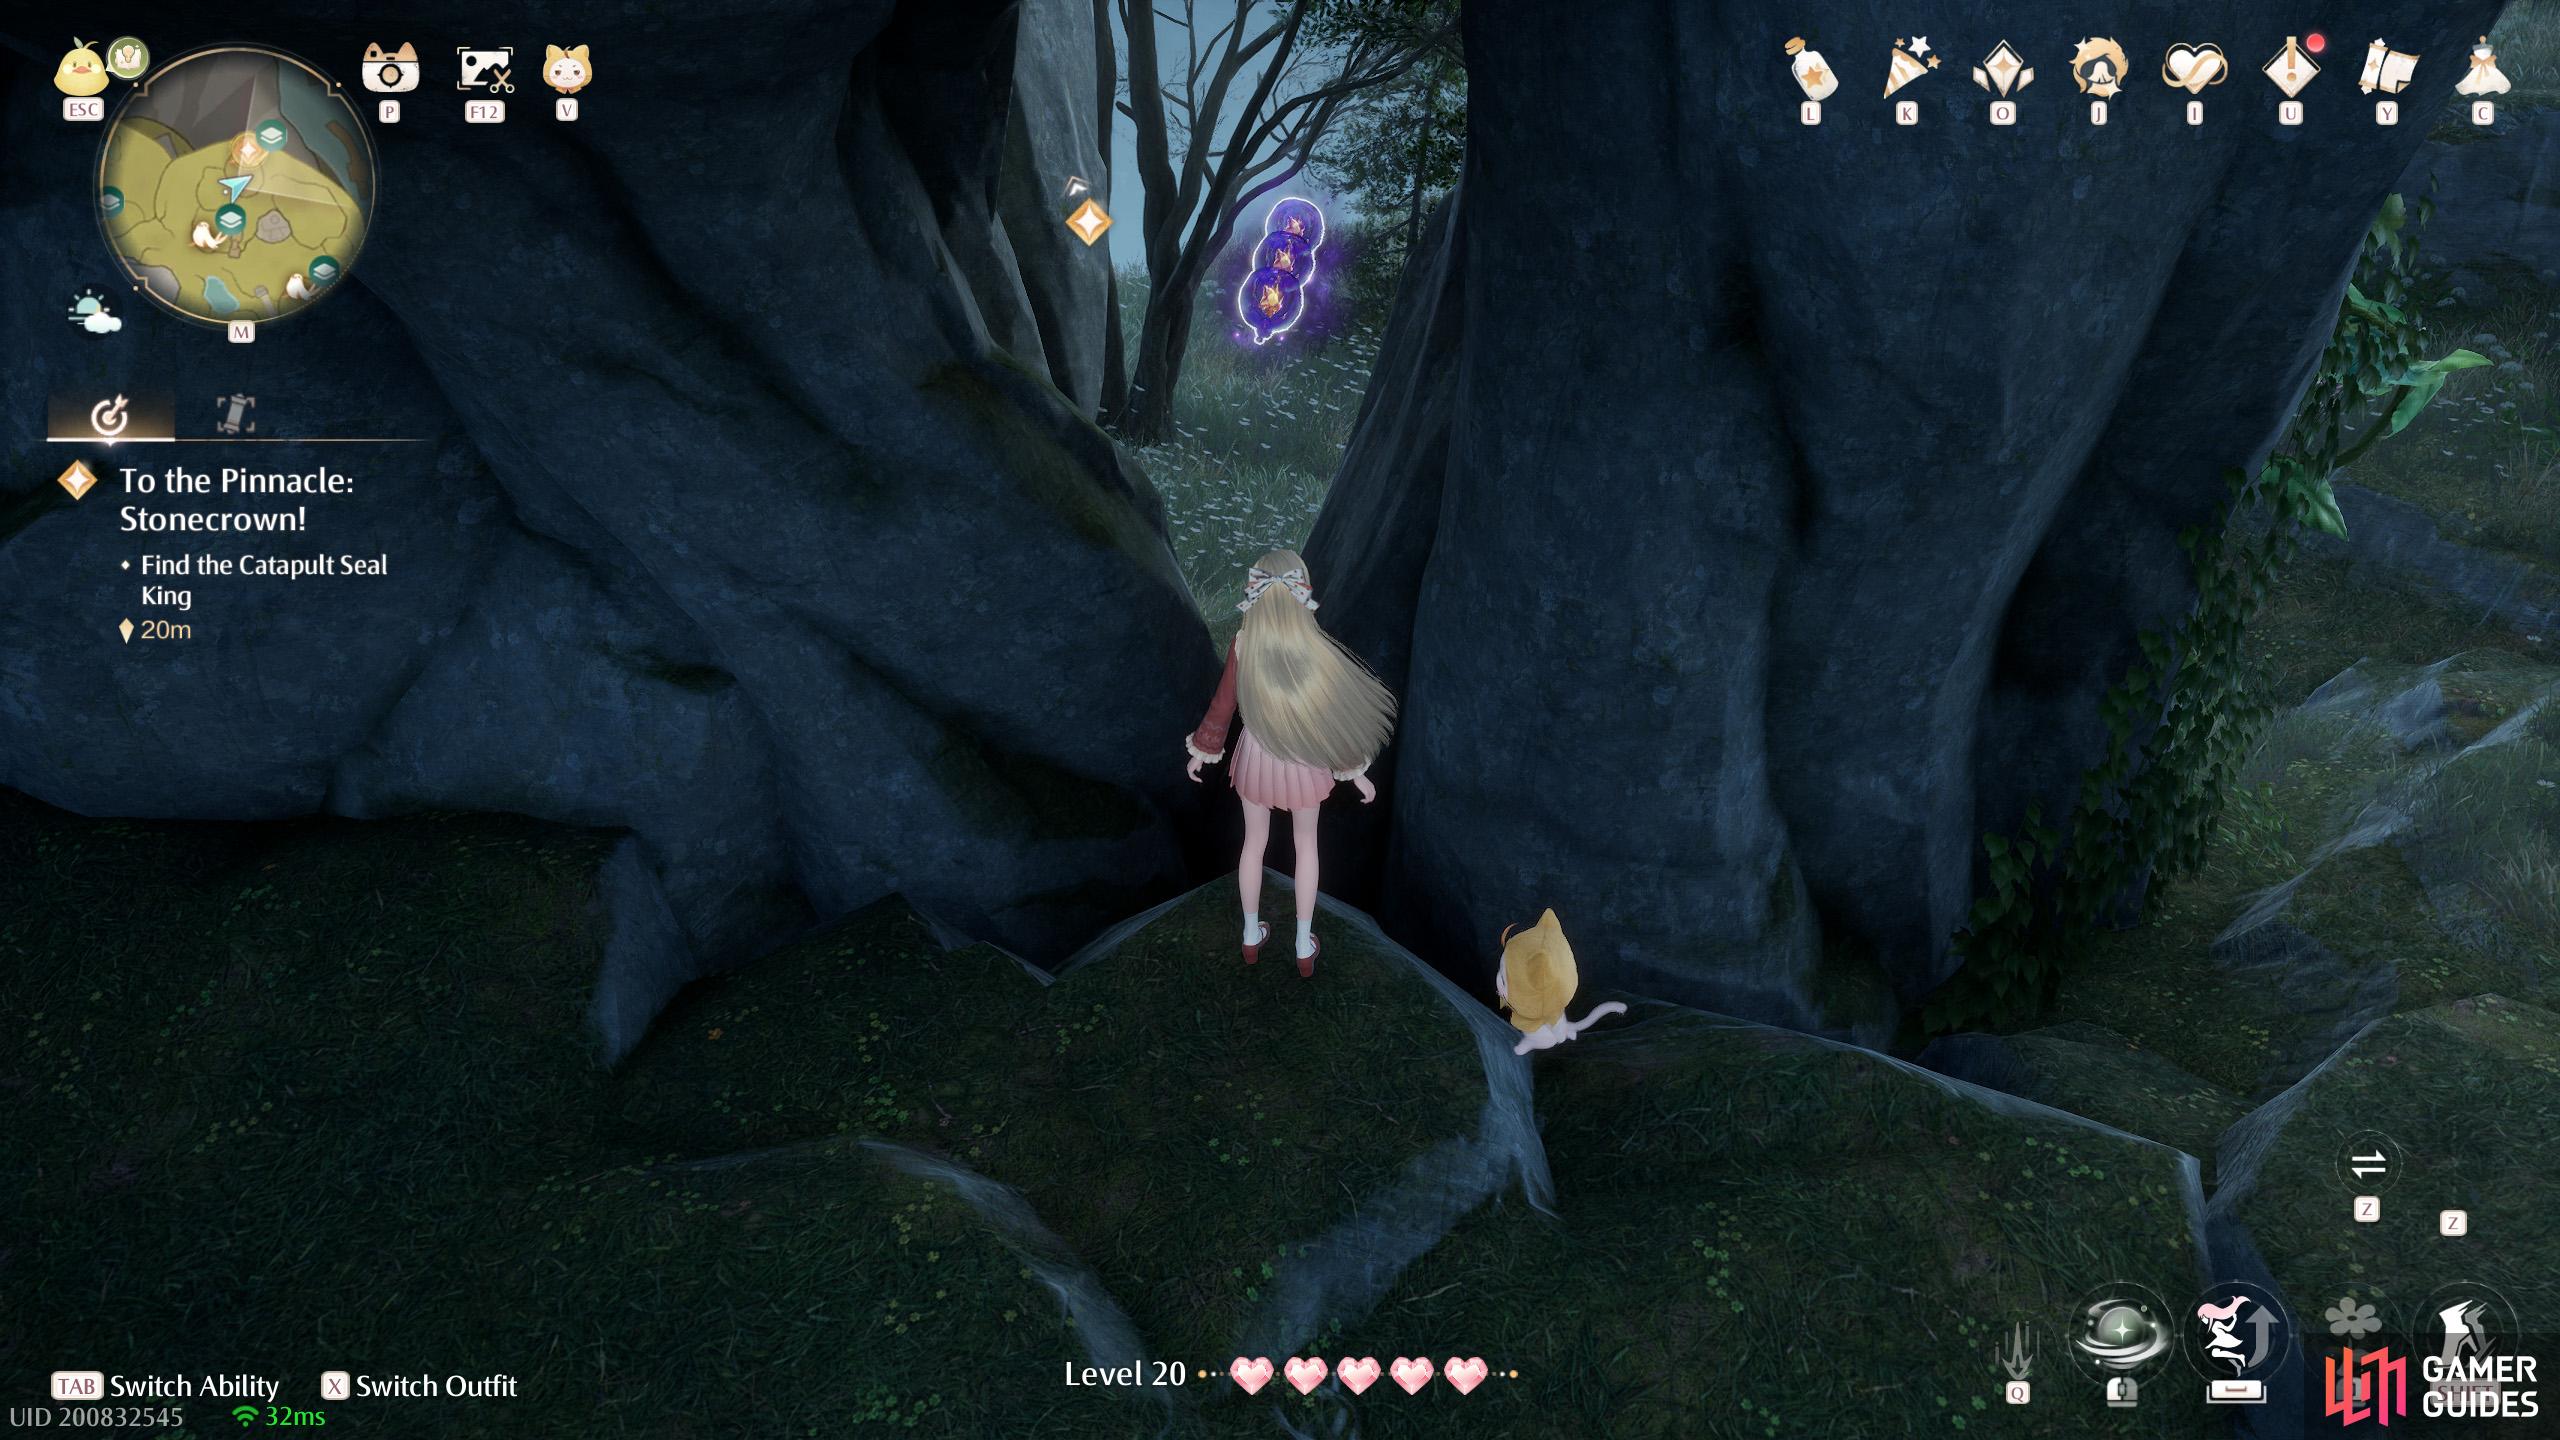
449. Miraland Map
North of ![]() Wishing Well, on level 3F. Three in-between two intertwining stonetree, in the direction of a
Wishing Well, on level 3F. Three in-between two intertwining stonetree, in the direction of a ![]() Catapult Seal.
Catapult Seal.
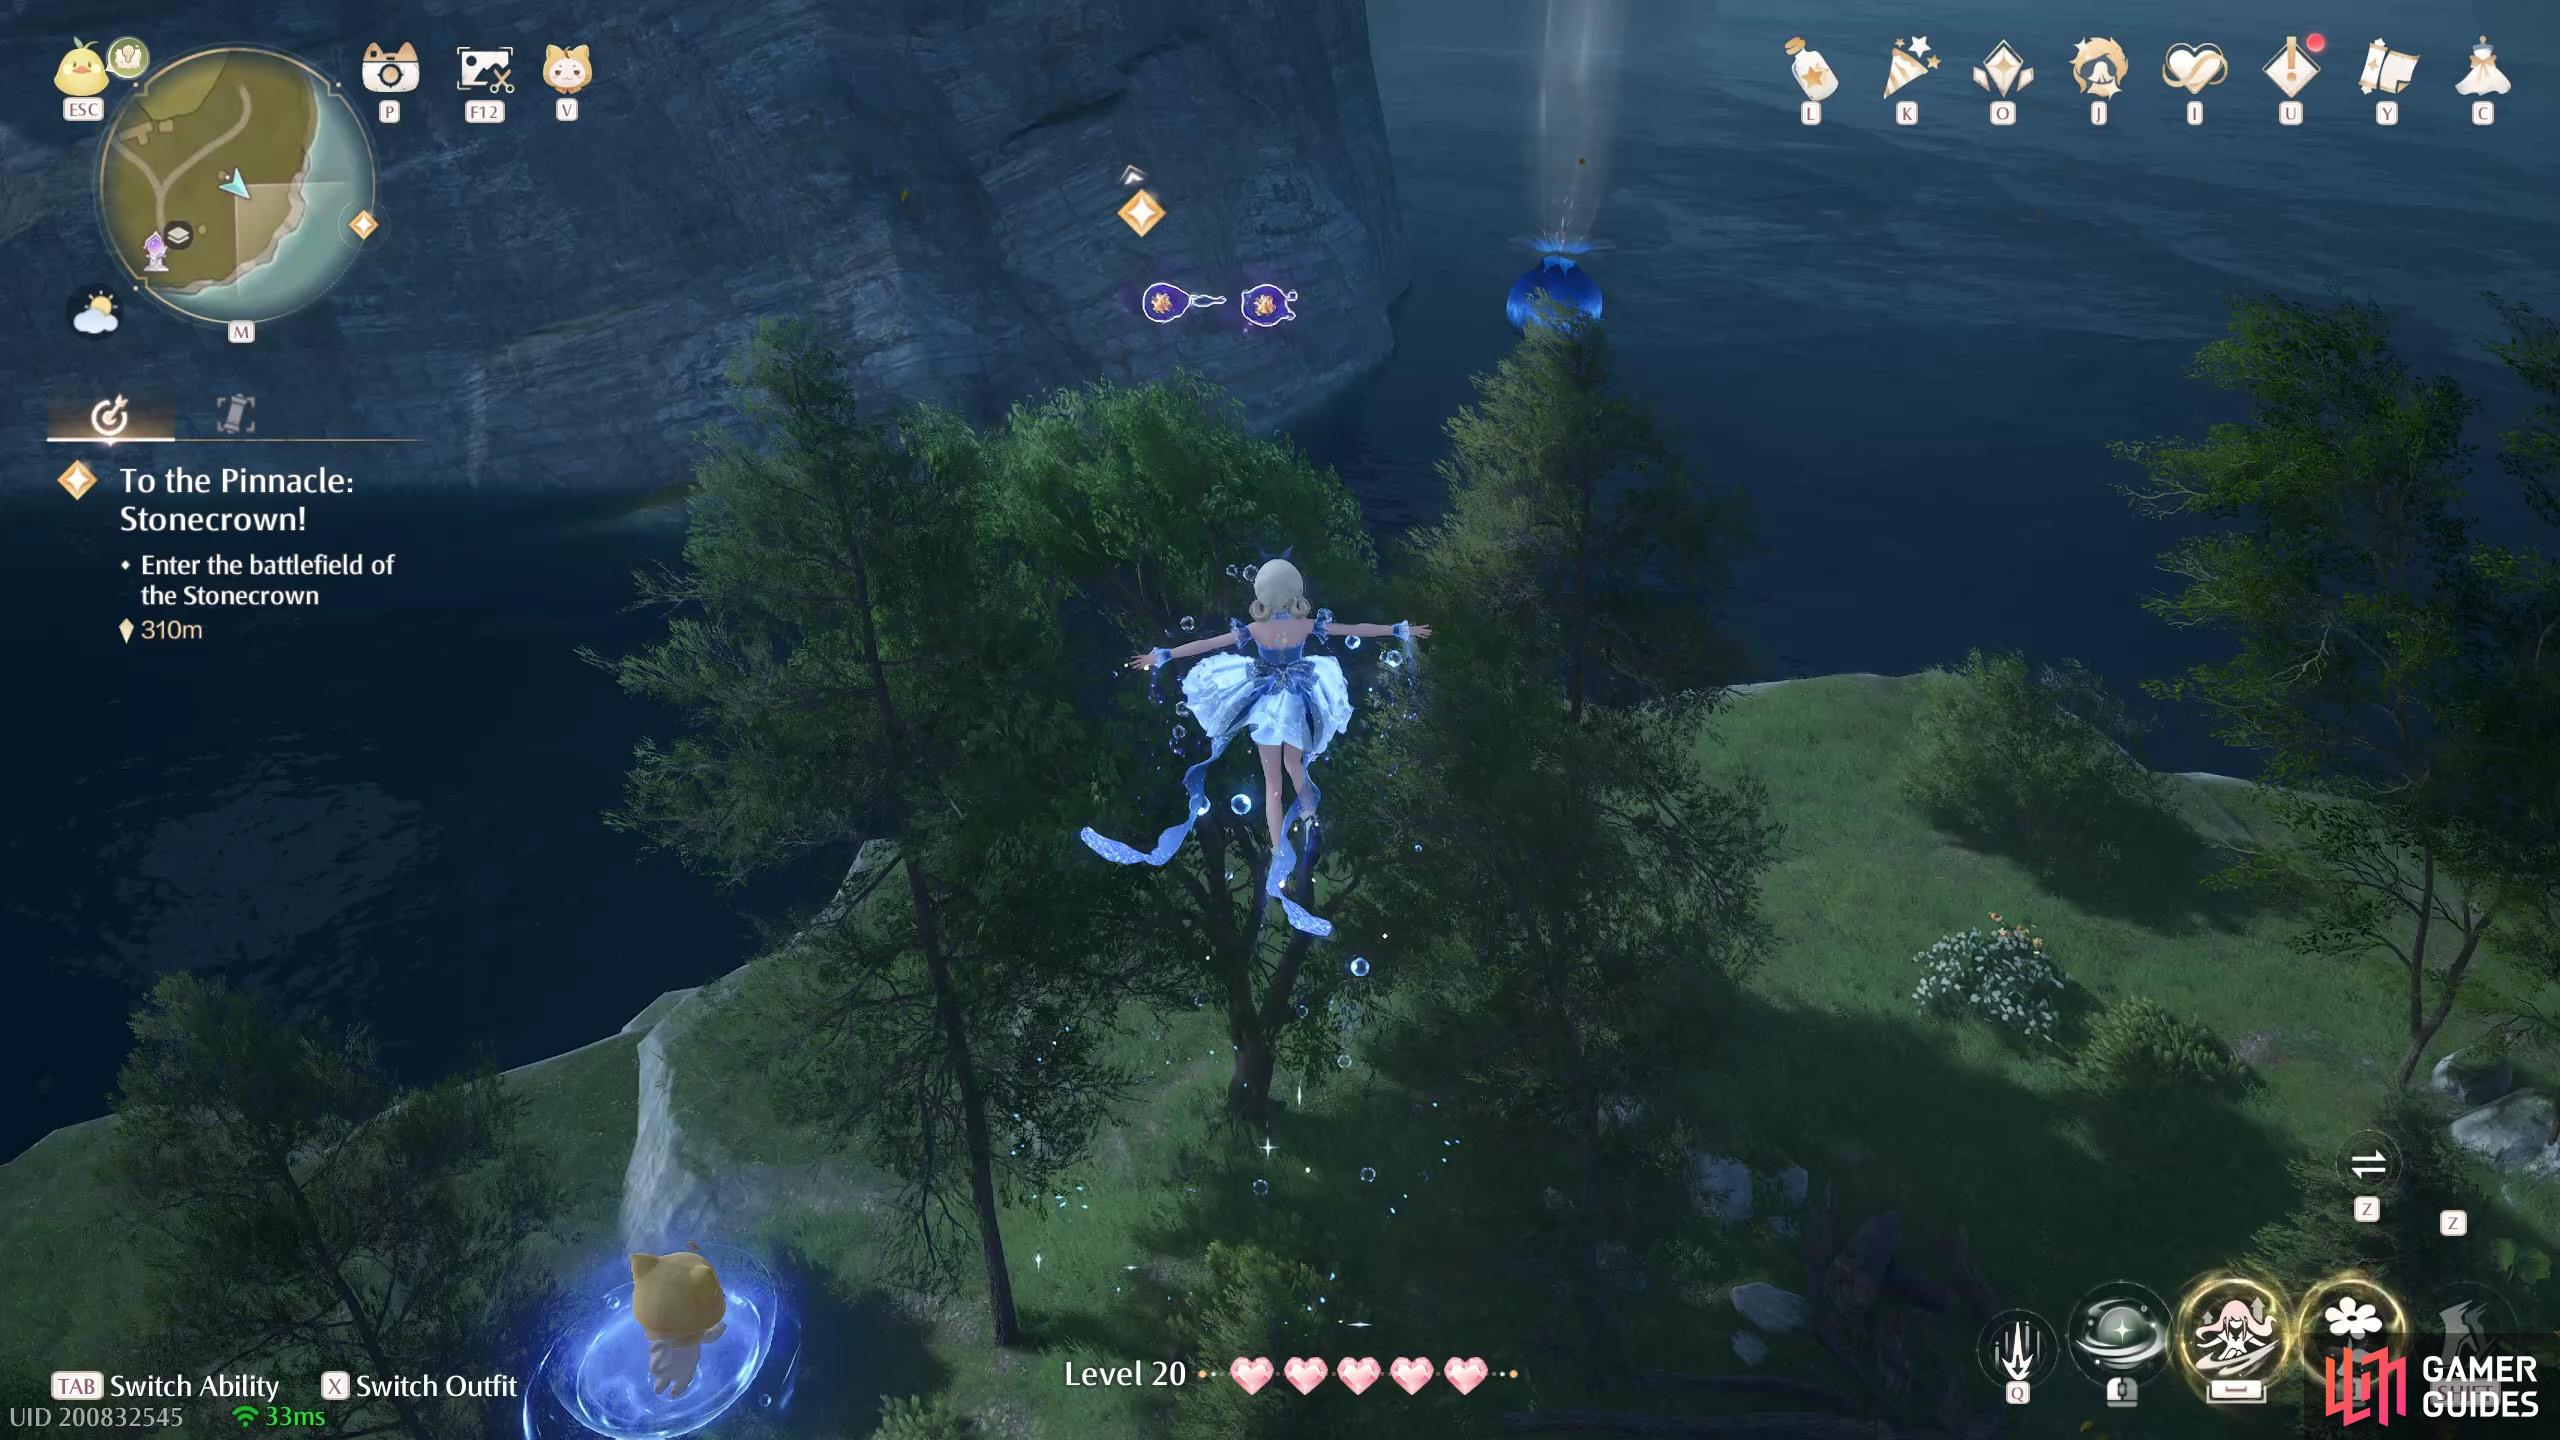
450. Miraland Map
Short distance north-east from ![]() Thuddy Squash Workshop. Two high up in the air. Jump on the nearby wishnet to reach them.
Thuddy Squash Workshop. Two high up in the air. Jump on the nearby wishnet to reach them.
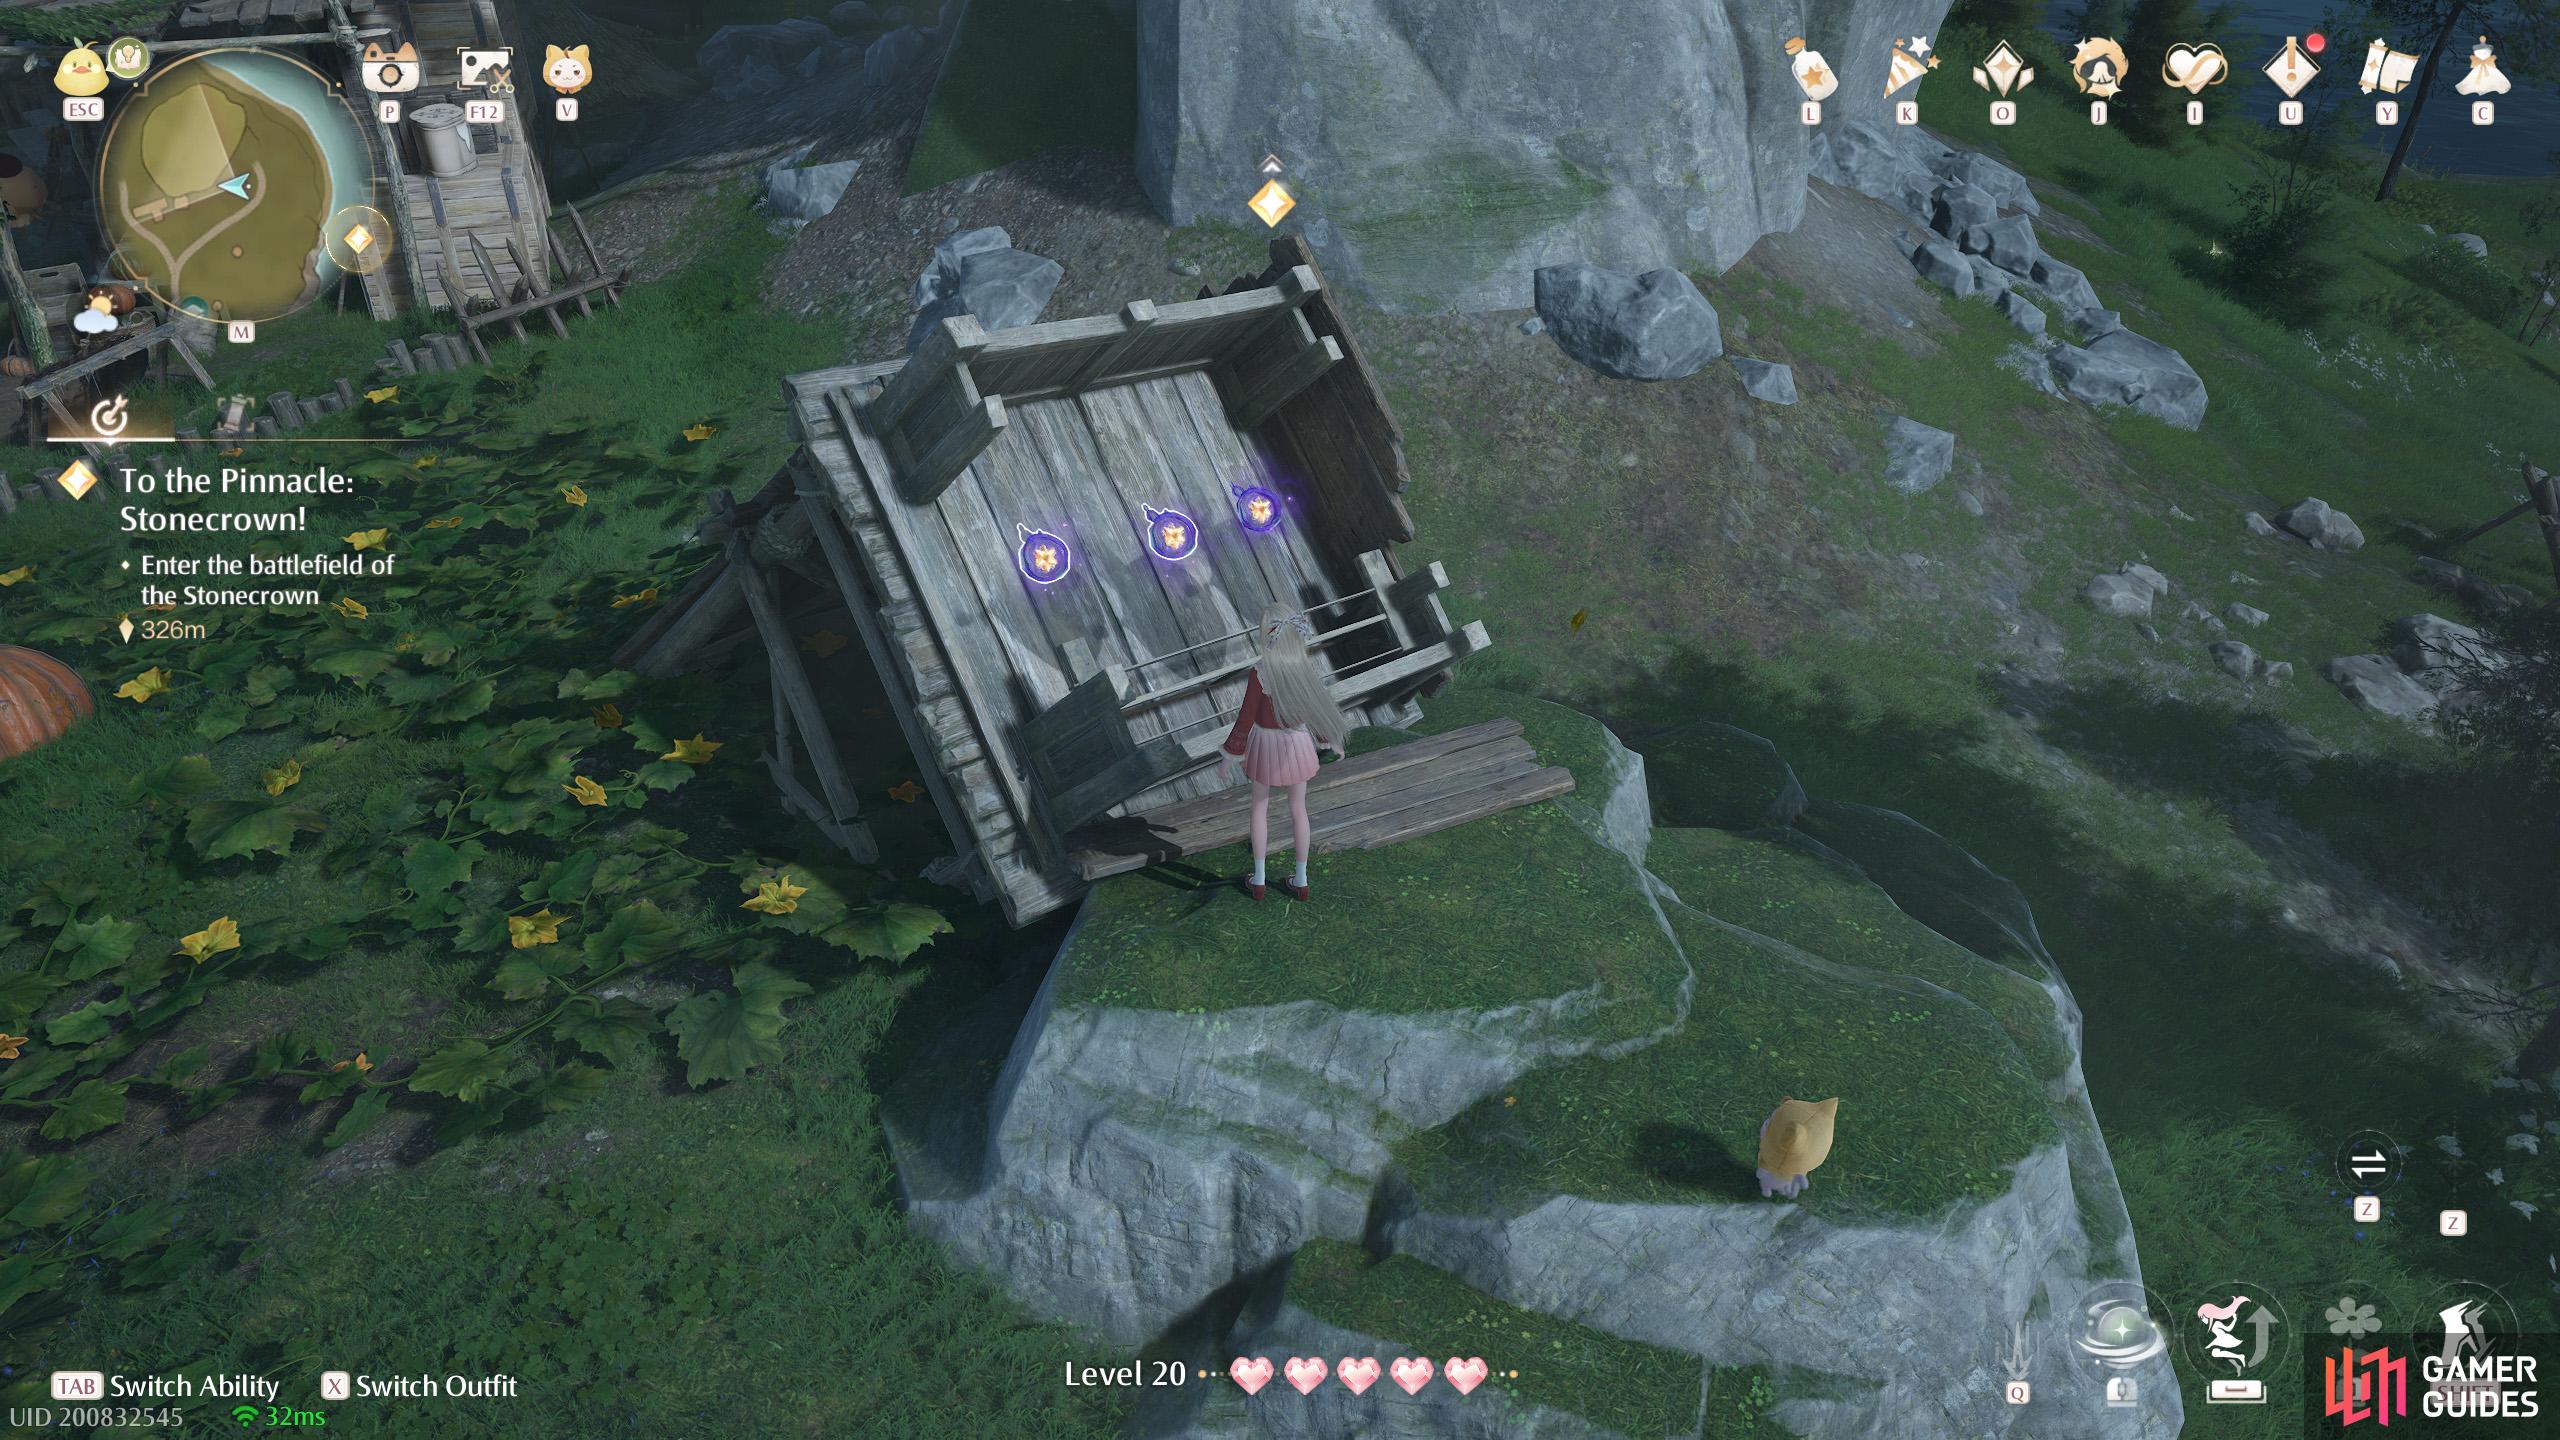
451. Miraland Map
North-east from ![]() Thuddy Squash Workshop. Three on top of a collapsed watchtower.
Thuddy Squash Workshop. Three on top of a collapsed watchtower.
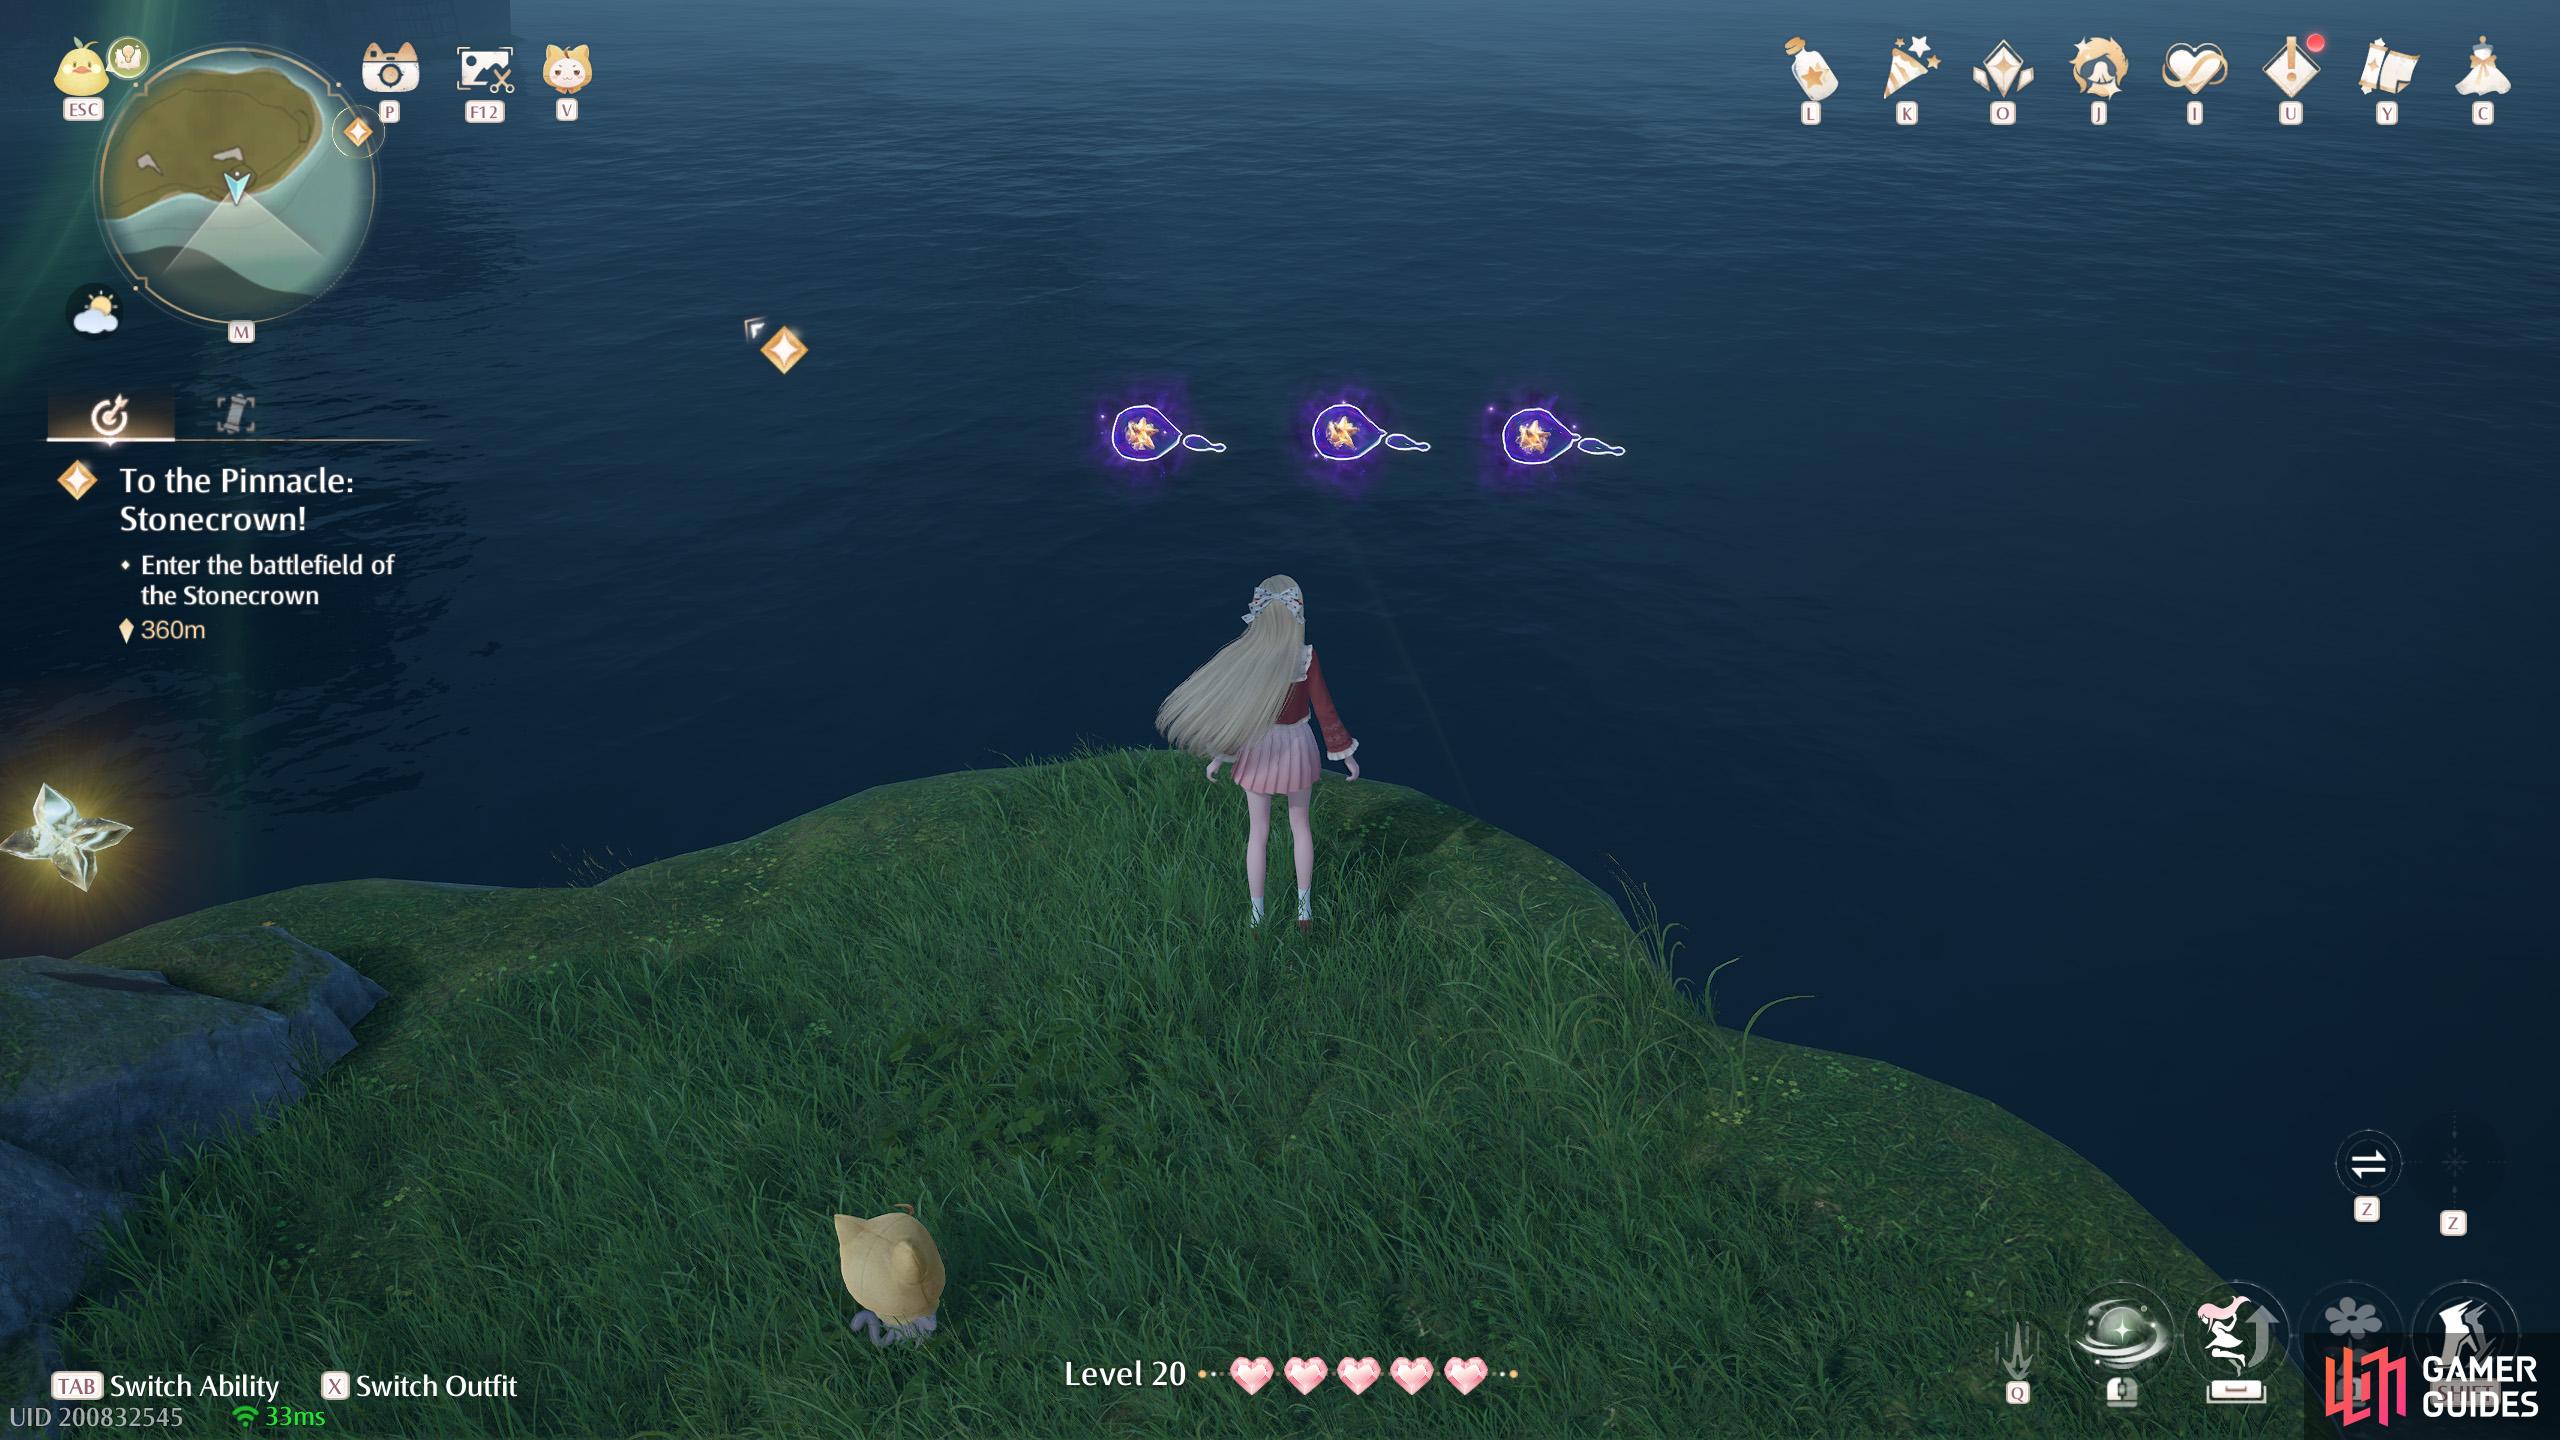
452. Miraland Map
Island south from ![]() Thuddy Squash Workshop. Three floating near a stonetree towards the south.
Thuddy Squash Workshop. Three floating near a stonetree towards the south.
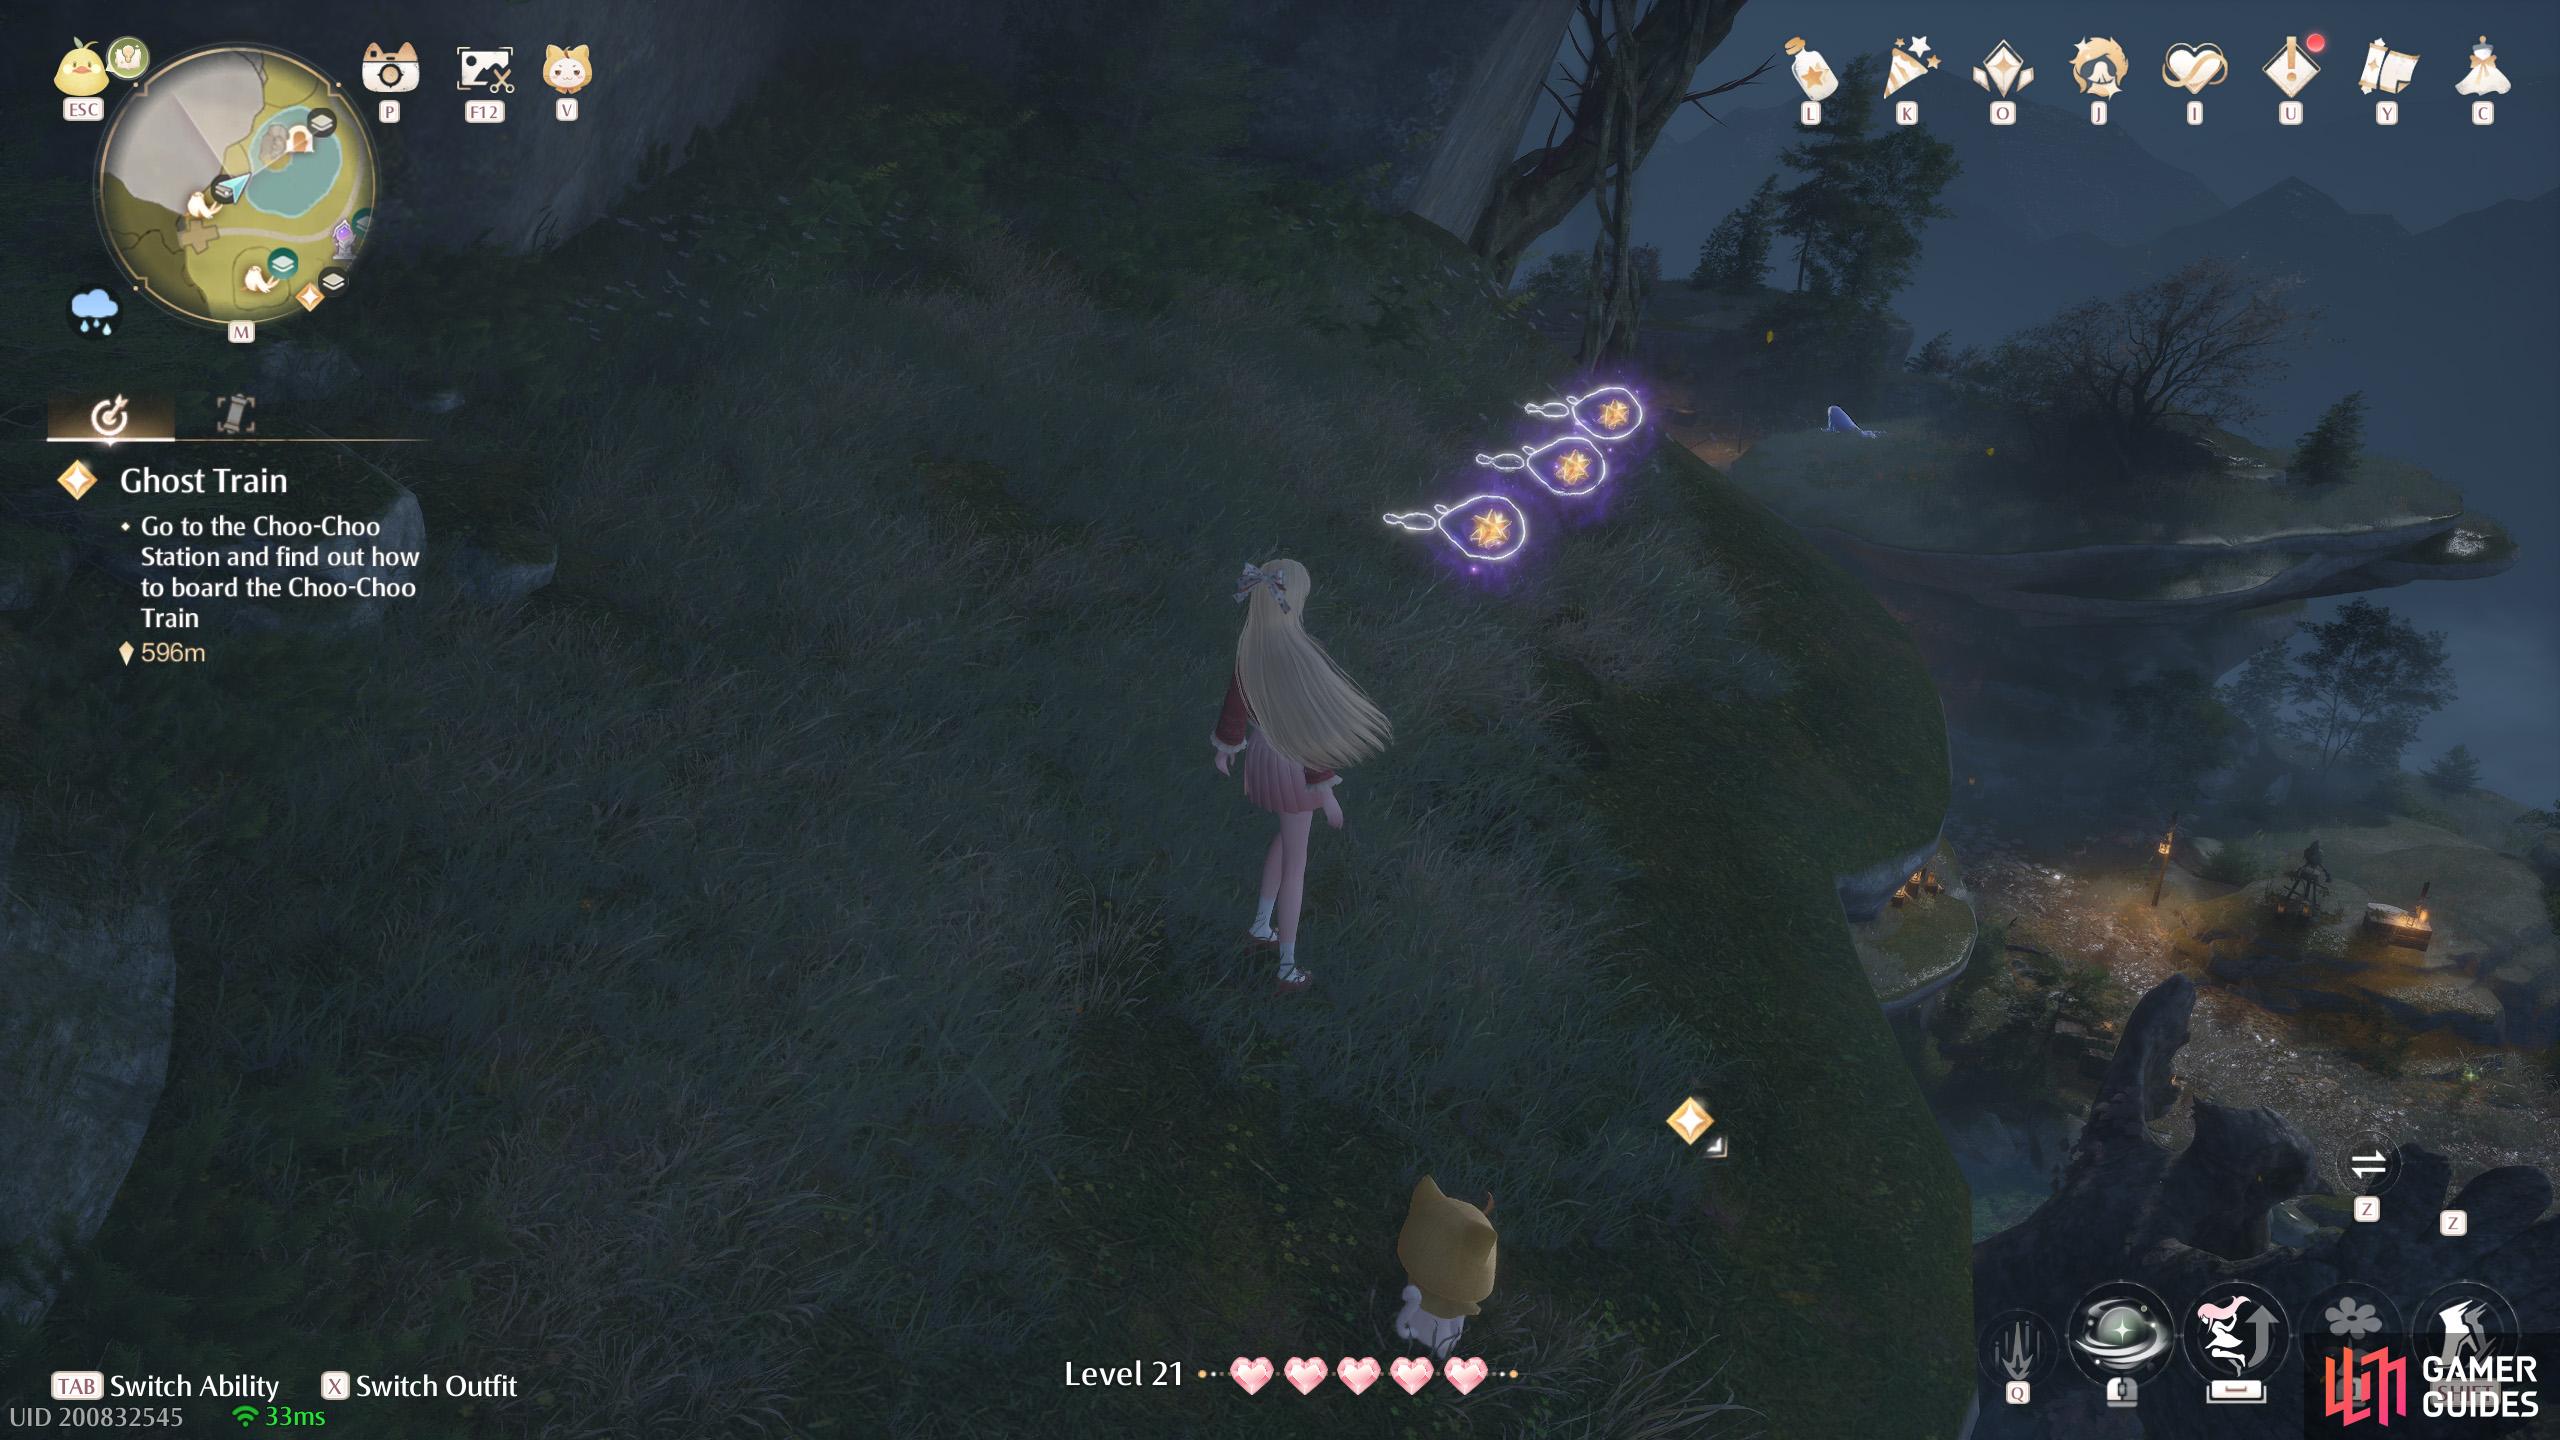
453. Miraland Map
North-west from ![]() Wishing Well, on level 3F. Three on a high up ledge. You can get here by launching from a
Wishing Well, on level 3F. Three on a high up ledge. You can get here by launching from a ![]() Catapult Seal to the south.
Catapult Seal to the south.
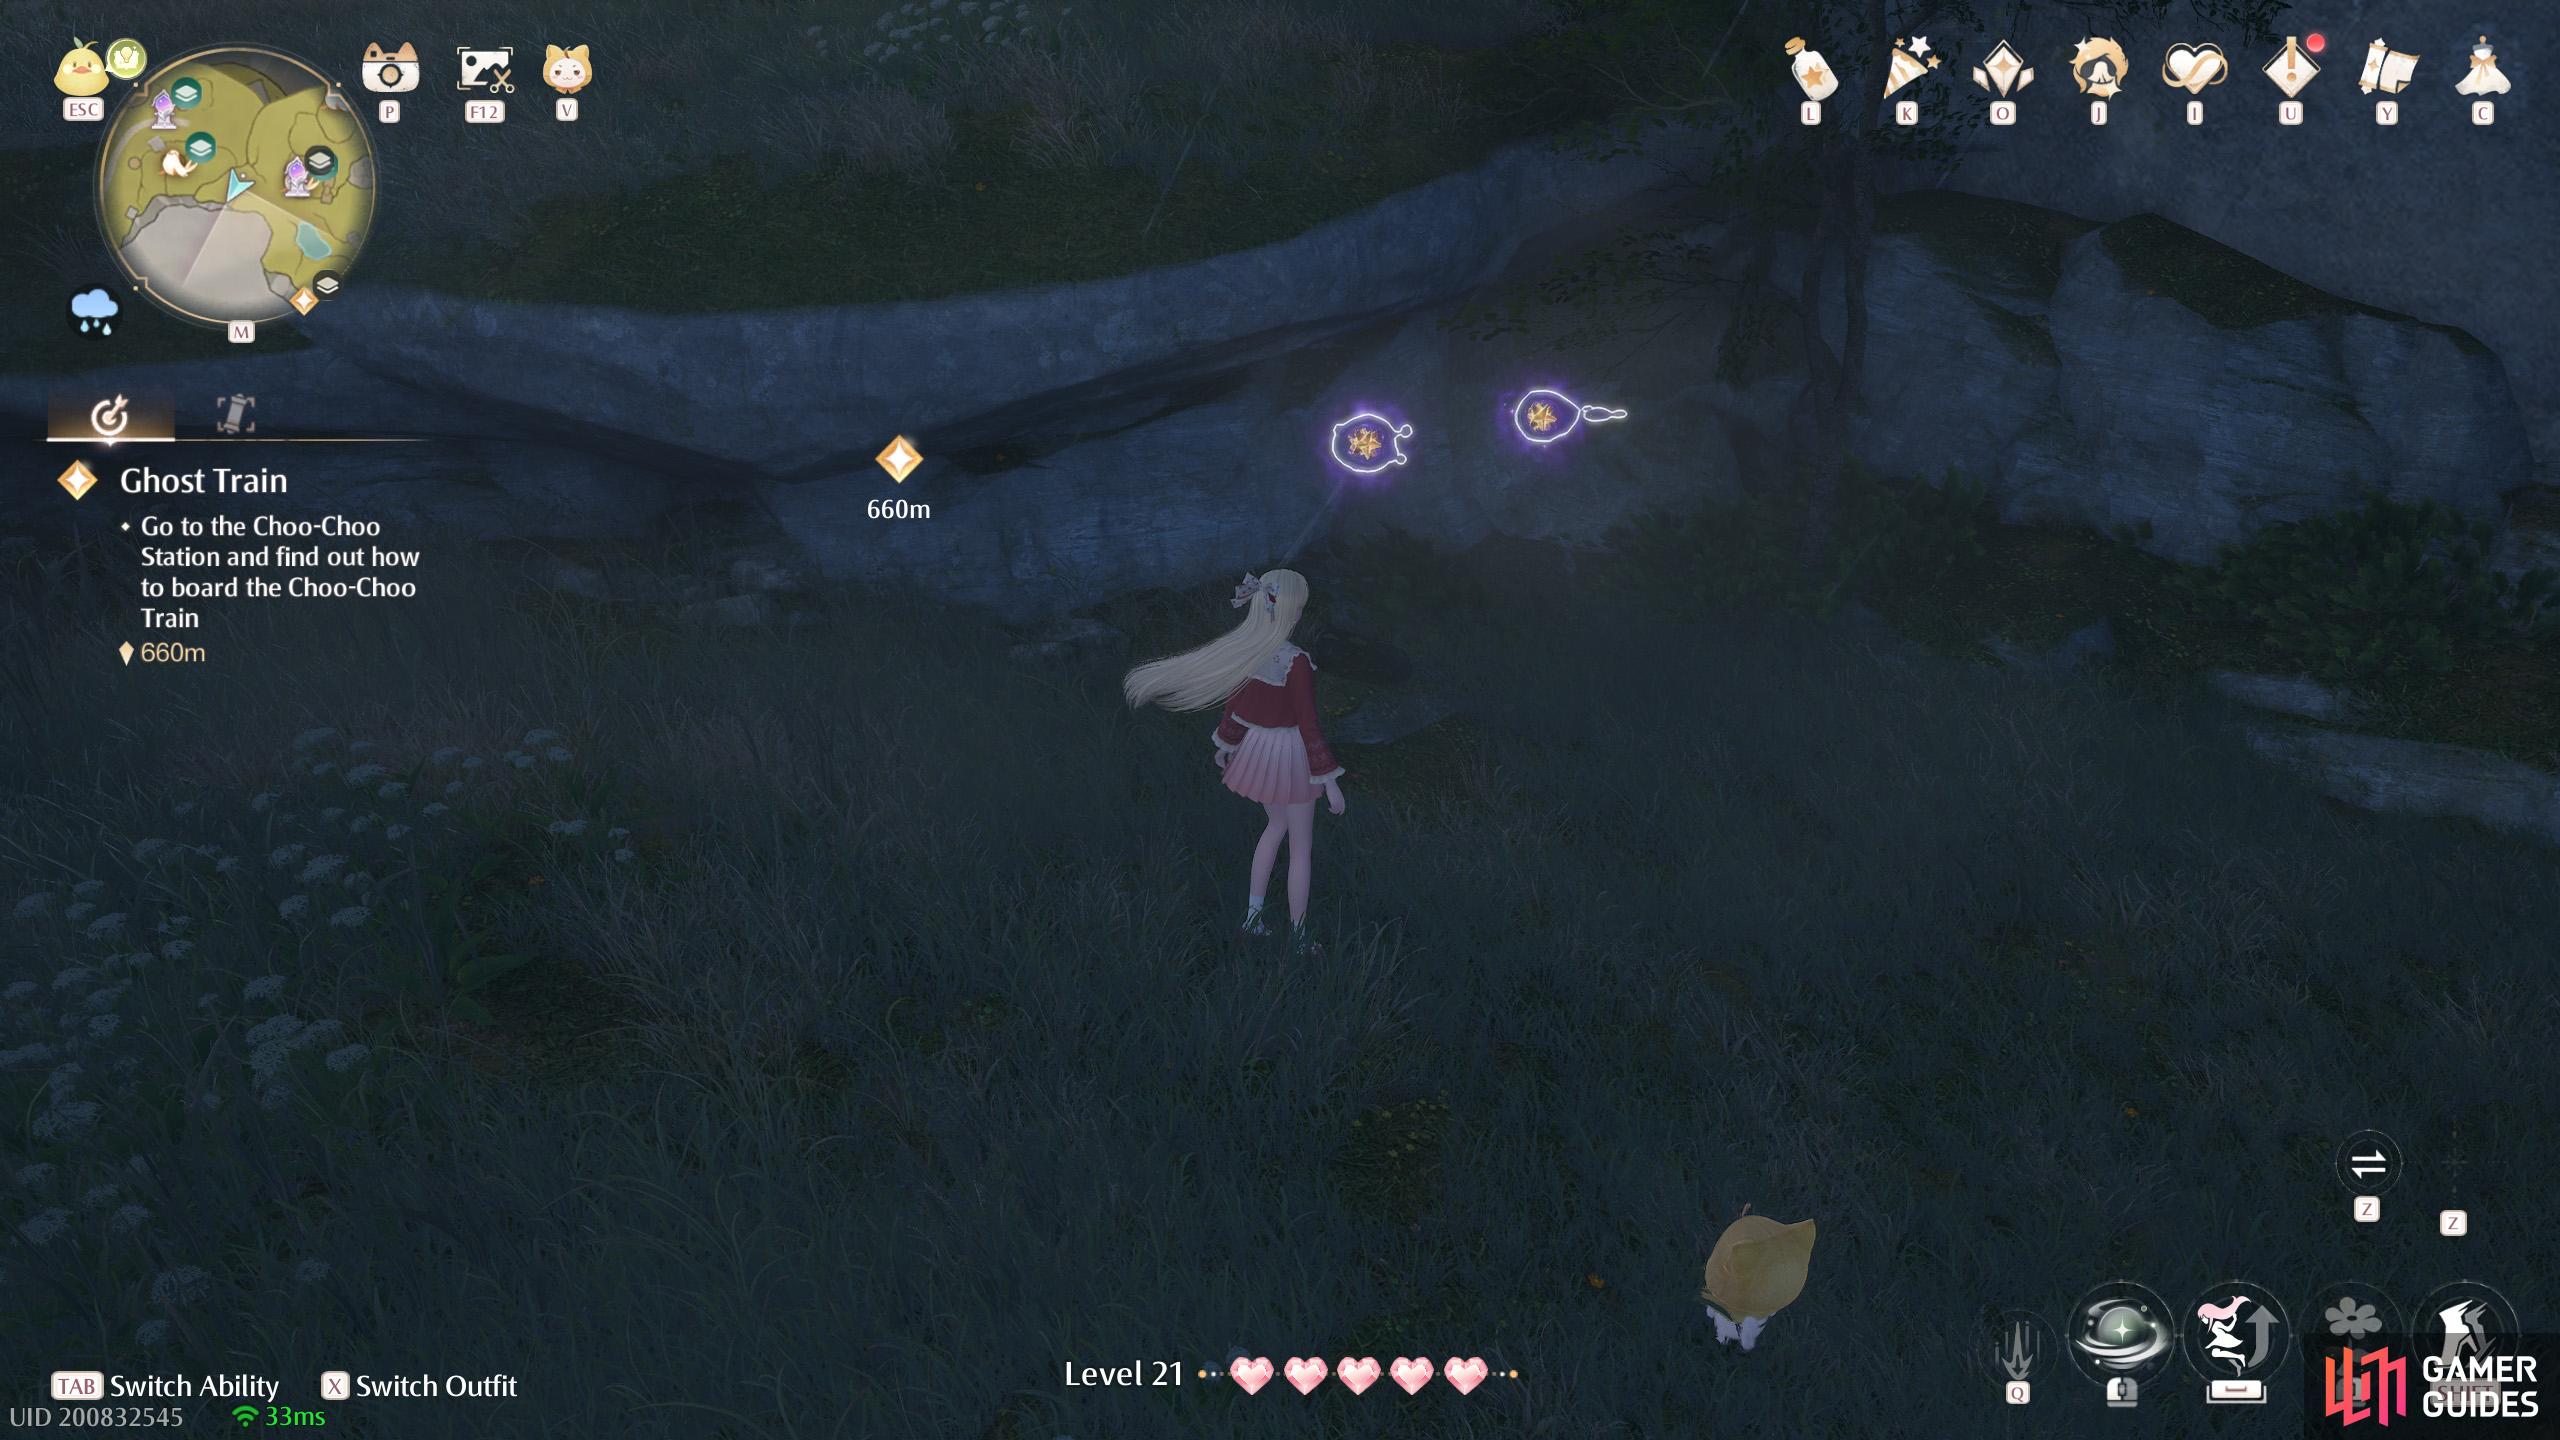
454. Miraland Map
Short distance south-west from ![]() Volunteer Corps Jail. On level 3F. Two next to the side of a ledge higher up. If you launch from the
Volunteer Corps Jail. On level 3F. Two next to the side of a ledge higher up. If you launch from the ![]() Catapult Seal to the west, you’ll end up right here.
Catapult Seal to the west, you’ll end up right here.
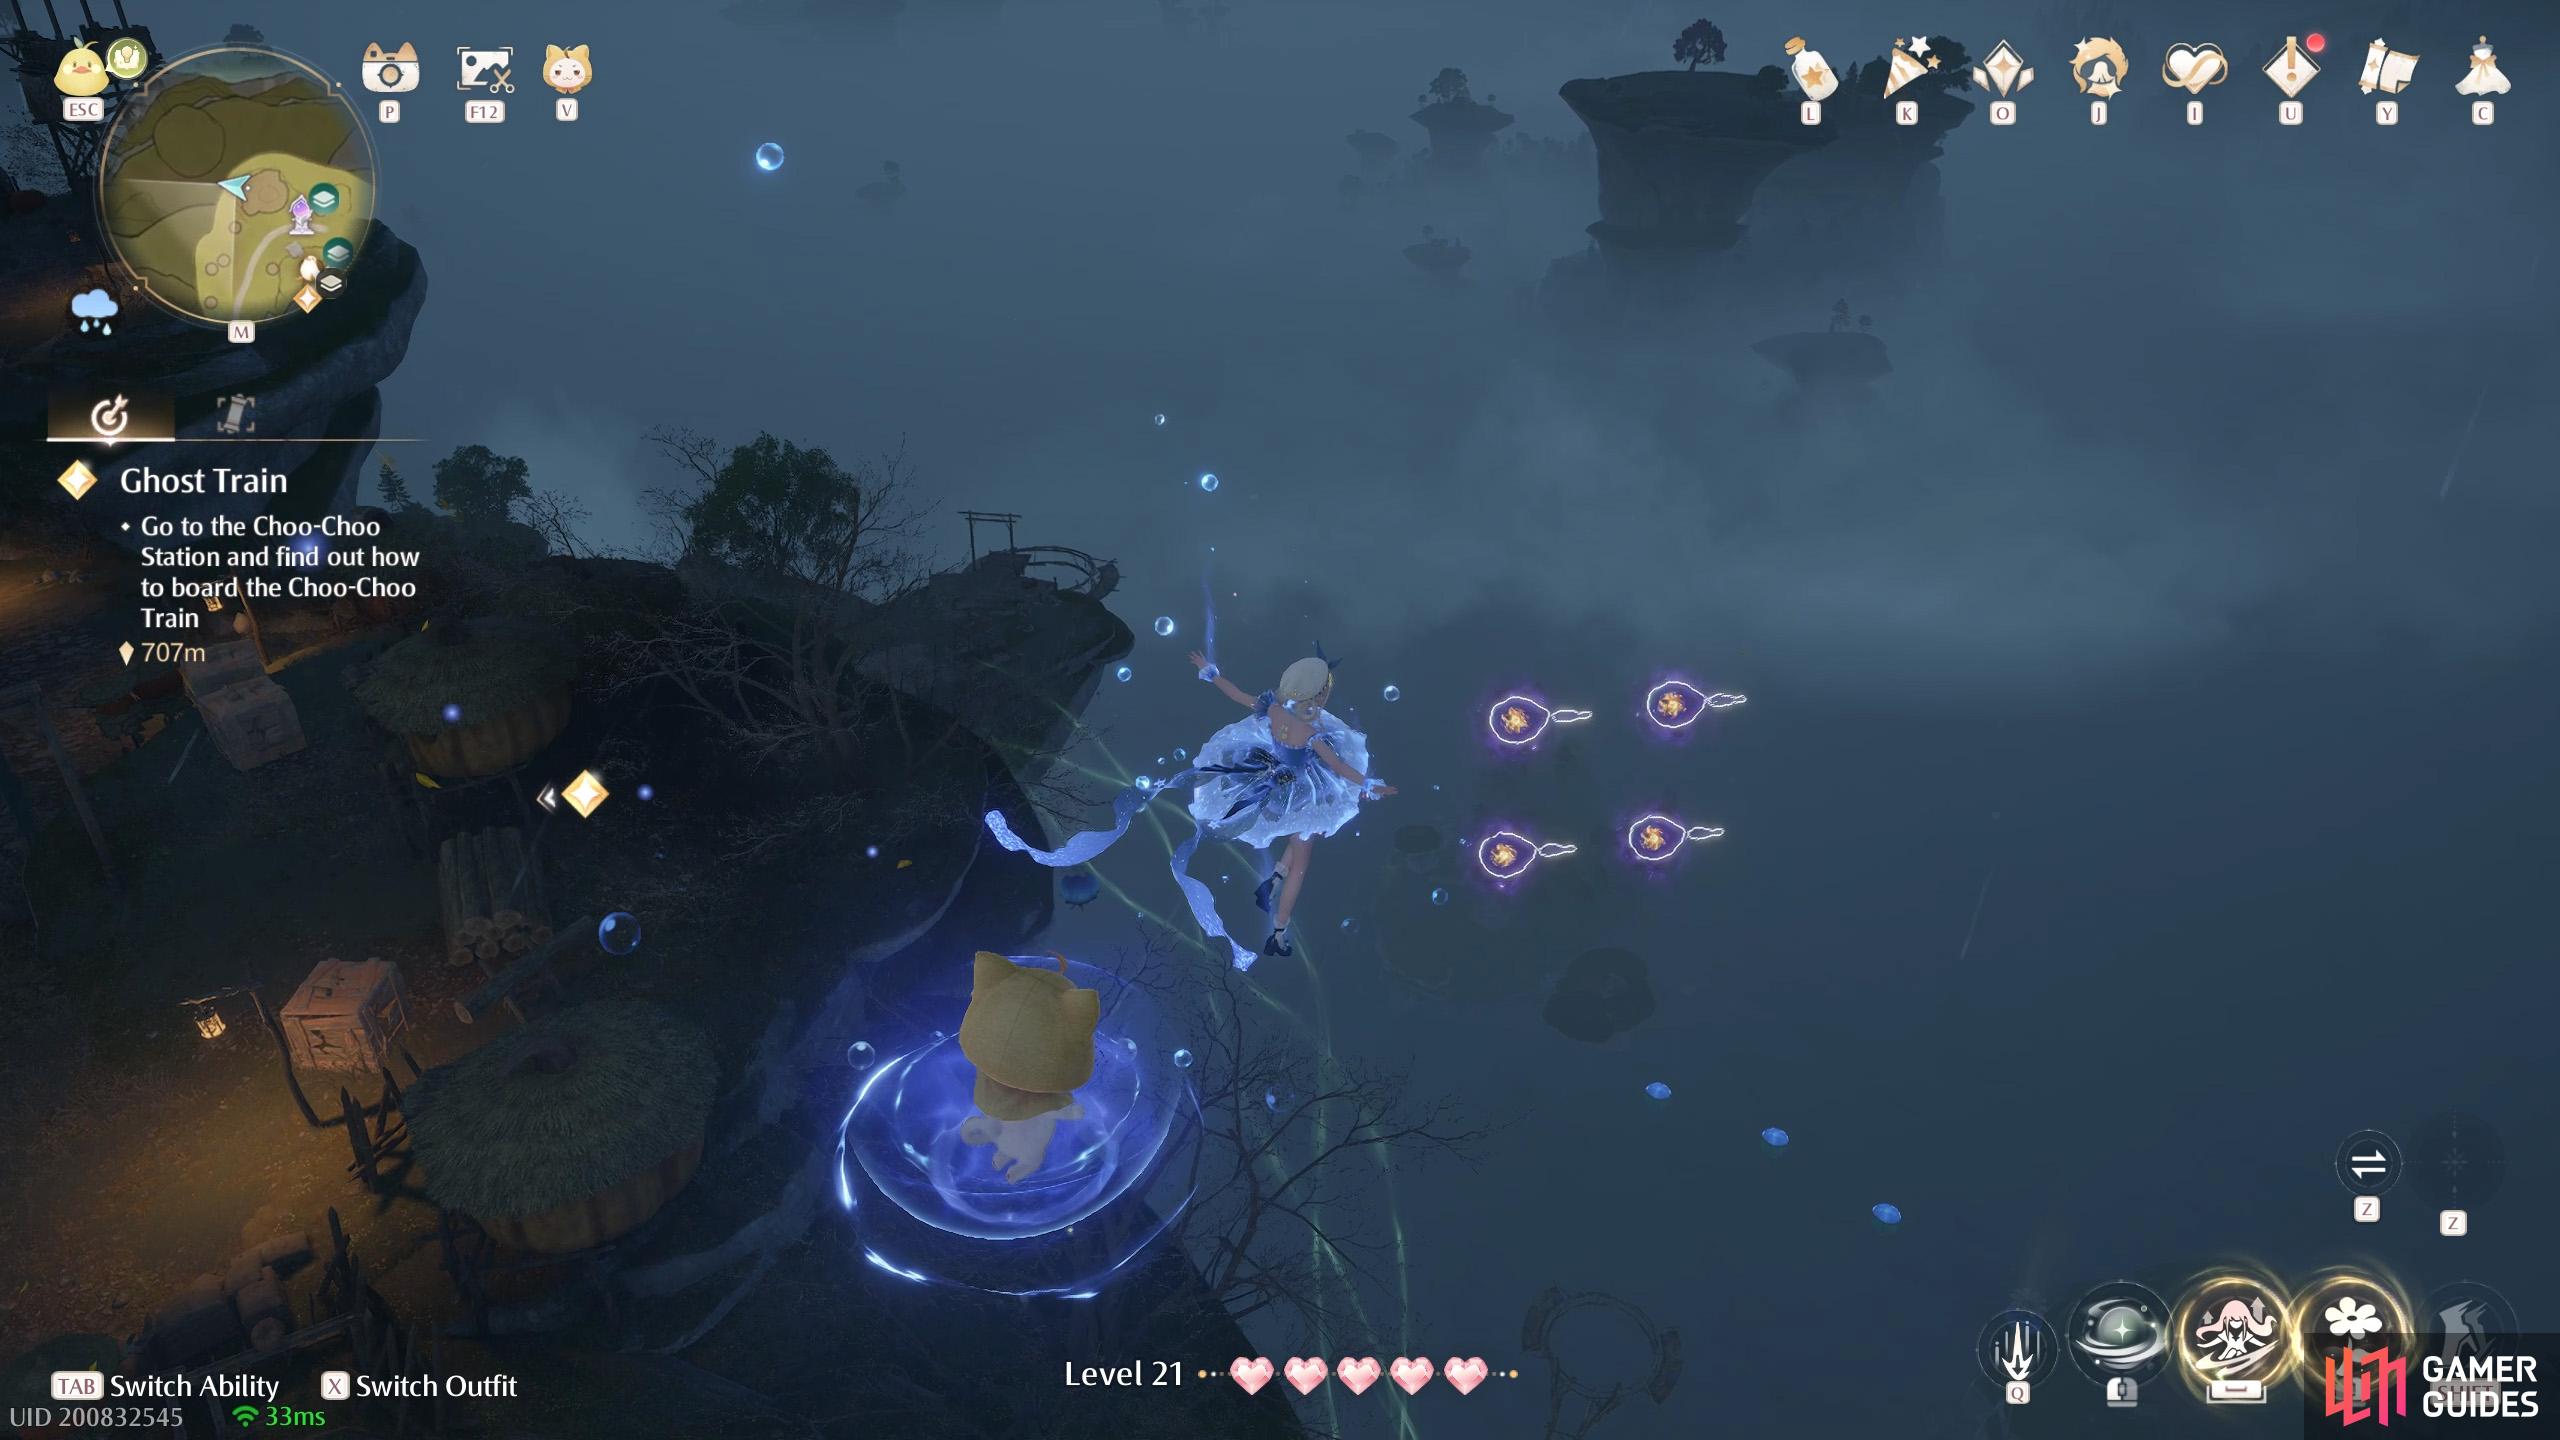
455. Miraland Map
Short distance west from ![]() Volunteer Corps Jail, on level 2F. Four floating near the rooftop of a large hut.
Volunteer Corps Jail, on level 2F. Four floating near the rooftop of a large hut.
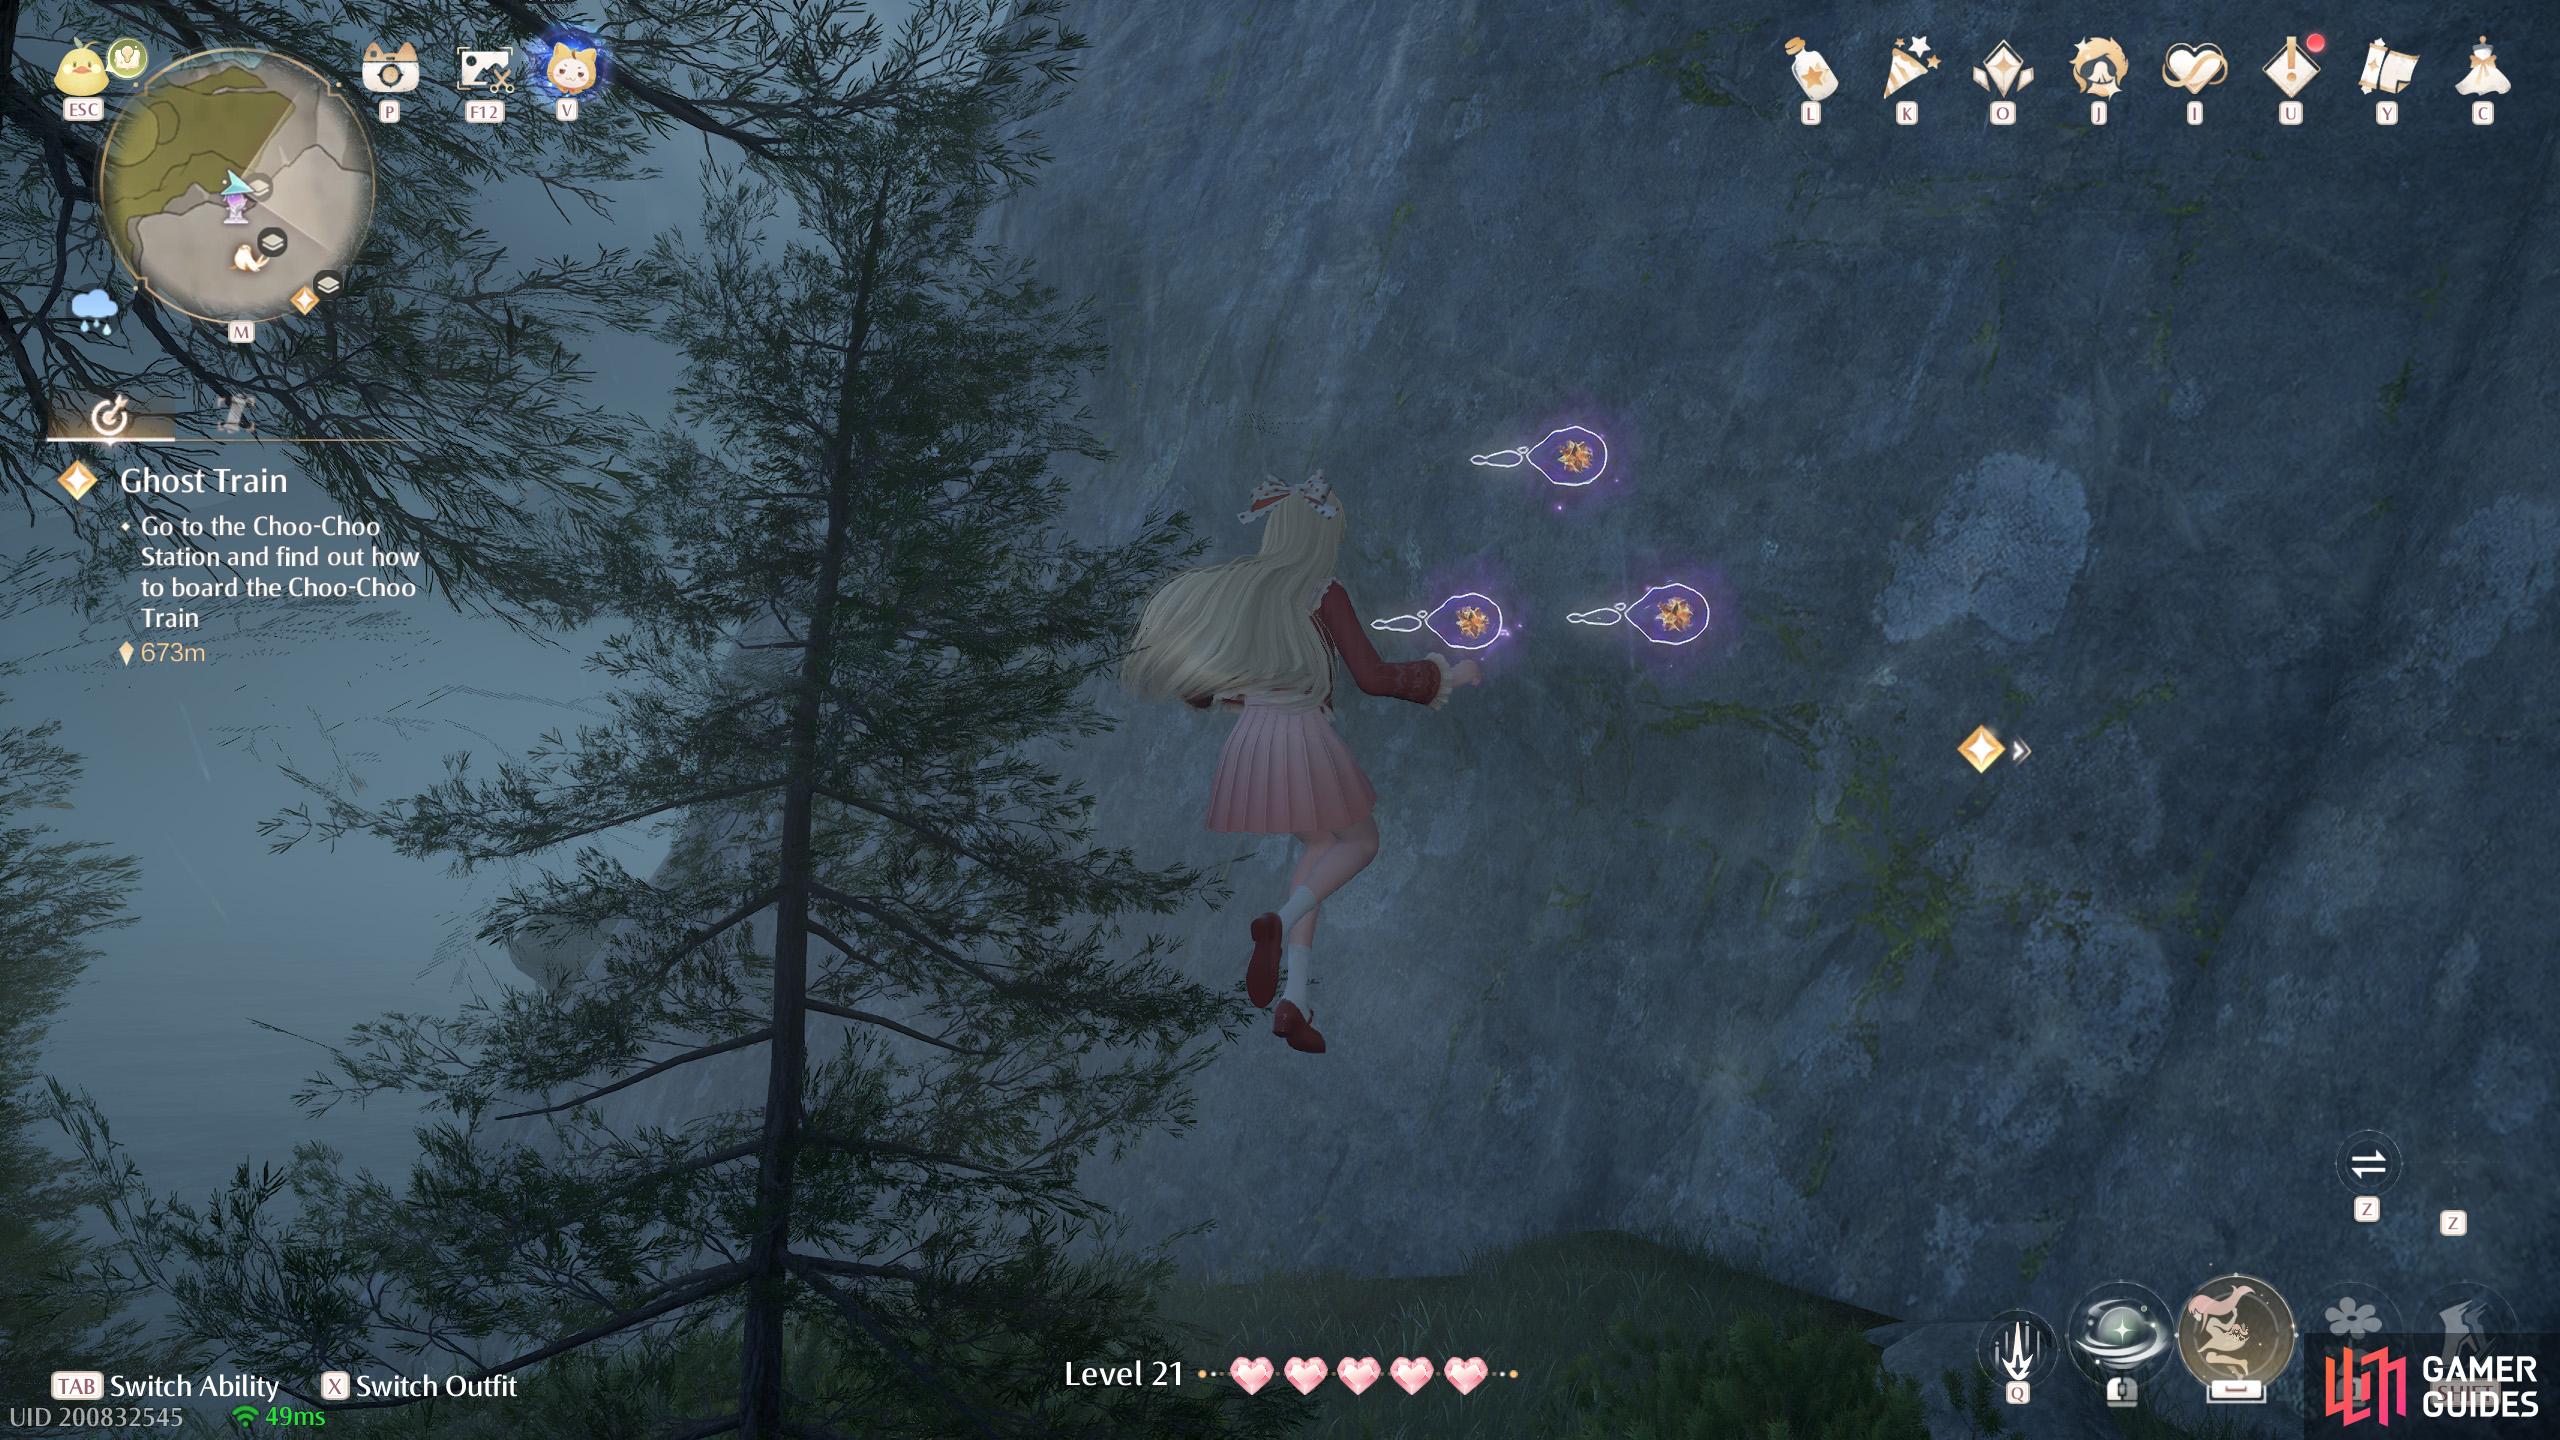
456. Miraland Map
Short distance north of ![]() Volunteer Corps Jail, on level 1F. Three at the corner of a small plateau. There’s some
Volunteer Corps Jail, on level 1F. Three at the corner of a small plateau. There’s some ![]() Bling nearby to guide you here.
Bling nearby to guide you here.

457. Miraland Map
South of ![]() Flamecrest Stonetree. Three at the back of a ledge underneath the stonetree canopy. On the left side of the suspension bridge if coming from the north.
Flamecrest Stonetree. Three at the back of a ledge underneath the stonetree canopy. On the left side of the suspension bridge if coming from the north.
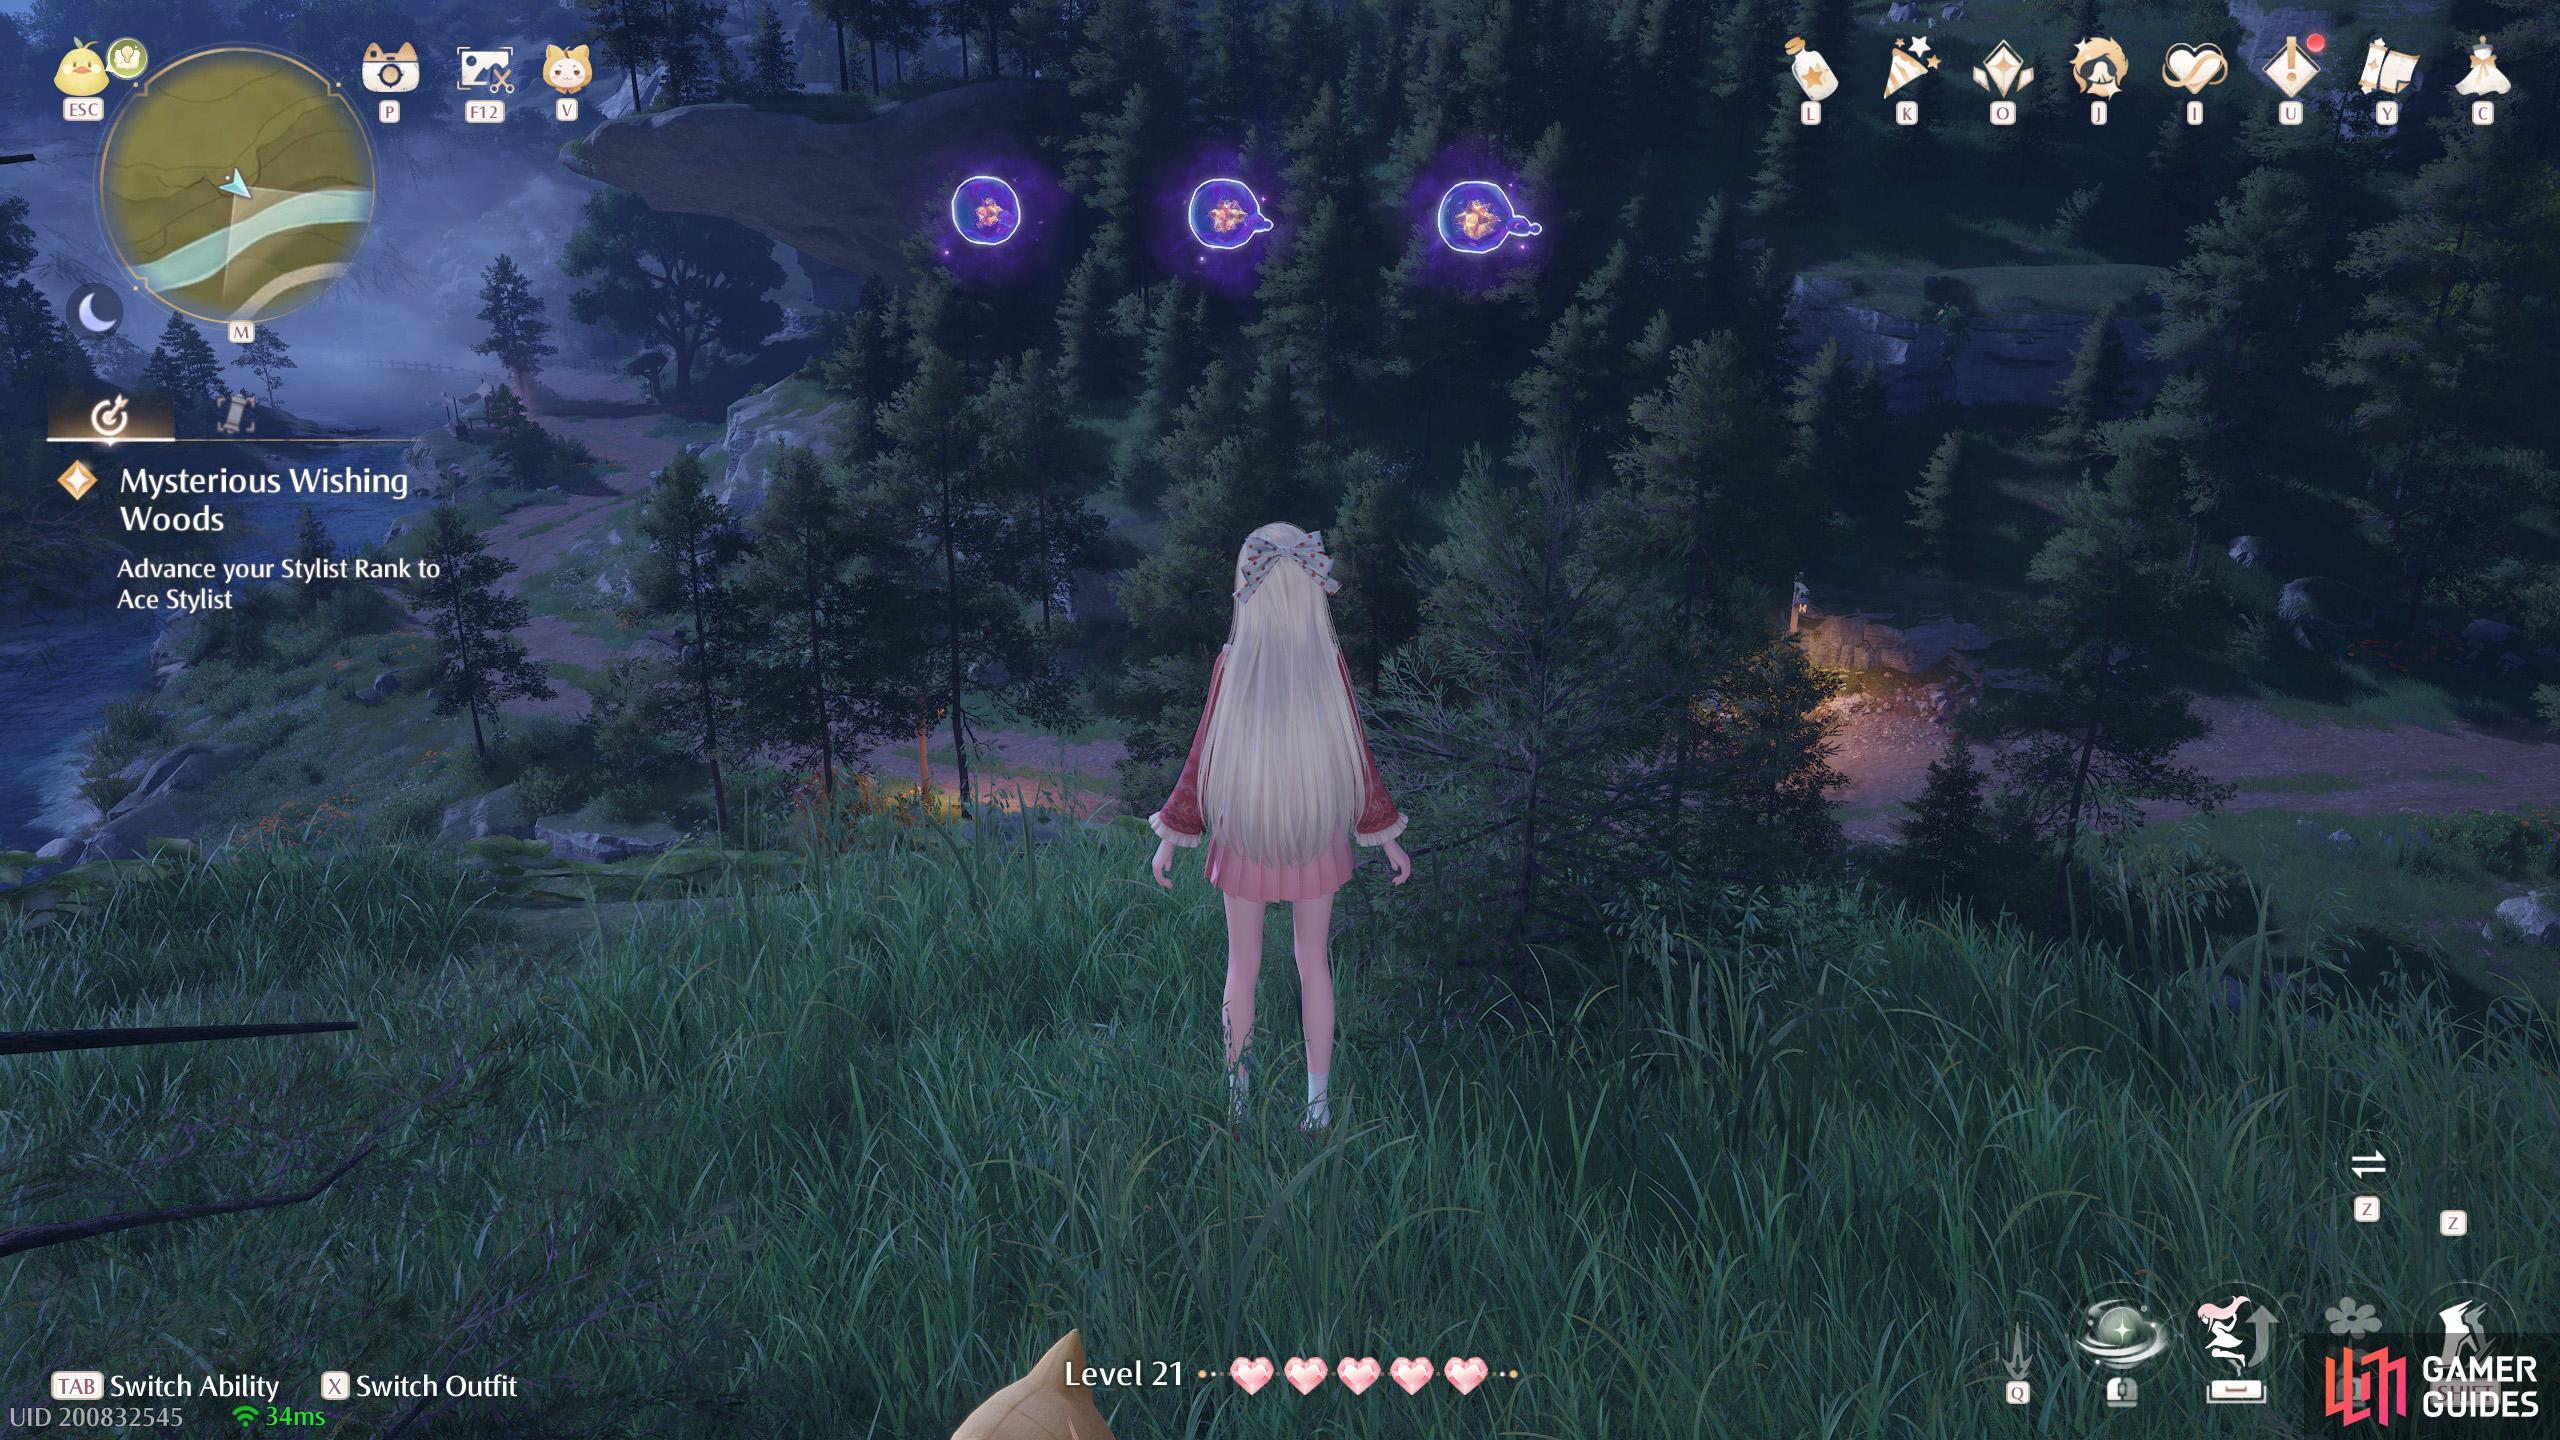
458. Miraland Map
South of the ![]() Village Corner. Three near the edge of a ledge overlooking the river.
Village Corner. Three near the edge of a ledge overlooking the river.
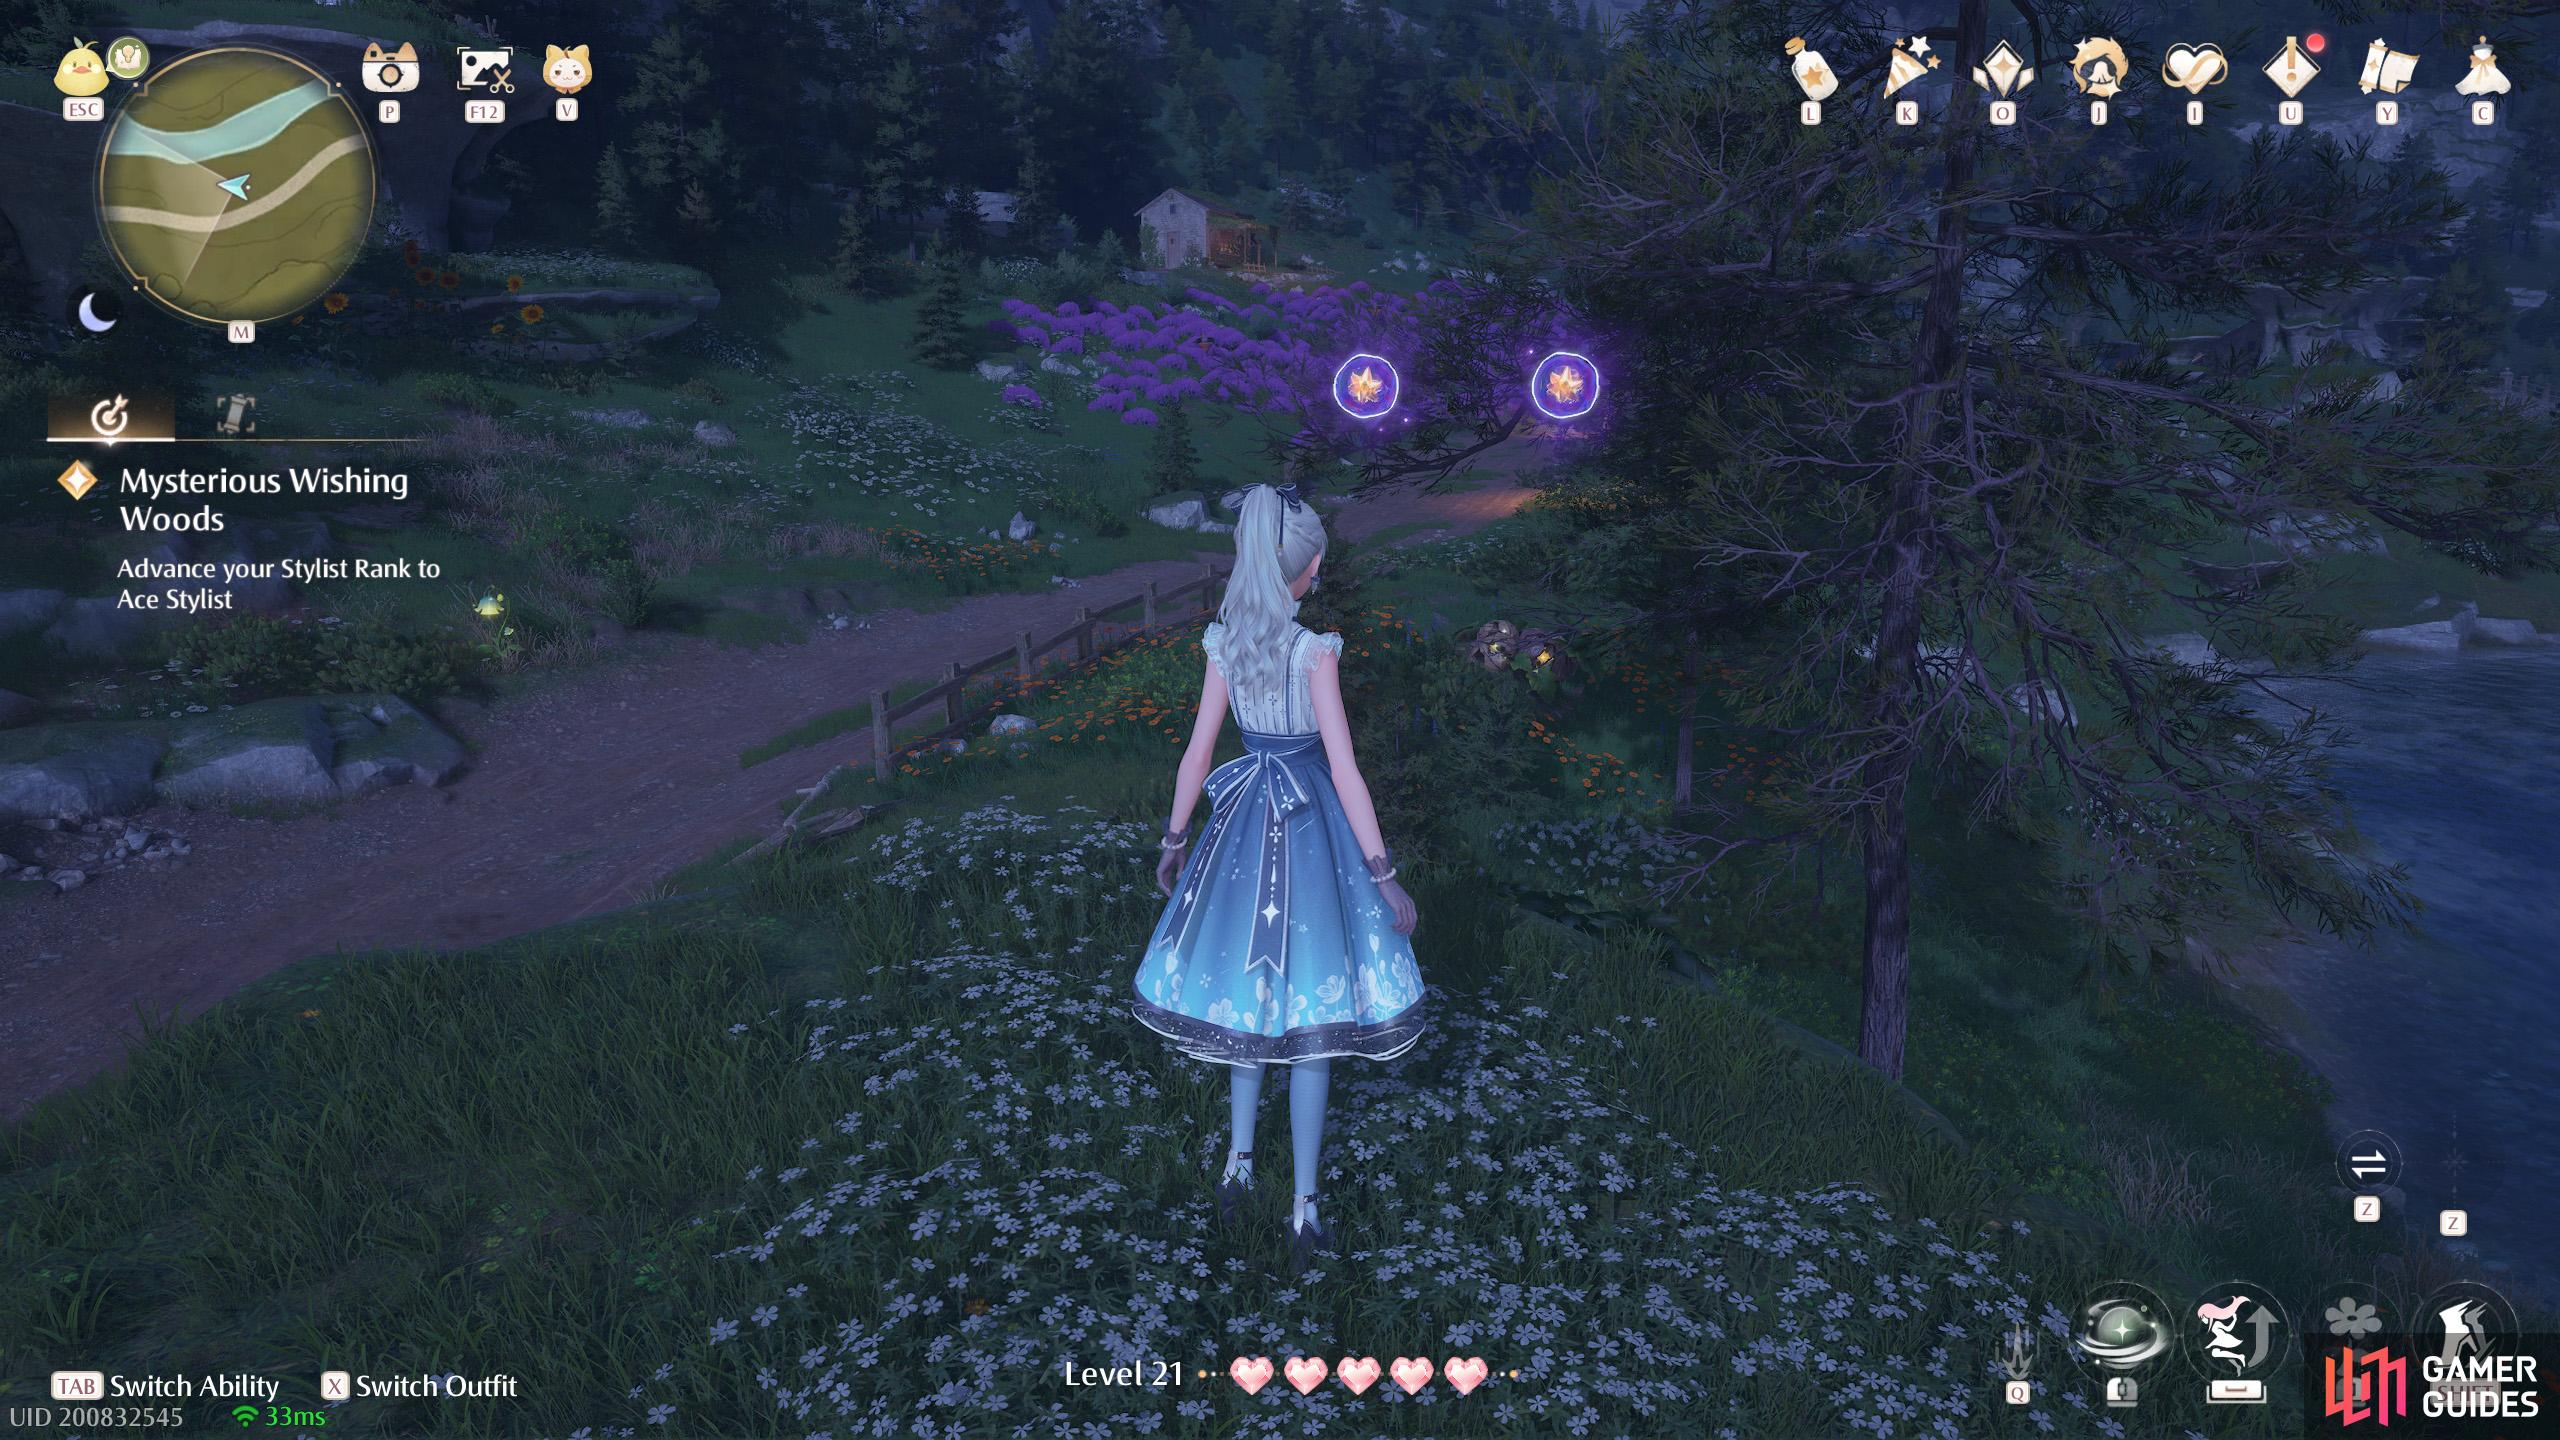
459. Miraland Map
West from ![]() Stoneville Entrance. Two floating around the top of a small stonetree with wish bottles at the base.
Stoneville Entrance. Two floating around the top of a small stonetree with wish bottles at the base.

460. Miraland Map
Short distance west from ![]() Stoneville Entrance. Two floating atop the medium-sized stonetree.
Stoneville Entrance. Two floating atop the medium-sized stonetree.
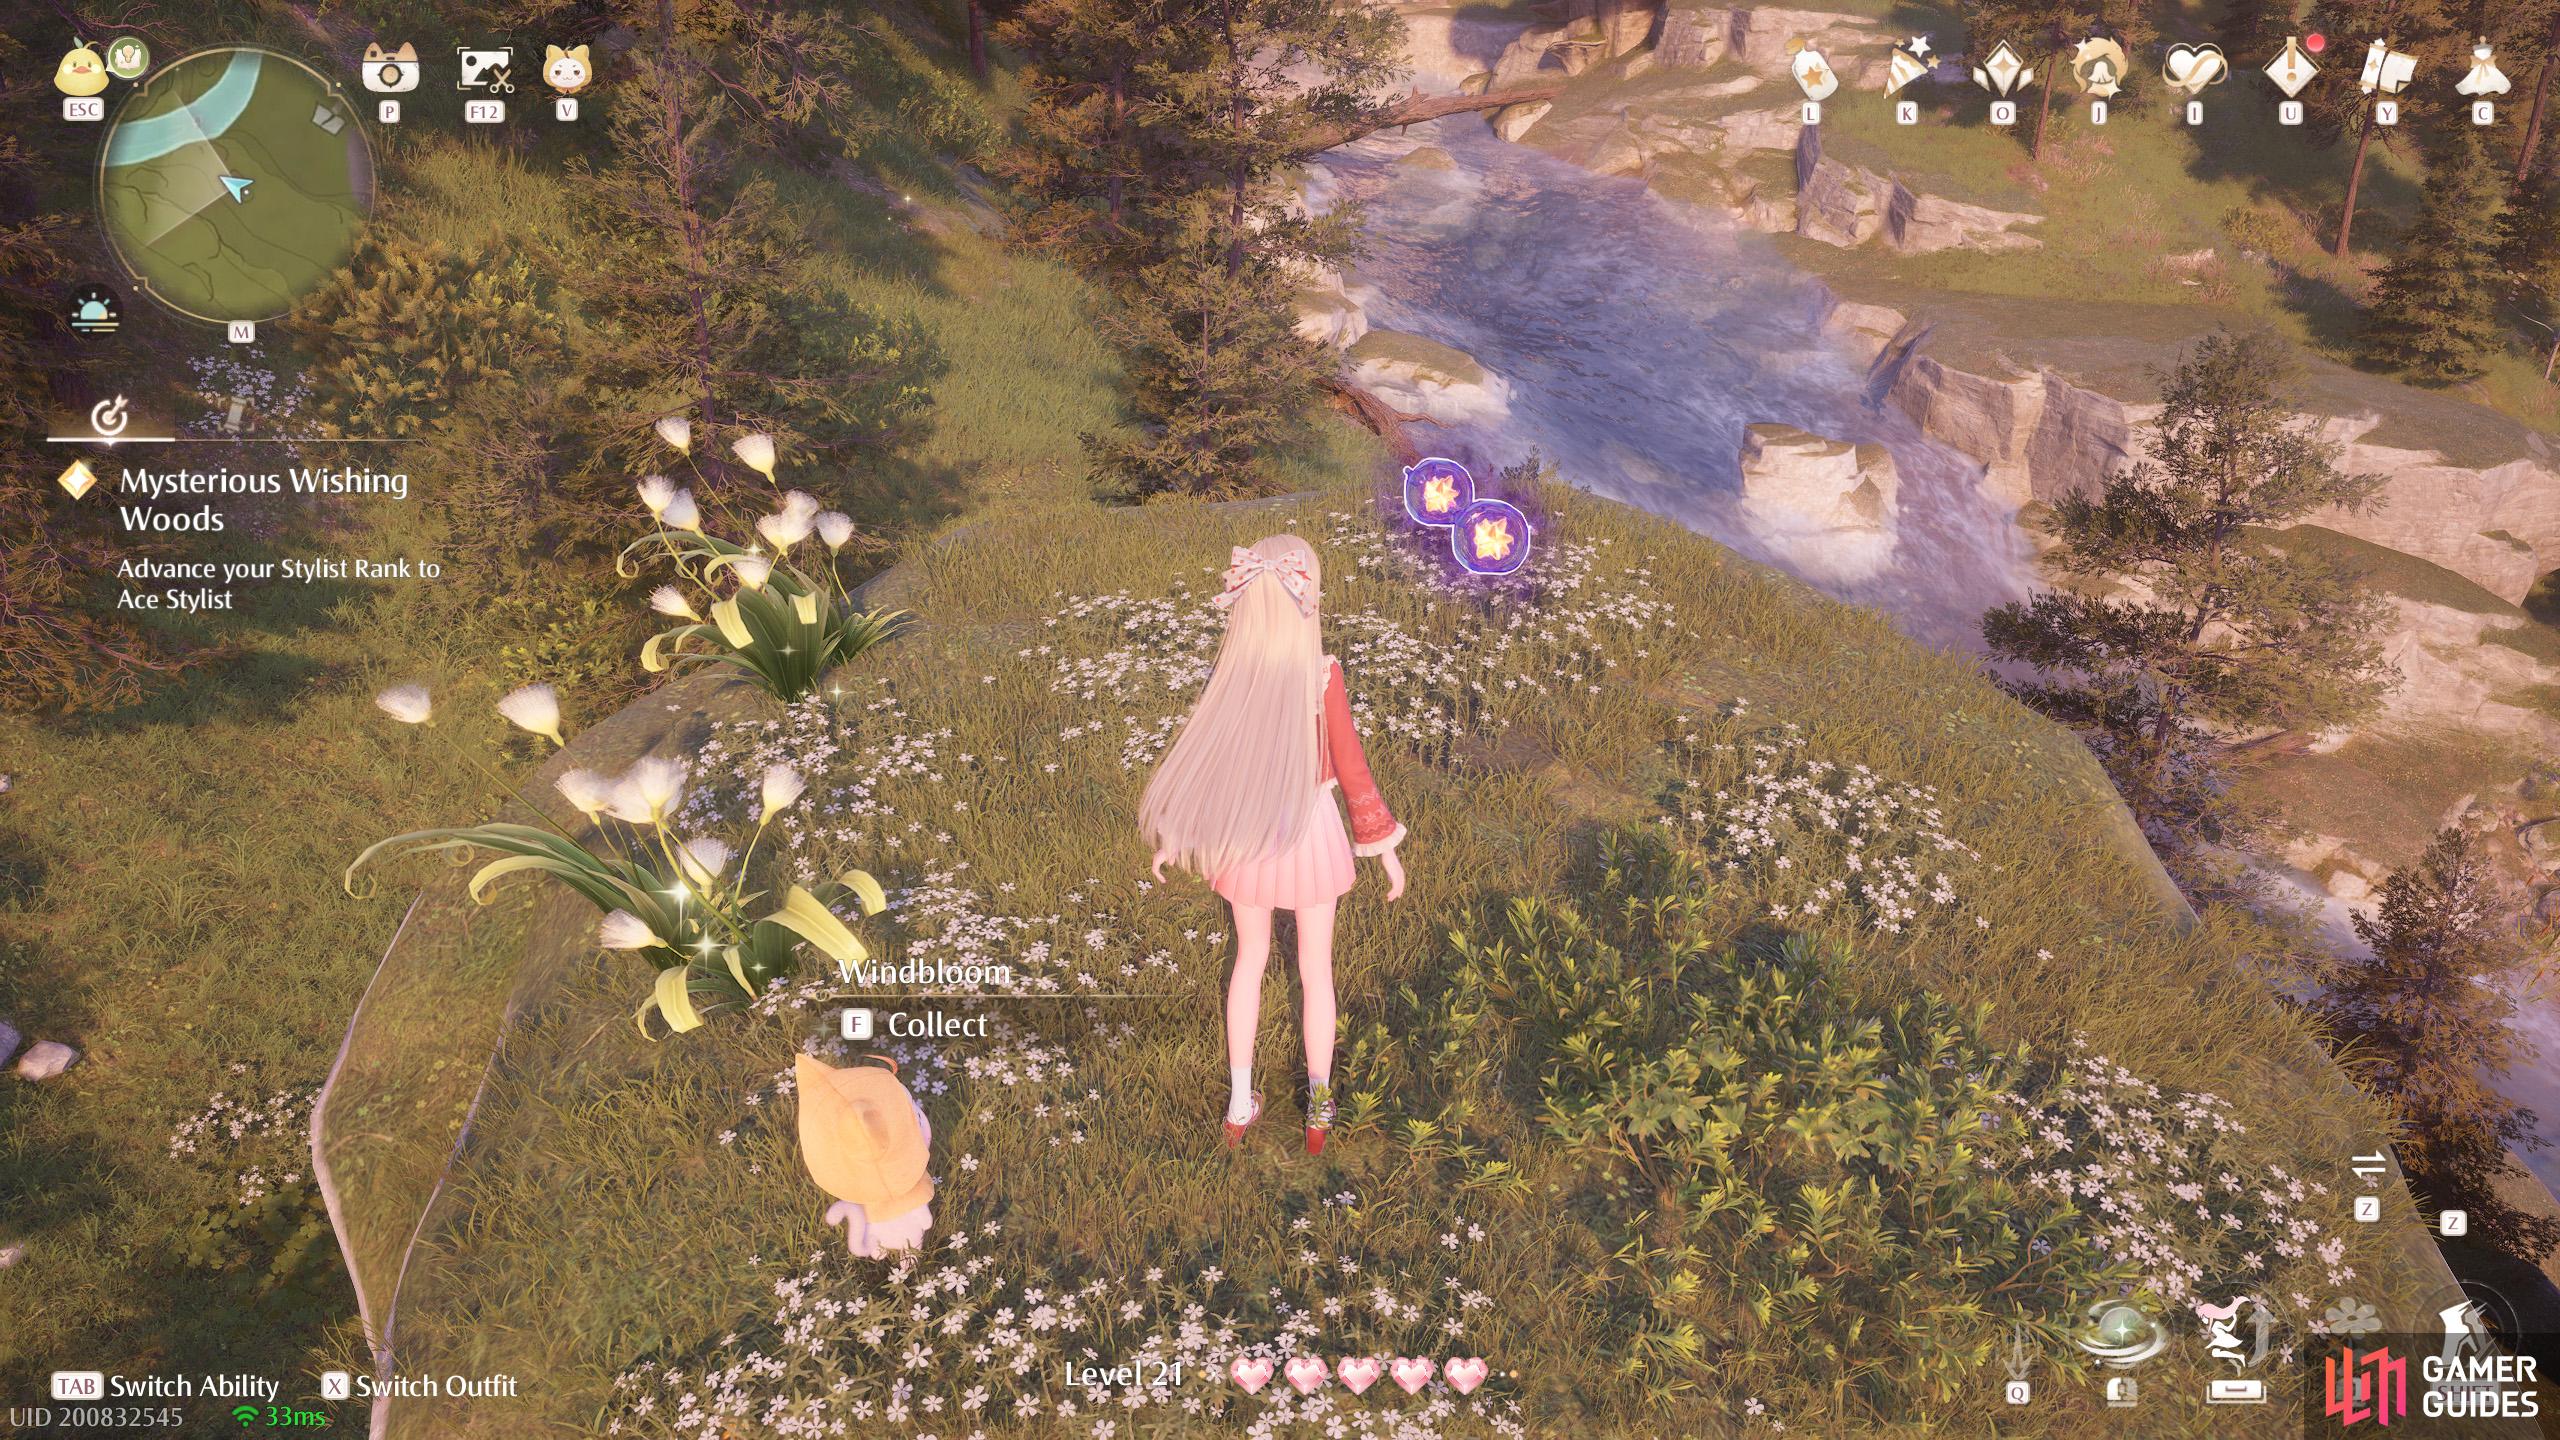
461. Miraland Map
South-west from the ![]() Lakeheart Stonetree photo spot. Two atop a small stonetree overlooking the river.
Lakeheart Stonetree photo spot. Two atop a small stonetree overlooking the river.
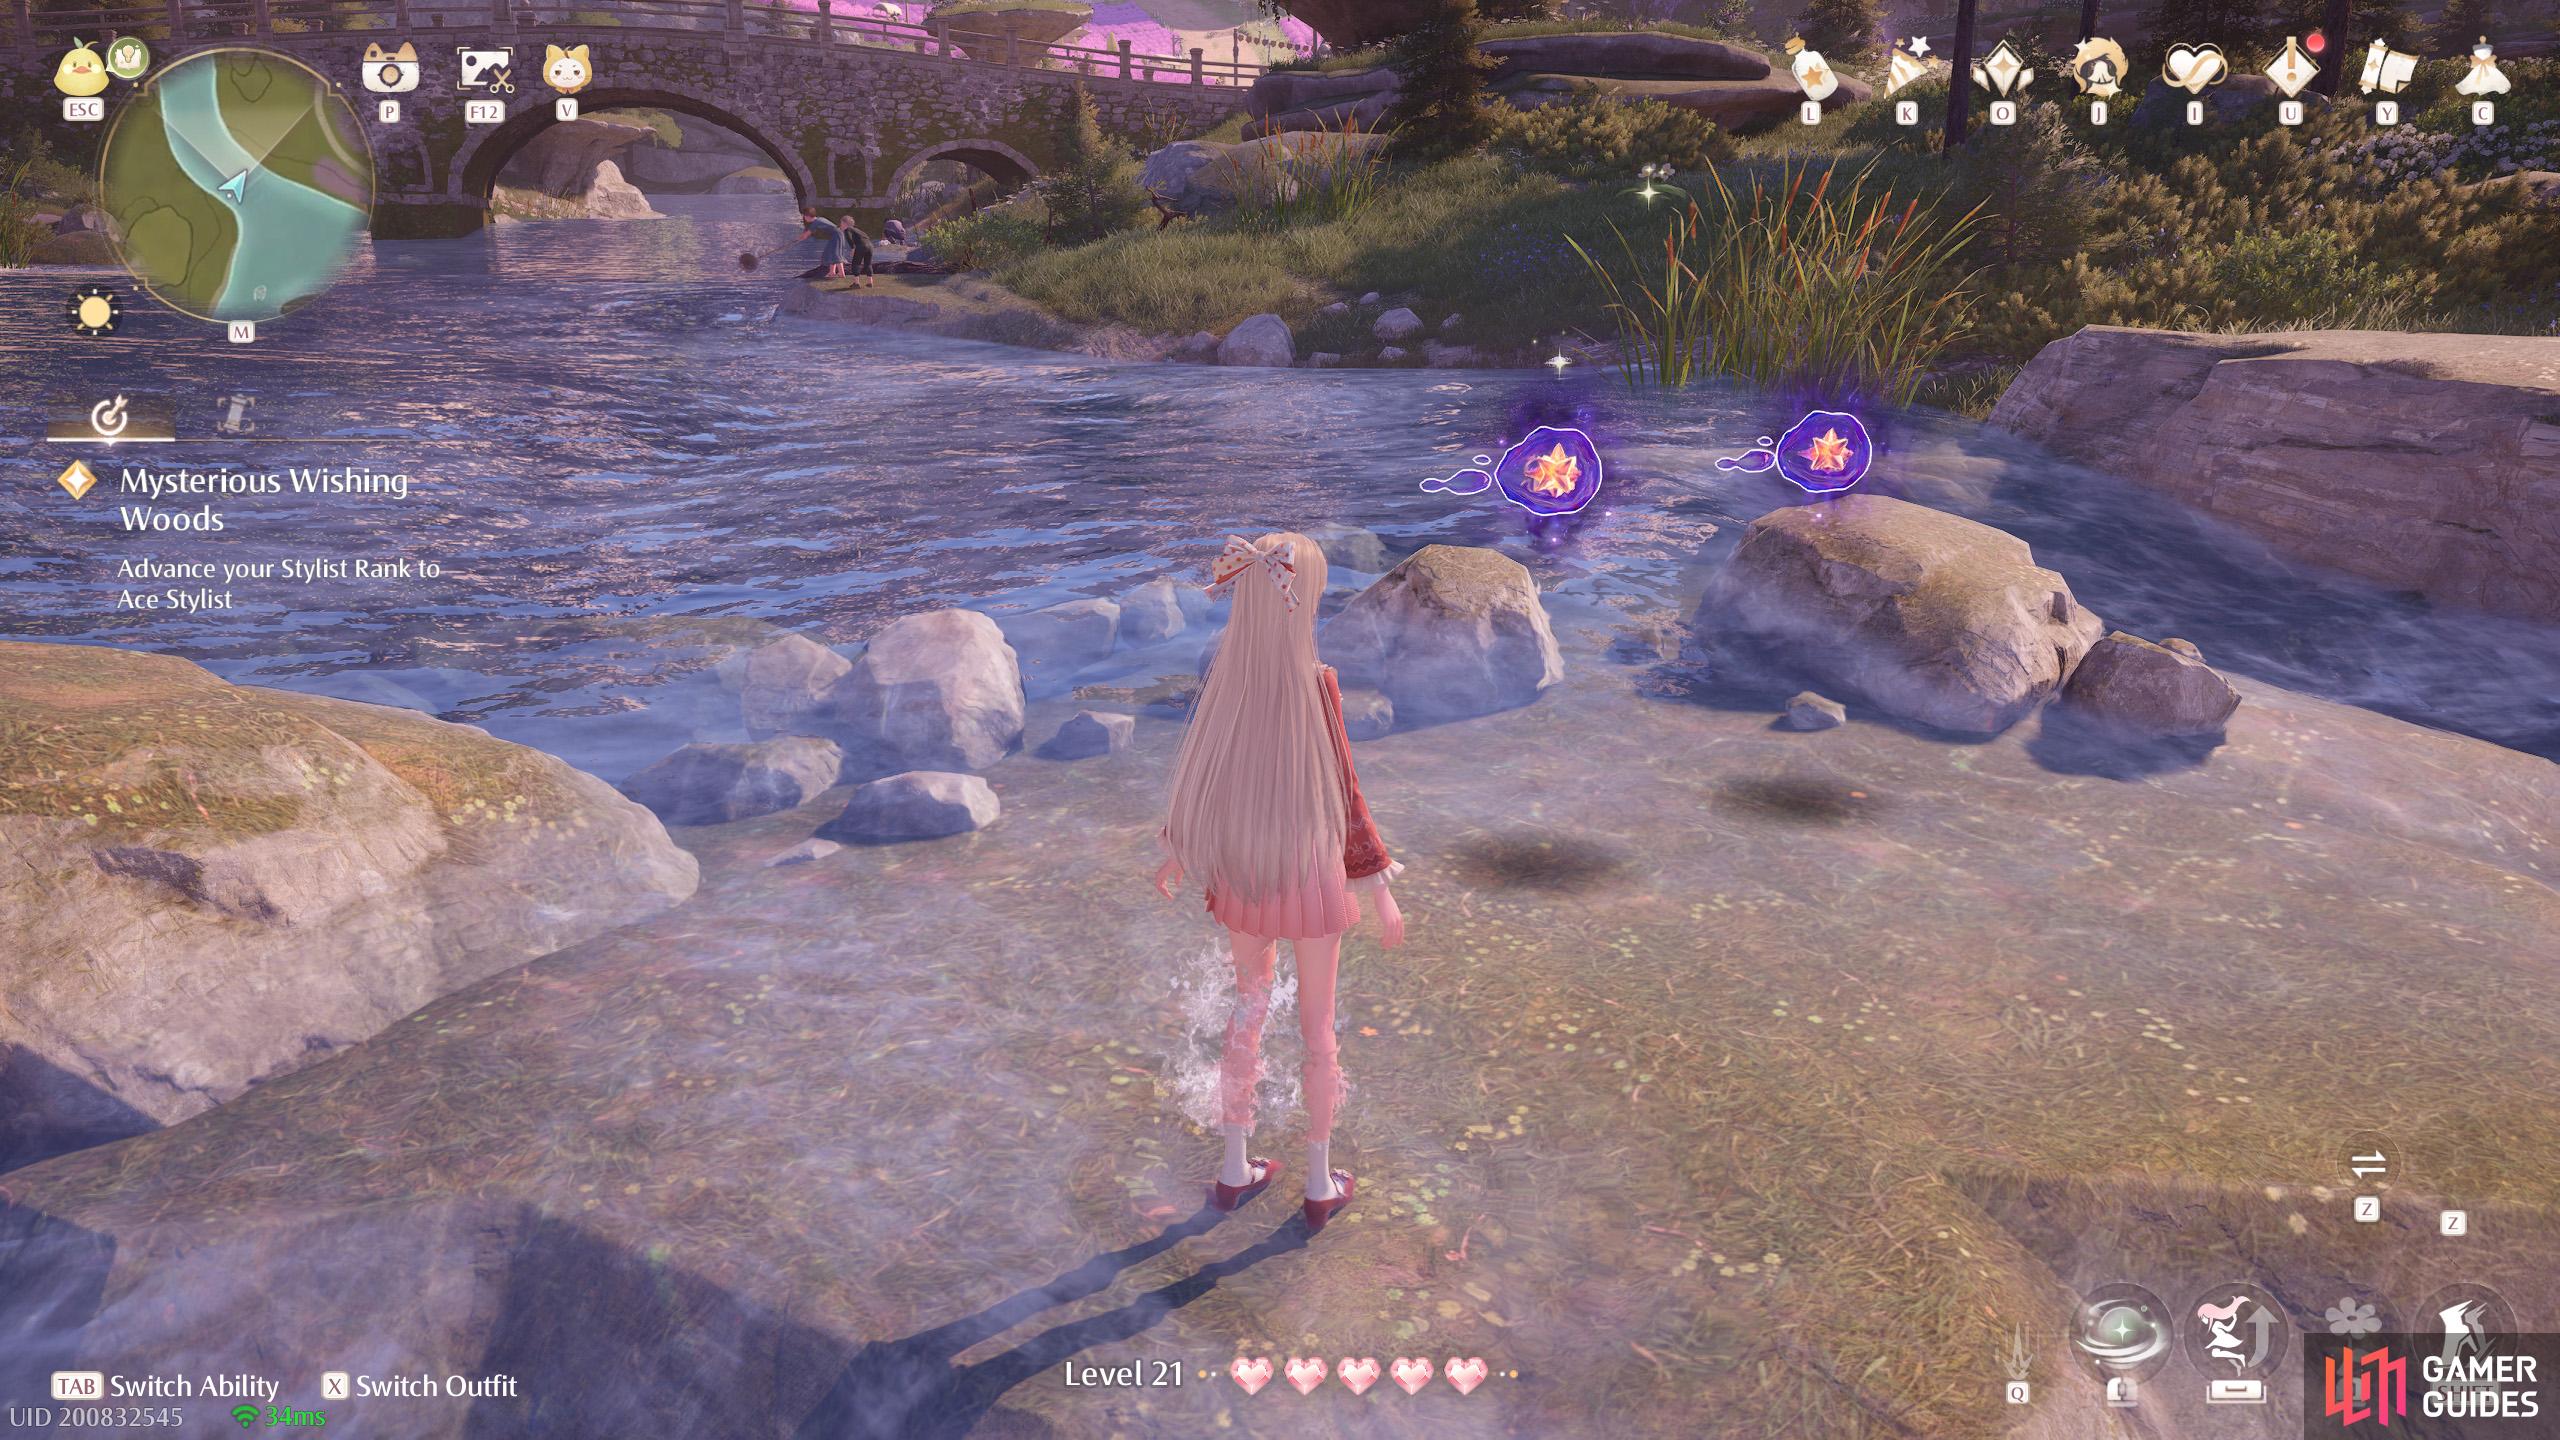
462. Miraland Map
South of the ![]() Village Fork. Two atop the rocks at the river, just before the lake.
Village Fork. Two atop the rocks at the river, just before the lake.
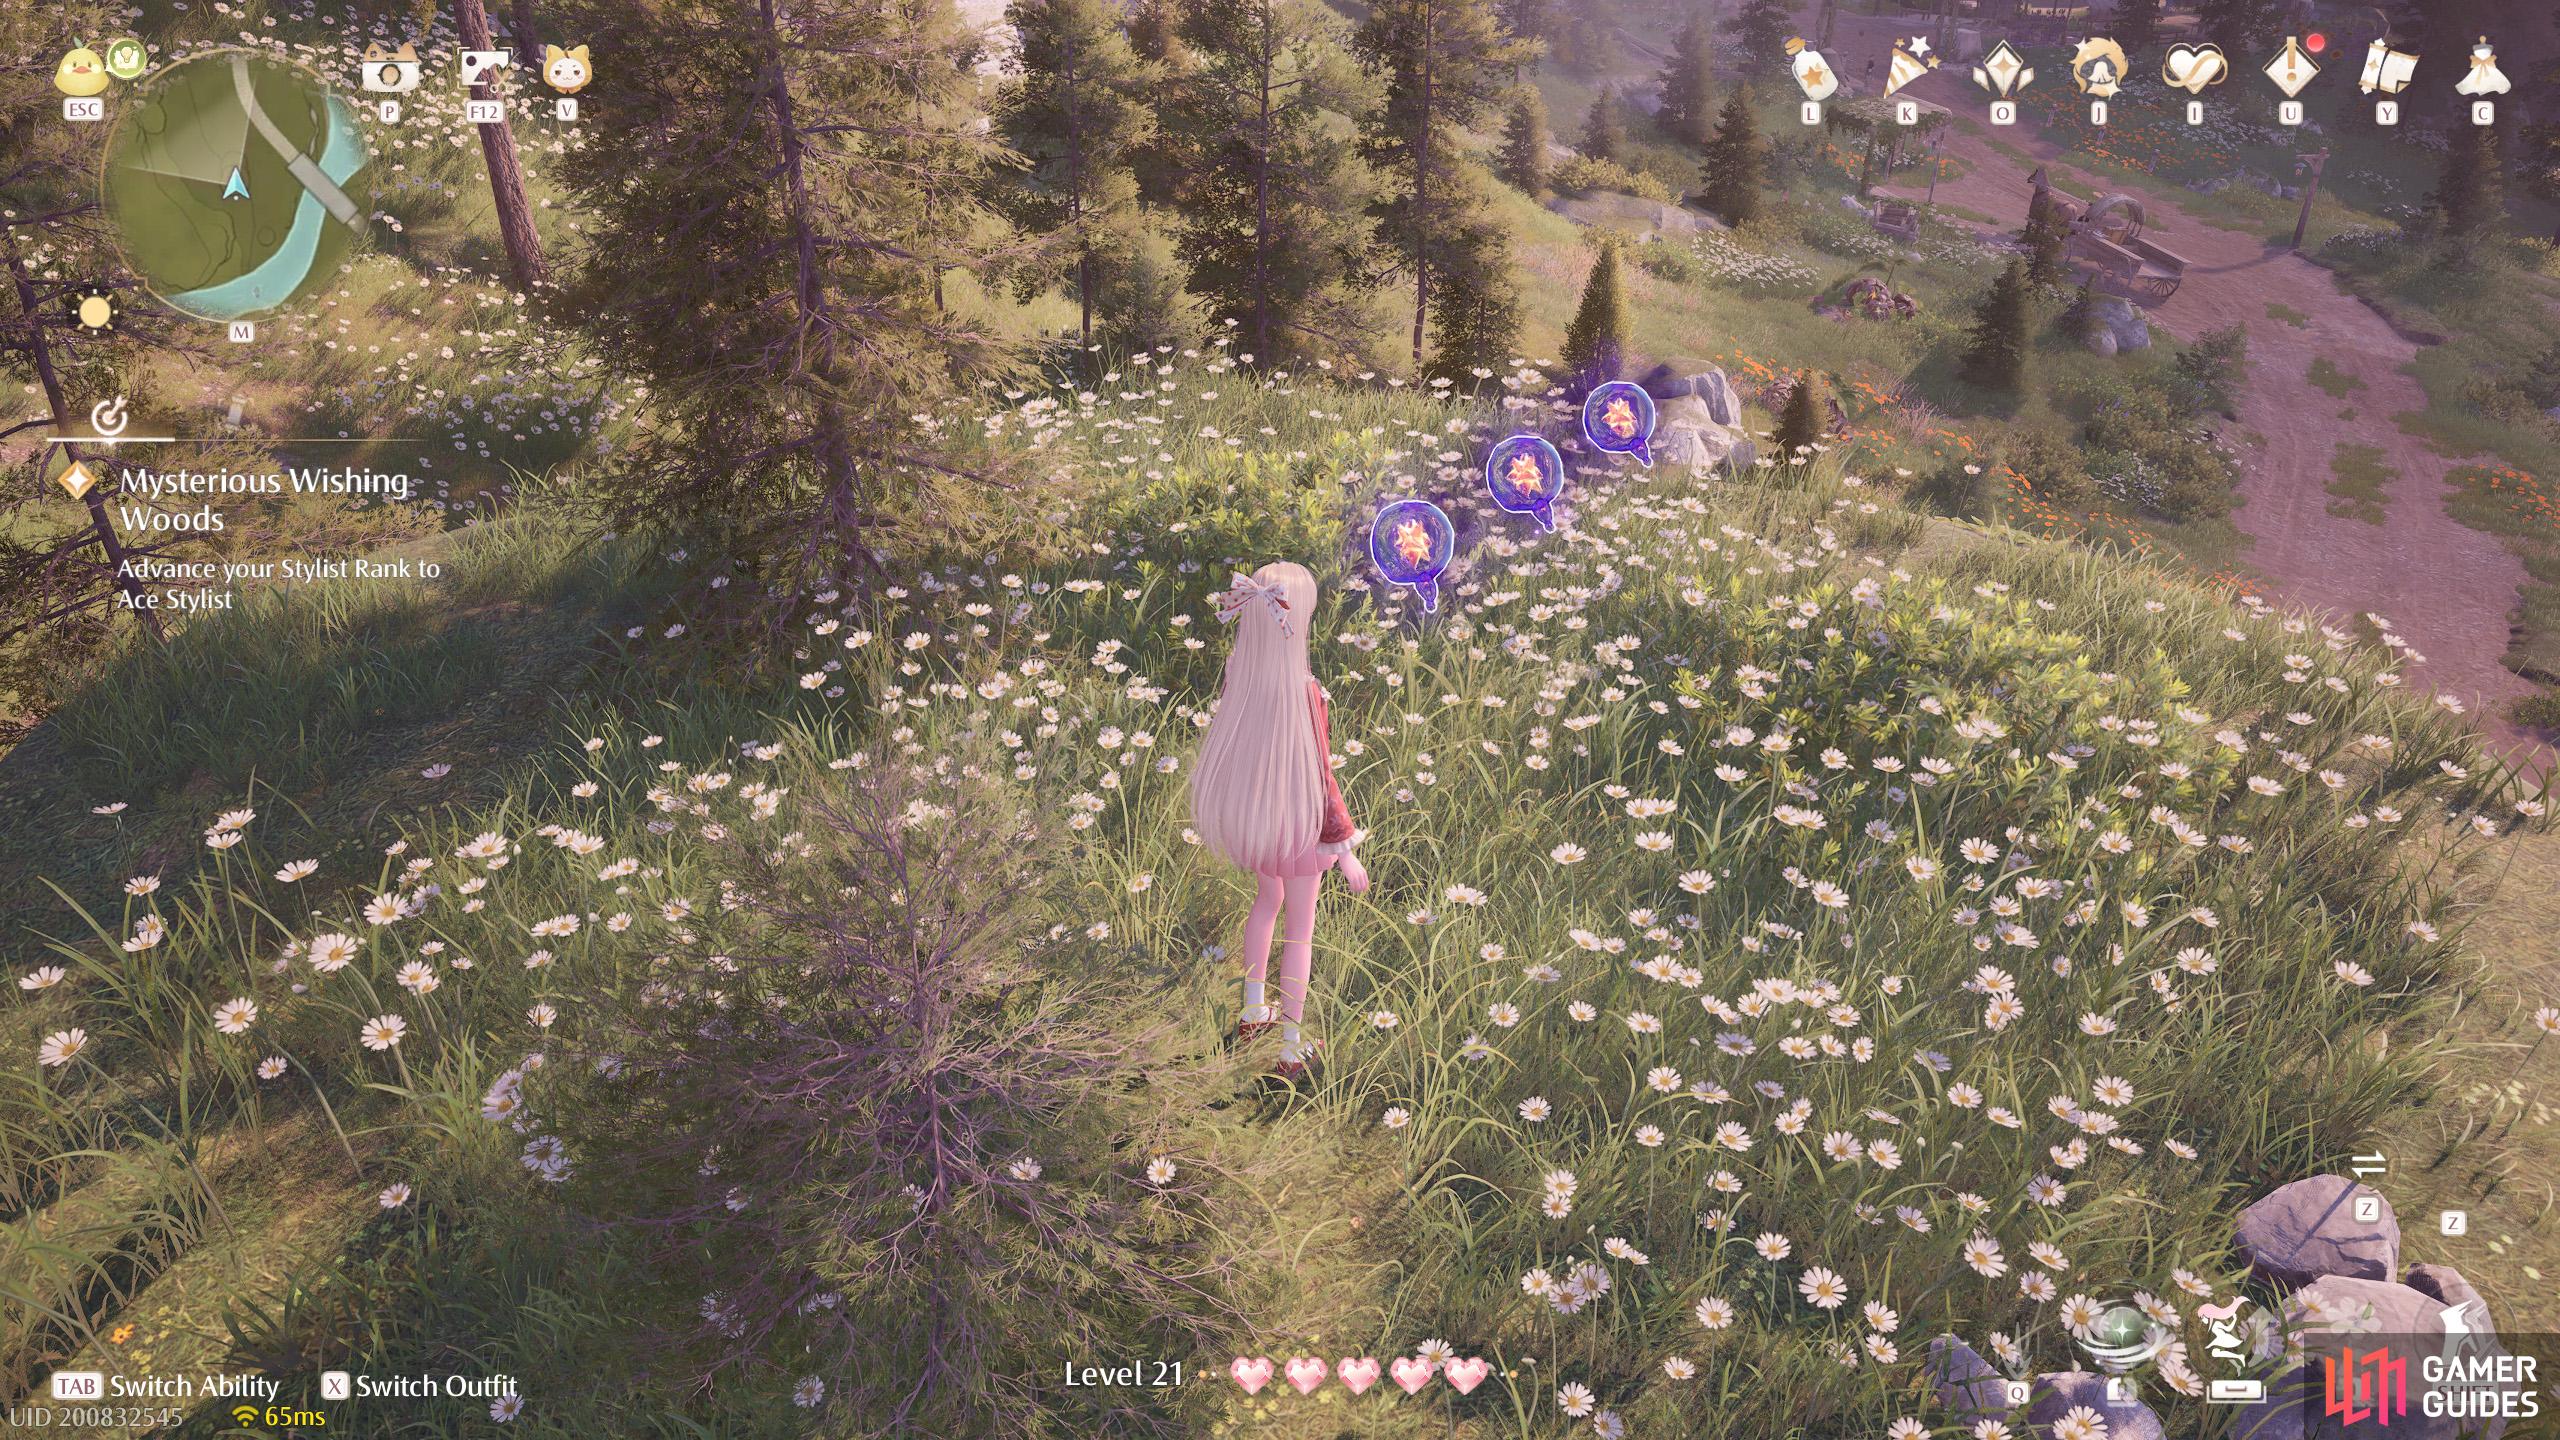
463. Miraland Map
South of ![]() Village Fork. Three atop a small stonetree a short distance west from the north end of the southern bridge.
Village Fork. Three atop a small stonetree a short distance west from the north end of the southern bridge.

464. Miraland Map
South of ![]() Village Fork. Three atop the small stonetree near the
Village Fork. Three atop the small stonetree near the ![]() Lakeheart Stonetree photo spot.
Lakeheart Stonetree photo spot.
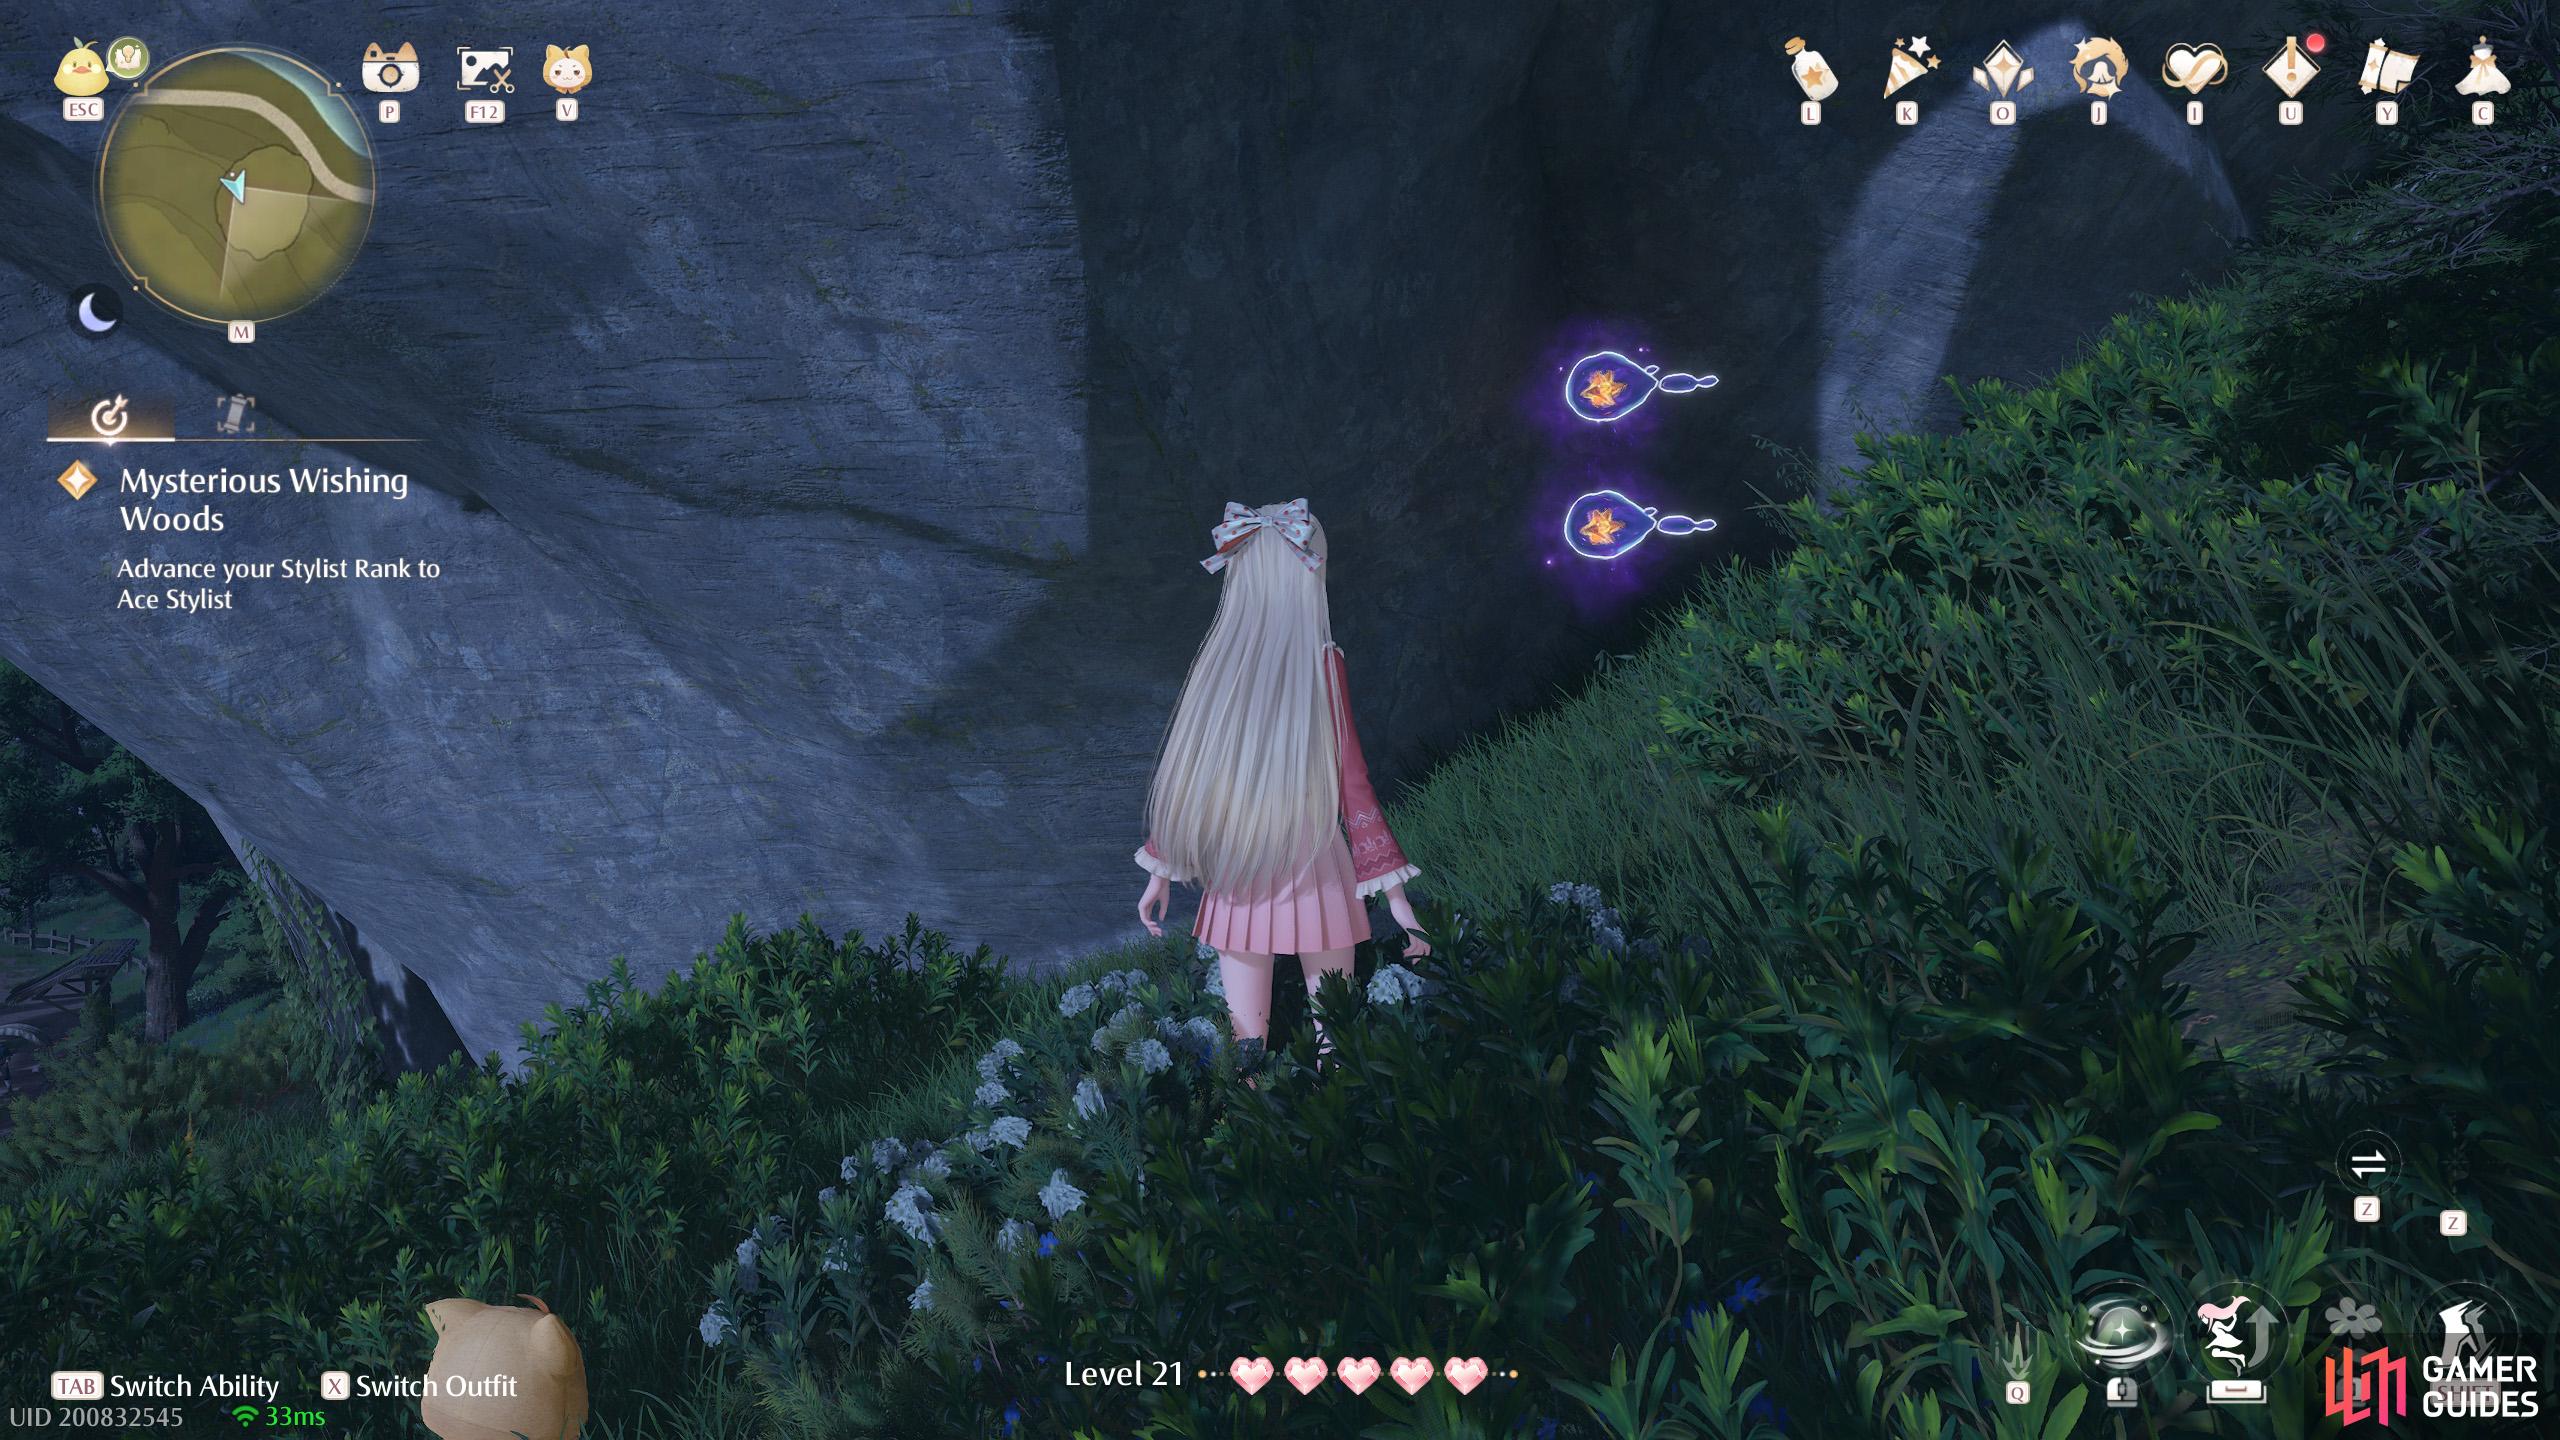
465. Miraland Map
Short distance west from ![]() Stoneville Entrance. Two around the back of the medium-sized stonetree.
Stoneville Entrance. Two around the back of the medium-sized stonetree.
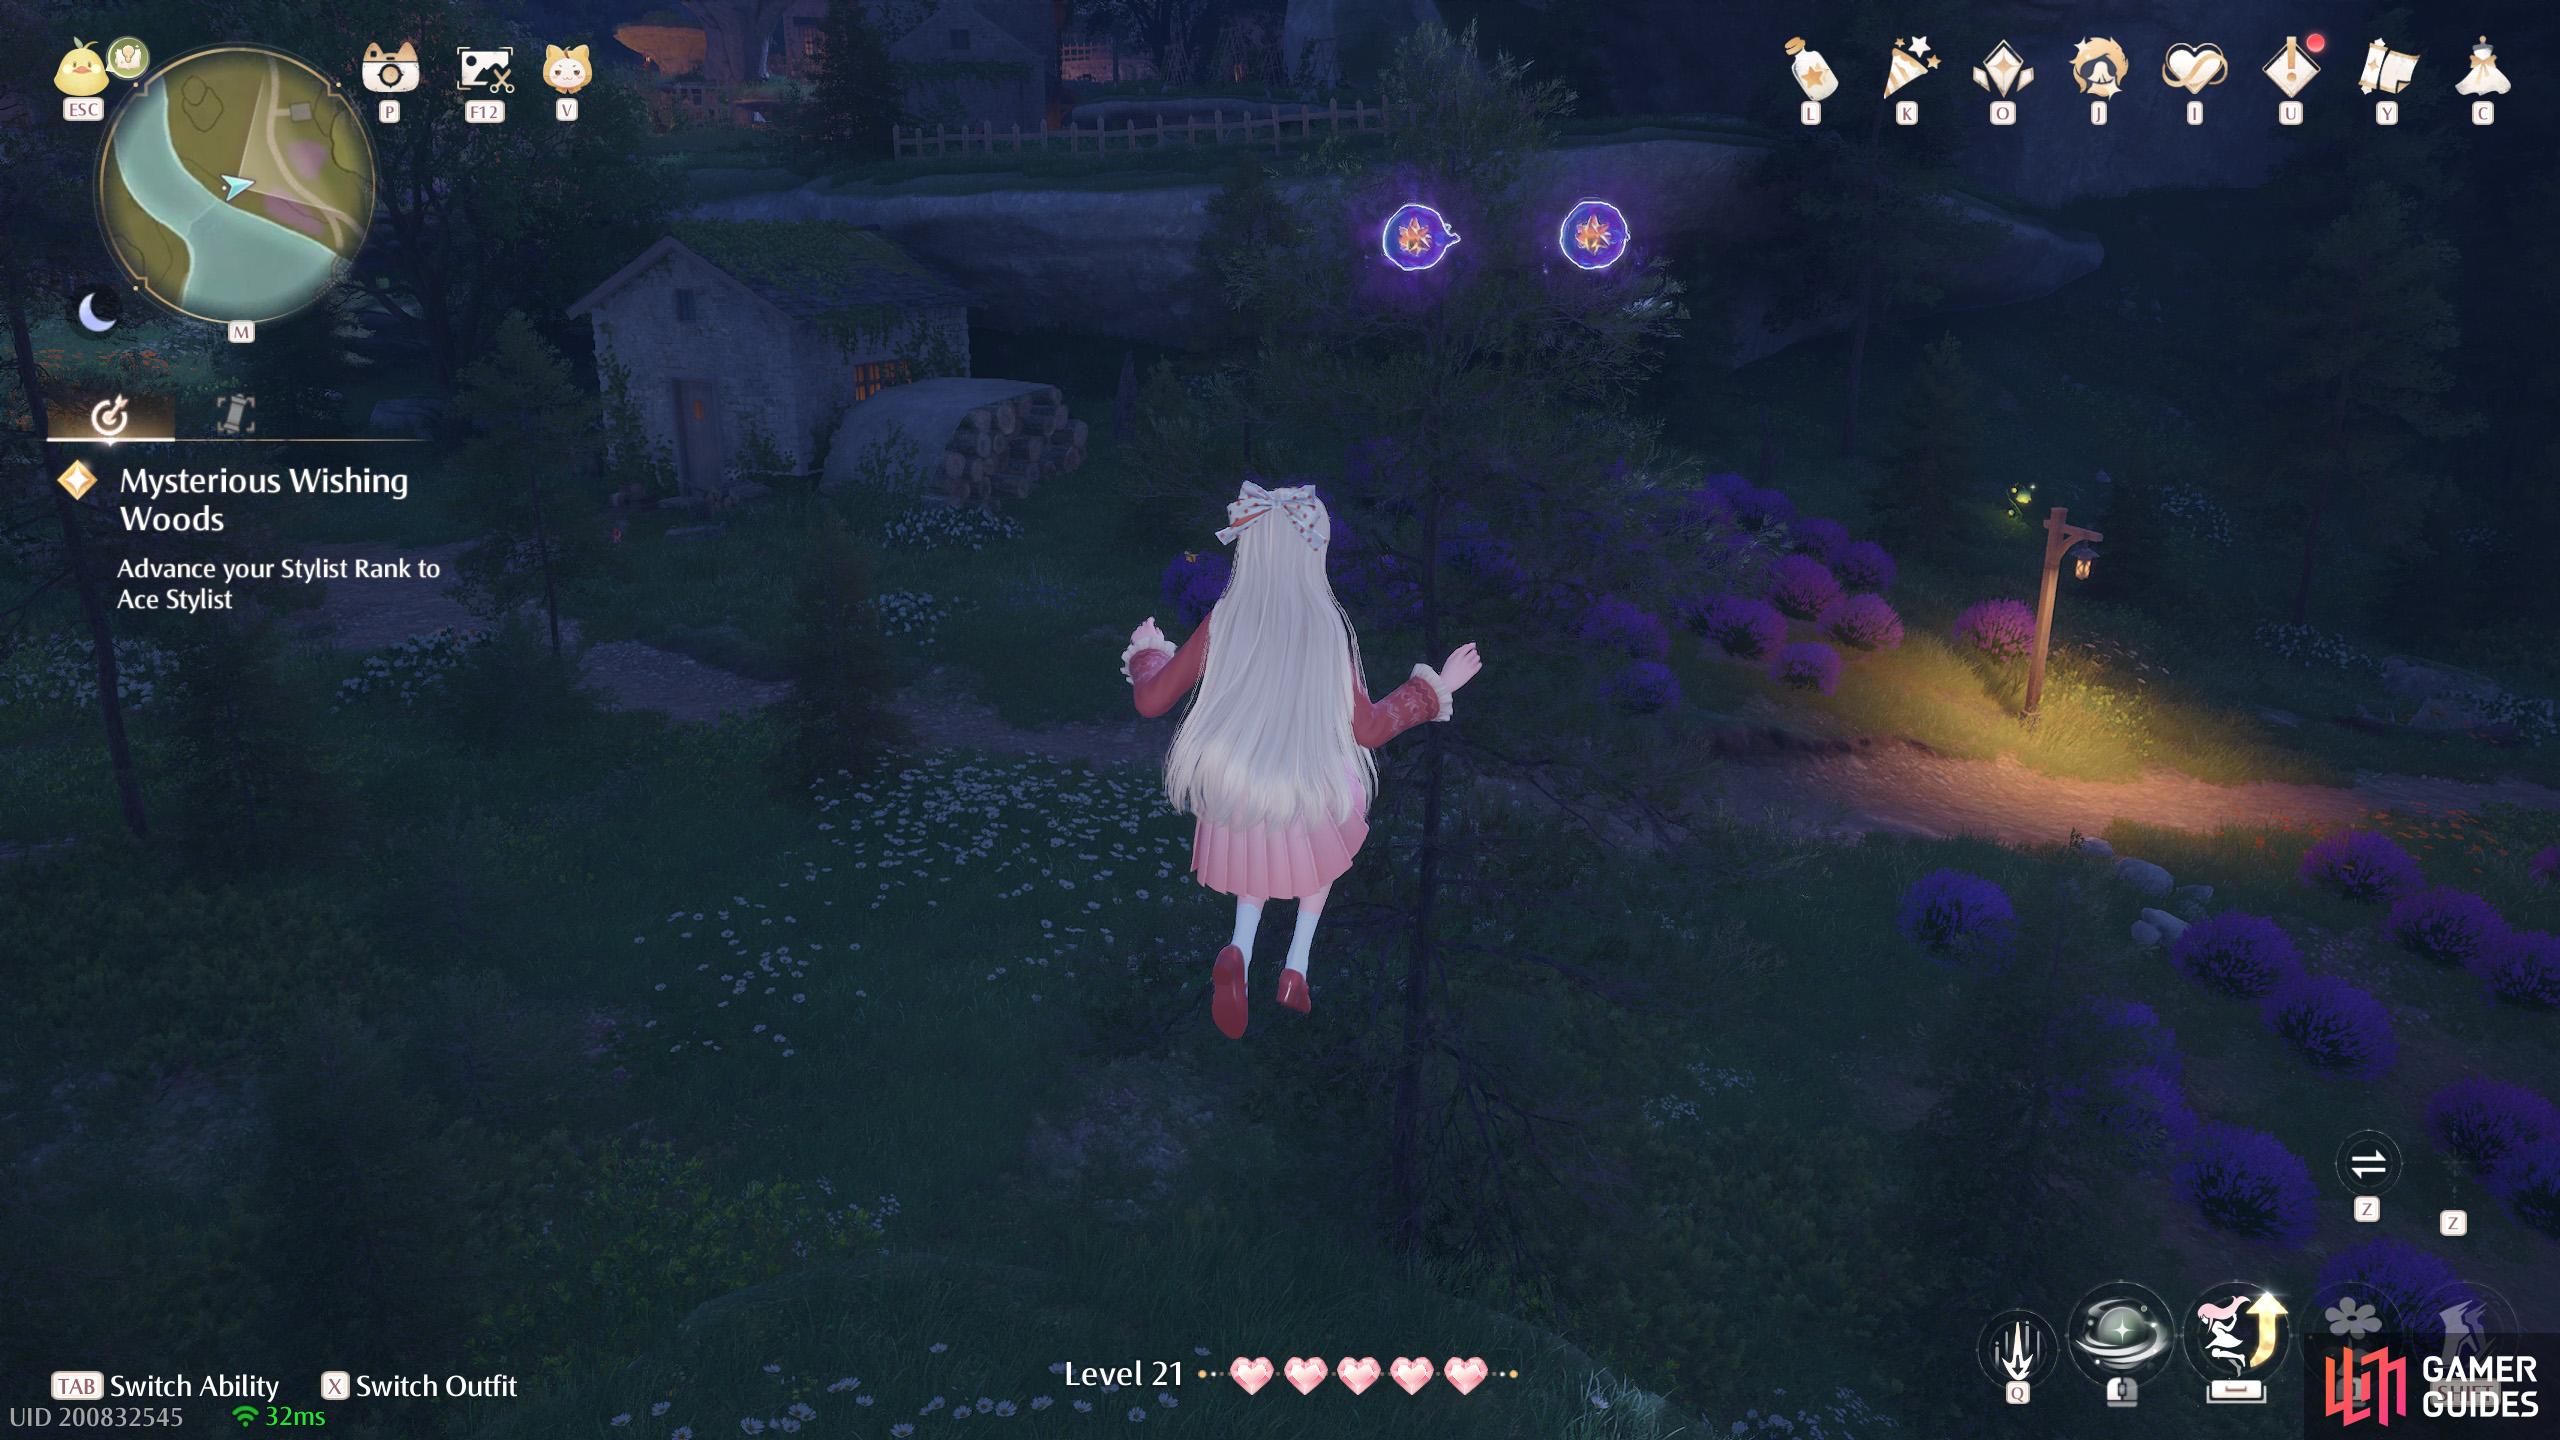
466. Miraland Map
South of the ![]() Village Fork. Two floating around the top of a small stonetree near the lakeside.
Village Fork. Two floating around the top of a small stonetree near the lakeside.
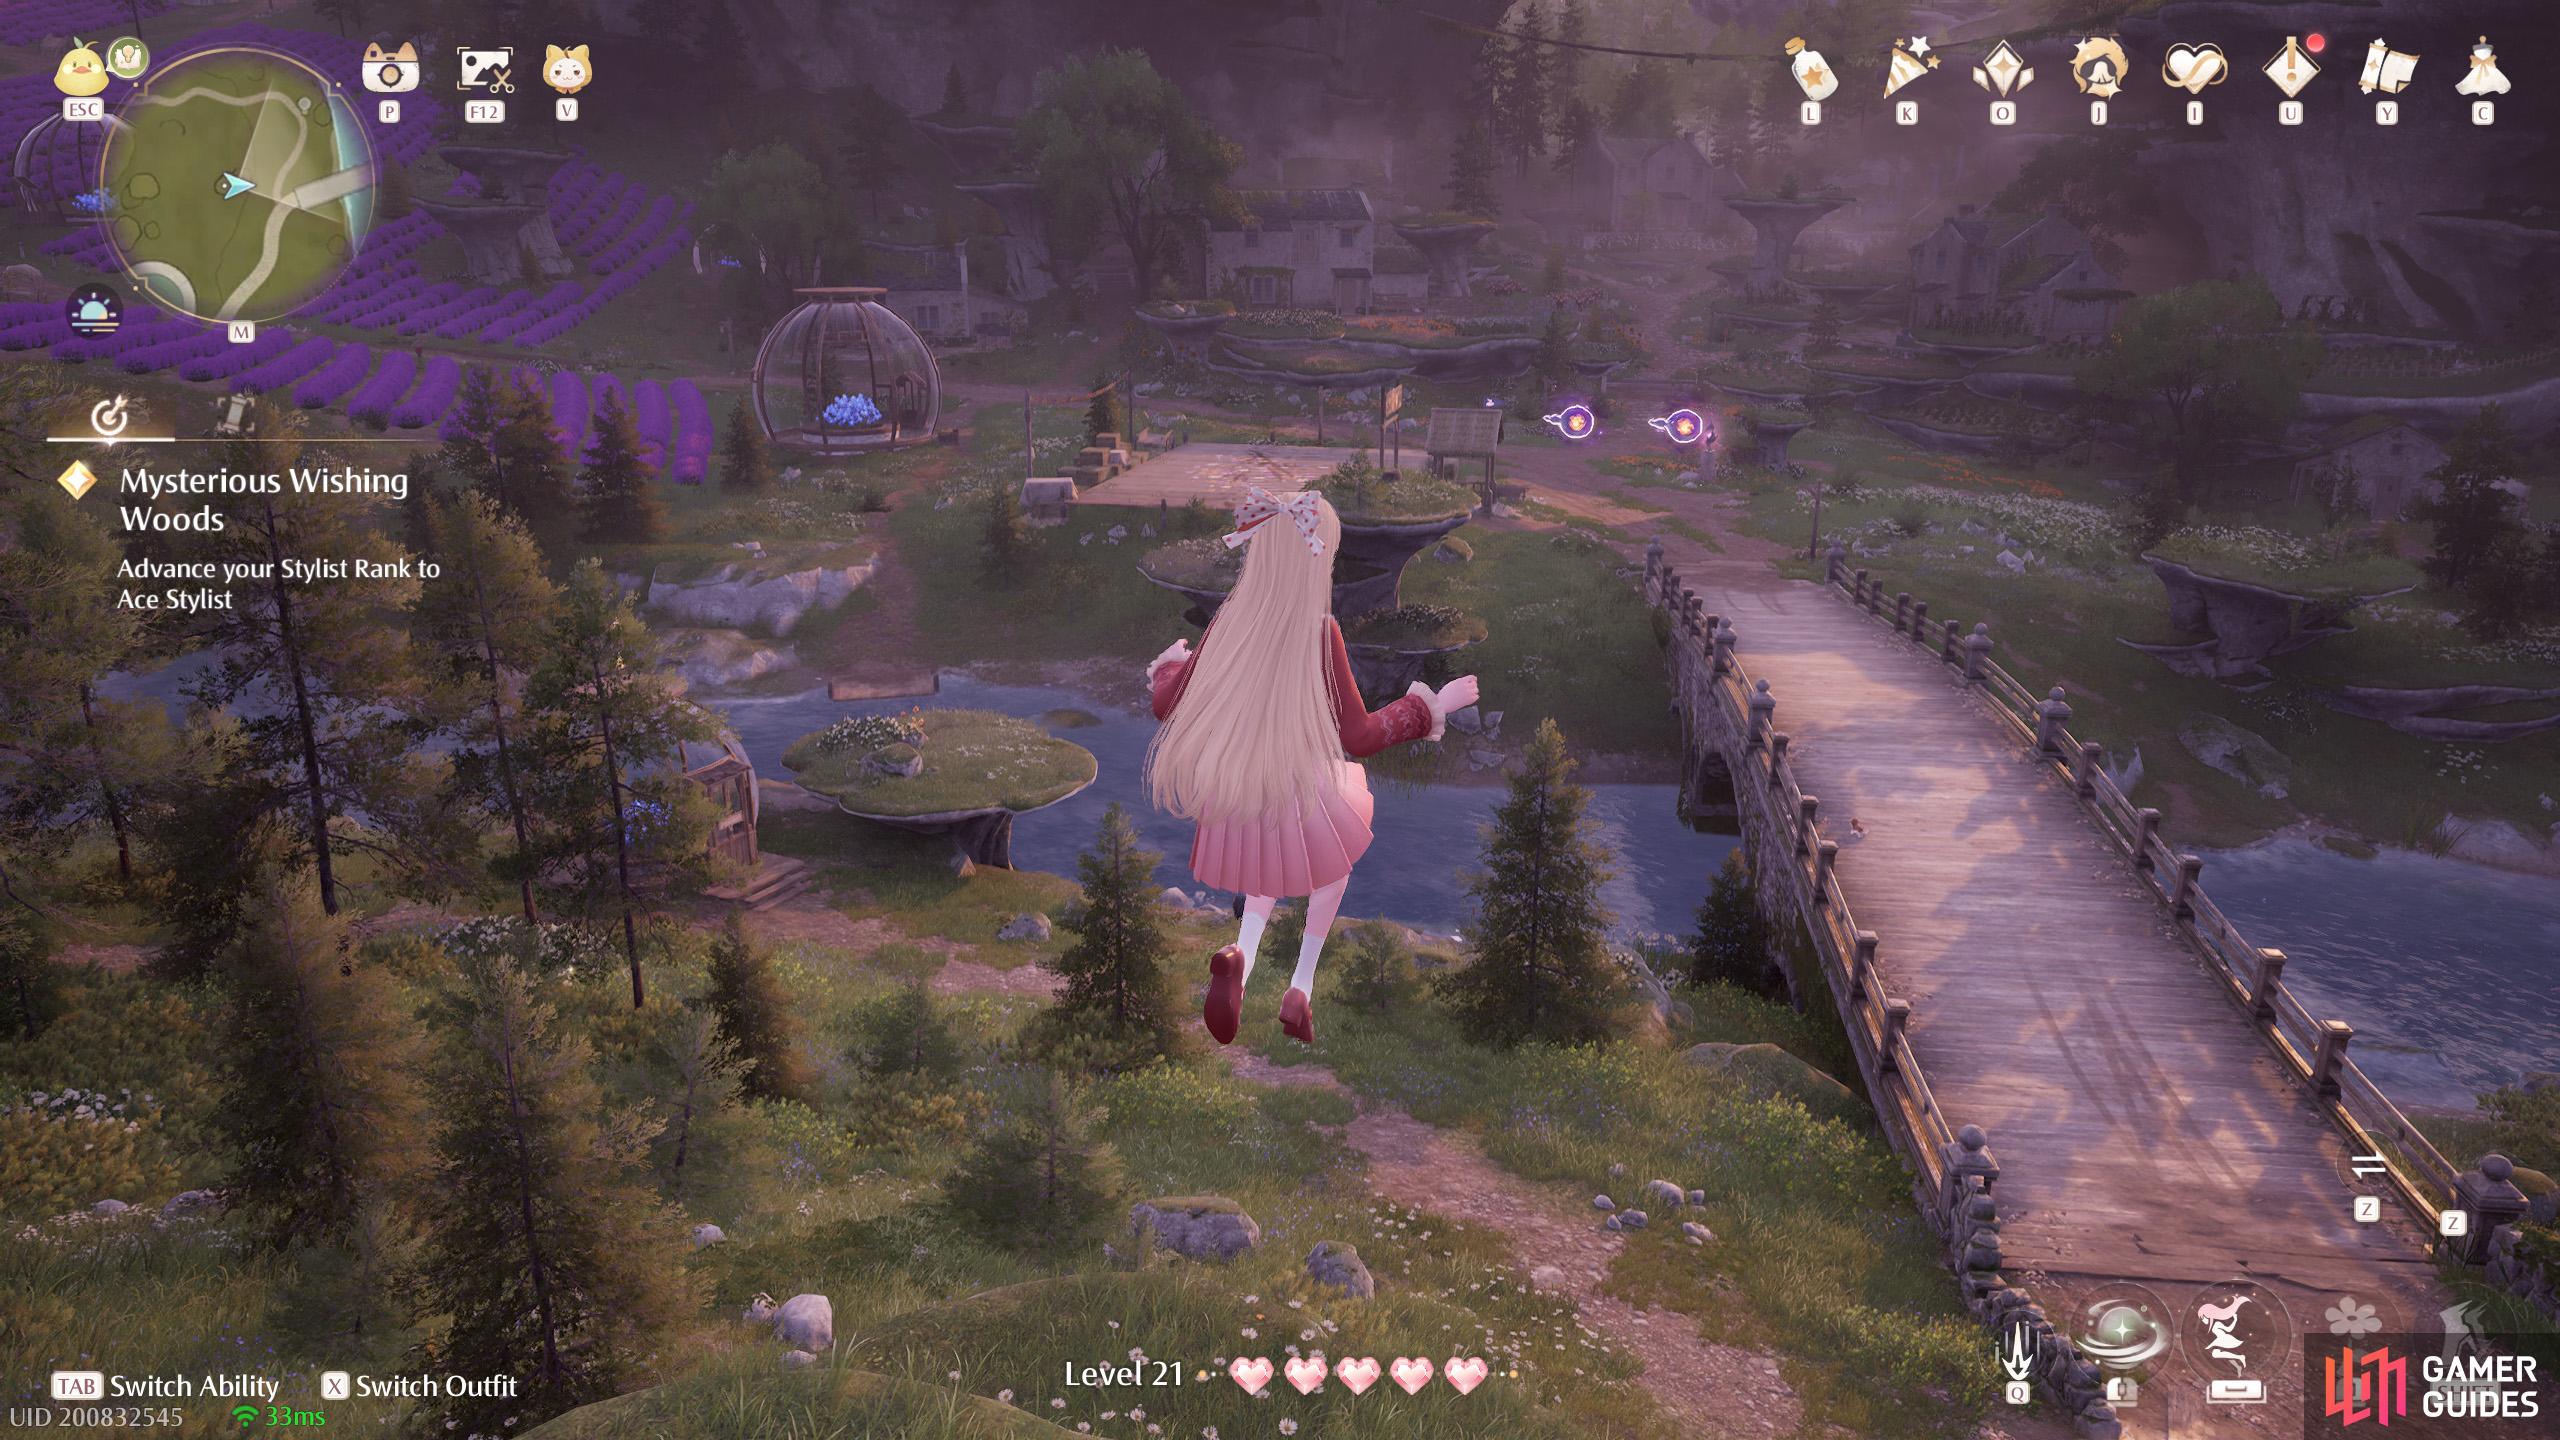
467. Miraland Map
West of the ![]() Village Fork. Two floating near the top of a small stonetree just before the west end of the bridge.
Village Fork. Two floating near the top of a small stonetree just before the west end of the bridge.
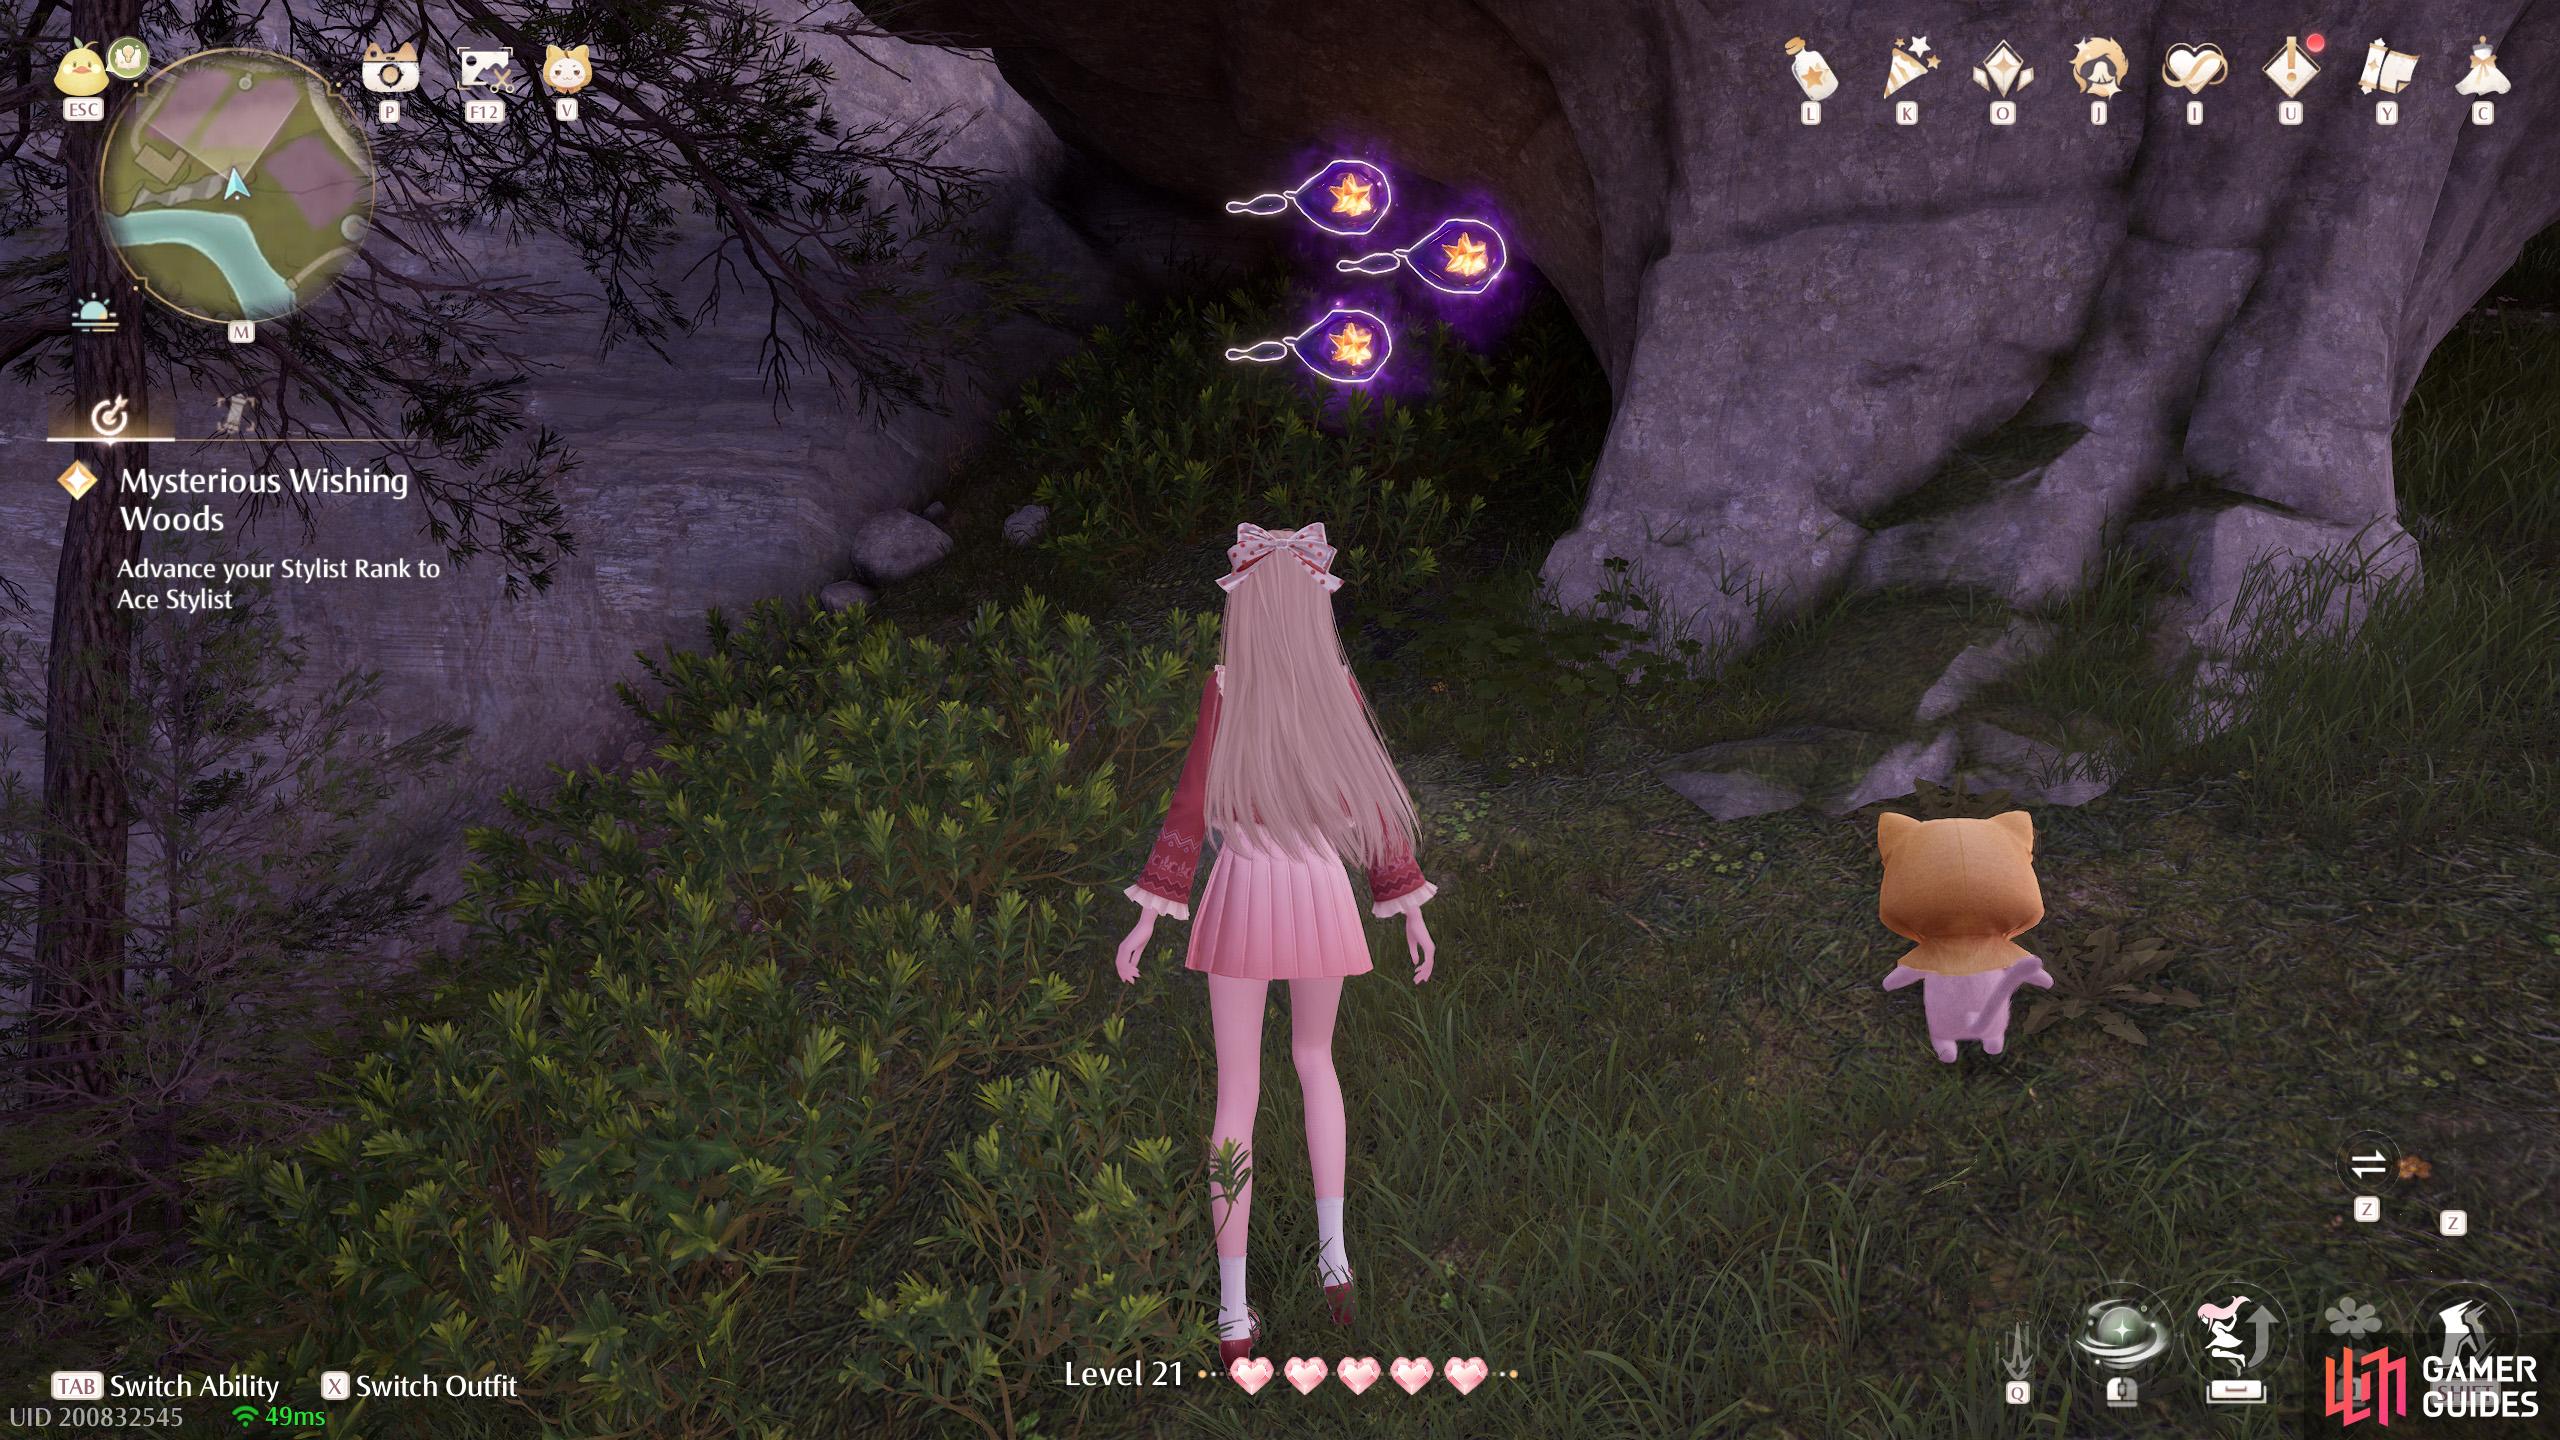
468. Miraland Map
South of the ![]() Lavenfringe Fields Warp Spire. Three between a stonetree and rock wall.
Lavenfringe Fields Warp Spire. Three between a stonetree and rock wall.
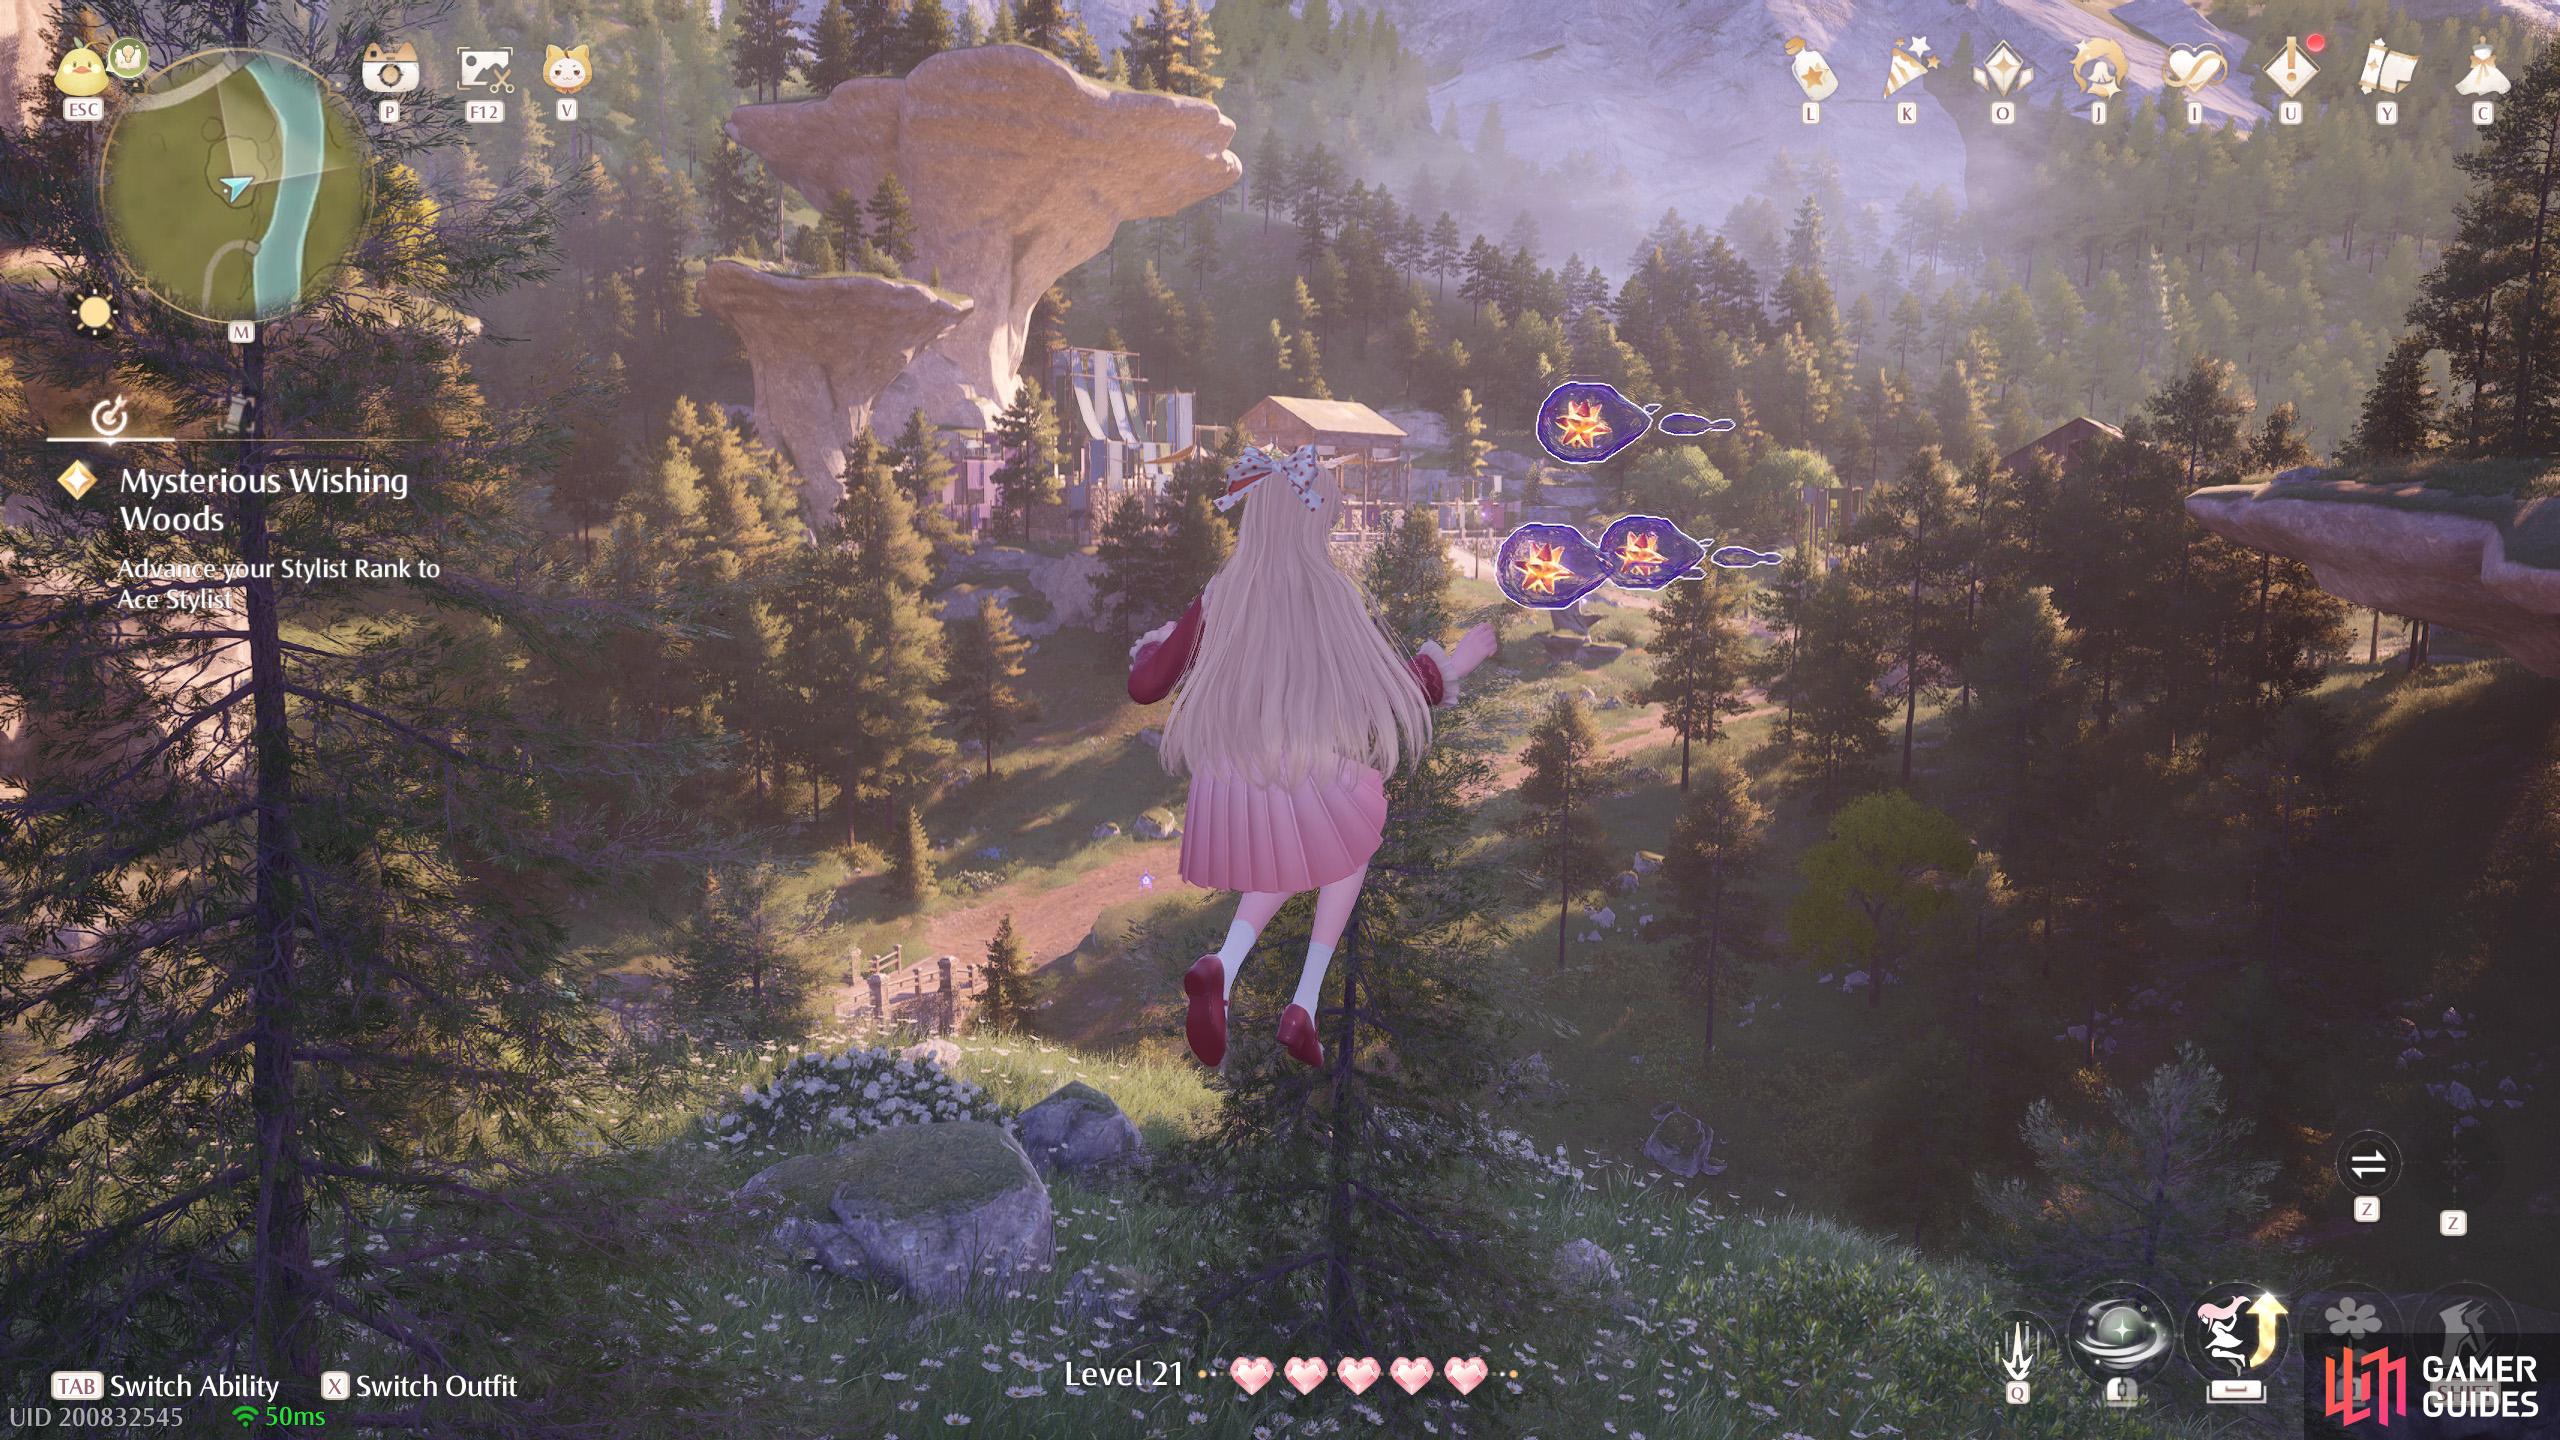
469. Miraland Map
East from ![]() Cicchetto Manor. Three floating around the top of a small stonetree on the west side of the river.
Cicchetto Manor. Three floating around the top of a small stonetree on the west side of the river.
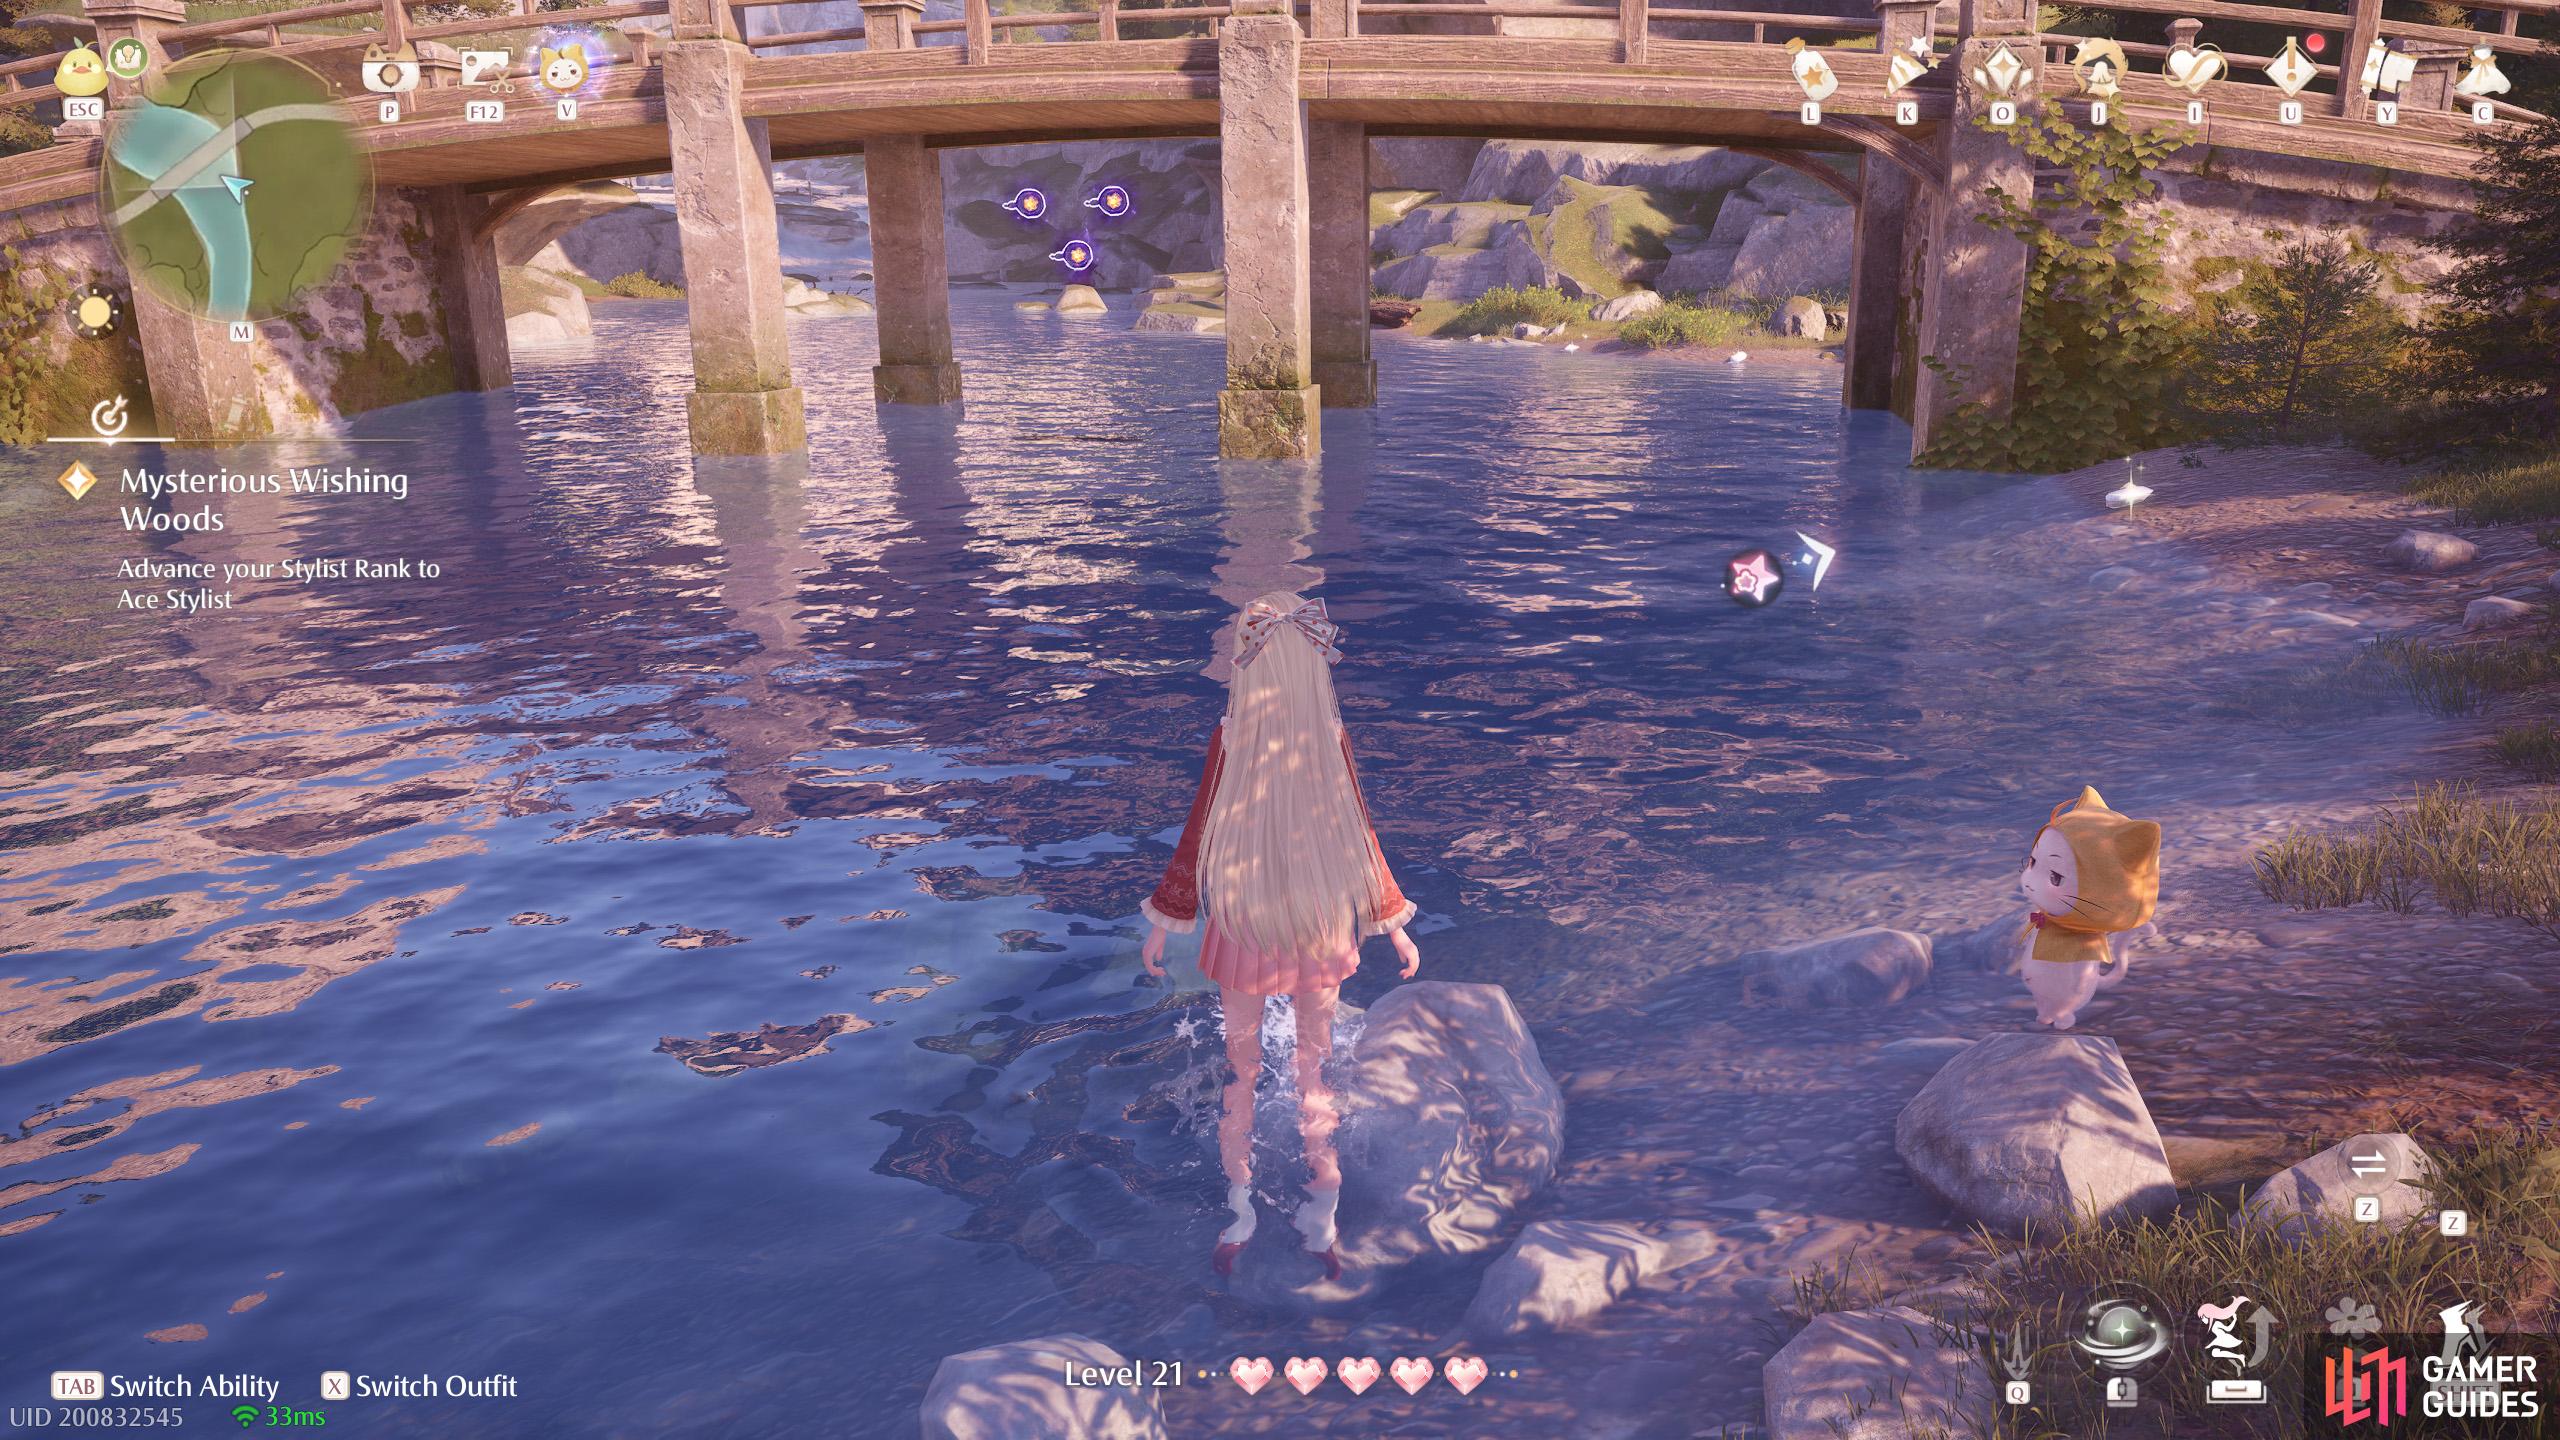
470. Miraland Map
South from the ![]() Dye Workshop Stonetree. Three underneath the bridge.
Dye Workshop Stonetree. Three underneath the bridge.
471. Miraland Map
South-west of the ![]() Gliding Training Stonetree. Four atop a smaller stonetree near a bigger one. There are Esselings atop the bigger stonetree.
Gliding Training Stonetree. Four atop a smaller stonetree near a bigger one. There are Esselings atop the bigger stonetree.
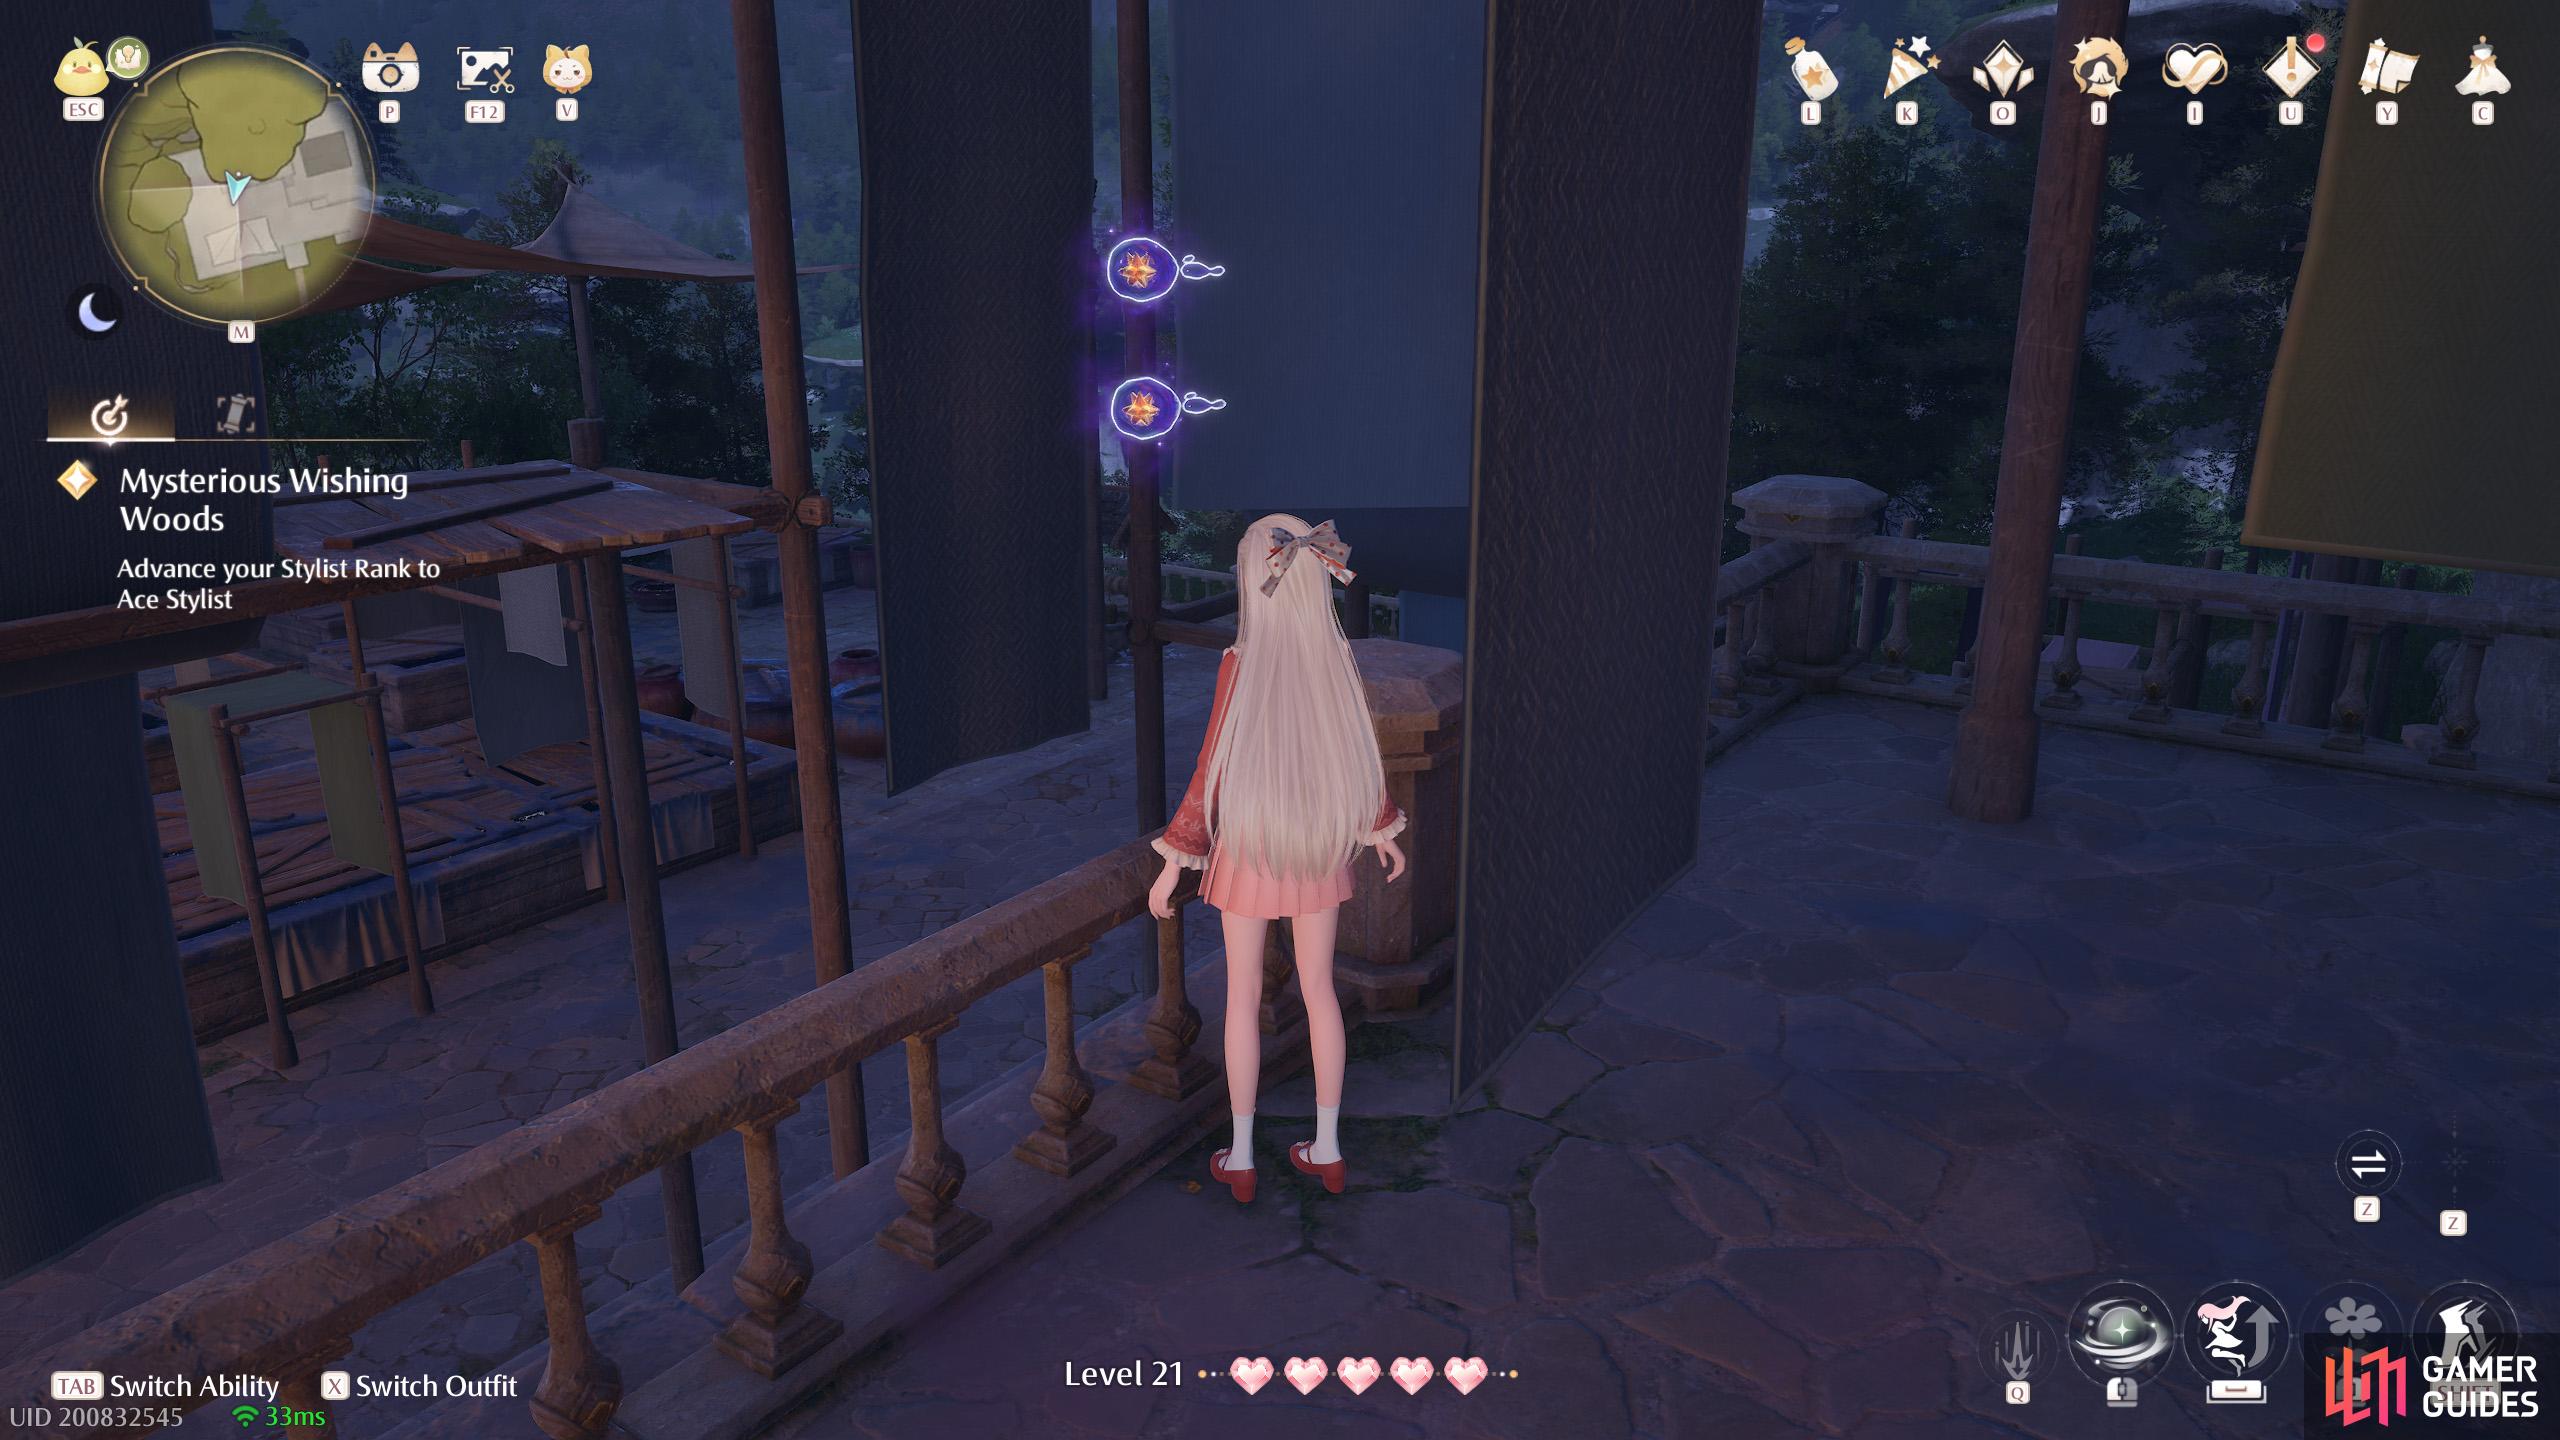
472. Miraland Map
East from the ![]() Dye Workshop Stonetree. Two floating near some hanging cloths.
Dye Workshop Stonetree. Two floating near some hanging cloths.
473. Miraland Map
South from the ![]() Meadow Activity Support Center. Two floating above a tree trunk in the middle of the river.
Meadow Activity Support Center. Two floating above a tree trunk in the middle of the river.
474. Miraland Map
South from the ![]() Bug Catcher’s Cabin. Two floating near a ledge on the south side of the river.
Bug Catcher’s Cabin. Two floating near a ledge on the south side of the river.
475. Miraland Map
South of the ![]() Bug Catcher’s Cabin. At the small strip of land in the middle of river. Two floating high up around the west side. You can jump using a wishnet.
Bug Catcher’s Cabin. At the small strip of land in the middle of river. Two floating high up around the west side. You can jump using a wishnet.
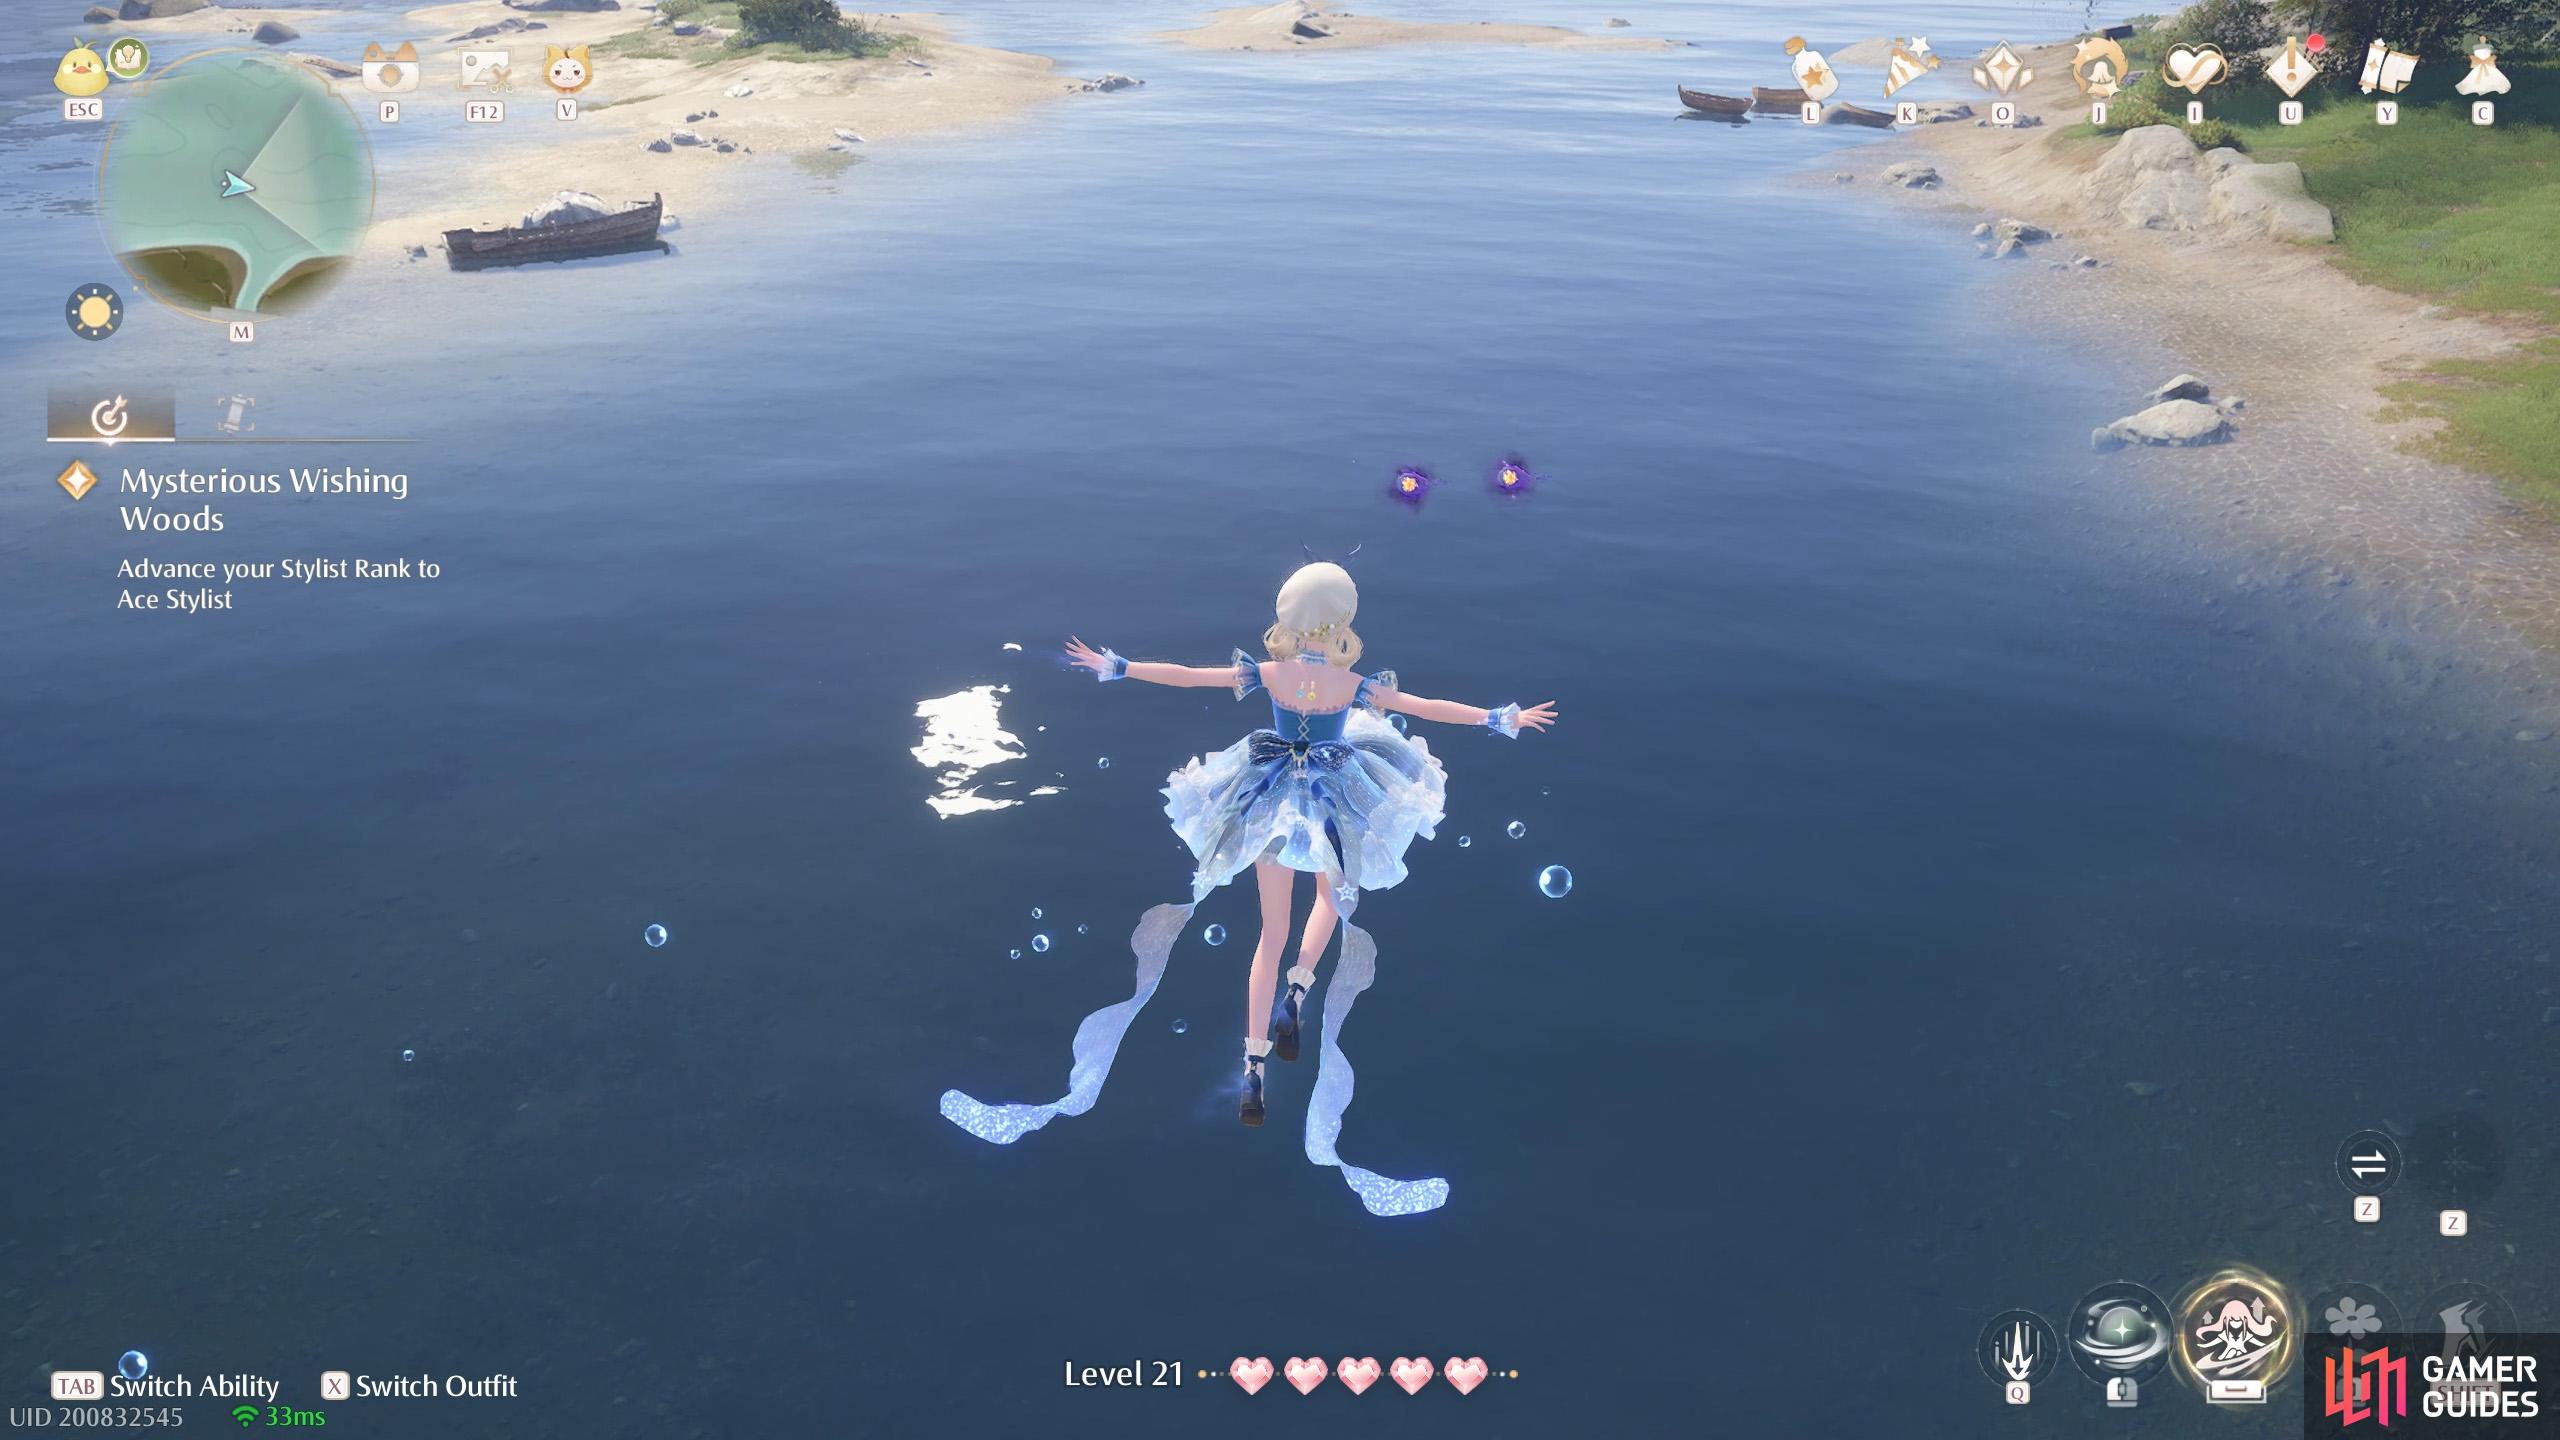
476. Miraland Map
North-west of ![]() Meadow Wharf. Two floating in the air, on top of the river.
Meadow Wharf. Two floating in the air, on top of the river.
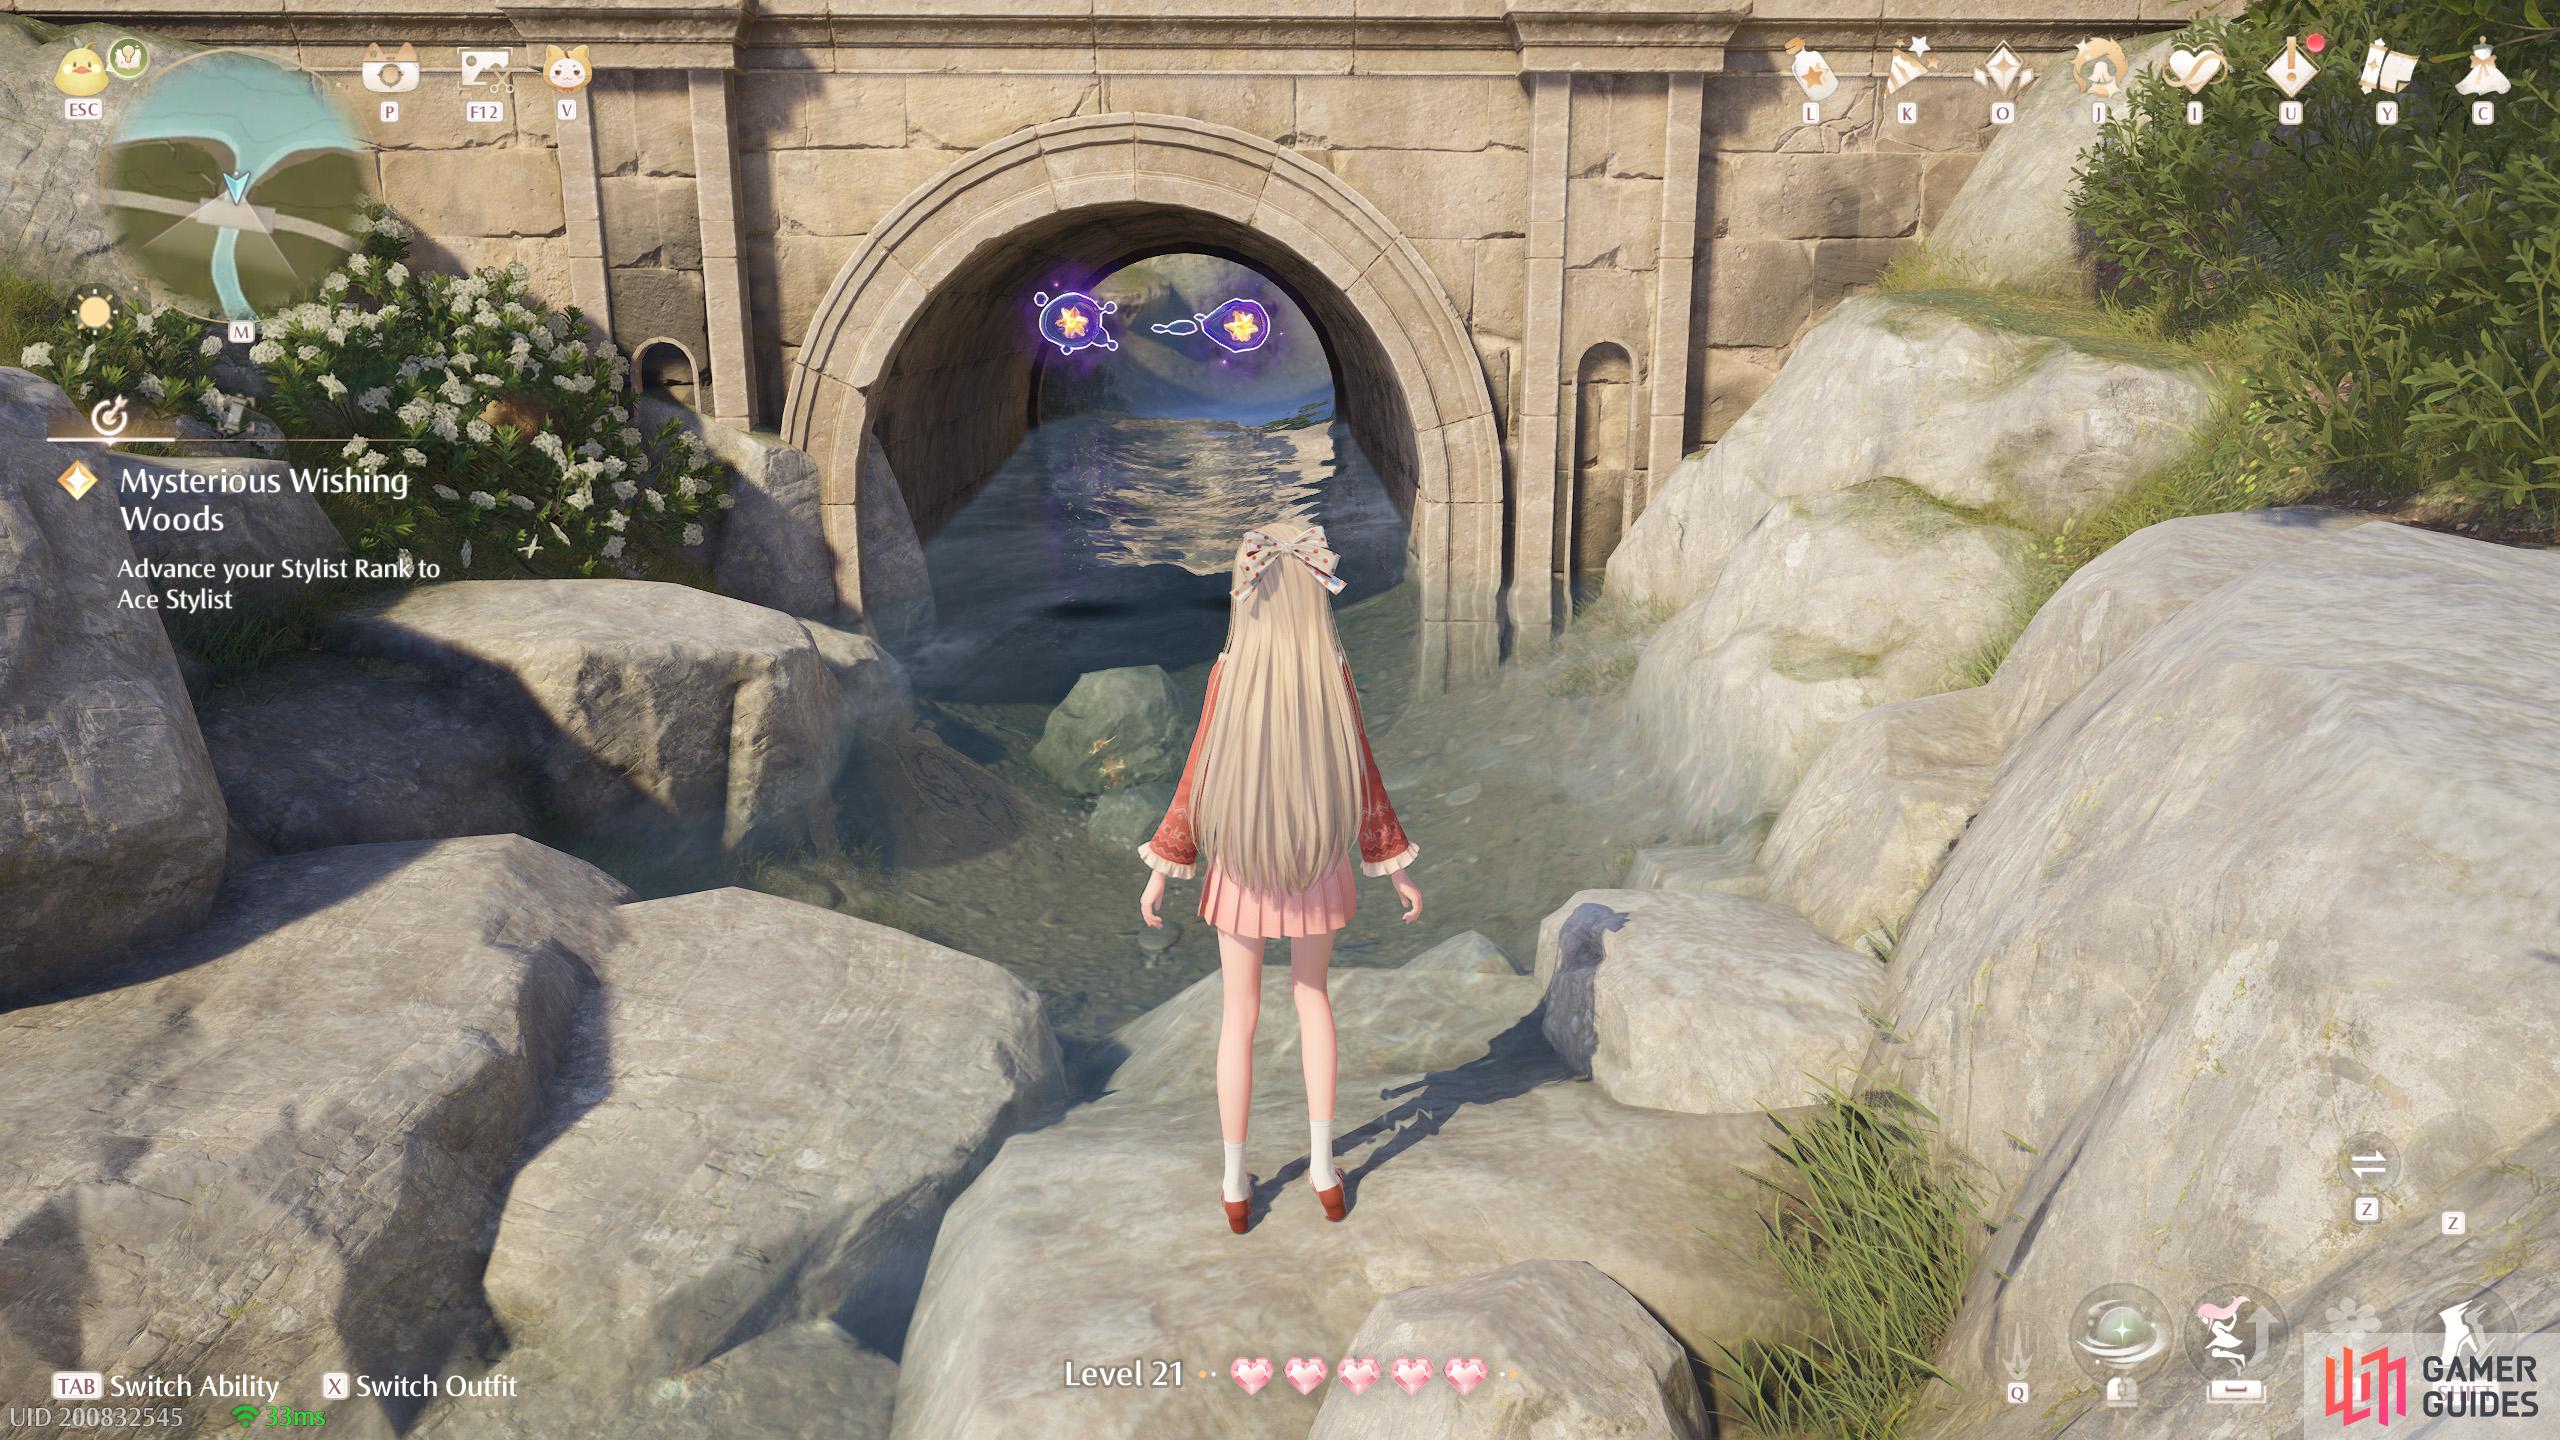
478. Miraland Map
South from ![]() Cicchetto Manor. Two on a ledge near the world boundary. There’s a group of 3 Esselings here.
Cicchetto Manor. Two on a ledge near the world boundary. There’s a group of 3 Esselings here.

480. Miraland Map
South from the ![]() Village Fork and slightly east. Two behind a house.
Village Fork and slightly east. Two behind a house.
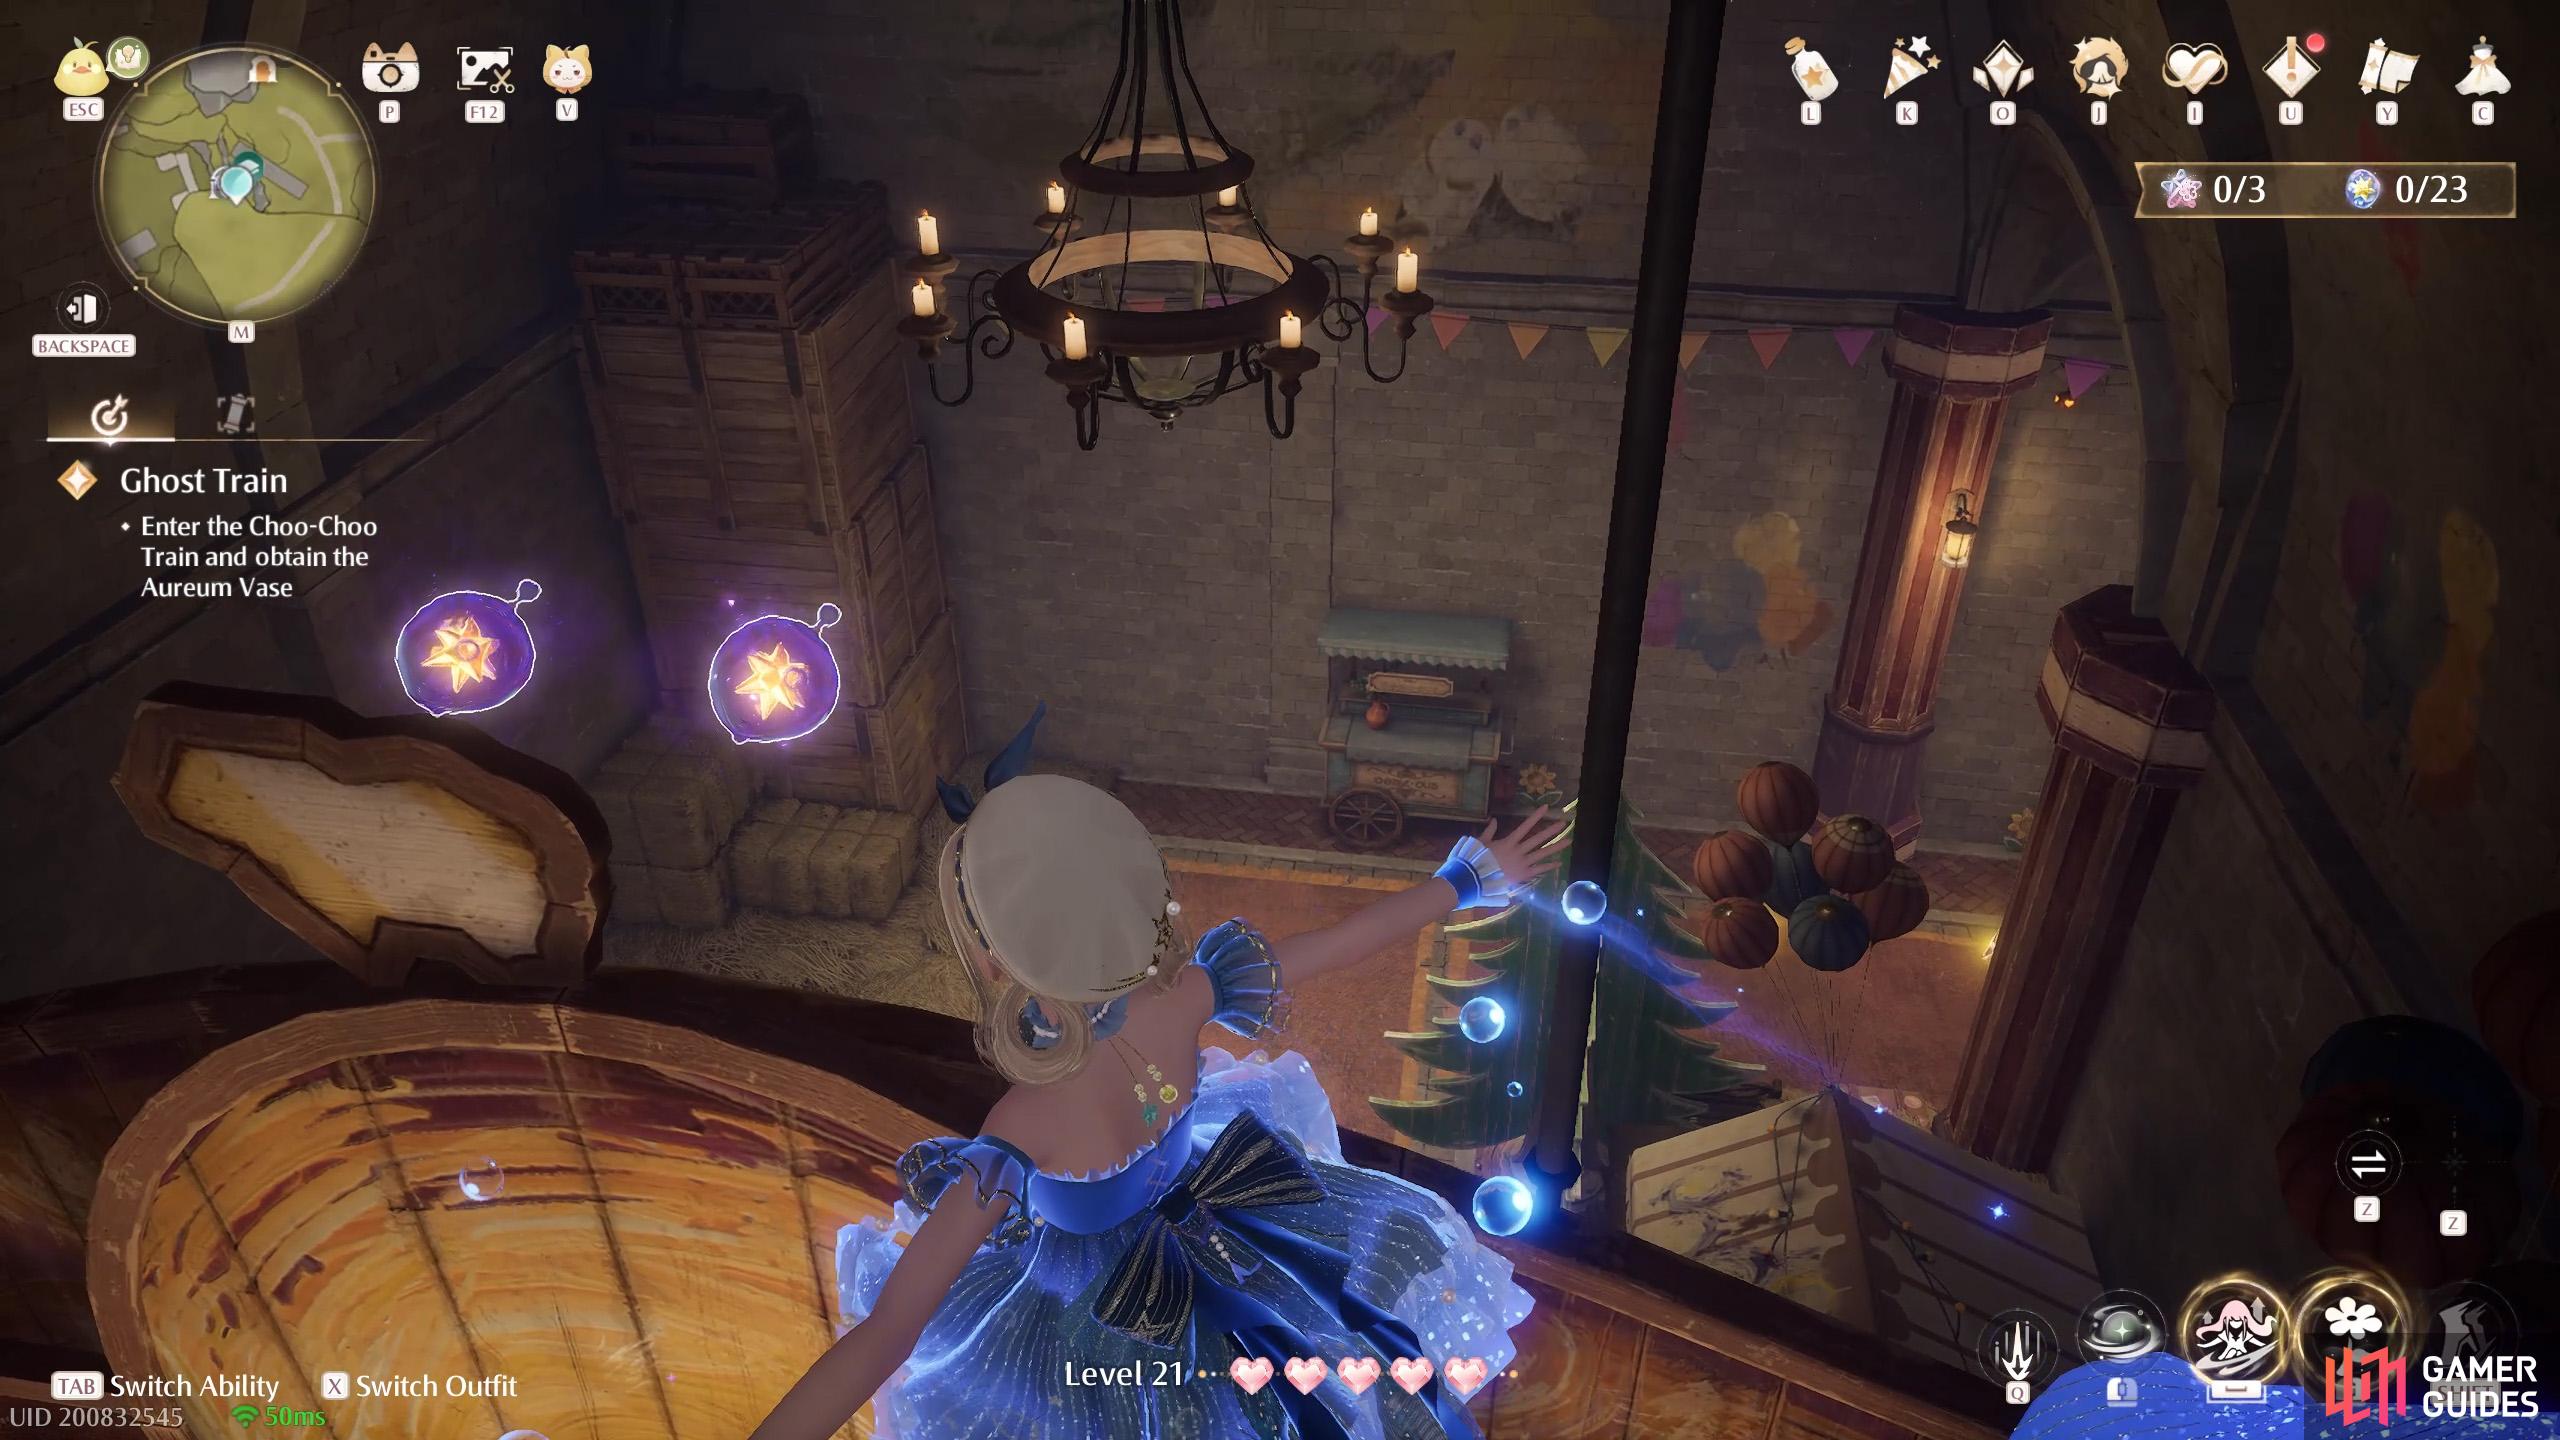
481. Miraland Map
Inside the ![]() Ghost Train. In the initial area, Train Platform. Two floating behind the wooden arch.
Ghost Train. In the initial area, Train Platform. Two floating behind the wooden arch.
482. Miraland Map
East of ![]() Meadow Wharf. Two floating on top of the water by the shore.
Meadow Wharf. Two floating on top of the water by the shore.
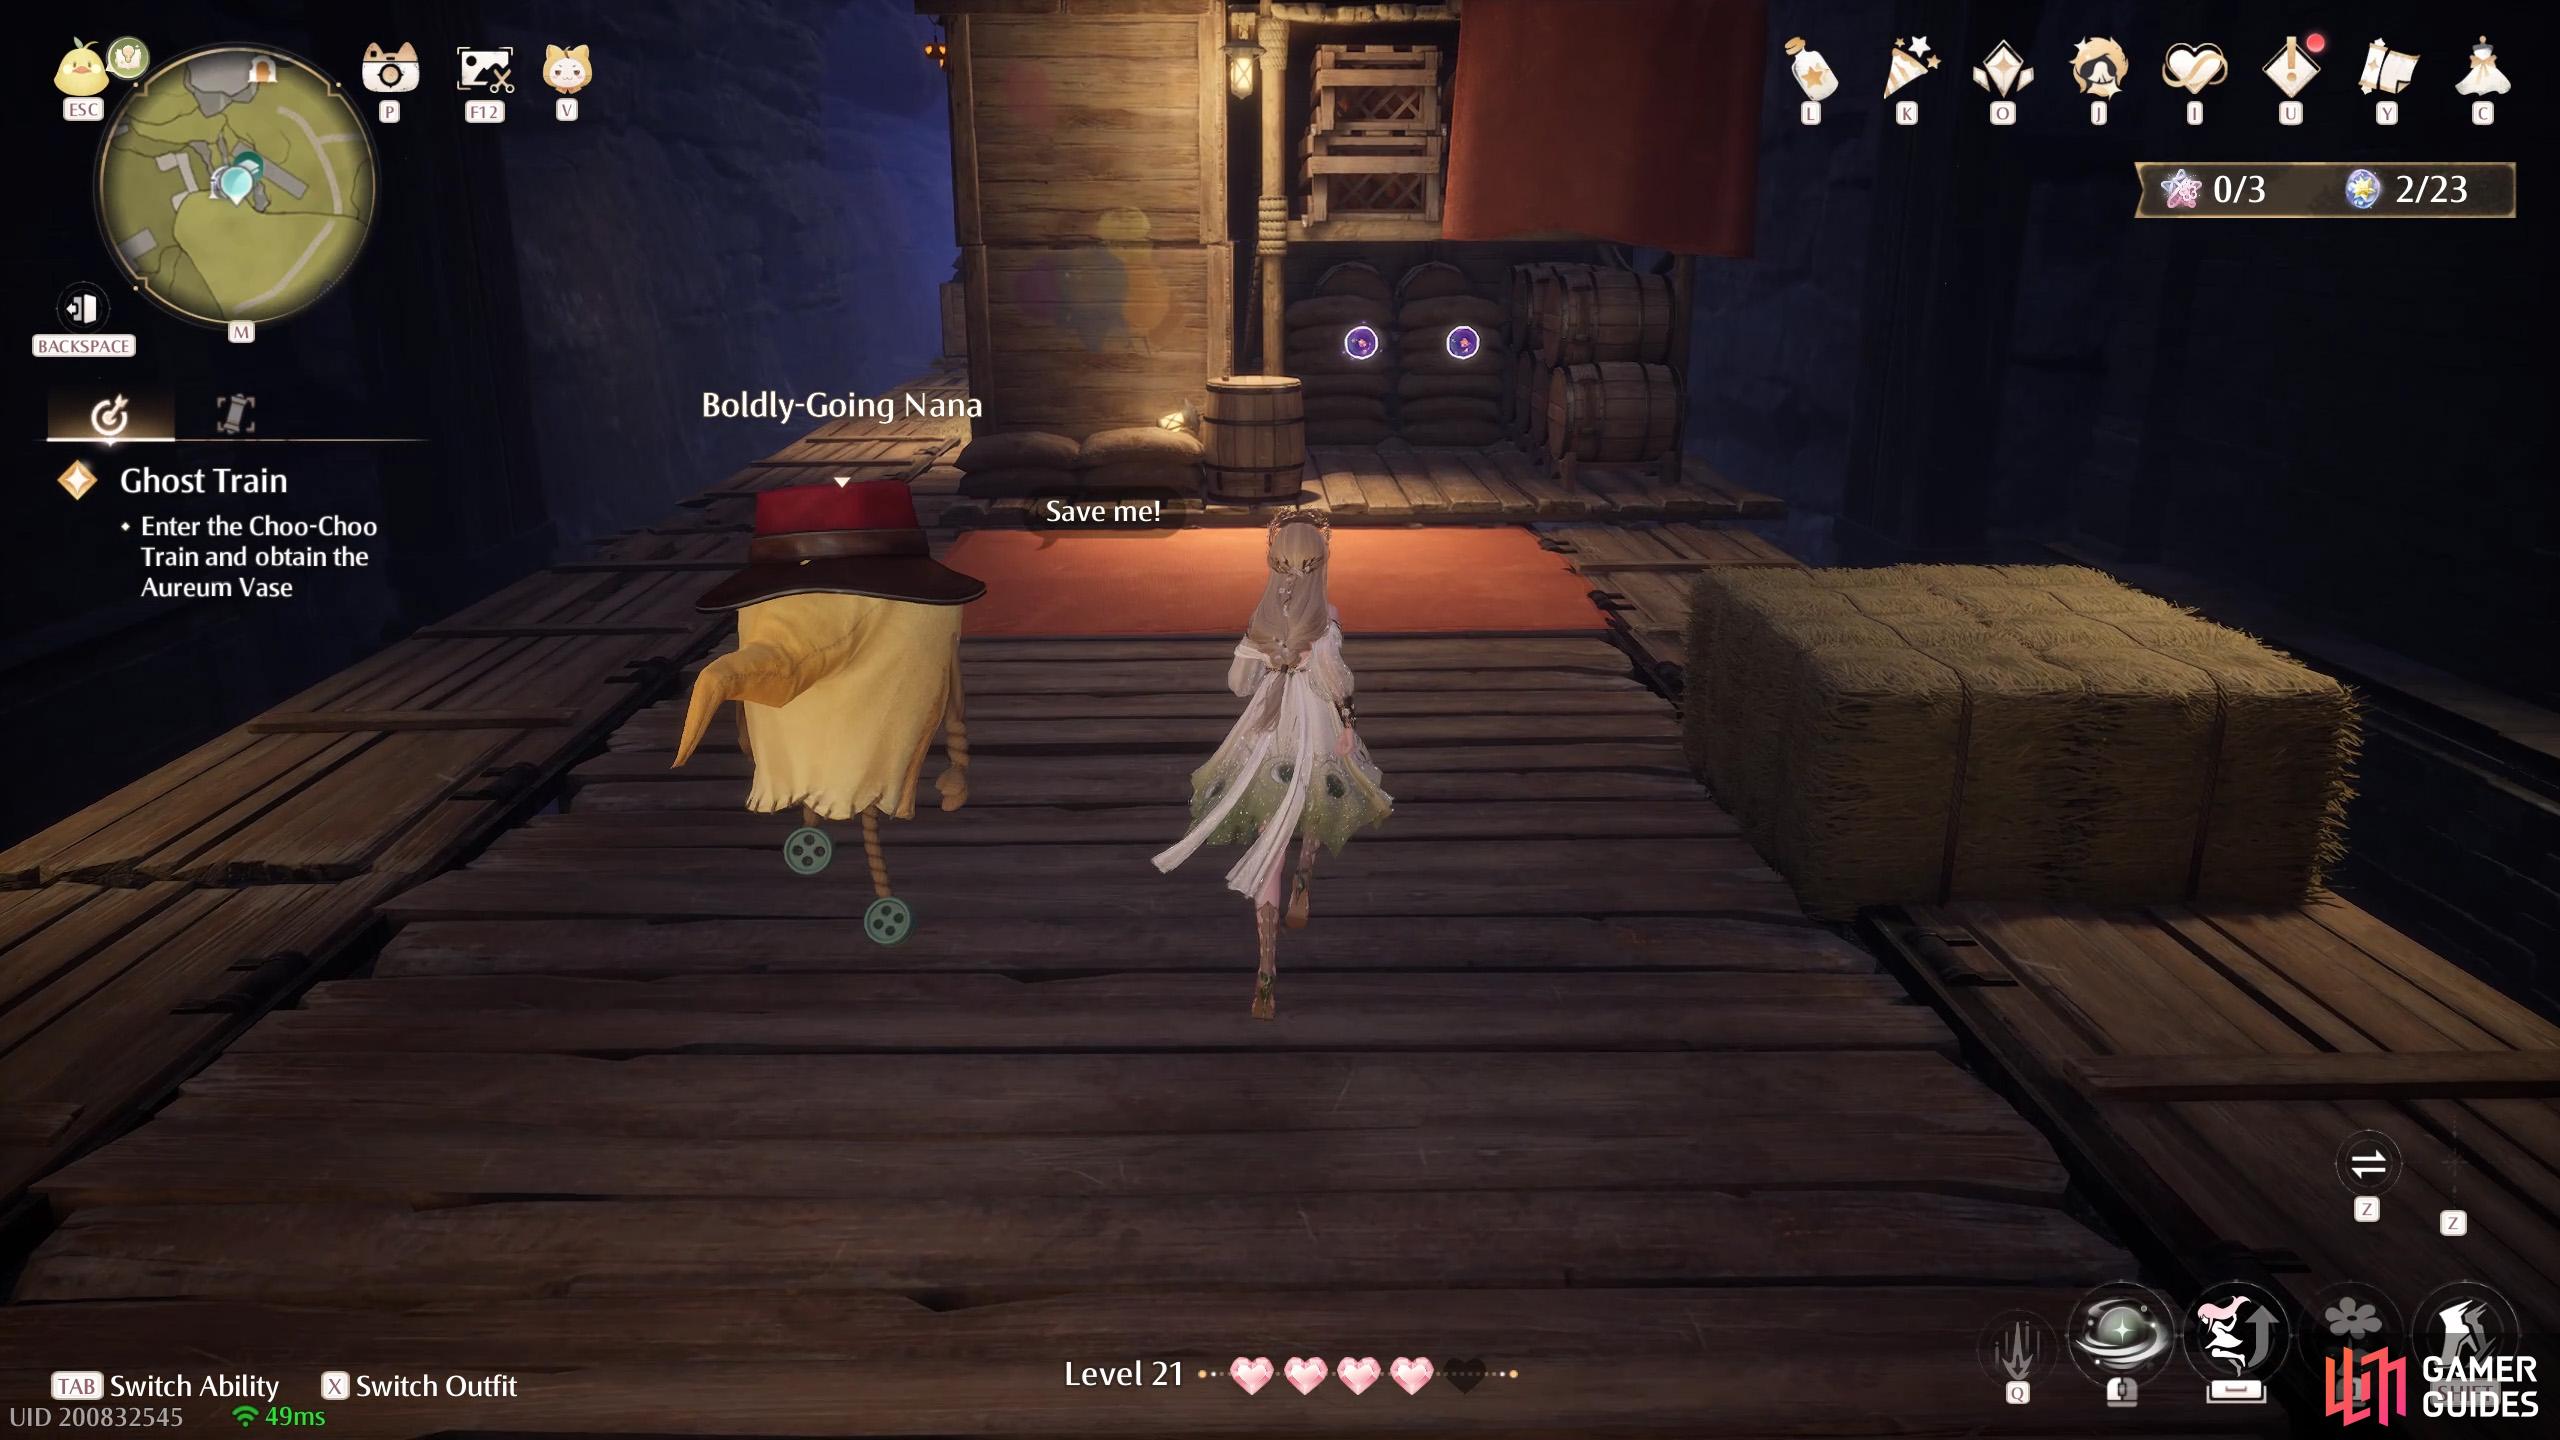
483. Miraland Map
Inside the ![]() Ghost Train. As soon as the train starts moving, two on the right.
Ghost Train. As soon as the train starts moving, two on the right.
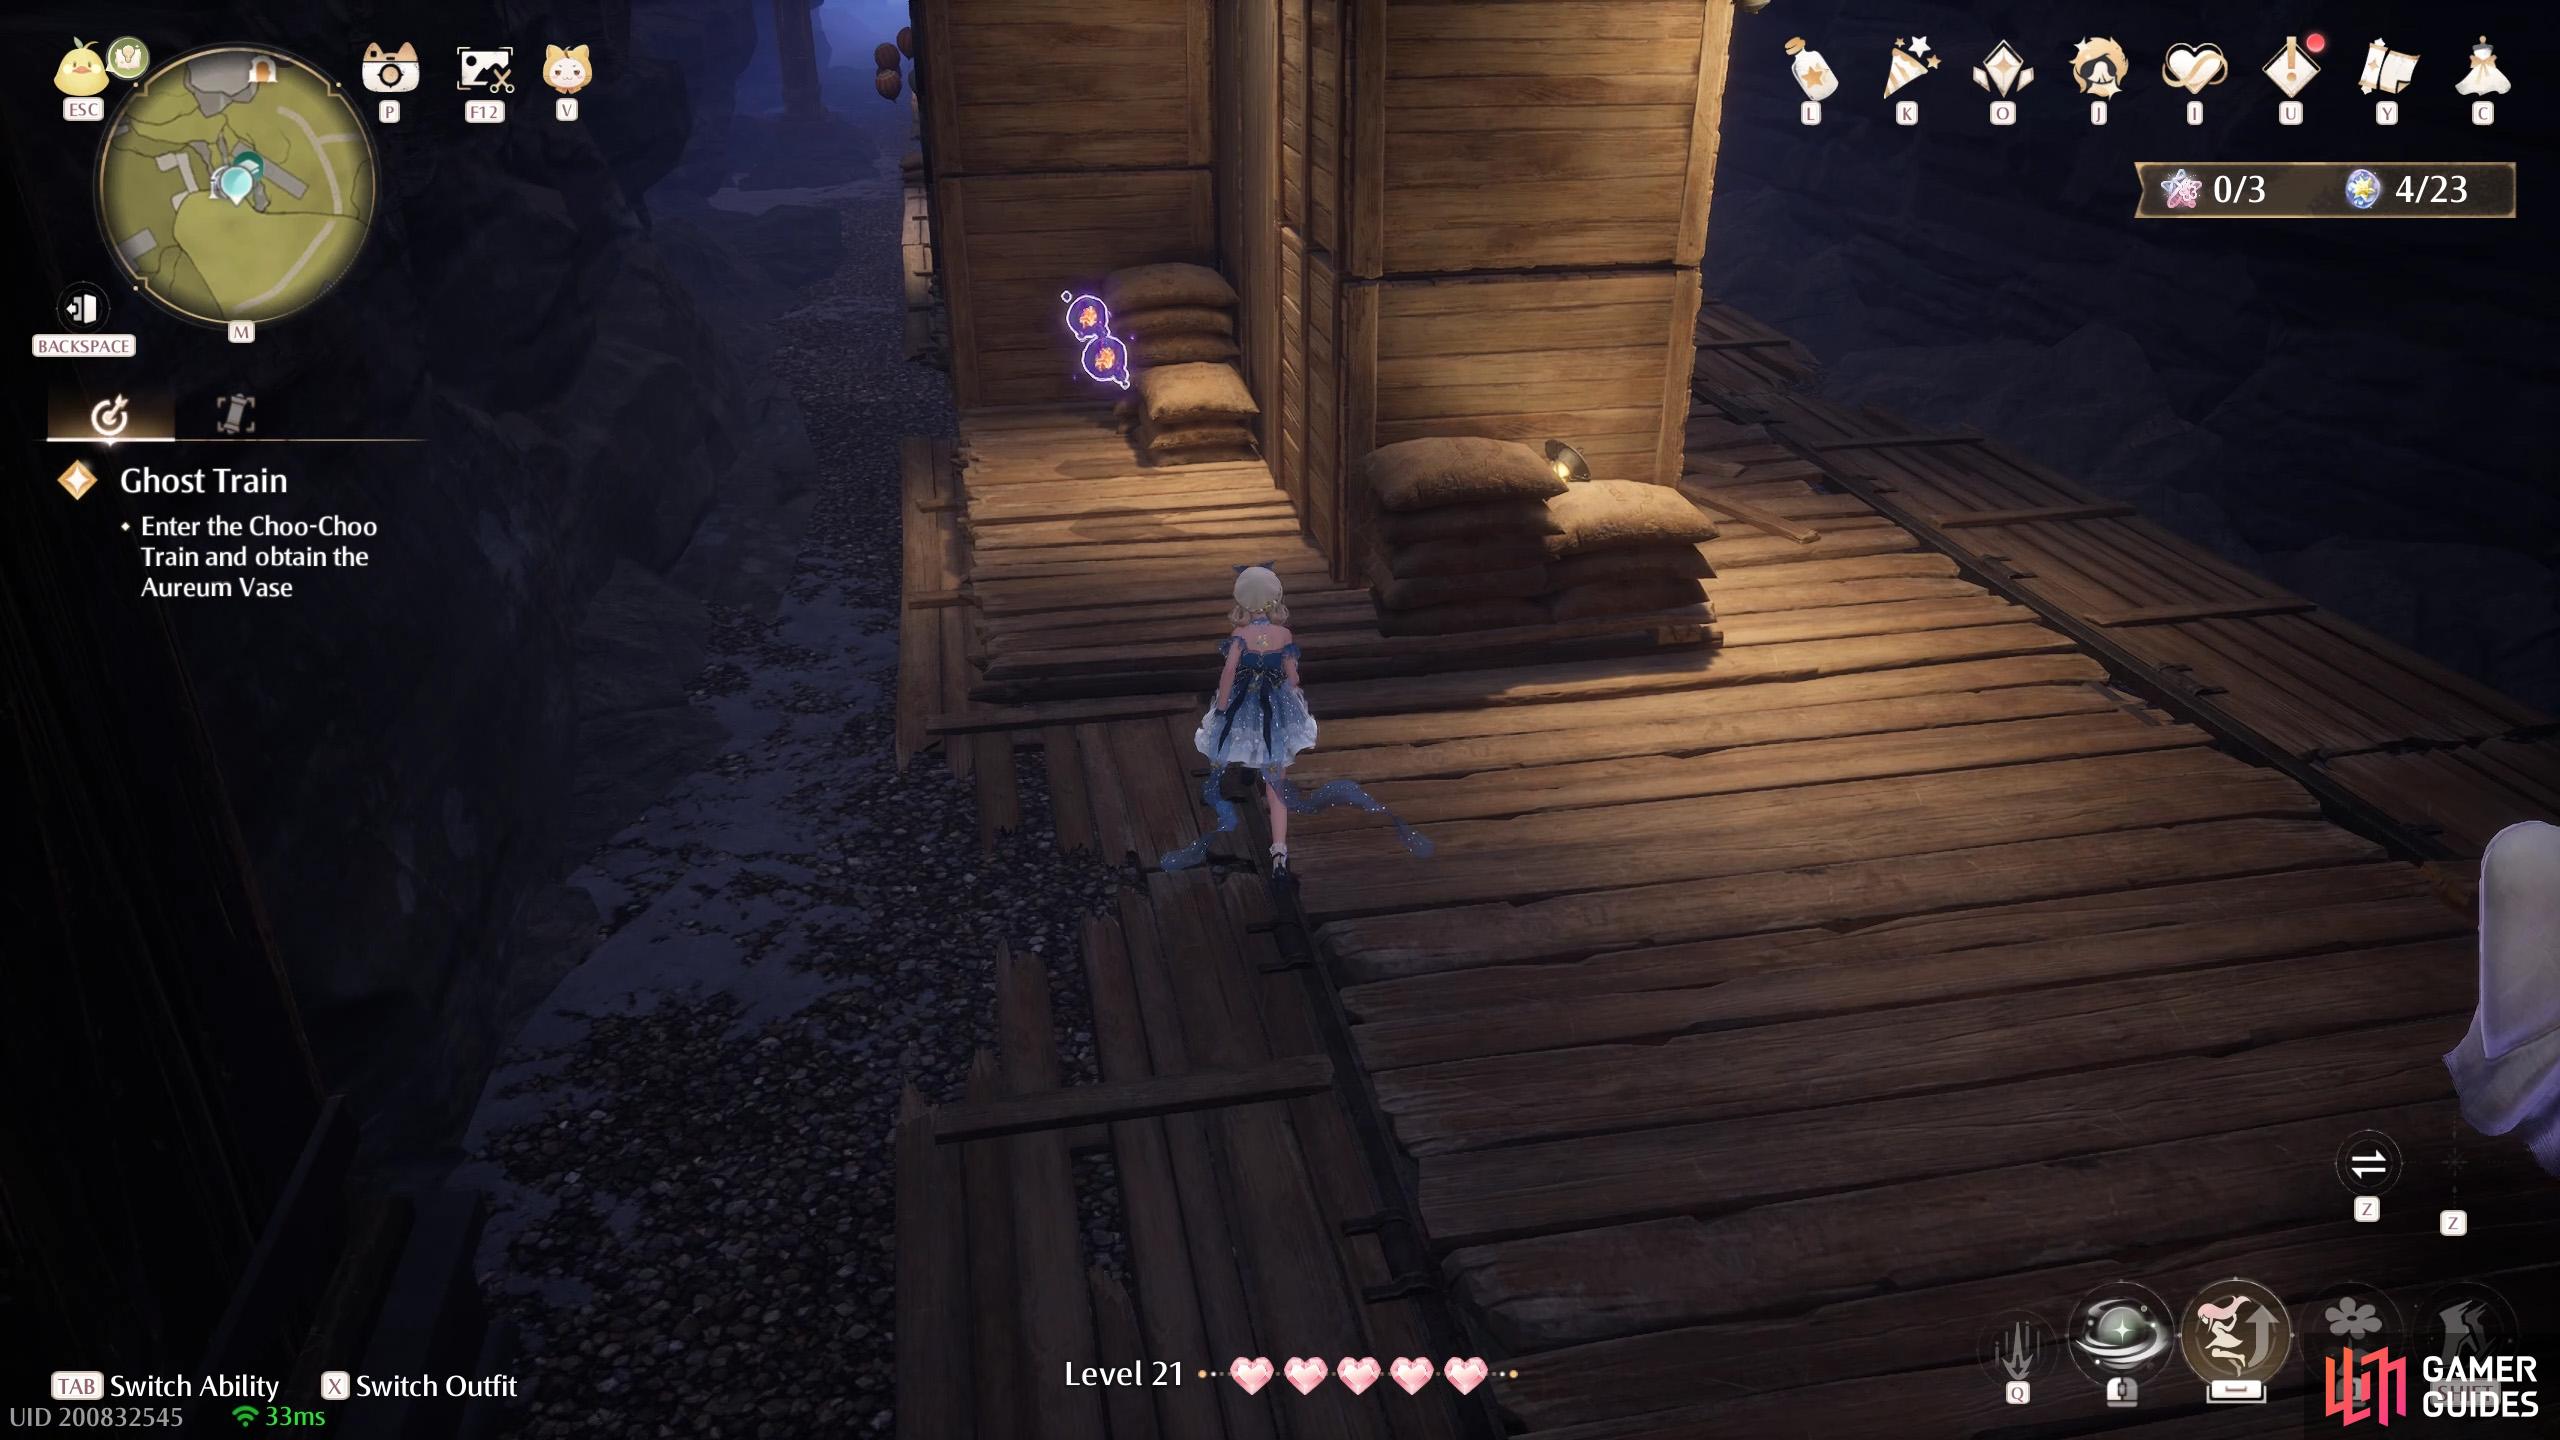
484. Miraland Map
Inside the ![]() Ghost Train. When the train begins moving, two on the left after two ghosts.
Ghost Train. When the train begins moving, two on the left after two ghosts.
485. Miraland Map
Inside the ![]() Ghost Train. After going through the first train carriage, two on the left, among the wooden boxes. You’ll probably need to turn around to see them.
Ghost Train. After going through the first train carriage, two on the left, among the wooden boxes. You’ll probably need to turn around to see them.
486. Miraland Map
Inside the ![]() Ghost Train. After going through the first train carriage, a short distance before the next checkpoint, three on the right, hidden among the boxes and barrels.
Ghost Train. After going through the first train carriage, a short distance before the next checkpoint, three on the right, hidden among the boxes and barrels.
487. Miraland Map
Inside the ![]() Ghost Train. When you reach the Heavy-Duty Flatbed checkpoint. Jump across, then go around to the left. There are two at the back.
Ghost Train. When you reach the Heavy-Duty Flatbed checkpoint. Jump across, then go around to the left. There are two at the back.
488. Miraland Map
Inside the ![]() Ghost Train. A short distance before the 2nd checkpoint, two floating on the left side, near a haystack tower. It’s after the section with wooden planks over haystack piles, with ghosts patrolling on top.
Ghost Train. A short distance before the 2nd checkpoint, two floating on the left side, near a haystack tower. It’s after the section with wooden planks over haystack piles, with ghosts patrolling on top.
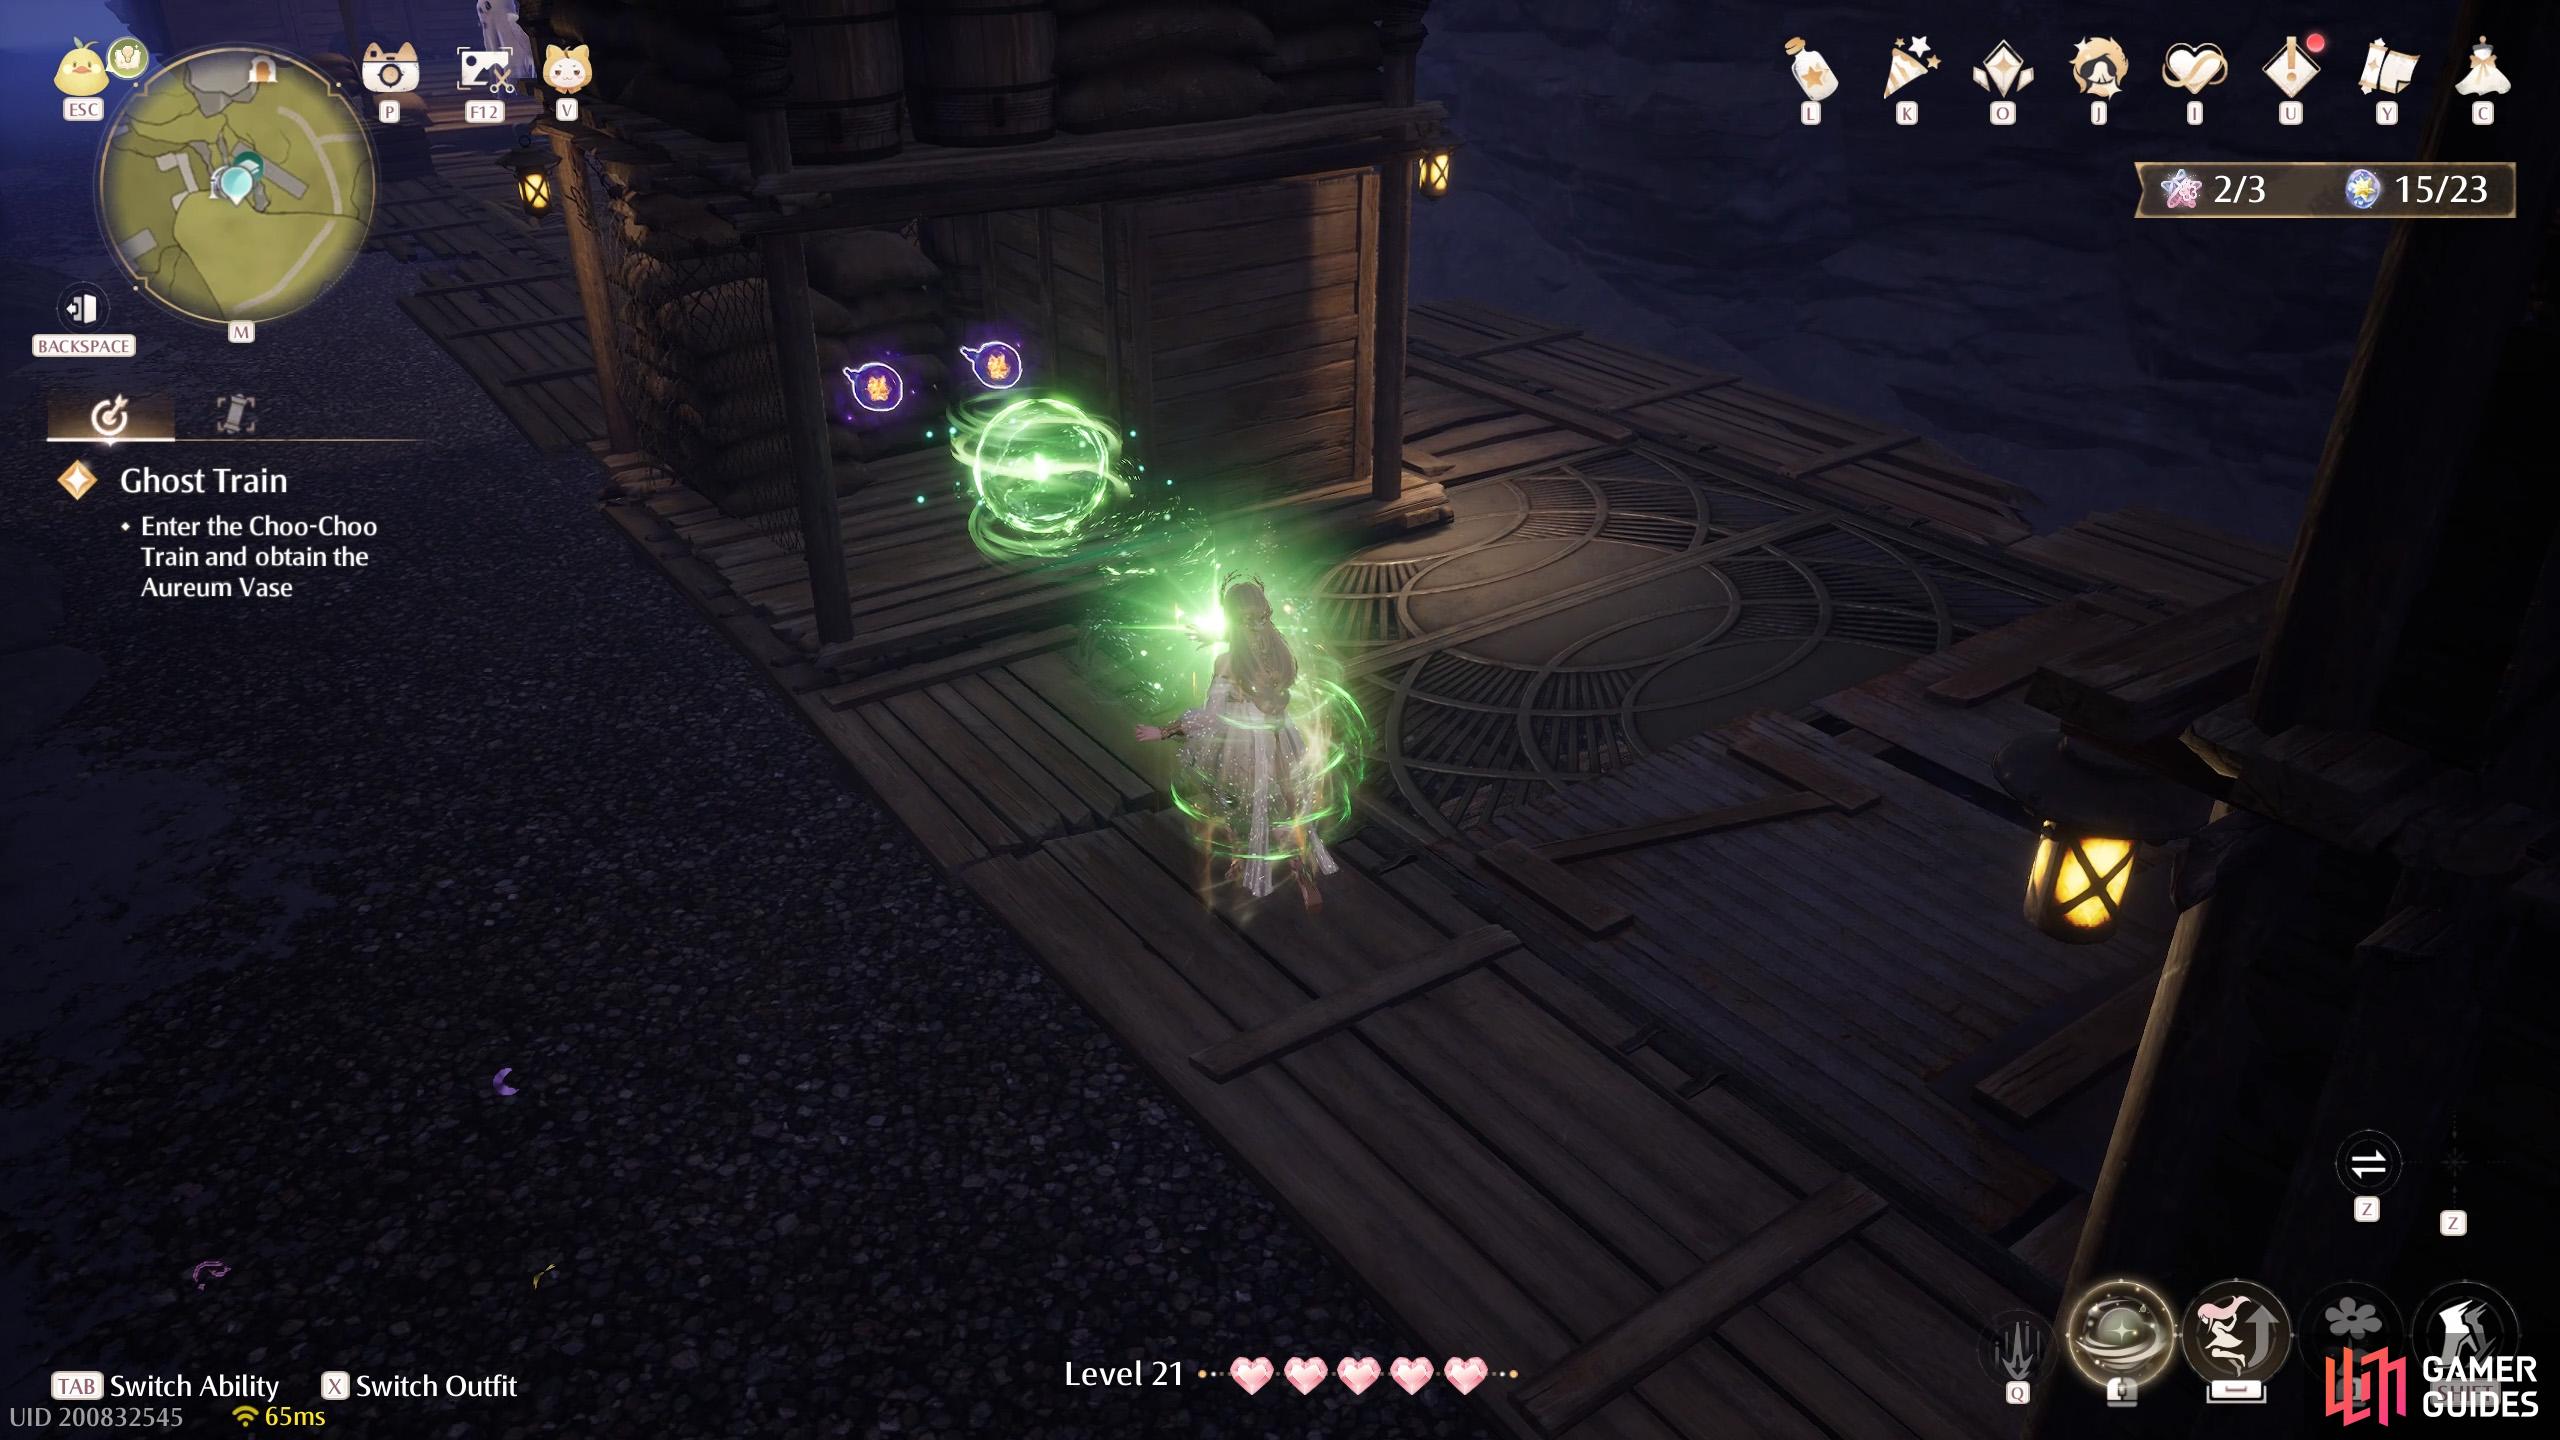
489. Miraland Map
Inside the ![]() Ghost Train. After the 2nd checkpoint, Shipping Boxcar, two on the right, behind the taller pile of boxes and barrels. There’s a ghost nearby.
Ghost Train. After the 2nd checkpoint, Shipping Boxcar, two on the right, behind the taller pile of boxes and barrels. There’s a ghost nearby.
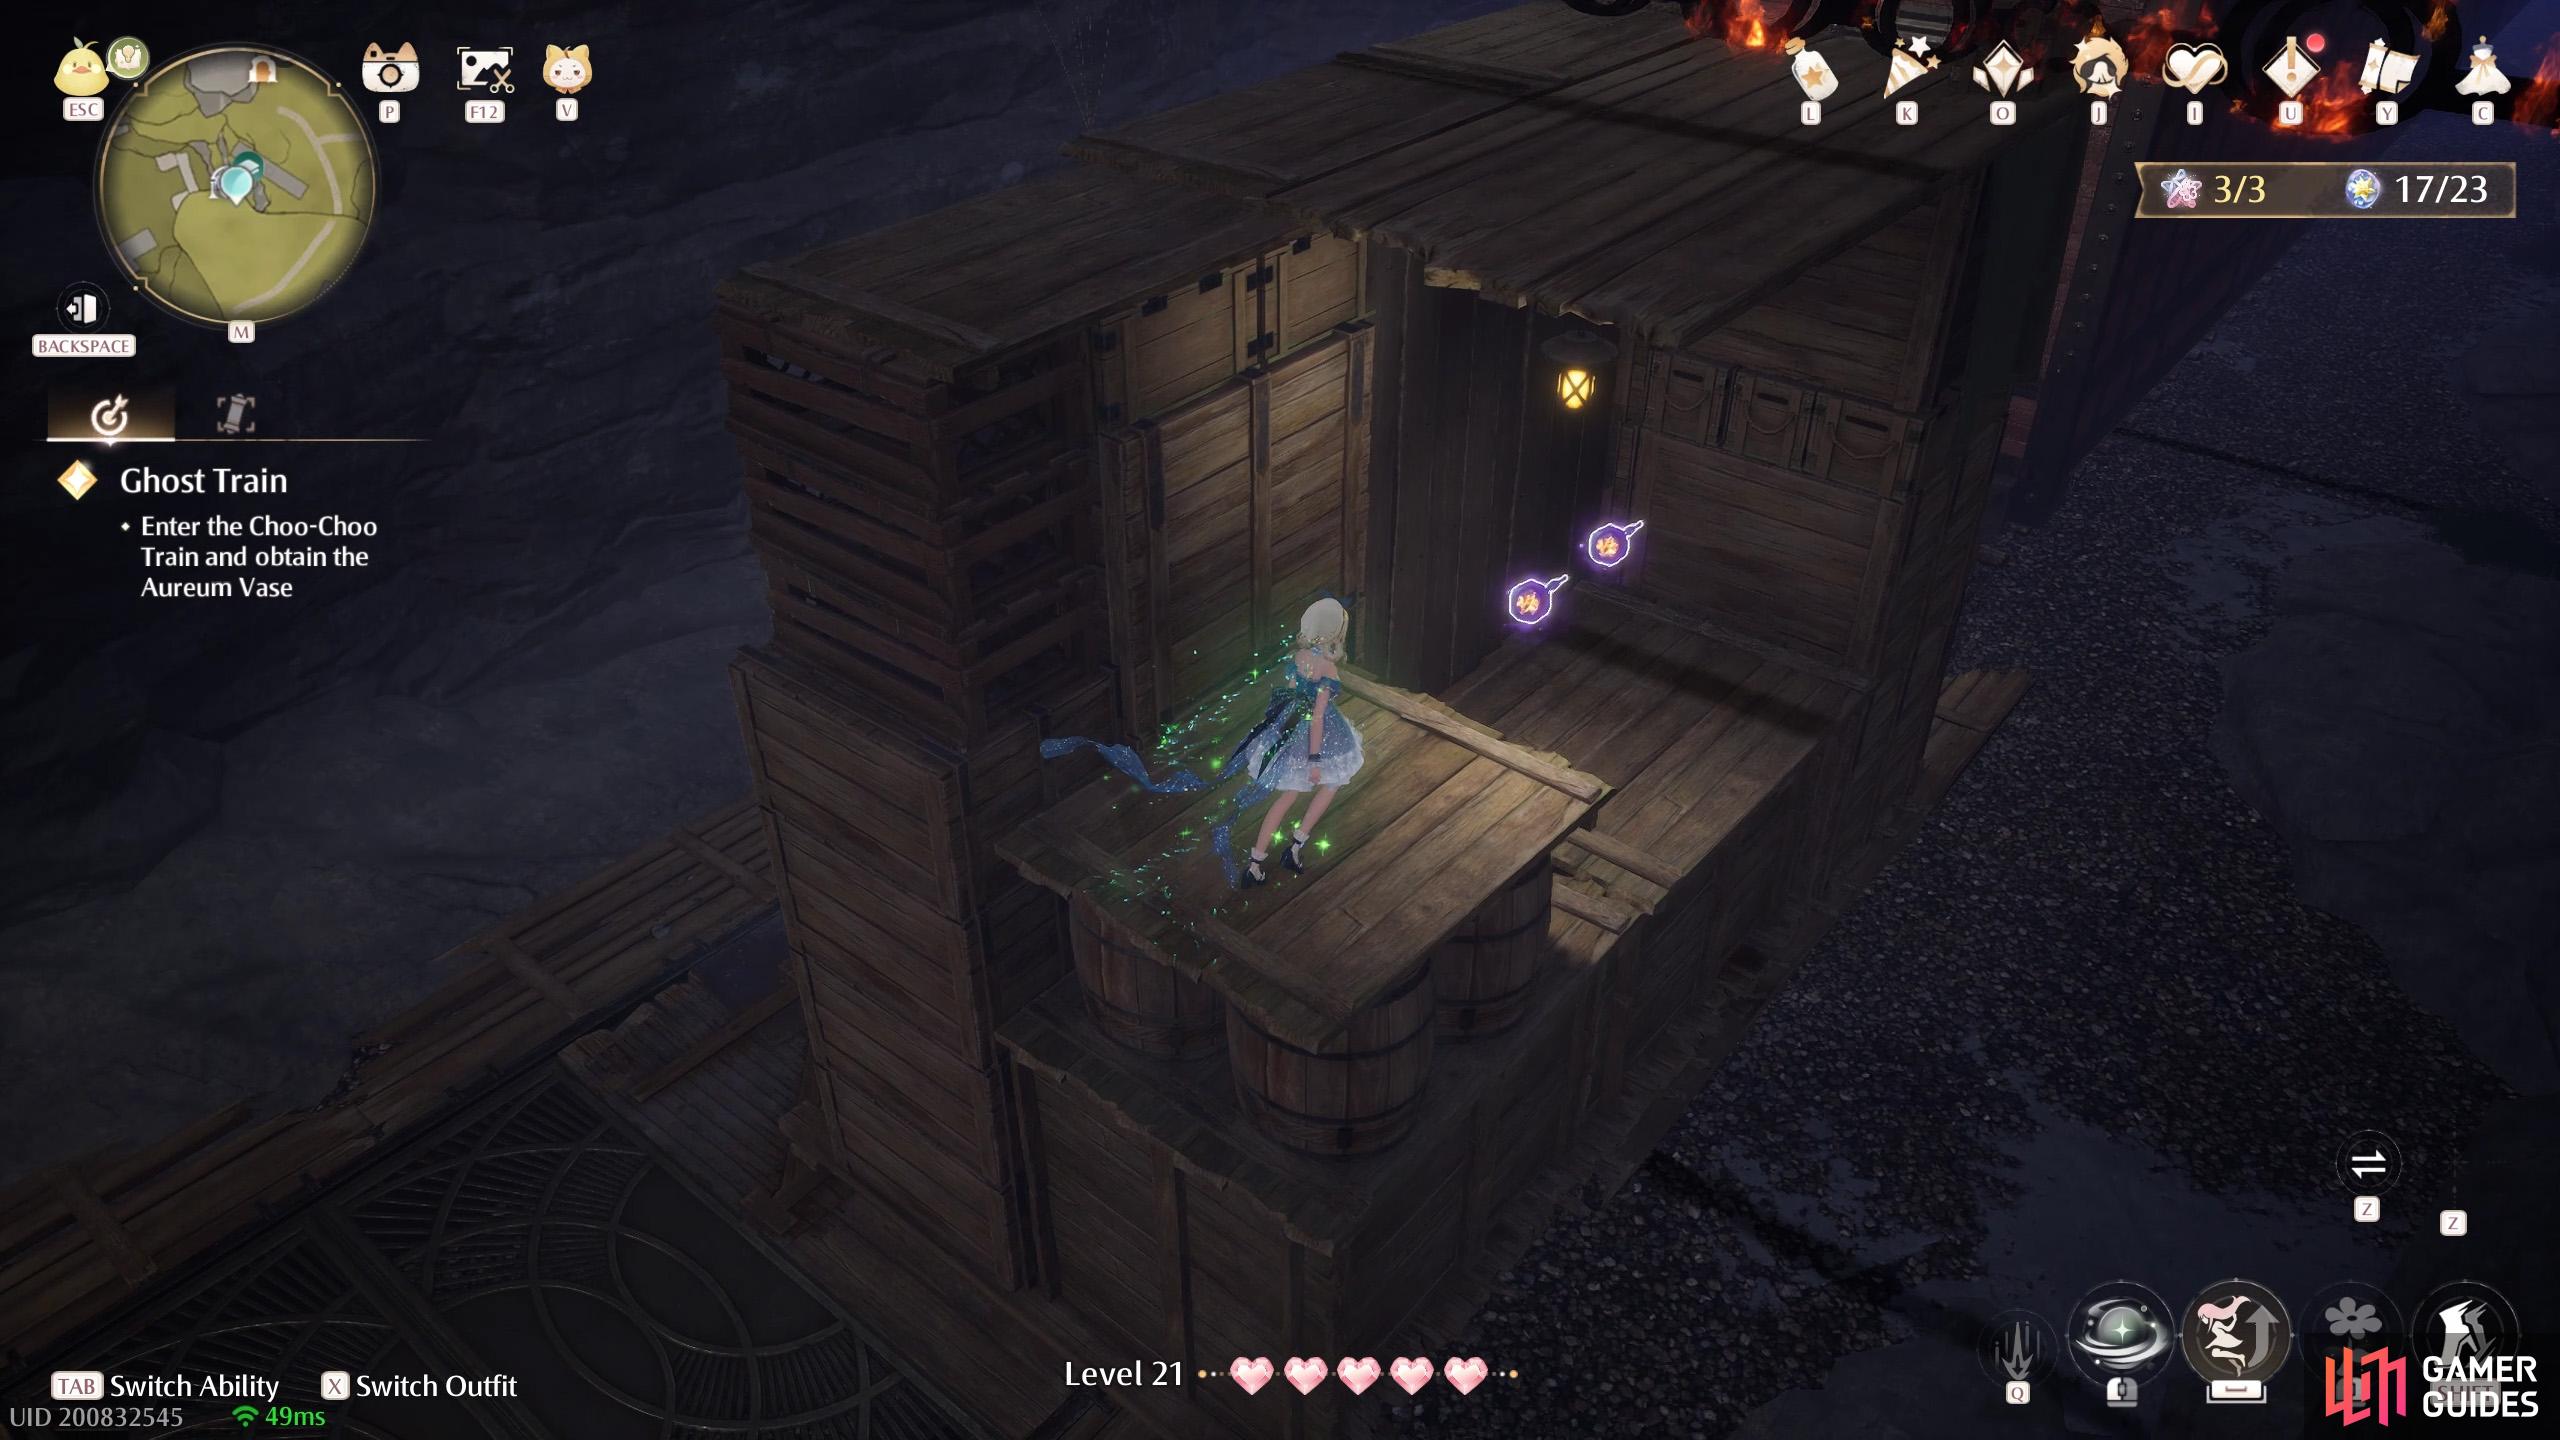
490. Miraland Map
Inside the ![]() Ghost Train. After the section where you go across the train carriage roof while avoiding flaming rods. Just before the 3rd checkpoint. Two on the left, among the wooden junk. You’ll need to turn around to see them.
Ghost Train. After the section where you go across the train carriage roof while avoiding flaming rods. Just before the 3rd checkpoint. Two on the left, among the wooden junk. You’ll need to turn around to see them.
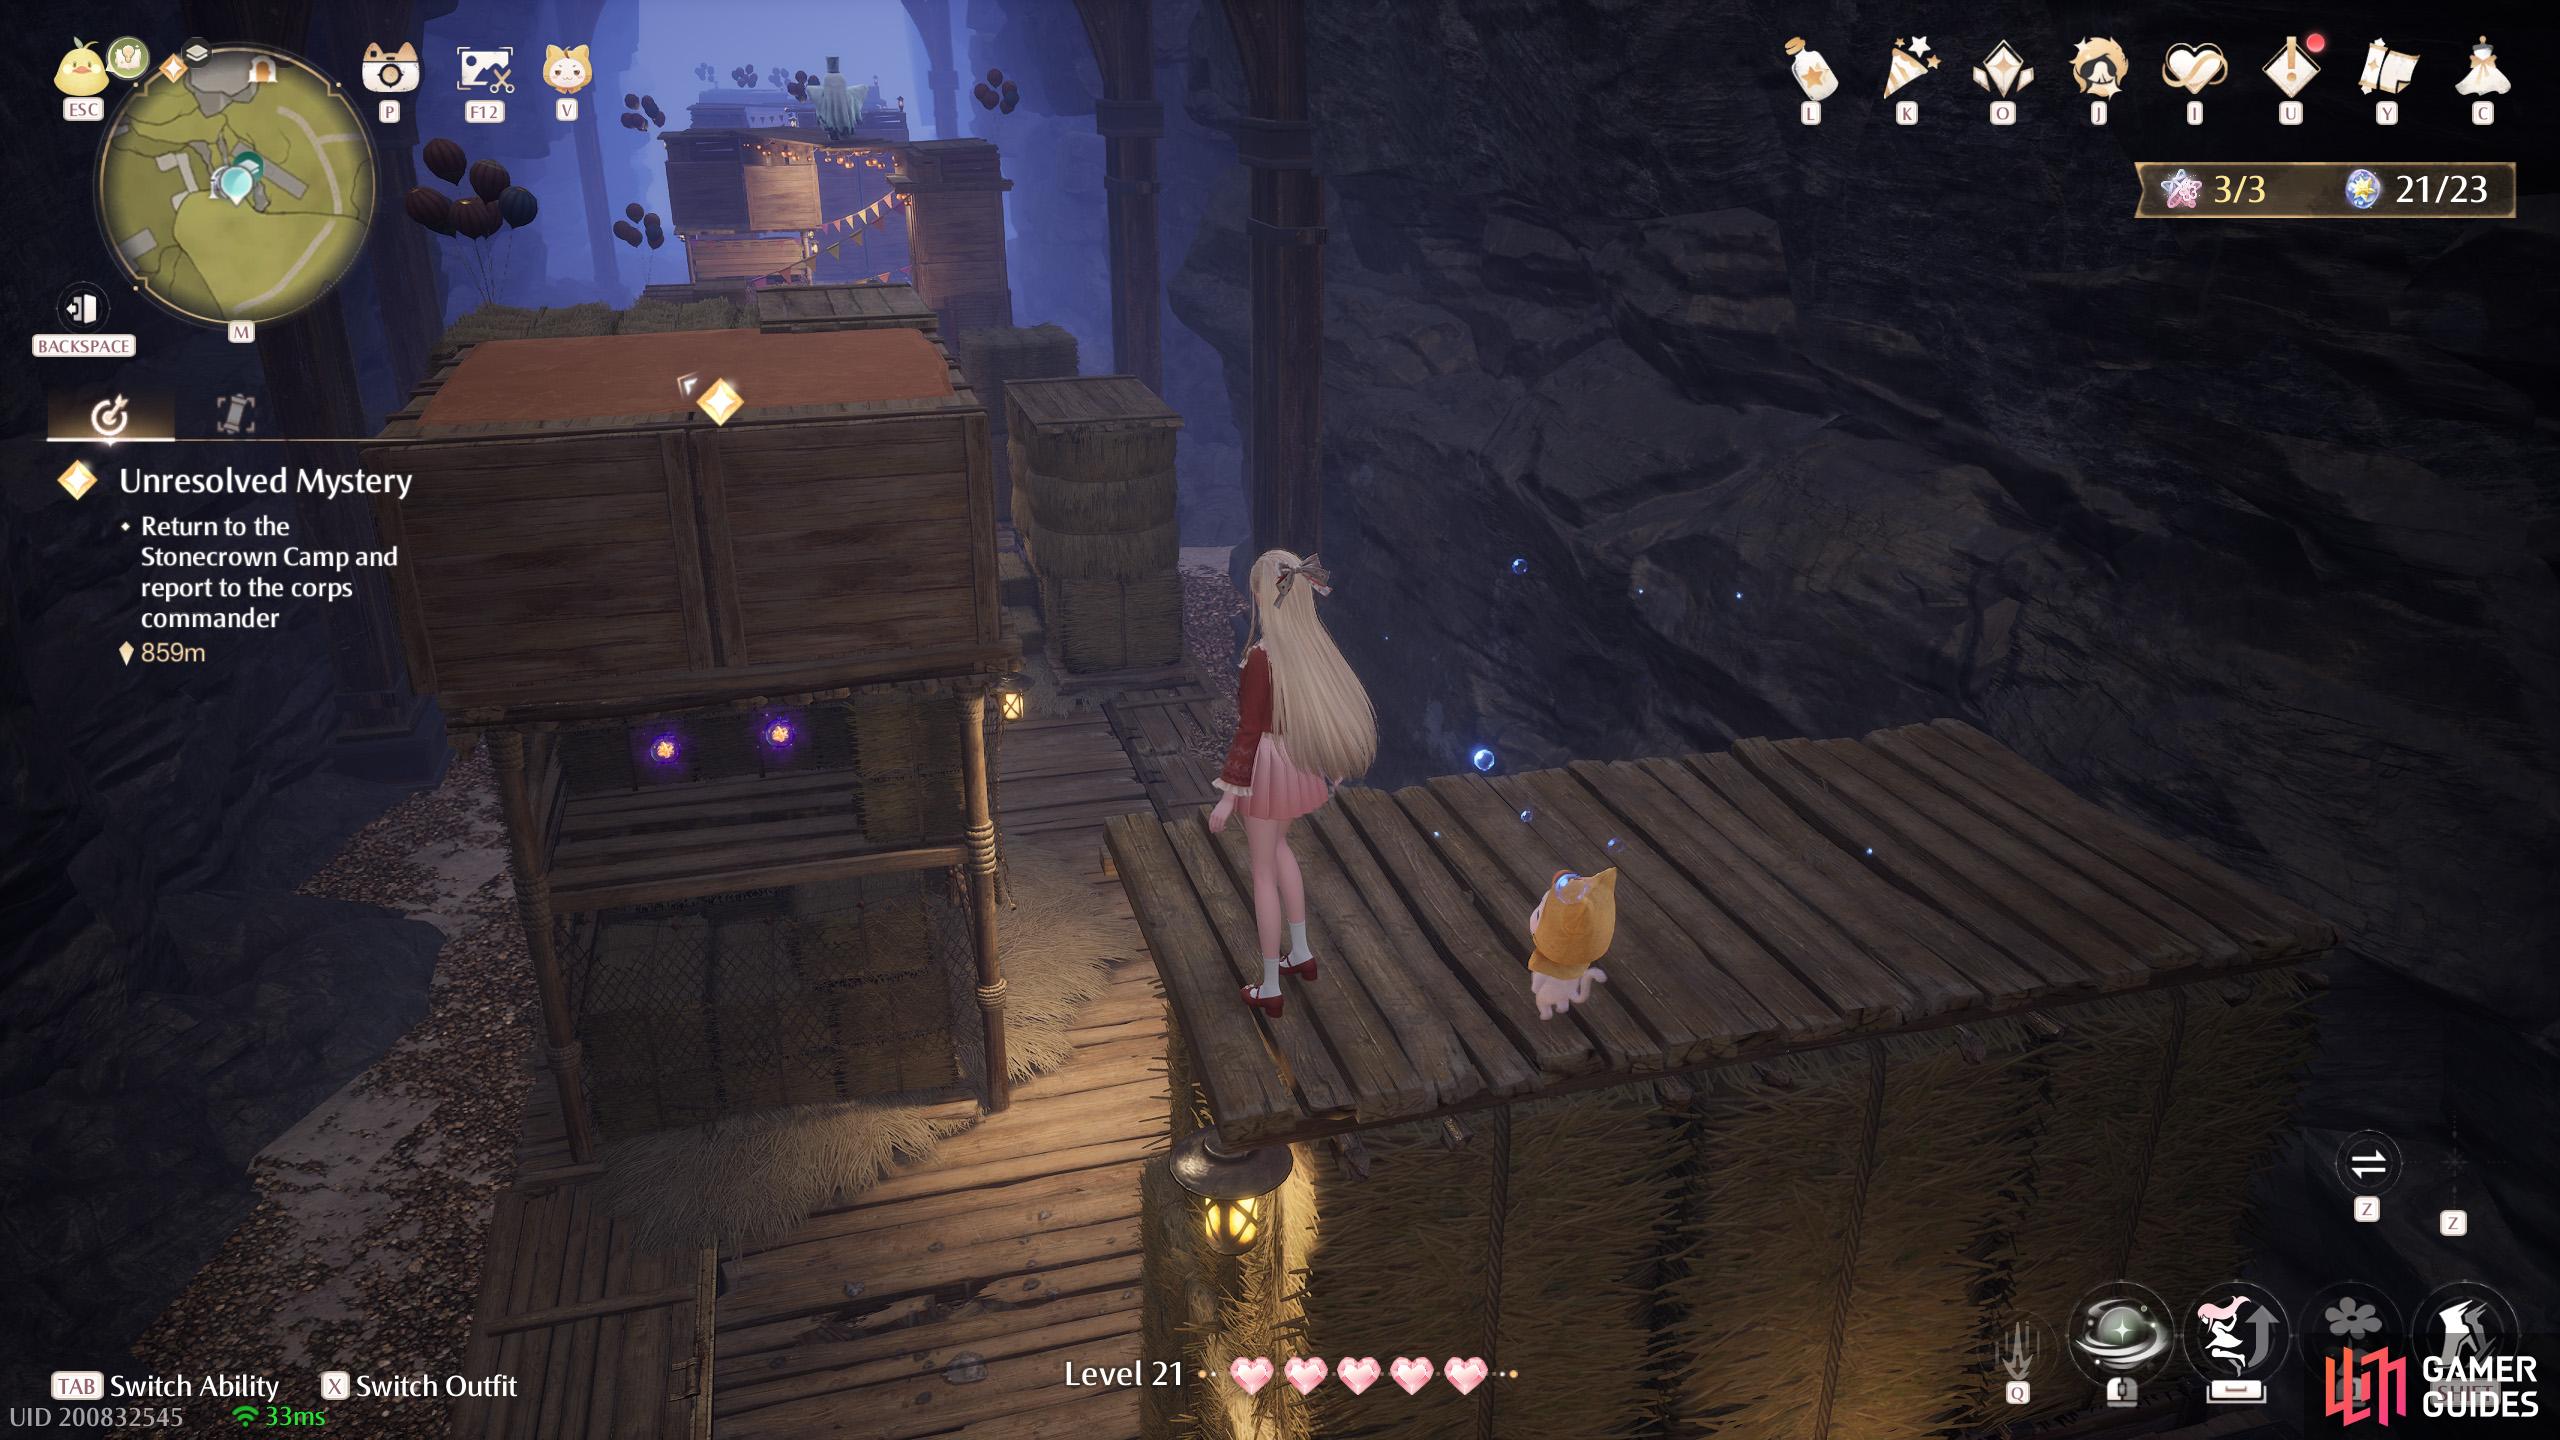
491. Miraland Map
Inside the ![]() Ghost Train. After the Heavy-Duty Flatbed checkpoint. At the end of the section with balloons and bunting banners (the ones with small triangular flags). On the right, look for a wooden platform with a red carpet on top. These two are underneath at the back, halfway up. They can be hard to see from most angles.
Ghost Train. After the Heavy-Duty Flatbed checkpoint. At the end of the section with balloons and bunting banners (the ones with small triangular flags). On the right, look for a wooden platform with a red carpet on top. These two are underneath at the back, halfway up. They can be hard to see from most angles.
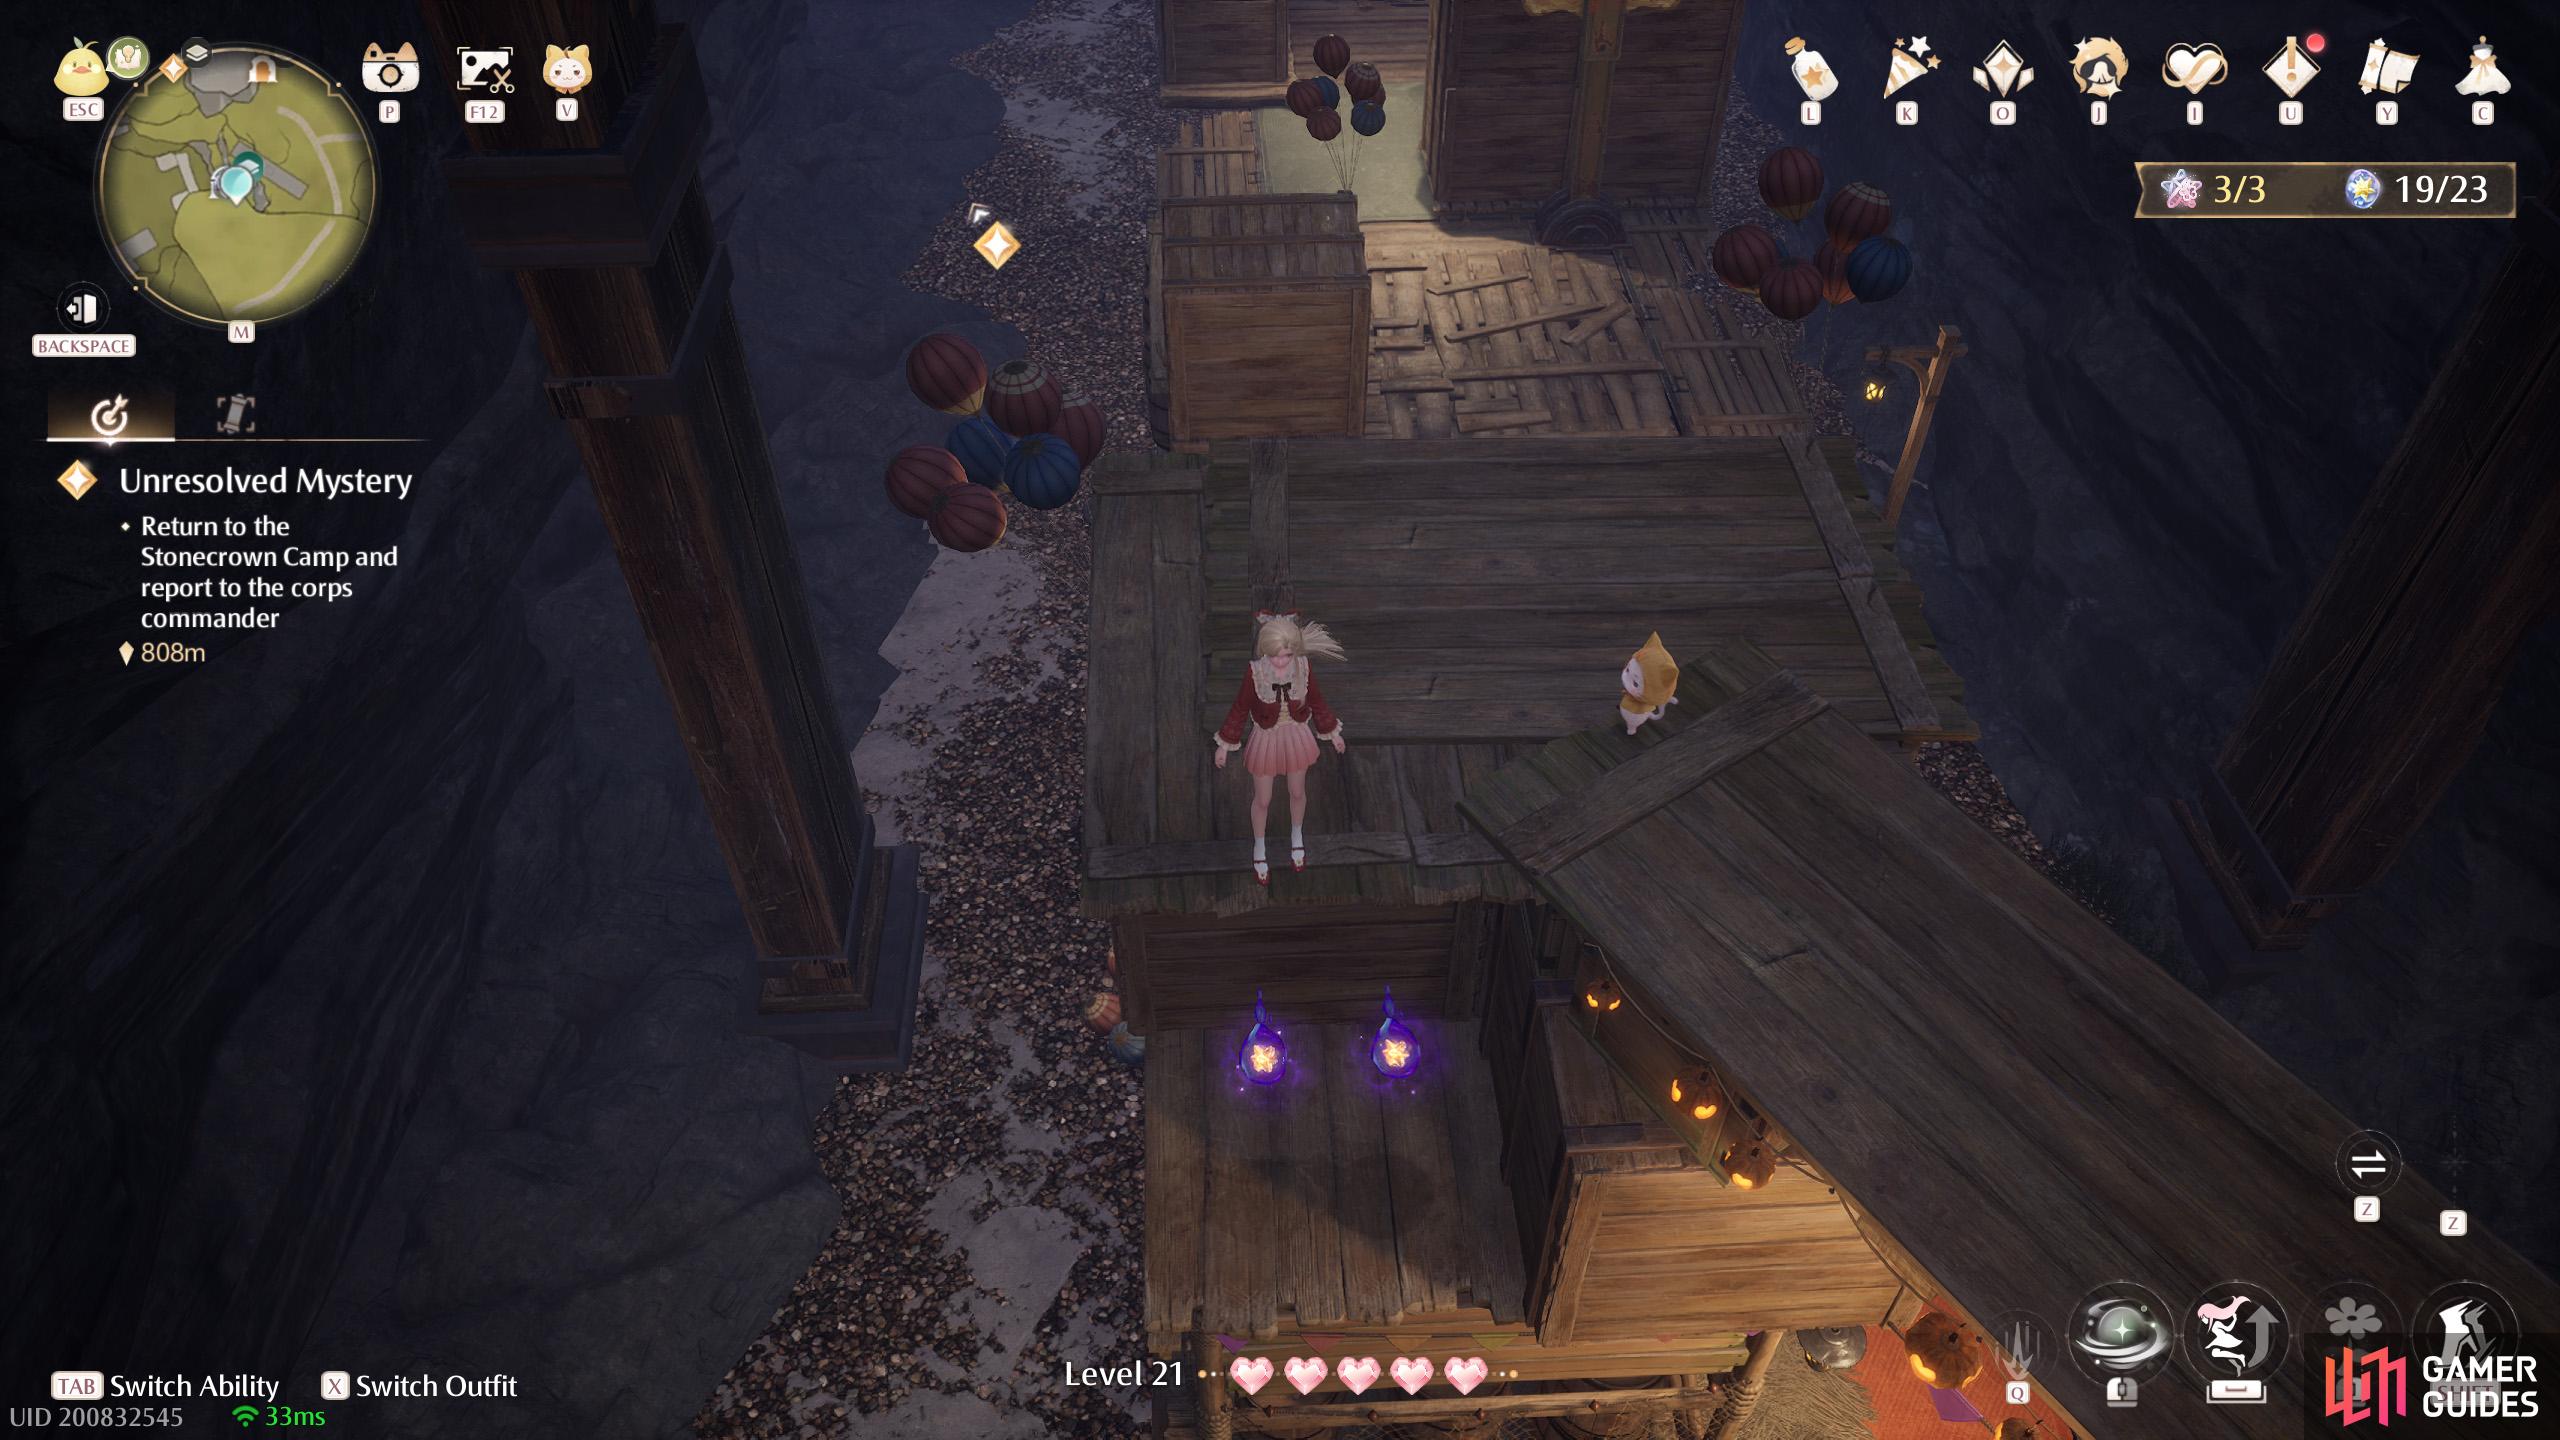
492. Miraland Map
Inside the ![]() Ghost Train. After the Heavy-Duty Flatbed checkpoint. At the tall platform just before the 3rd wooden plank. Two below the top, visible from behind.
Ghost Train. After the Heavy-Duty Flatbed checkpoint. At the tall platform just before the 3rd wooden plank. Two below the top, visible from behind.
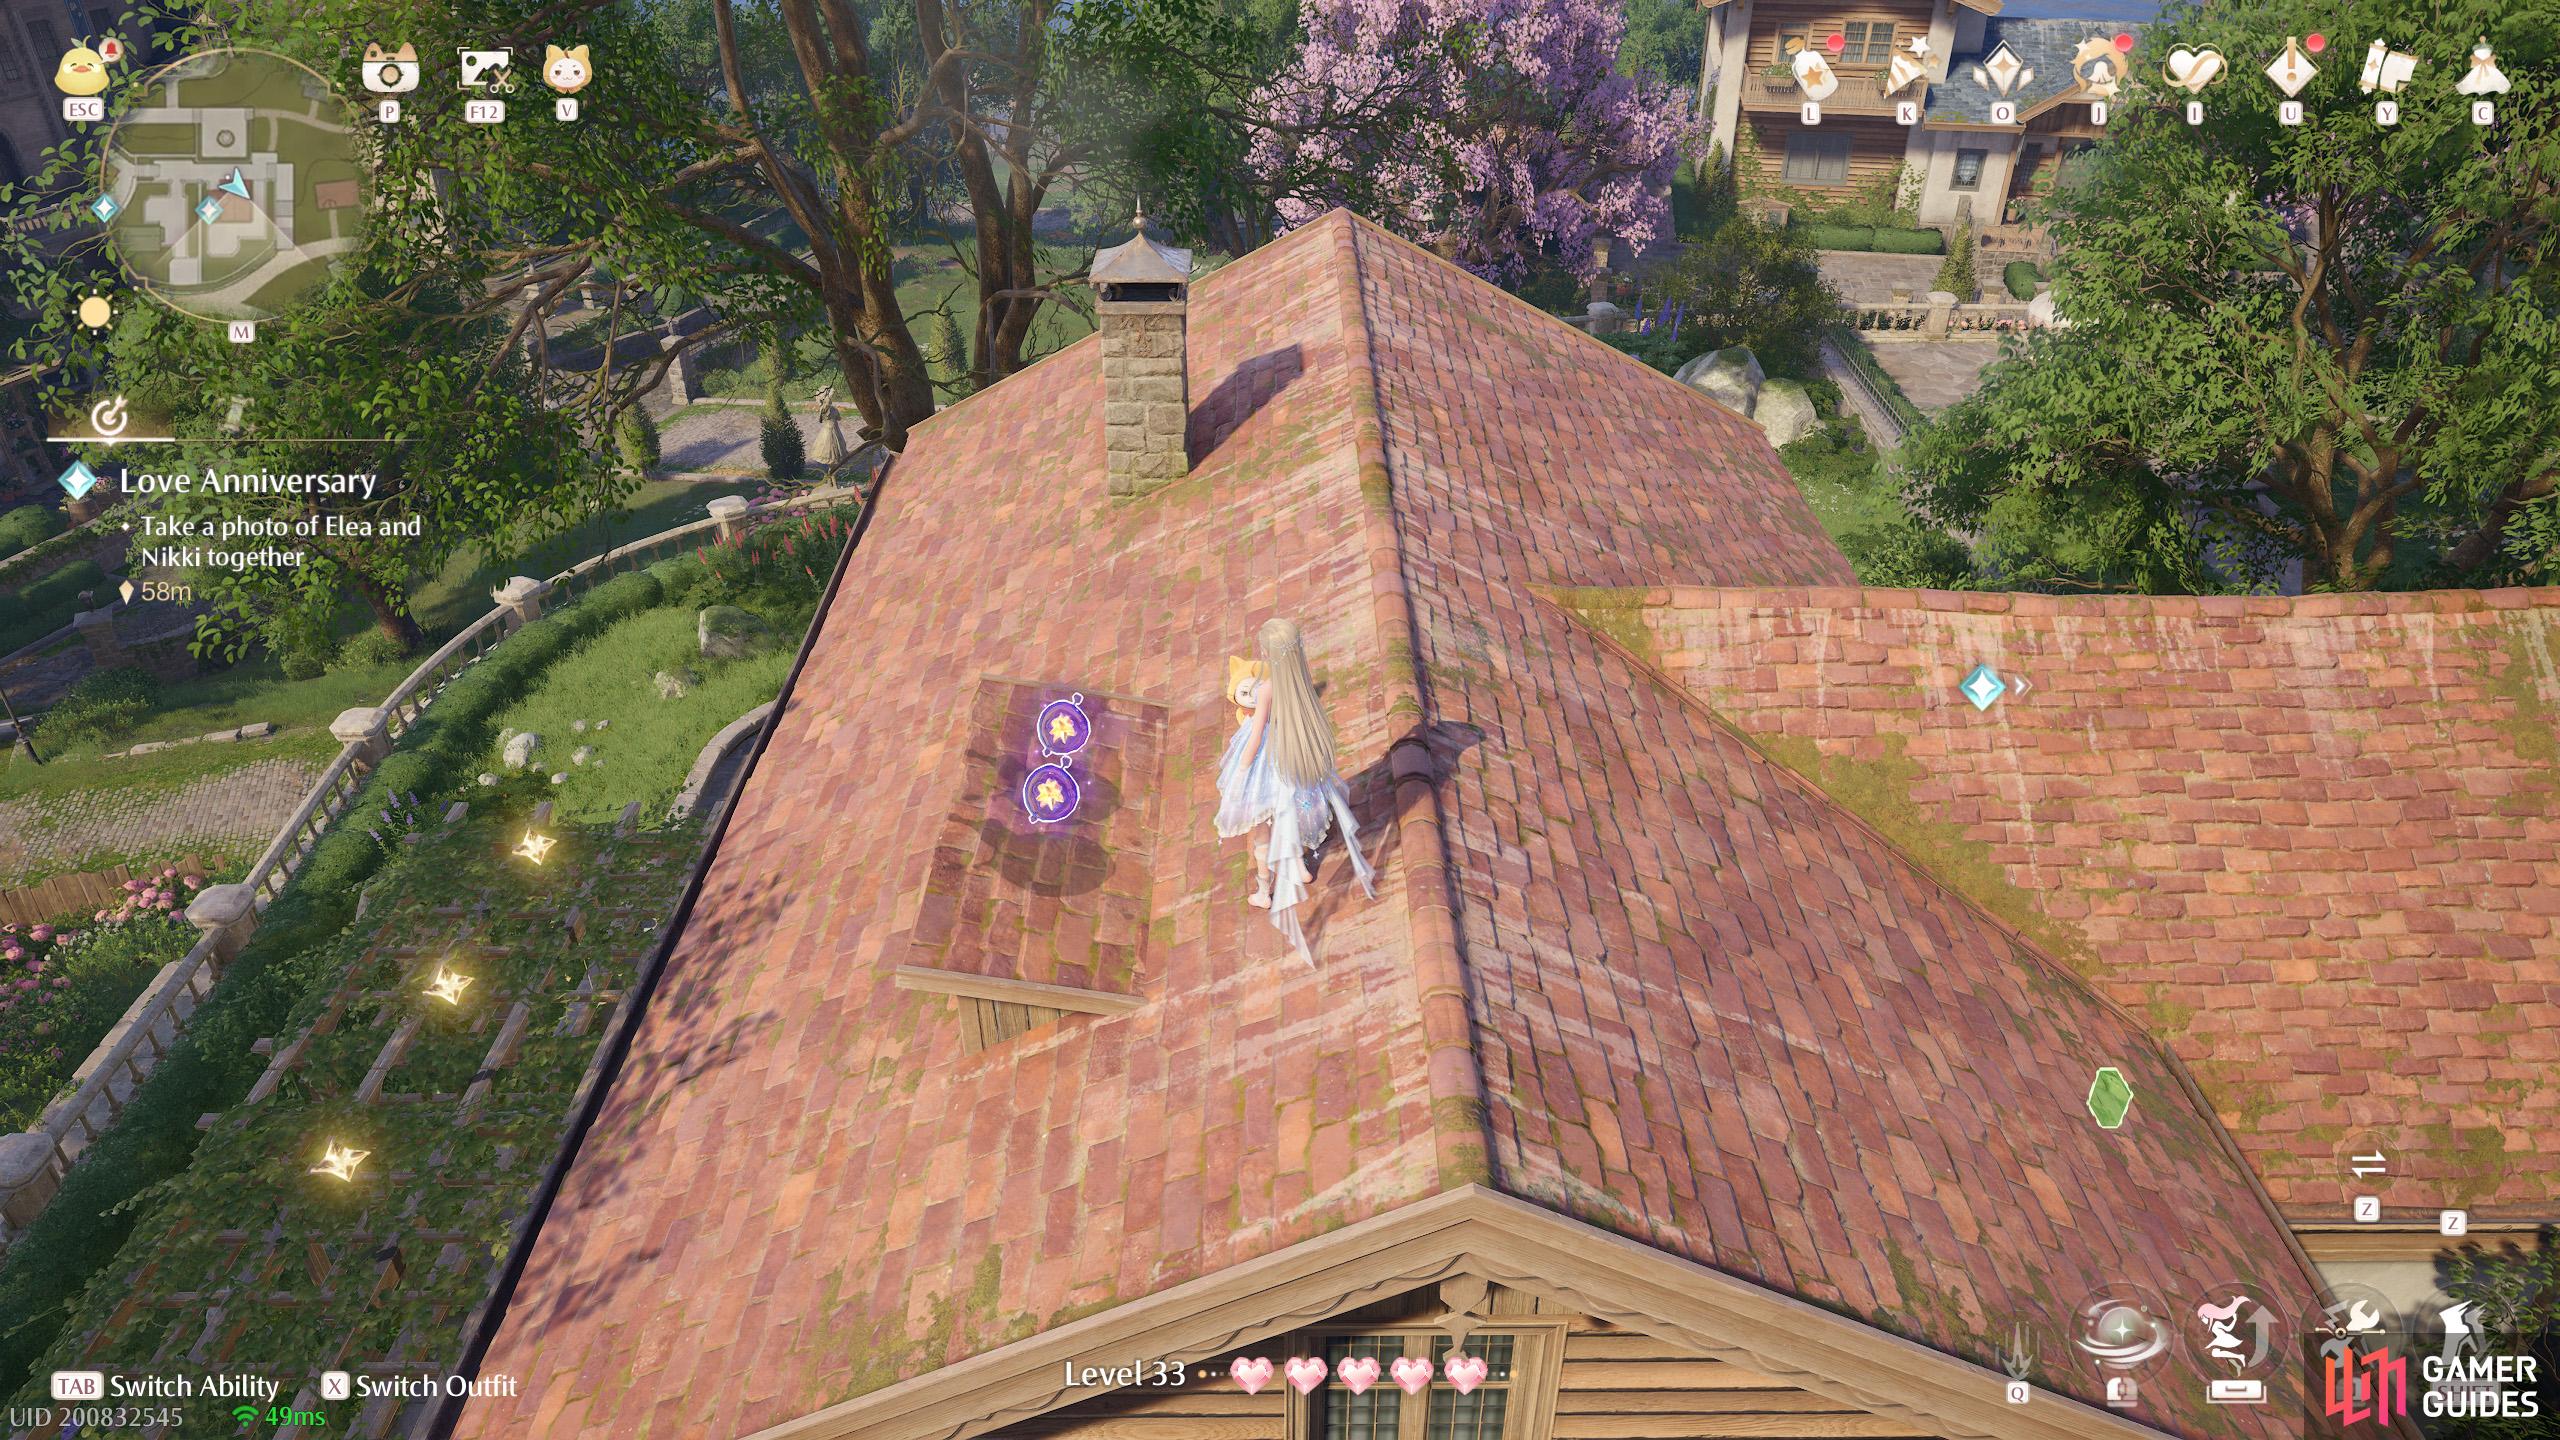
493. Miraland Map
North-west of the ![]() Mayor’s Residence. Two on the roof of a brown-roofed house.
Mayor’s Residence. Two on the roof of a brown-roofed house.
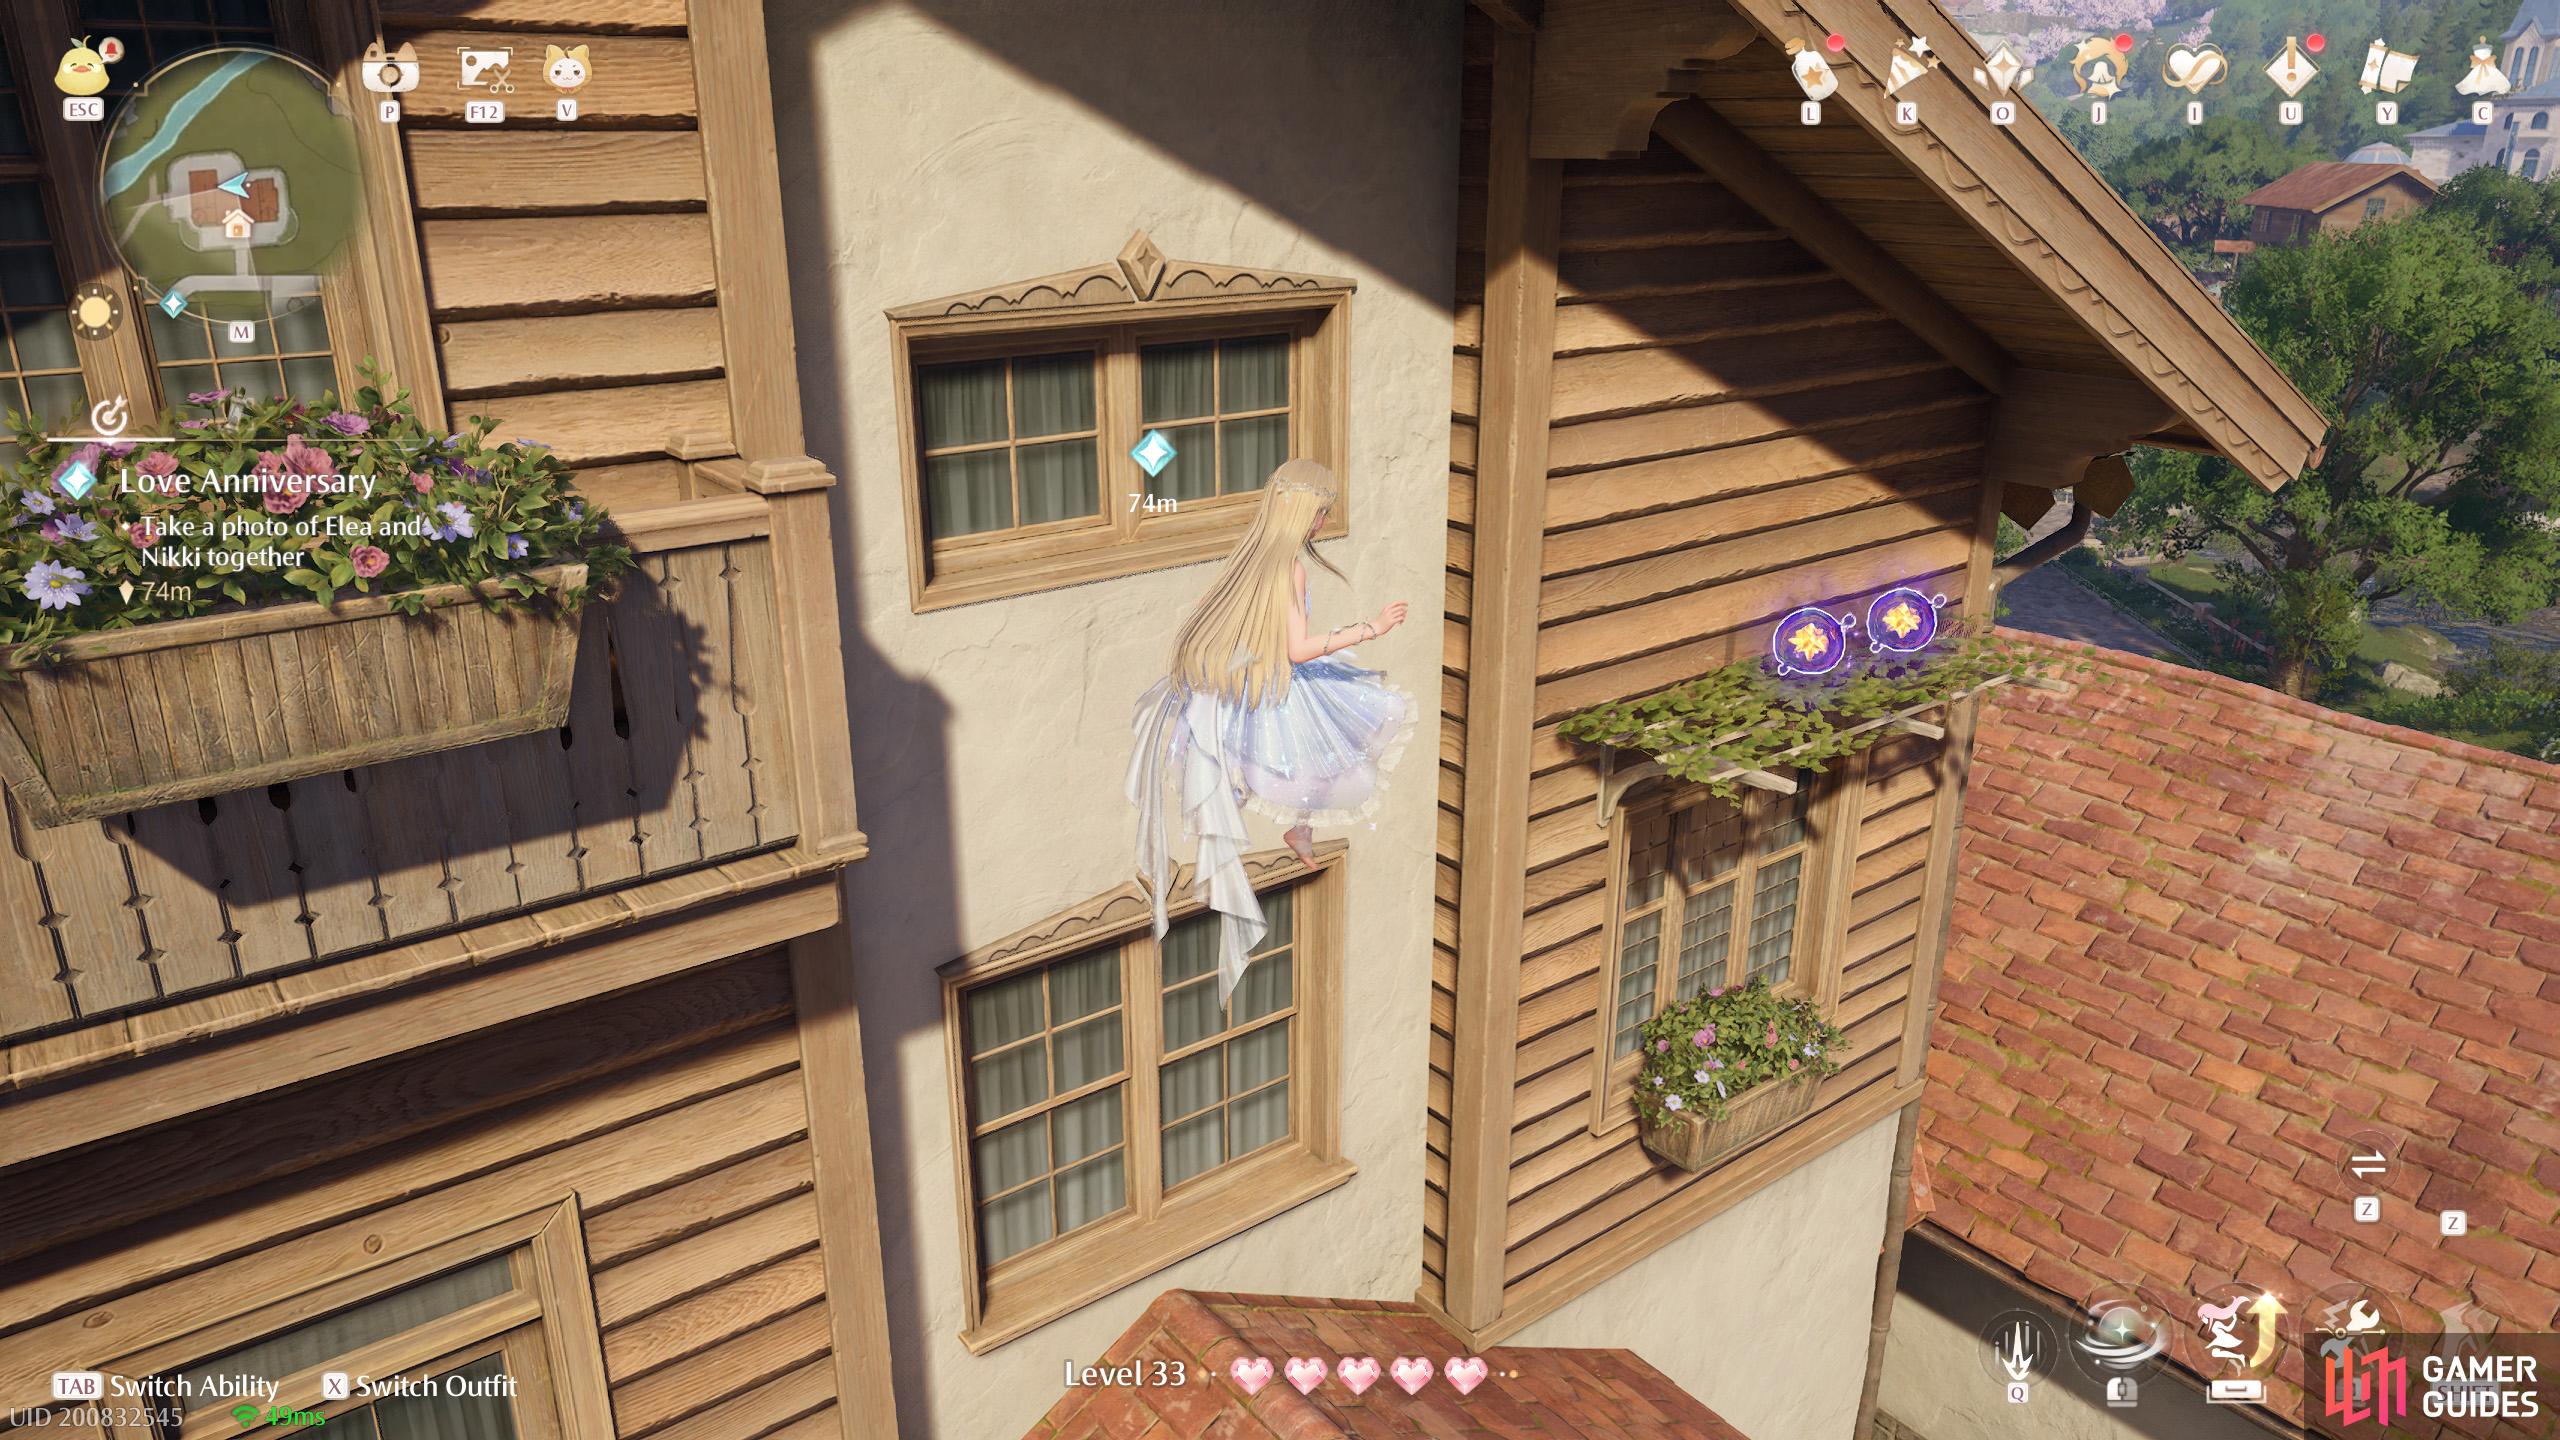

495. Miraland Map
South-east corner of the ![]() Daisy Inn. Two floating high up, above a tree. You can reach from the rooftop of the inn.
Daisy Inn. Two floating high up, above a tree. You can reach from the rooftop of the inn.

496. Miraland Map
North-east of the ![]() Mayor’s Residence. Two floating high up, near a ledge.
Mayor’s Residence. Two floating high up, near a ledge.
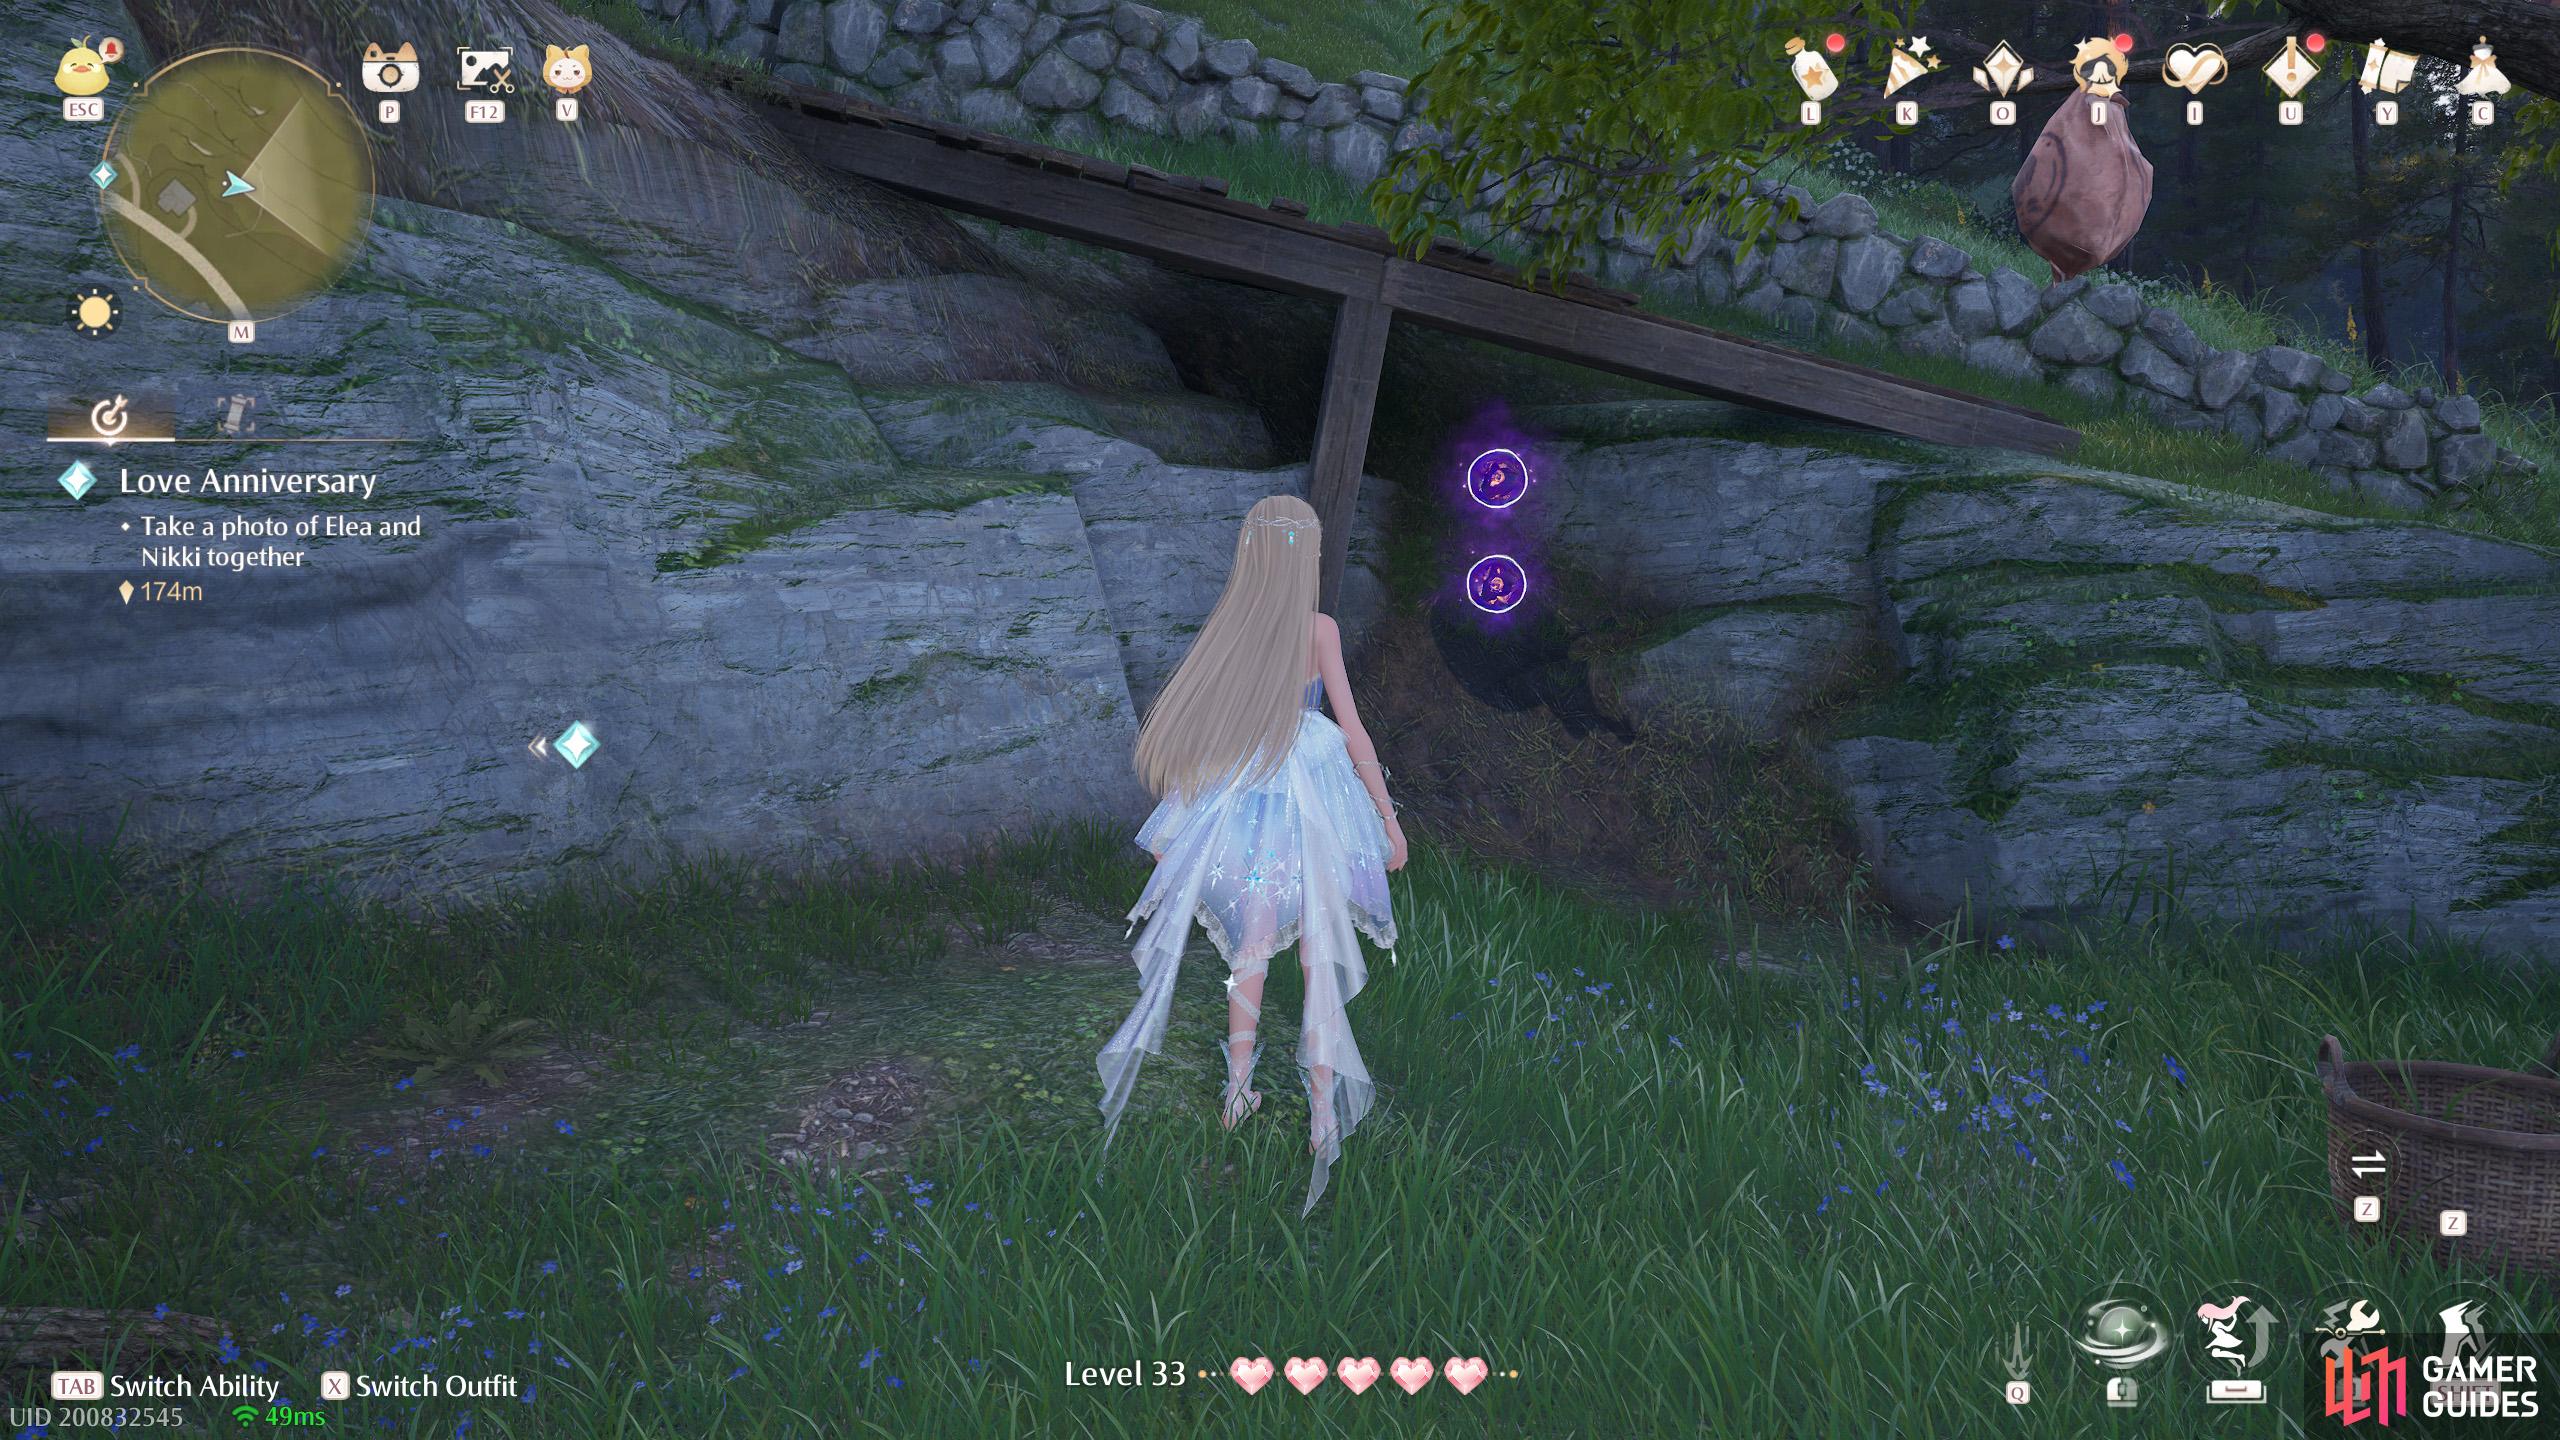
497. Miraland Map
North-east from the ![]() Mayor’s Residence. Two under a small plank bridge.
Mayor’s Residence. Two under a small plank bridge.

498. Miraland Map
East from the ![]() Mayor’s Residence. Two floating near the west side of the tall ledge.
Mayor’s Residence. Two floating near the west side of the tall ledge.
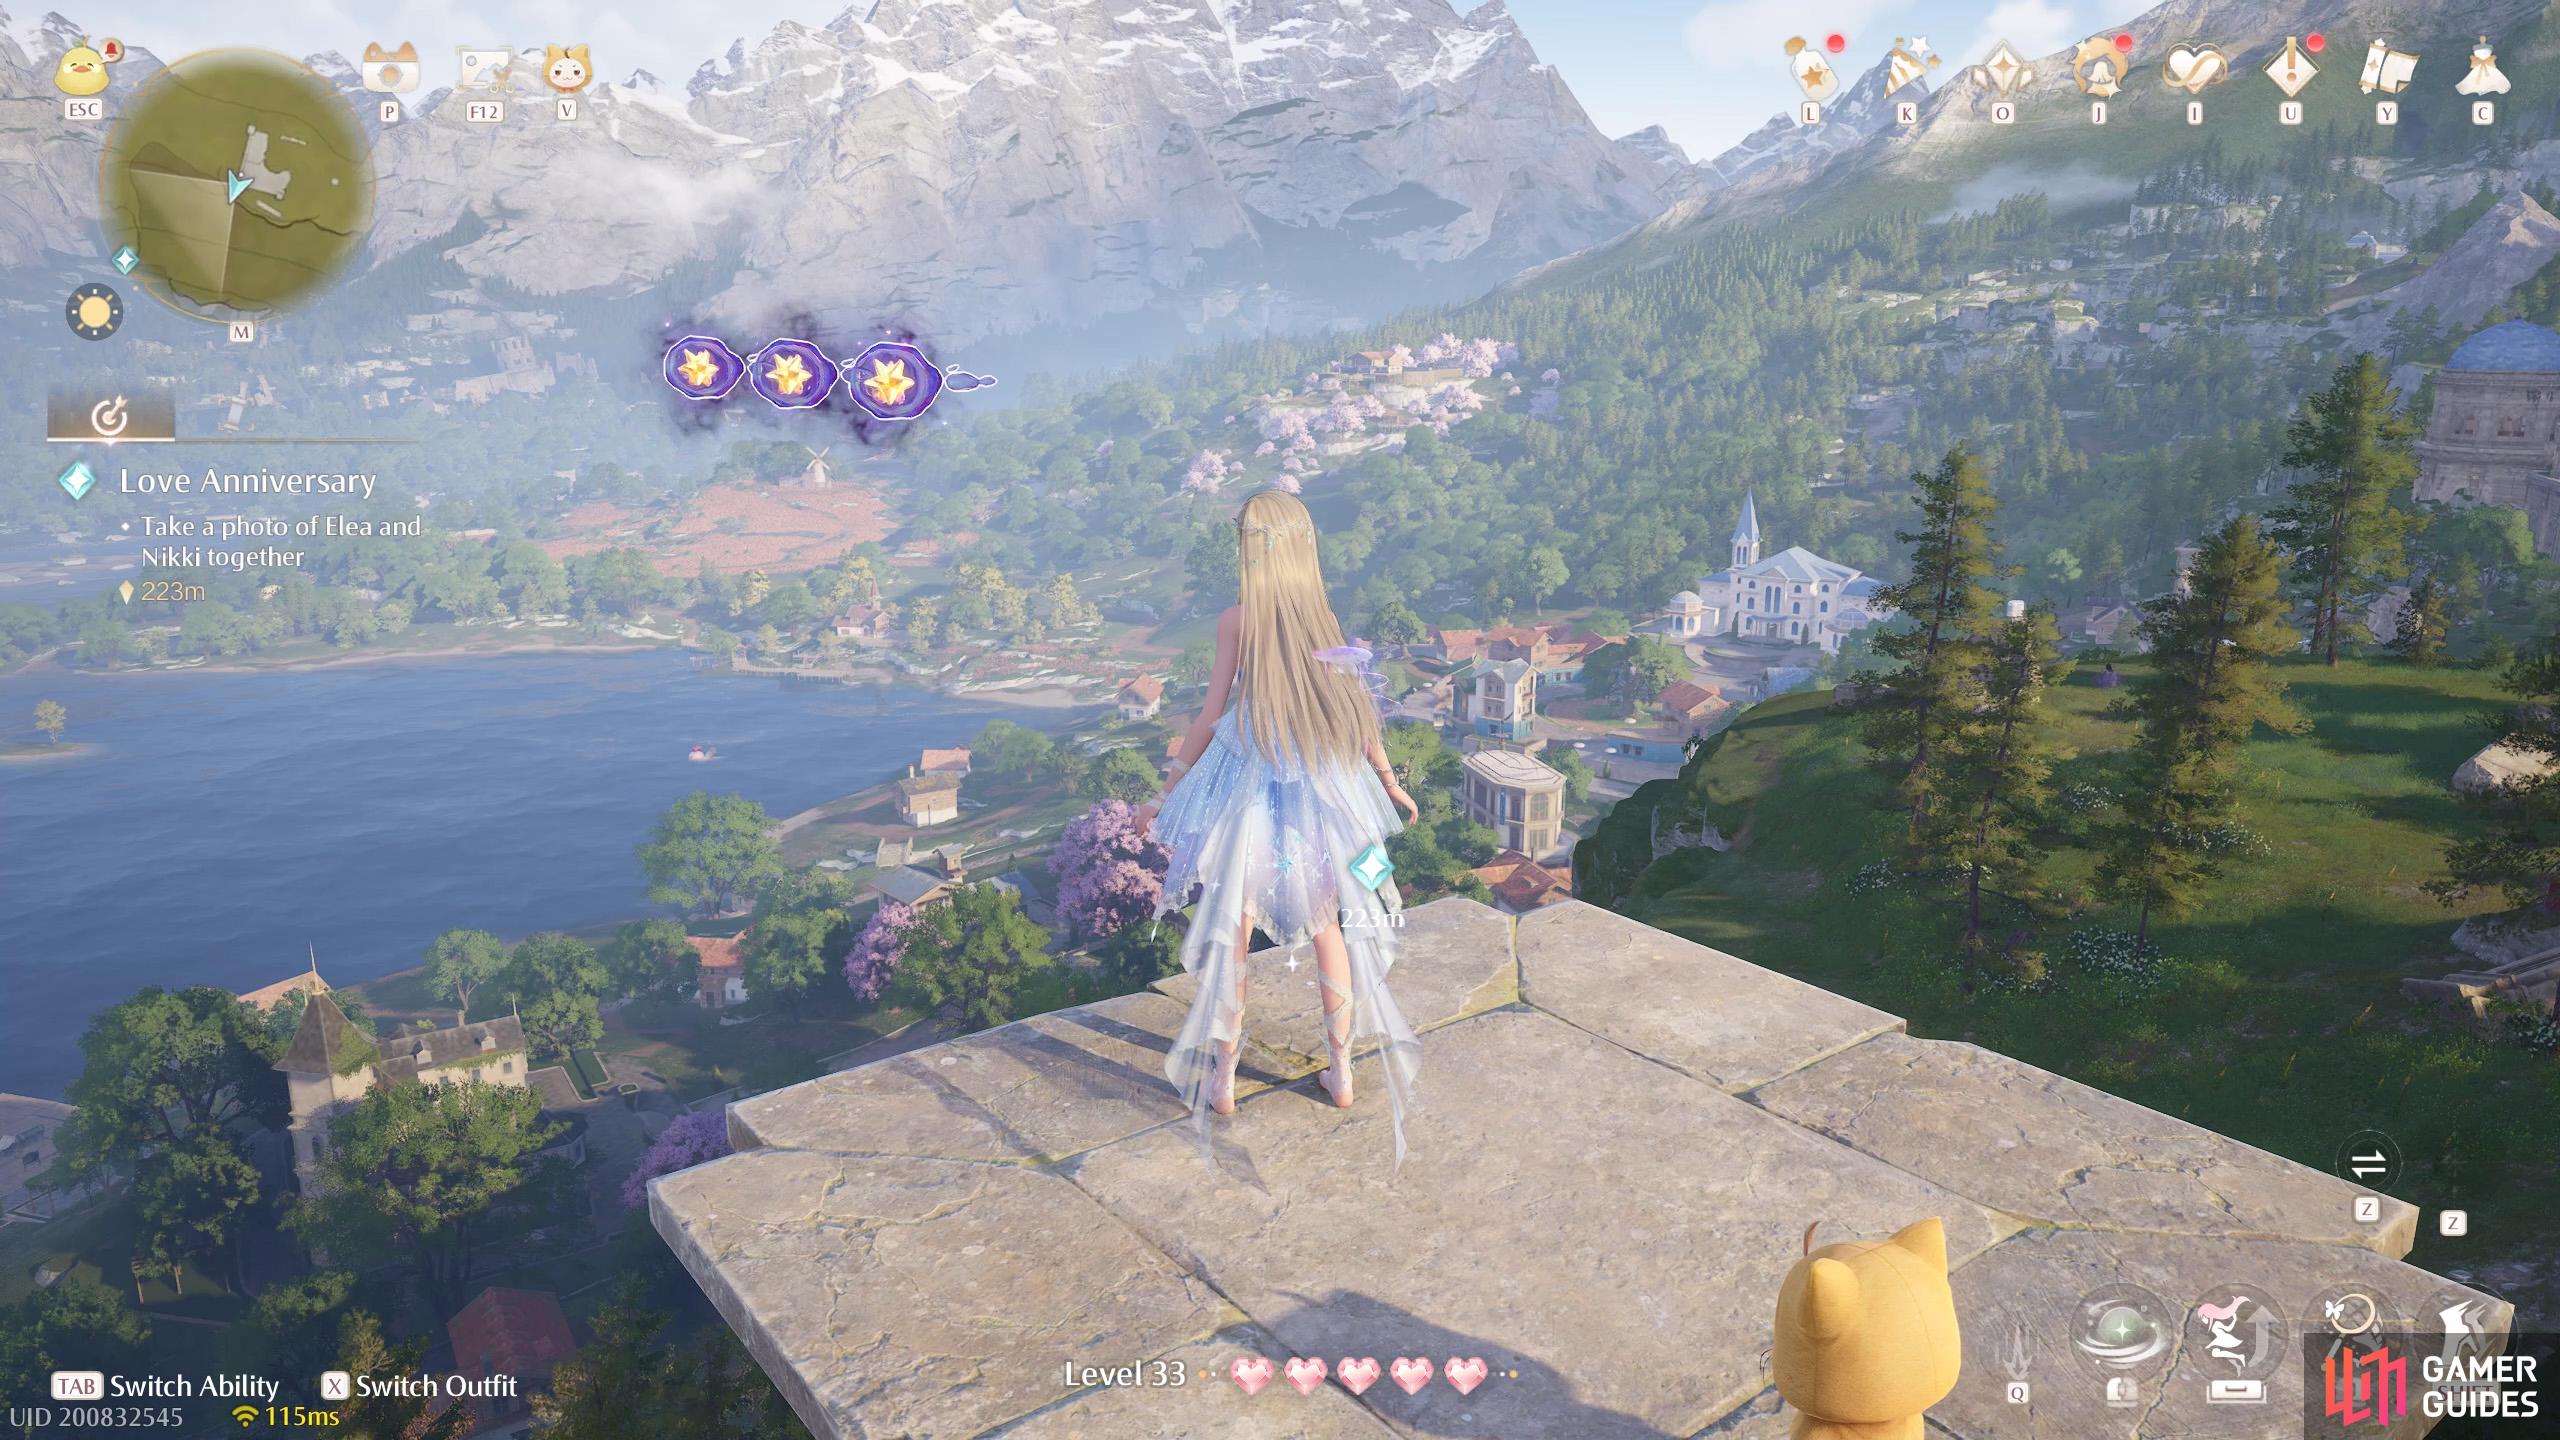
499. Miraland Map
South-east from the ![]() Well of Fortune. Small ruins near a ledge overlooking the
Well of Fortune. Small ruins near a ledge overlooking the ![]() Mayor’s Residence. Three floating near the south-west corner, on the upper level.
Mayor’s Residence. Three floating near the south-west corner, on the upper level.
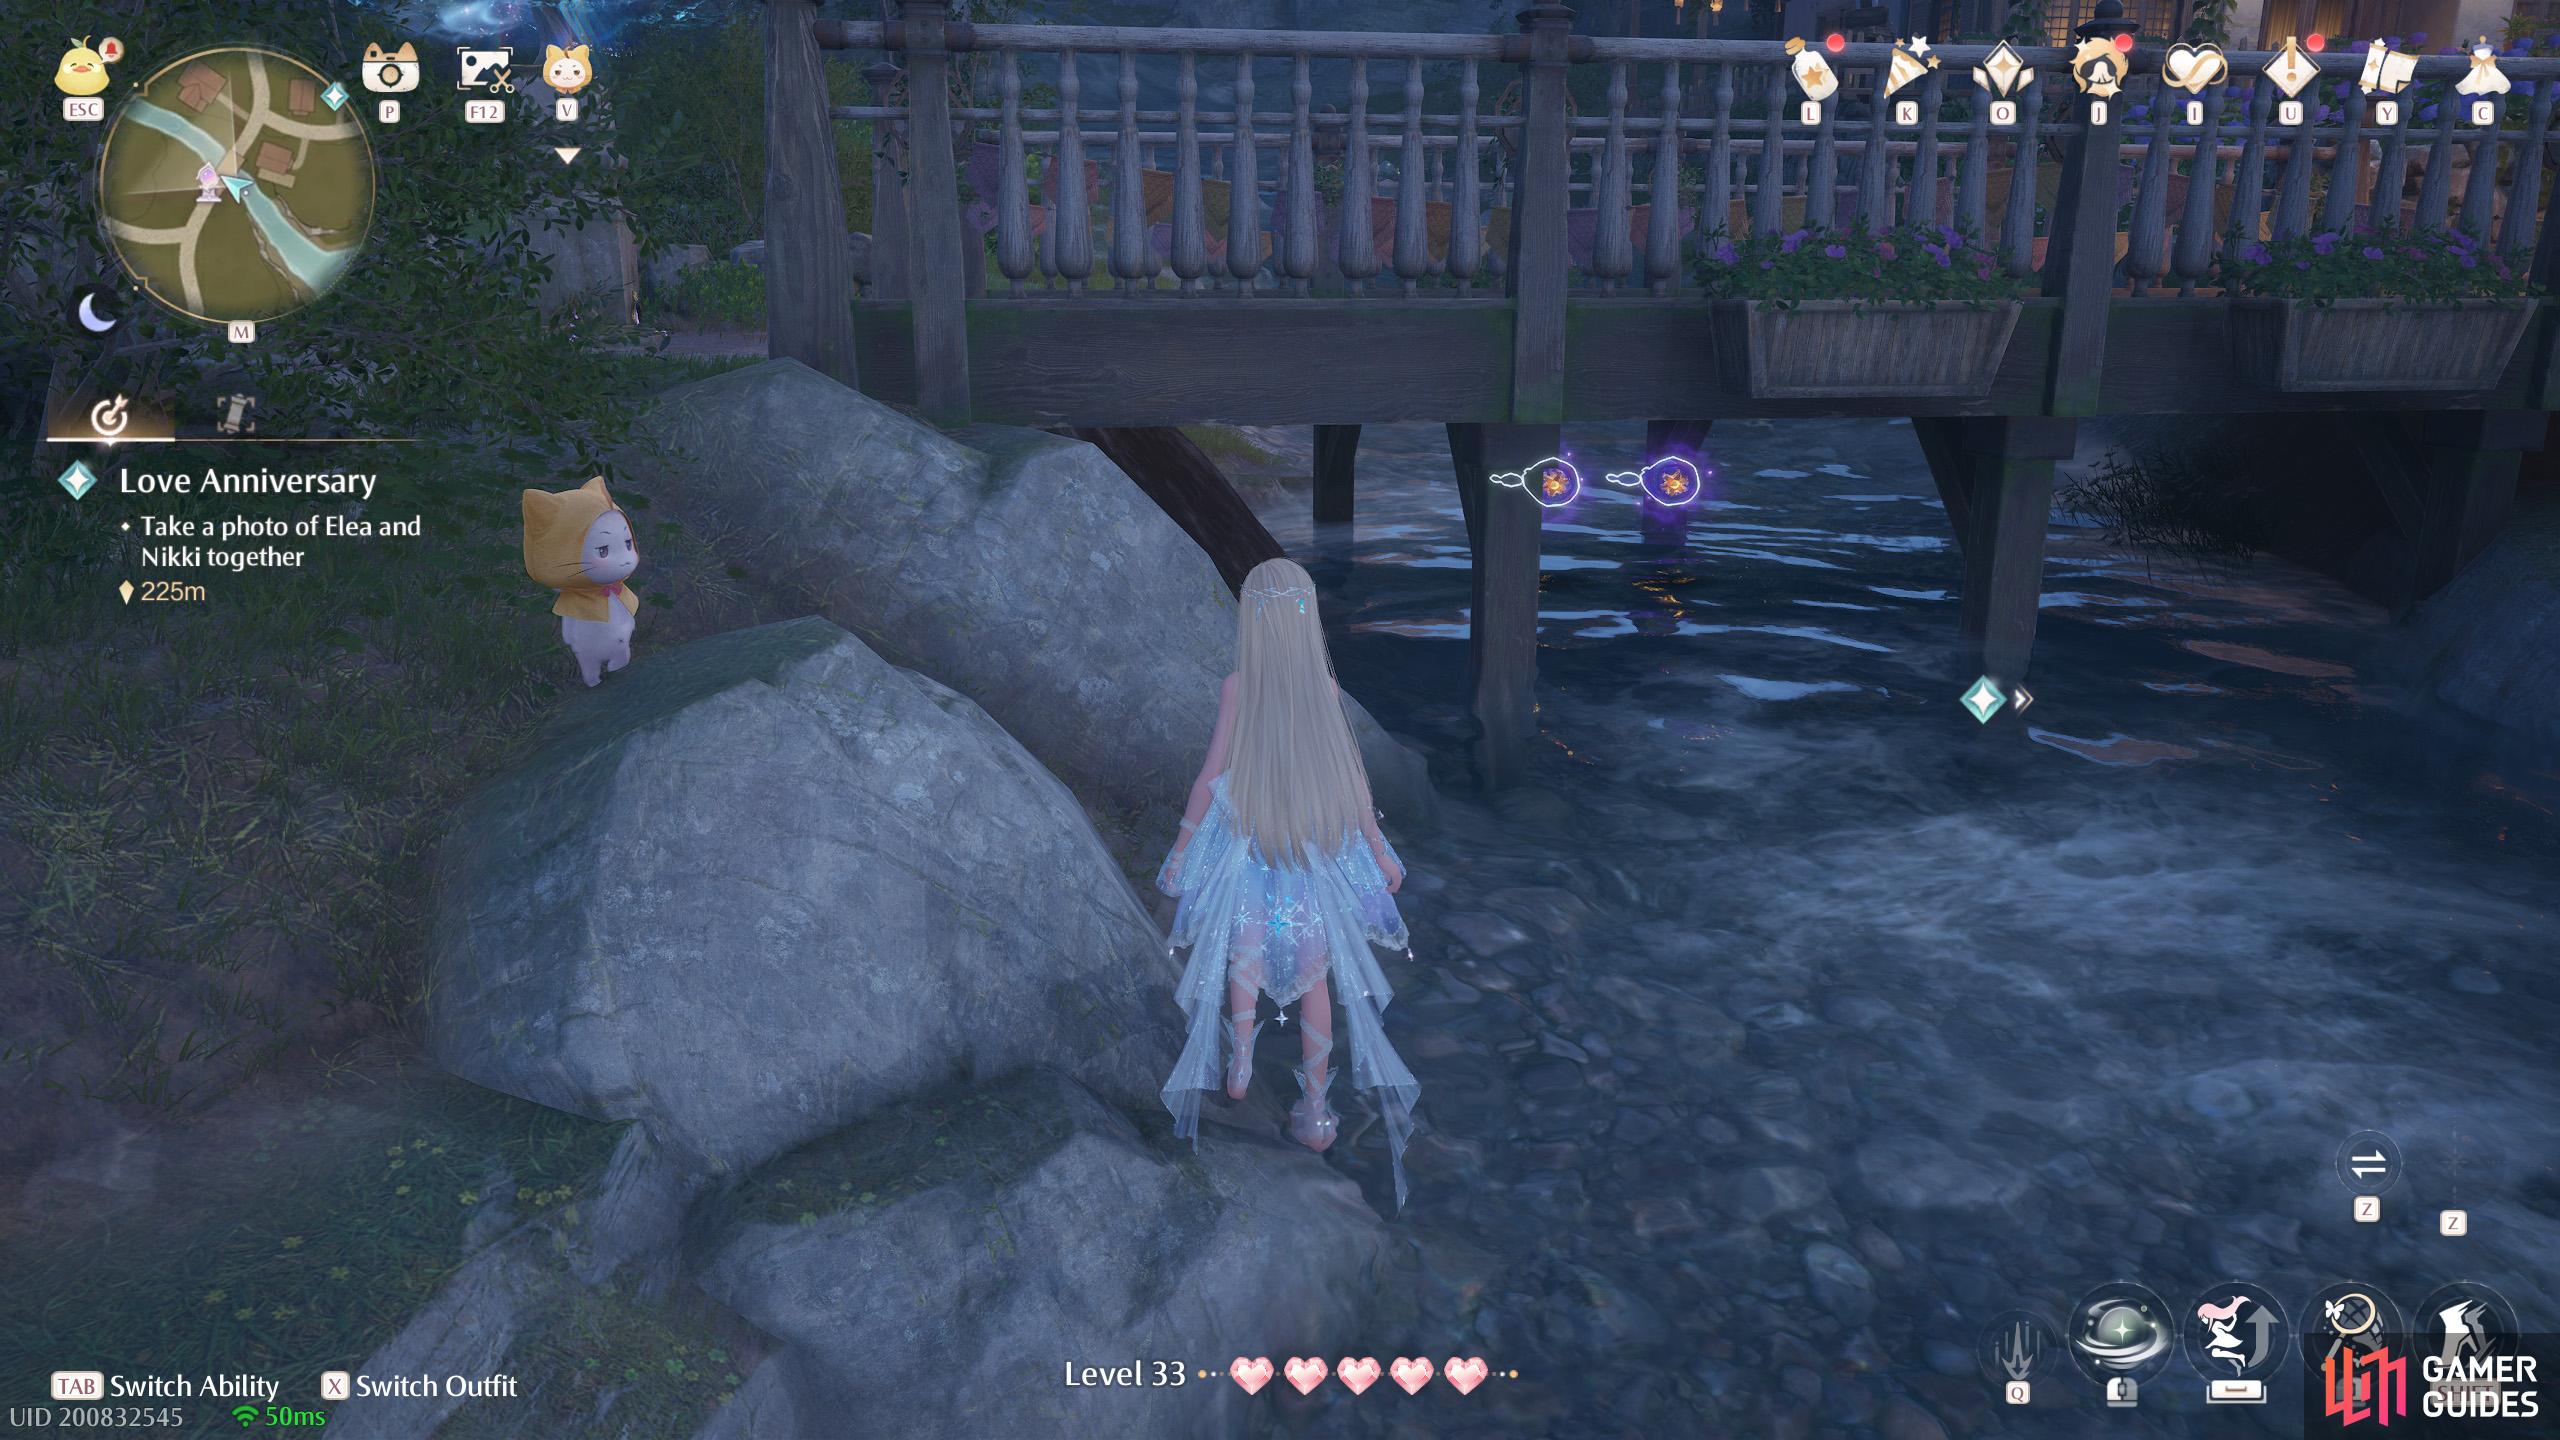
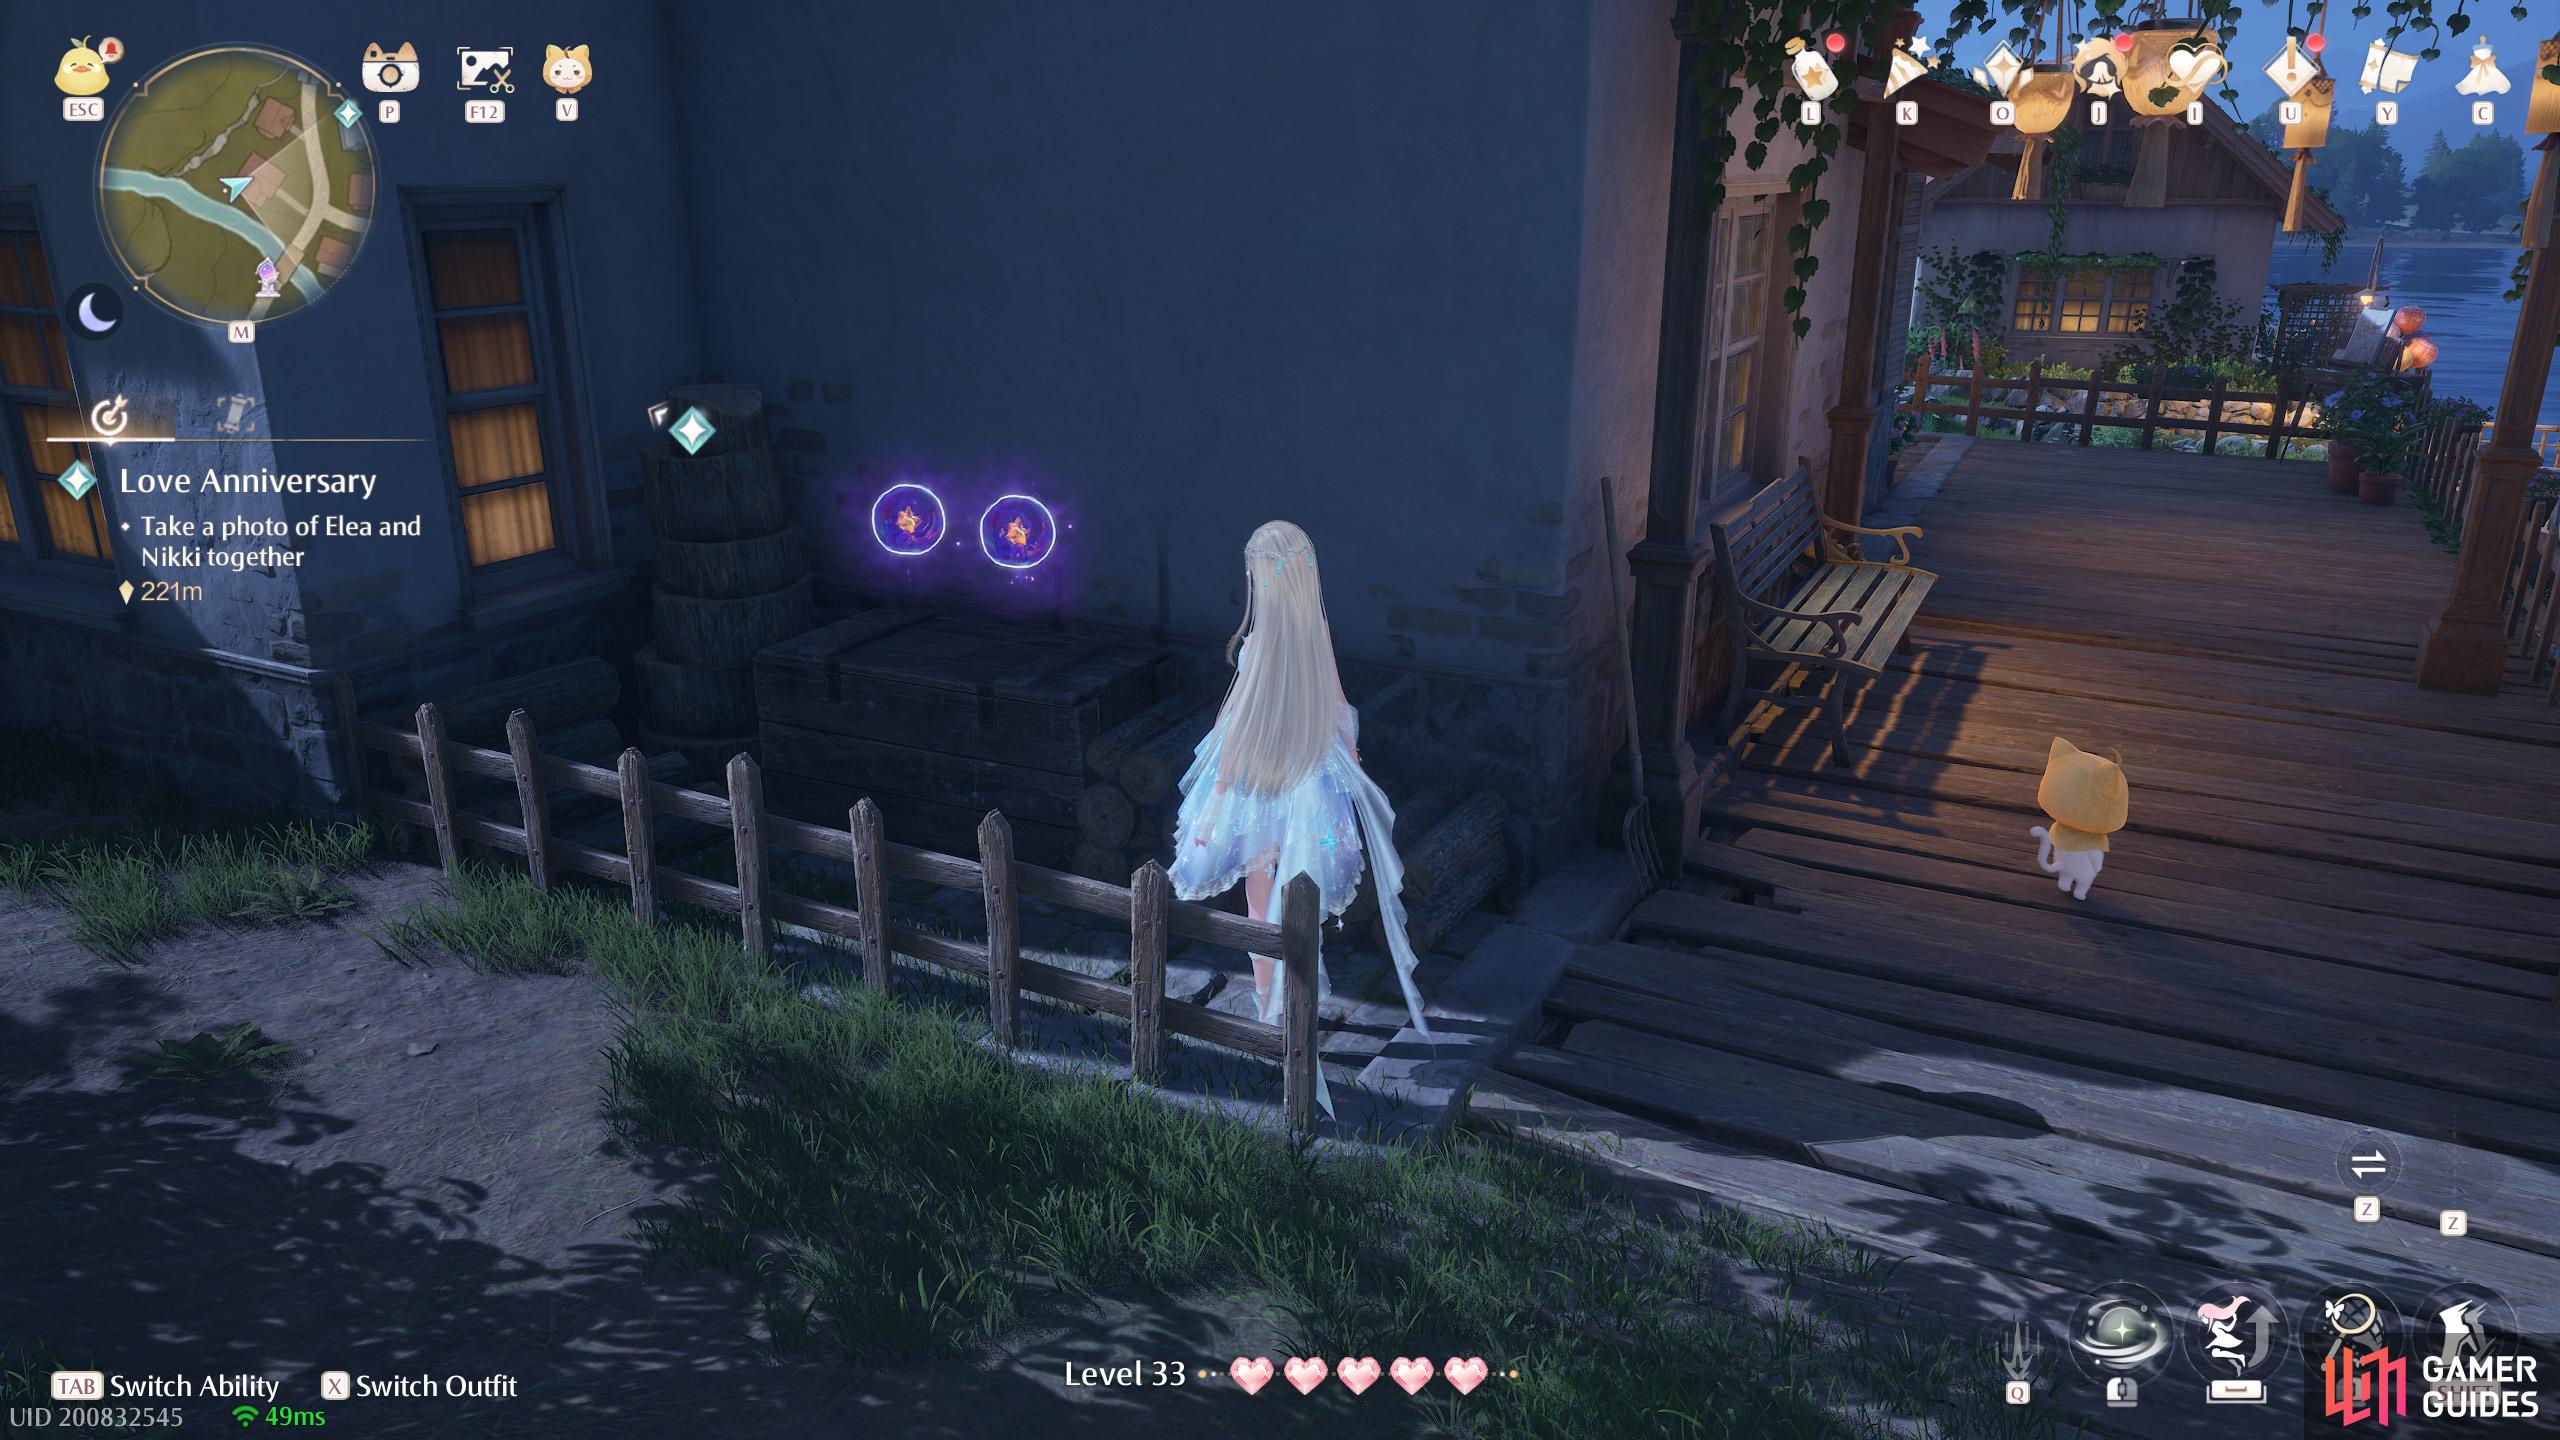
501. Miraland Map
Short distance north of ![]() Florawish Lane. Two at the back corner of a house.
Florawish Lane. Two at the back corner of a house.

502. Miraland Map
North-east from the ![]() Stylist’s Guild. Two floating above a tree near a detached house. You can reach from the rooftop.
Stylist’s Guild. Two floating above a tree near a detached house. You can reach from the rooftop.
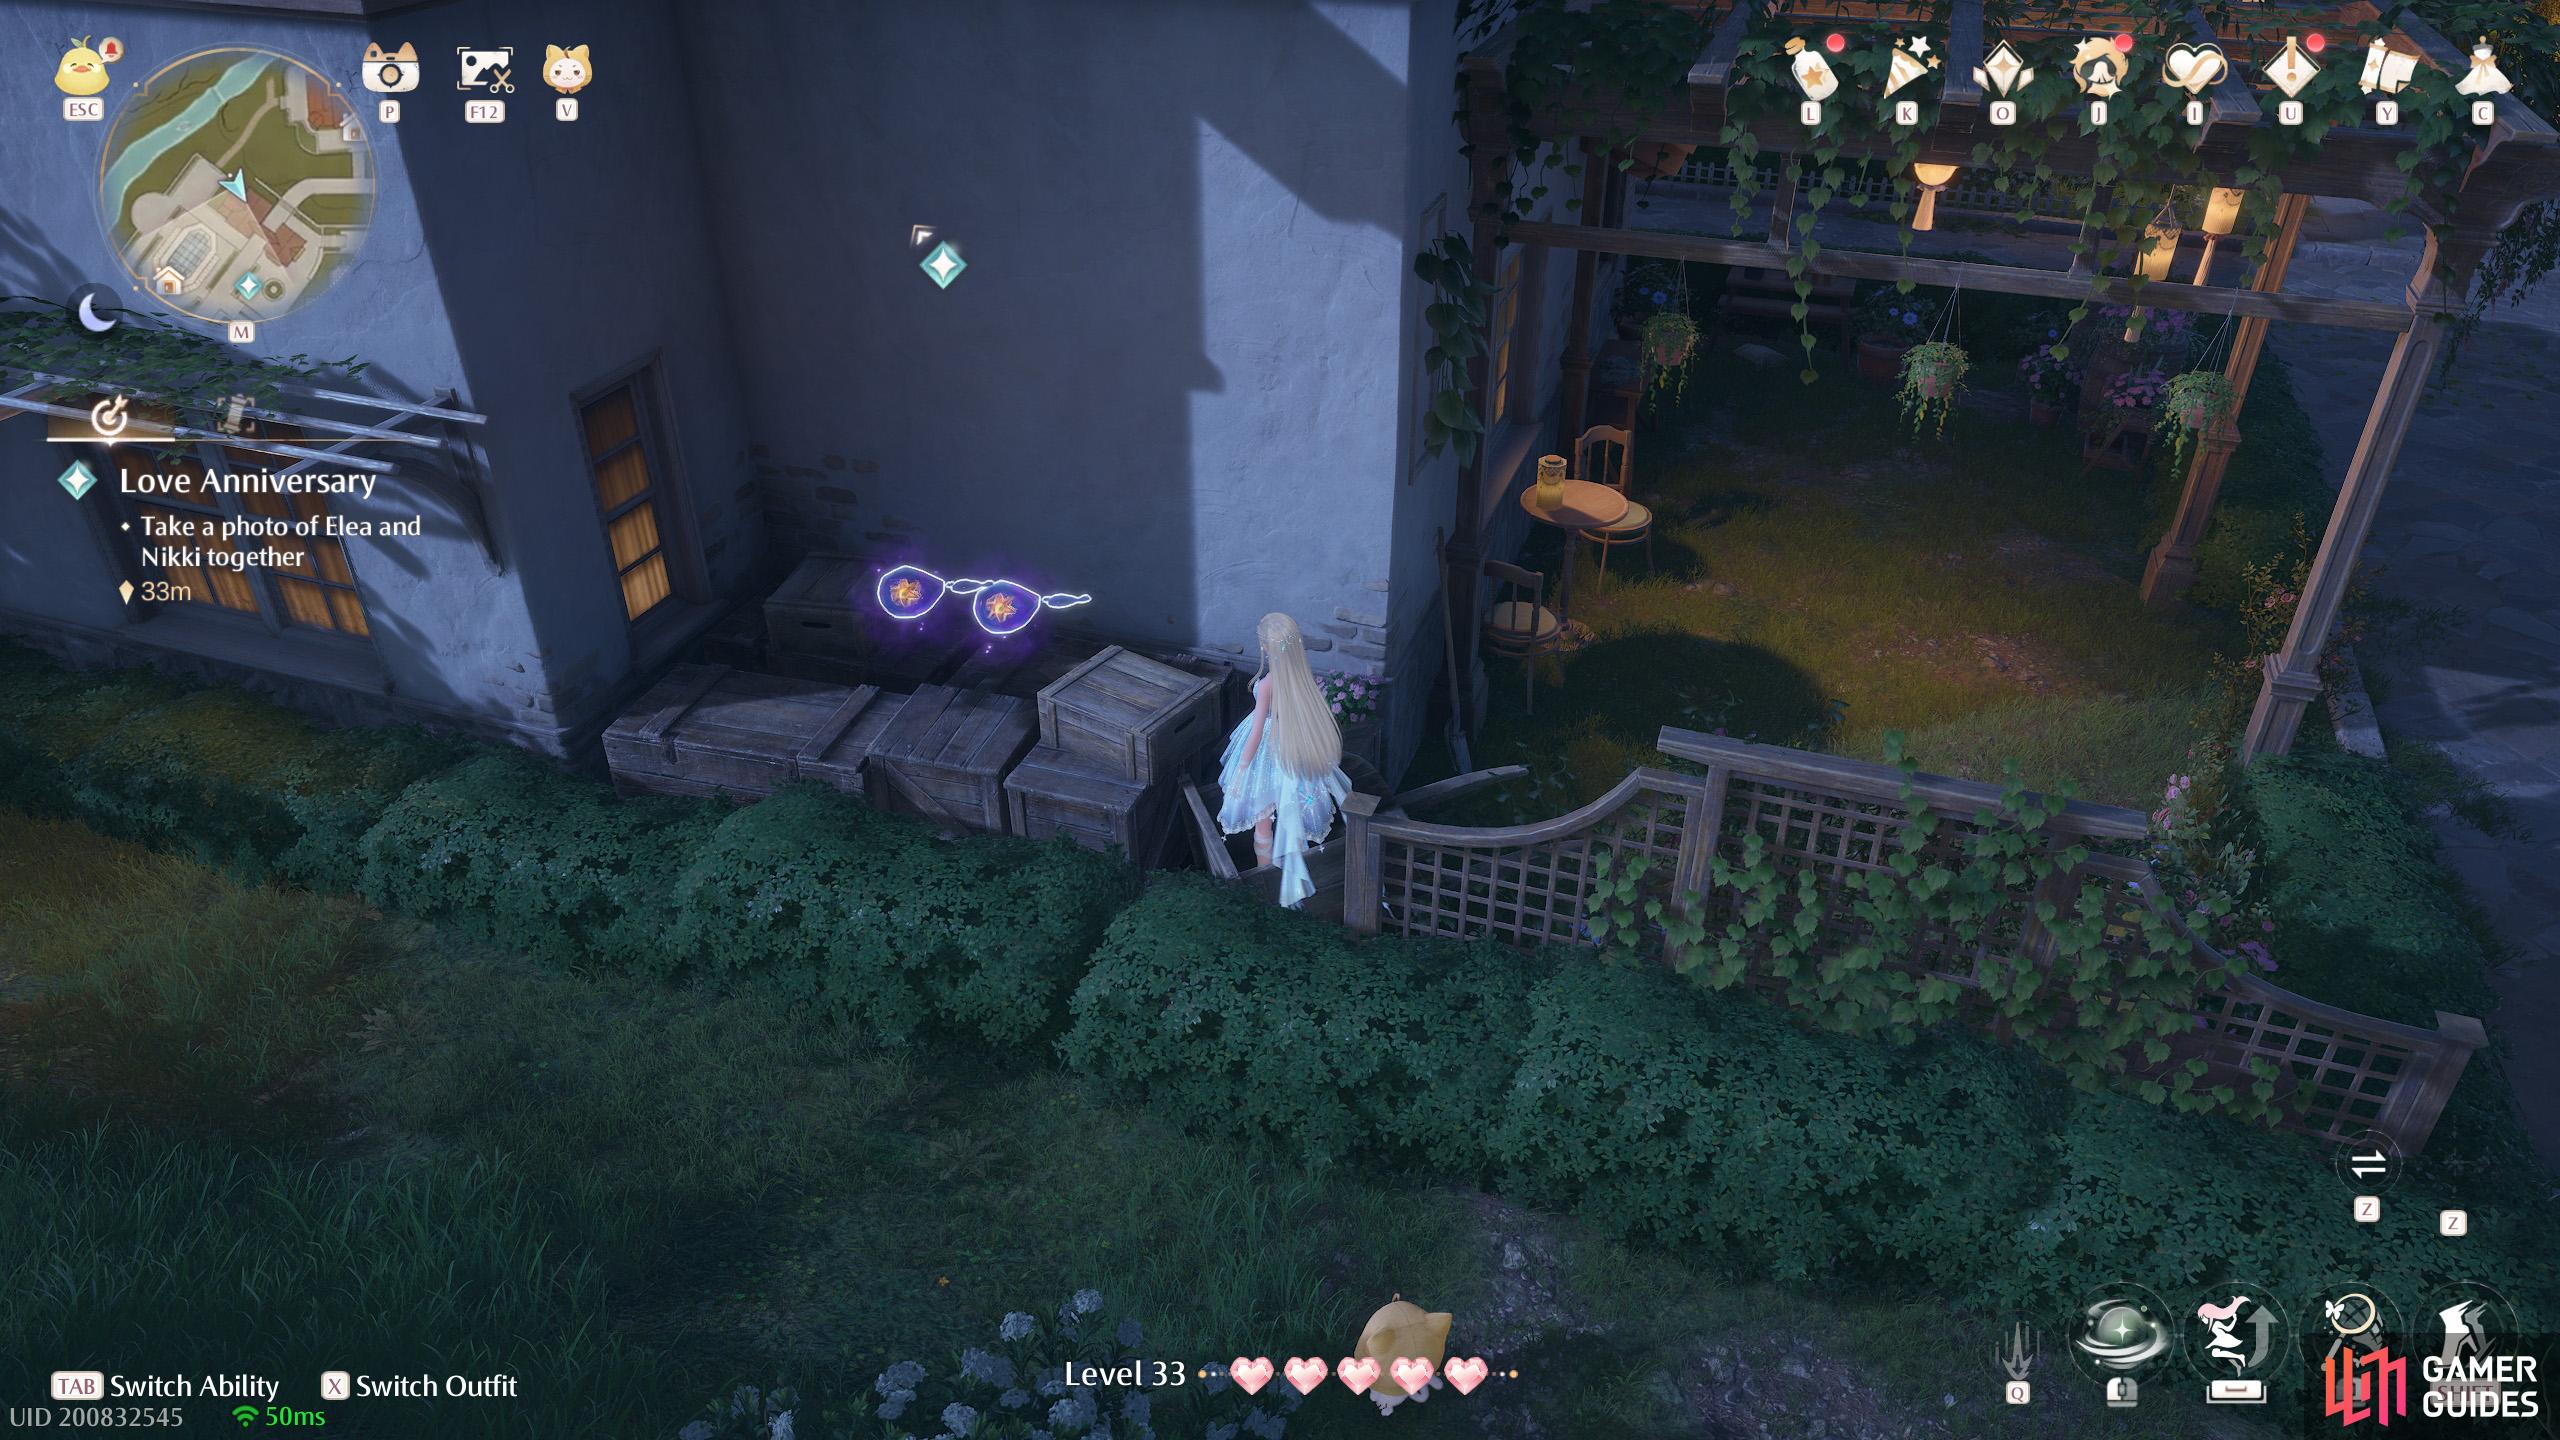
503. Miraland Map
Short distance north-east from ![]() Ray and Wing’s. Two at the back of a house.
Ray and Wing’s. Two at the back of a house.
504. Miraland Map
Short distance north-west from ![]() Dream Warehouse Rooftop. Two underneath one of the tall stone arches.
Dream Warehouse Rooftop. Two underneath one of the tall stone arches.
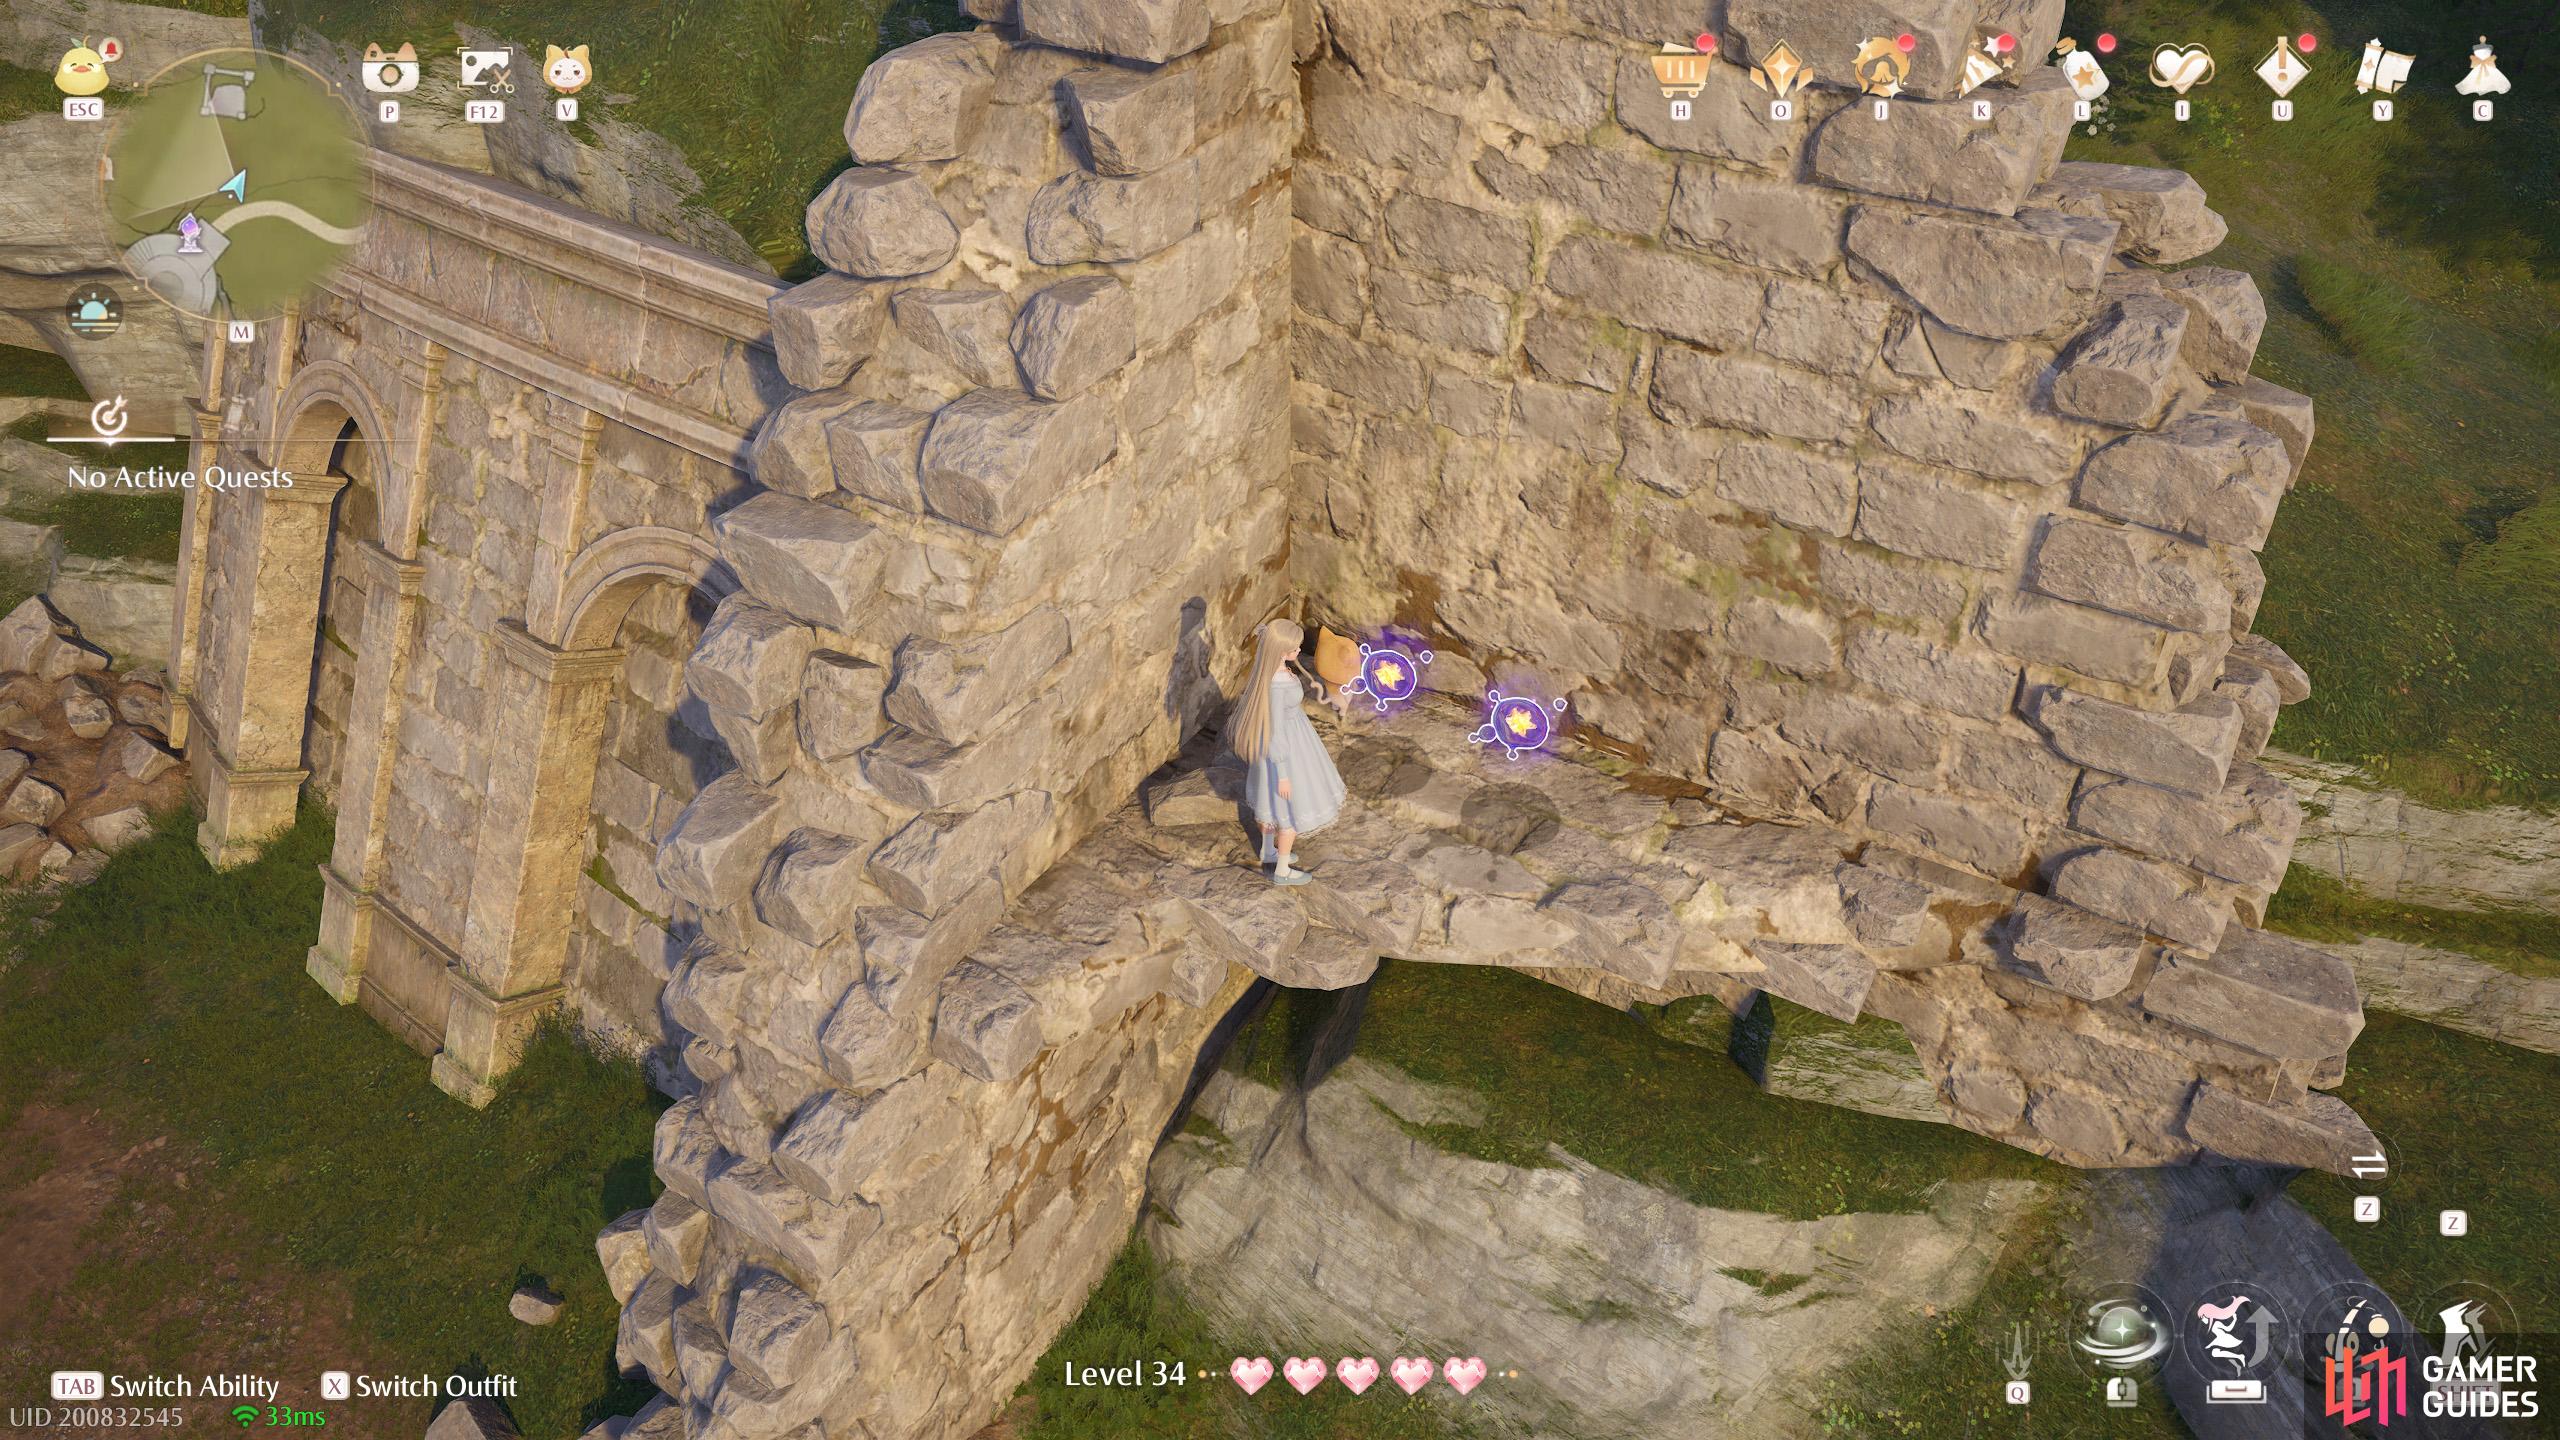
505. Miraland Map
Short distance north-east from the ![]() Secret Base. Two in the corner of a small ruin, on a higher ledge.
Secret Base. Two in the corner of a small ruin, on a higher ledge.
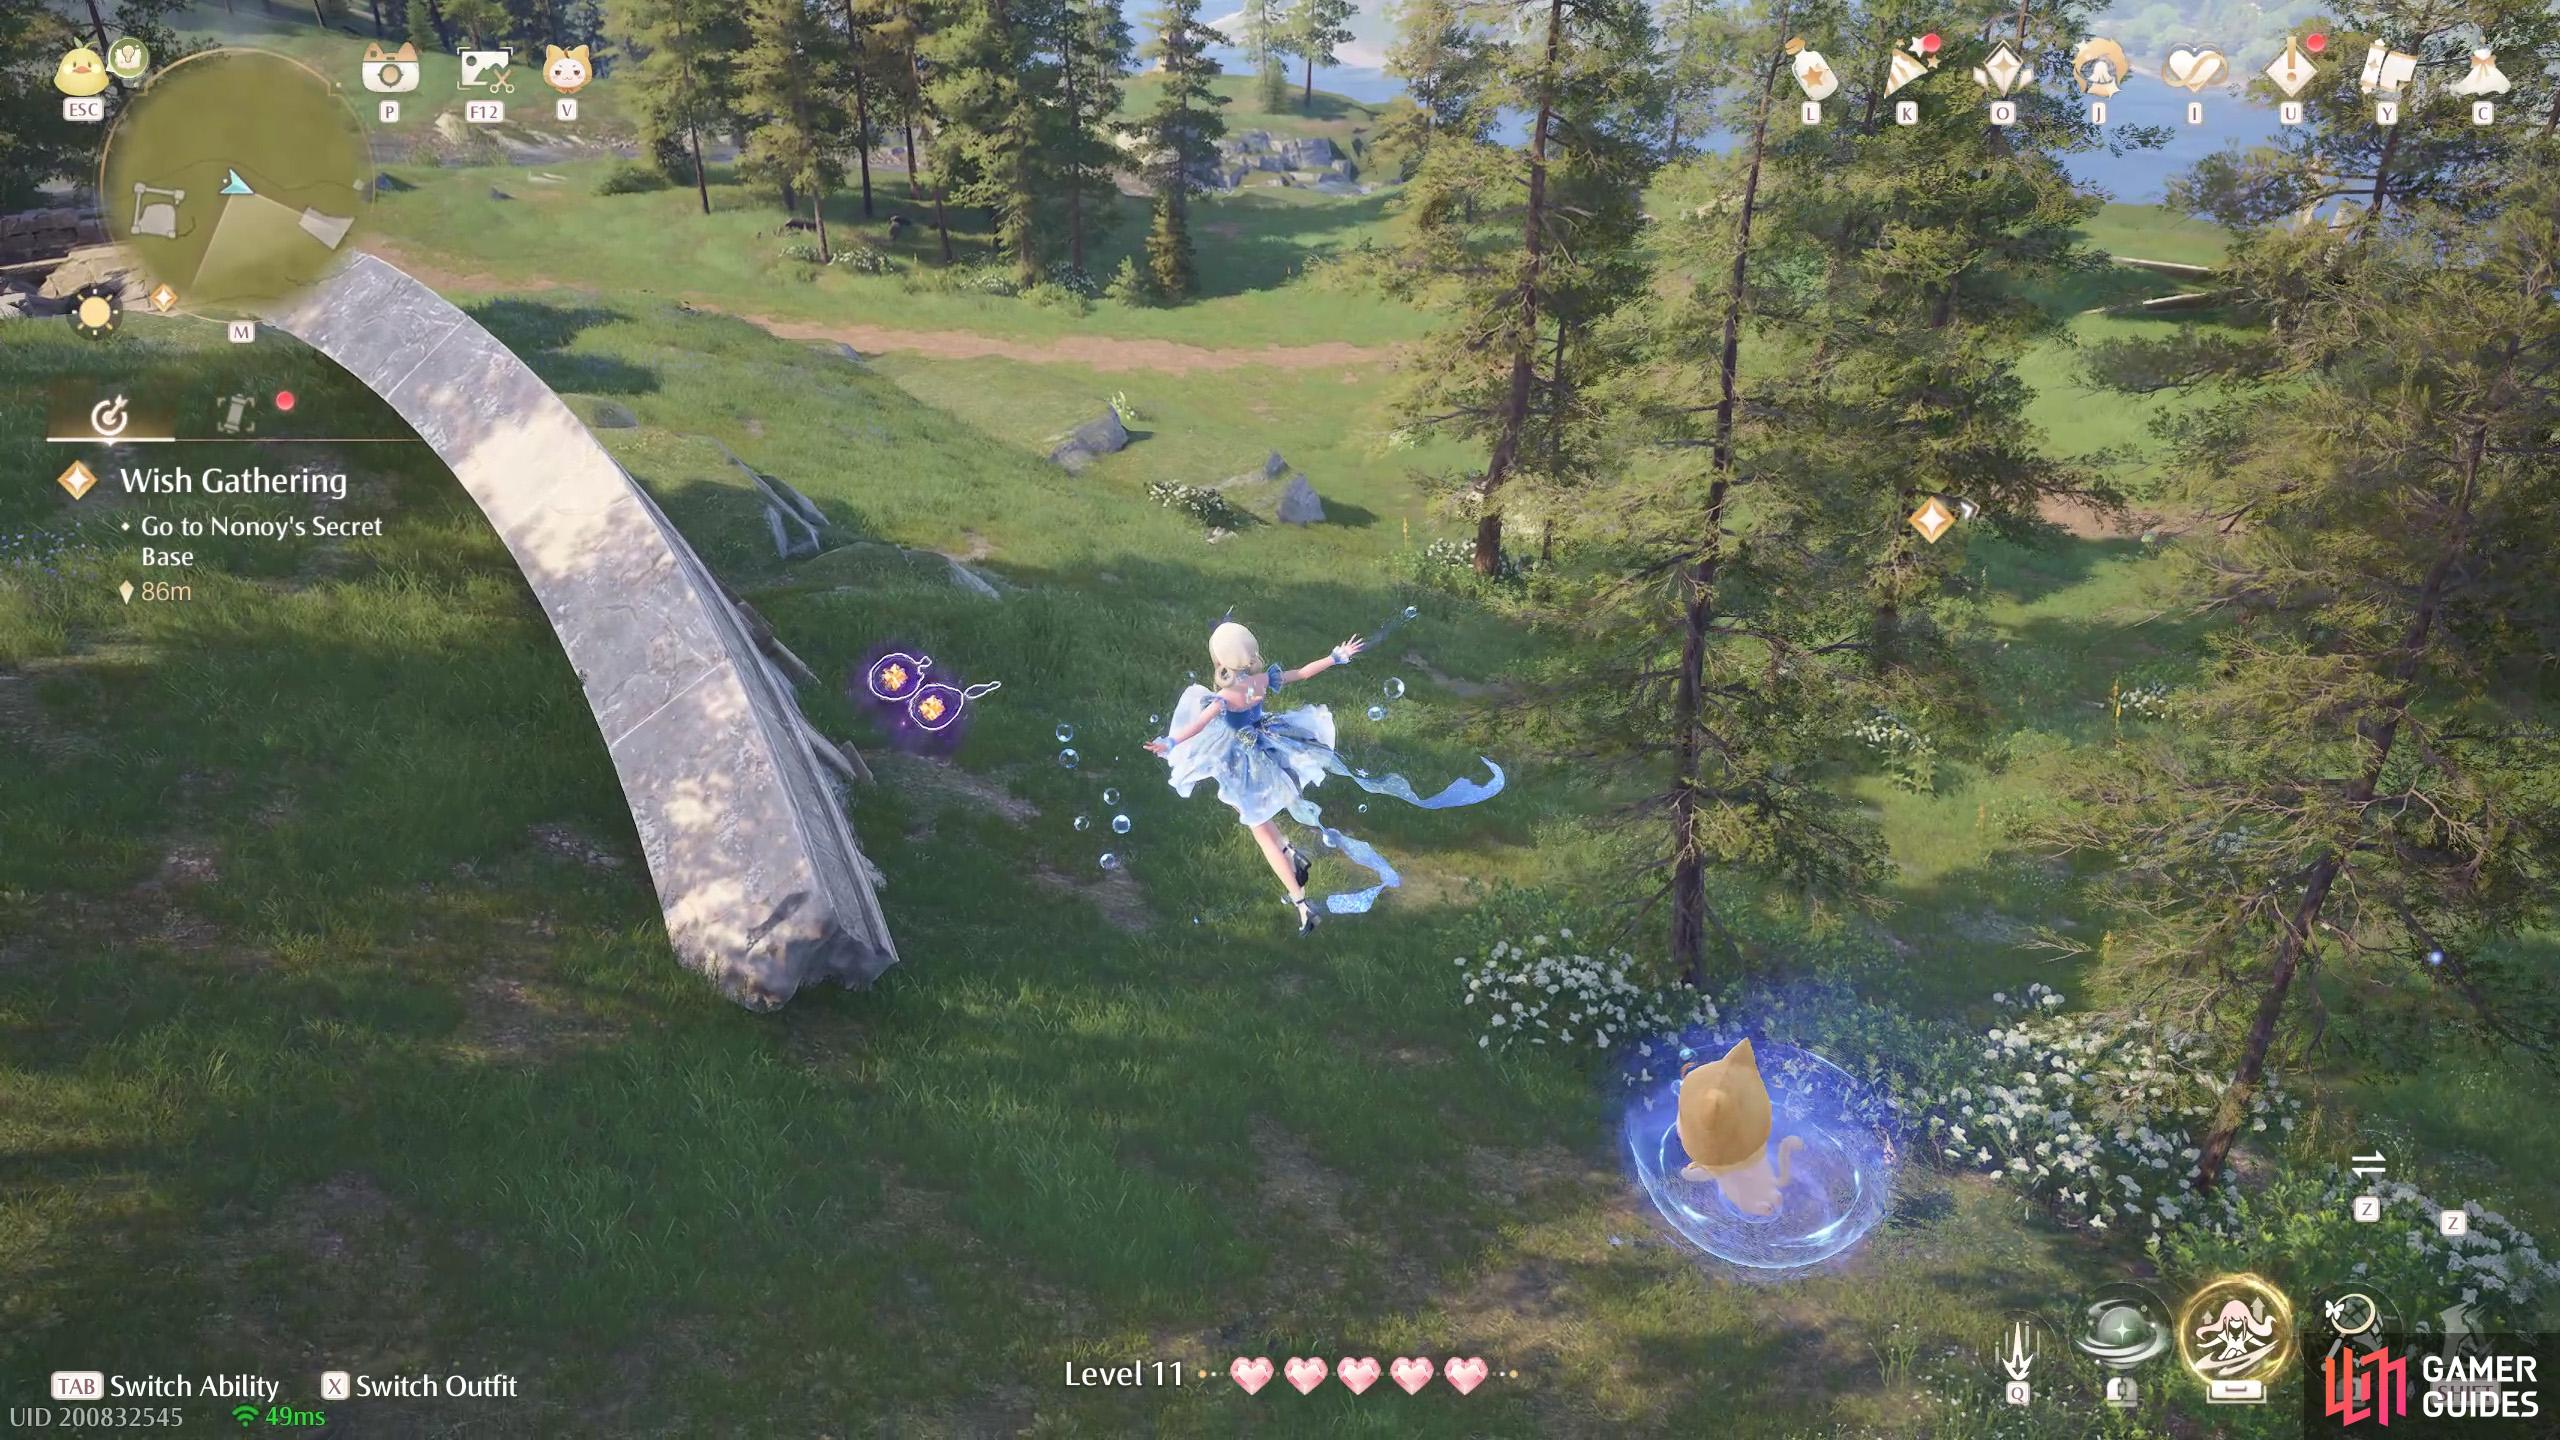
506. Miraland Map
North-east from the ![]() Secret Base. Two near the side of a collapsed wall. There are a few
Secret Base. Two near the side of a collapsed wall. There are a few ![]() Grasspoms nearby.
Grasspoms nearby.
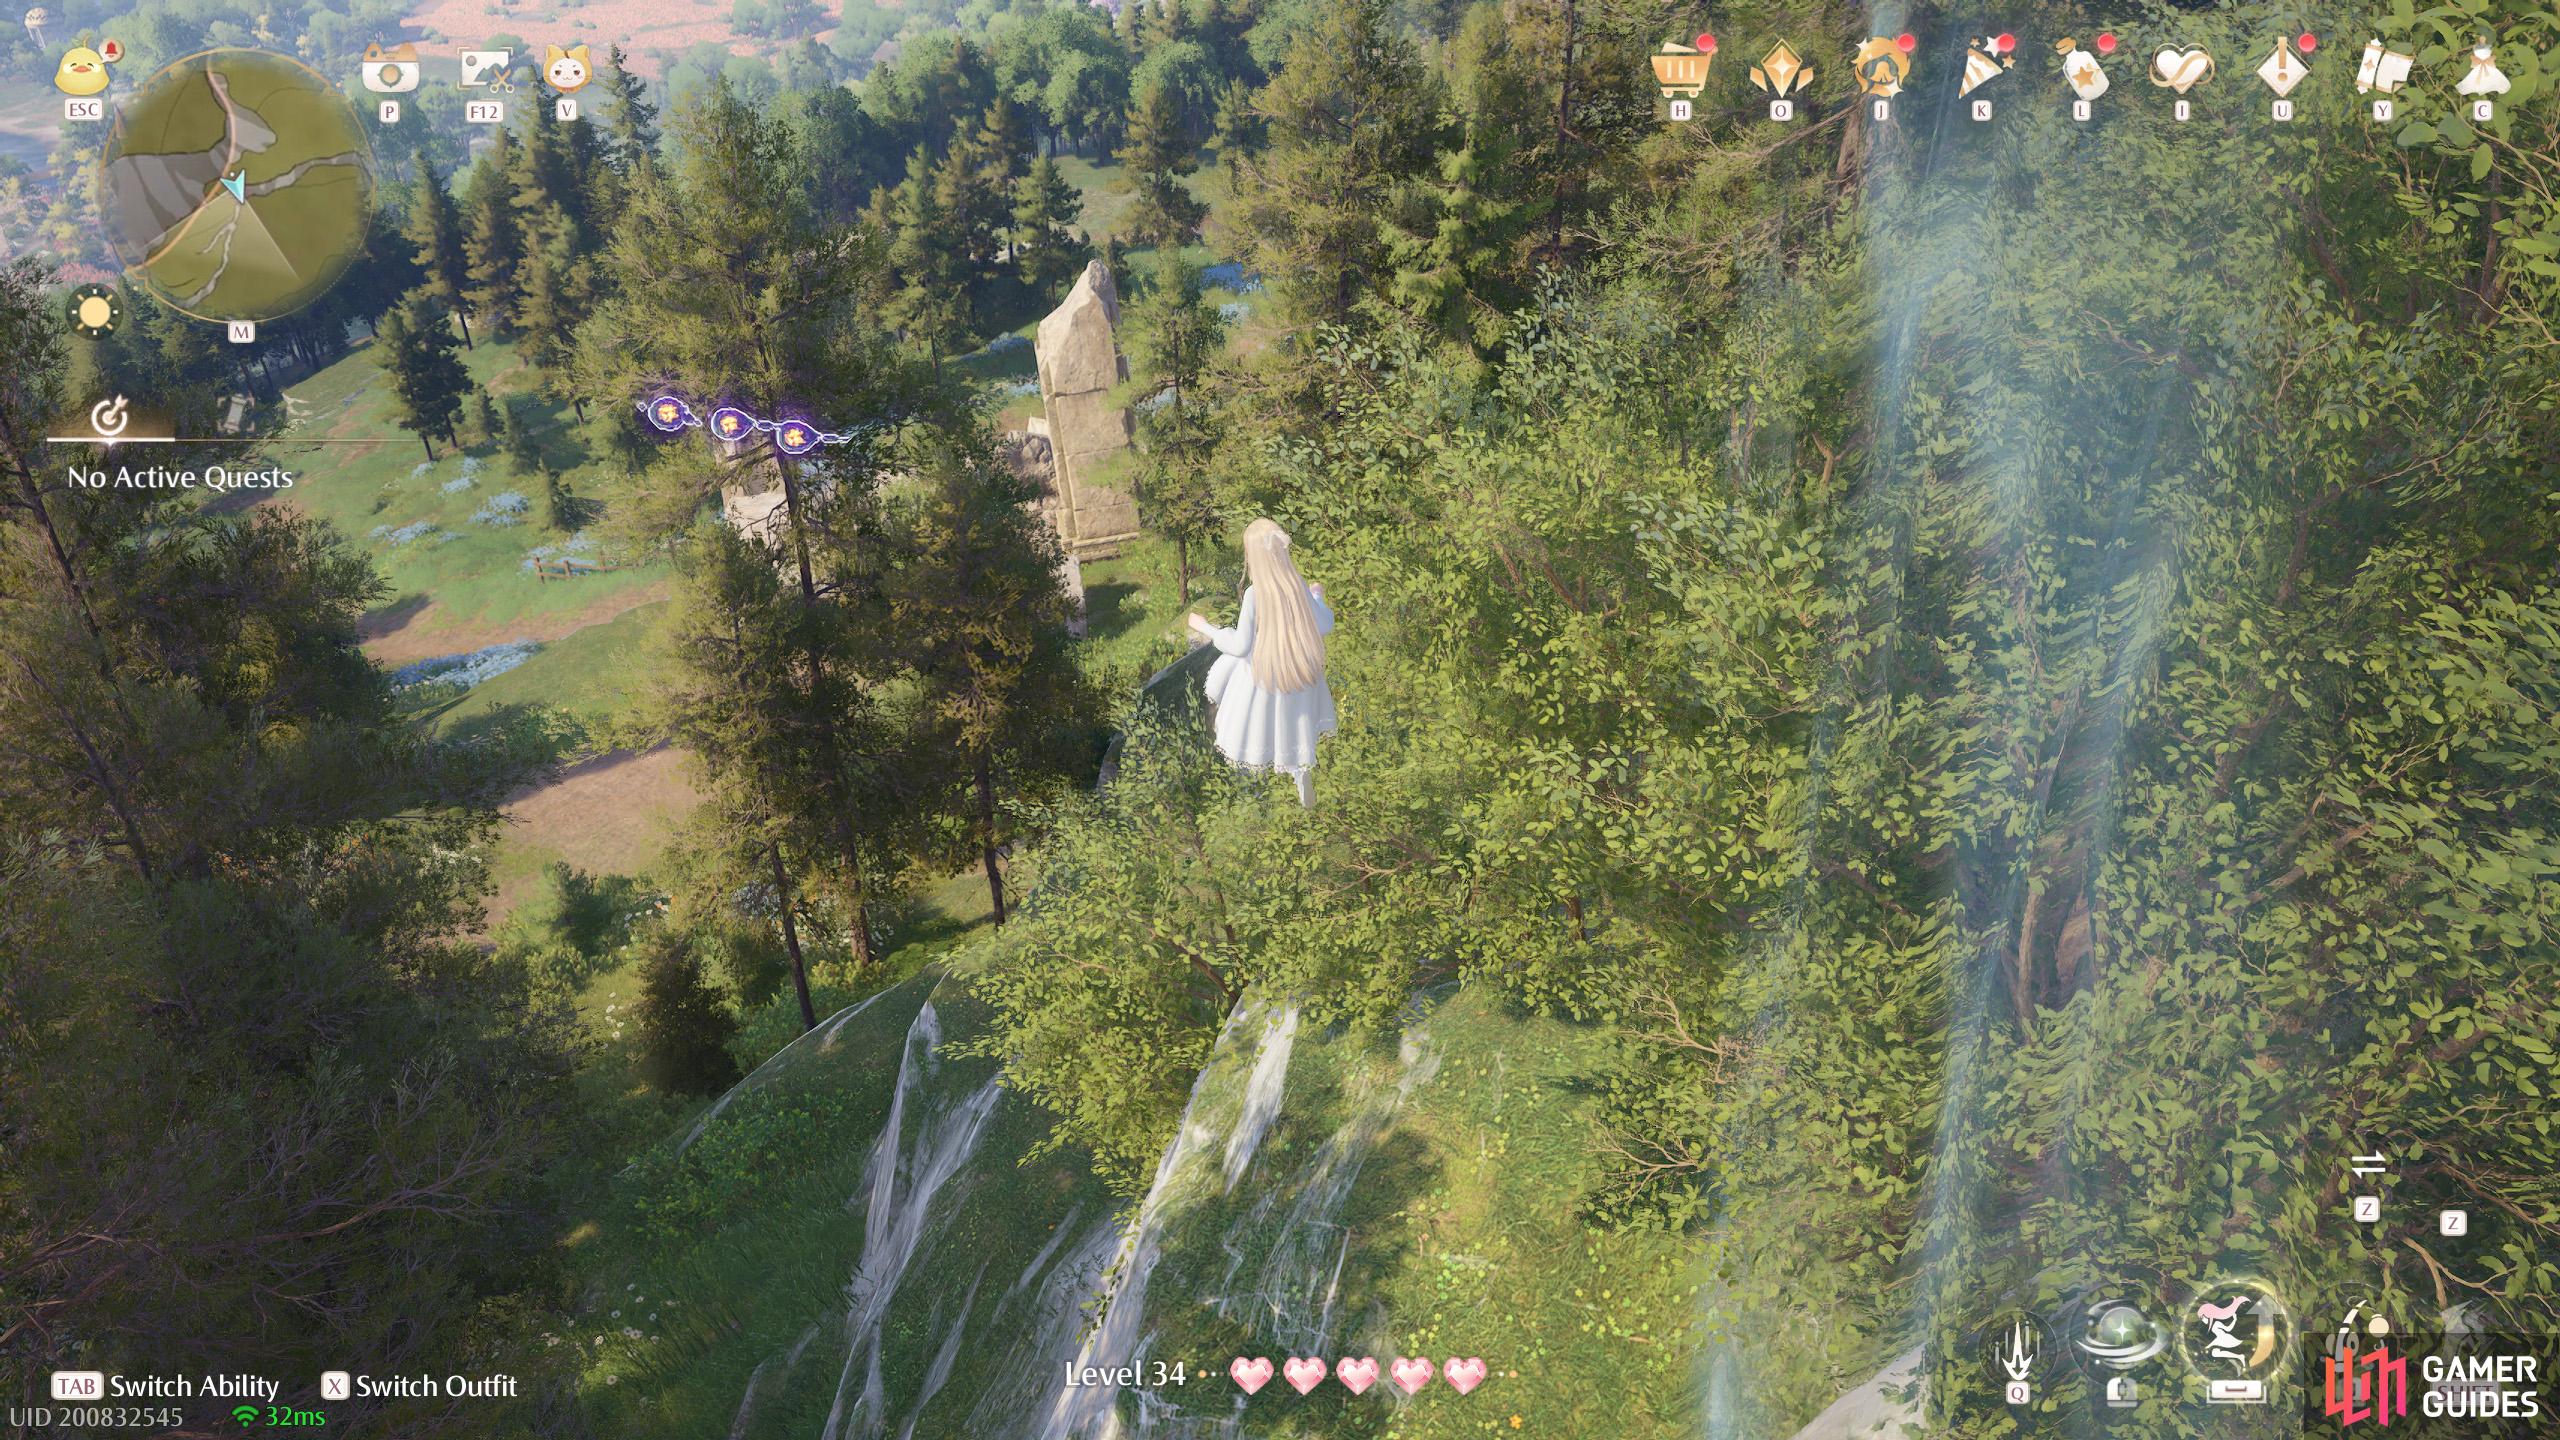
507. Miraland Map
North-west of the ![]() Stylist’s Guild. Three floating high up, near the world boundary.
Stylist’s Guild. Three floating high up, near the world boundary.
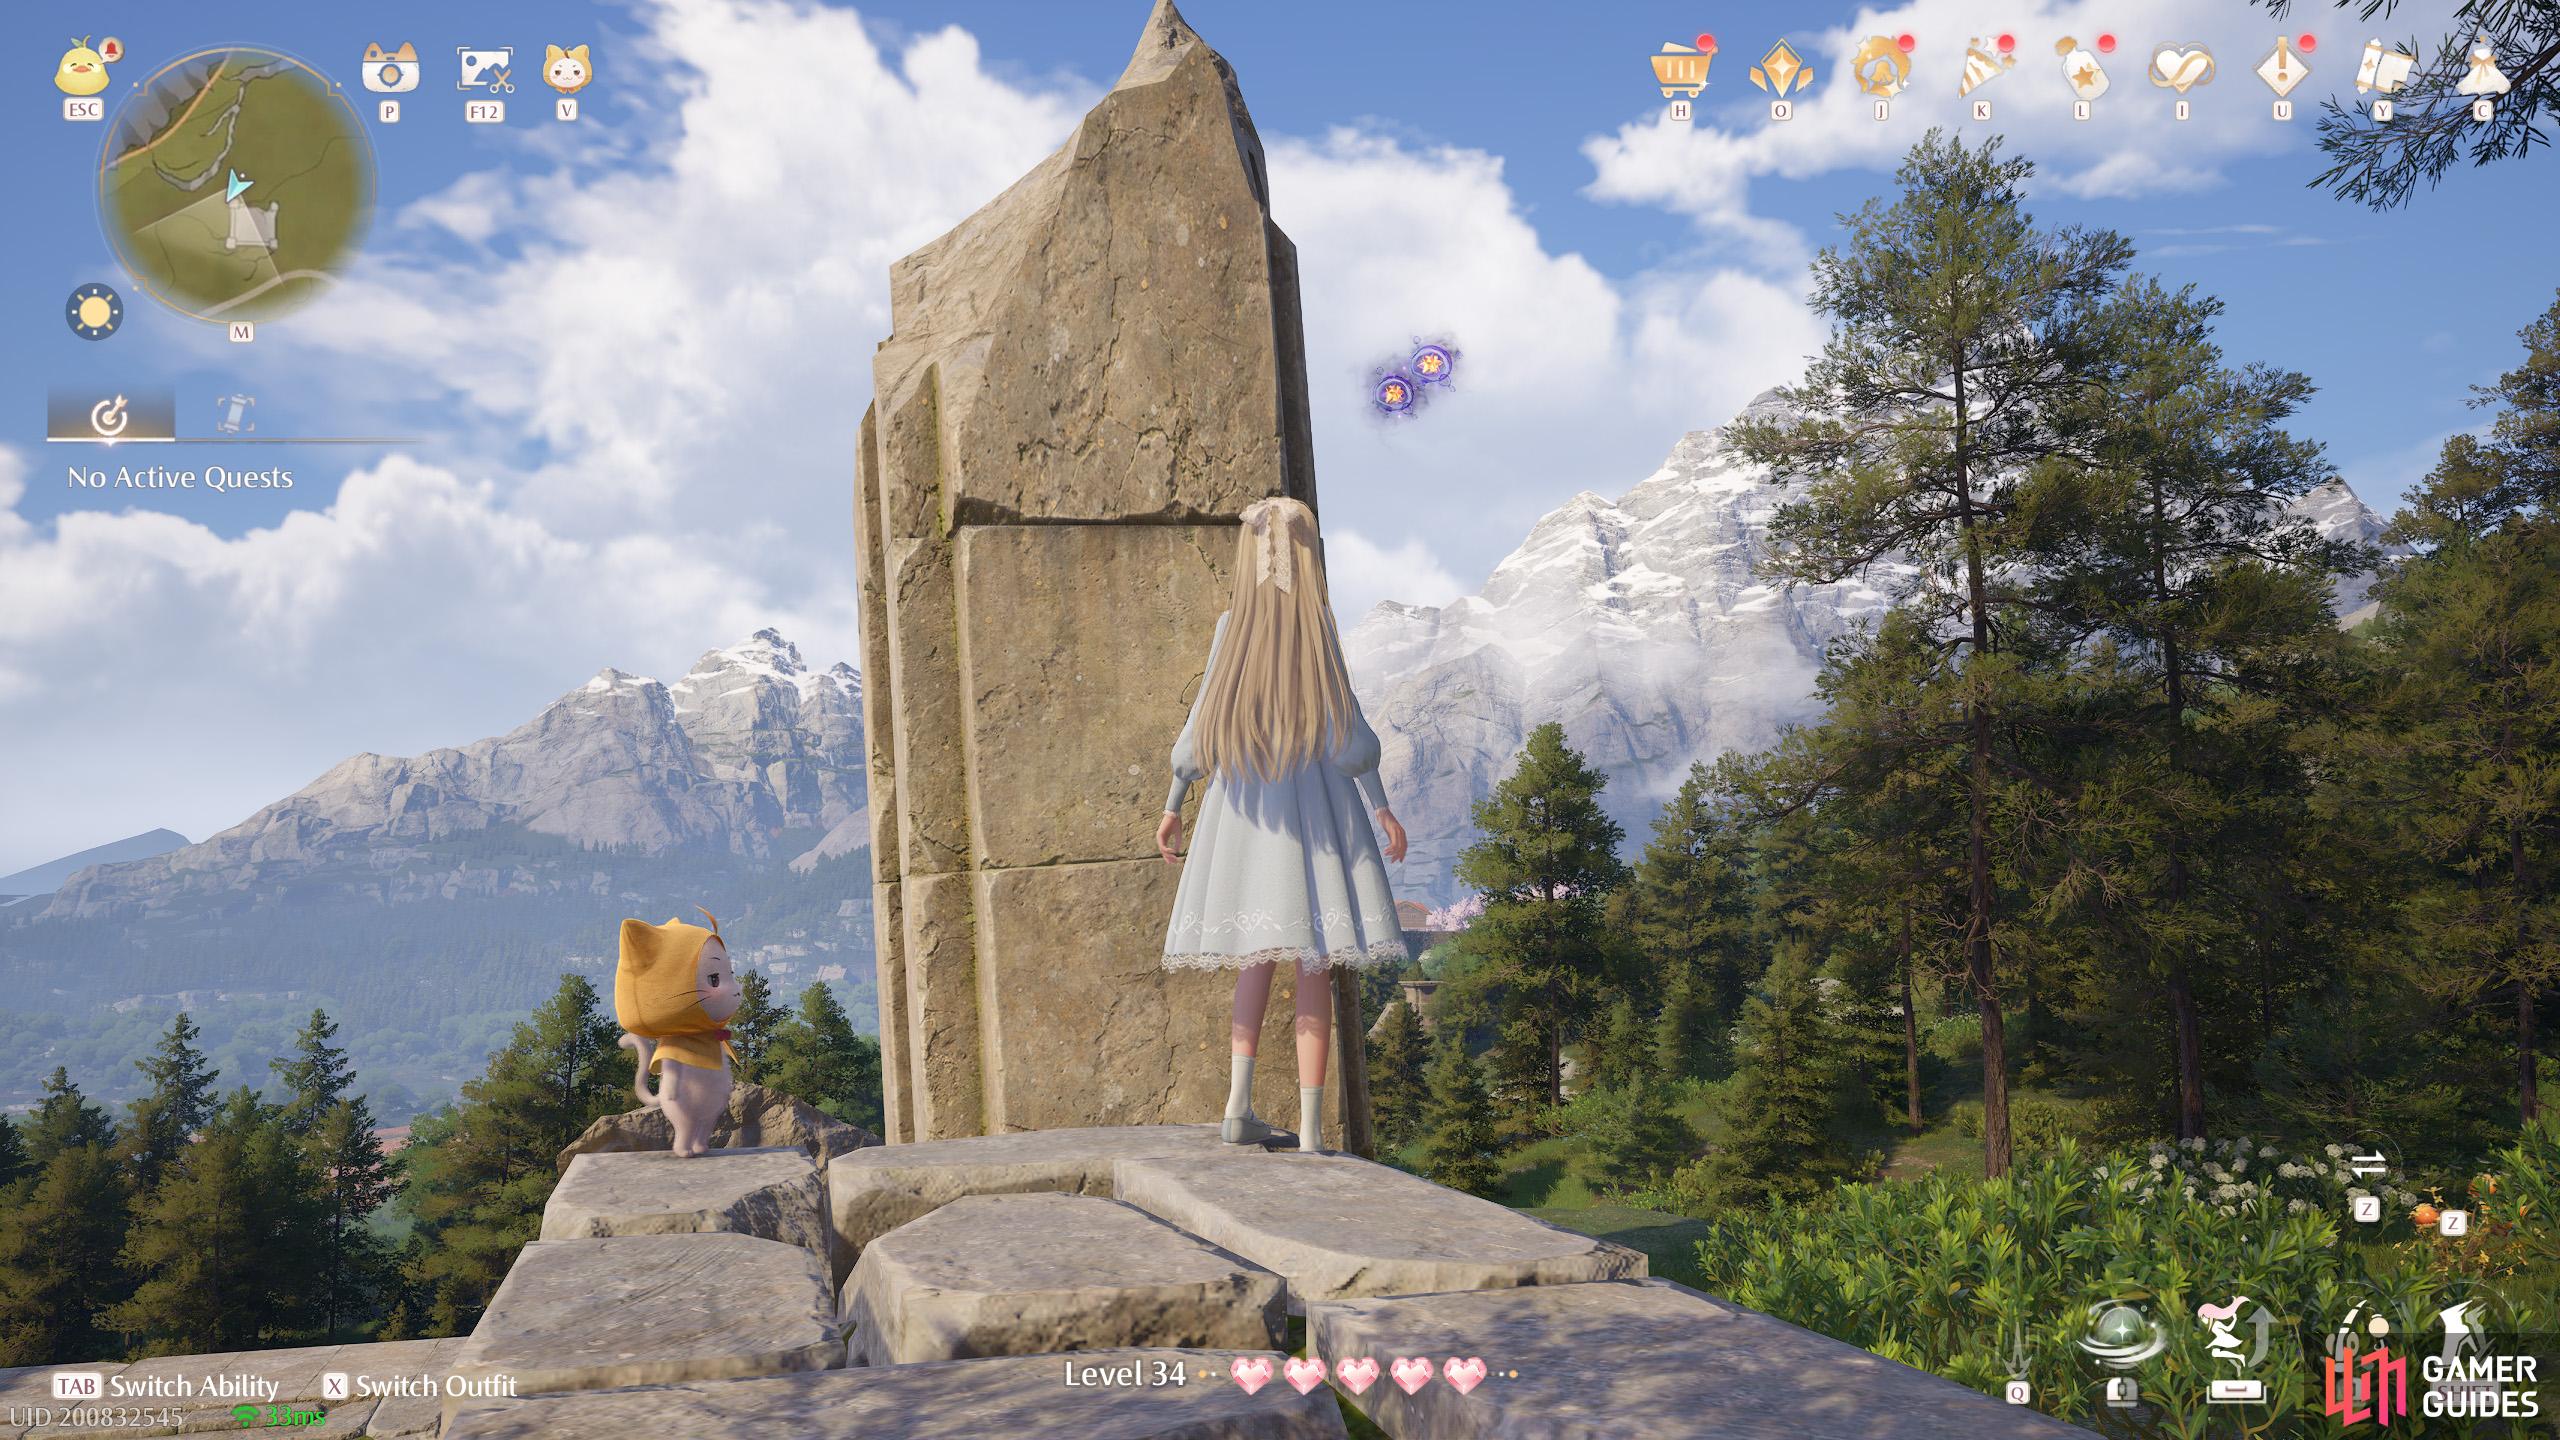
508. Miraland Map
North-west from the ![]() Stylist’s Guild. At a small ruin. Two floating near the top of the north-west pillar.
Stylist’s Guild. At a small ruin. Two floating near the top of the north-west pillar.
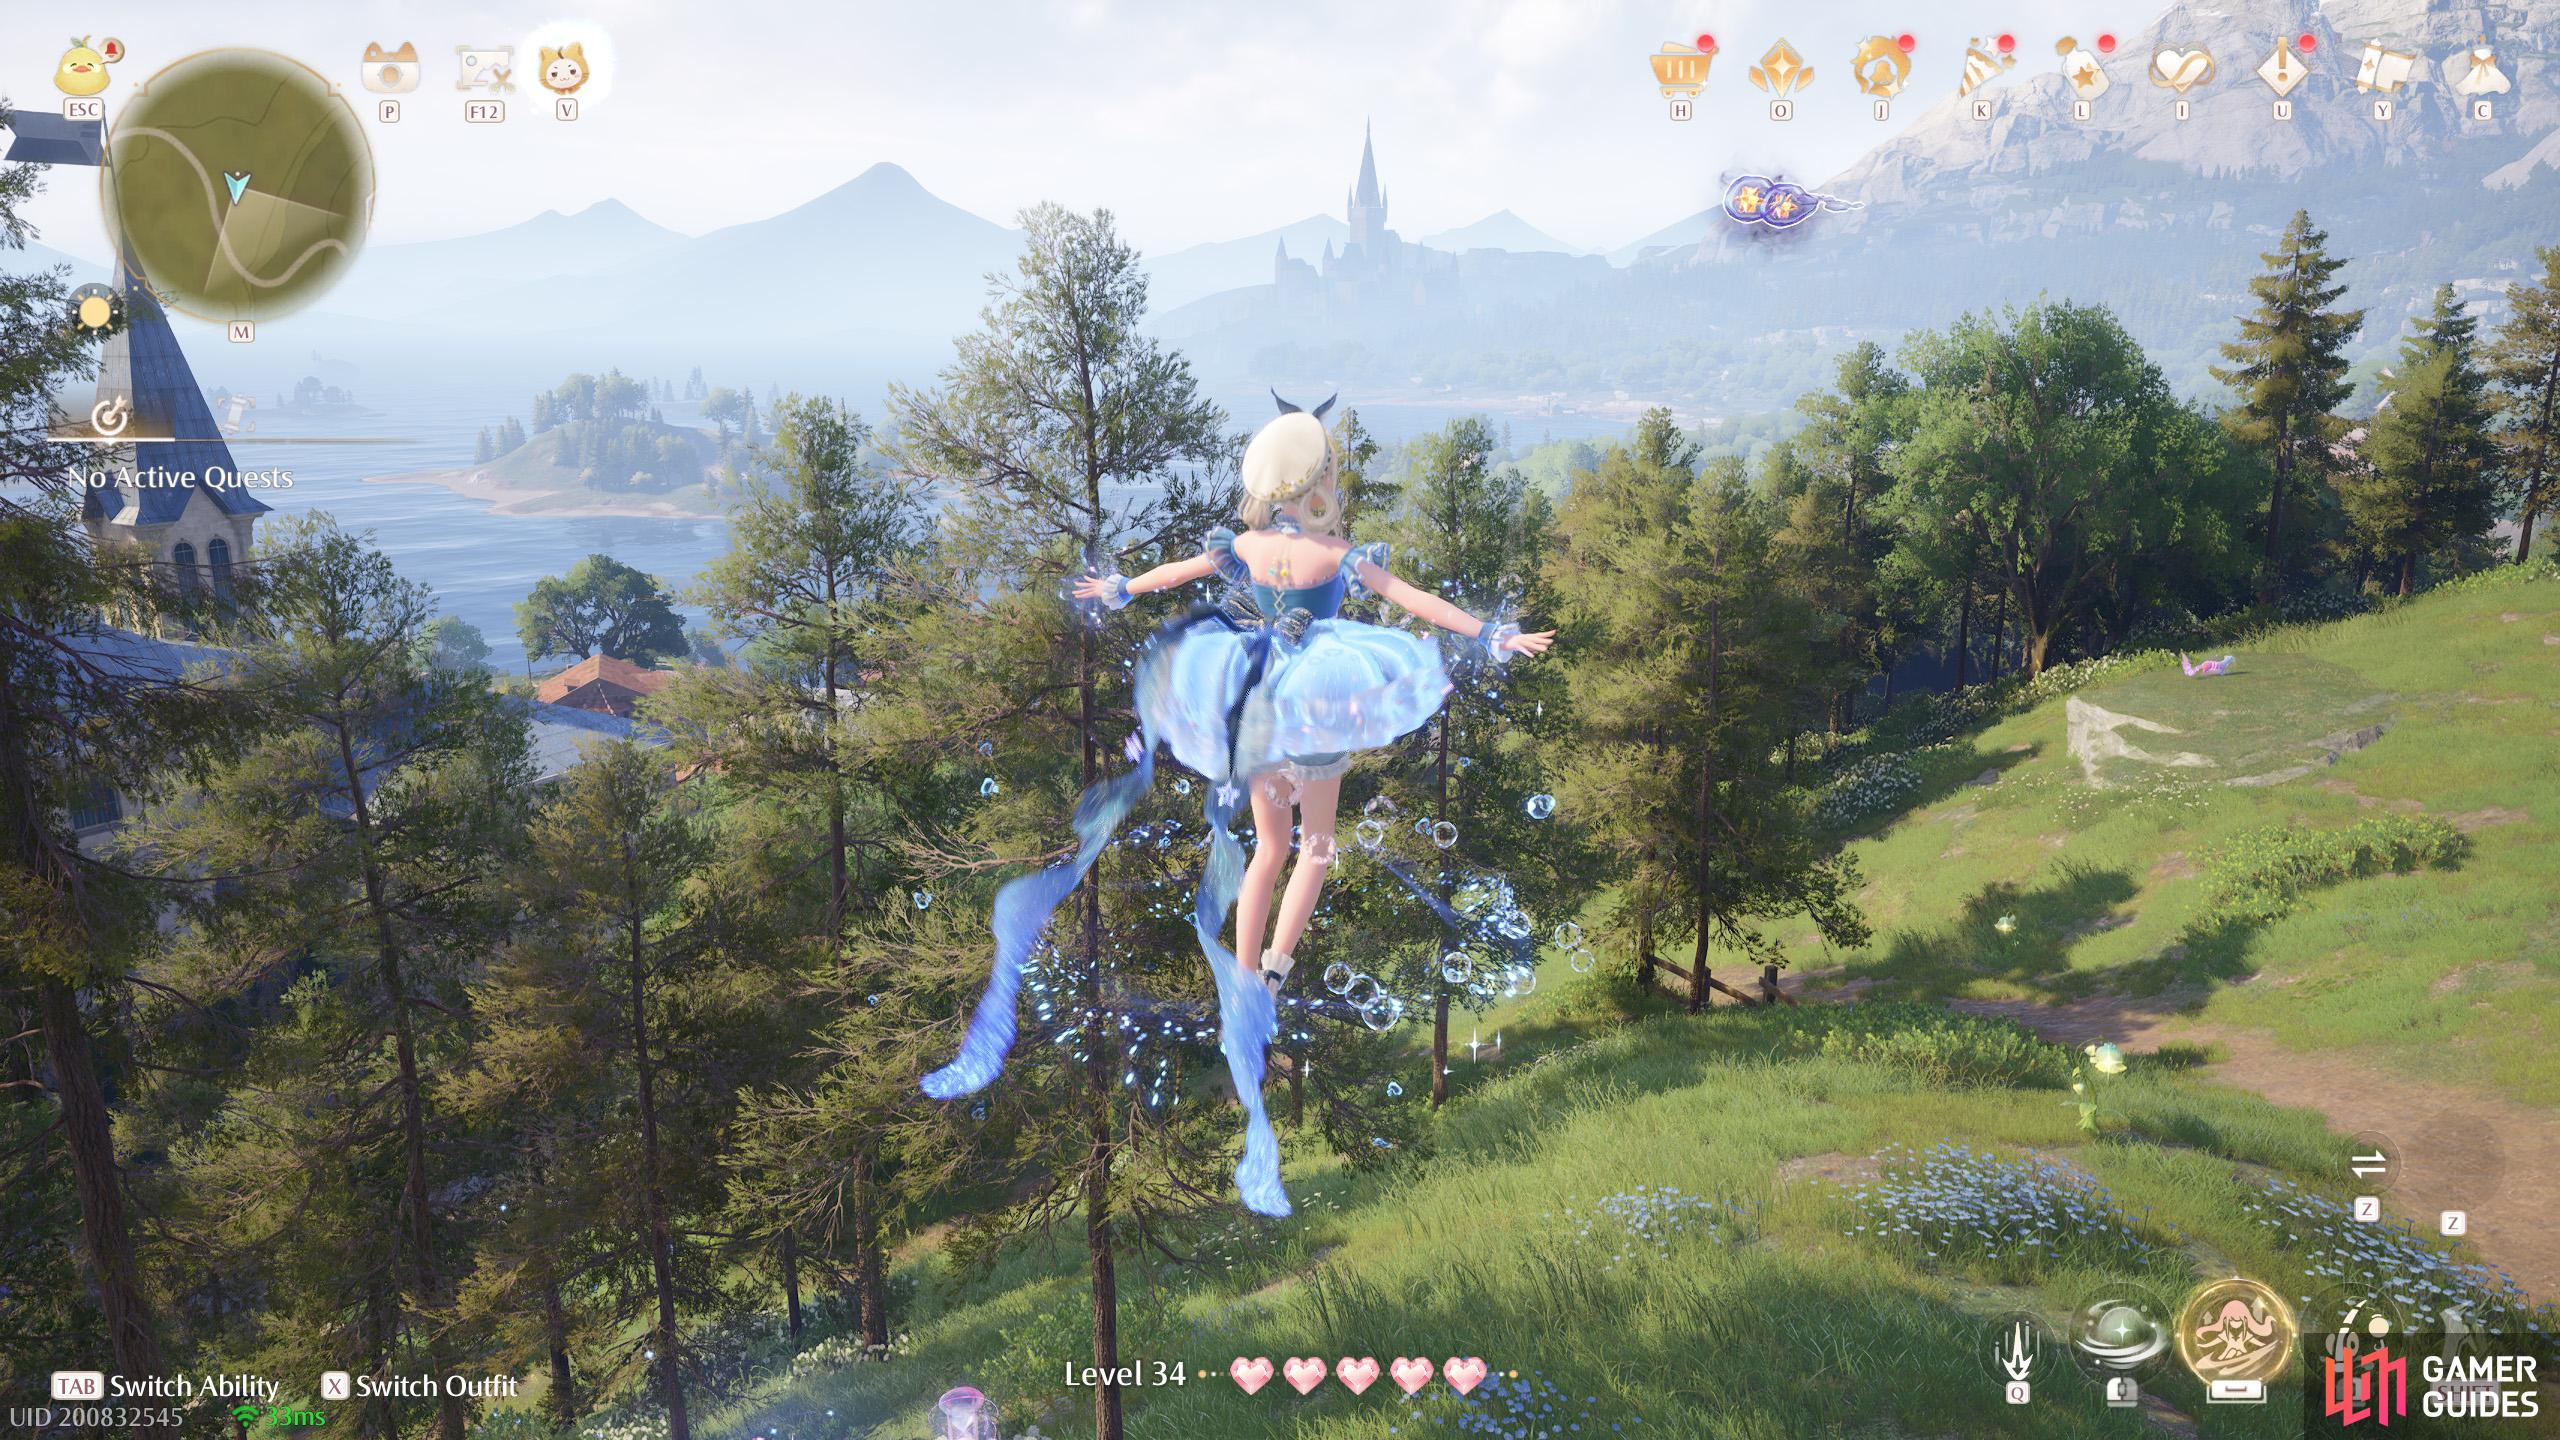
509. Miraland Map
West from the ![]() Stylist’s Guild. Two floating high up near a small mound. You’ll probably have to double jump to reach. North from a Whimink.
Stylist’s Guild. Two floating high up near a small mound. You’ll probably have to double jump to reach. North from a Whimink.
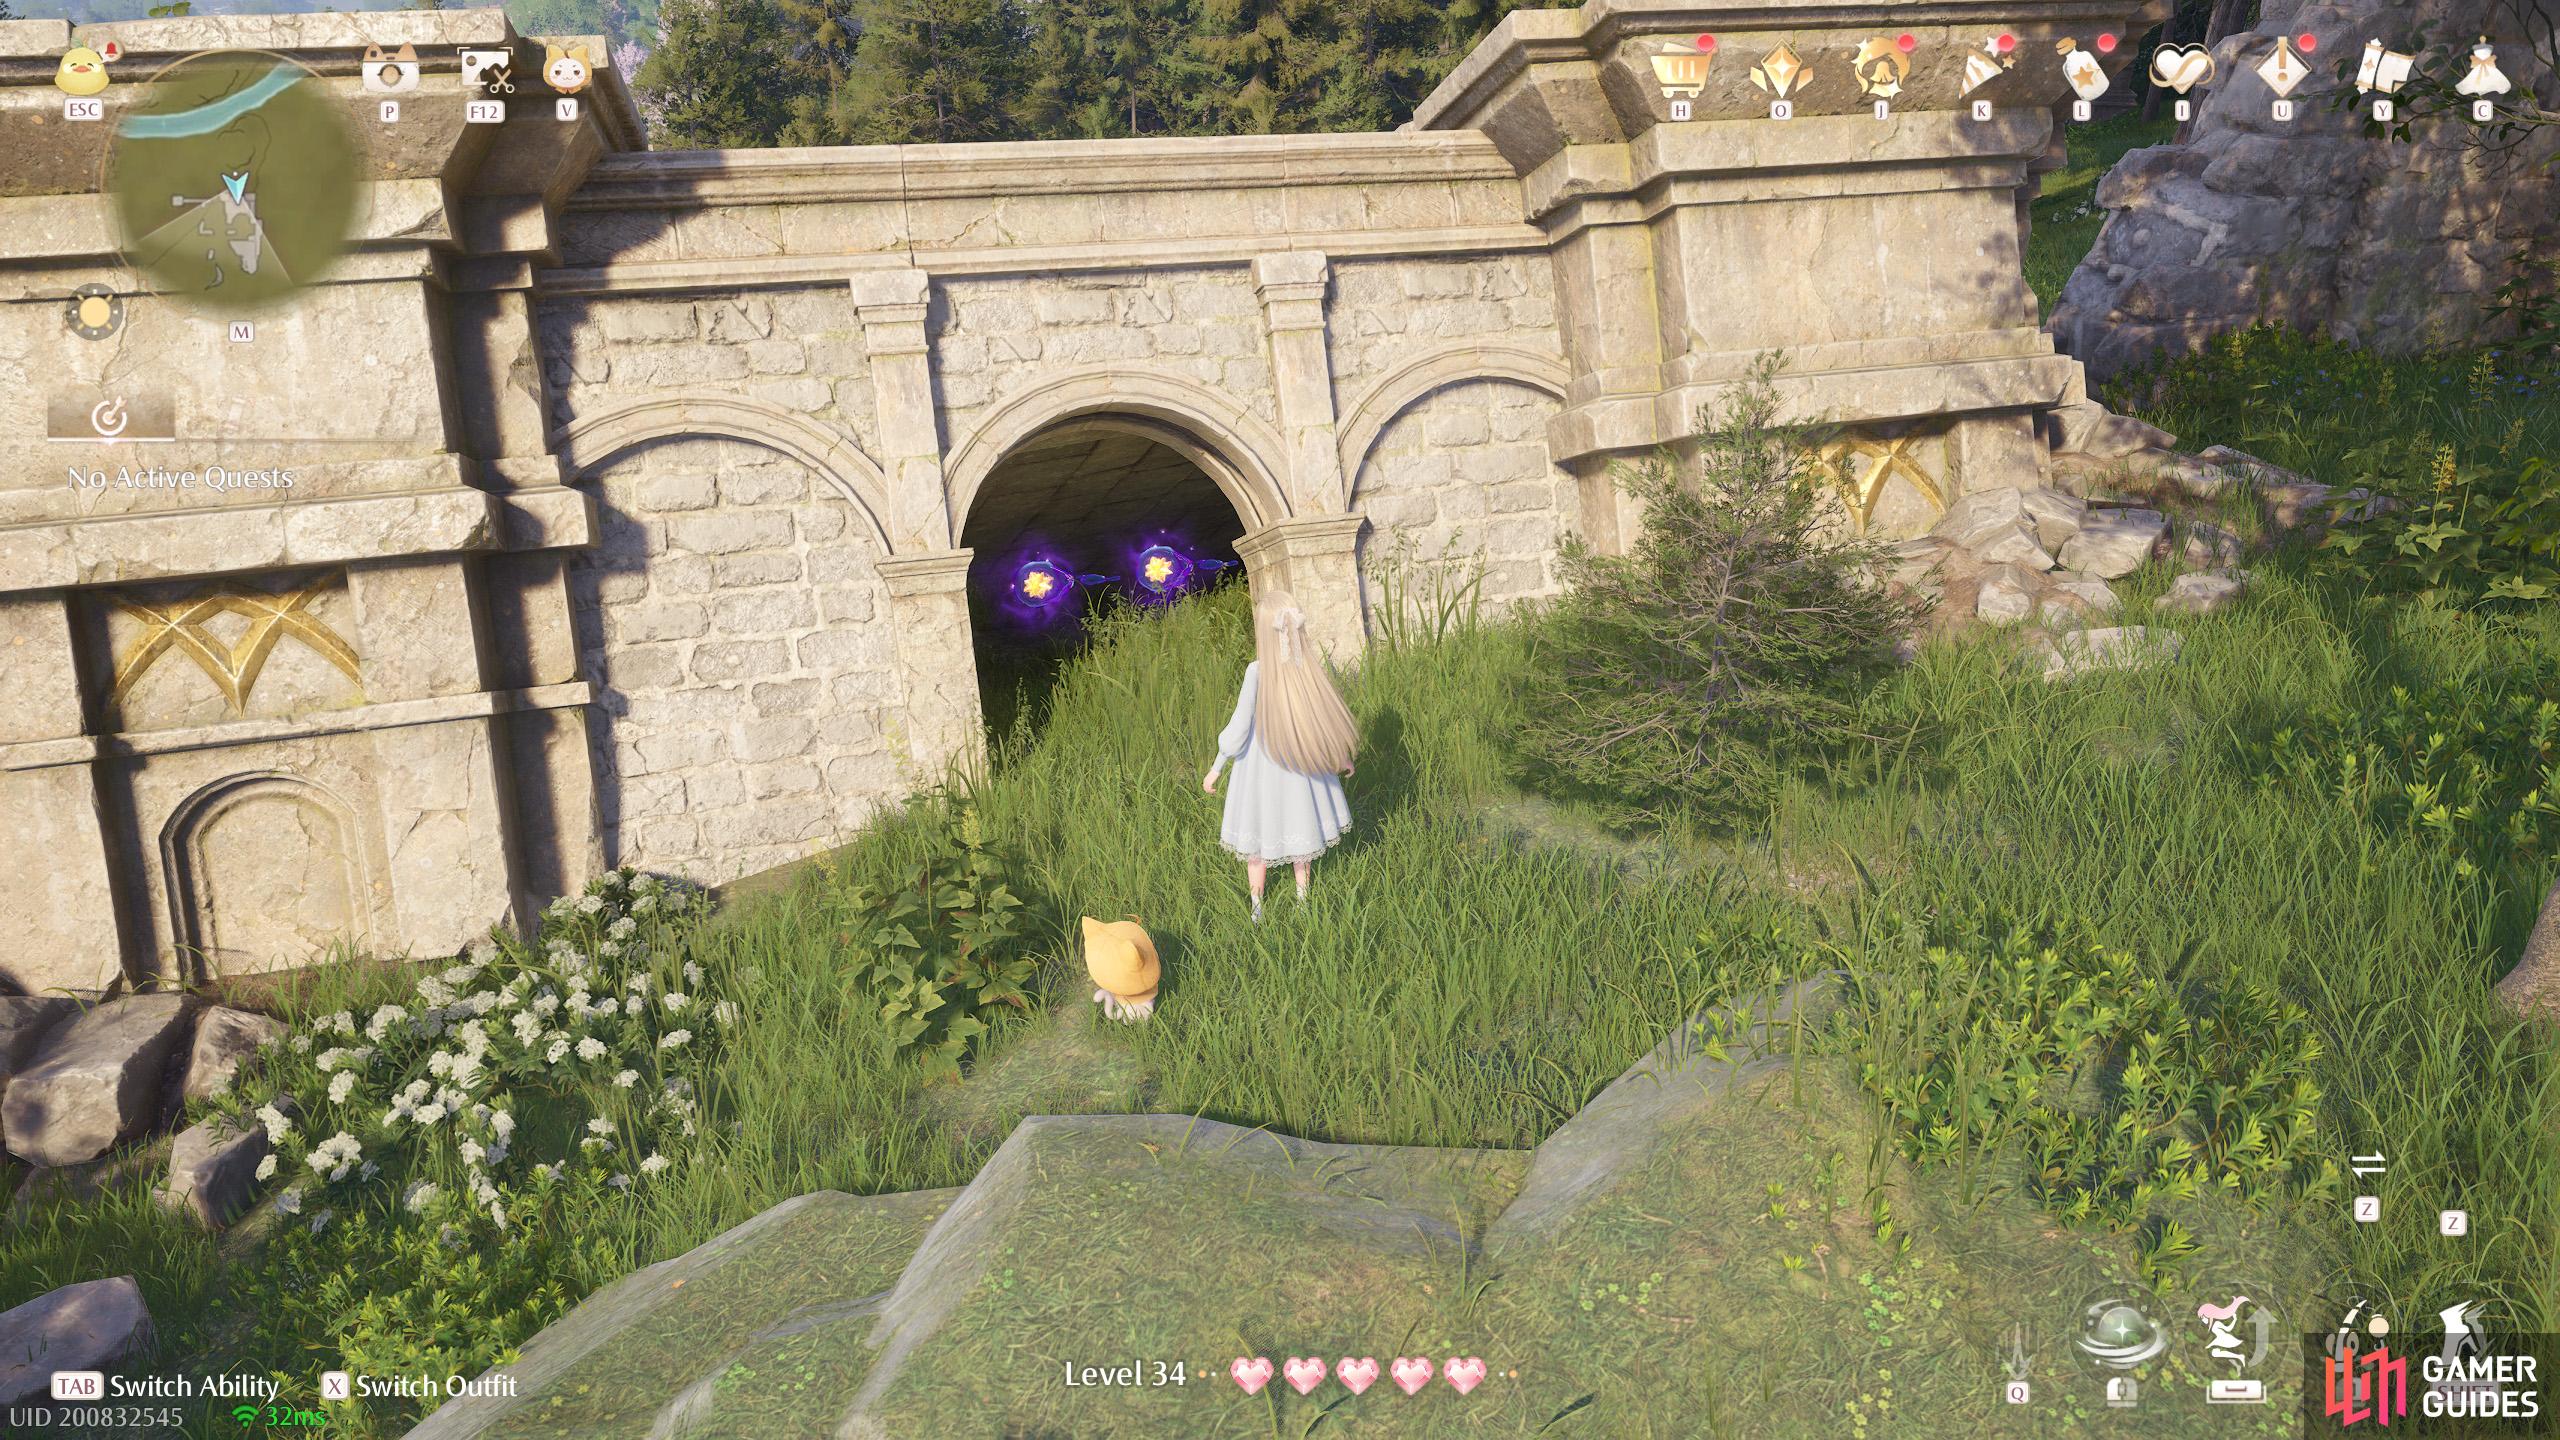
510. Miraland Map
West of ![]() Florawish Lane, among some small ruins. Two at the back (north side) of the ruins.
Florawish Lane, among some small ruins. Two at the back (north side) of the ruins.
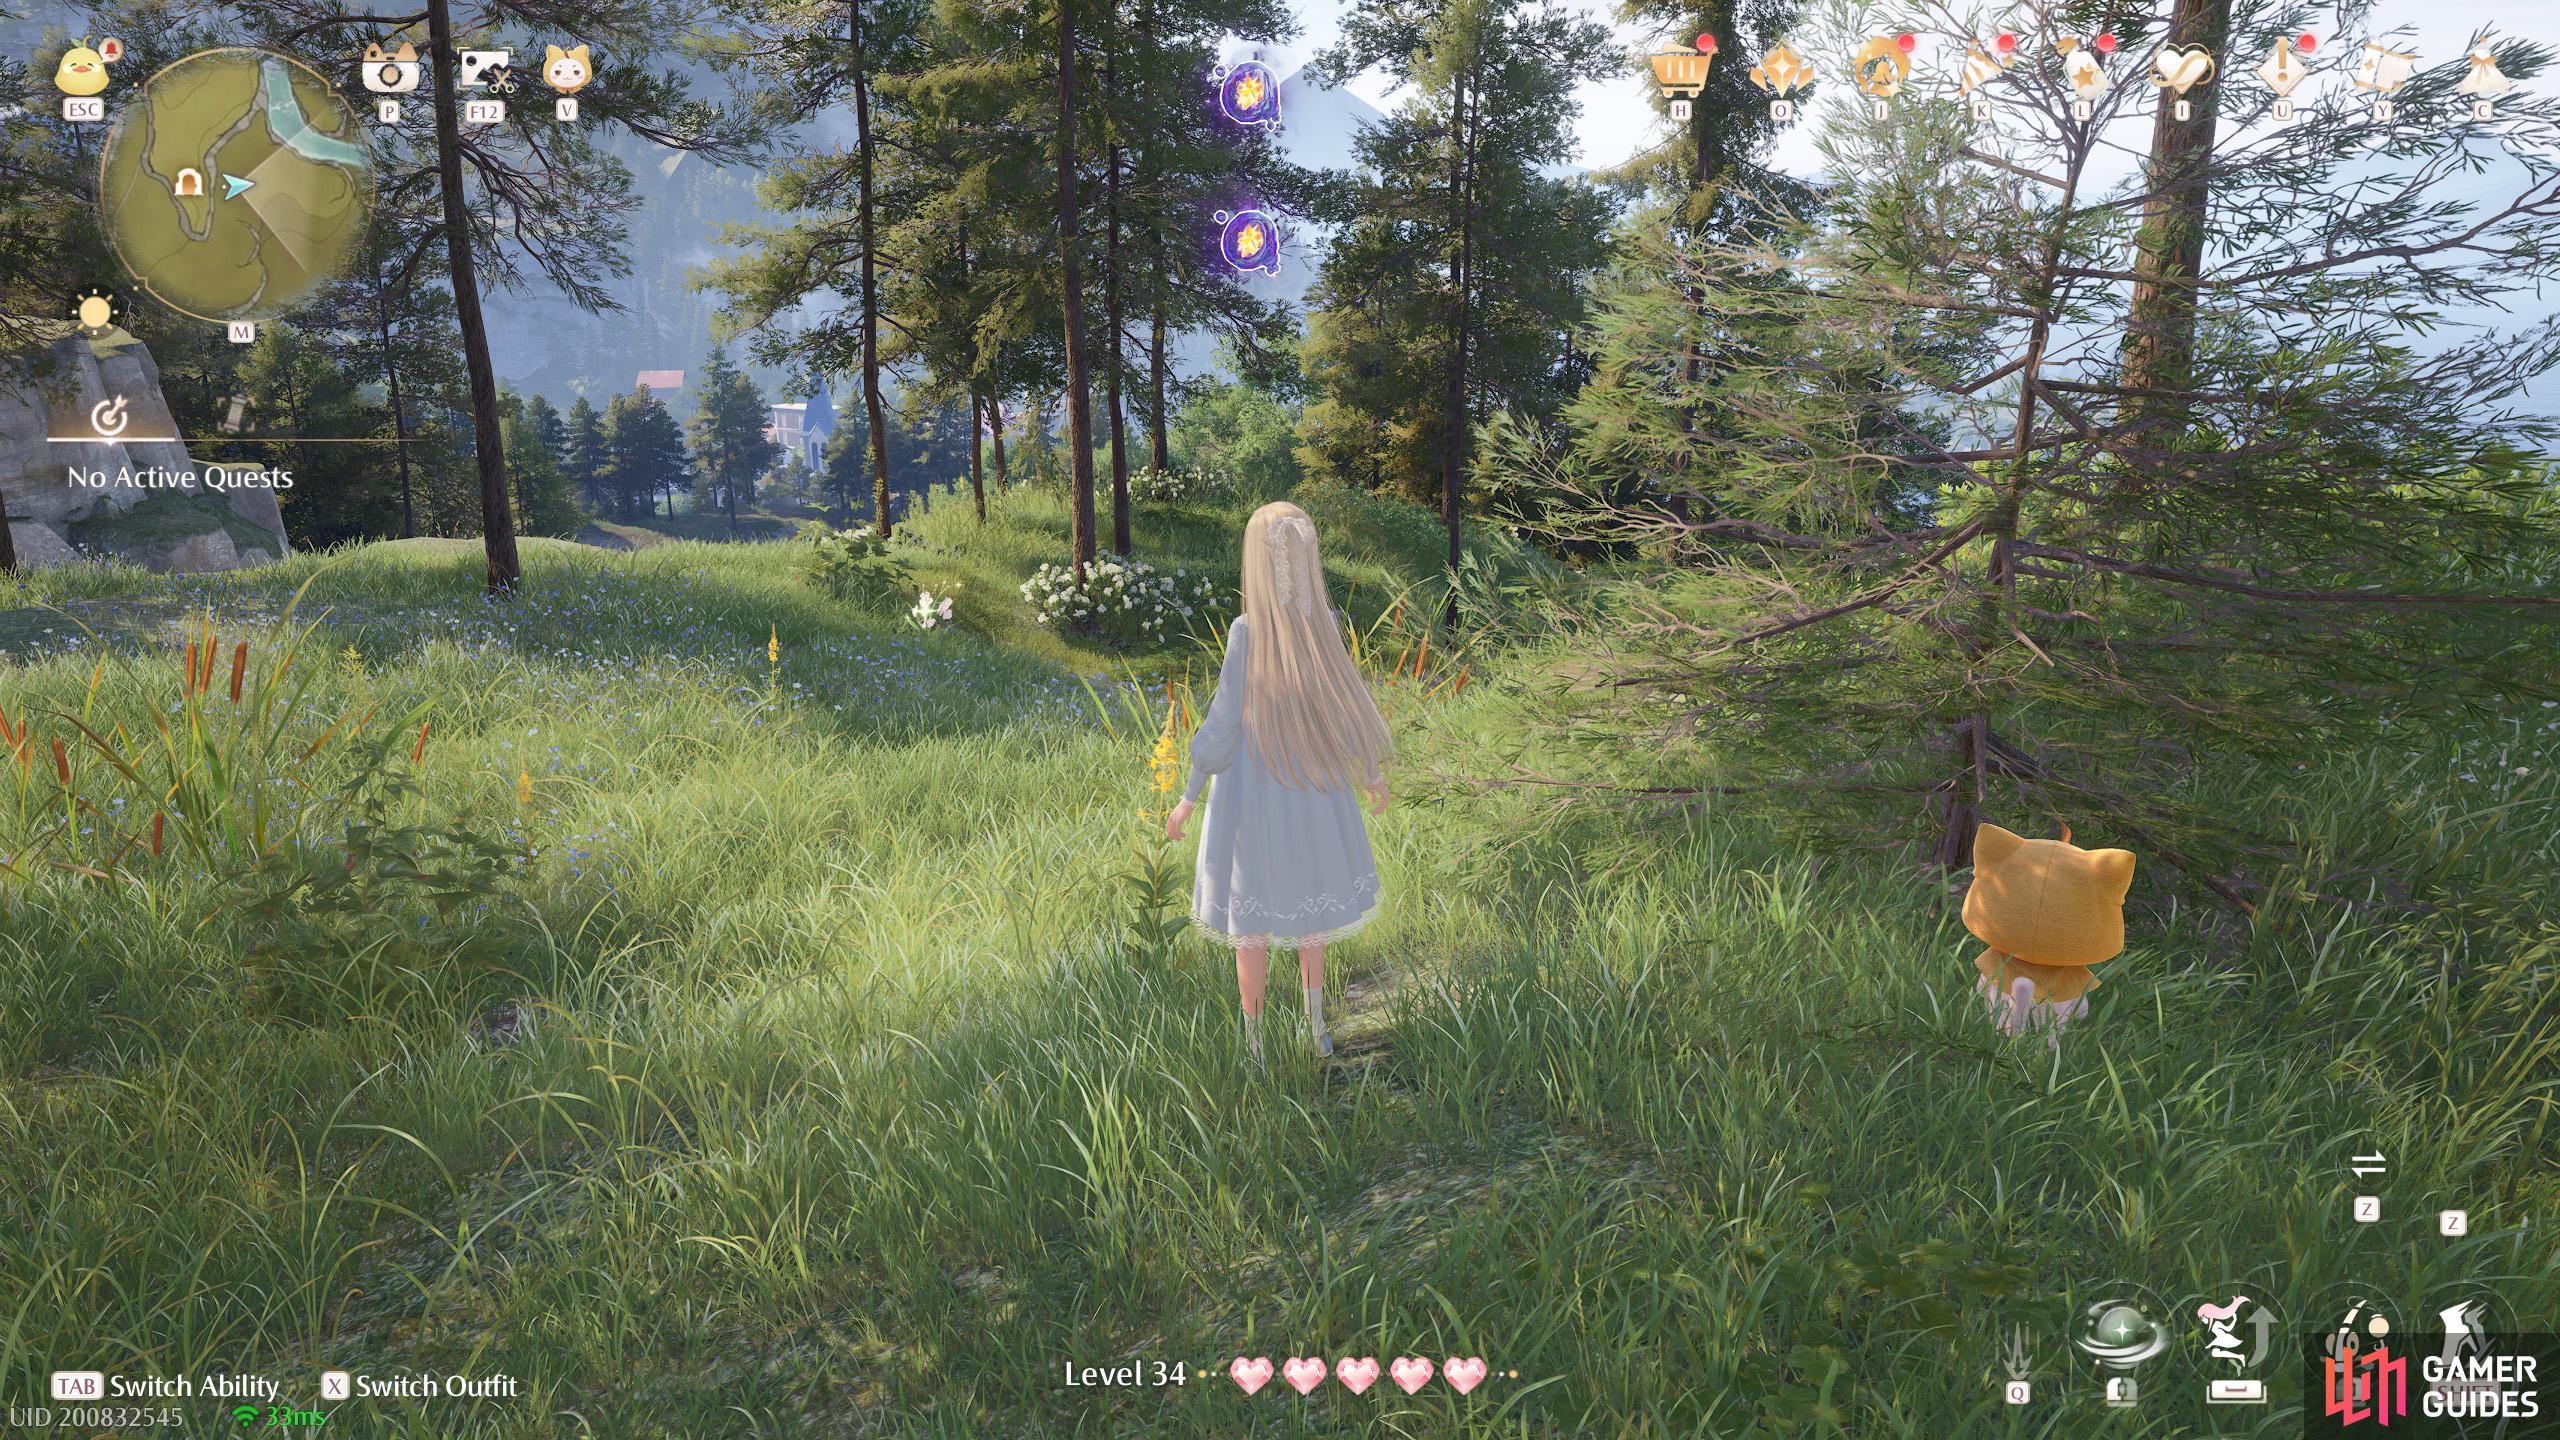
511. Miraland Map
Outside the ![]() Riverside Cavern, west (aka south) entrance. Two floating a bit off the ground.
Riverside Cavern, west (aka south) entrance. Two floating a bit off the ground.

512. Miraland Map
West of ![]() Florawish Lane, near some small ruins. Four floating near the top of a pillar next to a collapsed gazebo. There are Esselings here.
Florawish Lane, near some small ruins. Four floating near the top of a pillar next to a collapsed gazebo. There are Esselings here.
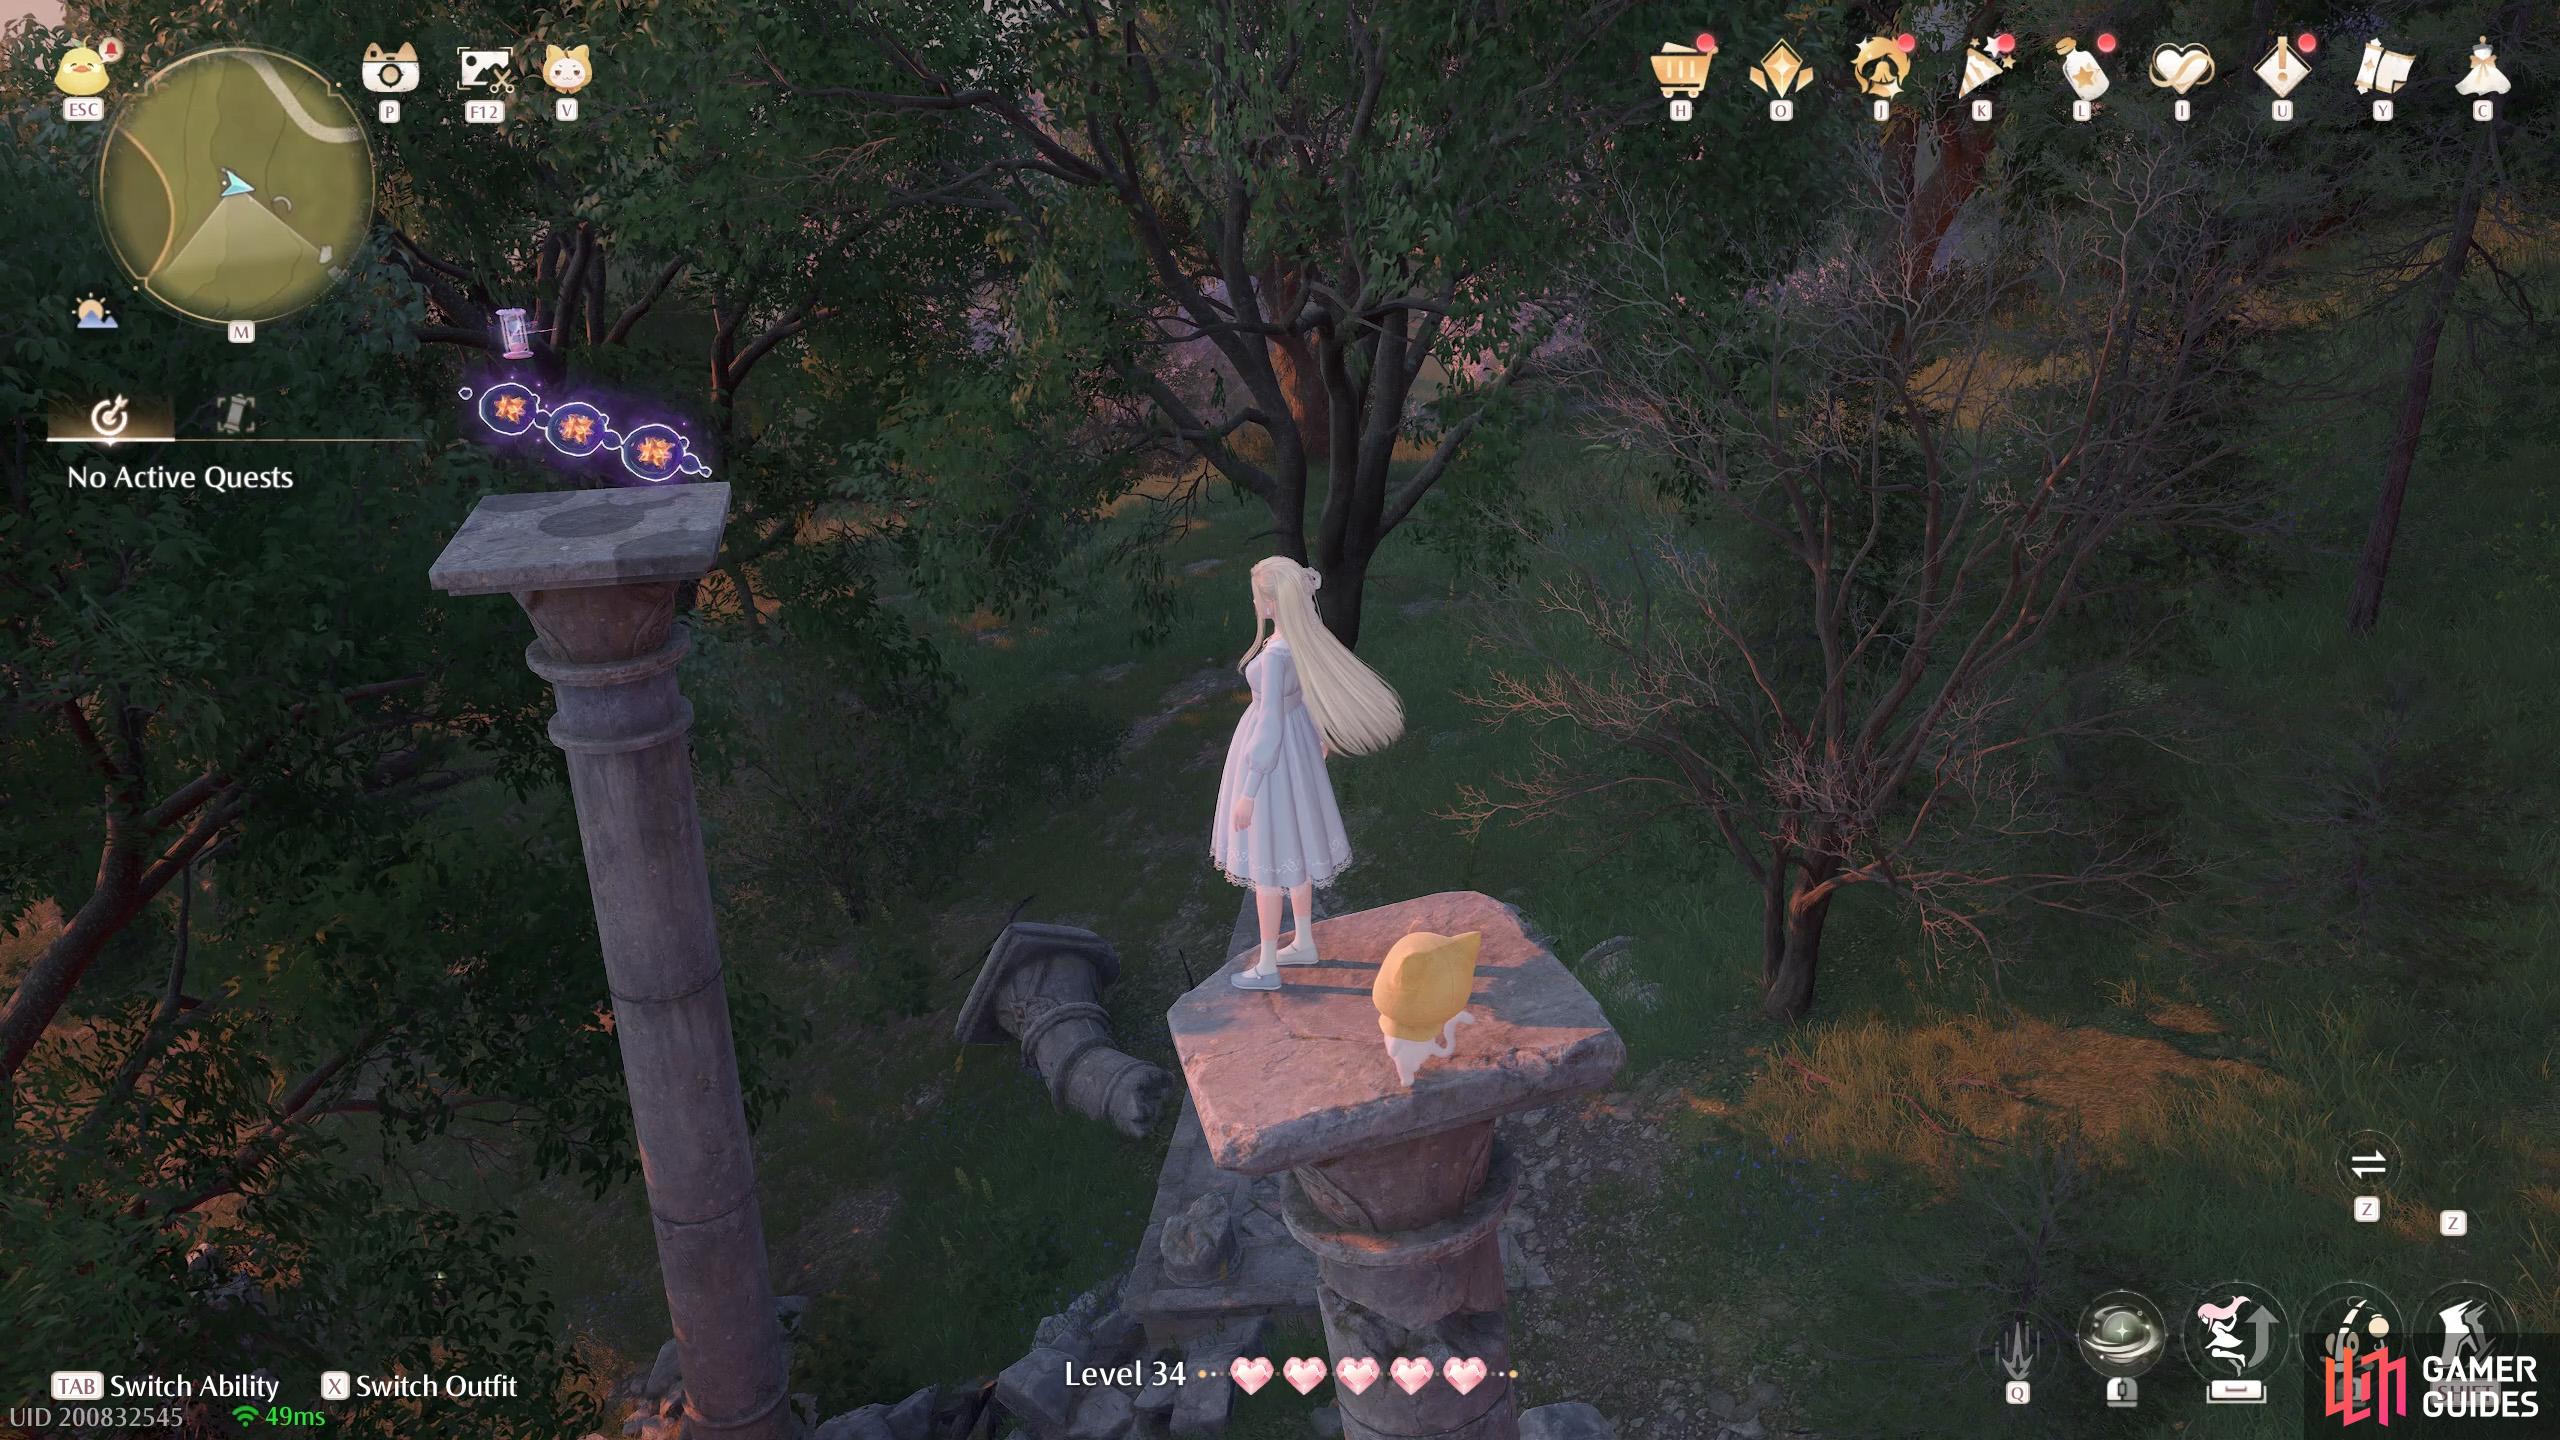
513. Miraland Map
North of ![]() Cicia Art Academy Field Base. Three atop a pillar among some rubble. There are Esselings here. Also a Whimink nearby.
Cicia Art Academy Field Base. Three atop a pillar among some rubble. There are Esselings here. Also a Whimink nearby.
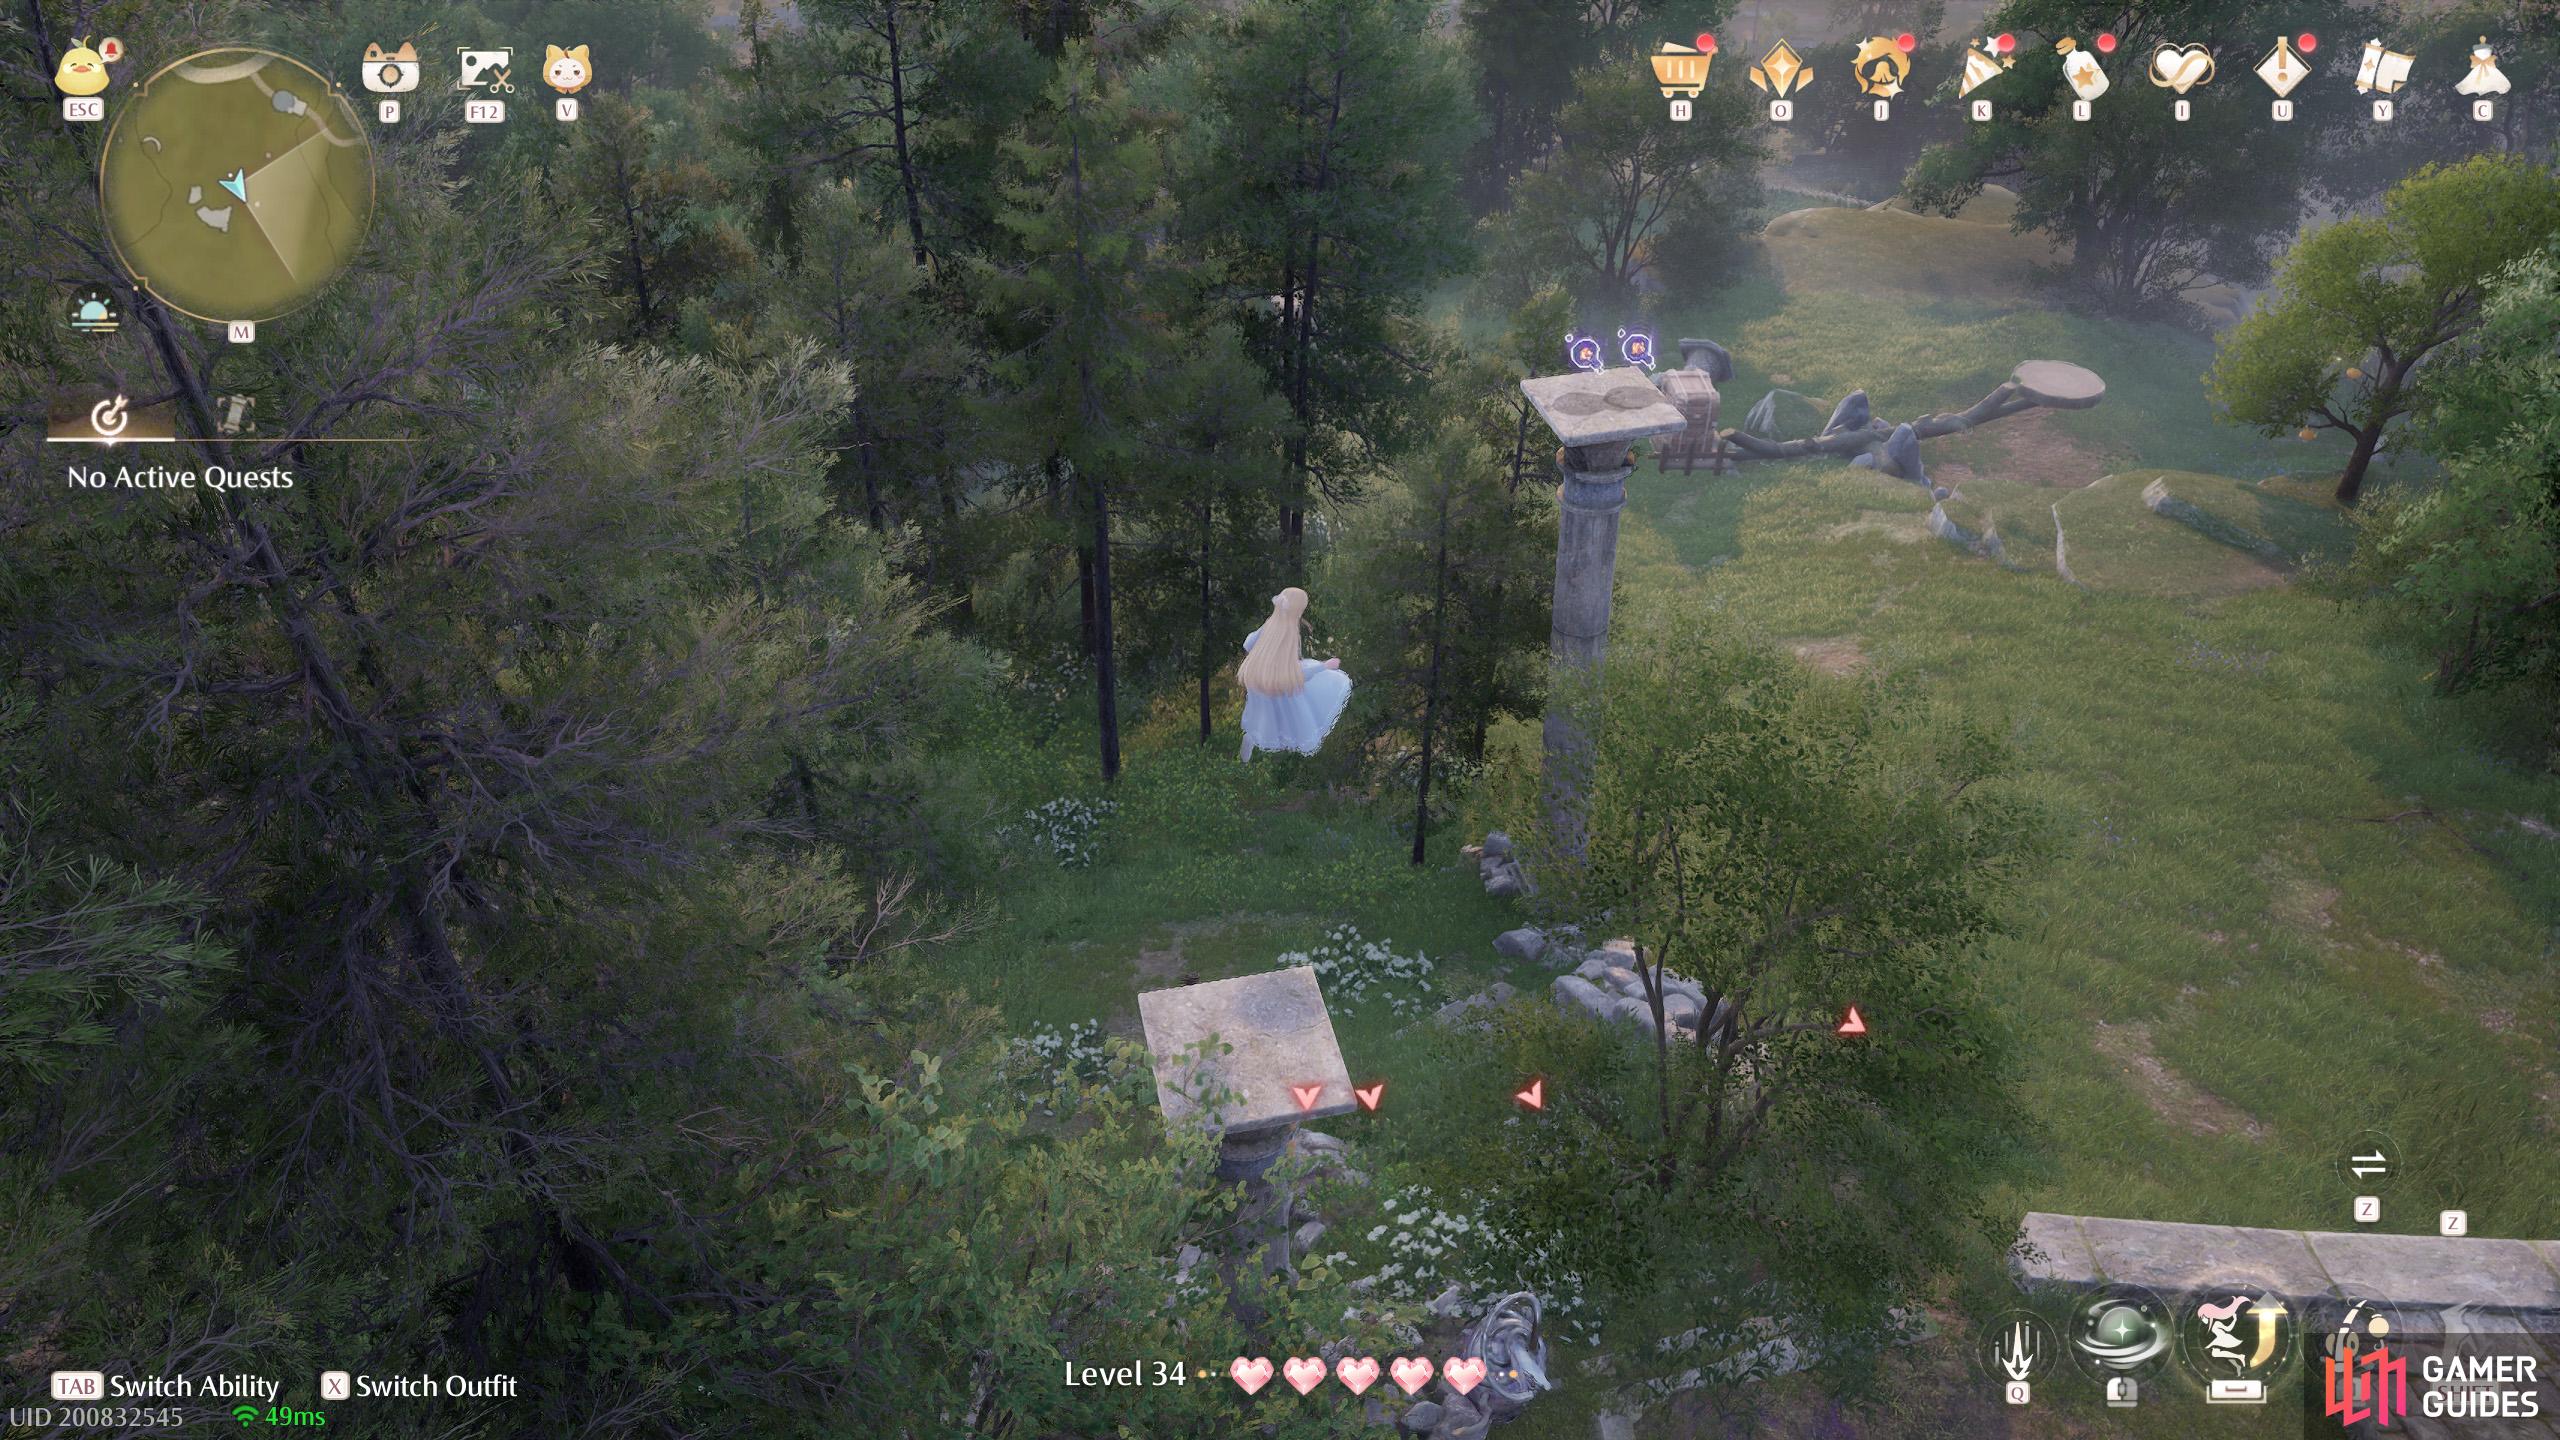
514. Miraland Map
North of ![]() Cicia Art Academy Field Base. Two atop a pillar among some small ruins. There are Esselings here.
Cicia Art Academy Field Base. Two atop a pillar among some small ruins. There are Esselings here.
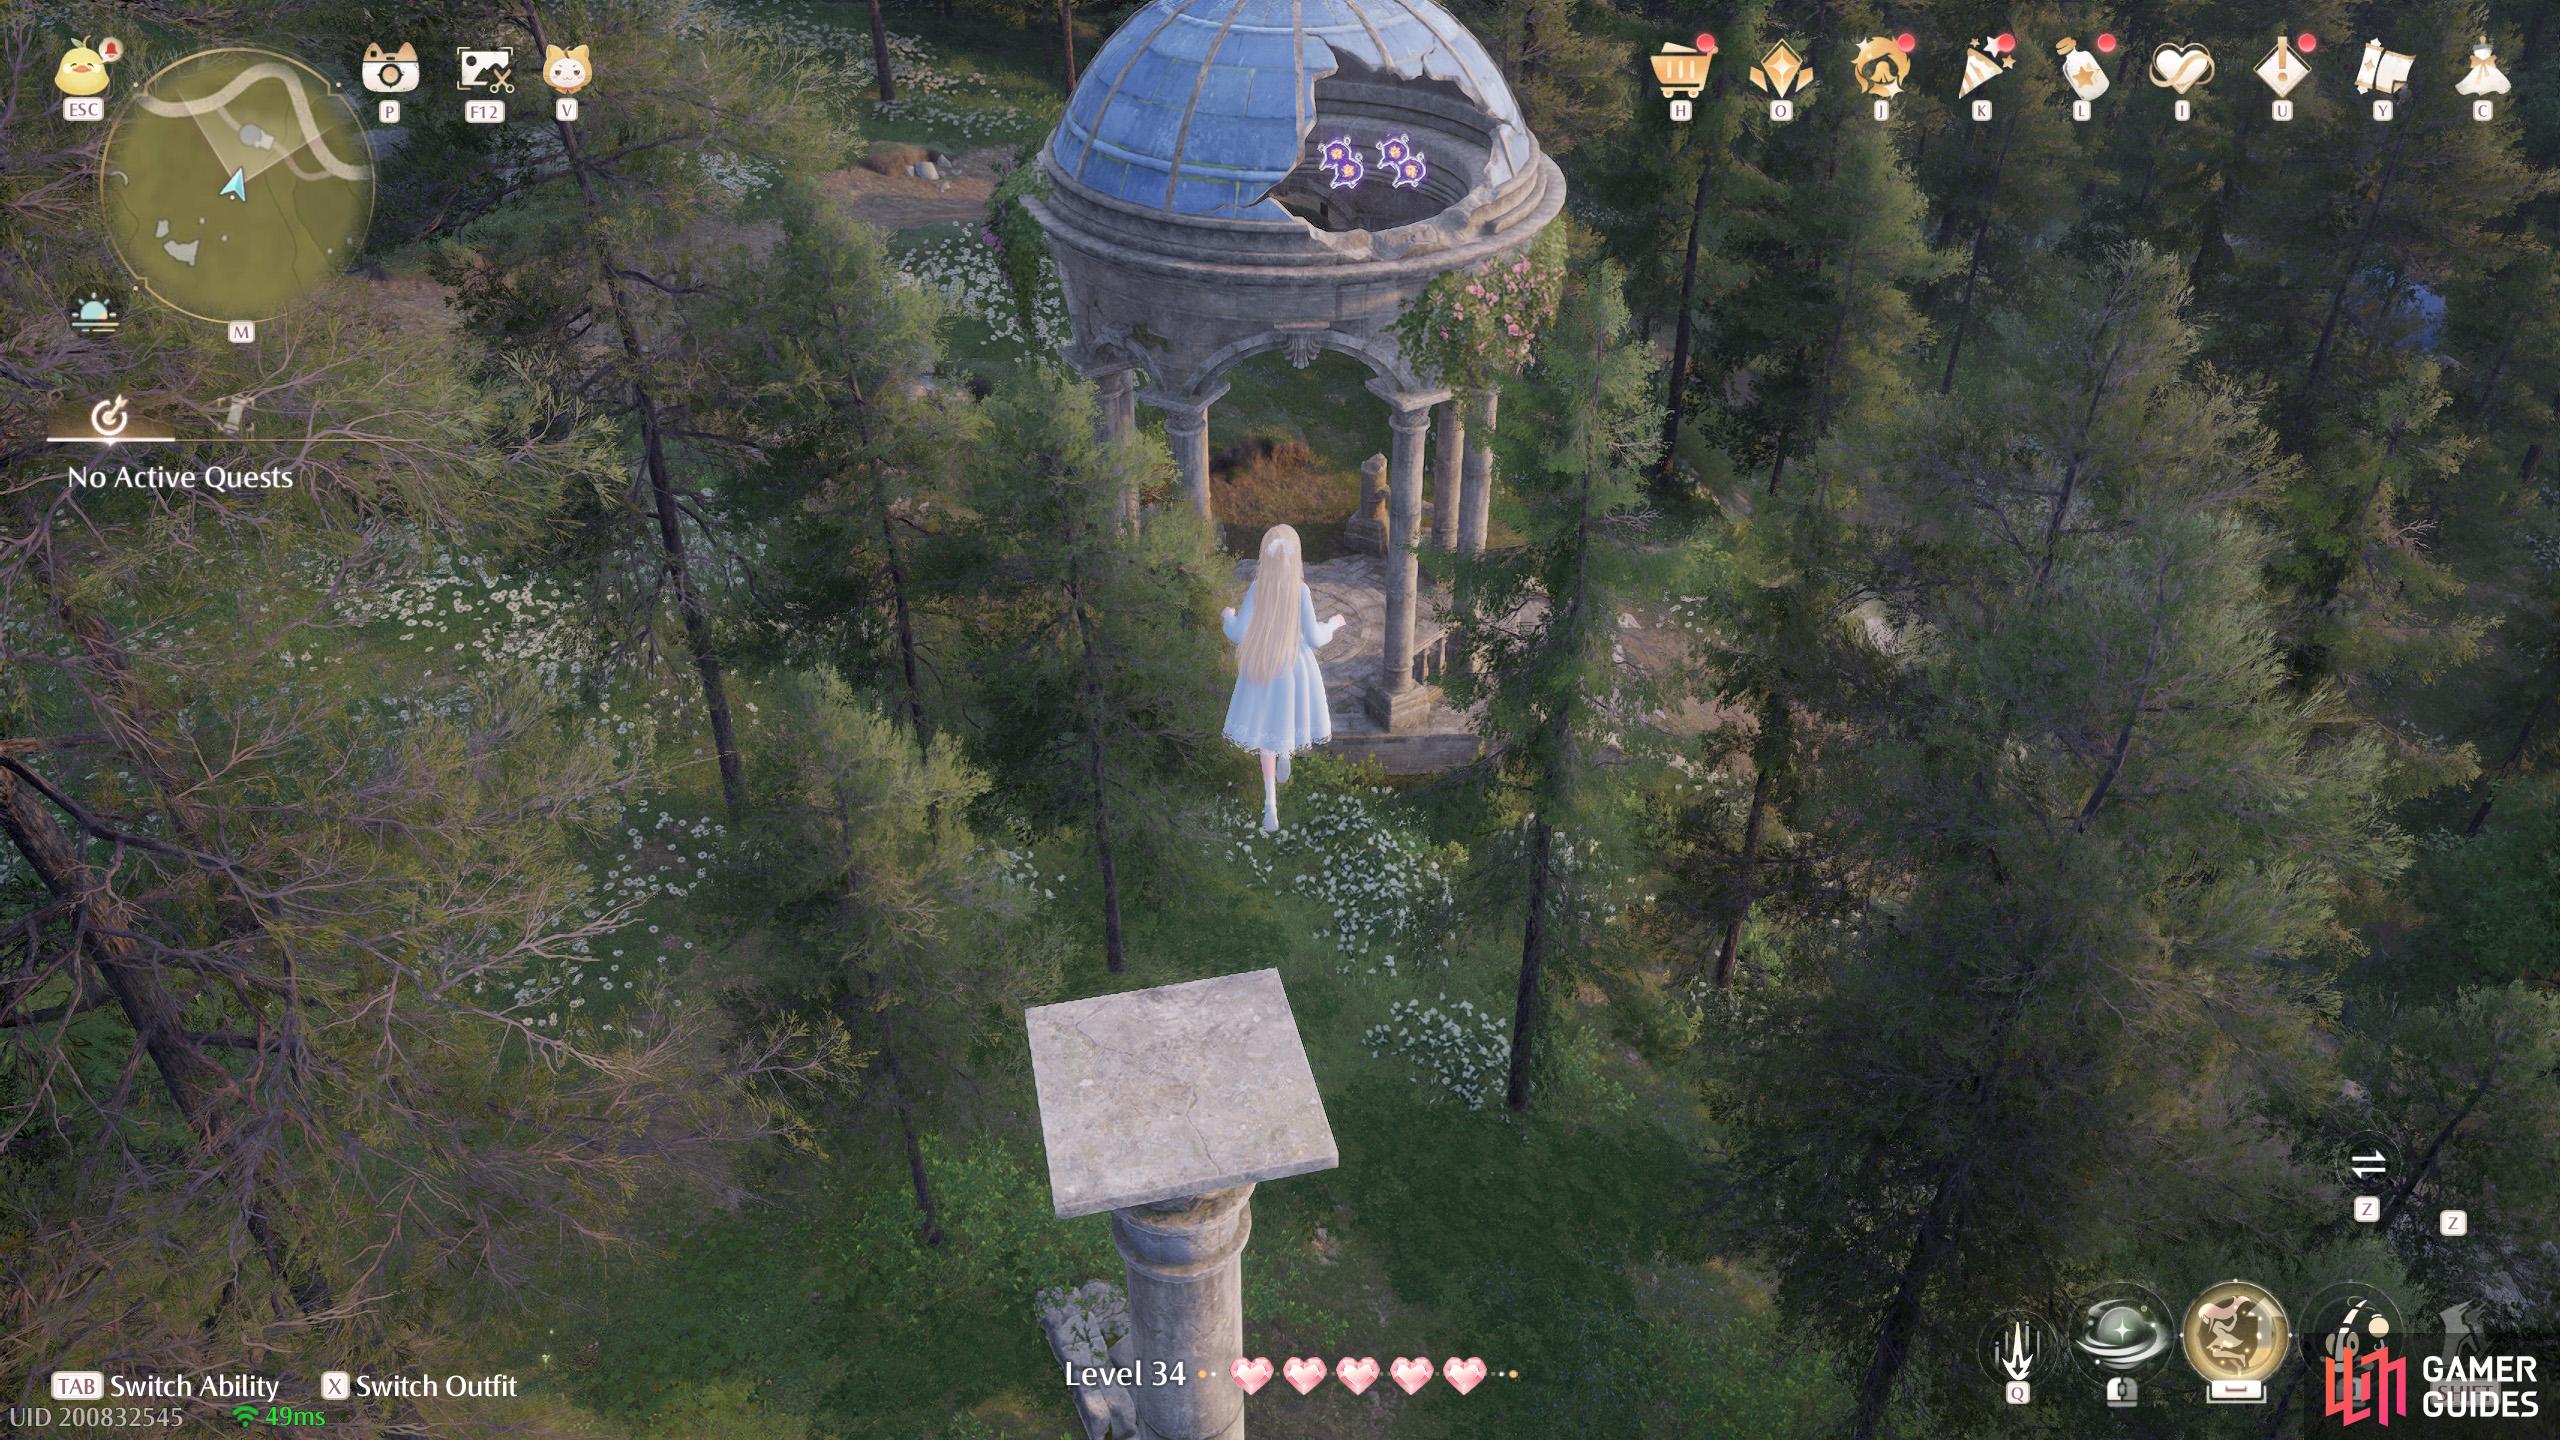
515. Miraland Map
Gazebo between ![]() Old Florawish Memorial and
Old Florawish Memorial and ![]() Florawish Lane. Four inside the roof. You can reach by jumping from the pillars to the south.
Florawish Lane. Four inside the roof. You can reach by jumping from the pillars to the south.
516. Miraland Map
Short distance north-west from ![]() The Leisureely Anglers Florawish Branch. Two floating above the ground near a mound.
The Leisureely Anglers Florawish Branch. Two floating above the ground near a mound.
517. Miraland Map
South from ![]() The Leisureely Anglers Florawish Branch. Two floating very high up, above a tree. You can just about reach them by floating from atop the chimney of the building.
The Leisureely Anglers Florawish Branch. Two floating very high up, above a tree. You can just about reach them by floating from atop the chimney of the building.
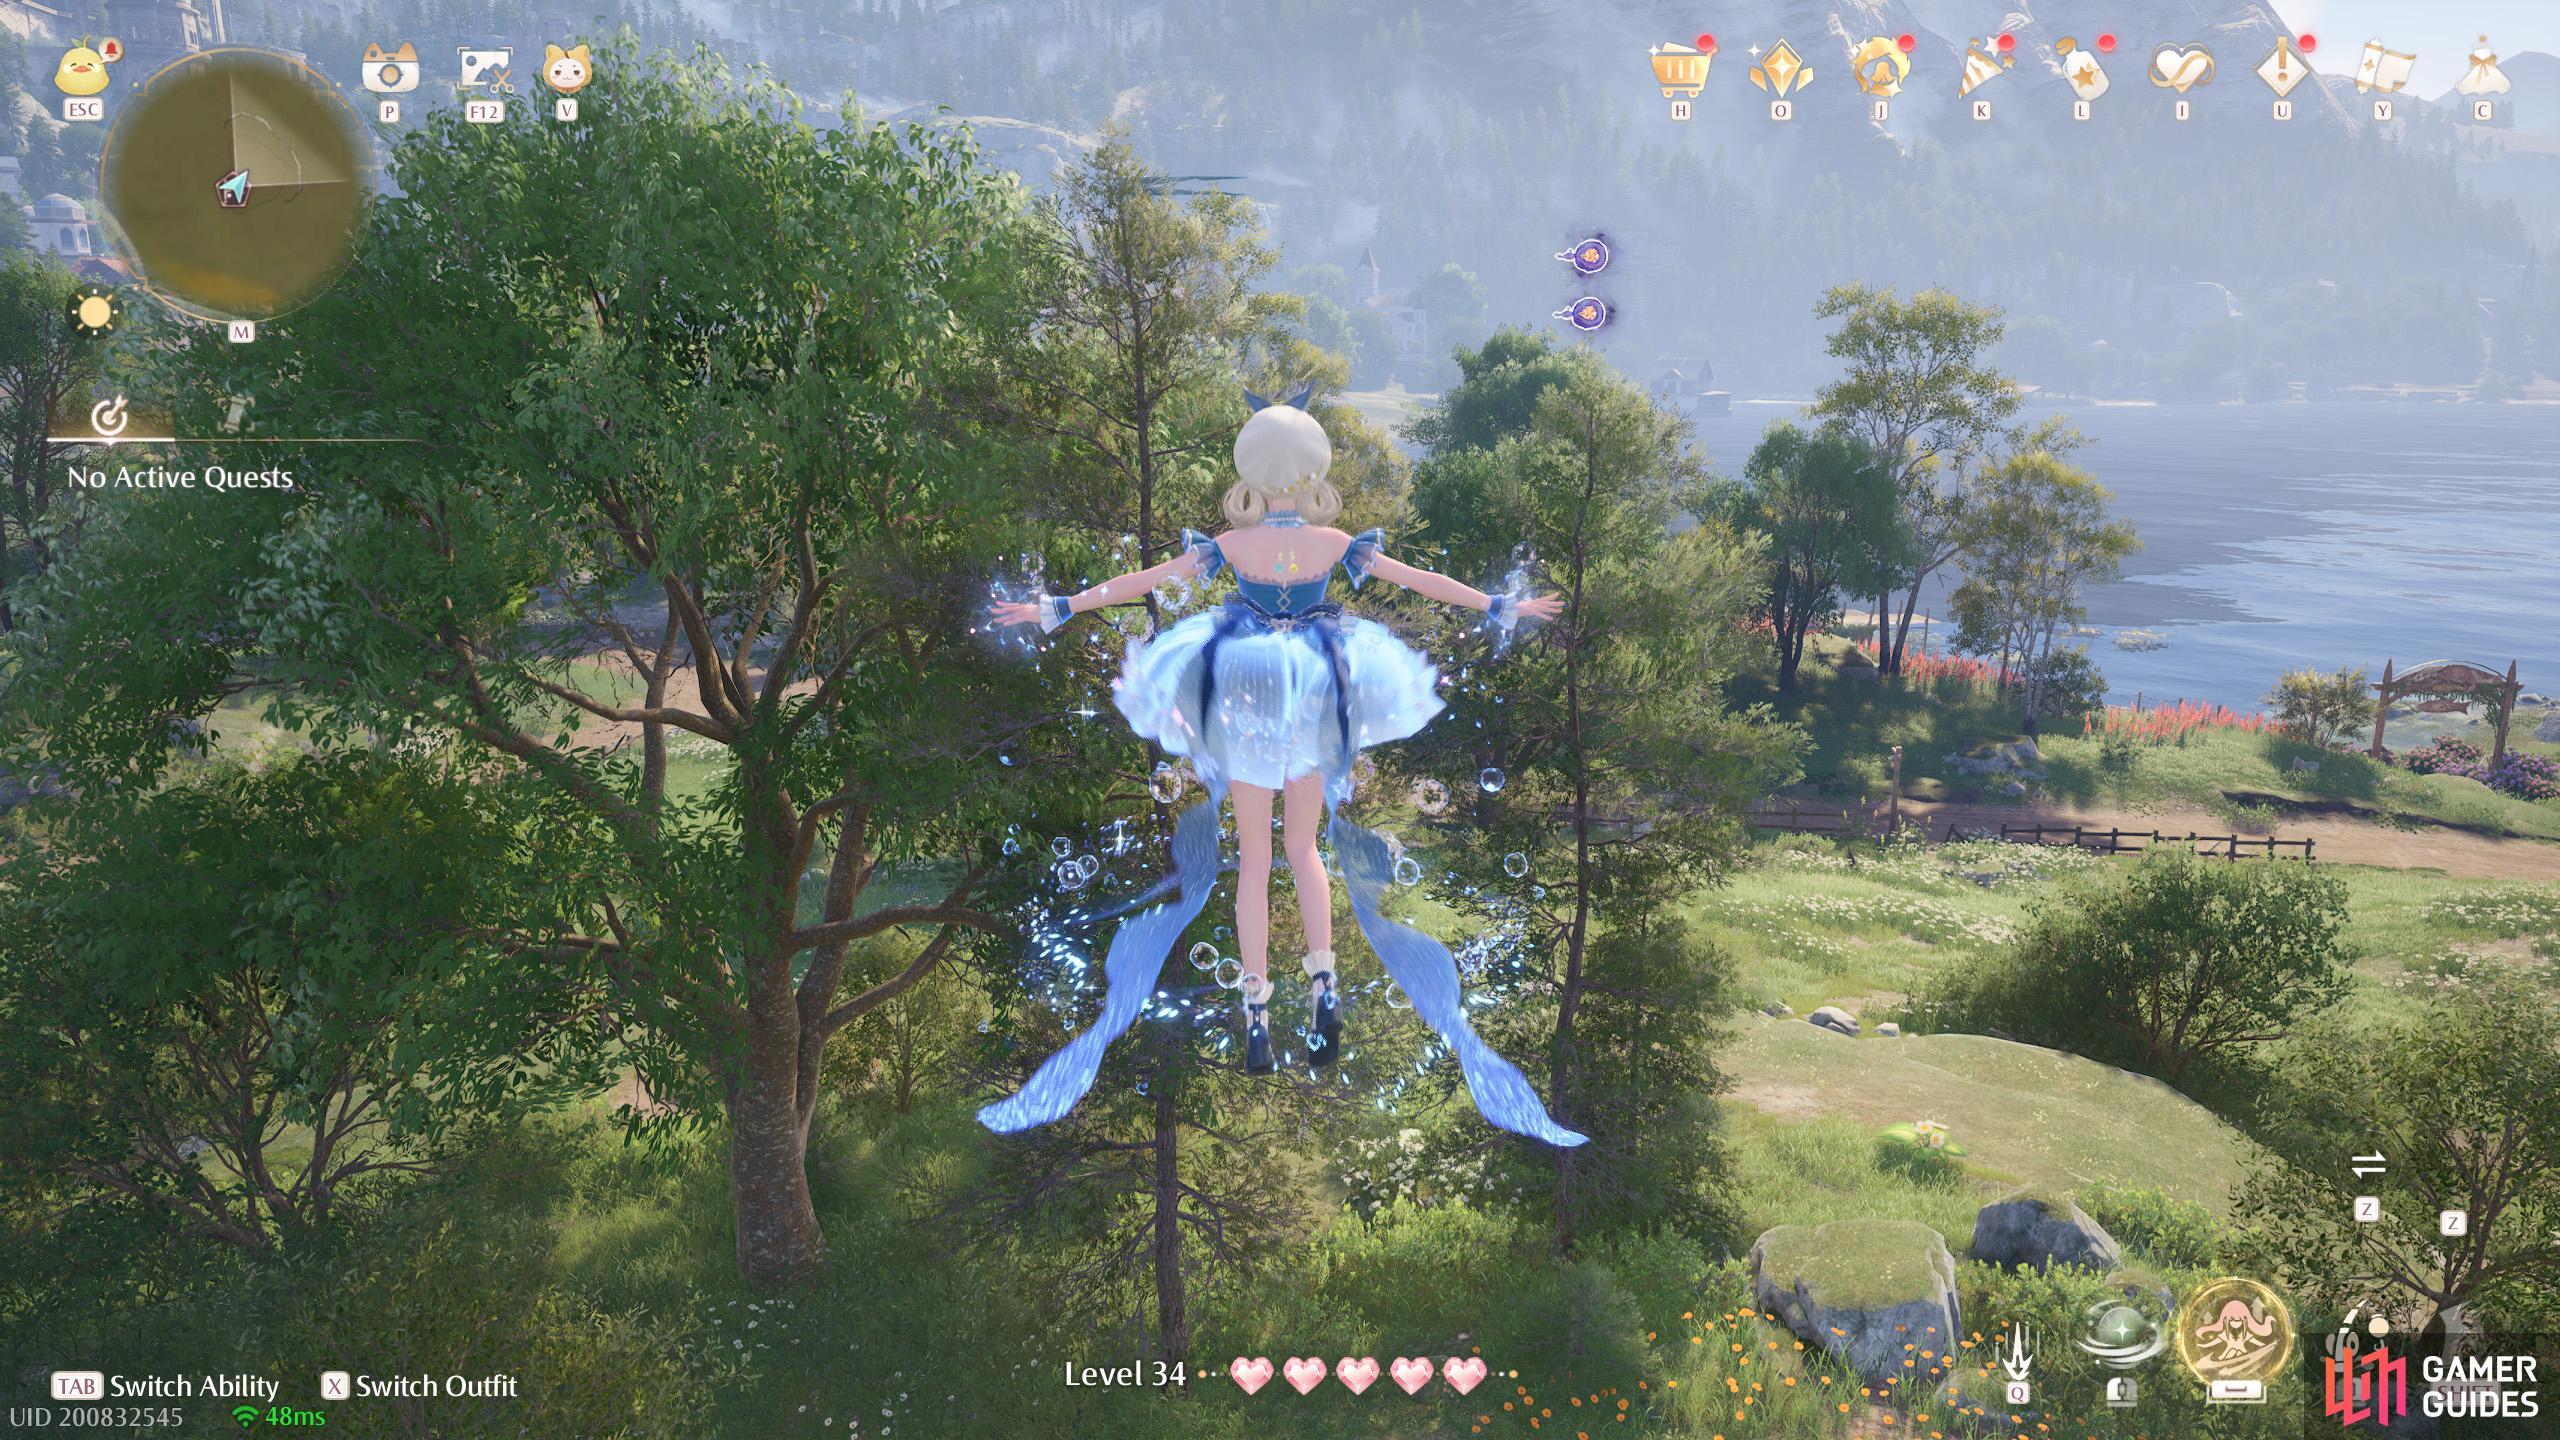
518. Miraland Map
South-west from ![]() The Leisureely Anglers Florawish Branch. Two floating high up, above a tree. You can reach from atop the minigame stall.
The Leisureely Anglers Florawish Branch. Two floating high up, above a tree. You can reach from atop the minigame stall.
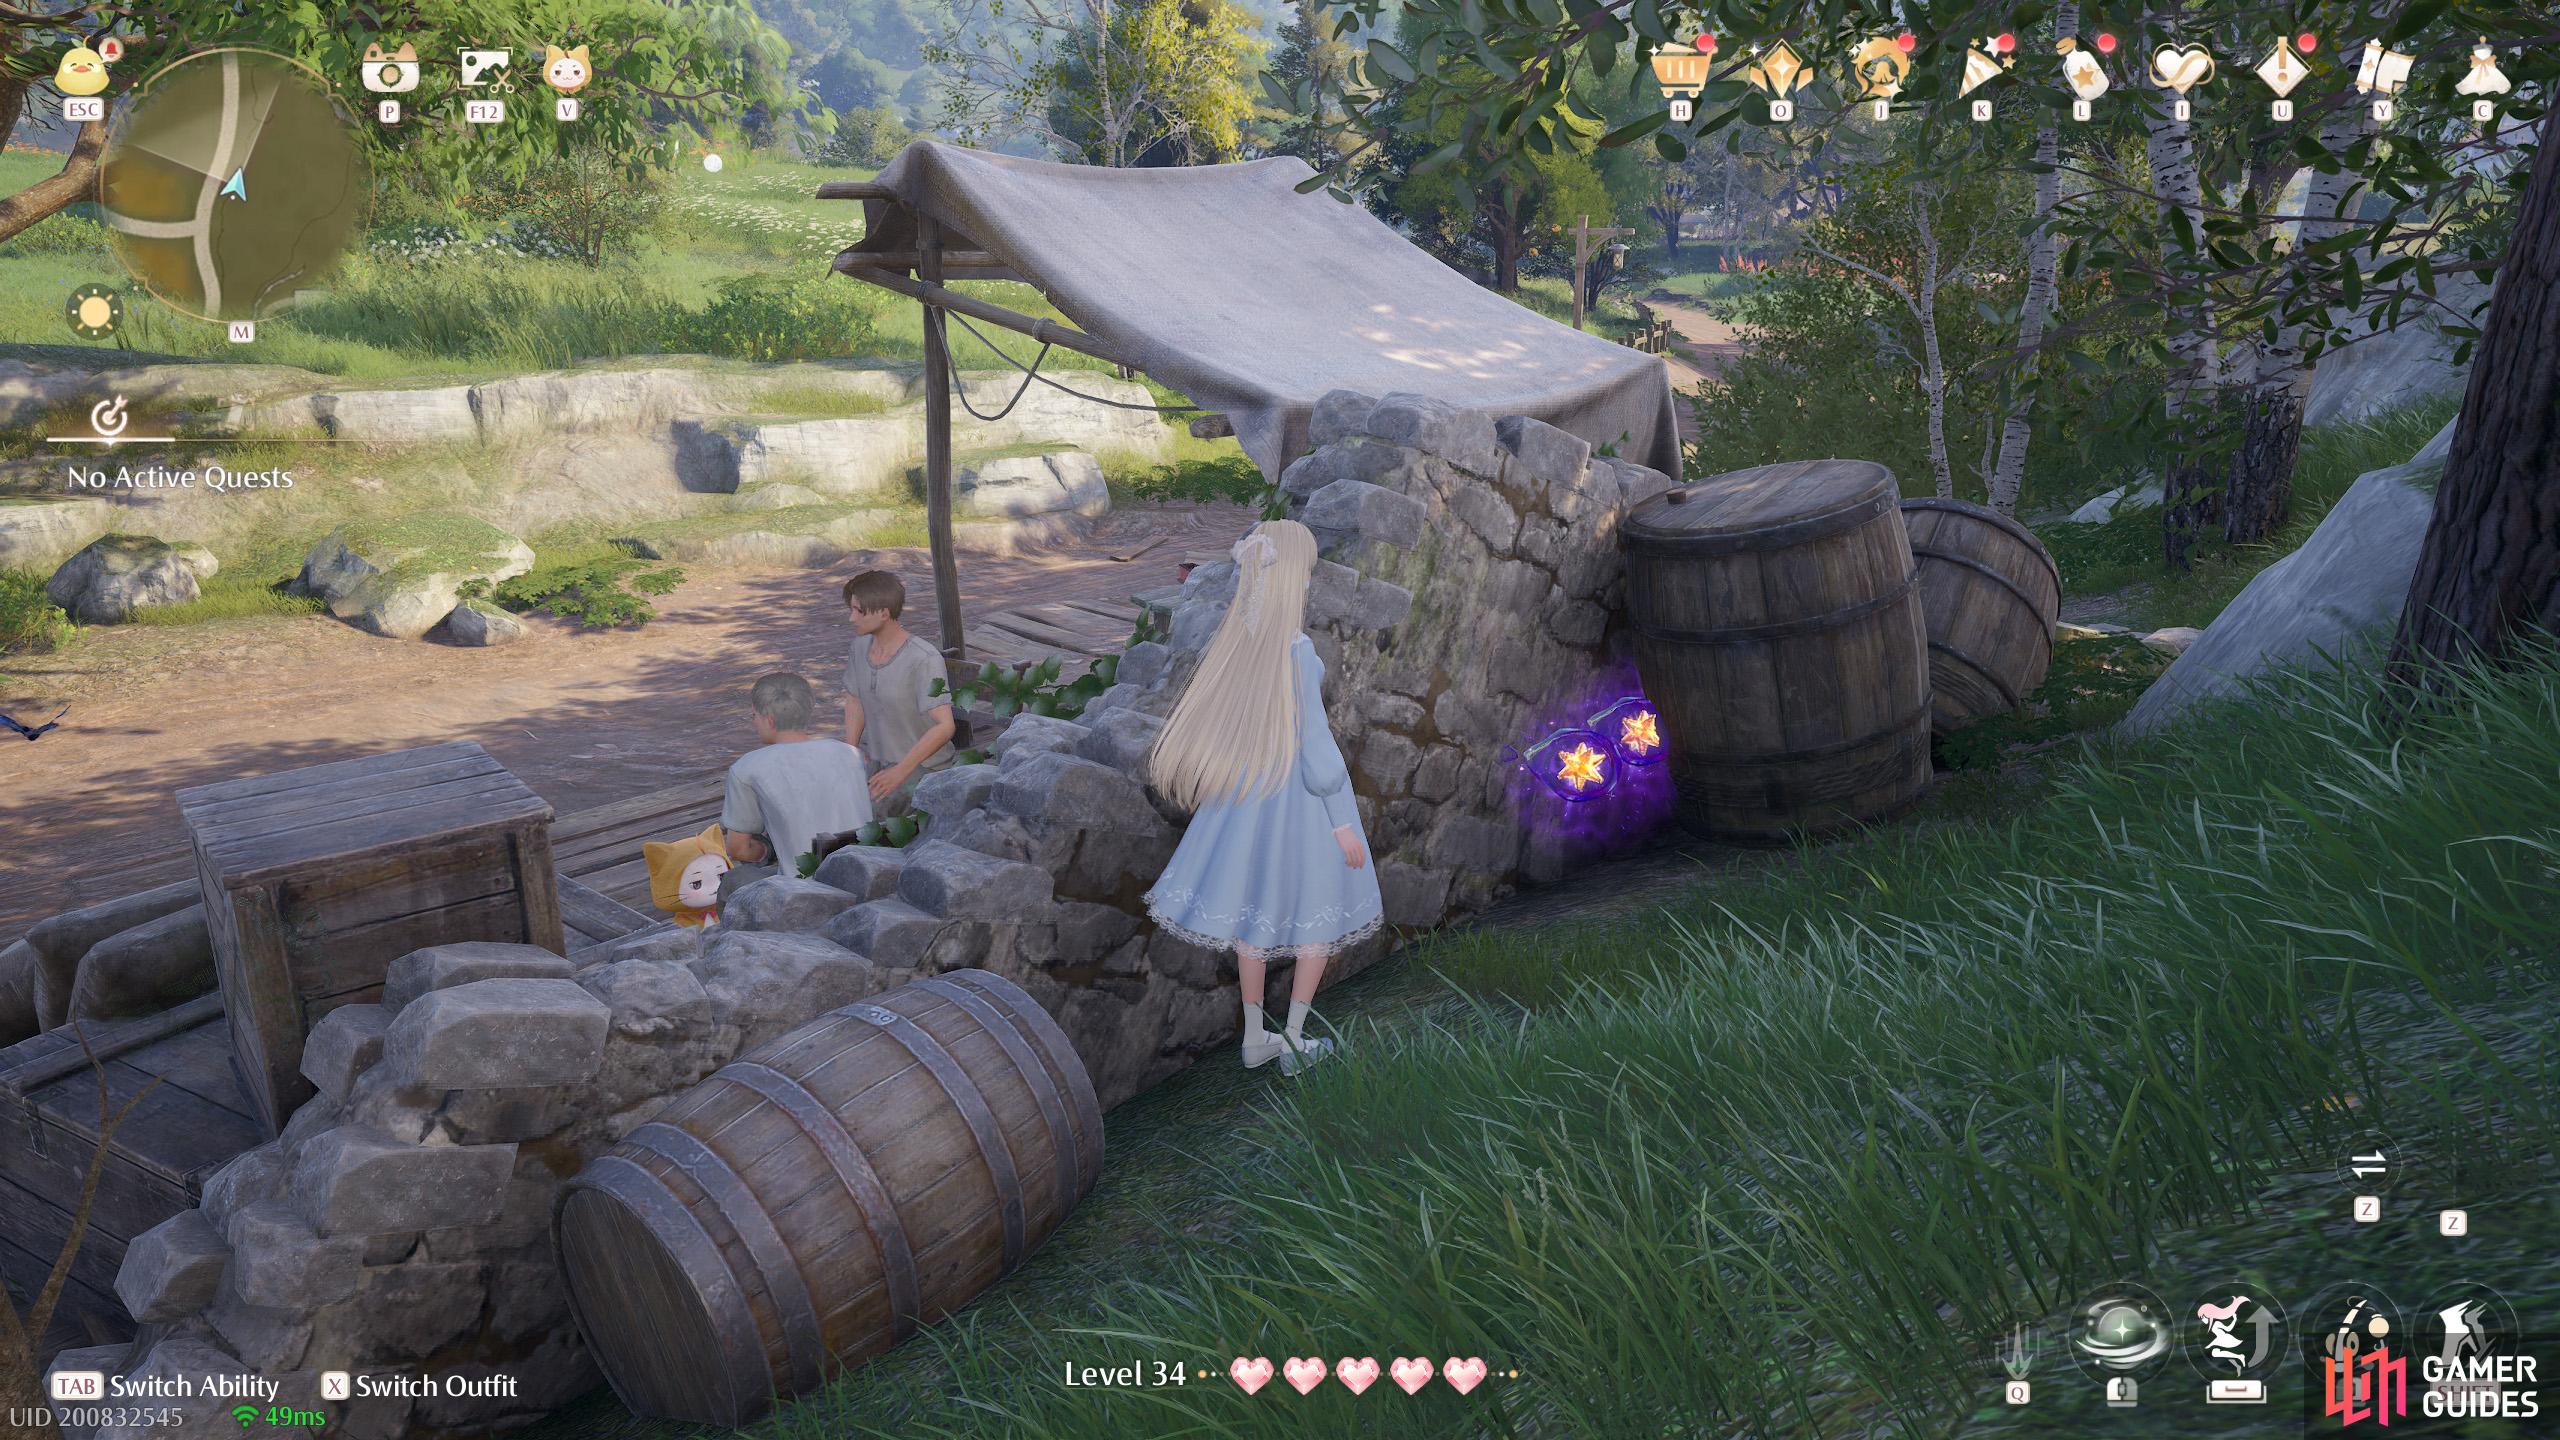
519. Miraland Map
North-west from the ![]() Swan Gazebo. Two hidden behind the wall. To hit the one near the barrel, perform a jumping attack.
Swan Gazebo. Two hidden behind the wall. To hit the one near the barrel, perform a jumping attack.
520. Miraland Map
Short distance east from the ![]() Swan Gazebo. Three floating above the water. There’s a rock nearby where you can stand.
Swan Gazebo. Three floating above the water. There’s a rock nearby where you can stand.
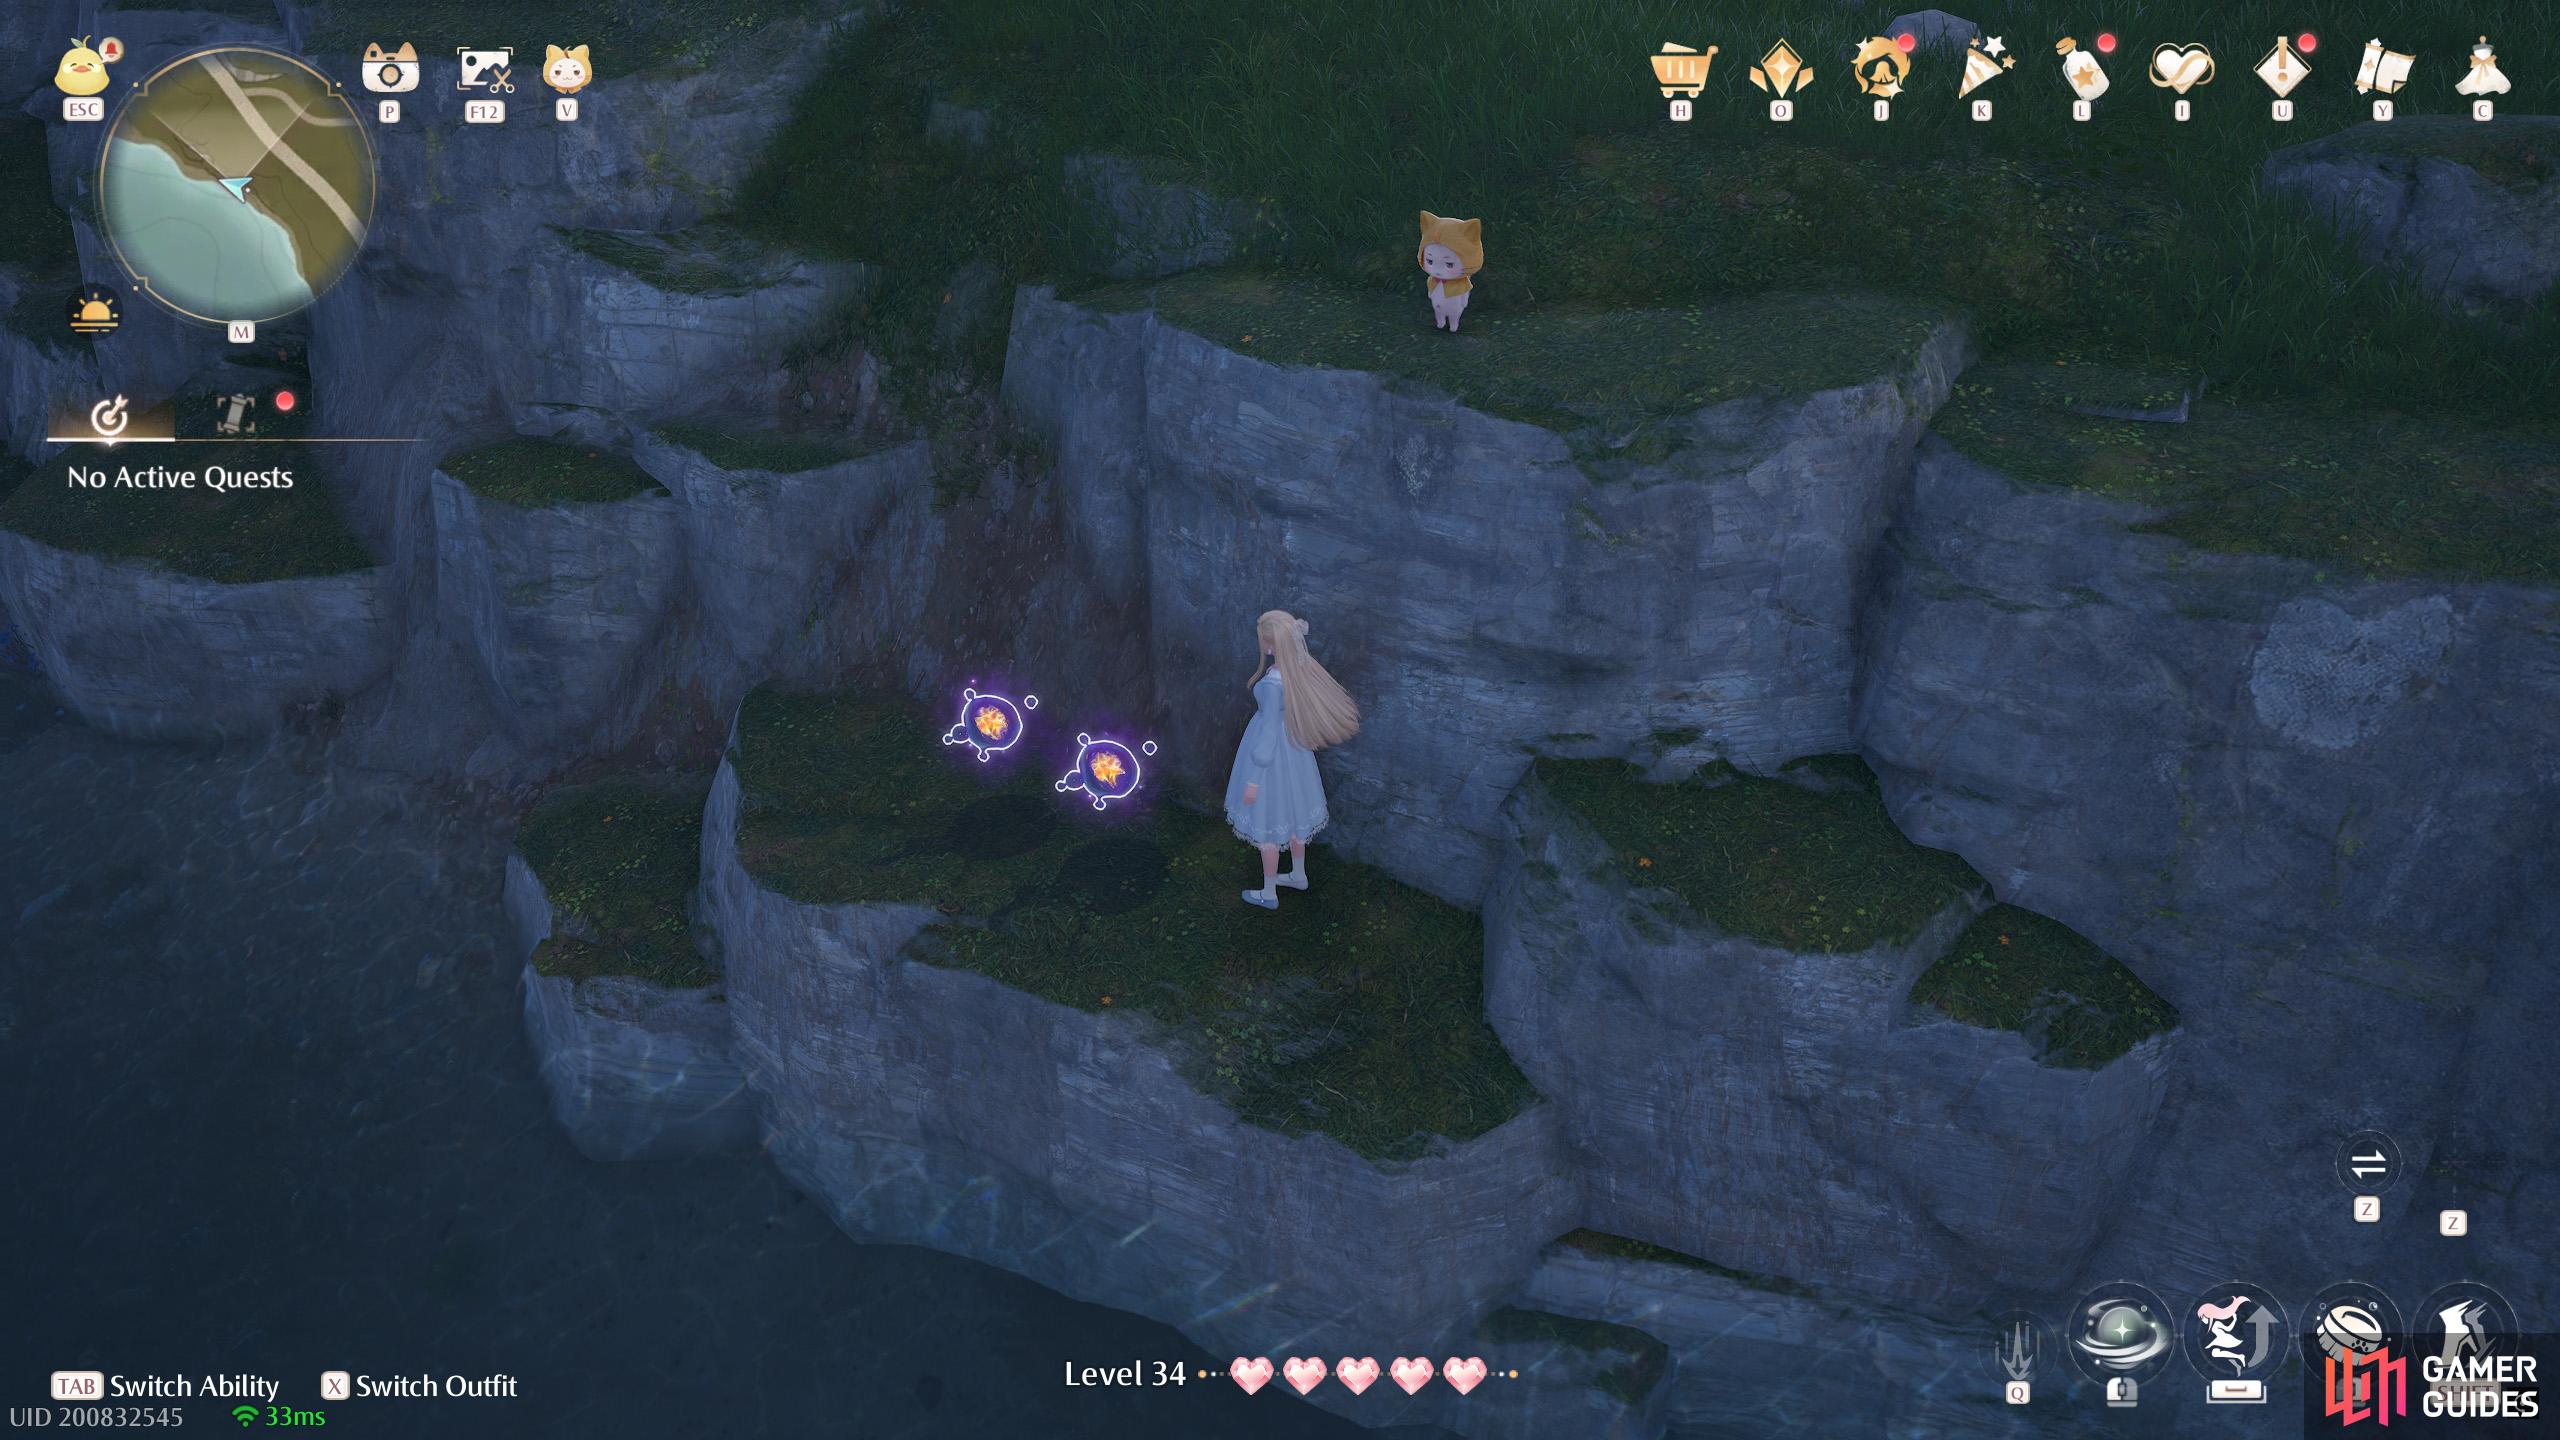
521. Miraland Map
West from the ![]() Sanctum of the Observant and slightly south. Two on a ledge near the water.
Sanctum of the Observant and slightly south. Two on a ledge near the water.
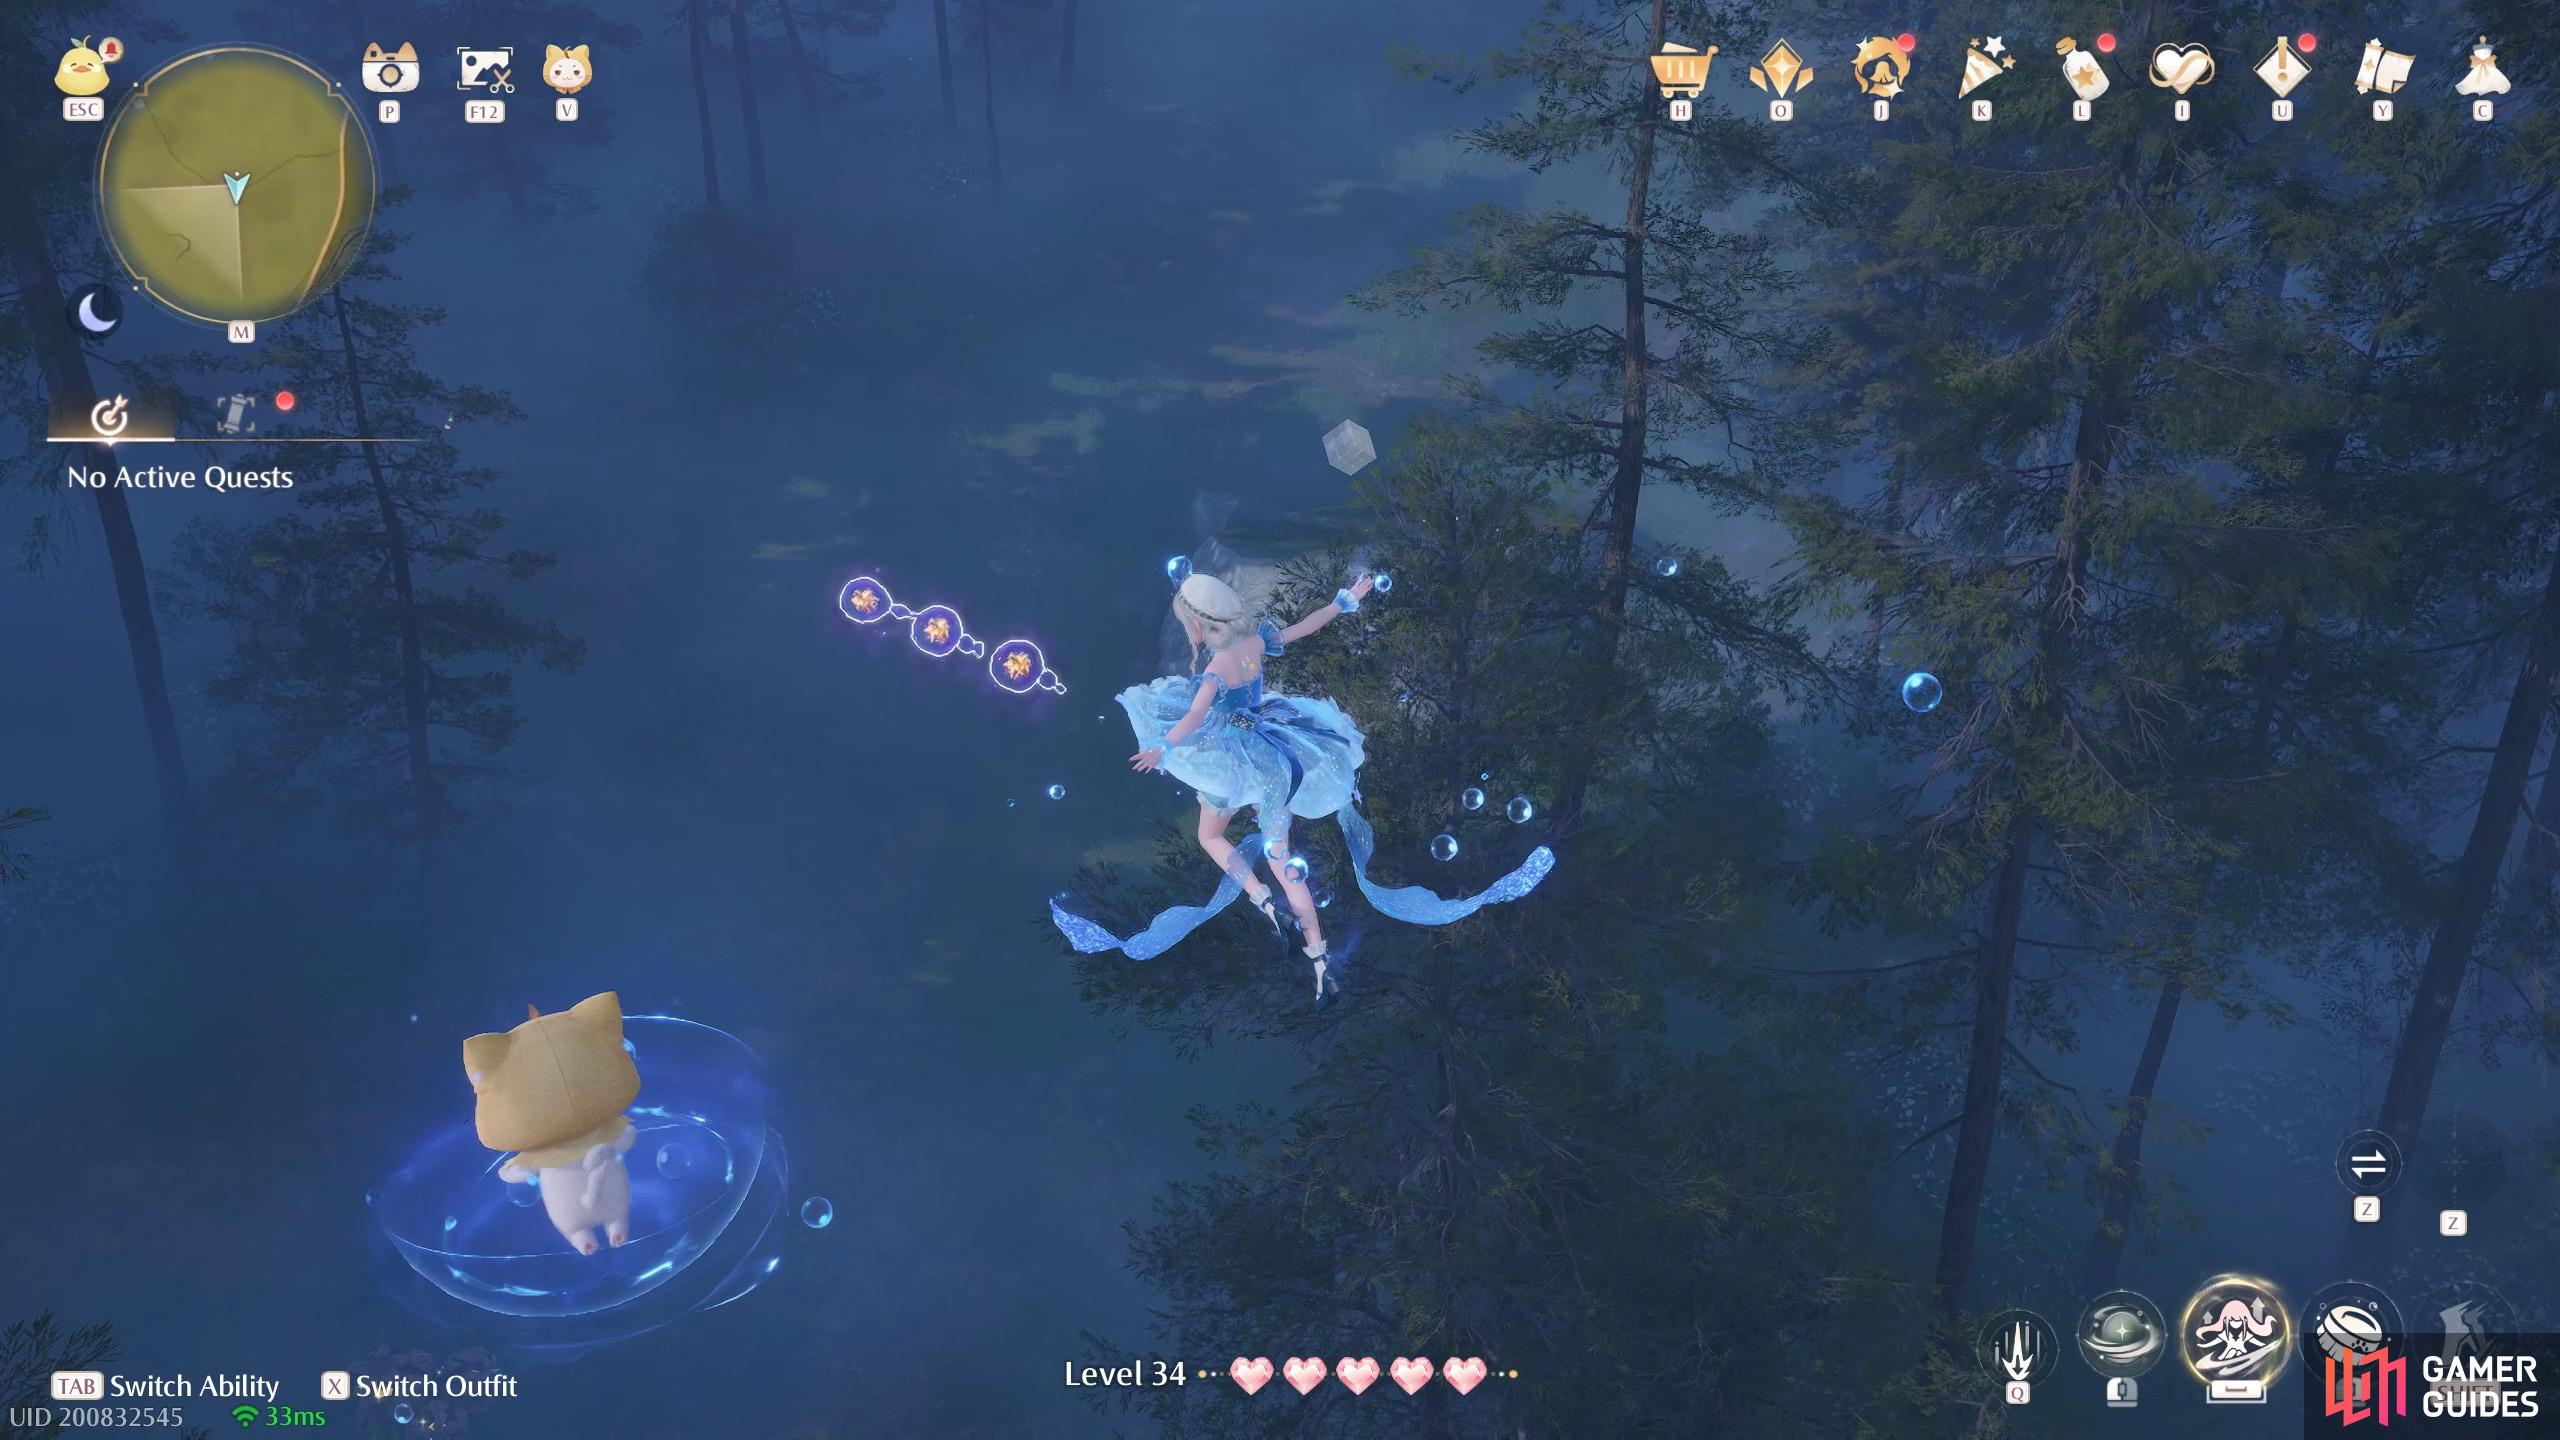
522. Miraland Map
At the ![]() Bullquet Habitat. Three floating high up south of the south-east pillar. There are wishnets nearby that you can use to gain height.
Bullquet Habitat. Three floating high up south of the south-east pillar. There are wishnets nearby that you can use to gain height.
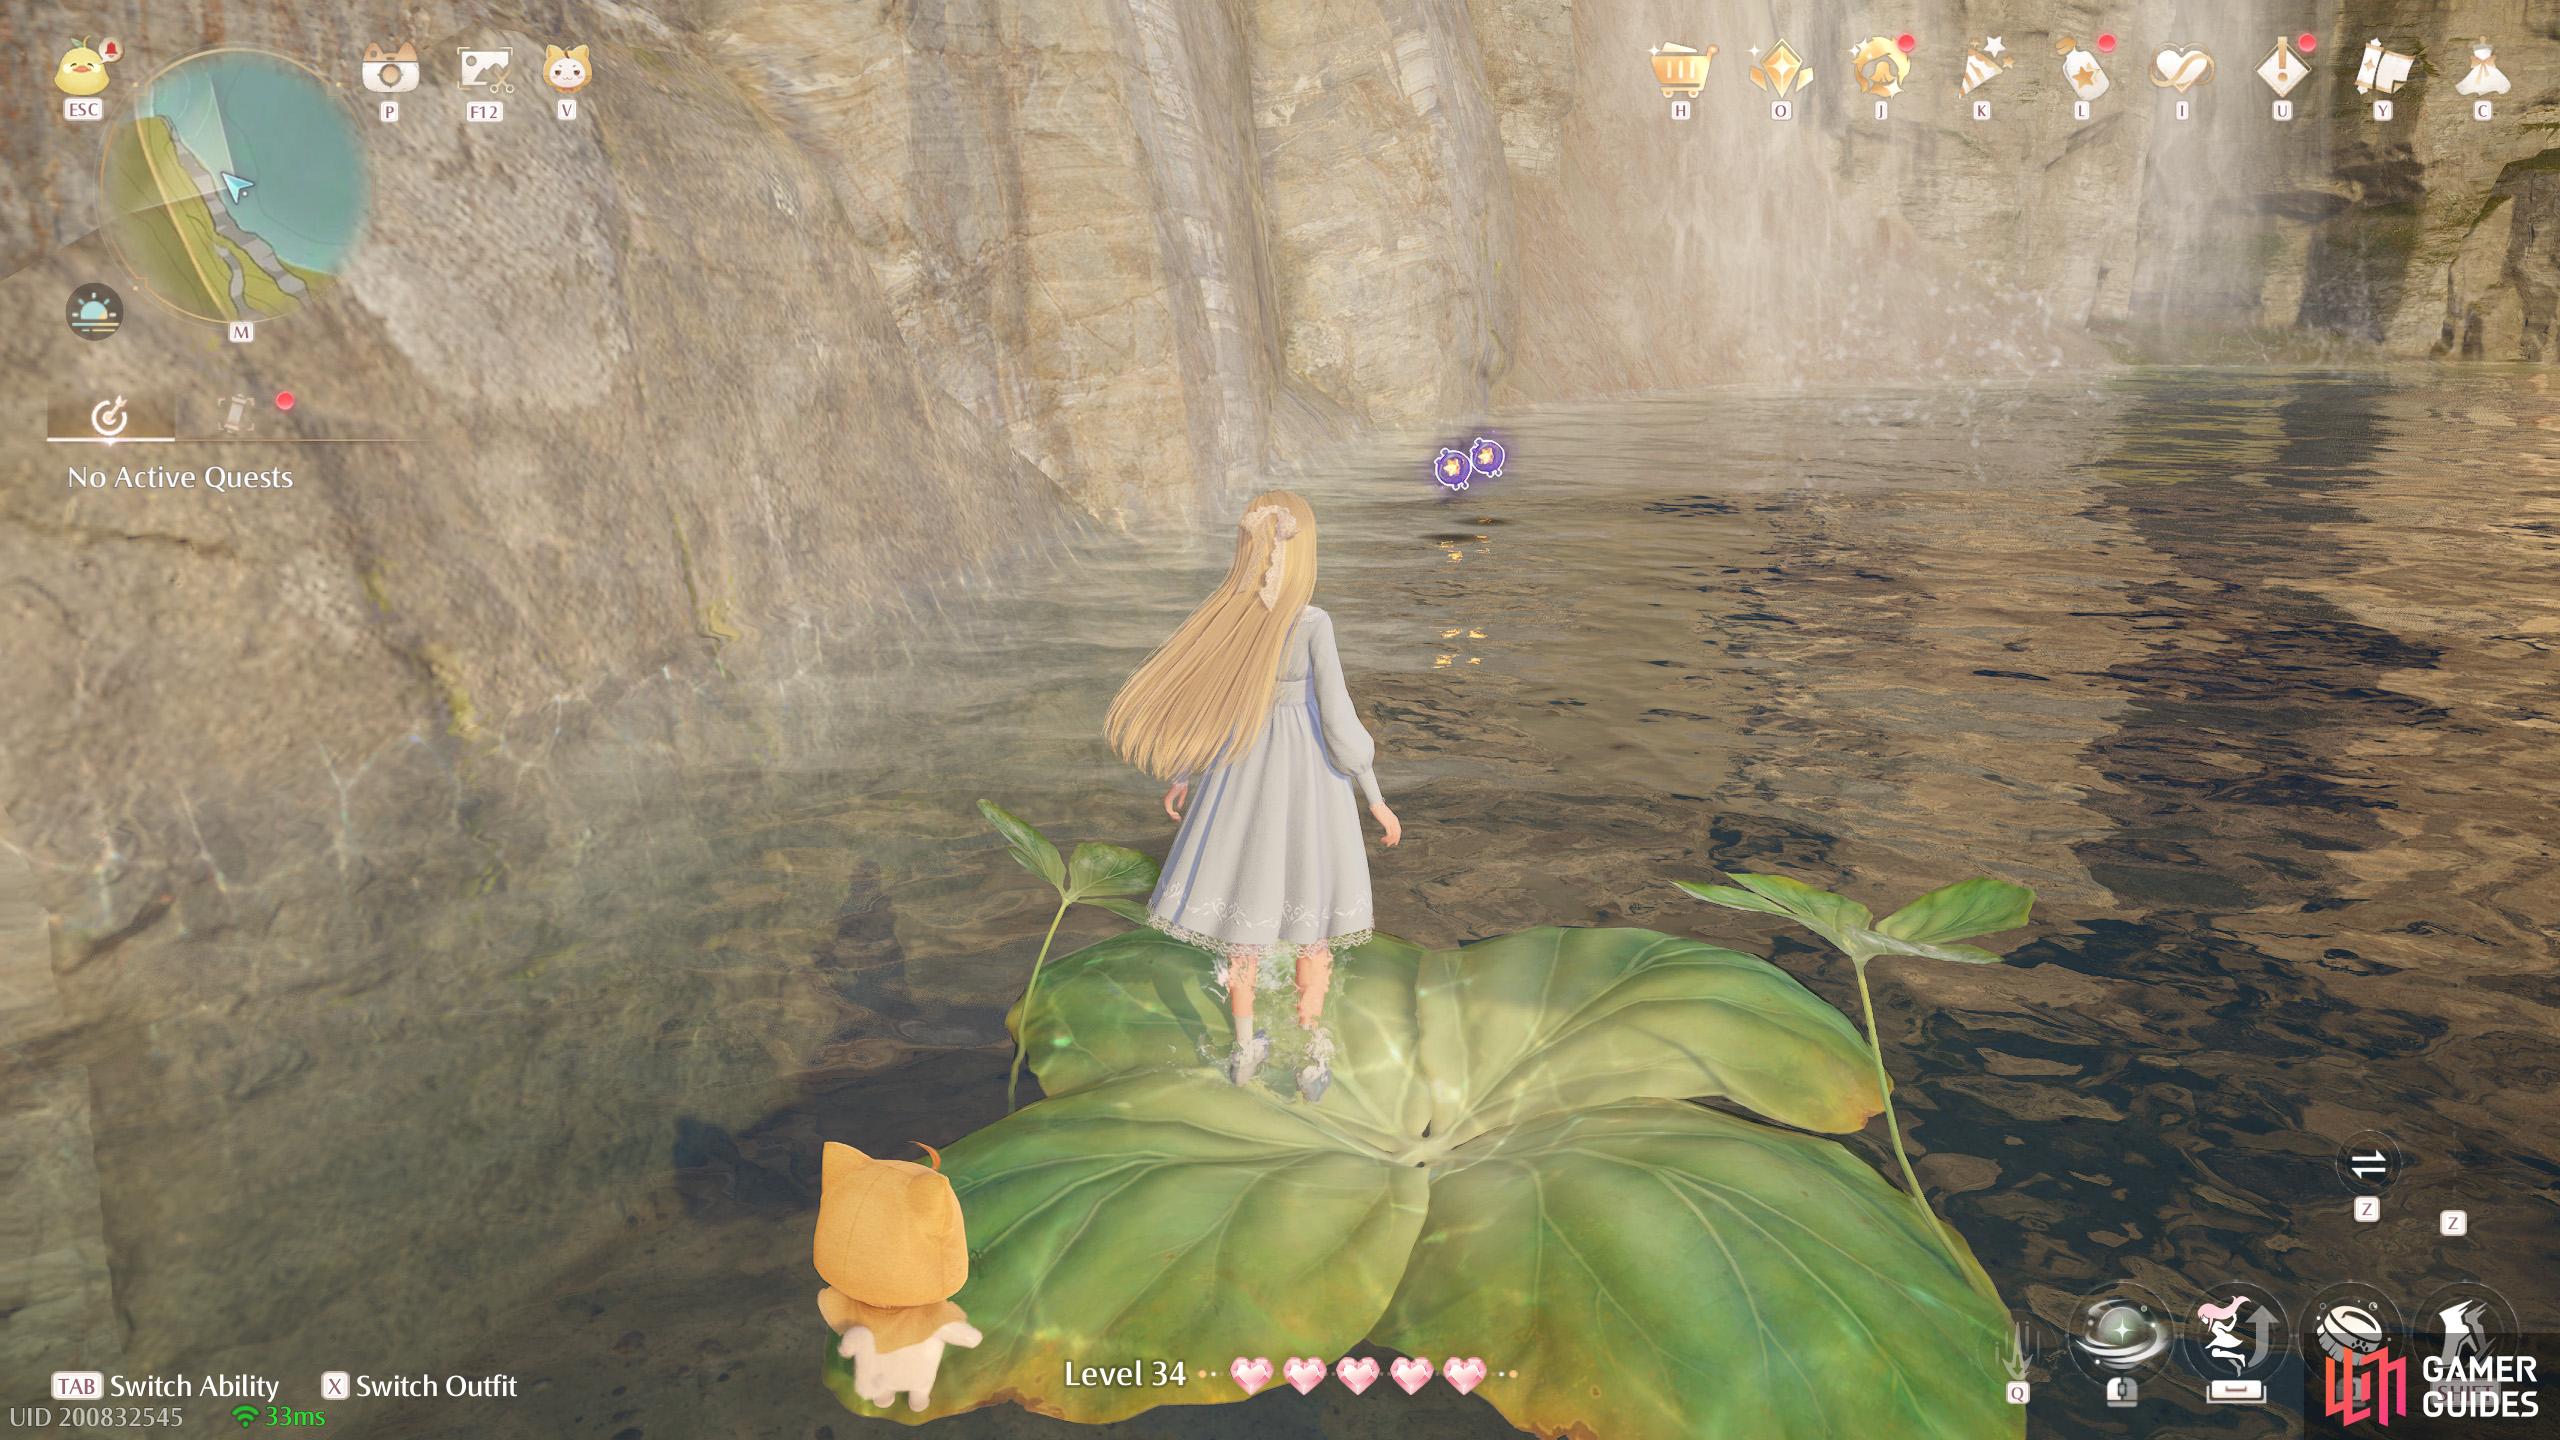
523. Miraland Map
At the lake west from the ![]() Abandoned Fanatic Wisher Camp. Towards the far west, near the world boundary. Three floating across the water. You can jump on the lily pads to reach.
Abandoned Fanatic Wisher Camp. Towards the far west, near the world boundary. Three floating across the water. You can jump on the lily pads to reach.
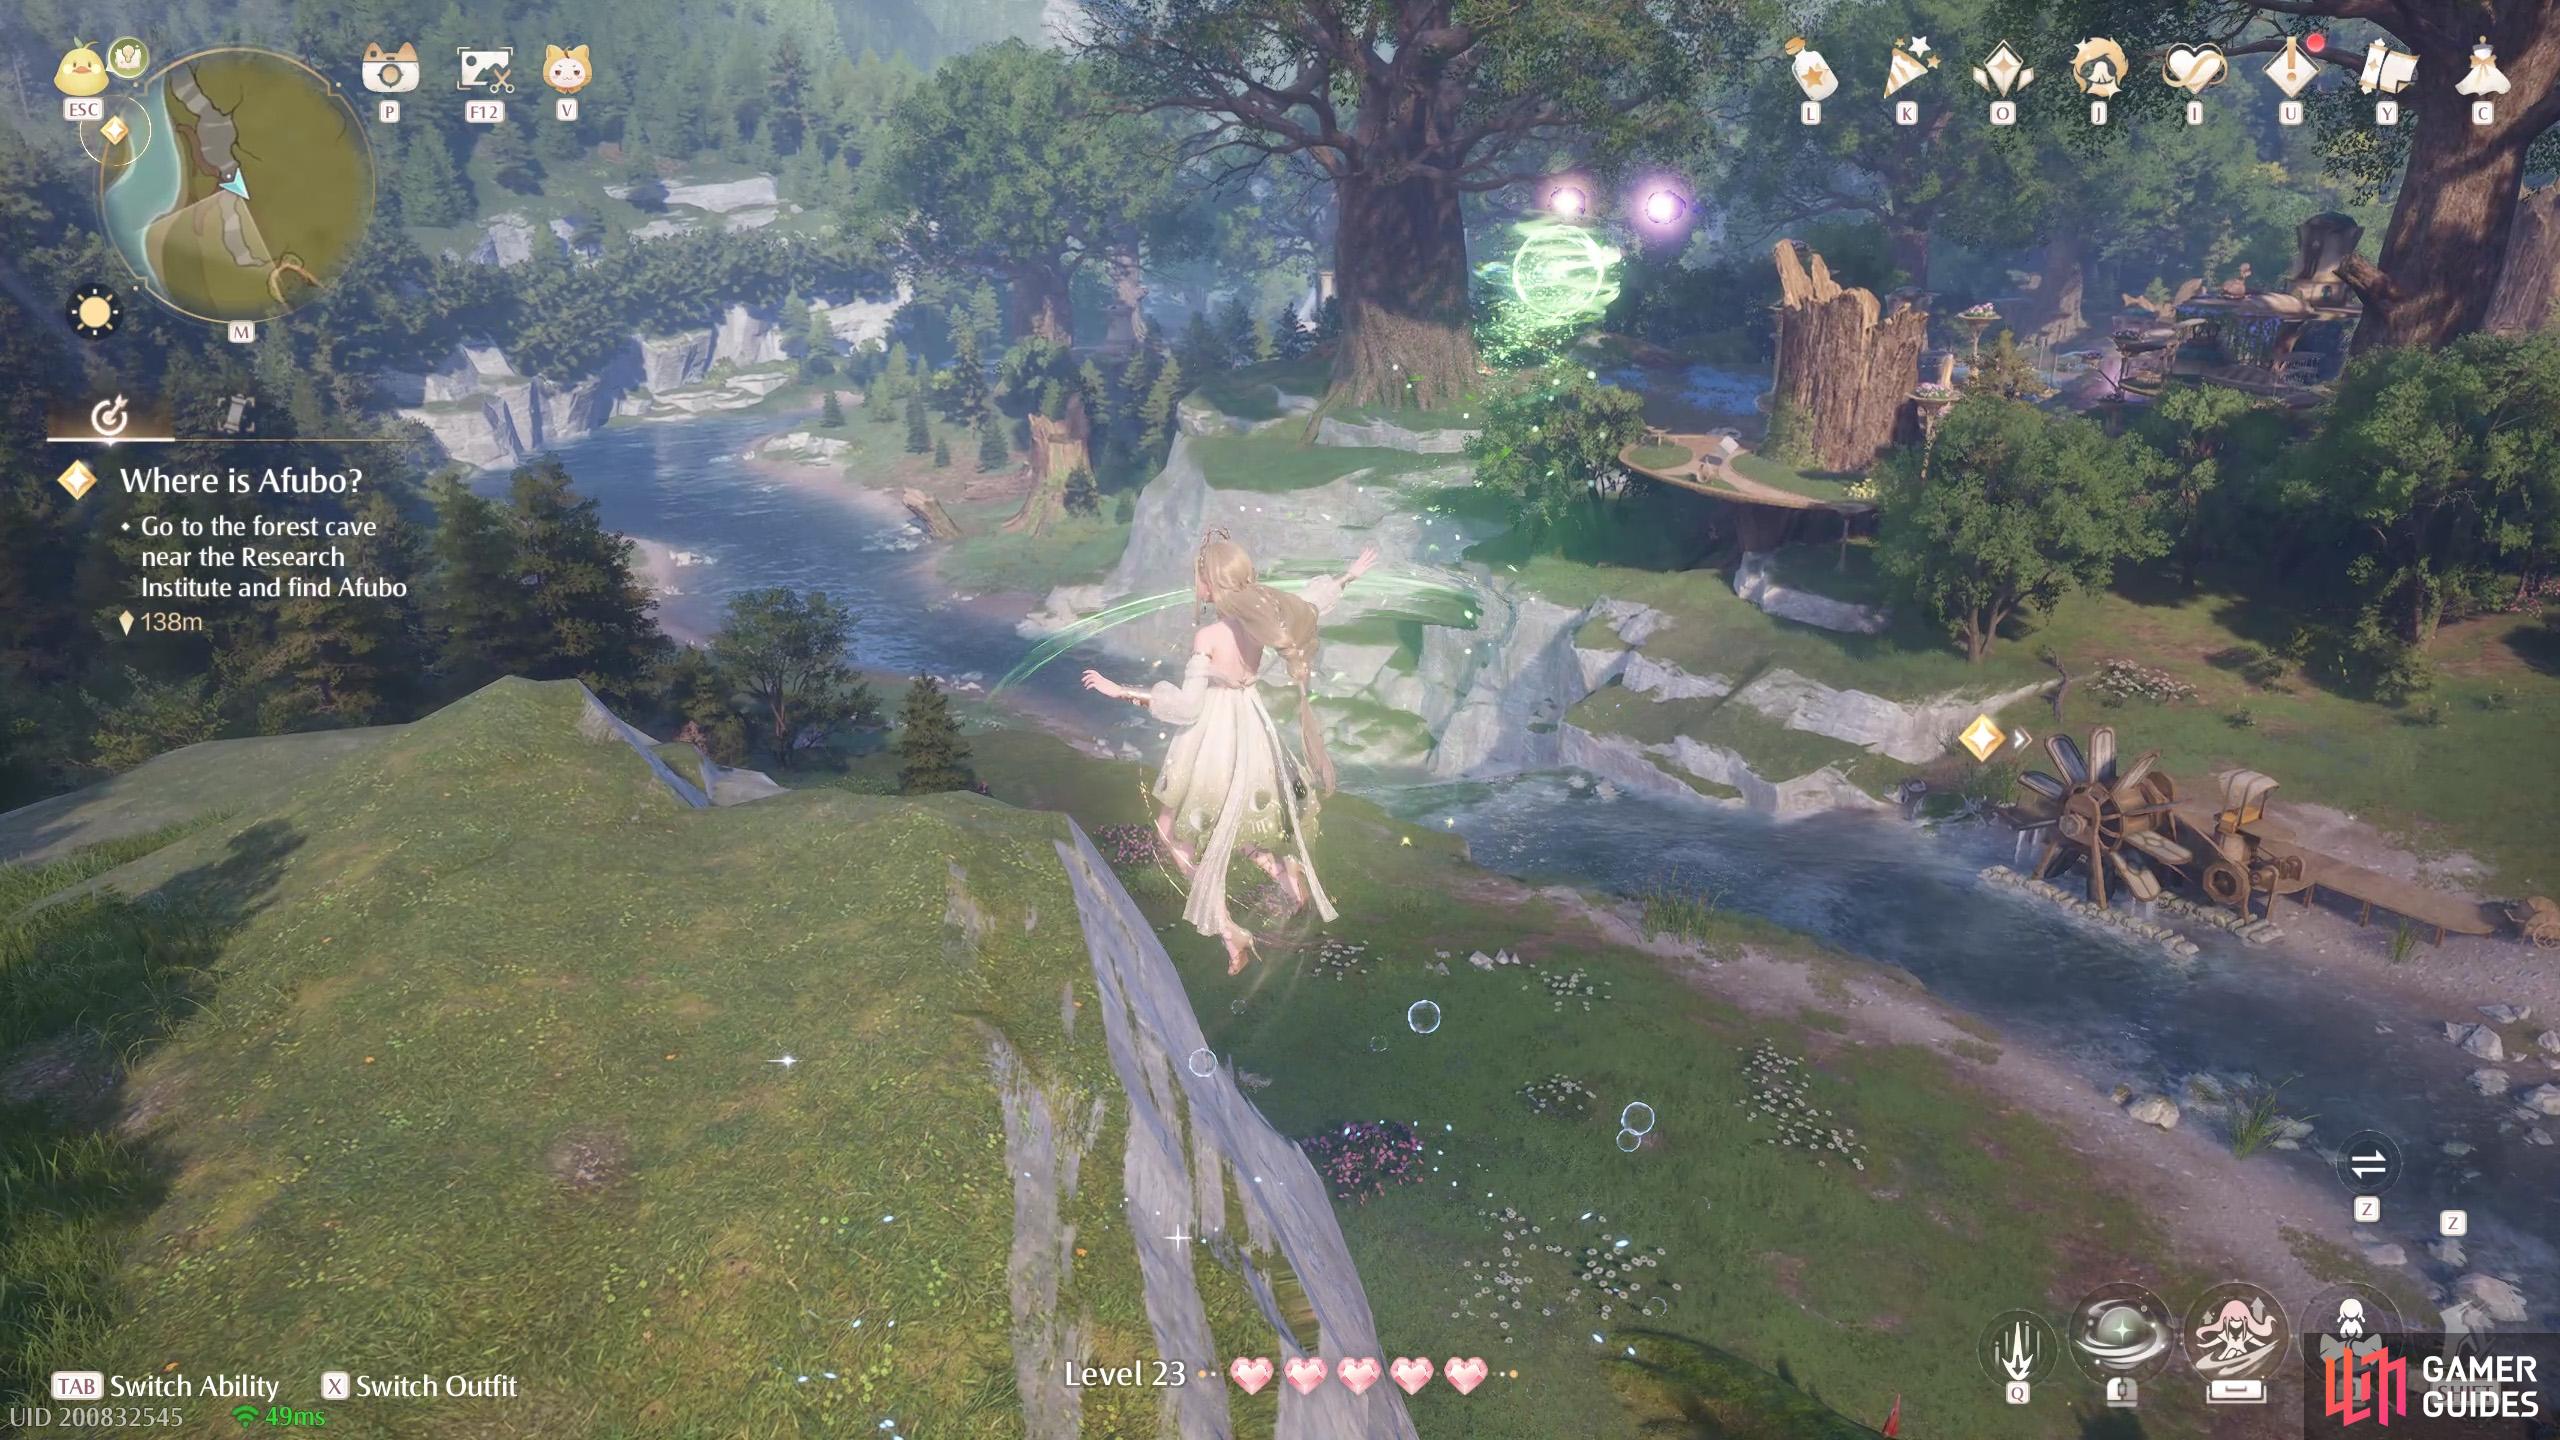
524. Miraland Map
North-east from ![]() Wishcraft Lab. Two floating near the edge of some higher ground.
Wishcraft Lab. Two floating near the edge of some higher ground.
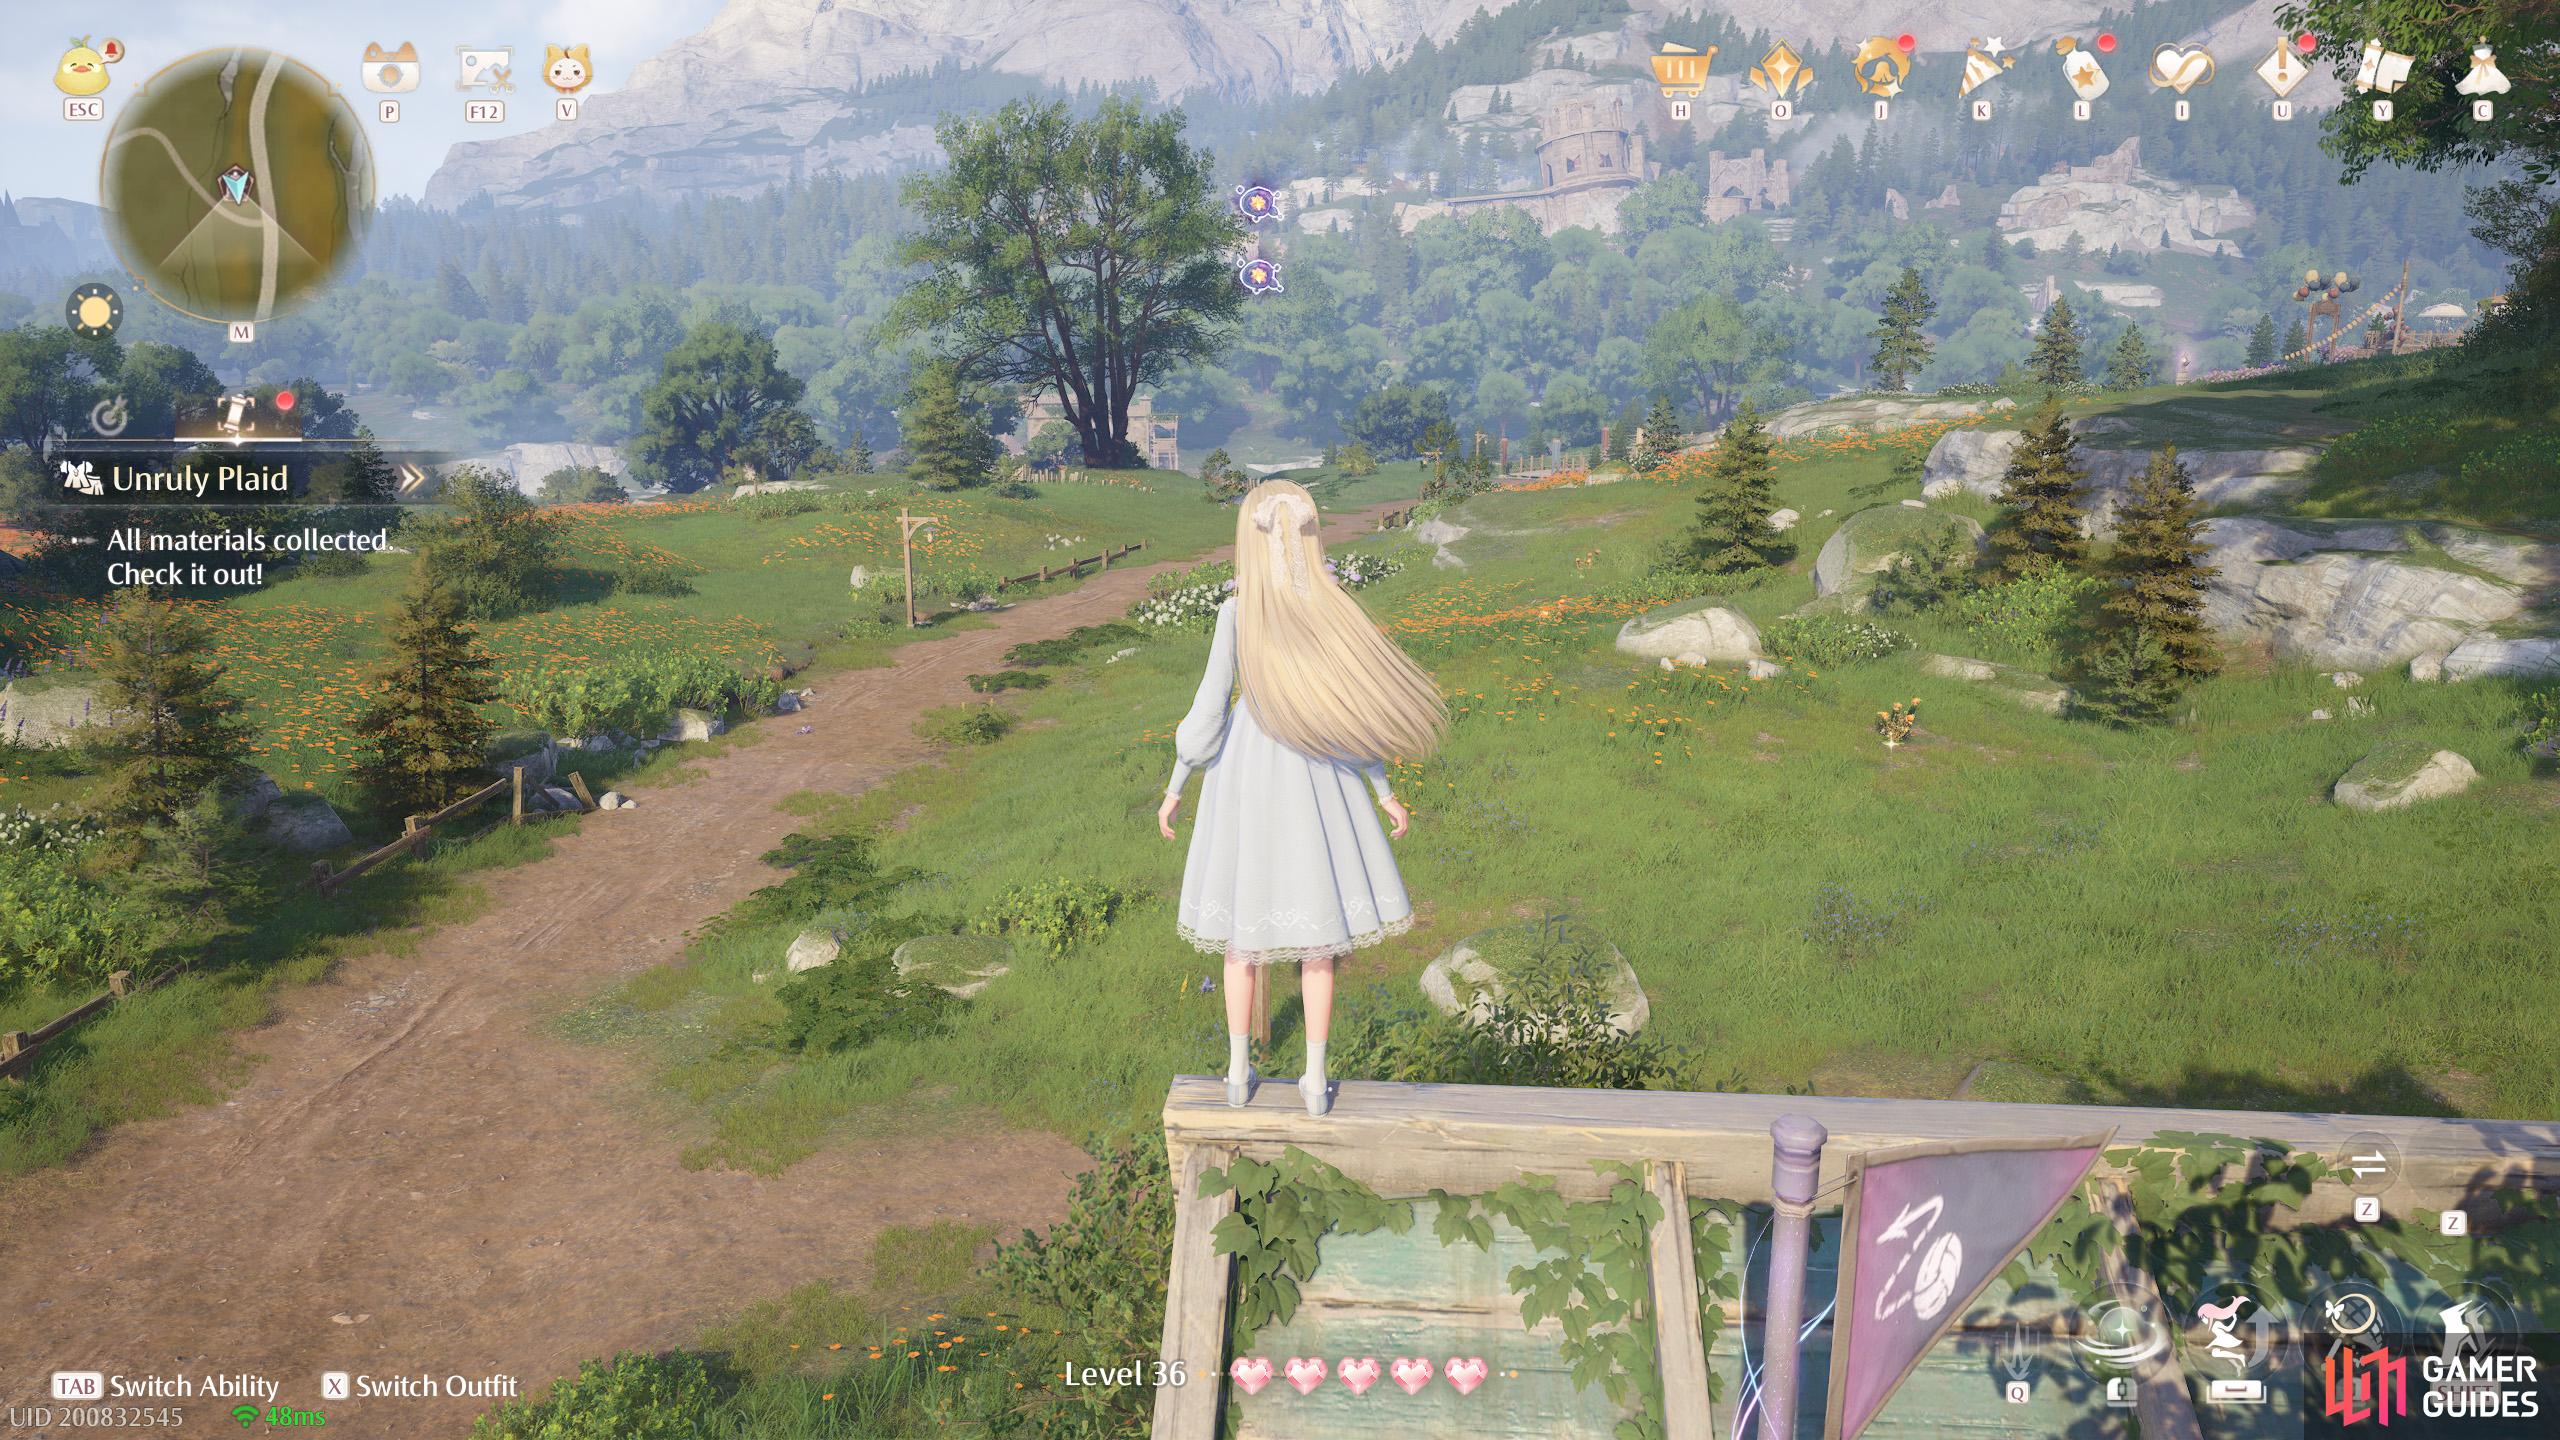
525. Miraland Map
West from the ![]() Bug Catcher’s Cabin. Two floating high up, near the minigame stall.
Bug Catcher’s Cabin. Two floating high up, near the minigame stall.
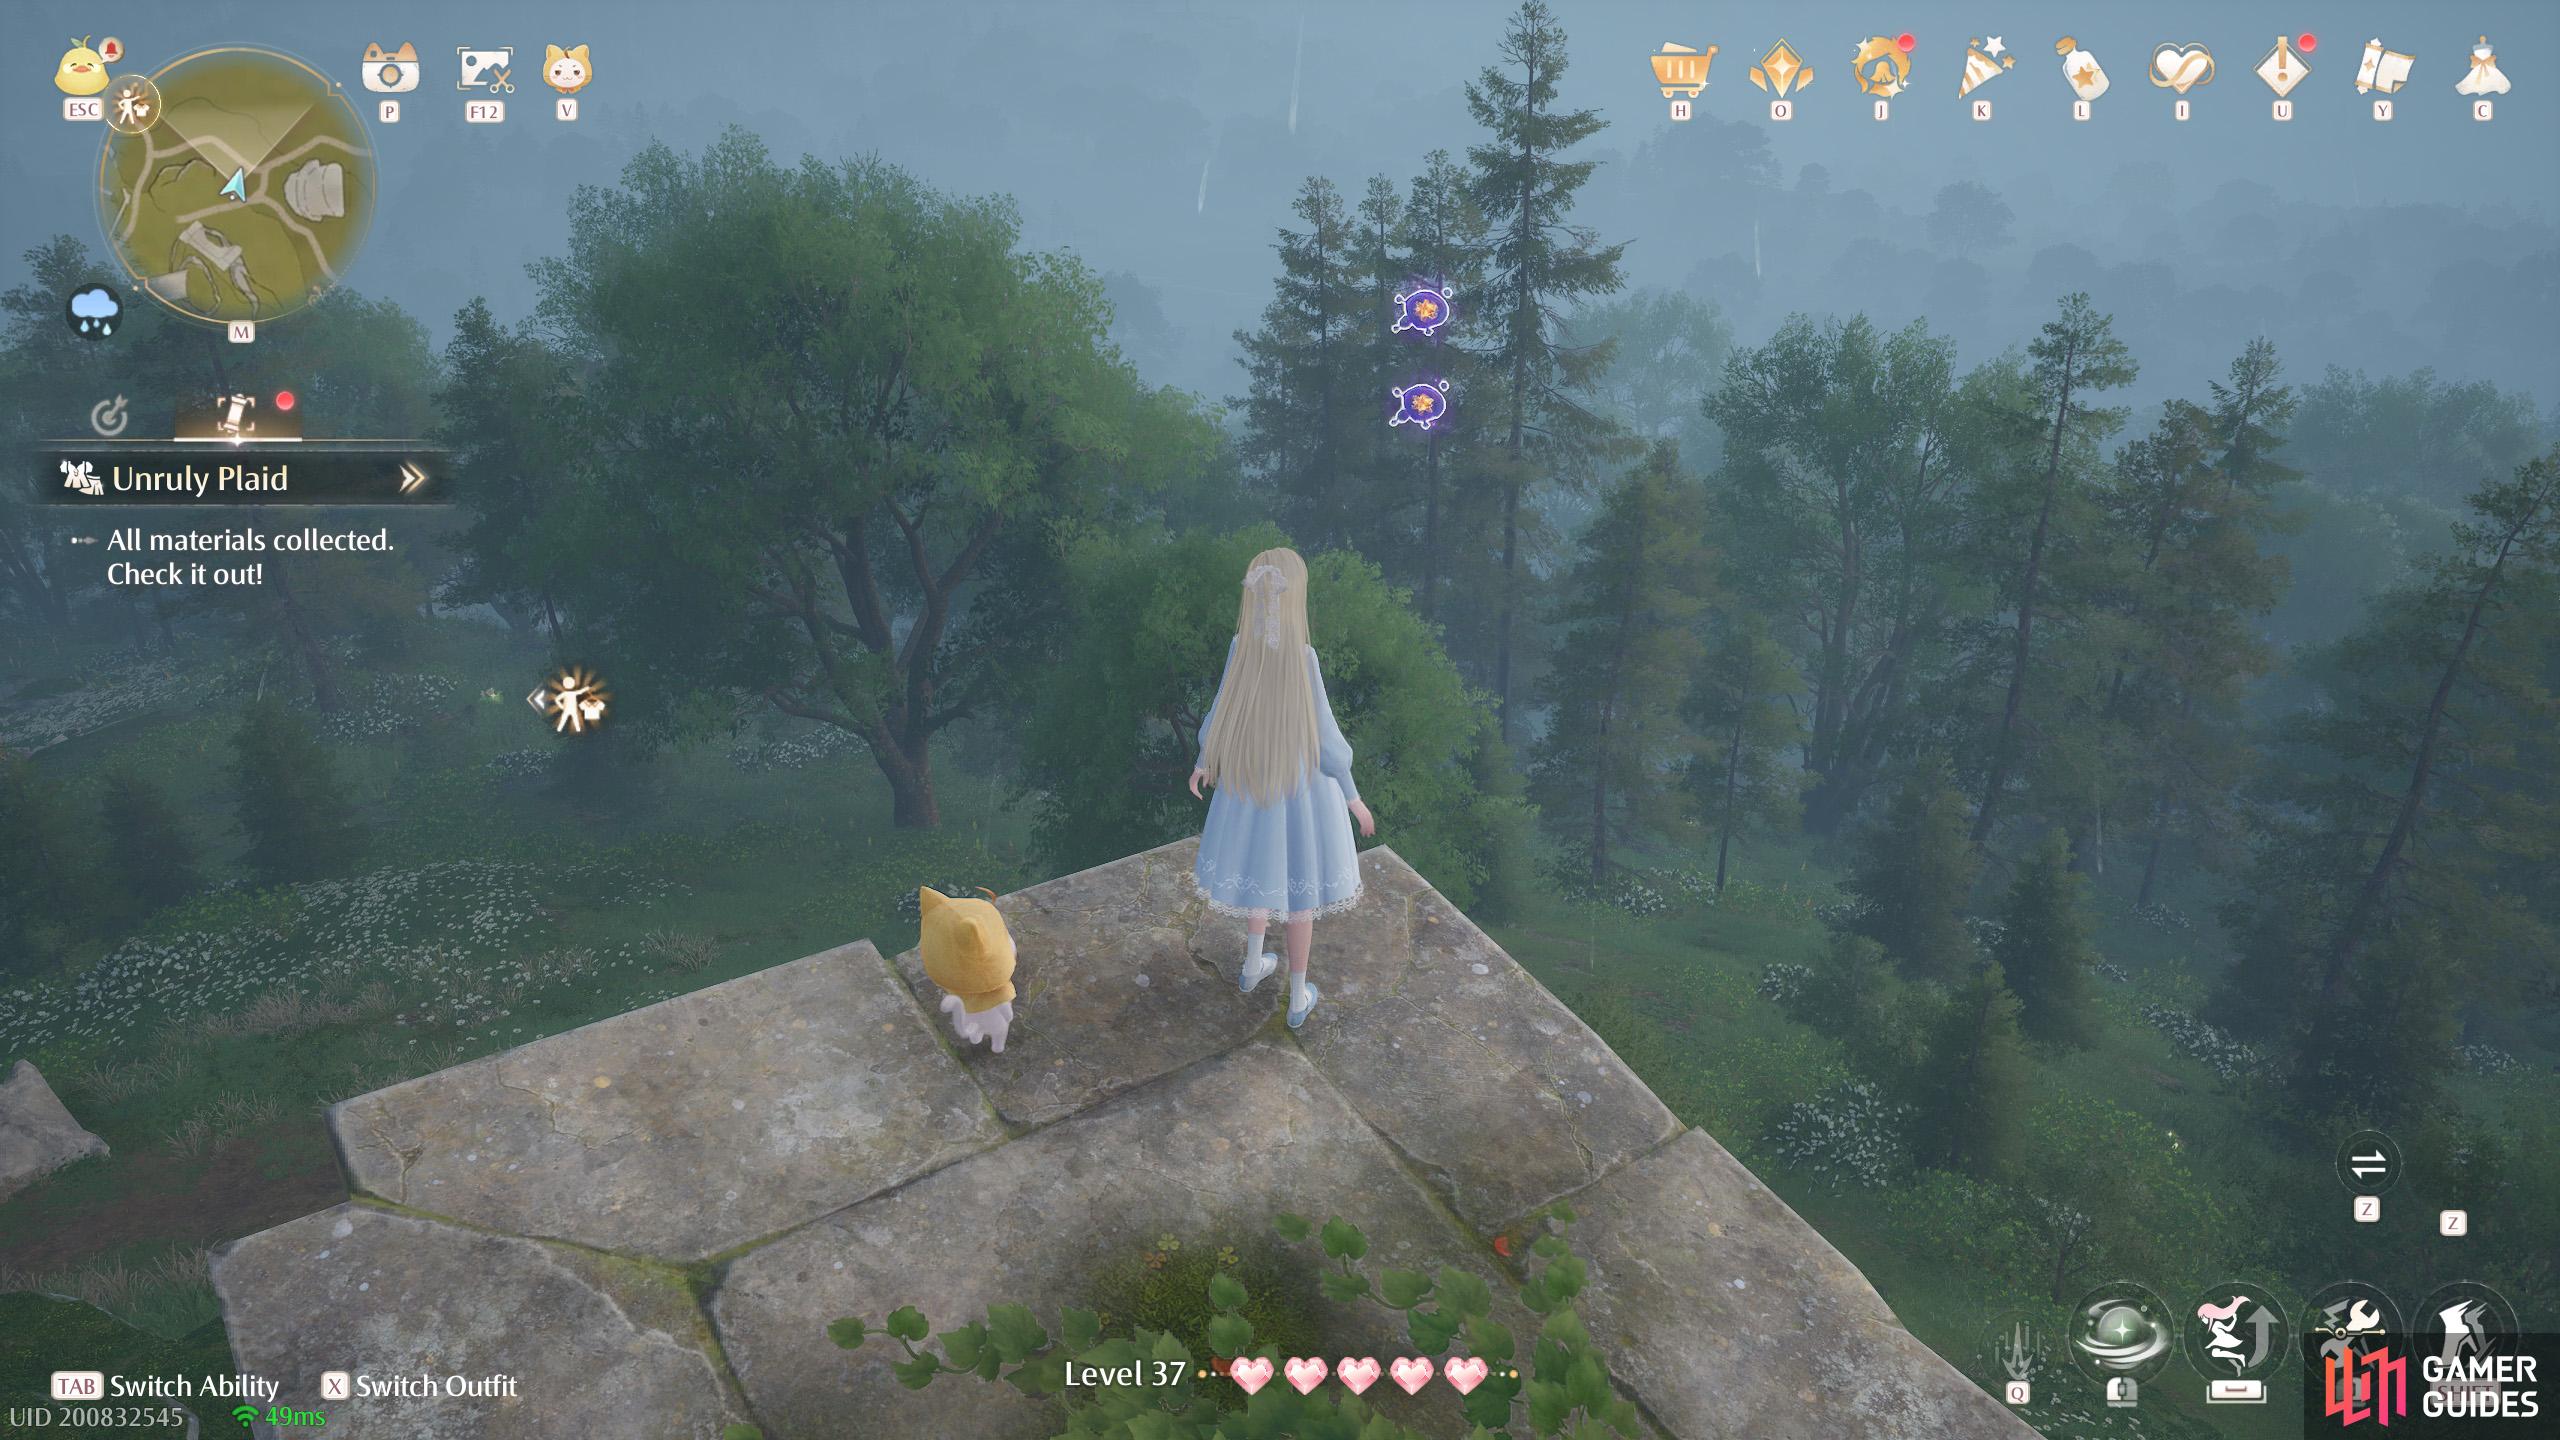
526. Miraland Map
North-west from ![]() Relic Hill. Two floating near the top of a pillar. You can float down from the south.
Relic Hill. Two floating near the top of a pillar. You can float down from the south.
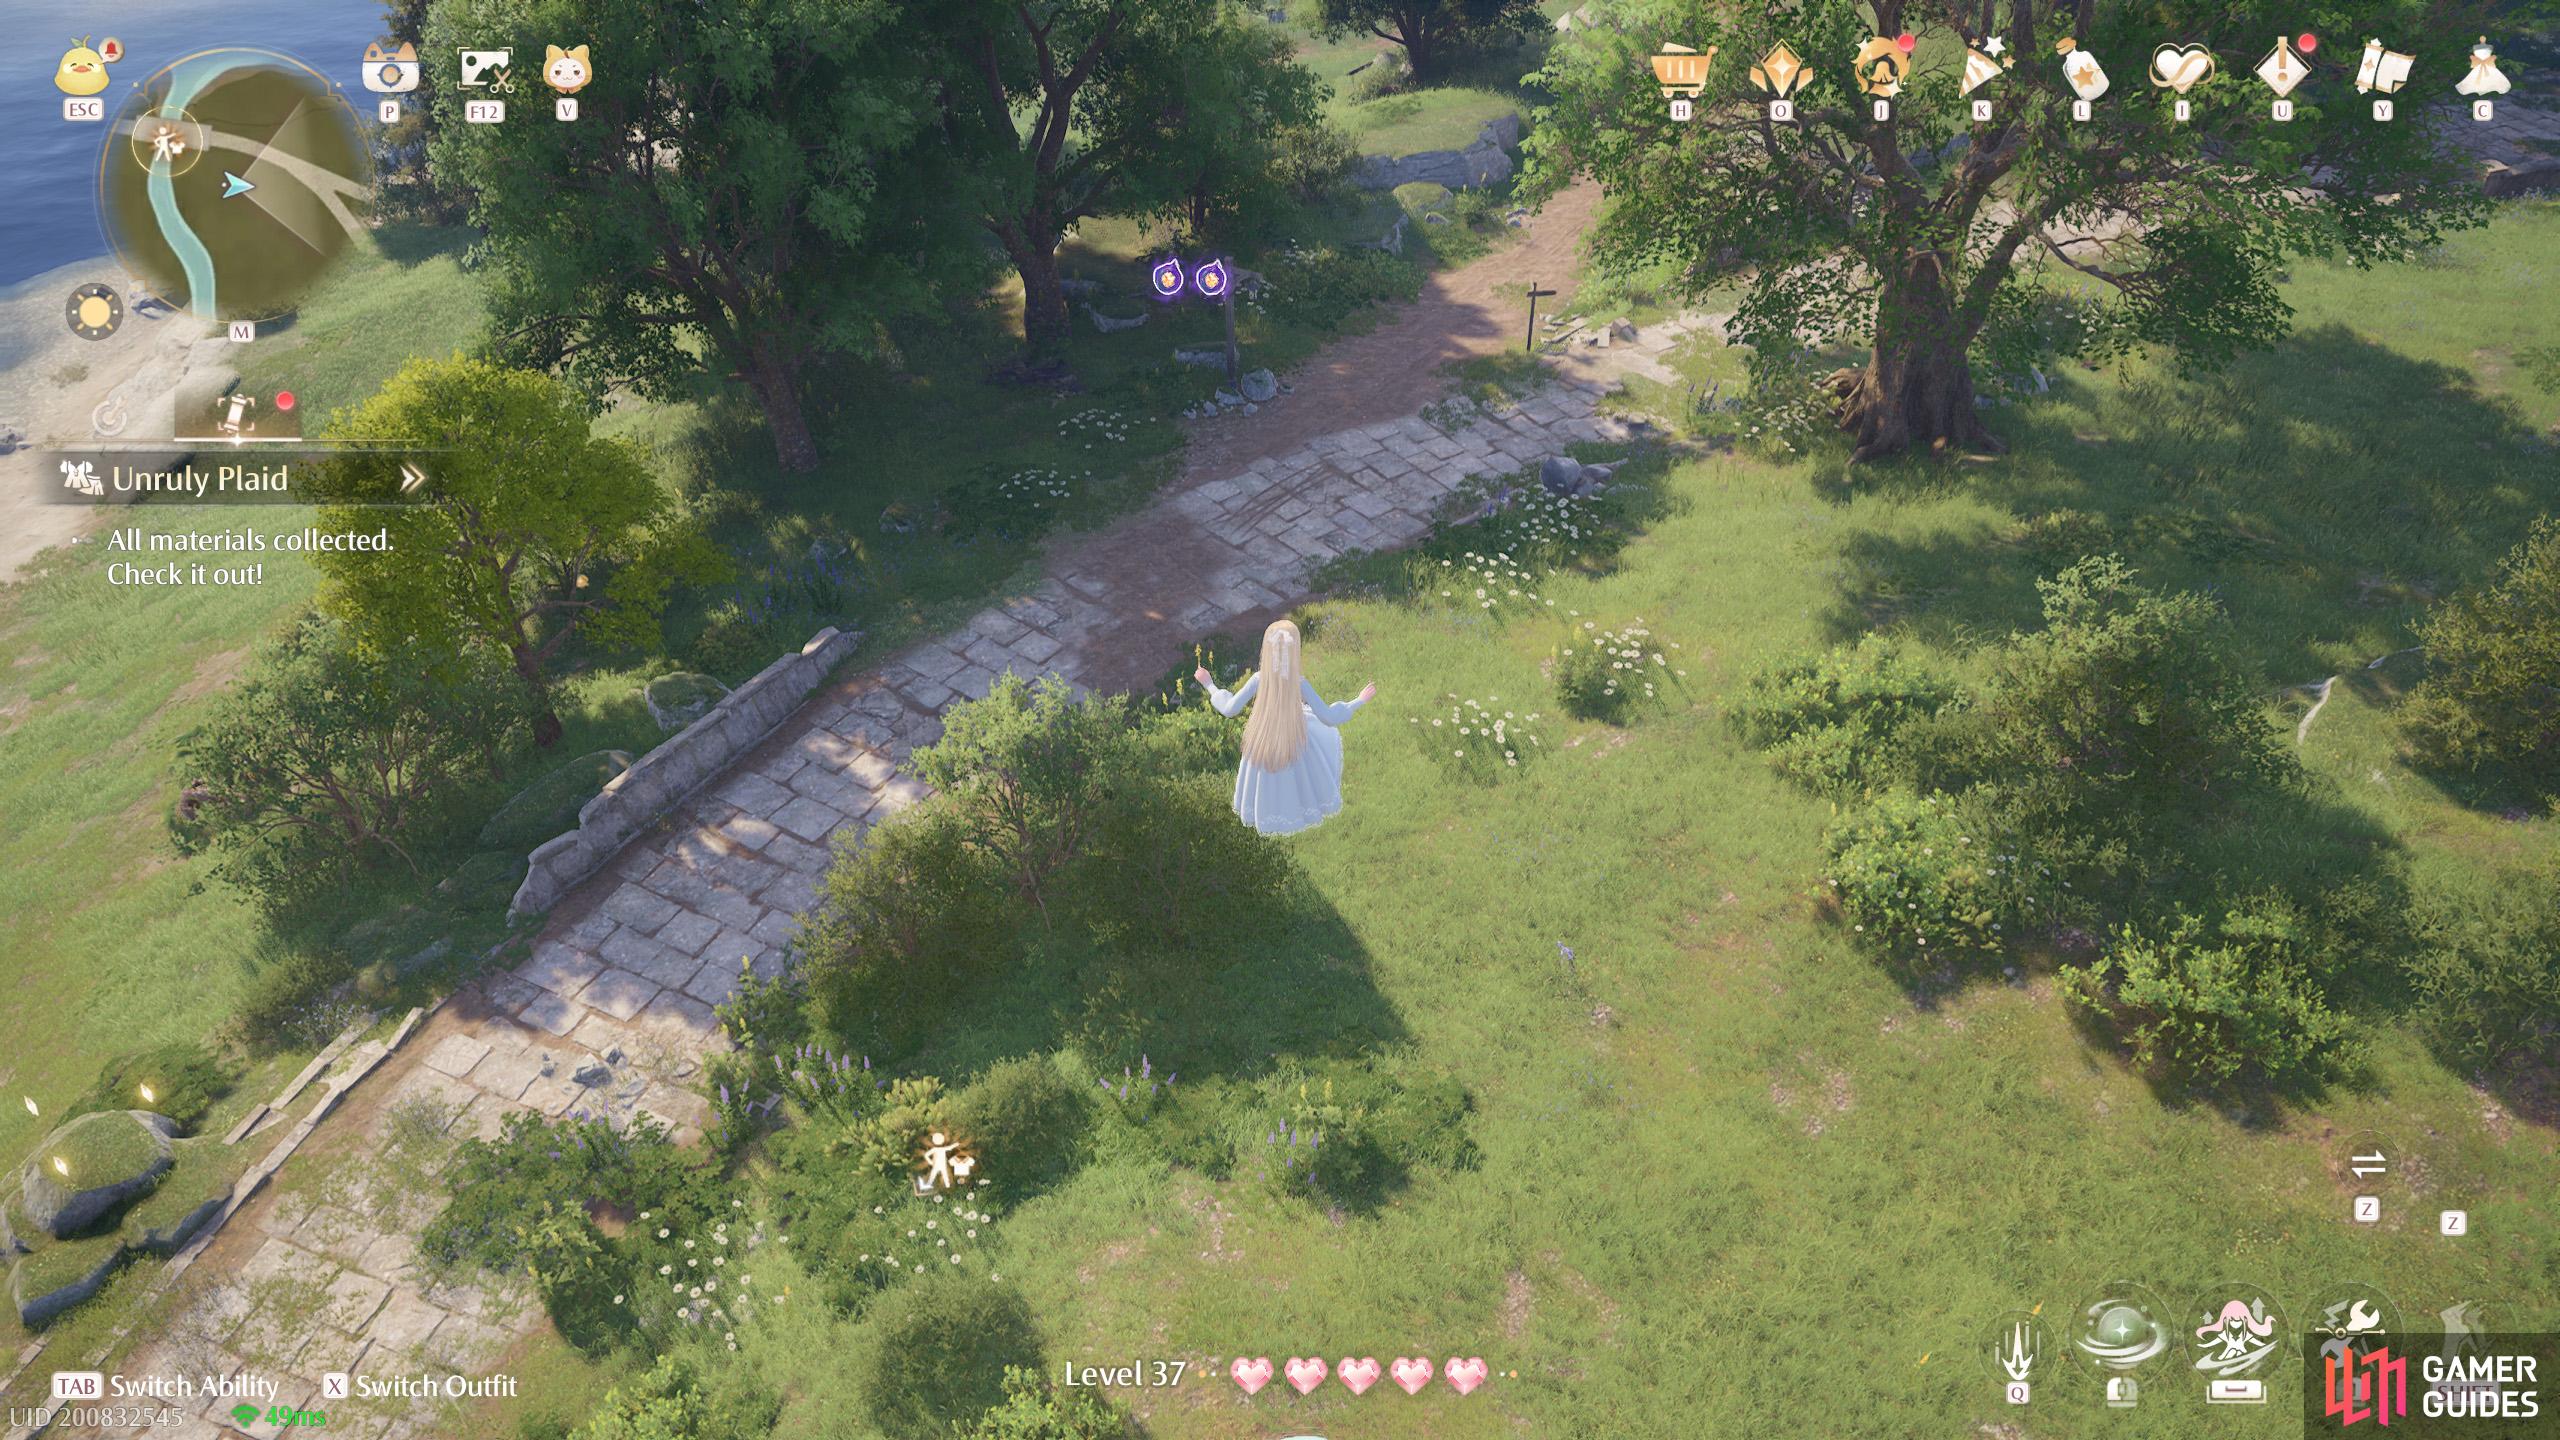
527. Miraland Map
West from ![]() Meadow Wharf. Two high up in the air, with a leaf trampoline nearby.
Meadow Wharf. Two high up in the air, with a leaf trampoline nearby.
528. Miraland Map
North-west from ![]() Queen’s Palace Ruins Entrance. Two floating above the small ruins near a minigame stall.
Queen’s Palace Ruins Entrance. Two floating above the small ruins near a minigame stall.
529. Miraland Map
South from ![]() Meadow Wharf. Two floating high up, with a leaf trampoline close by.
Meadow Wharf. Two floating high up, with a leaf trampoline close by.
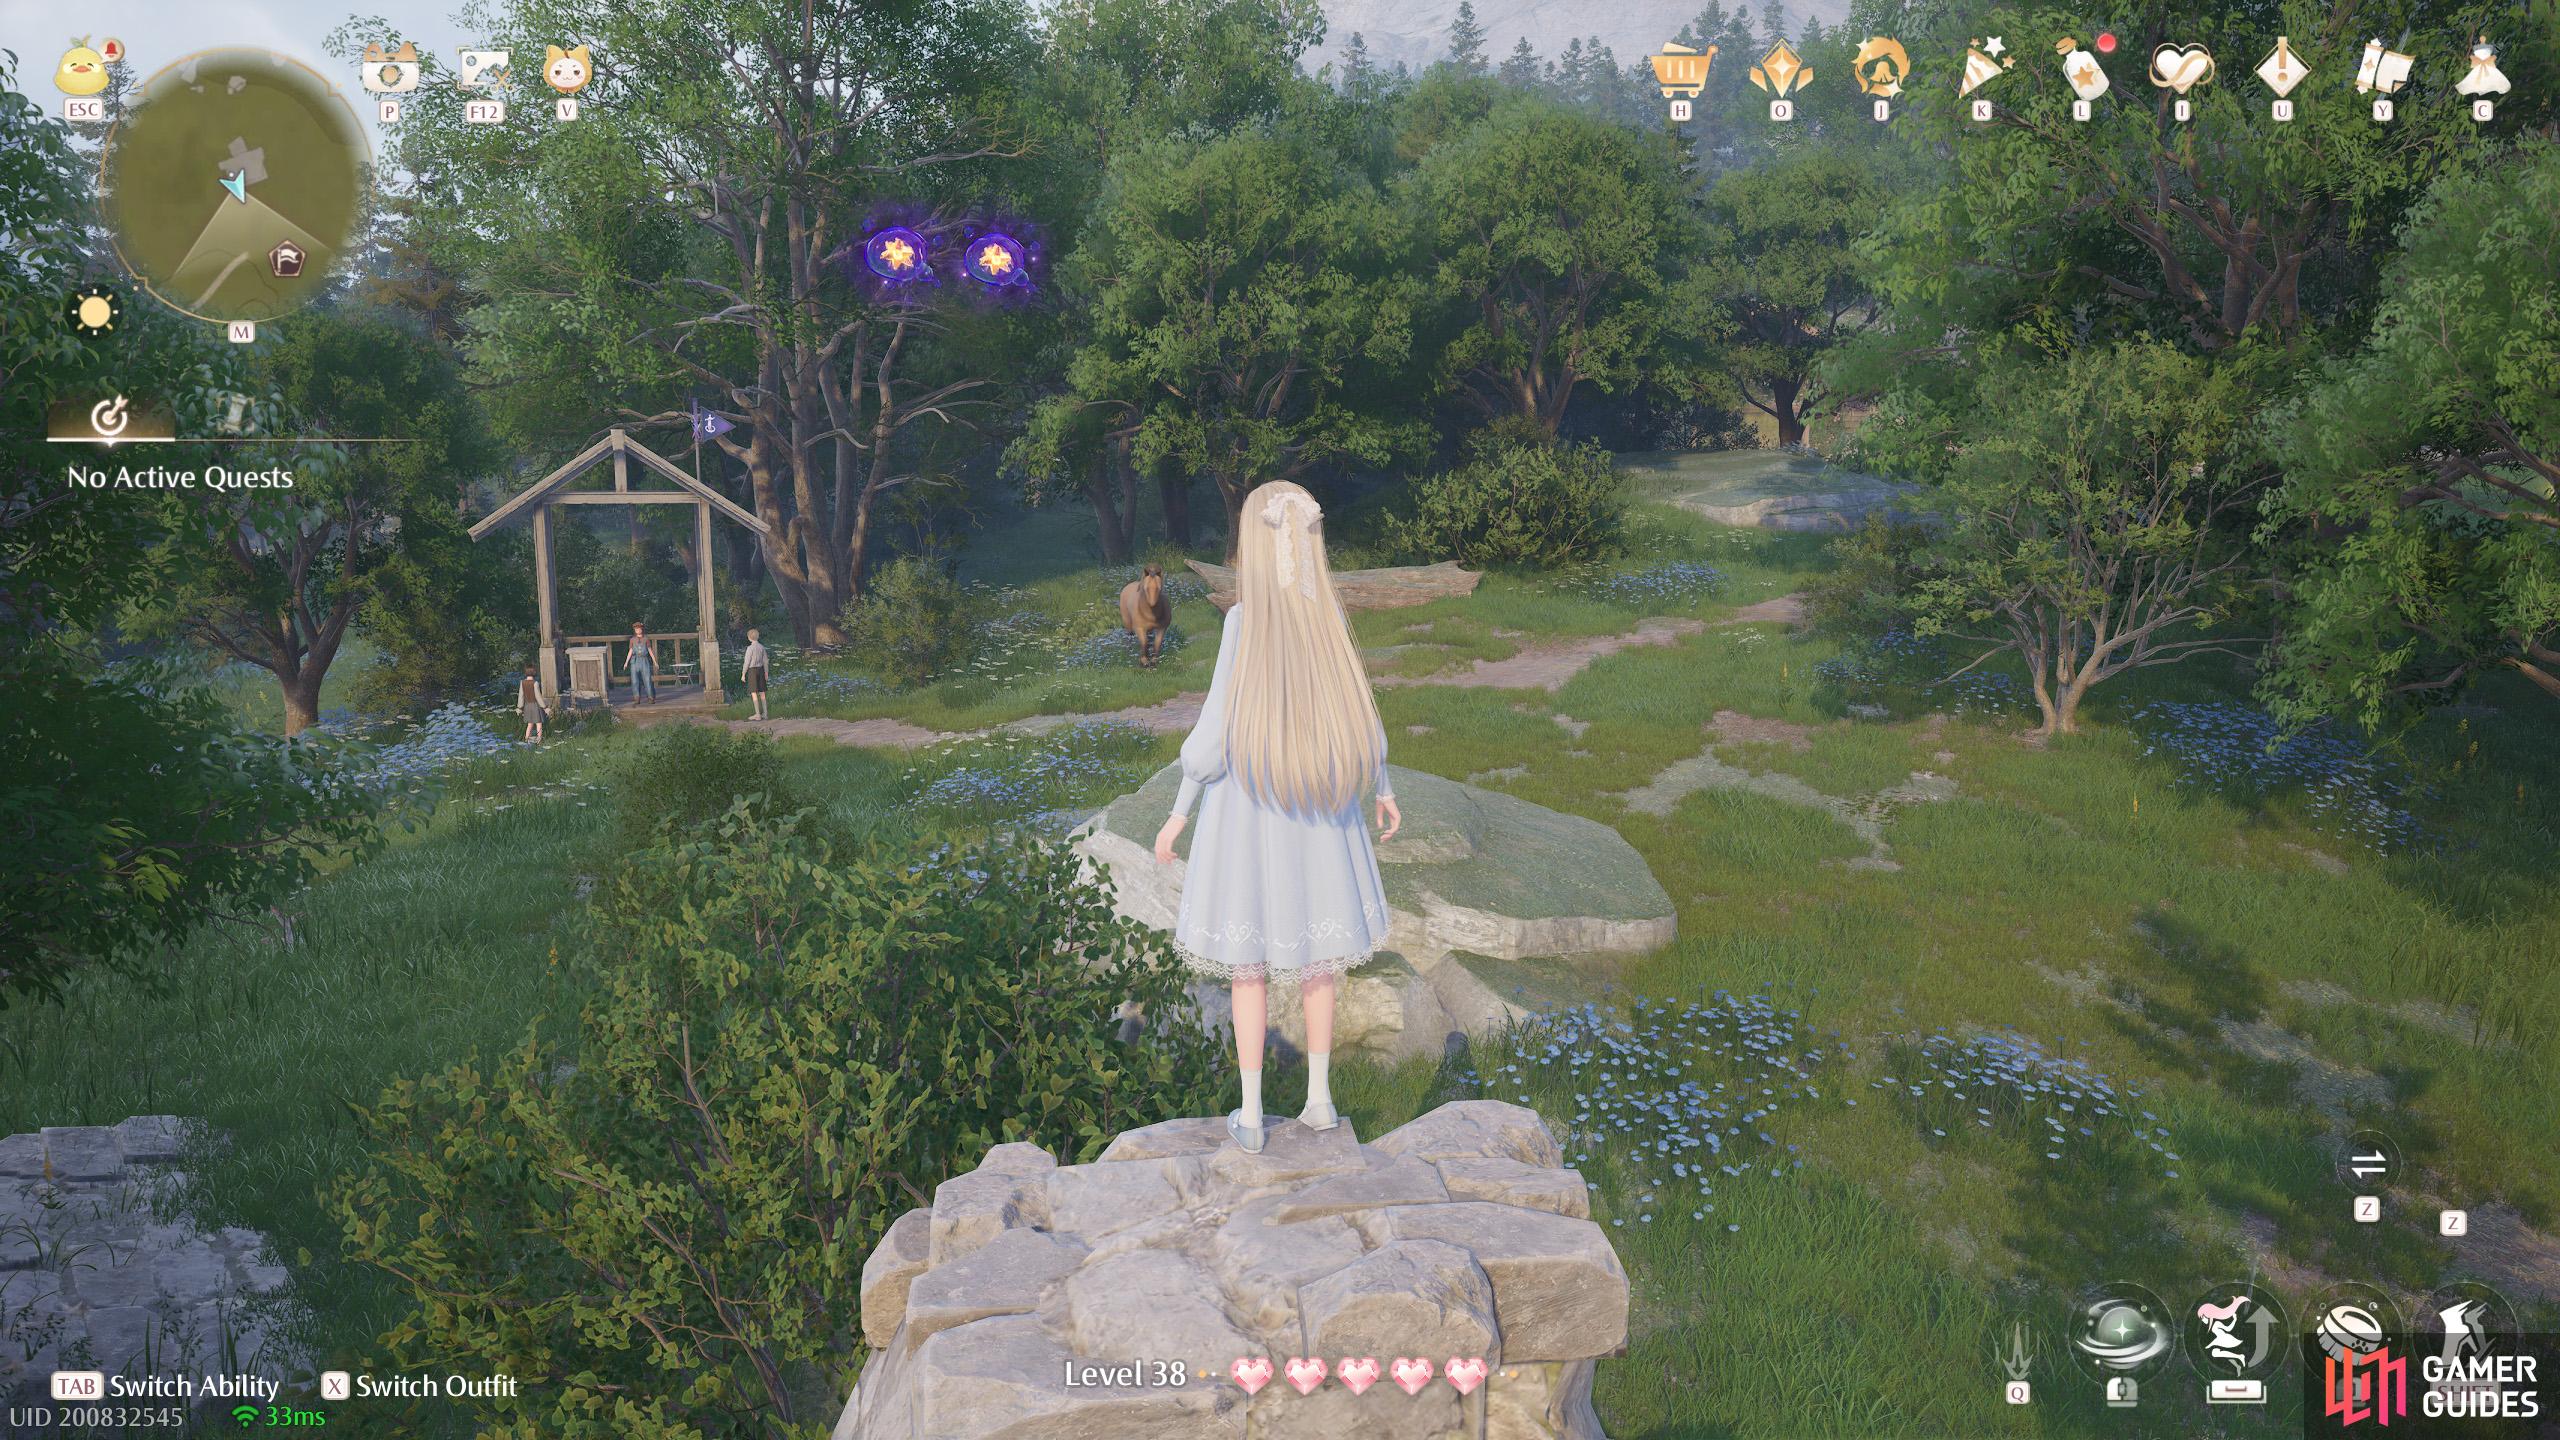
530. Miraland Map
North-east from ![]() Relic Hill. Two floating next to some small ruins near a minigame stall.
Relic Hill. Two floating next to some small ruins near a minigame stall.
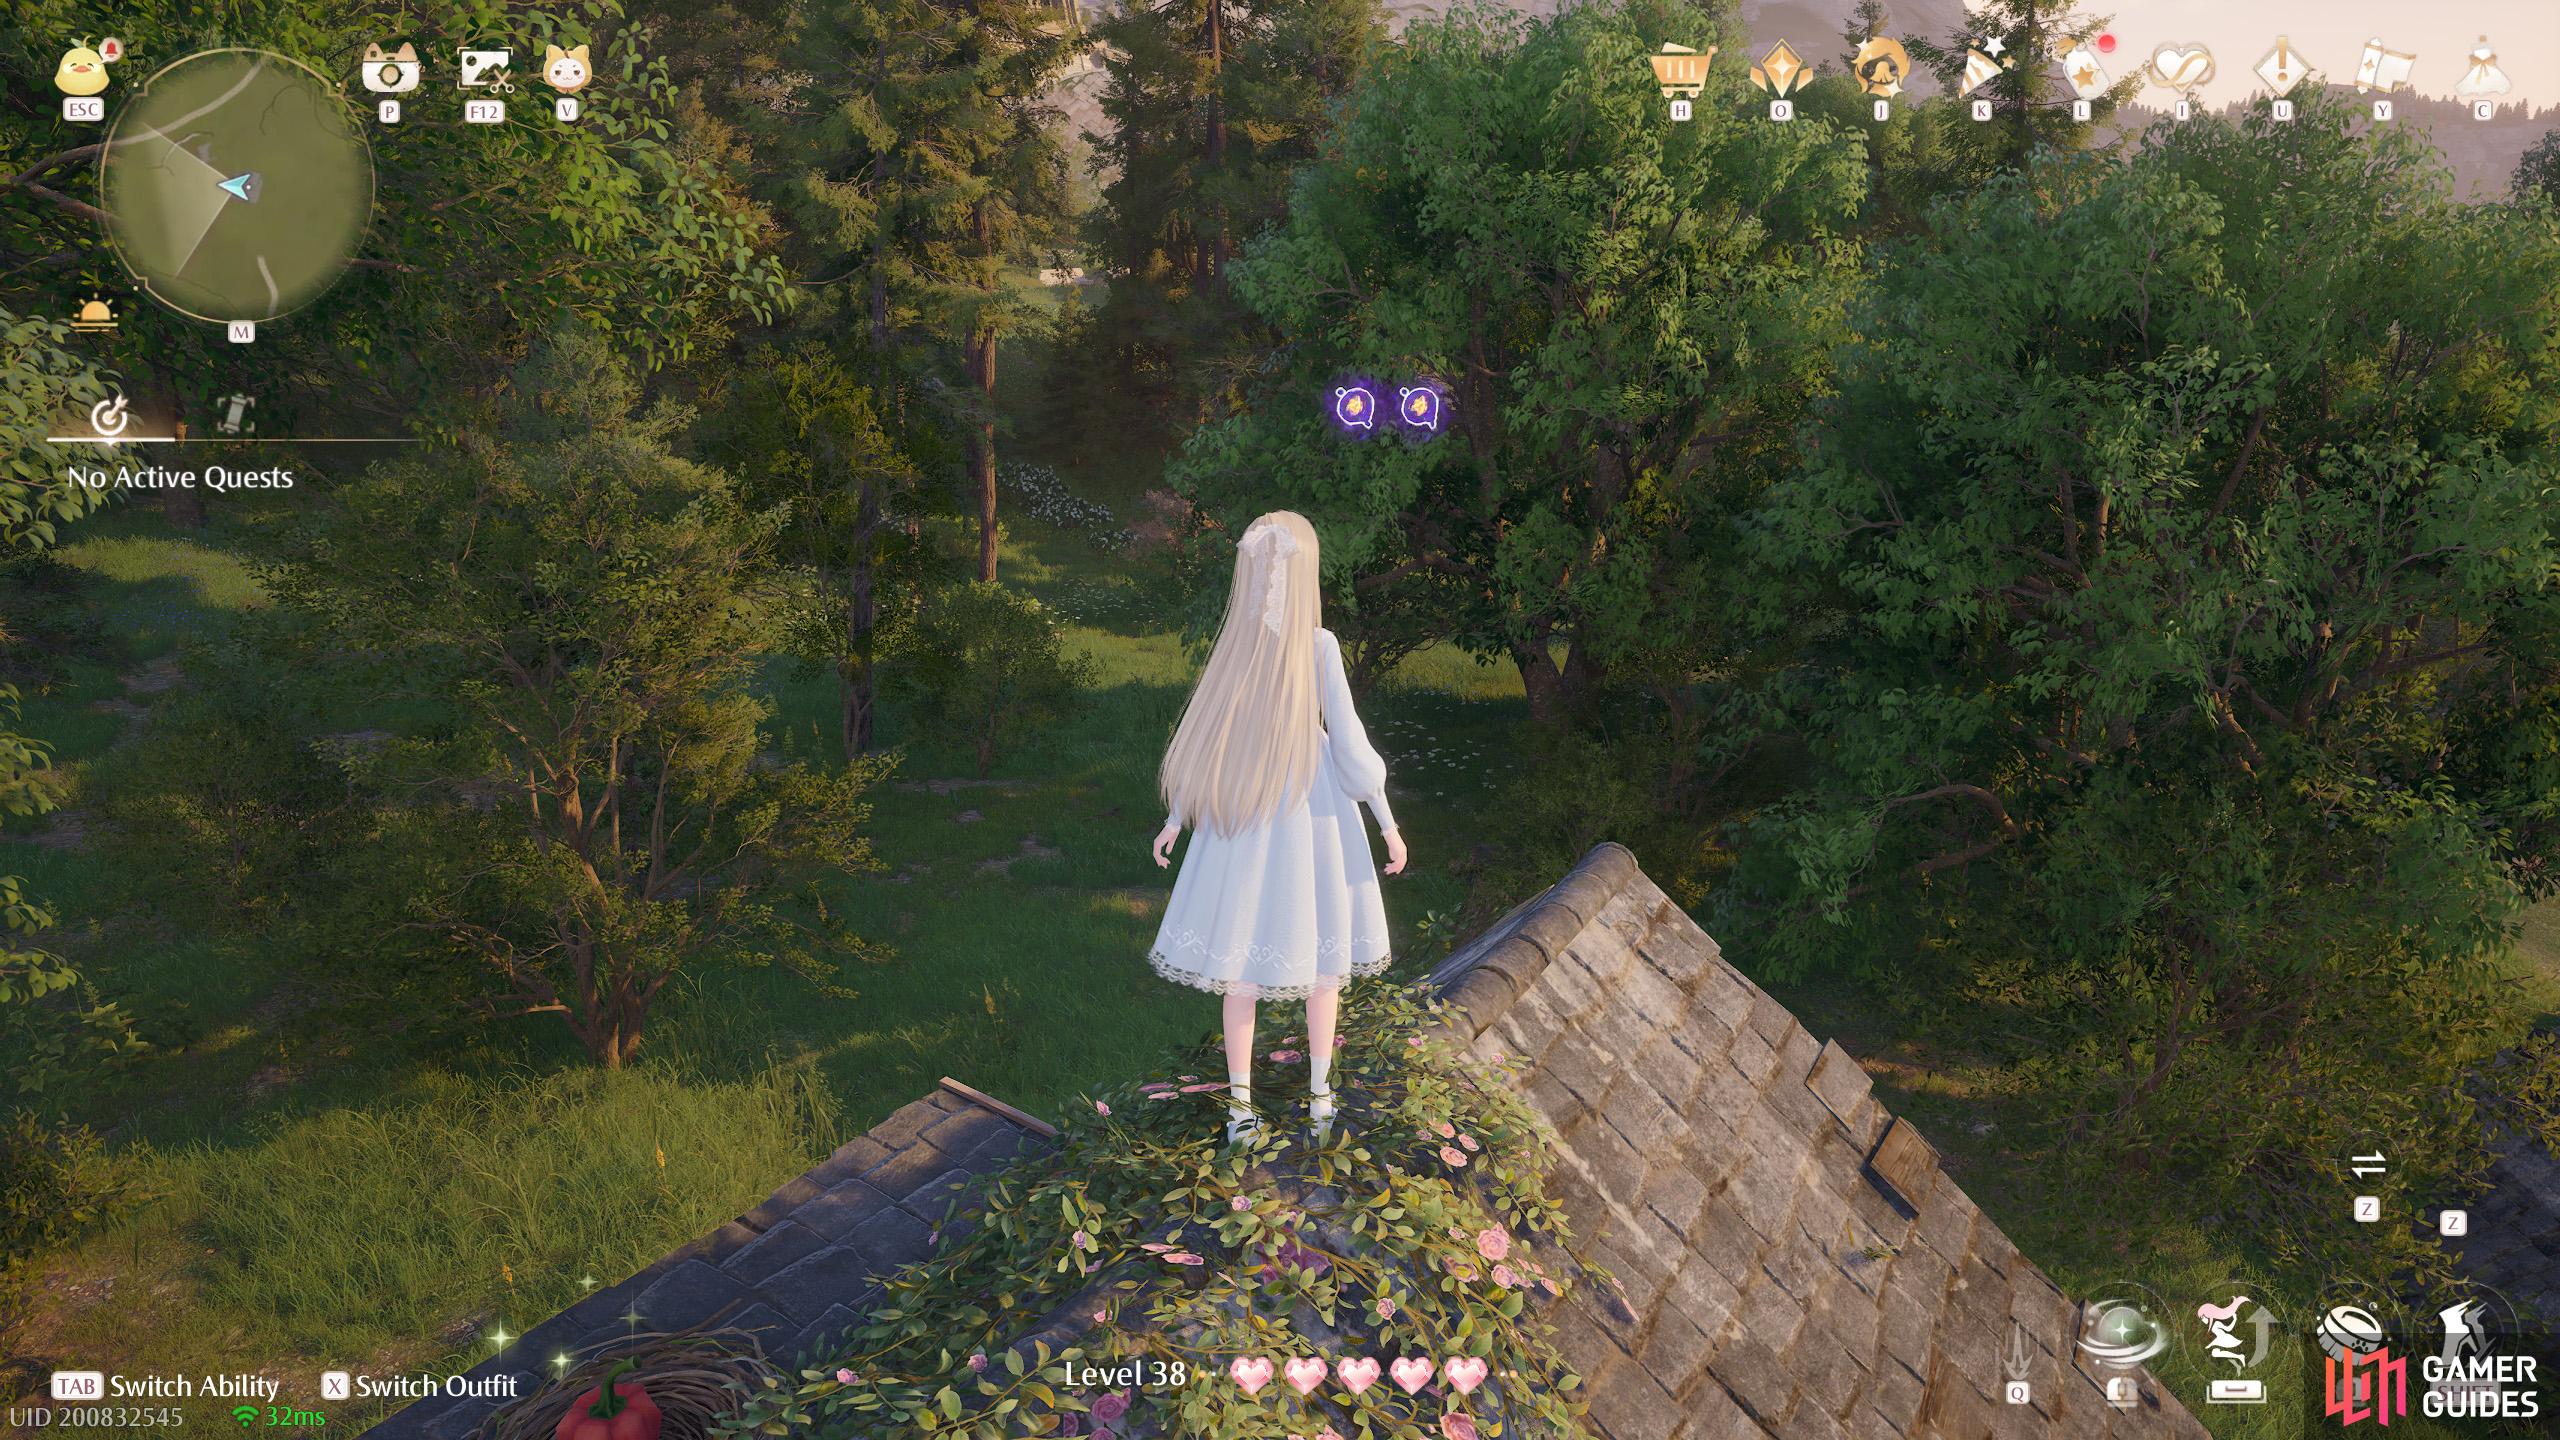
531. Miraland Map
North-east from ![]() Relic Hill. Two floating near the top of an abandoned house.
Relic Hill. Two floating near the top of an abandoned house.
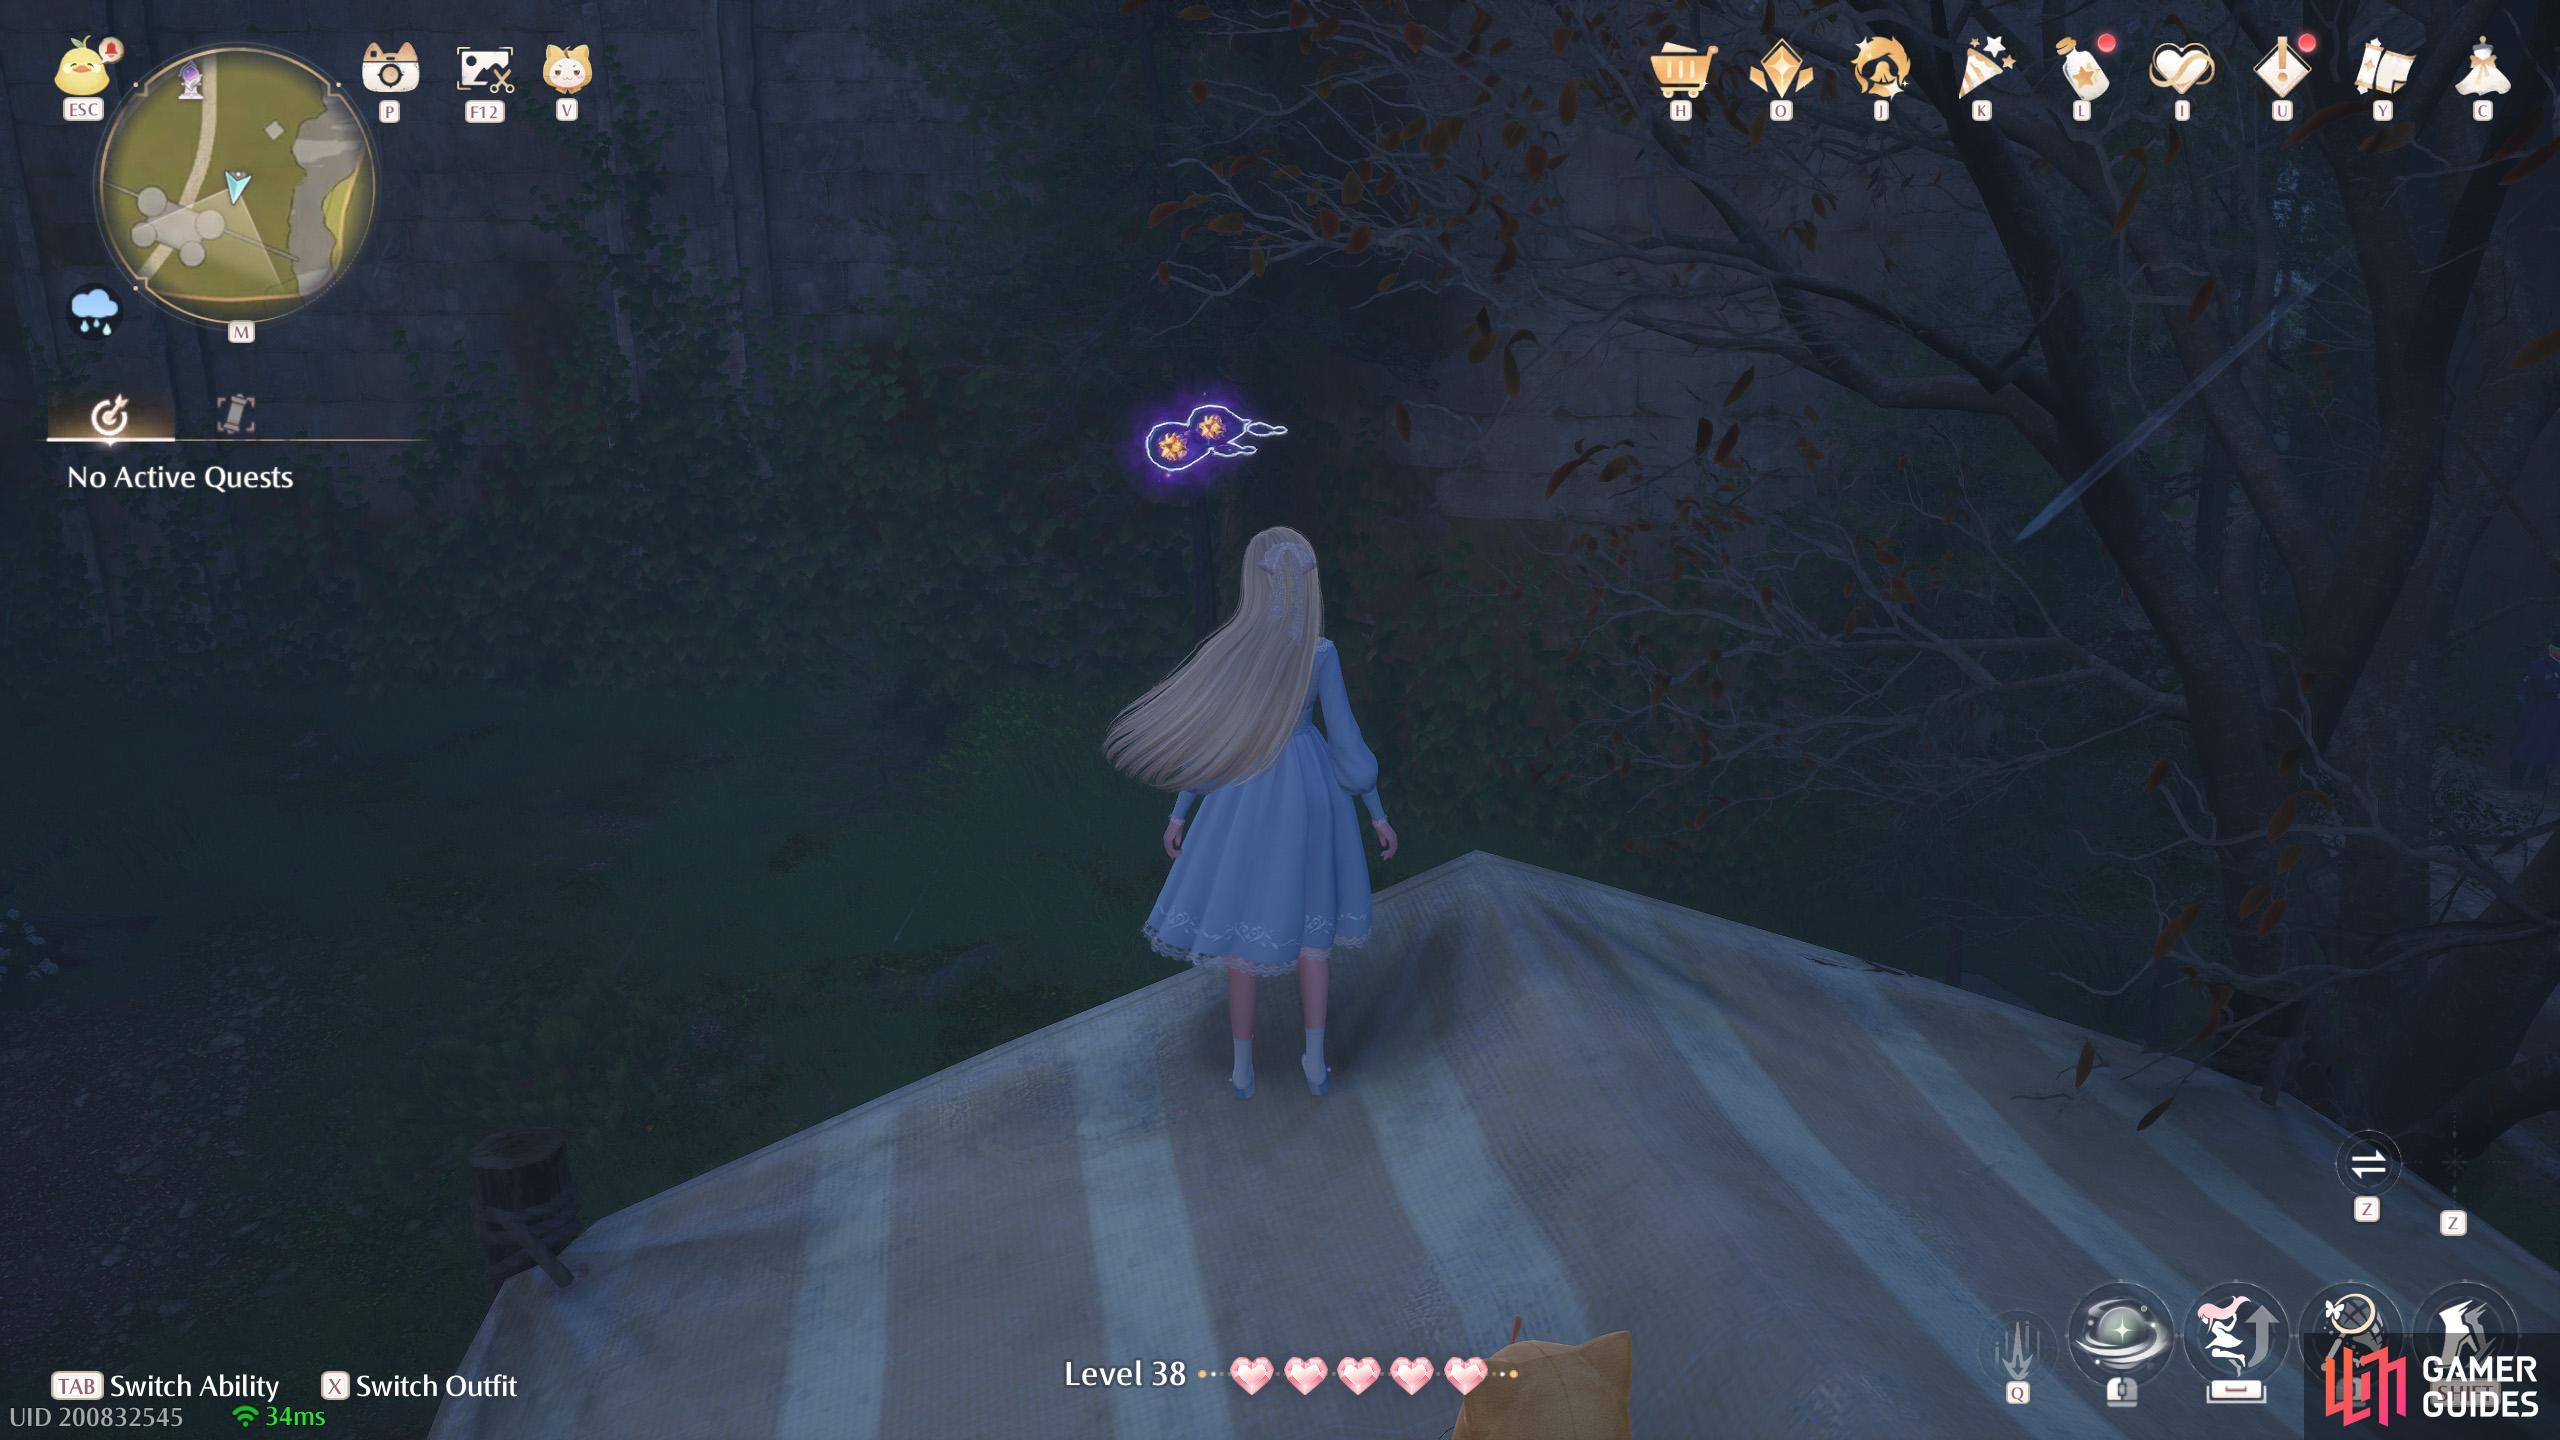
532. Miraland Map
Short distance south-east from the ![]() Heartcraft Kingdom Outpost Warp Spire. Two floating near the top of a tent.
Heartcraft Kingdom Outpost Warp Spire. Two floating near the top of a tent.
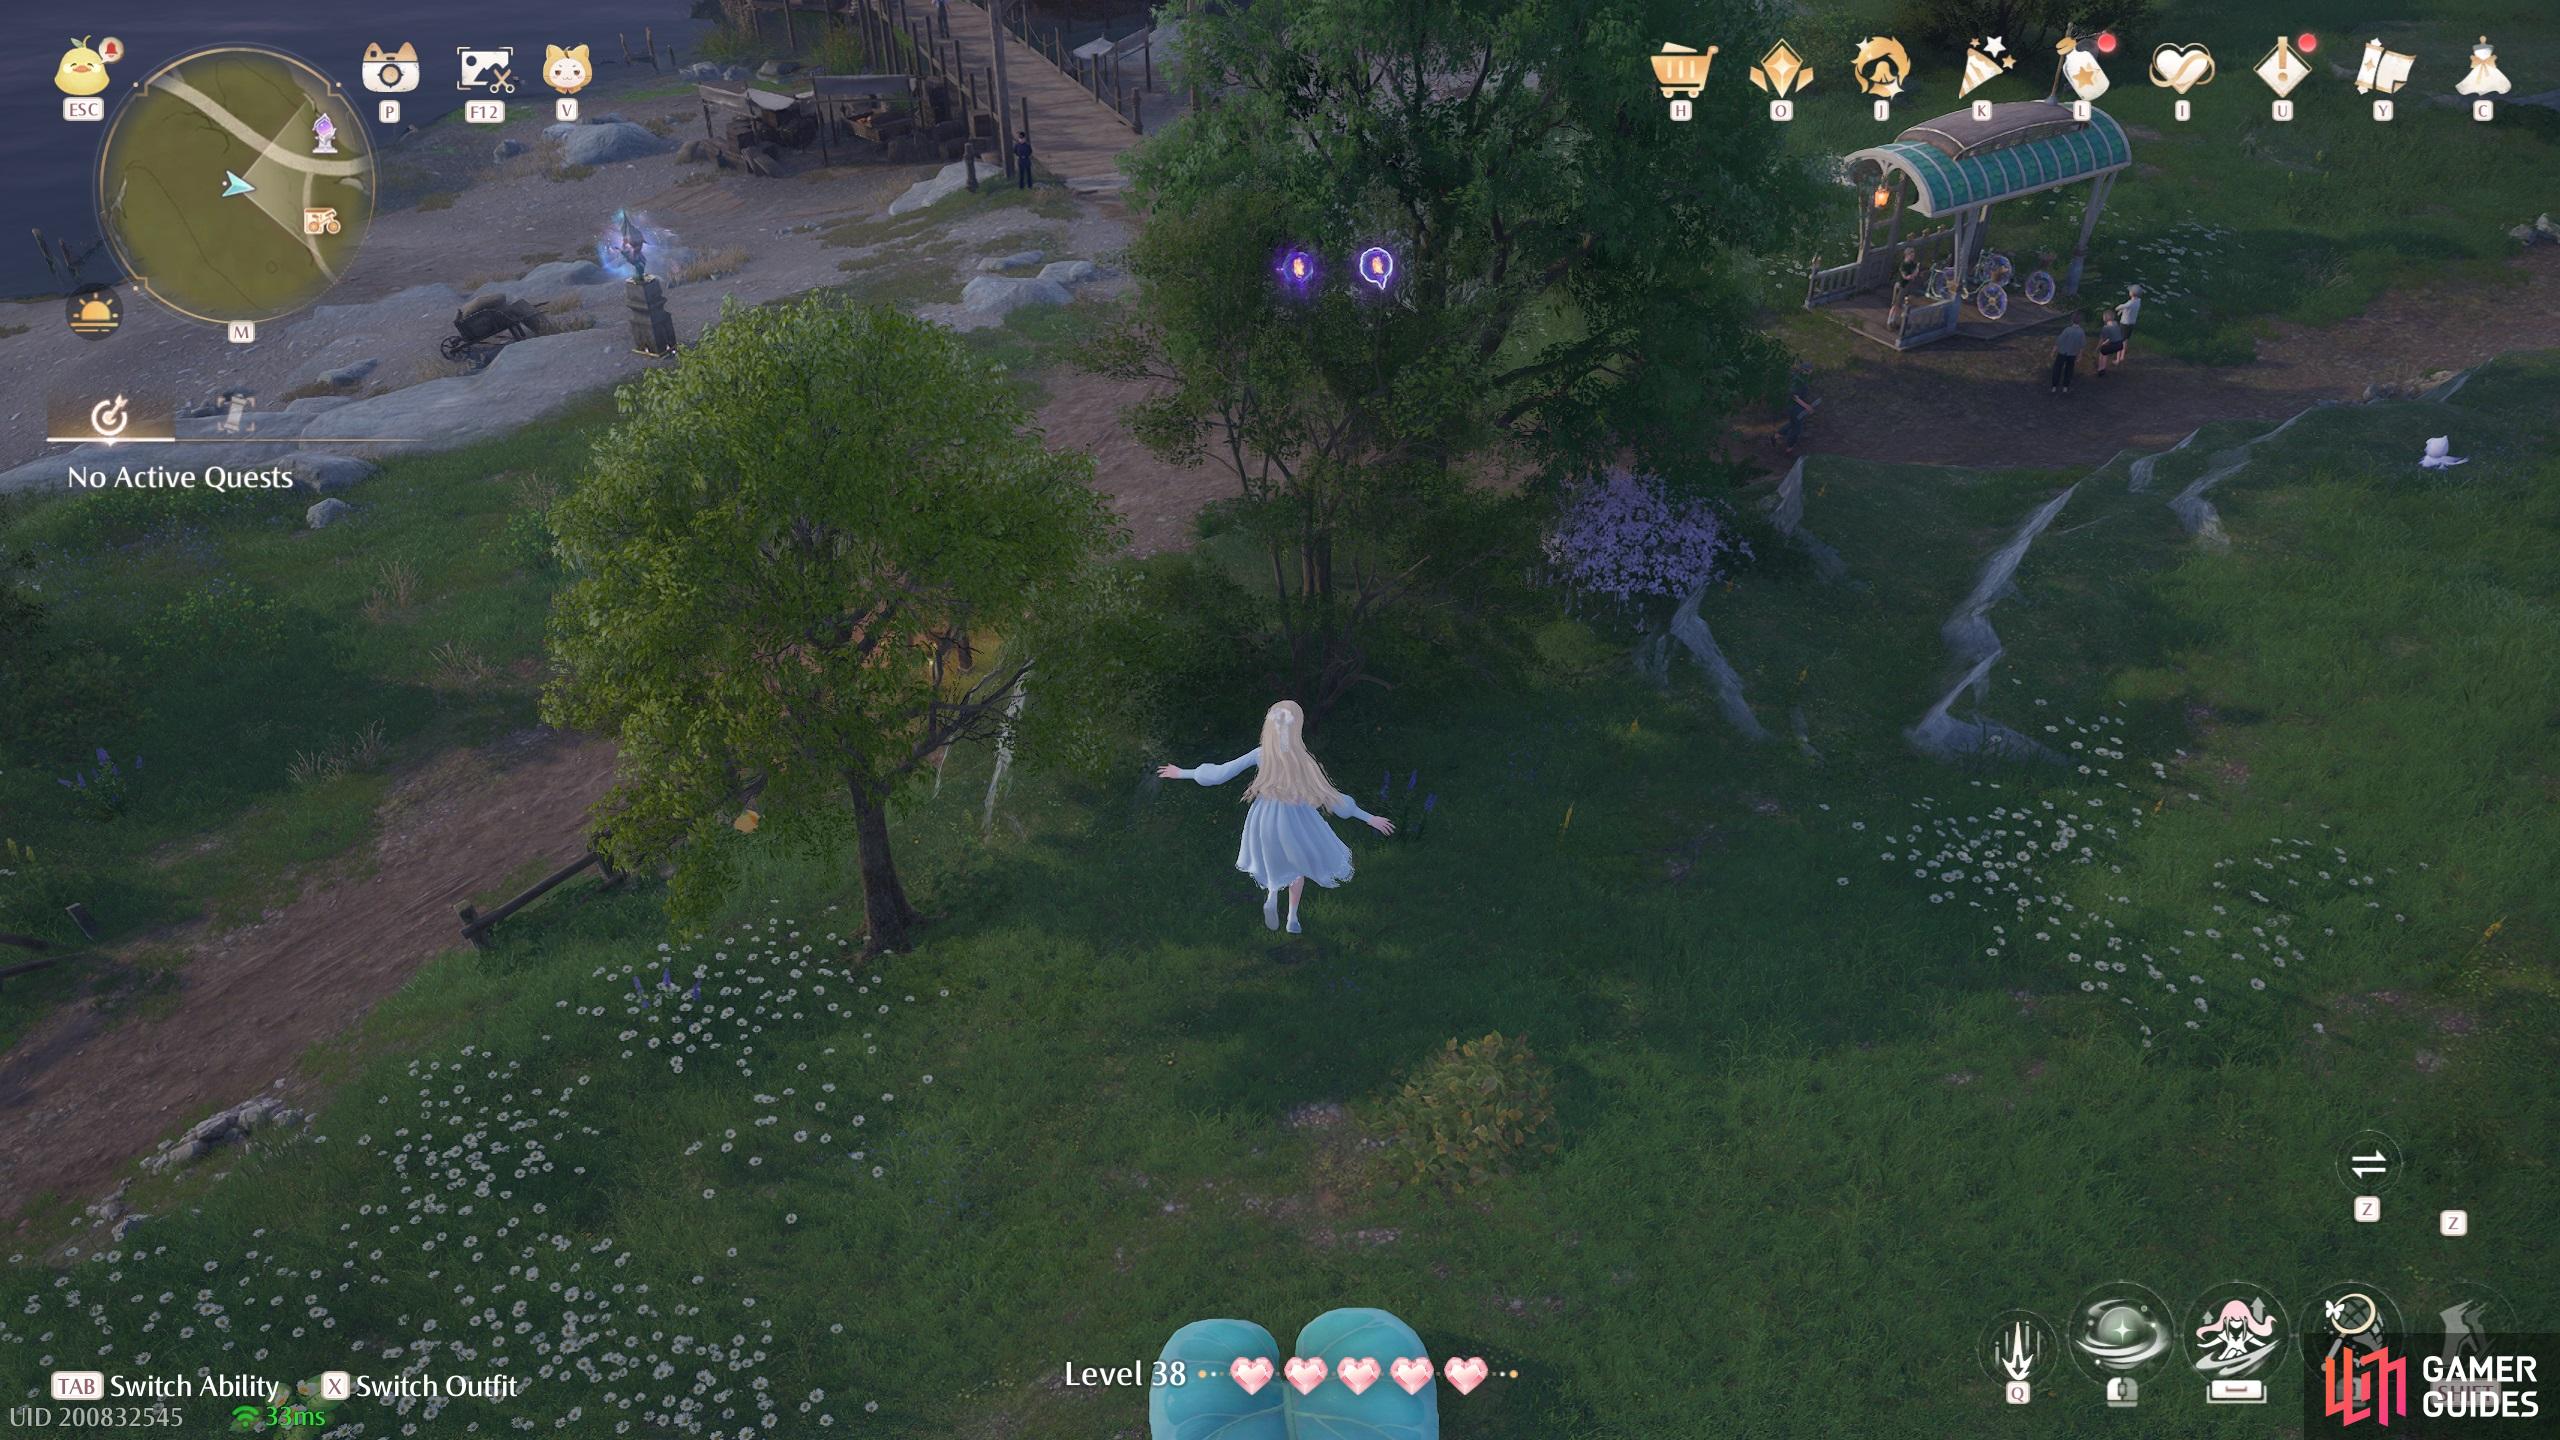
533. Miraland Map
Short distance south-west from the ![]() Meadow Wharf Warp Spire. Two floating in the air, near a leaf trampoline.
Meadow Wharf Warp Spire. Two floating in the air, near a leaf trampoline.
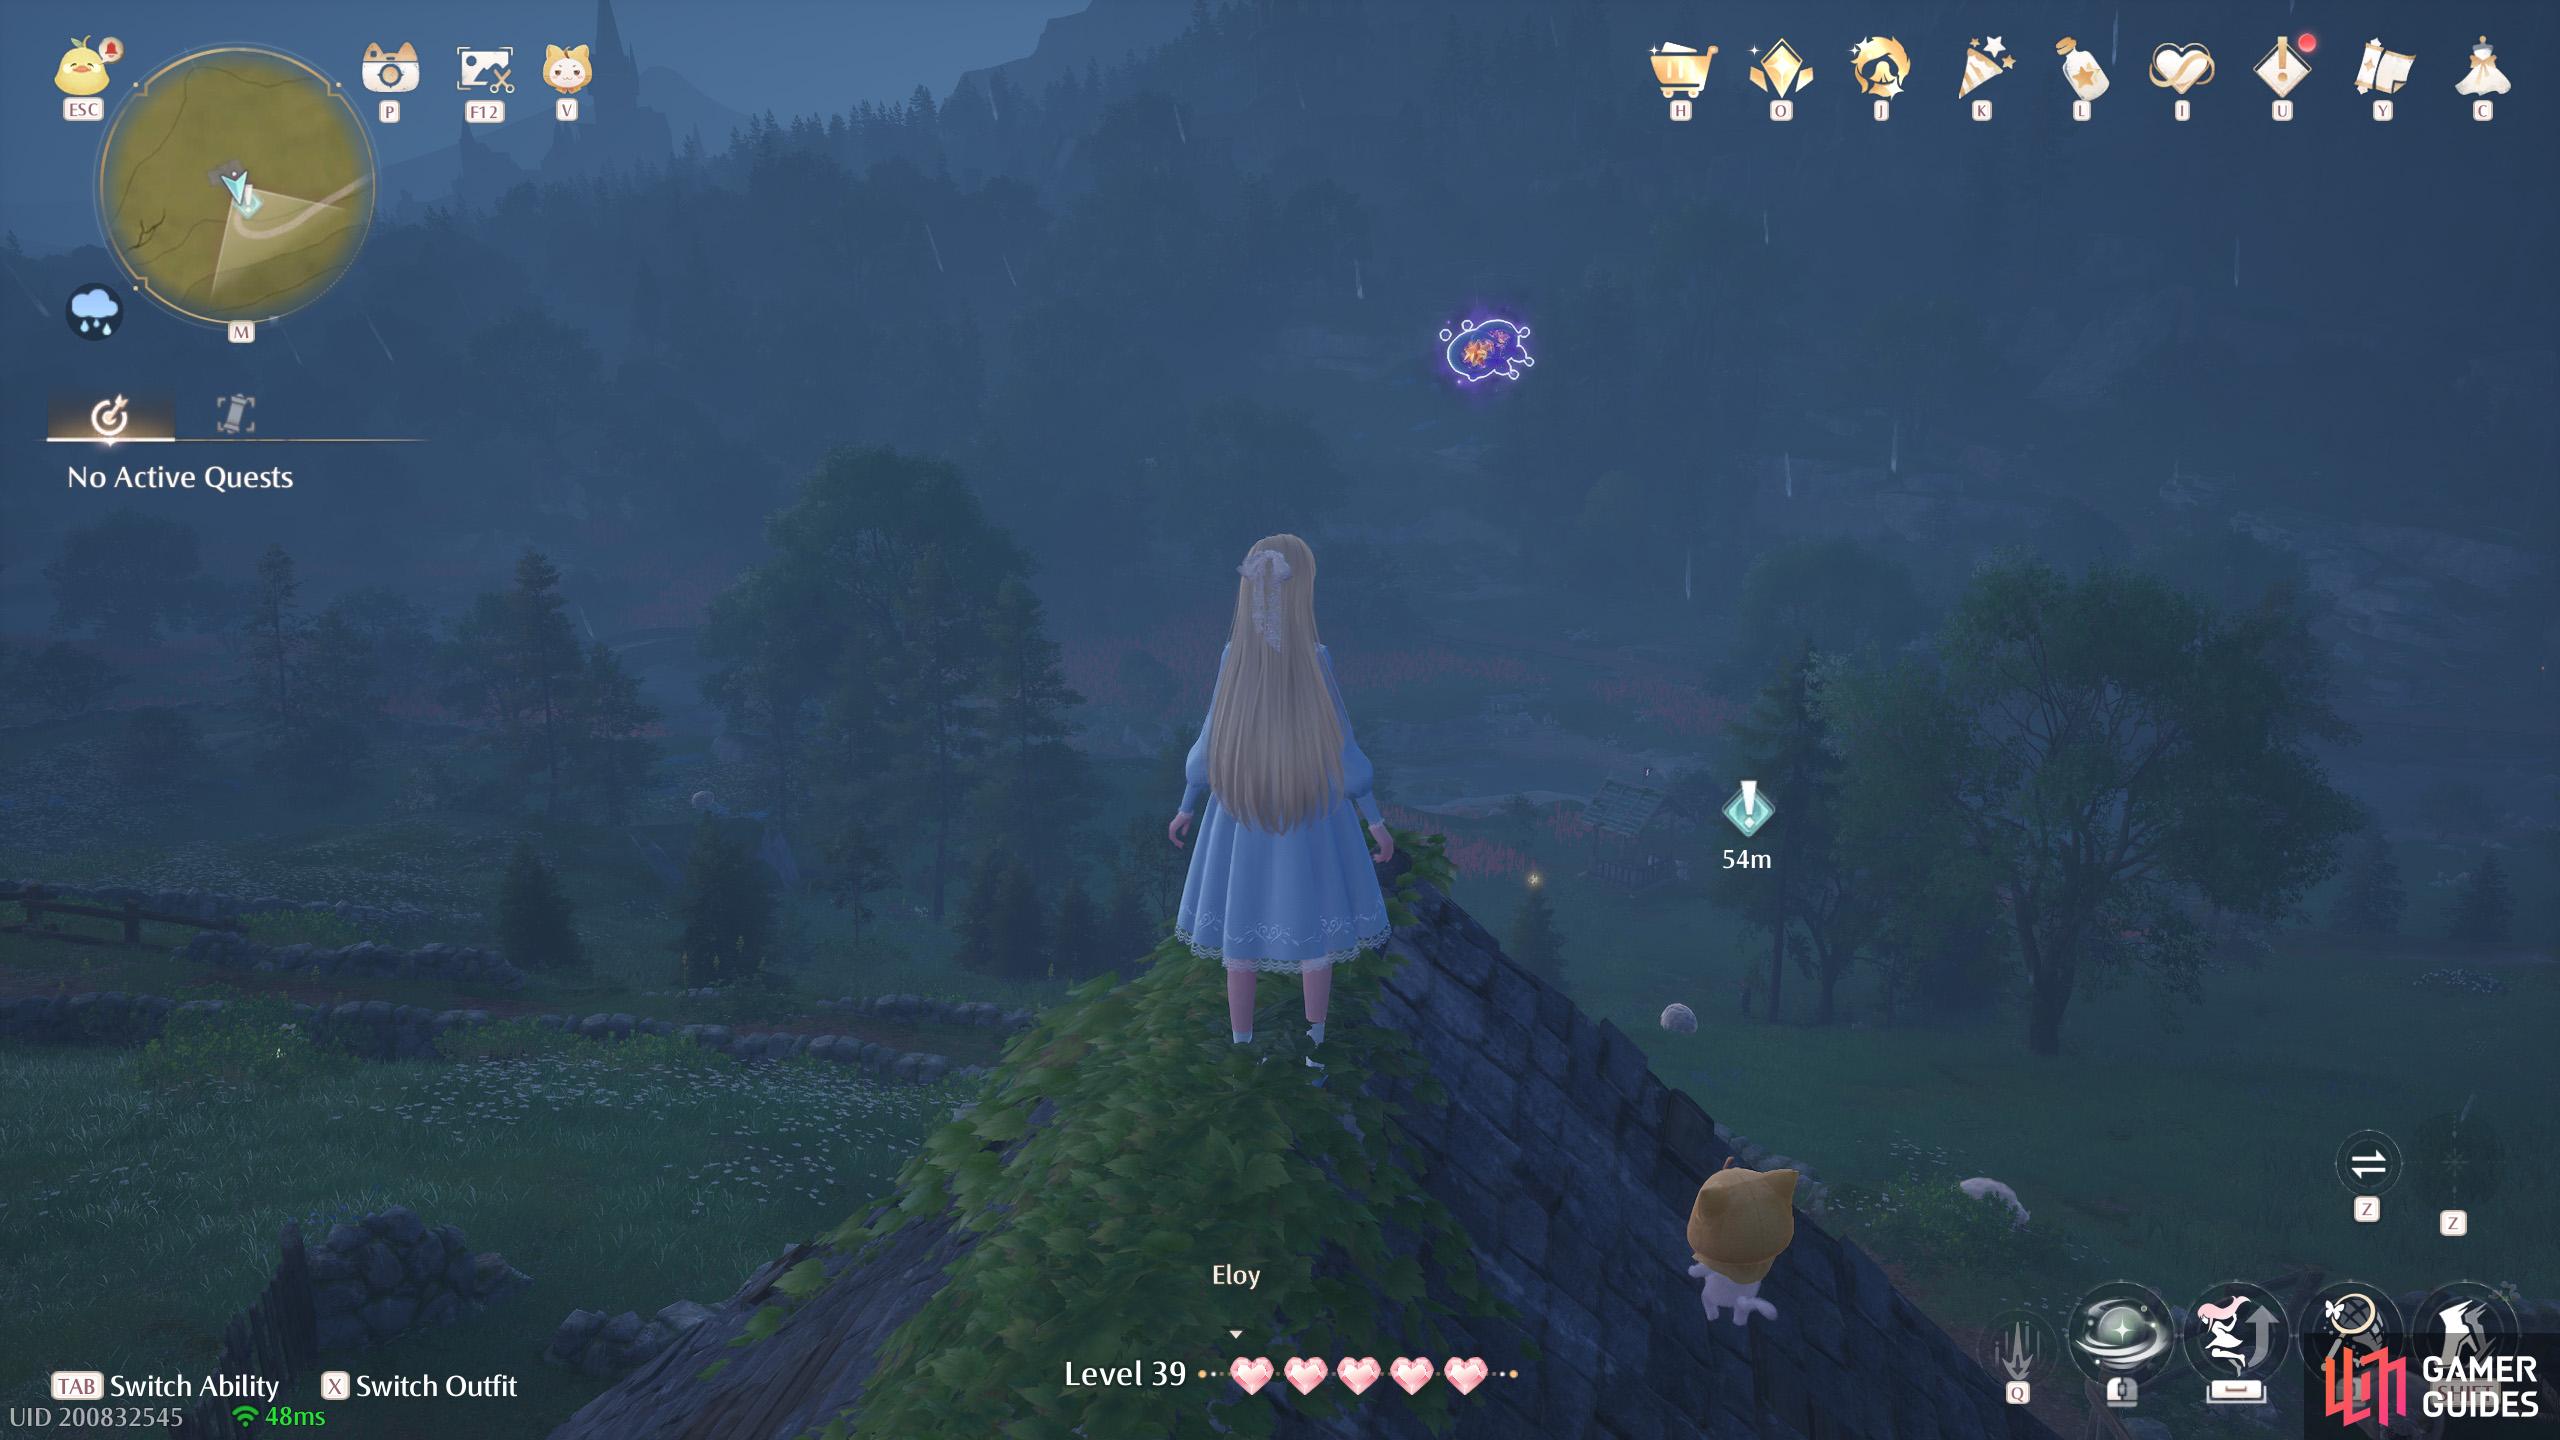
534. Miraland Map
North-east from ![]() Stoneville Entrance. Two floating above the entrance of the house.
Stoneville Entrance. Two floating above the entrance of the house.
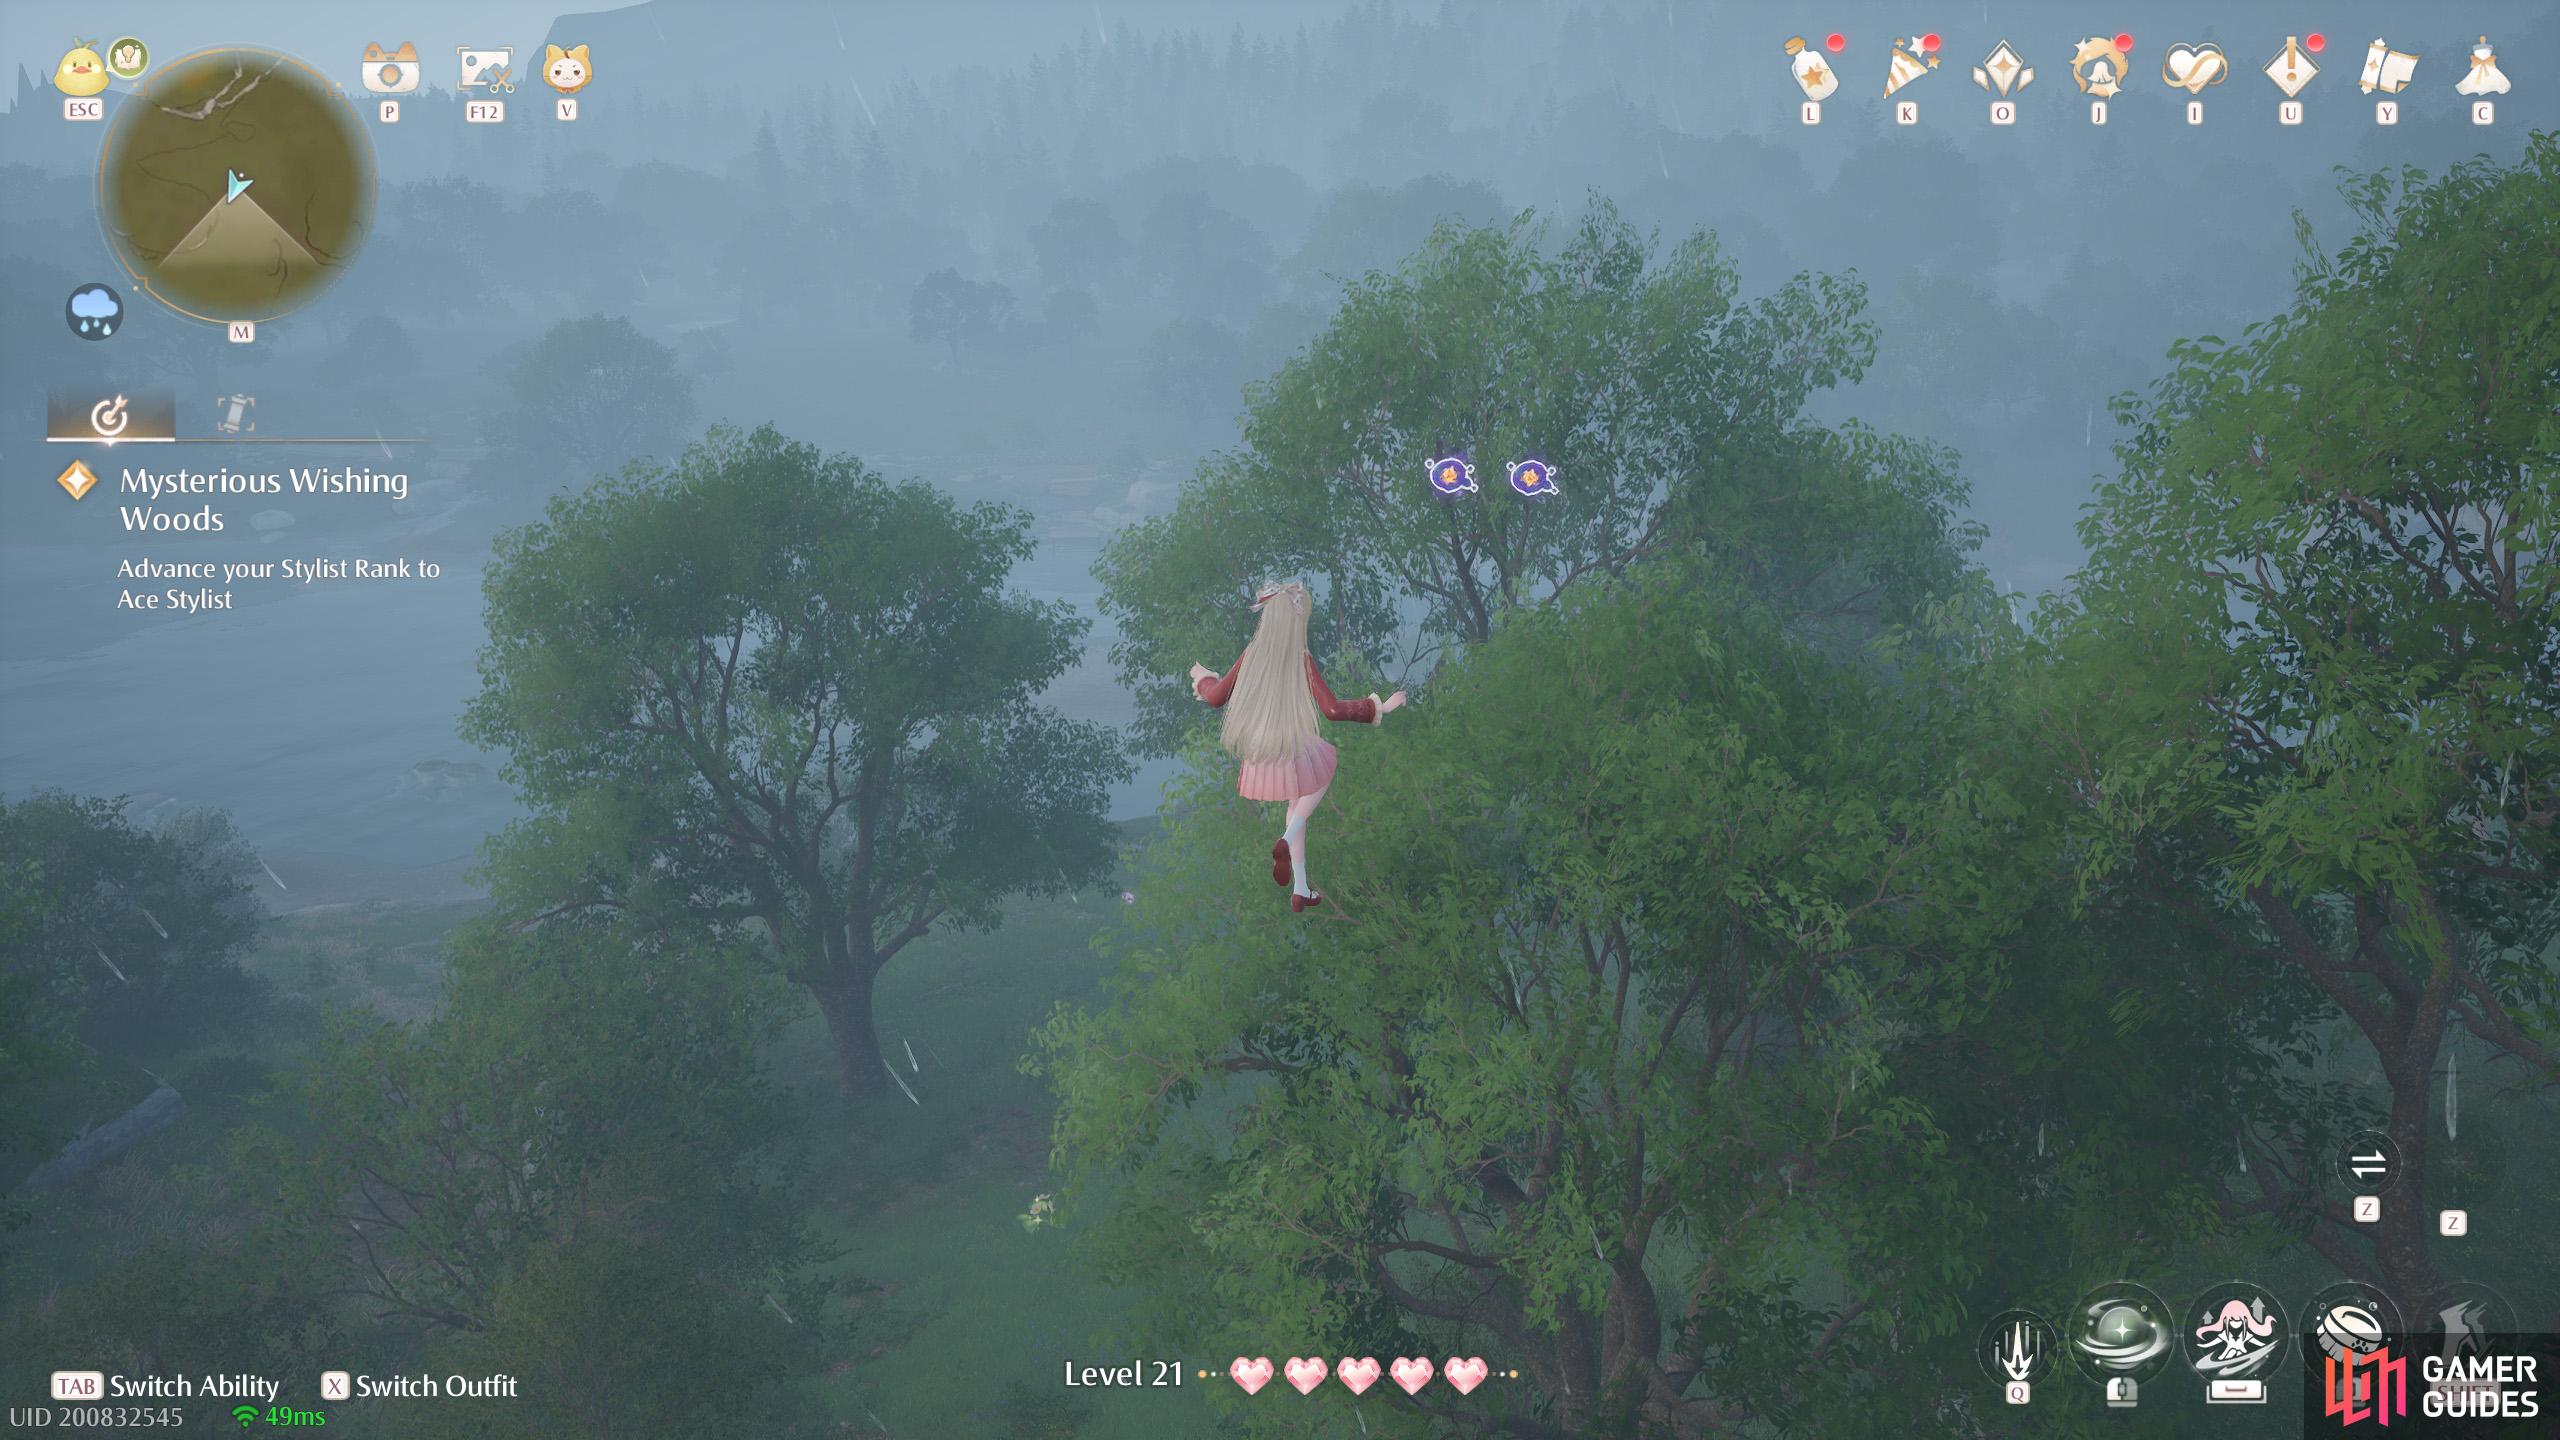
535. Miraland Map
South from ![]() Bug Catcher’s Cabin. Two floating high up, with a leaf trampoline nearby. Near the north side of the river.
Bug Catcher’s Cabin. Two floating high up, with a leaf trampoline nearby. Near the north side of the river.
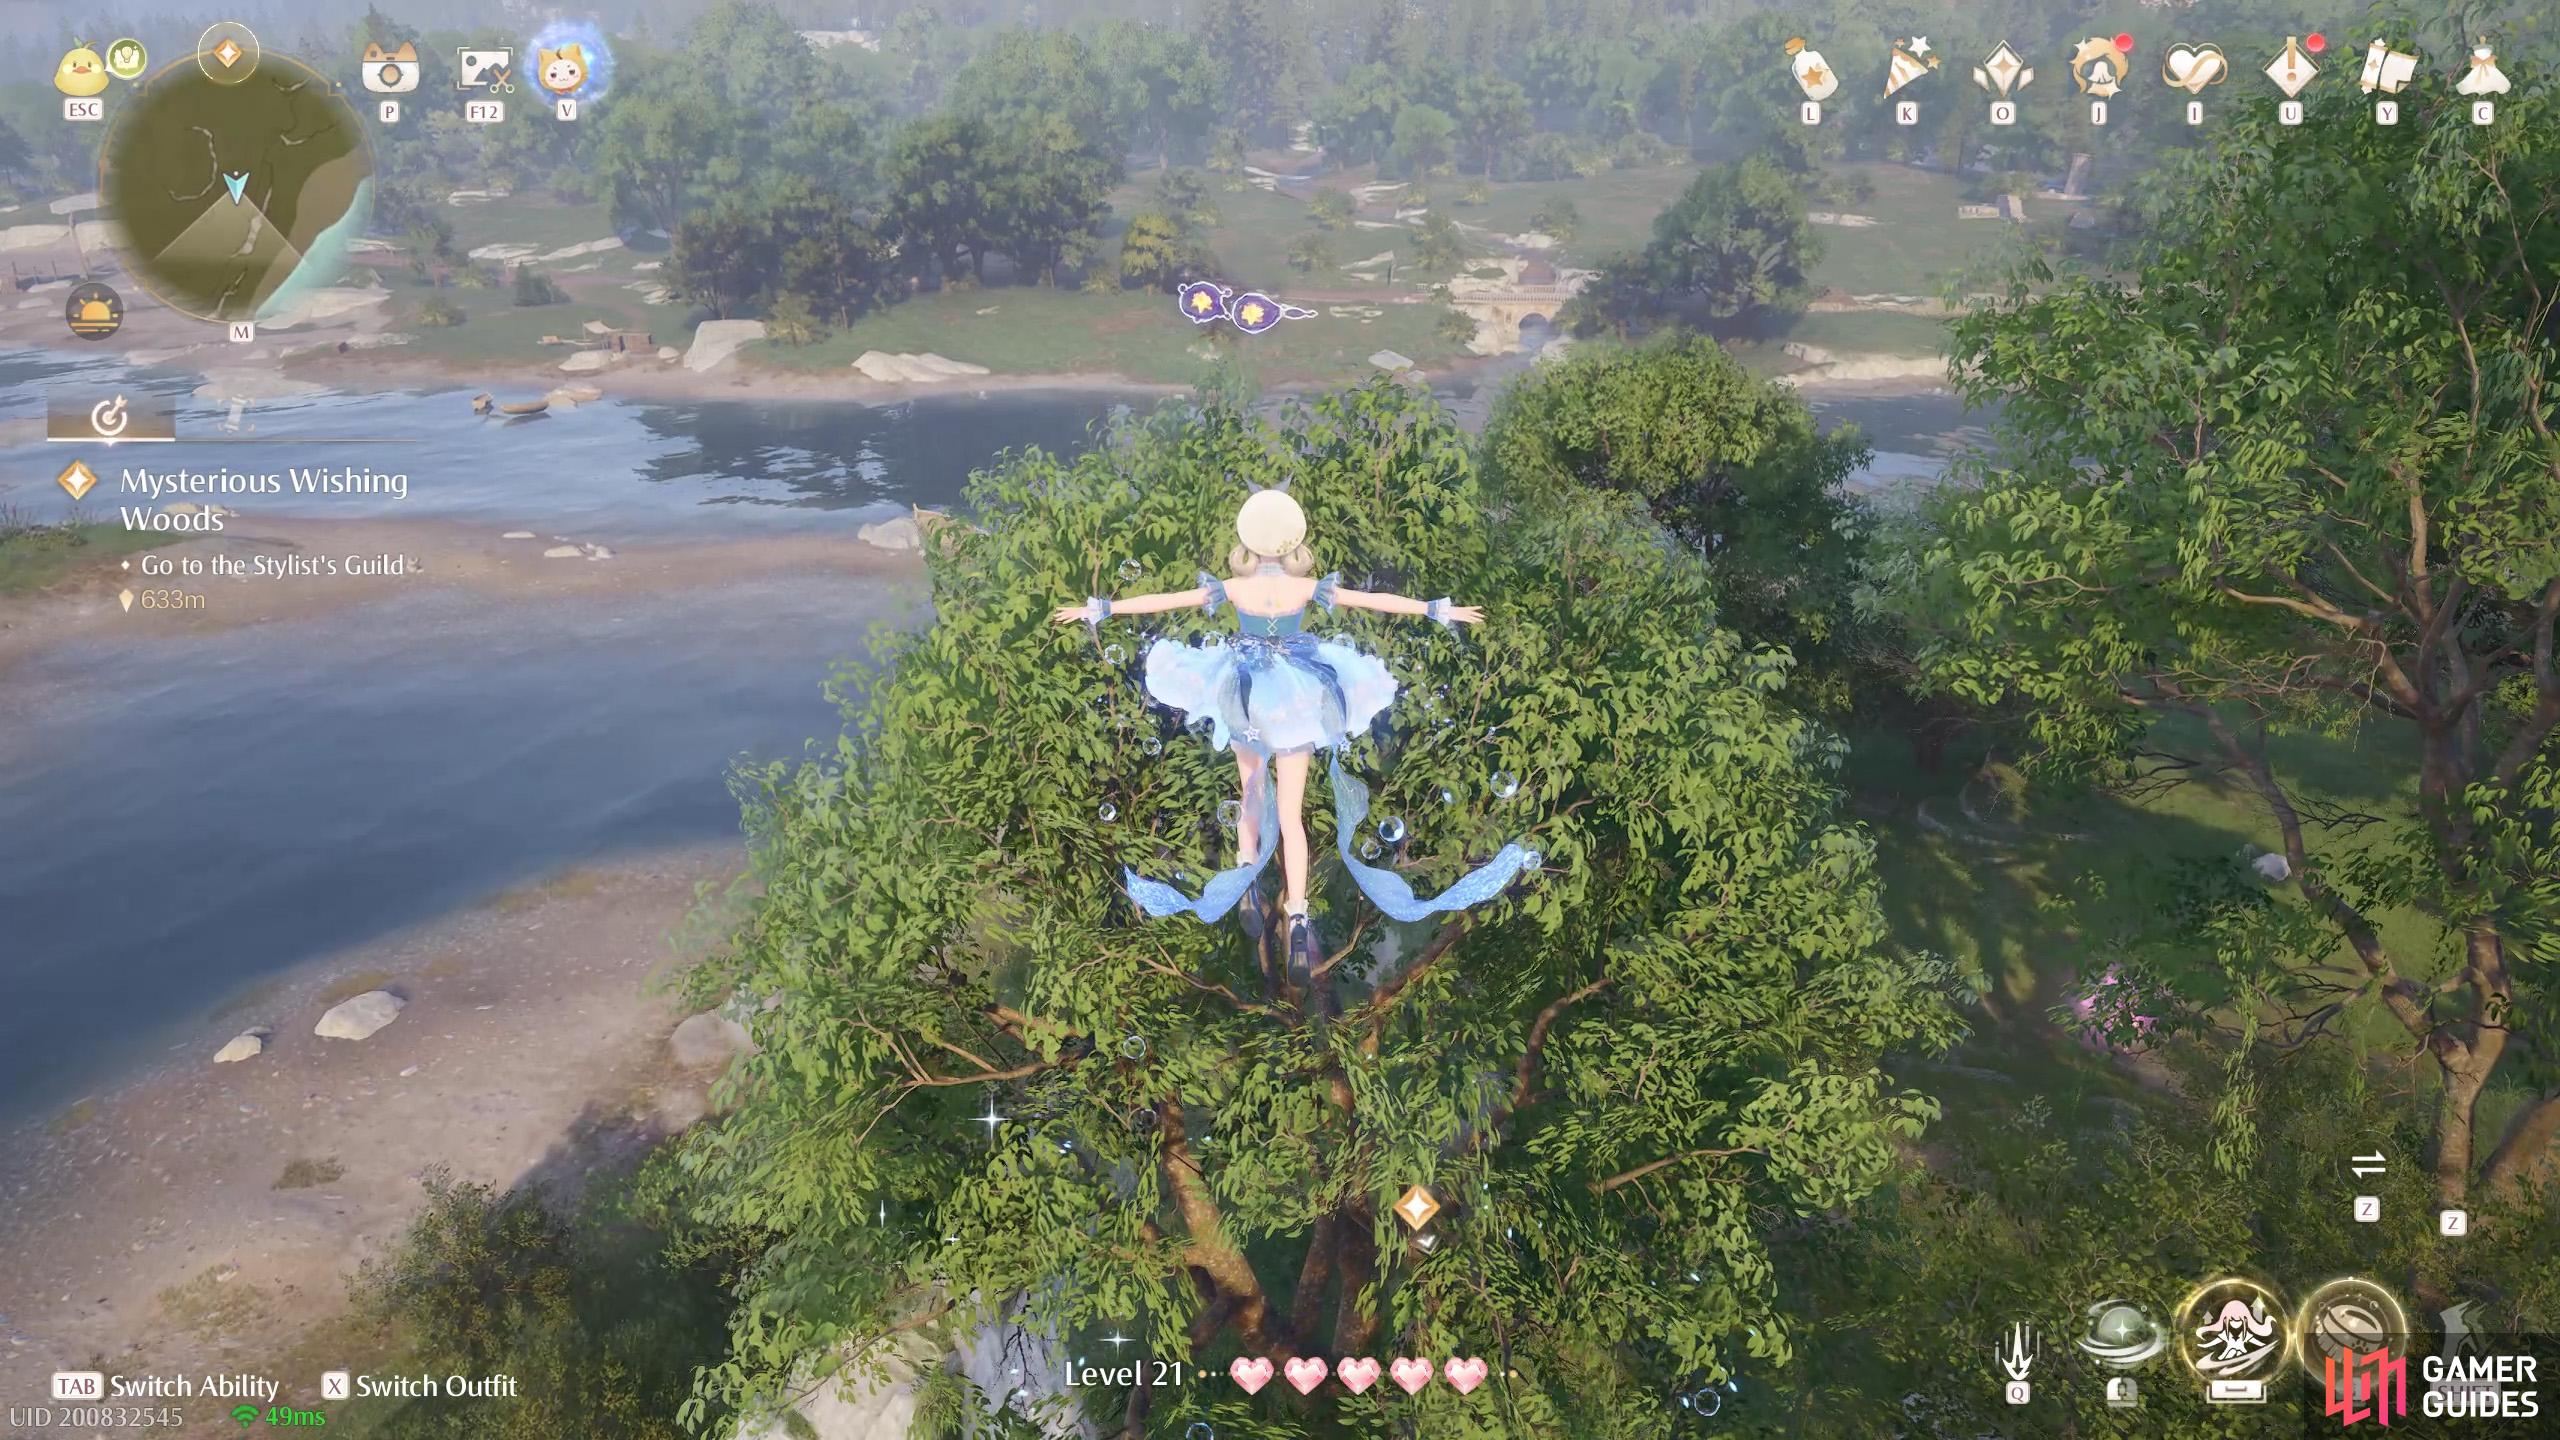
536. Miraland Map
South-east from ![]() Bug Catcher’s Cabin. Two floating high up above a tree. You can reach using a leaf trampoline.
Bug Catcher’s Cabin. Two floating high up above a tree. You can reach using a leaf trampoline.
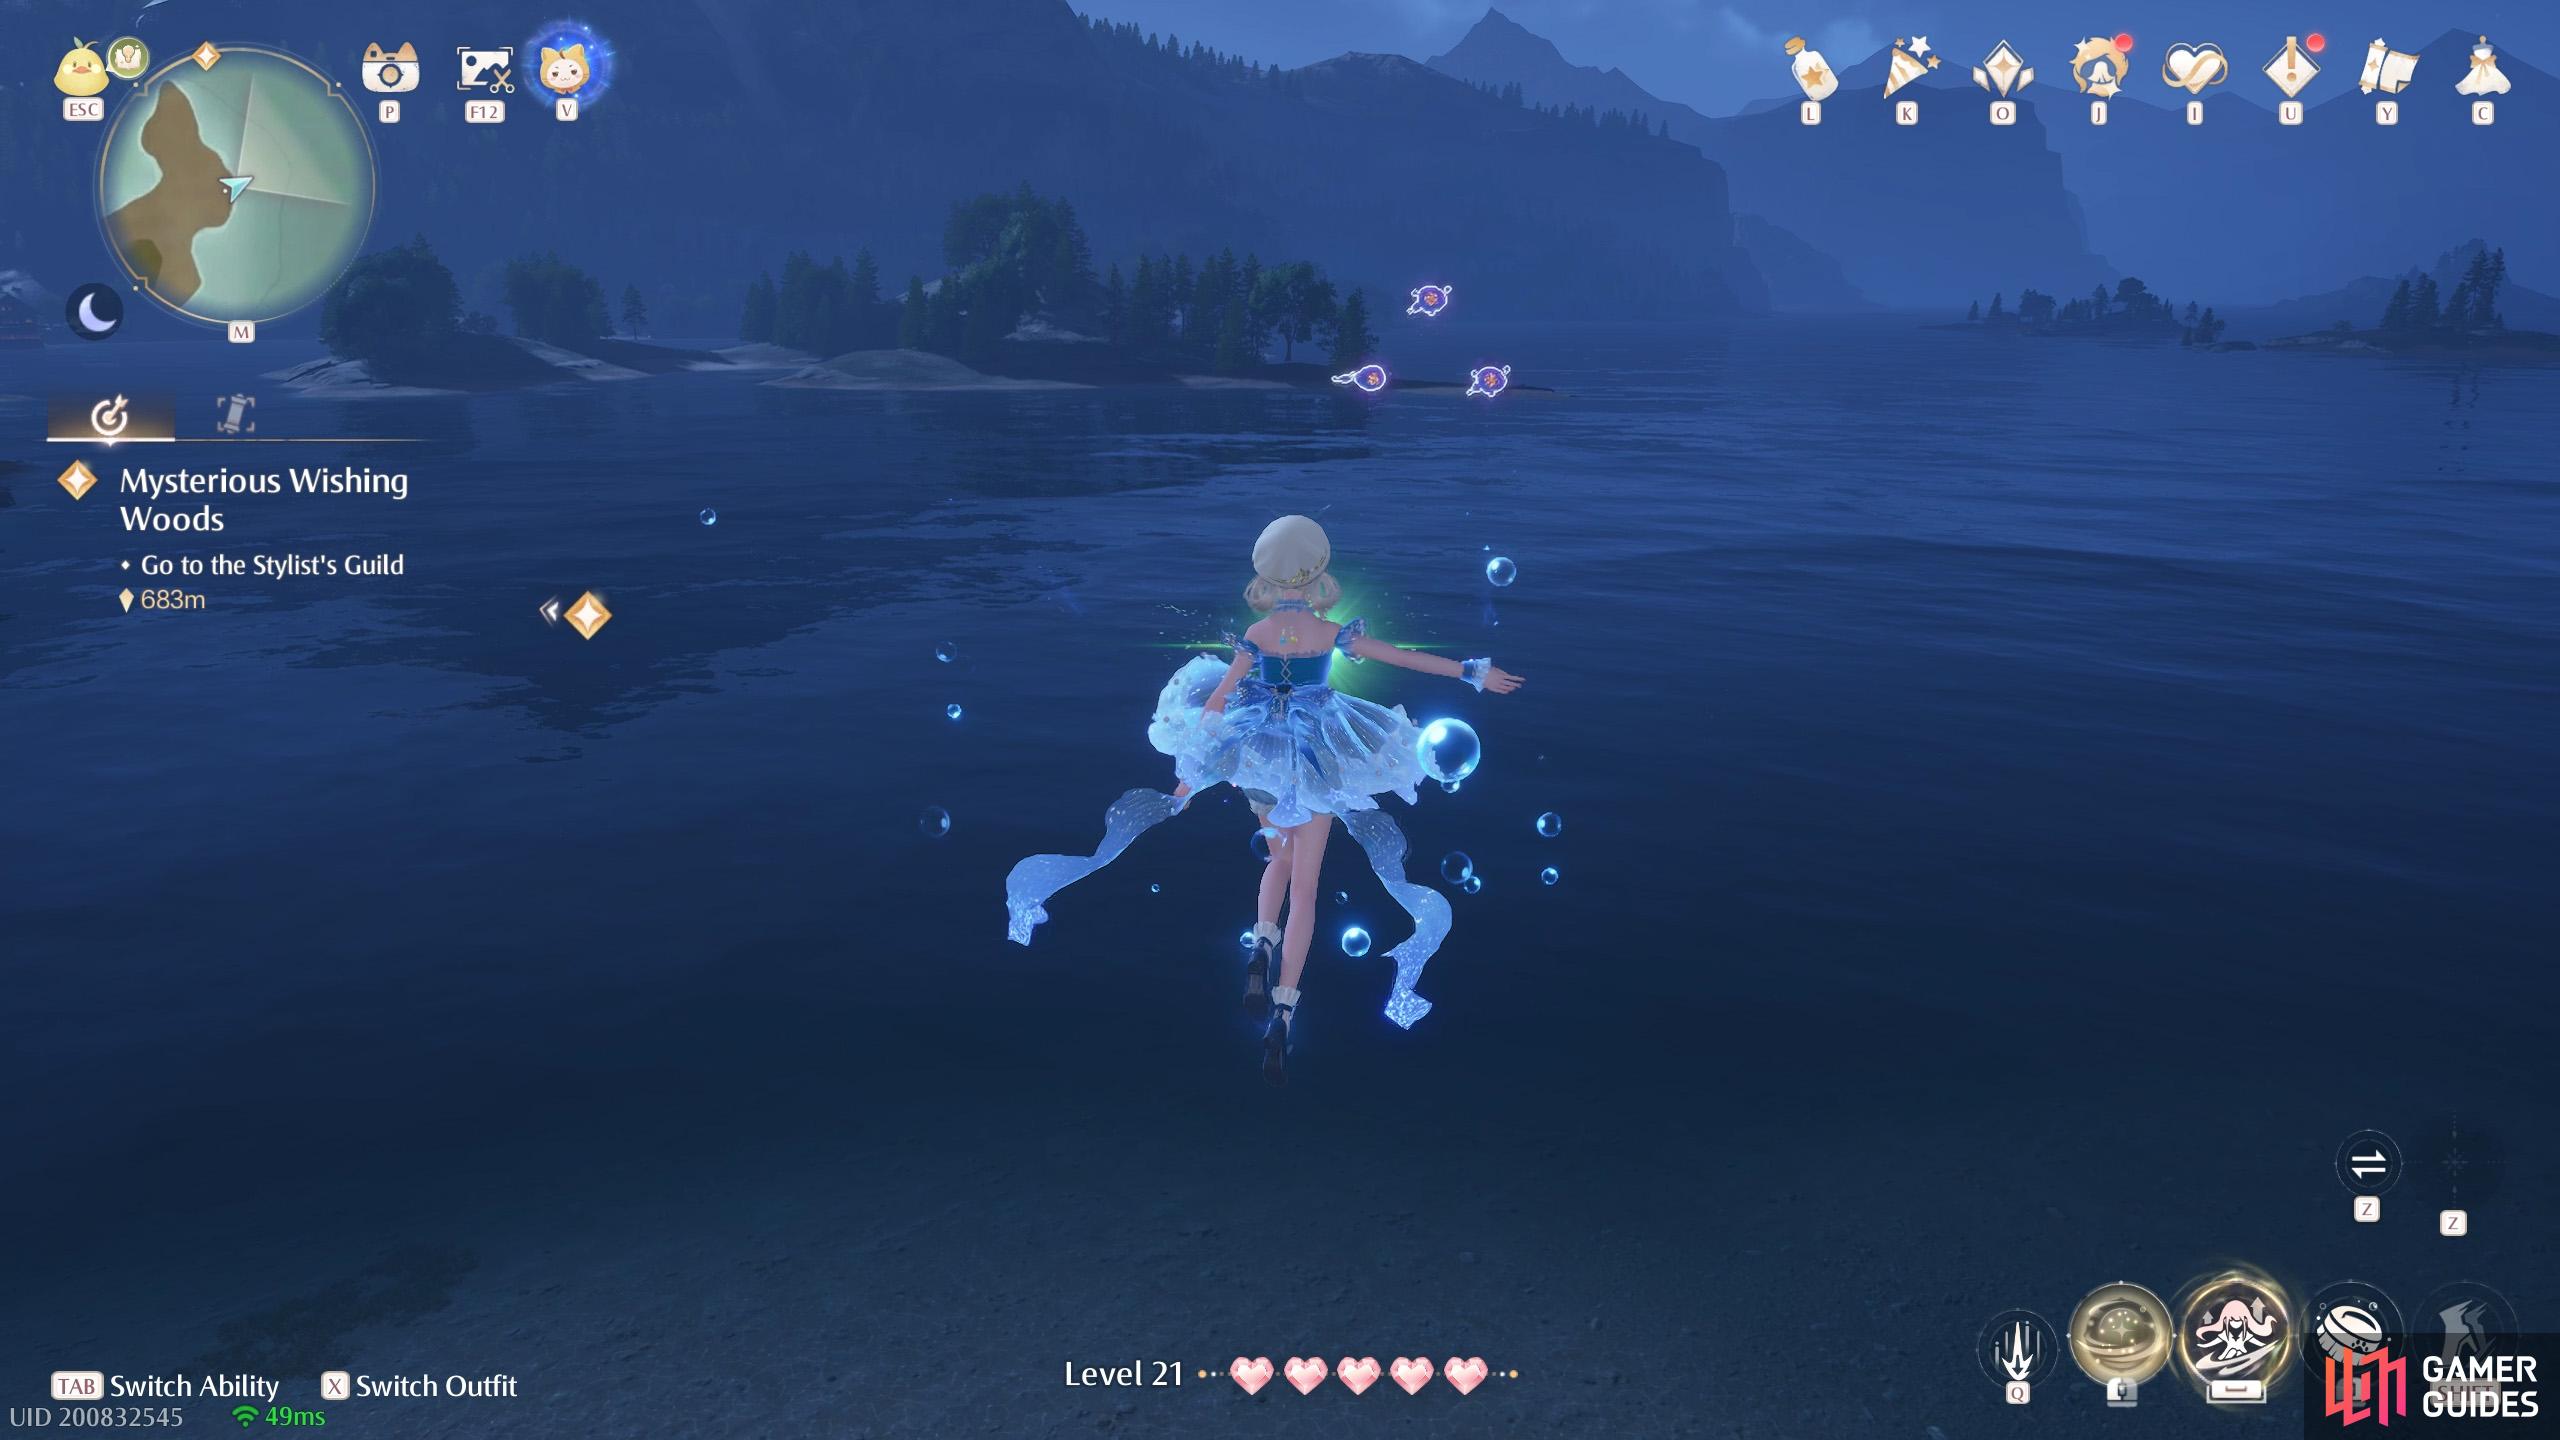
537. Miraland Map
North of ![]() Meadow Wharf, on a small island at the river mouth. Three floating high up in the air. There’s a wishnet nearby that you can jump from.
Meadow Wharf, on a small island at the river mouth. Three floating high up in the air. There’s a wishnet nearby that you can jump from.
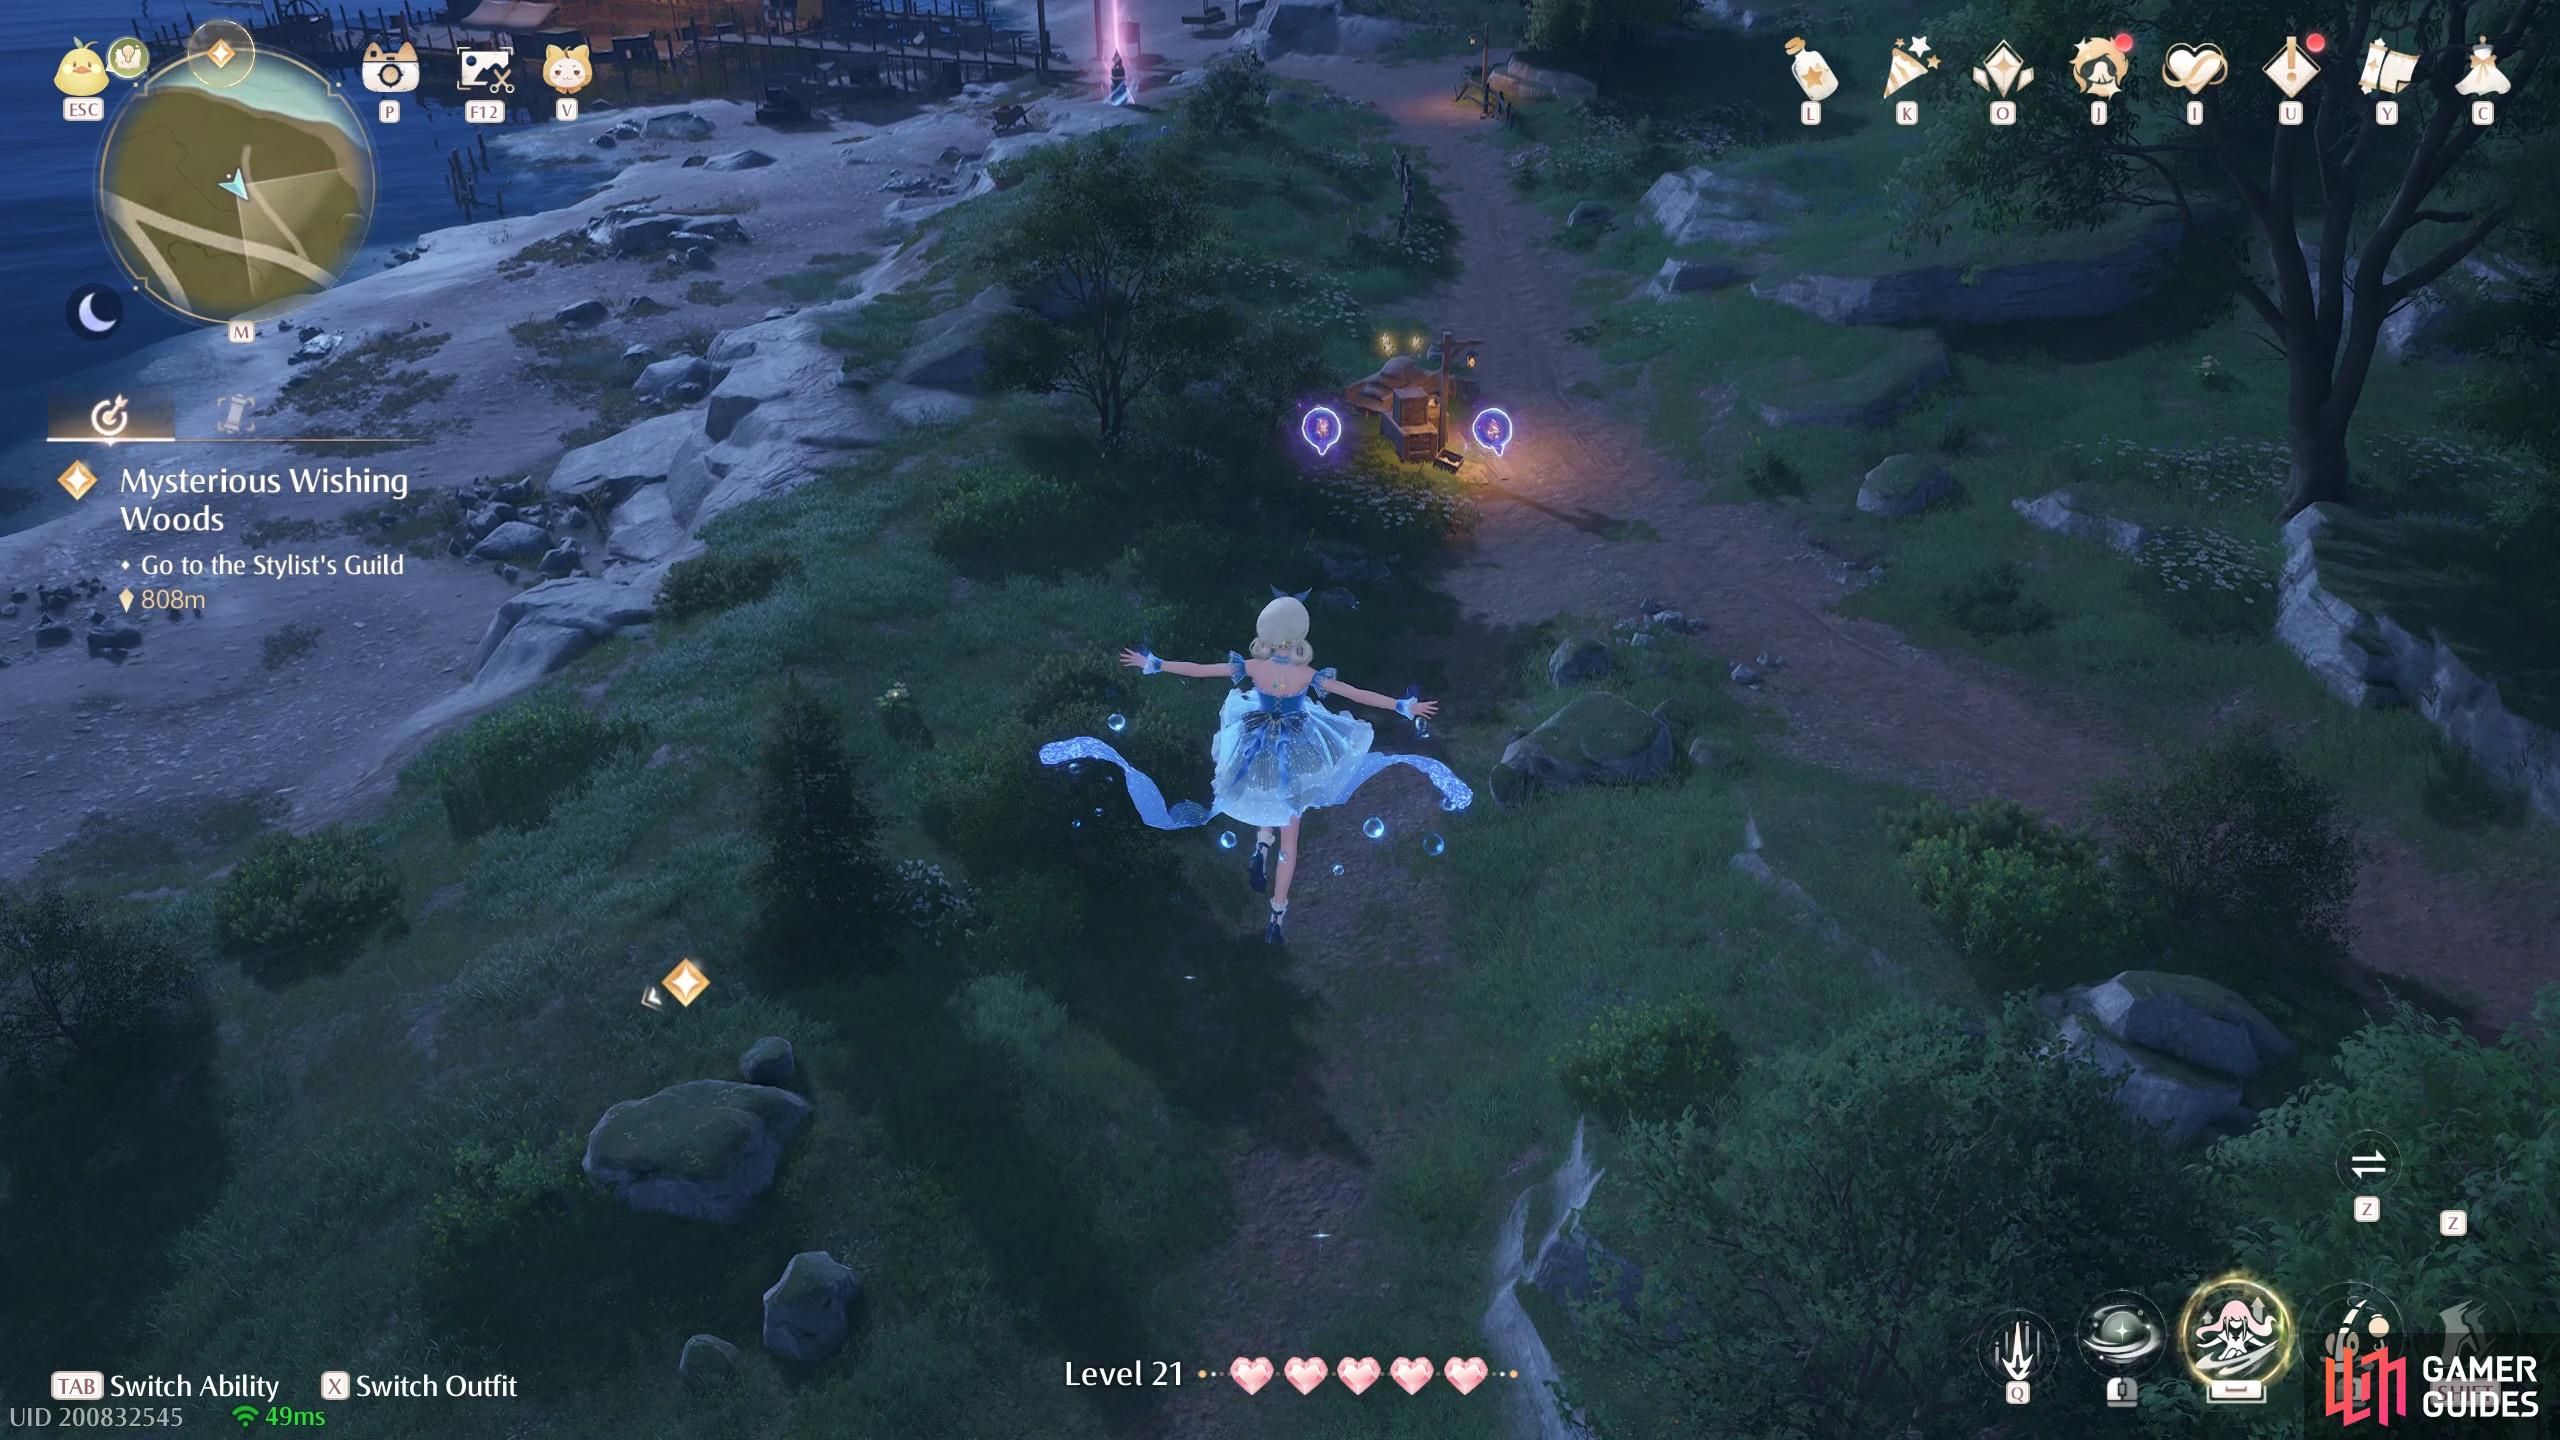
538. Miraland Map
North-west from ![]() Meadow Wharf. Two floating high up with a leaf trampoline nearby. South from a
Meadow Wharf. Two floating high up with a leaf trampoline nearby. South from a ![]() Whimstar by the shore.
Whimstar by the shore.
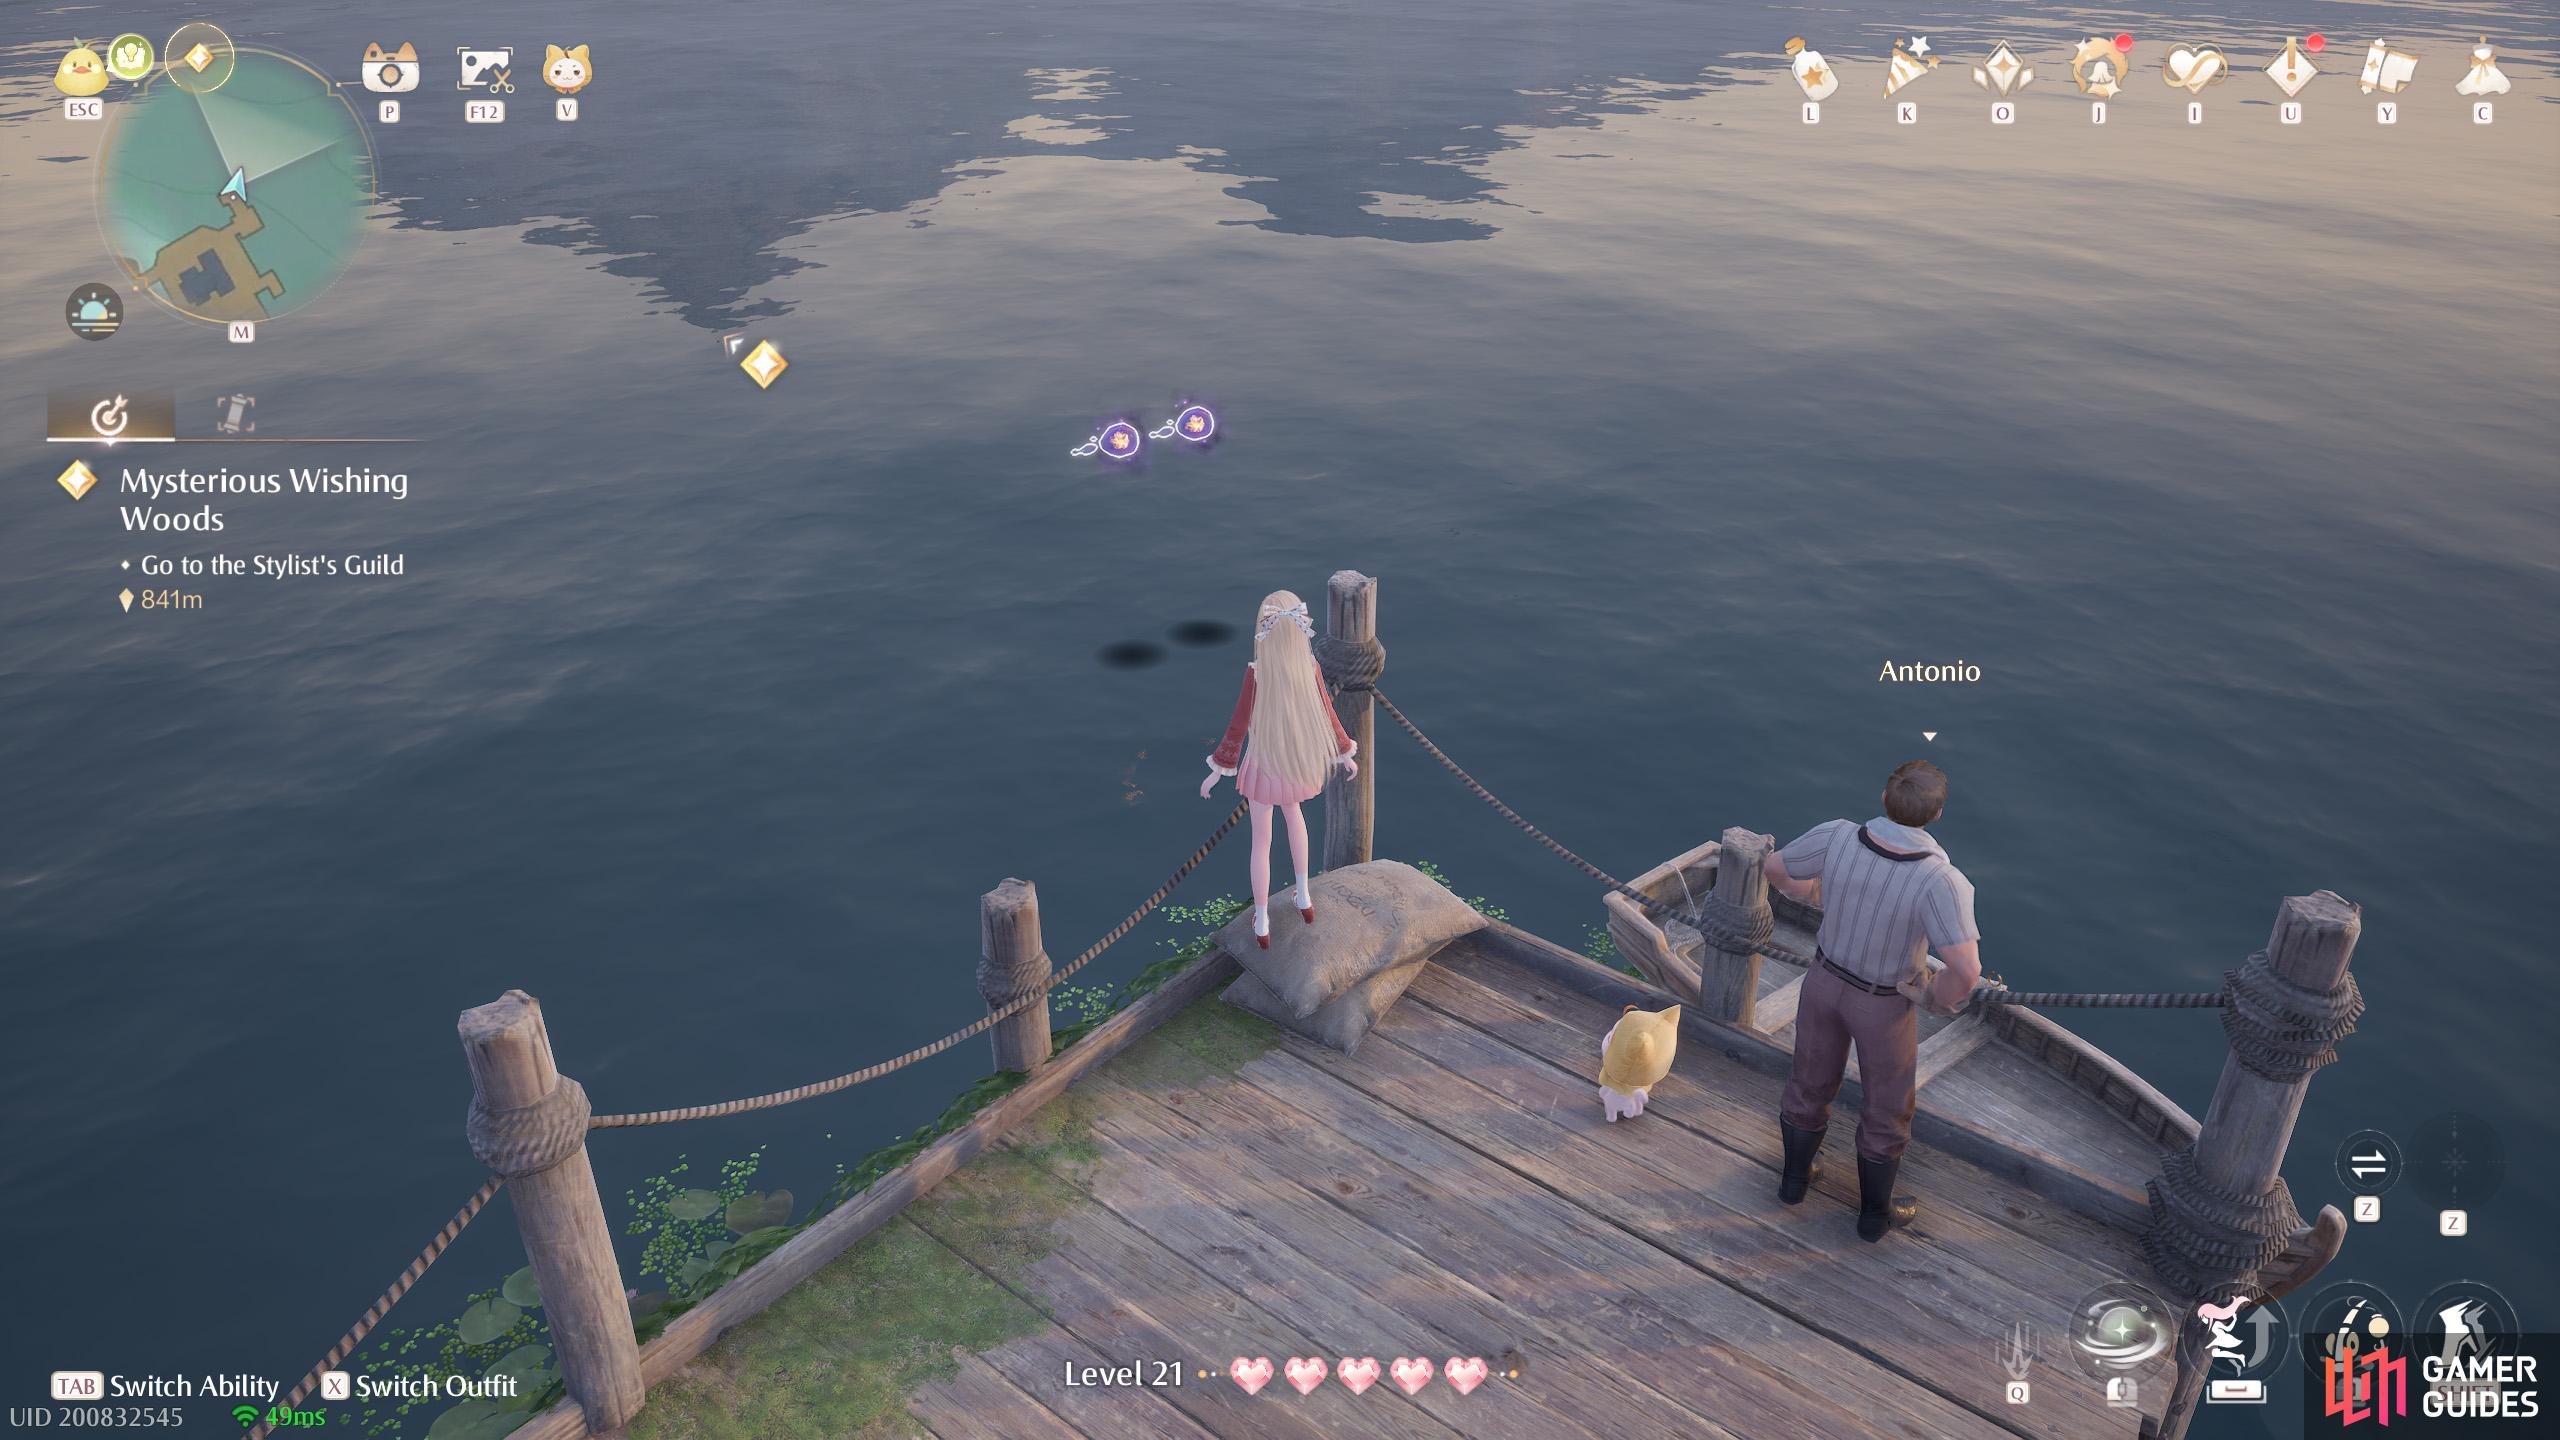
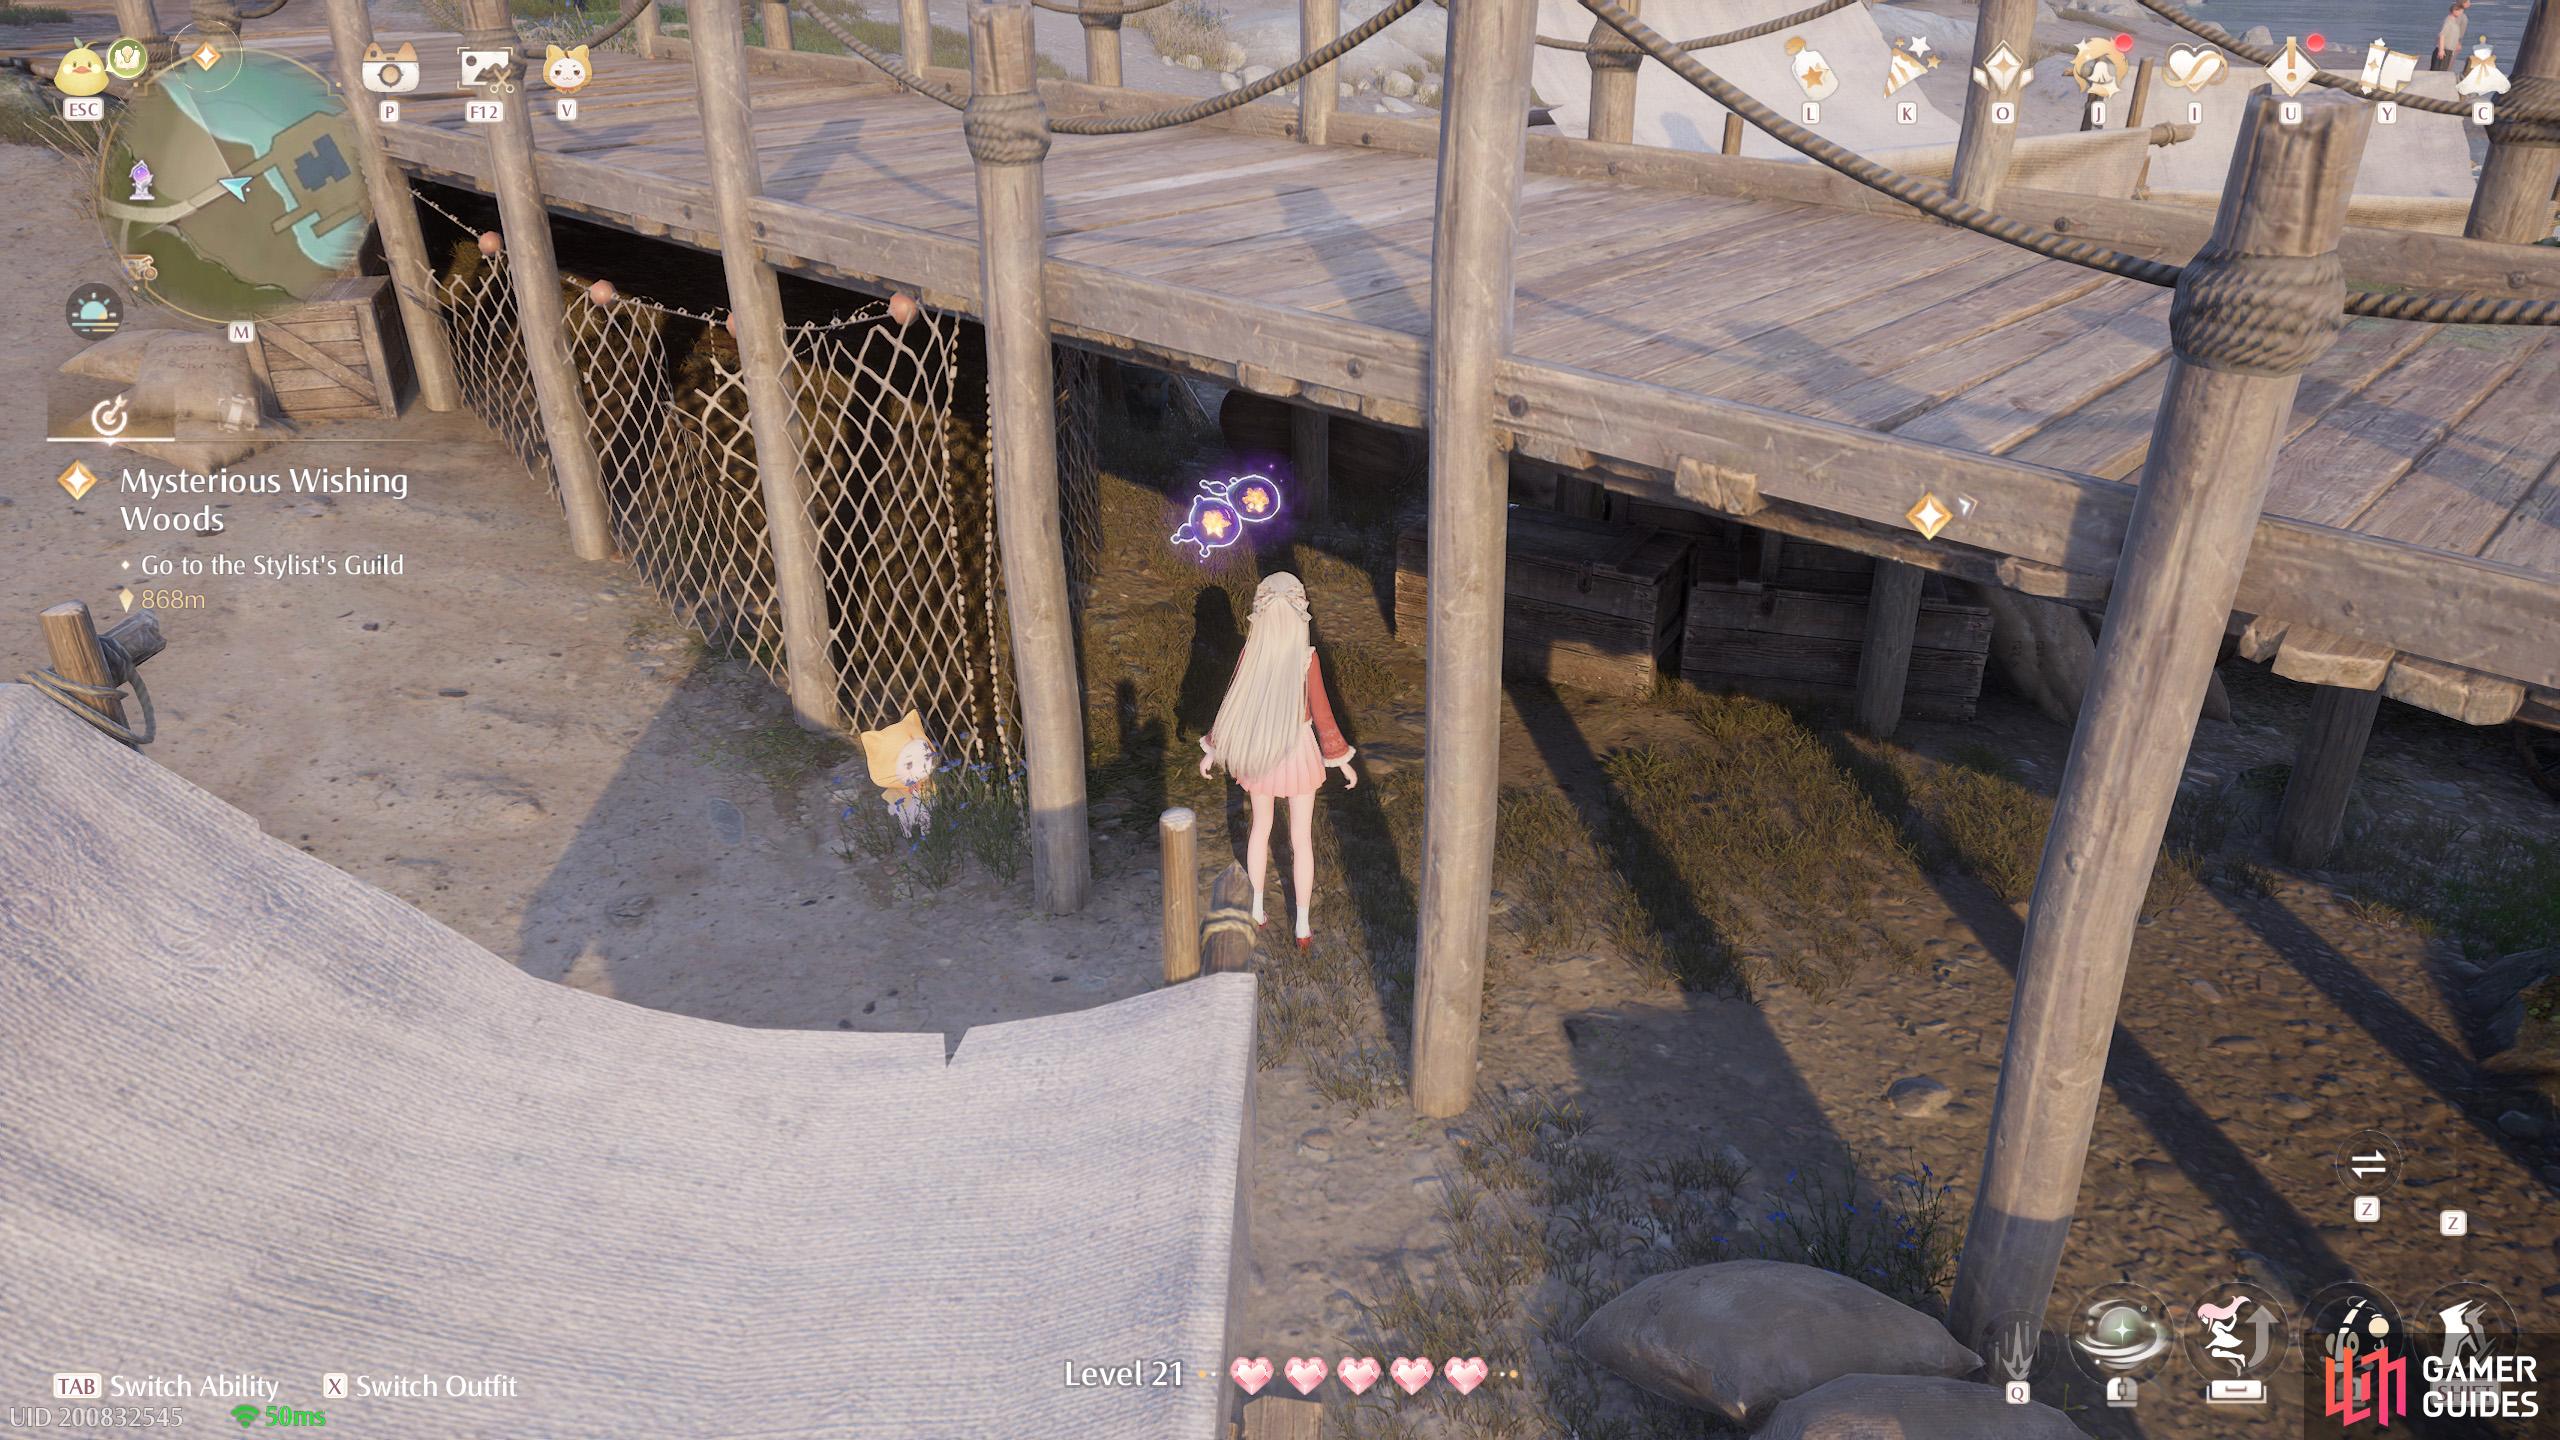
540. Miraland Map
At ![]() Meadow Wharf, a short distance east from the Warp Spire. Two under the boardwalk.
Meadow Wharf, a short distance east from the Warp Spire. Two under the boardwalk.
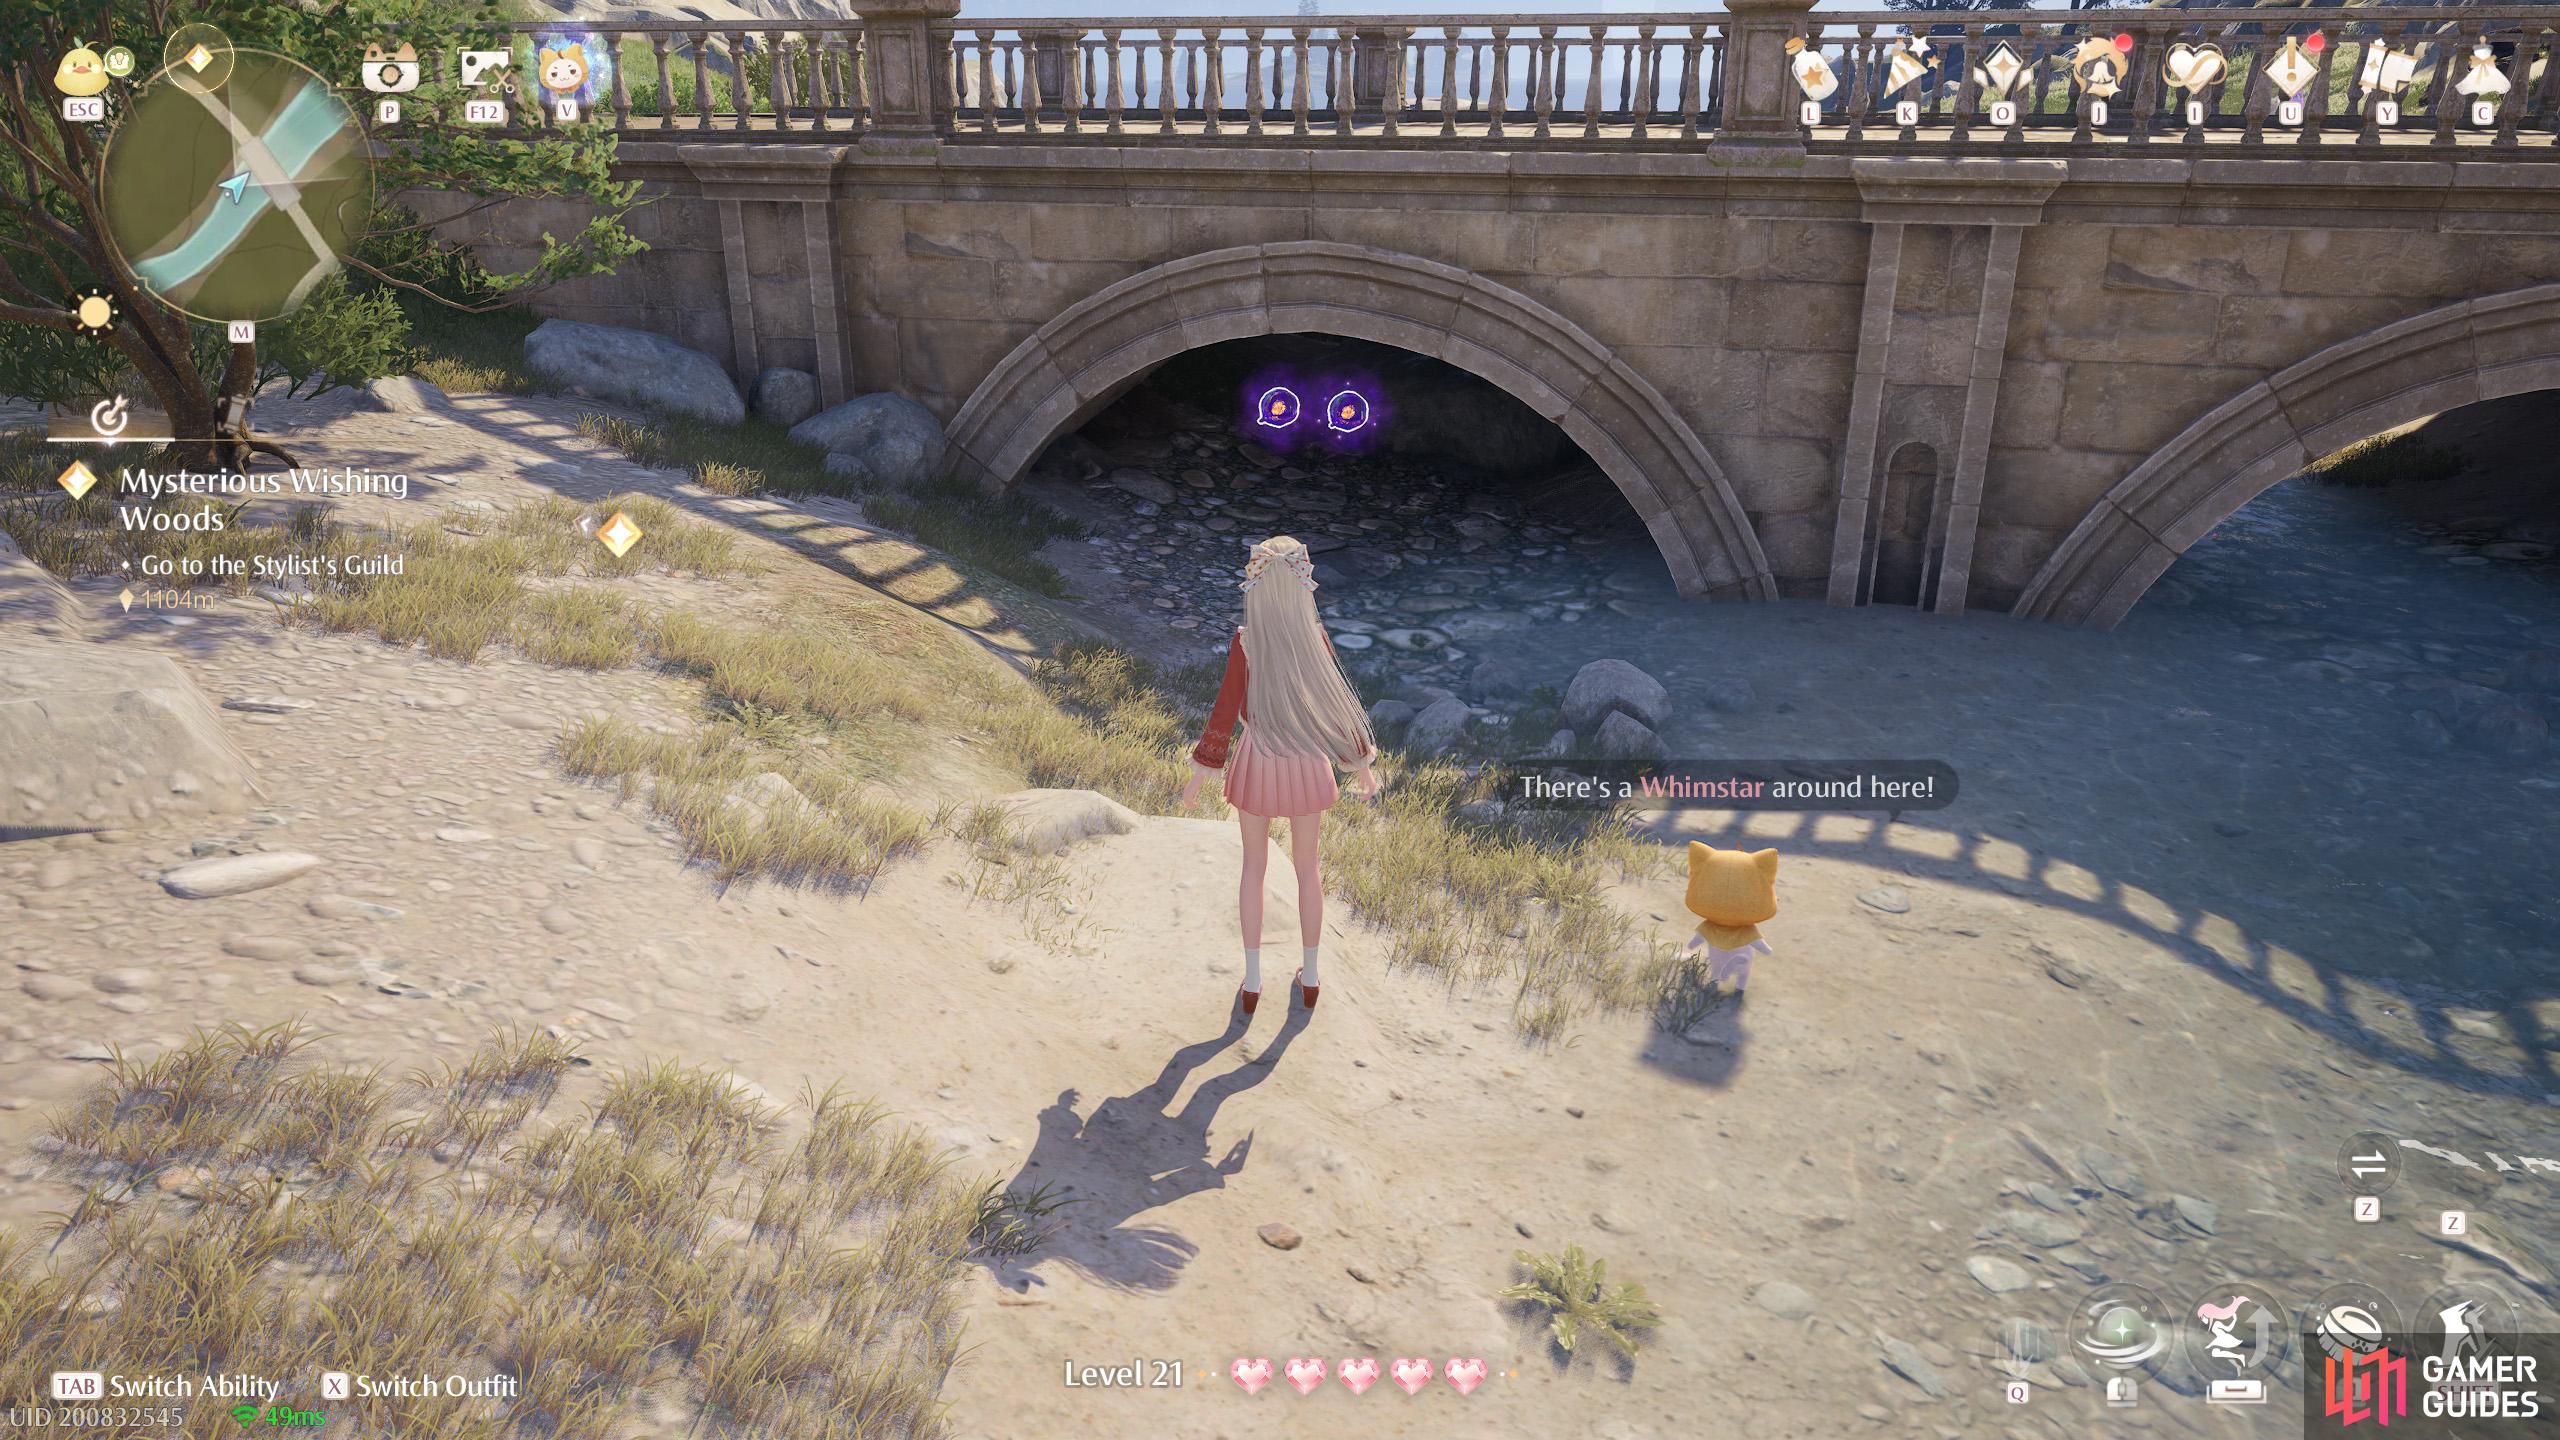
541. Miraland Map
Bridge north from ![]() Lakeside Hill Lane. Two under the bridge on the south-west side.
Lakeside Hill Lane. Two under the bridge on the south-west side.
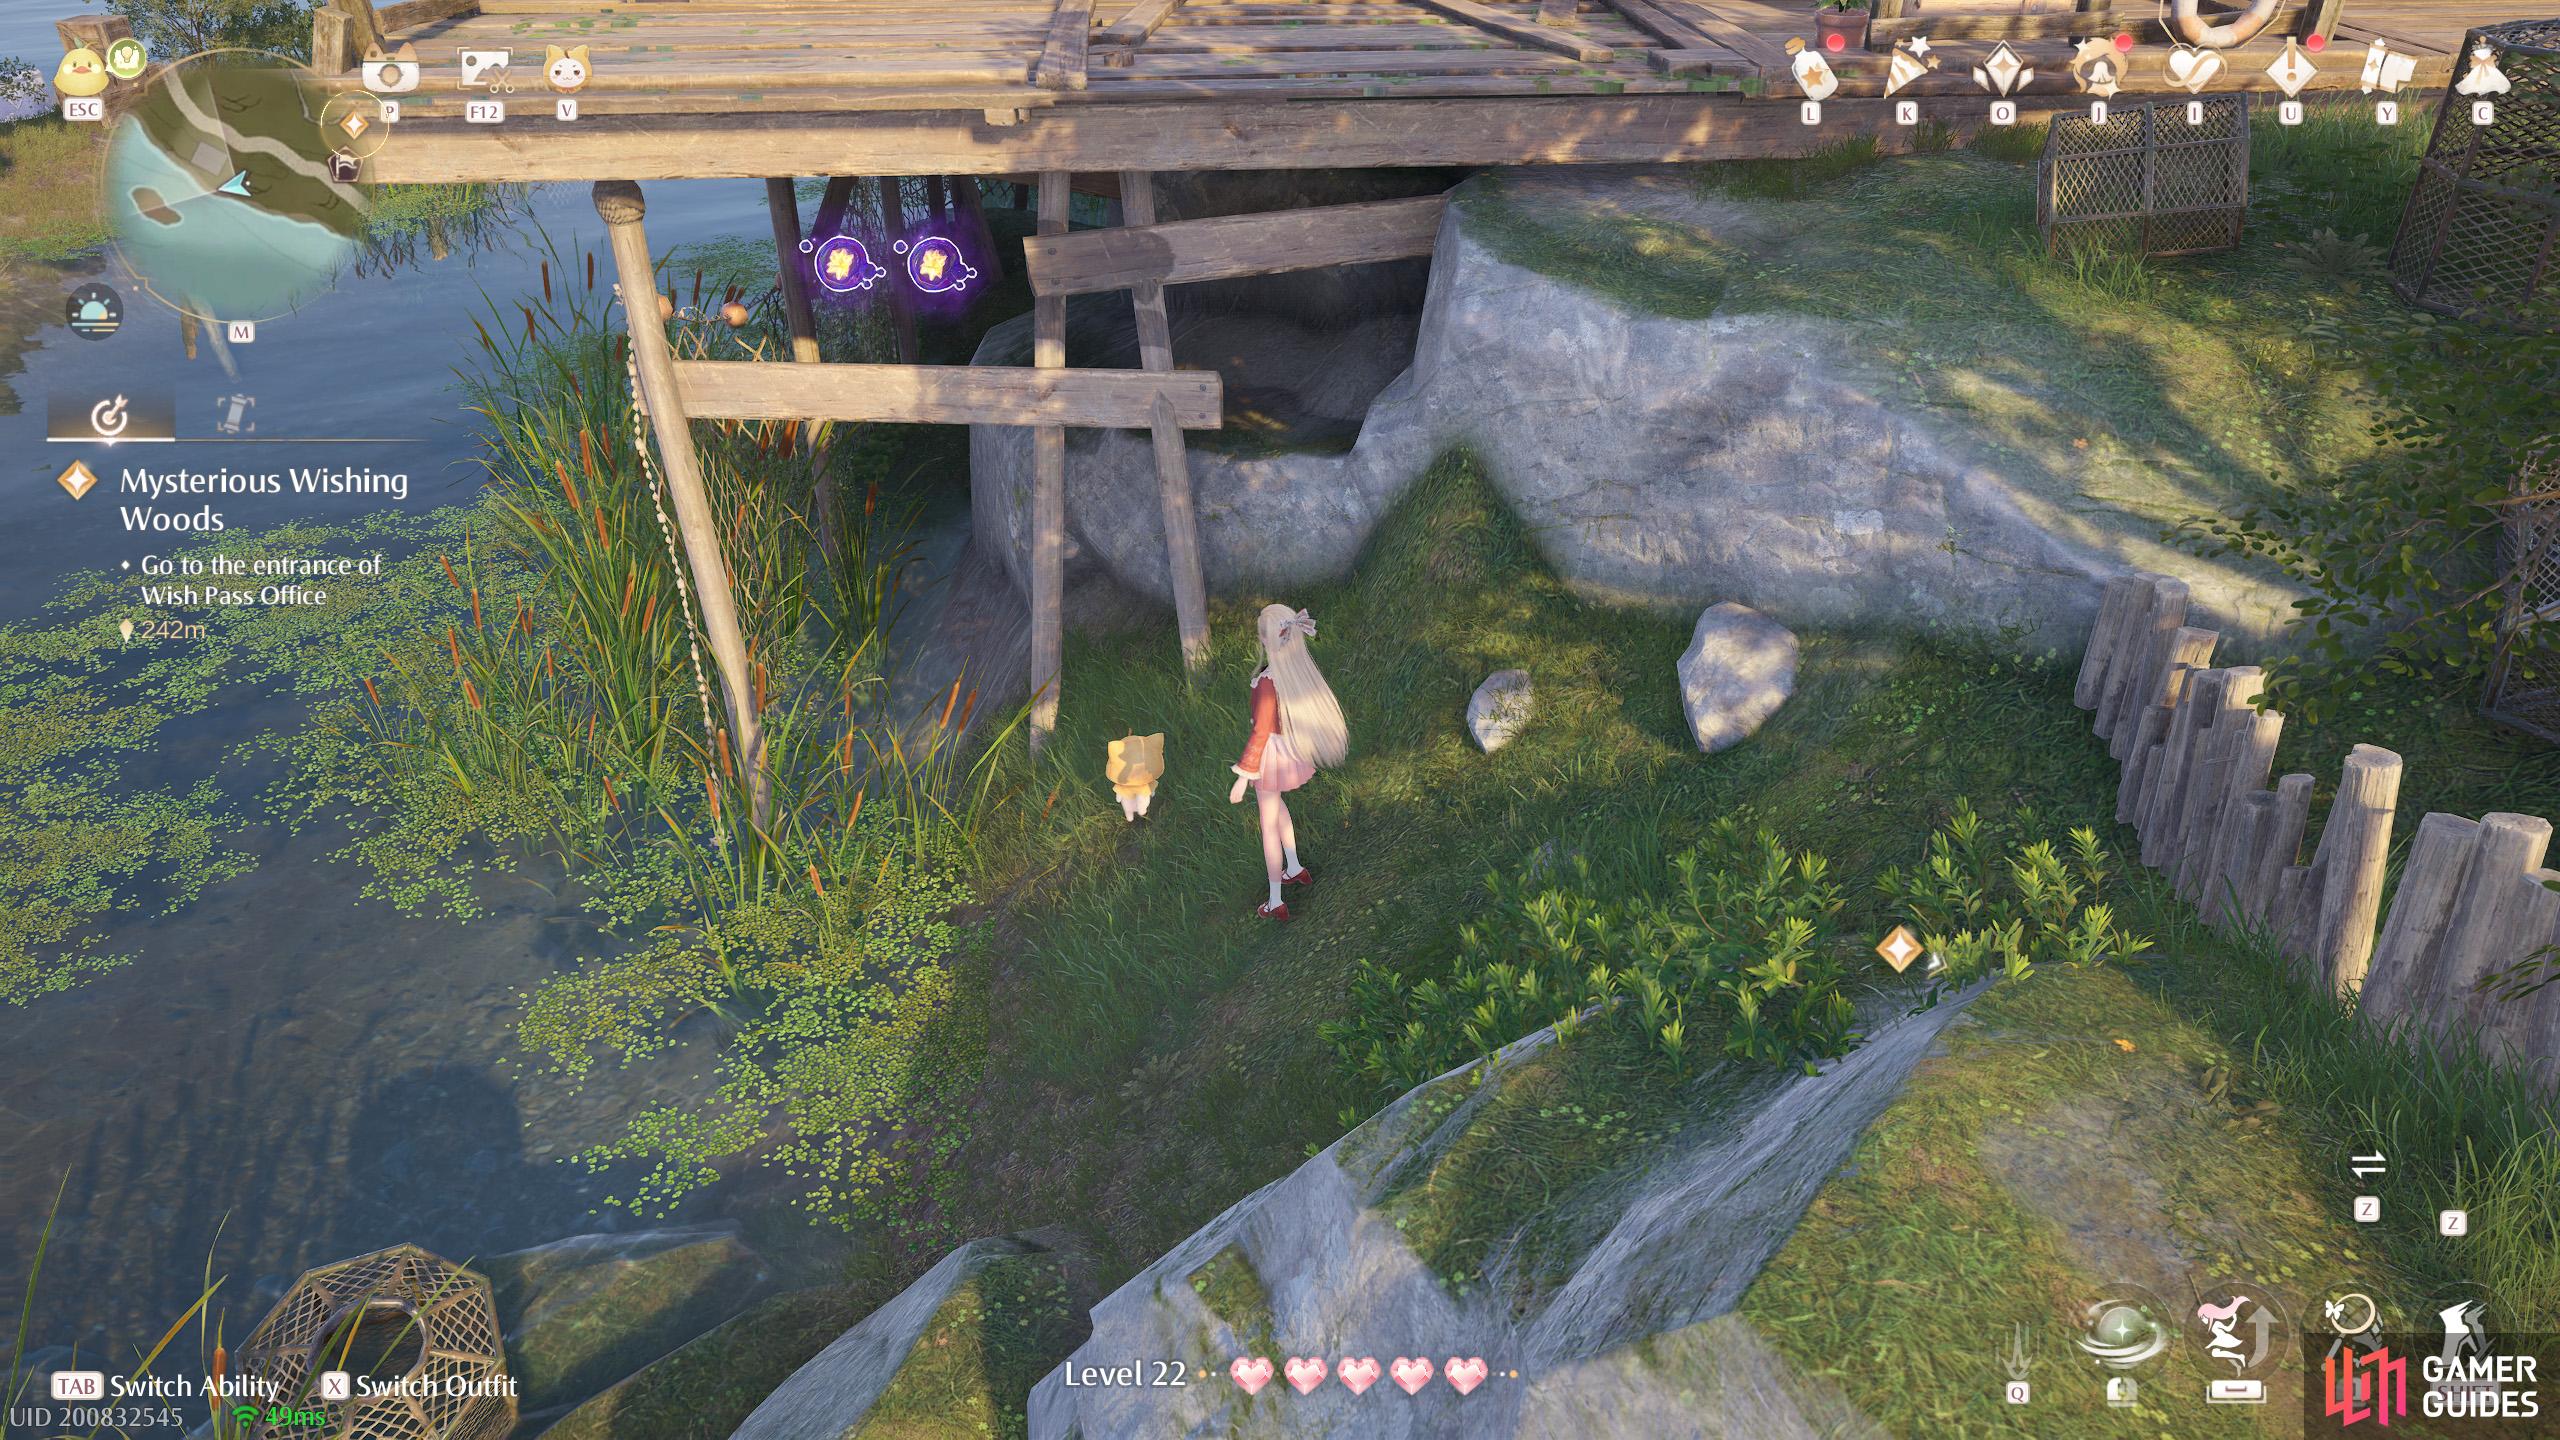
542. Miraland Map
South from ![]() Sanctum of the Observant. Two under the wooden support.
Sanctum of the Observant. Two under the wooden support.
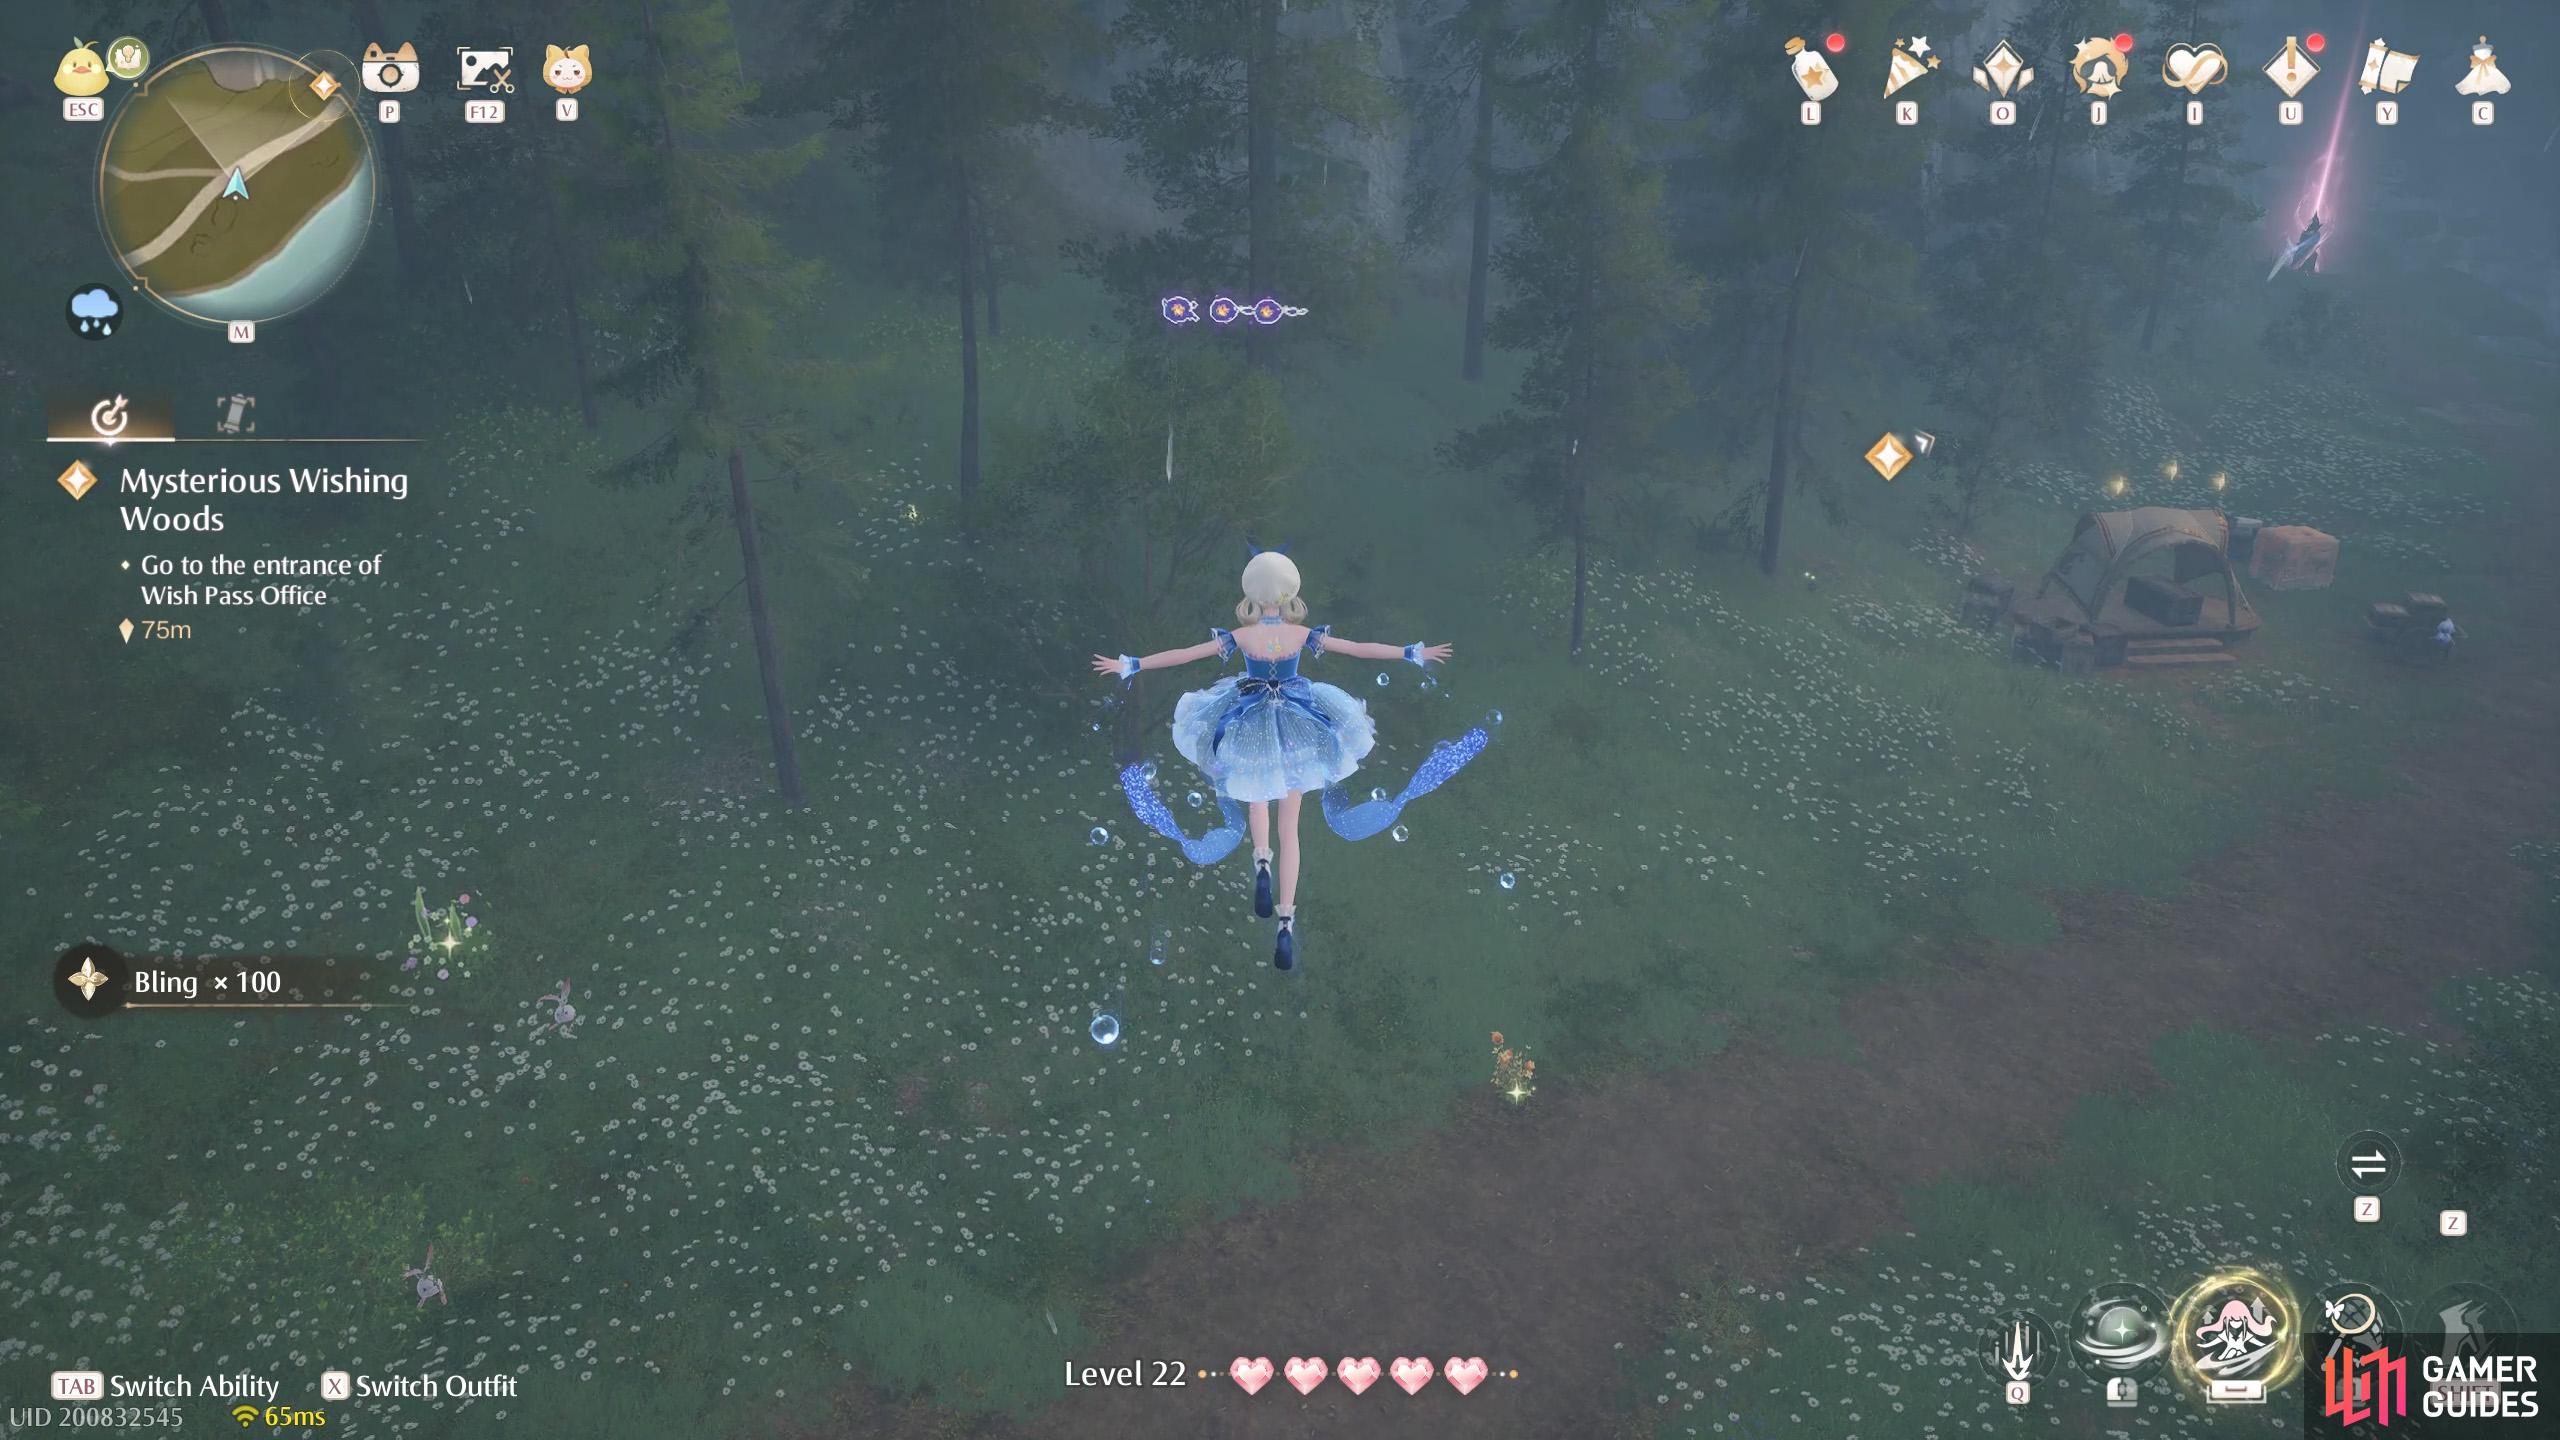
543. Miraland Map
South-west from the ![]() Wish Pass Office. Three floating high up. There’s a Wishnet you can jump from.
Wish Pass Office. Three floating high up. There’s a Wishnet you can jump from.
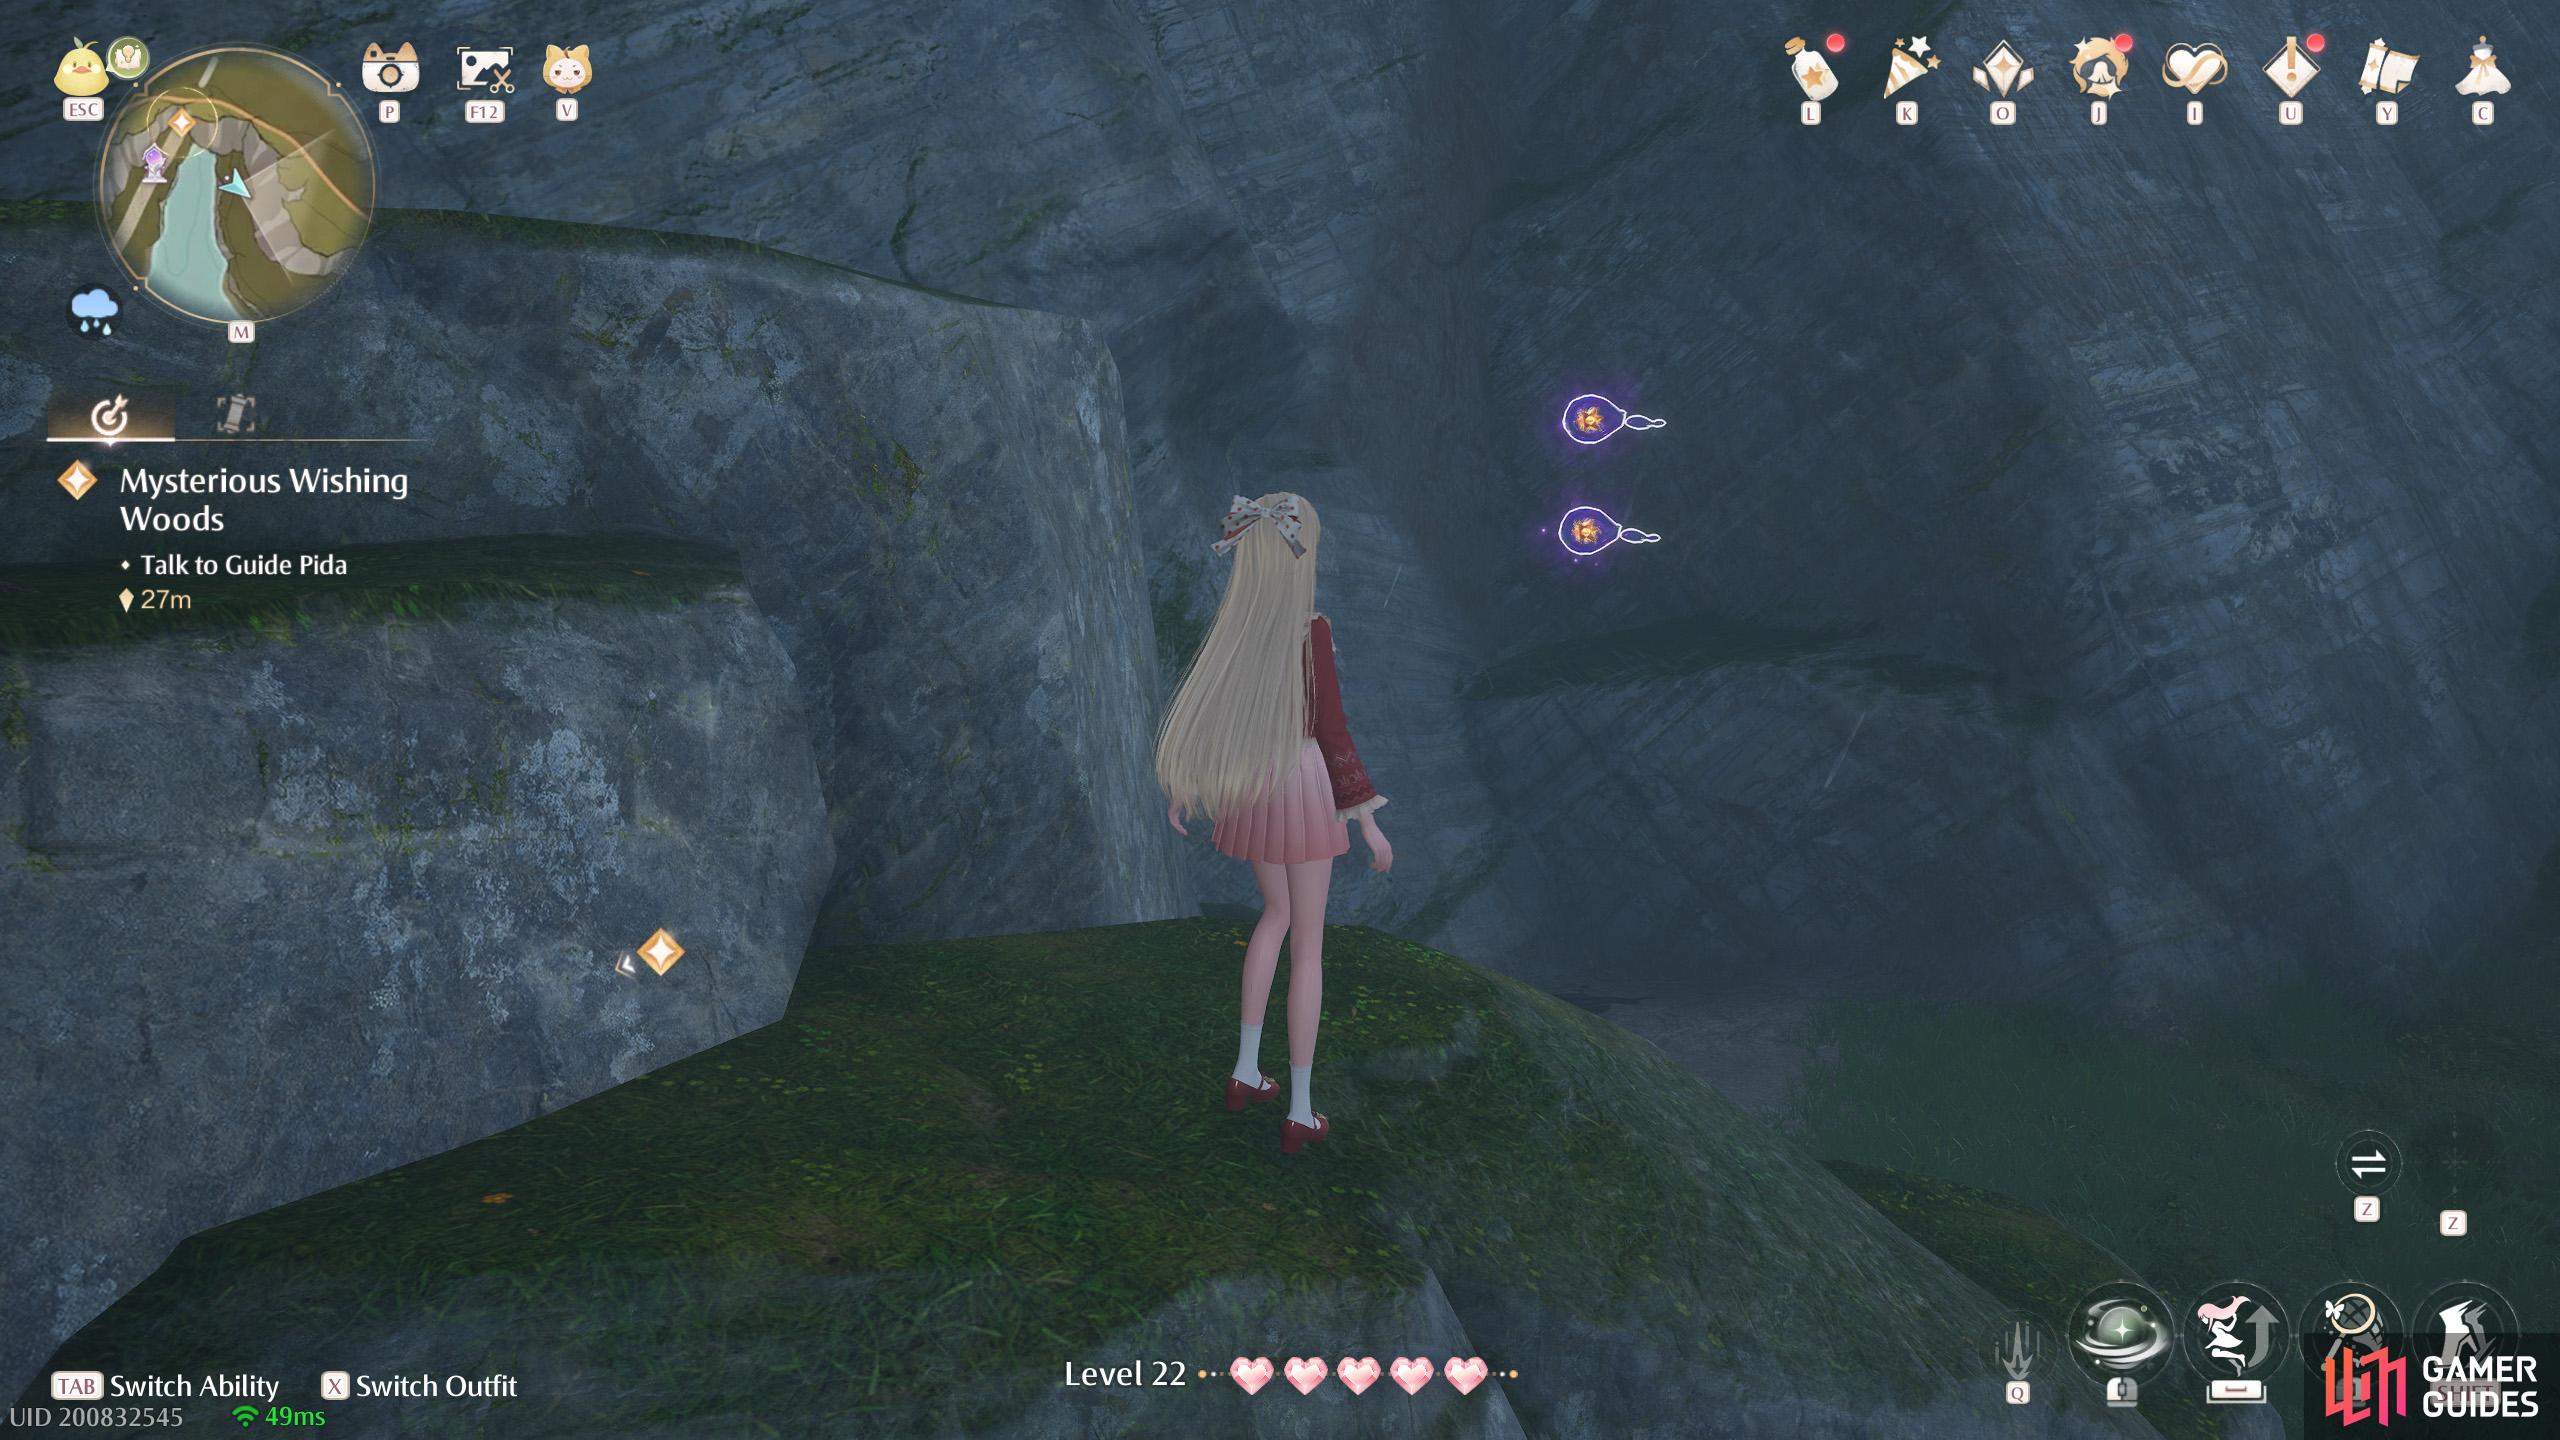
544. Miraland Map
Short distance east from the ![]() Wish Pass Office Warp Spire. Two floating nearby after jumping across the water.
Wish Pass Office Warp Spire. Two floating nearby after jumping across the water.
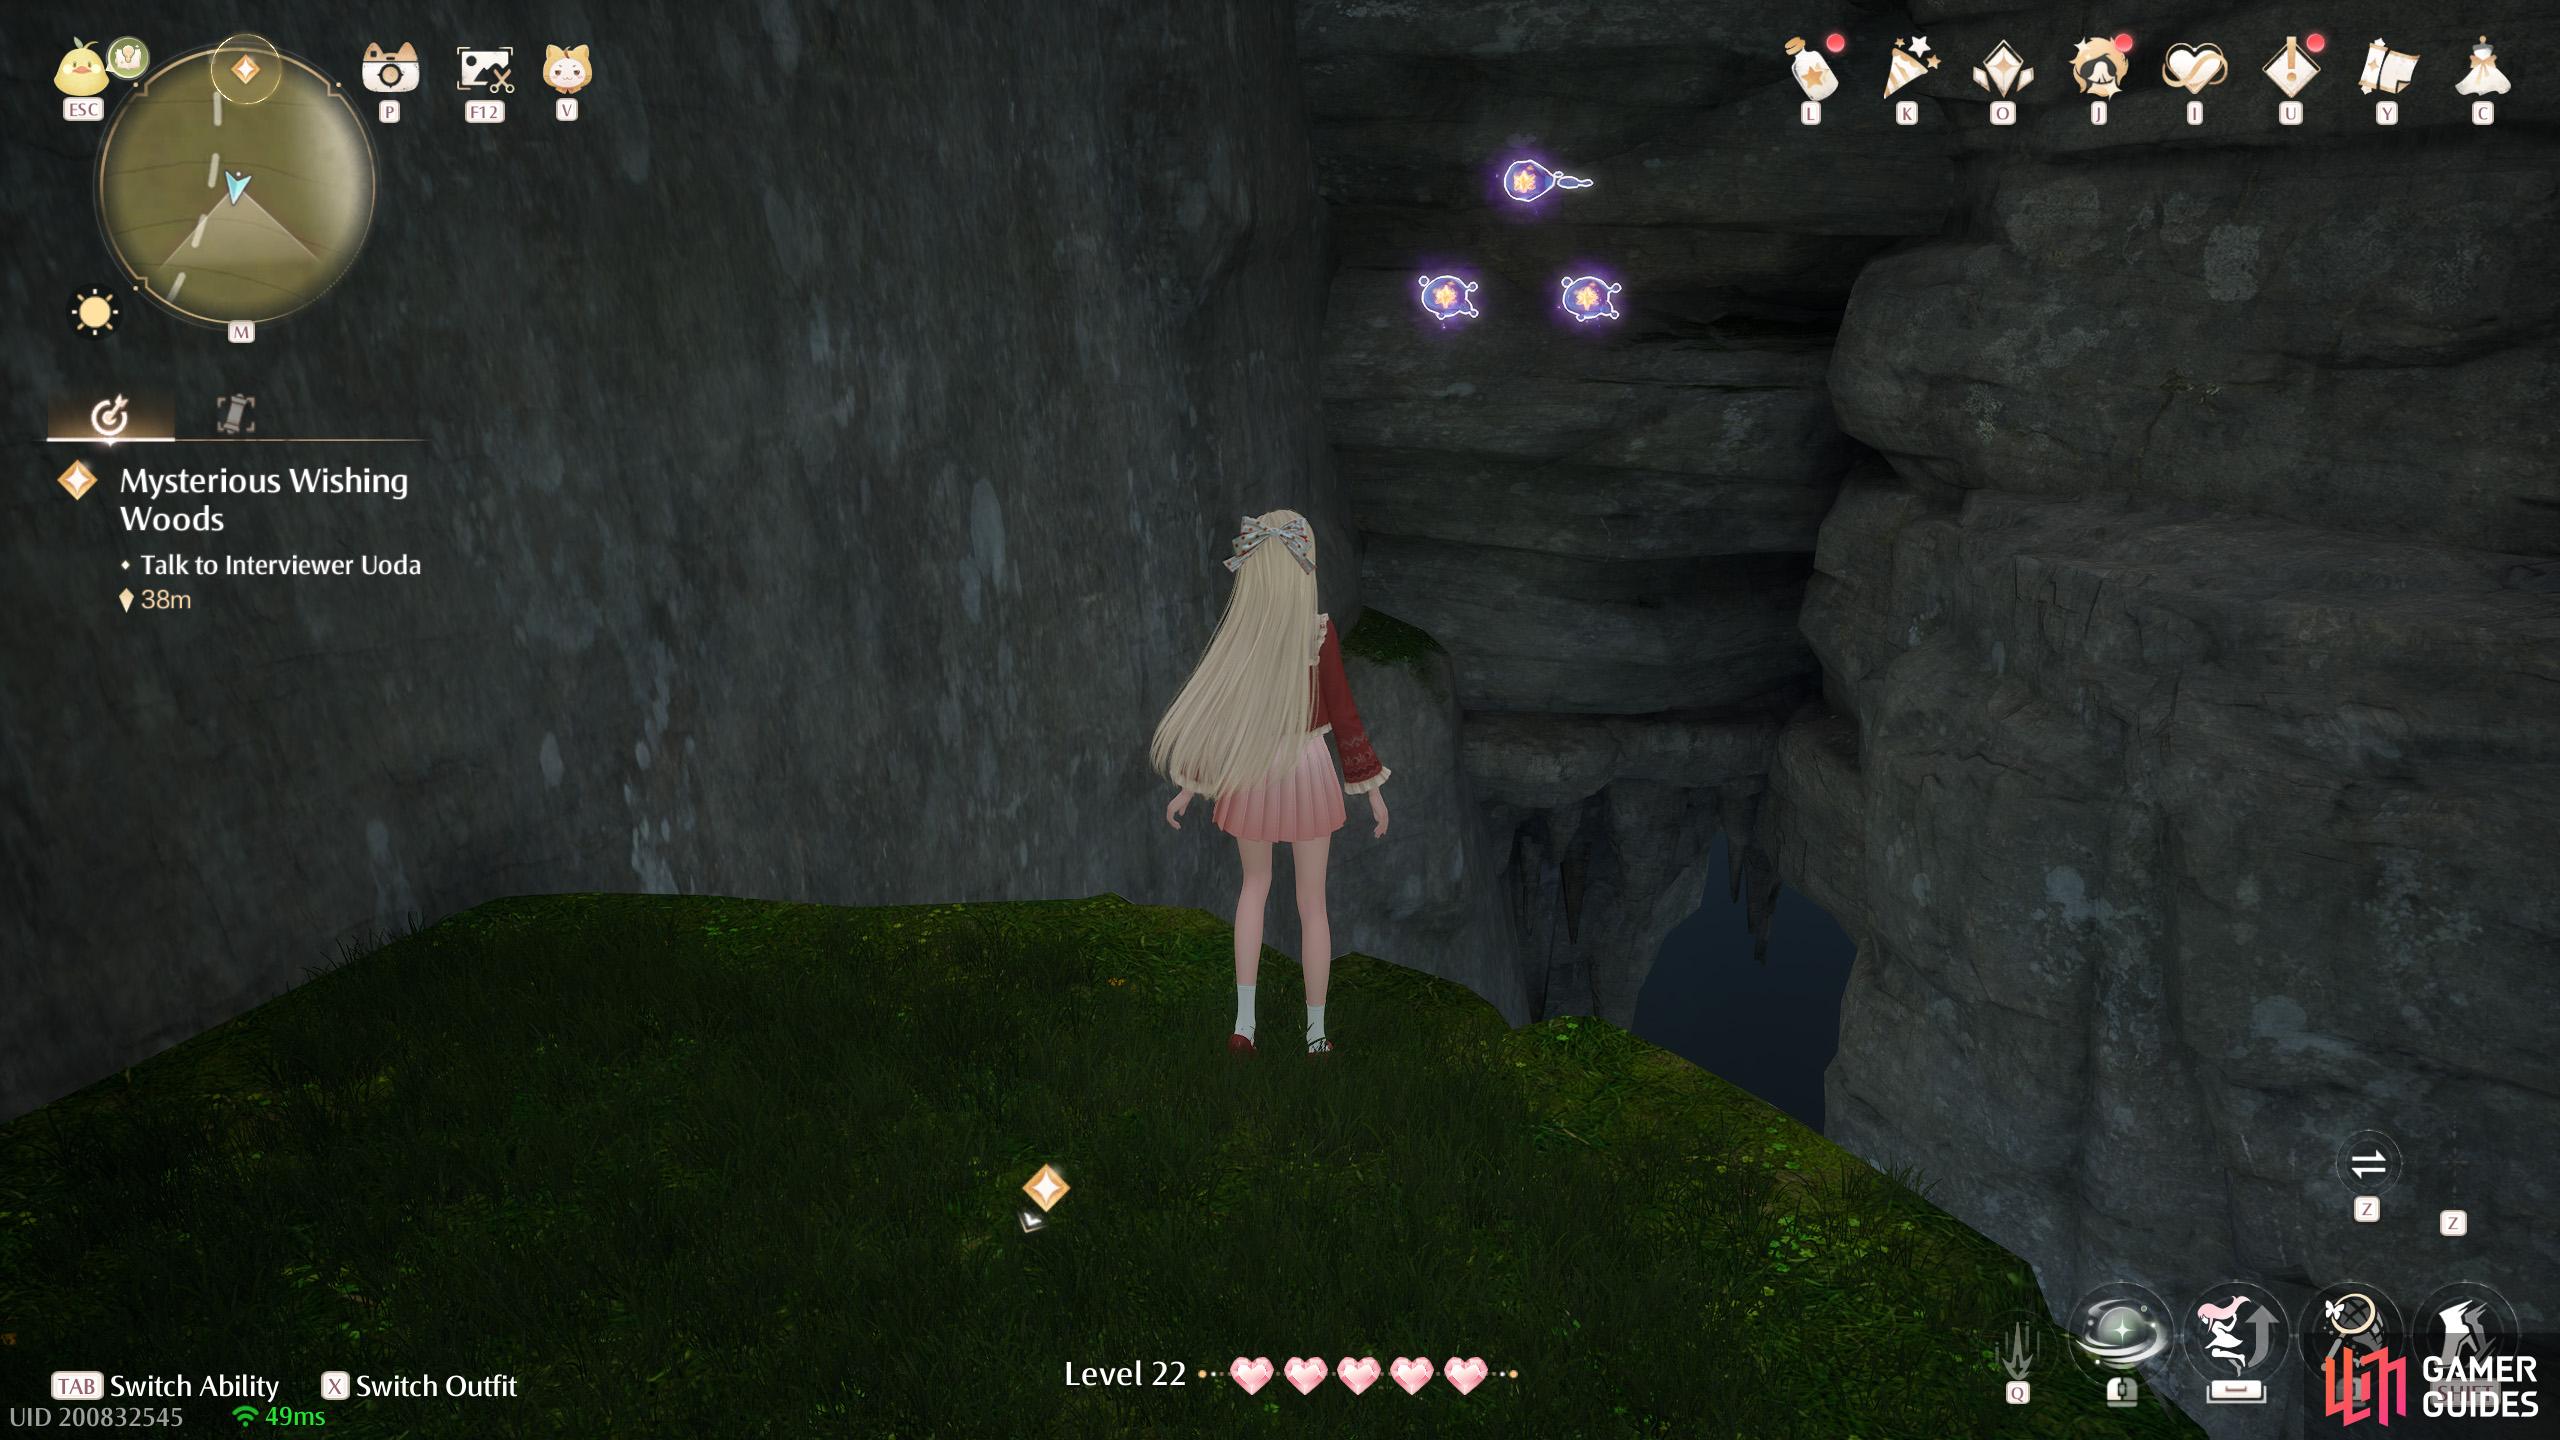
545. Miraland Map
Tunnel leading to the ![]() Wishing Woods. Three on the right side after Barabo.
Wishing Woods. Three on the right side after Barabo.
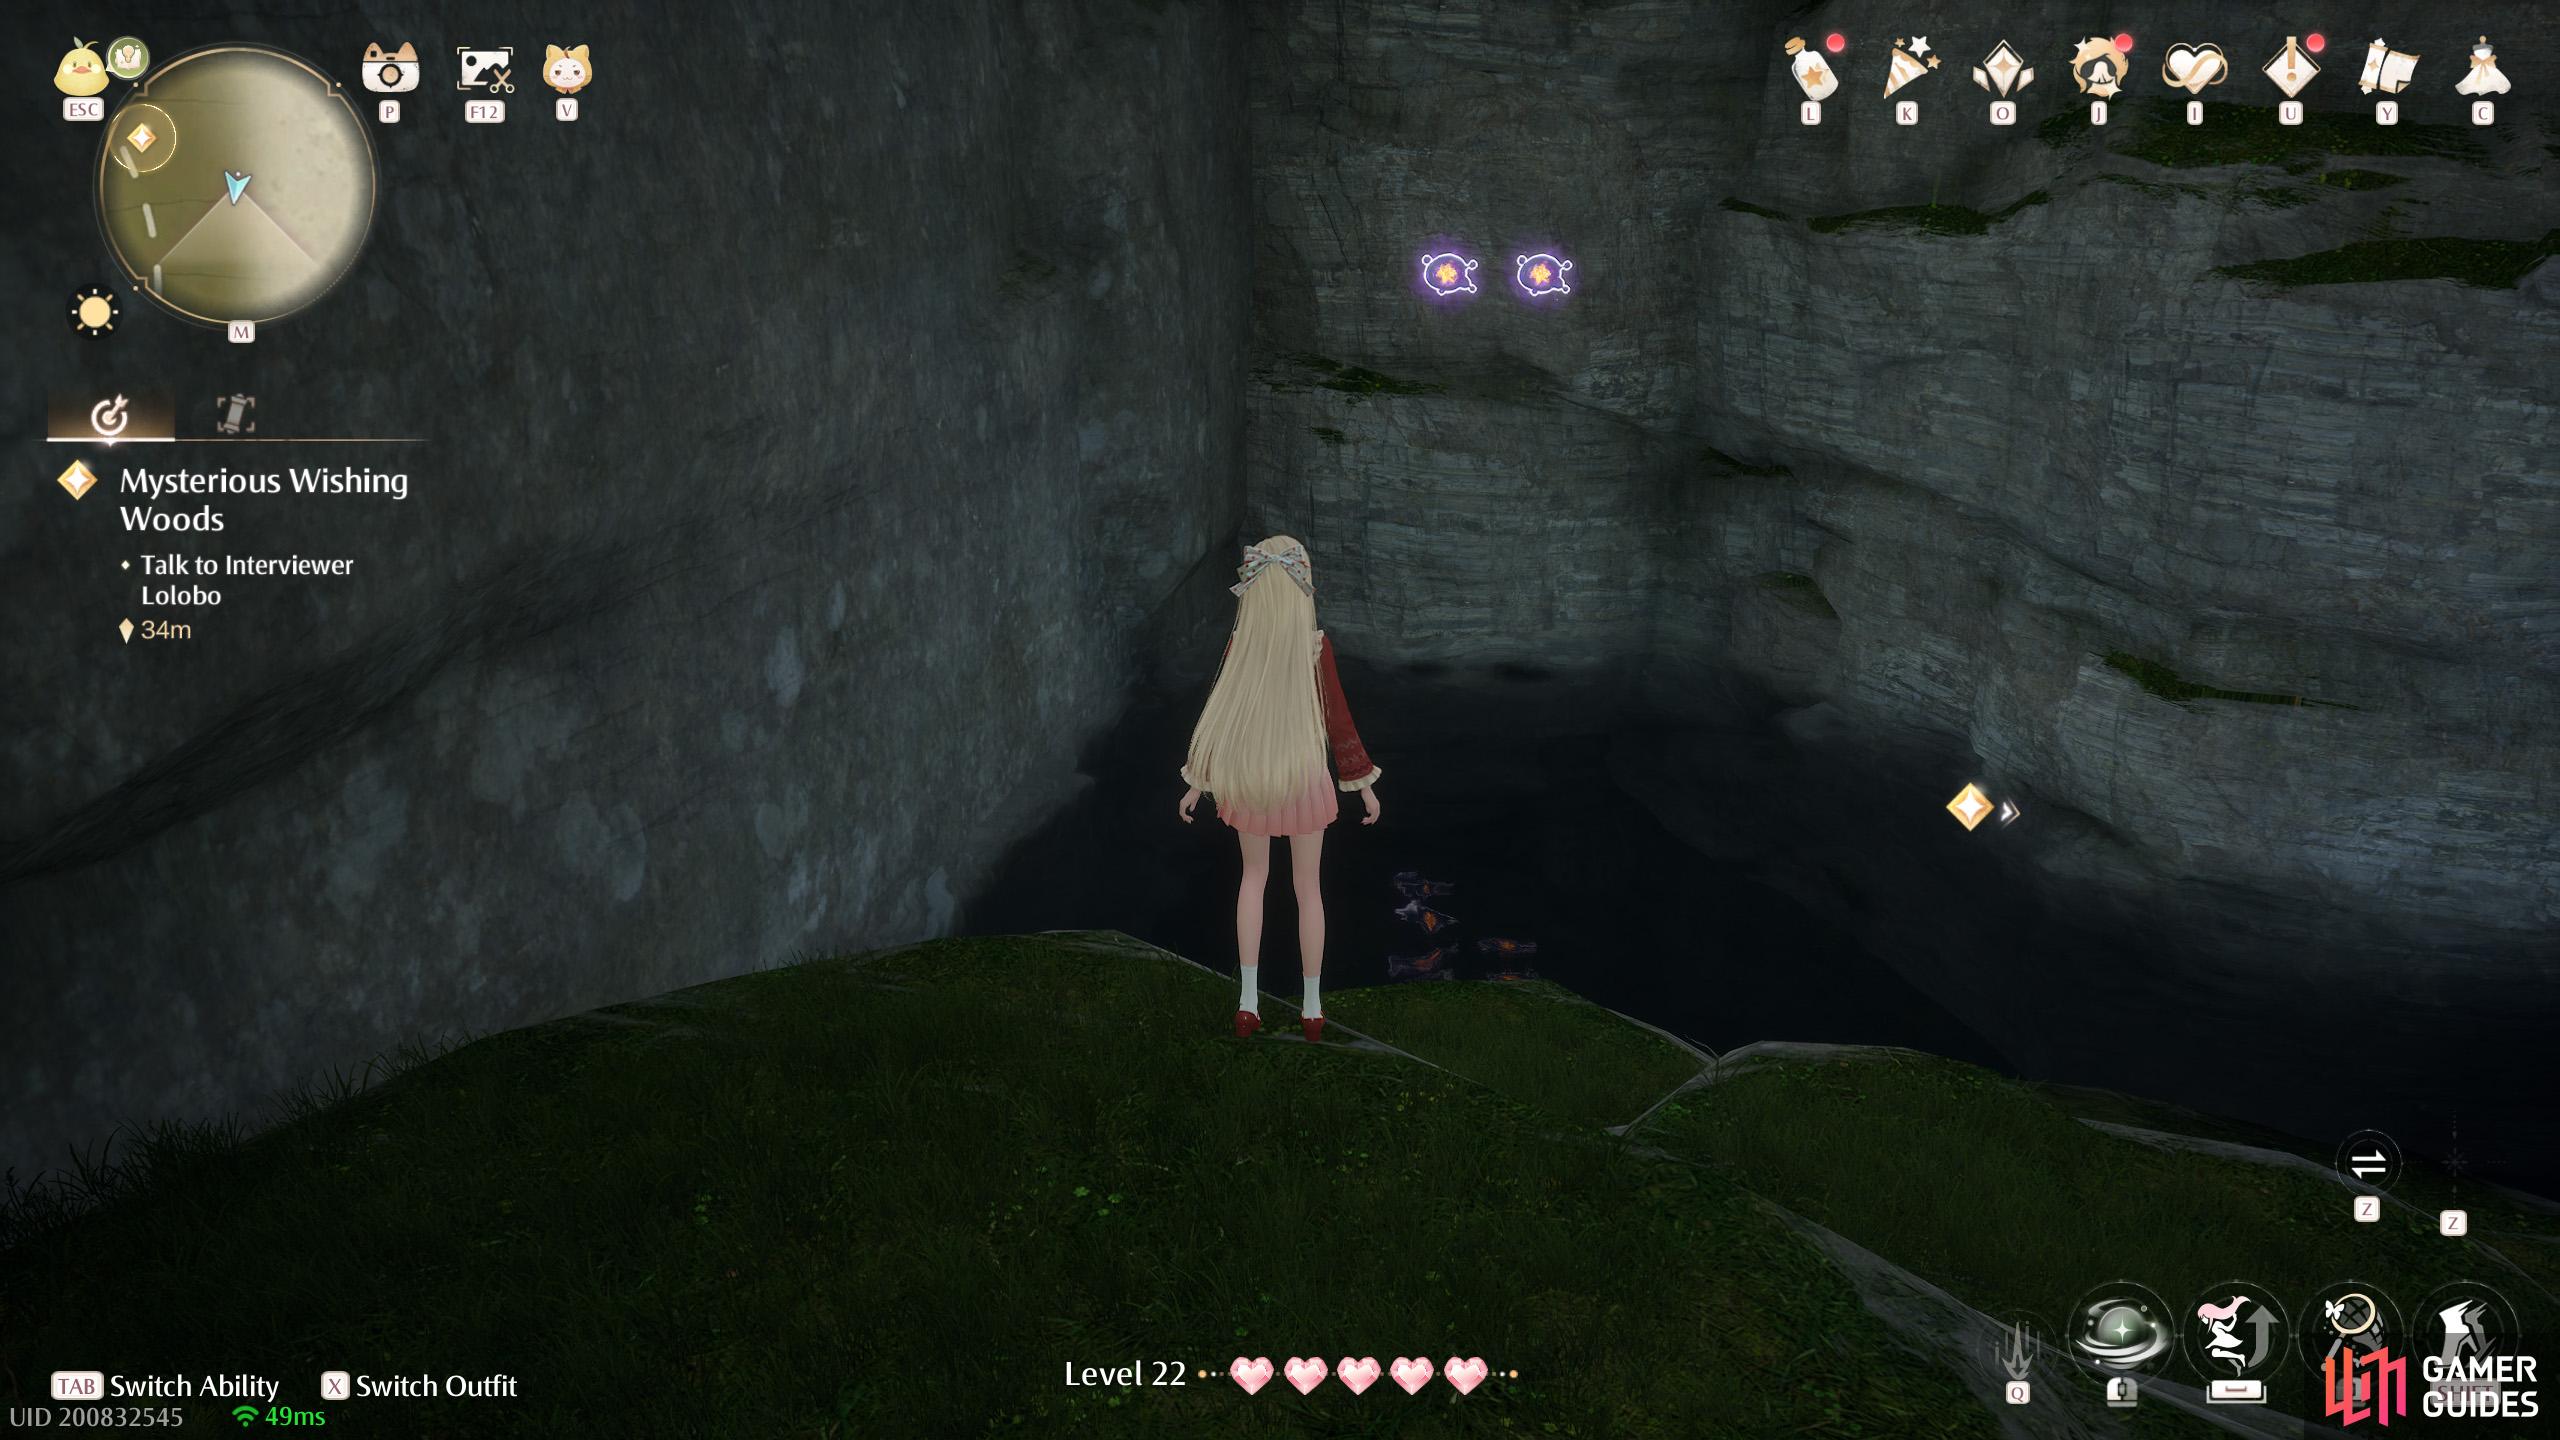
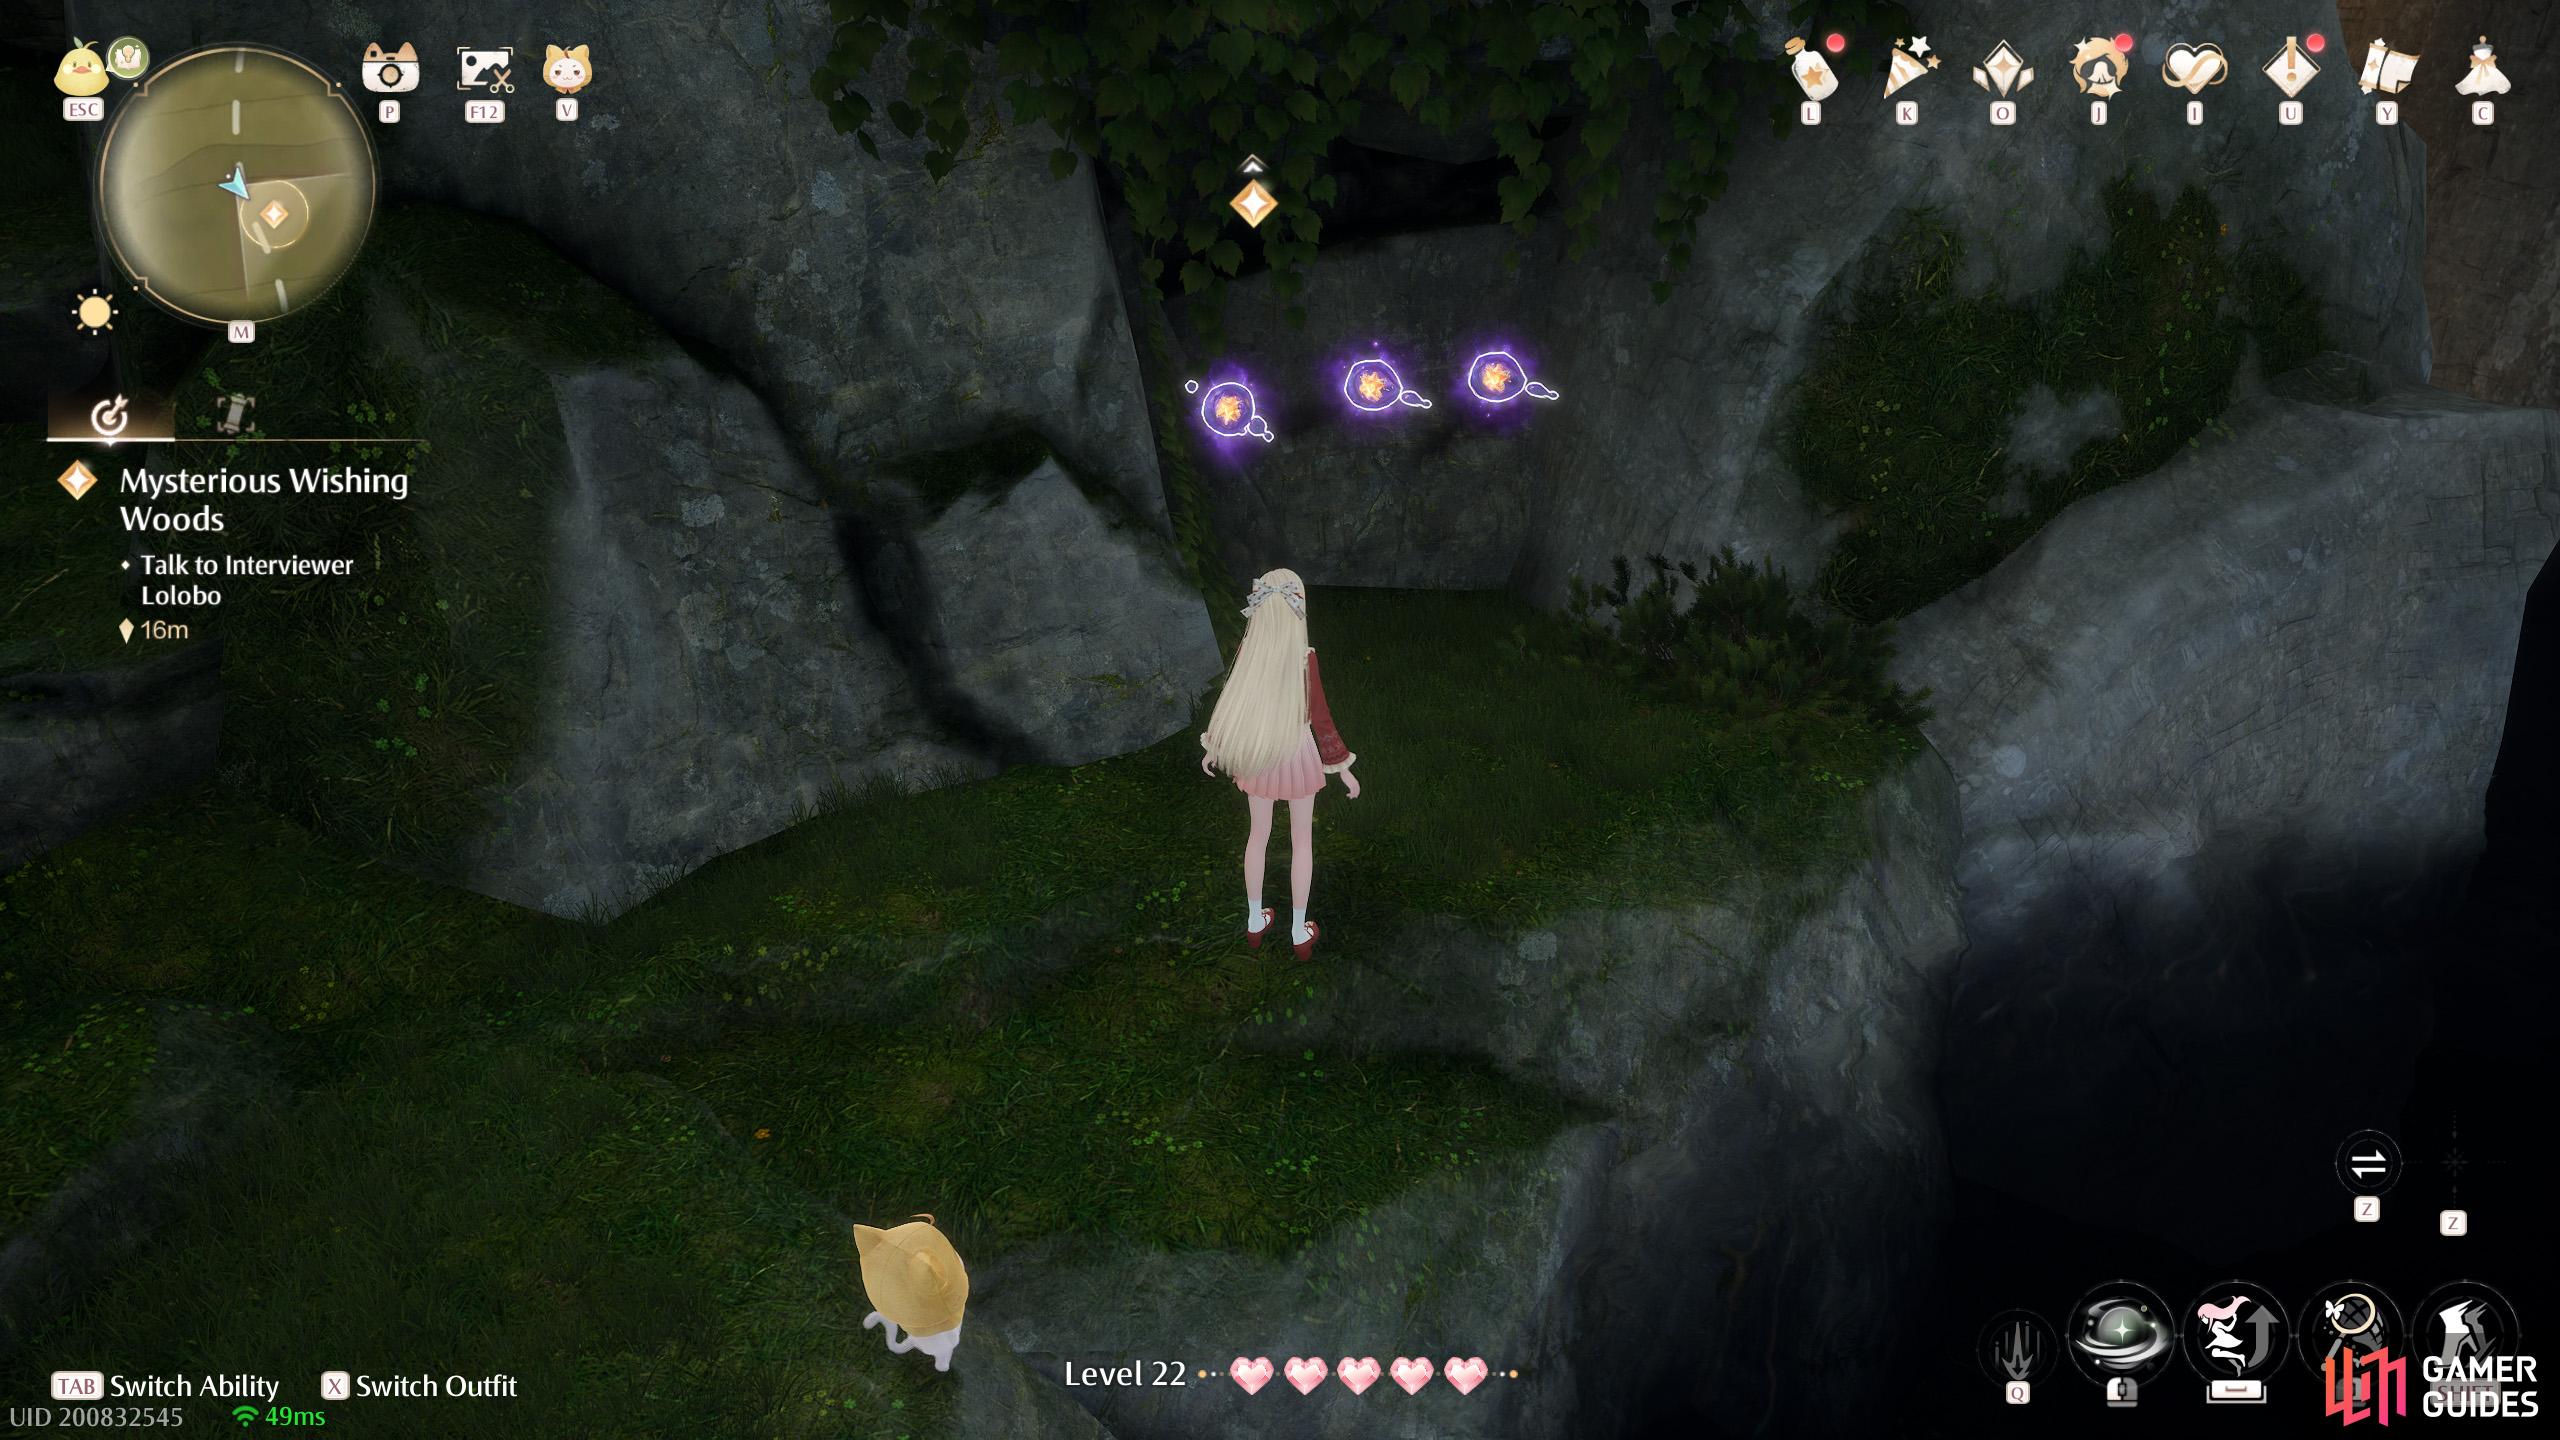
547. Miraland Map
Tunnel to the ![]() Wishing Woods. Short distance north-west from Lolobo. On the left side, lower down. Three in a small alcove.
Wishing Woods. Short distance north-west from Lolobo. On the left side, lower down. Three in a small alcove.
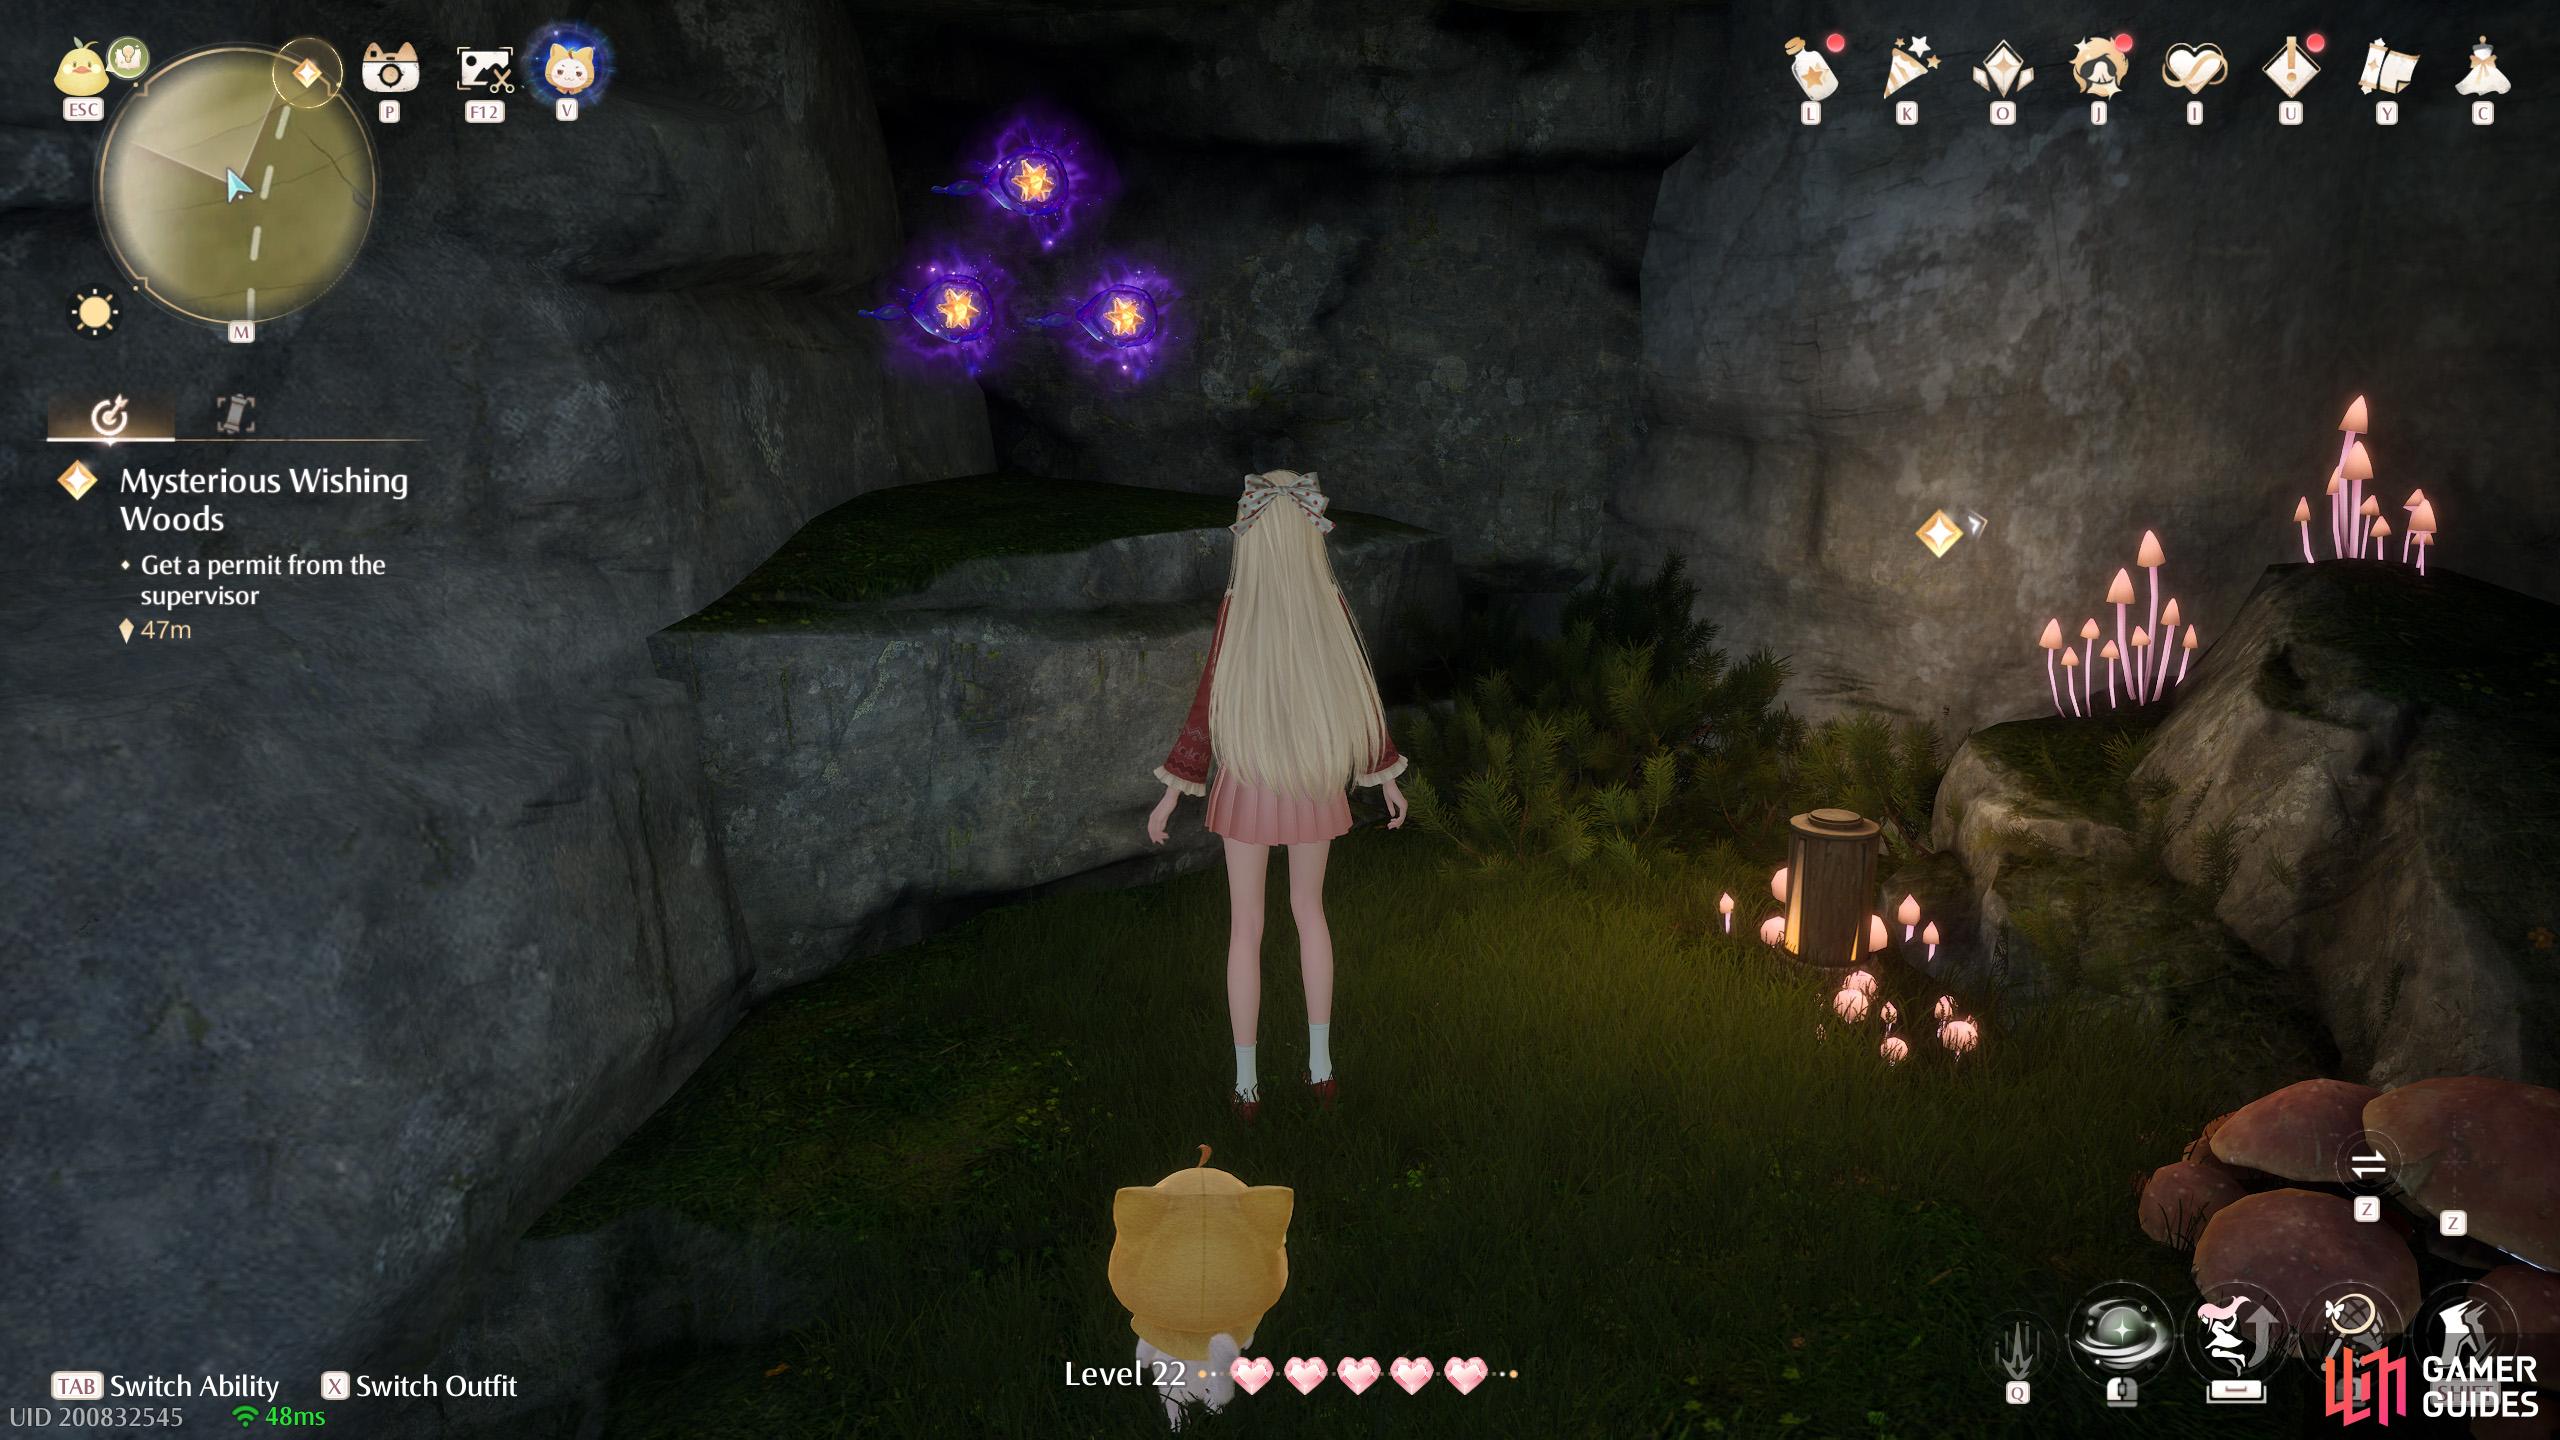
548. Miraland Map
Tunnel to the ![]() Wishing Woods. Three on the left side after Lolobo.
Wishing Woods. Three on the left side after Lolobo.

549. Miraland Map
Tunnel to the ![]() Wishing Woods. Two on the right side after going through two Momo-sized tunnels.
Wishing Woods. Two on the right side after going through two Momo-sized tunnels.
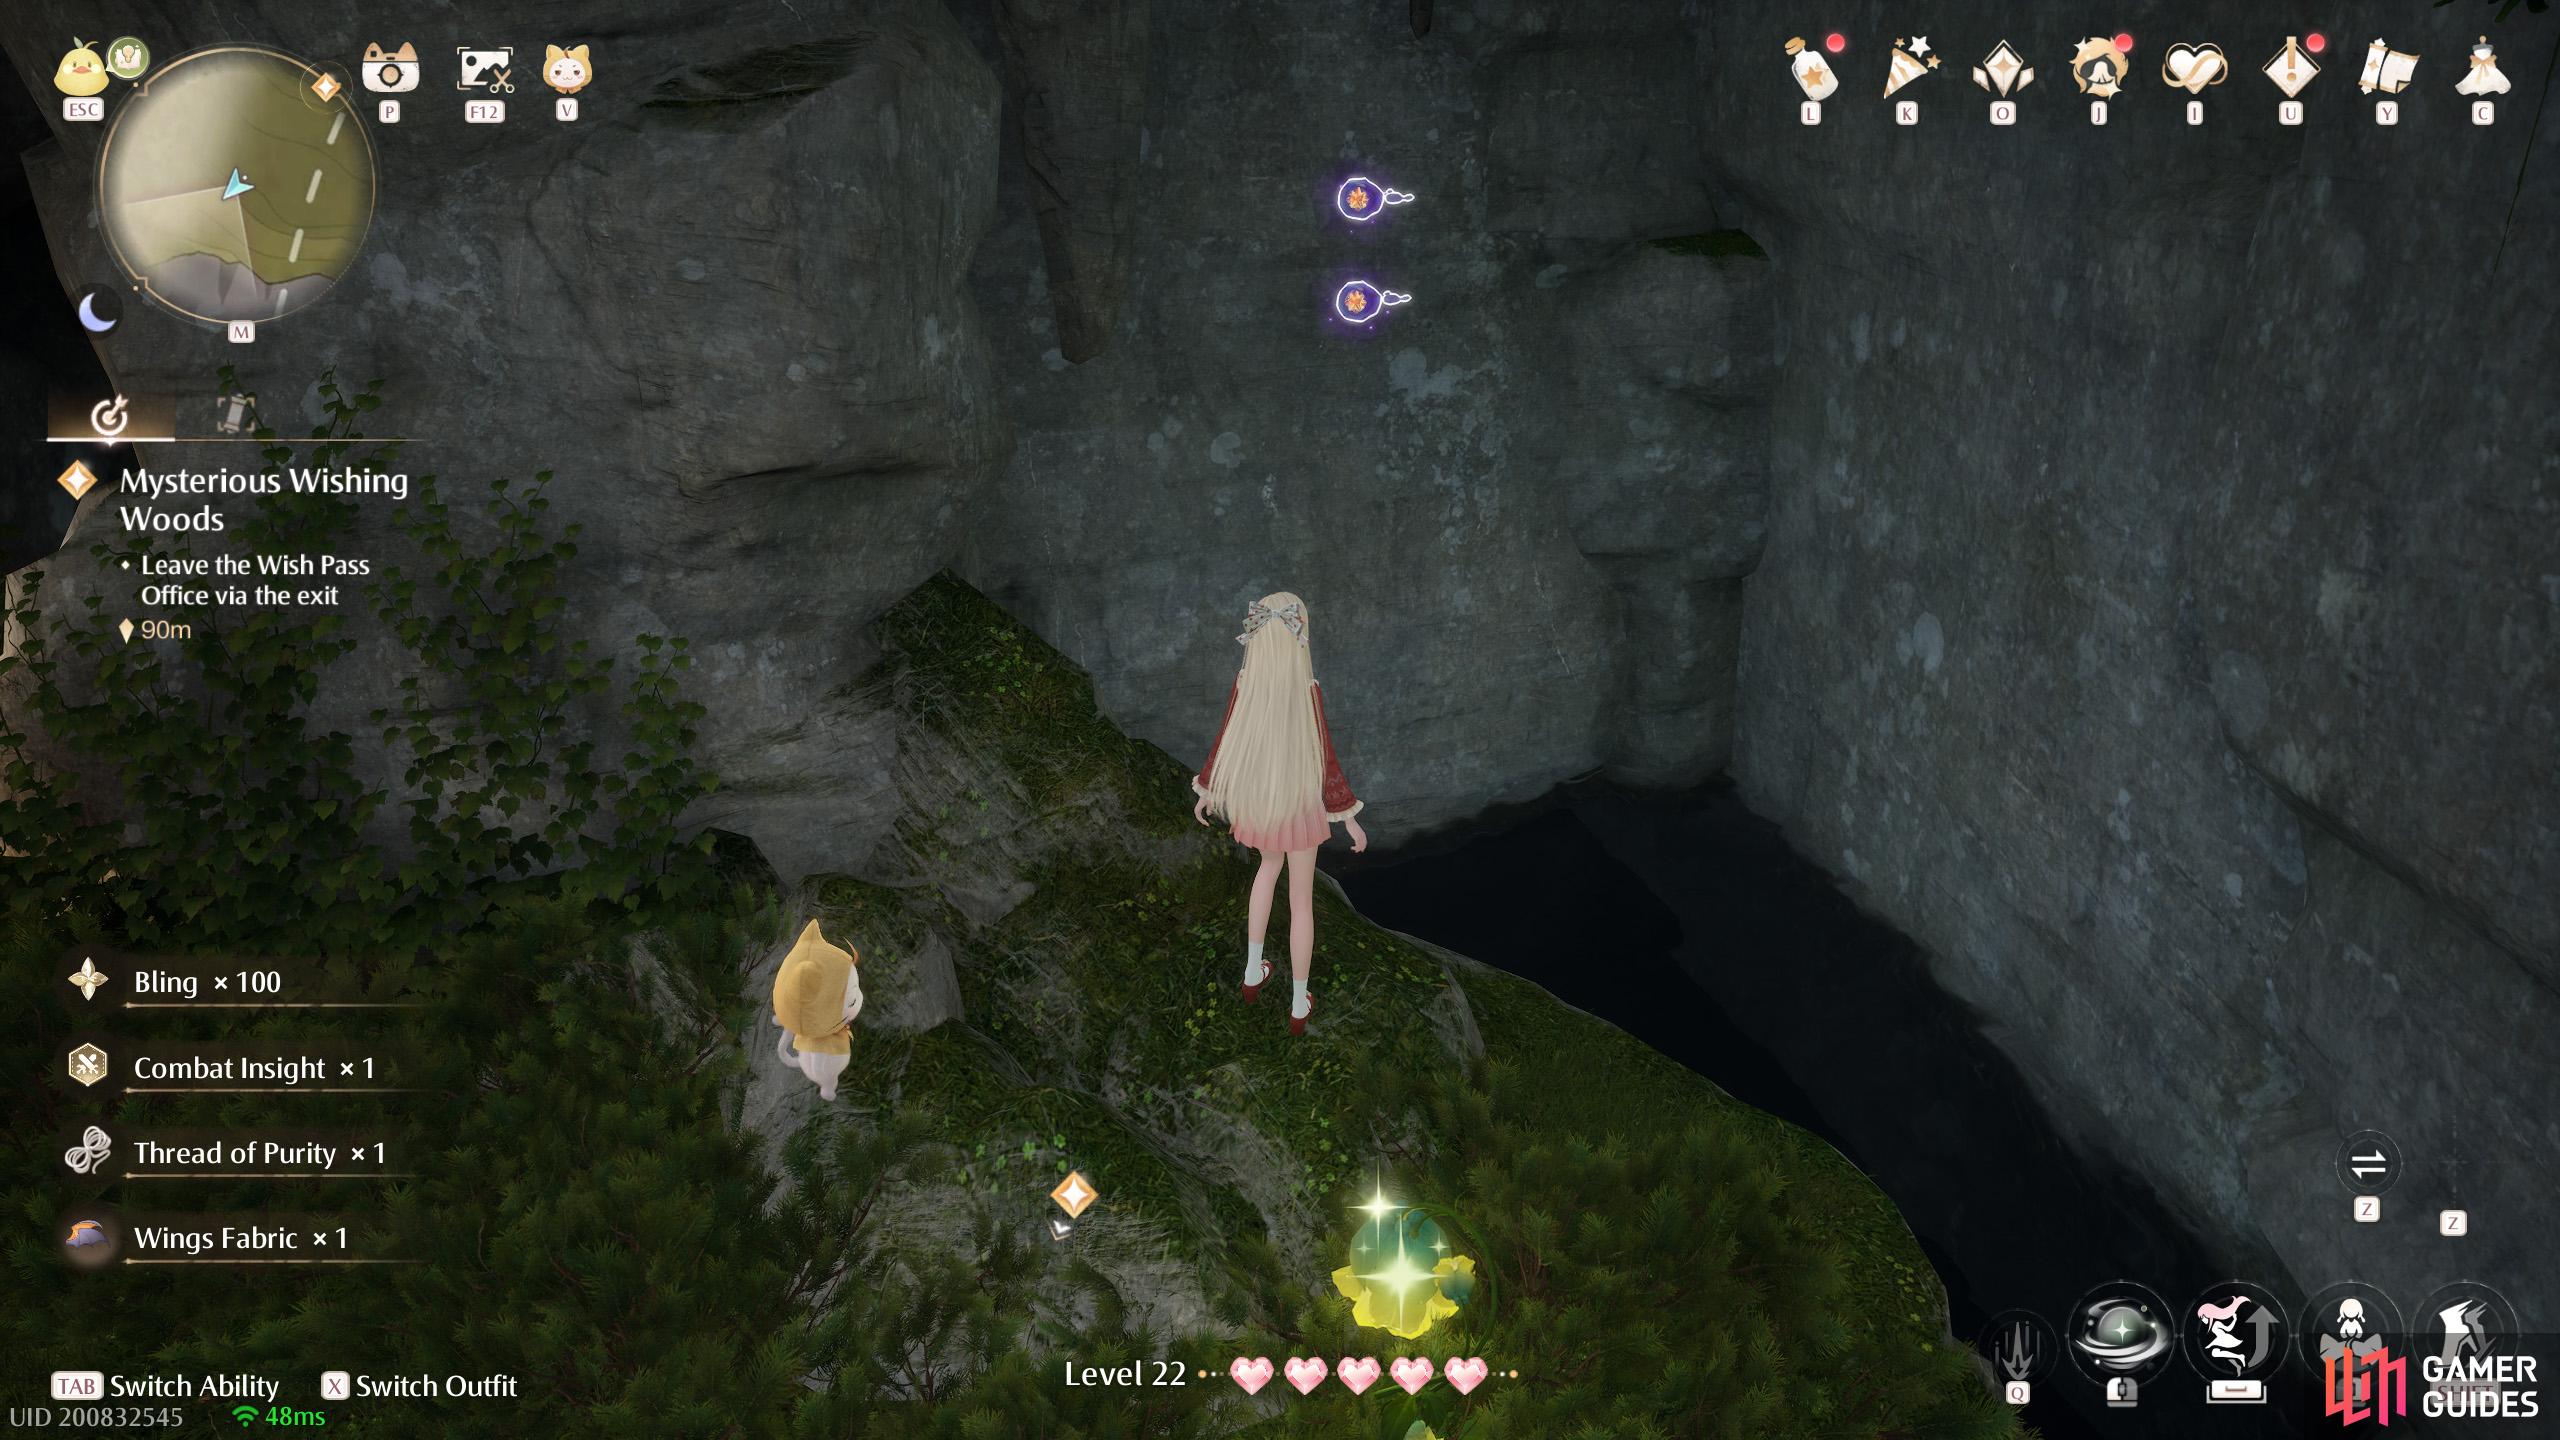
550. Miraland Map
Tunnel to the ![]() Wishing Woods. Near the end, after the big water area. When you reach the small log bridge, head left where a bunch of Esselings are. Two of these are floating at the far back, around the corner.
Wishing Woods. Near the end, after the big water area. When you reach the small log bridge, head left where a bunch of Esselings are. Two of these are floating at the far back, around the corner.
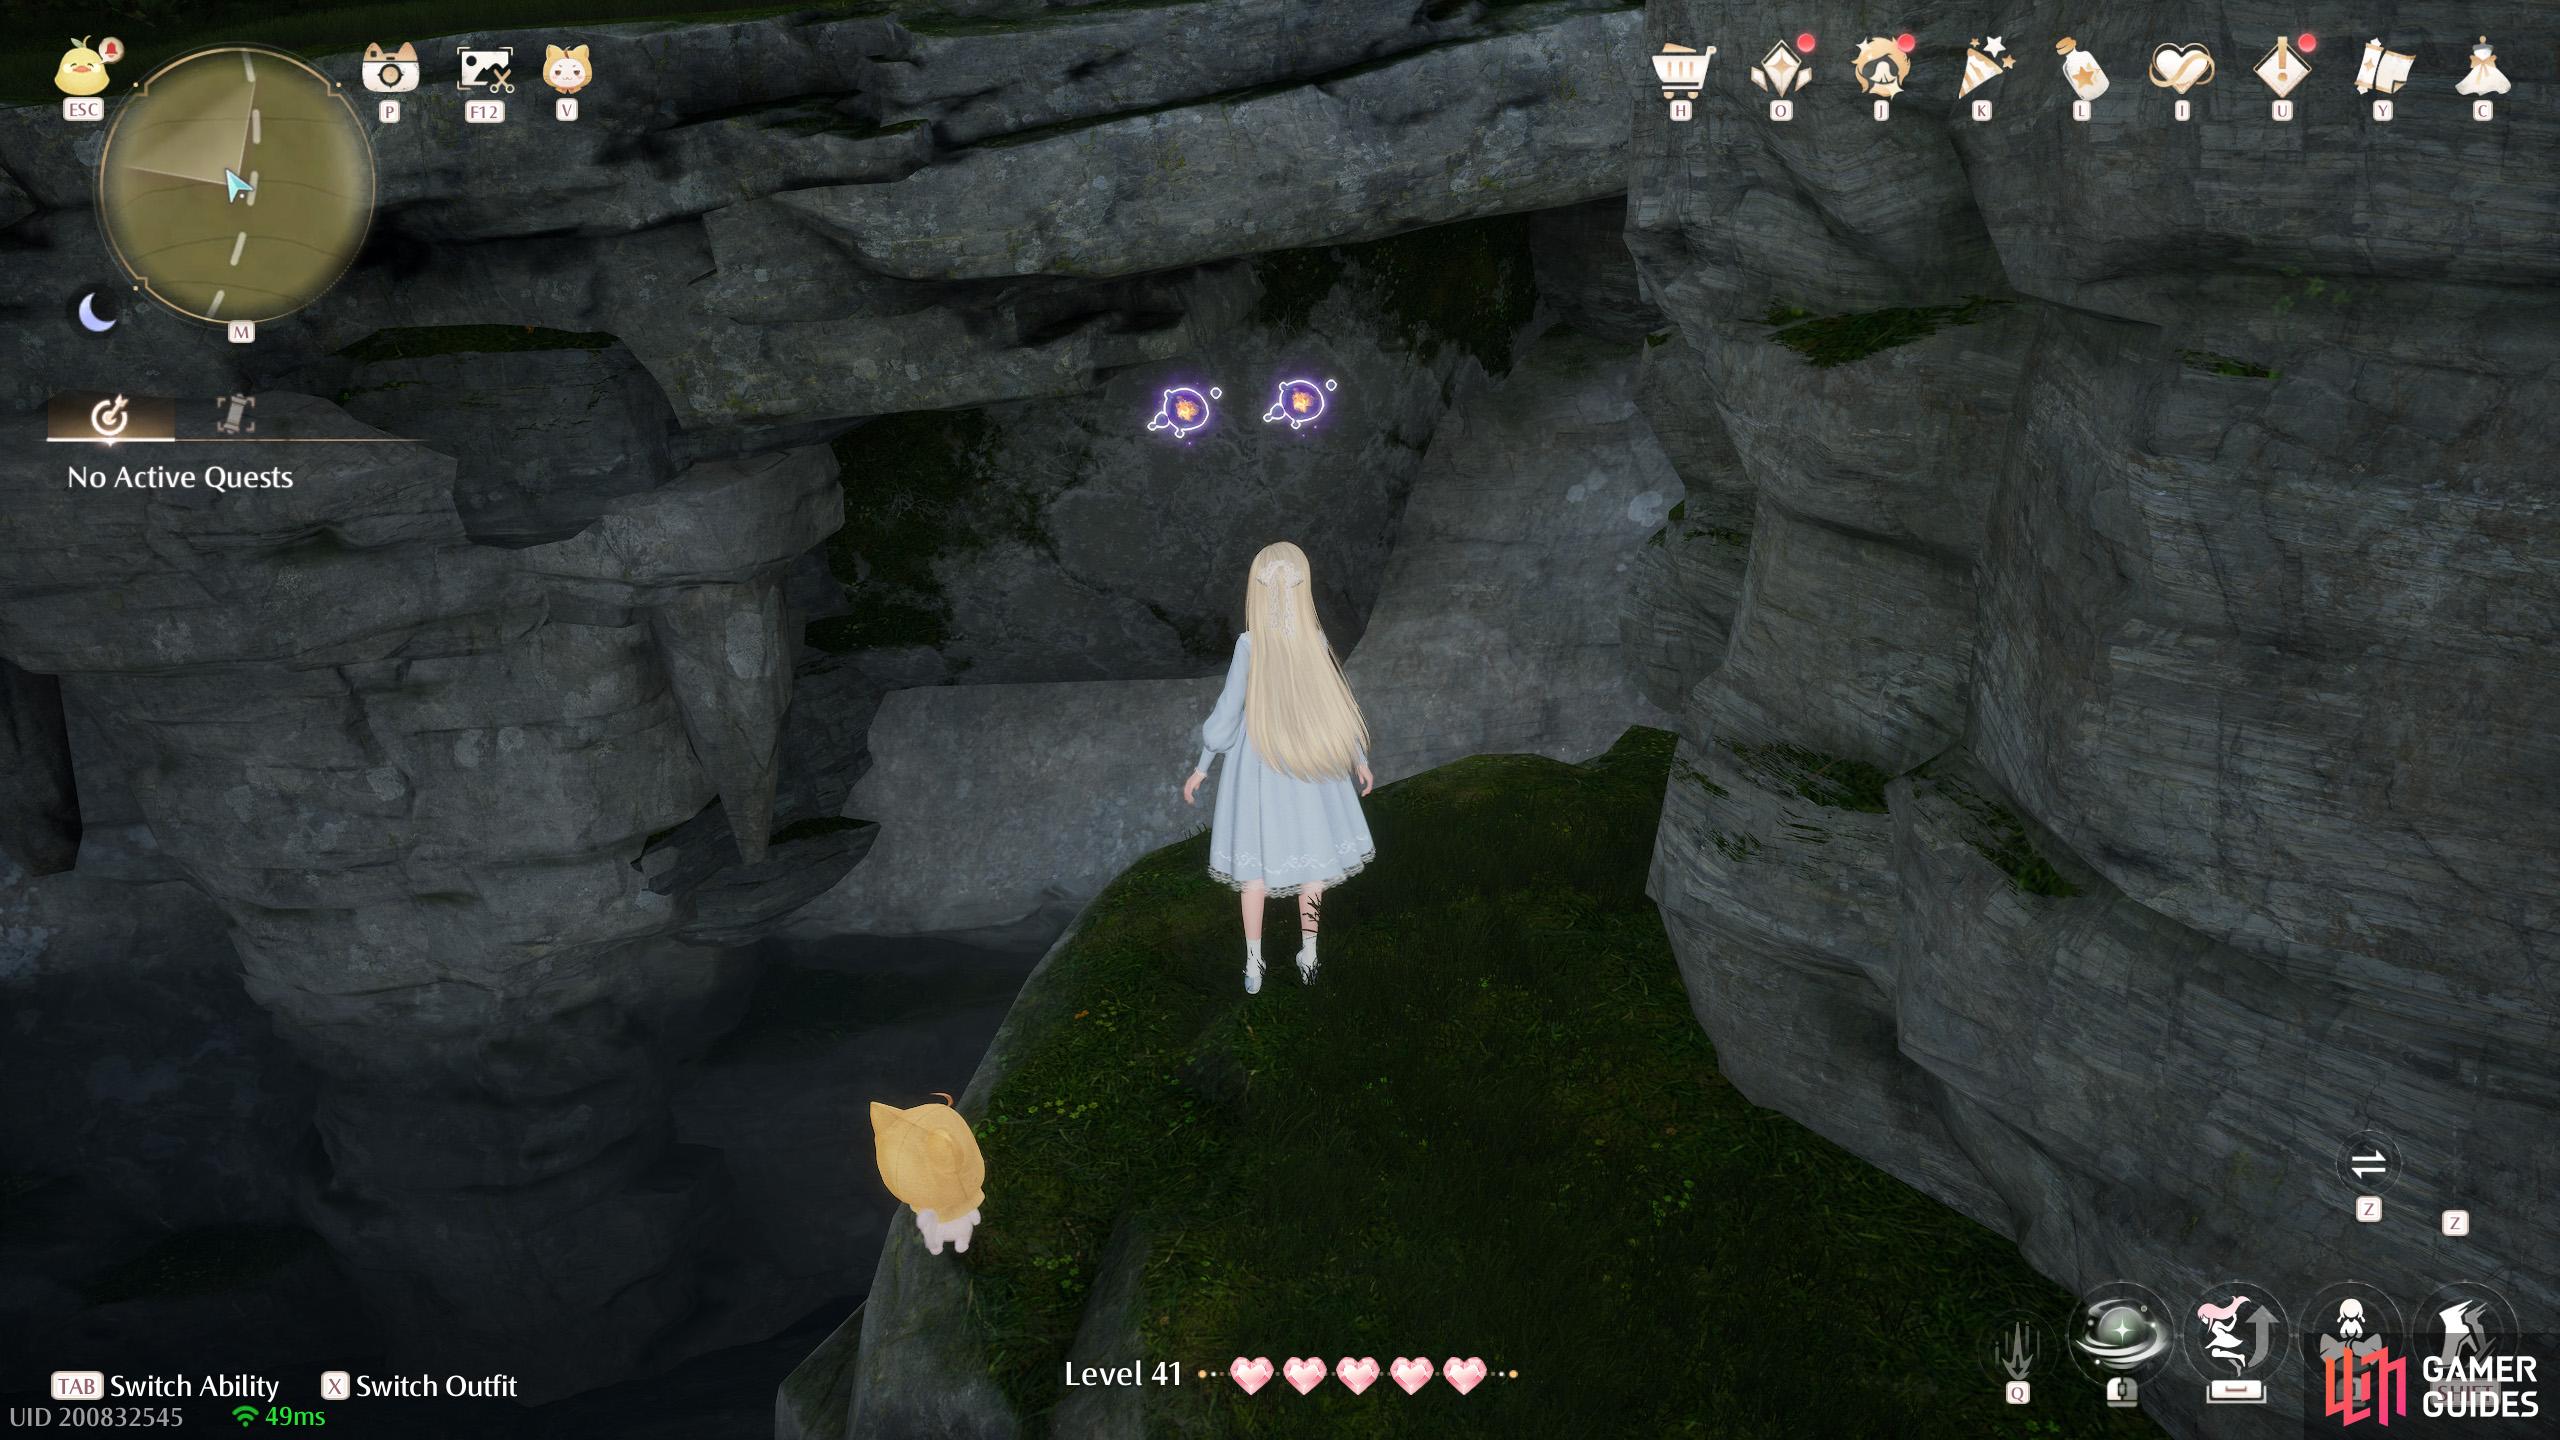
551. Miraland Map
Tunnel to the ![]() Wishing Woods. Near the start. After going past Barabo, carefully drop down to the right. There are two under the pathway.
Wishing Woods. Near the start. After going past Barabo, carefully drop down to the right. There are two under the pathway.
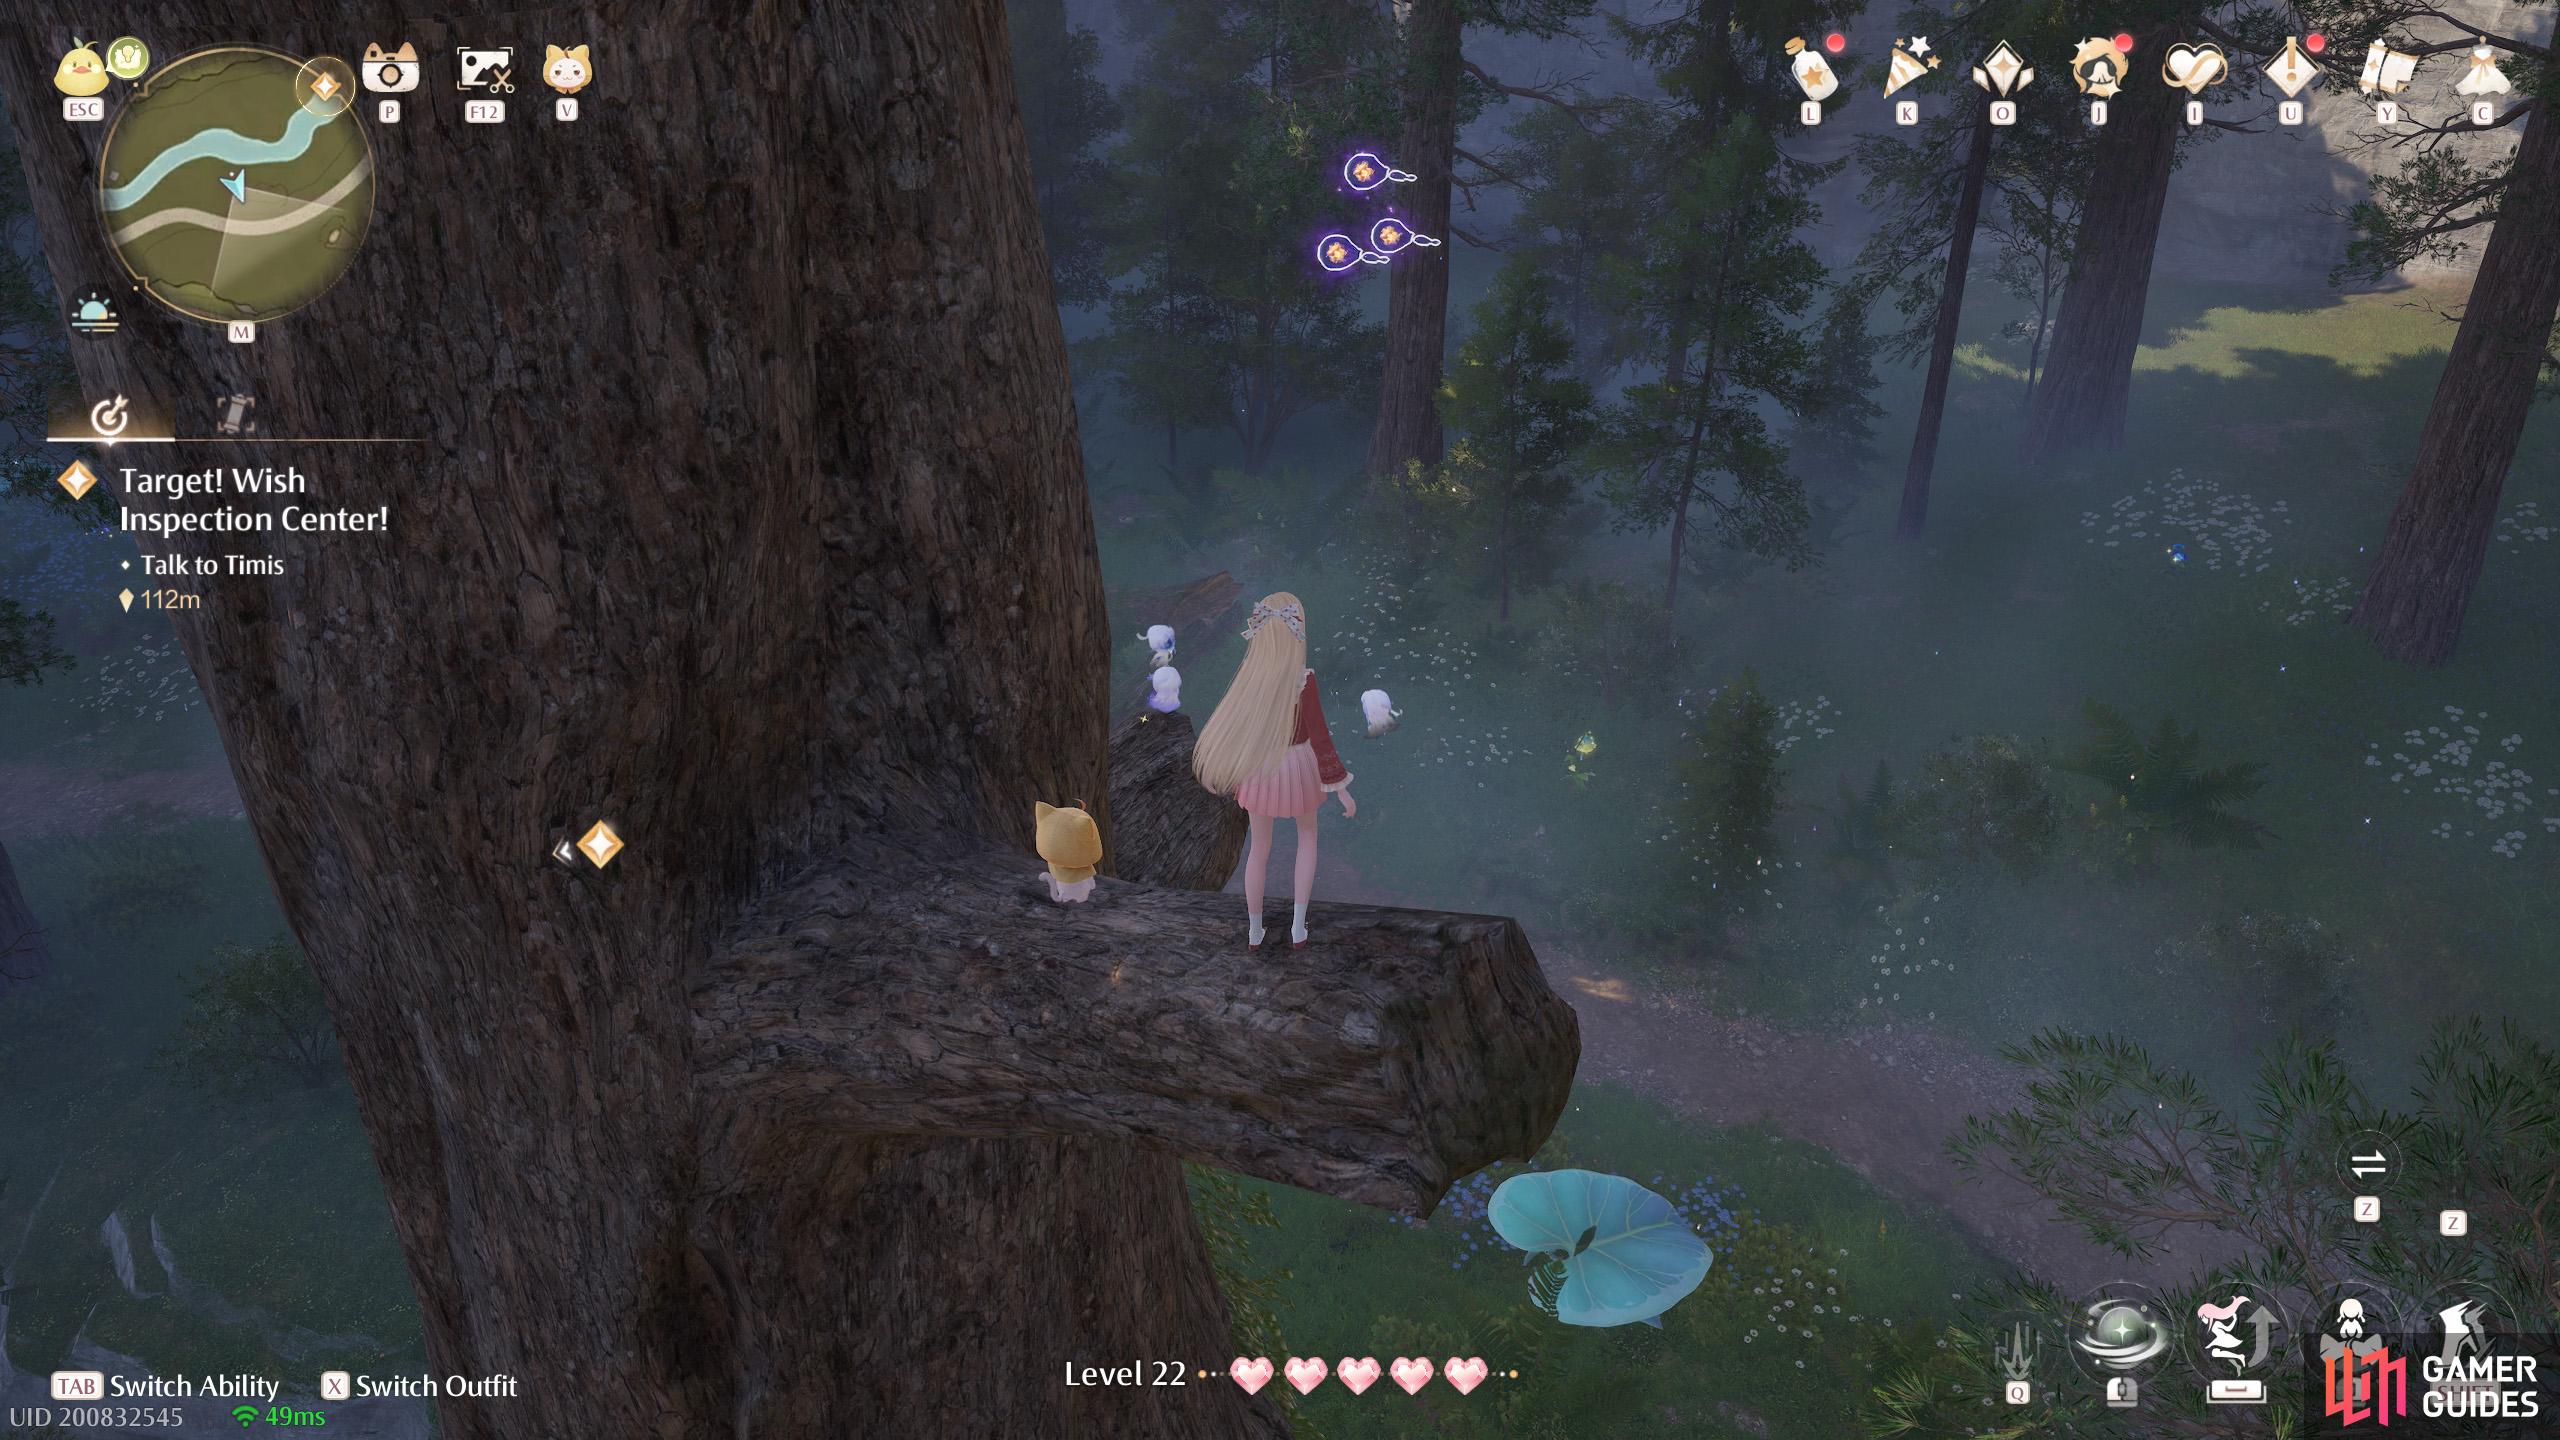
552. Miraland Map
East from ![]() Elderwood Riverbank. Three floating high up. Use the leaf trampoline to jump onto the high up tree branches.
Elderwood Riverbank. Three floating high up. Use the leaf trampoline to jump onto the high up tree branches.
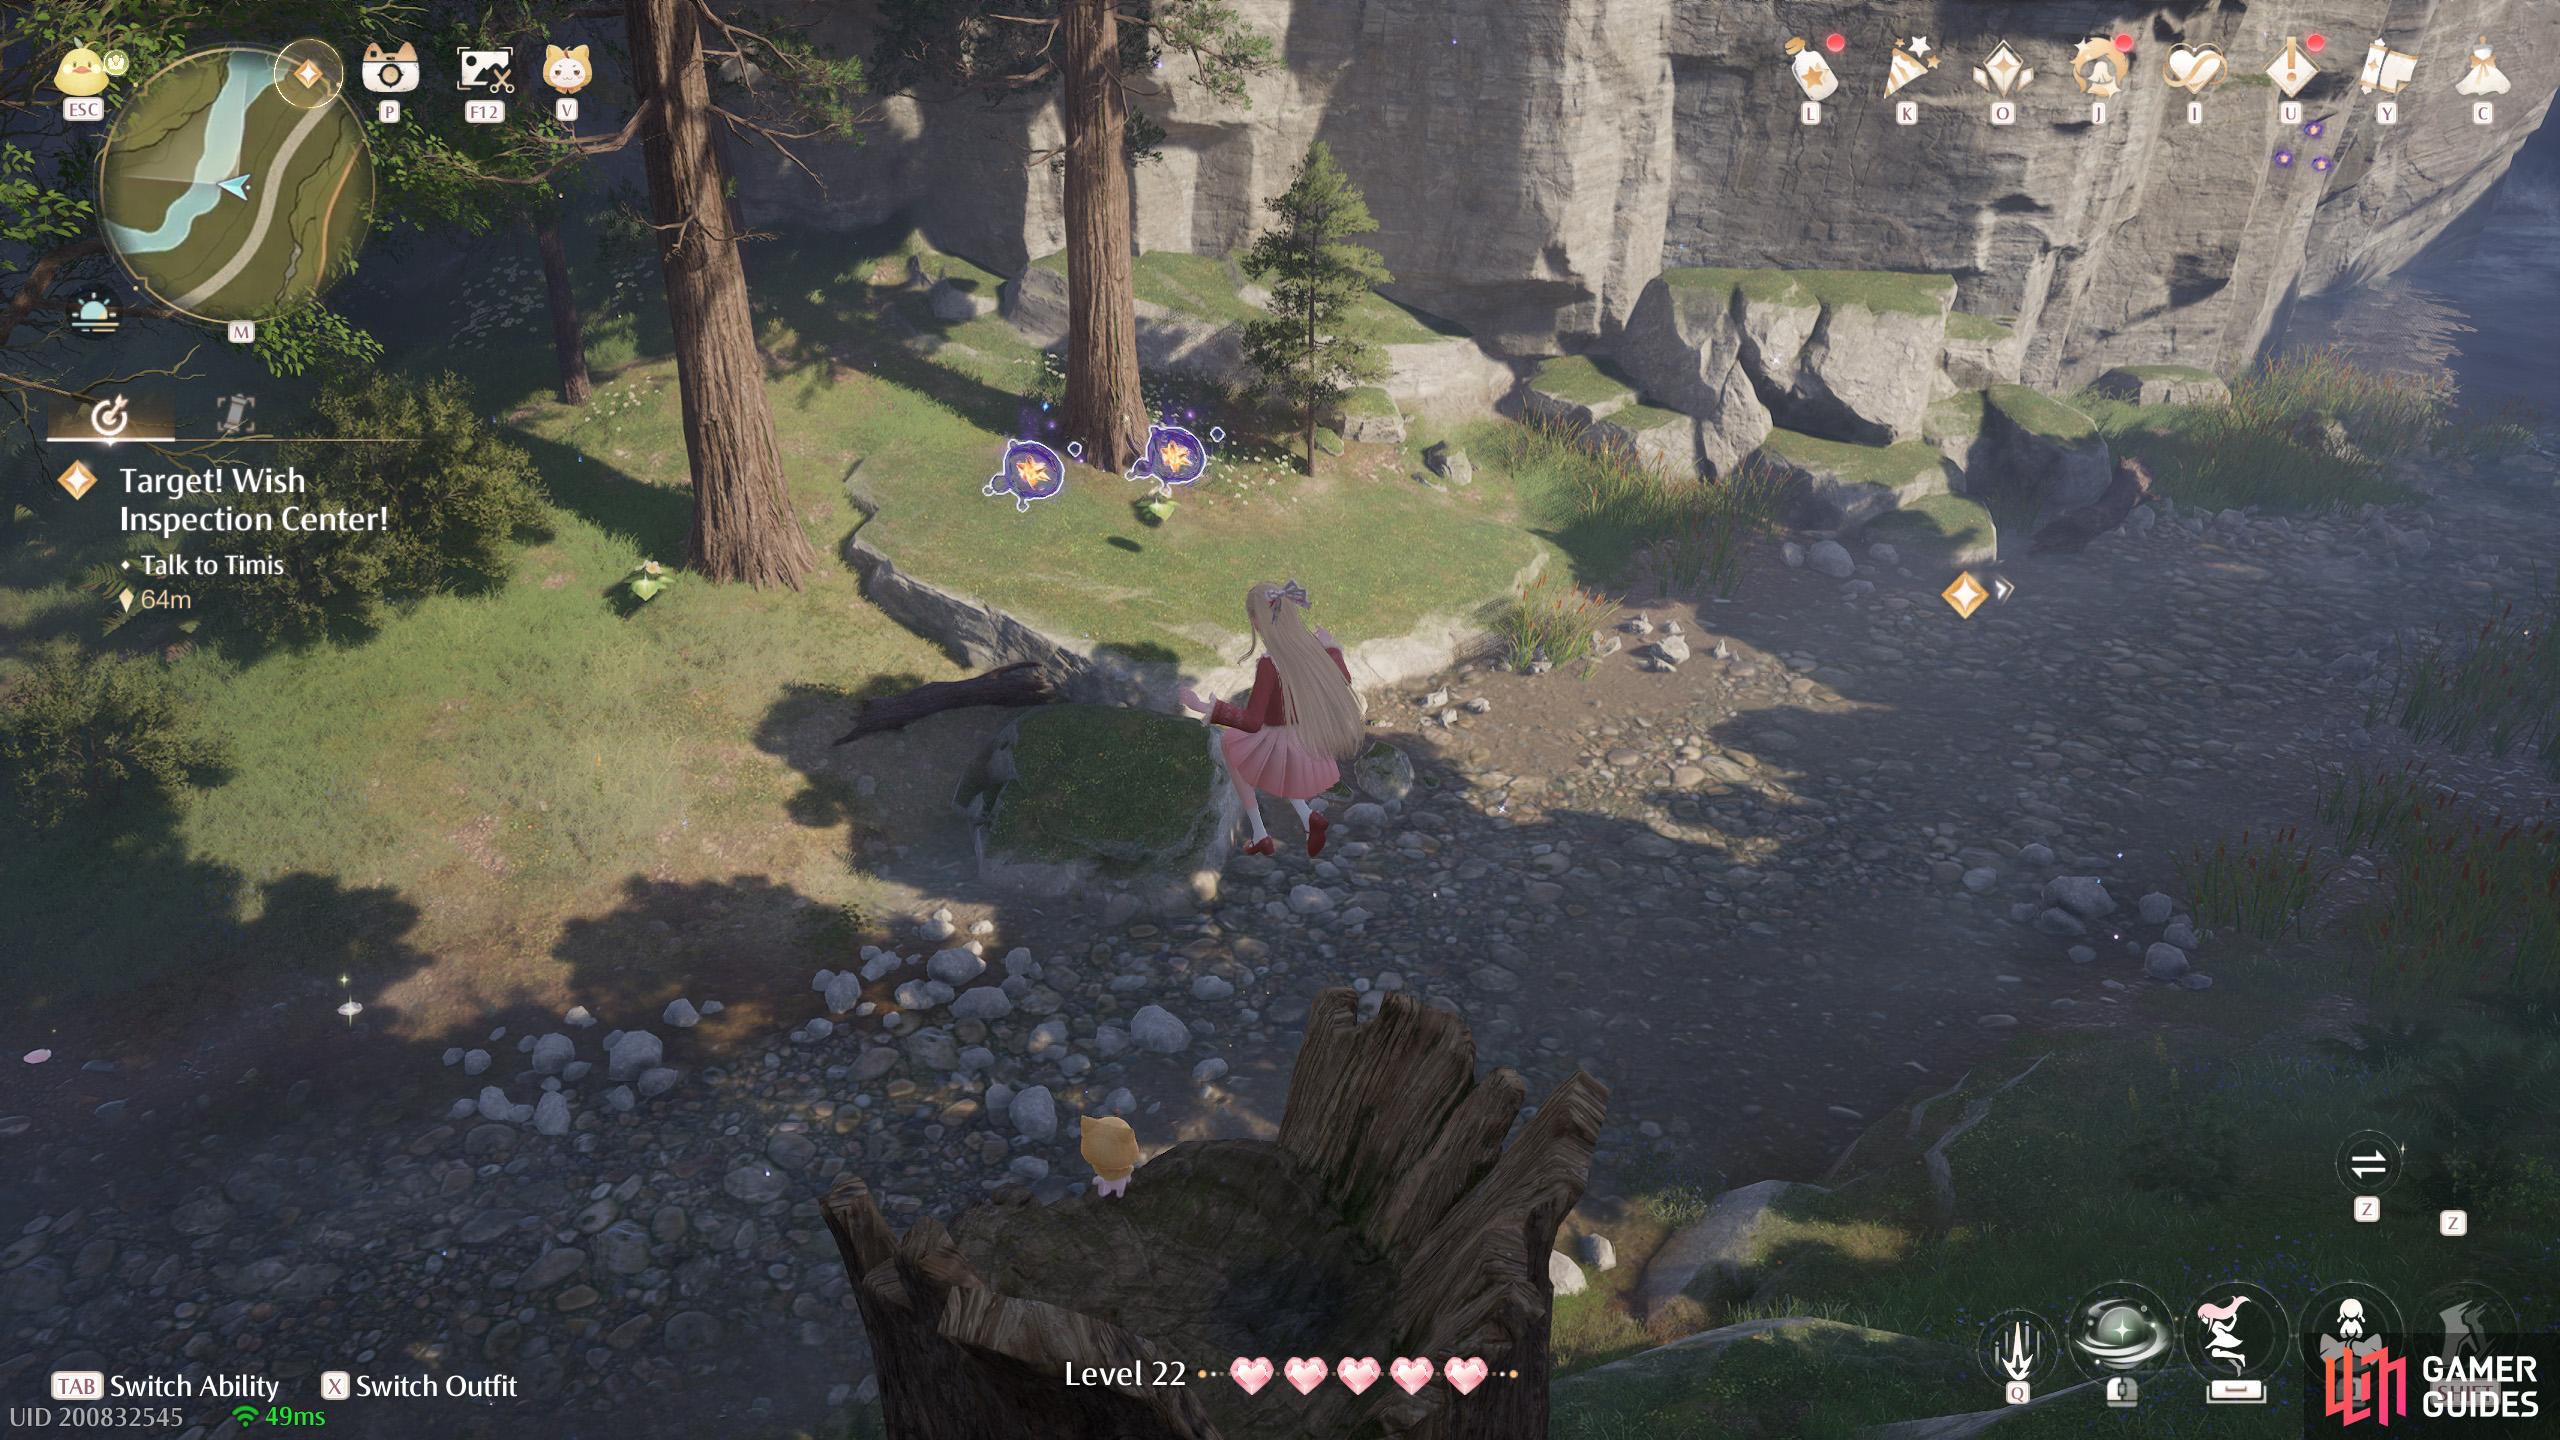
553. Miraland Map
North-east from ![]() Elderwood Riverbank. Two floating near the top of a tree stump.
Elderwood Riverbank. Two floating near the top of a tree stump.
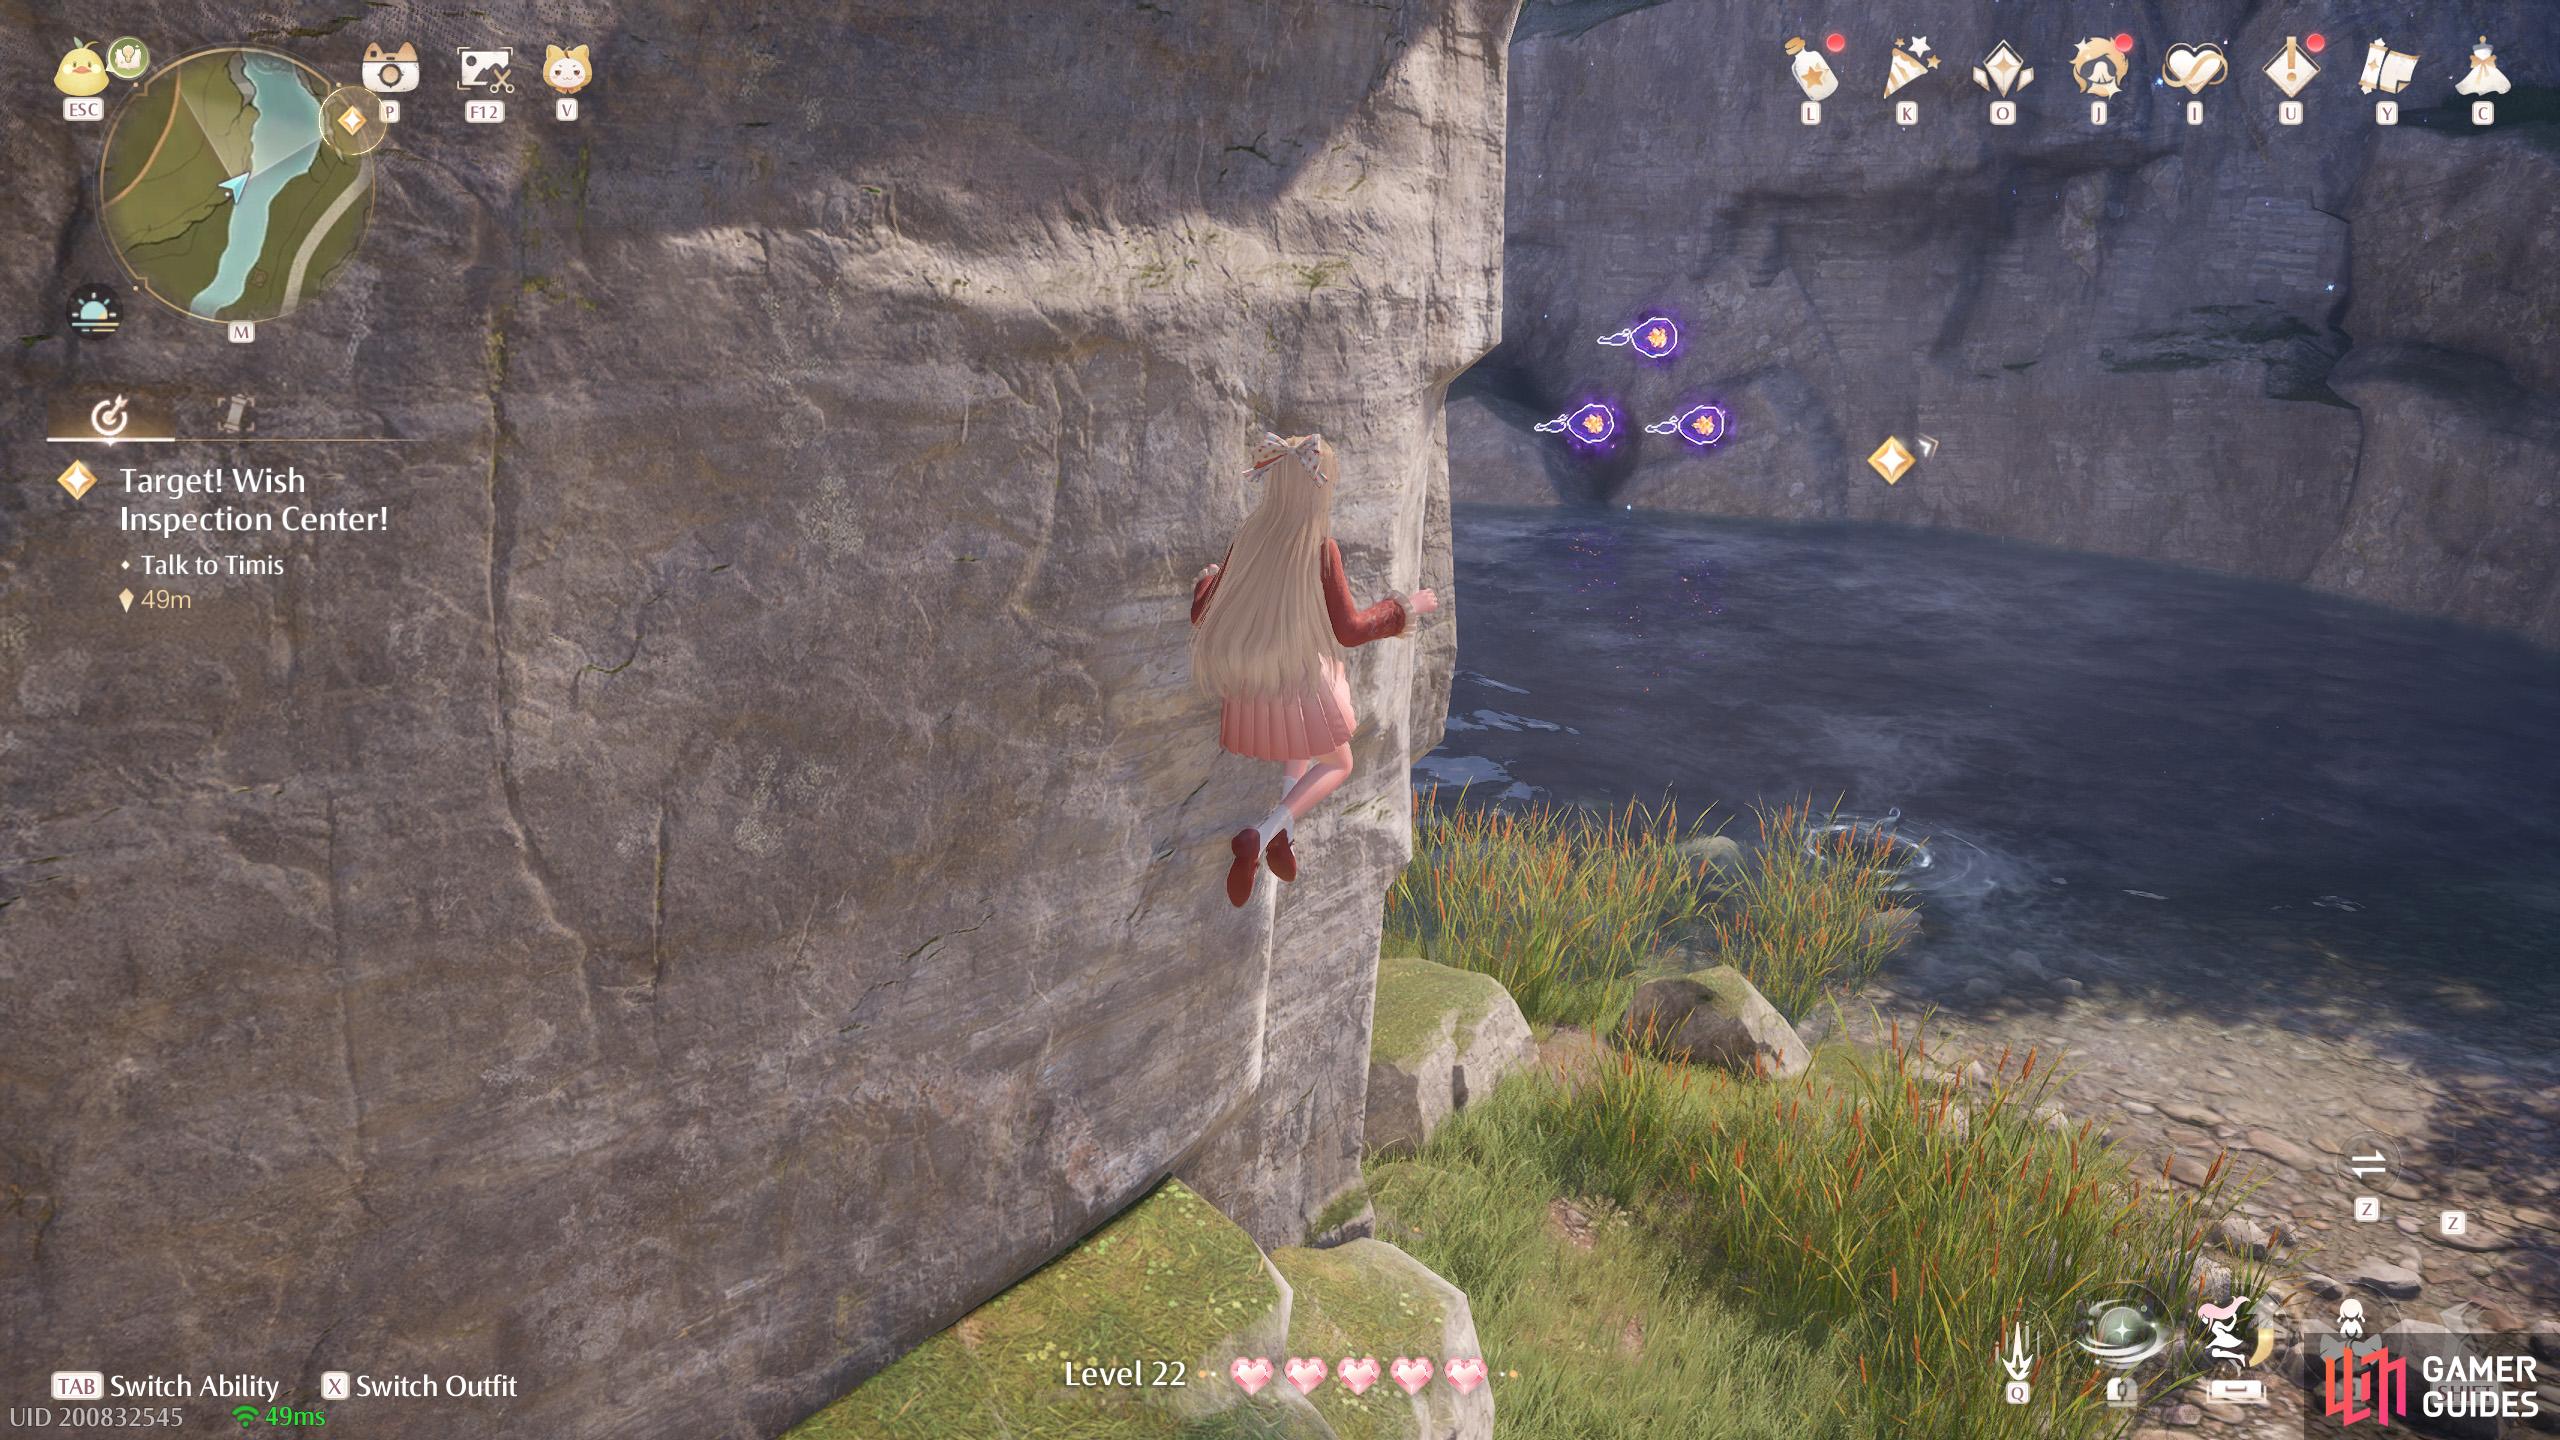
554. Miraland Map
North-east from ![]() Elderwood Riverbank. Three floating at the west side of the river, near the end of the walkable riverside.
Elderwood Riverbank. Three floating at the west side of the river, near the end of the walkable riverside.
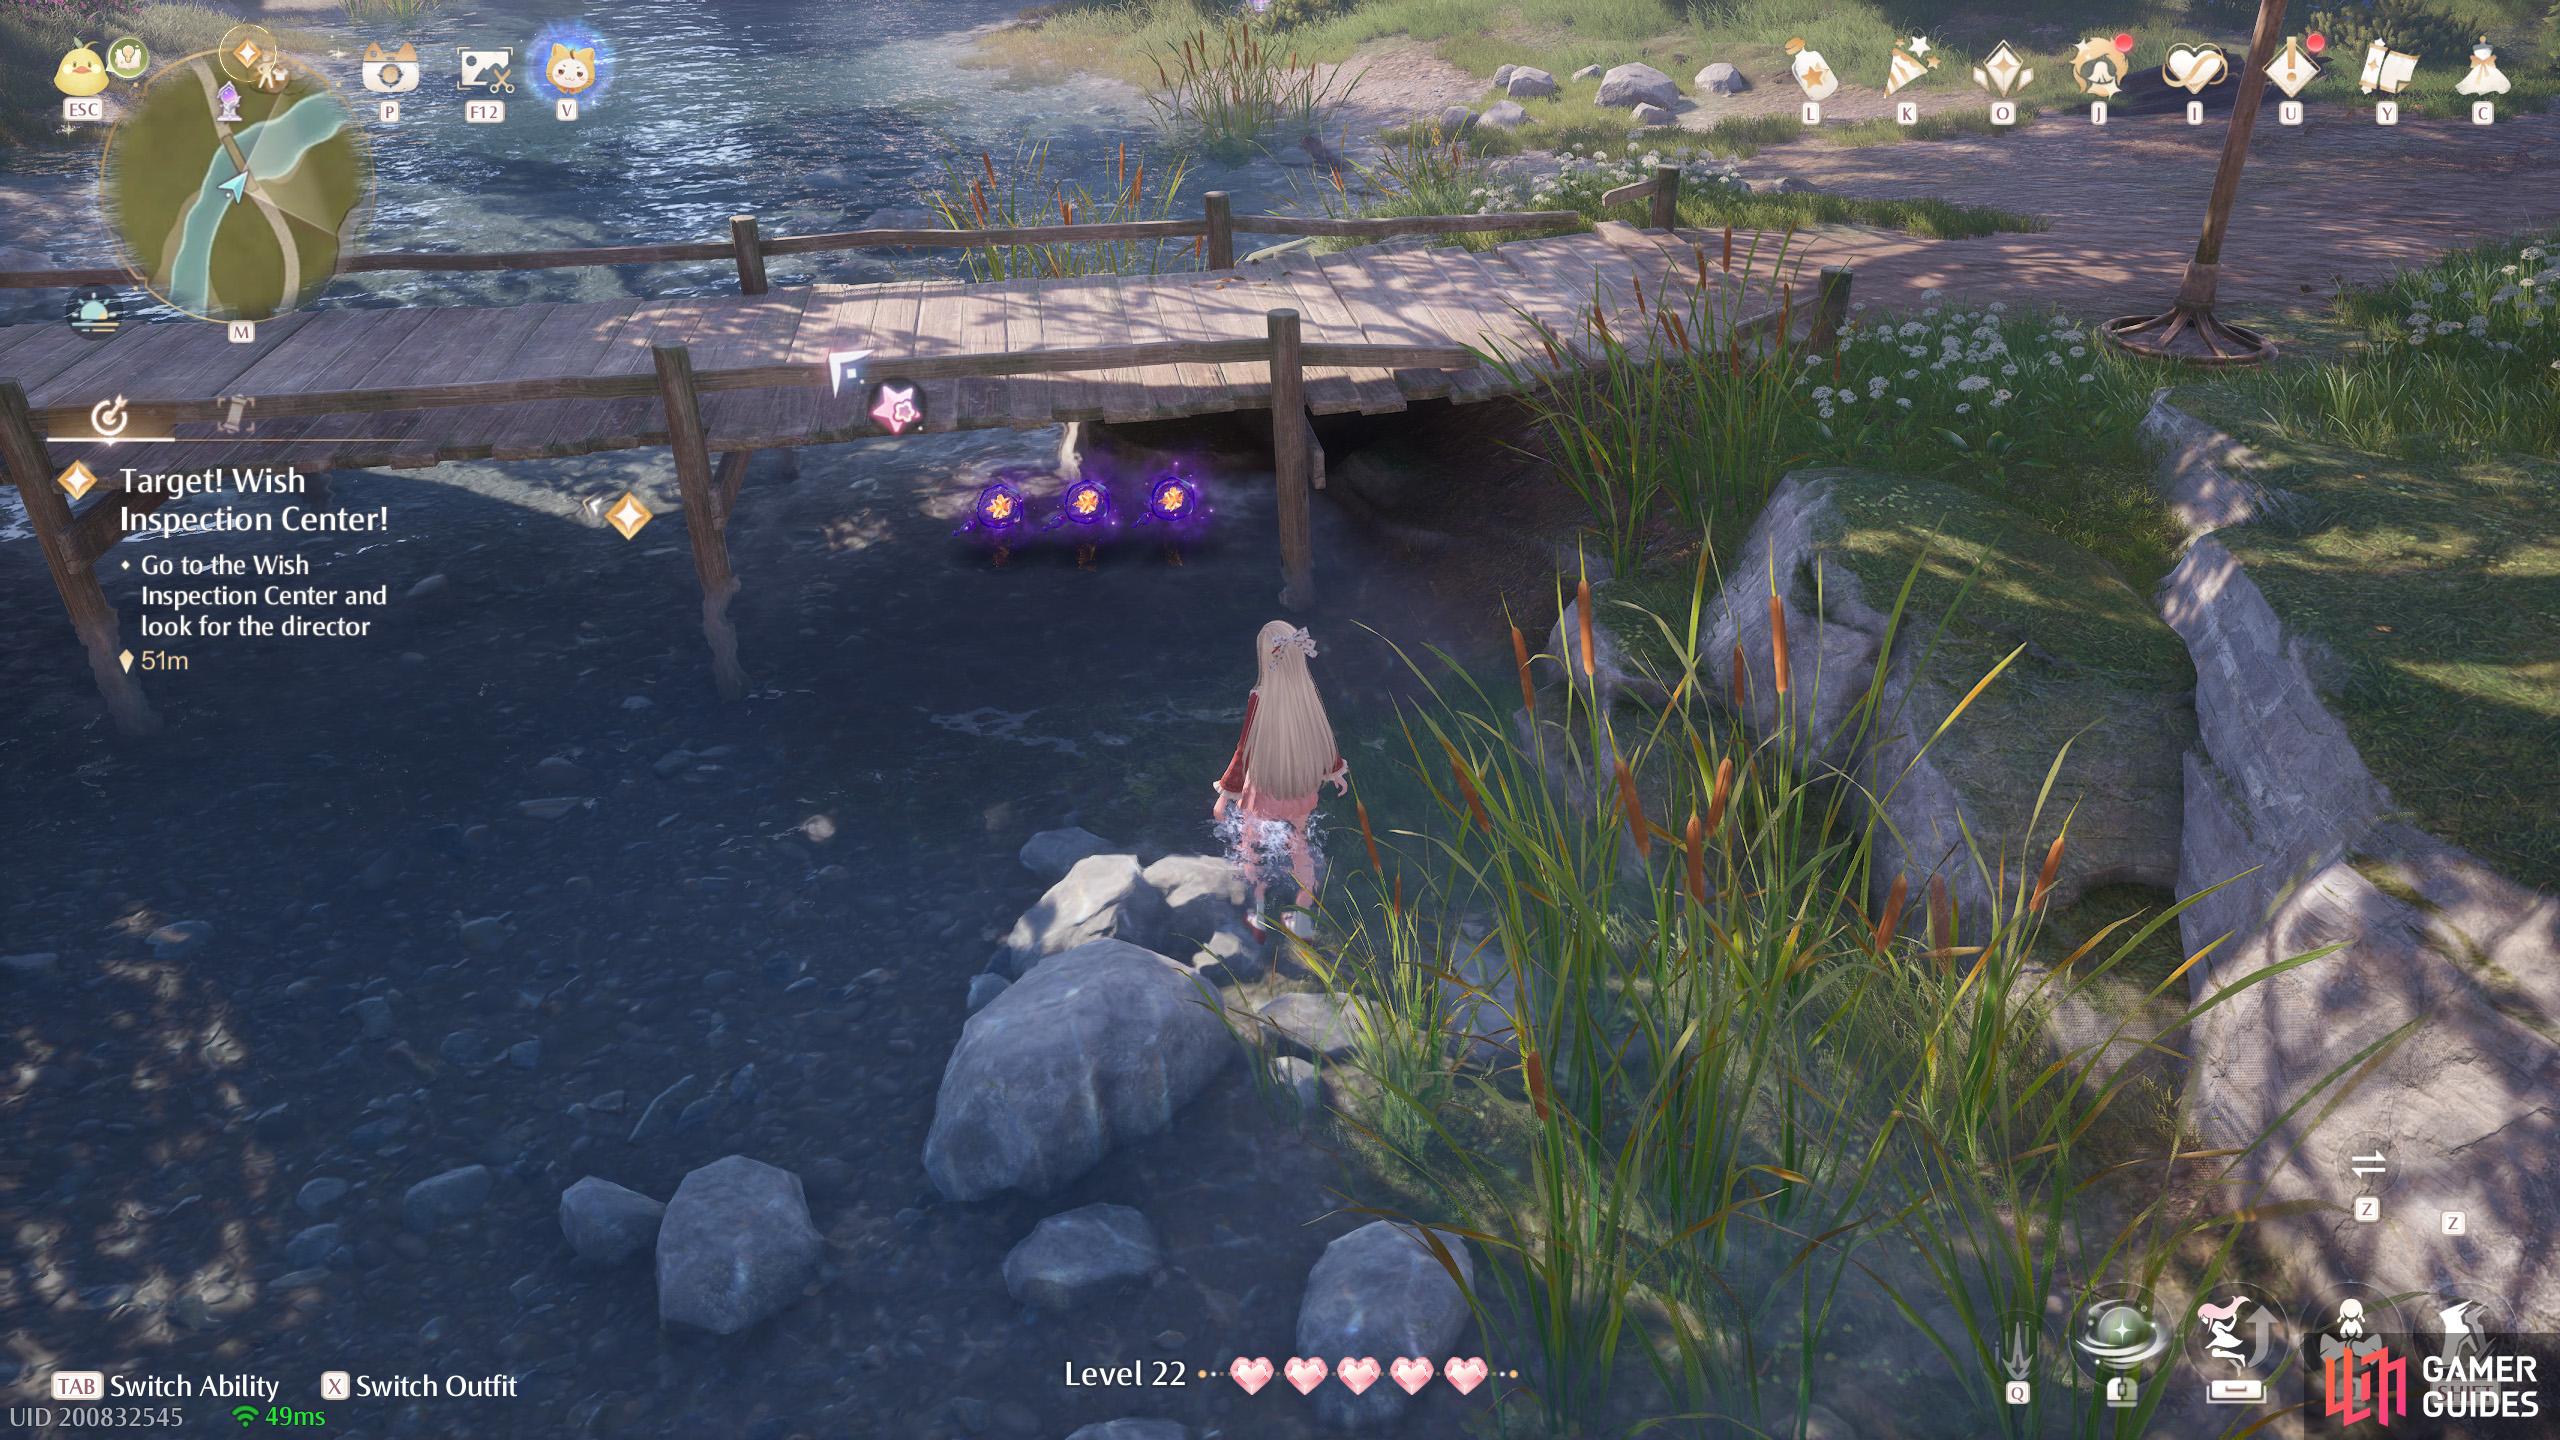
555. Miraland Map
Short distance south from ![]() In Front of the Wish Inspection Center. Three under the bridge.
In Front of the Wish Inspection Center. Three under the bridge.
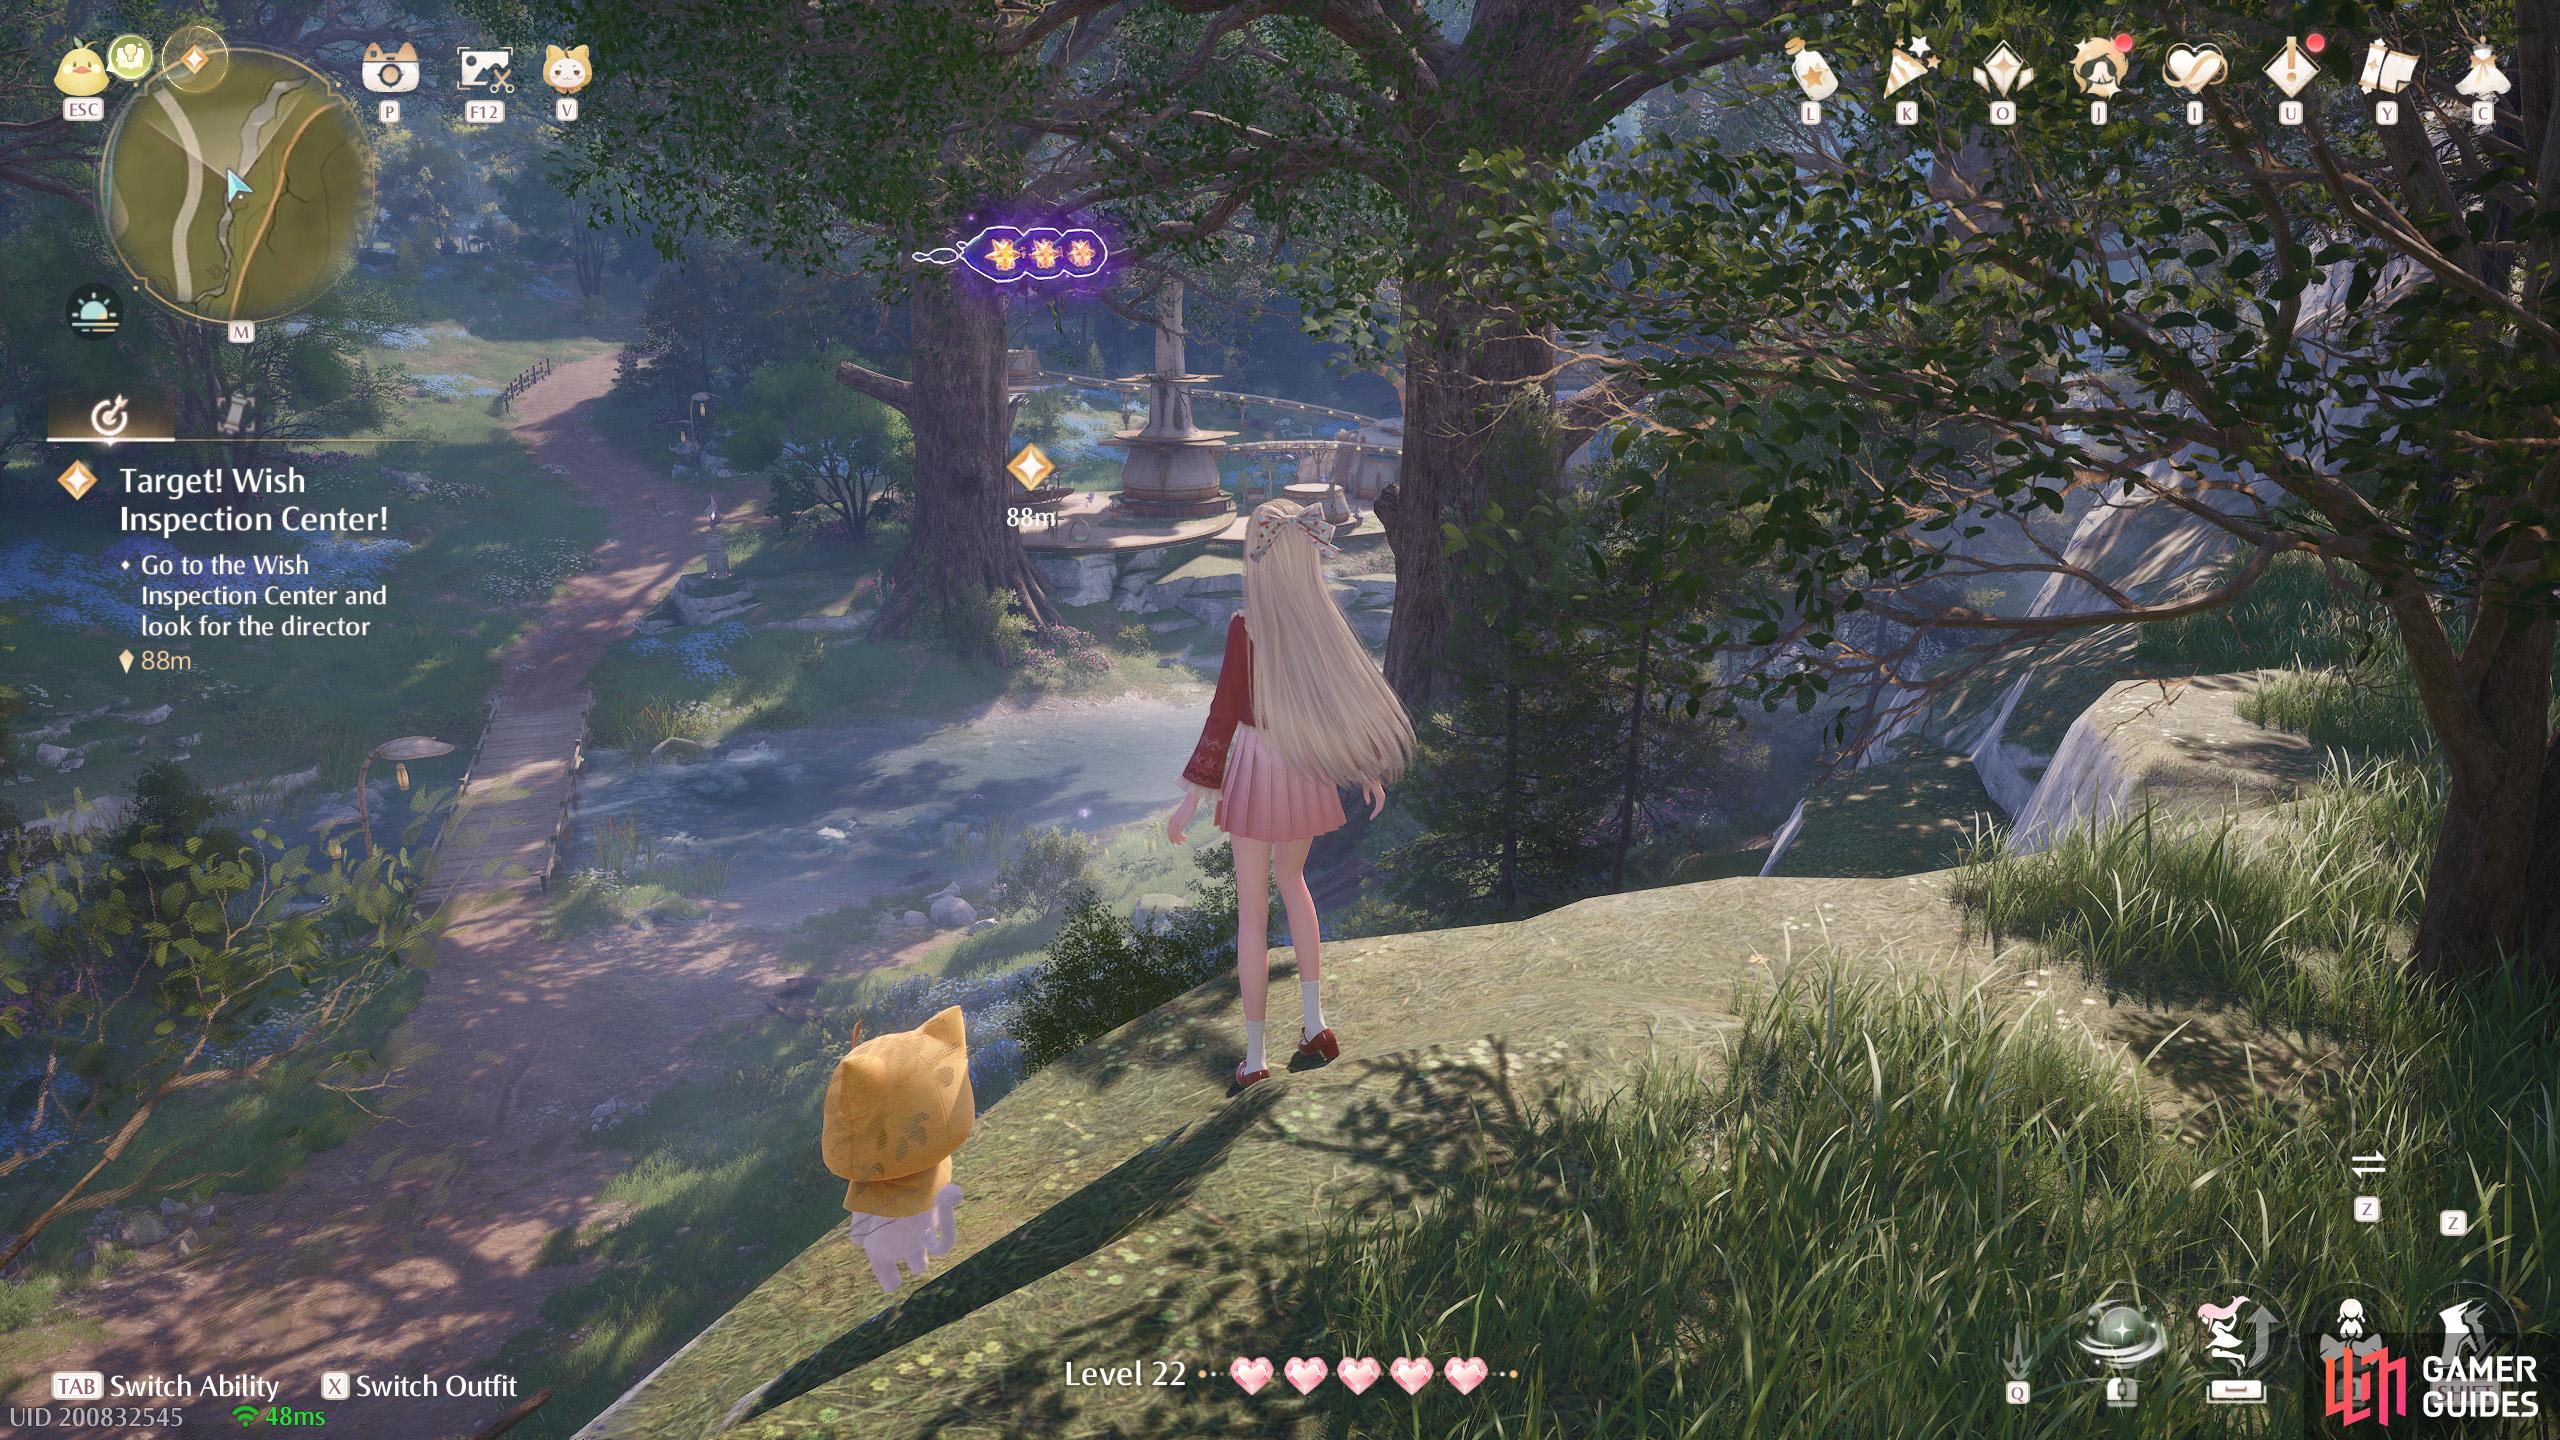
556. Miraland Map
South-east from ![]() In Front of the Wish Inspection Center. Three floating in the air, near some higher ground.
In Front of the Wish Inspection Center. Three floating in the air, near some higher ground.

557. Miraland Map
West from ![]() In Front of the Wish Inspection Center. Two among the broken tree trunk.
In Front of the Wish Inspection Center. Two among the broken tree trunk.
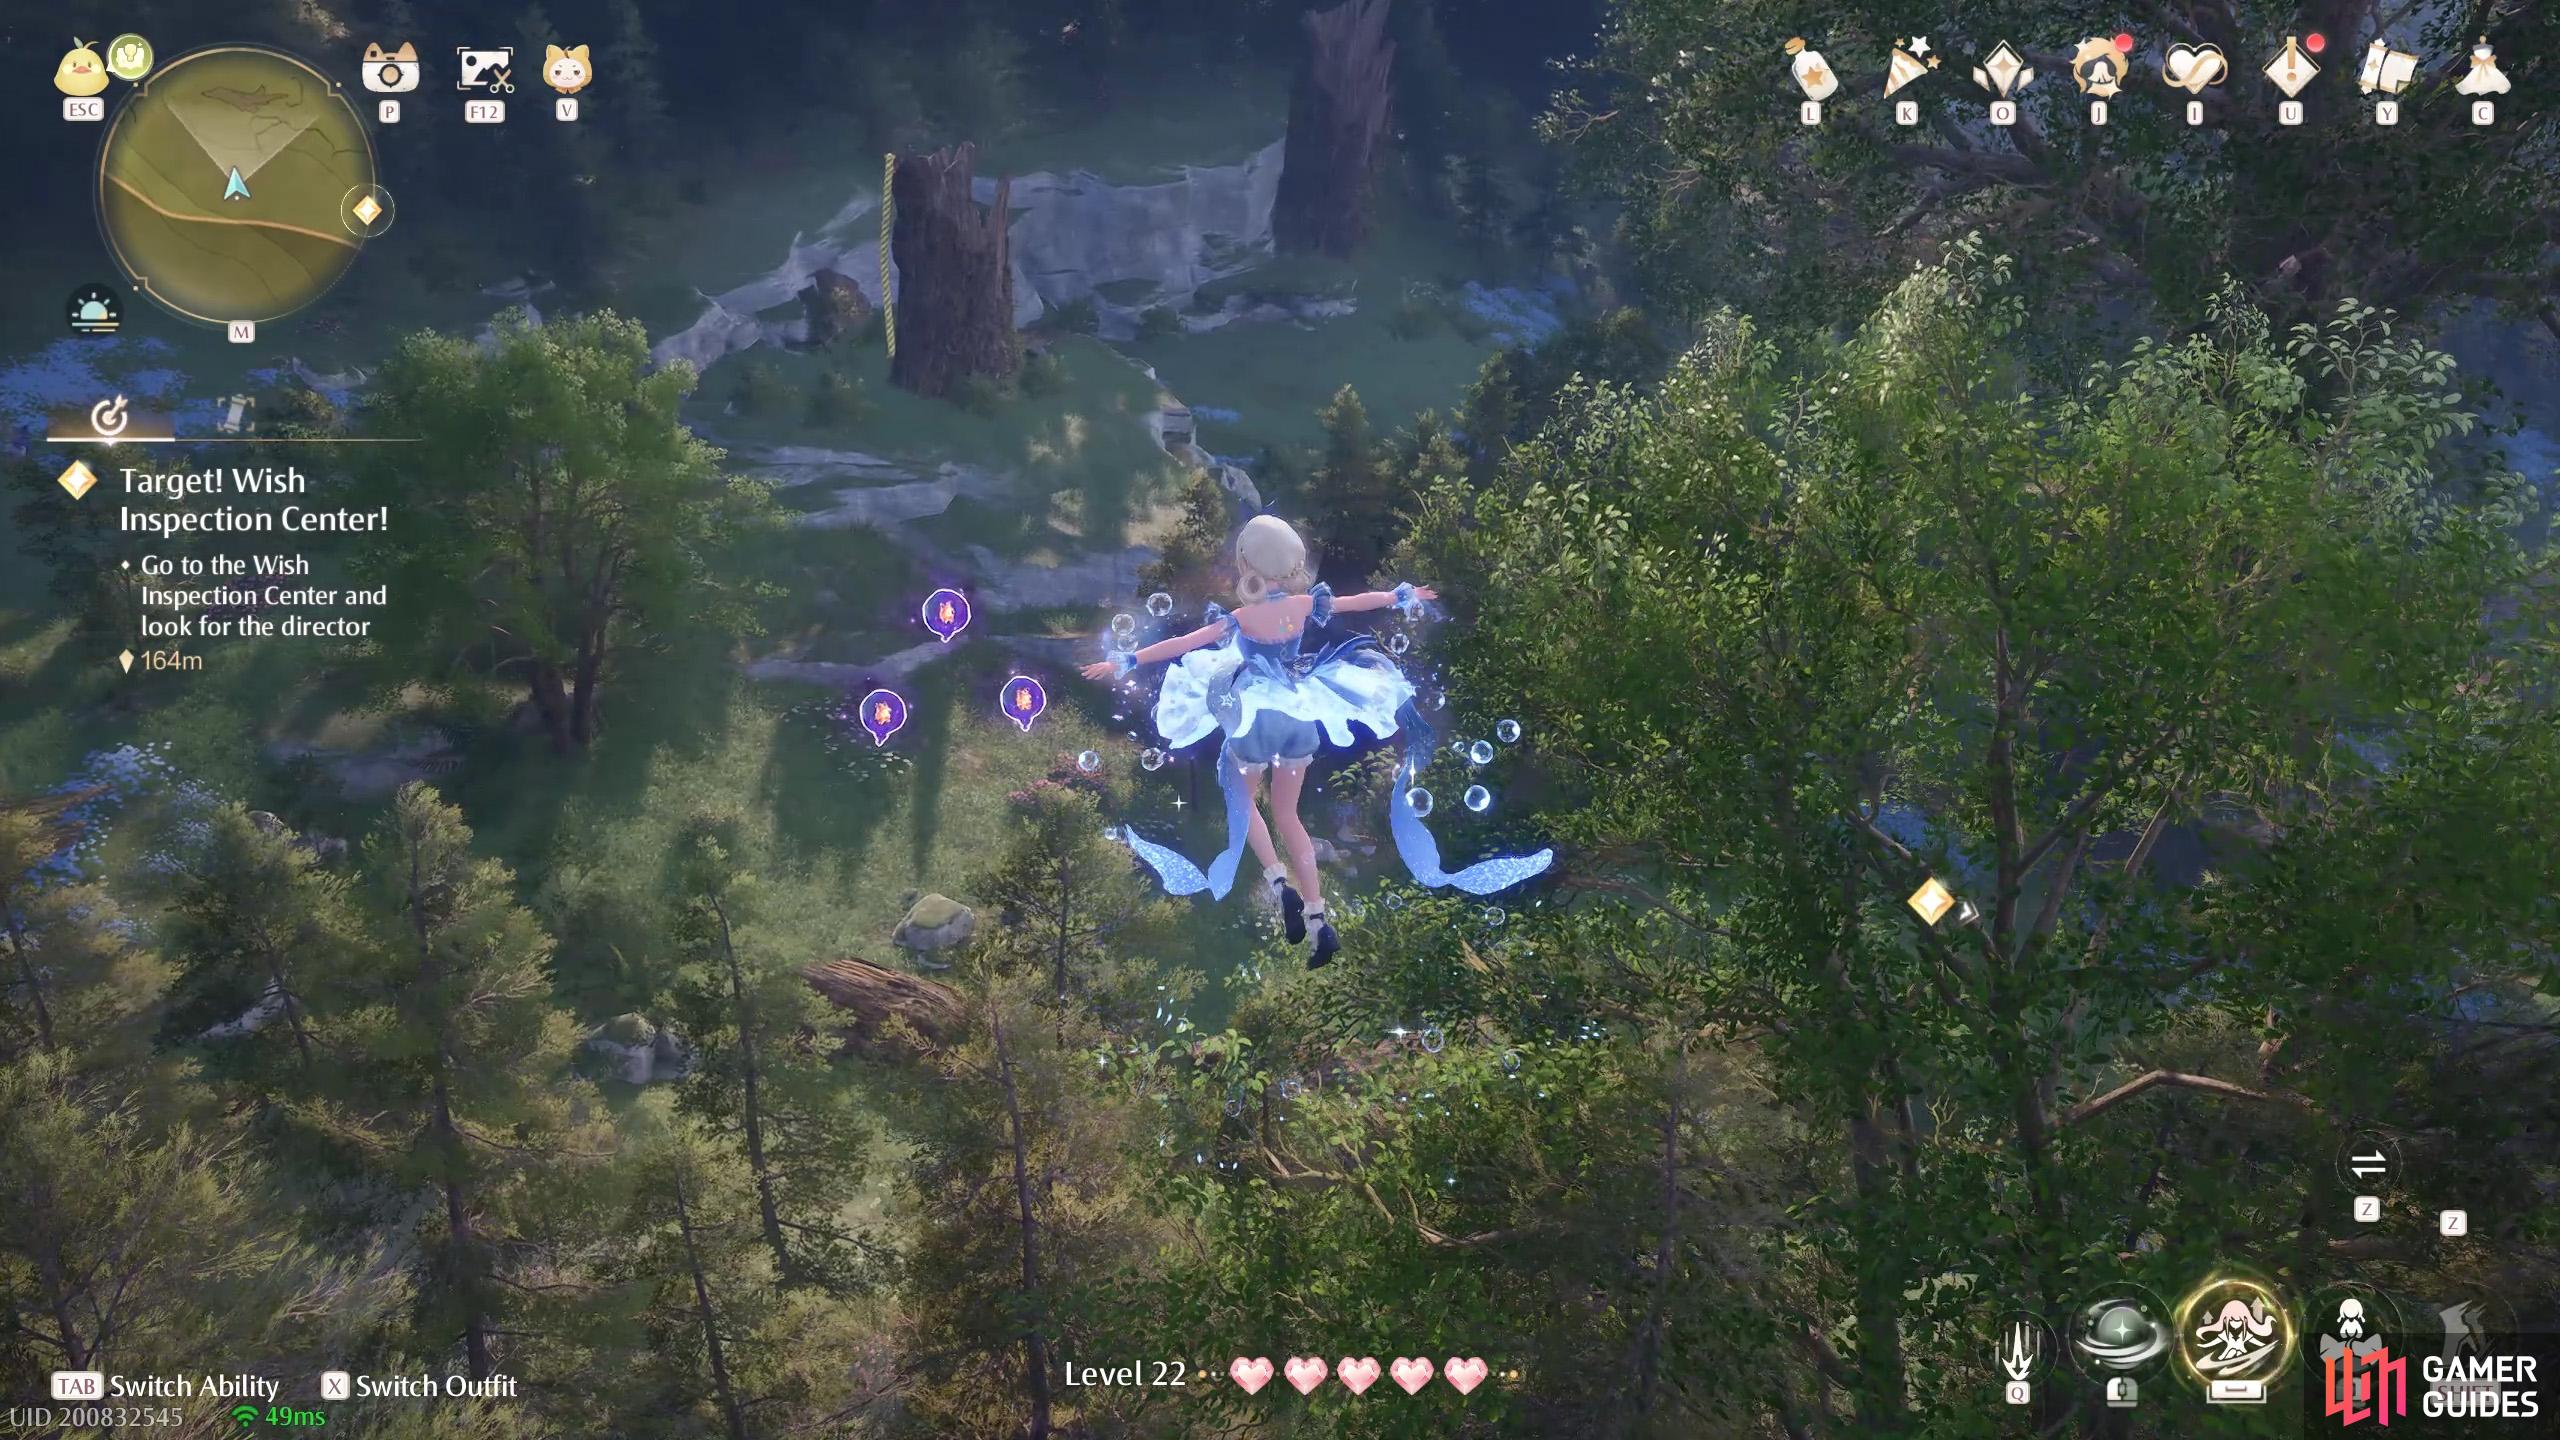
558. Miraland Map
West from ![]() In Front of the Wish Inspection Center. Three high up near the world boundary. There’s a reliable leaf trampoline close by.
In Front of the Wish Inspection Center. Three high up near the world boundary. There’s a reliable leaf trampoline close by.
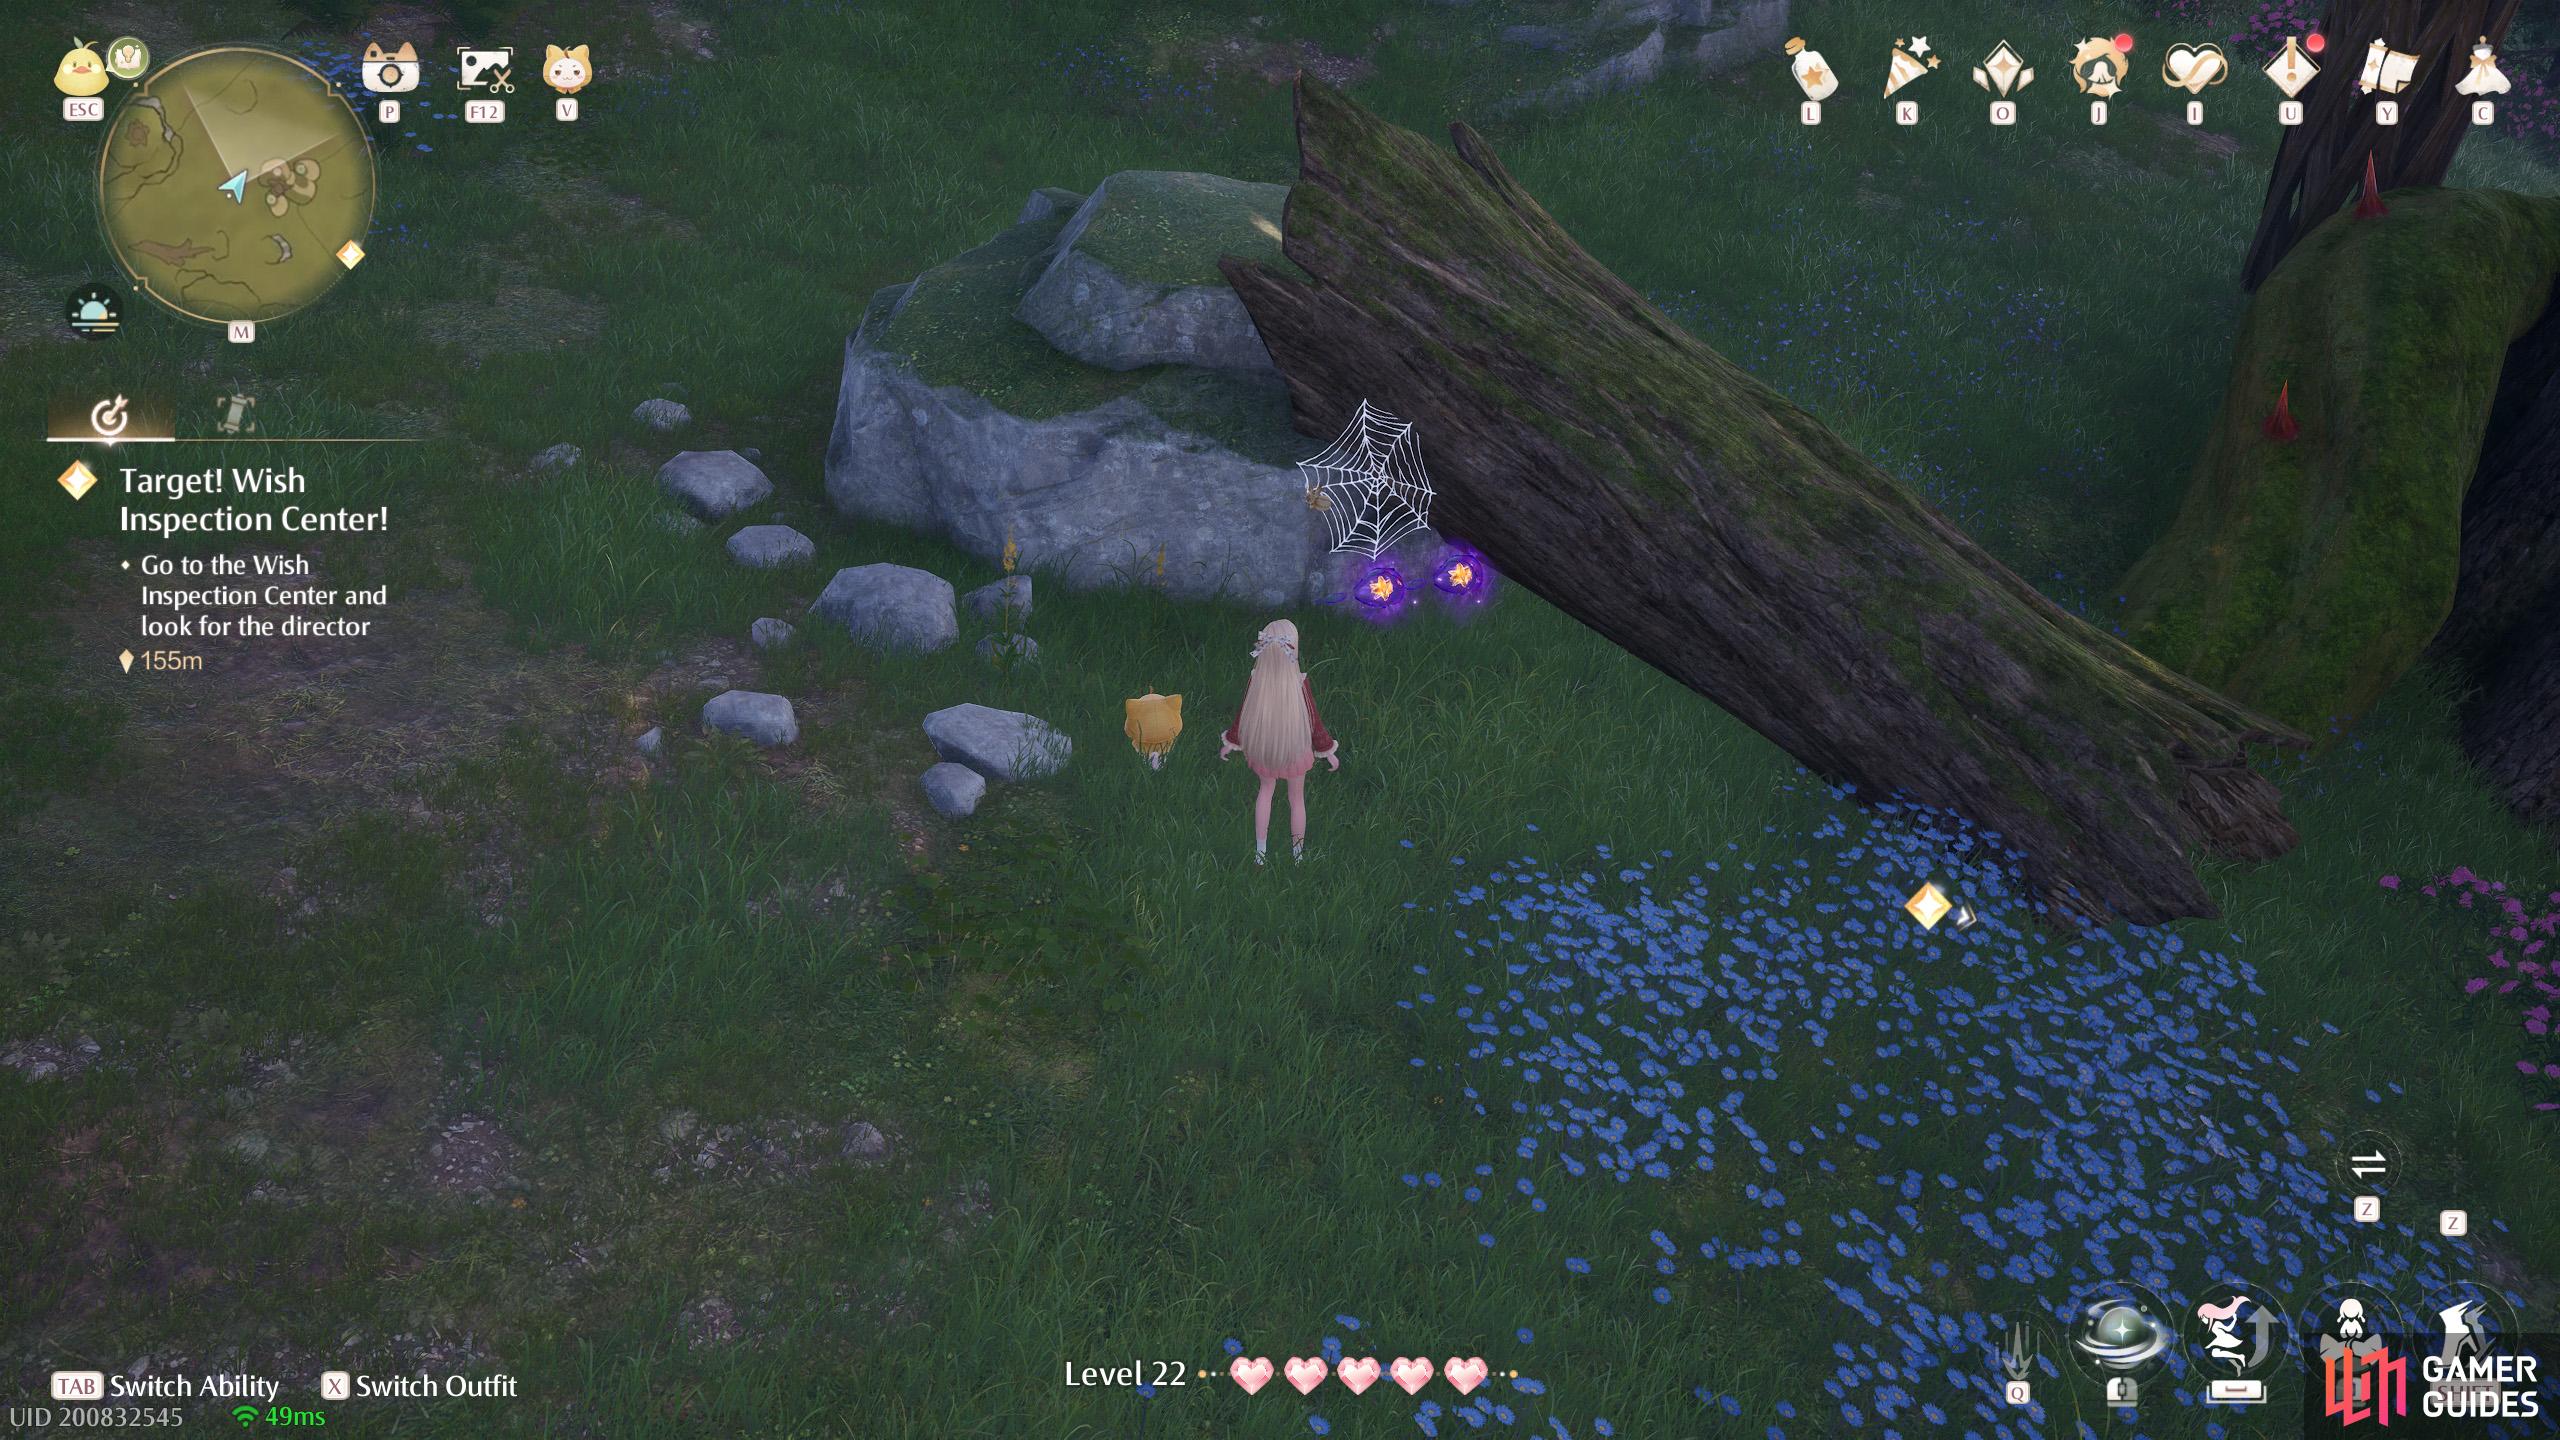
559. Miraland Map
Short distance west from the ![]() Research Institute Cavern. Two under a fallen log.
Research Institute Cavern. Two under a fallen log.
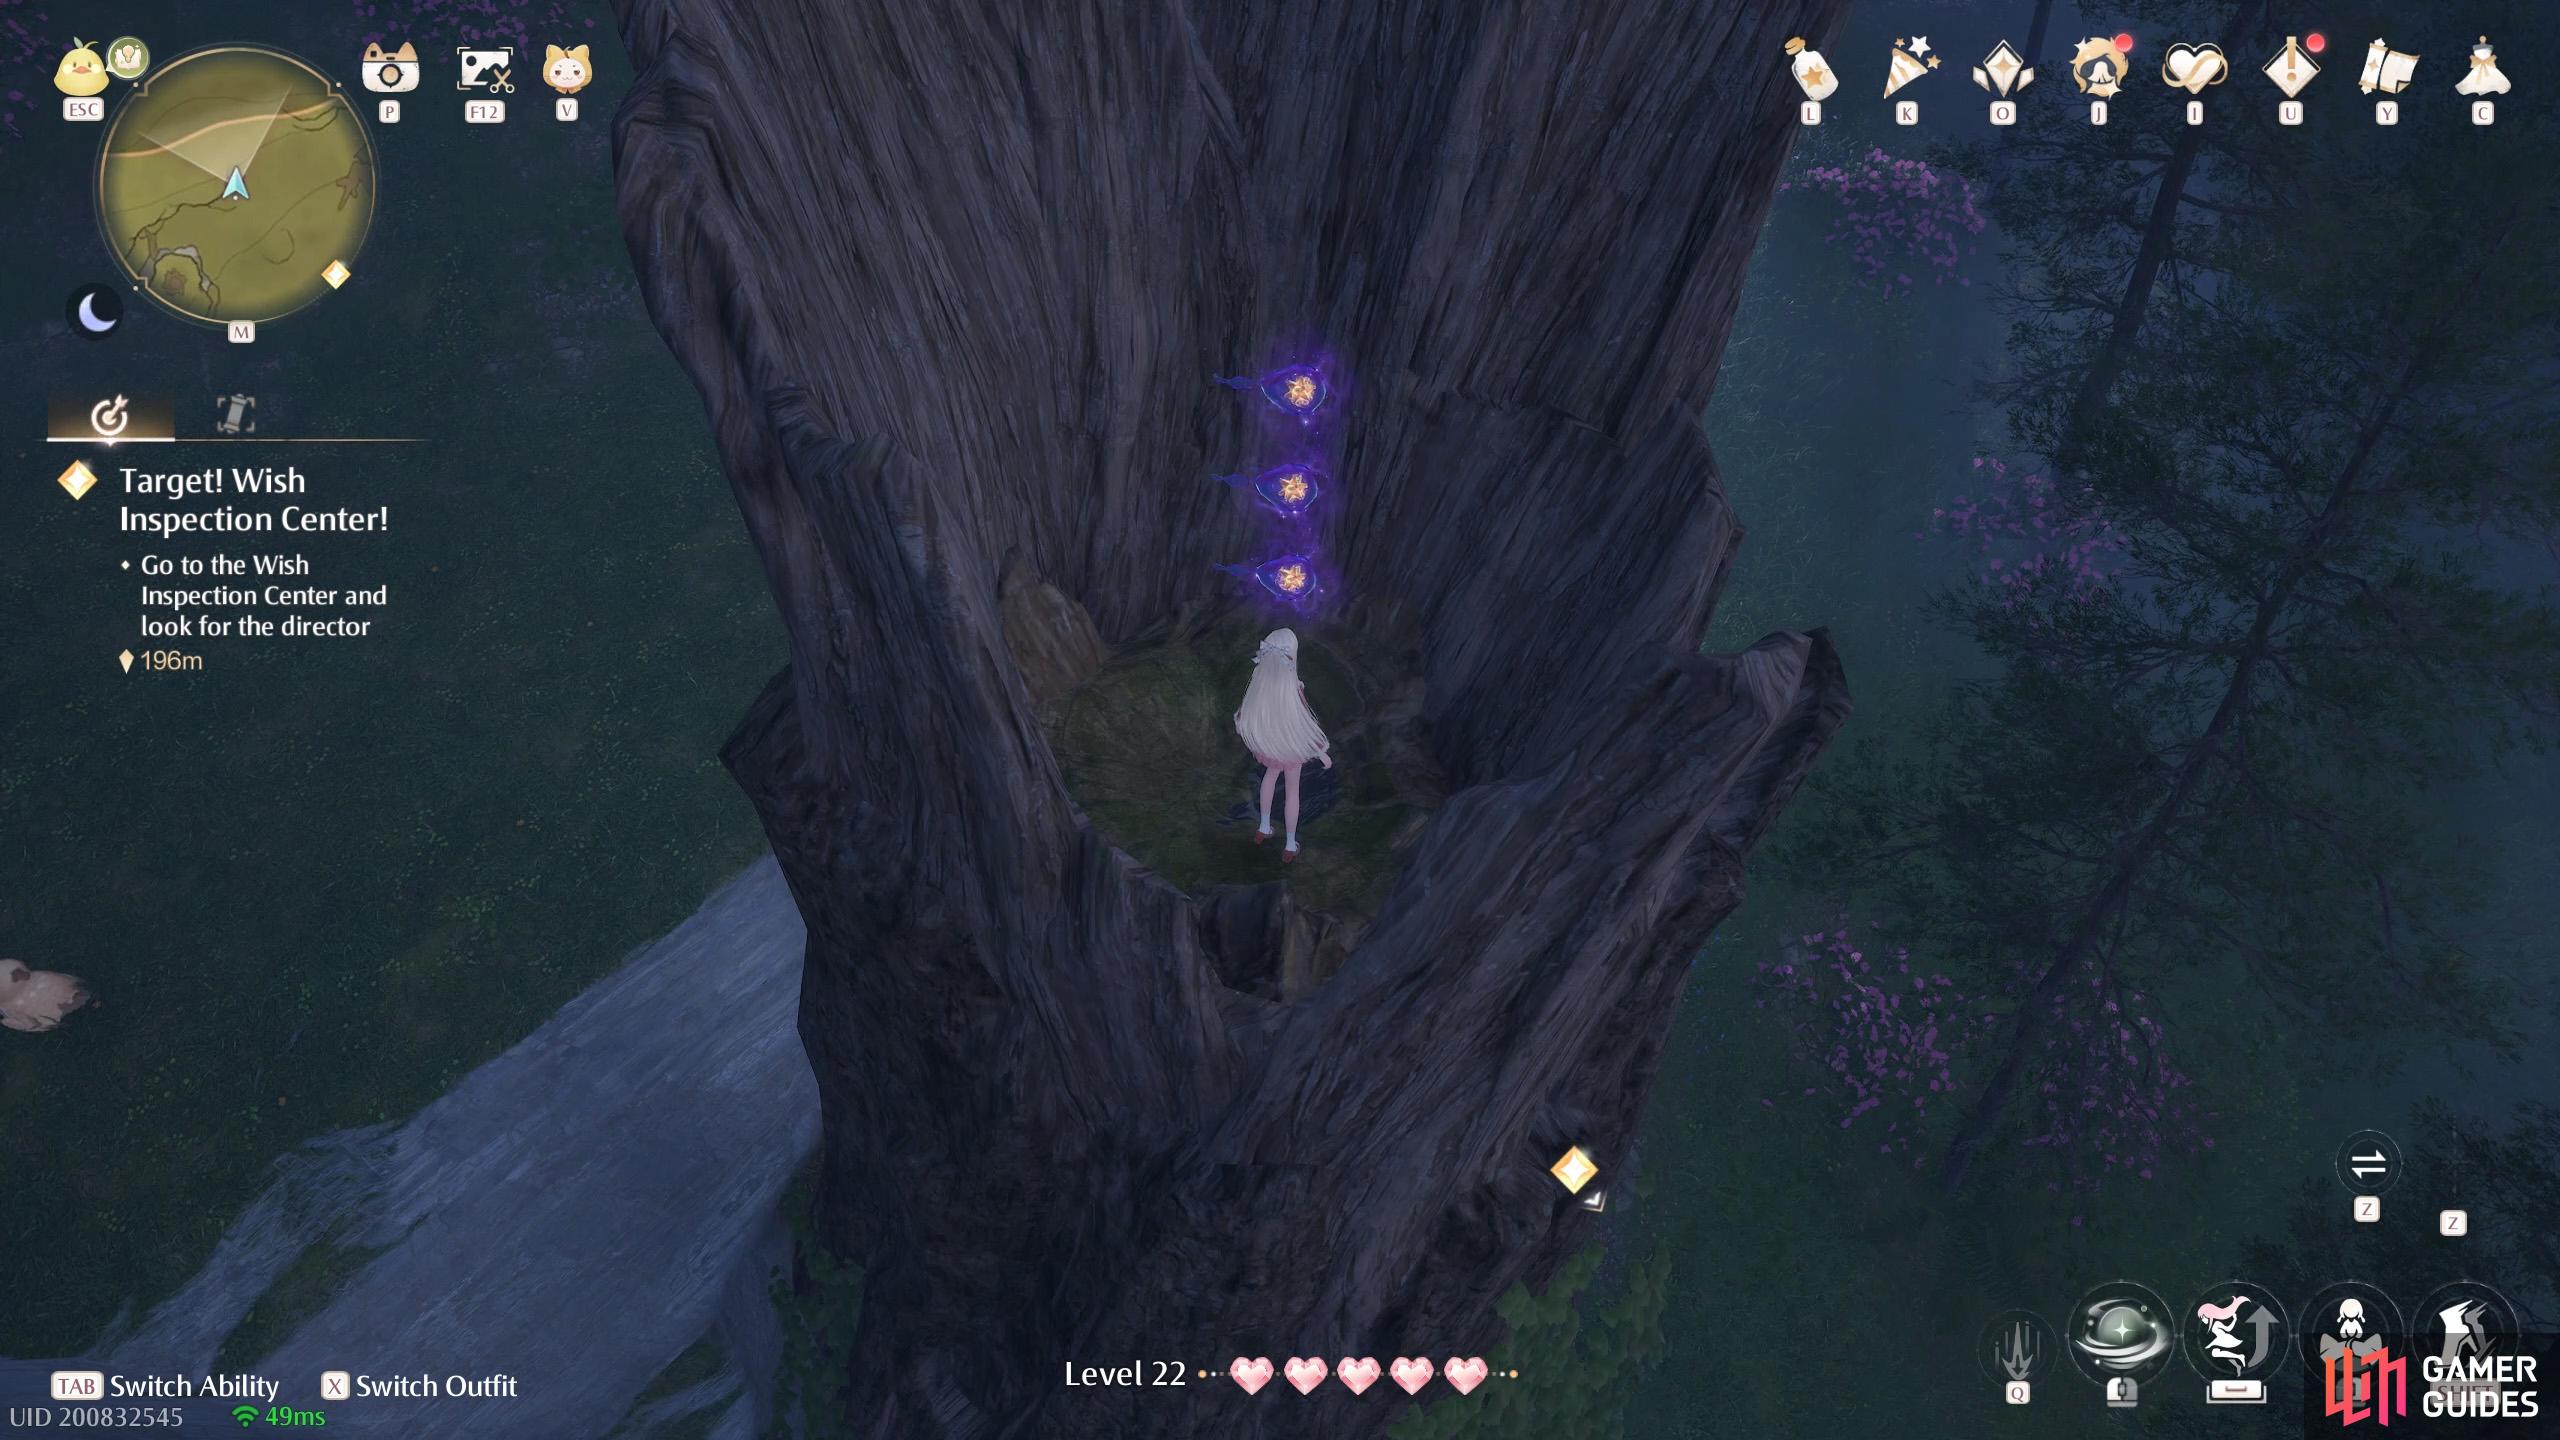
560. Miraland Map
North-west from the ![]() Research Institute Cavern. Three atop a tree stump.
Research Institute Cavern. Three atop a tree stump.
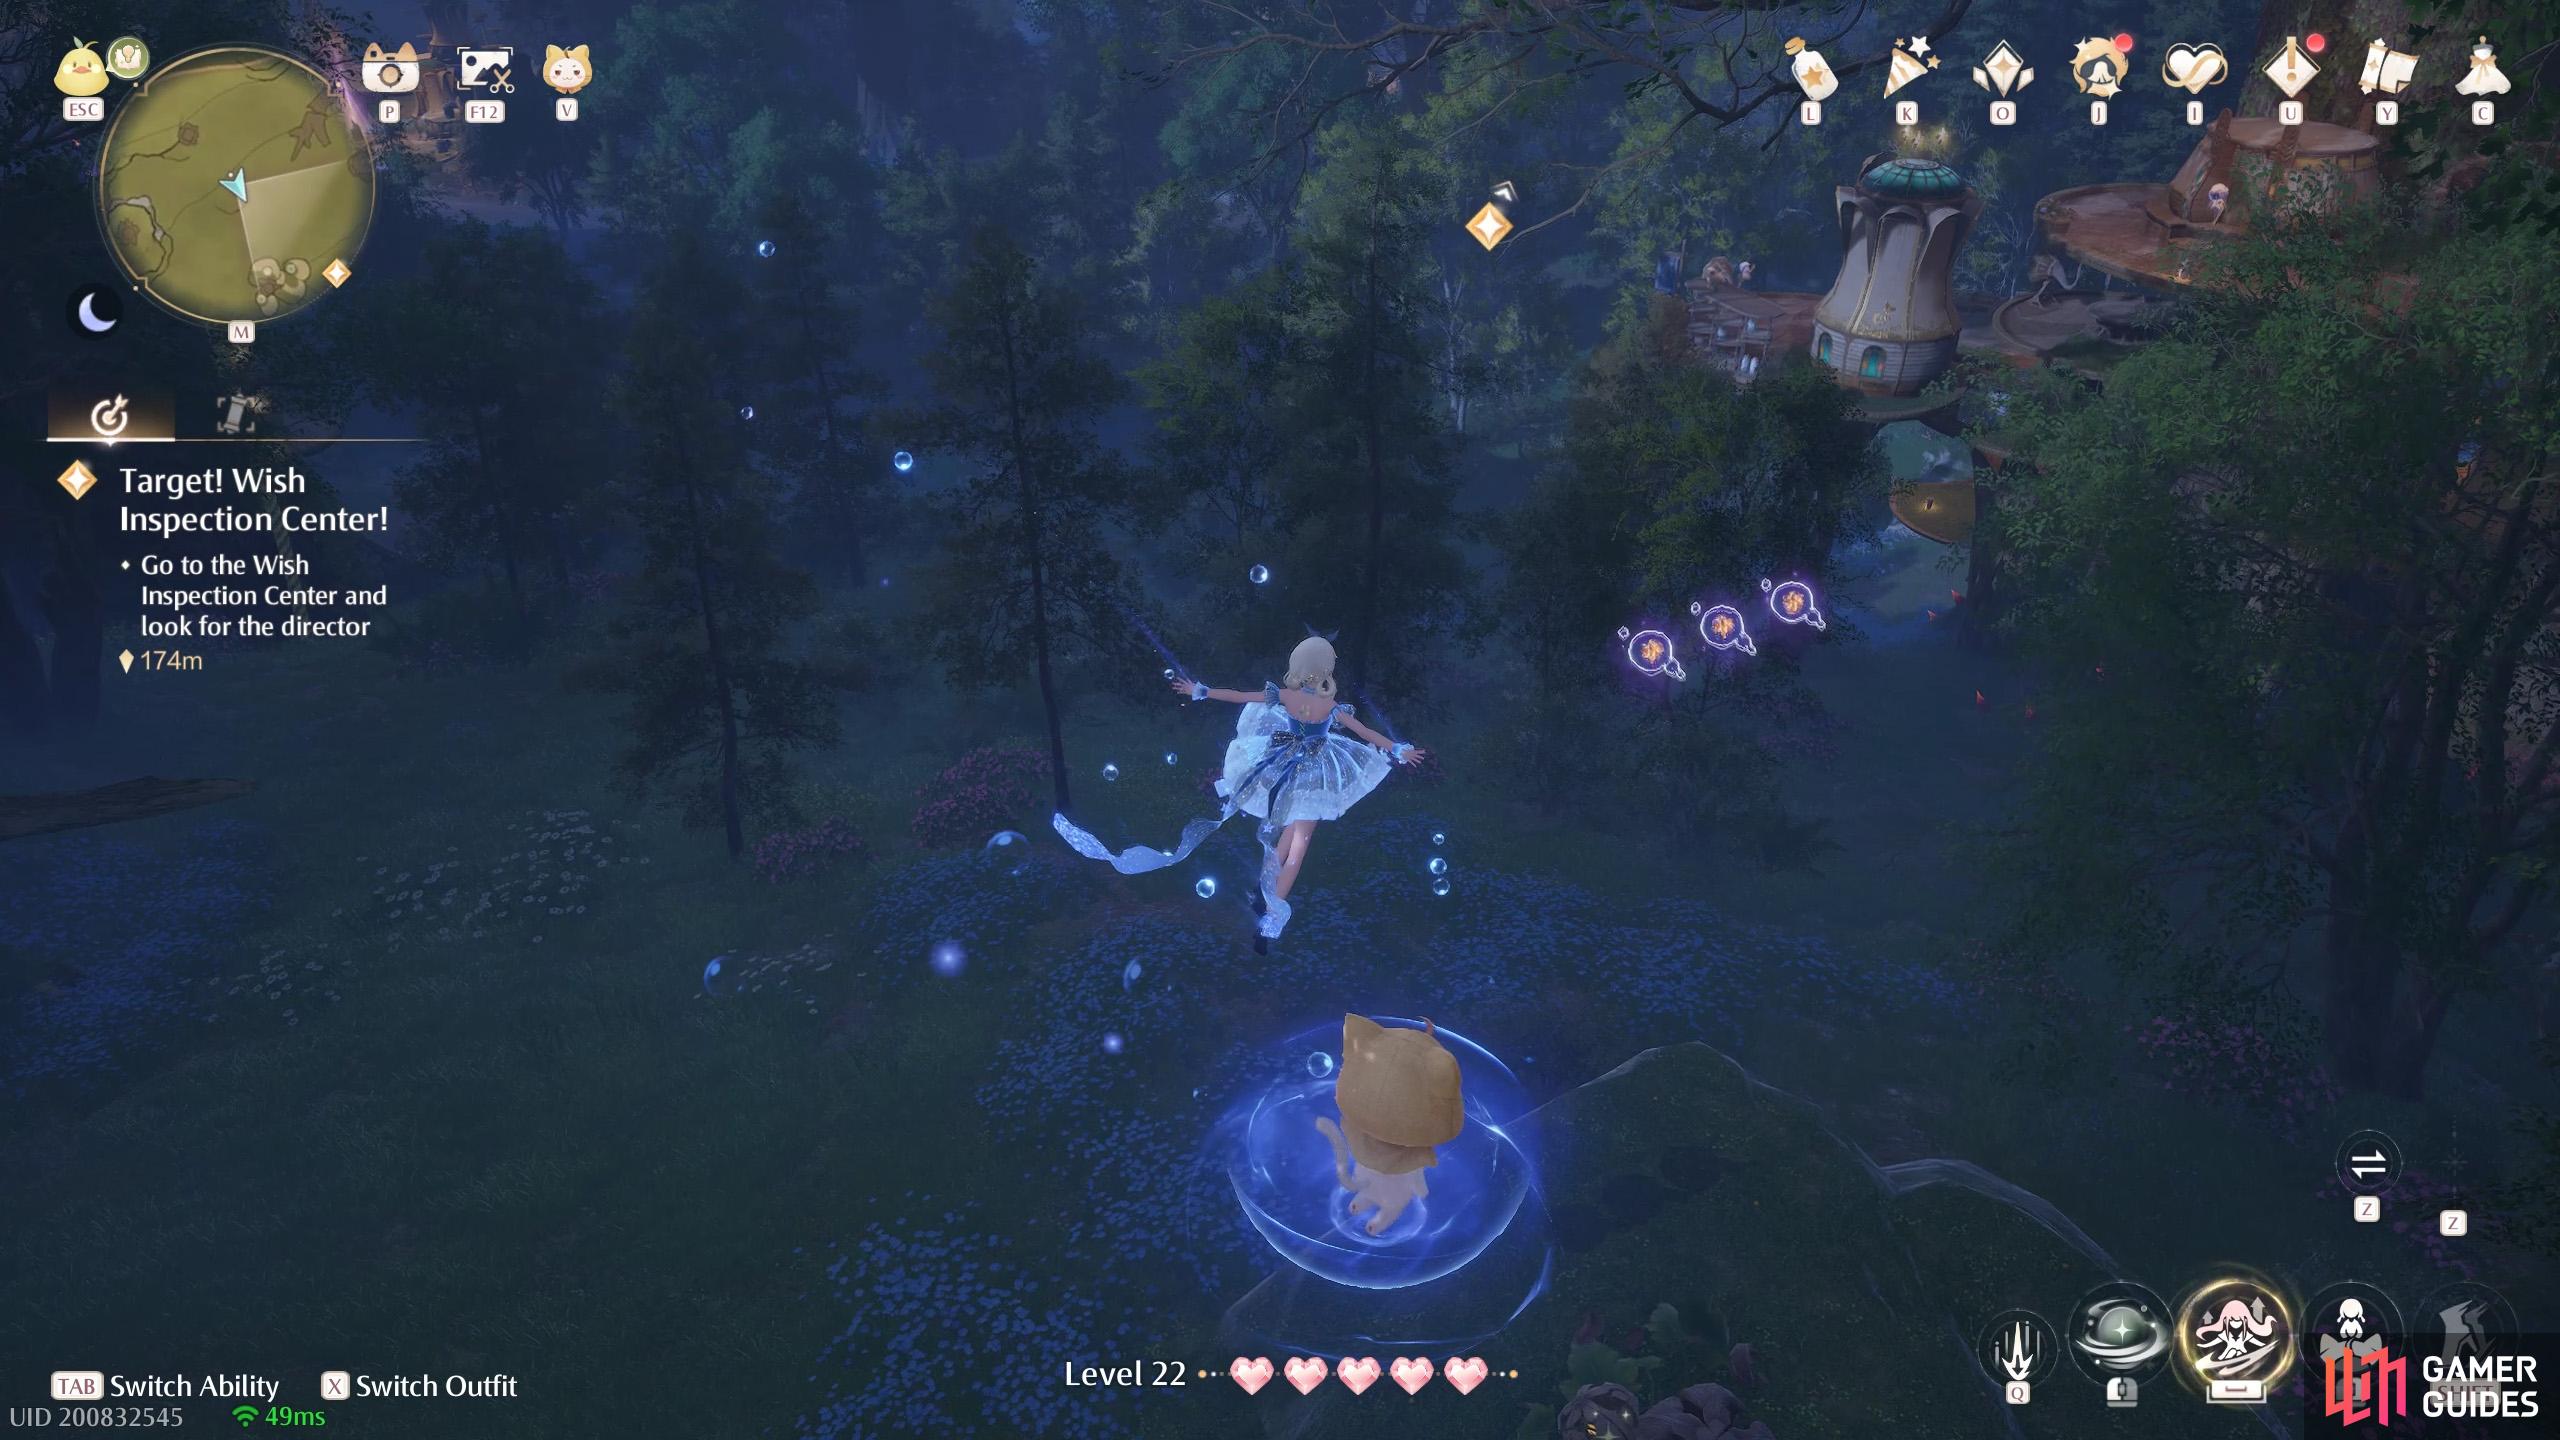
561. Miraland Map
Short distance north from the ![]() Research Institute Cavern. Three floating high up.
Research Institute Cavern. Three floating high up.
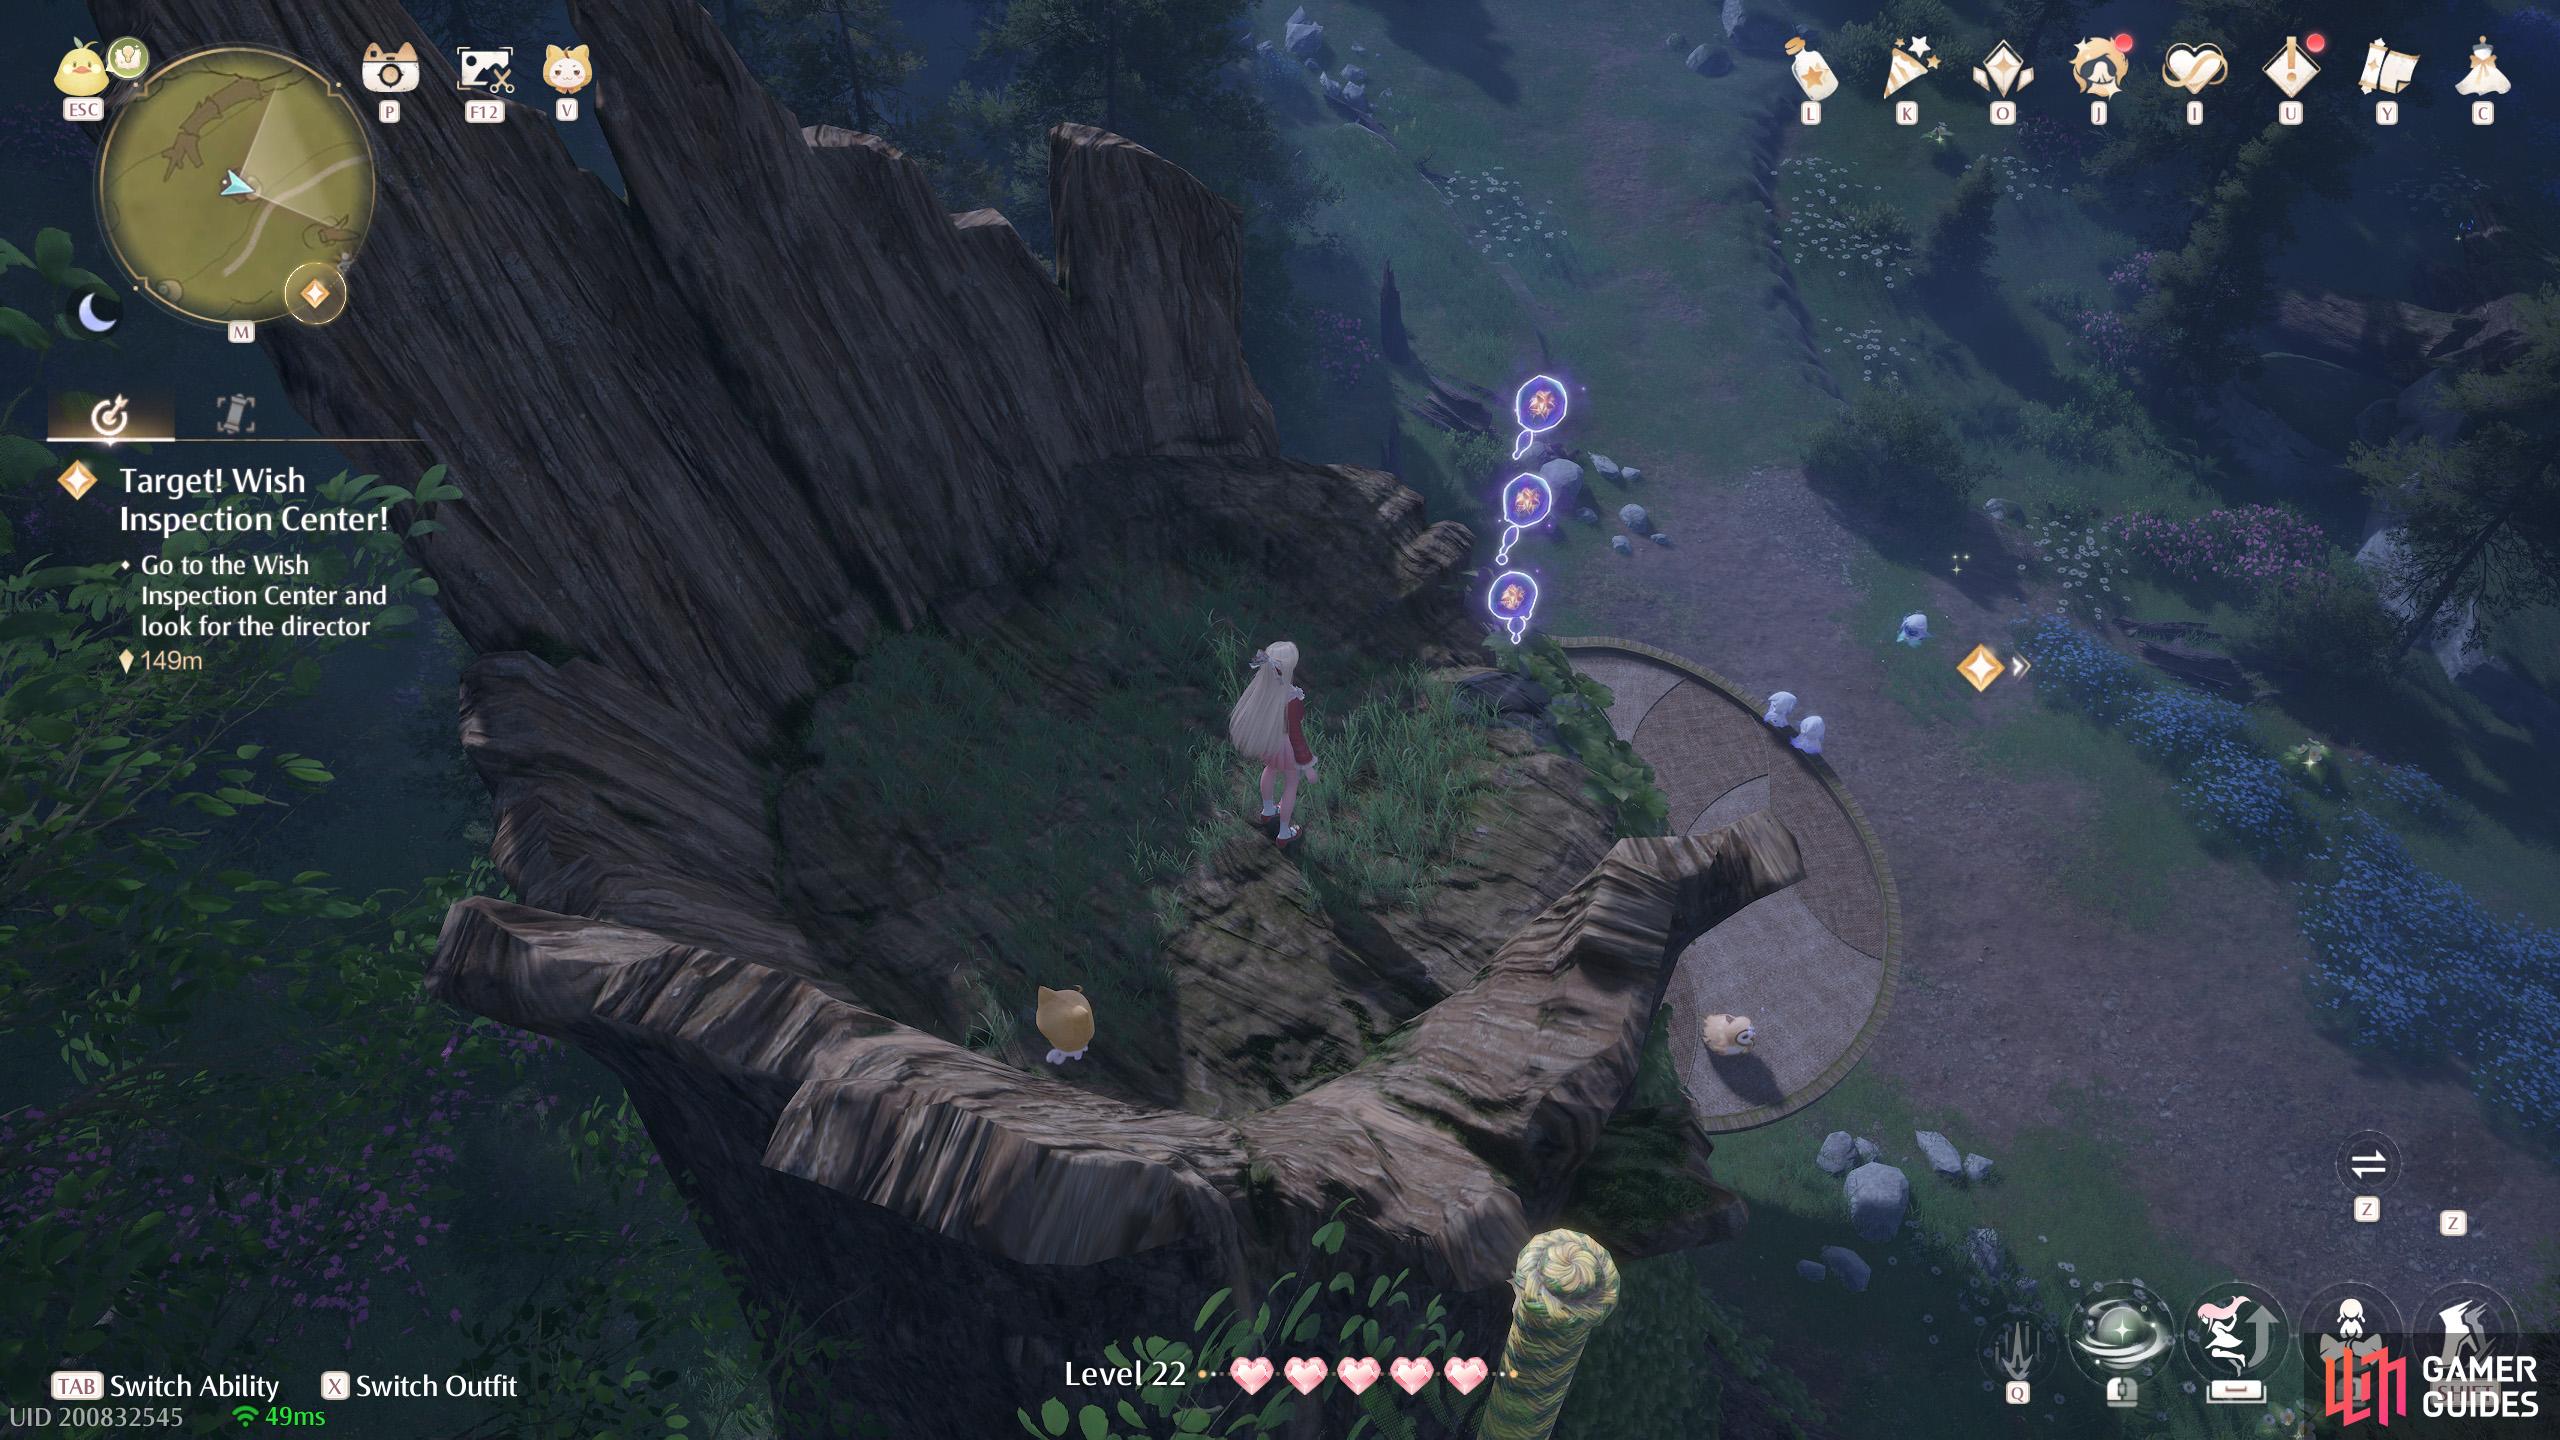
562. Miraland Map
West from the ![]() Wishcraft Lab. Three atop a tall tree stump. Climb up the rope as Momo.
Wishcraft Lab. Three atop a tall tree stump. Climb up the rope as Momo.
563. Miraland Map
North-west from the ![]() Wish Auditing Station. Two floating at the back of a tree with a platform at the front.
Wish Auditing Station. Two floating at the back of a tree with a platform at the front.
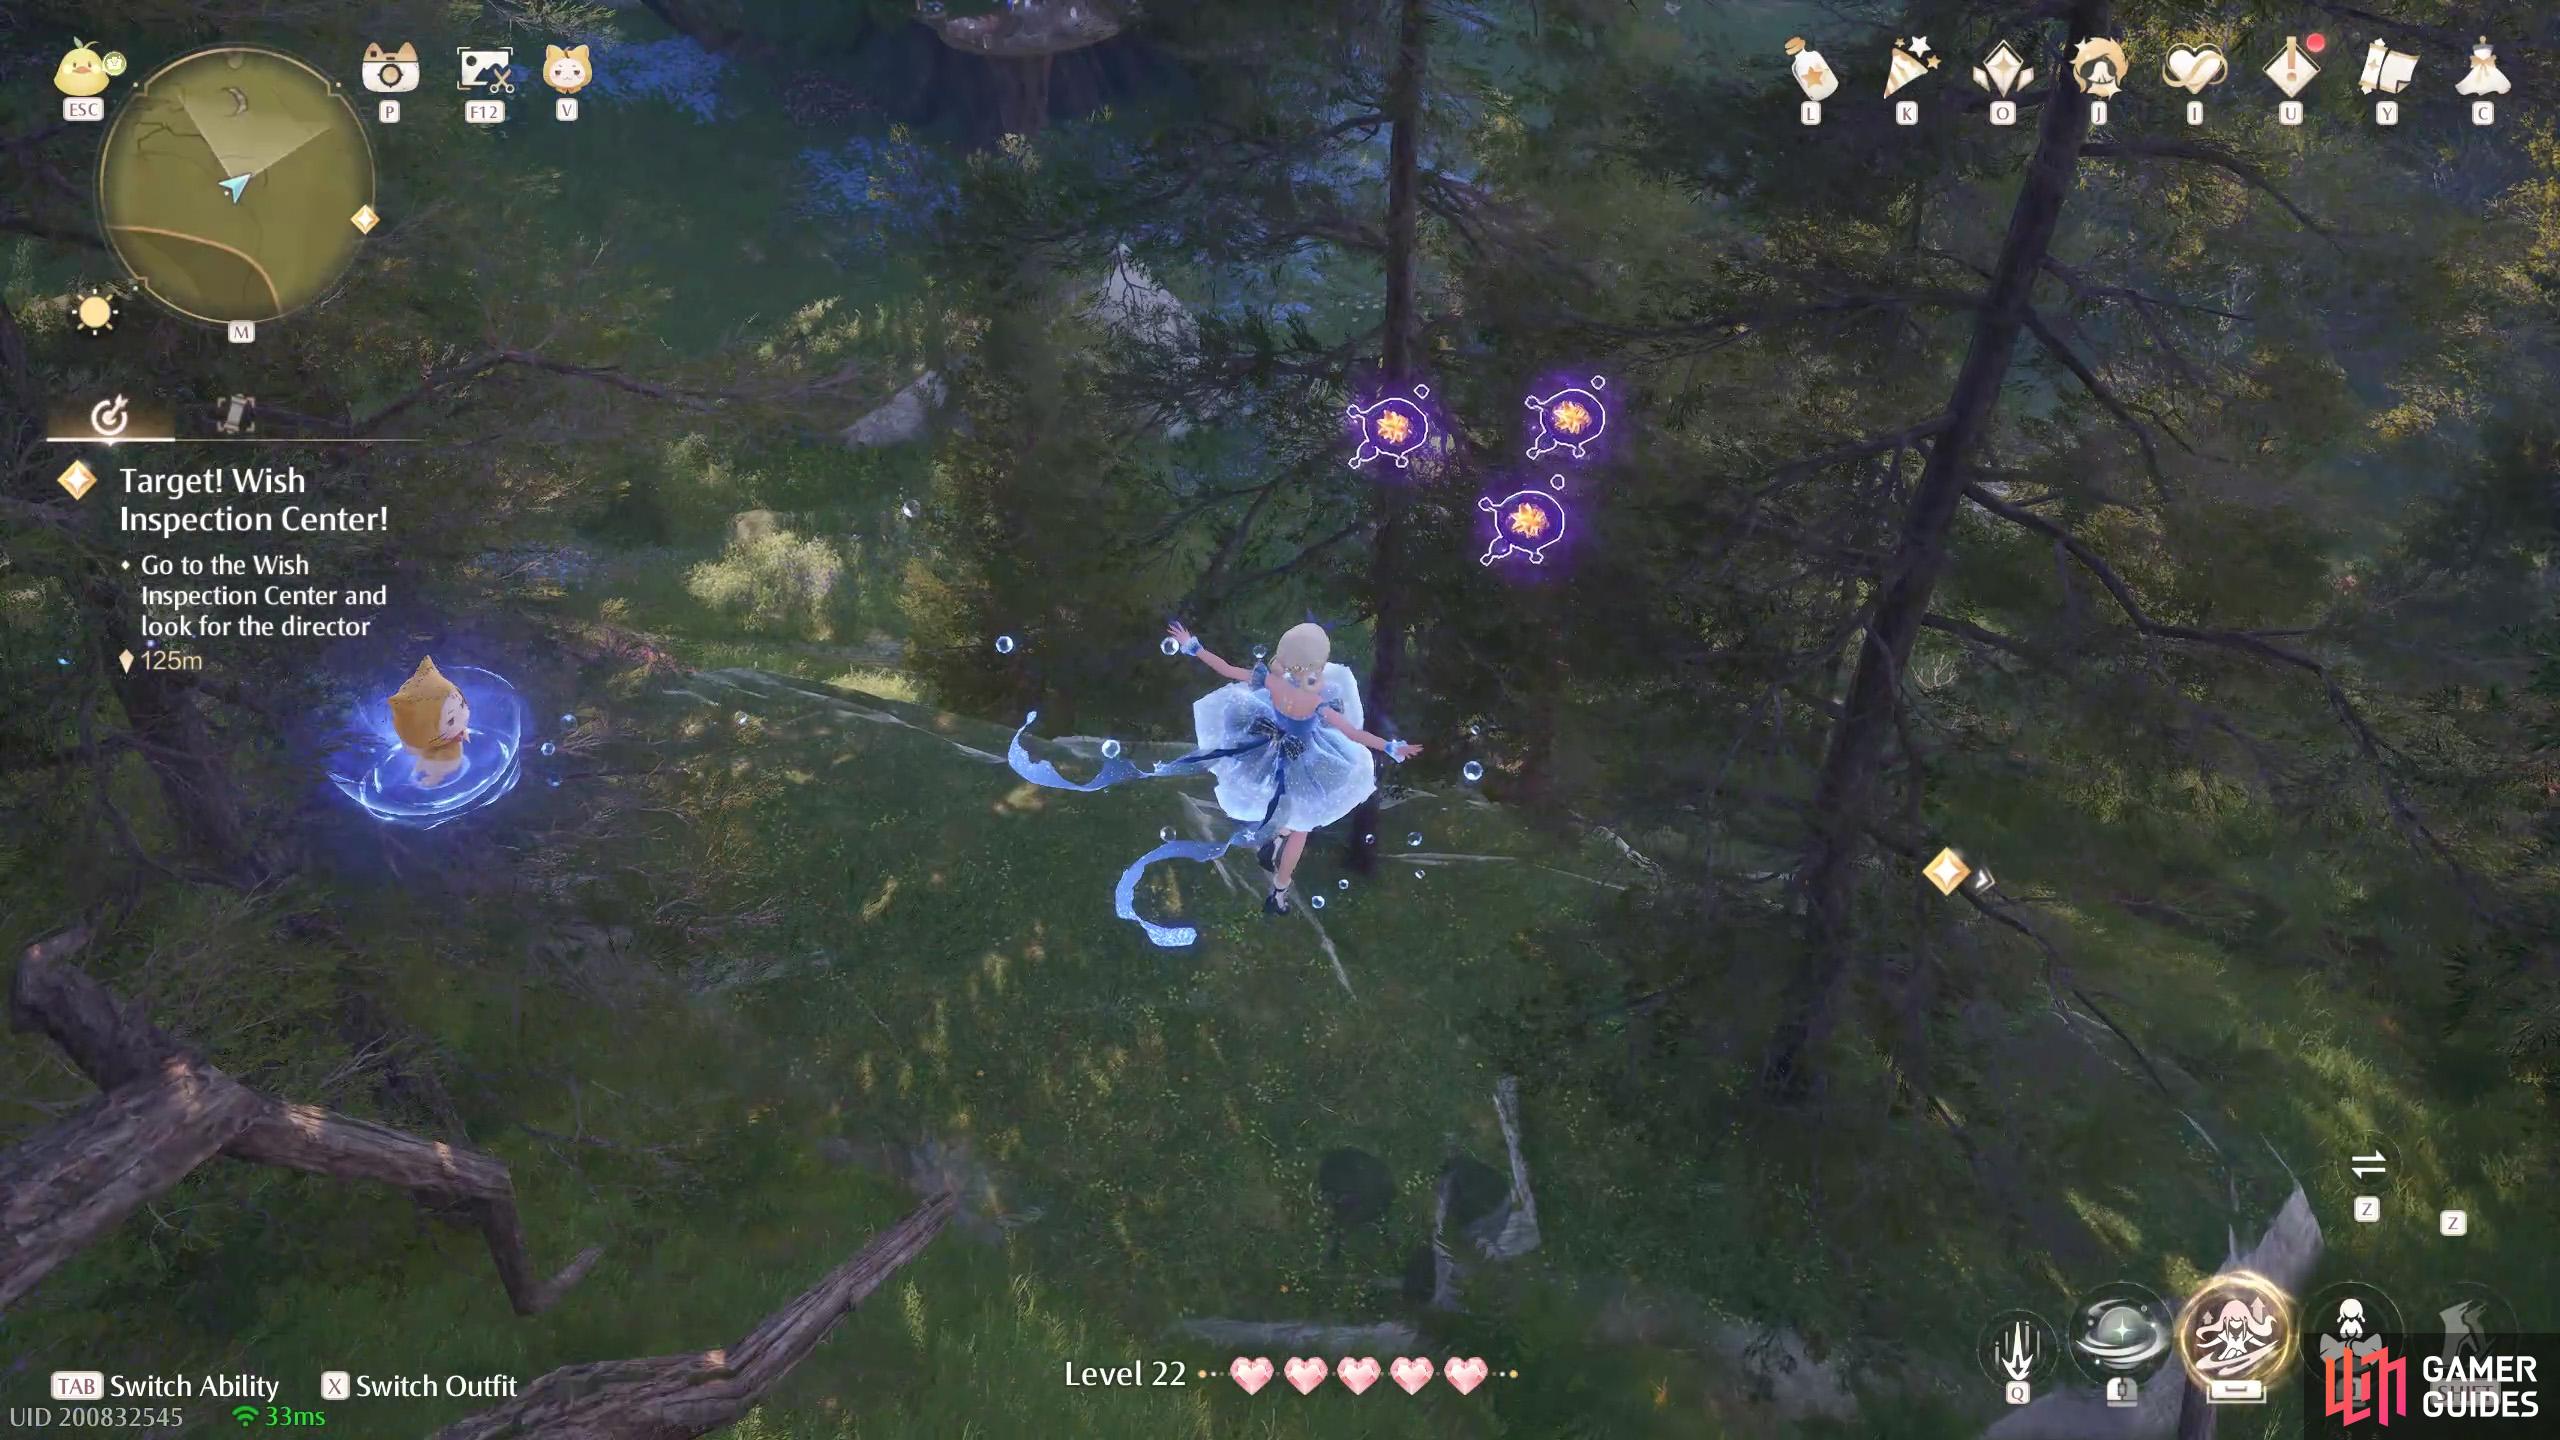
564. Miraland Map
West from the ![]() Wish Auditing Station. Three floating high up. You can float down from further up the slope.
Wish Auditing Station. Three floating high up. You can float down from further up the slope.
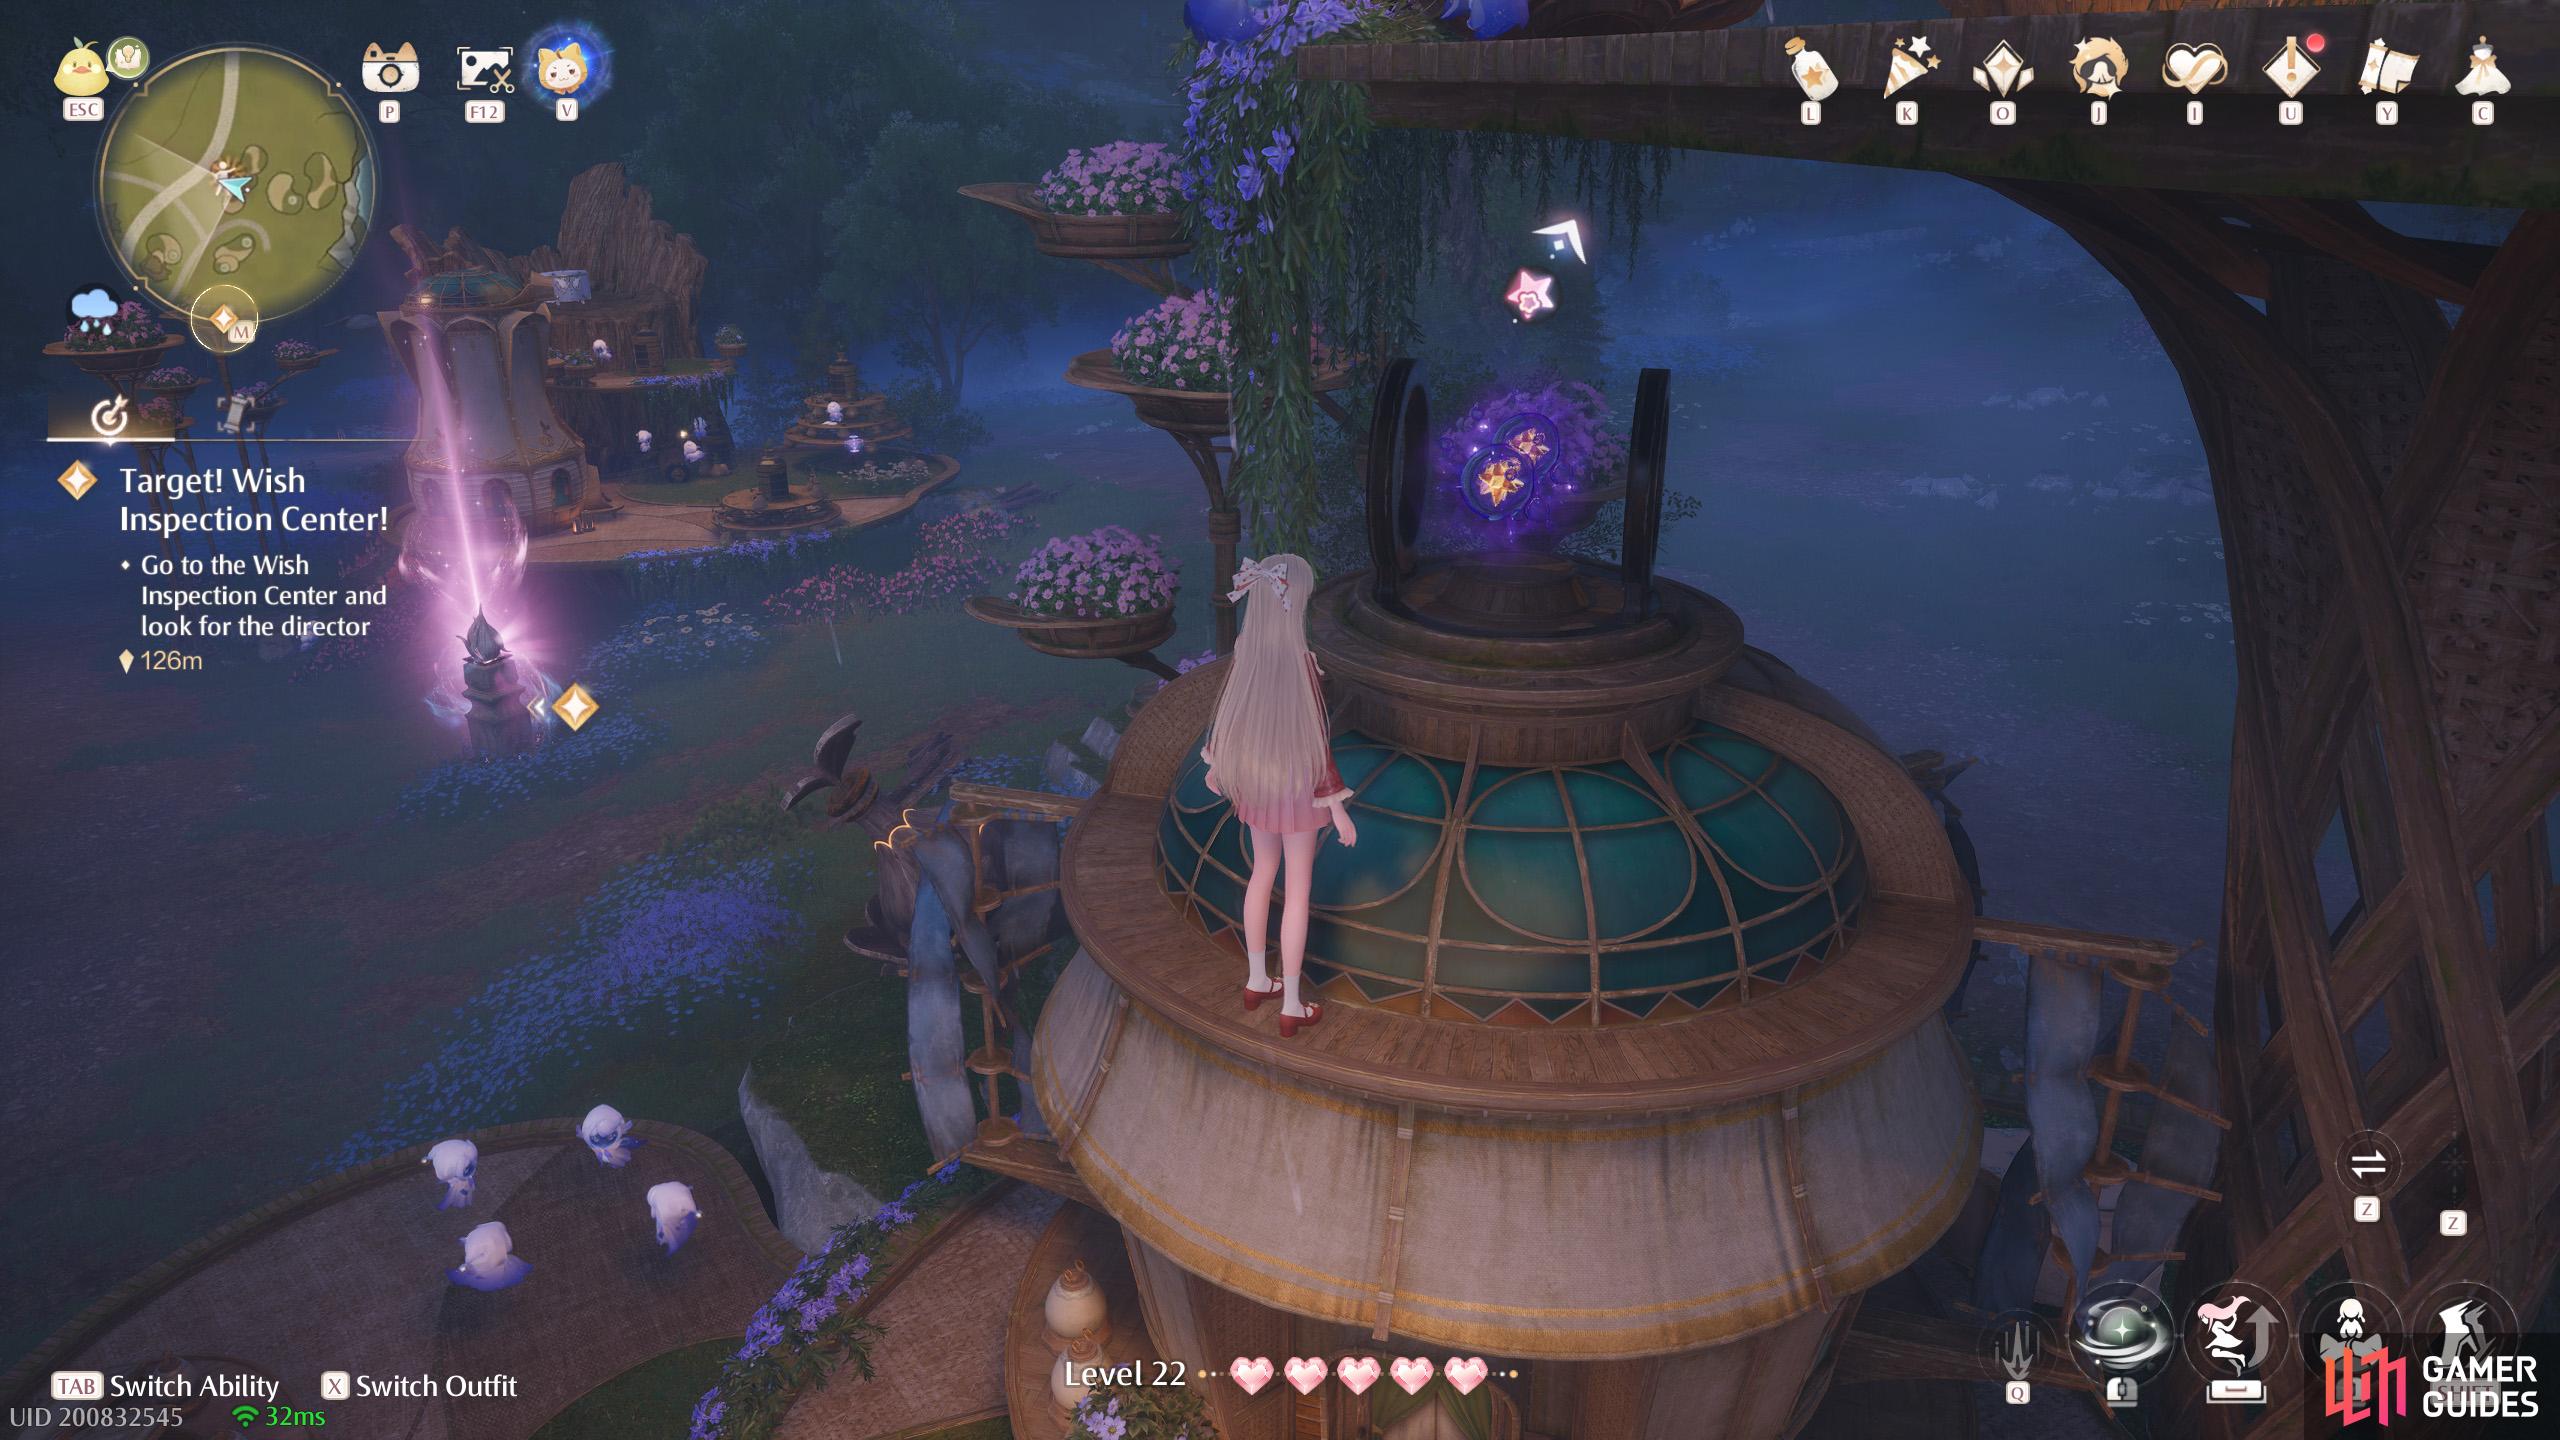
565. Miraland Map
Short distance north-east from the ![]() Wishcraft Lab Warp Spire. Two atop the building next to Gurida’s shop.
Wishcraft Lab Warp Spire. Two atop the building next to Gurida’s shop.
566. Miraland Map
Short distance east from the ![]() Wishcraft Lab Warp Spire. Three floating near the top of a flower platform.
Wishcraft Lab Warp Spire. Three floating near the top of a flower platform.
567. Miraland Map
North-east from the ![]() Wishcraft Lab. Three floating above the water wheel.
Wishcraft Lab. Three floating above the water wheel.
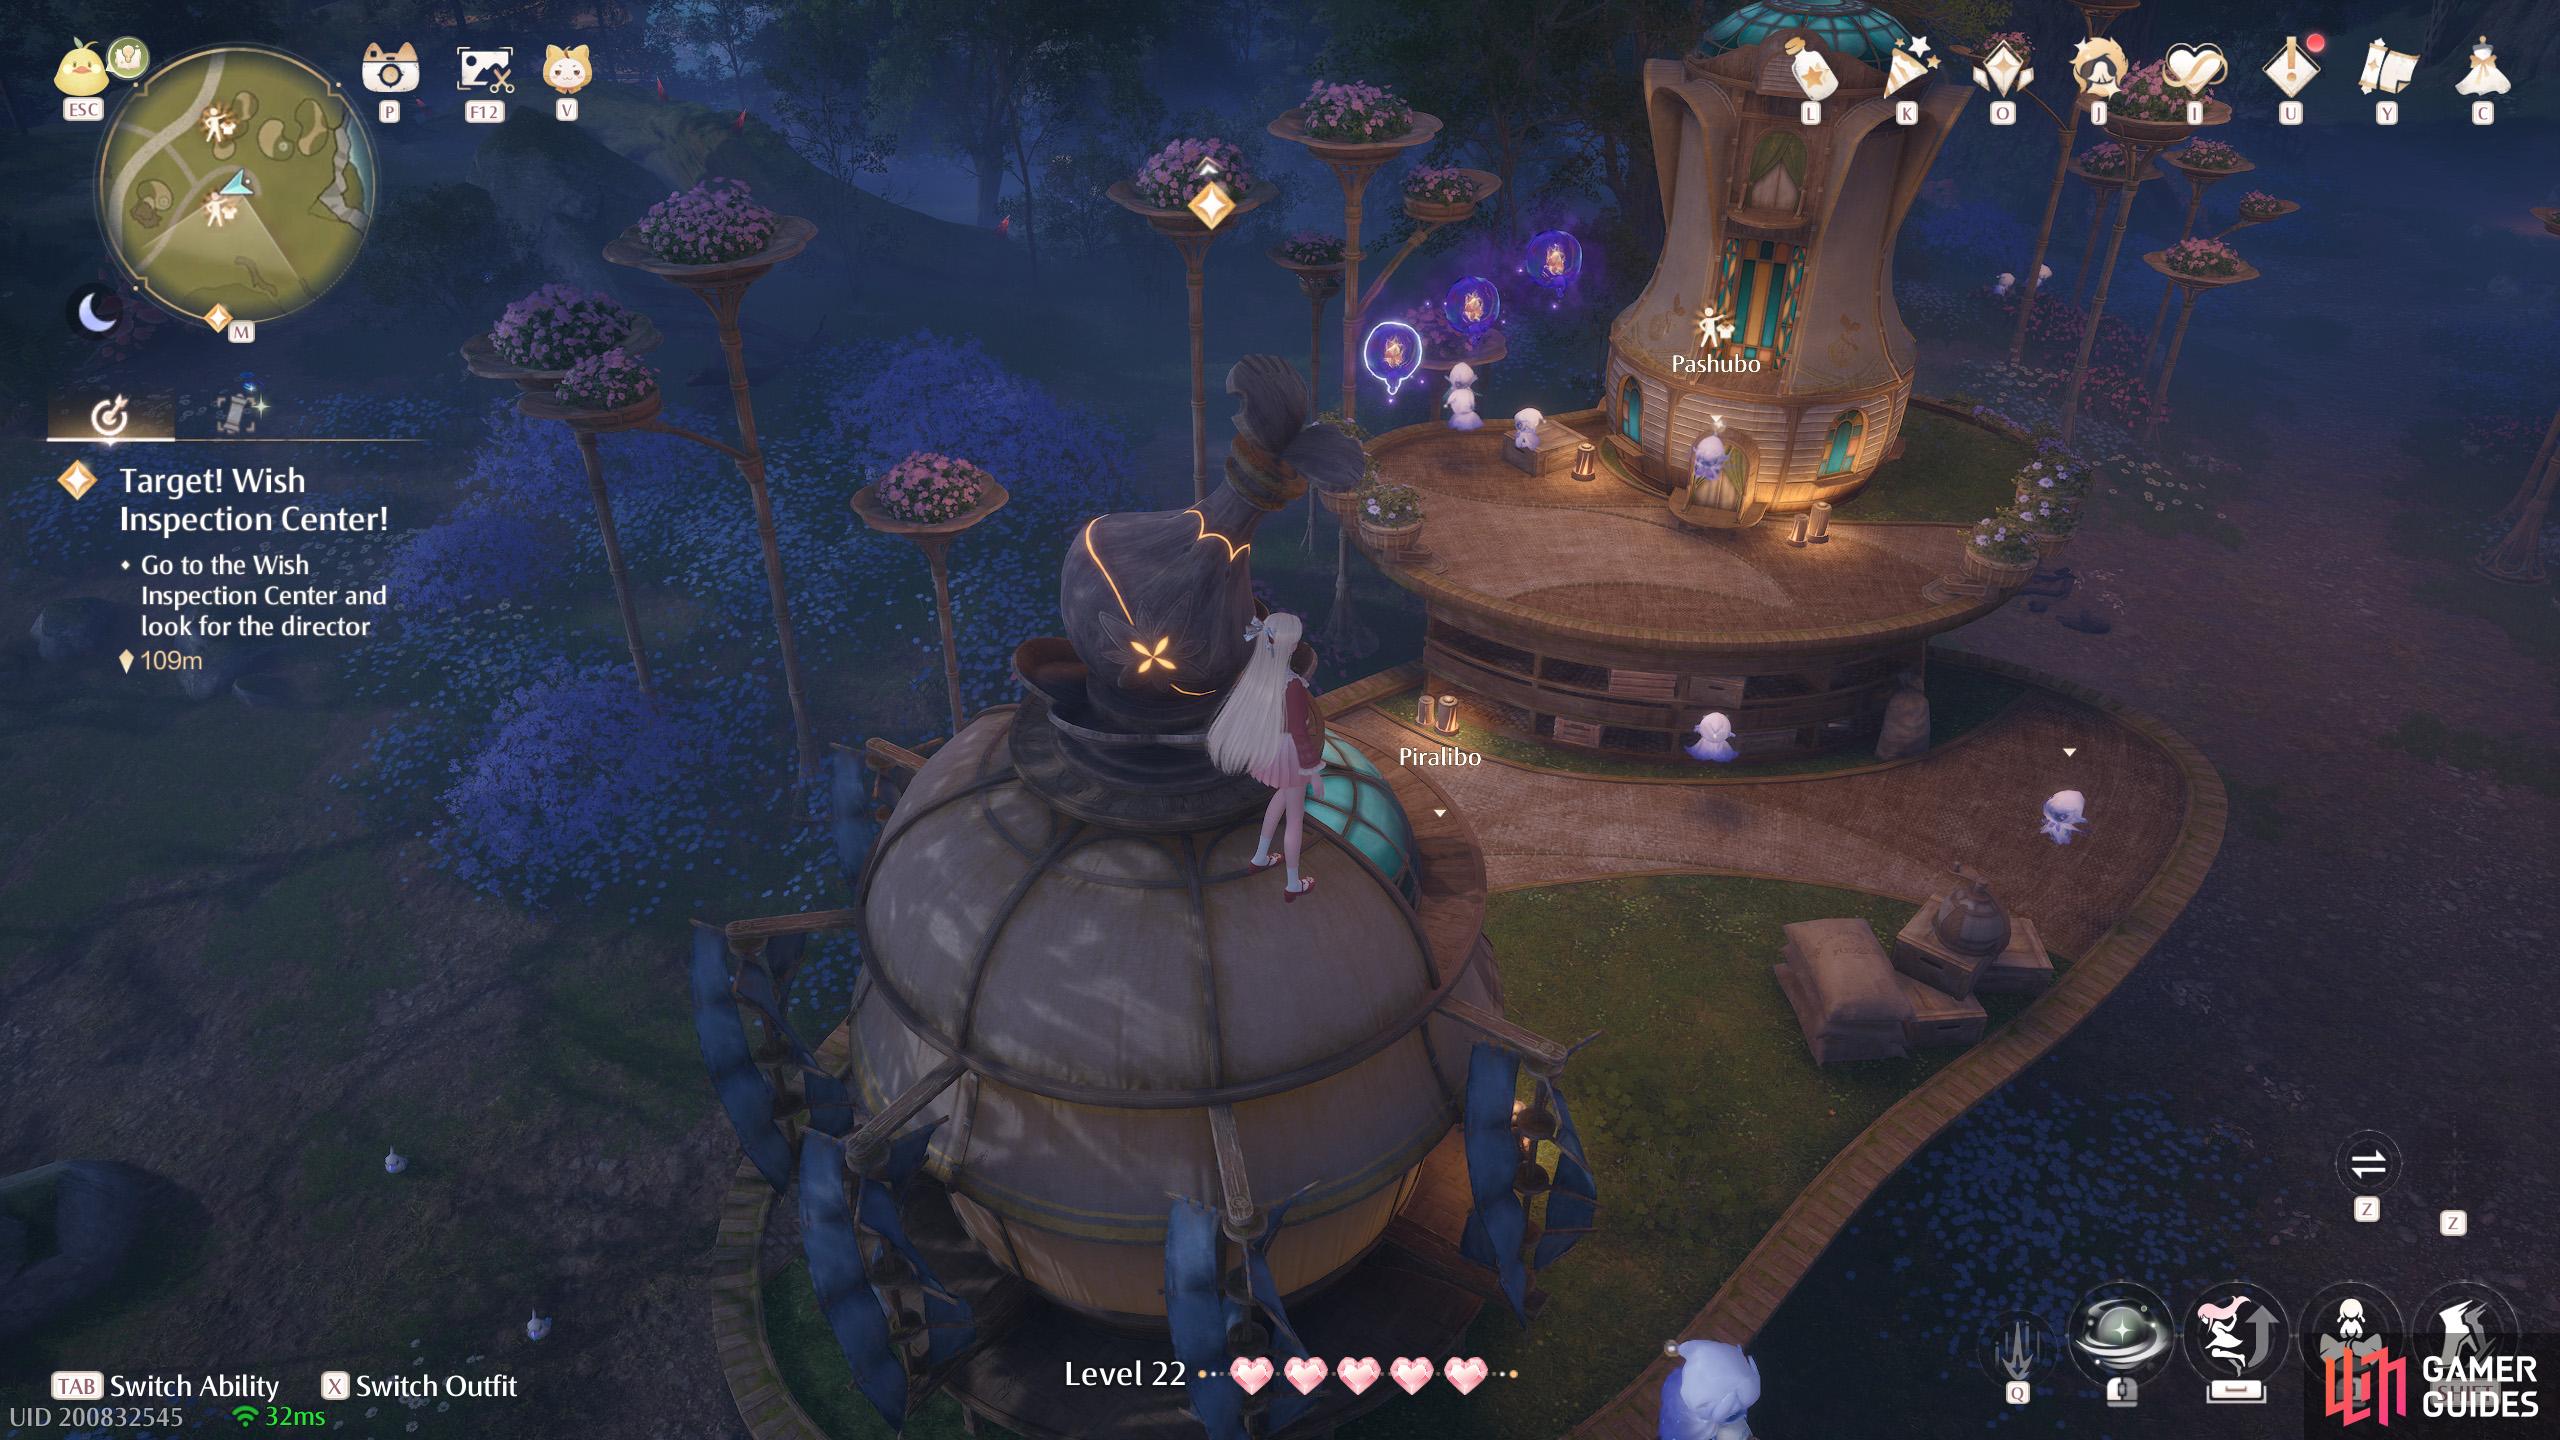
568. Miraland Map
Short distance south-east from the ![]() Wishcraft Lab Warp Spire. Three floating in the air.
Wishcraft Lab Warp Spire. Three floating in the air.
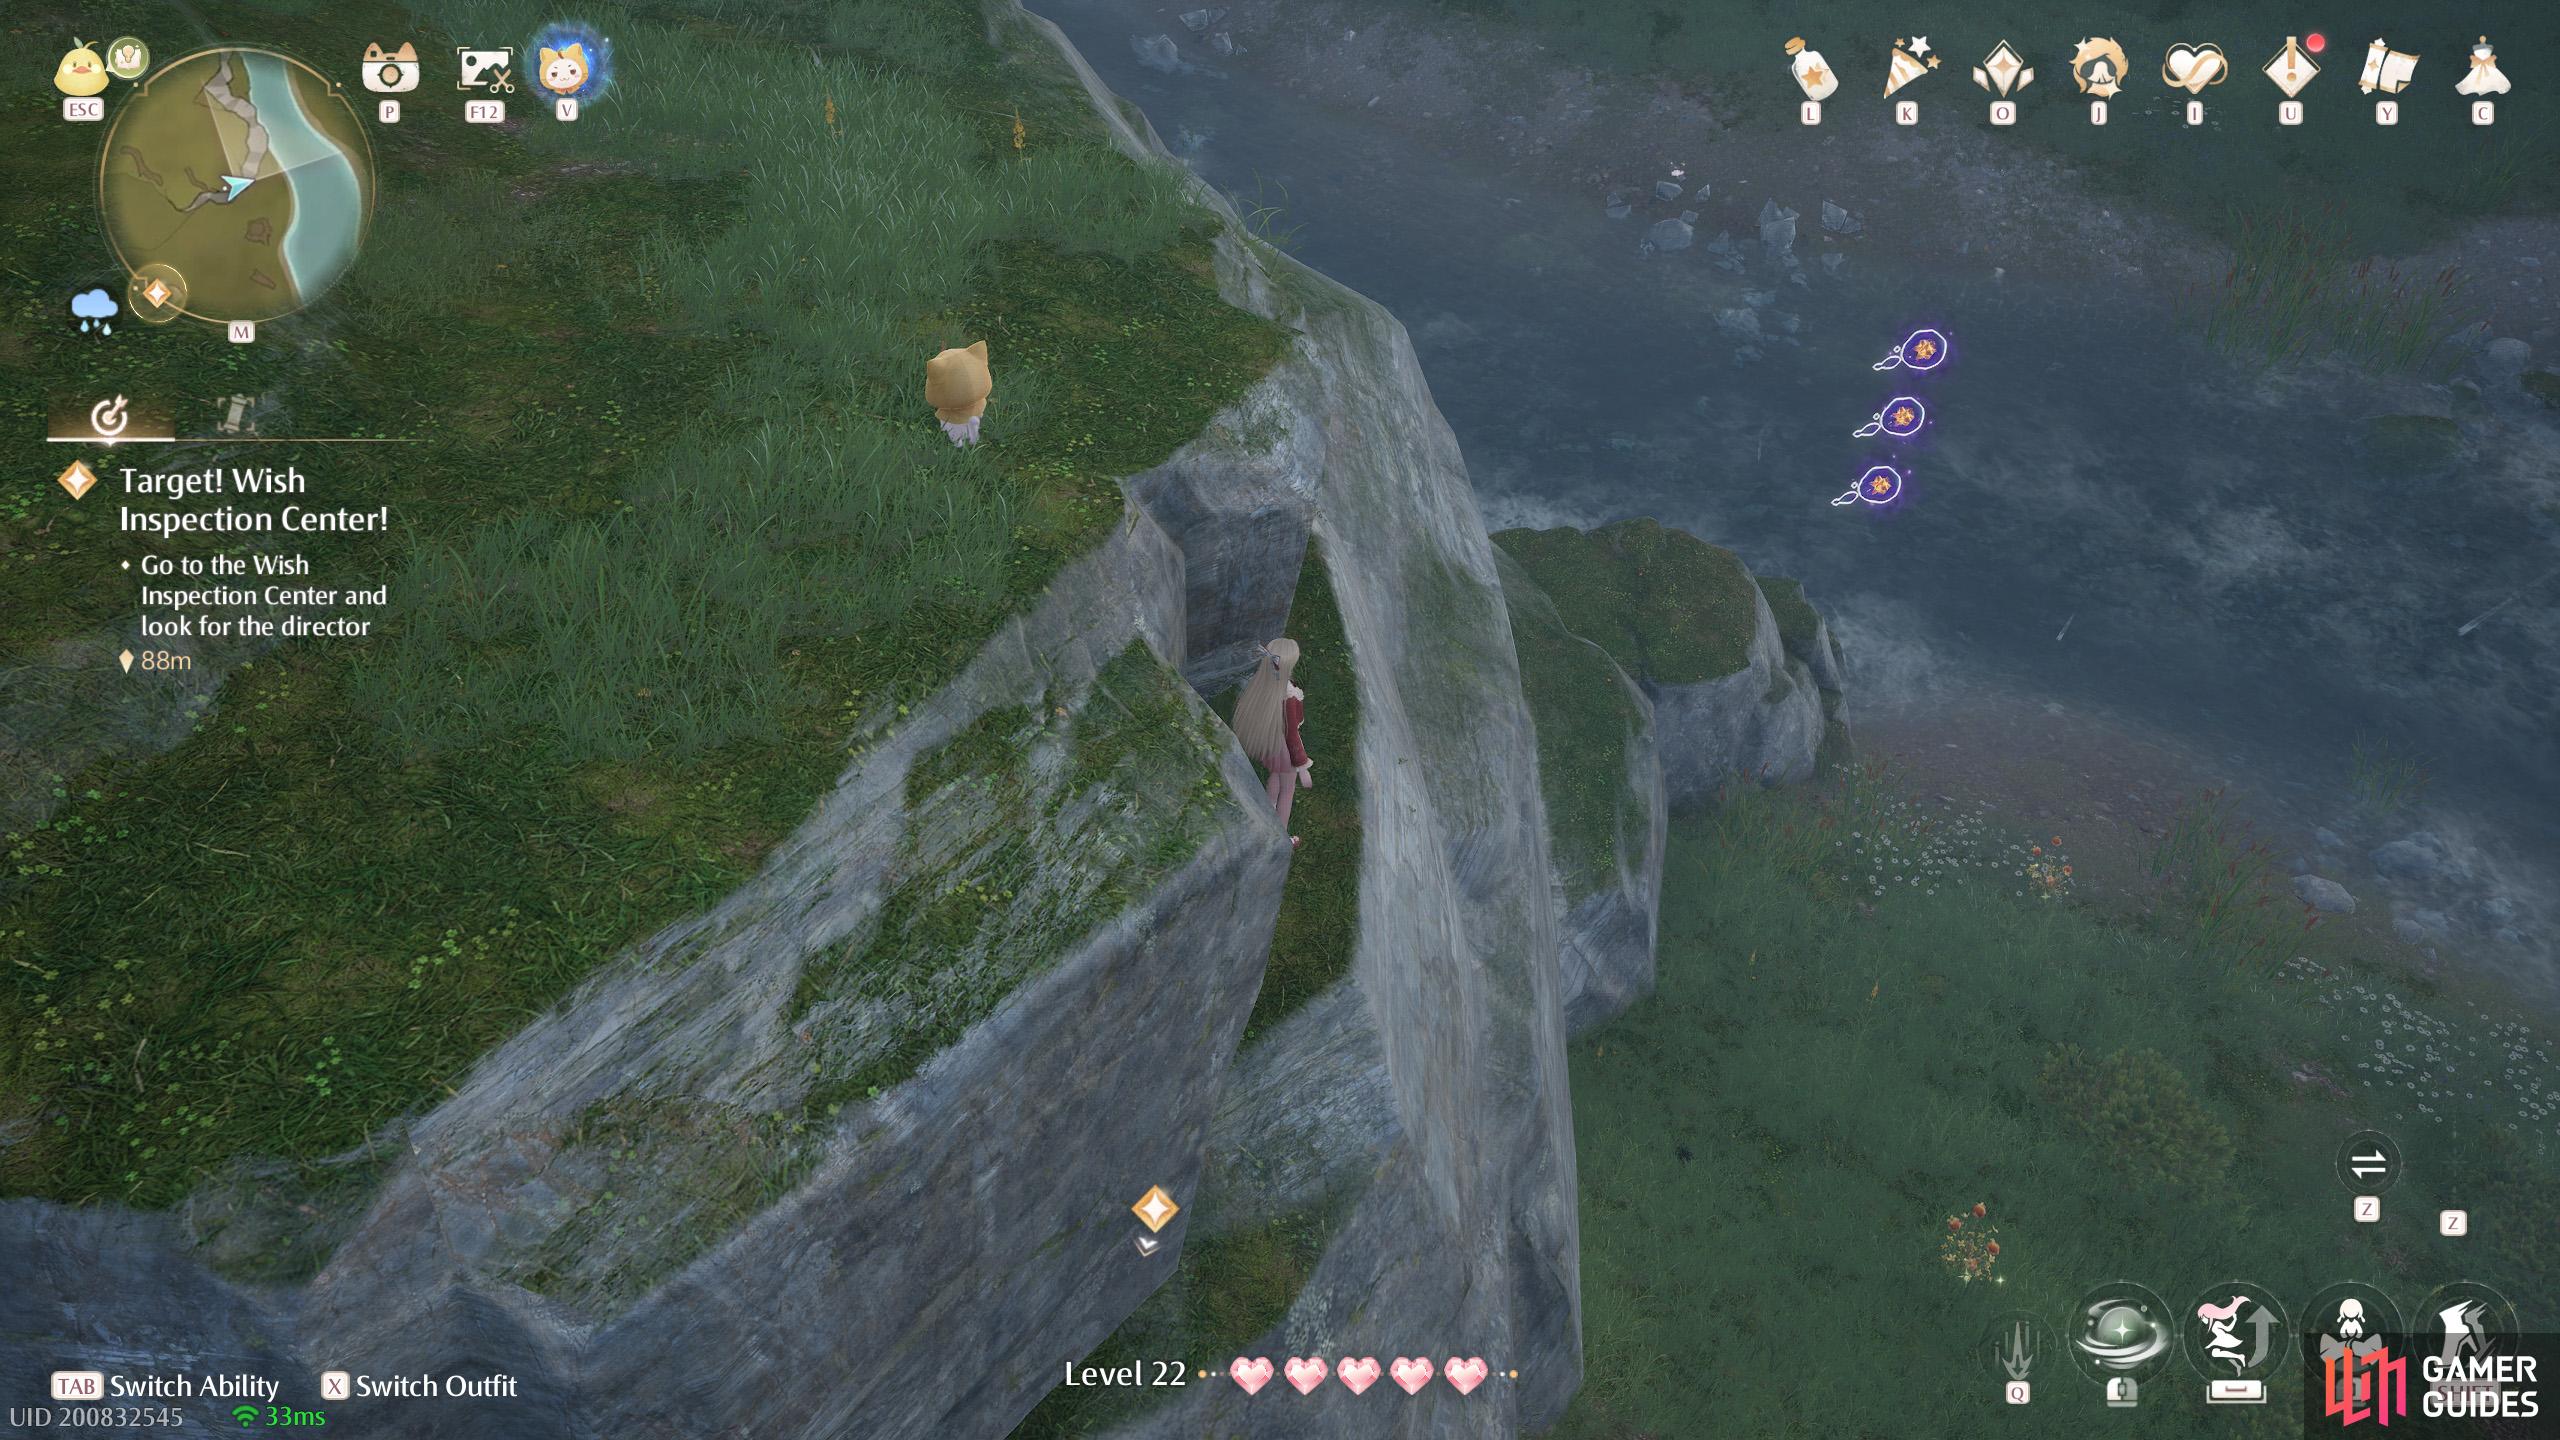
569. Miraland Map
South-east from ![]() Wishcraft Lab. Three floating in the air, near the river.
Wishcraft Lab. Three floating in the air, near the river.
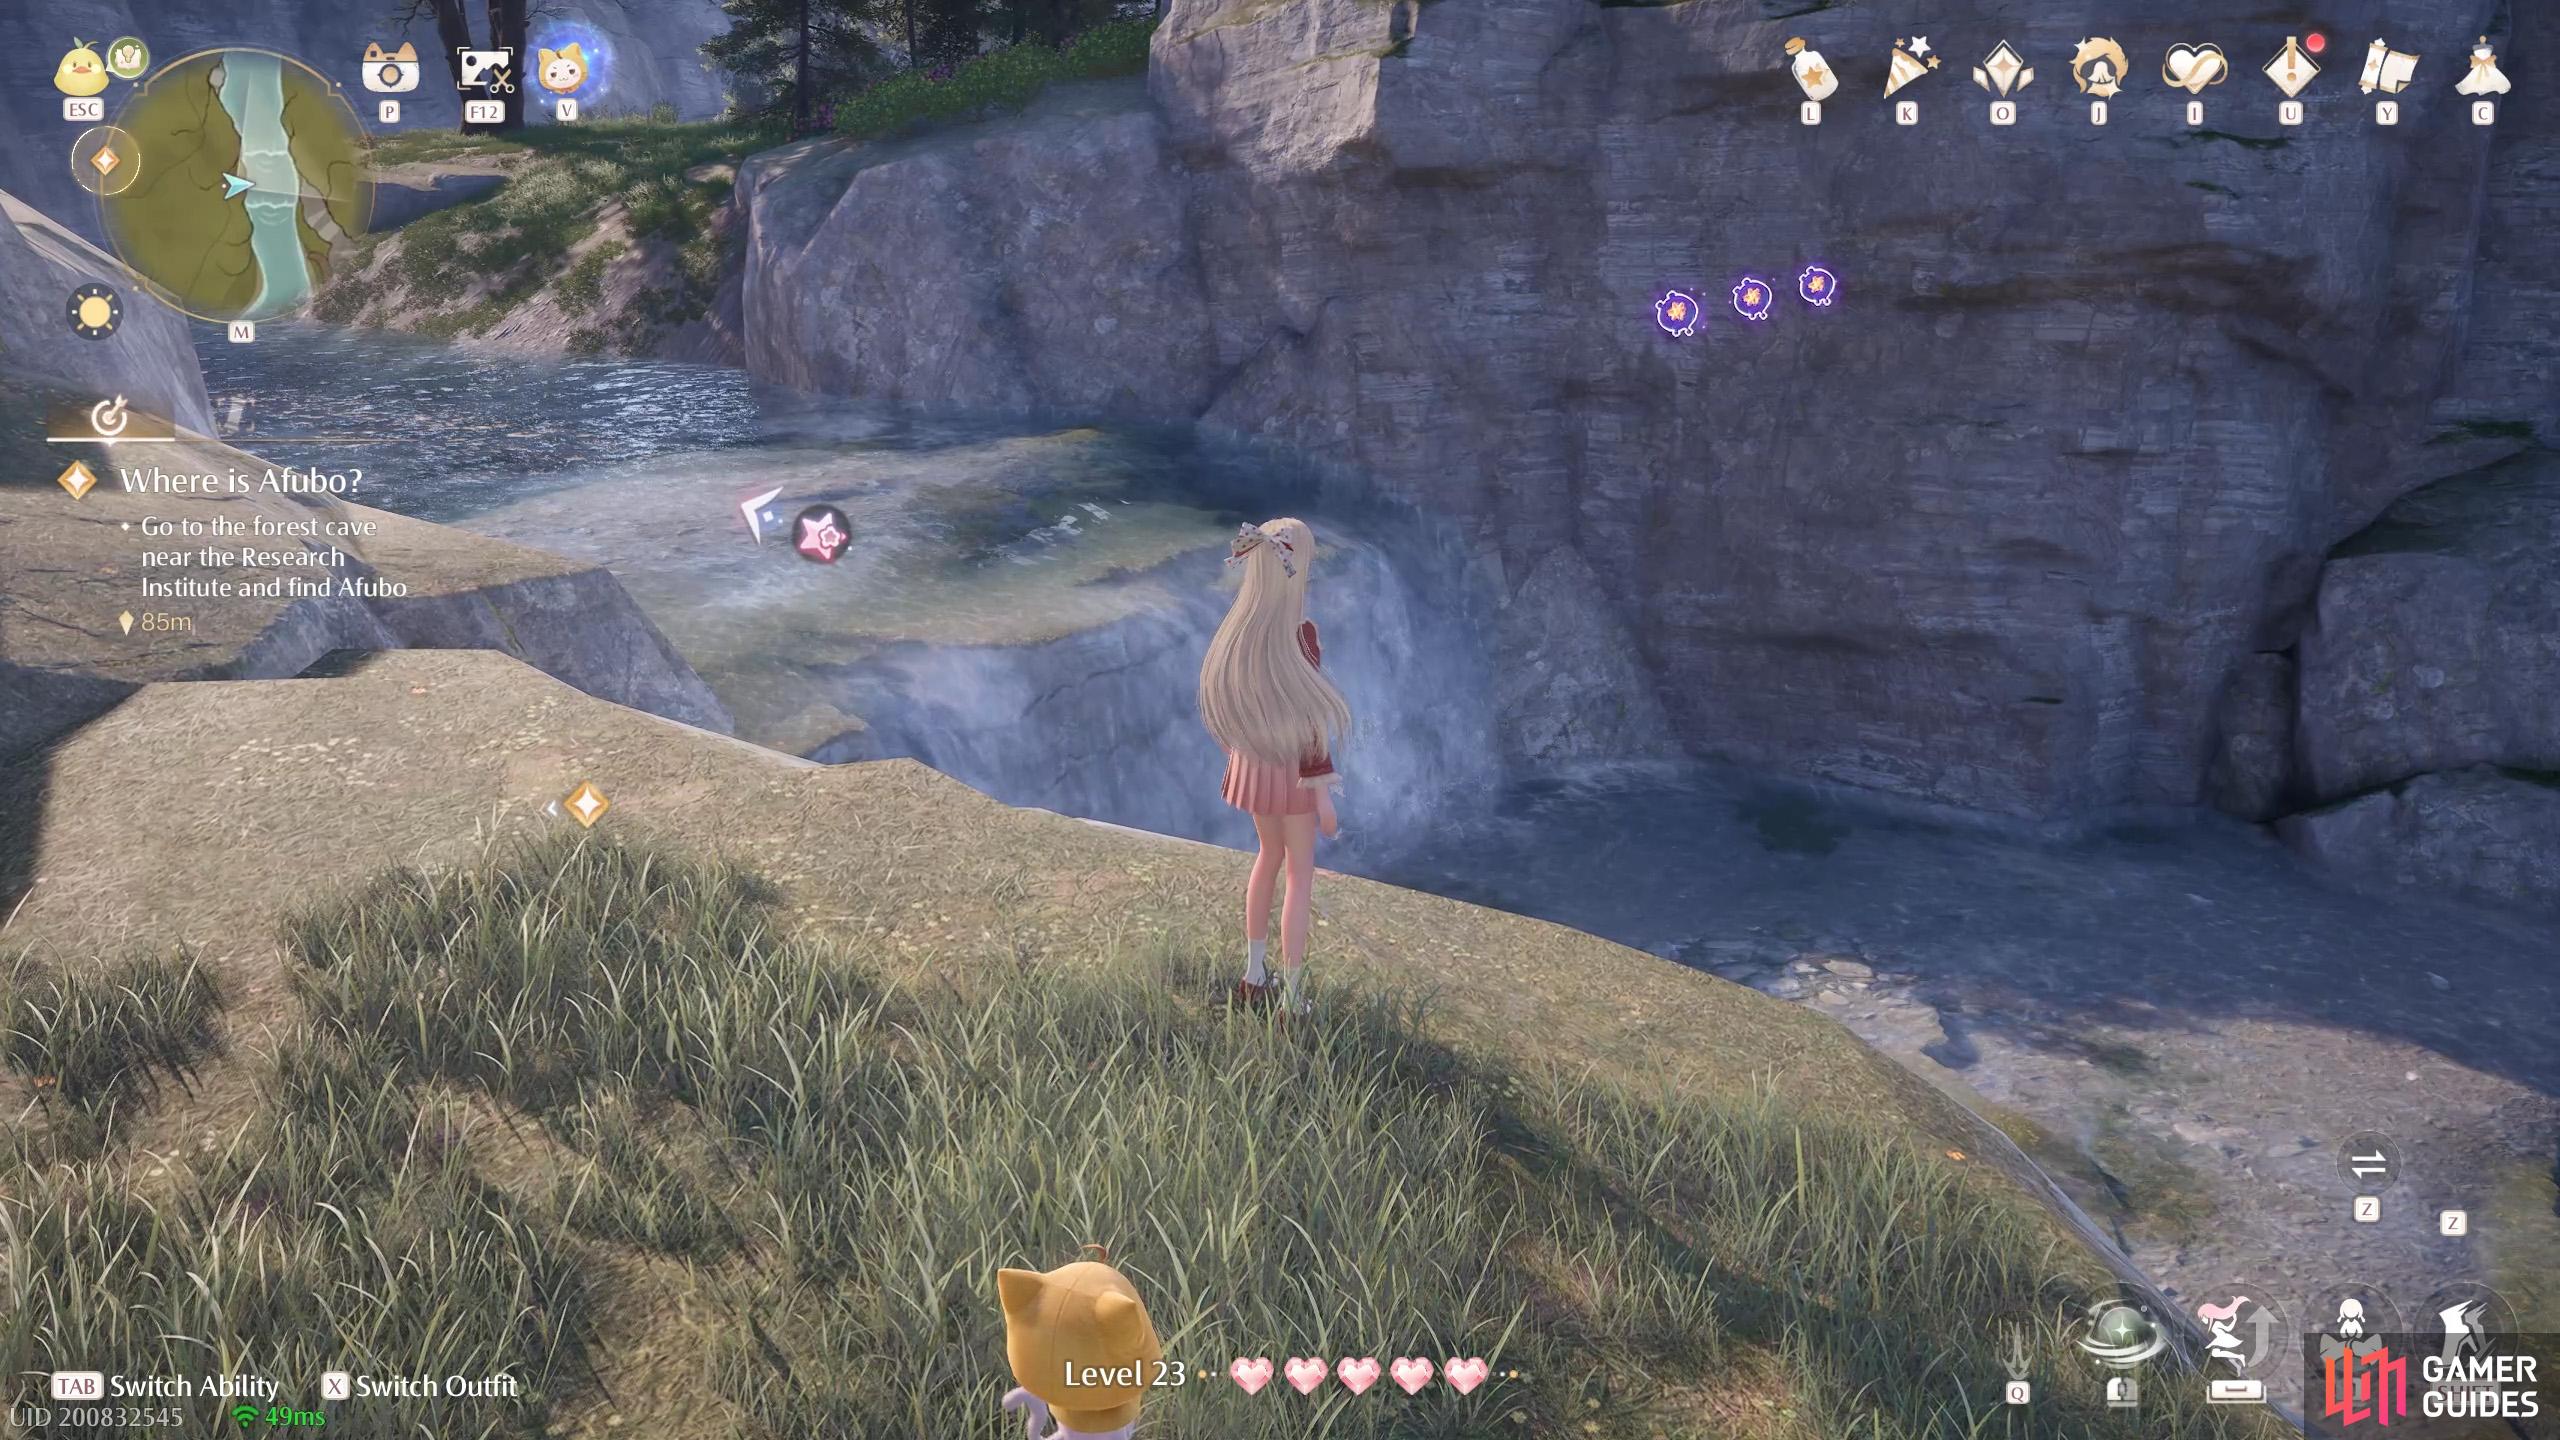
570. Miraland Map
South from ![]() Timis’s Beauty Lab. Three floating above the river, between two cascades.
Timis’s Beauty Lab. Three floating above the river, between two cascades.
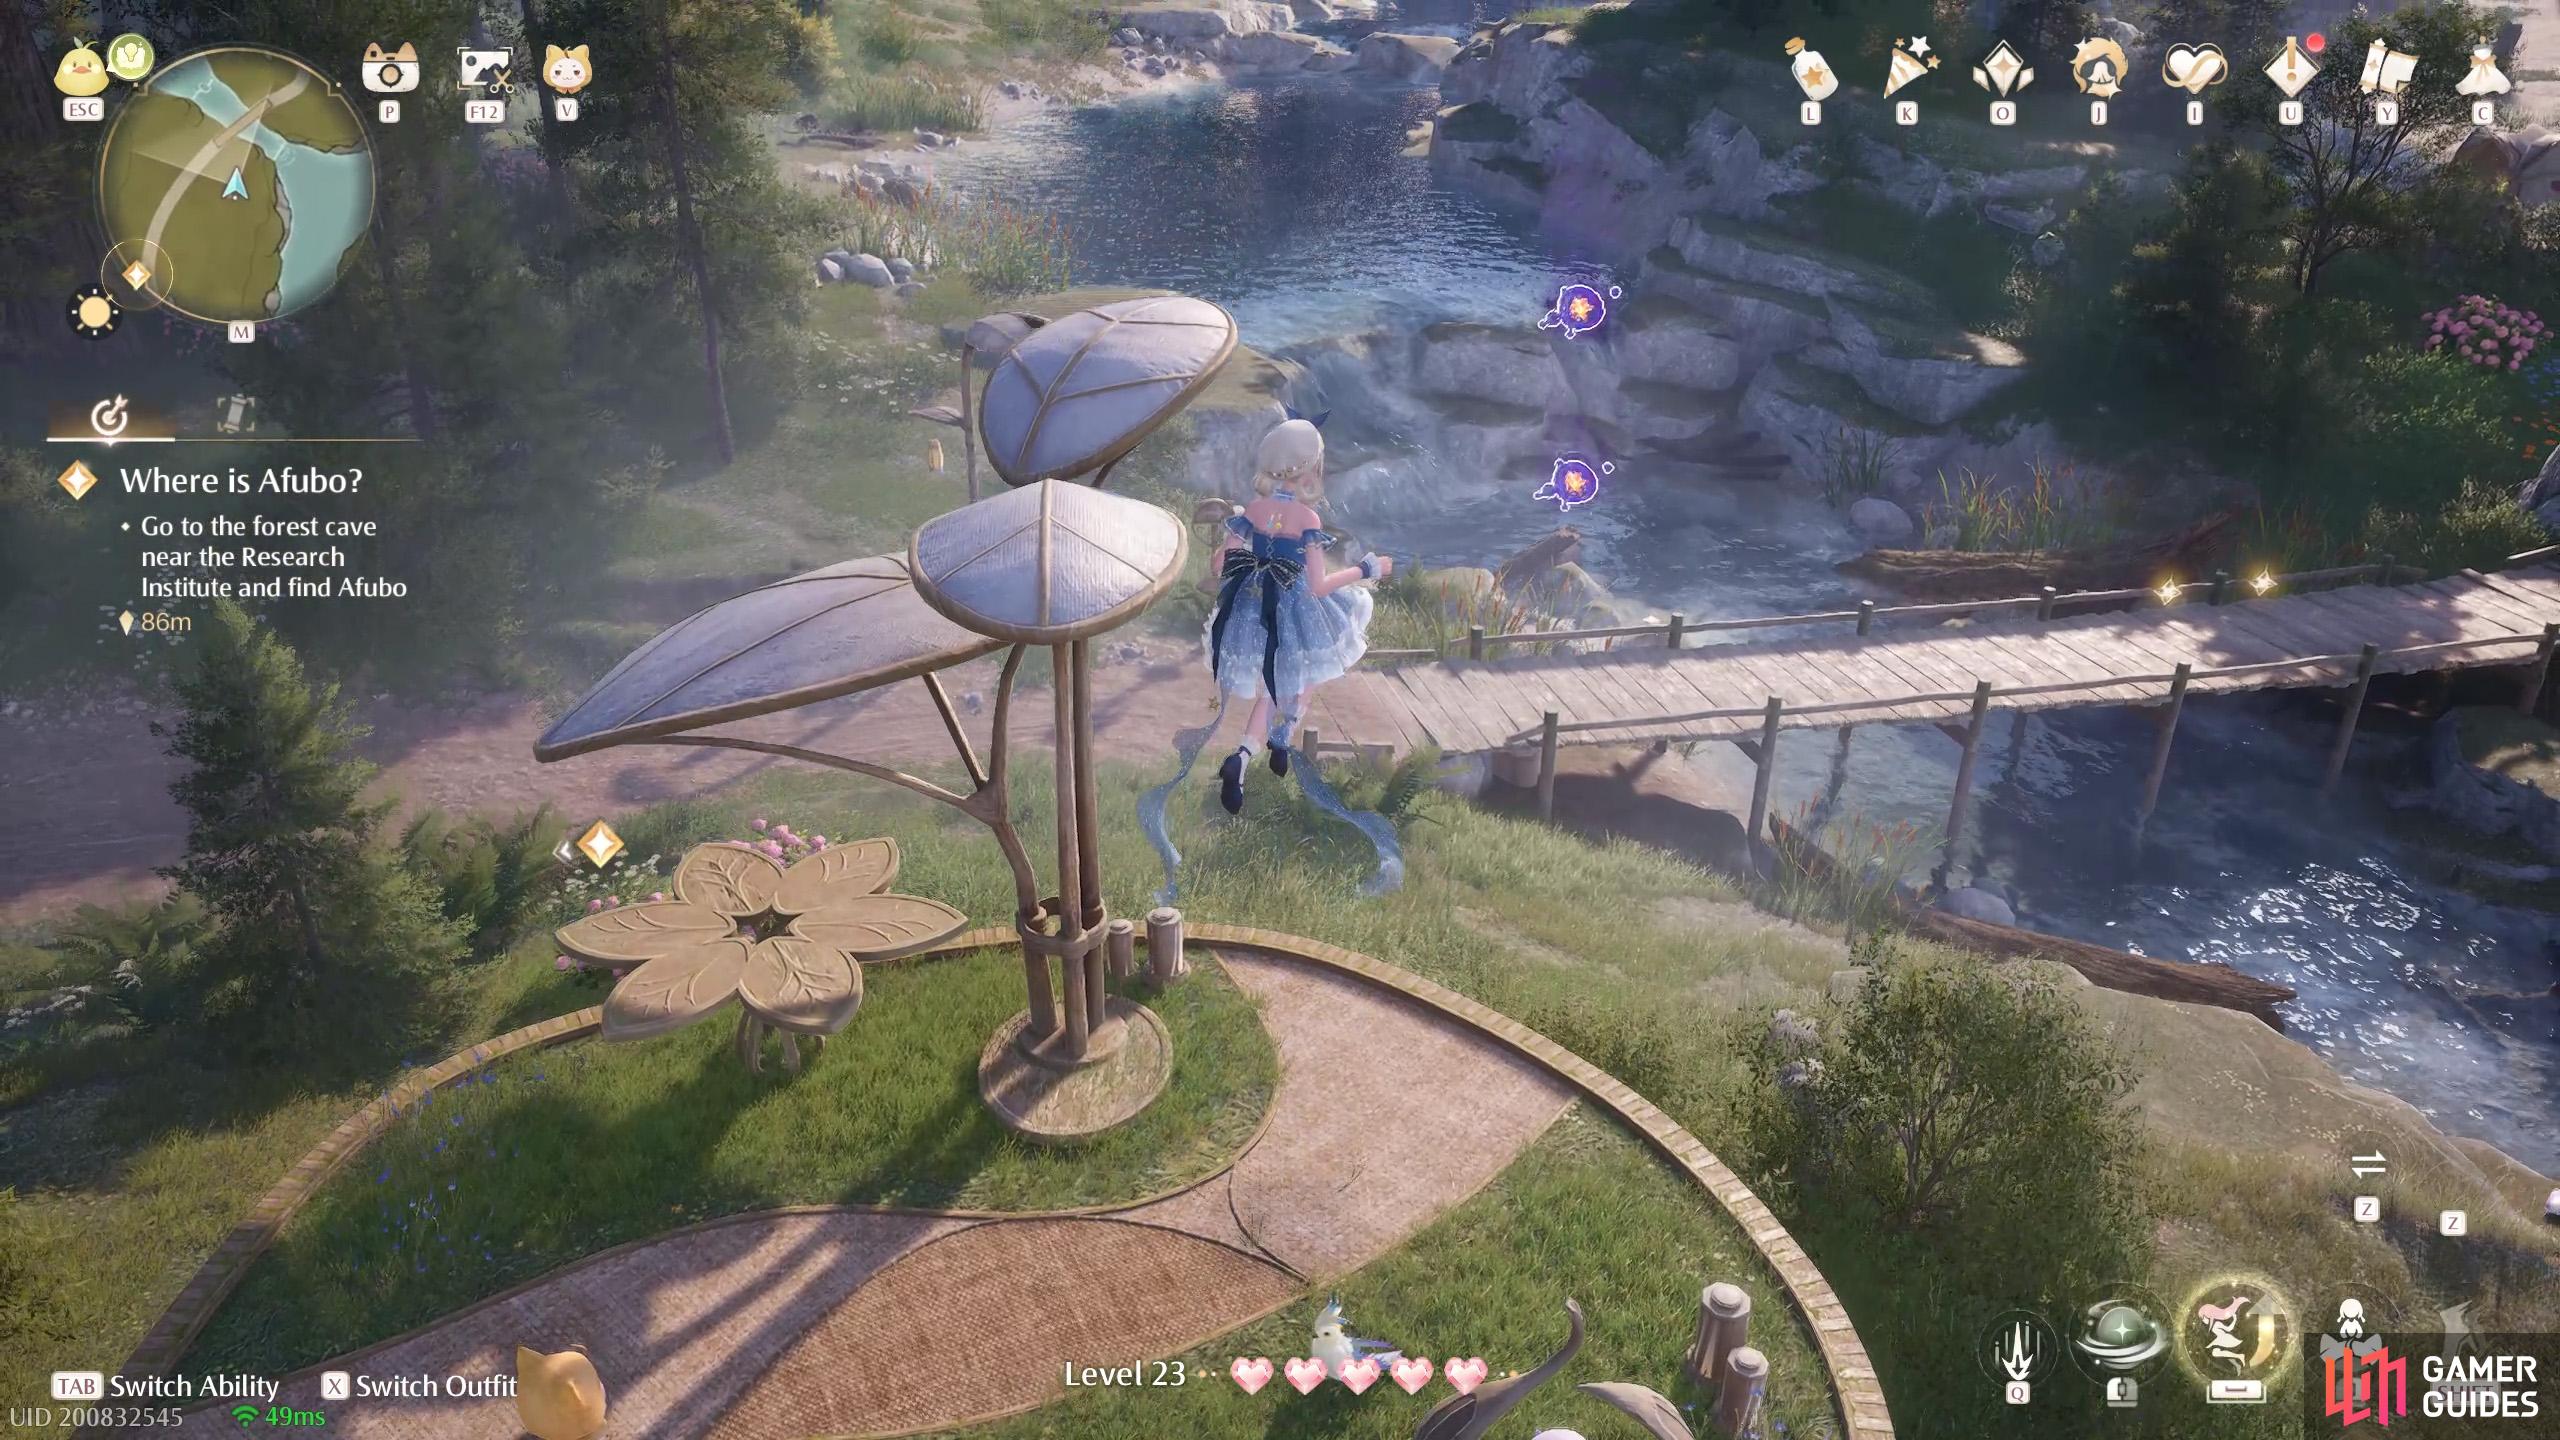
571. Miraland Map
Short distance south-west from ![]() Timis’s Beauty Lab. Two floating near a platform overlooking the bridge. If you collected the
Timis’s Beauty Lab. Two floating near a platform overlooking the bridge. If you collected the ![]() Whimstar to the south, you’d end up here.
Whimstar to the south, you’d end up here.
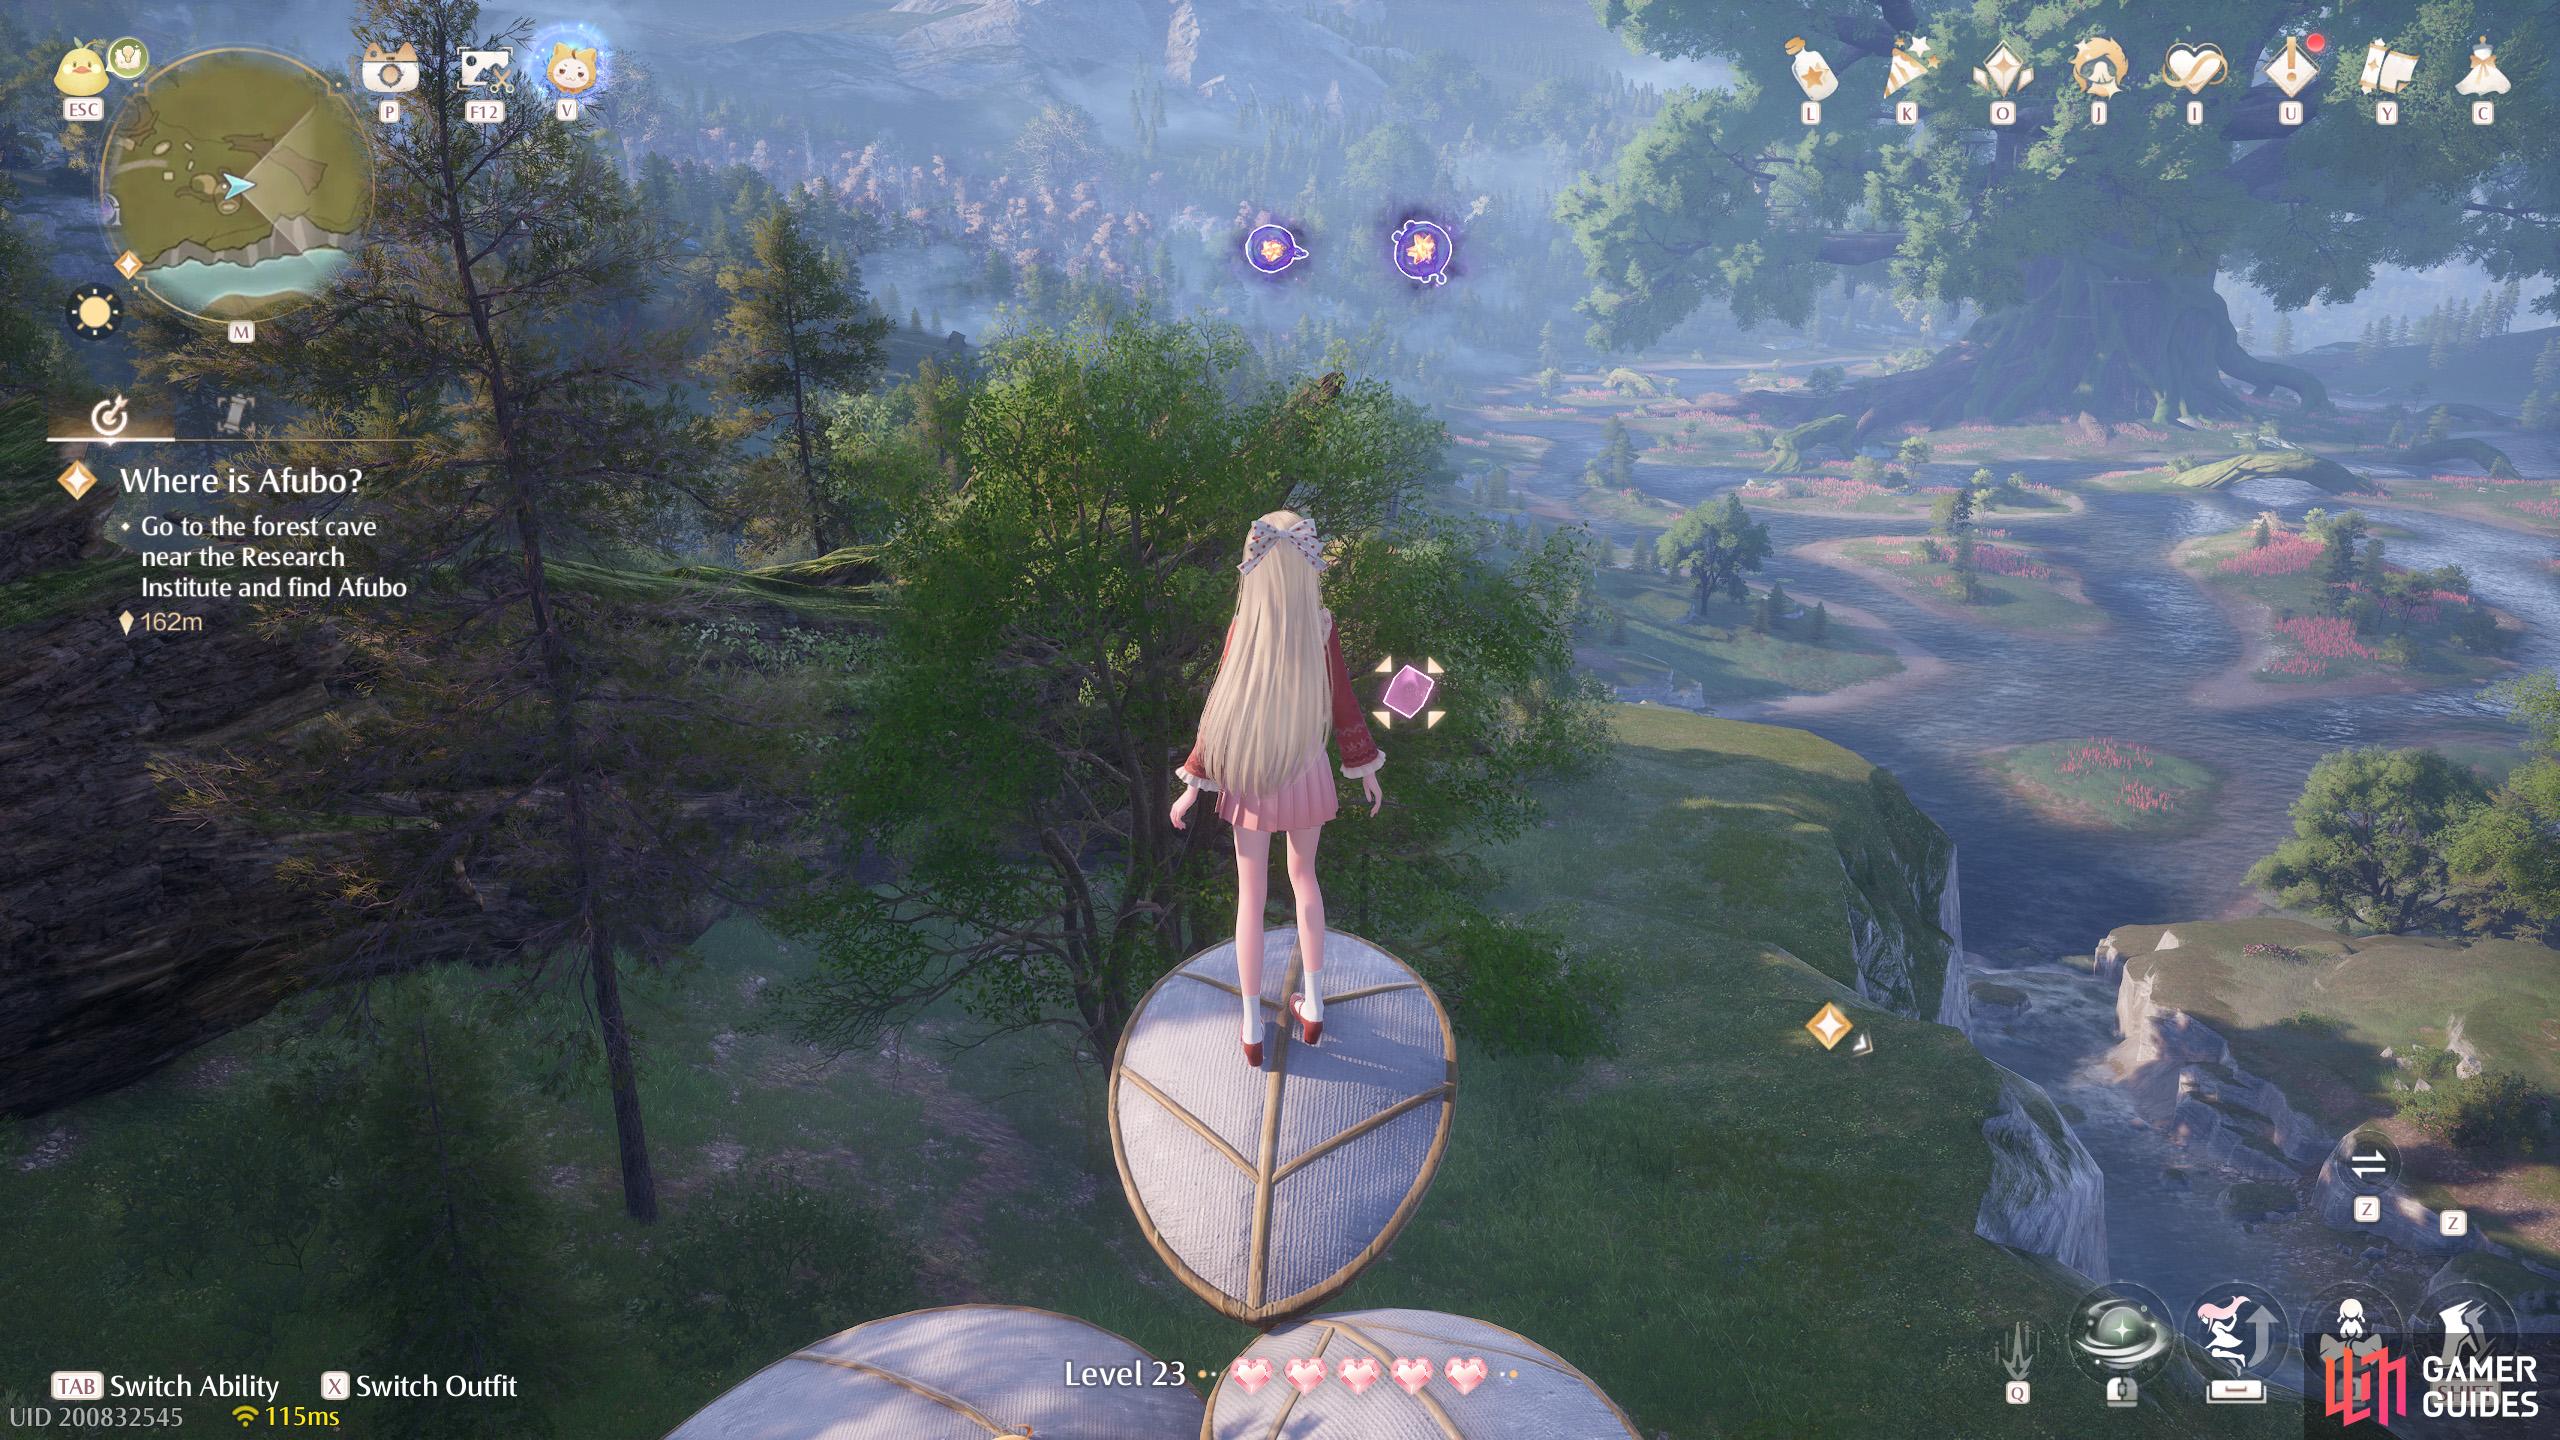
572. Miraland Map
East from ![]() Timis’s Beauty Lab Warp Spire. Two floating high up near Goojubo’s shop.
Timis’s Beauty Lab Warp Spire. Two floating high up near Goojubo’s shop.
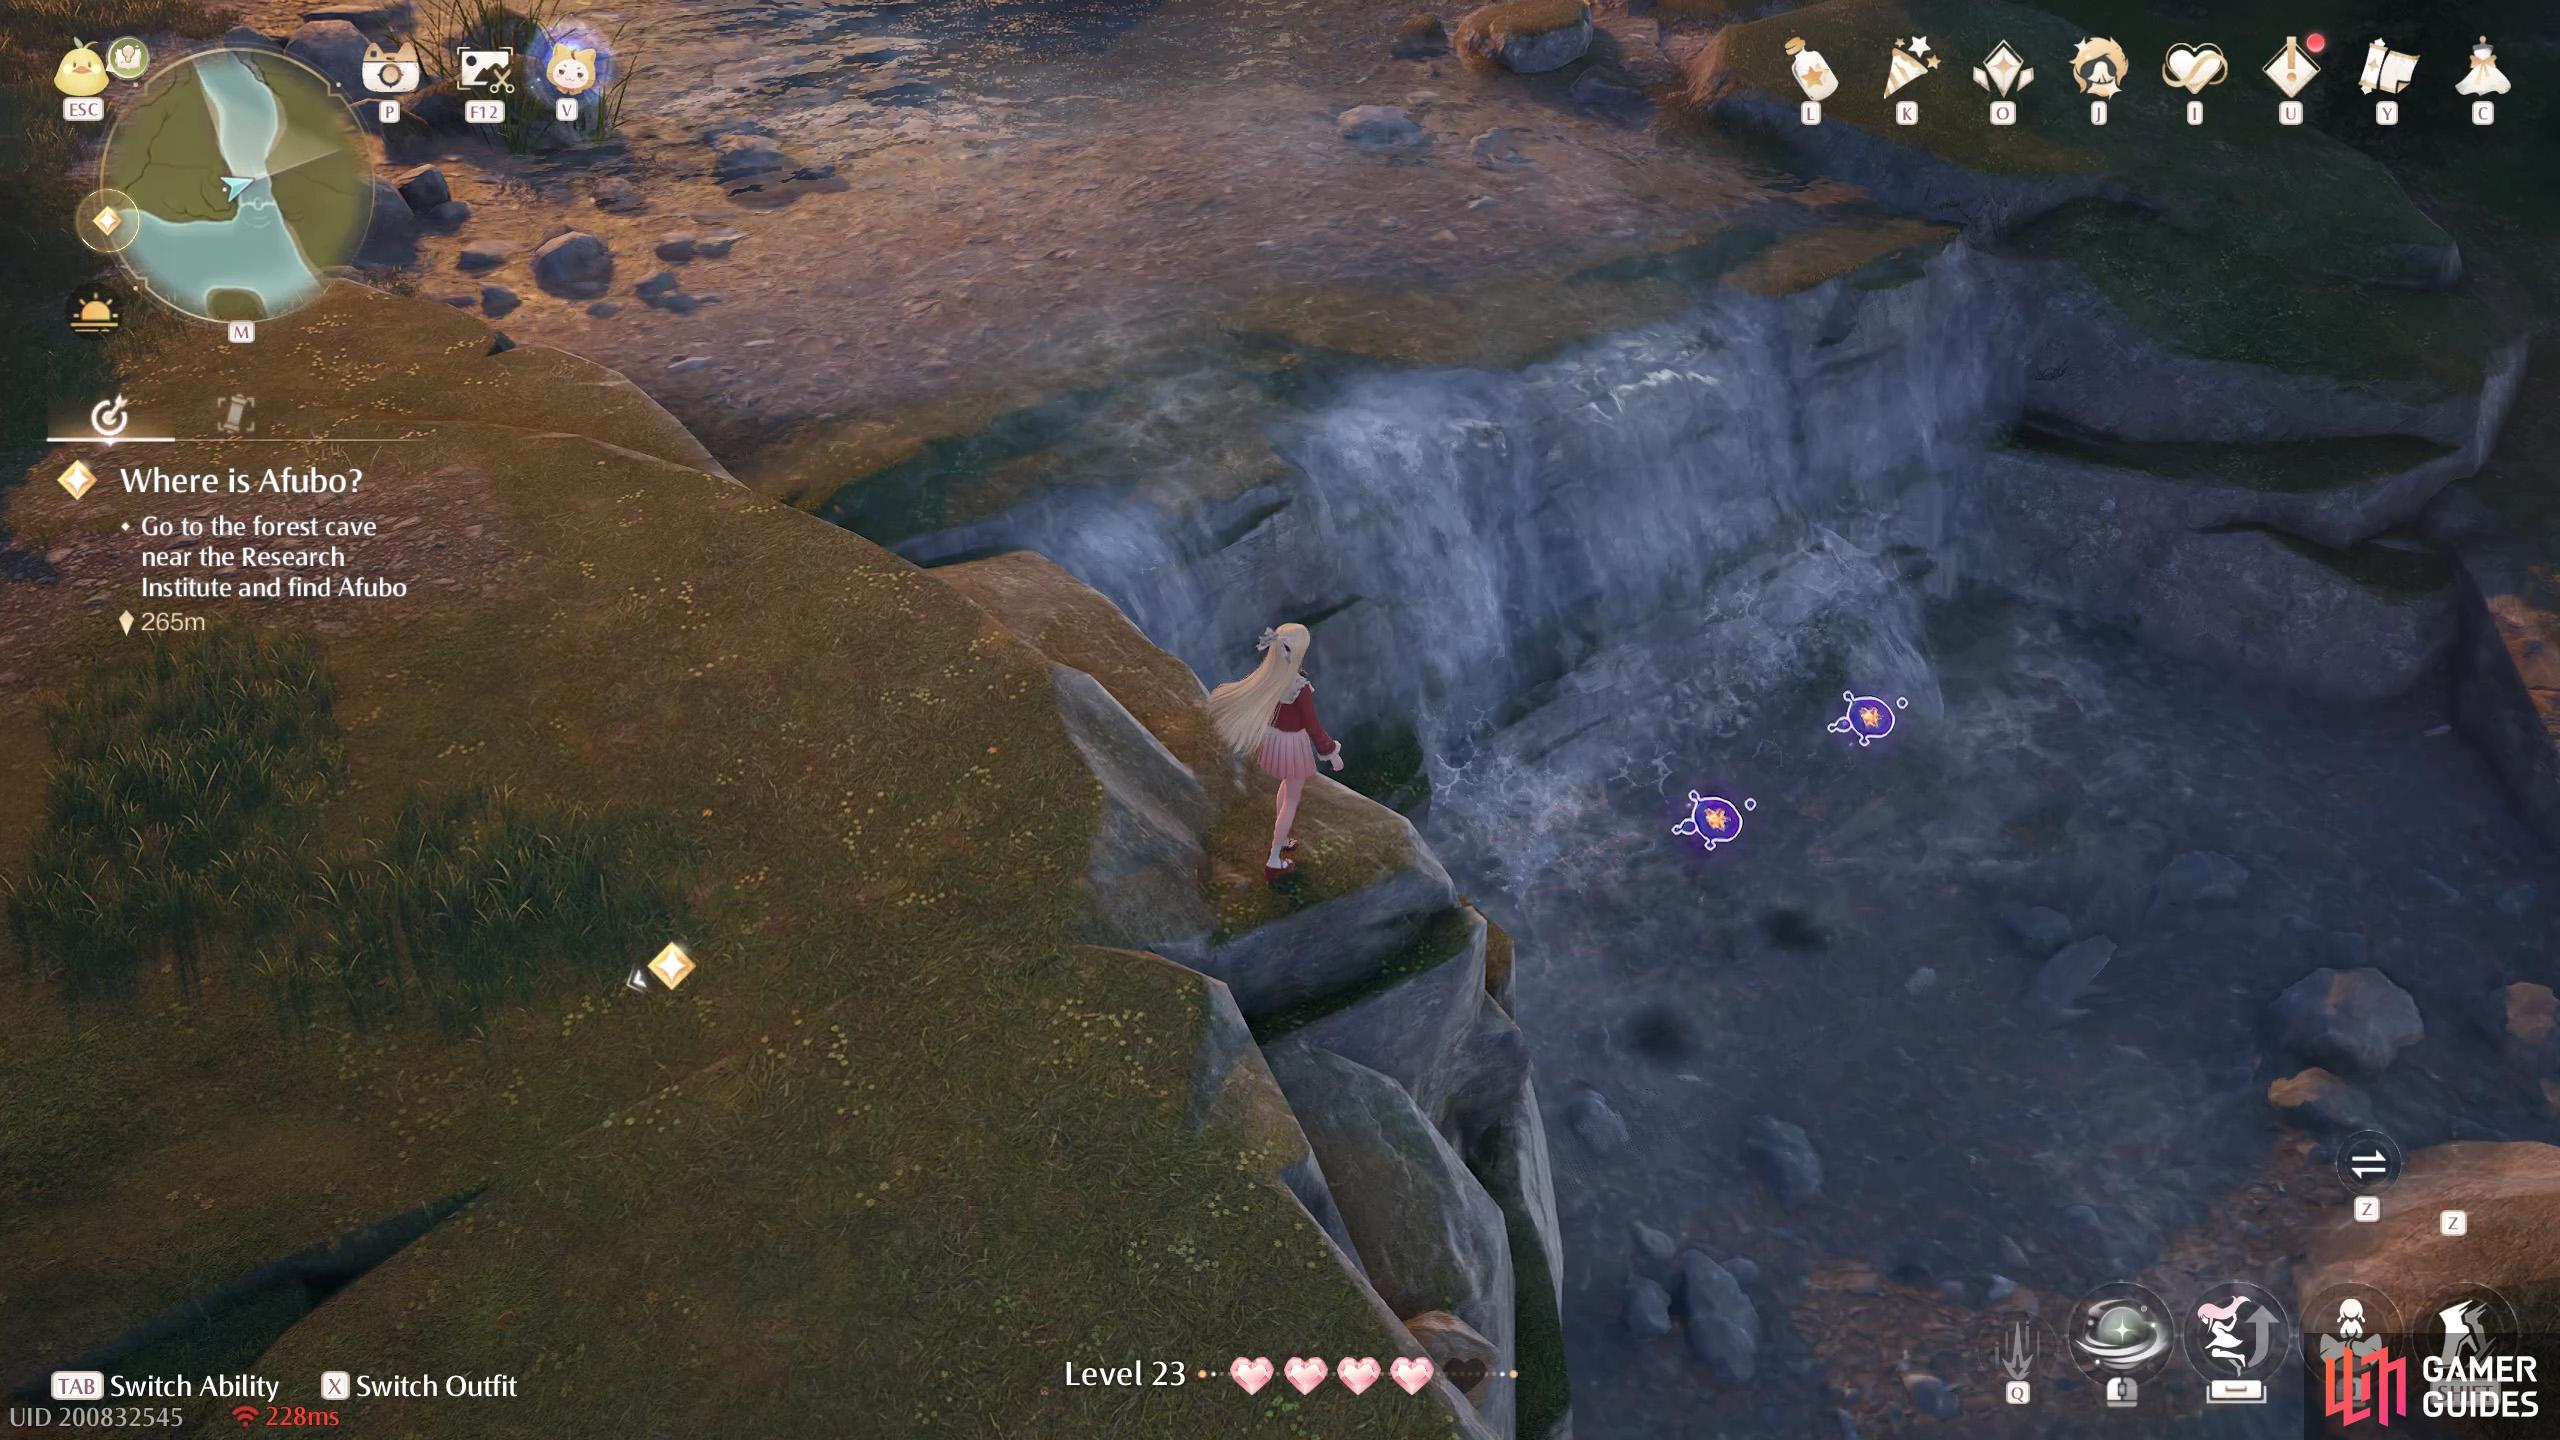
576. Miraland Map
South from the ![]() Farm Entrance. Two floating above the river. Near a Whimink.
Farm Entrance. Two floating above the river. Near a Whimink.
577. Miraland Map
Short distance south from the ![]() Workshop Waterwheel. Two near the bottom of the cascade.
Workshop Waterwheel. Two near the bottom of the cascade.

579. Miraland Map
North-west from the ![]() Workshop Waterwheel. Two floating high up, with a leaf trampoline nearby.
Workshop Waterwheel. Two floating high up, with a leaf trampoline nearby.
580. Miraland Map
West from the ![]() Workshop Waterwheel. Two floating around a small island at the pond.
Workshop Waterwheel. Two floating around a small island at the pond.
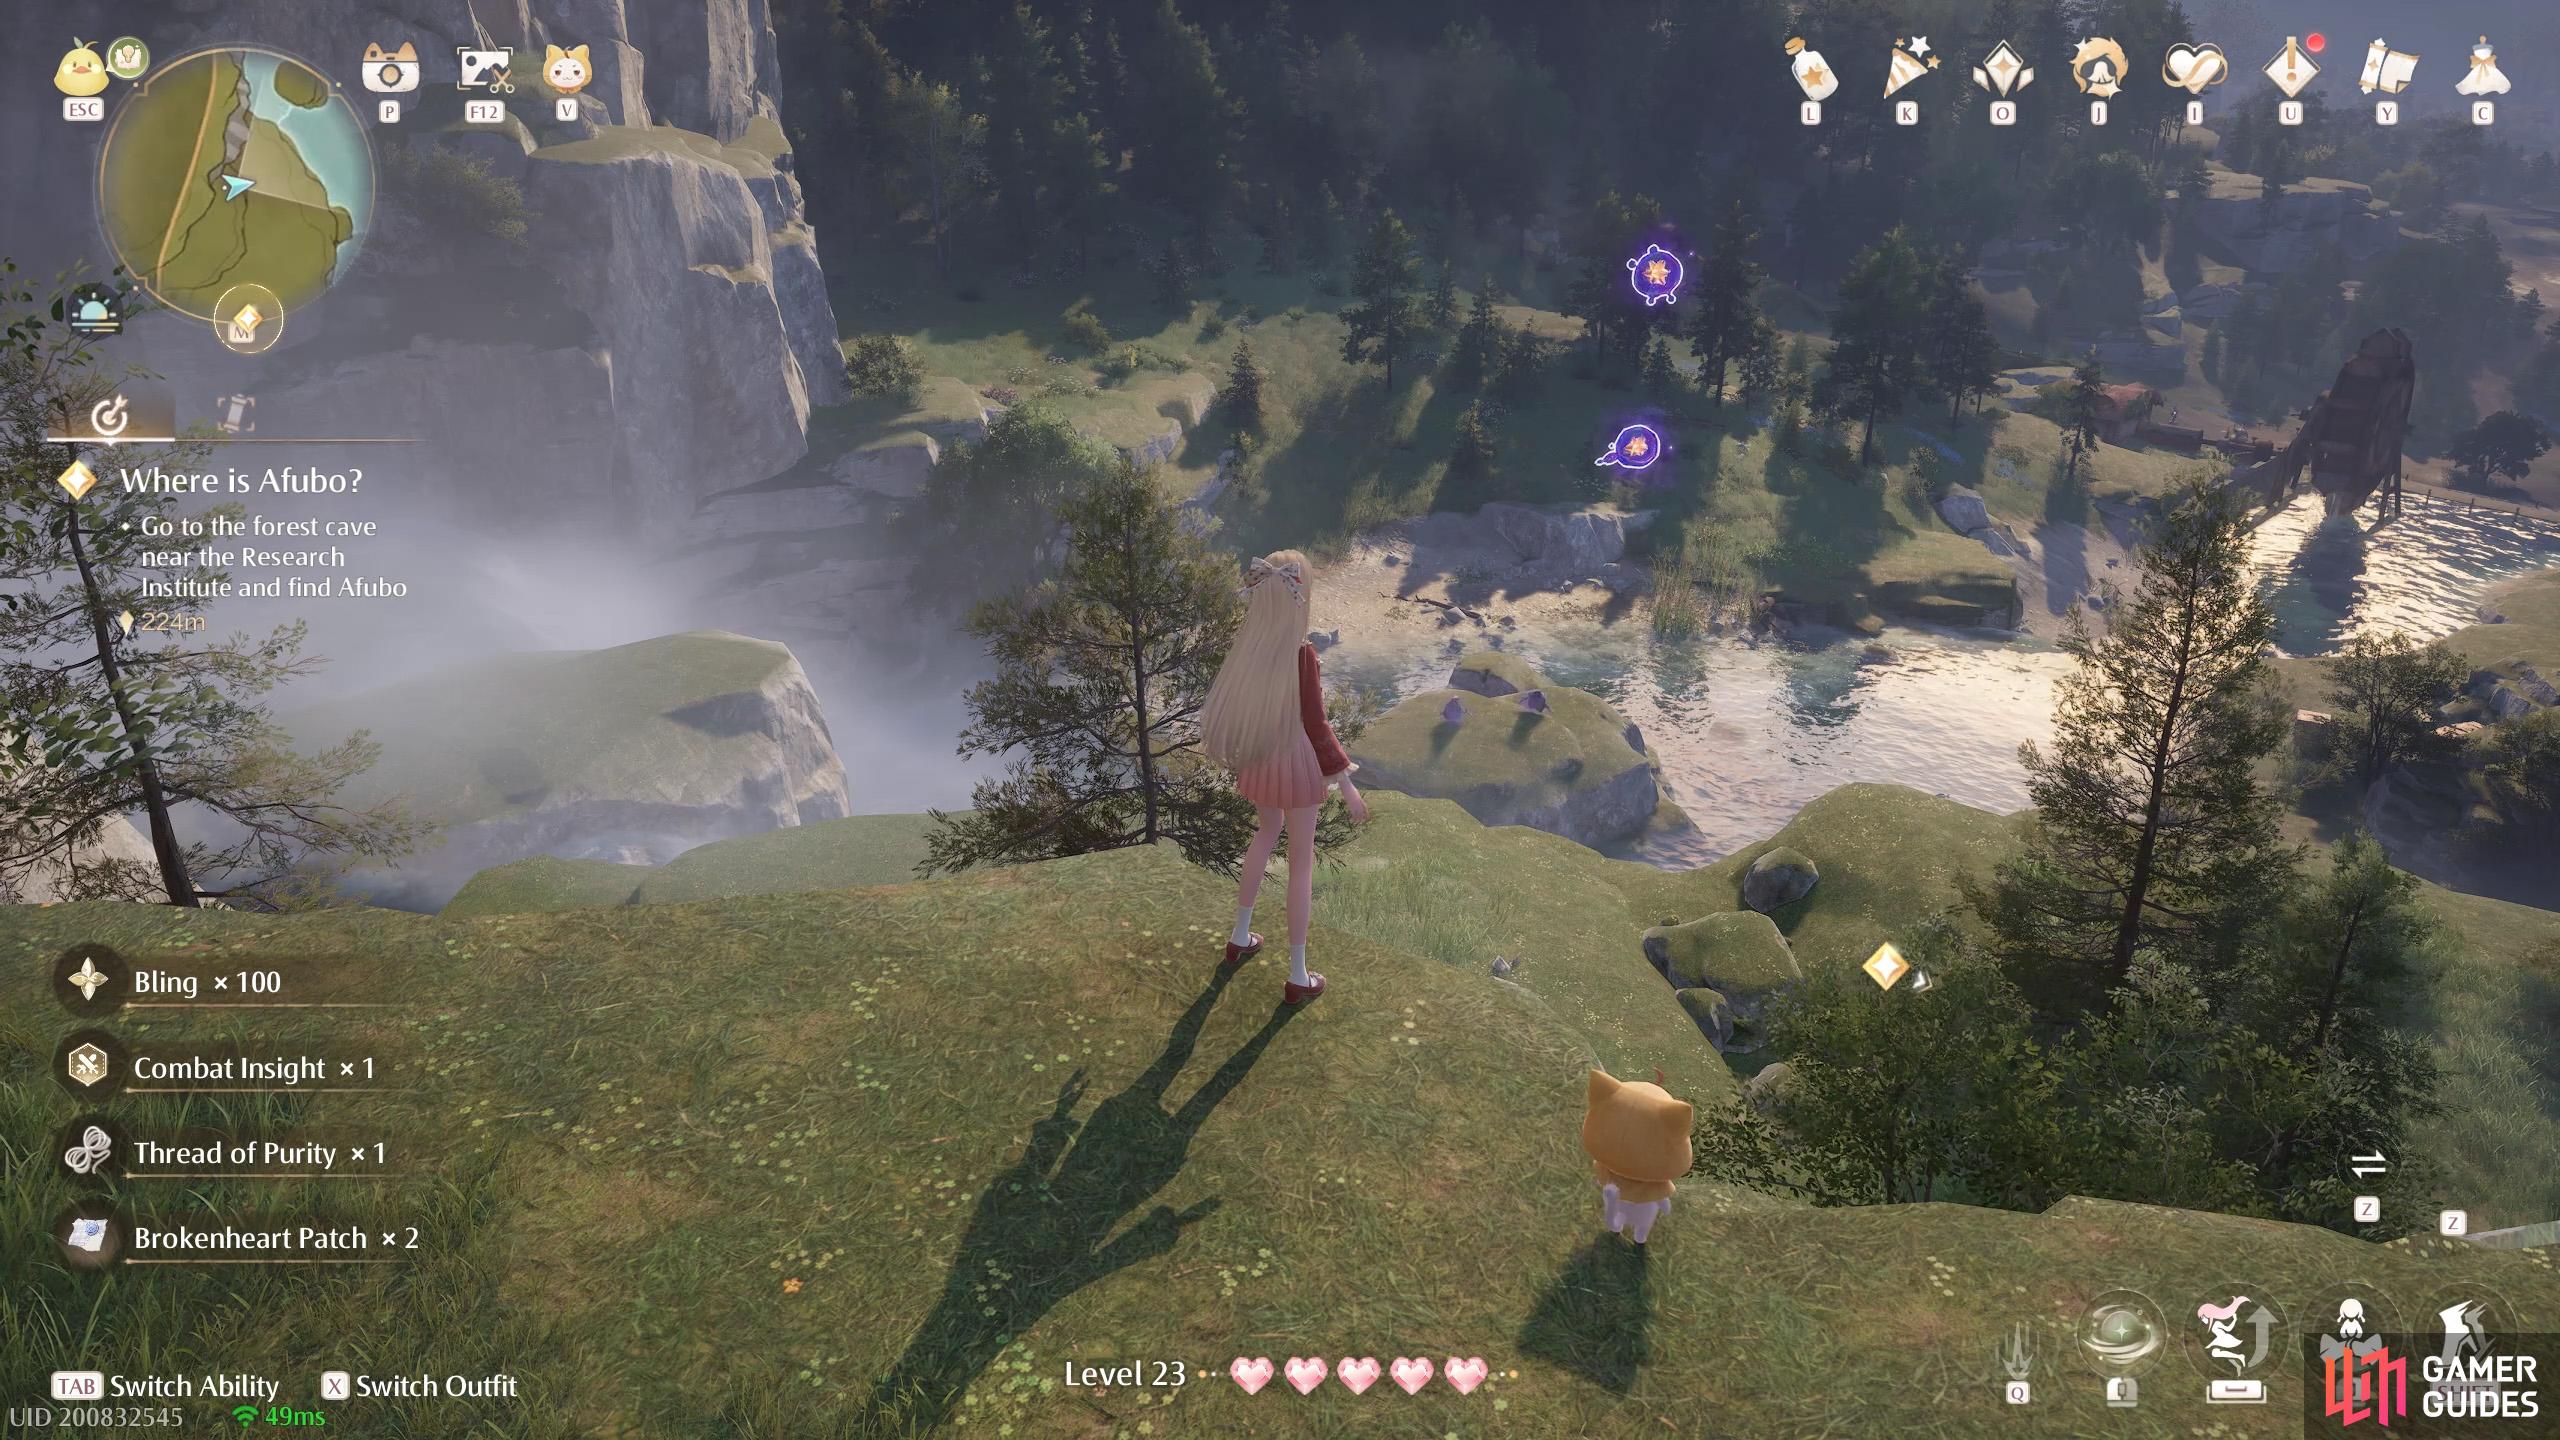
581. Miraland Map
North-west from ![]() Timis’s Beauty Lab. Two floating high up. You can reach by climbing up a rope that’s located towards the south.
Timis’s Beauty Lab. Two floating high up. You can reach by climbing up a rope that’s located towards the south.
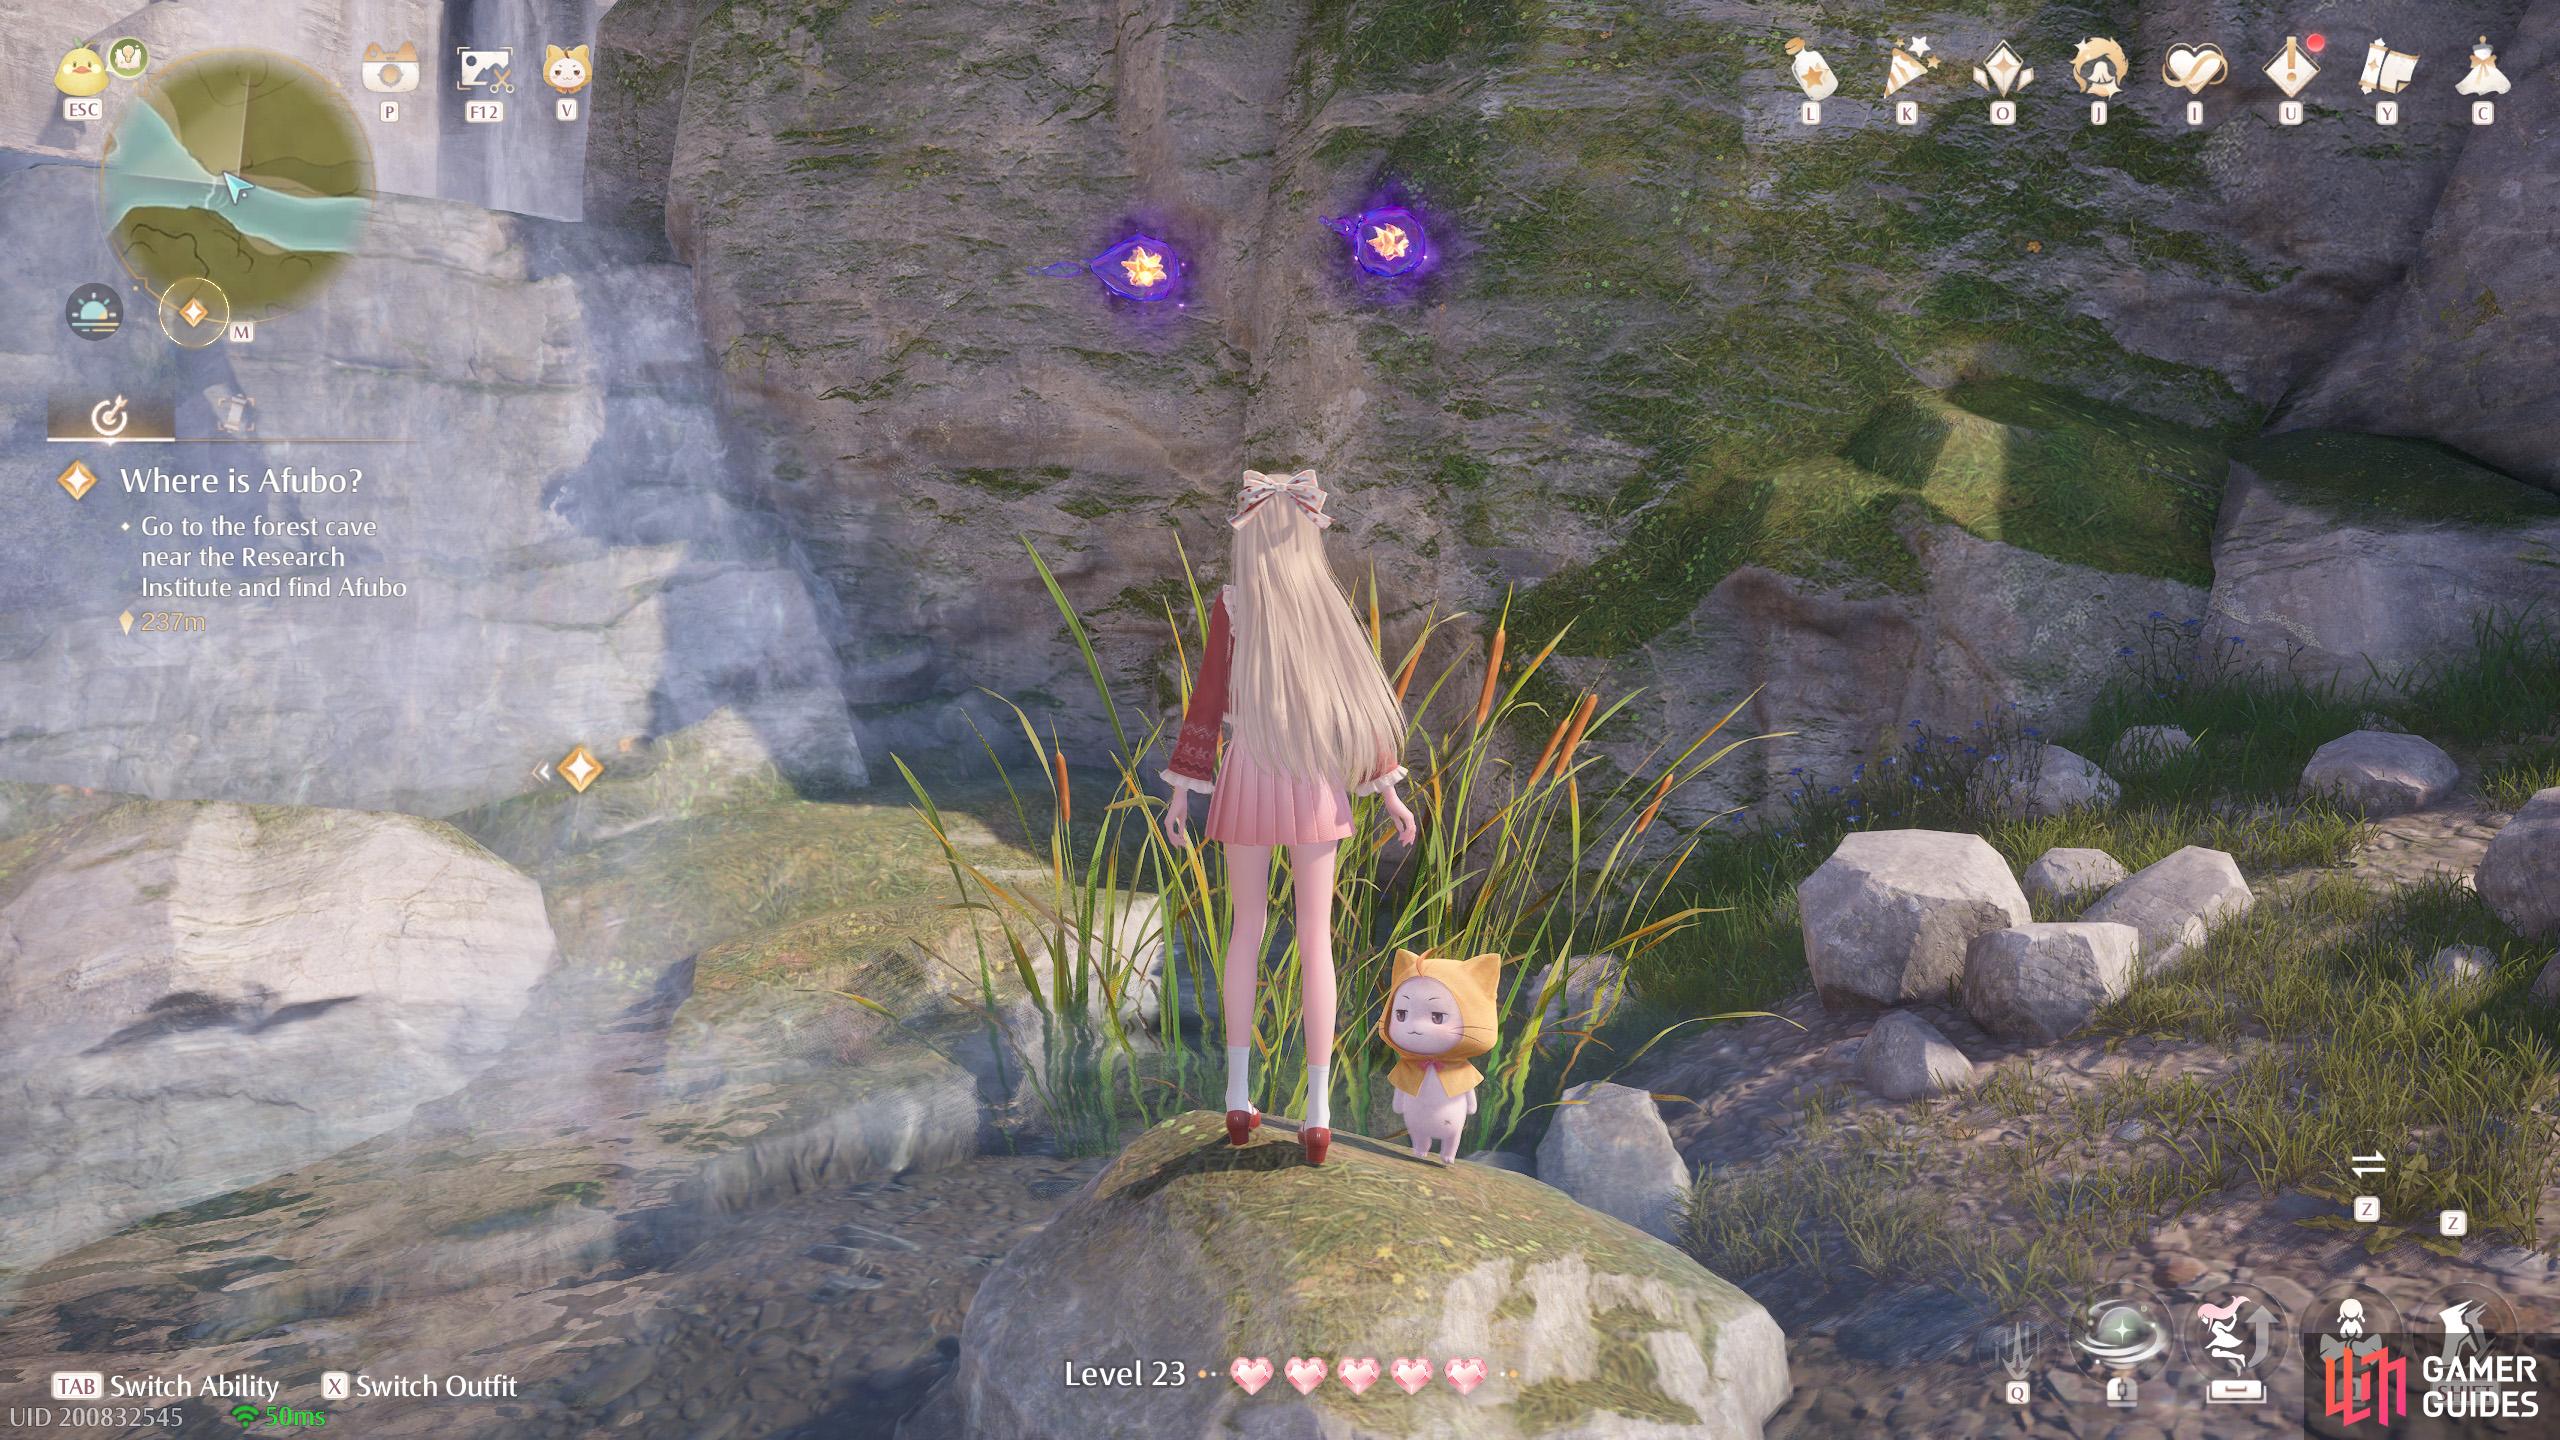
582. Miraland Map
West from the ![]() Workshop Waterwheel. Two near the bottom of a cascade.
Workshop Waterwheel. Two near the bottom of a cascade.
583. Miraland Map
North-west from ![]() Timis’s Beauty Lab. Two floating near the end of a fallen tree trunk.
Timis’s Beauty Lab. Two floating near the end of a fallen tree trunk.

584. Miraland Map
Short distance north-west from ![]() Timis’s Beauty Lab. Two floating just past the riverside.
Timis’s Beauty Lab. Two floating just past the riverside.
585. Miraland Map
North from ![]() Timis’s Beauty Lab. Two floating near the end of a fallen tree trunk.
Timis’s Beauty Lab. Two floating near the end of a fallen tree trunk.
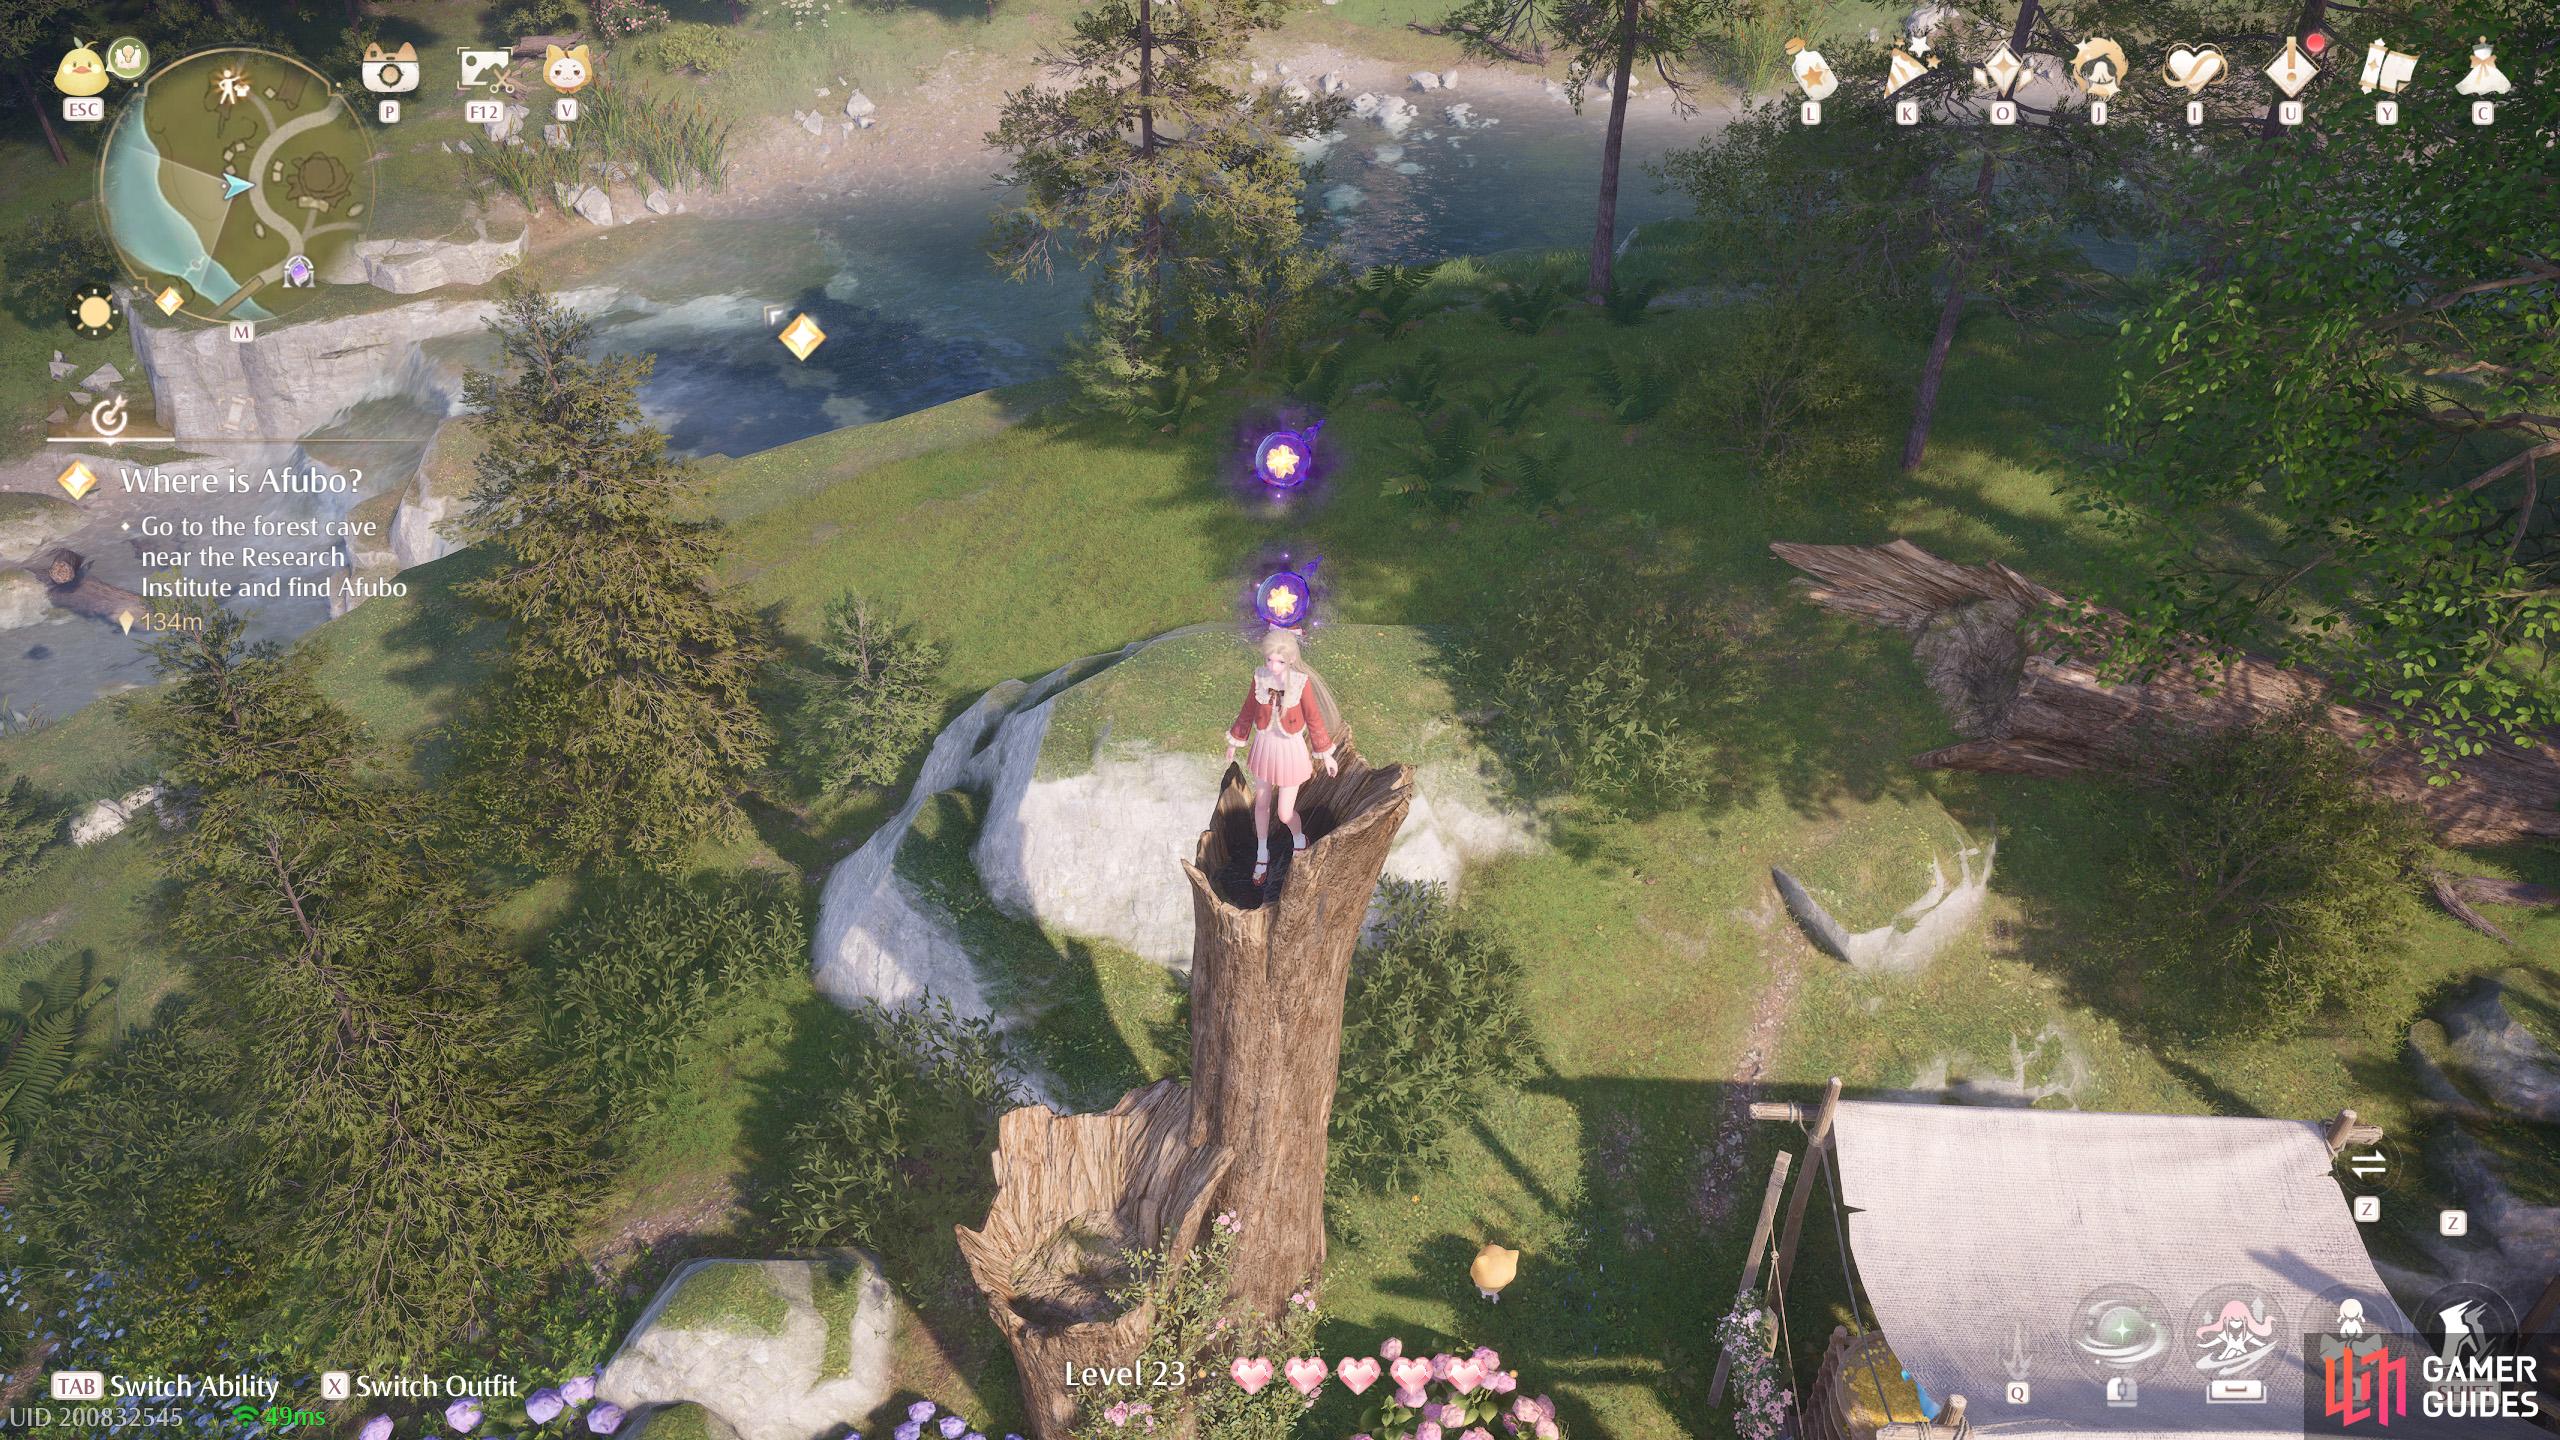
586. Miraland Map
Short distance north-west from ![]() Timis’s Beauty Lab Warp Spire. Two floating above a narrow tree trunk.
Timis’s Beauty Lab Warp Spire. Two floating above a narrow tree trunk.
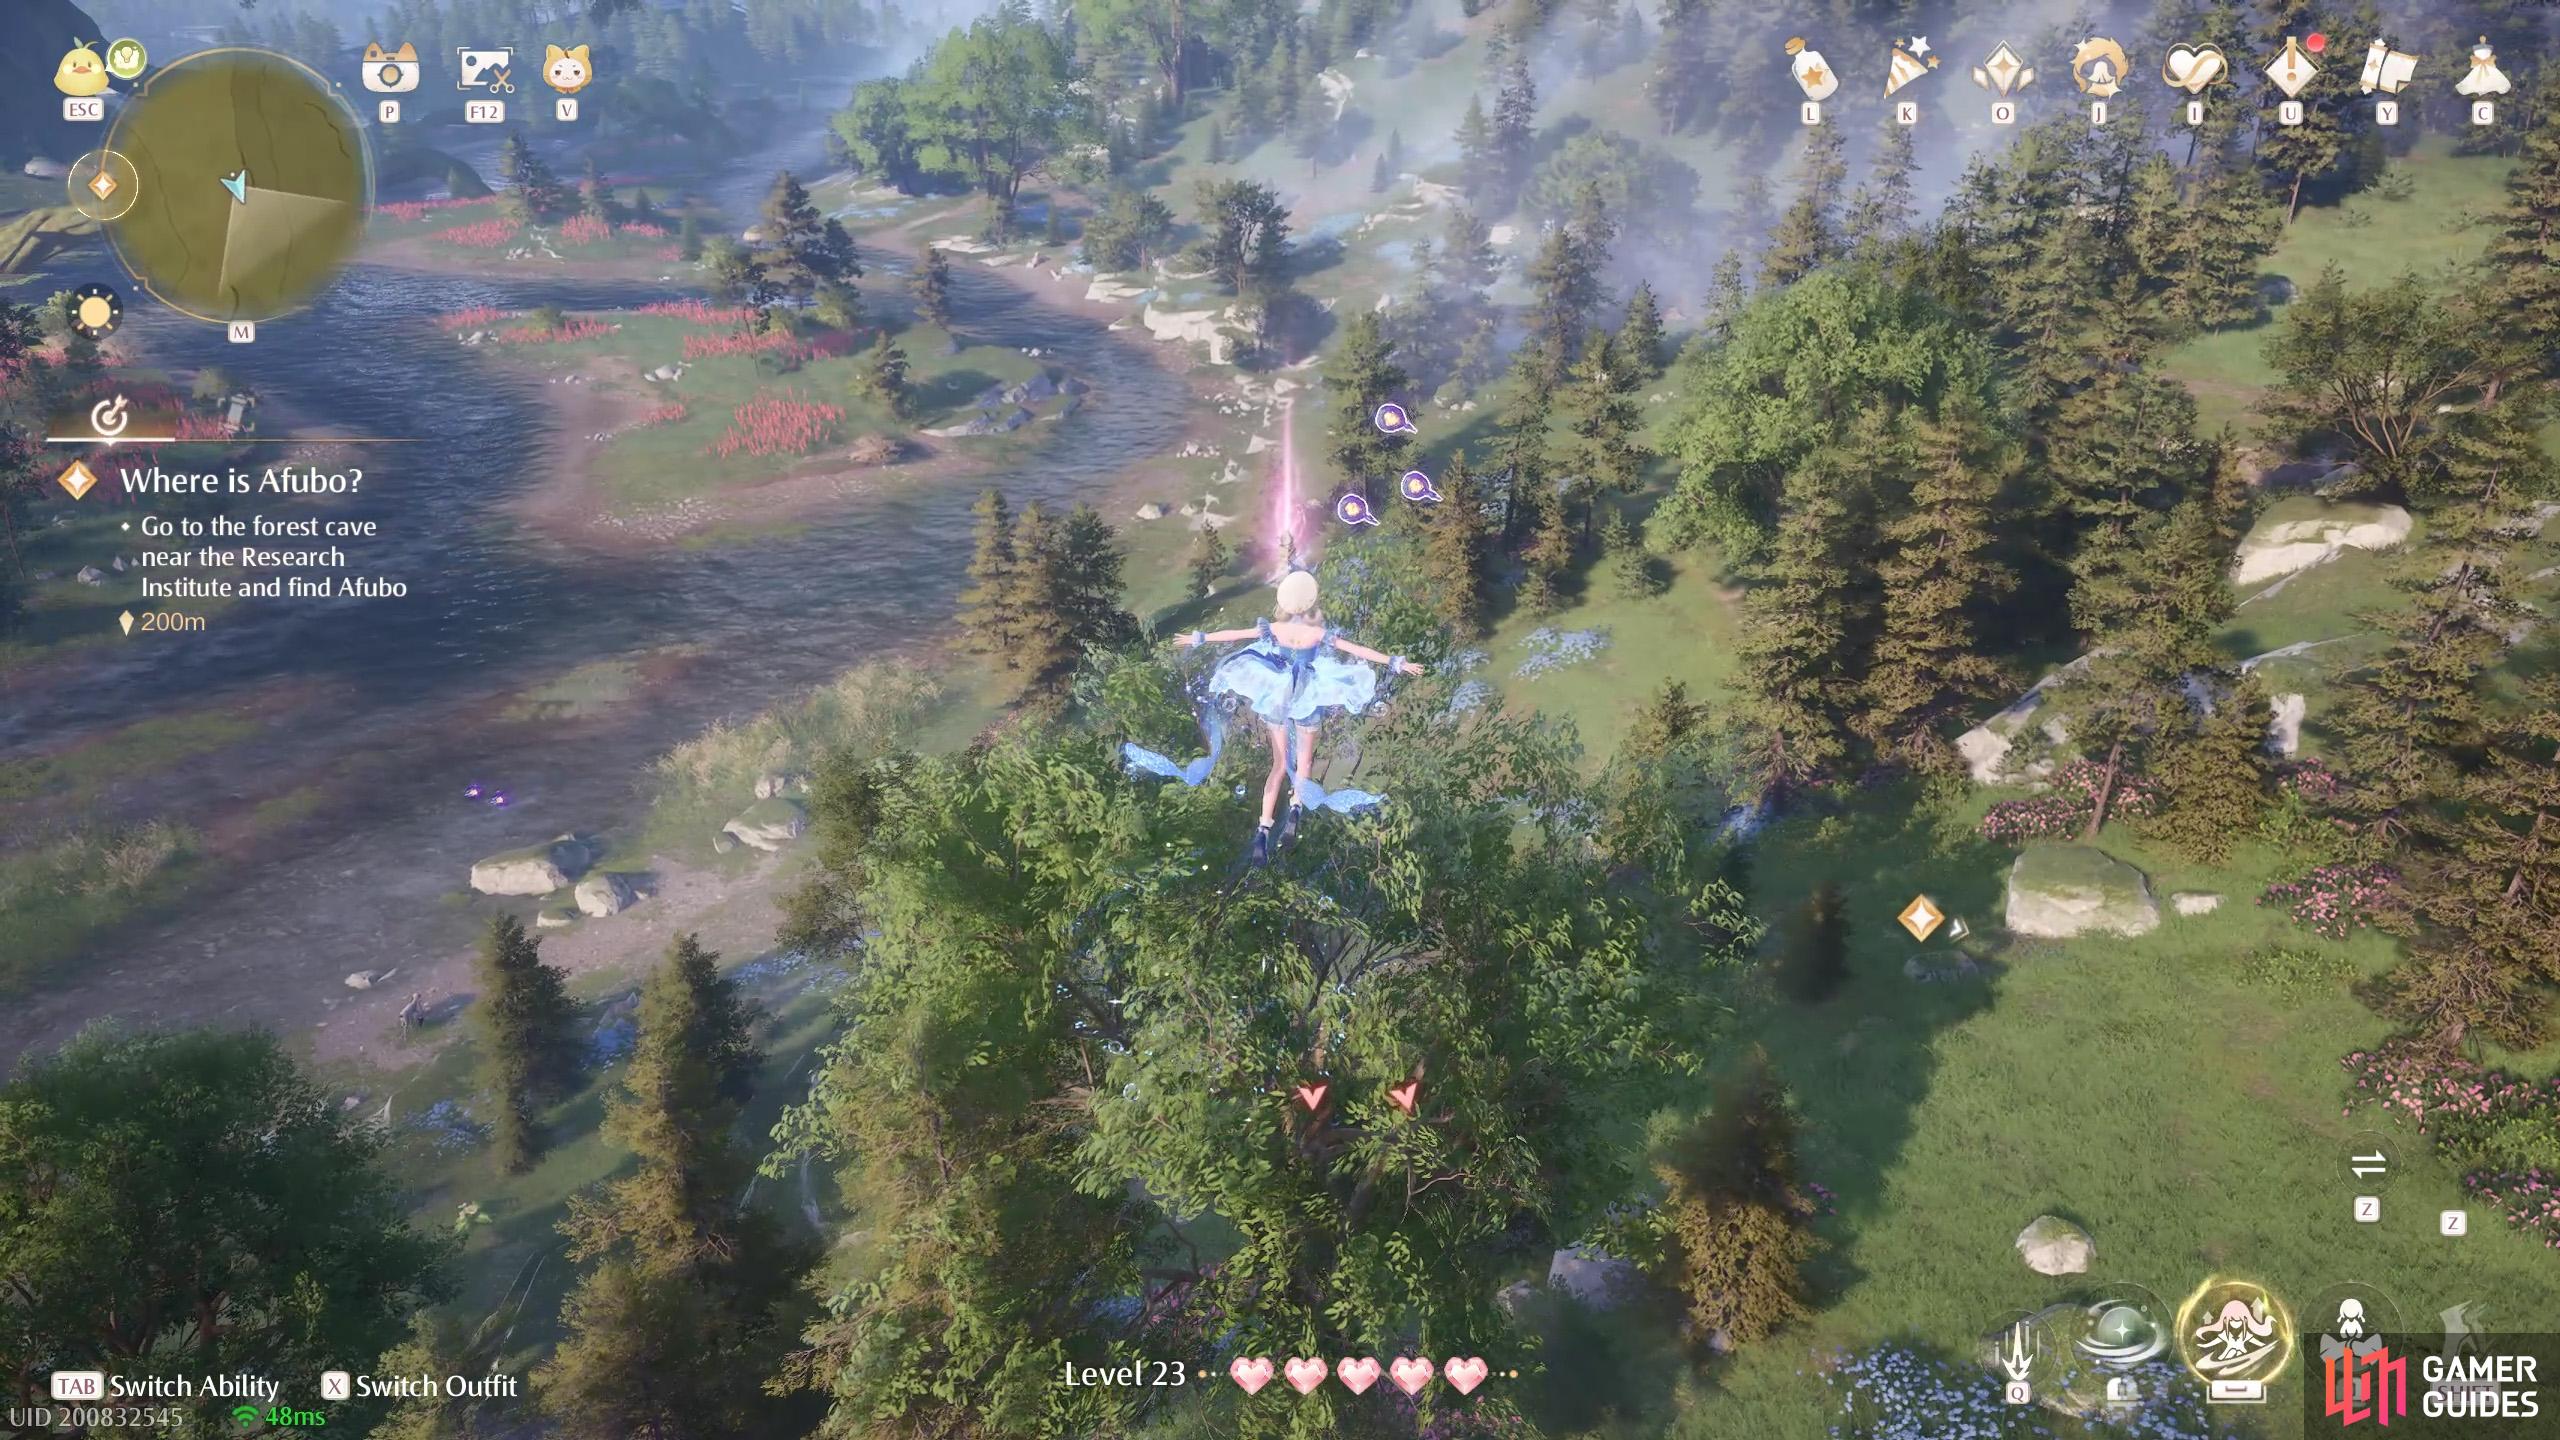
587. Miraland Map
Short distance north-west from ![]() Shoal Slope. Three floating high up. There’s a wishnet nearby, plus some pesky Esselings.
Shoal Slope. Three floating high up. There’s a wishnet nearby, plus some pesky Esselings.
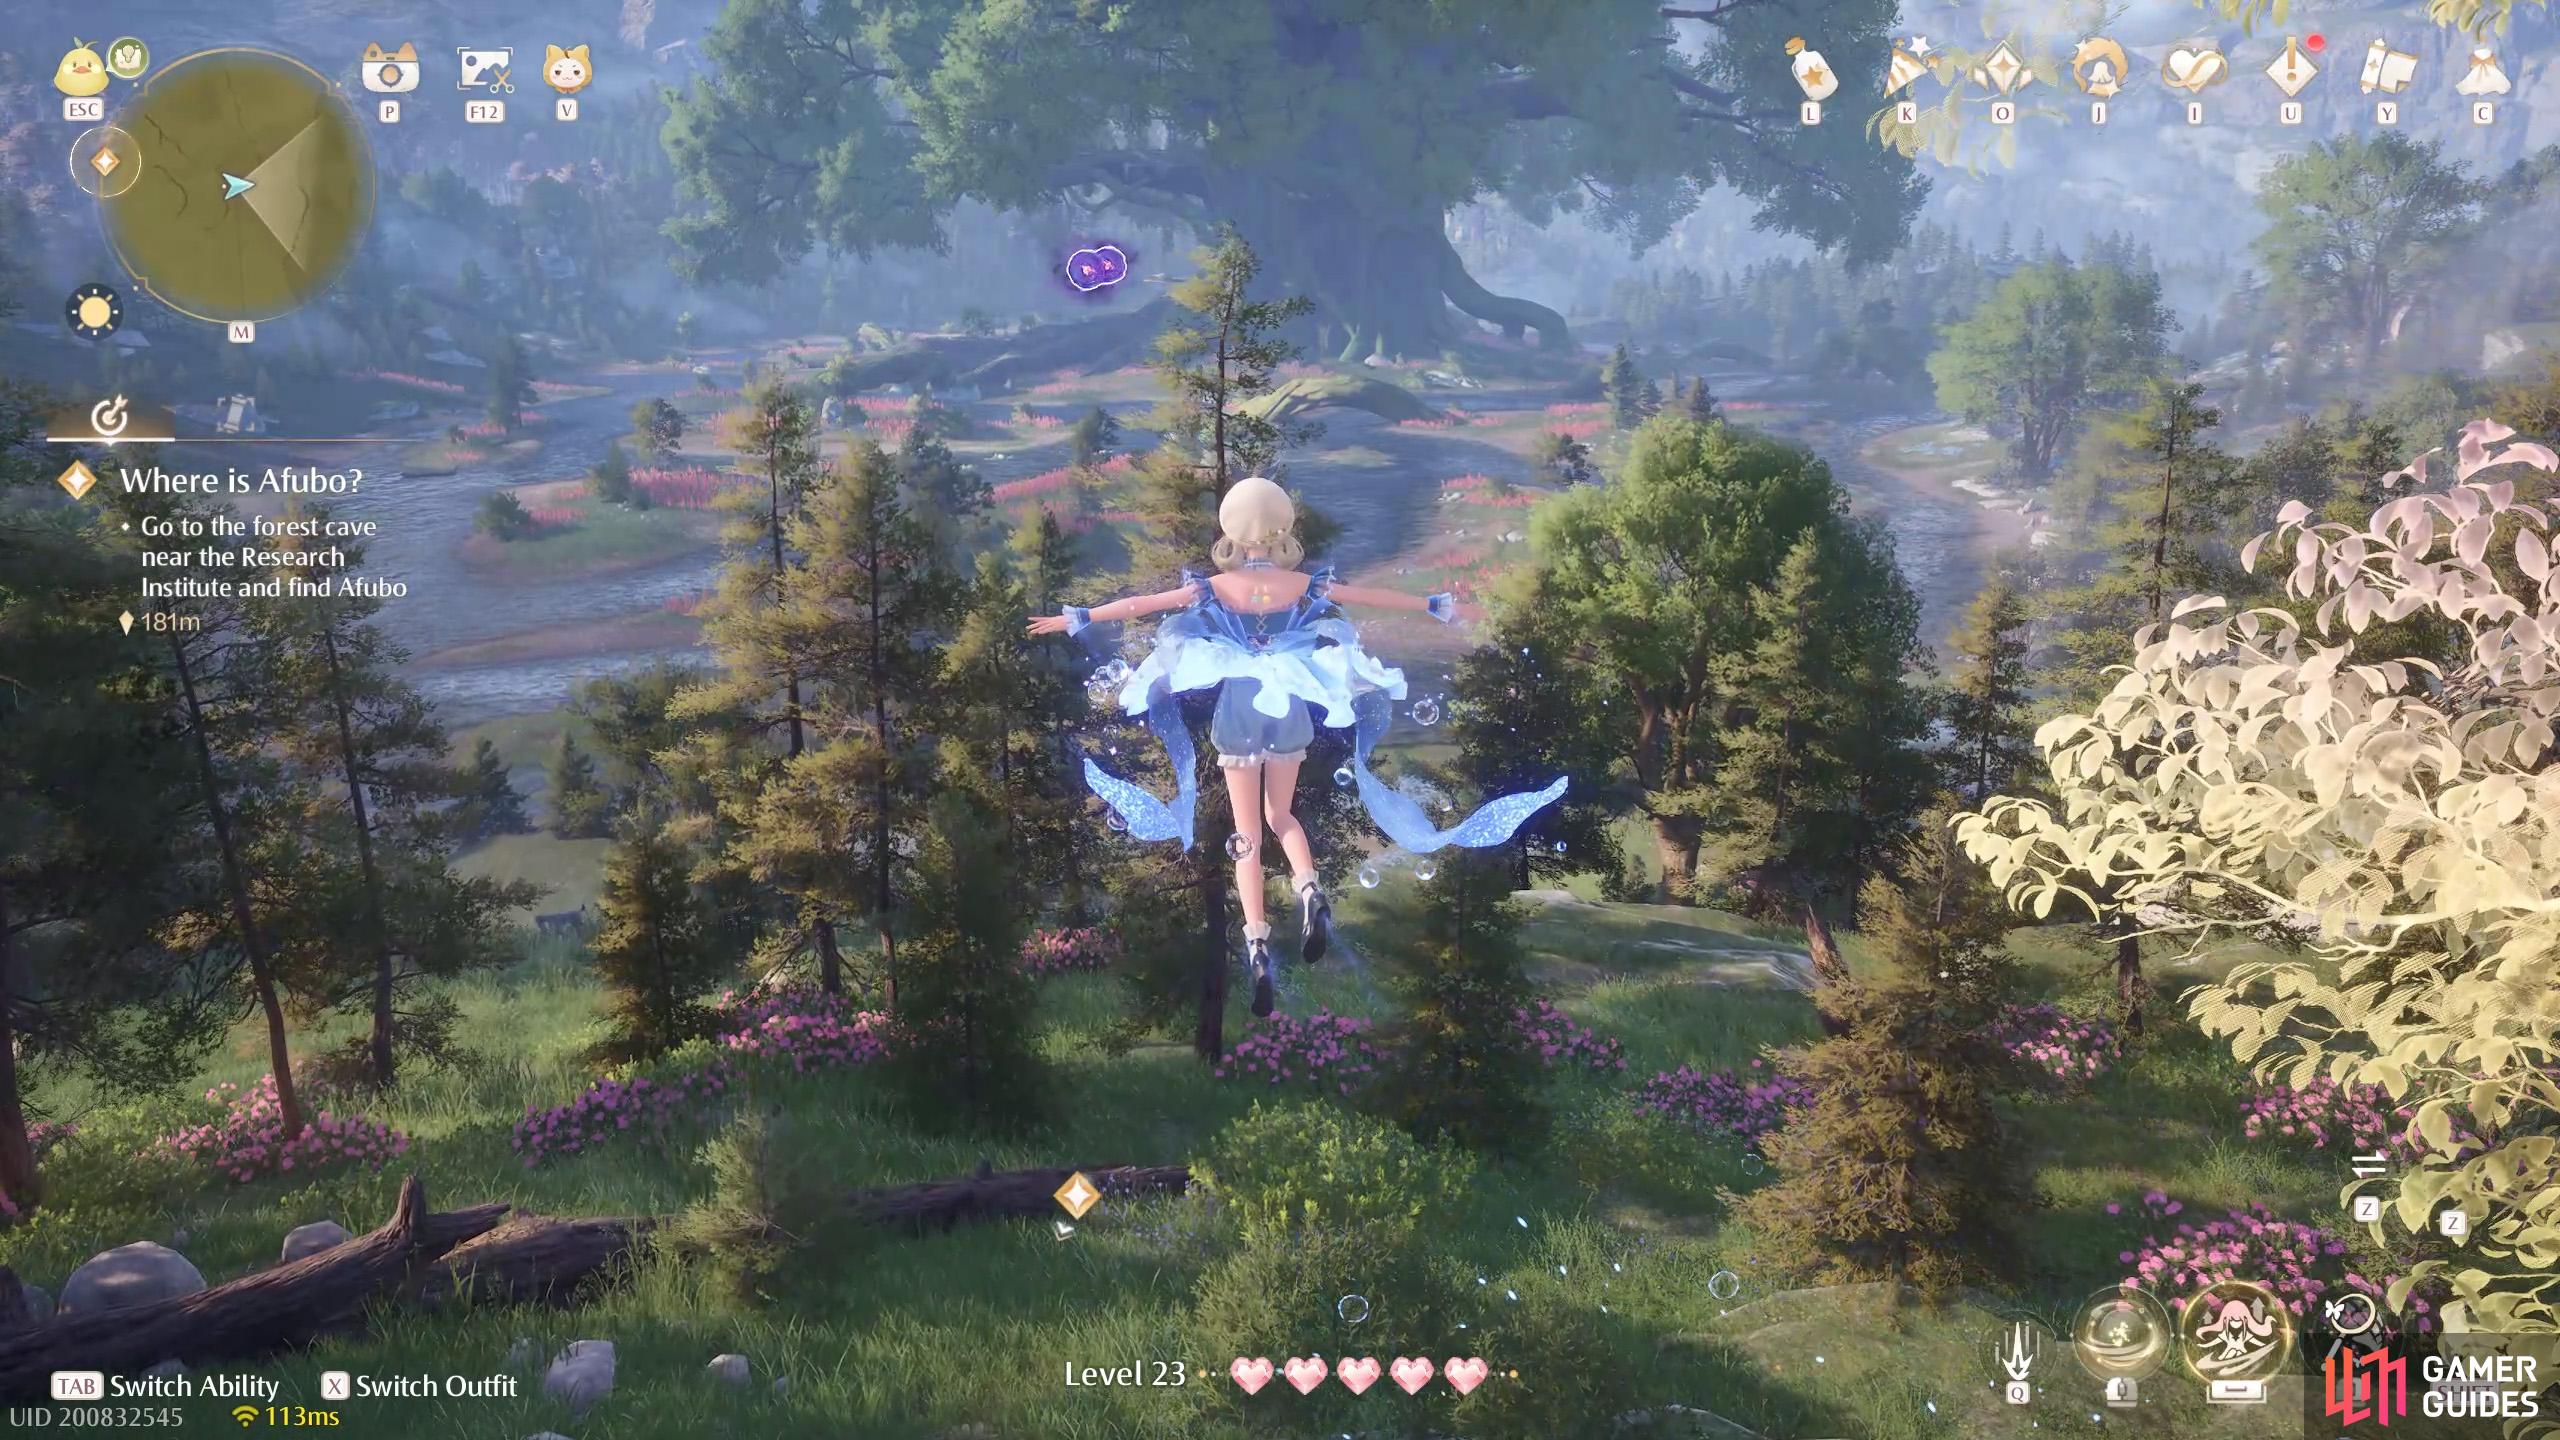
588. Miraland Map
Short distance west from ![]() Shoal Slope, high up in the air. You can float from the ledge to the west where the
Shoal Slope, high up in the air. You can float from the ledge to the west where the ![]() Maskwings are.
Maskwings are.
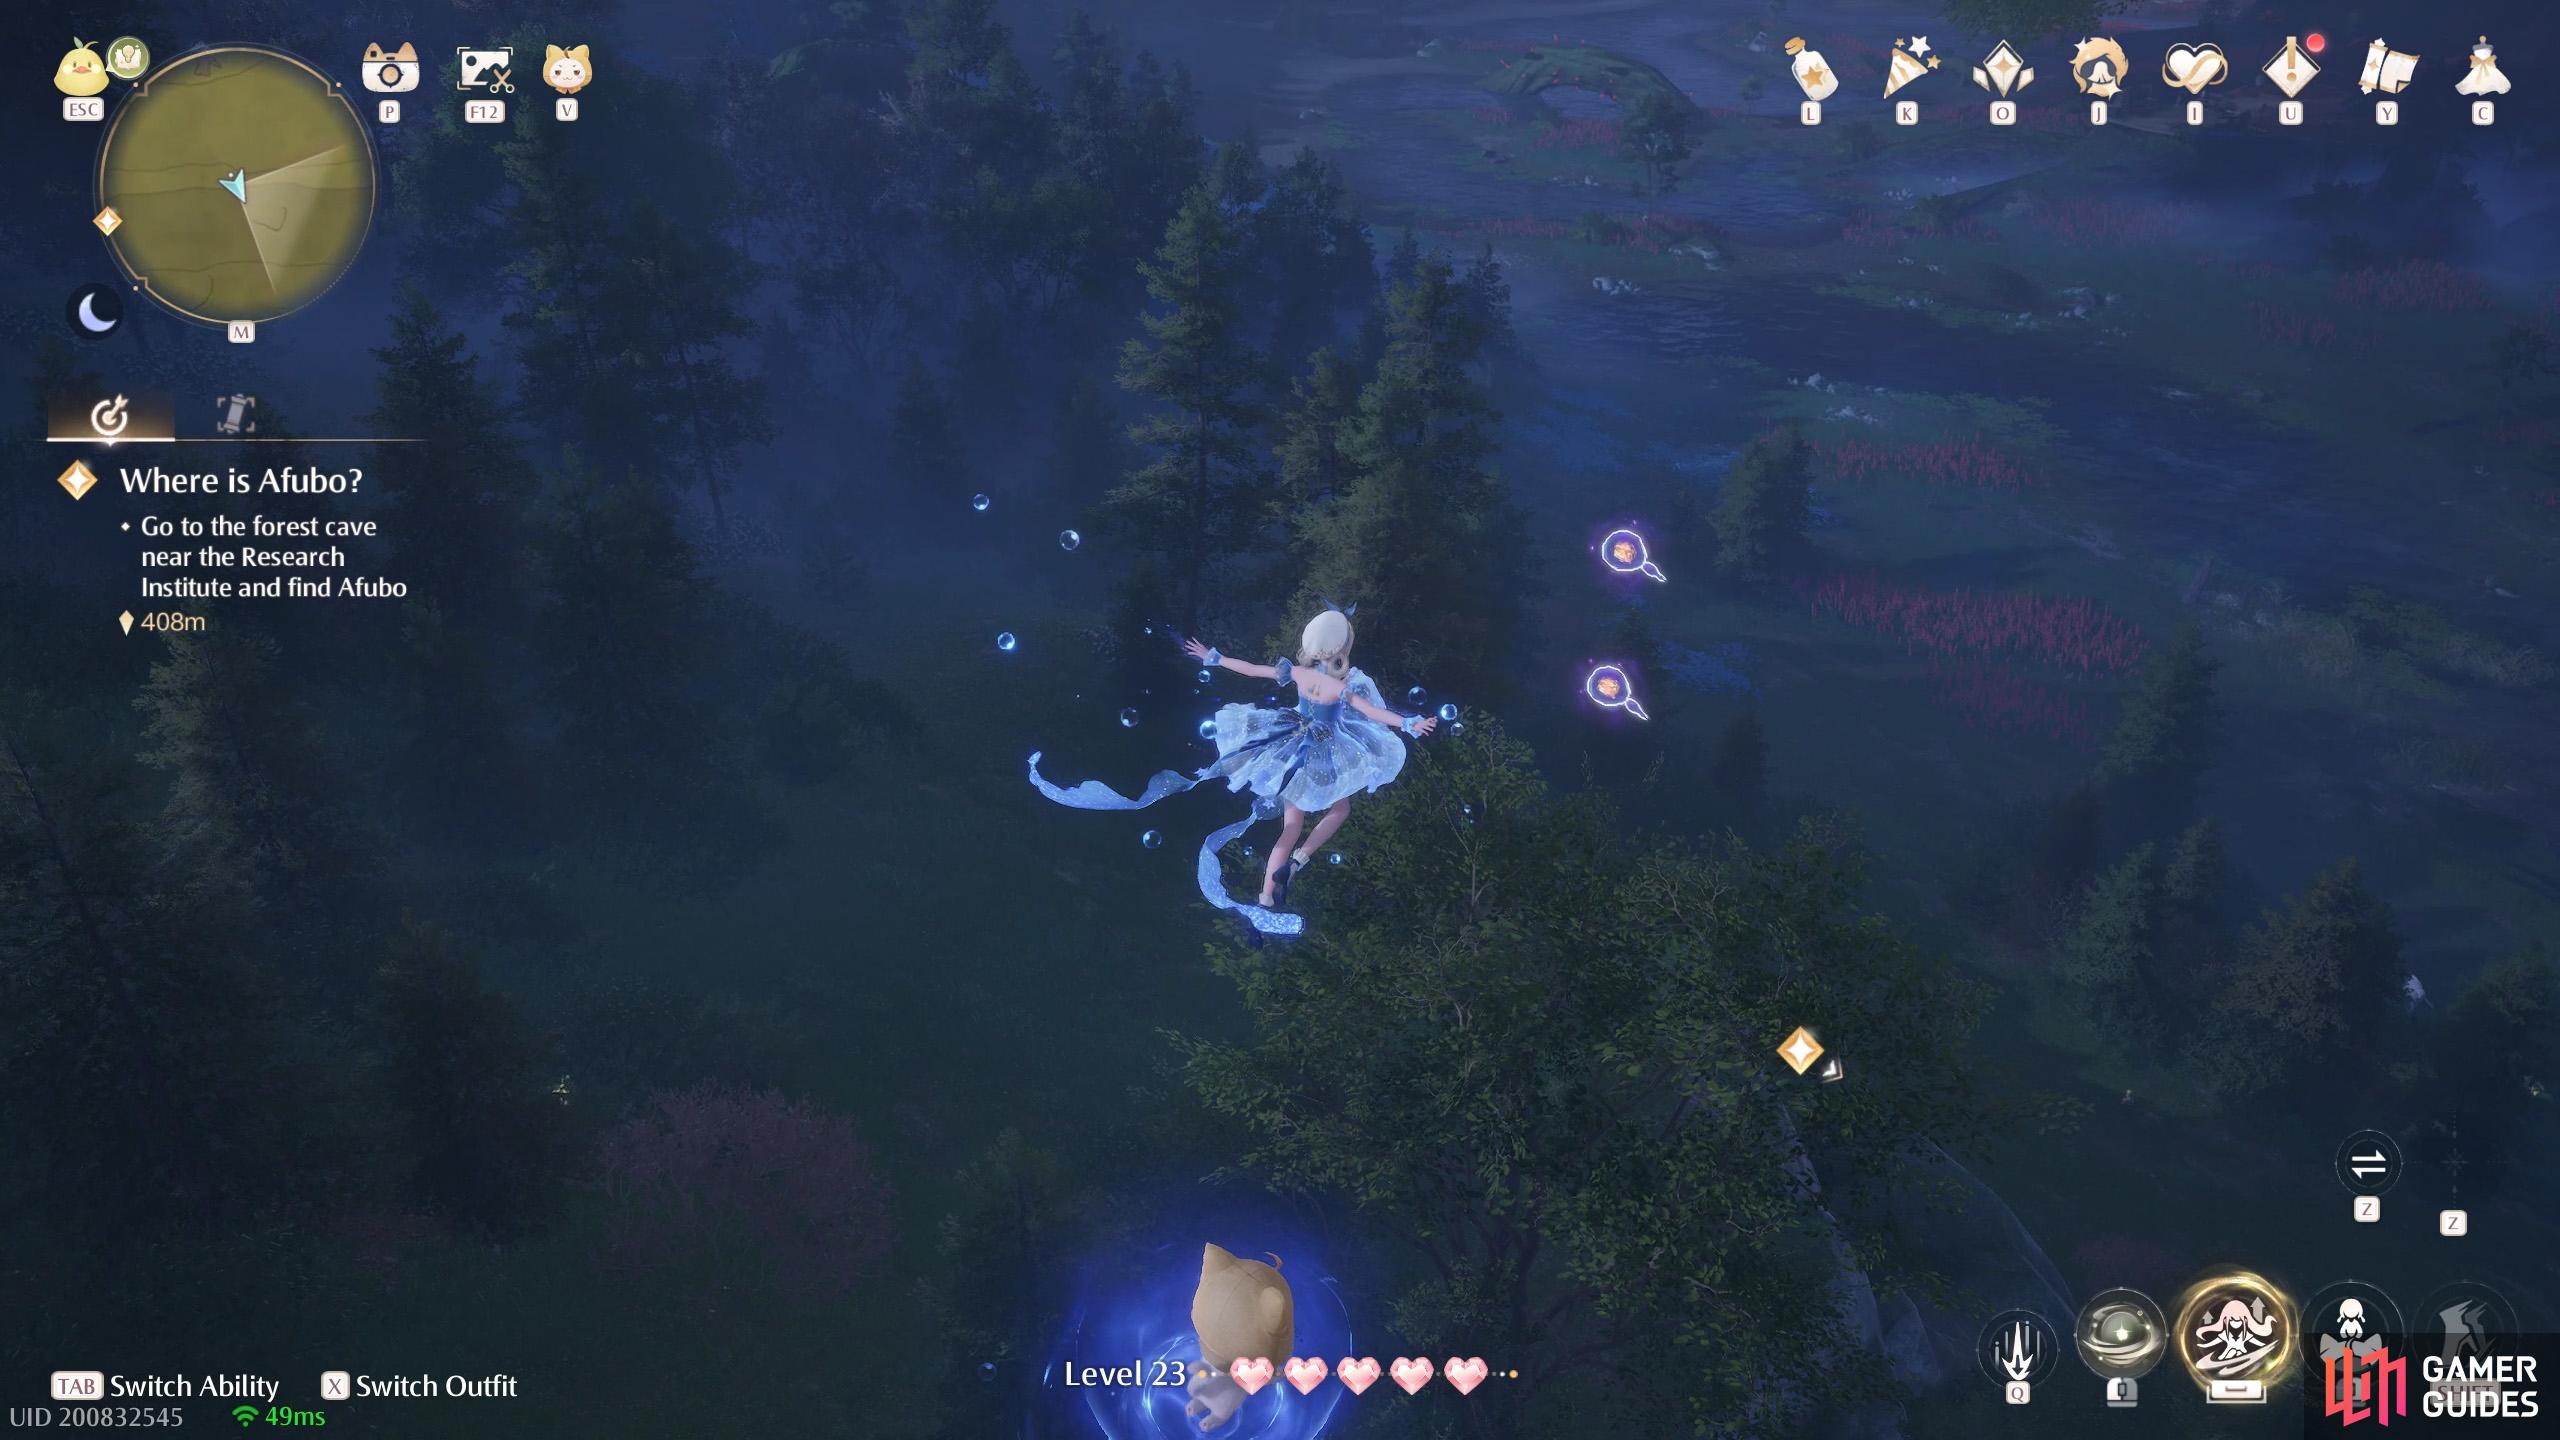
589. Miraland Map
North from ![]() Grand Tree Shoal. High up in the air. There’s a wishnet nearby that you can jump from.
Grand Tree Shoal. High up in the air. There’s a wishnet nearby that you can jump from.
590. Miraland Map
North-east from ![]() Farm Entrance. Two floating near the top of a tree stump.
Farm Entrance. Two floating near the top of a tree stump.
591. Miraland Map
Short distance east from ![]() Farm Entrance. Three atop the tallest flower platform.
Farm Entrance. Three atop the tallest flower platform.
592. Miraland Map
Short distance east from ![]() Farm Entrance. Two floating above the residential platform with the flower crates.
Farm Entrance. Two floating above the residential platform with the flower crates.
593. Miraland Map
South-east from ![]() Farm Entrance. Two near a ledge occupied by Esselings.
Farm Entrance. Two near a ledge occupied by Esselings.
594. Miraland Map
Short distance north-west from ![]() Farm Entrance. Three near the edge of some higher ground, with some Esselings close by.
Farm Entrance. Three near the edge of some higher ground, with some Esselings close by.

595. Miraland Map
North from the ![]() Wishcraft Lab. Two above a tent on the east side of the road.
Wishcraft Lab. Two above a tent on the east side of the road.
596. Miraland Map
North from the ![]() Wishcraft Lab. Two floating above the road, with a tent nearby. You can jump from atop the tent to a nearby branch.
Wishcraft Lab. Two floating above the road, with a tent nearby. You can jump from atop the tent to a nearby branch.
597. Miraland Map
Short distance north-east from the ![]() Wishcraft Lab Warp Spire. Two near the top of a tree. Carefully jump onto the tree branches from atop a building.
Wishcraft Lab Warp Spire. Two near the top of a tree. Carefully jump onto the tree branches from atop a building.
598. Miraland Map
North-west from ![]() Shoal Slope. Two floating high up. You can reach by floating from atop the nearby minigame stall.
Shoal Slope. Two floating high up. You can reach by floating from atop the nearby minigame stall.
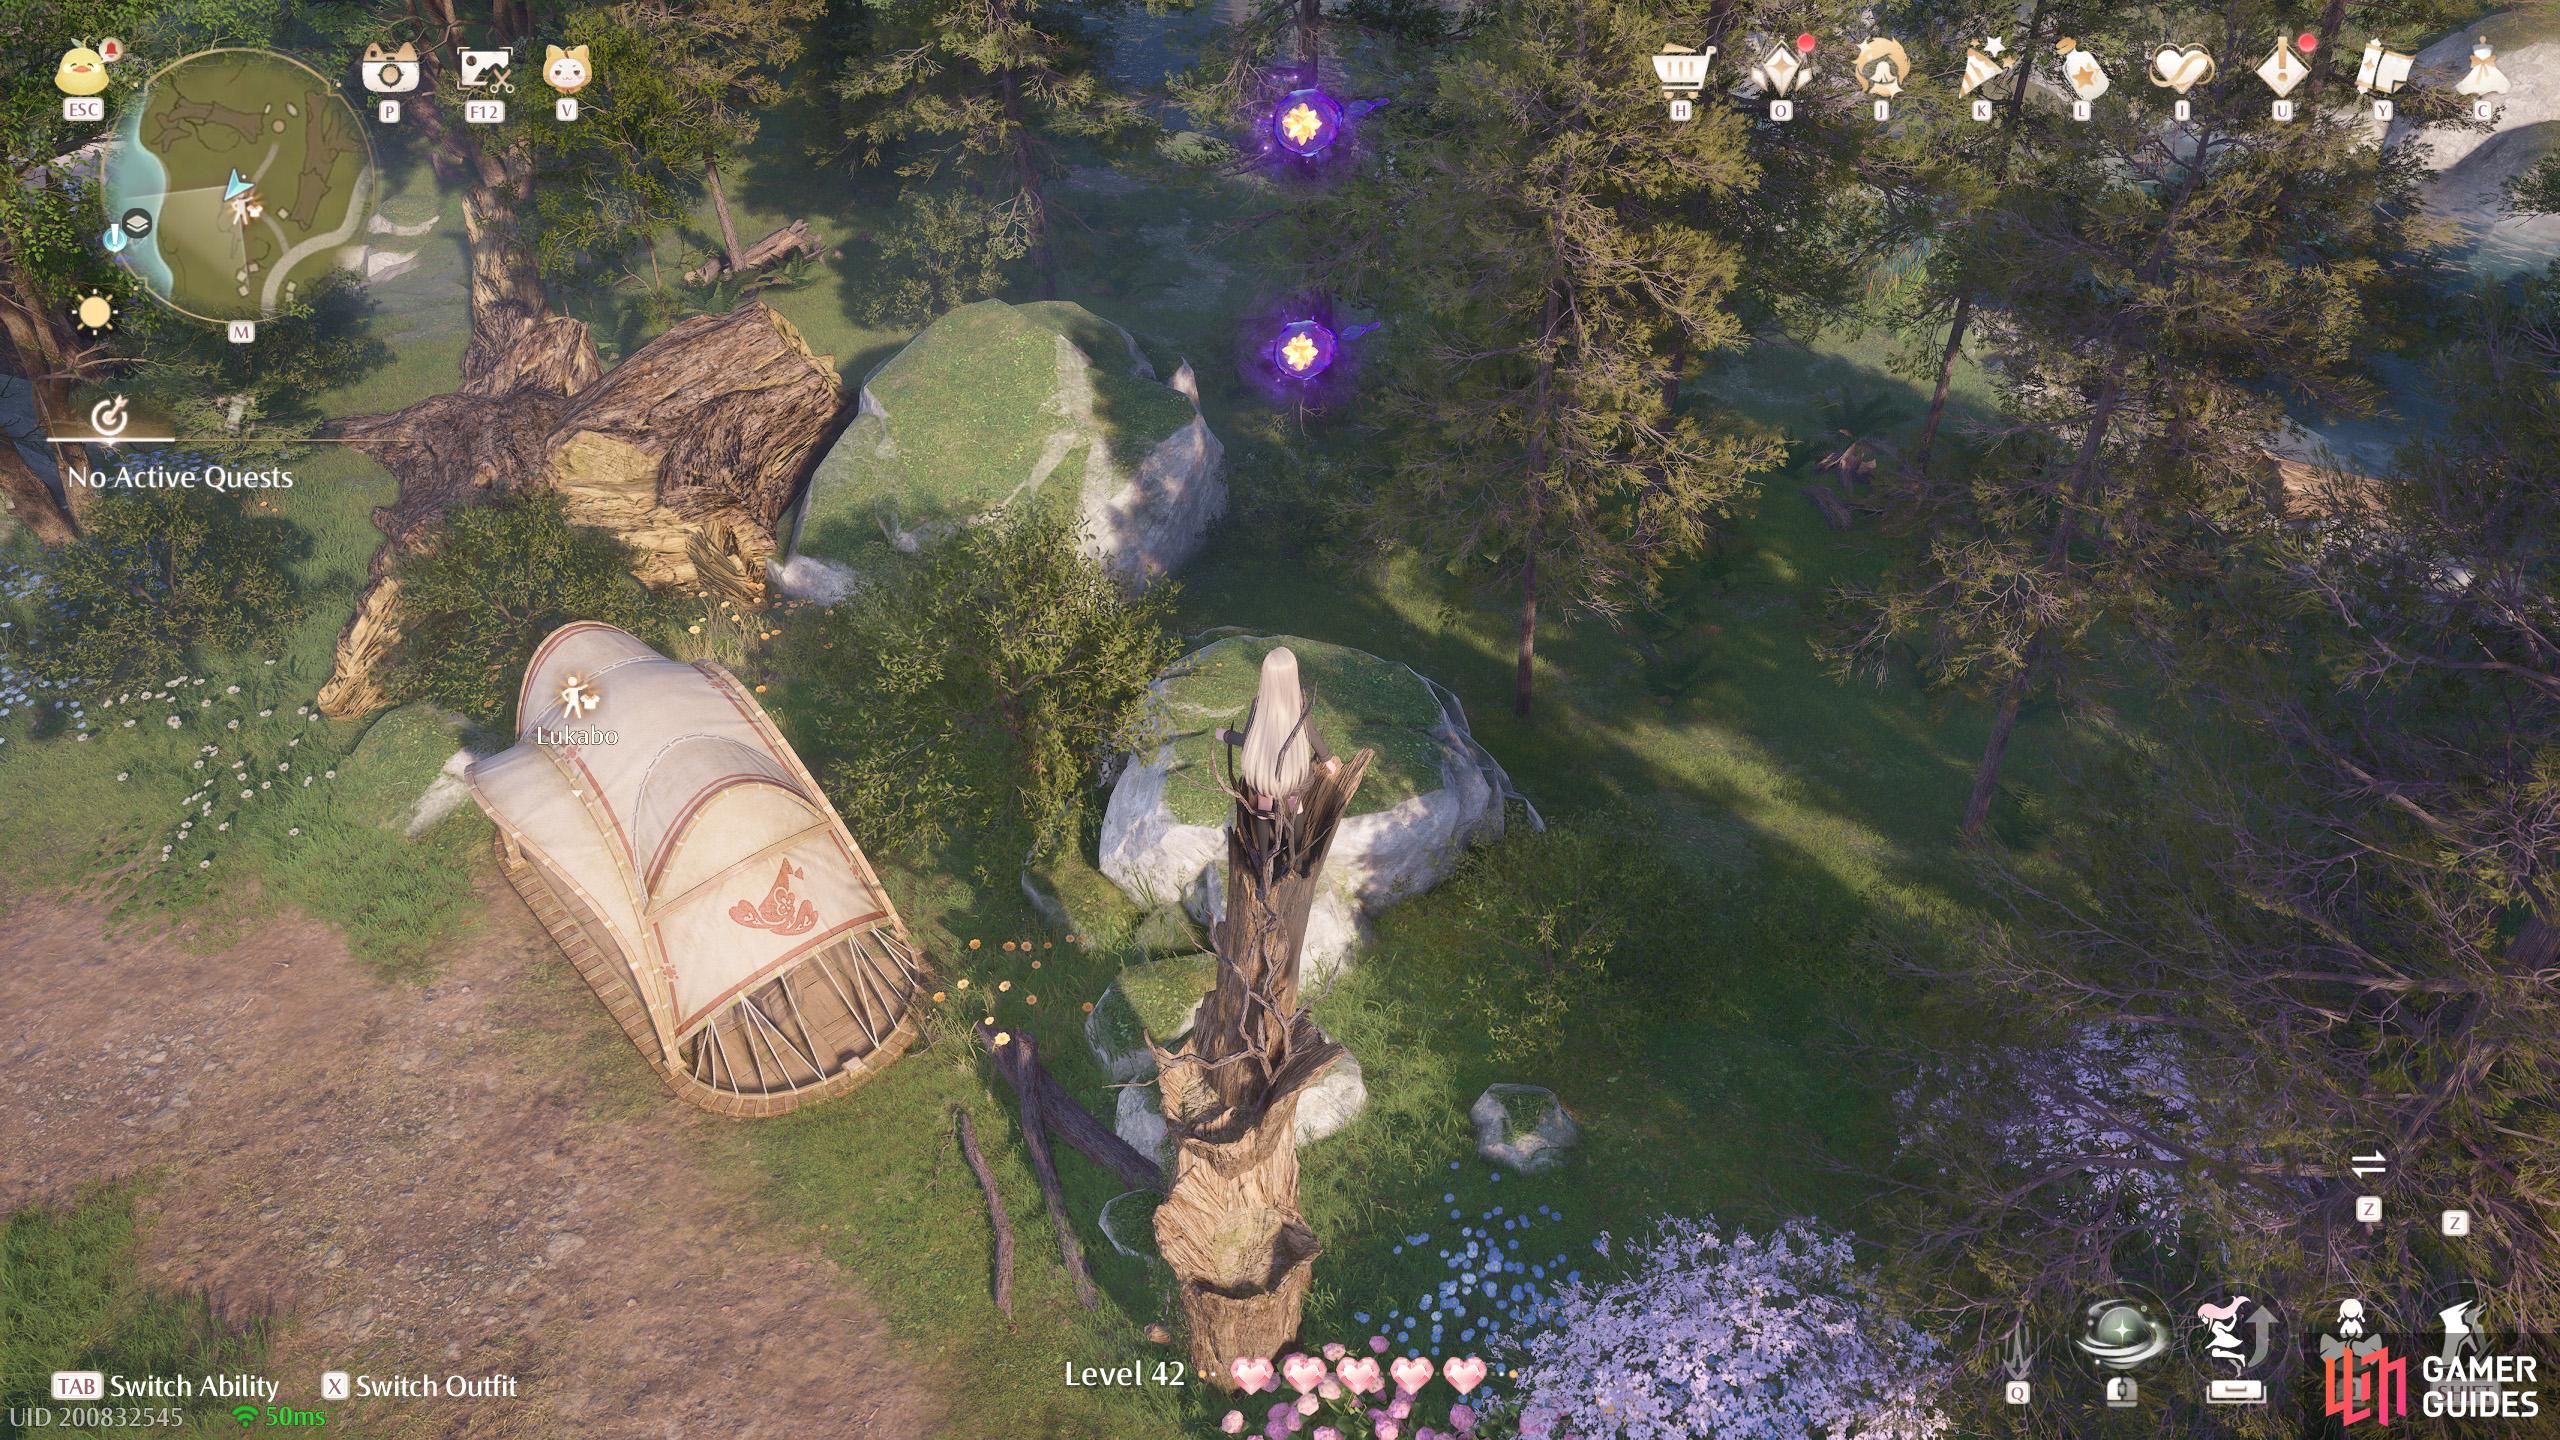
599. Miraland Map
North and slightly west from ![]() Timis’s Beauty Lab Warp Spire. Two floating above a narrow tree trunk next to
Timis’s Beauty Lab Warp Spire. Two floating above a narrow tree trunk next to ![]() Lukabo’s tent.
Lukabo’s tent.
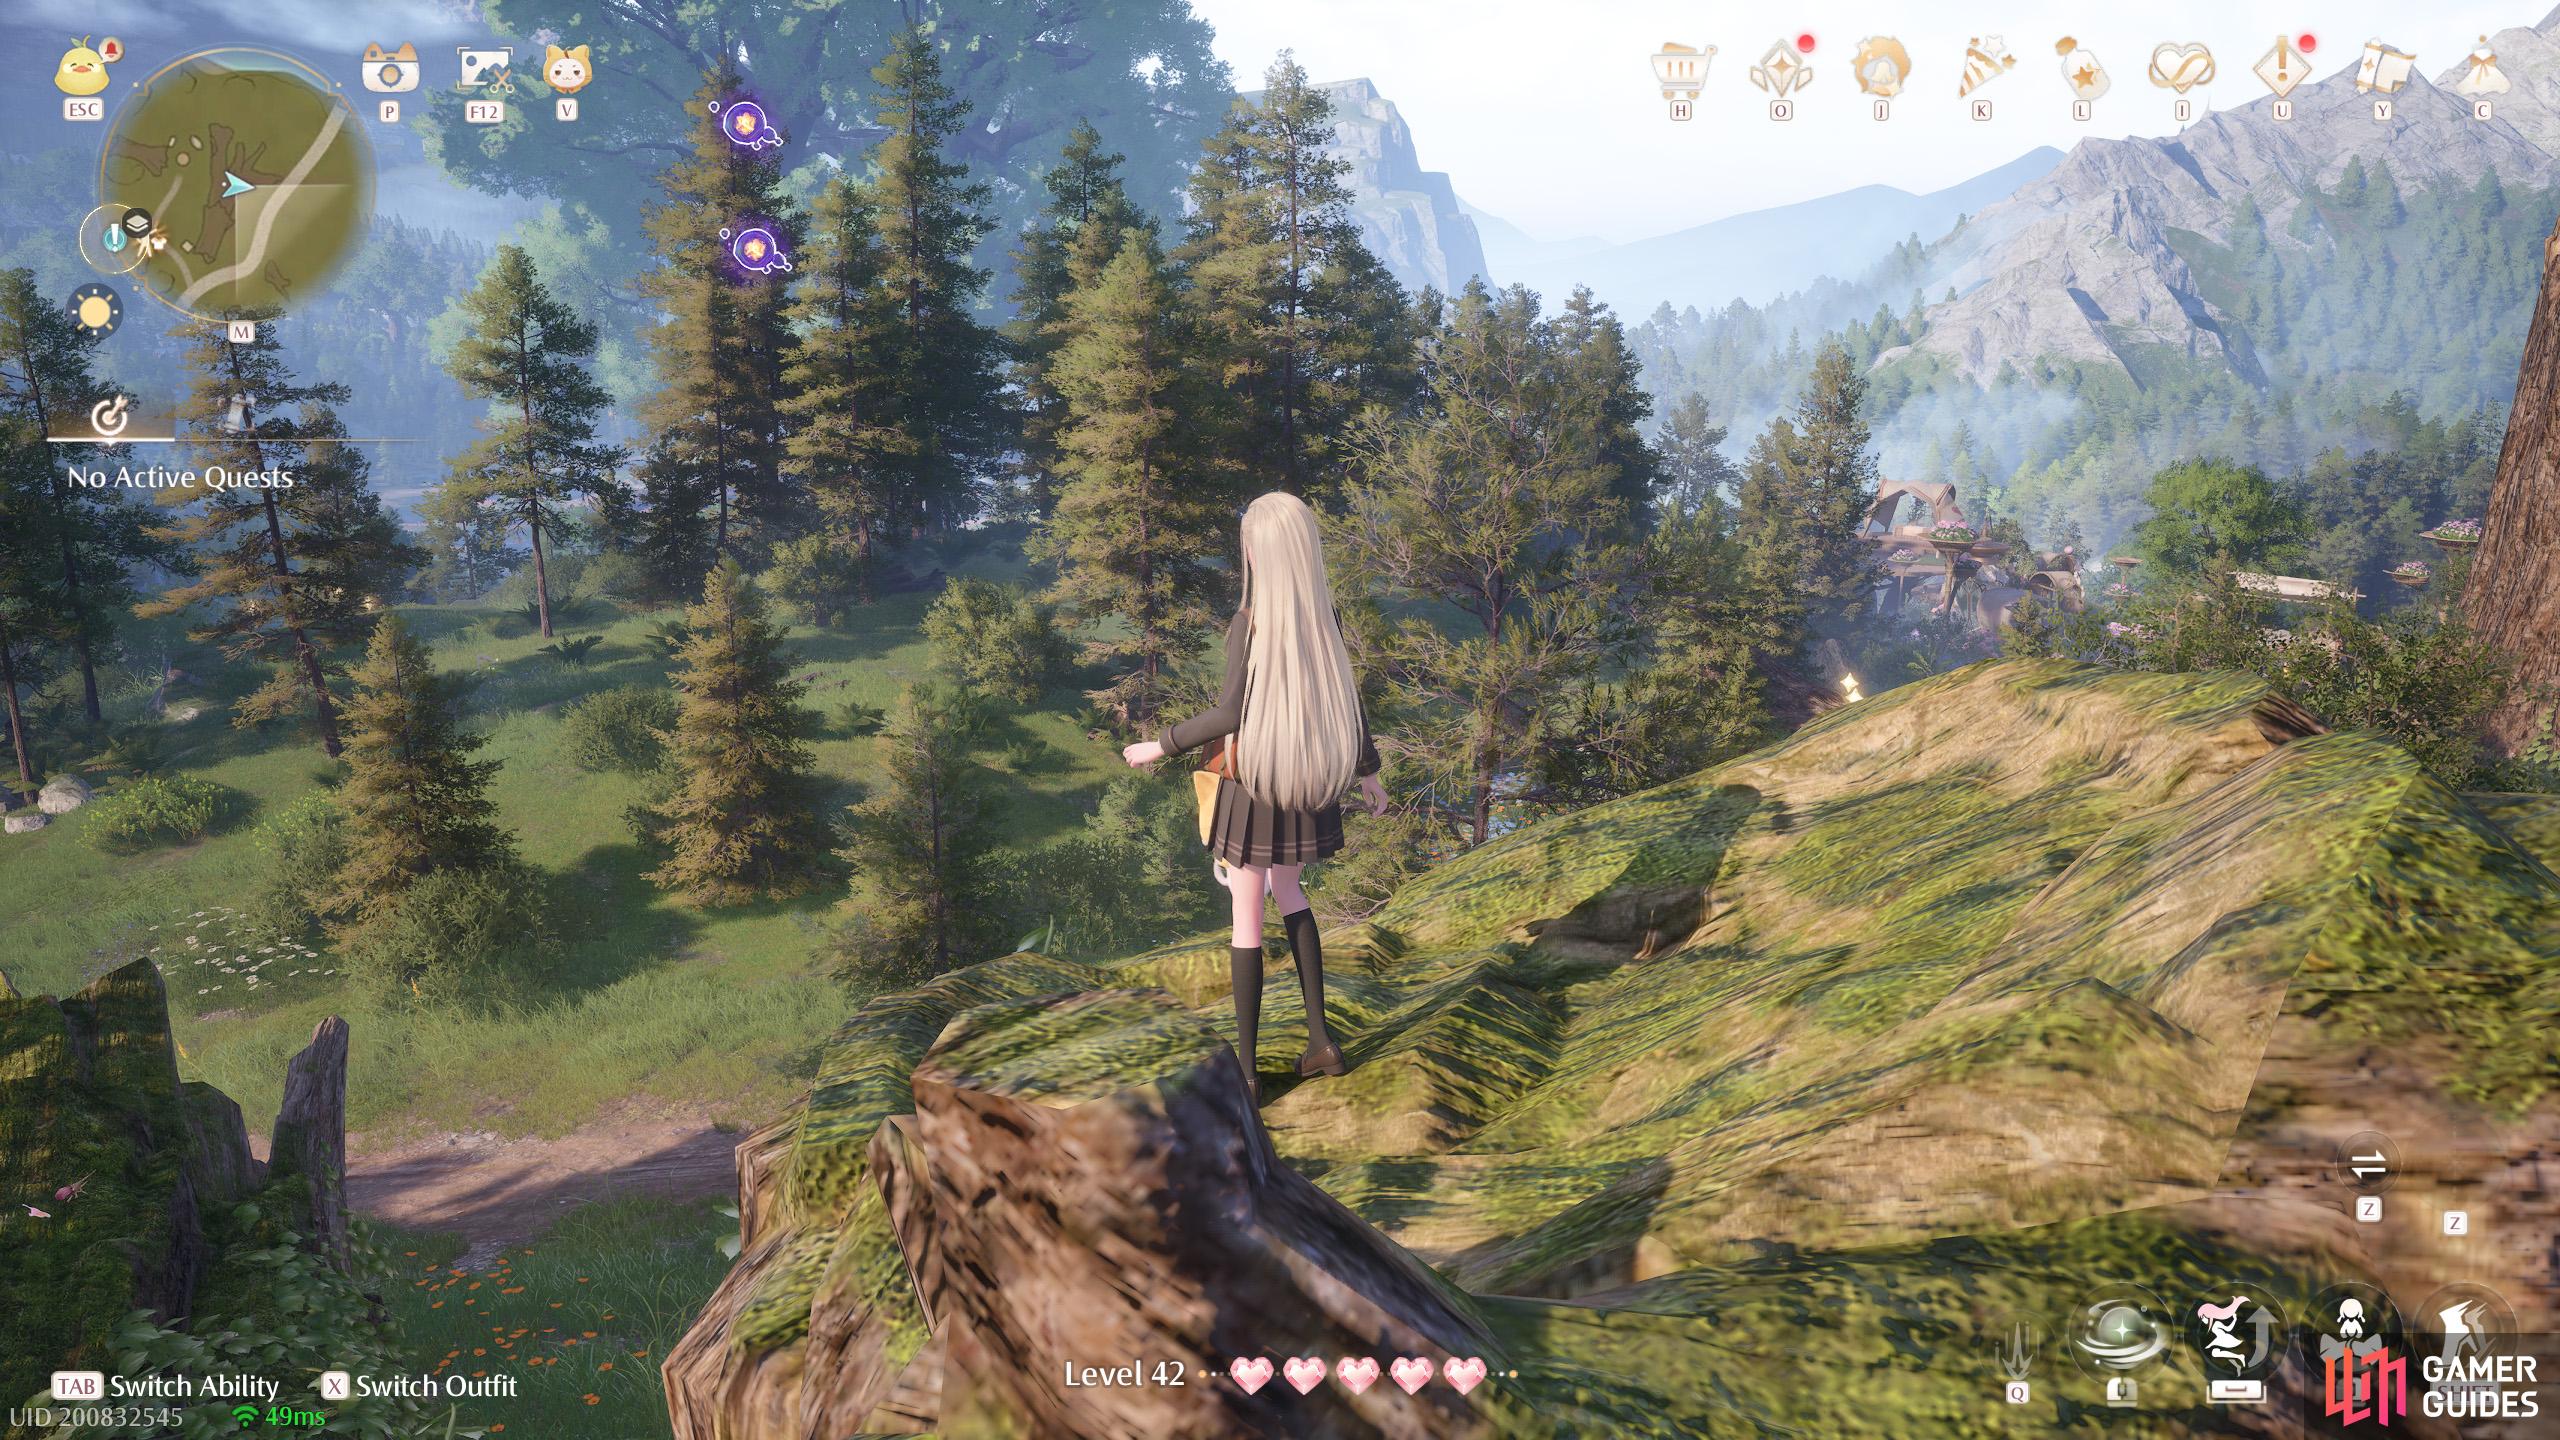
600. Miraland Map
North from ![]() Timis’s Beauty Lab Warp Spire. Two floating near the east side of the fallen tree trunk, halfway up.
Timis’s Beauty Lab Warp Spire. Two floating near the east side of the fallen tree trunk, halfway up.
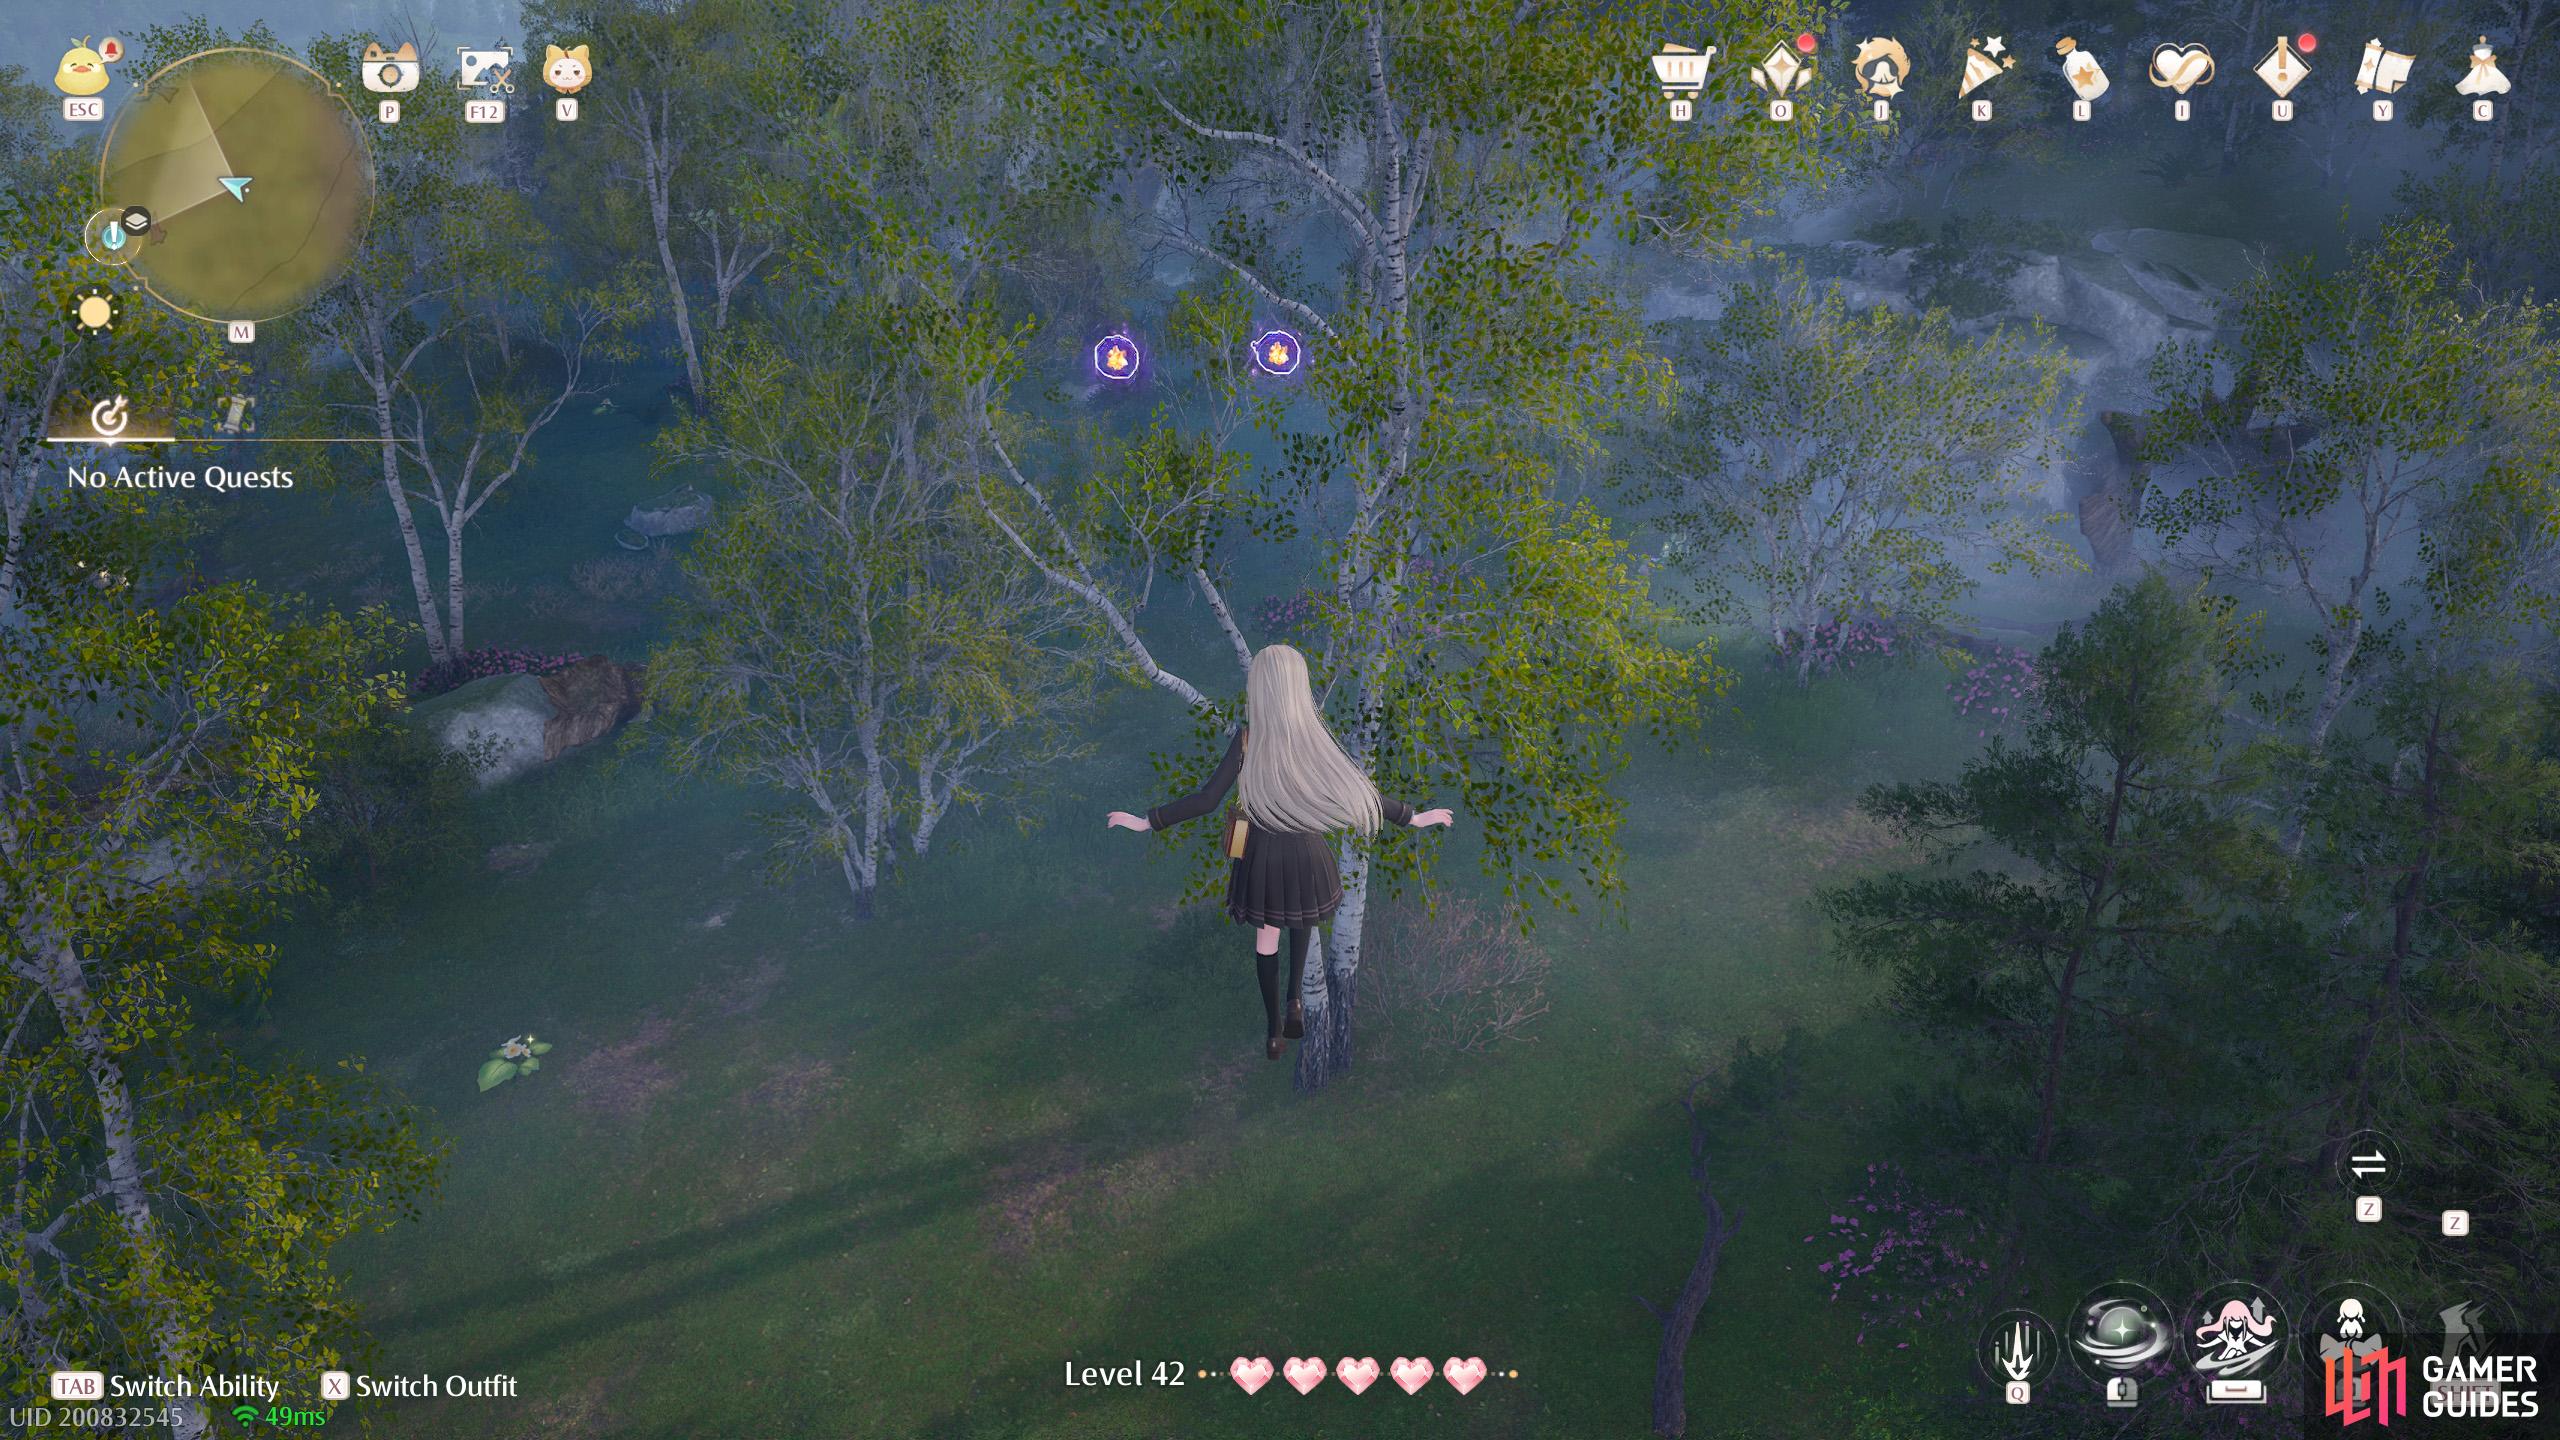
601. Miraland Map
East and slightly north from ![]() Farm Entrance. Two floating in the air, with a leaf trampoline nearby.
Farm Entrance. Two floating in the air, with a leaf trampoline nearby.
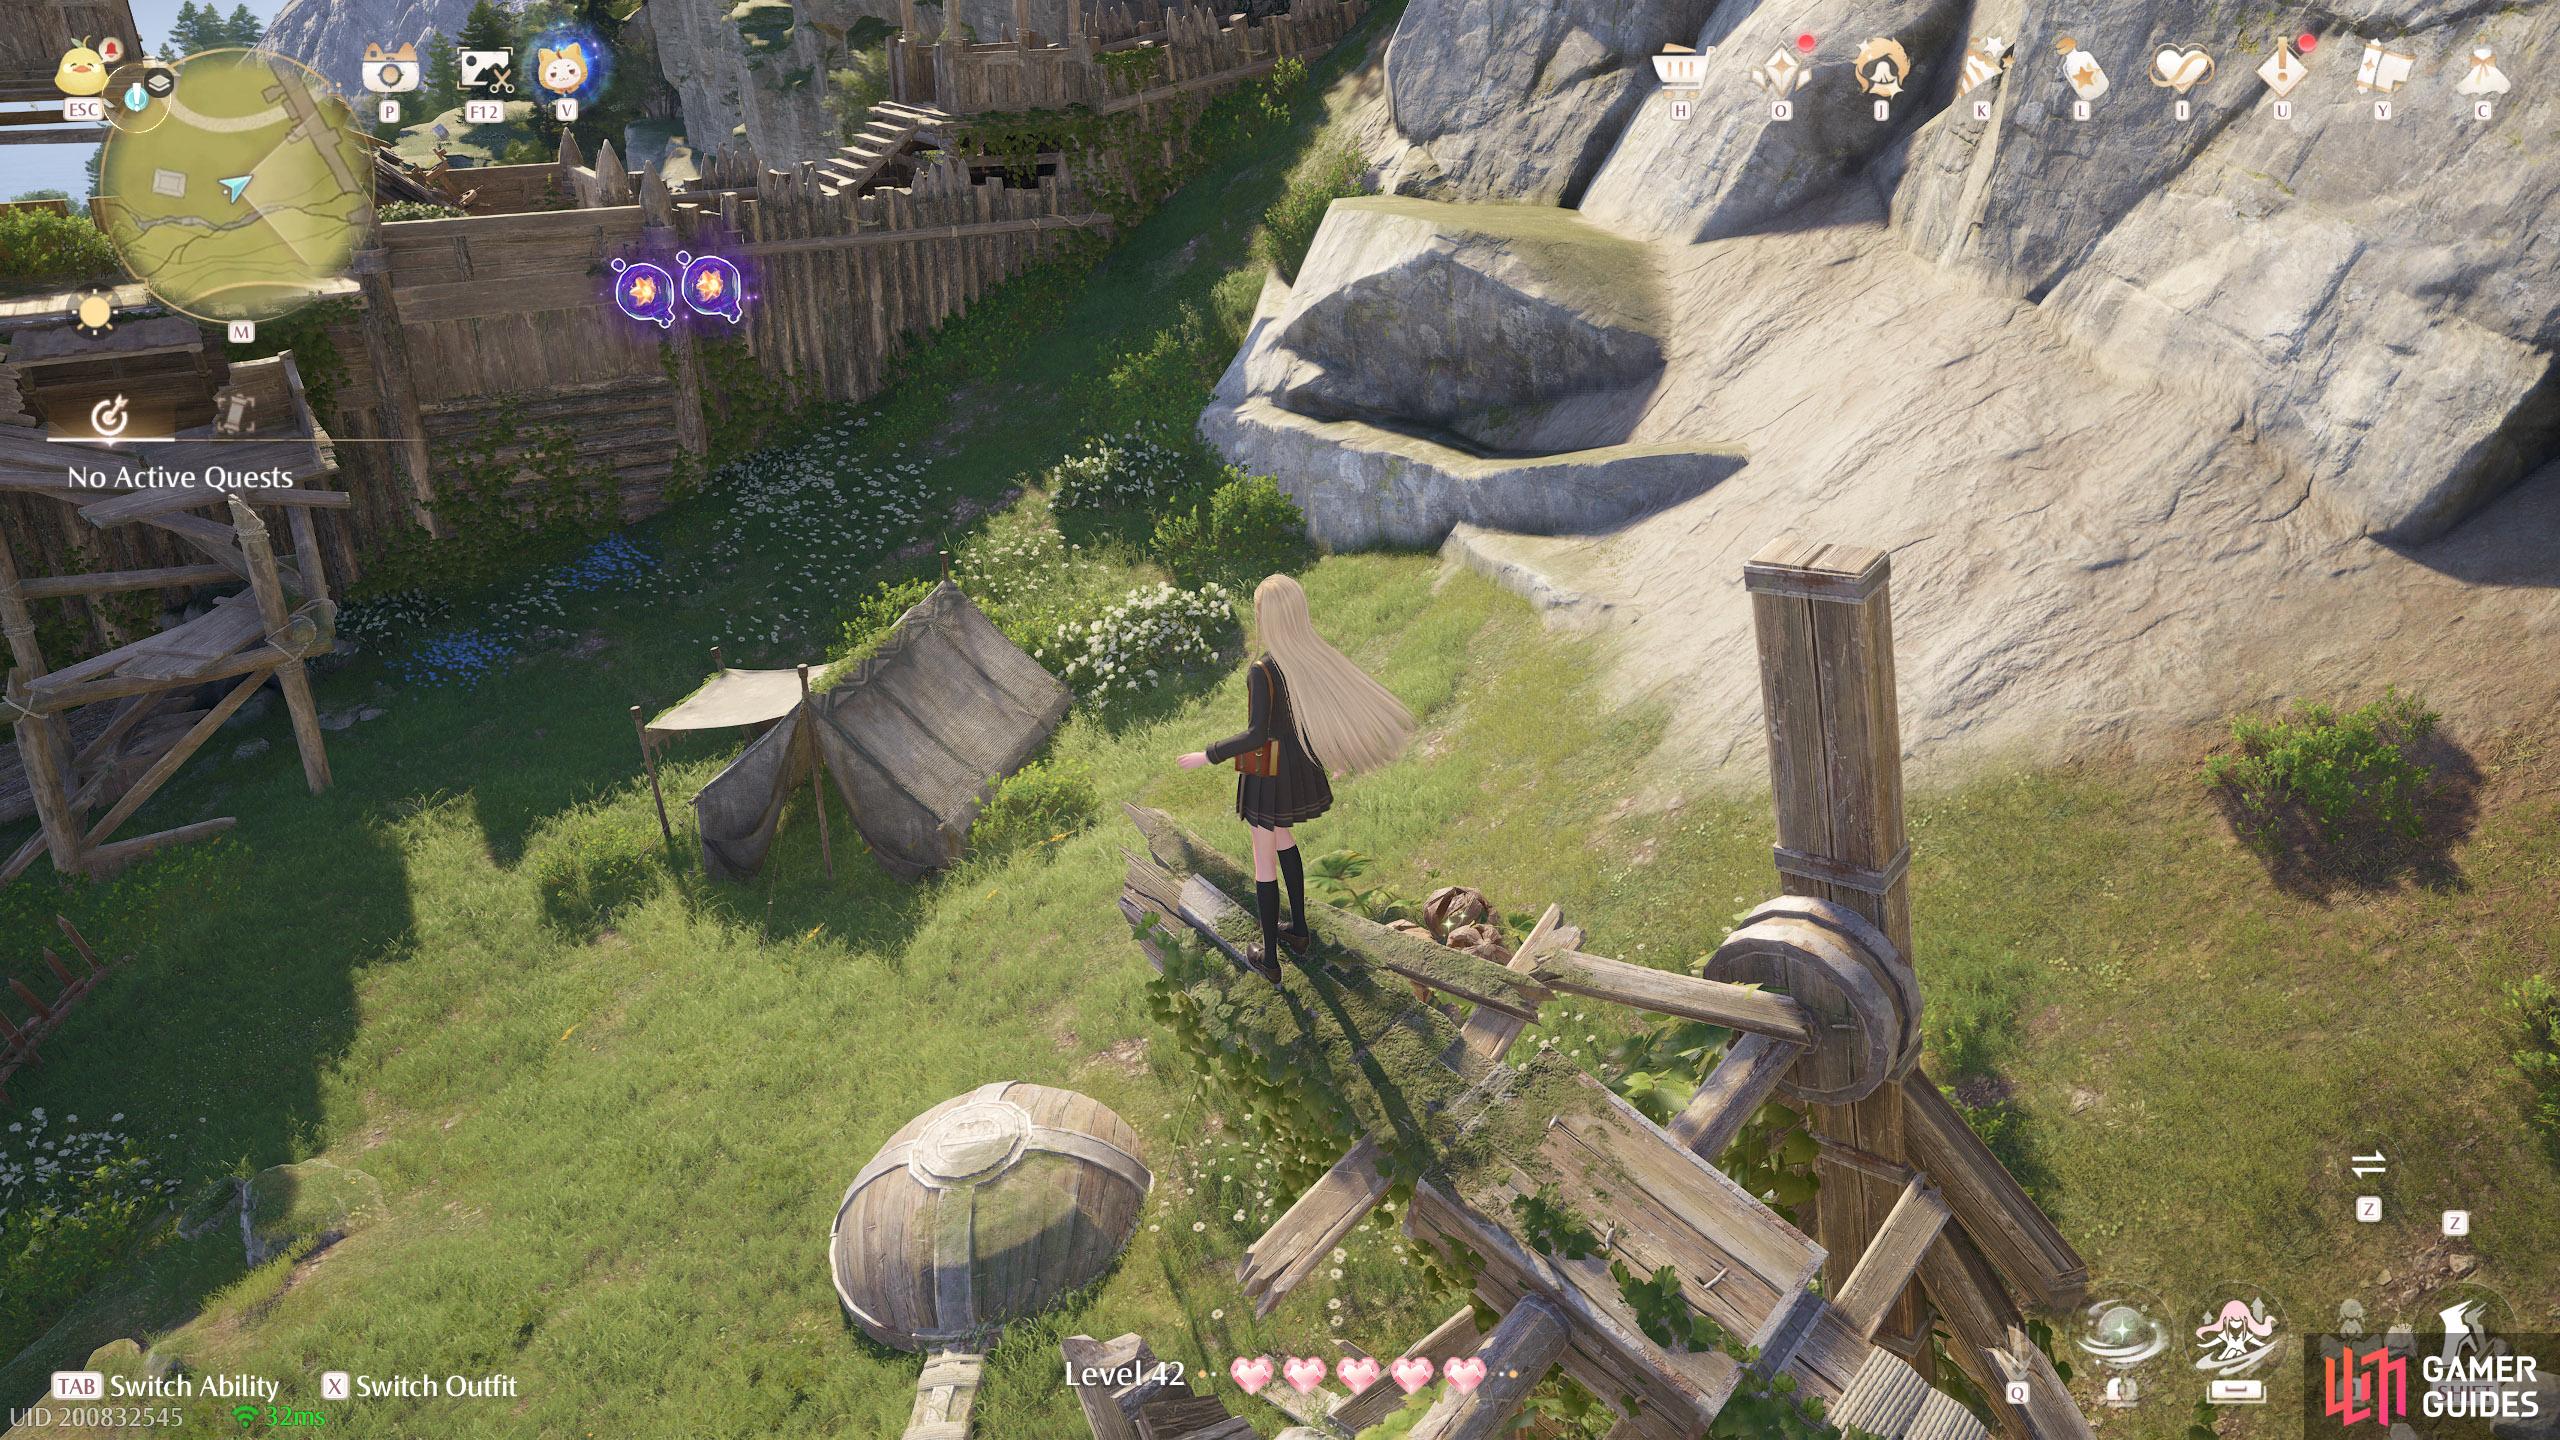
602. Miraland Map
Short distance south-west from the ![]() Abandoned Fanatic Wisher Camp Warp Spire. Two floating near the top of a broken catapult.
Abandoned Fanatic Wisher Camp Warp Spire. Two floating near the top of a broken catapult.
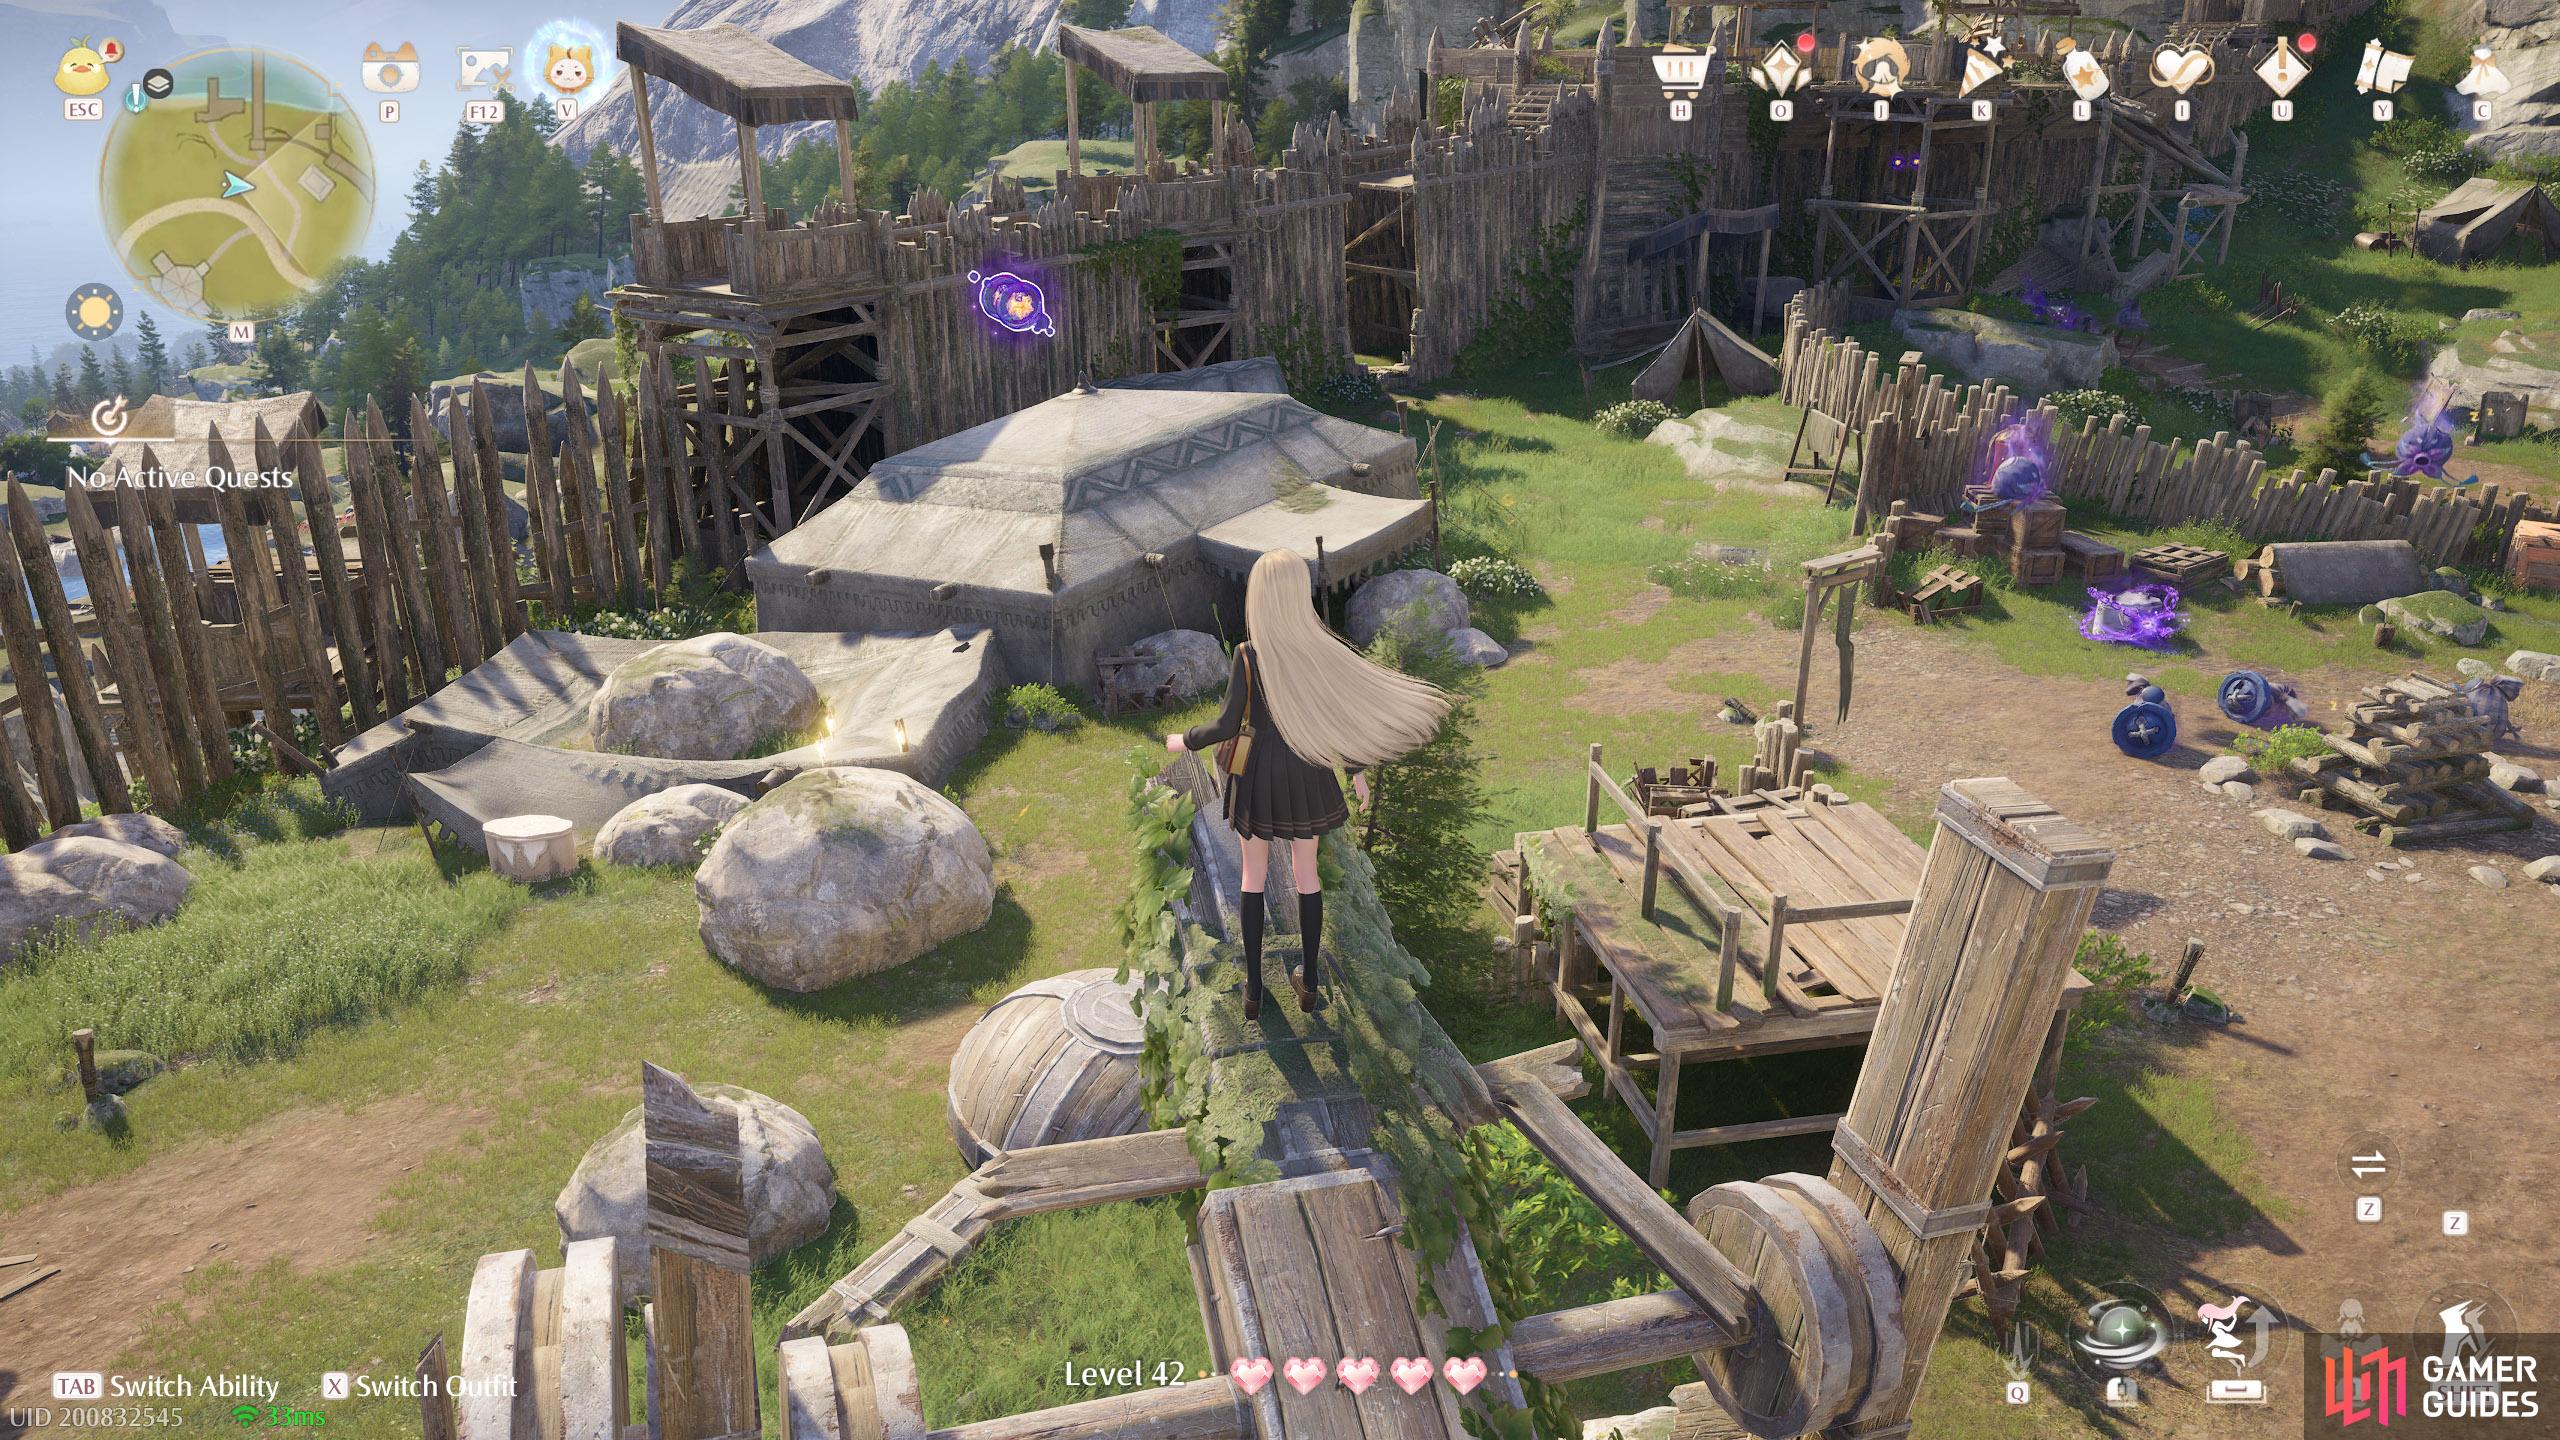
603. Miraland Map
Short distance west from the ![]() Abandoned Fanatic Wisher Camp Warp Spire. Two near the top of a broken catapult.
Abandoned Fanatic Wisher Camp Warp Spire. Two near the top of a broken catapult.

604. Miraland Map
Short distance west from the ![]() Abandoned Fanatic Wisher Camp Warp Spire. Two under some scaffolding.
Abandoned Fanatic Wisher Camp Warp Spire. Two under some scaffolding.

605. Miraland Map
Short distance north from the ![]() Abandoned Fanatic Wisher Camp Warp Spire. Two floating above the river, in view of the cascade.
Abandoned Fanatic Wisher Camp Warp Spire. Two floating above the river, in view of the cascade.
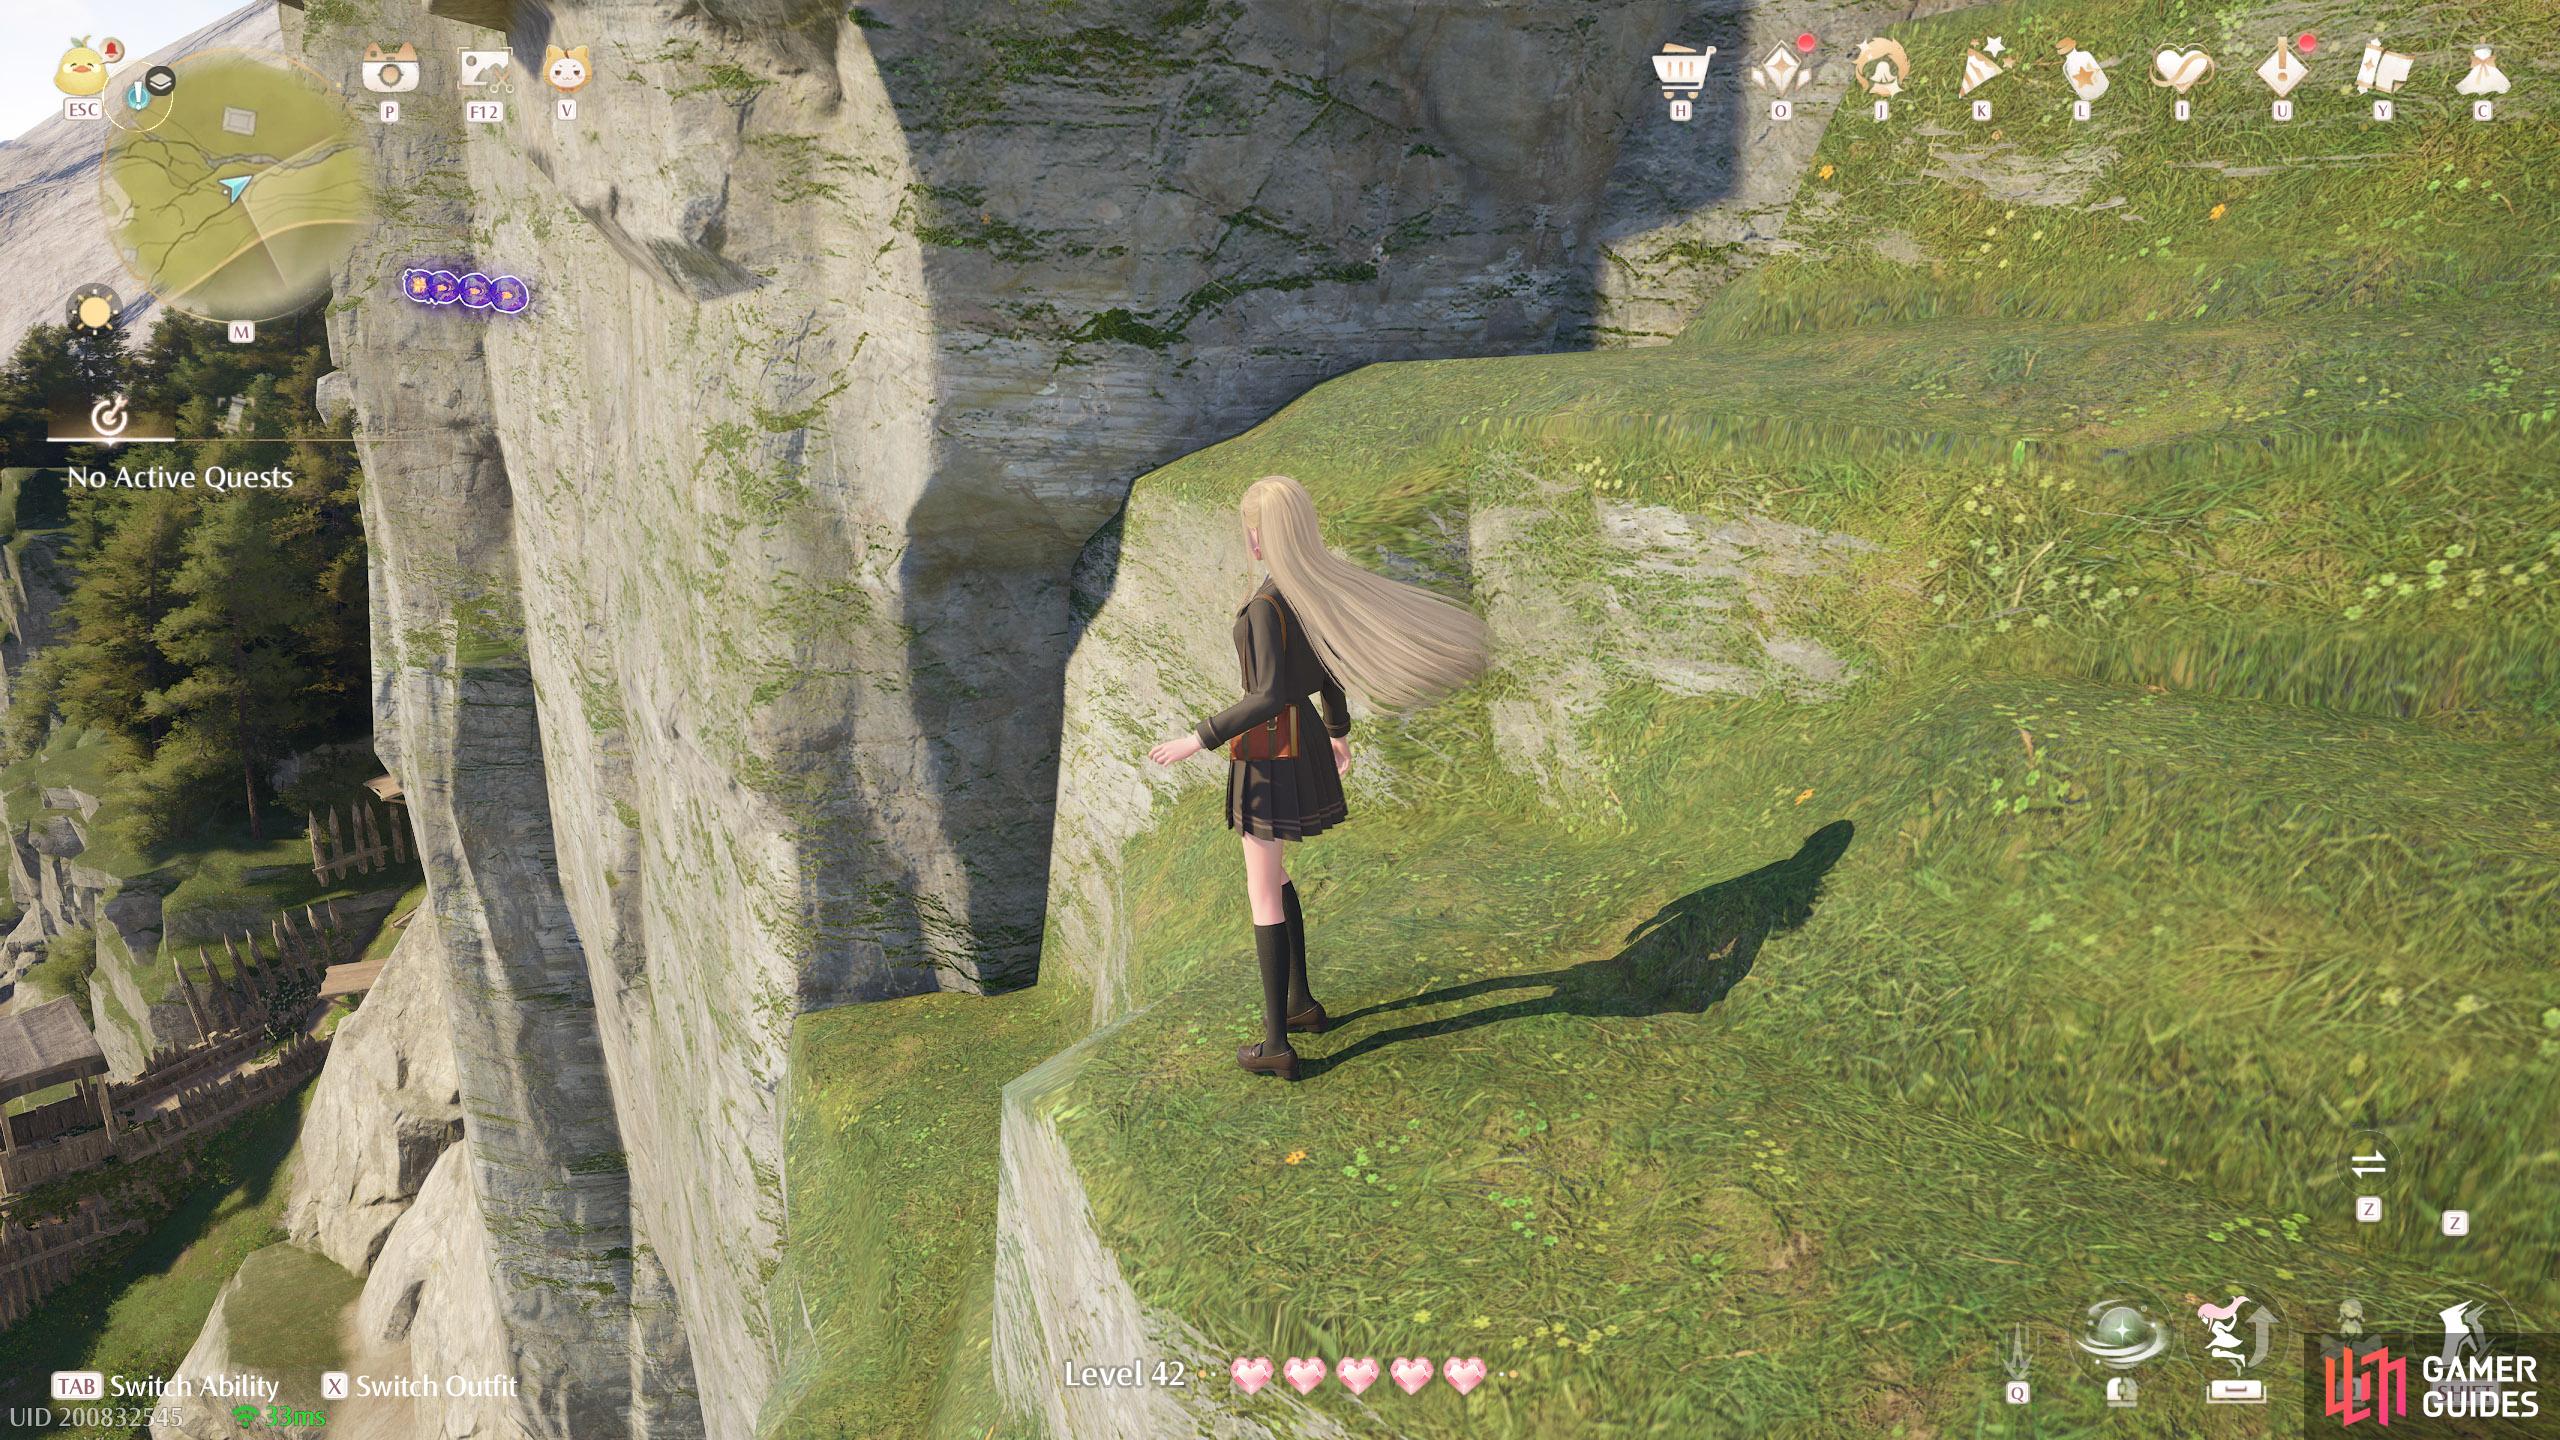
606. Miraland Map
South-west from the ![]() Abandoned Fanatic Wisher Camp Warp Spire. Four high up, near the world boundary. You can reach by climbing from the west side.
Abandoned Fanatic Wisher Camp Warp Spire. Four high up, near the world boundary. You can reach by climbing from the west side.
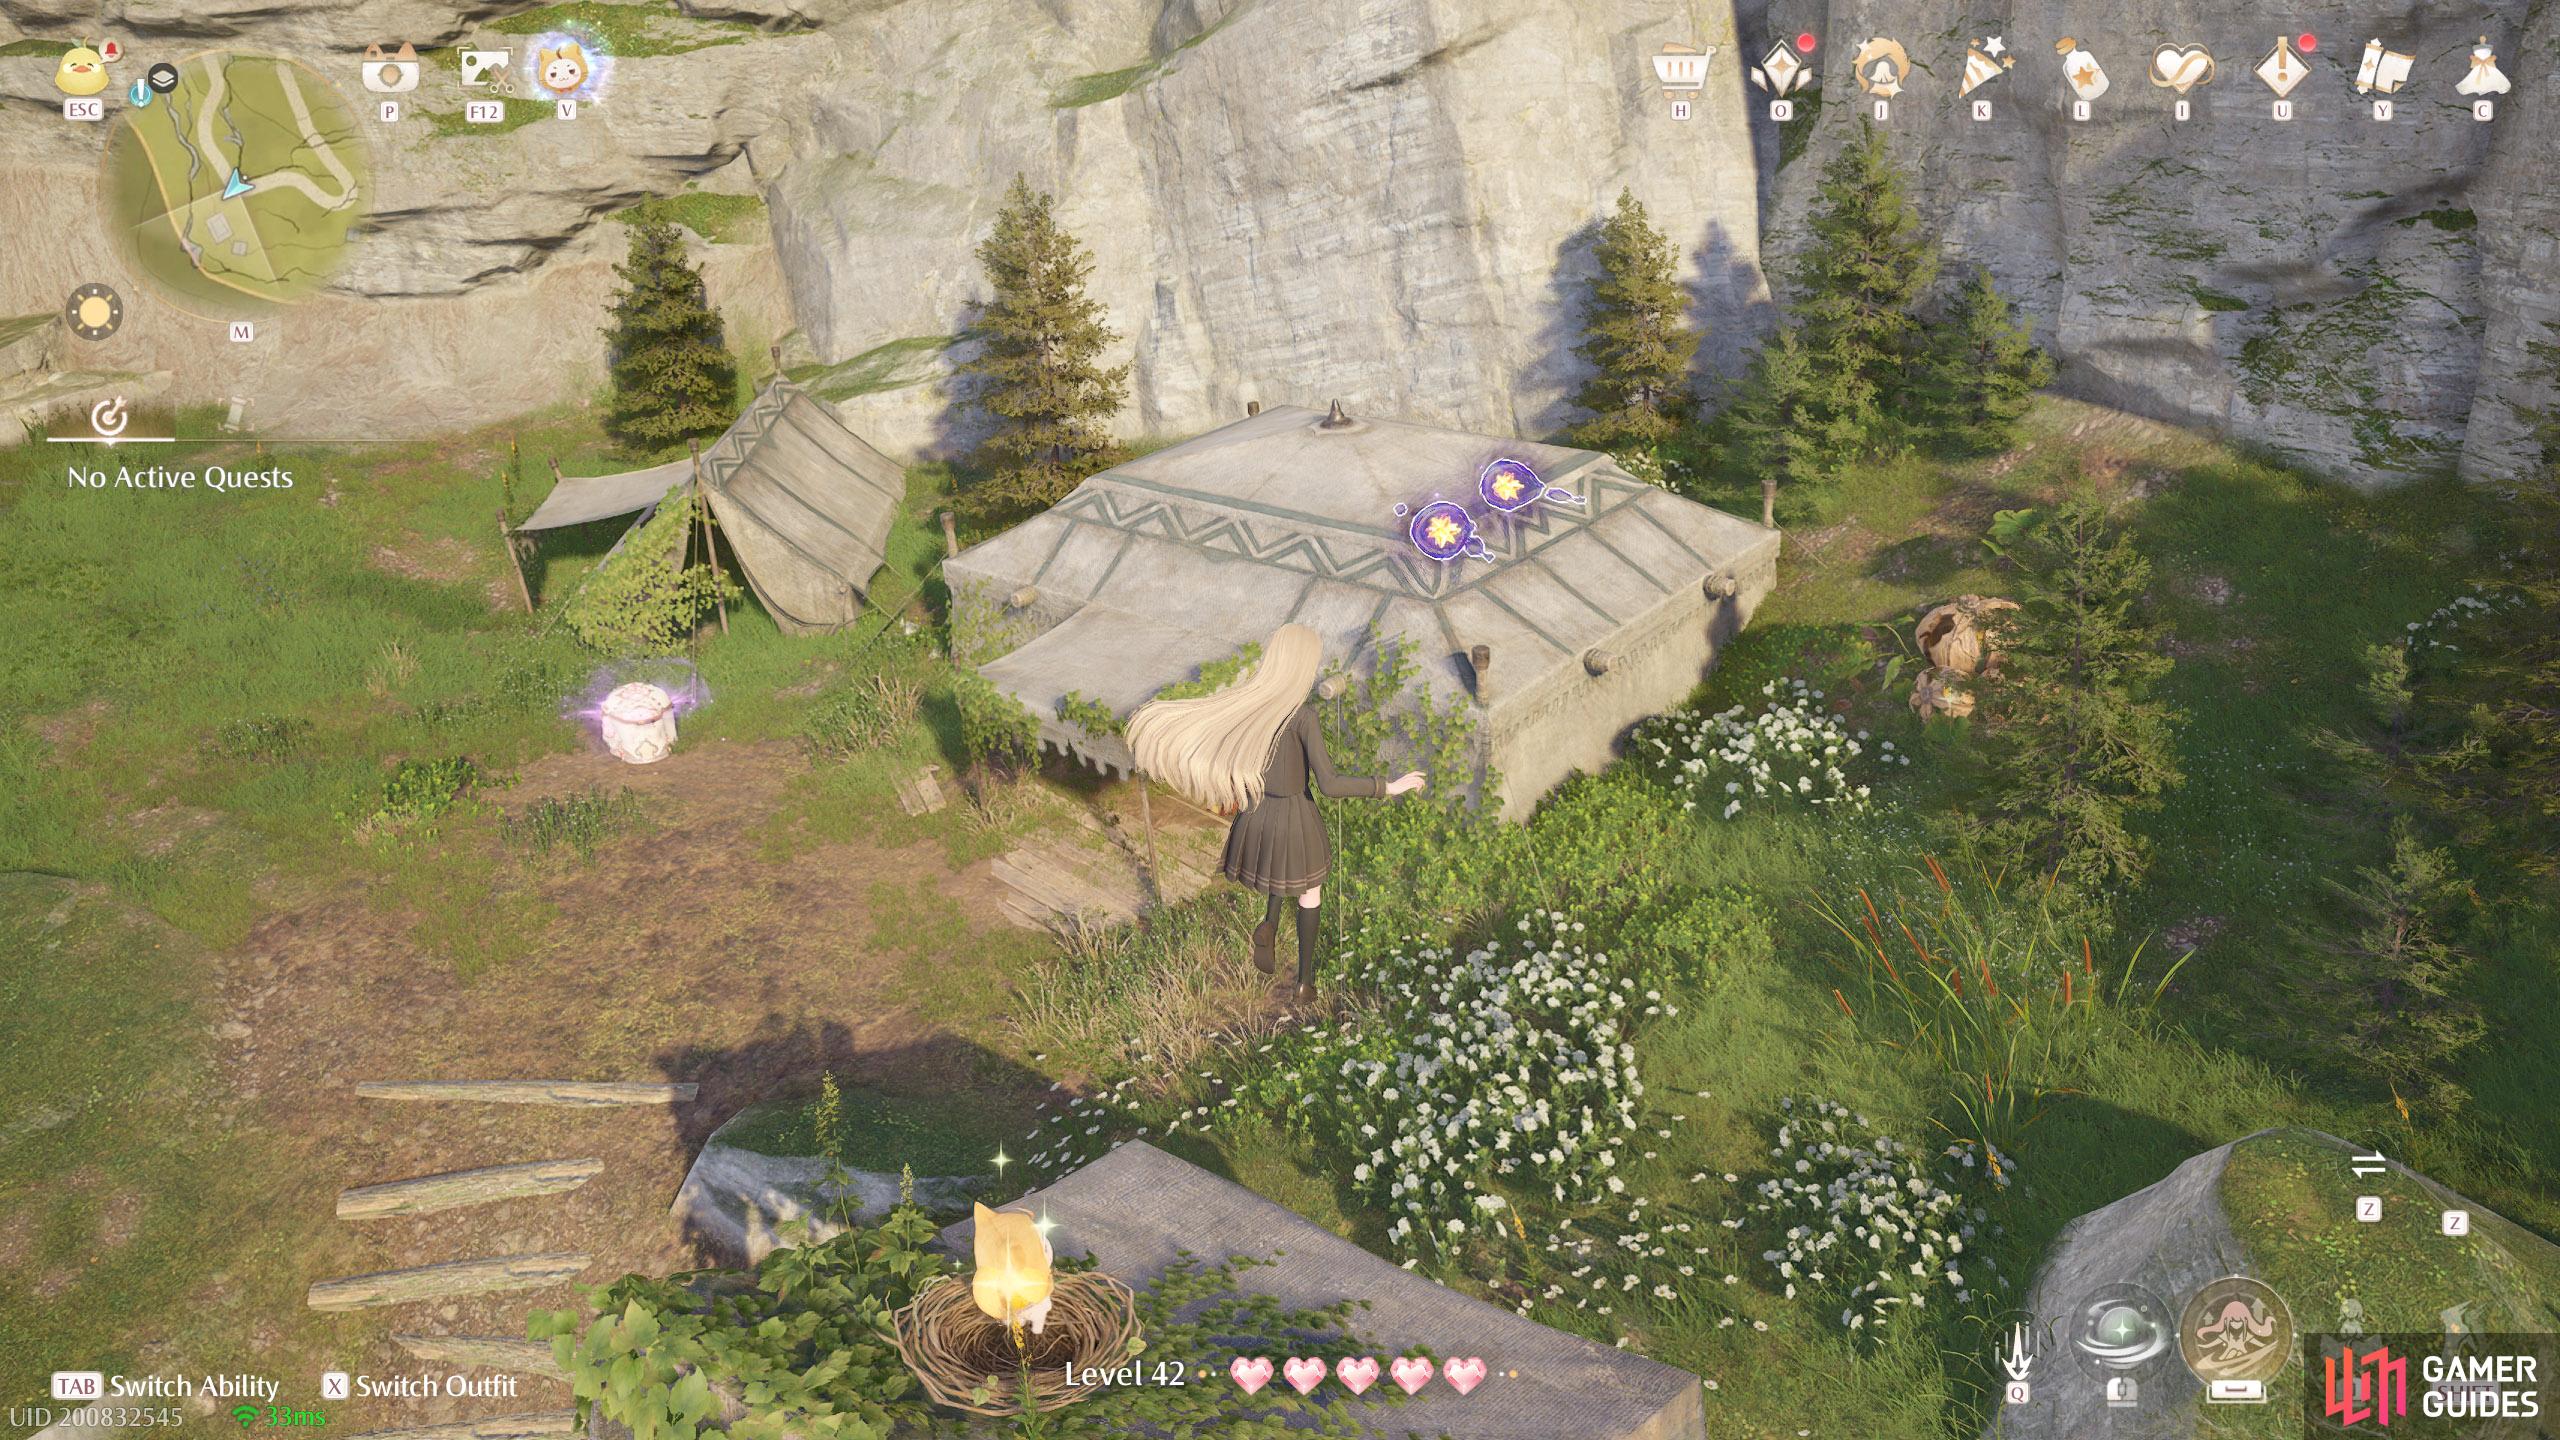
607. Miraland Map
South-west from the ![]() Abandoned Fanatic Wisher Camp Warp Spire. Two floating near the top of a small wooden outpost. Near a
Abandoned Fanatic Wisher Camp Warp Spire. Two floating near the top of a small wooden outpost. Near a ![]() Whimstar-containing chest.
Whimstar-containing chest.
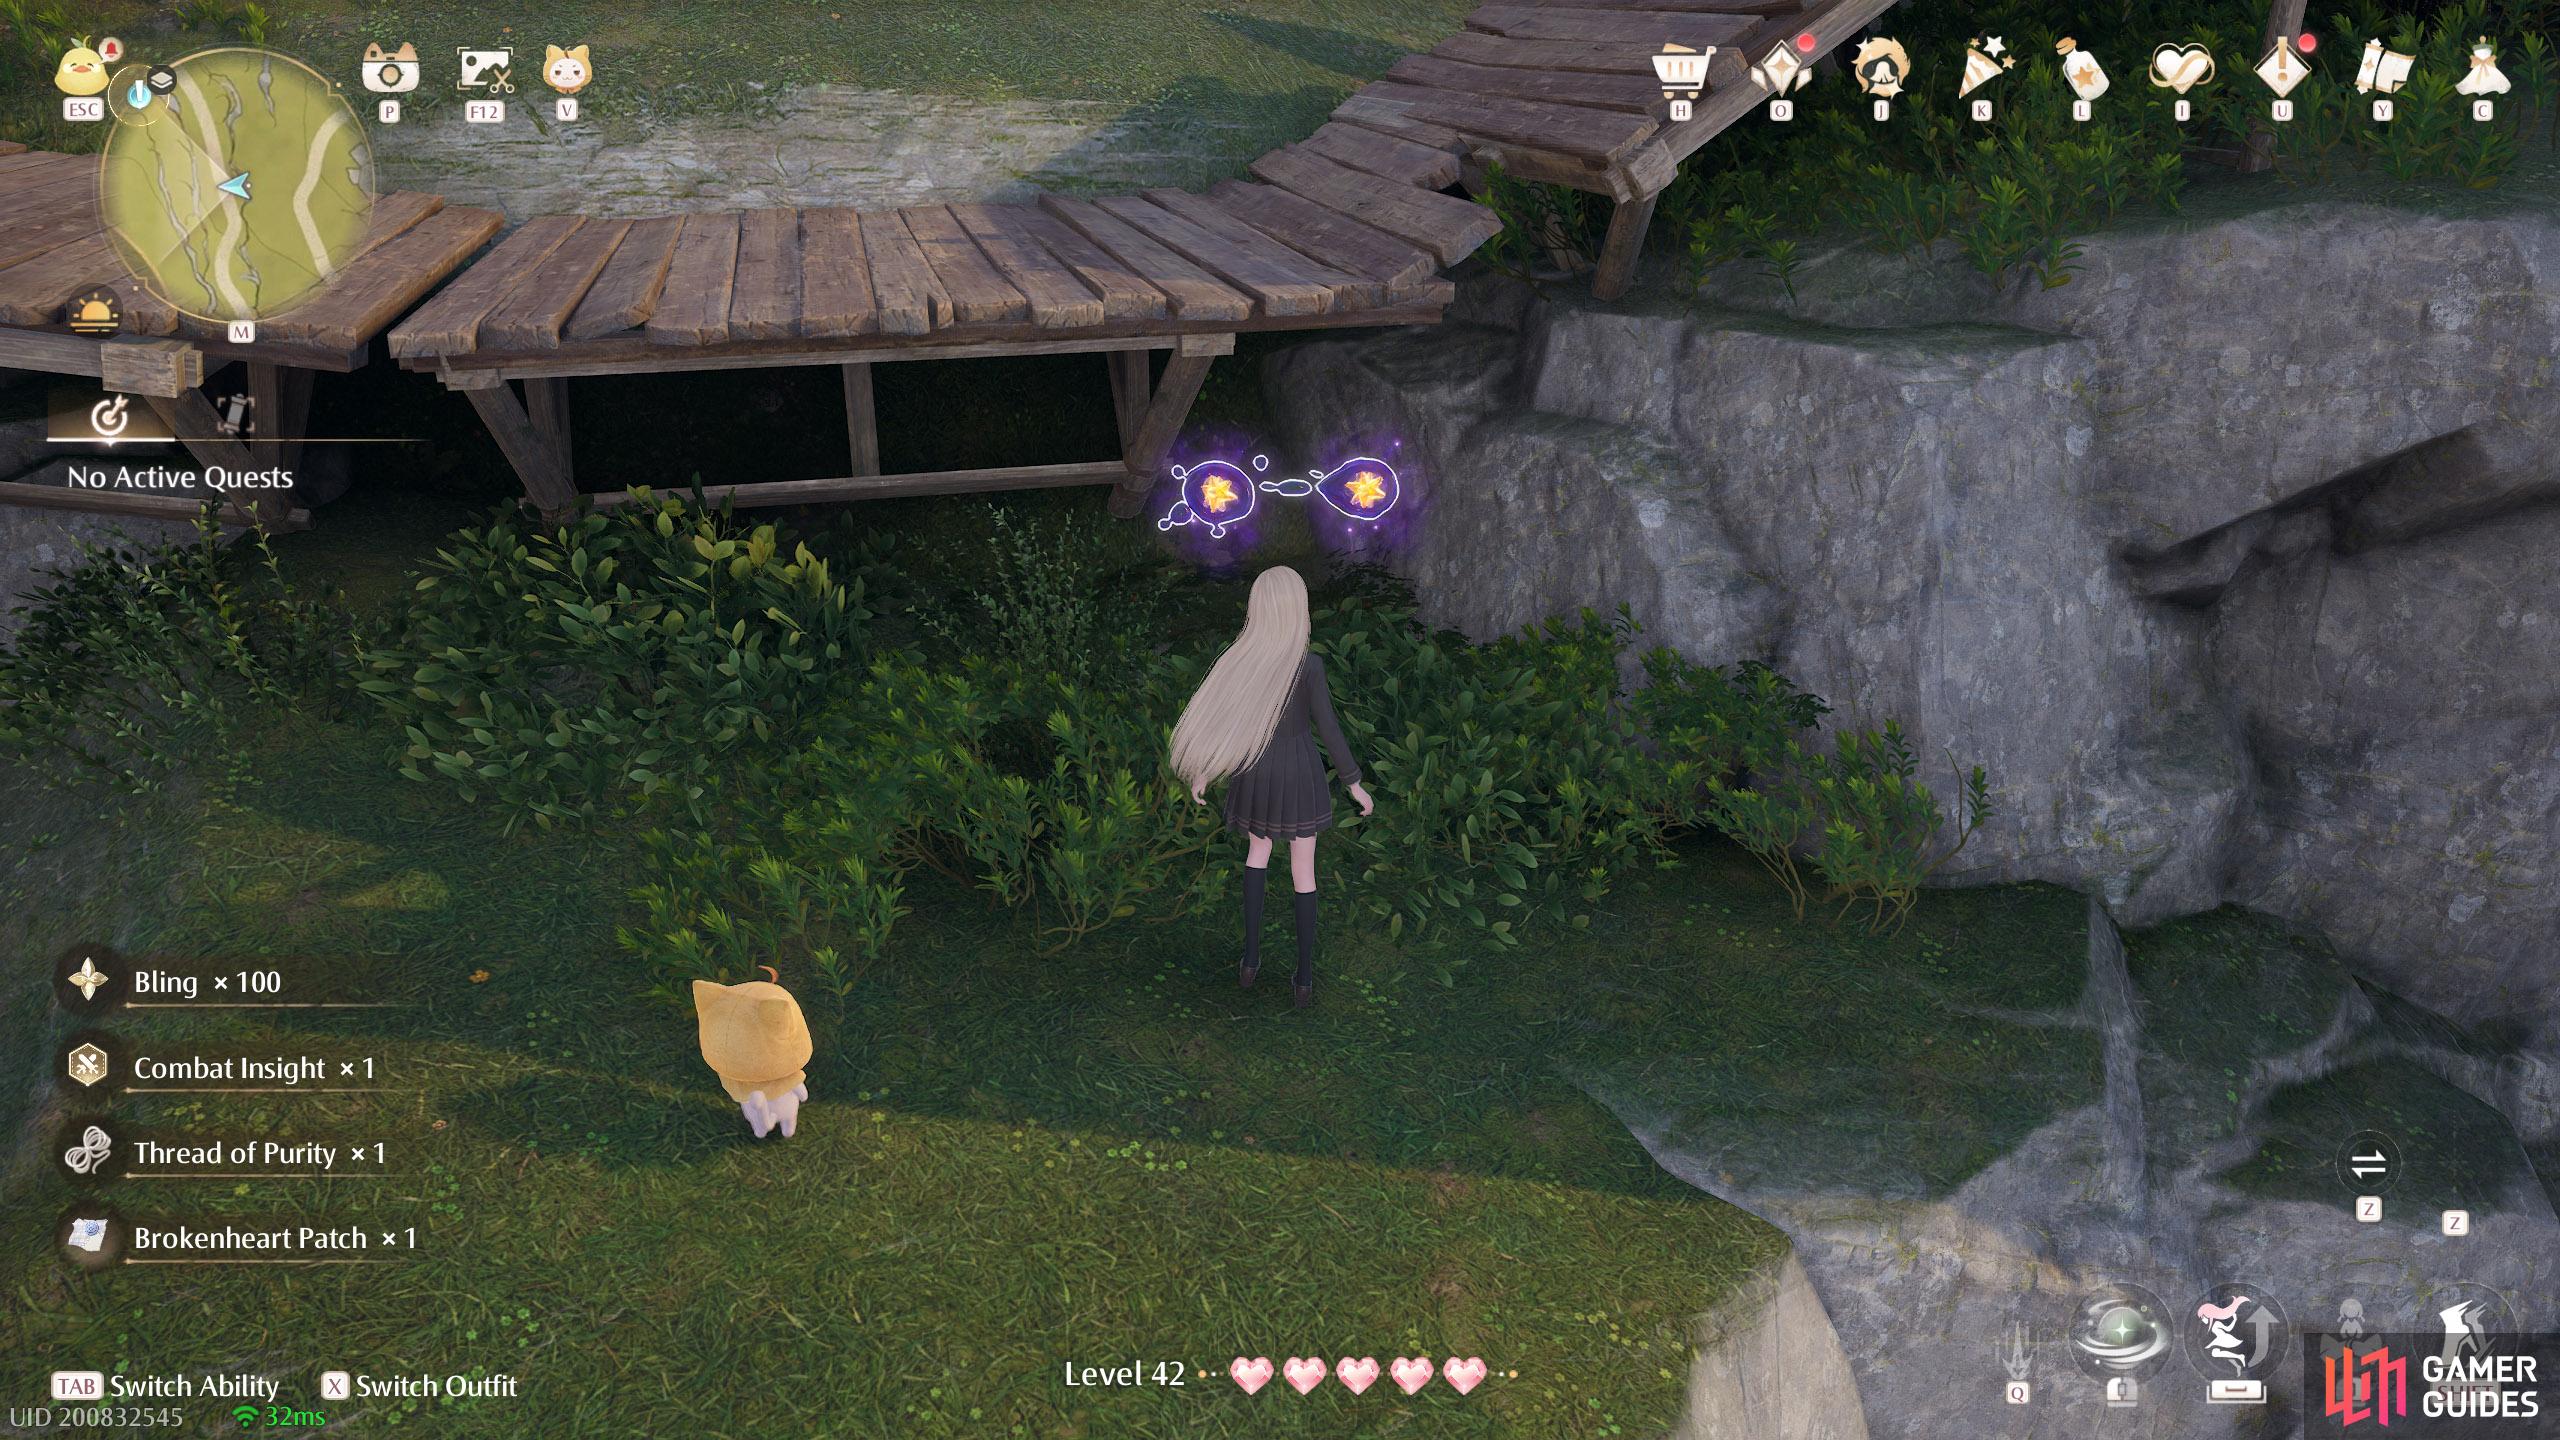
608. Miraland Map
West from the ![]() Abandoned Fanatic Wisher Camp Warp Spire. Two under the wooden walkway. Beware of Esselings nearby.
Abandoned Fanatic Wisher Camp Warp Spire. Two under the wooden walkway. Beware of Esselings nearby.

609. Miraland Map
West from the ![]() Abandoned Fanatic Wisher Camp Warp Spire. Four floating extremely high up above a big tent. There’s a wishnet to the south that you can jump from (where we’re standing in the screenshot).
Abandoned Fanatic Wisher Camp Warp Spire. Four floating extremely high up above a big tent. There’s a wishnet to the south that you can jump from (where we’re standing in the screenshot).
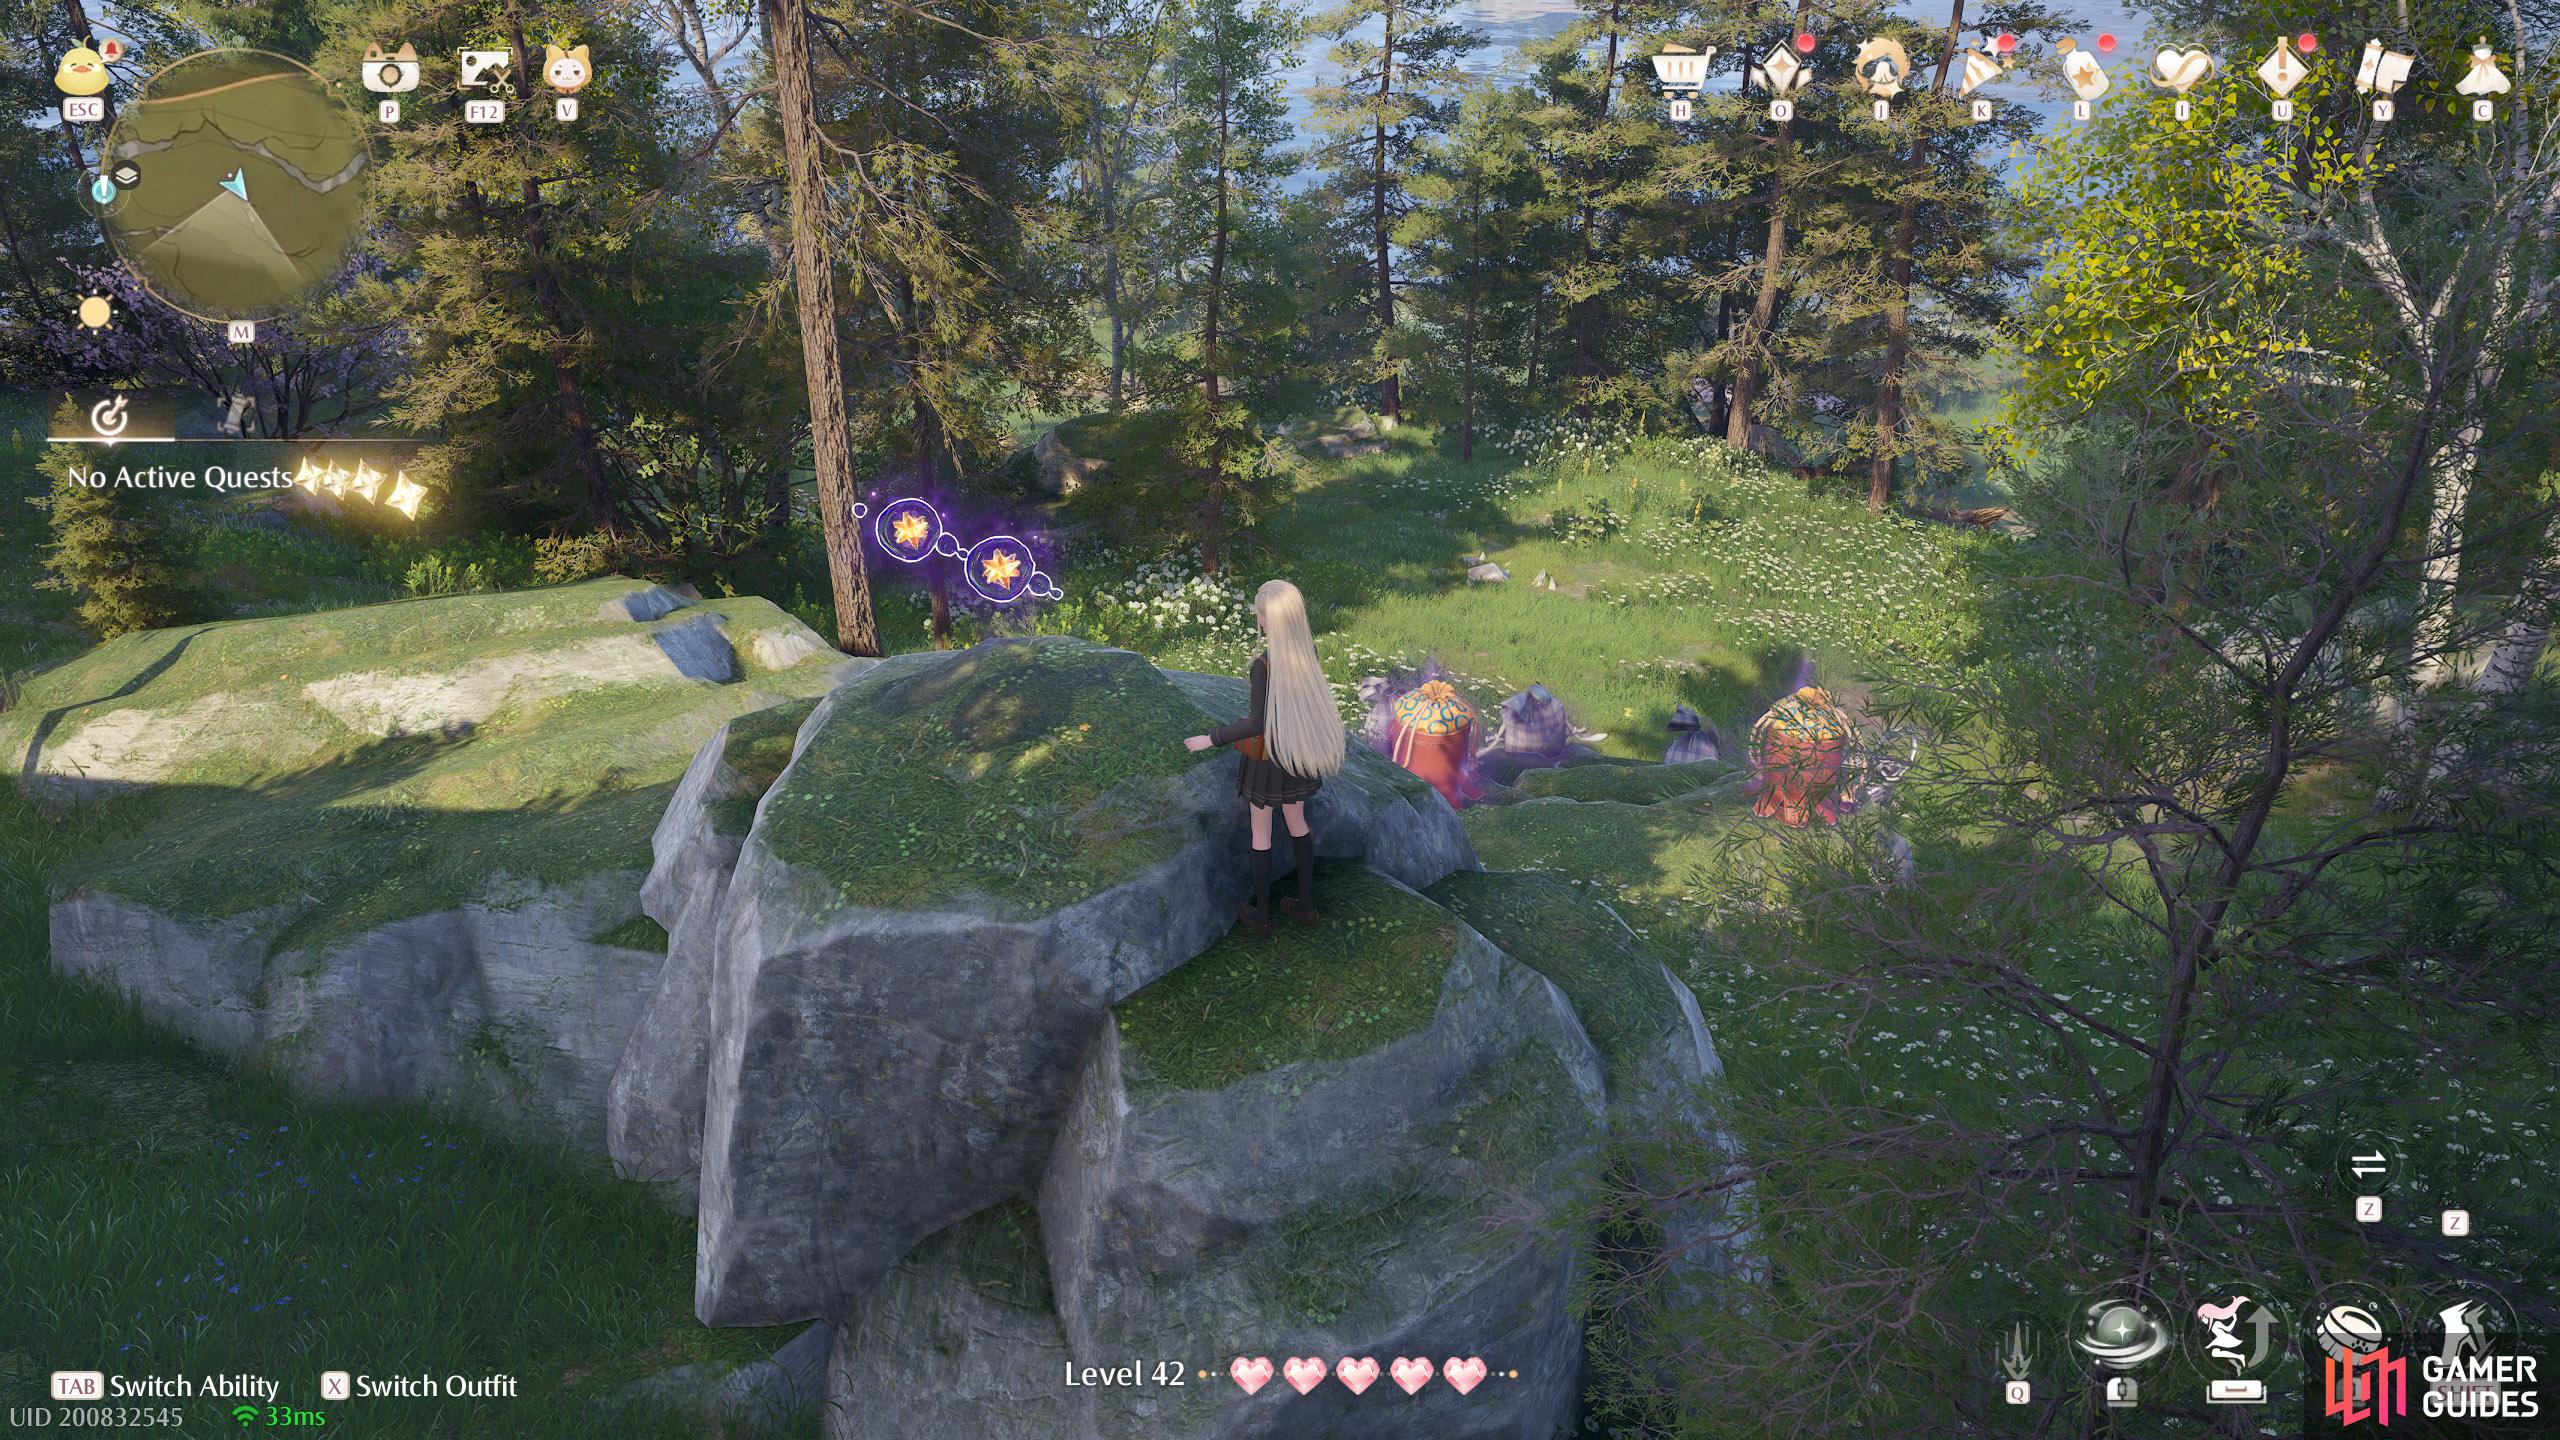
610. Miraland Map
East from the ![]() Wish Pass Office. Two on a mound. There are Esselings and a treasure chest nearby.
Wish Pass Office. Two on a mound. There are Esselings and a treasure chest nearby.
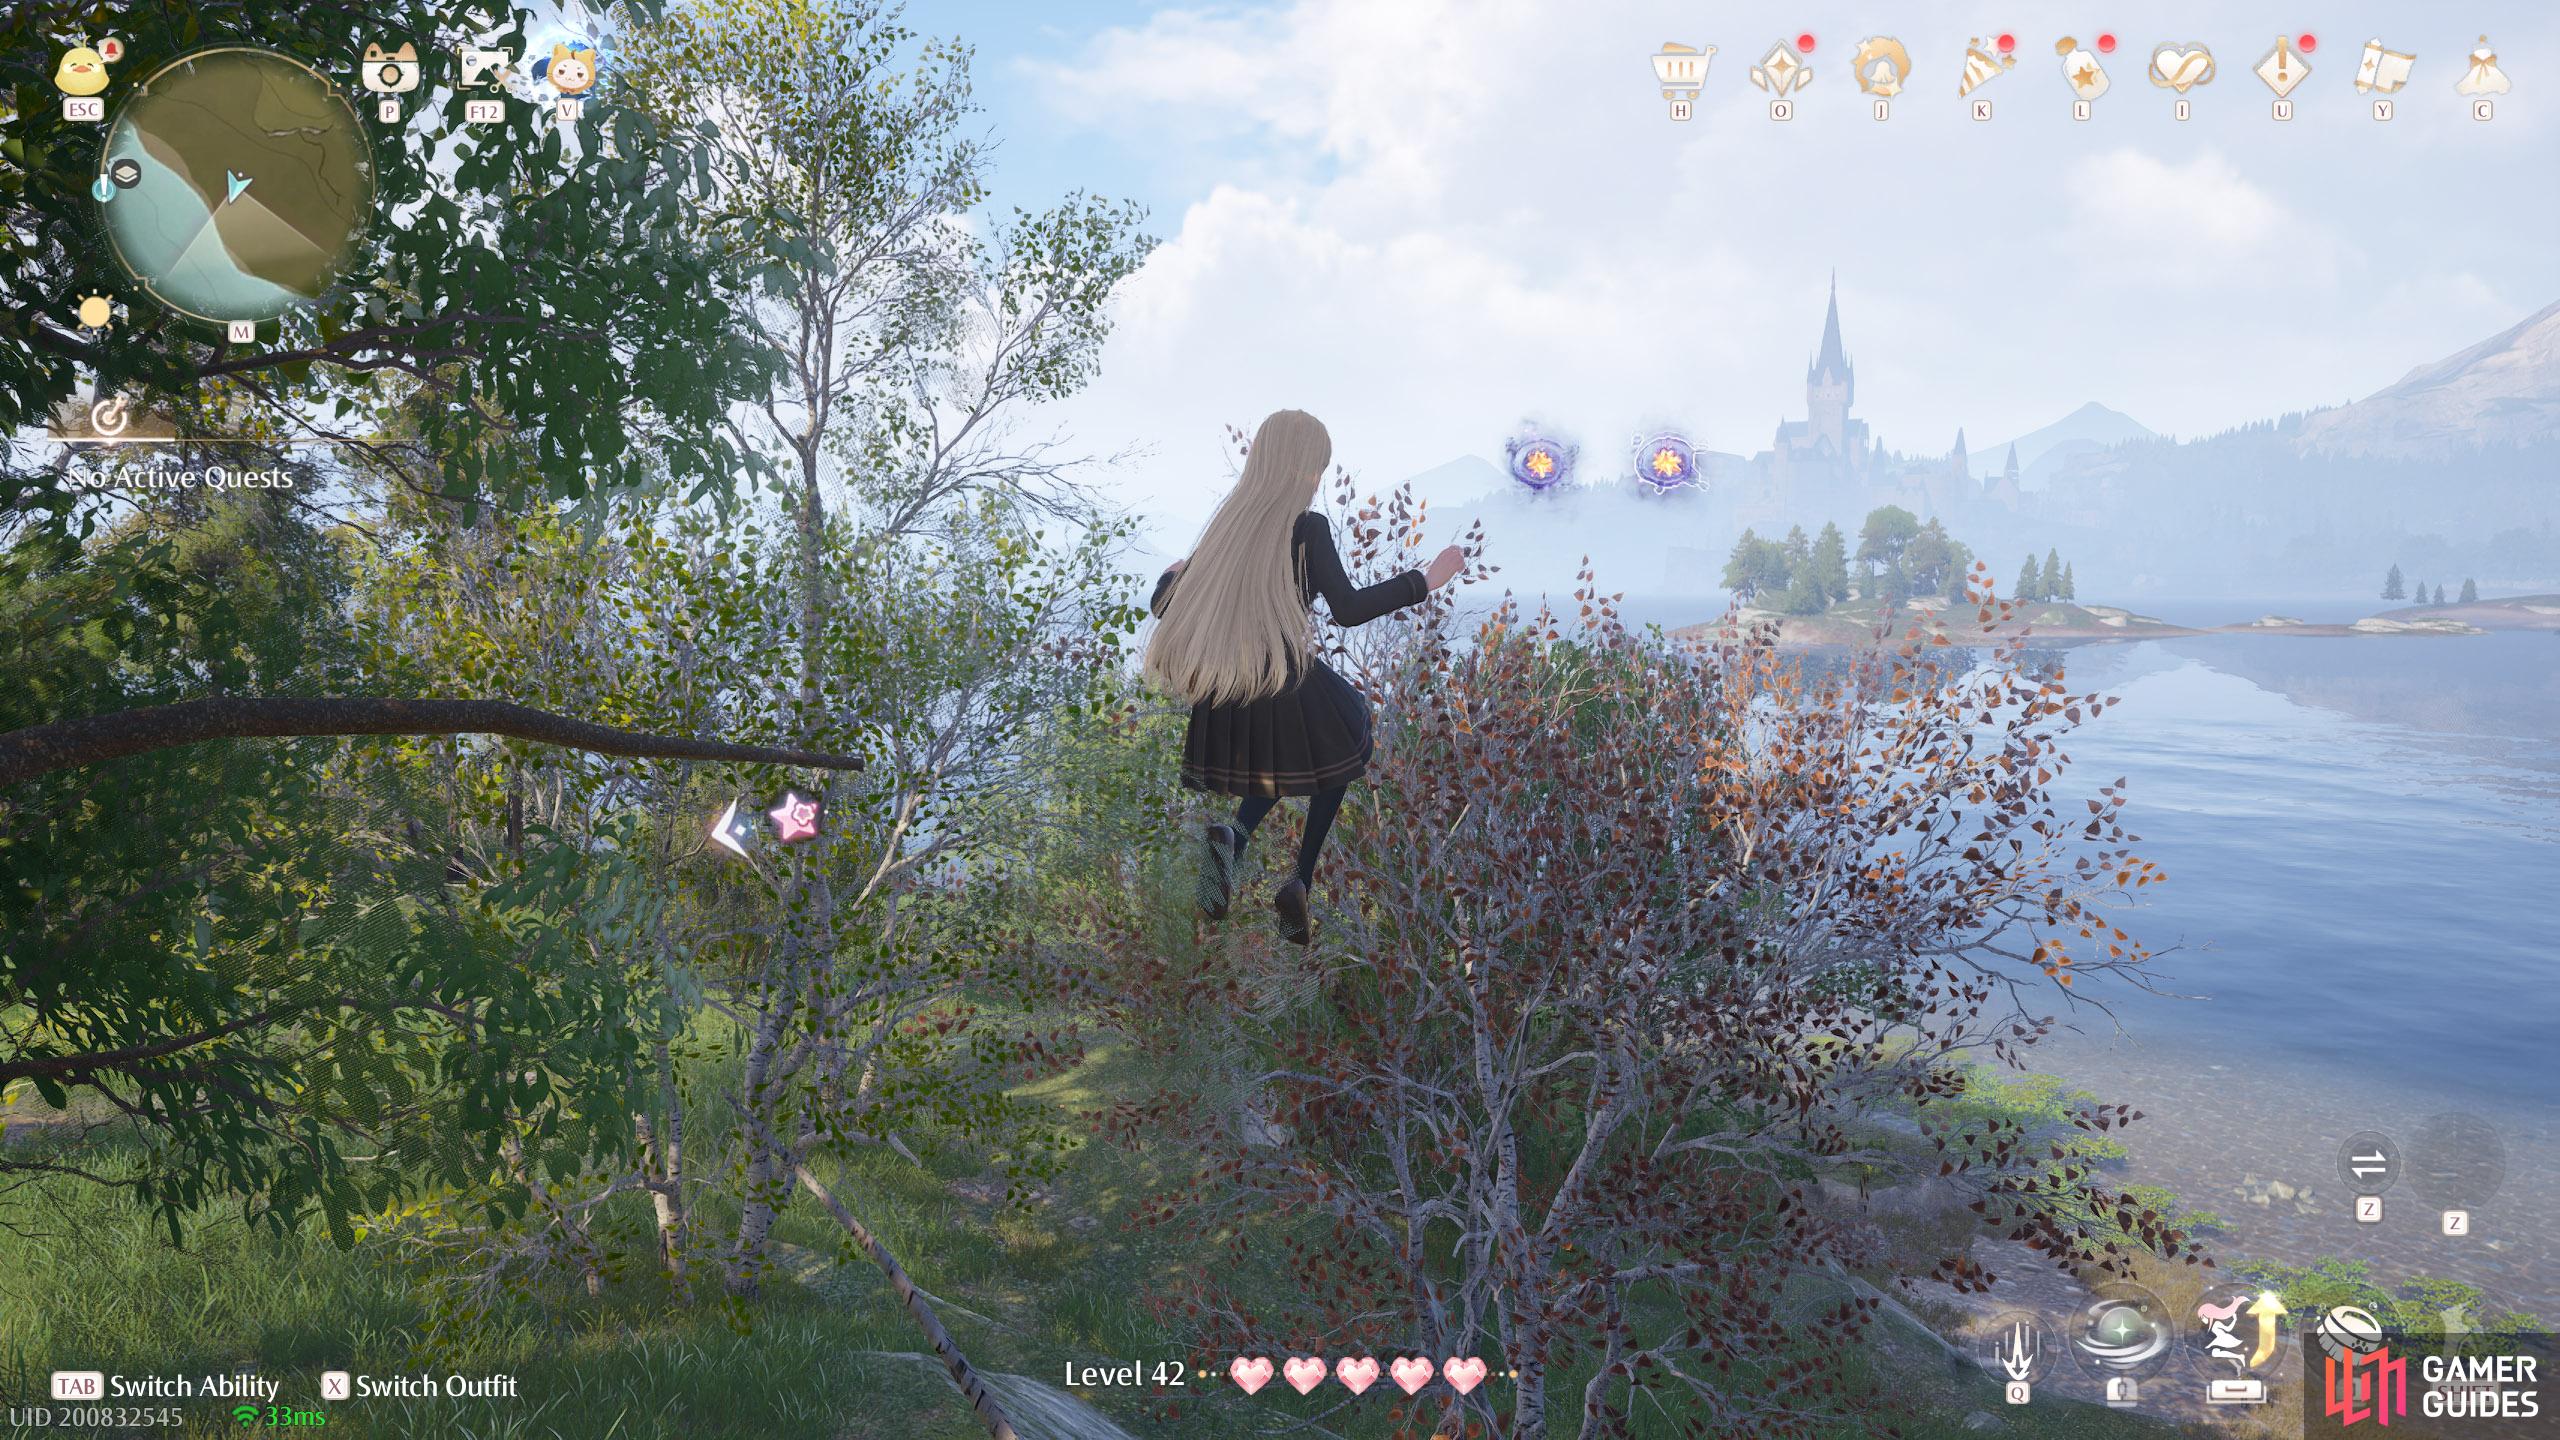
611. Miraland Map
South-east from the ![]() Wish Pass Office. Two in the air, near the shore.
Wish Pass Office. Two in the air, near the shore.
612. Miraland Map
East and slightly south from the ![]() Wish Pass Office. Three floating high in the air. There’s a wishnet nearby protected by an Esseling.
Wish Pass Office. Three floating high in the air. There’s a wishnet nearby protected by an Esseling.
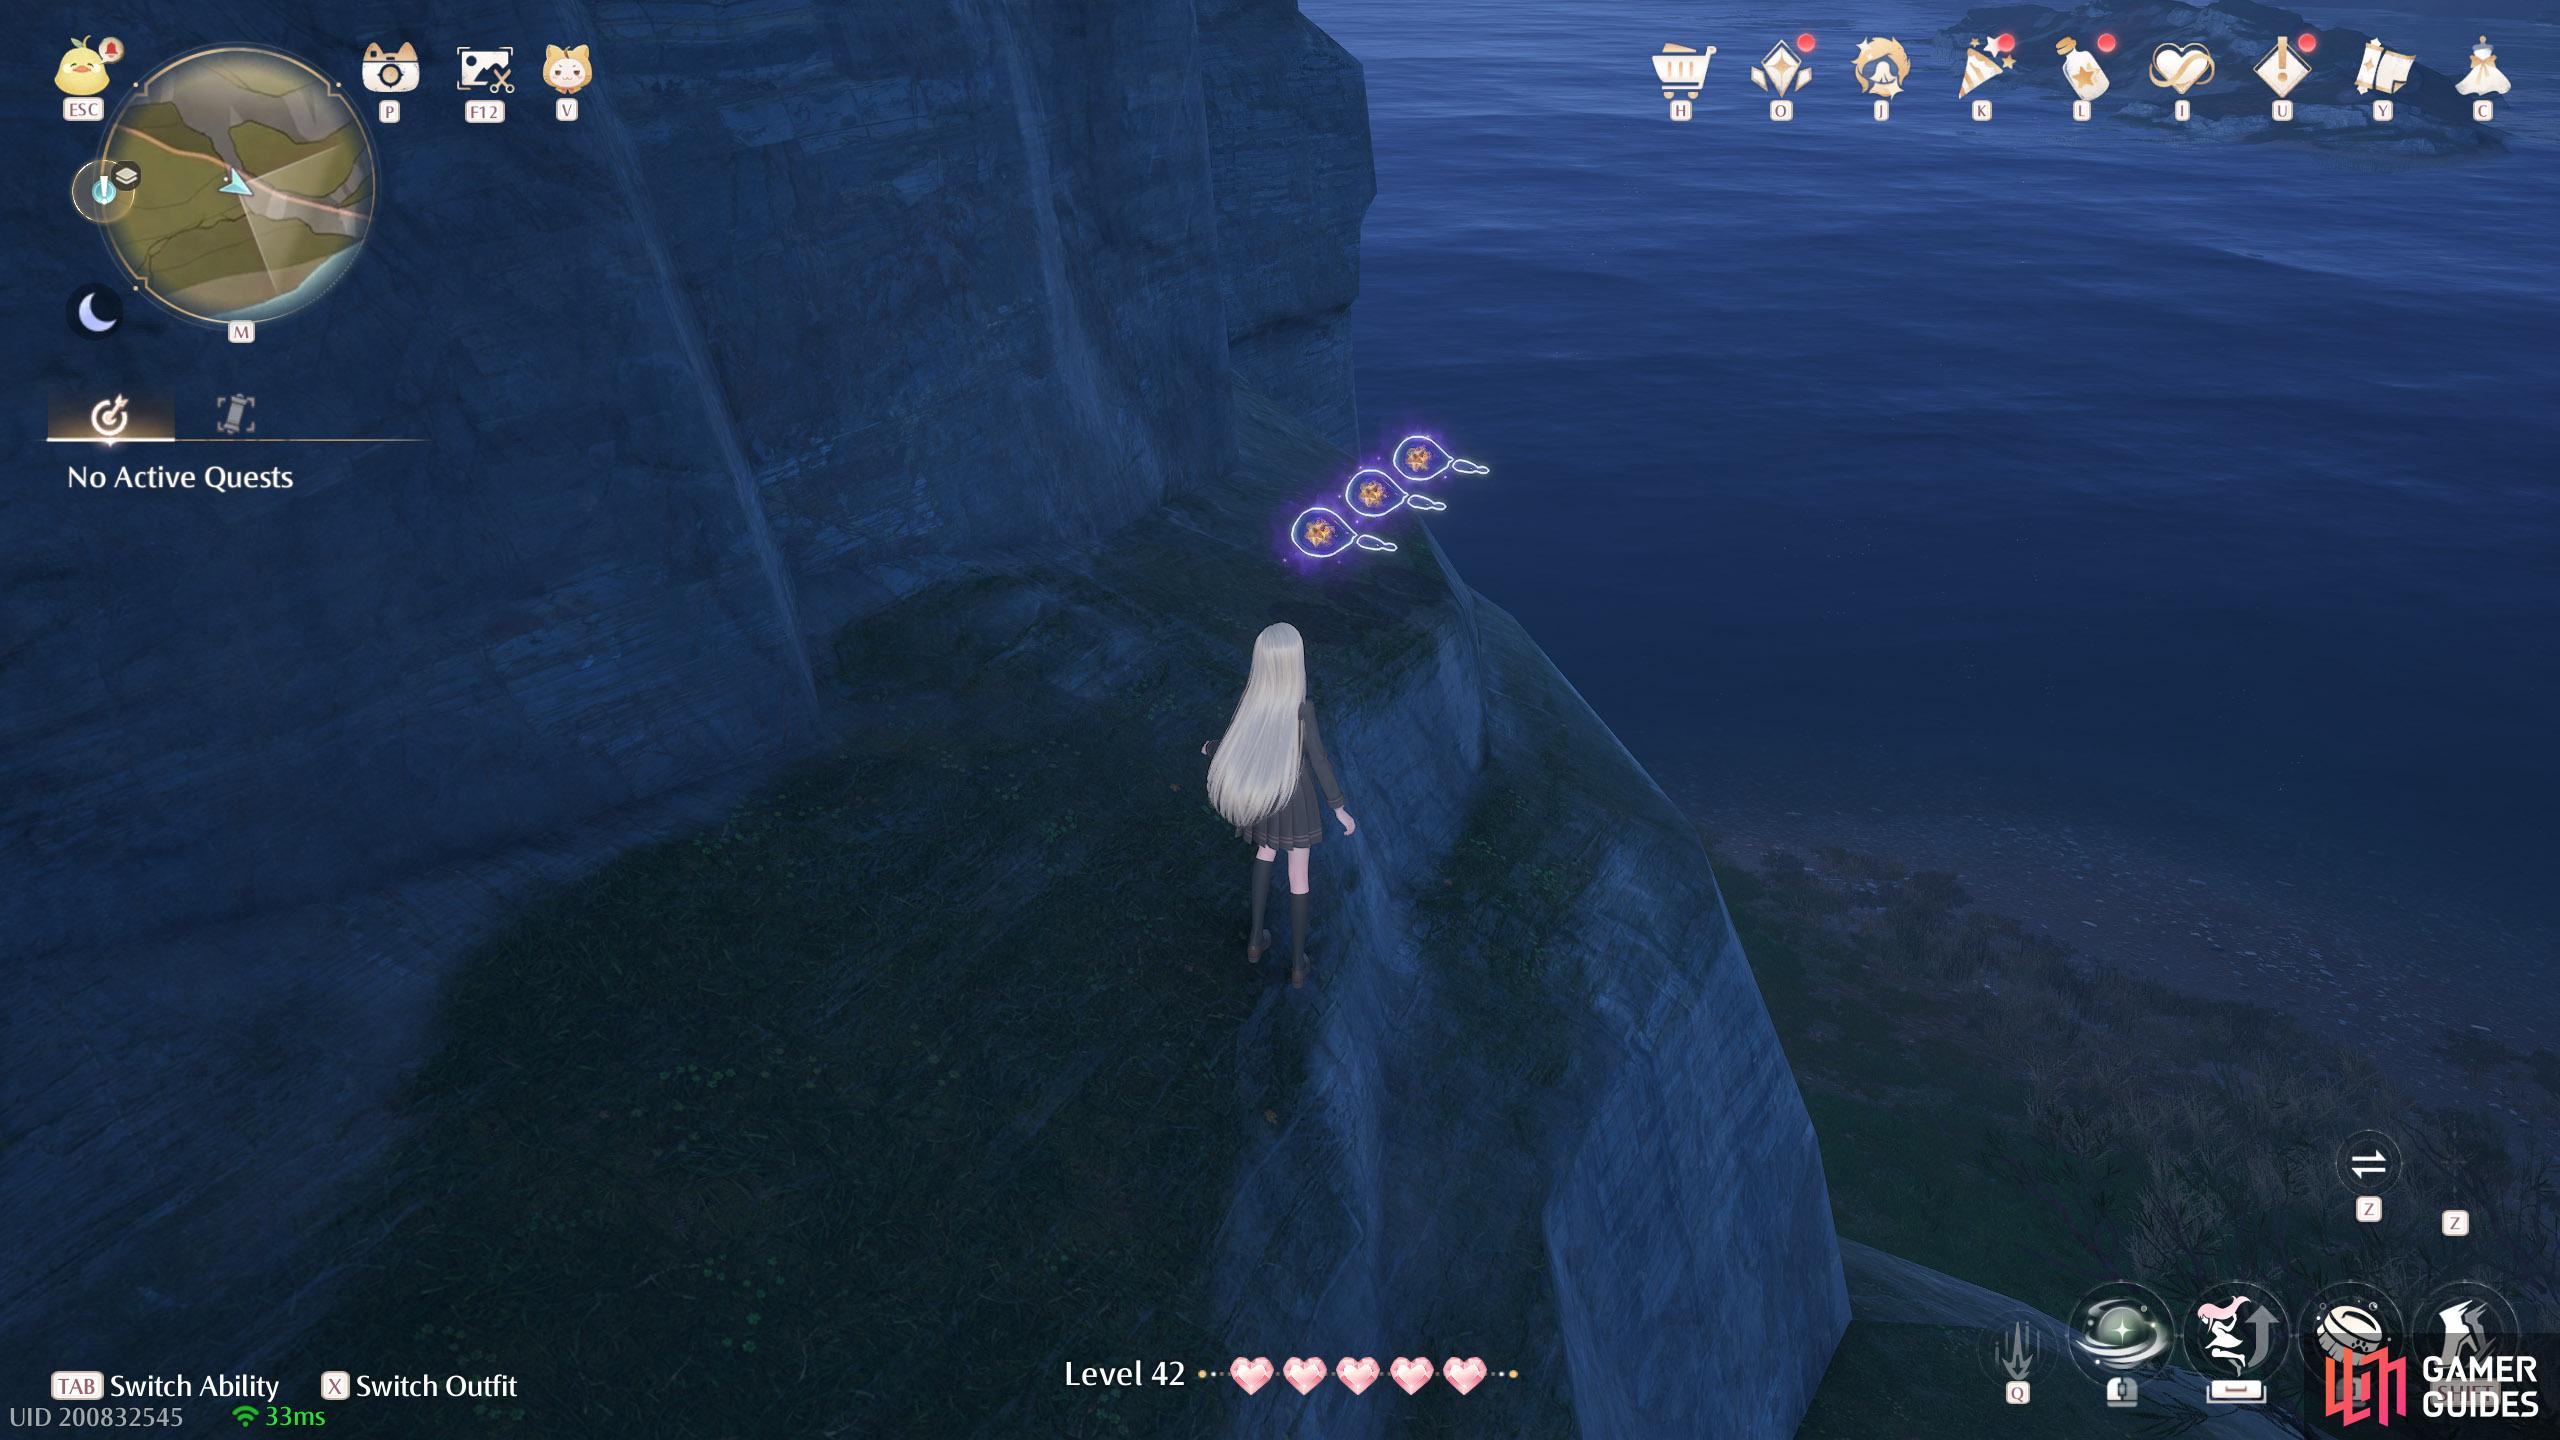
613. Miraland Map
East from the ![]() Forest’s Edge Cavern. Three near the easternmost part of this area, by the cliffs.
Forest’s Edge Cavern. Three near the easternmost part of this area, by the cliffs.
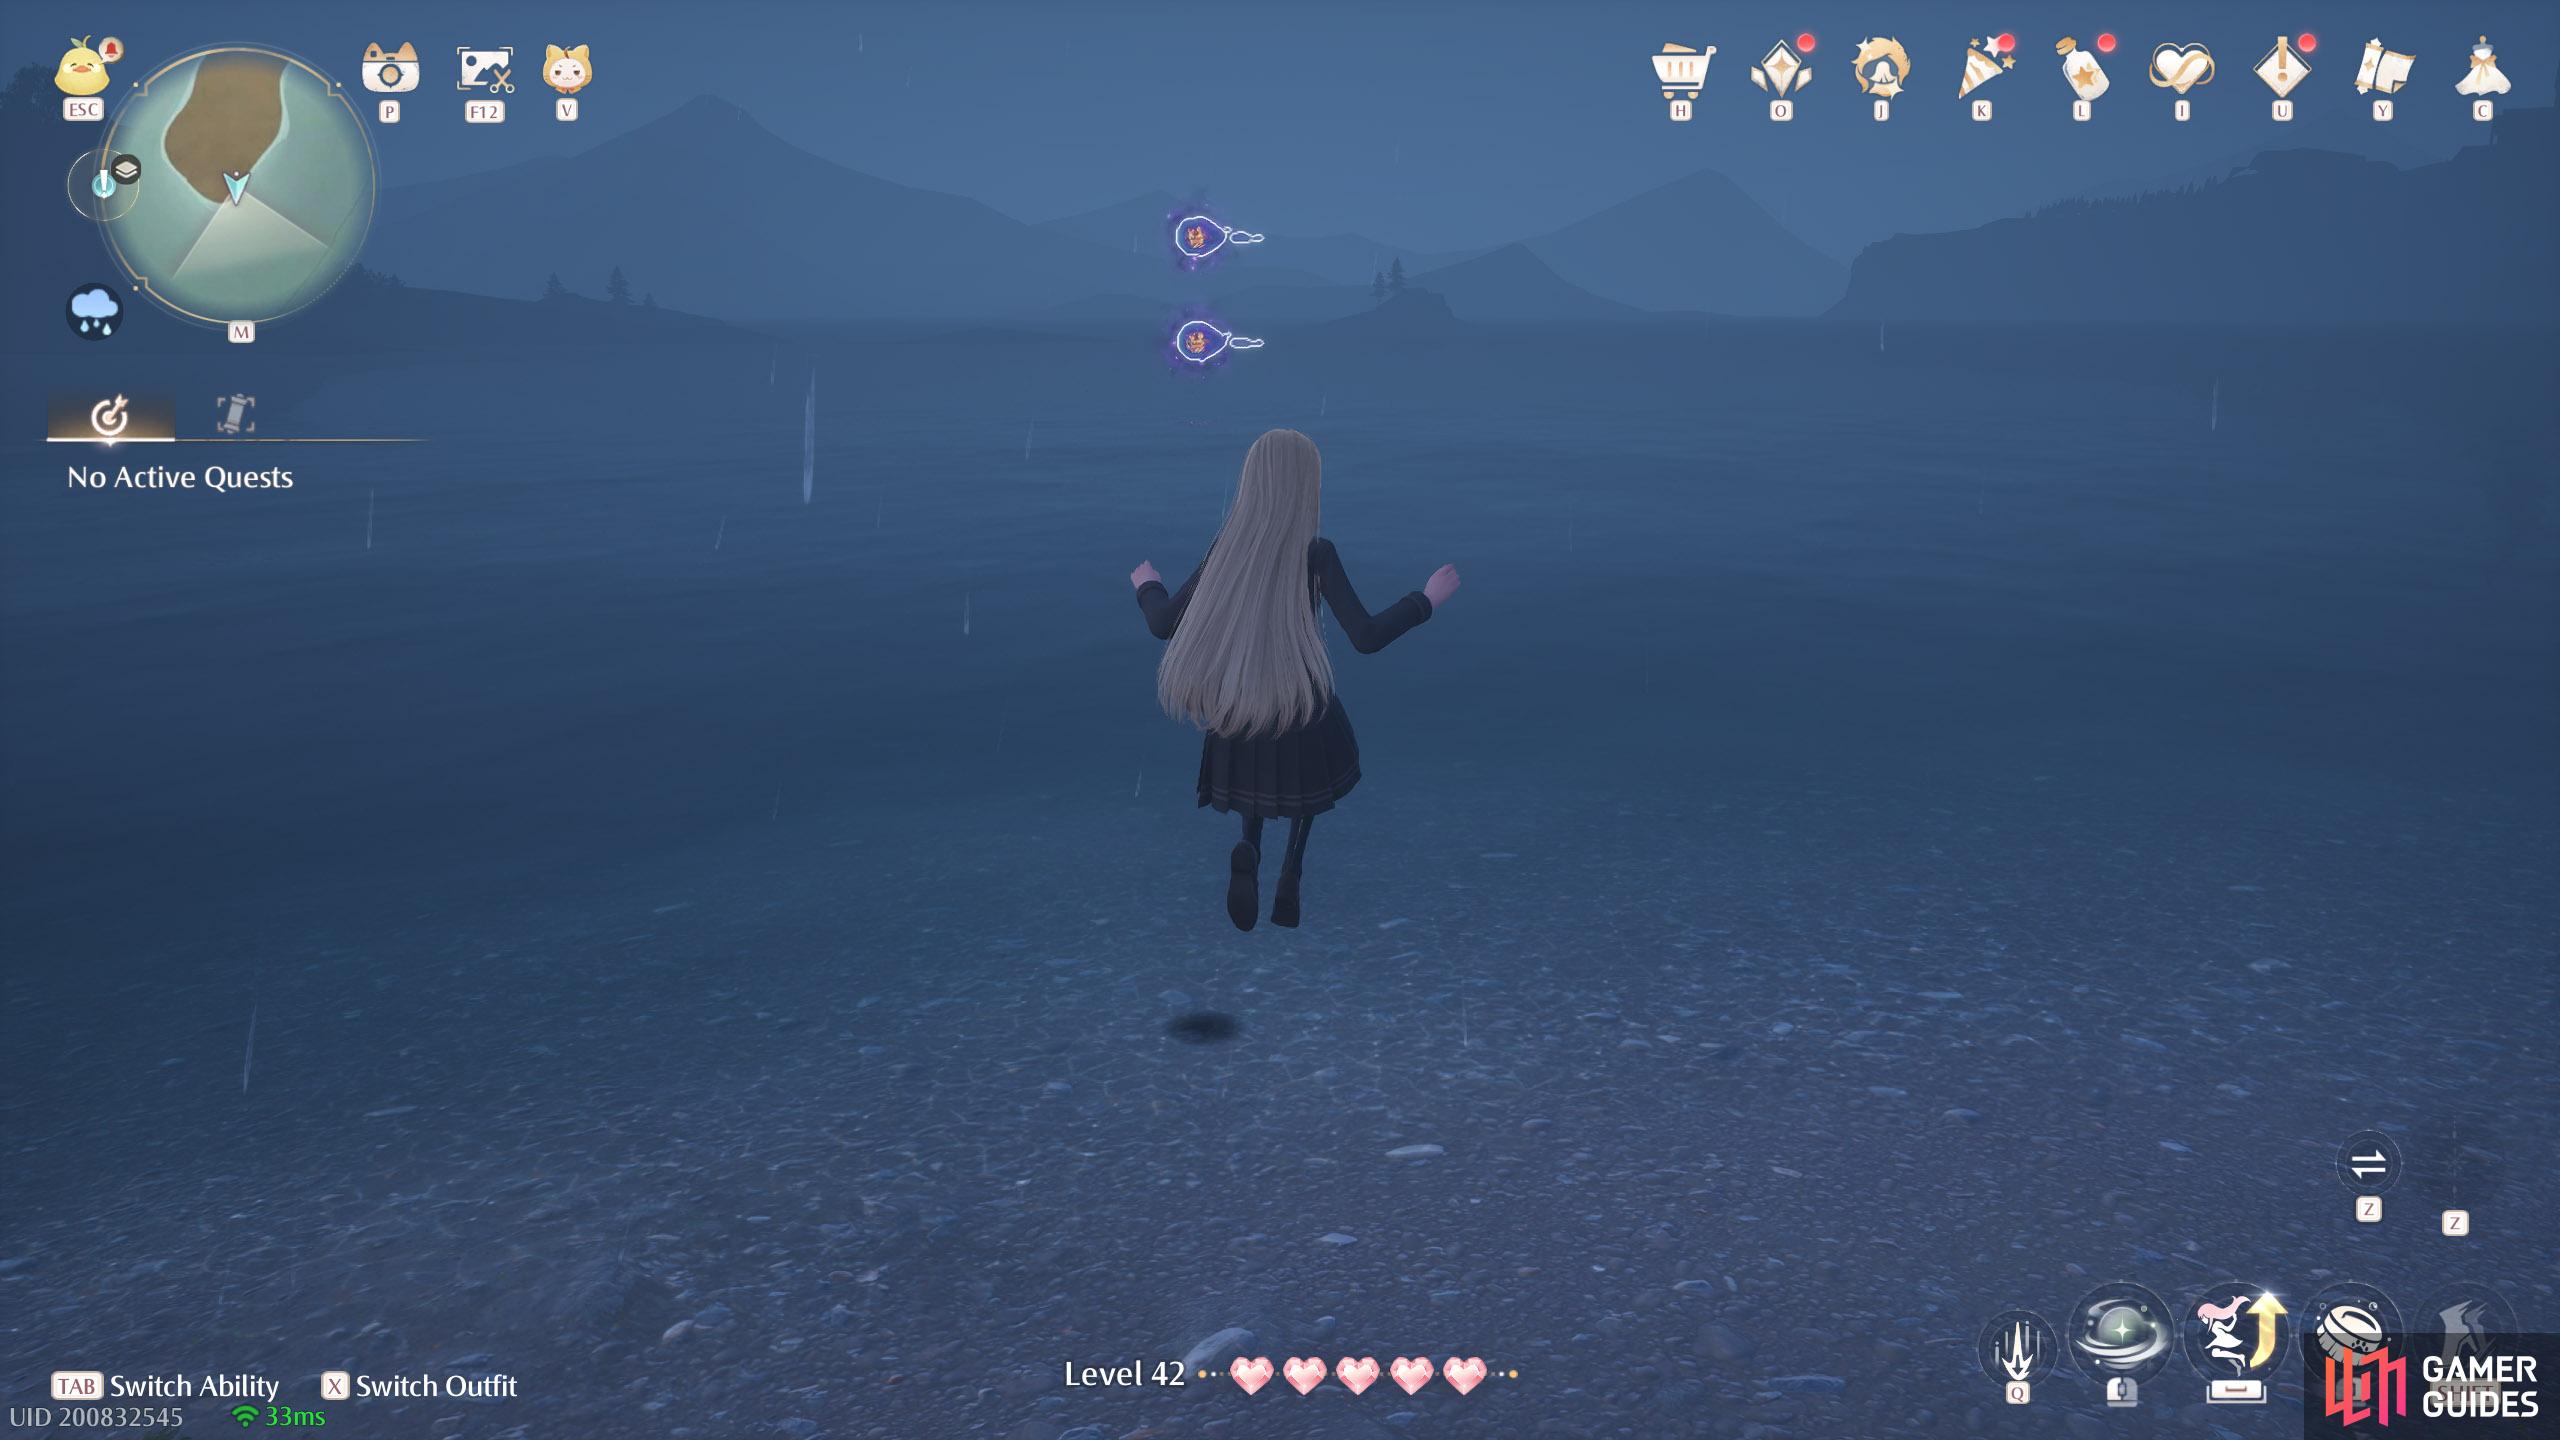
614. Miraland Map
Pair of small islands south from ![]() Forest’s Edge Cavern. Two near the southernmost tip of the bigger island.
Forest’s Edge Cavern. Two near the southernmost tip of the bigger island.
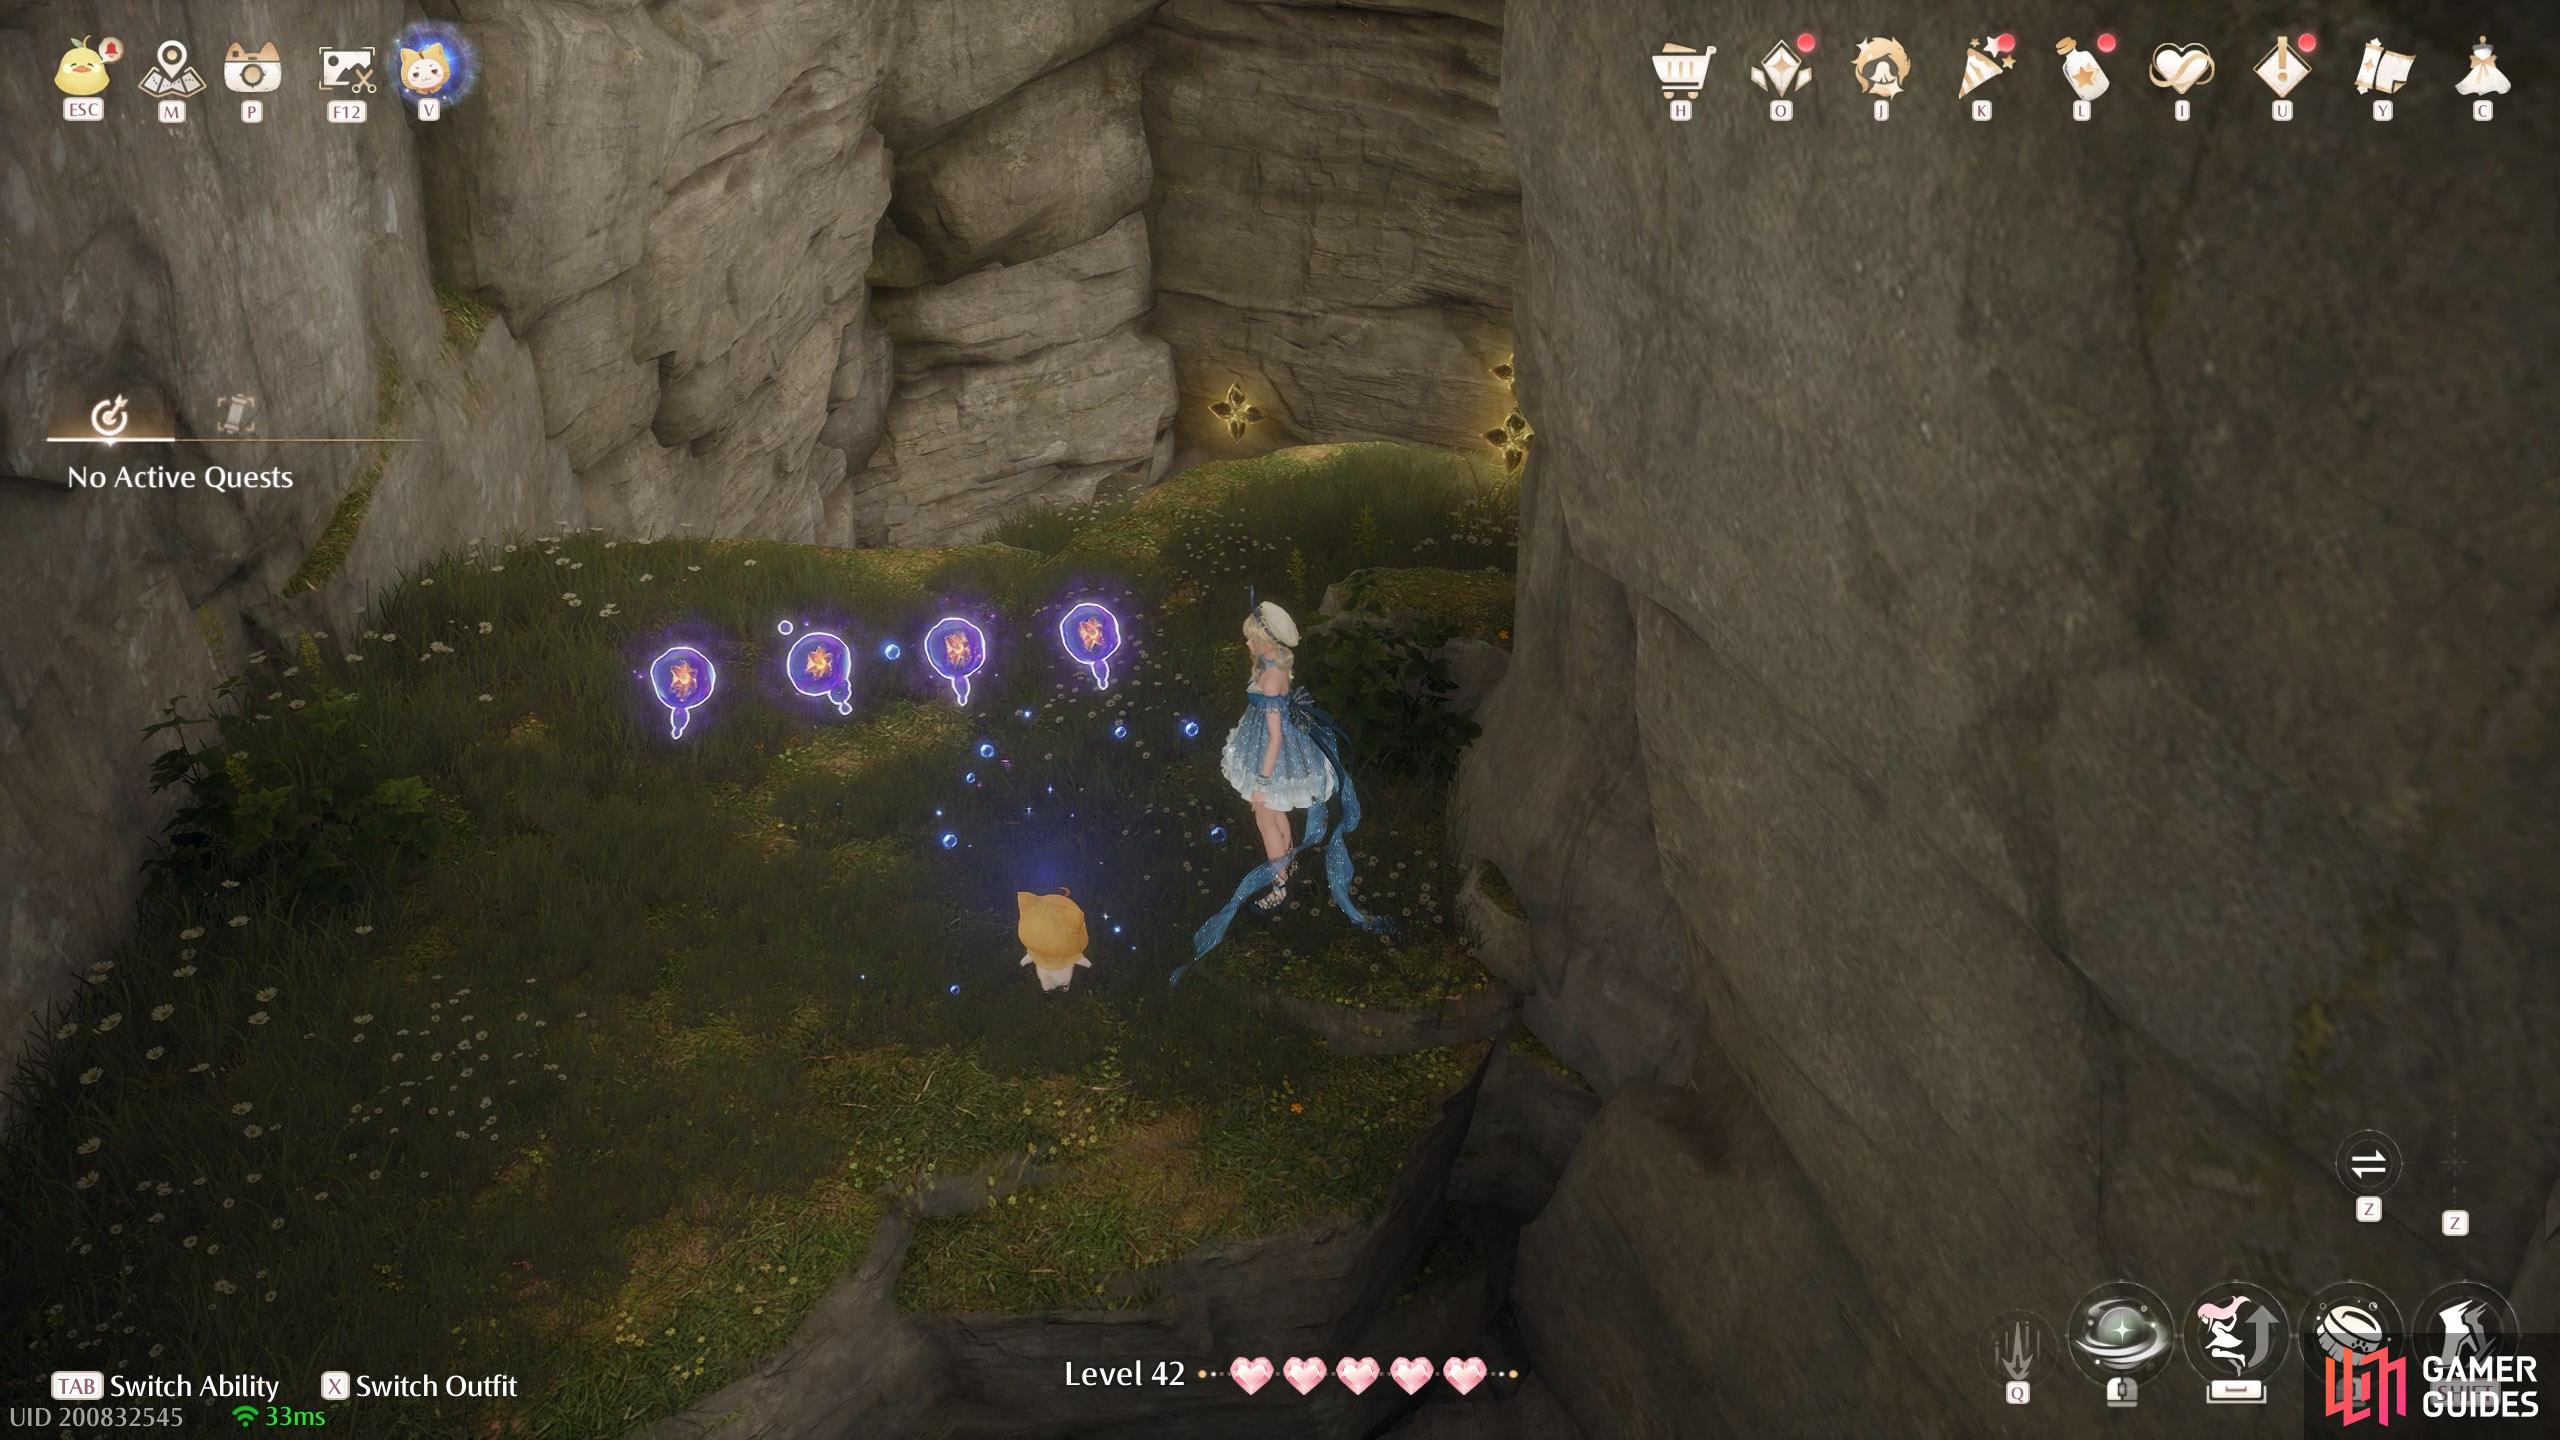
615. Miraland Map
Inside ![]() Forest’s Edge Cavern. In the first area, with the Esselings guarding a chest. Jump on the wishnet, then go around the right-hand side path. At the end, there are four of these. You can also reach here when jumping down from the exit, after obtaining the
Forest’s Edge Cavern. In the first area, with the Esselings guarding a chest. Jump on the wishnet, then go around the right-hand side path. At the end, there are four of these. You can also reach here when jumping down from the exit, after obtaining the ![]() Whimstar.
Whimstar.
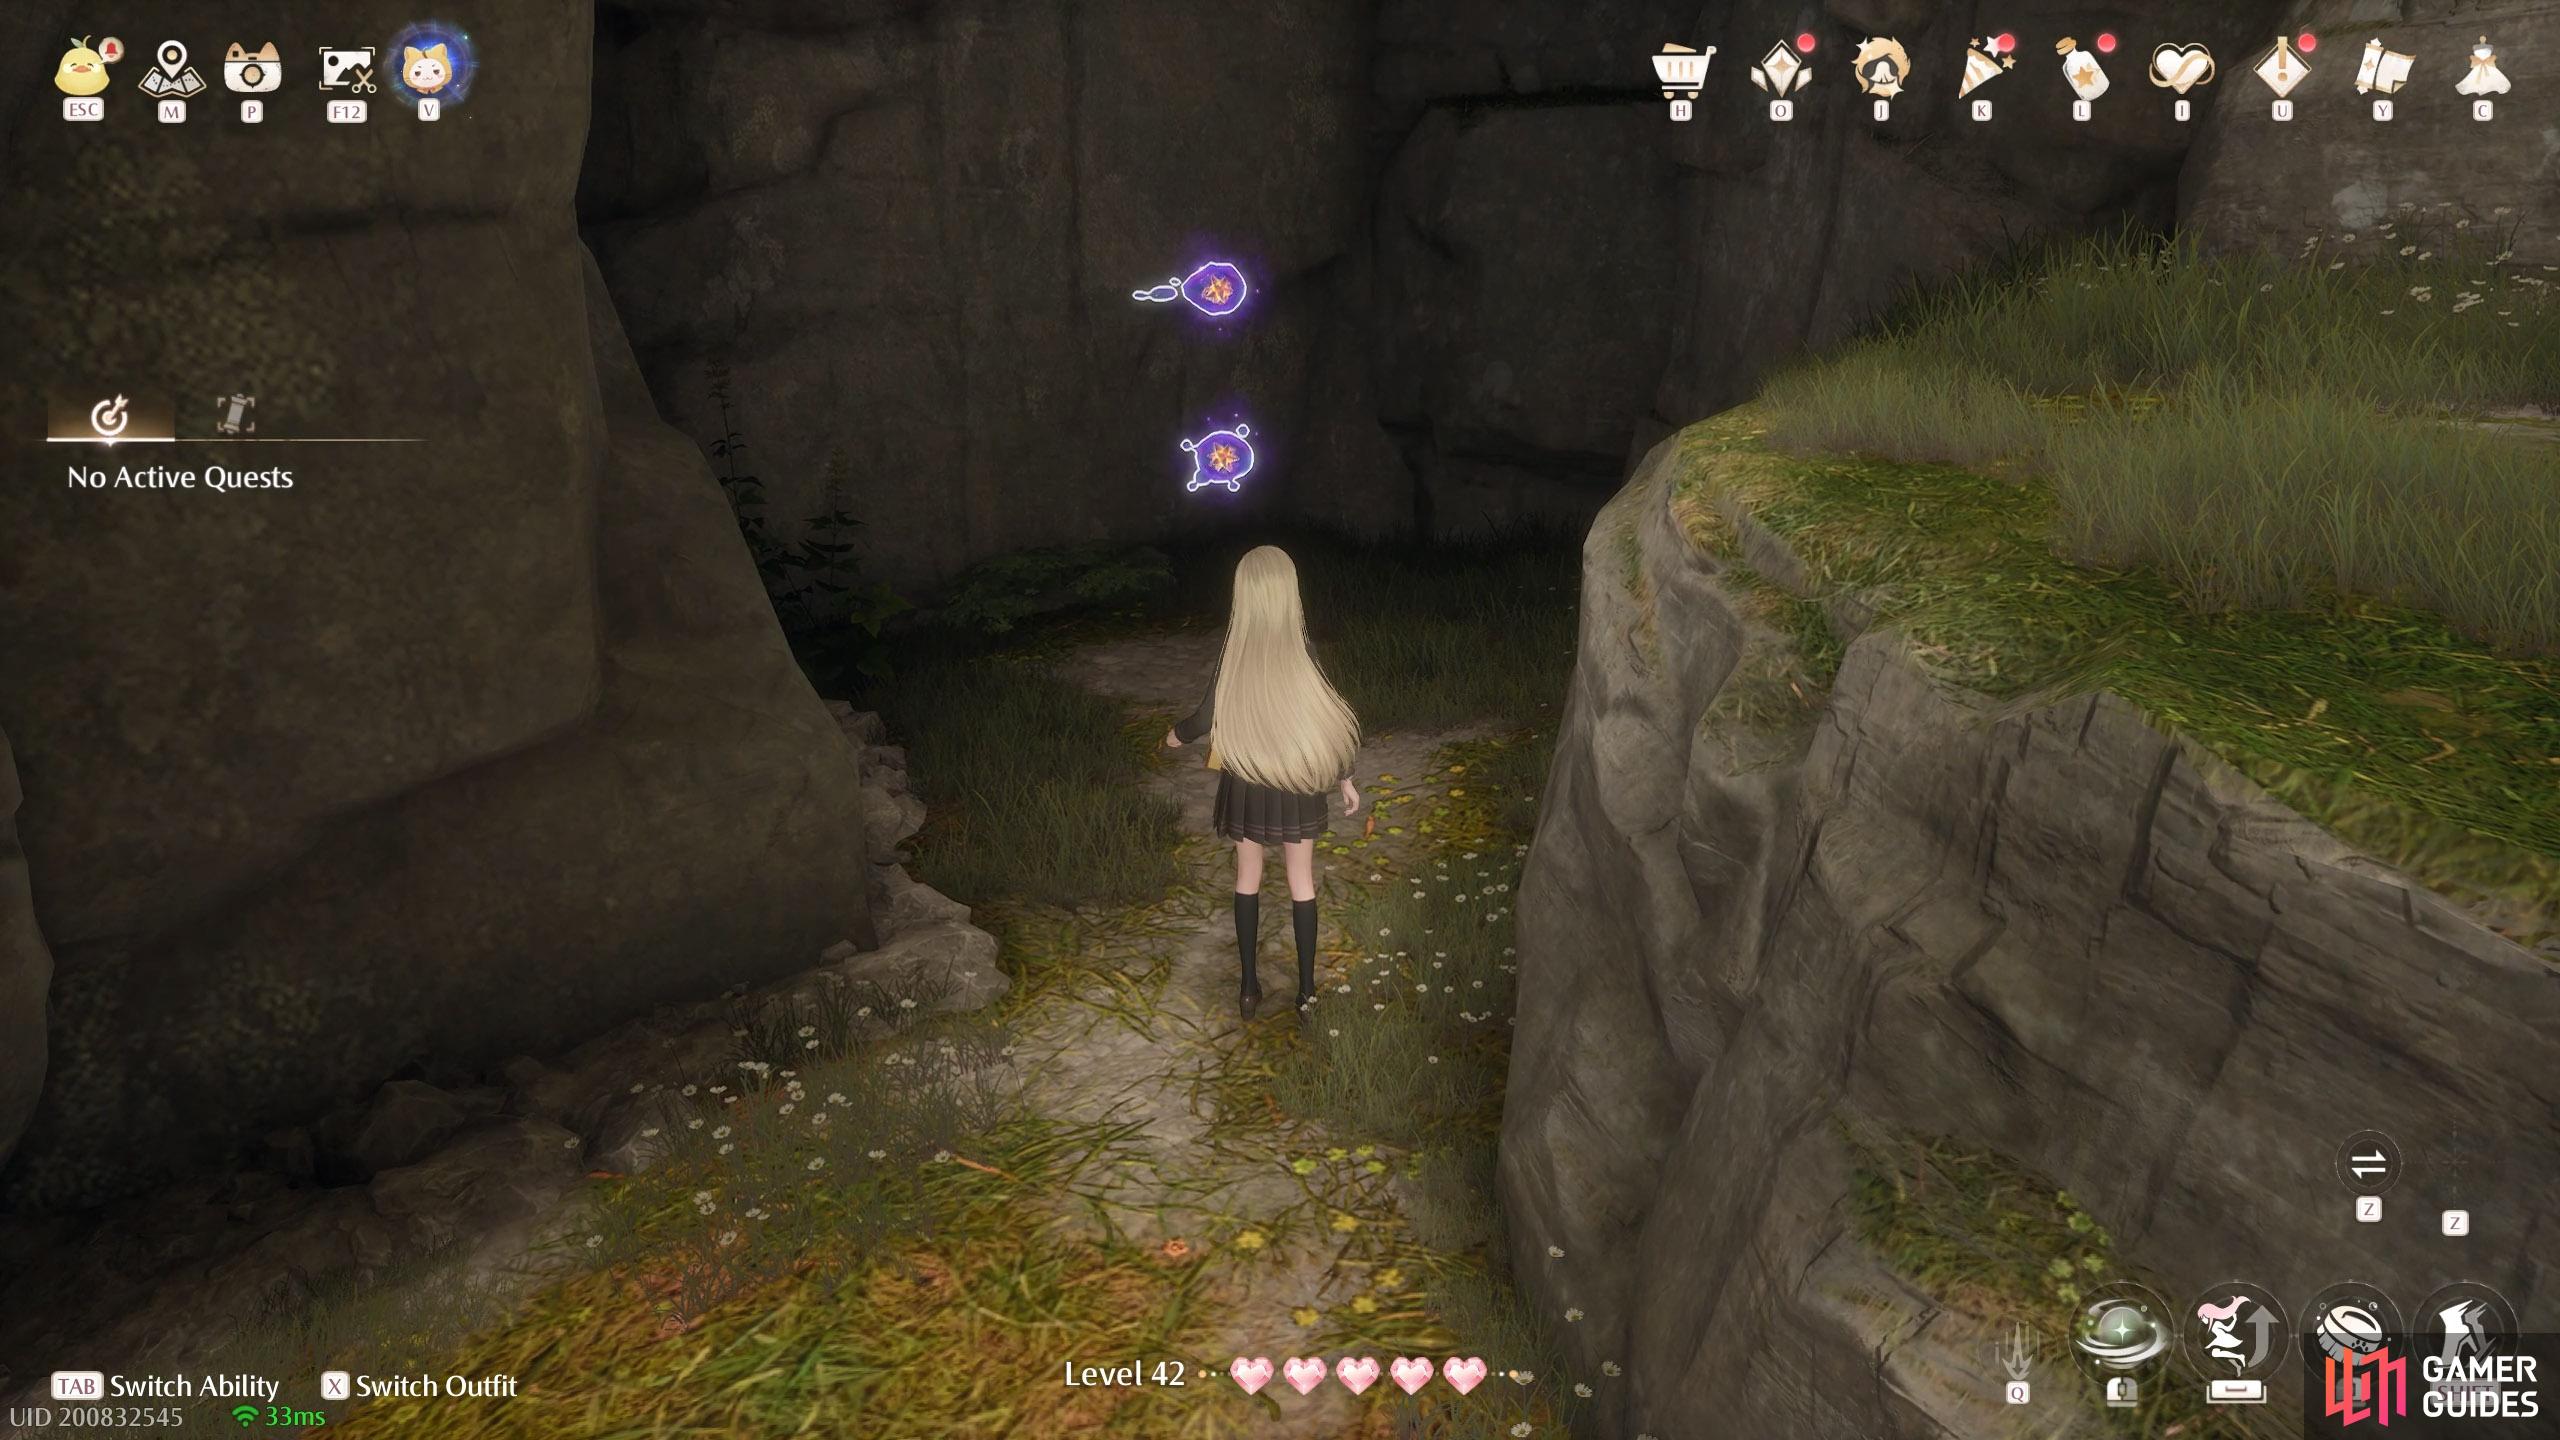
616. Miraland Map
Inside ![]() Forest’s Edge Cavern. In the first area, with the Esselings guarding a chest. Jump on the wishnet, then keep left. There are two in an alcove.
Forest’s Edge Cavern. In the first area, with the Esselings guarding a chest. Jump on the wishnet, then keep left. There are two in an alcove.
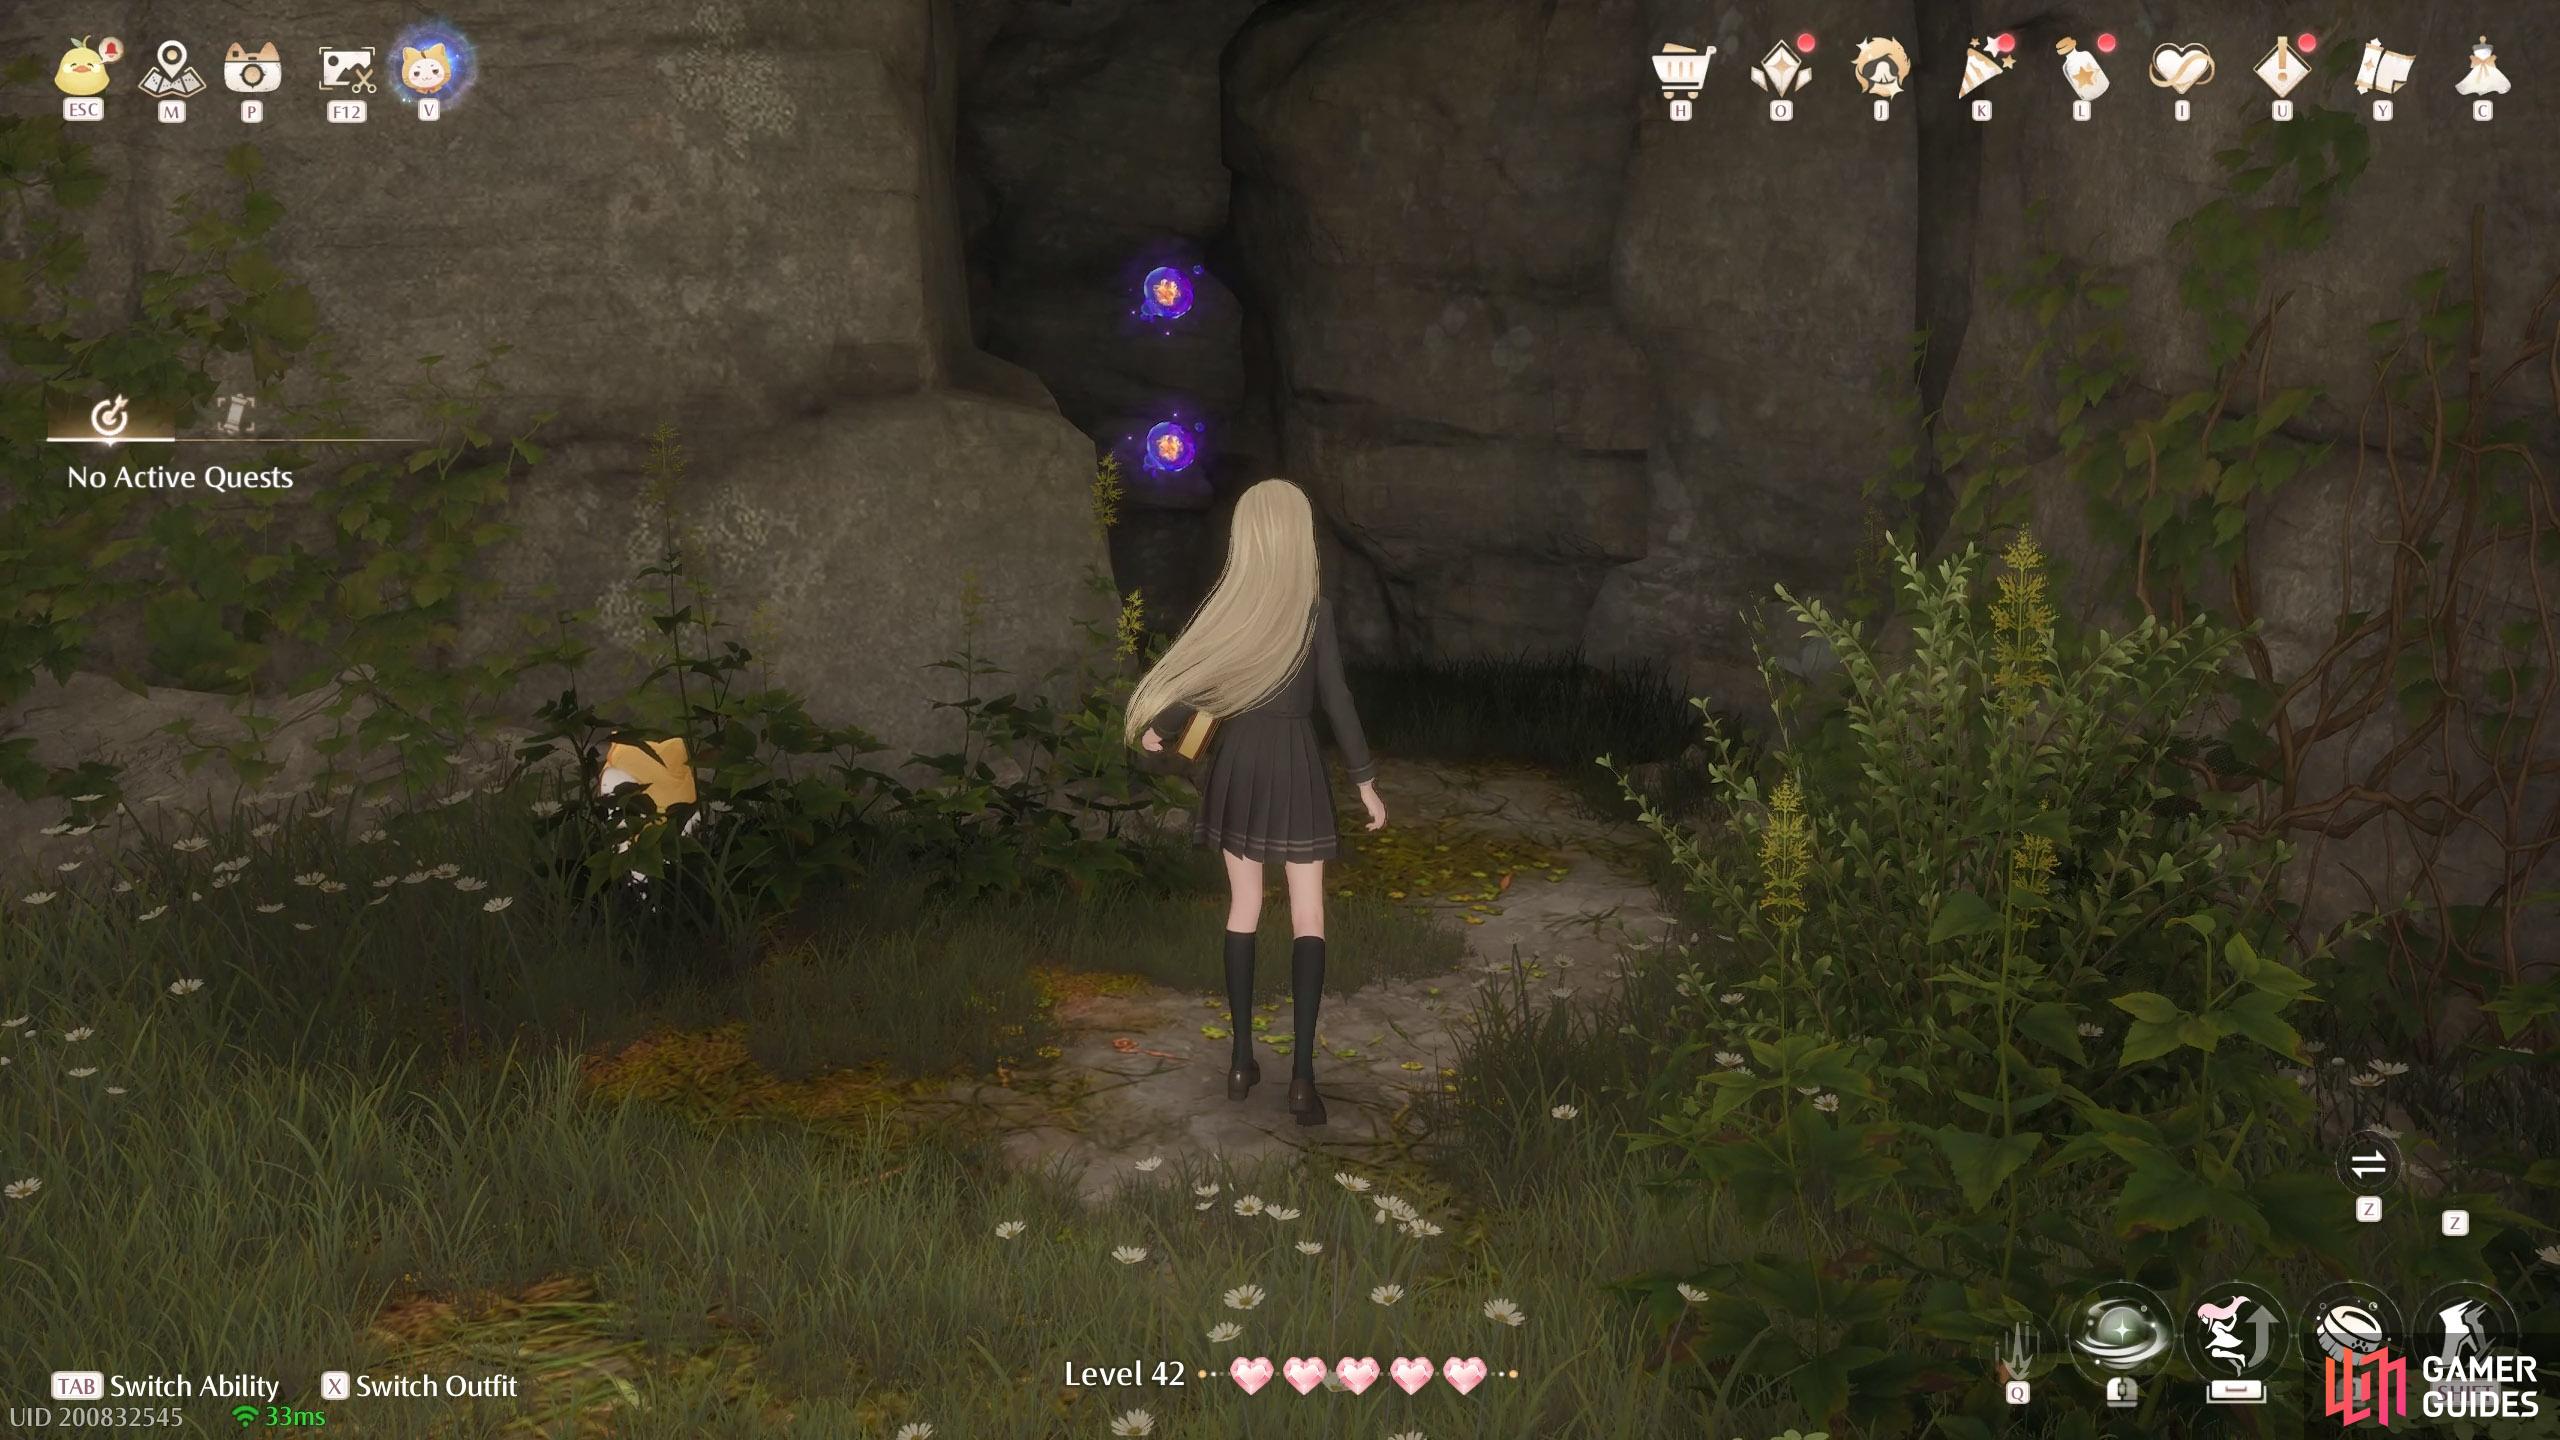
617. Miraland Map
Inside ![]() Forest’s Edge Cavern. After jumping from the first wishnet, drop down to the next area where there’s a wishnet that lets you go back up. Immediately turn around to find two in an alcove.
Forest’s Edge Cavern. After jumping from the first wishnet, drop down to the next area where there’s a wishnet that lets you go back up. Immediately turn around to find two in an alcove.
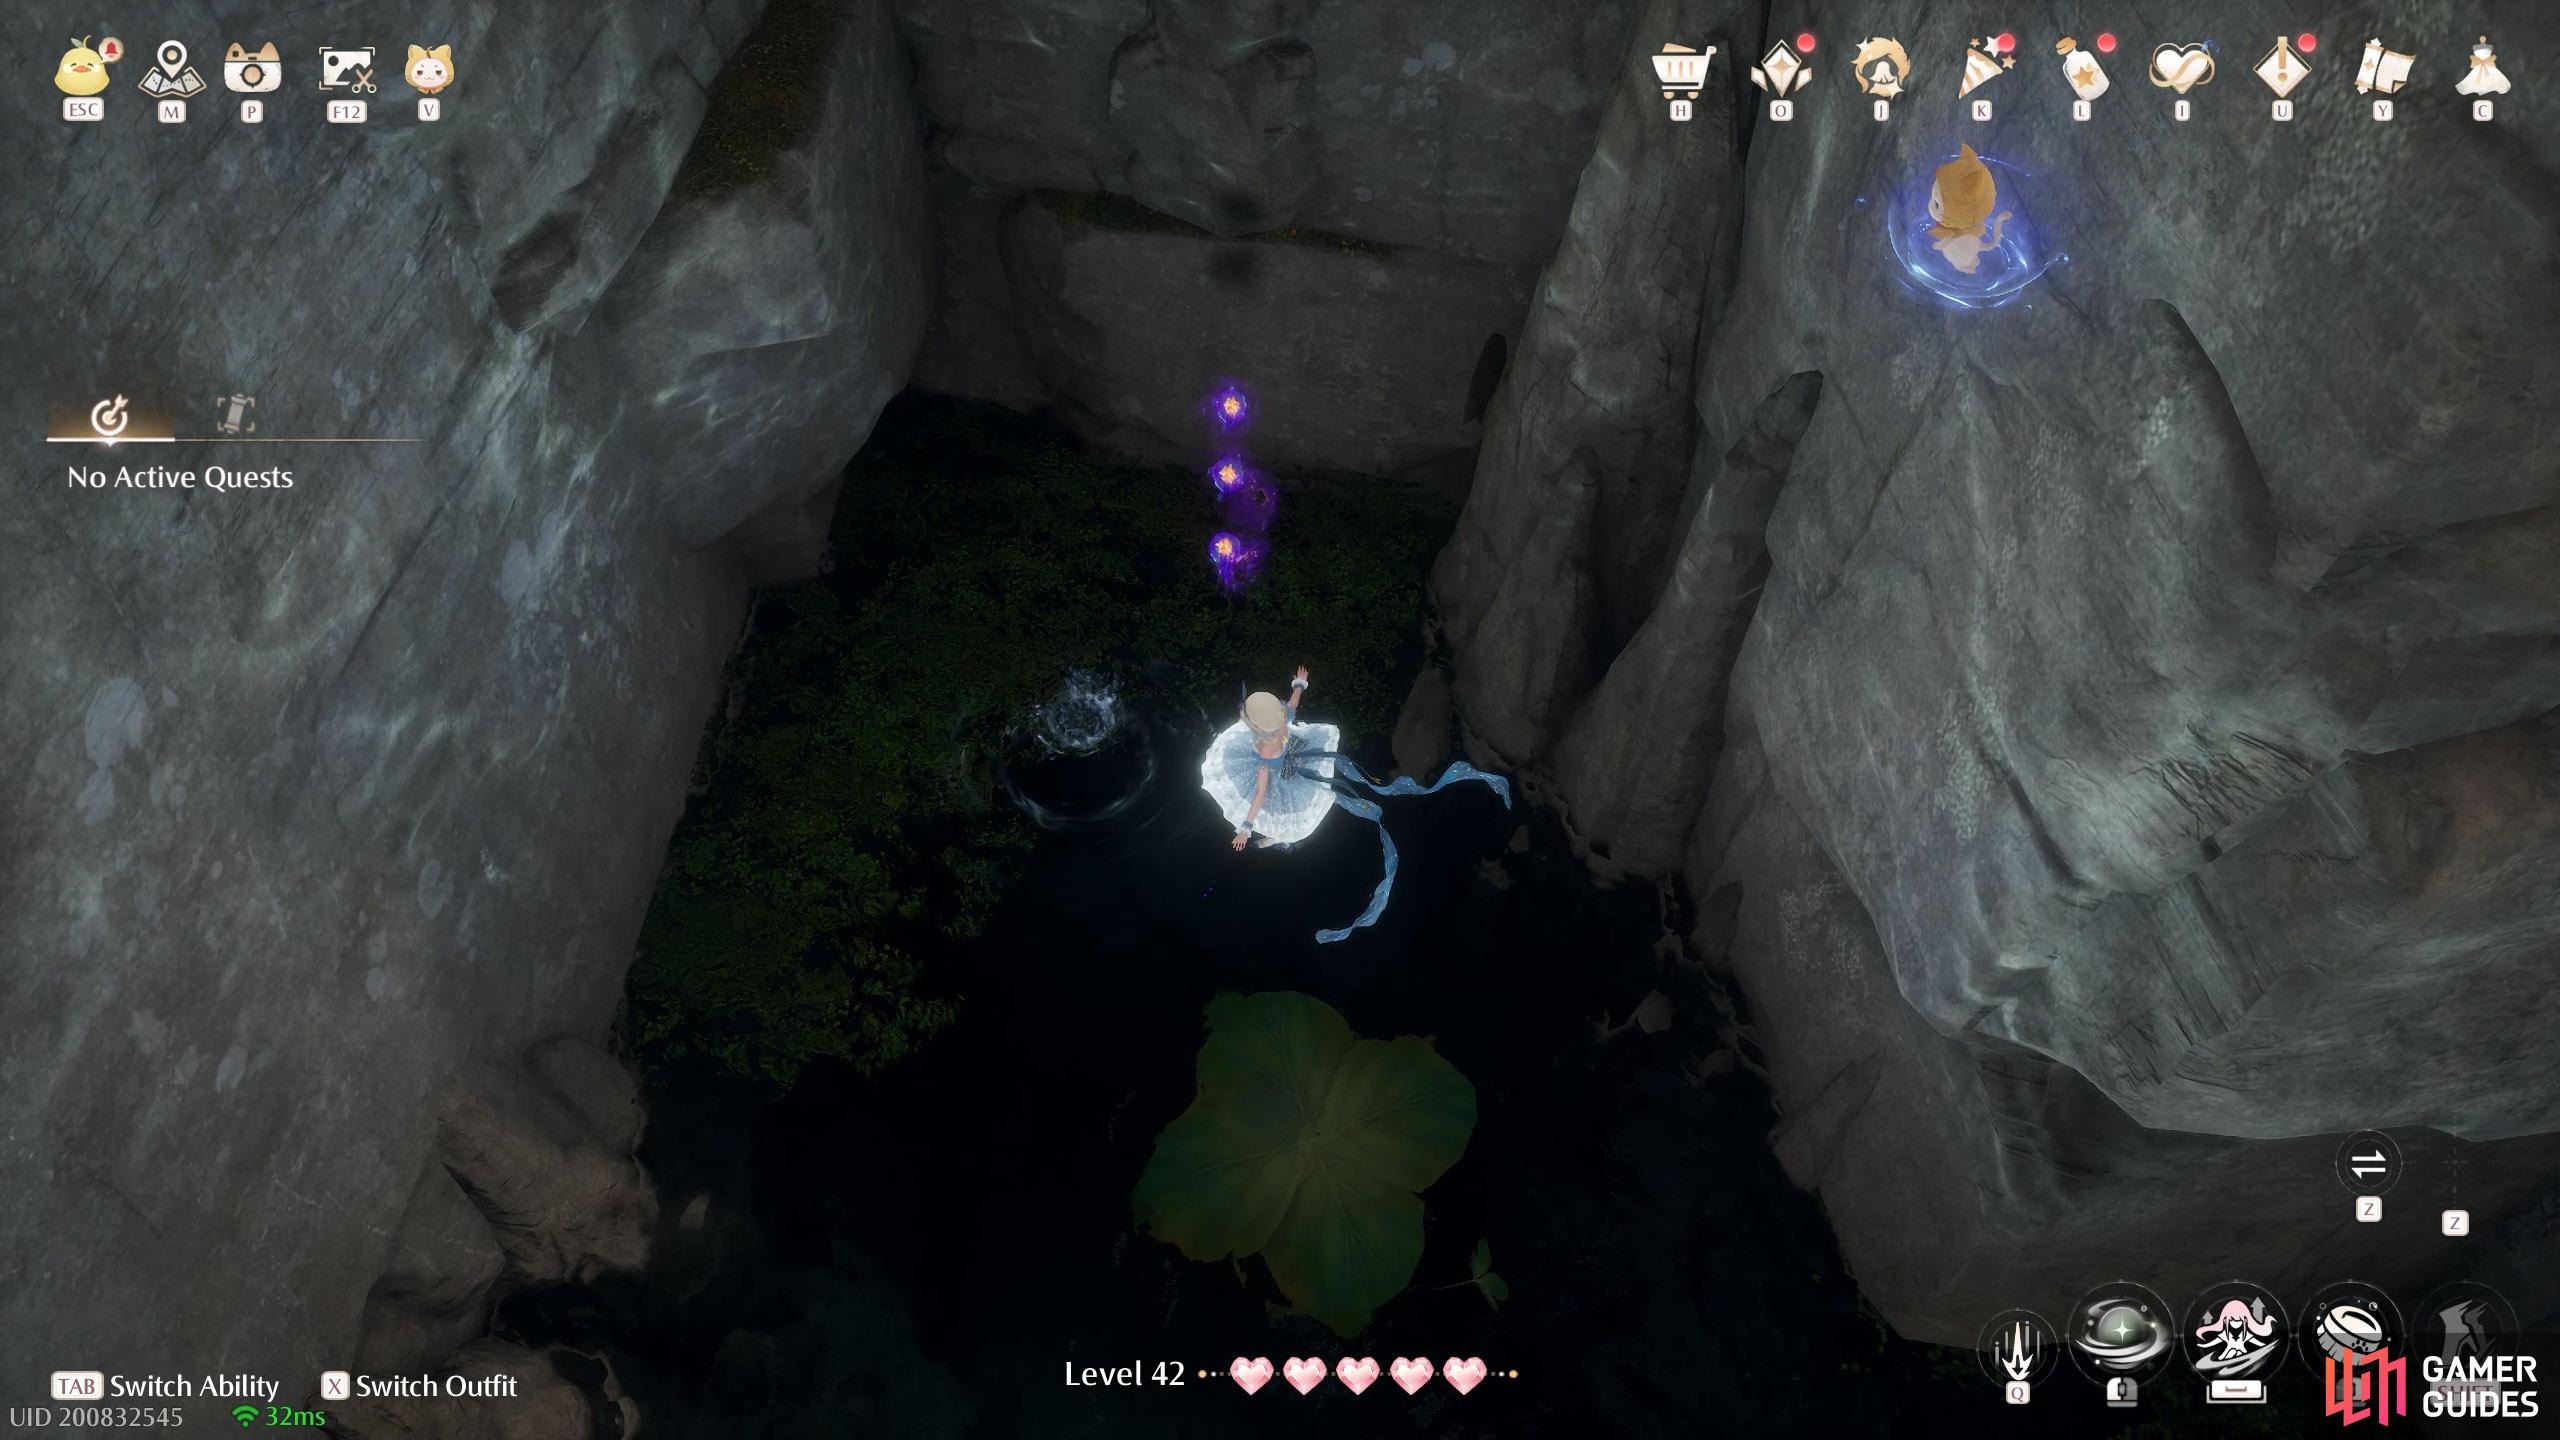
618. Miraland Map
Inside ![]() Forest’s Edge Cavern. In the second area, with water down below. Three at the end of the water.
Forest’s Edge Cavern. In the second area, with water down below. Three at the end of the water.
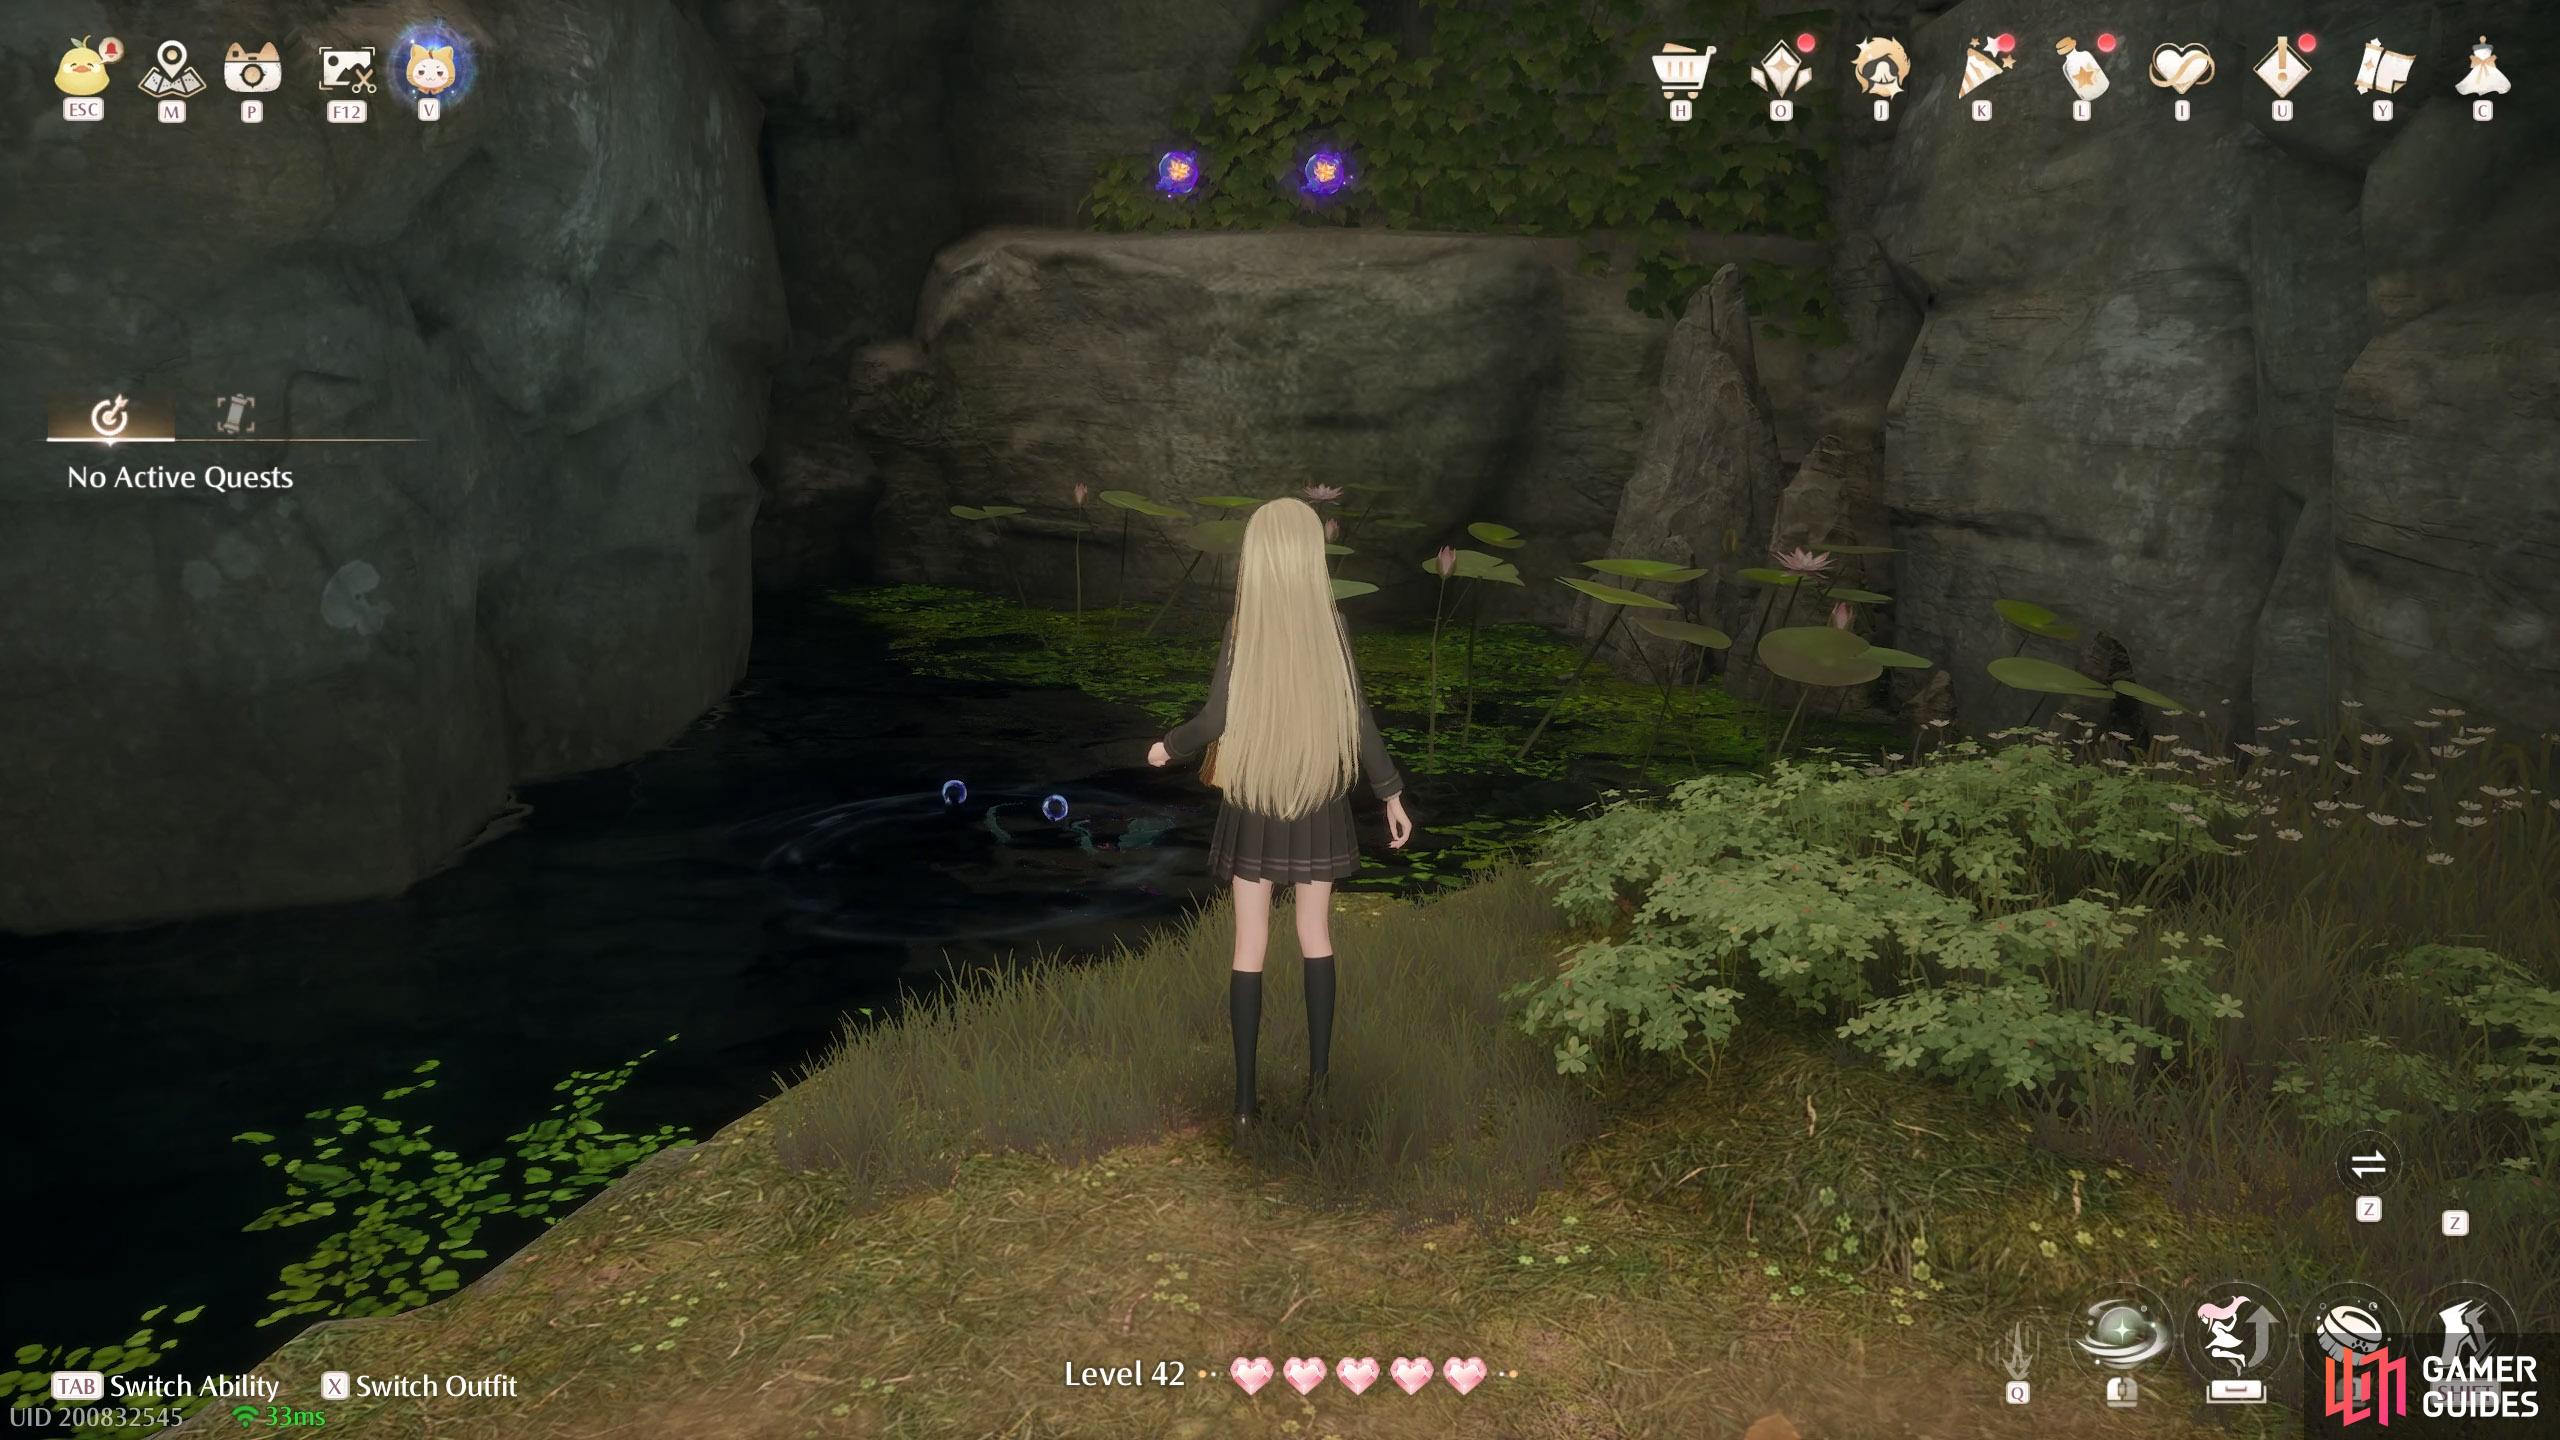
619. Miraland Map
Inside ![]() Forest’s Edge Cavern. In the third area, where you can jump on three wishnets in a row. Two at the end of the water.
Forest’s Edge Cavern. In the third area, where you can jump on three wishnets in a row. Two at the end of the water.

620. Miraland Map
South-east from the ![]() Wish Pass Office. Three away from the shore, connected by a lily pad path.
Wish Pass Office. Three away from the shore, connected by a lily pad path.
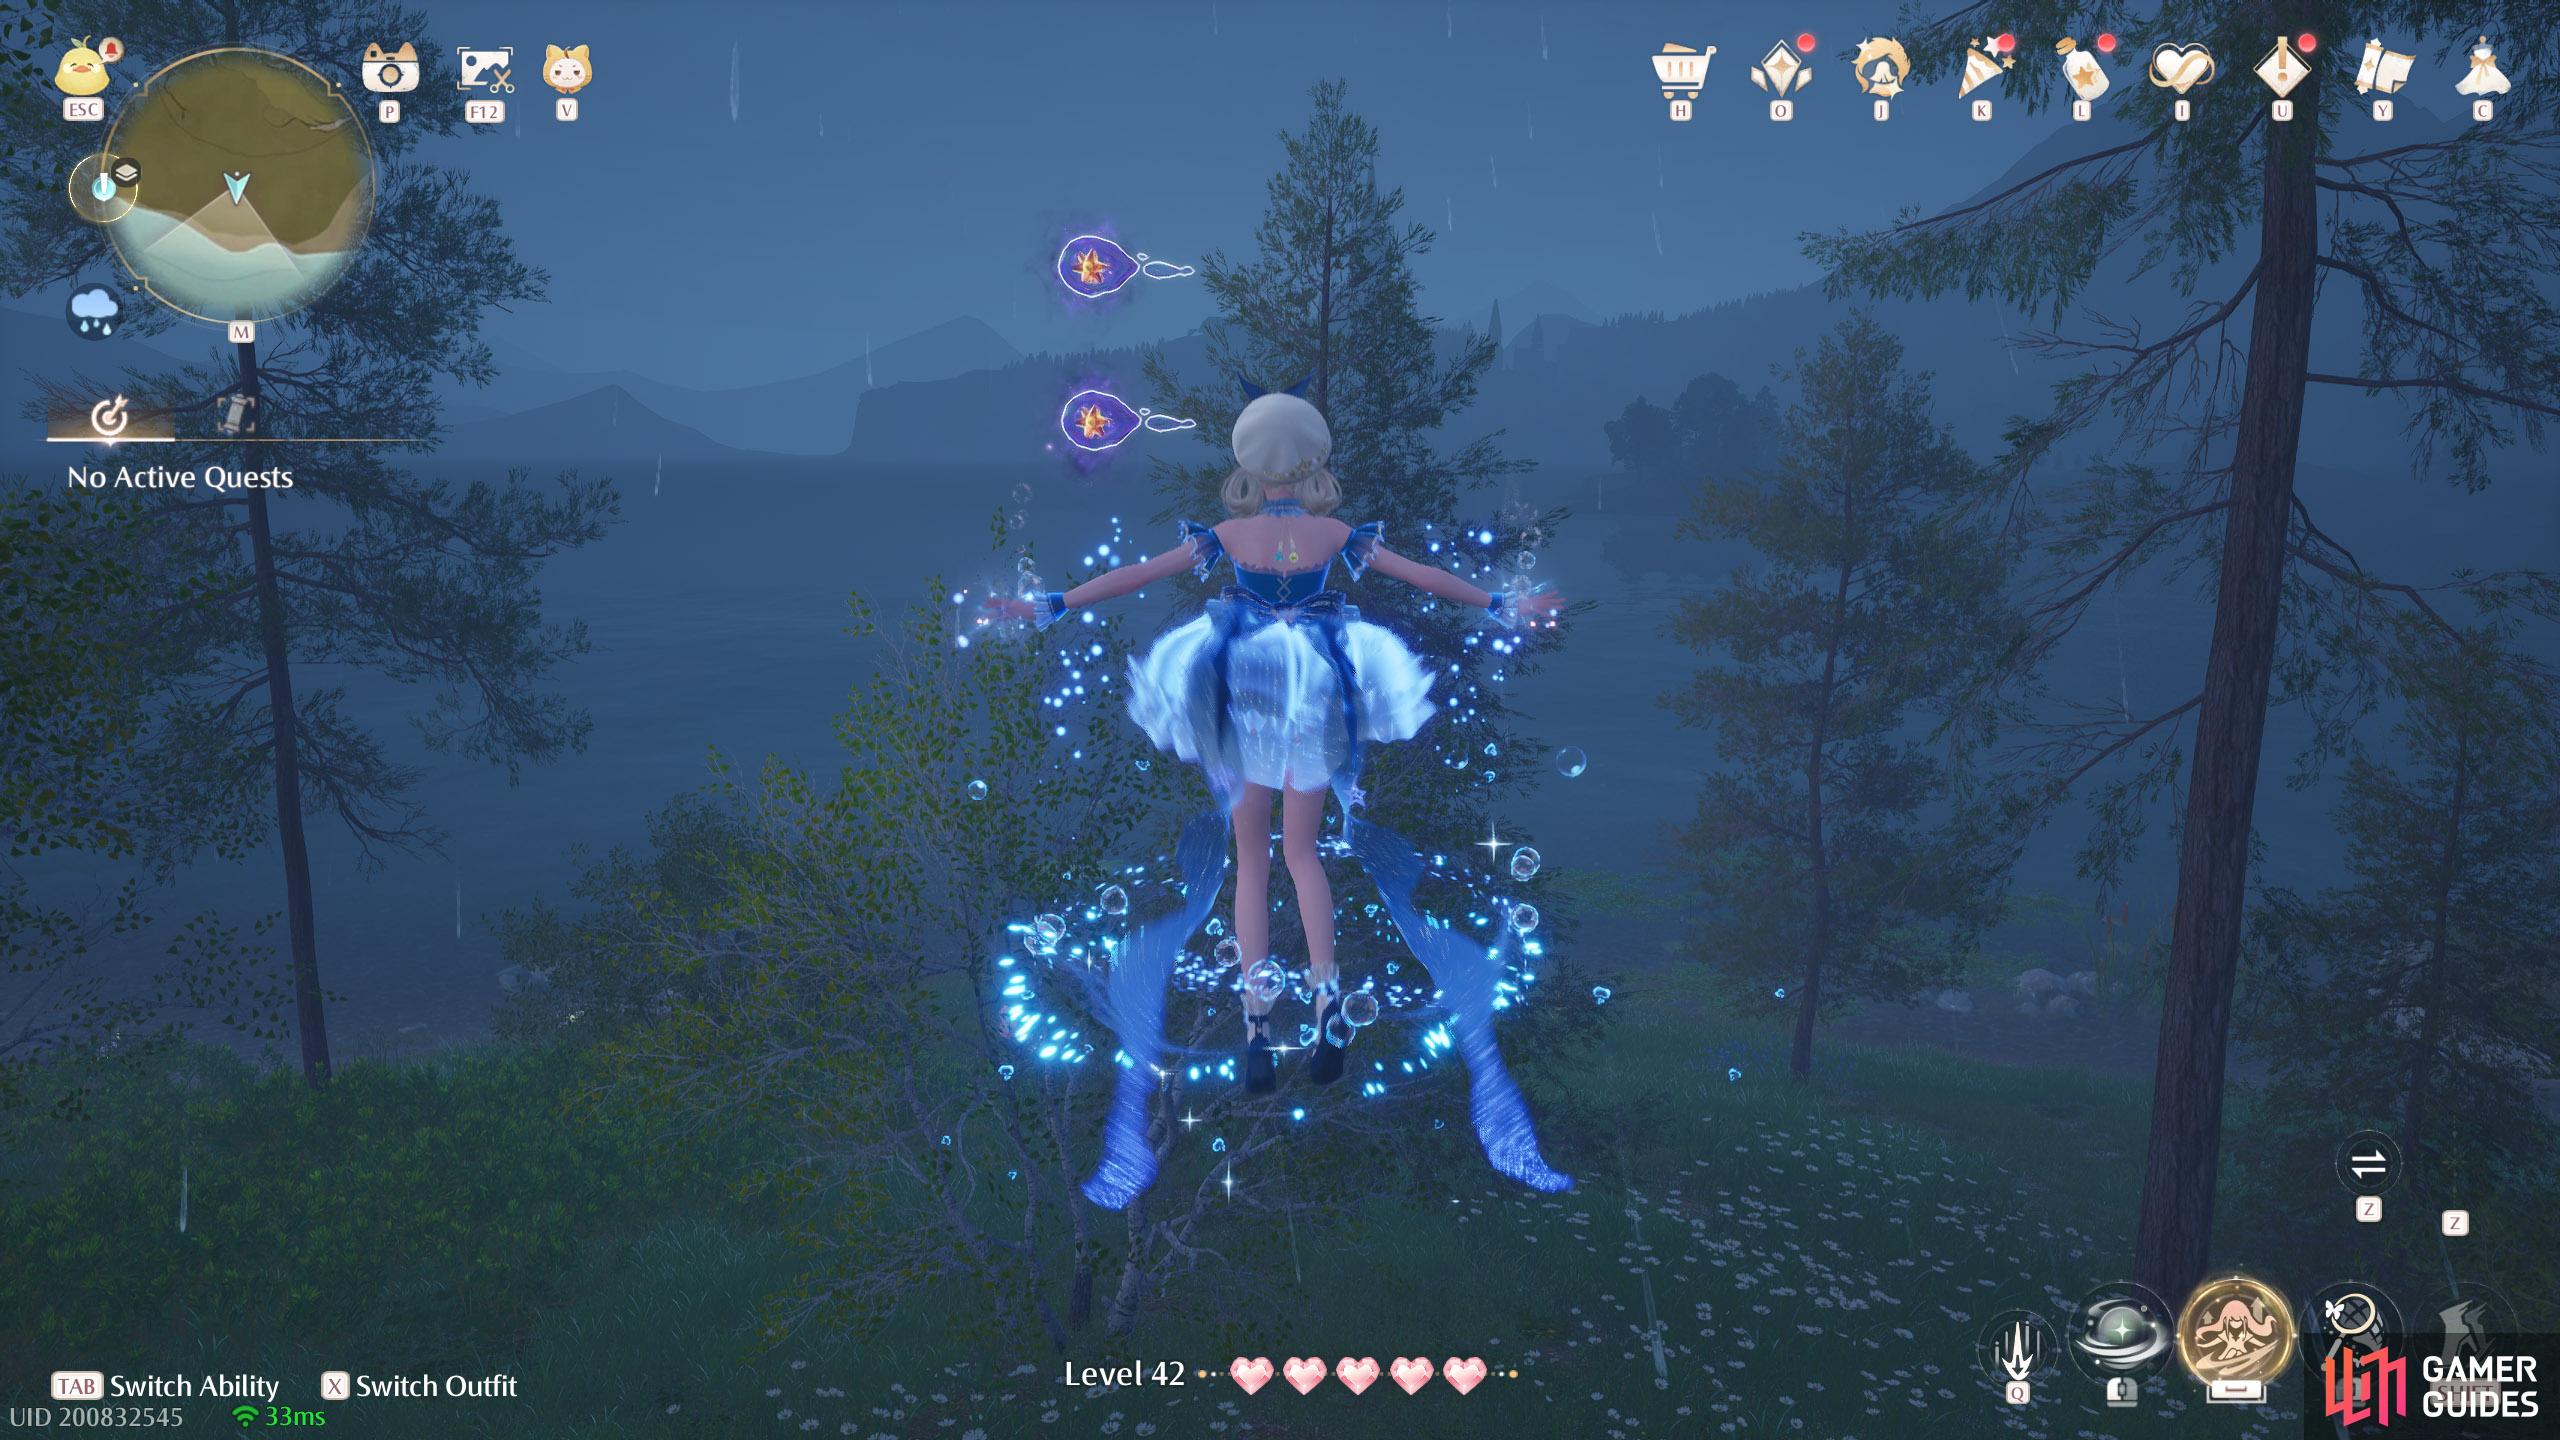
621. Miraland Map
South-east from the ![]() Wish Pass Office. Two floating above a small tree.
Wish Pass Office. Two floating above a small tree.
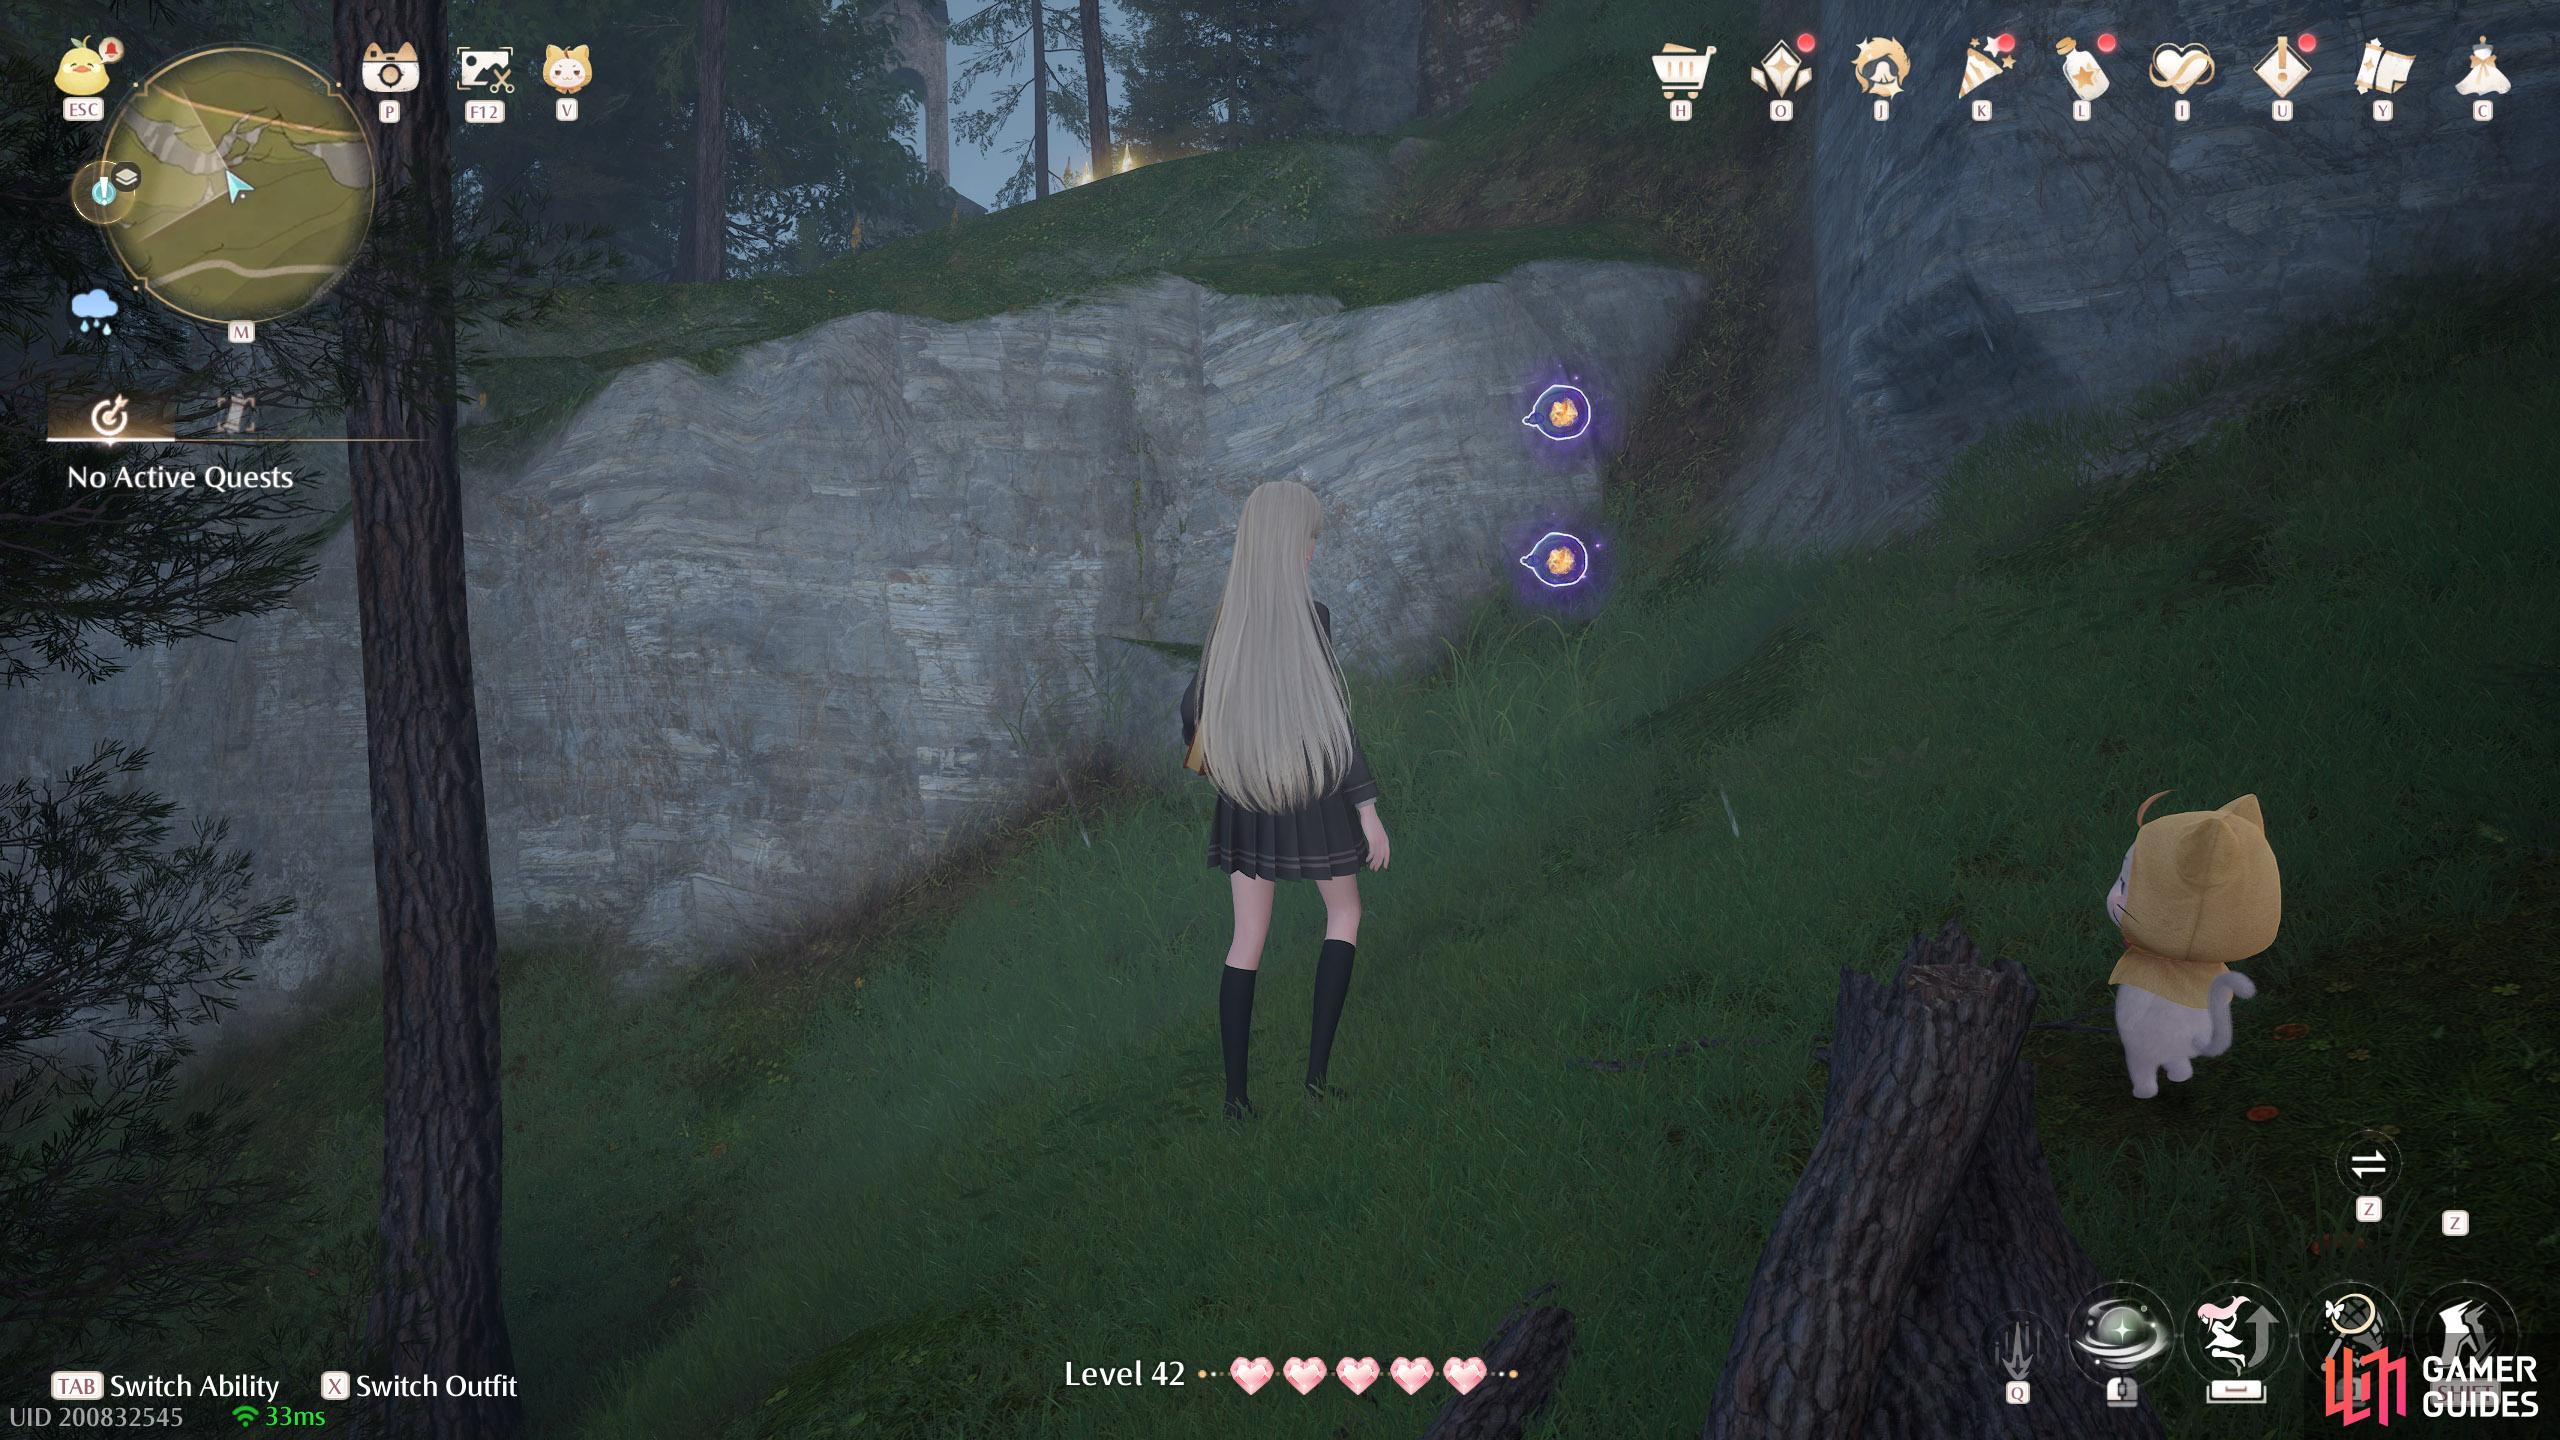
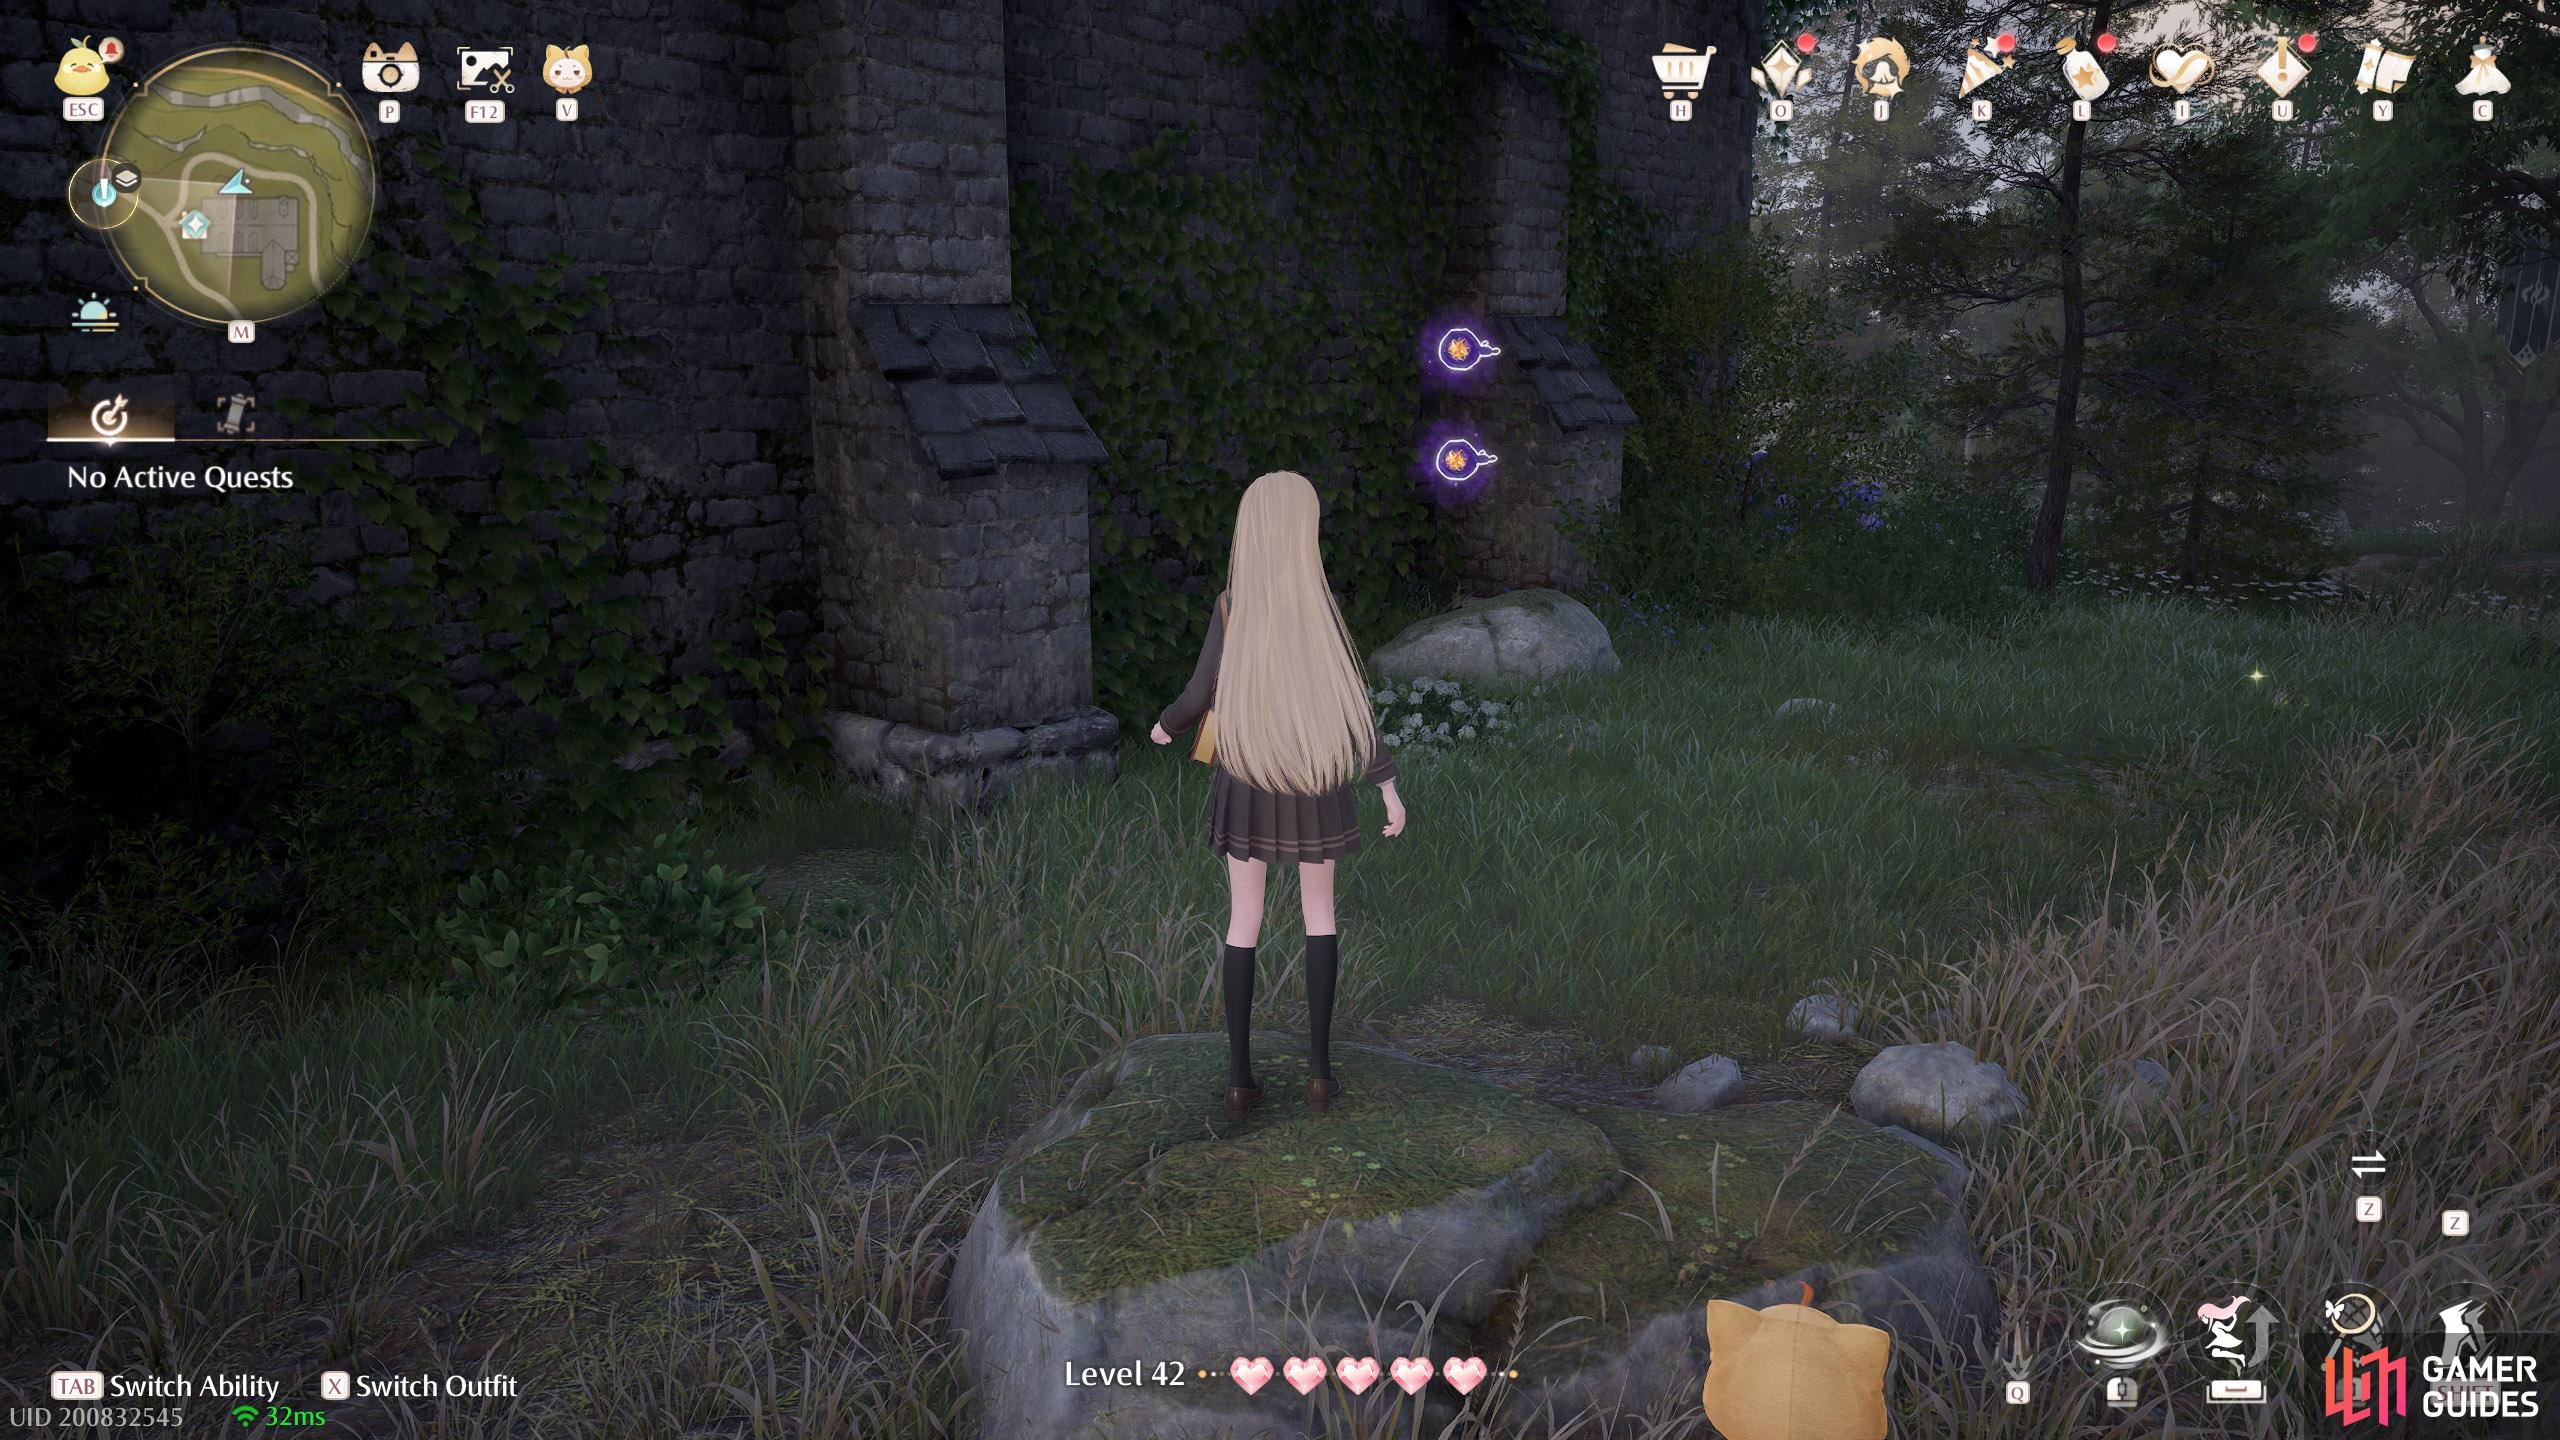
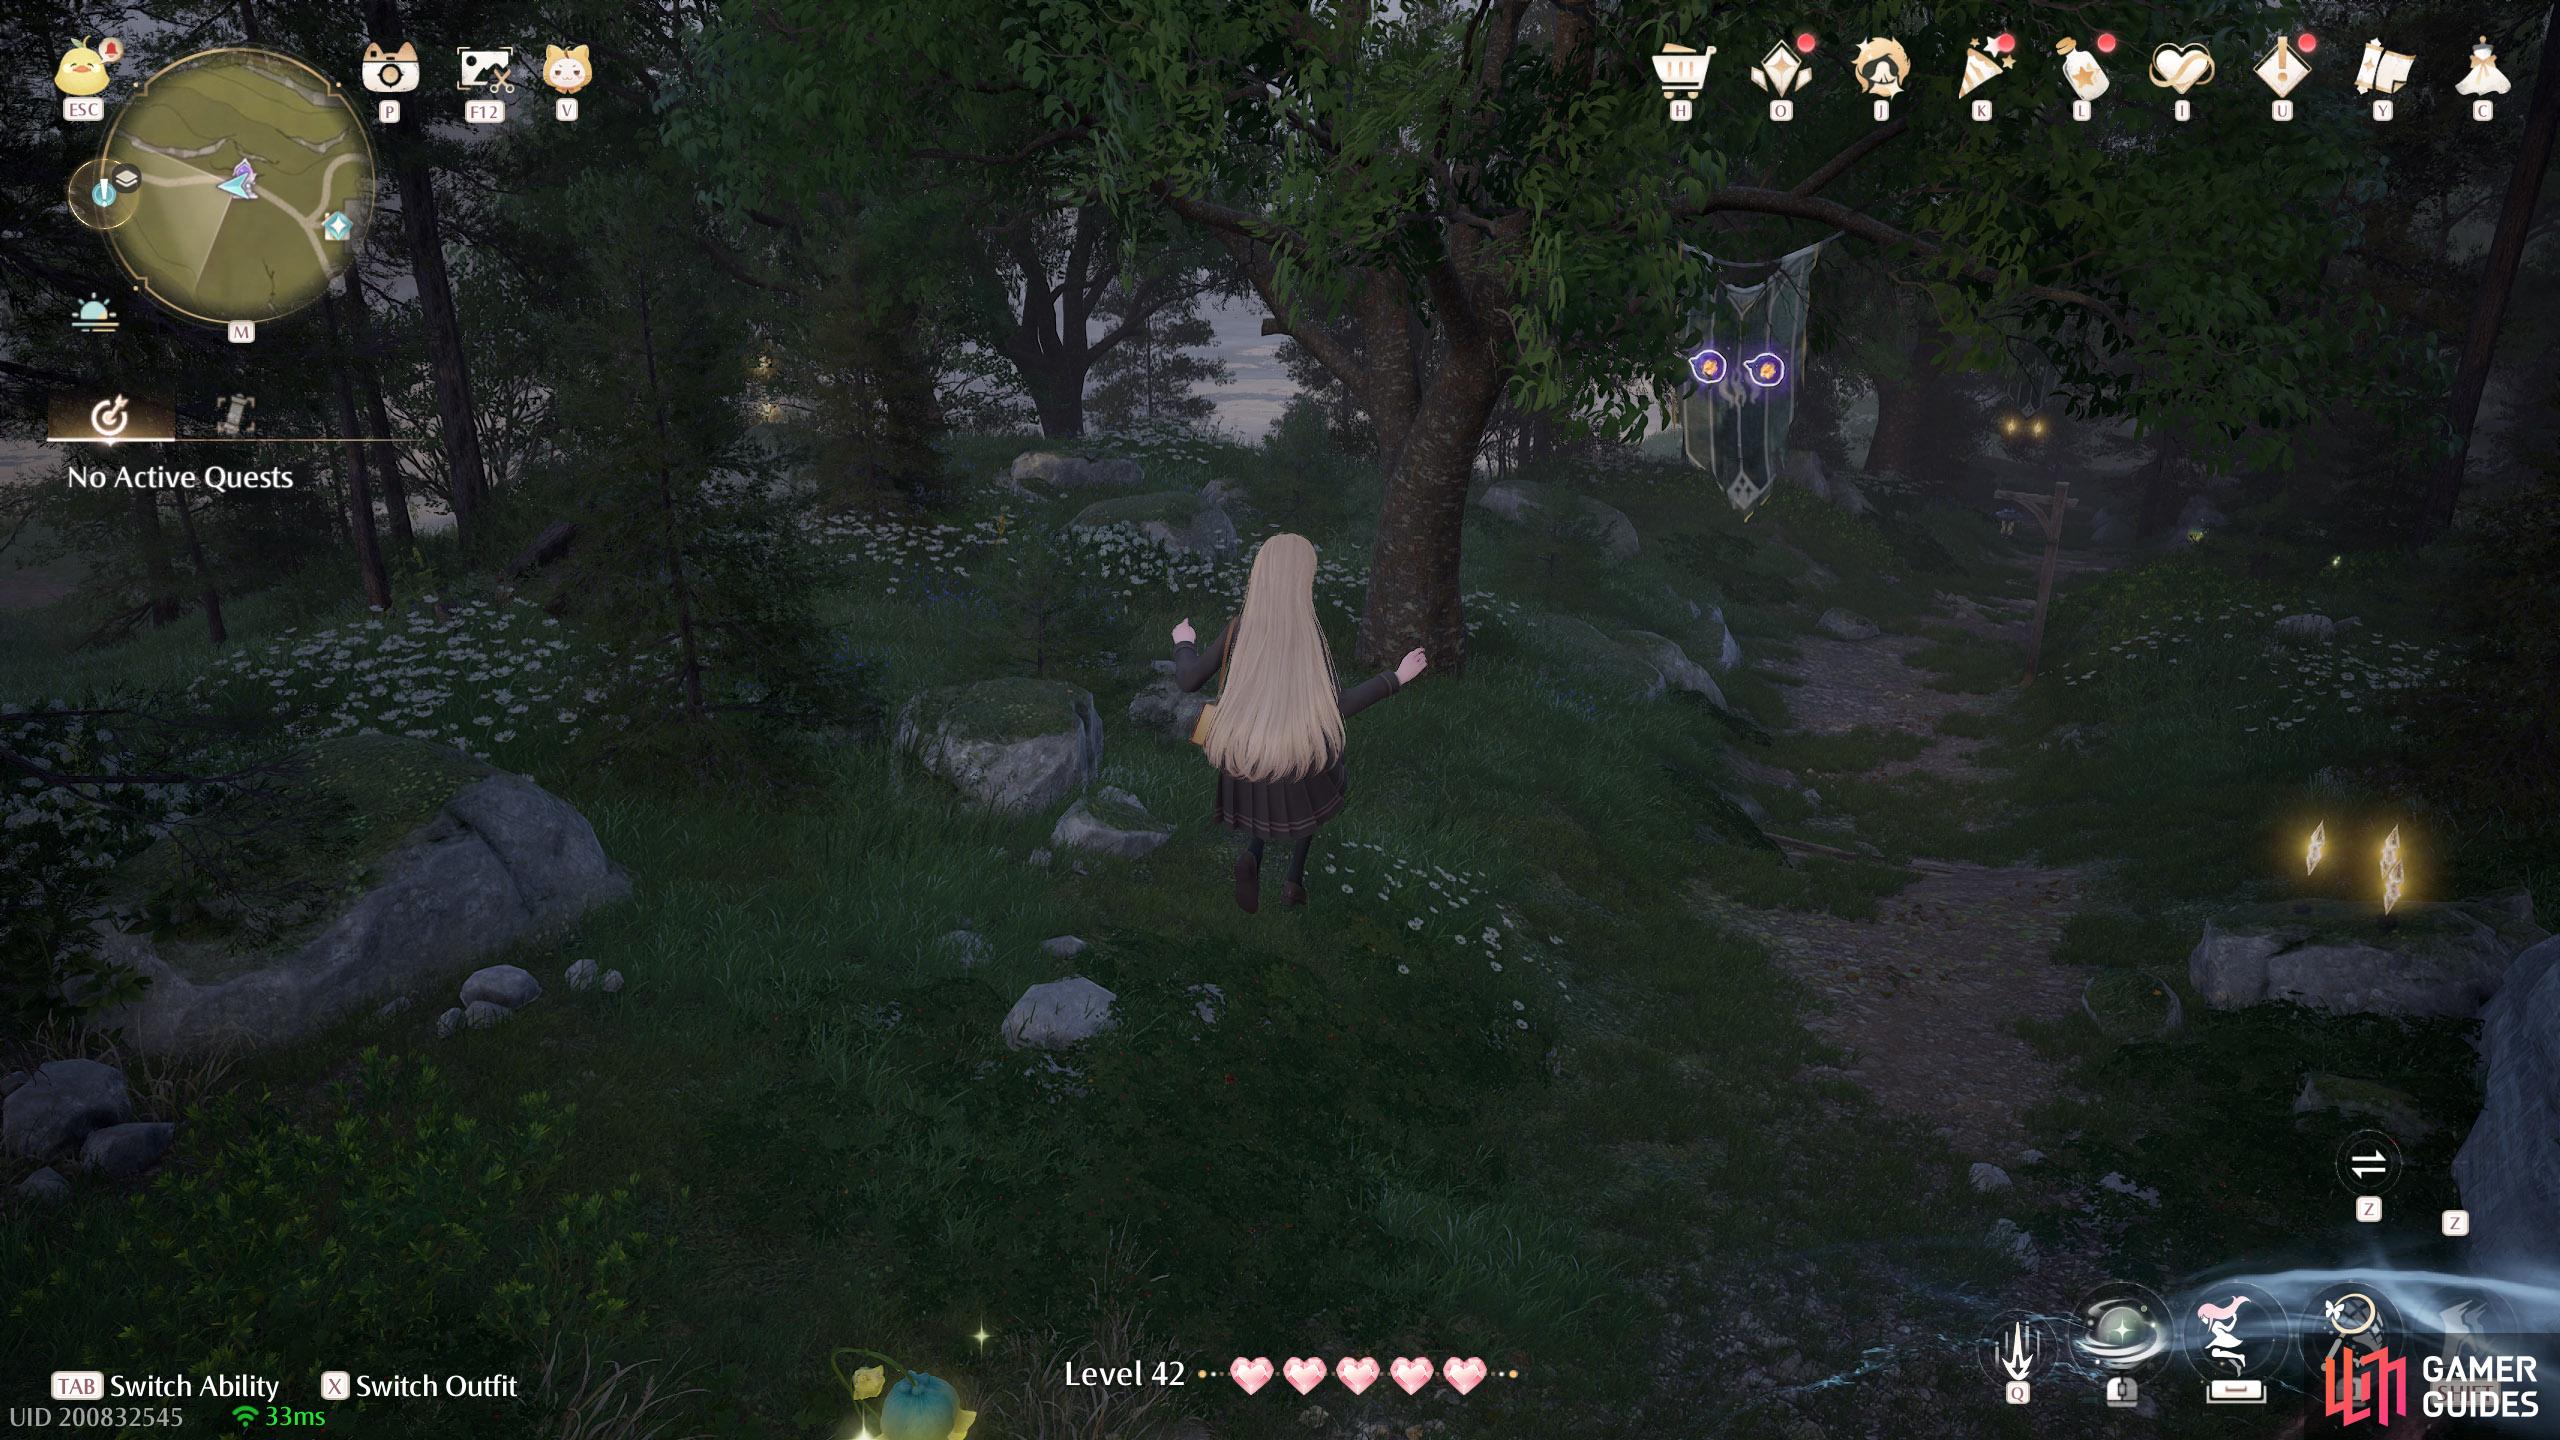
624. Miraland Map
Short distance west from the ![]() In Front of the Sanctum of the Observant Warp Spire. Two behind the banner hanging from the tree.
In Front of the Sanctum of the Observant Warp Spire. Two behind the banner hanging from the tree.
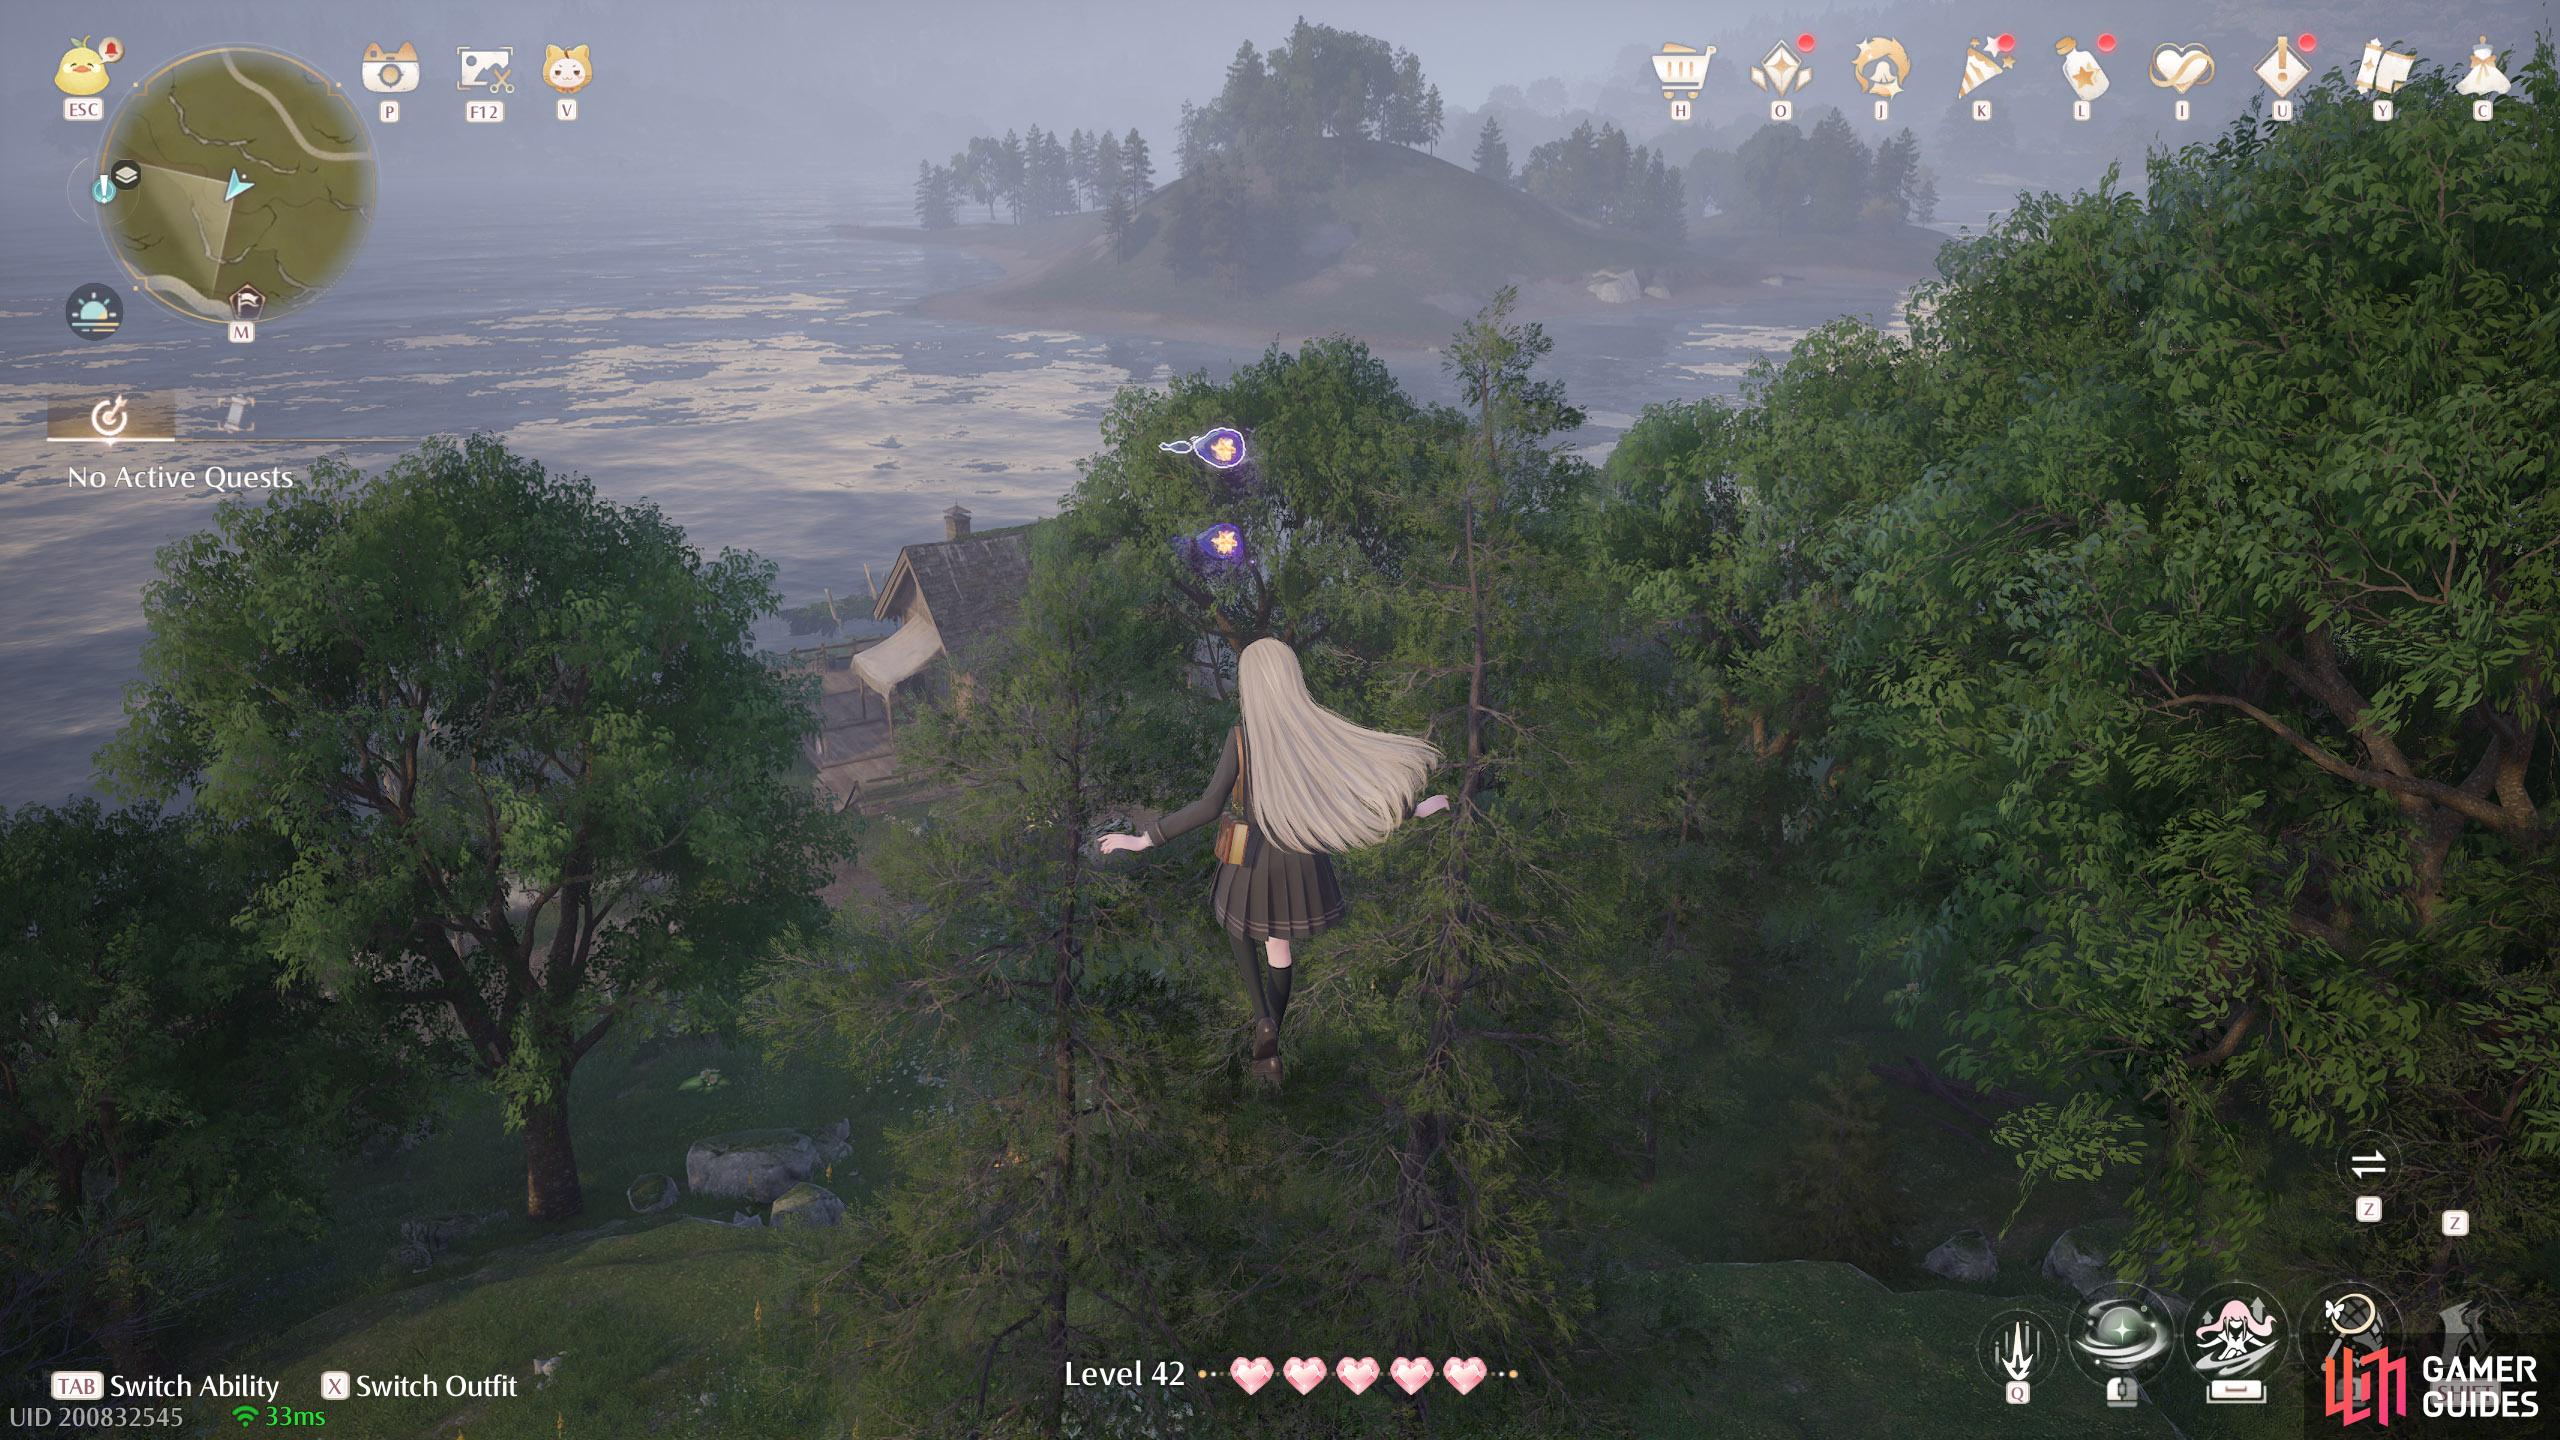
625. Miraland Map
South from the ![]() Sanctum of the Observant entrance. Two floating high up with a leaf trampoline nearby.
Sanctum of the Observant entrance. Two floating high up with a leaf trampoline nearby.
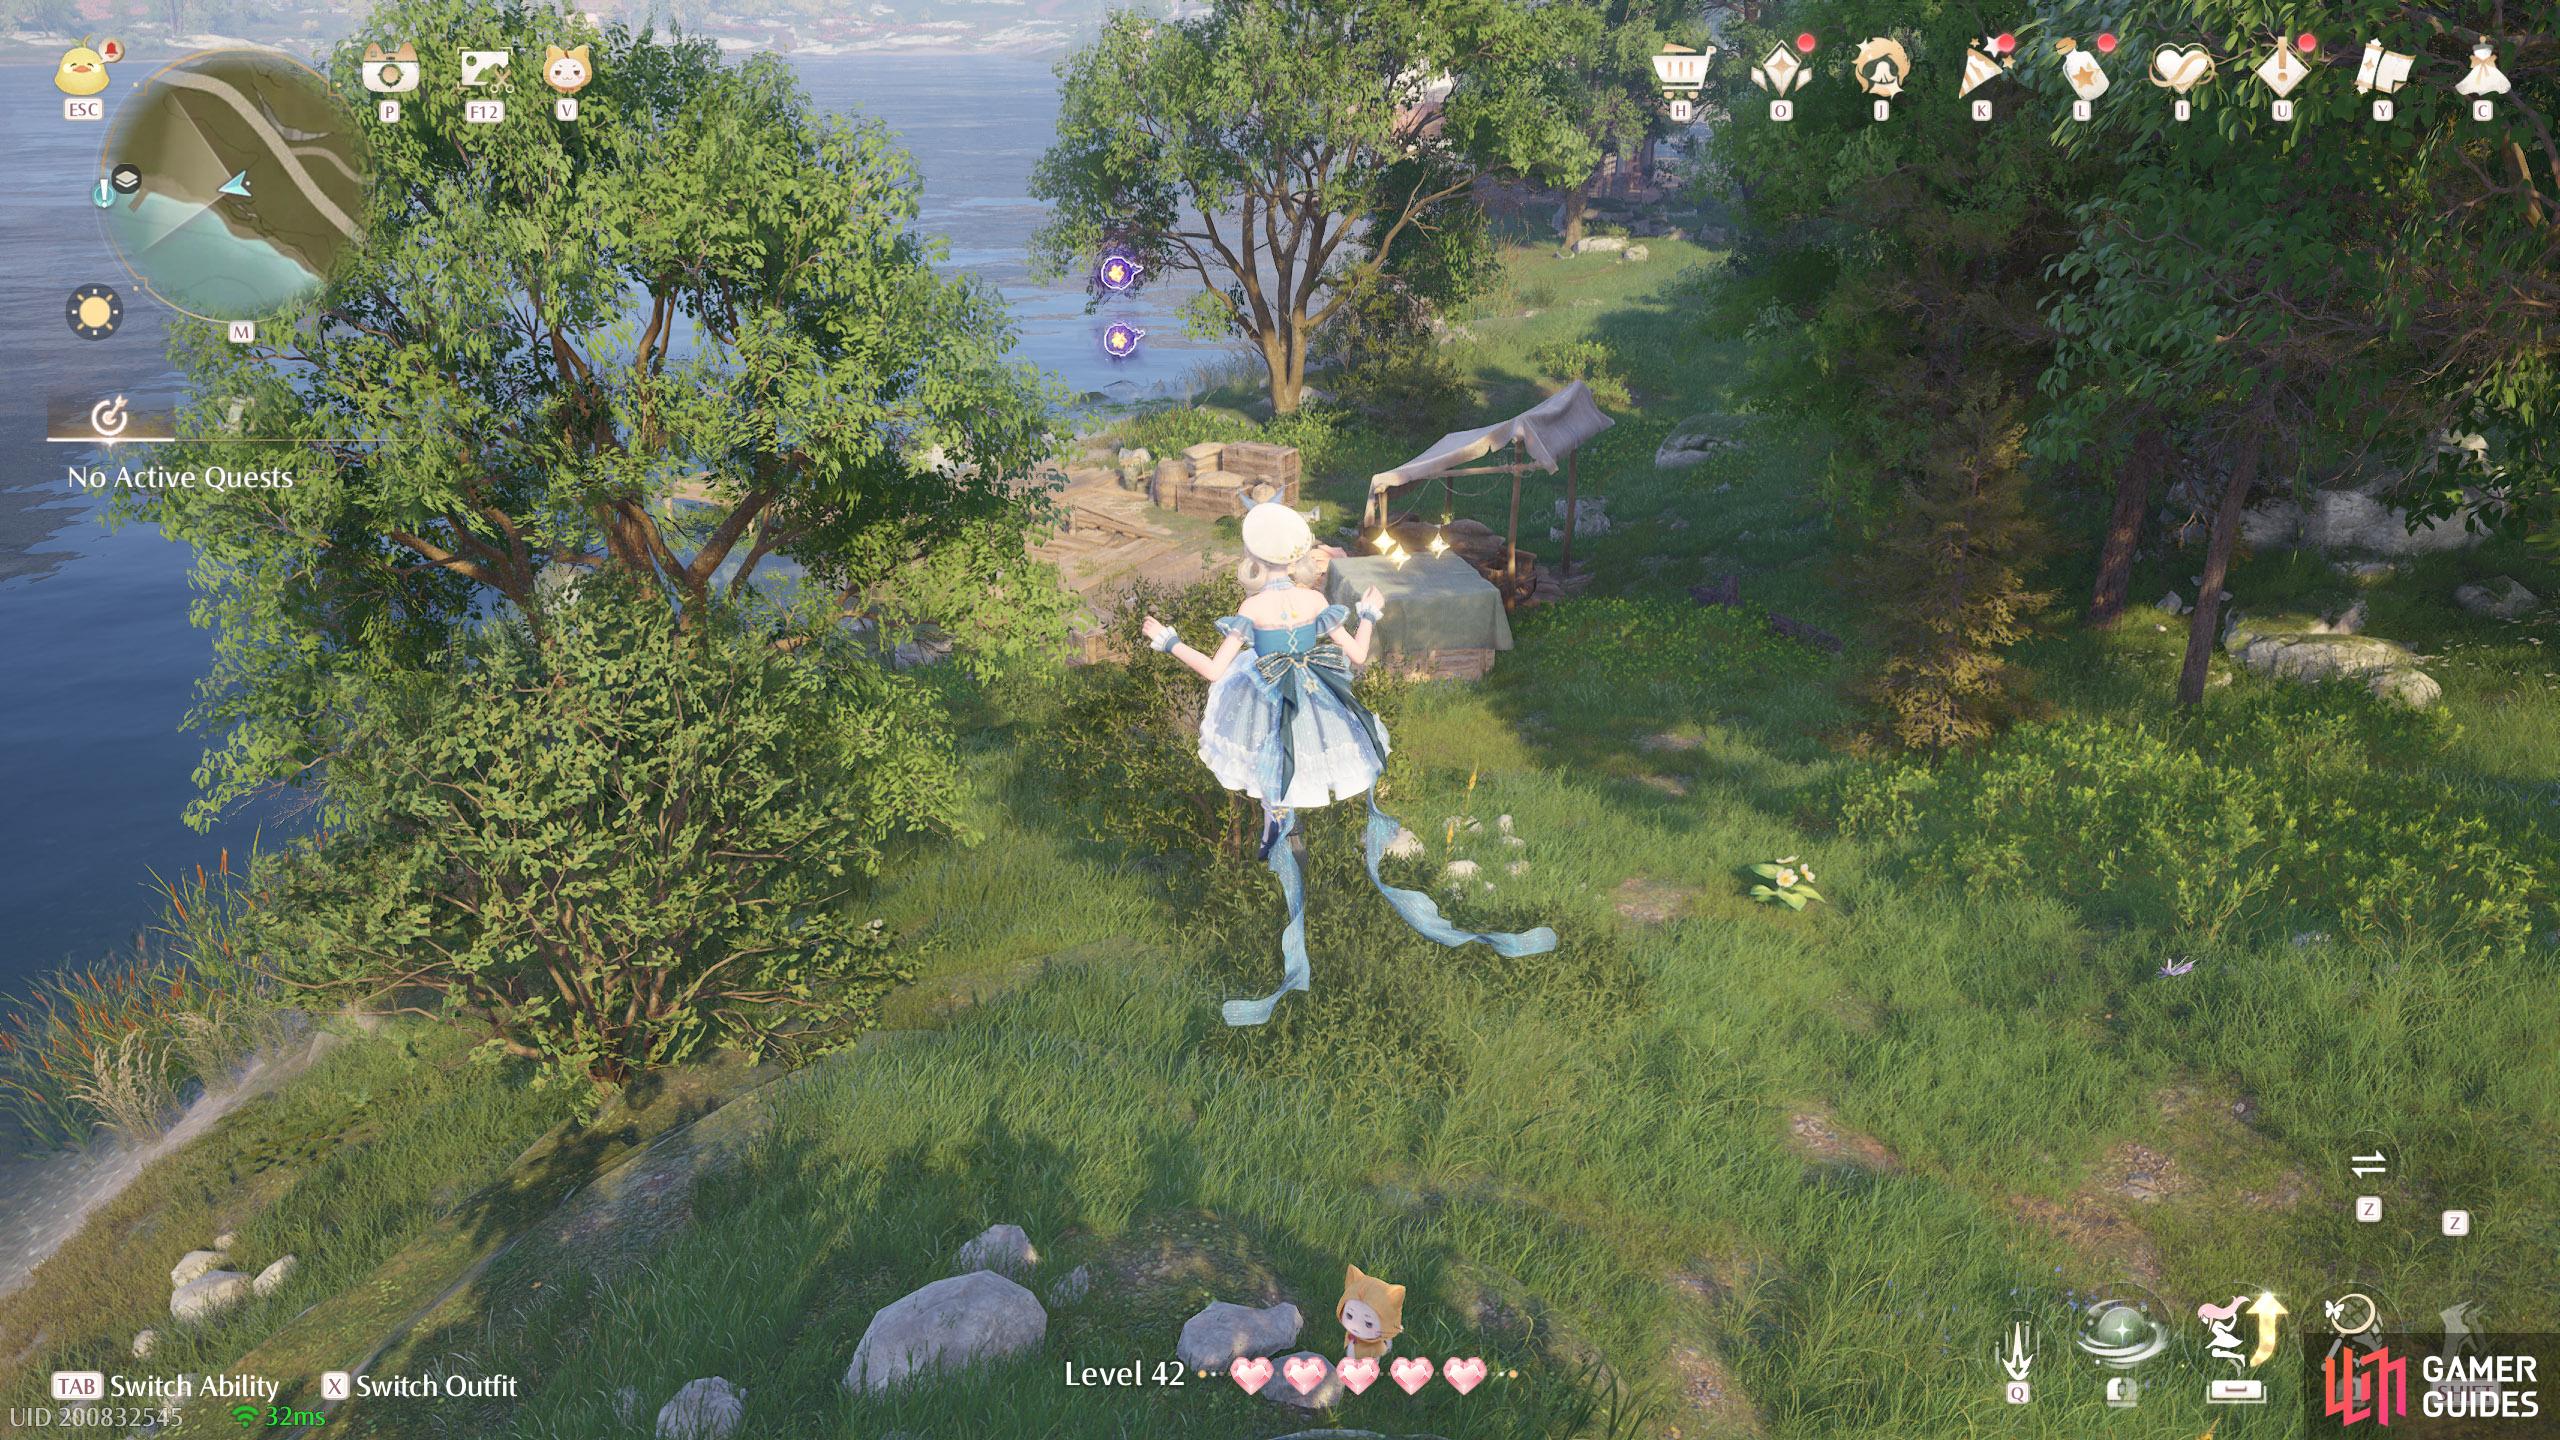
626. Miraland Map
South-east from ![]() Stitch Street. Two floating in the air a short distance east from the small fishing pier.
Stitch Street. Two floating in the air a short distance east from the small fishing pier.
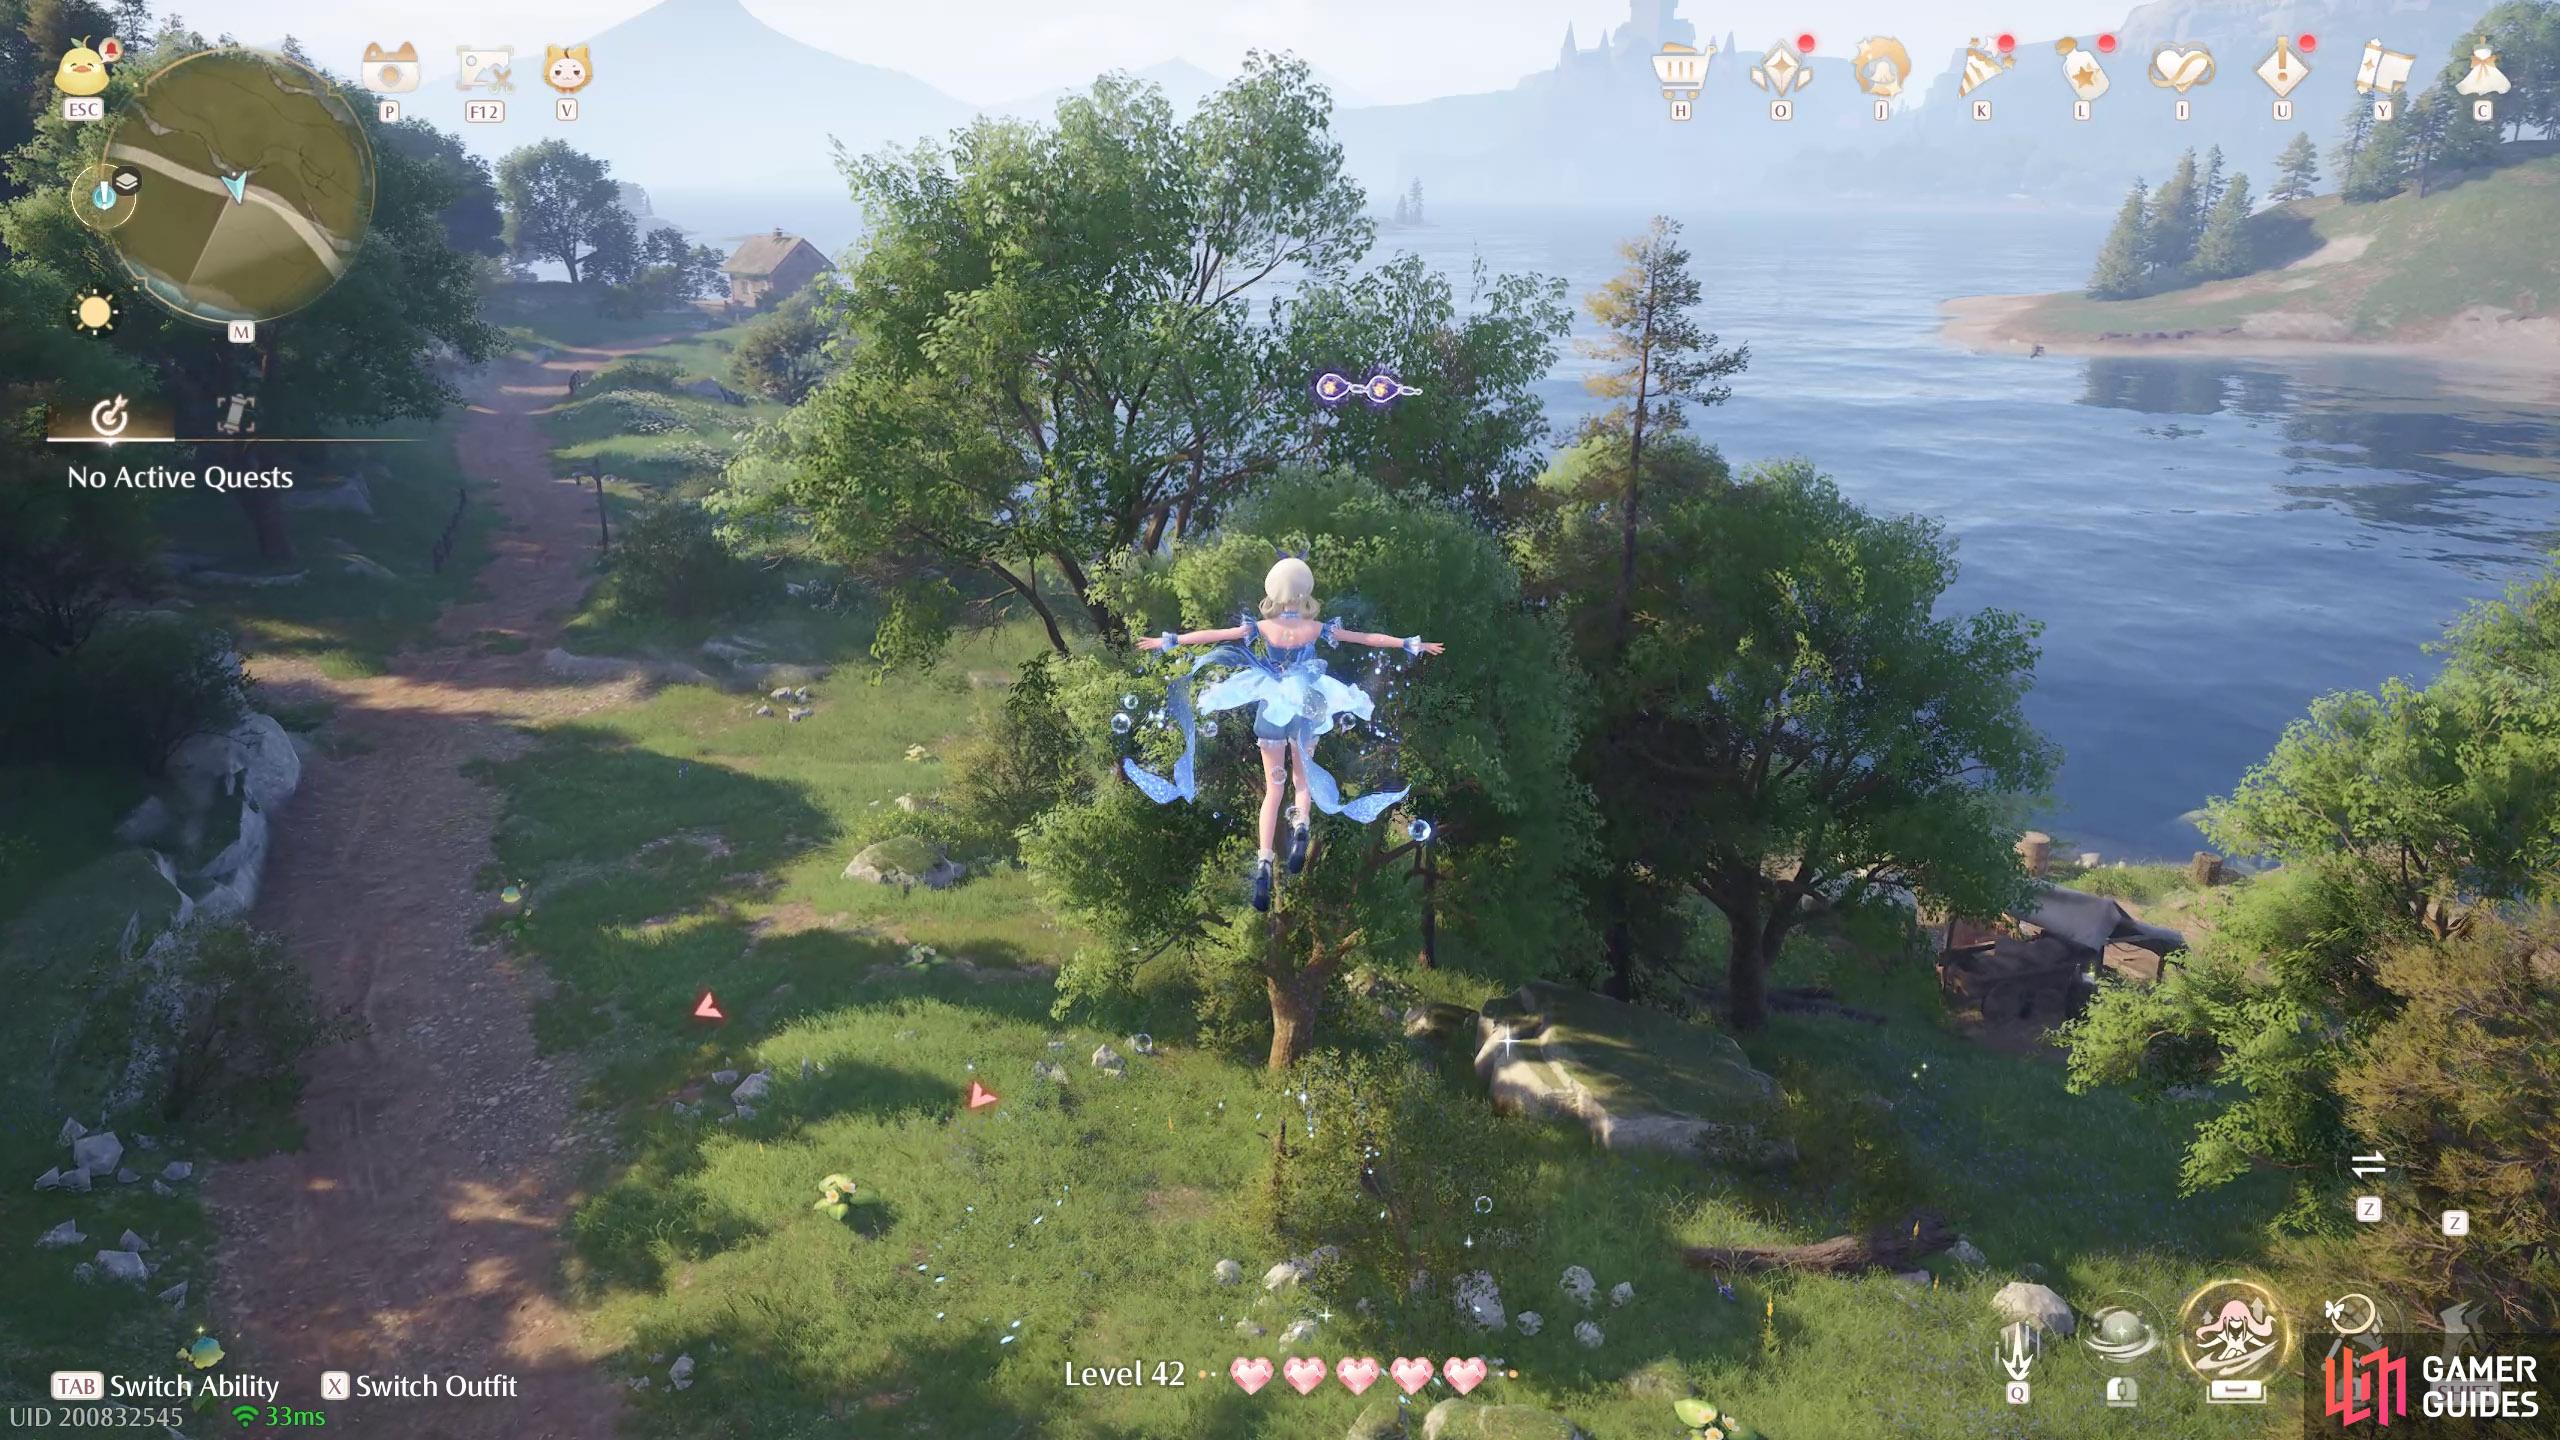
627. Miraland Map
South-east from ![]() Stitch Street. Two floating high up above the road. You can float down from the north (but beware of Esselings).
Stitch Street. Two floating high up above the road. You can float down from the north (but beware of Esselings).
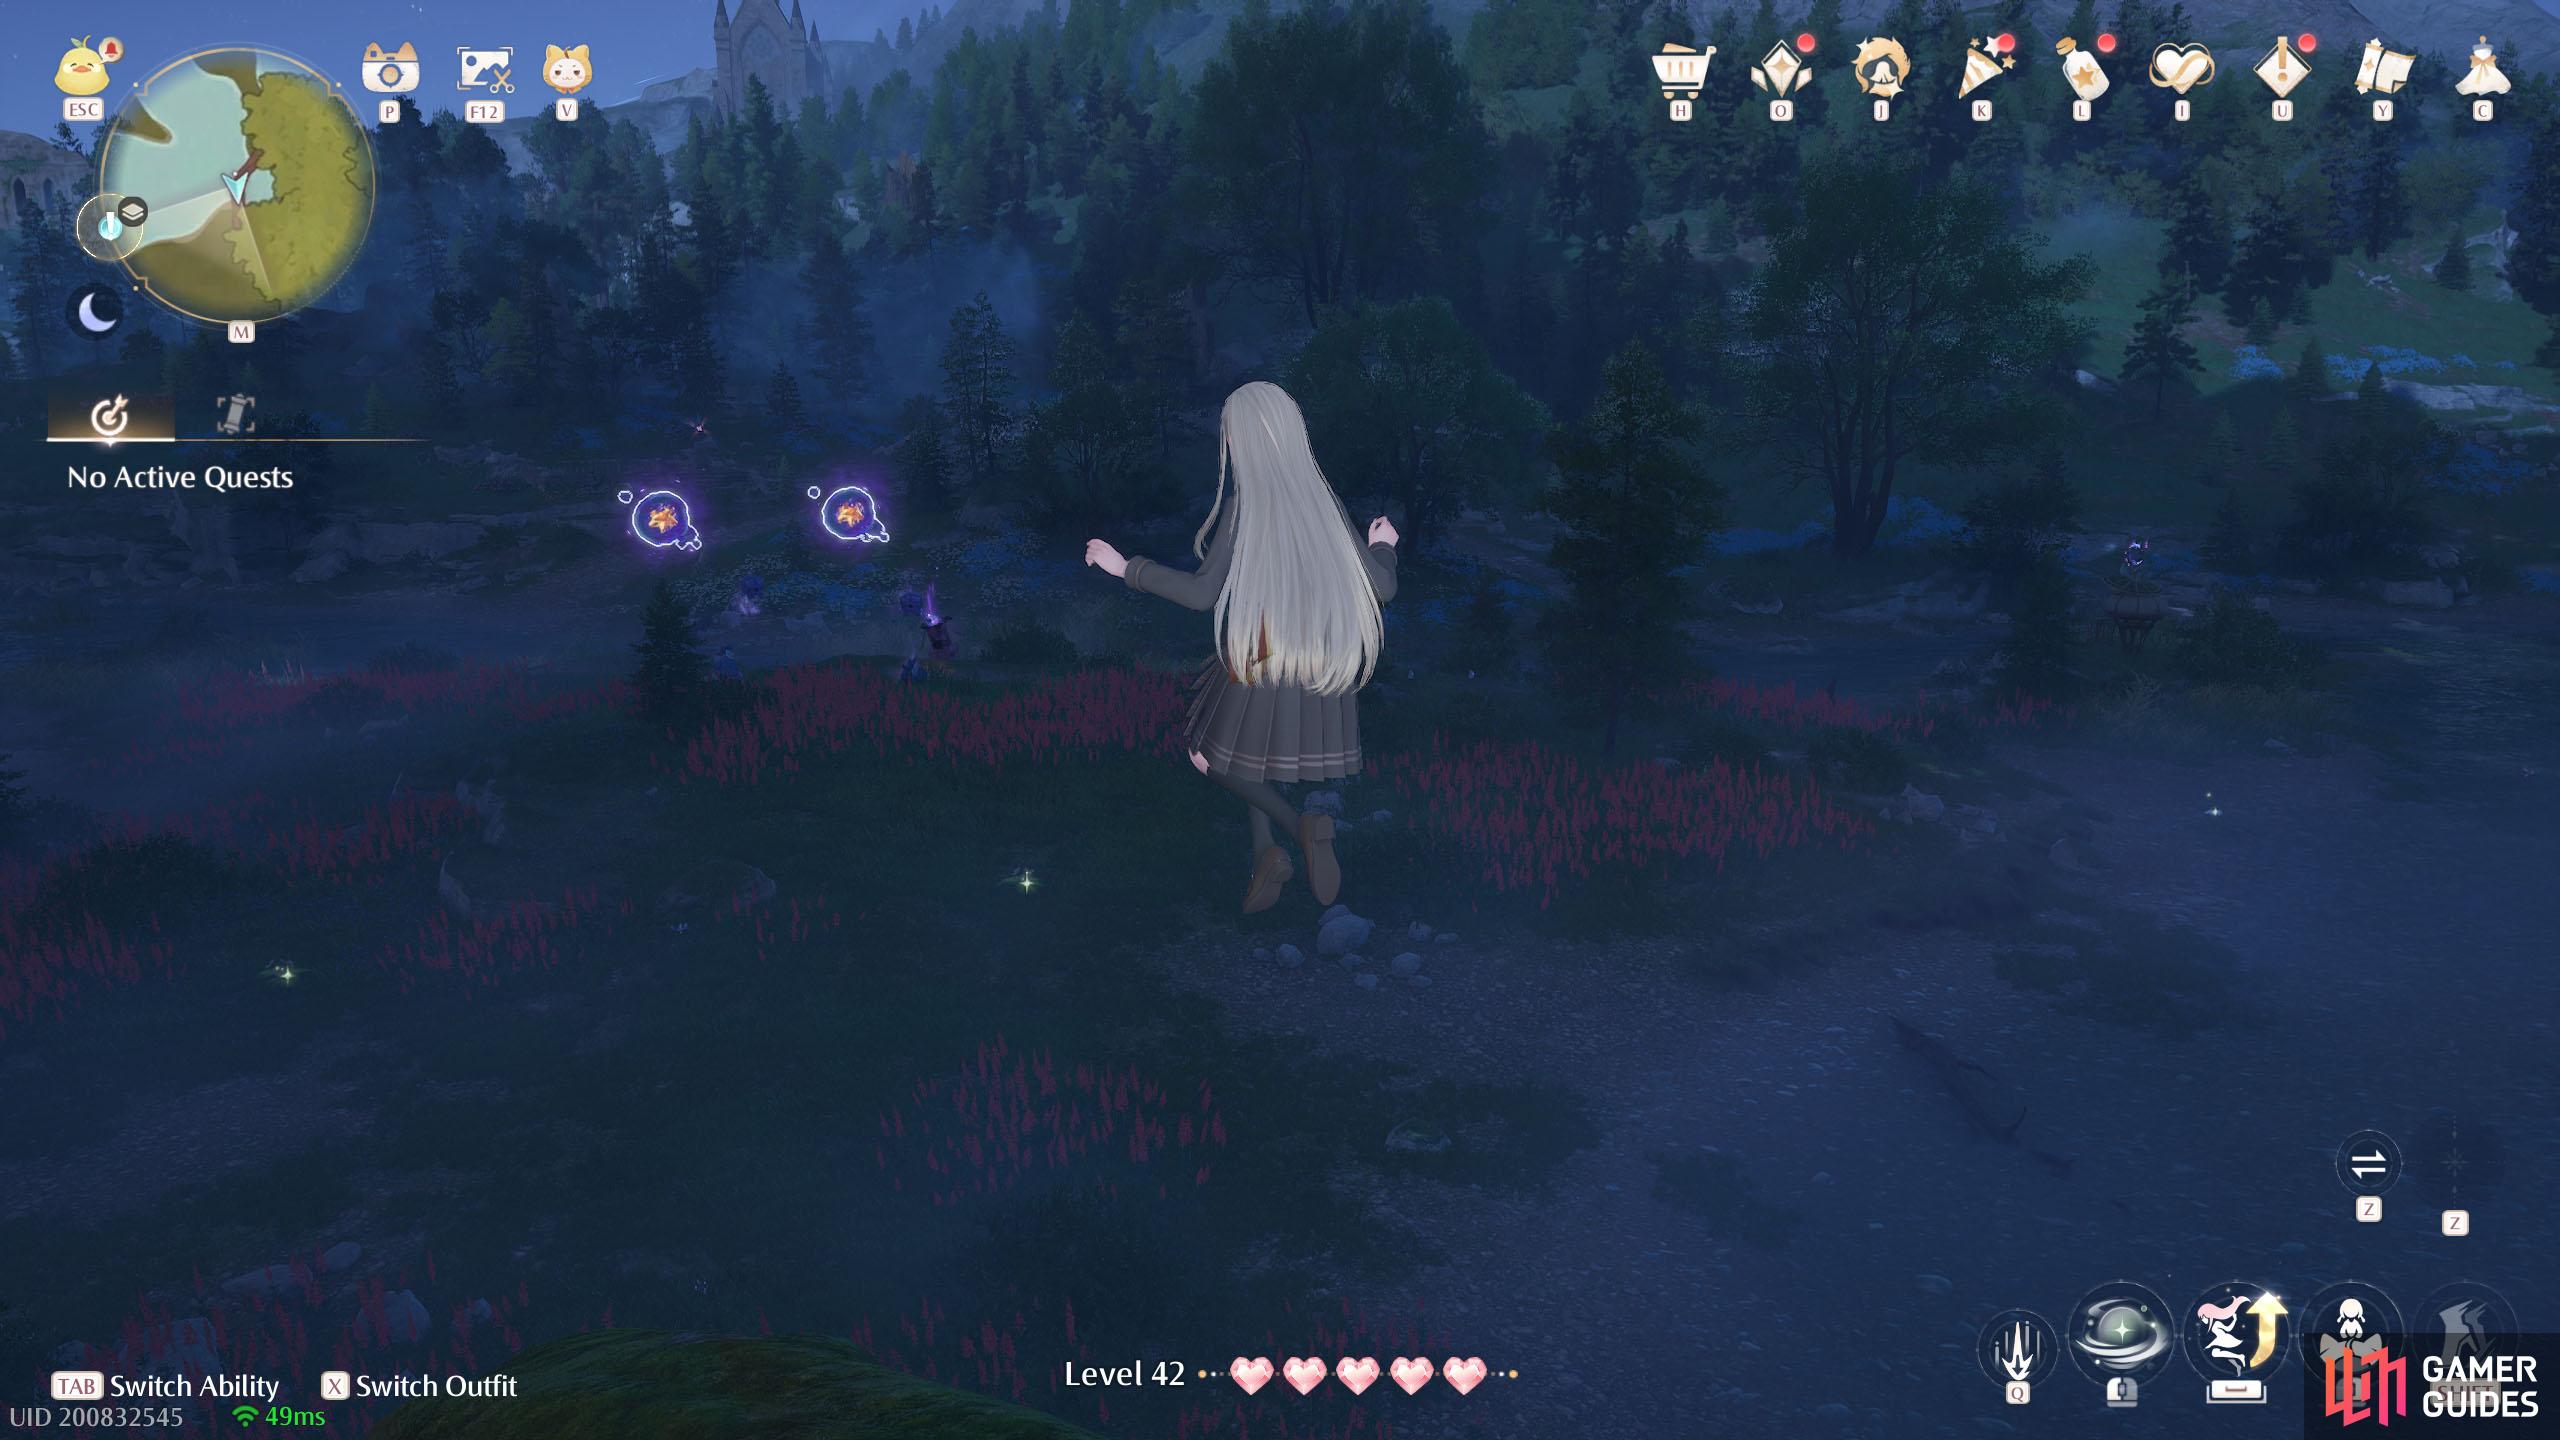
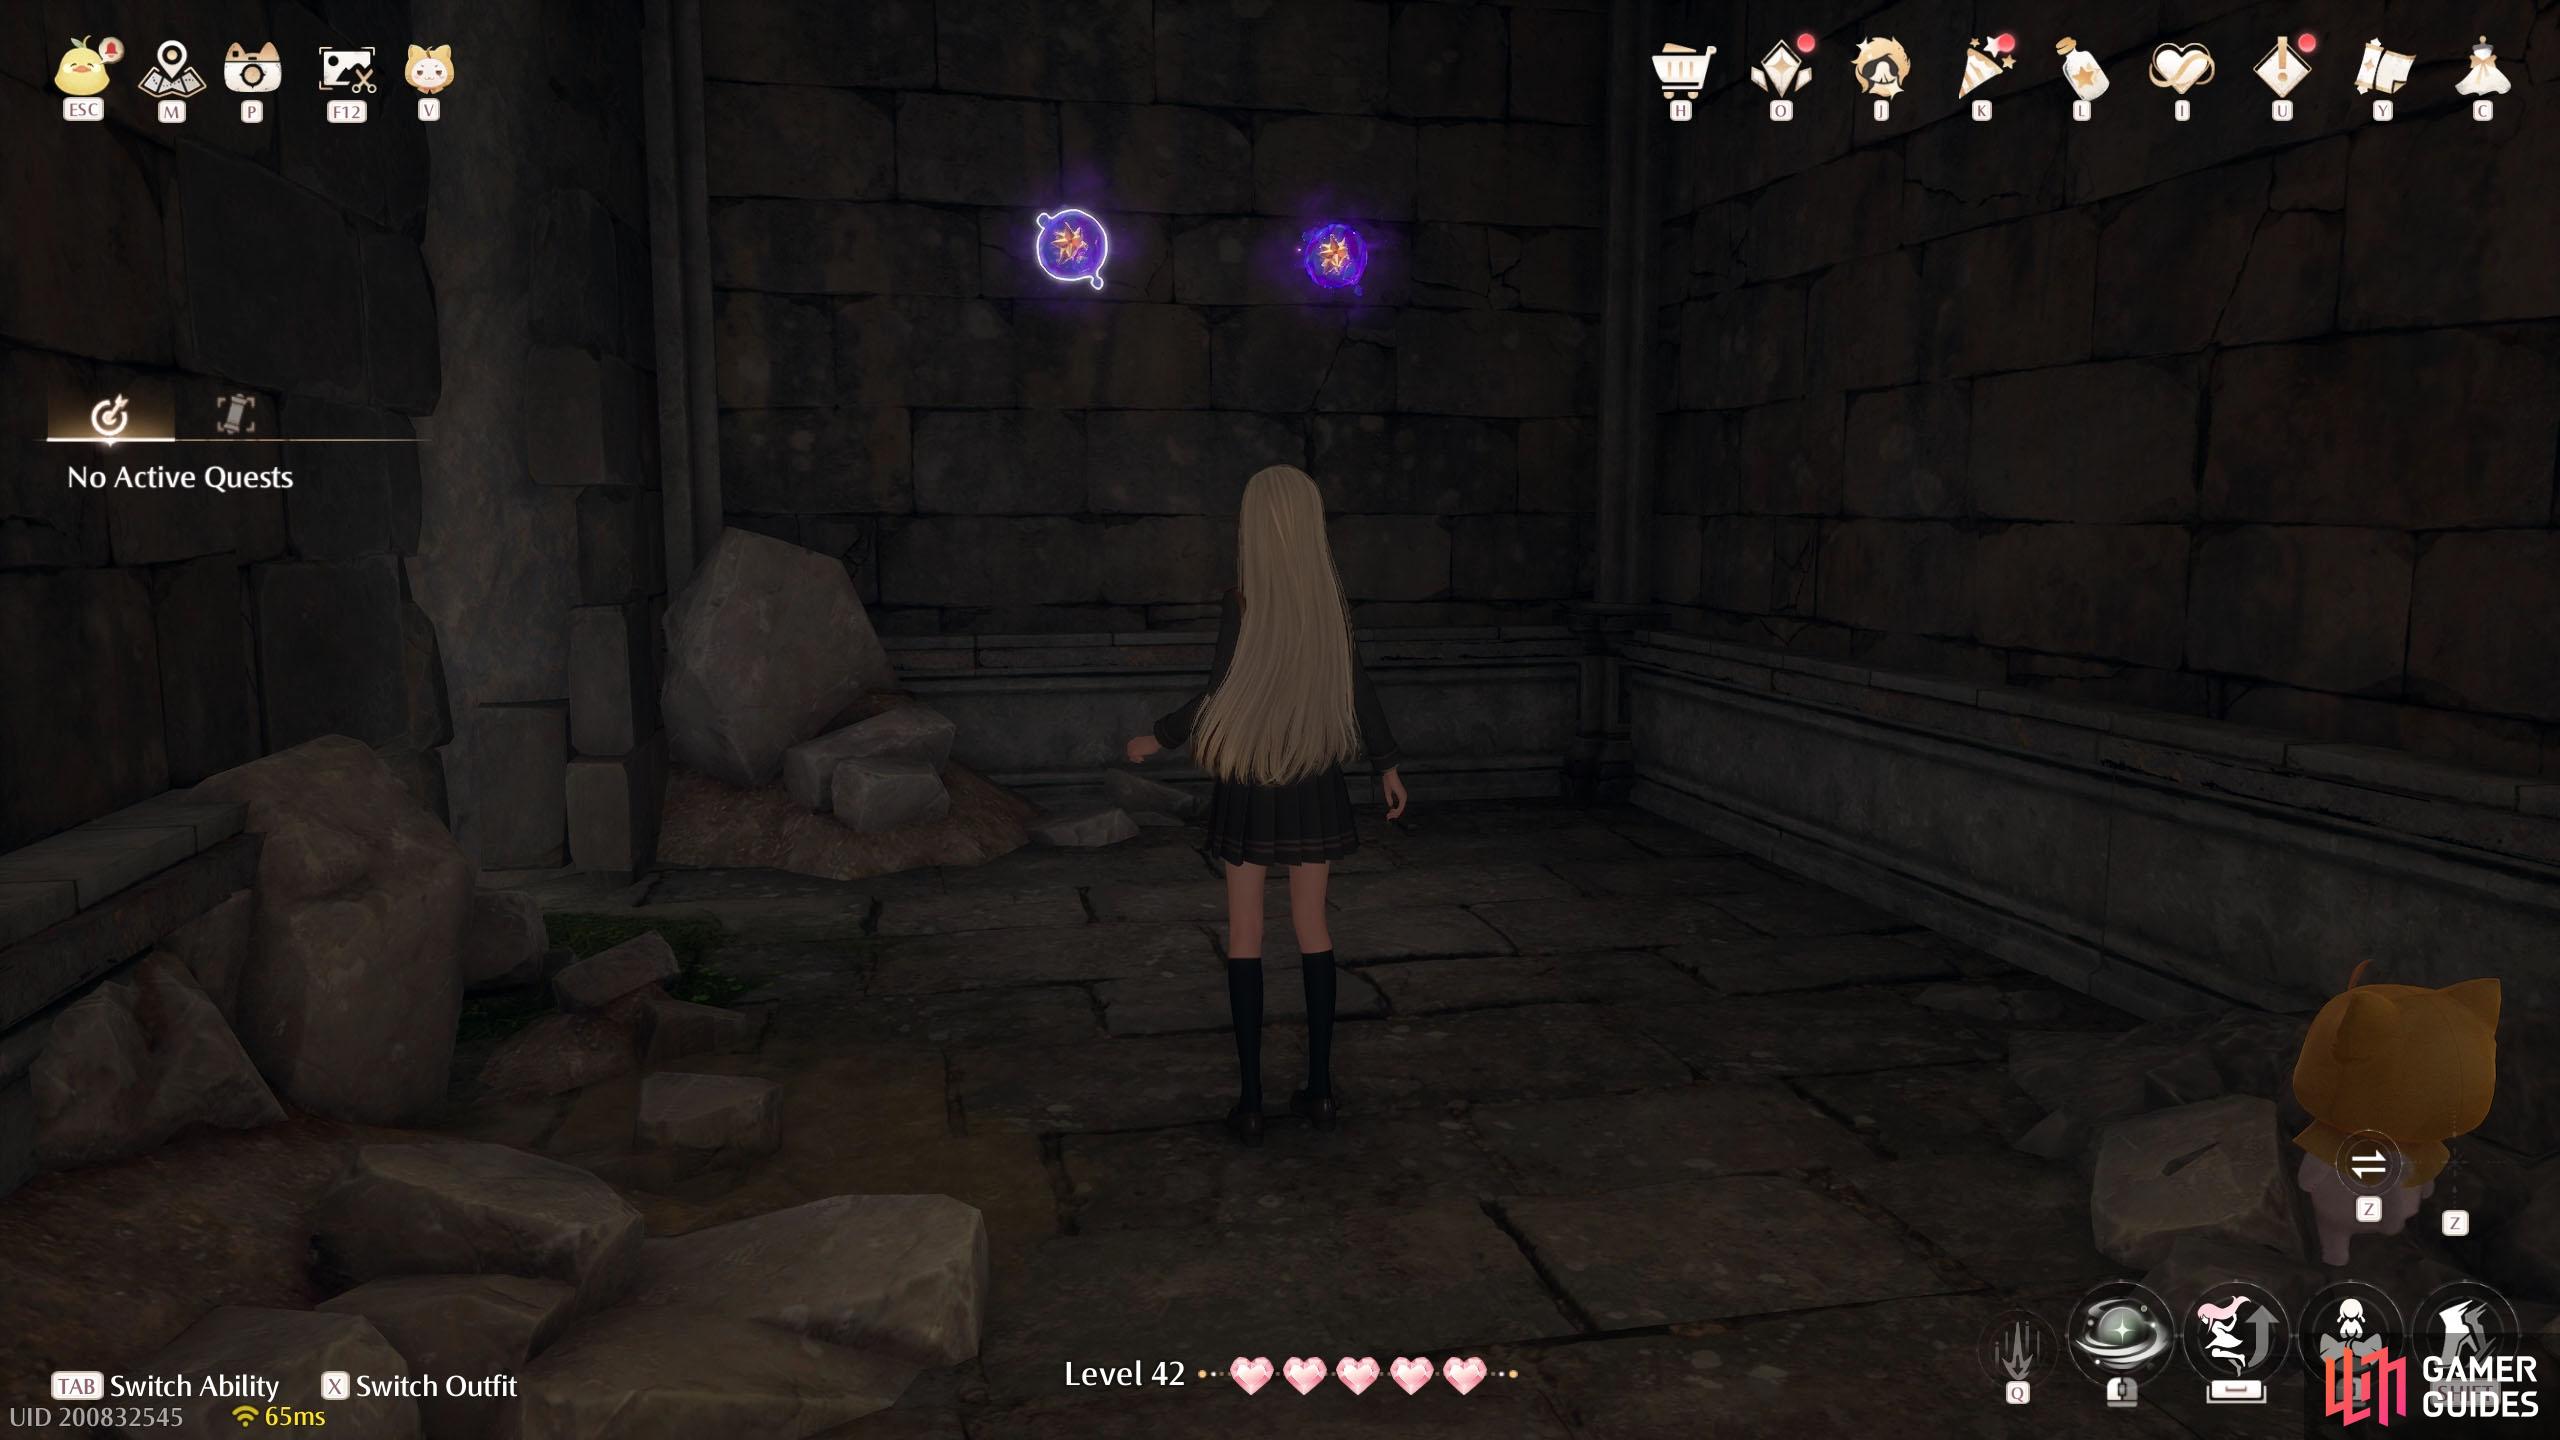
629. Miraland Map
Inside ![]() Outer Swordsmith Ruins Cavern. Two in the side area with a climbable rope. If you came from the north entrance, it’s on the left. If you came from the south entrance, it’s on the right and you need to drop down.
Outer Swordsmith Ruins Cavern. Two in the side area with a climbable rope. If you came from the north entrance, it’s on the left. If you came from the south entrance, it’s on the right and you need to drop down.
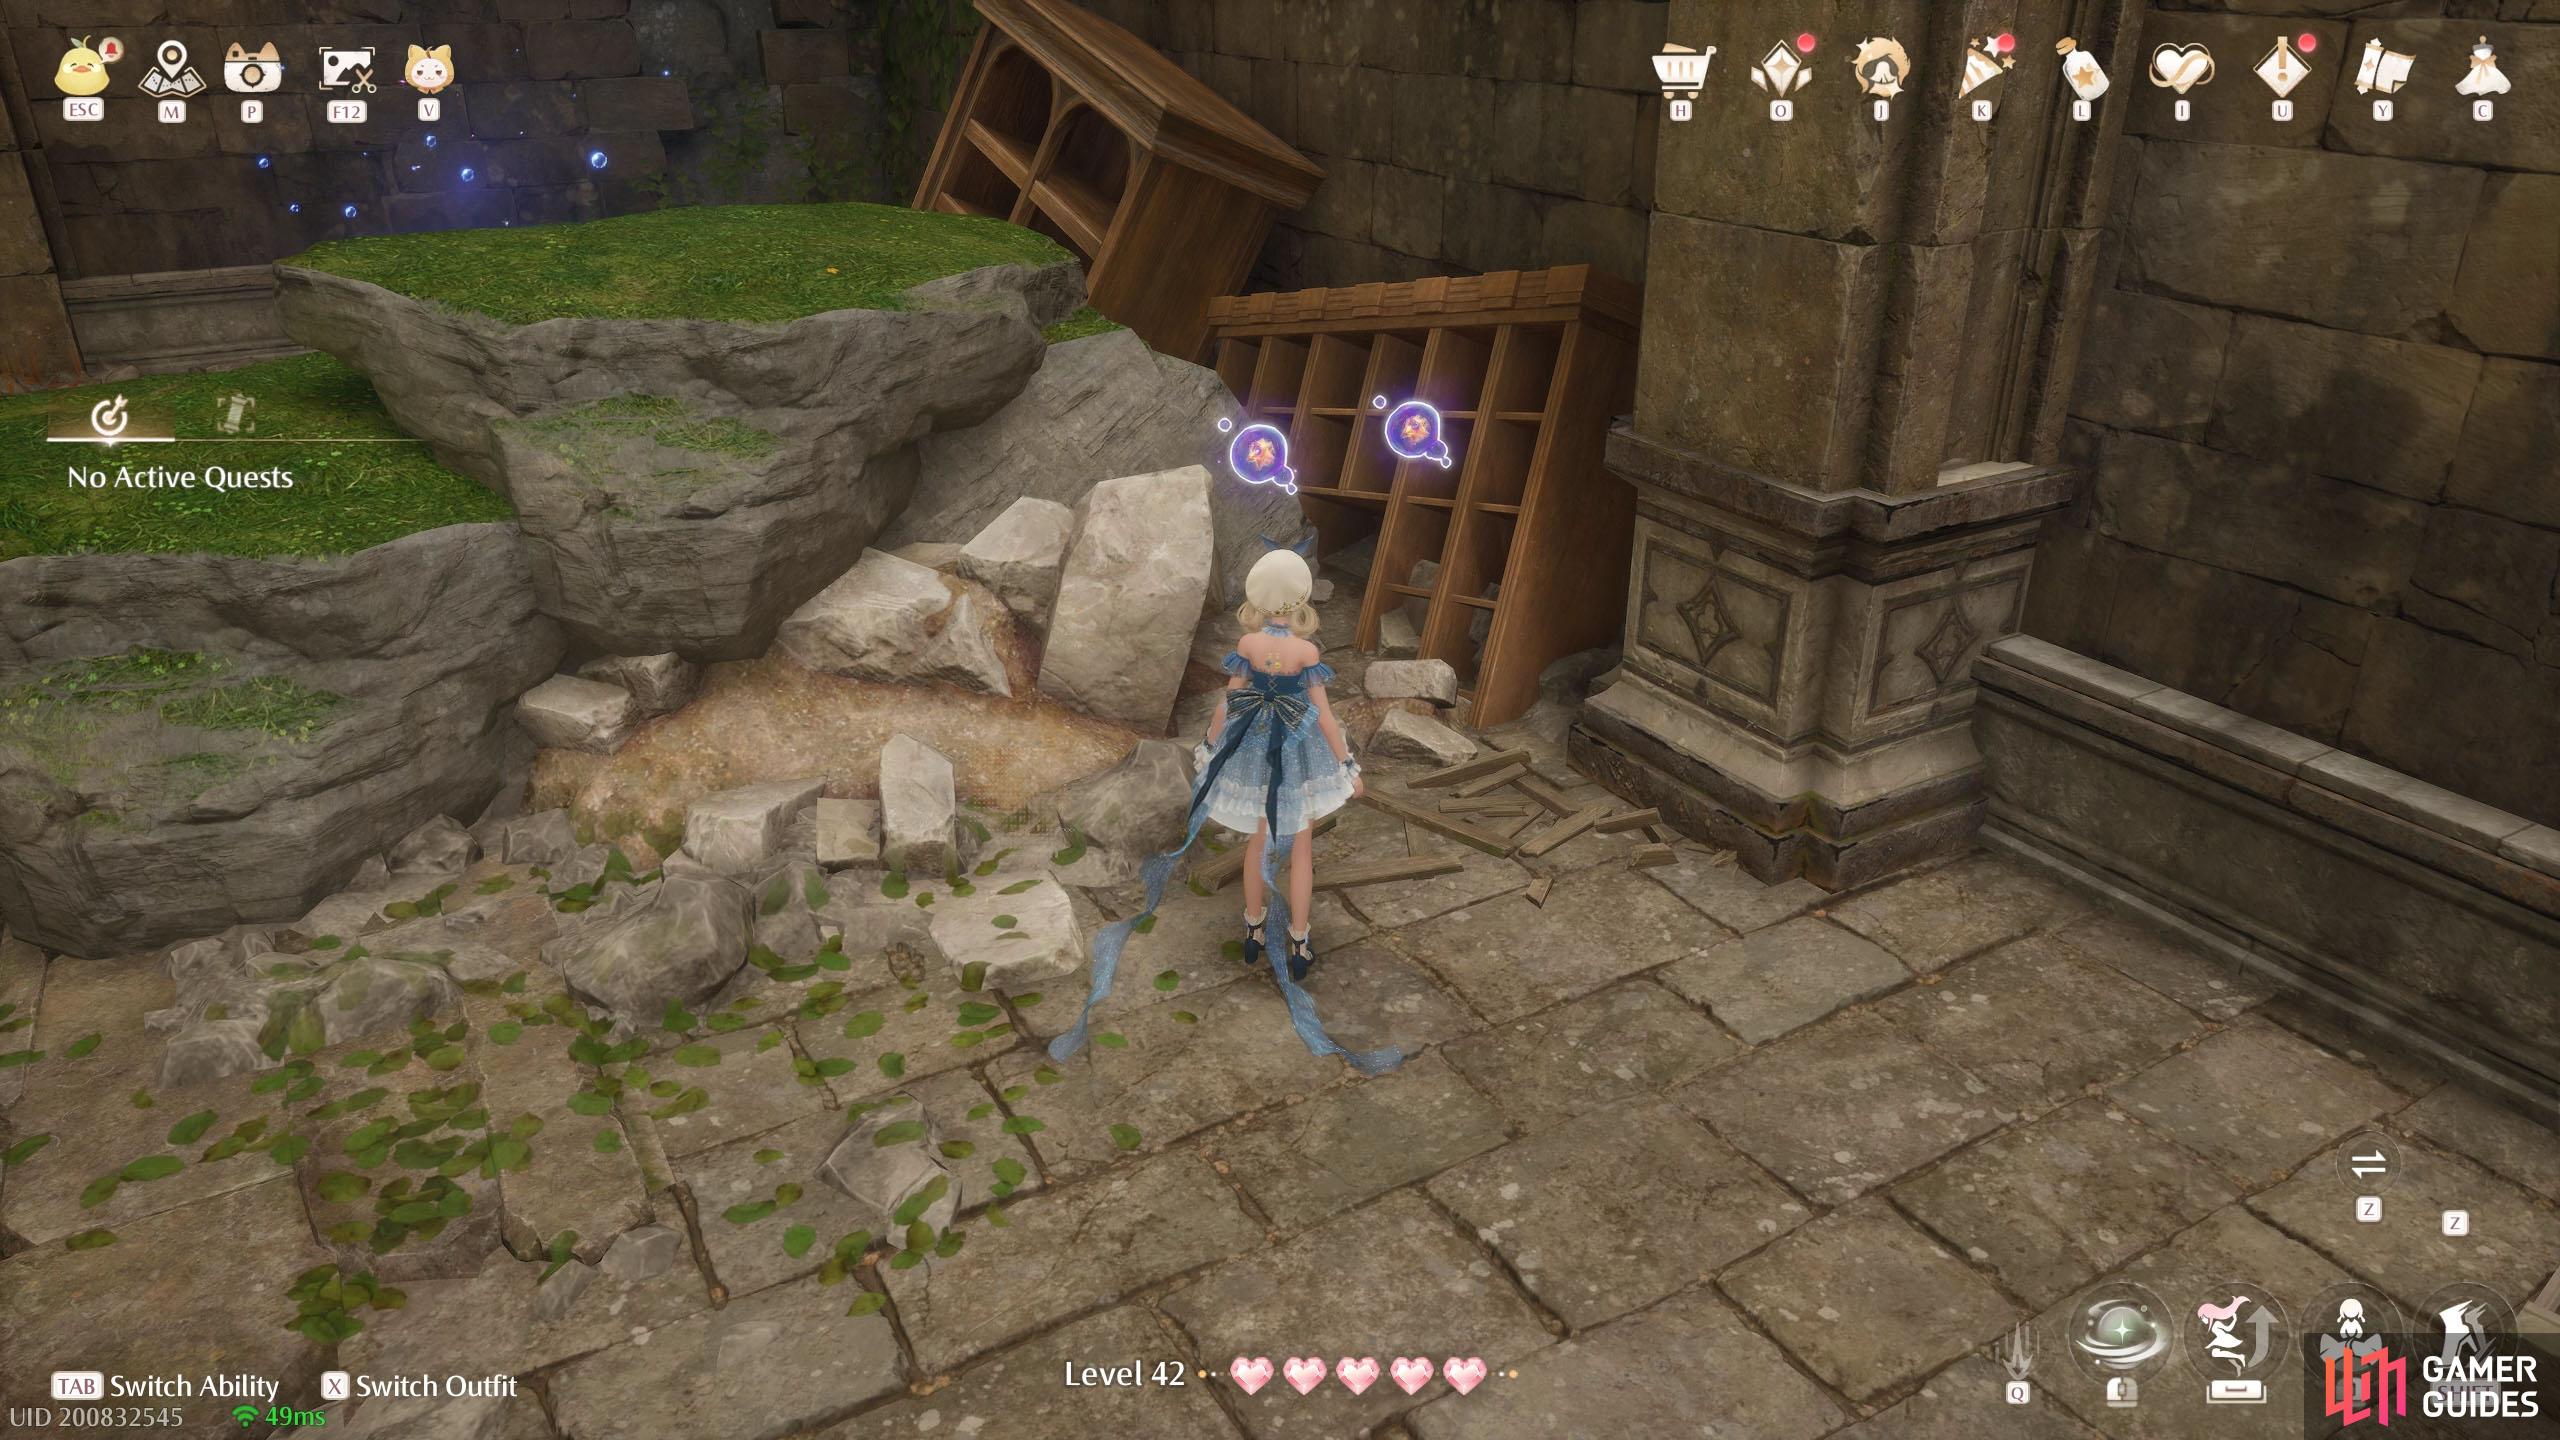
630. Miraland Map
Inside ![]() Outer Swordsmith Ruins Cavern. At the main foyer, next to some collapsed shelves. If you came from the north entrance, they’re on the left side. If you came from the south entrance, drop down straight ahead, then turn around.
Outer Swordsmith Ruins Cavern. At the main foyer, next to some collapsed shelves. If you came from the north entrance, they’re on the left side. If you came from the south entrance, drop down straight ahead, then turn around.
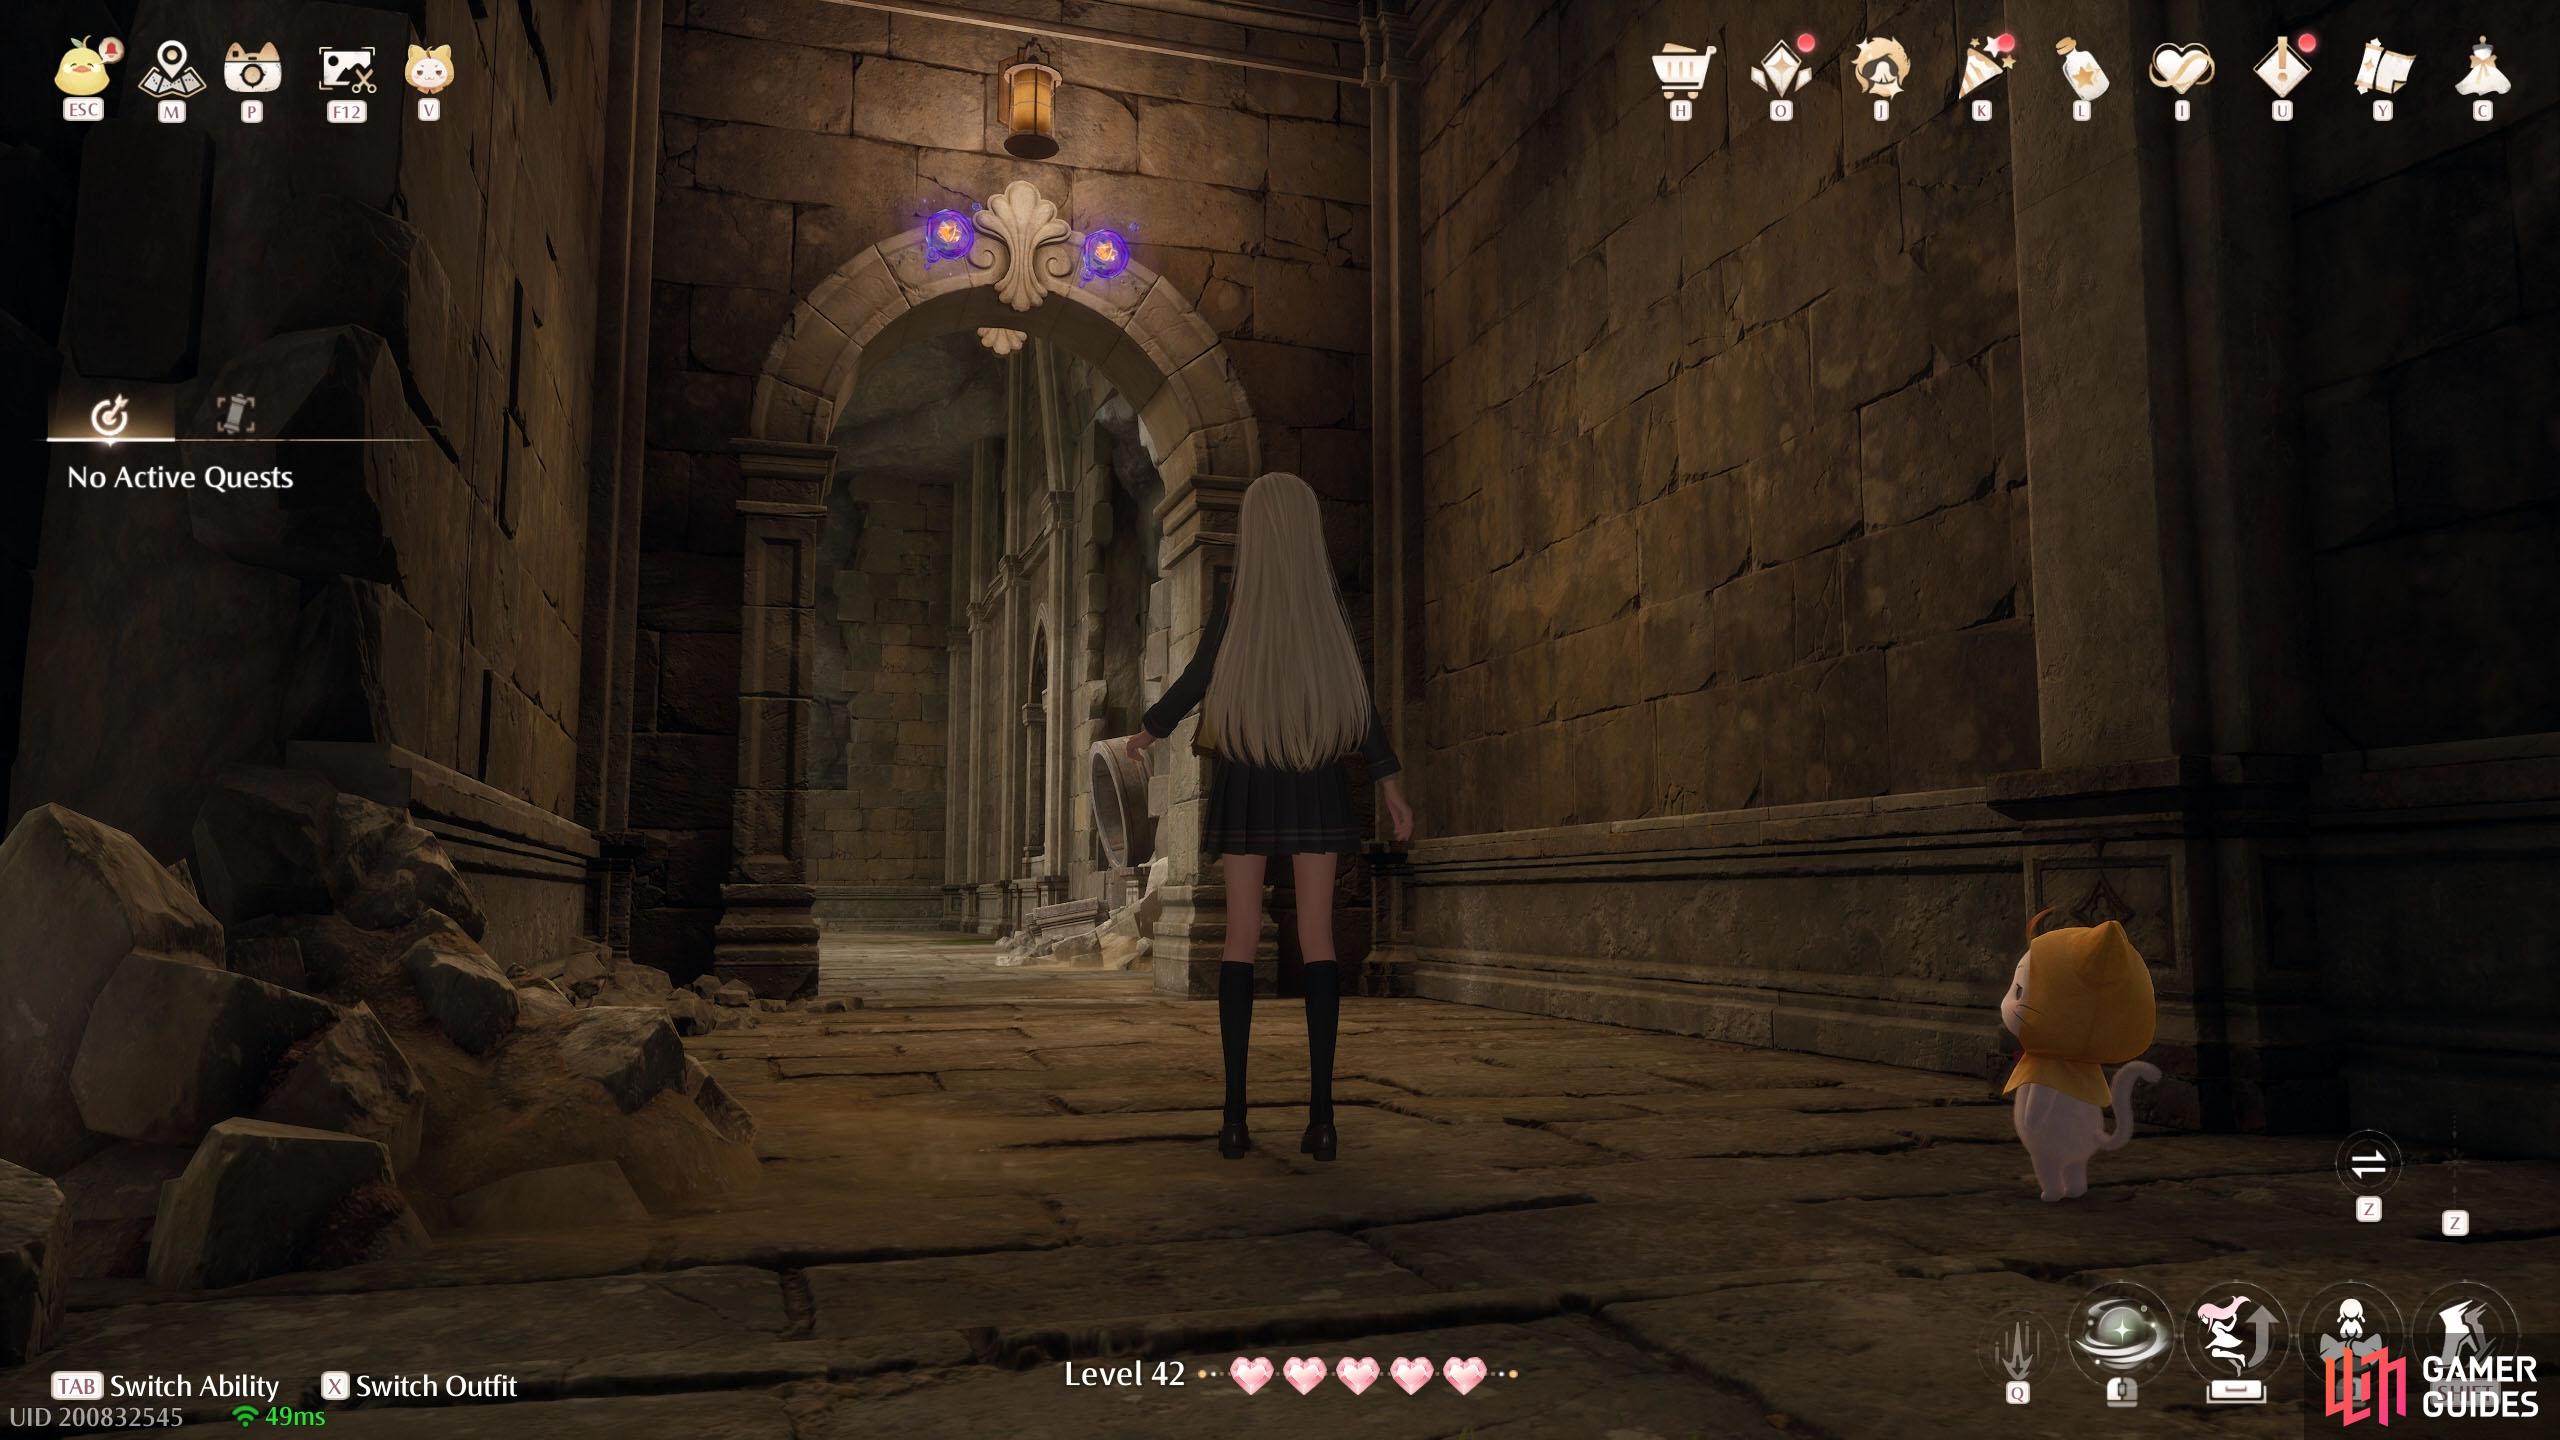
631. Miraland Map
Inside ![]() Outer Swordsmith Ruins Cavern. In a side area upstairs, with a cobwebbed shelf at the back. Two floating behind the doorway. If you came from the north entrance, it’s on the right. If you came from the south entrance, it’s straight ahead, at the far back.
Outer Swordsmith Ruins Cavern. In a side area upstairs, with a cobwebbed shelf at the back. Two floating behind the doorway. If you came from the north entrance, it’s on the right. If you came from the south entrance, it’s straight ahead, at the far back.
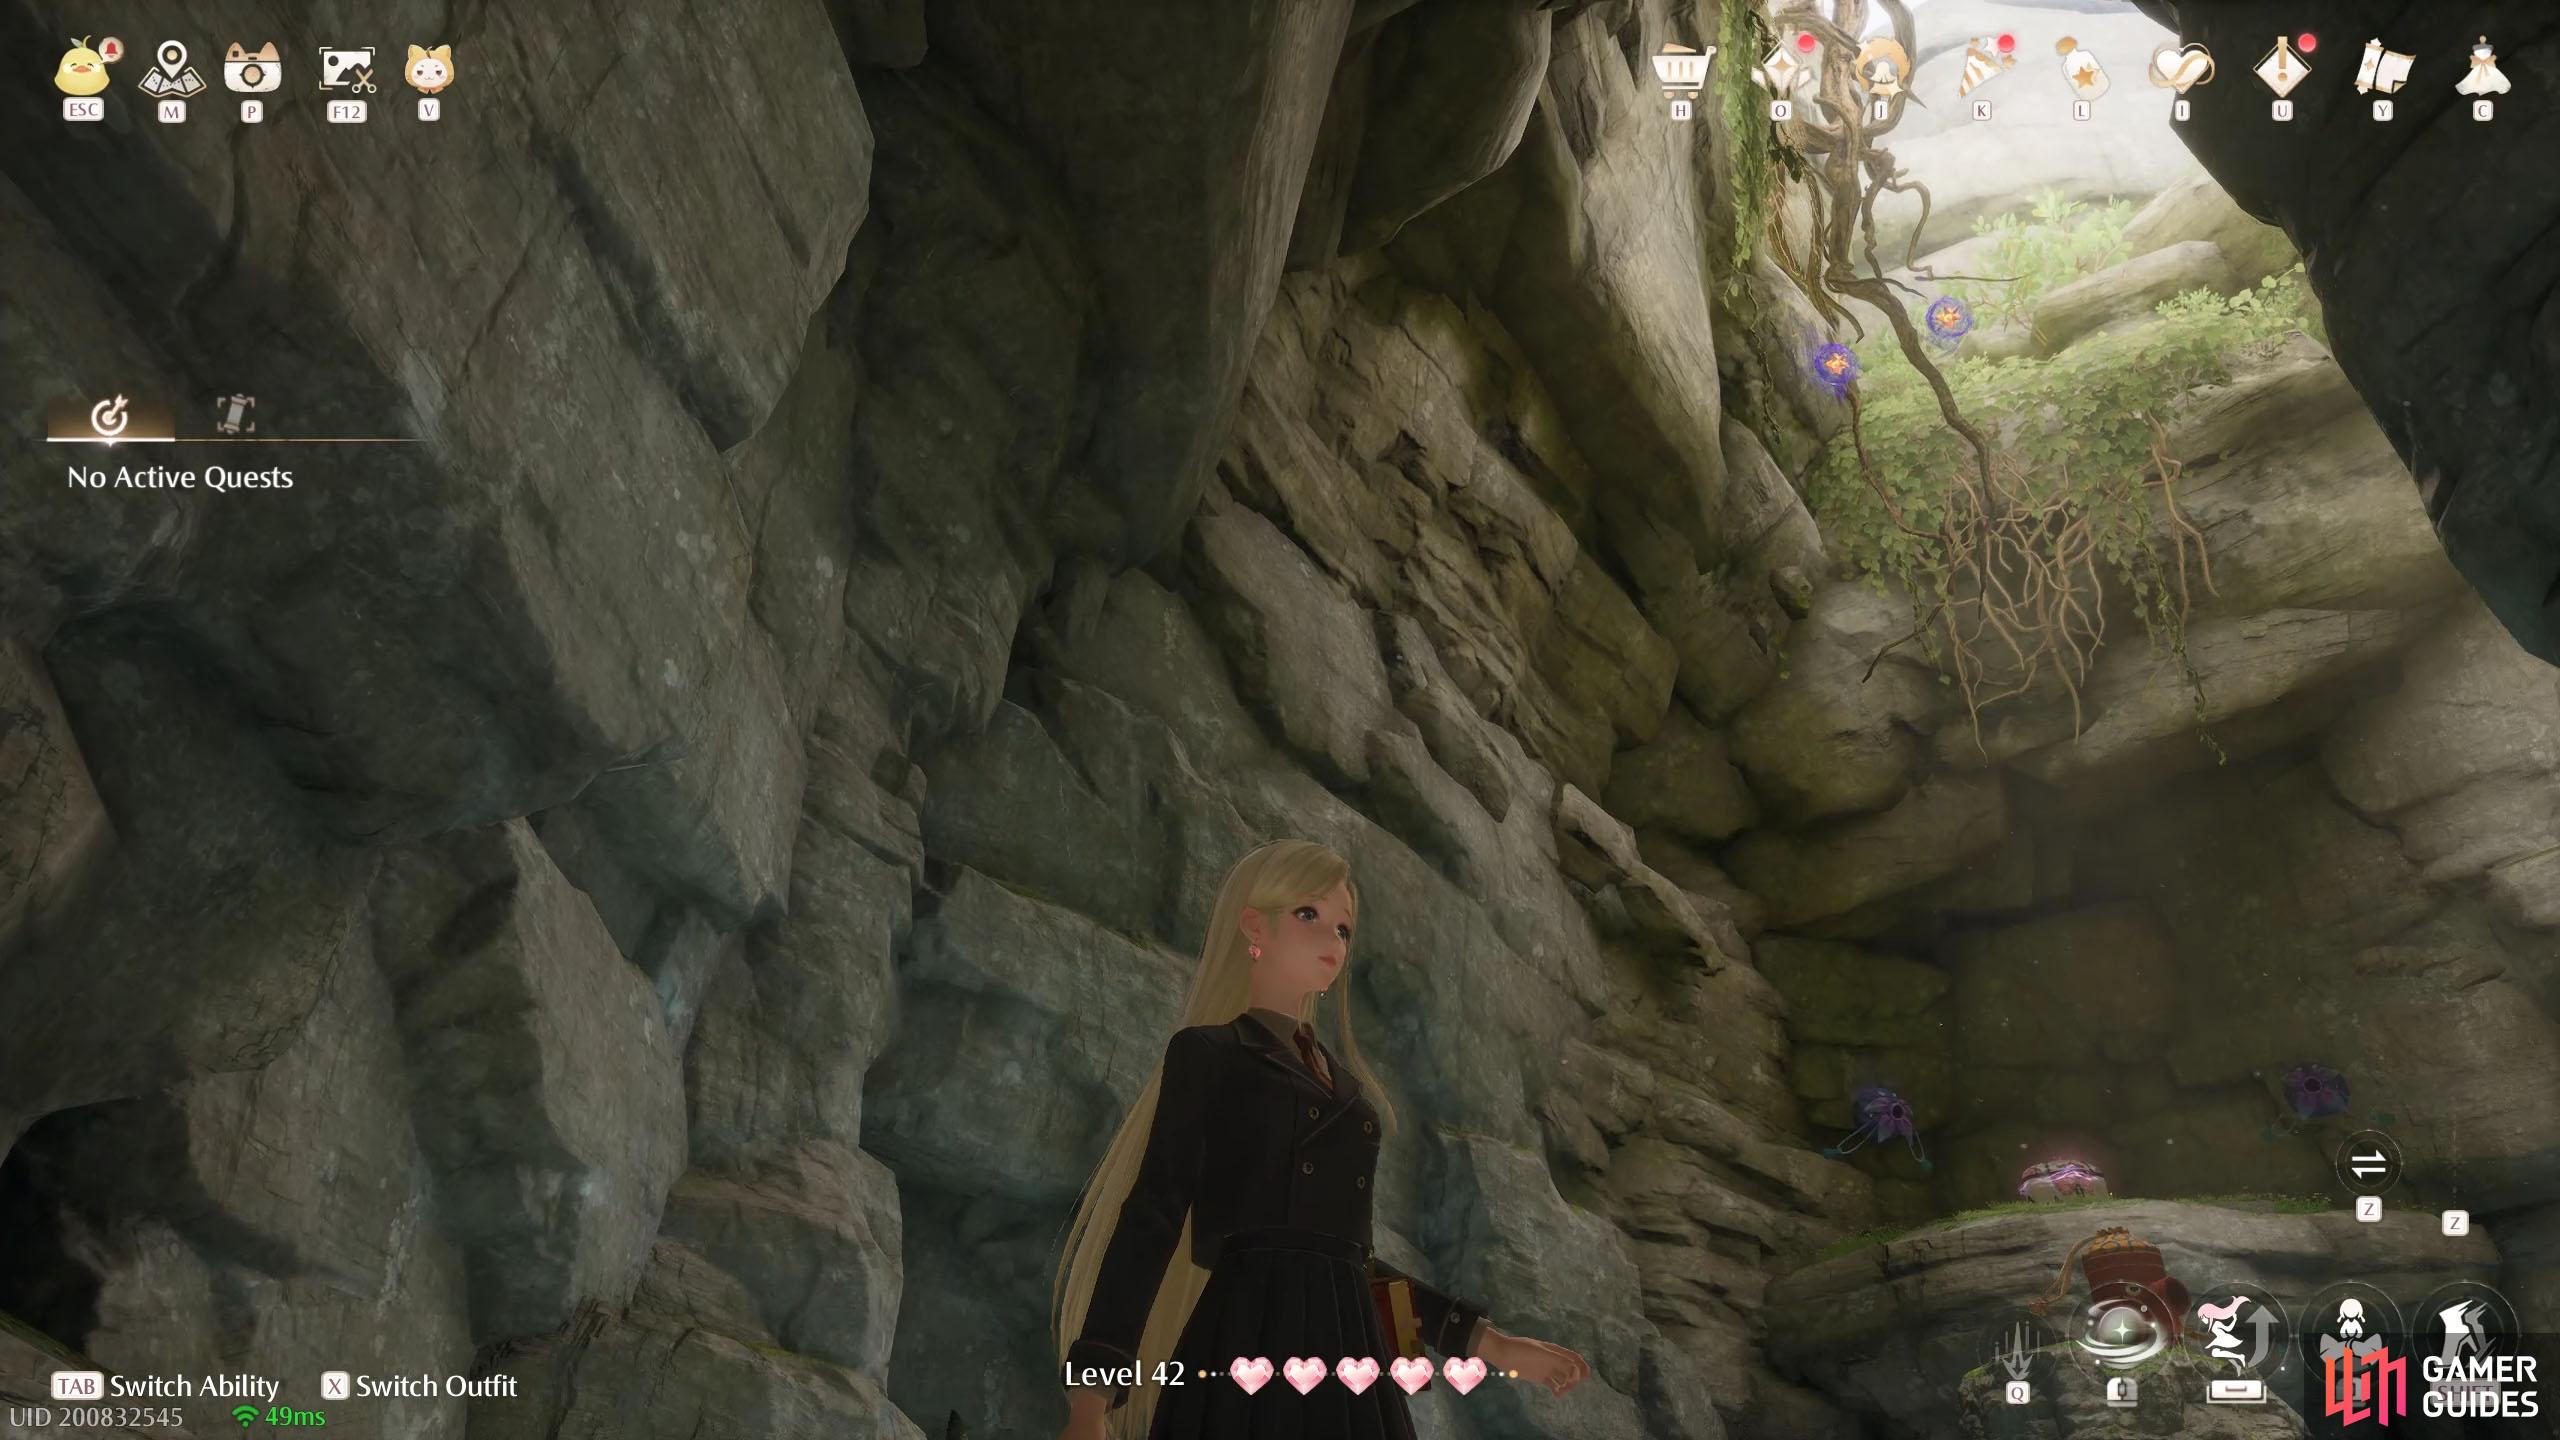
632. Miraland Map
Inside ![]() Outer Swordsmith Ruins Cavern. Enter the Momo-sized pipe upstairs. If you came from the north entrance, it’s on the right. If you came from the south entrance, it’s straight ahead, at the far back. Two of these are floating high up in the next area, opposite a treasure chest. Beware of Esselings.
Outer Swordsmith Ruins Cavern. Enter the Momo-sized pipe upstairs. If you came from the north entrance, it’s on the right. If you came from the south entrance, it’s straight ahead, at the far back. Two of these are floating high up in the next area, opposite a treasure chest. Beware of Esselings.
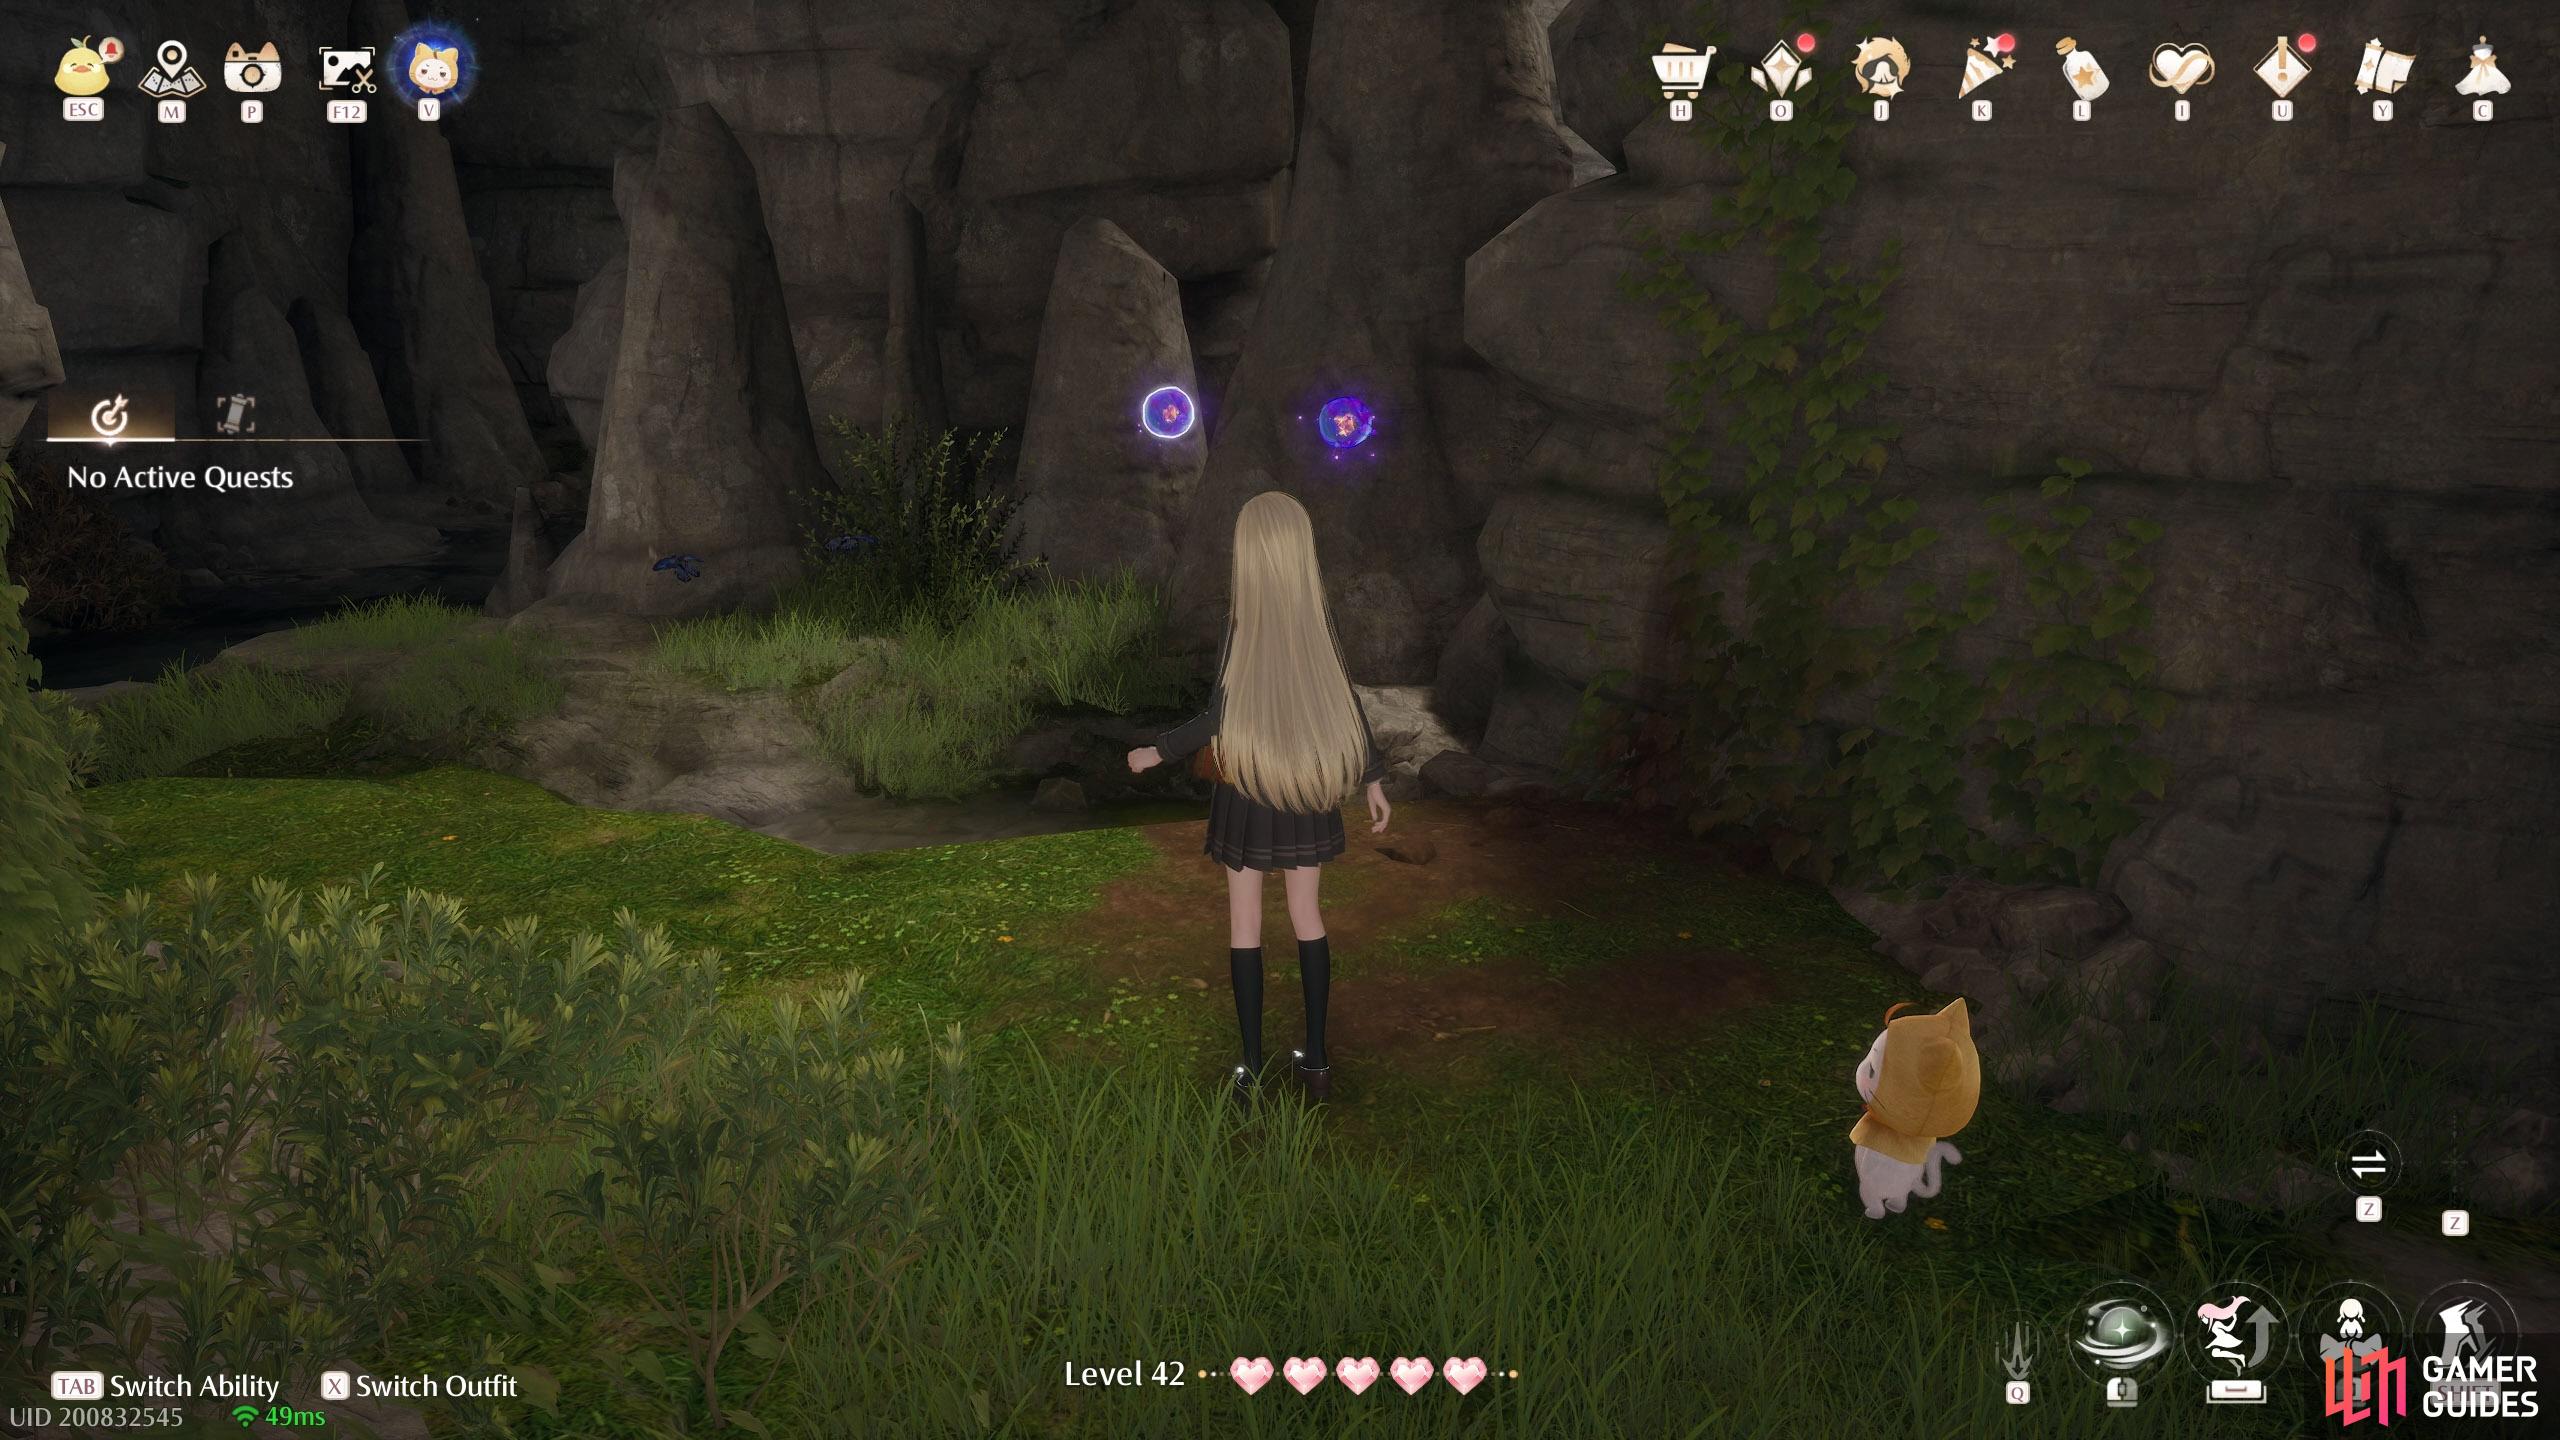
633. Miraland Map
Inside ![]() Deep Swordsmith Ruins Cavern. Area to the left. Two near the center, around the back, on ground level.
Deep Swordsmith Ruins Cavern. Area to the left. Two near the center, around the back, on ground level.
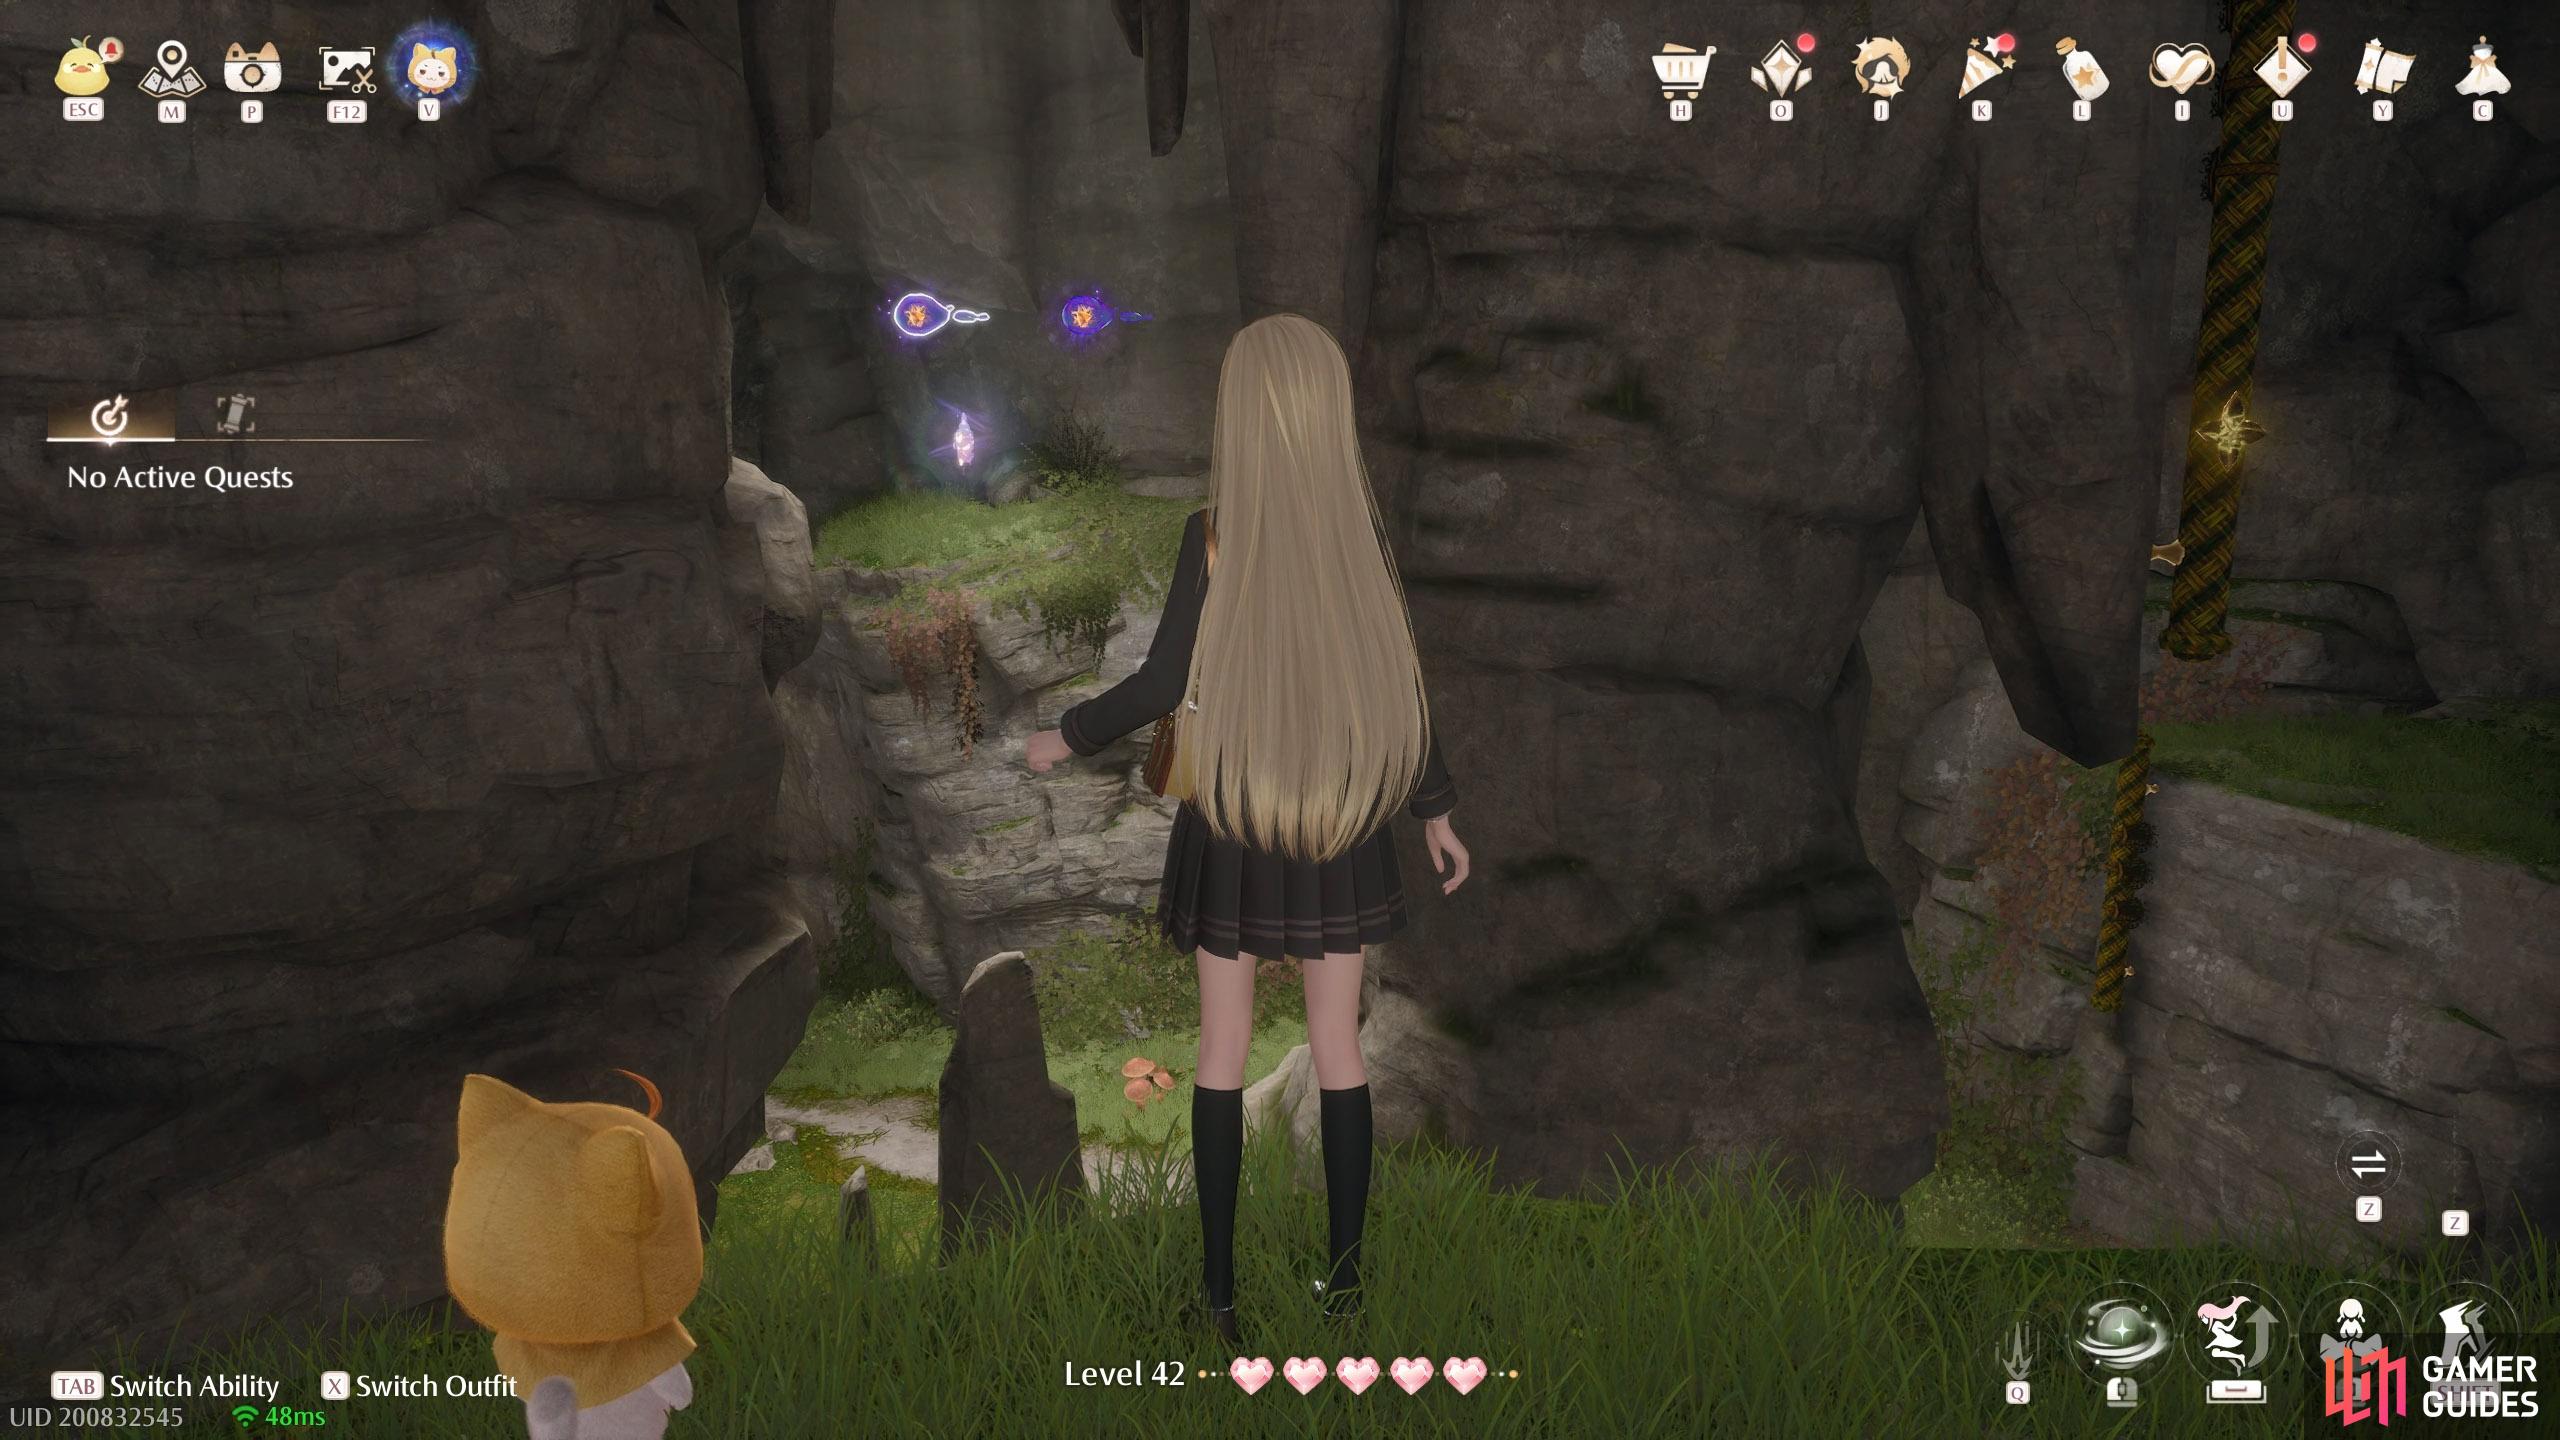
634. Miraland Map
Inside ![]() Deep Swordsmith Ruins Cavern. Area to the left. Two around the center, high up. About halfway to the
Deep Swordsmith Ruins Cavern. Area to the left. Two around the center, high up. About halfway to the ![]() Whimstar (keep it up!).
Whimstar (keep it up!).
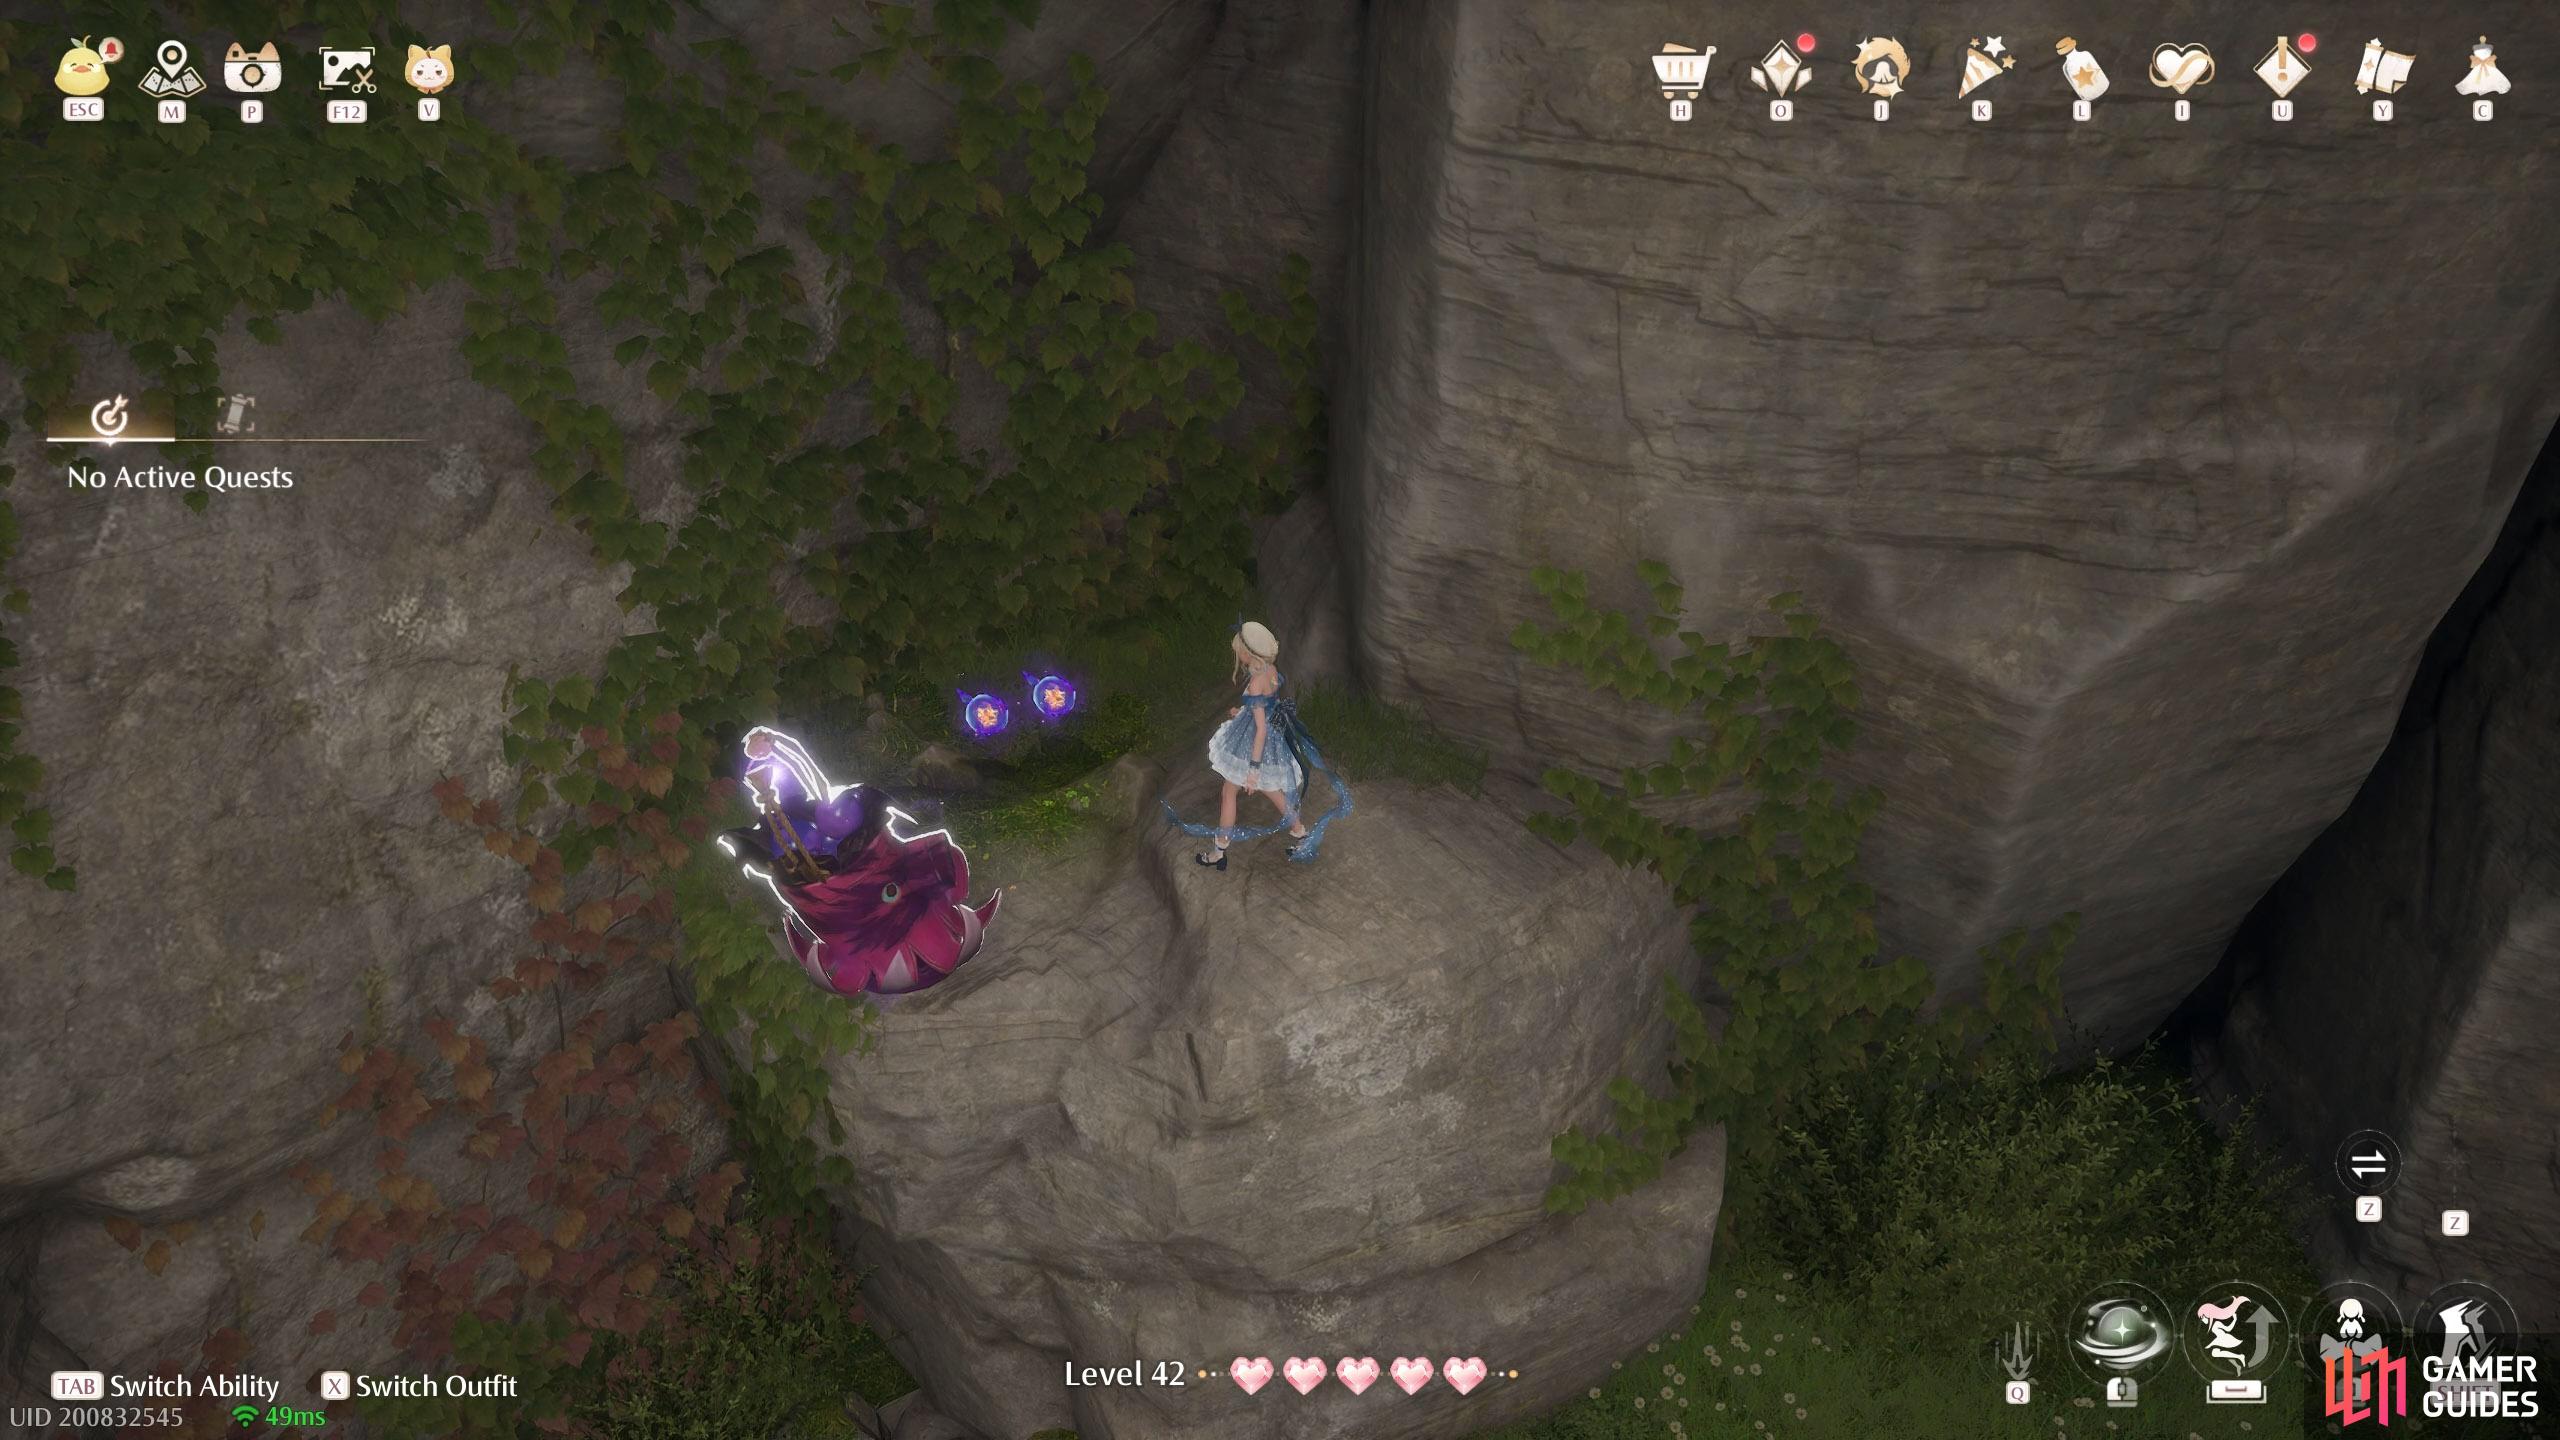
635. Miraland Map
Inside the ![]() Inspection Center Cavern. After defeating the first group of Esselings, at the wide open area. Two in the far left corner, with an Esseling close by. You can jump from the central mound towards the nearest ledge, then jump right.
Inspection Center Cavern. After defeating the first group of Esselings, at the wide open area. Two in the far left corner, with an Esseling close by. You can jump from the central mound towards the nearest ledge, then jump right.
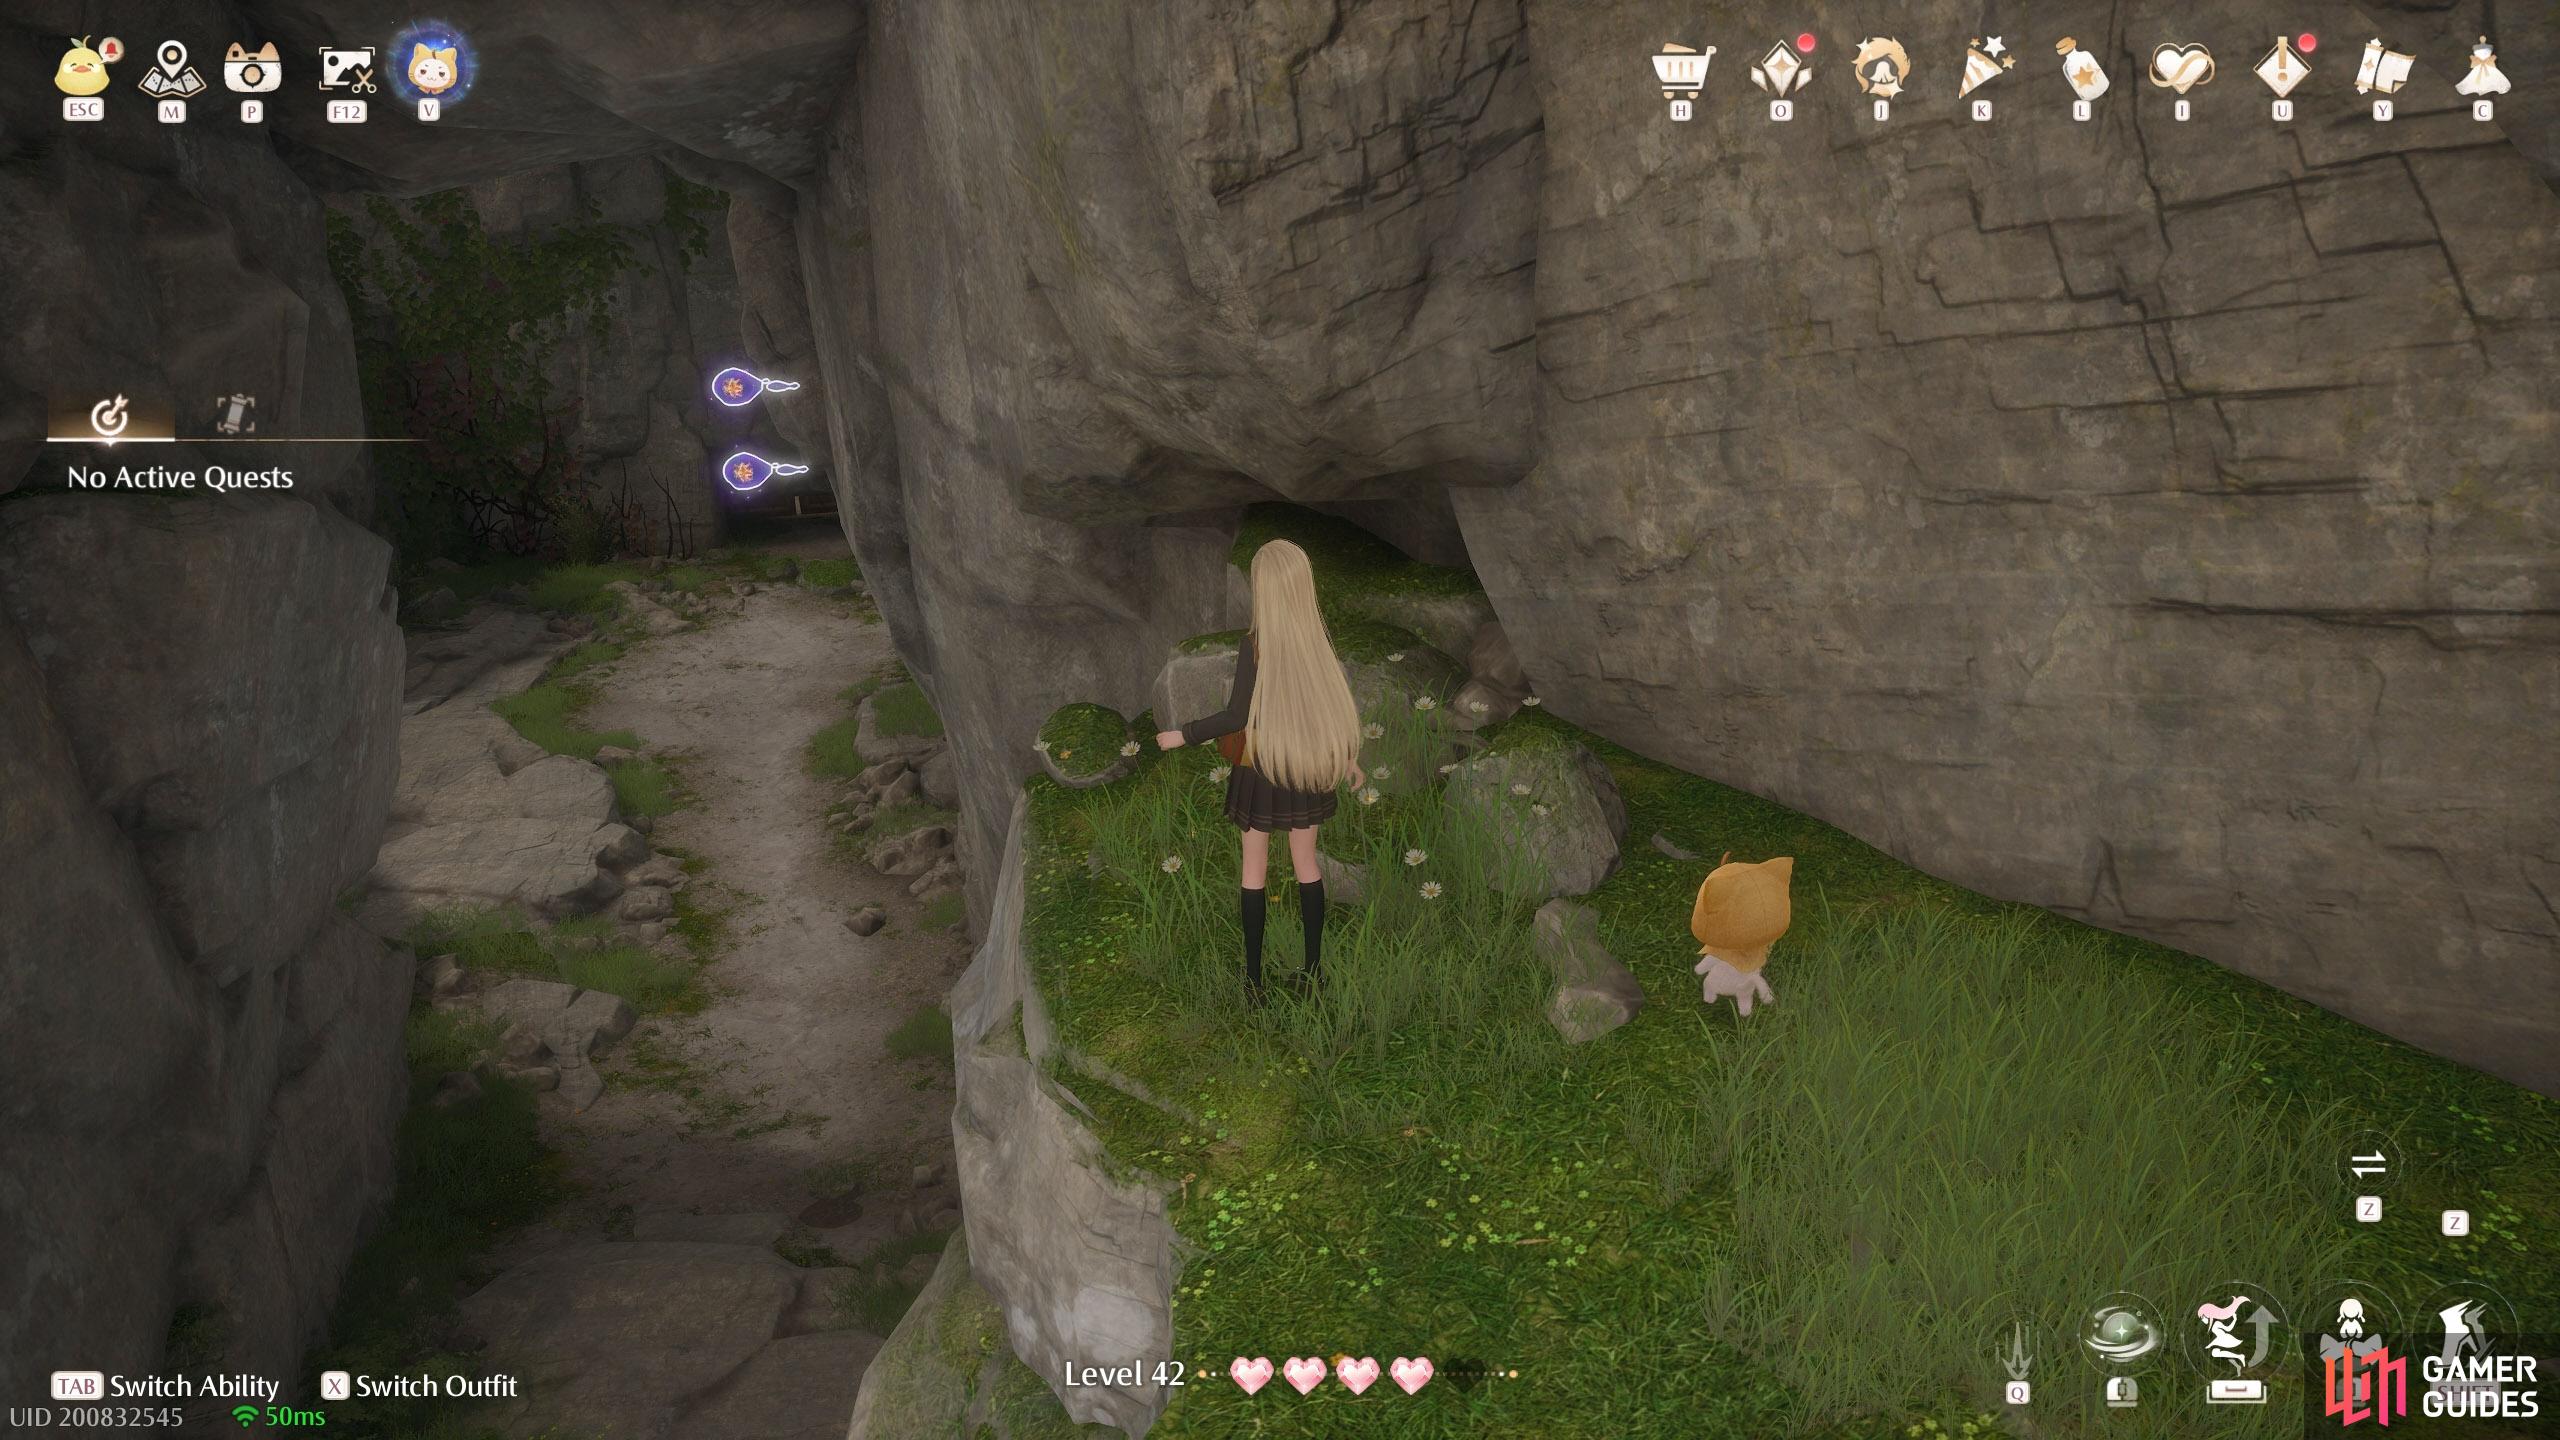
636. Miraland Map
Inside the ![]() Inspection Center Cavern. After defeating the first group of Esselings, at the wide open area. Two floating above the entrance. You can jump from the central mound towards the nearest ledge, then head left.
Inspection Center Cavern. After defeating the first group of Esselings, at the wide open area. Two floating above the entrance. You can jump from the central mound towards the nearest ledge, then head left.
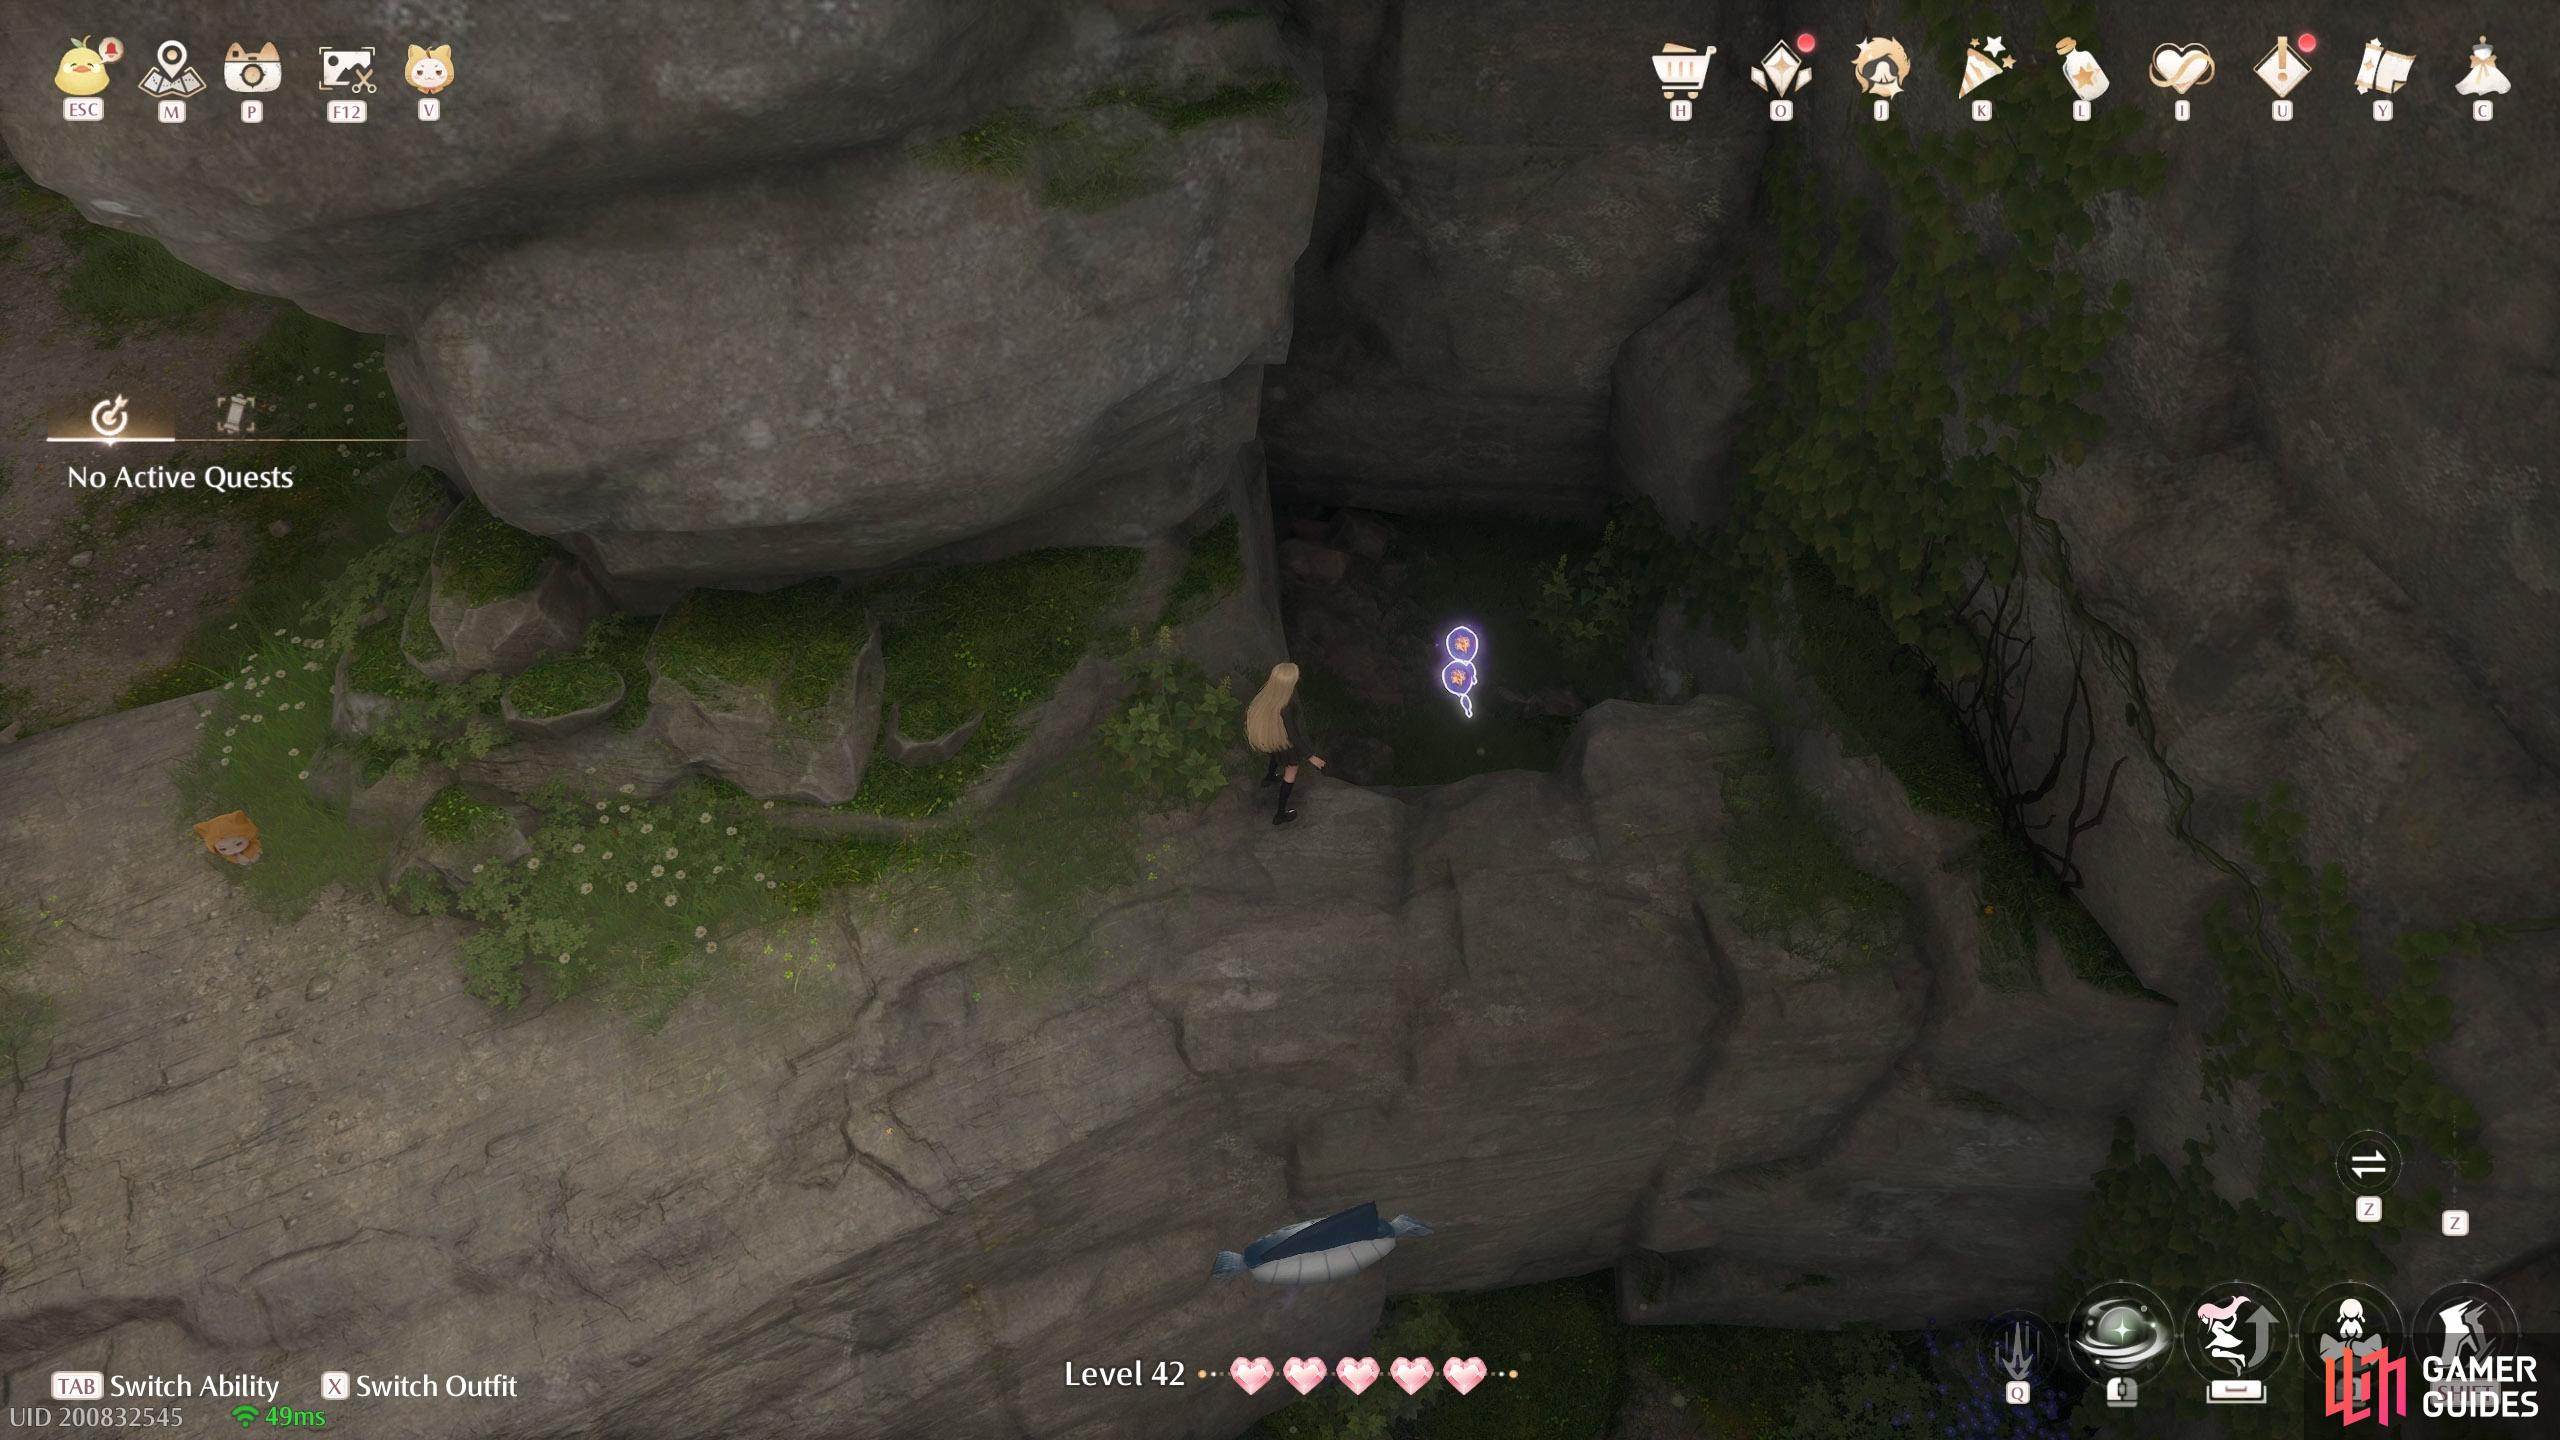
637. Miraland Map
Inside ![]() Inspection Center Cavern. Towards the end. After jumping from the ropes as Momo, there’s some Spear Sacks, then another area filled with Esselings to the right. When you enter that area, there’s two immediately on the left, in a small pit.
Inspection Center Cavern. Towards the end. After jumping from the ropes as Momo, there’s some Spear Sacks, then another area filled with Esselings to the right. When you enter that area, there’s two immediately on the left, in a small pit.
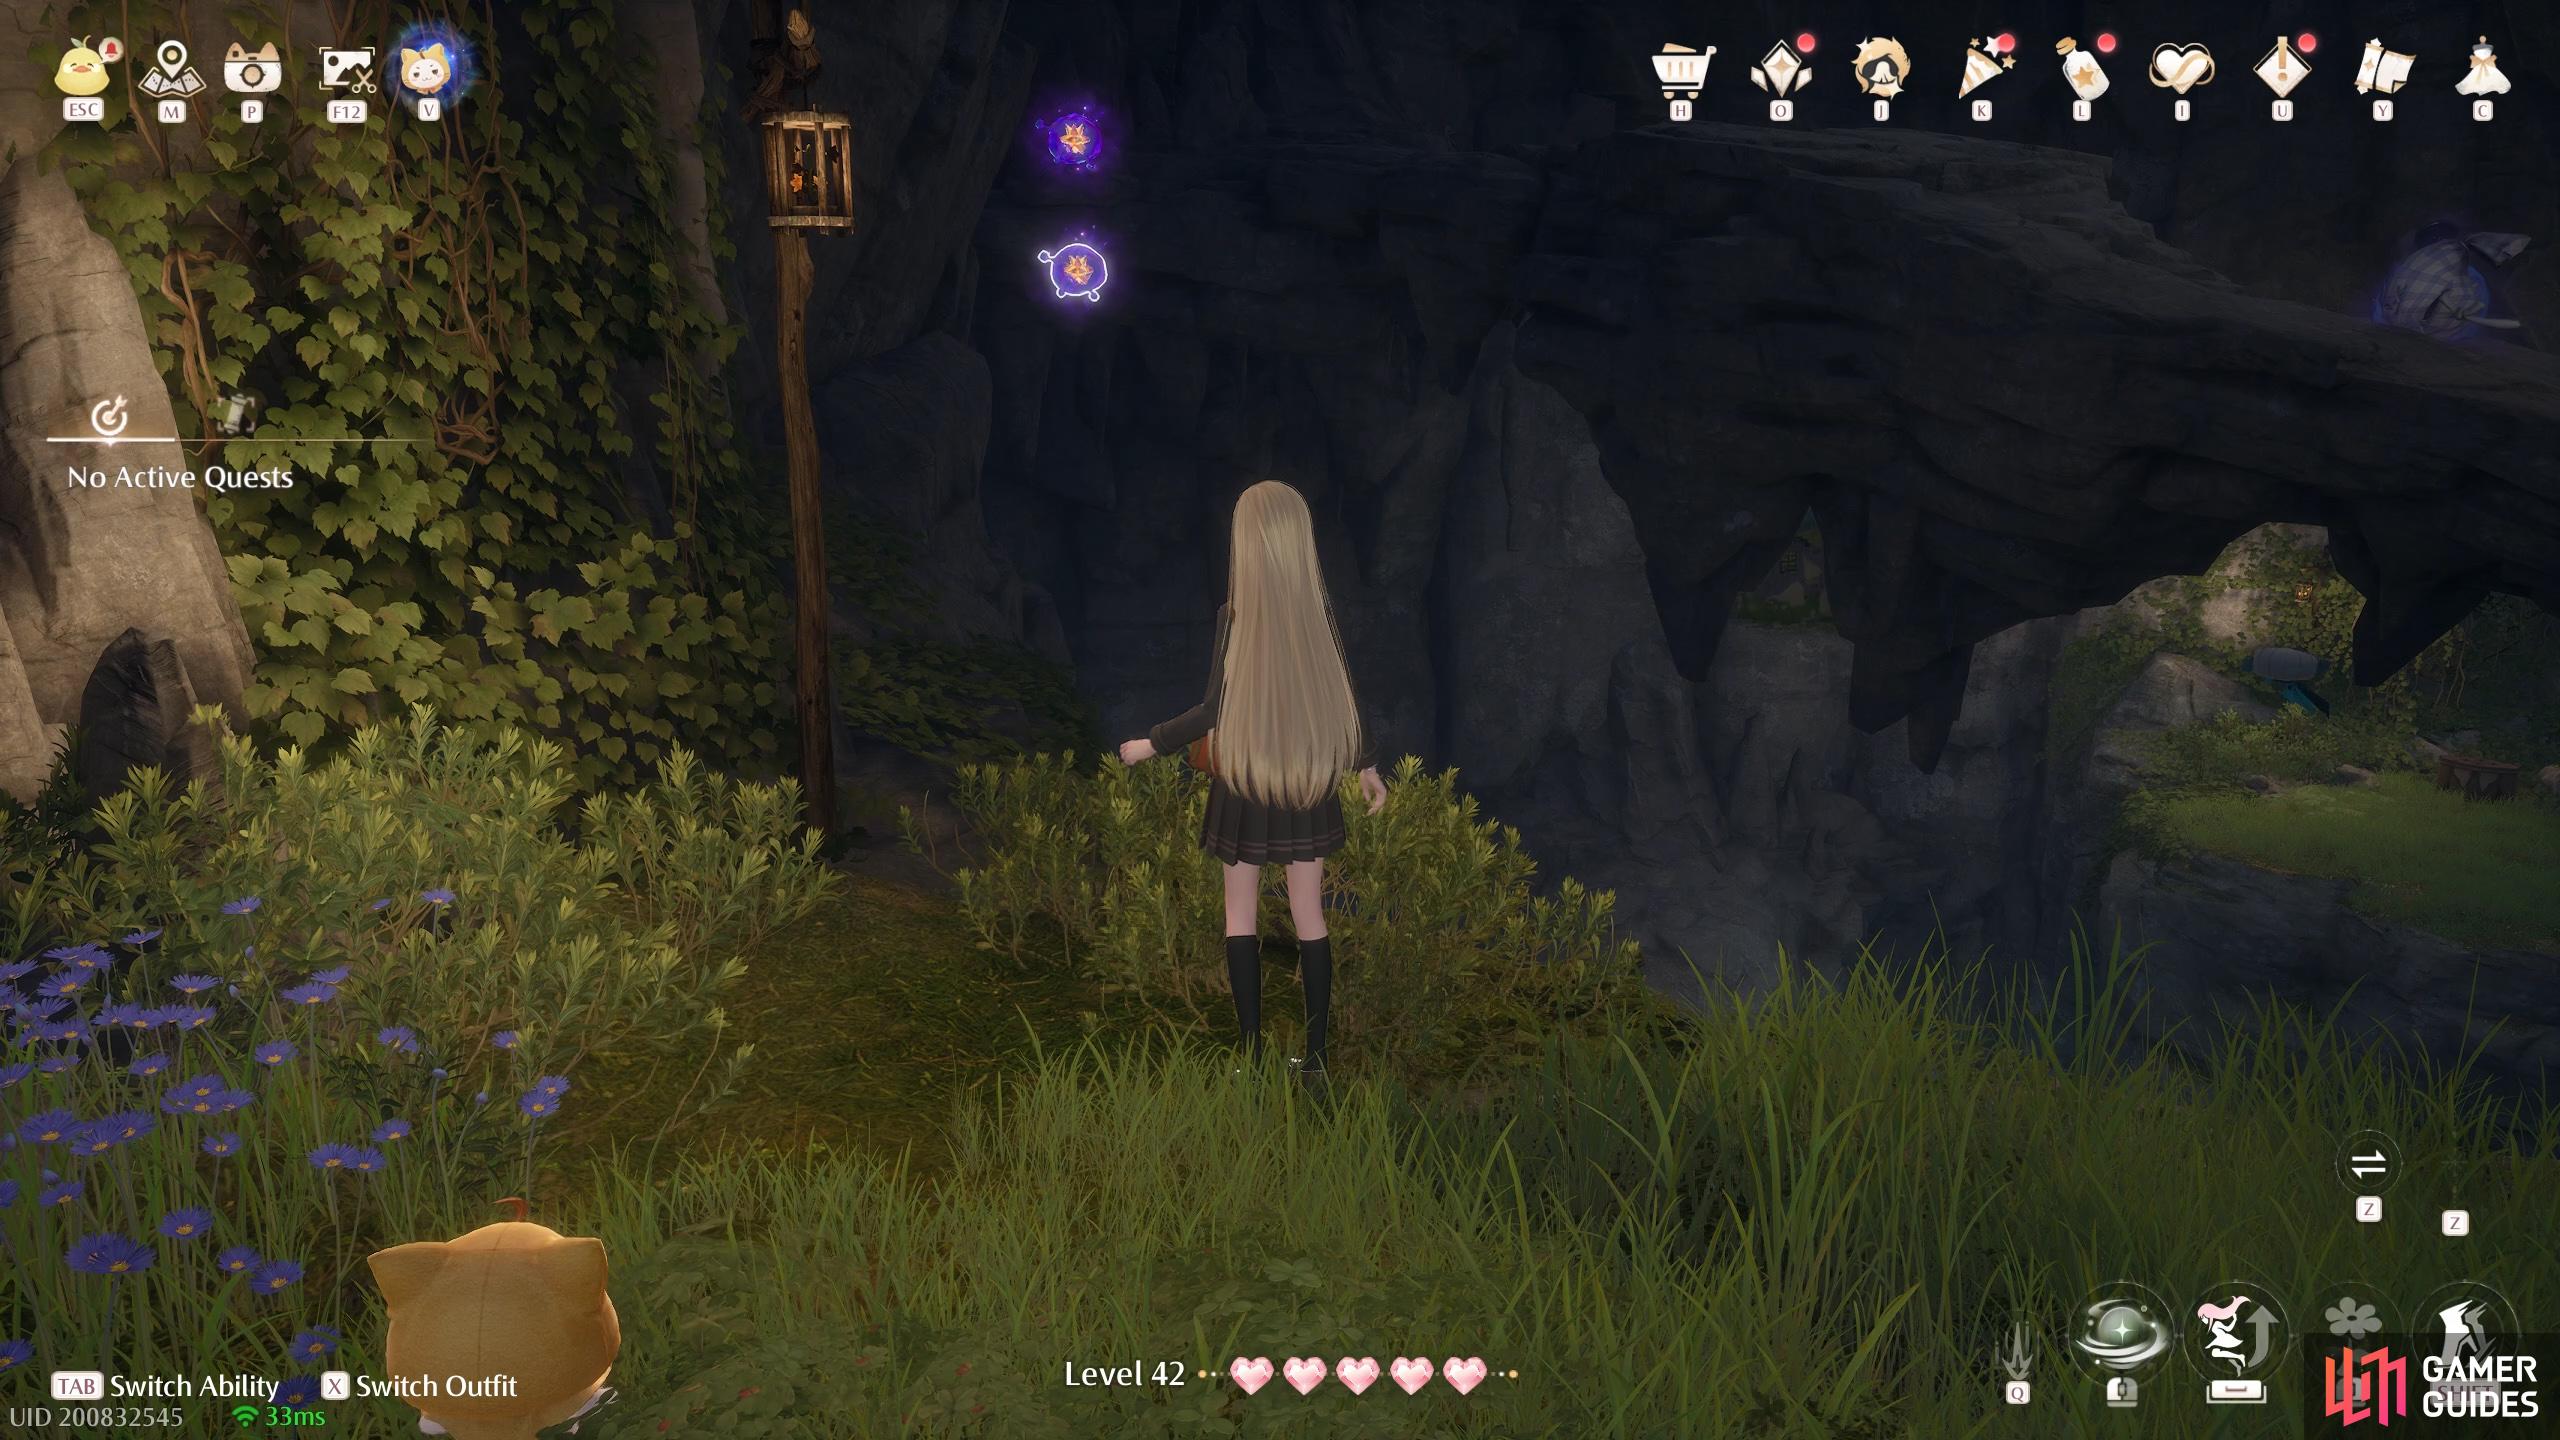
638. Miraland Map
Inside ![]() Volunteer Corps Camp Cavern. Near the start. After gliding through the wind circle, there’s a group of Esselings. Two are on the left side, behind an Esseling on higher ground.
Volunteer Corps Camp Cavern. Near the start. After gliding through the wind circle, there’s a group of Esselings. Two are on the left side, behind an Esseling on higher ground.
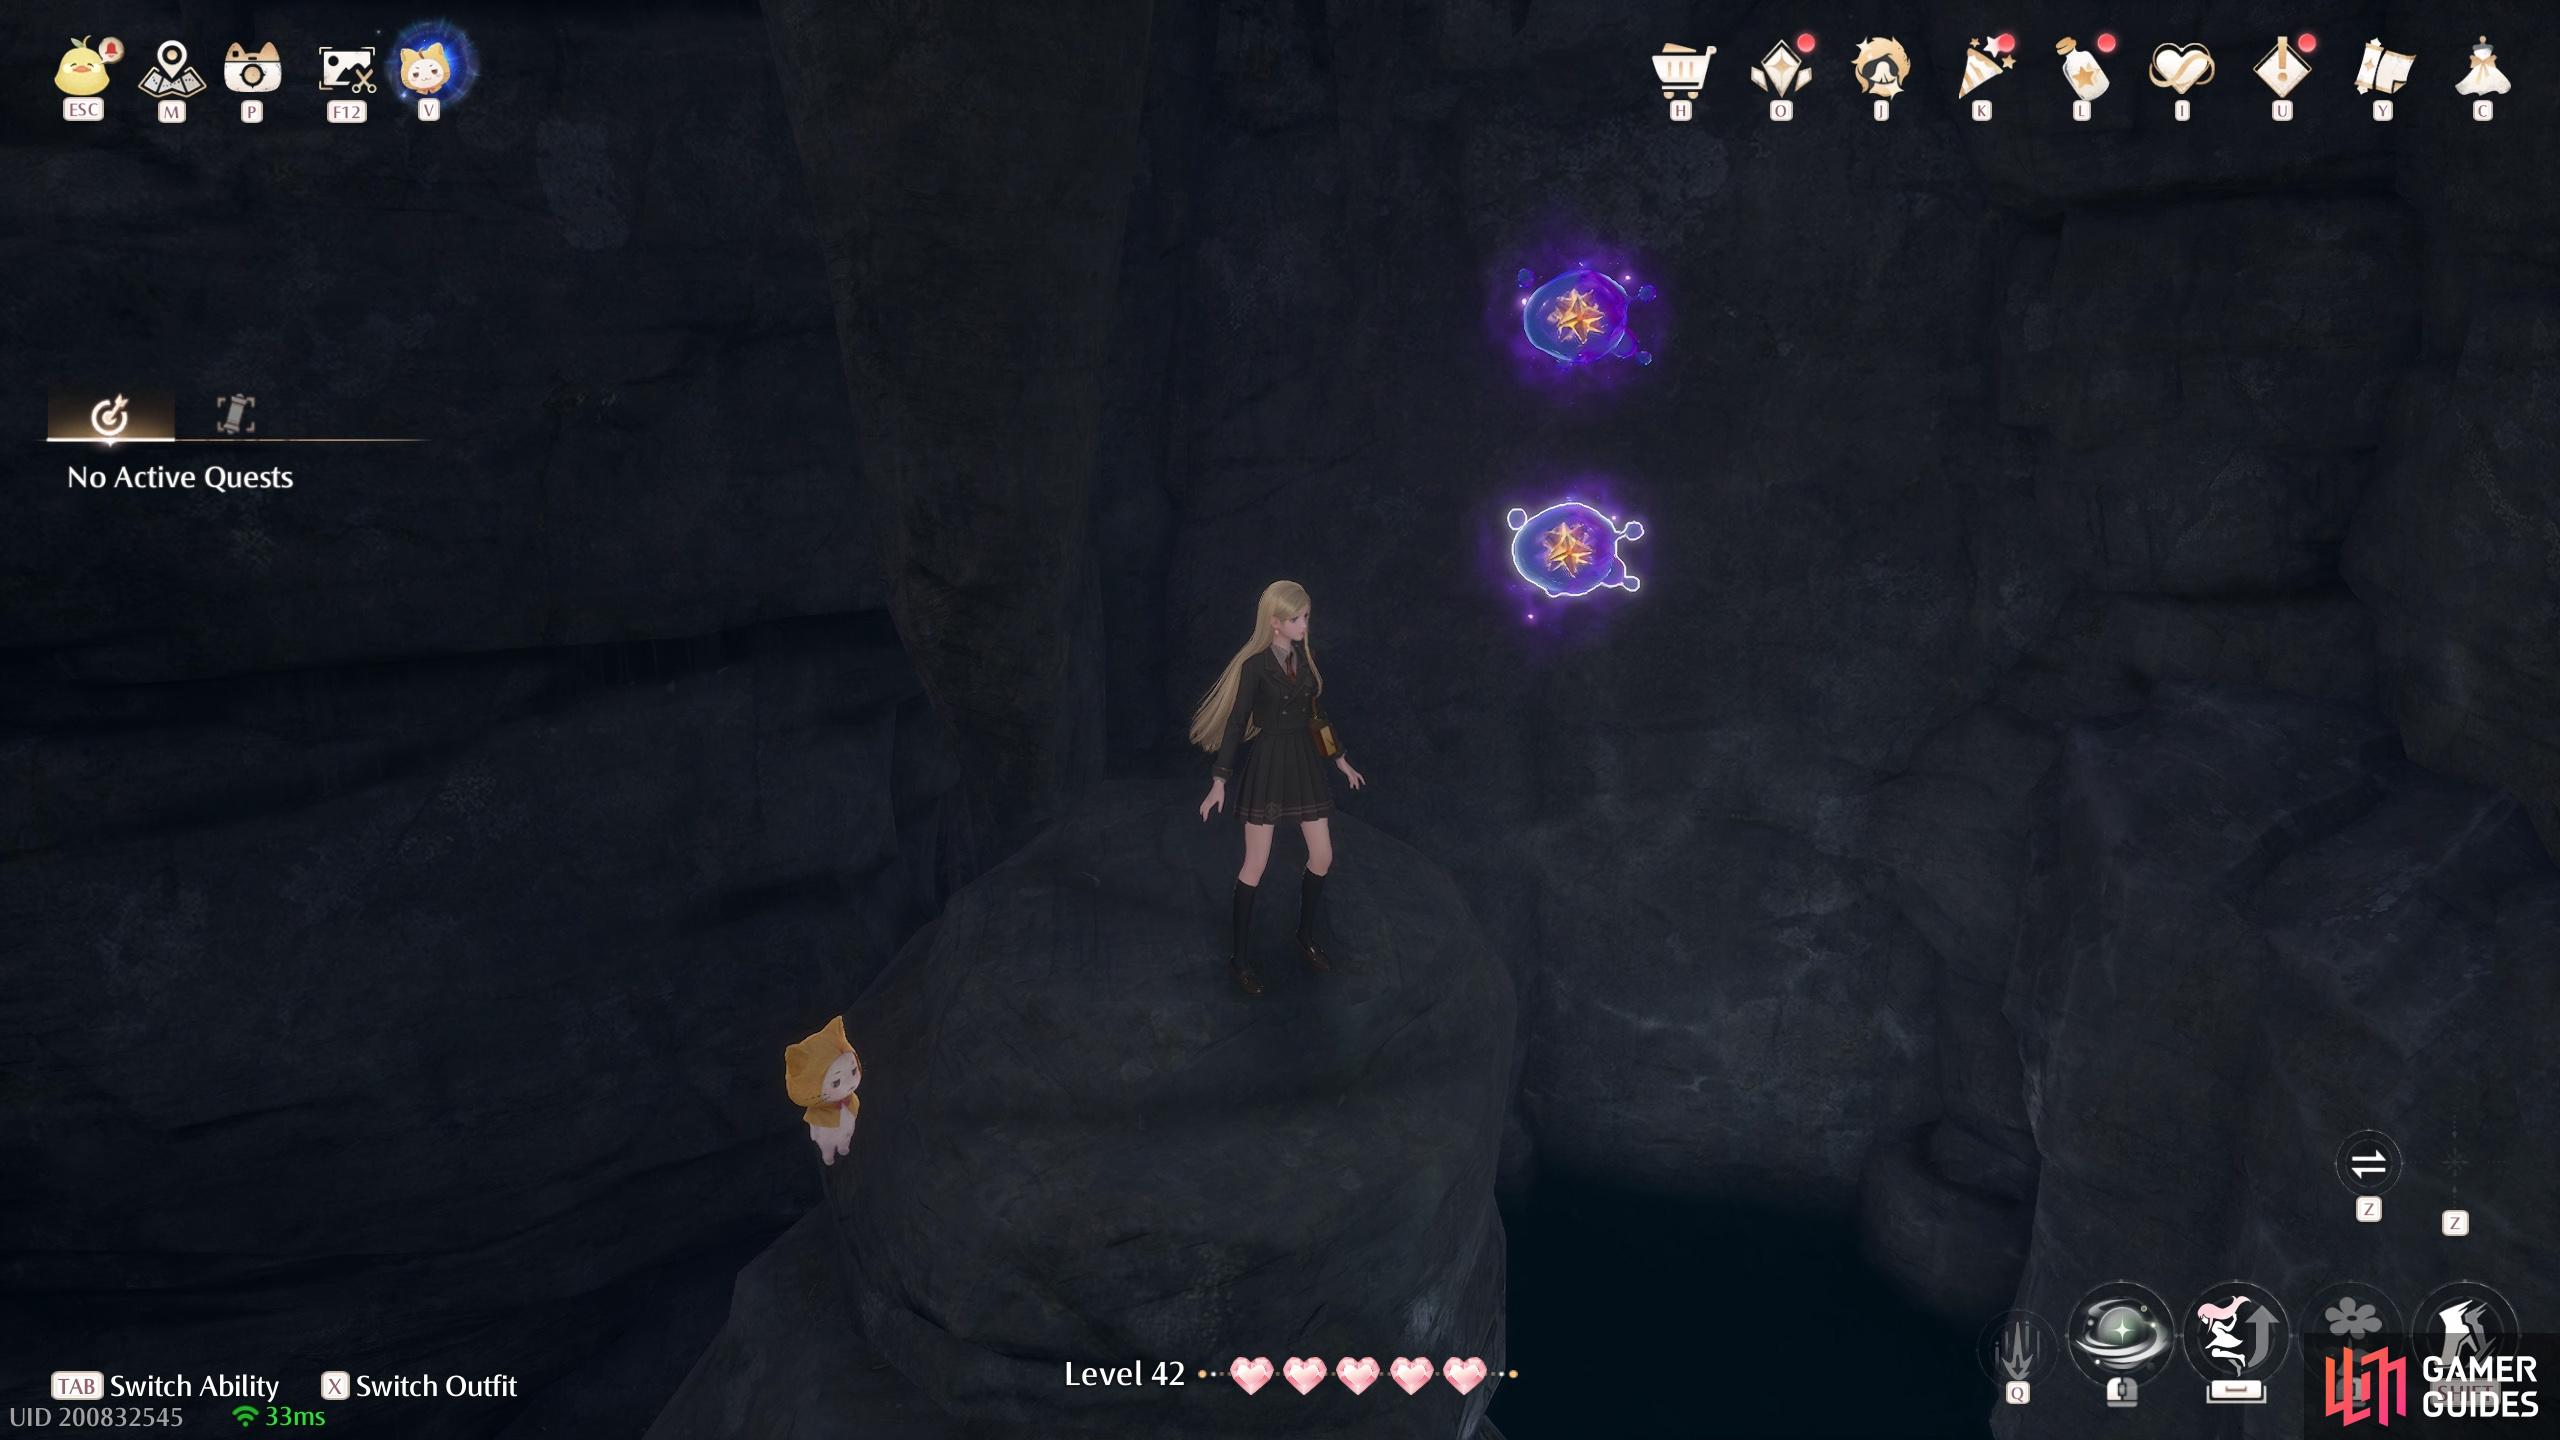
639. Miraland Map
Inside ![]() Volunteer Corps Camp Cavern. Near the start, there’s an area where you need to drop down. Two of these are floating down below.
Volunteer Corps Camp Cavern. Near the start, there’s an area where you need to drop down. Two of these are floating down below.
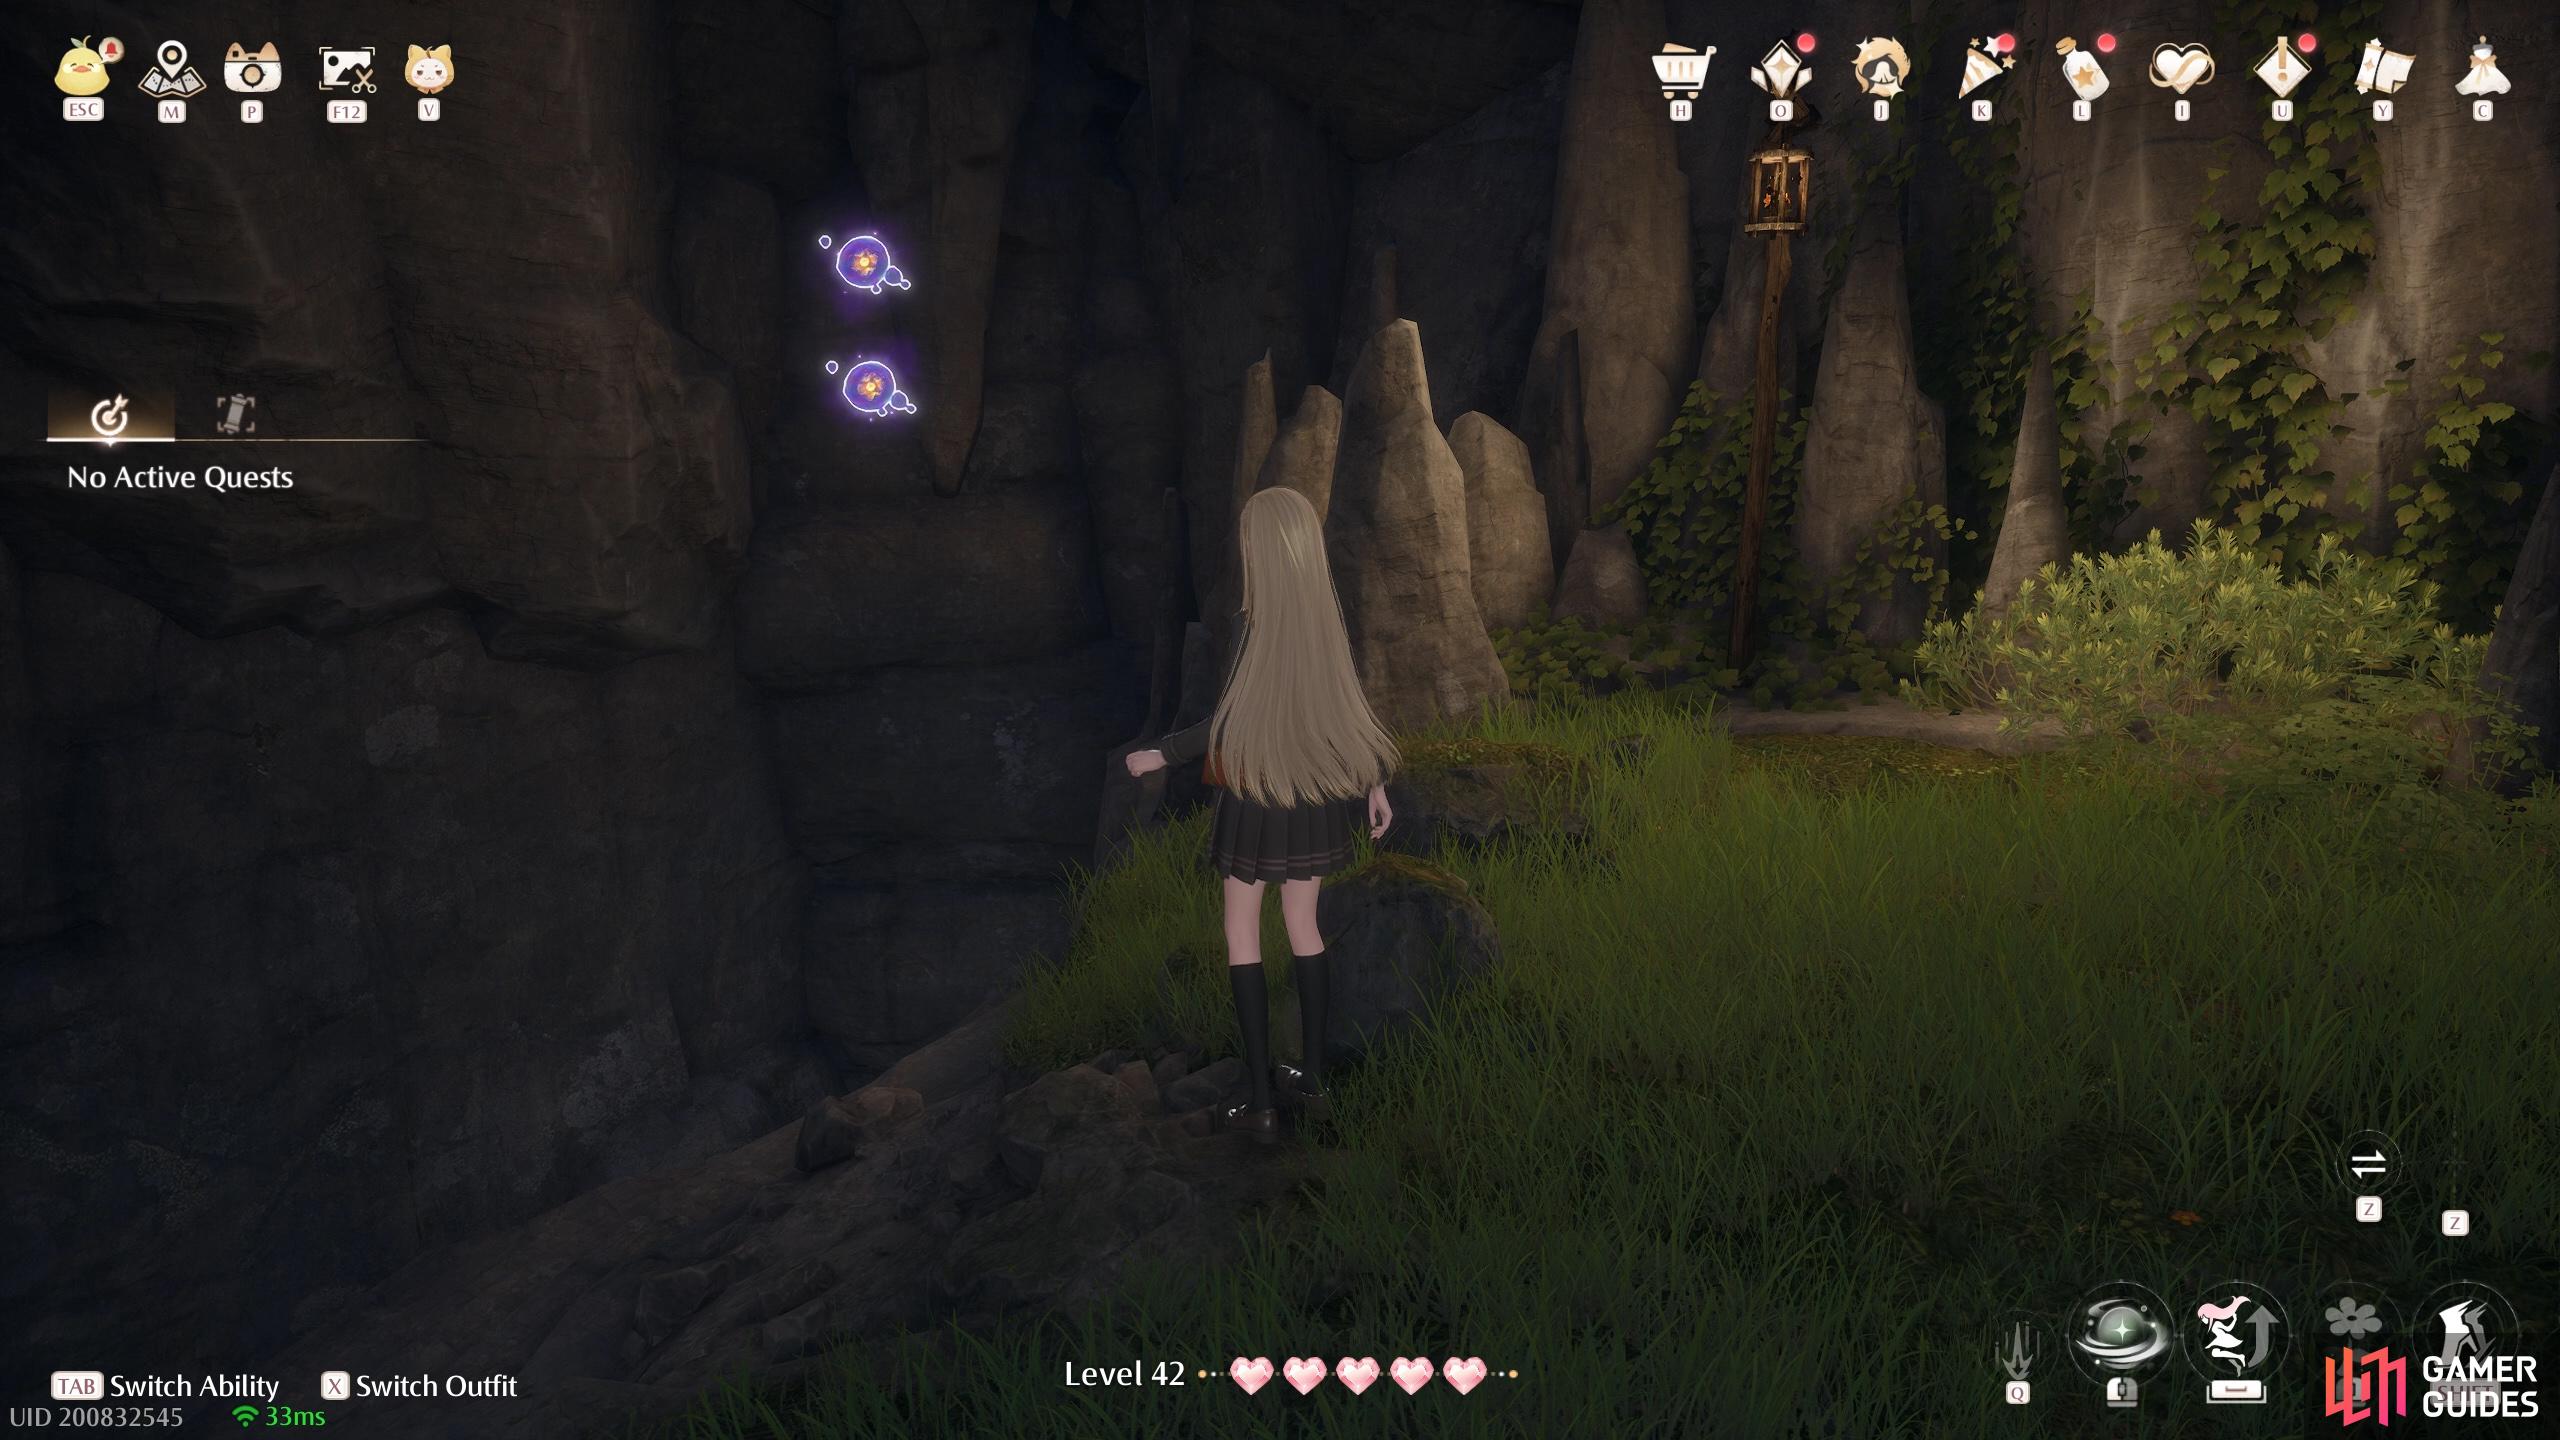
640. Miraland Map
Inside ![]() Volunteer Corps Camp Cavern. At the endpoint, after jumping from a leaf trampoline. Two floating towards the left. Watch out for Esselings up here.
Volunteer Corps Camp Cavern. At the endpoint, after jumping from a leaf trampoline. Two floating towards the left. Watch out for Esselings up here.
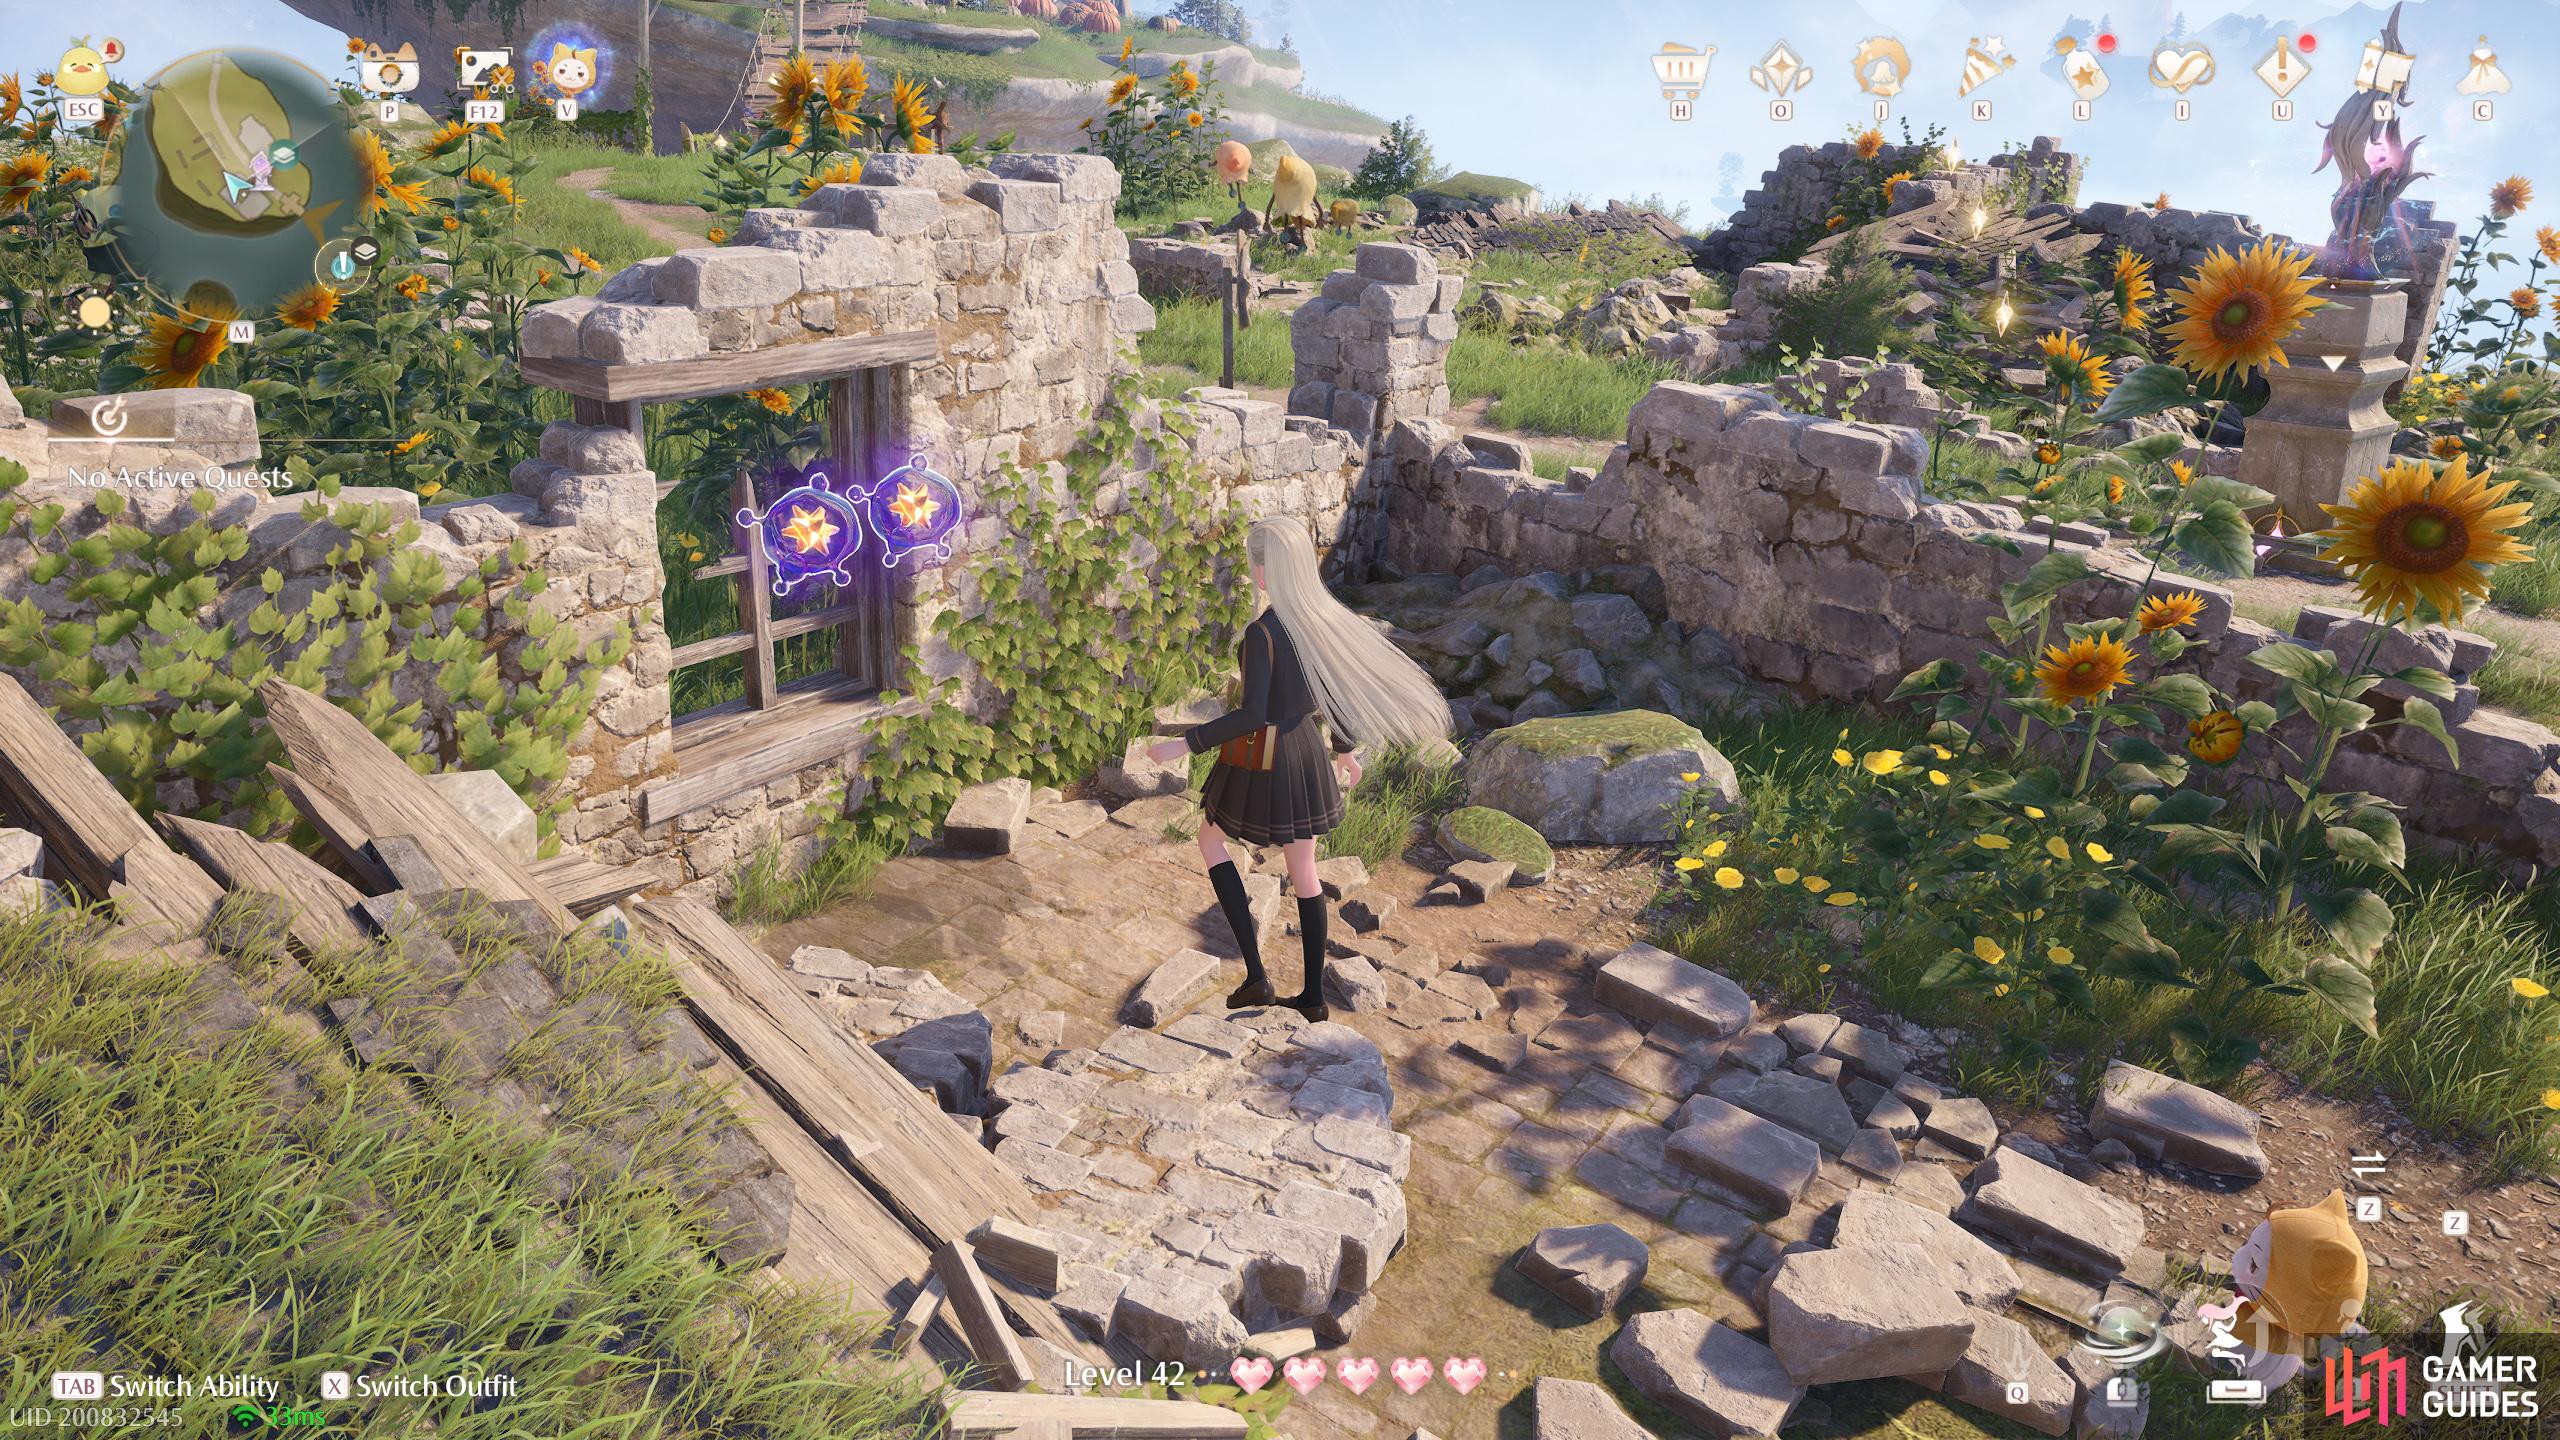
641. Miraland Map
Short distance south-west from ![]() Windrider Mill Entrance. Two by the house ruins.
Windrider Mill Entrance. Two by the house ruins.
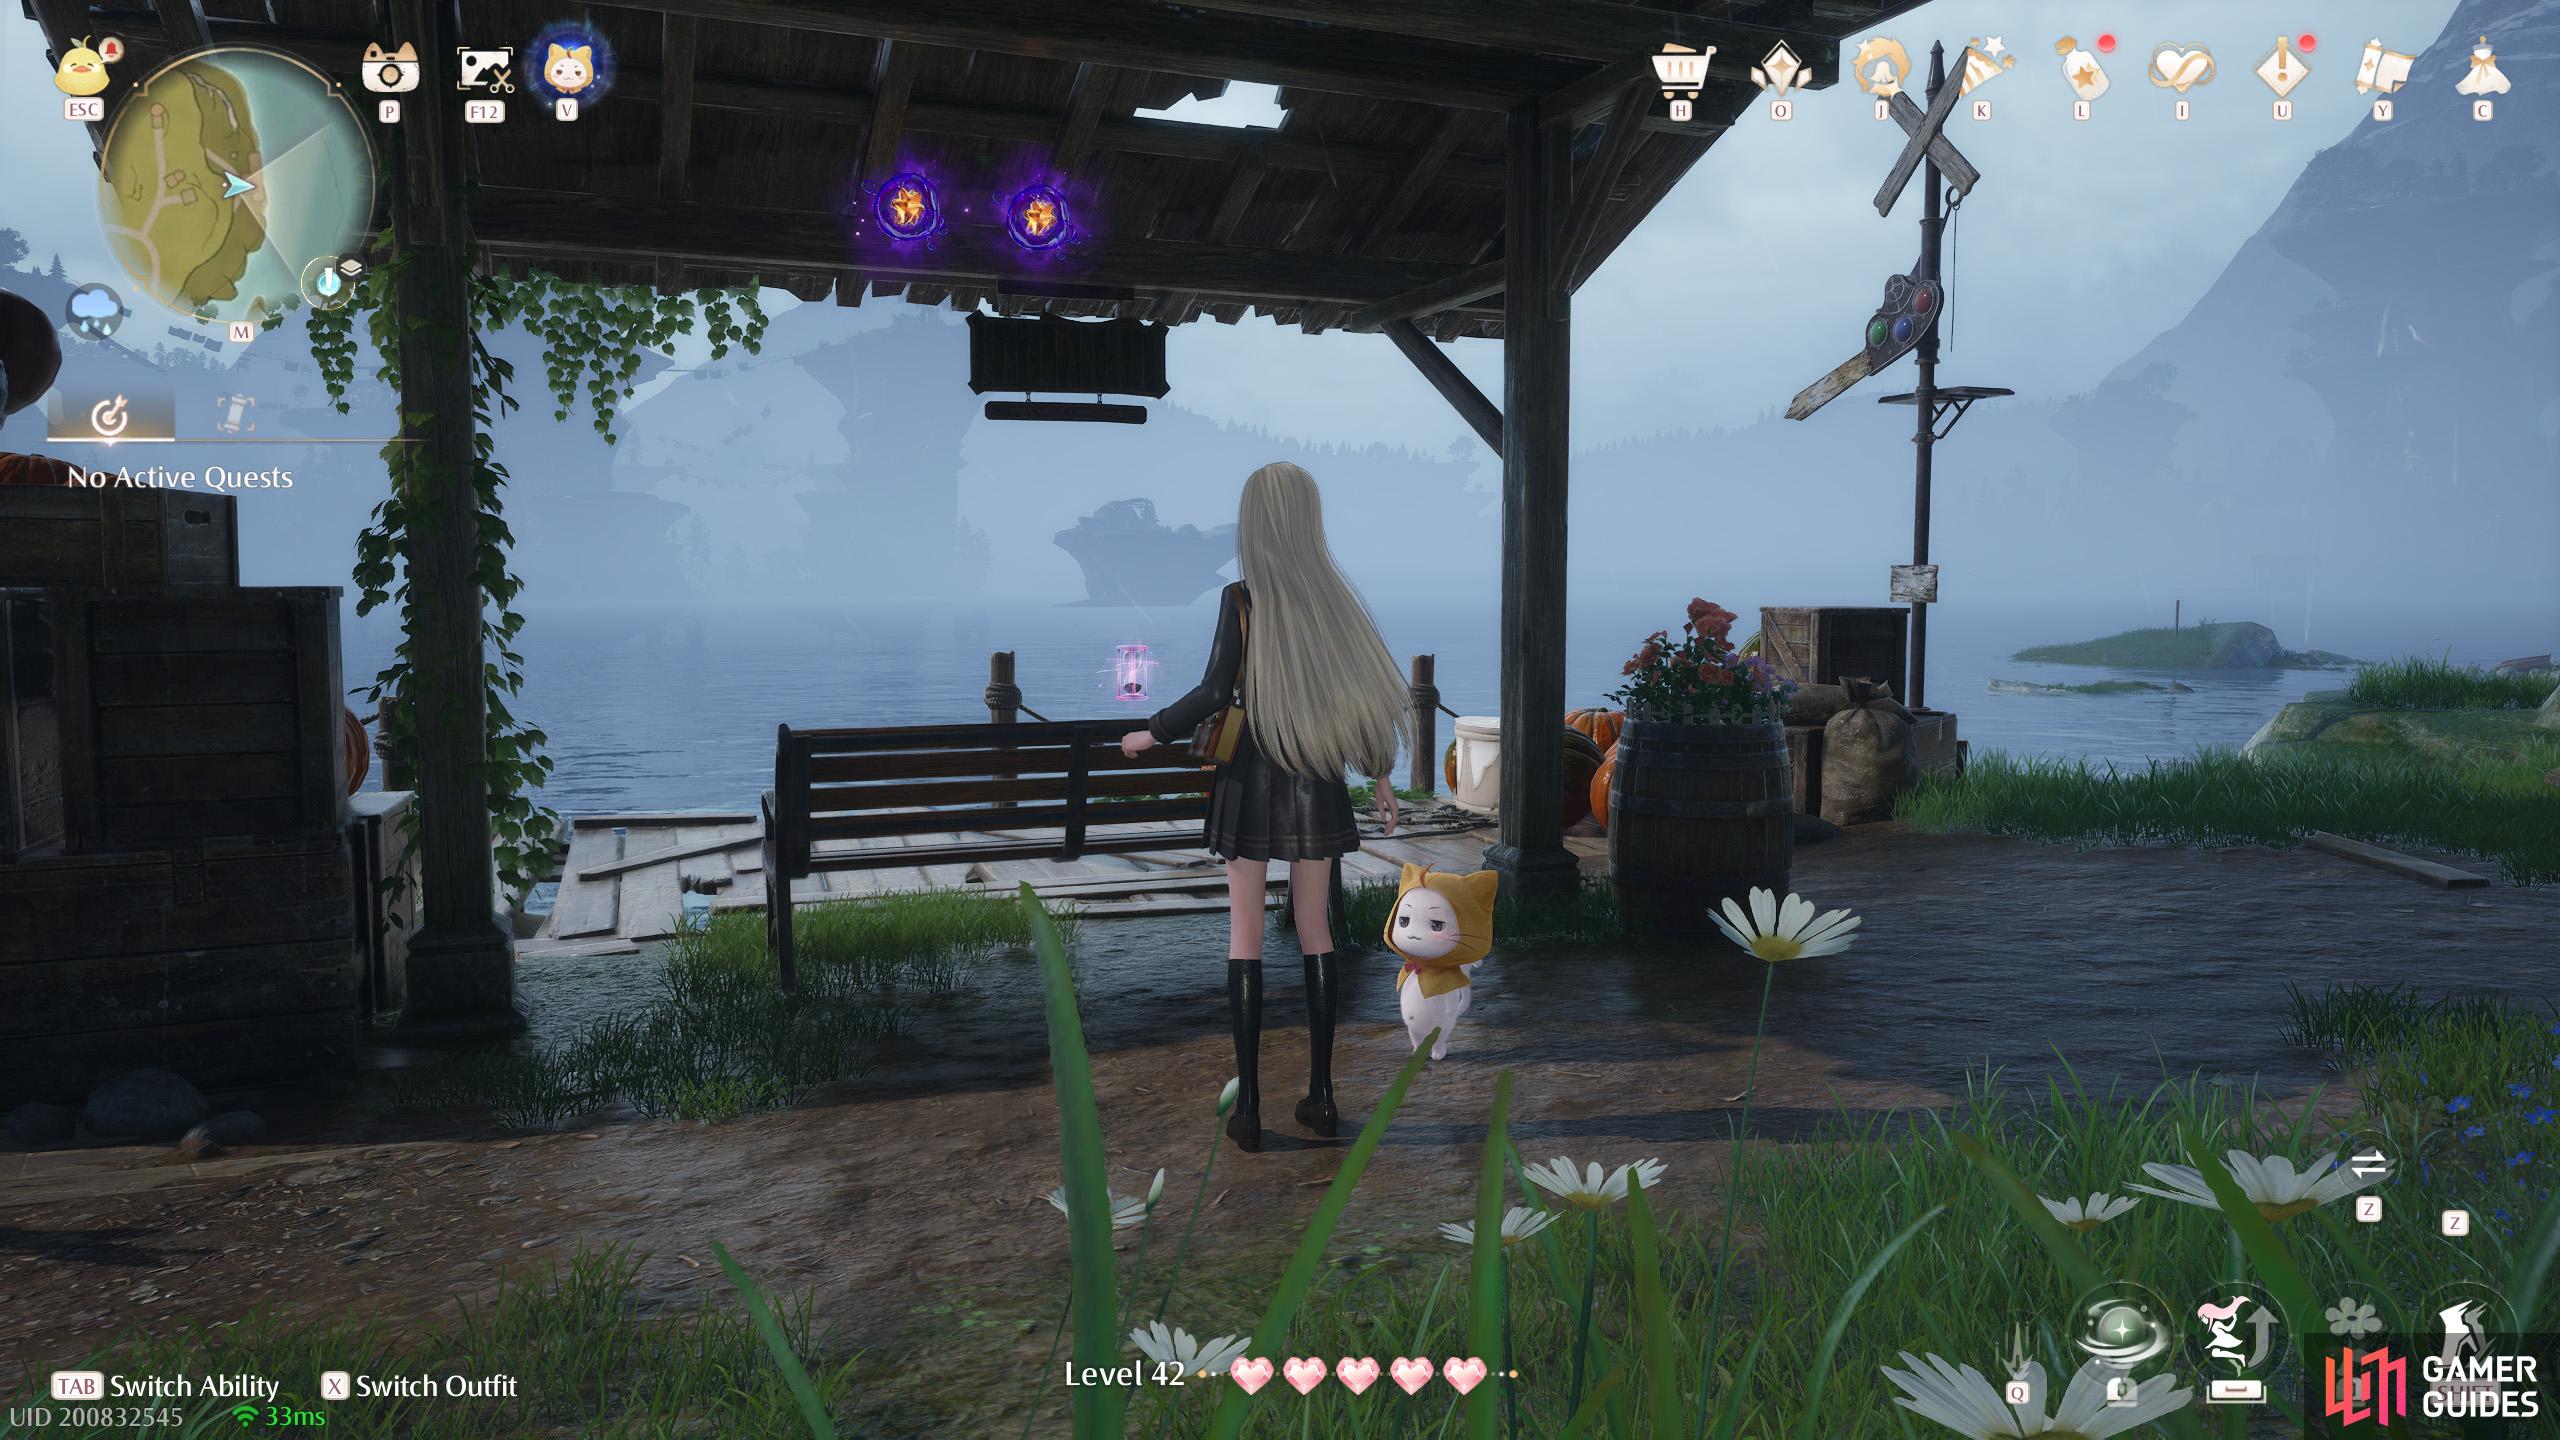
642. Miraland Map
East from ![]() Windrider Mill Mid-Level, on ground level. Two under the shelter.
Windrider Mill Mid-Level, on ground level. Two under the shelter.
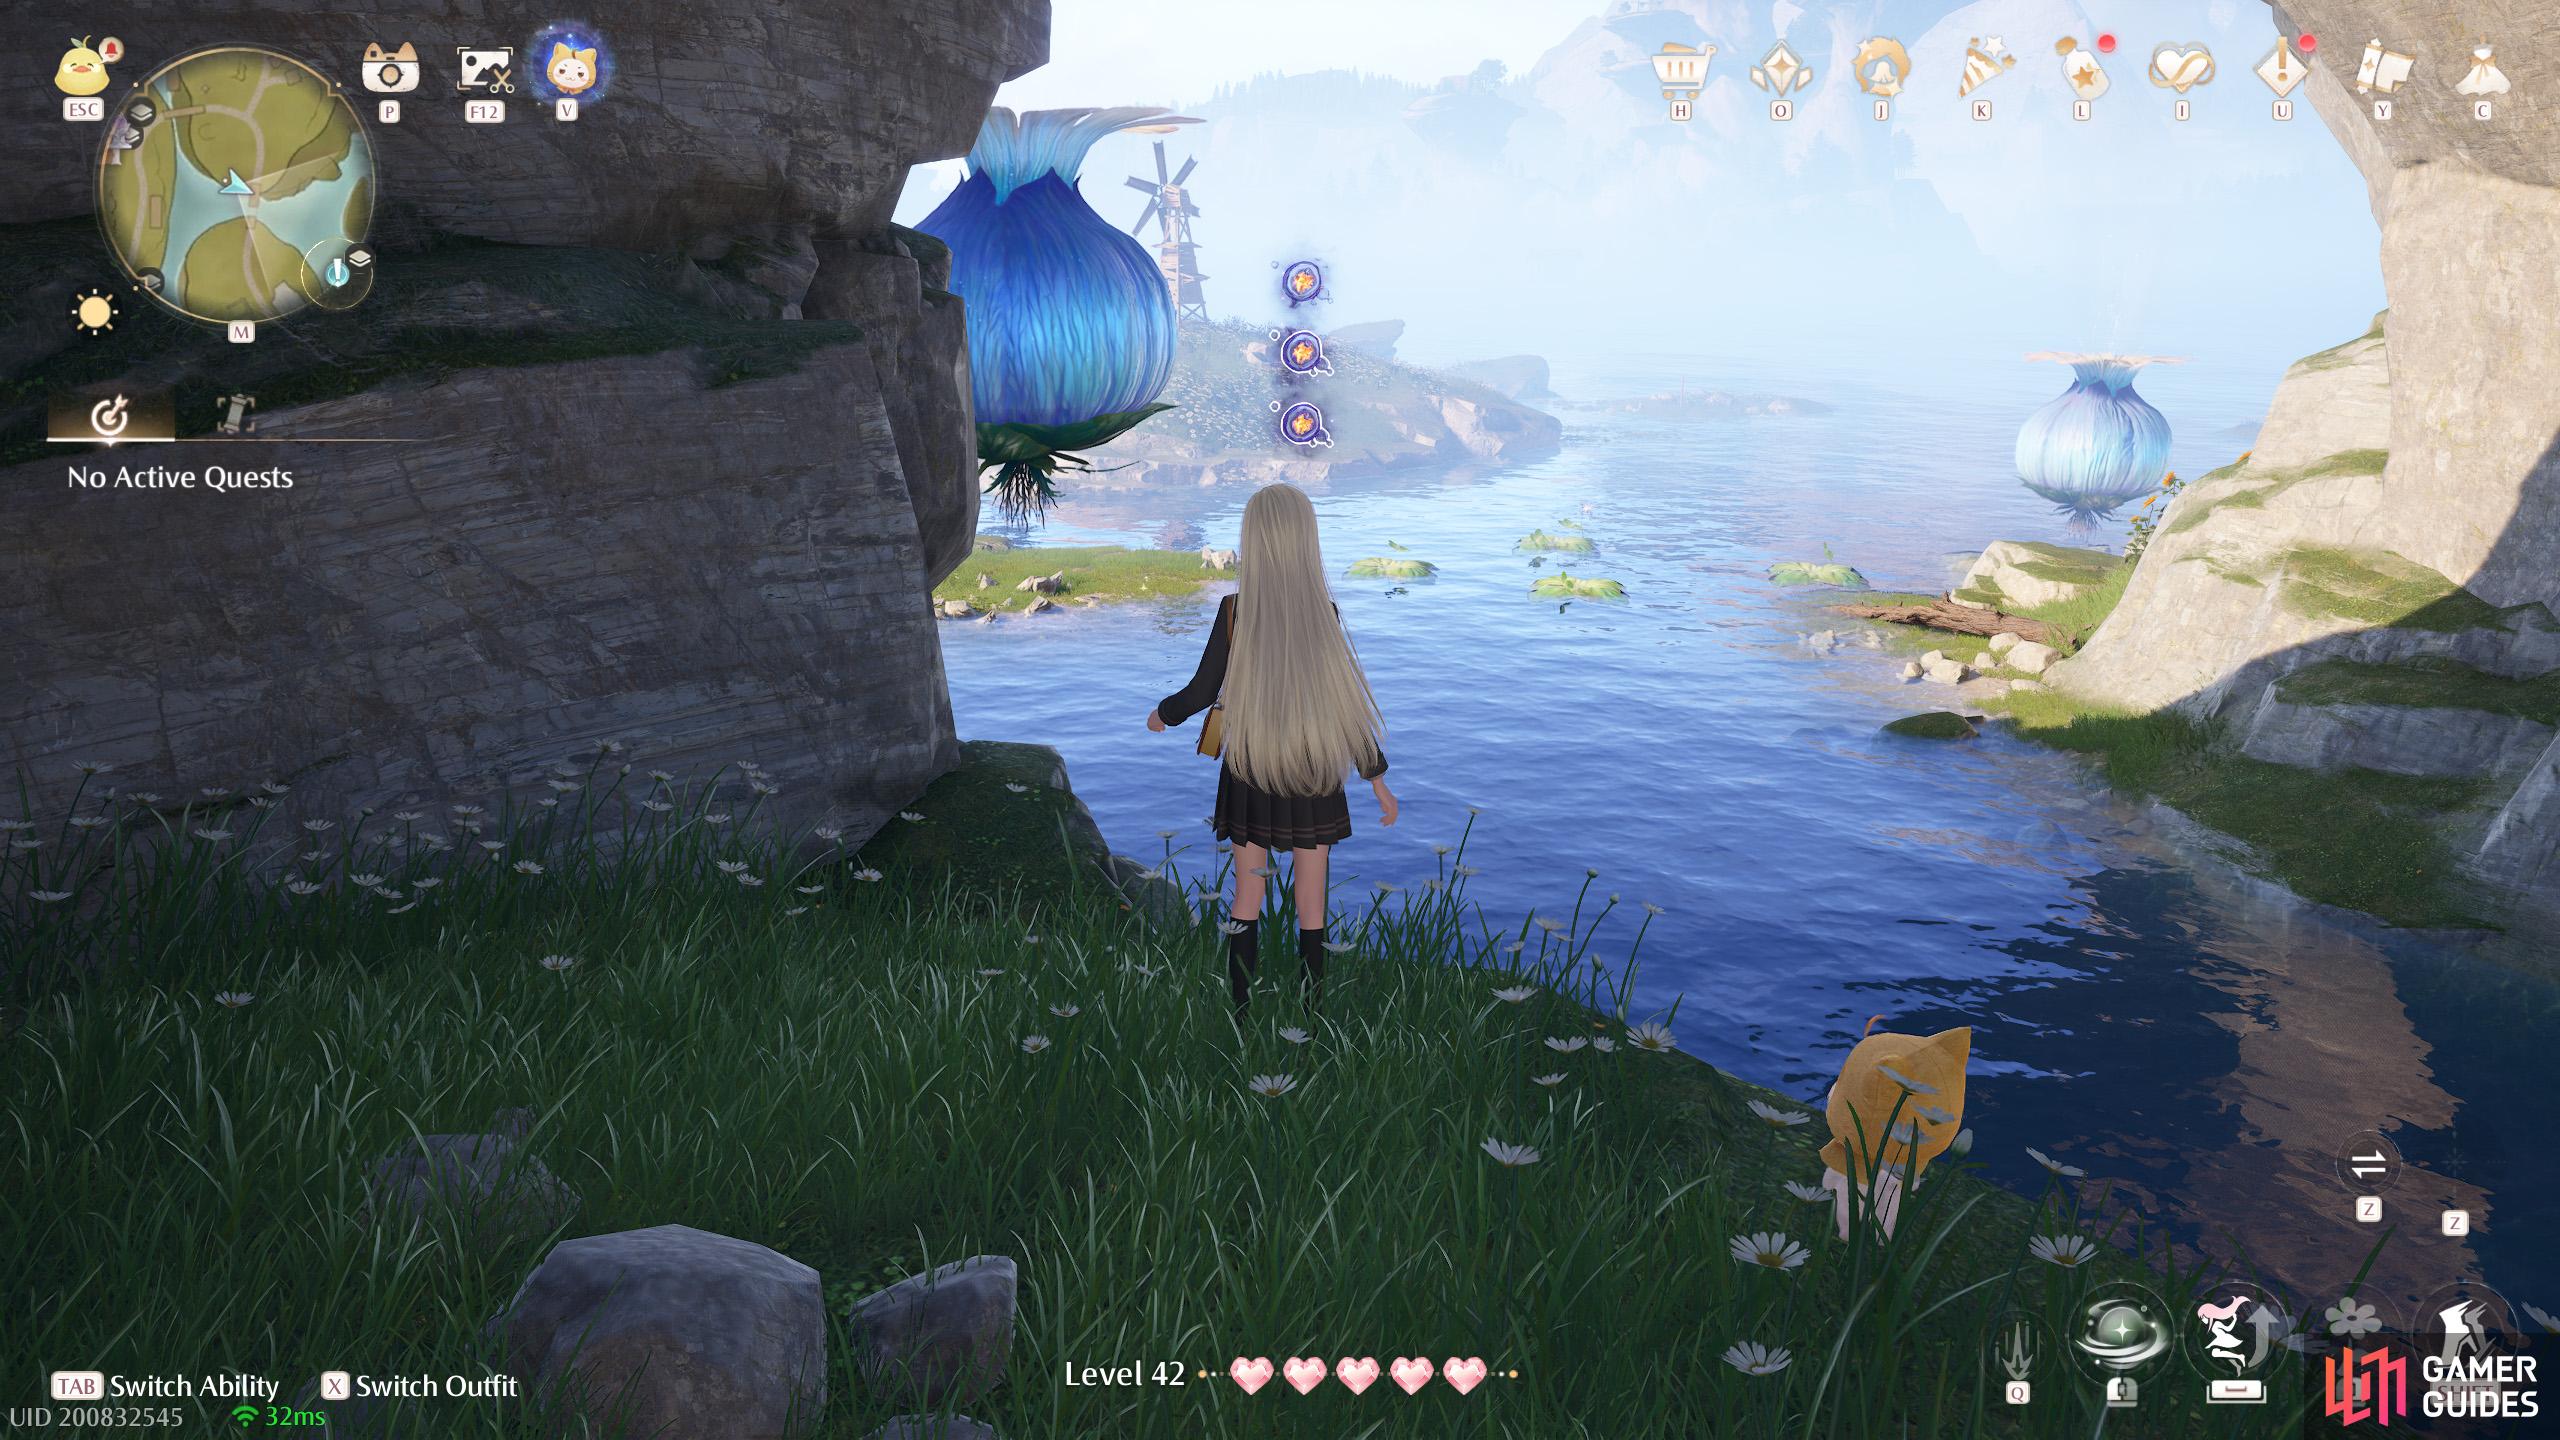
643. Miraland Map
North and slightly west from ![]() Windrider Mill Entrance. Three underneath the north end of the broken bridge, around ground level.
Windrider Mill Entrance. Three underneath the north end of the broken bridge, around ground level.

644. Miraland Map
East from ![]() Windrider Mill Mid-Level, on ground level. Three in a corner, with two Spear Sacks and some wooden crates nearby.
Windrider Mill Mid-Level, on ground level. Three in a corner, with two Spear Sacks and some wooden crates nearby.

645. Miraland Map
West from ![]() Windrider Mill Top, around ground level. Two floating above a small wind vane on a higher up ledge.
Windrider Mill Top, around ground level. Two floating above a small wind vane on a higher up ledge.
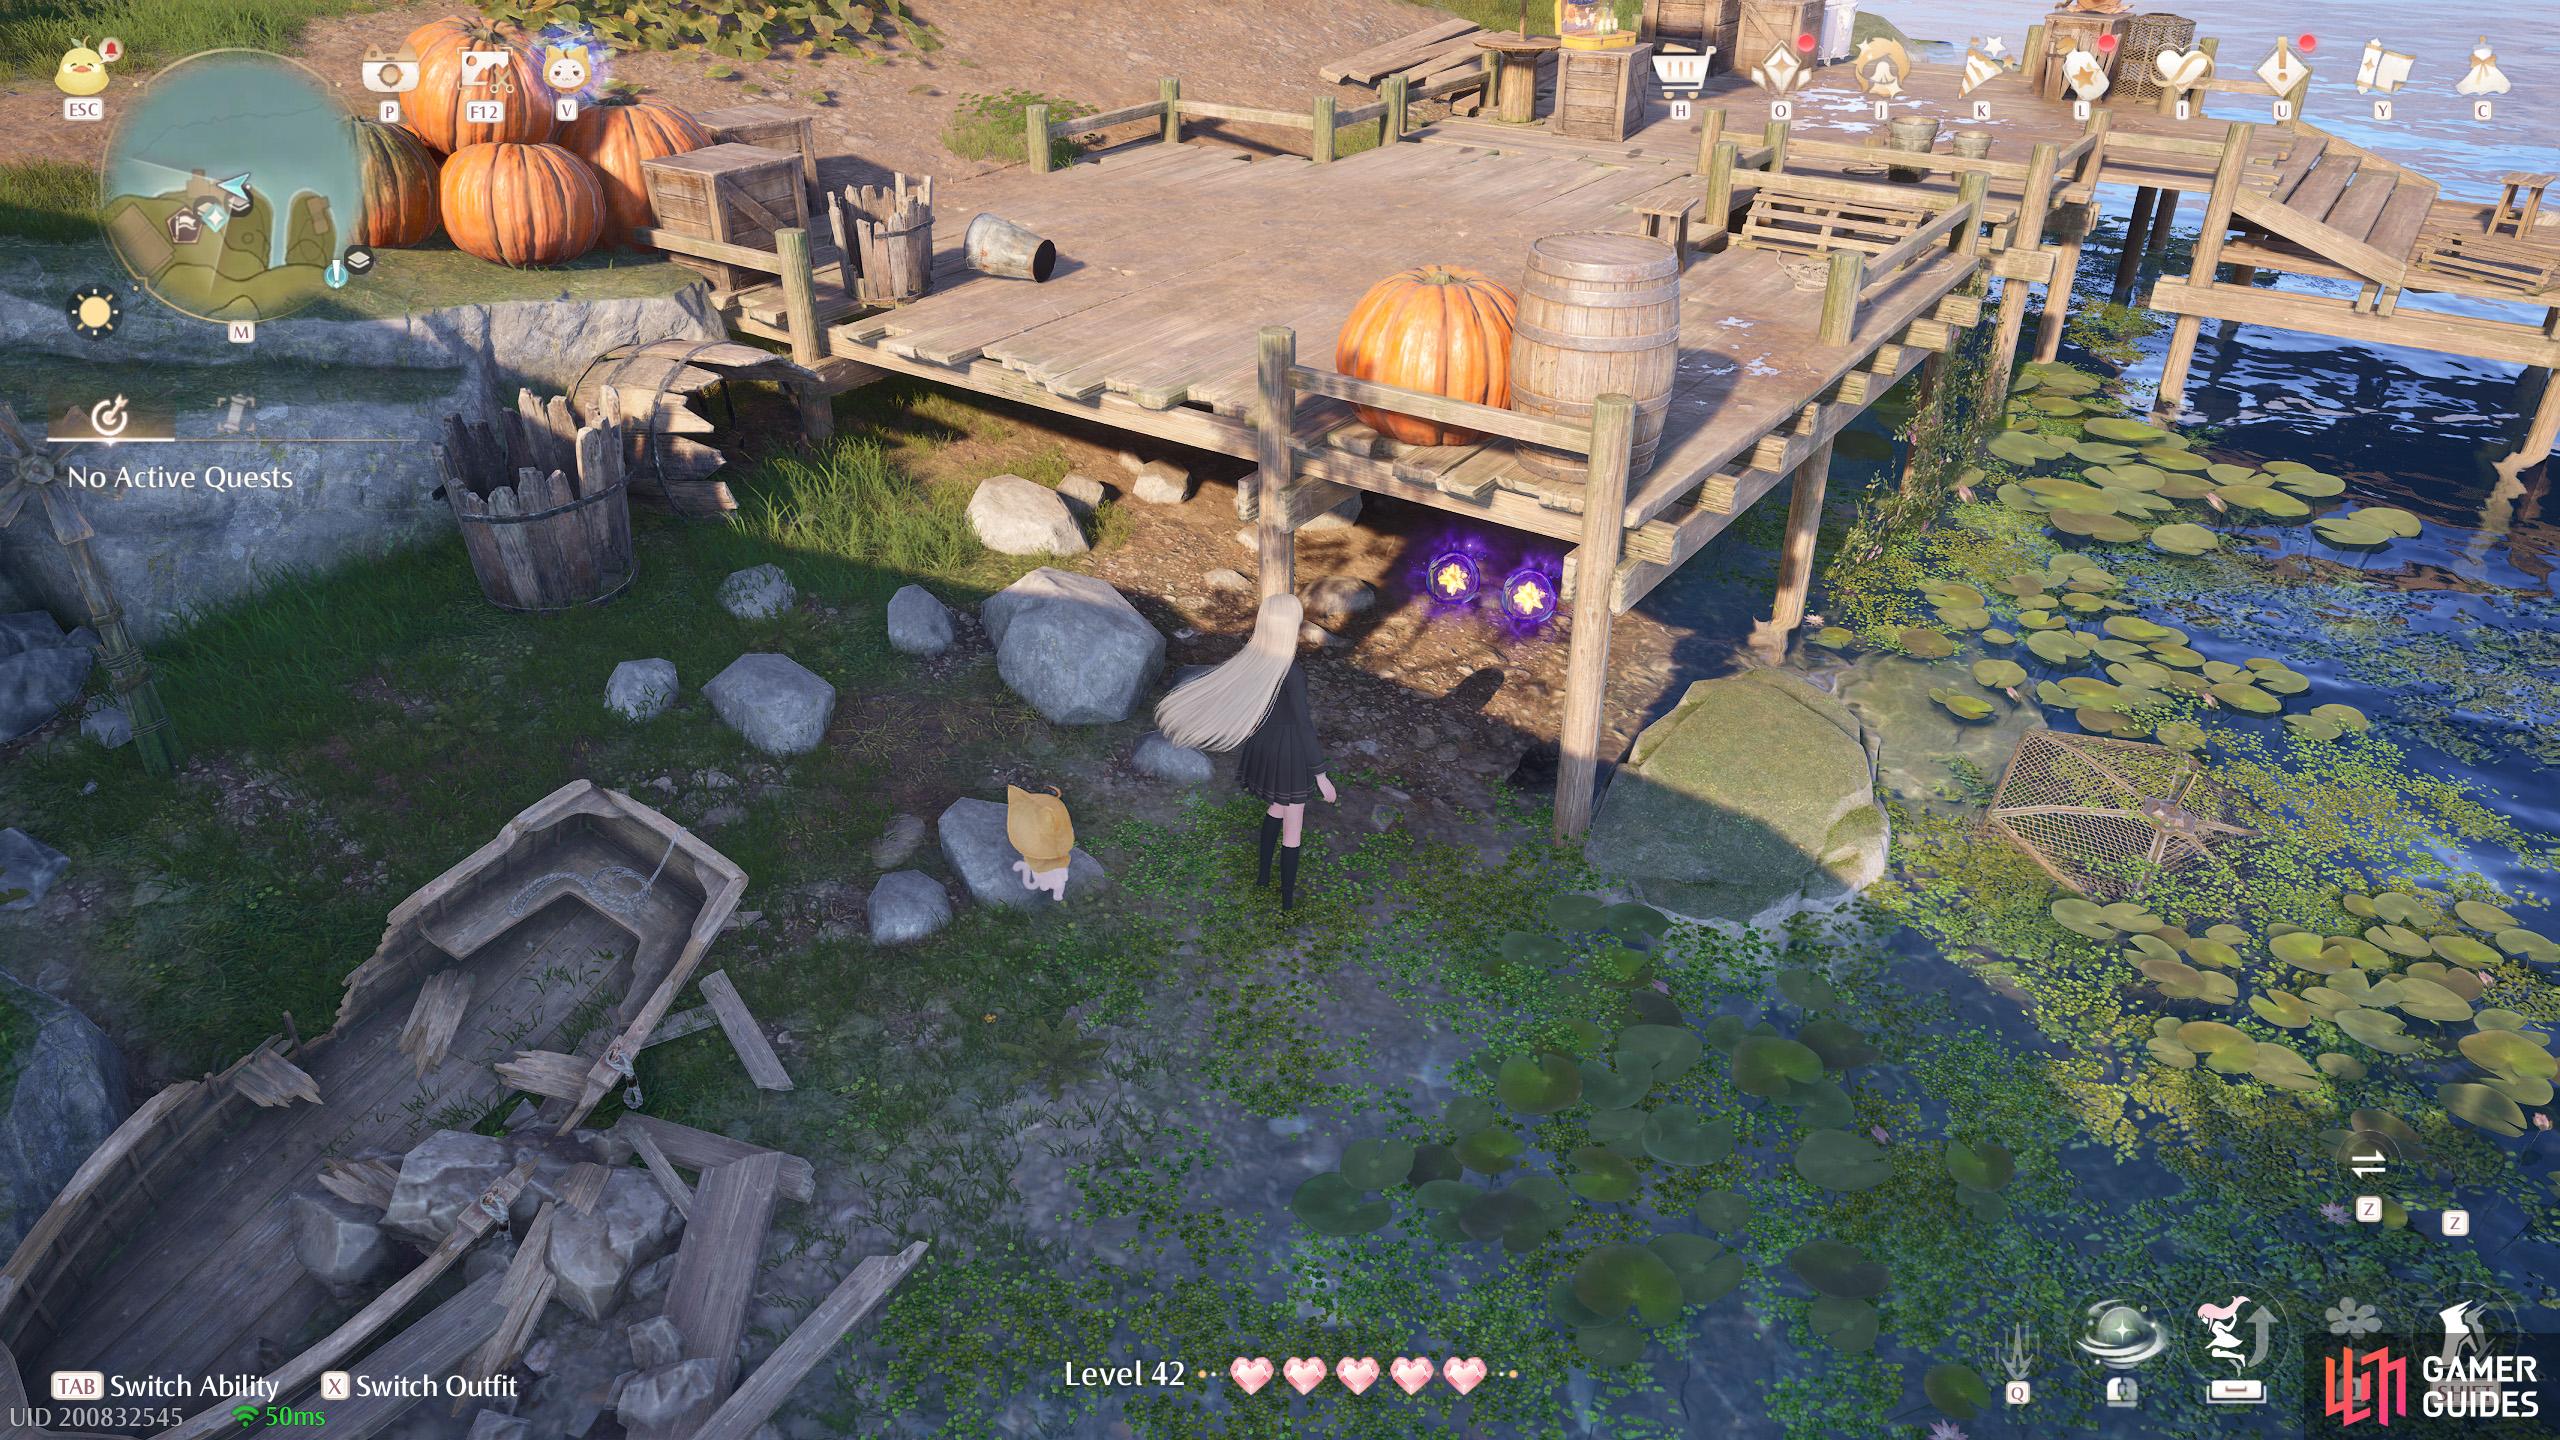
646. Miraland Map
North-west from ![]() Windrider Mill Mid-Level, on ground level. Two under the pier.
Windrider Mill Mid-Level, on ground level. Two under the pier.
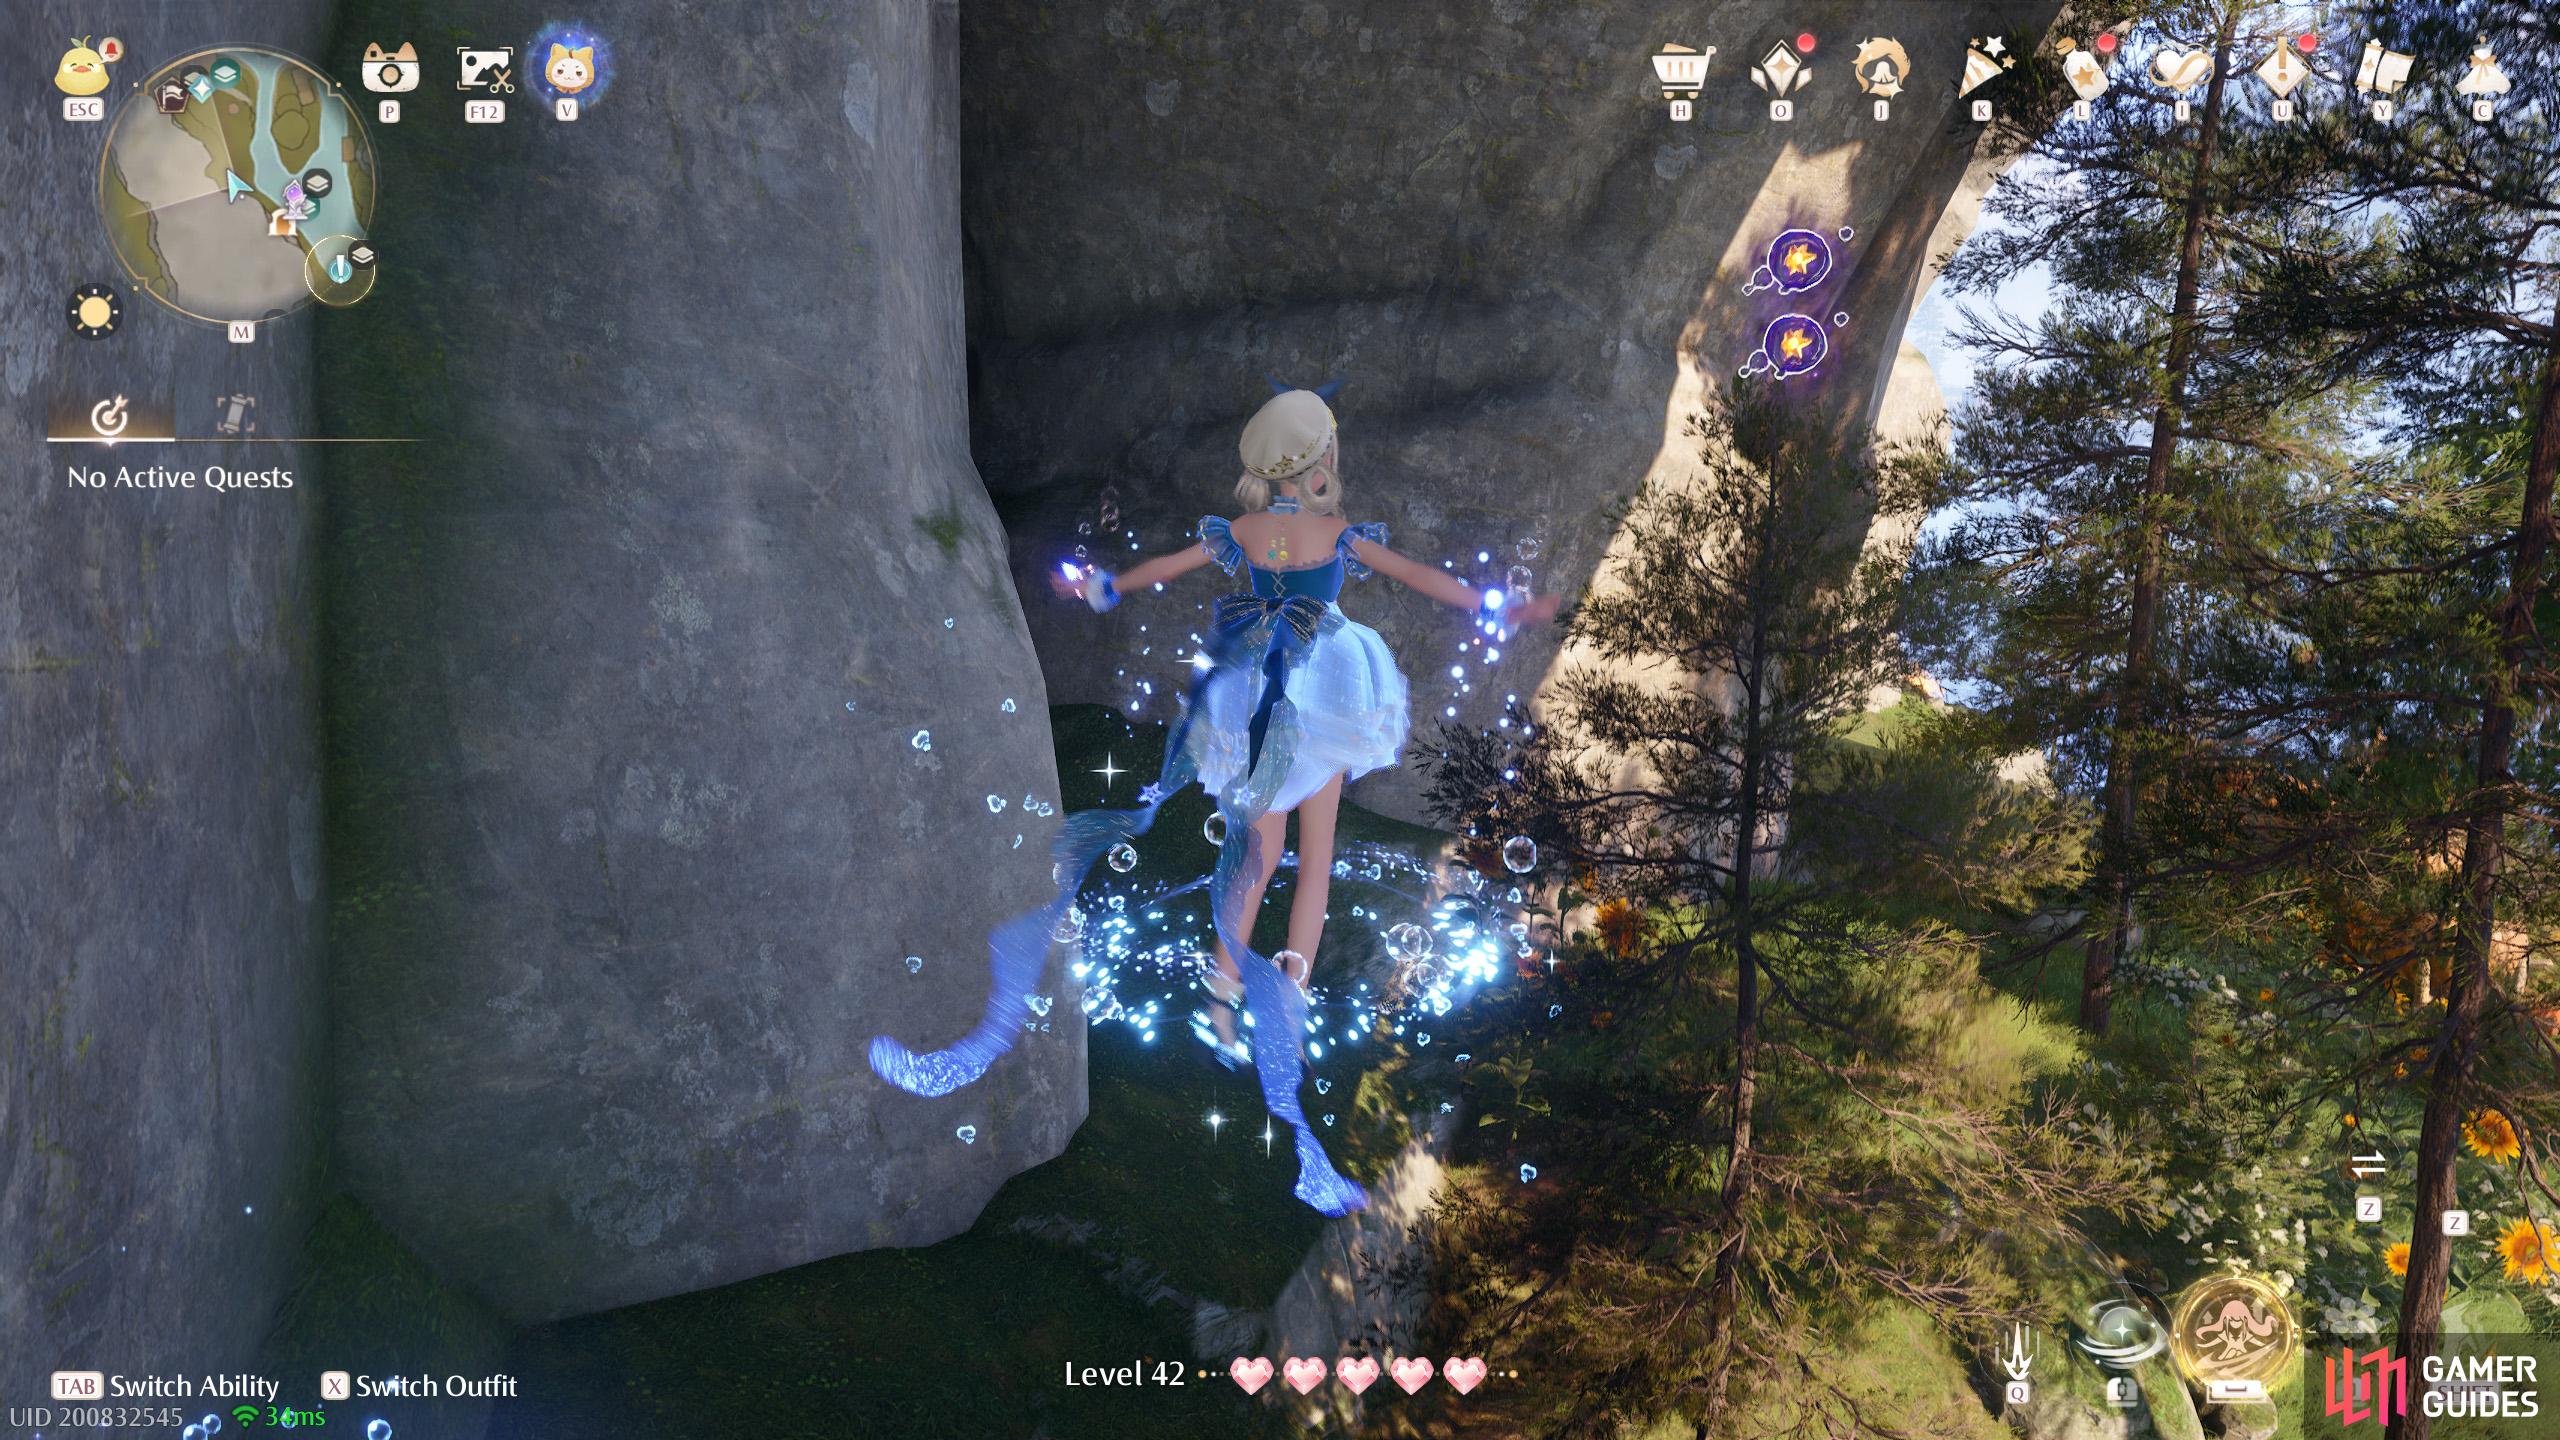
647. Miraland Map
Short distance north-west from ![]() Windrider Mill Cavern, around ground level. Two floating high up. You can stand on the nearby small stonetree and double jump to just about reach.
Windrider Mill Cavern, around ground level. Two floating high up. You can stand on the nearby small stonetree and double jump to just about reach.
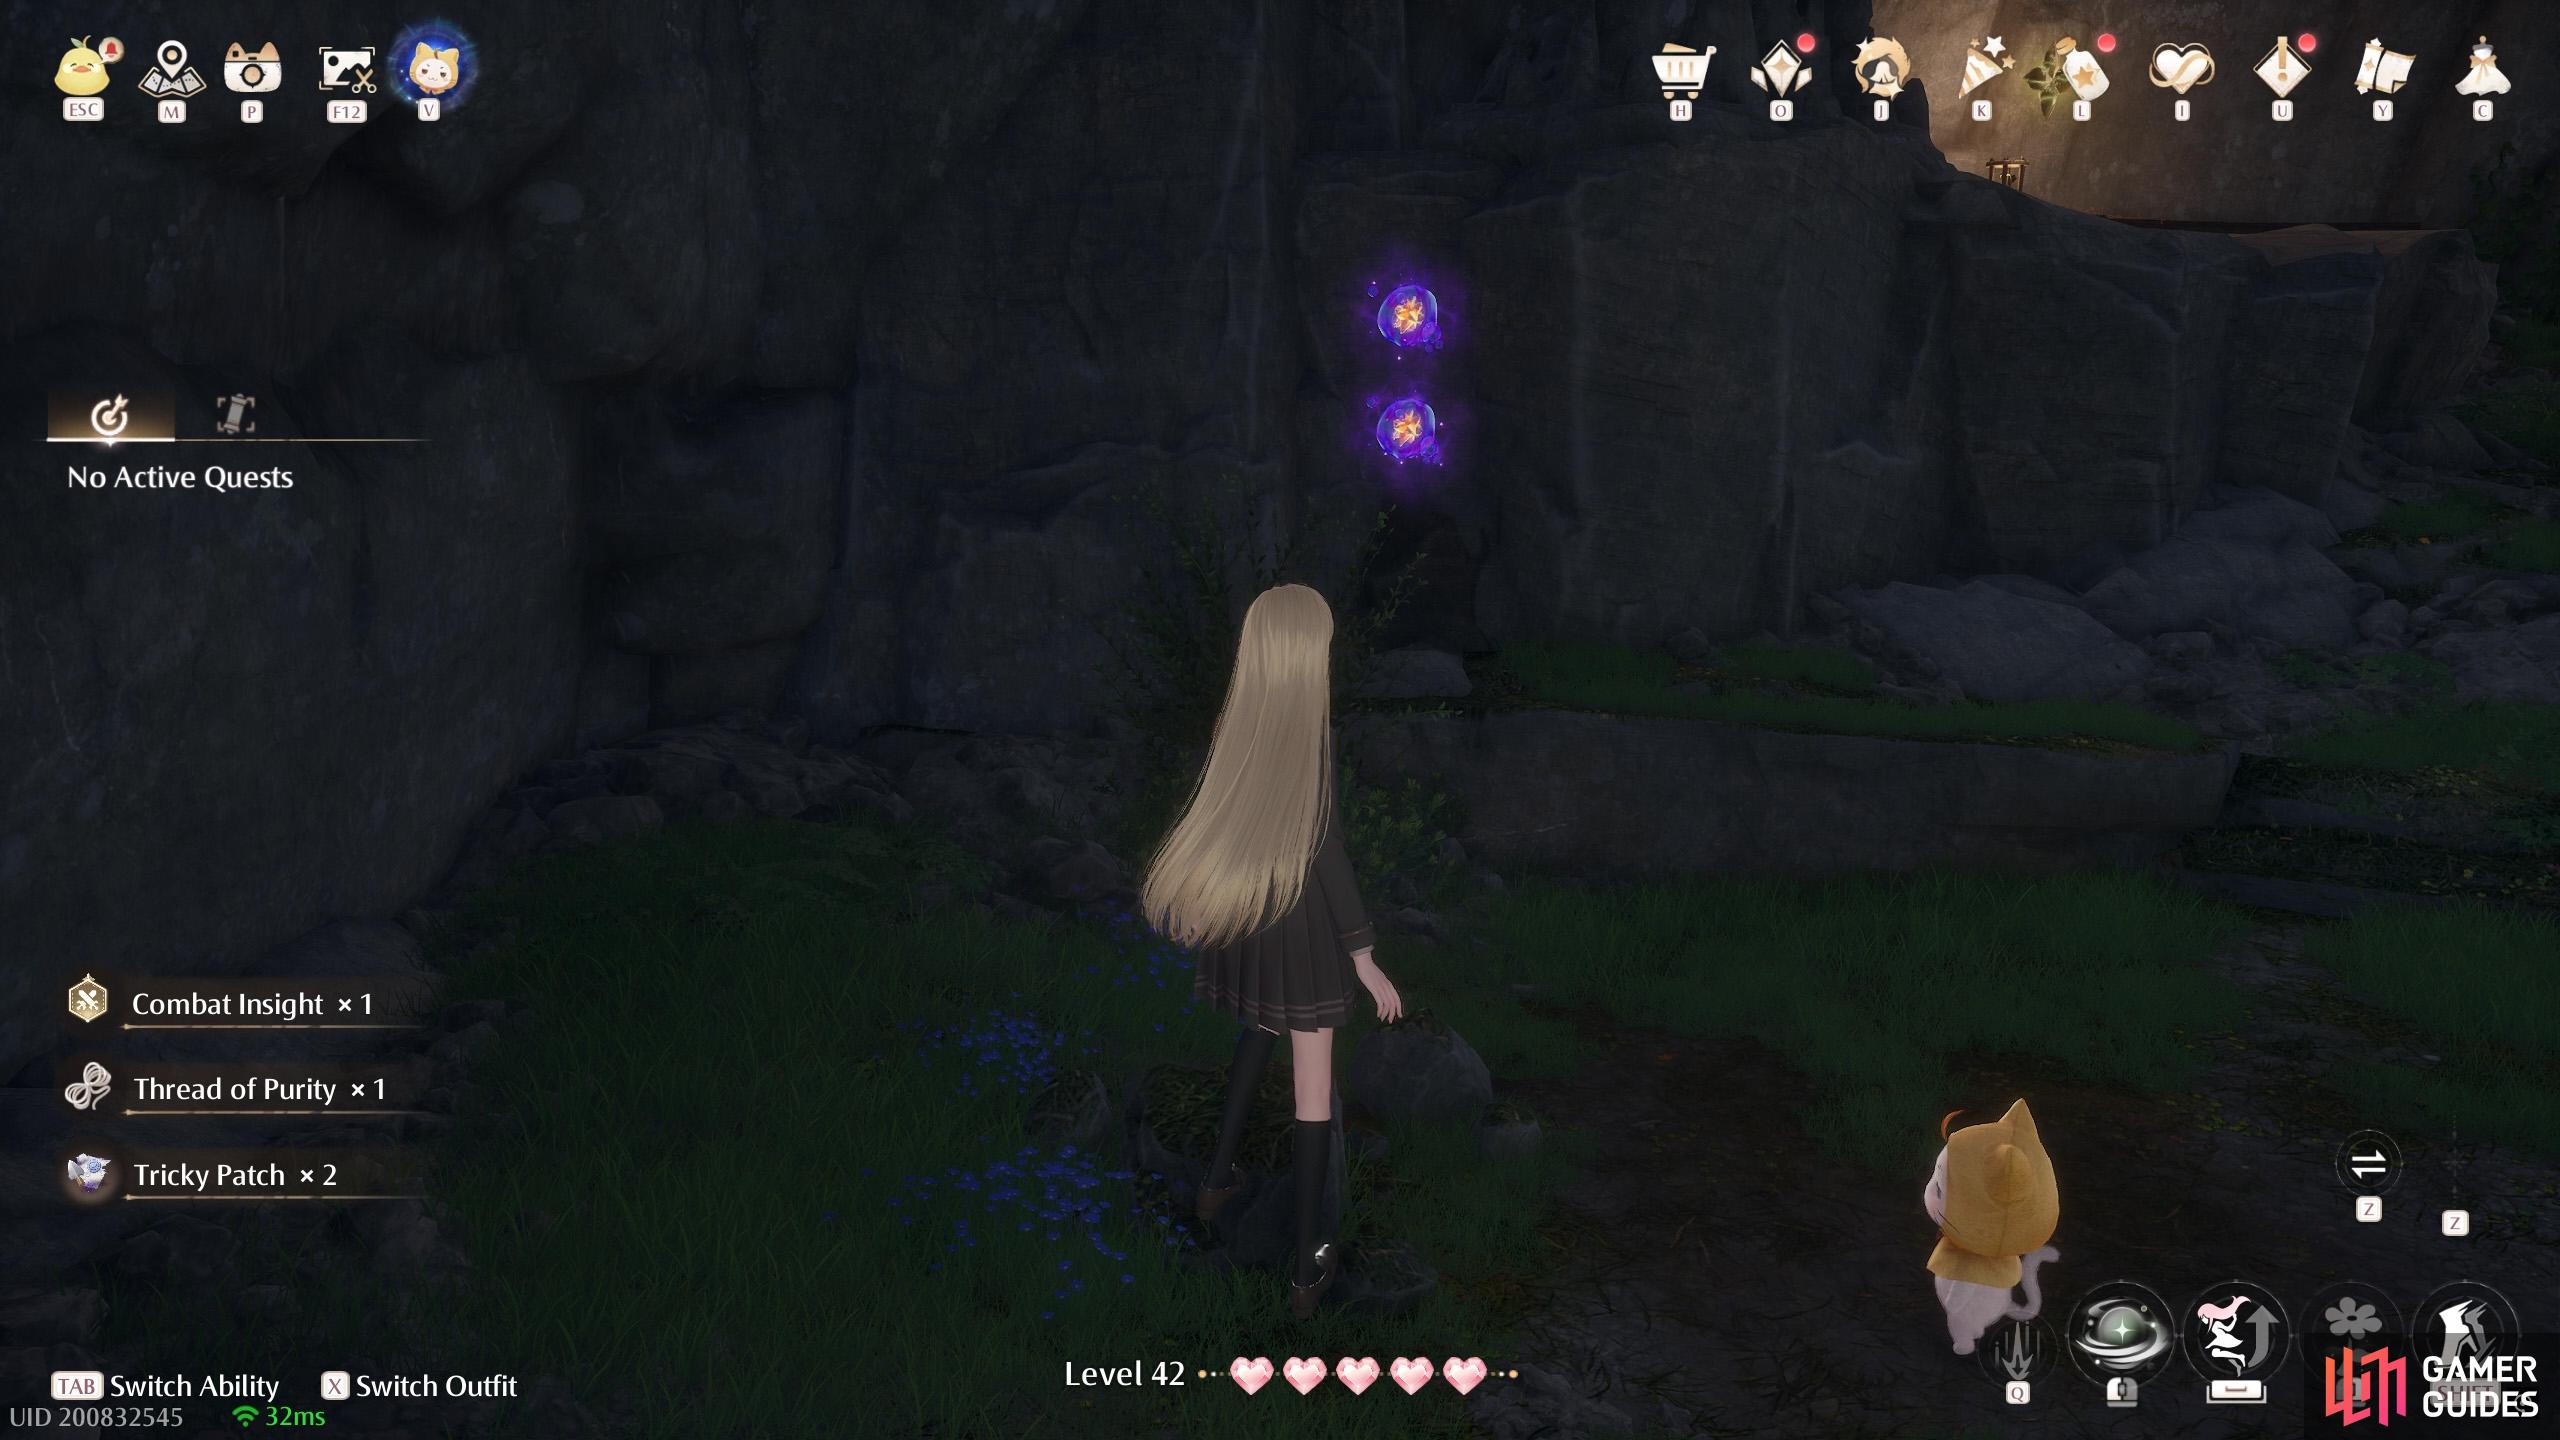
648. Miraland Map
Inside ![]() Windrider Mill Cavern. Near the beginning. After defeating the first group of Esselings, look to the right to find two.
Windrider Mill Cavern. Near the beginning. After defeating the first group of Esselings, look to the right to find two.
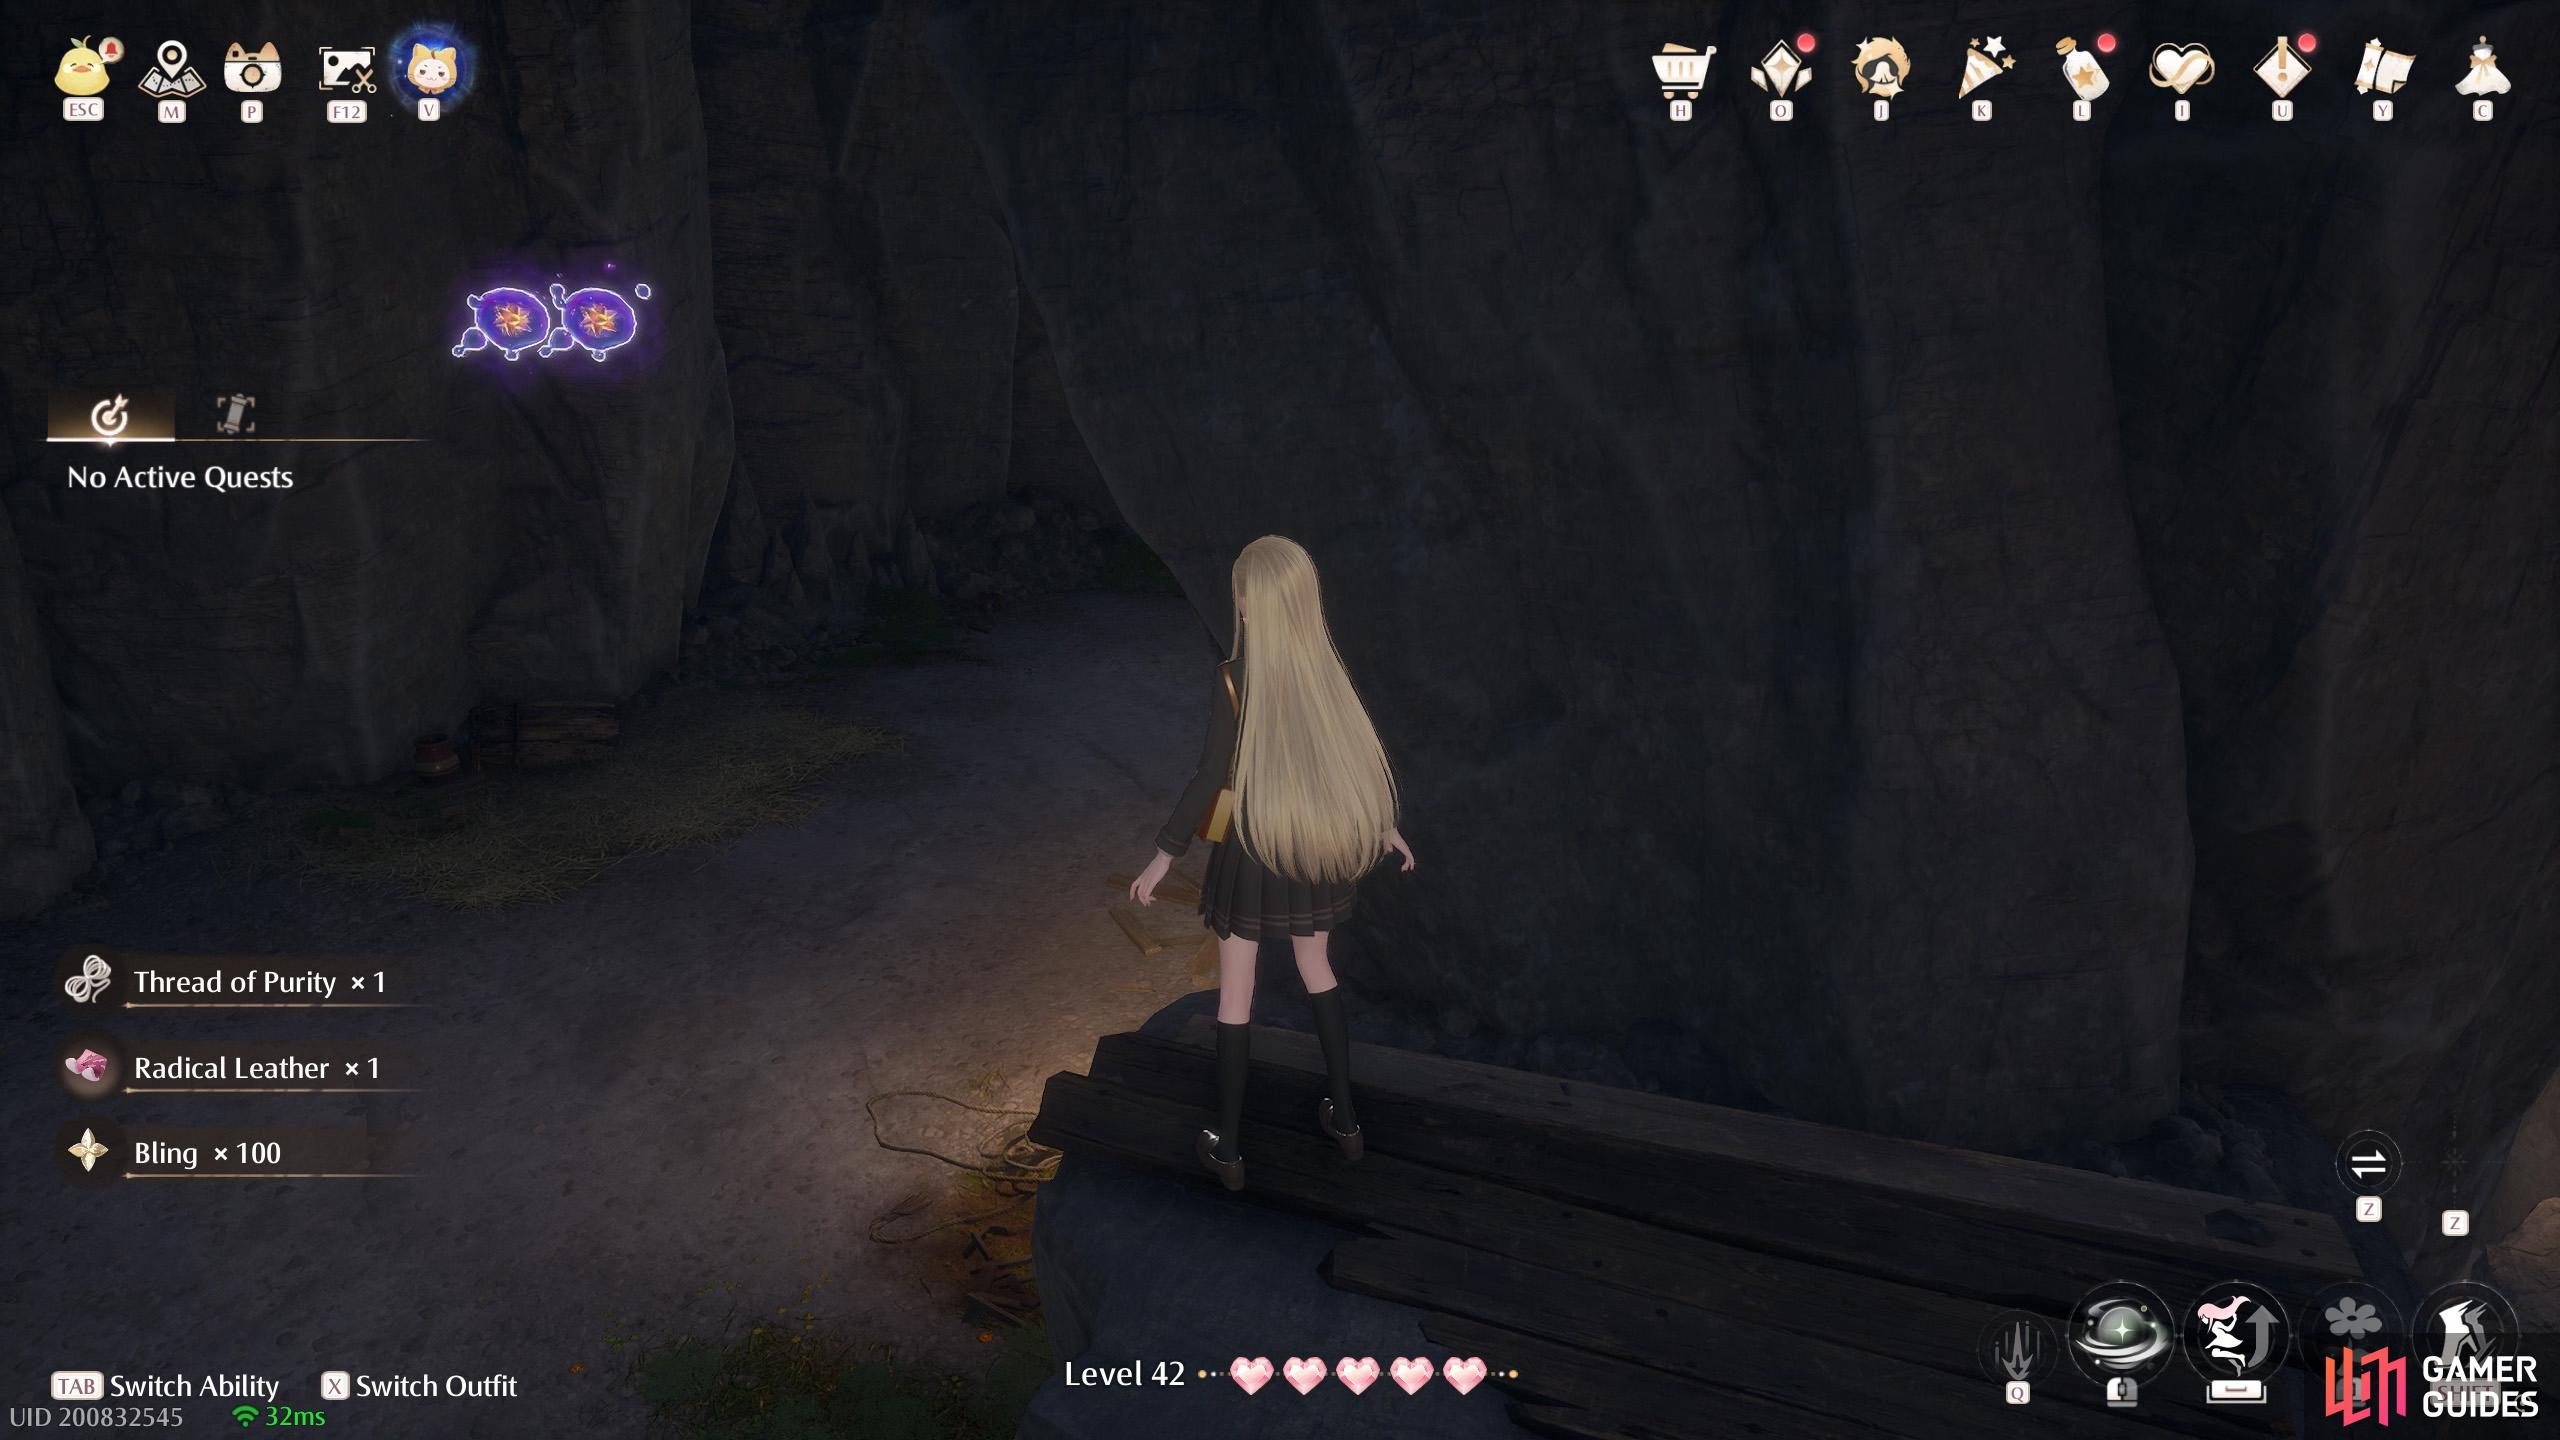
649. Miraland Map
Inside ![]() Windrider Mill Cavern. After jumping up, there’s another group of Esselings. Two of these are floating above; pretty hard to miss.
Windrider Mill Cavern. After jumping up, there’s another group of Esselings. Two of these are floating above; pretty hard to miss.
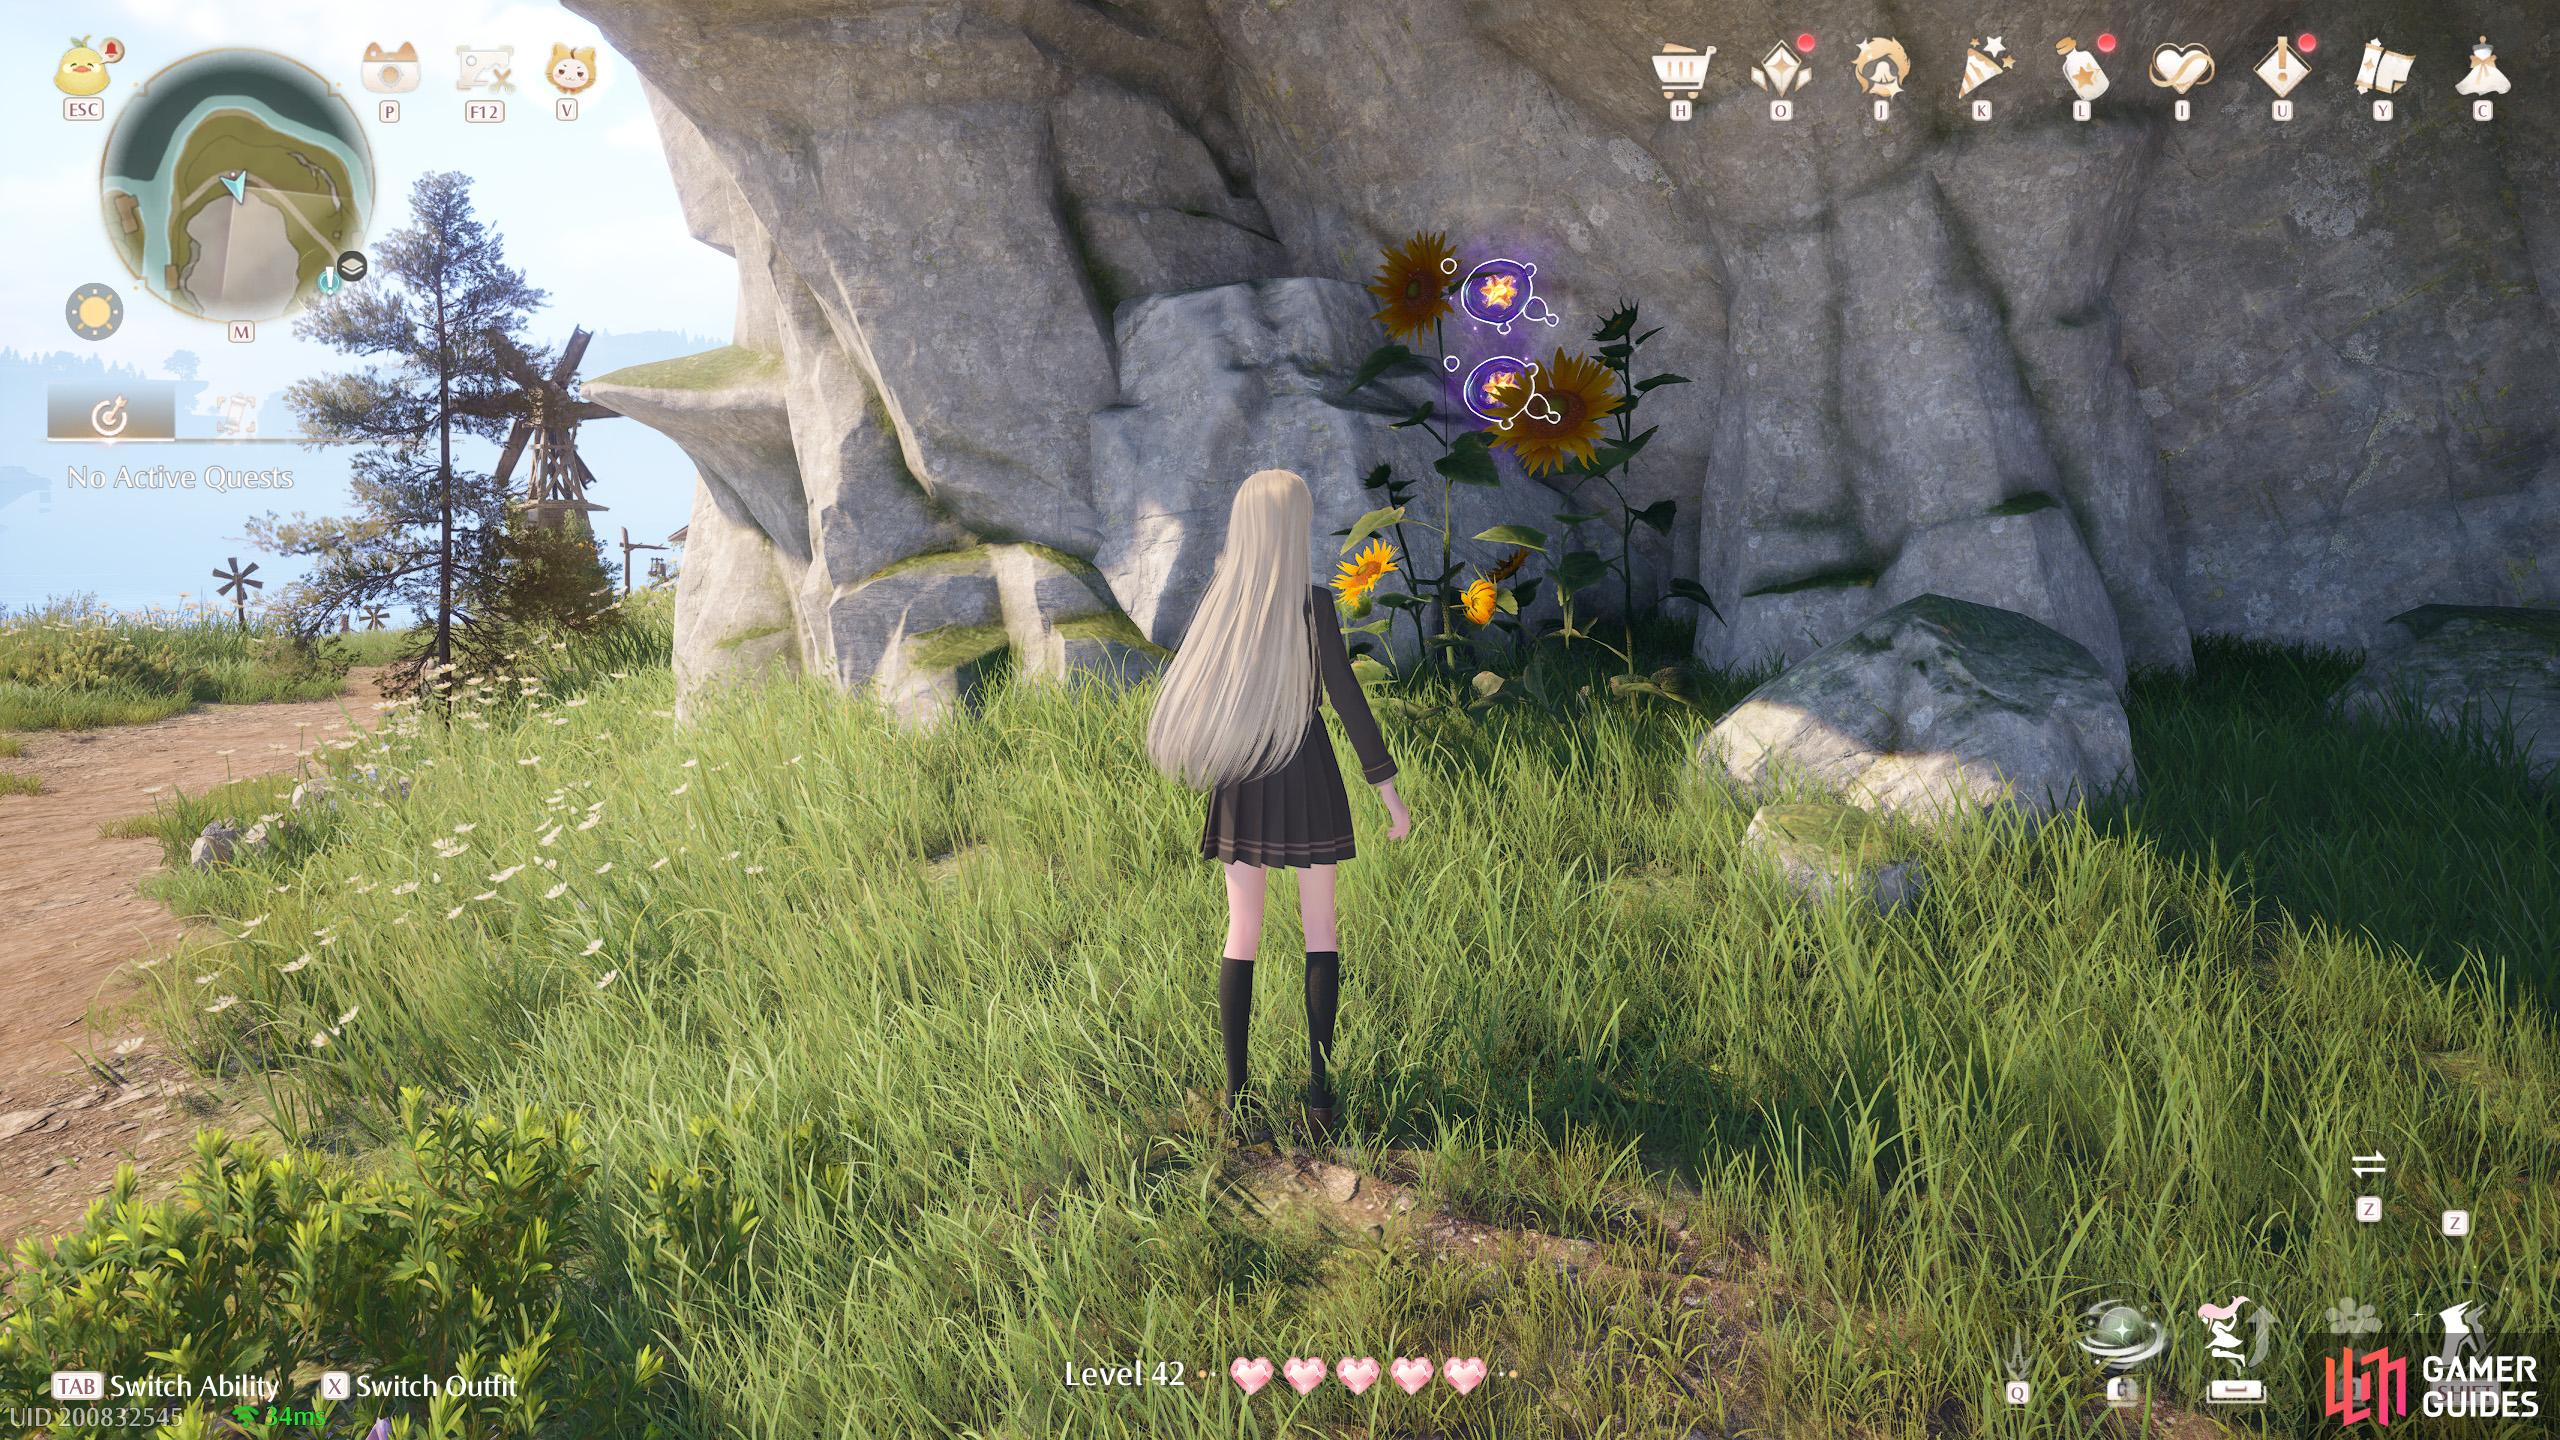
650. Miraland Map
North-east from ![]() Windrider Mill Mid-Level, on ground level. Two near some plants.
Windrider Mill Mid-Level, on ground level. Two near some plants.
651. Miraland Map
North-east from ![]() Windrider Mill Mid-Level, on the middle level. Two floating near a tree.
Windrider Mill Mid-Level, on the middle level. Two floating near a tree.

652. Miraland Map
East from ![]() Windrider Mill Mid-Level, on the middle level. Two behind a ledge.
Windrider Mill Mid-Level, on the middle level. Two behind a ledge.
653. Miraland Map
Short distance east from ![]() Windrider Mill Mid-Level. Two floating above a small windmill.
Windrider Mill Mid-Level. Two floating above a small windmill.
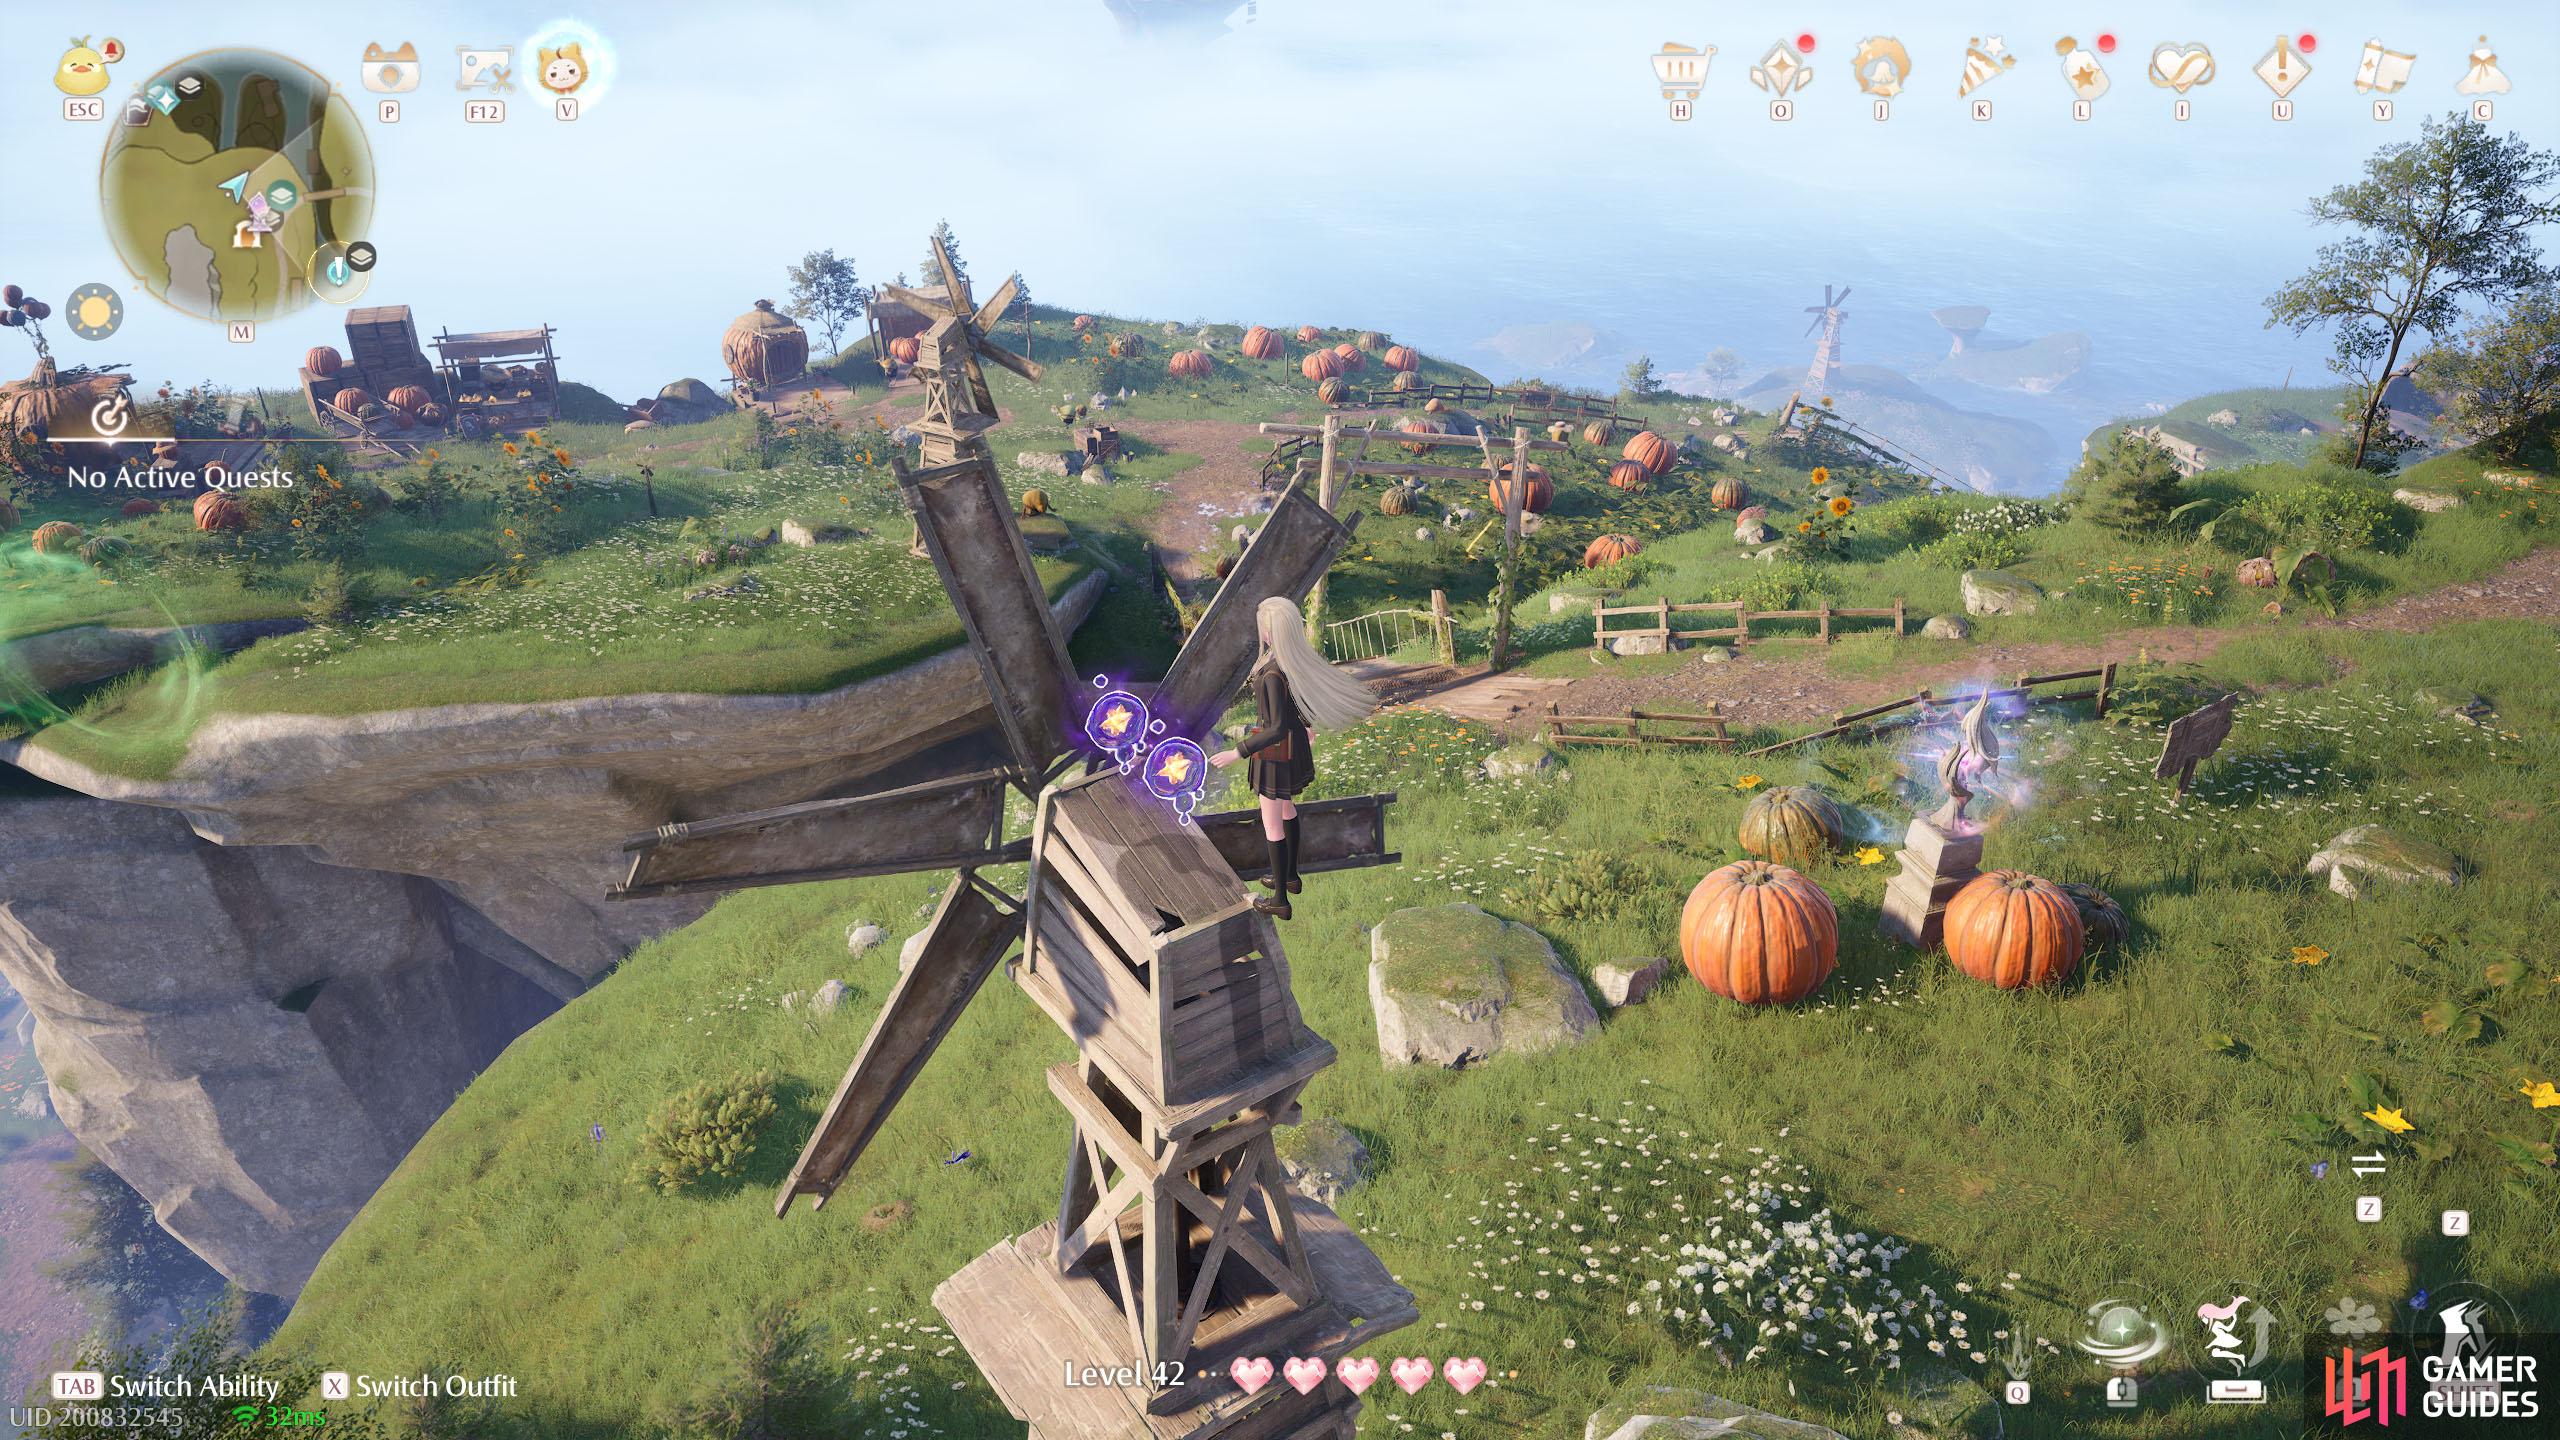
654. Miraland Map
Next to the ![]() Windrider Mill Mid-Level Warp Spire. Two on top of a small windmill.
Windrider Mill Mid-Level Warp Spire. Two on top of a small windmill.
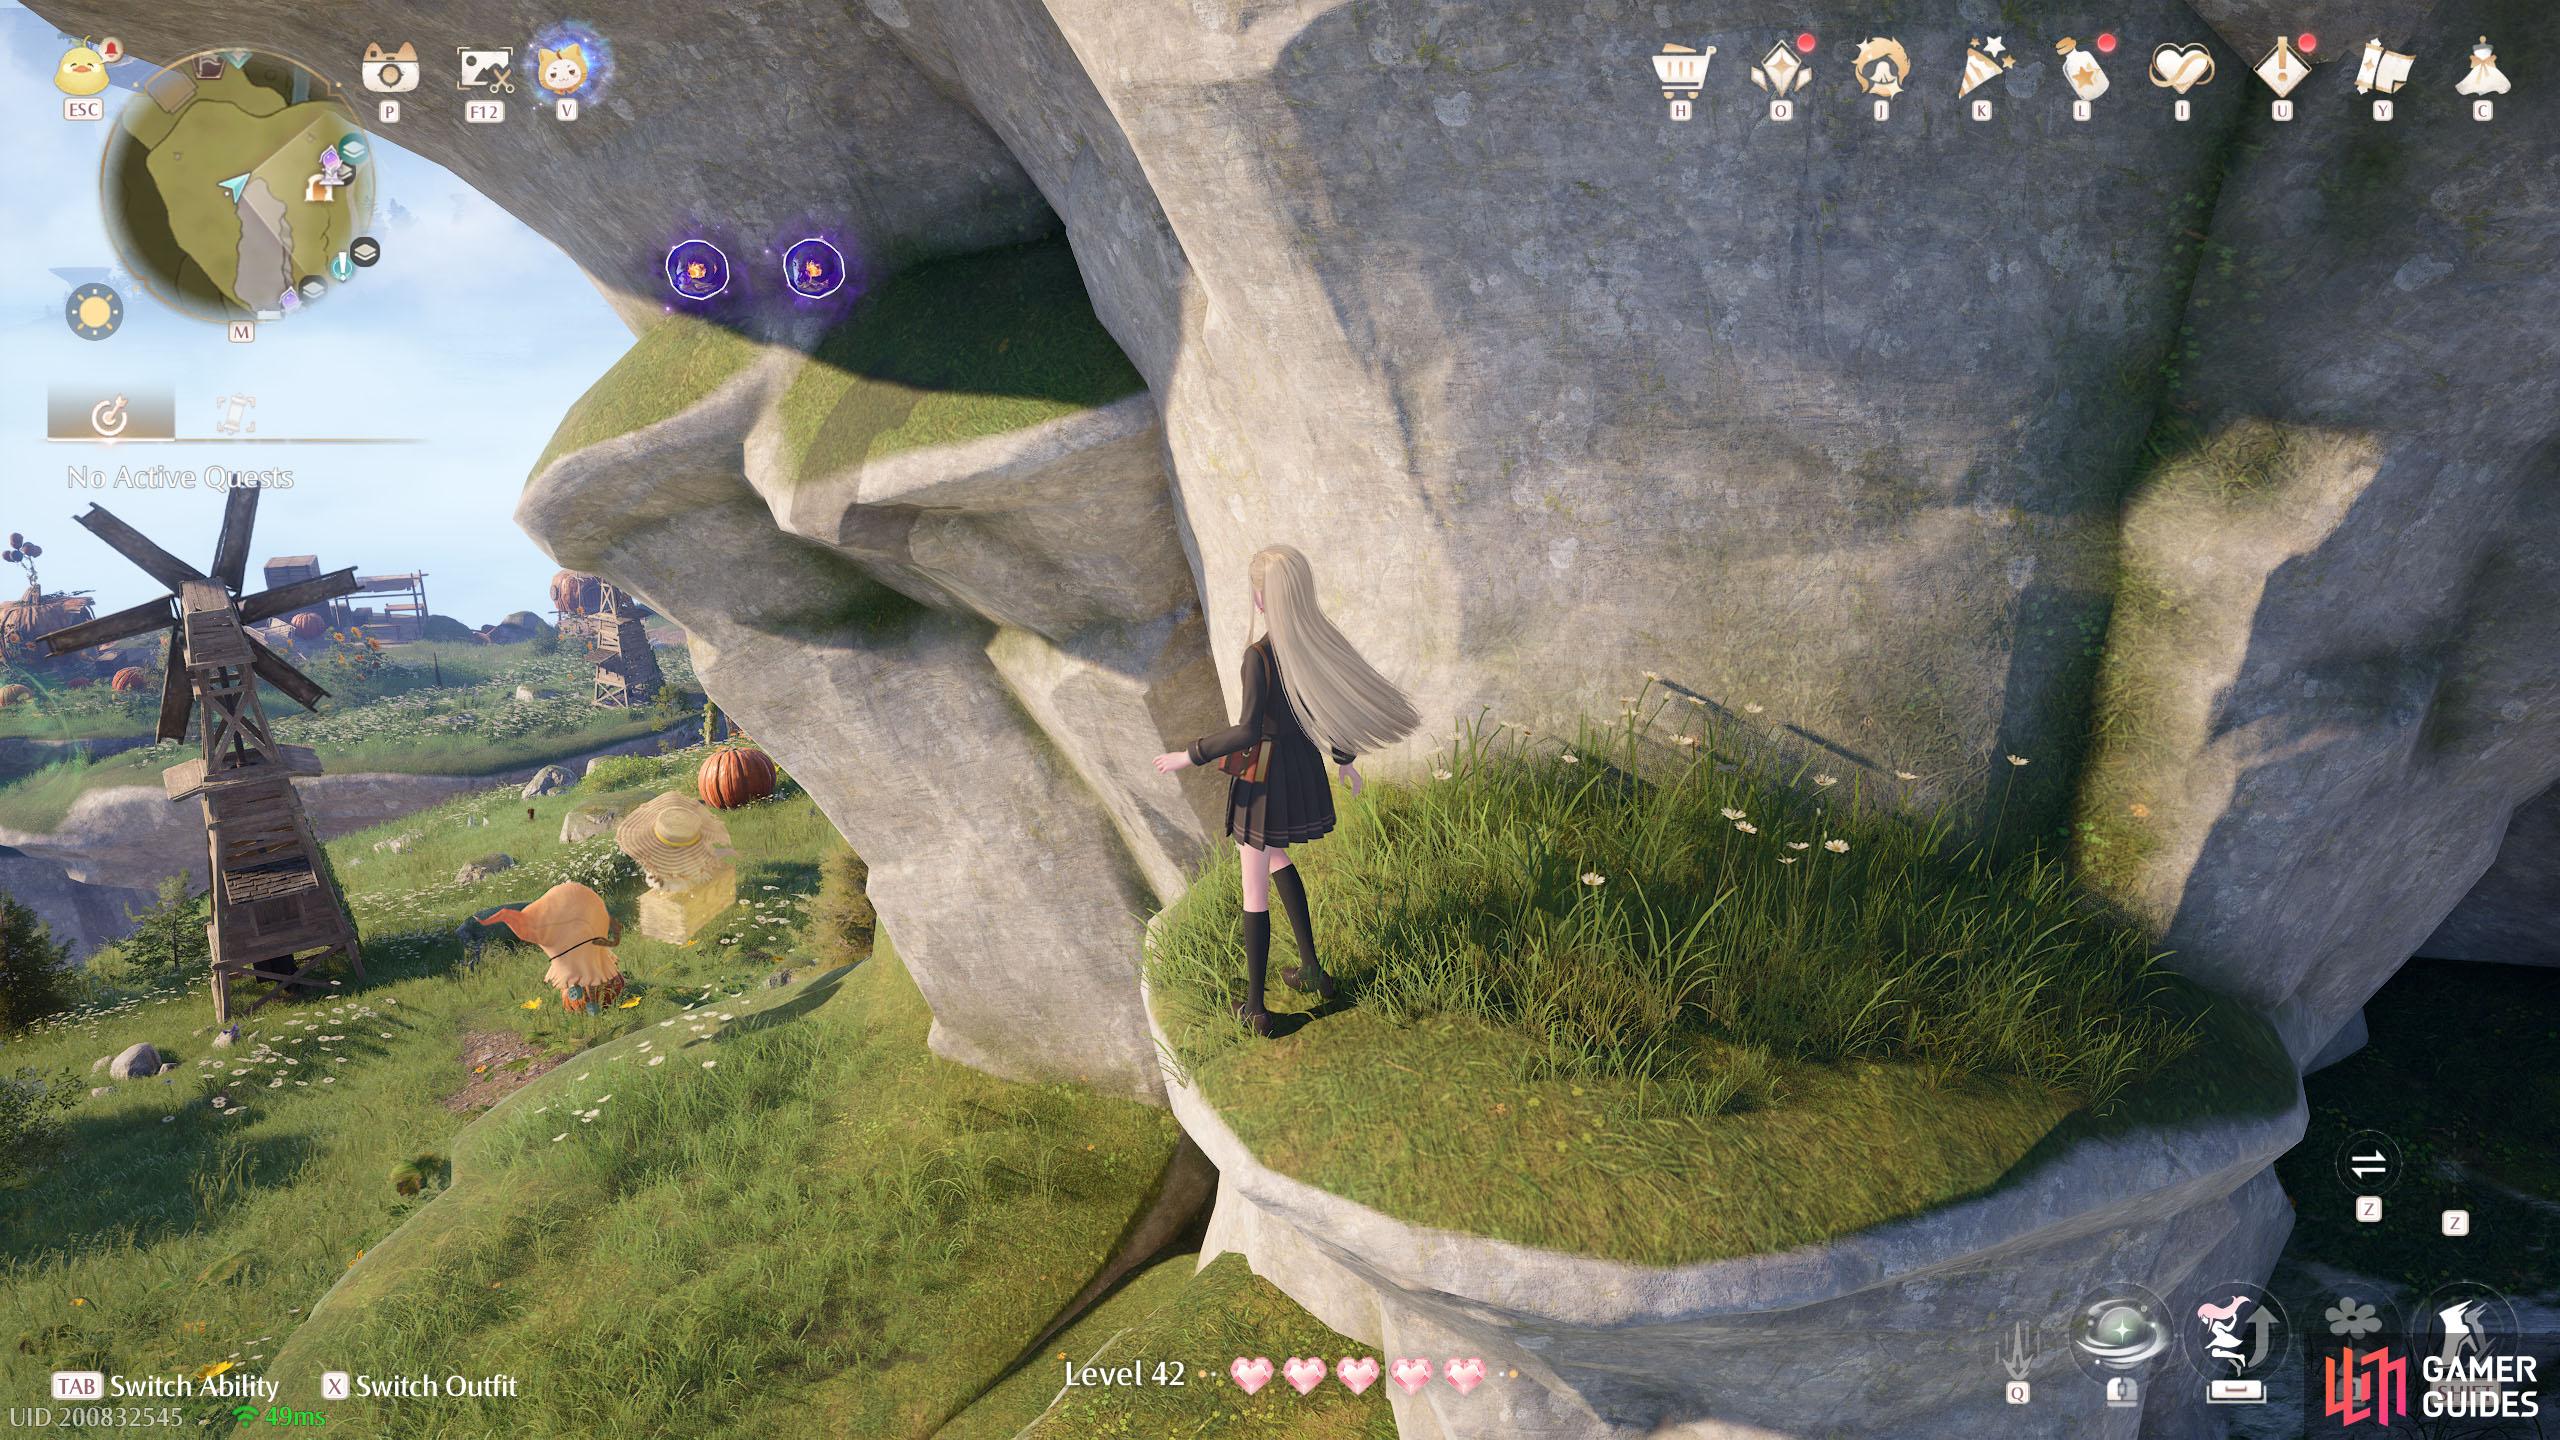
655. Miraland Map
West from ![]() Windrider Mill Mid-Level, around the middle level. Two on a high up shelf.
Windrider Mill Mid-Level, around the middle level. Two on a high up shelf.
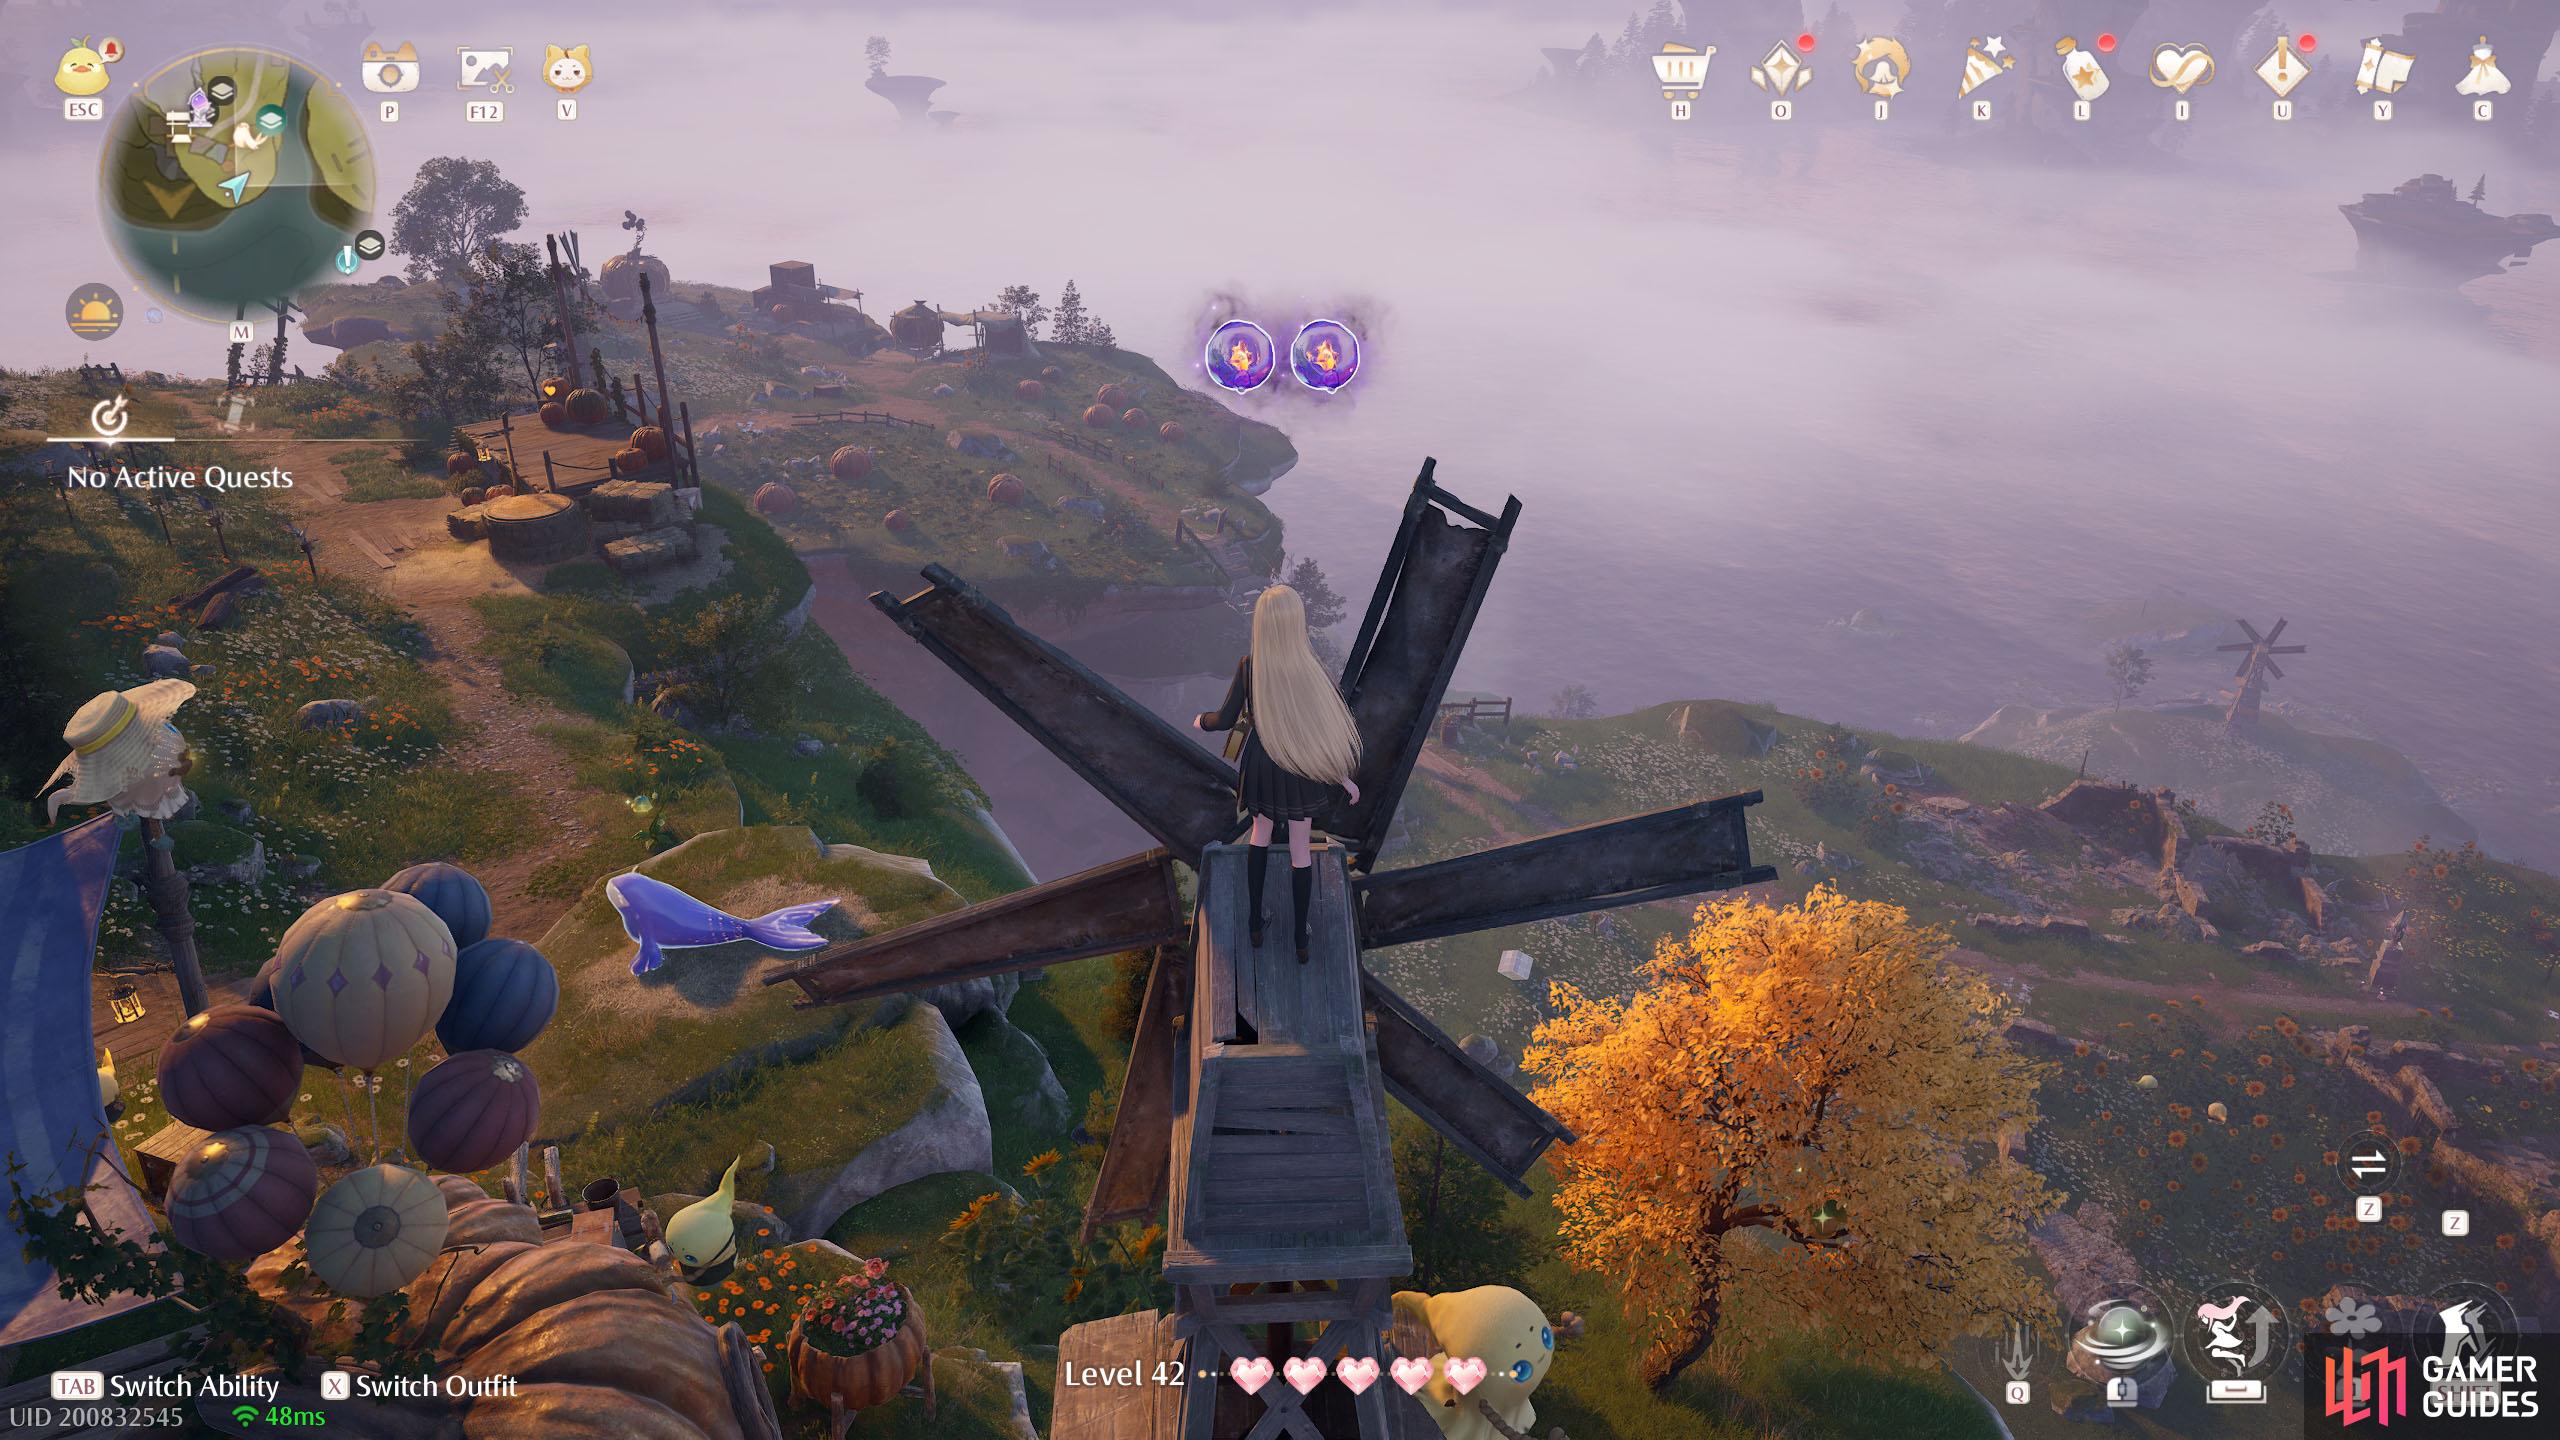
656. Miraland Map
South from ![]() Windrider Mill Mid-Level, around the middle level. Two above a small windmill.
Windrider Mill Mid-Level, around the middle level. Two above a small windmill.
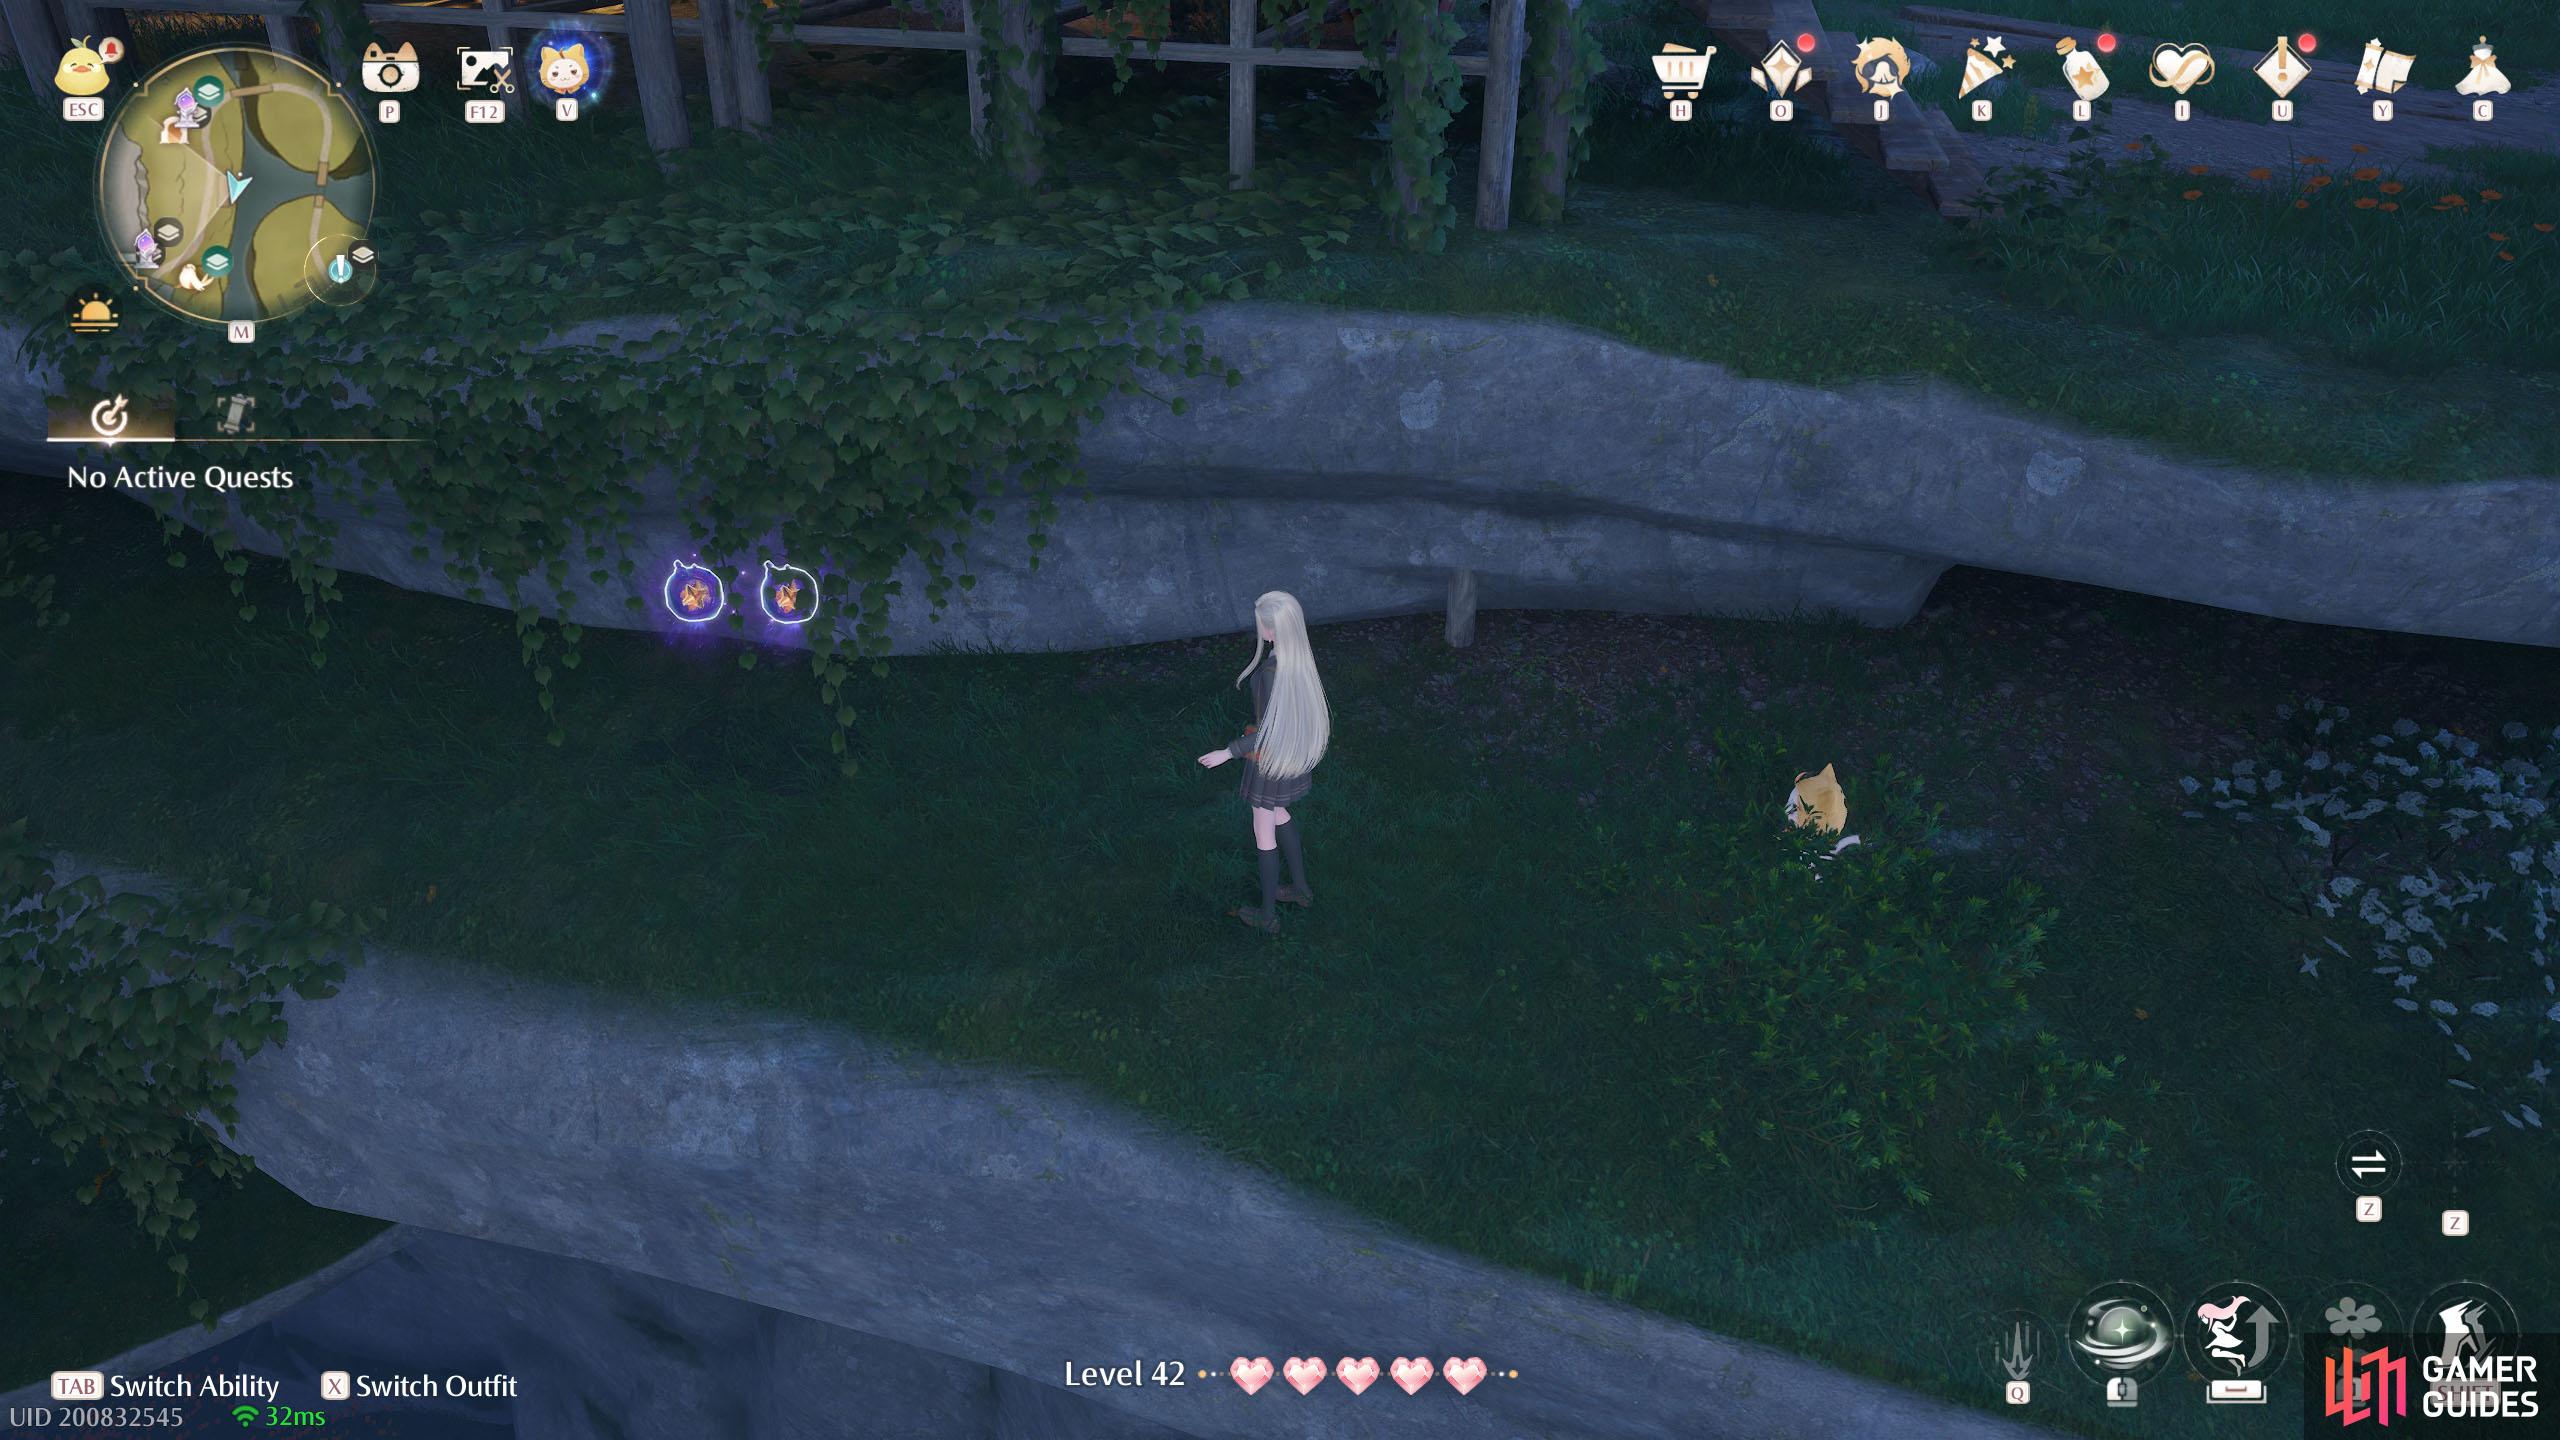
657. Miraland Map
South and slightly east from ![]() Windrider Mill Mid-Level. Two on a lower ledge just past the wooden platform.
Windrider Mill Mid-Level. Two on a lower ledge just past the wooden platform.
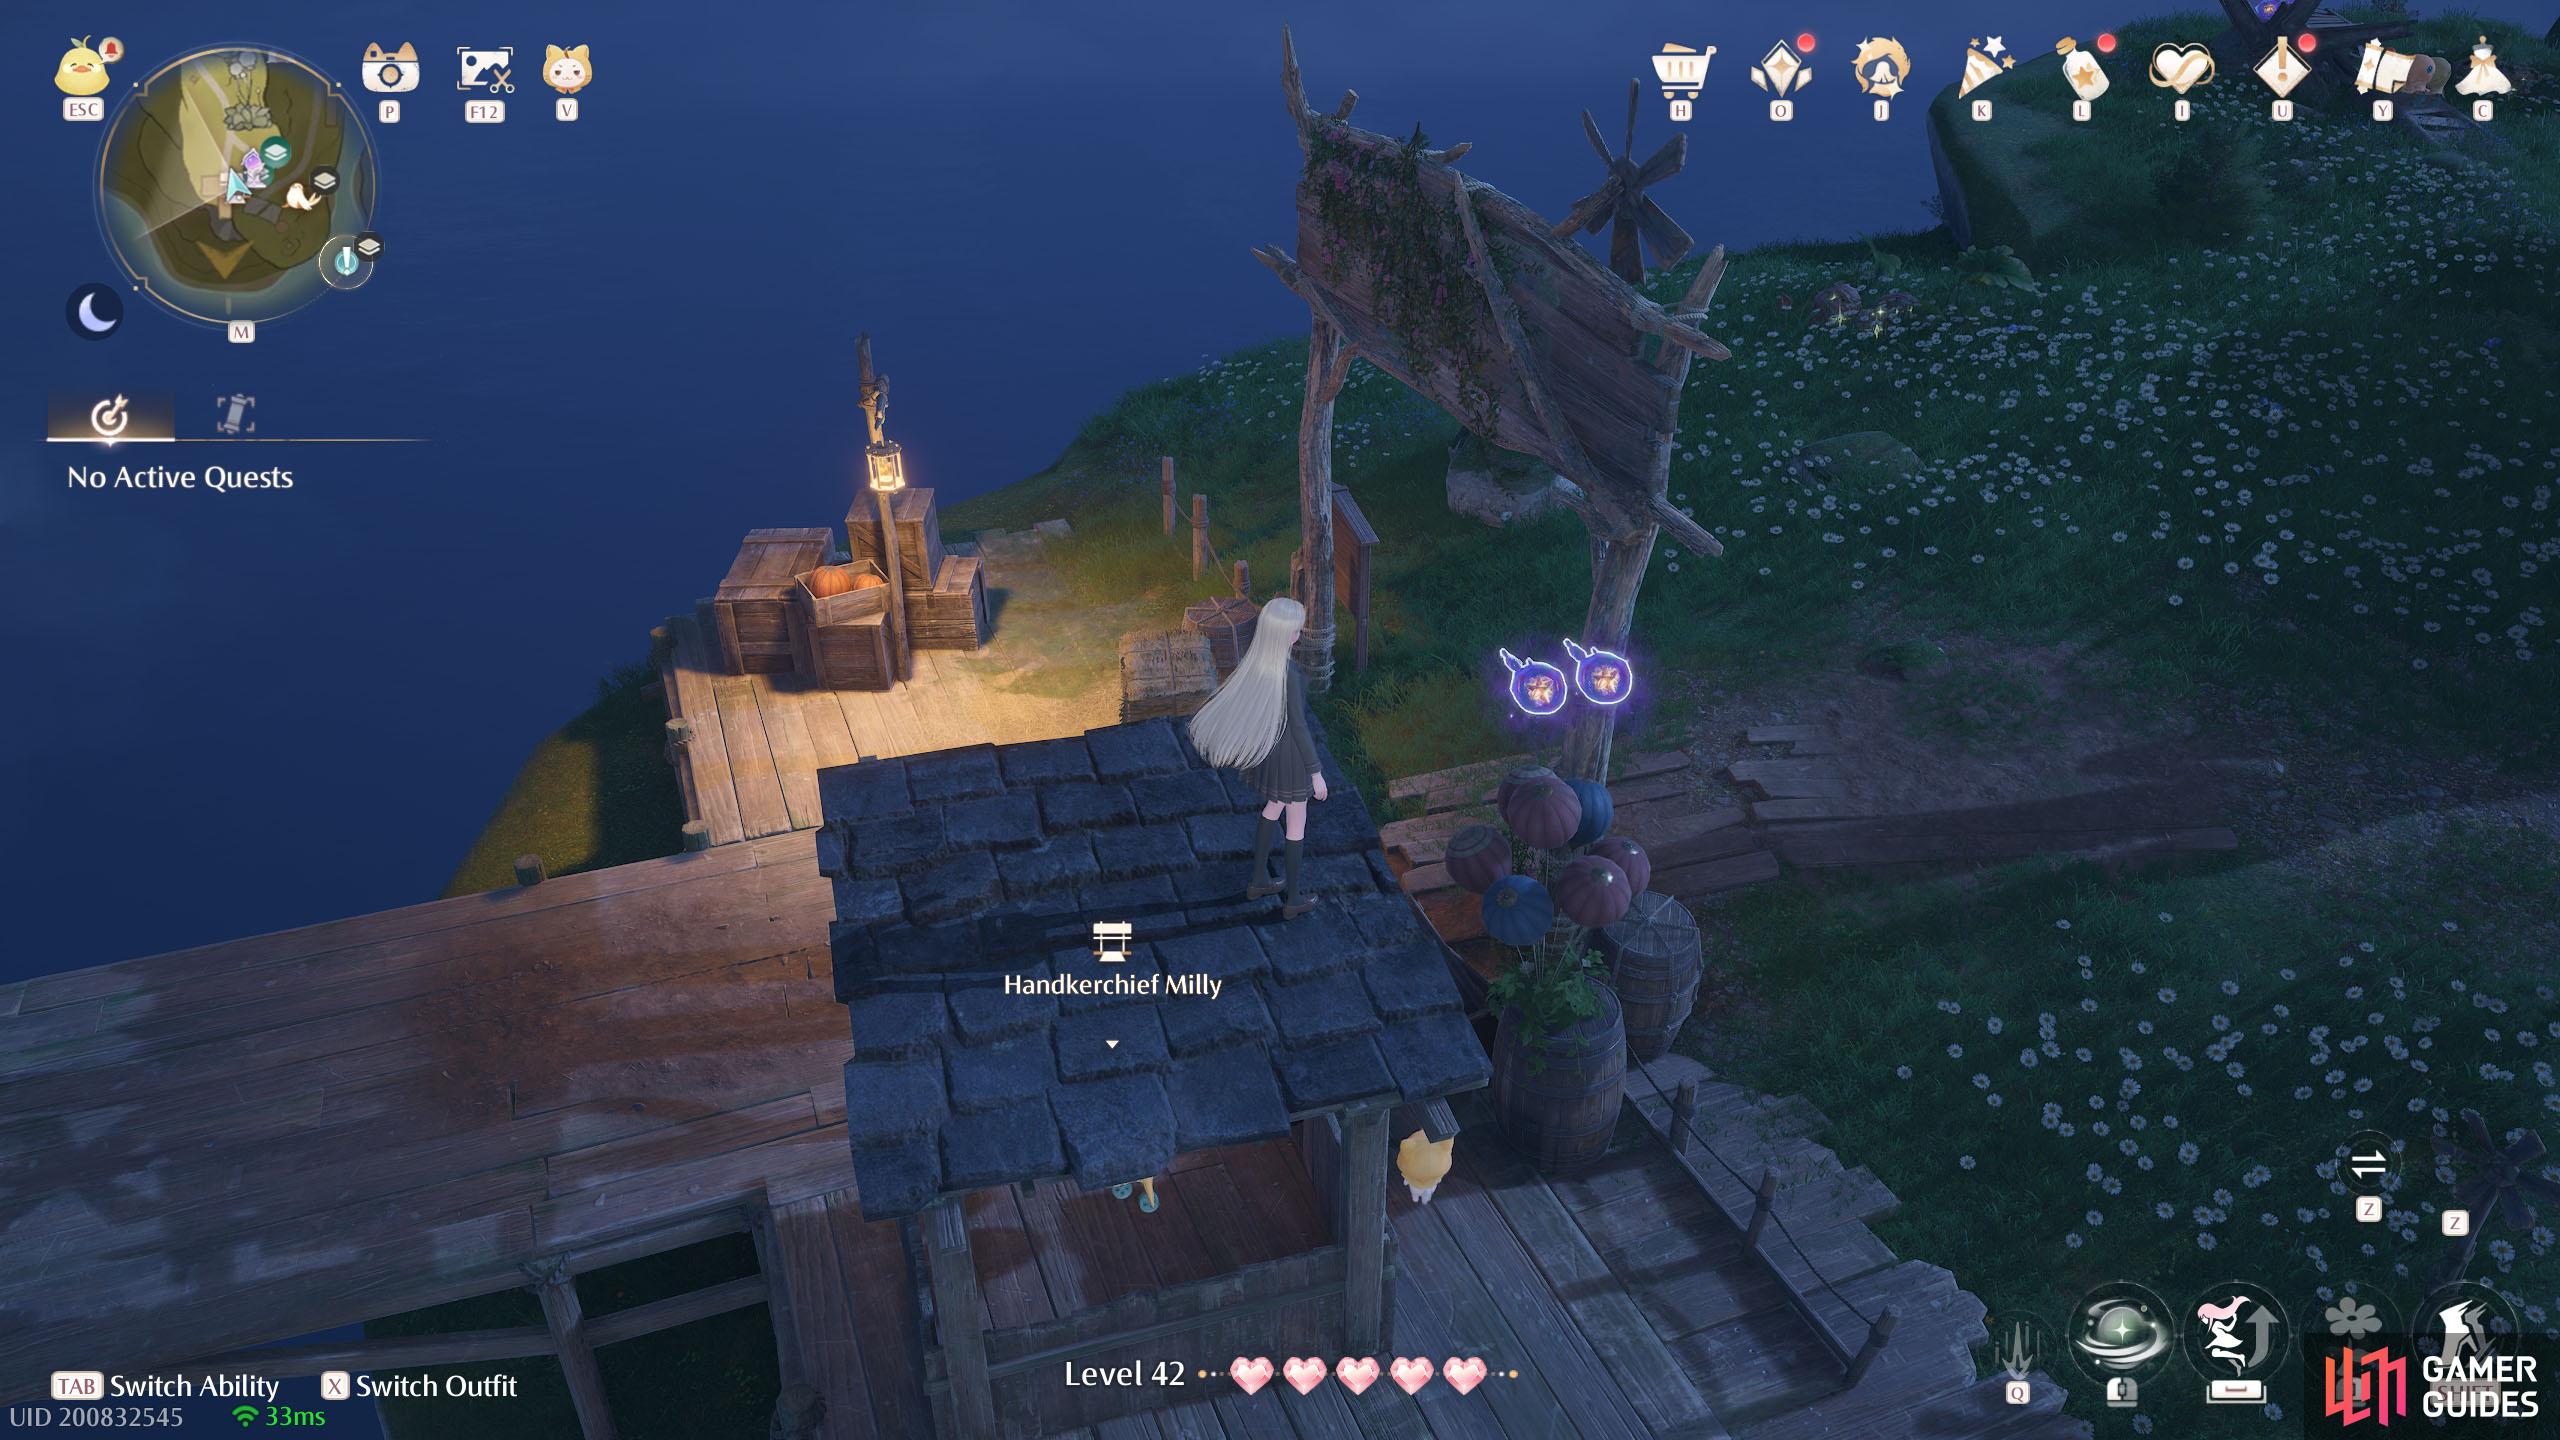
658. Miraland Map
Next to the ![]() Windrider Mill Top Warp Spire. Two floating near the top of the gliding station stall.
Windrider Mill Top Warp Spire. Two floating near the top of the gliding station stall.
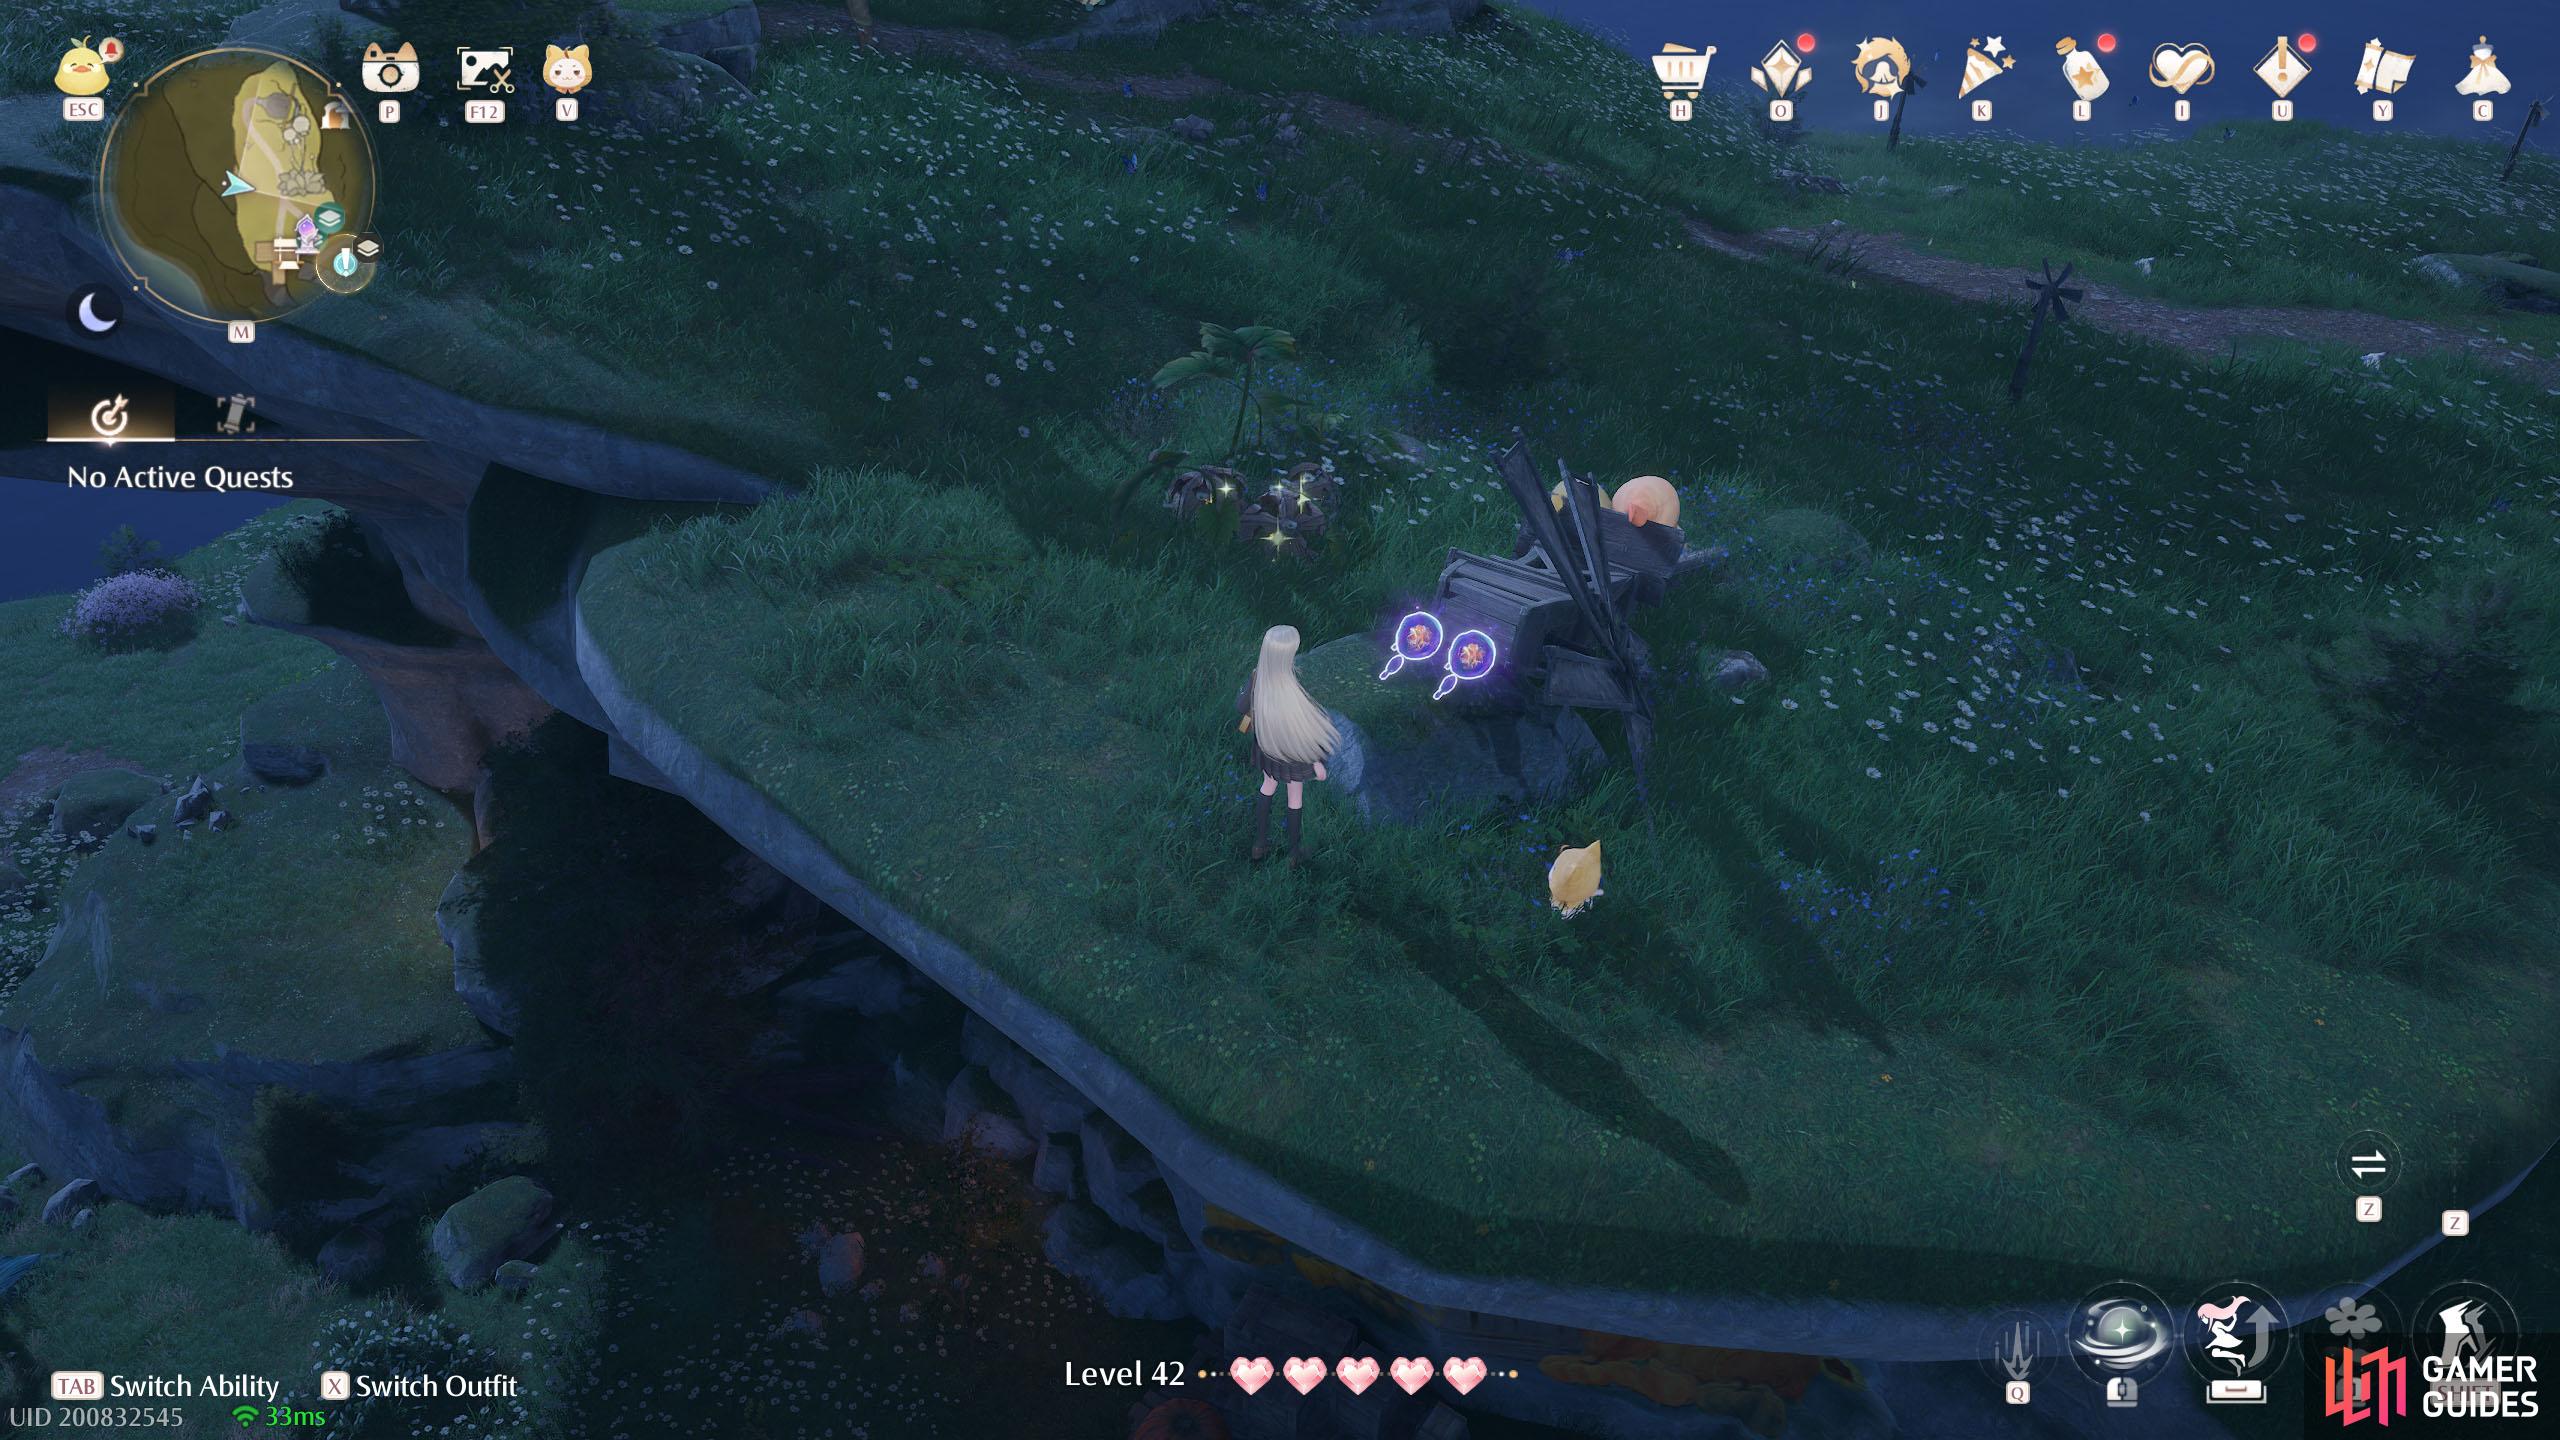
659. Miraland Map
North-west from ![]() Windrider Mill Top, on the top level. Two behind a fallen windmill.
Windrider Mill Top, on the top level. Two behind a fallen windmill.
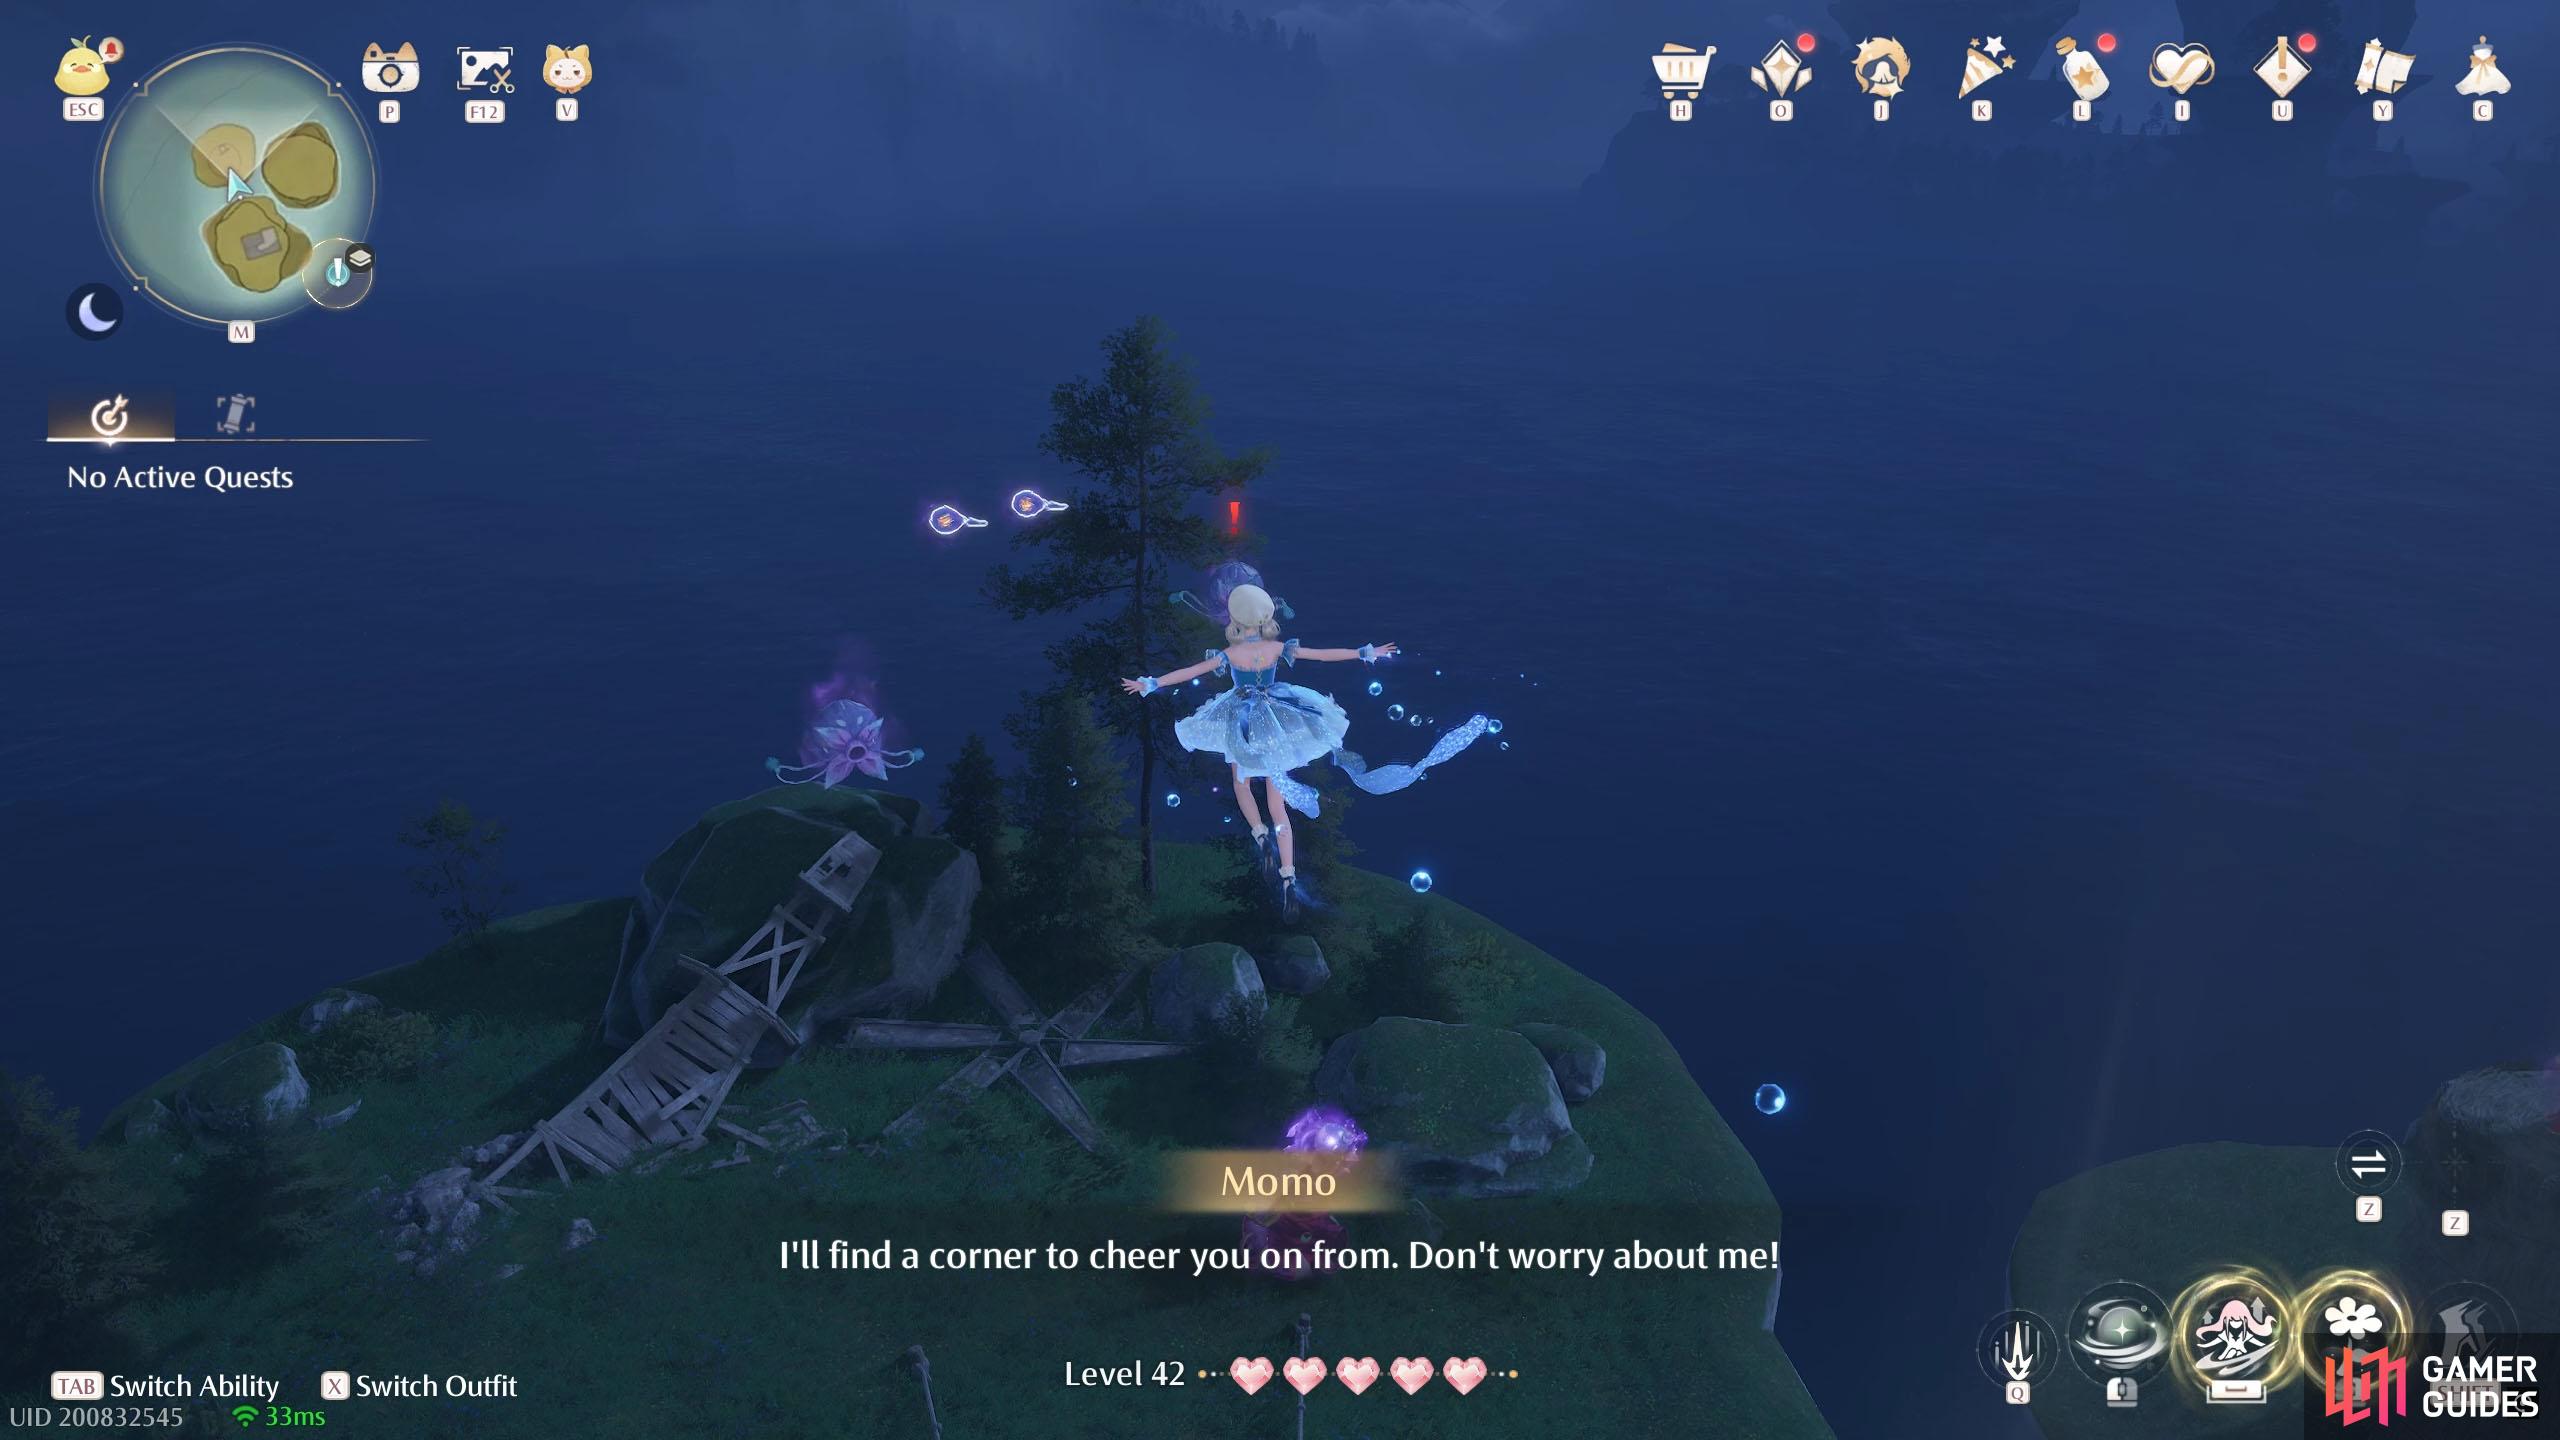
660. Miraland Map
Three small stonetrees north-west from ![]() Windrider Mill Mid-Level, across the water. Two floating above the north-west stonetree. There are Esselings over there.
Windrider Mill Mid-Level, across the water. Two floating above the north-west stonetree. There are Esselings over there.
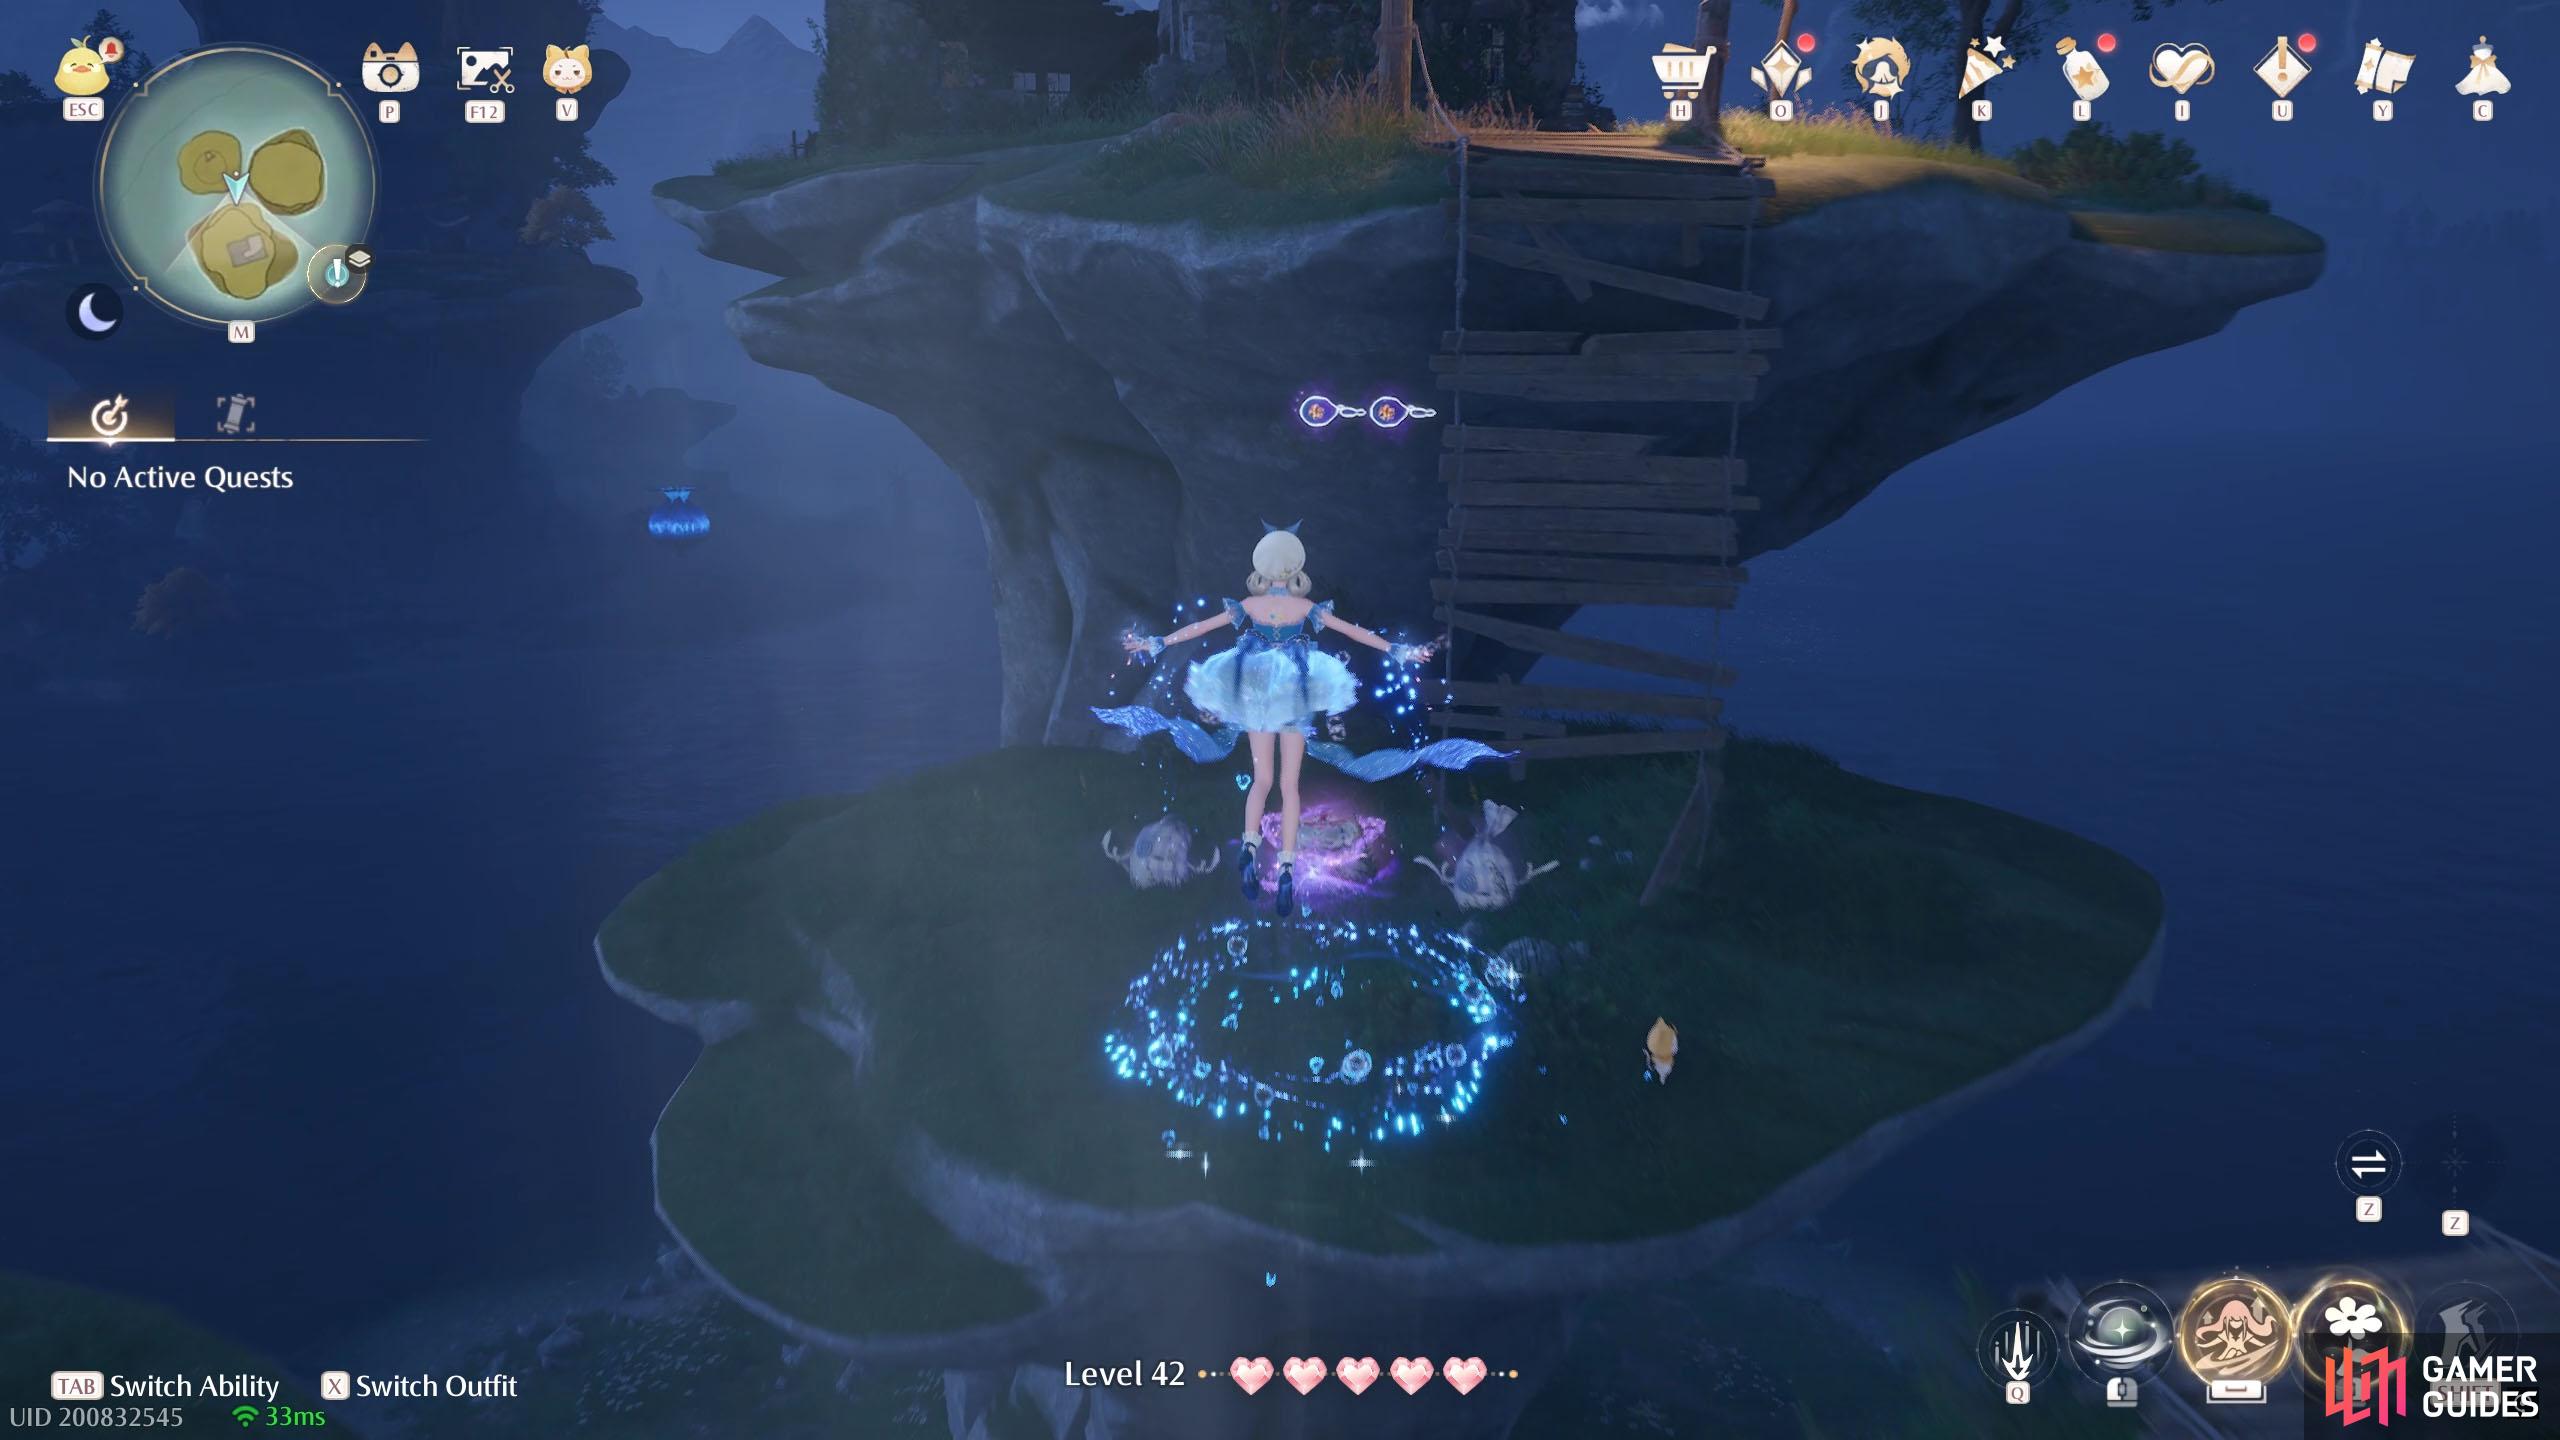
661. Miraland Map
Three small stonetrees north-west from ![]() Windrider Mill Mid-Level, across the water. Two next to the broken suspension bridge coming from the south stonetree. There are some Esselings here and a treasure chest.
Windrider Mill Mid-Level, across the water. Two next to the broken suspension bridge coming from the south stonetree. There are some Esselings here and a treasure chest.
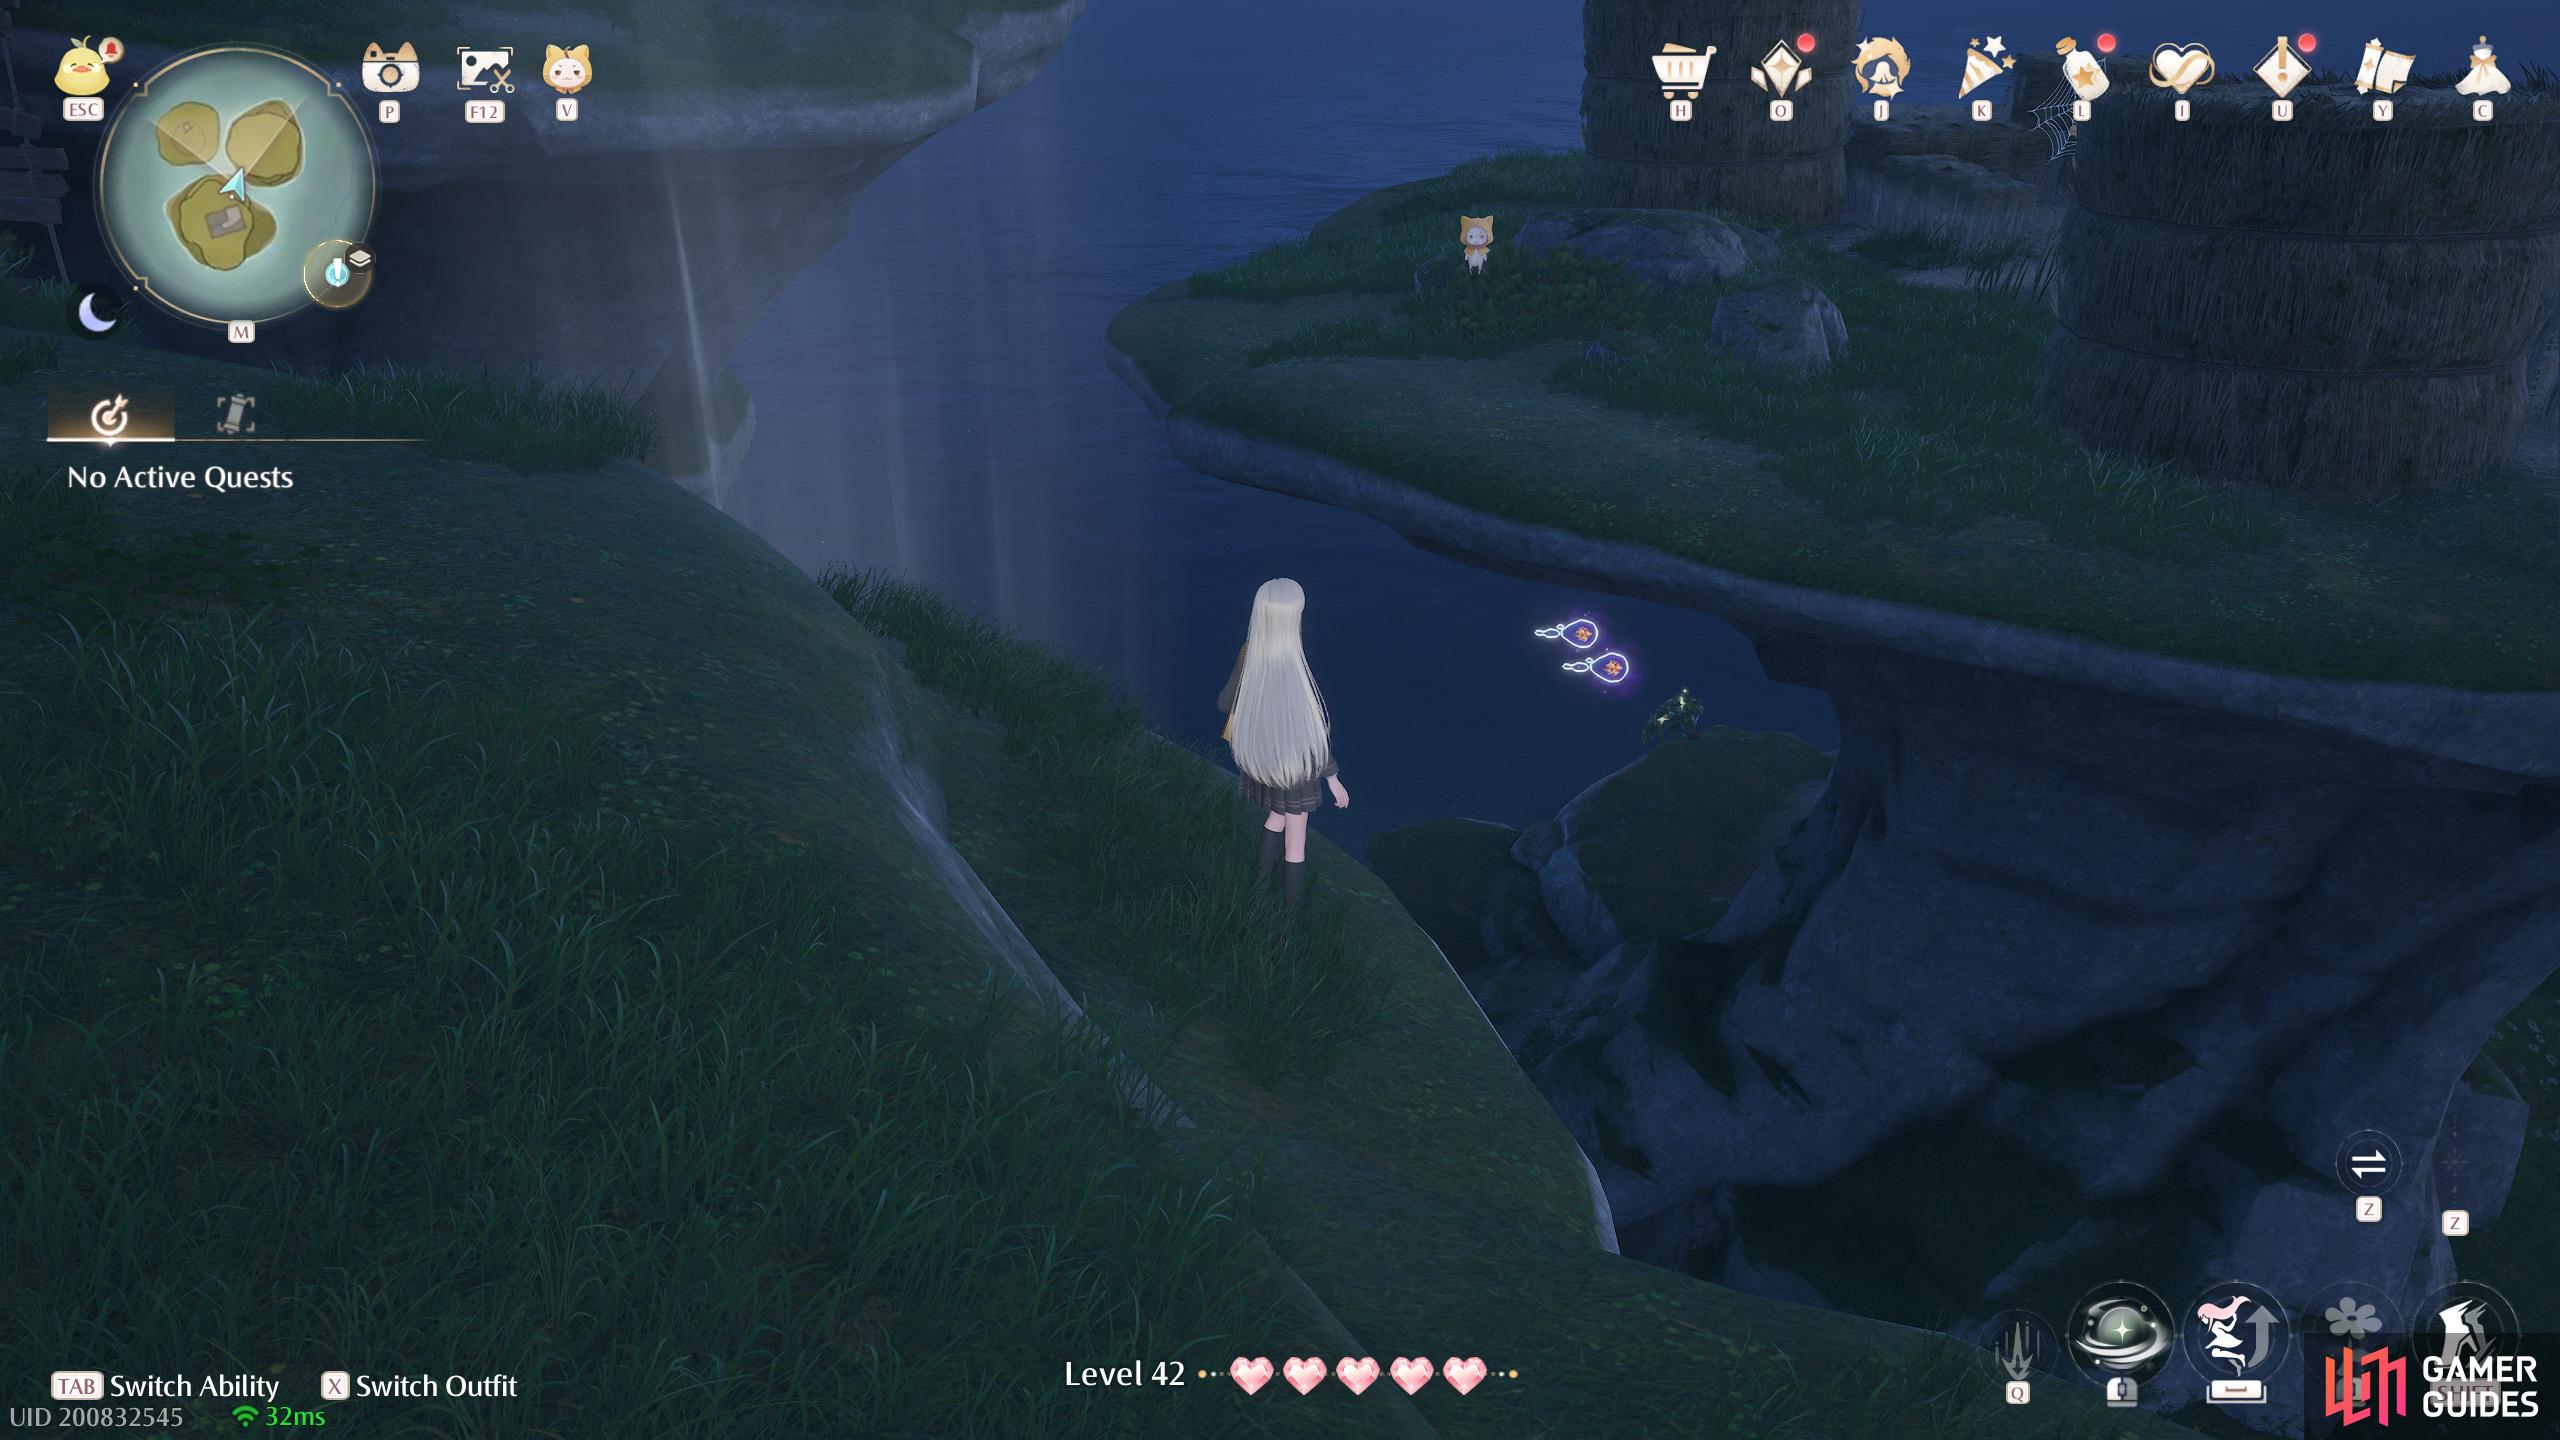
662. Miraland Map
Three small stonetrees north-west from ![]() Windrider Mill Mid-Level, across the water. Two just under the canopy of the north-east stonetree, near the center point of the three stonetrees.
Windrider Mill Mid-Level, across the water. Two just under the canopy of the north-east stonetree, near the center point of the three stonetrees.
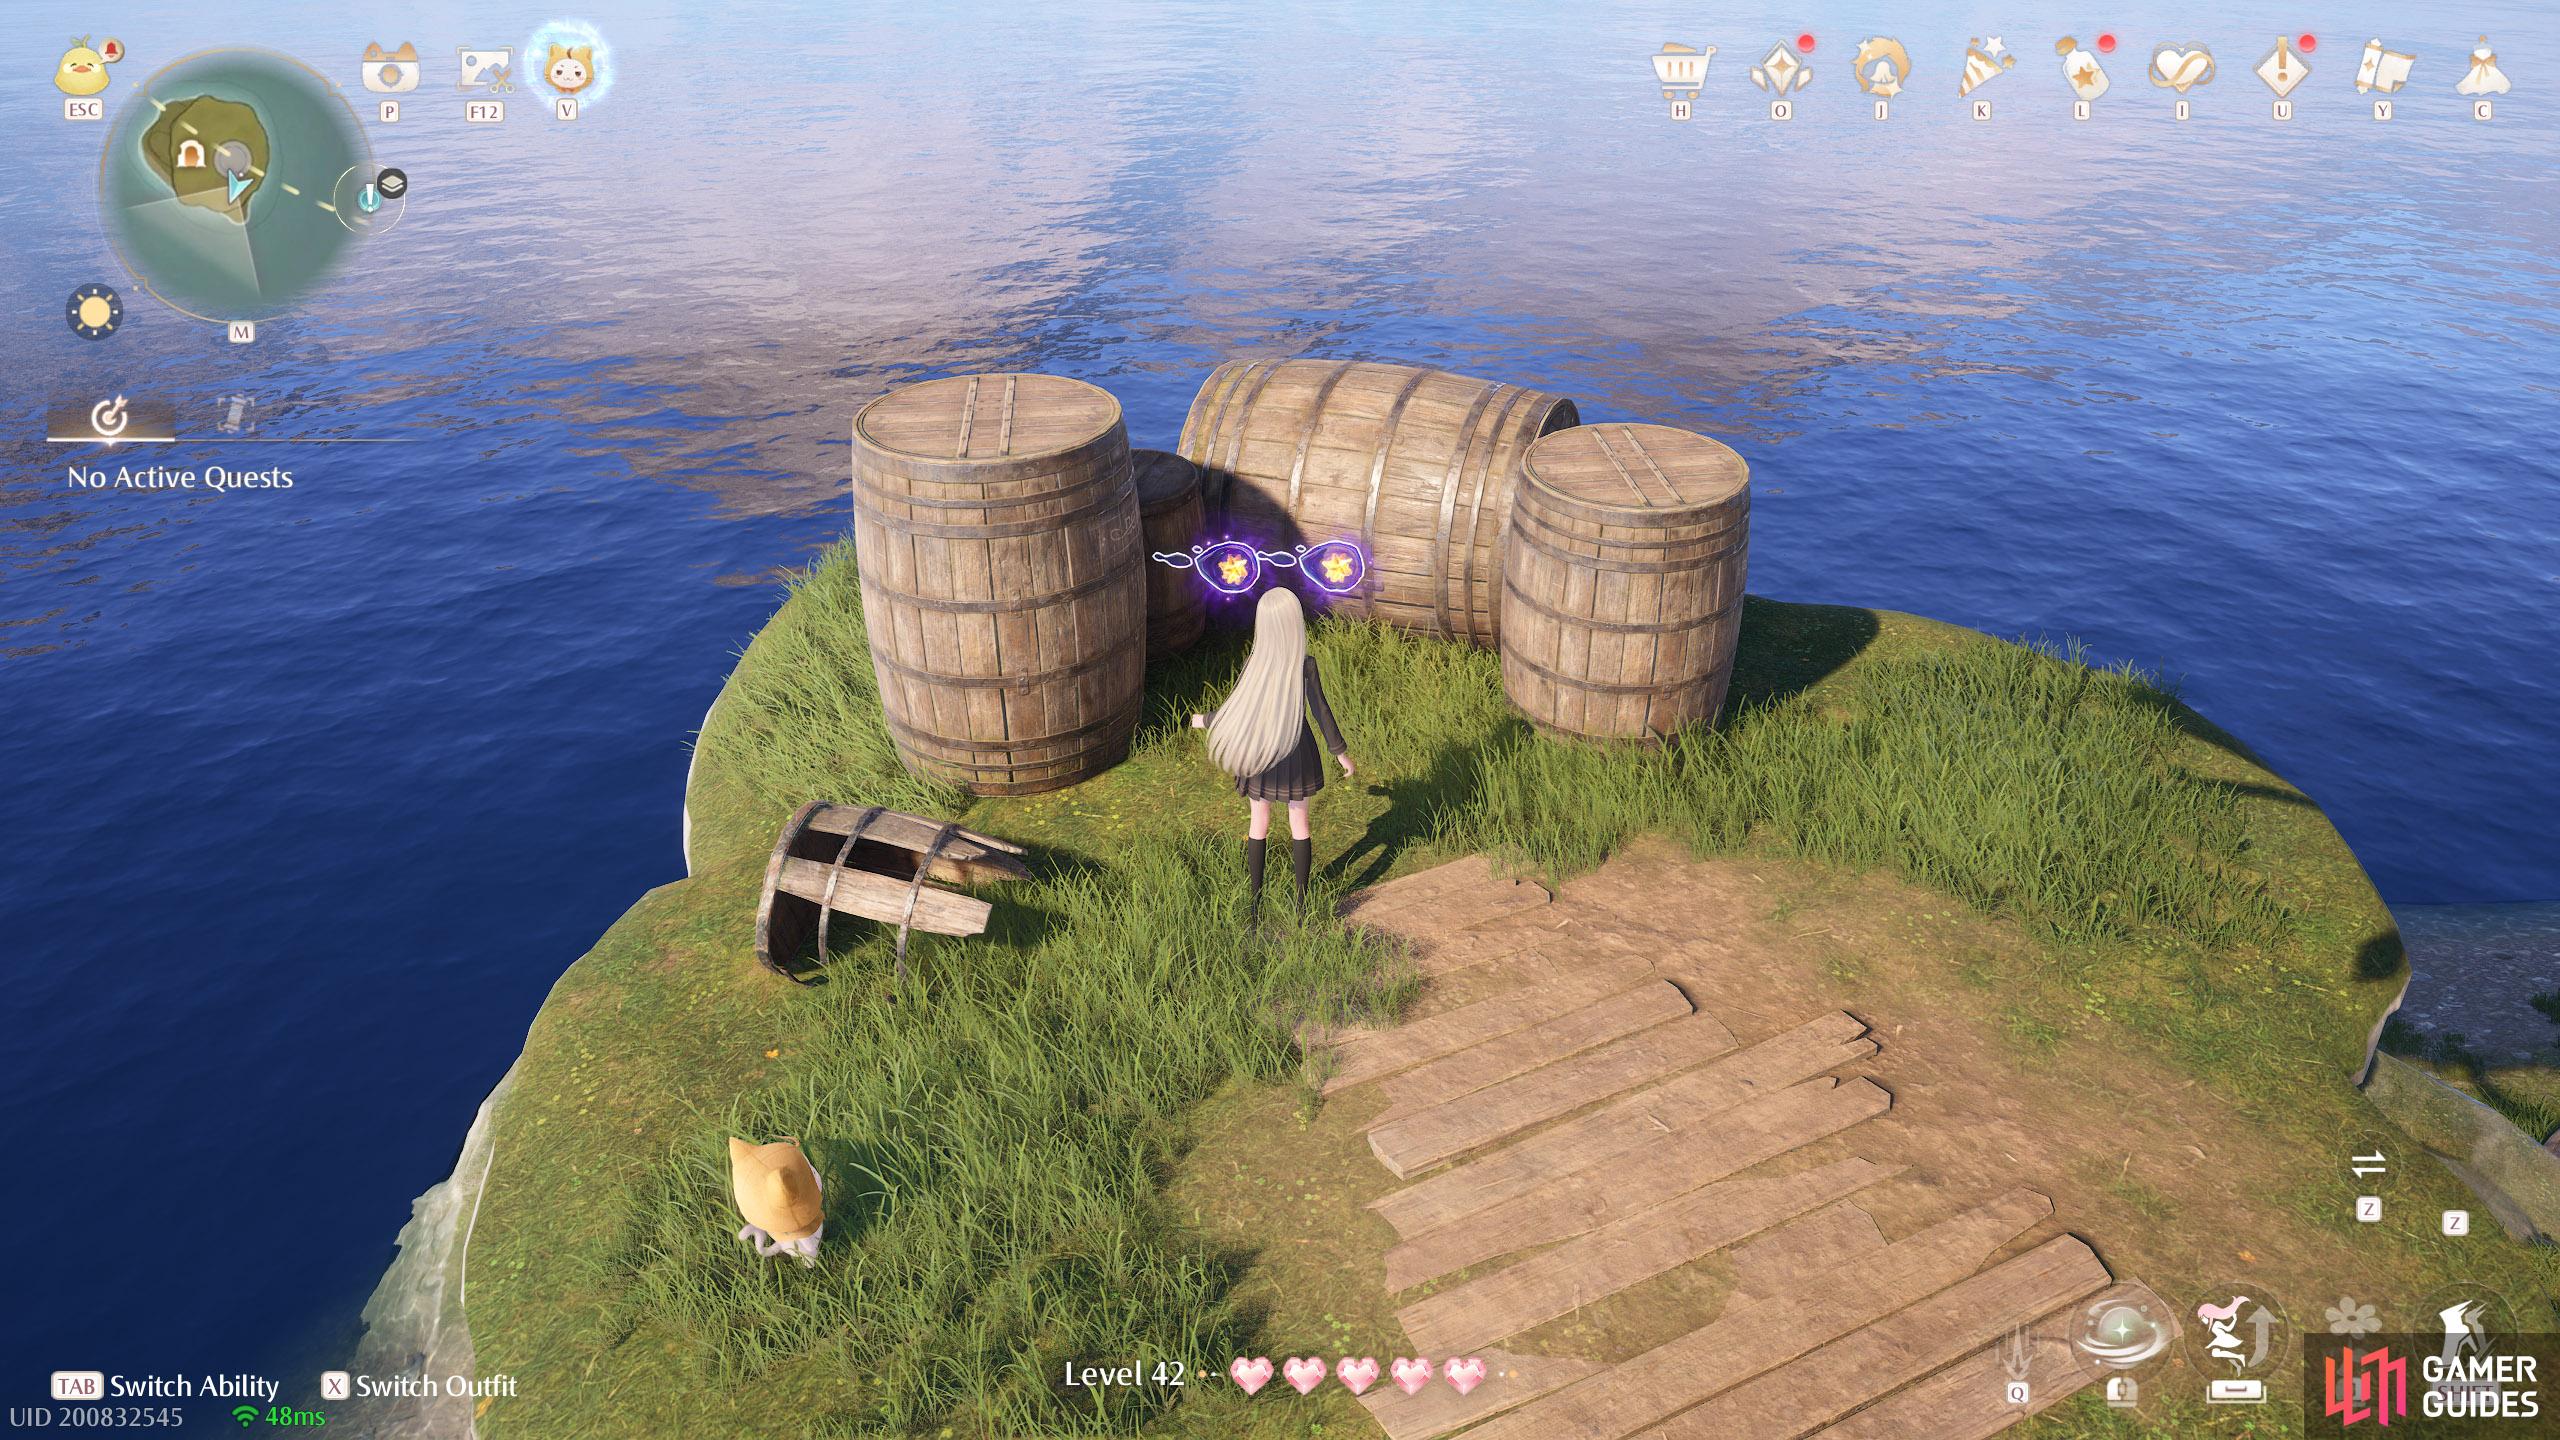
663. Miraland Map
South-east from ![]() Small Stonetree Cavern. Under the stonetree canopy. Two near some barrels.
Small Stonetree Cavern. Under the stonetree canopy. Two near some barrels.

664. Miraland Map
Inside ![]() Small Stonetree Cavern. Room to the right of the chair. Three behind a pipe in the far corner, high up.
Small Stonetree Cavern. Room to the right of the chair. Three behind a pipe in the far corner, high up.
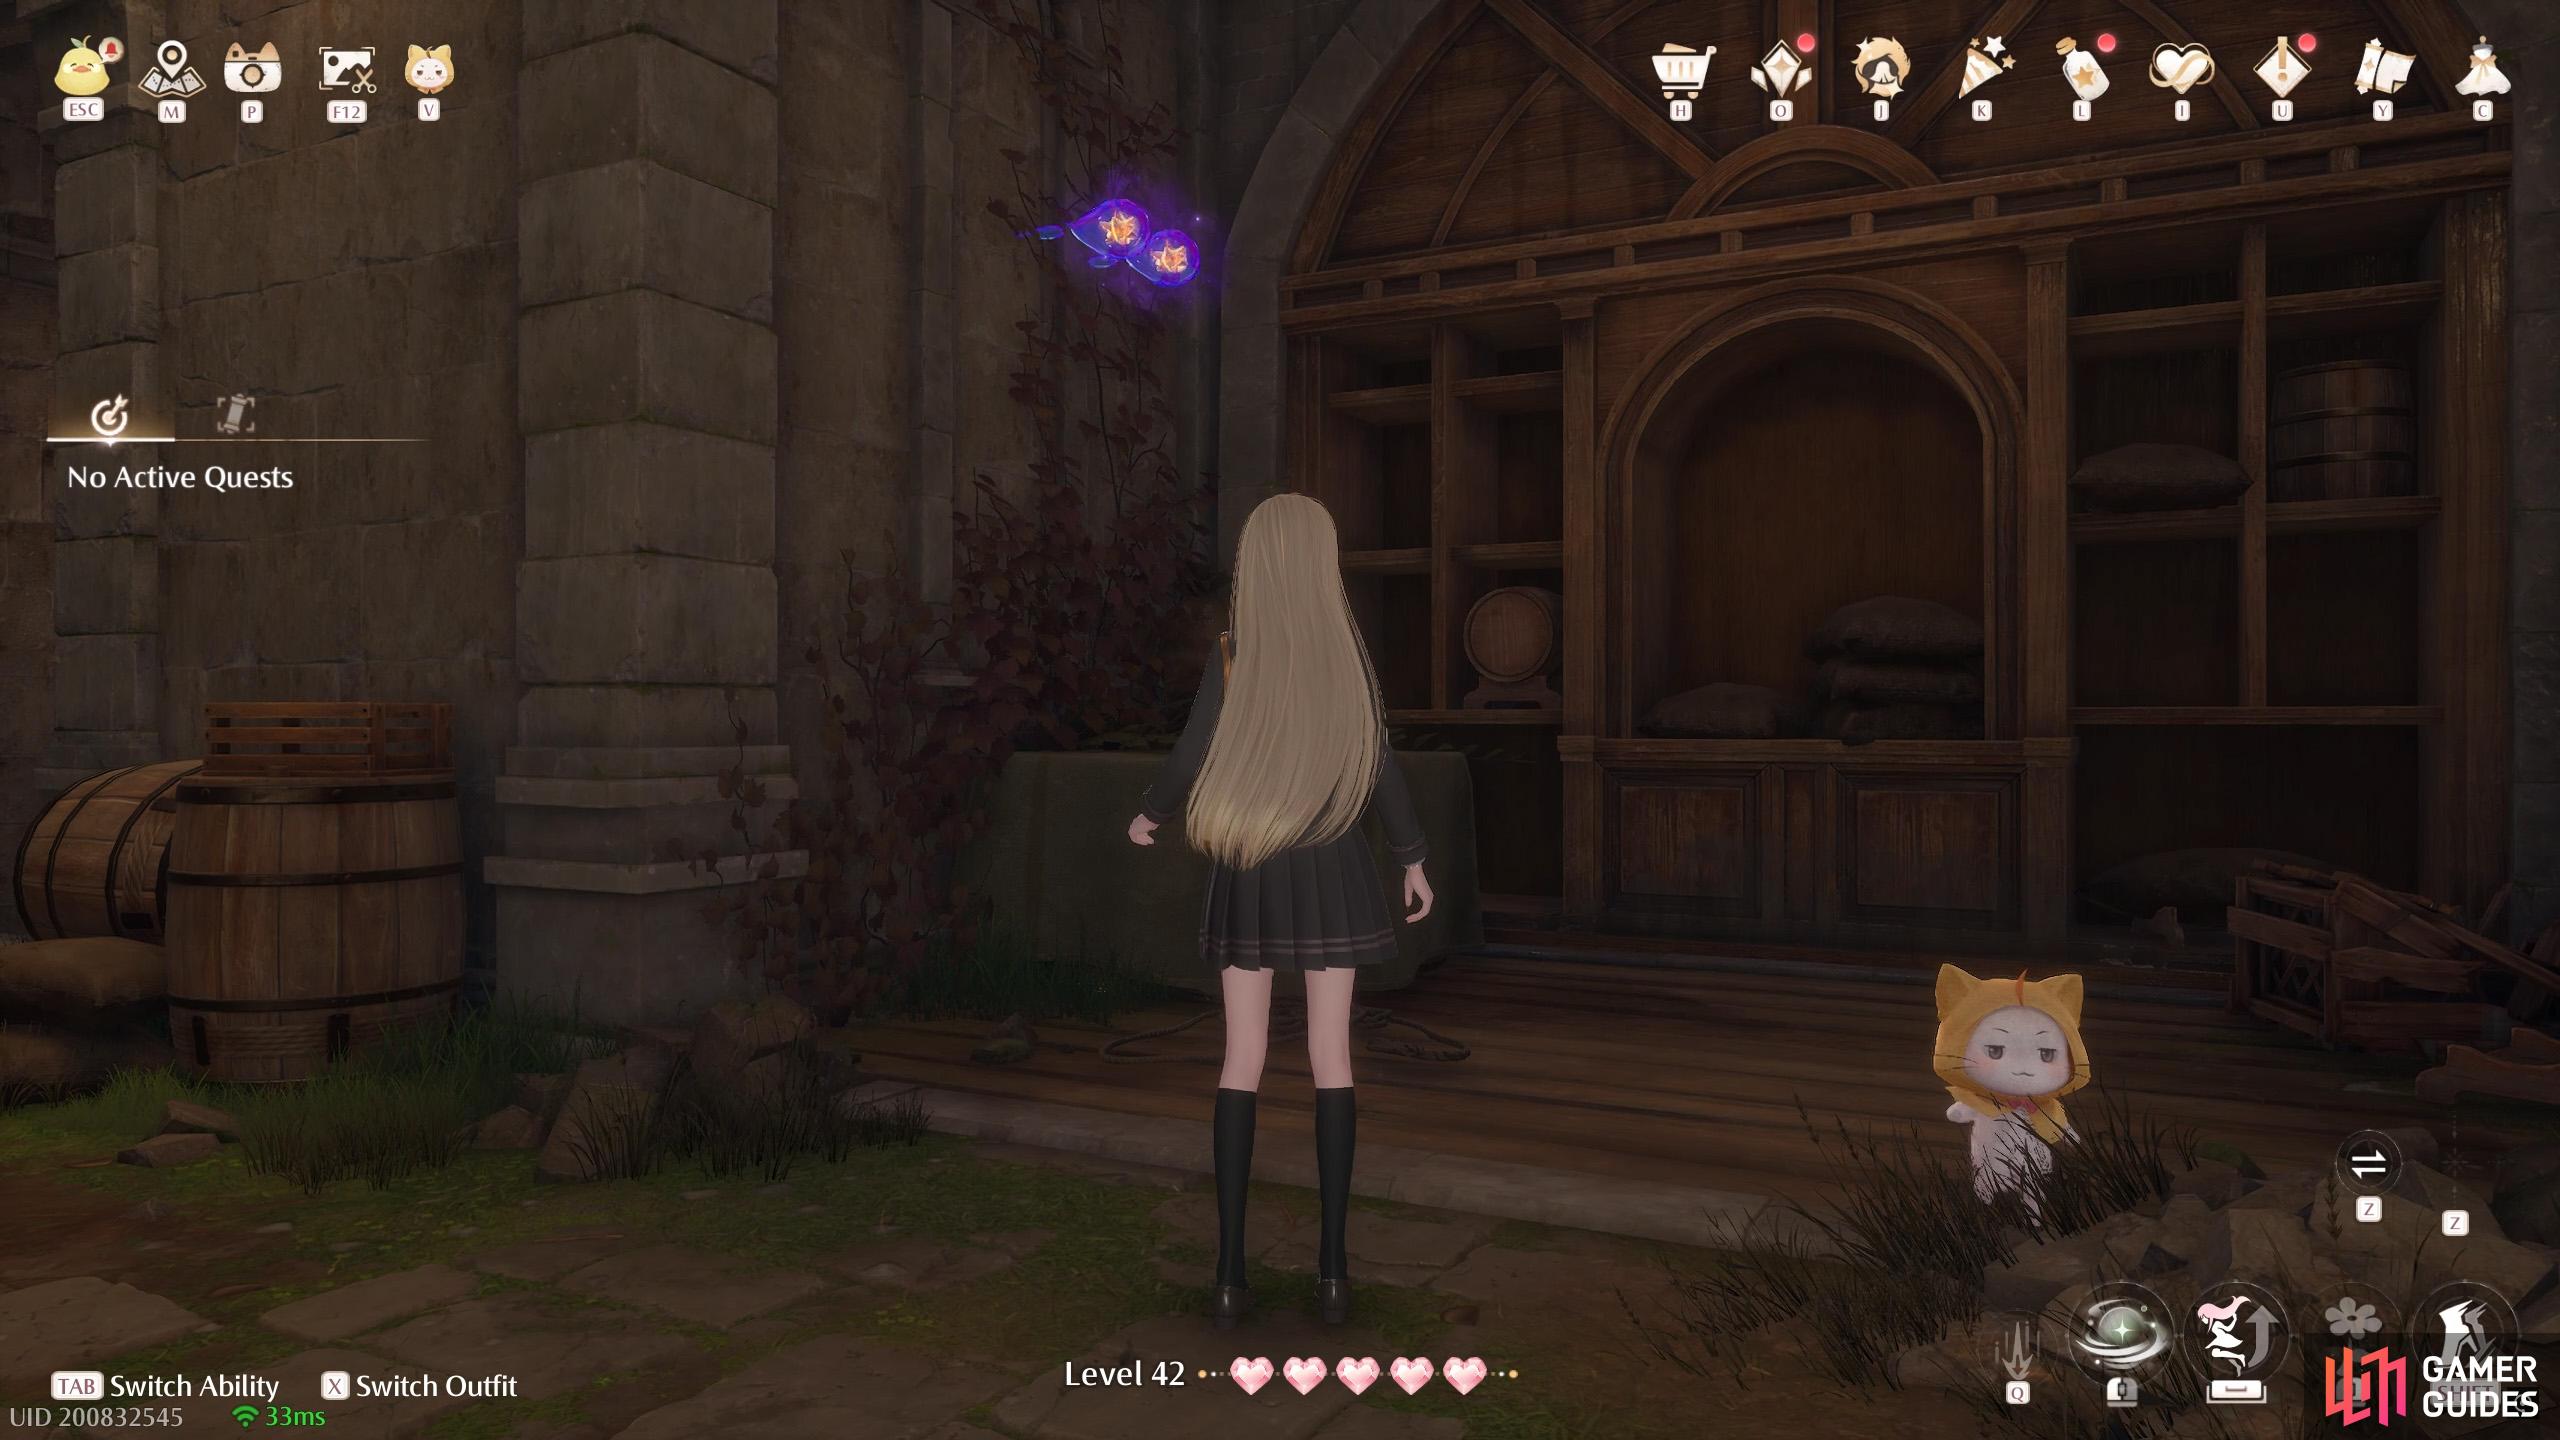
665. Miraland Map
Inside ![]() Small Stonetree Cavern. Room to the right of the chair. Two on the left, around the corner.
Small Stonetree Cavern. Room to the right of the chair. Two on the left, around the corner.
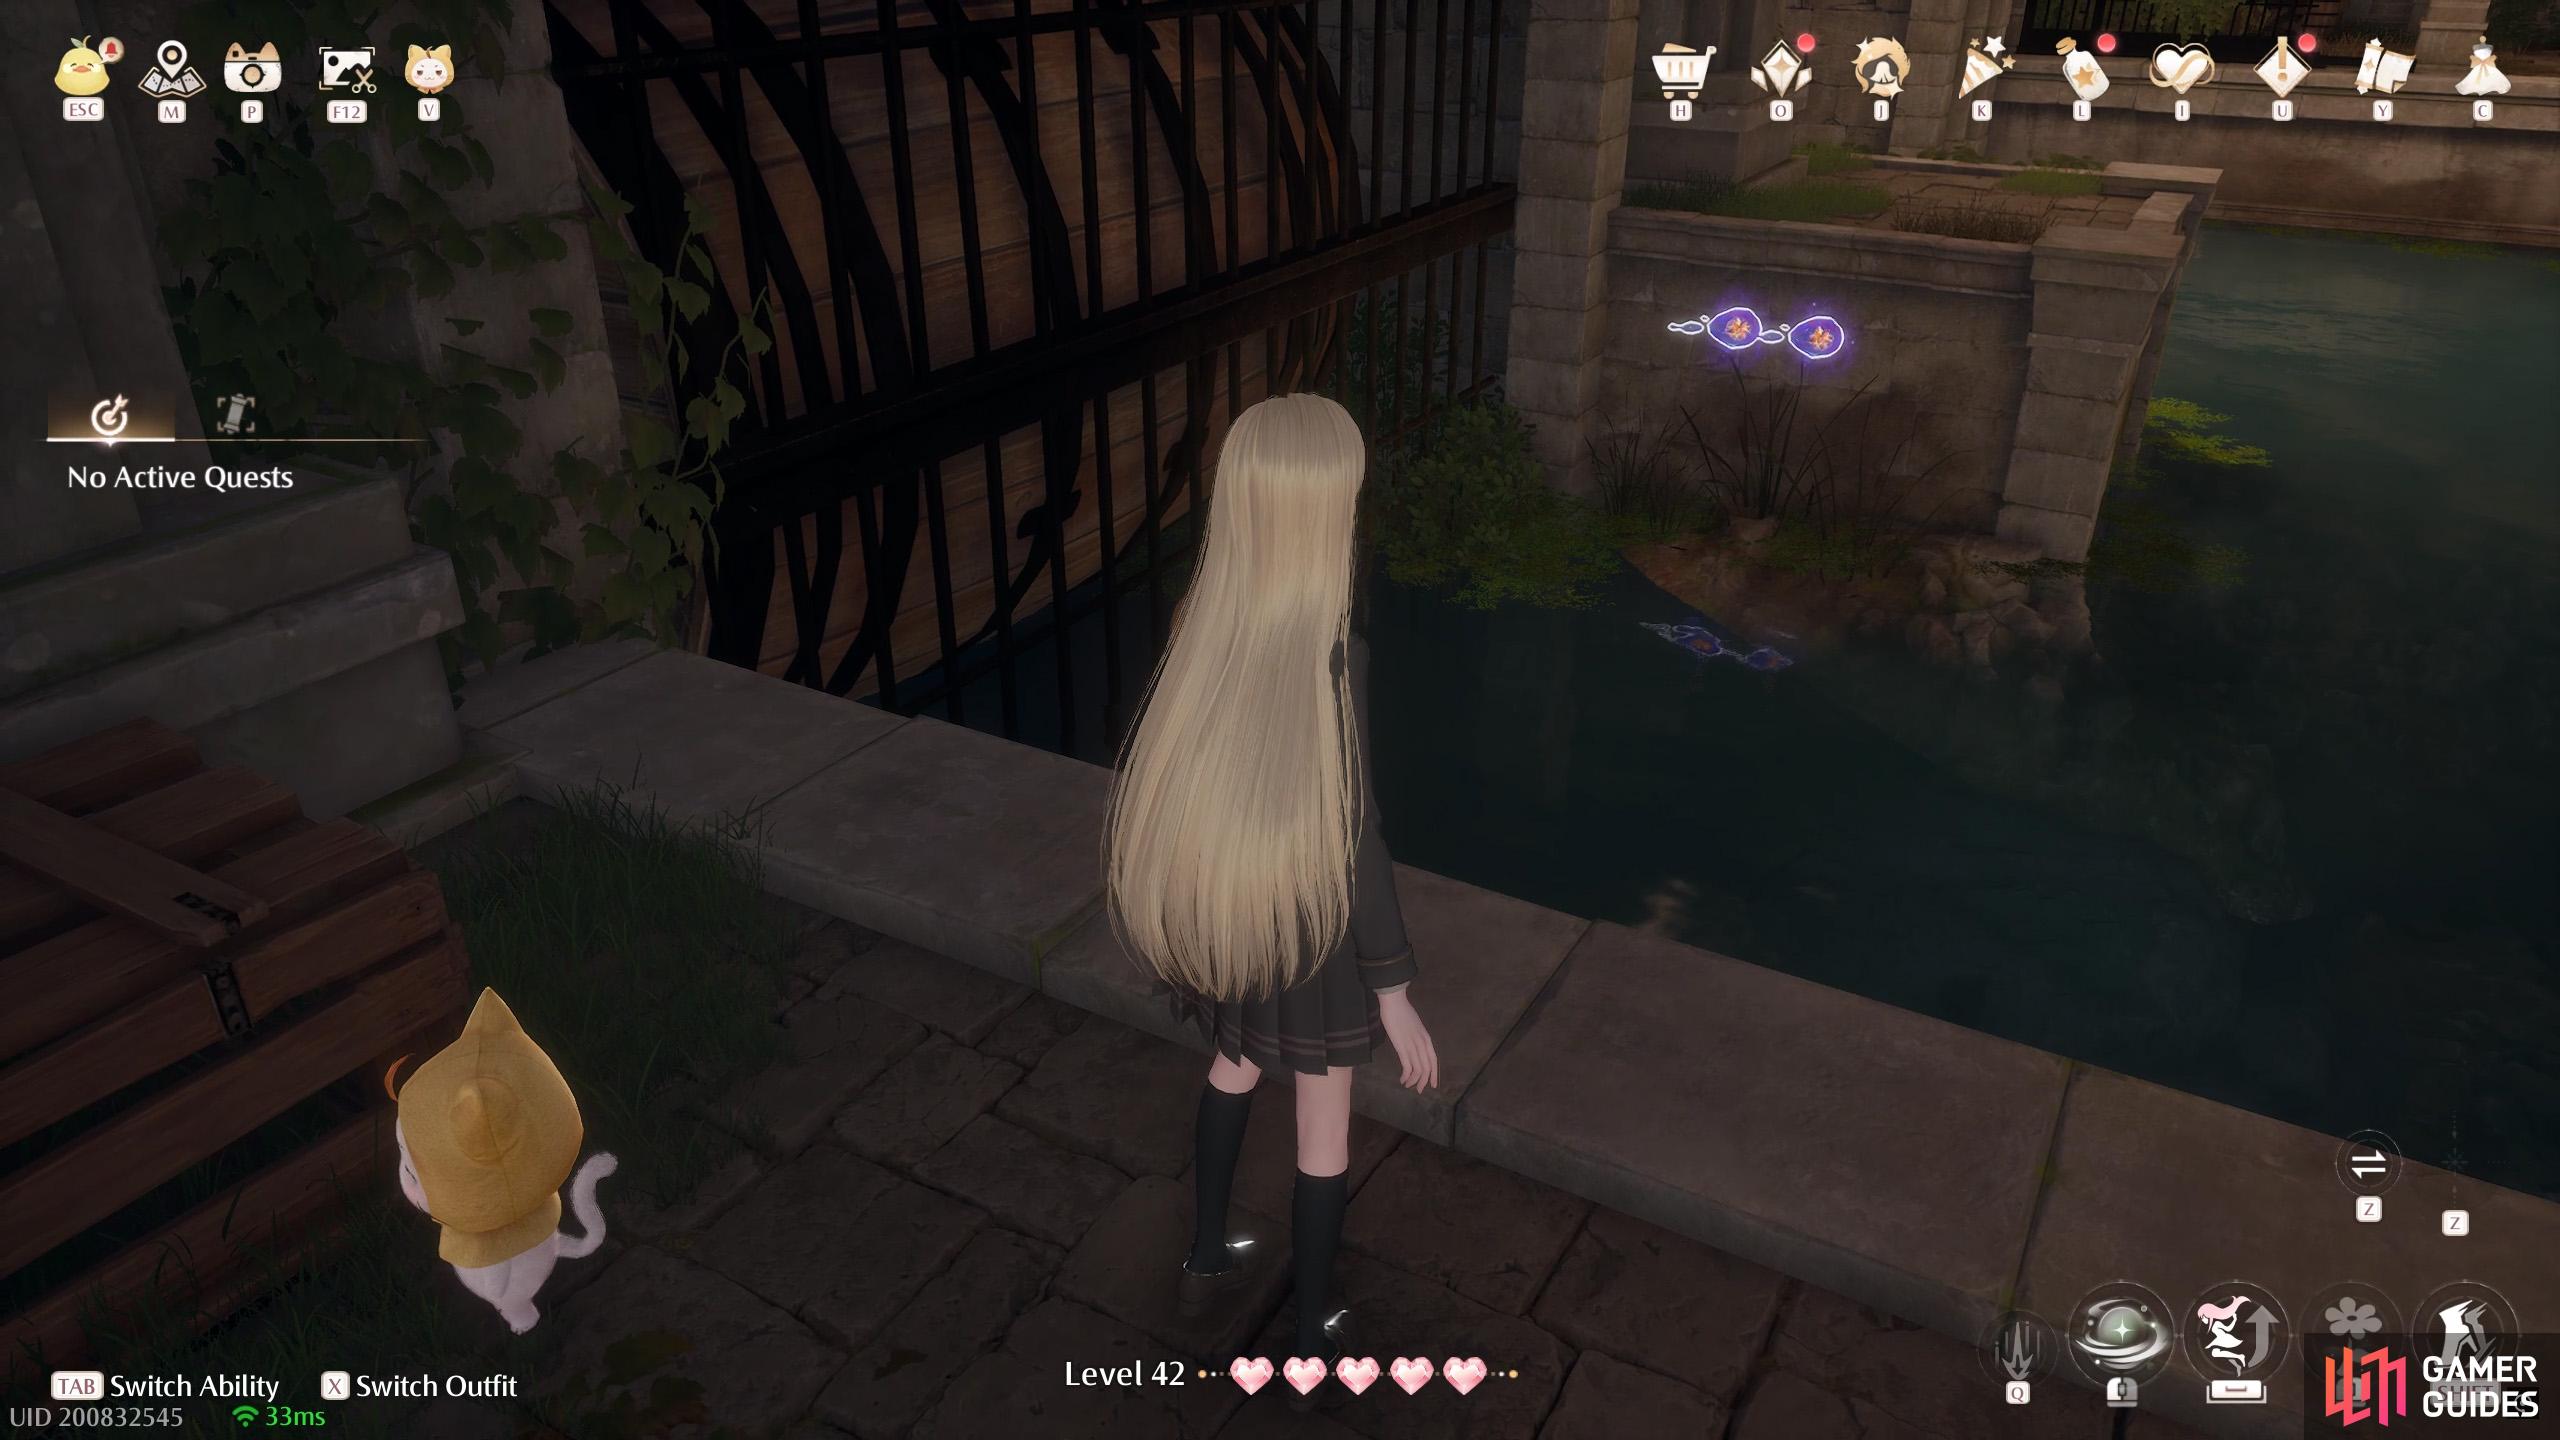
666. Miraland Map
Inside ![]() Small Stonetree Cavern. Room to the left of the chair. Two floating above the water on the right side, behind a platform with an Esseling.
Small Stonetree Cavern. Room to the left of the chair. Two floating above the water on the right side, behind a platform with an Esseling.
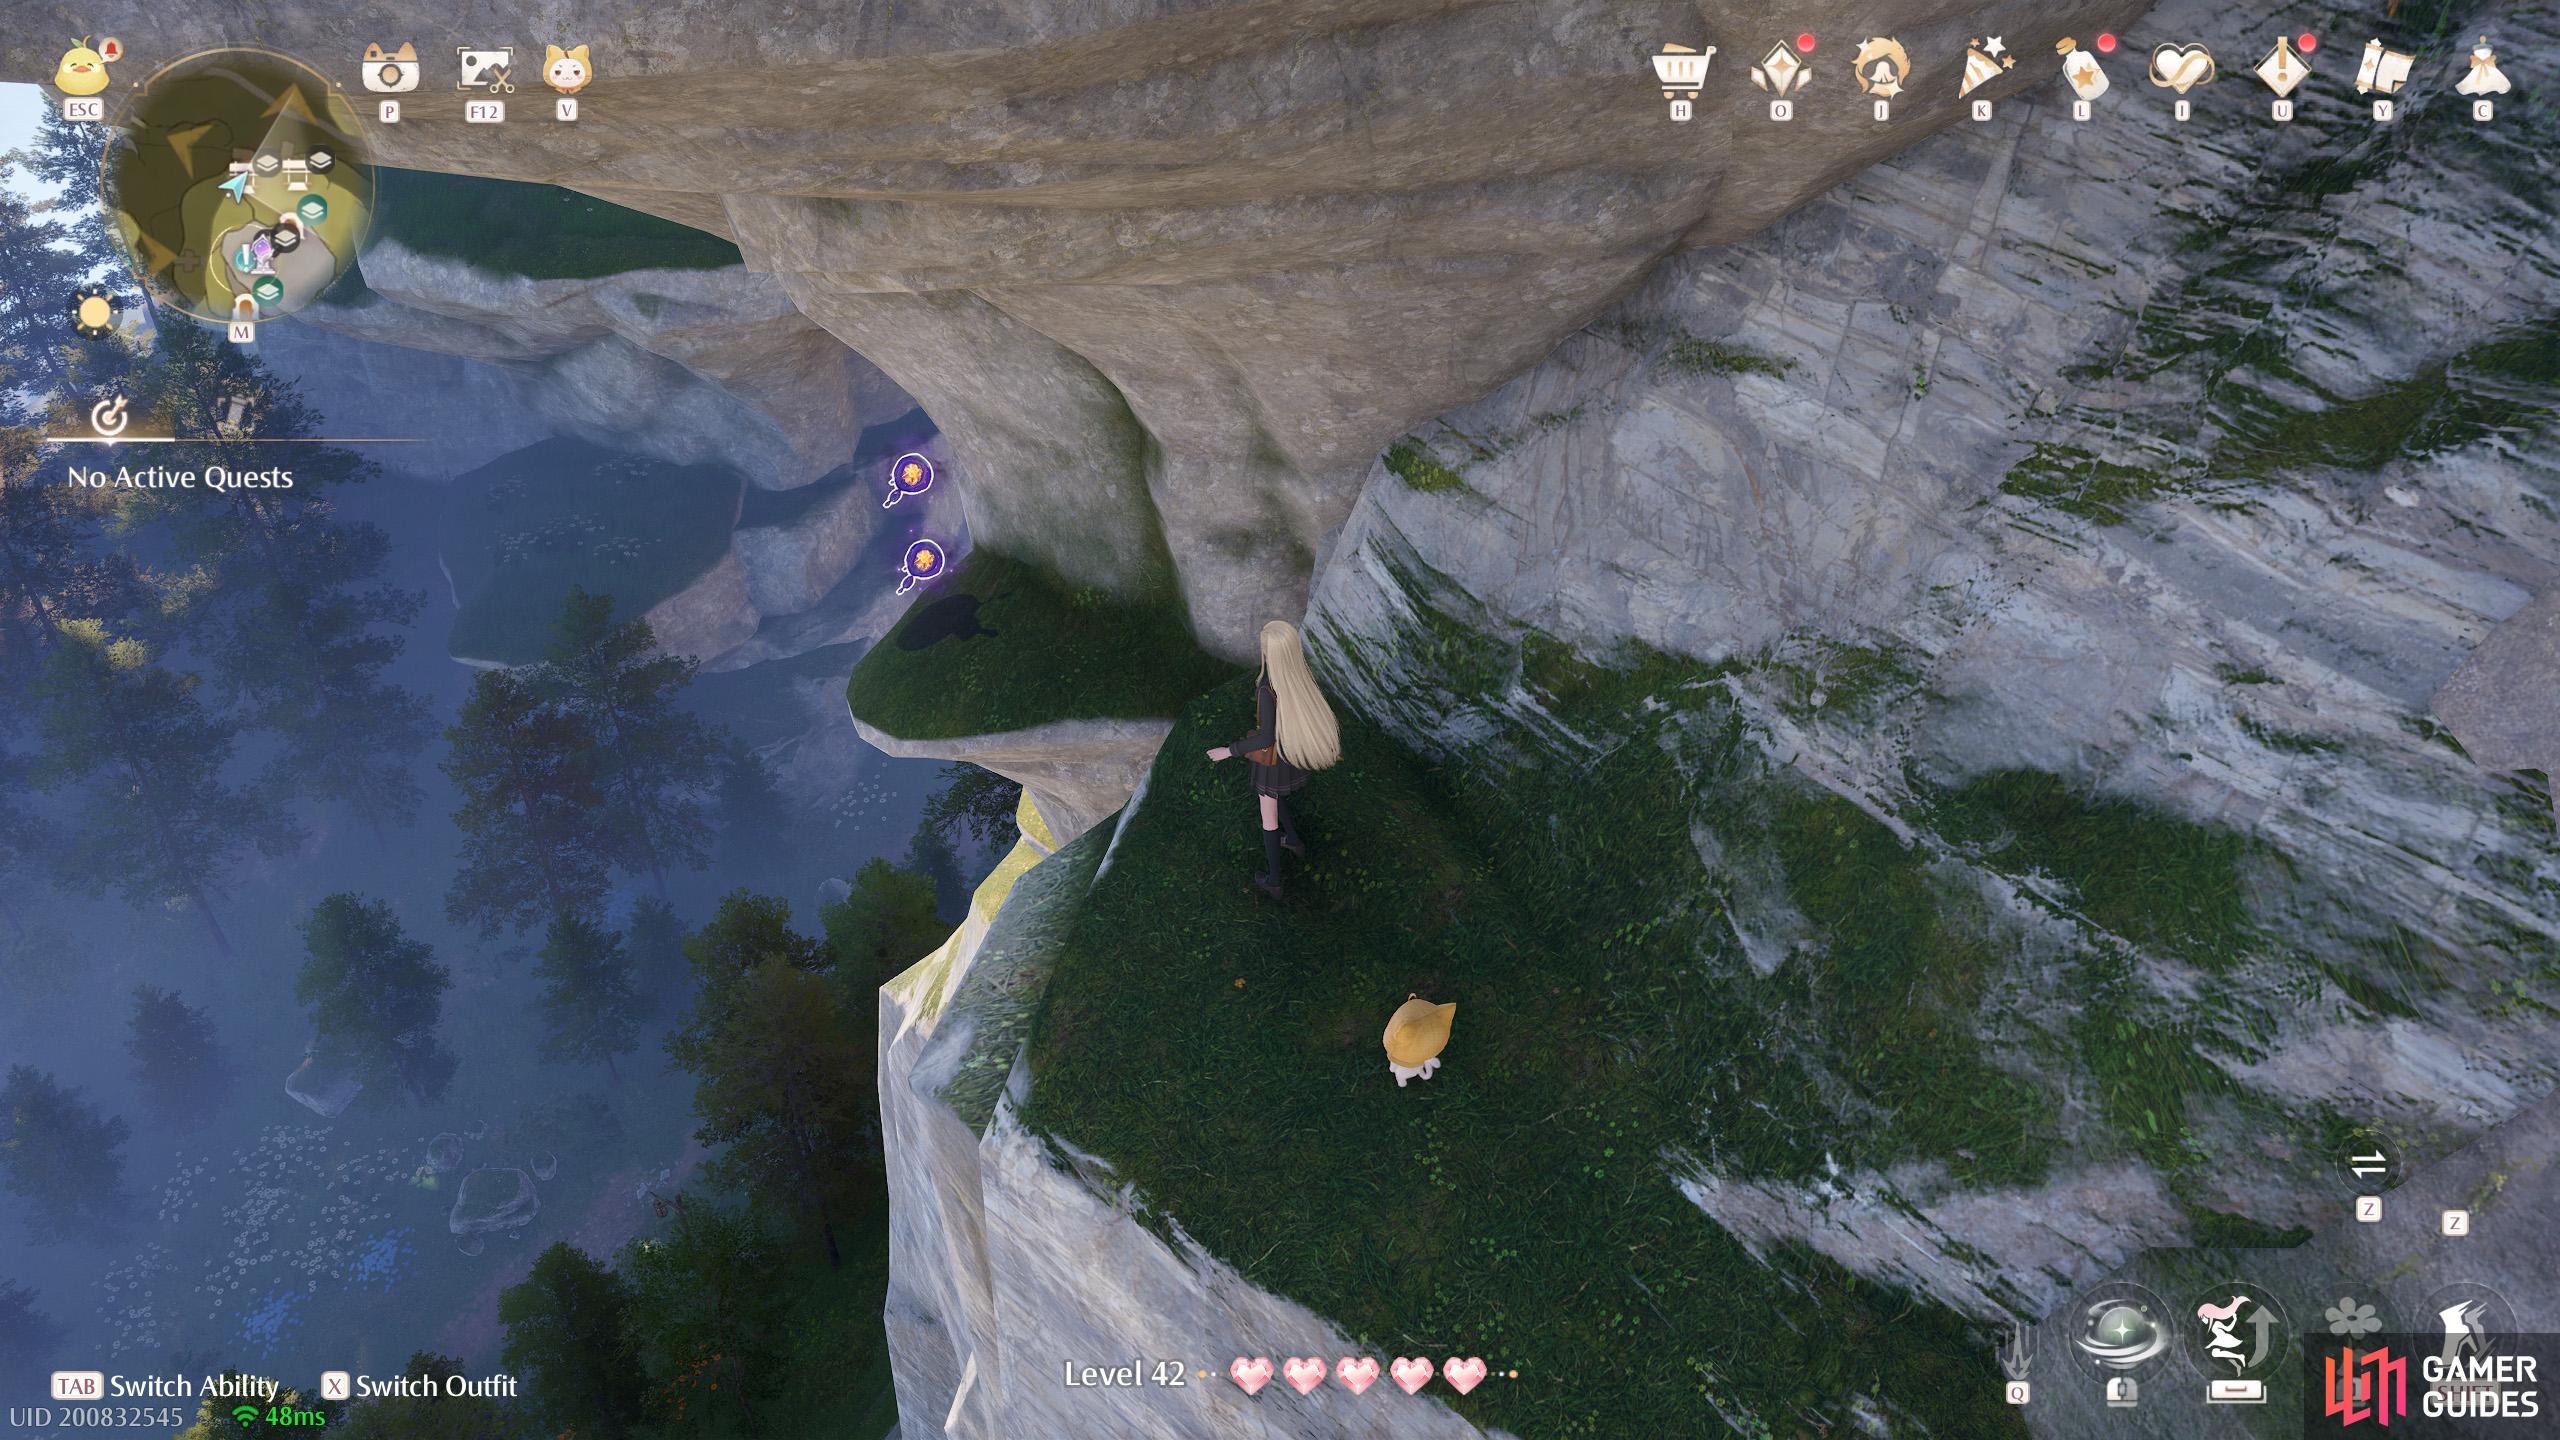
667. Miraland Map
North-west from ![]() Barrel Grove, around the middle level. Two on a small ledge underneath the Stonedew Flora.
Barrel Grove, around the middle level. Two on a small ledge underneath the Stonedew Flora.
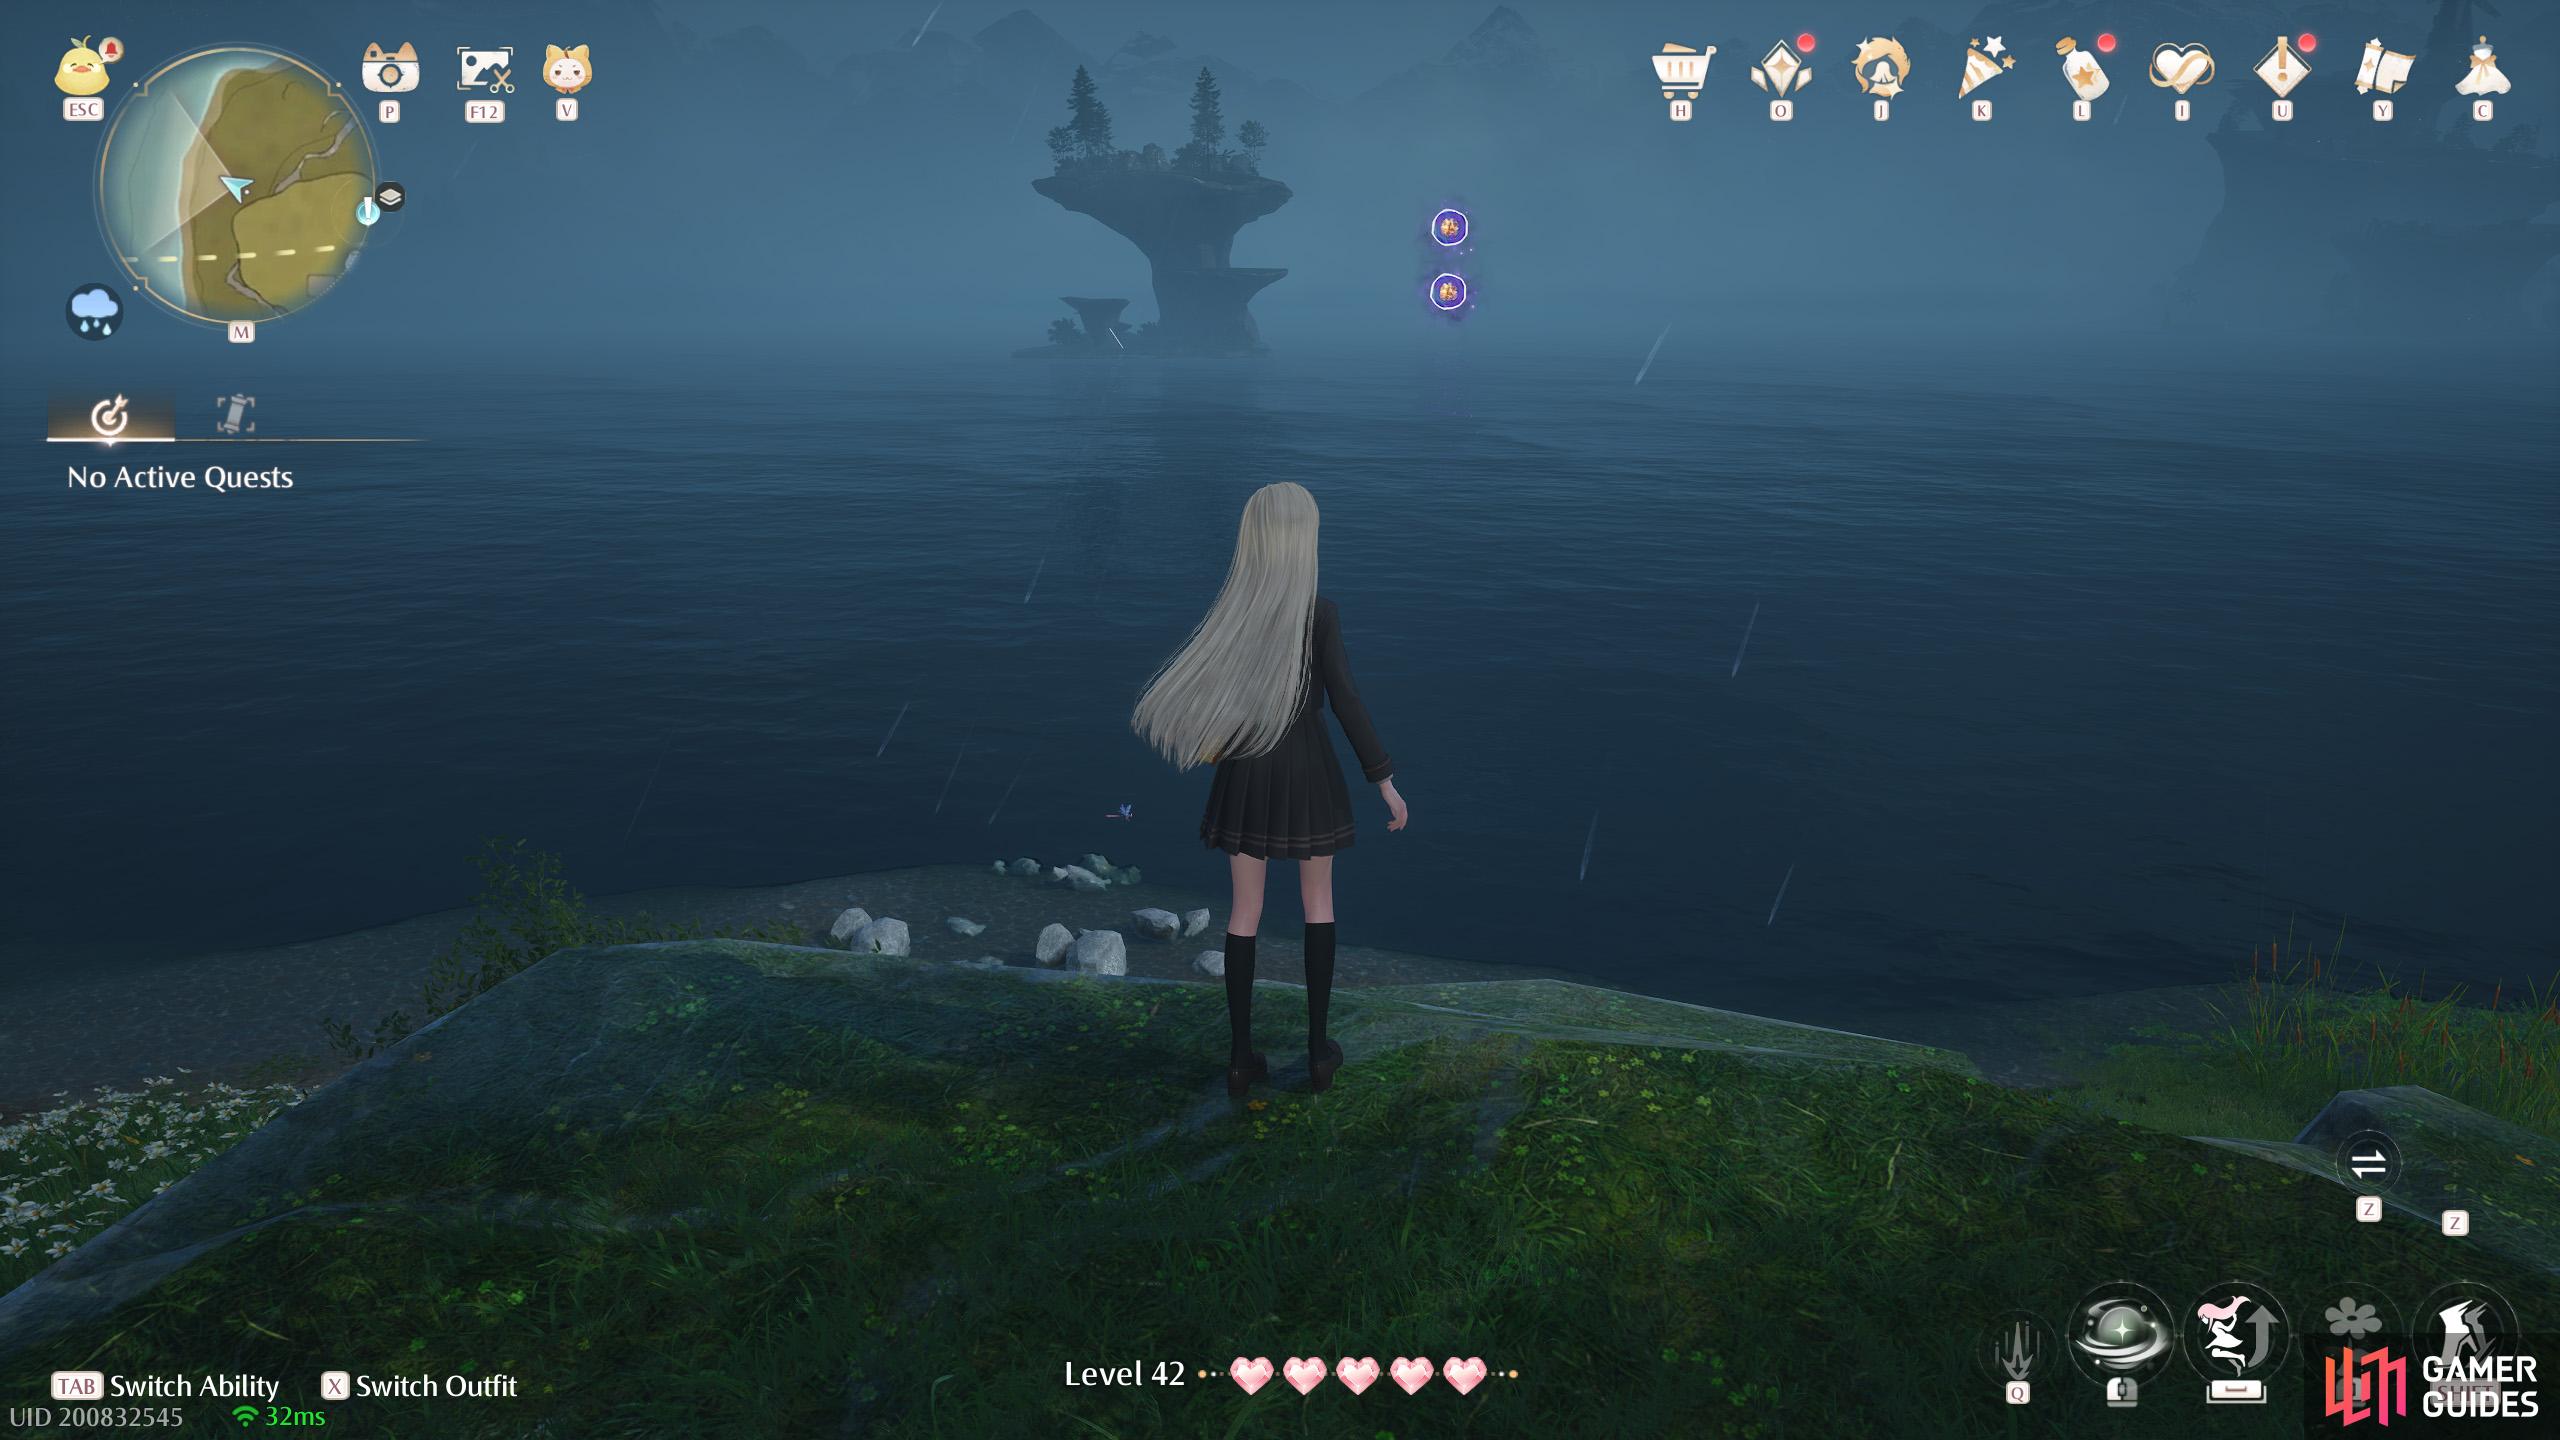
668. Miraland Map
West from ![]() Barrel Home, around ground level. Two floating near the shore.
Barrel Home, around ground level. Two floating near the shore.
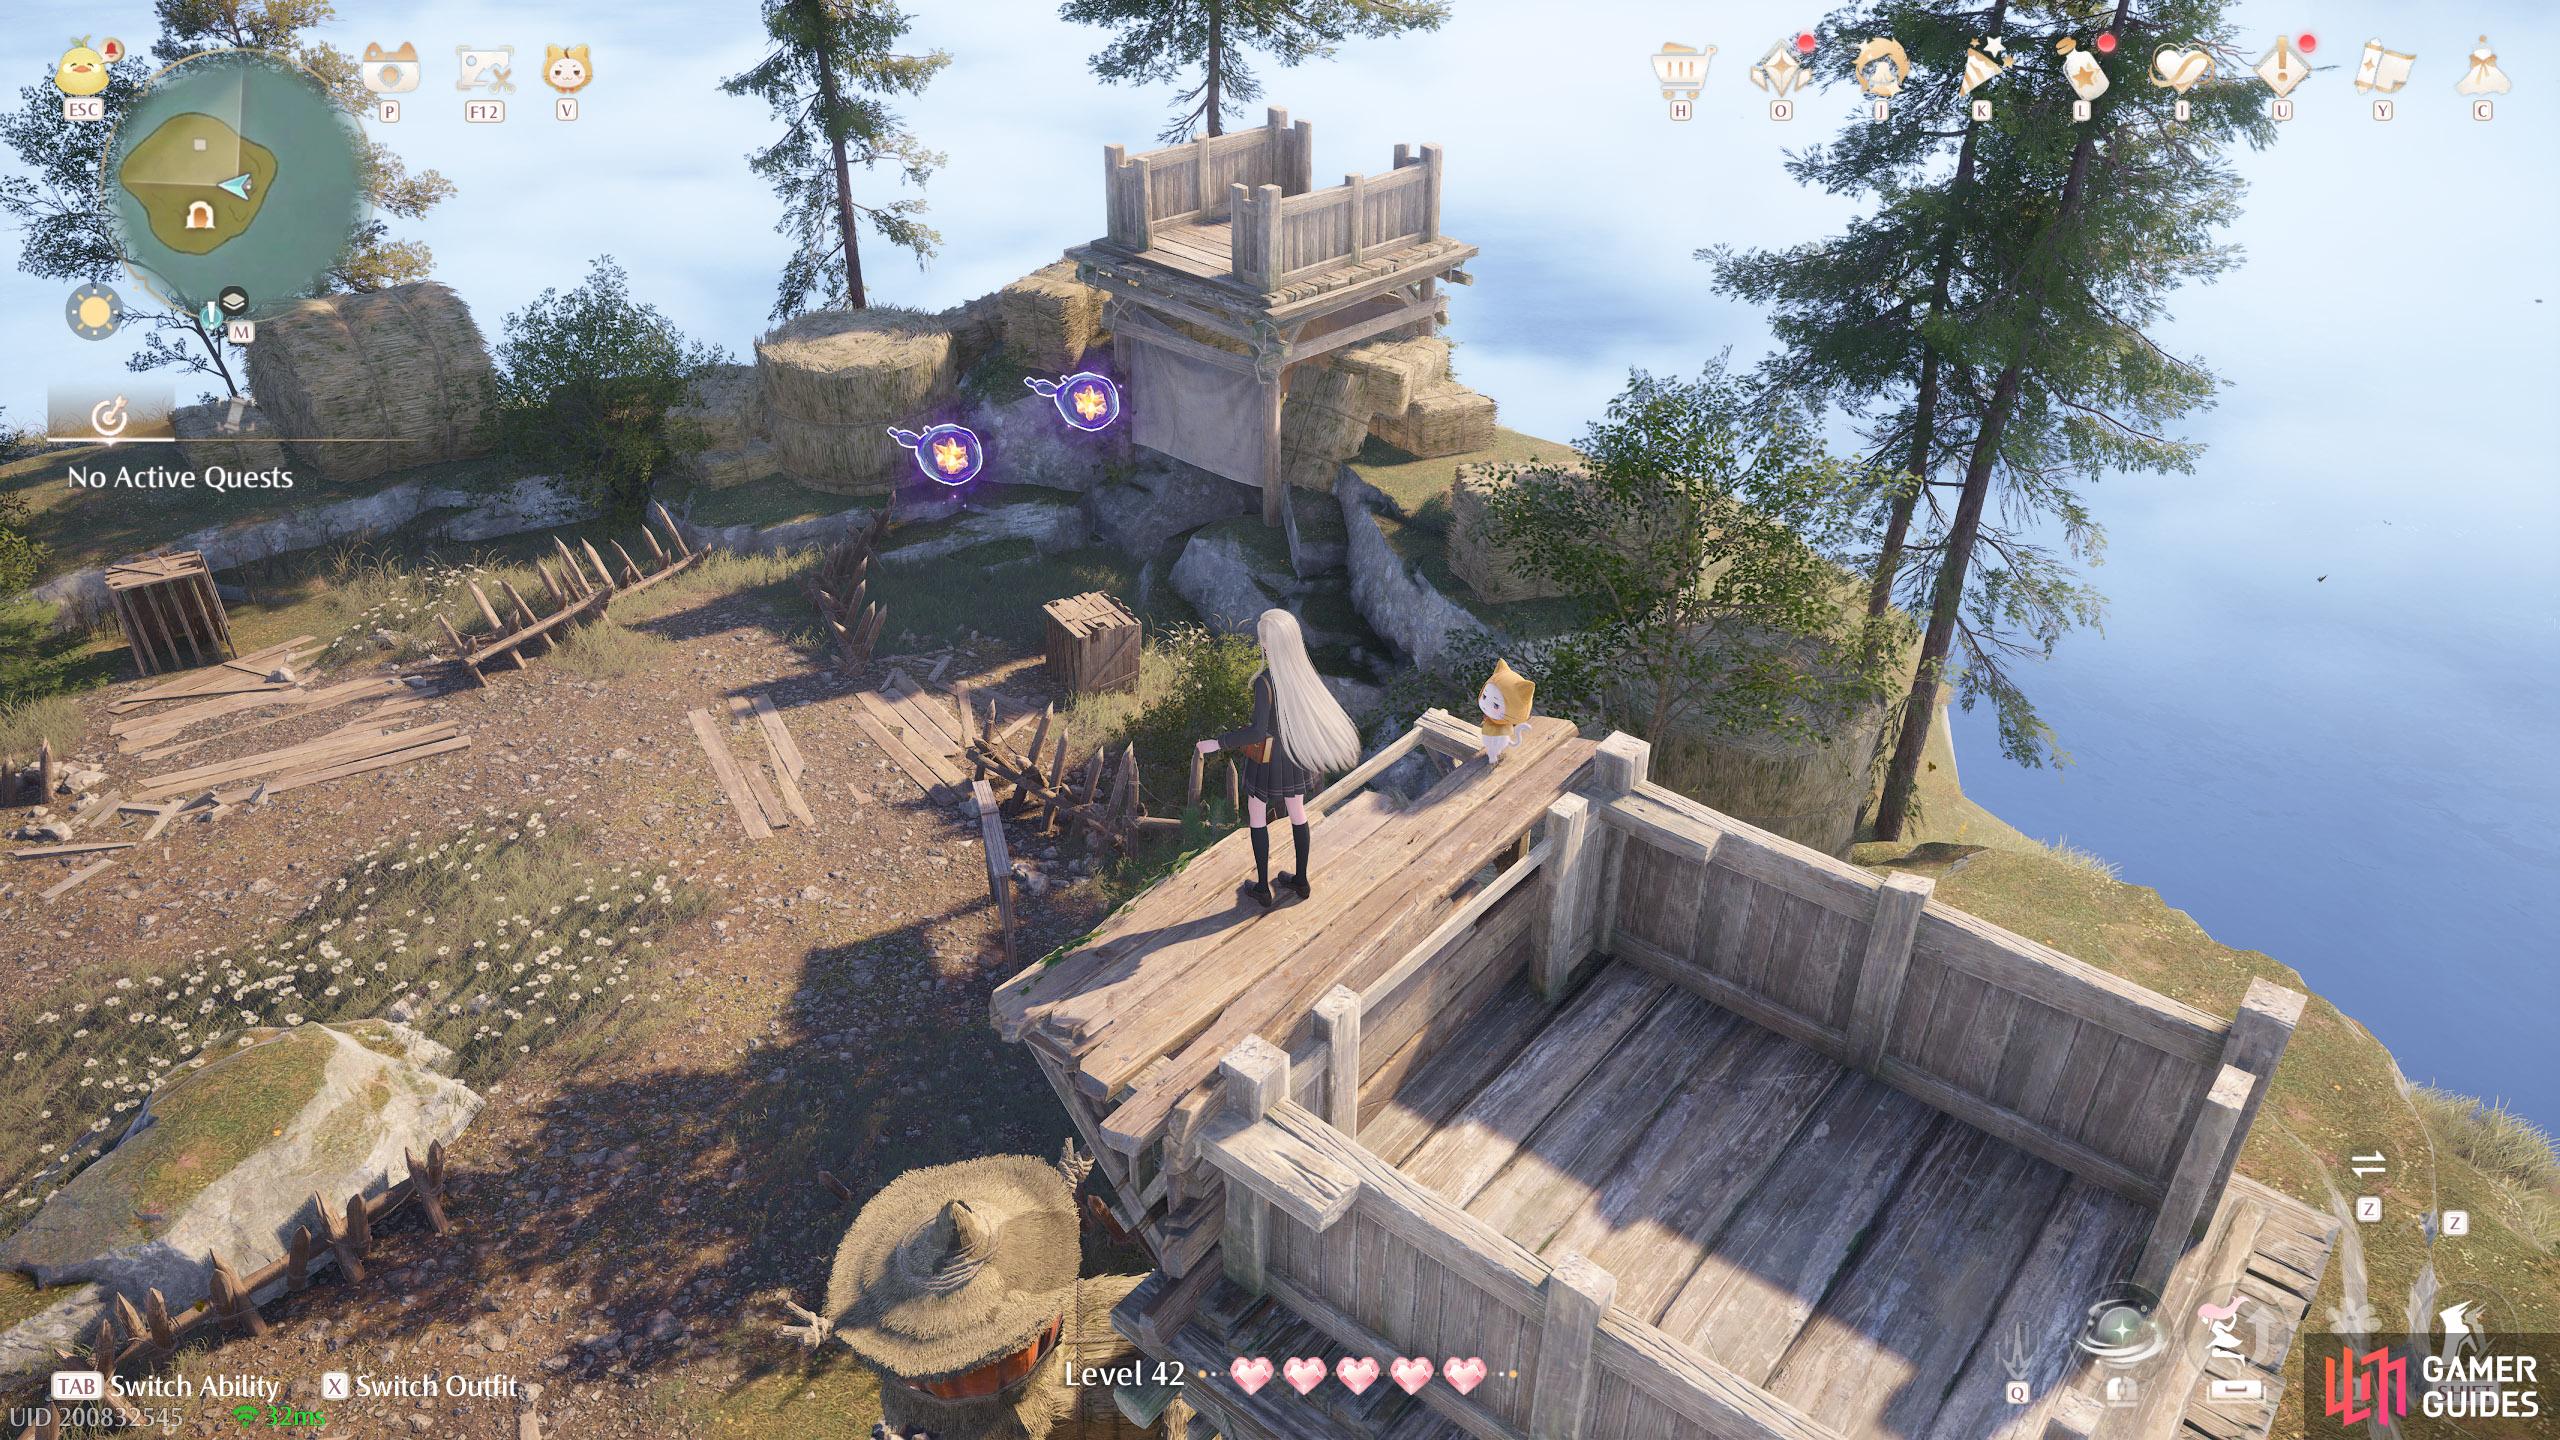
669. Miraland Map
Short distance north-east from the exit of ![]() Stonecrown Cavern. Two floating near the top of a wooden stand.
Stonecrown Cavern. Two floating near the top of a wooden stand.
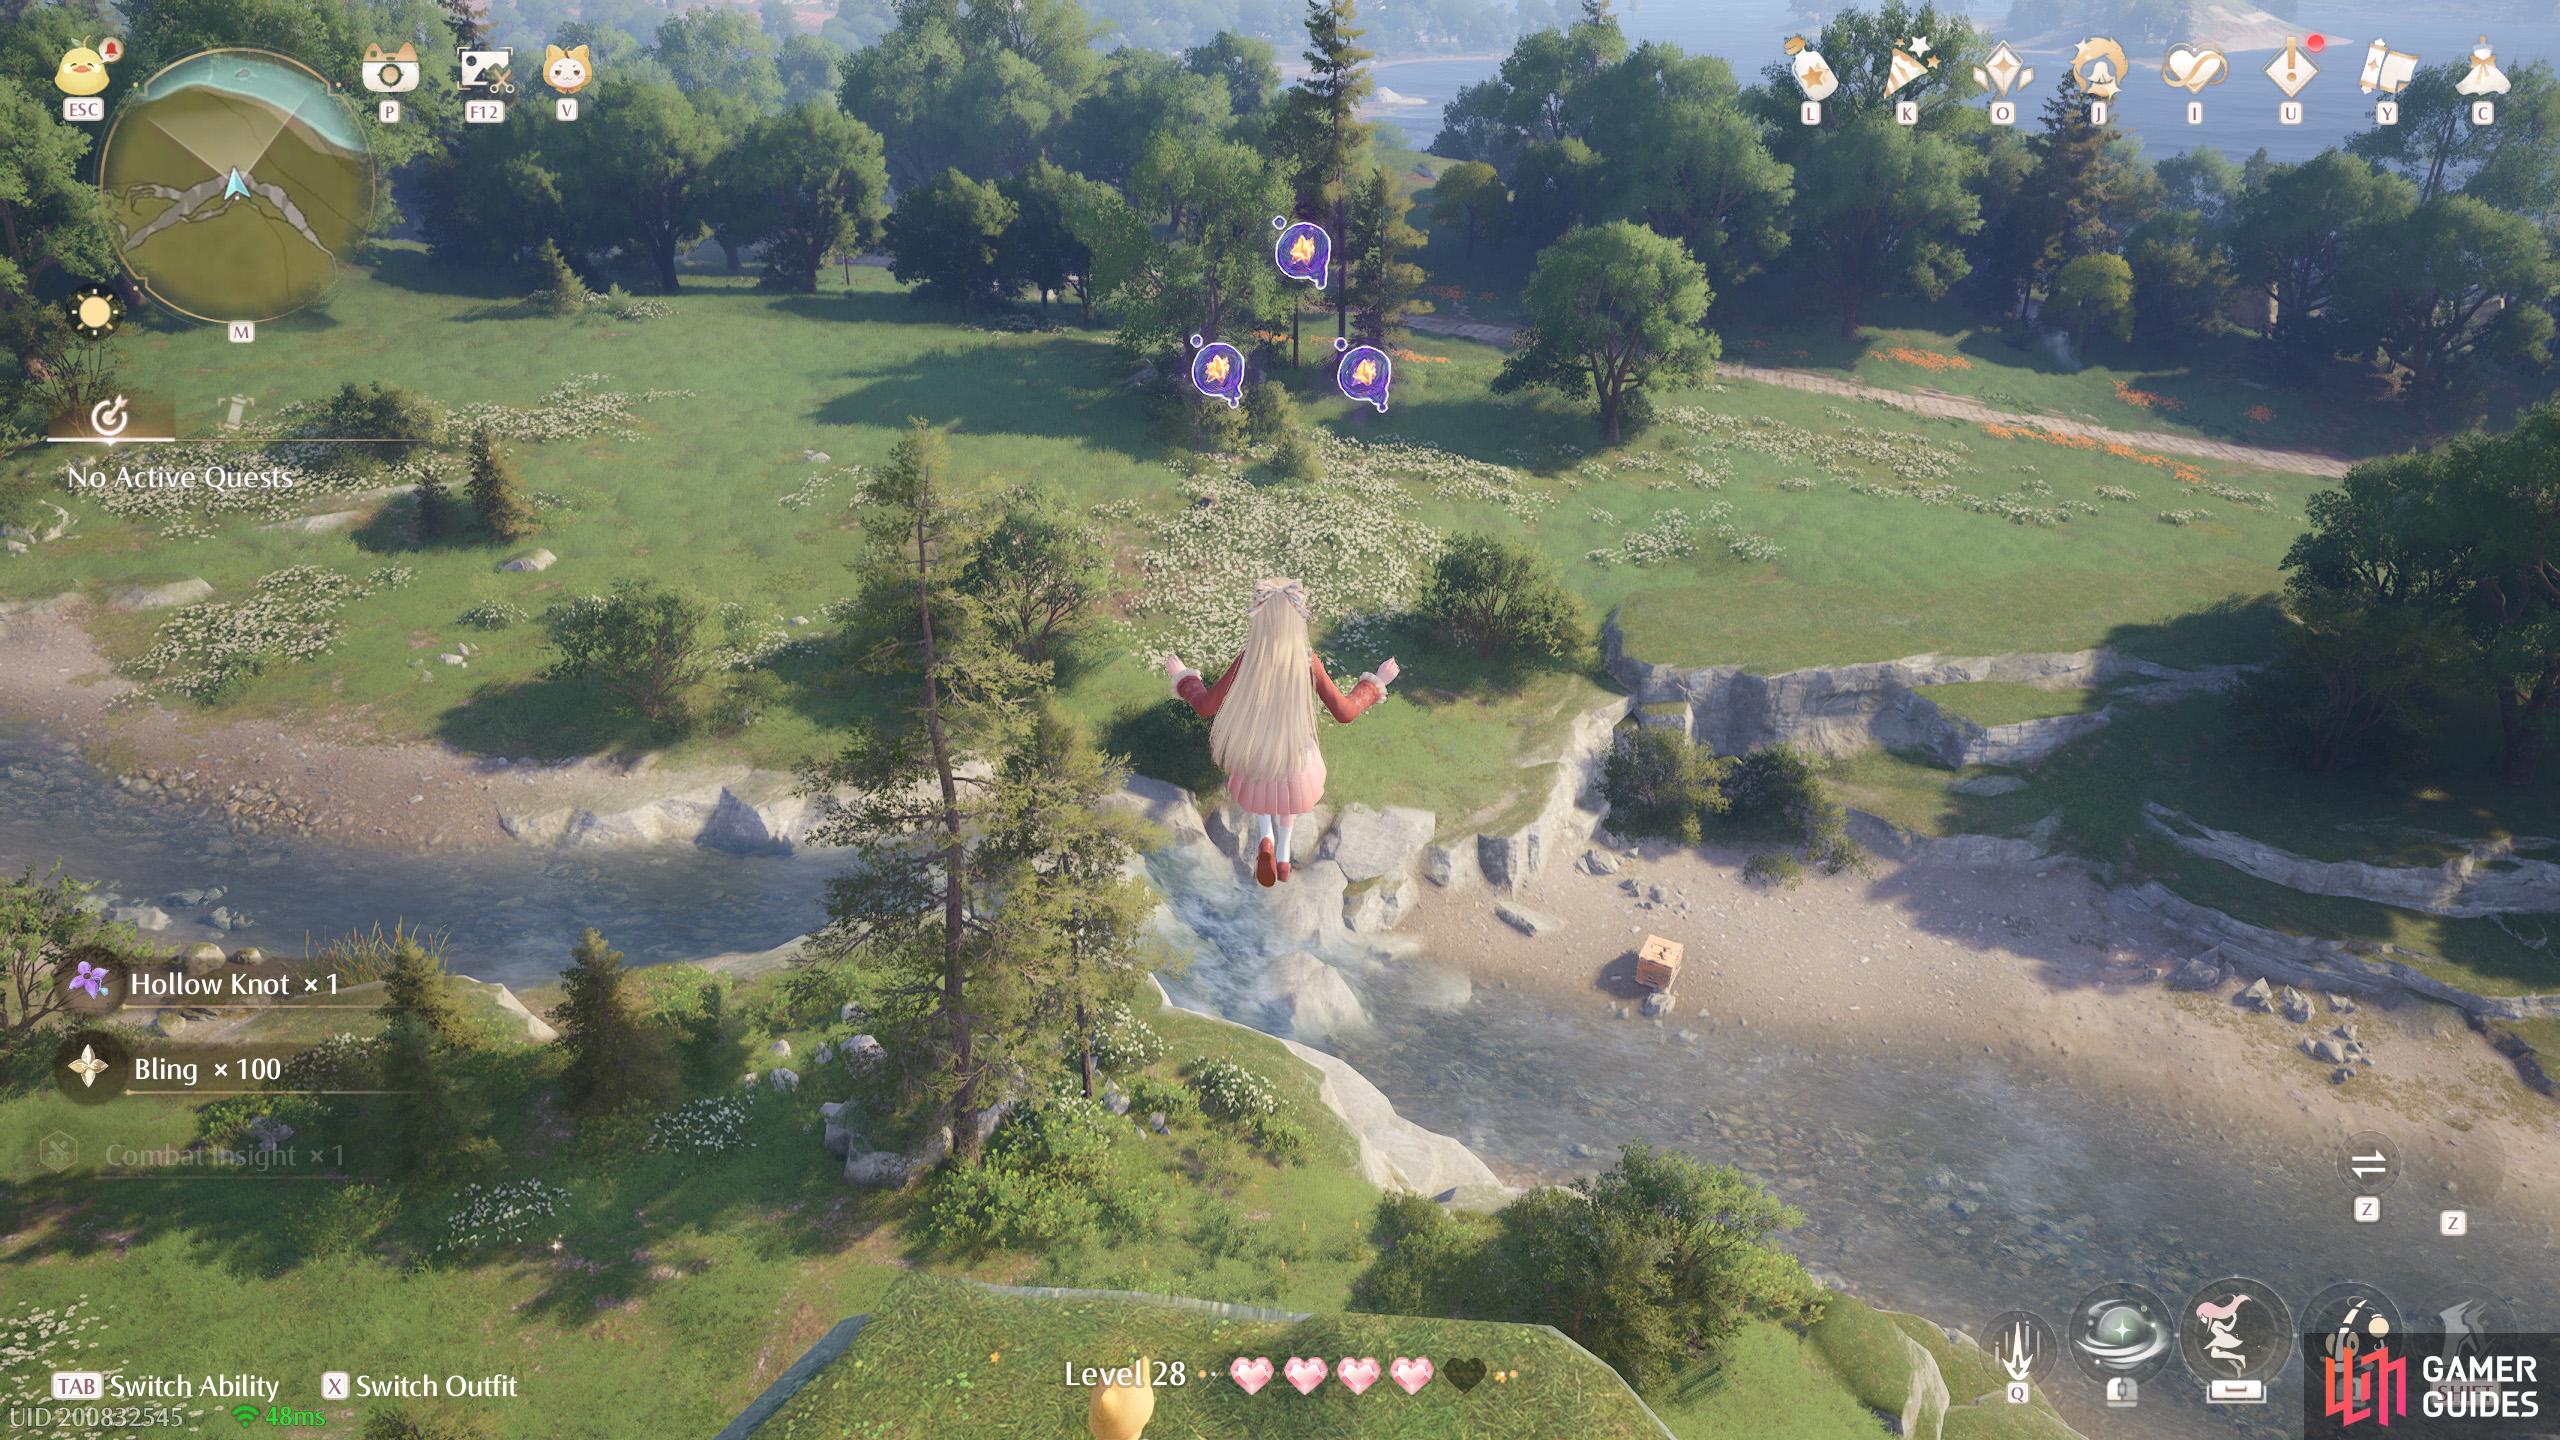
670. Miraland Map
North-west from ![]() Lakeside Hill Lane. Three floating near a ledge south from the river.
Lakeside Hill Lane. Three floating near a ledge south from the river.
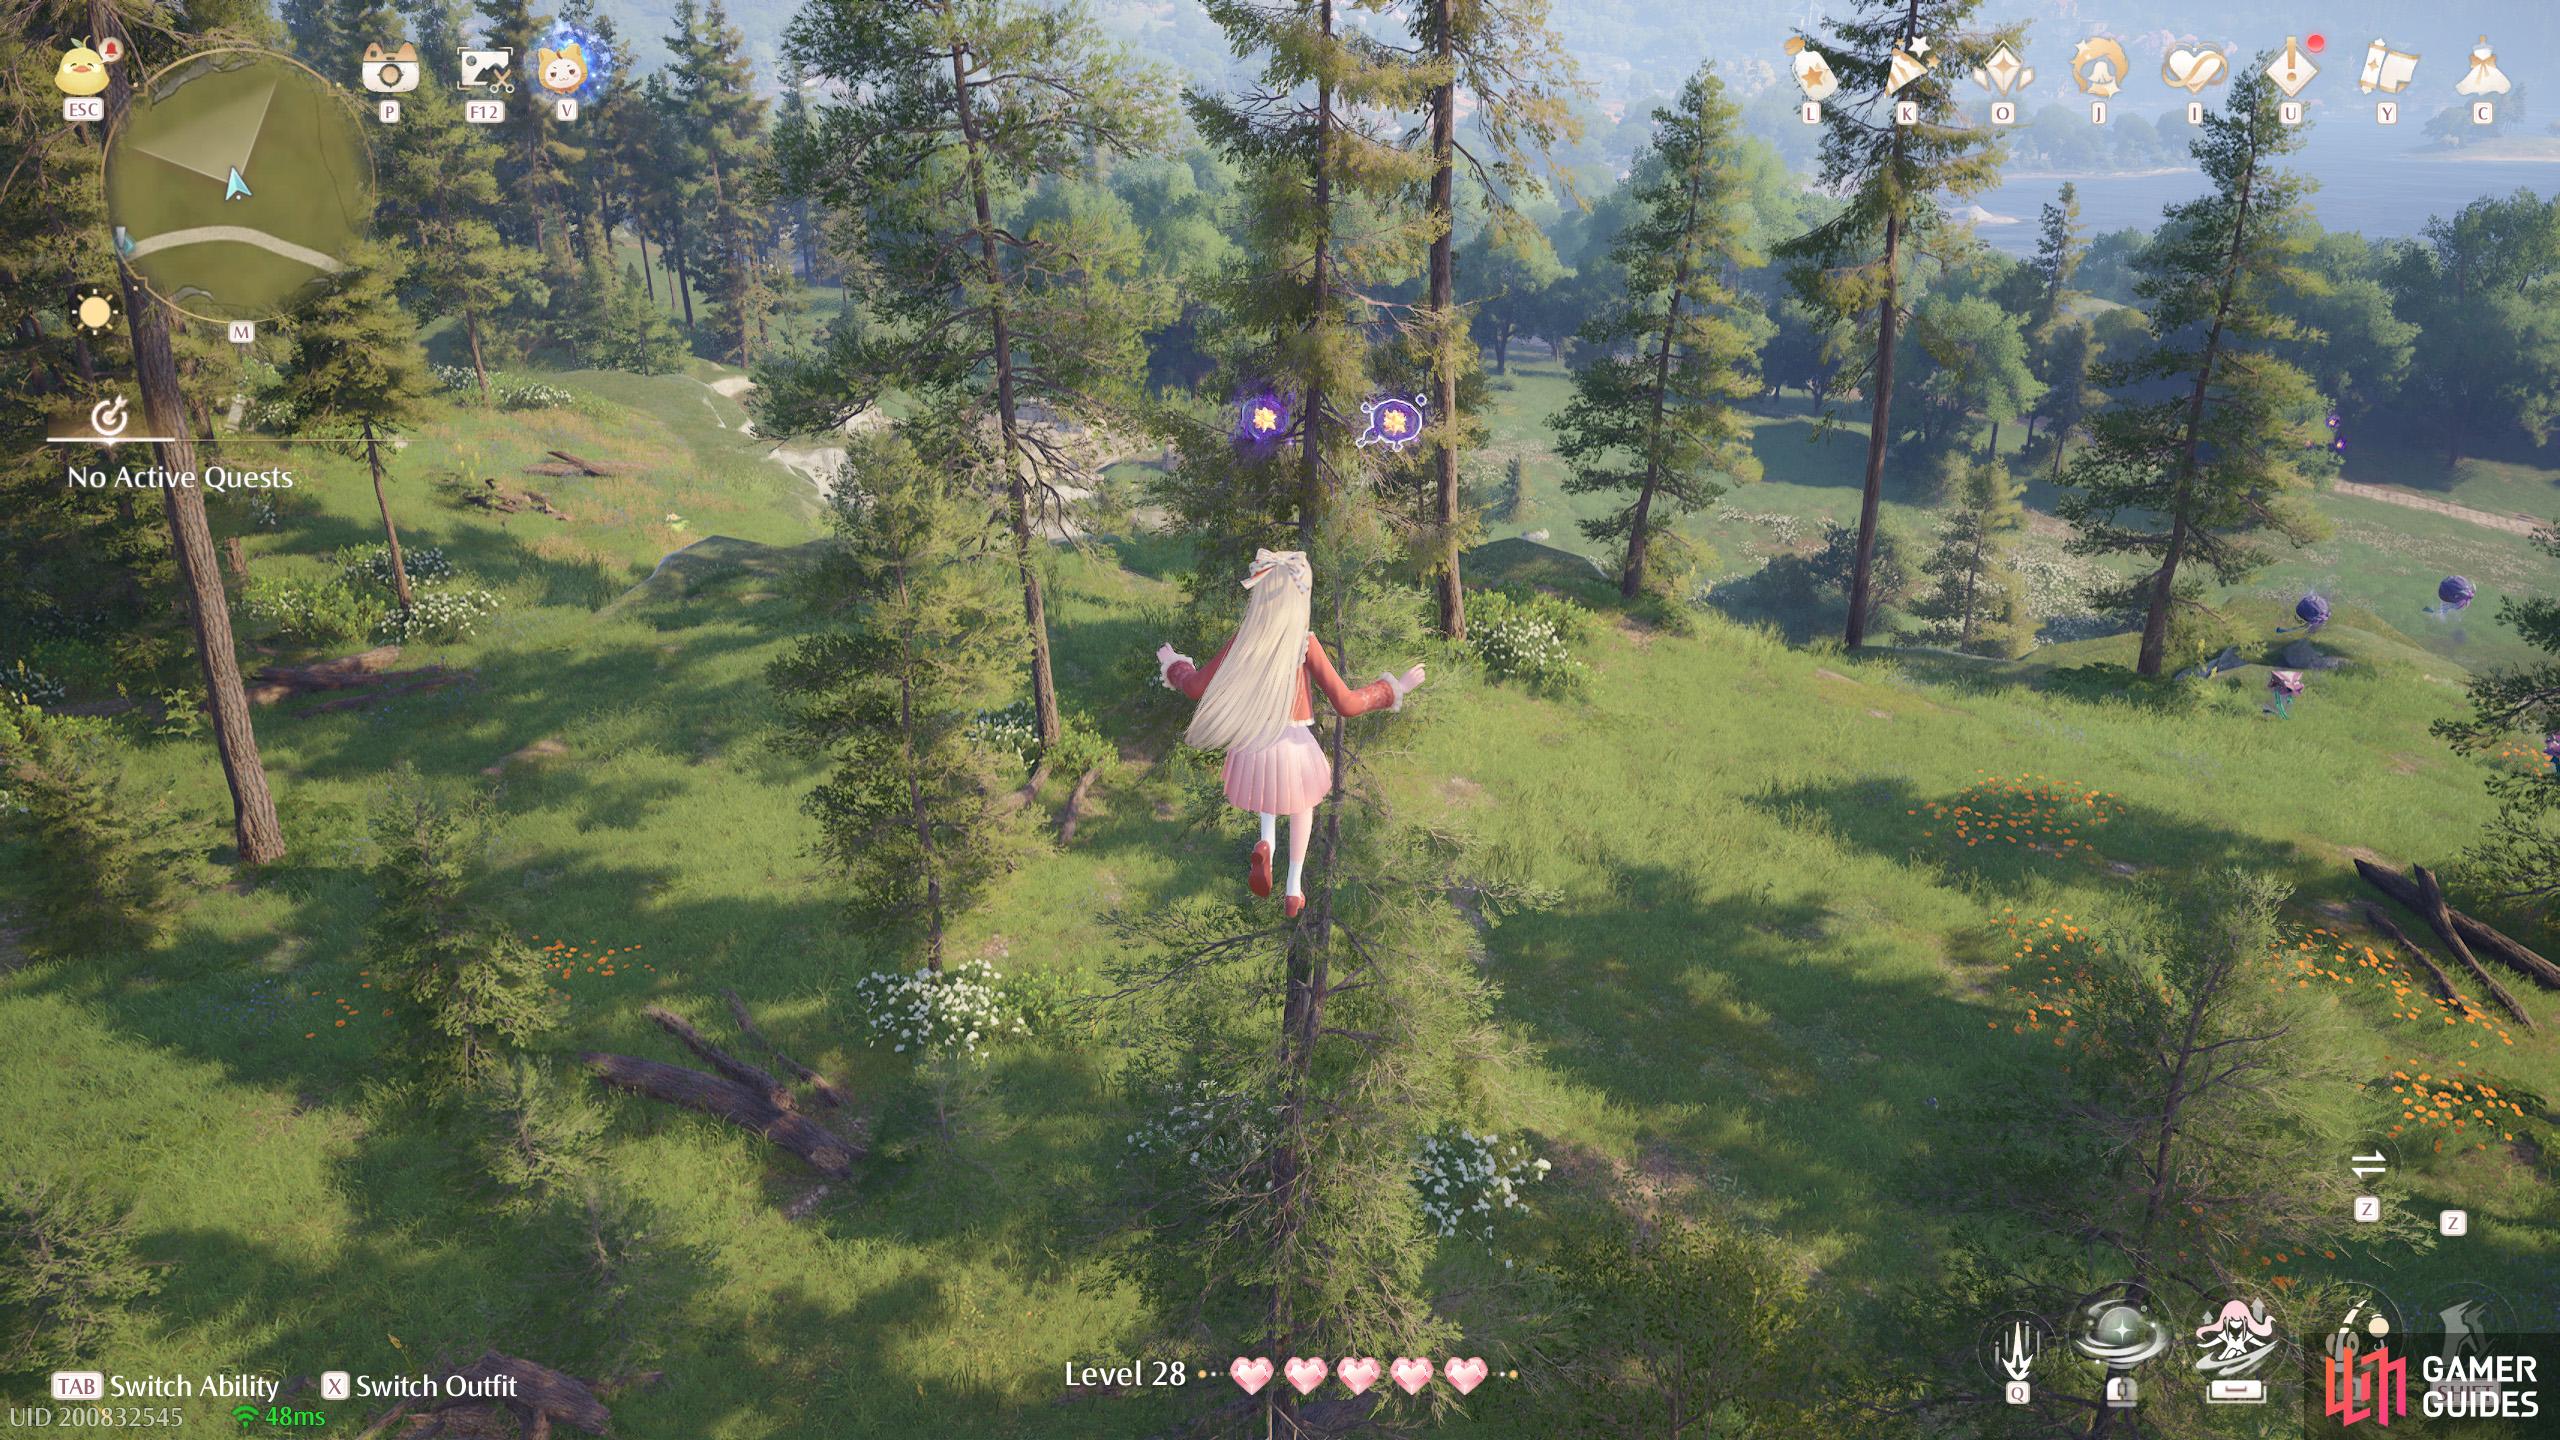
671. Miraland Map
West and slightly north from ![]() Lakeside Hill Lane. Two floating high up north of the road, with a leaf trampoline nearby.
Lakeside Hill Lane. Two floating high up north of the road, with a leaf trampoline nearby.
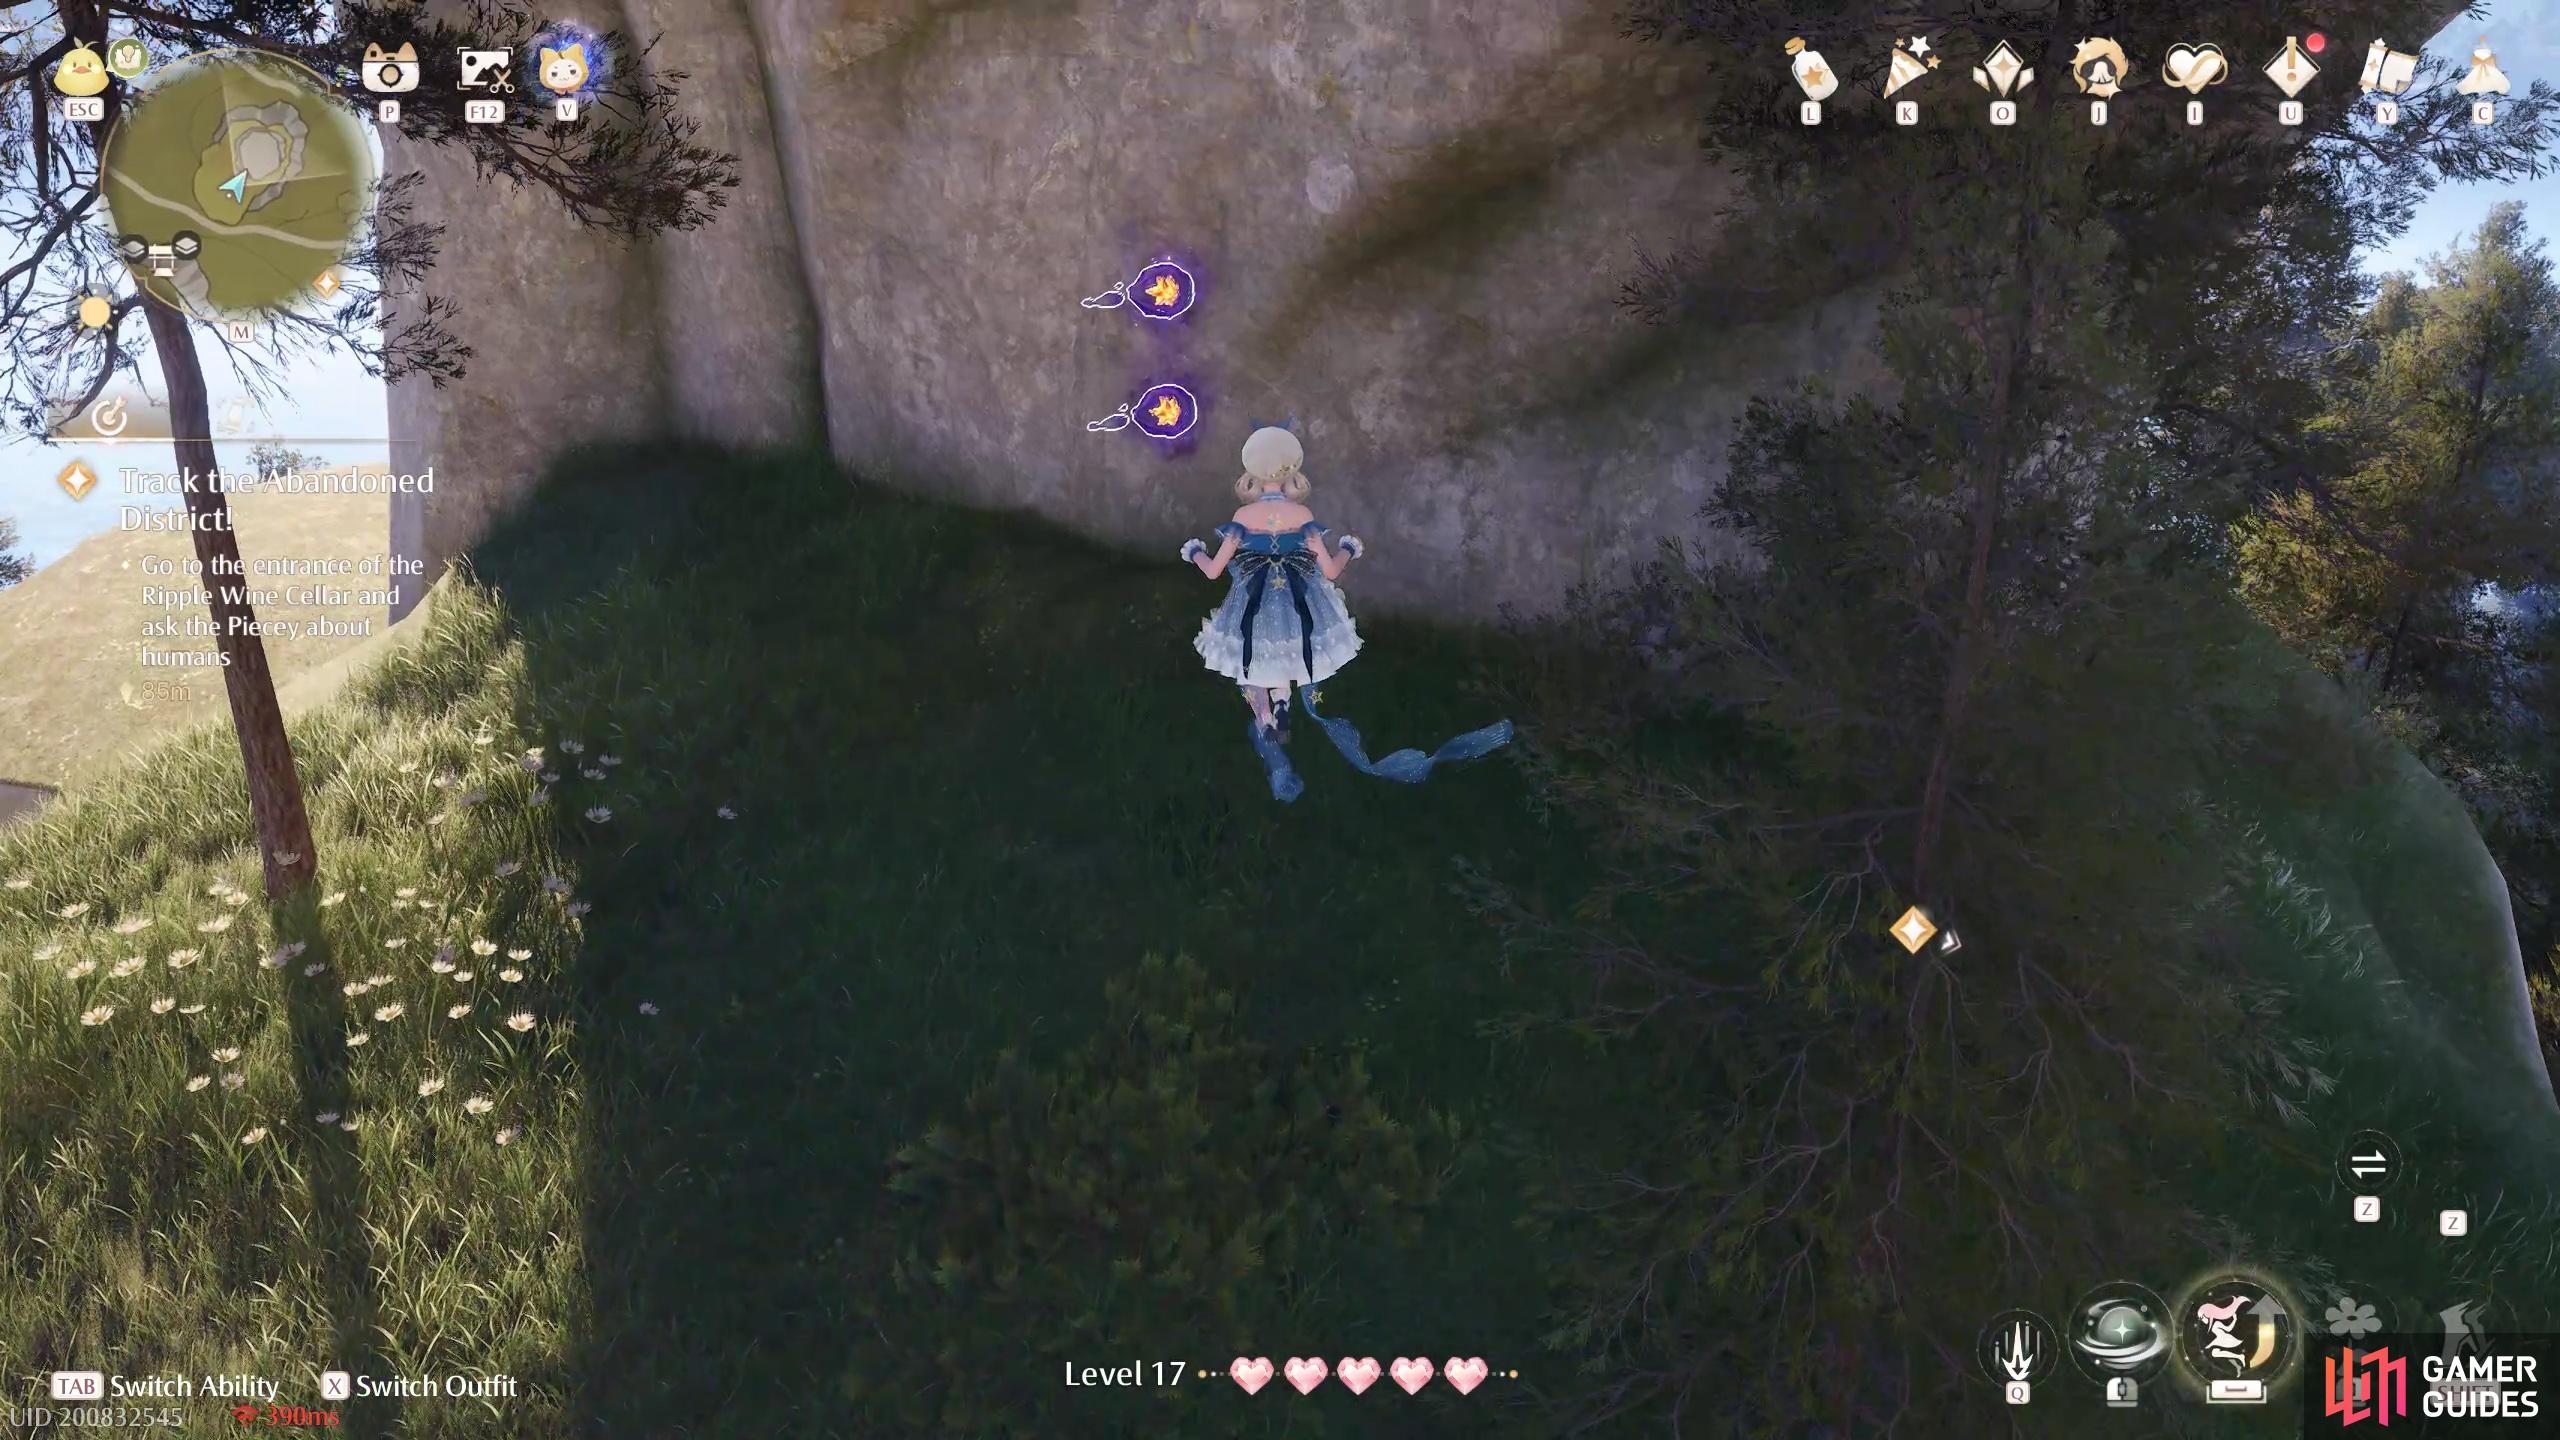
672. Miraland Map
North-west from ![]() Beside the Ripple Wine Cellar, around ground level. Two floating near a Curio beneath the stonetree canopy.
Beside the Ripple Wine Cellar, around ground level. Two floating near a Curio beneath the stonetree canopy.

673. Miraland Map
Medium stonetree north-east from ![]() Stonecrown Peak. Two atop a well on the top level. Watch out for Esselings nearby.
Stonecrown Peak. Two atop a well on the top level. Watch out for Esselings nearby.
674. Miraland Map
North and slightly east from the ![]() Wishing Well, on level 3F. Three by the side of the raised ground where the
Wishing Well, on level 3F. Three by the side of the raised ground where the ![]() Catapult Seal is.
Catapult Seal is.
675. Miraland Map
Short distance south-west from the ![]() Wishing Well on level 3F. Two under the raised ground where the
Wishing Well on level 3F. Two under the raised ground where the ![]() Catapult Seal is.
Catapult Seal is.
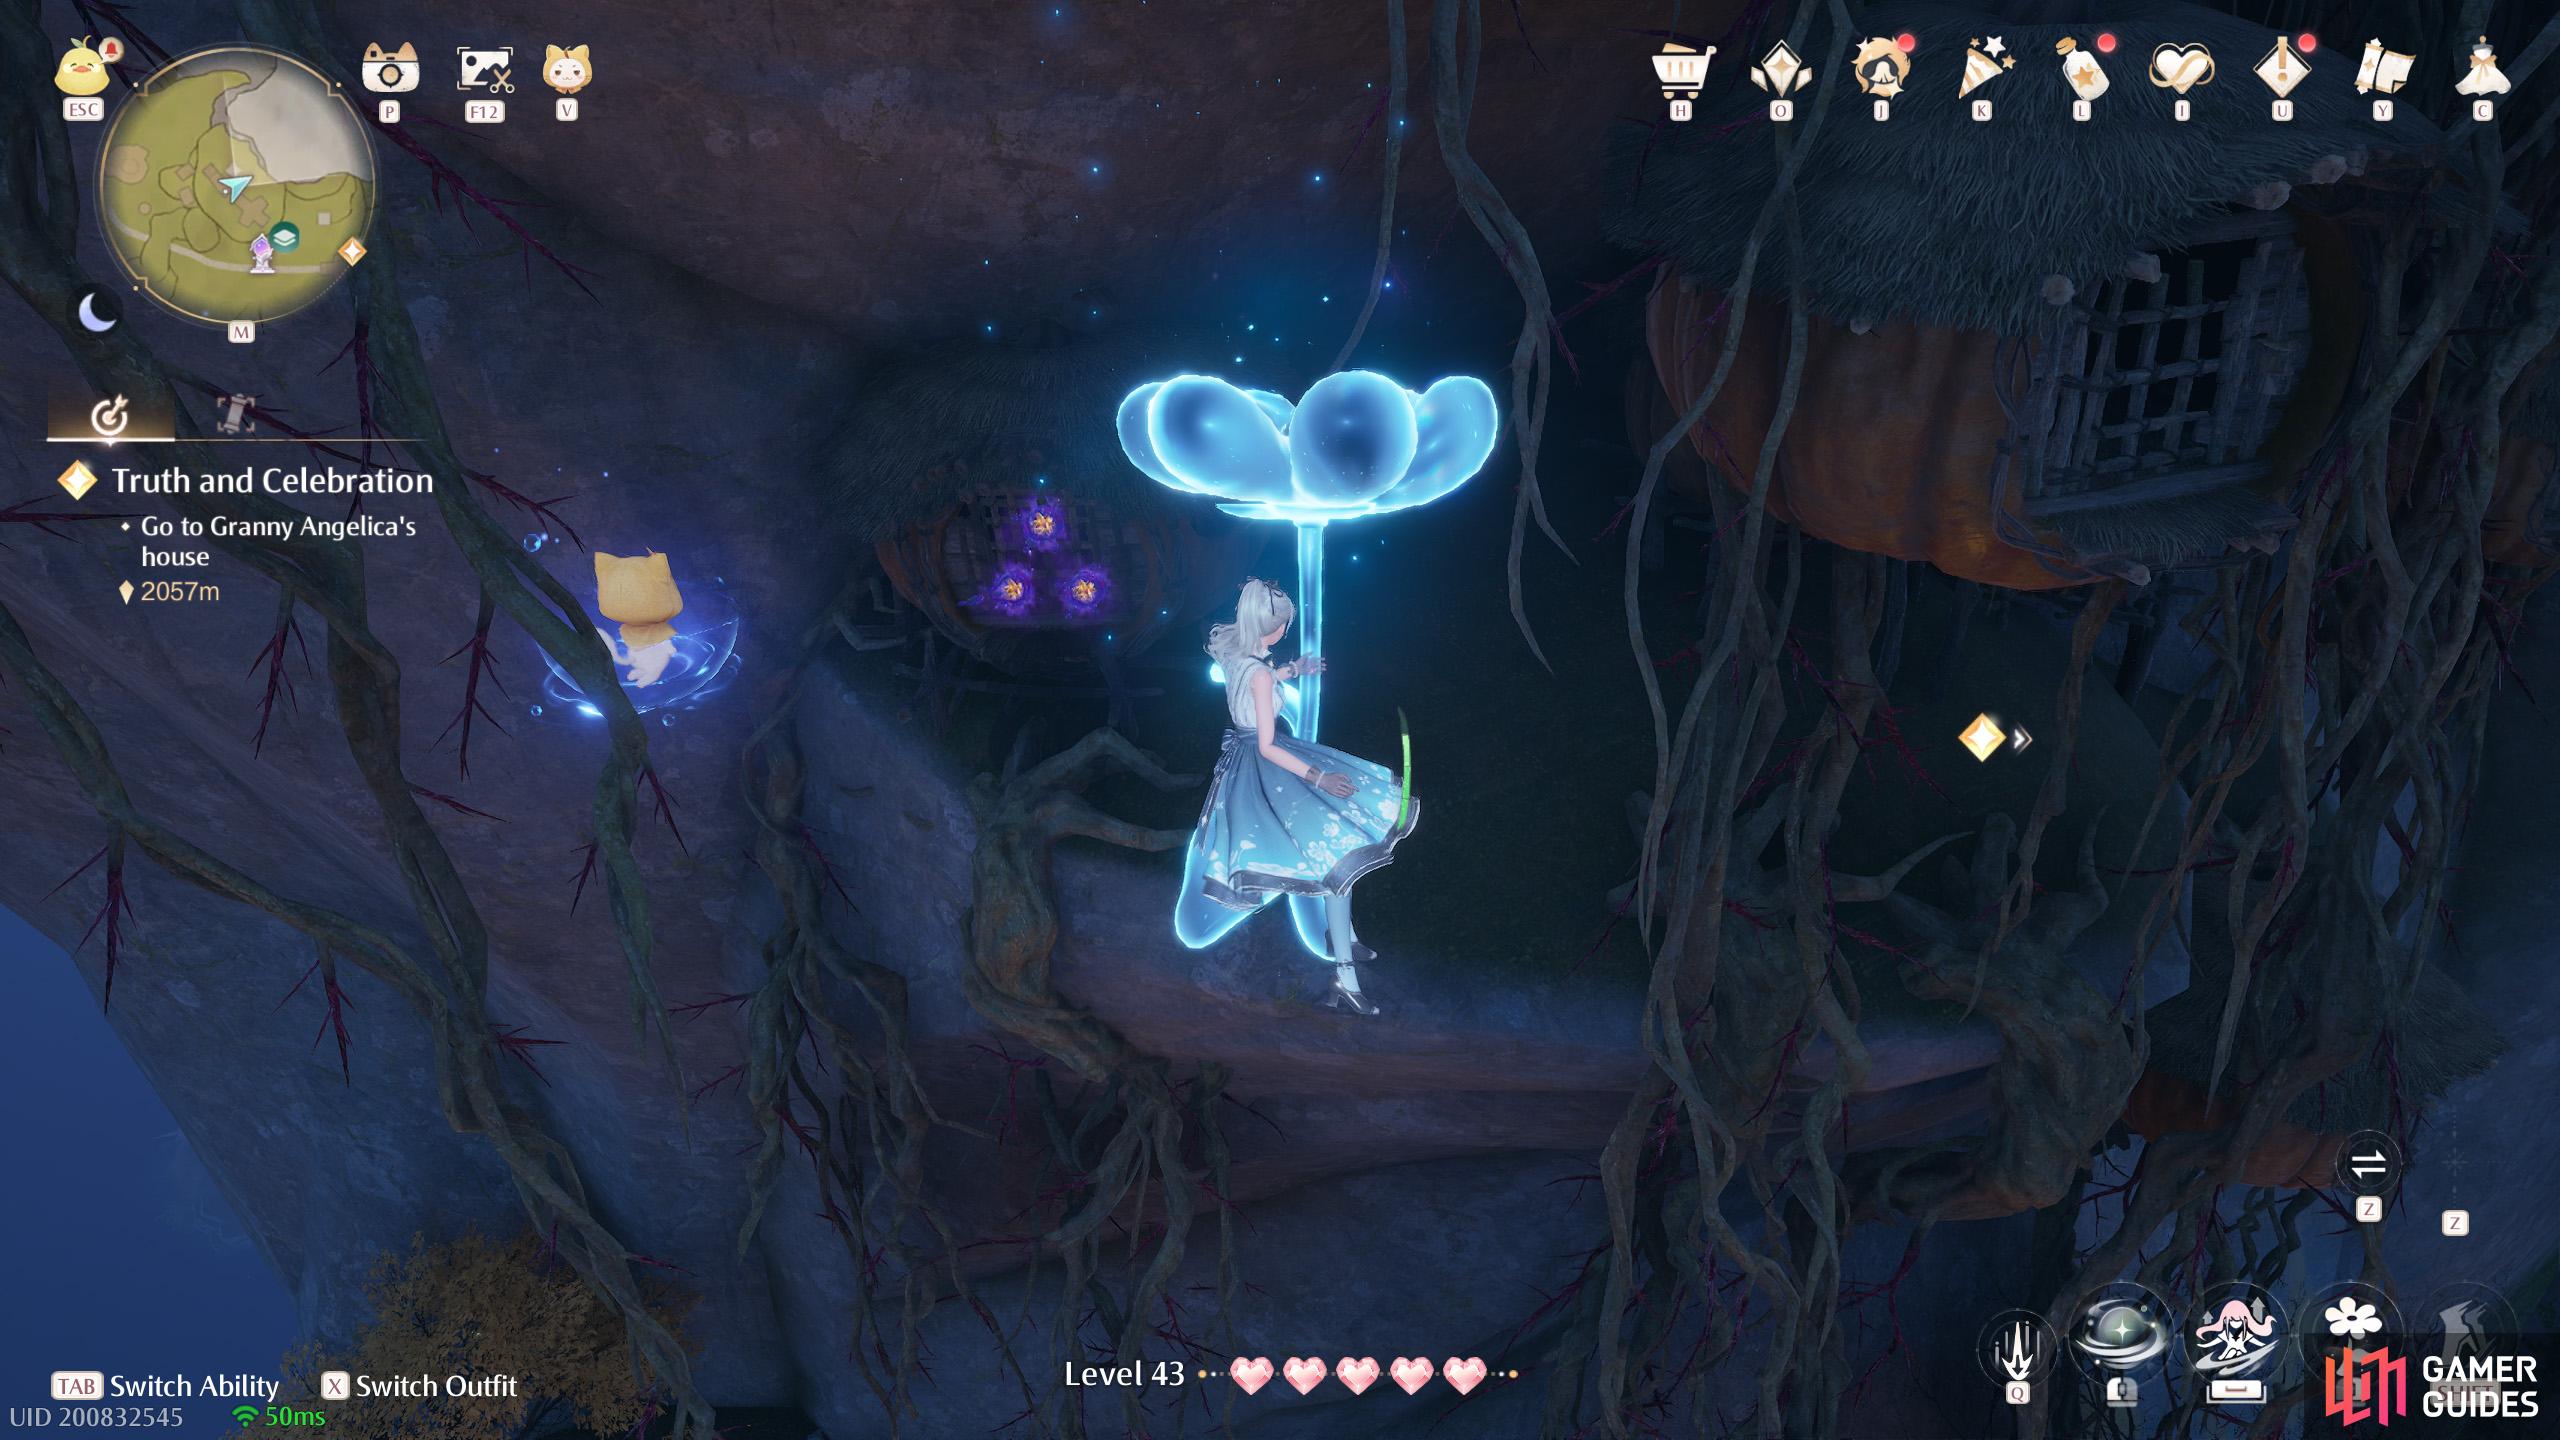
676. Miraland Map
Short distance north-west from ![]() Volunteer Corps Watchtower (West). Halfway between level 2F and 3F. Three bunched together in front of a pumpkin house where all the thorny roots are.
Volunteer Corps Watchtower (West). Halfway between level 2F and 3F. Three bunched together in front of a pumpkin house where all the thorny roots are.
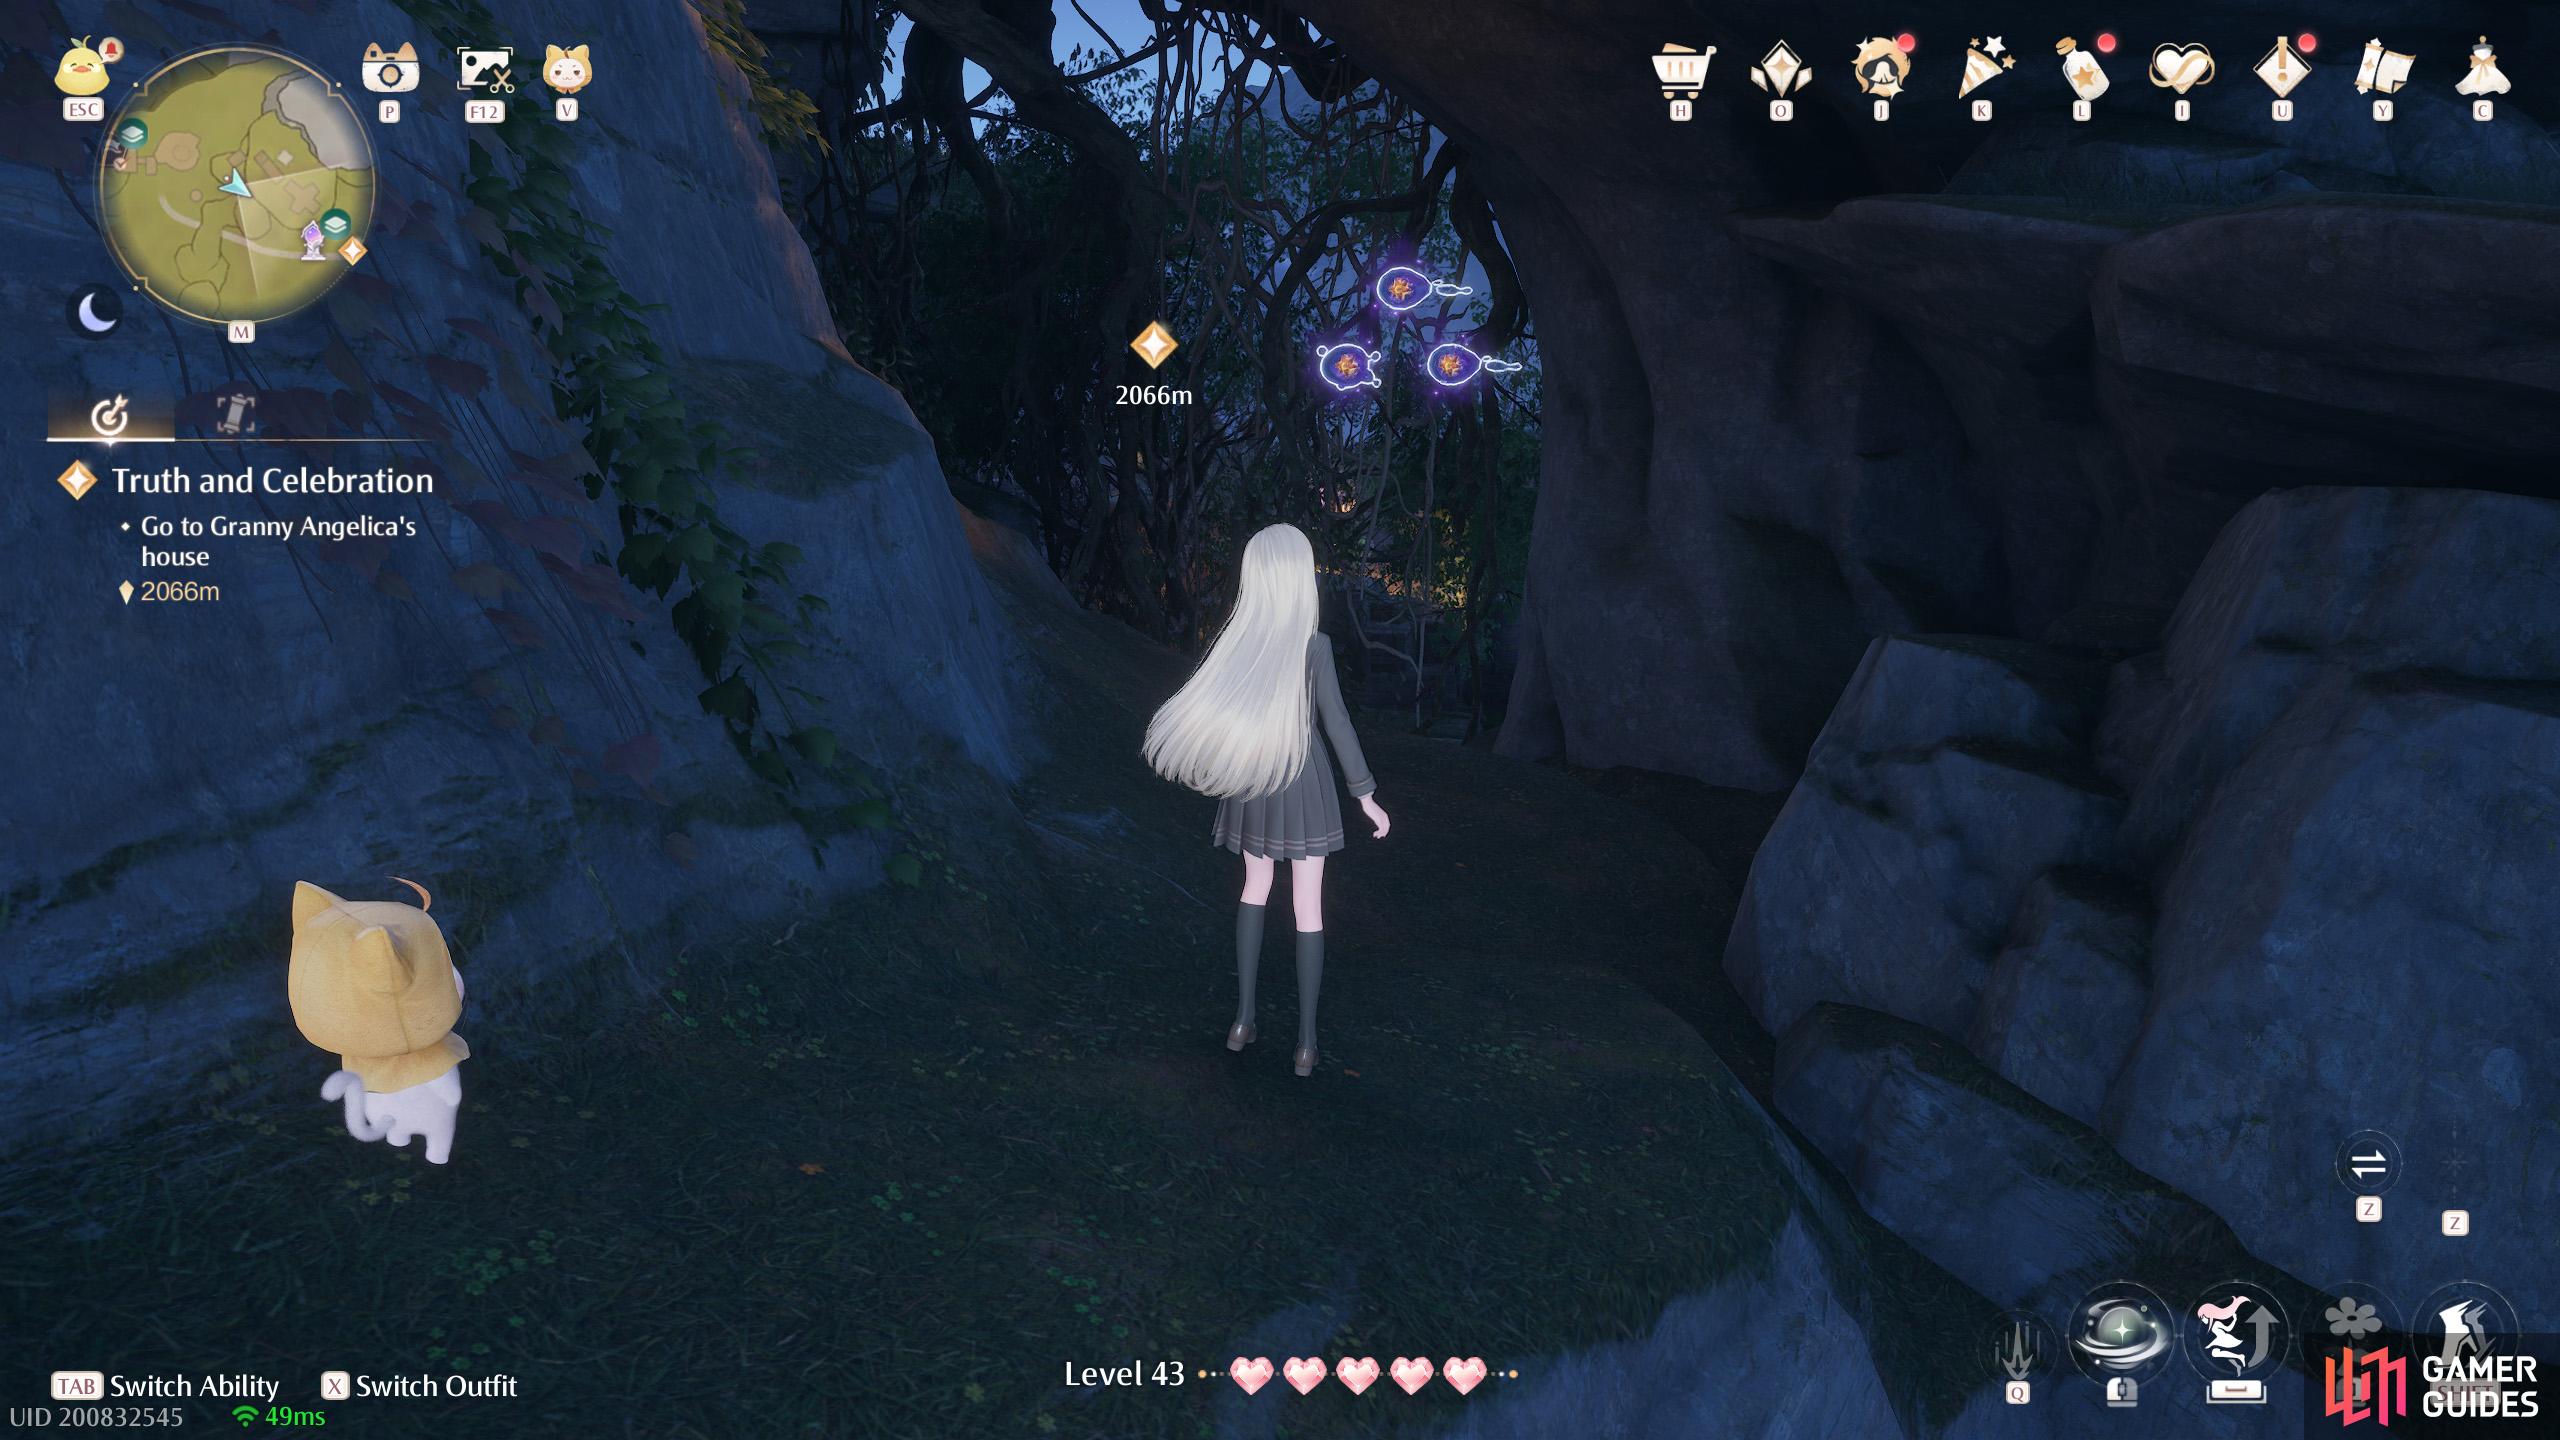
677. Miraland Map
Short distance north-west from ![]() Volunteer Corps Watchtower (West), on level 2F. Three behind a wall of thorny roots, in a small space surrounded by rock formations.
Volunteer Corps Watchtower (West), on level 2F. Three behind a wall of thorny roots, in a small space surrounded by rock formations.
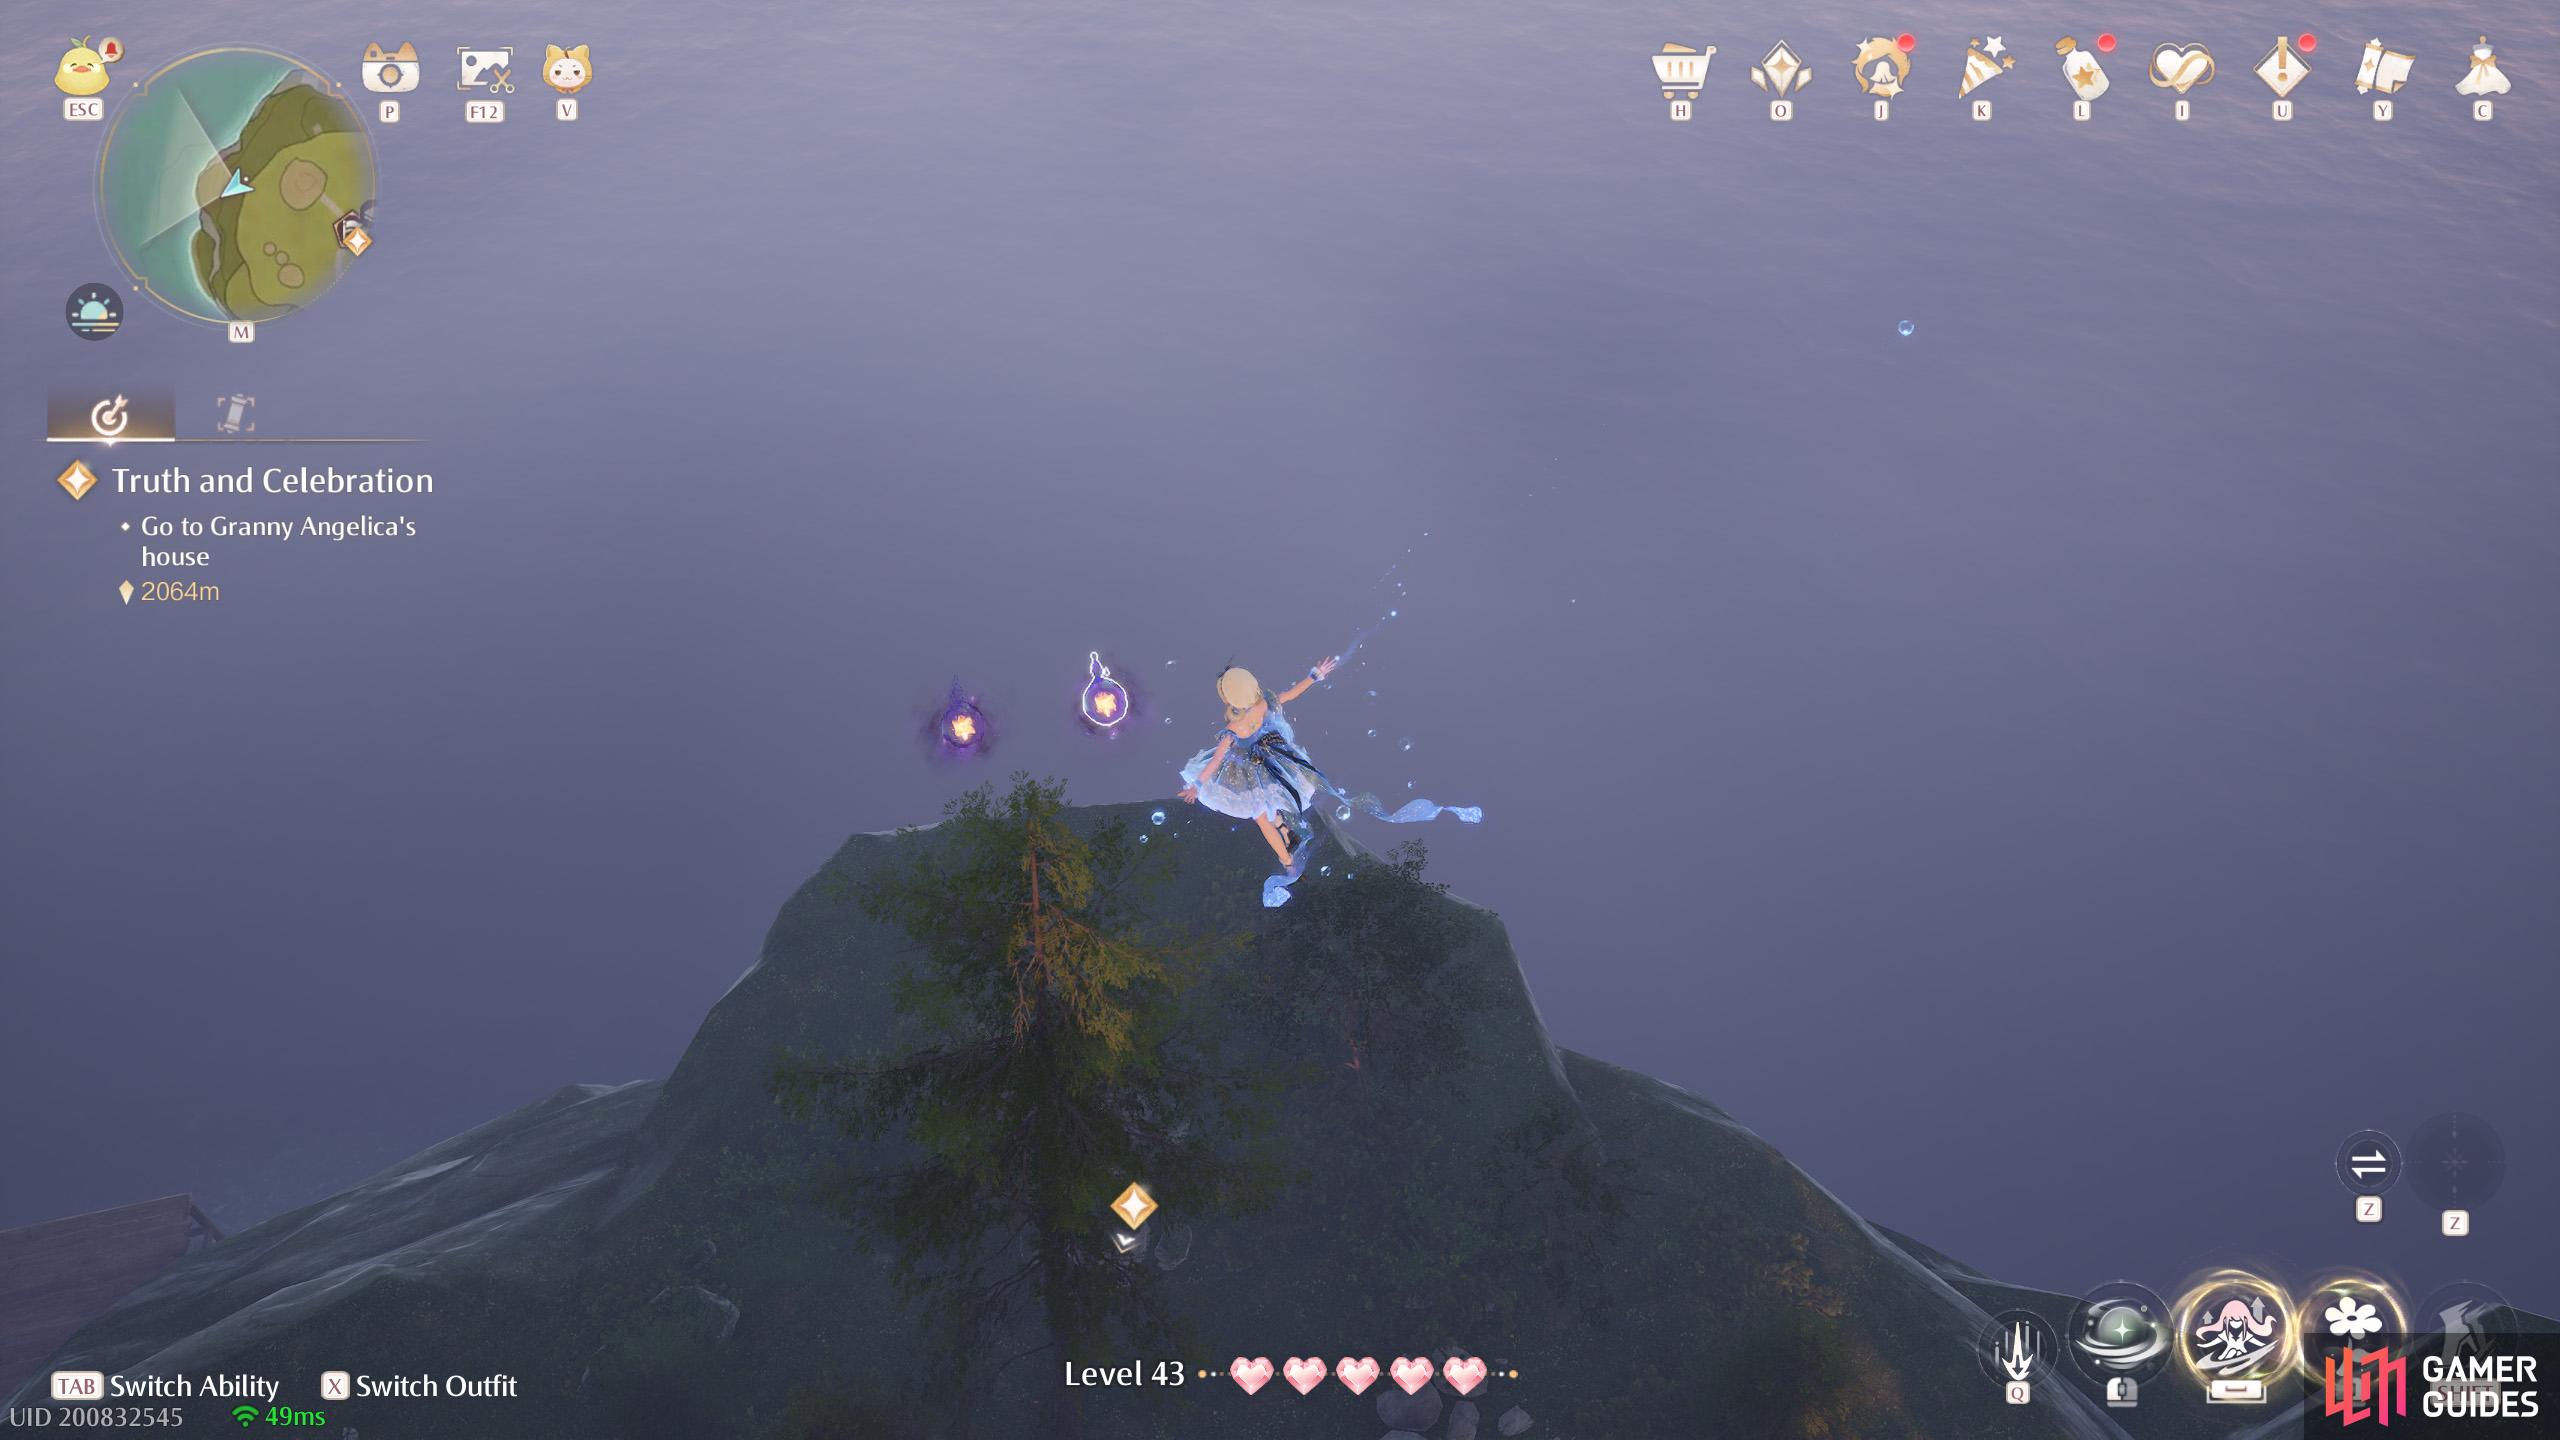
678. Miraland Map
South-west of ![]() Volunteer Corps Watchtower (west), at the far-off medium stonetree. Two floating above a tree at the west side. There’s a leaf trampoline nearby if you need it.
Volunteer Corps Watchtower (west), at the far-off medium stonetree. Two floating above a tree at the west side. There’s a leaf trampoline nearby if you need it.
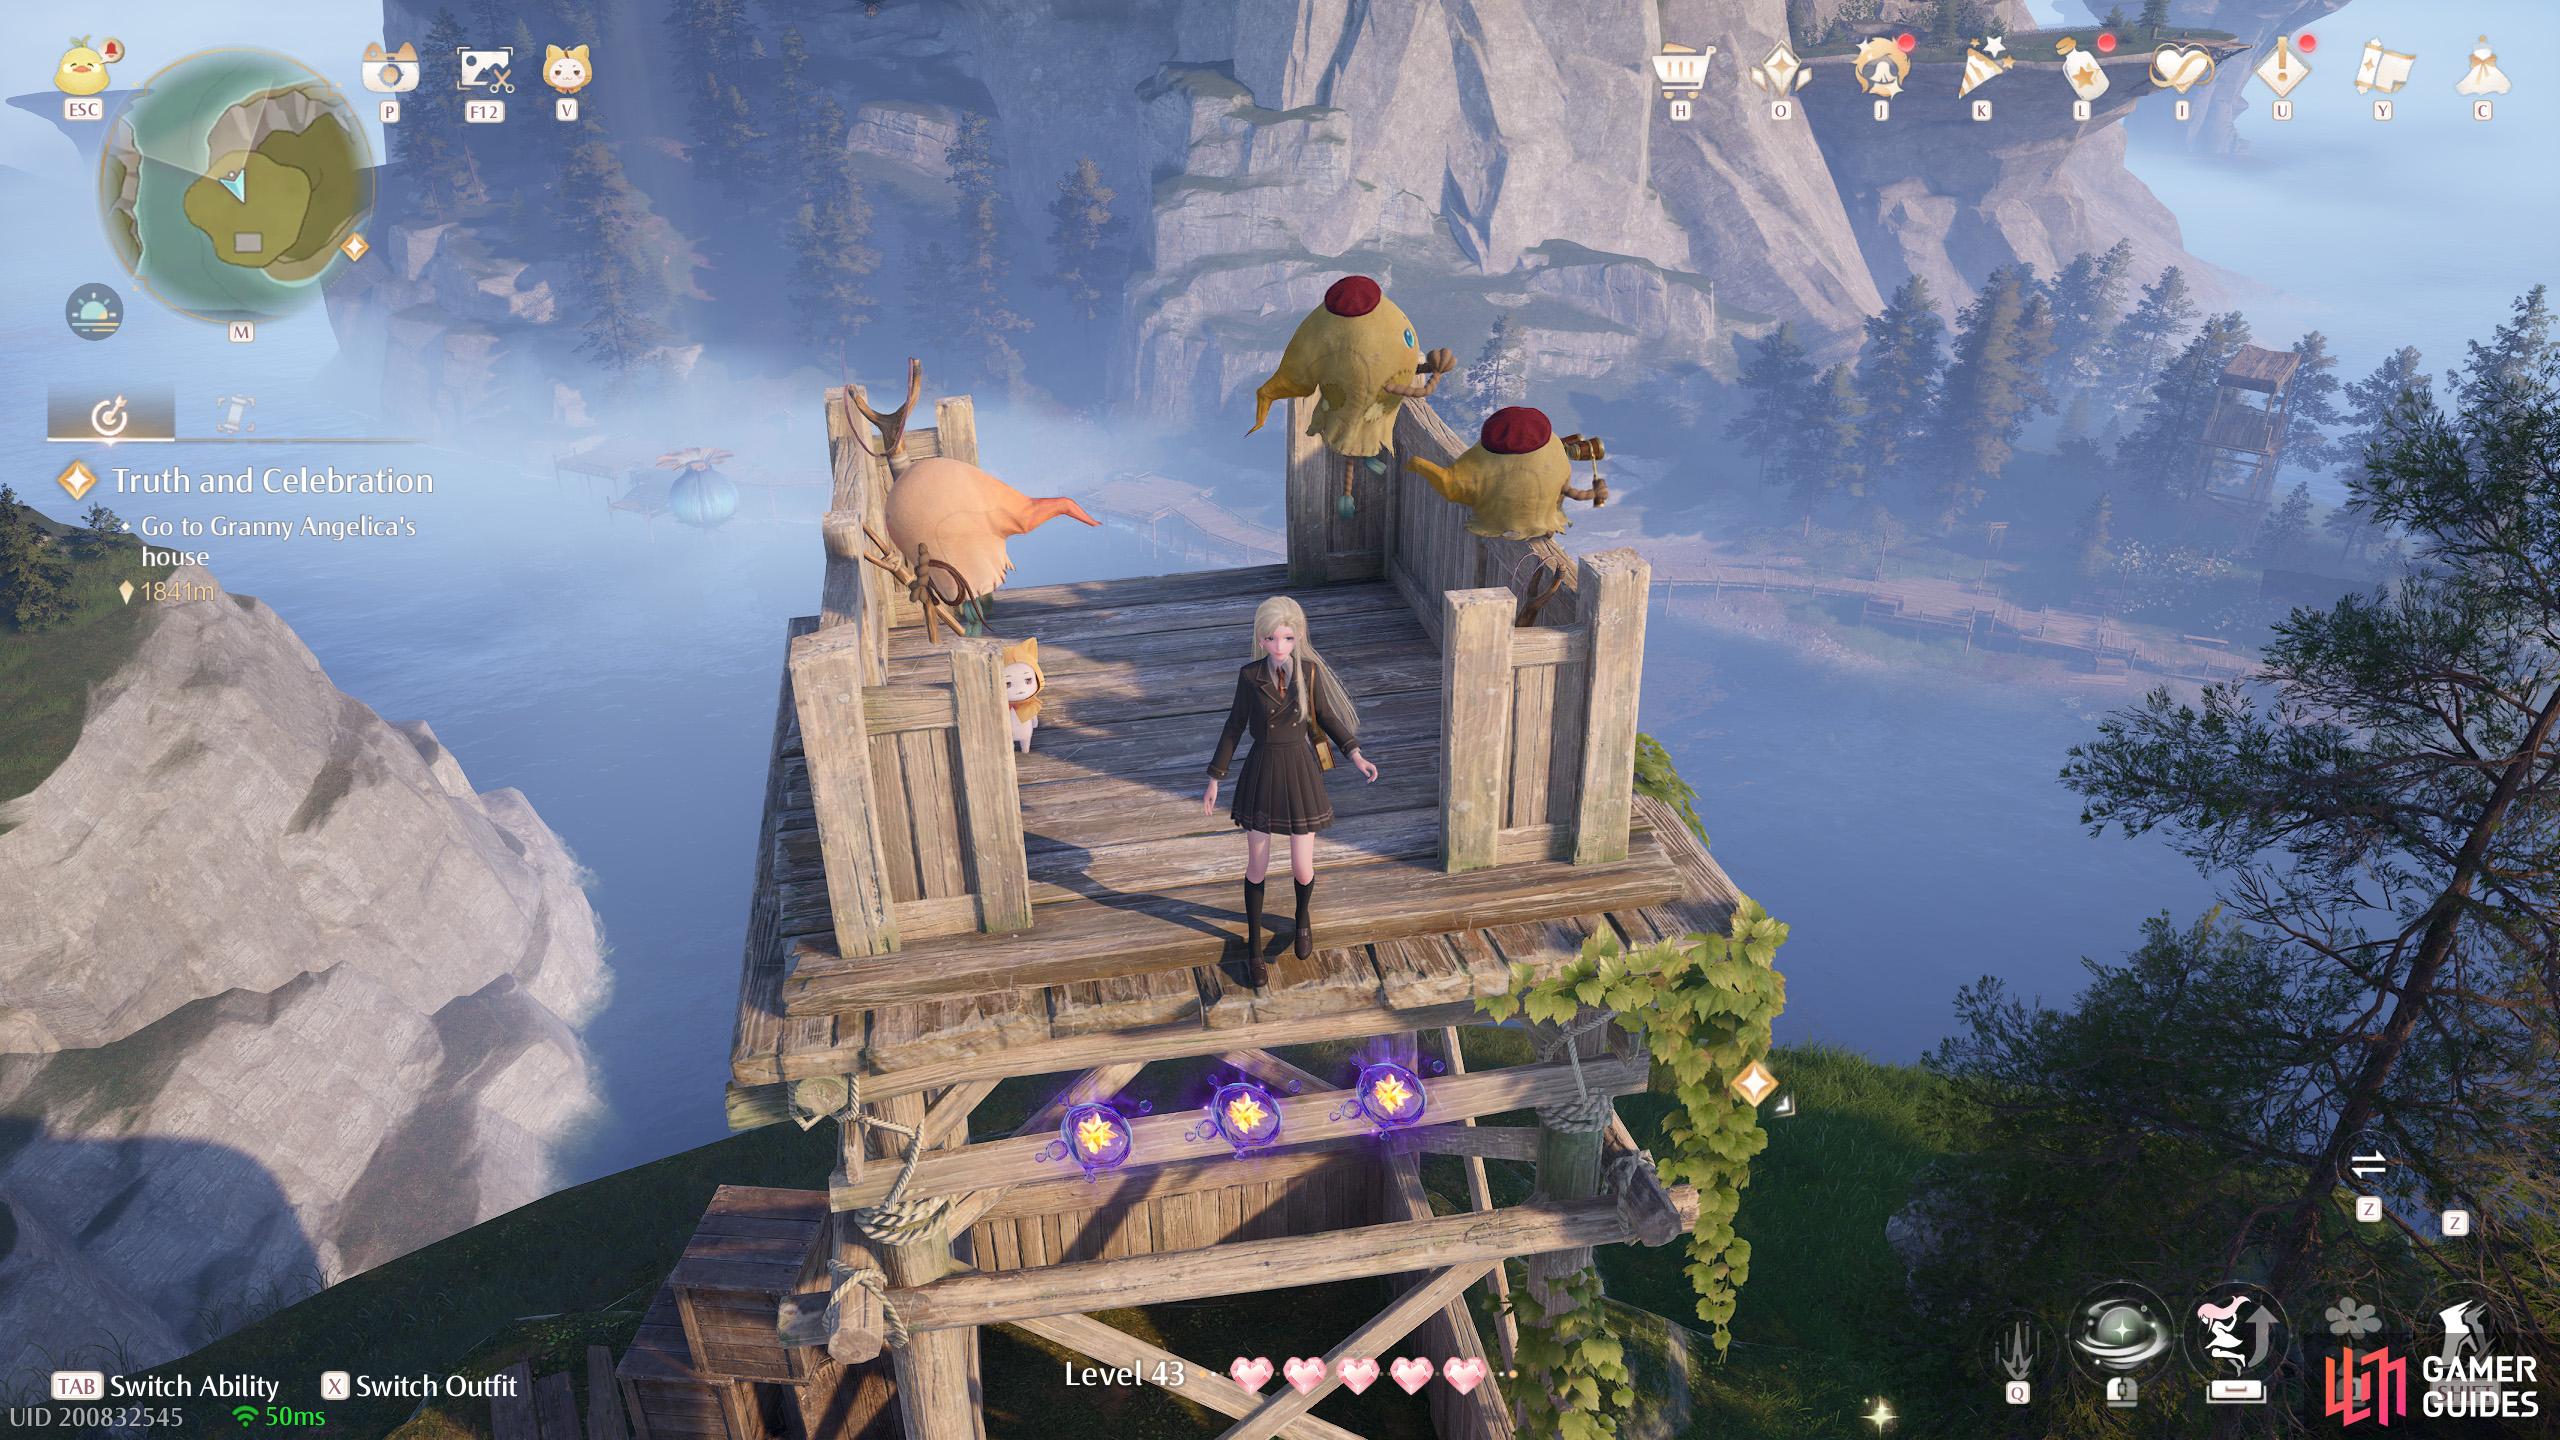
679. Miraland Map
Medium stonetree south-east from ![]() Volunteer Corps Watchtower (East). Three high up, next to the south side of a watchtower.
Volunteer Corps Watchtower (East). Three high up, next to the south side of a watchtower.
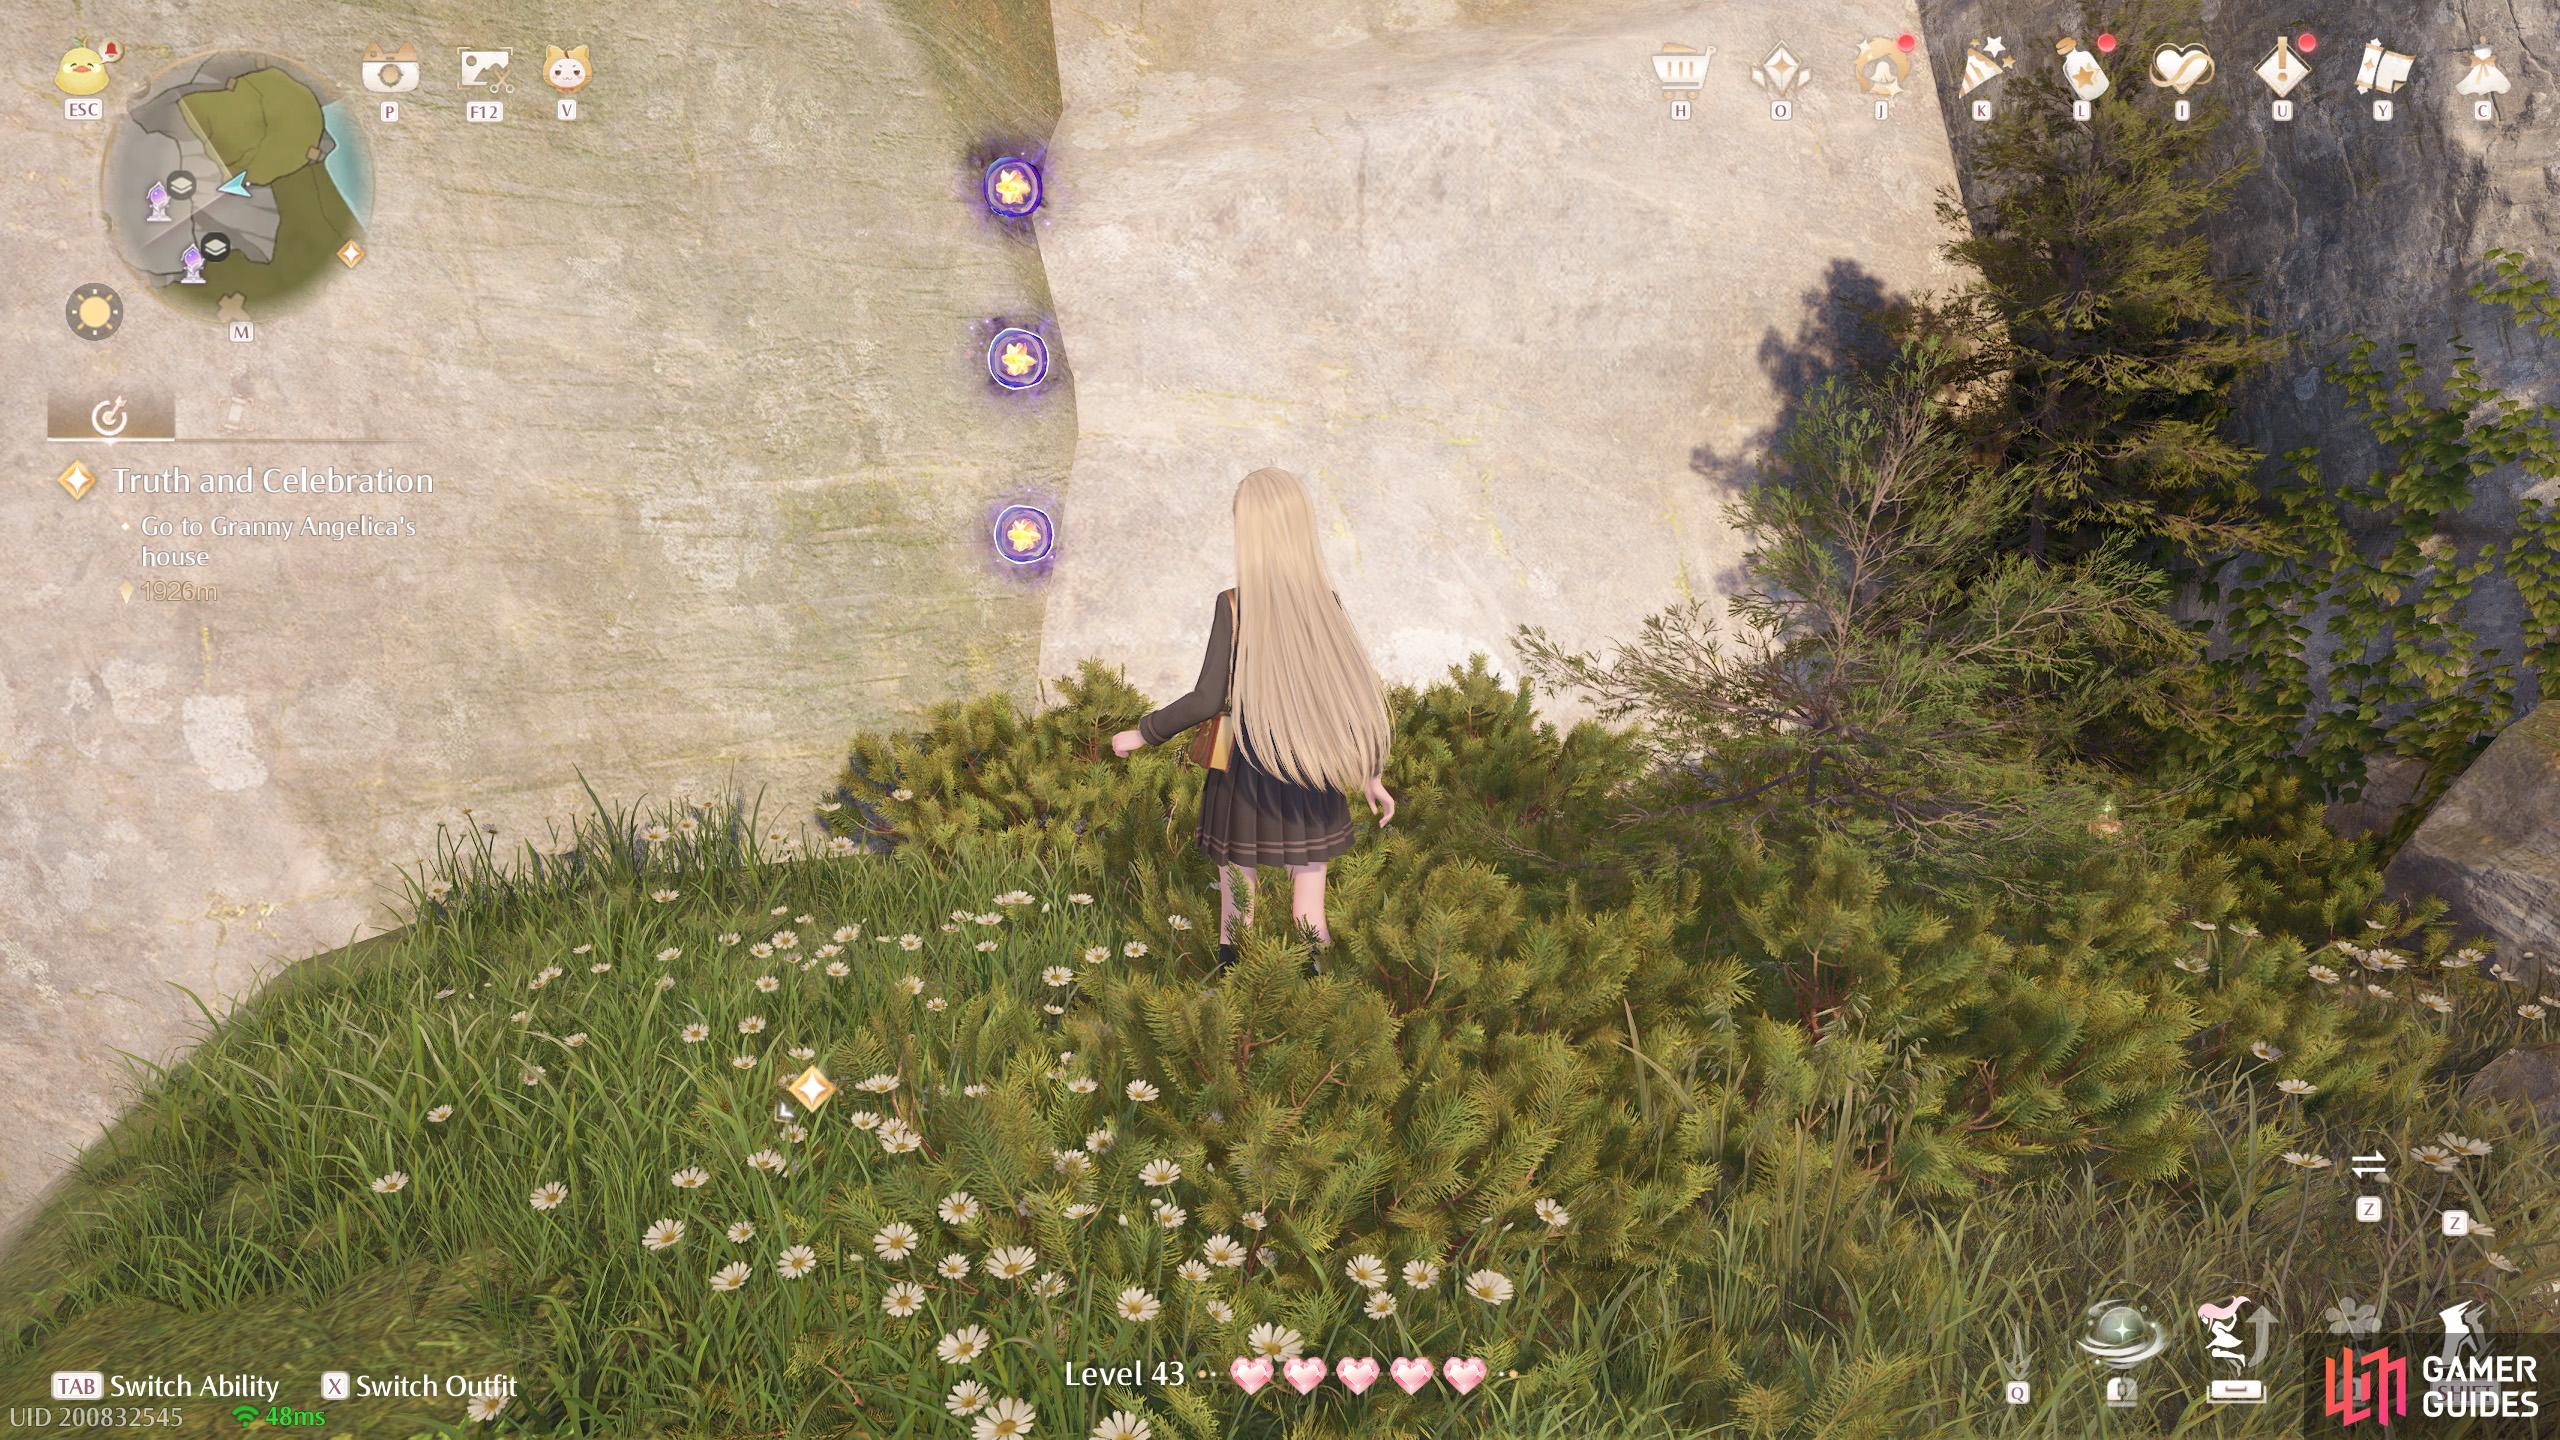
680. Miraland Map
Short distance north-east from ![]() Volunteer Corps Watchtower (East). Around level 1F. Three on a high up ledge. You can get up from further north or by dropping down from higher ground.
Volunteer Corps Watchtower (East). Around level 1F. Three on a high up ledge. You can get up from further north or by dropping down from higher ground.
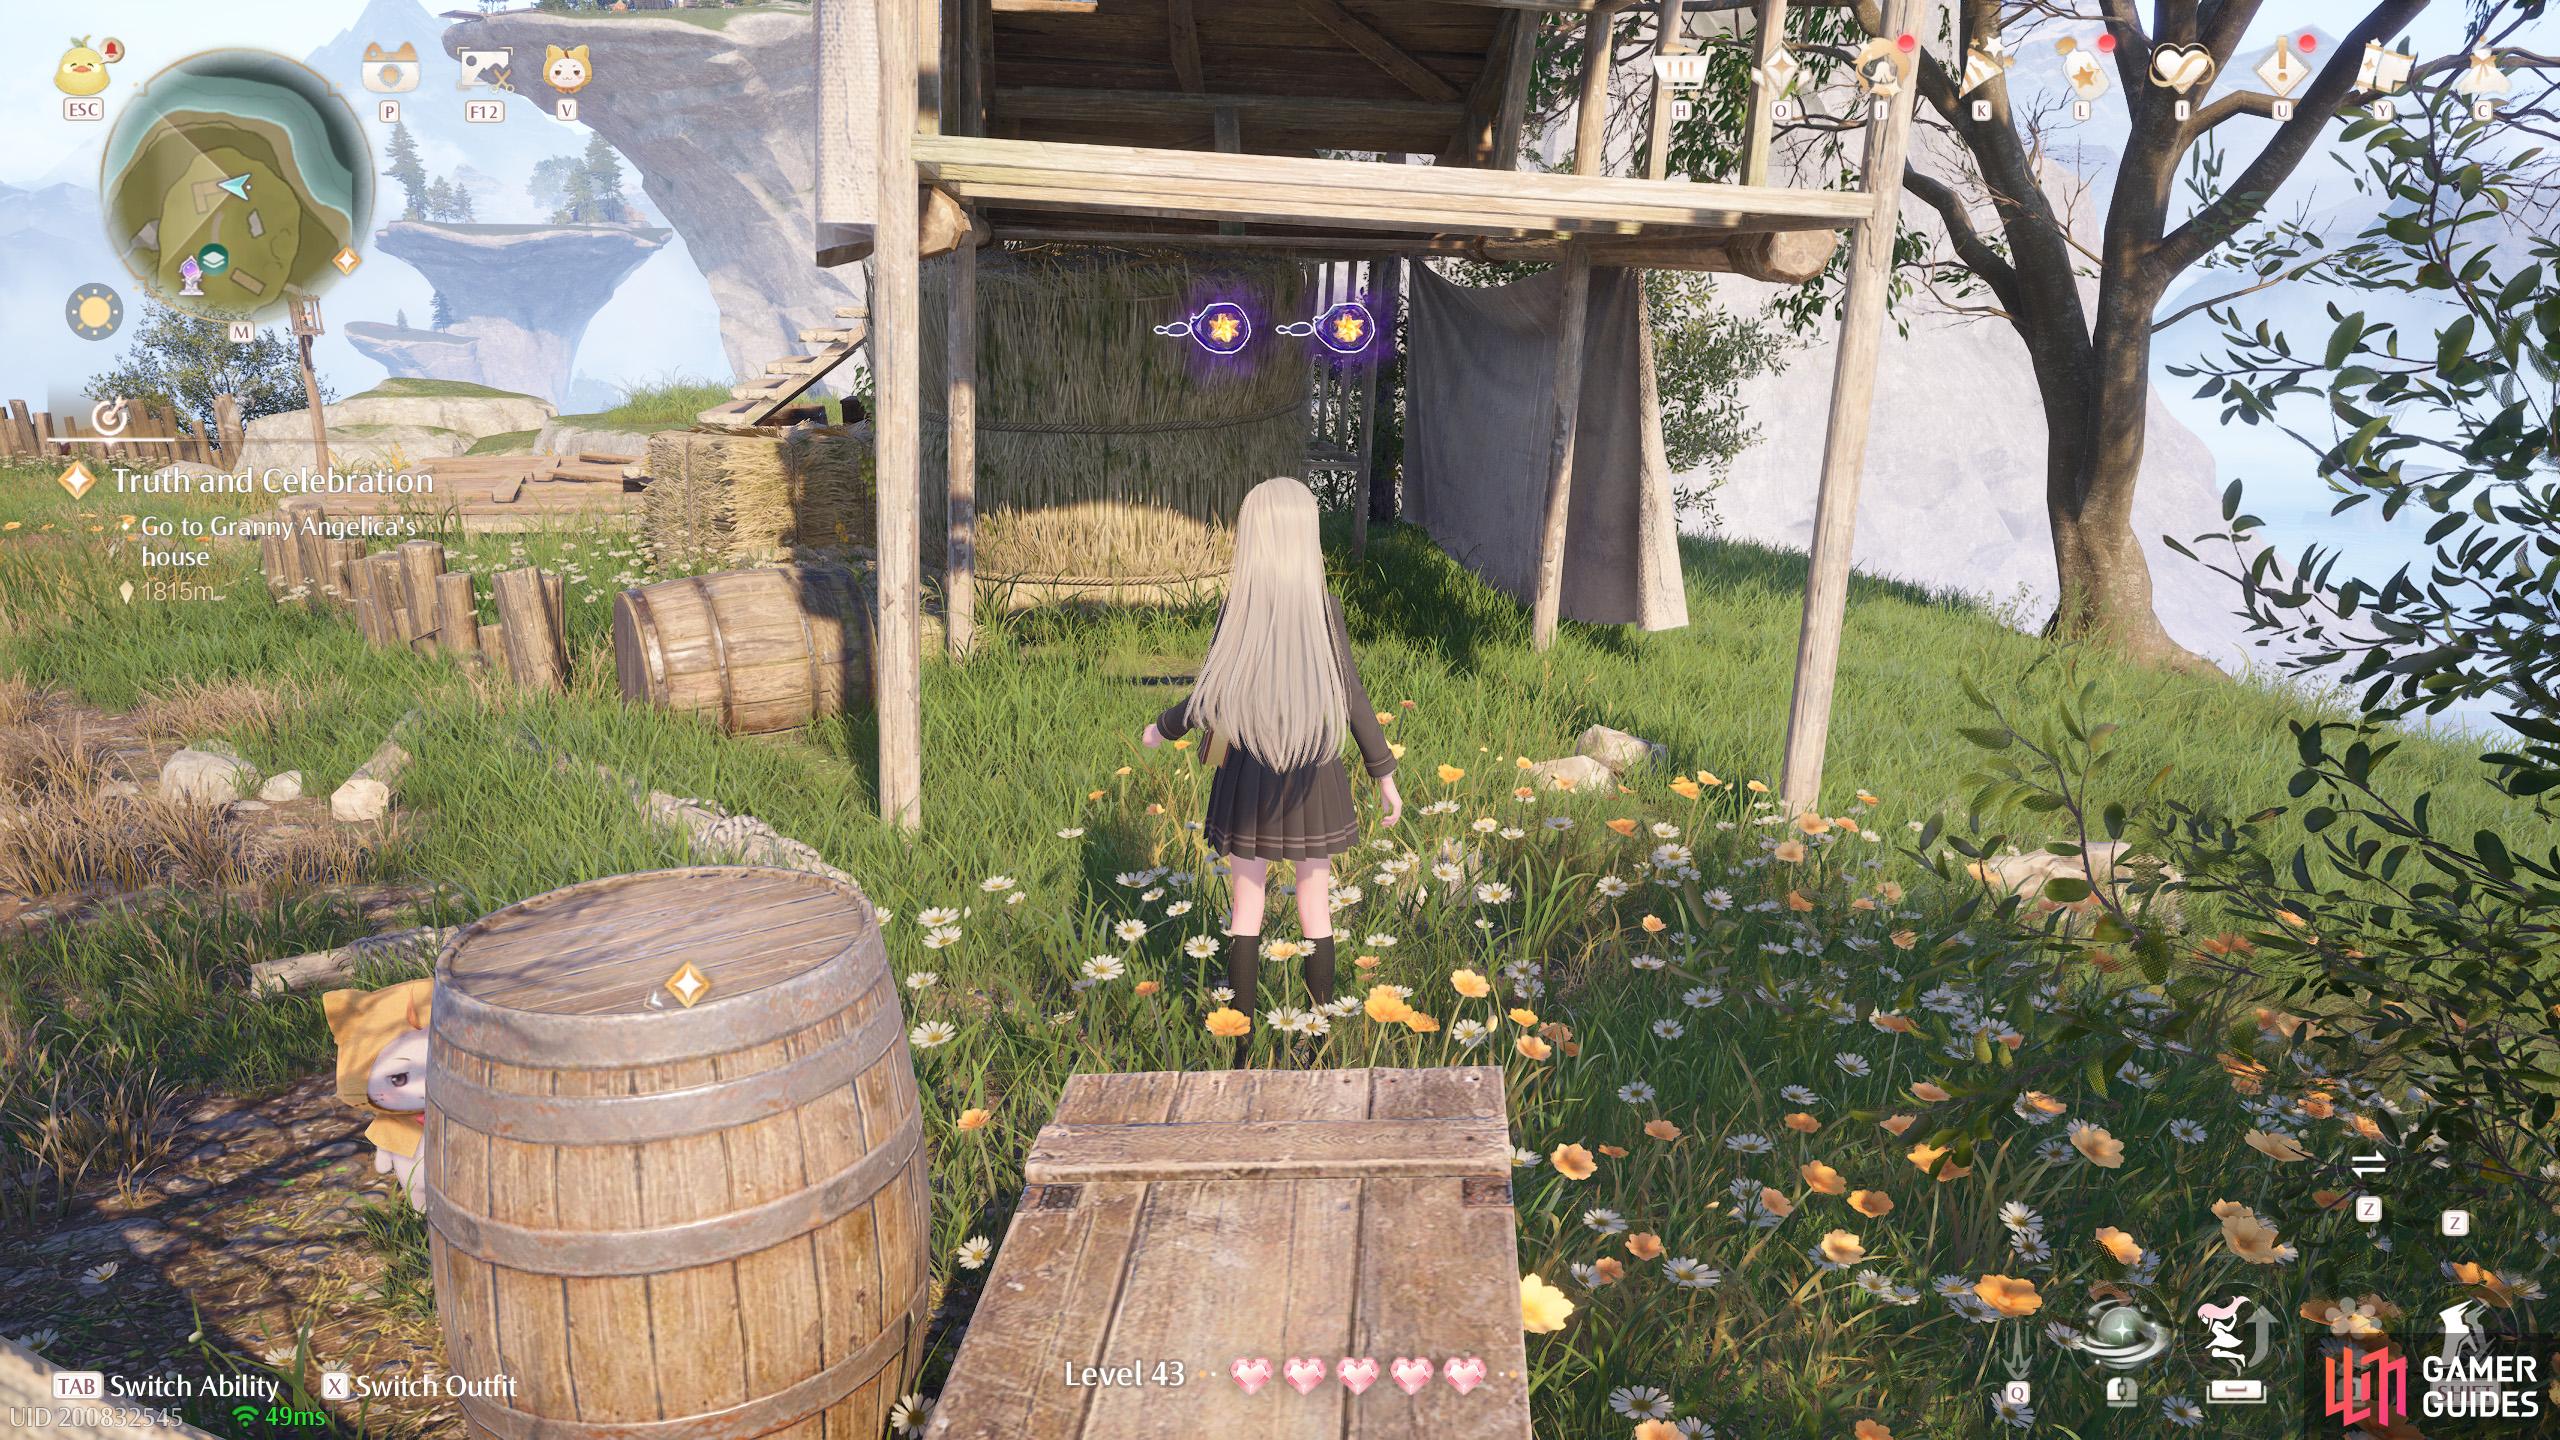
681. Miraland Map
Short distance north-east from ![]() Waterspouts Observatory. Two under the scaffolding.
Waterspouts Observatory. Two under the scaffolding.
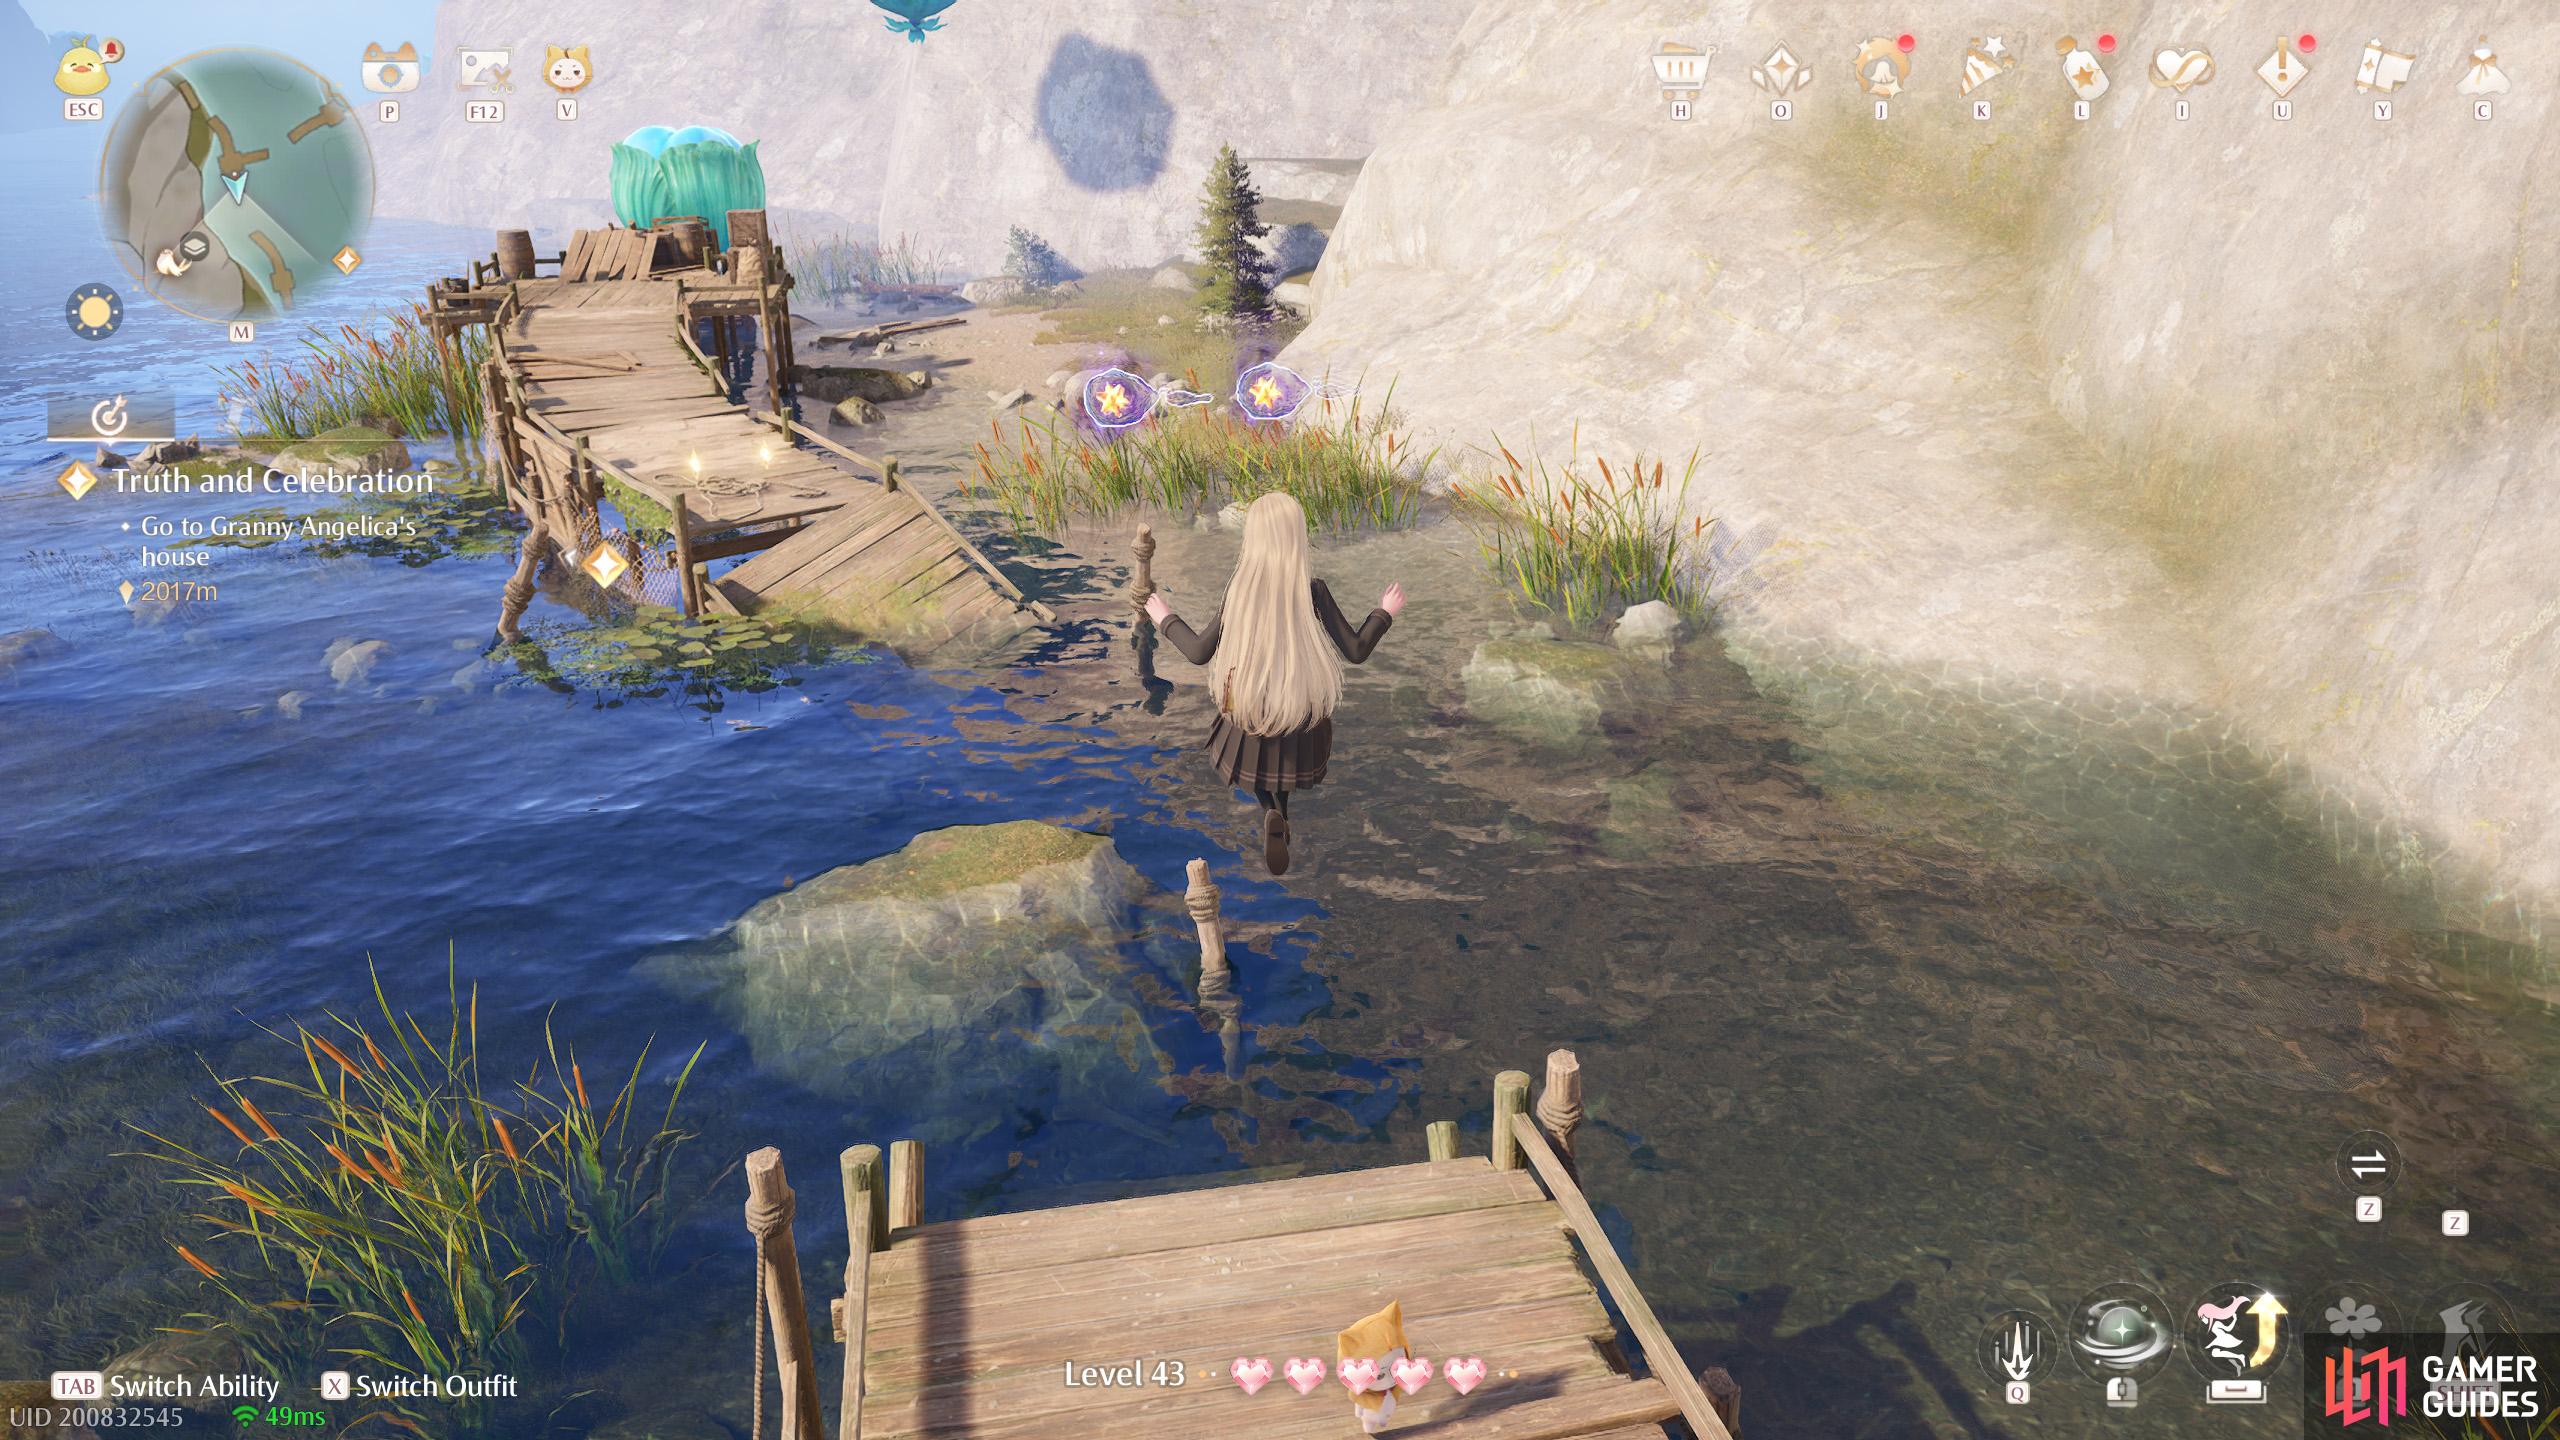
682. Miraland Map
North-east from ![]() Stonecrown Peak, on level 1F. Two floating around the boardwalk.
Stonecrown Peak, on level 1F. Two floating around the boardwalk.

683. Miraland Map
Short distance north-east from ![]() Beside the Golden Fields, on the same level as the Warp Spire. Three in a narrow gap between the rock formations.
Beside the Golden Fields, on the same level as the Warp Spire. Three in a narrow gap between the rock formations.

684. Miraland Map
East from ![]() Golden Fields Old Dock, on level 2F. Two behind a stack of logs near the two houses.
Golden Fields Old Dock, on level 2F. Two behind a stack of logs near the two houses.
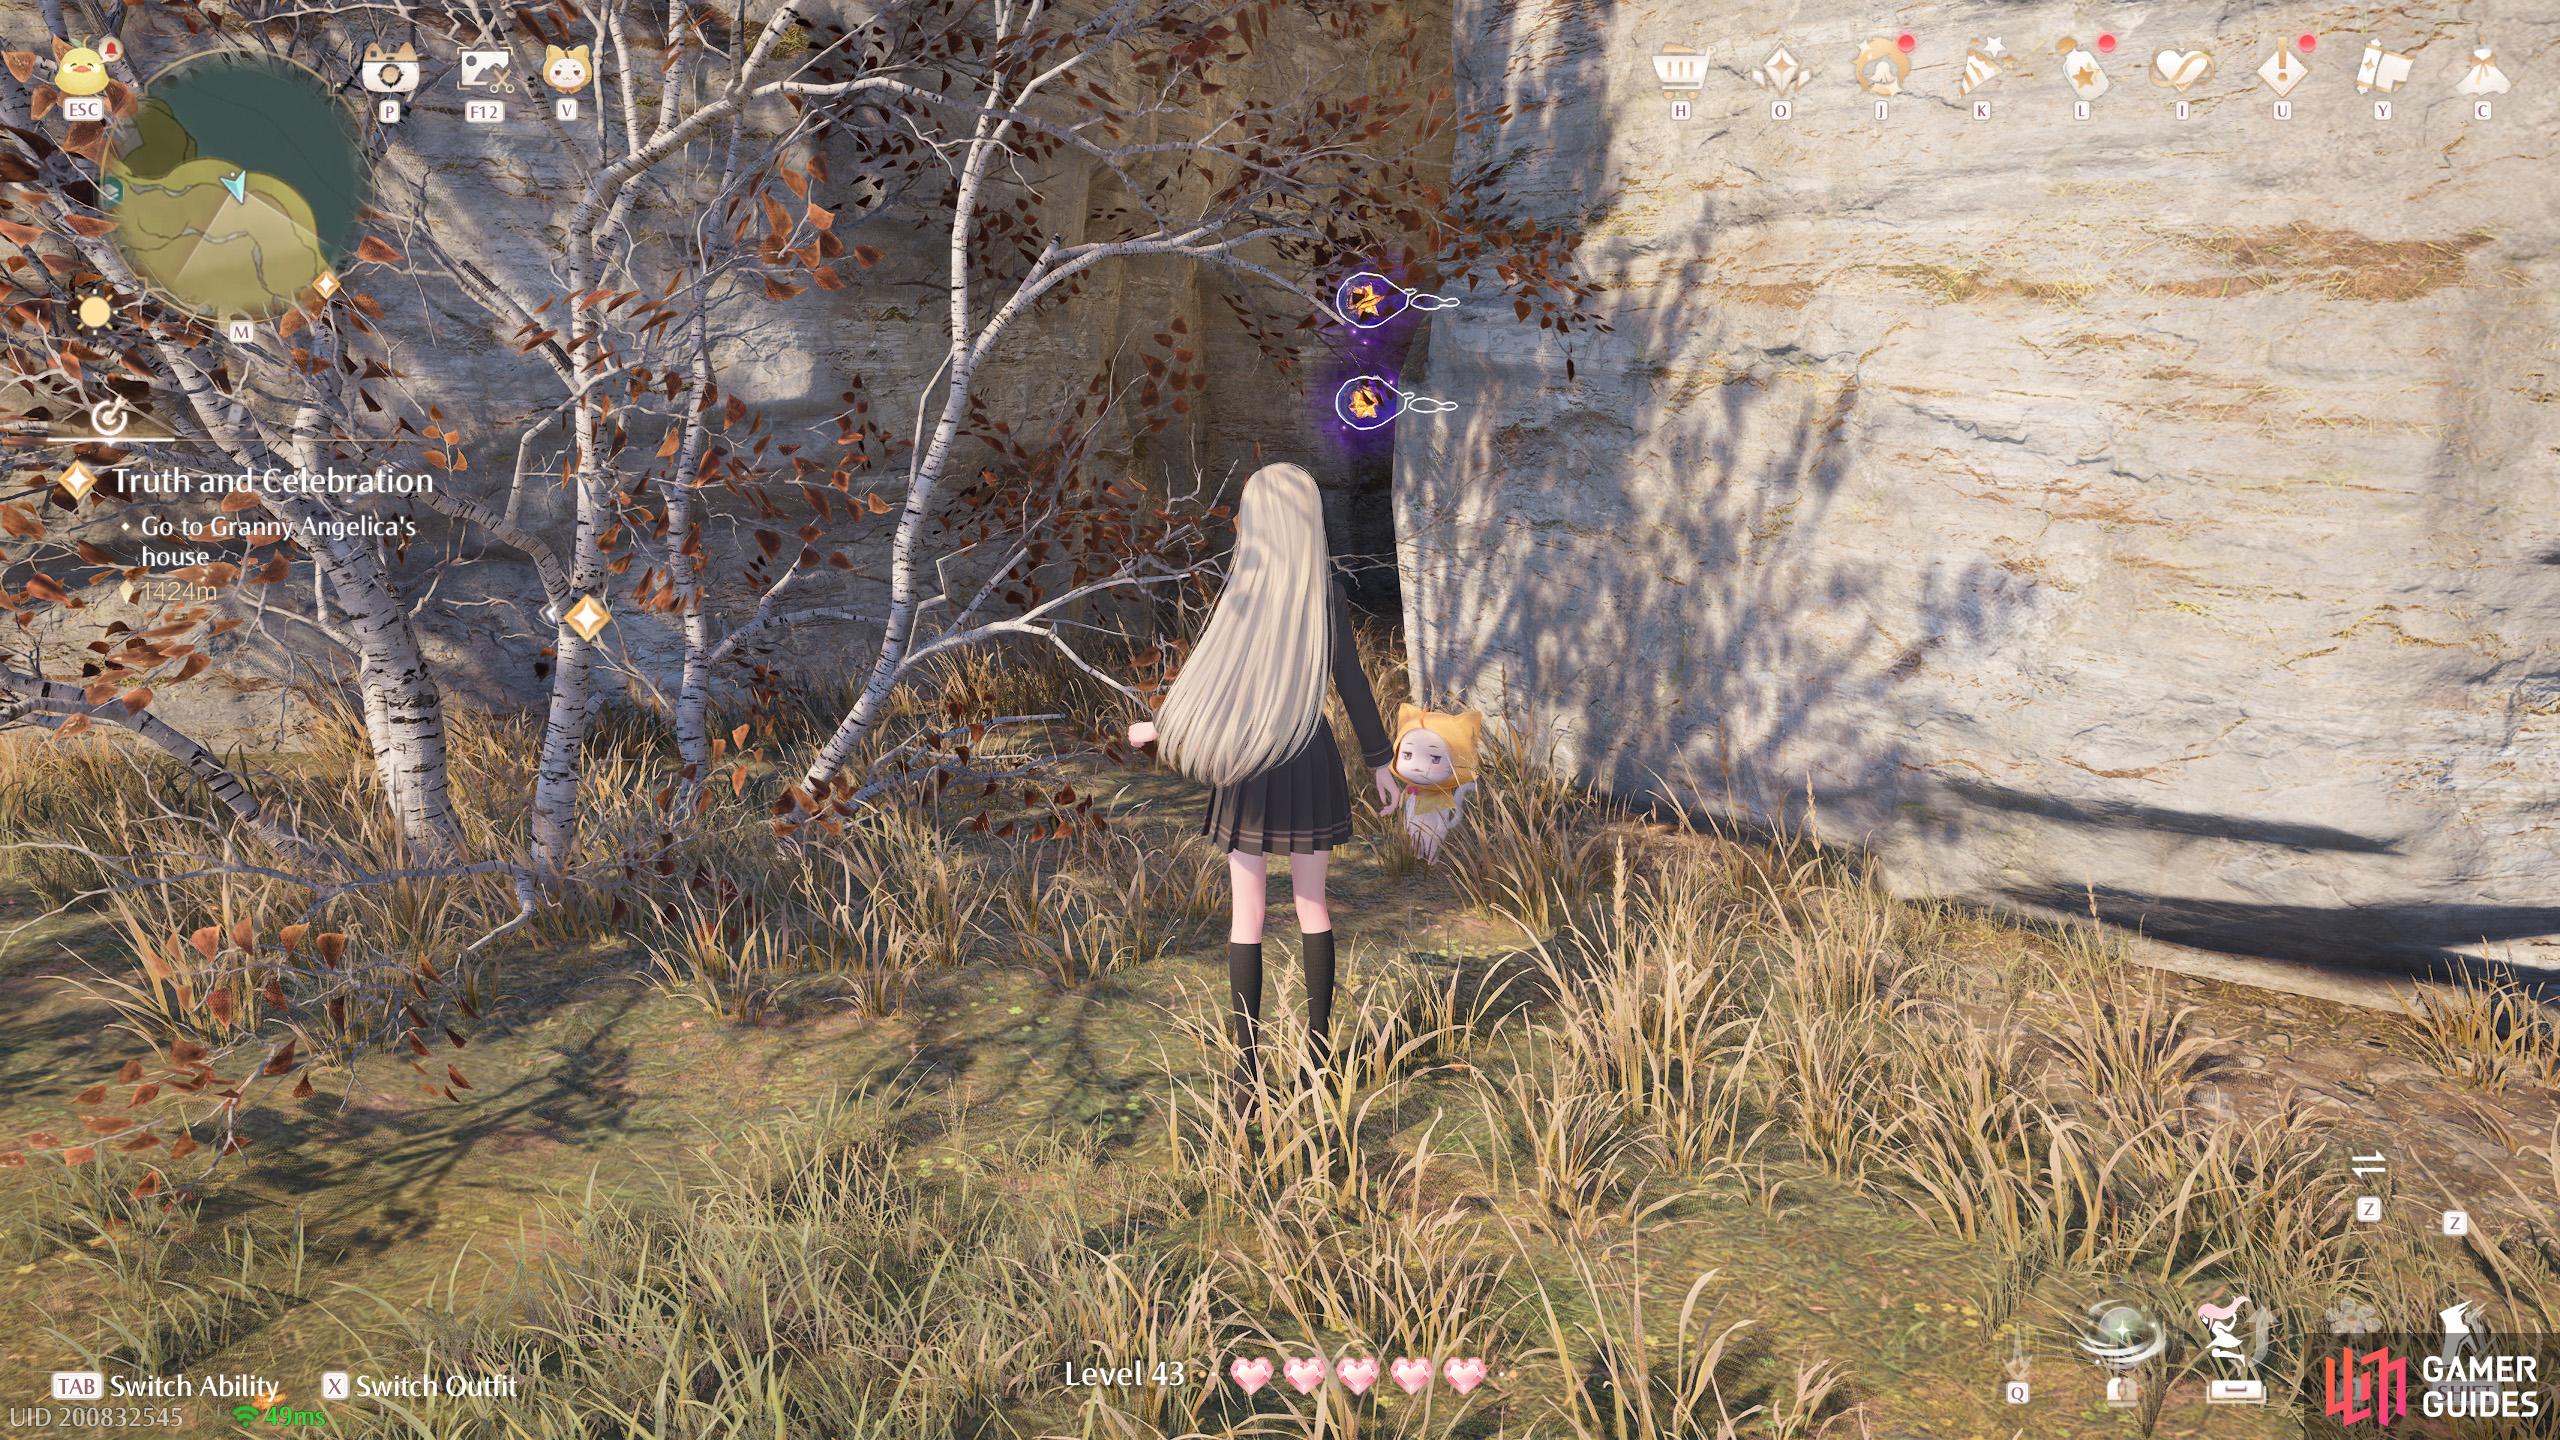
685. Miraland Map
East from ![]() Stone Seles. Two in a gap near some trees at the outer wall.
Stone Seles. Two in a gap near some trees at the outer wall.
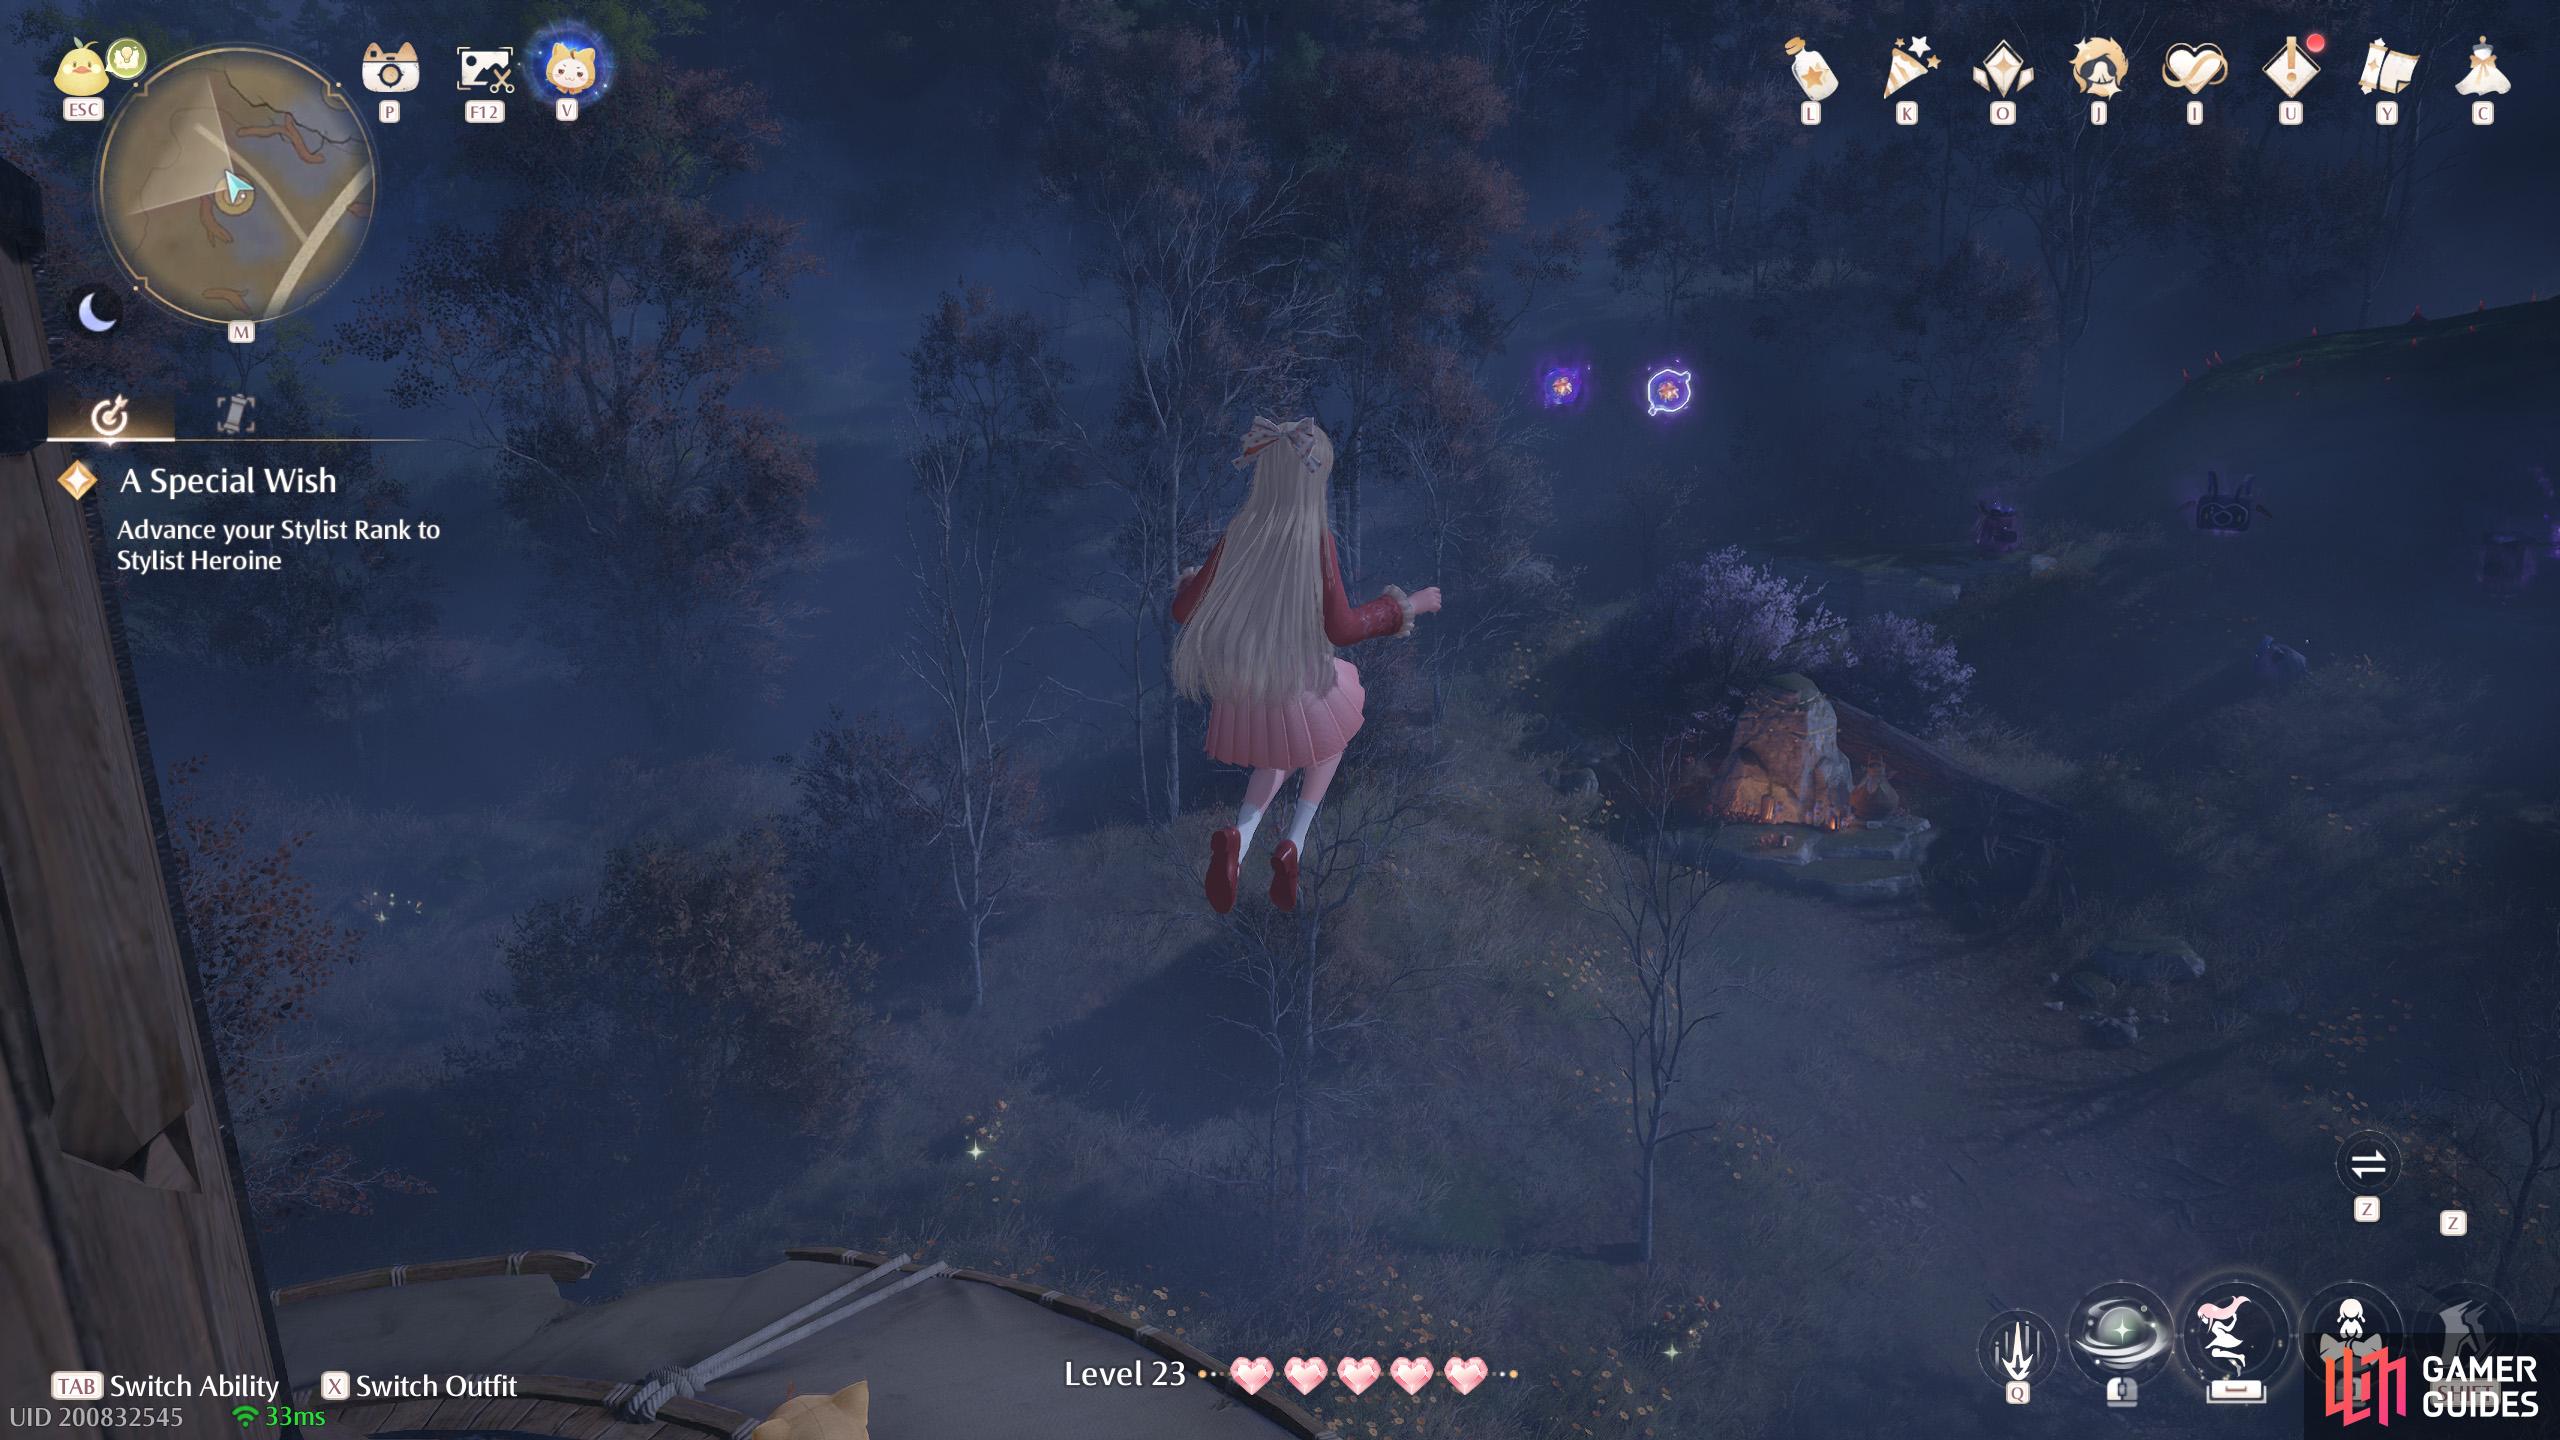
686. Miraland Map
North from ![]() Bizarre Wish Hills. Two floating near the top of the west tower.
Bizarre Wish Hills. Two floating near the top of the west tower.
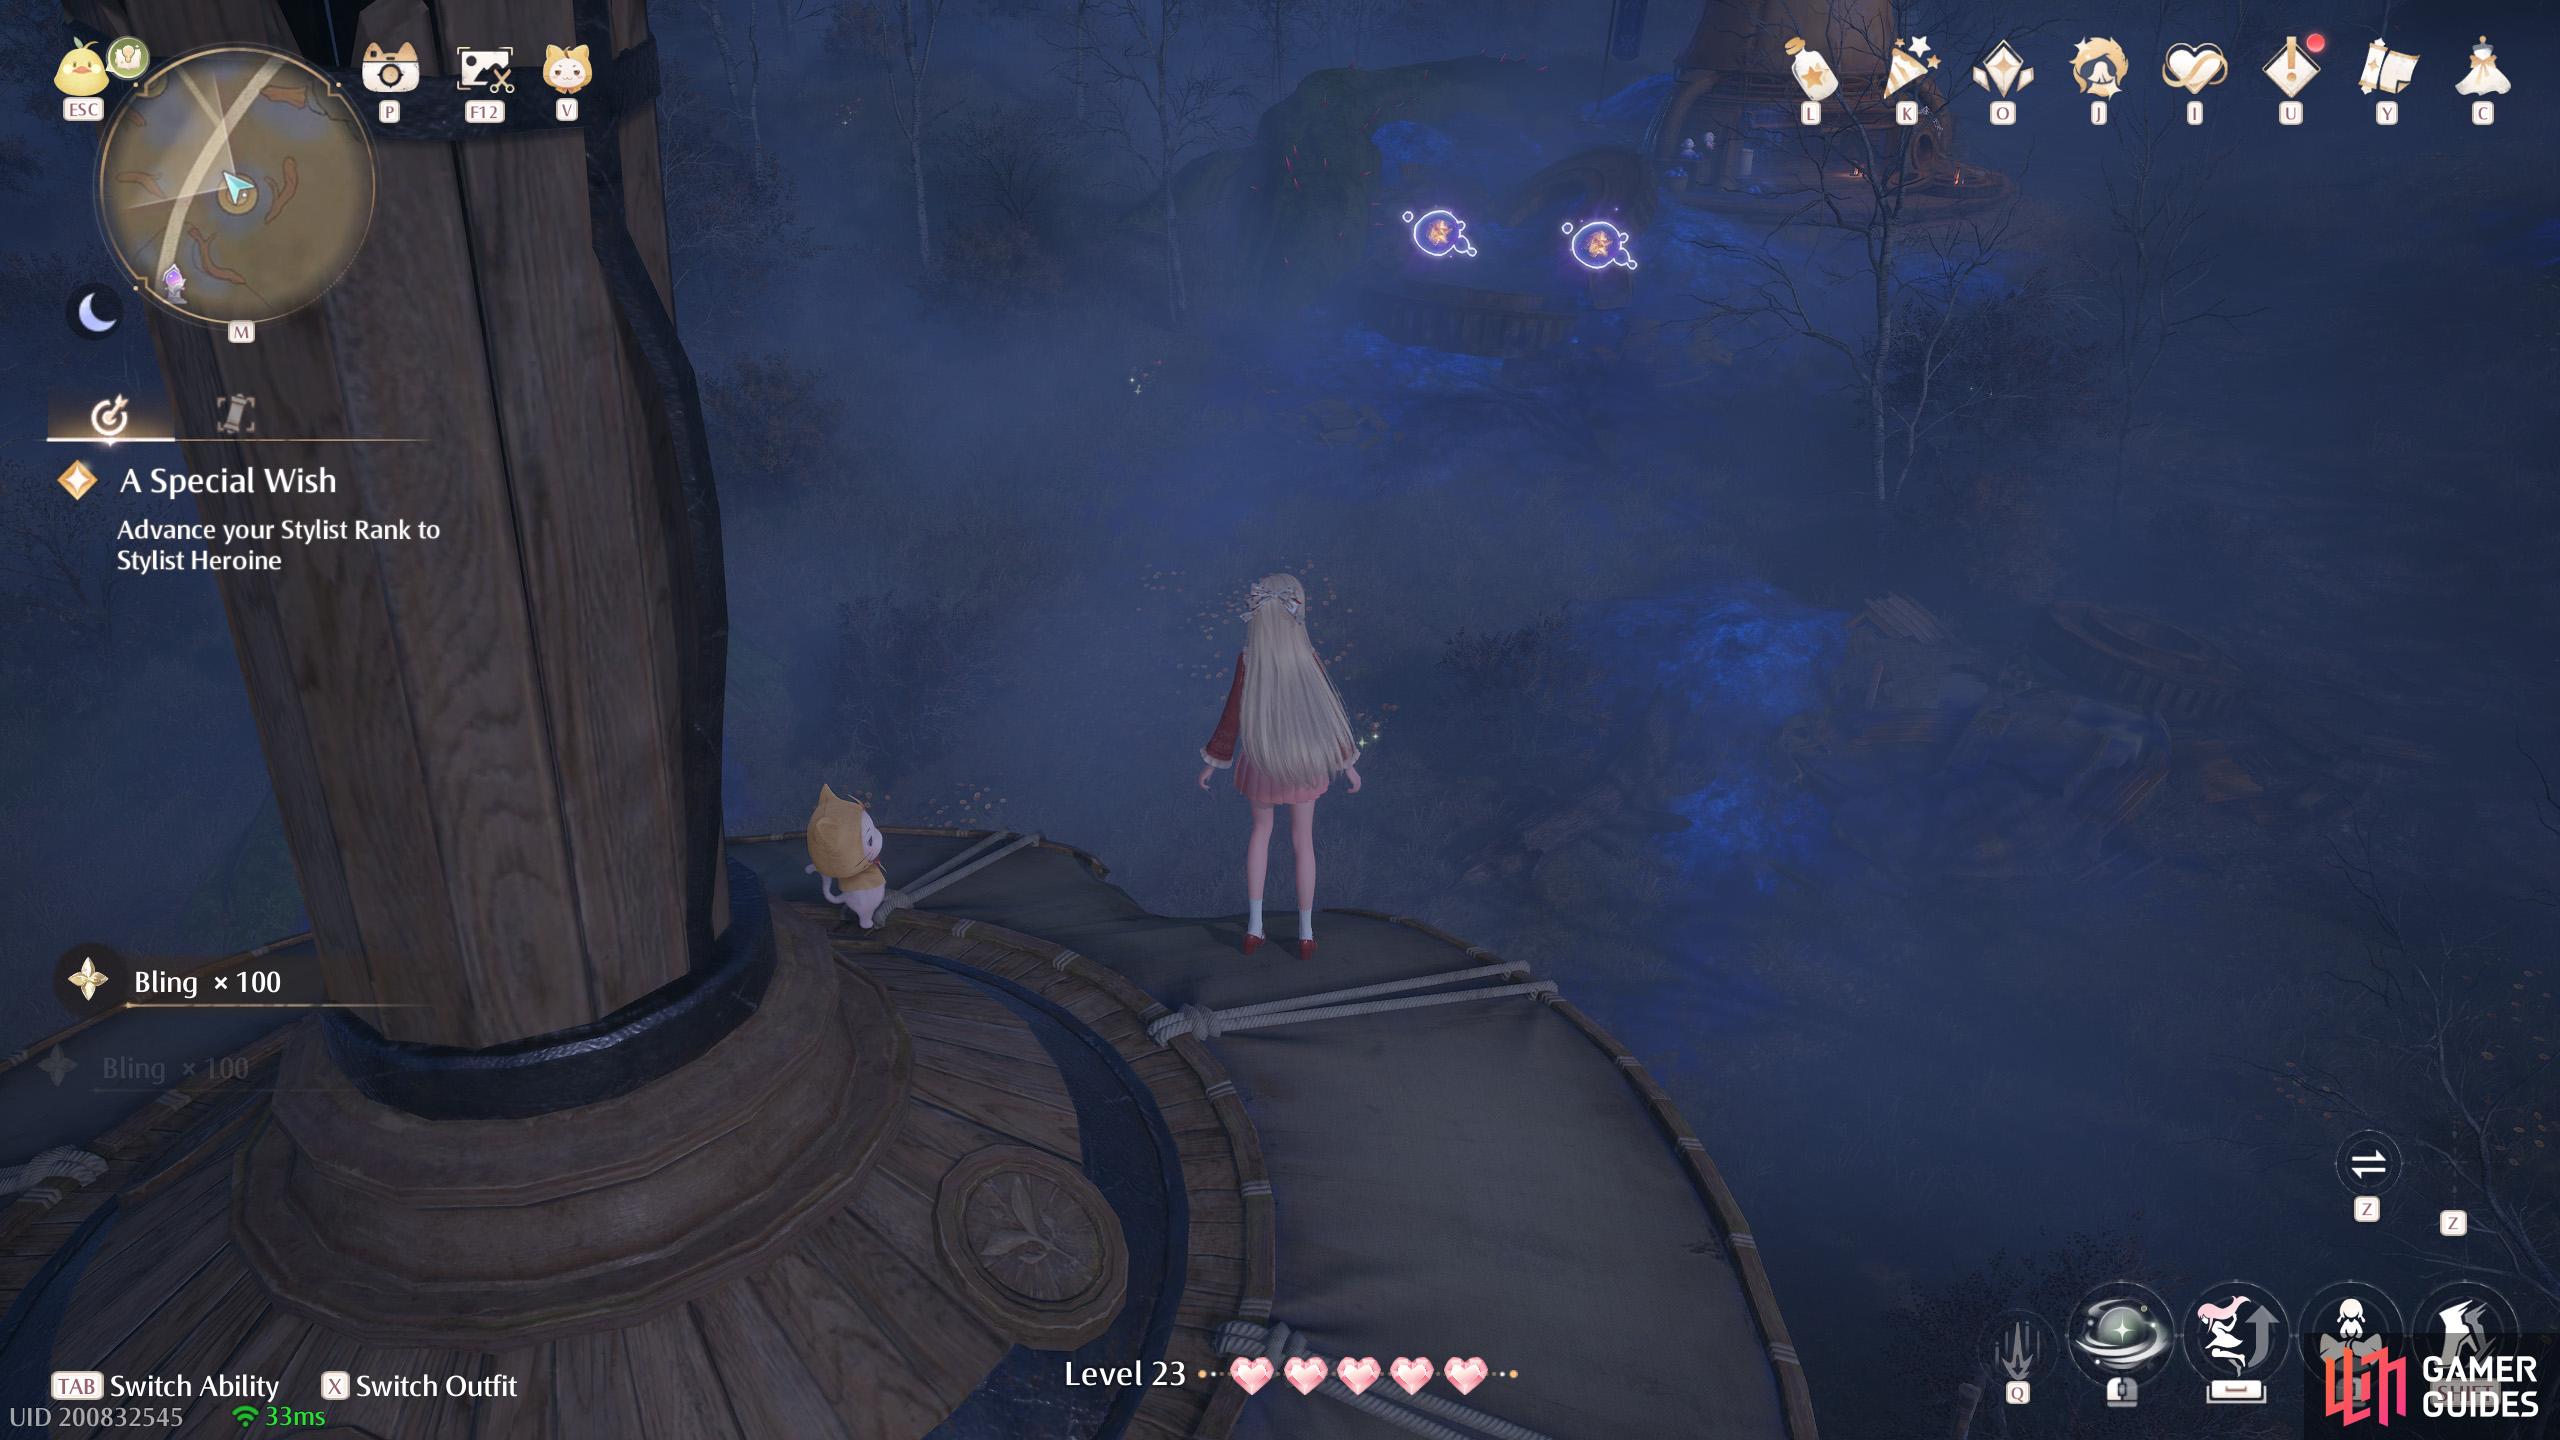
687. Miraland Map
Short distance north-east from ![]() Bizarre Wish Hills. Two floating near the top of the south tower.
Bizarre Wish Hills. Two floating near the top of the south tower.
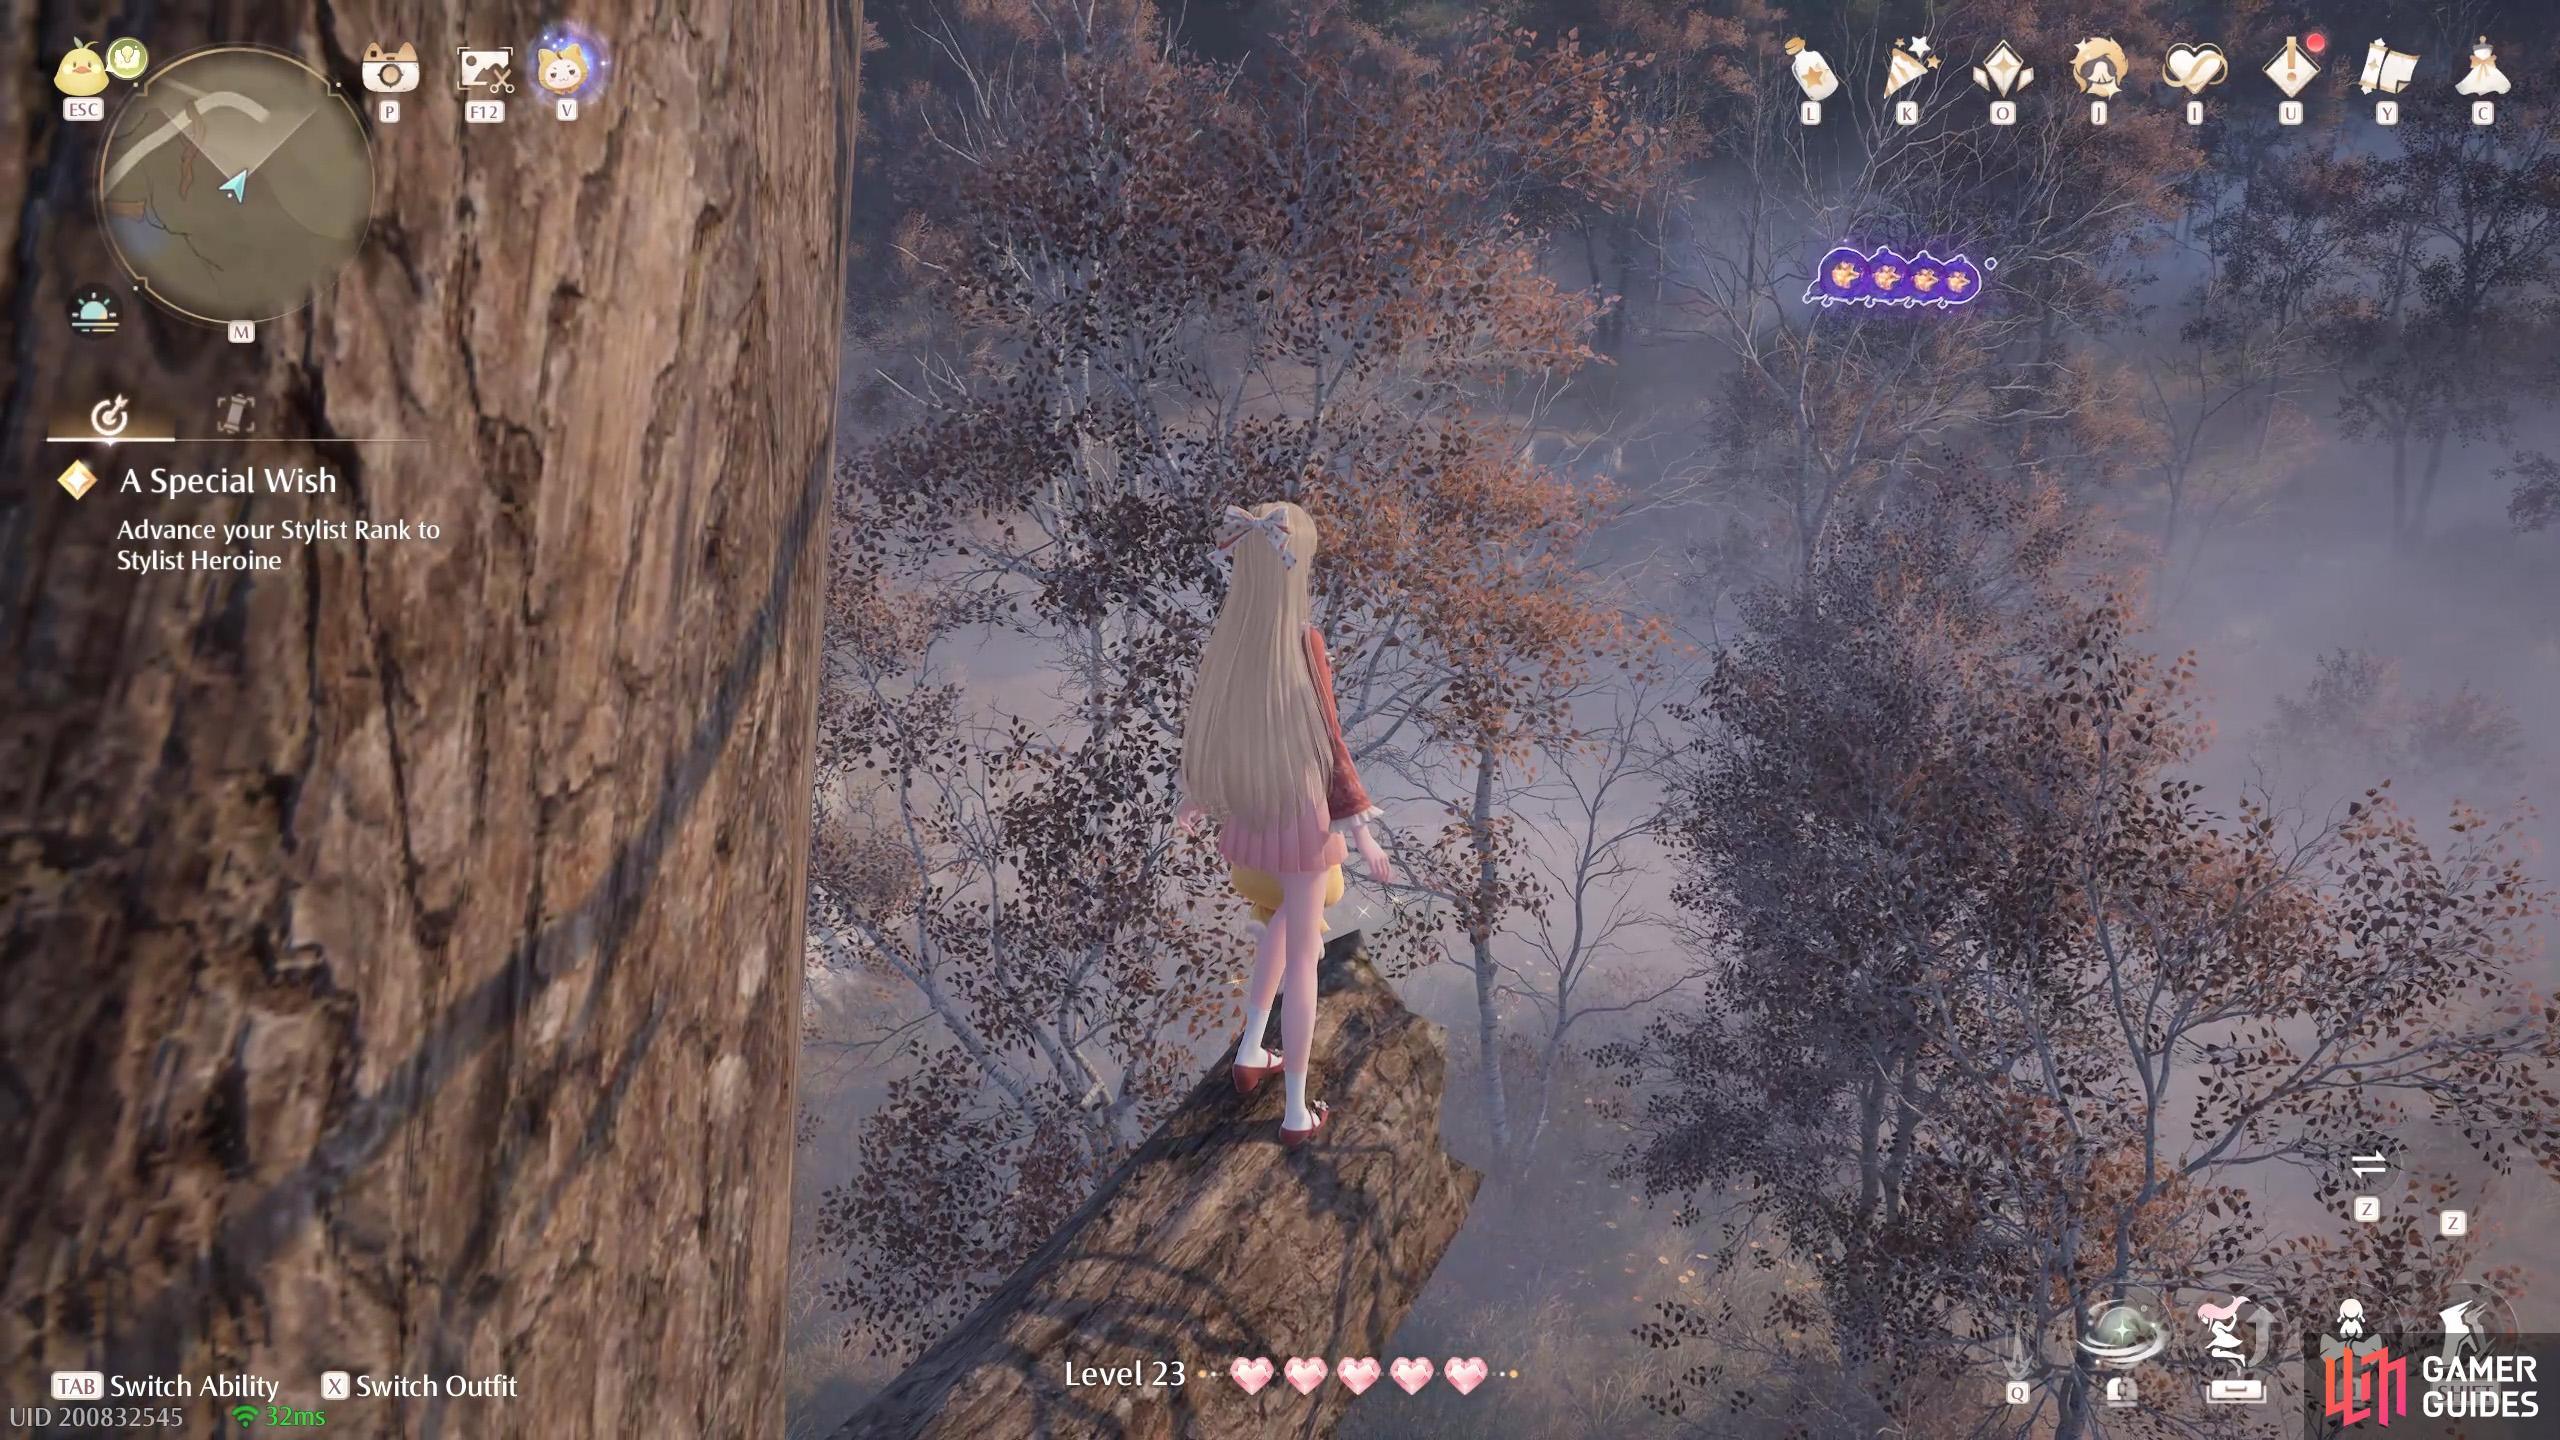
688. Miraland Map
North-east from ![]() Bizarre Wish Hills. Four floating near the top of a tree. There’s a rope that you can climb up as Momo. Then you need to jump up to a higher tree branch.
Bizarre Wish Hills. Four floating near the top of a tree. There’s a rope that you can climb up as Momo. Then you need to jump up to a higher tree branch.
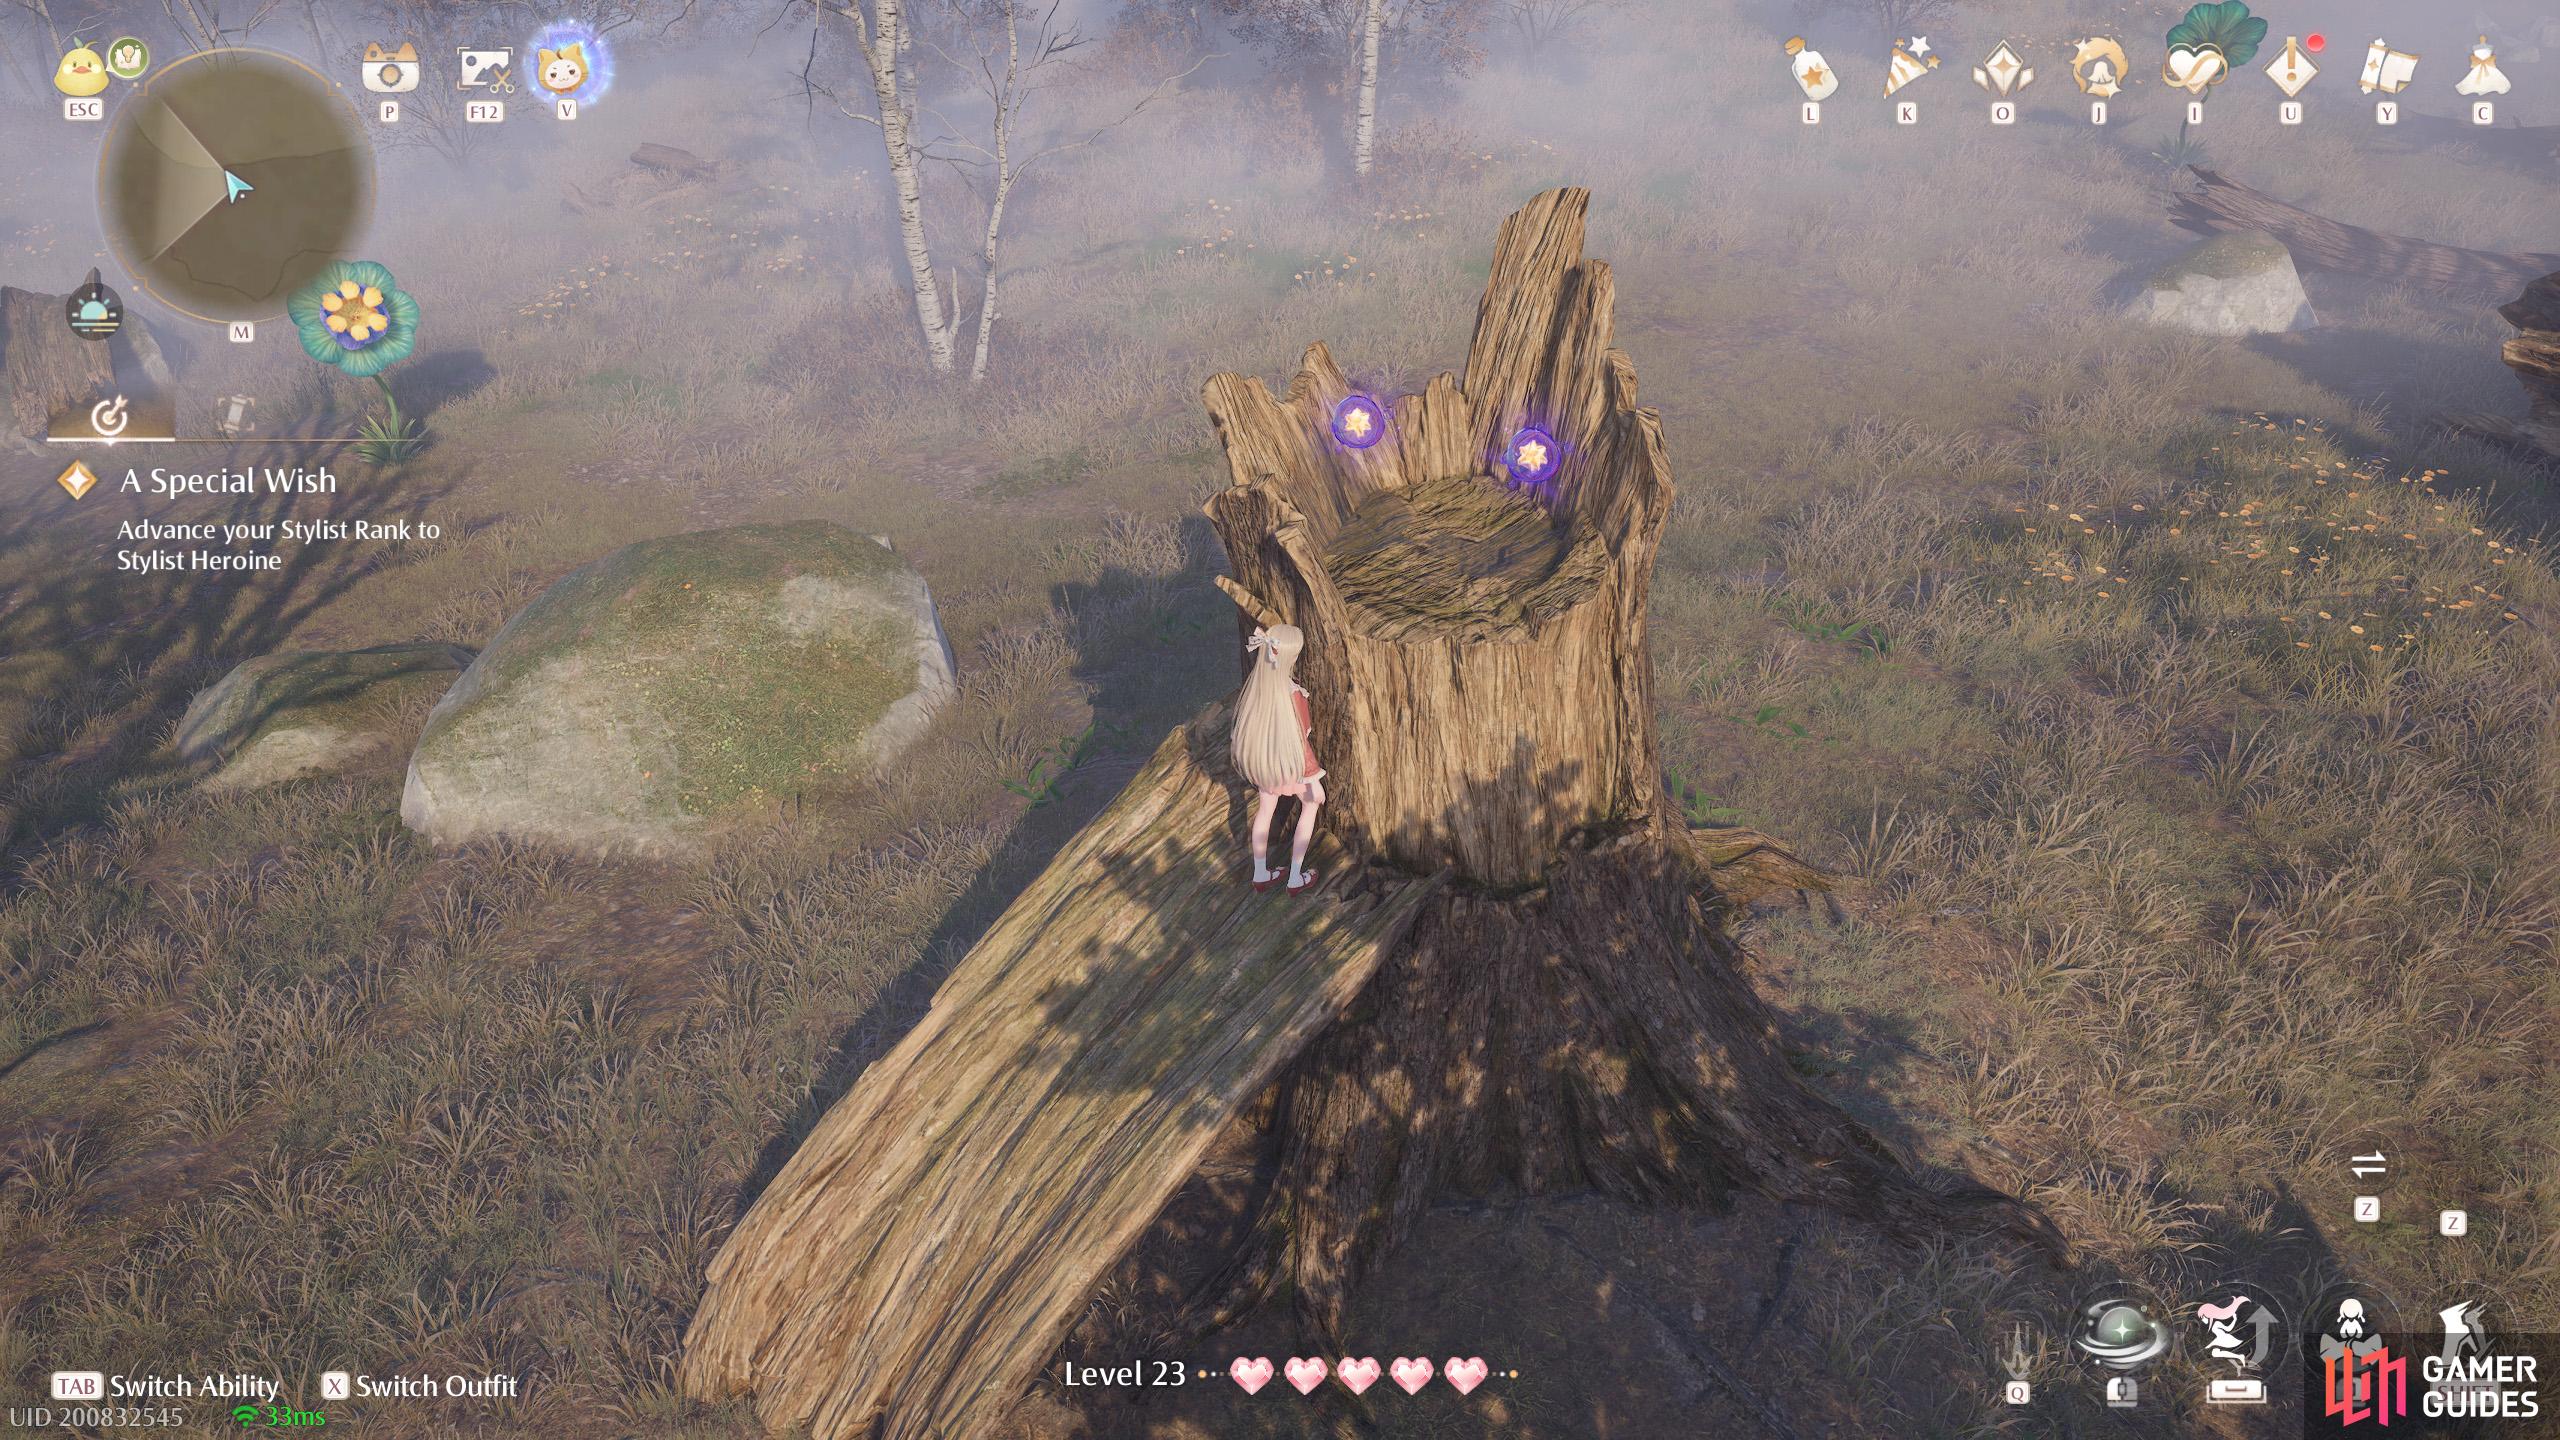
689. Miraland Map
East and slightly north from ![]() Bizarre Wish Hills. Two atop a tree stump. There are Pounceria plants nearby.
Bizarre Wish Hills. Two atop a tree stump. There are Pounceria plants nearby.
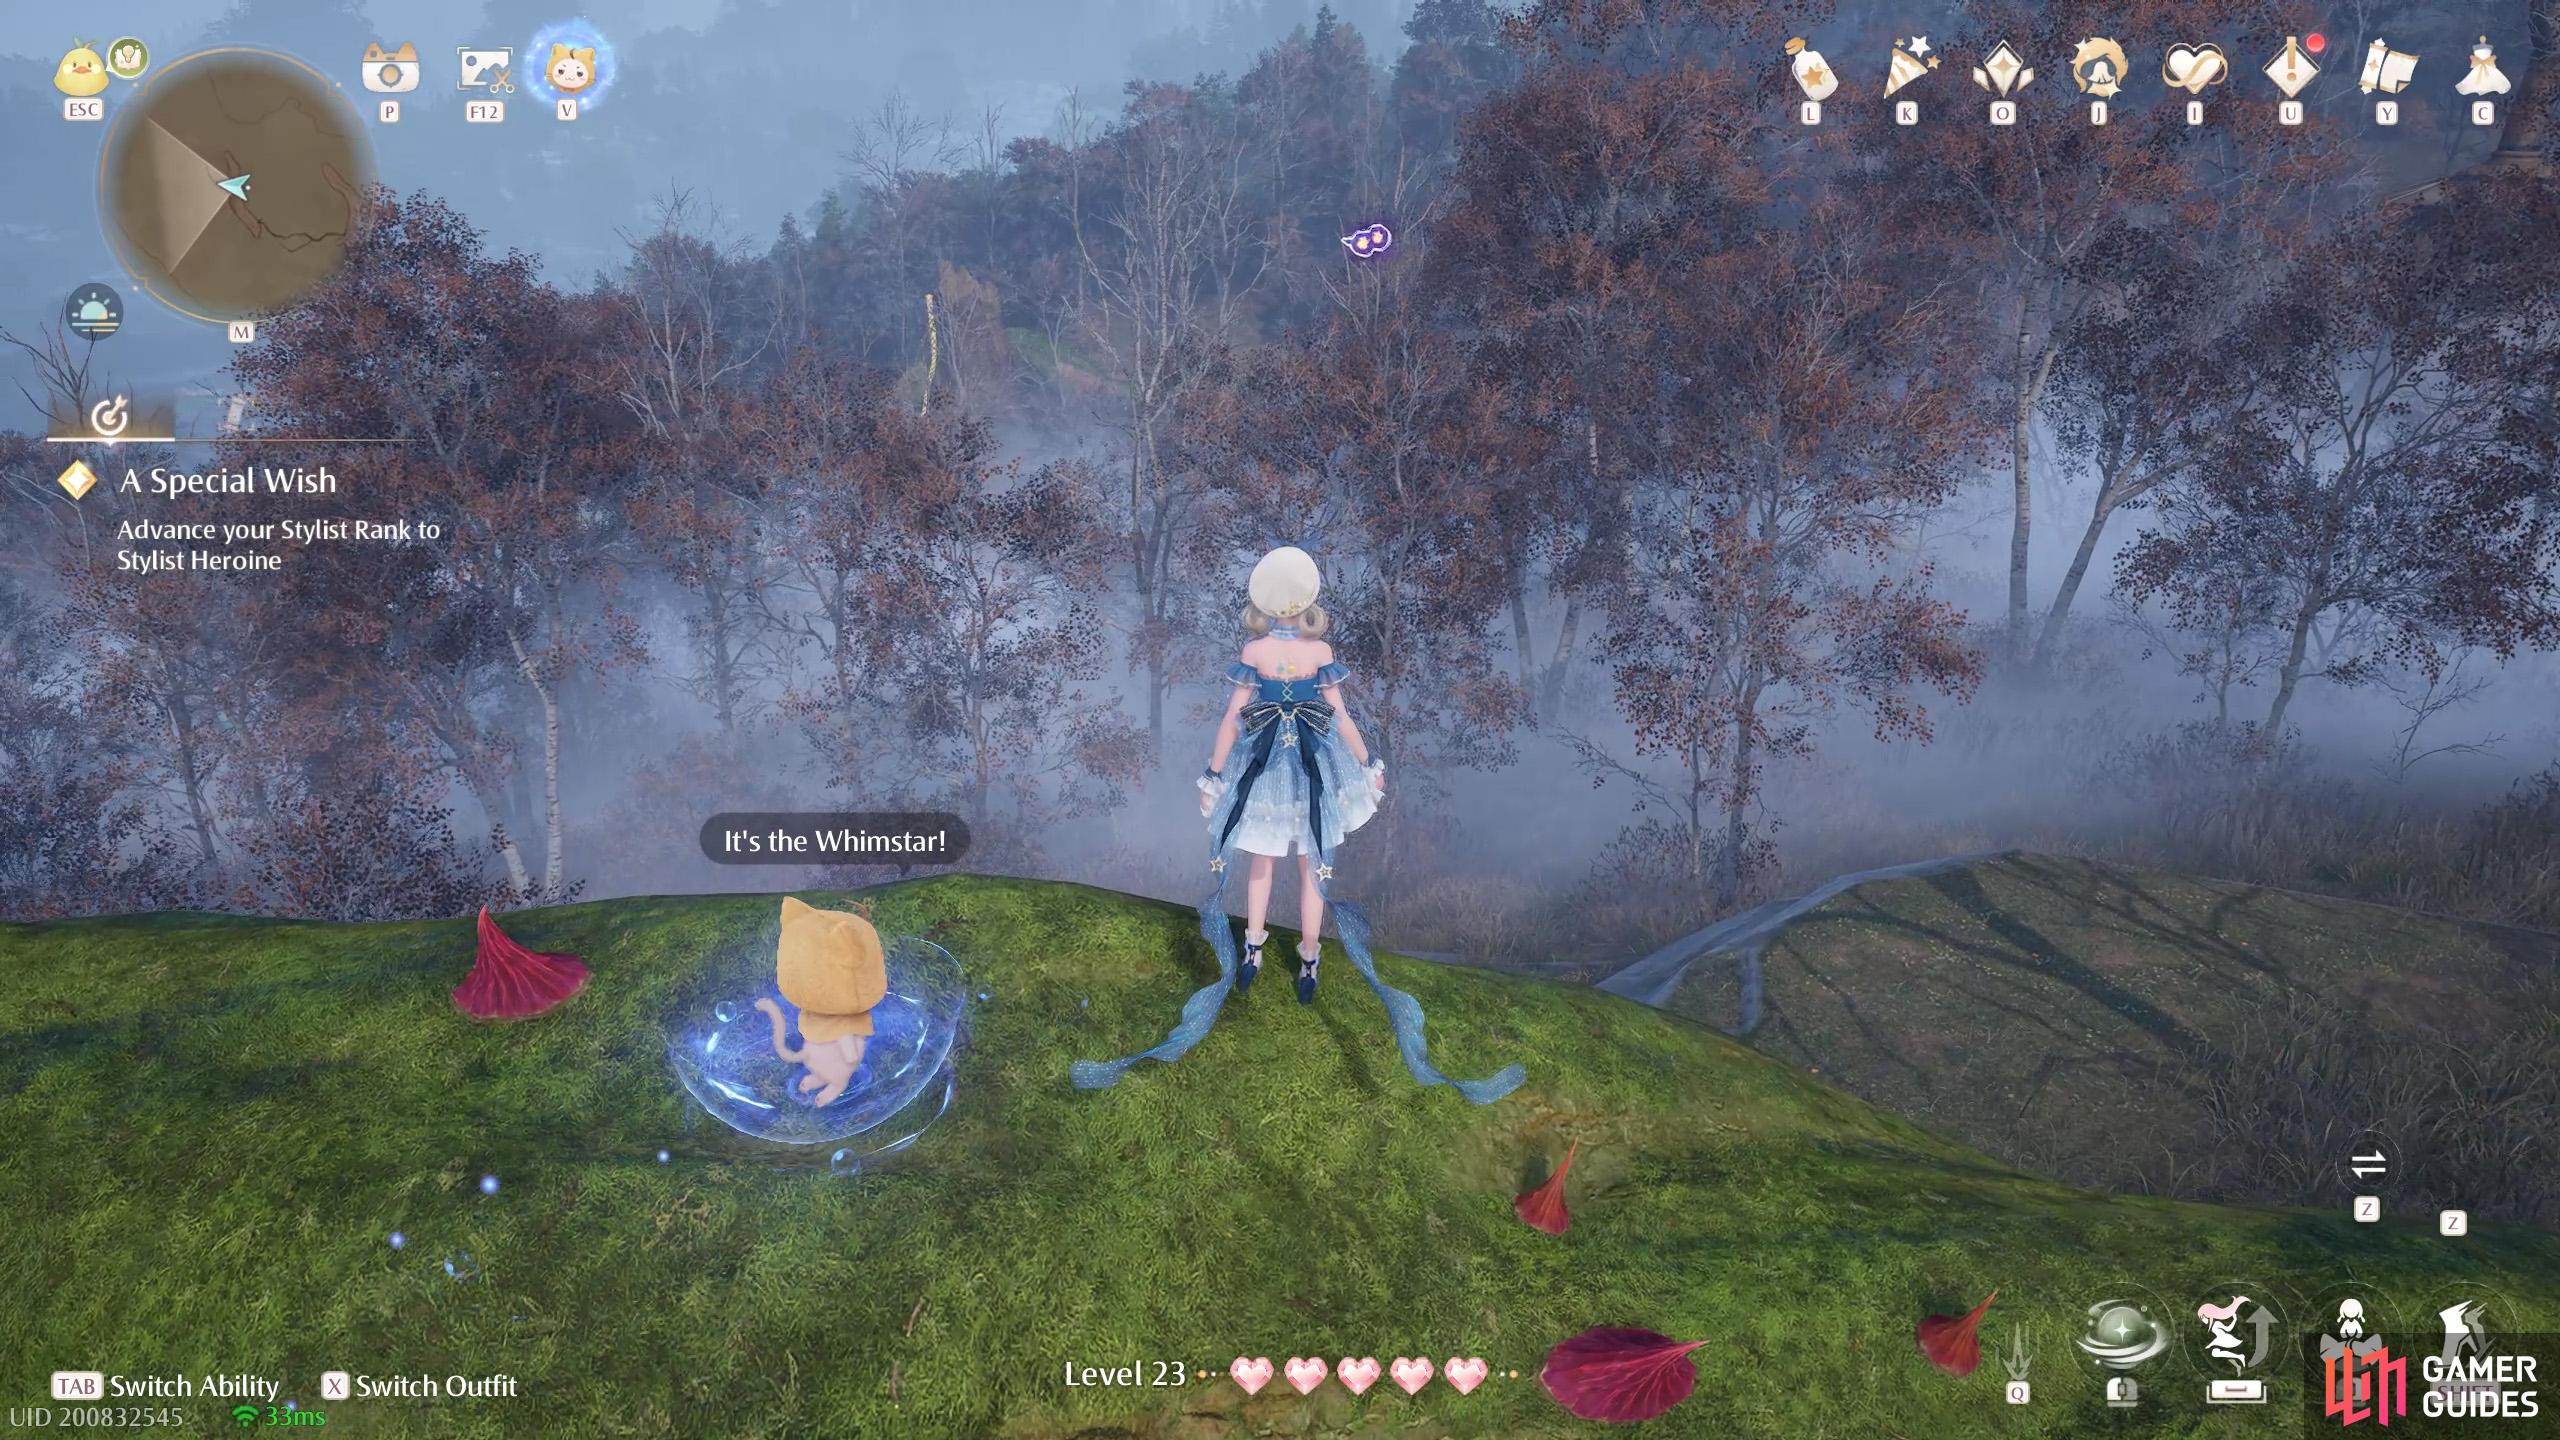
690. Miraland Map
East from ![]() Bizarre Wish Hills. Two floating near the top of a thorny tree root.
Bizarre Wish Hills. Two floating near the top of a thorny tree root.
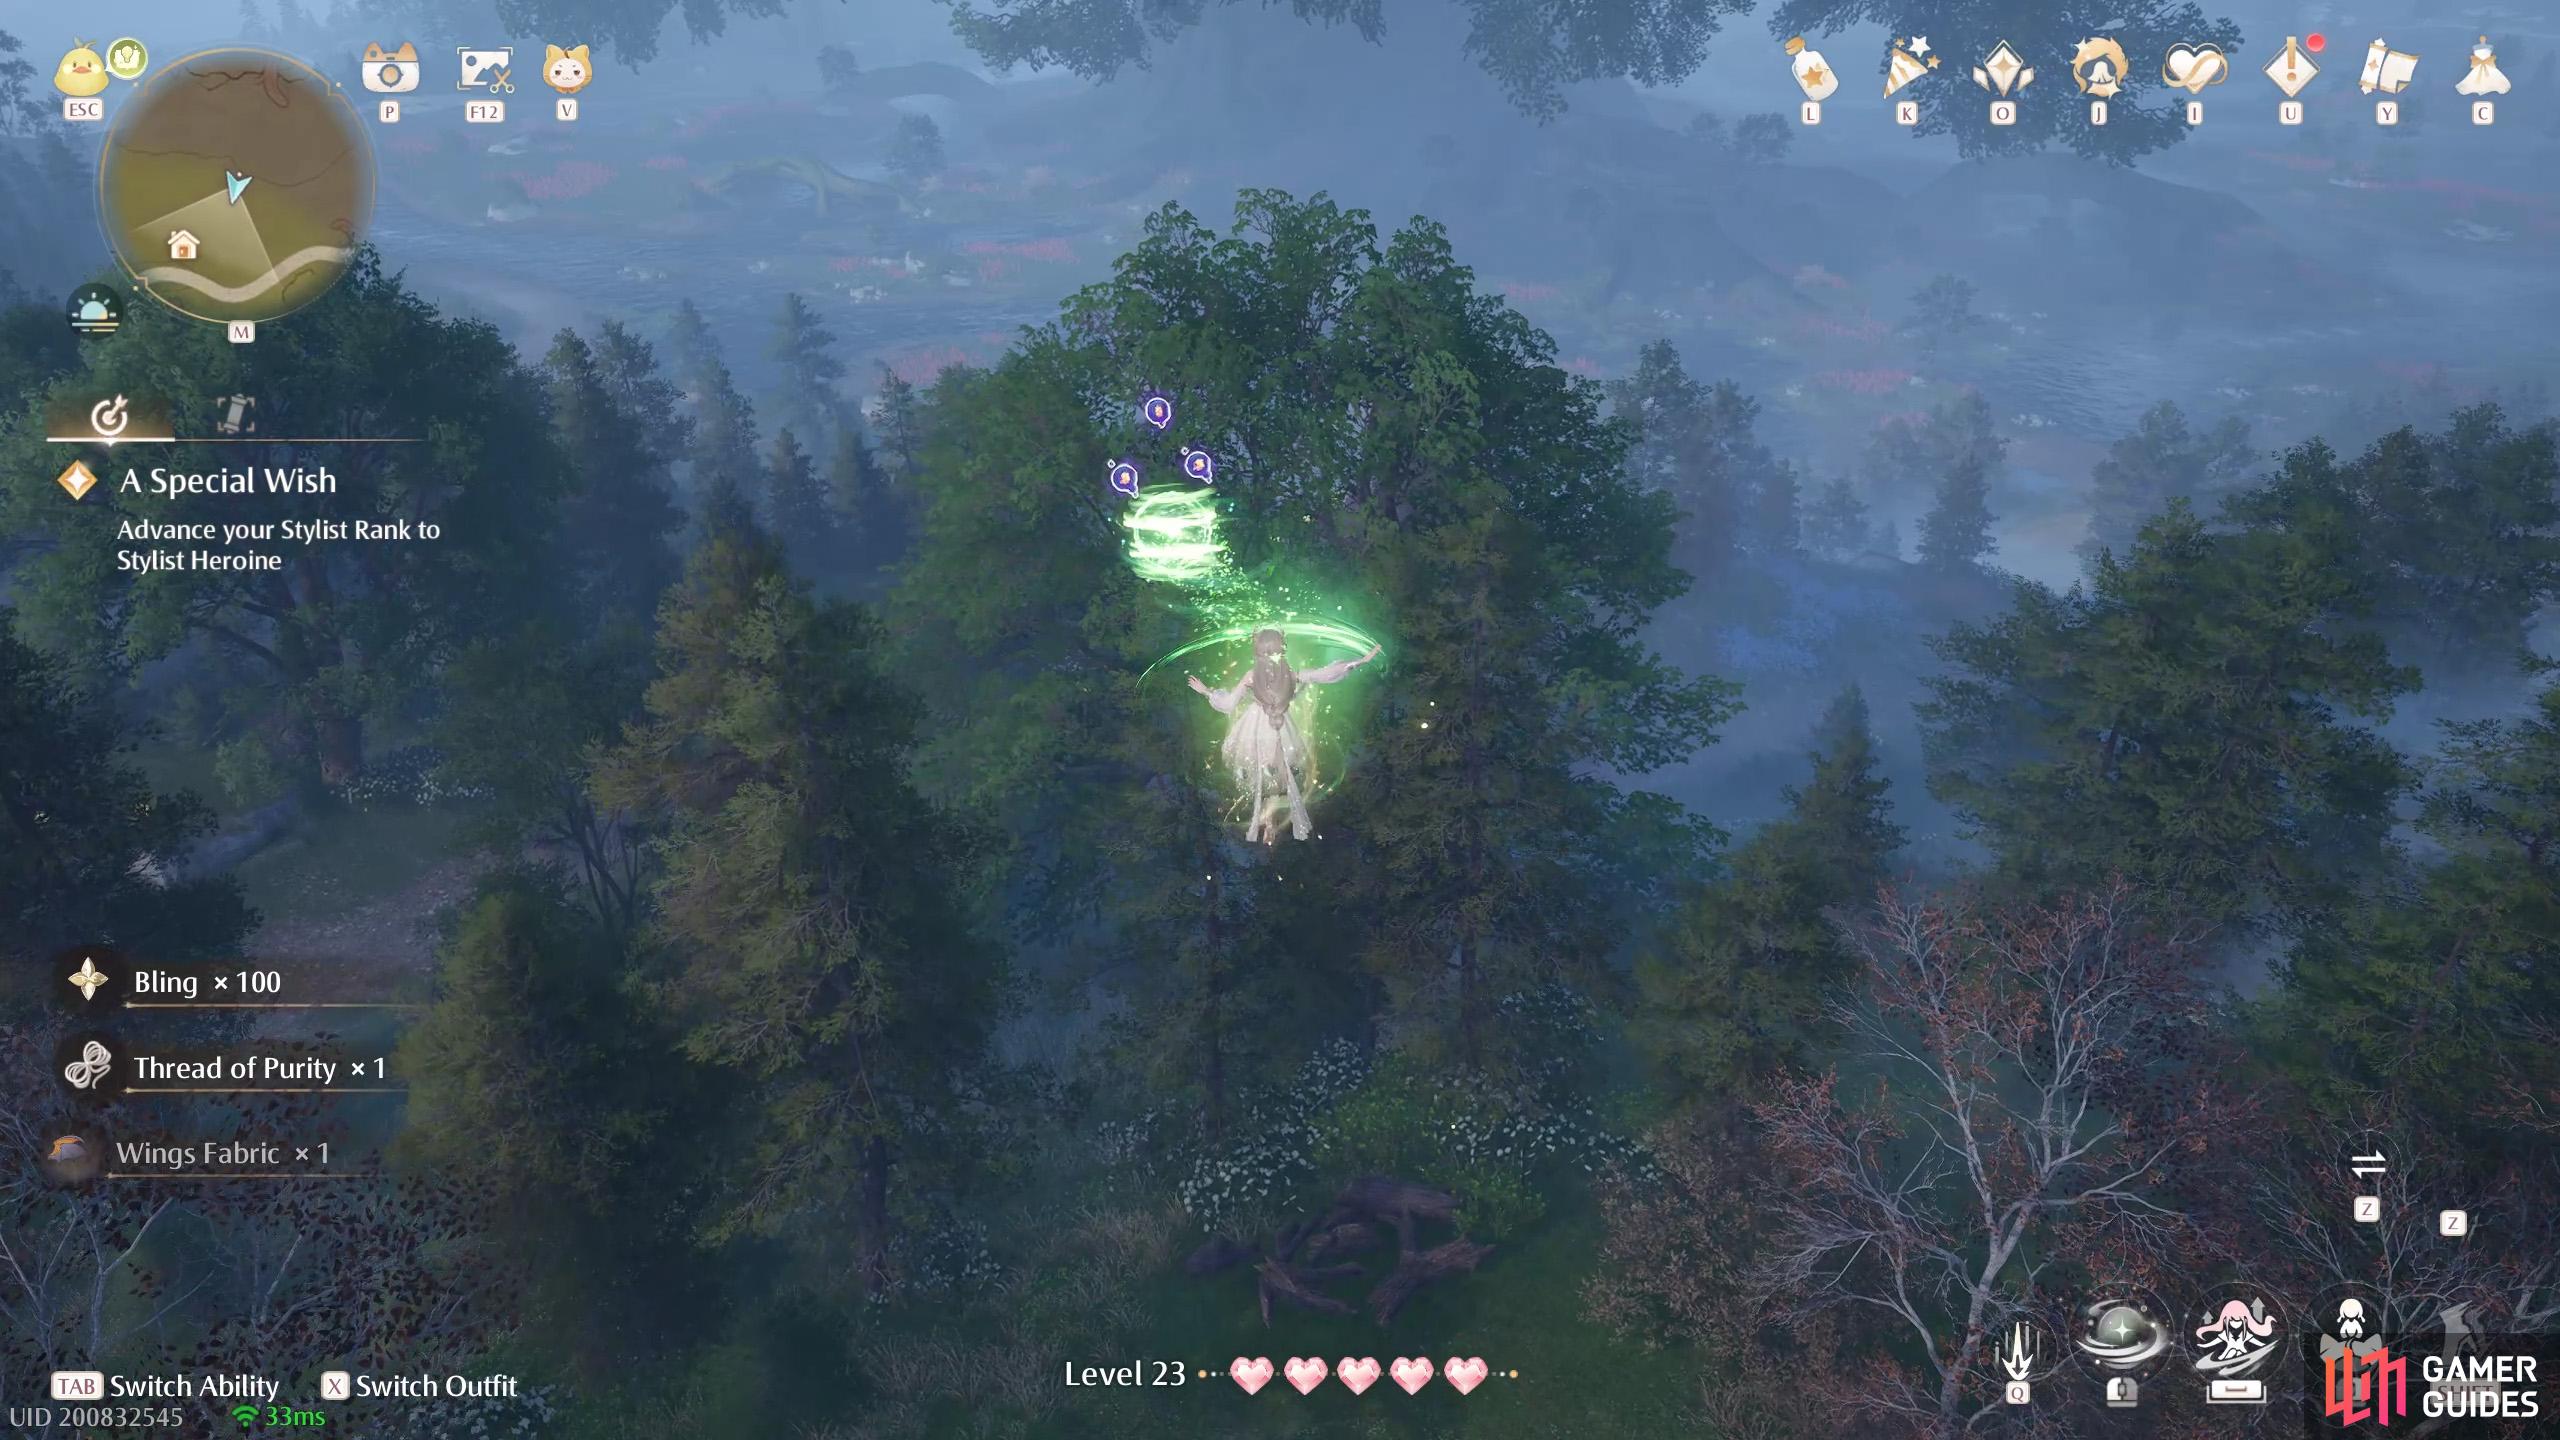
691. Miraland Map
Short distance north-east from ![]() Cavern Prison. Three floating high up. There’s a wishnet nearby, surrounded by Esselings.
Cavern Prison. Three floating high up. There’s a wishnet nearby, surrounded by Esselings.
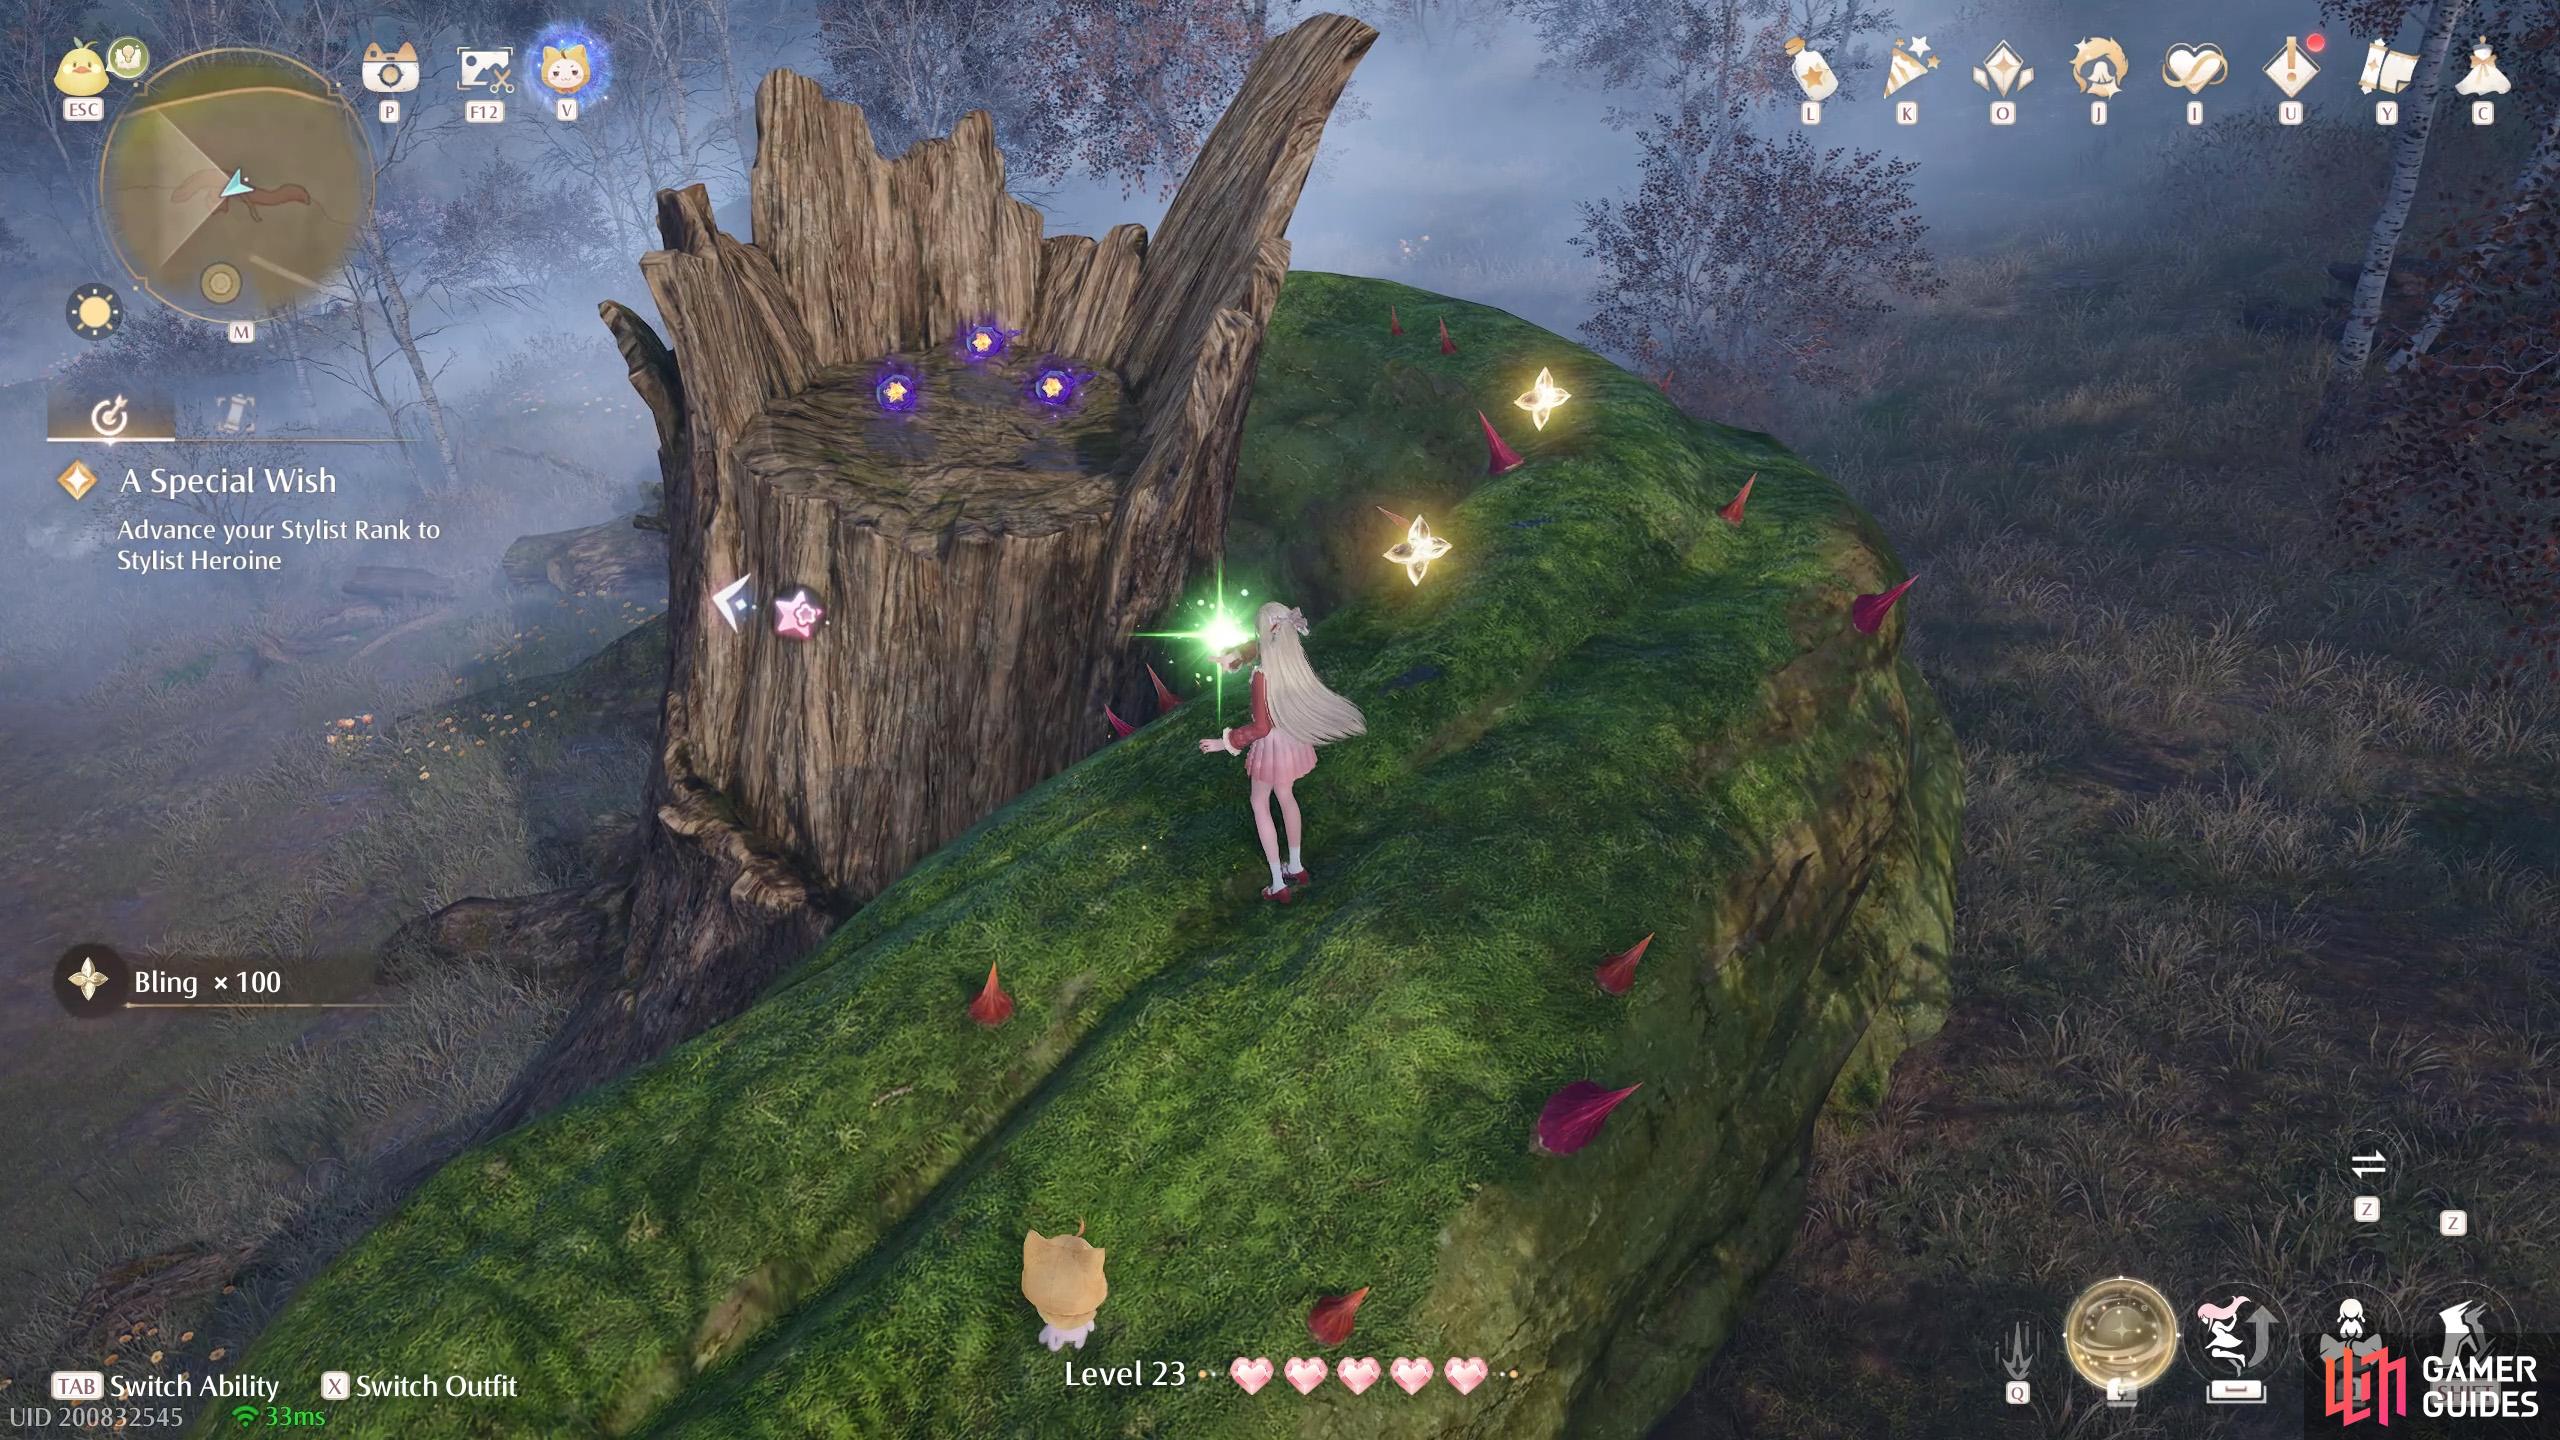
692. Miraland Map
North from ![]() Bizarre Wish Hills. Three atop a tree stump near the north tower.
Bizarre Wish Hills. Three atop a tree stump near the north tower.
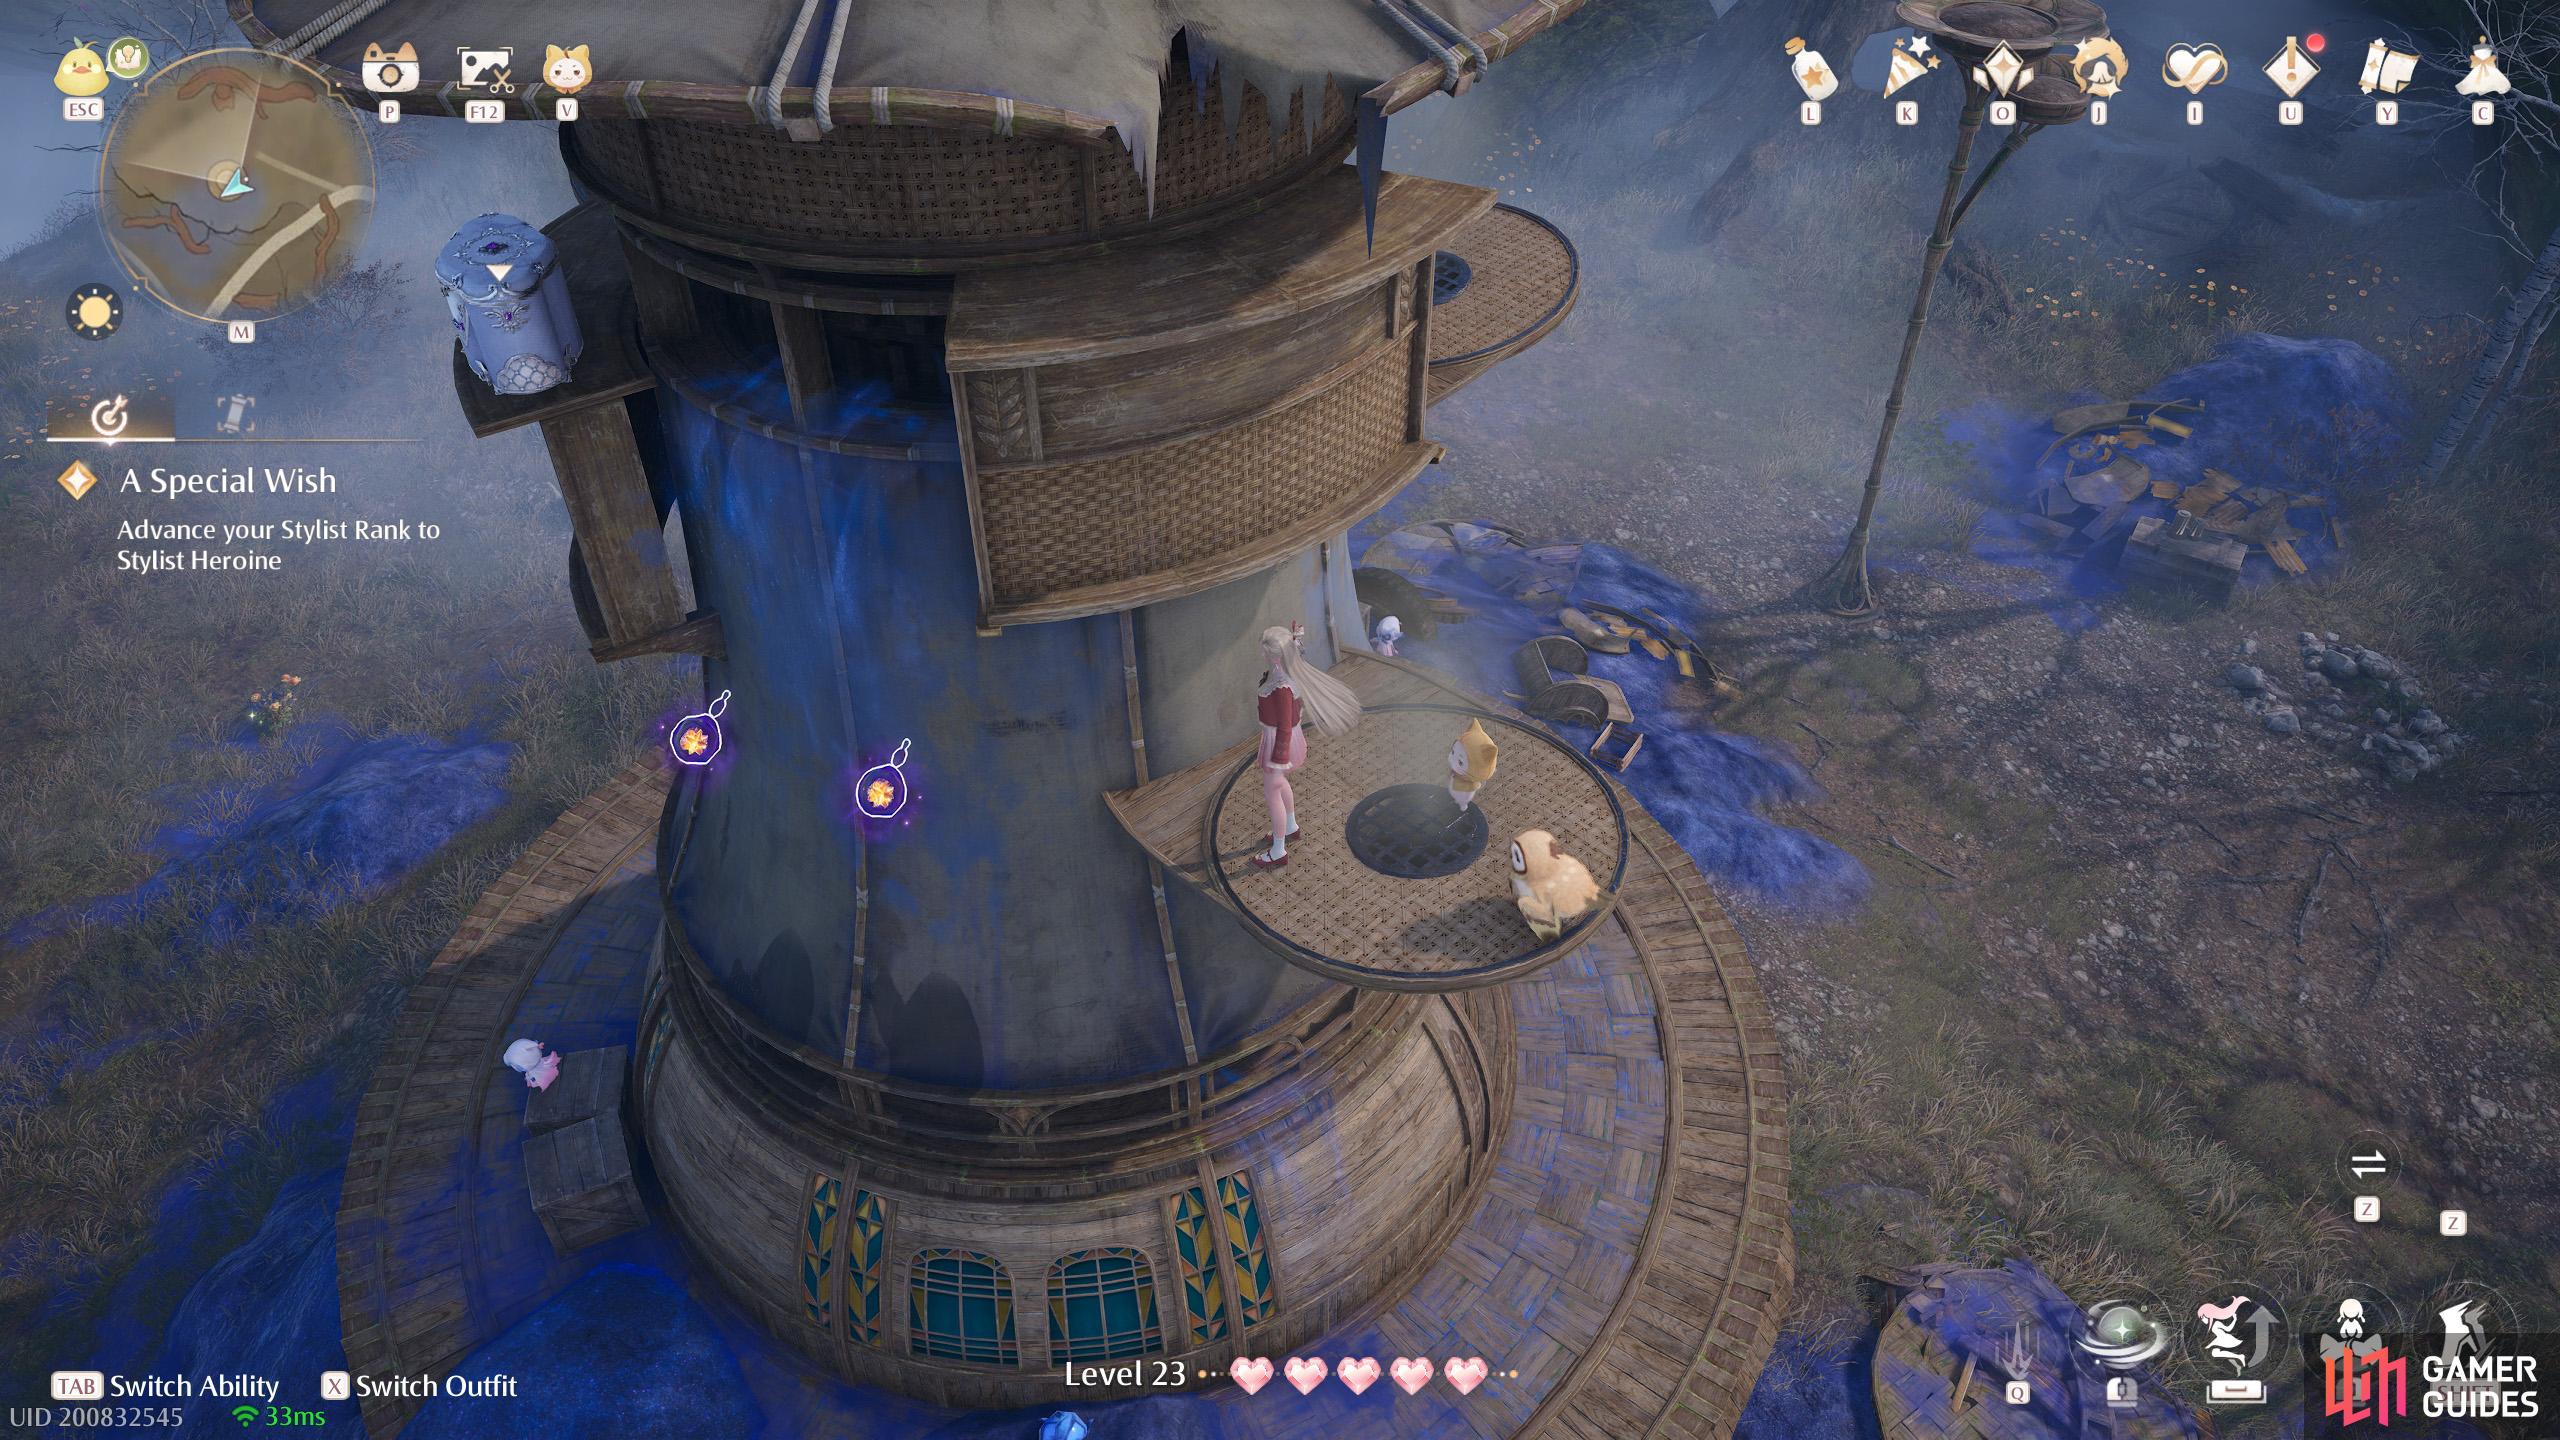
693. Miraland Map
North from ![]() Bizarre Wish Hills. Two by the side of the north tower.
Bizarre Wish Hills. Two by the side of the north tower.
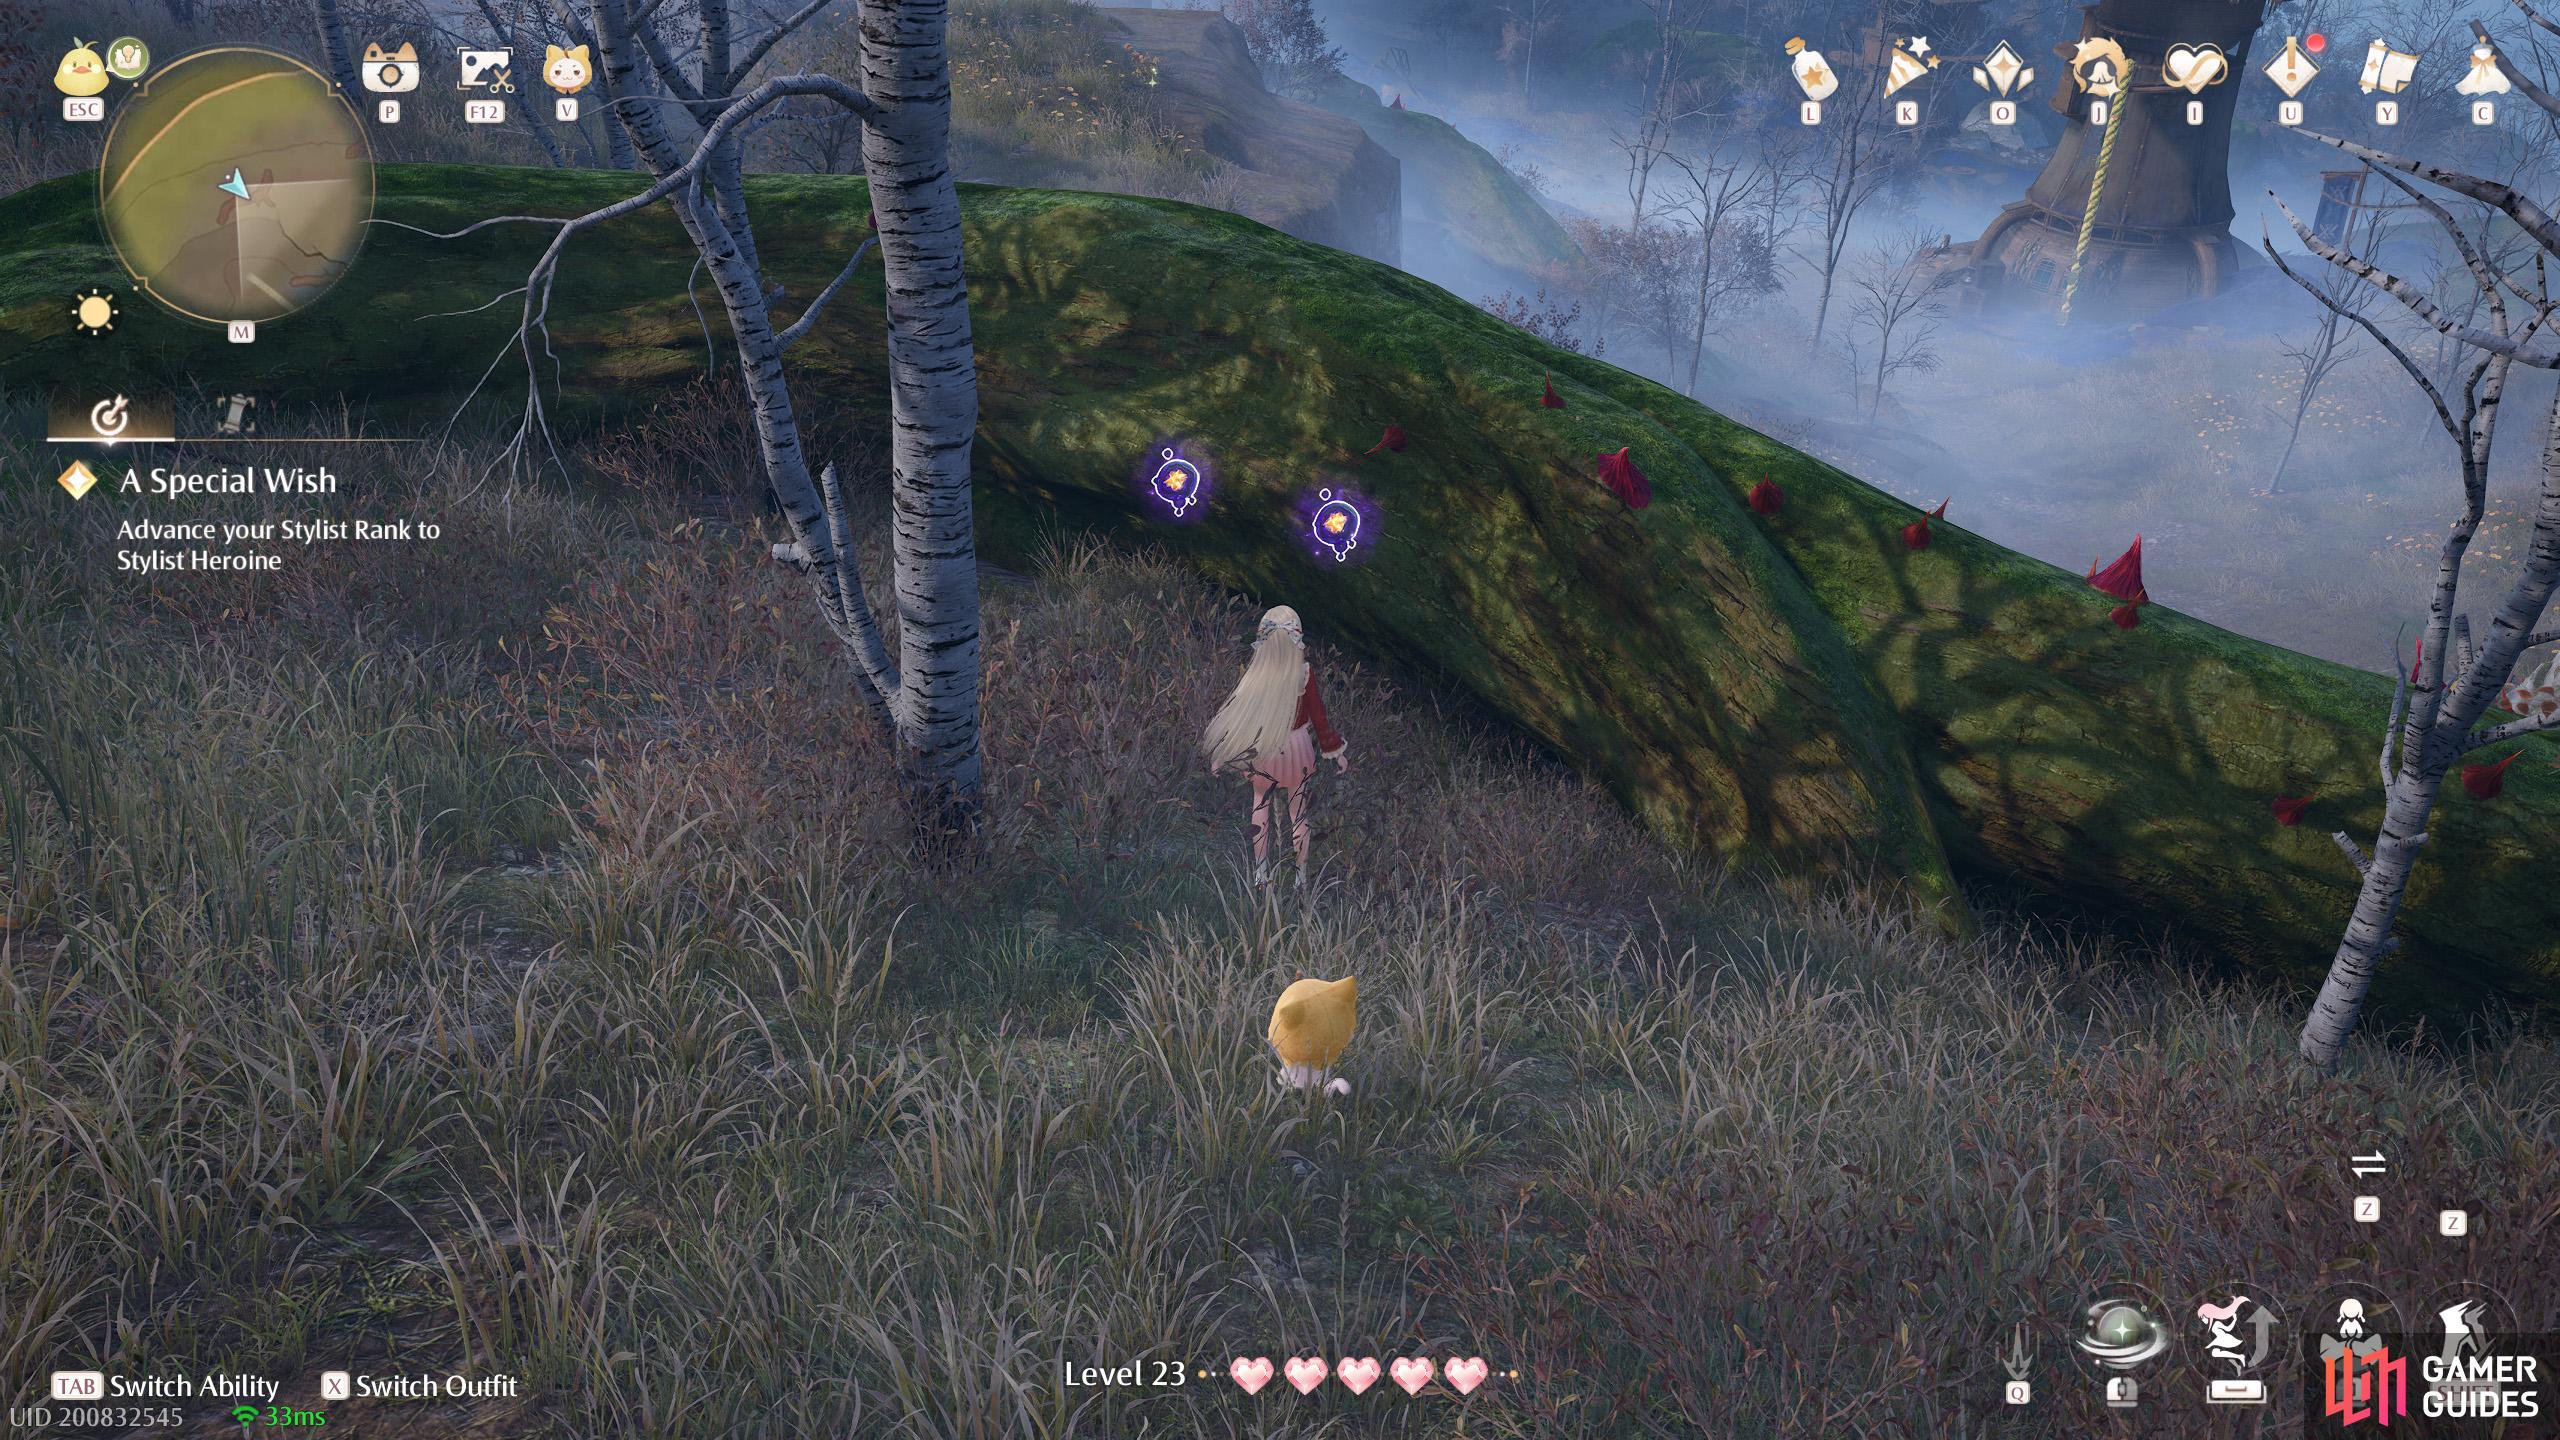
694. Miraland Map
North from ![]() Bizarre Wish Hills. Two behind a thorny tree root around the north-west corner.
Bizarre Wish Hills. Two behind a thorny tree root around the north-west corner.
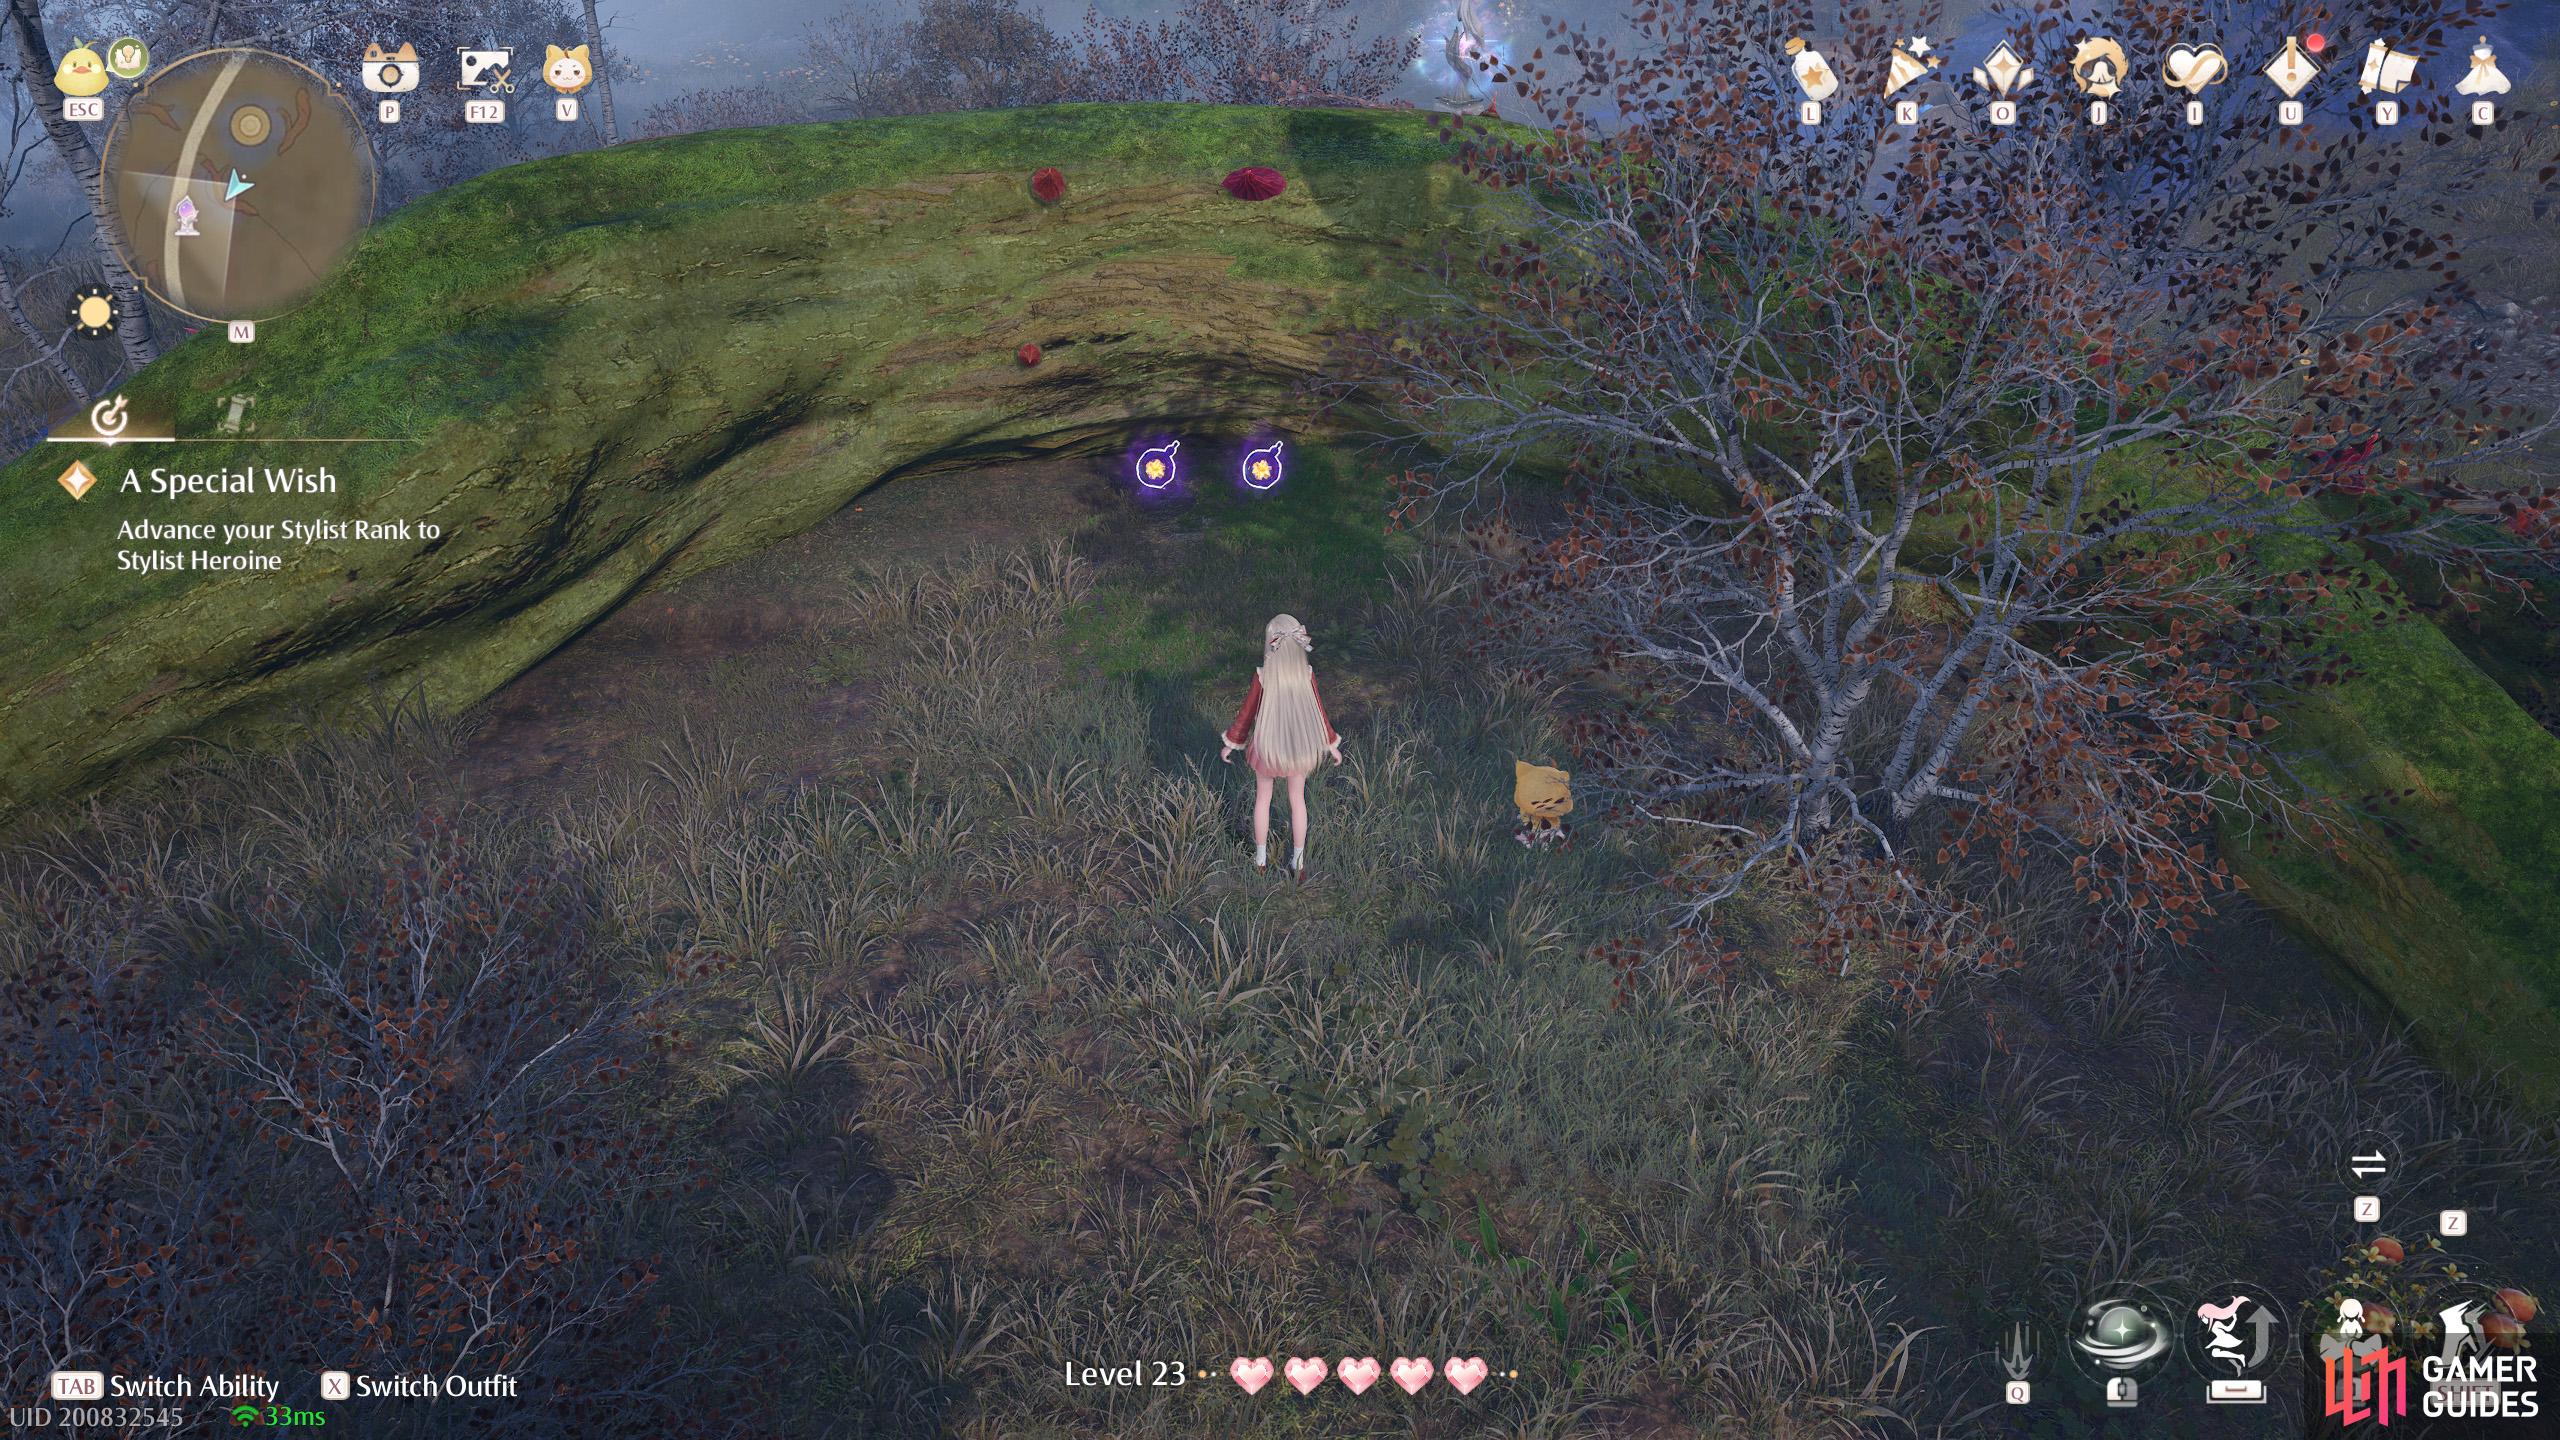
695. Miraland Map
Short distance east from ![]() Bizarre Wish Hills. Two behind a thorny tree root near the Warp Spire.
Bizarre Wish Hills. Two behind a thorny tree root near the Warp Spire.
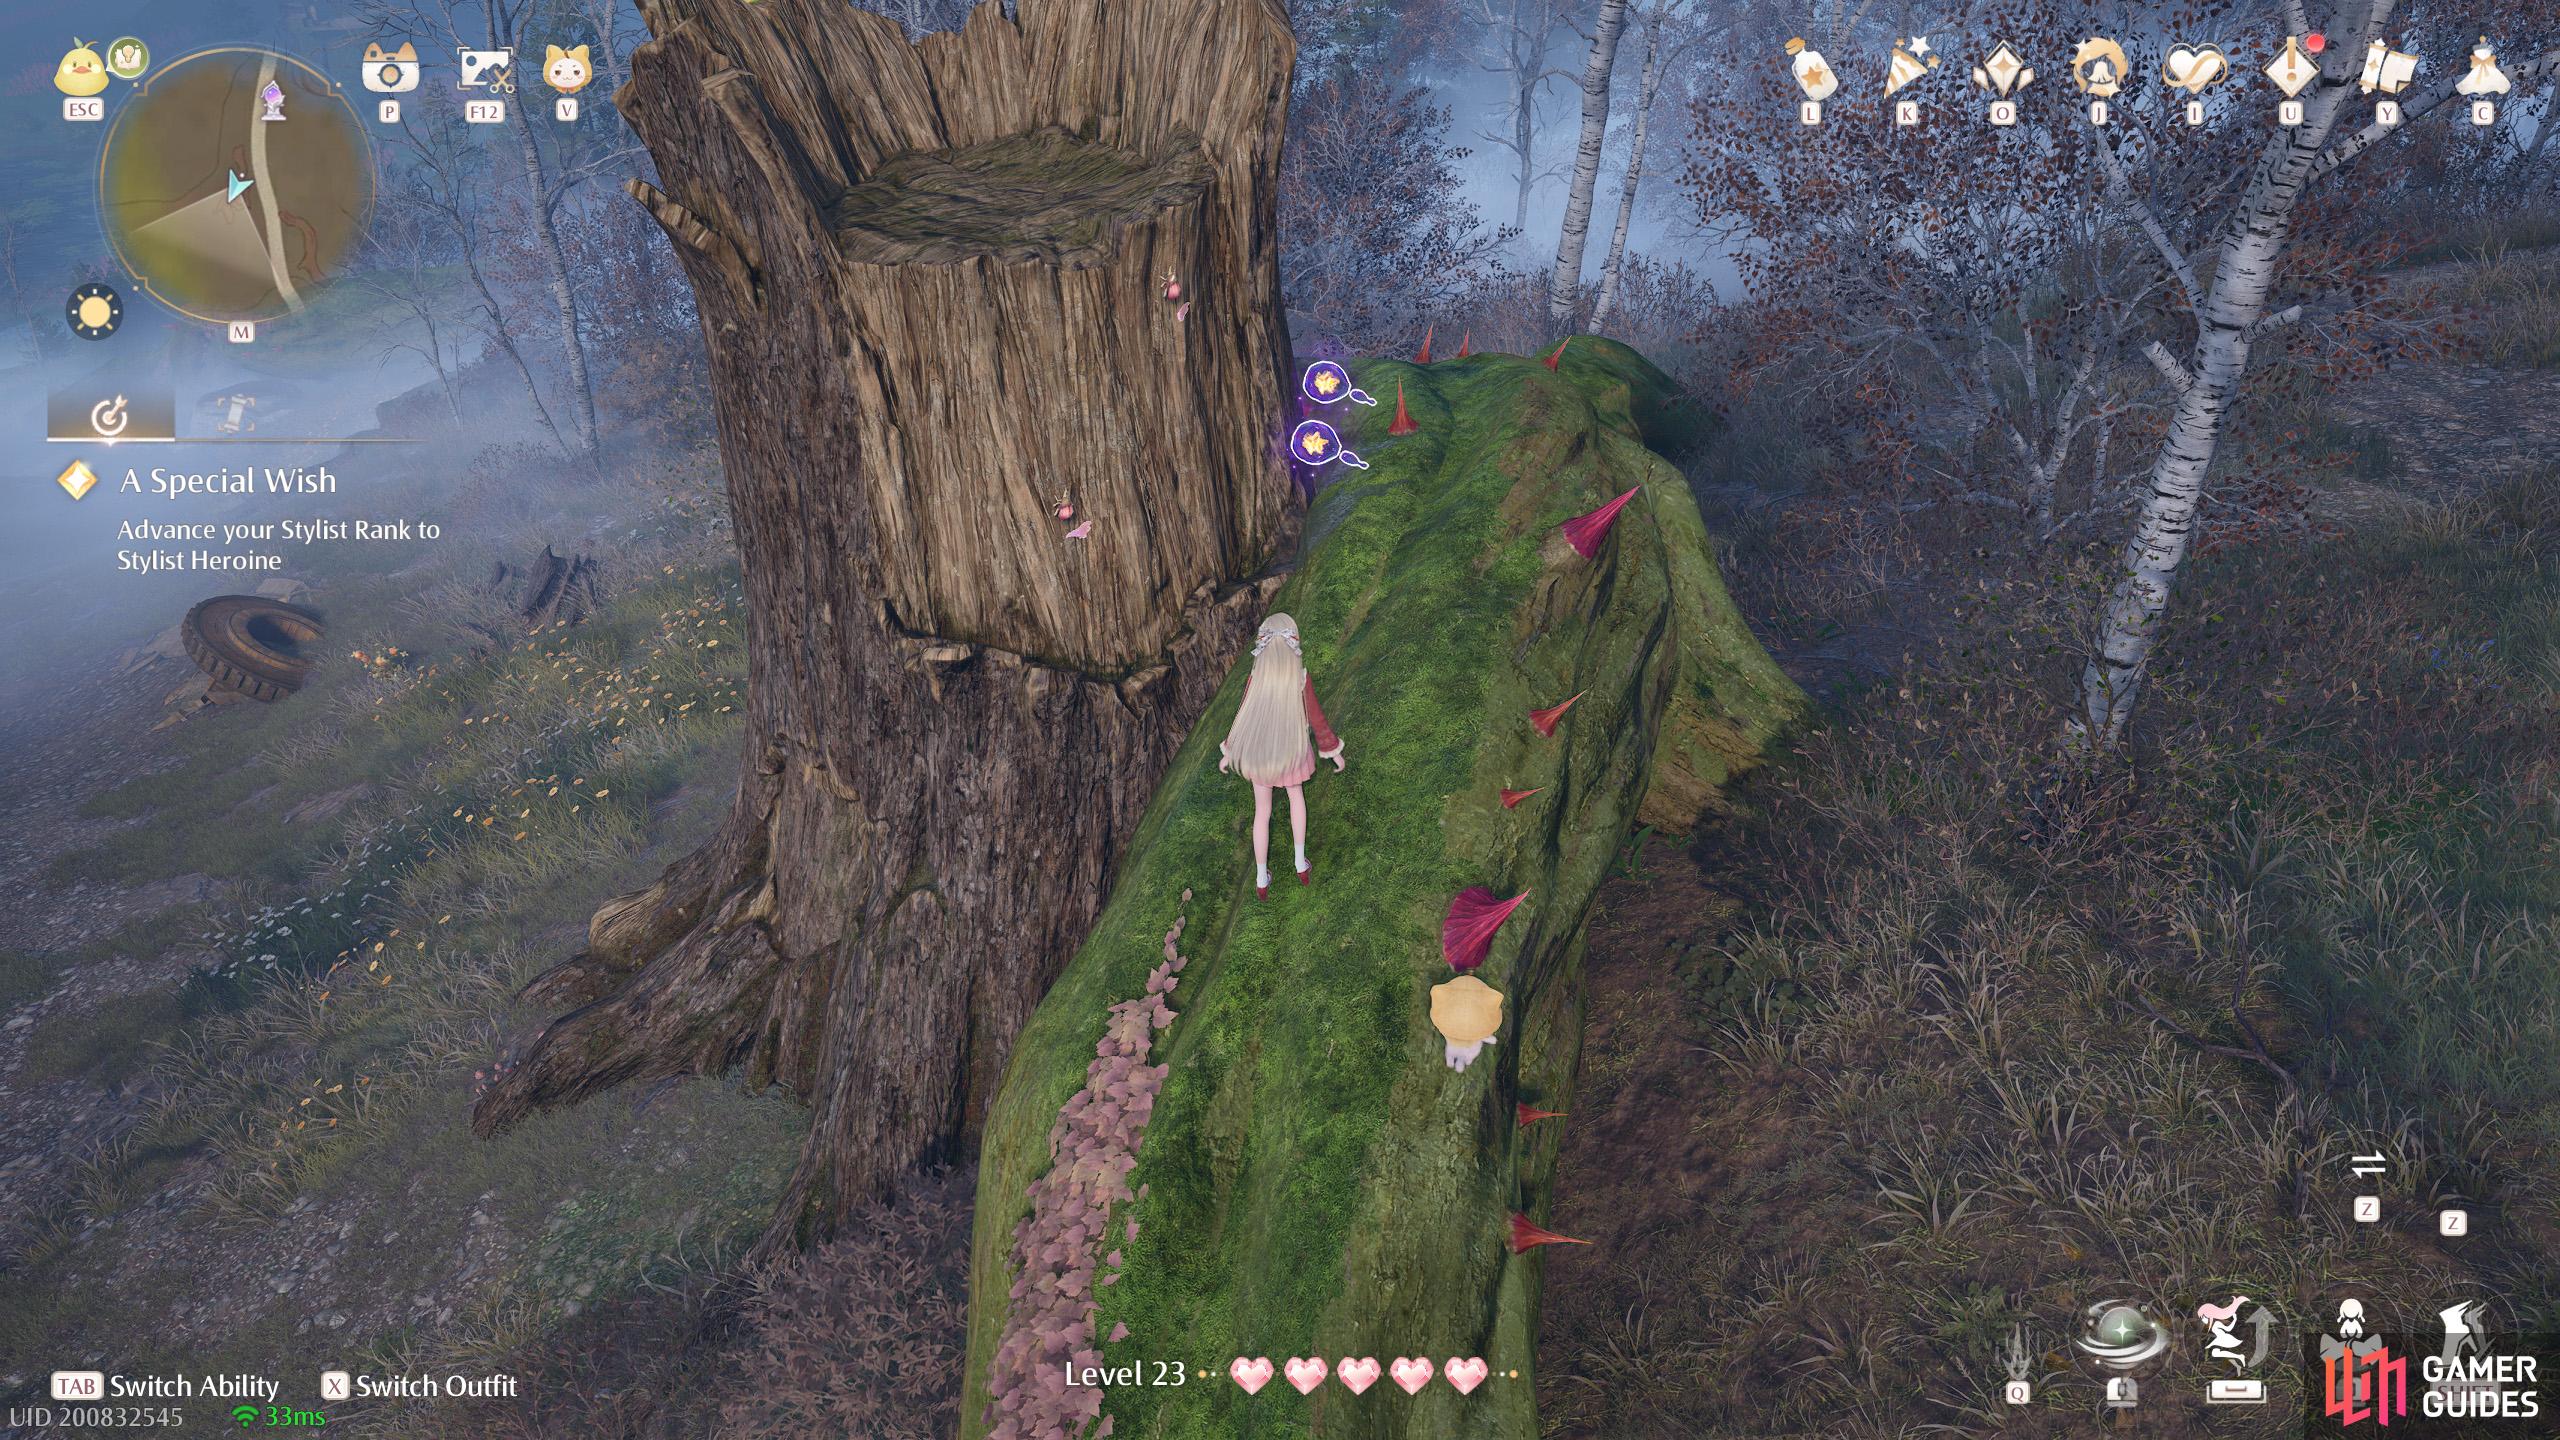
696. Miraland Map
Short distance south from ![]() Bizarre Wish Hills. Two on a thorny tree root on the west side of the road.
Bizarre Wish Hills. Two on a thorny tree root on the west side of the road.

697. Miraland Map
South and slightly east from ![]() Bizarre Wish Hills. Three floating above the road leading towards the
Bizarre Wish Hills. Three floating above the road leading towards the ![]() Cavern Prison. You can jump up from a thorny tree root.
Cavern Prison. You can jump up from a thorny tree root.
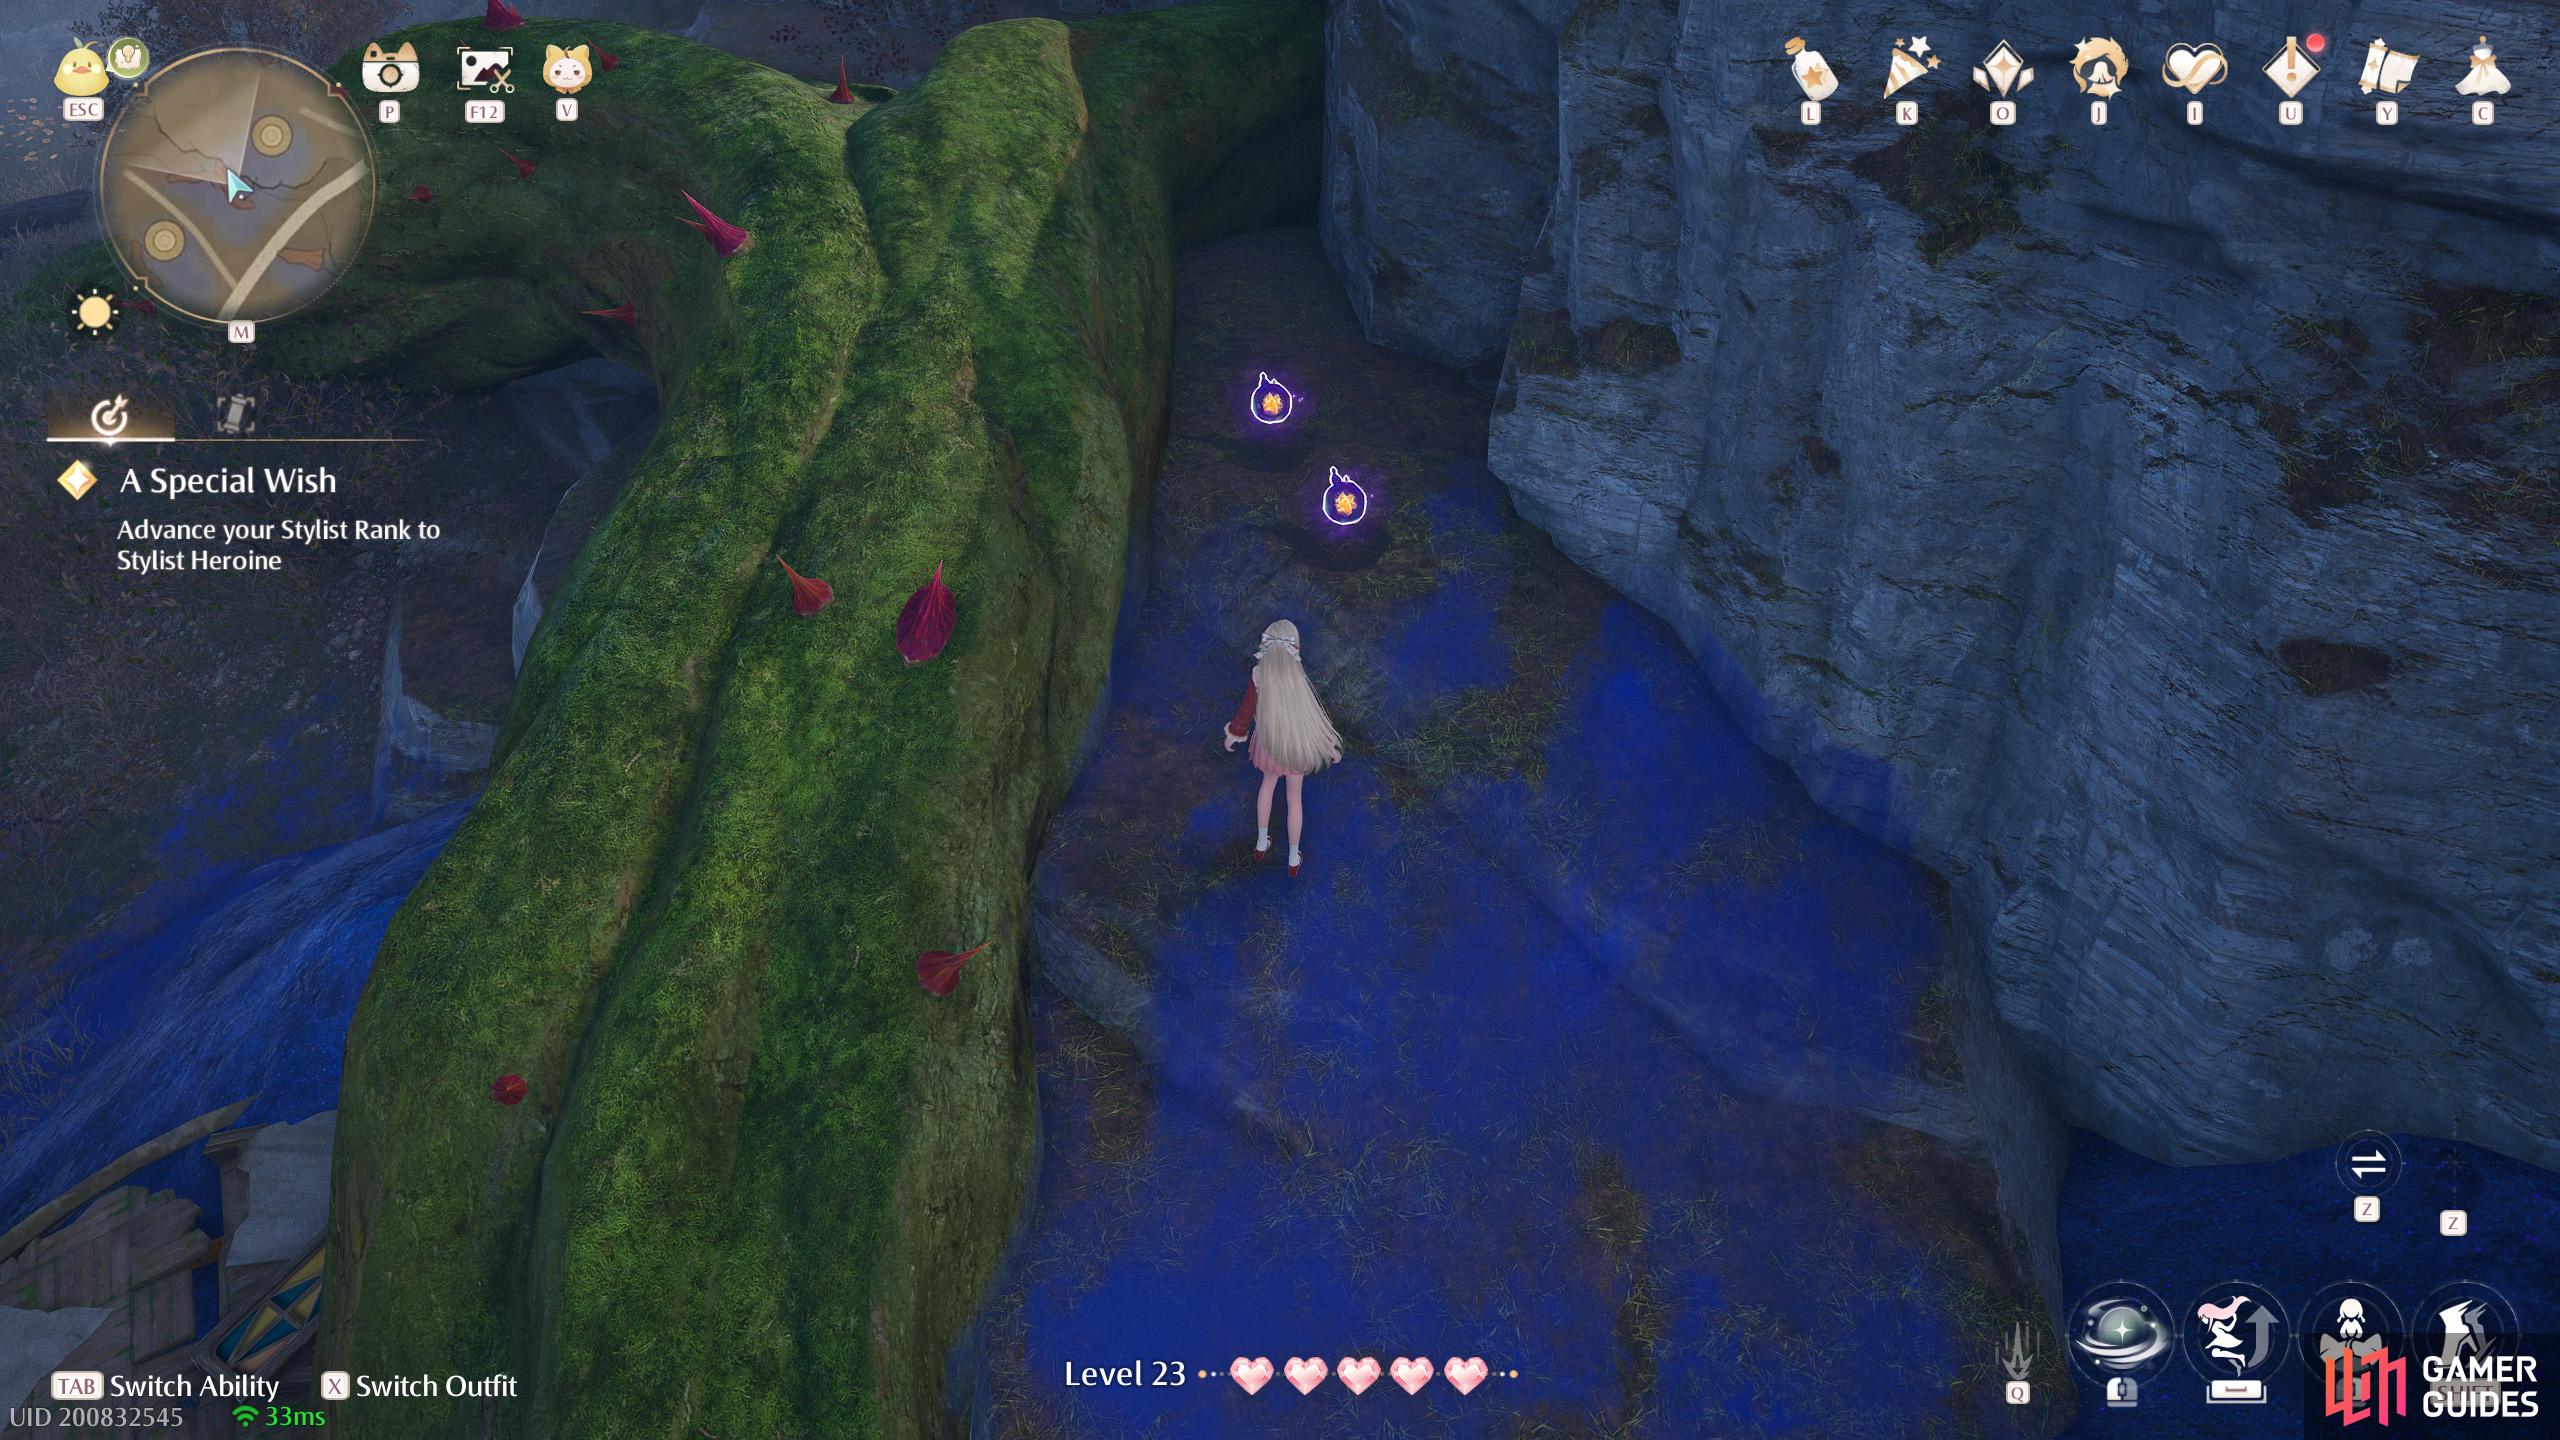
698. Miraland Map
North from ![]() Bizarre Wish Hills. Two between a thorny tree root and wall, between the west and north towers.
Bizarre Wish Hills. Two between a thorny tree root and wall, between the west and north towers.
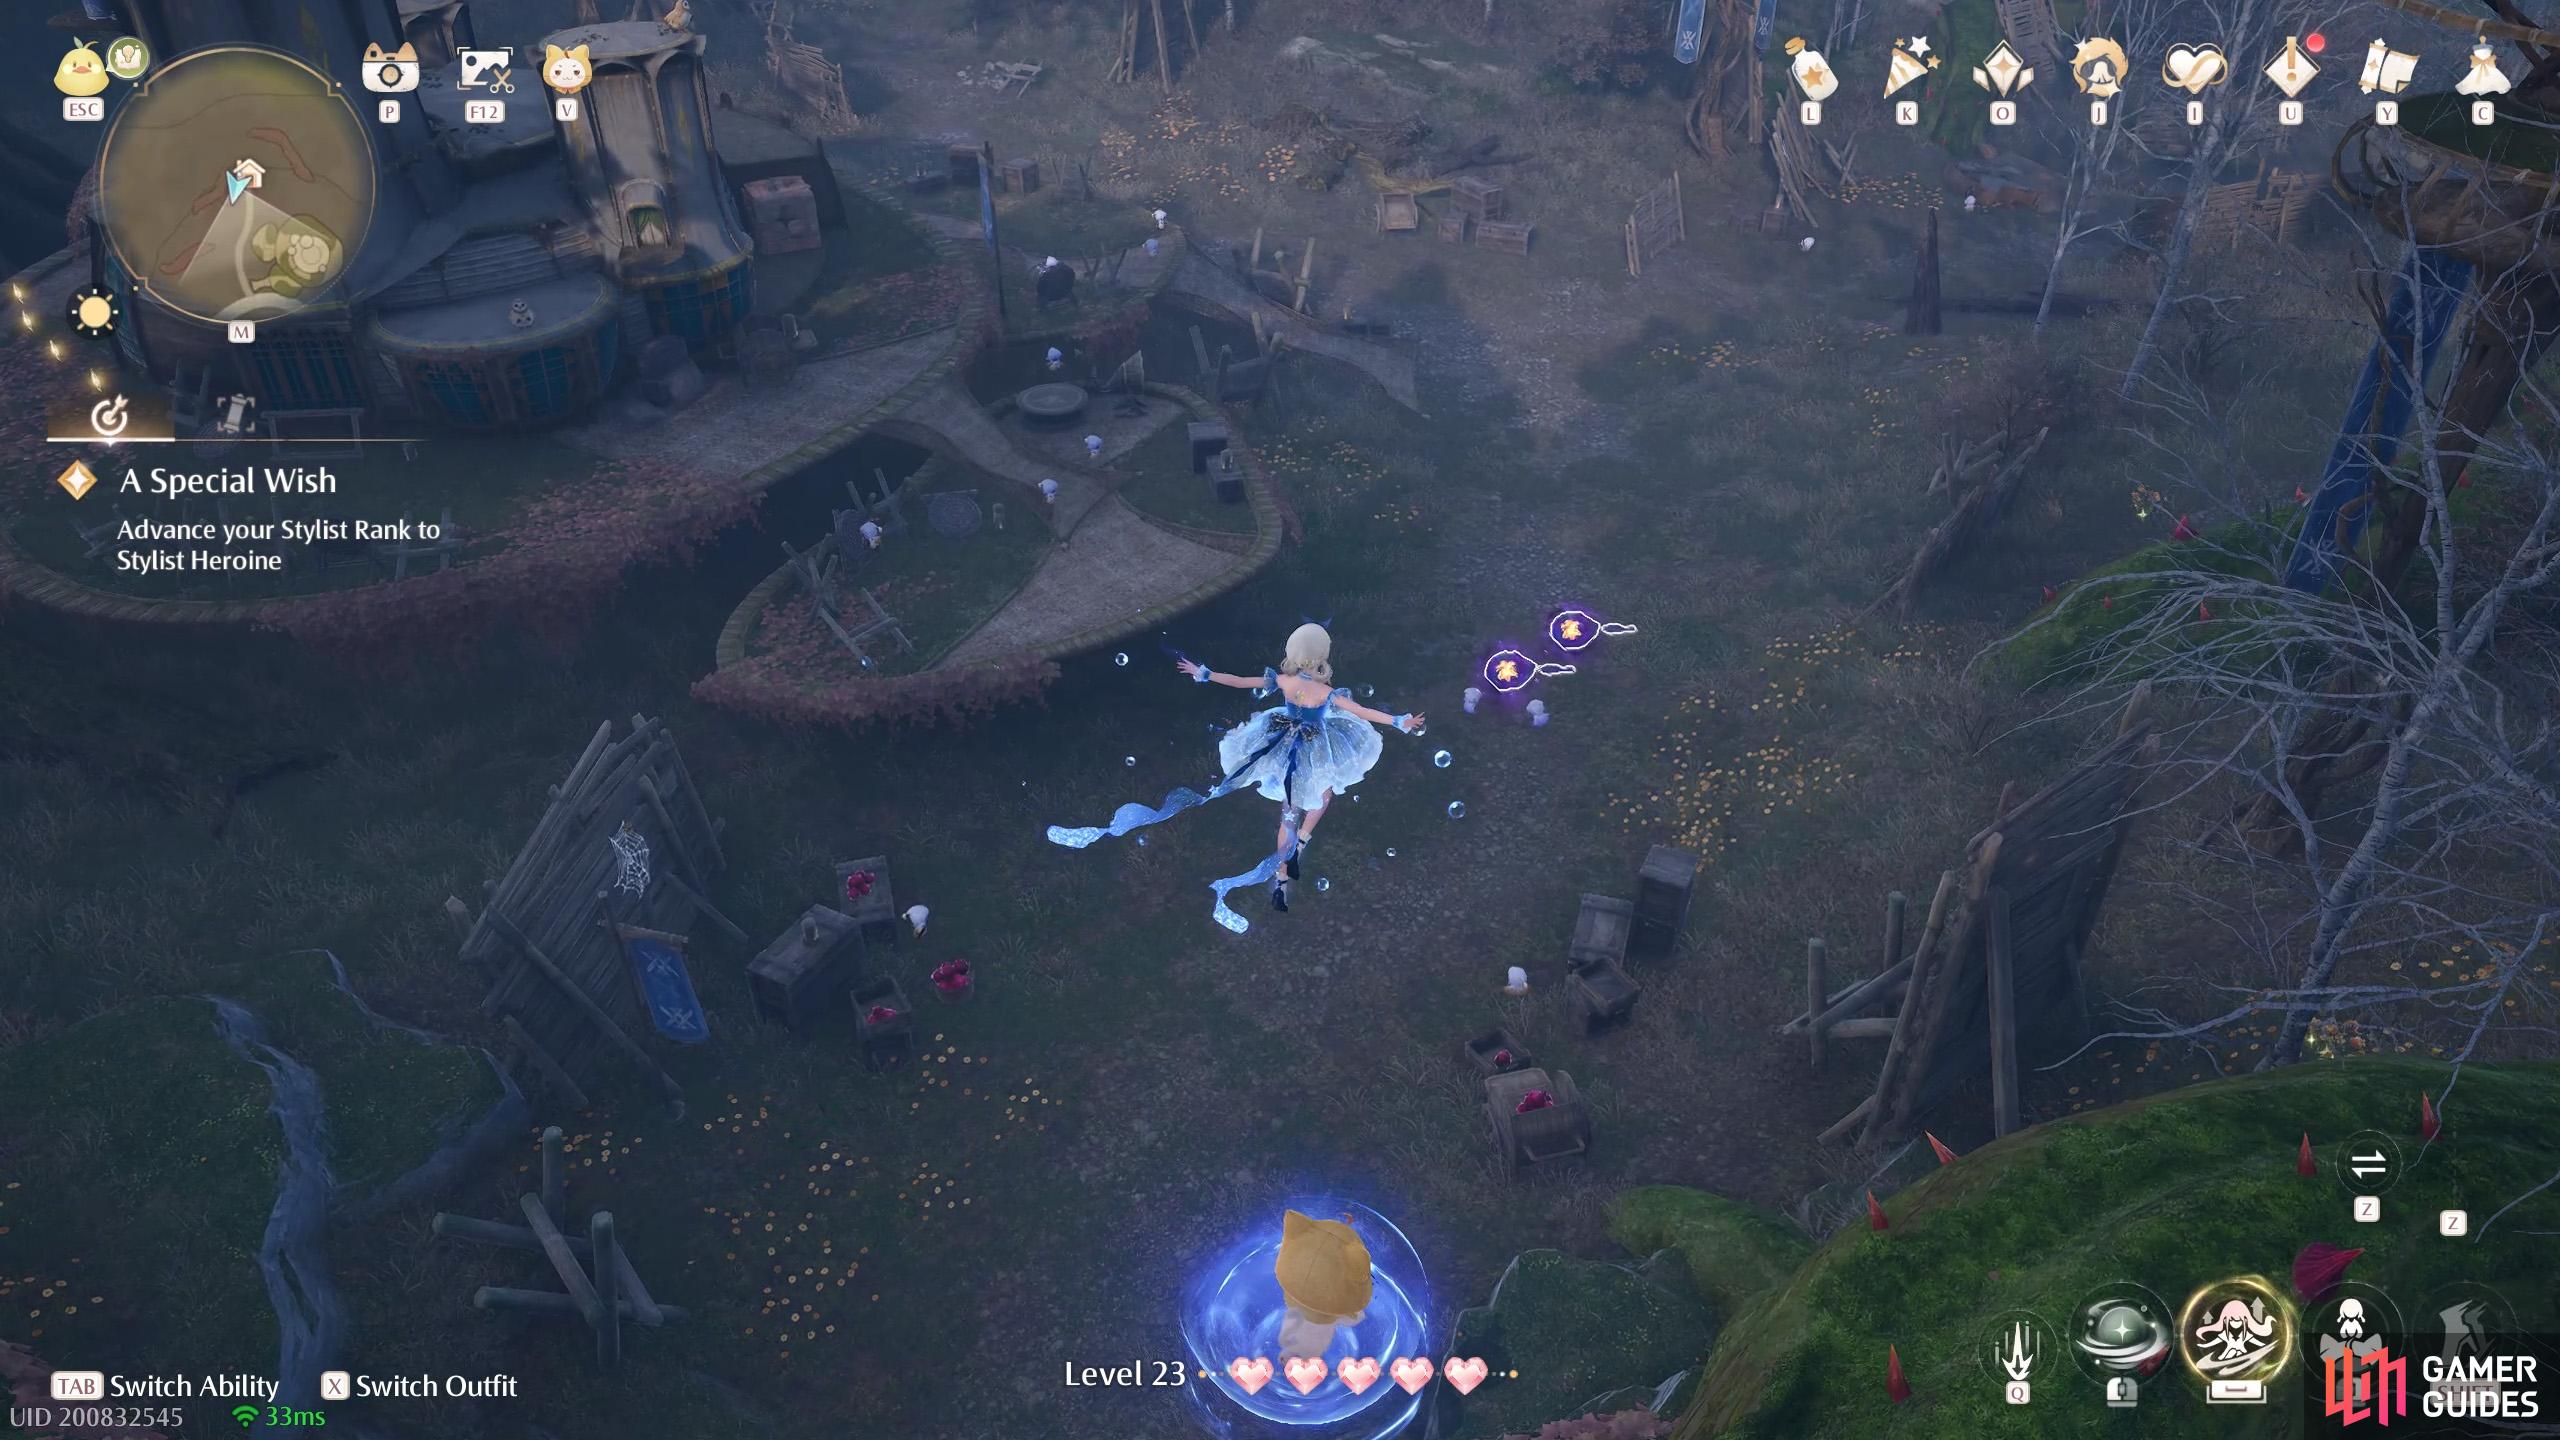
699. Miraland Map
Two floating high up next to the ![]() Desperation Orb Warehouse Cavern entrance.
Desperation Orb Warehouse Cavern entrance.
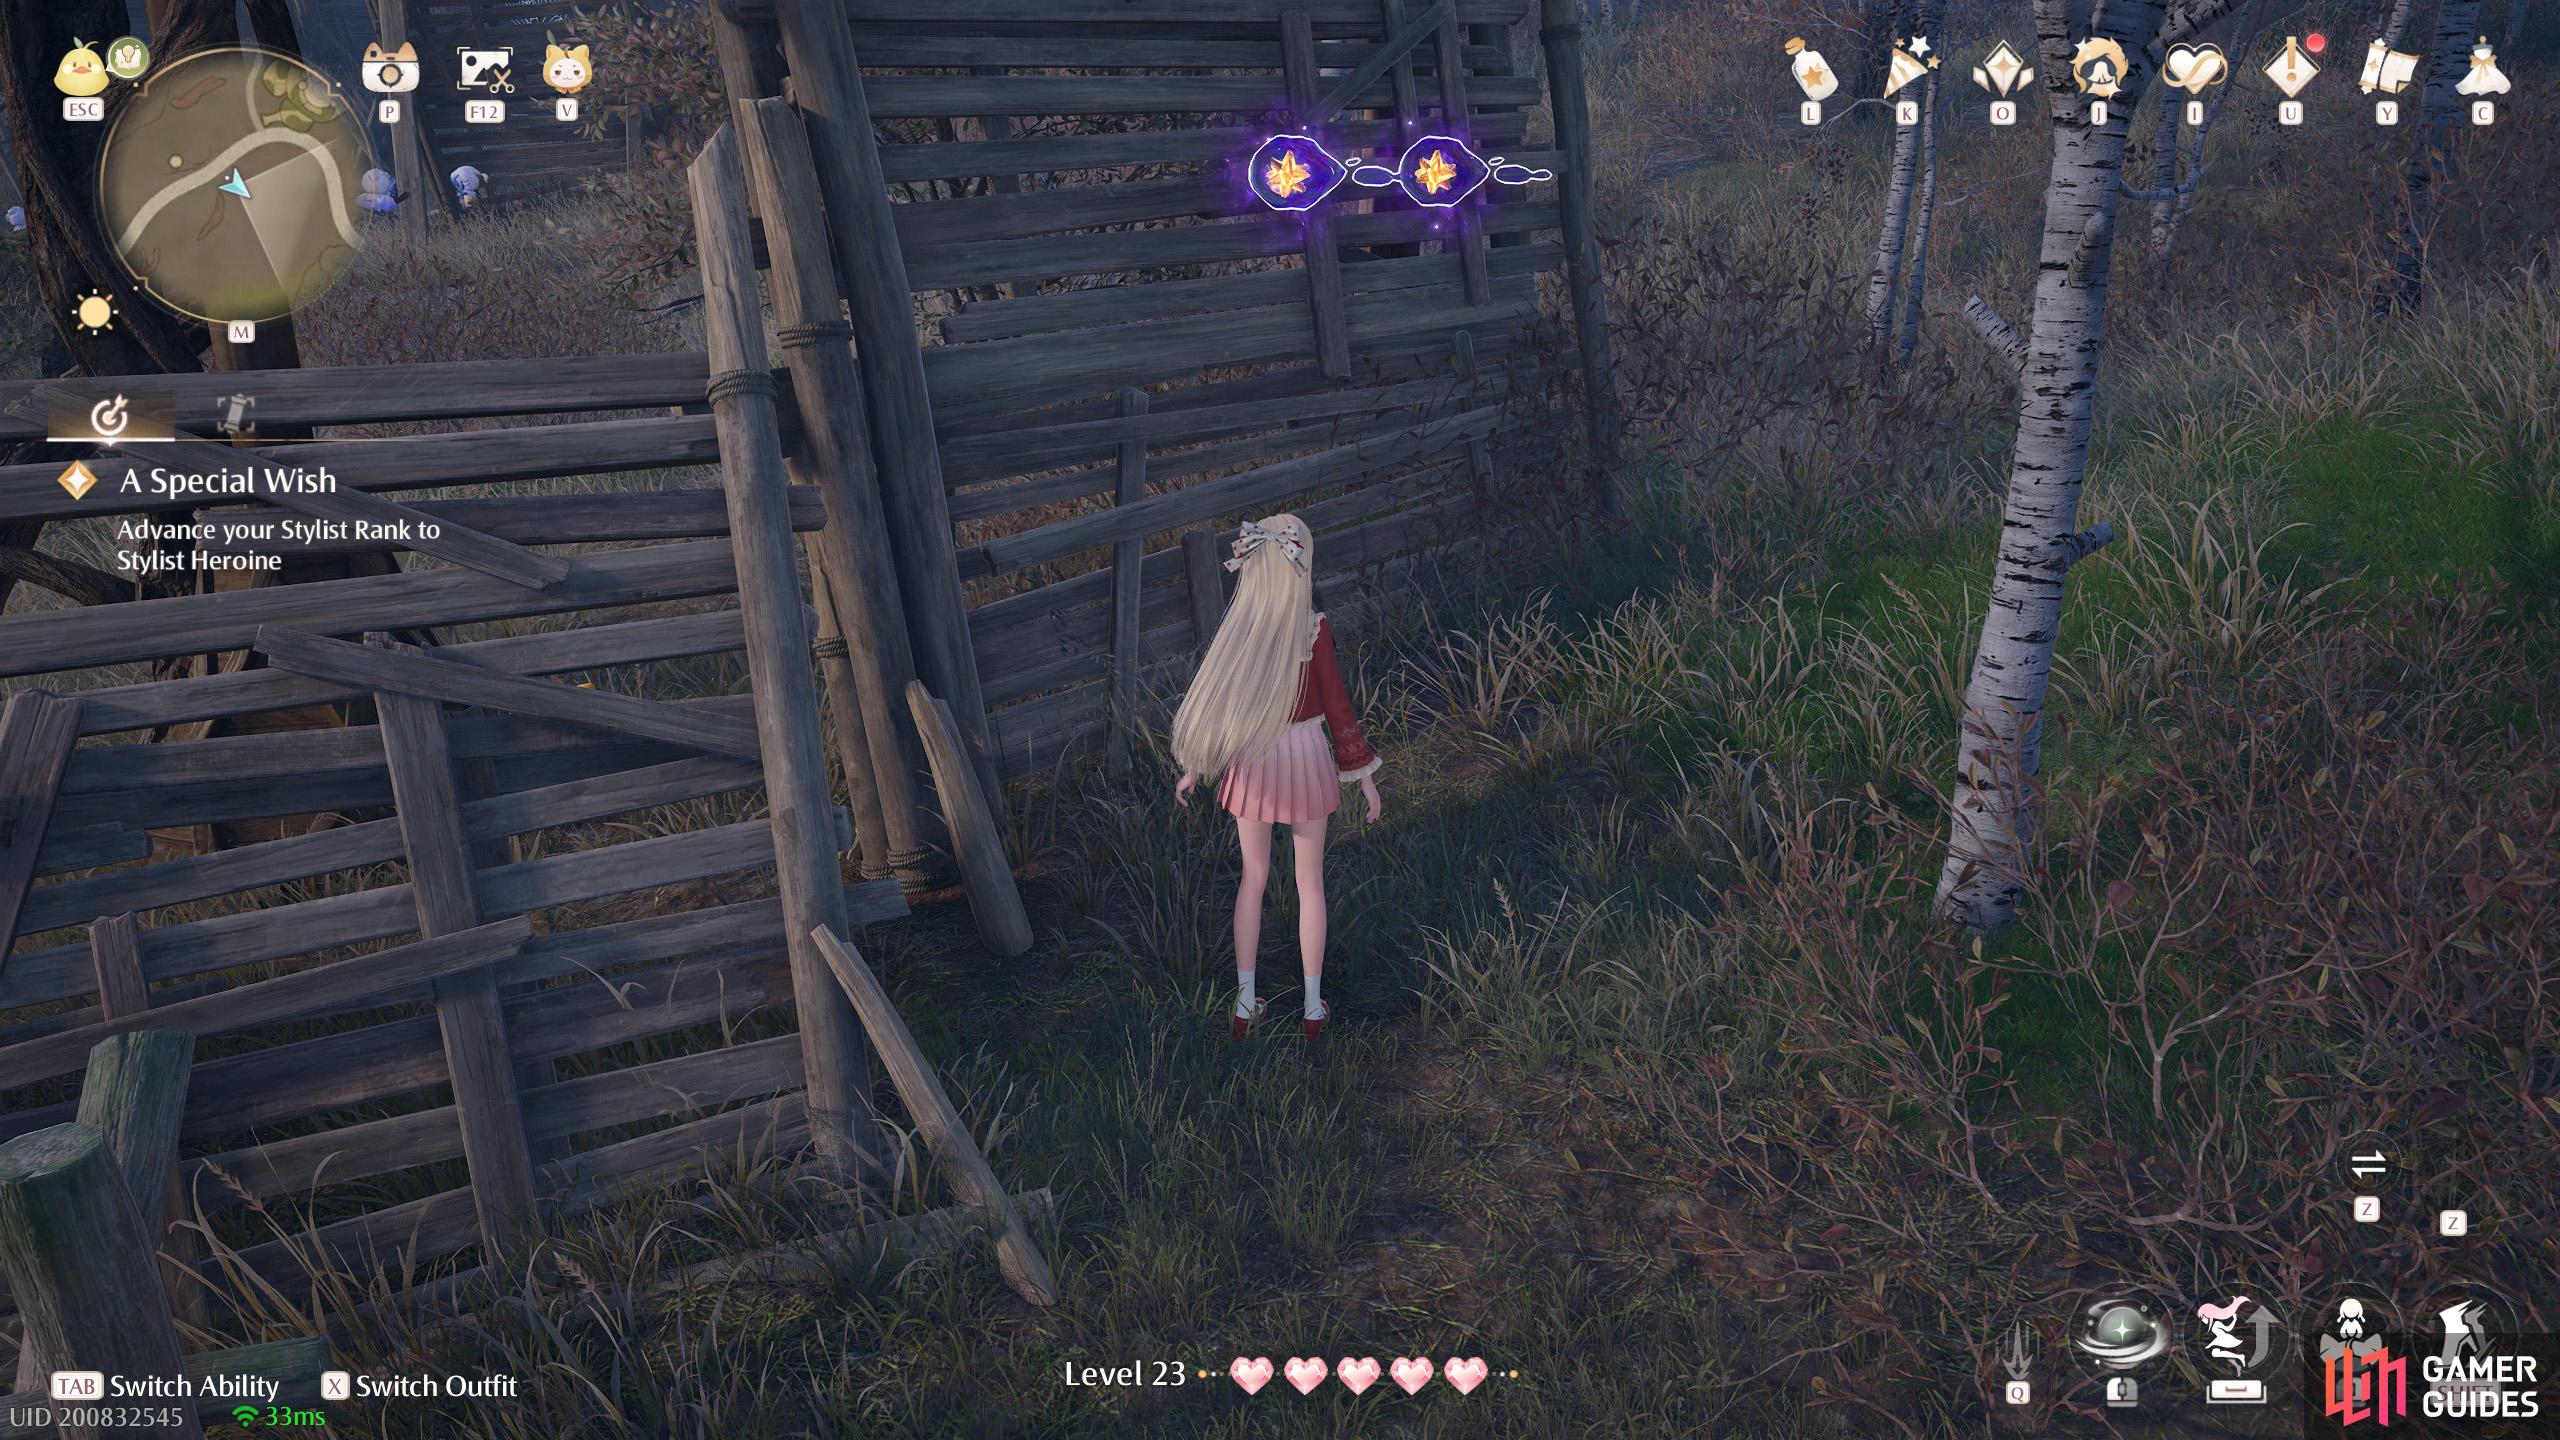
700. Miraland Map
Short distance east from the ![]() Desperation Orb Warehouse Warp Spire. Two behind a wooden fence.
Desperation Orb Warehouse Warp Spire. Two behind a wooden fence.
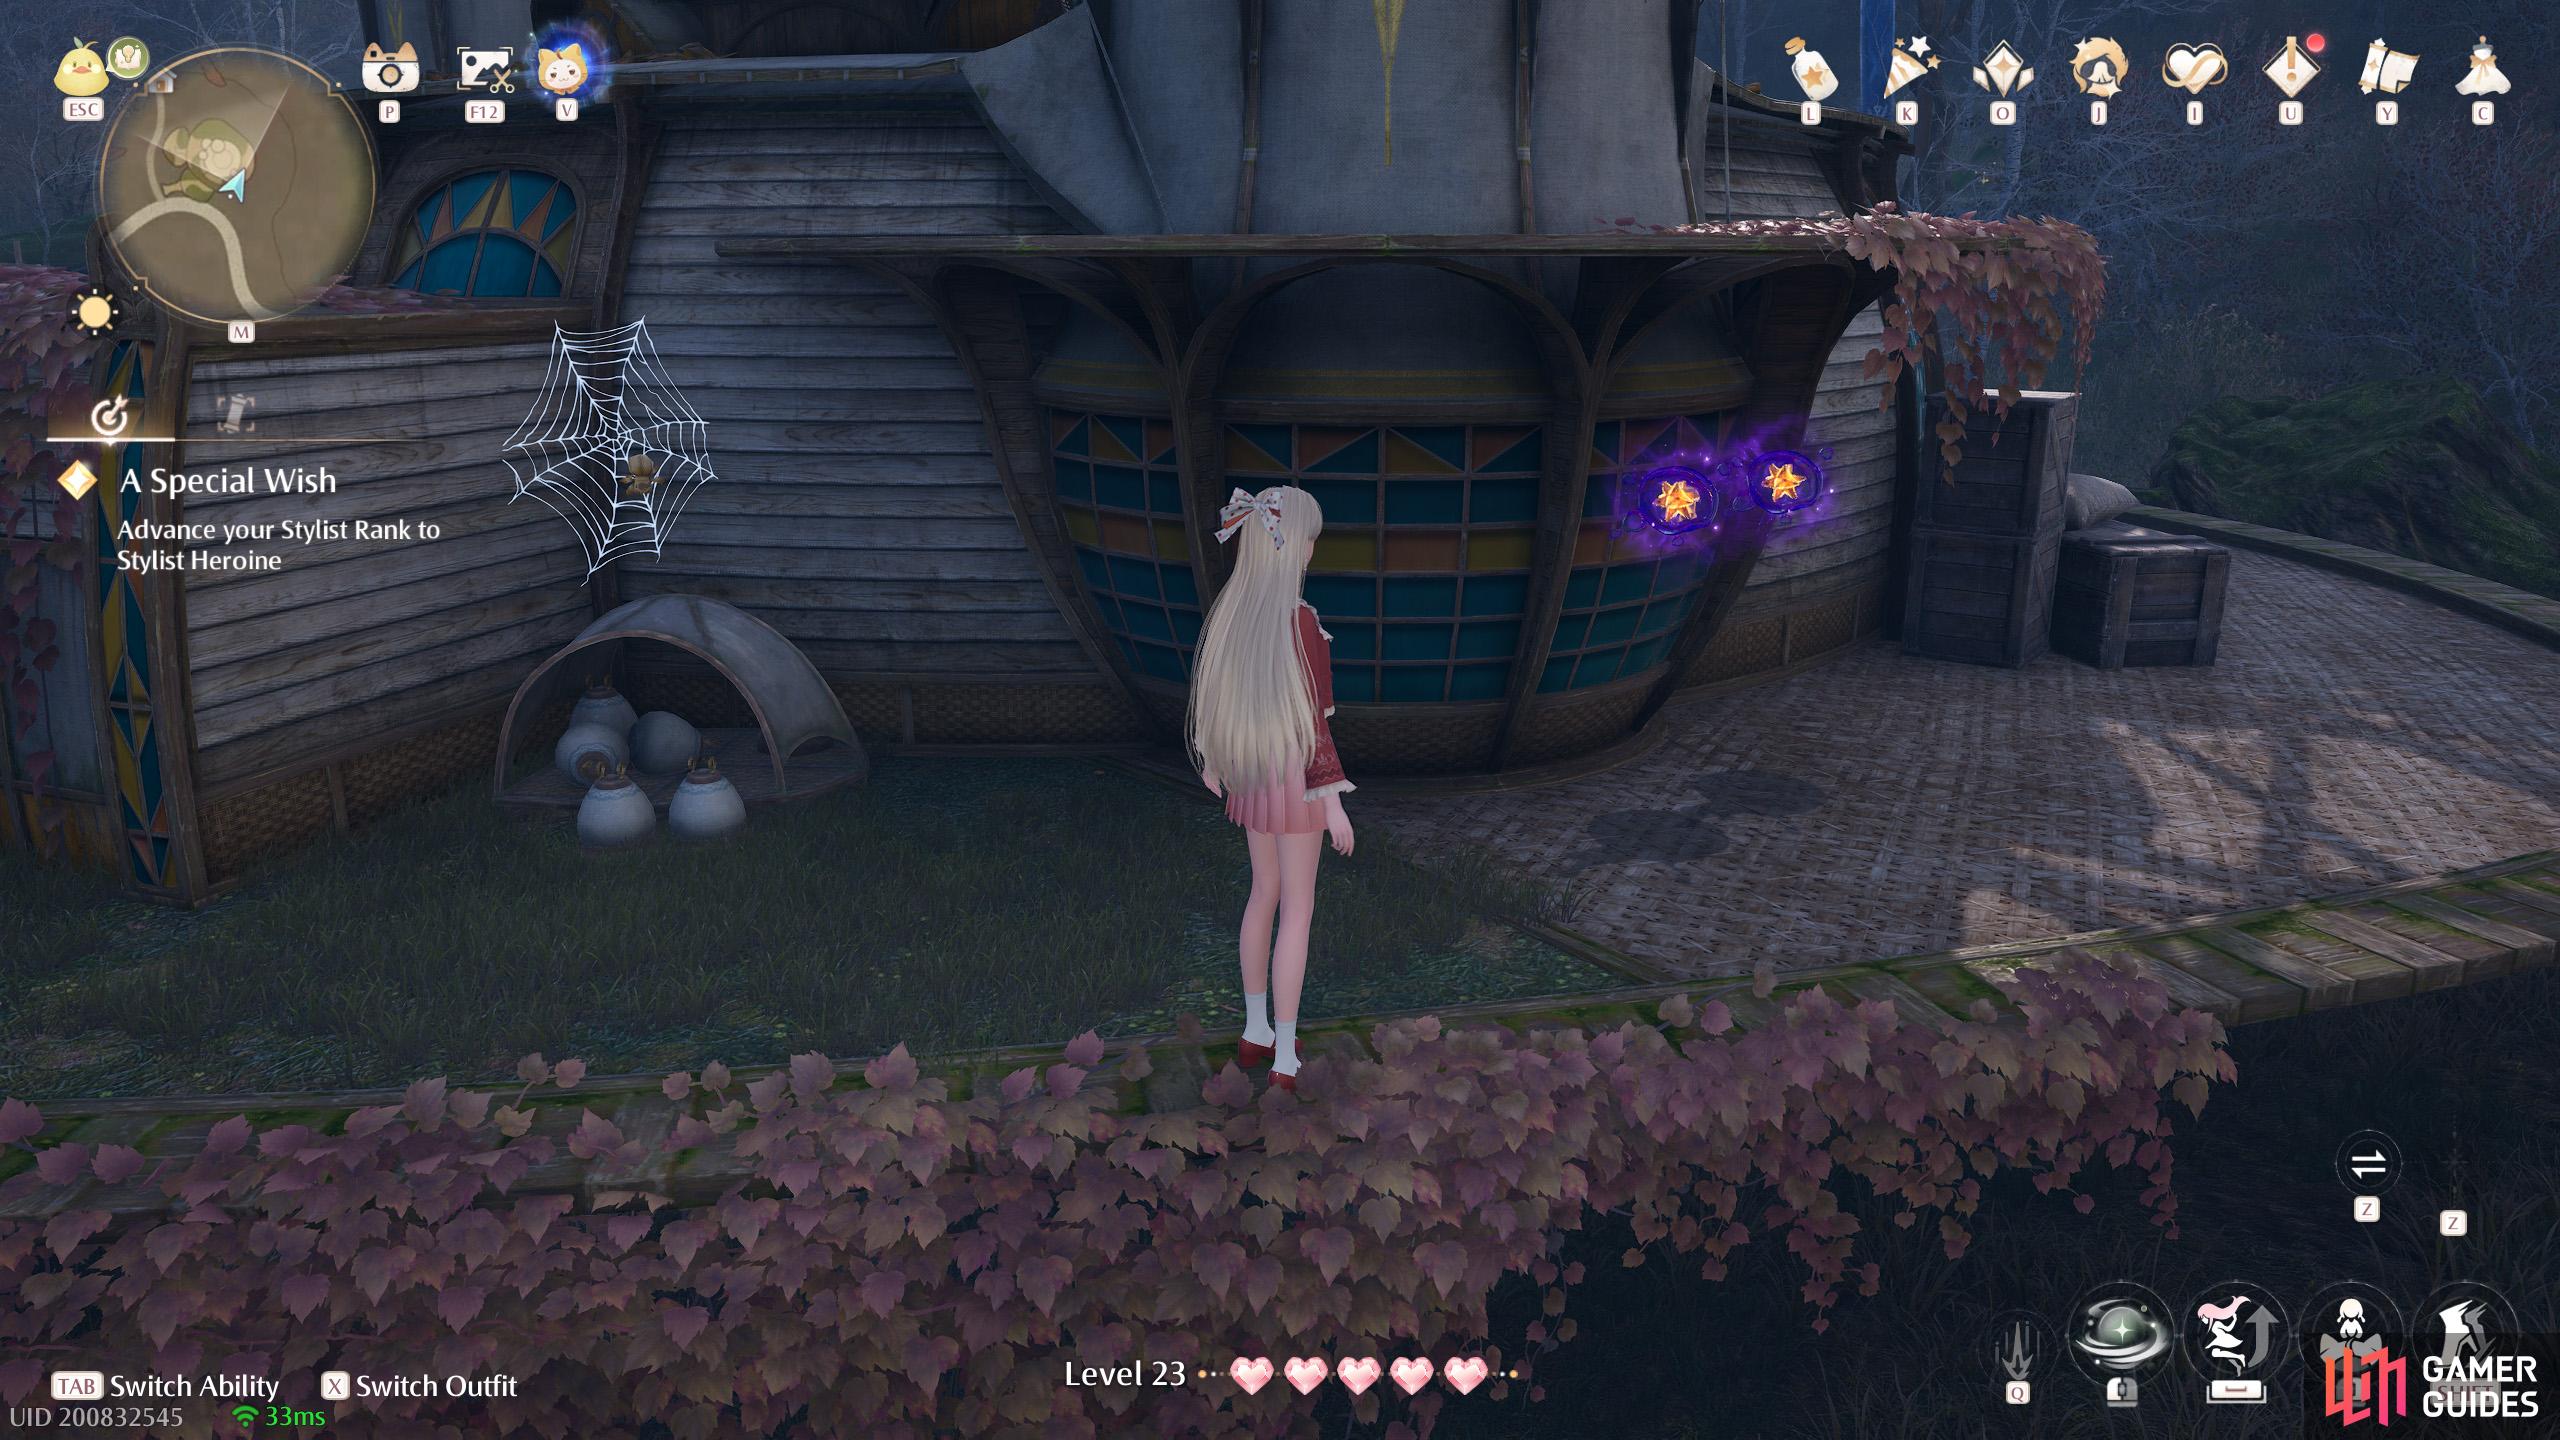
701. Miraland Map
East and slightly north from the ![]() Desperation Orb Warehouse Warp Spire. Two by the side of the building.
Desperation Orb Warehouse Warp Spire. Two by the side of the building.
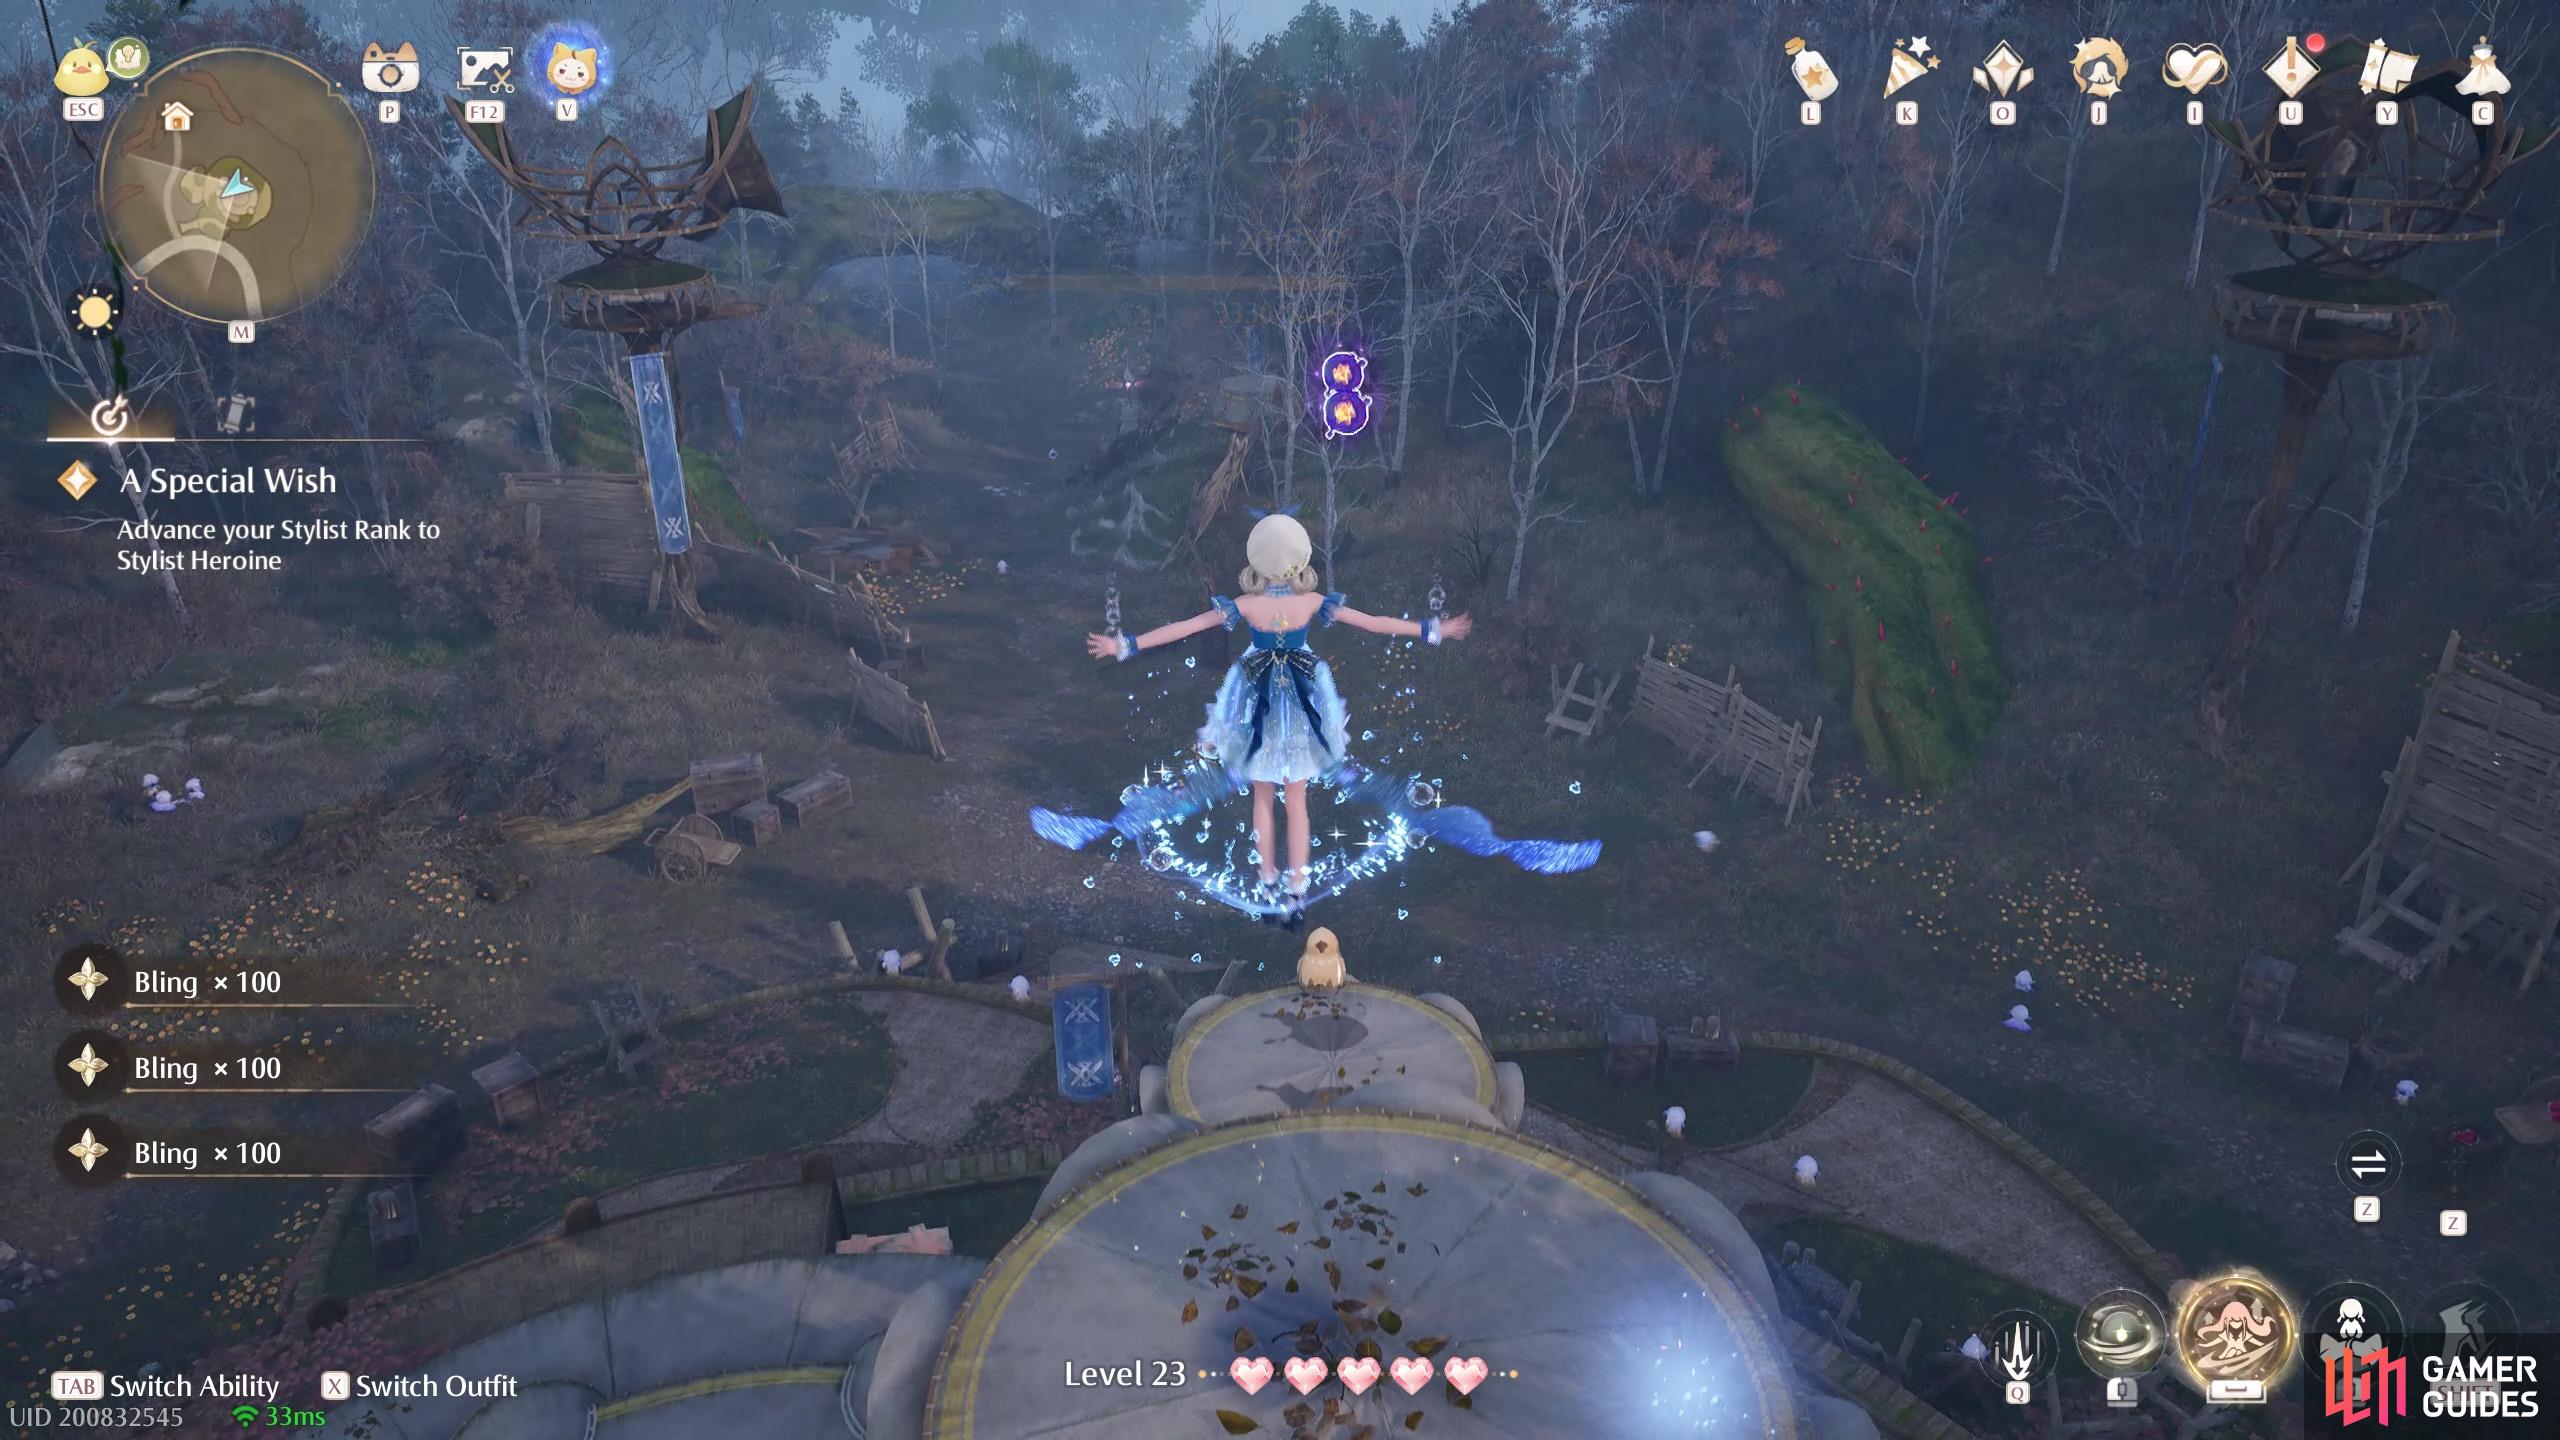
702. Miraland Map
East and slightly north from the ![]() Desperation Orb Warehouse Warp Spire. Two floating near the top of the building.
Desperation Orb Warehouse Warp Spire. Two floating near the top of the building.
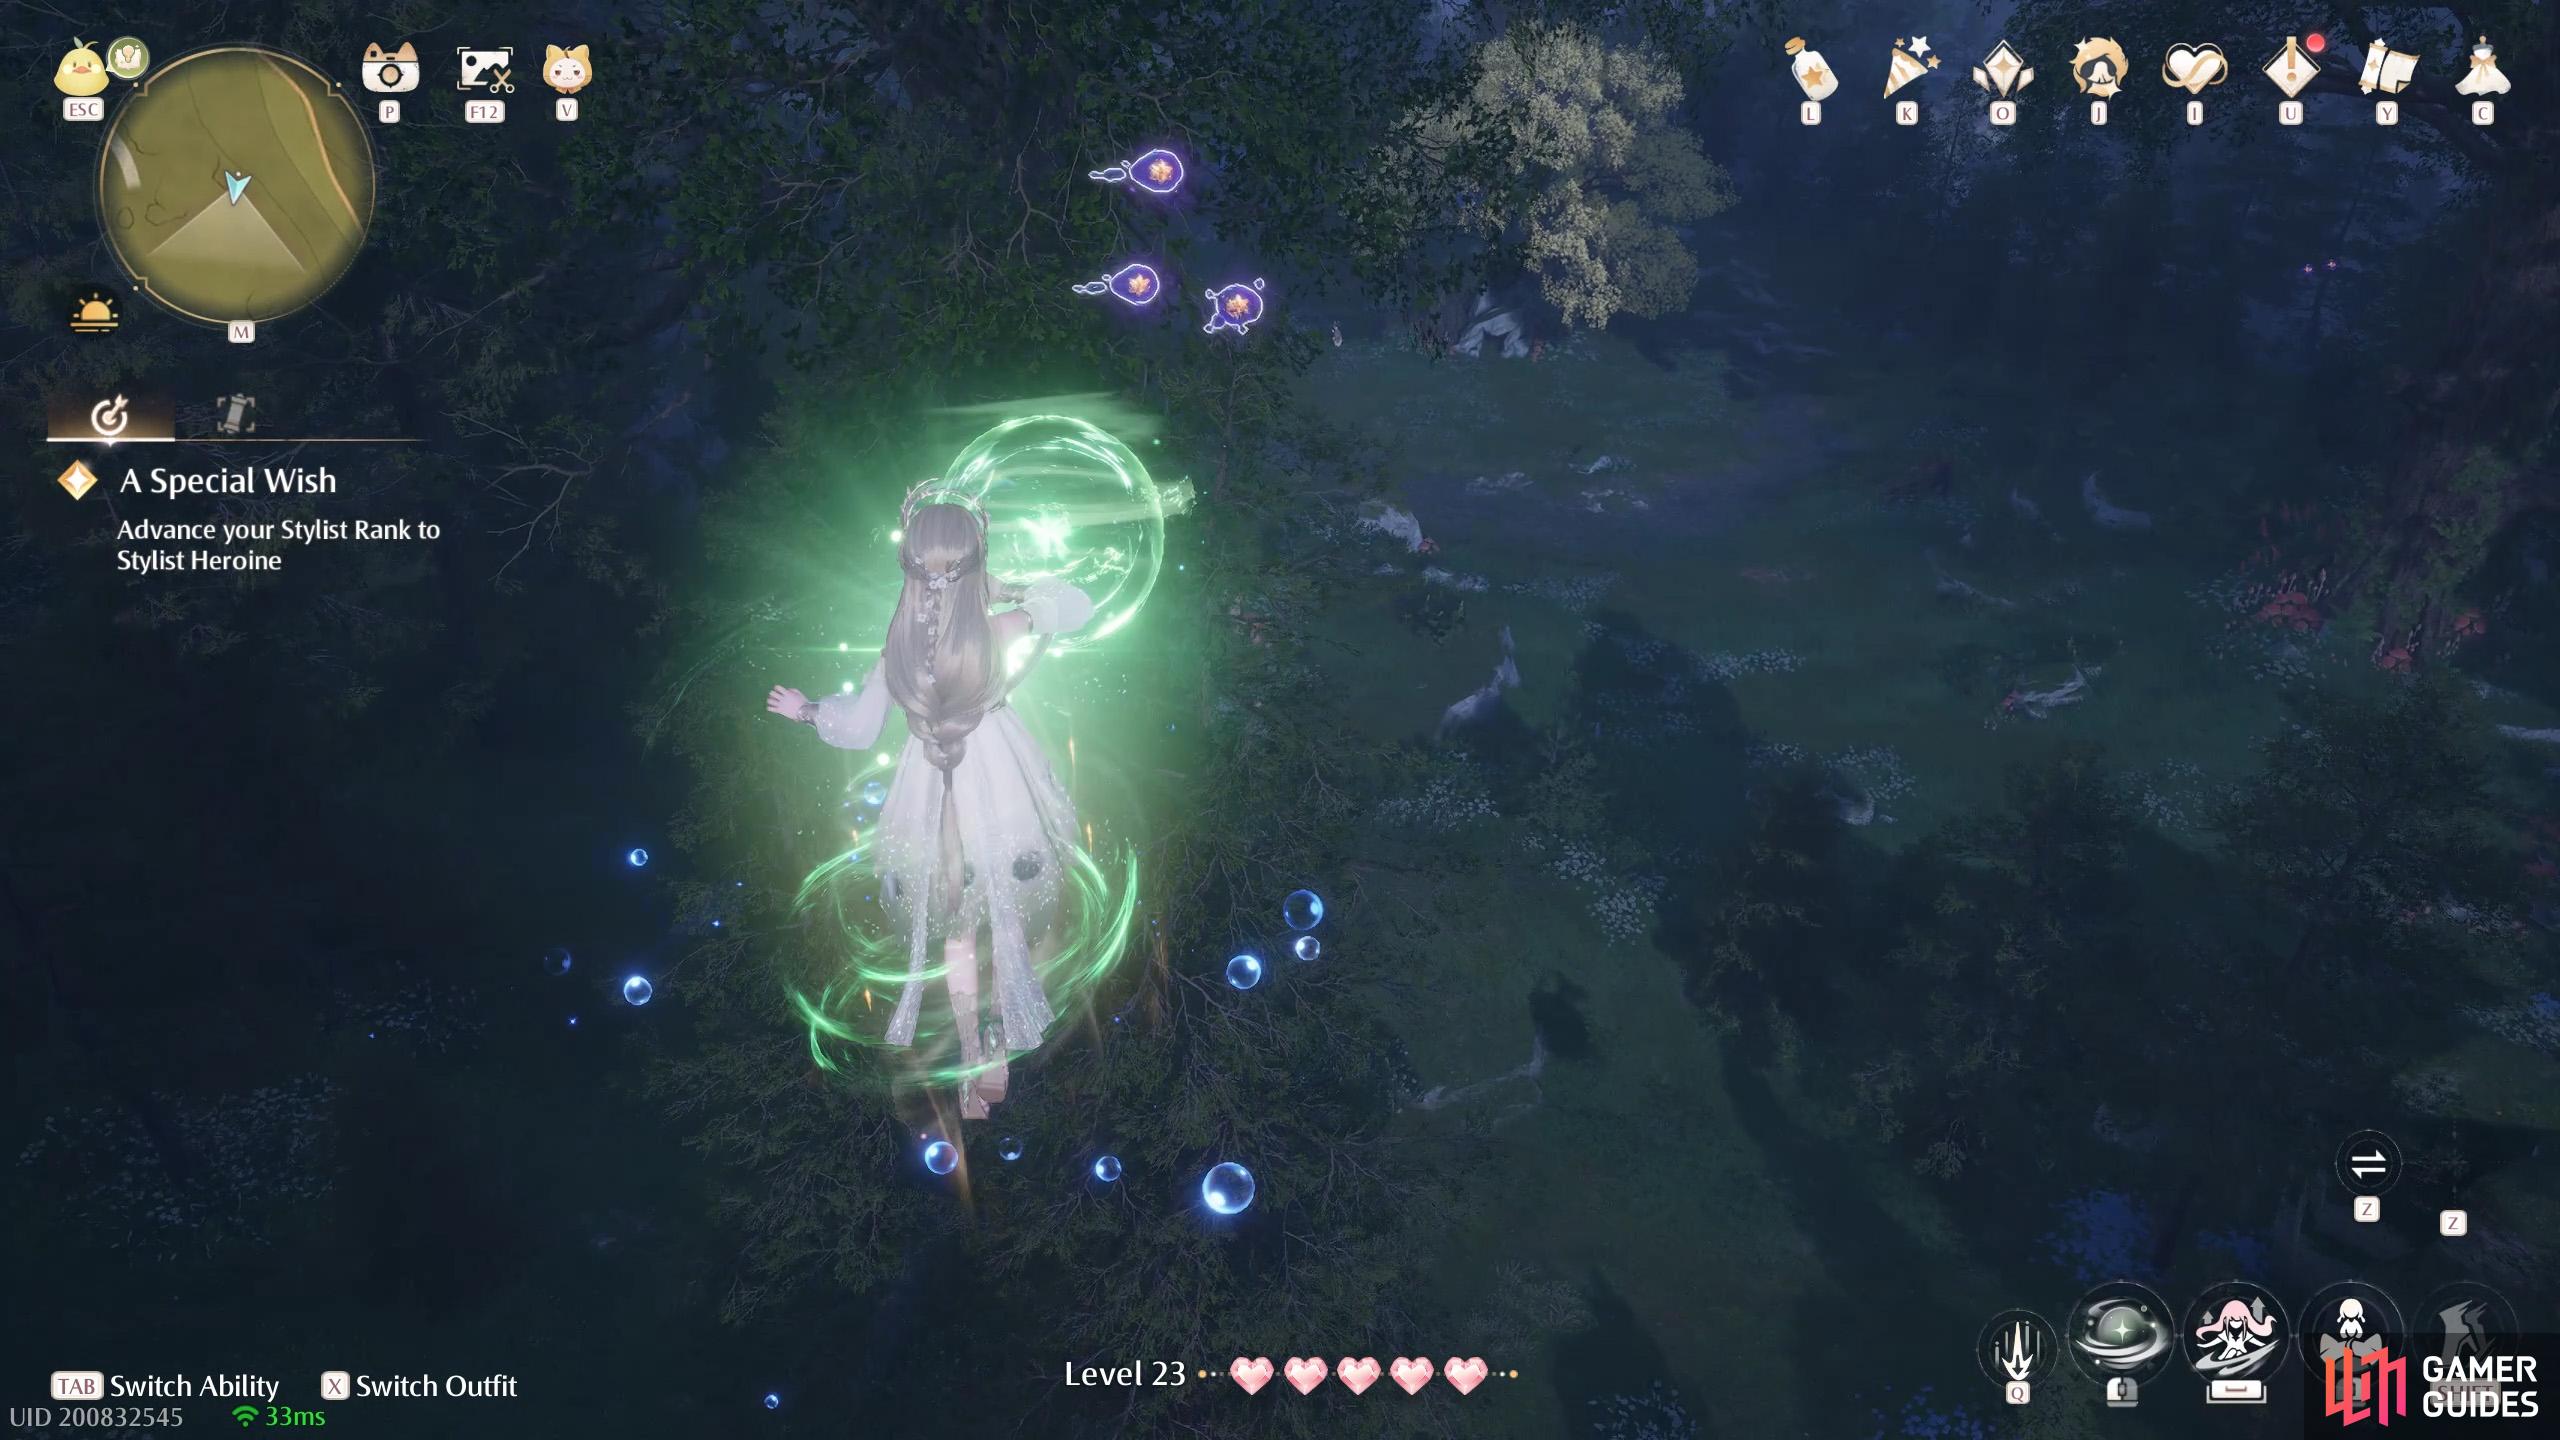
703. Miraland Map
East and slightly south from ![]() Desperation Orb Warehouse. Three floating high up, somewhat close to the world boundary. There’s a wishnet nearby, surrounded by Esselings.
Desperation Orb Warehouse. Three floating high up, somewhat close to the world boundary. There’s a wishnet nearby, surrounded by Esselings.
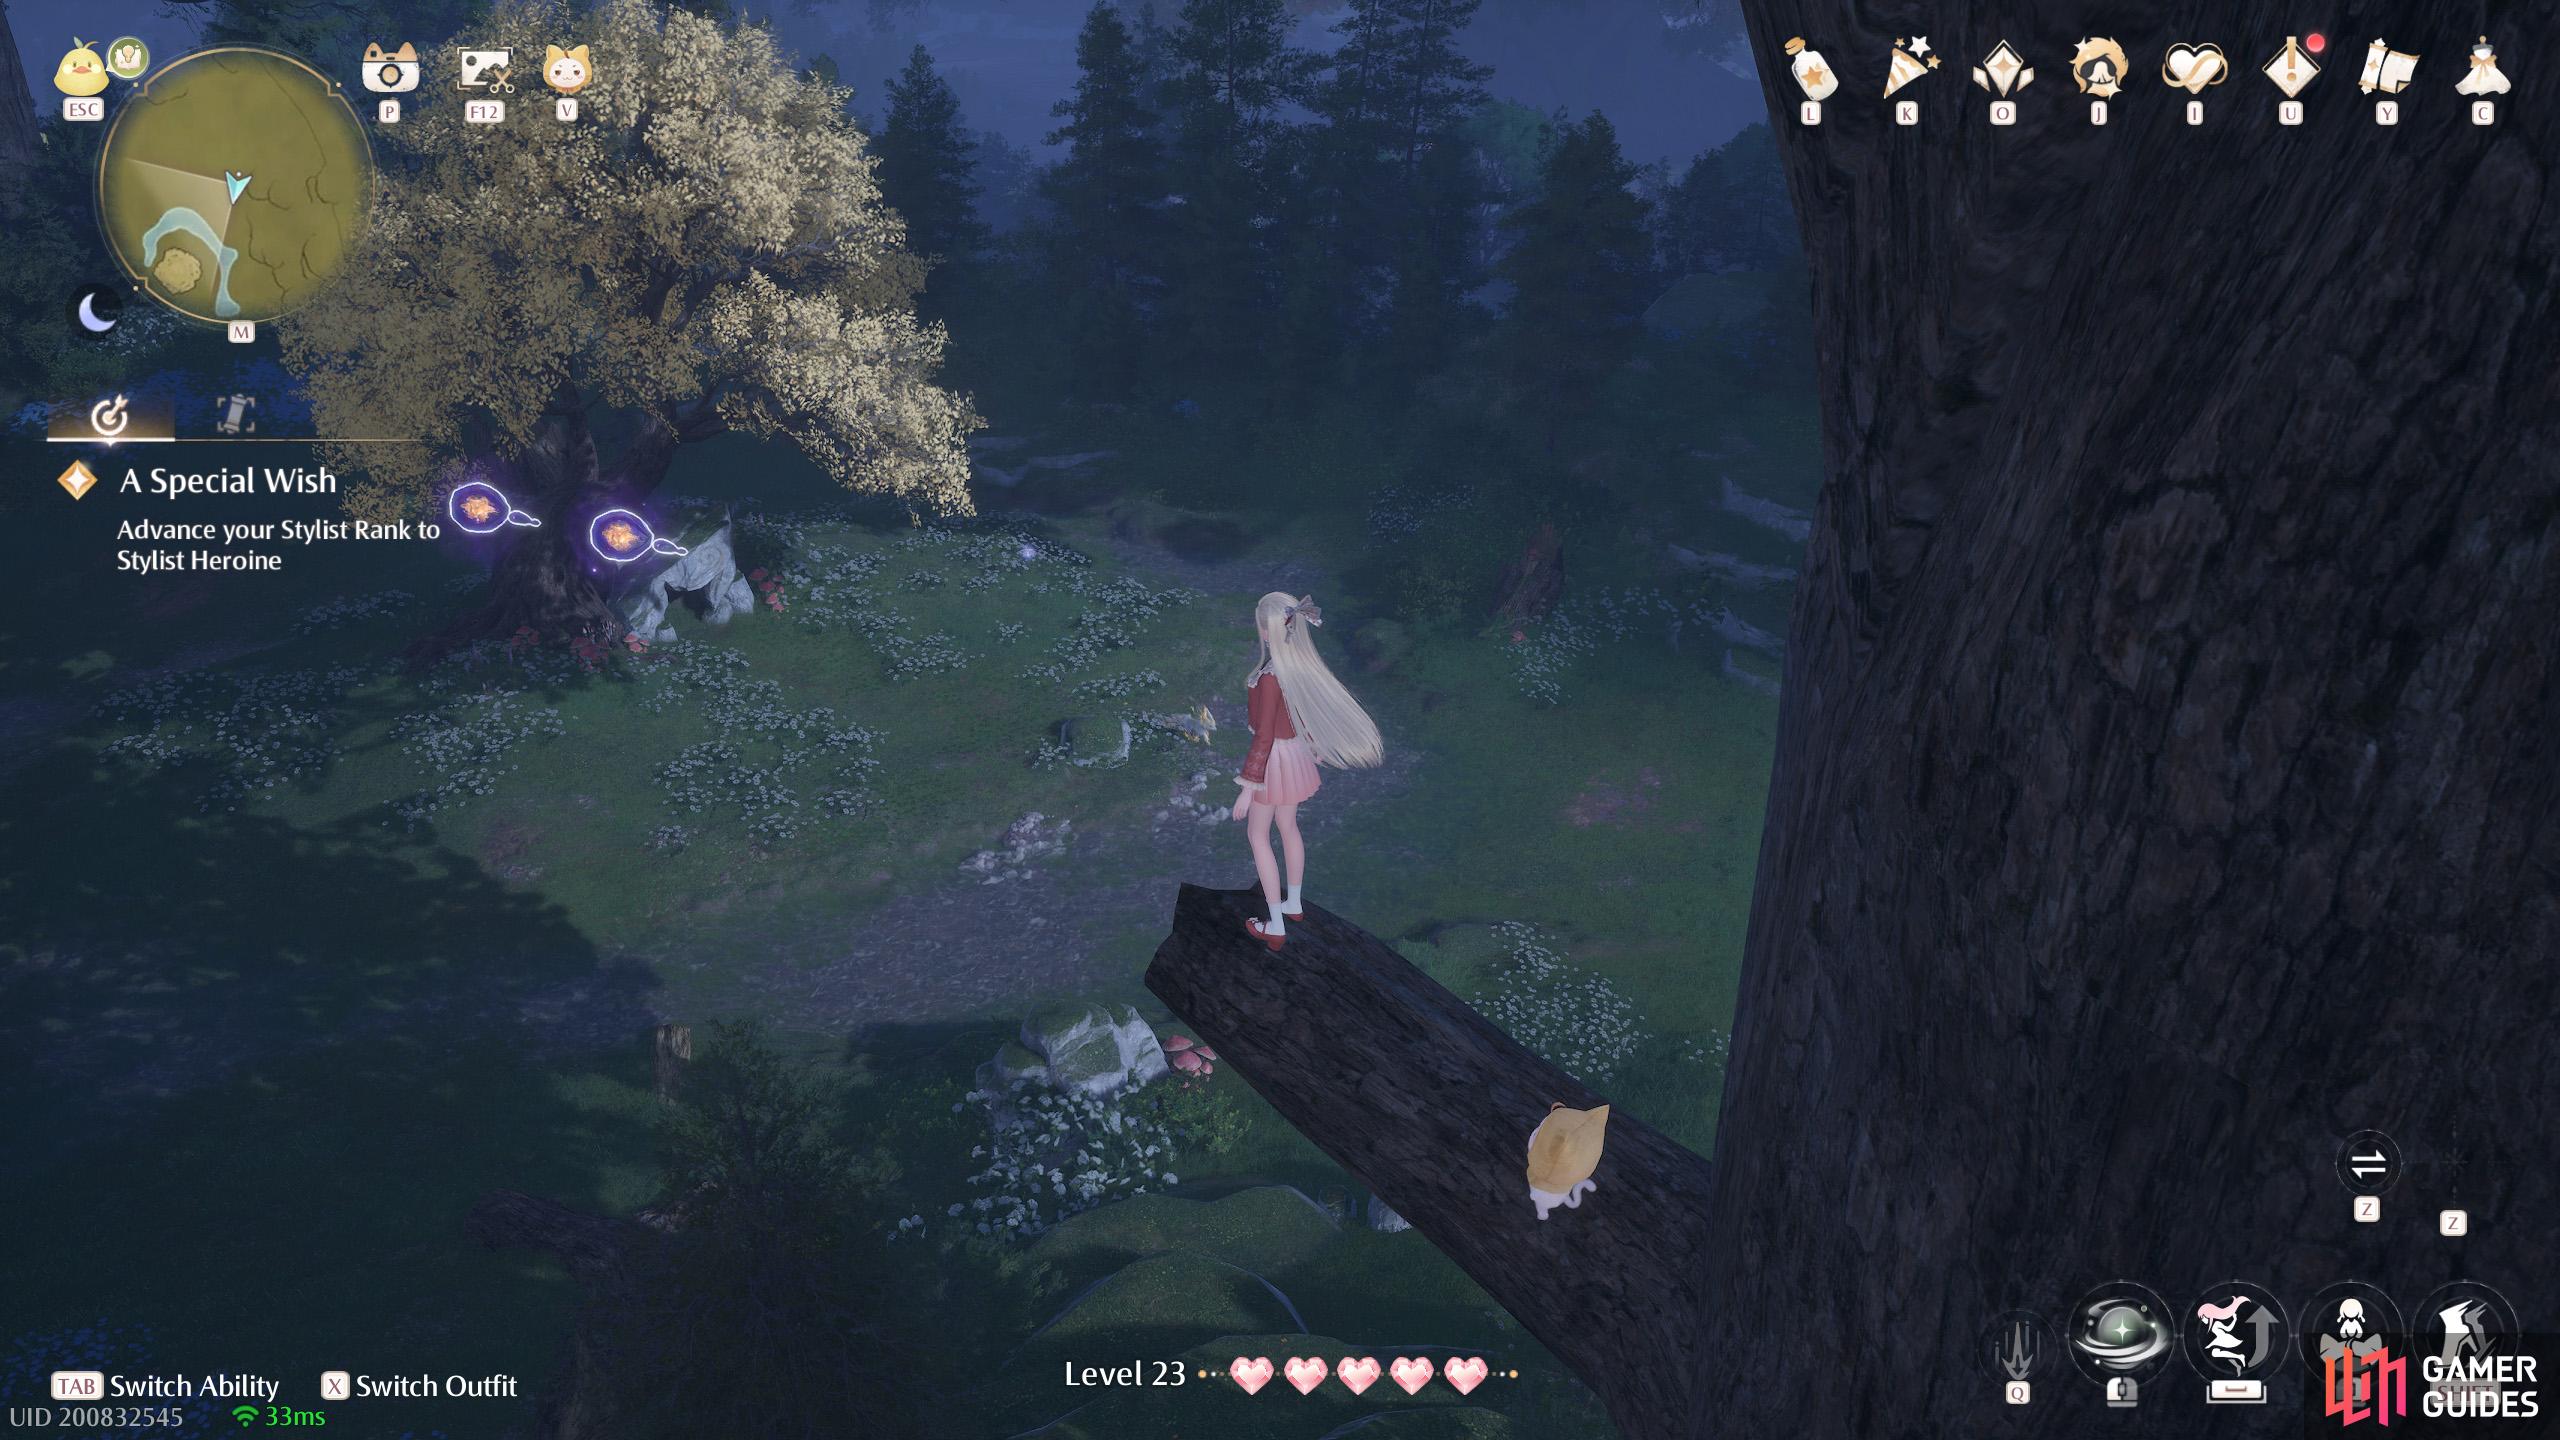
704. Miraland Map
South-east from ![]() Desperation Orb Warehouse. Two near the top of a tree that’s overlooking the
Desperation Orb Warehouse. Two near the top of a tree that’s overlooking the ![]() Dawn Fox’s den.
Dawn Fox’s den.

705. Miraland Map
South-east from ![]() Desperation Orb Warehouse. Two atop a tree that’s overlooking the
Desperation Orb Warehouse. Two atop a tree that’s overlooking the ![]() Dawn Fox’s den.
Dawn Fox’s den.
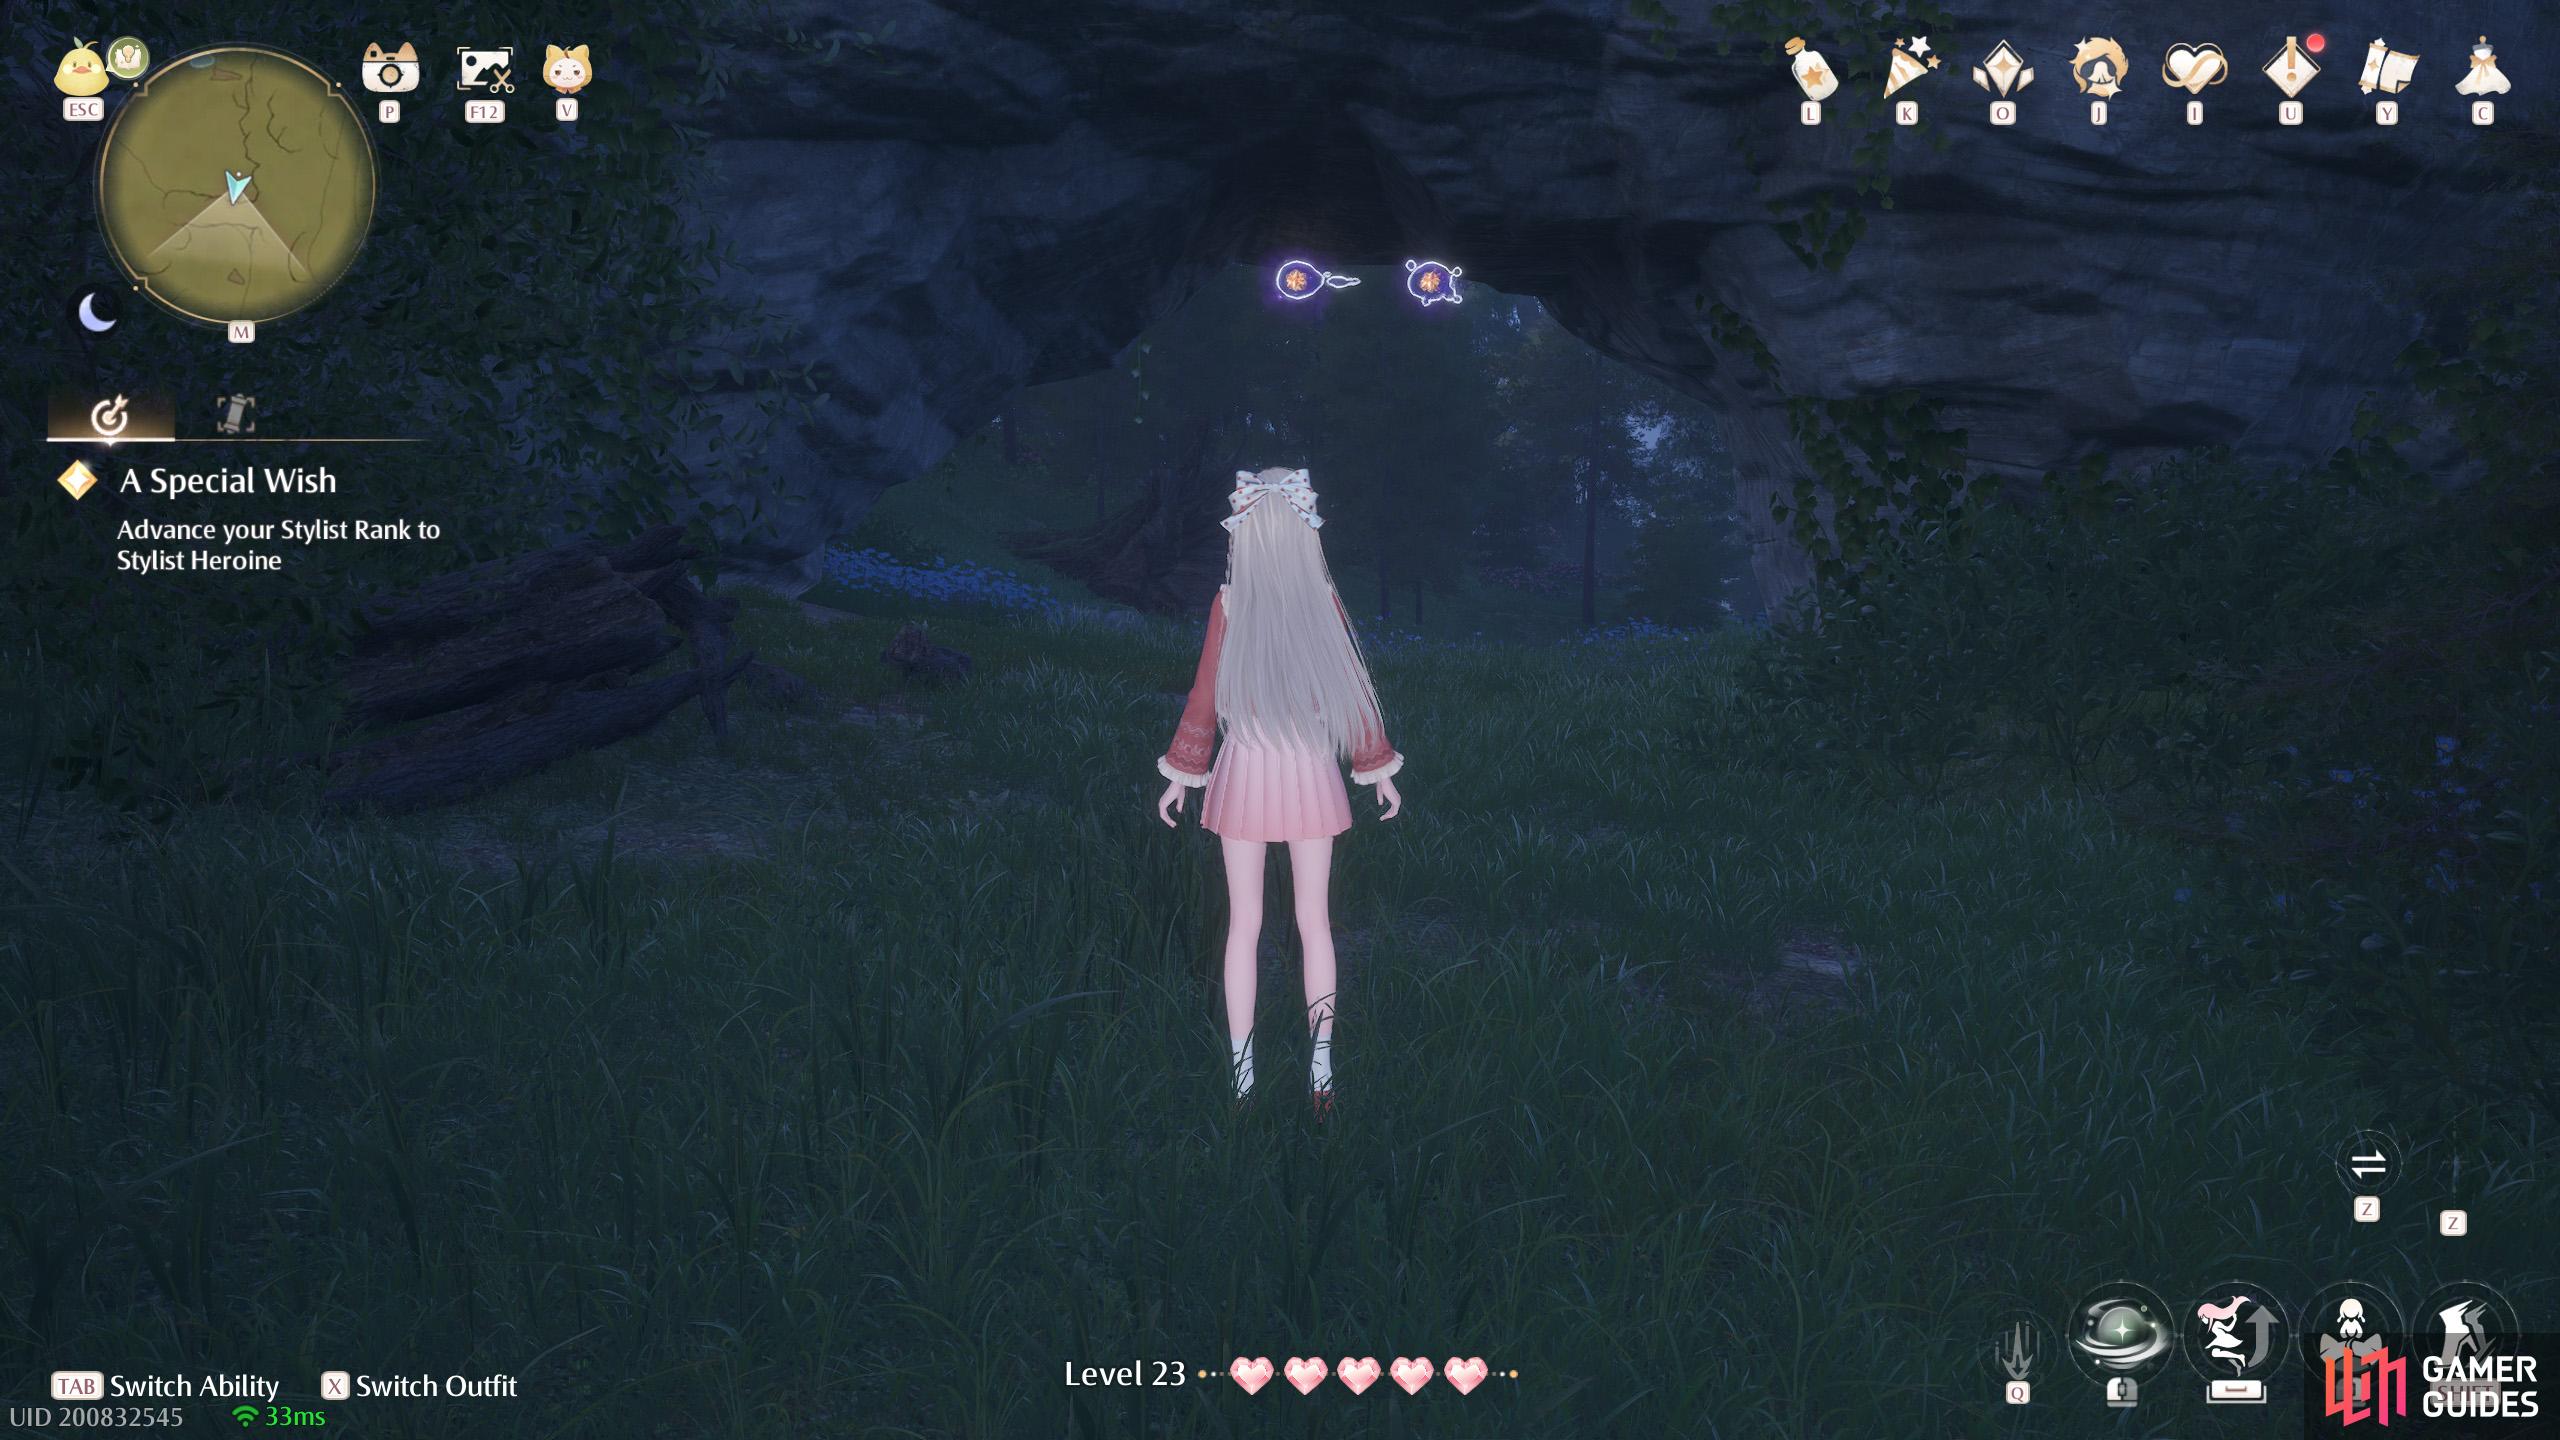
706. Miraland Map
North from ![]() Wish Celebration Center. Two underneath the stone arch.
Wish Celebration Center. Two underneath the stone arch.
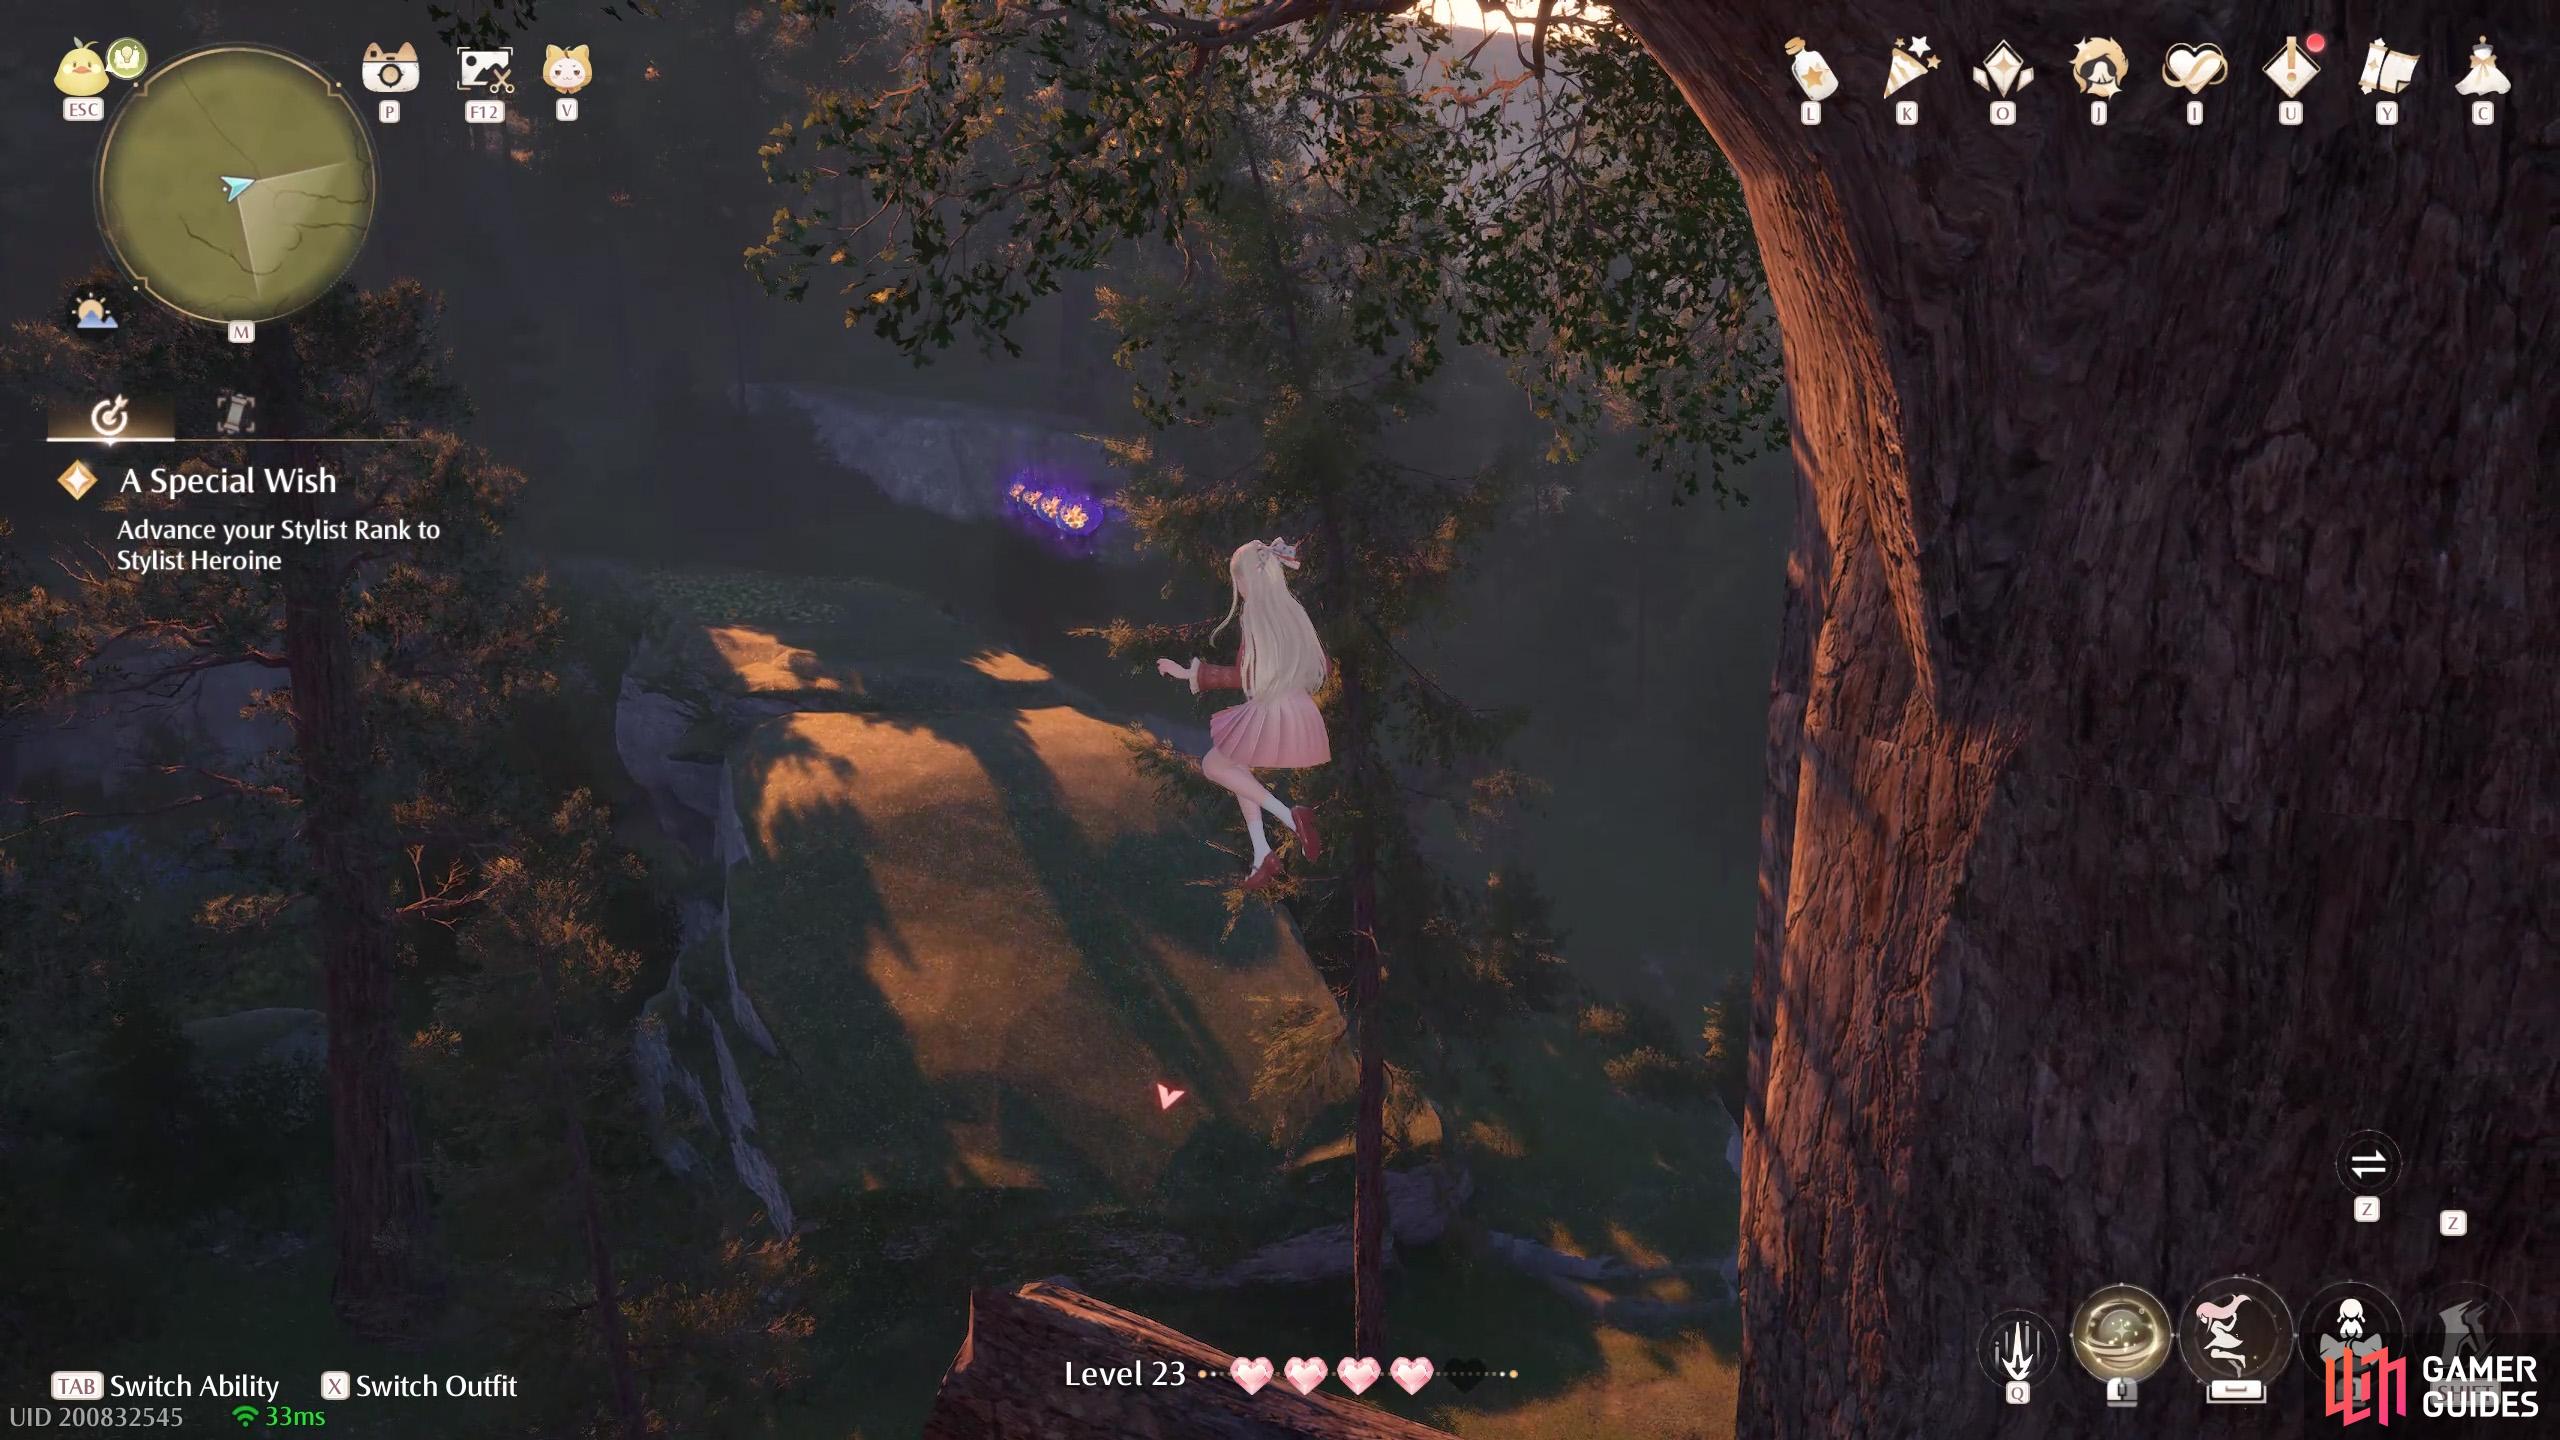
707. Miraland Map
North and slightly west from ![]() Wish Celebration Center. Four near the top of a tree with a climbable rope. There are annoying Esselings nearby.
Wish Celebration Center. Four near the top of a tree with a climbable rope. There are annoying Esselings nearby.
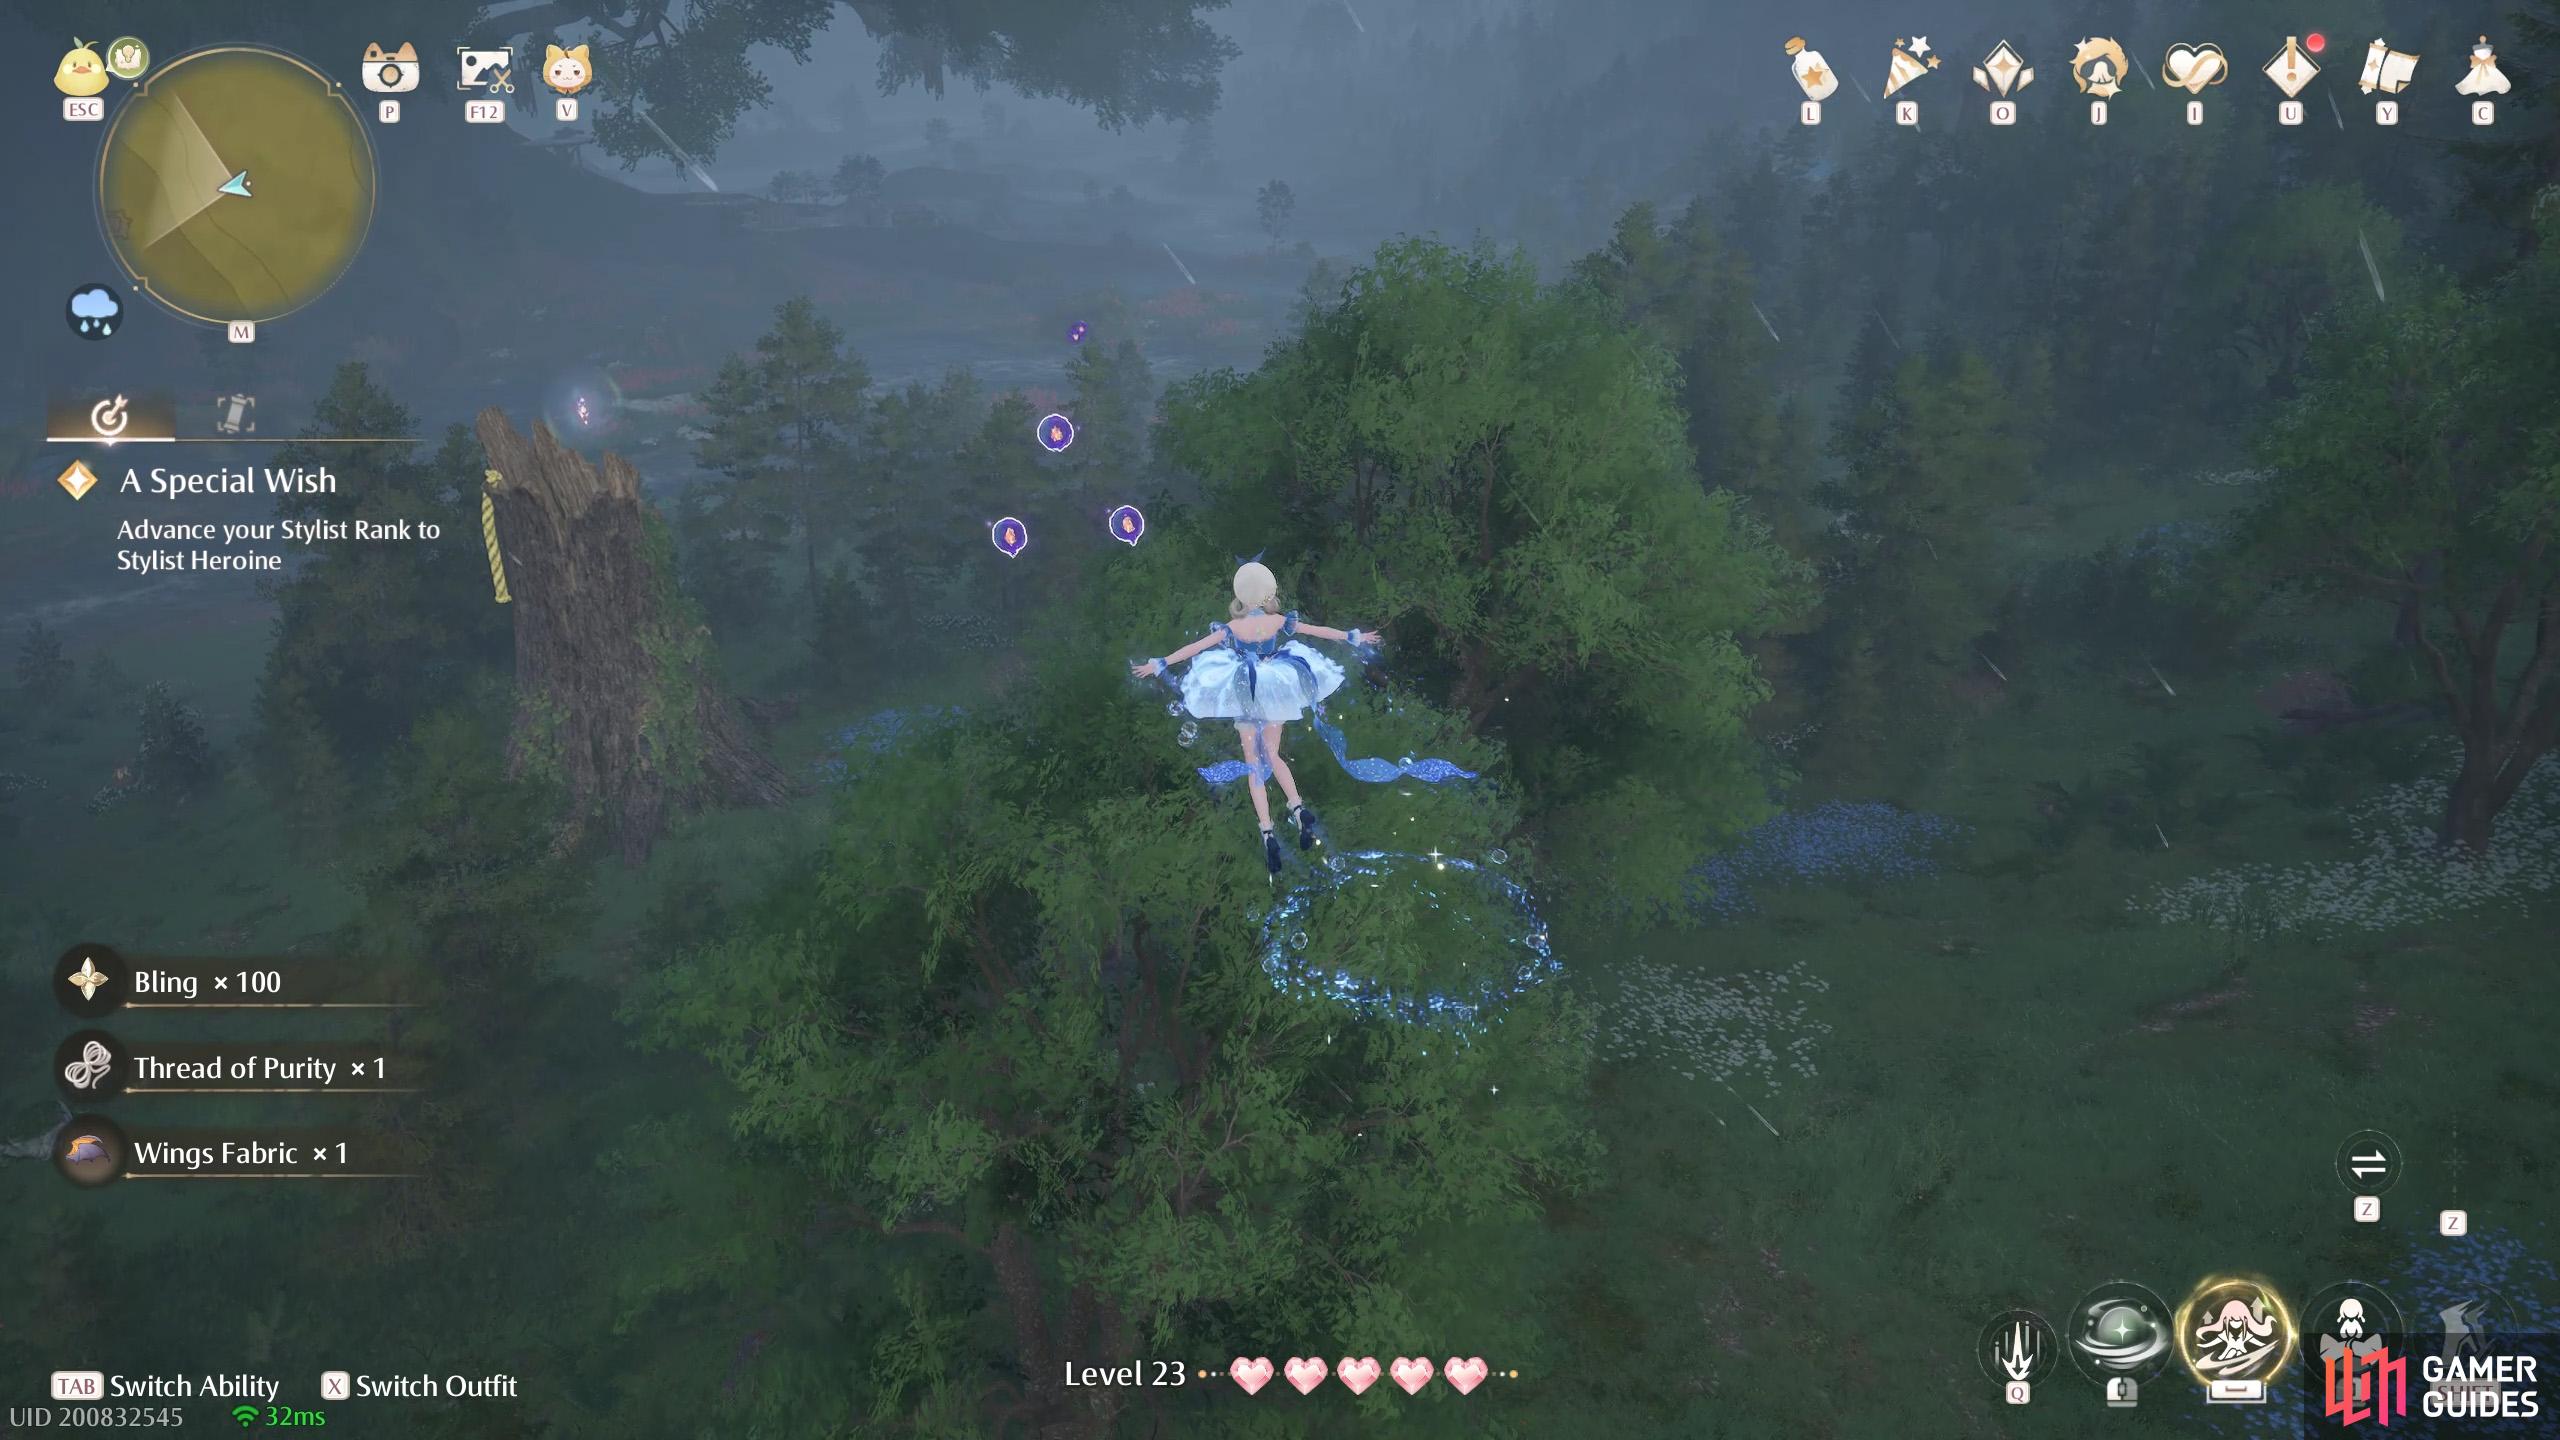
708. Miraland Map
North and slightly east from ![]() Flower Valley Waterfall. Three floating high up. There’s a wishnet nearby, surrounded by Esselings.
Flower Valley Waterfall. Three floating high up. There’s a wishnet nearby, surrounded by Esselings.
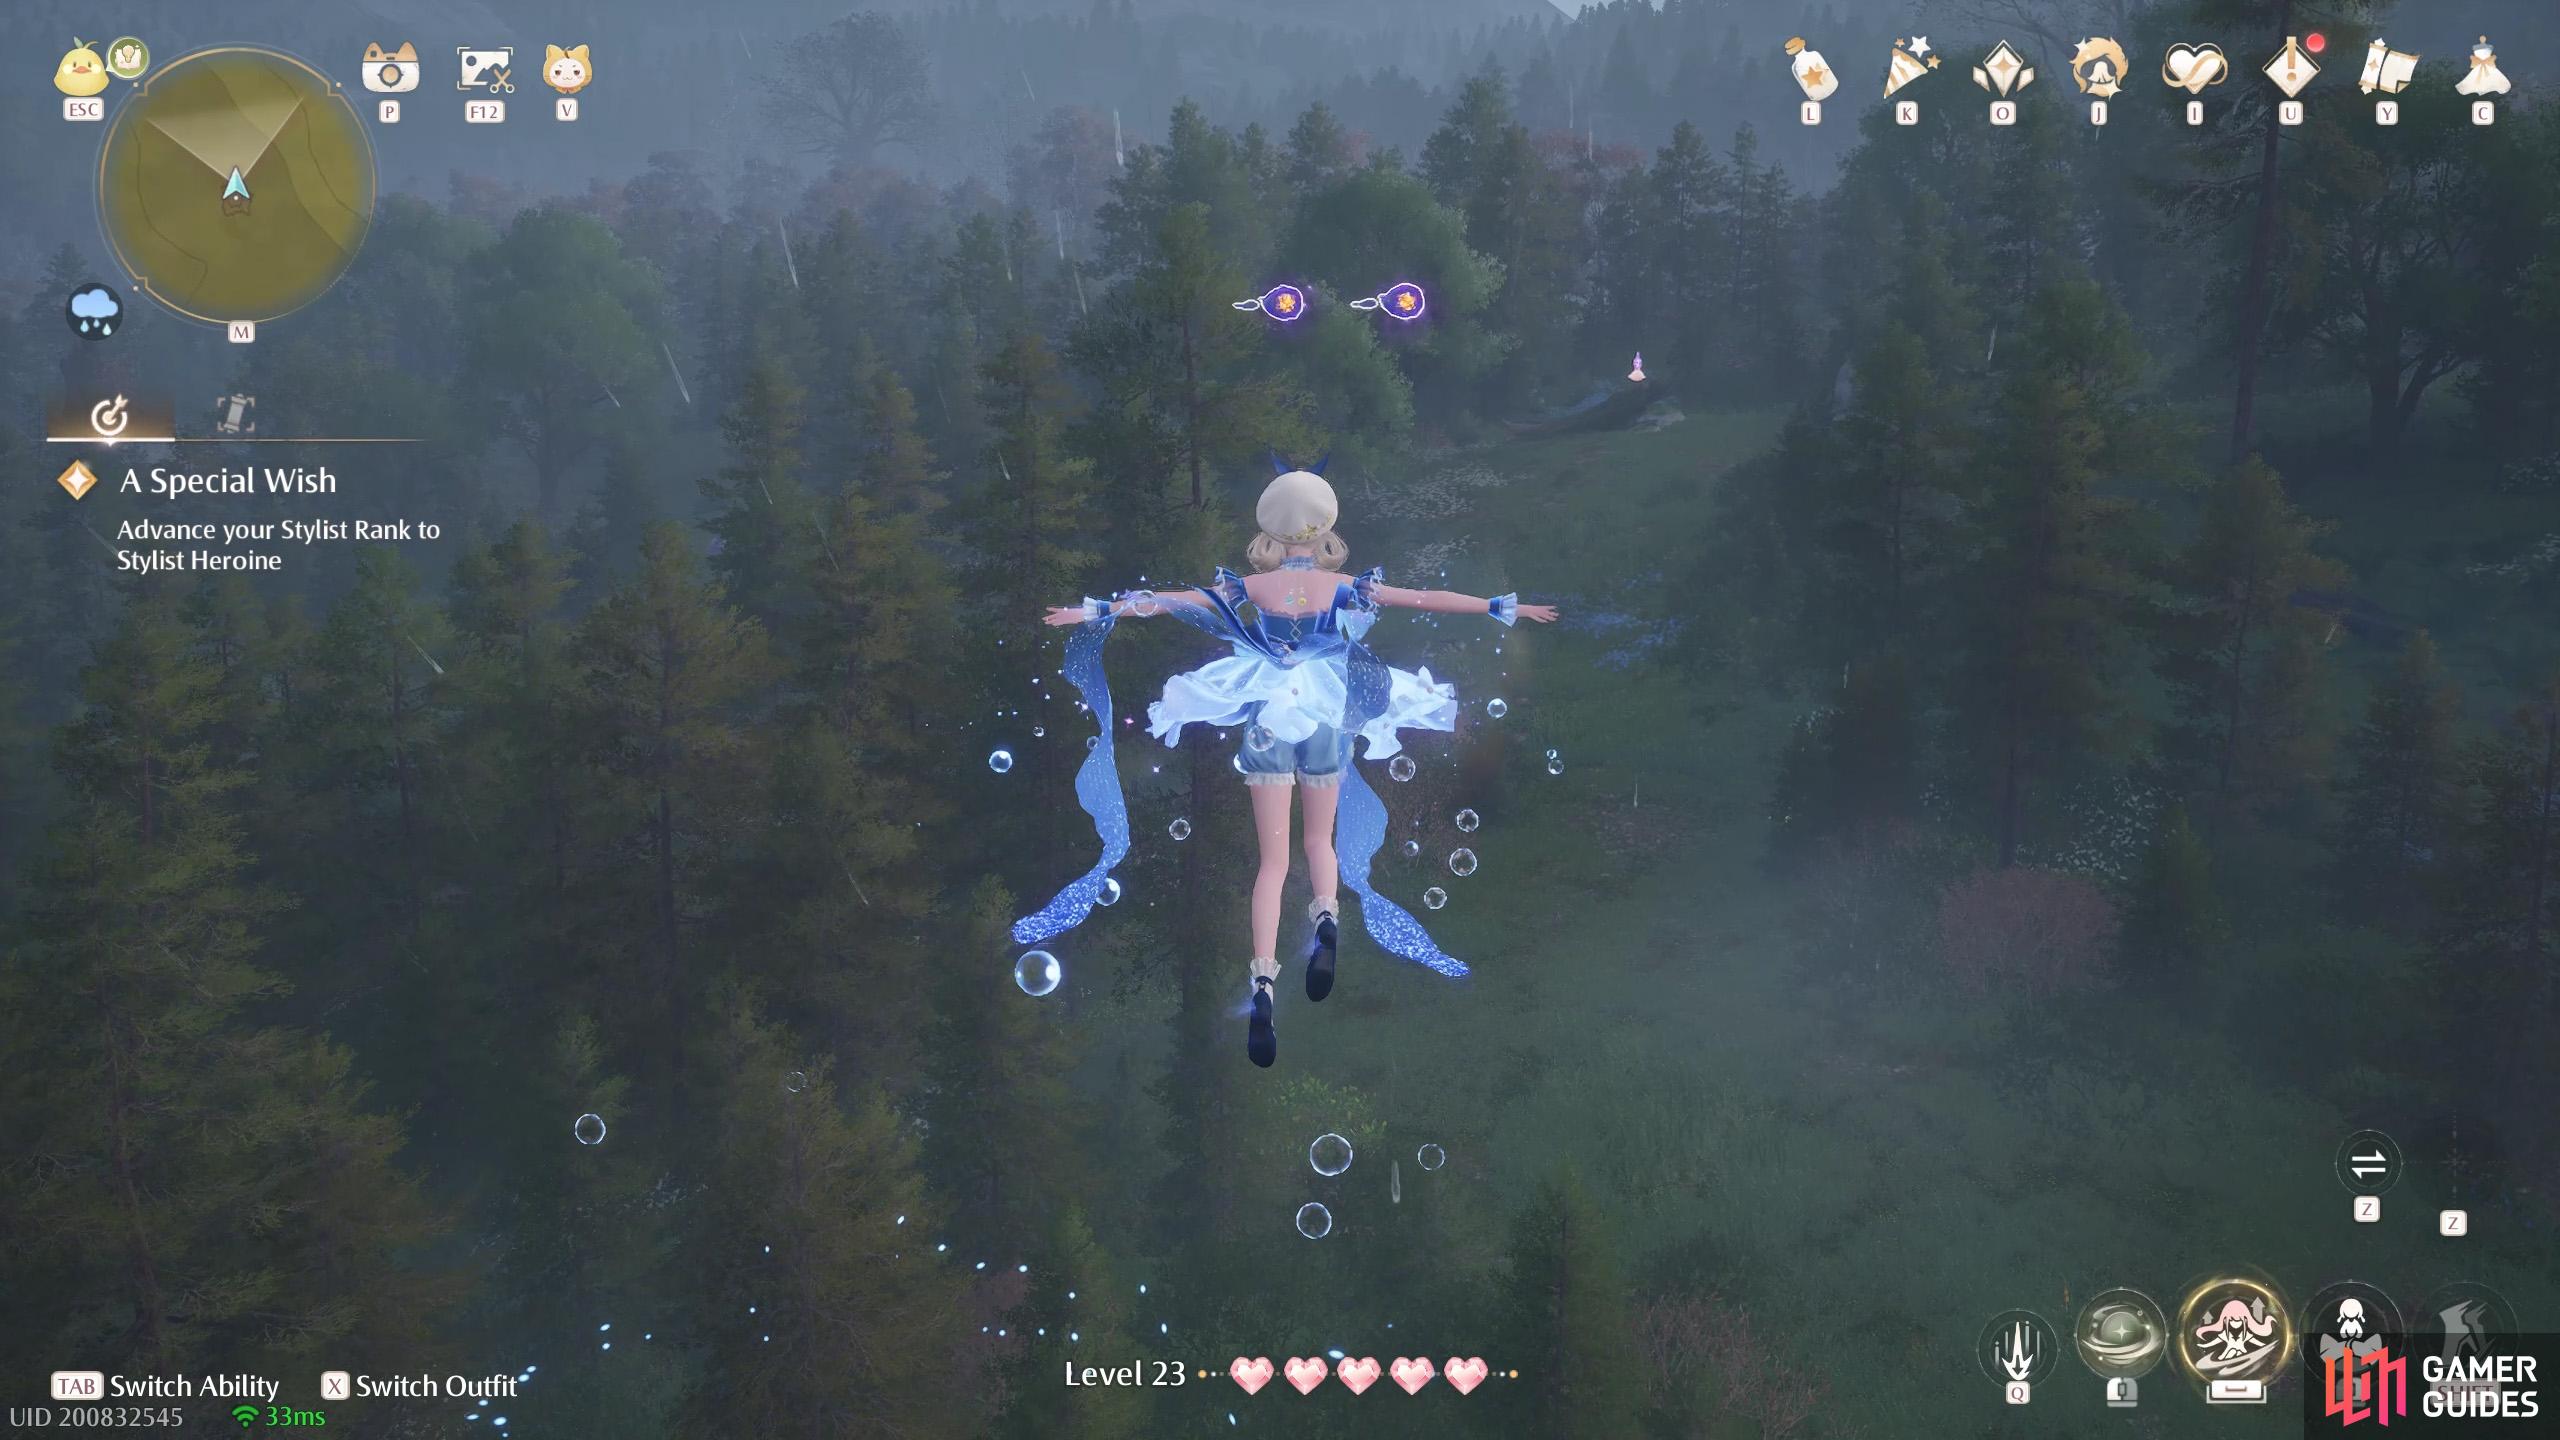
709. Miraland Map
North from ![]() Flower Valley Waterfall. Two floating near the top of a tall tree stump. Tip: You can reach by standing and double jumping.
Flower Valley Waterfall. Two floating near the top of a tall tree stump. Tip: You can reach by standing and double jumping.
710. Miraland Map
North from ![]() Wish Celebration Center. Two inside a hollow tree trunk. South-east from the
Wish Celebration Center. Two inside a hollow tree trunk. South-east from the ![]() Dawn Fox’s den.
Dawn Fox’s den.
711. Miraland Map
Short distance north from ![]() Flower Valley Waterfall. Two floating high up. There’s a leaf trampoline nearby.
Flower Valley Waterfall. Two floating high up. There’s a leaf trampoline nearby.
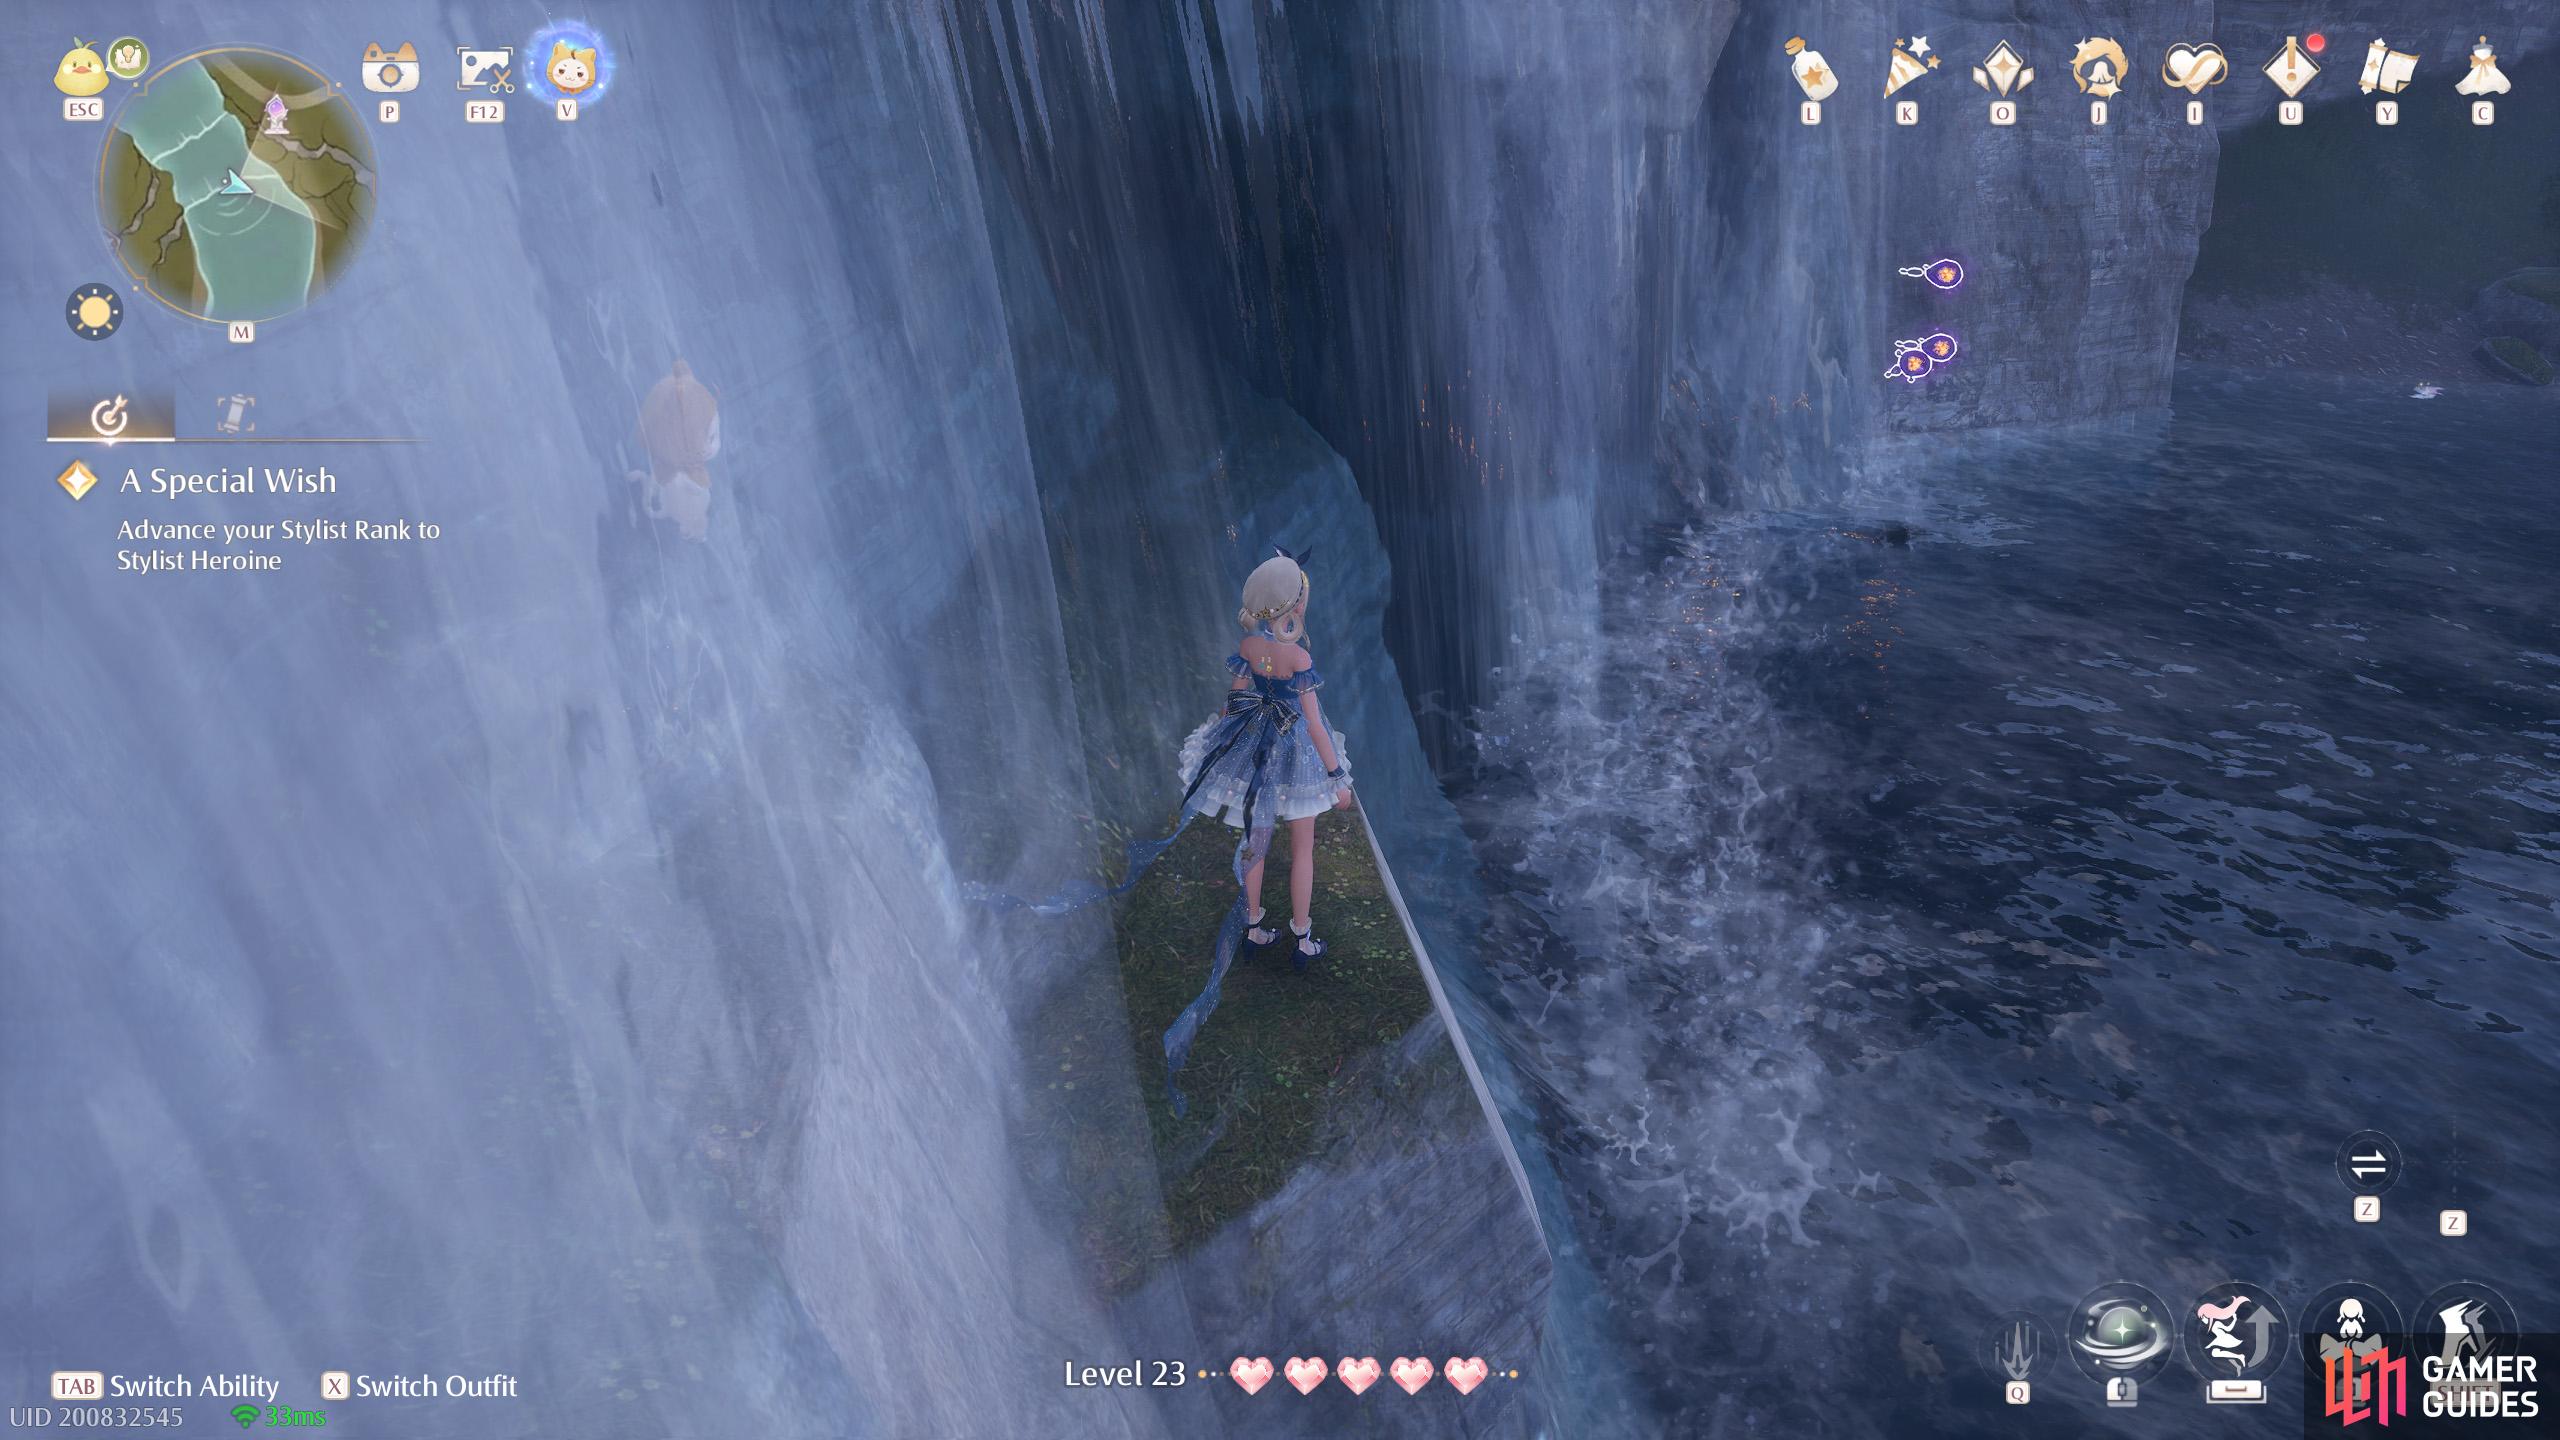
712. Miraland Map
Short distance south from ![]() Flower Valley Waterfall. Three near the bottom of a cascade.
Flower Valley Waterfall. Three near the bottom of a cascade.
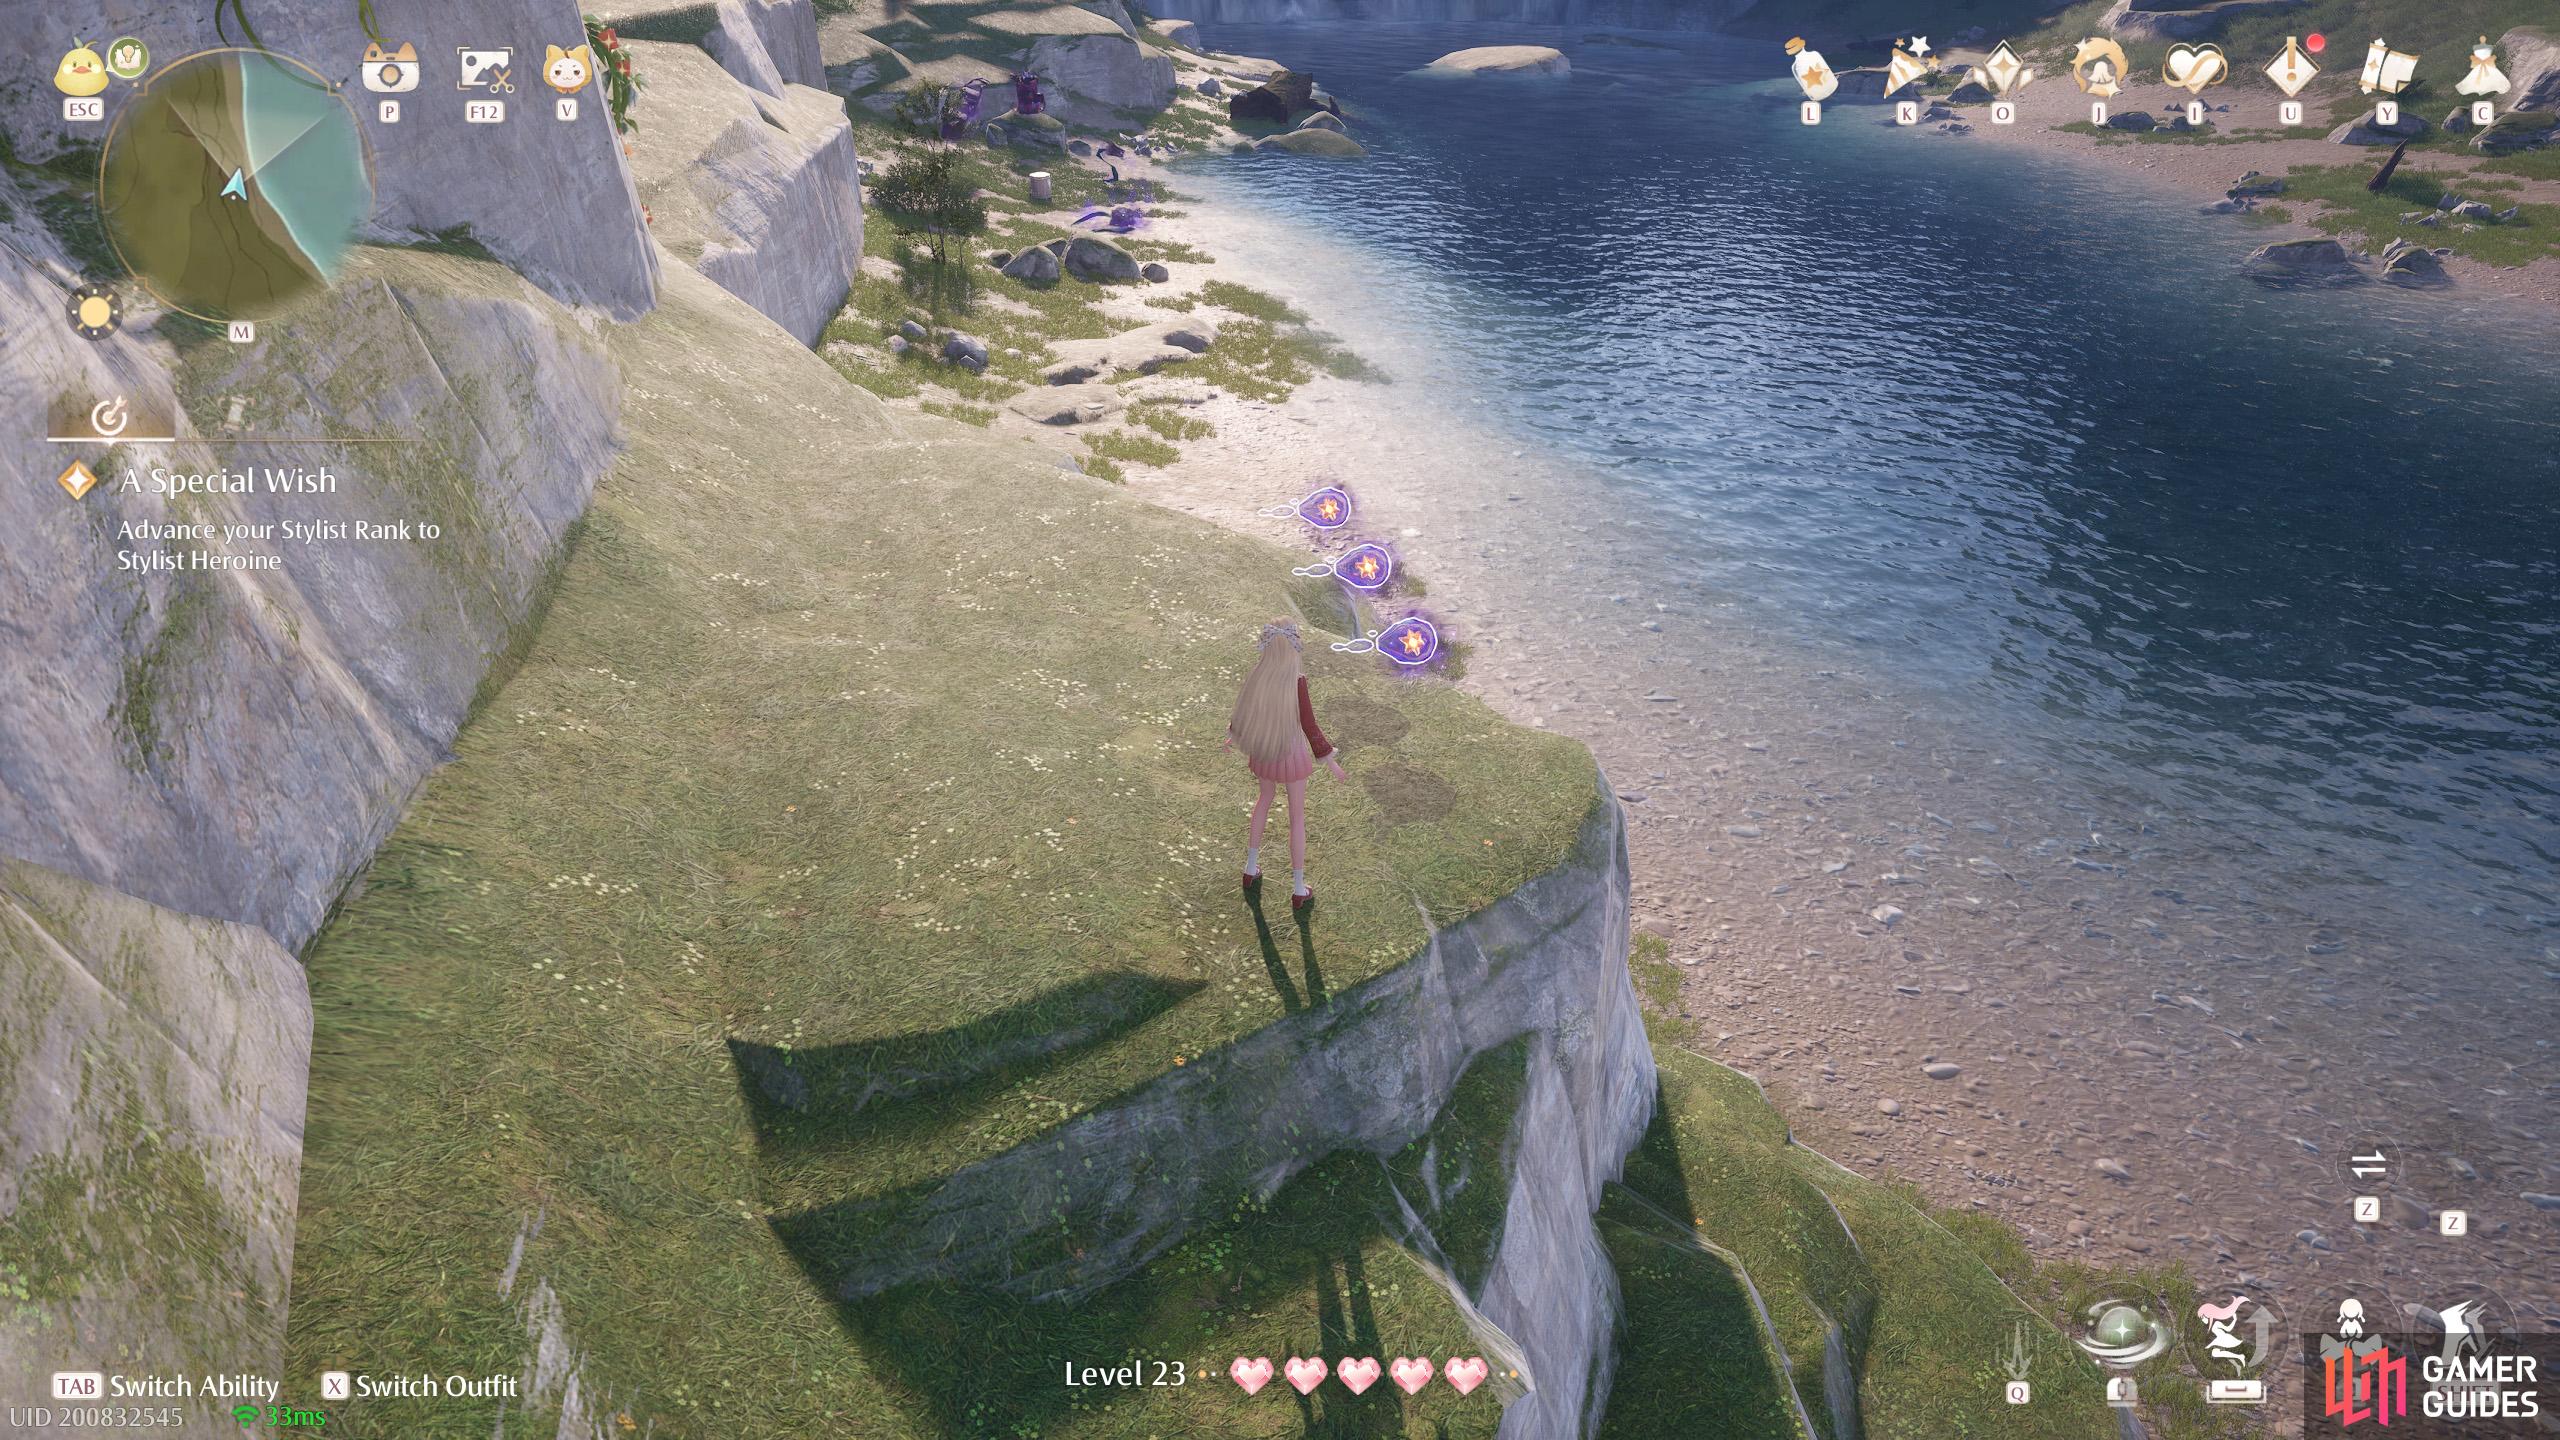
713. Miraland Map
East and slightly north from ![]() Ascetic Camp. Three near the west side of the river.
Ascetic Camp. Three near the west side of the river.

714. Miraland Map
North and slight east from ![]() Ascetic Camp. Two floating high up near the top of a building.
Ascetic Camp. Two floating high up near the top of a building.
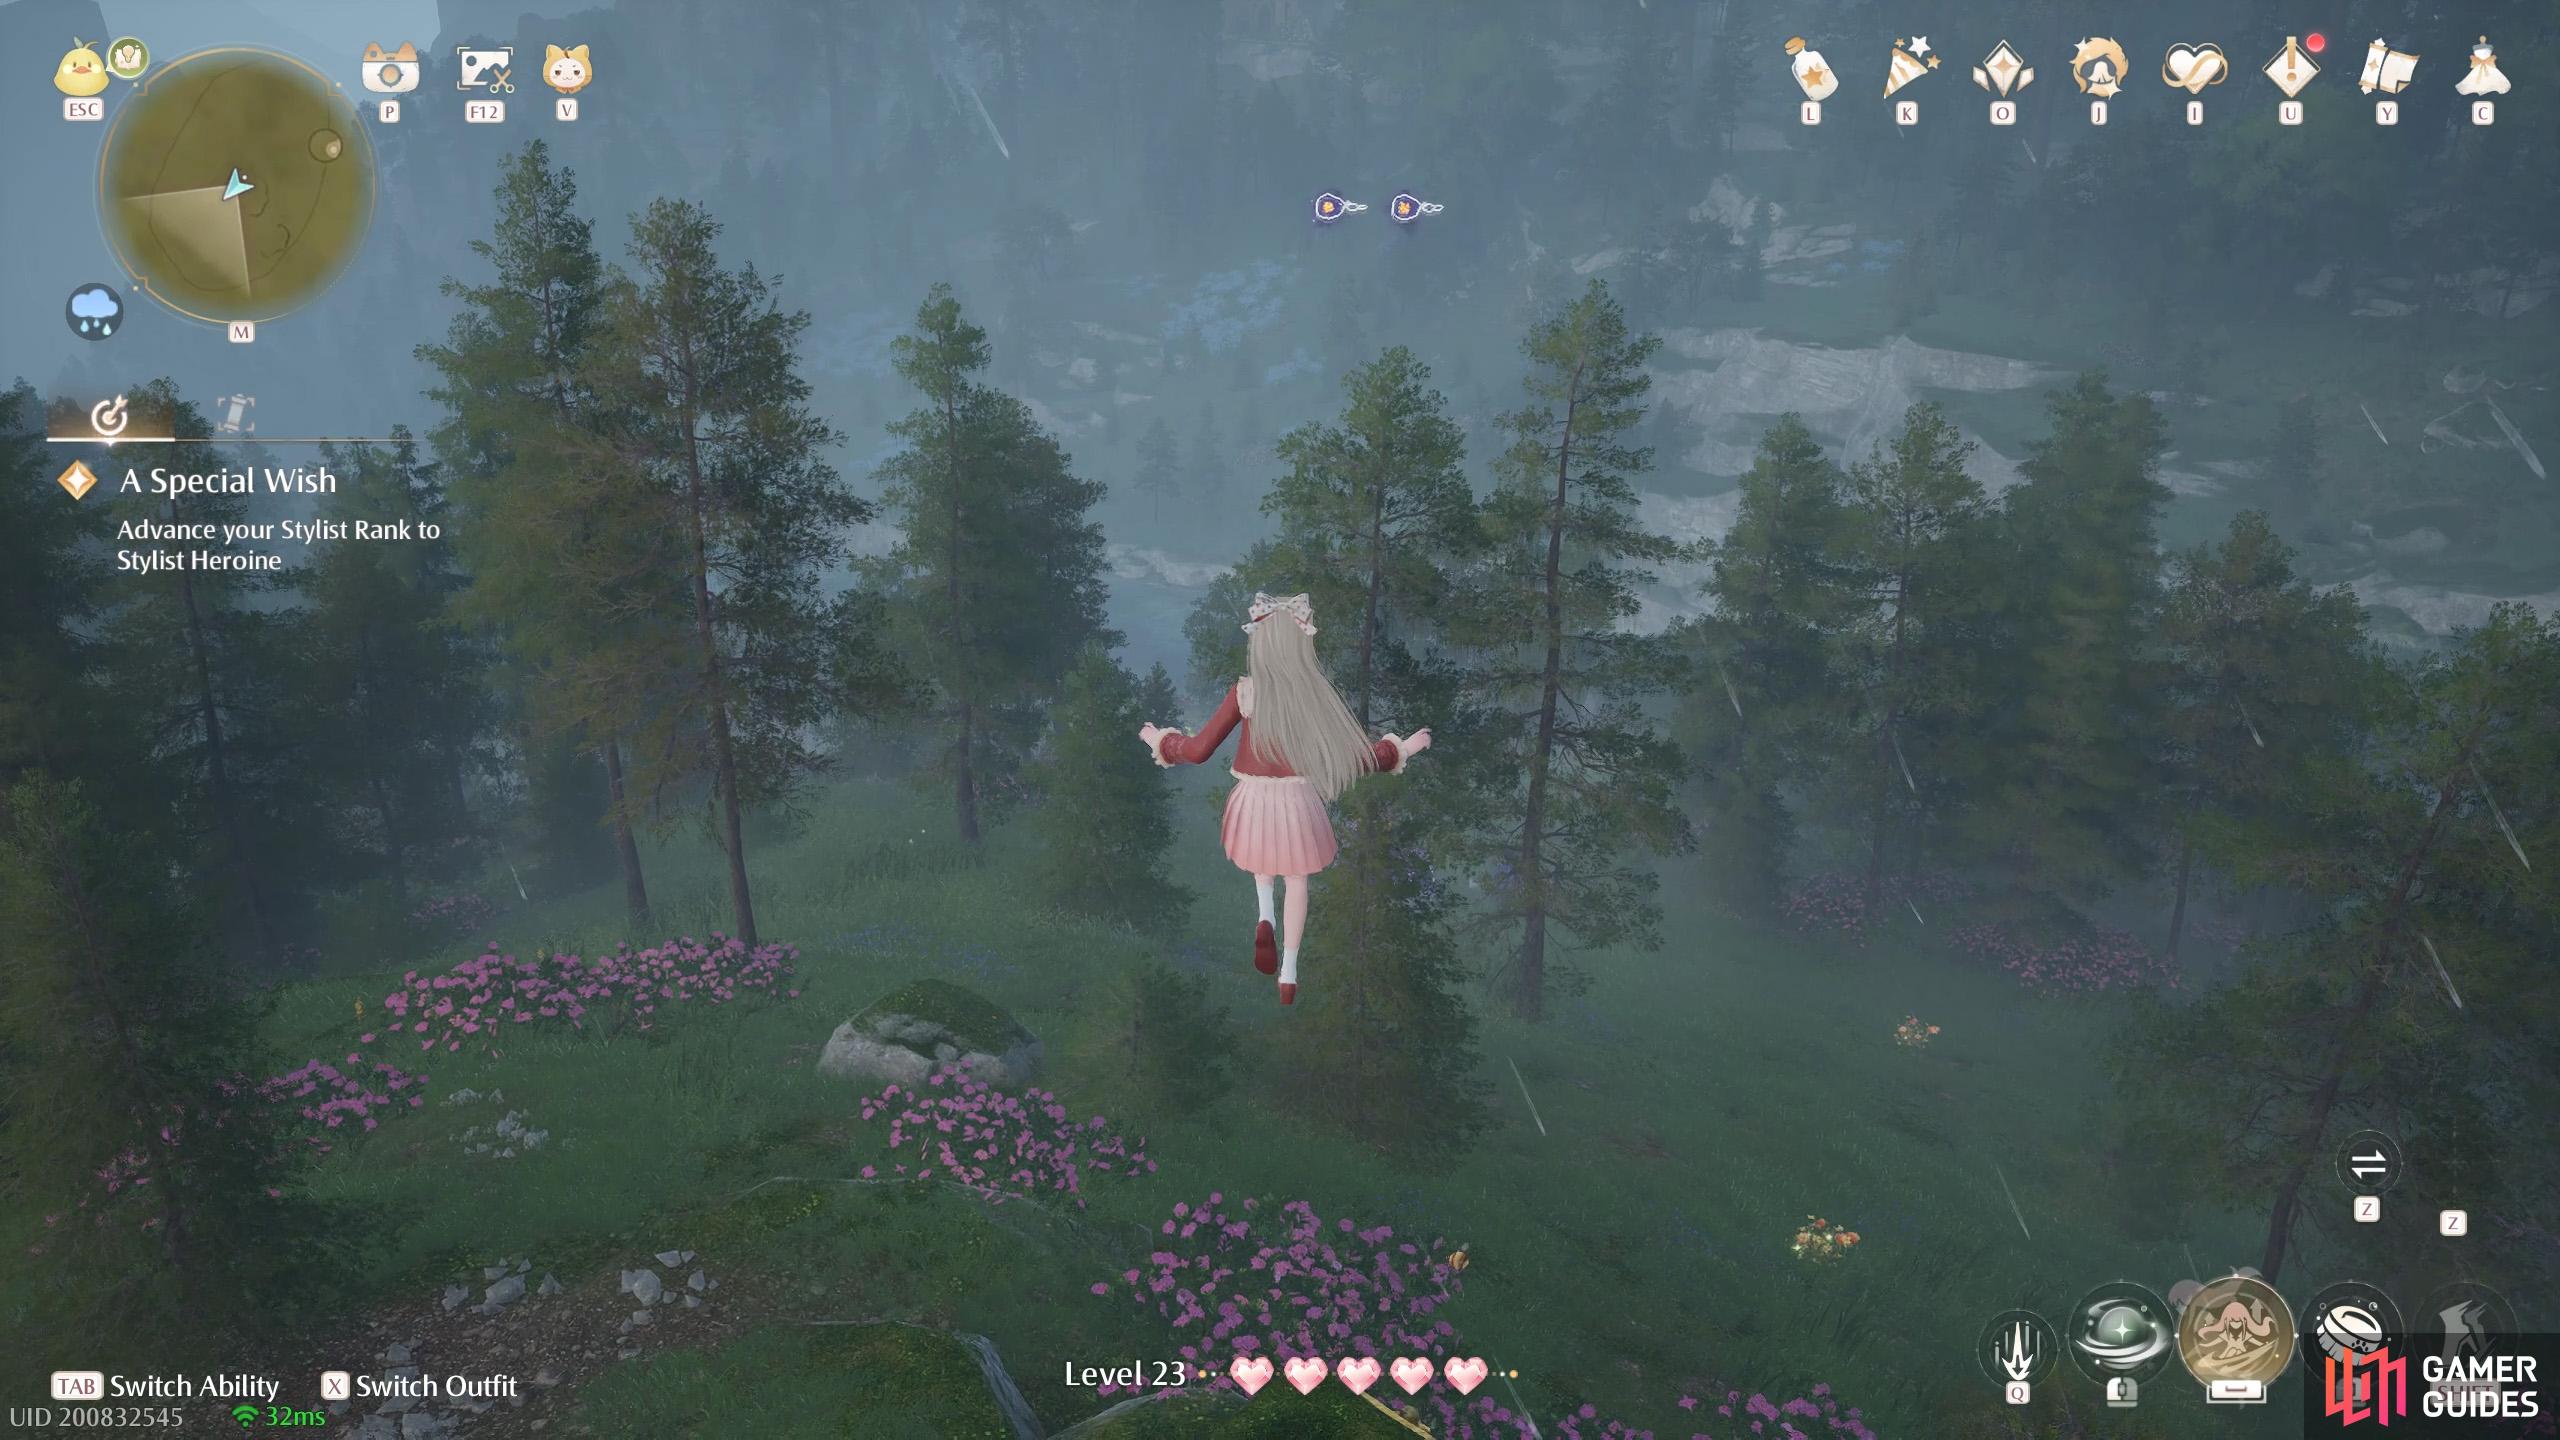
715. Miraland Map
North from ![]() Ascetic Camp. Two floating high up near a small stone shrine.
Ascetic Camp. Two floating high up near a small stone shrine.
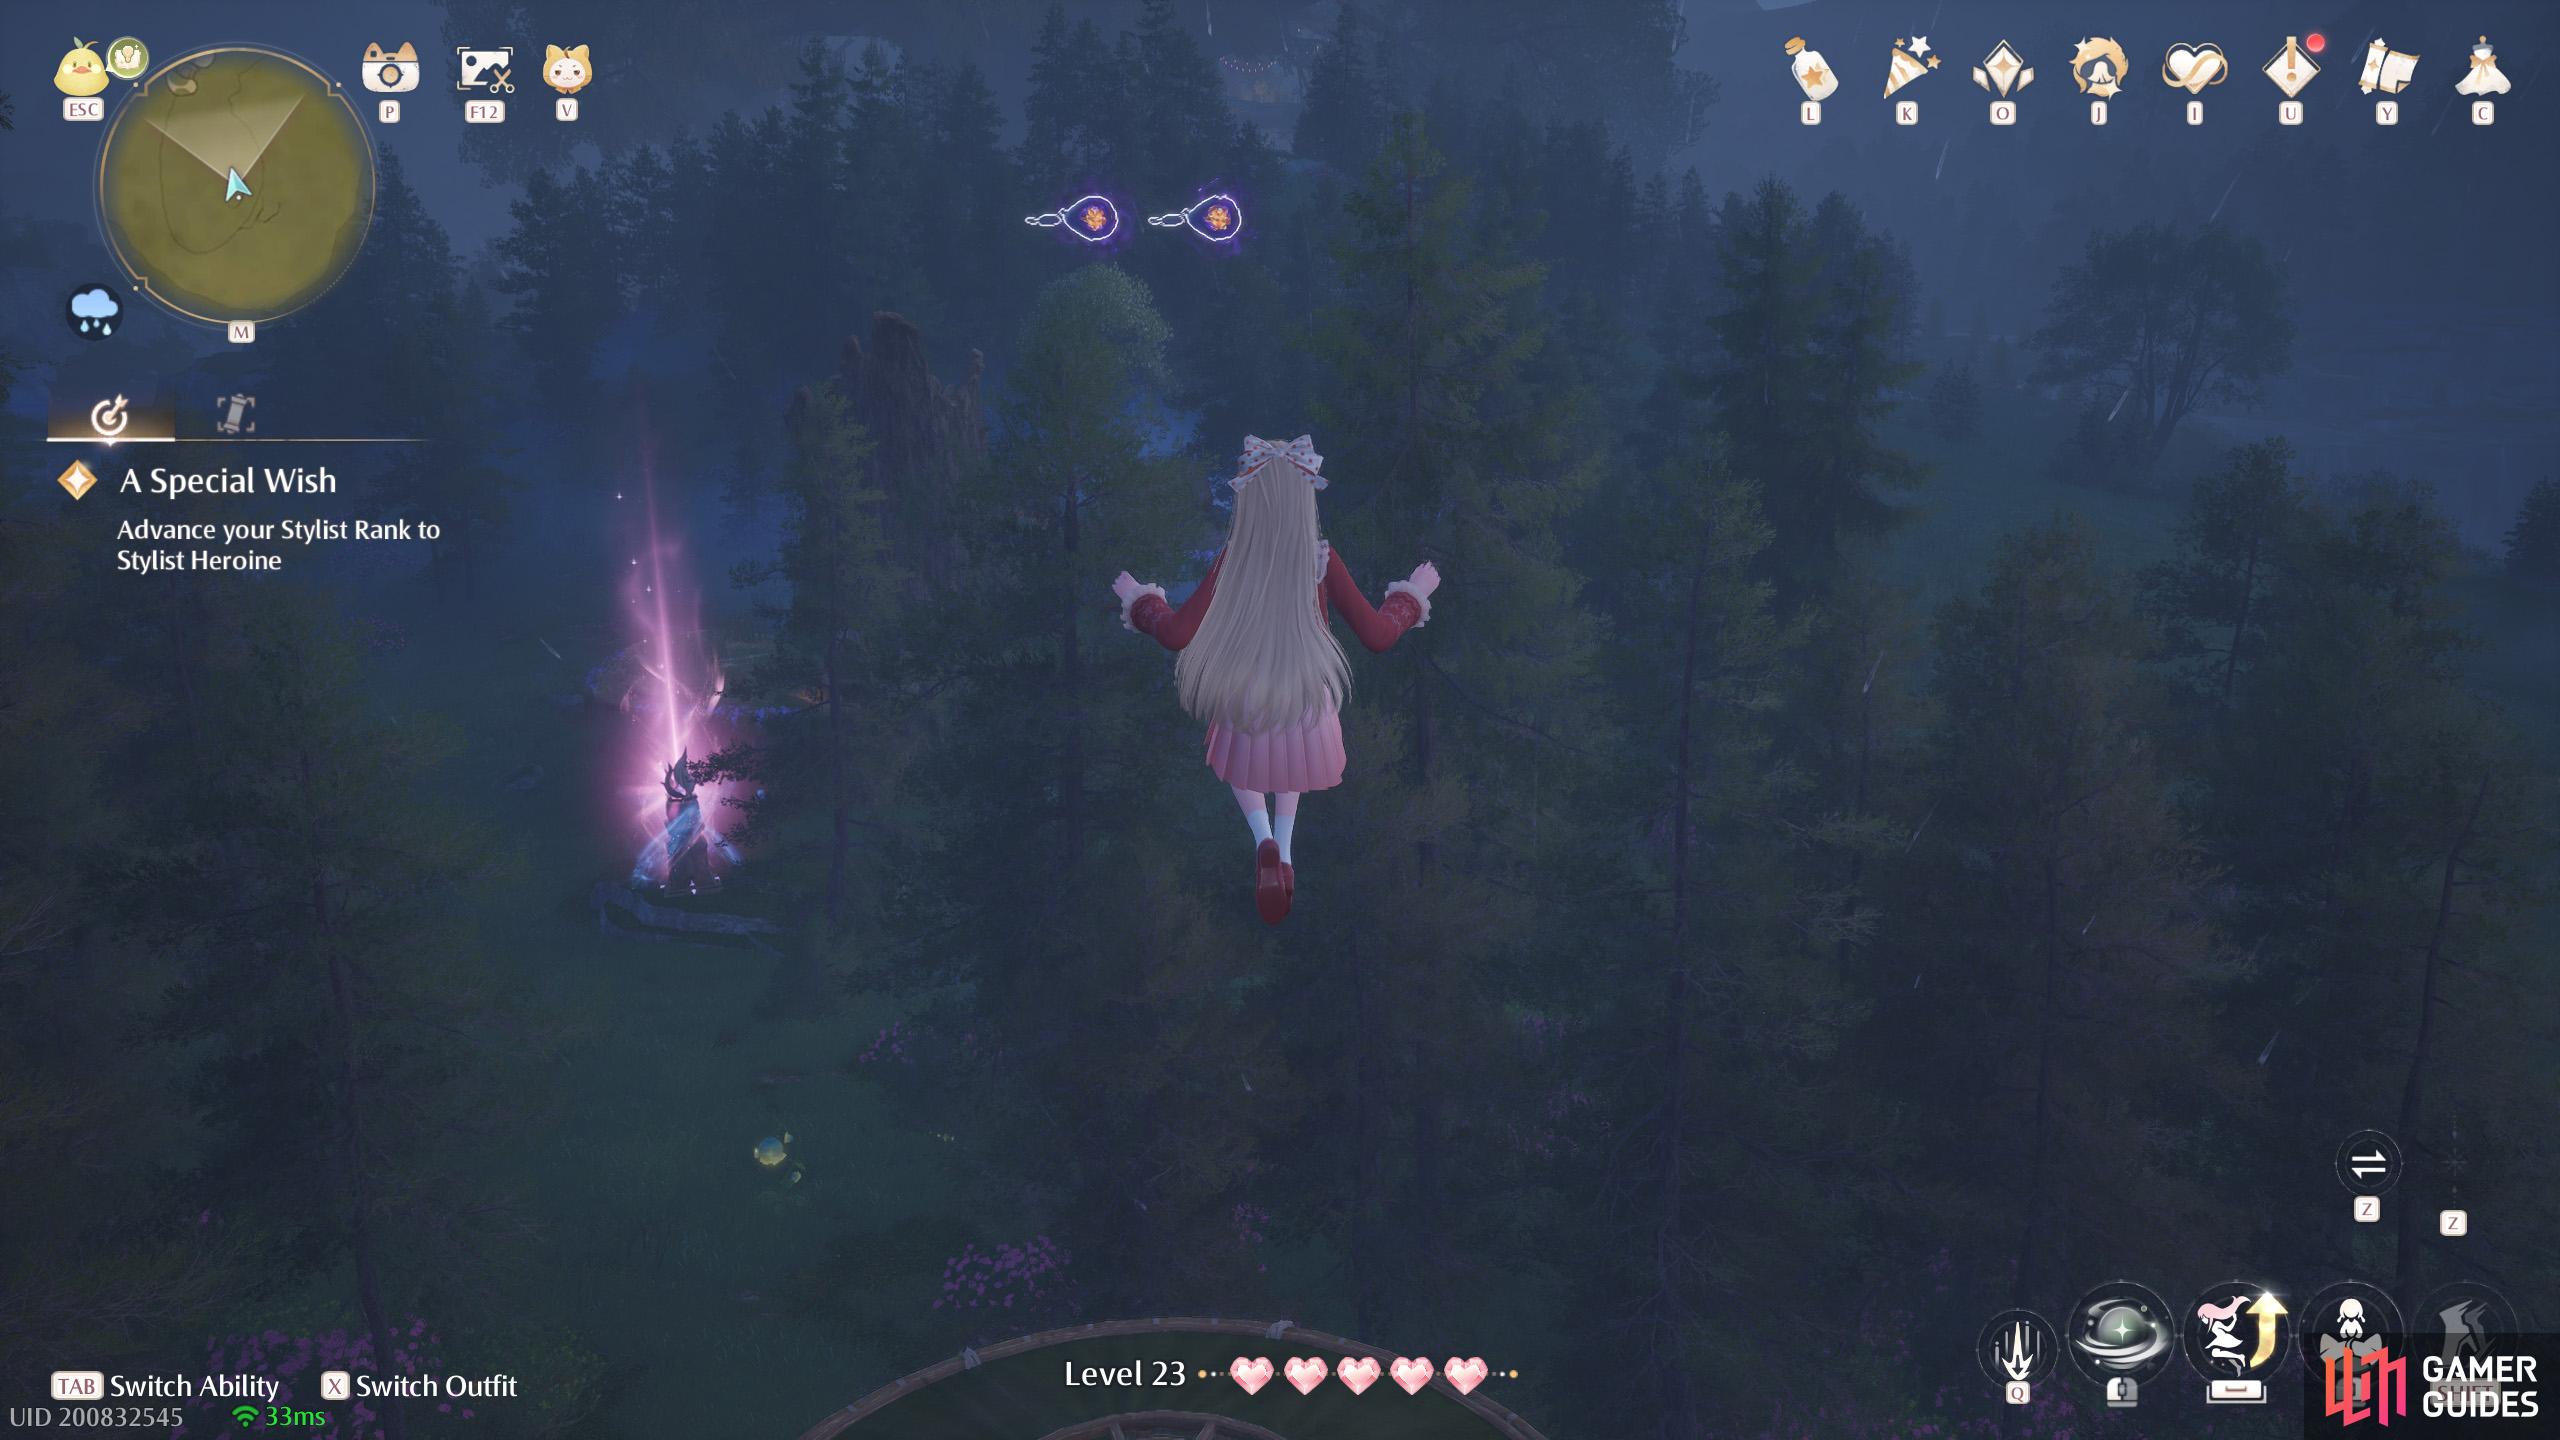
716. Miraland Map
Short distance south-east from ![]() Ascetic Camp. Two floating near the top of a platform. There’s a rope you can climb up as Momo.
Ascetic Camp. Two floating near the top of a platform. There’s a rope you can climb up as Momo.
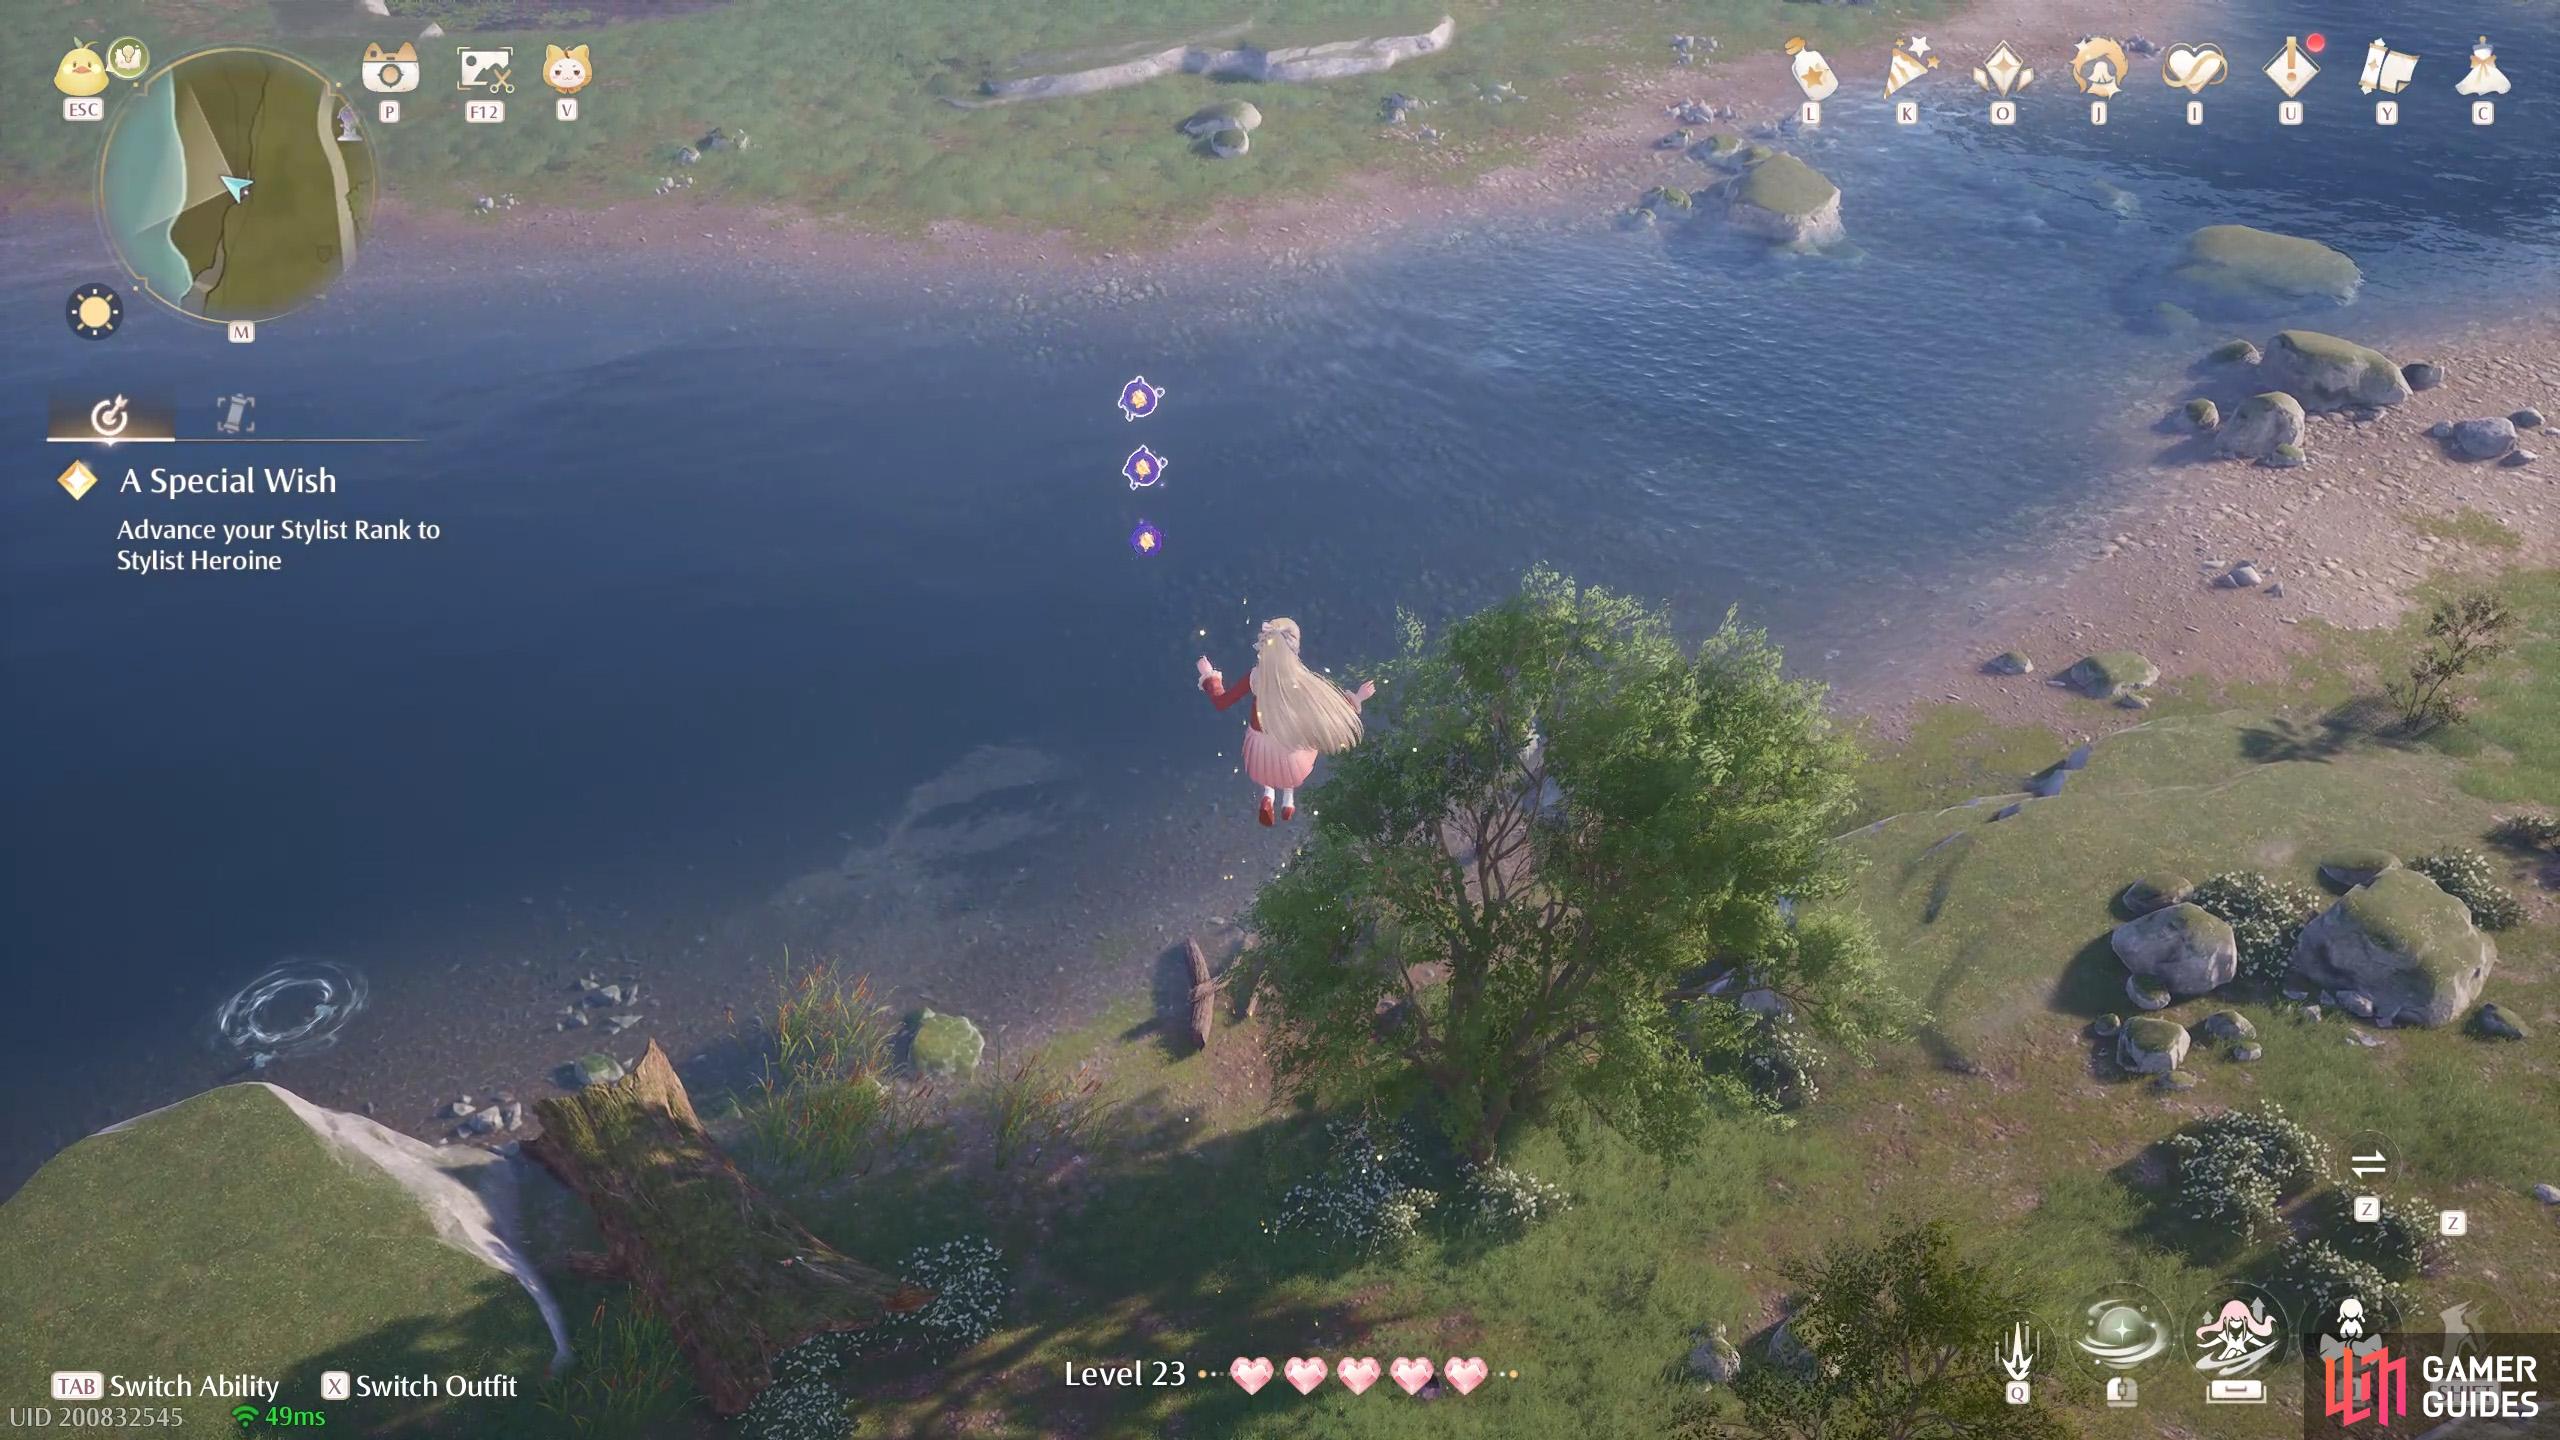
717. Miraland Map
Short distance south-west from the ![]() Land of Starfall Warp Spire. Three floating high up. There’s a wishnet nearby.
Land of Starfall Warp Spire. Three floating high up. There’s a wishnet nearby.
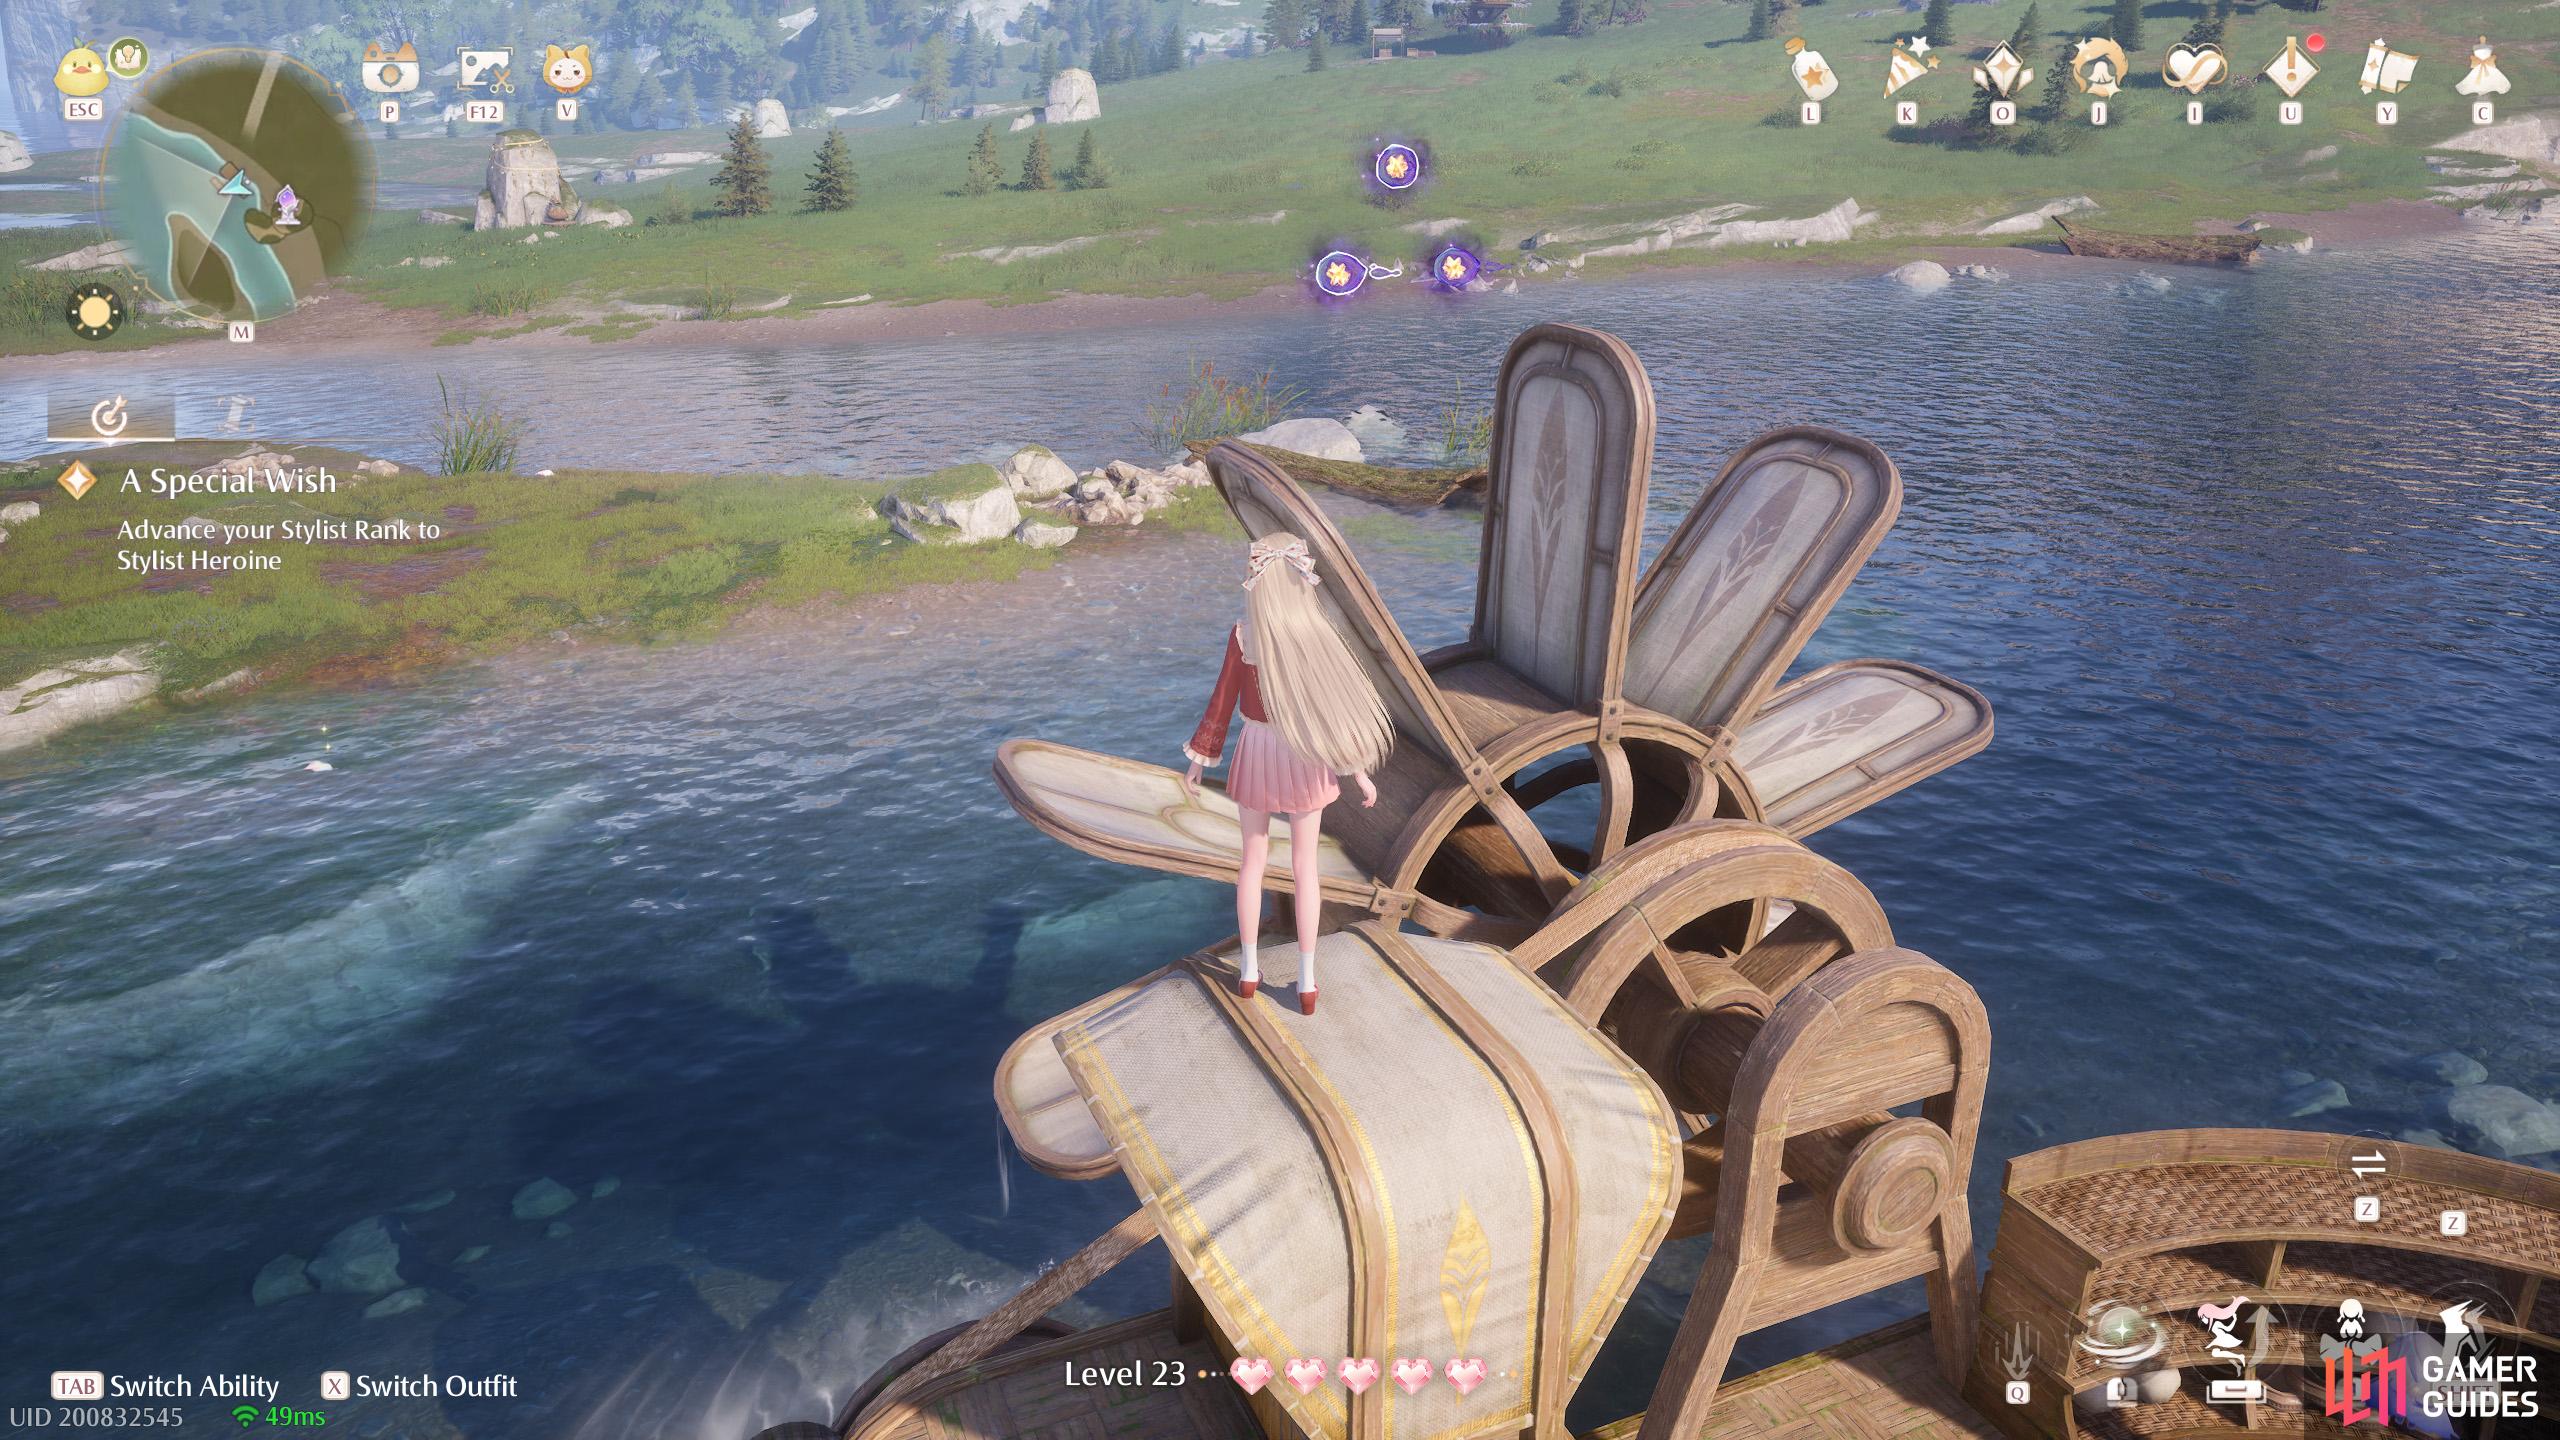
718. Miraland Map
Next to the ![]() Aurosa Valley Warp Spire. Three floating above the water wheel.
Aurosa Valley Warp Spire. Three floating above the water wheel.
719. Miraland Map
North-west from ![]() Aurosa Valley. Three floating high up with a wishnet nearby.
Aurosa Valley. Three floating high up with a wishnet nearby.
720. Miraland Map
South from ![]() Wish Celebration Center. Three atop a small flower platform.
Wish Celebration Center. Three atop a small flower platform.
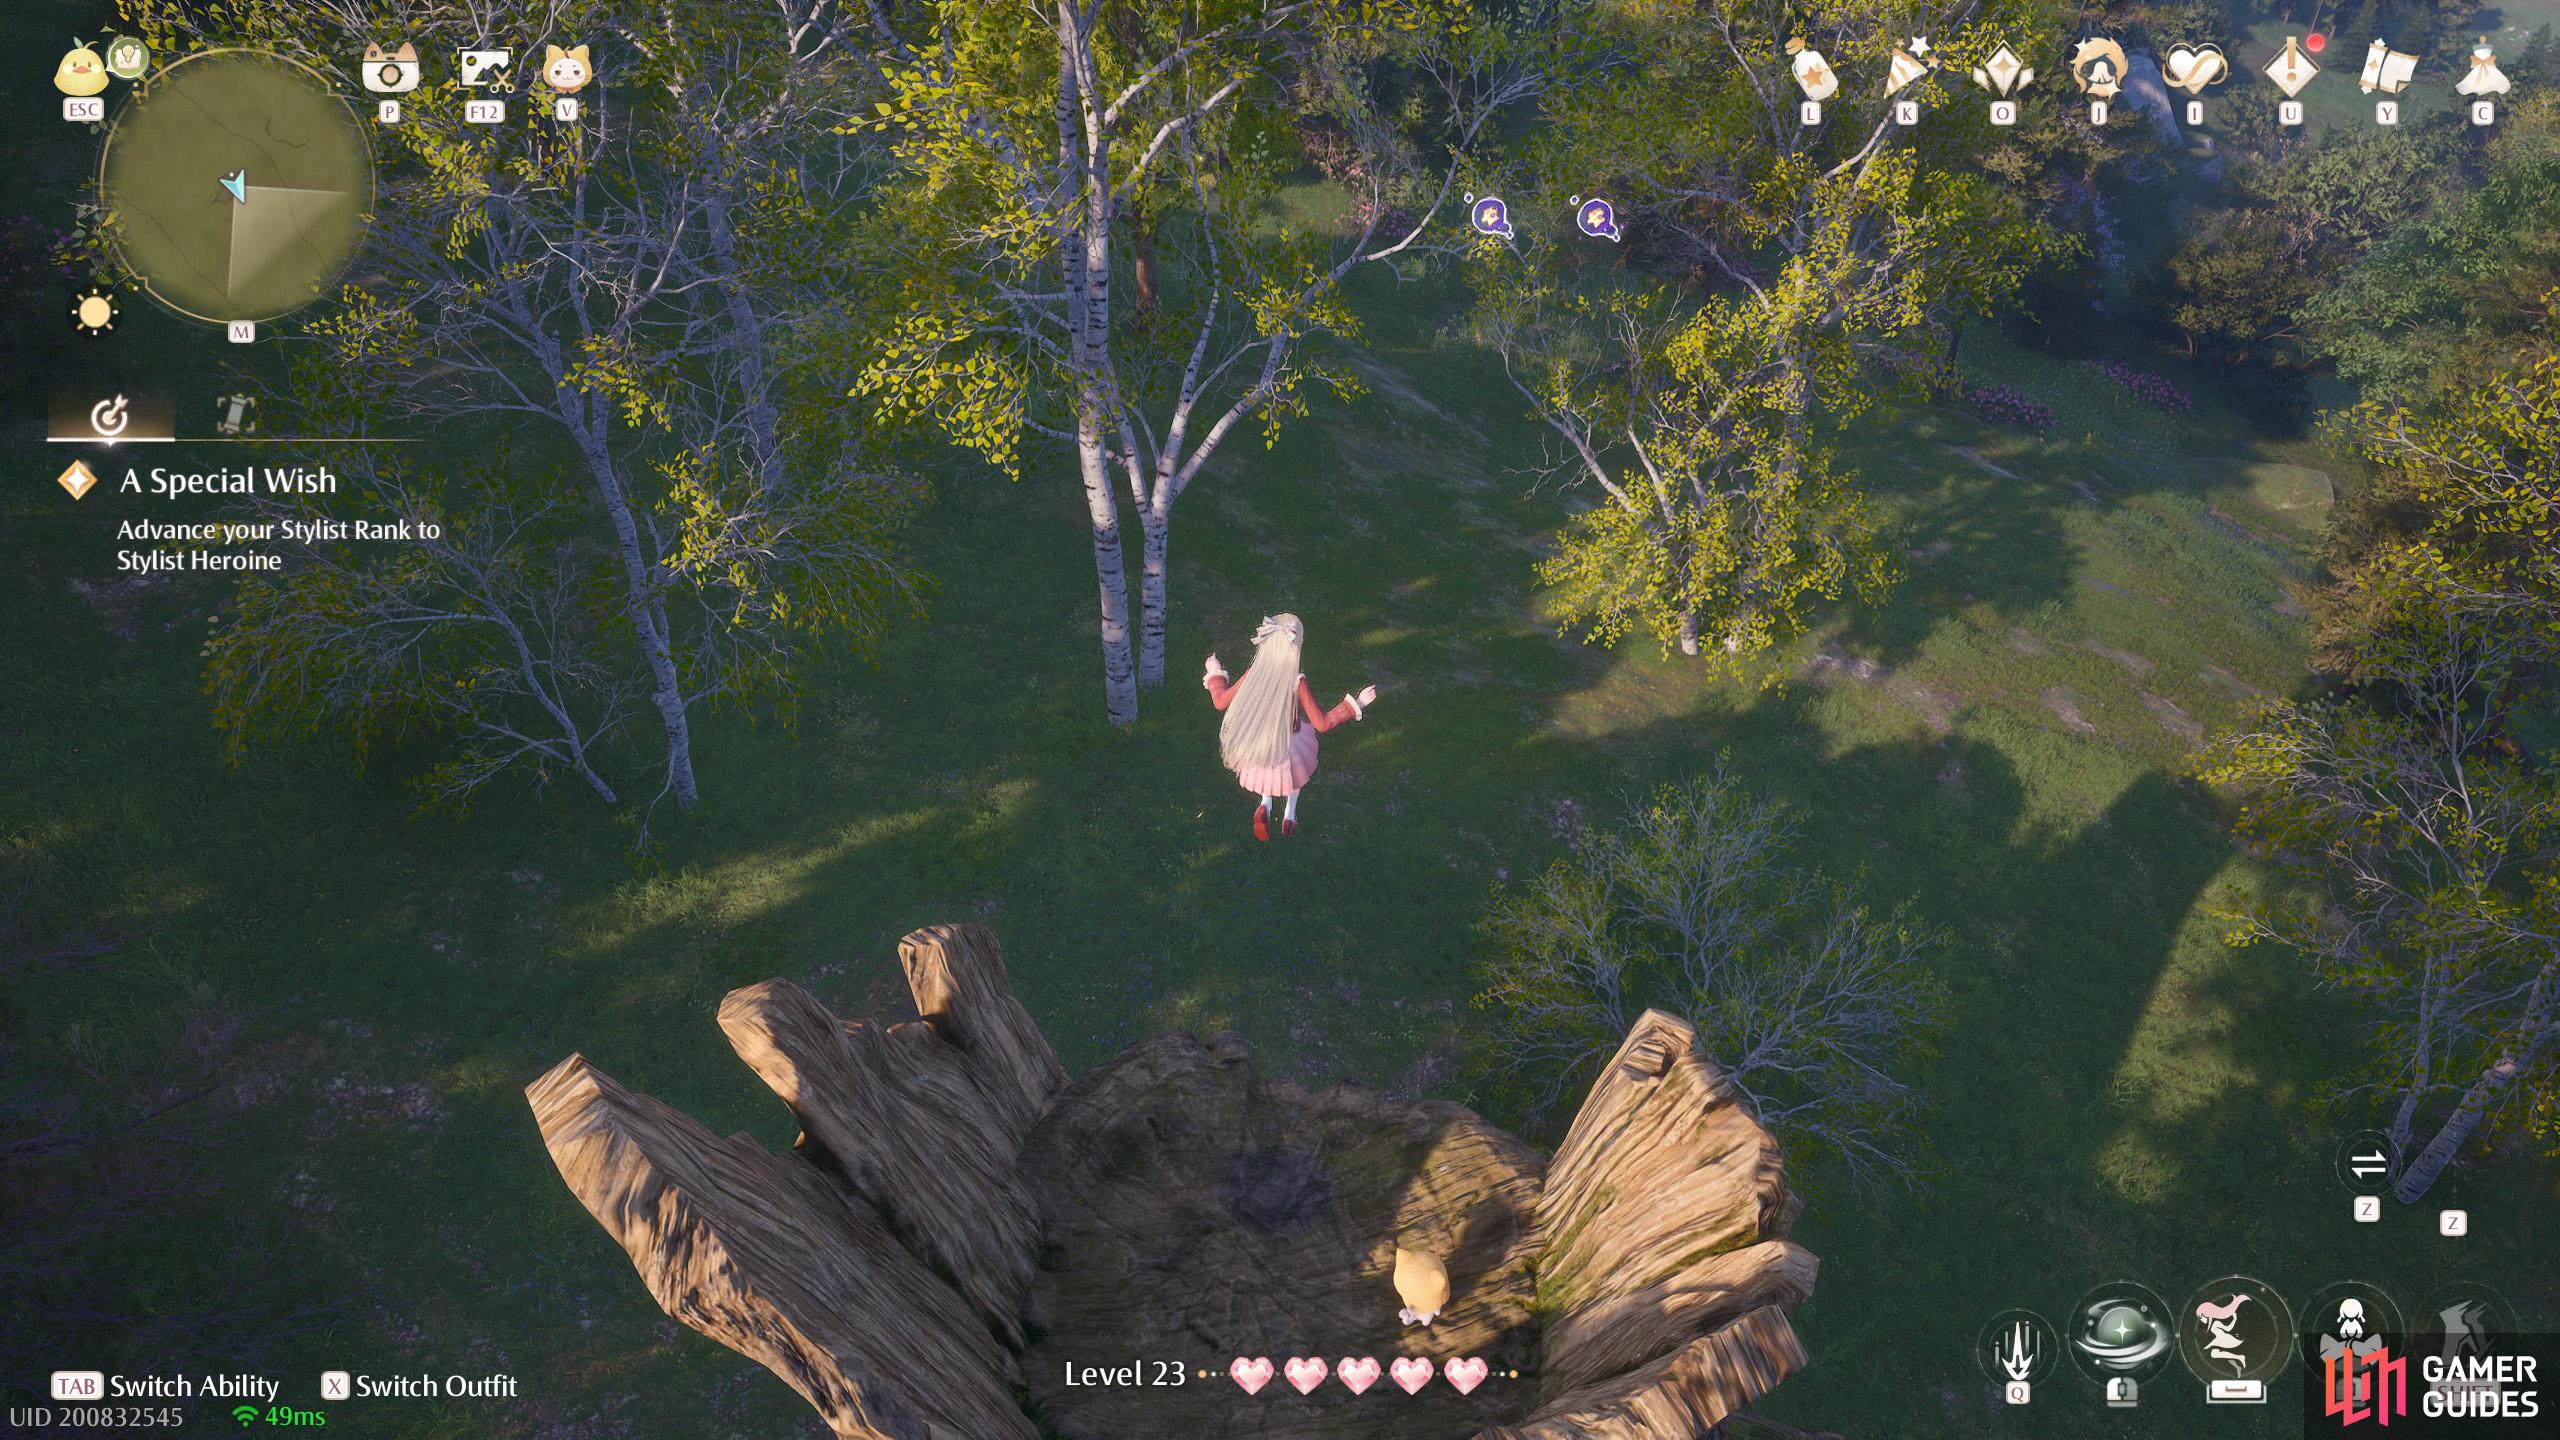
721. Miraland Map
South-east from ![]() Wish Celebration Center. Two floating near the top of a tree stump.
Wish Celebration Center. Two floating near the top of a tree stump.

722. Miraland Map
Short distance north from ![]() Deep Aurosa Valley Cavern. Four near the top of a tree. There’s a rope you can climb up. Watch out for Esselings near the tree.
Deep Aurosa Valley Cavern. Four near the top of a tree. There’s a rope you can climb up. Watch out for Esselings near the tree.
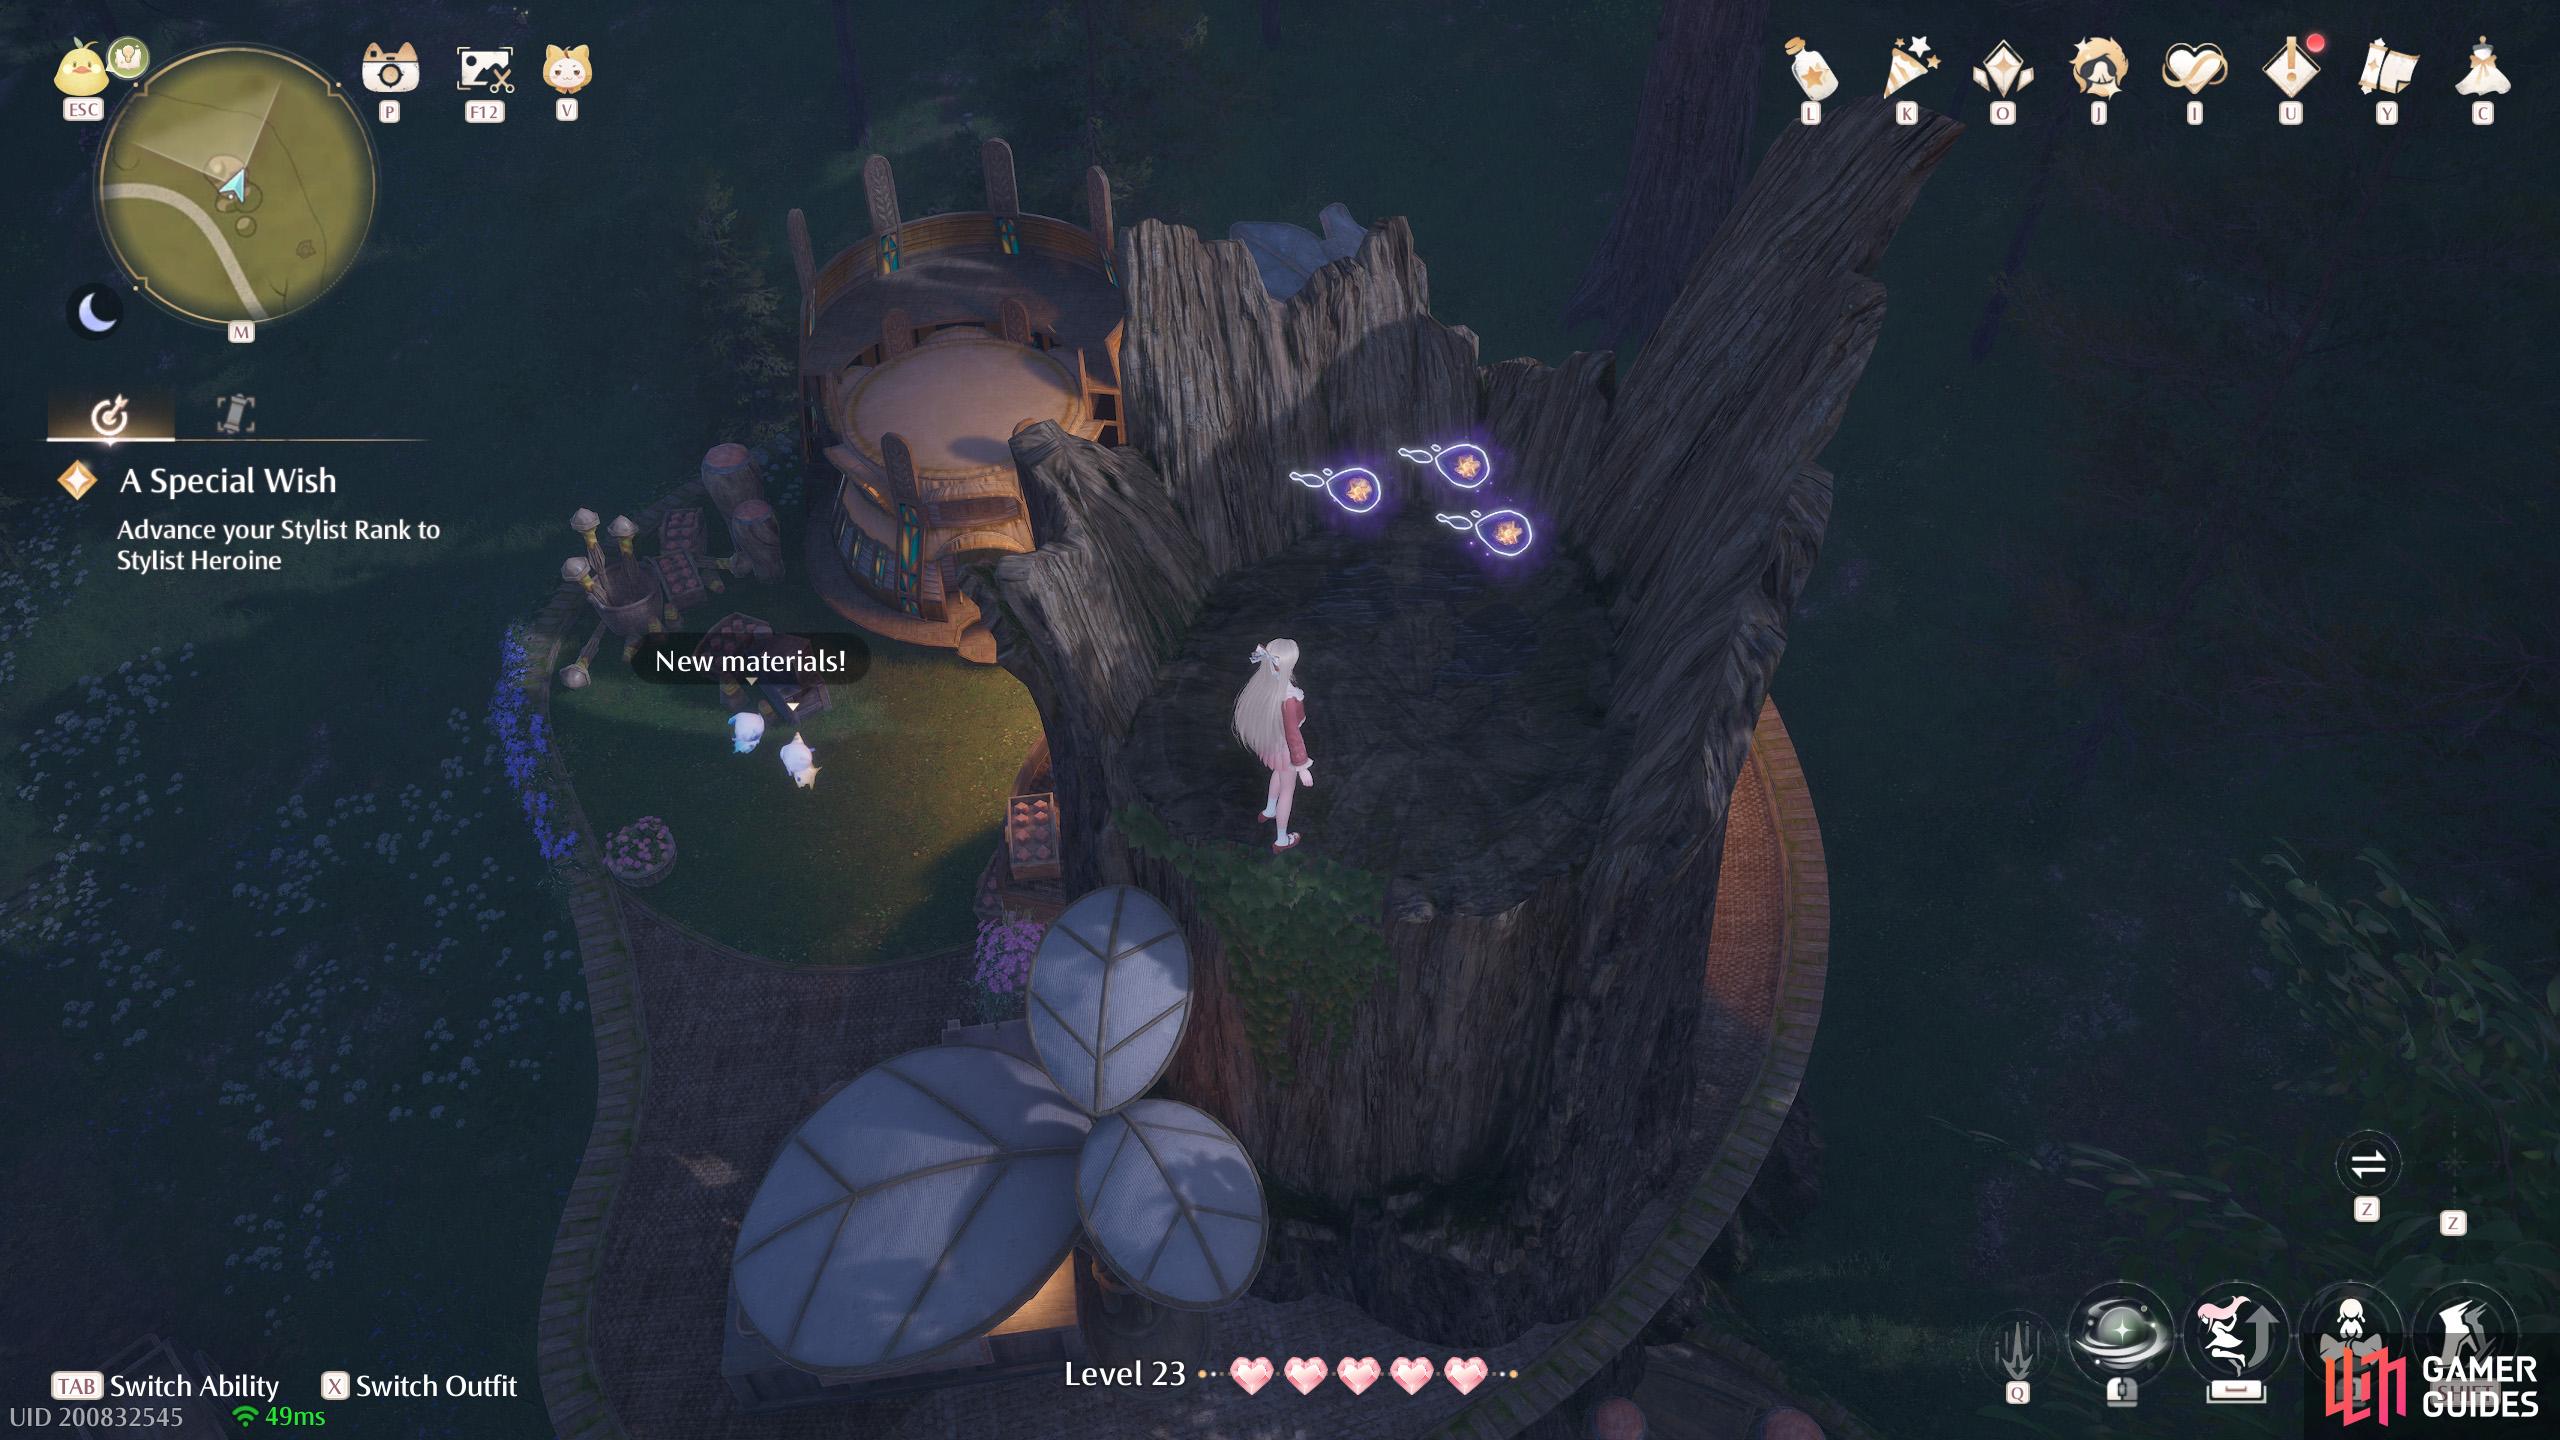
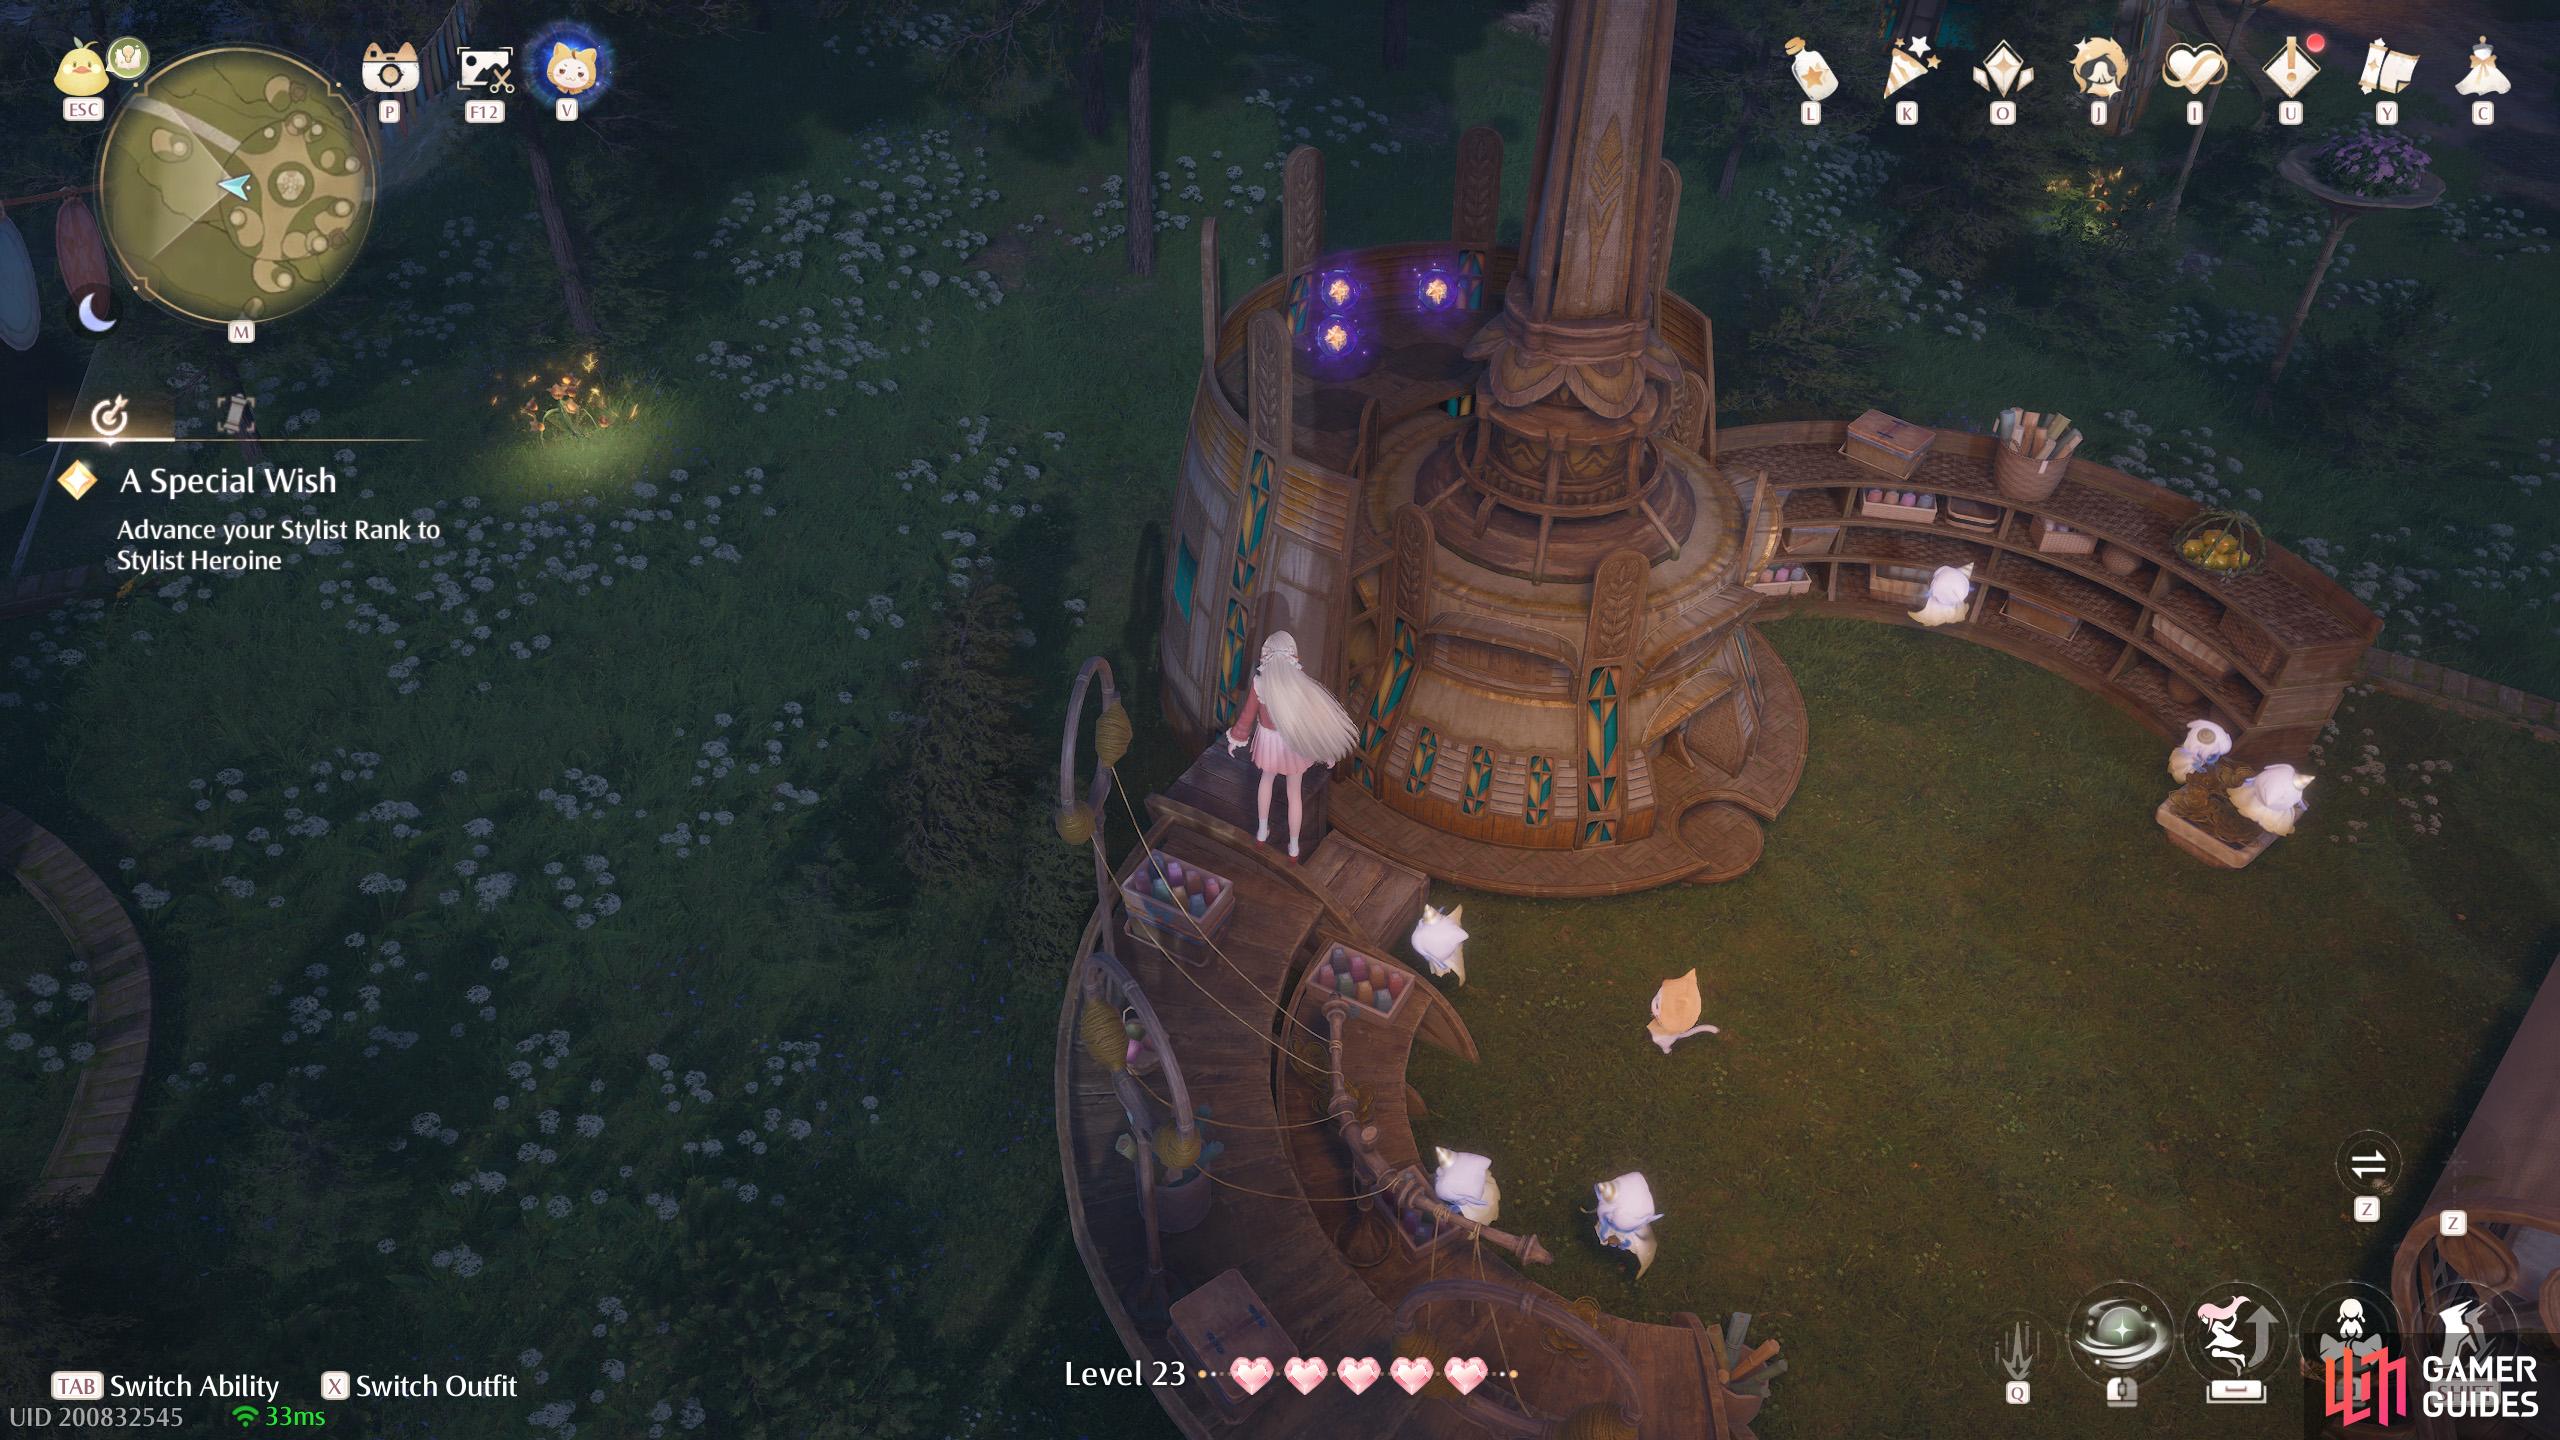
724. Miraland Map
Short distance south-east from the ![]() Wish Celebration Center Warp Spire. Three atop a building.
Wish Celebration Center Warp Spire. Three atop a building.
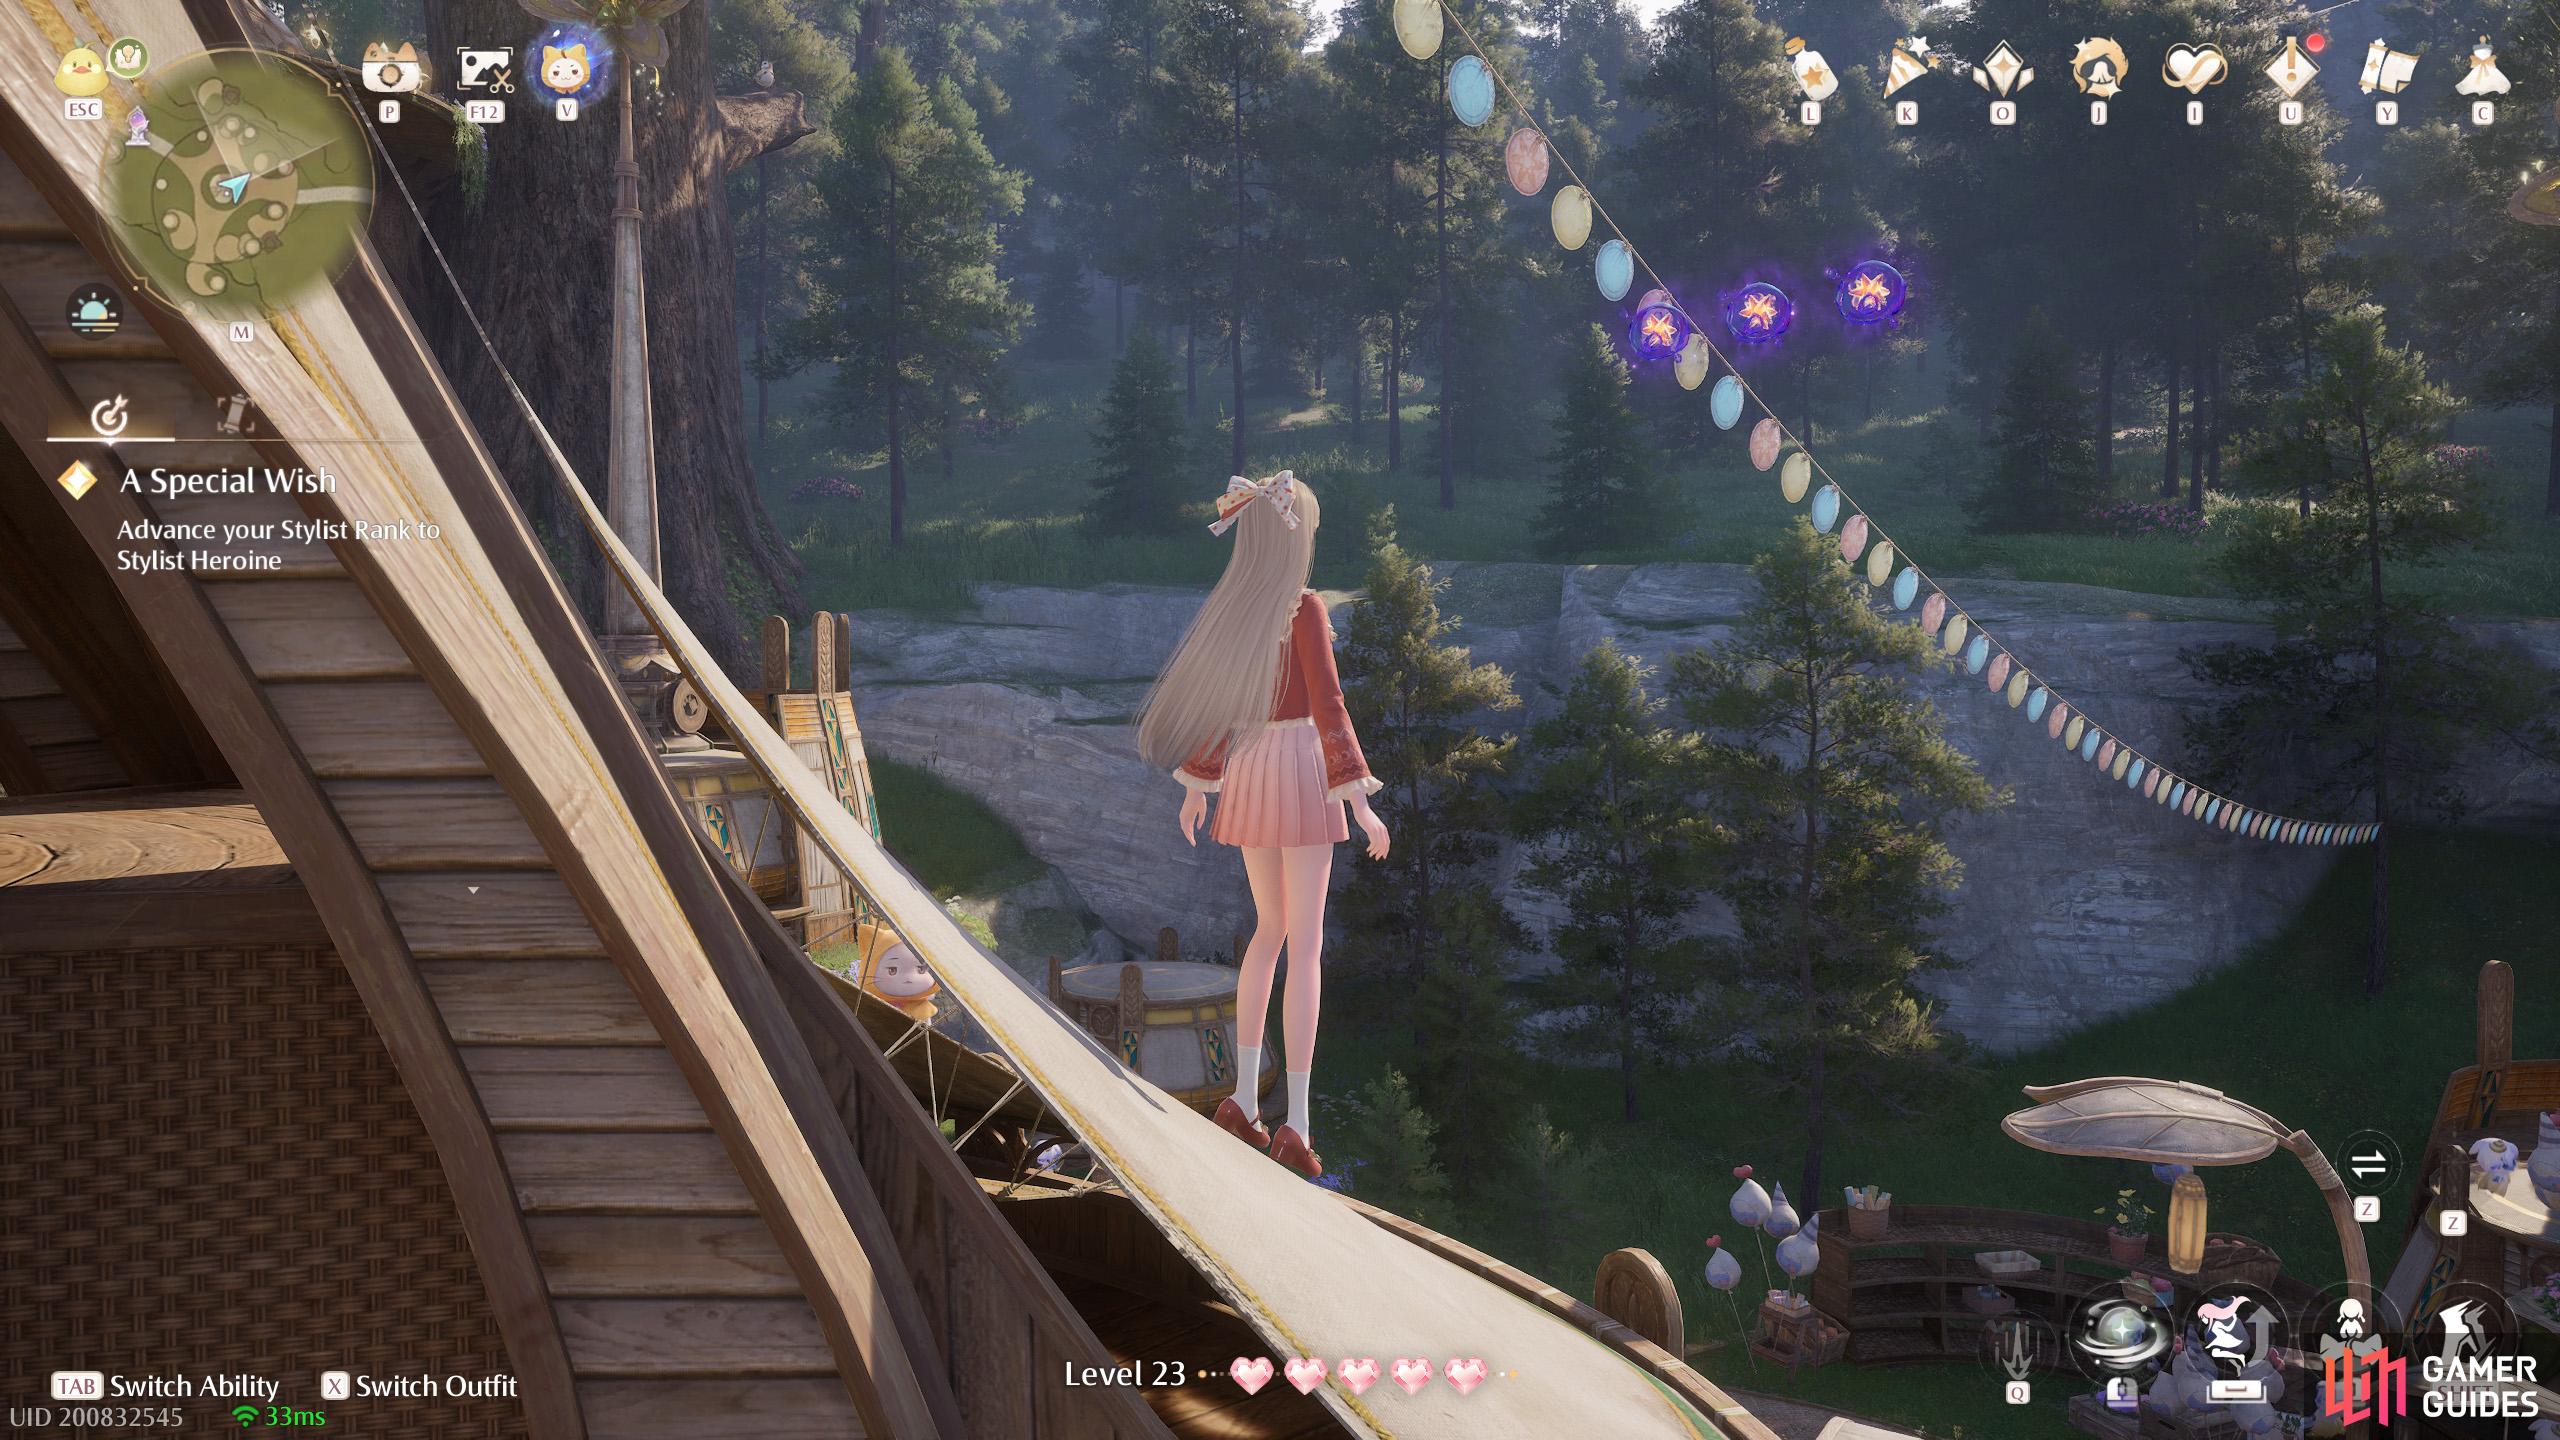
725. Miraland Map
At the ![]() Wish Celebration Center. Three floating high up around the north-east side of the central building.
Wish Celebration Center. Three floating high up around the north-east side of the central building.
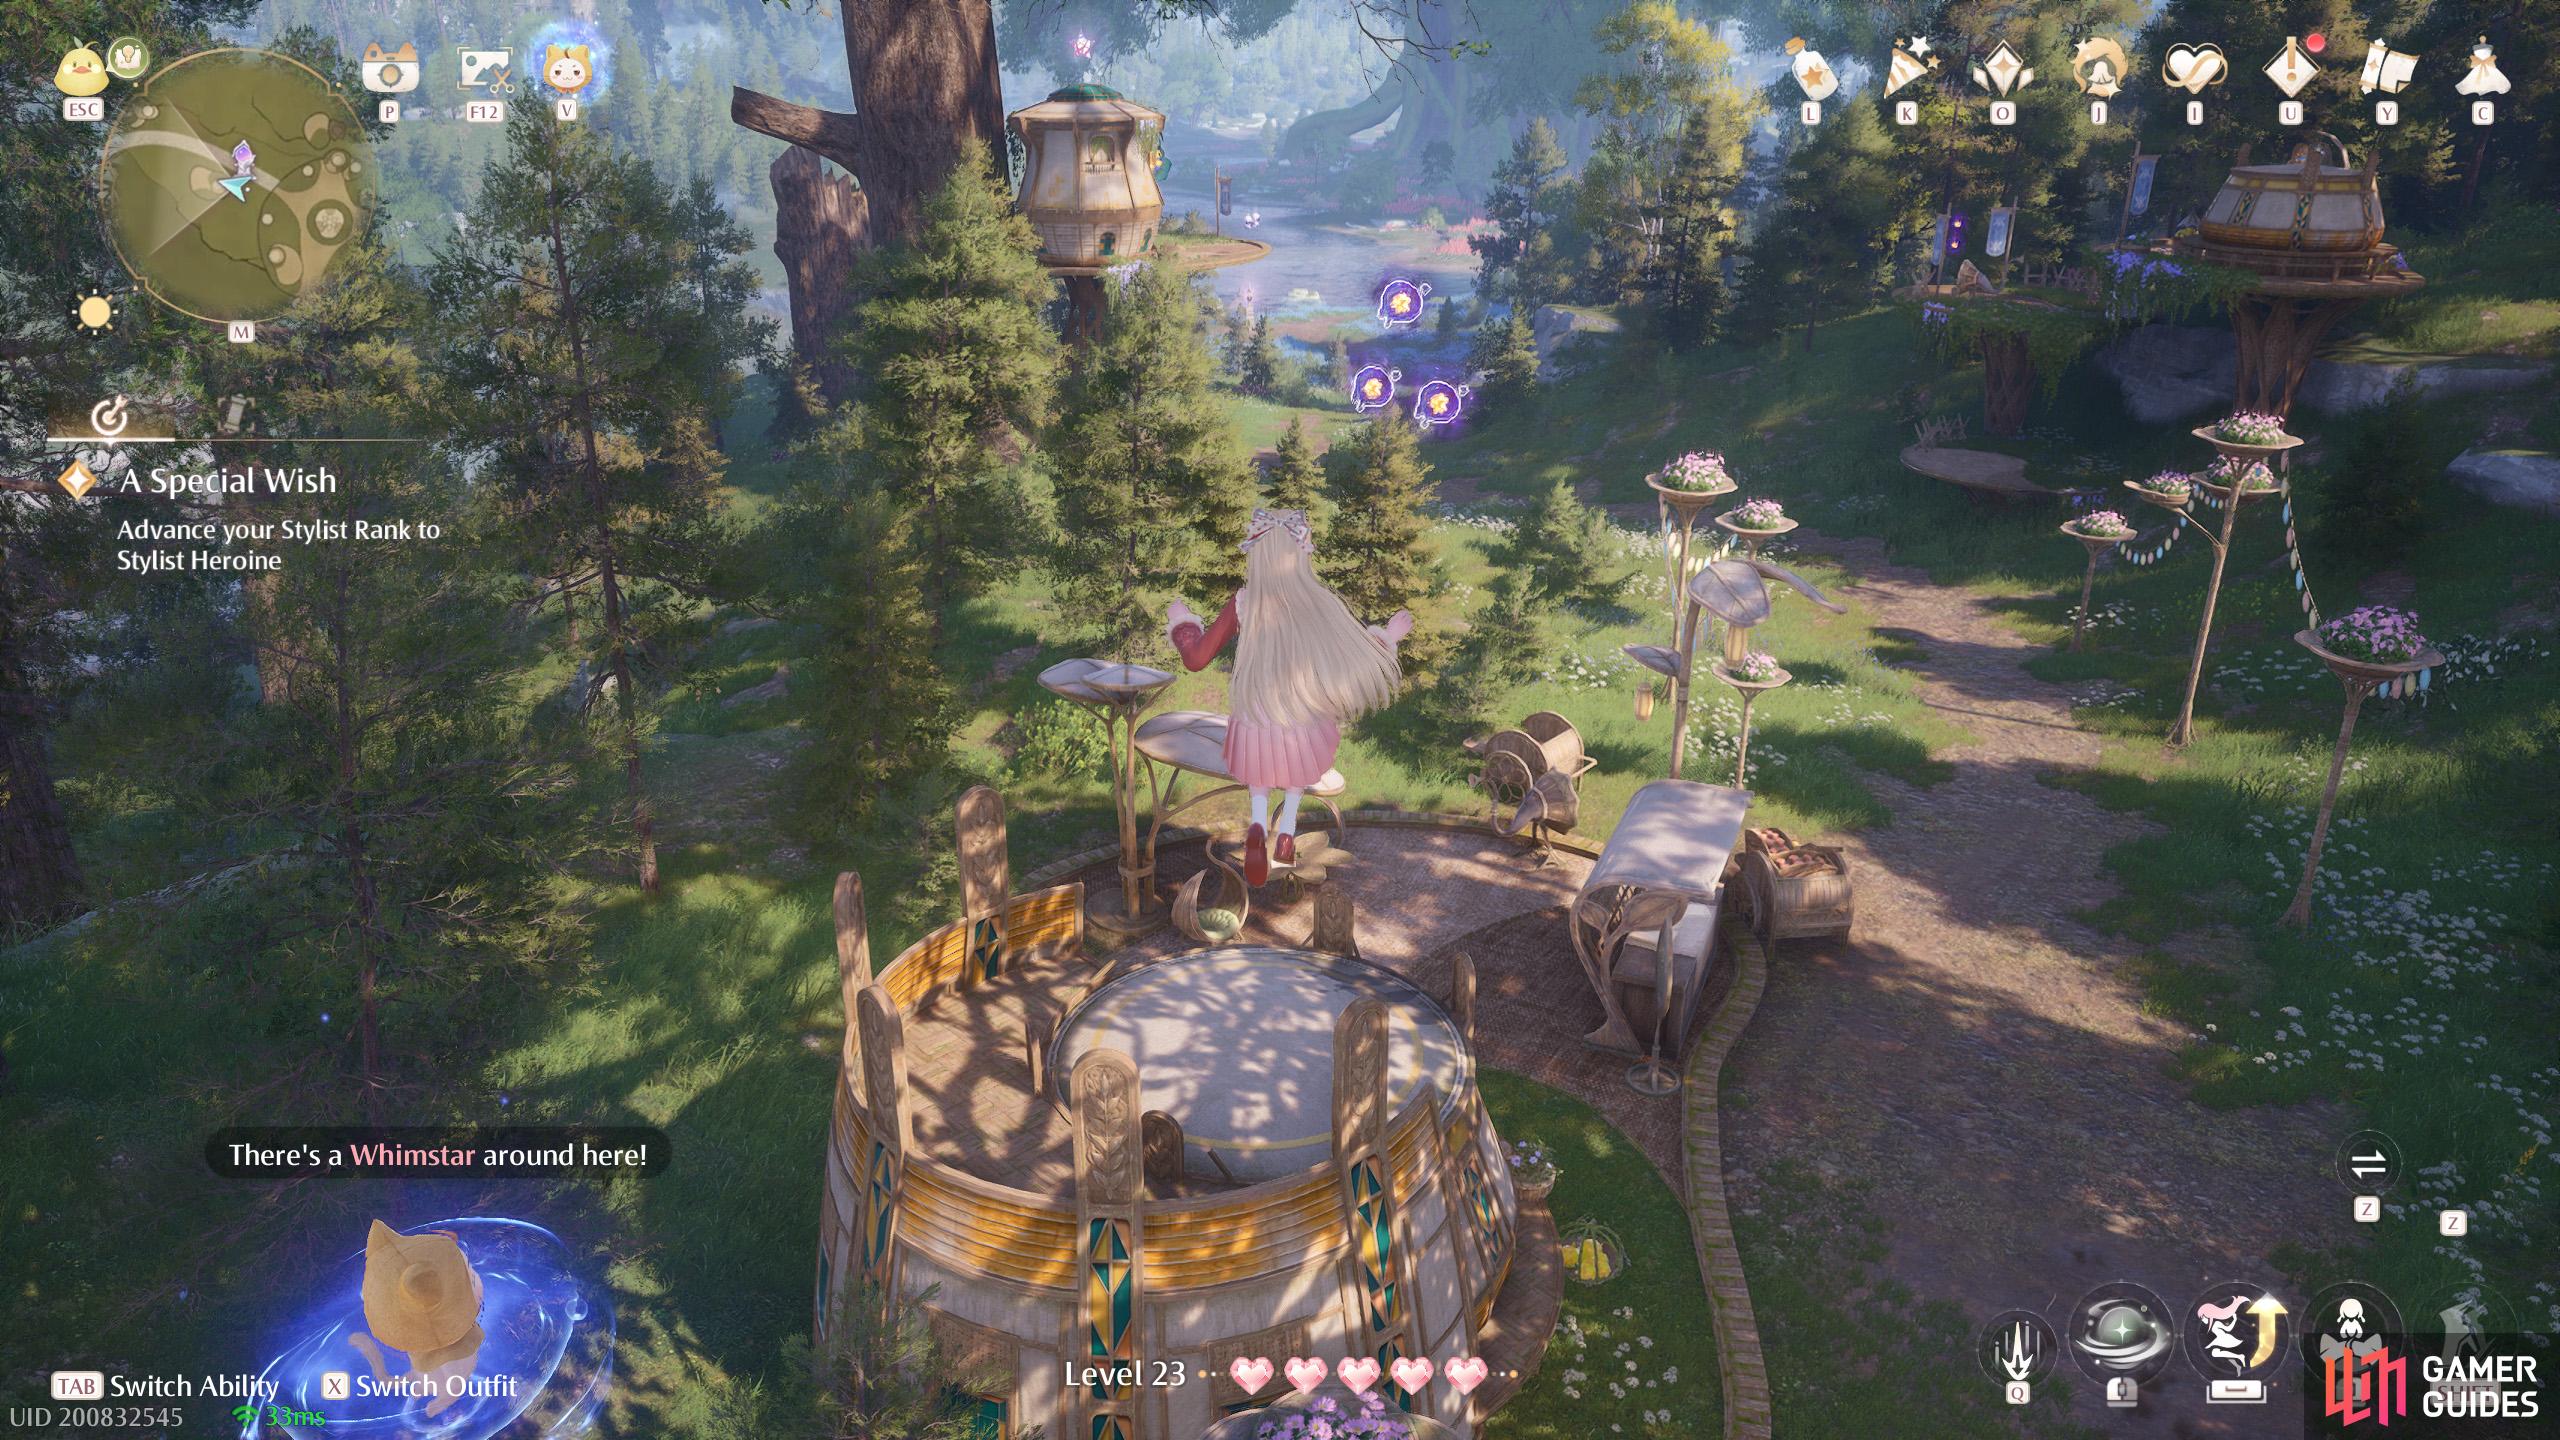
726. Miraland Map
Short distance south from the ![]() Wish Celebration Center Warp Spire. Three floating above a building.
Wish Celebration Center Warp Spire. Three floating above a building.
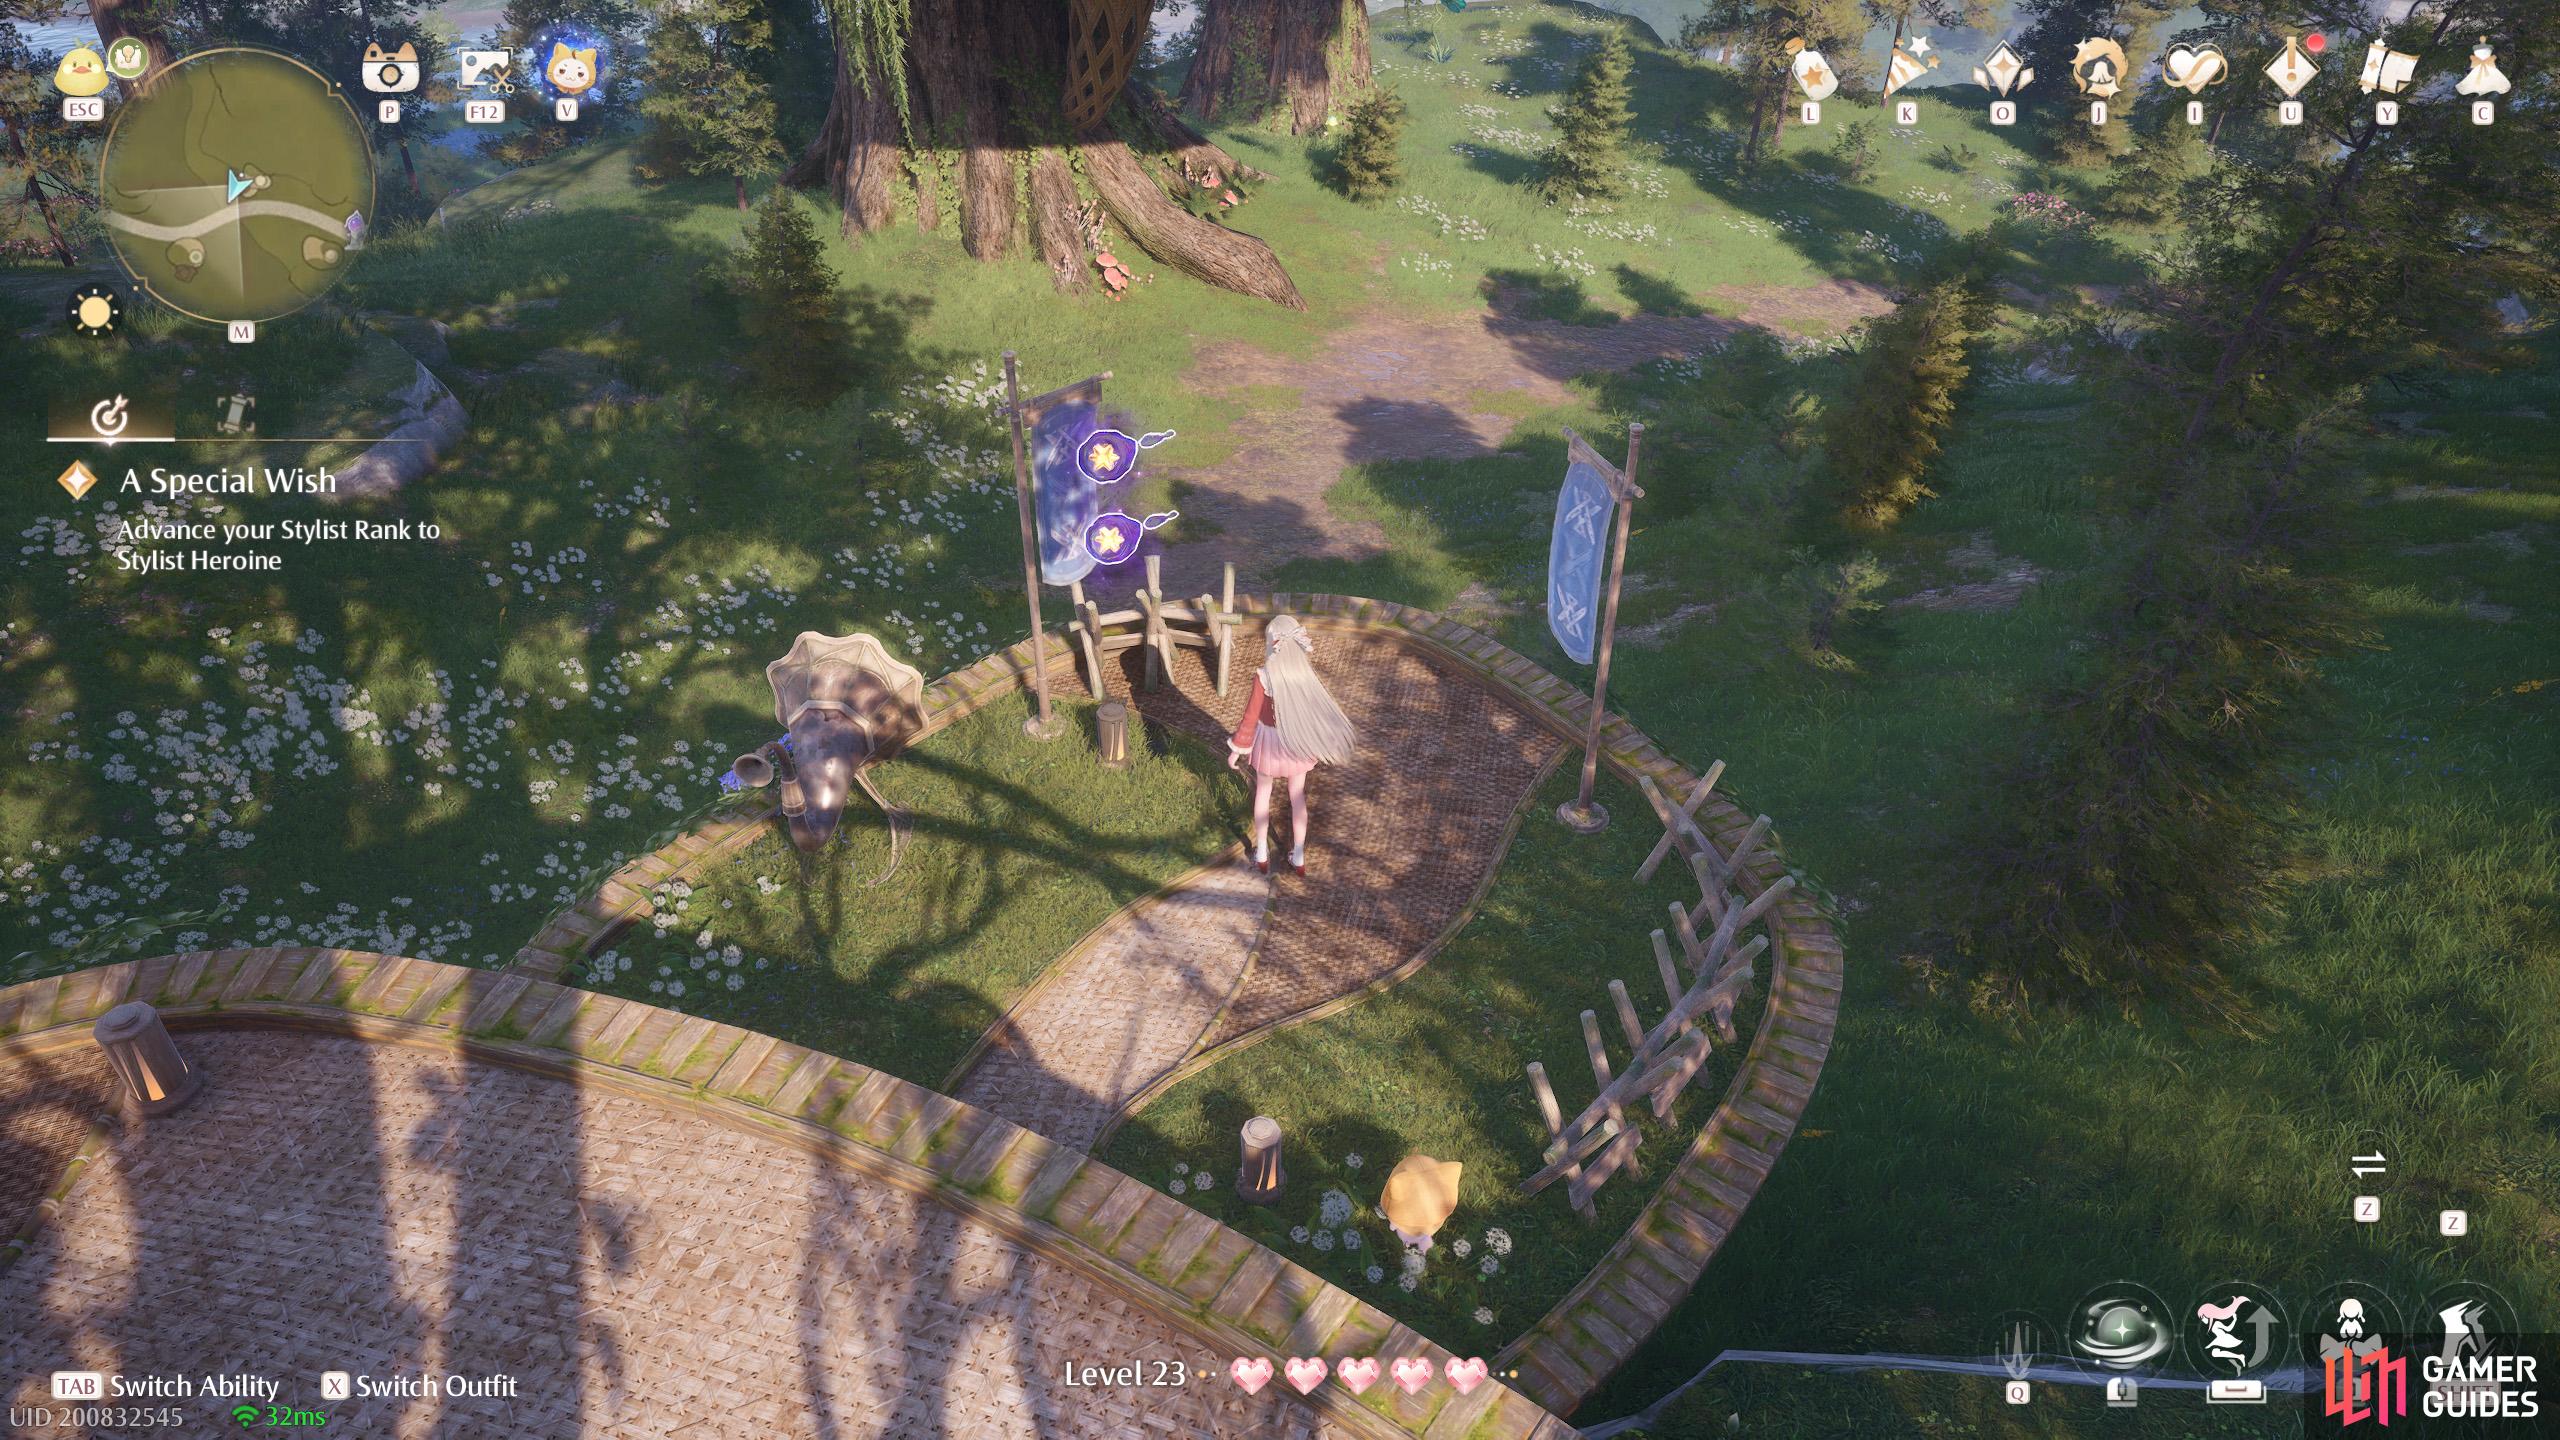
727. Miraland Map
Short distance west from the ![]() Wish Celebration Center Warp Spire. Two next to a banner.
Wish Celebration Center Warp Spire. Two next to a banner.
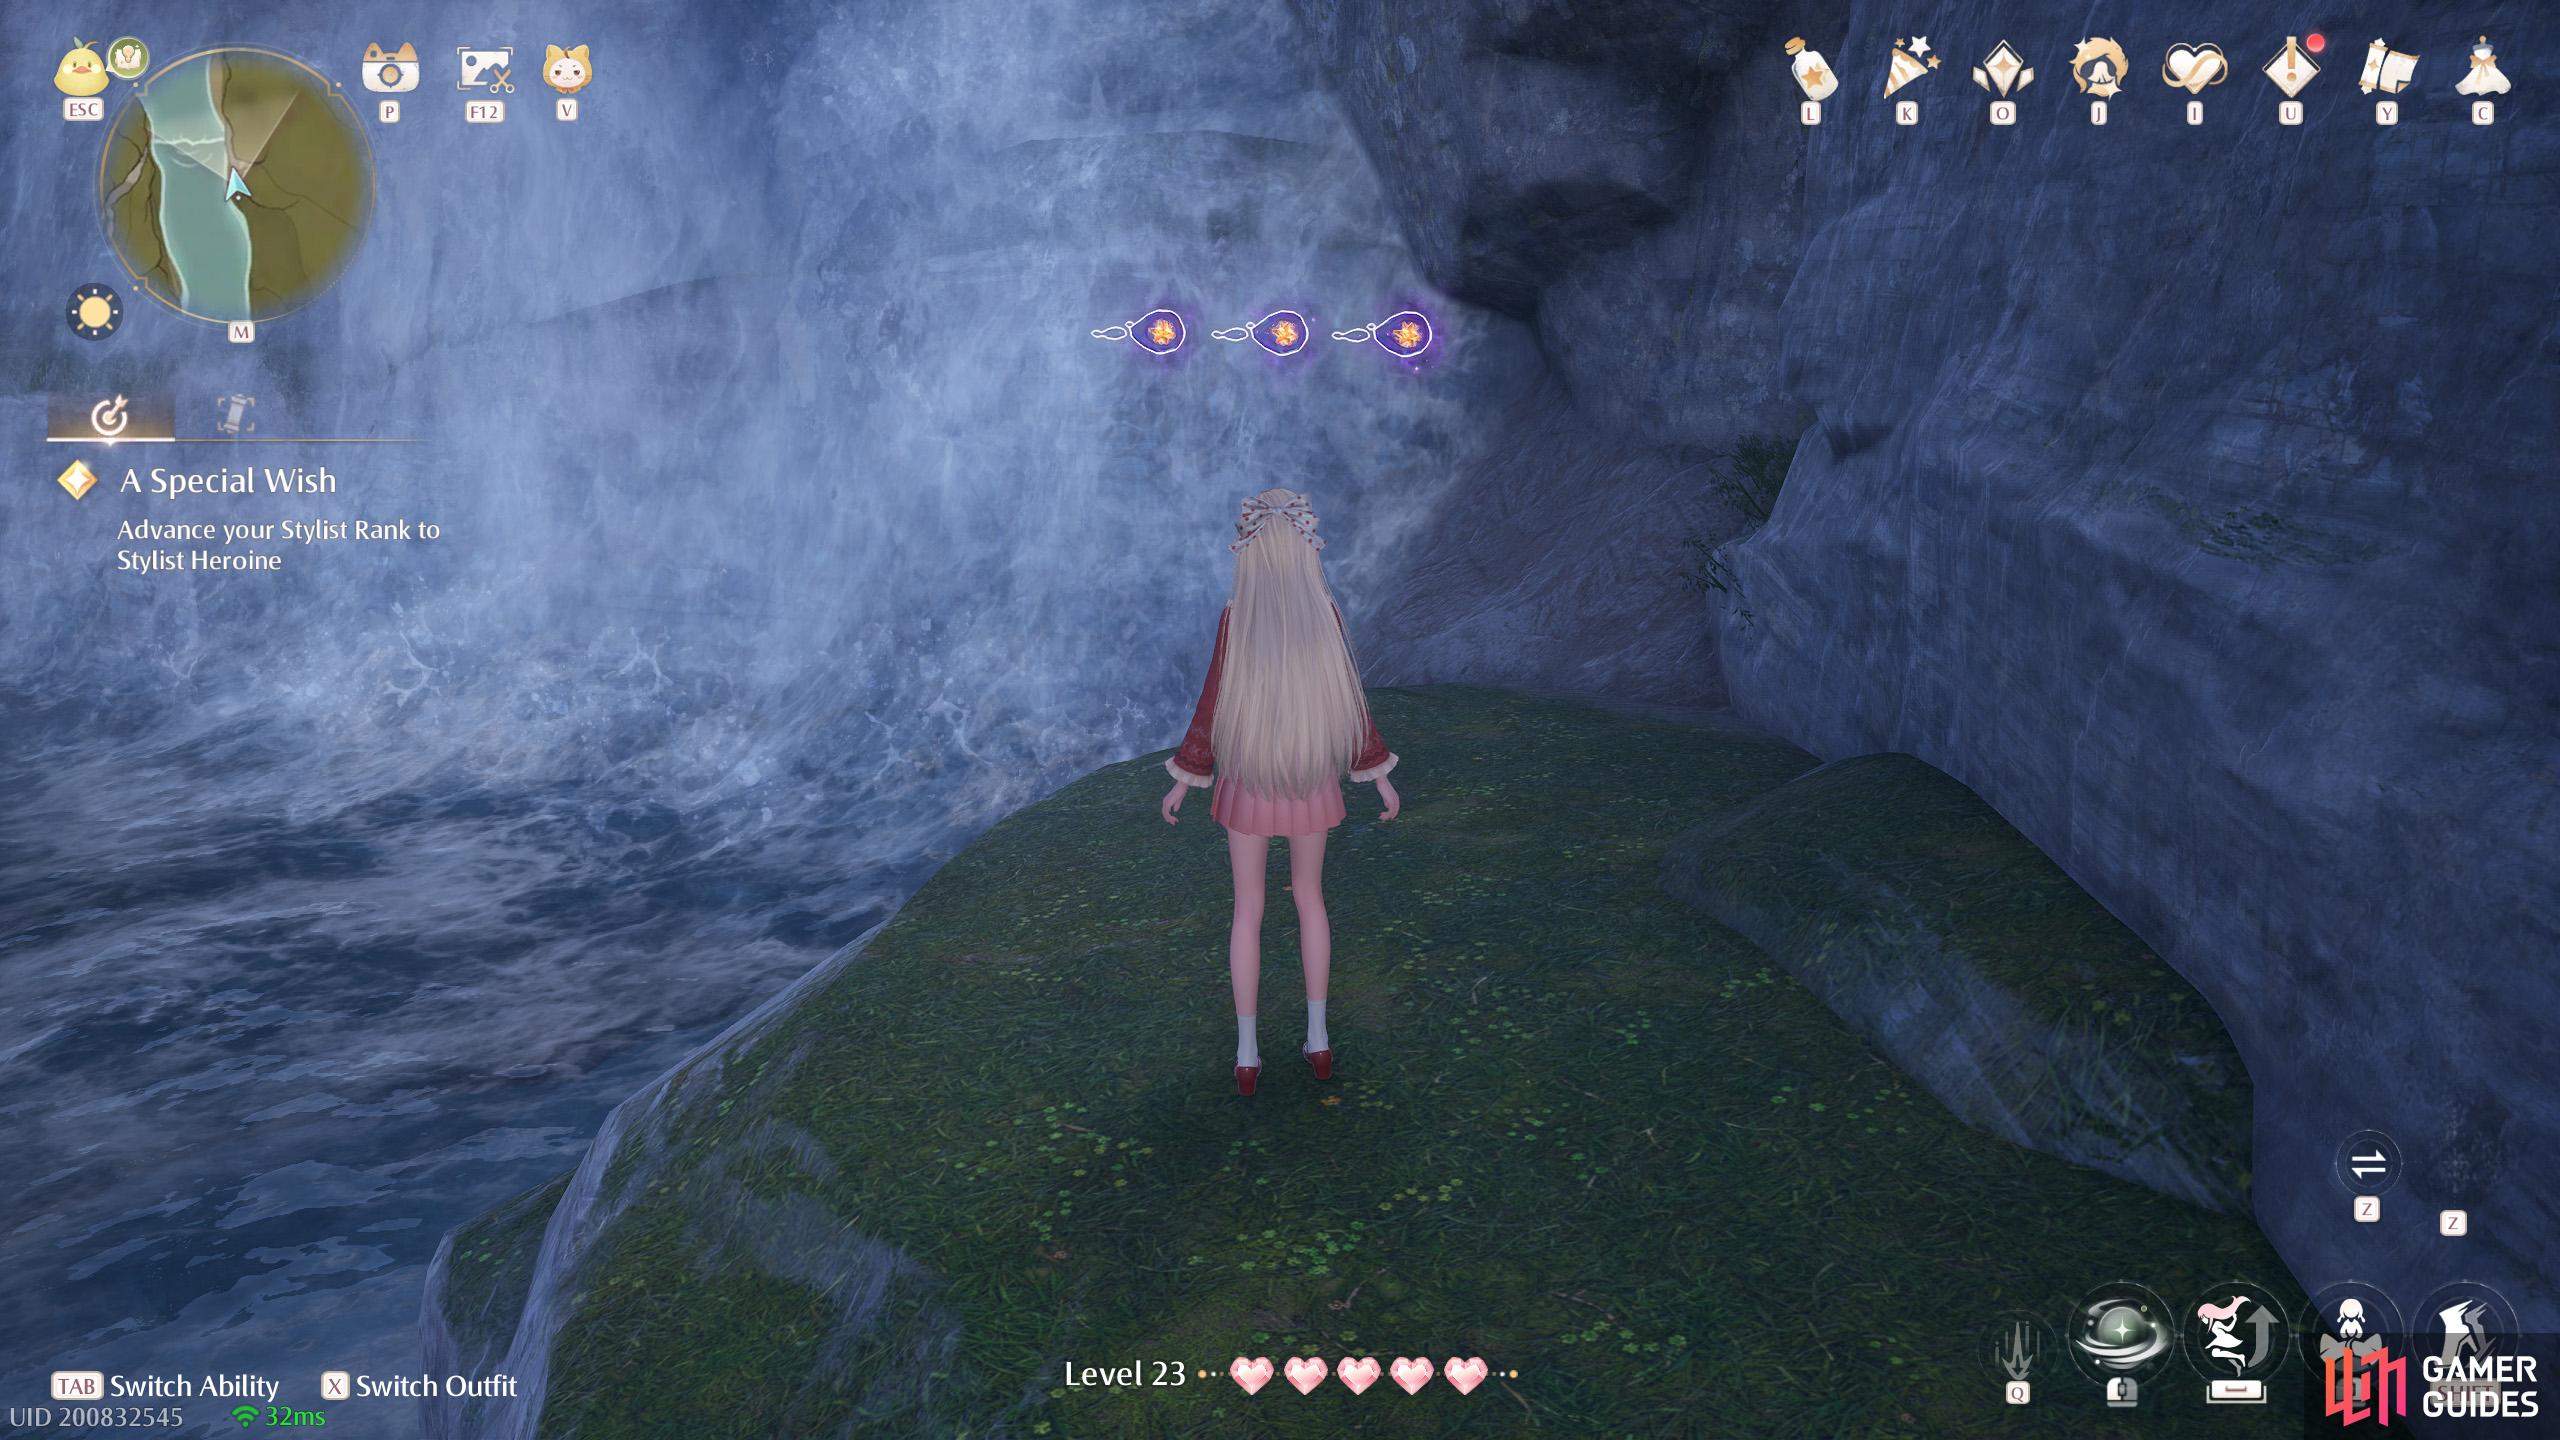
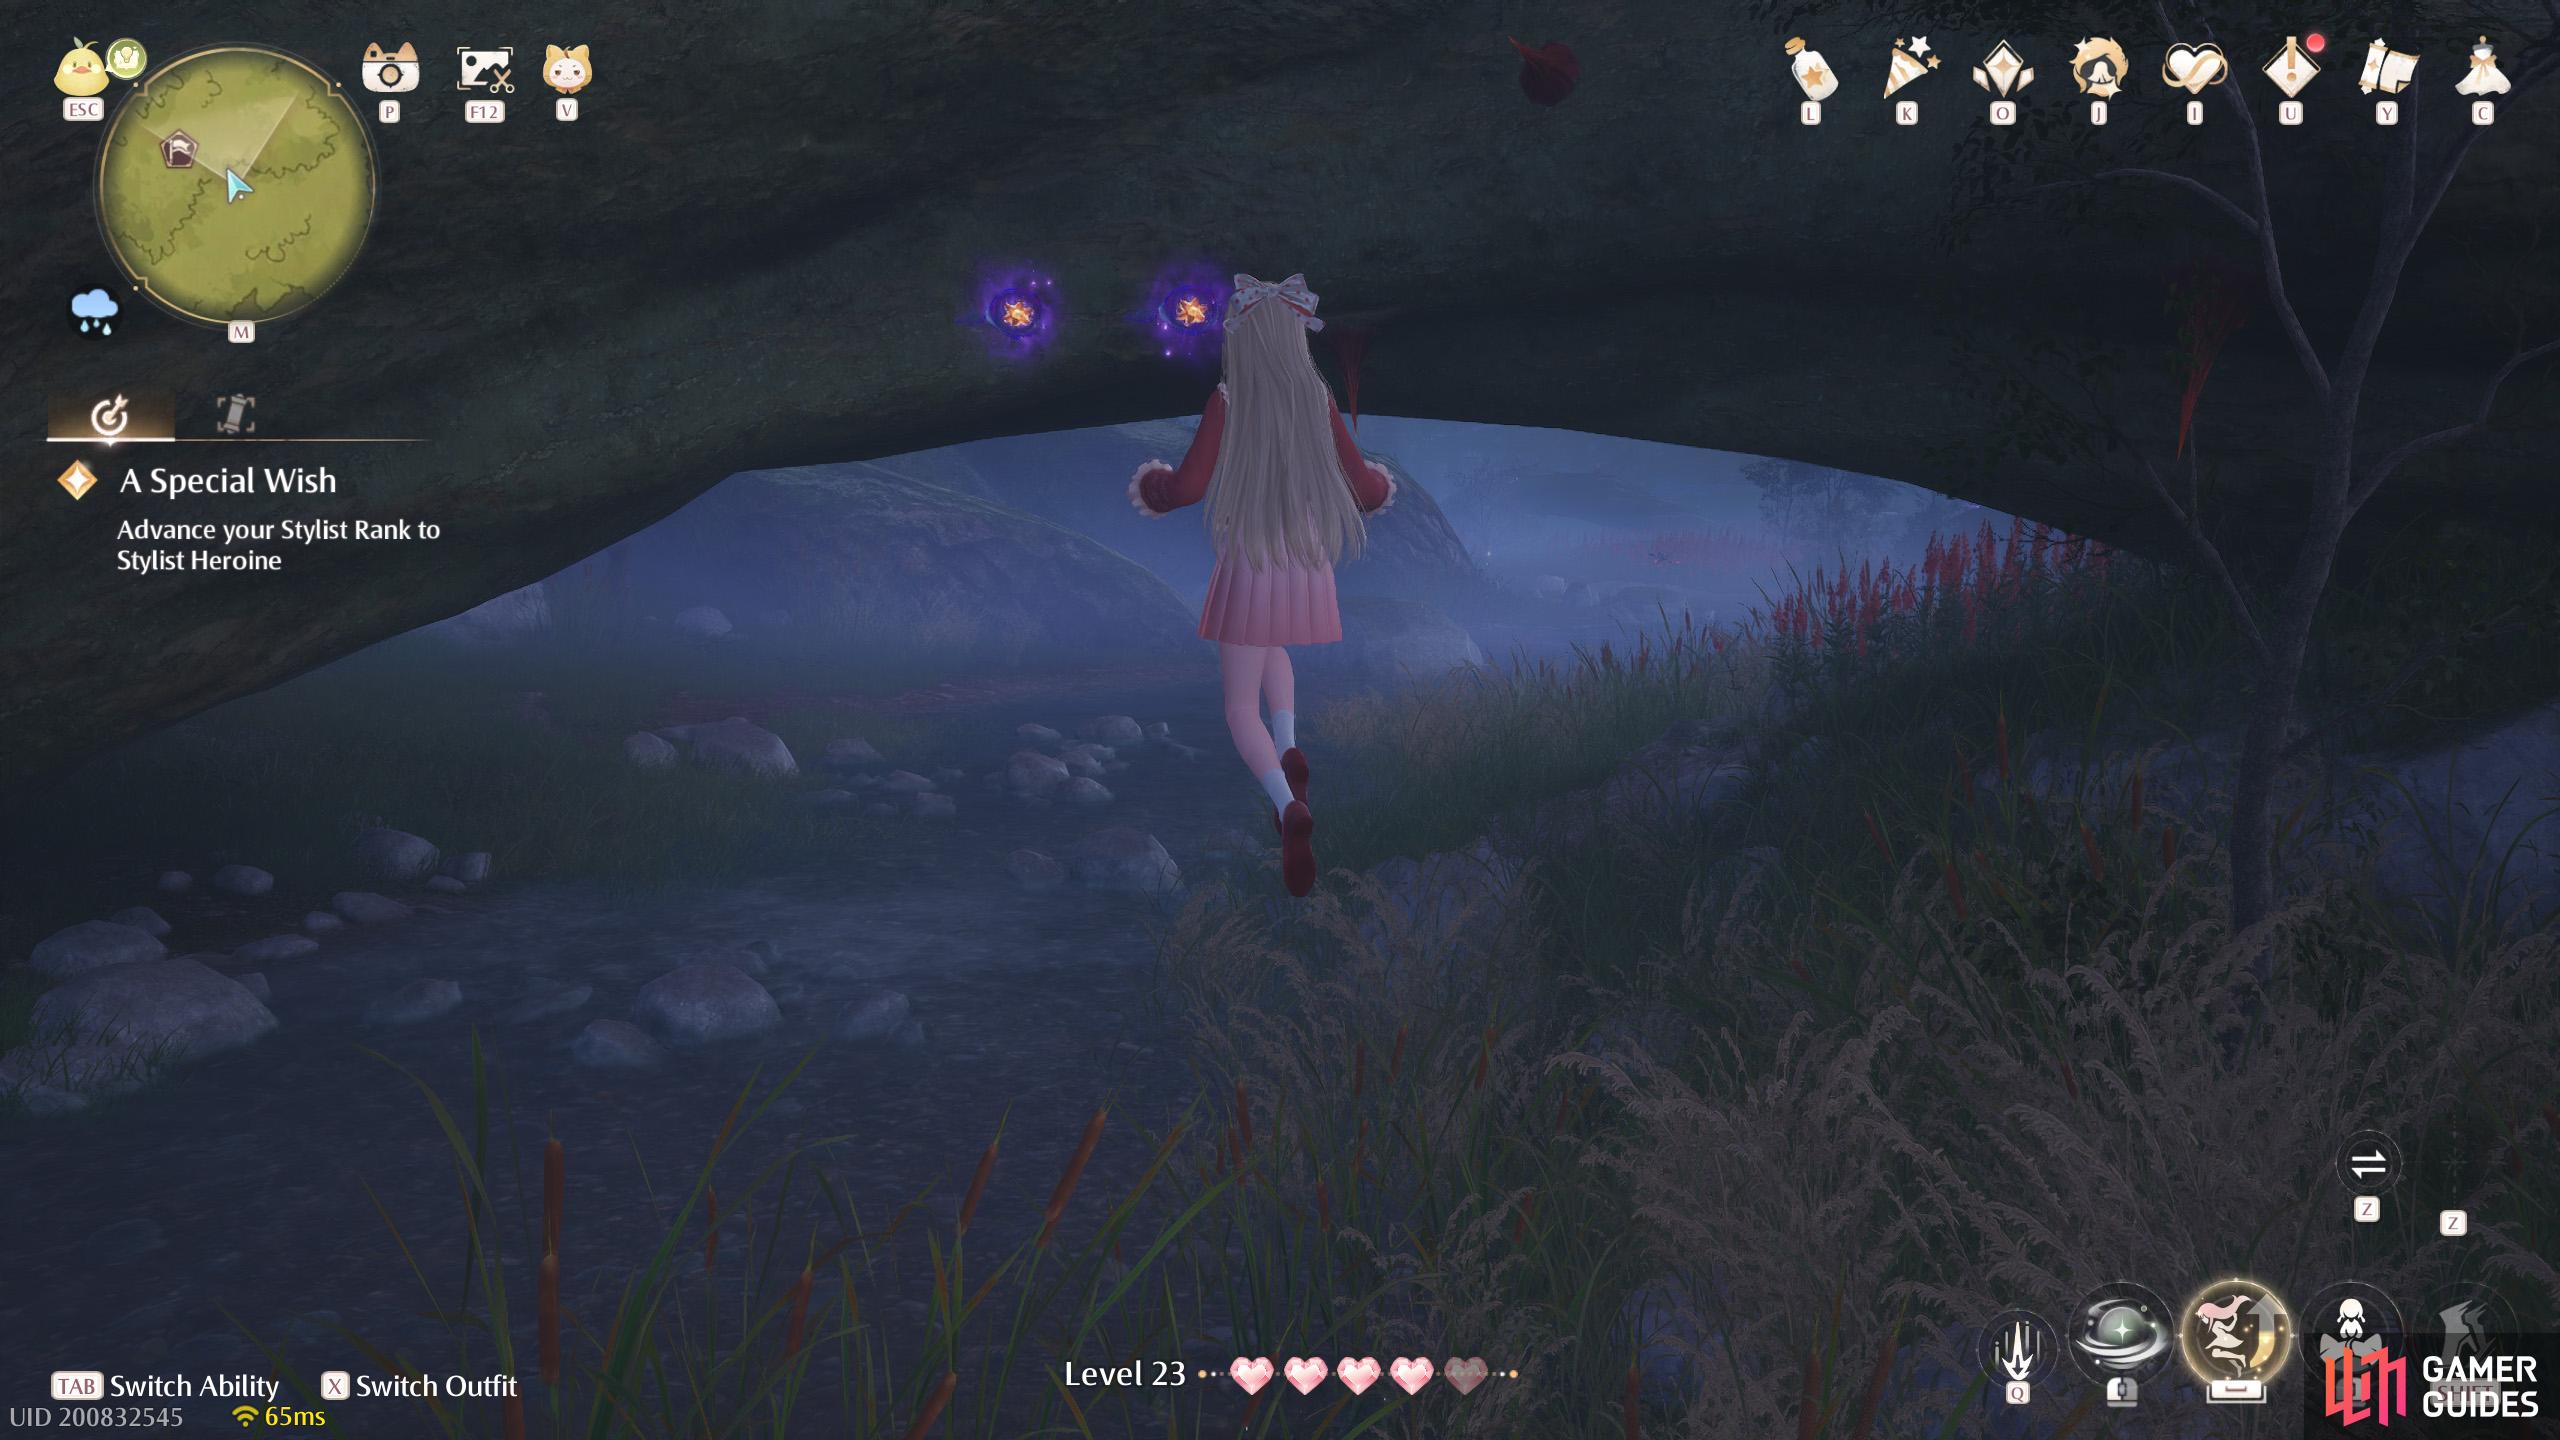
729. Miraland Map
South from ![]() Garrison of the Paladins, at the base of the tree. Two under a thorny tree root.
Garrison of the Paladins, at the base of the tree. Two under a thorny tree root.
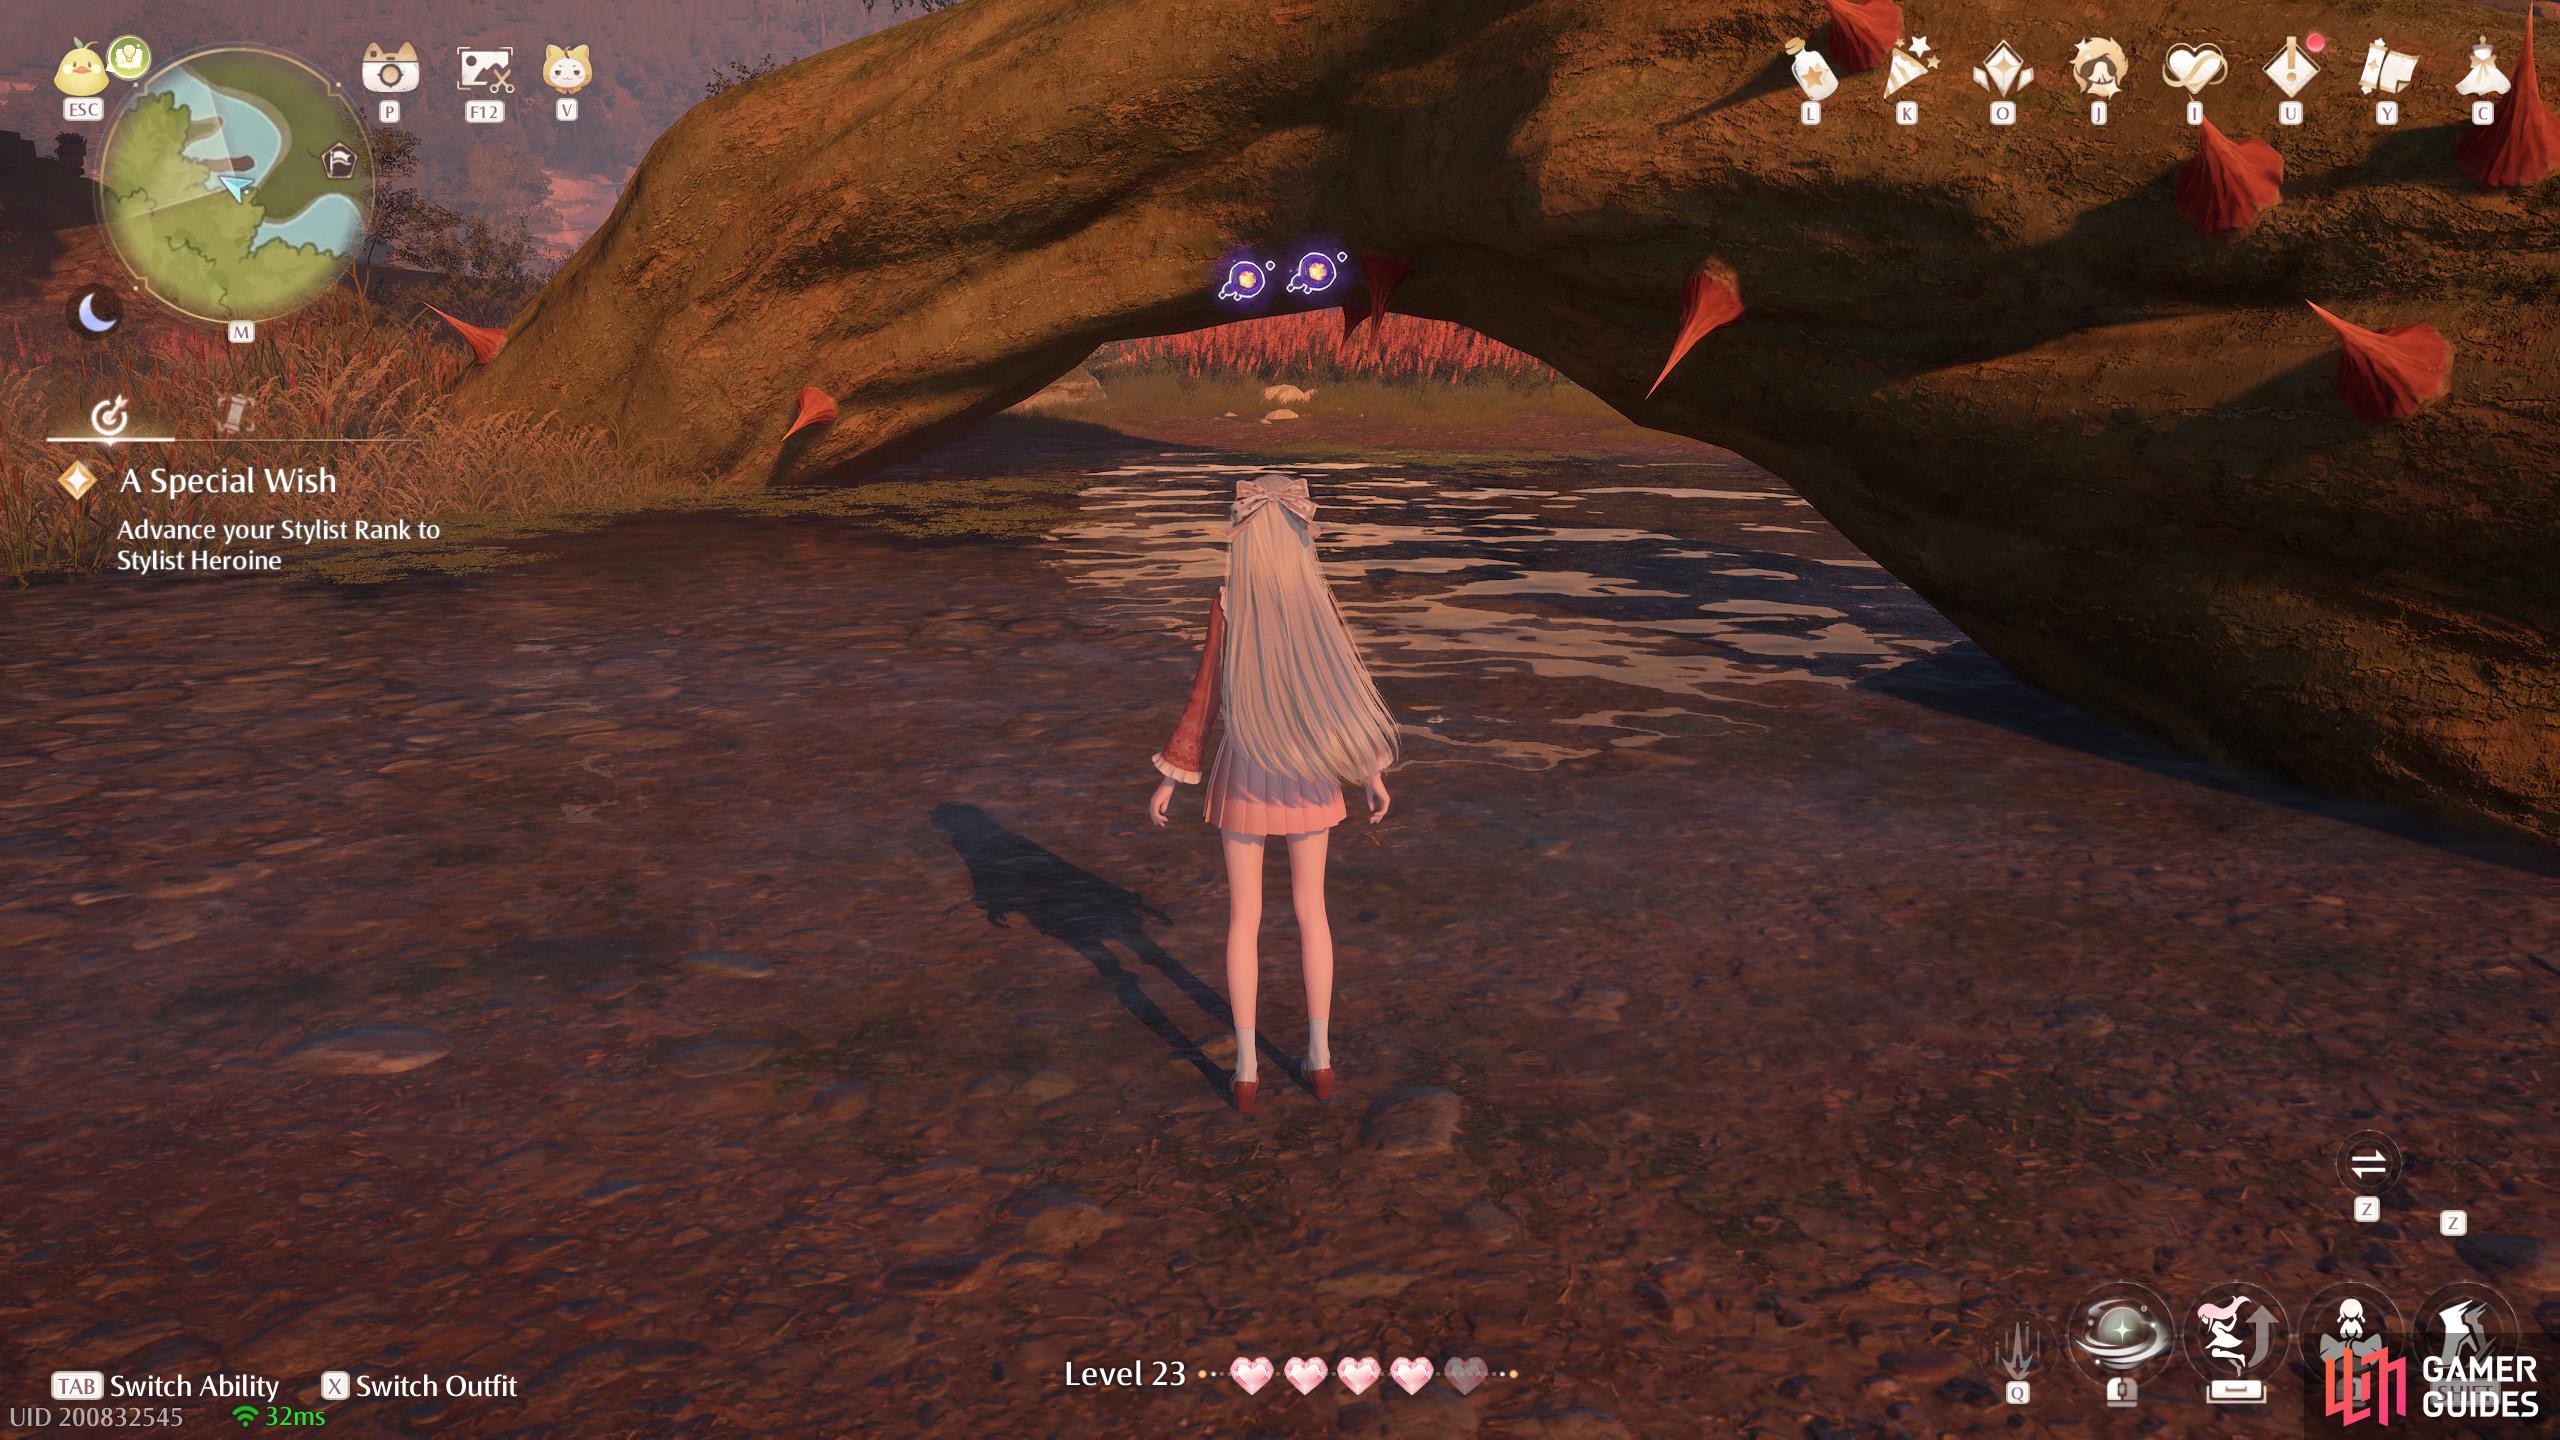
730. Miraland Map
North-east from ![]() Grand Tree Residential Area, at the base of the tree. Two near the underside of a thorny tree root.
Grand Tree Residential Area, at the base of the tree. Two near the underside of a thorny tree root.
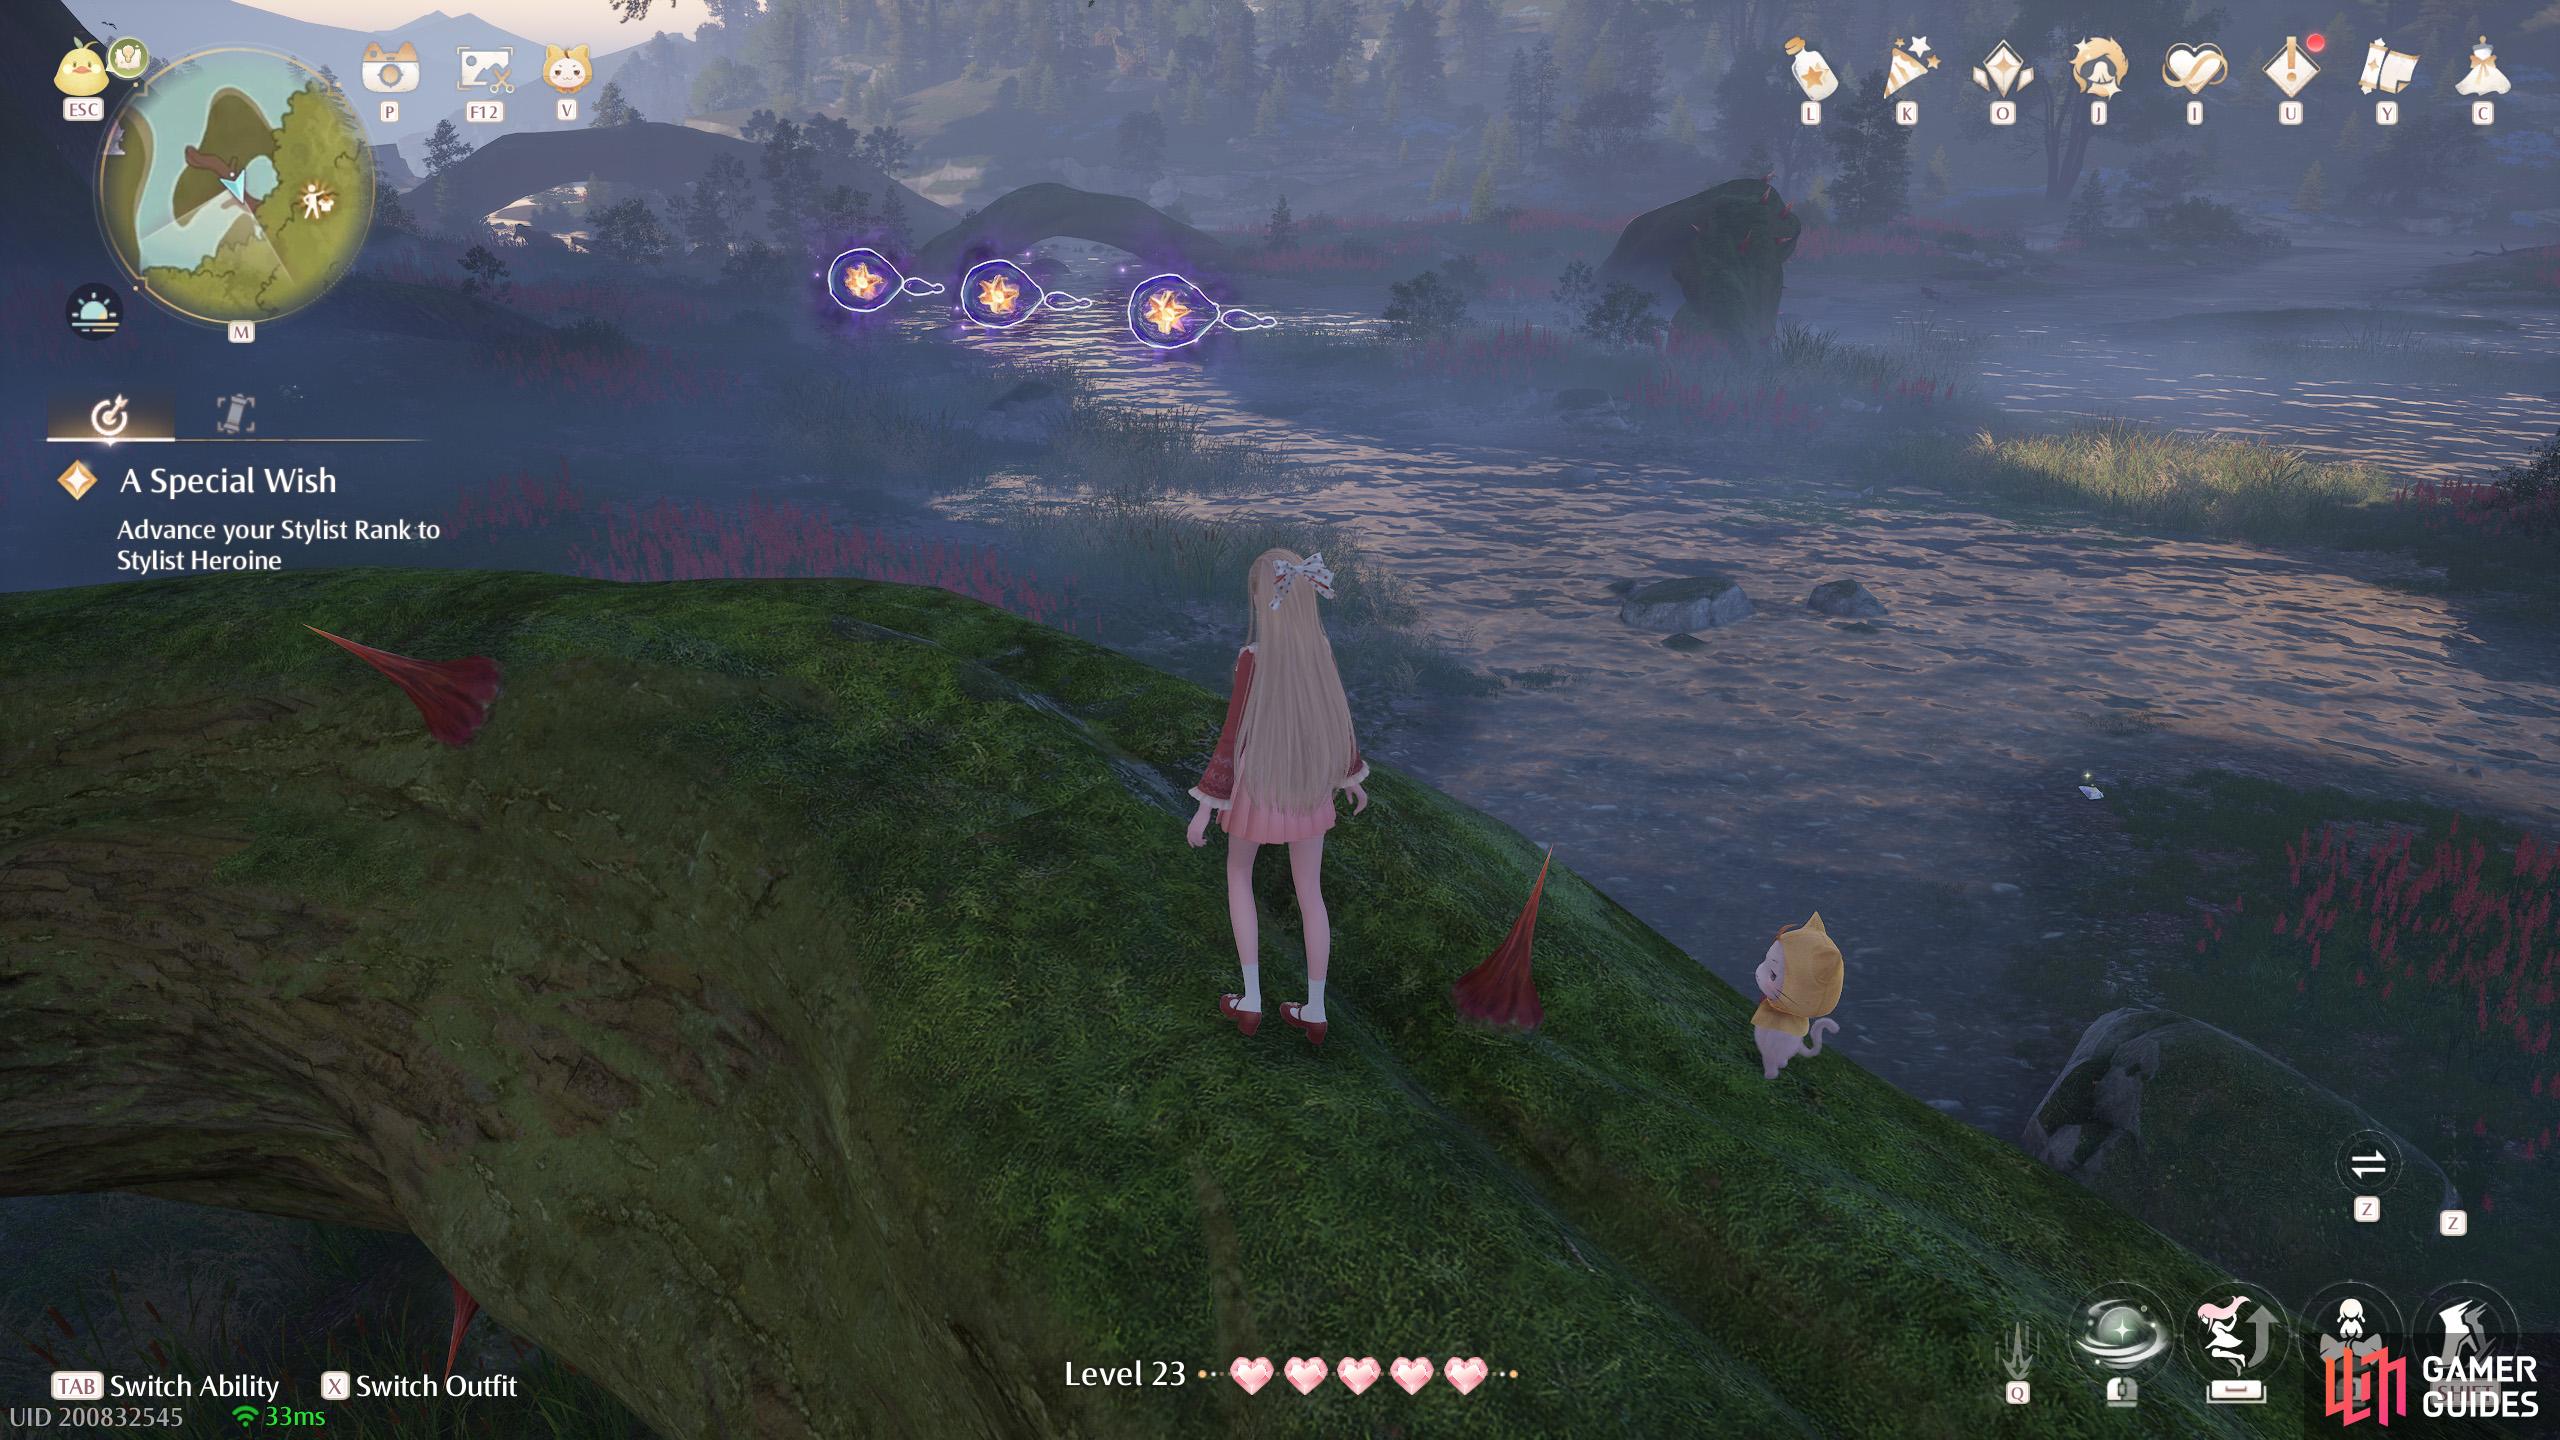
731. Miraland Map
East and slightly south from ![]() Grand Tree Shoal. Three atop a thorny tree root.
Grand Tree Shoal. Three atop a thorny tree root.
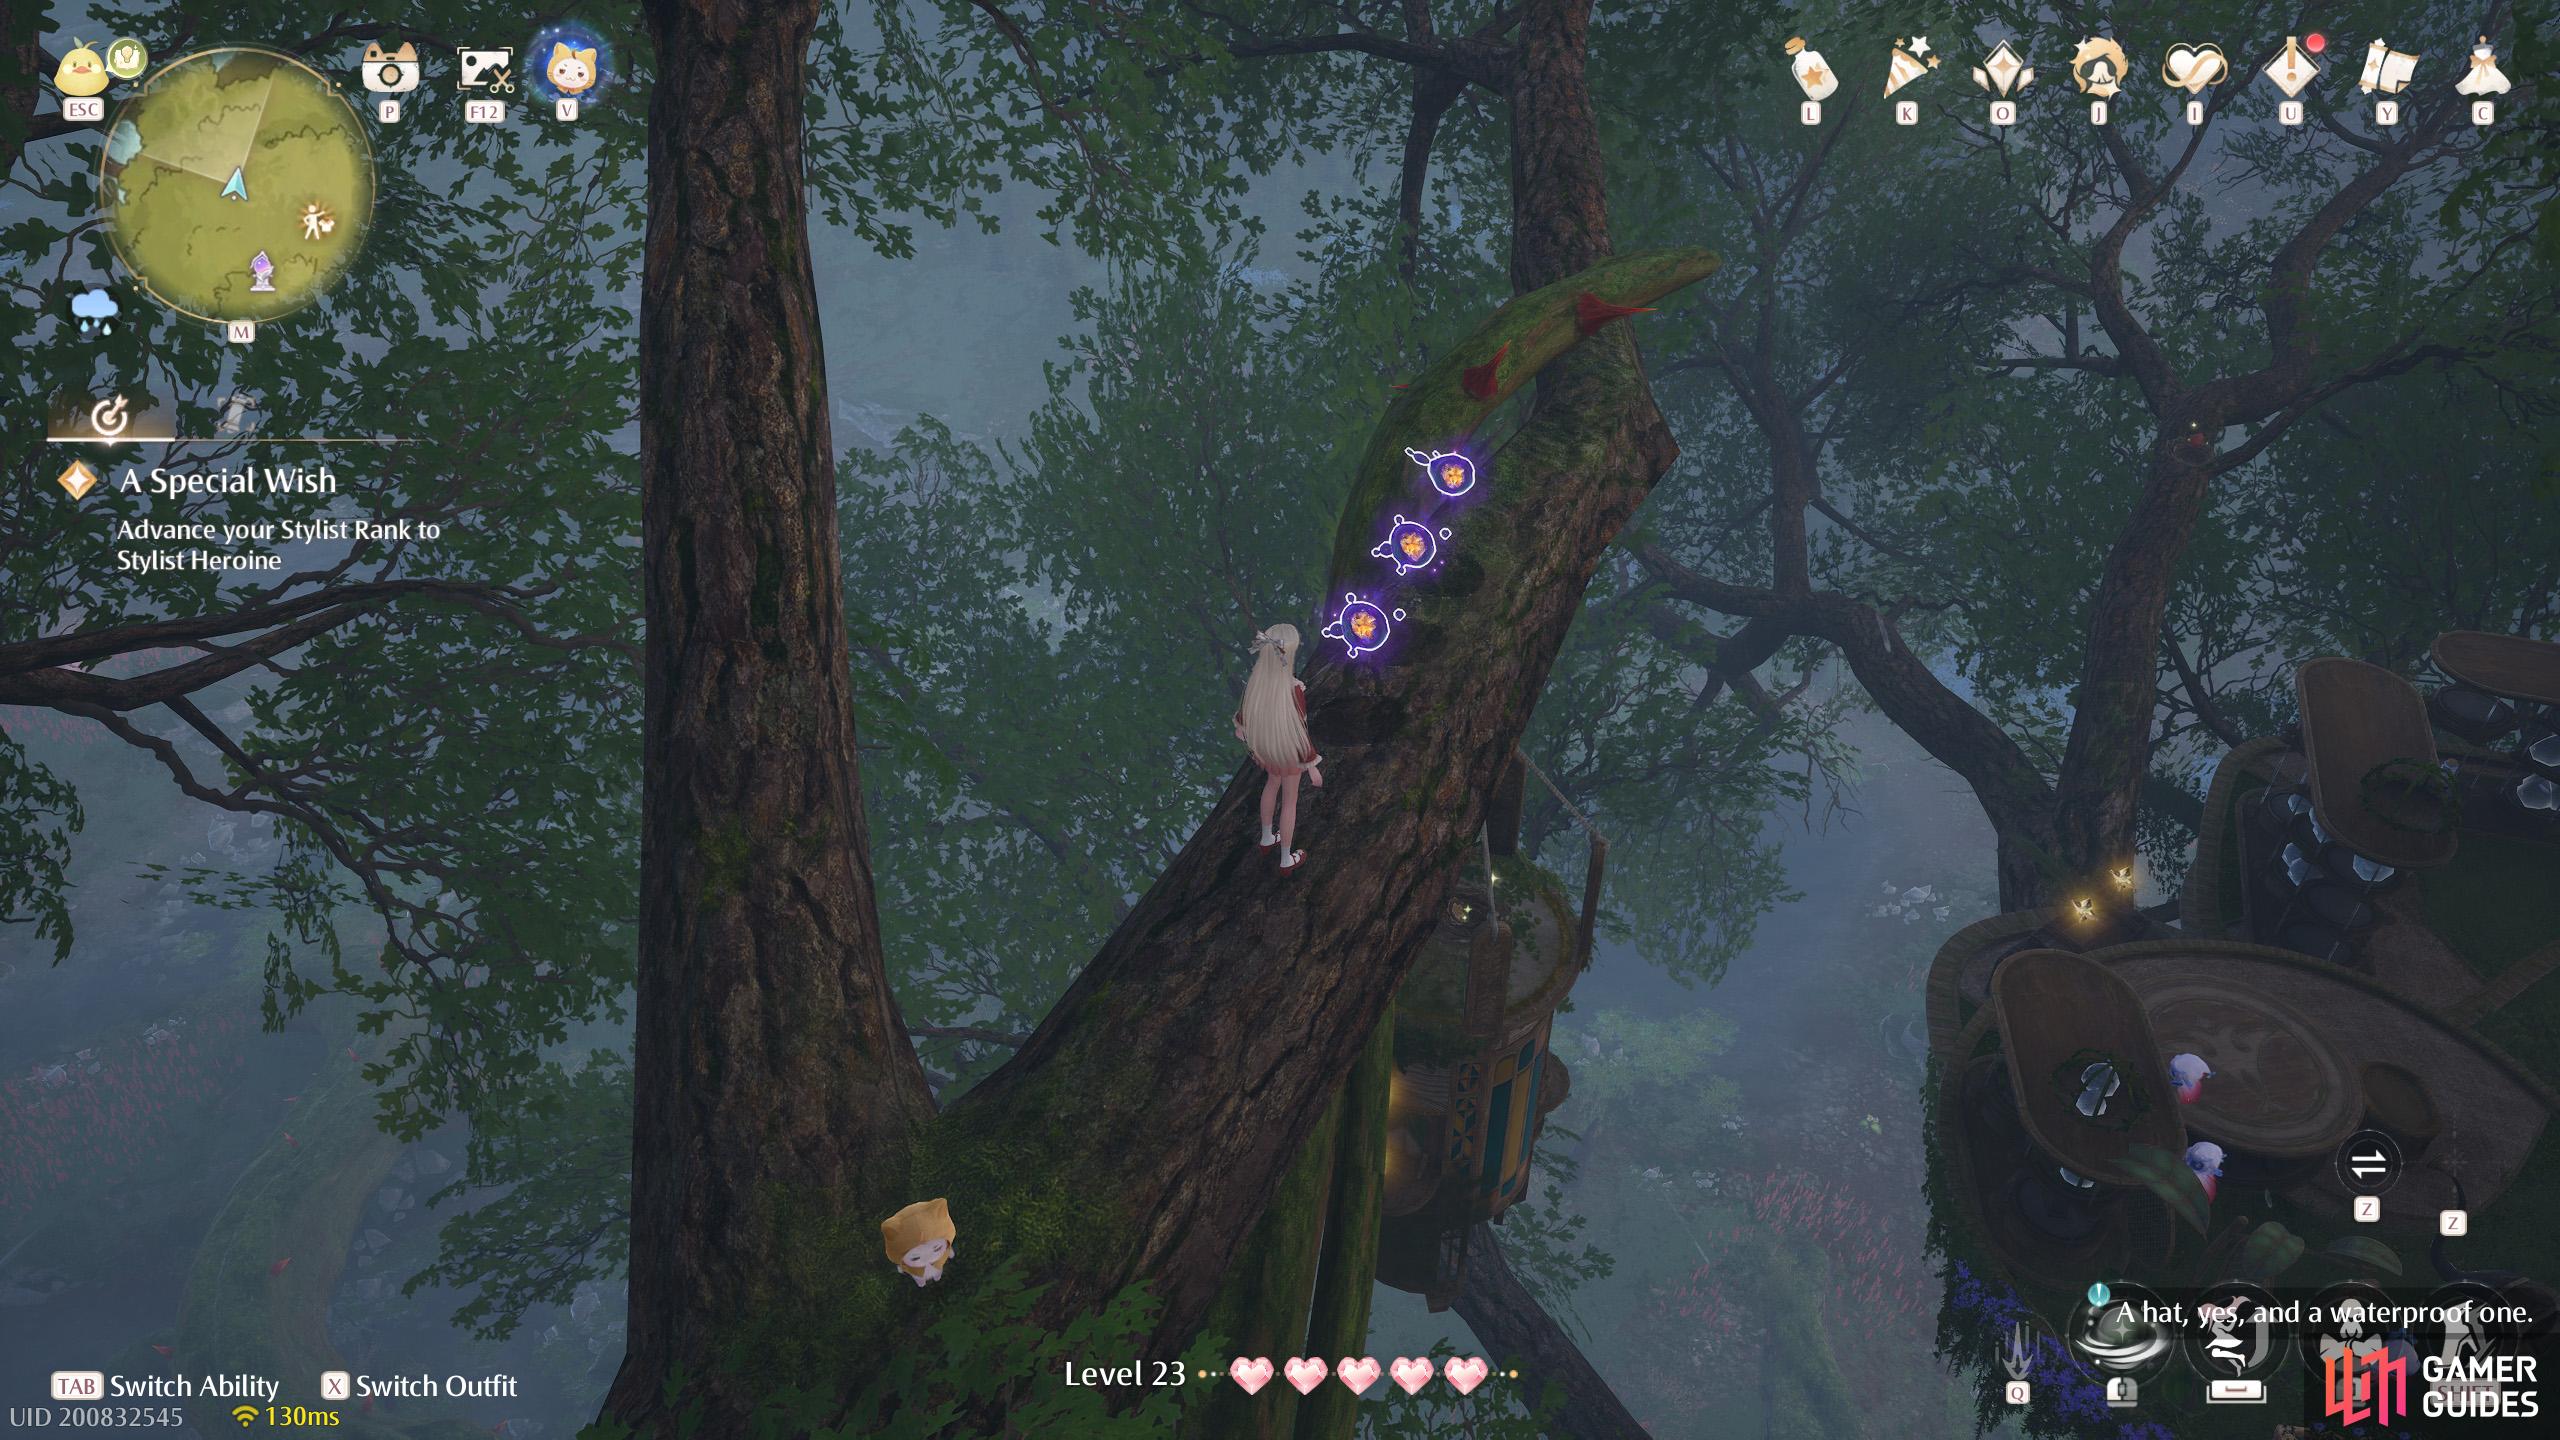
732. Miraland Map
Atop the ![]() Grand Millewish Tree. North-west from
Grand Millewish Tree. North-west from ![]() Grand Tree Residential Area. Three atop a tree branch. You can reach by floating from a tall building with a treasure chest to the east. Or by climbing over/dropping down from the upper levels.
Grand Tree Residential Area. Three atop a tree branch. You can reach by floating from a tall building with a treasure chest to the east. Or by climbing over/dropping down from the upper levels.
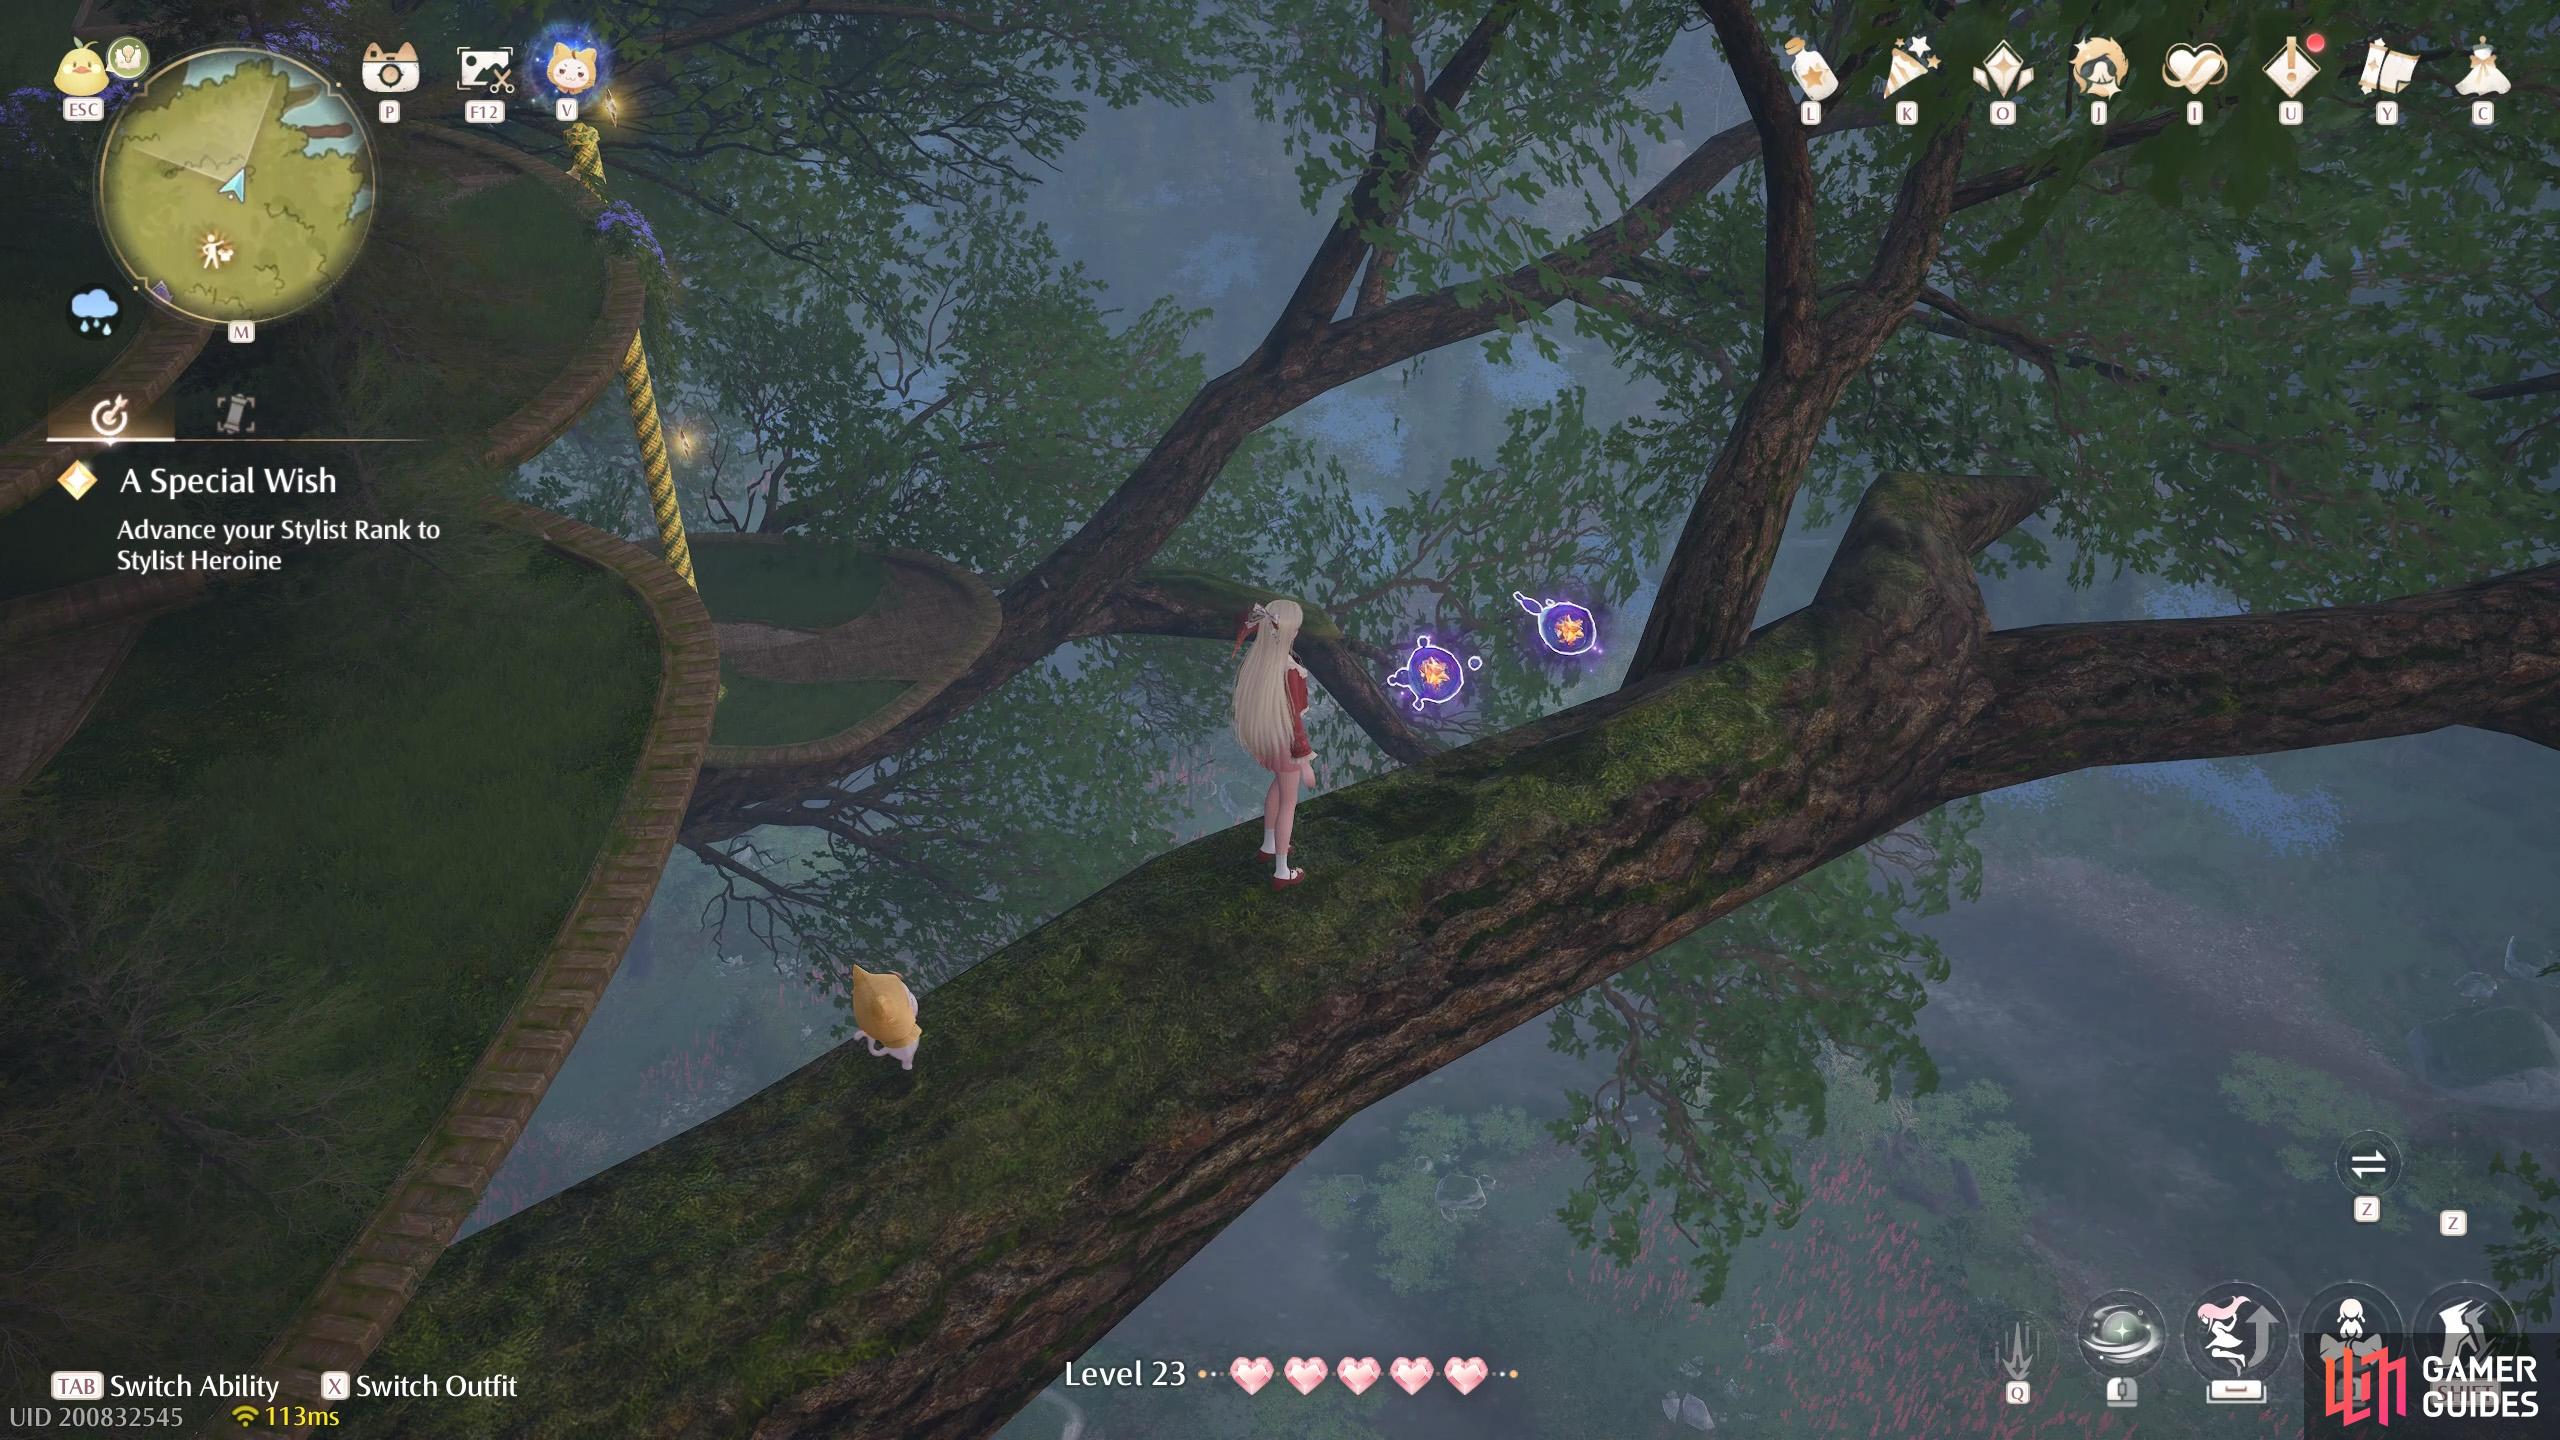
733. Miraland Map
Atop the ![]() Grand Millewish Tree. North-east from
Grand Millewish Tree. North-east from ![]() Grand Tree Residential Area. Two on a tree branch connected to the big platform.
Grand Tree Residential Area. Two on a tree branch connected to the big platform.
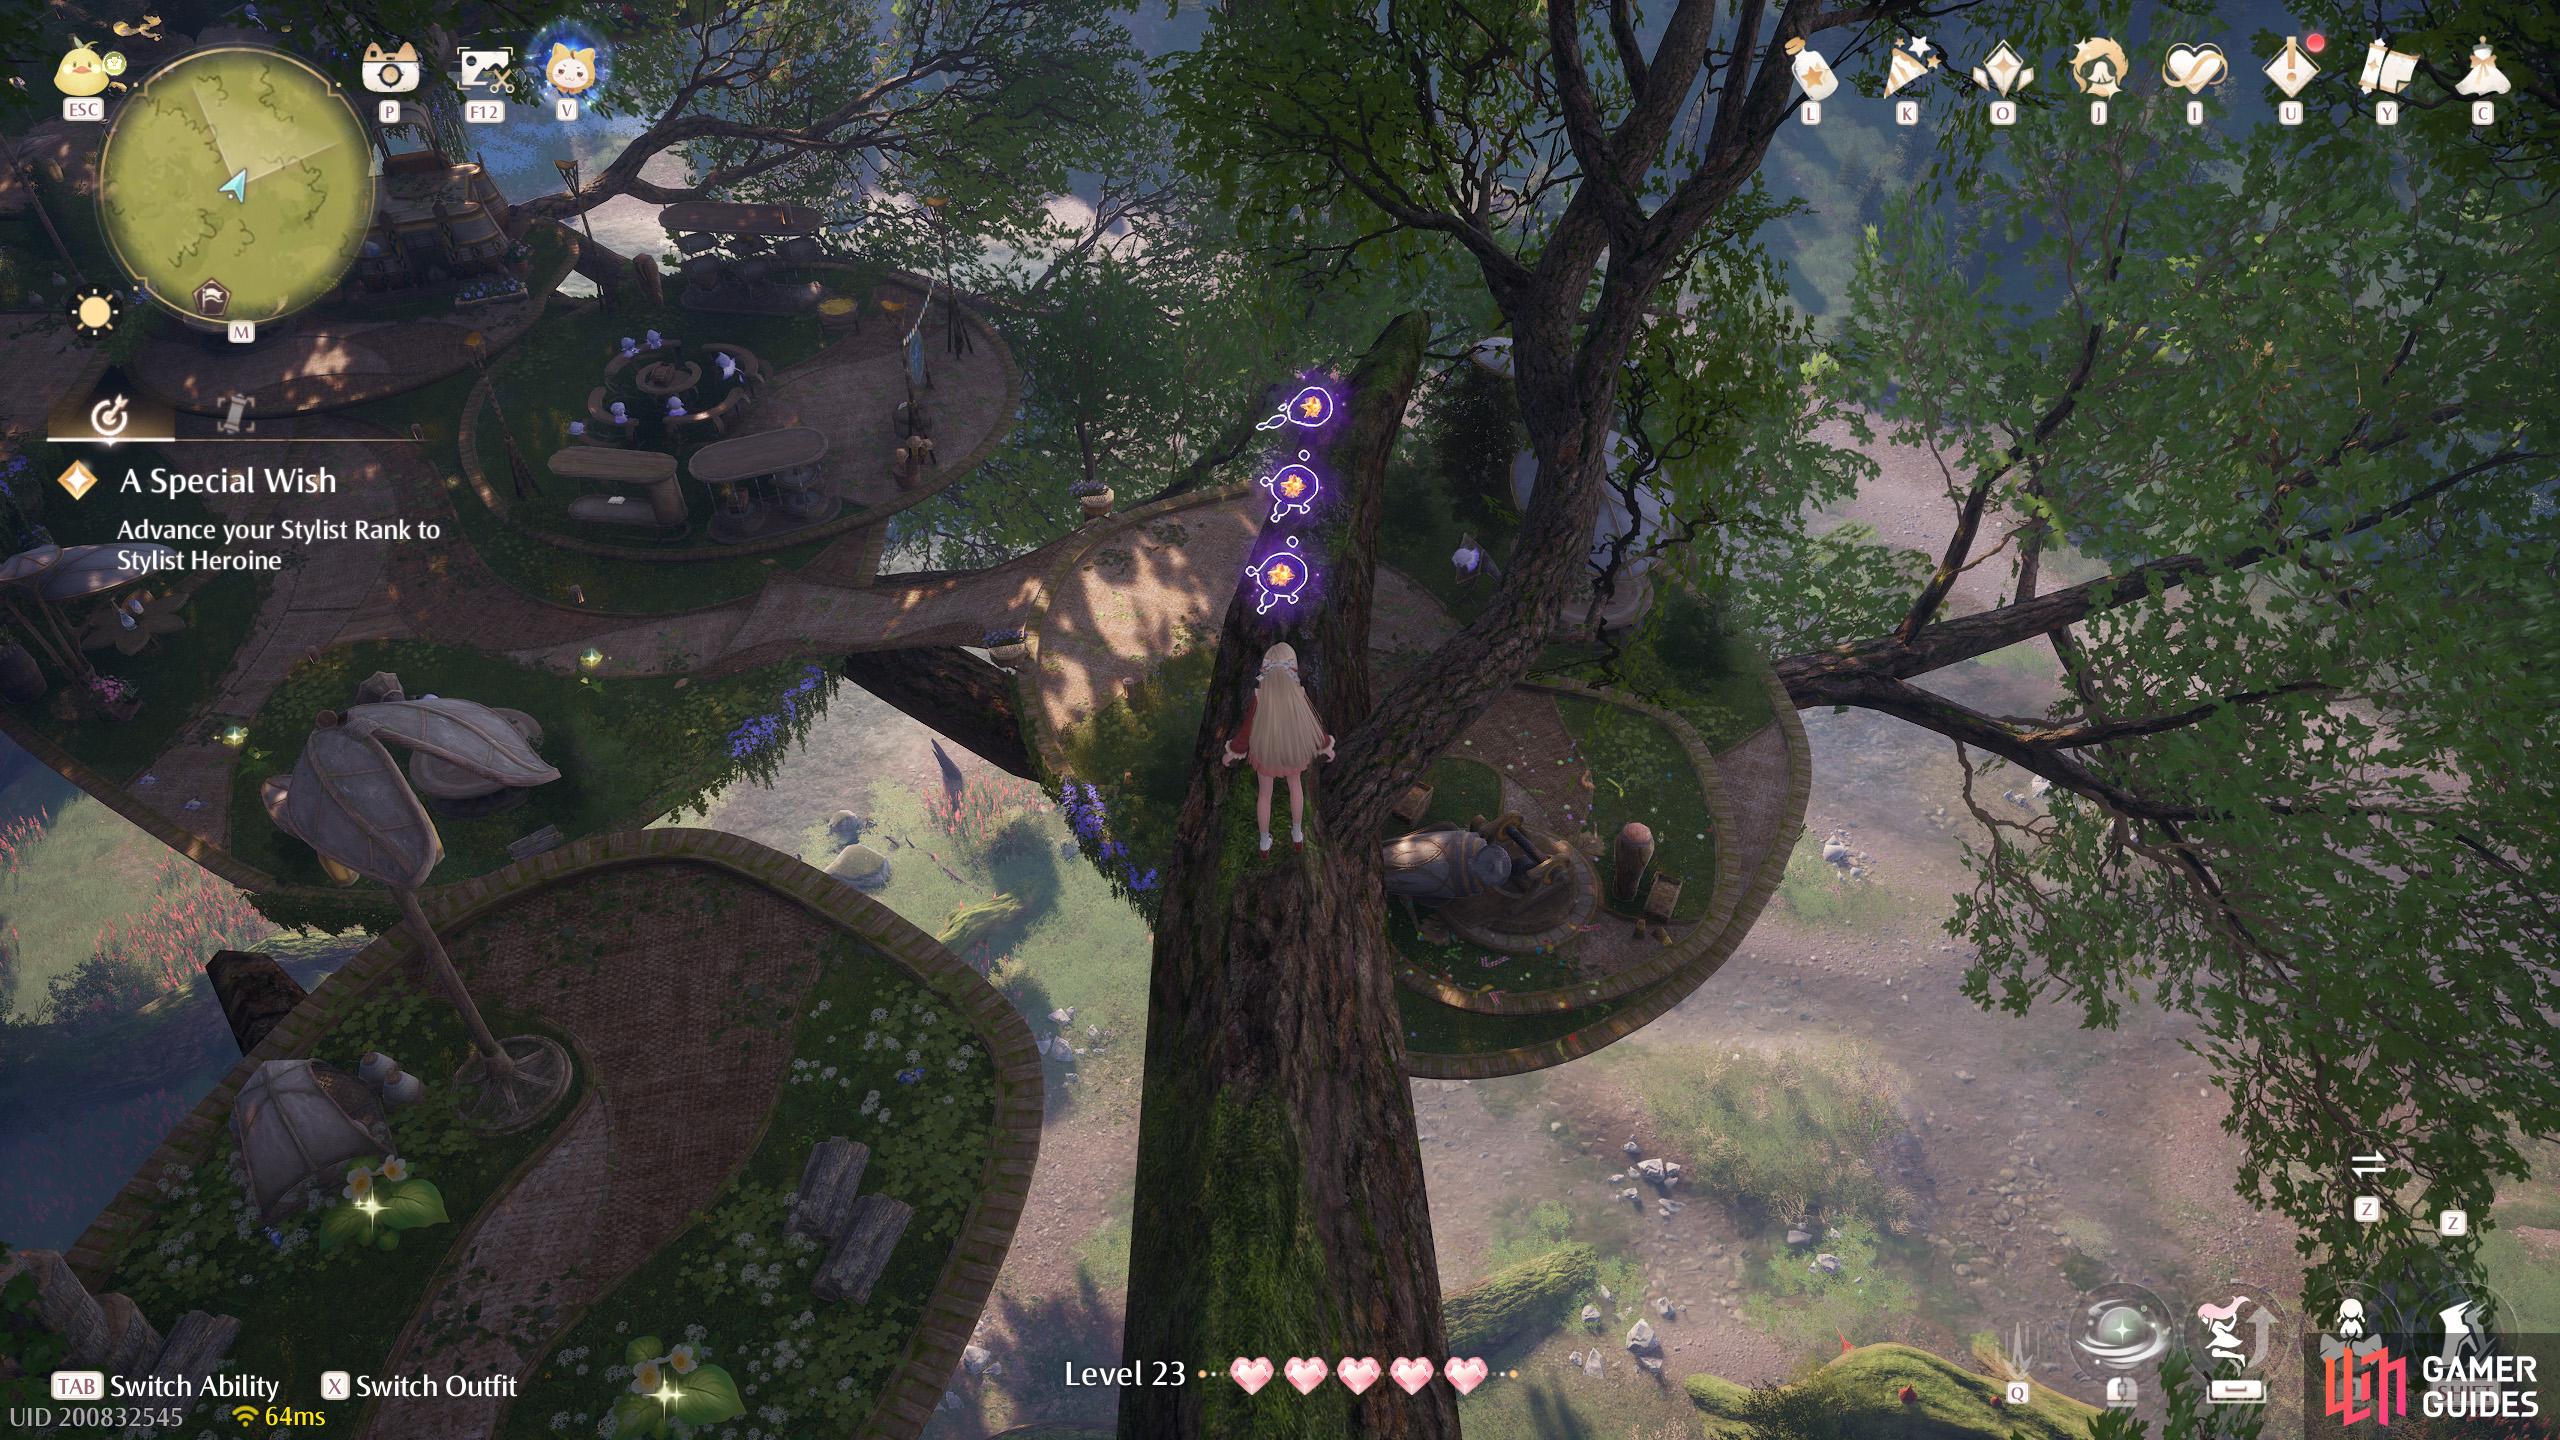
734. Miraland Map
Atop the ![]() Grand Millewish Tree. East from the
Grand Millewish Tree. East from the ![]() Garrison of the Paladins, lower down. Three on a tree branch next to a lower platform on the north side of the
Garrison of the Paladins, lower down. Three on a tree branch next to a lower platform on the north side of the ![]() Wishball platform.
Wishball platform.
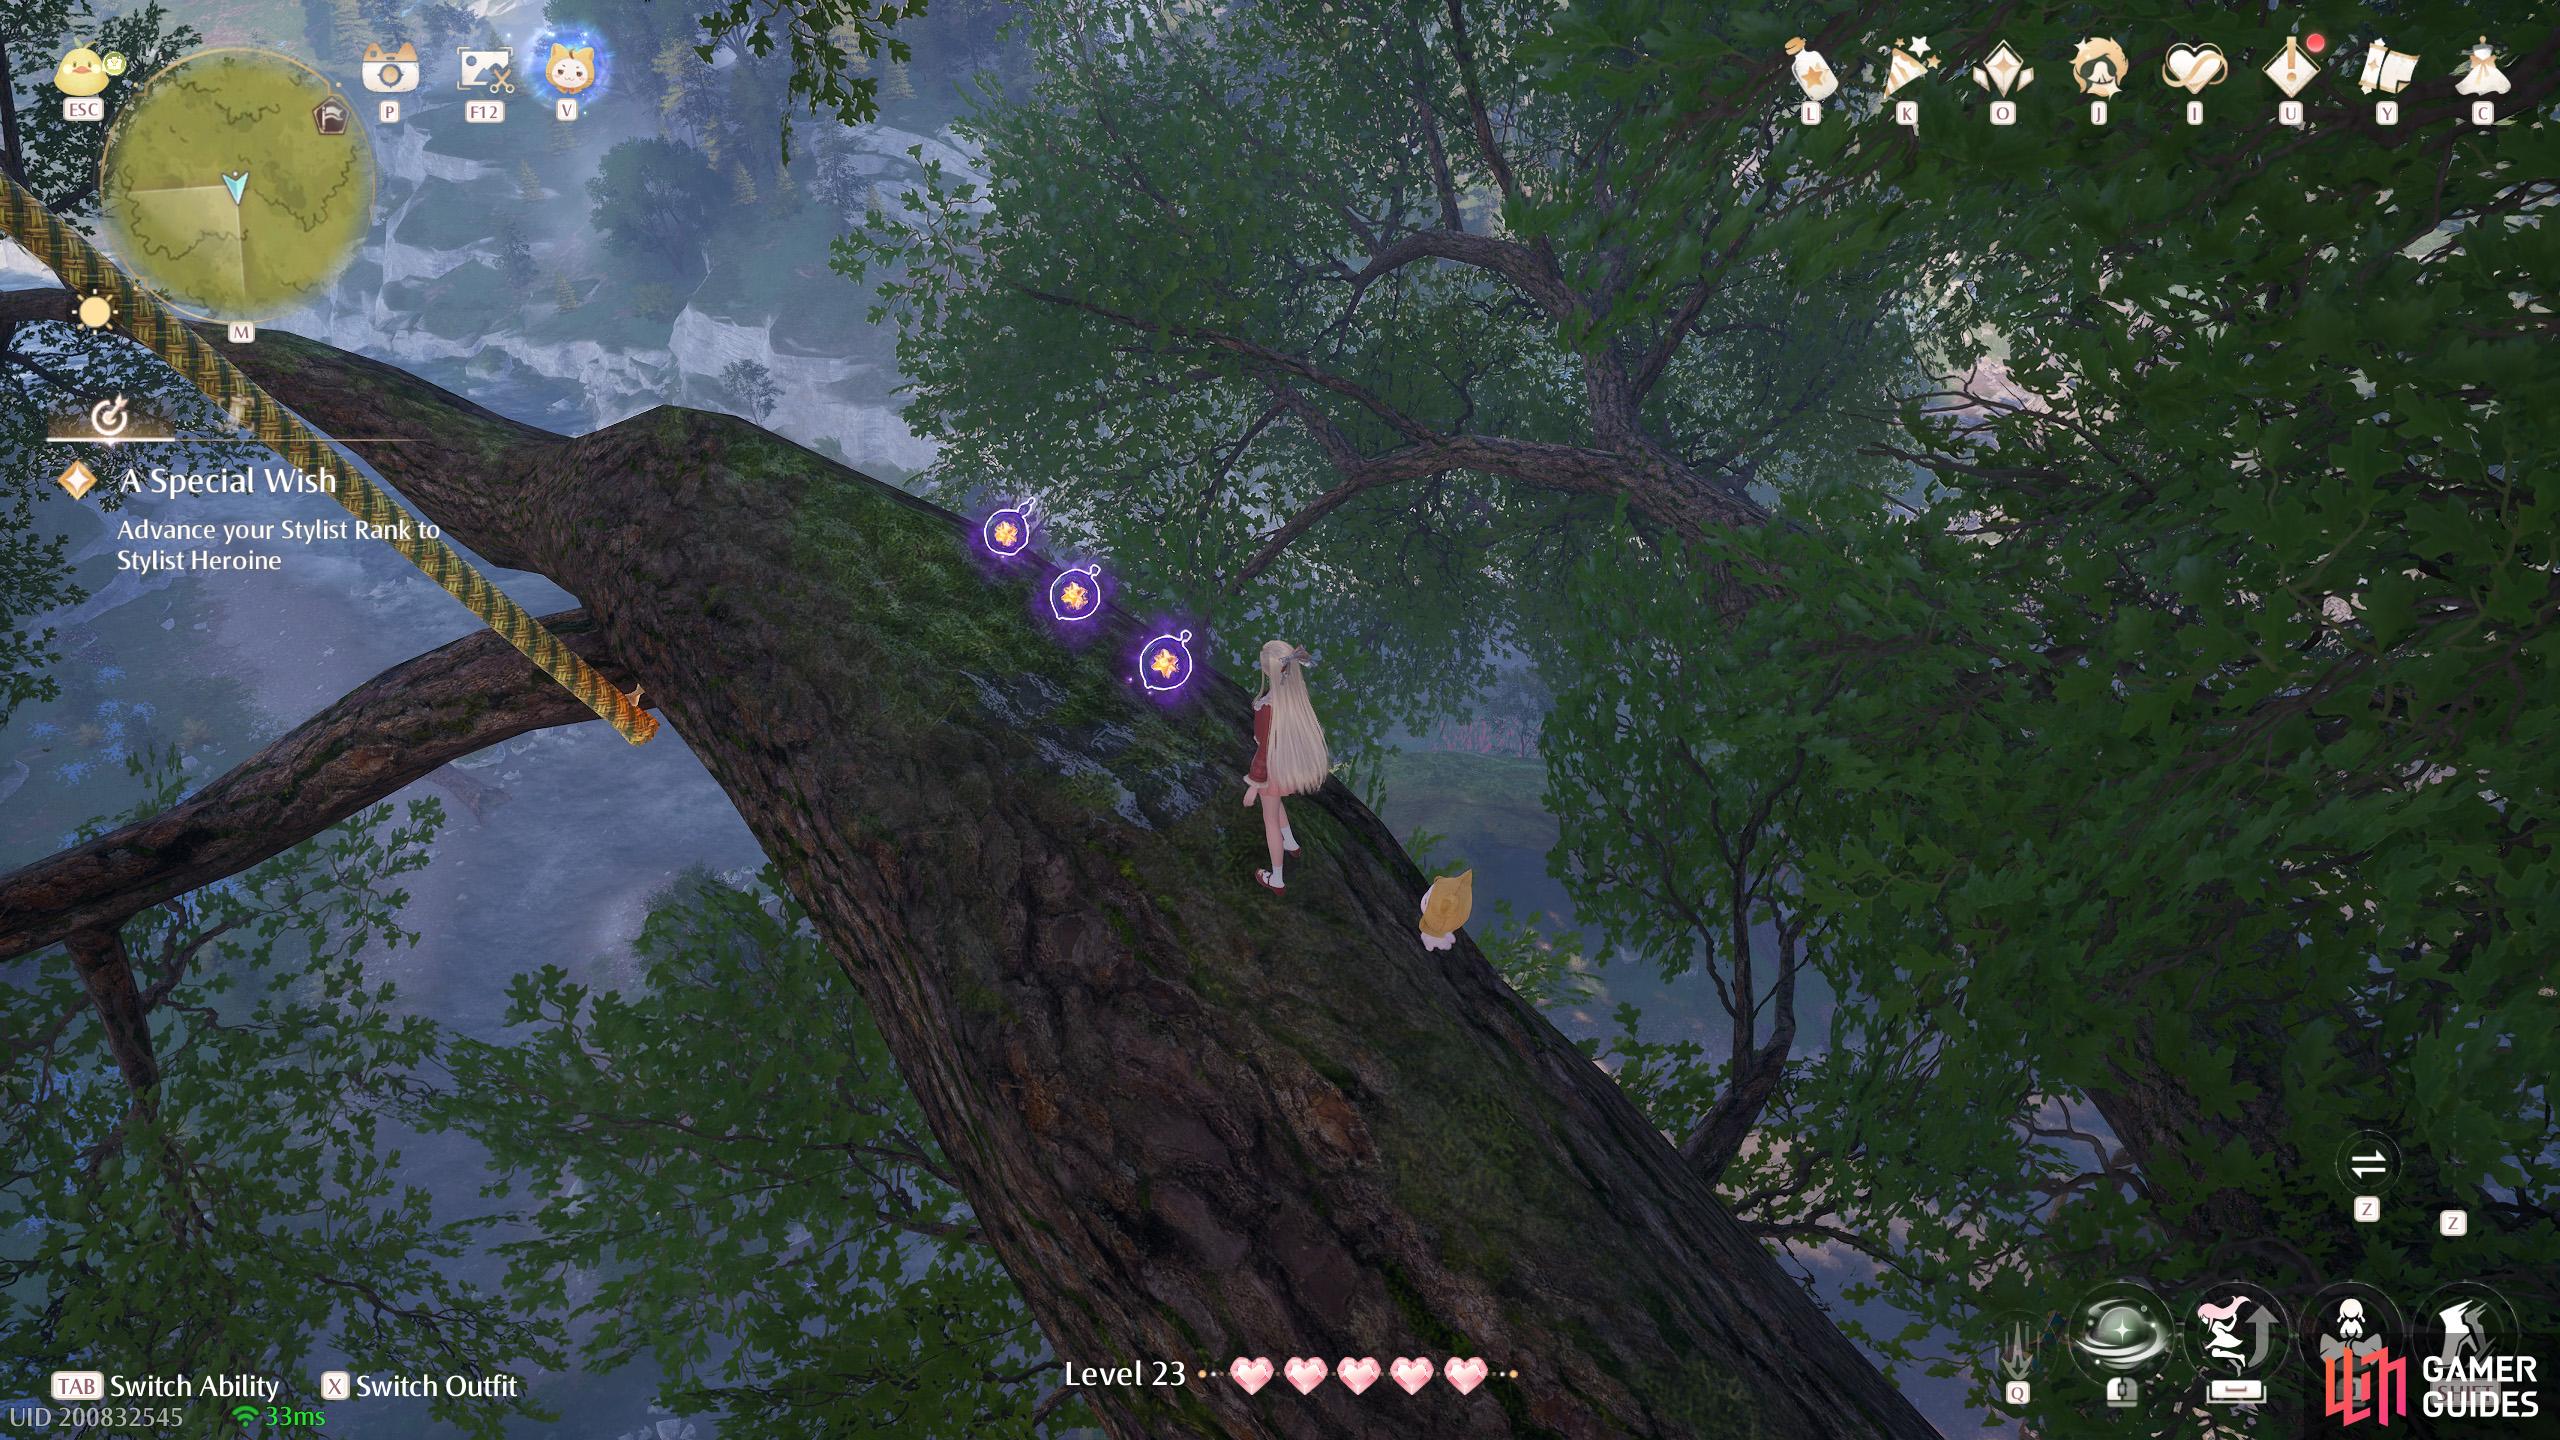
735. Miraland Map
Atop the ![]() Grand Millewish Tree. South from
Grand Millewish Tree. South from ![]() Grand Tree Residential Area. Three on a branch south-west from the
Grand Tree Residential Area. Three on a branch south-west from the ![]() Wishball platform. You can just about float from that platform. Or it might be safer to use the confetti cannon to reach the next platform.
Wishball platform. You can just about float from that platform. Or it might be safer to use the confetti cannon to reach the next platform.
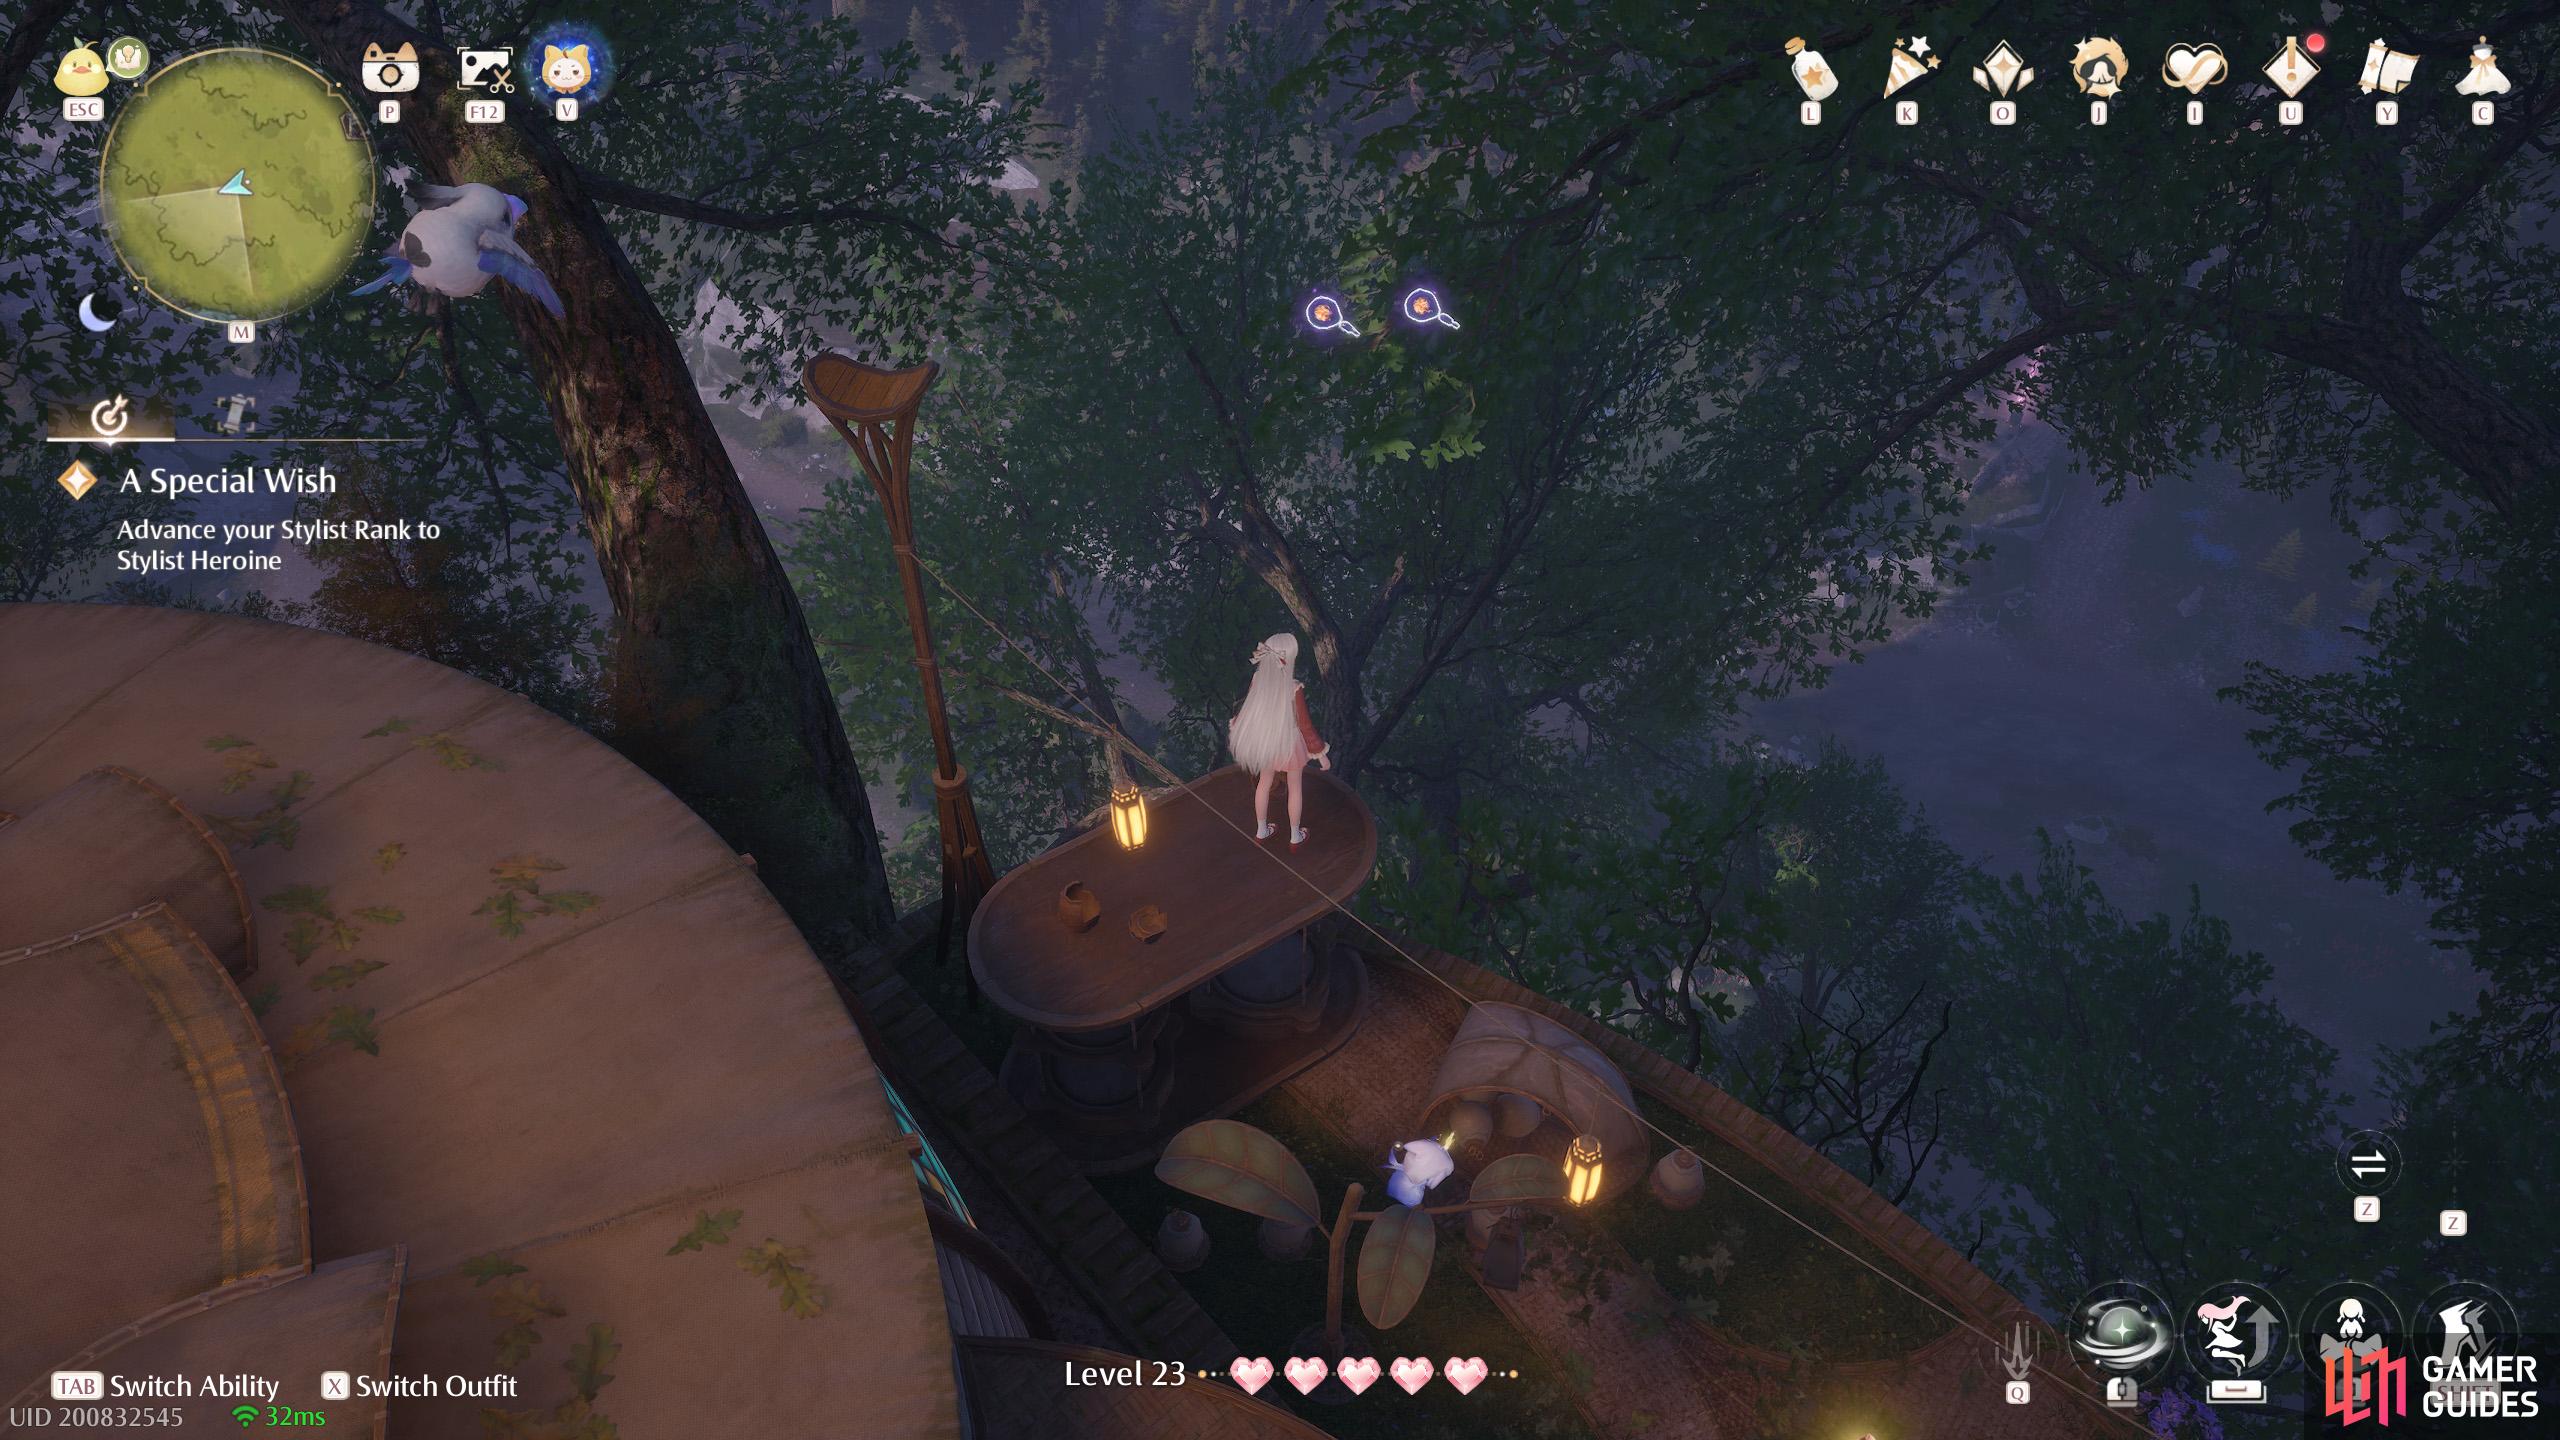
736. Miraland Map
Atop the ![]() Grand Millewish Tree. South from
Grand Millewish Tree. South from ![]() Temple of Wishes. Two floating near a shelf on the big platform south-west from the
Temple of Wishes. Two floating near a shelf on the big platform south-west from the ![]() Wishball field.
Wishball field.

737. Miraland Map
Short distance north-west from the ![]() Temple of Wishes. From the temple entrance, head north-east and climb the rope to where the confetti cannon is. Then jump up to the nearby big tree branch and keep left to find two of these.
Temple of Wishes. From the temple entrance, head north-east and climb the rope to where the confetti cannon is. Then jump up to the nearby big tree branch and keep left to find two of these.
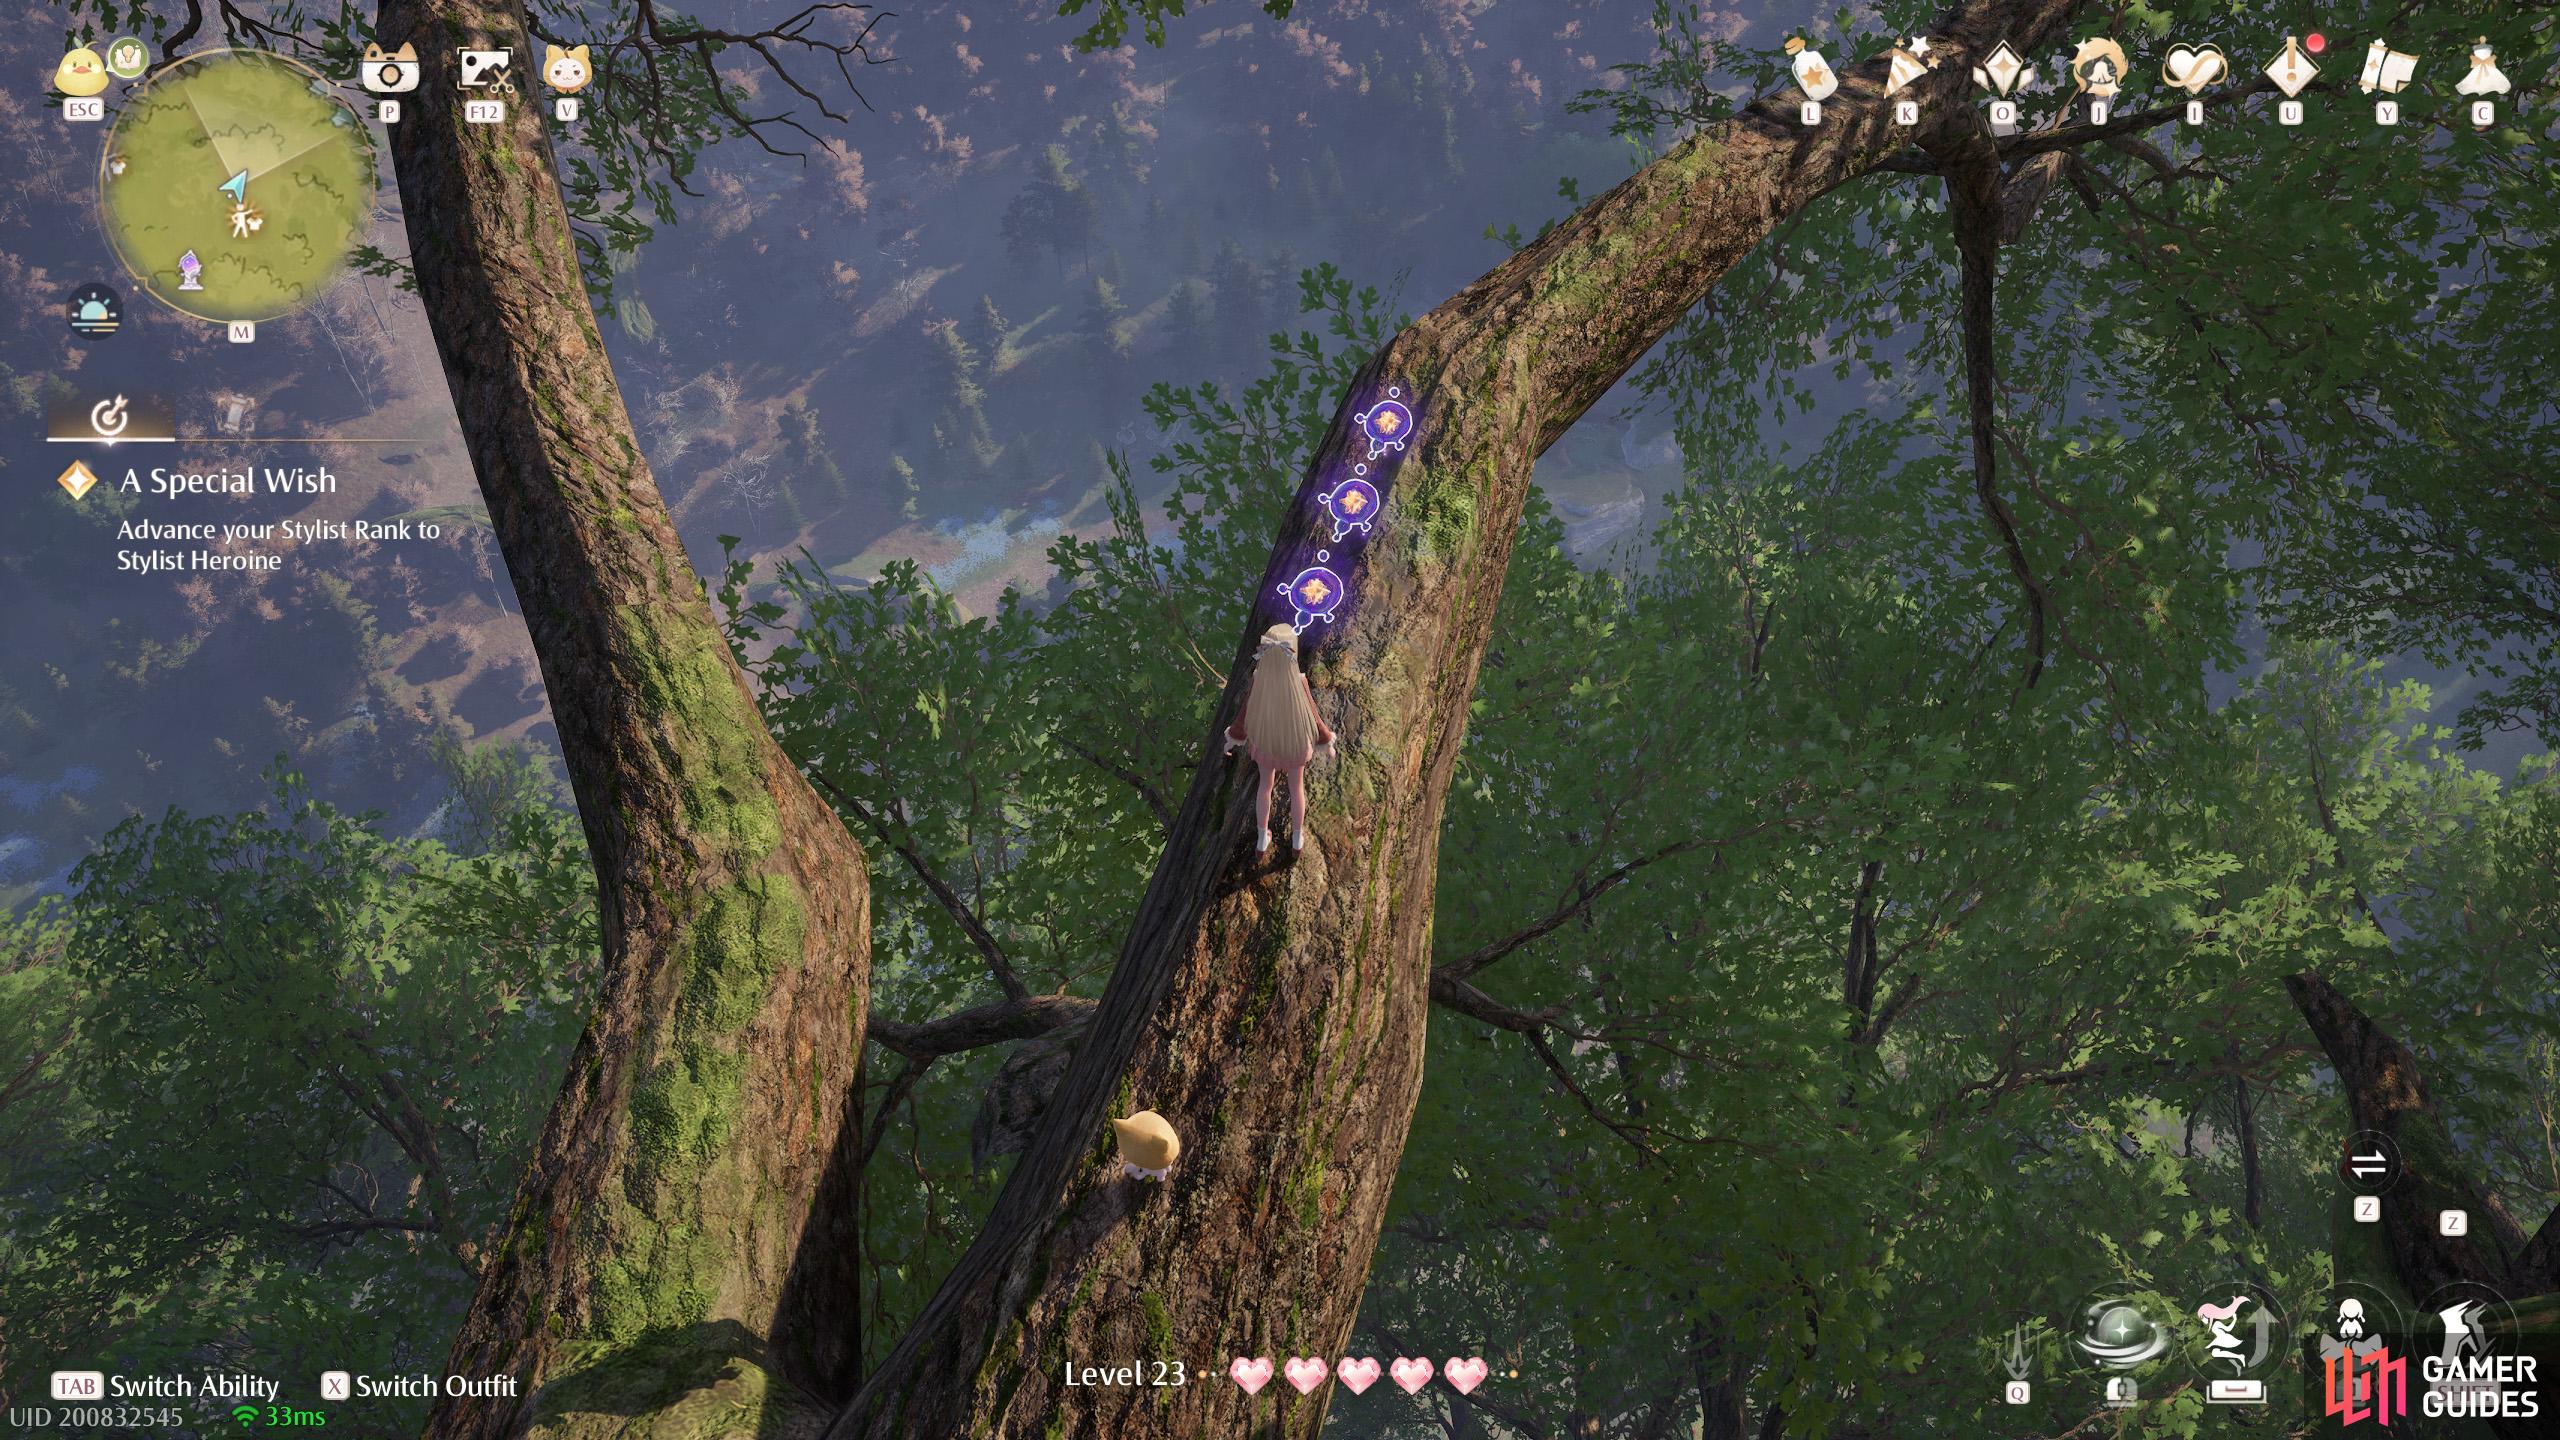
738. Miraland Map
North-east from the ![]() Temple of Wishes. From the temple entrance, climb up the nearby rope to reach a confetti cannon. Next, jump on the nearby tree branch, then follow the right-hand side path to find three of these.
Temple of Wishes. From the temple entrance, climb up the nearby rope to reach a confetti cannon. Next, jump on the nearby tree branch, then follow the right-hand side path to find three of these.
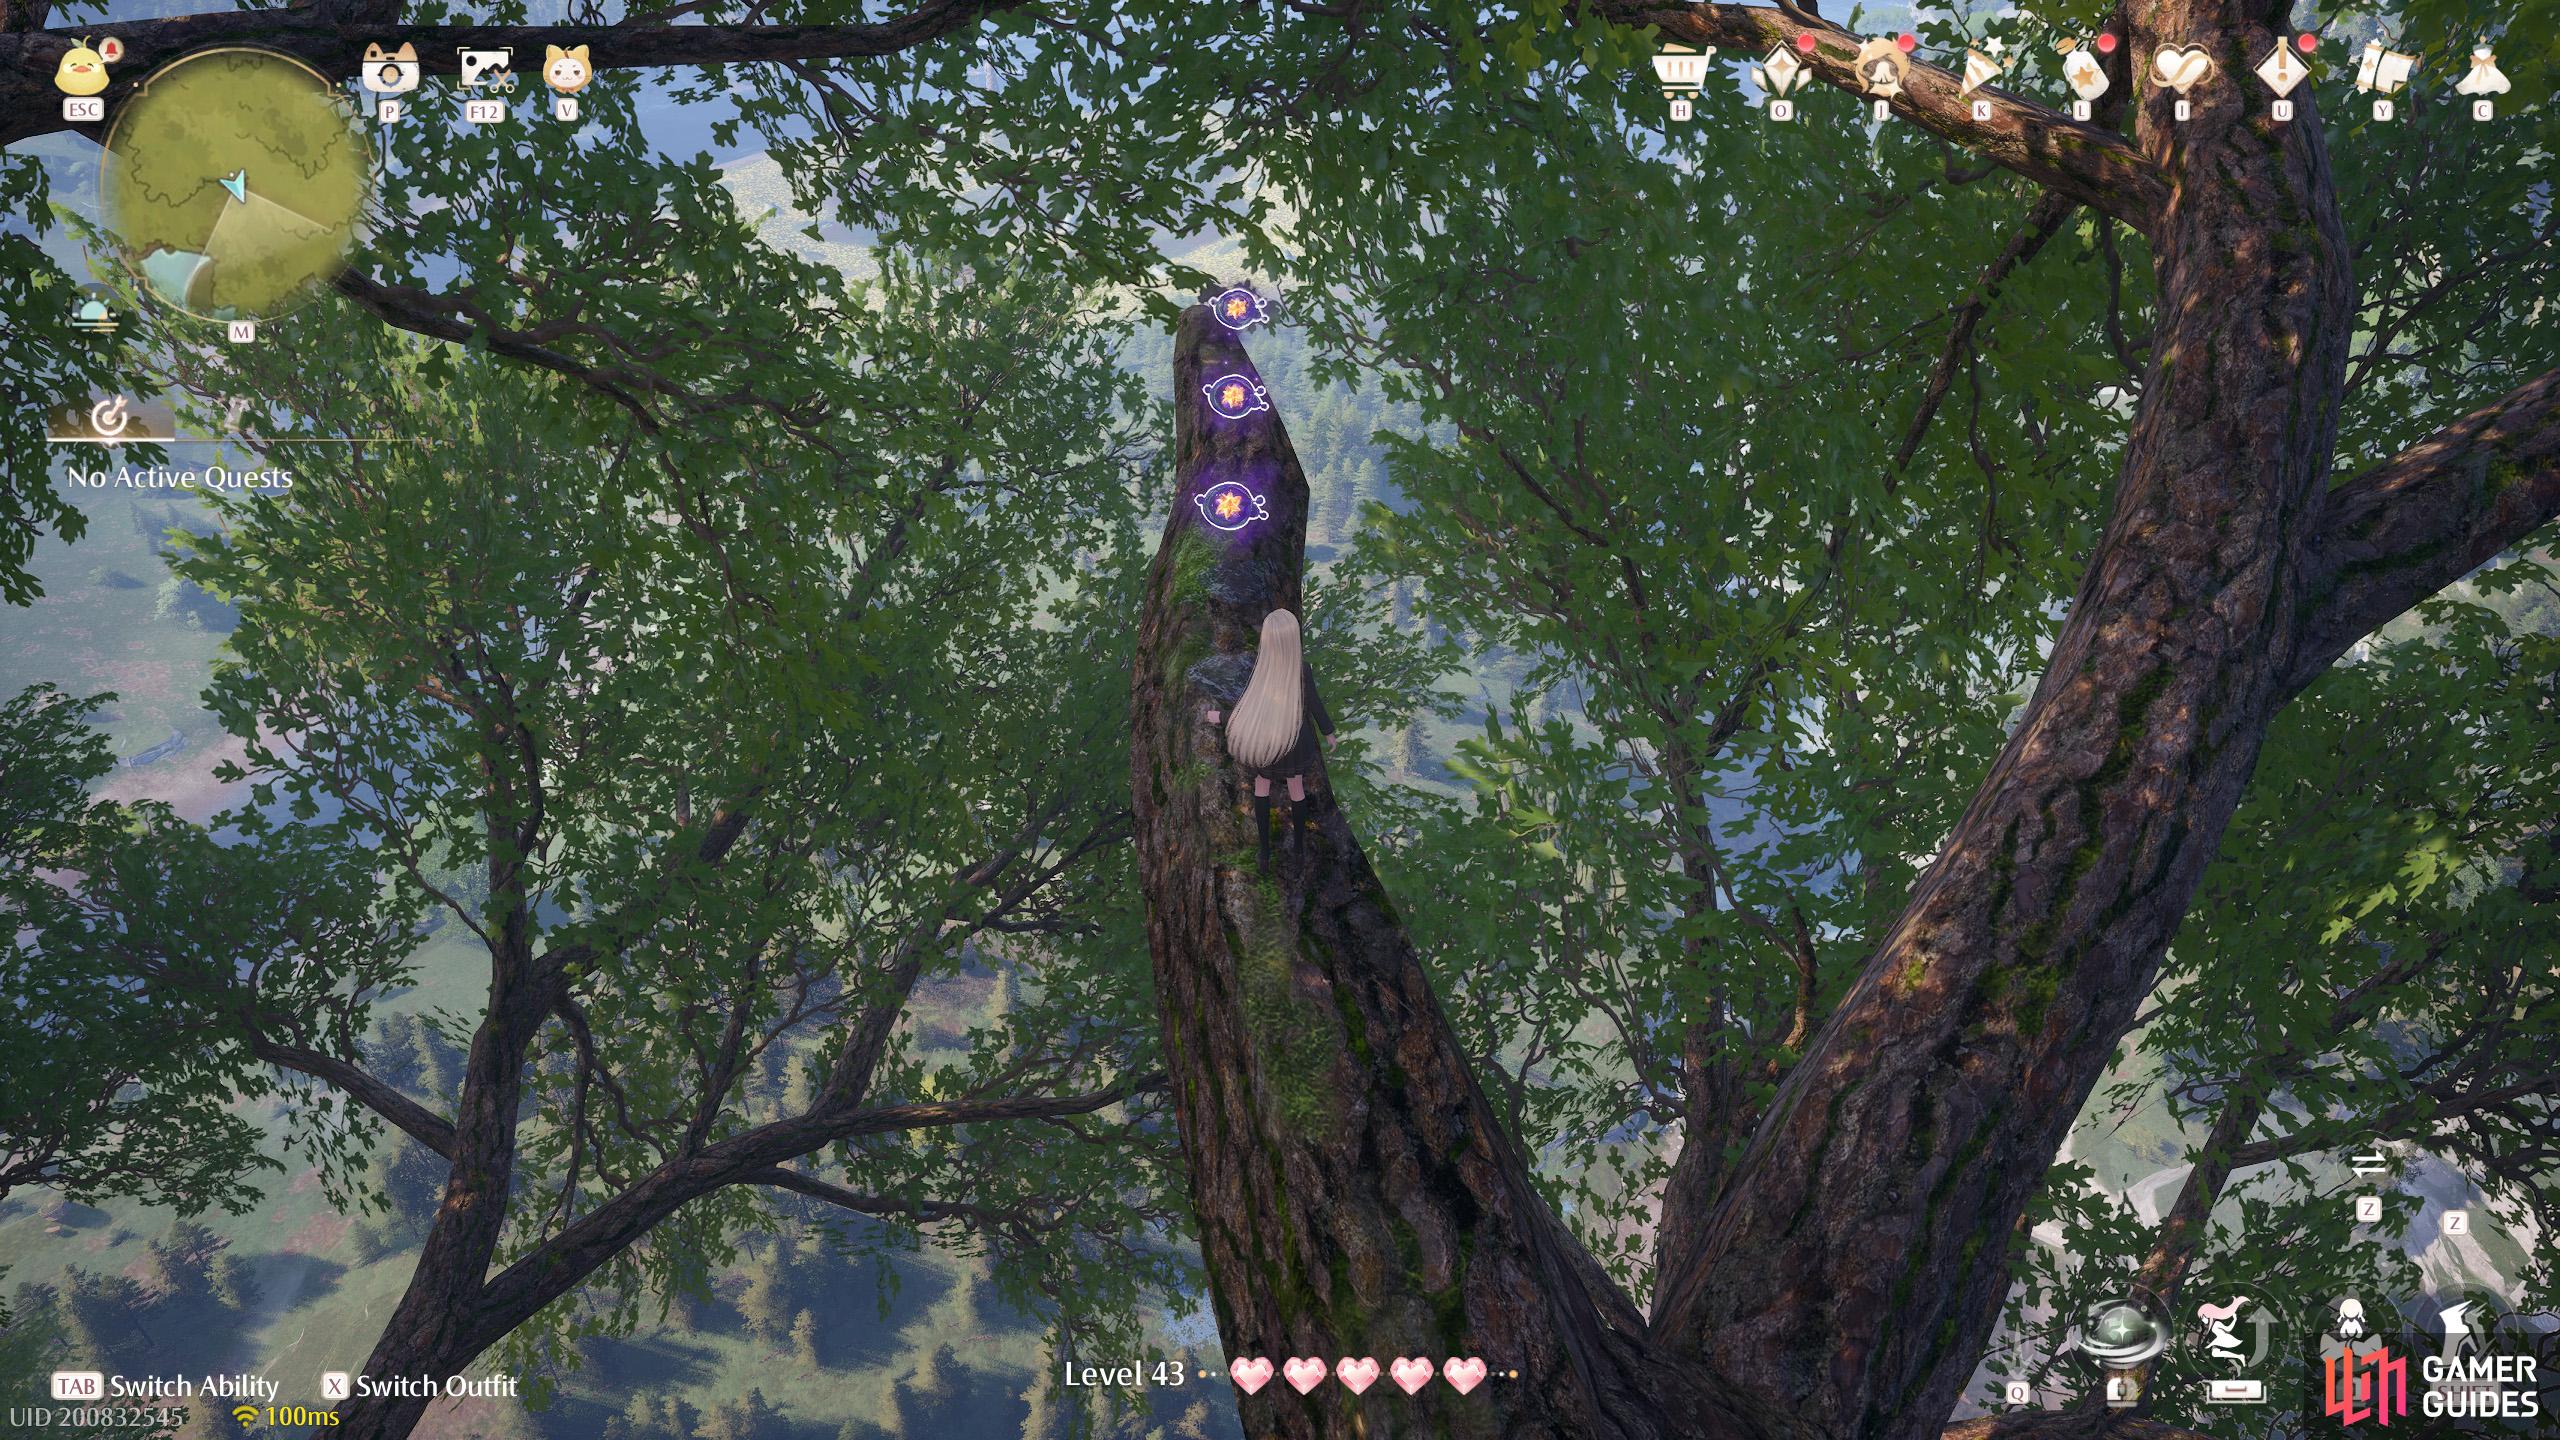
739. Miraland Map
Near the very top of the ![]() Grand Millewish Tree. Must have completed Chapter 8 and the
Grand Millewish Tree. Must have completed Chapter 8 and the ![]() Major Treetop Renovation! quest. Three on a tree branch at the south side of the platform, past the podium with the treasure chest.
Major Treetop Renovation! quest. Three on a tree branch at the south side of the platform, past the podium with the treasure chest.
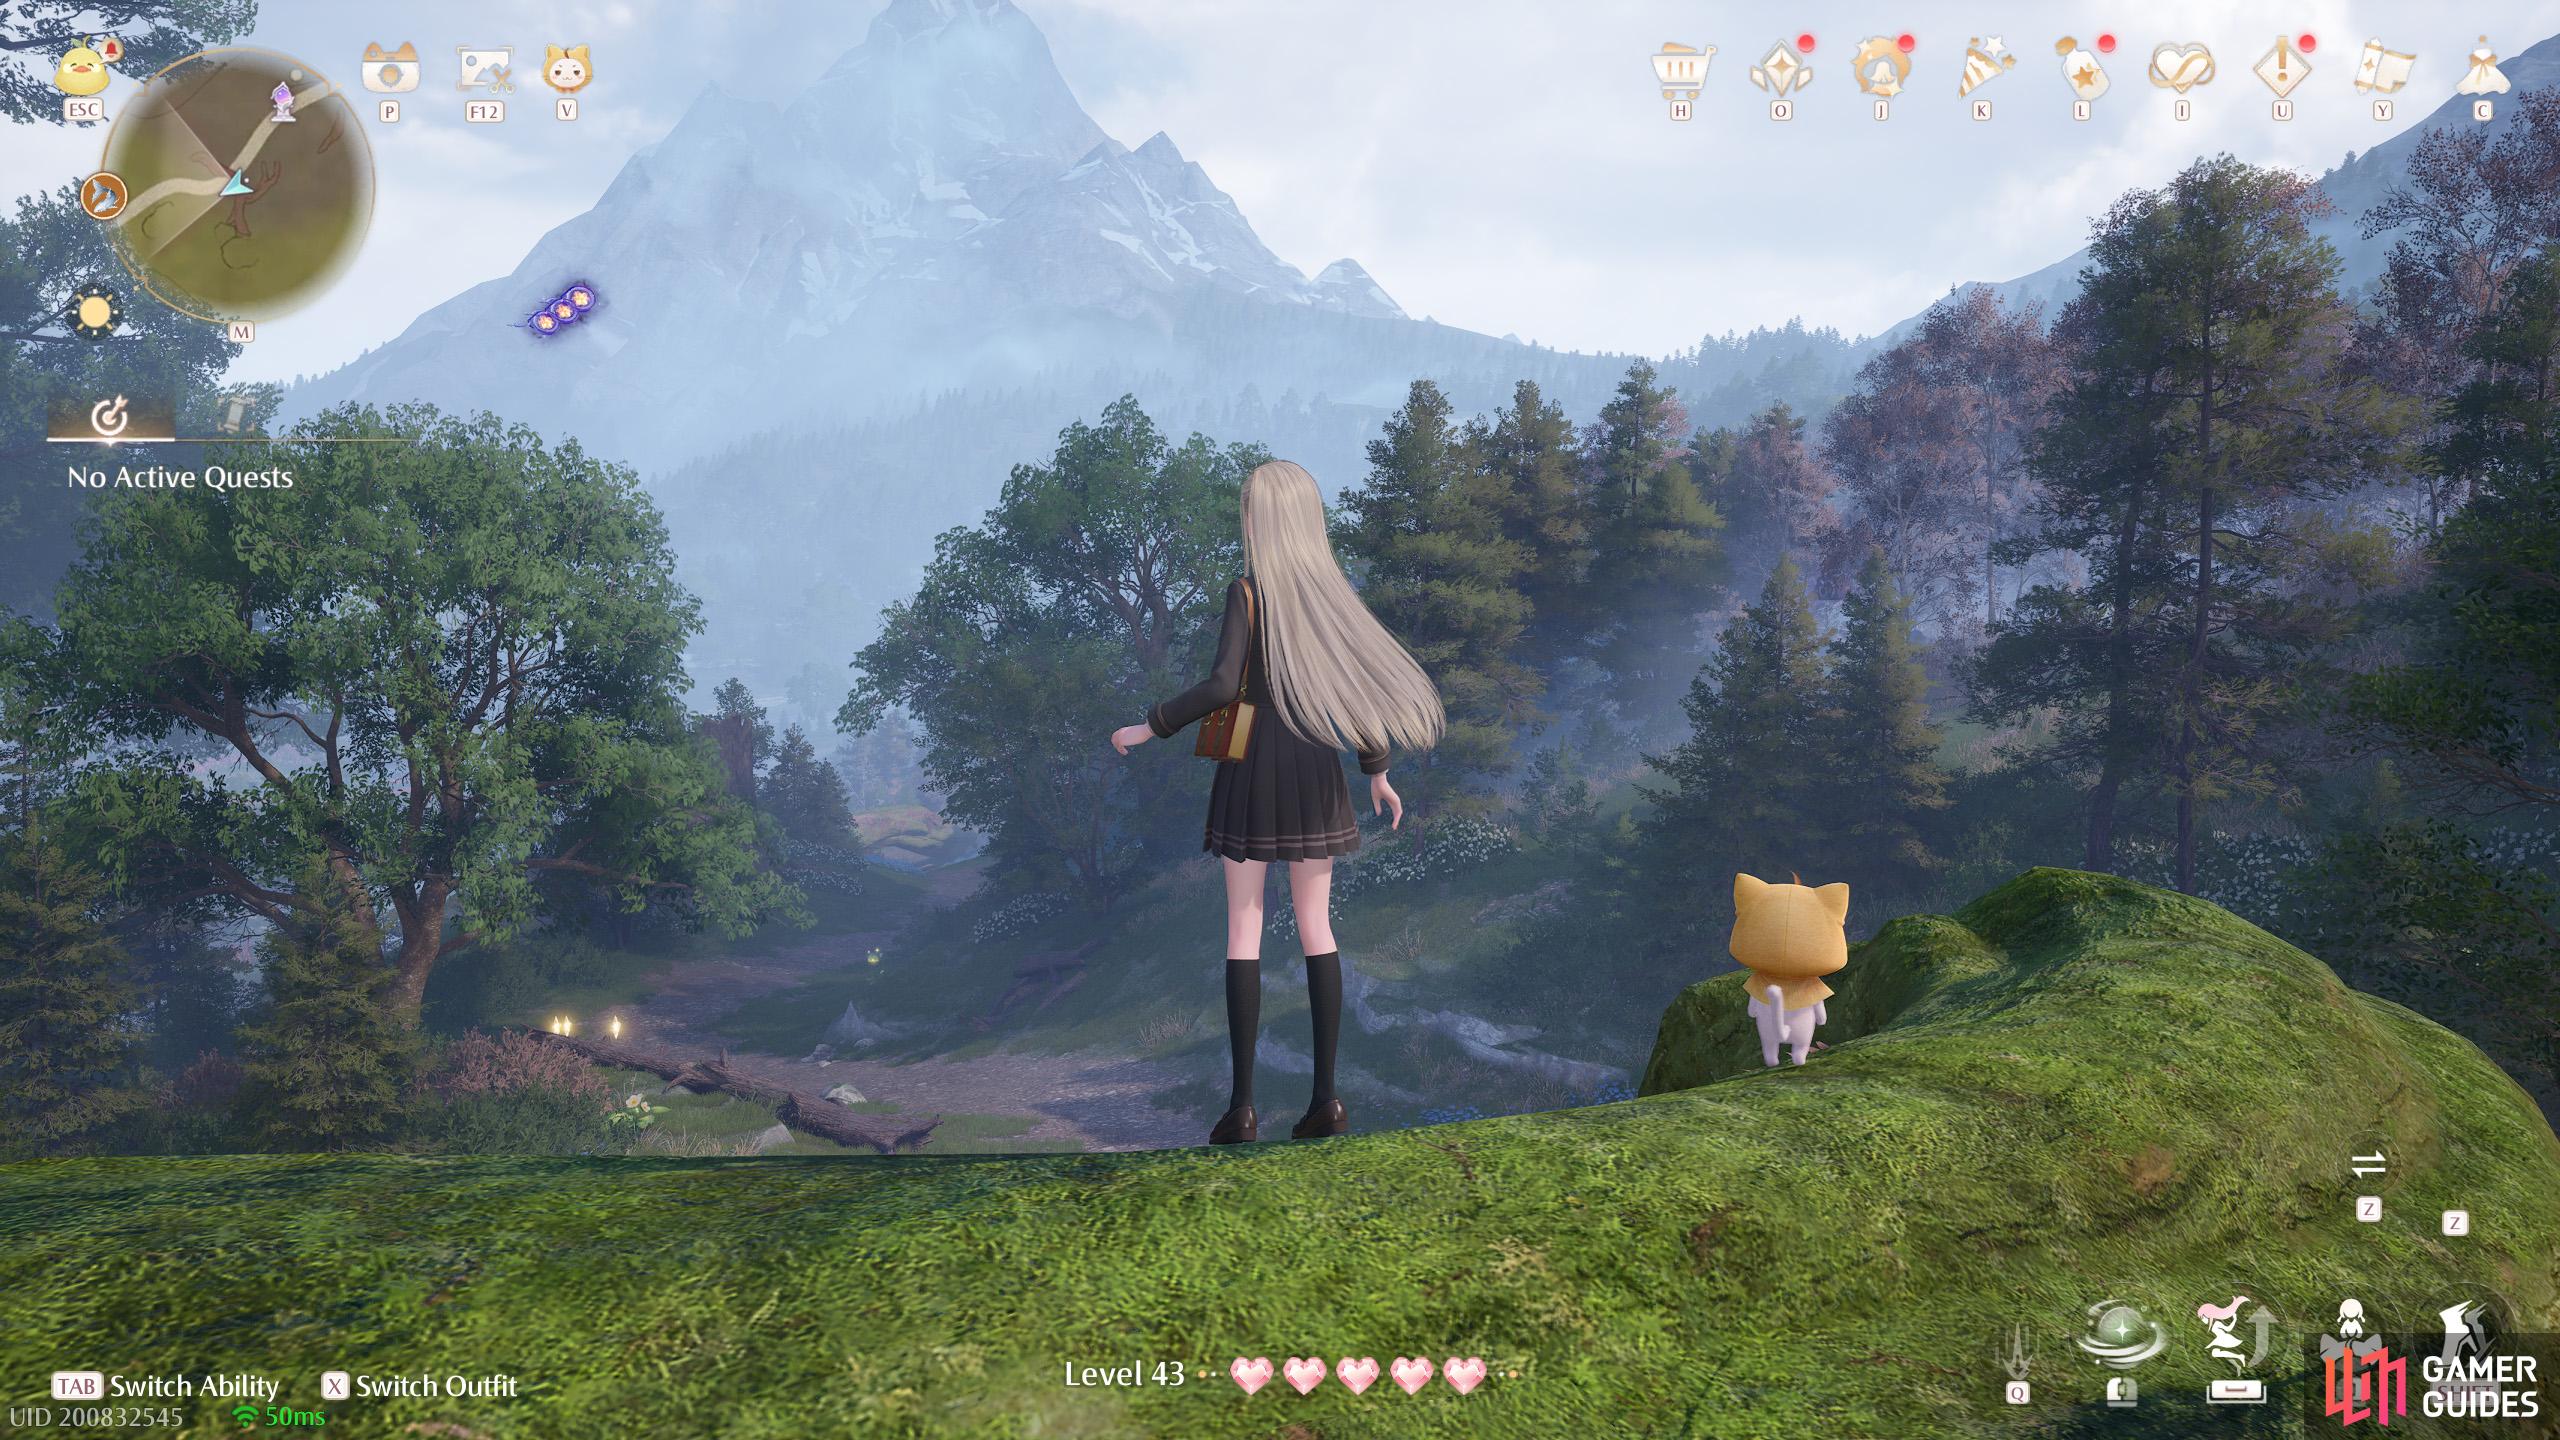
740. Miraland Map
South-west from ![]() Desperation Orb Warehouse. Three floating high up. You can reach from the big tree roots.
Desperation Orb Warehouse. Three floating high up. You can reach from the big tree roots.
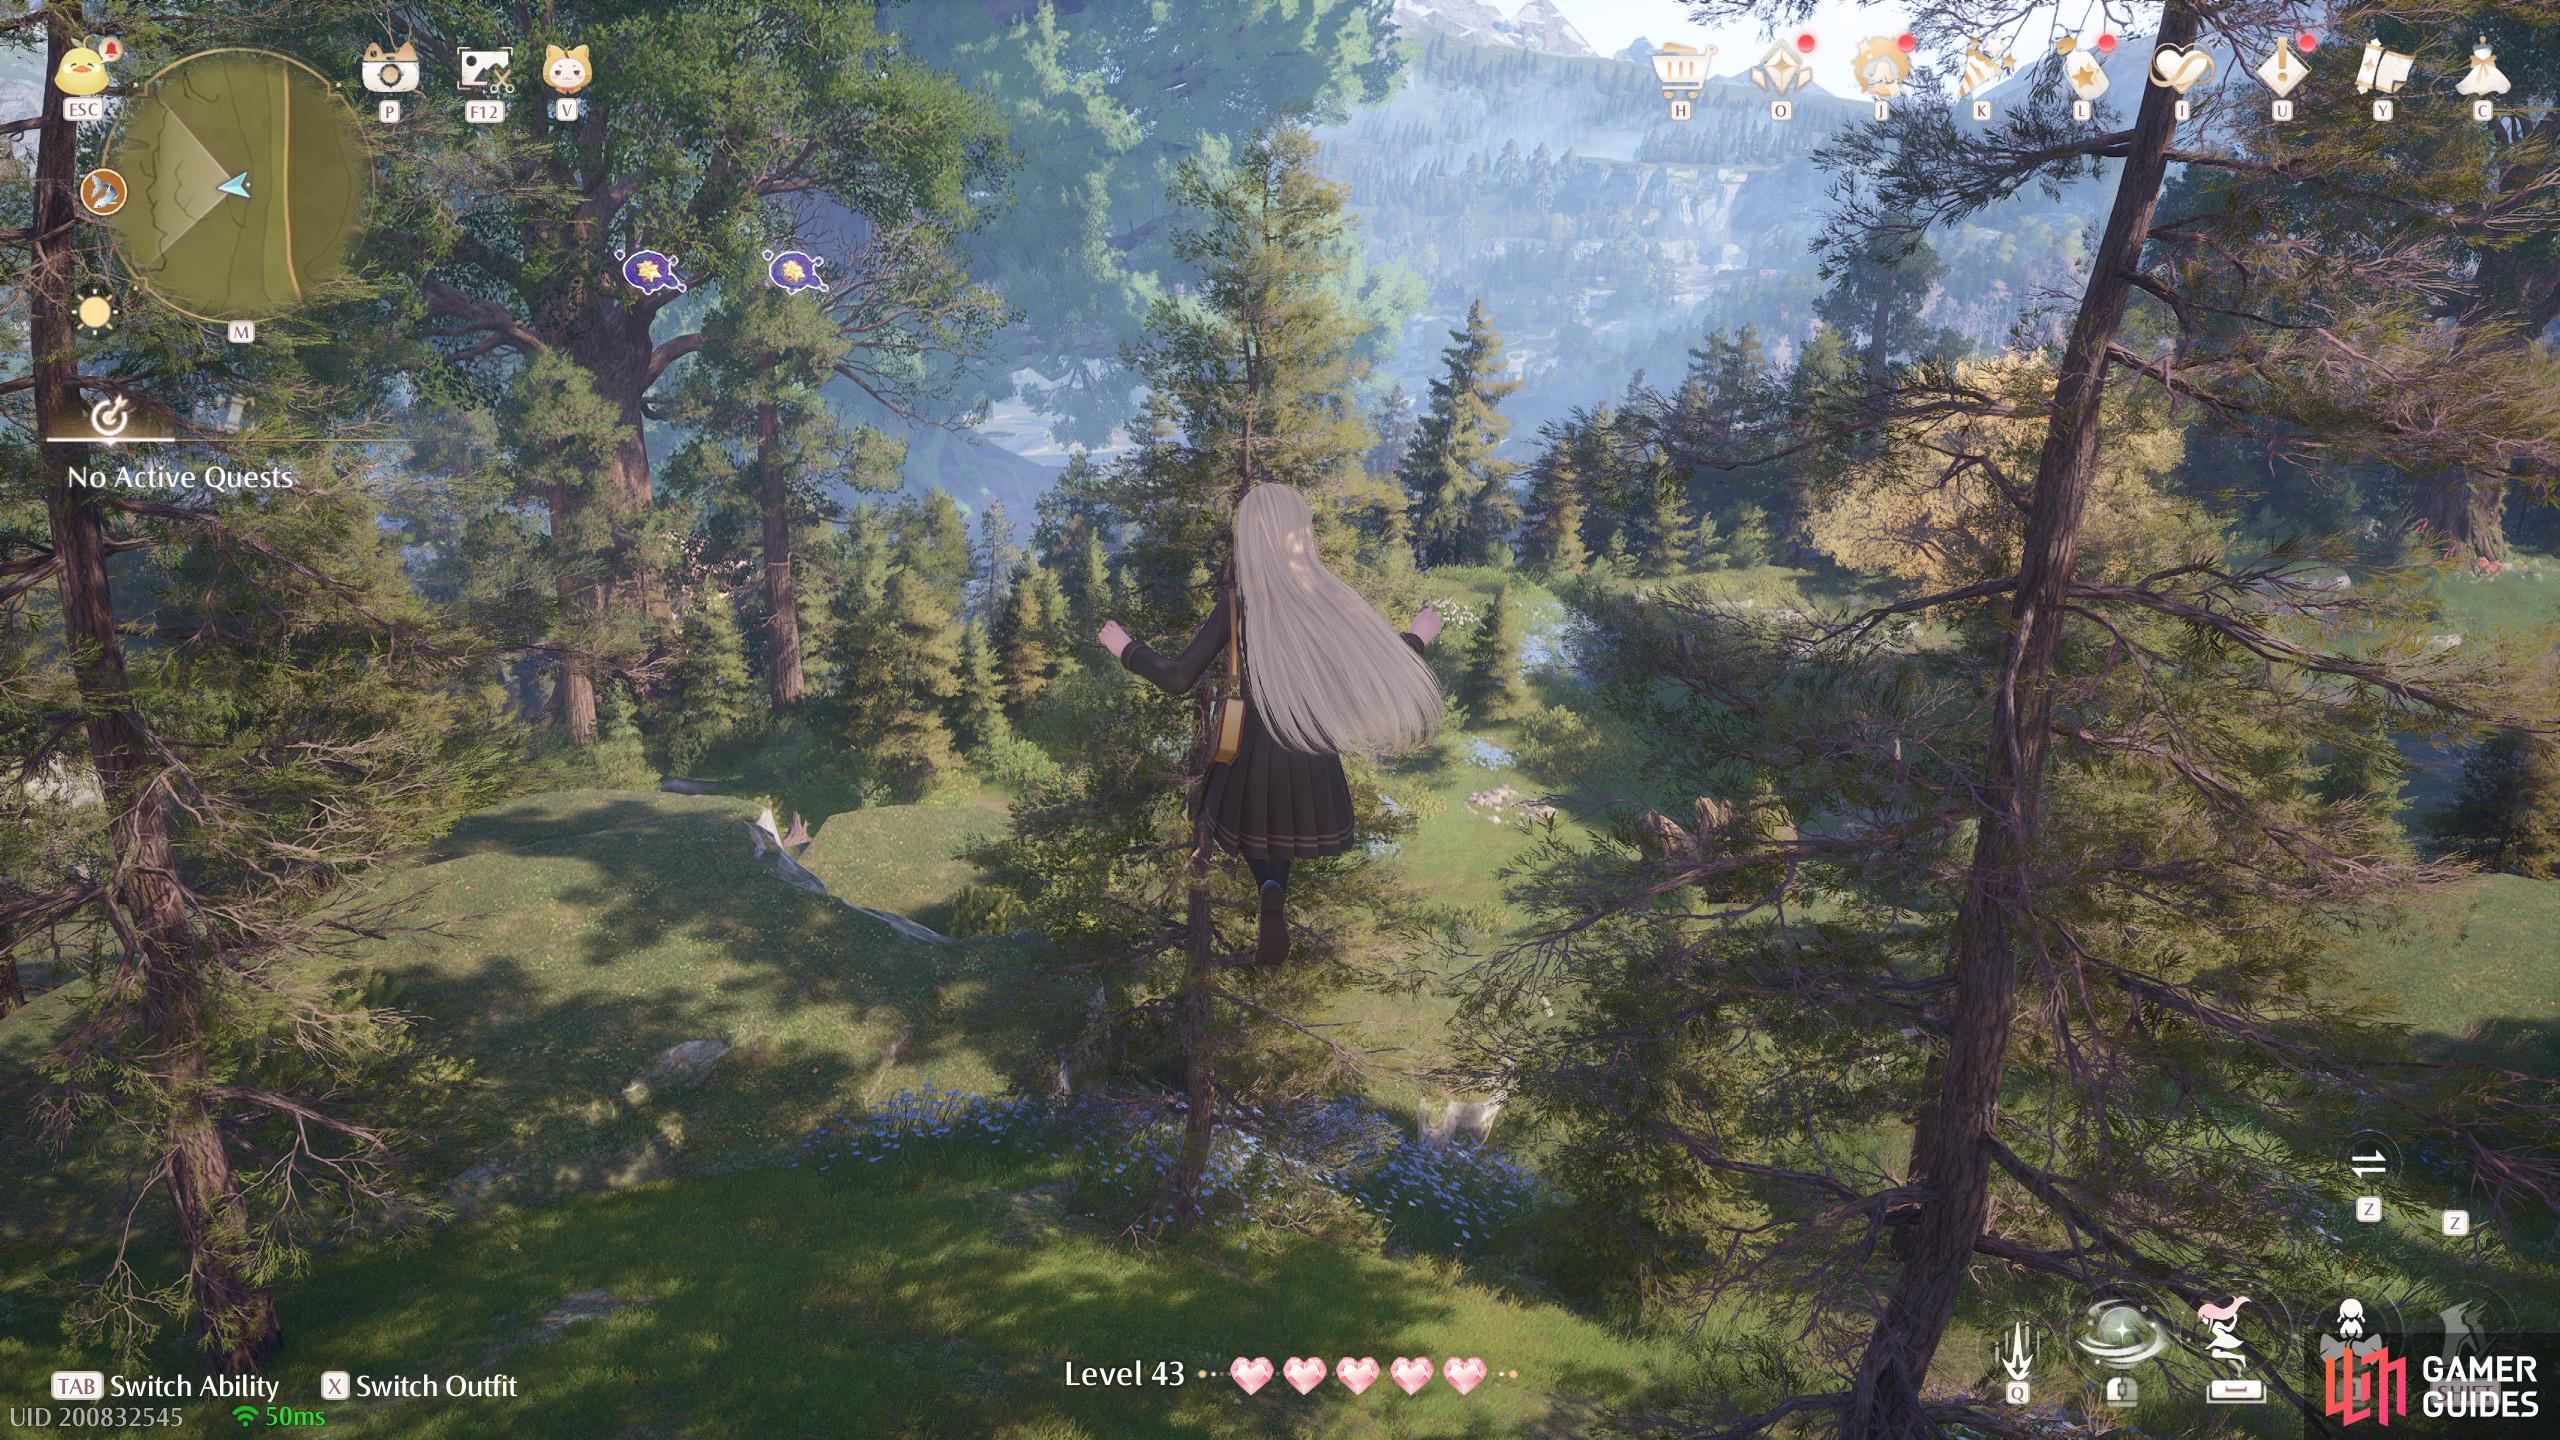
741. Miraland Map
North from ![]() Wish Celebration Center. Two floating near the world boundary south-east from the
Wish Celebration Center. Two floating near the world boundary south-east from the ![]() Dawn Fox’s den.
Dawn Fox’s den.

742. Miraland Map
South from ![]() Ascetic Camp. Two floating in the air. Can be hard to find among the tree. There are some Spear Sacks hiding nearby.
Ascetic Camp. Two floating in the air. Can be hard to find among the tree. There are some Spear Sacks hiding nearby.
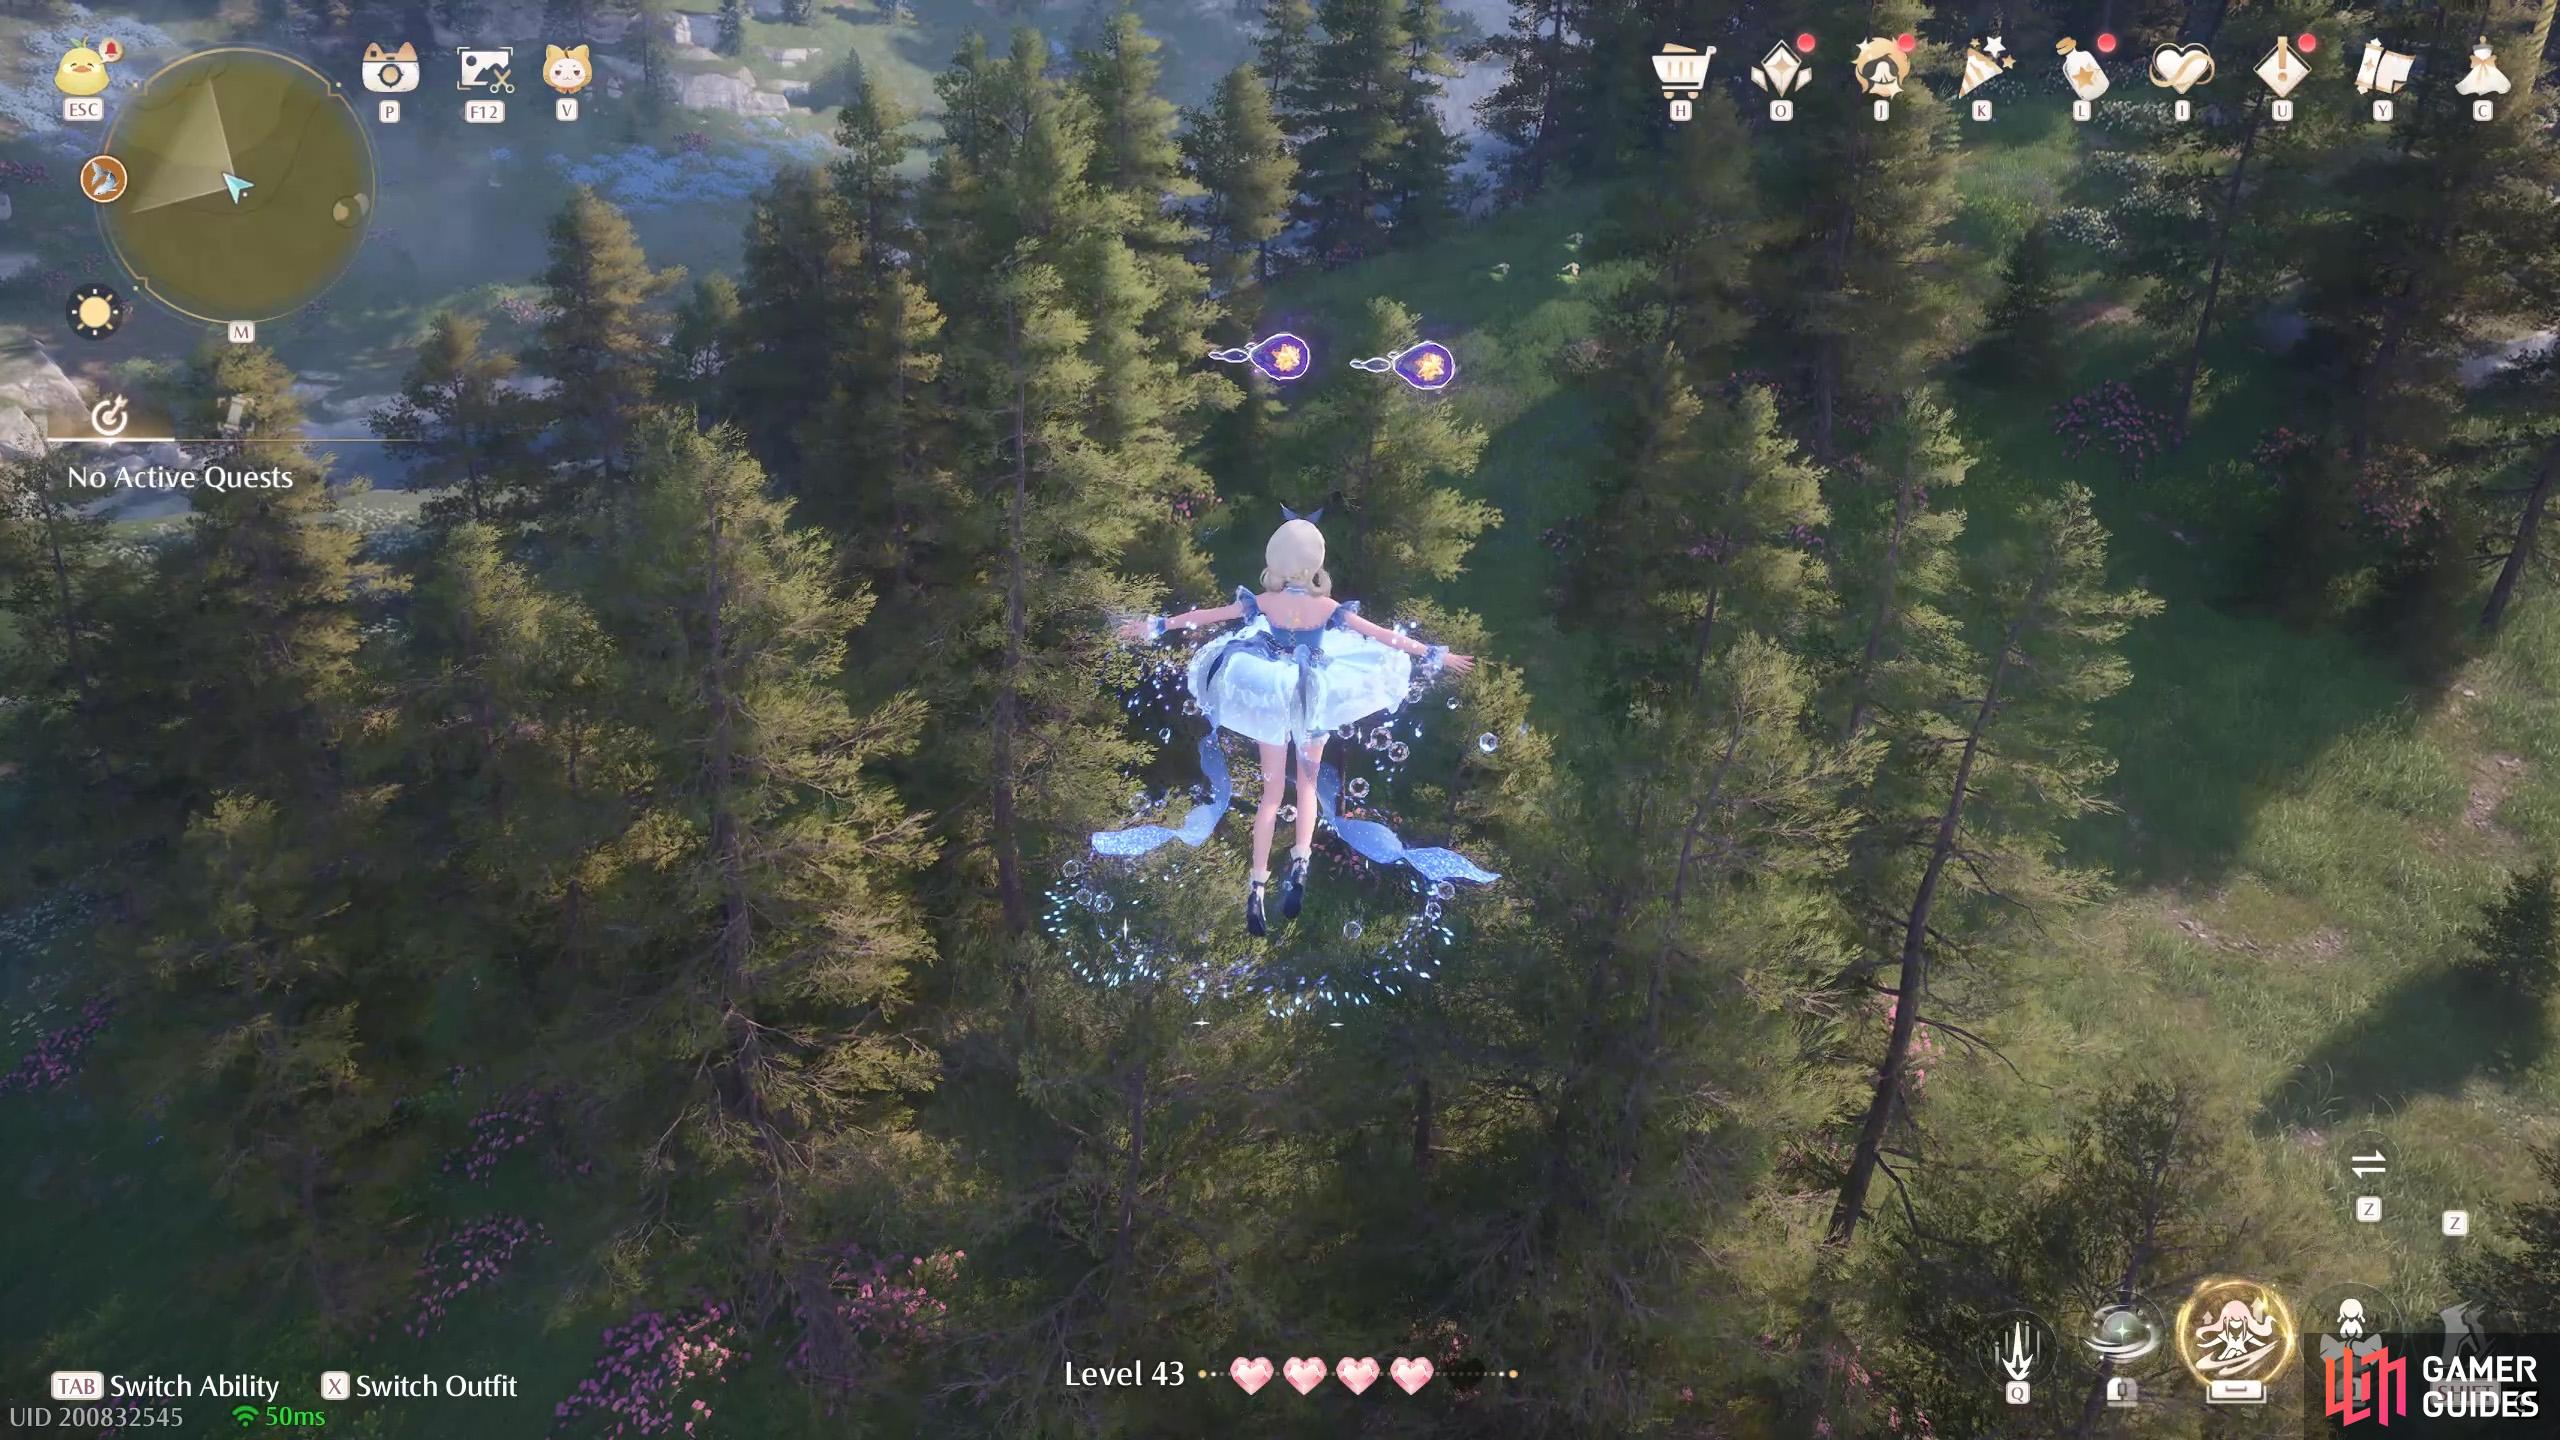
743. Miraland Map
South-east from ![]() Ascetic Camp. Two floating high up. There’s a leaf trampoline nearby protected by an Esseling.
Ascetic Camp. Two floating high up. There’s a leaf trampoline nearby protected by an Esseling.

744. Miraland Map
South-west from ![]() Desperation Orb Warehouse. Three floating high up. There’s a wishnet to the north-east with Esselings nearby.
Desperation Orb Warehouse. Three floating high up. There’s a wishnet to the north-east with Esselings nearby.
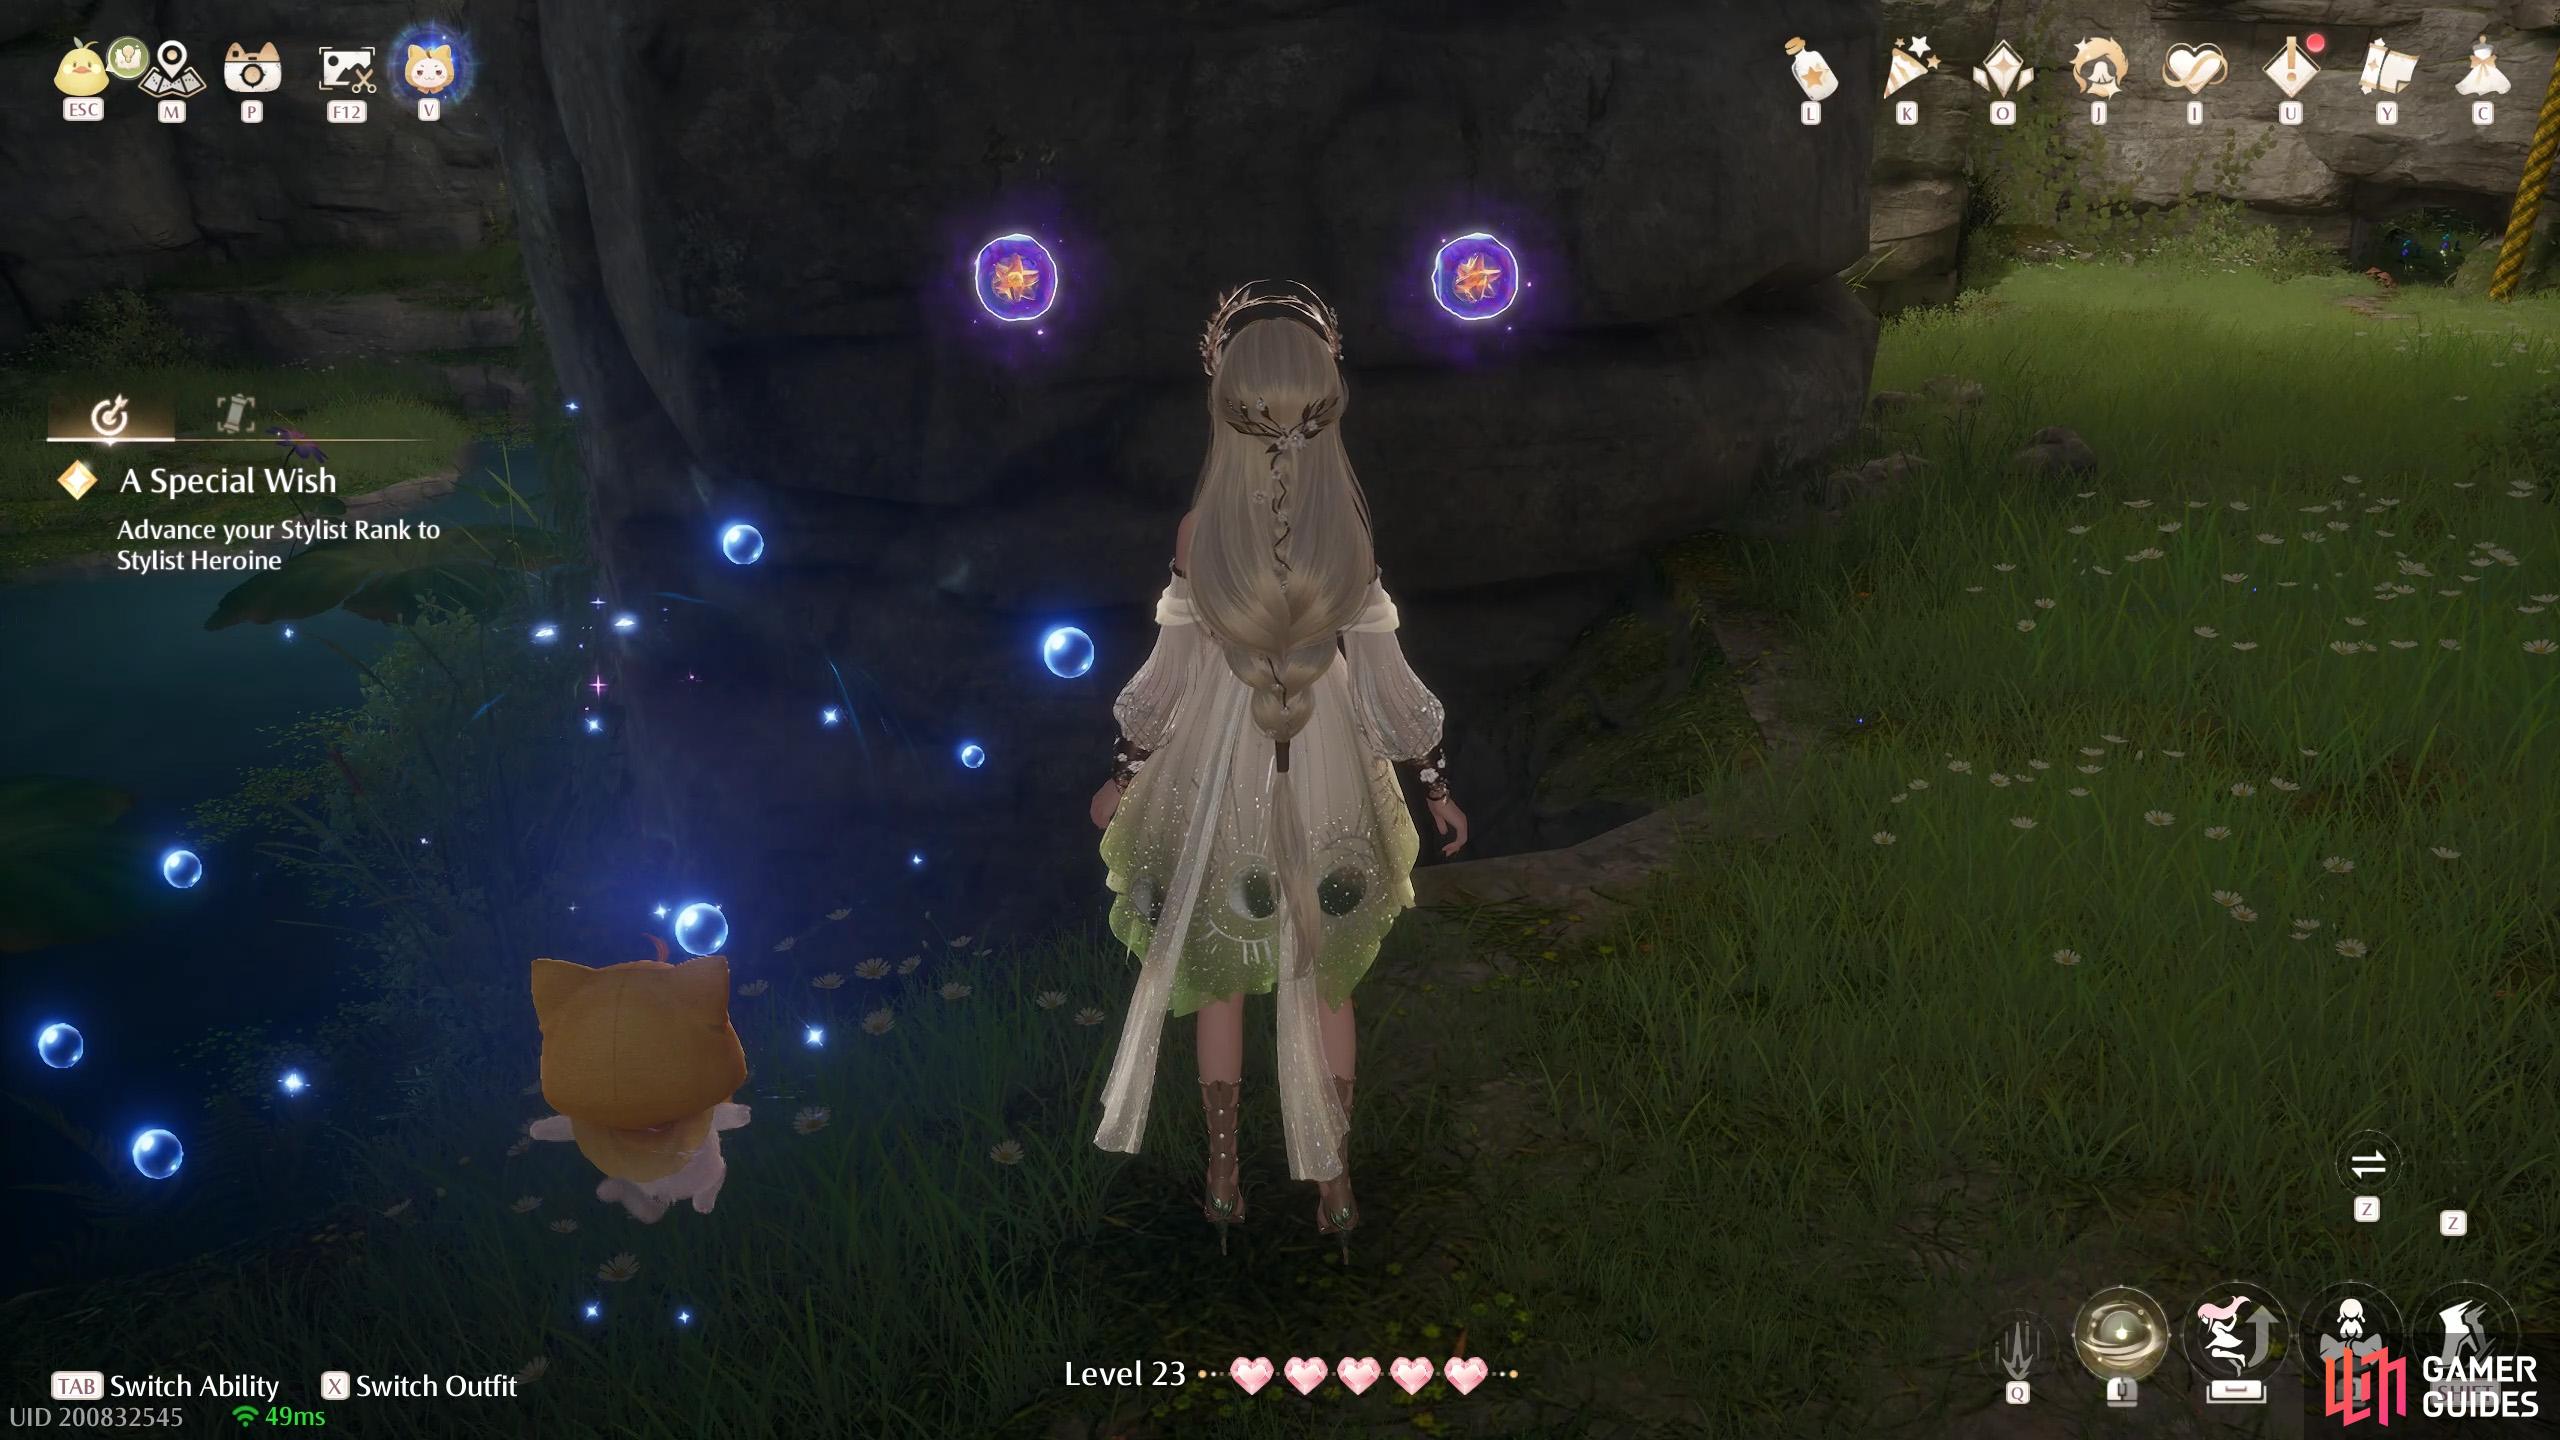
745. Miraland Map
Inside ![]() Waterfall Cavern. At the start, take a right across the lily pads. There are two just around the corner.
Waterfall Cavern. At the start, take a right across the lily pads. There are two just around the corner.
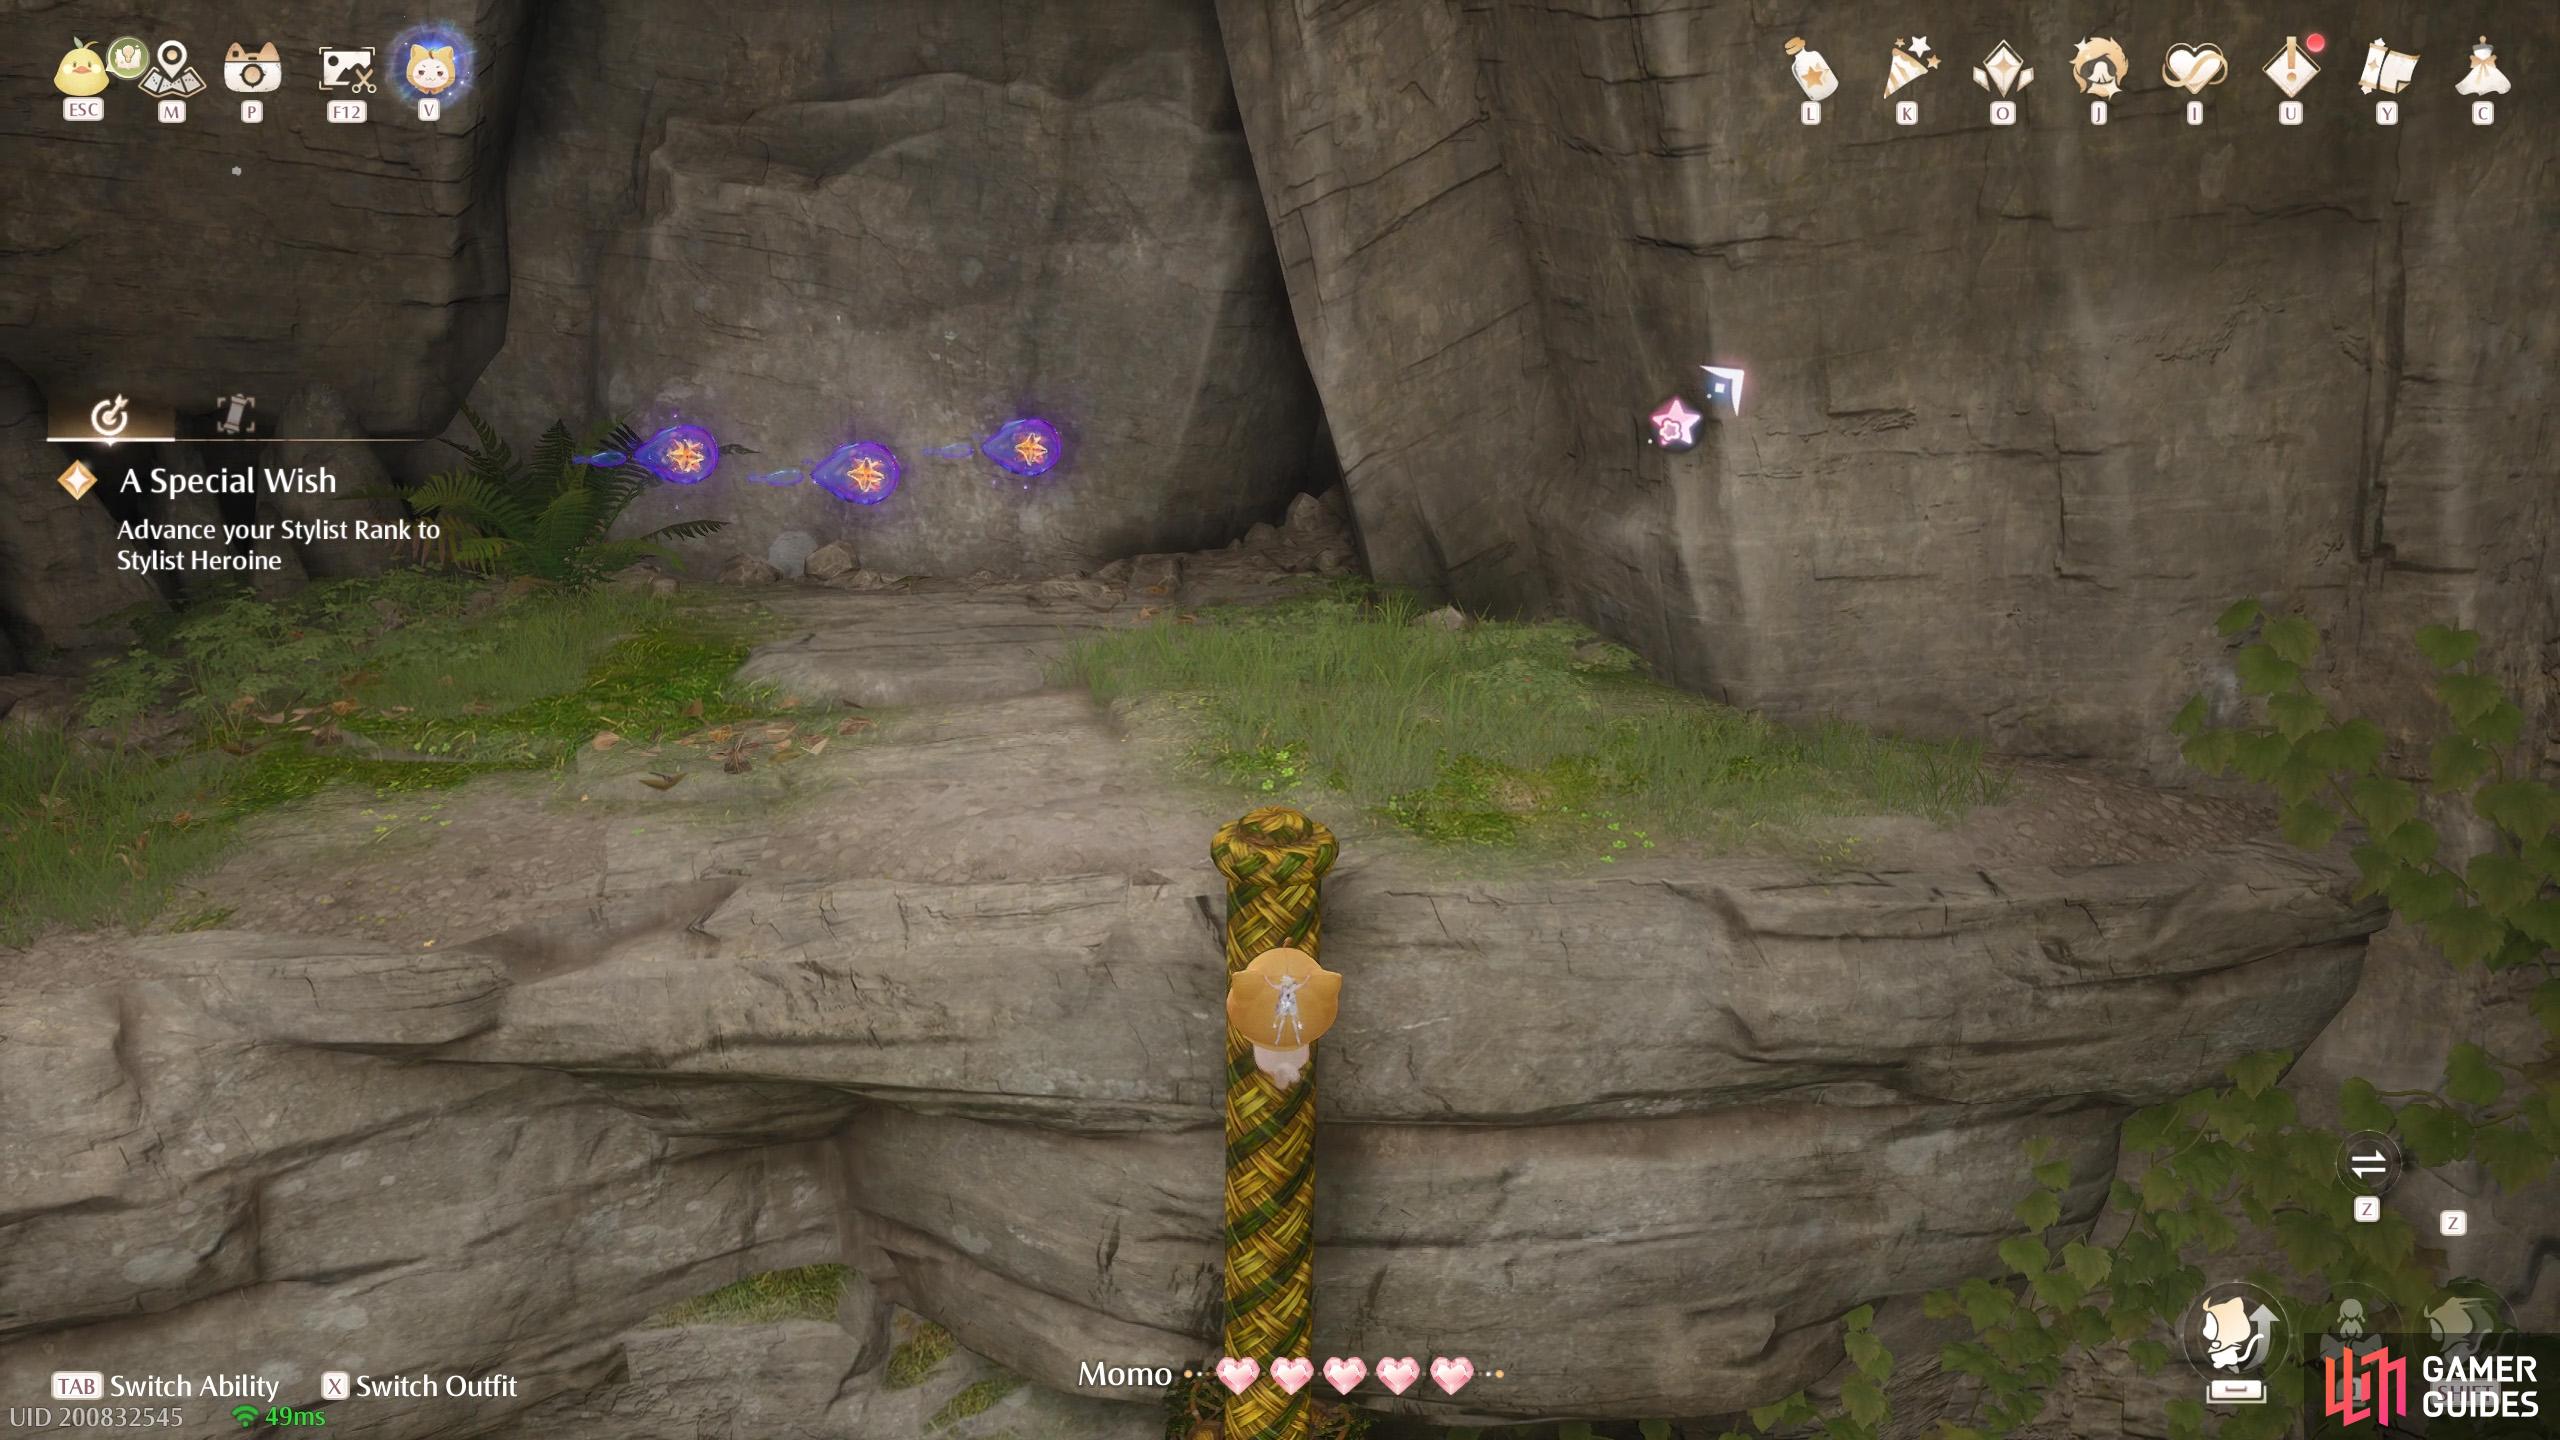
746. Miraland Map
Inside ![]() Waterfall Cavern. Near the start, where there are two Pounceria plants, climb up the rope as Momo. You’ll find three up there.
Waterfall Cavern. Near the start, where there are two Pounceria plants, climb up the rope as Momo. You’ll find three up there.
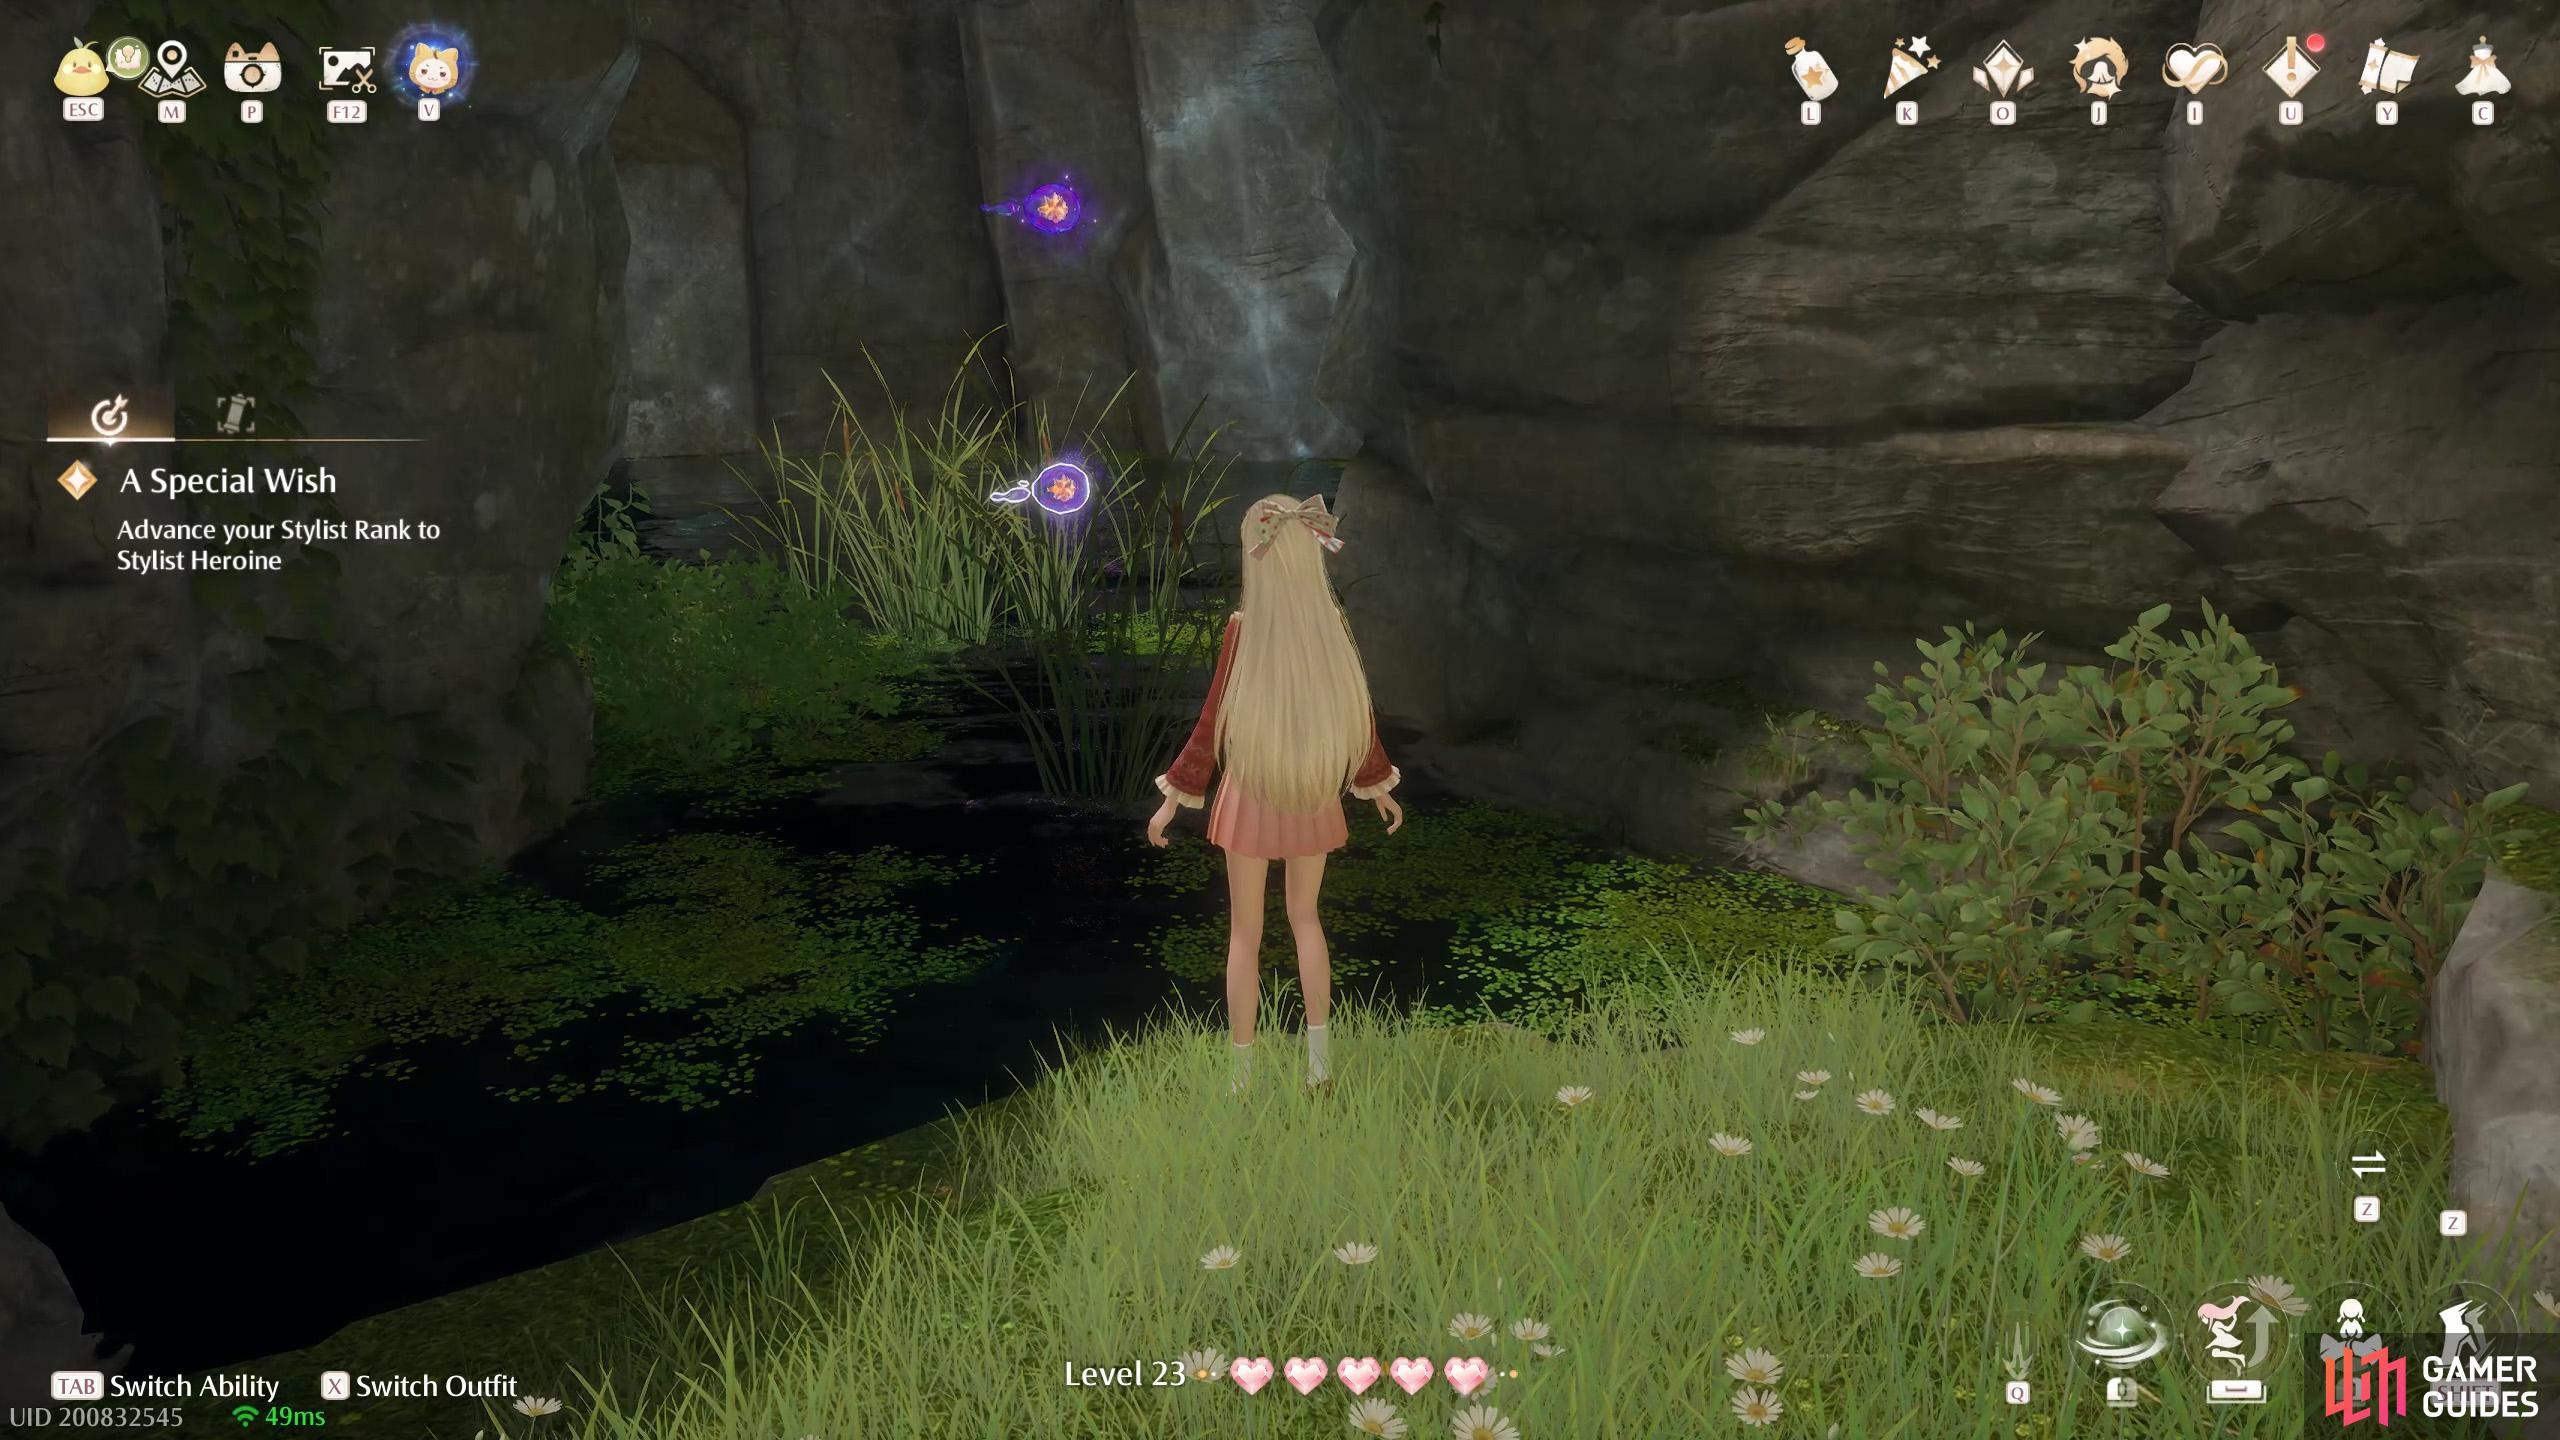
747. Miraland Map
Inside ![]() Waterfall Cavern. In the tall cave, after climbing up the first rope, two on the left.
Waterfall Cavern. In the tall cave, after climbing up the first rope, two on the left.
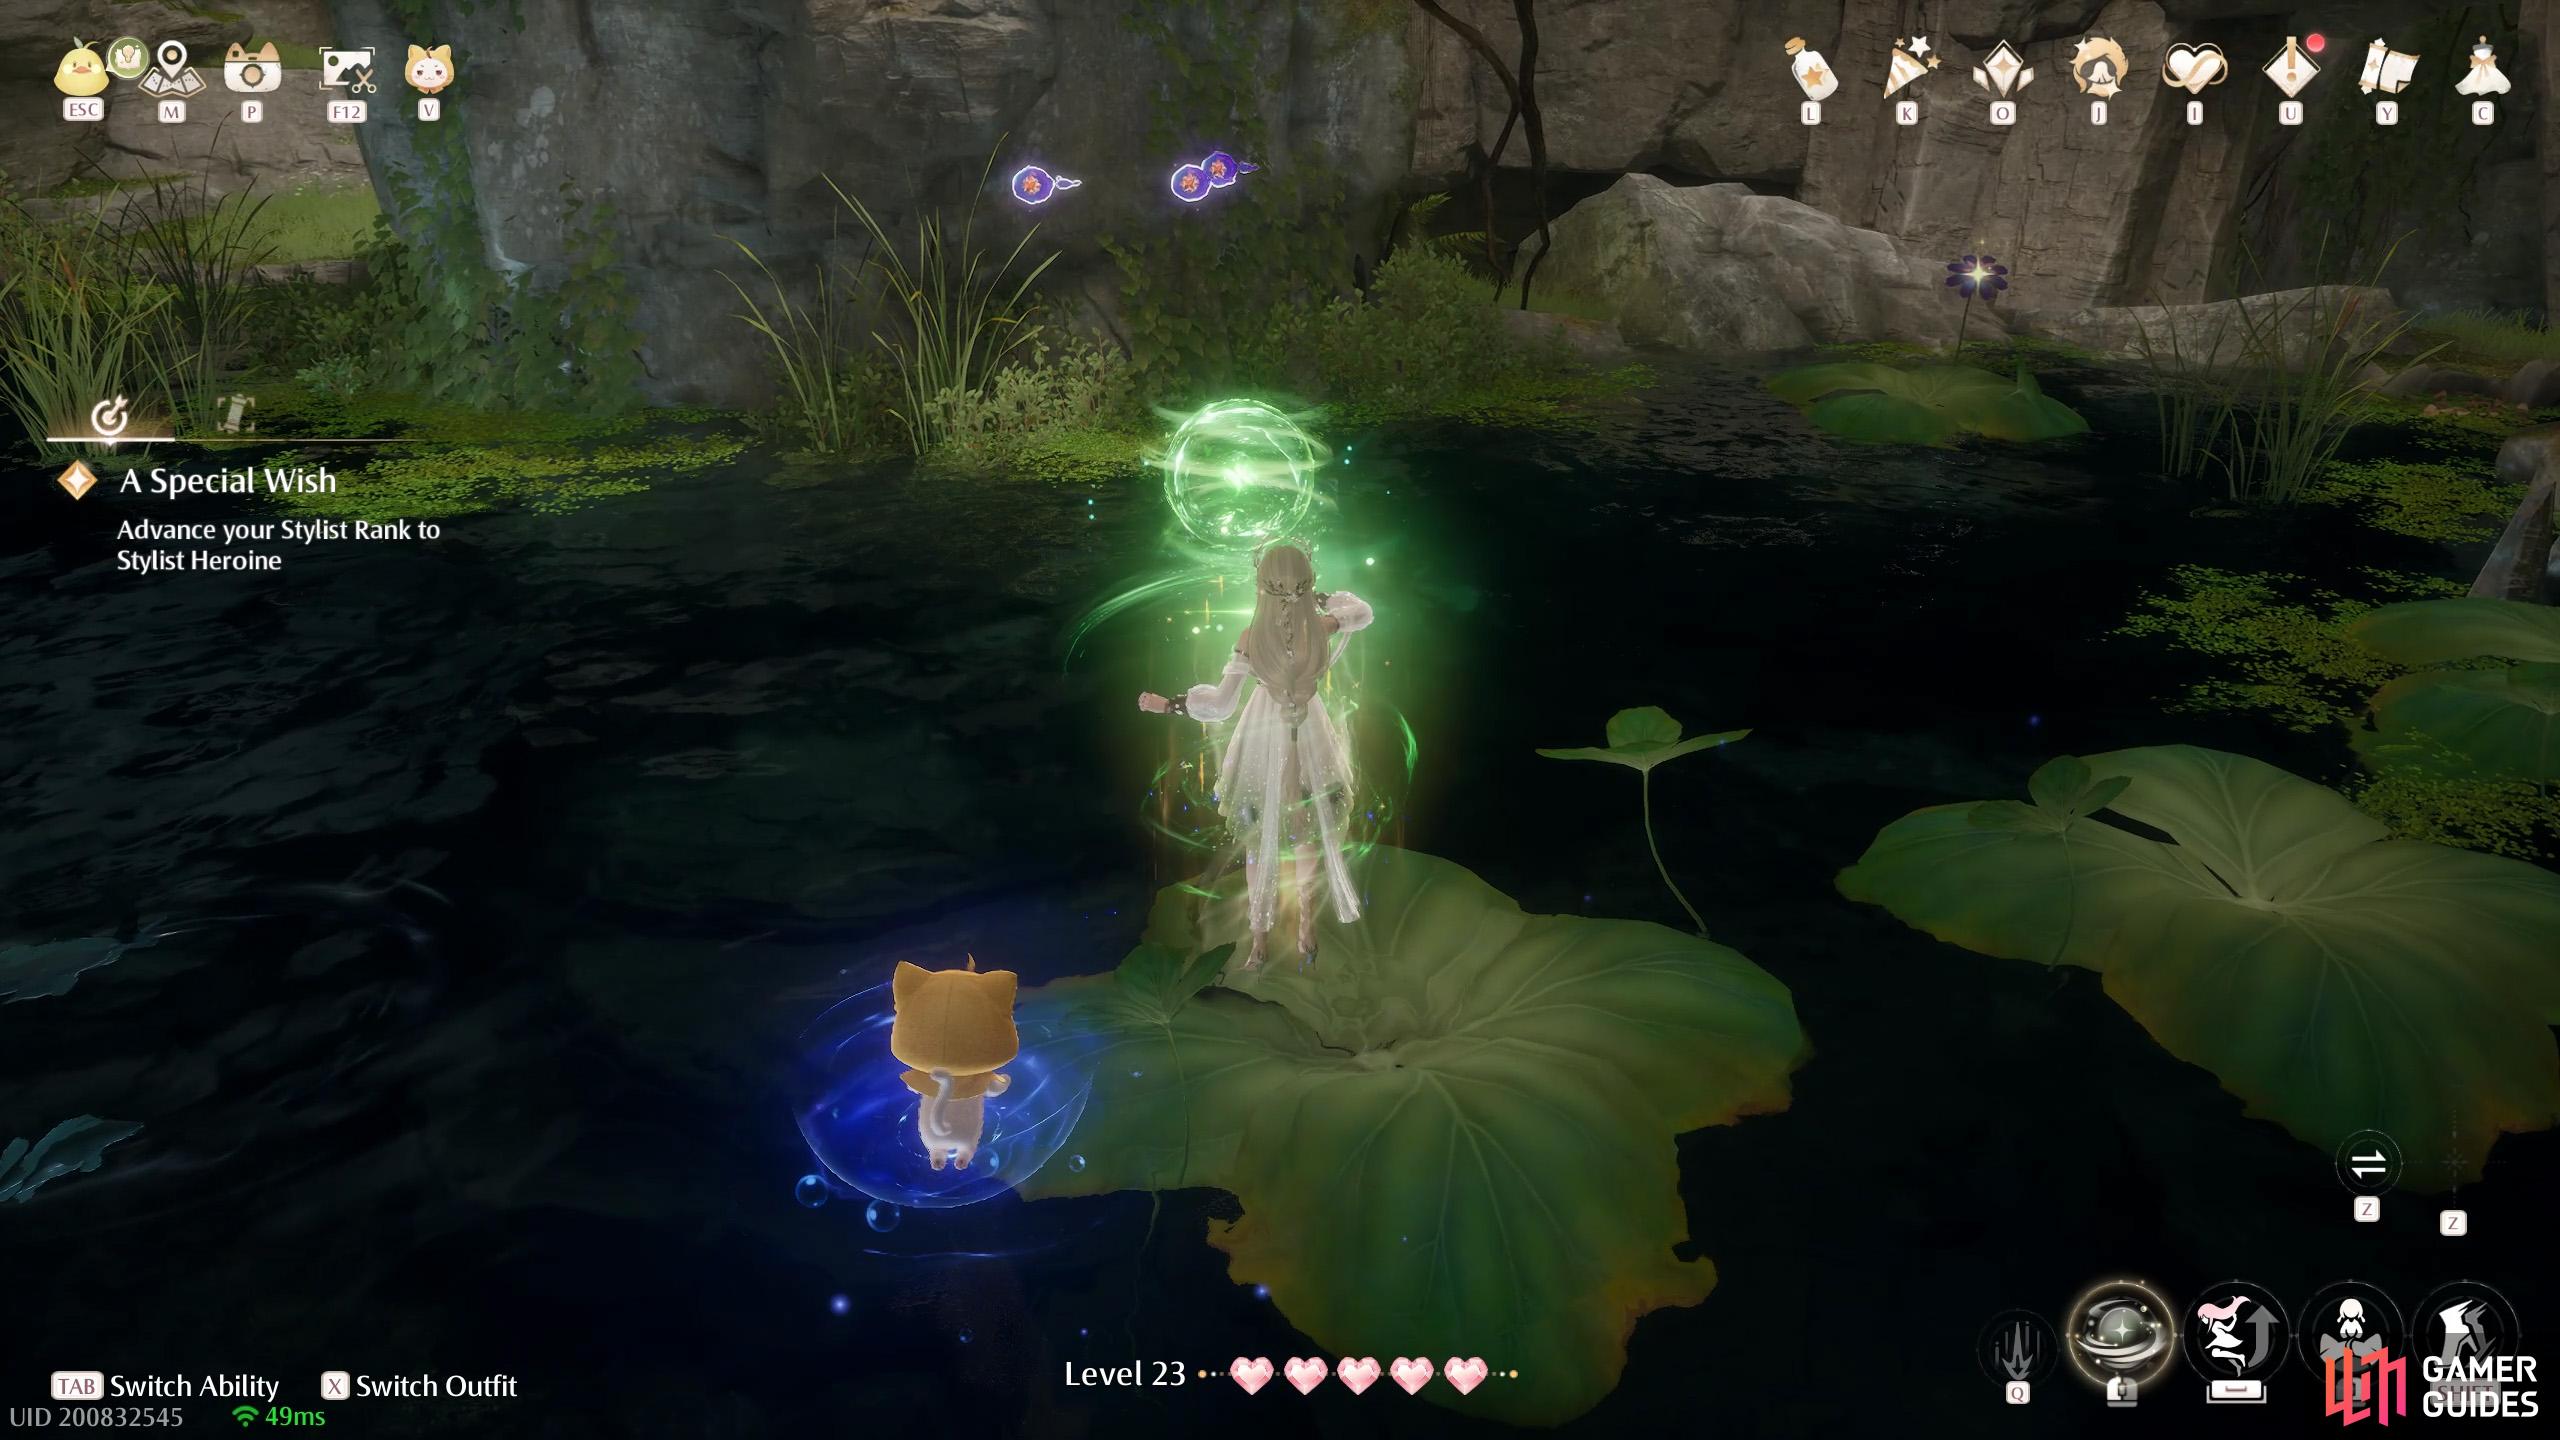
748. Miraland Map
Inside ![]() Waterfall Cavern. When you’re near the top, float over to where the water and lily pads are. There are three near the central column.
Waterfall Cavern. When you’re near the top, float over to where the water and lily pads are. There are three near the central column.
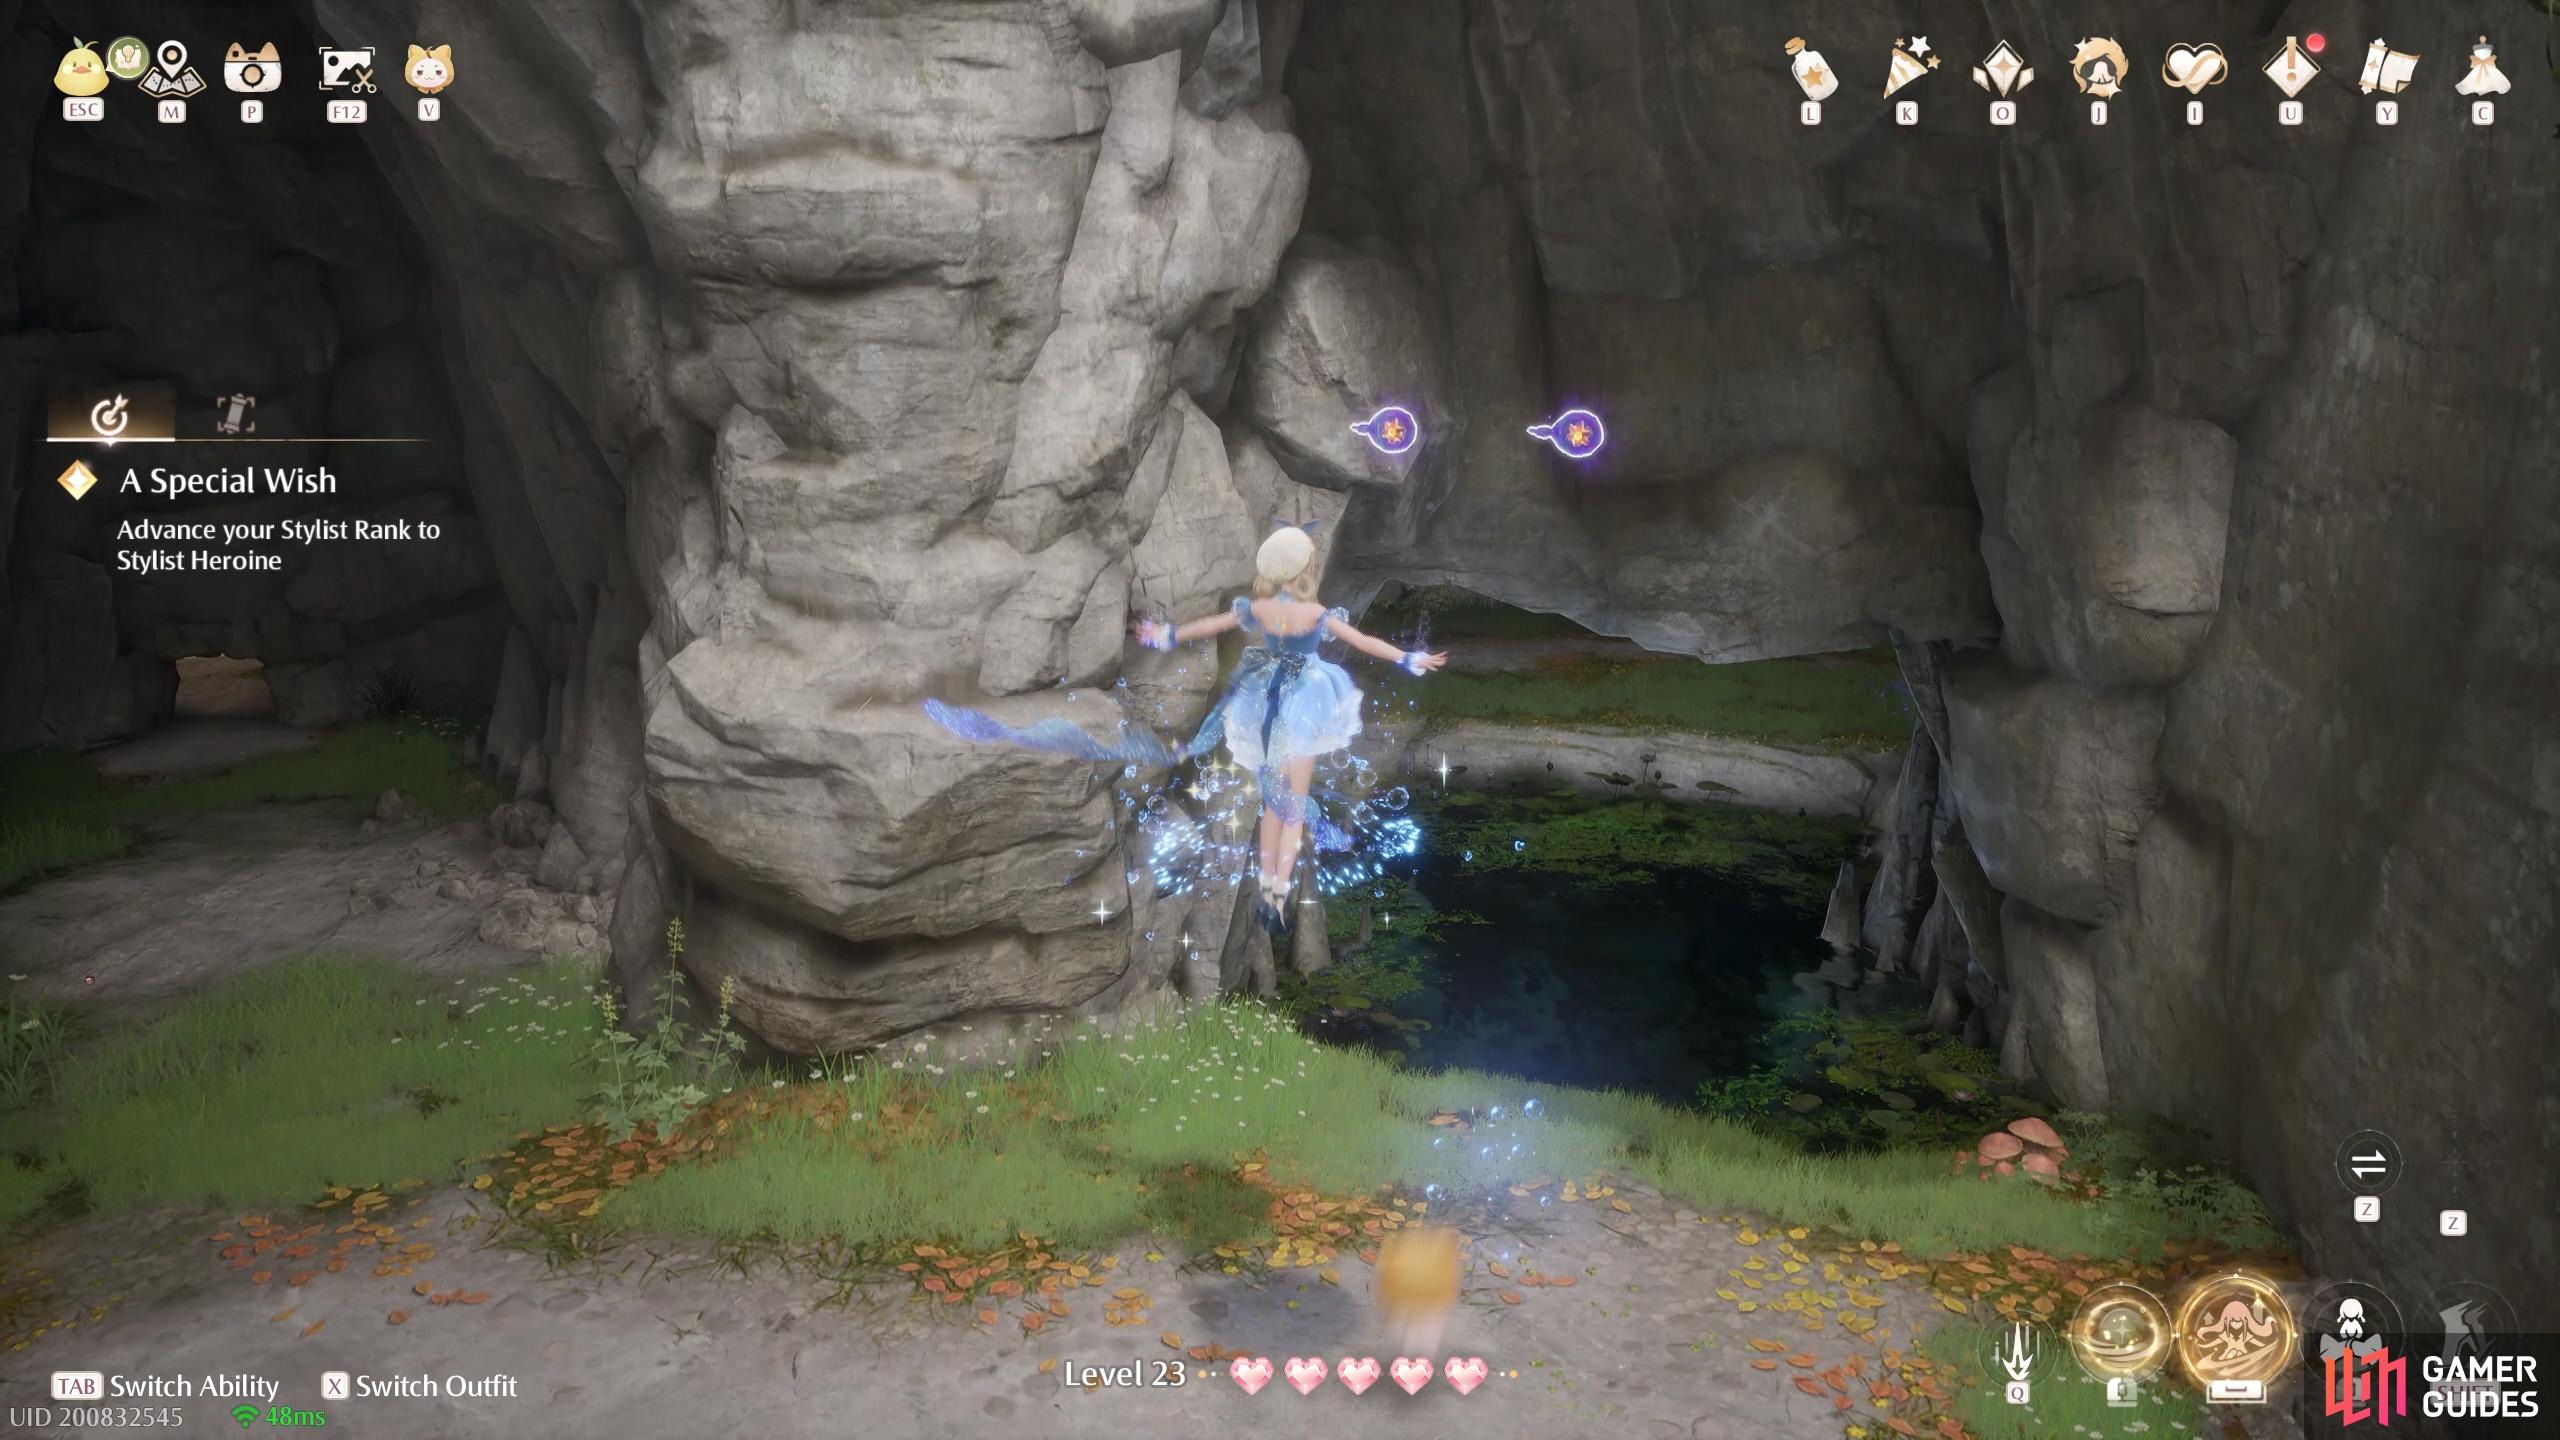
749. Miraland Map
Inside ![]() Deep Aurosa Valley Cavern. Near the beginning, after defeating a couple of Esselings and climbing up a rope, there’s a Lonely Sack (with a shield) near a suspicious wooden floor board. Use a jumping attack to break the floor board. At the bottom, there are two of these in front of a small pool.
Deep Aurosa Valley Cavern. Near the beginning, after defeating a couple of Esselings and climbing up a rope, there’s a Lonely Sack (with a shield) near a suspicious wooden floor board. Use a jumping attack to break the floor board. At the bottom, there are two of these in front of a small pool.
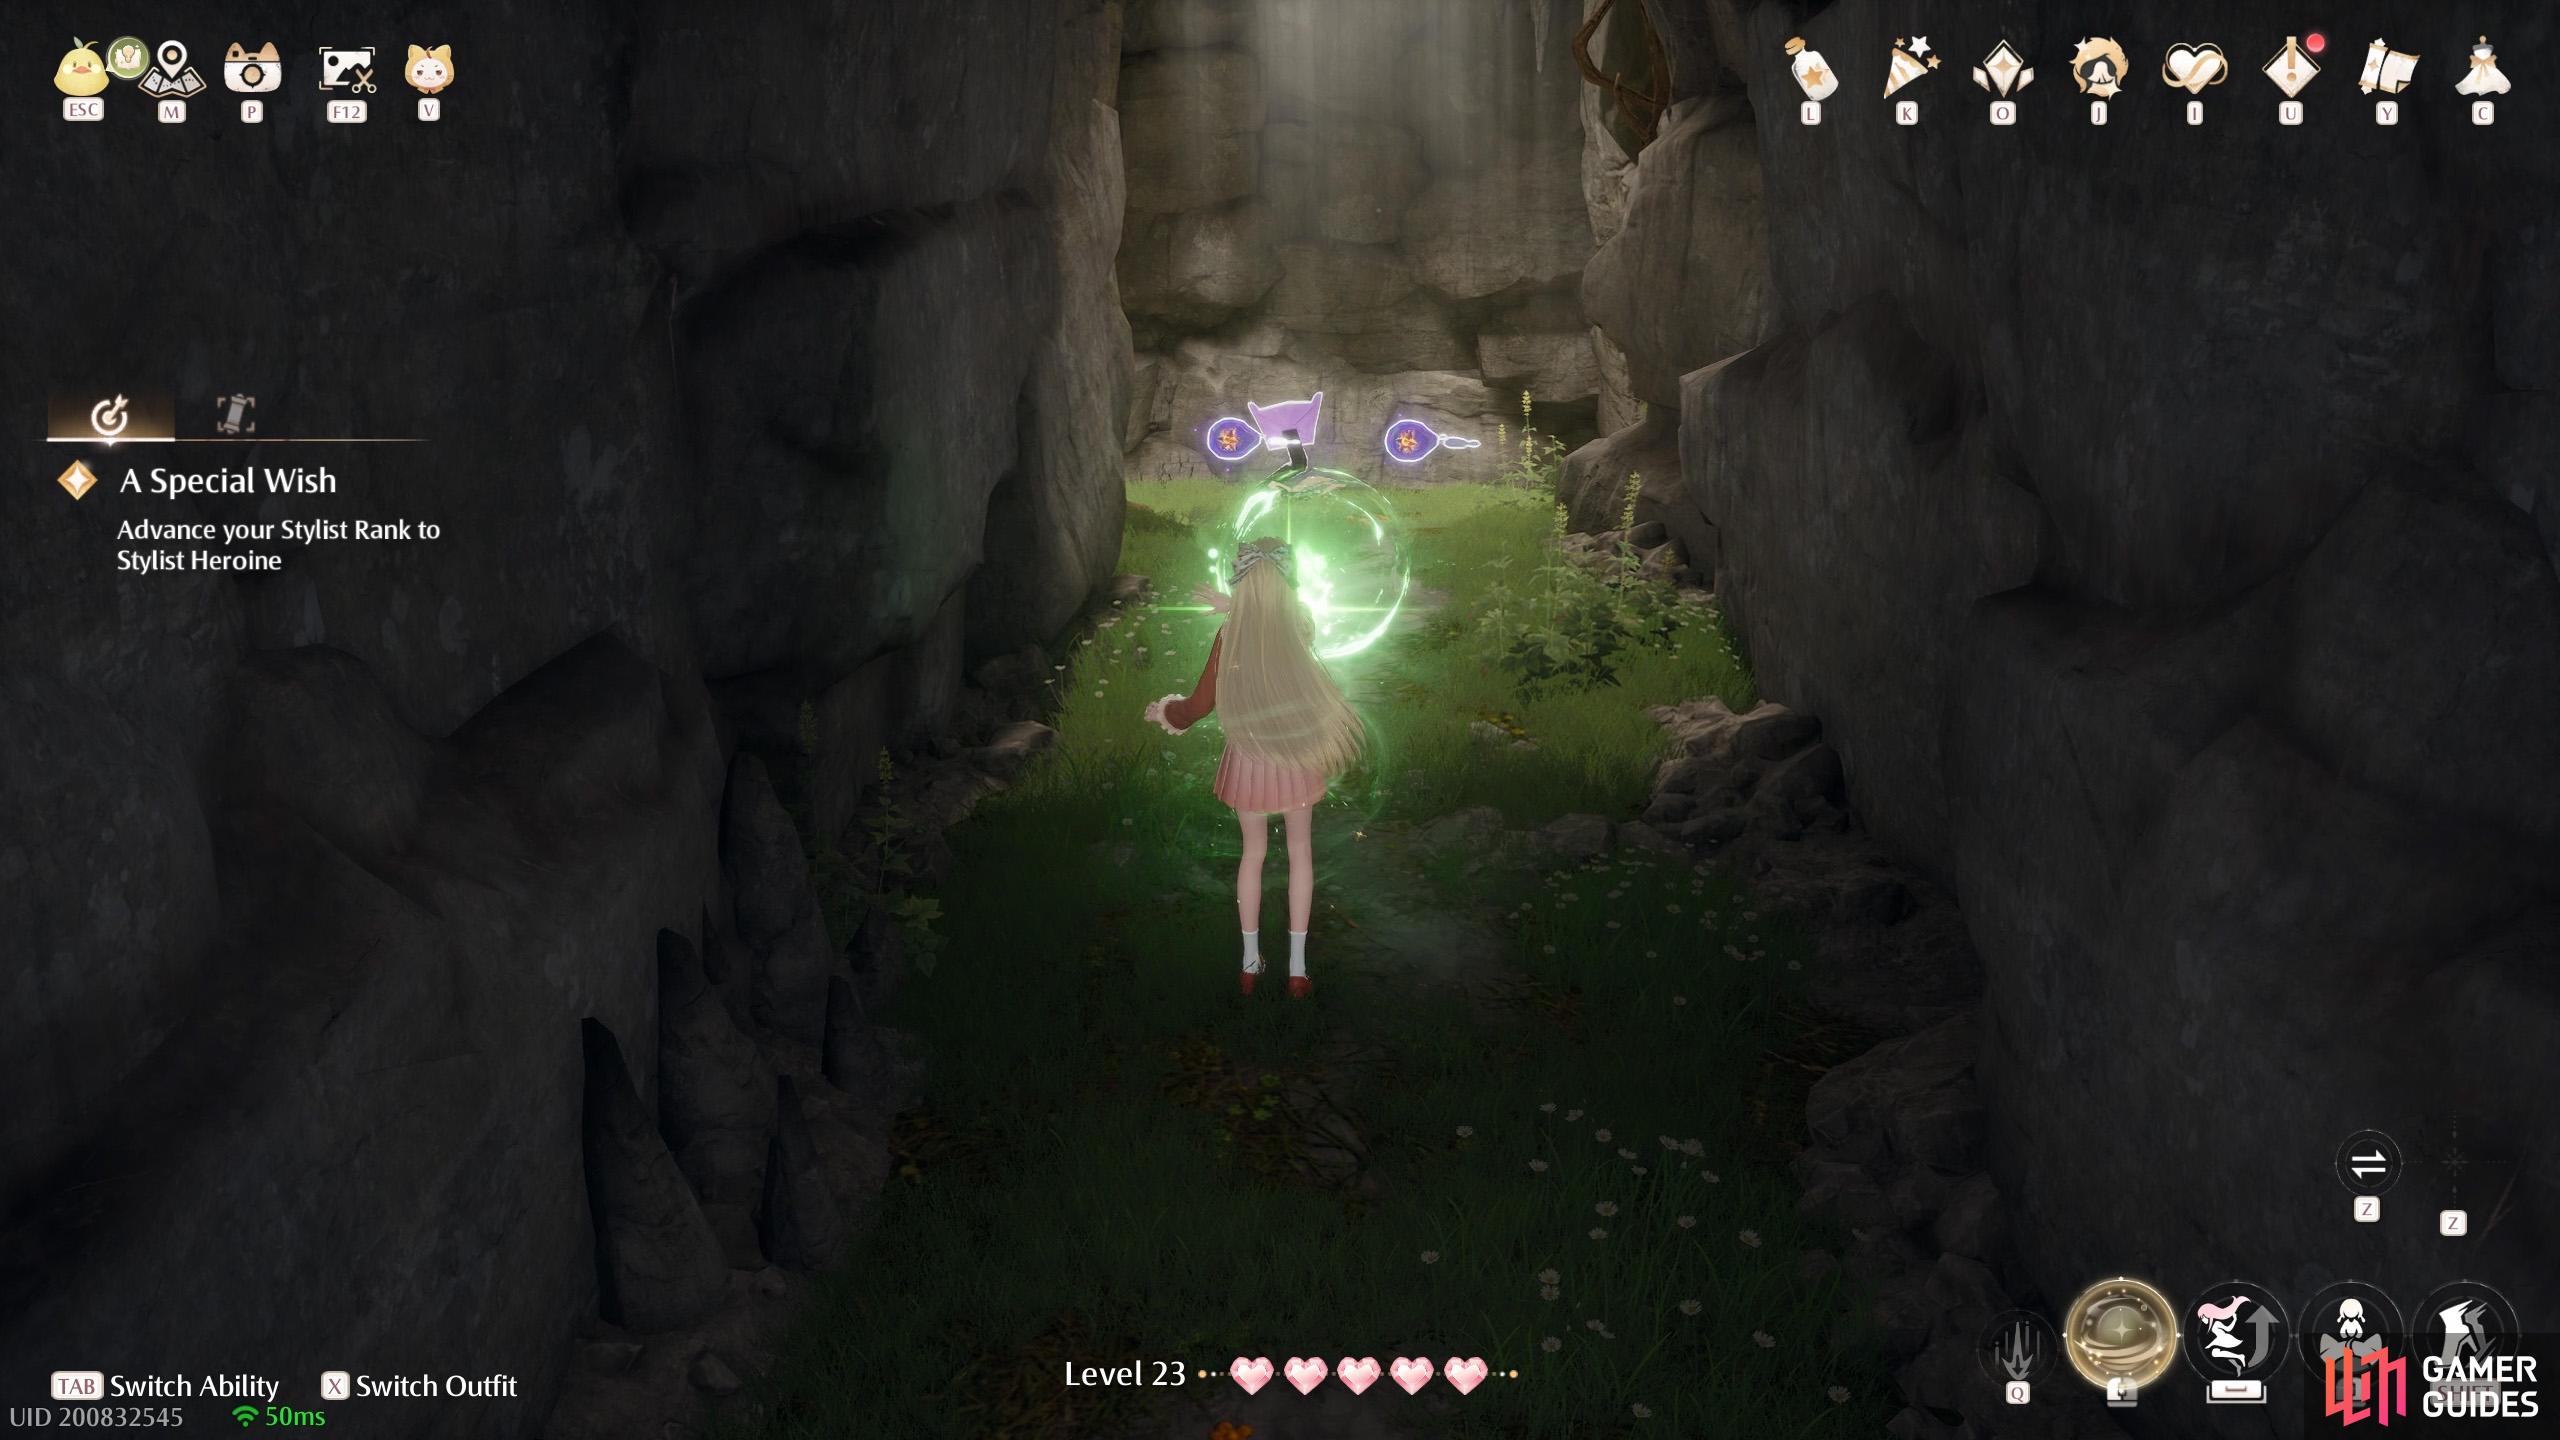
750. Miraland Map
Inside ![]() Deep Aurosa Valley Cavern. When you reach the Lonely Sack (with a shield) and a wooden floor board that you can drop down, if you continue ahead instead, there are two near the entrance of a tunnel. Otherwise, if you drop down, when you reach the section with tall platforms above a pool of water, you can reach that same tunnel on the left side.
Deep Aurosa Valley Cavern. When you reach the Lonely Sack (with a shield) and a wooden floor board that you can drop down, if you continue ahead instead, there are two near the entrance of a tunnel. Otherwise, if you drop down, when you reach the section with tall platforms above a pool of water, you can reach that same tunnel on the left side.
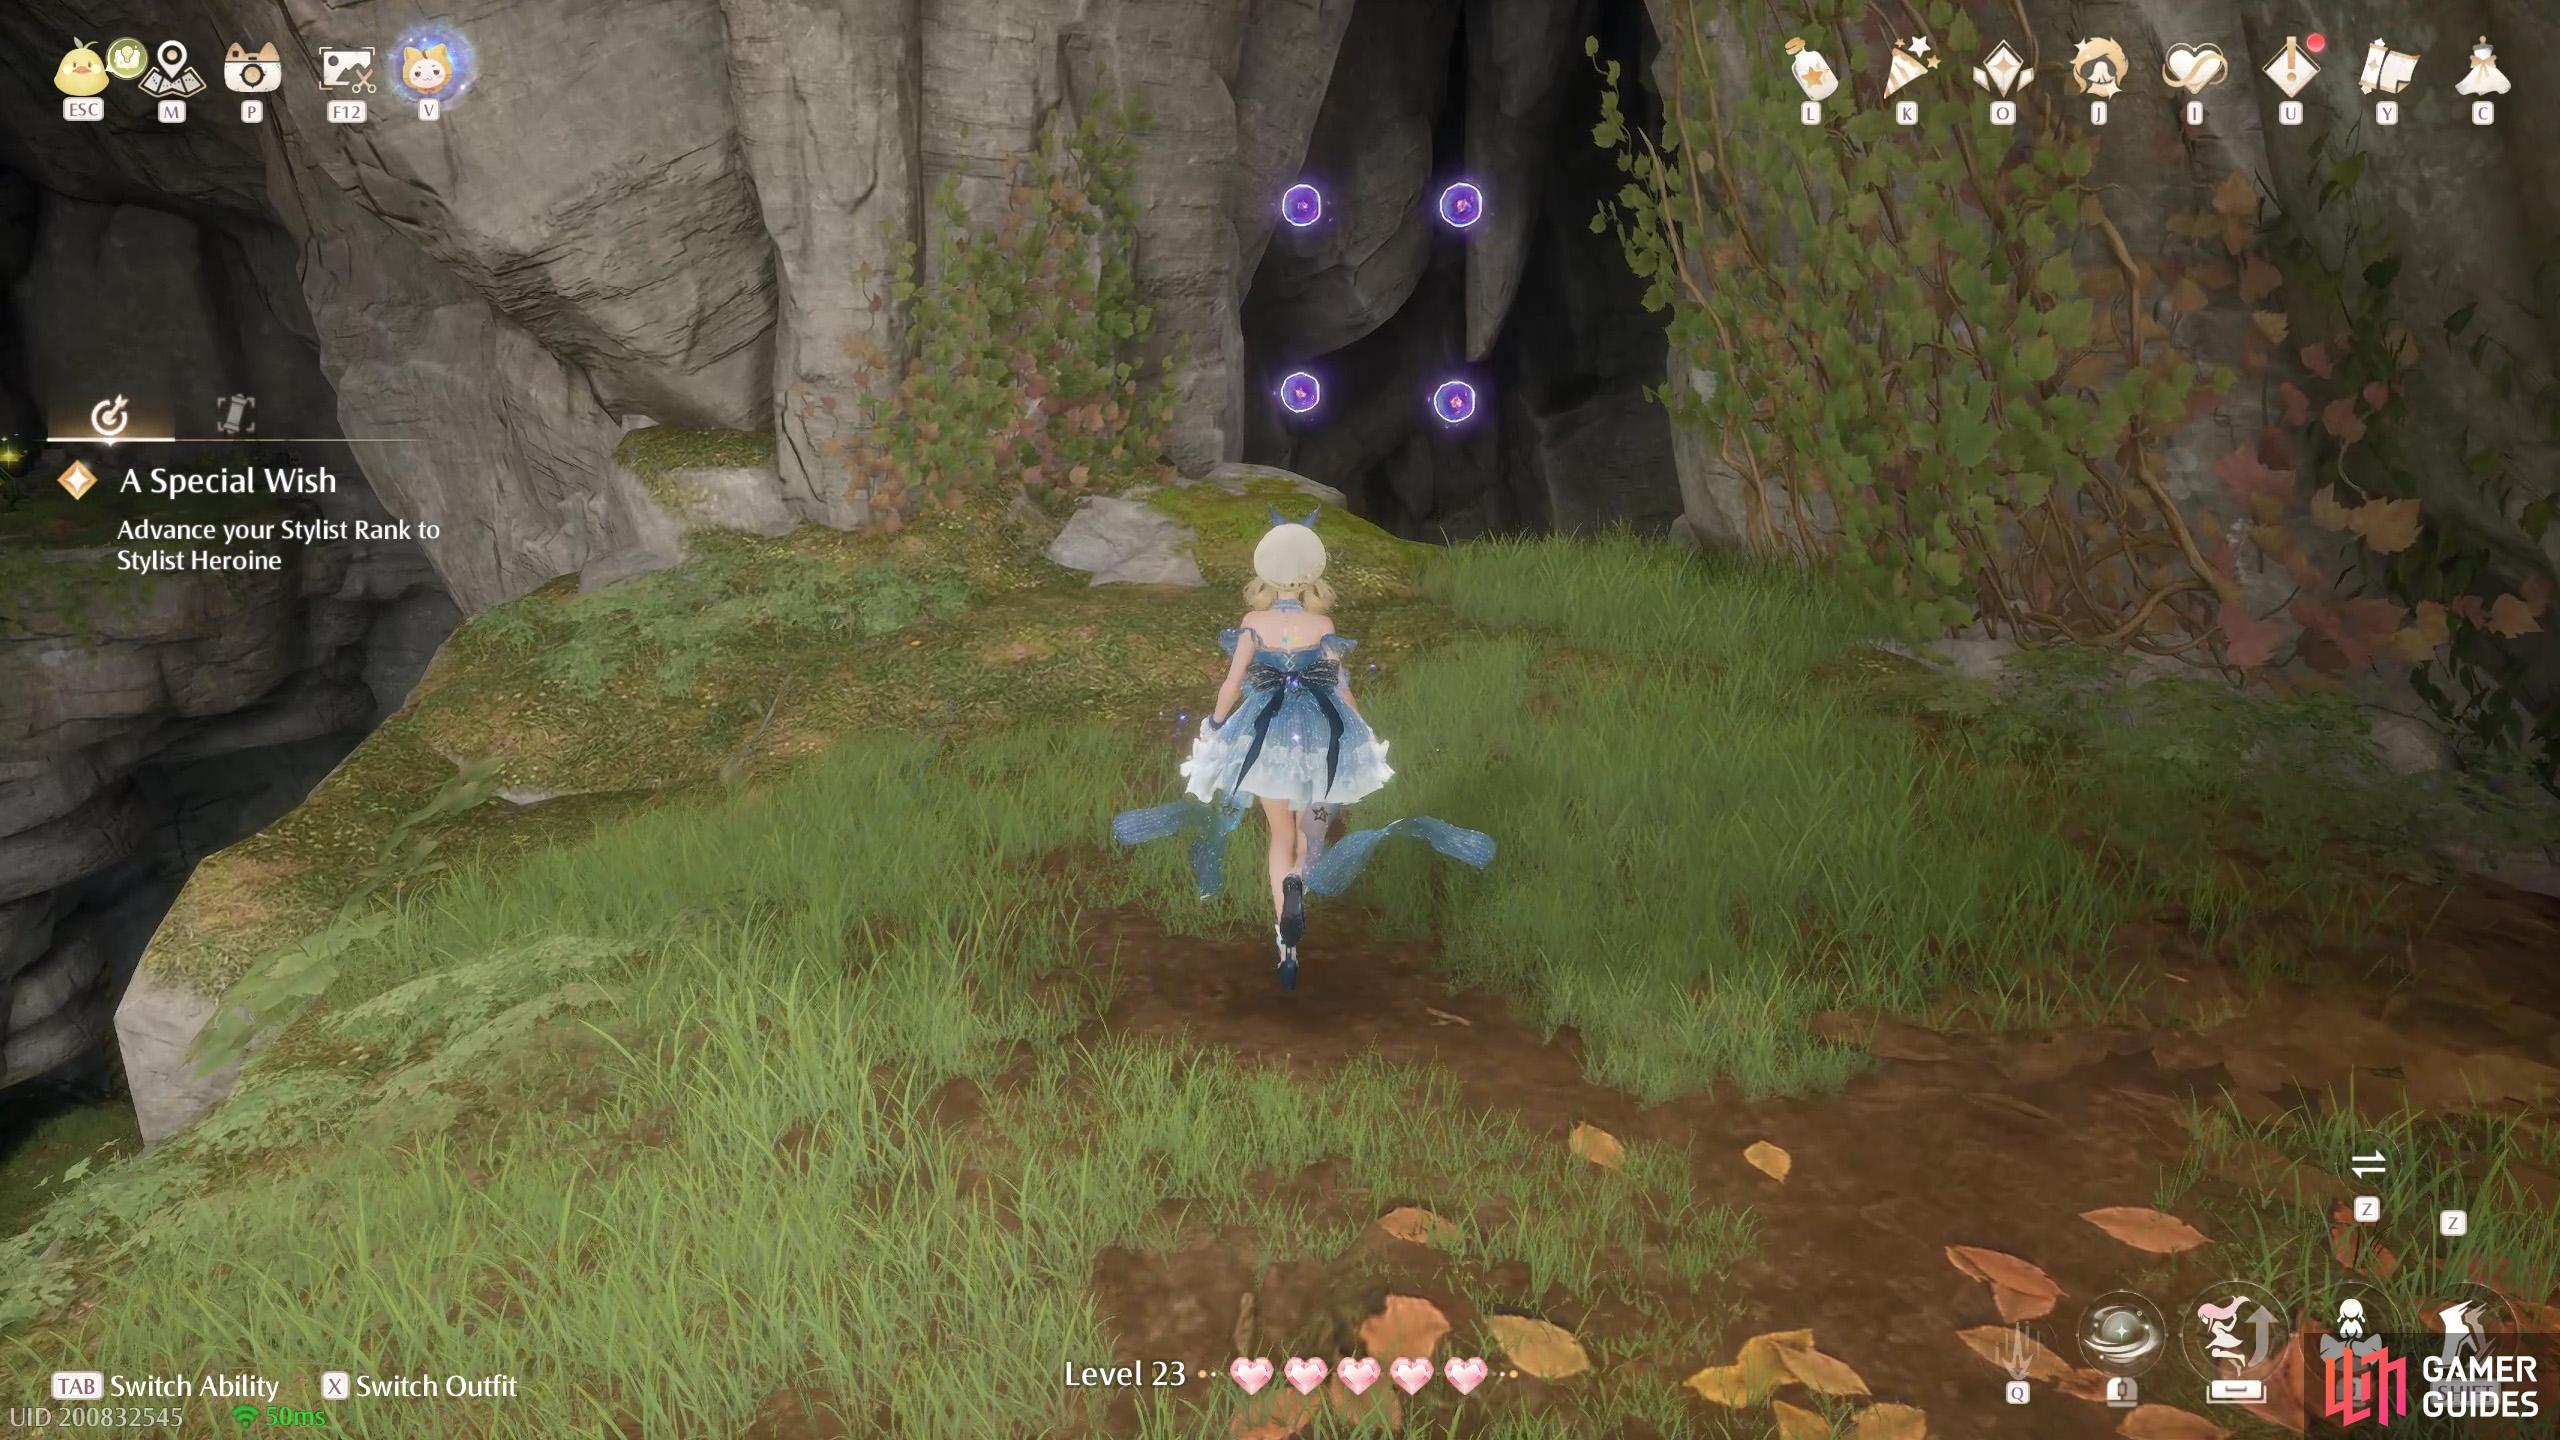
751. Miraland Map
Inside ![]() Farm Cavern. After the first area with the ropes, there’s a dark tunnel ahead. When you drop down a small height, immediately to the left there’s a gap you can Shrink through. In this side area, climb up the ropes to the very top. Then float across to reach the exit back to the main area. Before leaving, you’ll find four of these.
Farm Cavern. After the first area with the ropes, there’s a dark tunnel ahead. When you drop down a small height, immediately to the left there’s a gap you can Shrink through. In this side area, climb up the ropes to the very top. Then float across to reach the exit back to the main area. Before leaving, you’ll find four of these.
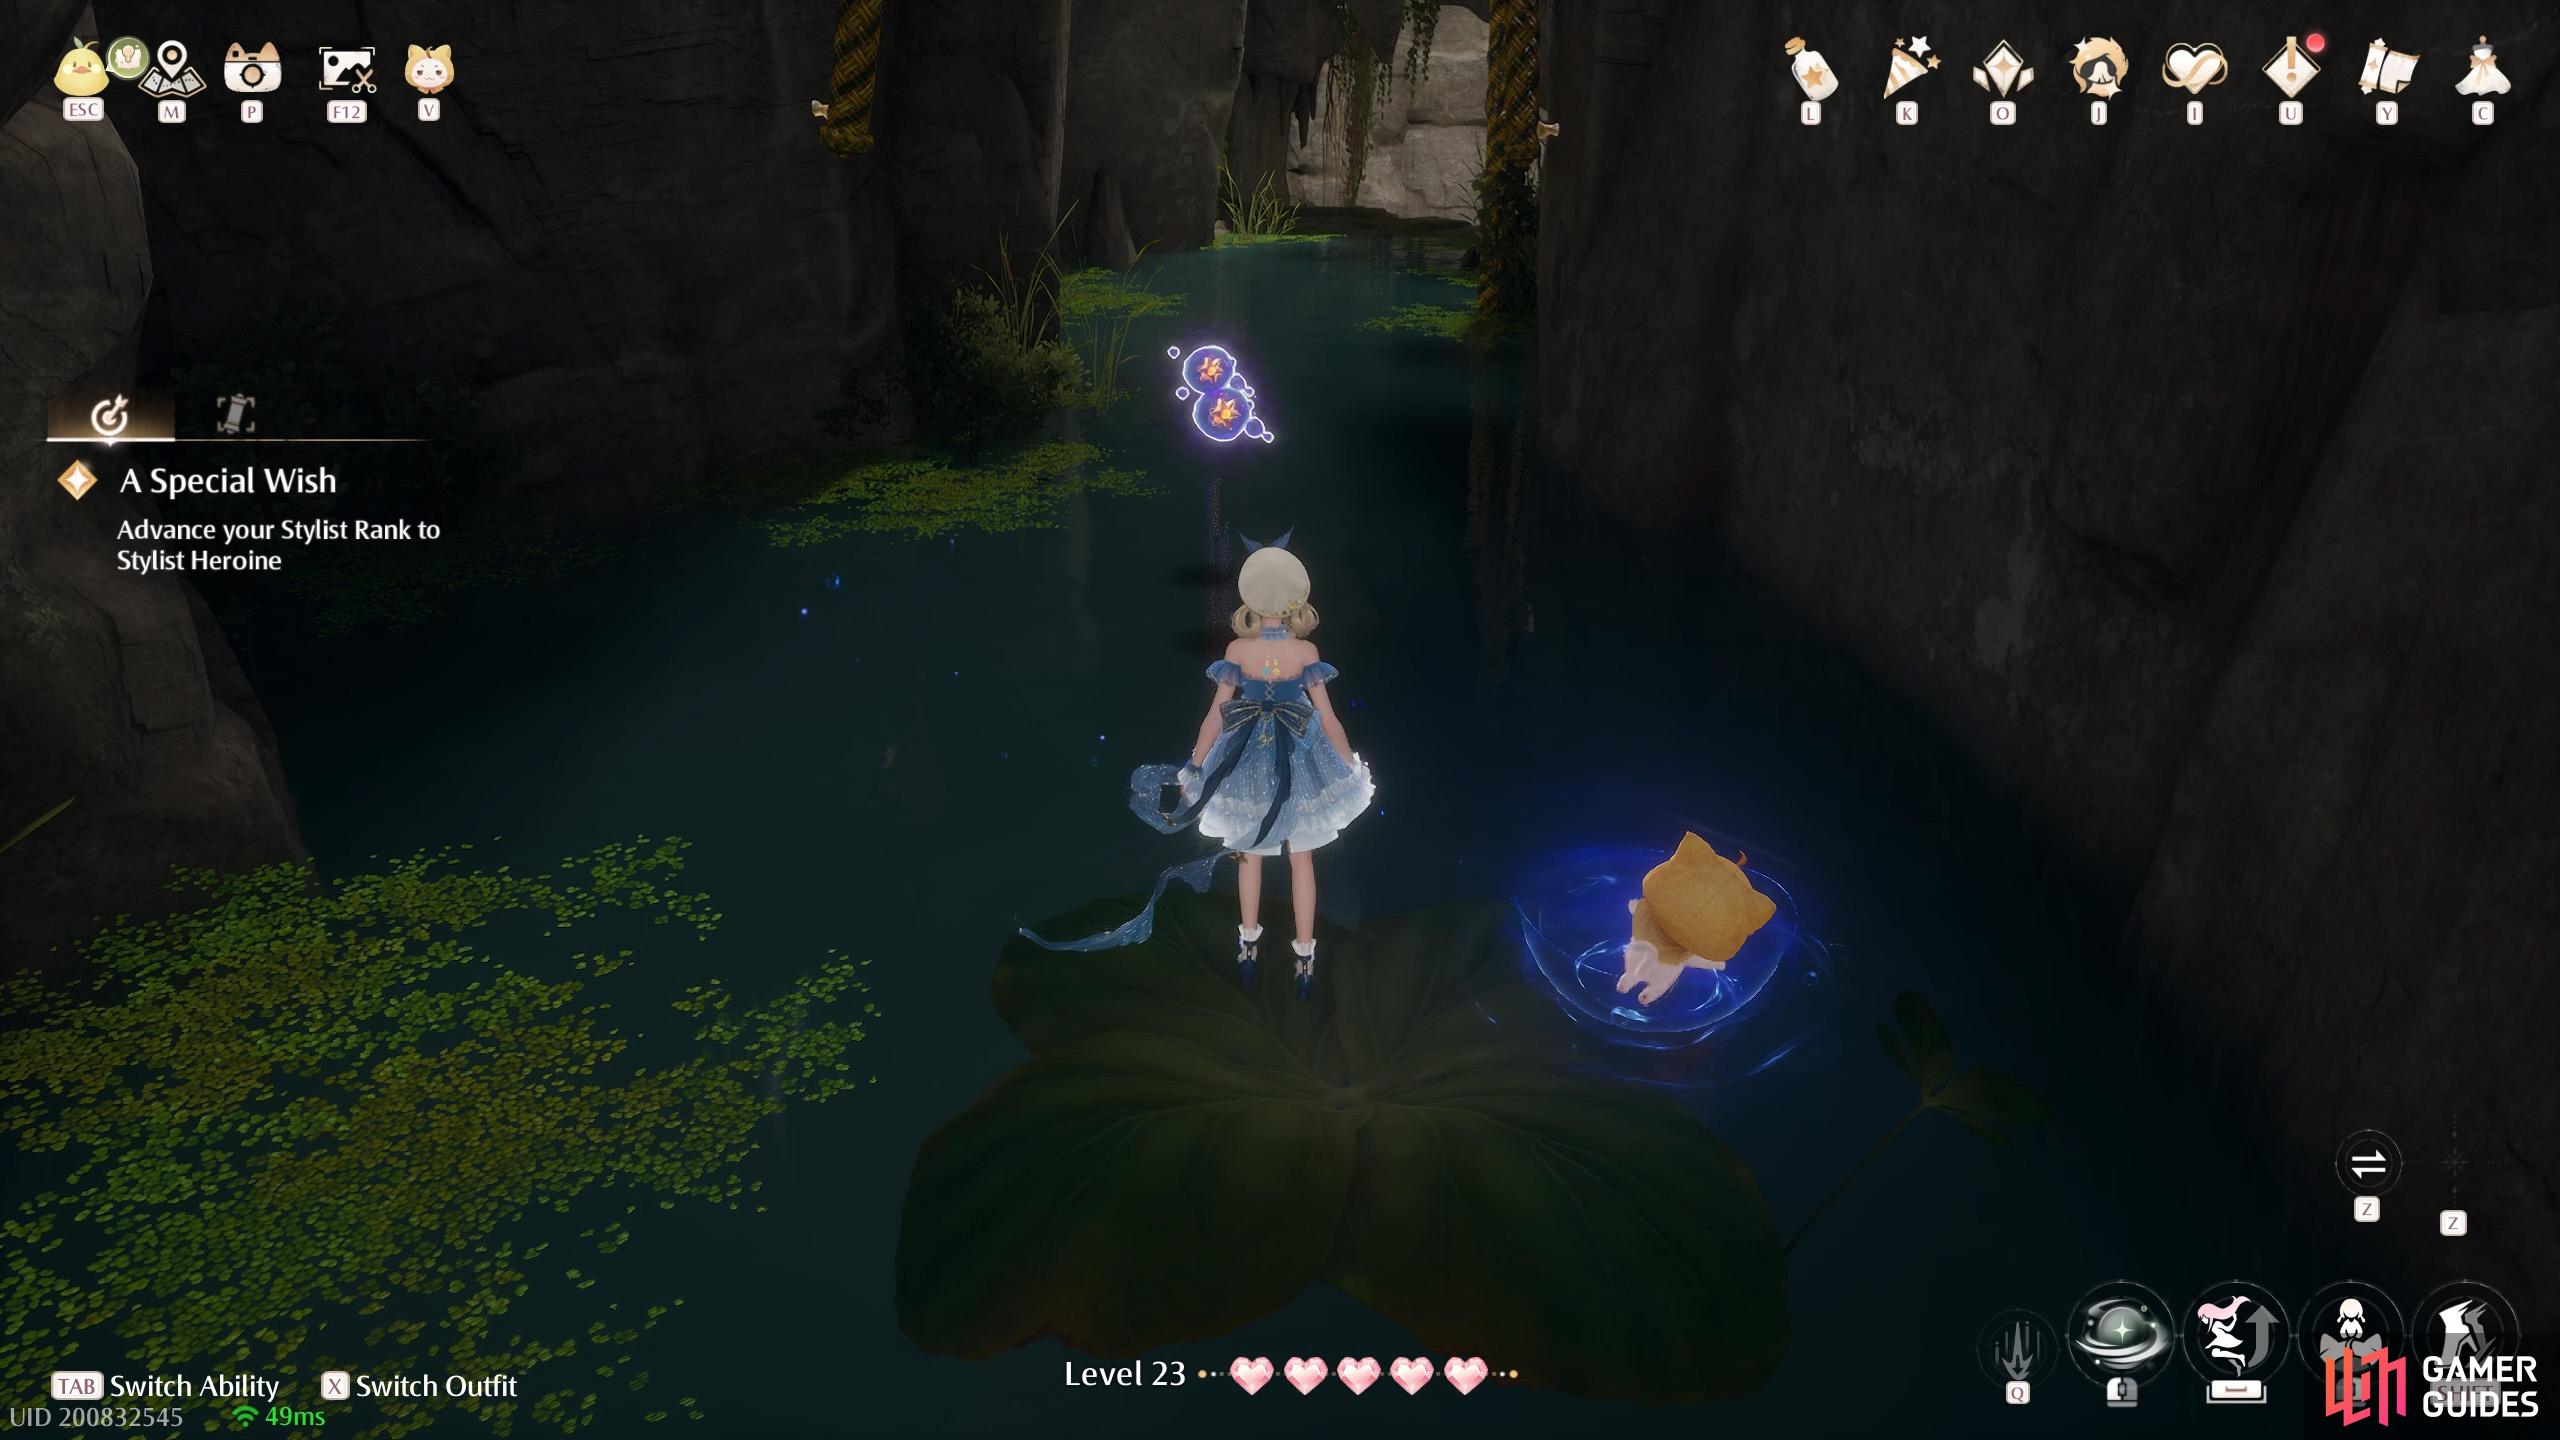
752. Miraland Map
Inside ![]() Farm Cavern. In the second area, a dark tunnel with ropes above a body of water. Two floating above the water near the start.
Farm Cavern. In the second area, a dark tunnel with ropes above a body of water. Two floating above the water near the start.
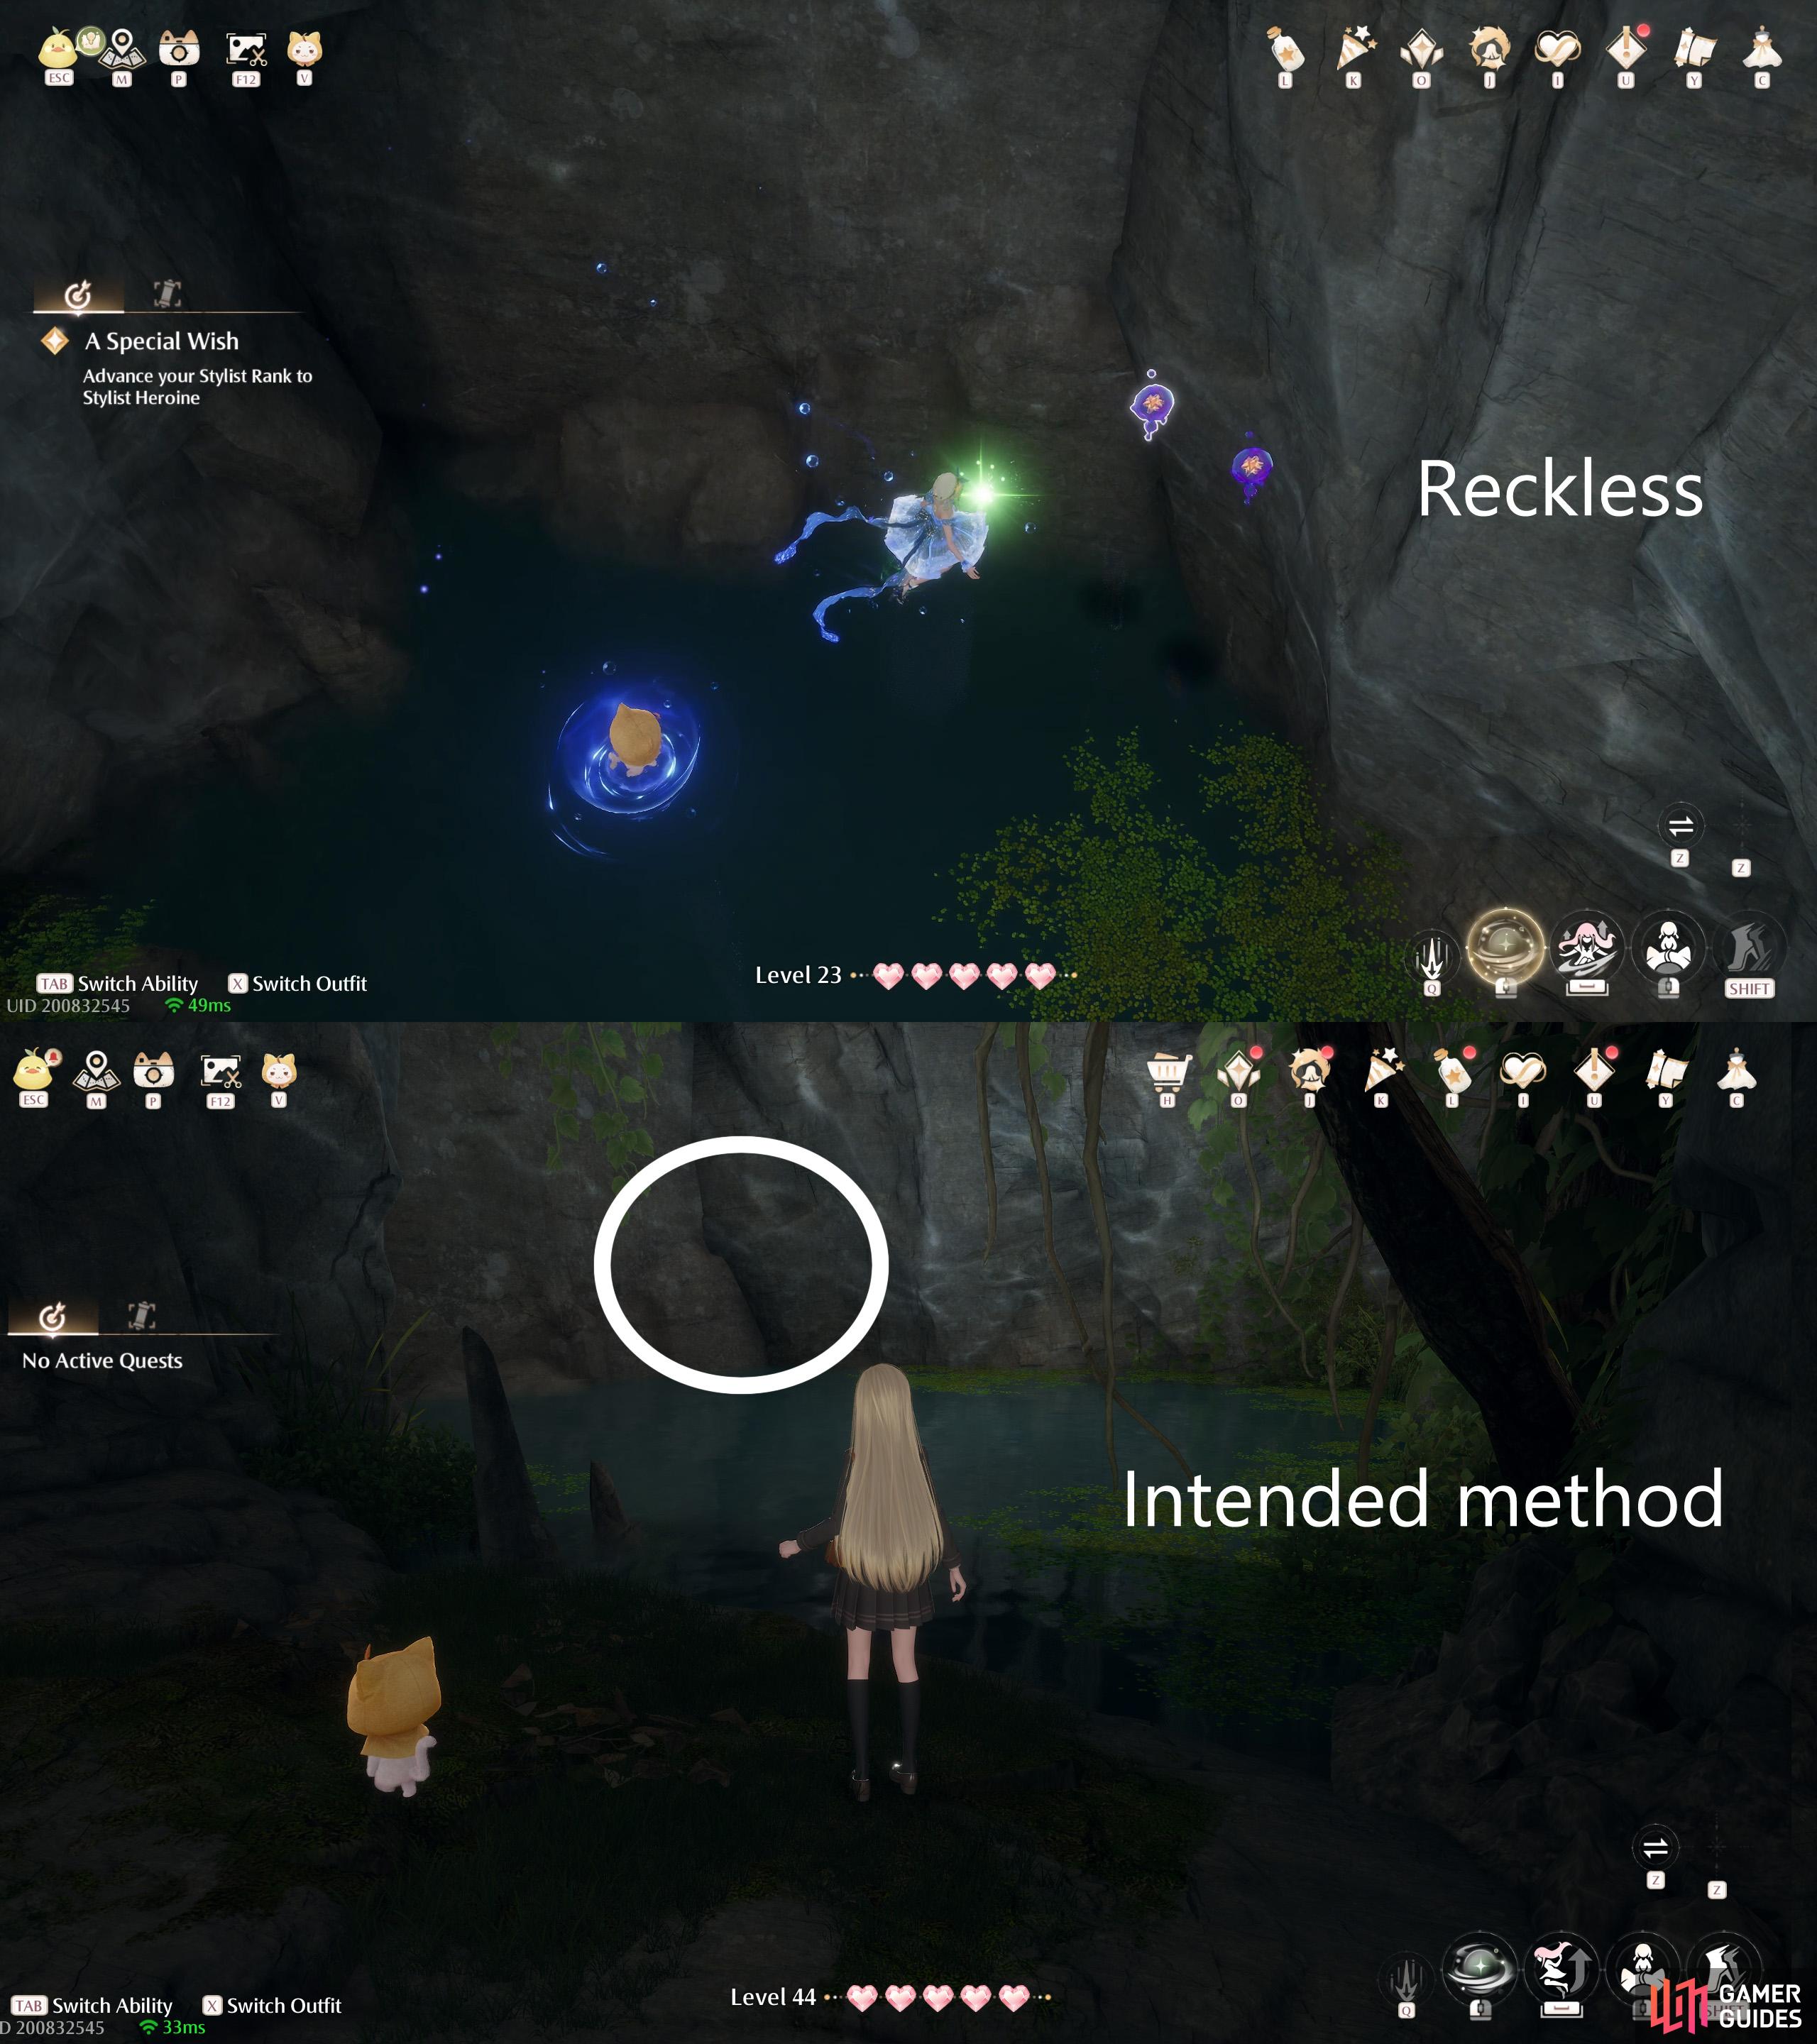
753. Miraland Map
Inside ![]() Farm Cavern. After going through the dark tunnel, you’ll reach a tall cavern. Two of these are floating at the bottom, above some water. You can try and get them now, at the risk of drowning. Otherwise, continue along the ledge higher up where the
Farm Cavern. After going through the dark tunnel, you’ll reach a tall cavern. Two of these are floating at the bottom, above some water. You can try and get them now, at the risk of drowning. Otherwise, continue along the ledge higher up where the ![]() Bling is. After dropping down a few times, you’ll need to jump across some platforms. Look right to find an opening where you can snipe these dew.
Bling is. After dropping down a few times, you’ll need to jump across some platforms. Look right to find an opening where you can snipe these dew.
754. Miraland Map
Inside ![]() Farm Cavern. Deep inside, in a section with wishnets and ropes above some water. After jumping from the 2nd wishnet, there are three on the left.
Farm Cavern. Deep inside, in a section with wishnets and ropes above some water. After jumping from the 2nd wishnet, there are three on the left.
755. Miraland Map
Inside ![]() Farm Cavern. Deep inside, in a section with wishnets and ropes above some water. As you leave this section along the higher ground, there are two to the left.
Farm Cavern. Deep inside, in a section with wishnets and ropes above some water. As you leave this section along the higher ground, there are two to the left.
756. Miraland Map
Inside ![]() Farm Cavern. After going through the dark tunnel, you’ll reach a tall cavern. Drop down to a ledge halfway down, where the
Farm Cavern. After going through the dark tunnel, you’ll reach a tall cavern. Drop down to a ledge halfway down, where the ![]() Bling is. After going around the corner, you need to jump across. Drop down to where the rope on the right is. Turn around to find two at the back.
Bling is. After going around the corner, you need to jump across. Drop down to where the rope on the right is. Turn around to find two at the back.

757. Miraland Map
Inside ![]() Farm Cavern. At the endpoint, a tall cavern with a tree at the bottom and more ropes and wishnets. Three by the side of the tree.
Farm Cavern. At the endpoint, a tall cavern with a tree at the bottom and more ropes and wishnets. Three by the side of the tree.
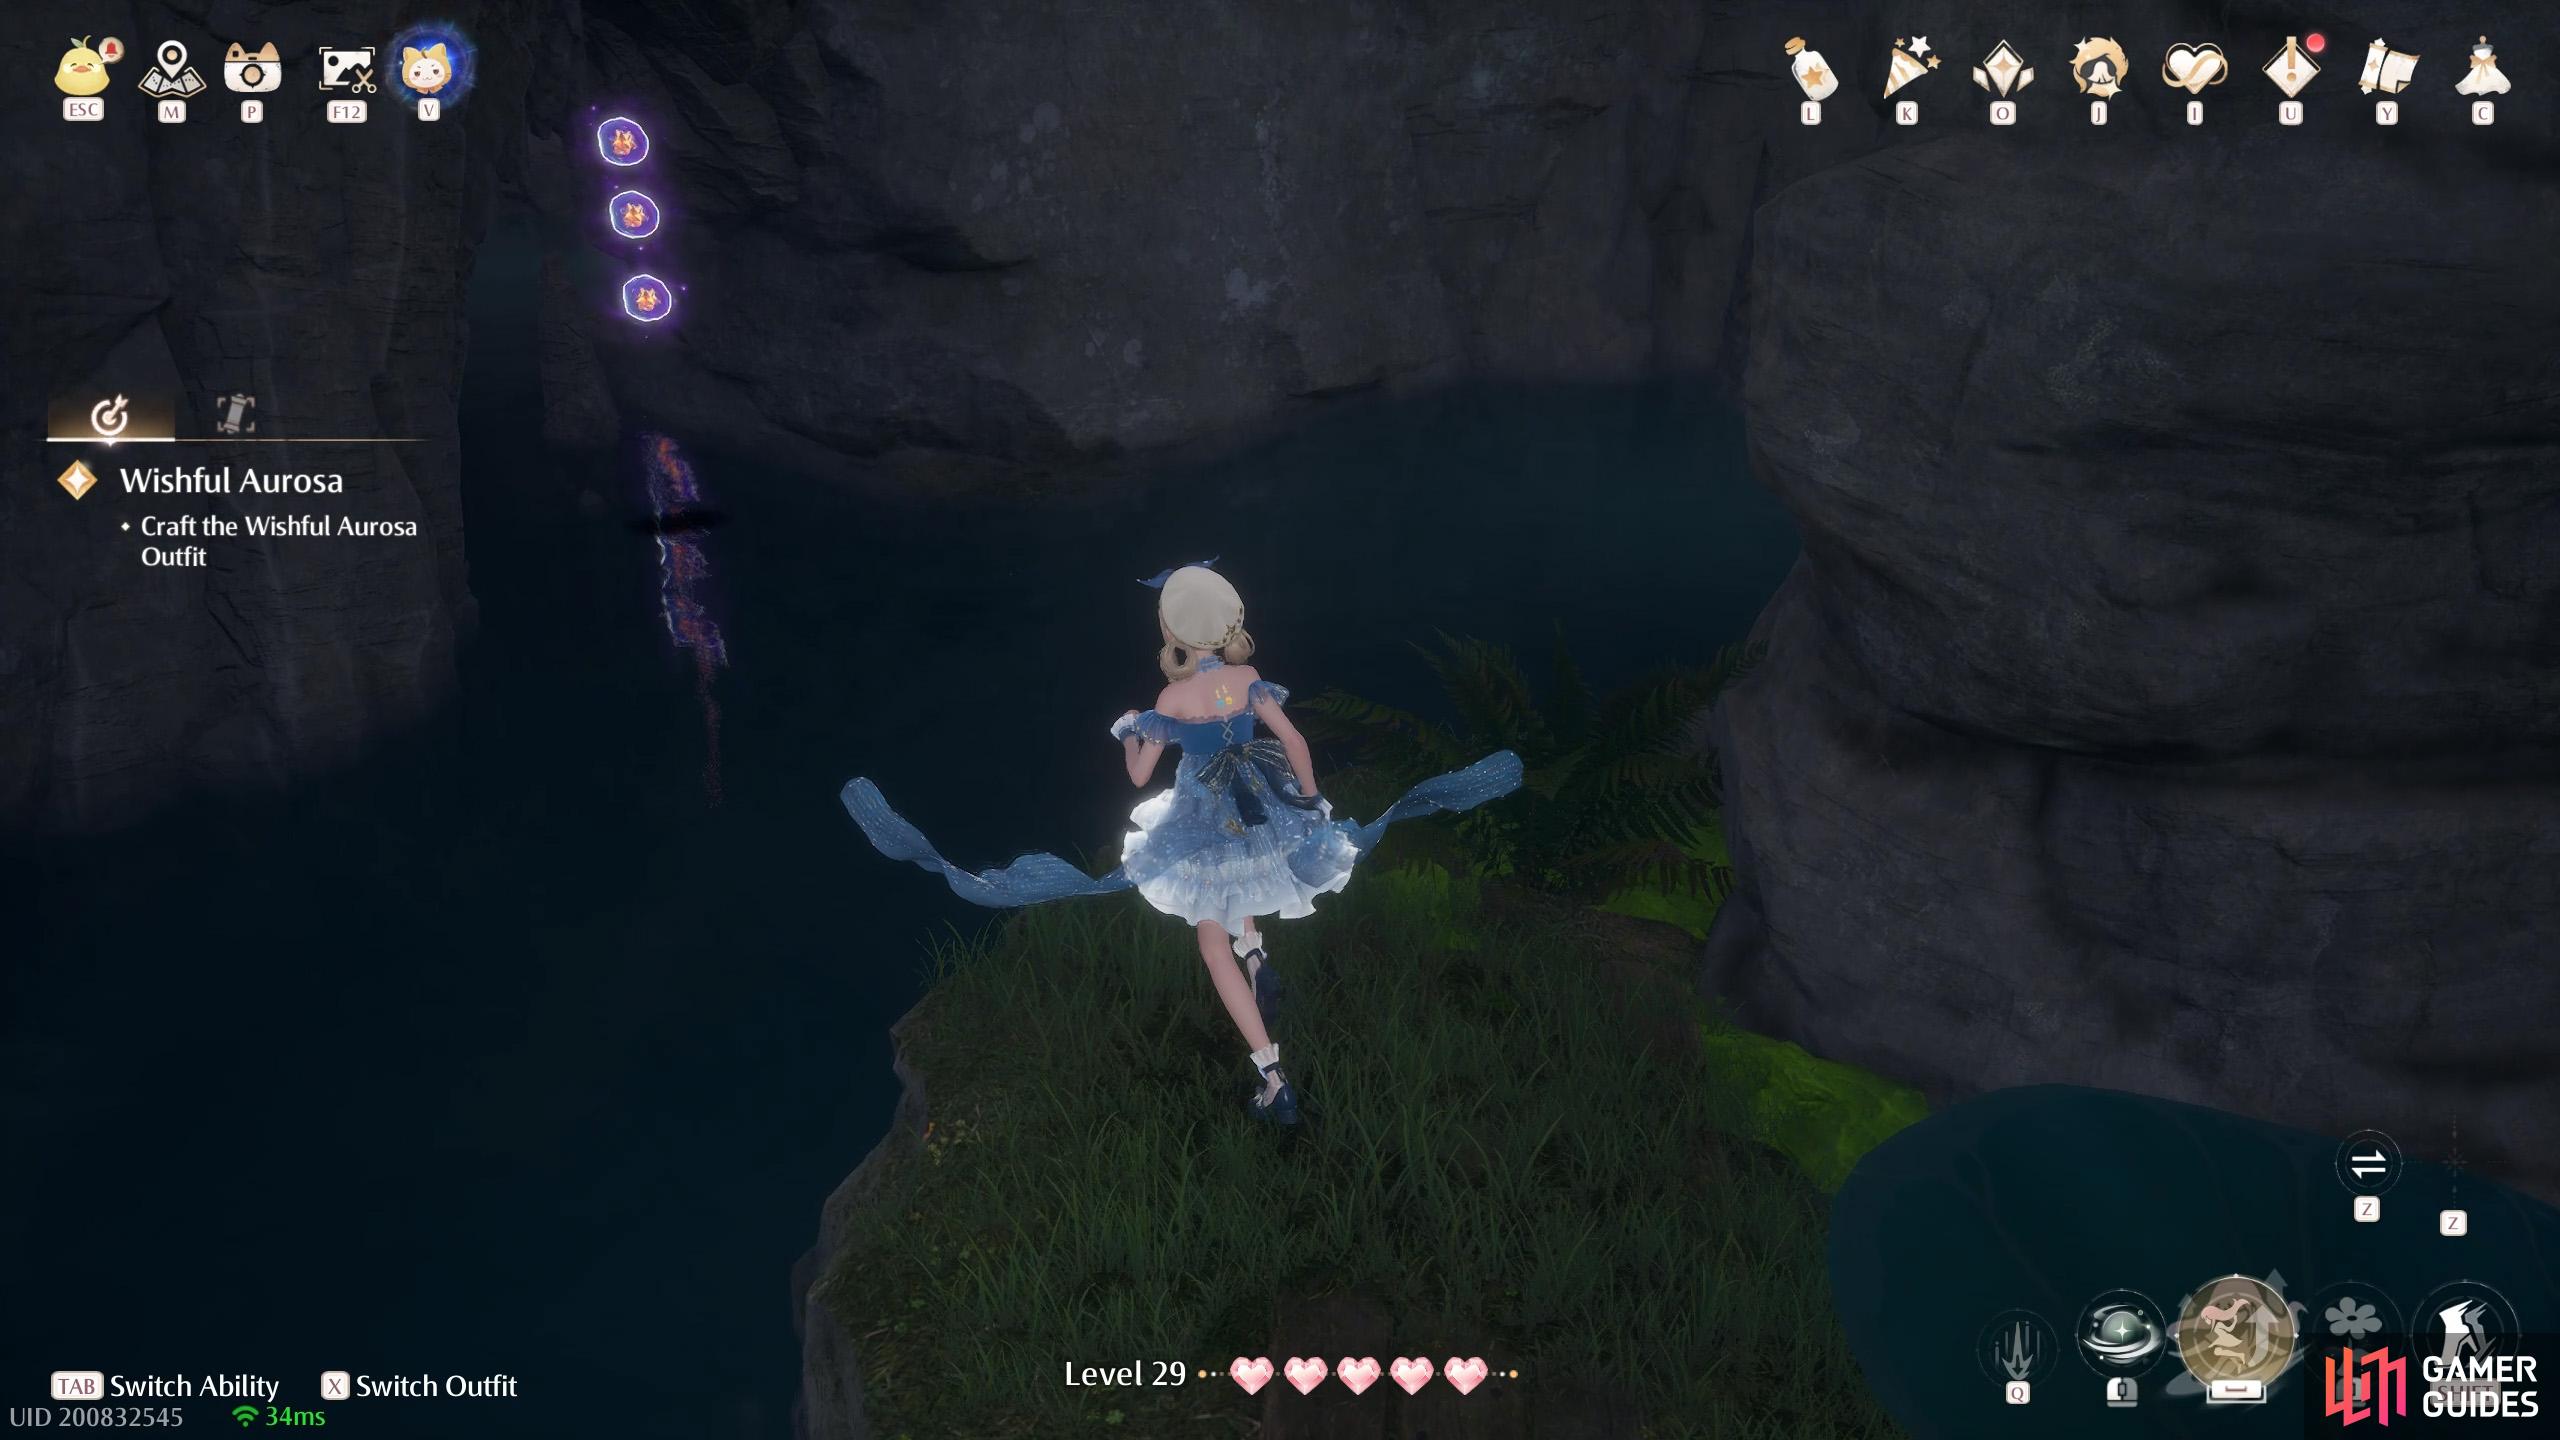
758. Miraland Map
Inside ![]() Stonecrown Cavern. Near the start, keep right. Just before a leaf trampoline, there’s three on the left.
Stonecrown Cavern. Near the start, keep right. Just before a leaf trampoline, there’s three on the left.
759. Miraland Map
Inside ![]() Stonecrown Cavern. Two floating near the top. Keep going up until you reach an Esseling holding a spore. Defeat it to make an air-blowing plant grow down below. Carefully drop down to the left, where there’s a ledge where you can safely reach these dew.
Stonecrown Cavern. Two floating near the top. Keep going up until you reach an Esseling holding a spore. Defeat it to make an air-blowing plant grow down below. Carefully drop down to the left, where there’s a ledge where you can safely reach these dew.
760. Miraland Map
Inside ![]() Timis’s Beauty Lab. At the end of the first area, use a jumping attack to break the wooden floor board. Two of these are down below.
Timis’s Beauty Lab. At the end of the first area, use a jumping attack to break the wooden floor board. Two of these are down below.
761. Miraland Map
Inside ![]() Timis’s Beauty Lab. In the 2nd area, Aroma Extraction Room. Two on top of a circular platform near the water.
Timis’s Beauty Lab. In the 2nd area, Aroma Extraction Room. Two on top of a circular platform near the water.
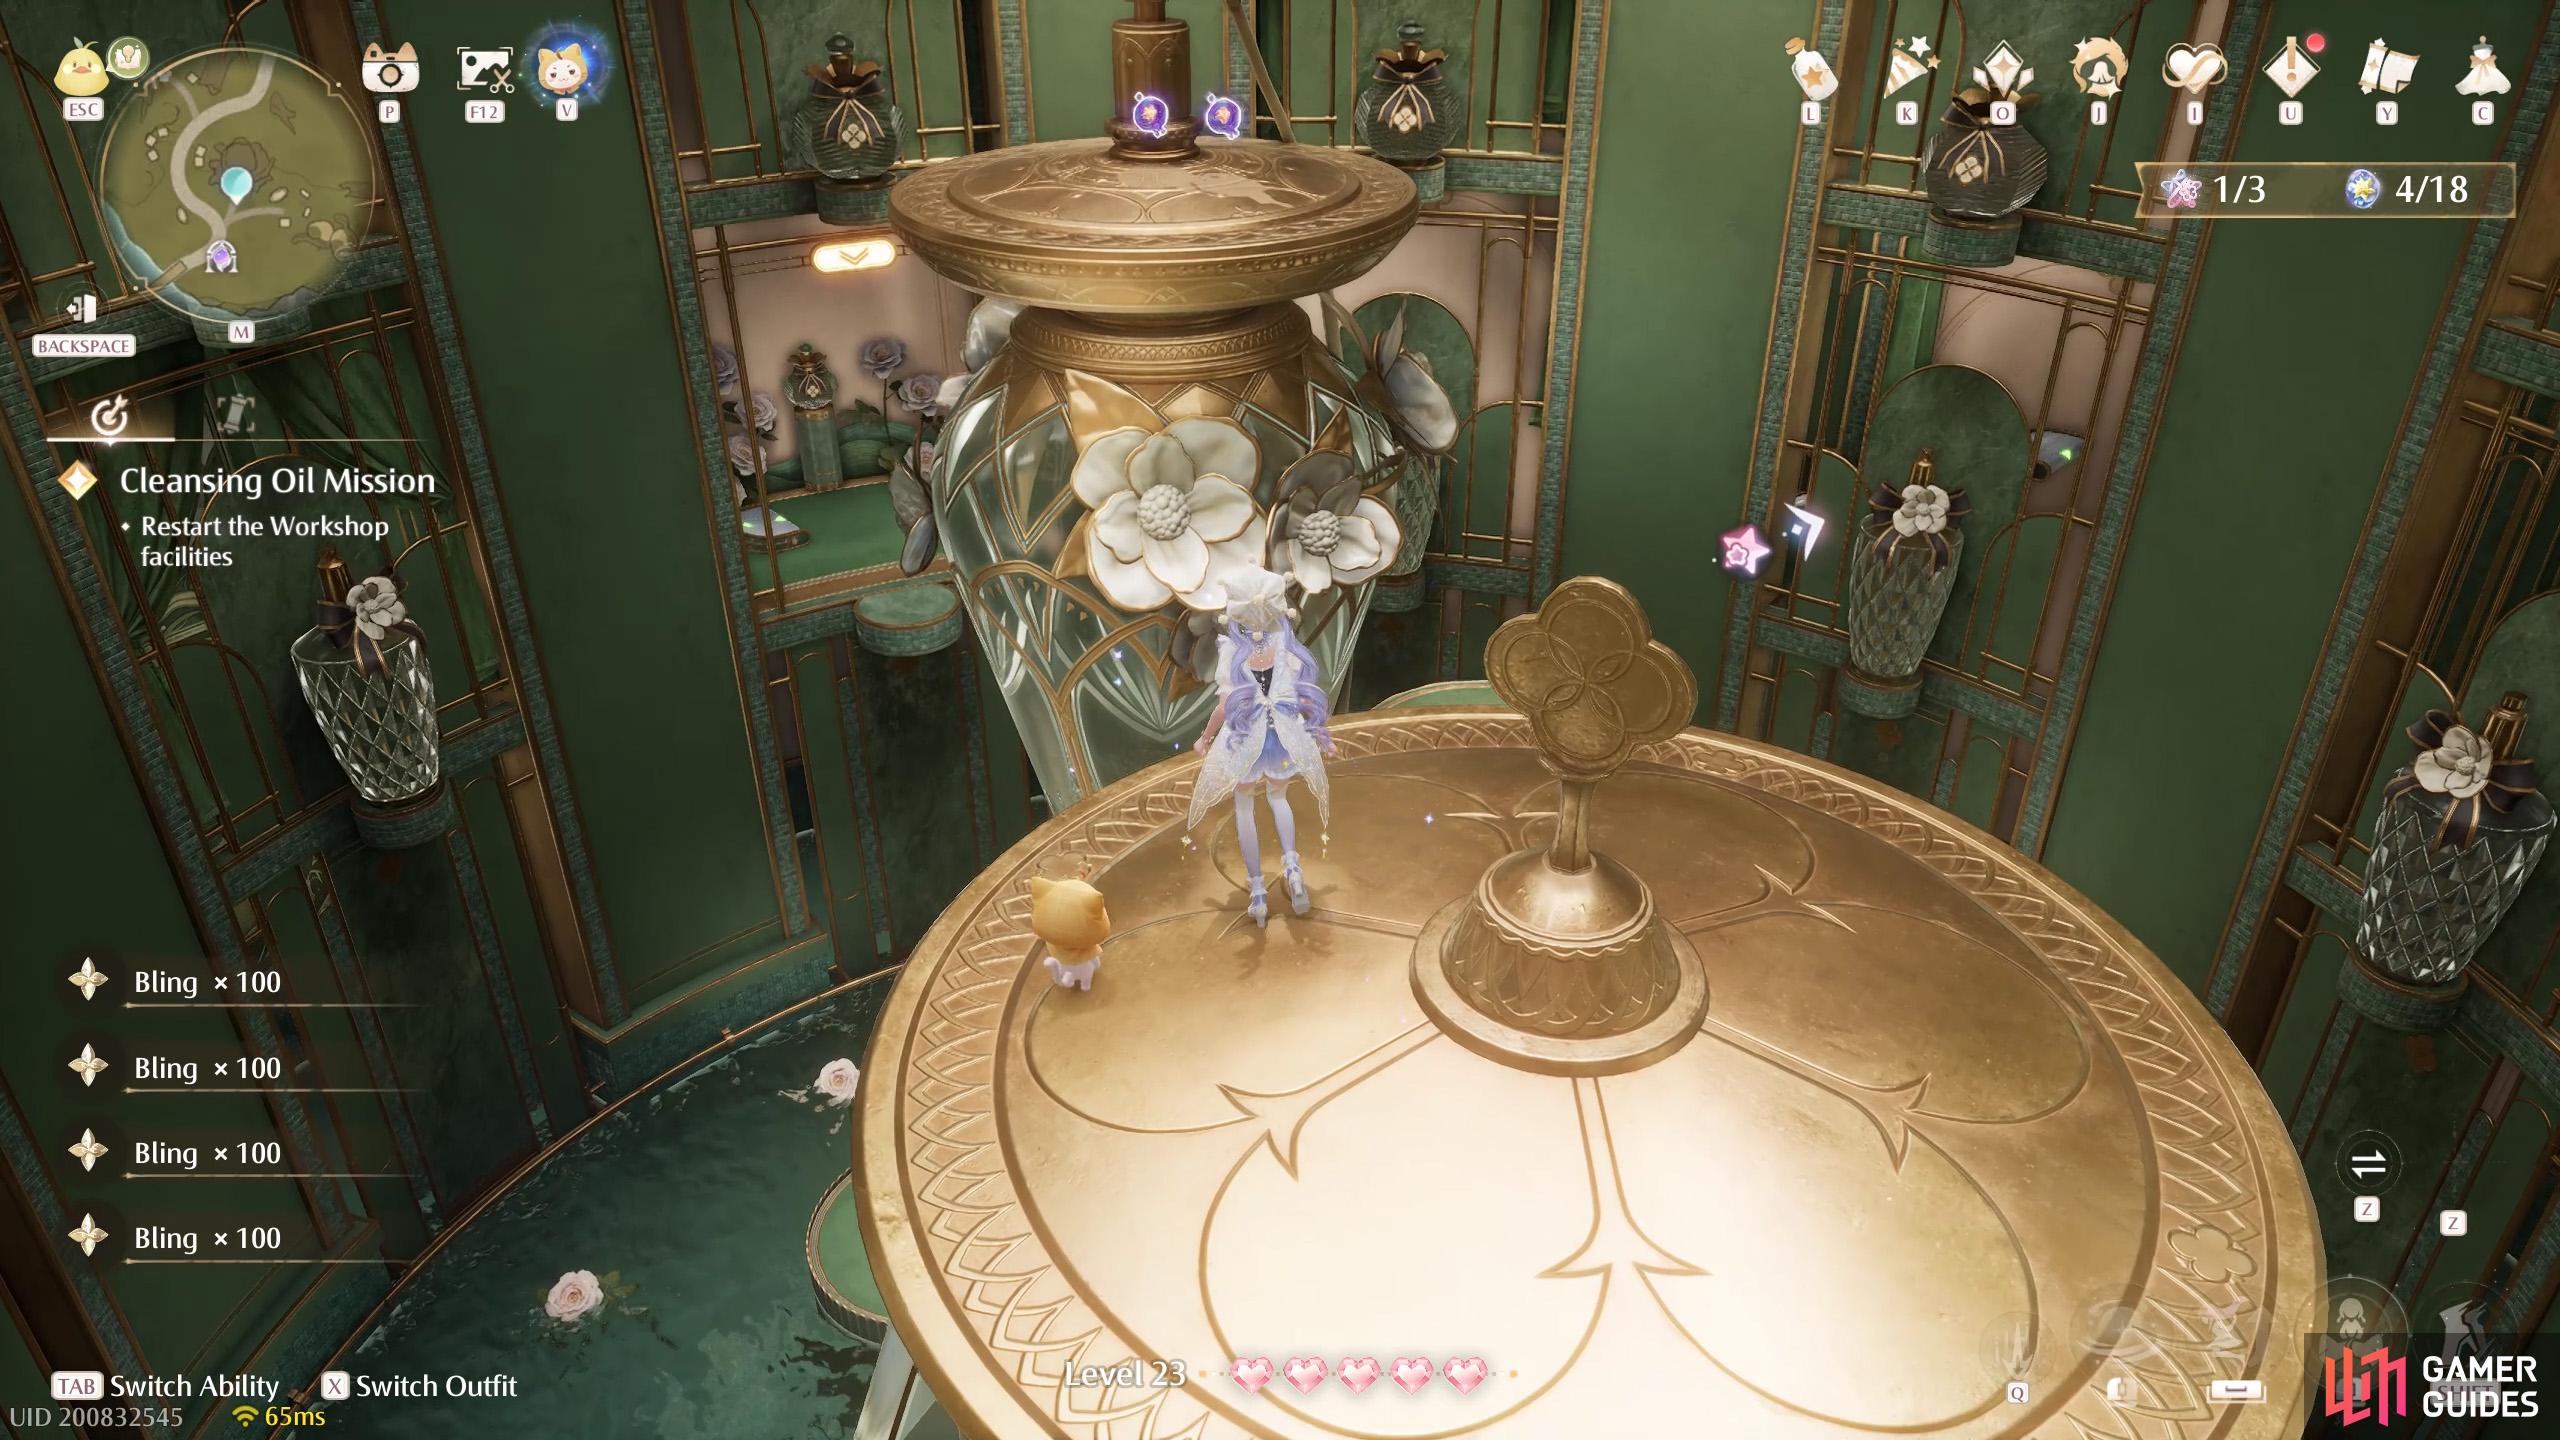
762. Miraland Map
Inside ![]() Timis’s Beauty Lab. At the 2nd area, Aroma Extraction Room. Two on top of one of the vase-like structures.
Timis’s Beauty Lab. At the 2nd area, Aroma Extraction Room. Two on top of one of the vase-like structures.
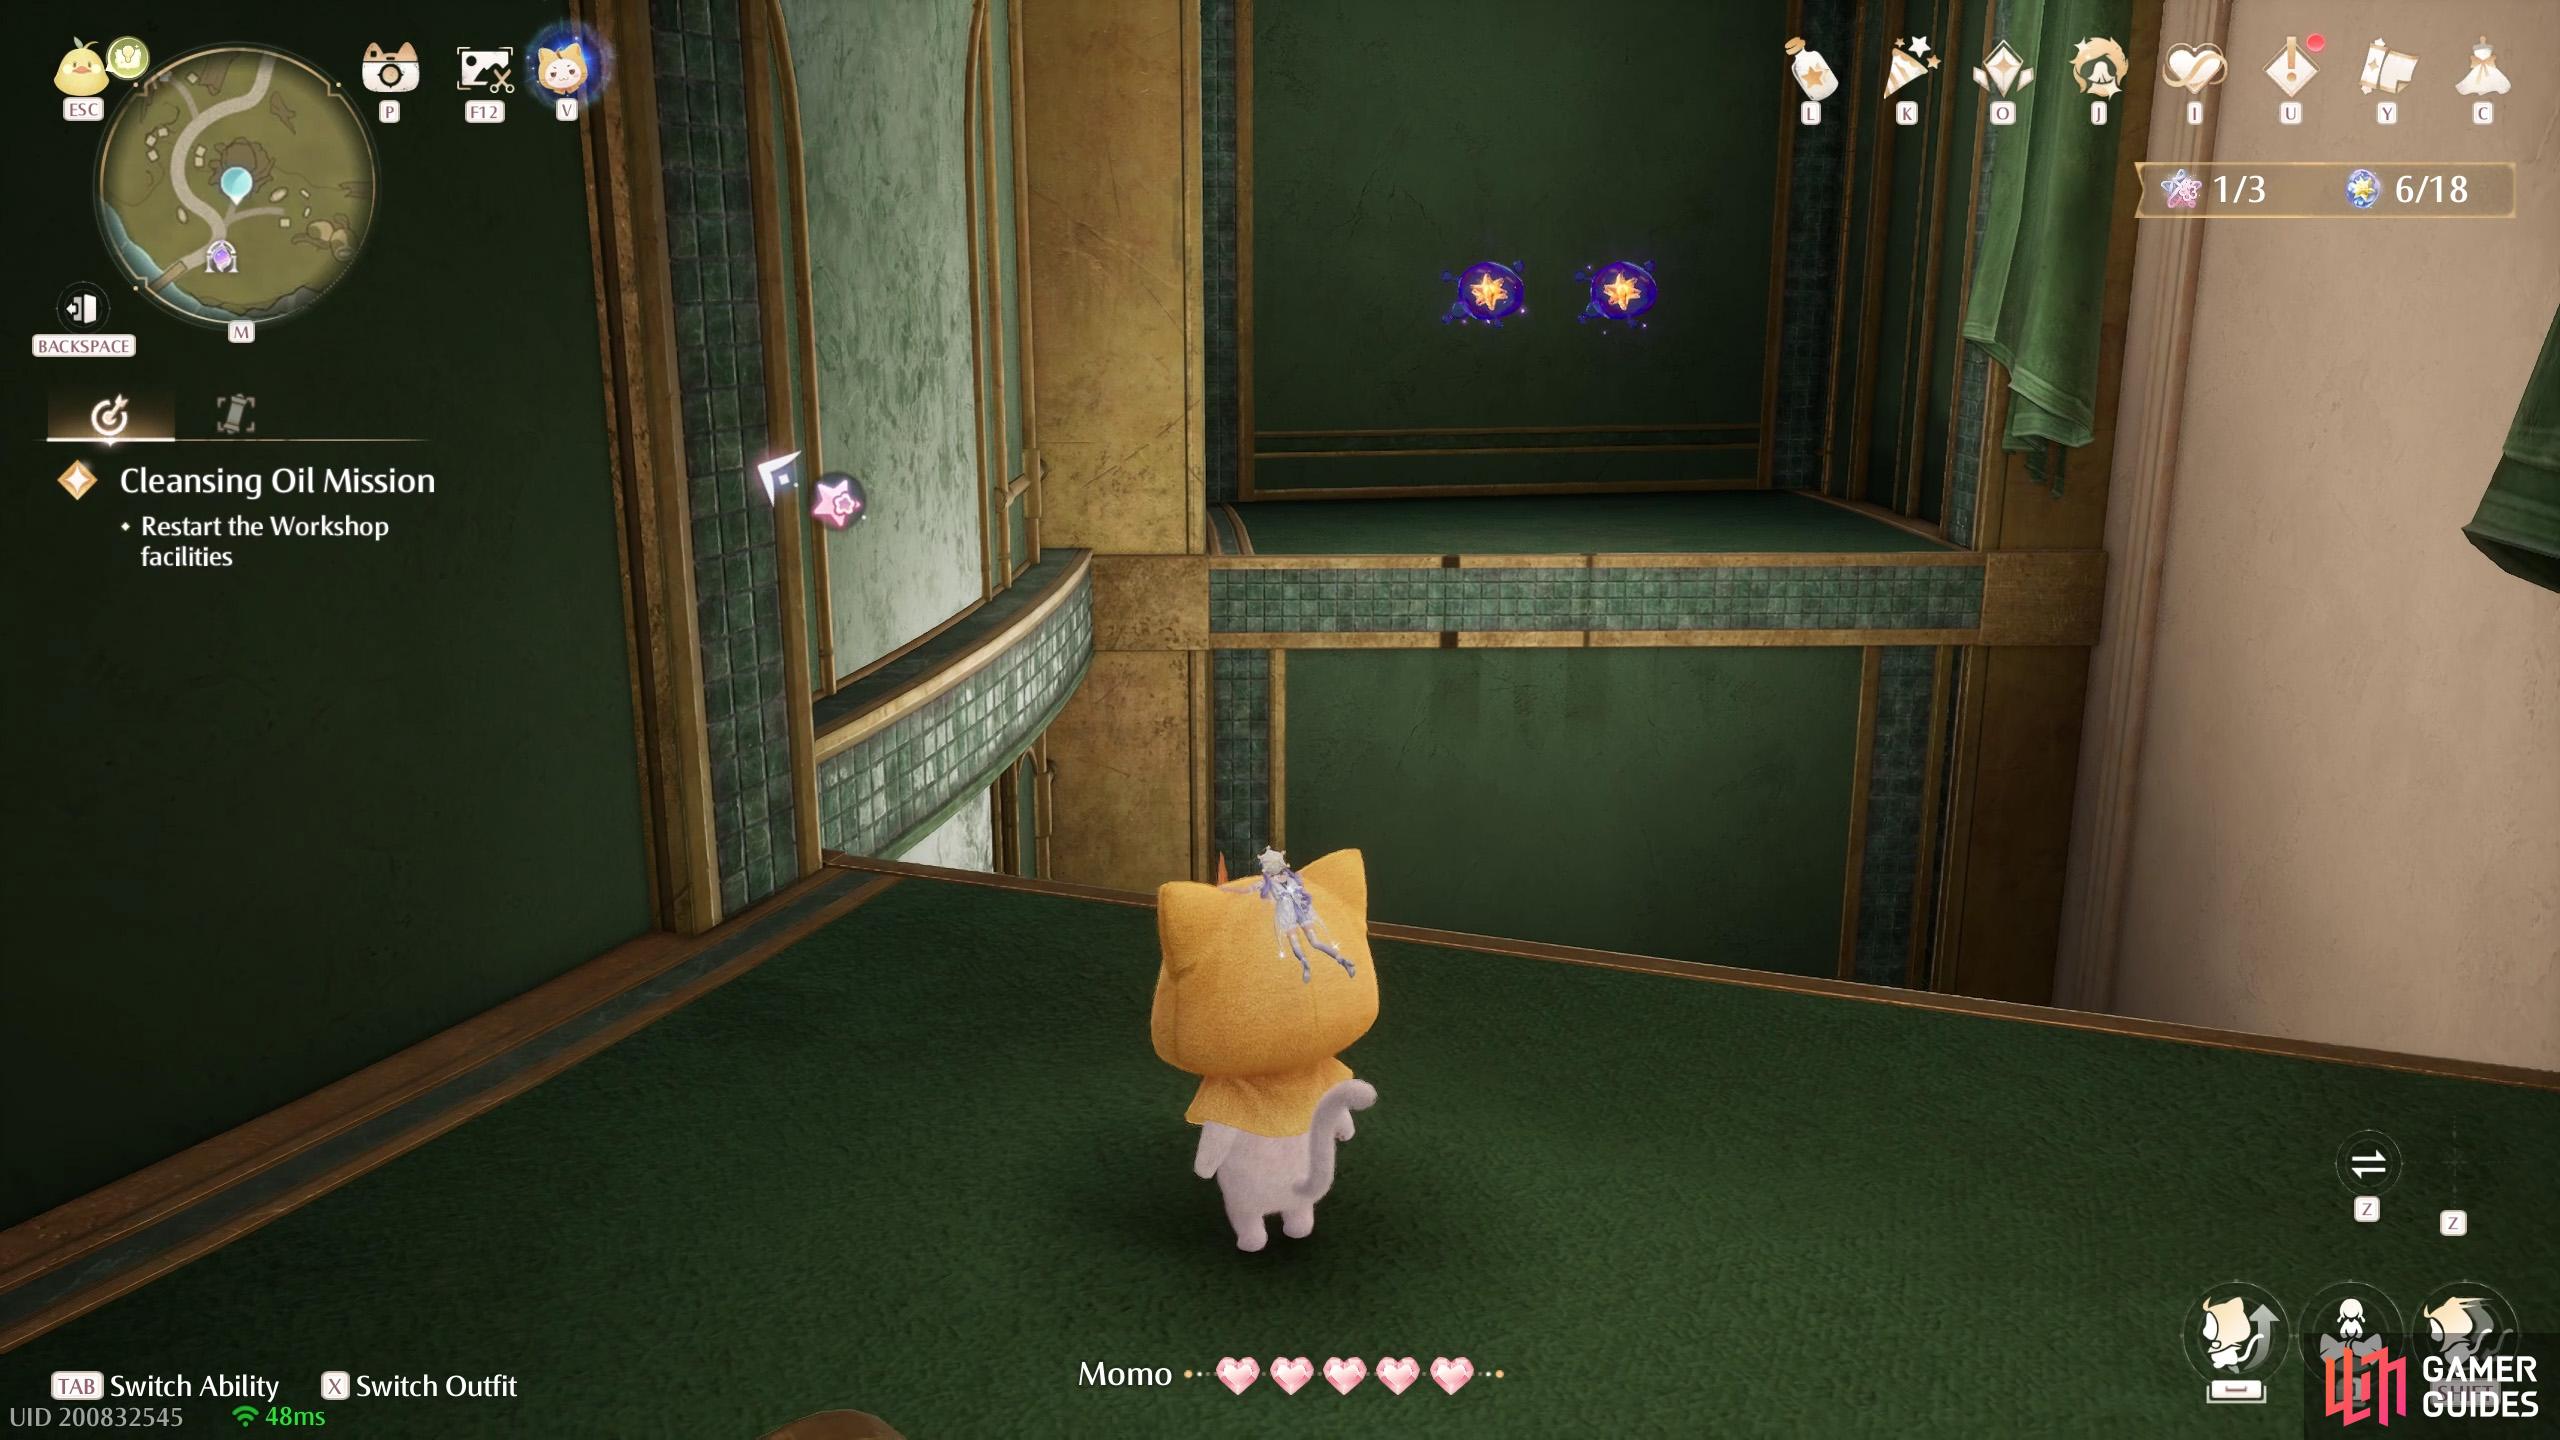
763. Miraland Map
Inside ![]() Timis’s Beauty Lab. At the 2nd area, Aroma Extraction Room. Near the end, there’s a square shaped hole on the floor. Drop down and these two are behind you.
Timis’s Beauty Lab. At the 2nd area, Aroma Extraction Room. Near the end, there’s a square shaped hole on the floor. Drop down and these two are behind you.

764. Miraland Map
Inside ![]() Timis’s Beauty Lab. At the 3rd area, Cosmetic Assembly Line. When you reach the 3rd set of stampers, jump on the 2nd stamper and you can jump to a ledge on the left with three dew.
Timis’s Beauty Lab. At the 3rd area, Cosmetic Assembly Line. When you reach the 3rd set of stampers, jump on the 2nd stamper and you can jump to a ledge on the left with three dew.
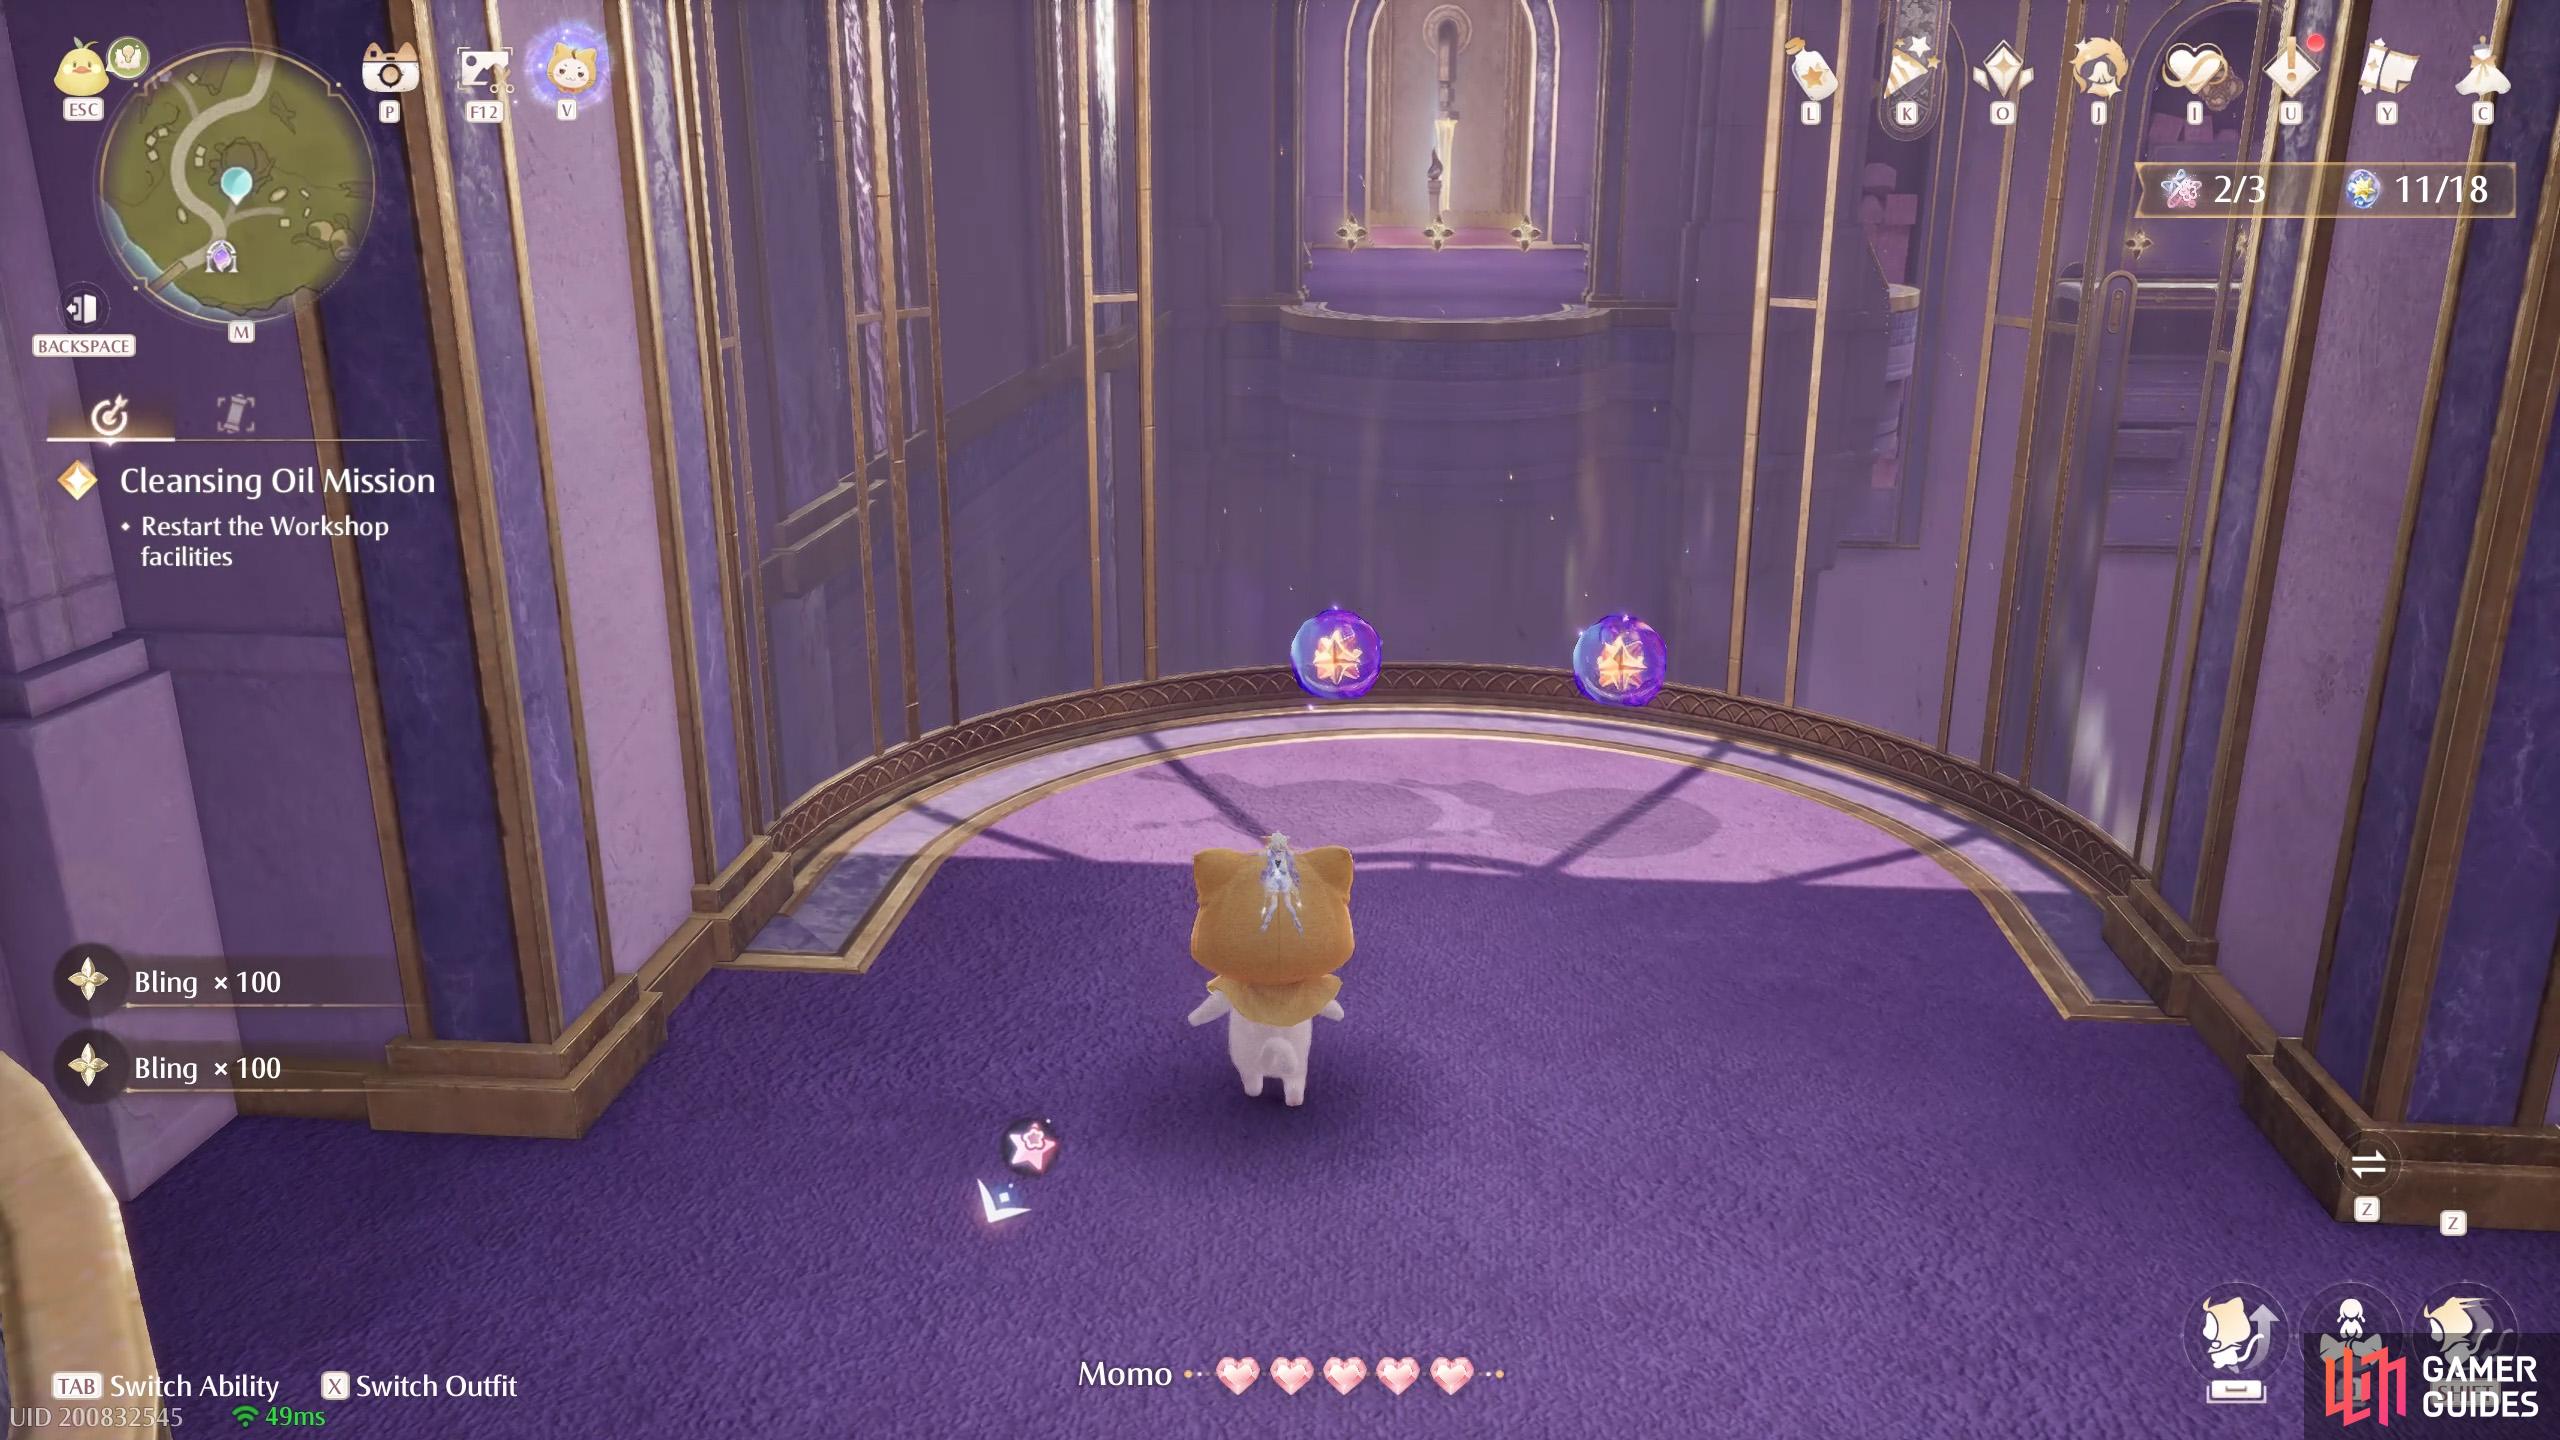
765. Miraland Map
Inside ![]() Timis’s Beauty Lab. At the 3rd area, Cosmetic Assembly Line. Around the halfway point, you can drop down on the left. Keep going and you’ll find two of these on the right.
Timis’s Beauty Lab. At the 3rd area, Cosmetic Assembly Line. Around the halfway point, you can drop down on the left. Keep going and you’ll find two of these on the right.
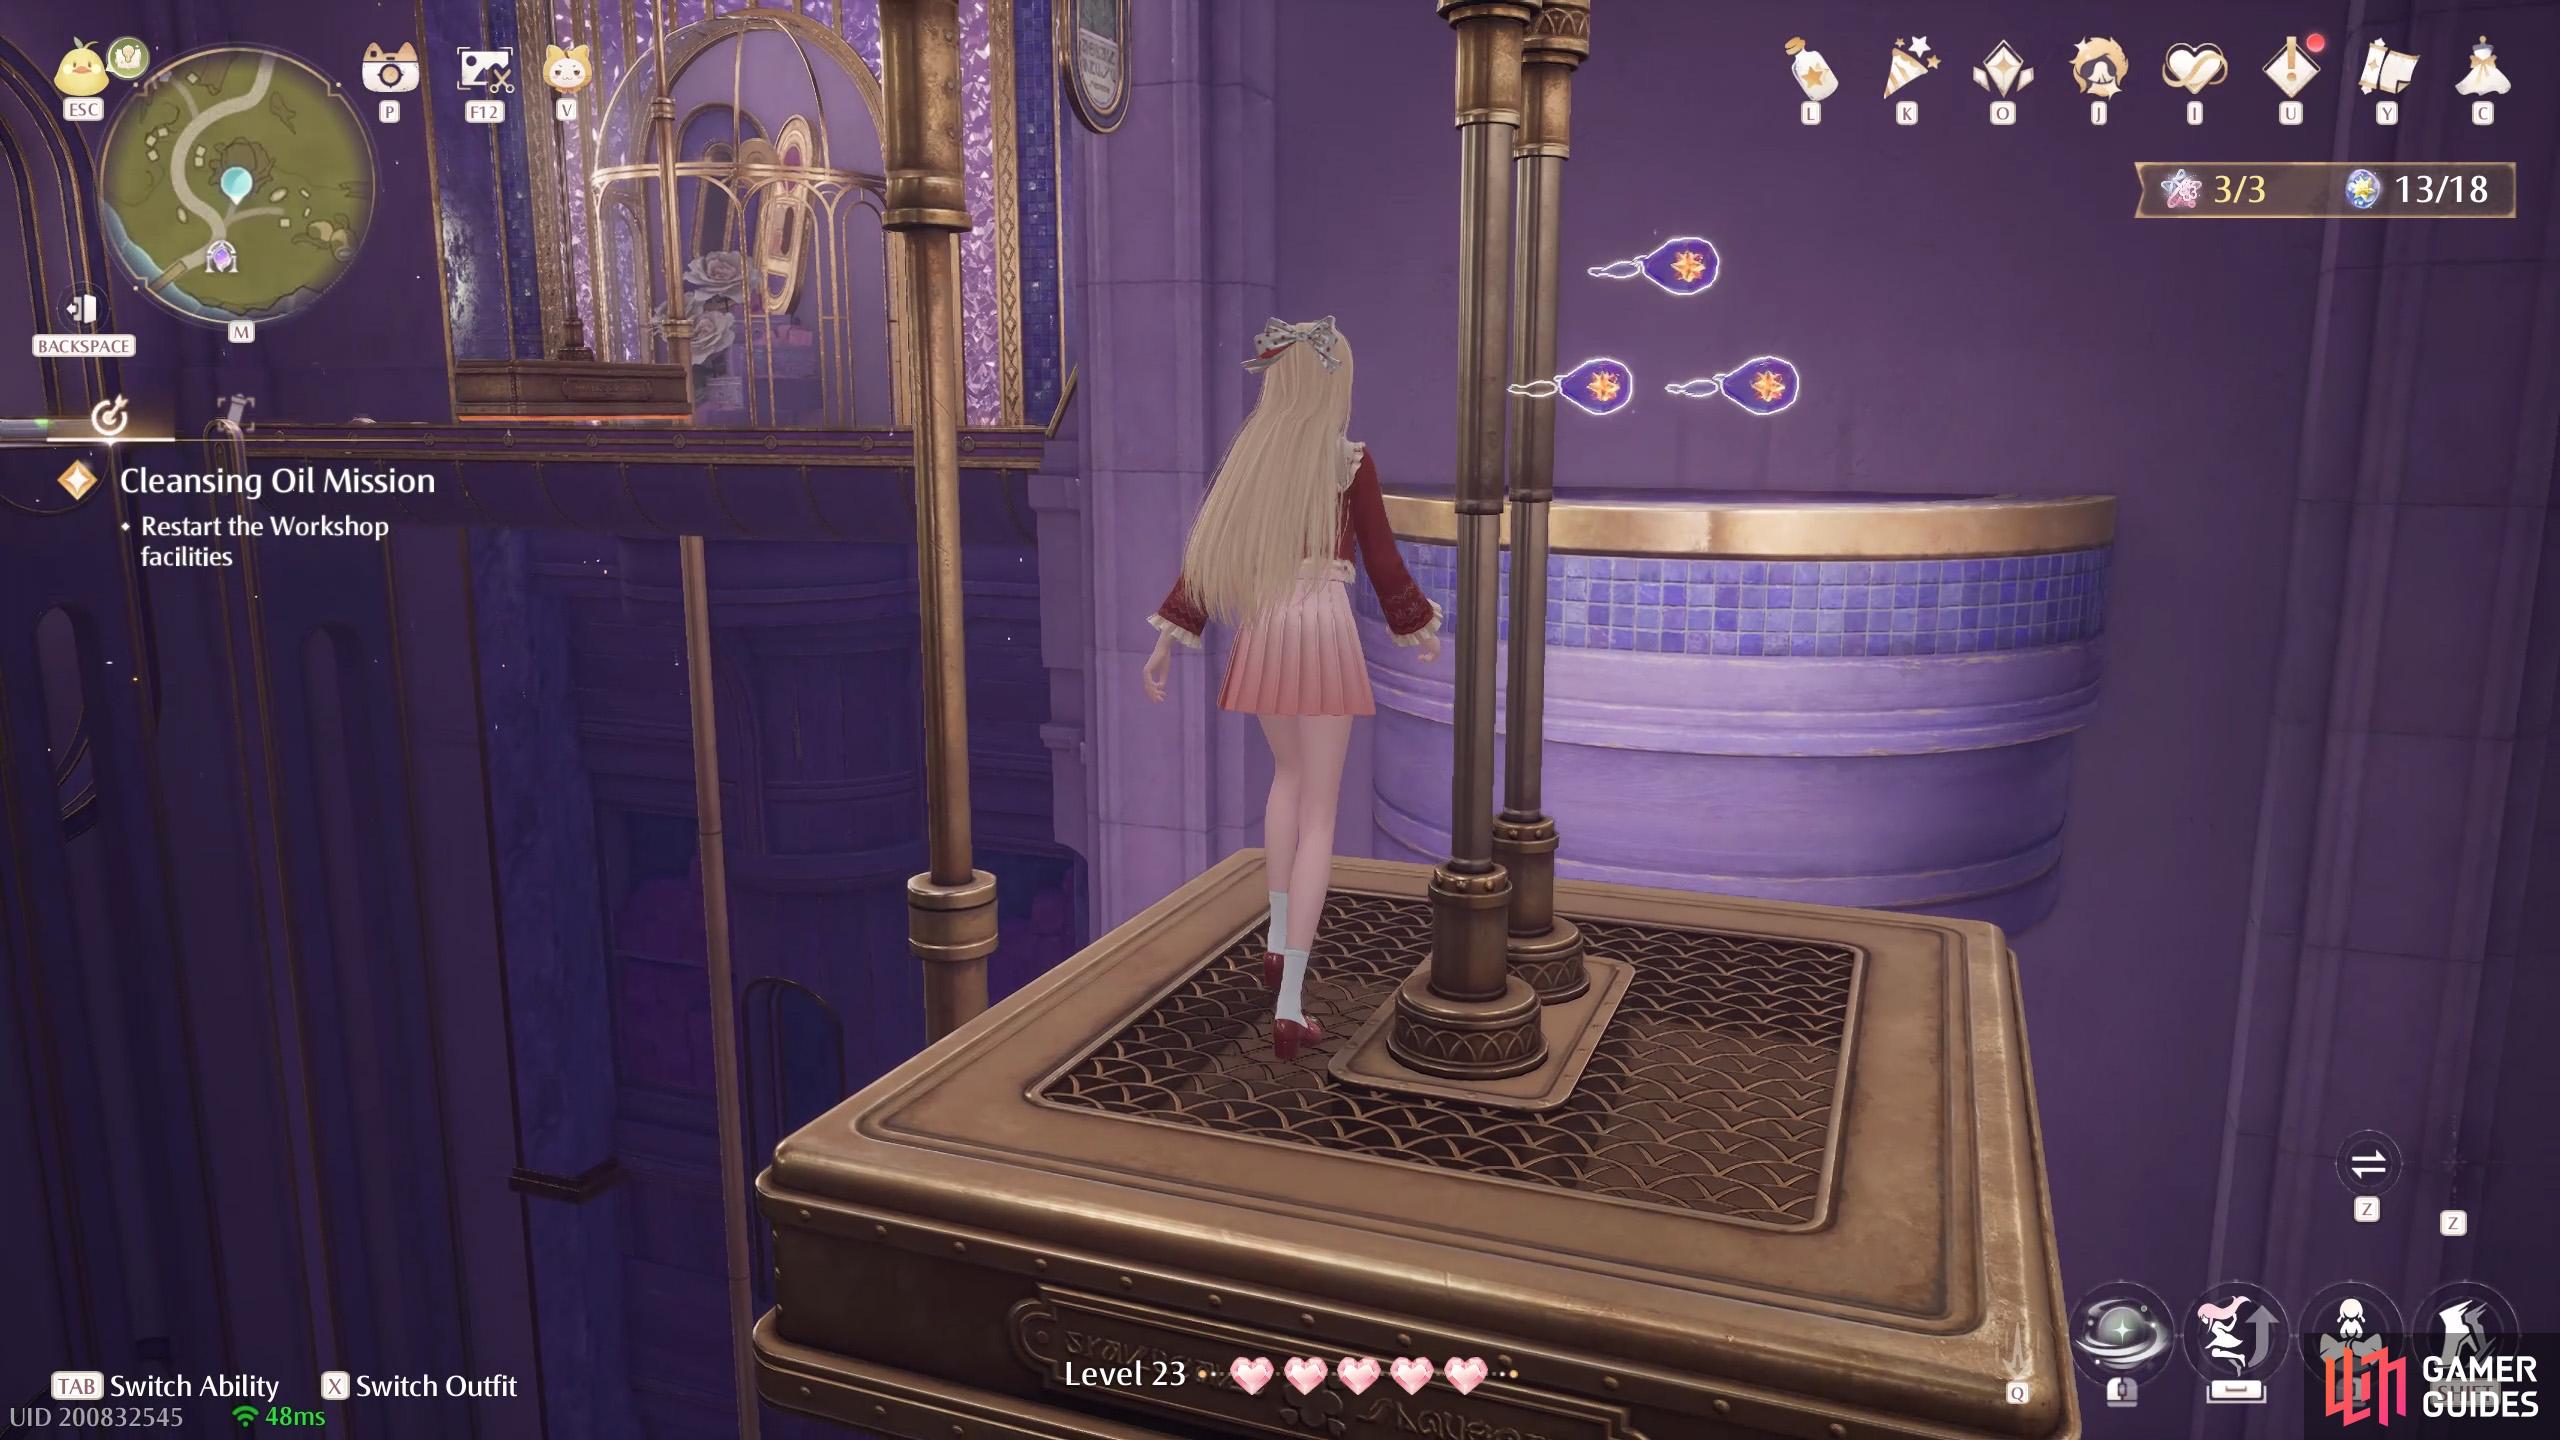
766. Miraland Map
Inside ![]() Timis’s Beauty Lab. At the 3rd area, Cosmetic Assembly Line. Around the halfway point, you can drop down on the left. Once you reach the end of the conveyor belt, return to normal size. Then turn around and jump on the platforms to reach three dew at the back.
Timis’s Beauty Lab. At the 3rd area, Cosmetic Assembly Line. Around the halfway point, you can drop down on the left. Once you reach the end of the conveyor belt, return to normal size. Then turn around and jump on the platforms to reach three dew at the back.

767. Miraland Map
Inside ![]() Timis’s Beauty Lab. At the 4th area, Cleansing Oil Workshop. Two on the left just before the Momo-sized door.
Timis’s Beauty Lab. At the 4th area, Cleansing Oil Workshop. Two on the left just before the Momo-sized door.
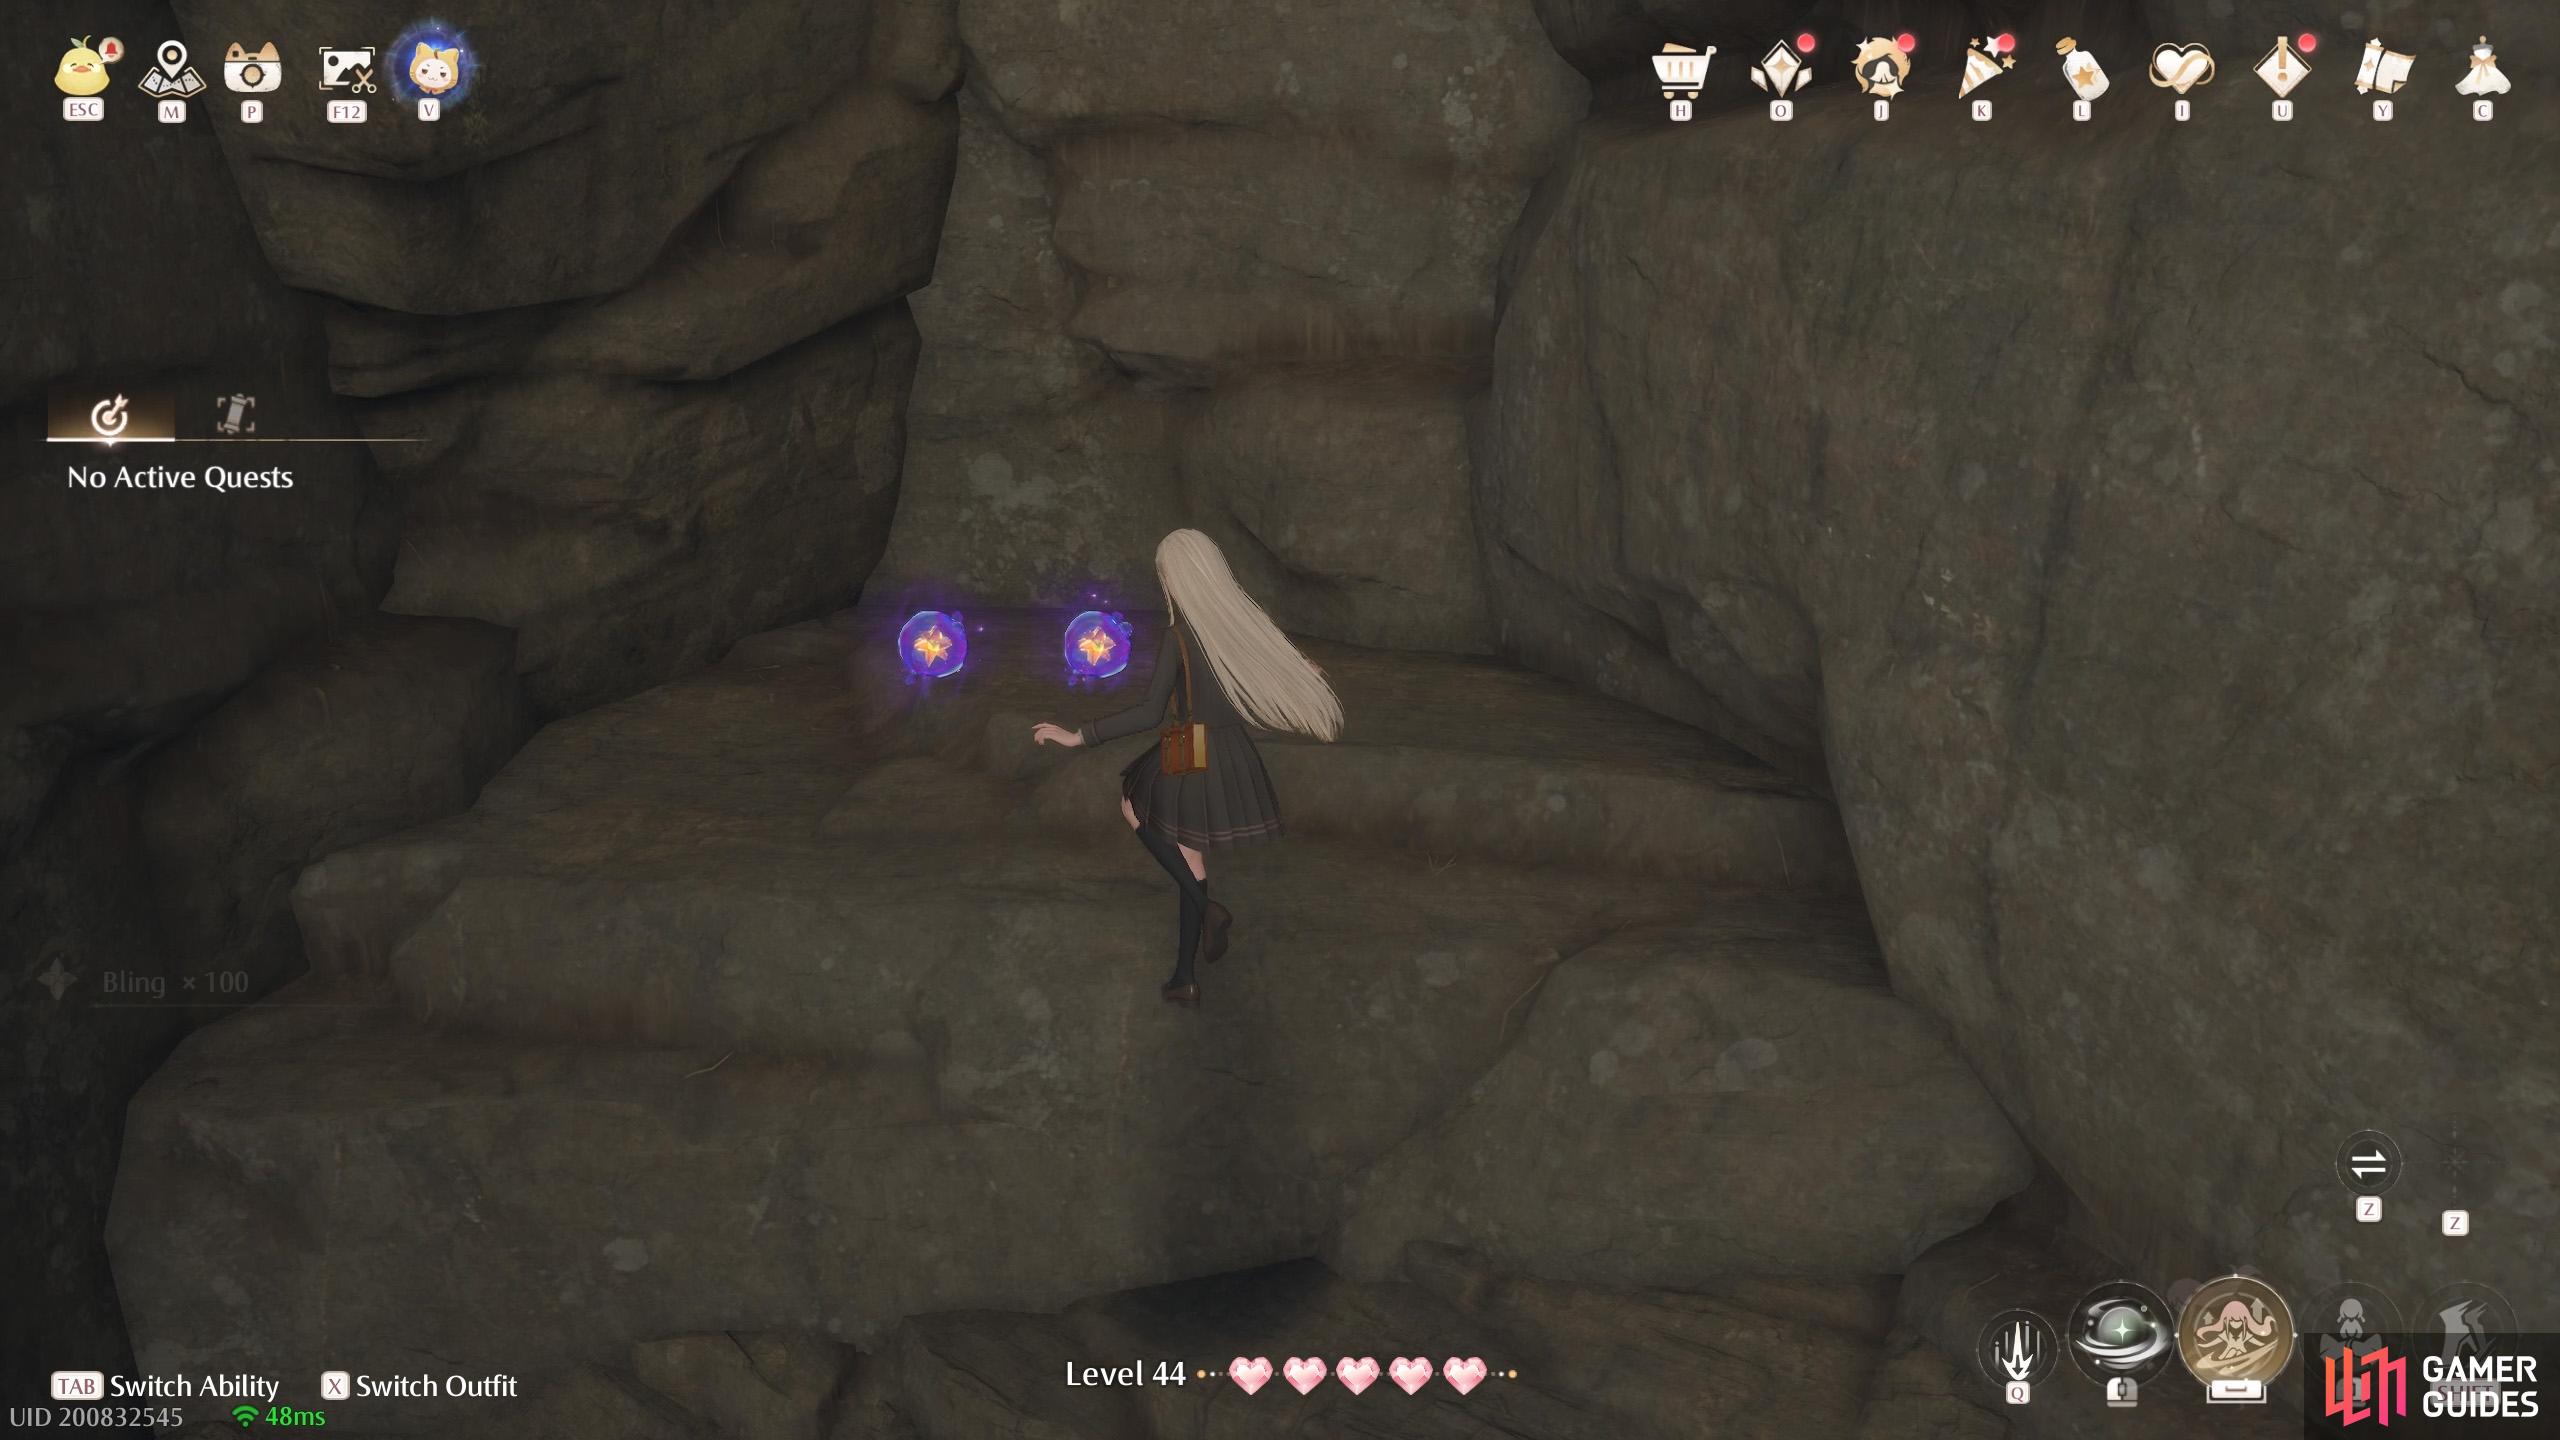
768. Miraland Map
Inside ![]() Field Base Cavern. At the start, head along the lower path on the left-hand side. You’ll find two of these at the end, past a few Esselings.
Field Base Cavern. At the start, head along the lower path on the left-hand side. You’ll find two of these at the end, past a few Esselings.
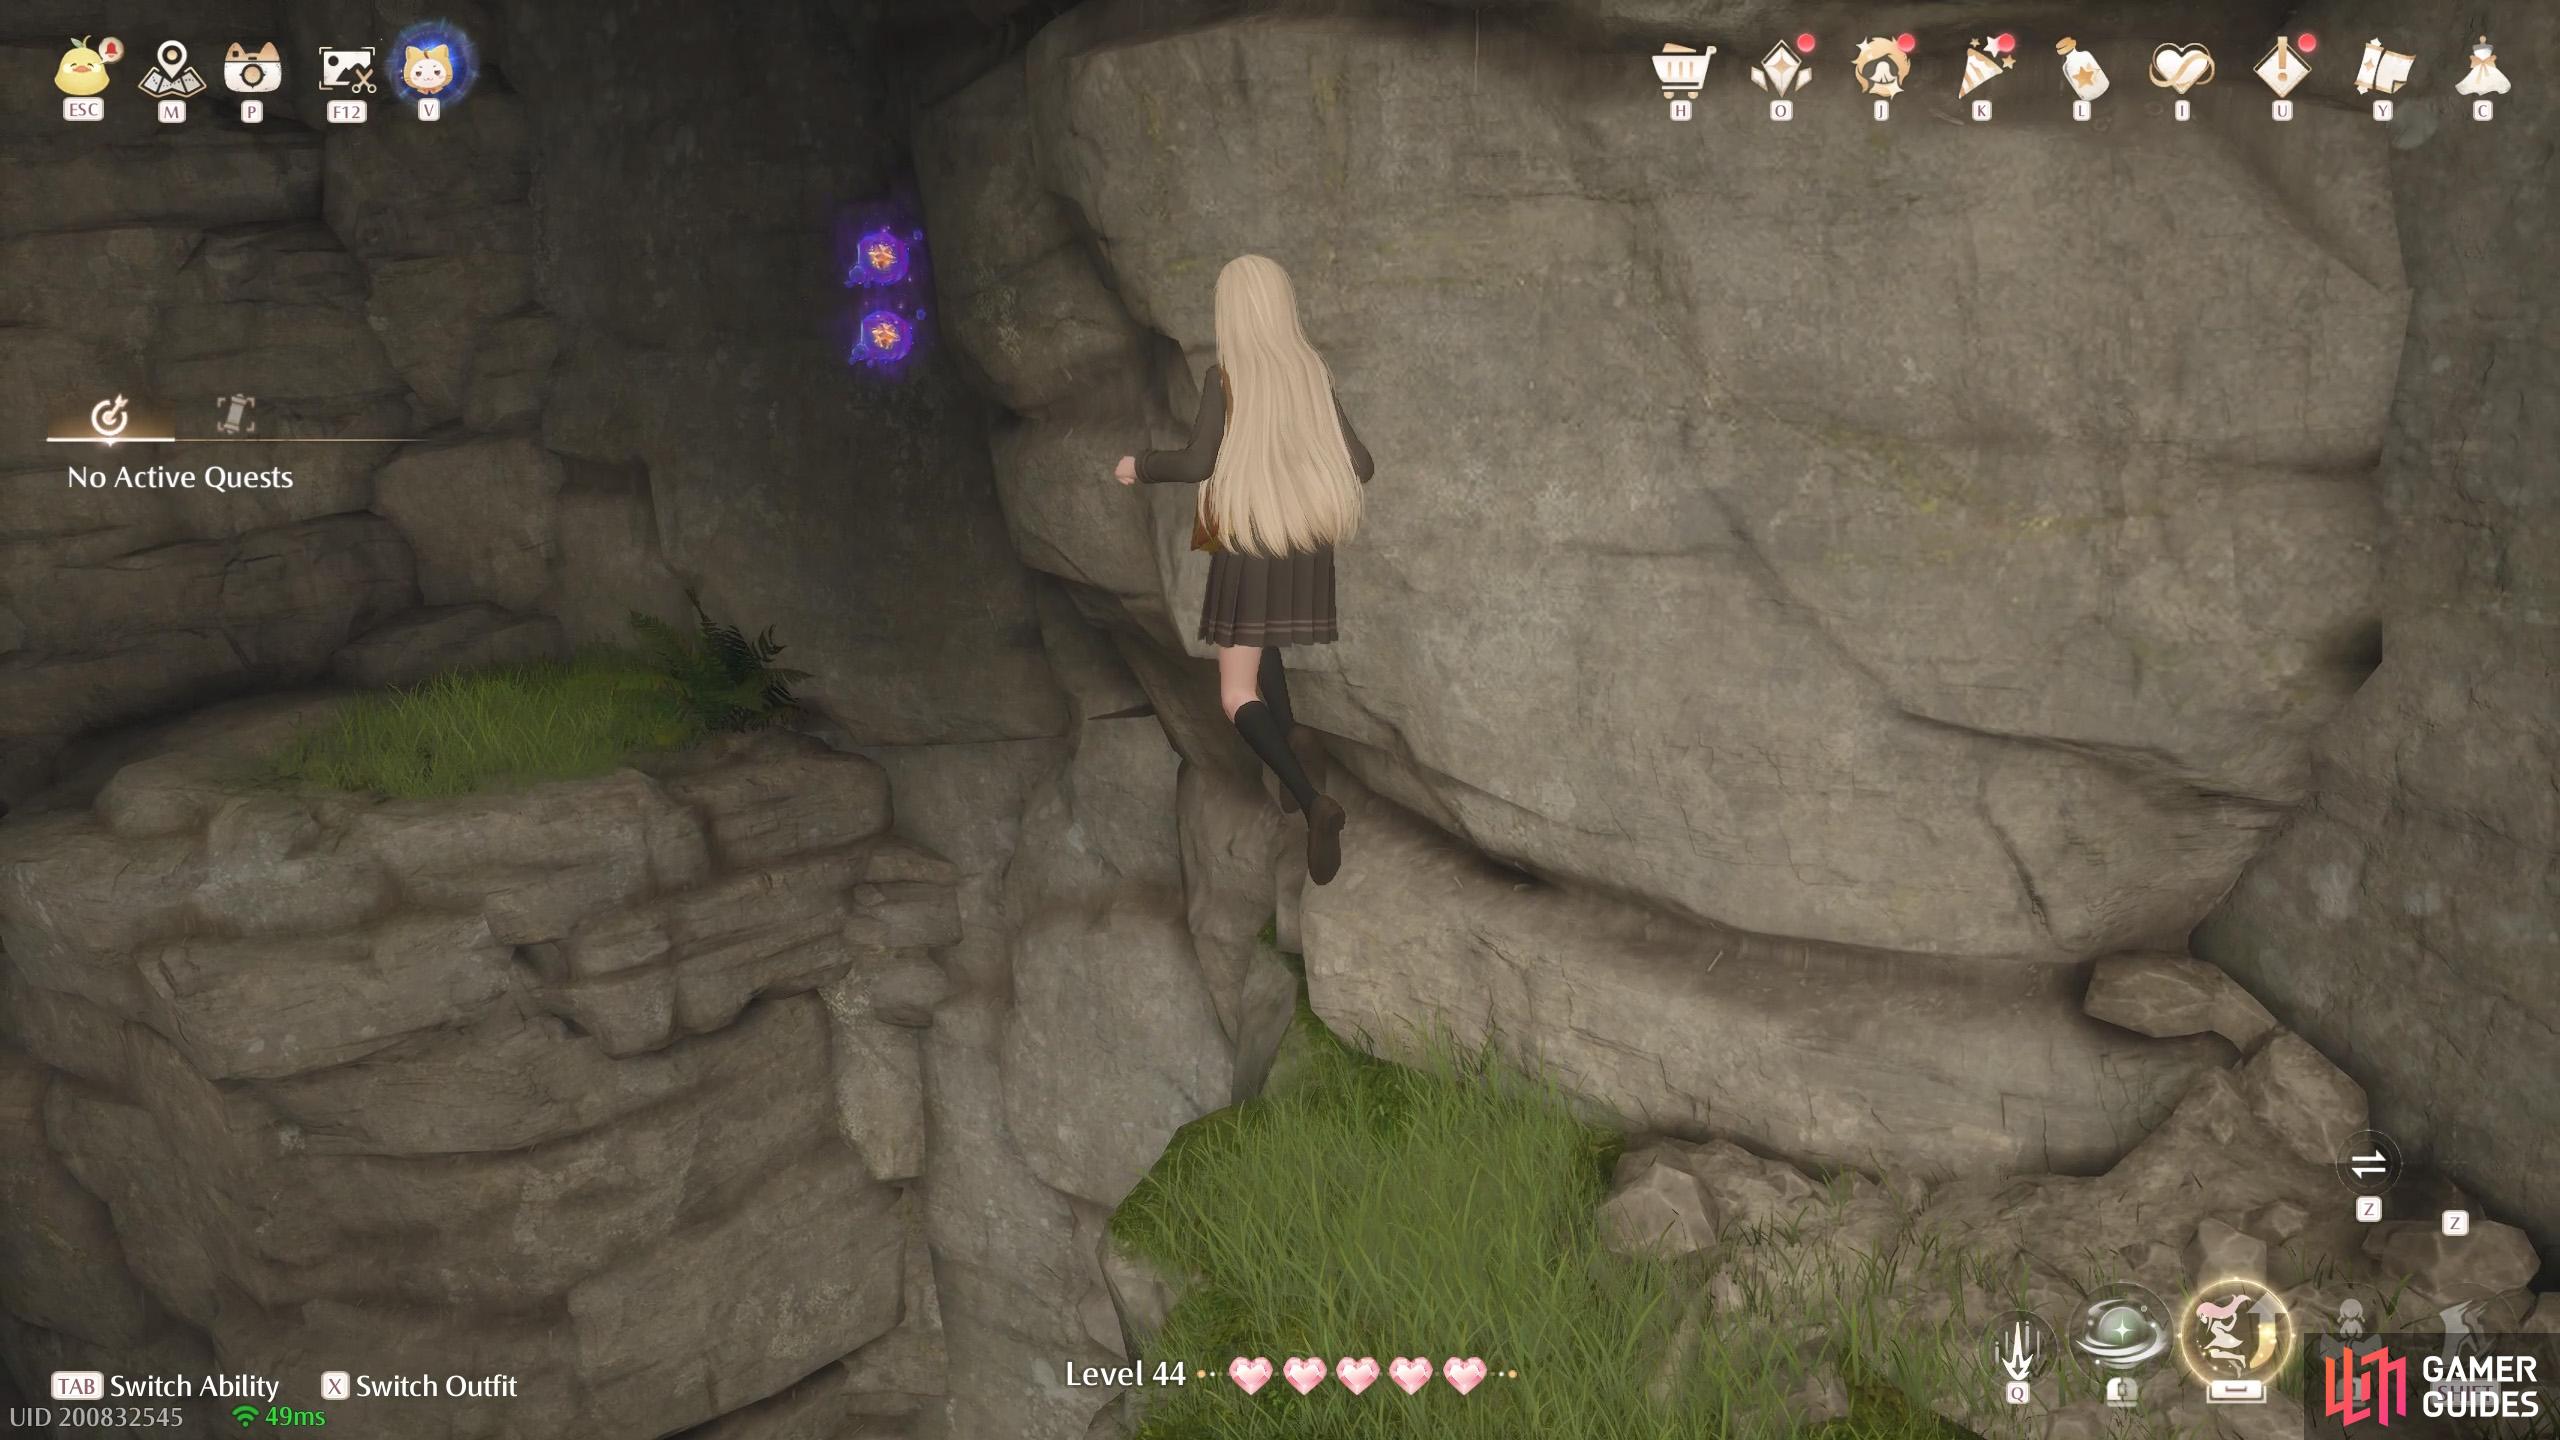
769. Miraland Map
Inside ![]() Field Base Cavern. Go along the sloped path on the right-hand side. Ignore the entrance with the
Field Base Cavern. Go along the sloped path on the right-hand side. Ignore the entrance with the ![]() Bling for now. Jump across and you’ll find two dew floating in the air.
Bling for now. Jump across and you’ll find two dew floating in the air.
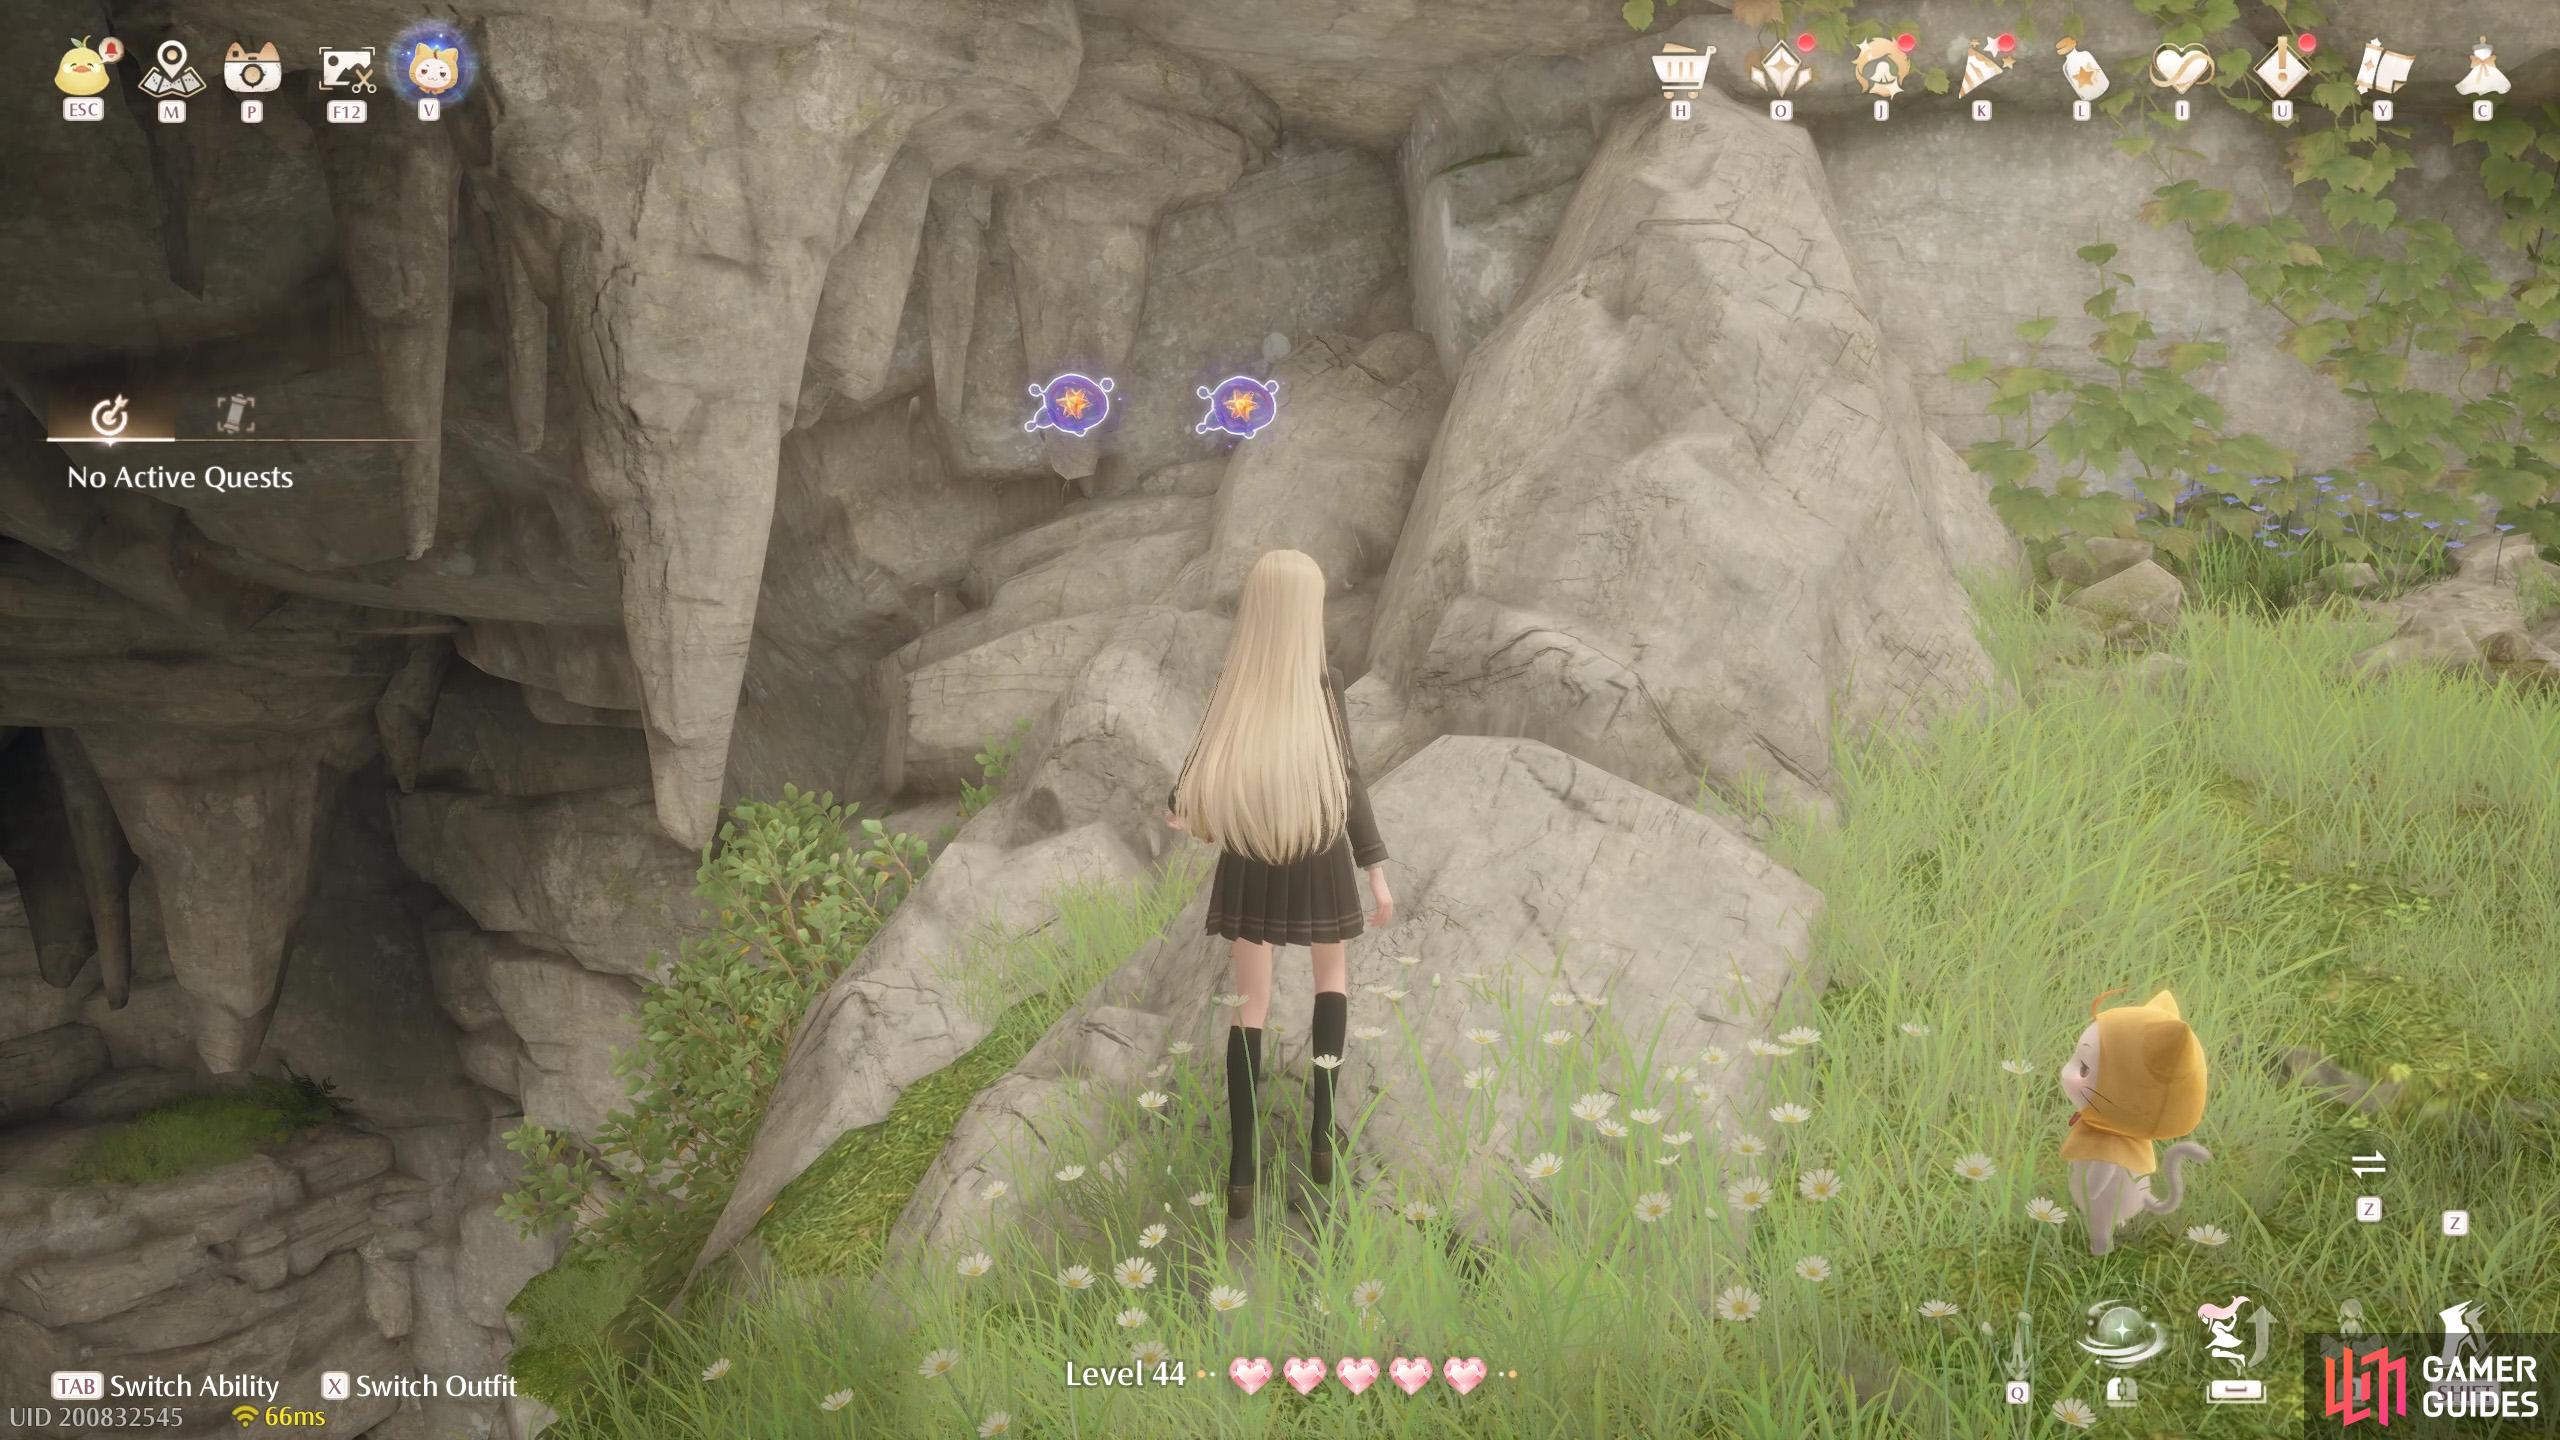
770. Miraland Map
Inside ![]() Field Base Cavern. Go along the sloped path on the right-hand side. Head through the entrance with the
Field Base Cavern. Go along the sloped path on the right-hand side. Head through the entrance with the ![]() Bling. After pushing through some Esselings, there are some boulders. Look to the right to find the last two dew.
Bling. After pushing through some Esselings, there are some boulders. Look to the right to find the last two dew.
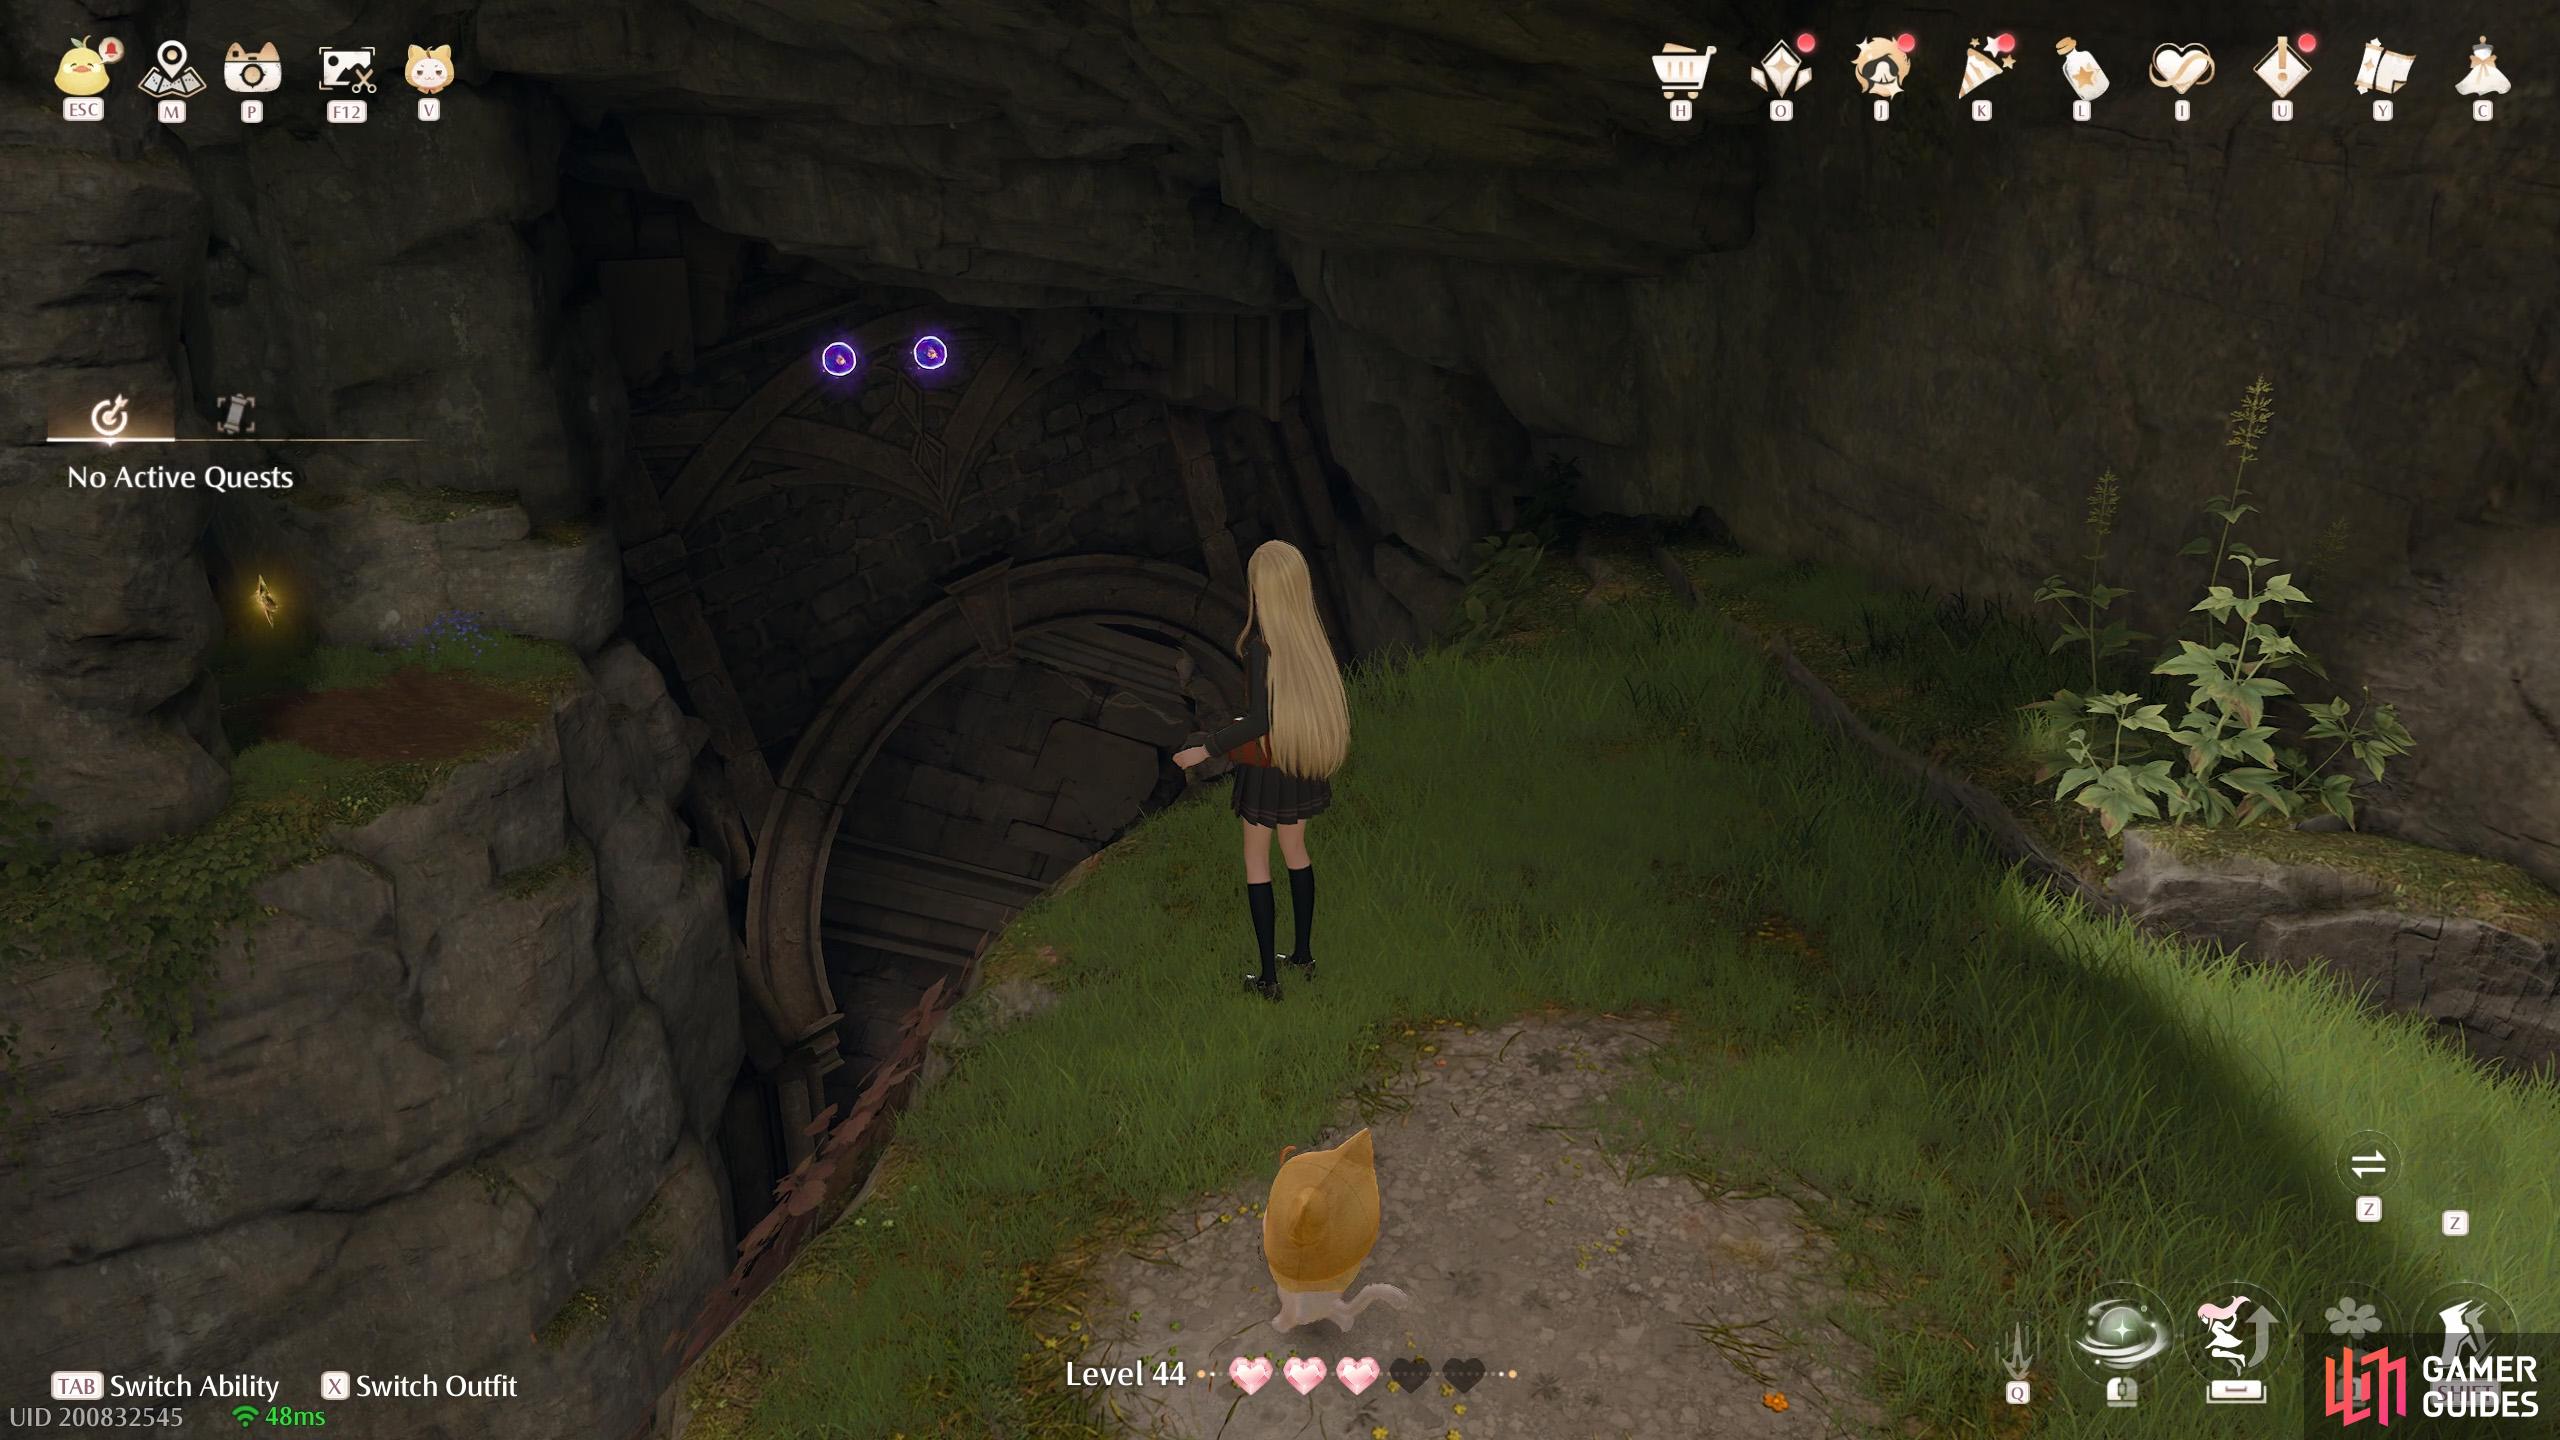
771. Miraland Map
Inside ![]() Forest Cavern. In the first area, at the very top. Two to the left of the treasure chest.
Forest Cavern. In the first area, at the very top. Two to the left of the treasure chest.

772. Miraland Map
Inside ![]() Forest Cavern. In the 2nd area, accessible by jumping to the small ledge with
Forest Cavern. In the 2nd area, accessible by jumping to the small ledge with ![]() Bling near the treasure chest/previous dew. Two floating high on the right.
Bling near the treasure chest/previous dew. Two floating high on the right.
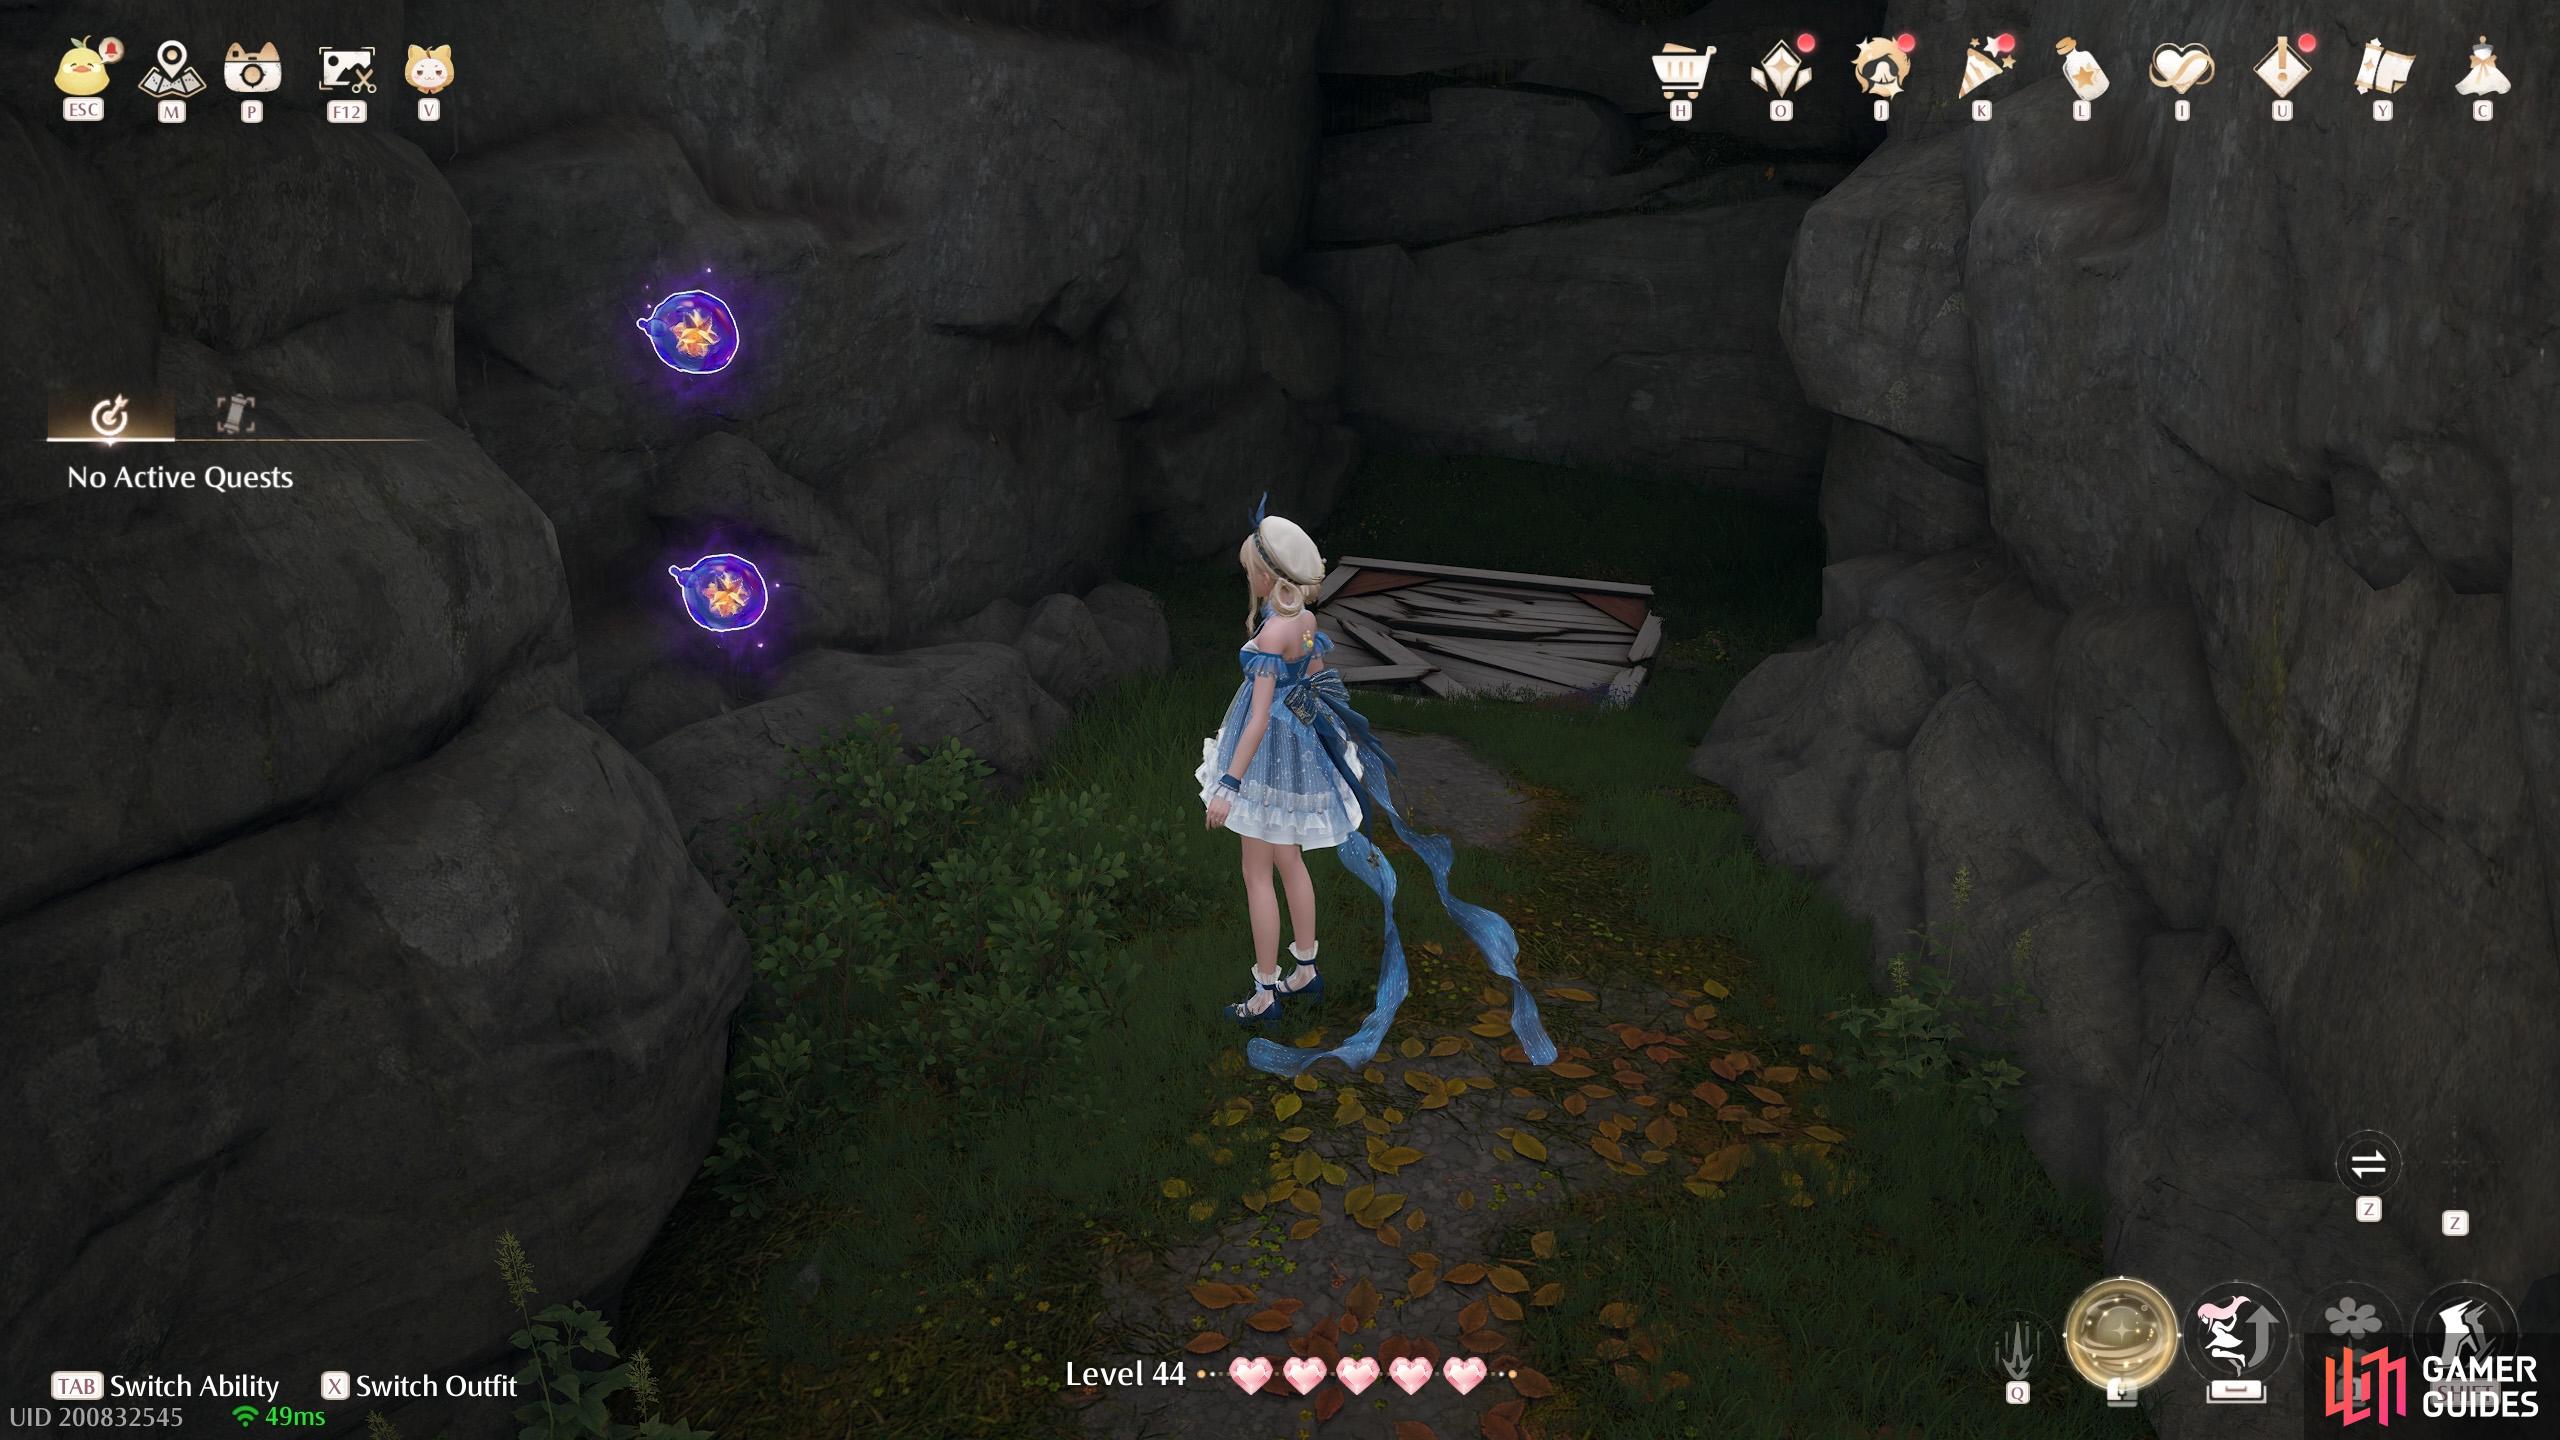
773. Miraland Map
Inside ![]() Forest Cavern. In the 2nd area, accessible by jumping to the small ledge with
Forest Cavern. In the 2nd area, accessible by jumping to the small ledge with ![]() Bling near the treasure chest/first dew. When jumping to the
Bling near the treasure chest/first dew. When jumping to the ![]() Whimstar, there’s an alcove near the second tallest pillar. The last two dew are there, next to a wooden floor board you can break to return to the entrance.
Whimstar, there’s an alcove near the second tallest pillar. The last two dew are there, next to a wooden floor board you can break to return to the entrance.
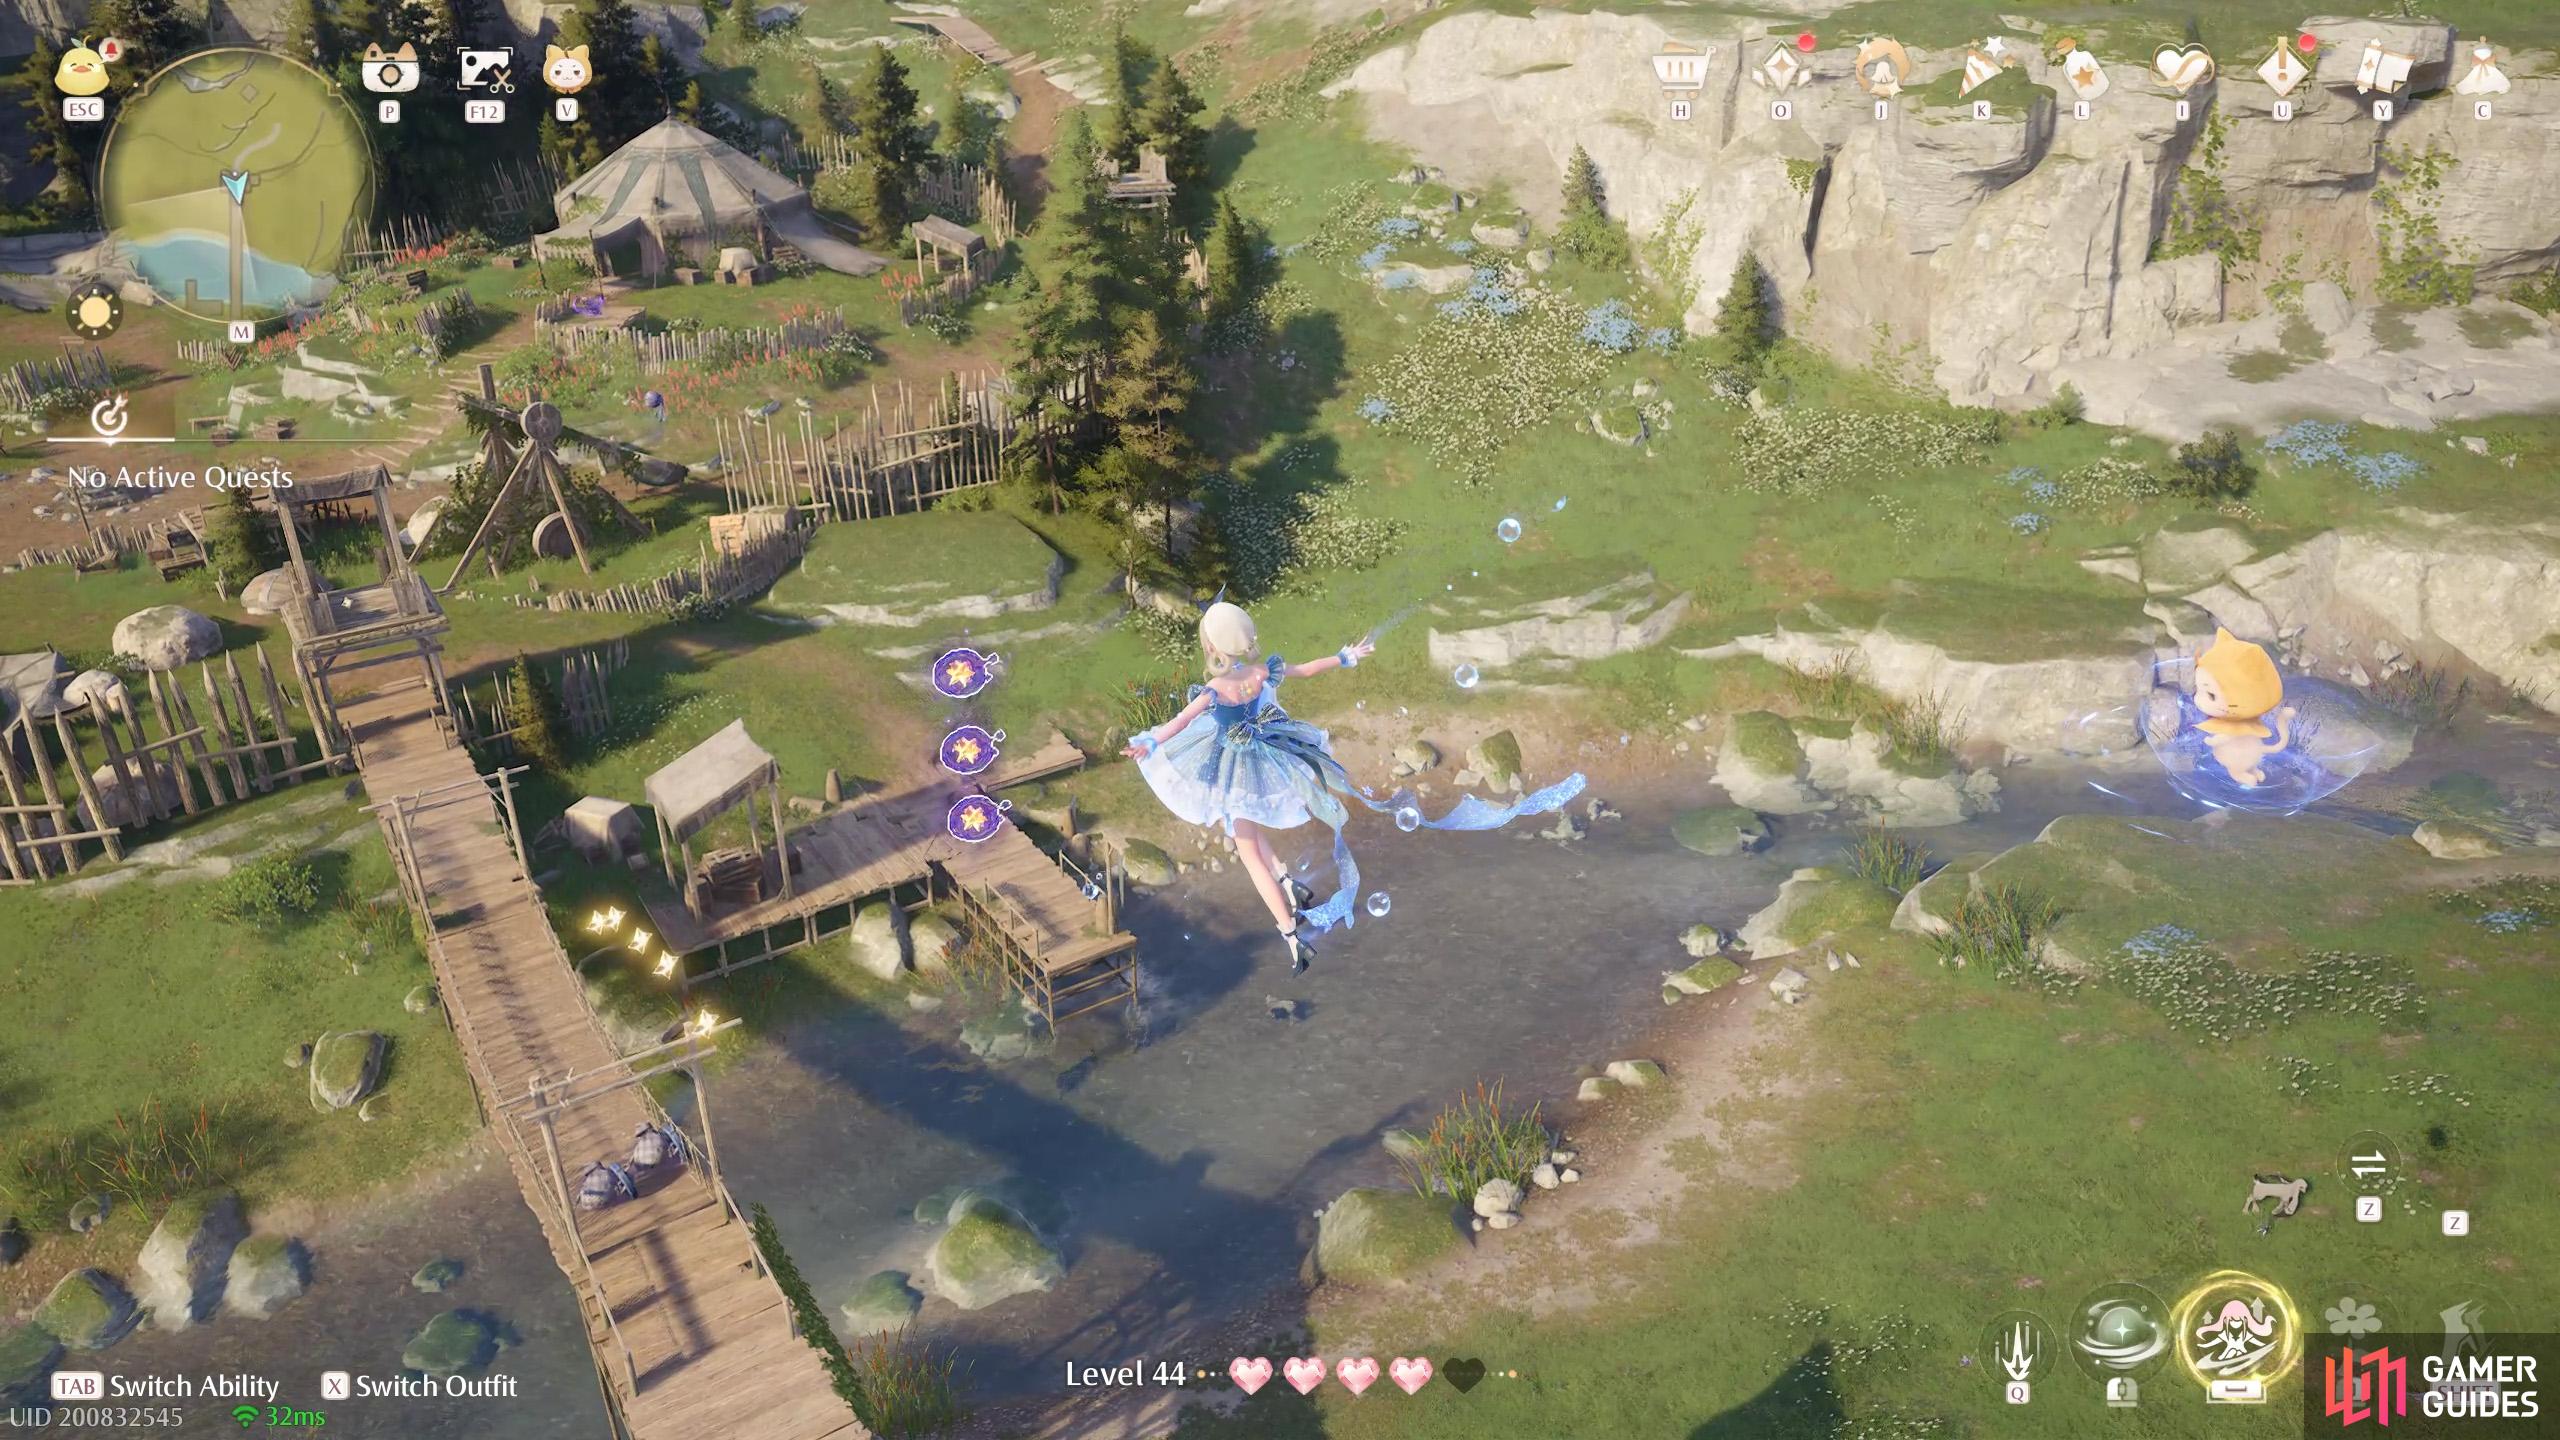
774. Miraland Map
North-west from the ![]() Abandoned Fanatic Wisher Camp Warp Spire. Three floating high above the north end of the bridge. There’s a wishnet further north that you can jump from.
Abandoned Fanatic Wisher Camp Warp Spire. Three floating high above the north end of the bridge. There’s a wishnet further north that you can jump from.
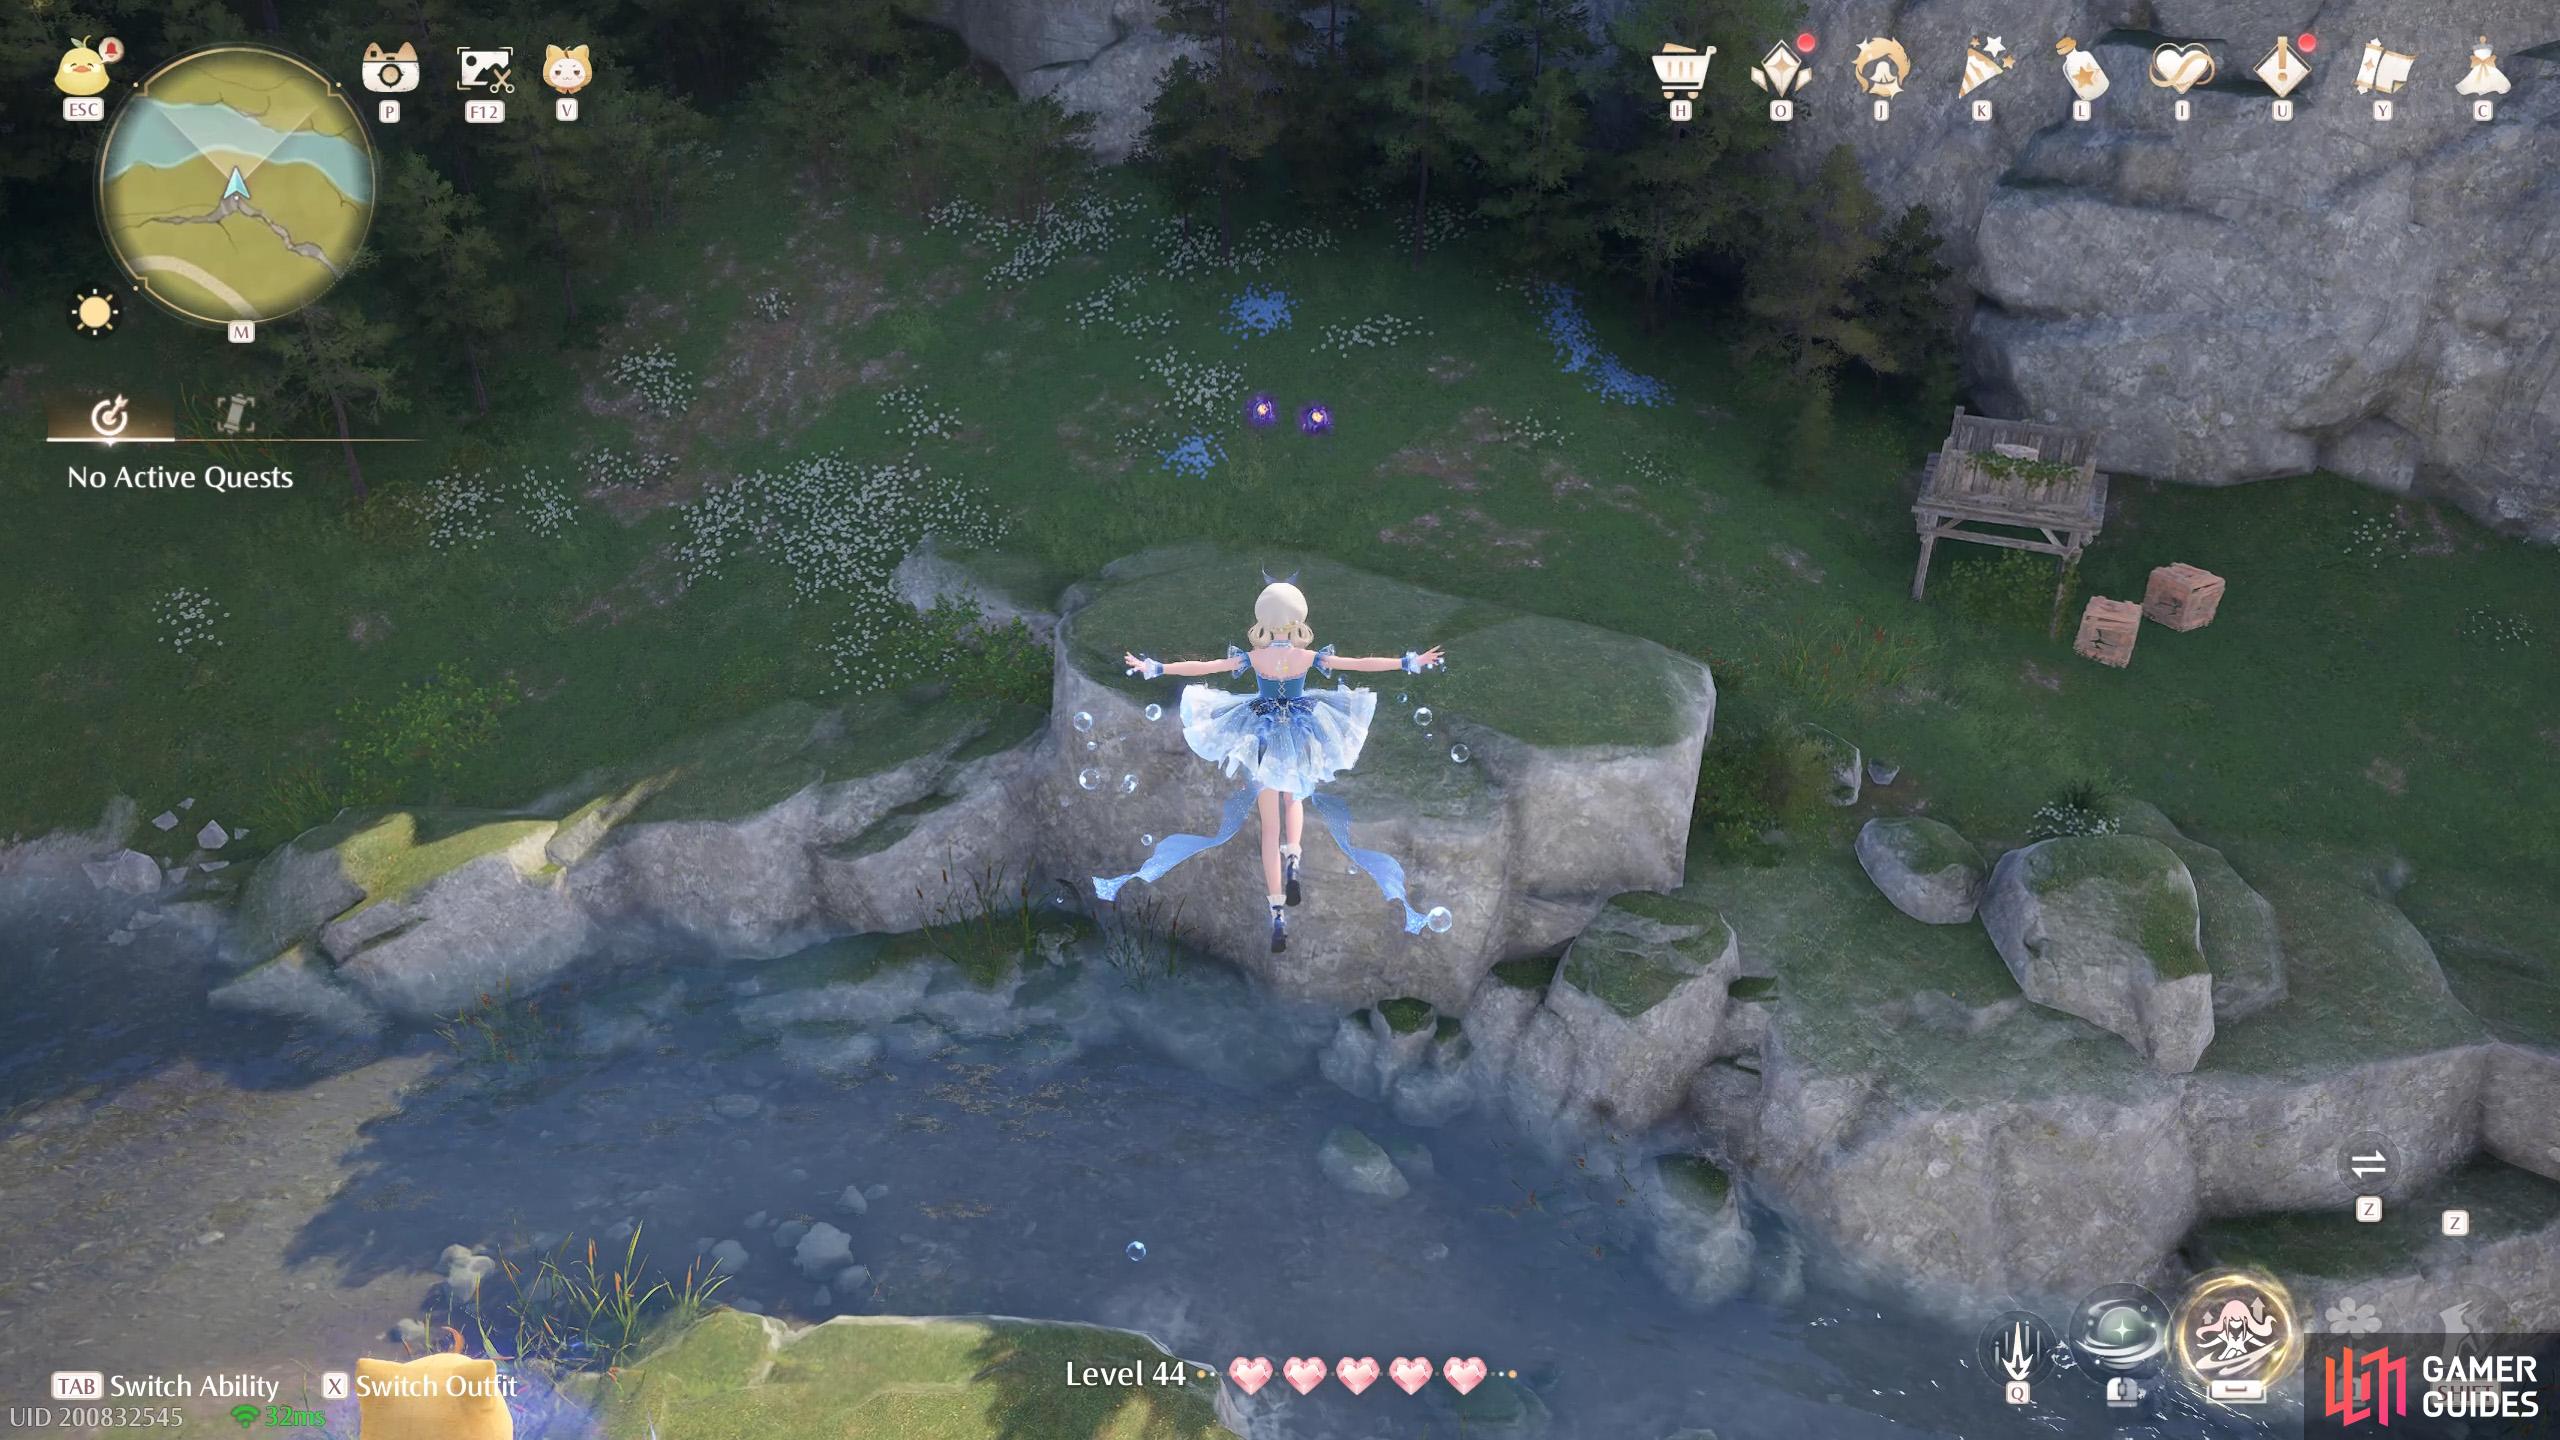
775. Miraland Map
West and slightly north from the ![]() Abandoned Fanatic Wisher Camp Warp Spire. Two floating high above the river. You can float down from the higher ground to the south.
Abandoned Fanatic Wisher Camp Warp Spire. Two floating high above the river. You can float down from the higher ground to the south.
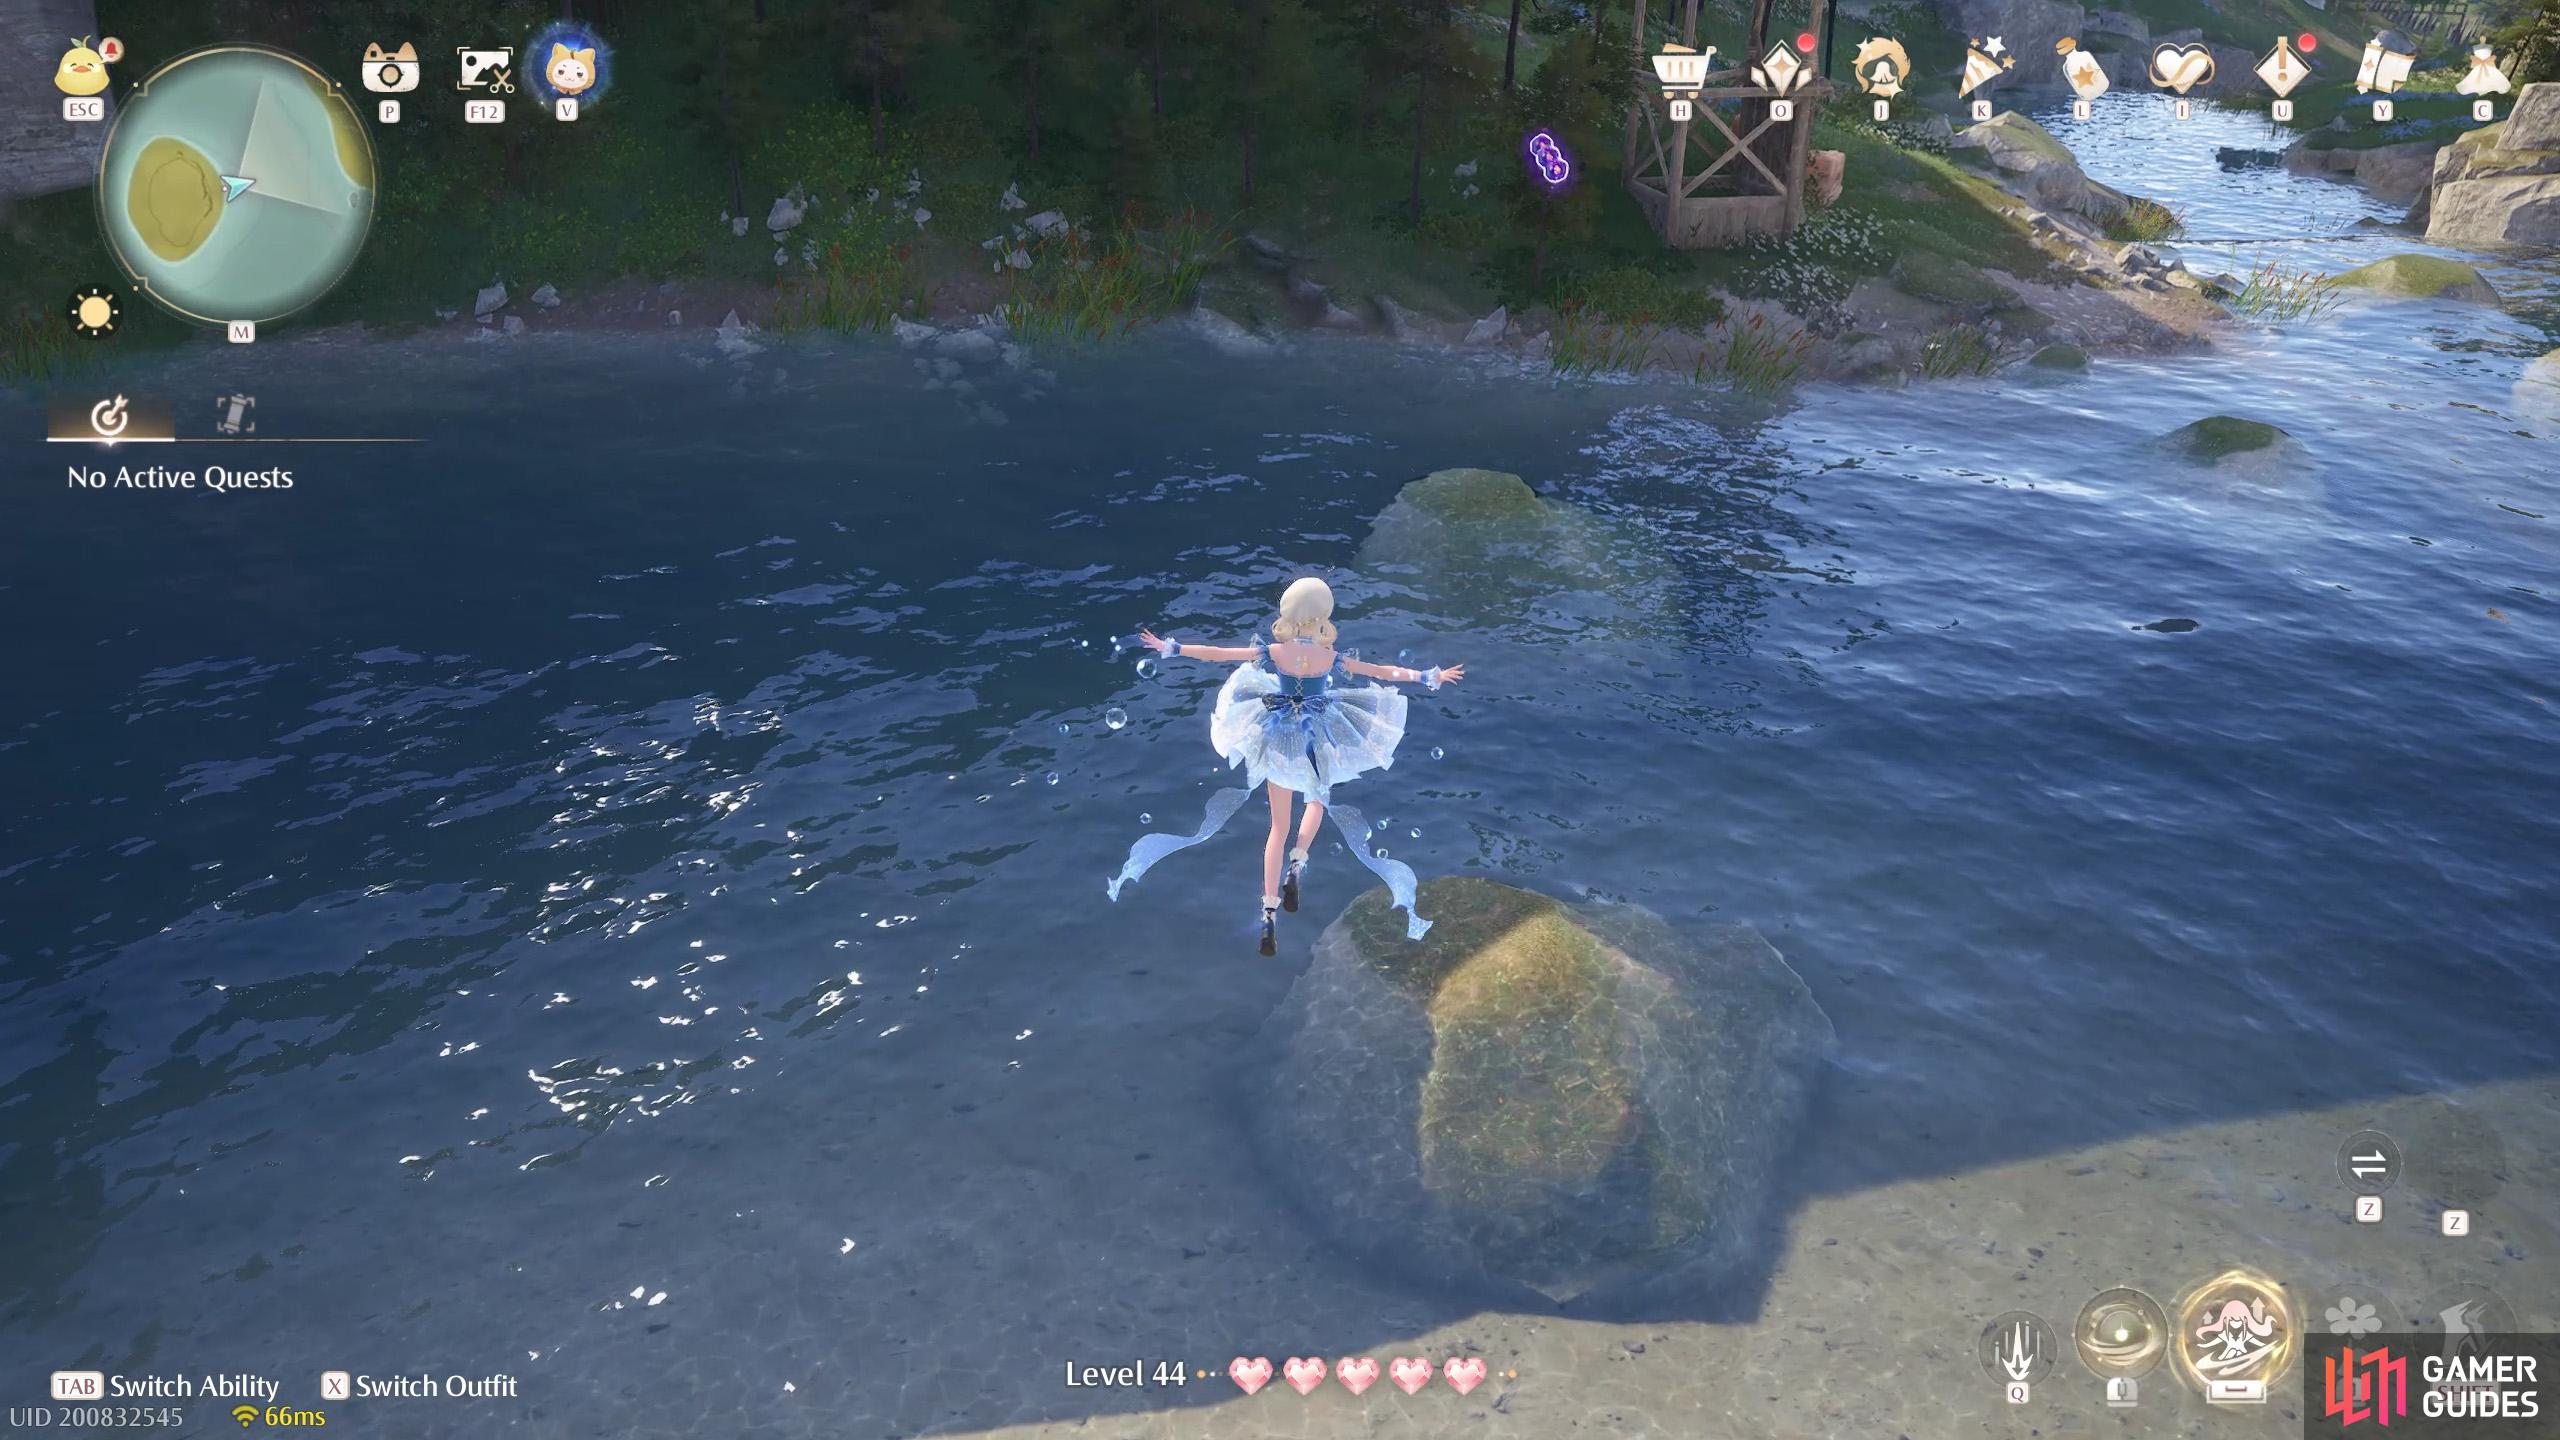
776. Miraland Map
At the lake west from the ![]() Abandoned Fanatic Wisher Camp. Three floating in the air halfway along the path connecting the small island to the lake. You can float from atop the watchtower with the treasure chest or (just barely) from the small island.
Abandoned Fanatic Wisher Camp. Three floating in the air halfway along the path connecting the small island to the lake. You can float from atop the watchtower with the treasure chest or (just barely) from the small island.
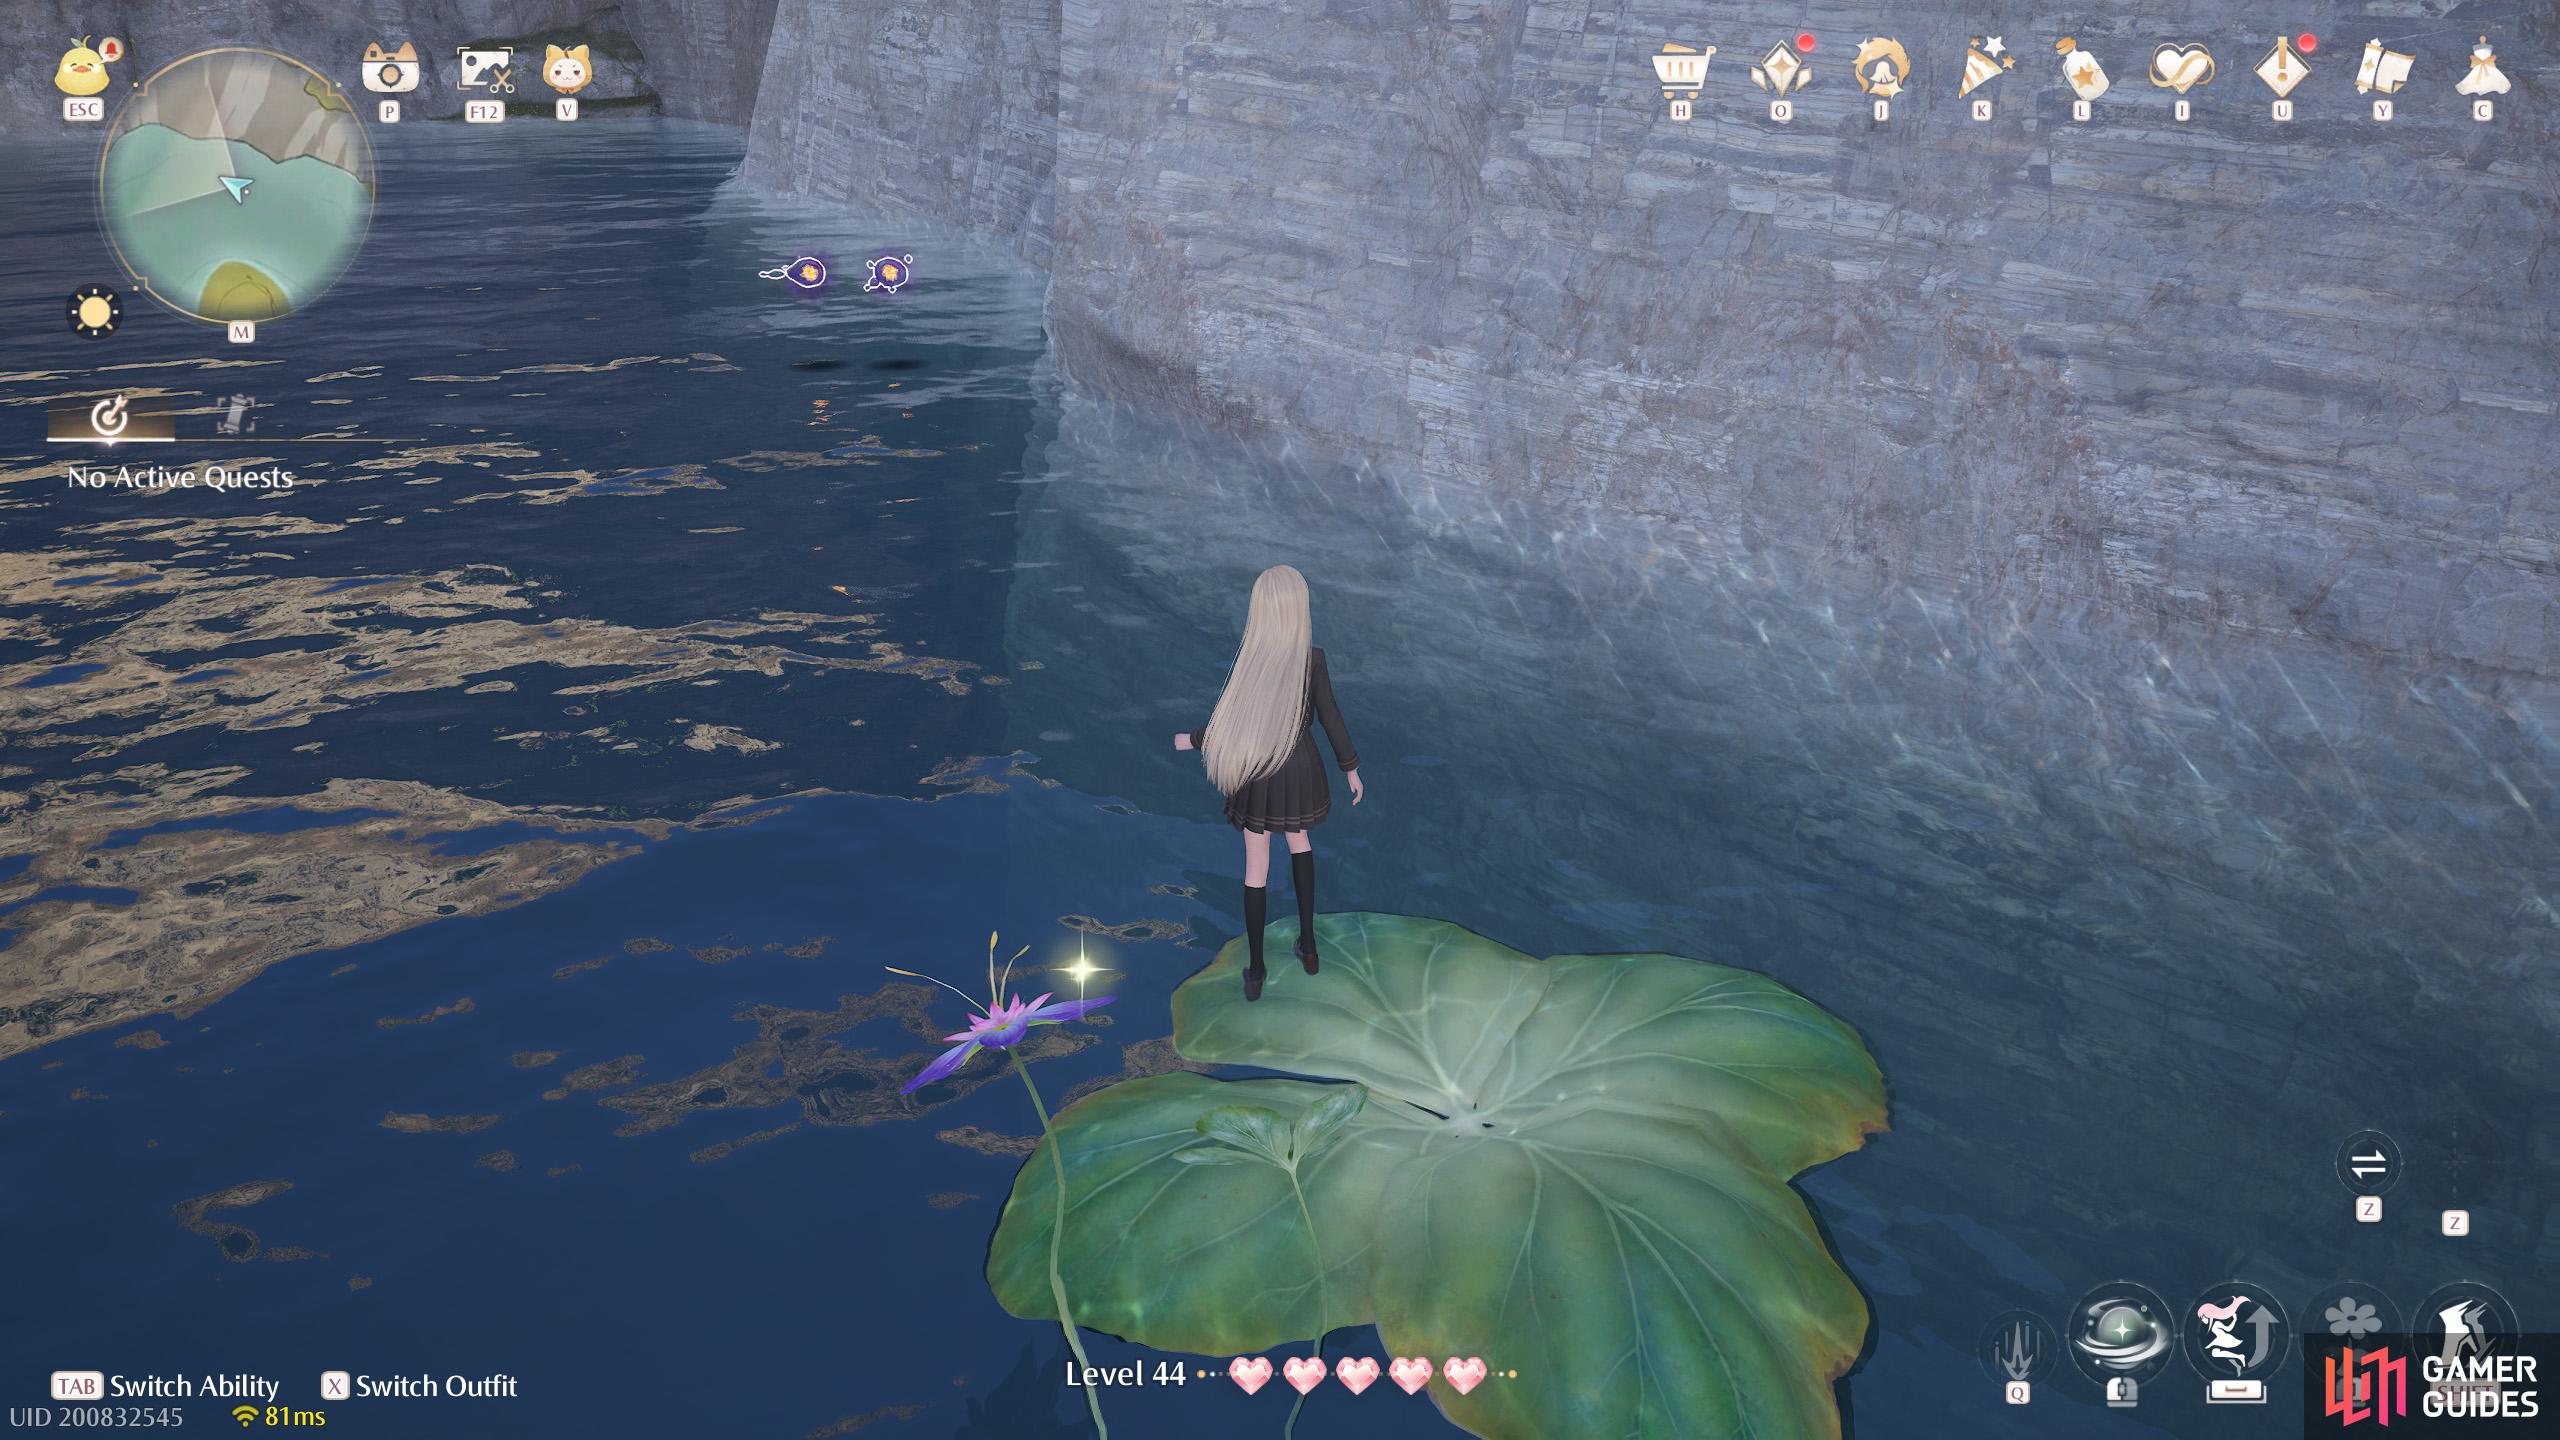
777. Miraland Map
At the lake west from the ![]() Abandoned Fanatic Wisher Camp. Two floating north from the small island. There’s a lily pad path nearby.
Abandoned Fanatic Wisher Camp. Two floating north from the small island. There’s a lily pad path nearby.
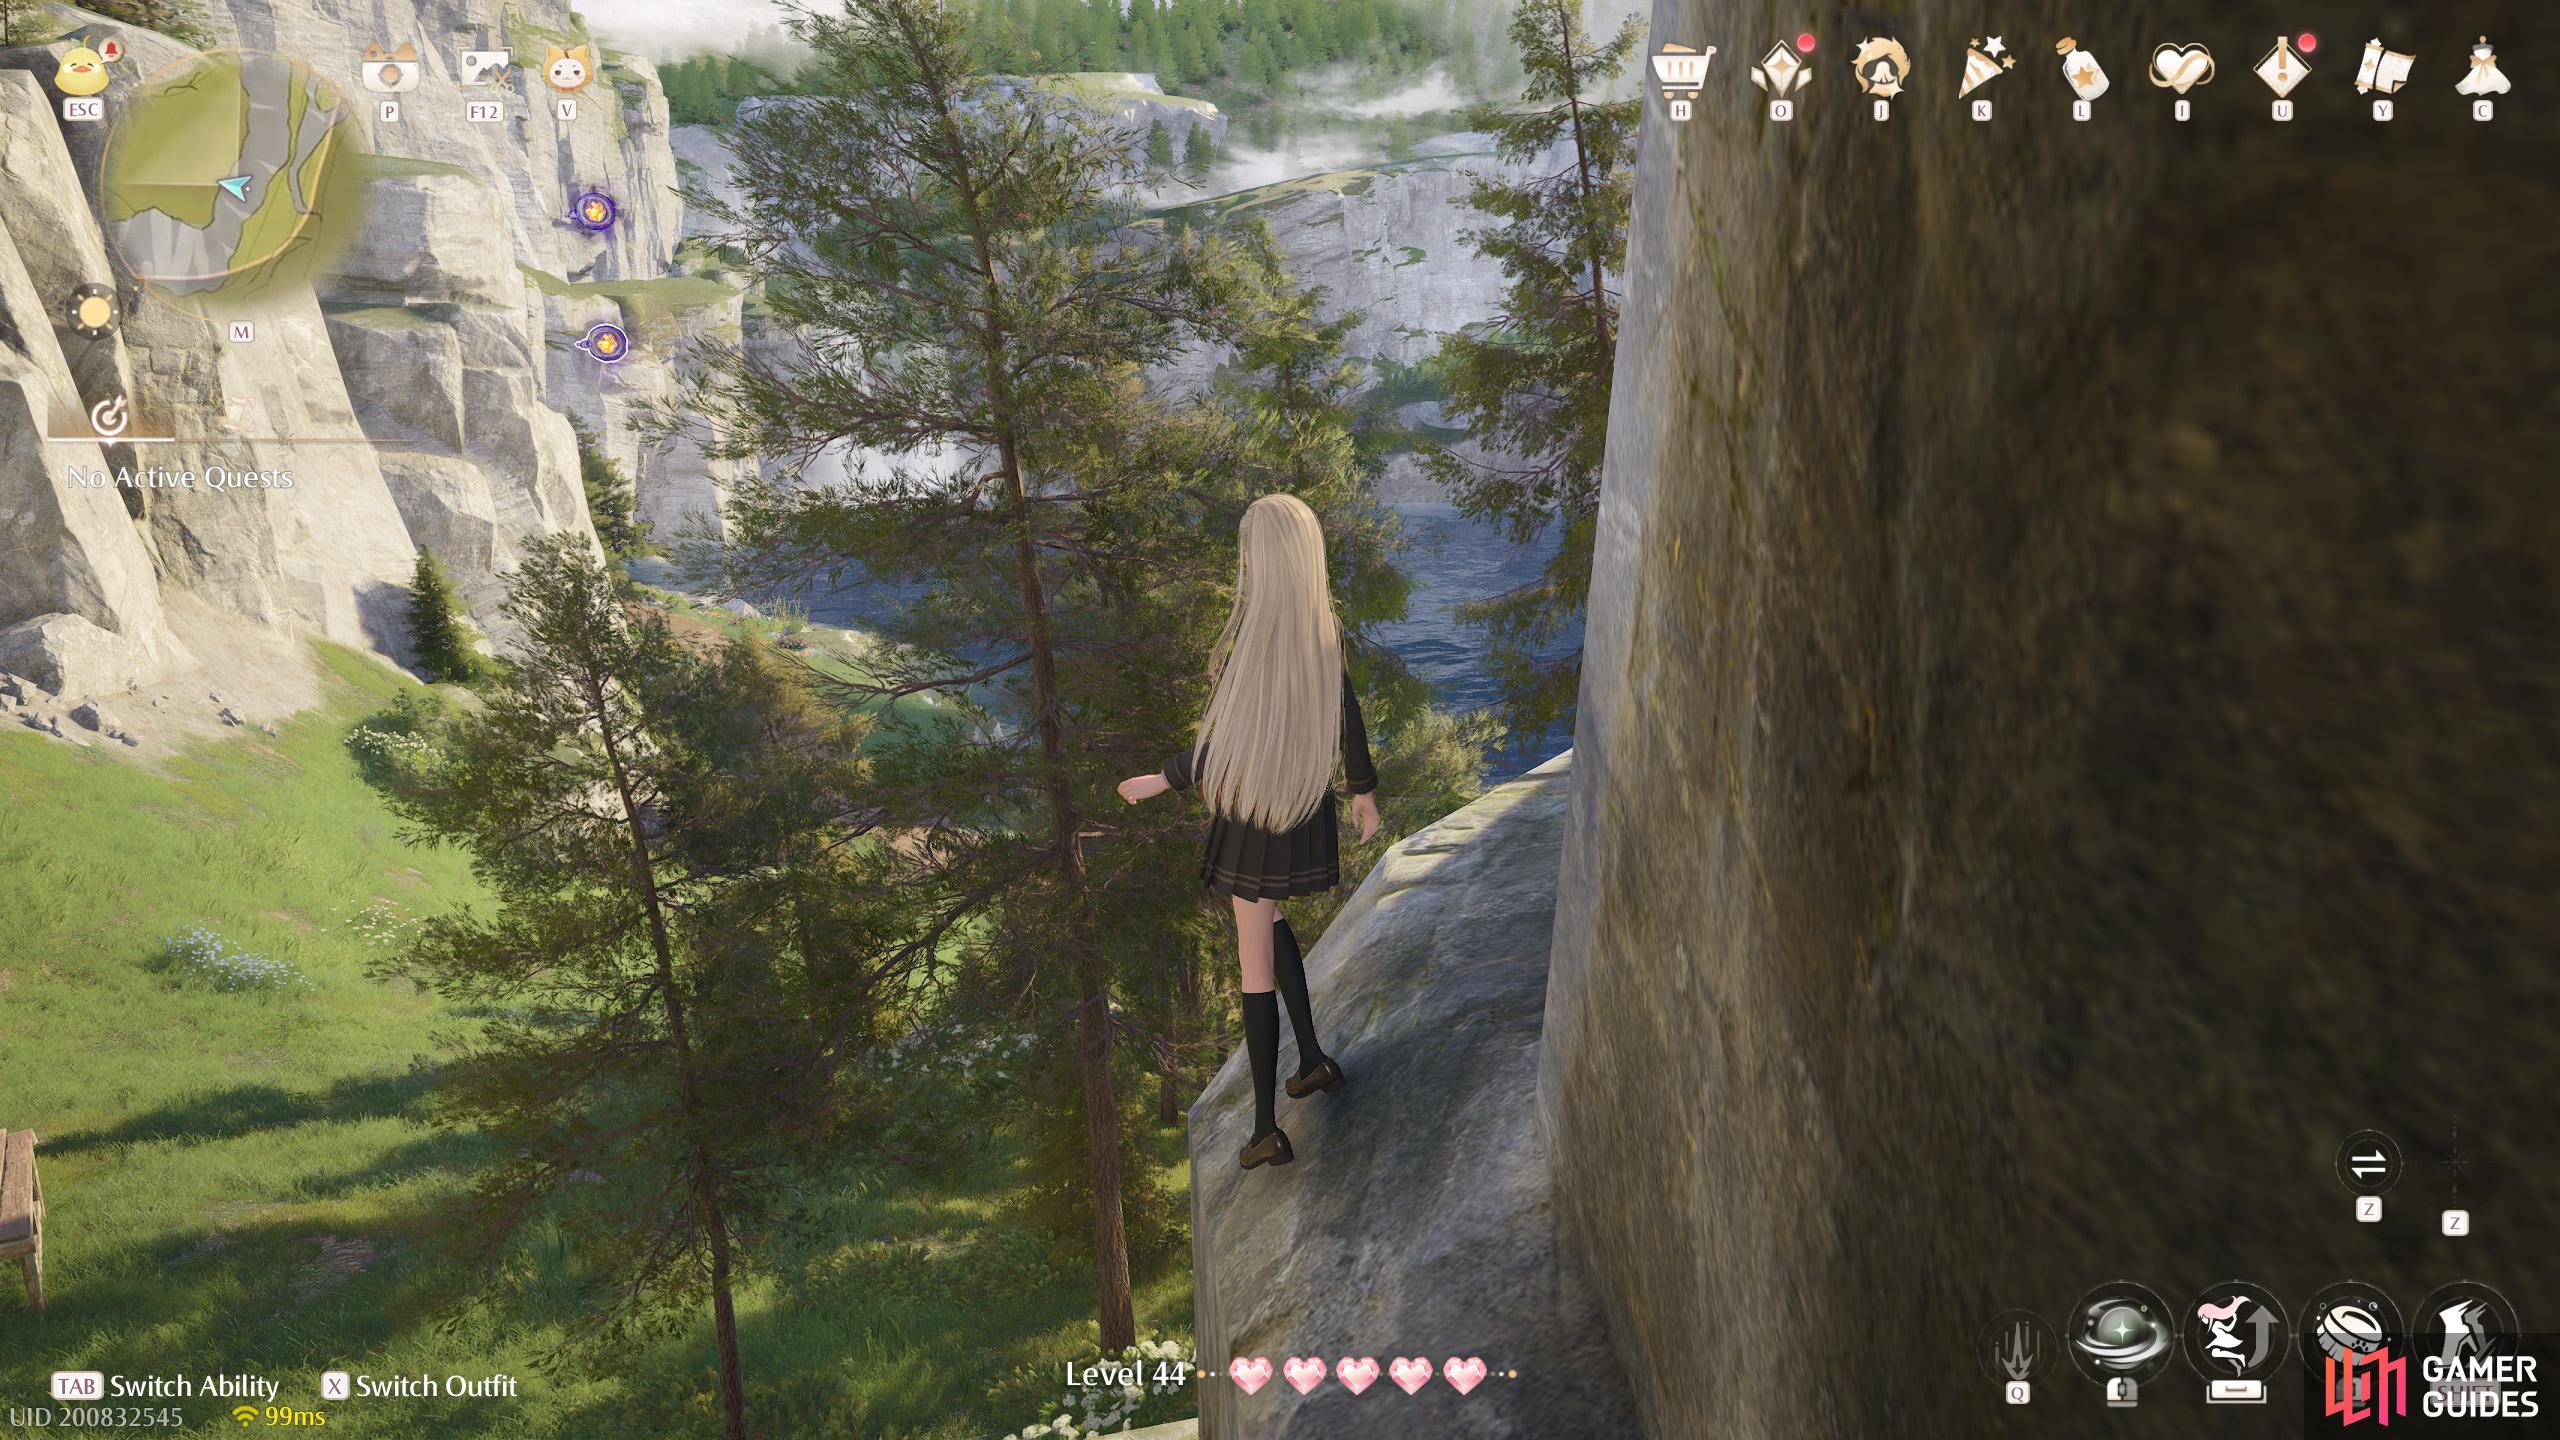
778. Miraland Map
Around the south side of the lake west from the ![]() Abandoned Fanatic Wisher Camp. Two floating in the air among the small trees. Can be hard to see.
Abandoned Fanatic Wisher Camp. Two floating in the air among the small trees. Can be hard to see.
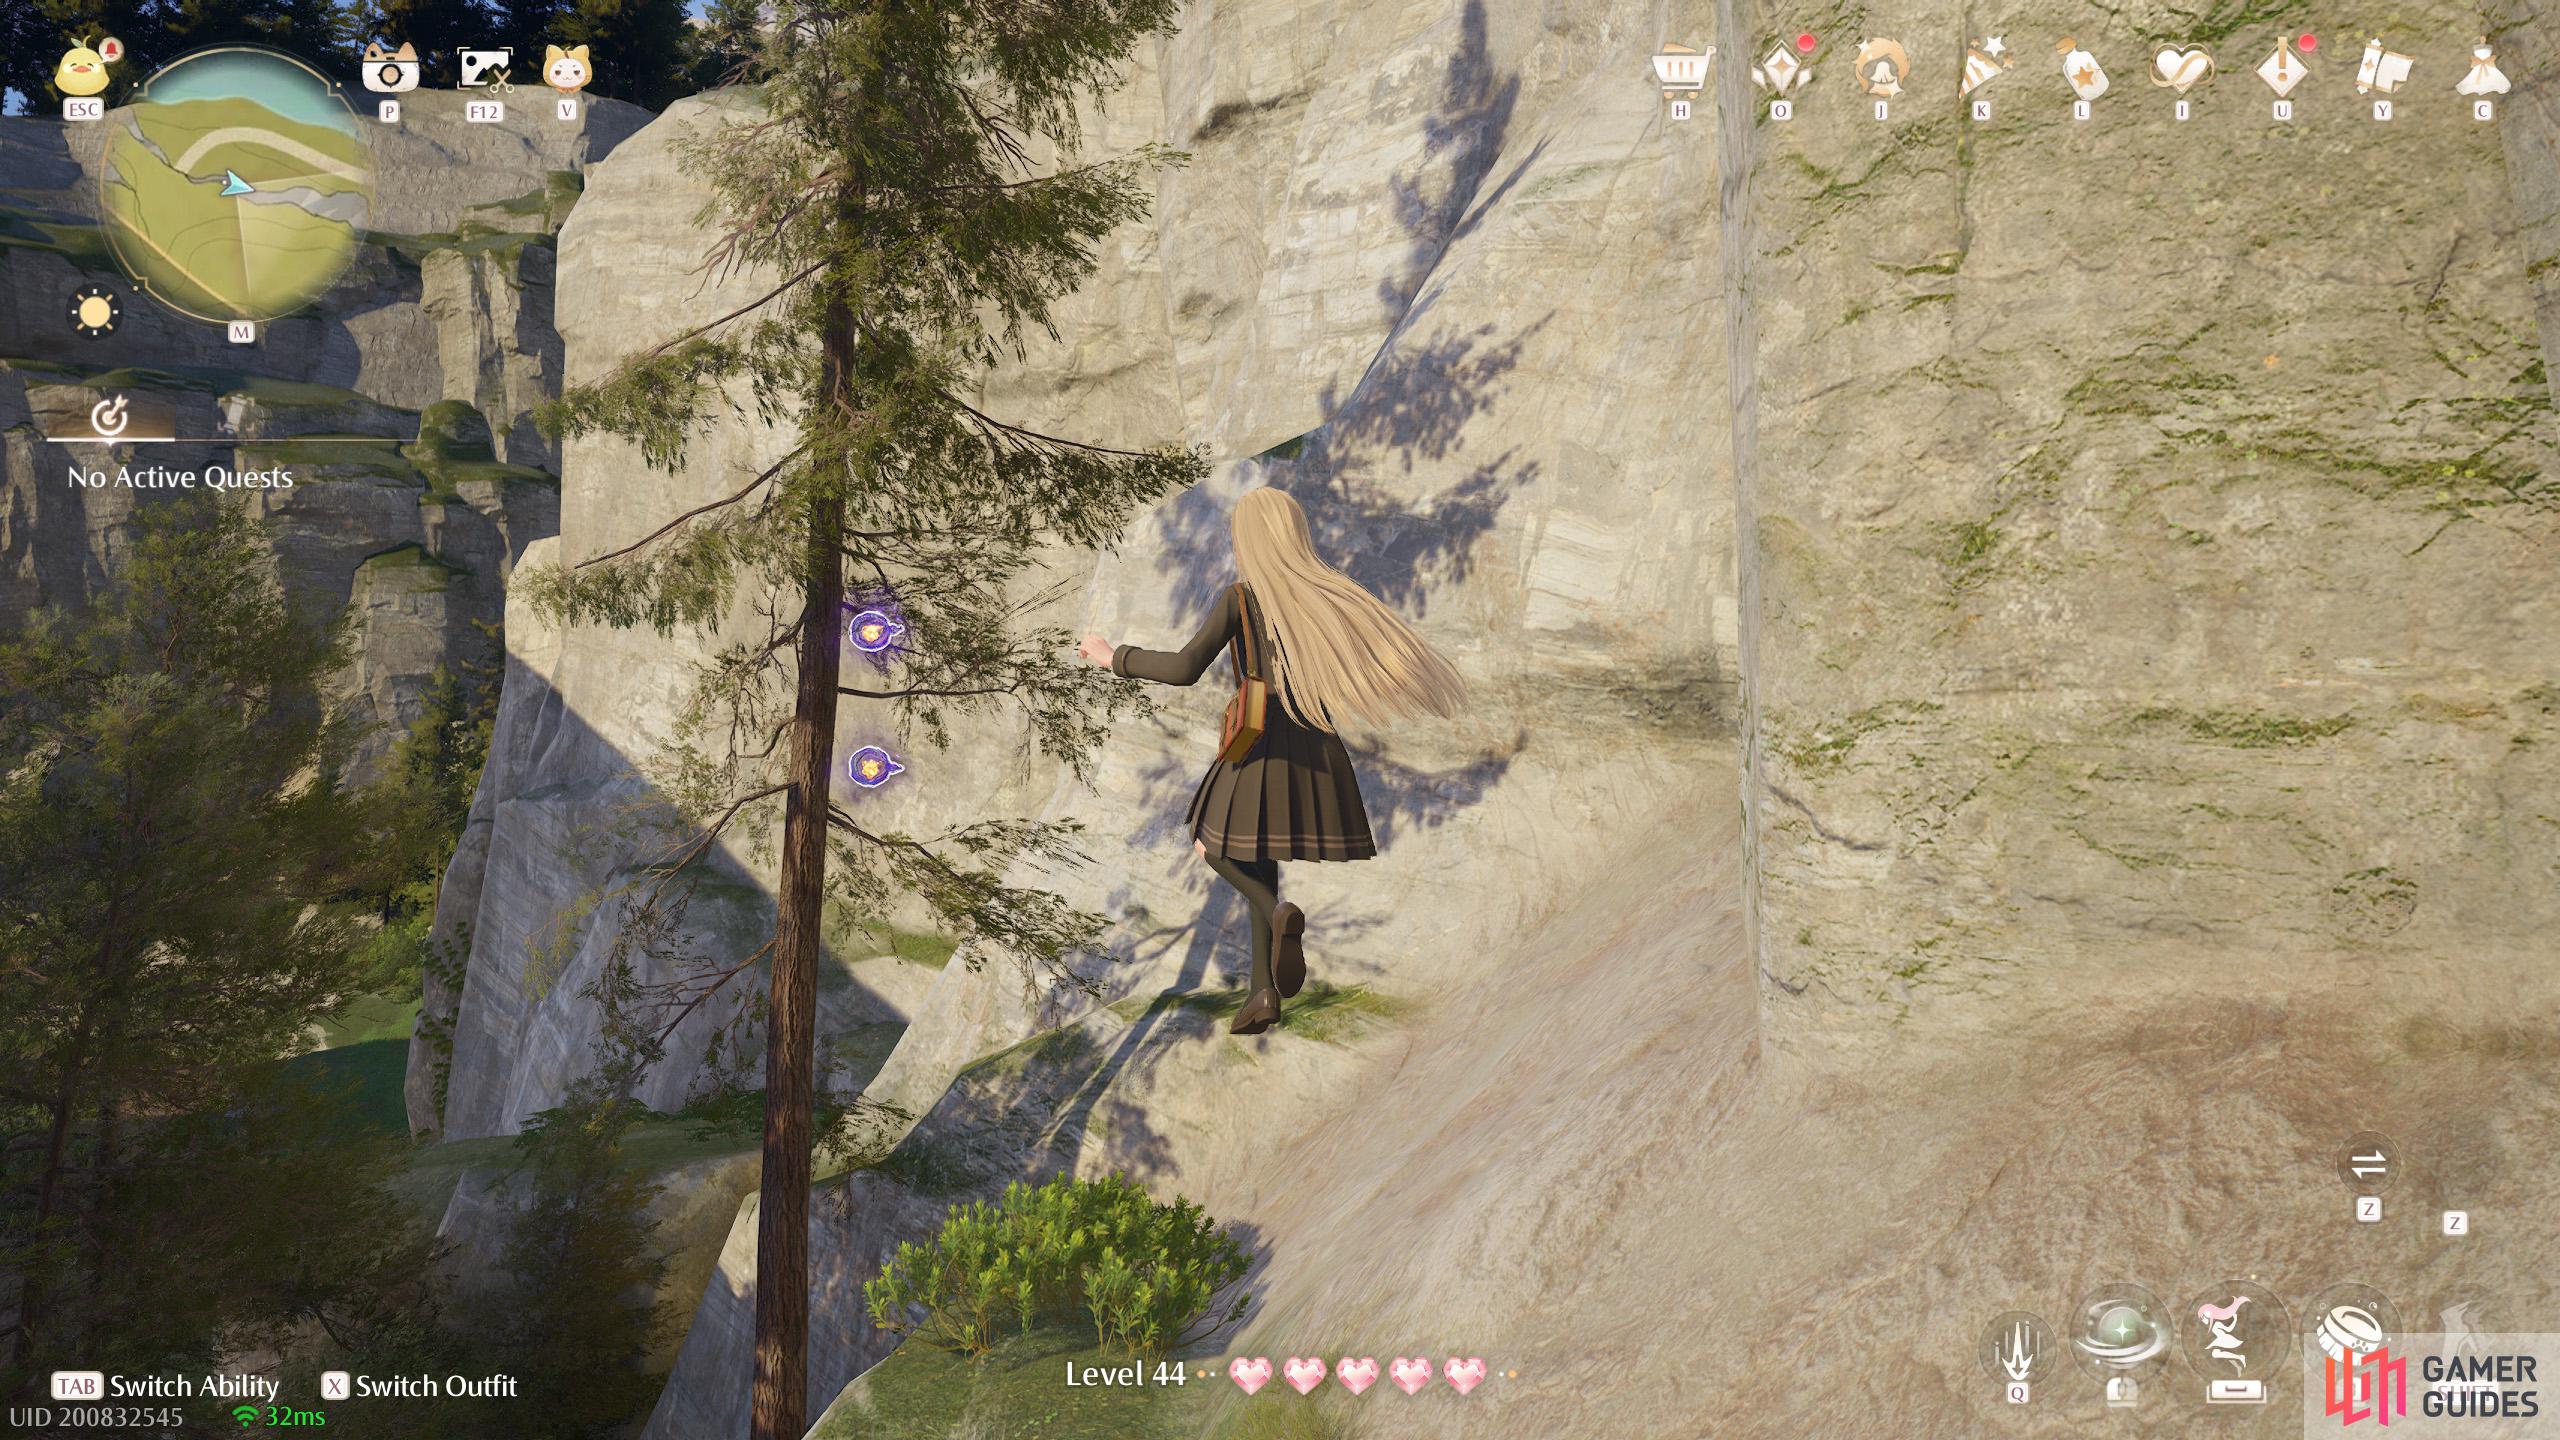
779. Miraland Map
West from the ![]() Abandoned Fanatic Wisher Camp. Short distance east from the mysterious closed gate. Two floating by the side of a small tree.
Abandoned Fanatic Wisher Camp. Short distance east from the mysterious closed gate. Two floating by the side of a small tree.
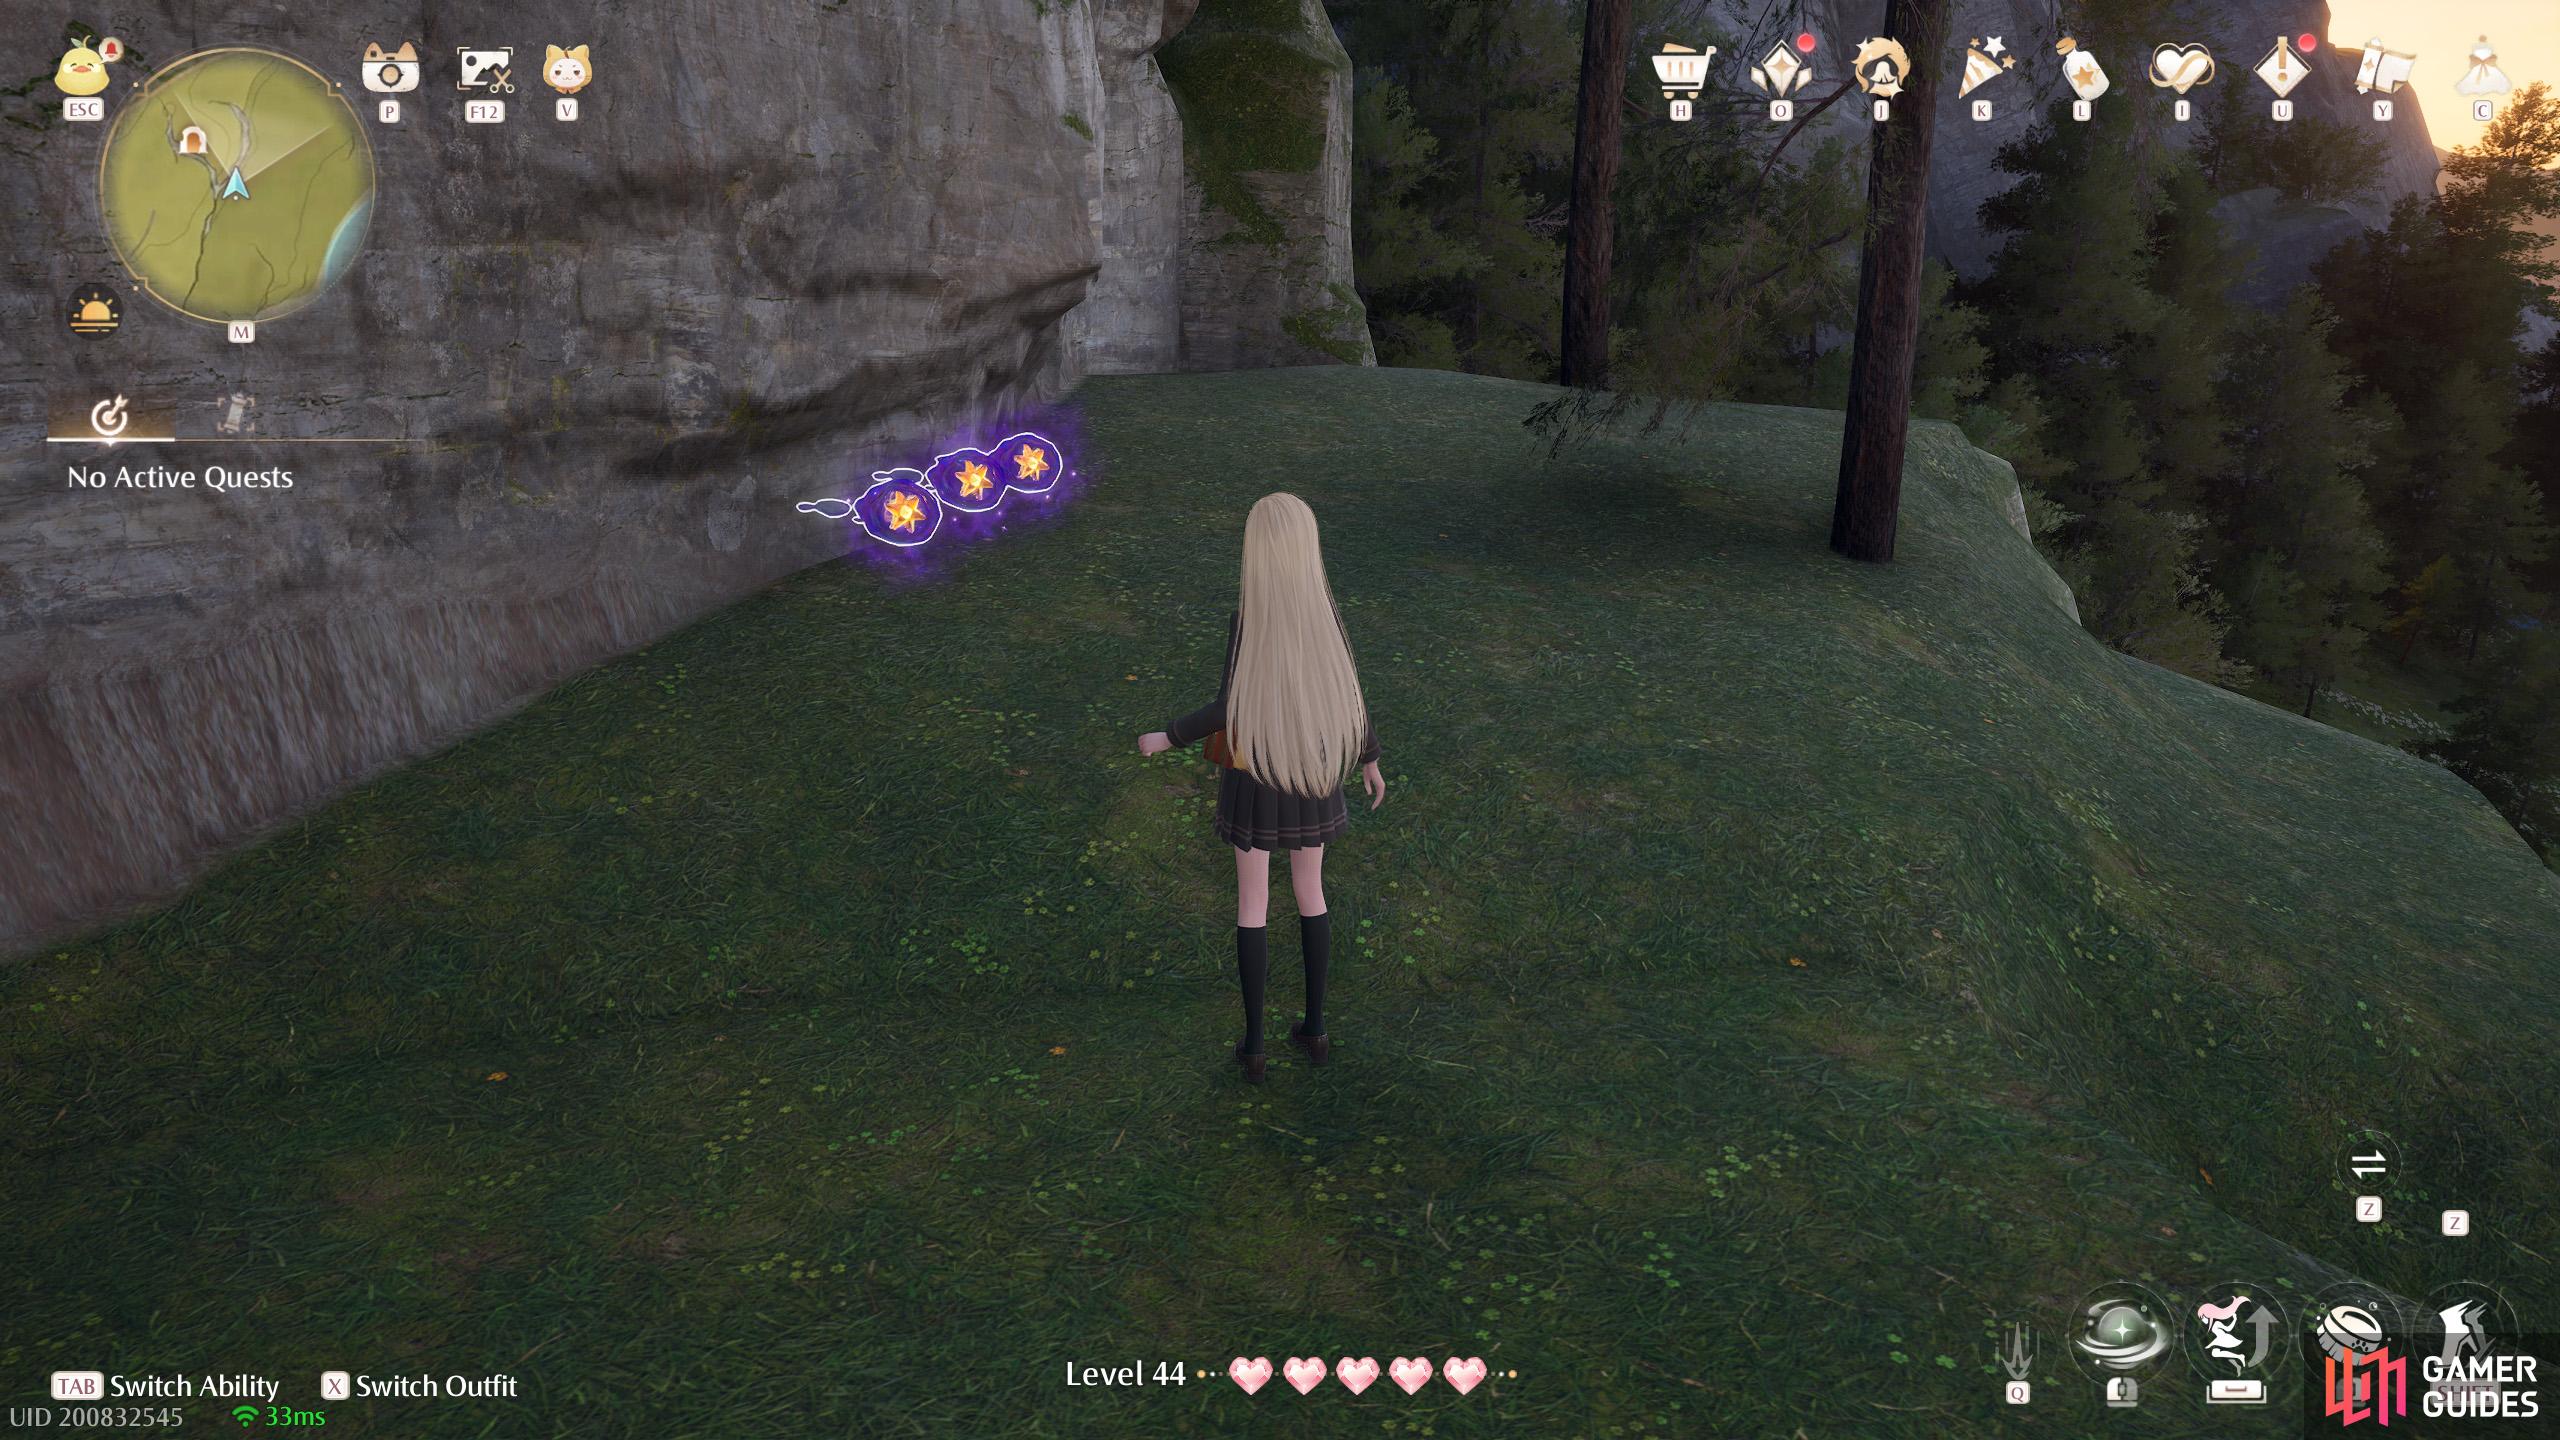
780. Miraland Map
North from ![]() Abandoned Fanatic Wisher Camp. Short distance south-east from the
Abandoned Fanatic Wisher Camp. Short distance south-east from the ![]() Campsite Cavern entrance. Three on a ledge just below the highest level.
Campsite Cavern entrance. Three on a ledge just below the highest level.
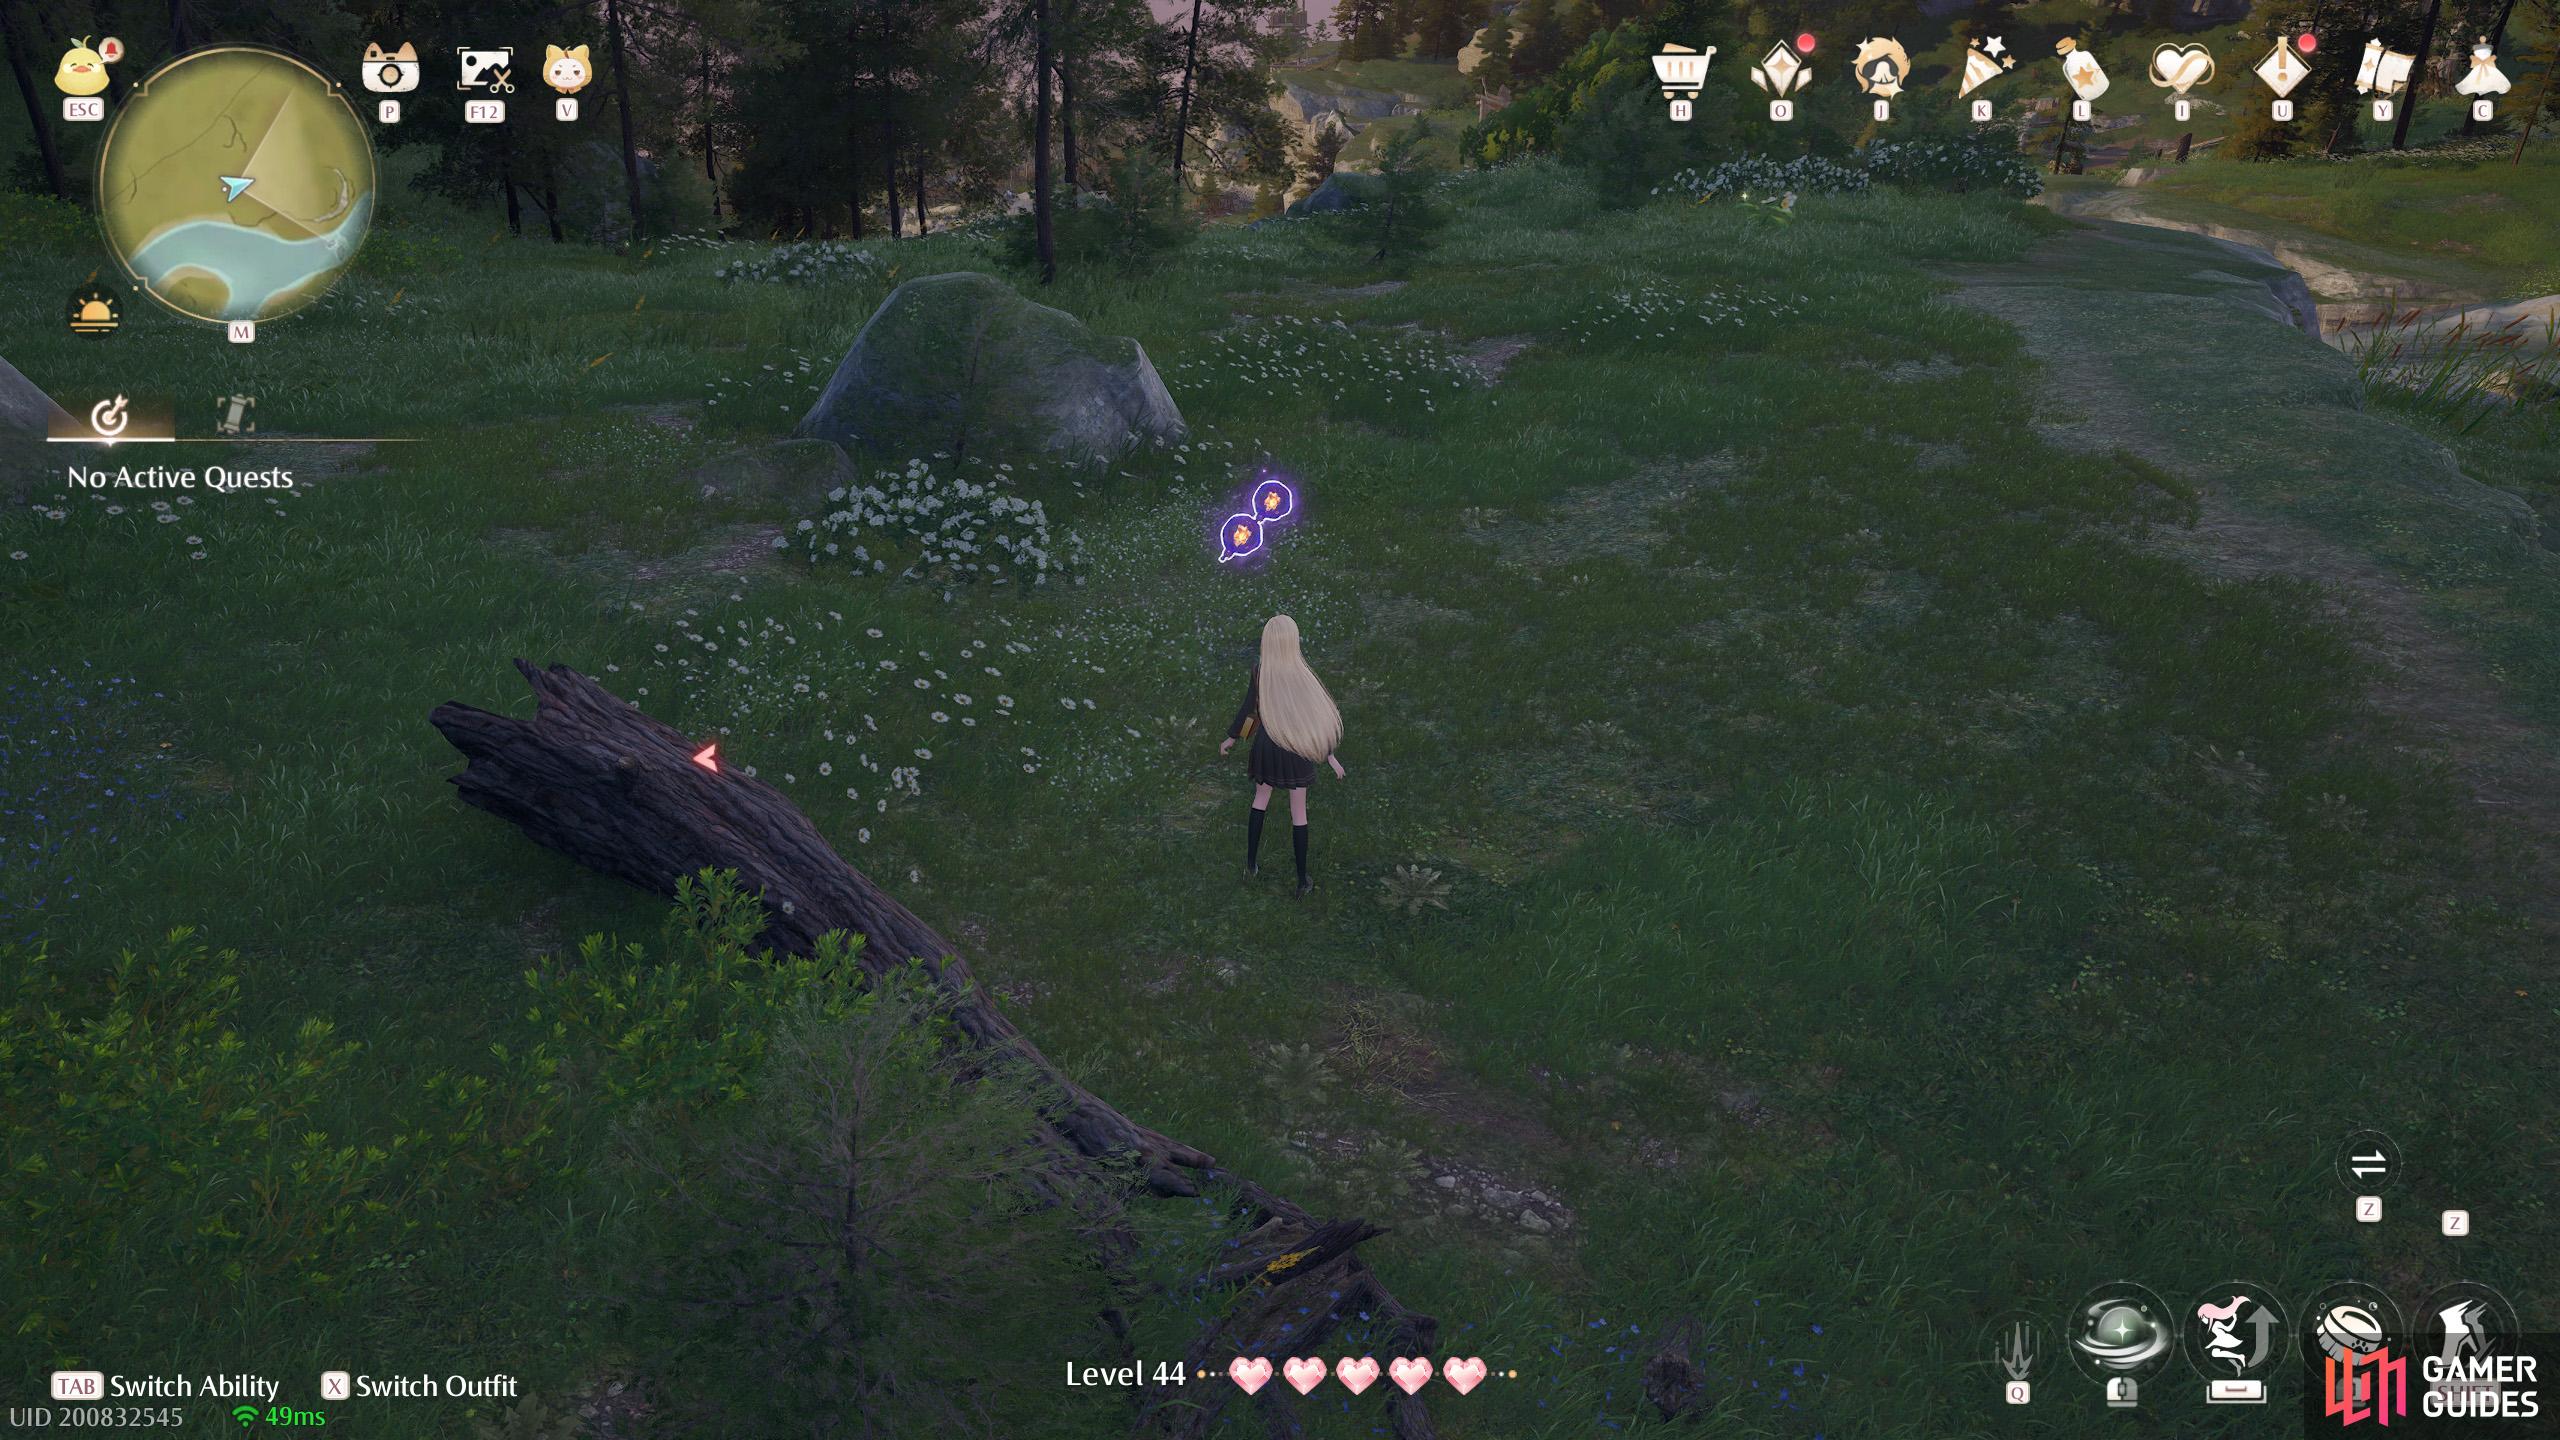
781. Miraland Map
North-east from ![]() Abandoned Fanatic Wisher Camp, across the river. Two near a small mound.
Abandoned Fanatic Wisher Camp, across the river. Two near a small mound.

782. Miraland Map
West from ![]() Abandoned Fanatic Wisher Camp Outpost, across the river. Two floating high up. You can reach from further west, where the slope’s higher.
Abandoned Fanatic Wisher Camp Outpost, across the river. Two floating high up. You can reach from further west, where the slope’s higher.
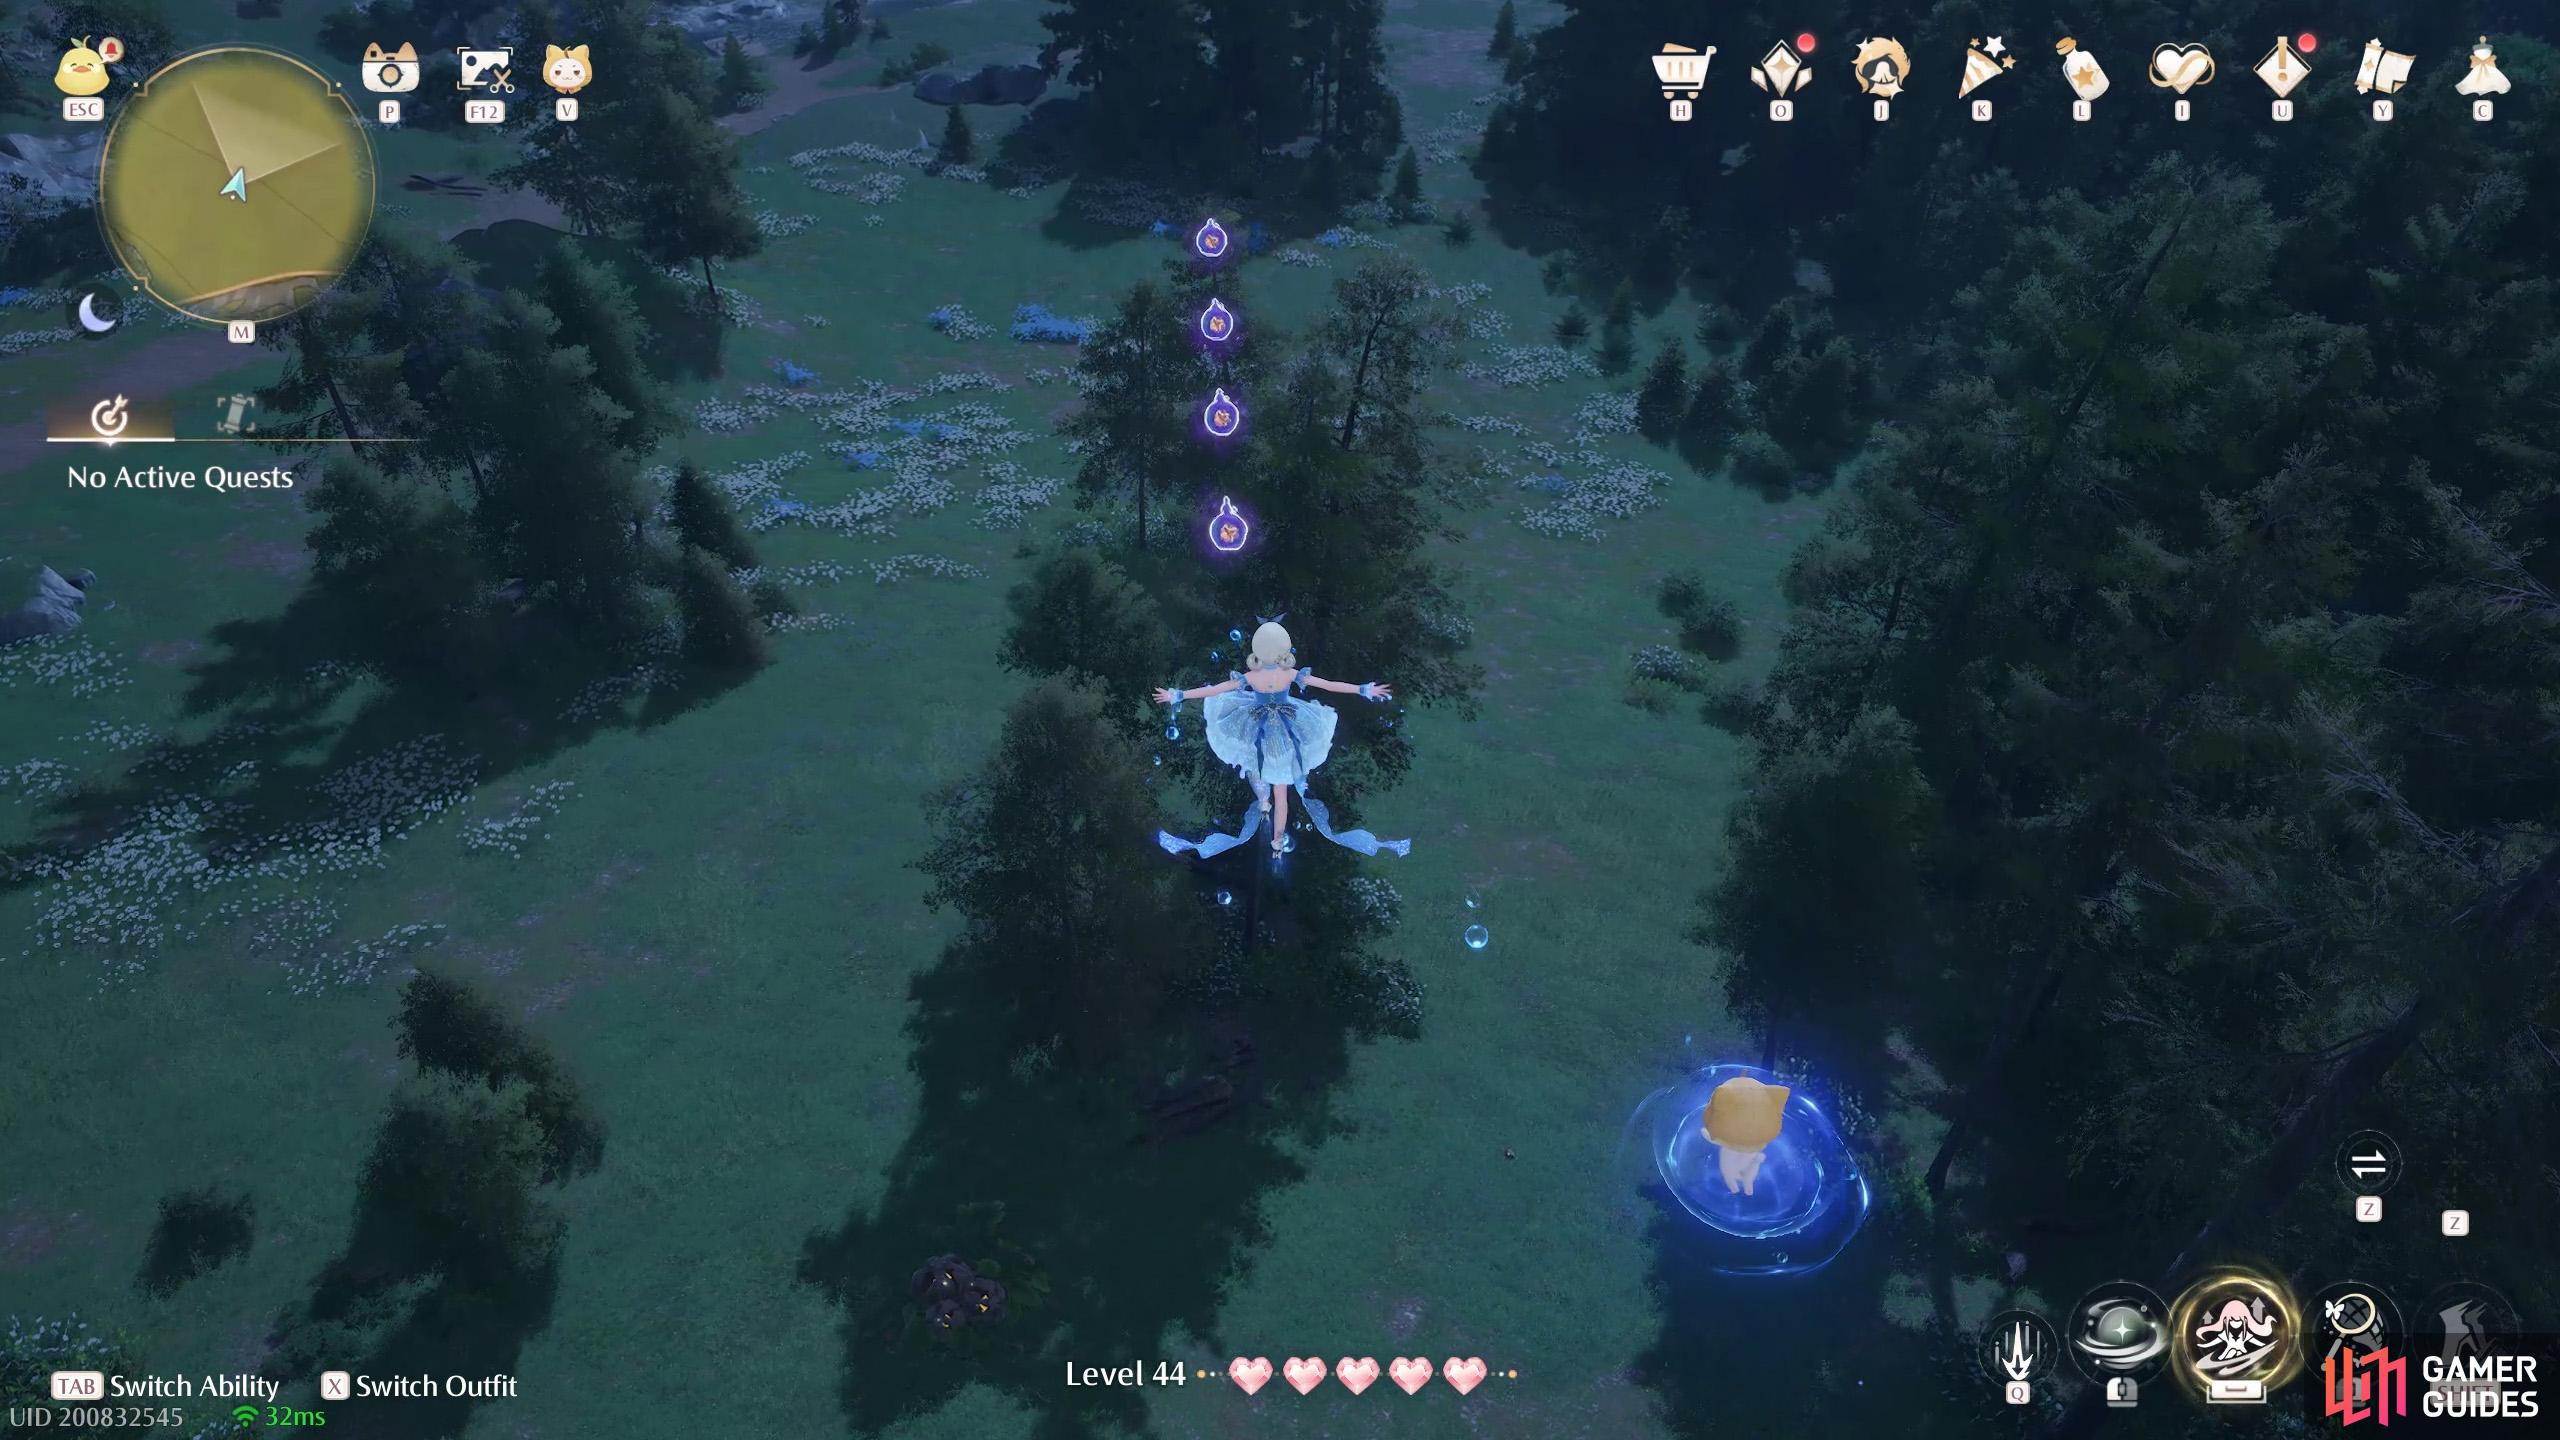
783. Miraland Map
East from ![]() Abandoned Fanatic Wisher Camp Outpost. Four floating extremely high up. There are wishnets to the south-west that you should use.
Abandoned Fanatic Wisher Camp Outpost. Four floating extremely high up. There are wishnets to the south-west that you should use.
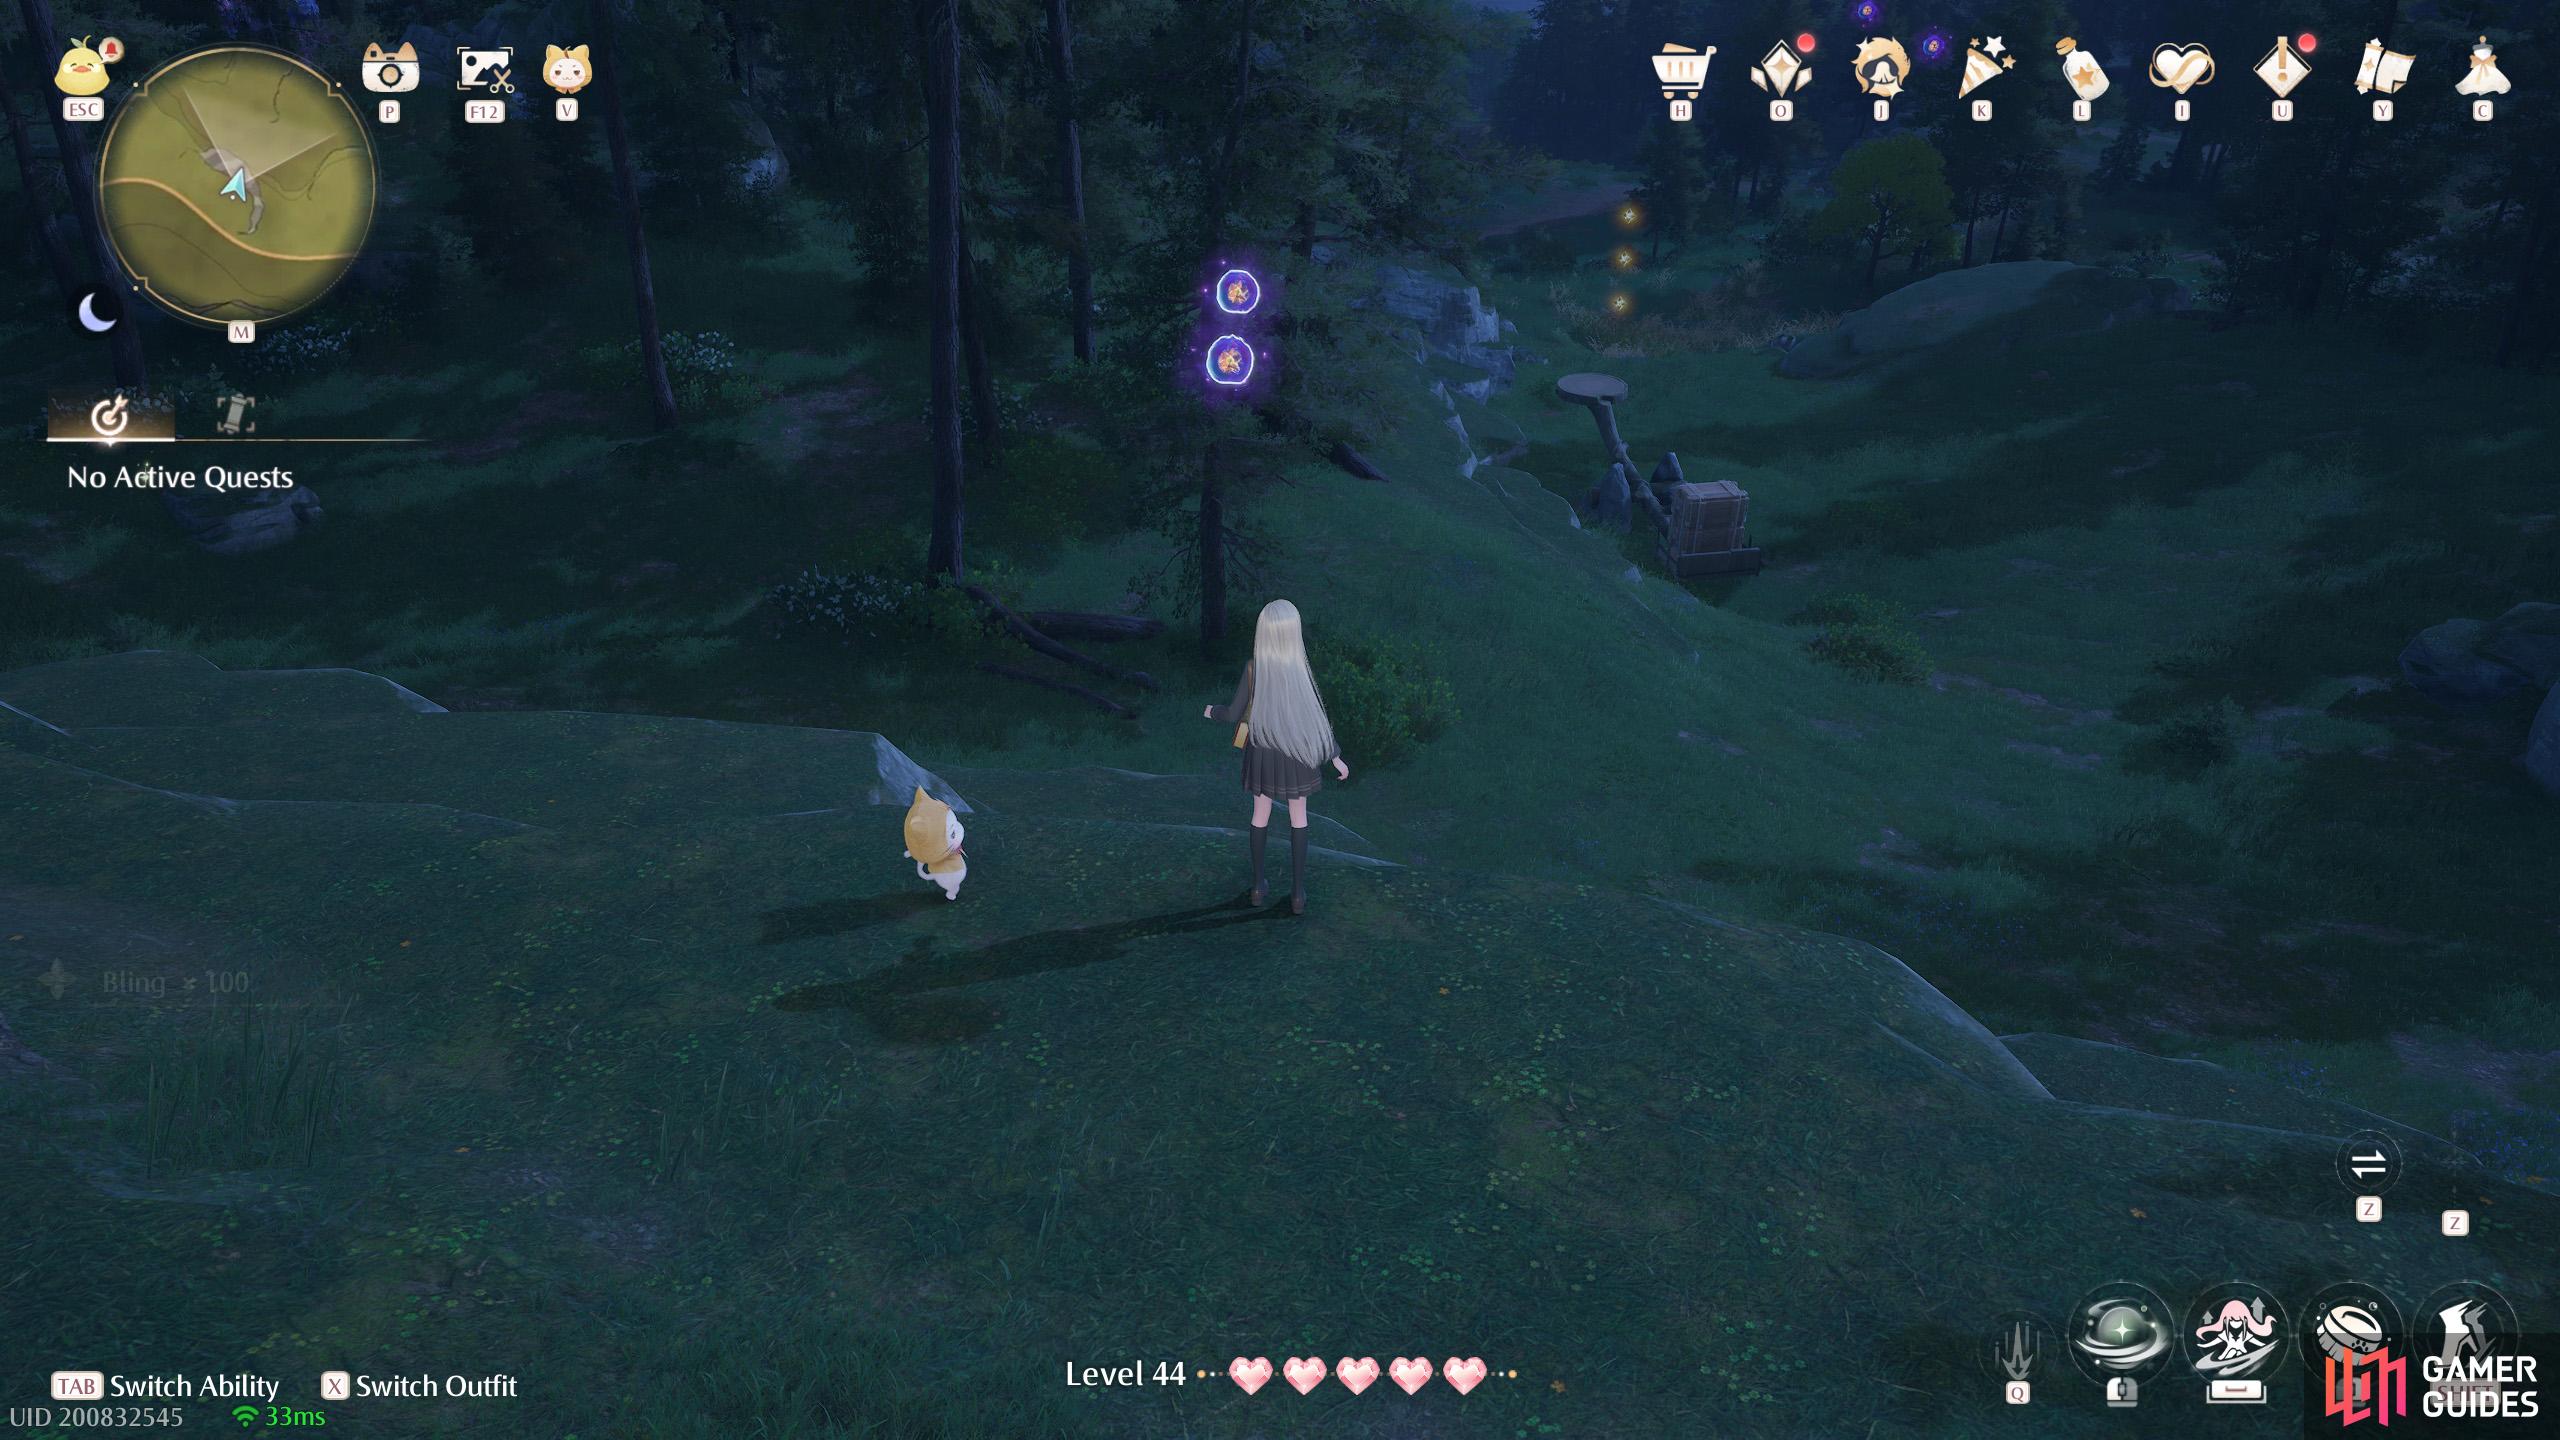
784. Miraland Map
South-west from ![]() Lakeside Hill Lane. Two floating near a ledge. There are Esselings around here.
Lakeside Hill Lane. Two floating near a ledge. There are Esselings around here.
785. Miraland Map
South-west from ![]() Lakeside Hill Lane. Two floating high up near a catapult. You can use a jumping attack on the catapult to launch up.
Lakeside Hill Lane. Two floating high up near a catapult. You can use a jumping attack on the catapult to launch up.
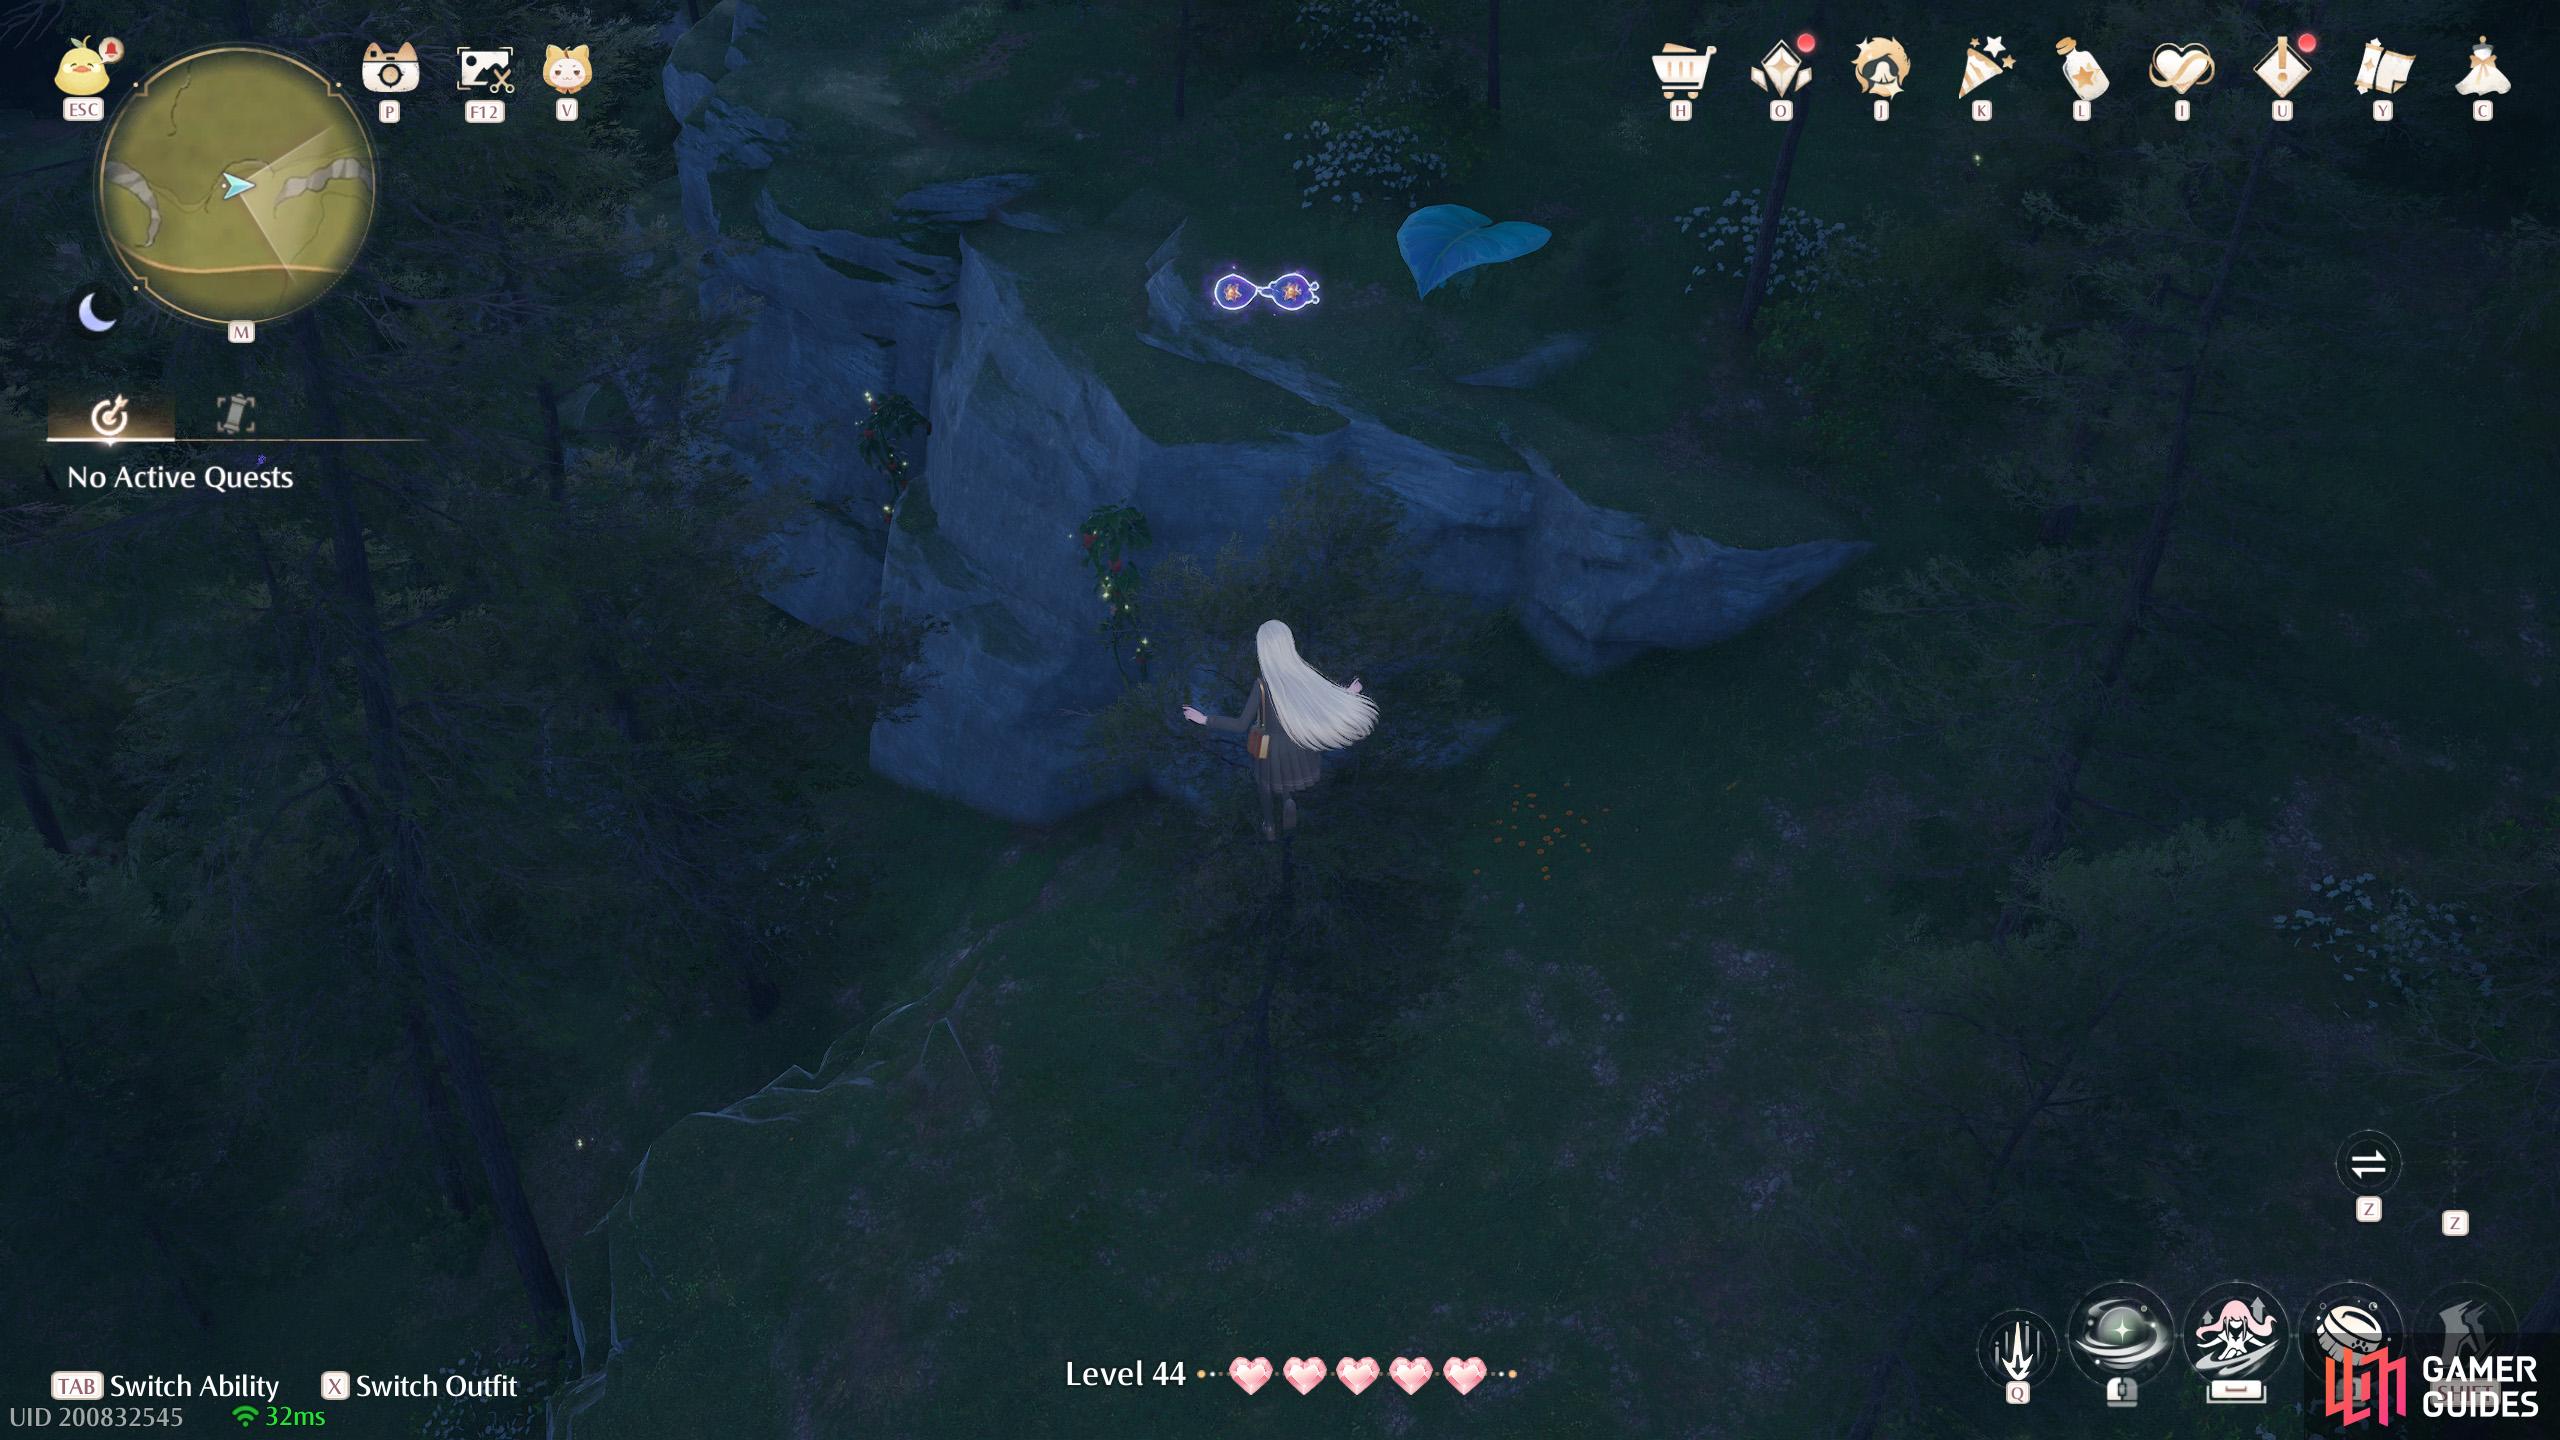
786. Miraland Map
South-west from ![]() Lakeside Hill Lane. Two floating in the air with a leaf trampoline nearby. Note that there’s another pair of dew like this, but higher up.
Lakeside Hill Lane. Two floating in the air with a leaf trampoline nearby. Note that there’s another pair of dew like this, but higher up.
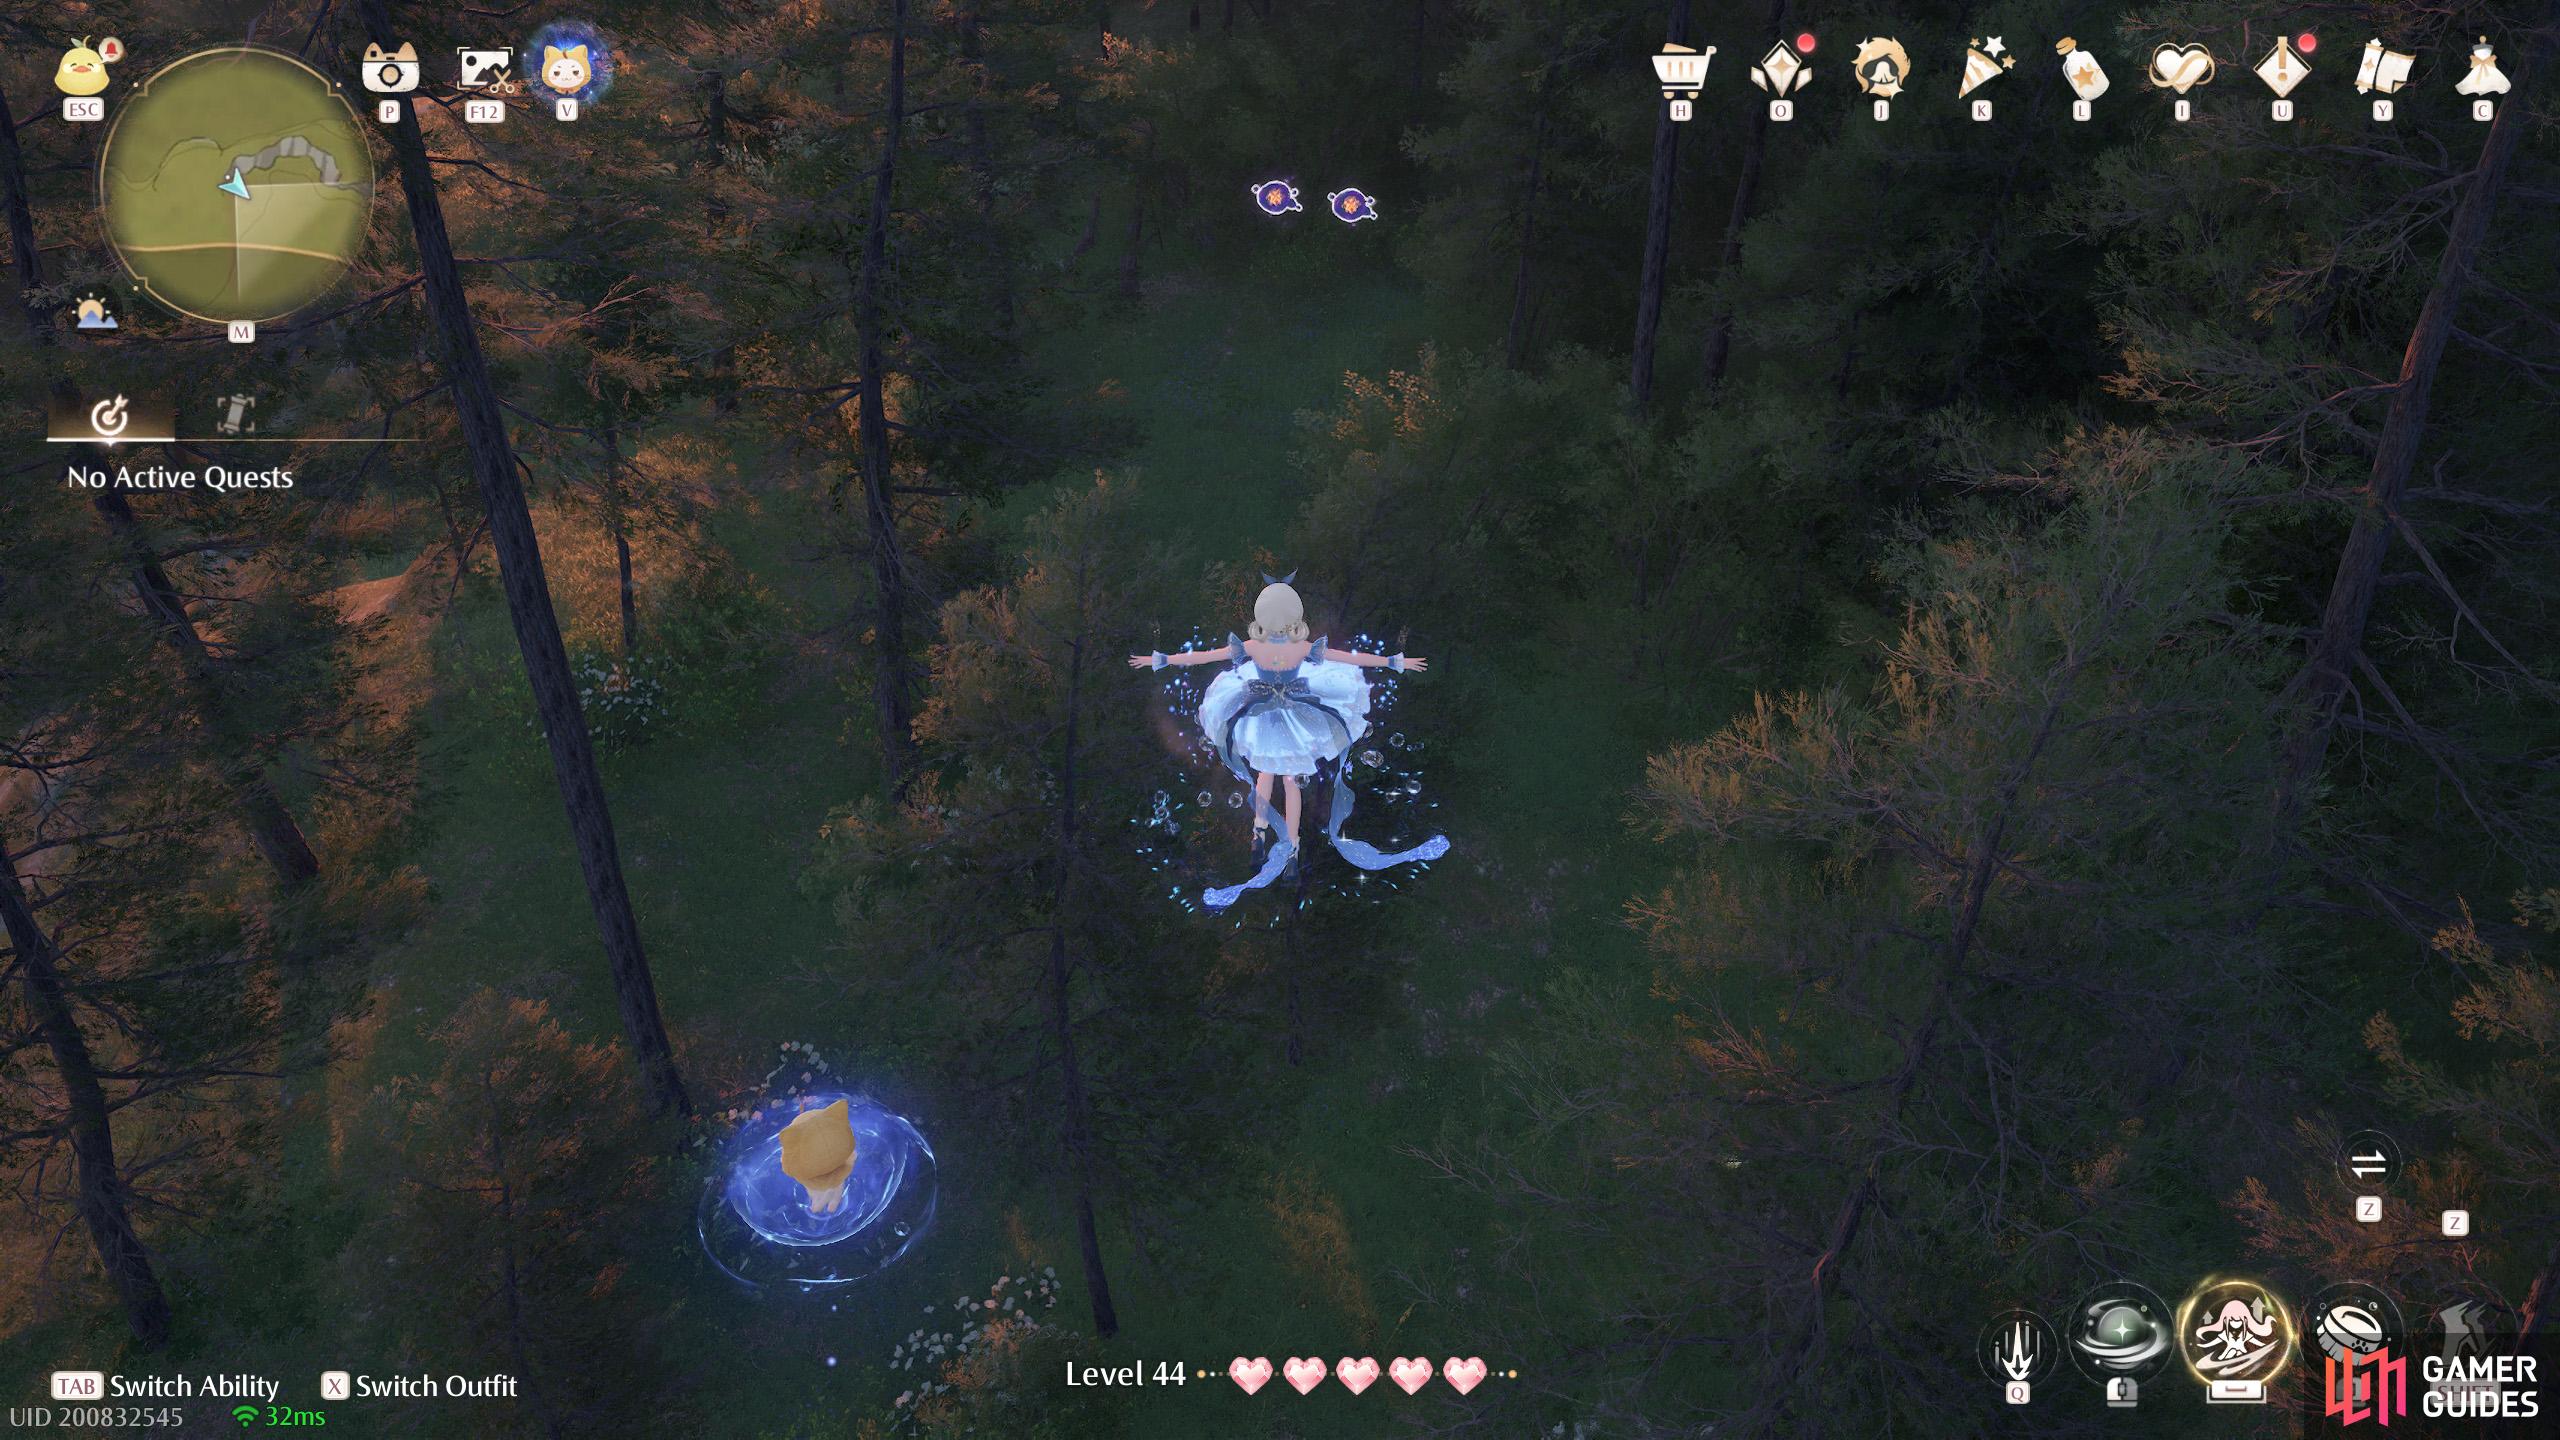
787. Miraland Map
South-west from ![]() Lakeside Hill Lane. Two floating in the air with a leaf trampoline nearby. Note that there’s another pair of dew like this, but lower down.
Lakeside Hill Lane. Two floating in the air with a leaf trampoline nearby. Note that there’s another pair of dew like this, but lower down.
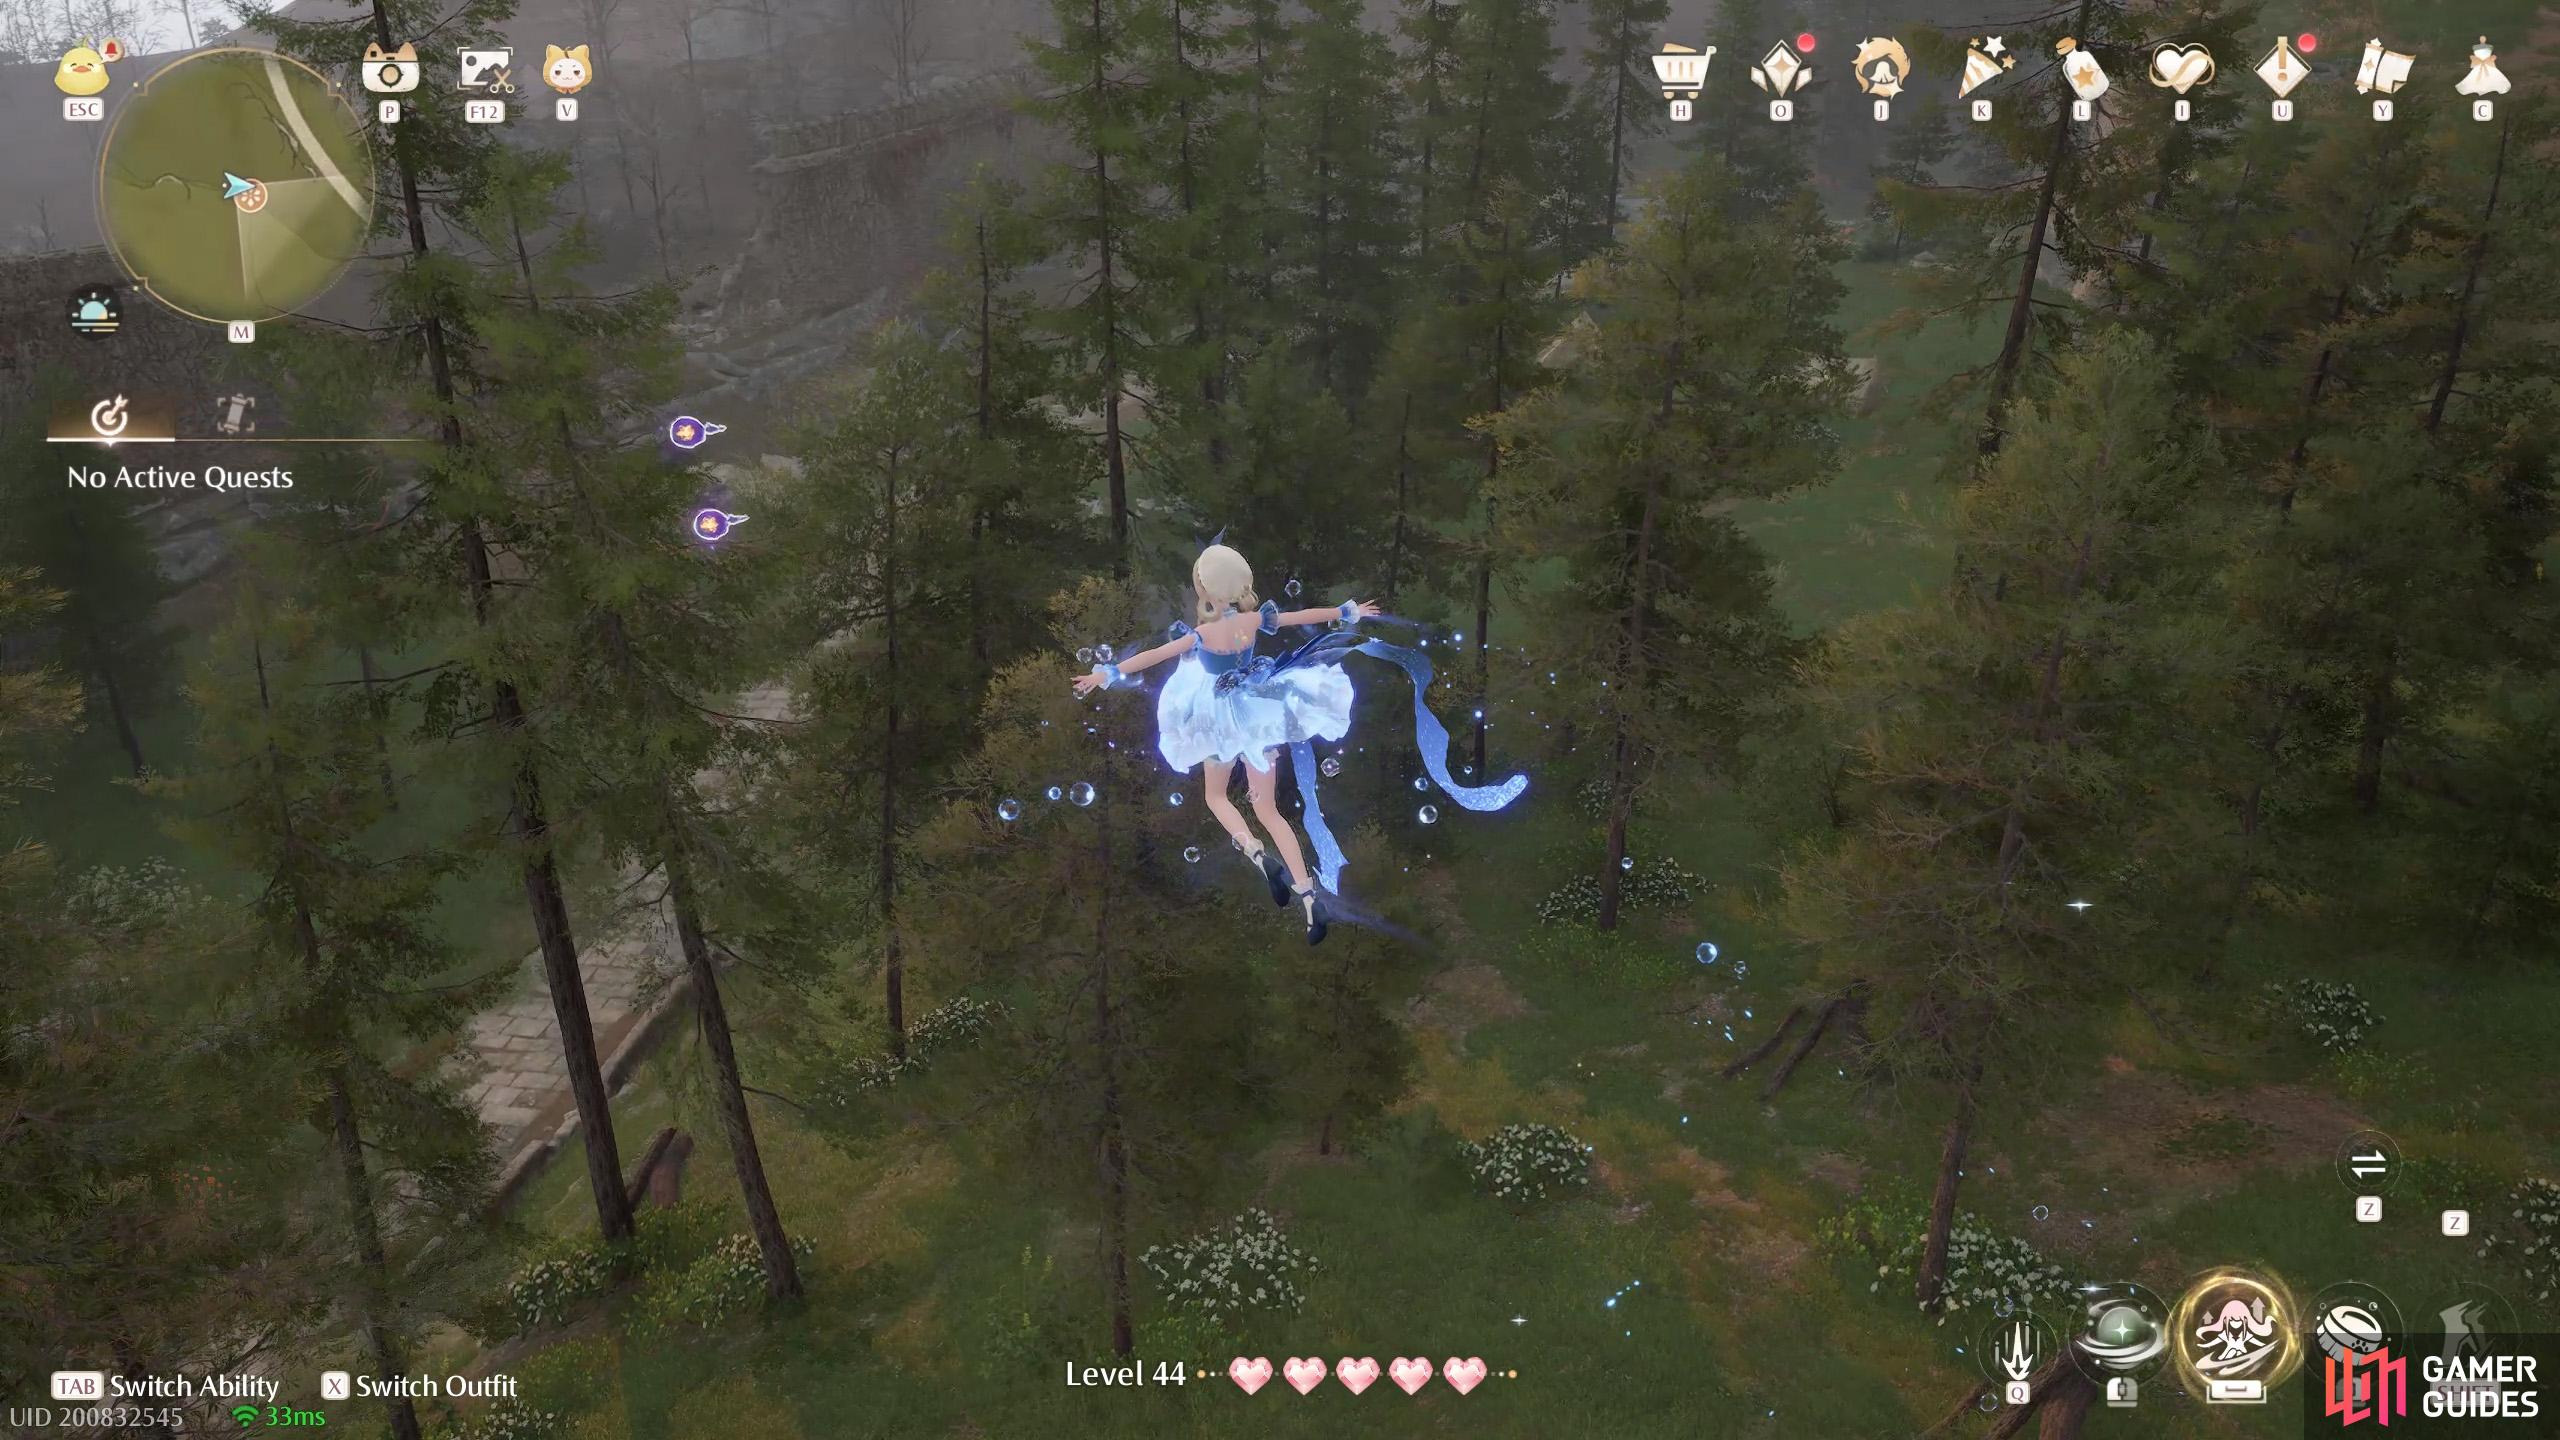
788. Miraland Map
North-east from ![]() Queen’s Palace Ruins West Forest. Two floating in the air near a catapult. Use a jumping attack on the catapult to launch up.
Queen’s Palace Ruins West Forest. Two floating in the air near a catapult. Use a jumping attack on the catapult to launch up.
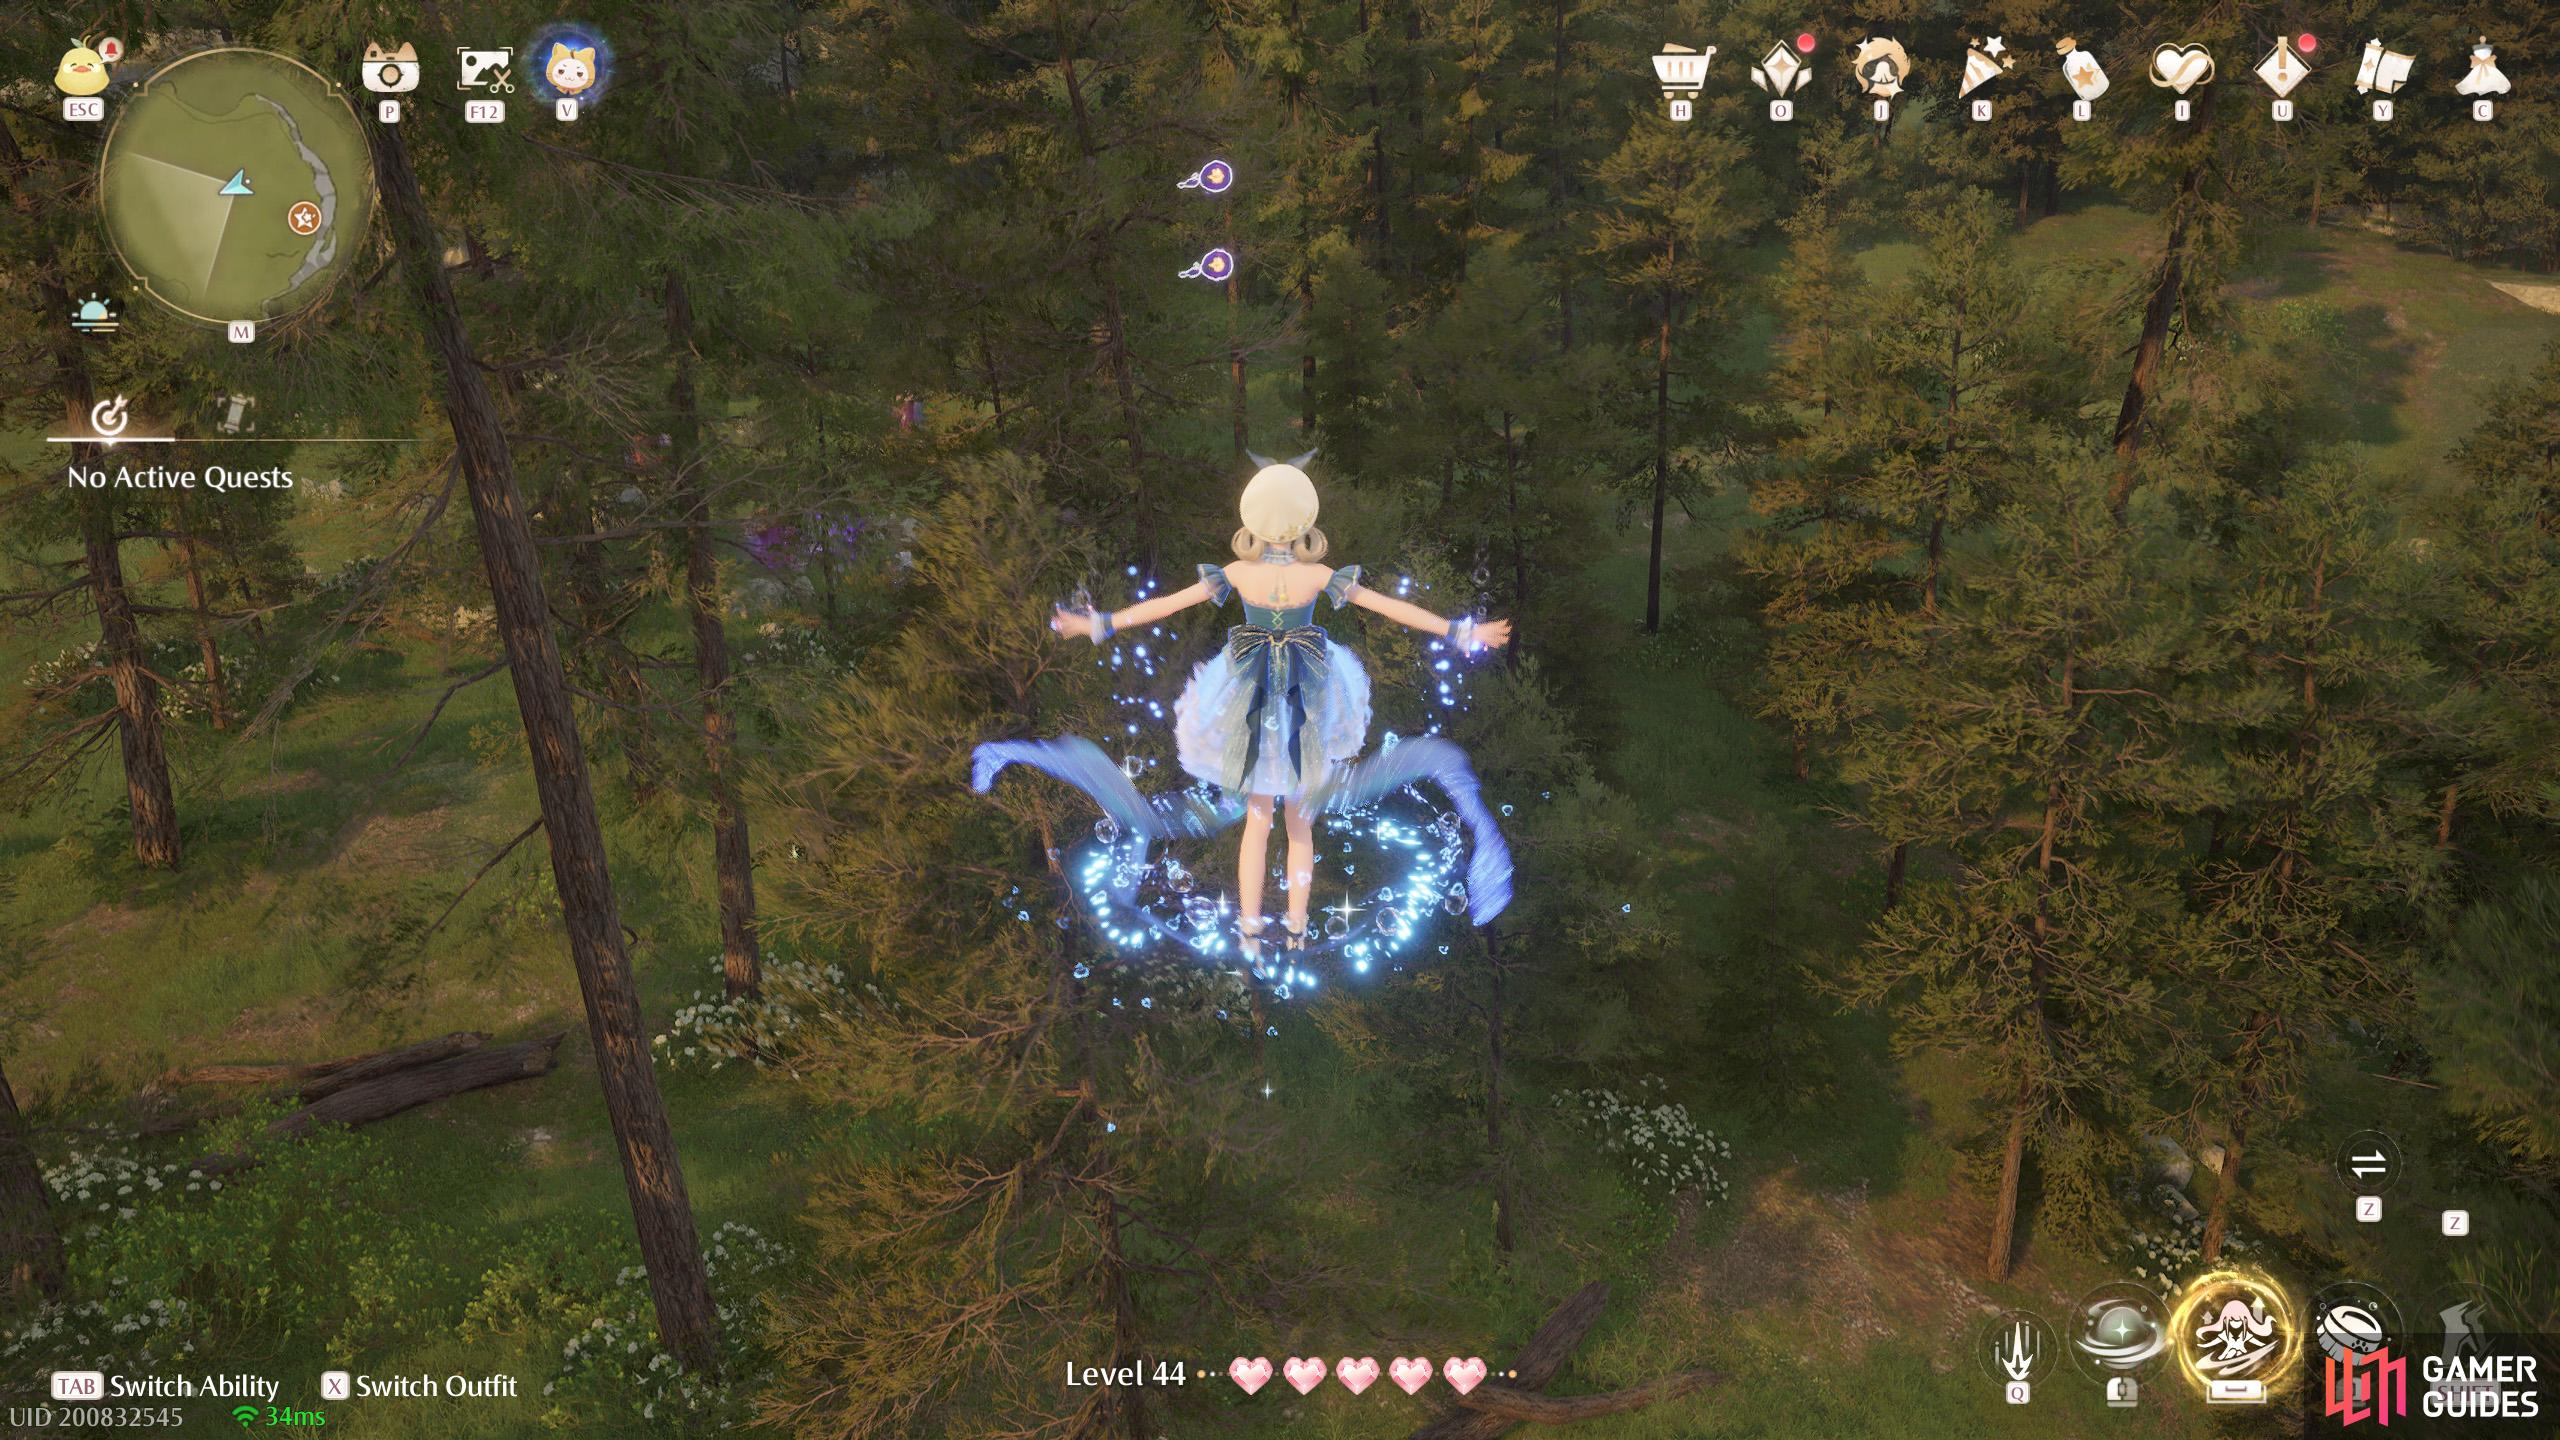
789. Miraland Map
Short distance south-east from ![]() Queen’s Palace Ruins West Forest. Two floating high up. There’s a leaf trampoline guarded by an Esseling nearby.
Queen’s Palace Ruins West Forest. Two floating high up. There’s a leaf trampoline guarded by an Esseling nearby.
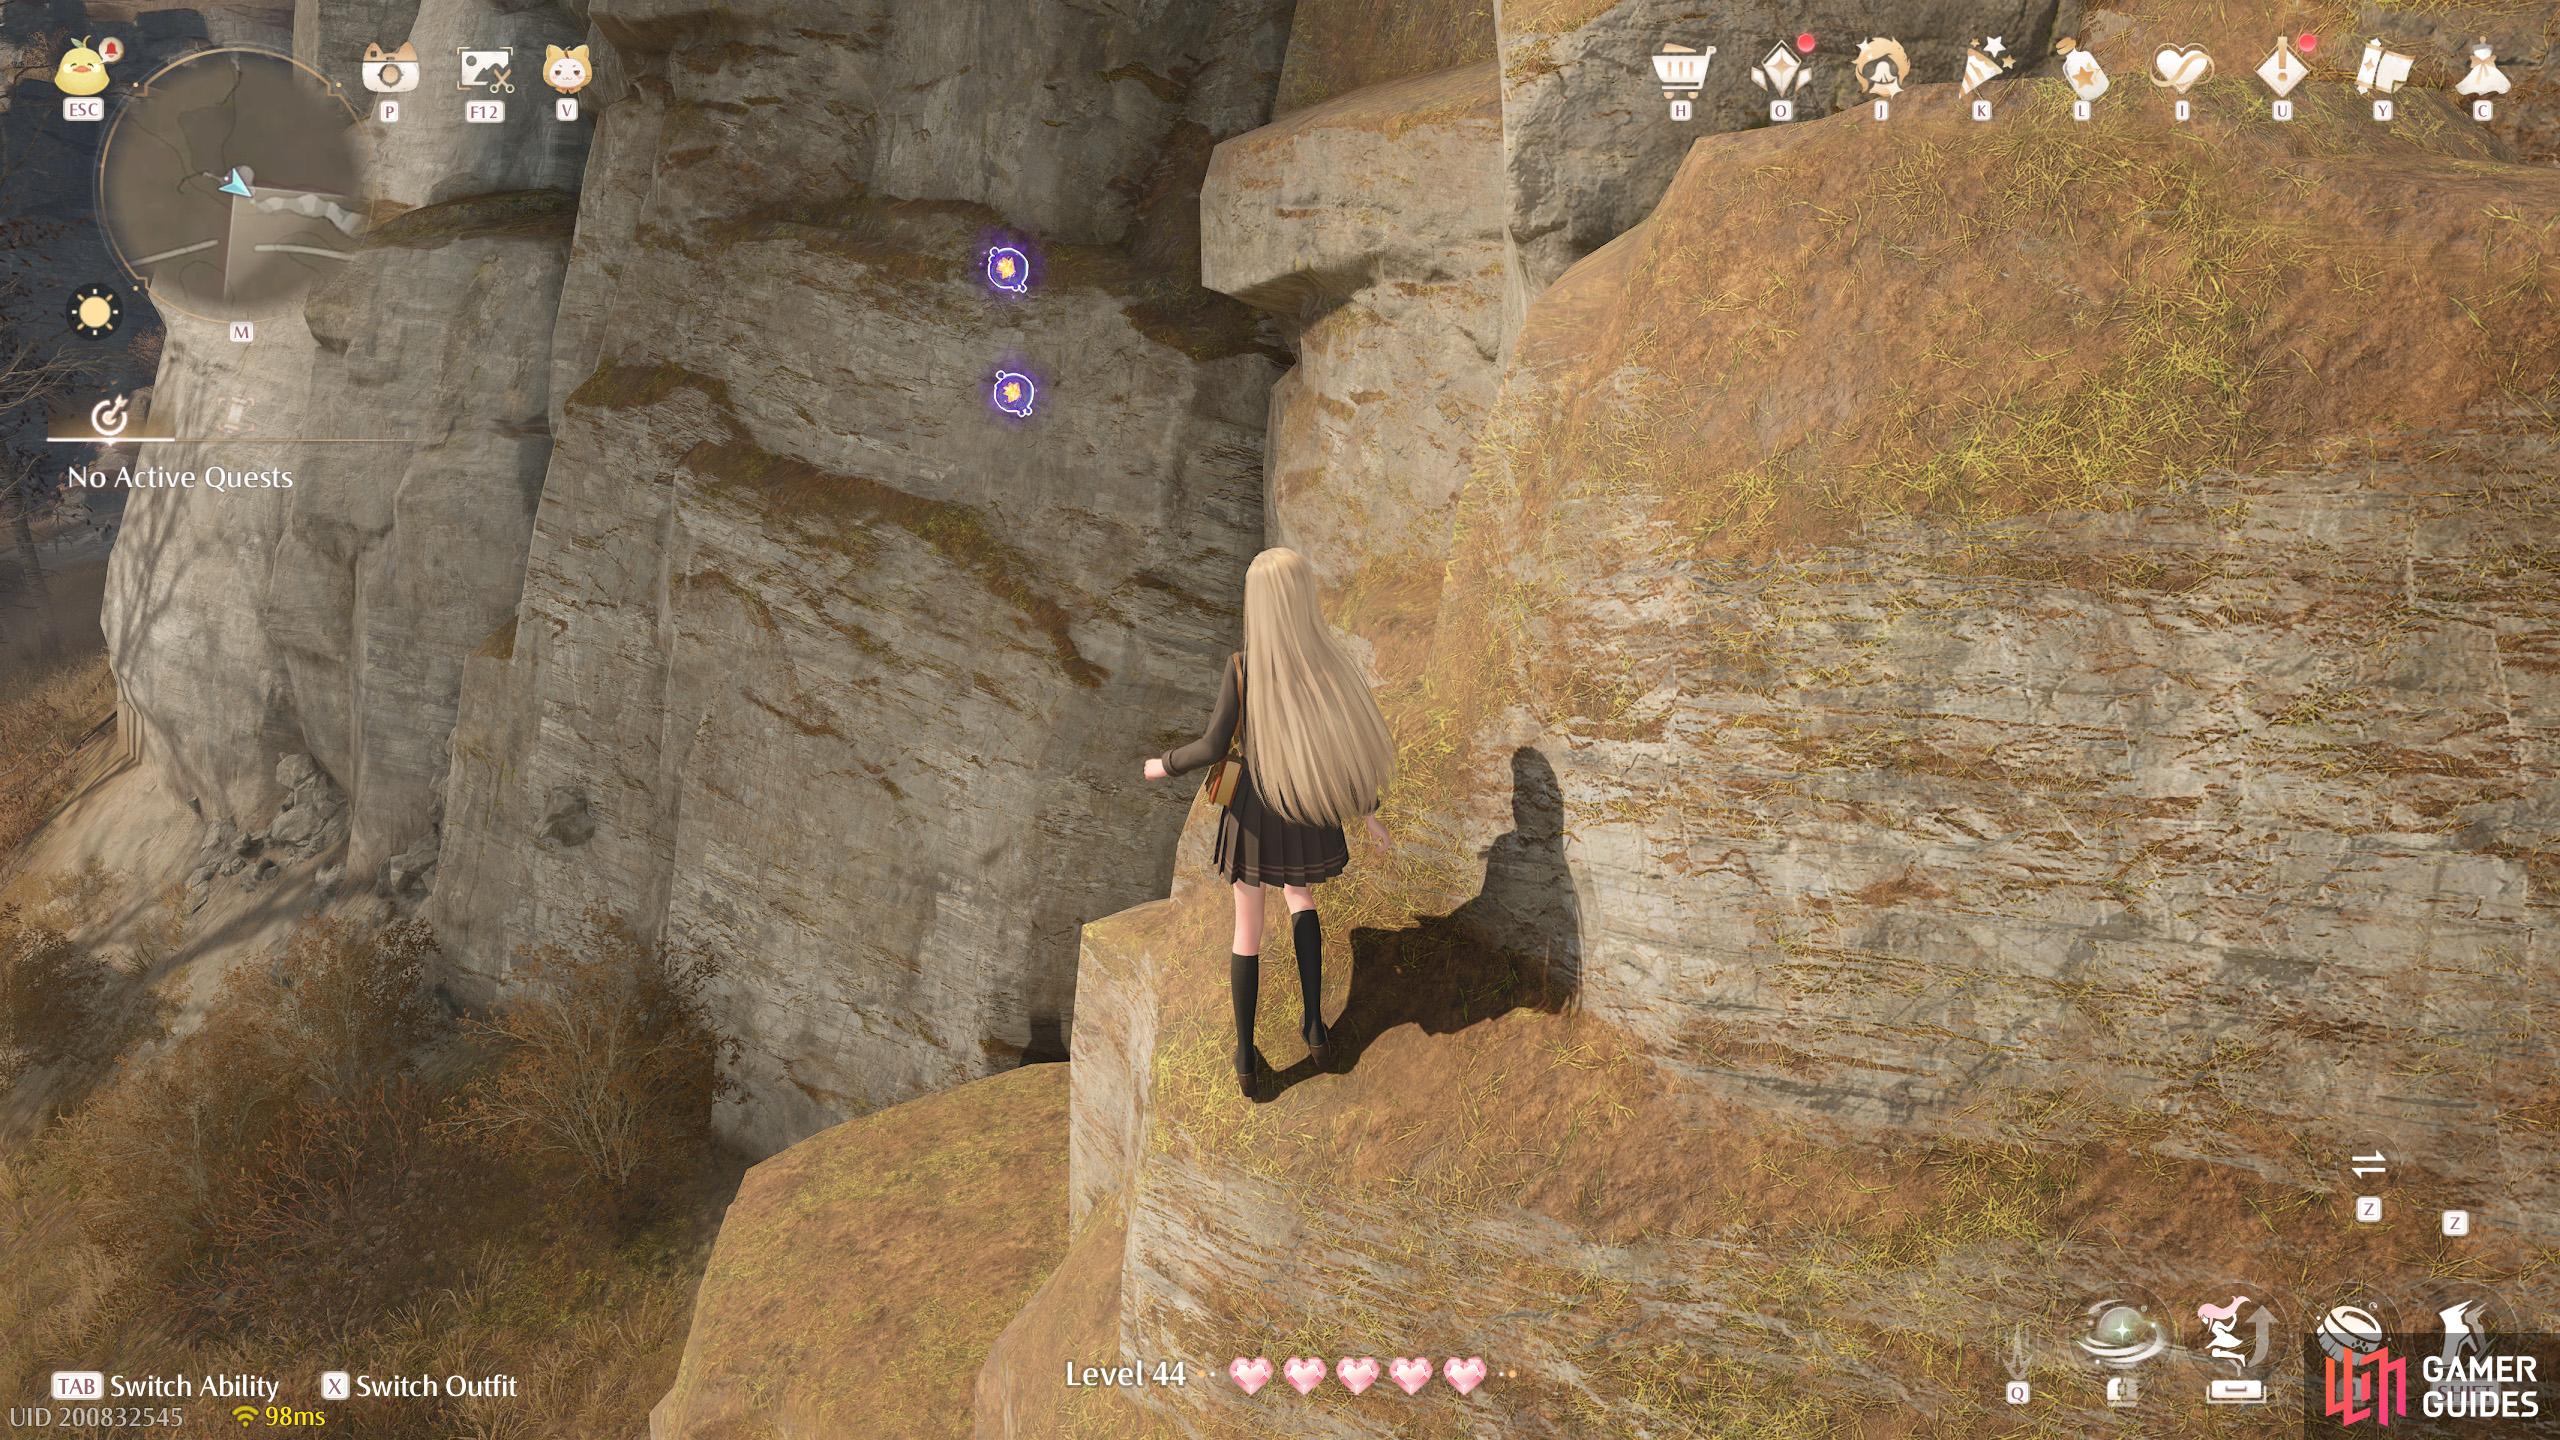
790. Miraland Map
Short distance south-east from ![]() Queen’s Palace Ruins Entrance. Two floating by the cliff wall.
Queen’s Palace Ruins Entrance. Two floating by the cliff wall.
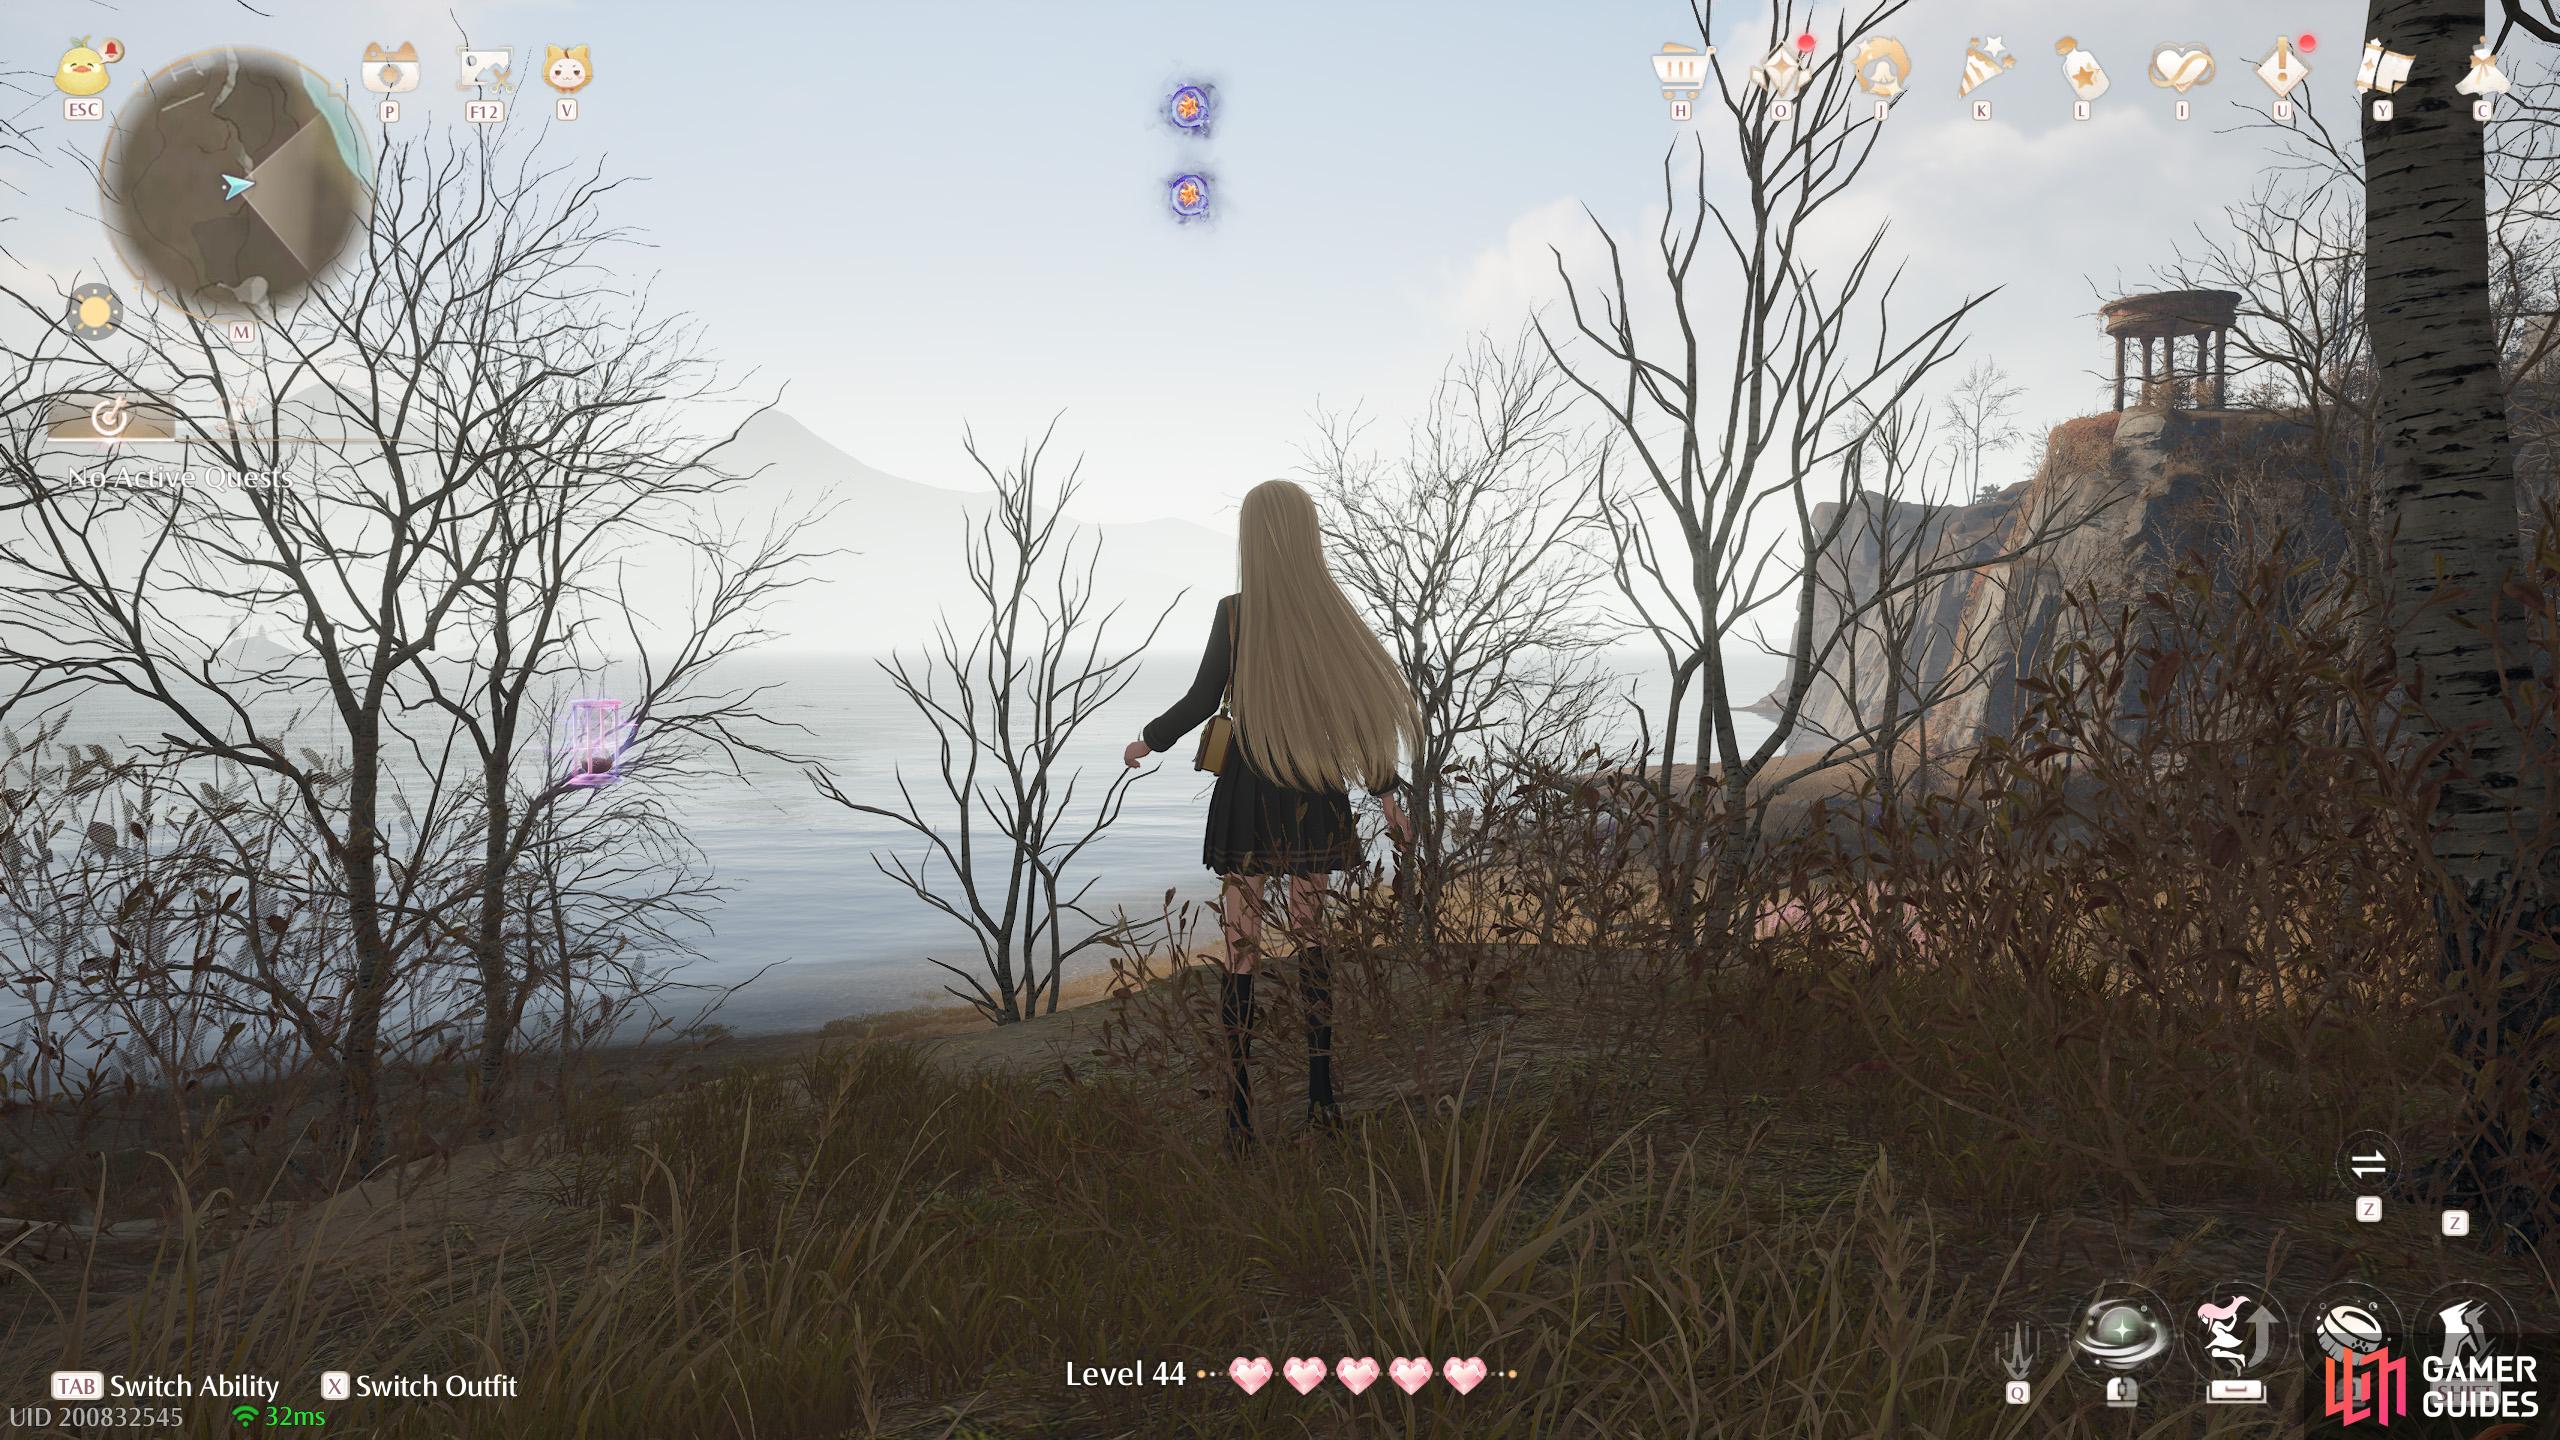
791. Miraland Map
Short distance east from ![]() Queen’s Palace Ruins Entrance. Two floating high up near a ledge.
Queen’s Palace Ruins Entrance. Two floating high up near a ledge.
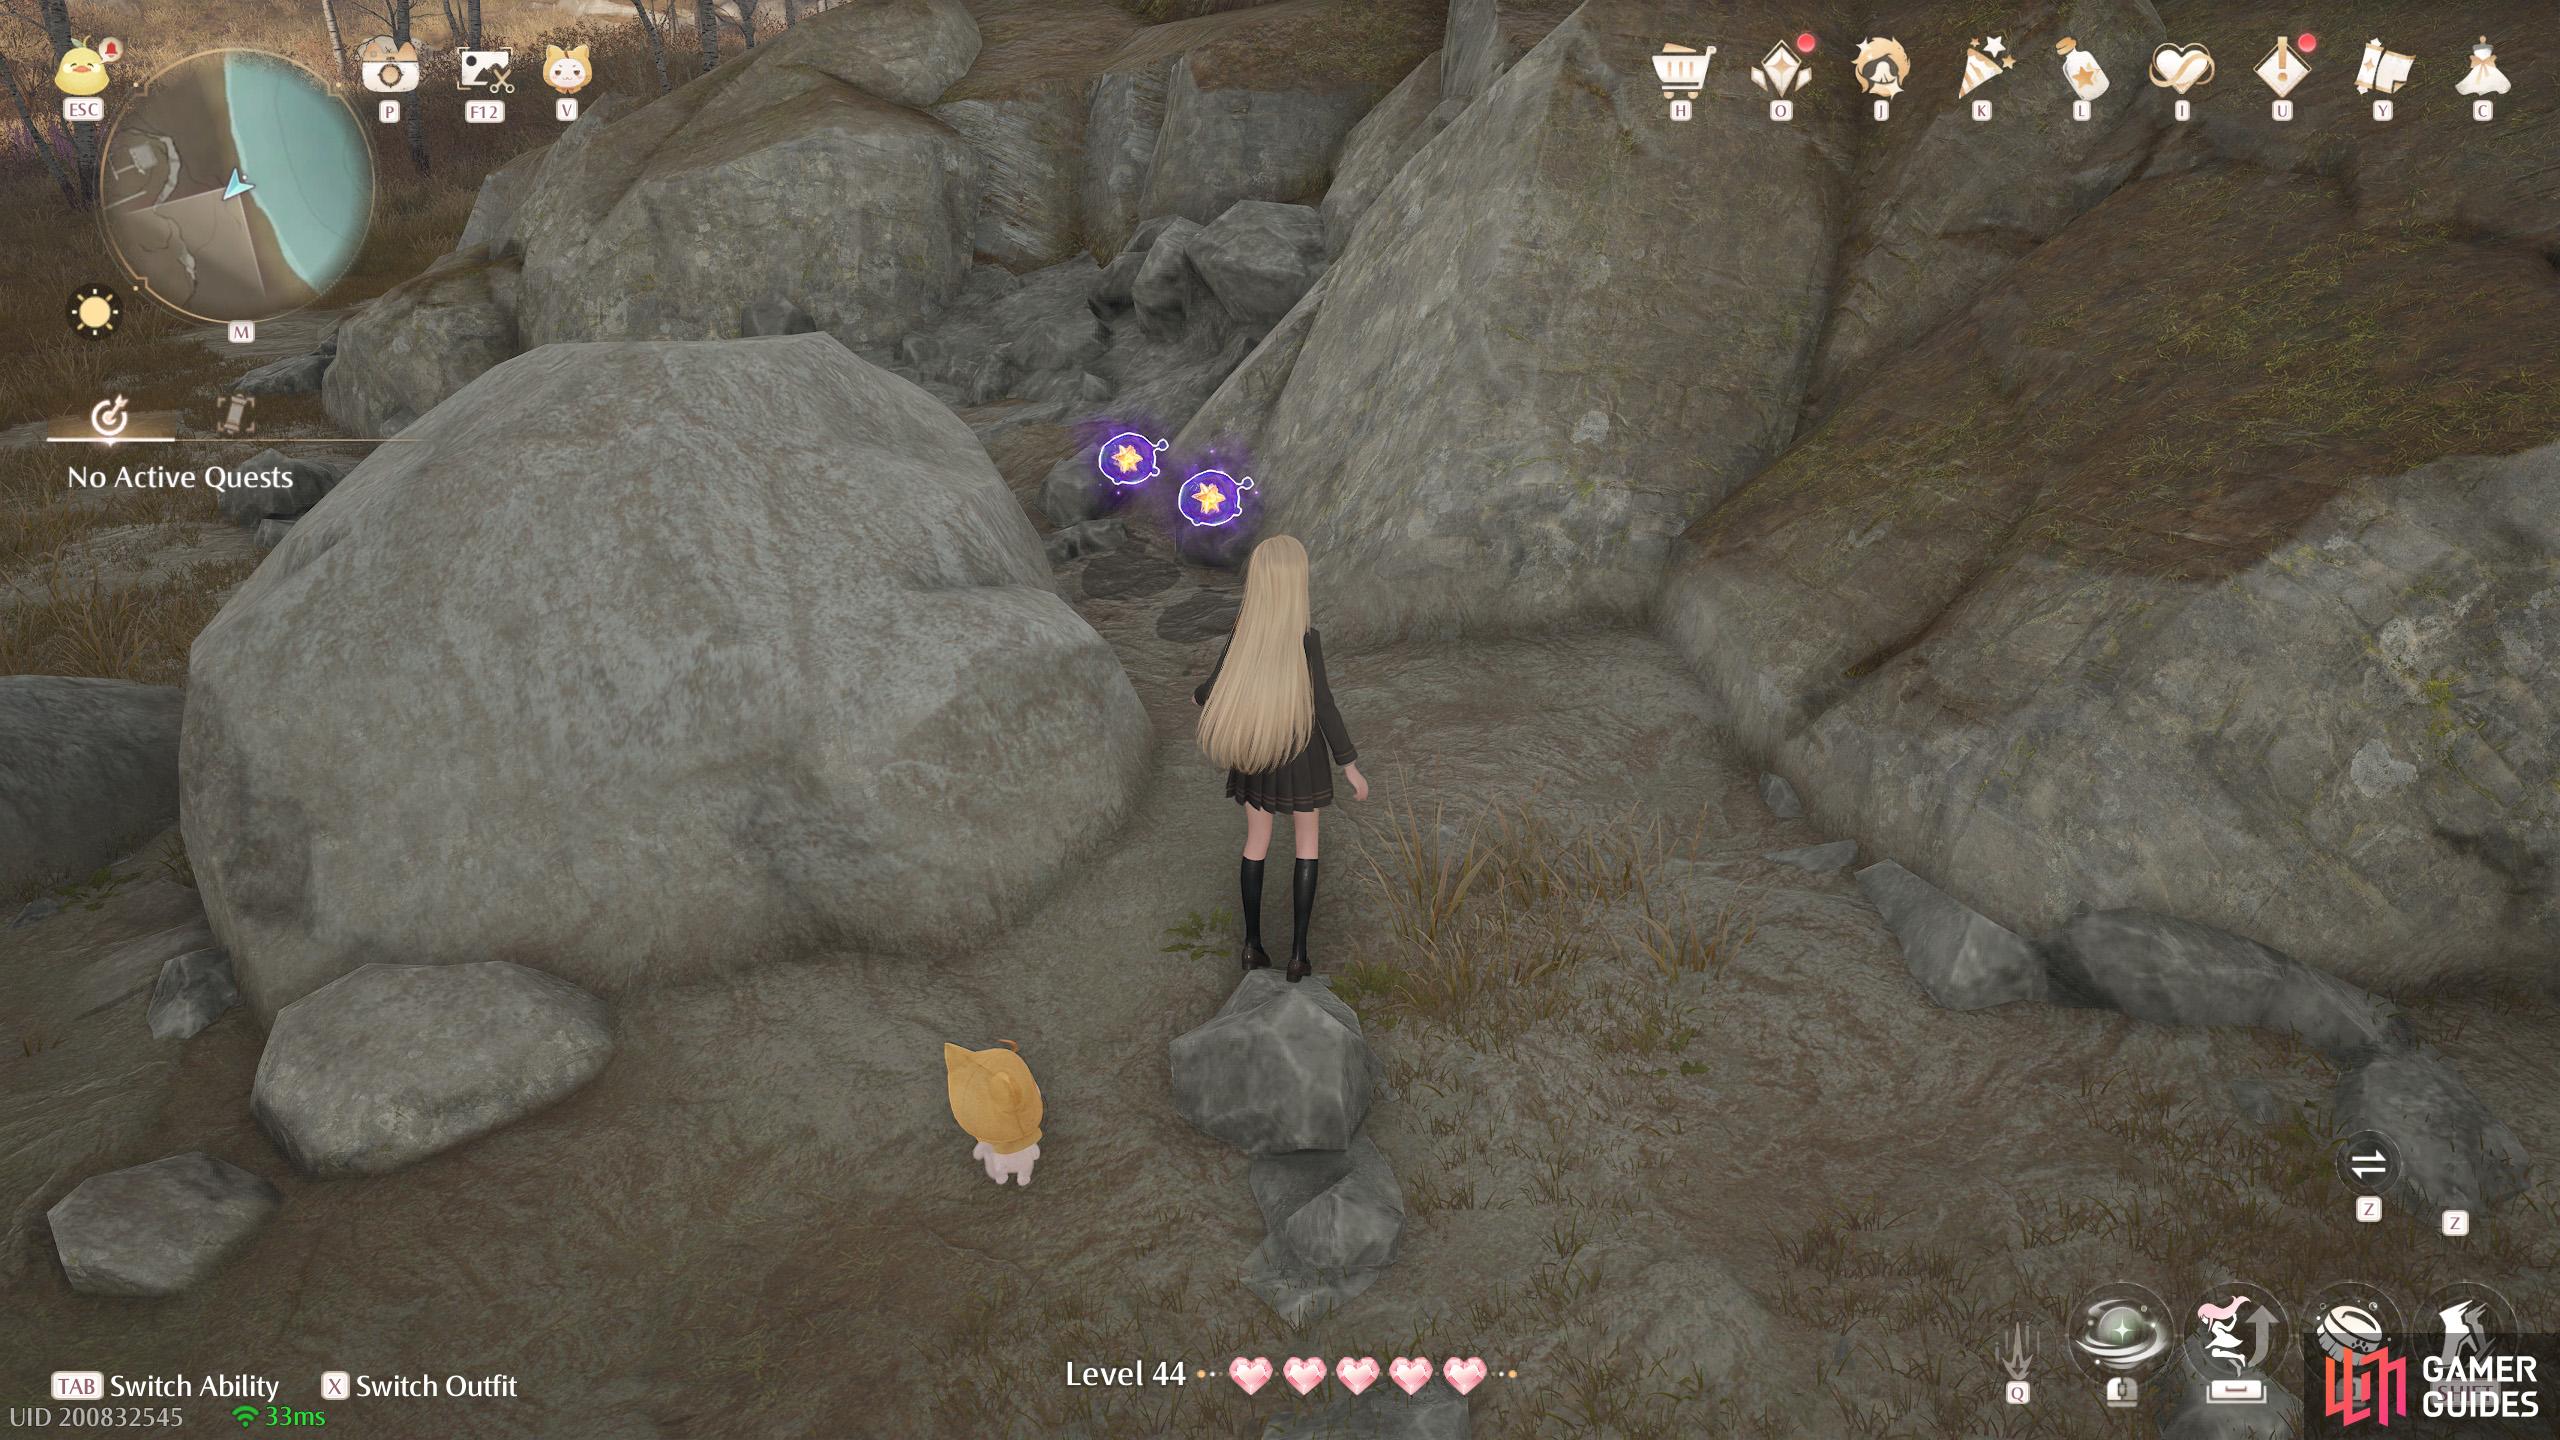
792. Miraland Map
North-east from ![]() Queen’s Palace Ruins Entrance. Two between some rocks near the shore.
Queen’s Palace Ruins Entrance. Two between some rocks near the shore.
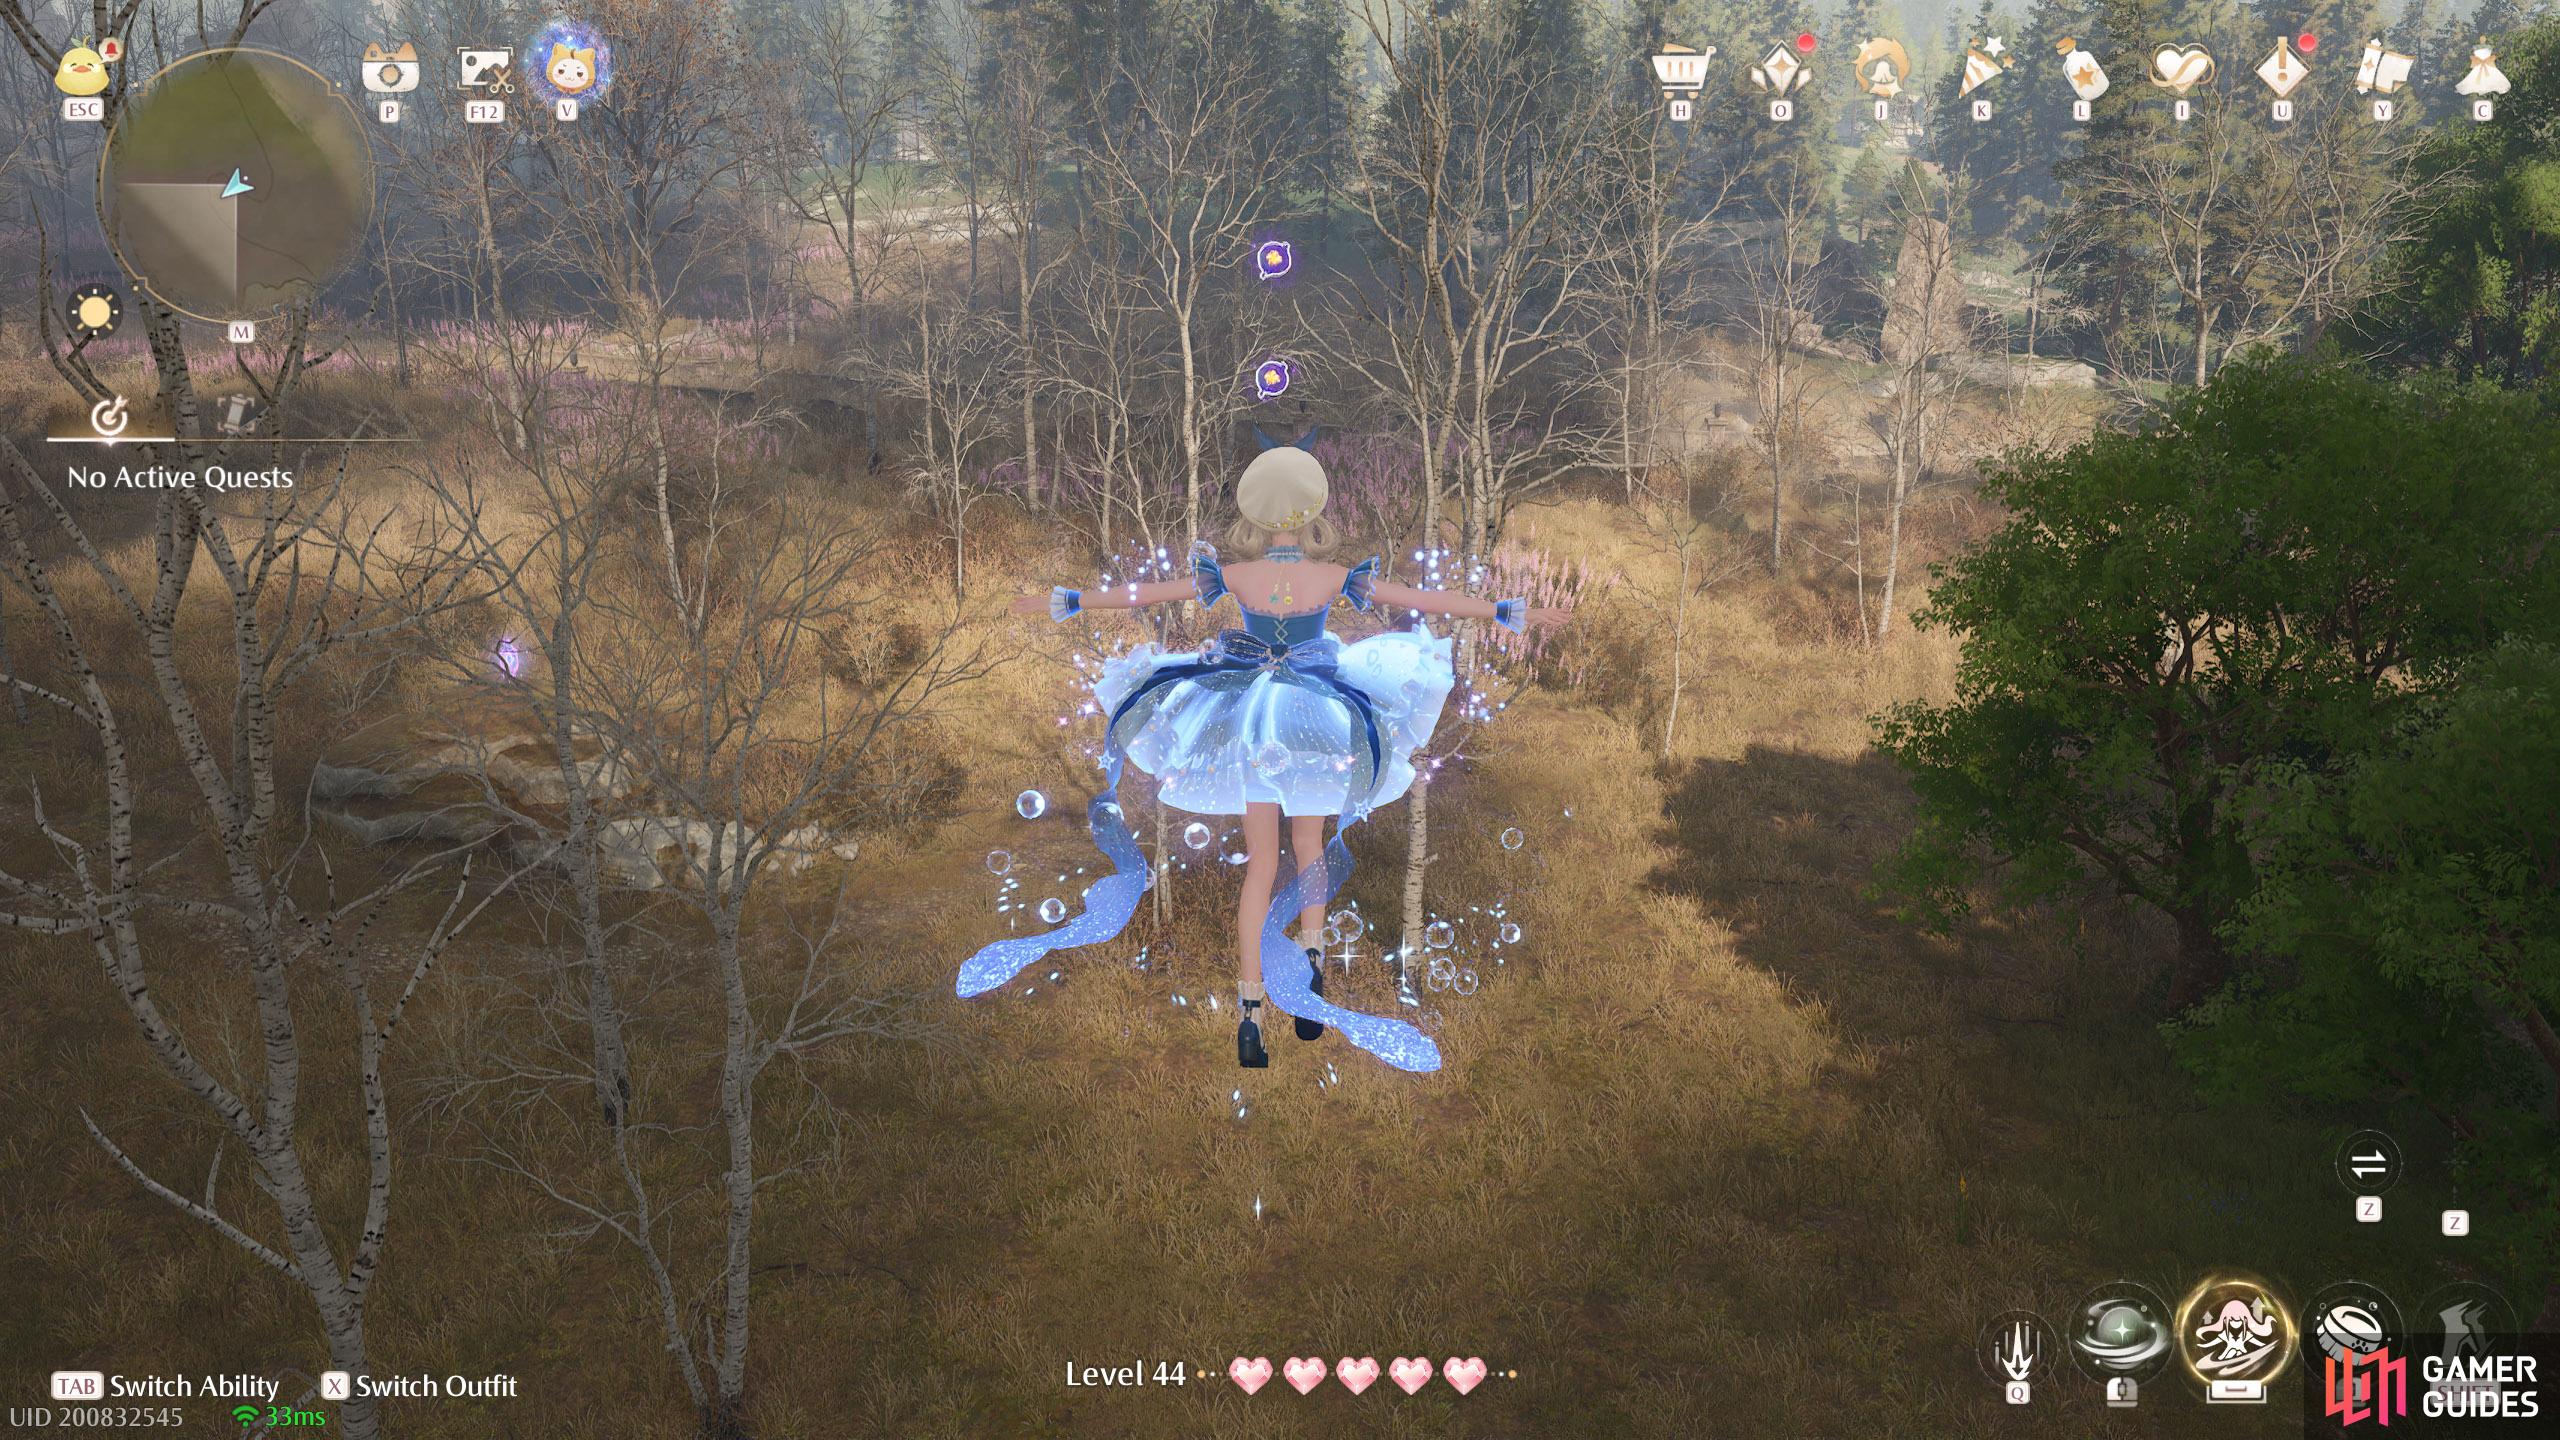
793. Miraland Map
North from ![]() Queen’s Palace Ruins Entrance. Two floating high up with a leaf trampoline conveniently nearby.
Queen’s Palace Ruins Entrance. Two floating high up with a leaf trampoline conveniently nearby.
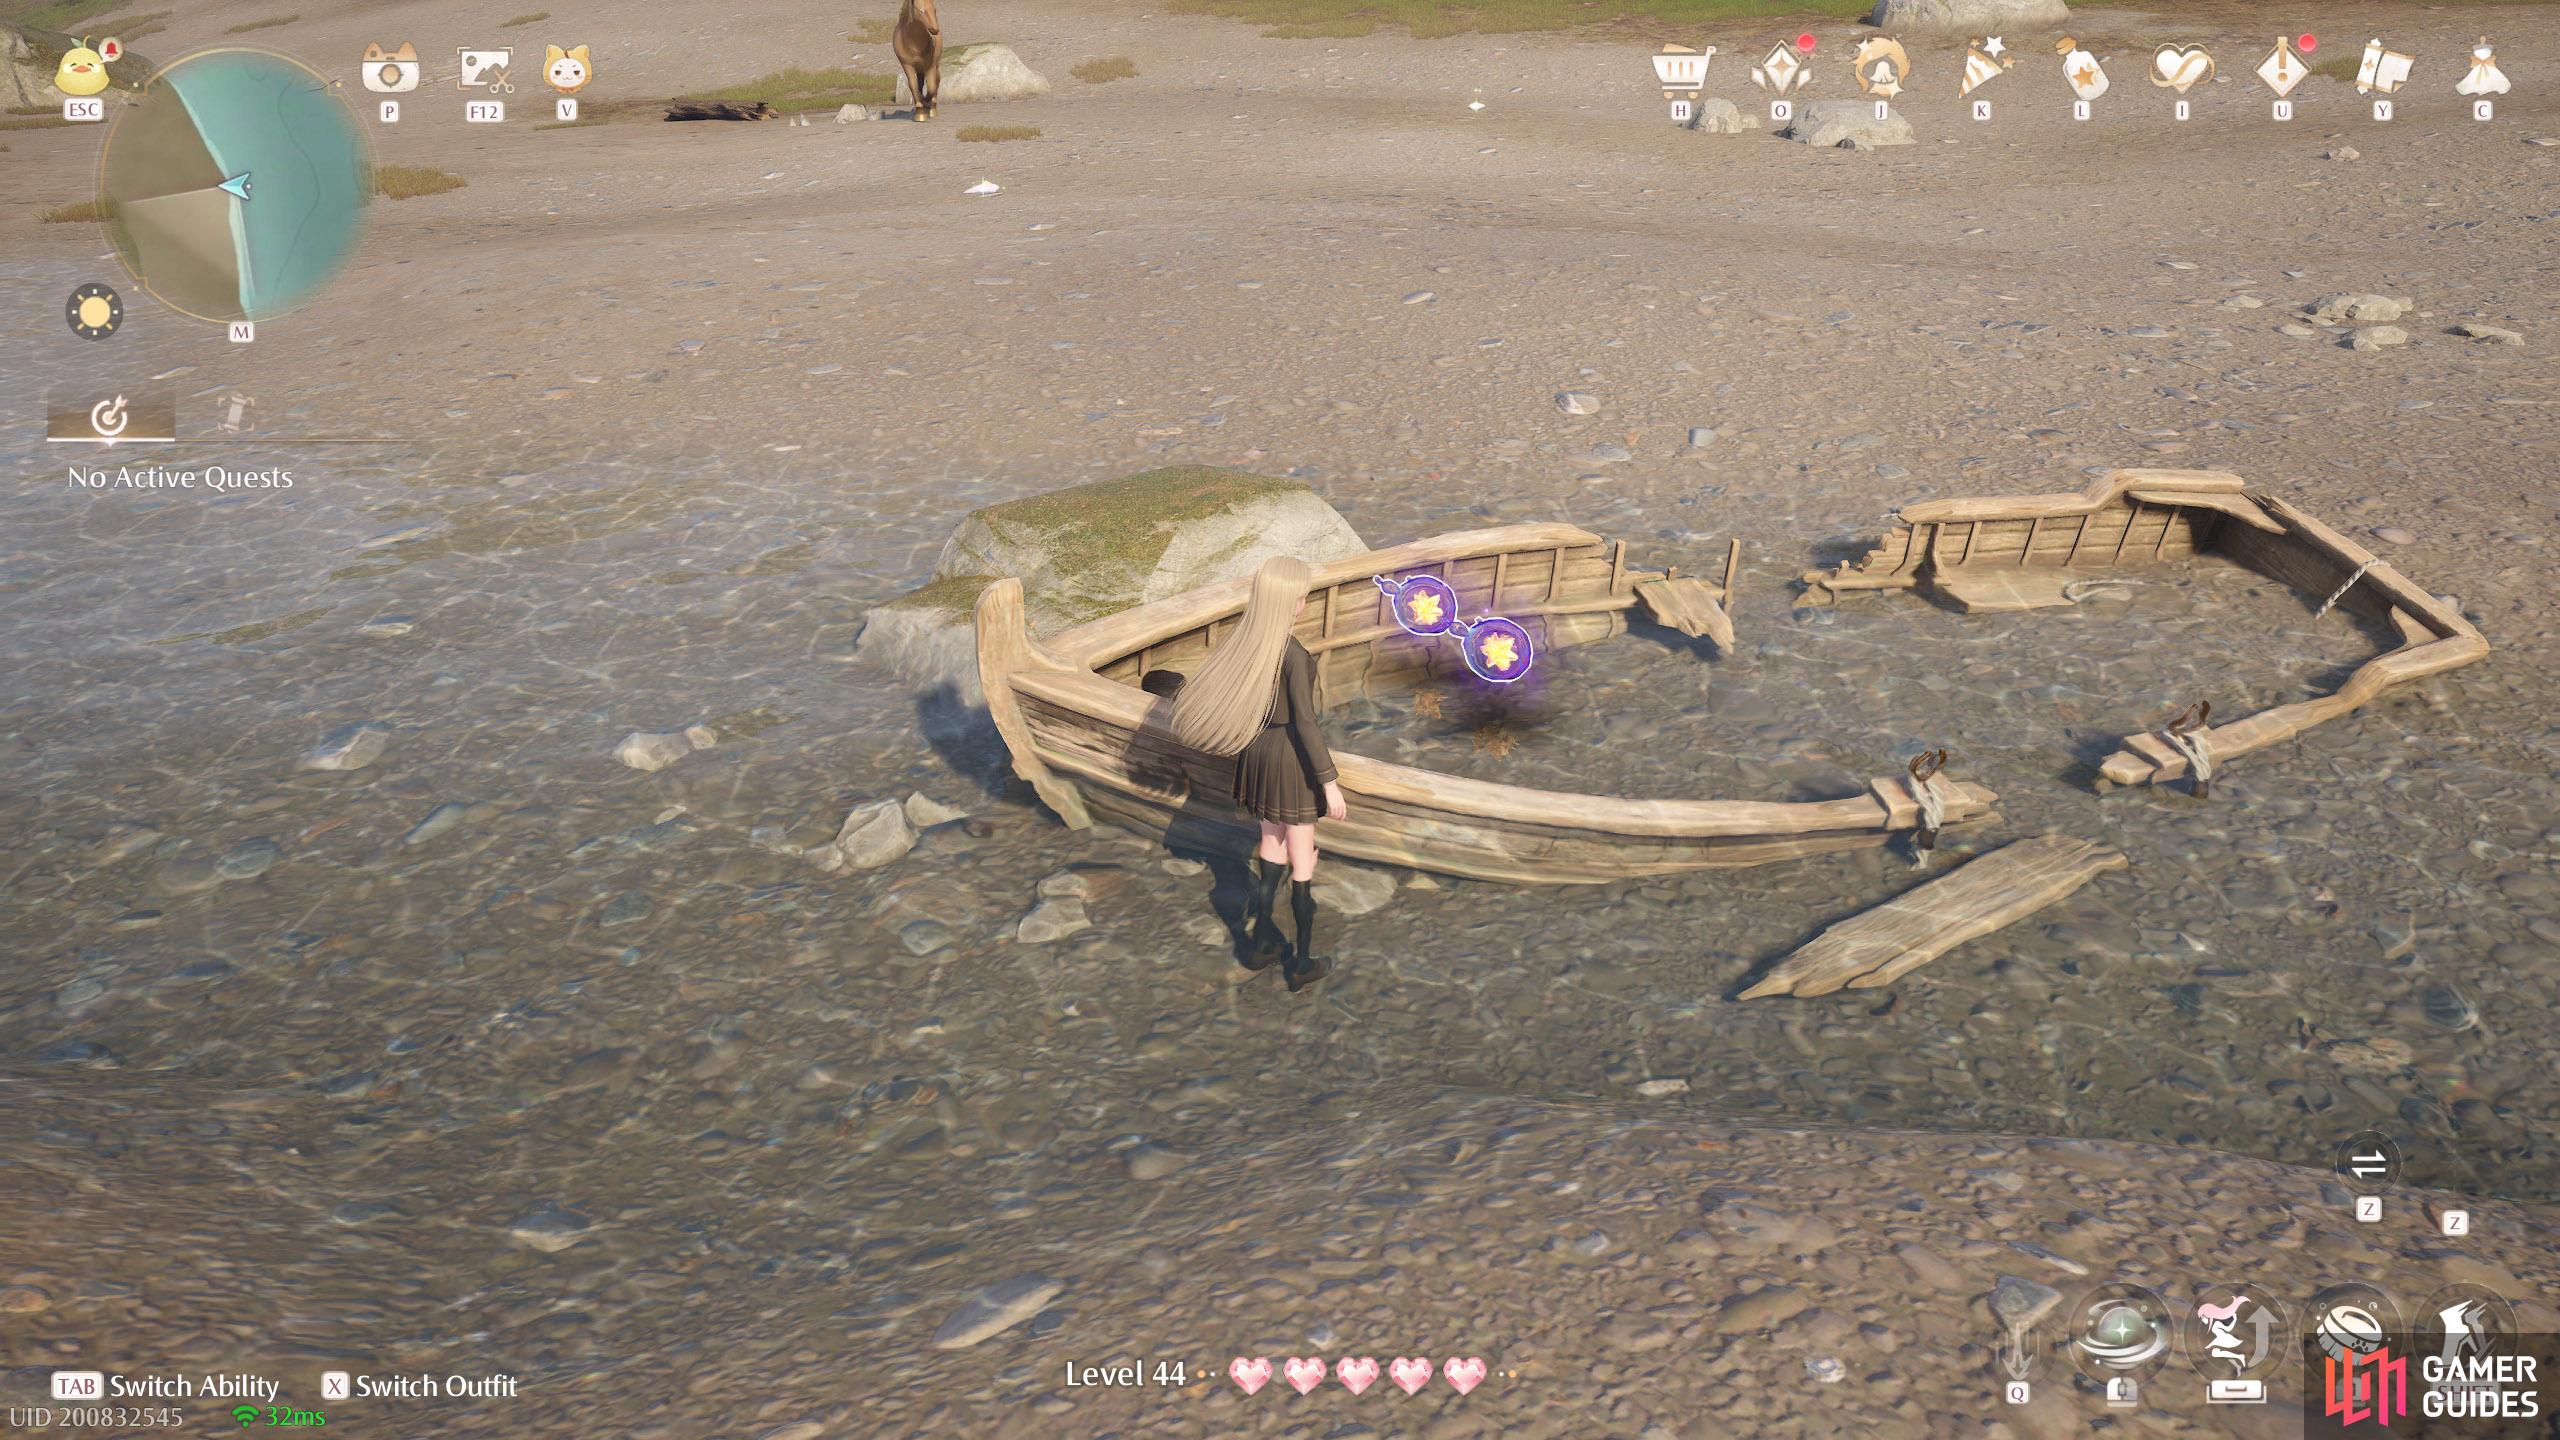
794. Miraland Map
North from ![]() Queen’s Palace Ruins Entrance. Two inside a small boat at the shore.
Queen’s Palace Ruins Entrance. Two inside a small boat at the shore.
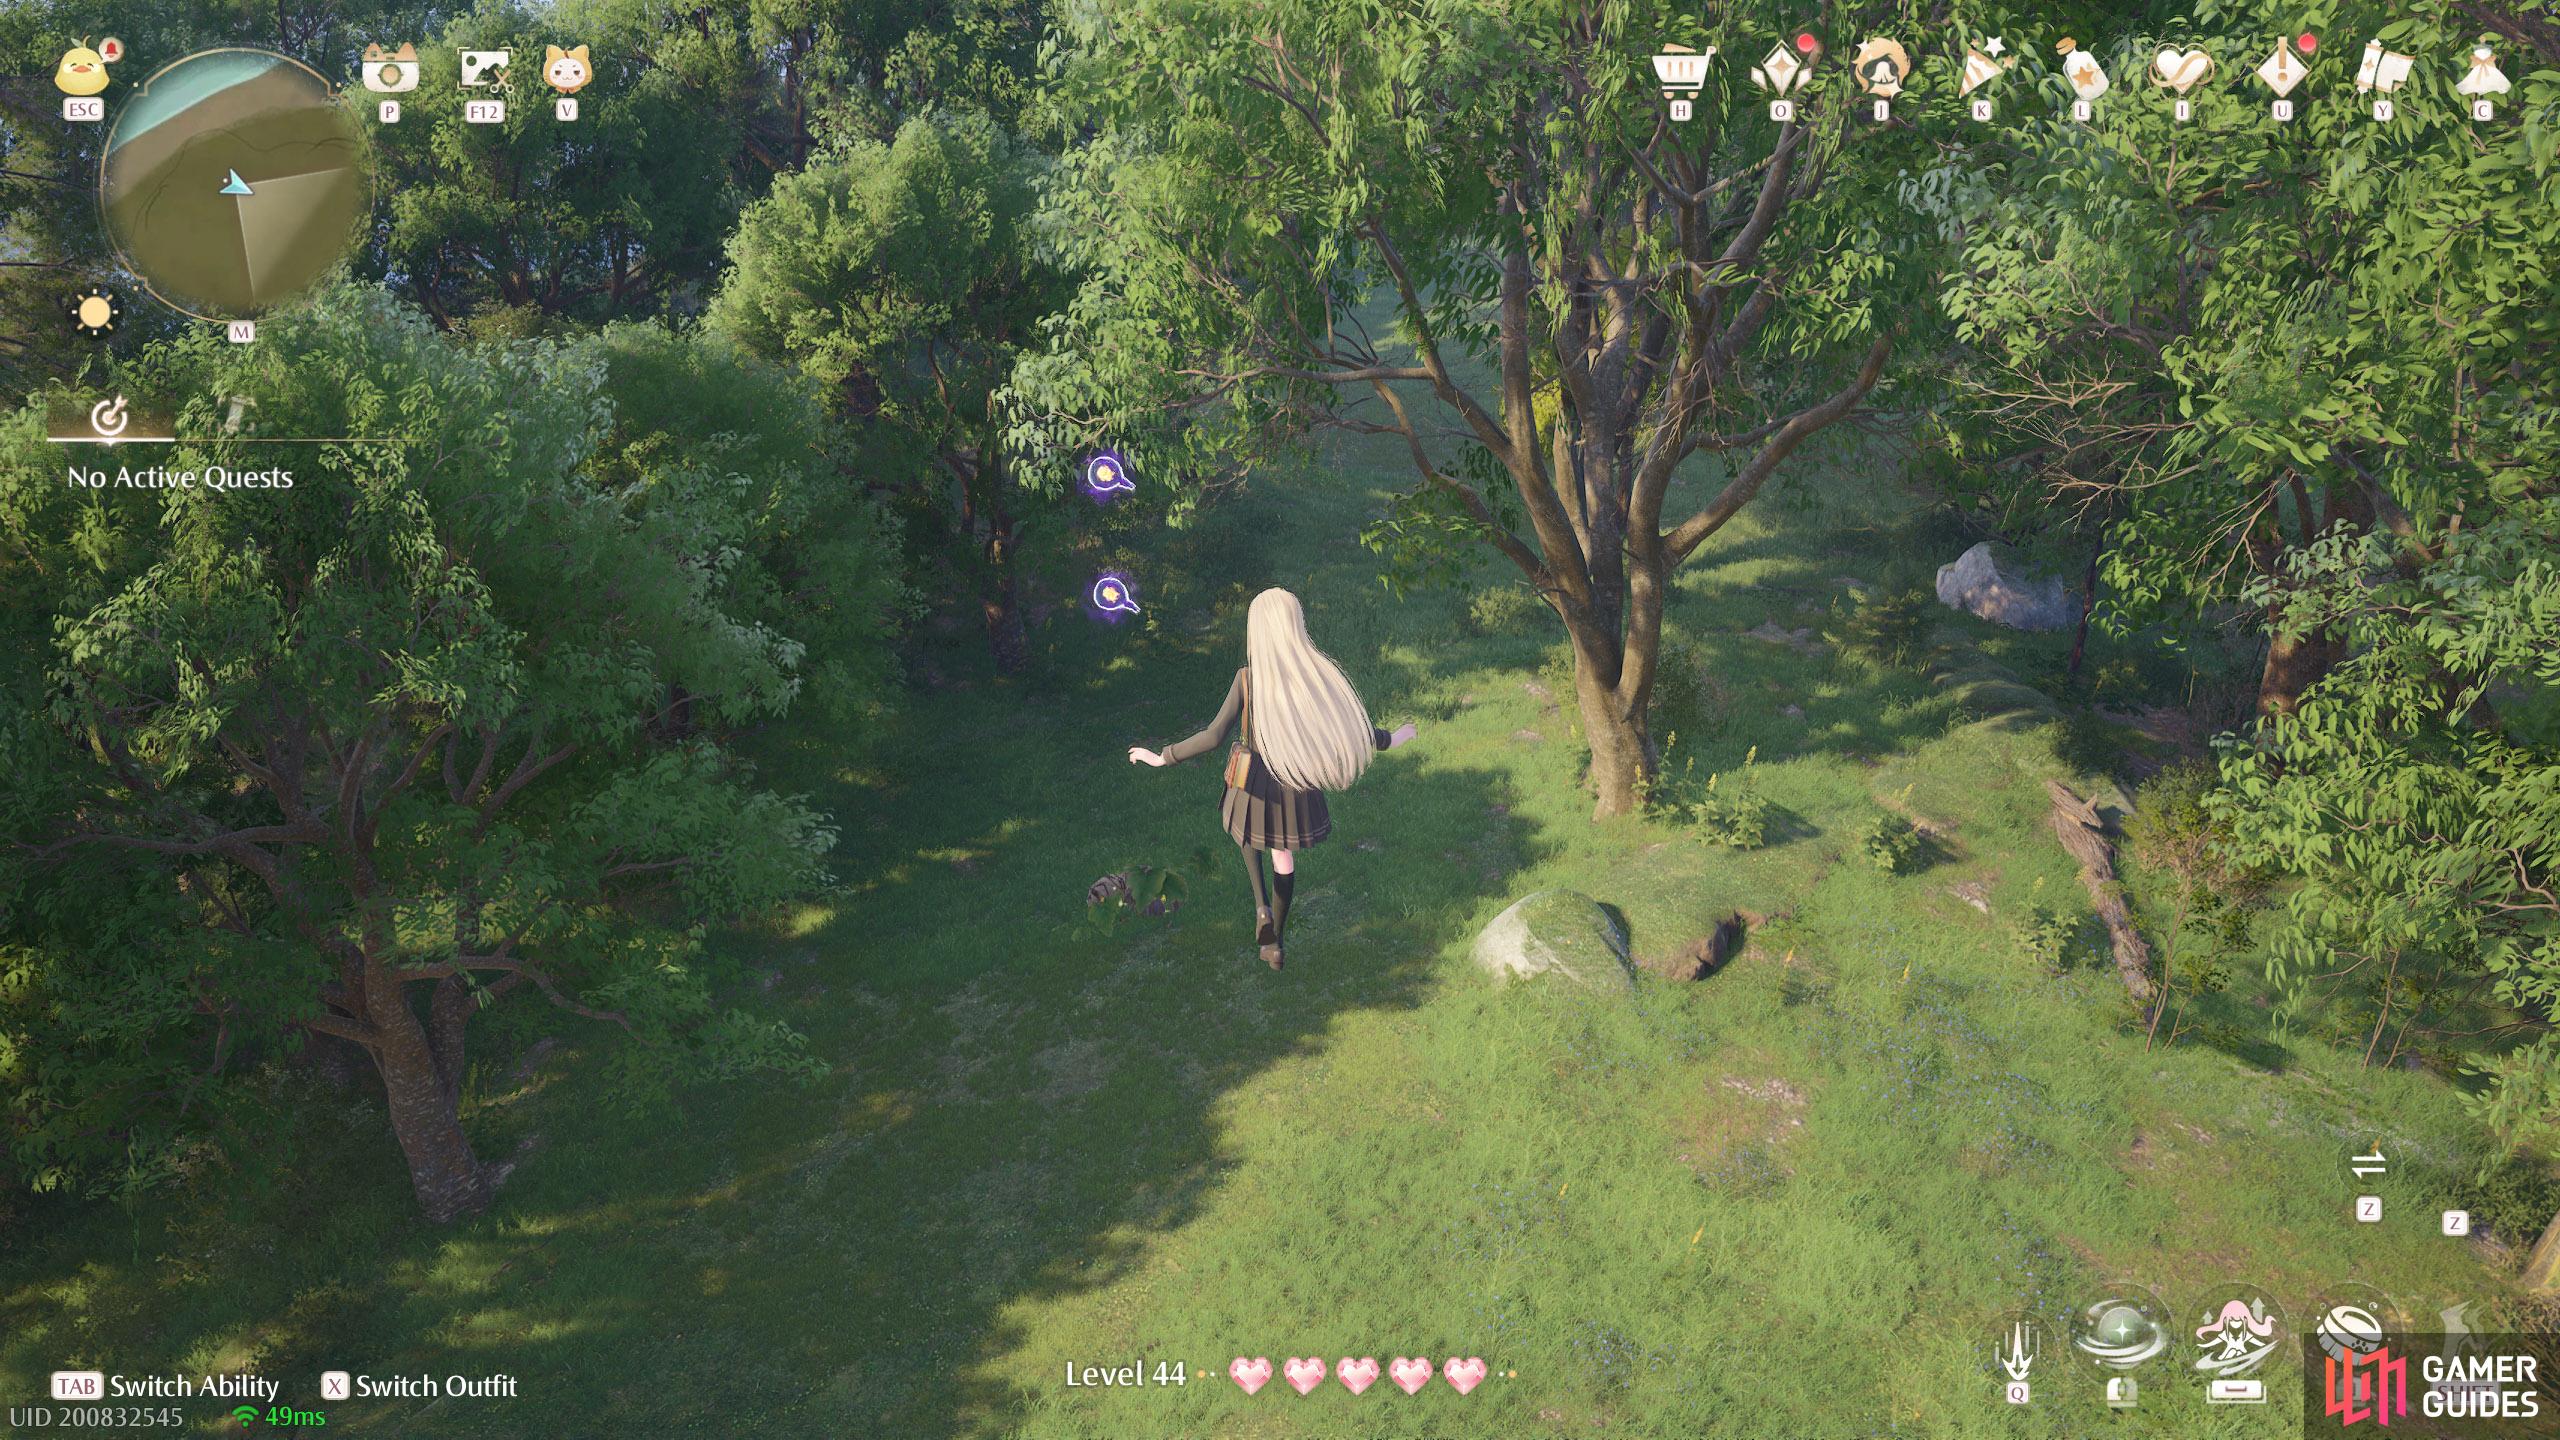
795. Miraland Map
North-east from ![]() Lakeside Hill Lane. Two floating high up with a leaf trampoline nearby.
Lakeside Hill Lane. Two floating high up with a leaf trampoline nearby.
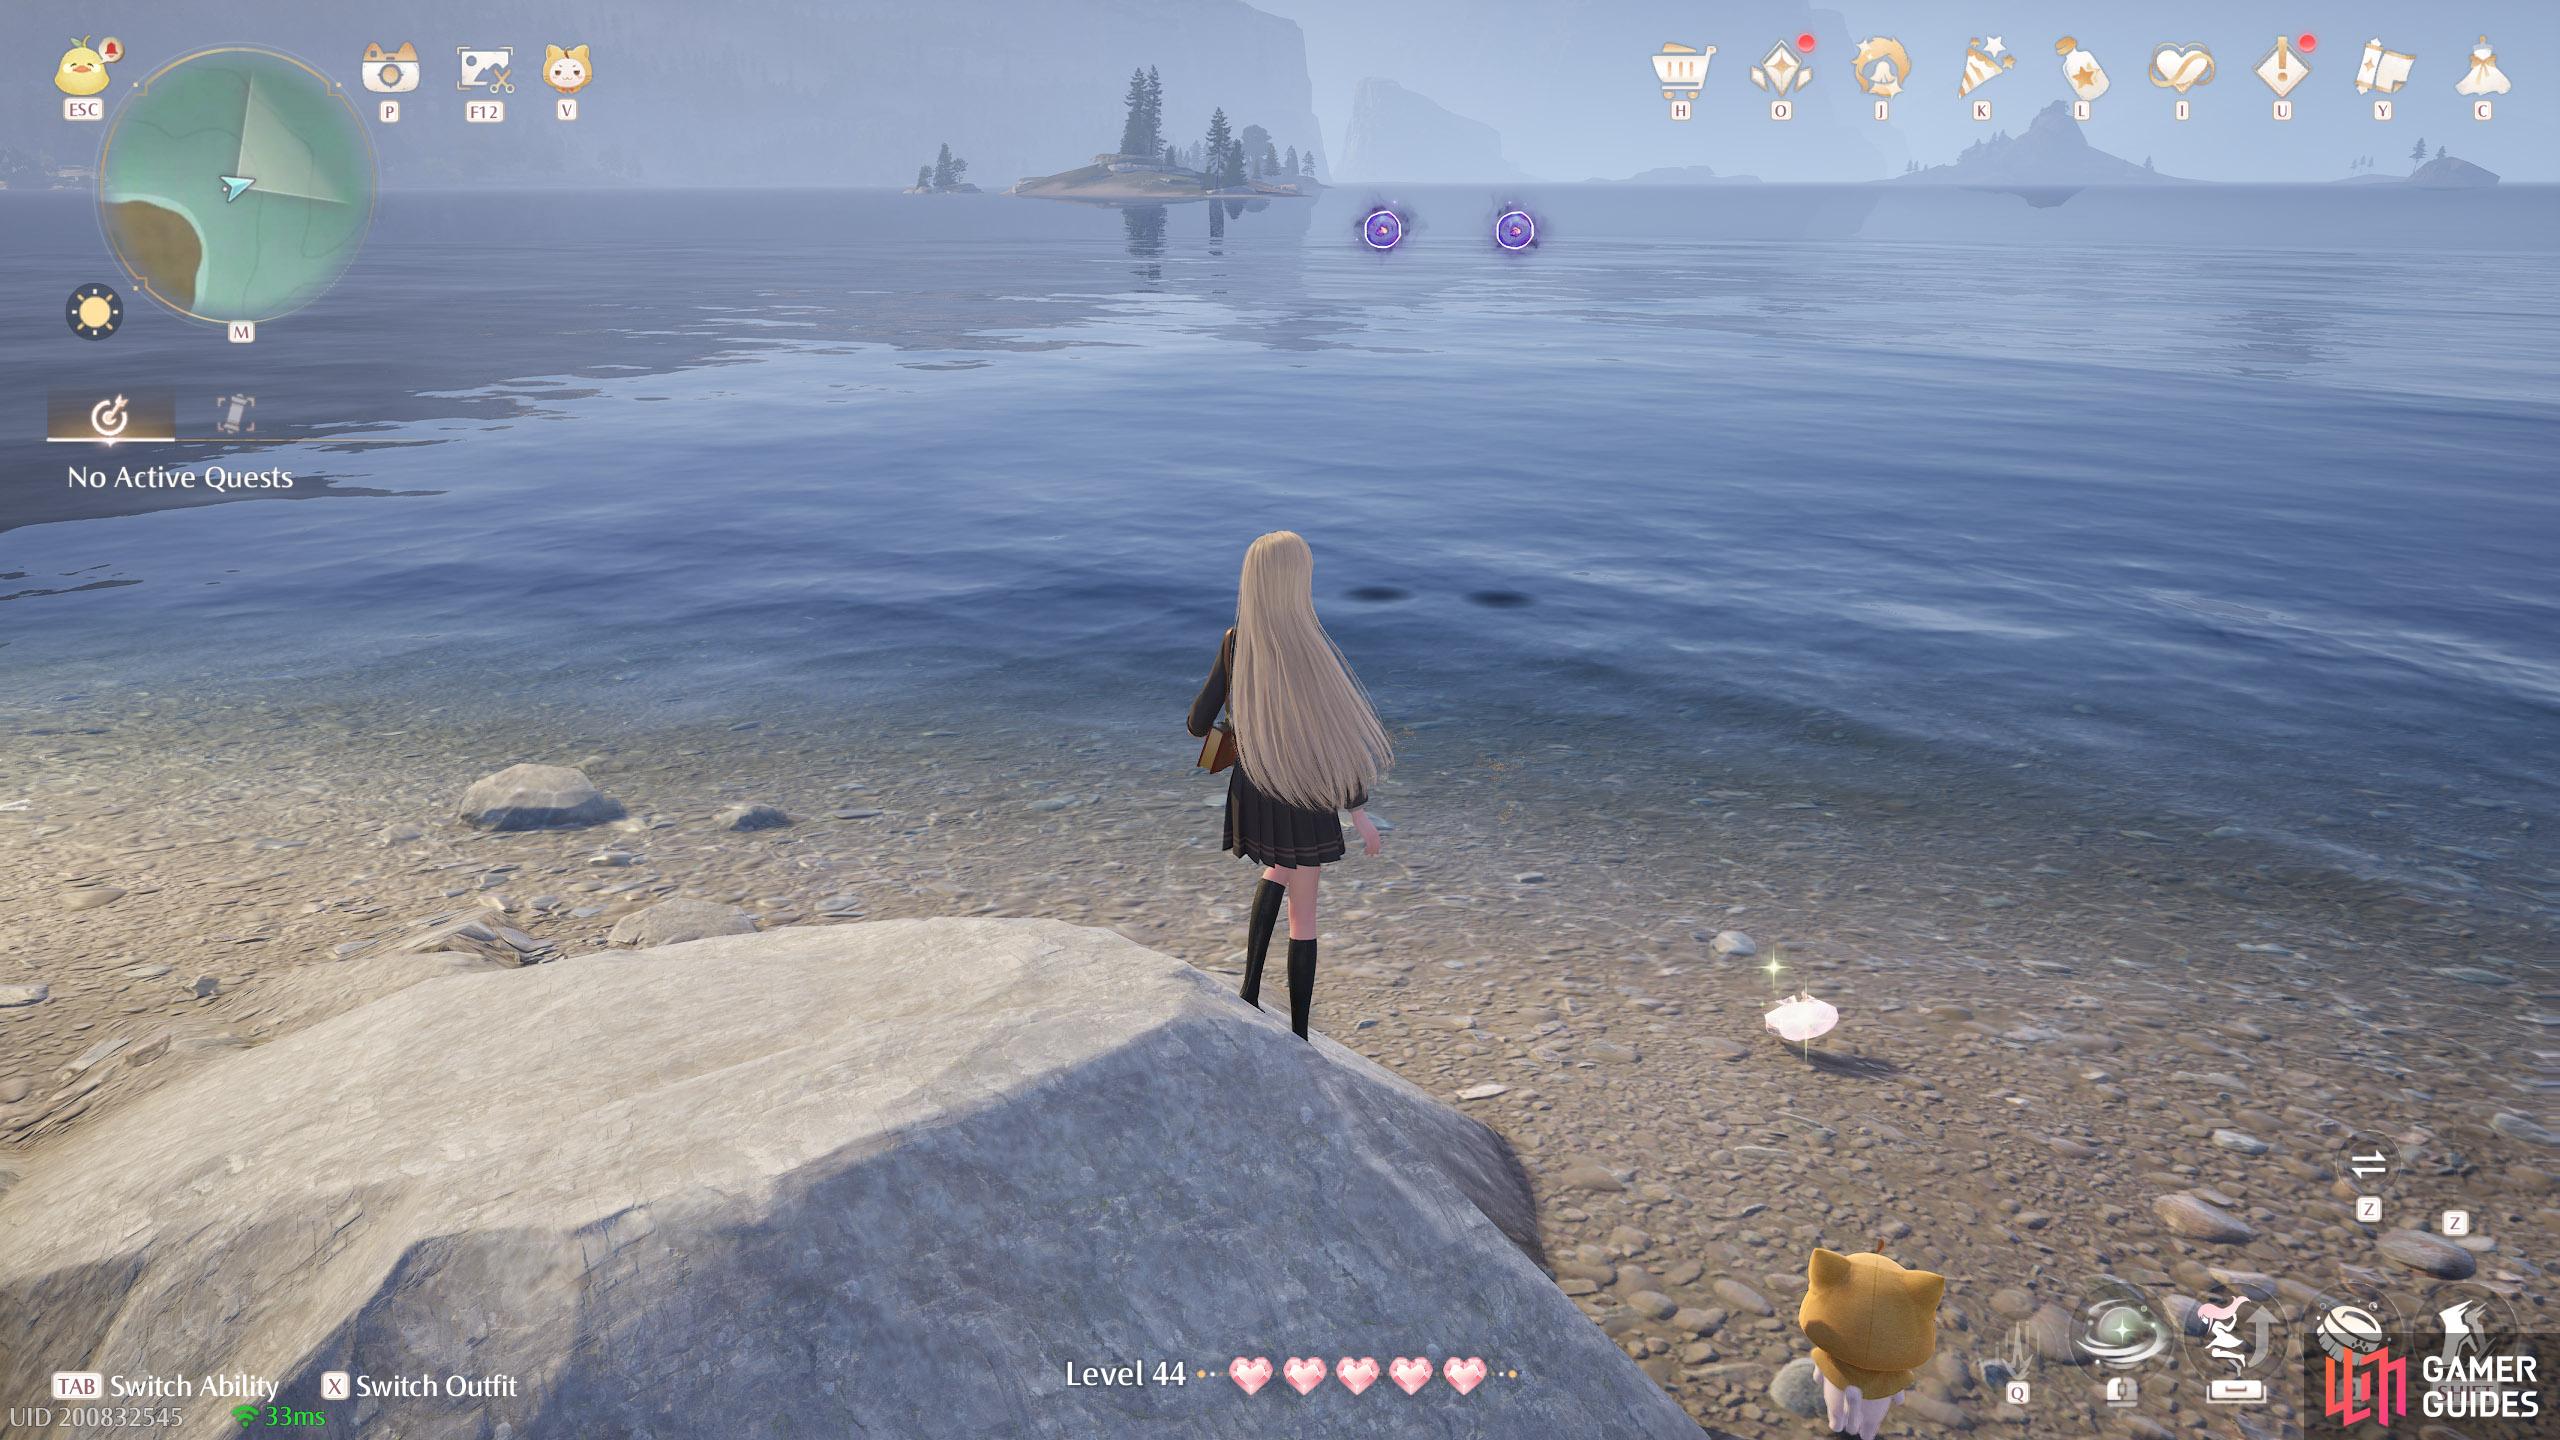
796. Miraland Map
Further east from ![]() Meadow Wharf. Two floating above the water near the shore.
Meadow Wharf. Two floating above the water near the shore.
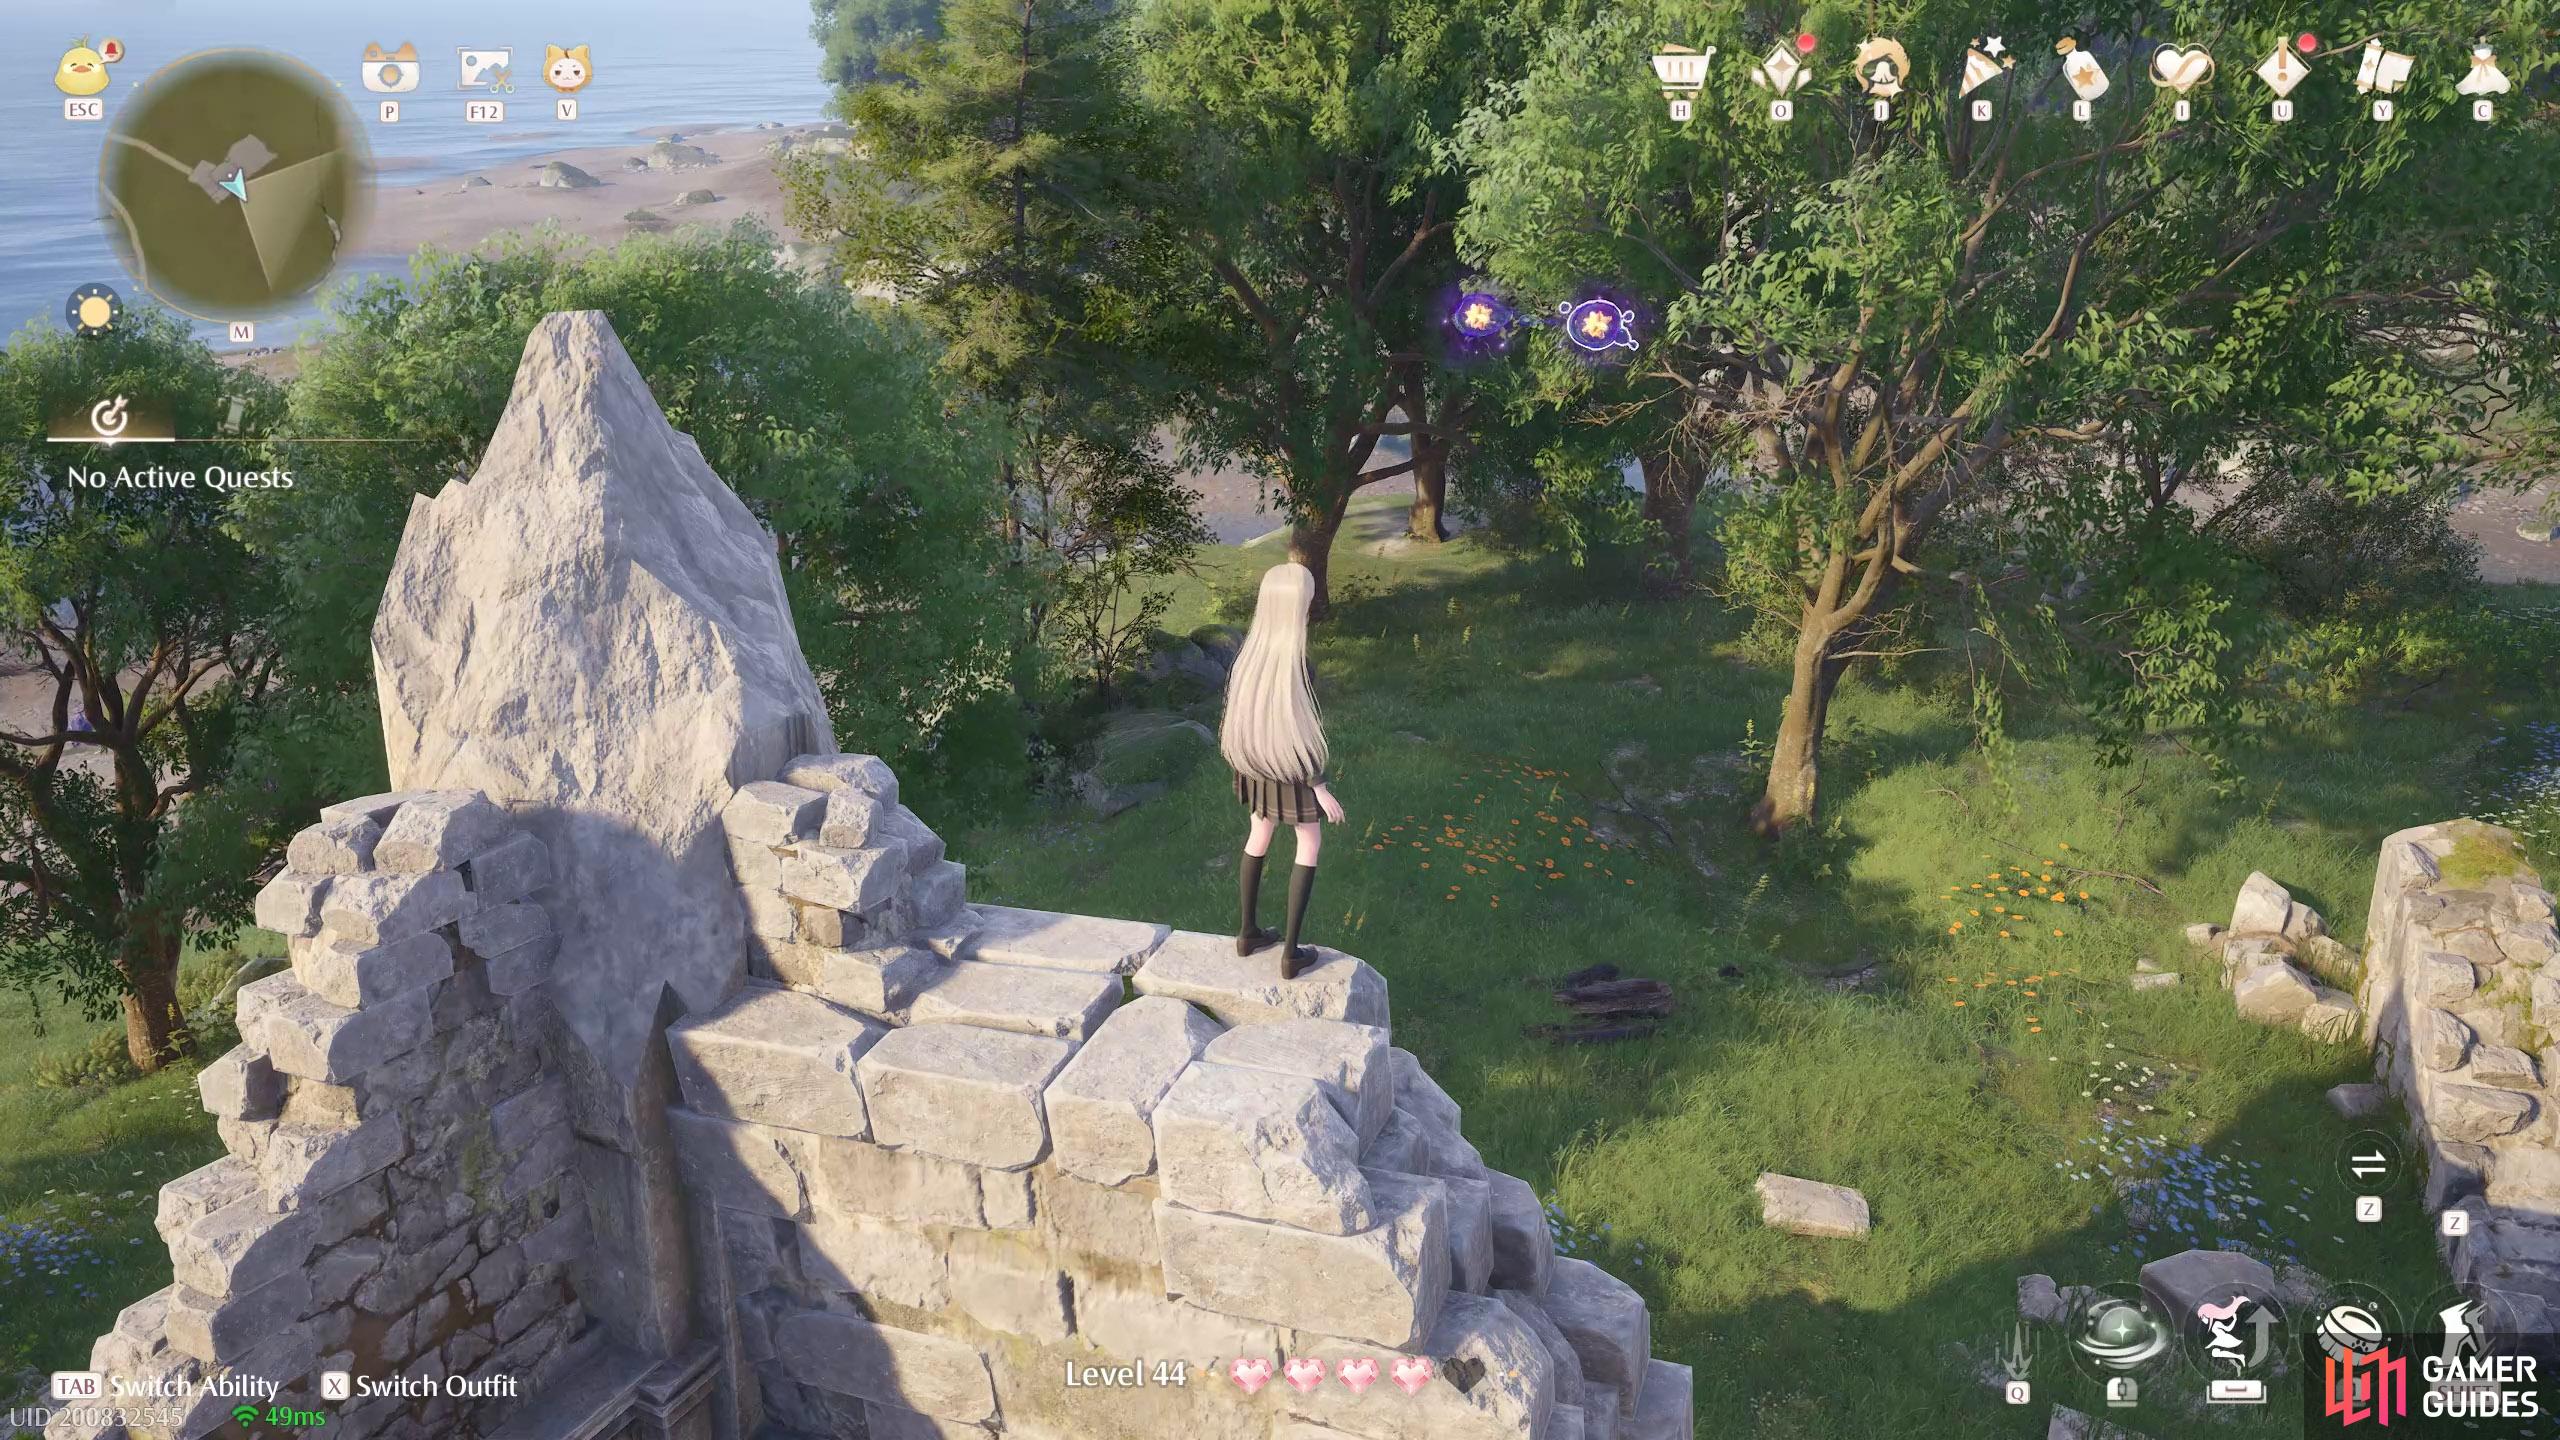
797. Miraland Map
Small ruins south-east from ![]() Meadow Wharf. Two floating near the top of the ruins, where the Esselings are.
Meadow Wharf. Two floating near the top of the ruins, where the Esselings are.
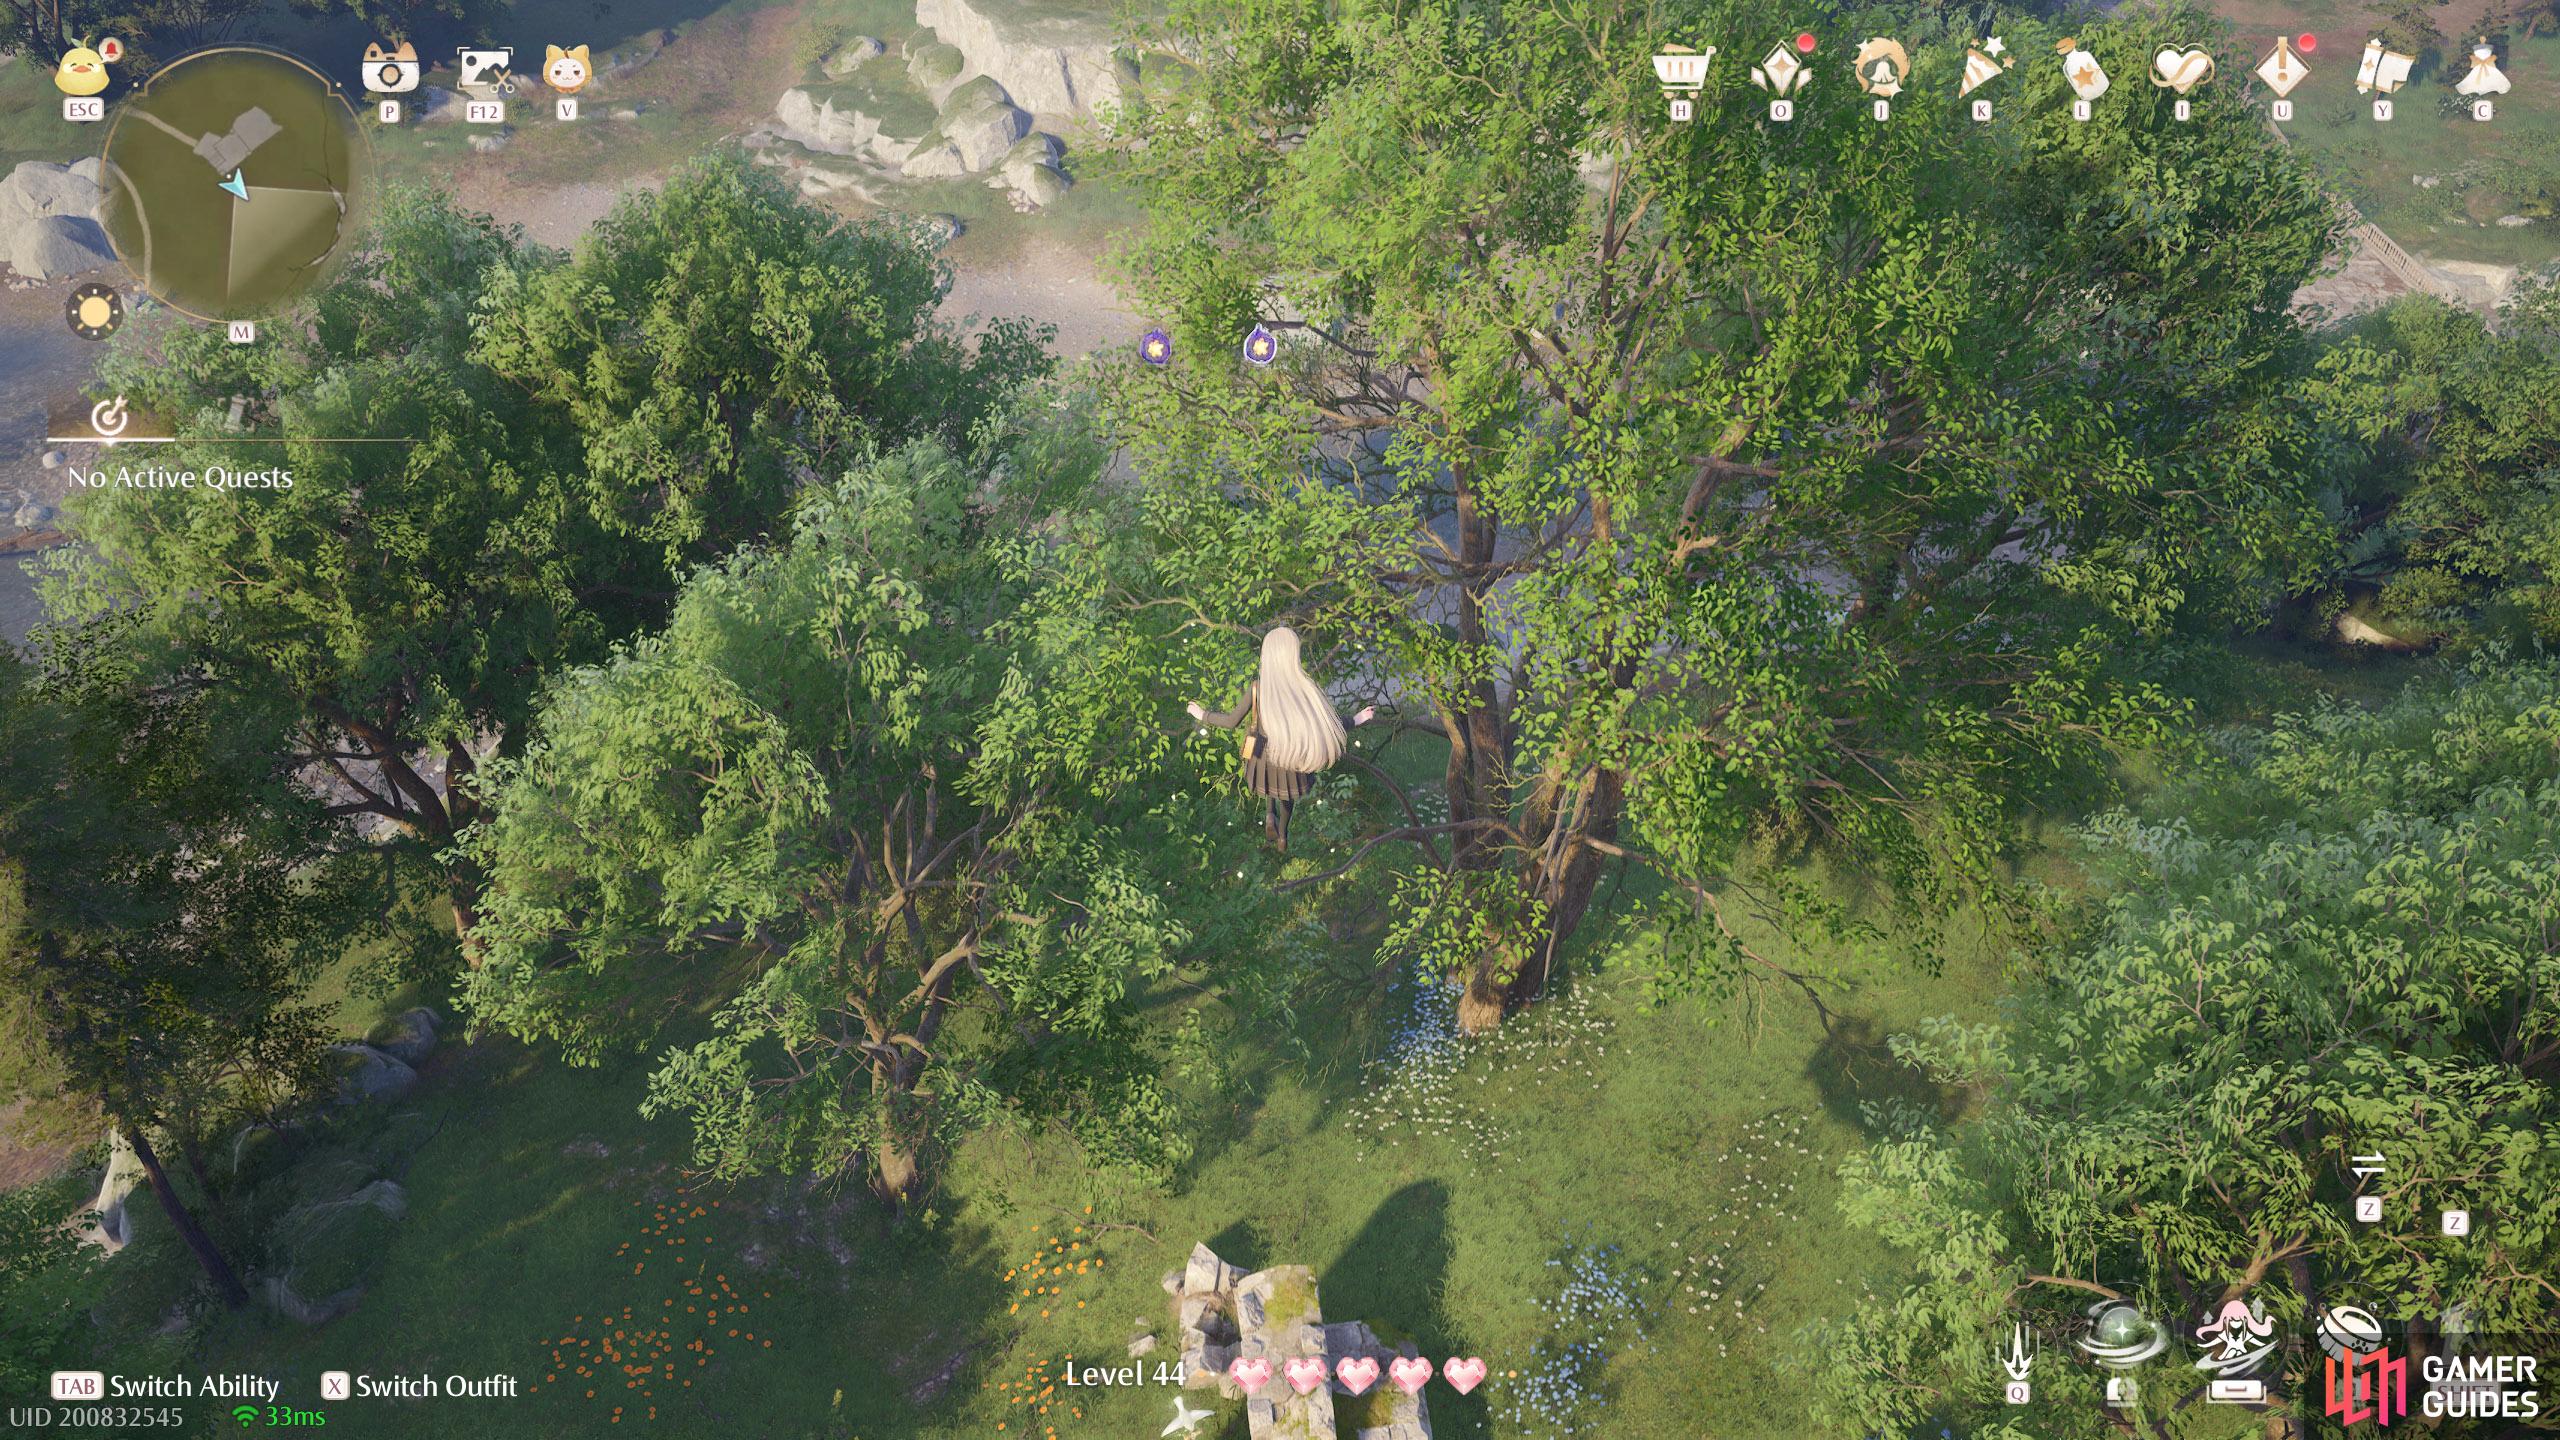
798. Miraland Map
Small ruins south-east from ![]() Meadow Wharf. Two floating high up. You can reach them from the wishnet at the top of the ruins.
Meadow Wharf. Two floating high up. You can reach them from the wishnet at the top of the ruins.
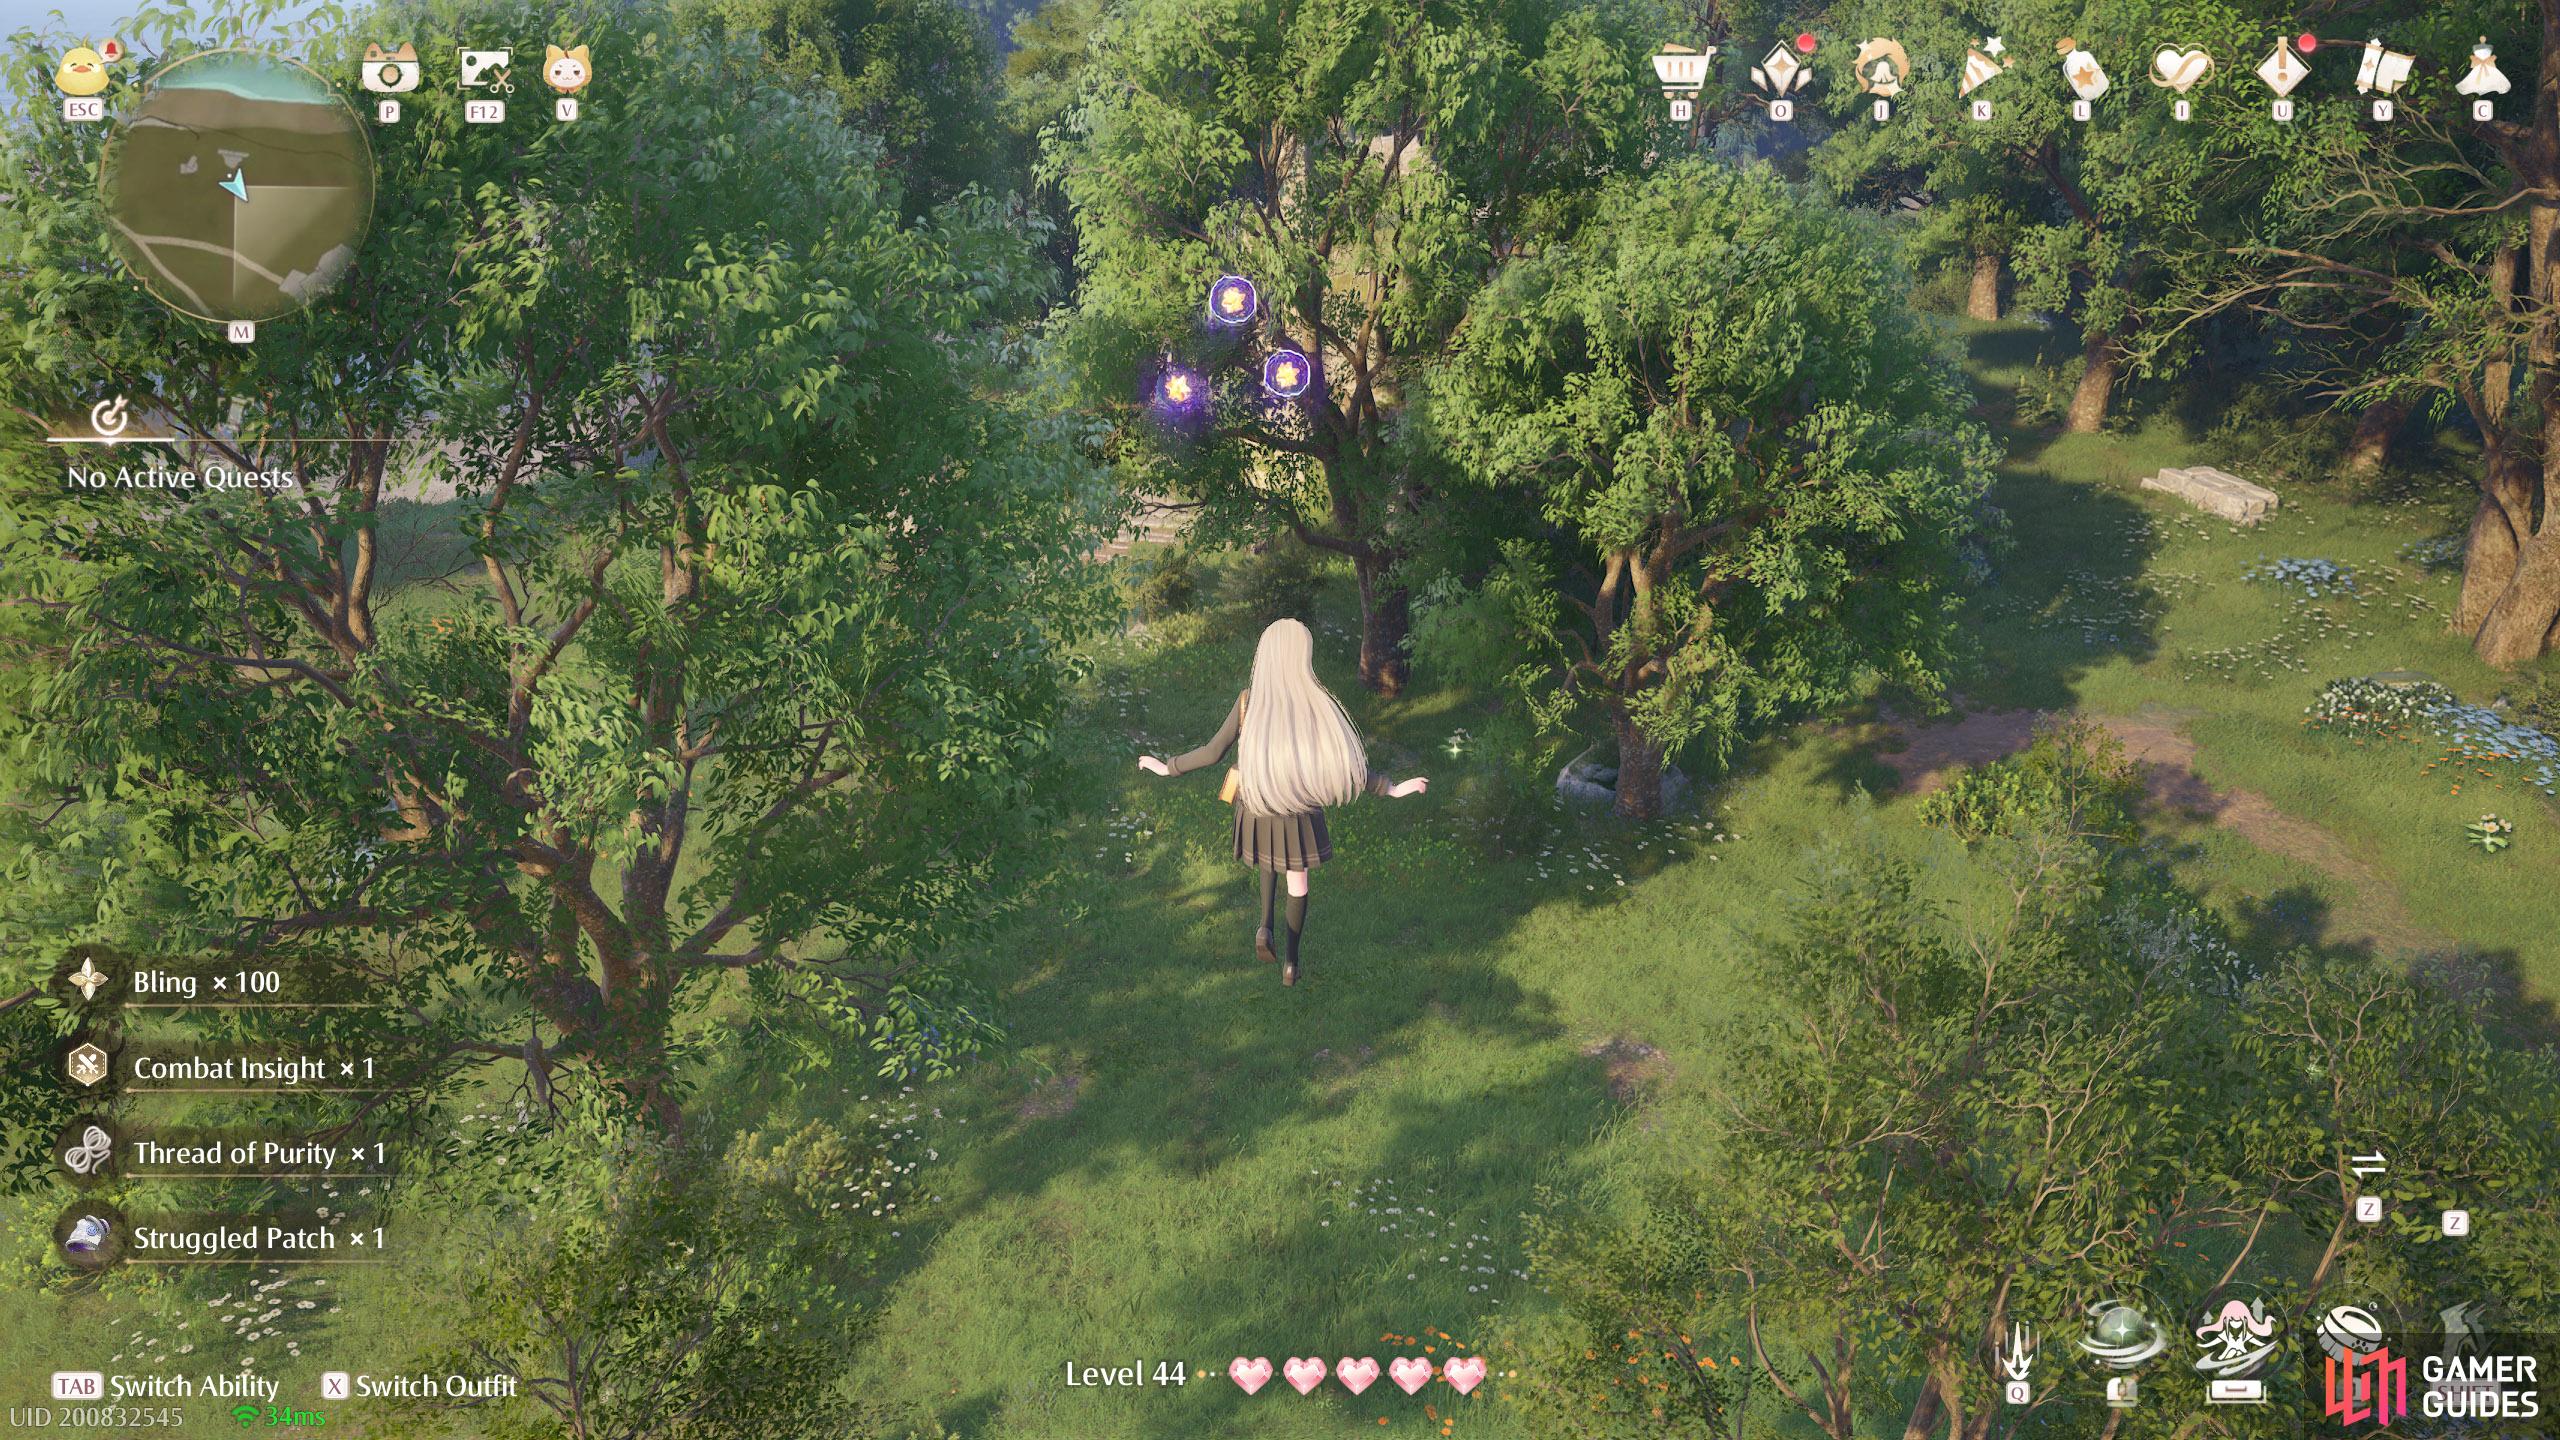
799. Miraland Map
South-east from ![]() Meadow Wharf. Three floating high up near some rubble. There’s a leaf trampoline protected by an Esseling, with others nearby.
Meadow Wharf. Three floating high up near some rubble. There’s a leaf trampoline protected by an Esseling, with others nearby.
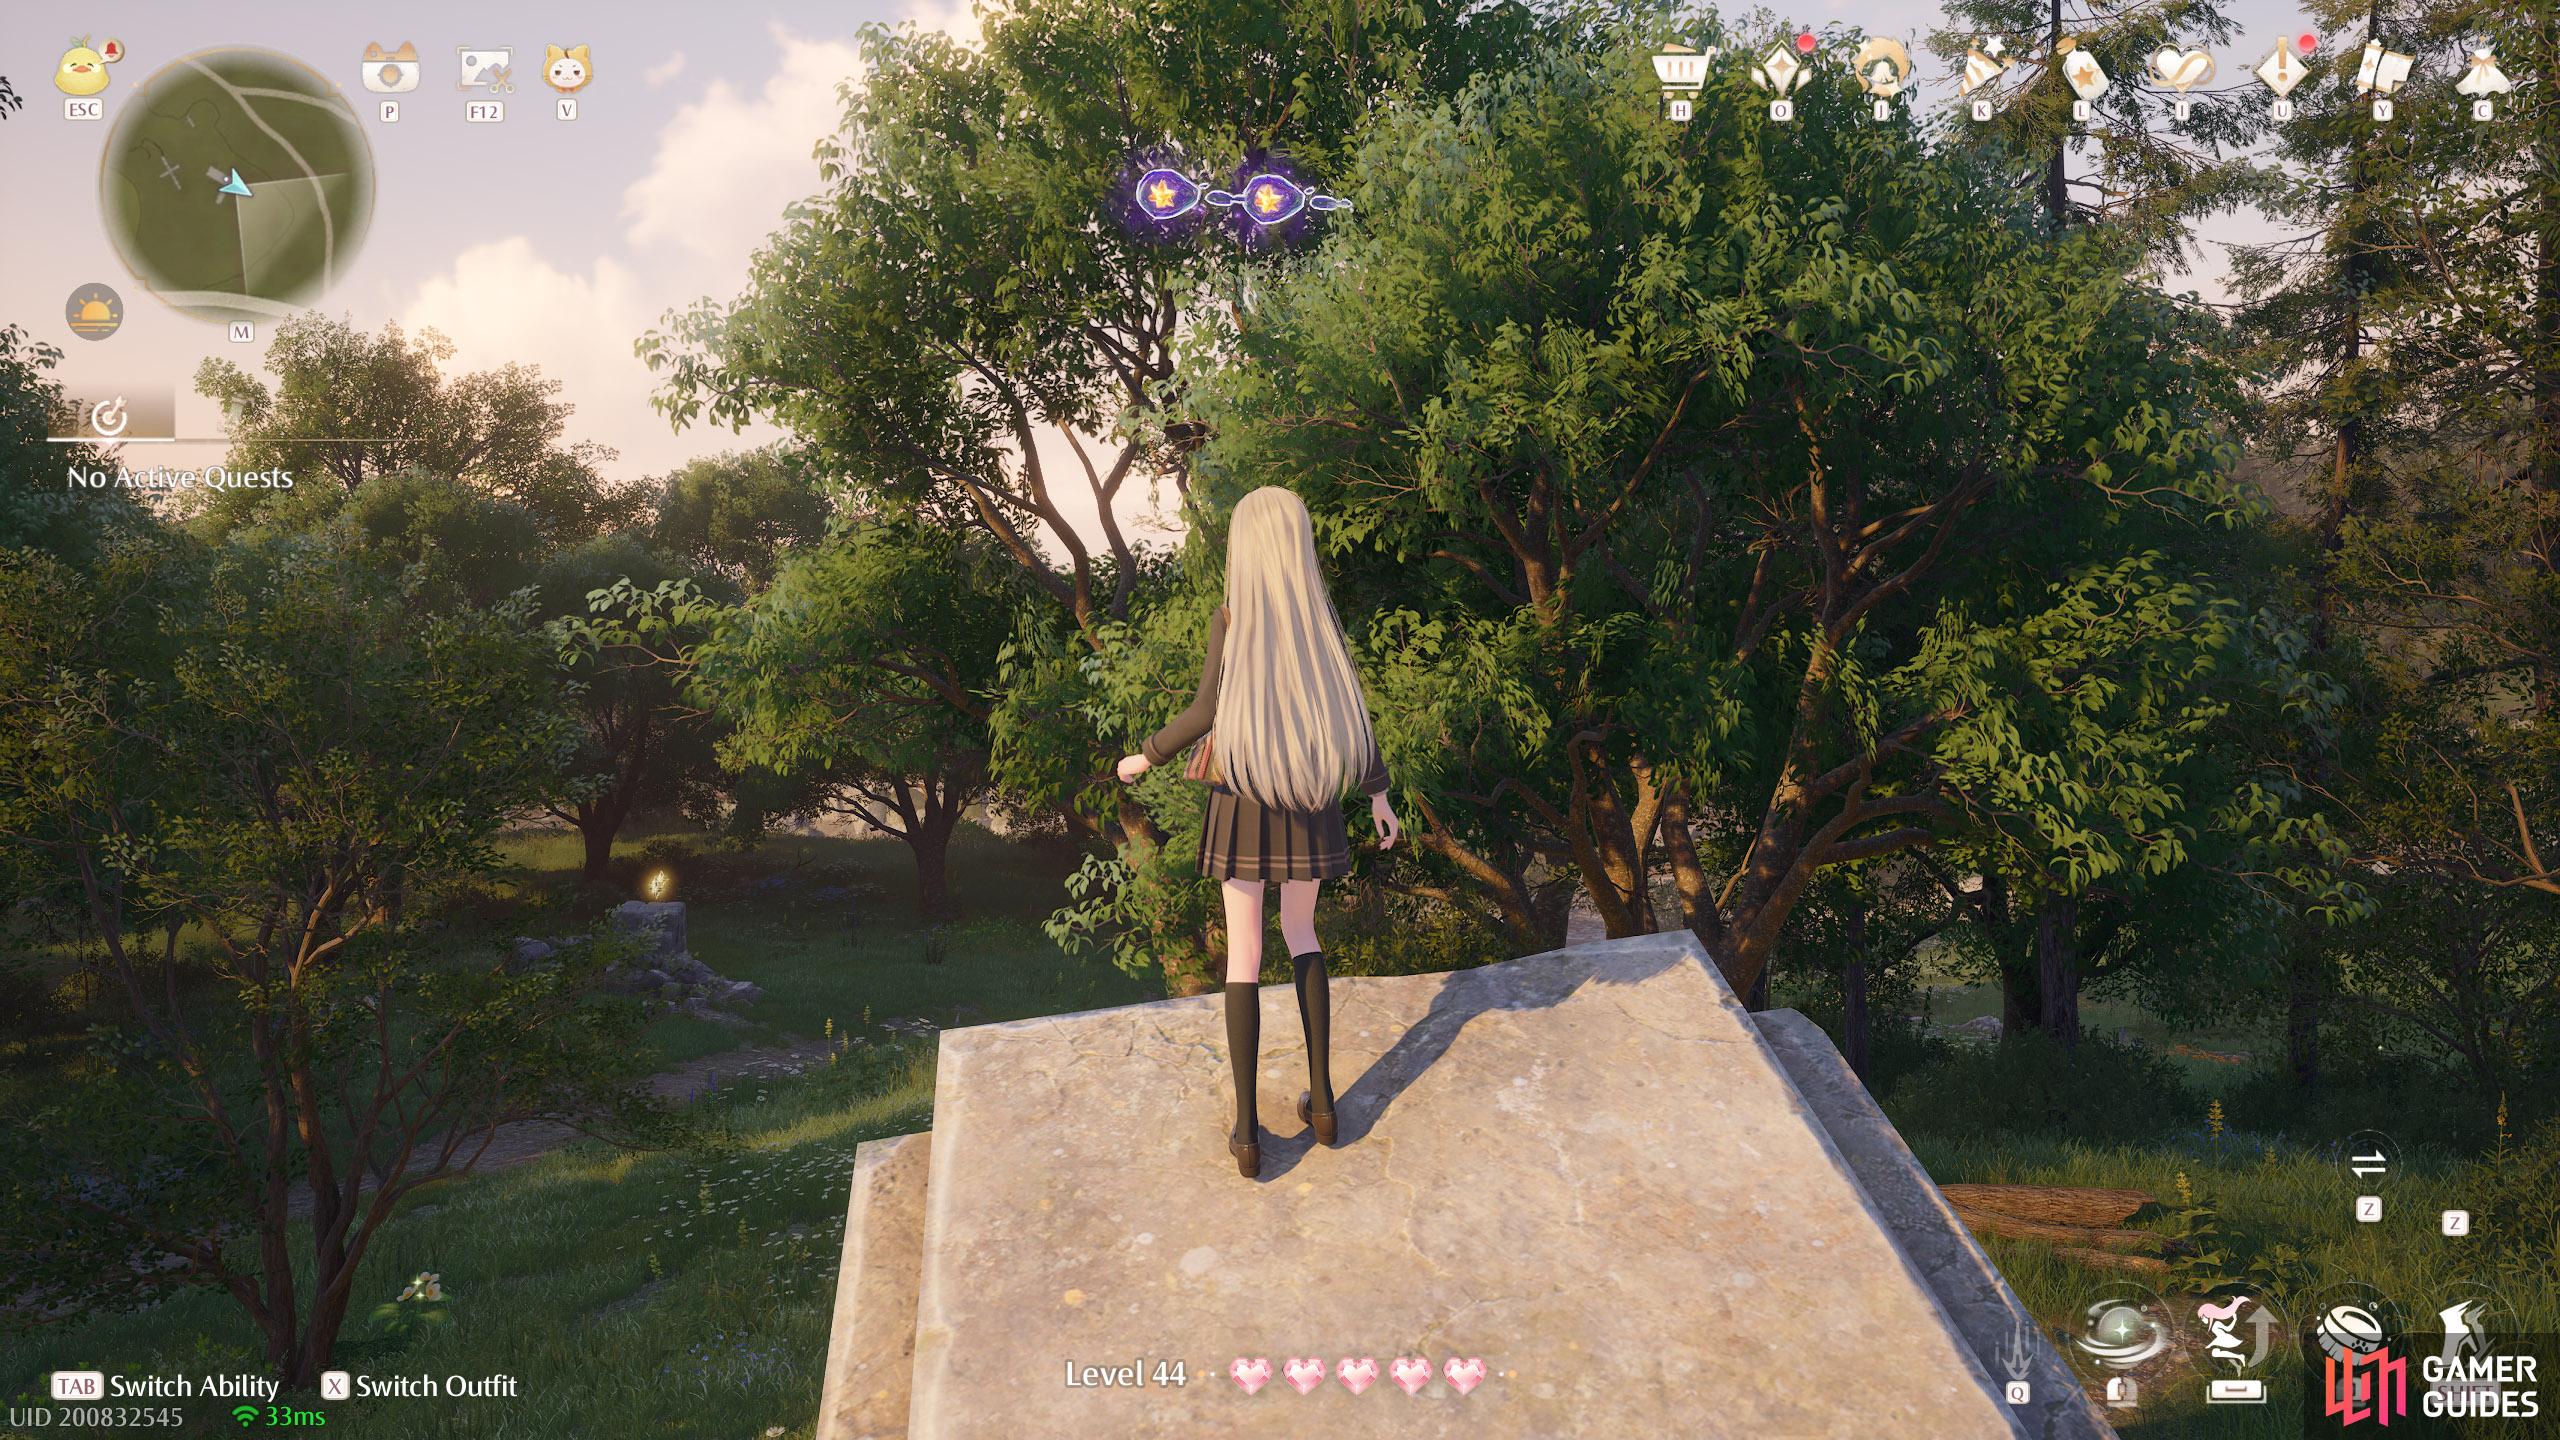
800. Miraland Map
South-east from ![]() Meadow Wharf. Two floating at the end of a collapsed pillar that you can use as a ramp.
Meadow Wharf. Two floating at the end of a collapsed pillar that you can use as a ramp.

801. Miraland Map
South-east from ![]() Meadow Wharf. Two floating near the top of a crumbling wall.
Meadow Wharf. Two floating near the top of a crumbling wall.
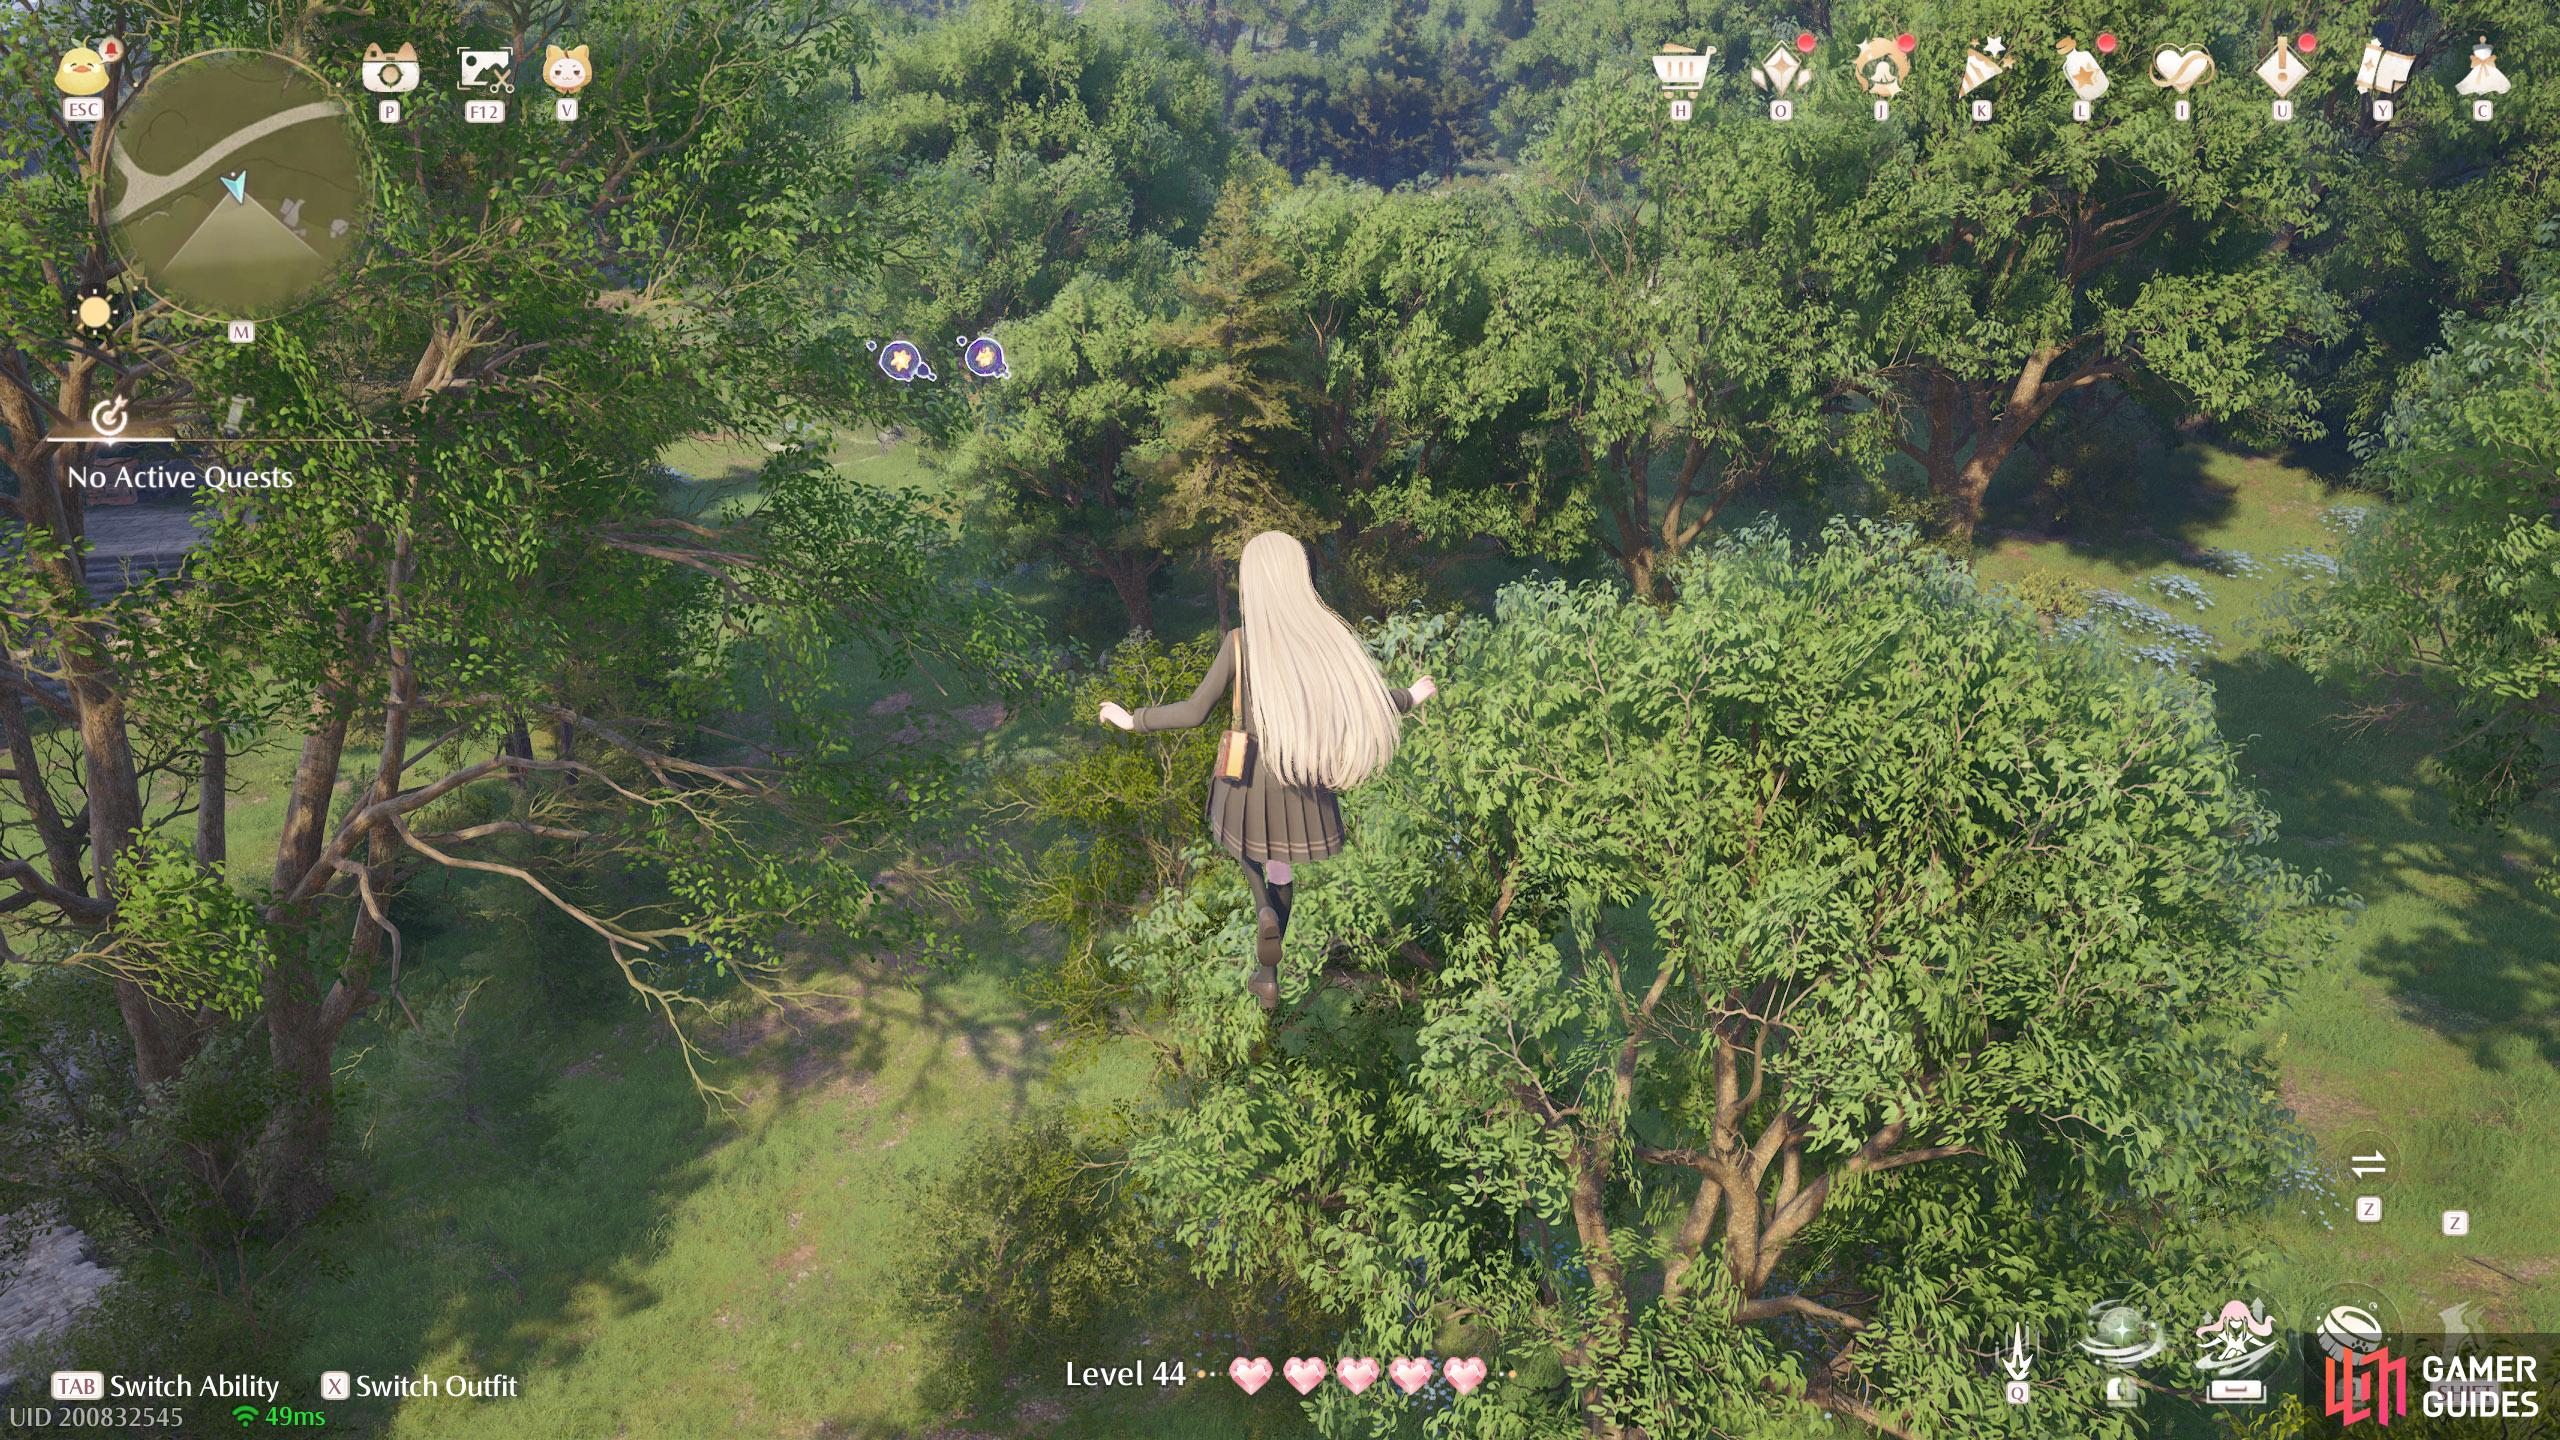
802. Miraland Map
West from ![]() Meadow Wharf, near the t-junction before crossing the river. Two floating high up next to a leaf trampoline.
Meadow Wharf, near the t-junction before crossing the river. Two floating high up next to a leaf trampoline.
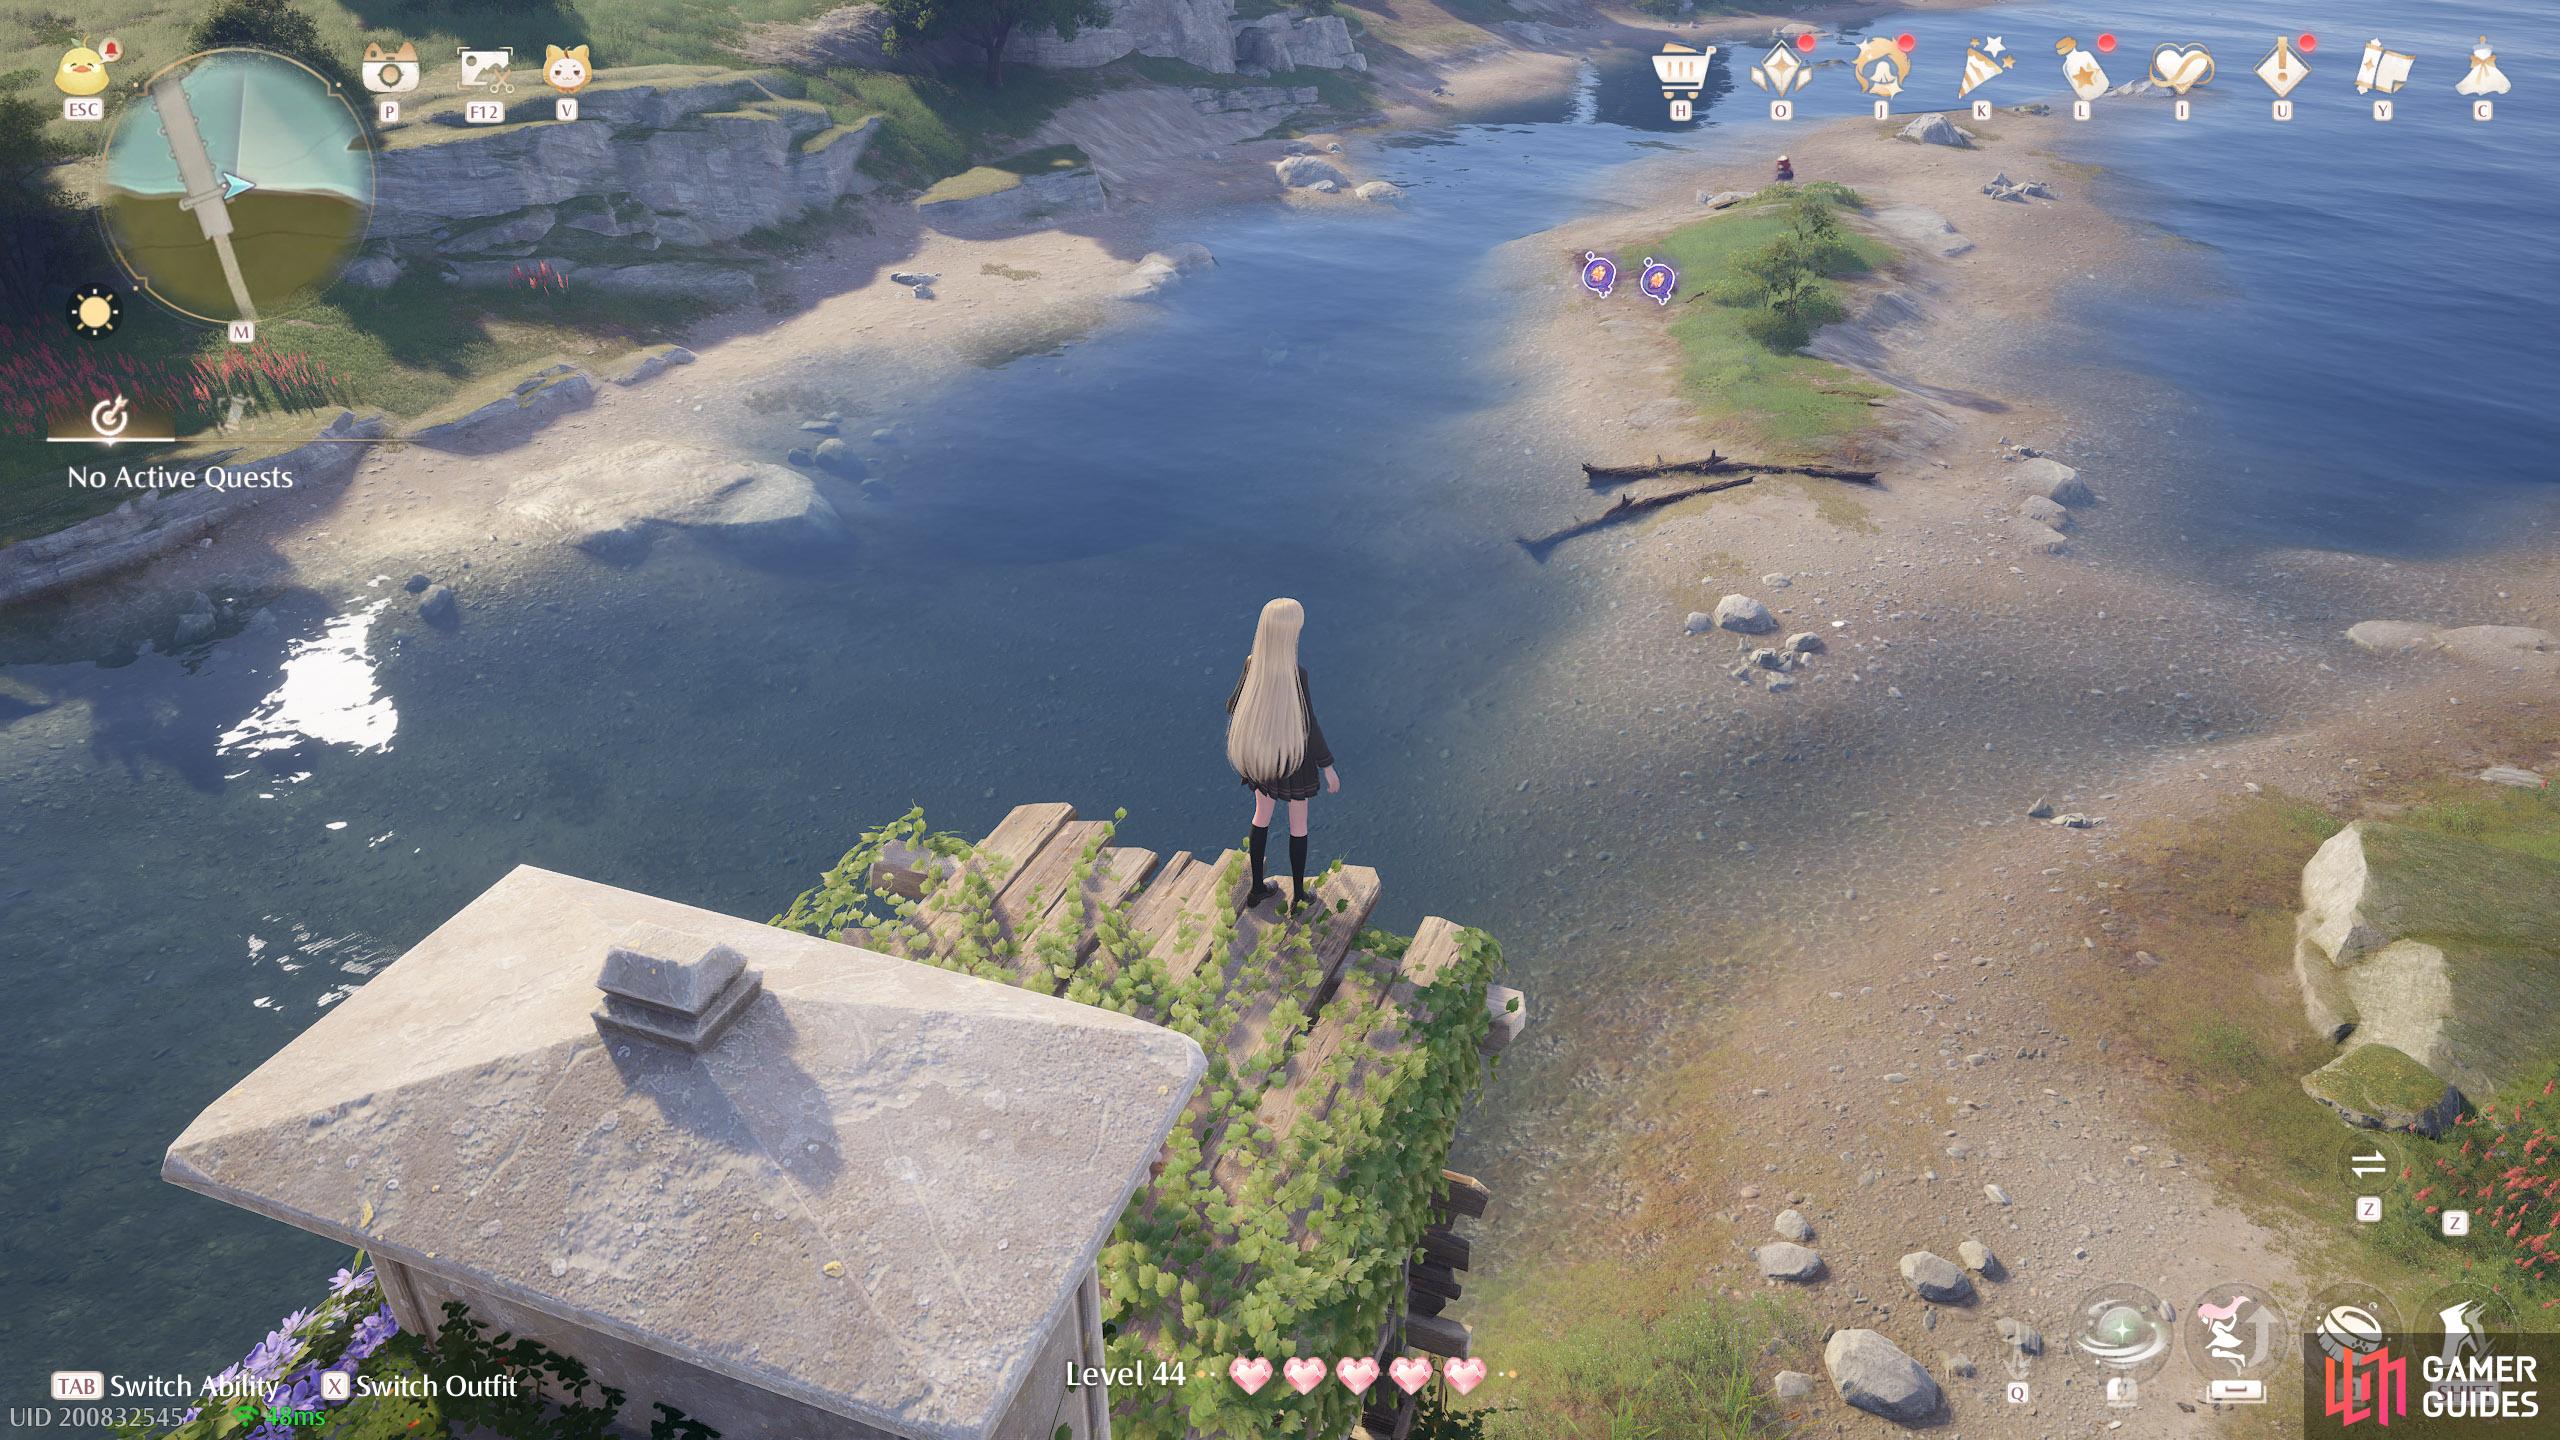
803. Miraland Map
South-east from ![]() Meadow Activity Support Center. Two floating near the top of the south end of the bridge, on the east side.
Meadow Activity Support Center. Two floating near the top of the south end of the bridge, on the east side.
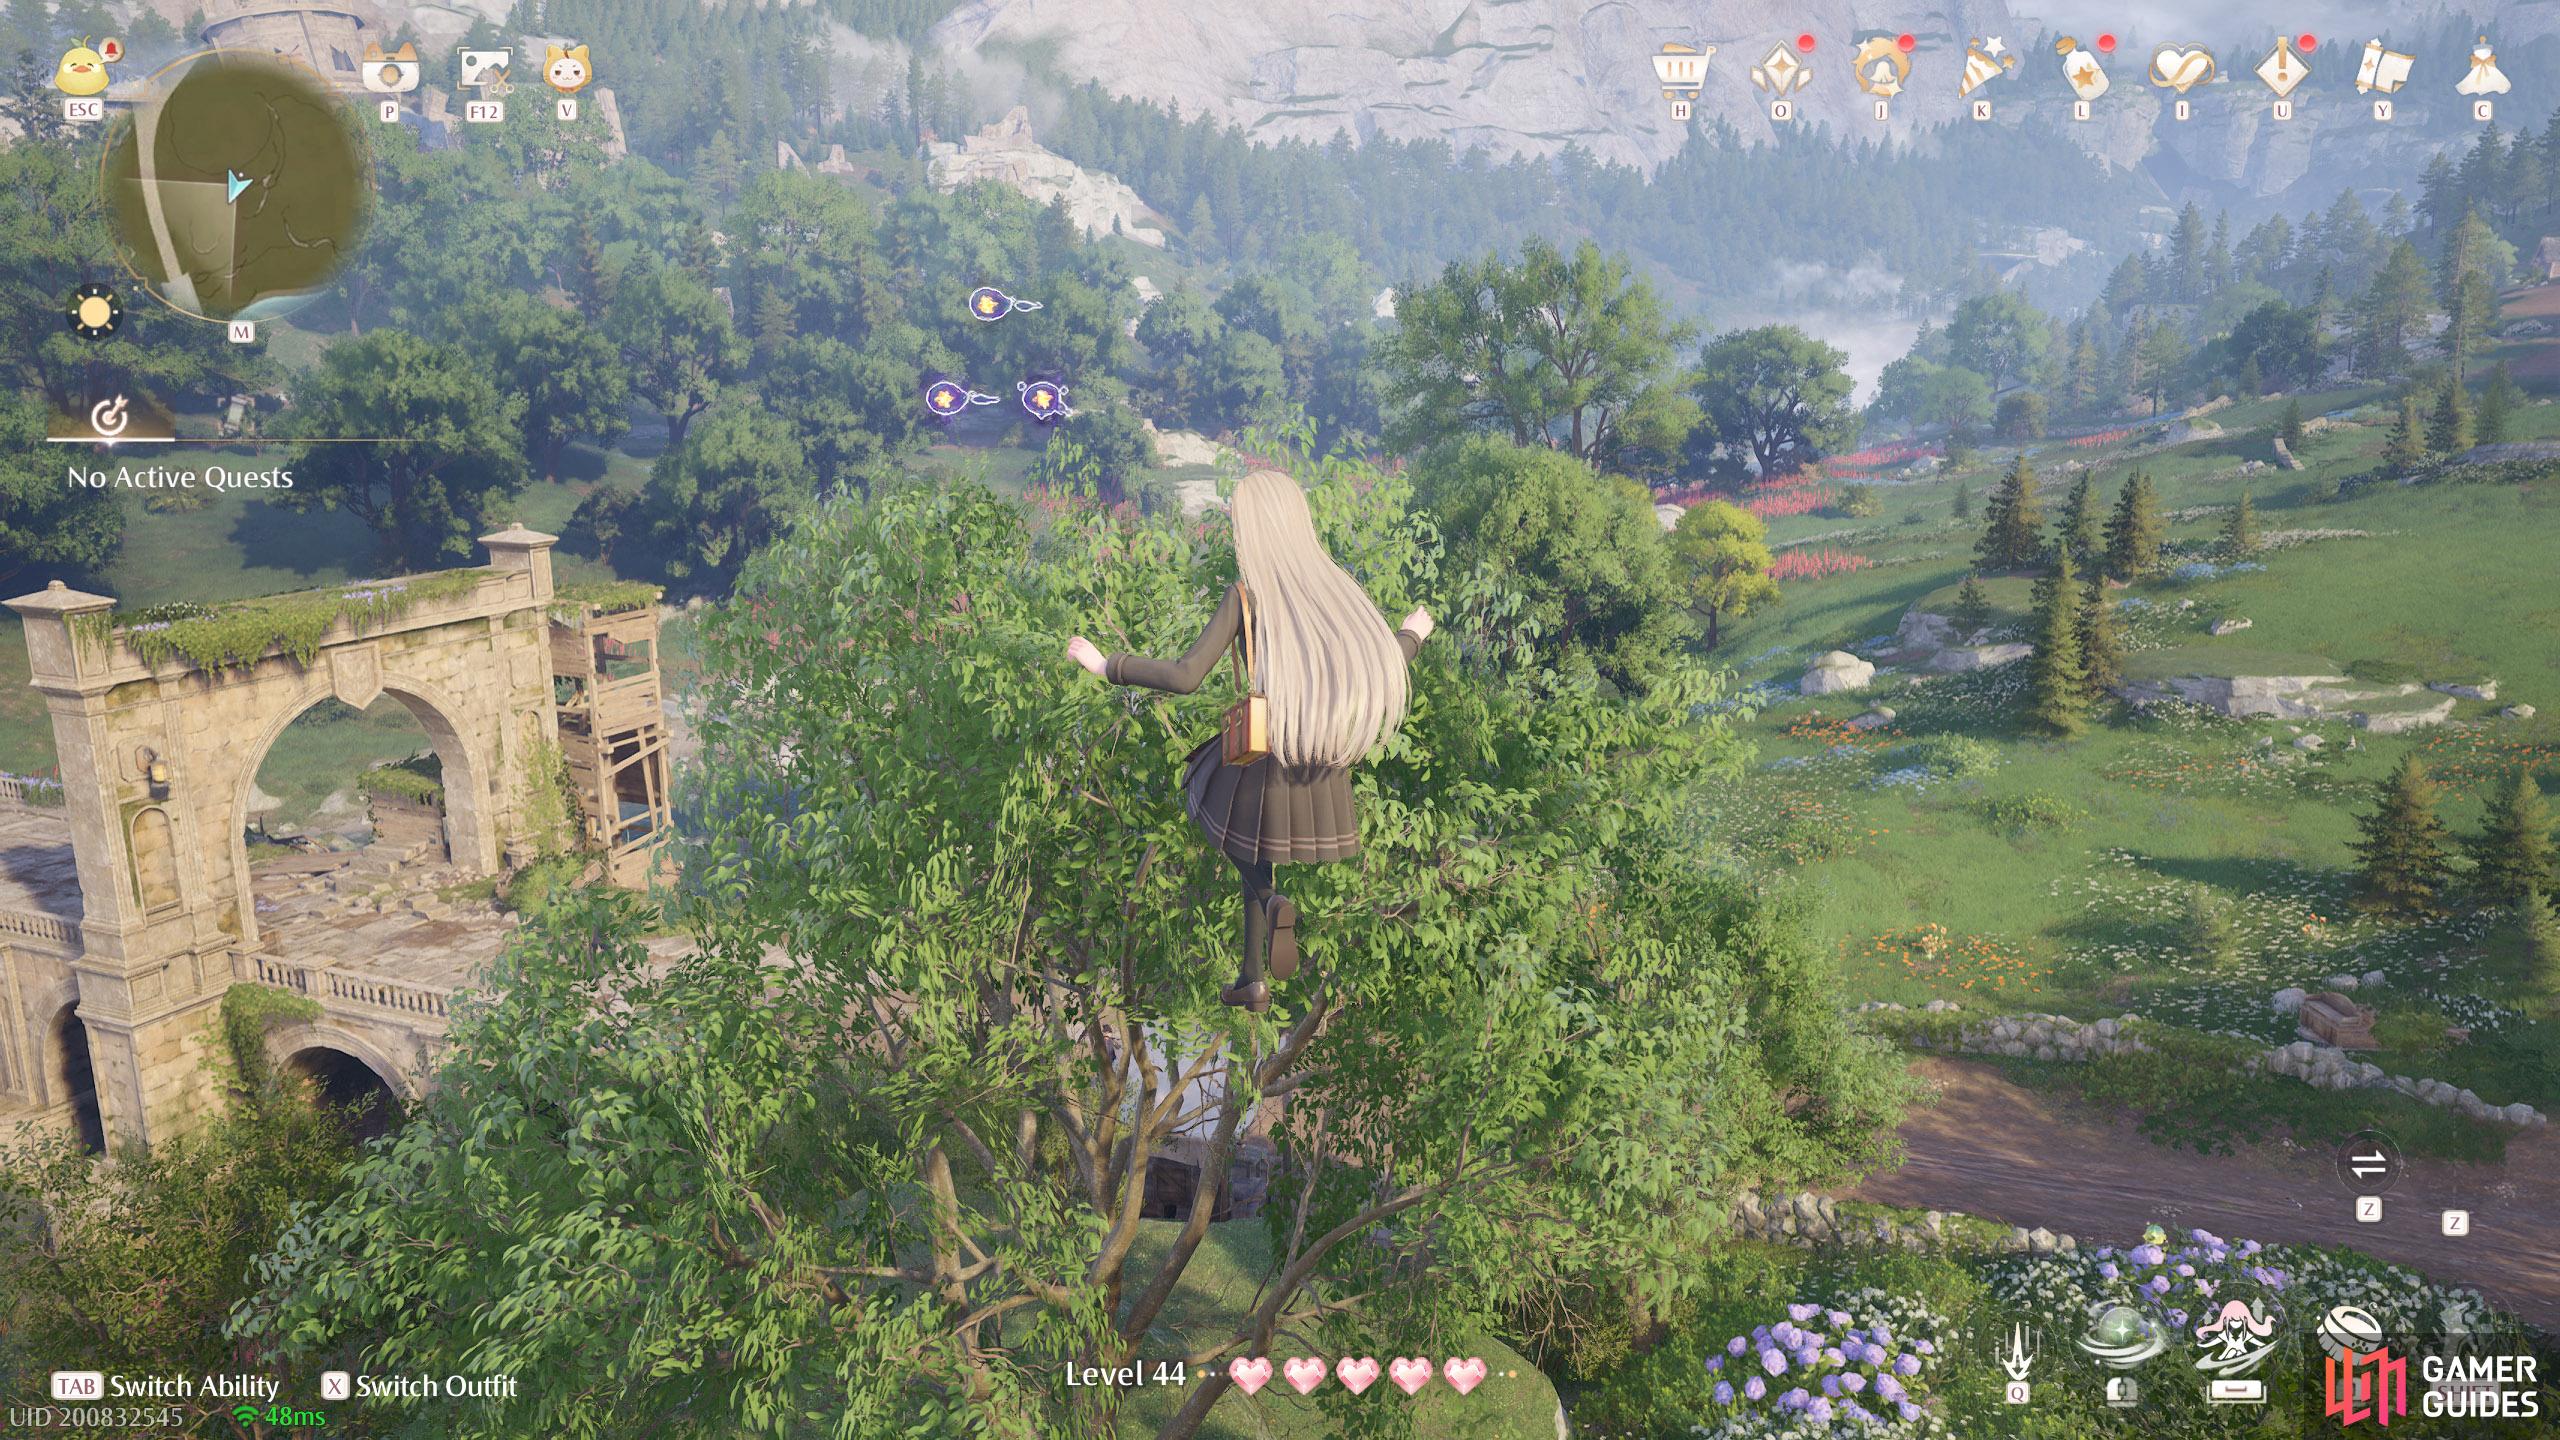
804. Miraland Map
East and slightly south from ![]() Meadow Activity Support Center. Three floating high up, above a tree. There’s a leaf trampoline nearby.
Meadow Activity Support Center. Three floating high up, above a tree. There’s a leaf trampoline nearby.
805. Miraland Map
South from ![]() Bug Catcher’s Cabin. Two floating above a small tree, west from a minigame stall.
Bug Catcher’s Cabin. Two floating above a small tree, west from a minigame stall.
806. Miraland Map
South-east from ![]() Bug Catcher’s Cabin. Two floating above a small tree, east from a minigame stall.
Bug Catcher’s Cabin. Two floating above a small tree, east from a minigame stall.
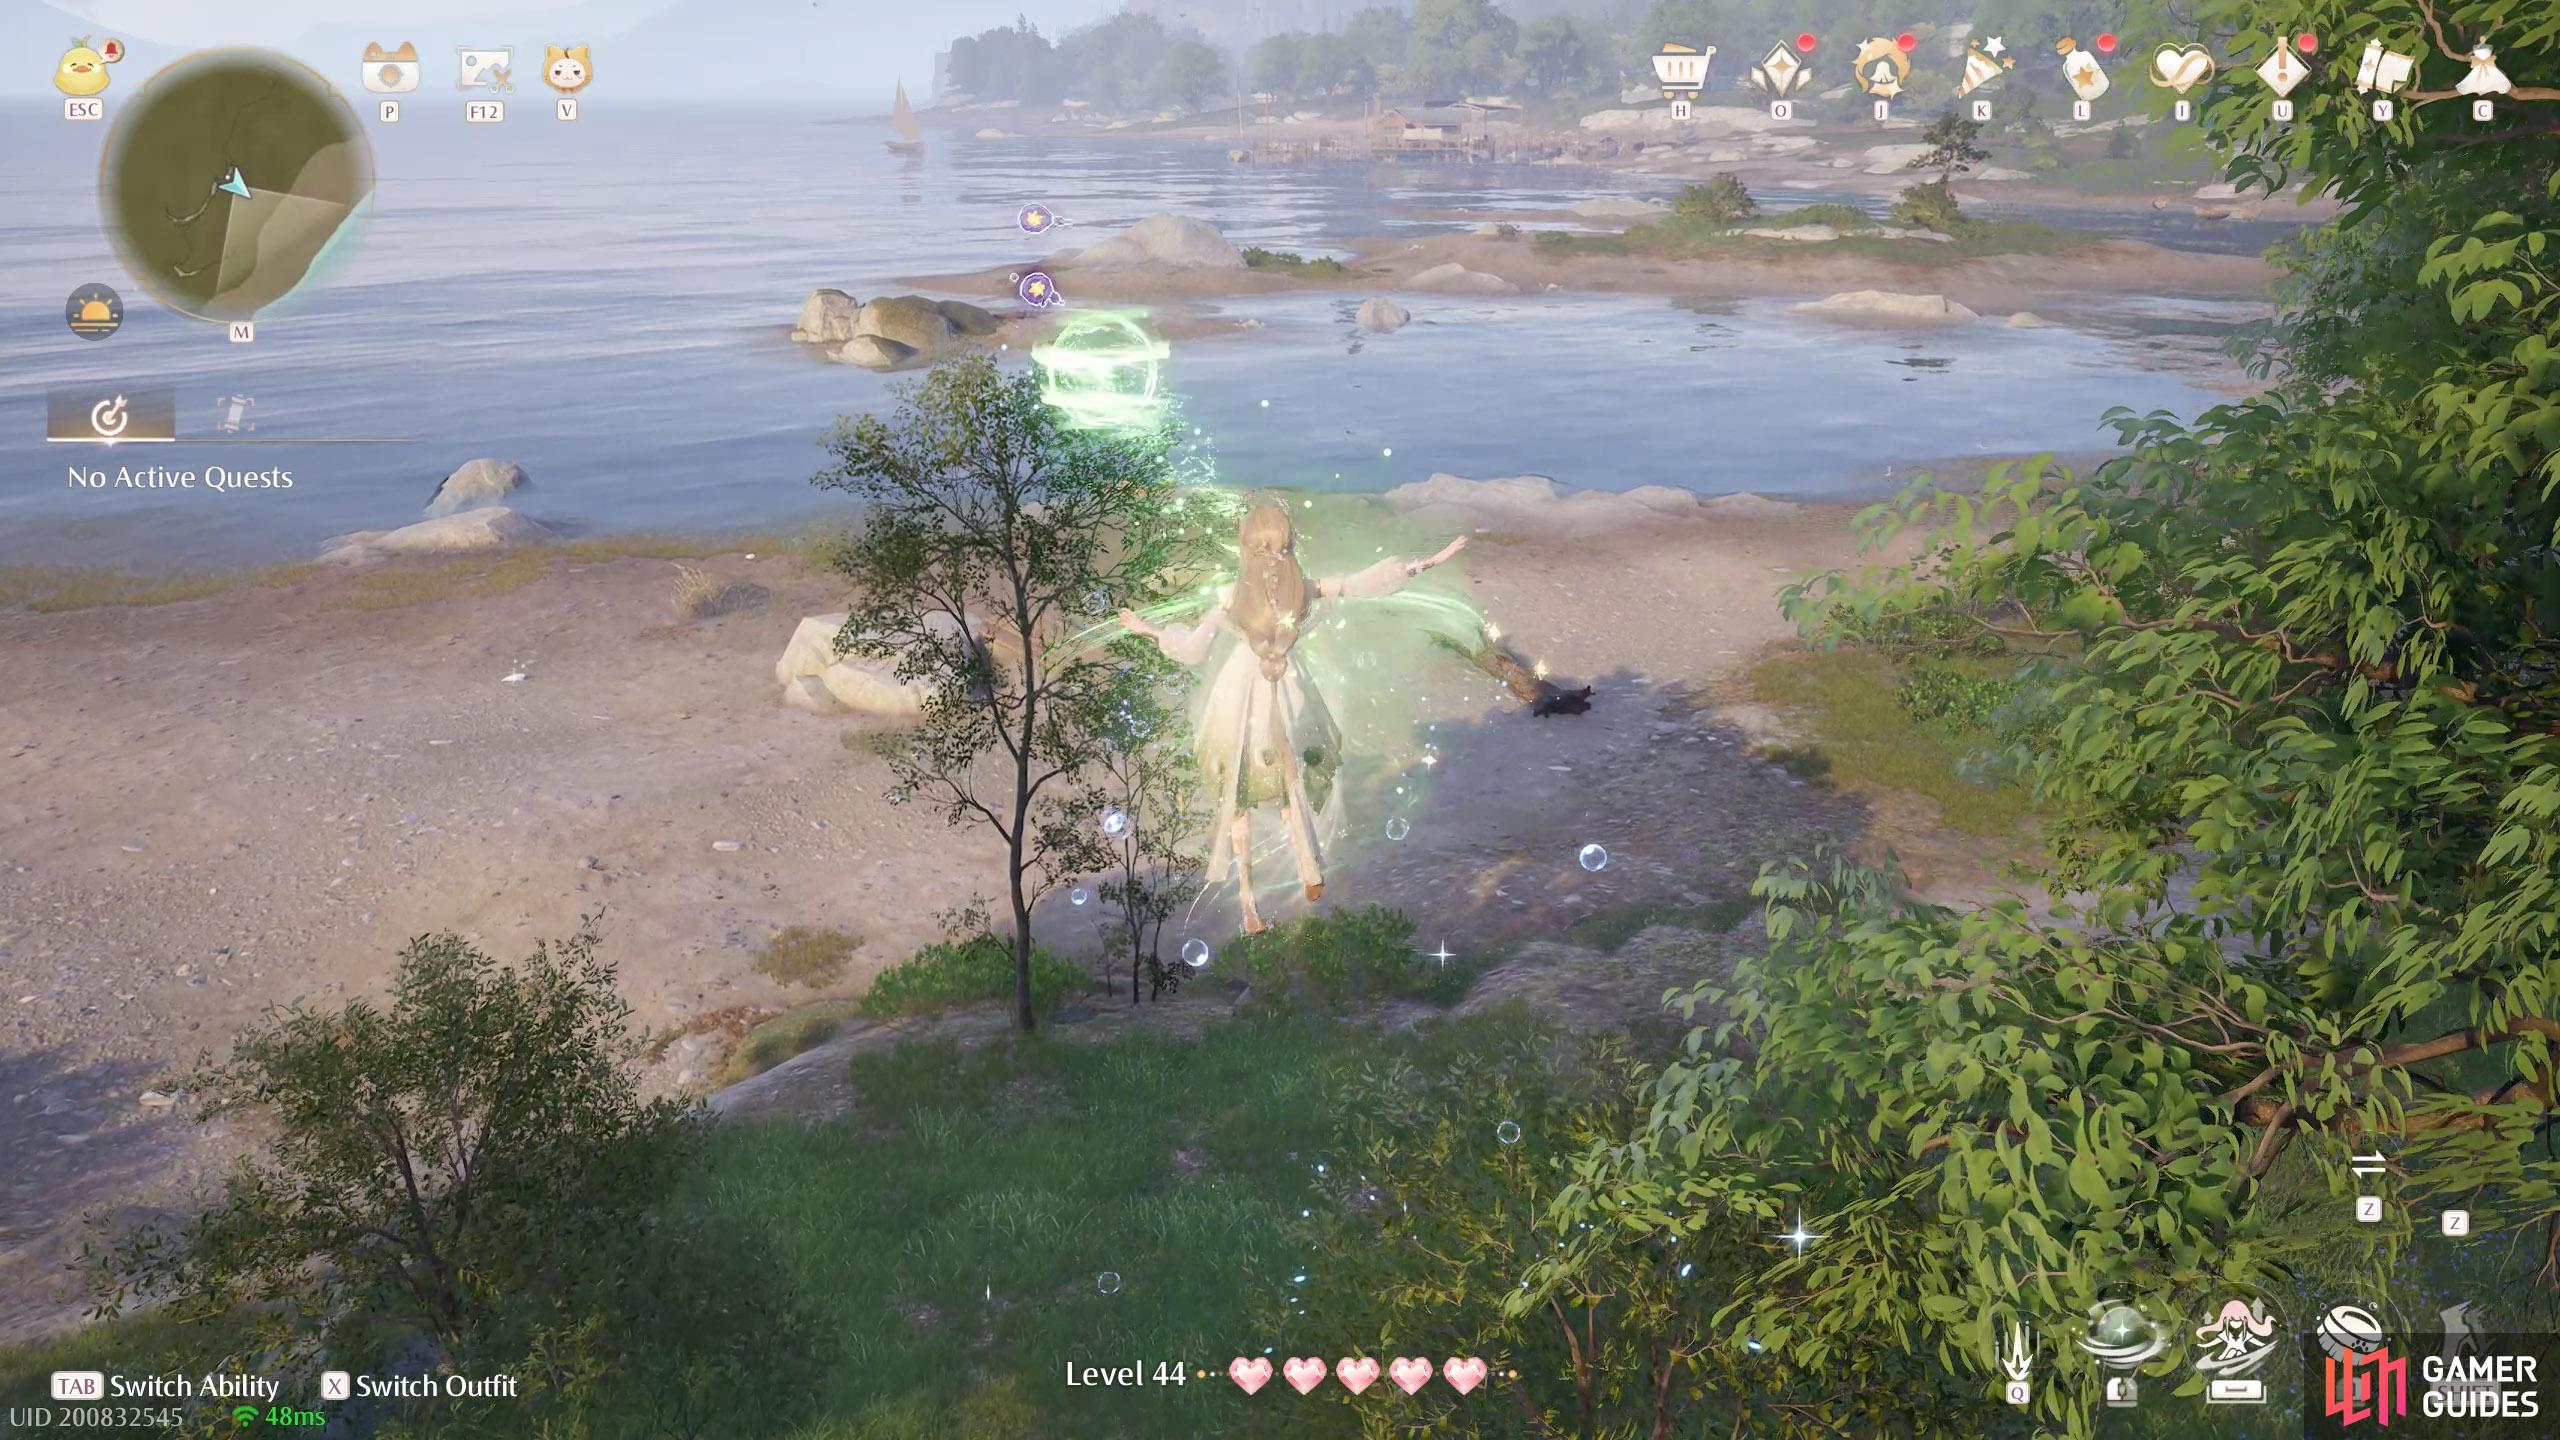
807. Miraland Map
South from the ![]() Swan Gazebo. Two floating above a small tree near the shore.
Swan Gazebo. Two floating above a small tree near the shore.
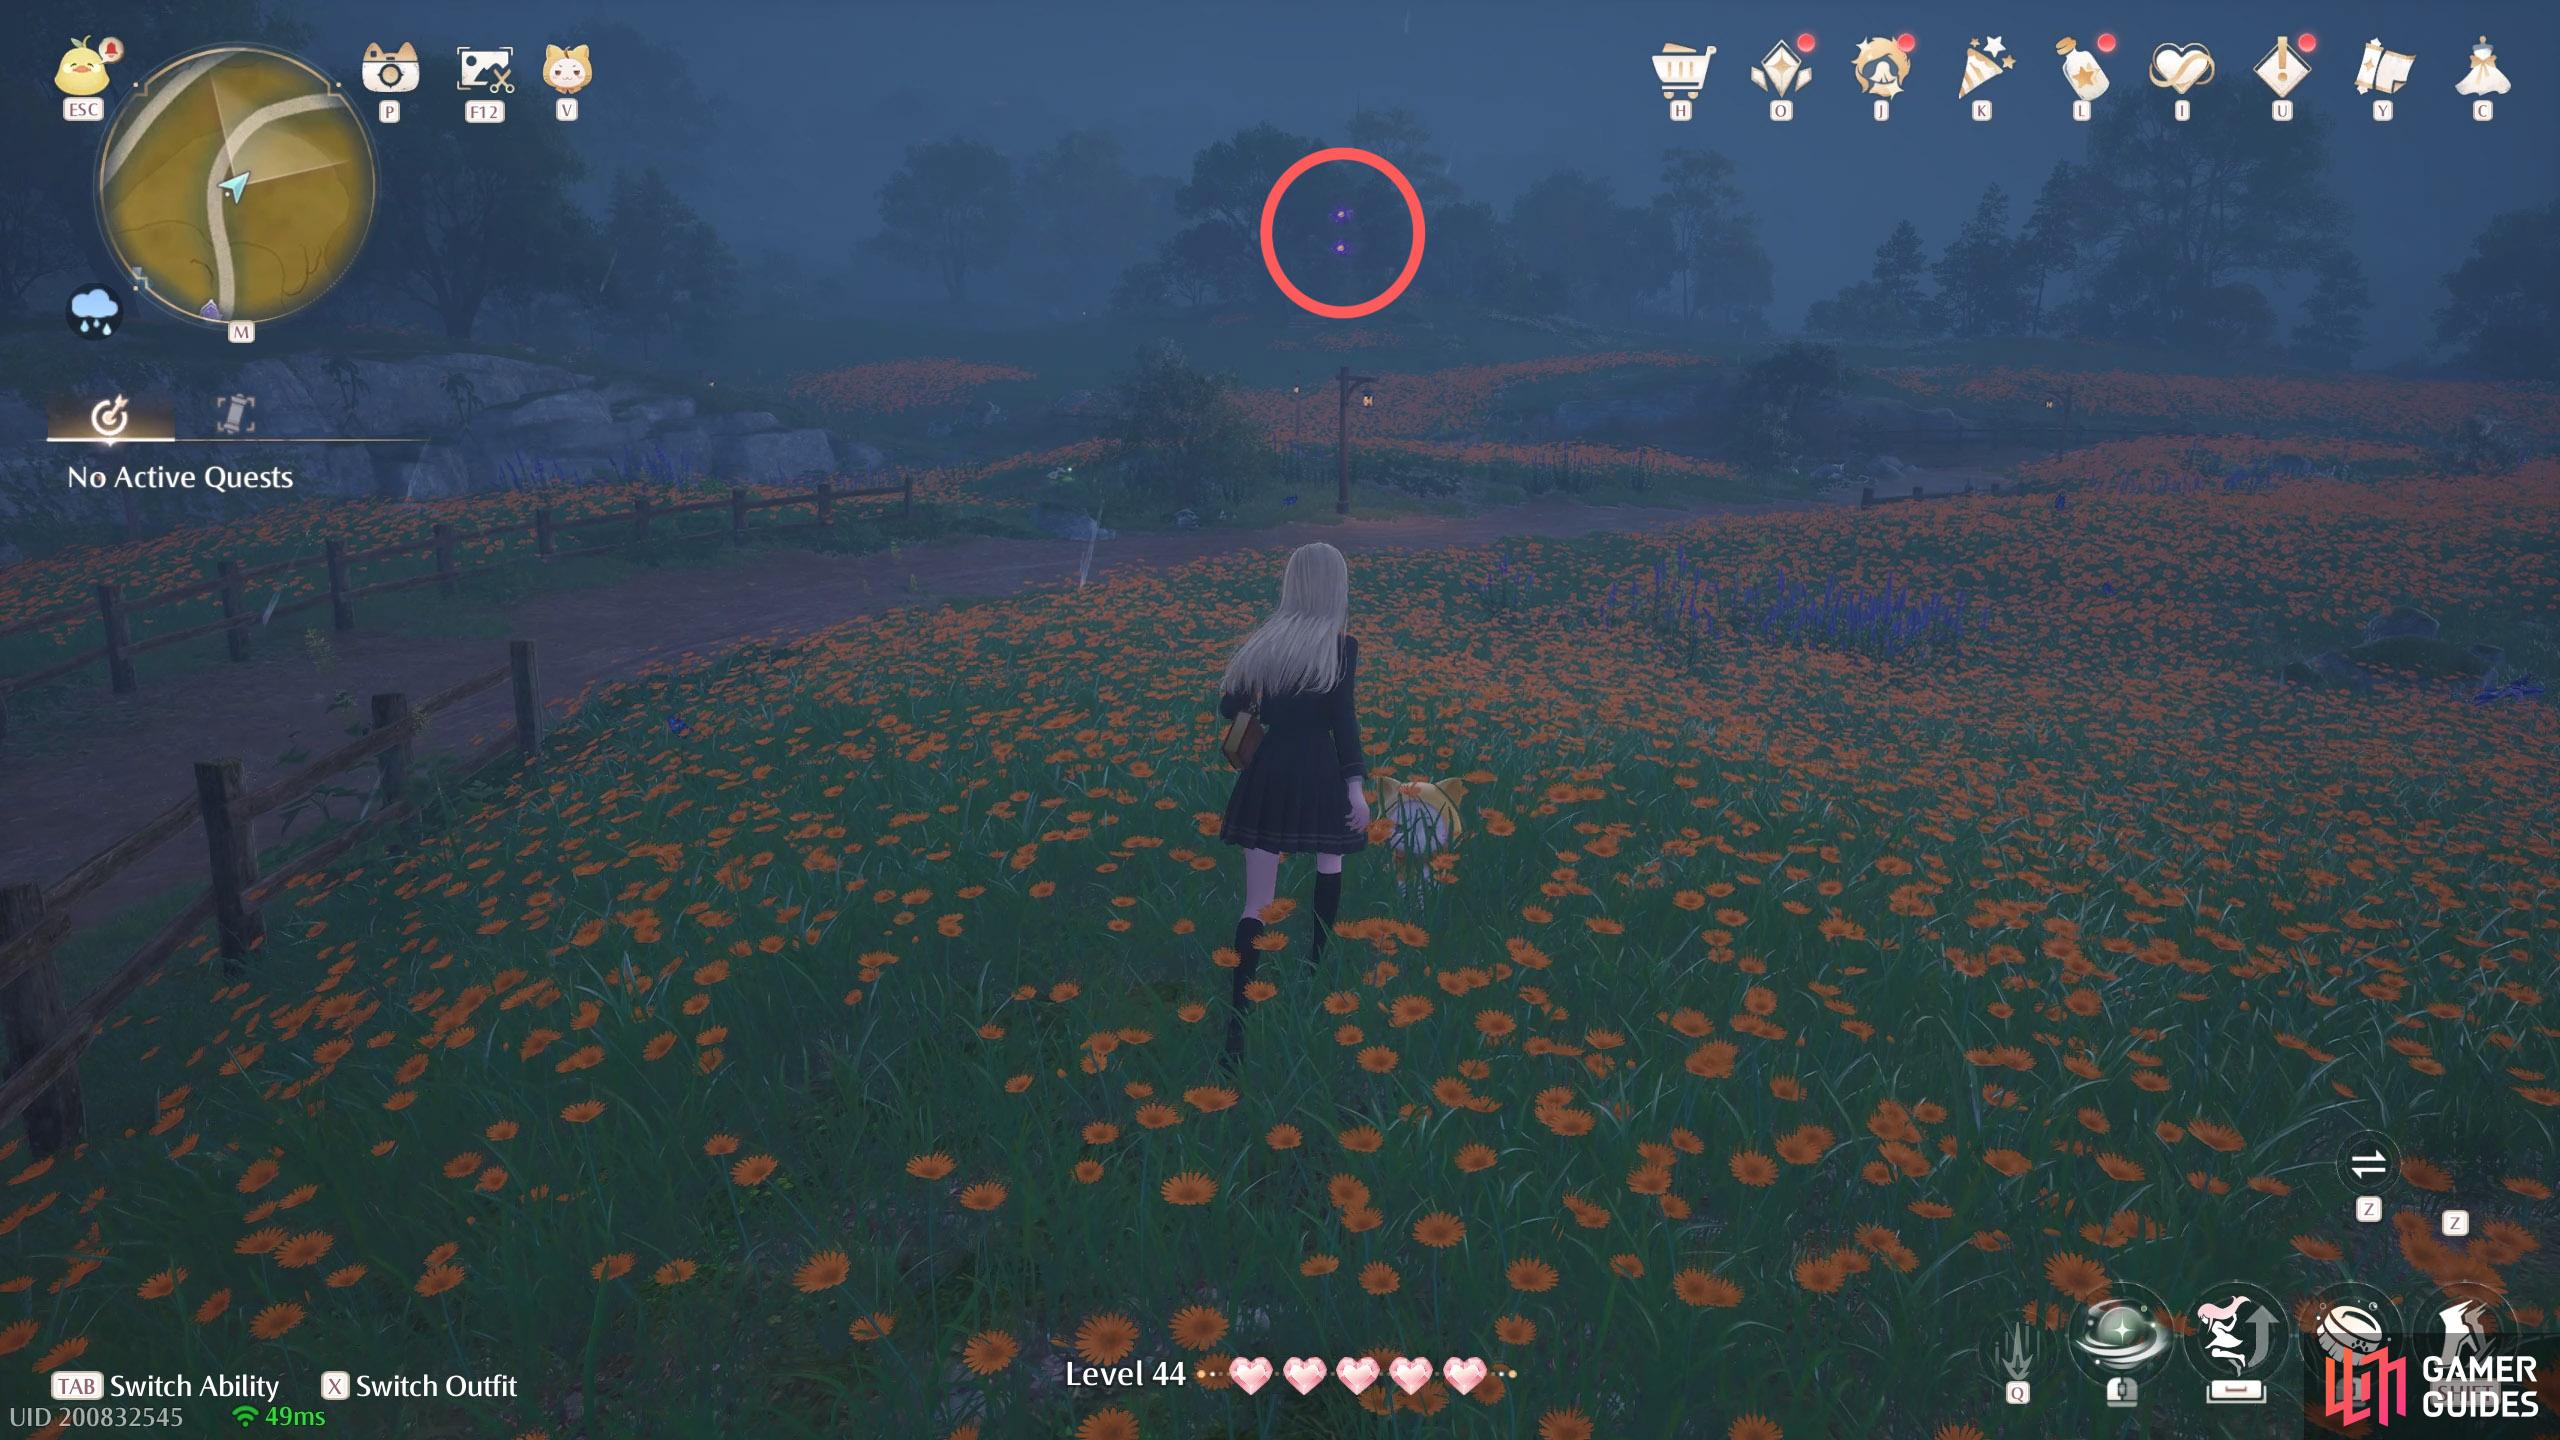
808. Miraland Map
North-east from ![]() Bug Catcher’s Cabin. Two floating above a pole. You can just about reach by floating from the south-west.
Bug Catcher’s Cabin. Two floating above a pole. You can just about reach by floating from the south-west.
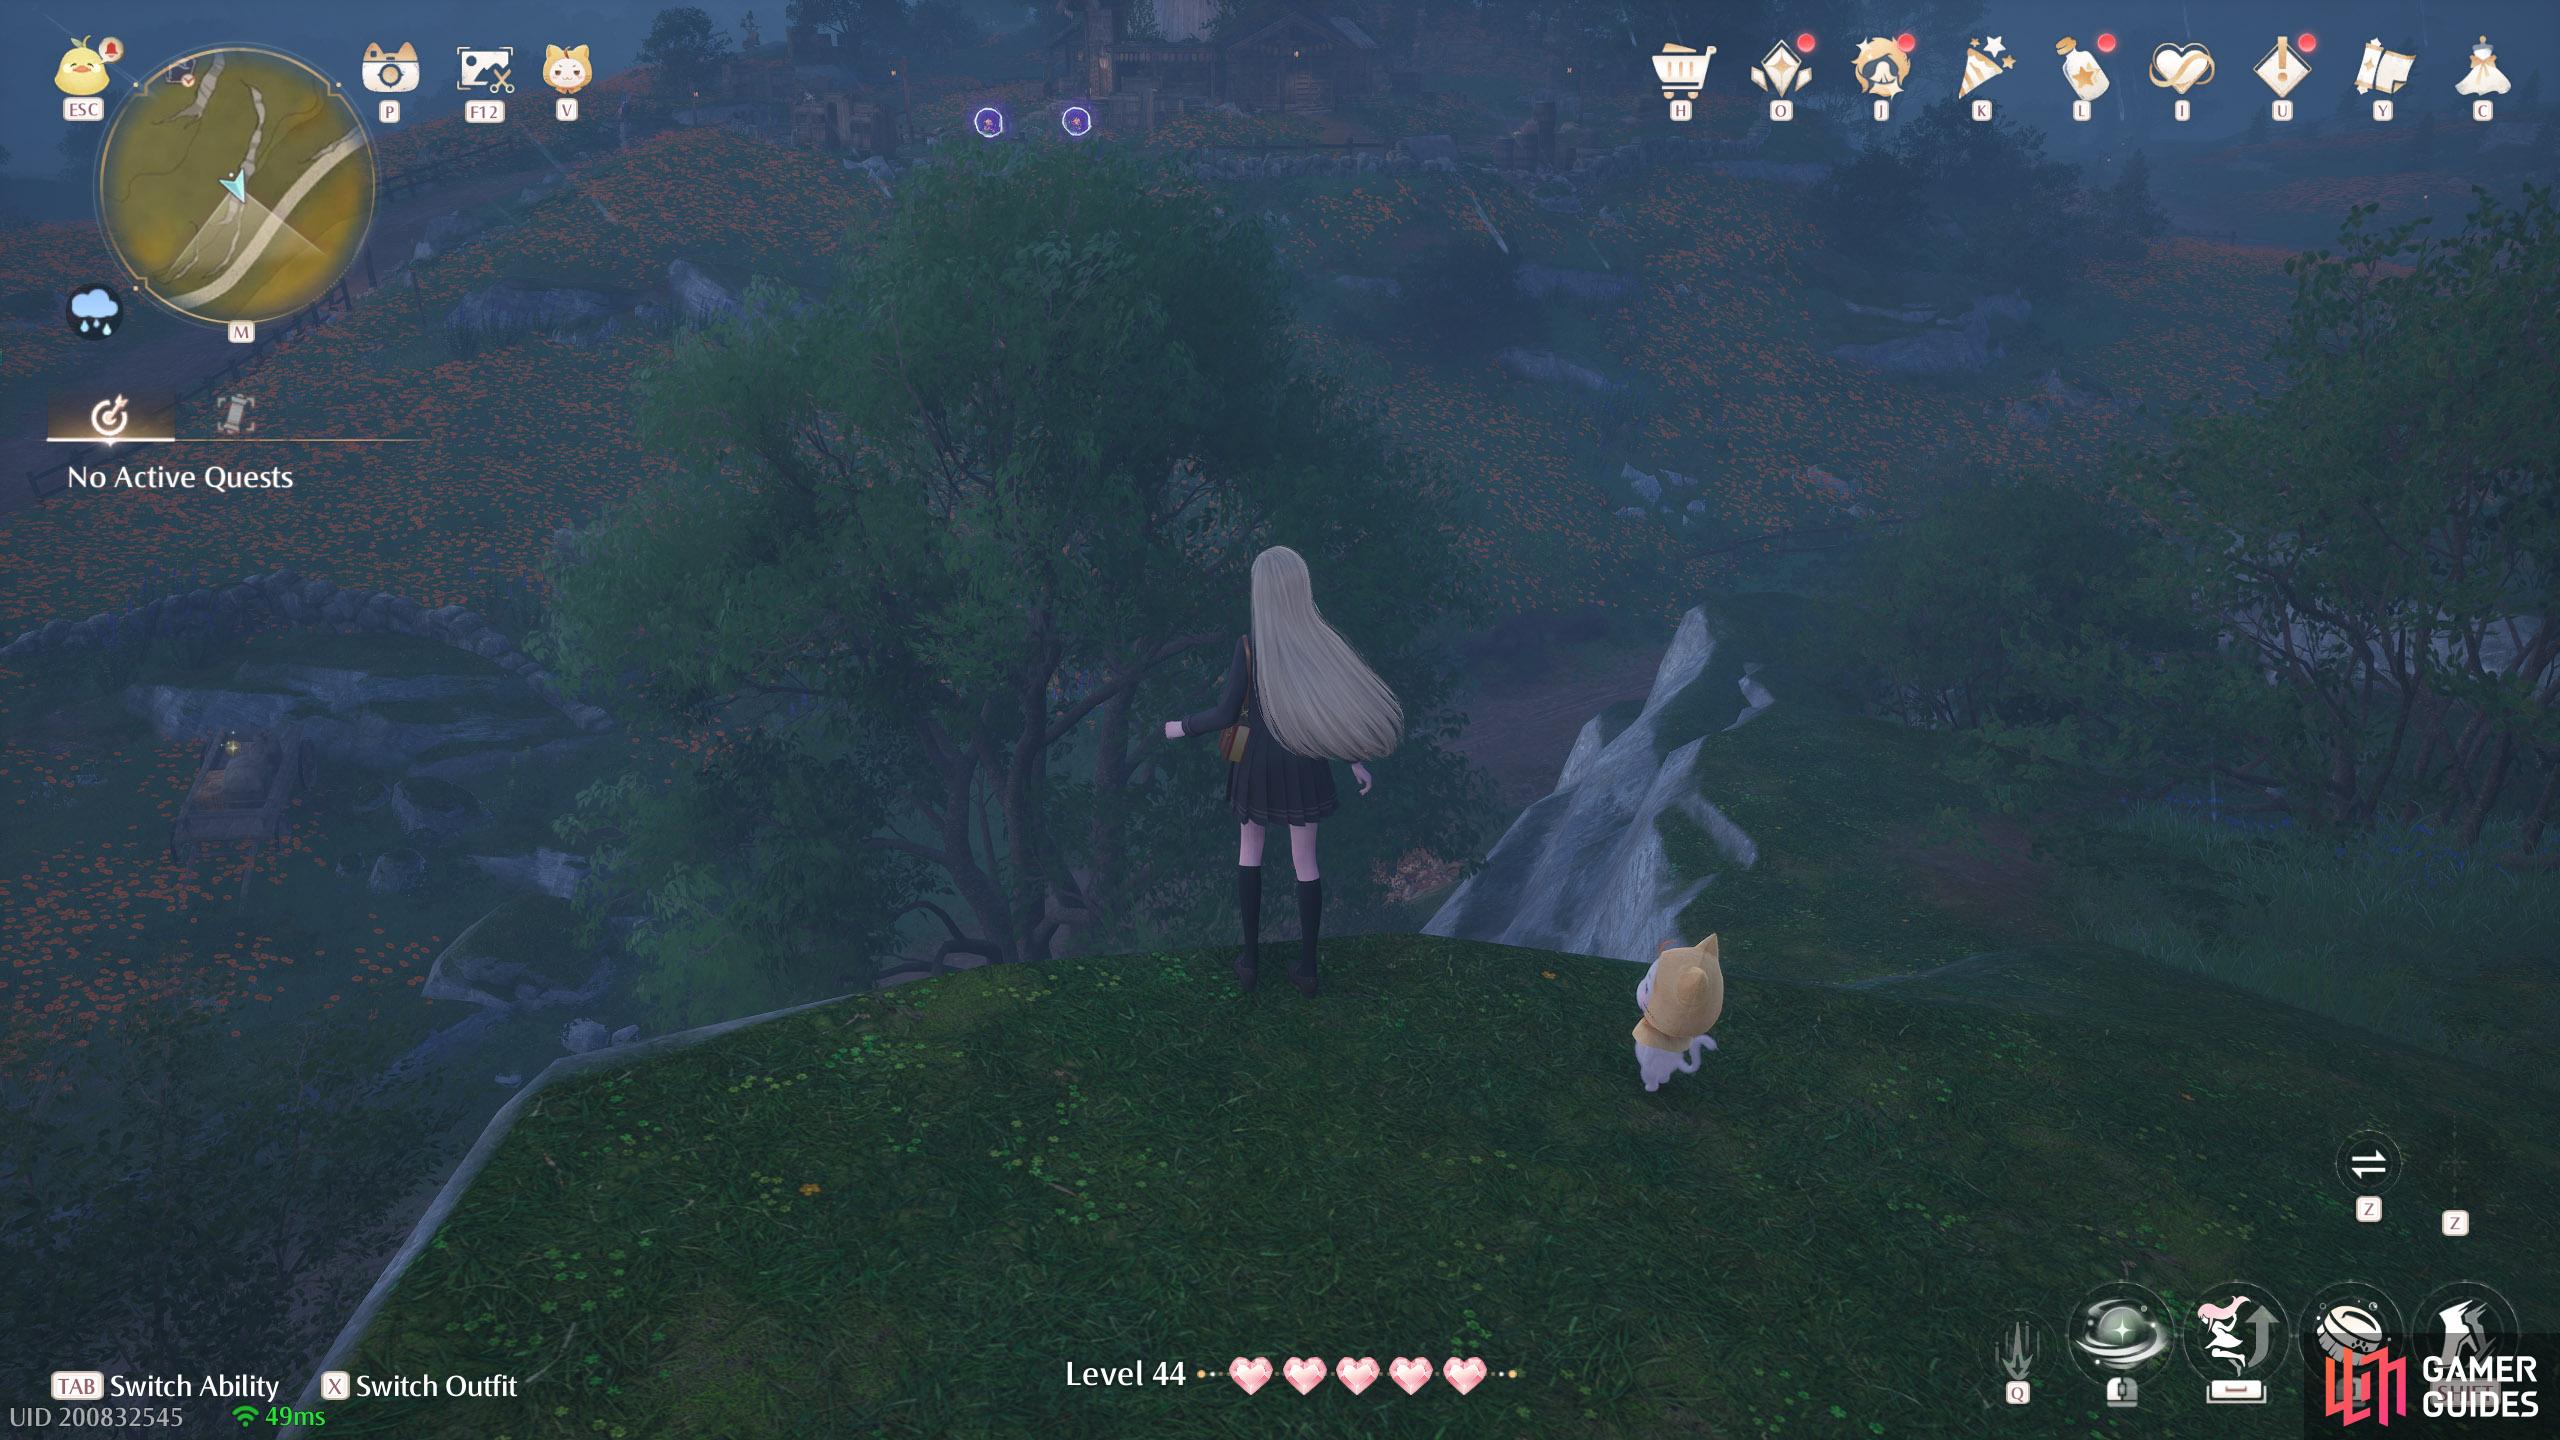
809. Miraland Map
Short distance north-west from ![]() Bug Catcher’s Cabin. Two floating above a tree.
Bug Catcher’s Cabin. Two floating above a tree.
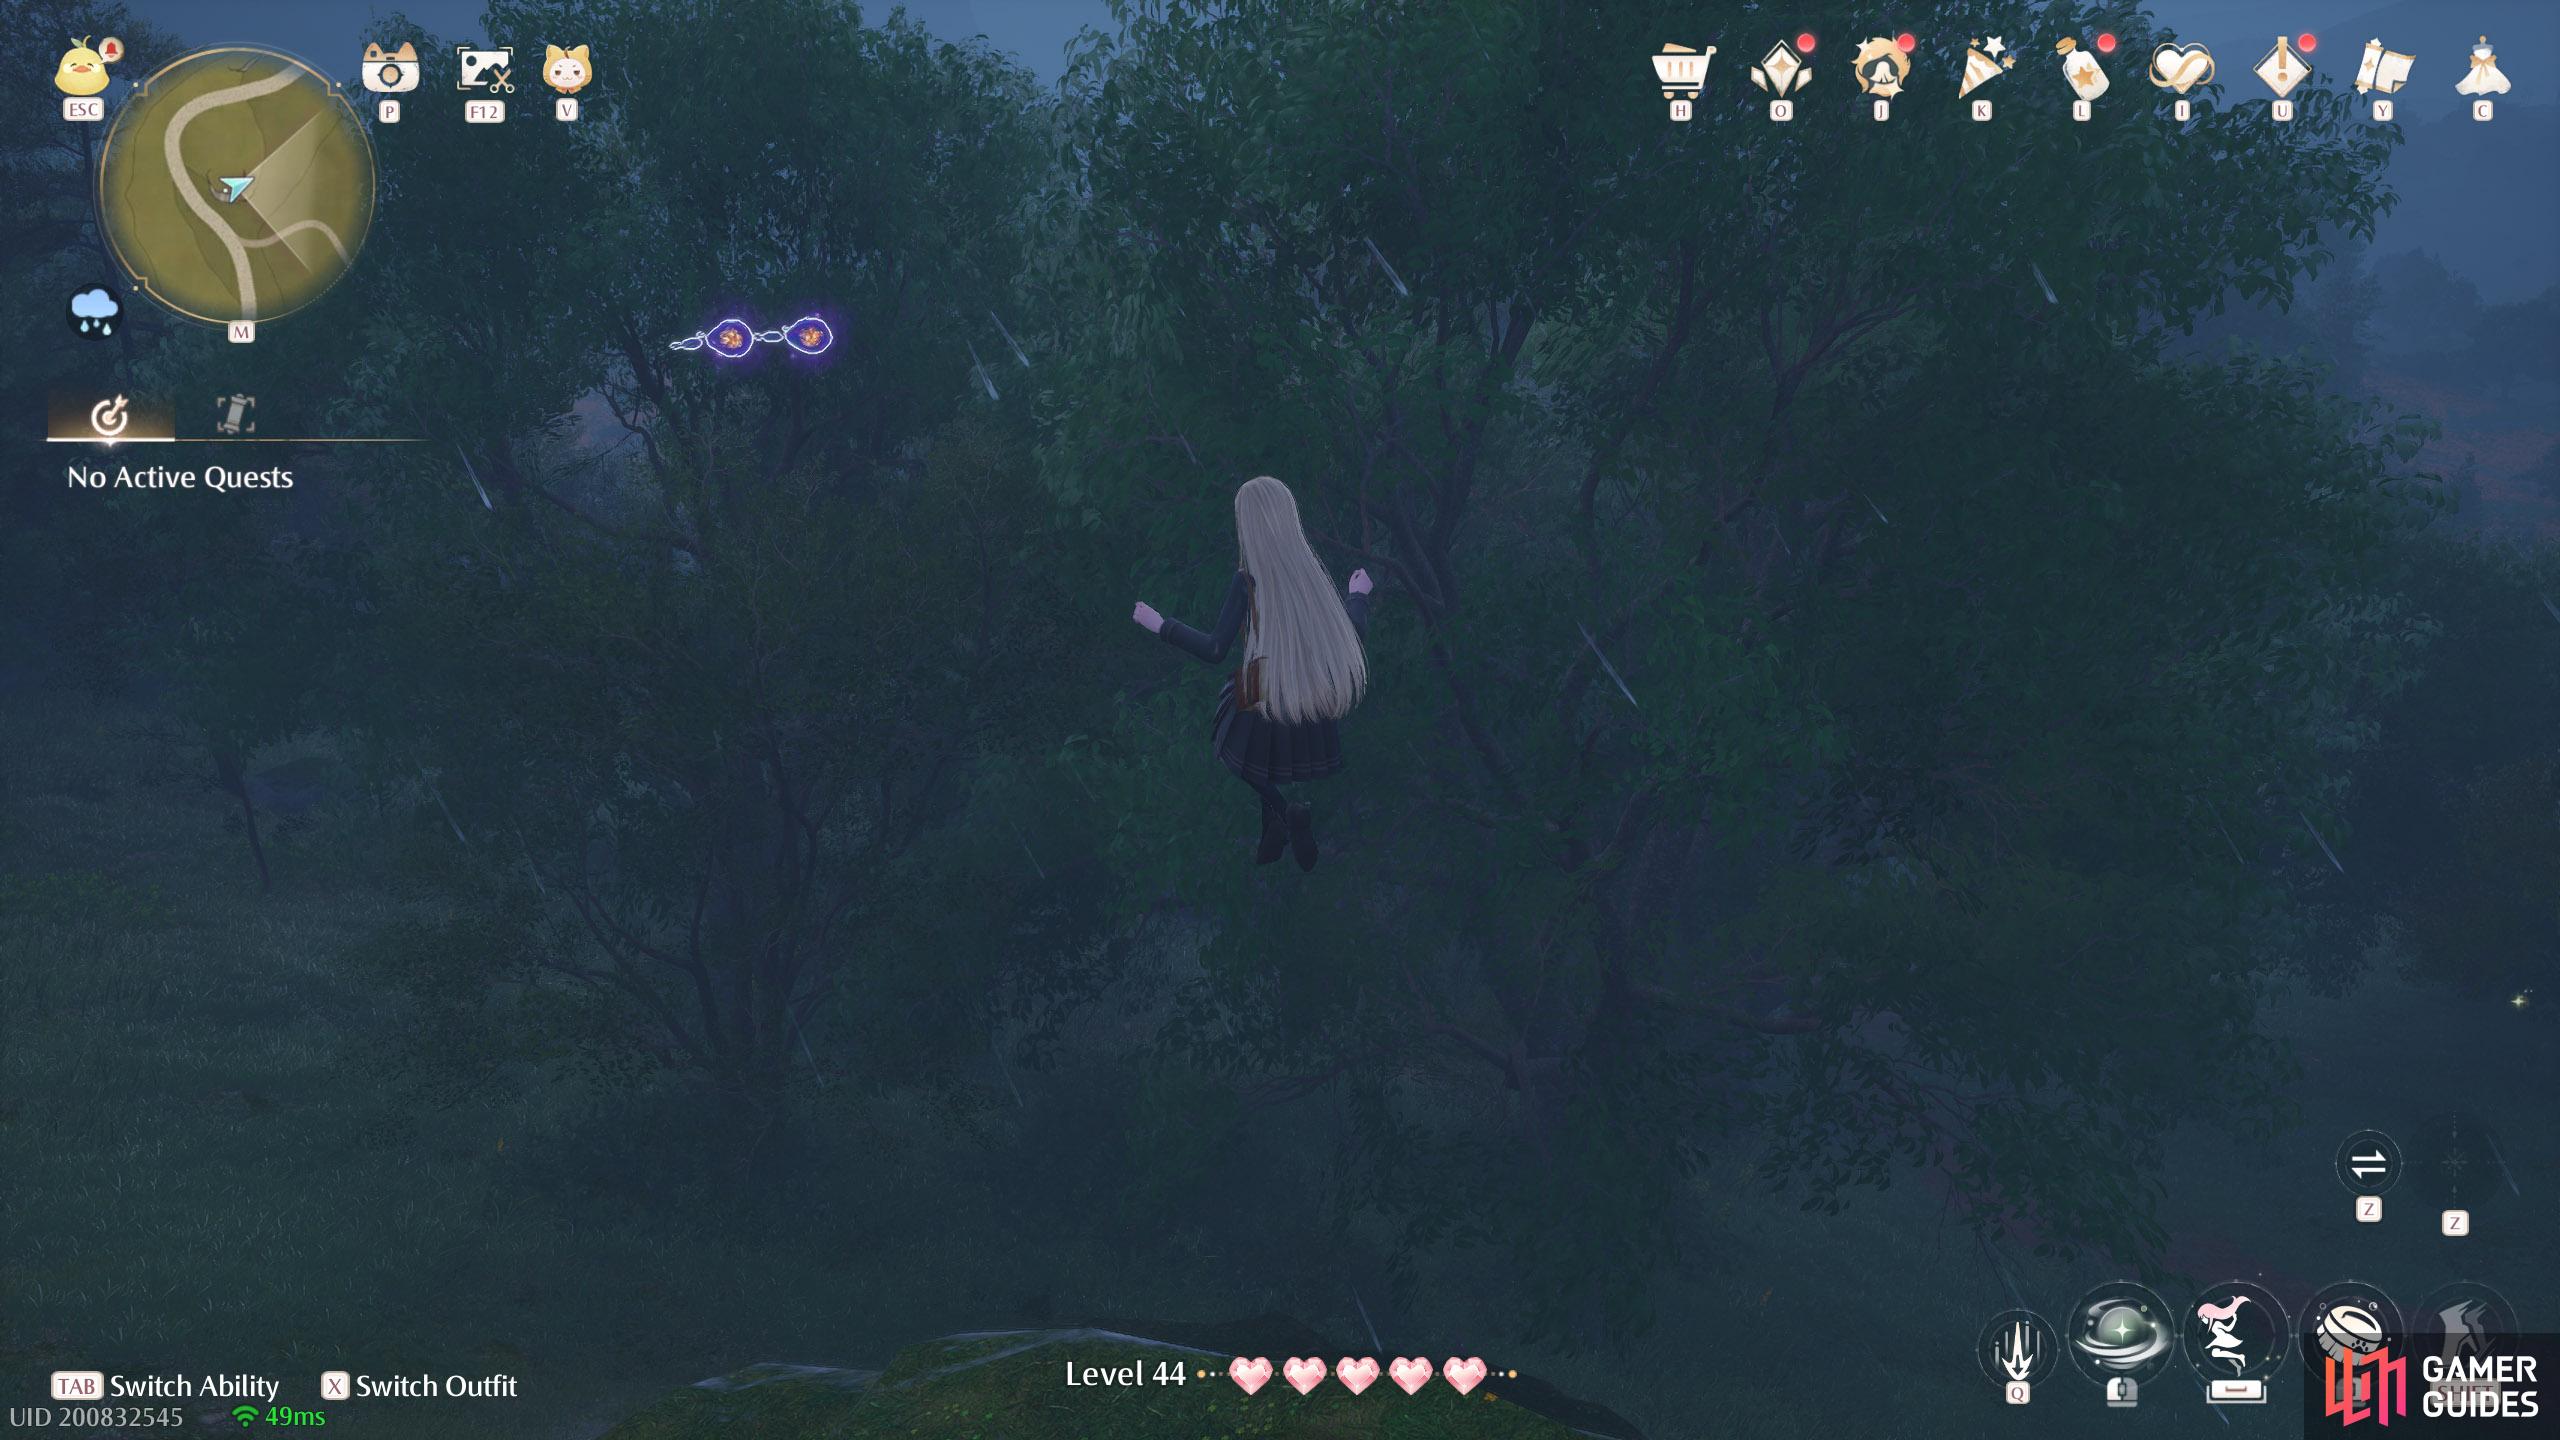
810. Miraland Map
West from ![]() Bug Catcher’s Cabin. Two floating near some elevated land.
Bug Catcher’s Cabin. Two floating near some elevated land.
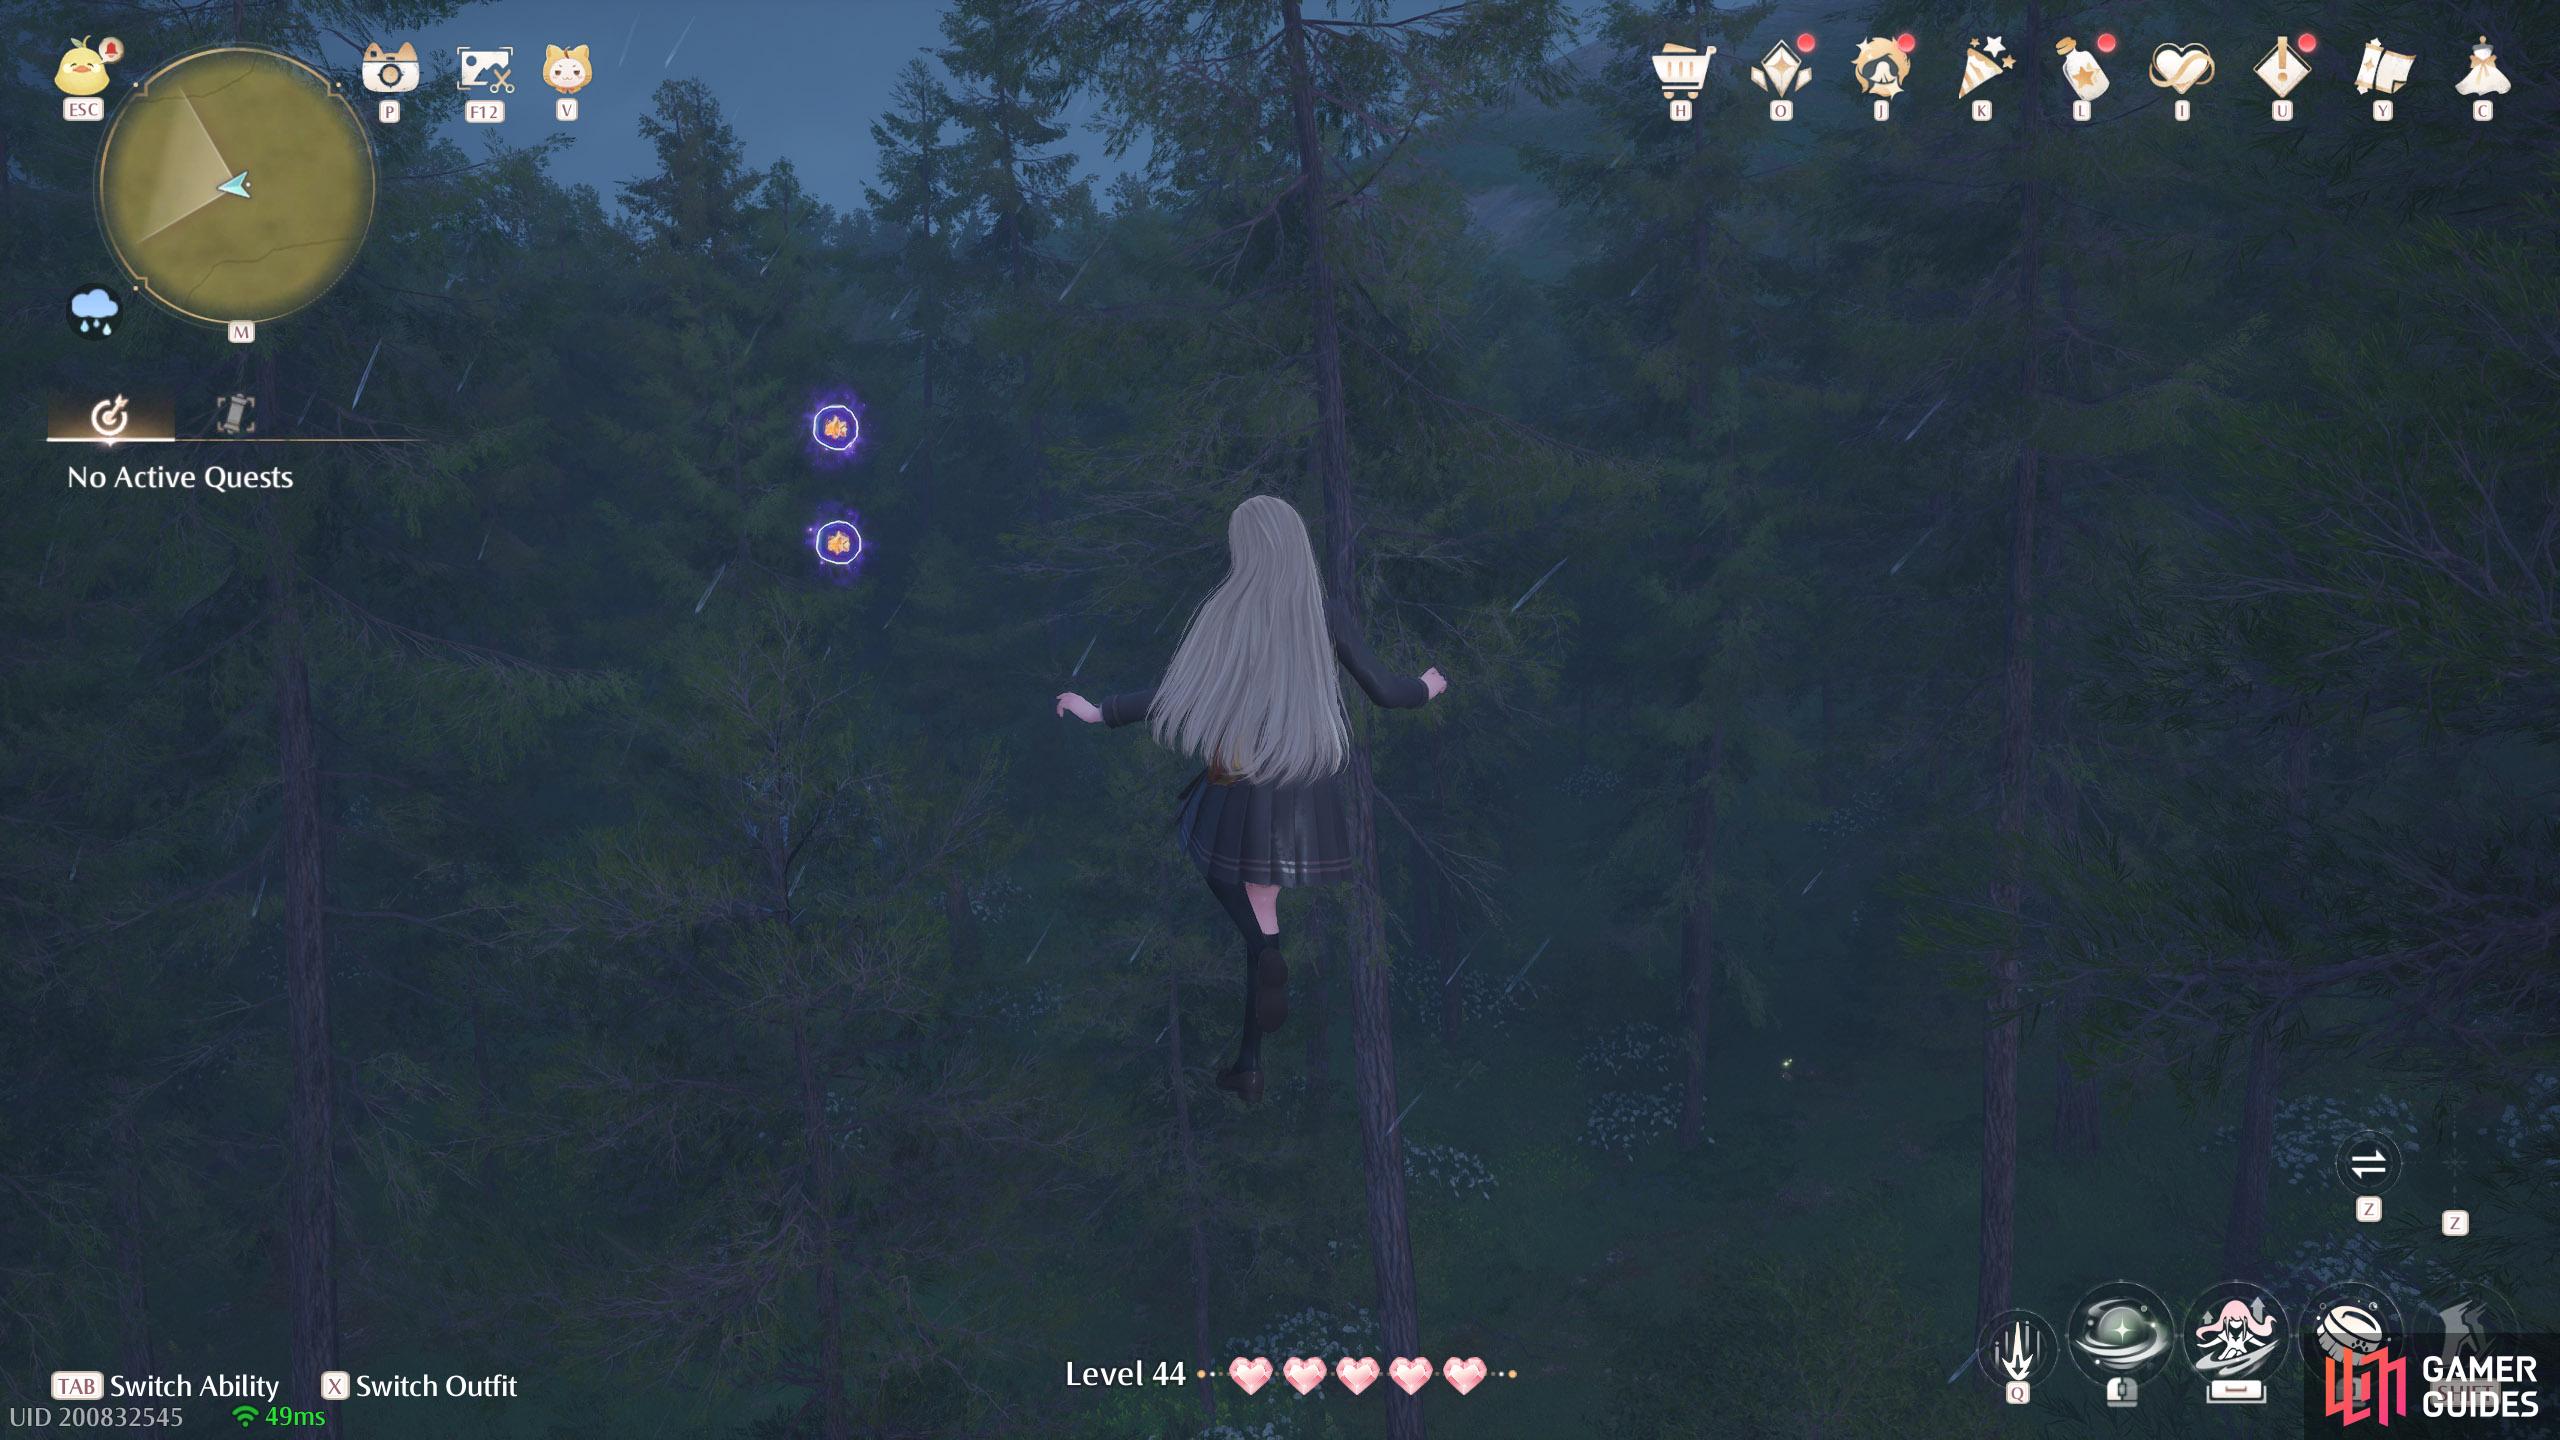
811. Miraland Map
South-west from ![]() Cicia Art Academy Field Base. Two floating high up, with a leaf trampoline nearby.
Cicia Art Academy Field Base. Two floating high up, with a leaf trampoline nearby.

812. Miraland Map
North-west from ![]() Meadow Activity Support Center. Two floating high up, a short distance west from a catapult. Watch out for Esselings. Note: There’s another pair of dew very close by.
Meadow Activity Support Center. Two floating high up, a short distance west from a catapult. Watch out for Esselings. Note: There’s another pair of dew very close by.
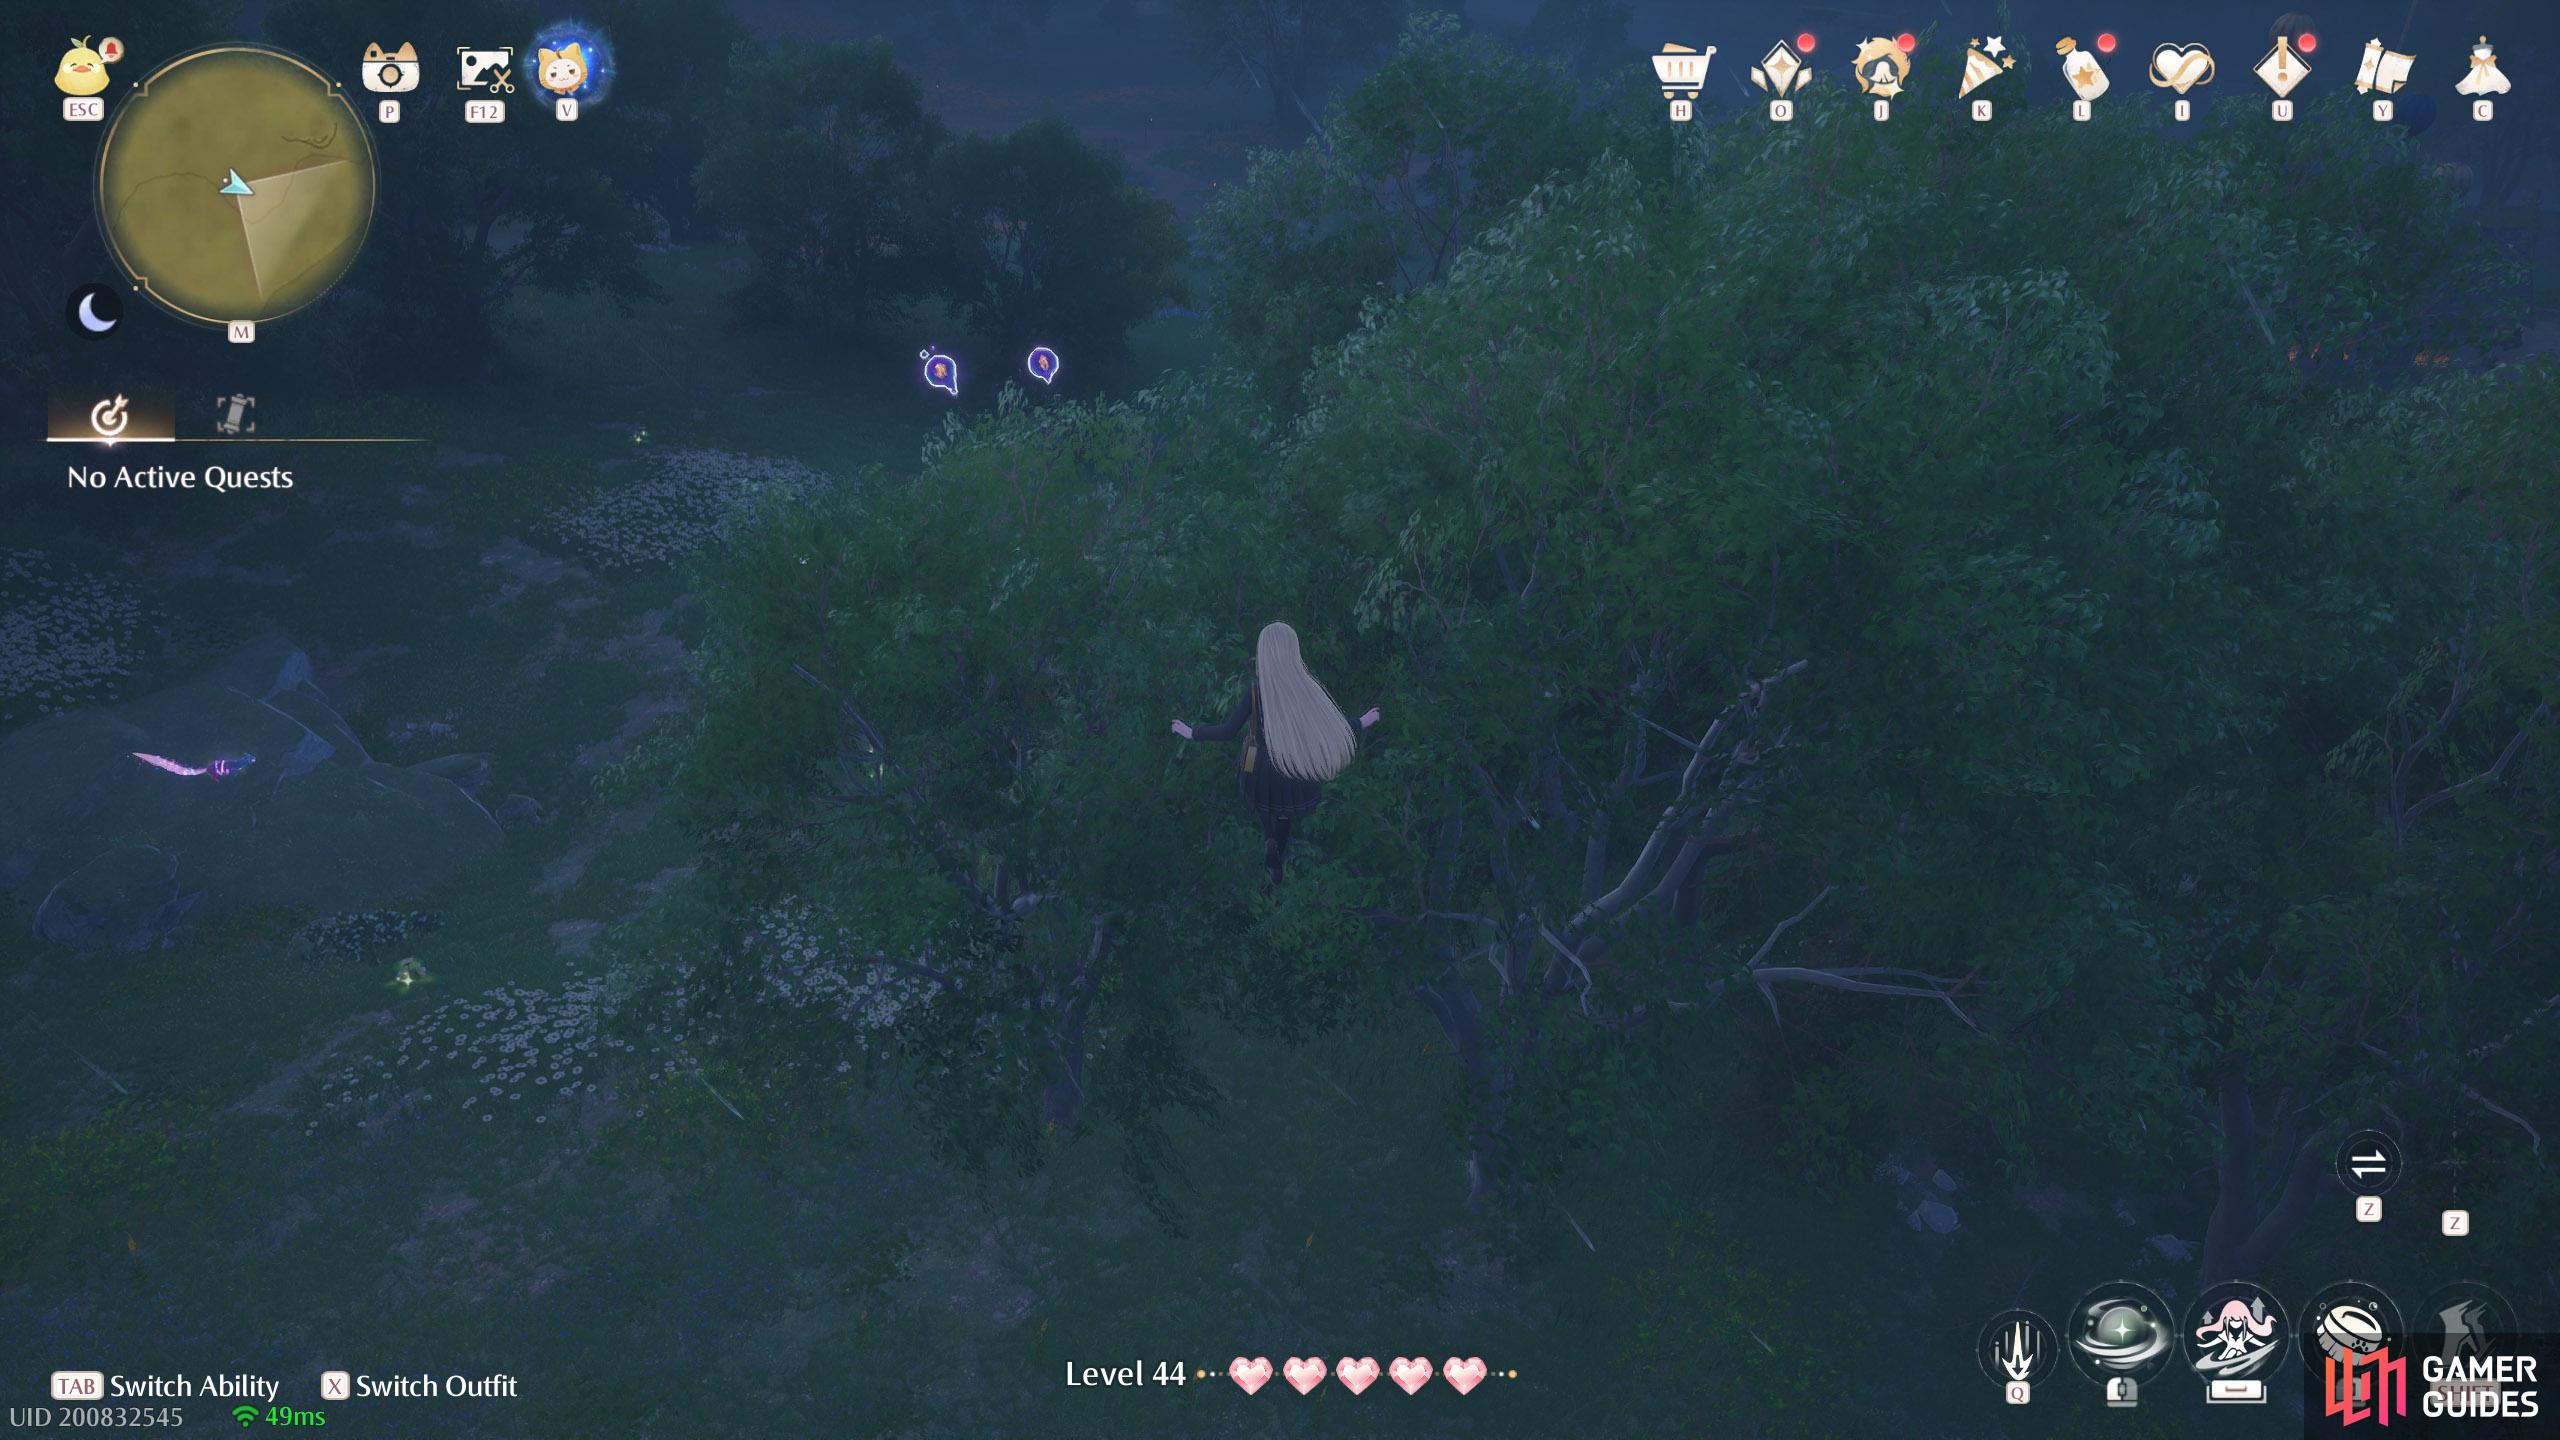
813. Miraland Map
North from ![]() Meadow Activity Support Center. Two floating high up, with a leaf trampoline nearby.
Meadow Activity Support Center. Two floating high up, with a leaf trampoline nearby.
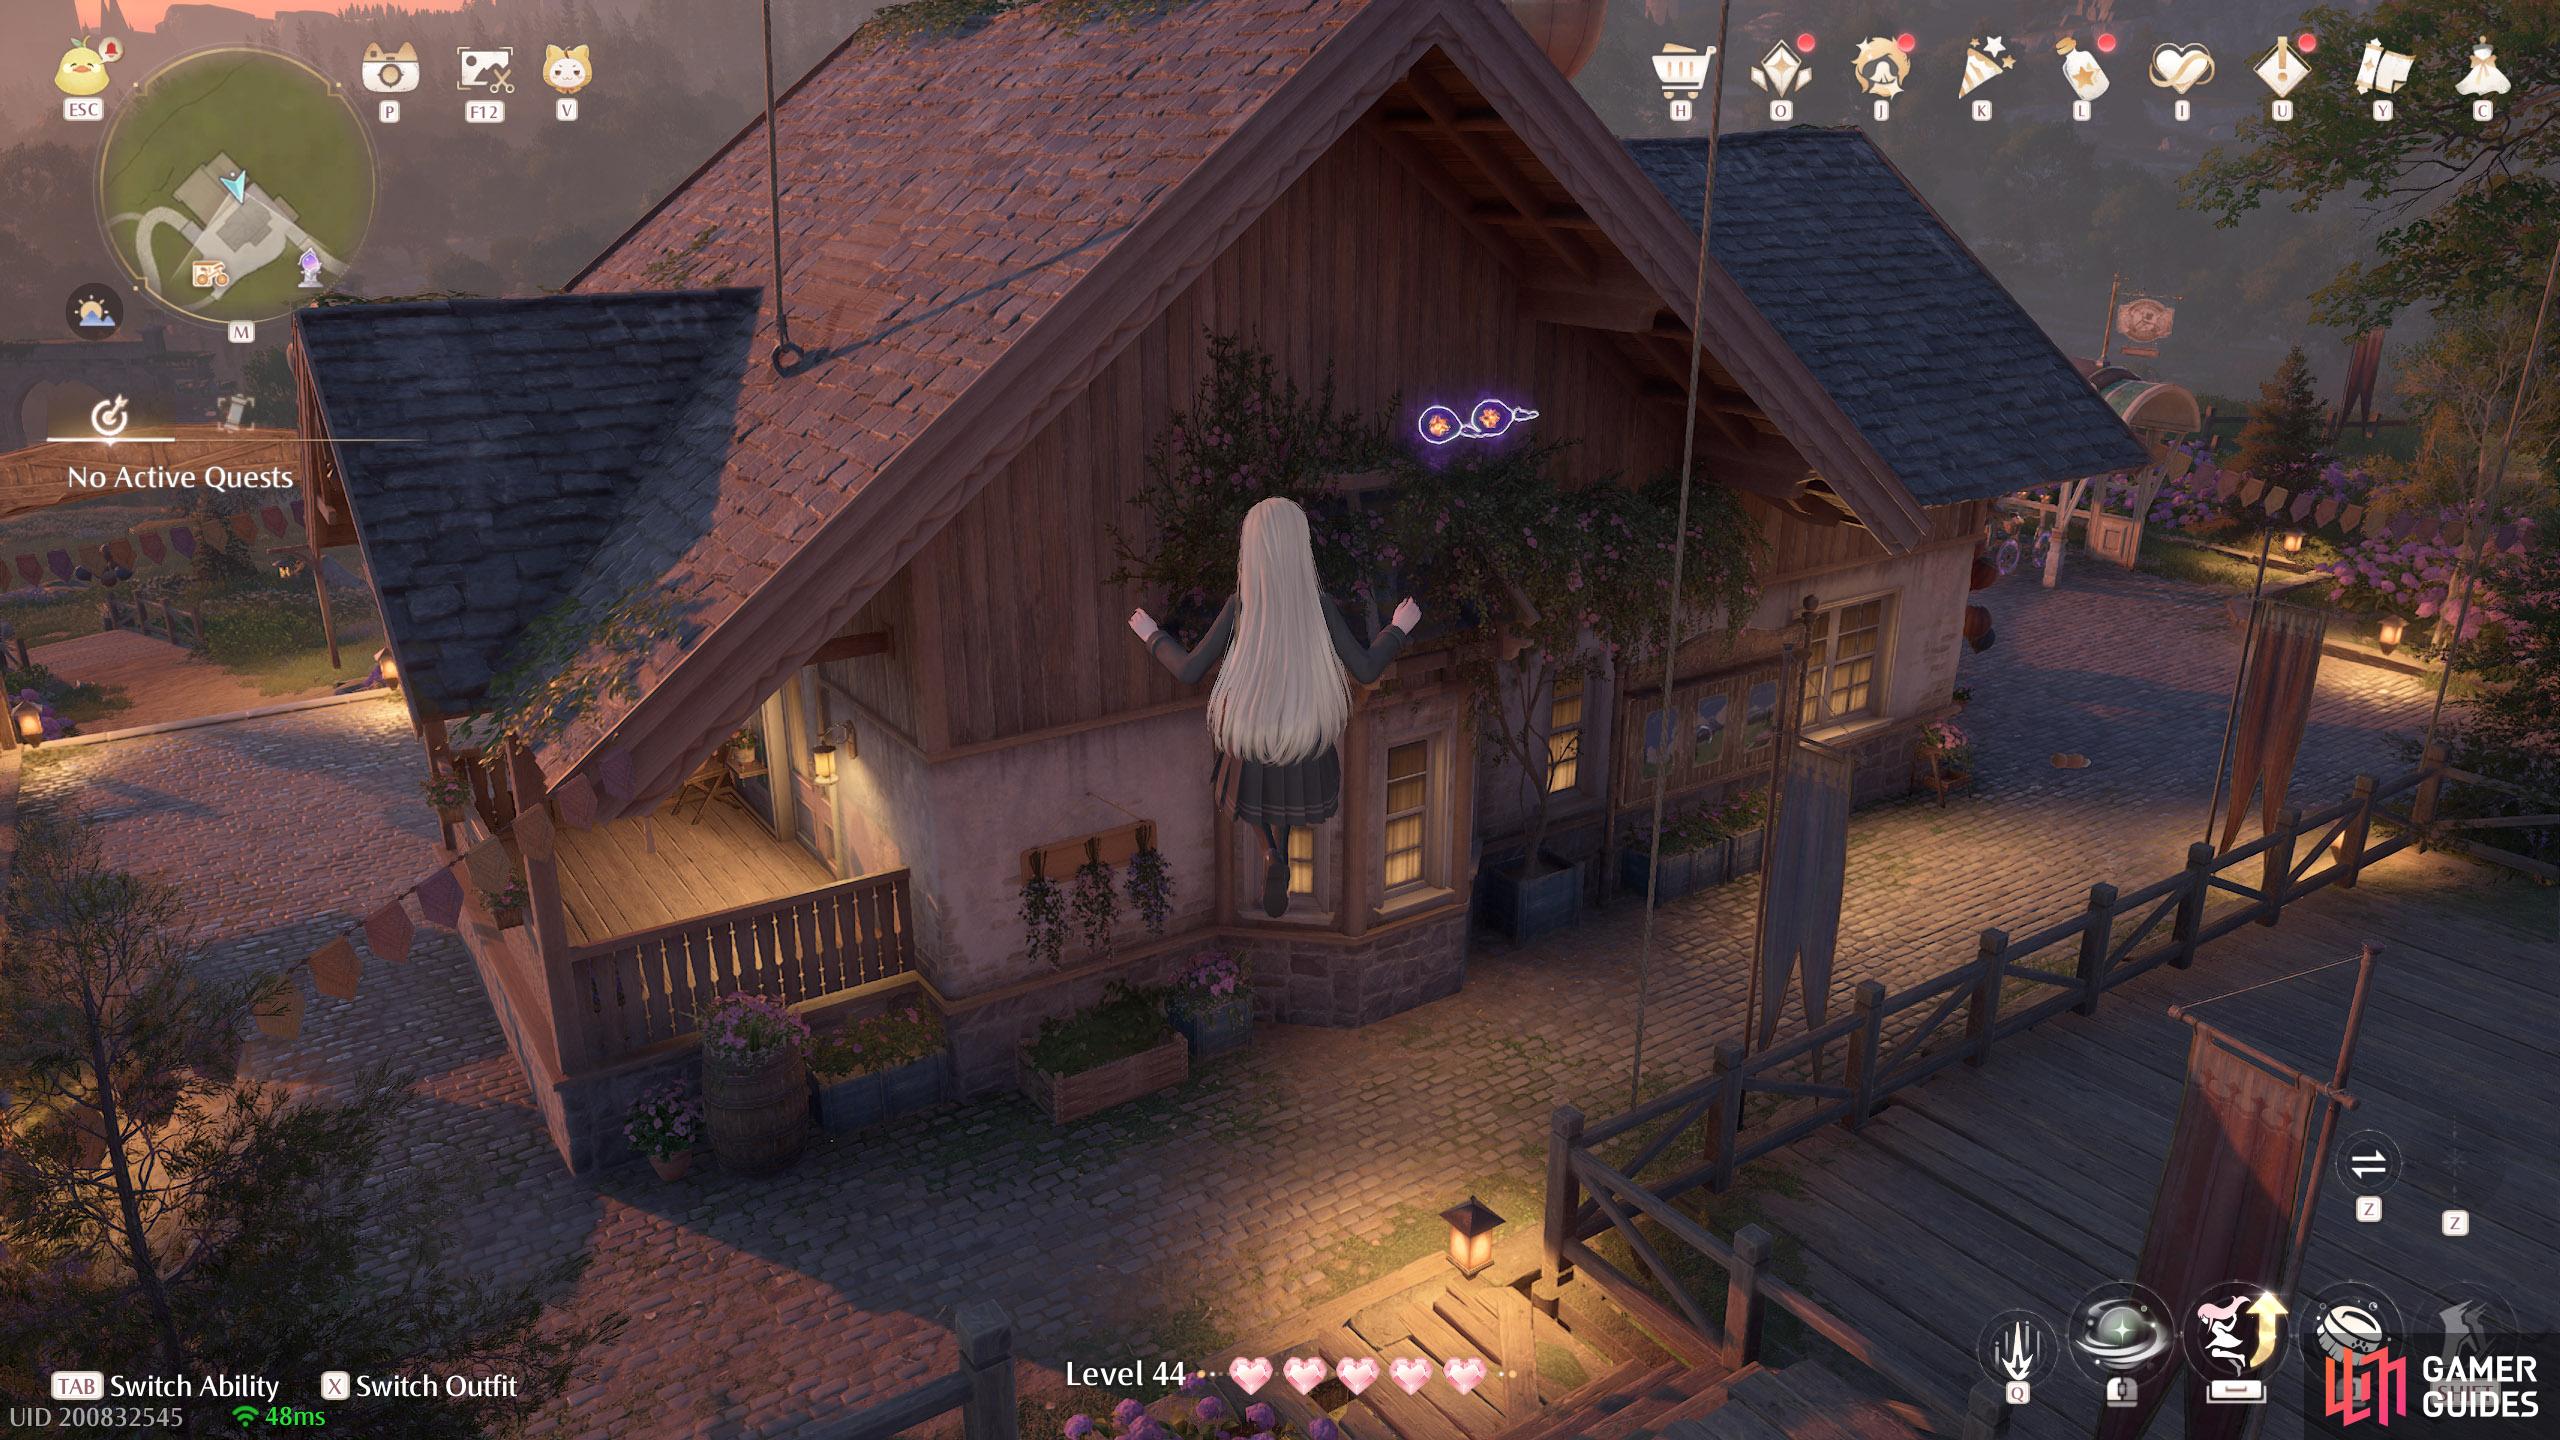
814. Miraland Map
![]() Meadow Activity Support Center. Two at the back of the building, slightly high up.
Meadow Activity Support Center. Two at the back of the building, slightly high up.
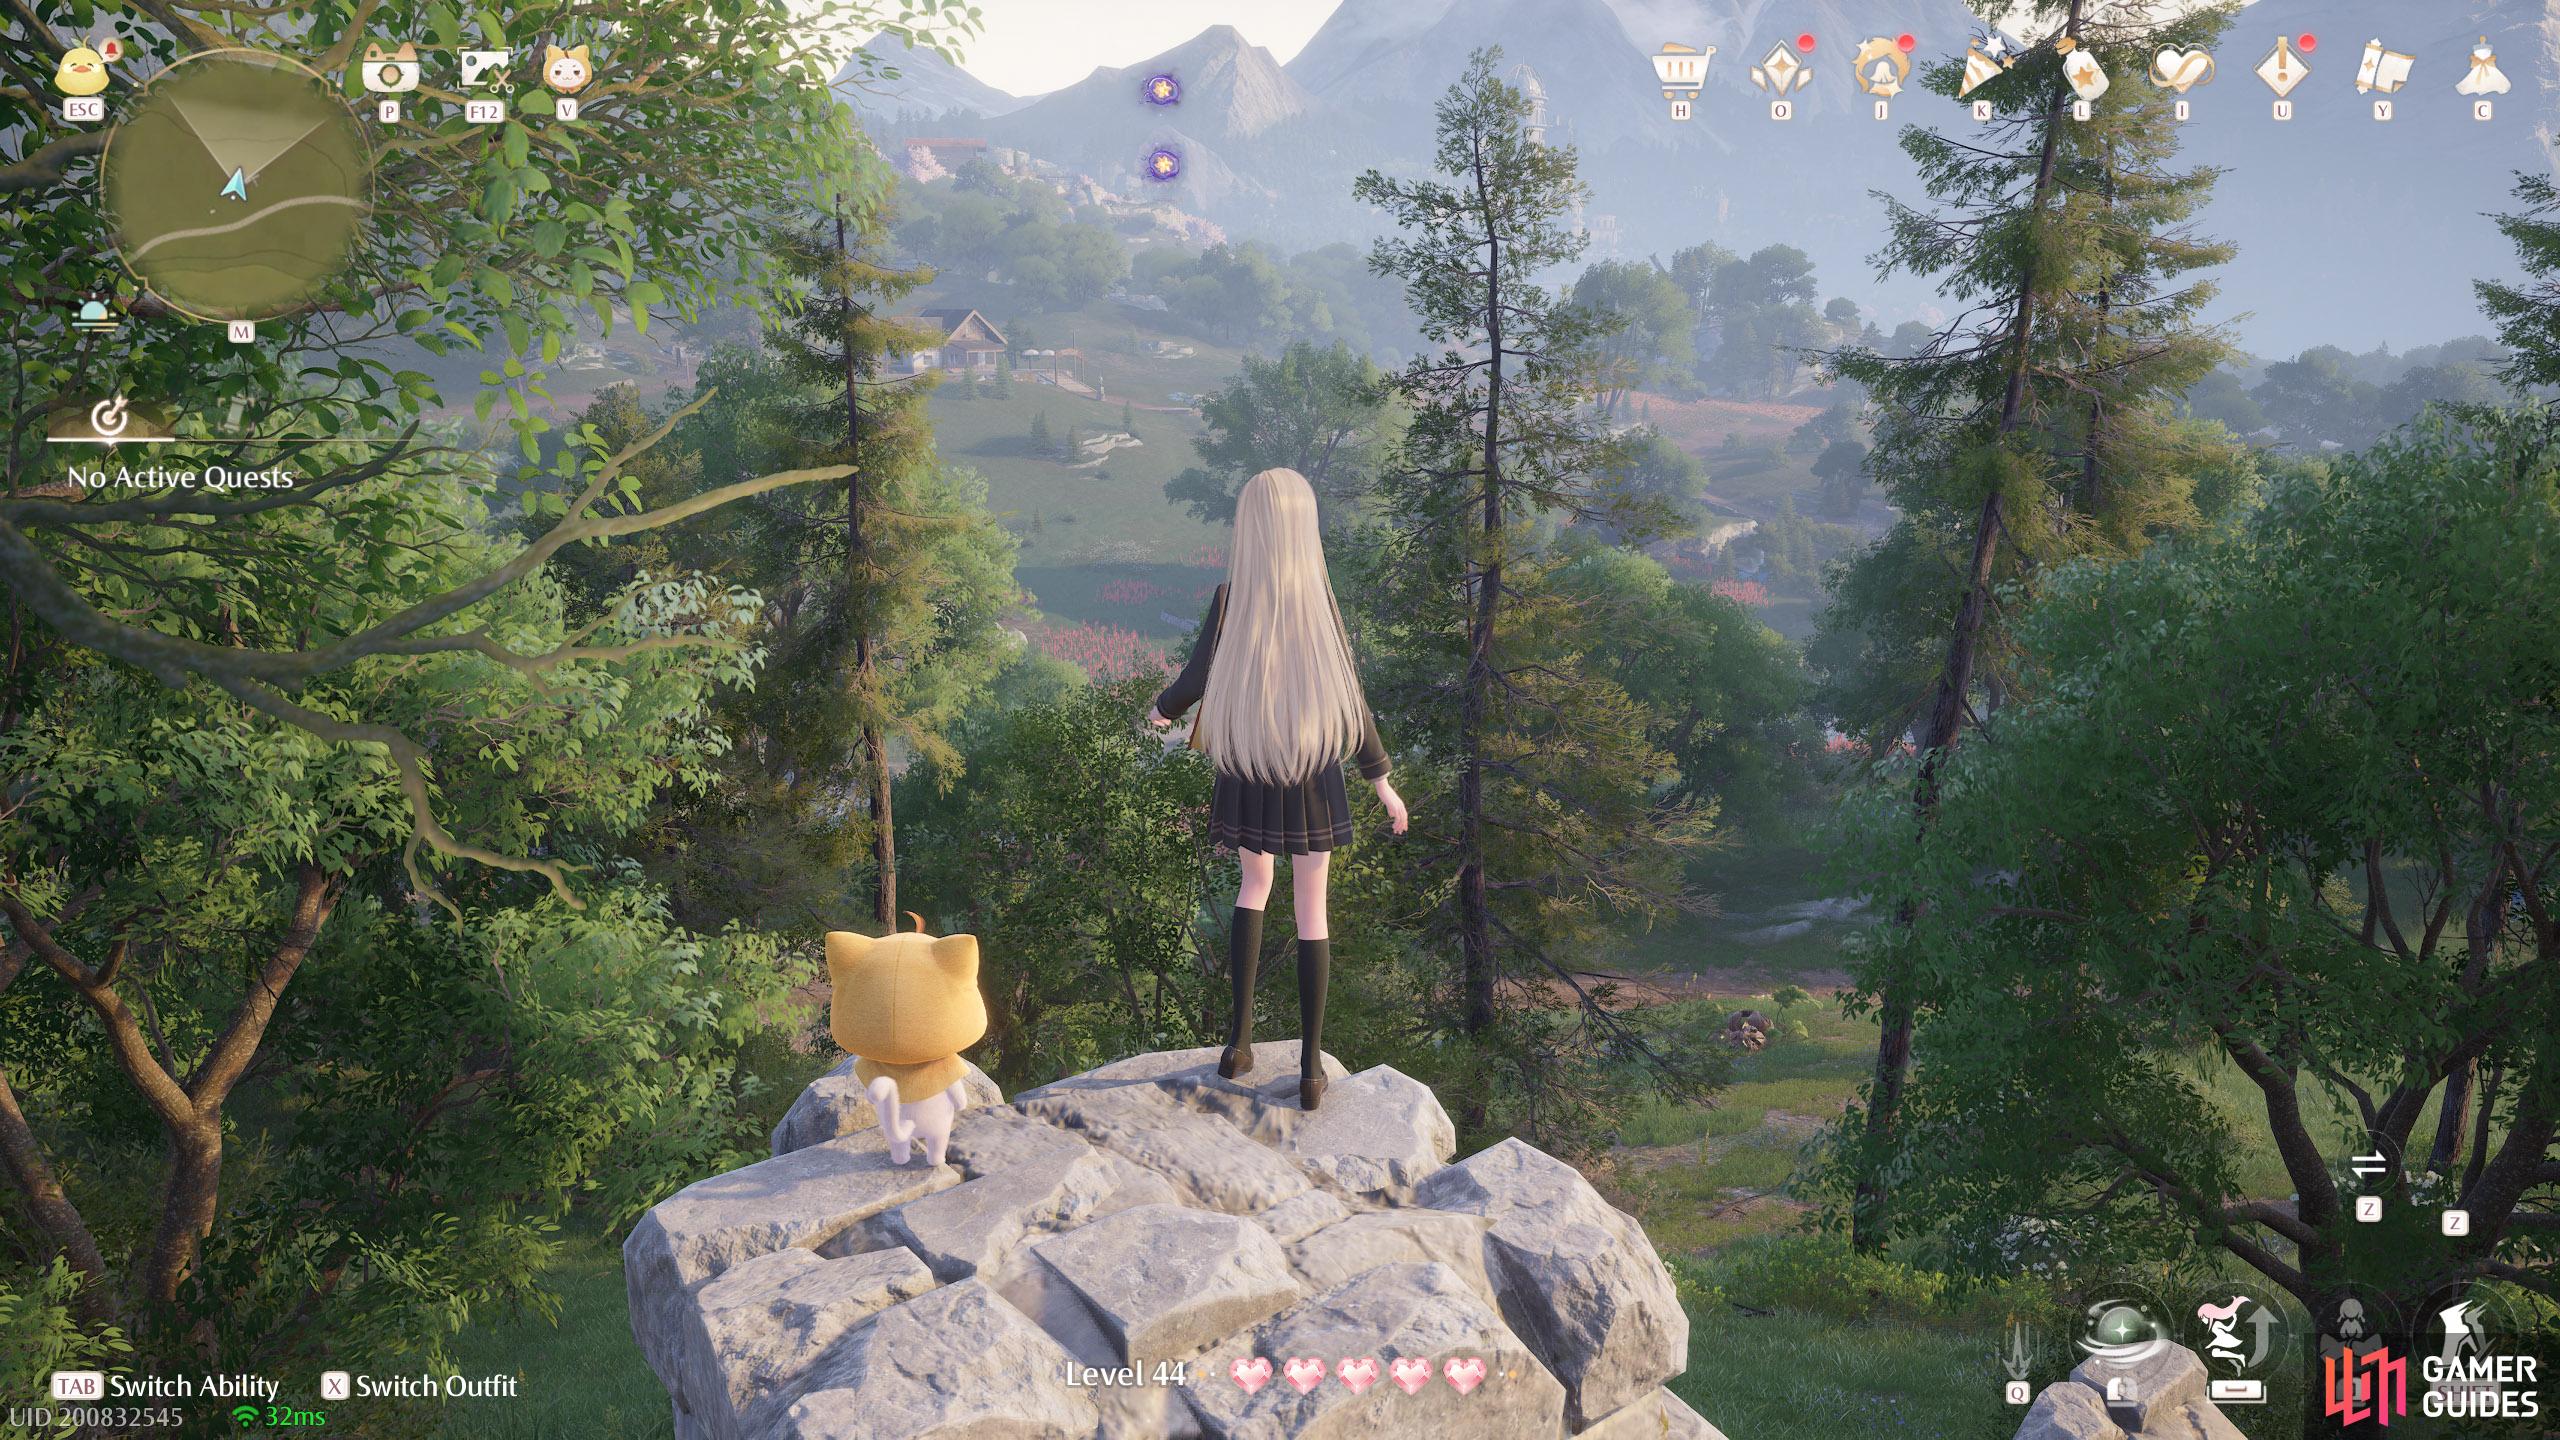
815. Miraland Map
South from ![]() Meadow Activity Support Center, across the river. Two floating near the top of a crumbling wall.
Meadow Activity Support Center, across the river. Two floating near the top of a crumbling wall.
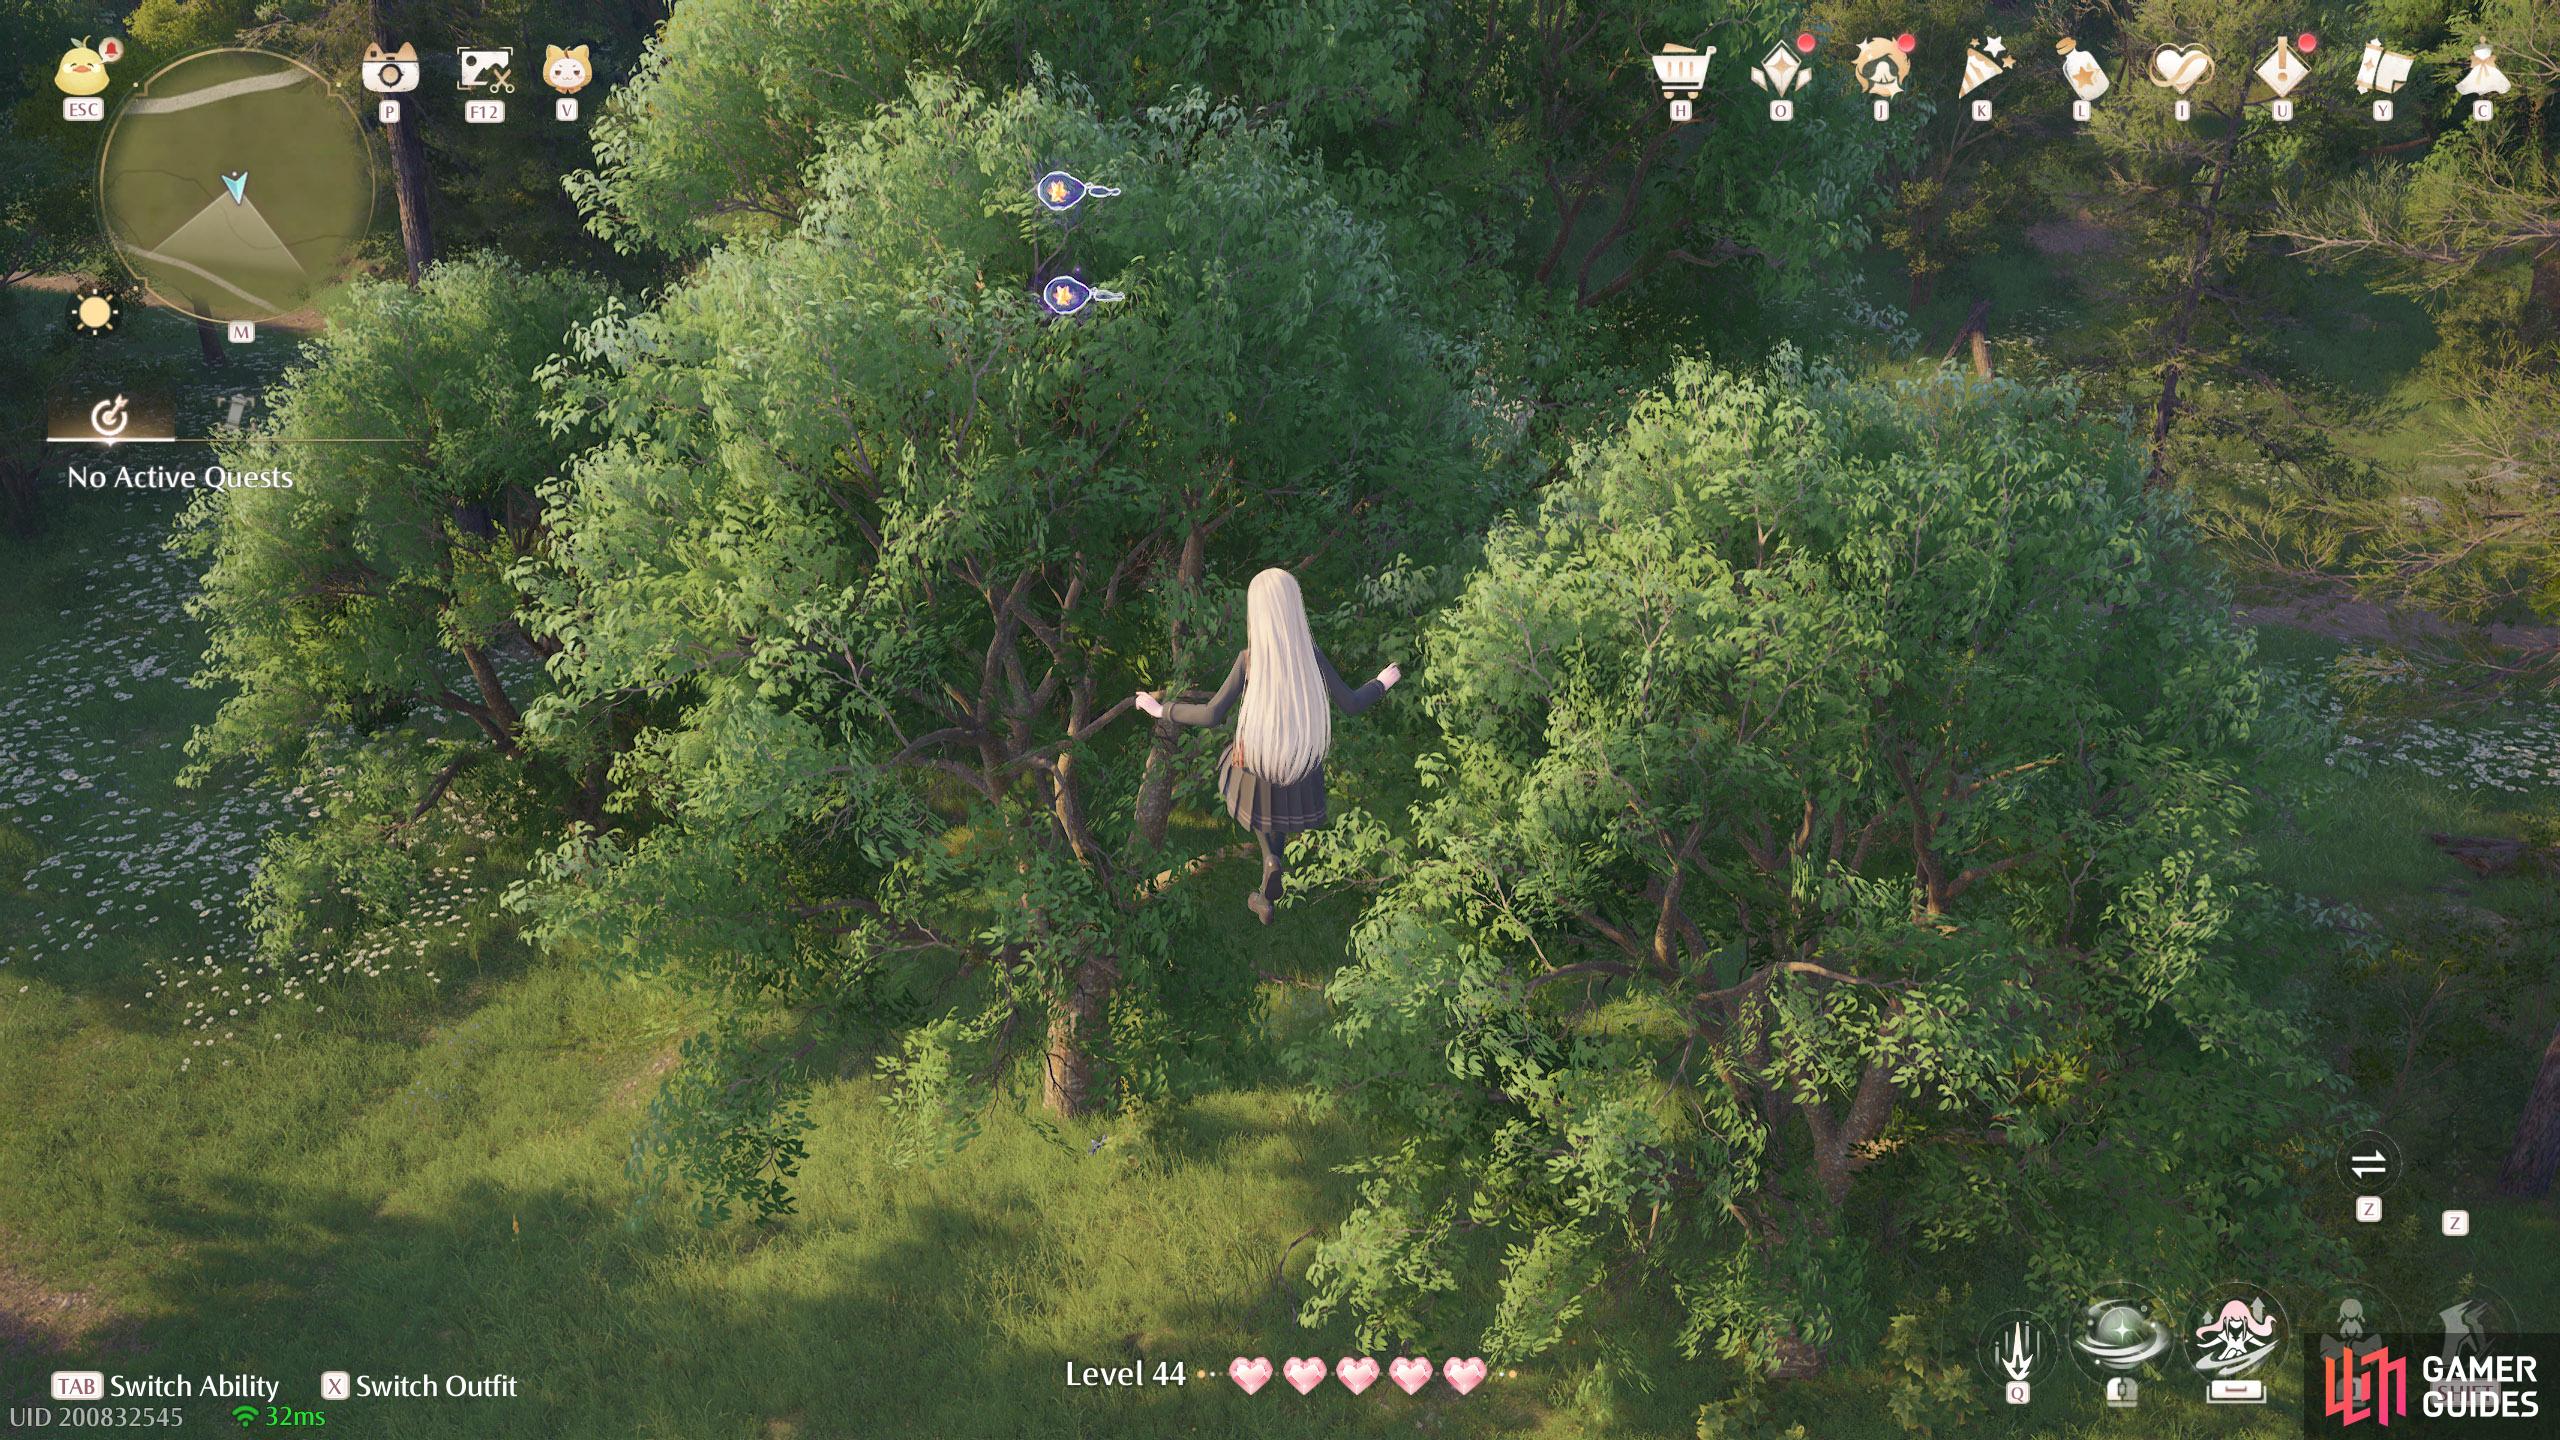
816. Miraland Map
North from ![]() Relic Hill. Two floating high up, with a leaf trampoline nearby.
Relic Hill. Two floating high up, with a leaf trampoline nearby.
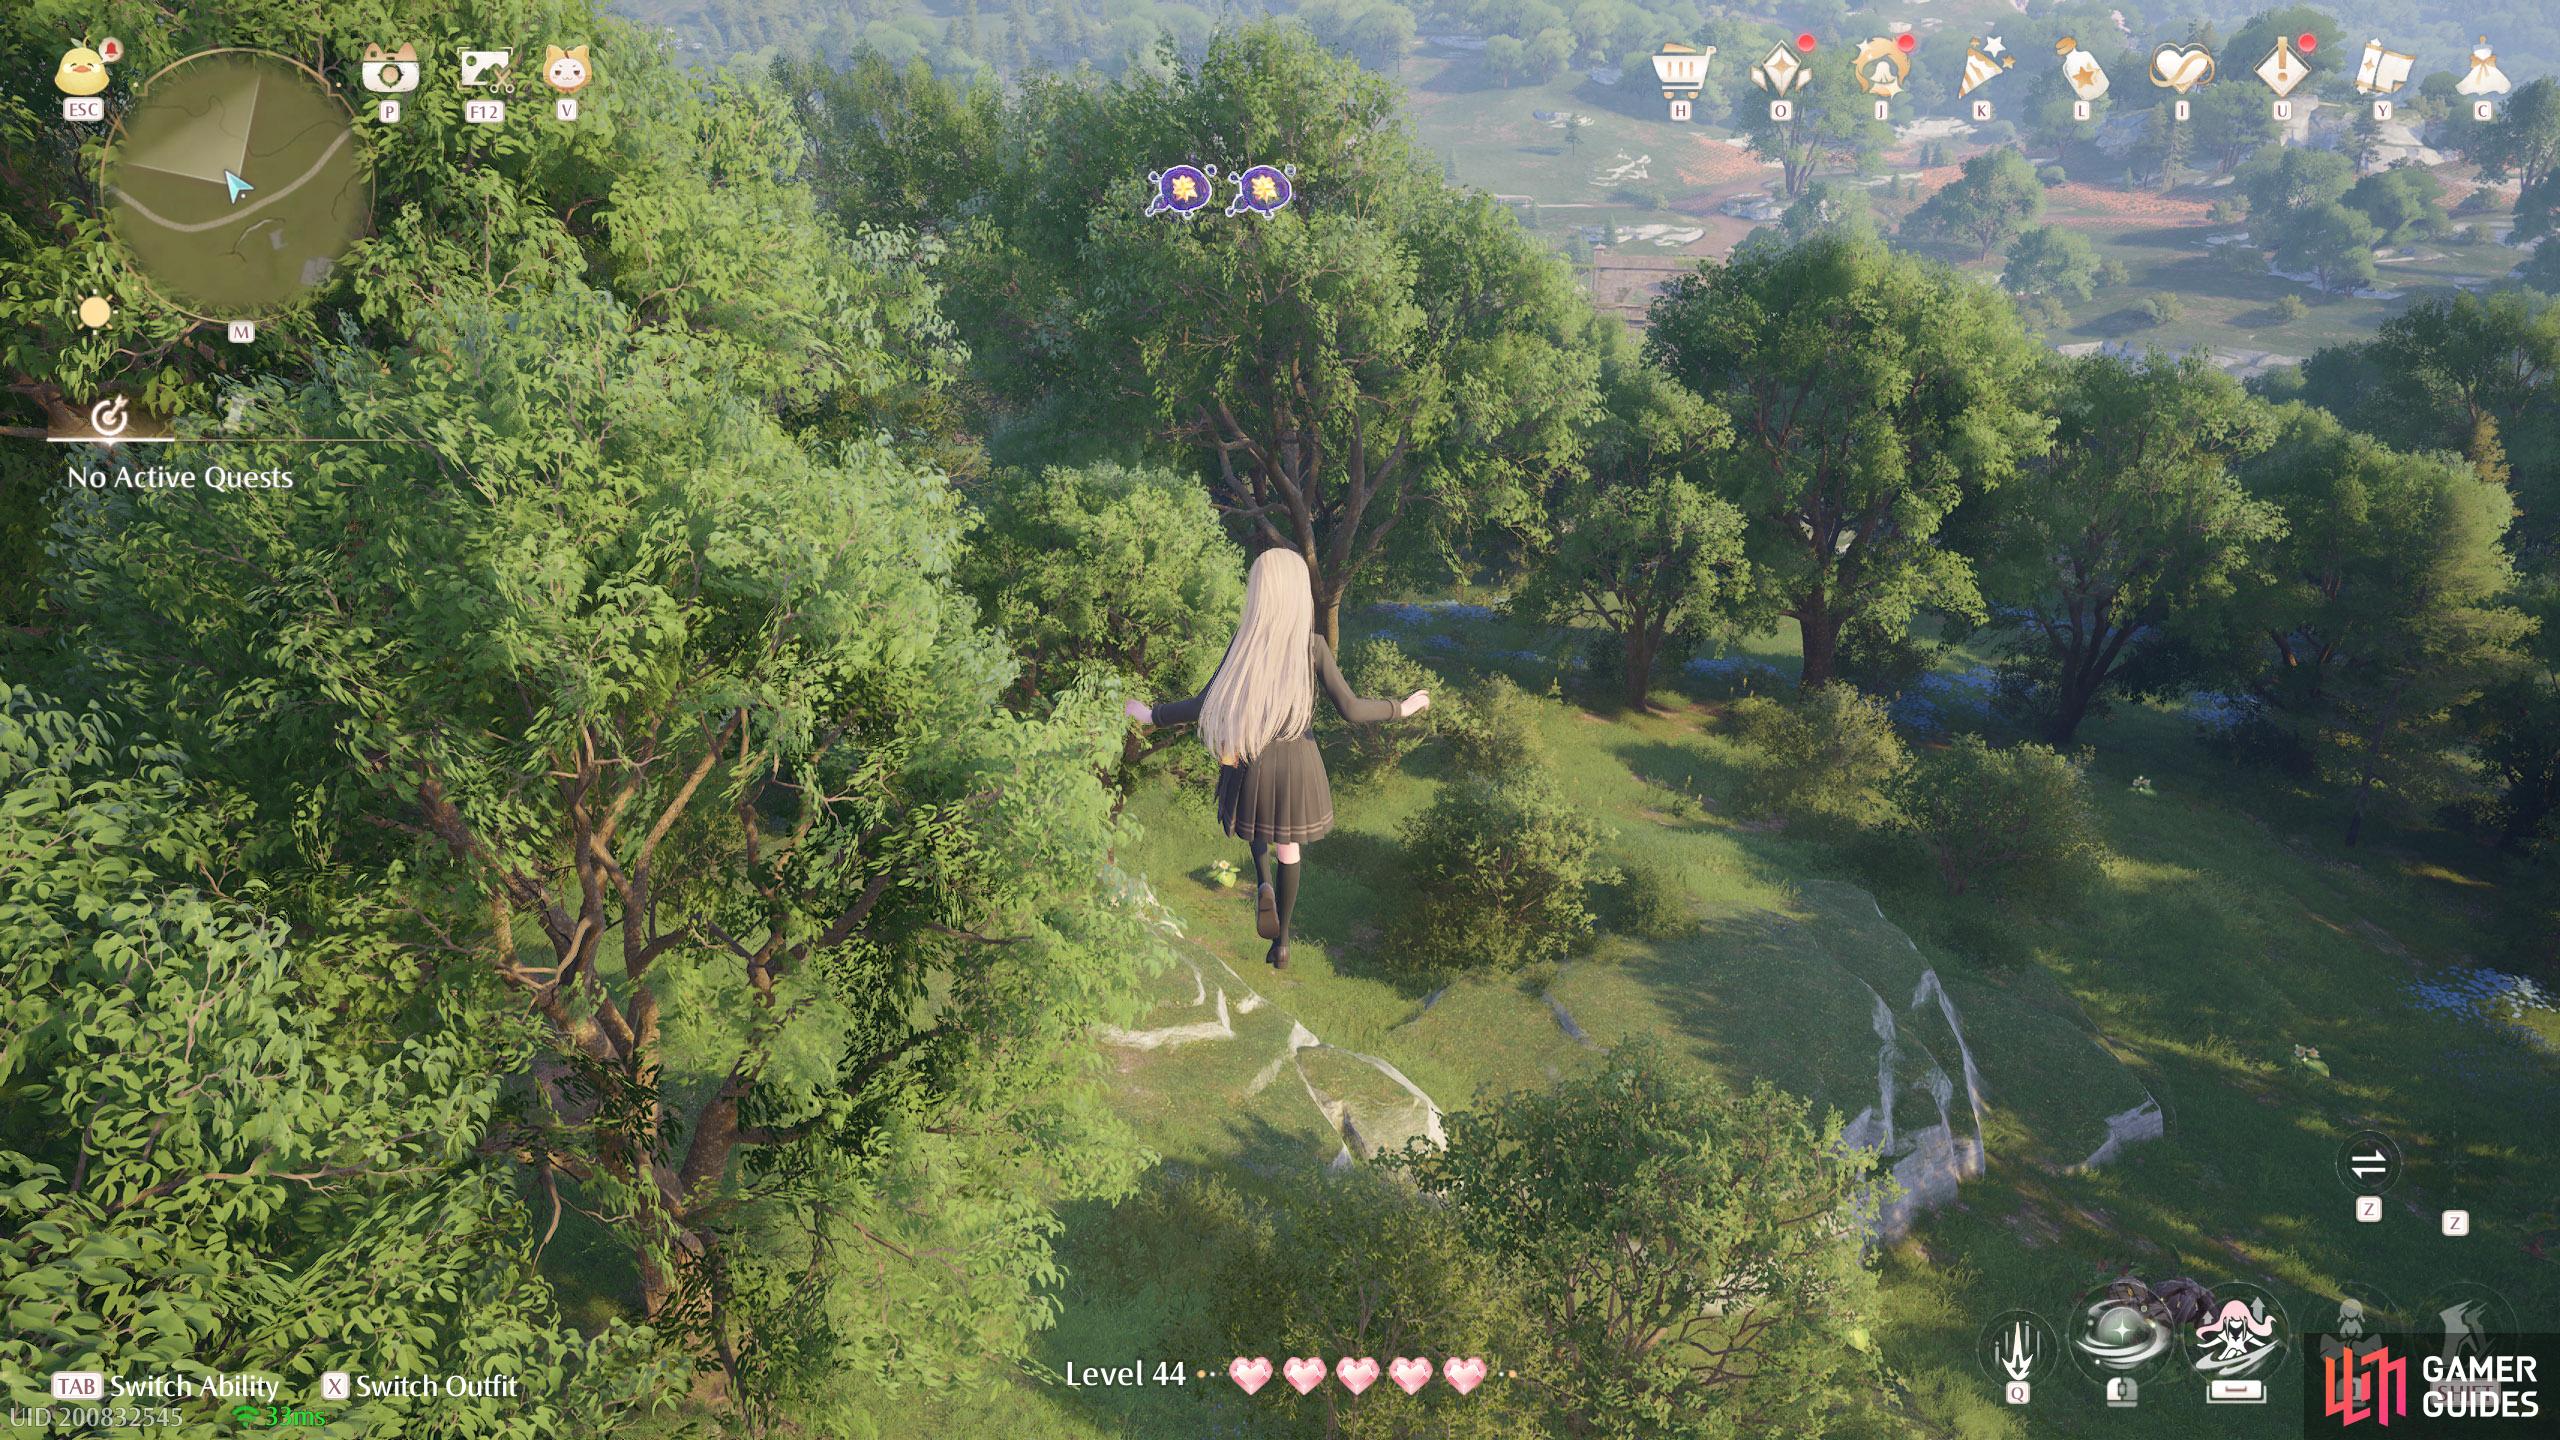
817. Miraland Map
North-west from ![]() Shimmer Pond. Two floating high up with a leaf trampoline nearby.
Shimmer Pond. Two floating high up with a leaf trampoline nearby.
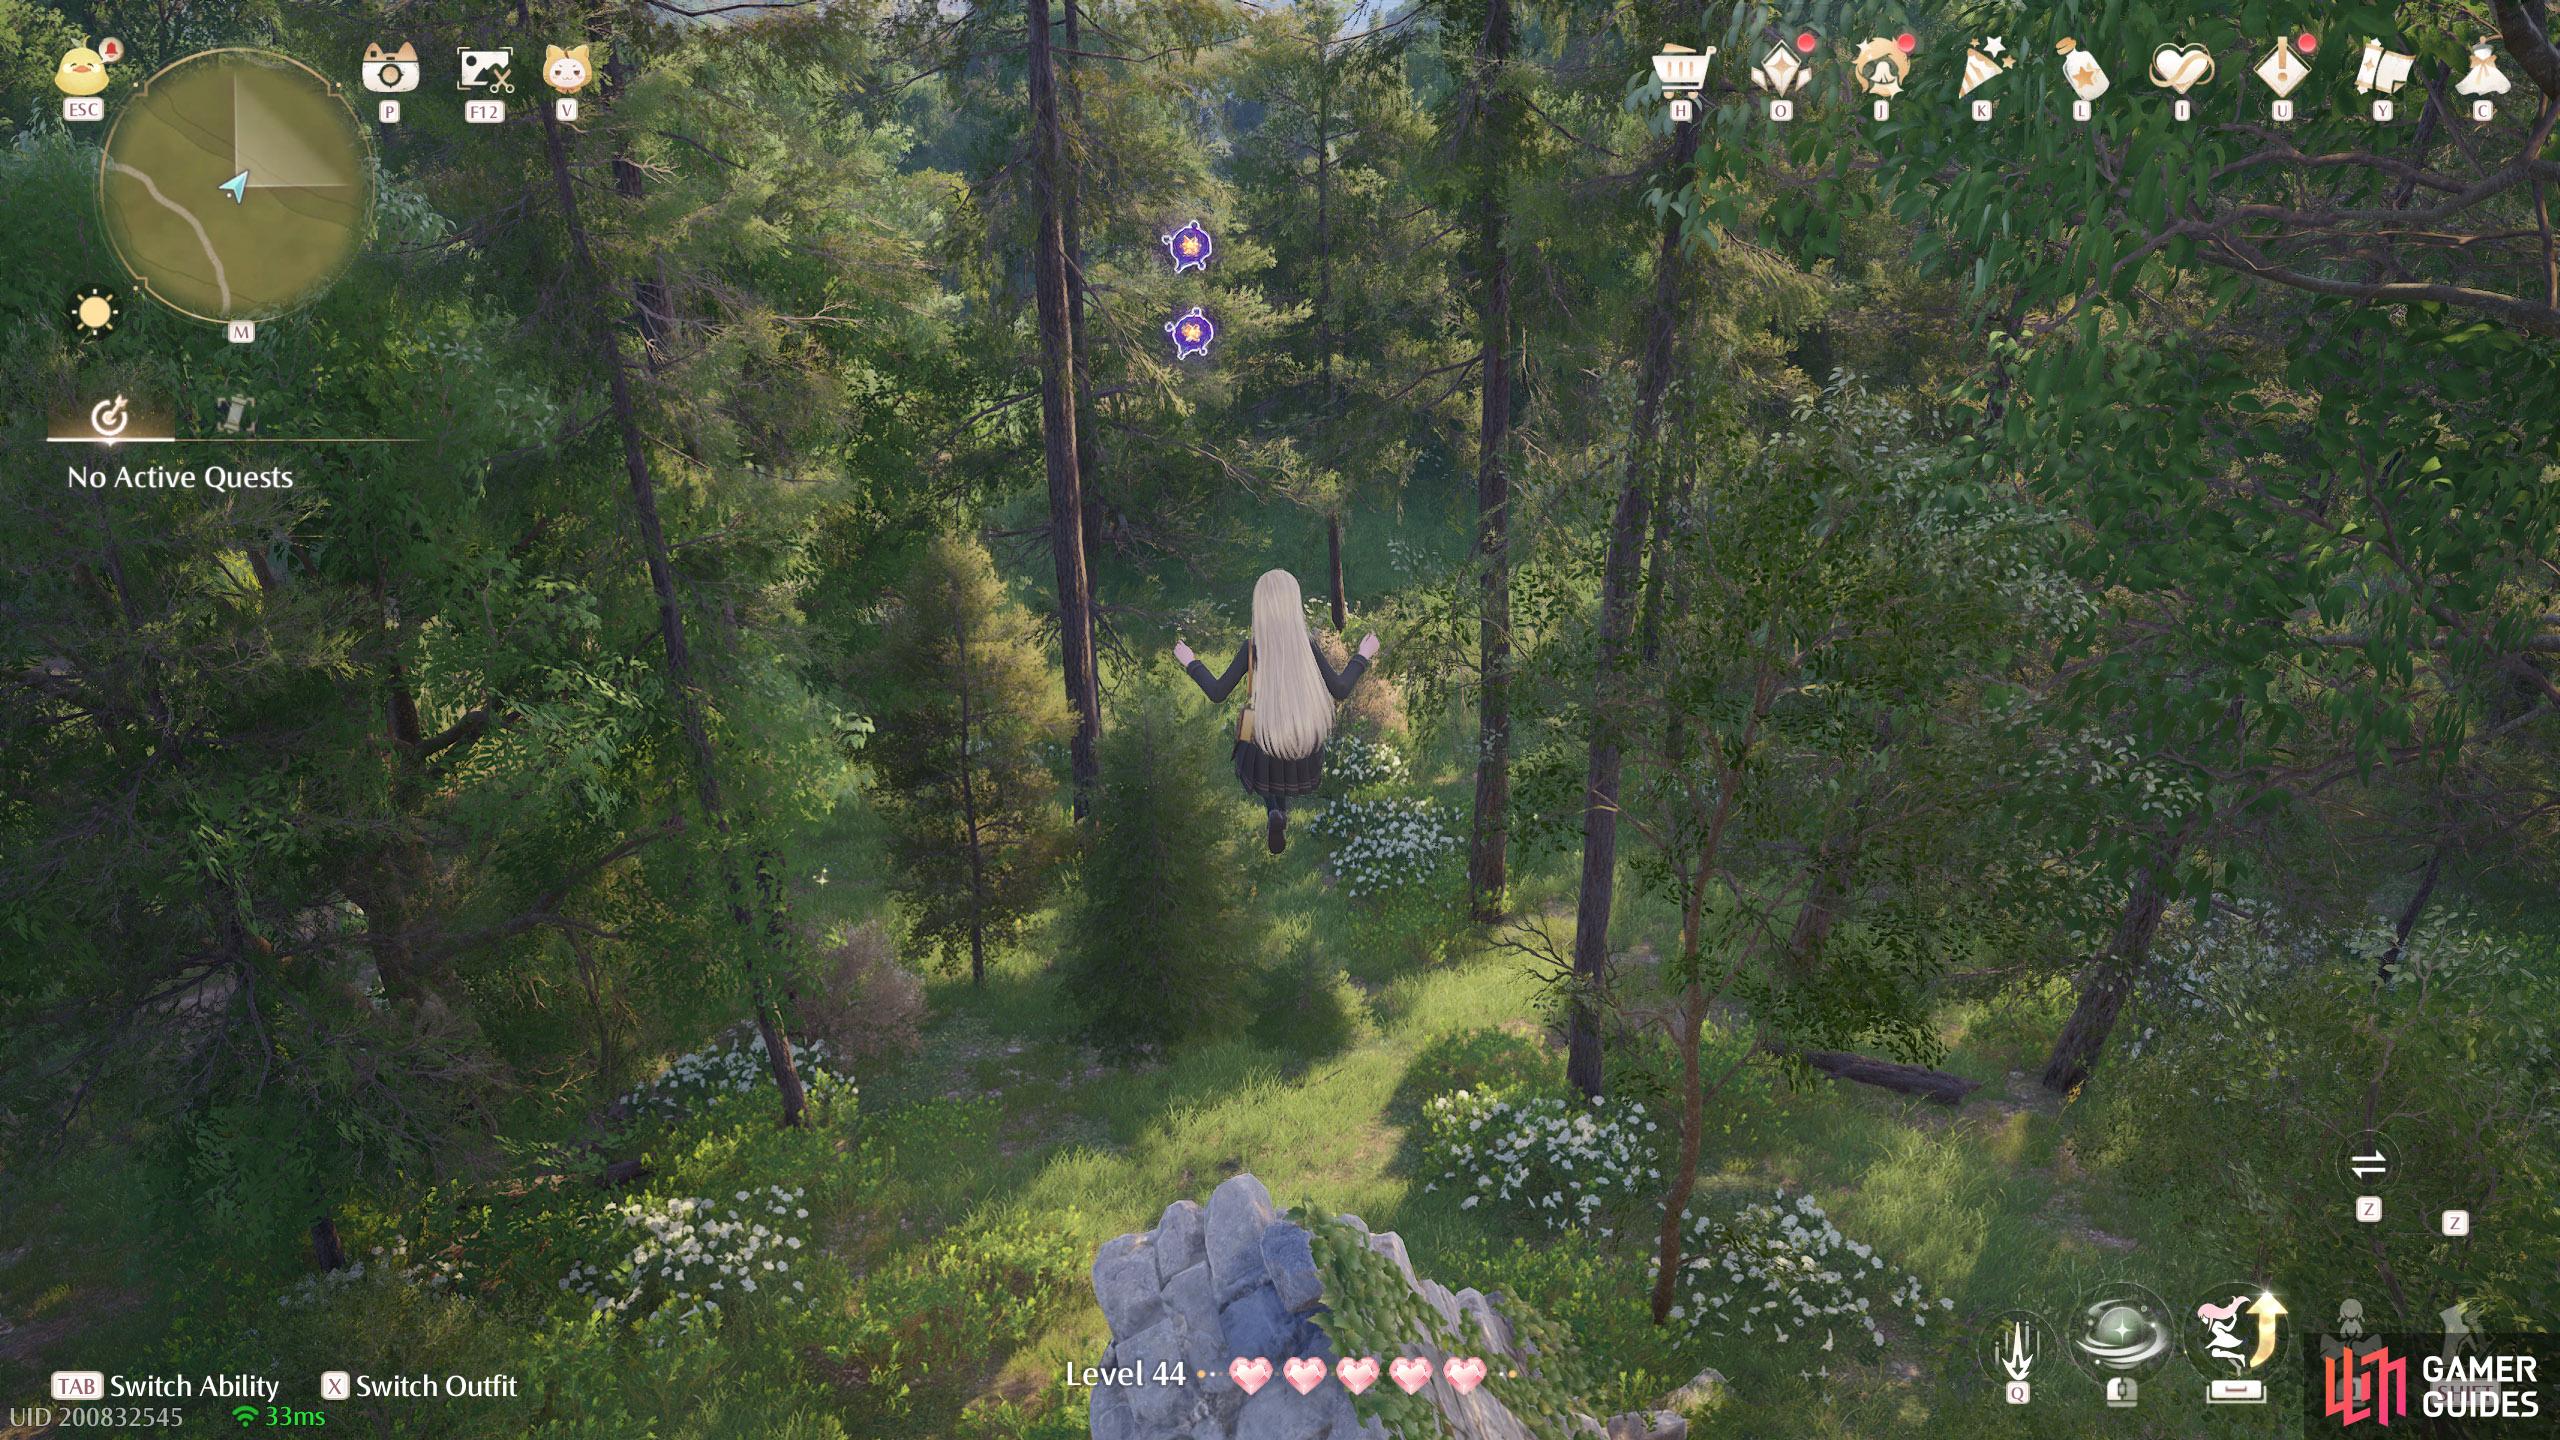
818. Miraland Map
North from ![]() Relic Hill. Two floating high up. You can reach by standing on top of the tall rubble.
Relic Hill. Two floating high up. You can reach by standing on top of the tall rubble.
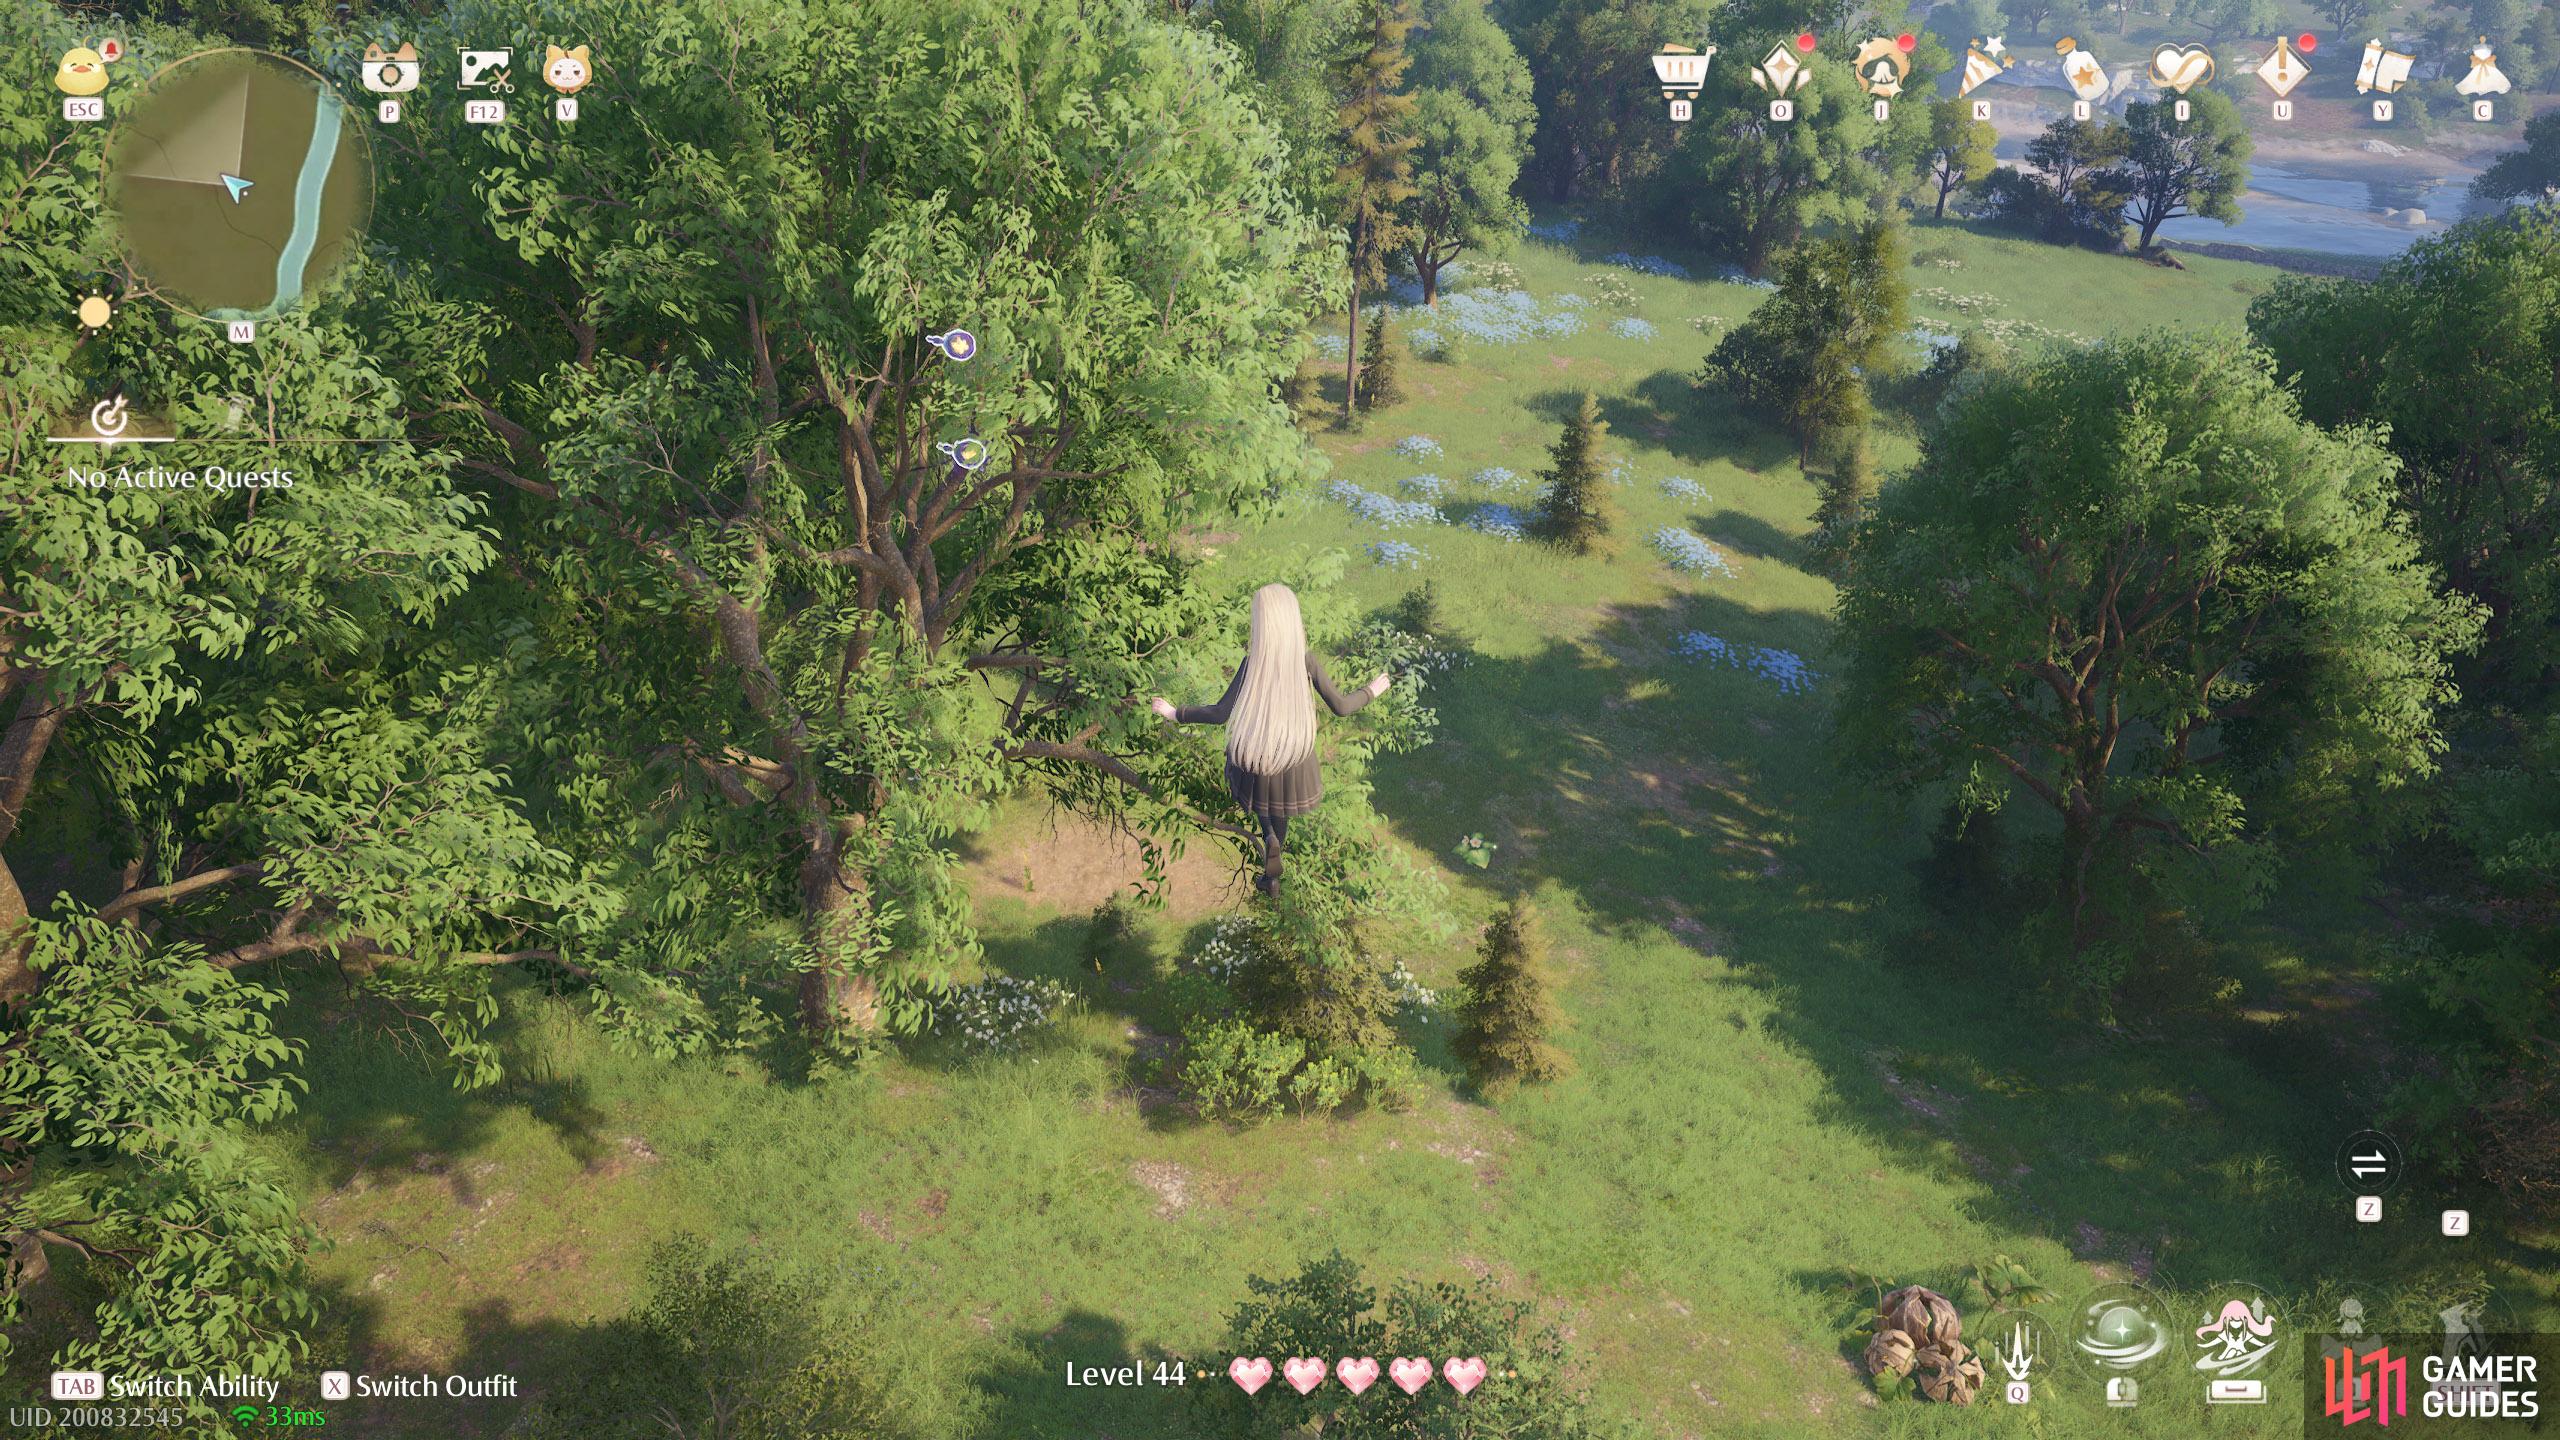
819. Miraland Map
North from ![]() Shimmer Pond. Two floating high up, with a leaf trampoline nearby.
Shimmer Pond. Two floating high up, with a leaf trampoline nearby.
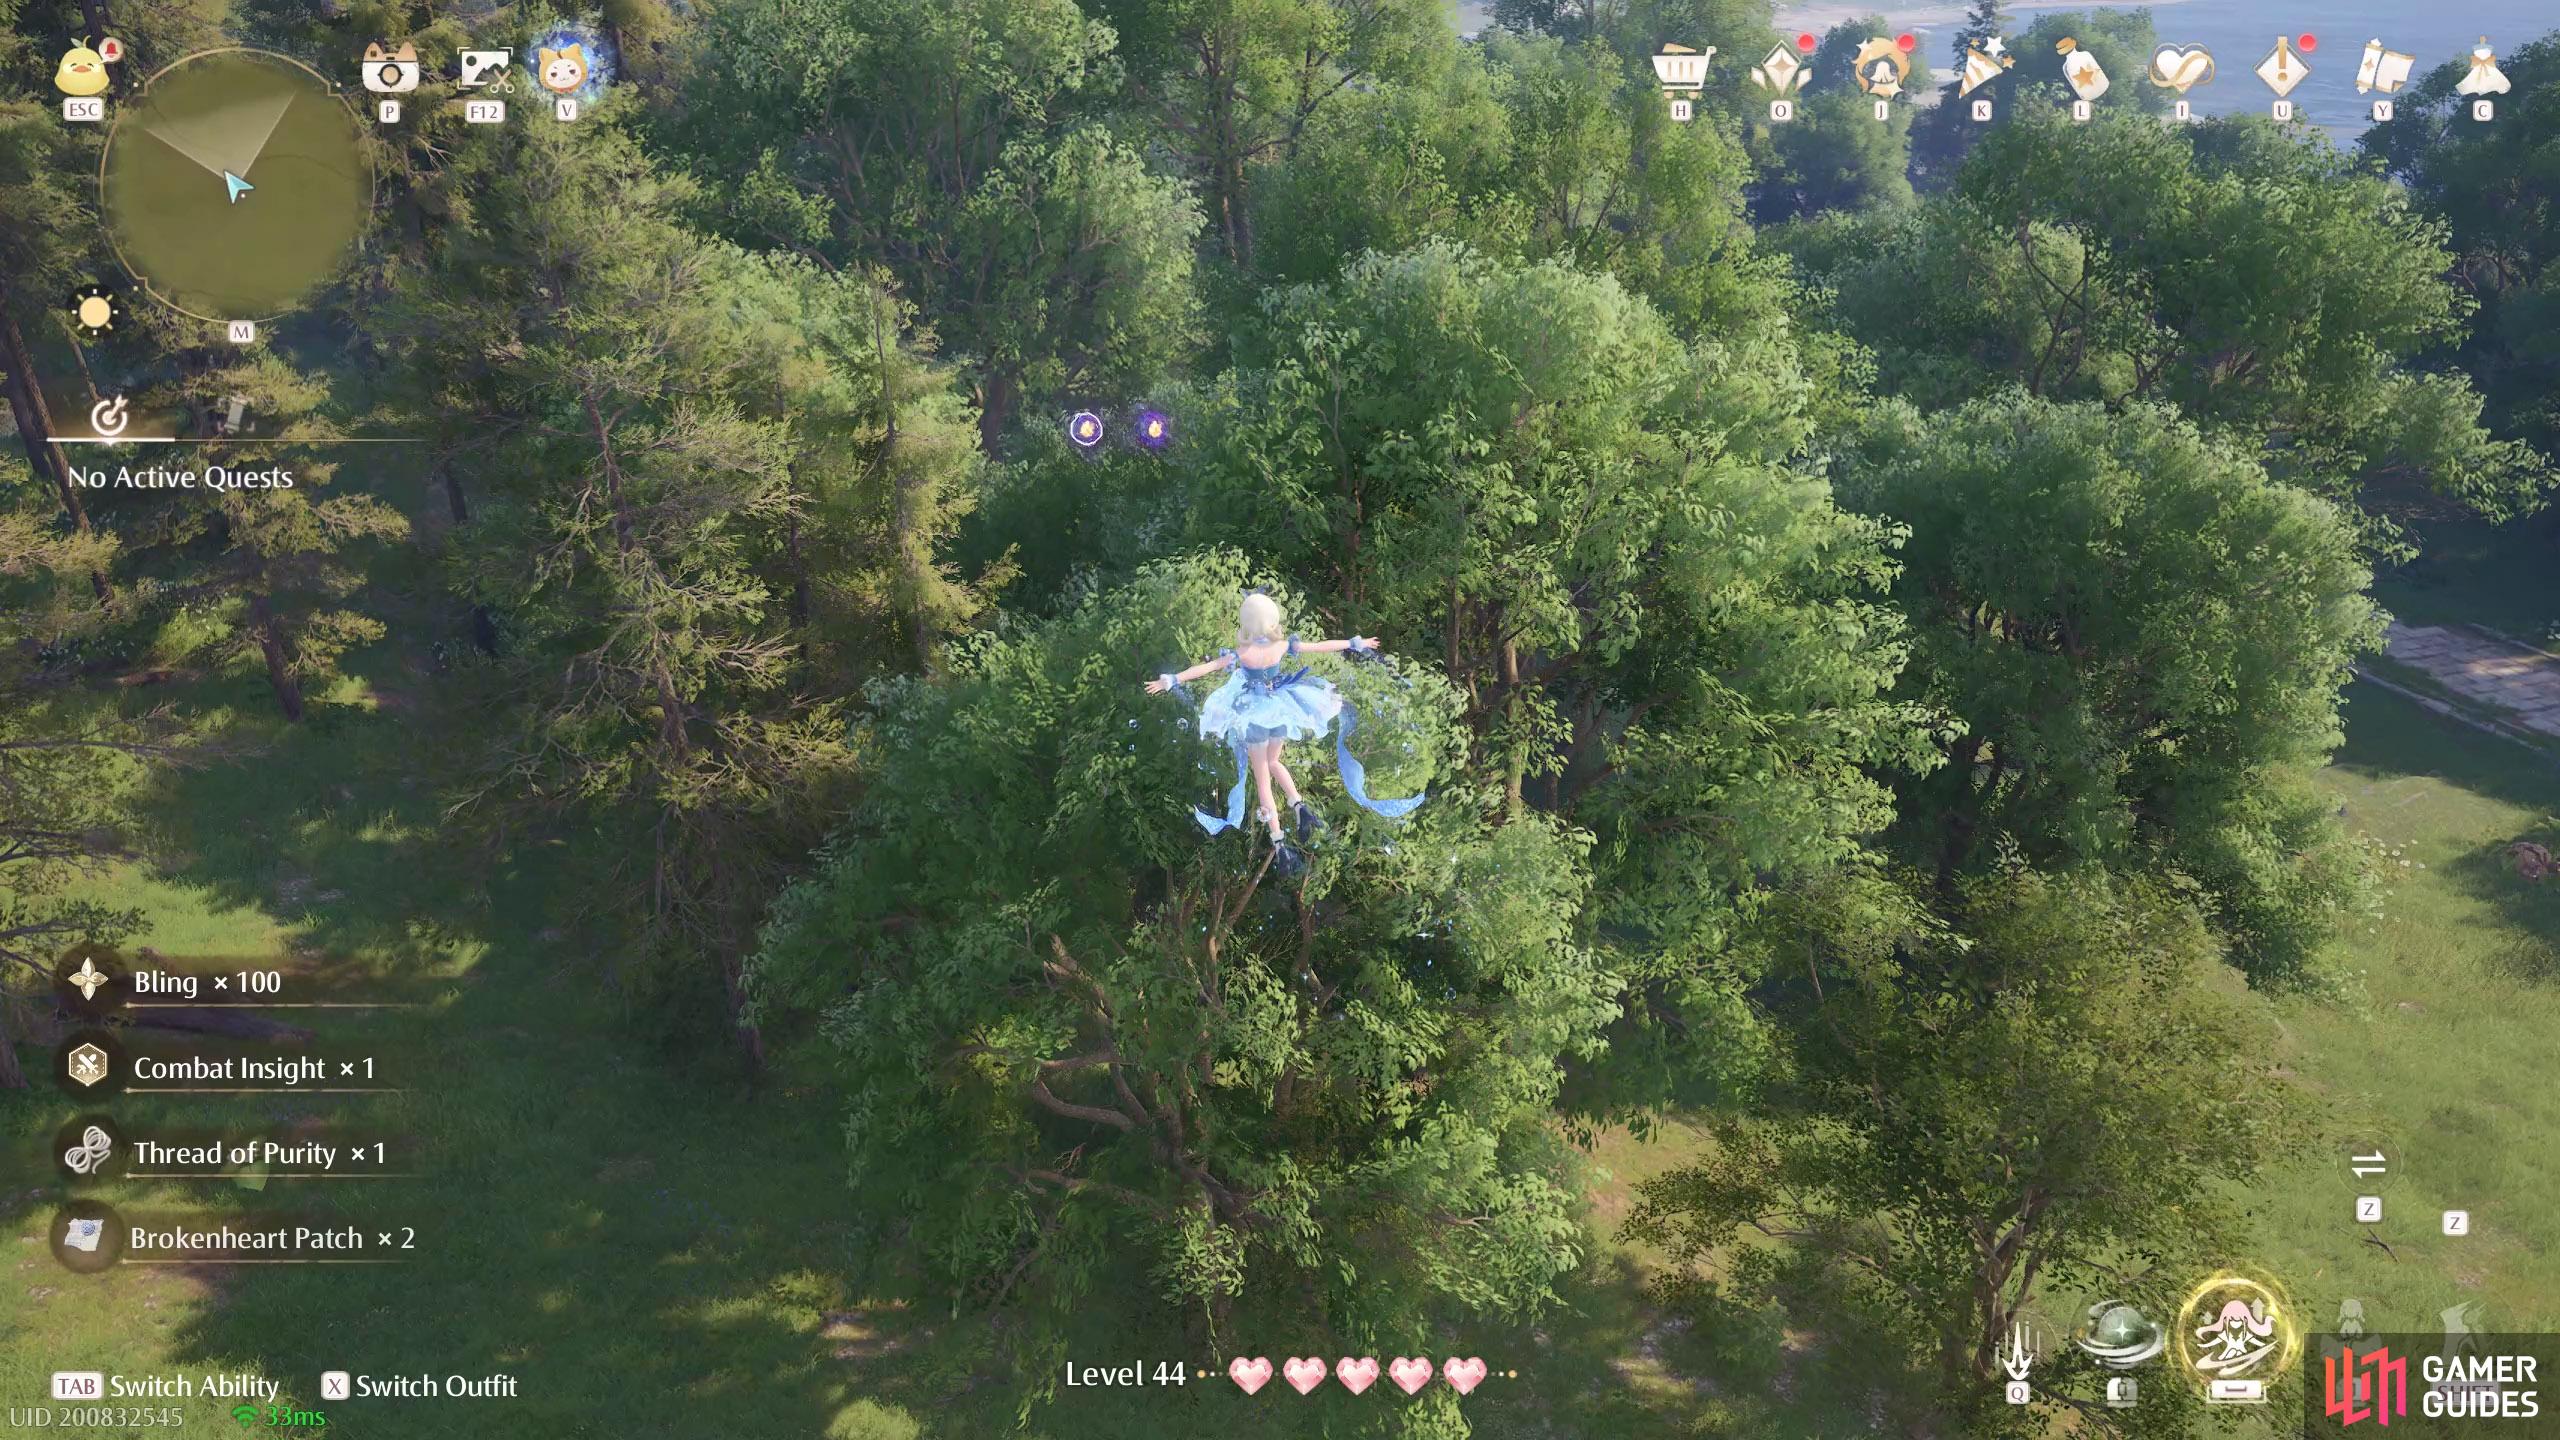
820. Miraland Map
East from ![]() Shimmer Pond. Two floating high up near some Esselings. There’s a leaf trampoline protected by one of the Esselings.
Shimmer Pond. Two floating high up near some Esselings. There’s a leaf trampoline protected by one of the Esselings.
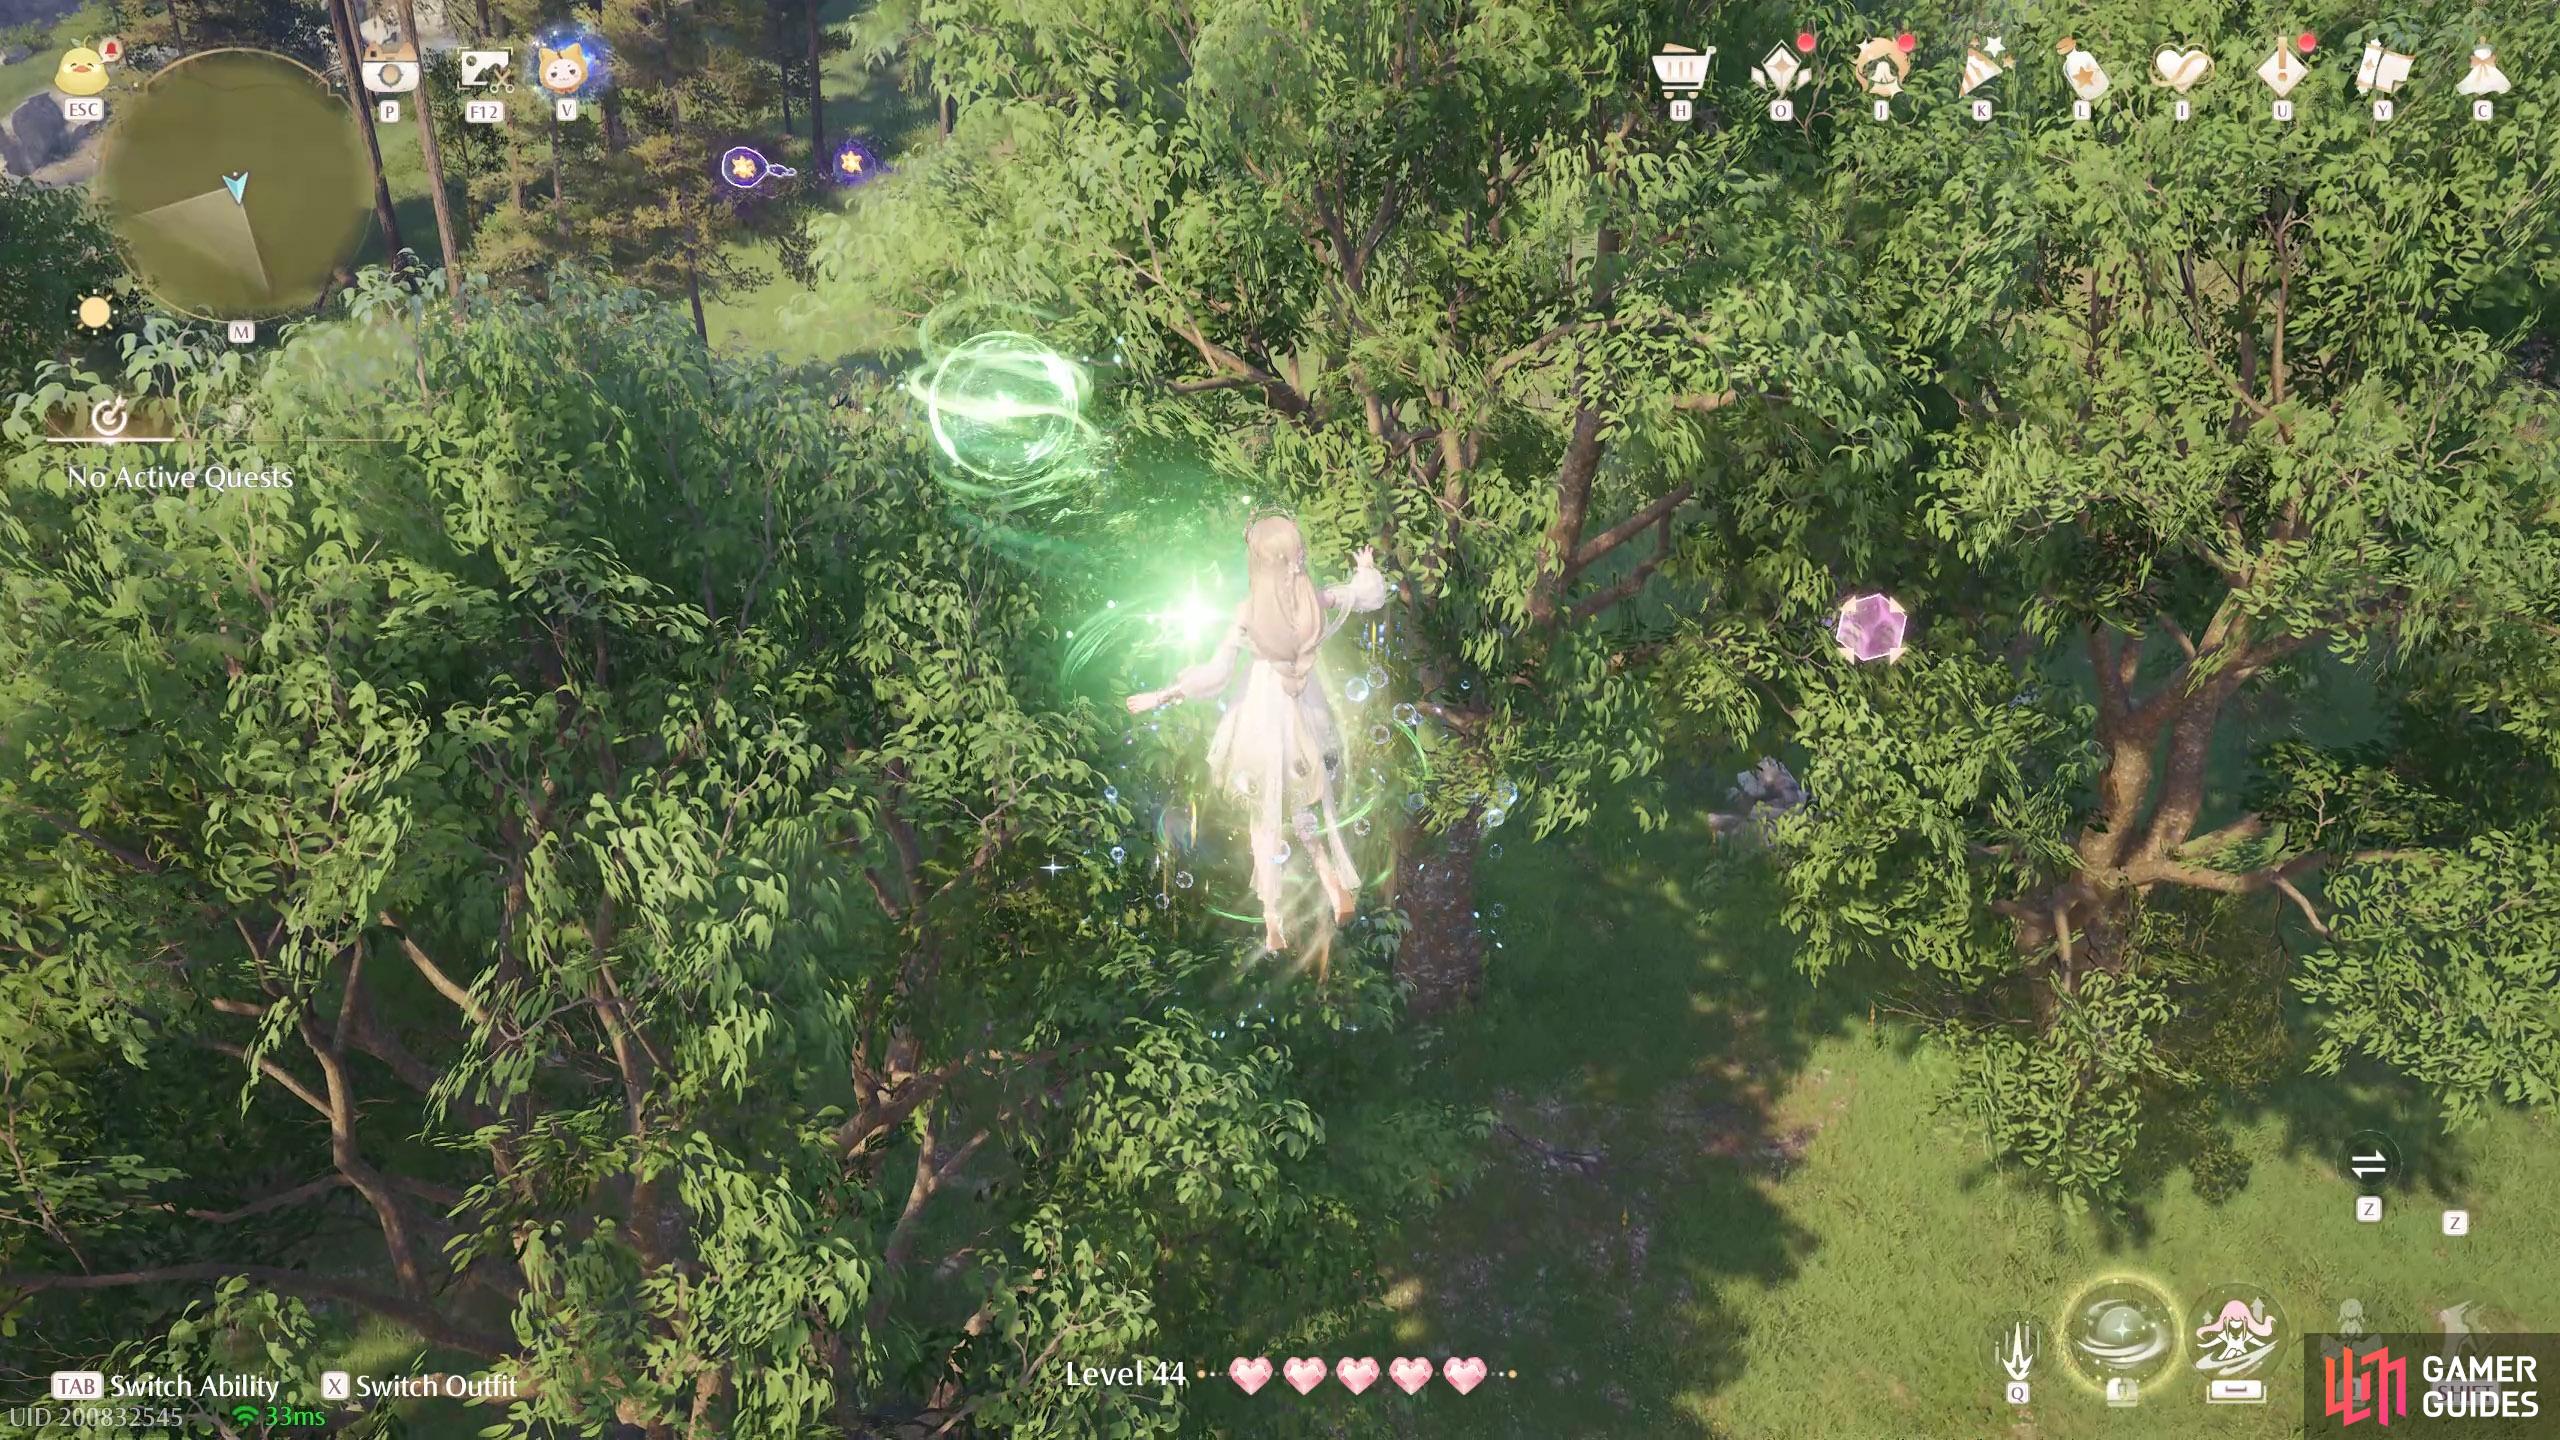
821. Miraland Map
South-east from ![]() Shimmer Pond. Two floating high up, with a leaf trampoline nearby. There’s a similar set to the north, but with Esselings there.
Shimmer Pond. Two floating high up, with a leaf trampoline nearby. There’s a similar set to the north, but with Esselings there.
822. Miraland Map
North-east from ![]() Abandoned Fanatic Wisher Camp Outpost. Three floating above the river. There’s a leaf trampoline on the north side of the river, guarded by Esselings.
Abandoned Fanatic Wisher Camp Outpost. Three floating above the river. There’s a leaf trampoline on the north side of the river, guarded by Esselings.
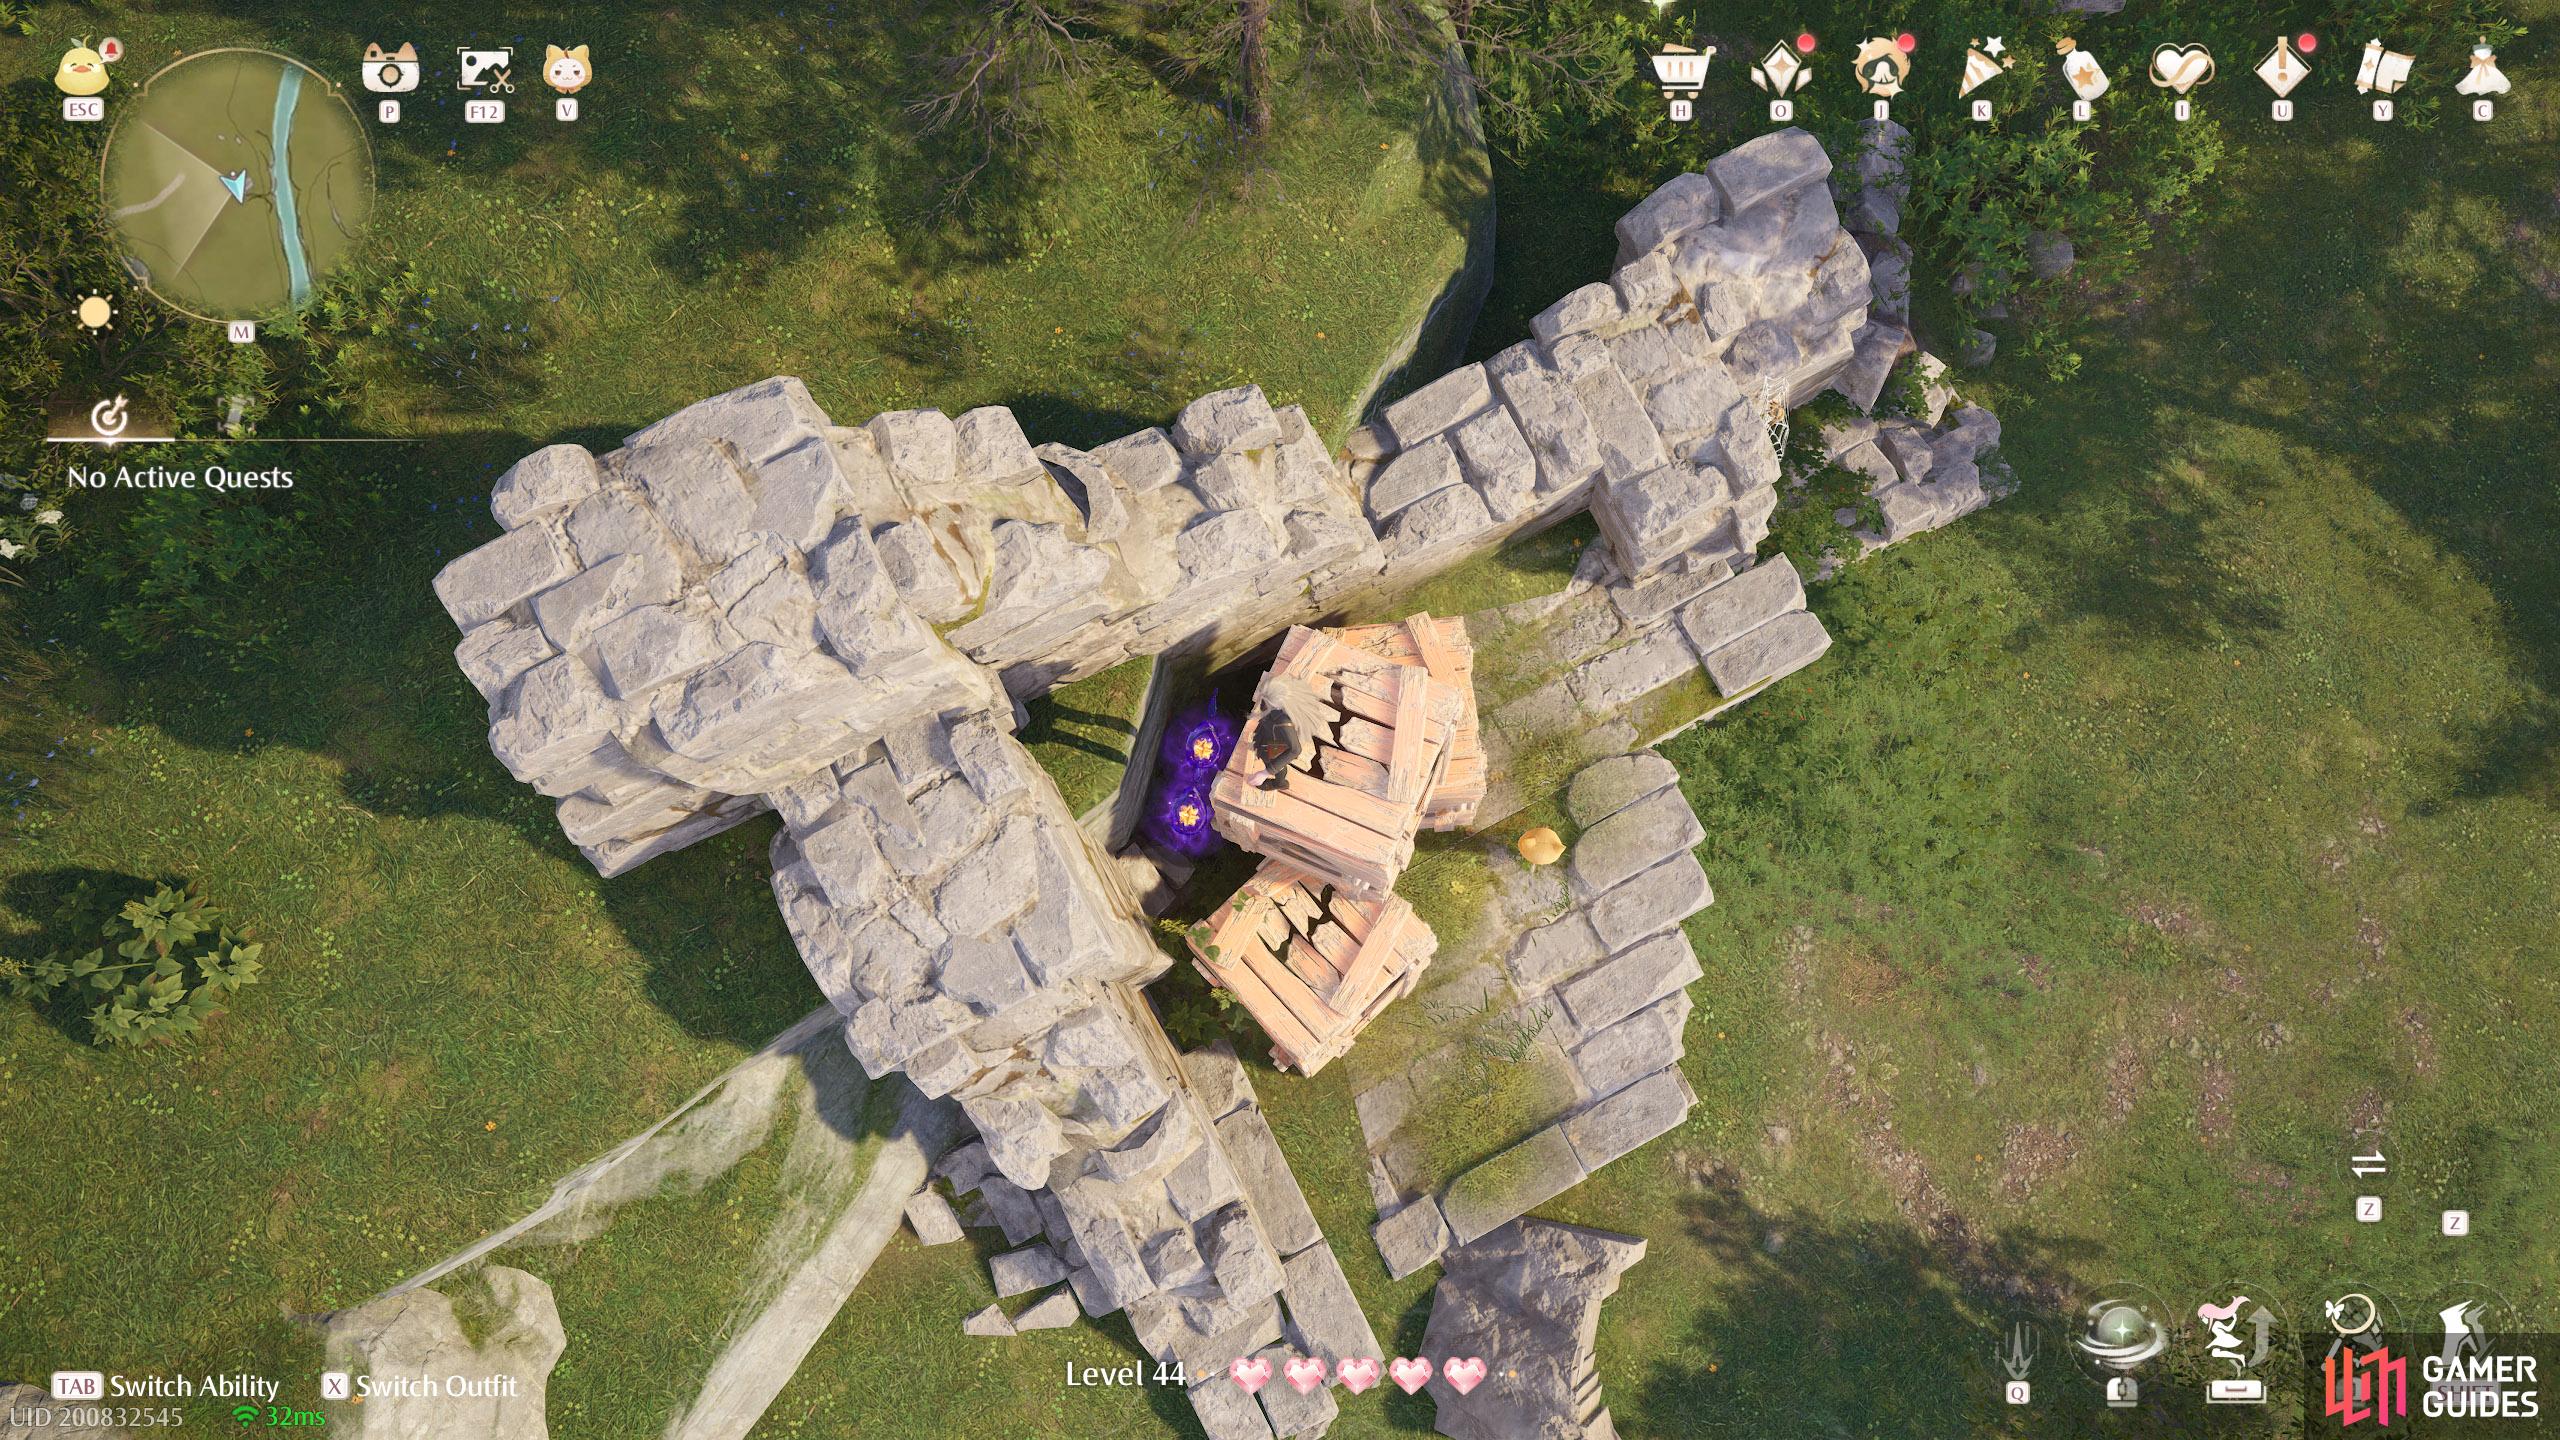
823. Miraland Map
South-east from ![]() Relic Hill. Two behind some wooden crates. You can get them all with a jumping attack.
Relic Hill. Two behind some wooden crates. You can get them all with a jumping attack.

824. Miraland Map
East and slightly south from ![]() Relic Hill. Two floating high above the river. On the north side, there’s a catapult you can use, but watch out for the Esselings.
Relic Hill. Two floating high above the river. On the north side, there’s a catapult you can use, but watch out for the Esselings.
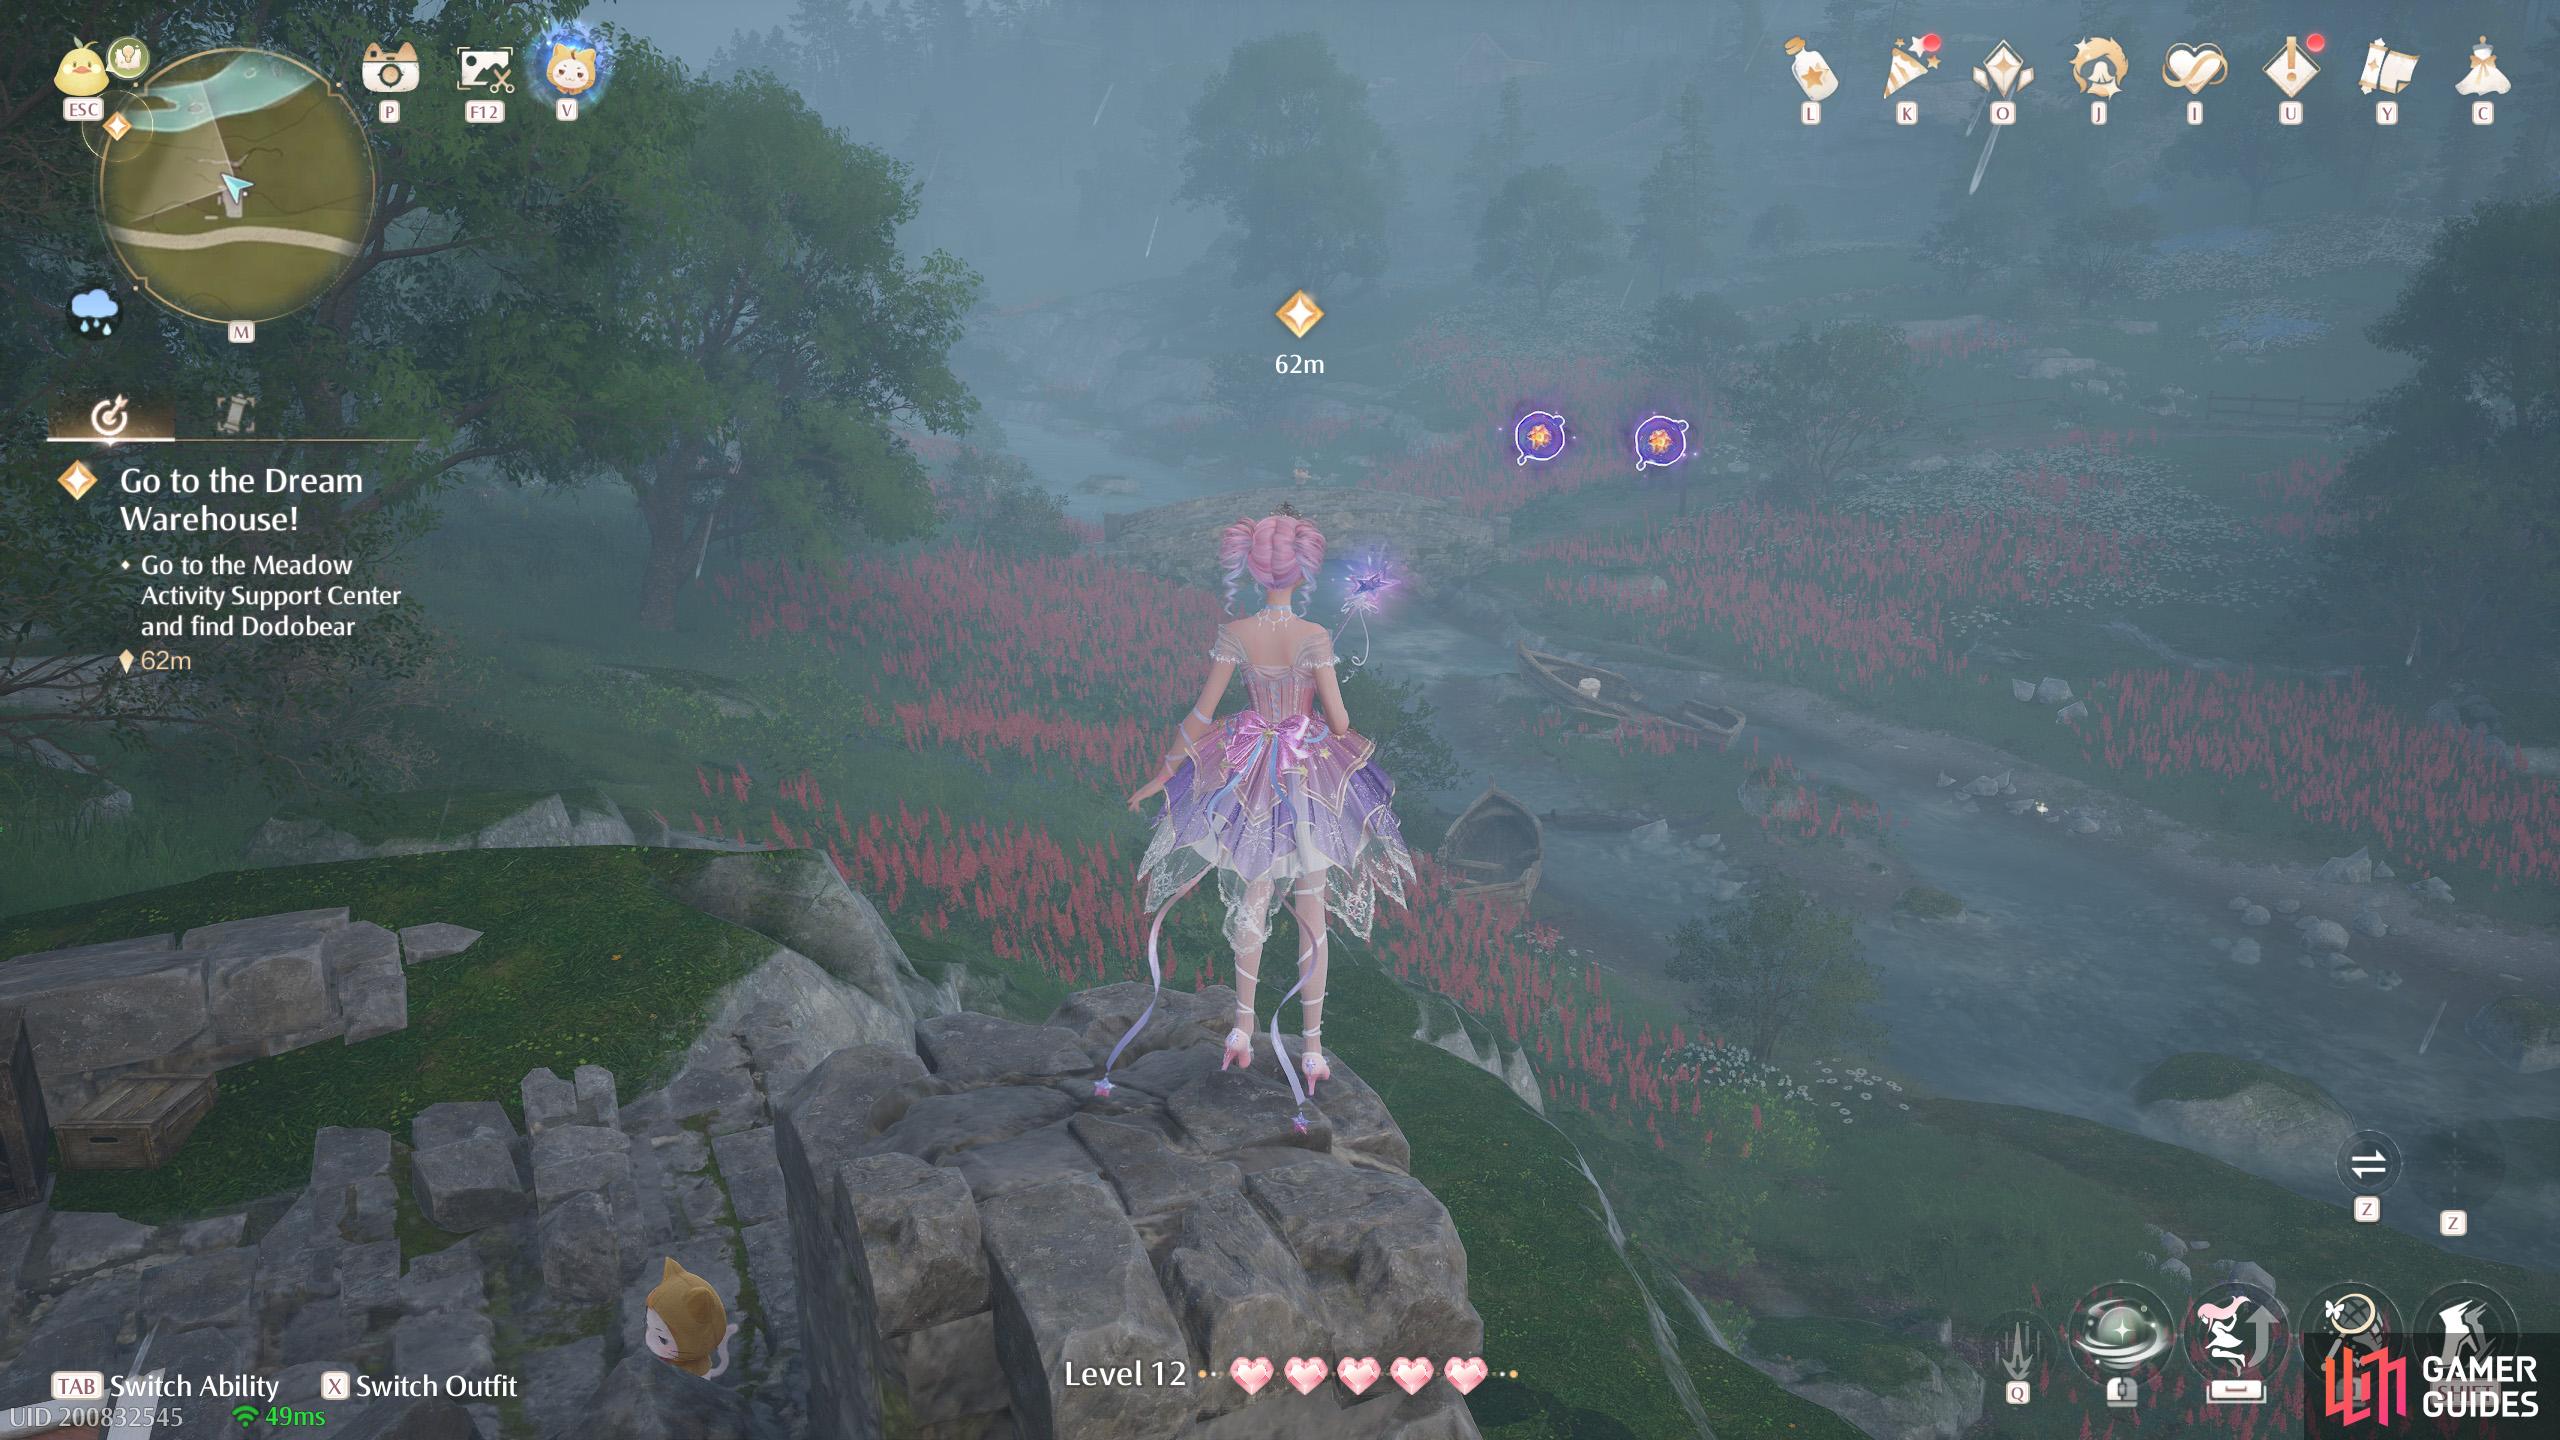
825. Miraland Map
East of ![]() Stoneville Entrance. Two floating at the north side of some small ruins.
Stoneville Entrance. Two floating at the north side of some small ruins.
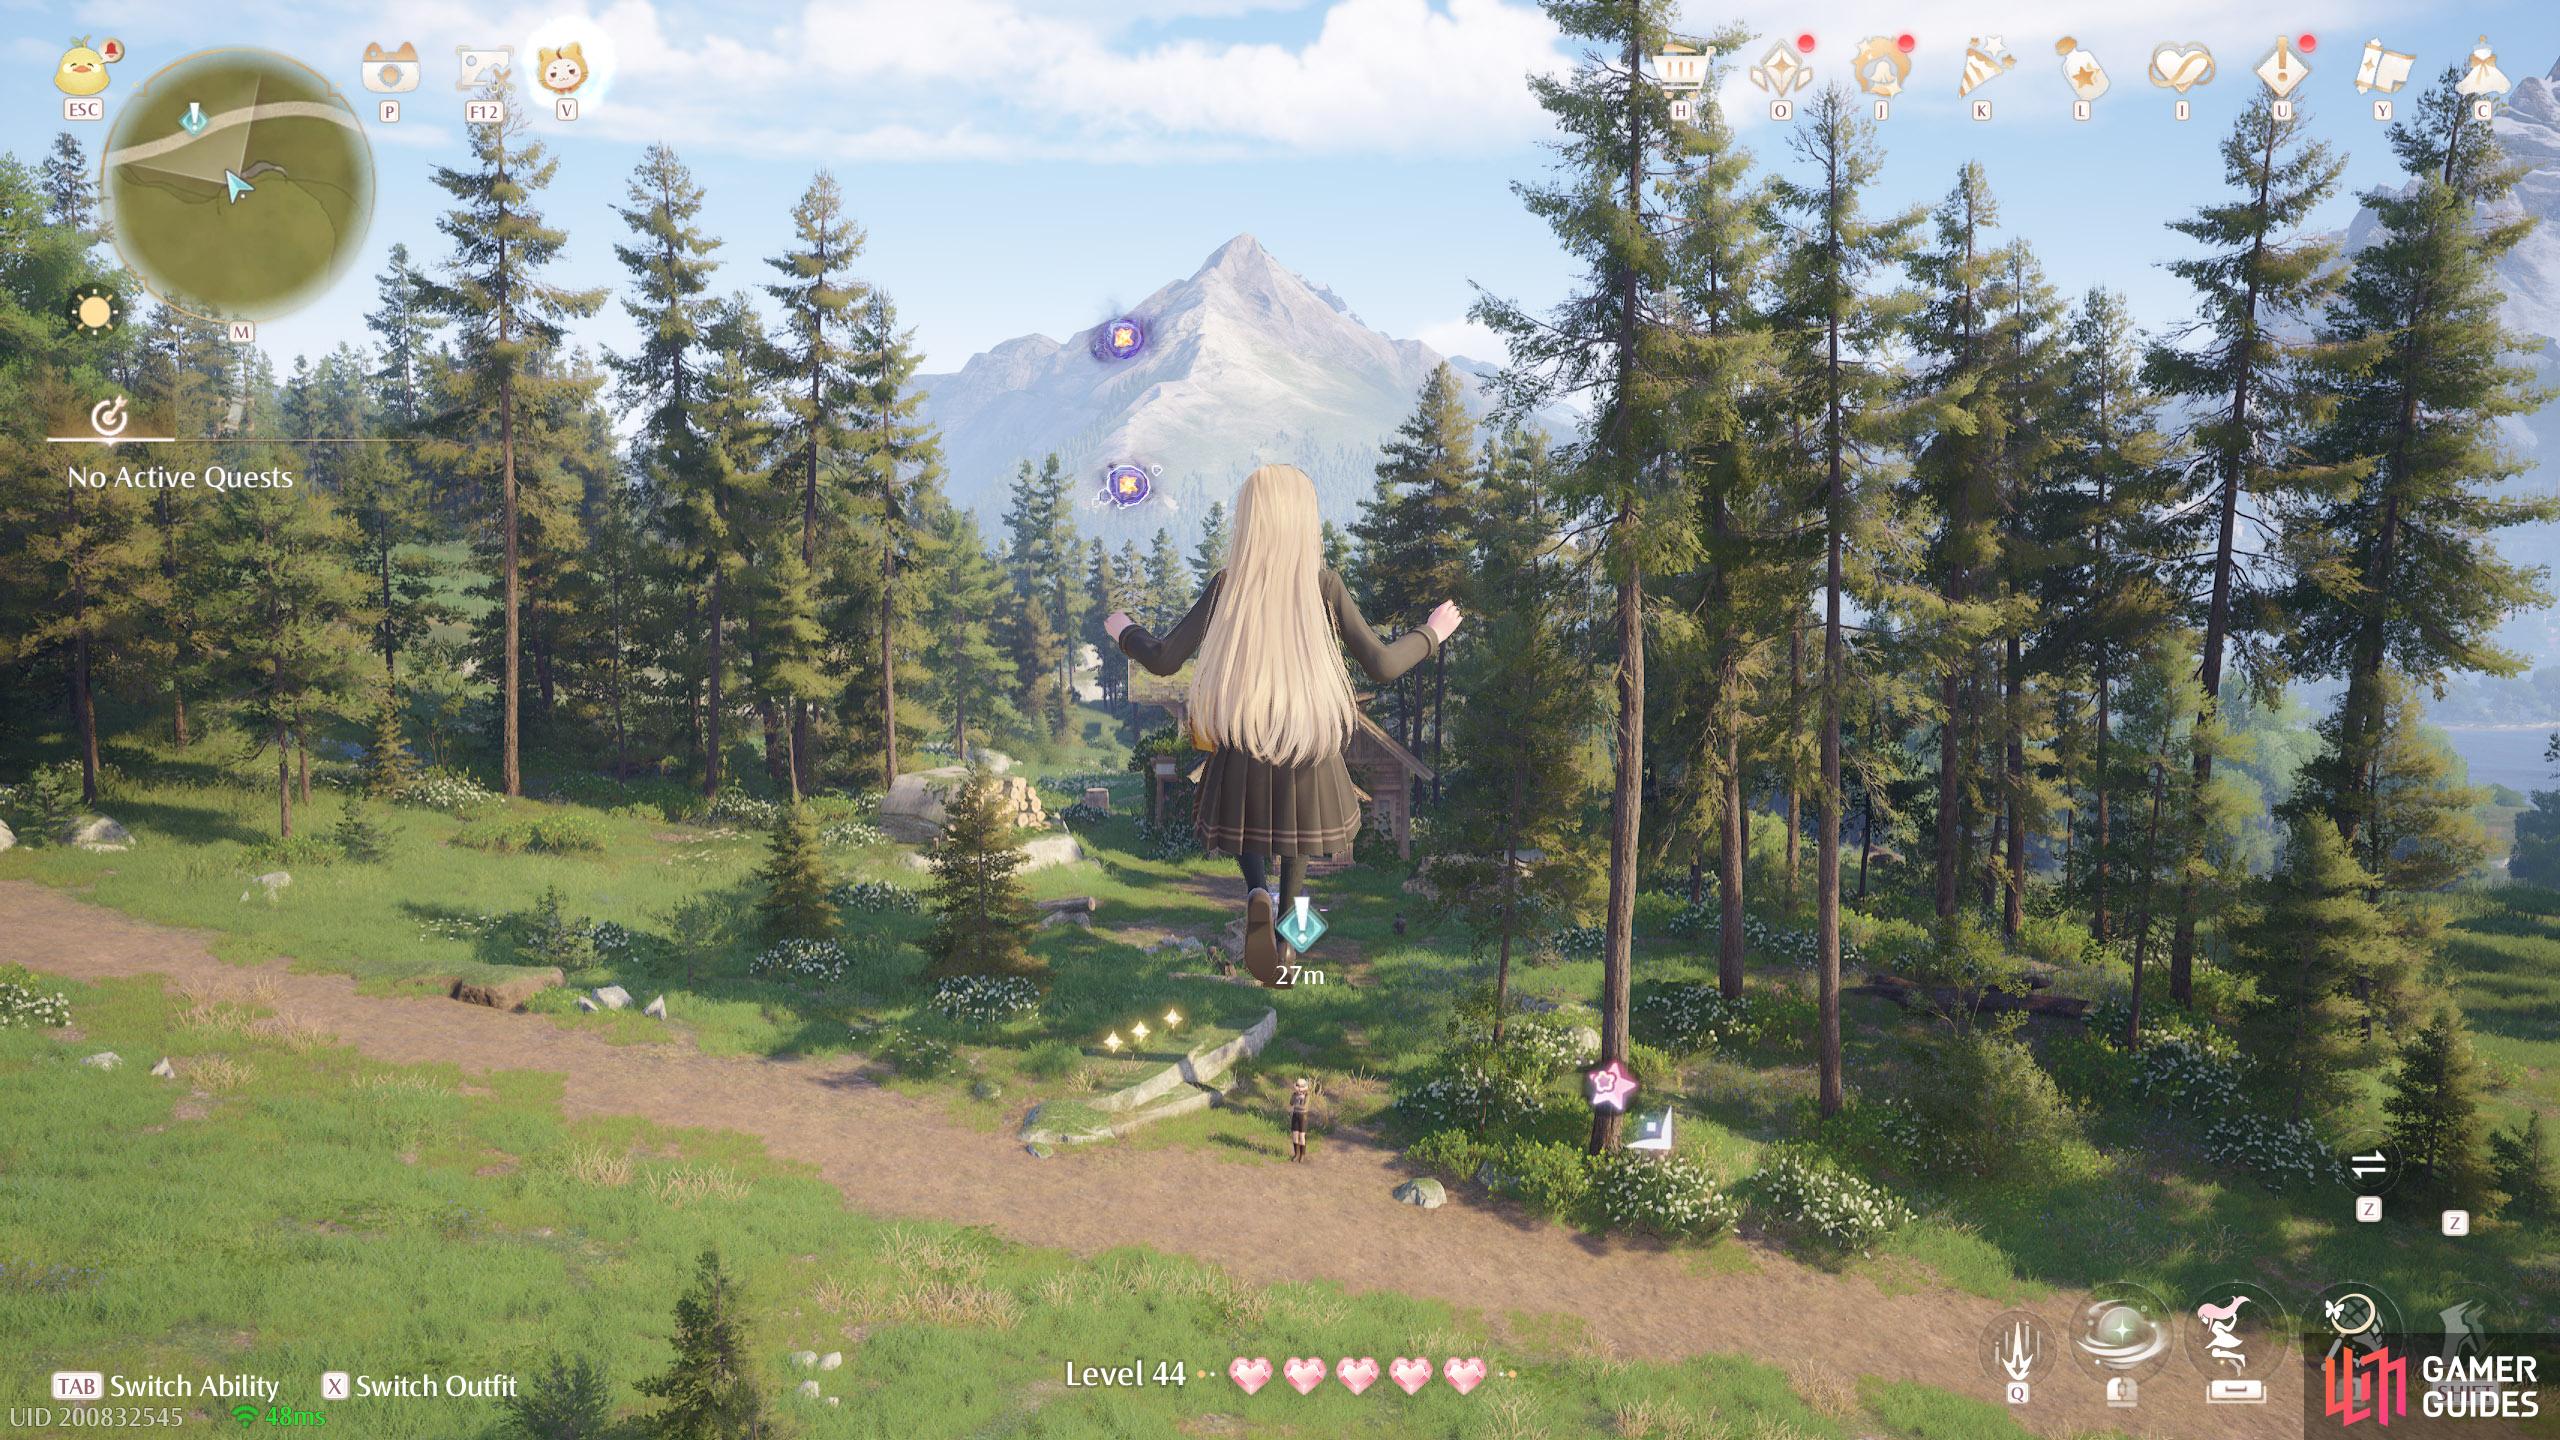
826. Miraland Map
West from ![]() Lakeside Hill Lane. Two floating near a ledge at the south side of the road.
Lakeside Hill Lane. Two floating near a ledge at the south side of the road.
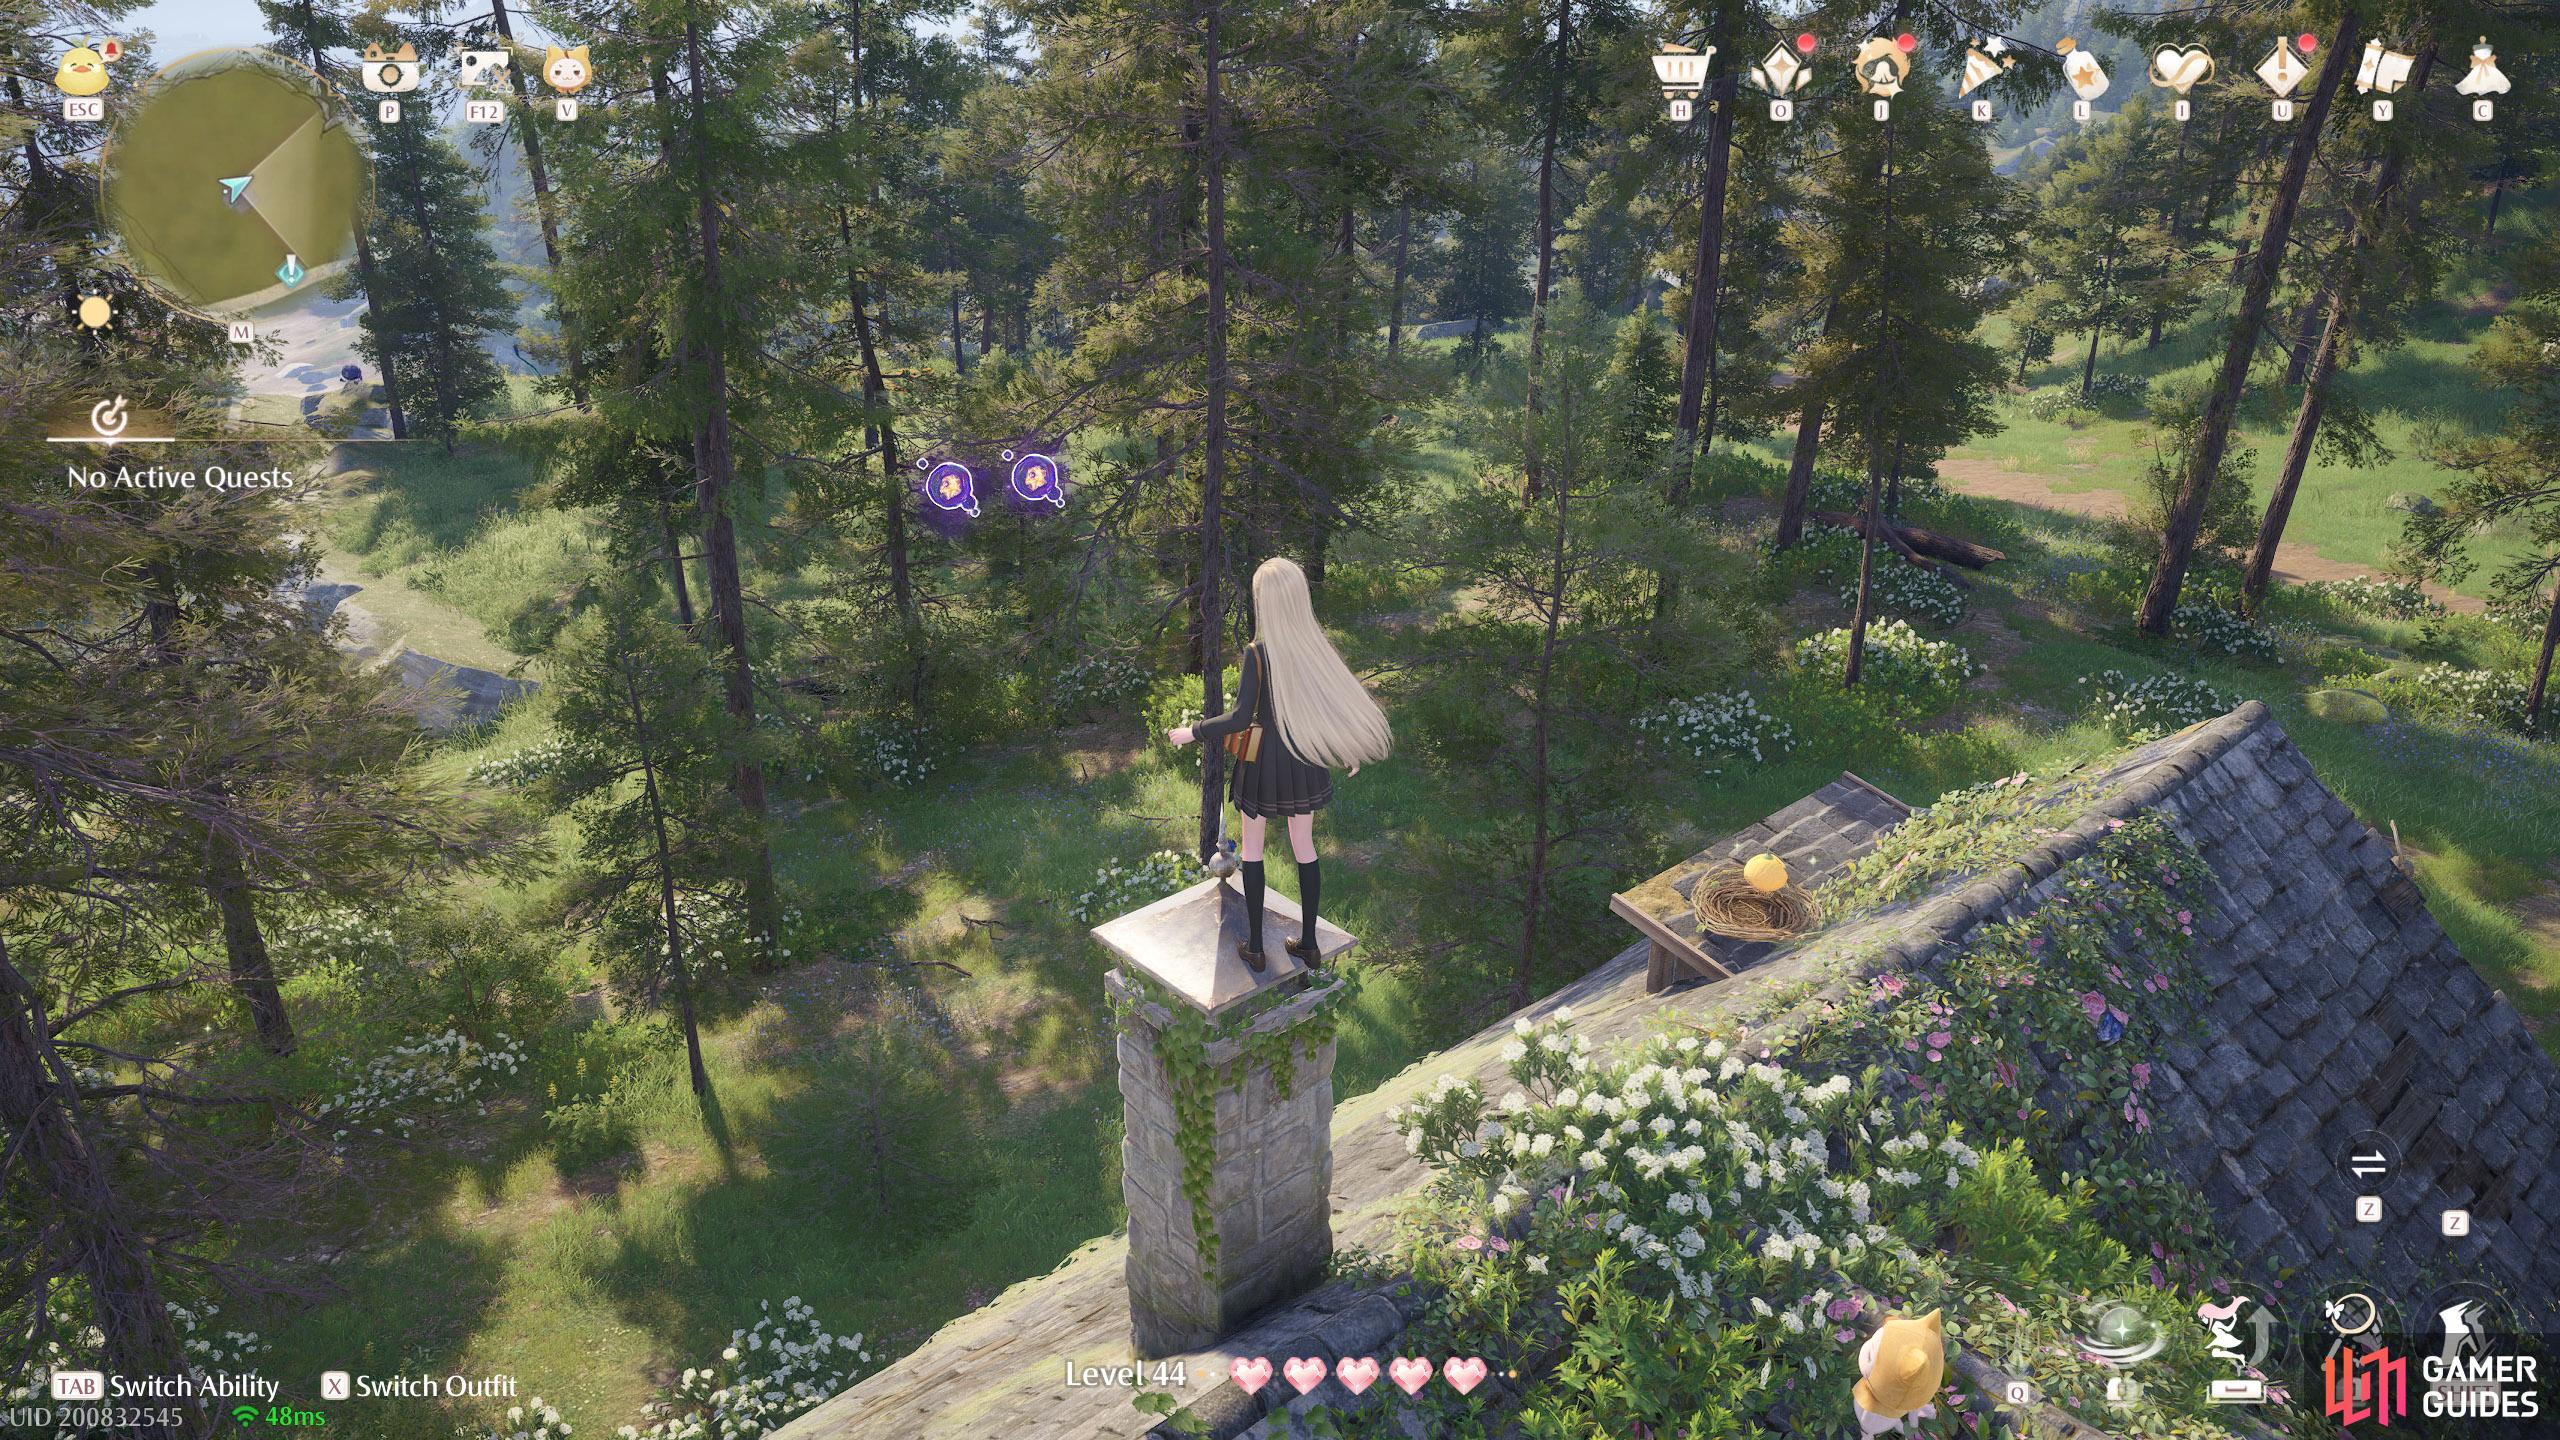
827. Miraland Map
West from ![]() Lakeside Hill Lane. Two near the chimney of the cottage.
Lakeside Hill Lane. Two near the chimney of the cottage.
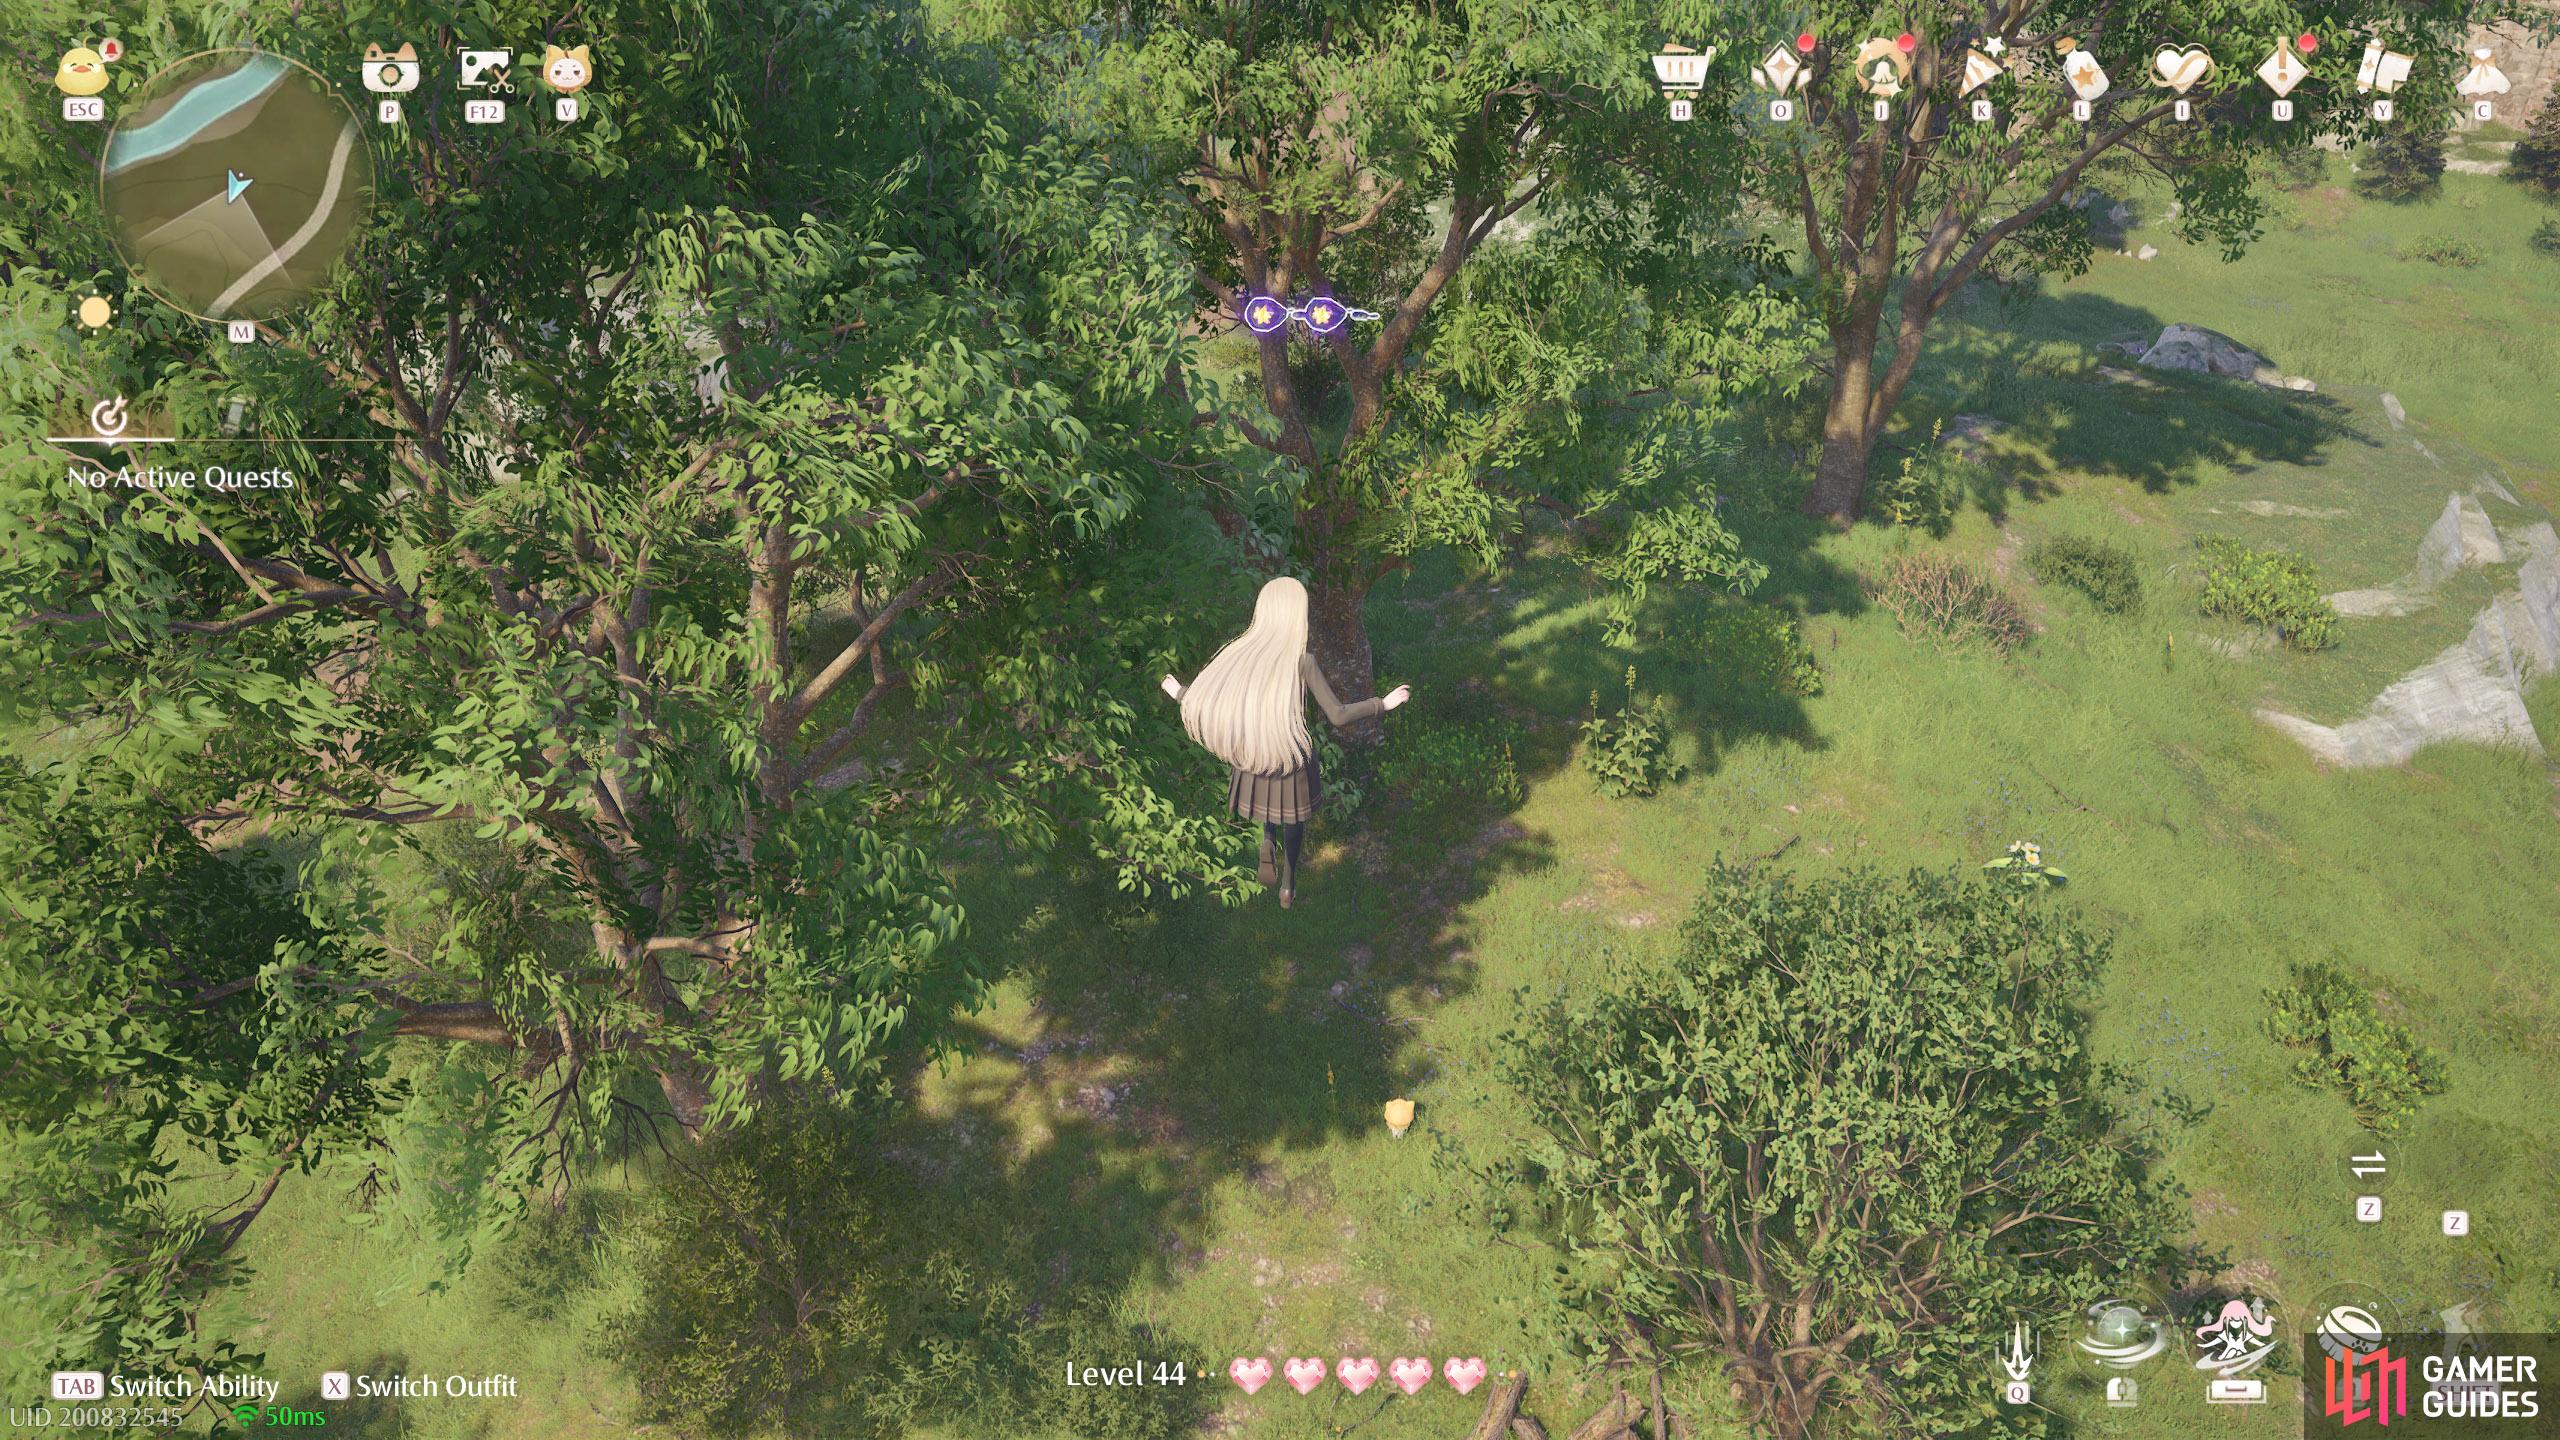
828. Miraland Map
North and slightly west from ![]() Lakeside Hill Lane, before the river. Two floating high up, with a leaf trampoline nearby.
Lakeside Hill Lane, before the river. Two floating high up, with a leaf trampoline nearby.
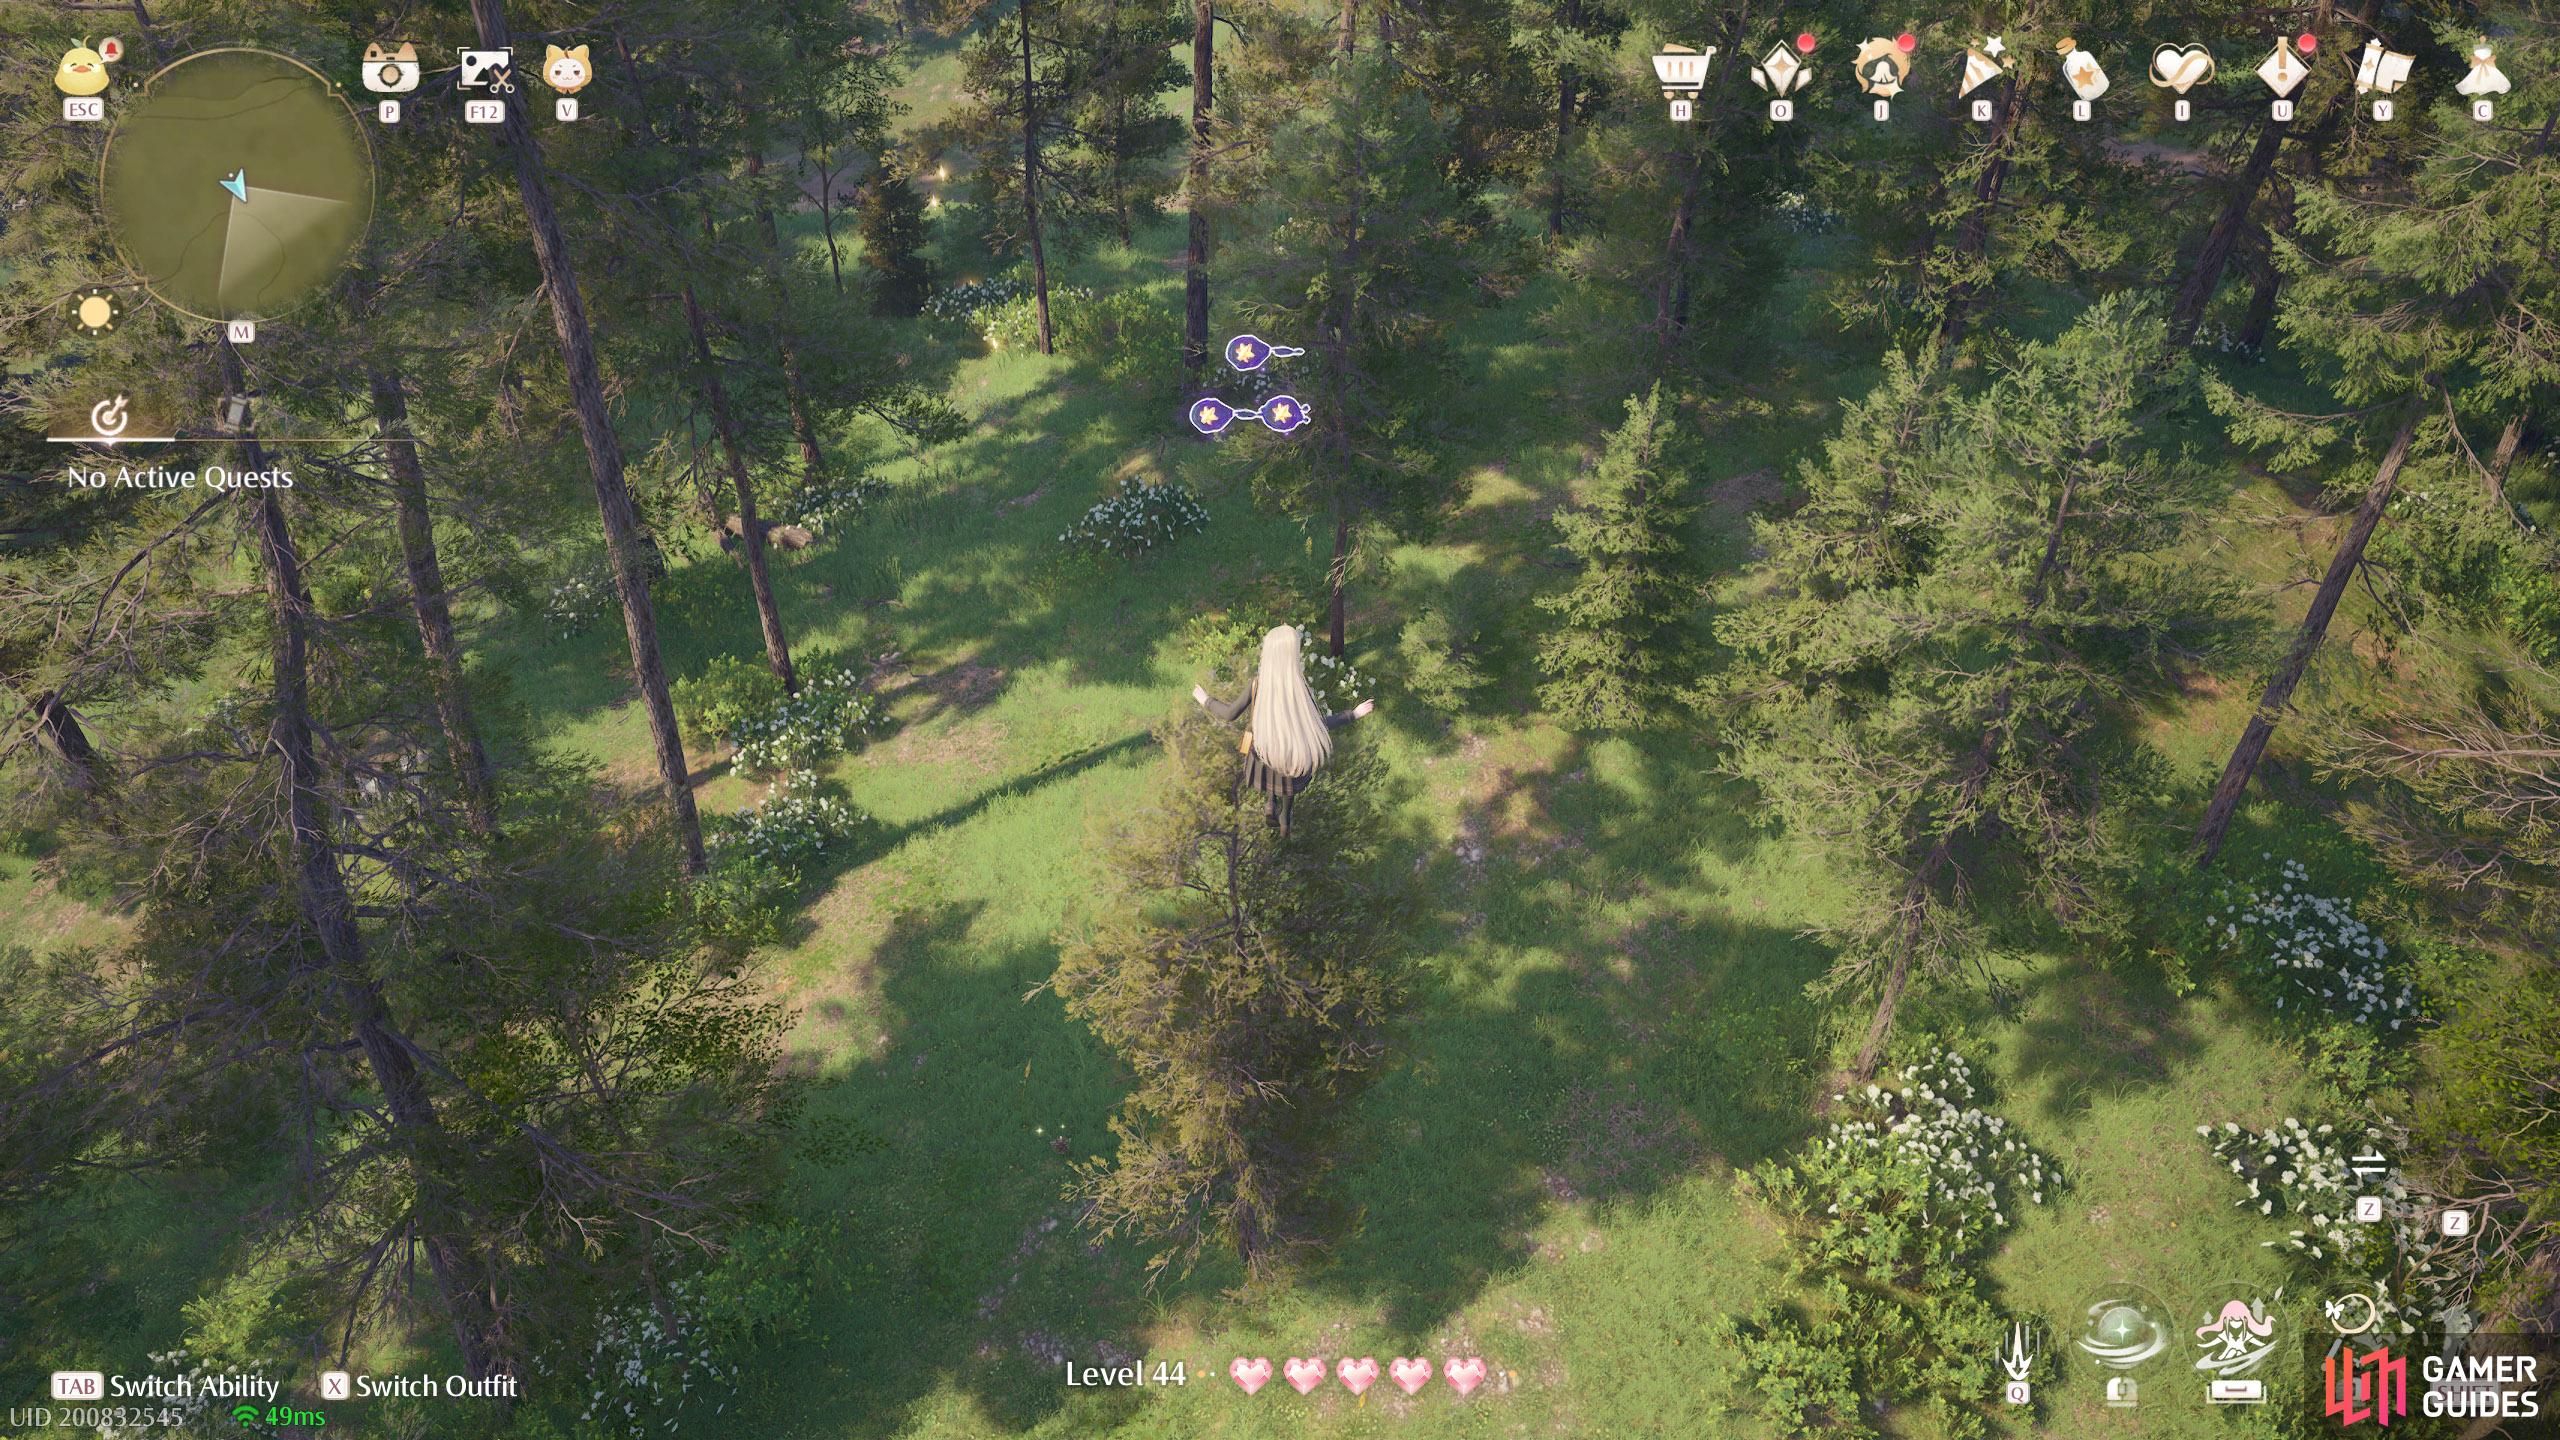
829. Miraland Map
Short distance north-east from ![]() Lakeside Hill Lane. Three high up in the air. There’s a leaf trampoline nearby, with a few Esselings there.
Lakeside Hill Lane. Three high up in the air. There’s a leaf trampoline nearby, with a few Esselings there.
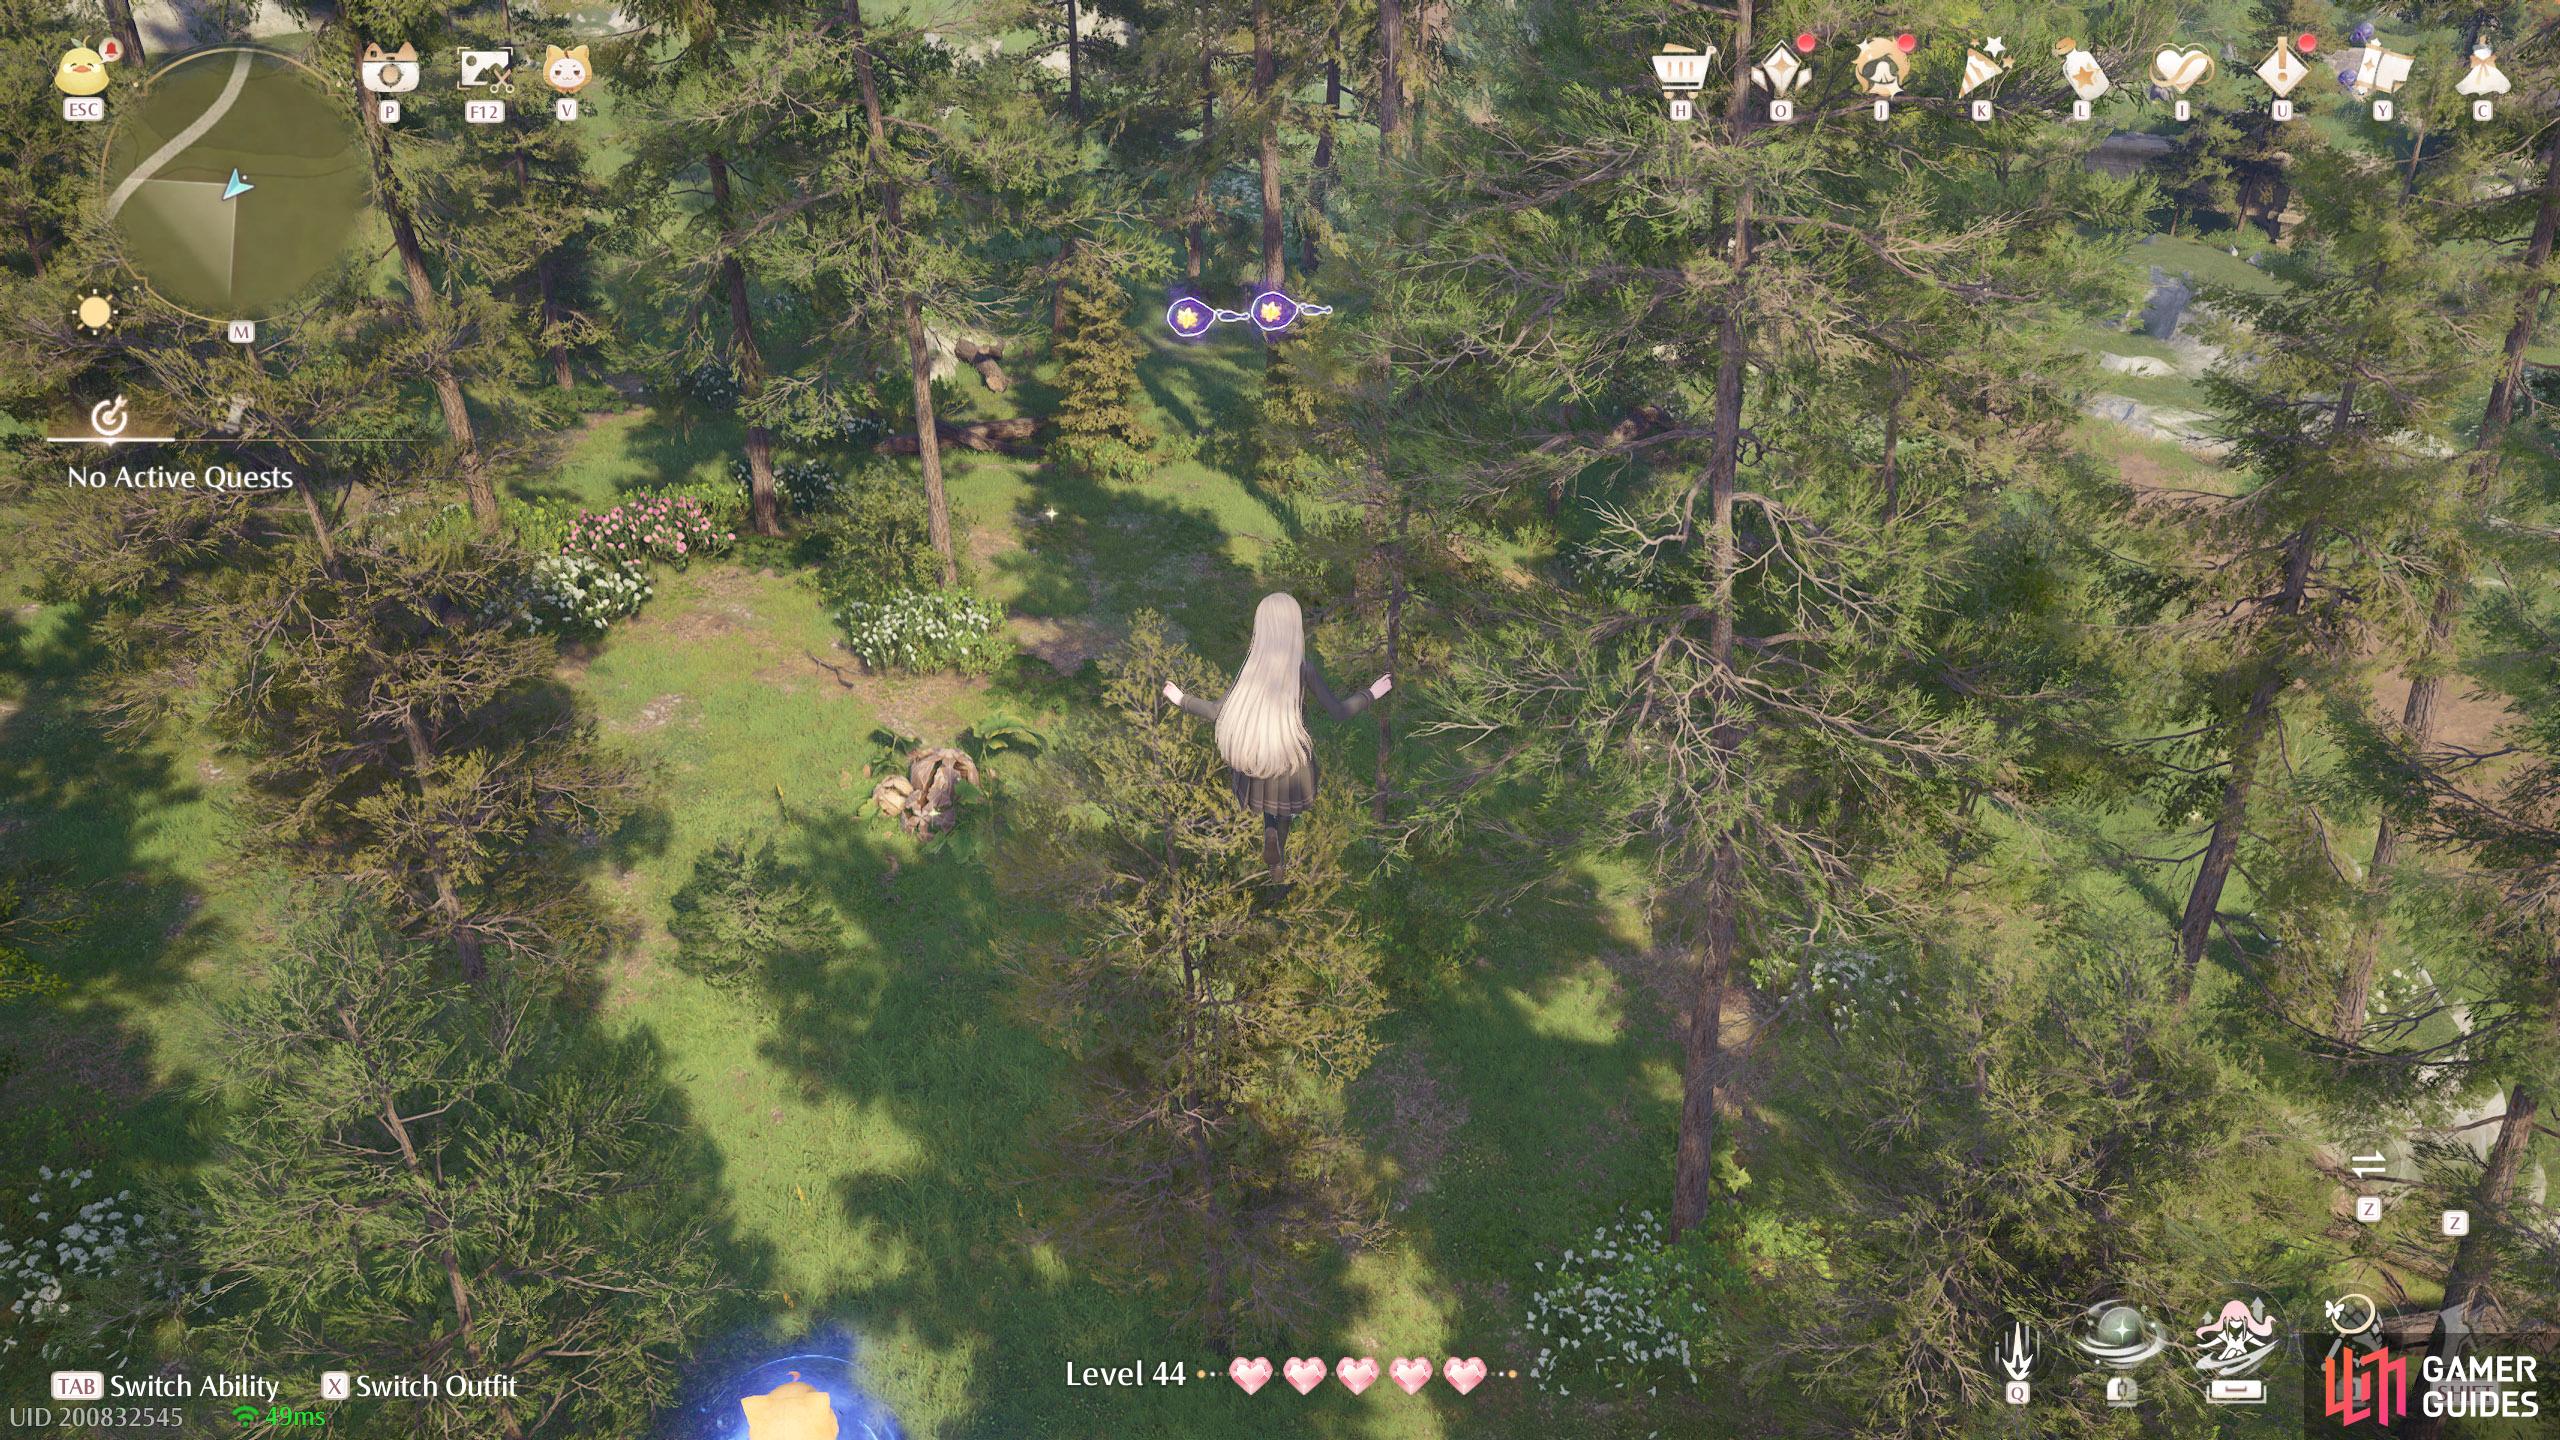
830. Miraland Map
Short distance north-west from ![]() Lakeside Hill Lane. Two floating high up with a leaf trampoline nearby.
Lakeside Hill Lane. Two floating high up with a leaf trampoline nearby.
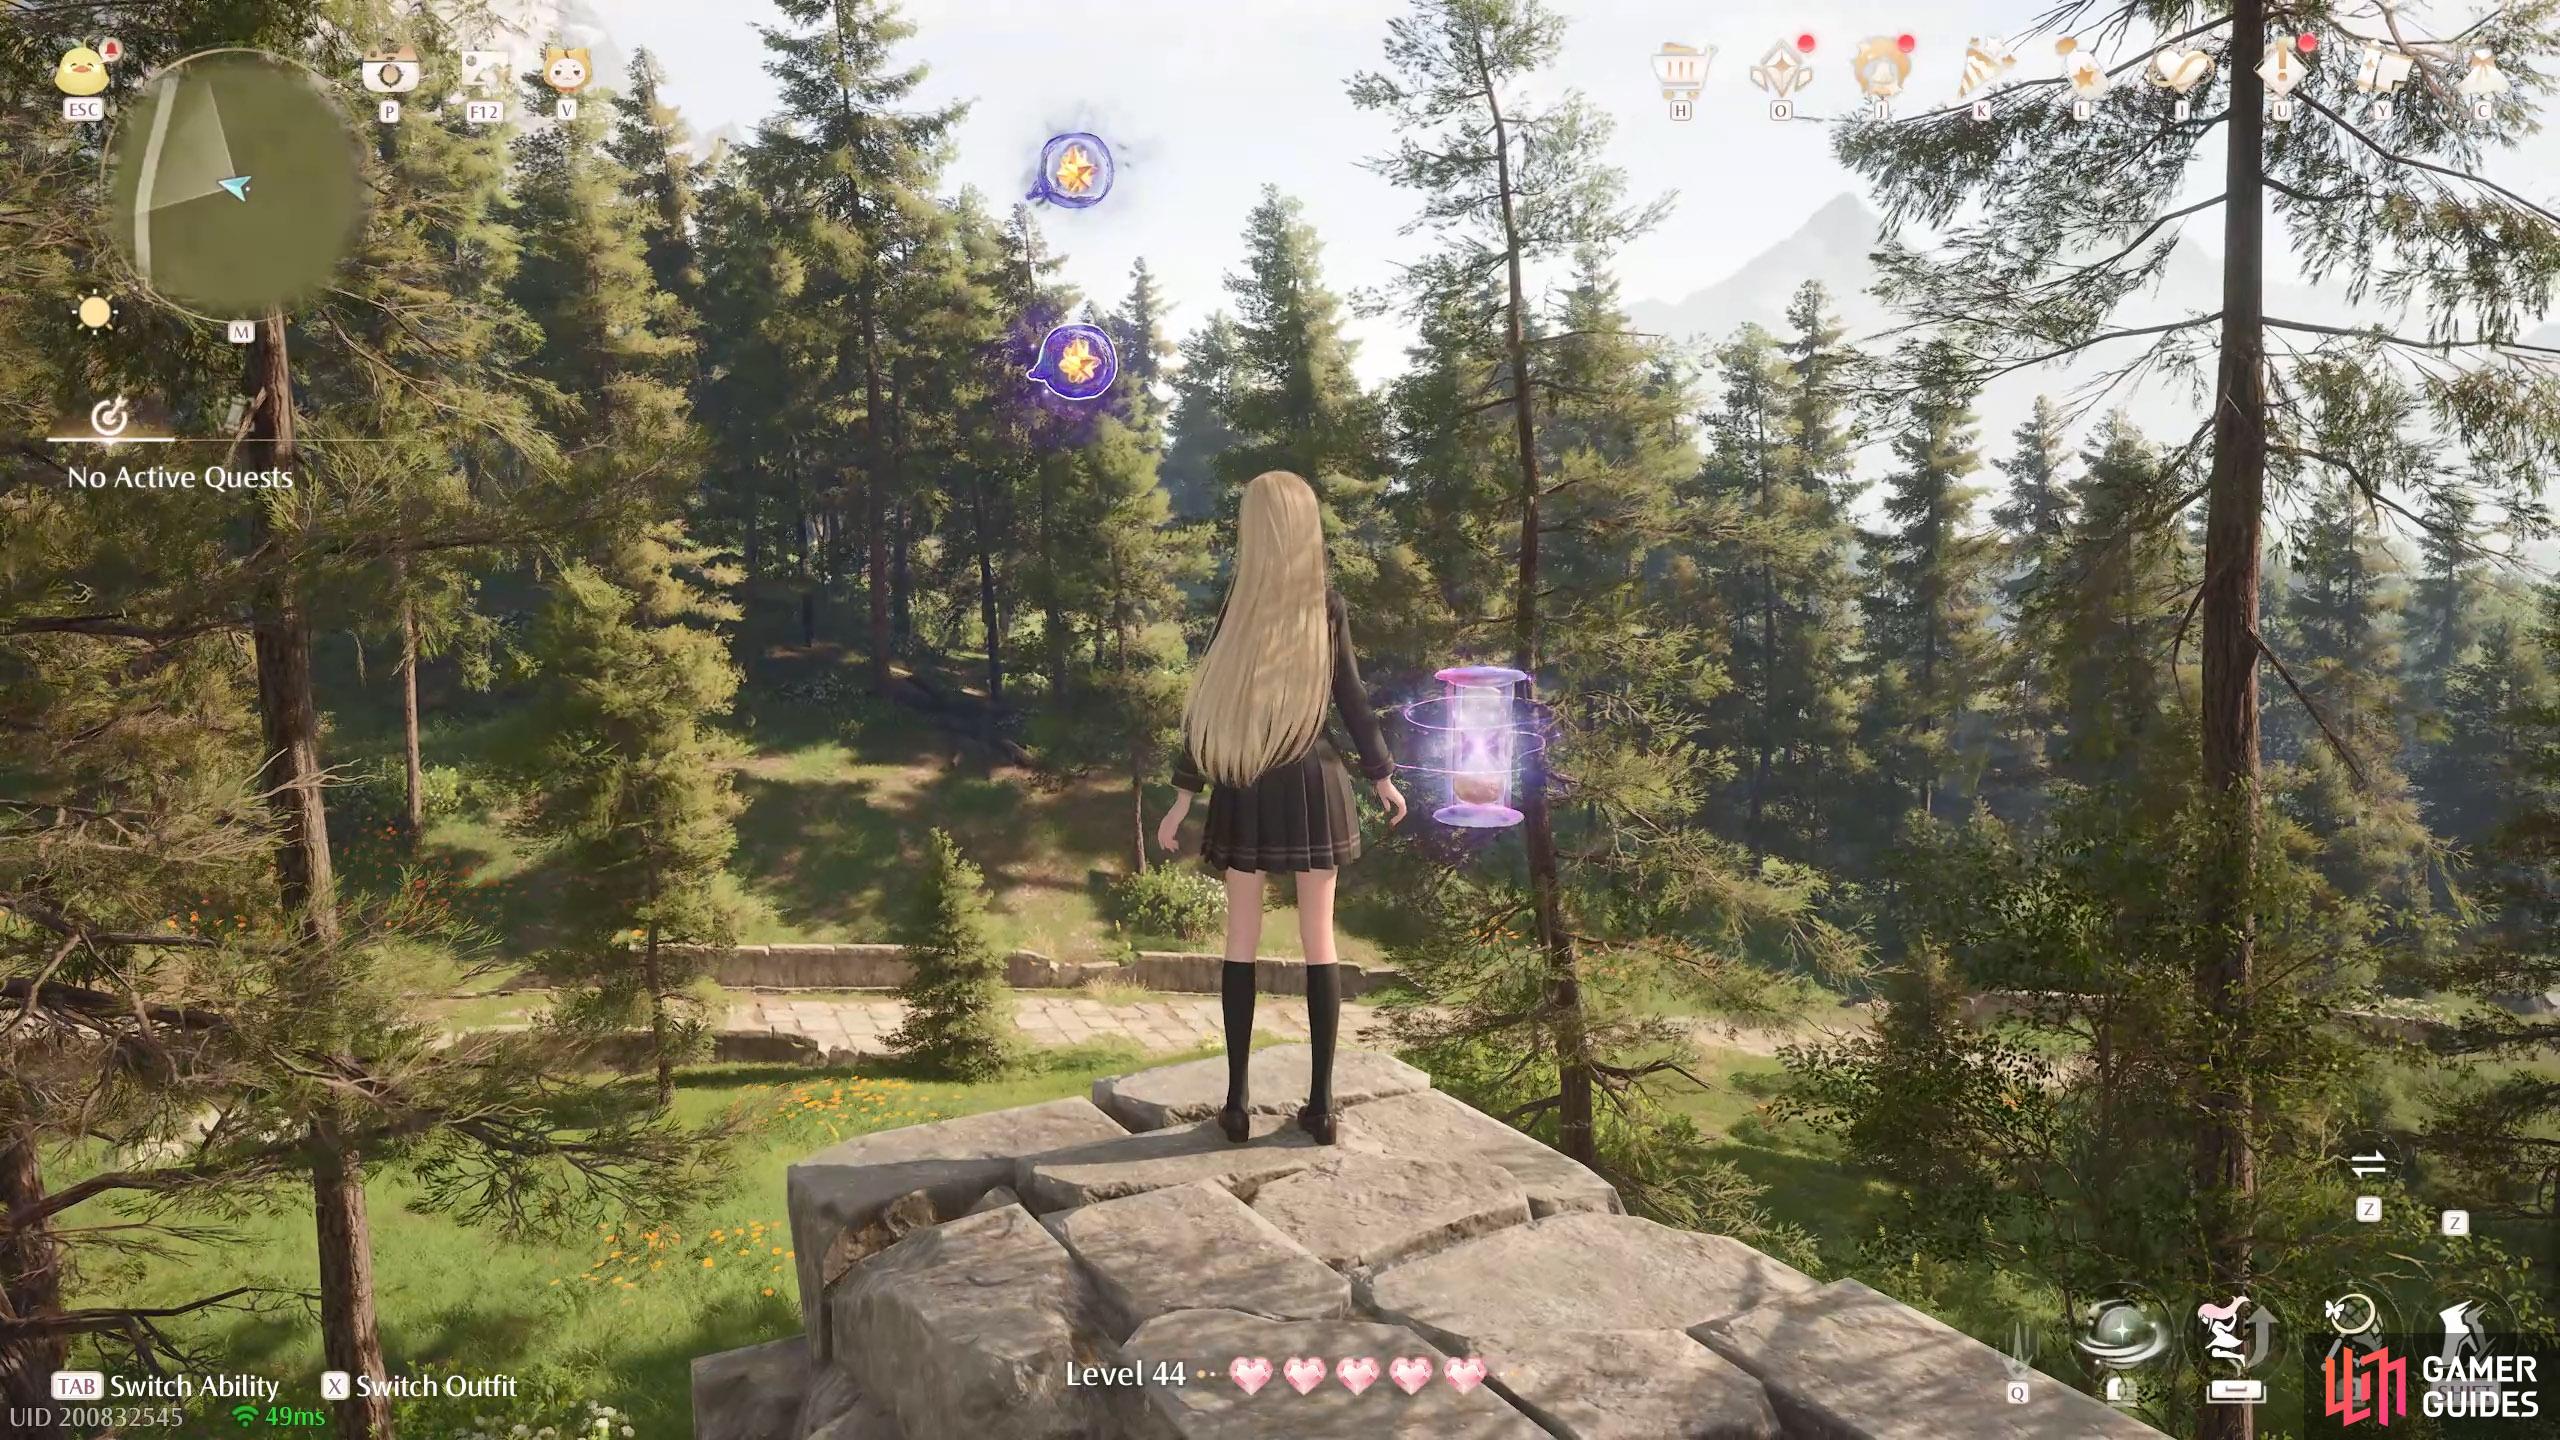
831. Miraland Map
West from ![]() Queen’s Palace Ruins Entrance. Two near the top of some rubble. There are Esselings around here.
Queen’s Palace Ruins Entrance. Two near the top of some rubble. There are Esselings around here.
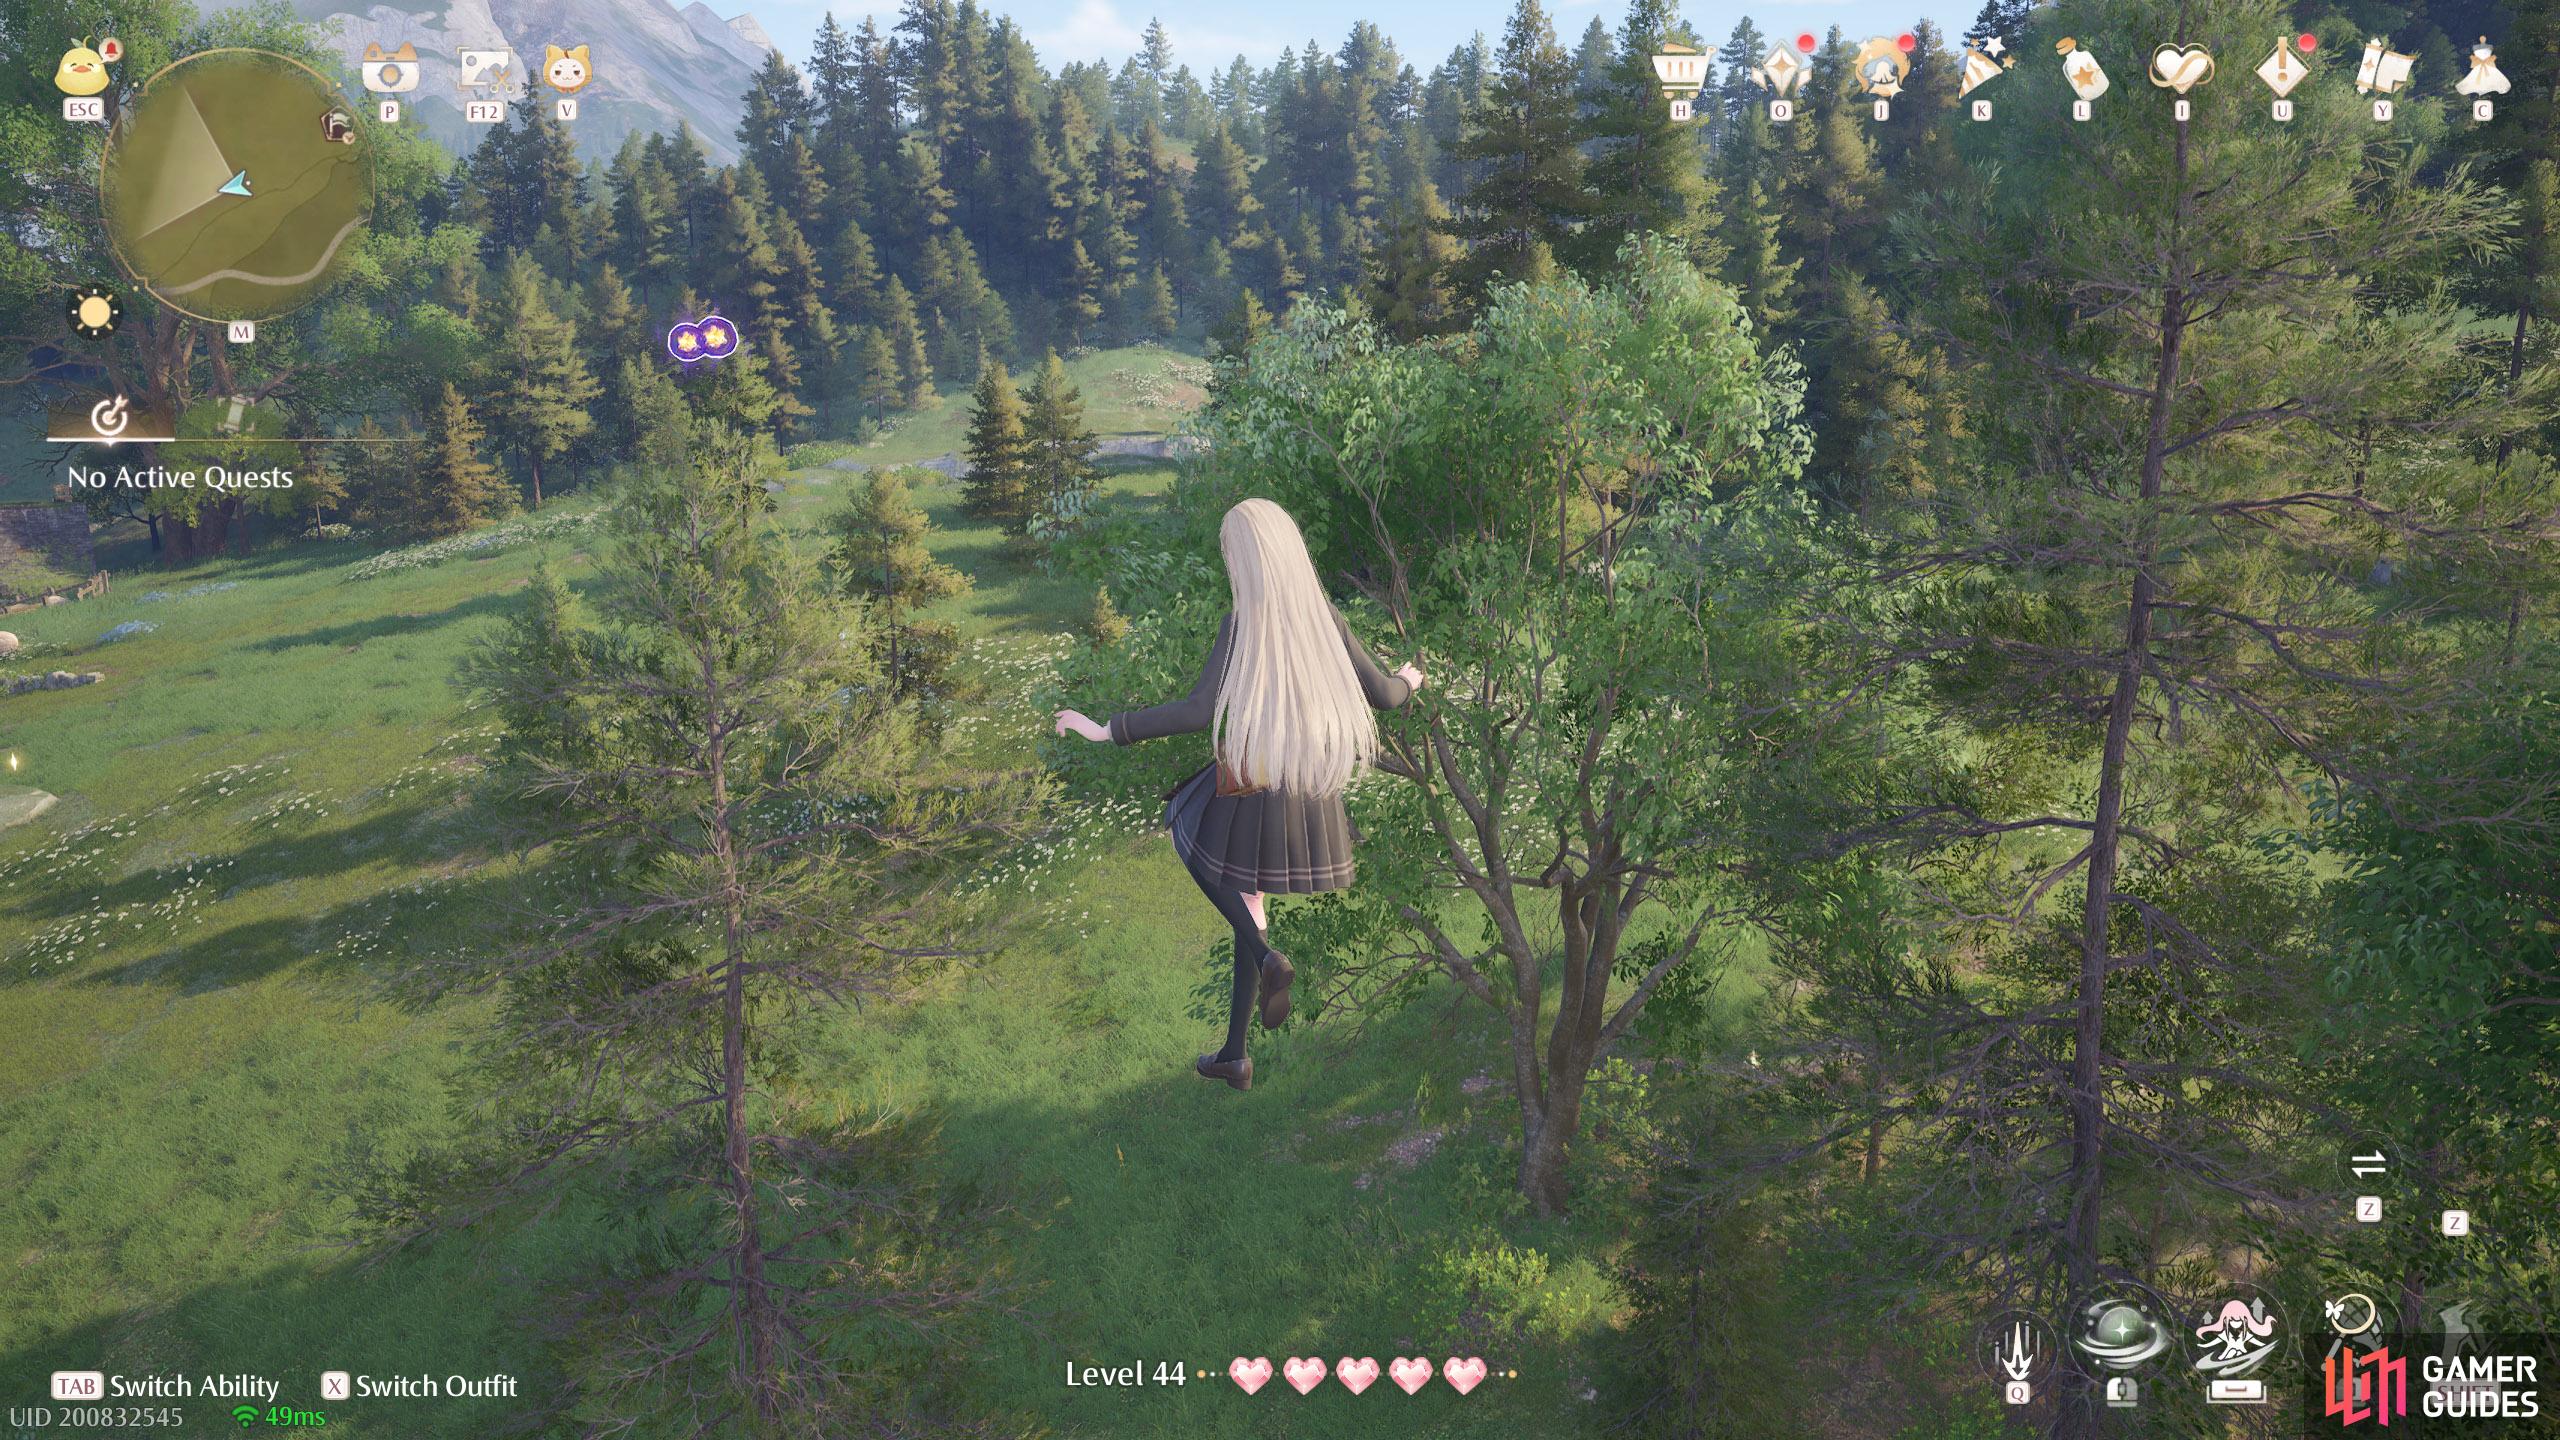
832. Miraland Map
West from ![]() Meadow Activity Support Center. Two floating high up near a leaf trampoline. Halfway along the minor road.
Meadow Activity Support Center. Two floating high up near a leaf trampoline. Halfway along the minor road.
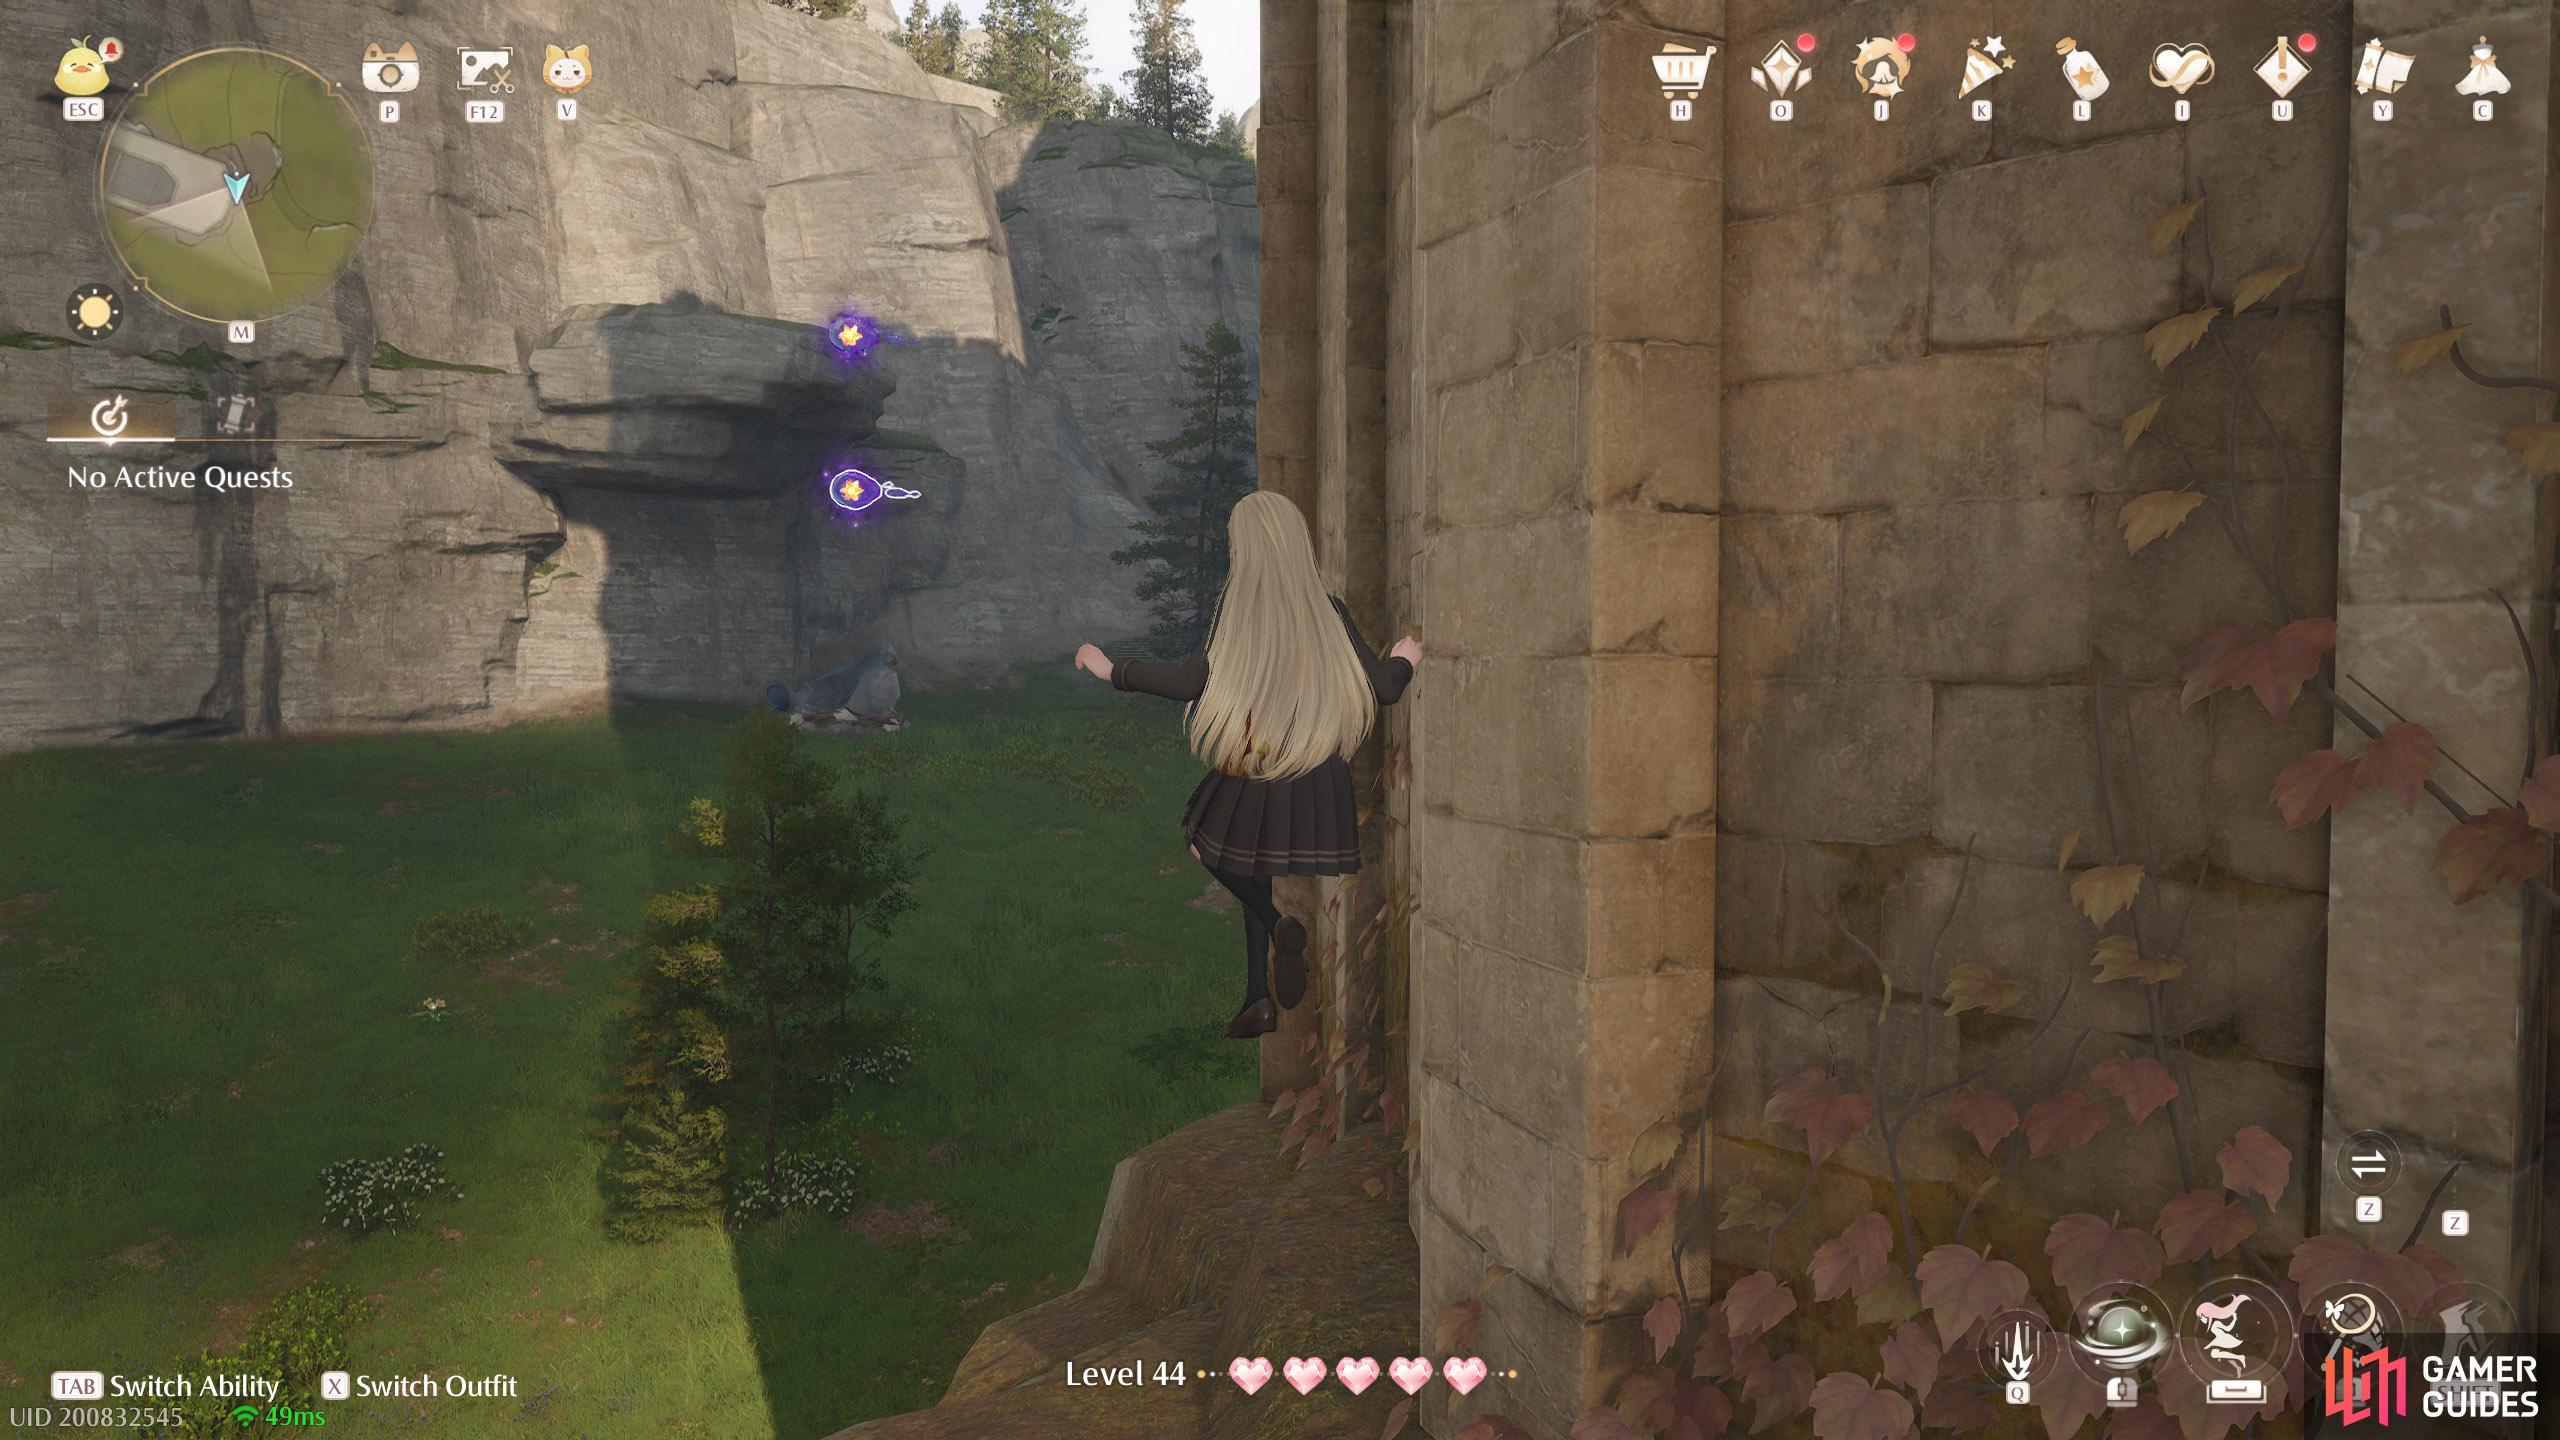
833. Miraland Map
South-east corner of the ![]() Queen’s Palace Ruins. Two floating near the base of the castle.
Queen’s Palace Ruins. Two floating near the base of the castle.
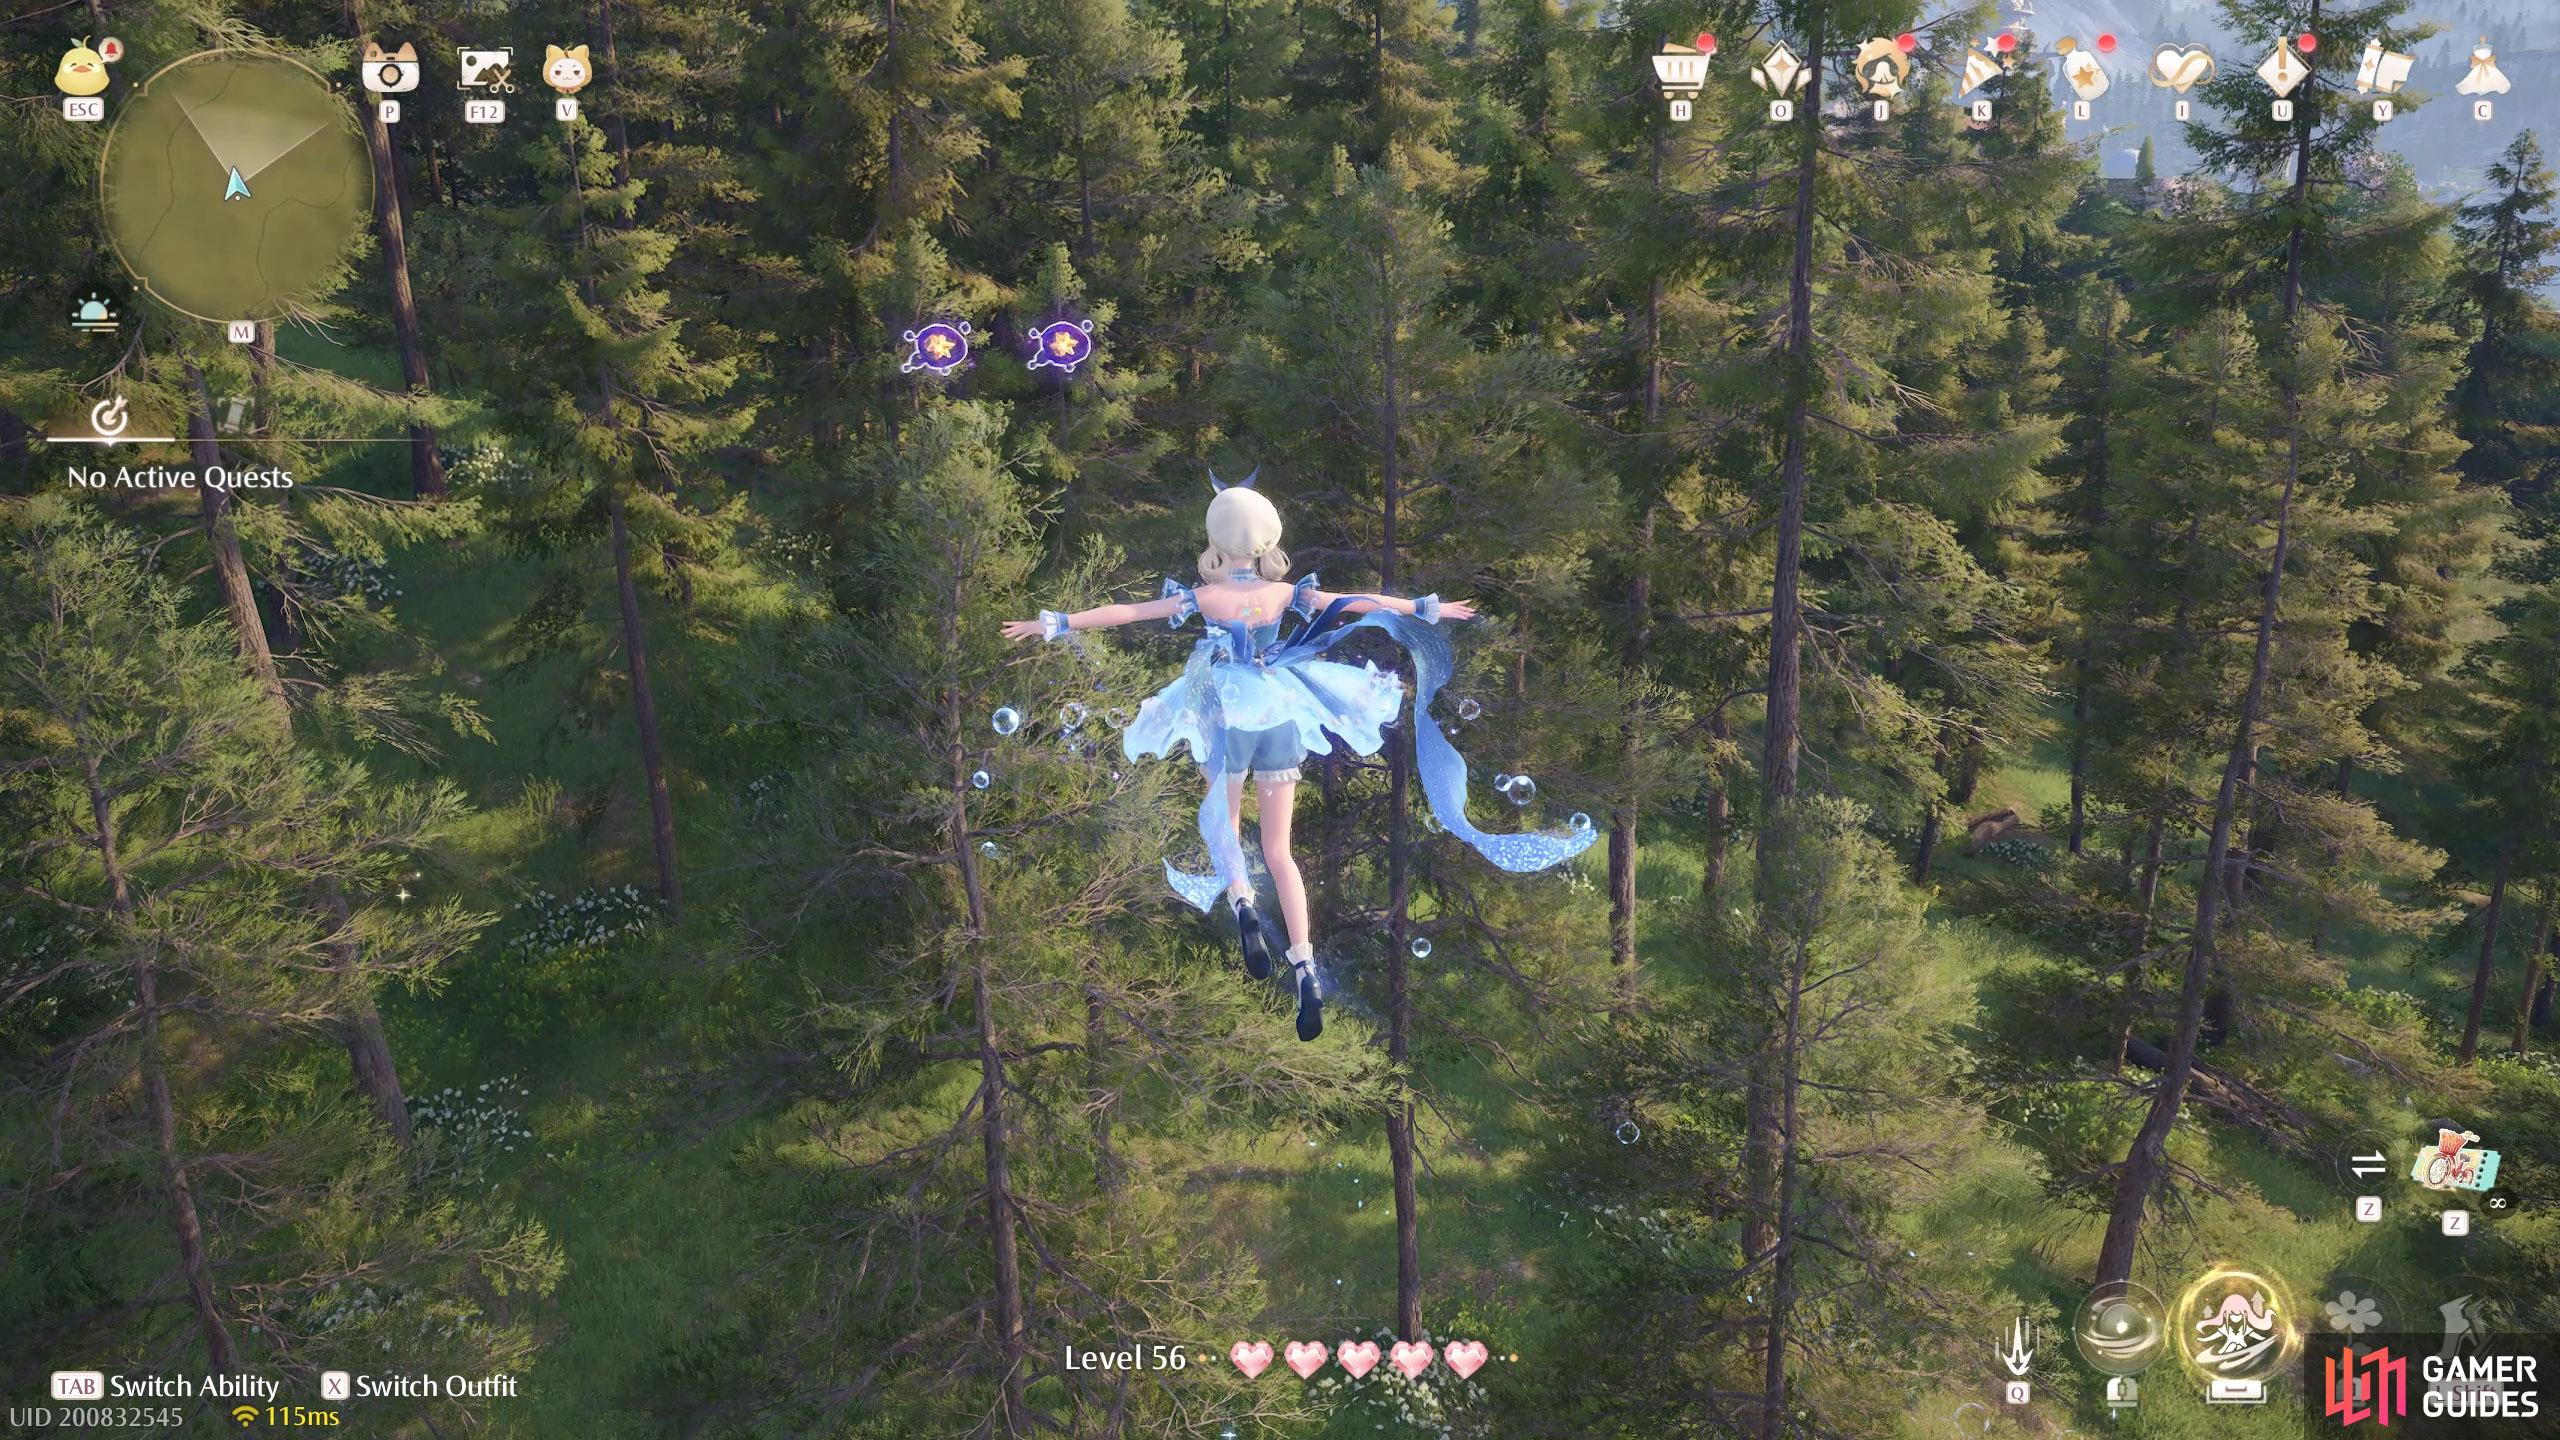
834. Miraland Map
North-west from ![]() Meadow Activity Support Center. Two floating high up, a short distance north from a catapult. Watch out for Esselings. Note: There’s another pair of dew very close by.
Meadow Activity Support Center. Two floating high up, a short distance north from a catapult. Watch out for Esselings. Note: There’s another pair of dew very close by.
No Comments