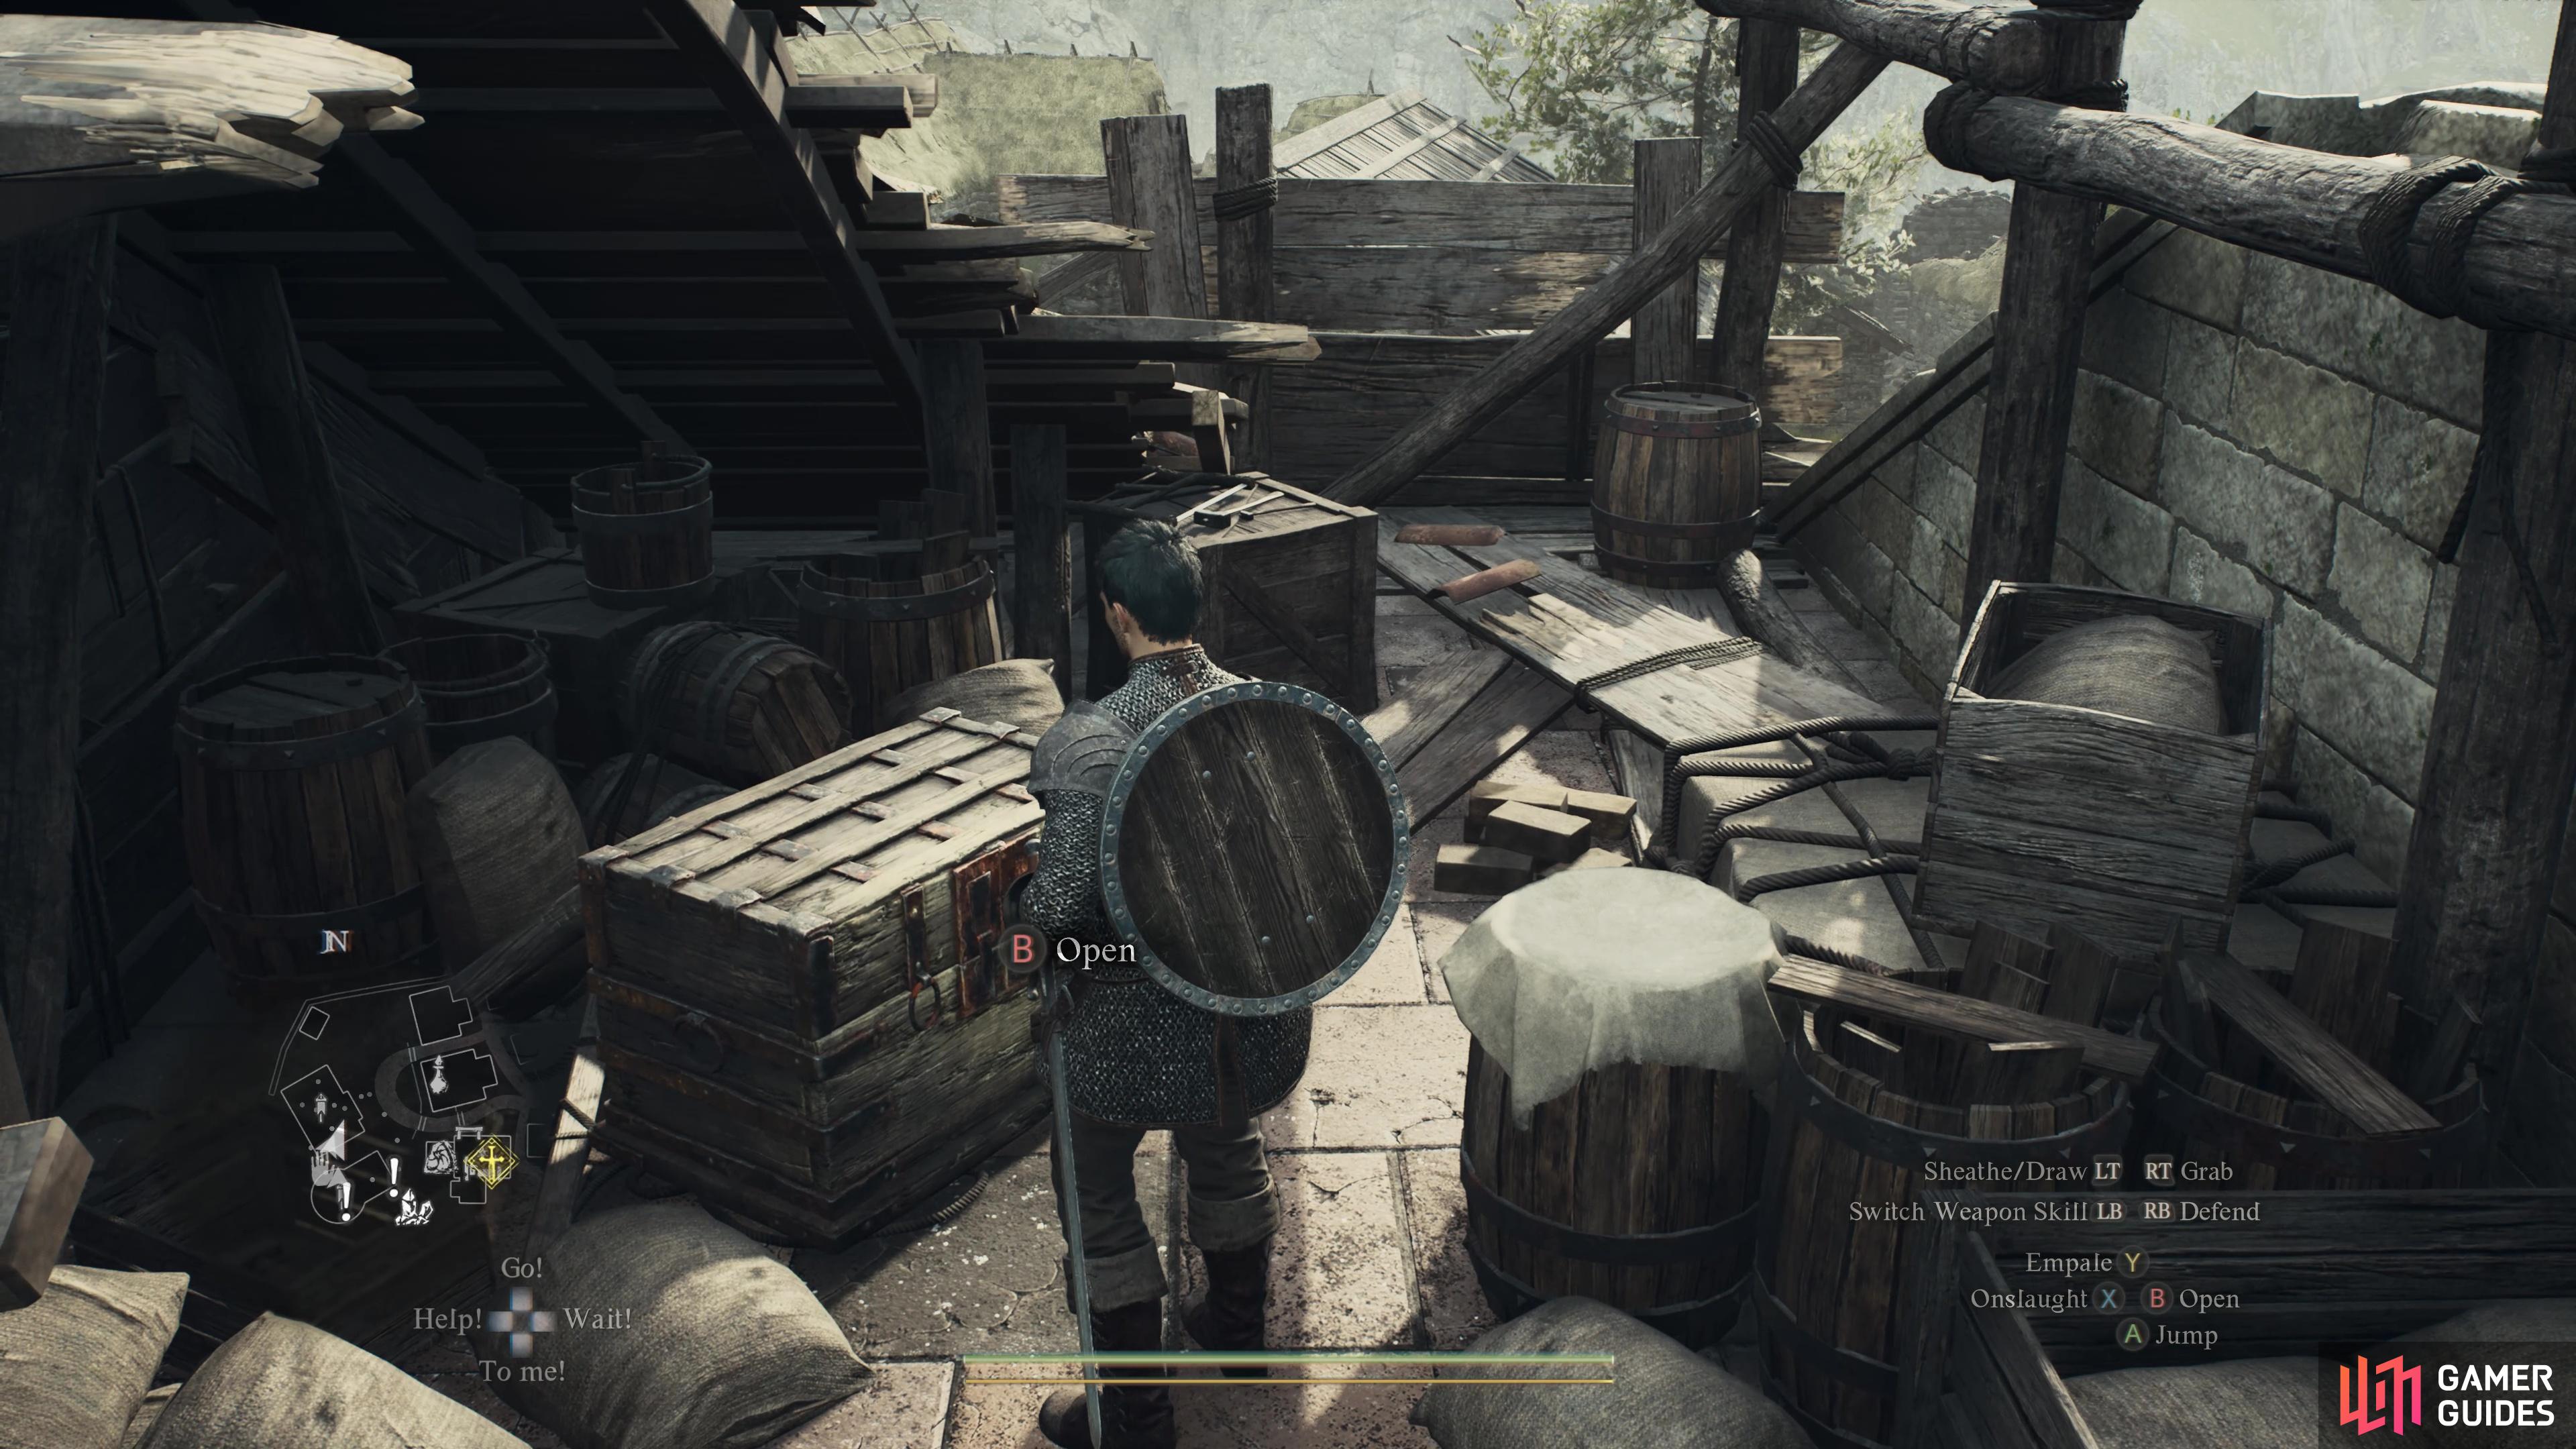
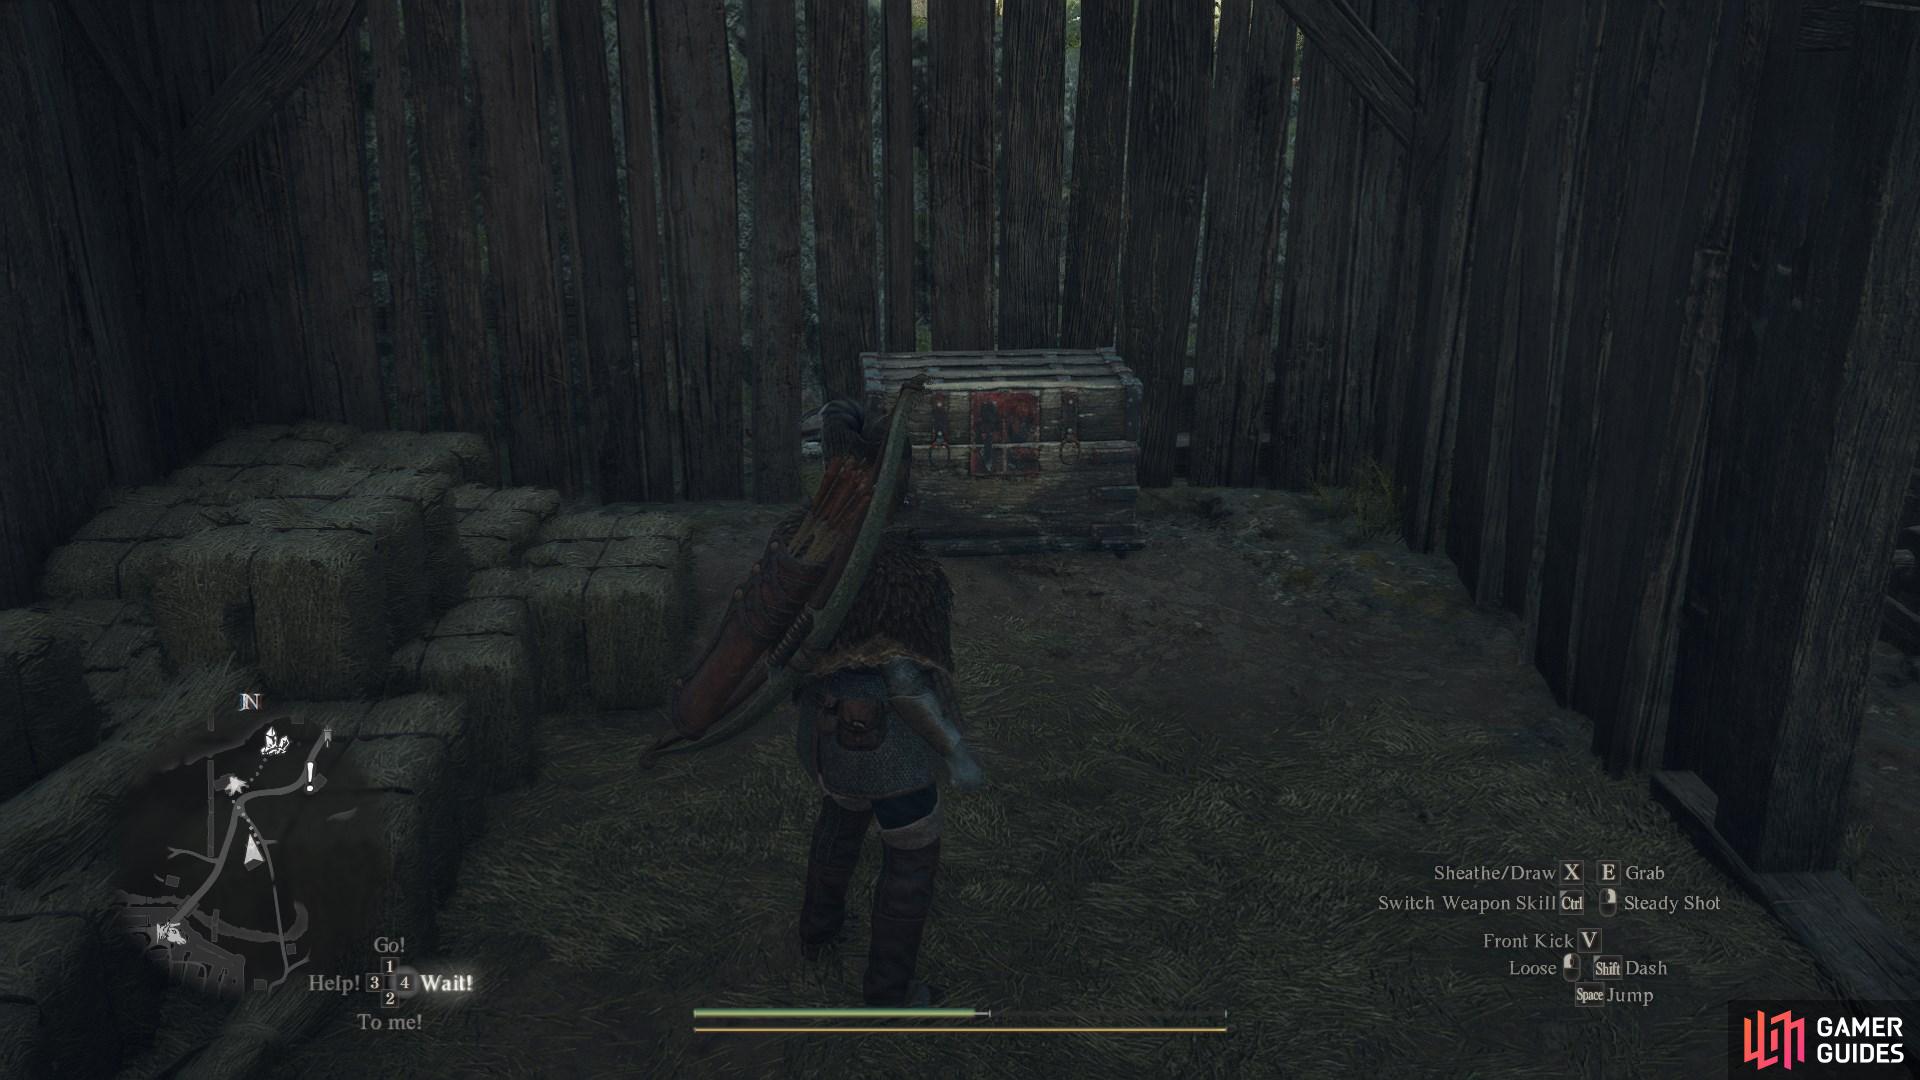
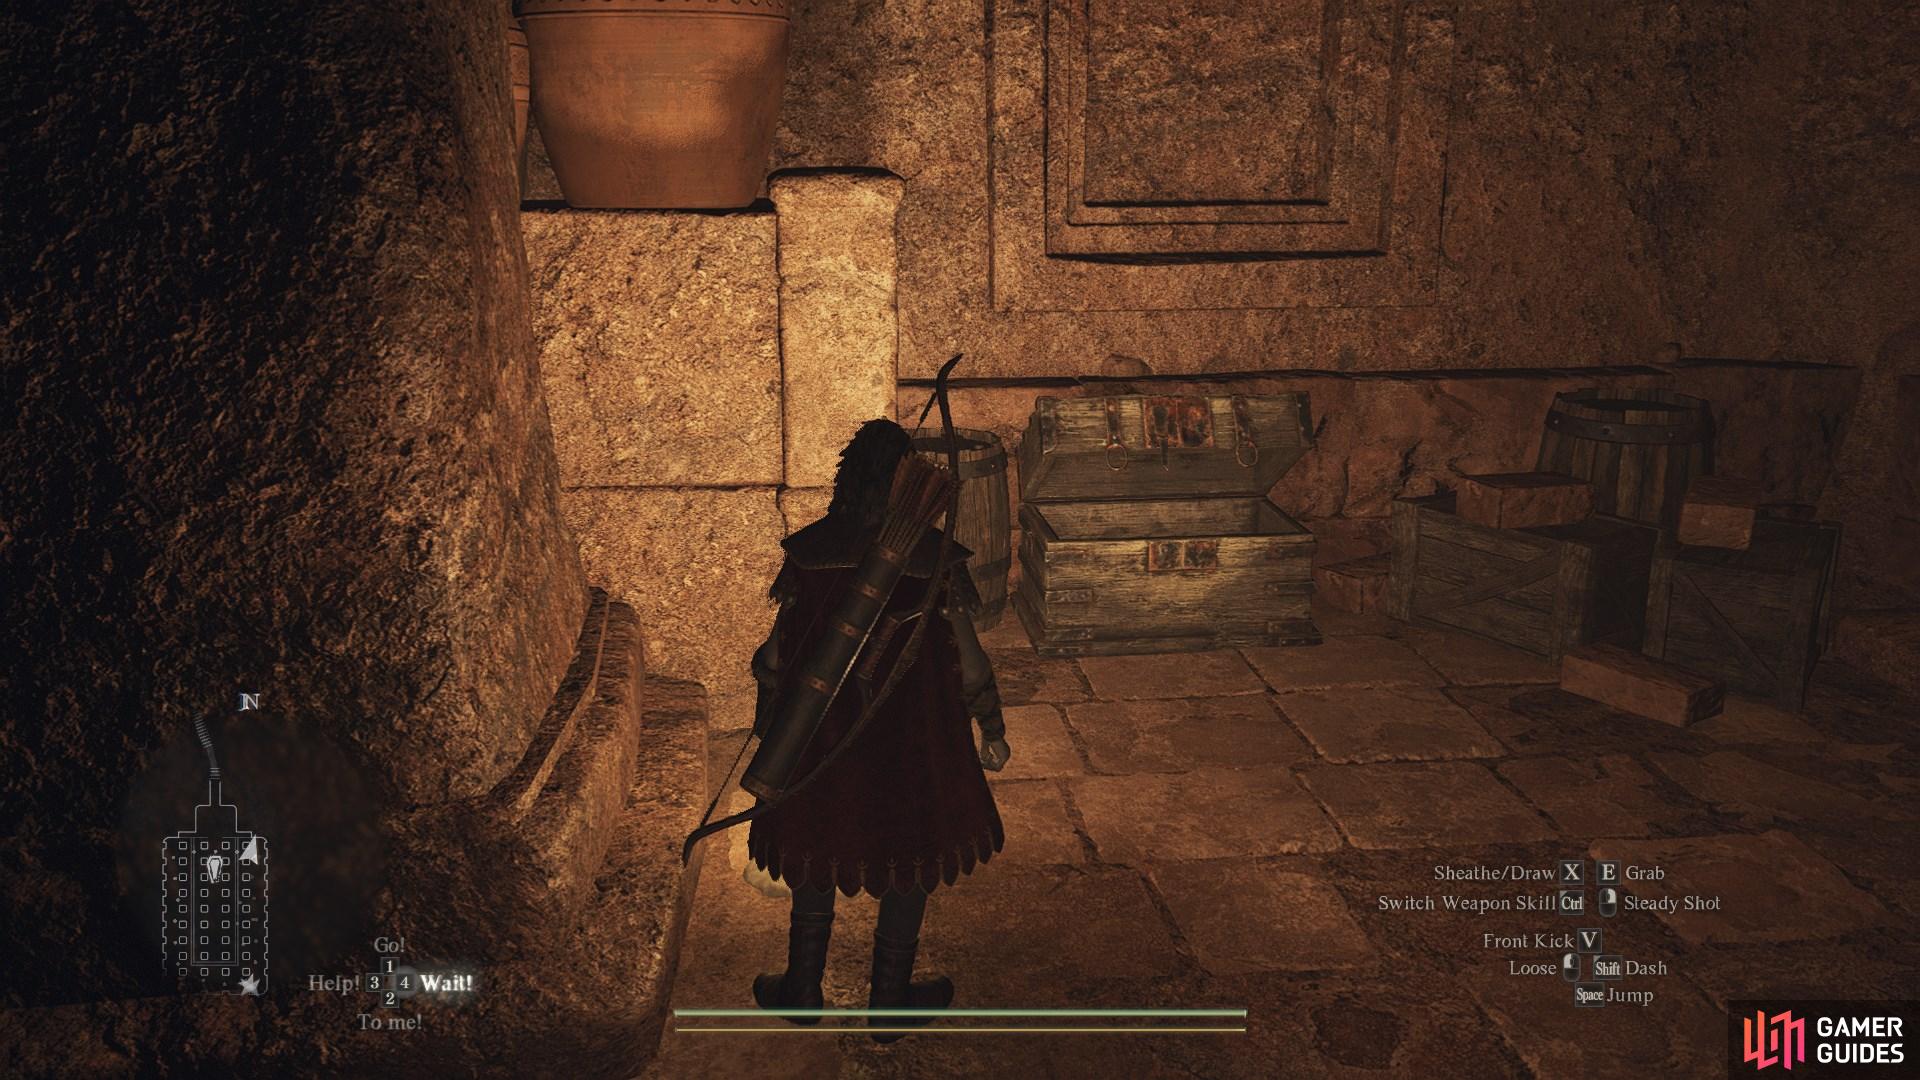
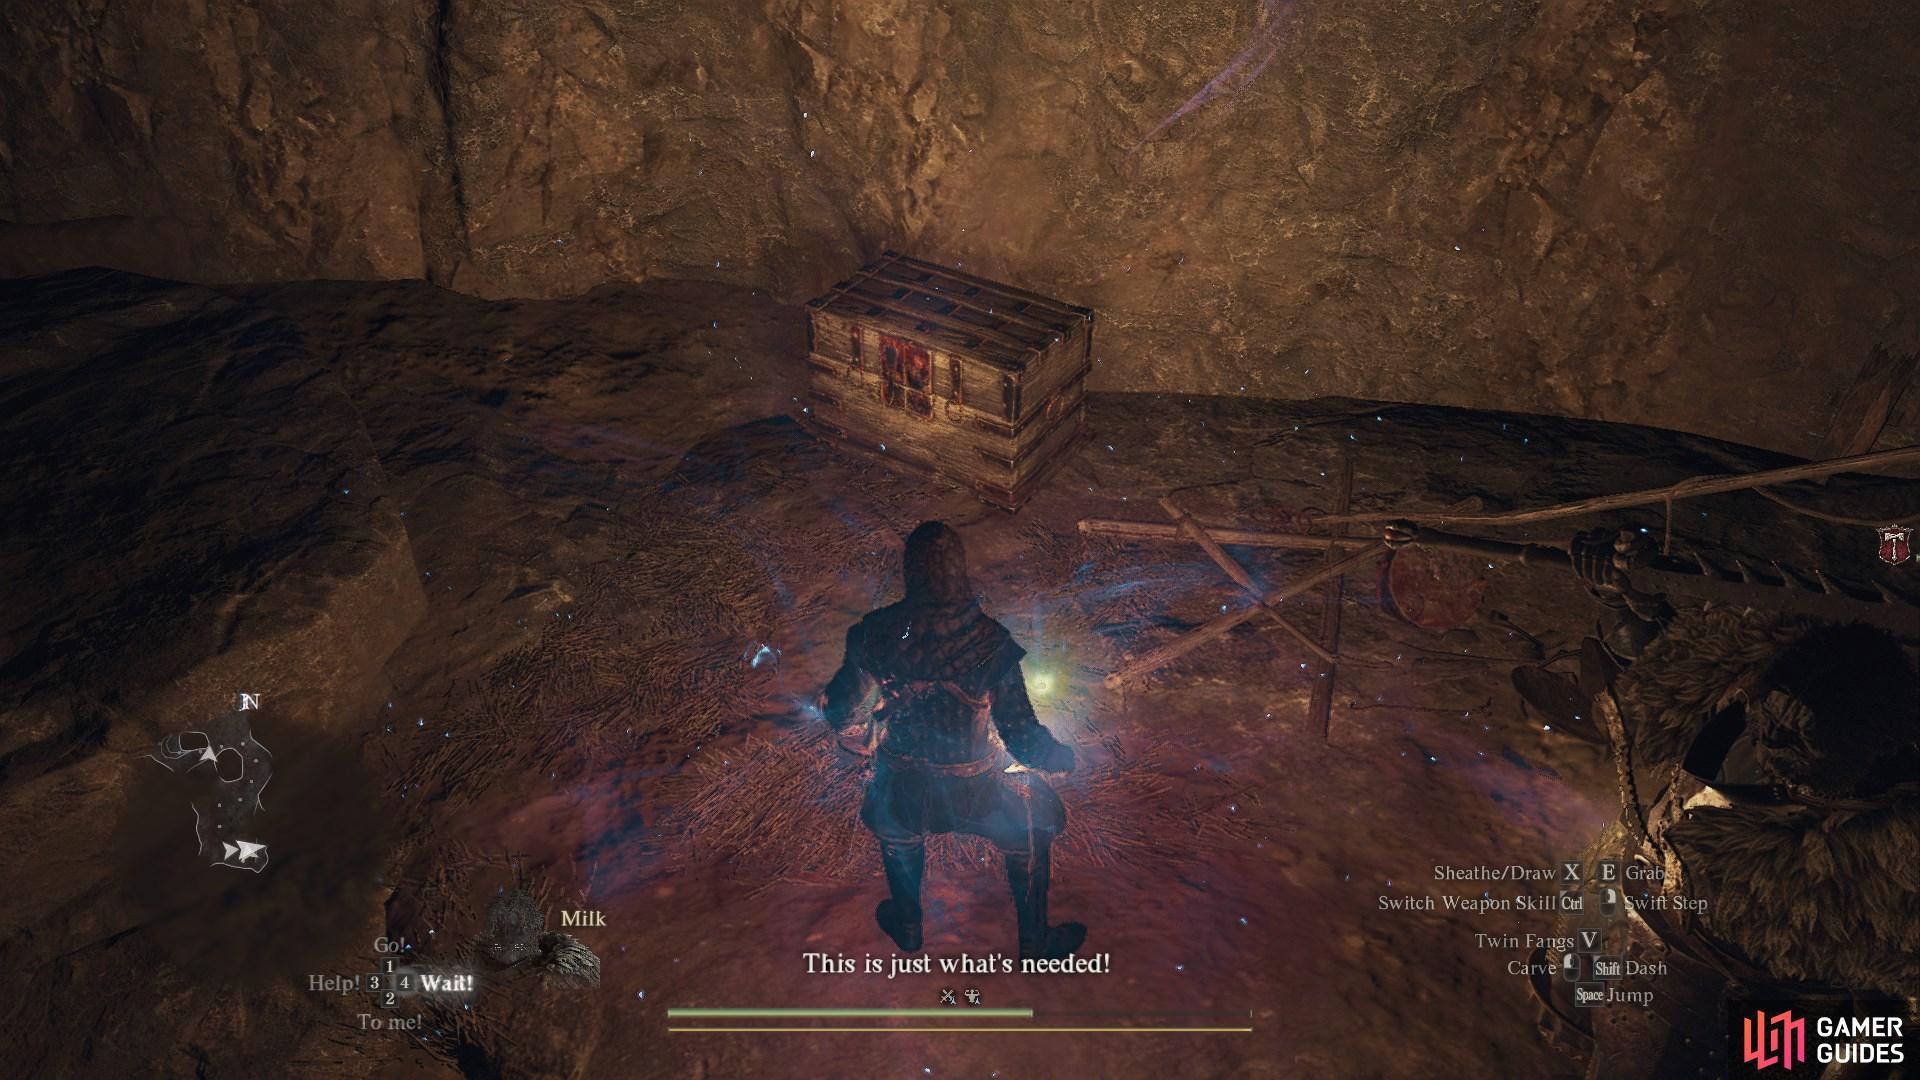
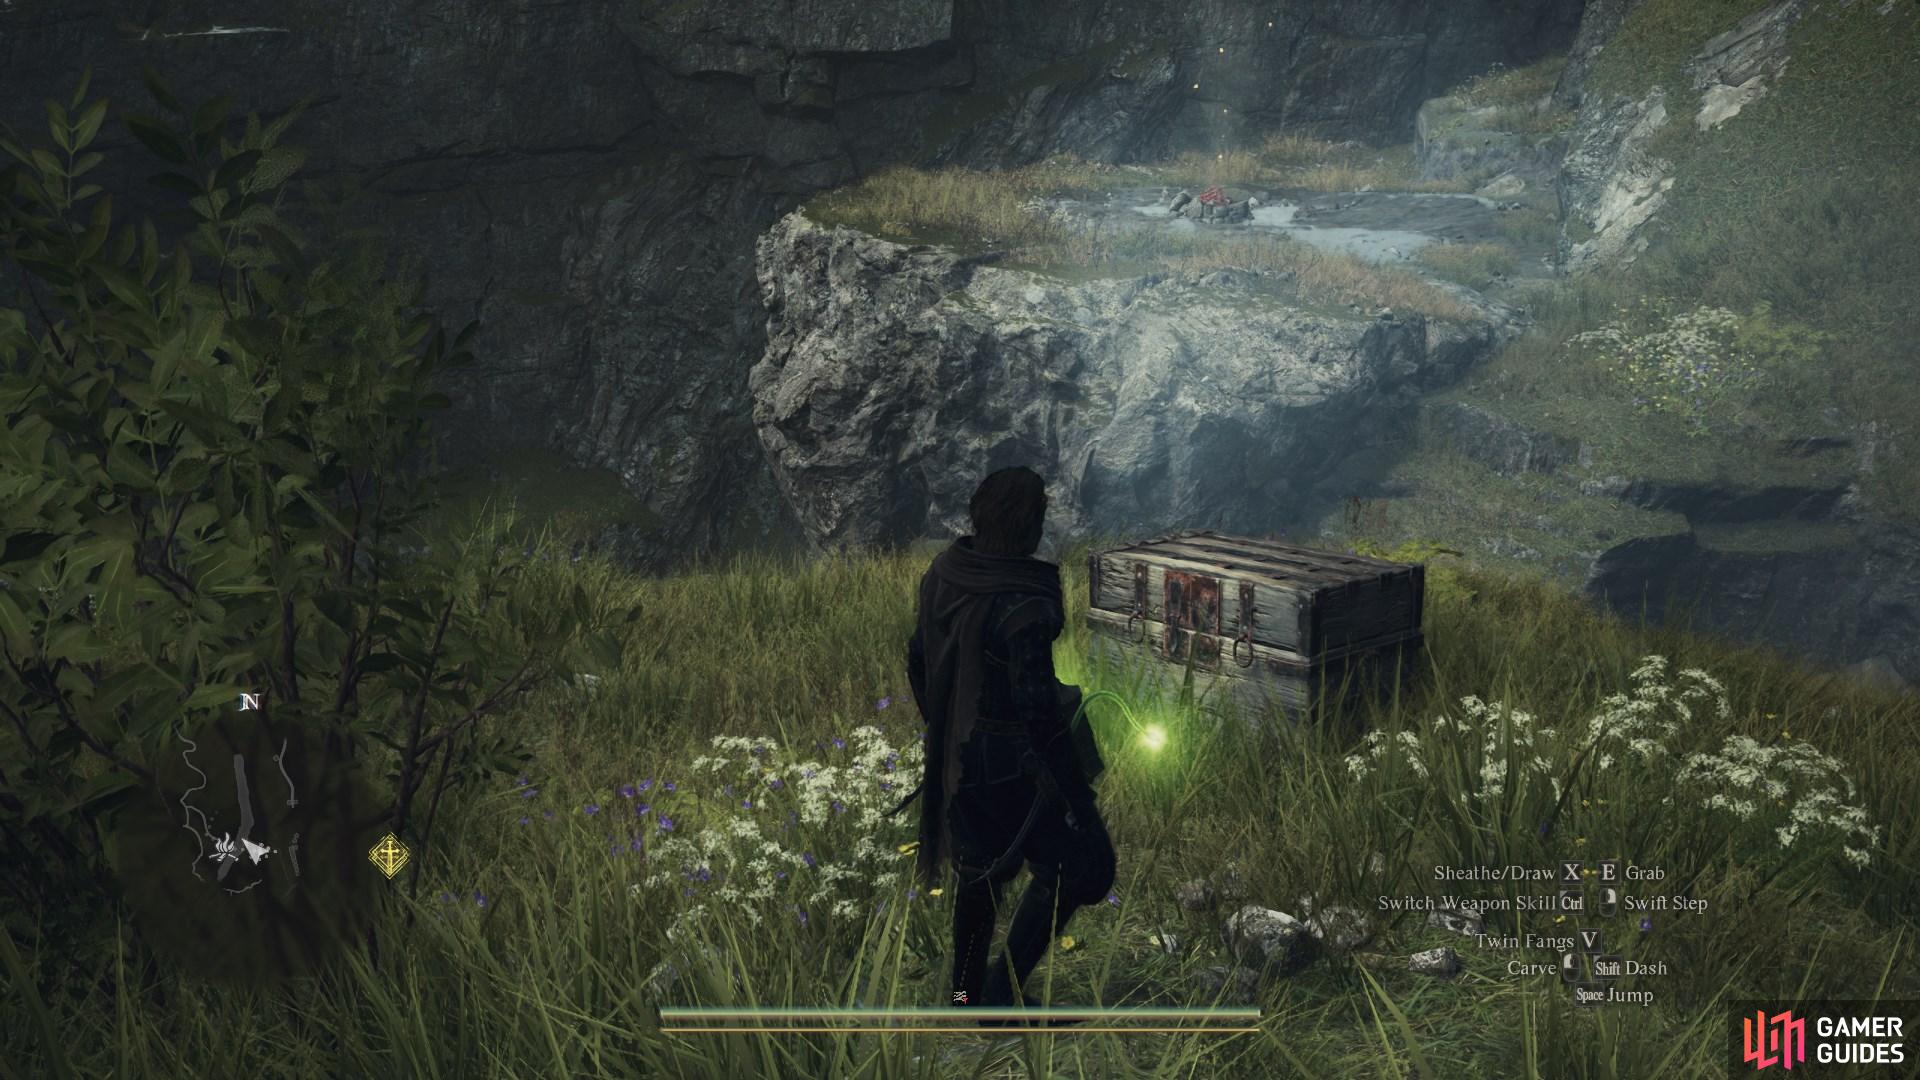
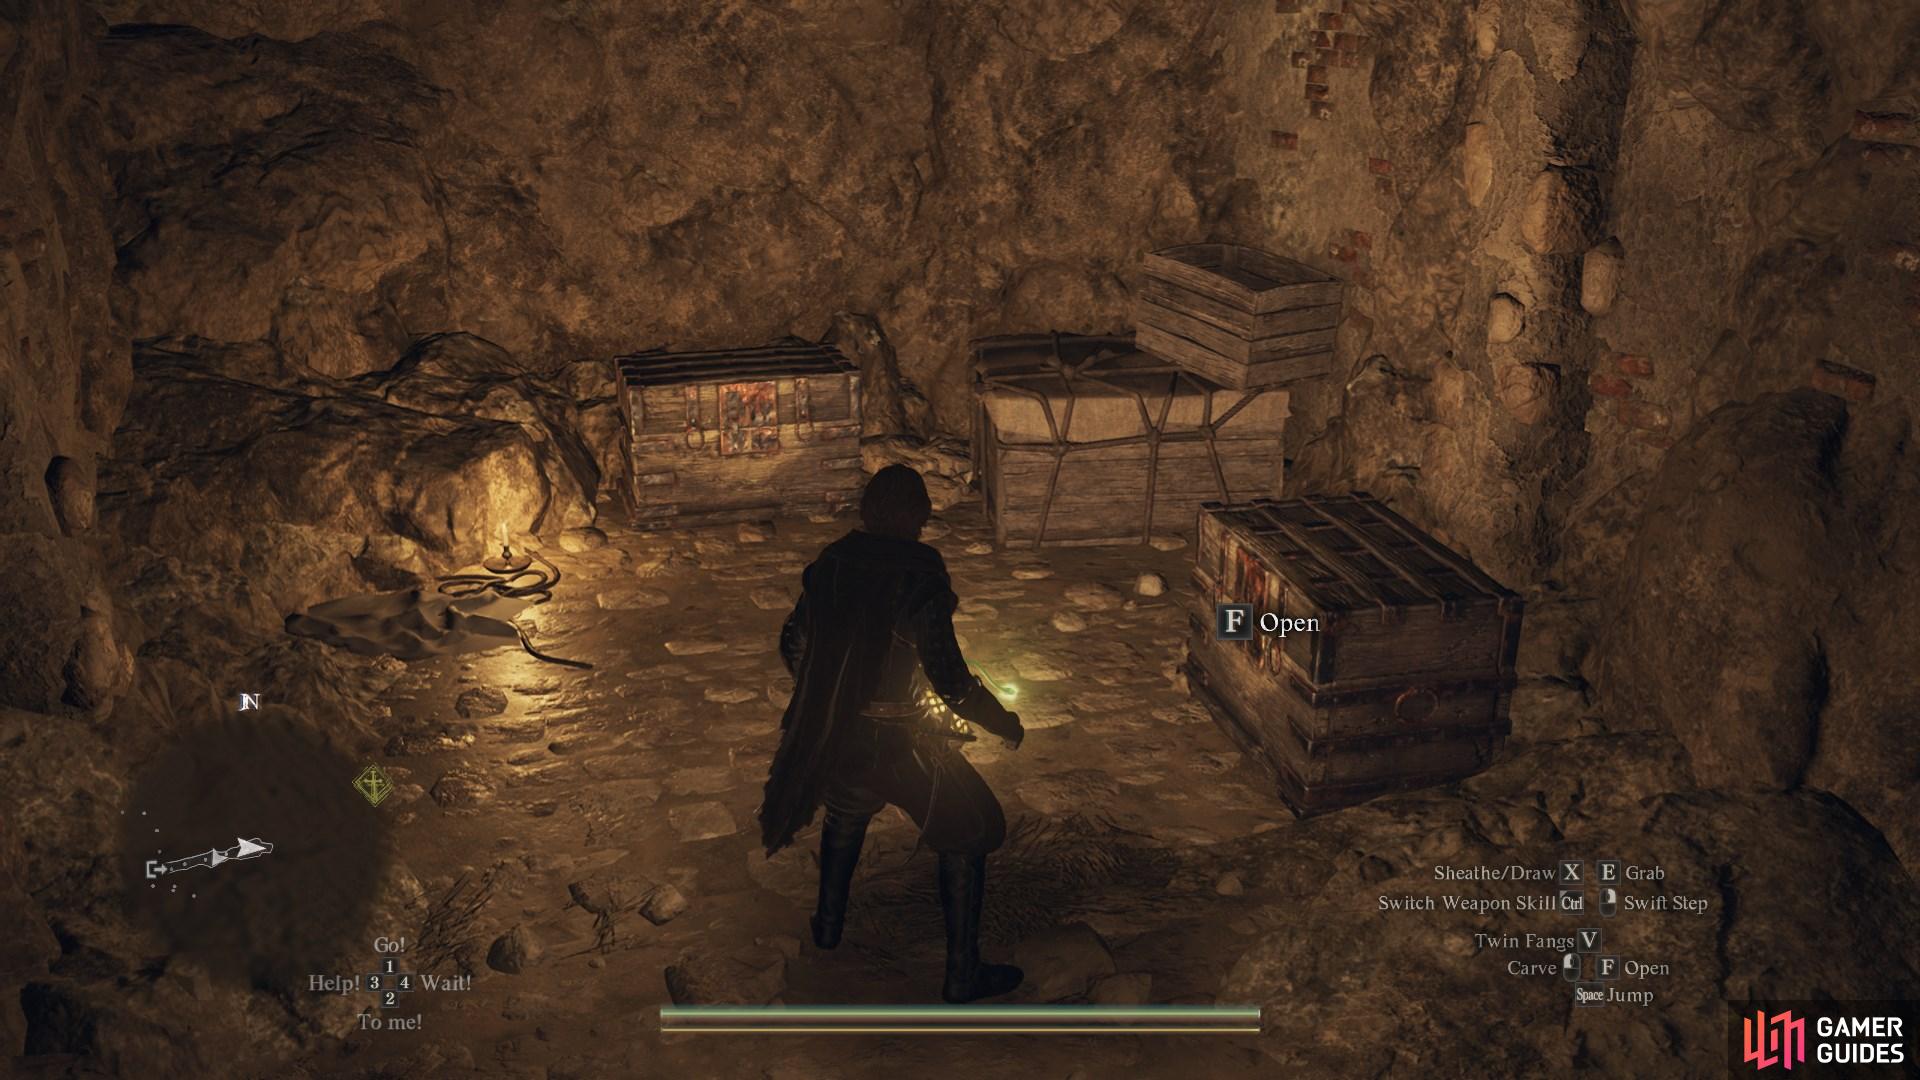
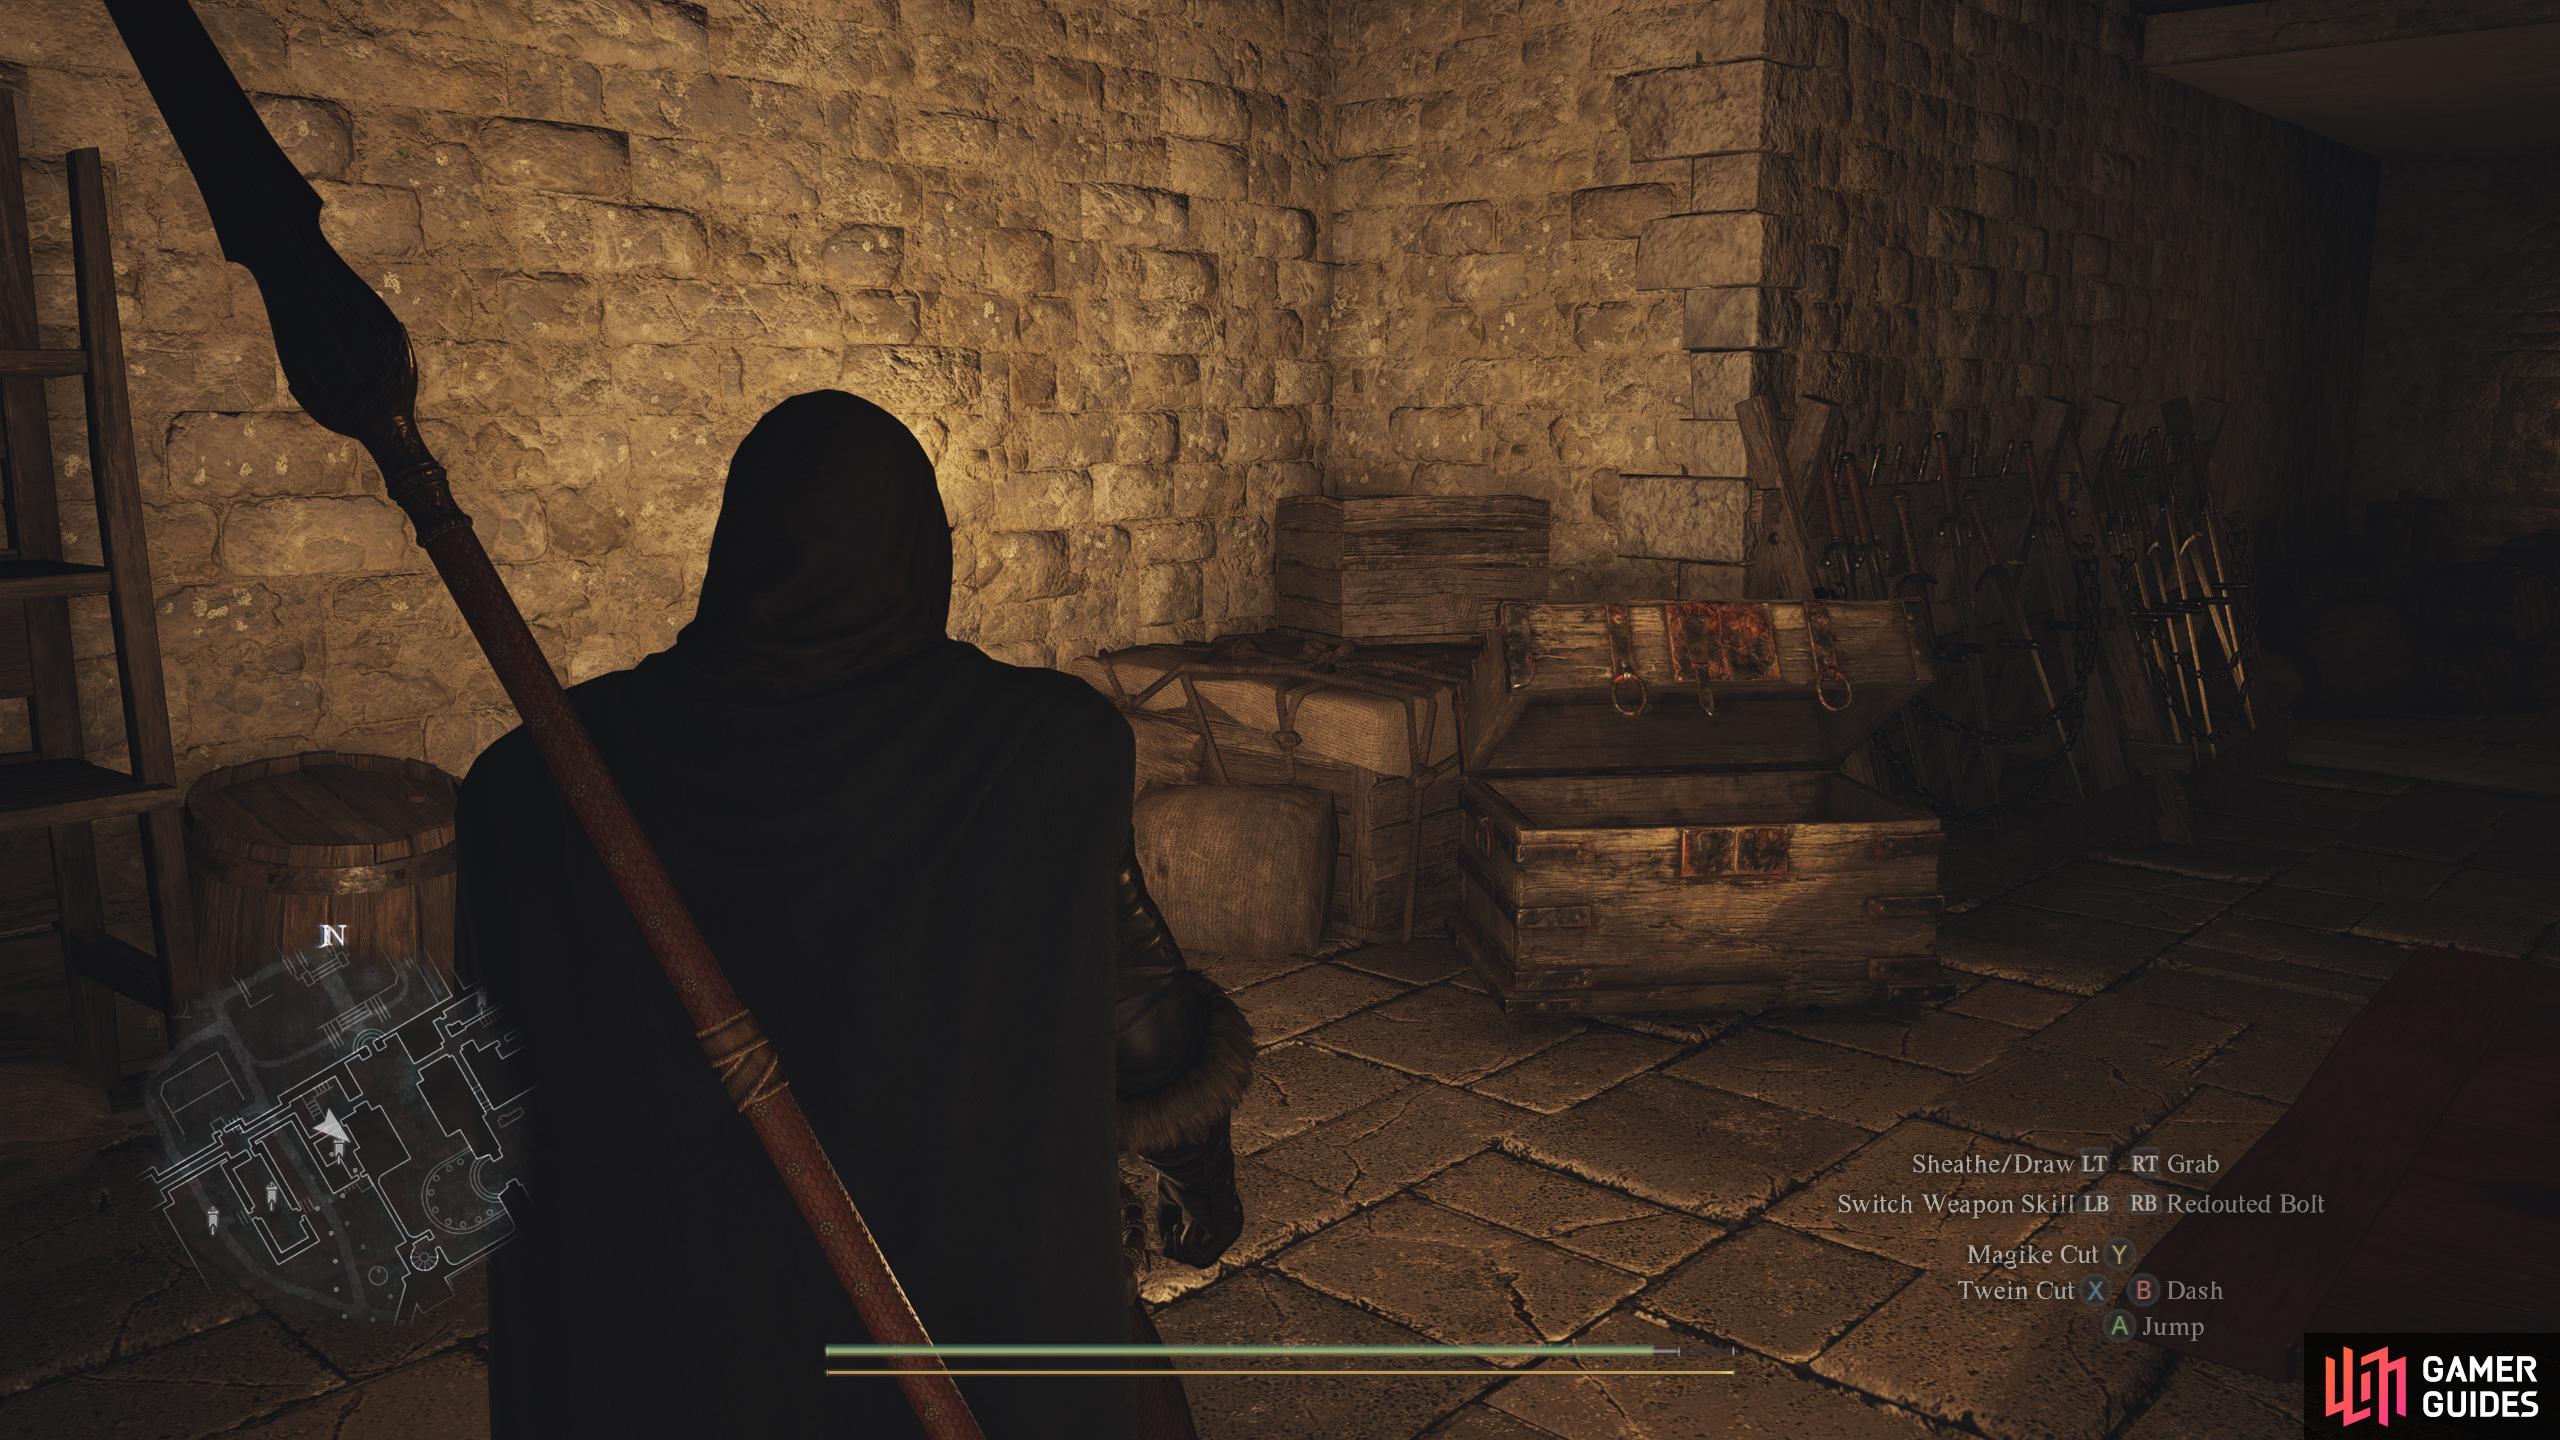
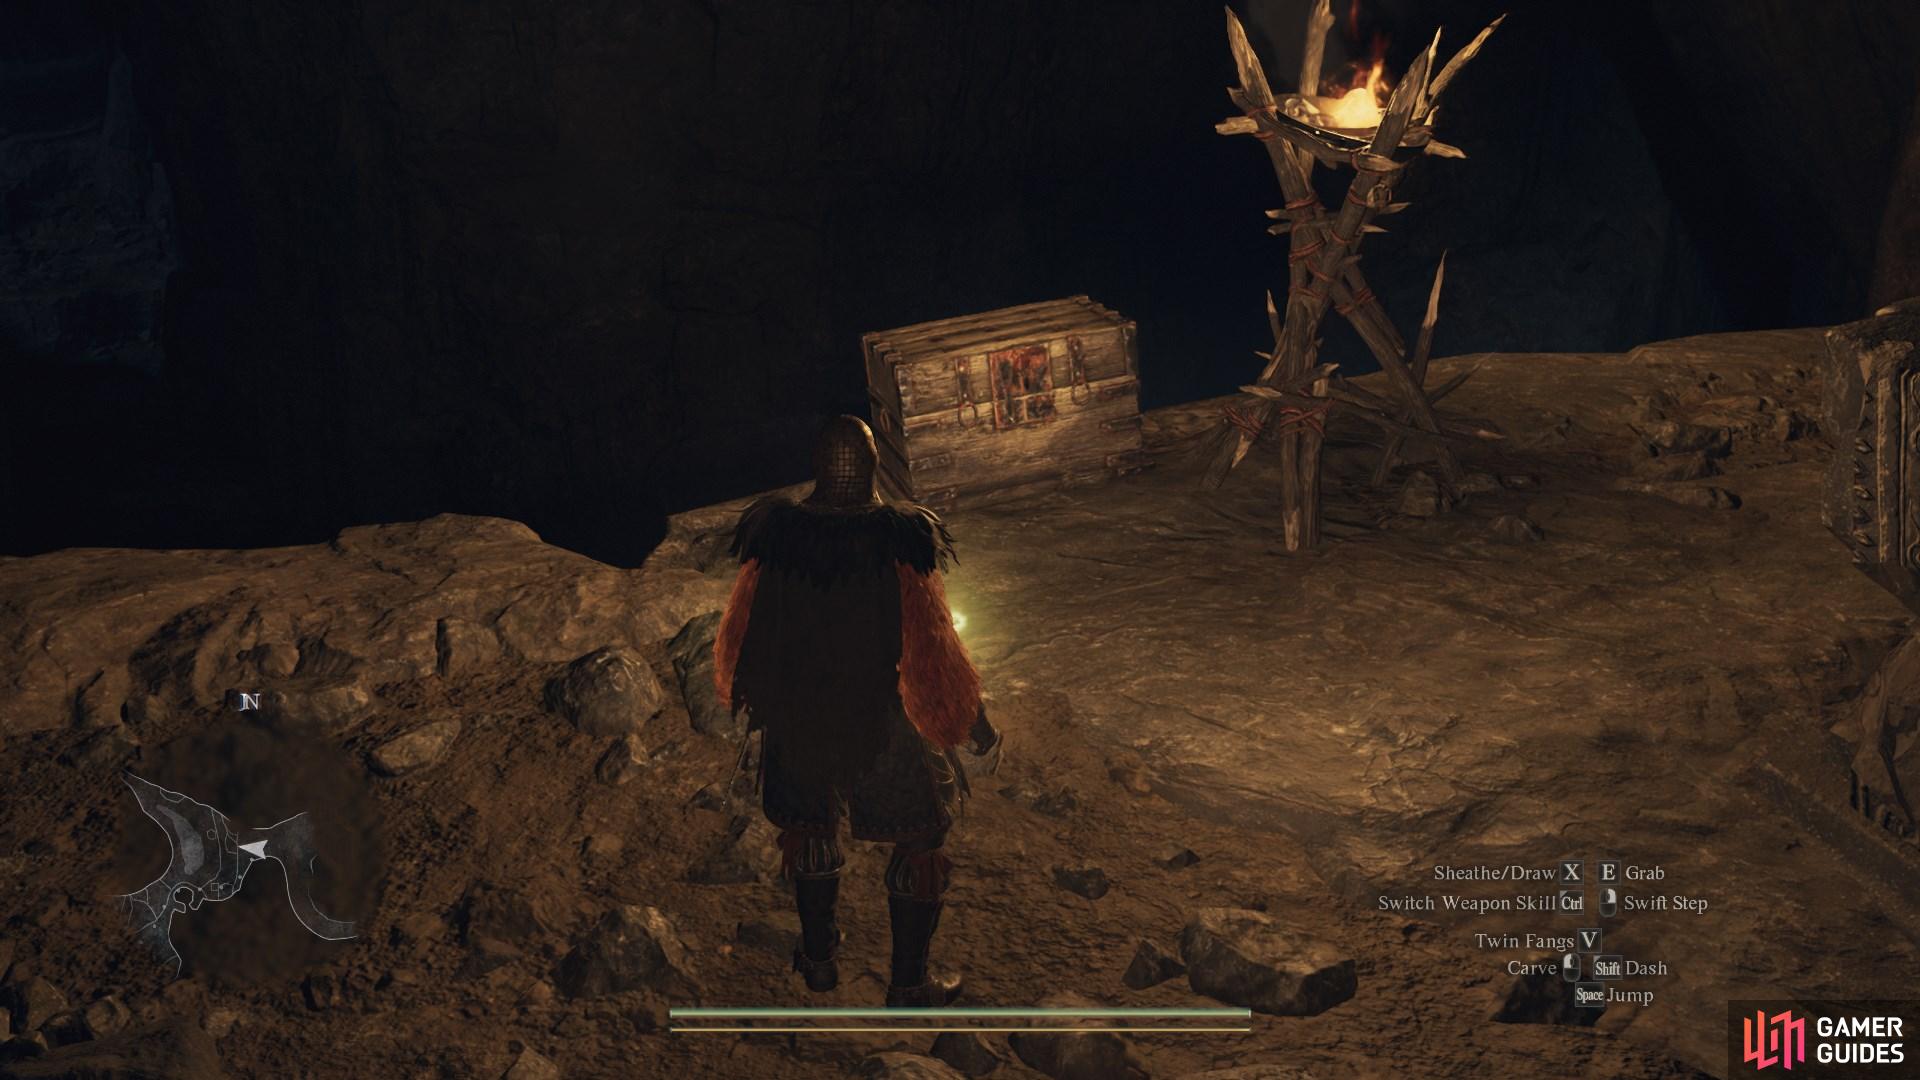
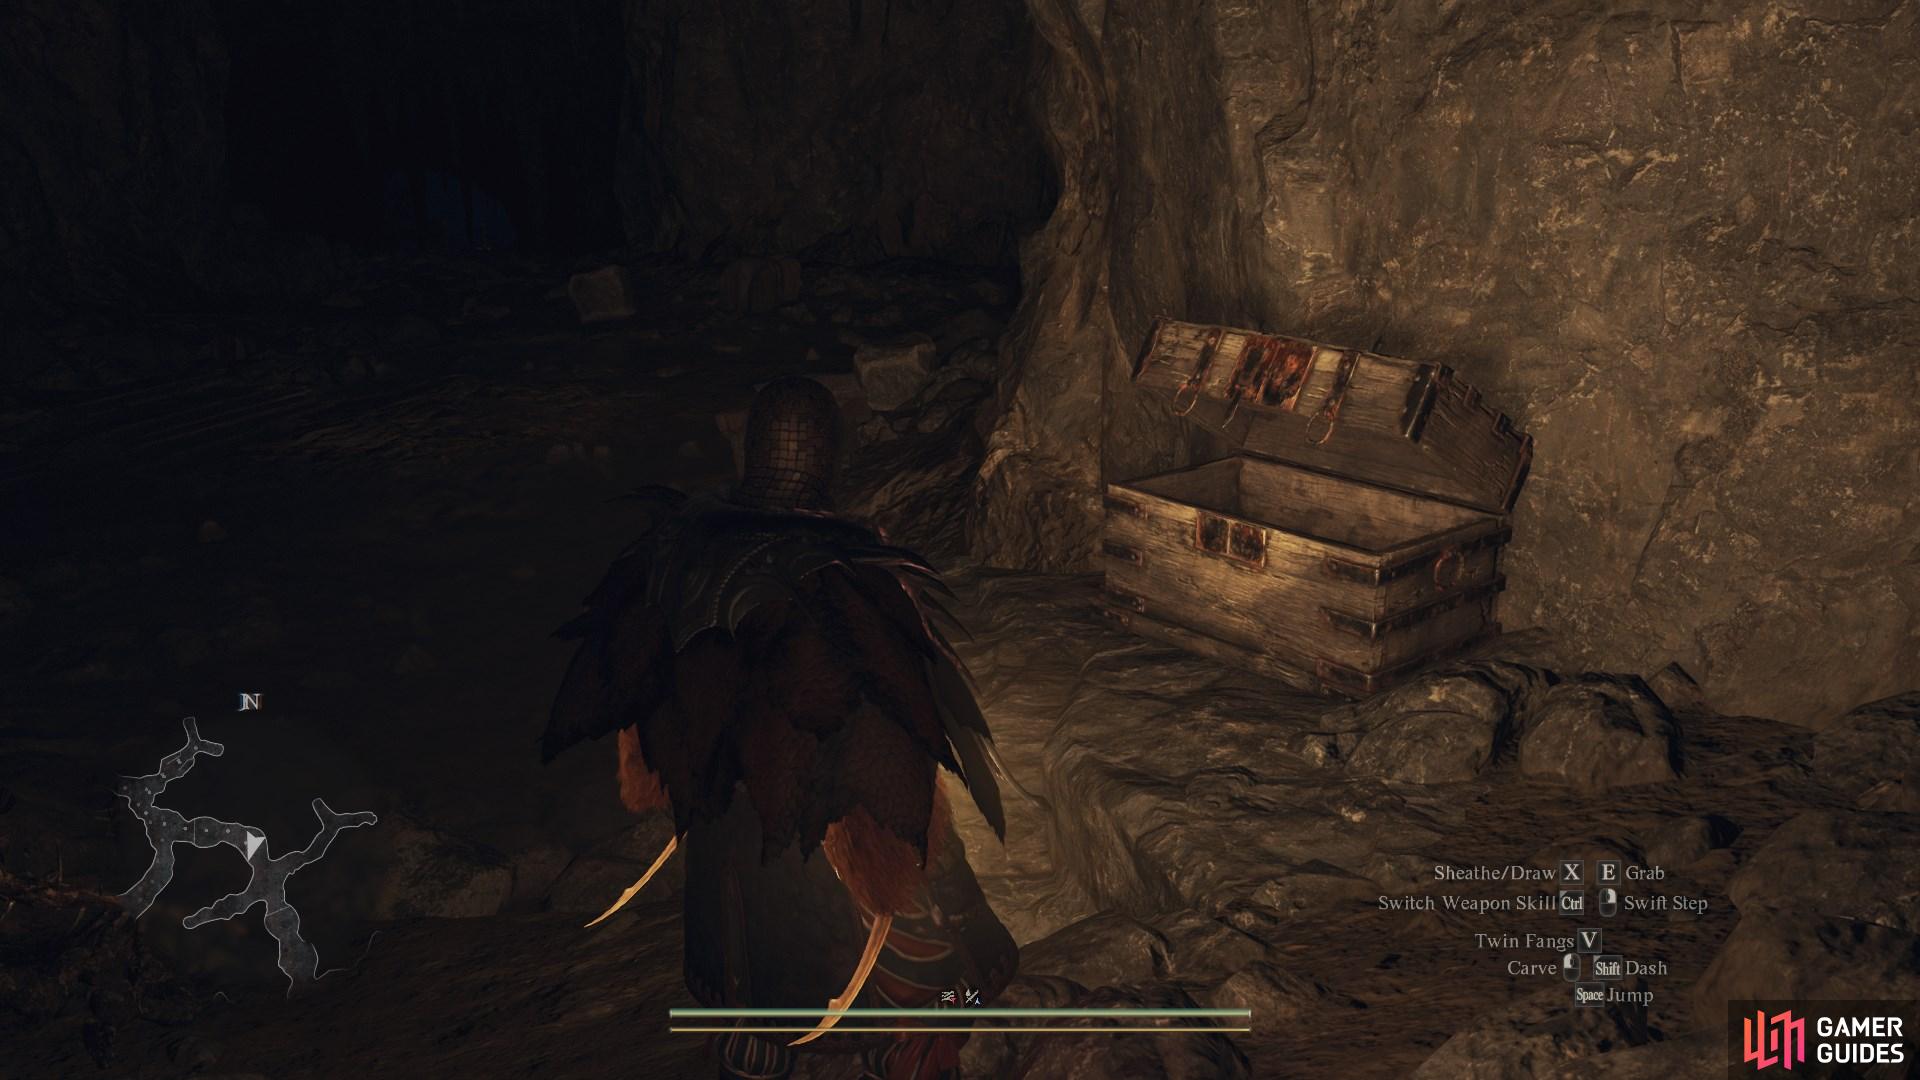
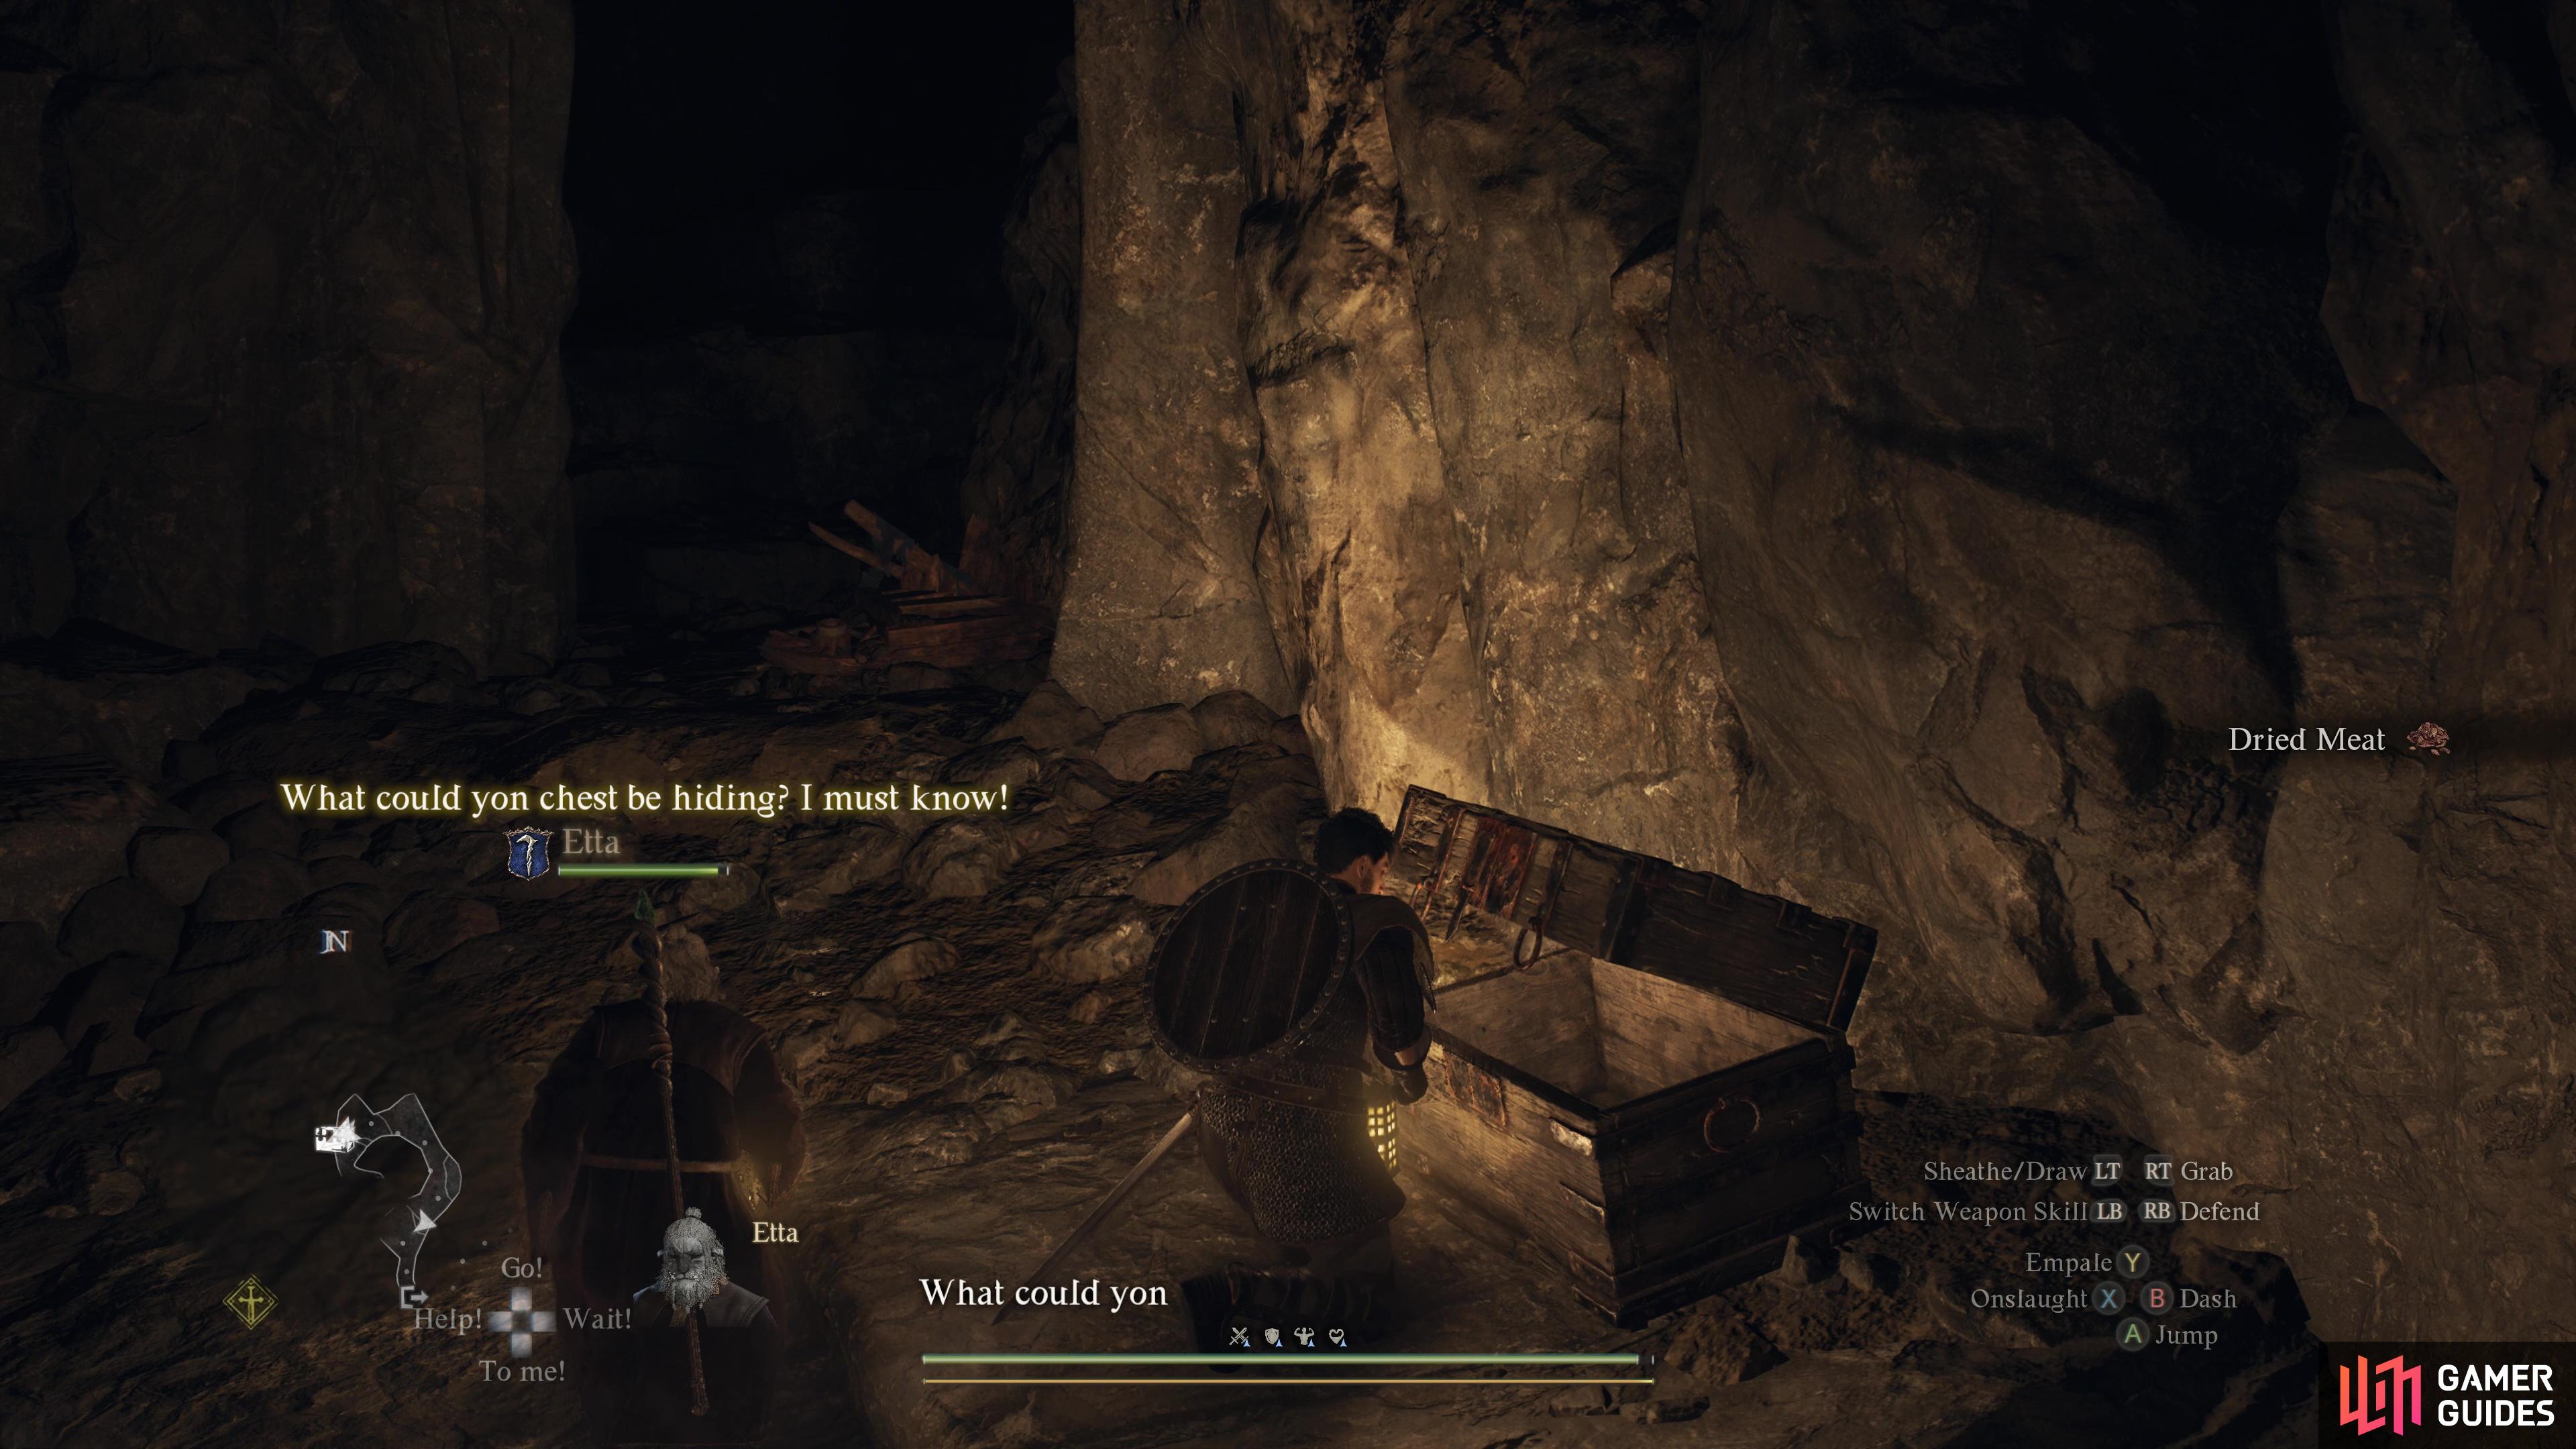
Wooden Chest Chests
Description
Standard, common chest. Constructed of wood with a rustic aesthetic.
Interactive Map Locations

1. World Map
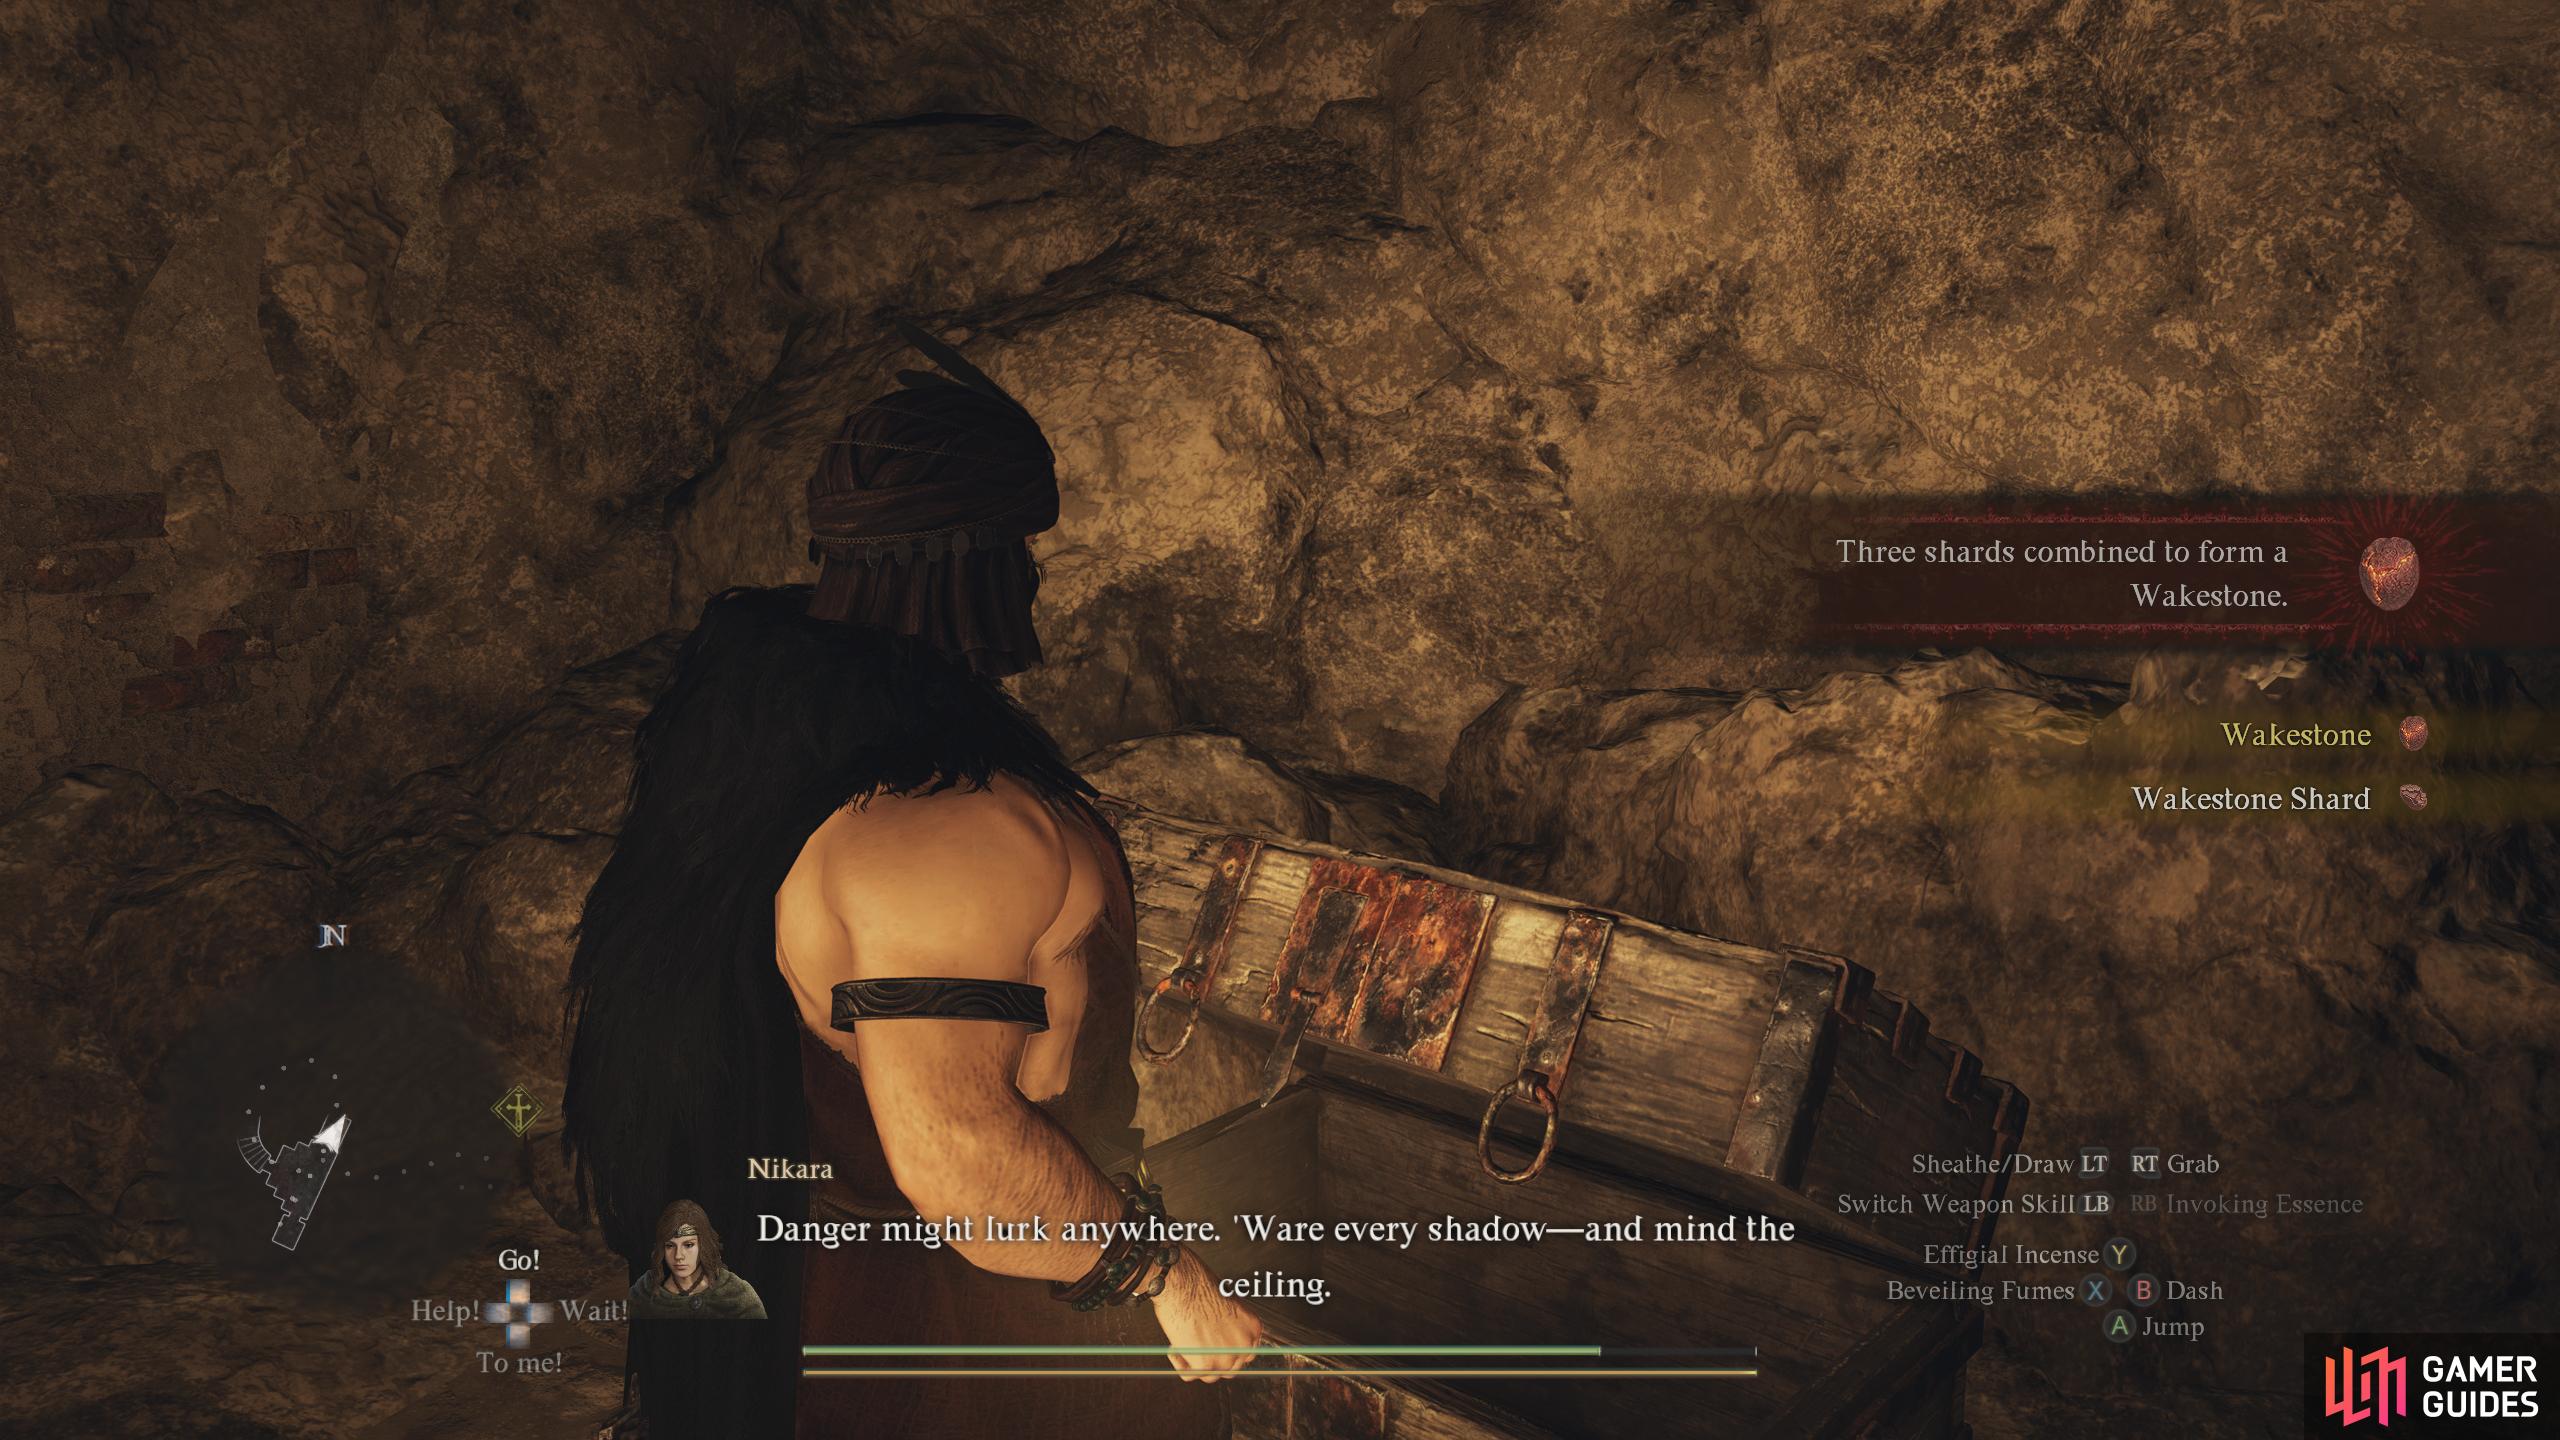
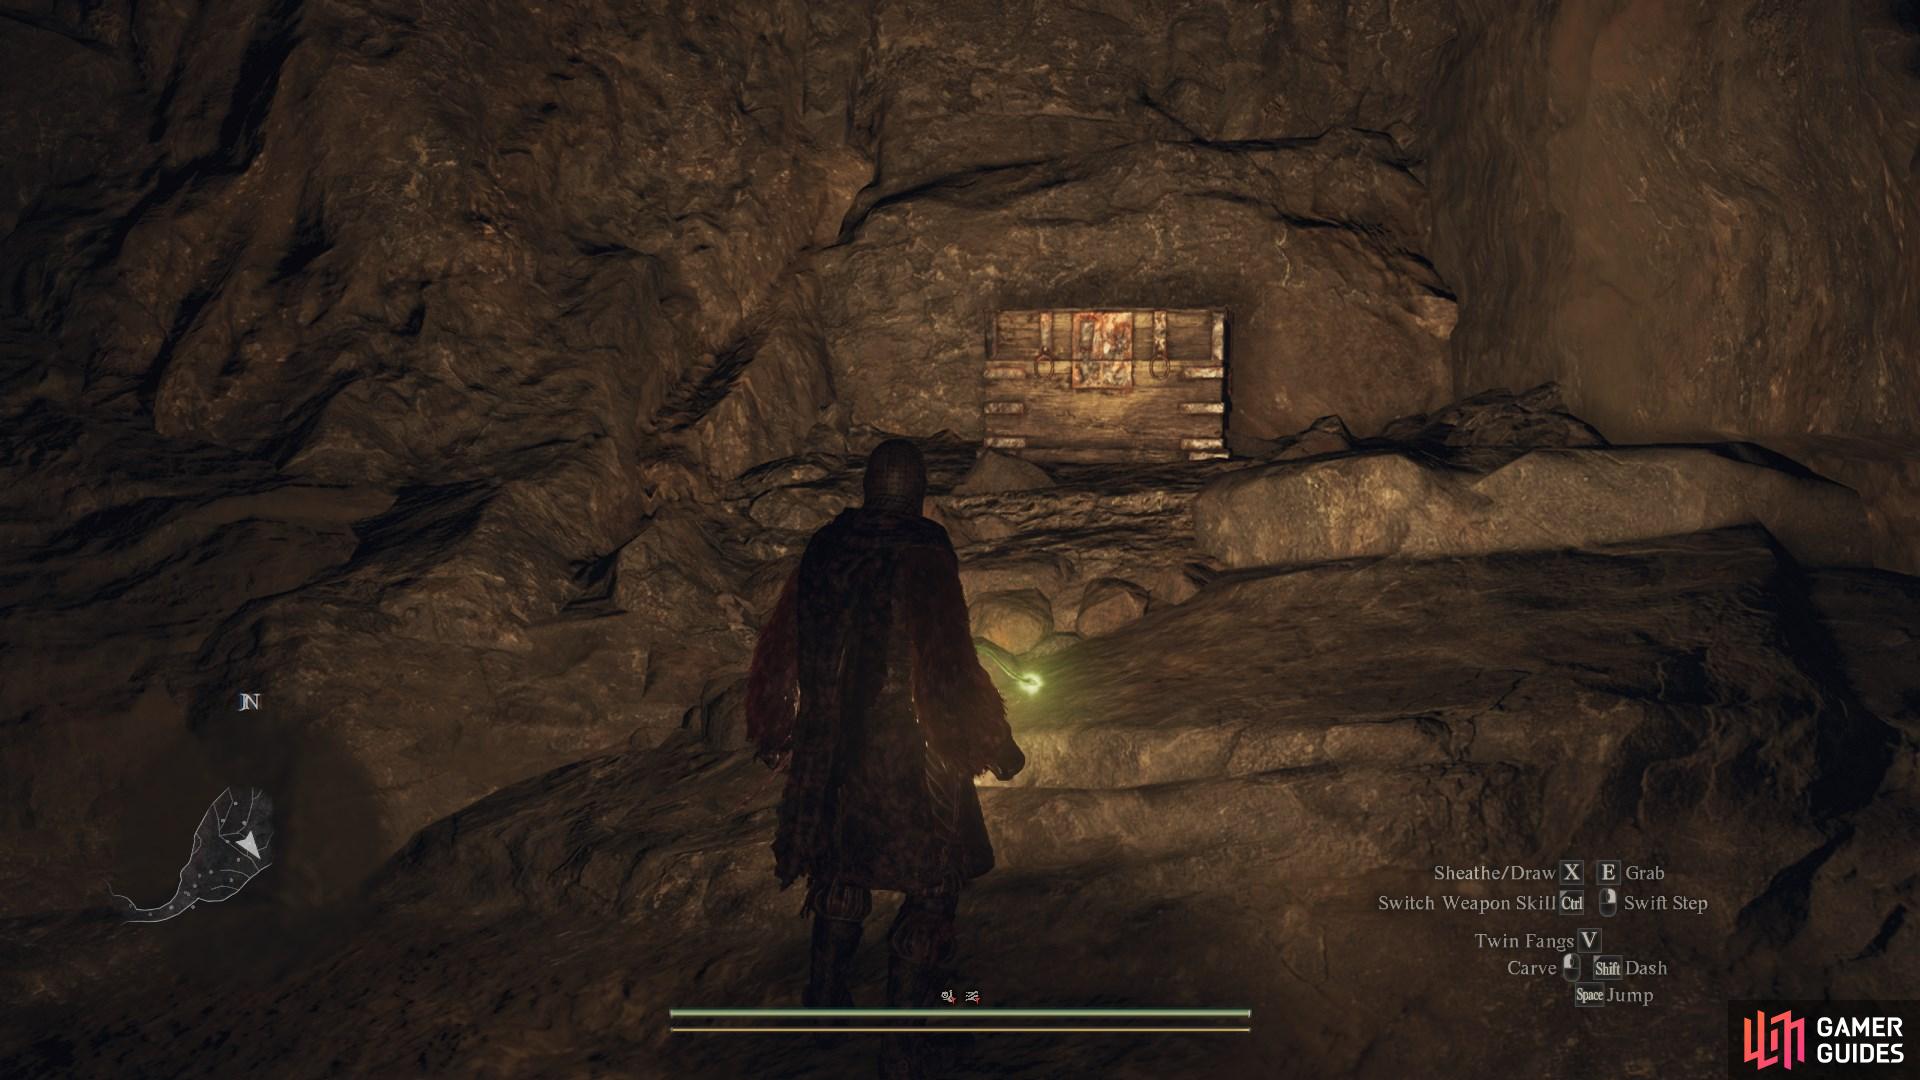
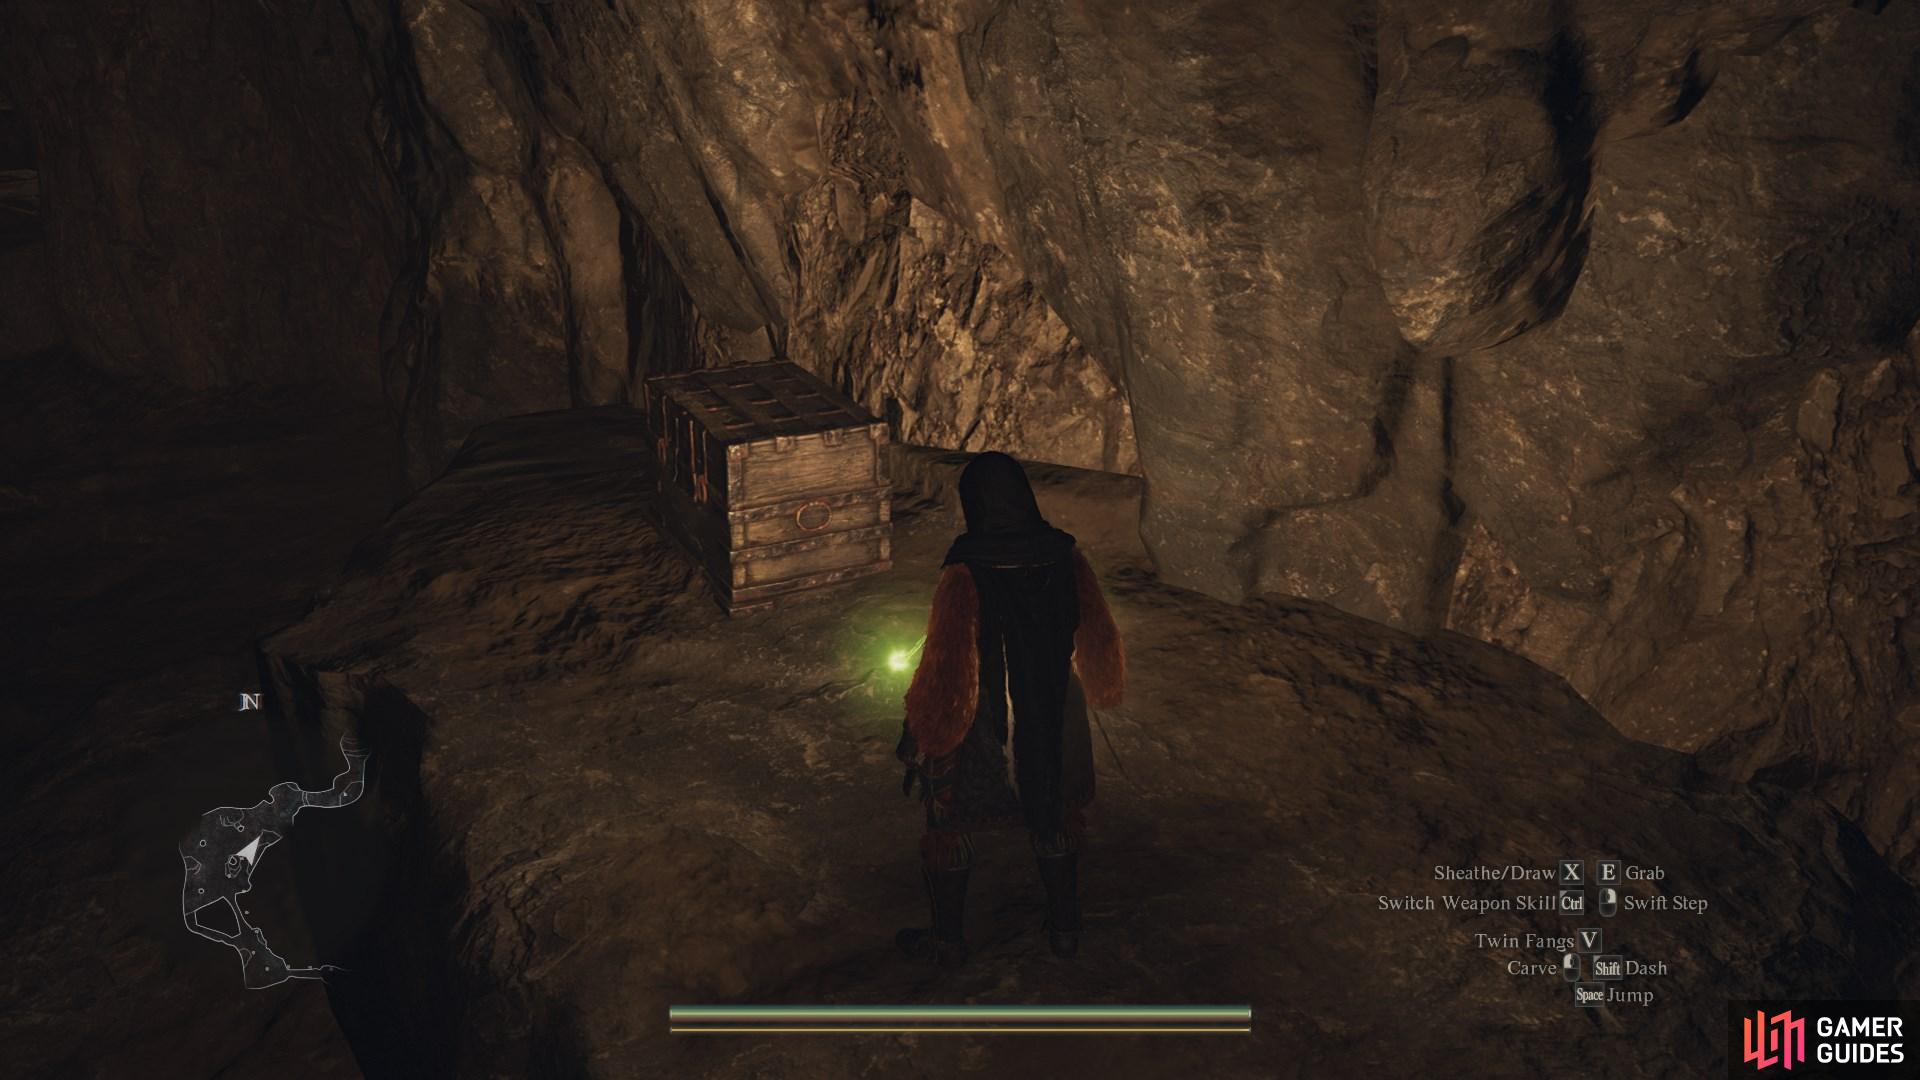
Head inside the ![]() Mountain Ruins and turn around. There will be a platform you can climb up on your left. Climb up and go up the nearby ladder, also on your left, and then jump across the broken pieces of the ruin to reach the chest at the end.
Mountain Ruins and turn around. There will be a platform you can climb up on your left. Climb up and go up the nearby ladder, also on your left, and then jump across the broken pieces of the ruin to reach the chest at the end.
Contains: ![]() Wakestone Shard.
Wakestone Shard.

2. World Map
Jump over to the other side of the cliff and fight off the Harpies to reach the chest.
Contains: ![]() Stability Extract
Stability Extract

3. World Map
Run up the path to the side of the guard tower and jump inside to reach the chest.
Contains: ![]() Fulgurous Lord
Fulgurous Lord

4. World Map
Exit the ![]() Forgotten Tunnel via the upper exit, head across the bridge, and then head south. The chest will be on the edge of the cliff.
Forgotten Tunnel via the upper exit, head across the bridge, and then head south. The chest will be on the edge of the cliff.
Contains: Unknown

5. World Map
Found on the edge of a cliffside just west of ![]() Borderwatch Outpost.
Borderwatch Outpost.
Contains: ![]() Copper Ore x3
Copper Ore x3

6. World Map
On the first floor of the tower of the ![]() Dracanward. Climb up the ladder next to the entrance to reach it.
Dracanward. Climb up the ladder next to the entrance to reach it.
Contains: ![]() Fluted Bow
Fluted Bow
7. World Map
Found inside a broken room on the rooftops above ![]() Ulrika’s House. You can reach it by climbing down the ladders at the
Ulrika’s House. You can reach it by climbing down the ladders at the ![]() Dracanward tower and looking down.
Dracanward tower and looking down.
Contains: ![]() Fulgurous Lord,
Fulgurous Lord, ![]() Winter’s Path,
Winter’s Path, ![]() Threshing Blaze.
Threshing Blaze.

8. World Map
On the northwest corner of the dock.
Contains: ![]() Aged Tideswimmer x1 and
Aged Tideswimmer x1 and ![]() Aged Shorefish x1.
Aged Shorefish x1.

9. World Map
Under the market stool in the Merchant Quarter.
Contains: 400 gold coins


11. World Map
Inside the Gracious Hand. From the entrance, head through the door on your left and take the stairs to the bottom. Enter the room on the right and you’ll find the chest next to the table.
Contains: ![]() Emergent Vitality
Emergent Vitality

12. World Map
Behind Walter in ![]() Walter’s Tavern by the sea. Contains
Walter’s Tavern by the sea. Contains ![]() Shorefish x1 and
Shorefish x1 and ![]() Dried Fish x1.
Dried Fish x1.

13. World Map
Under the balcony behind the Well in the Common Quarter.
Contains: 180 RC.


15. World Map
On the balcony. You will need to go up to the watchtower (where another chest is). From there, drop onto the roof via the northern side of the watchtower, and head east along the wooden boards until you reach a ladder. Climb the ladder, head north and jump onto the small awning sticking out. Now, slowly drop onto the balcony below to find the chest.
Contains: Exquisite Meat x1.

16. World Map
On the balcony. You will need to go up to the watchtower (where another chest is). From there, drop onto the roof via the northern side of the watchtower, and continue north over to the wooden boarding. Now jump on the small awnings over to the balcony to the northeast where you’ll find the chest at the end. Contains ![]() Ferrystone x1.
Ferrystone x1.

17. World Map
On top of the archway next to ![]() Roderick’s Smithy. Contains
Roderick’s Smithy. Contains ![]() Ferrystone x1.
Ferrystone x1.
Proper Way: Head up the stairs to the building with the Grand Riftstone (don’t go in). Instead, head northwest and jump over to the balcony with the open door (![]() Philbert’s Sundries). Go out the other door and hang a left to find a ladder to the roofs. Now, head northeast using the wooden boards and then drop to the archway.
Philbert’s Sundries). Go out the other door and hang a left to find a ladder to the roofs. Now, head northeast using the wooden boards and then drop to the archway.
Quicker Way: Jump onto the white fabric-covered market stall over to the awning above Roderick’s Smithy. Now, jump around the sign to the archway where you’ll find the chest.

18. World Map
On the balcony behind ![]() Roderick’s Smithy. Go behind the shop to the houses opposite it and you’ll find a small fireplace outside the house. Use it to reach the balcony above where you’ll find a ladder to the roof. Head west across the roof onto the other balcony to find the chest. Contains
Roderick’s Smithy. Go behind the shop to the houses opposite it and you’ll find a small fireplace outside the house. Use it to reach the balcony above where you’ll find a ladder to the roof. Head west across the roof onto the other balcony to find the chest. Contains ![]() Jasper x3.
Jasper x3.

19. World Map
Inside the house. Enter the house and go into the adjacent room where you’ll find the chest at the end of the bed at the back. Contains ![]() Ripened Grapes x3.
Ripened Grapes x3.

20. World Map
On top of the archway. Climb up the nearby boxes and hoist yourself up to the archway where you’ll find a chest to your right.
Contains: ![]() Salubrious Draught and
Salubrious Draught and ![]() Warming Salve
Warming Salve

21. World Map
On the roof of the small white building next to the ![]() Grand Riftstone of Vermund. Go to the top floor of Sakir’s Inn, go out onto the balcony, and climb up the ladder to your right. Jump over to the wooden boards ahead of you before jumping over toward the tower to the west.
Grand Riftstone of Vermund. Go to the top floor of Sakir’s Inn, go out onto the balcony, and climb up the ladder to your right. Jump over to the wooden boards ahead of you before jumping over toward the tower to the west.
Walk past the tower and stand by the western edge of the roof and jump over to the wooden boards. Head over the small roof and drop to find the chest.
Contains: ![]() Throatcutters
Throatcutters

22. World Map
Inside ![]() Patrick’s Estate. Head upstairs and enter the door on the left. The chest will be against the wall to your right.
Patrick’s Estate. Head upstairs and enter the door on the left. The chest will be against the wall to your right.

23. World Map
On the balcony outside of ![]() Patrick’s Estate. Head upstairs in the estate and go out the window to your right. Follow the balcony right to find the chest. Contains
Patrick’s Estate. Head upstairs in the estate and go out the window to your right. Follow the balcony right to find the chest. Contains ![]() Panacea x1.
Panacea x1.

24. World Map
In the Guest House of ![]() Allard’s Estate. The chest will be on your left as you enter the building.
Allard’s Estate. The chest will be on your left as you enter the building.
Contains: ![]() Dried Spud,
Dried Spud, ![]() Dried Fish, and
Dried Fish, and ![]() Dried Meat.
Dried Meat.

25. World Map
On the balcony outside ![]() Klark’s Estate. Head upstairs in the estate and enter the room on the left. Go out the window to the balcony and the chest will be on your right. Contains
Klark’s Estate. Head upstairs in the estate and enter the room on the left. Go out the window to the balcony and the chest will be on your right. Contains ![]() Silver Ore x1, and
Silver Ore x1, and ![]() Gold Ore x1.
Gold Ore x1.

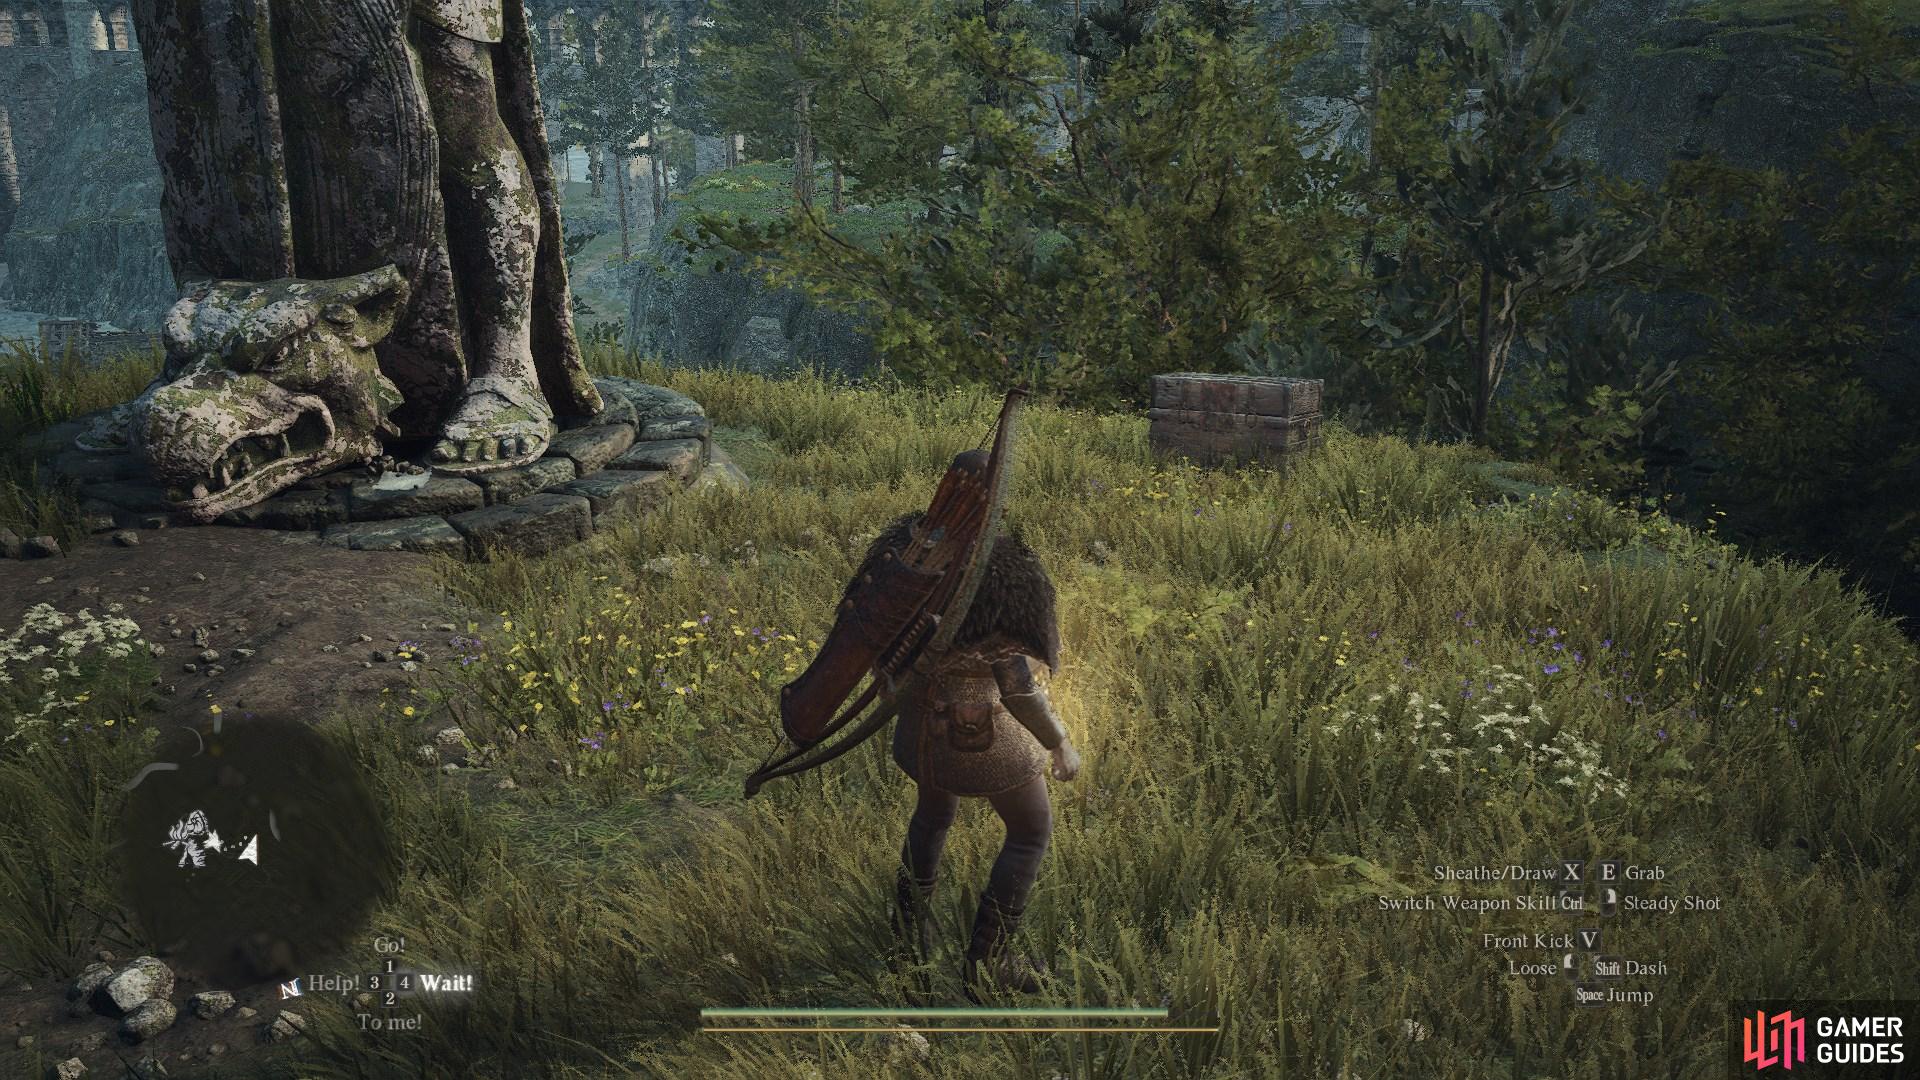
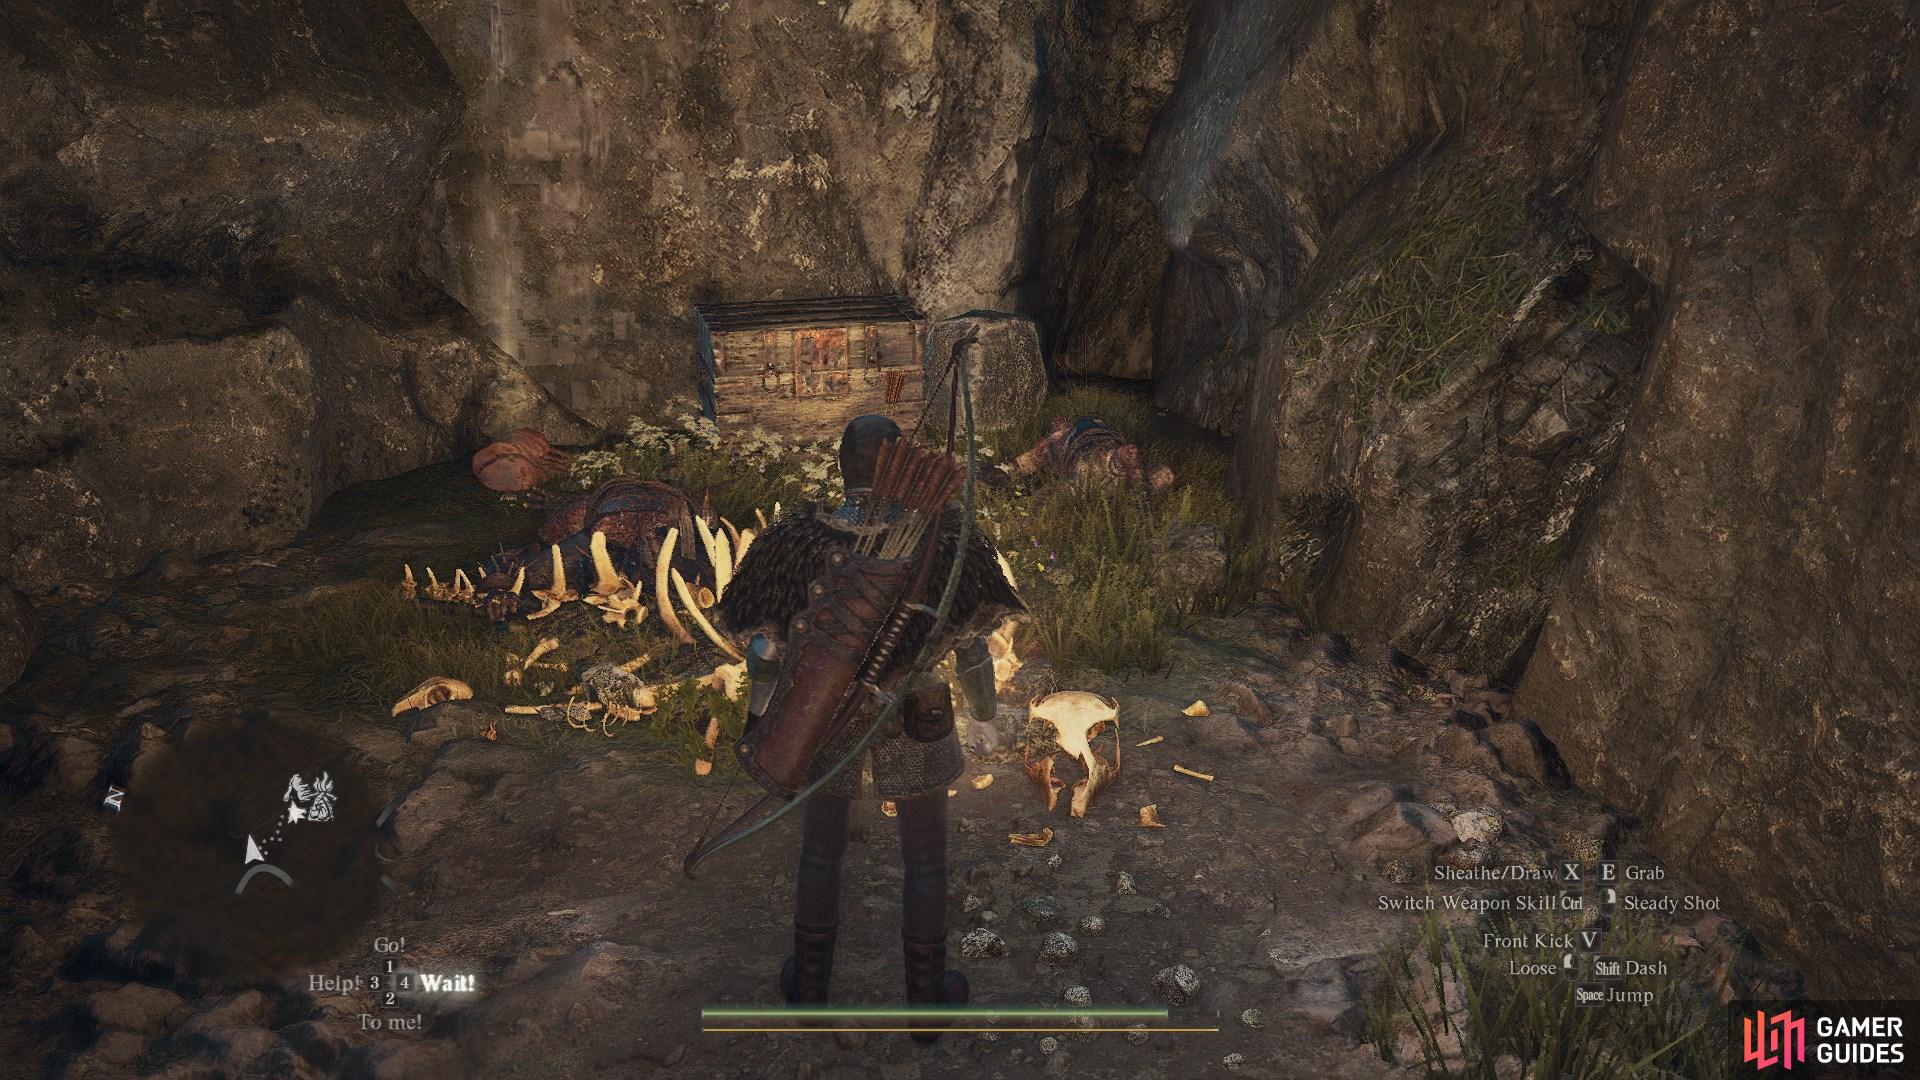
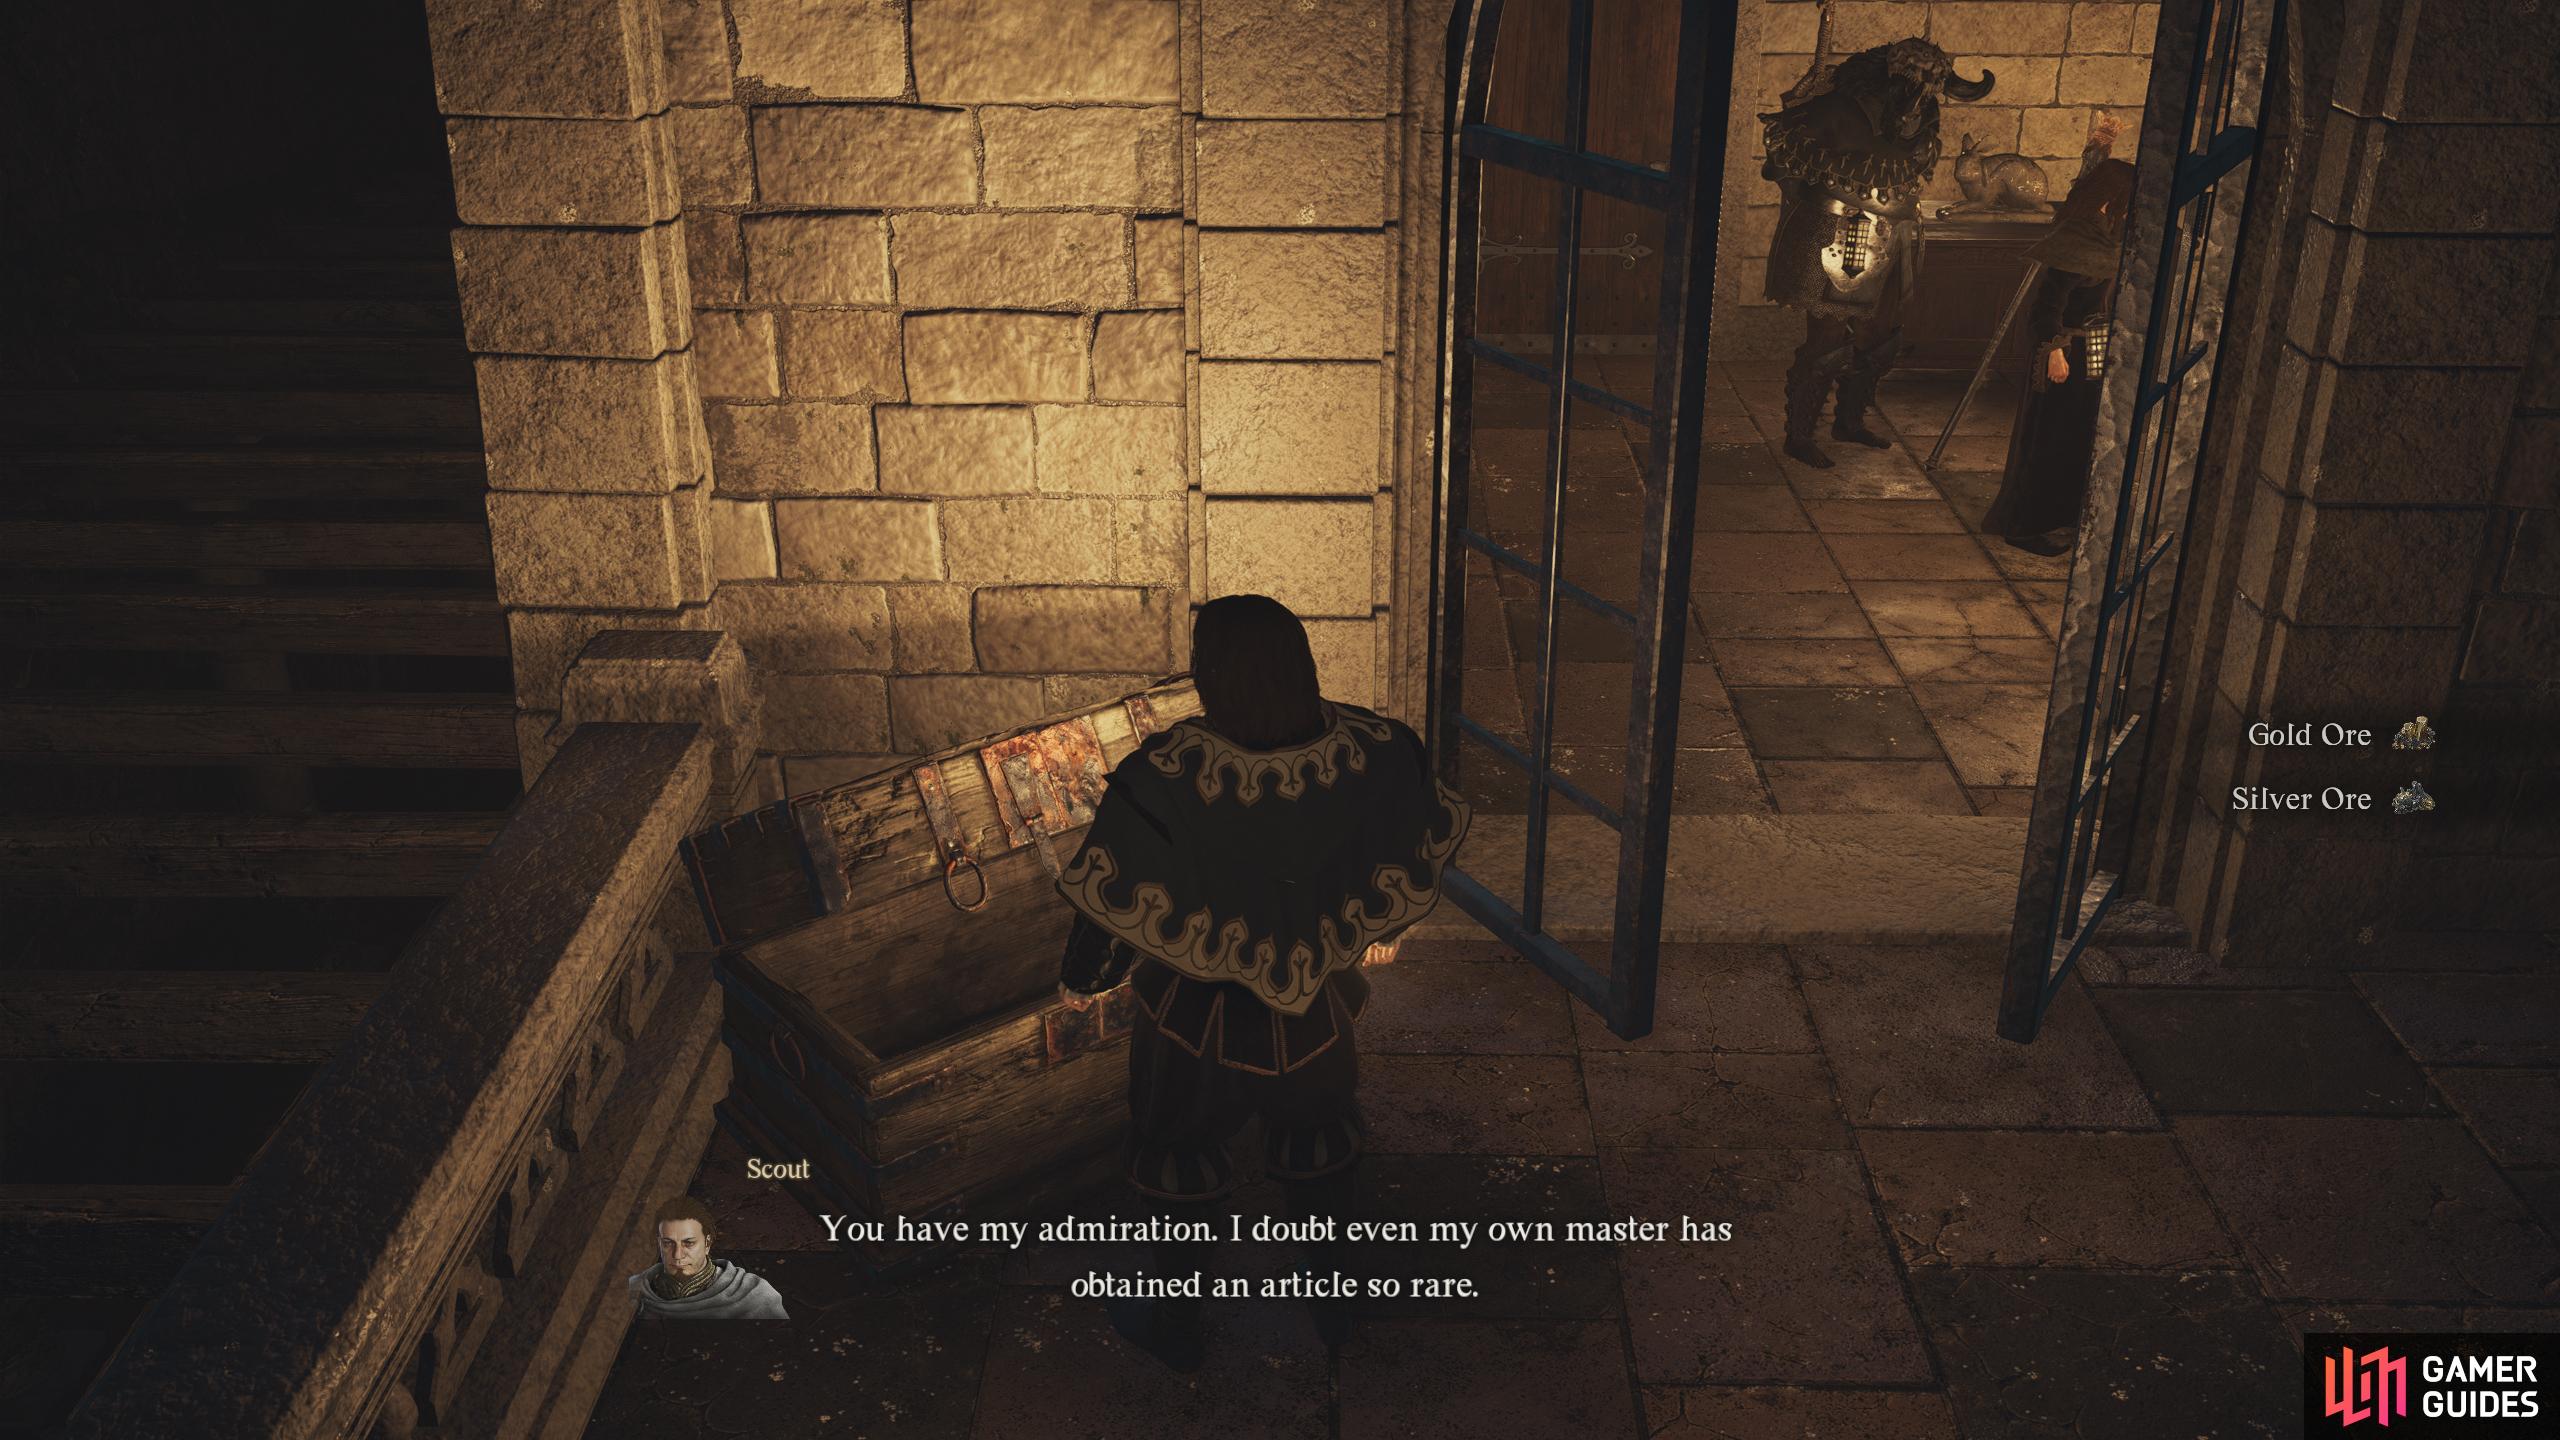
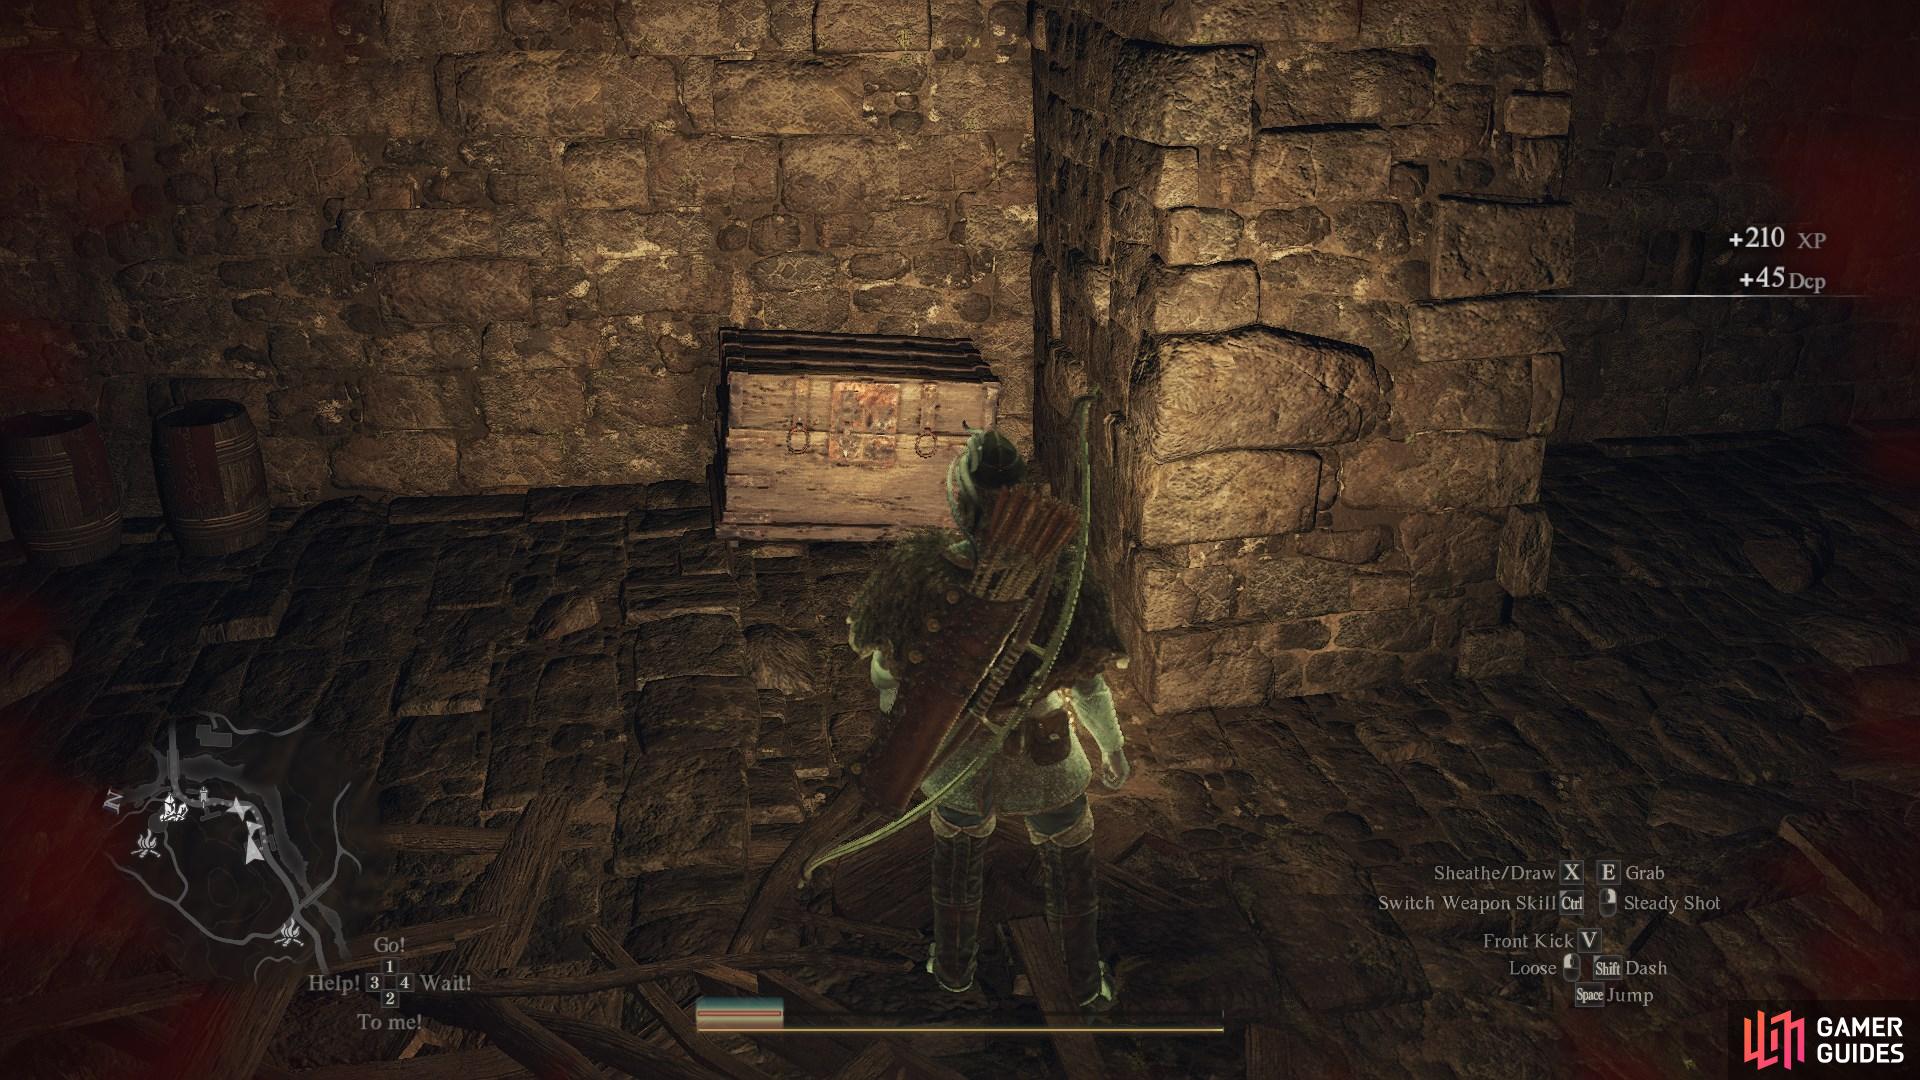
26. World Map
Inside ![]() Comptroller’s Home. Enter the first room on your right. The chest will be in the back-right corner of the room. Contains
Comptroller’s Home. Enter the first room on your right. The chest will be in the back-right corner of the room. Contains ![]() Soothing Brew x1, and
Soothing Brew x1, and ![]() Salubrious Draught x1.
Salubrious Draught x1.


28. World Map
Turn left off the main path and climb up several ledges to eventually reach the end of a path with the chest.
Contains: ![]() Panacea
Panacea
29. World Map
Inside the burned out ![]() Goblin hut.
Goblin hut.
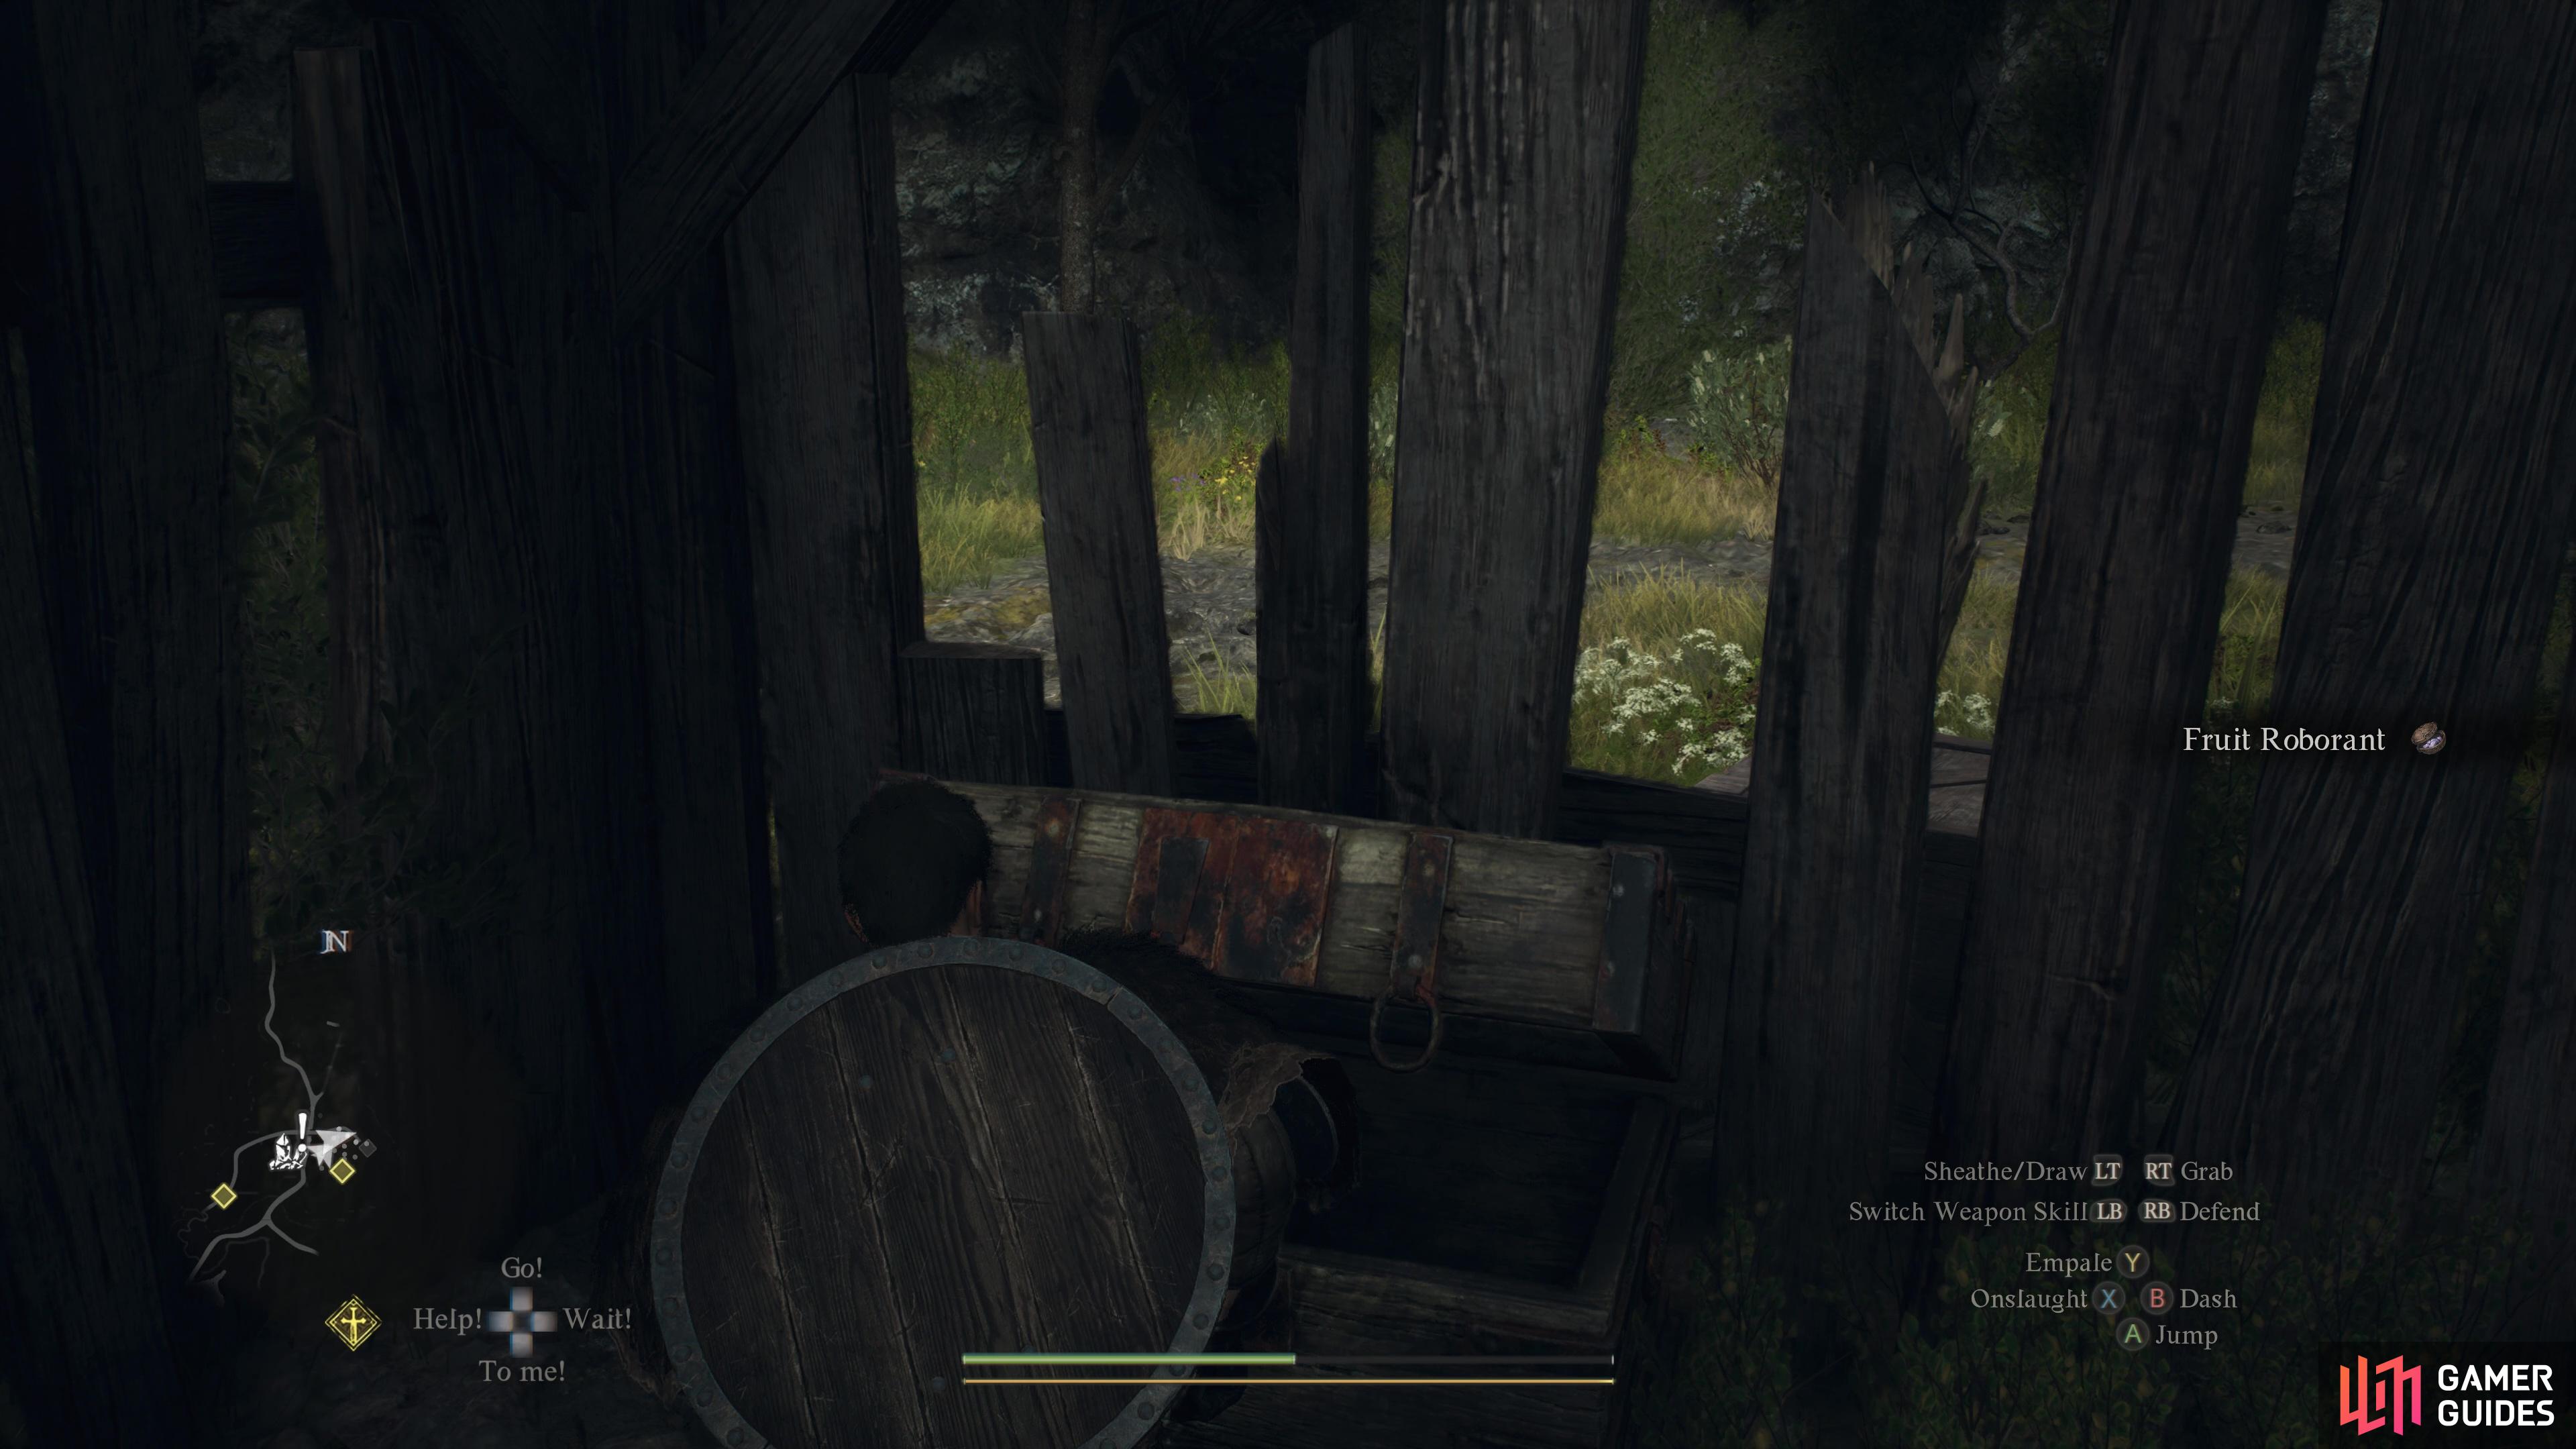
Contains: ![]() Fruit Roborant,
Fruit Roborant, ![]() Aged Scrag of Beast x2.
Aged Scrag of Beast x2.

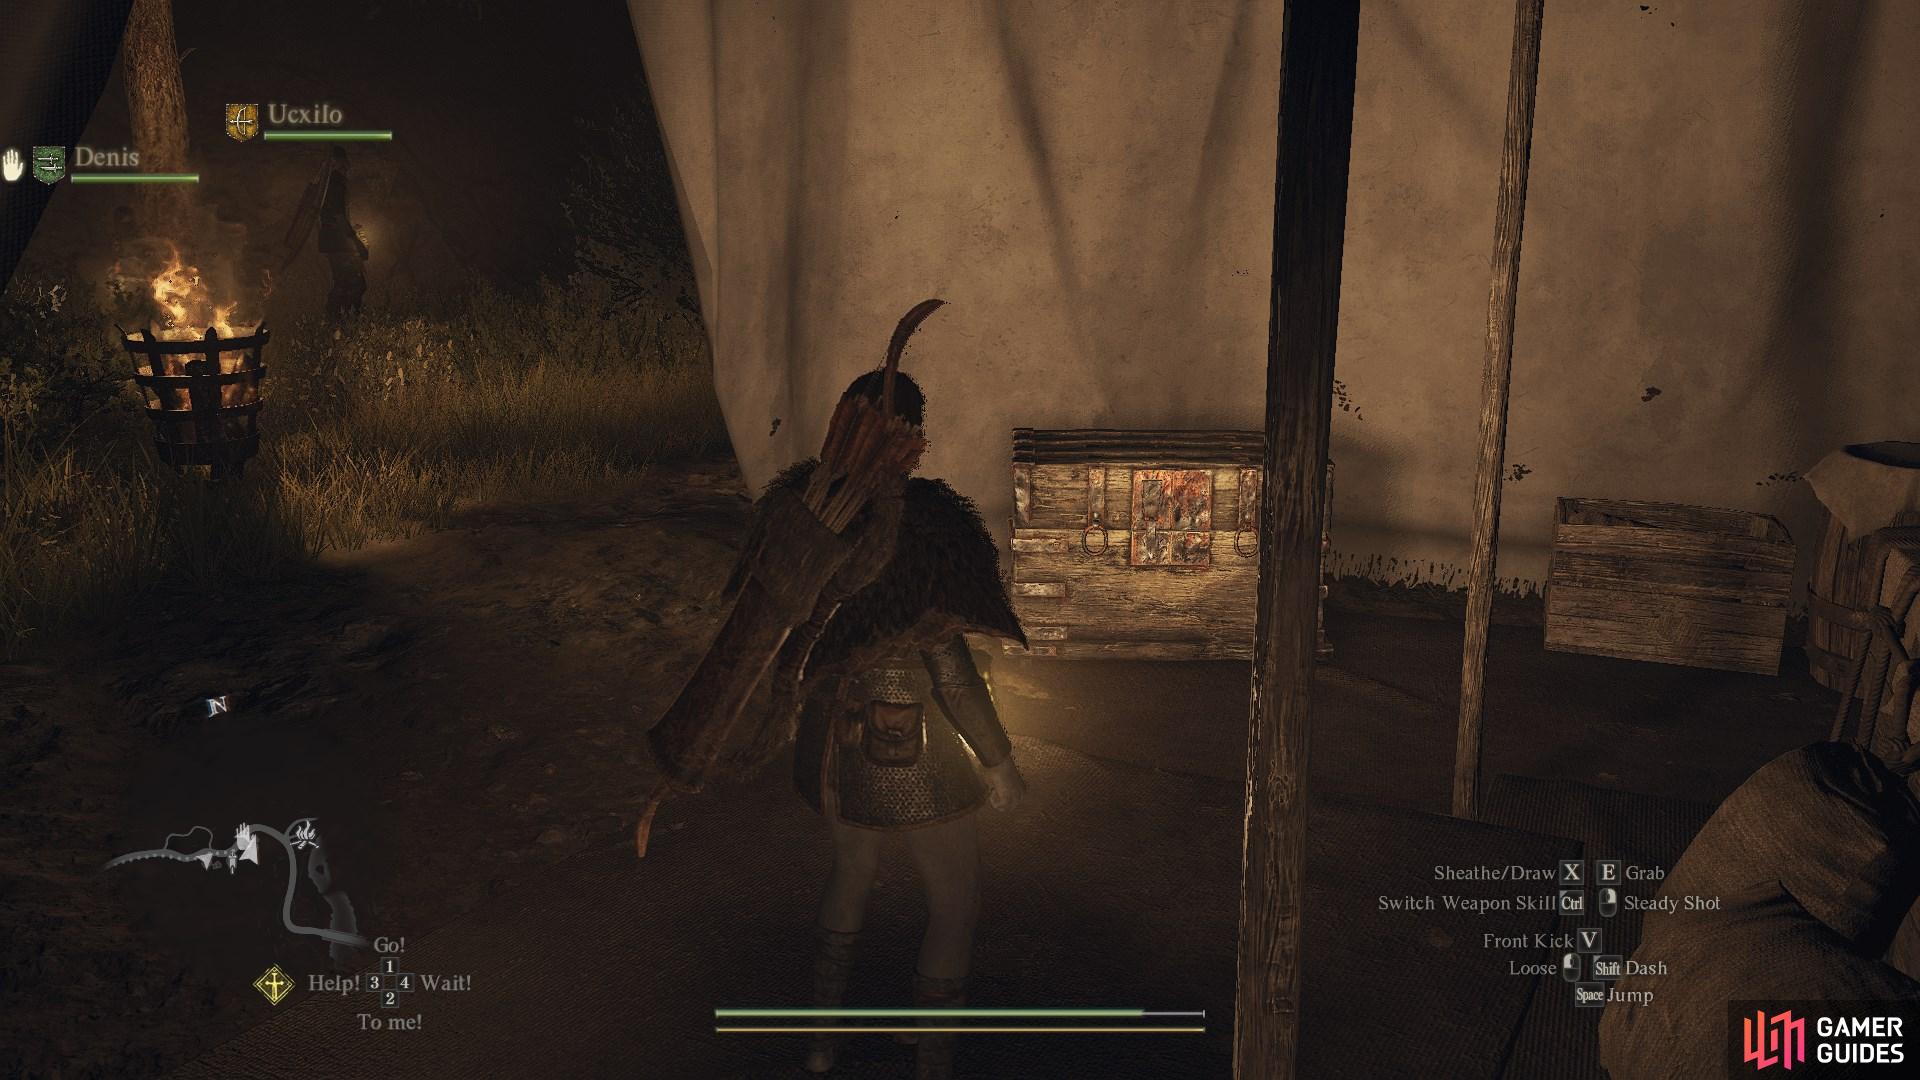
31. World Map
Inside a tent near the ![]() Borderland Campground.
Borderland Campground.
Contains: 850 gold coins


33. World Map
Inside the ![]() Vermund Charnel House. Head down the stairs and you’ll find the chest in the corner to your left.
Vermund Charnel House. Head down the stairs and you’ll find the chest in the corner to your left.
Contains: ![]() Wakestone Shard x1.
Wakestone Shard x1.

34. World Map
Inside the ![]() Vermund Charnel House. Head down two flights of stairs and head to the back of the room. The chest can be found in the left corner.
Vermund Charnel House. Head down two flights of stairs and head to the back of the room. The chest can be found in the left corner.

35. World Map
On a high-up rock overlooking the ![]() Gathering of Beasts.
Gathering of Beasts.
Contains: ![]() Fulgurous Lord.
Fulgurous Lord.

36. World Map
Inside the ![]() Watchhead’s Home. From the main entrance, enter the dining room on your left and continue through to the adjacent room. The Chest will be in the back left corner. Contains
Watchhead’s Home. From the main entrance, enter the dining room on your left and continue through to the adjacent room. The Chest will be in the back left corner. Contains ![]() Dried Meat x1,
Dried Meat x1, ![]() Dried Fish x1, and
Dried Fish x1, and ![]() Dried Spud x1.
Dried Spud x1.

37. World Map
Climb down into the well by the ![]() Vernworth Castle Gaol Tower to find this chest nearby.
Vernworth Castle Gaol Tower to find this chest nearby.
Contains: ![]() Expeditioner’s Cloak,
Expeditioner’s Cloak, ![]() Marcher’s Helm,
Marcher’s Helm, ![]() Marcher’s Armor, and
Marcher’s Armor, and ![]() Marcher’s Cuisses.
Marcher’s Cuisses.

38. World Map
Next to the ![]() Riftstone of Robustness, near some barrels and boxes. Contains
Riftstone of Robustness, near some barrels and boxes. Contains ![]() Waking Powder.
Waking Powder.

39. World Map
Found up the stairs after defeating 1x Guard
contains :![]() Explosive Arrows *5
Explosive Arrows *5
40. World Map
In ![]() Vernworth Hall. The chest can be found in the small room at the back of the hall in the southwestern corner.
Vernworth Hall. The chest can be found in the small room at the back of the hall in the southwestern corner.
Contains: ![]() Bunch of Flowers x2
Bunch of Flowers x2


44. World Map
In ![]() The Guardhouse. The chest can be found as soon as you enter the building via the southern entrance. This area is restricted and will require you to be wearing the Marcher’s Set to get through it peacefully.
The Guardhouse. The chest can be found as soon as you enter the building via the southern entrance. This area is restricted and will require you to be wearing the Marcher’s Set to get through it peacefully.
Contains: ![]() Marcher’s Helm,
Marcher’s Helm, ![]() Marcher’s Cuisses,
Marcher’s Cuisses, ![]() Marcher’s Armor
Marcher’s Armor

45. World Map
Outside in the ![]() Vernworth
Vernworth ![]() Castle Training Ground, under a tent covered with black cloth near the wall.
Castle Training Ground, under a tent covered with black cloth near the wall.
Contains: ![]() Iron Shield
Iron Shield


47. World Map
On the ramparts, next to the tower. Accessed from ![]() Vernworth Palace Courtyard.
Vernworth Palace Courtyard.
Contains: ![]() Ferrystone x1.
Ferrystone x1.

48. World Map
Near the top floor of the ballista tower. Contains a ![]() Harspud Roborant.
Harspud Roborant.

50. World Map
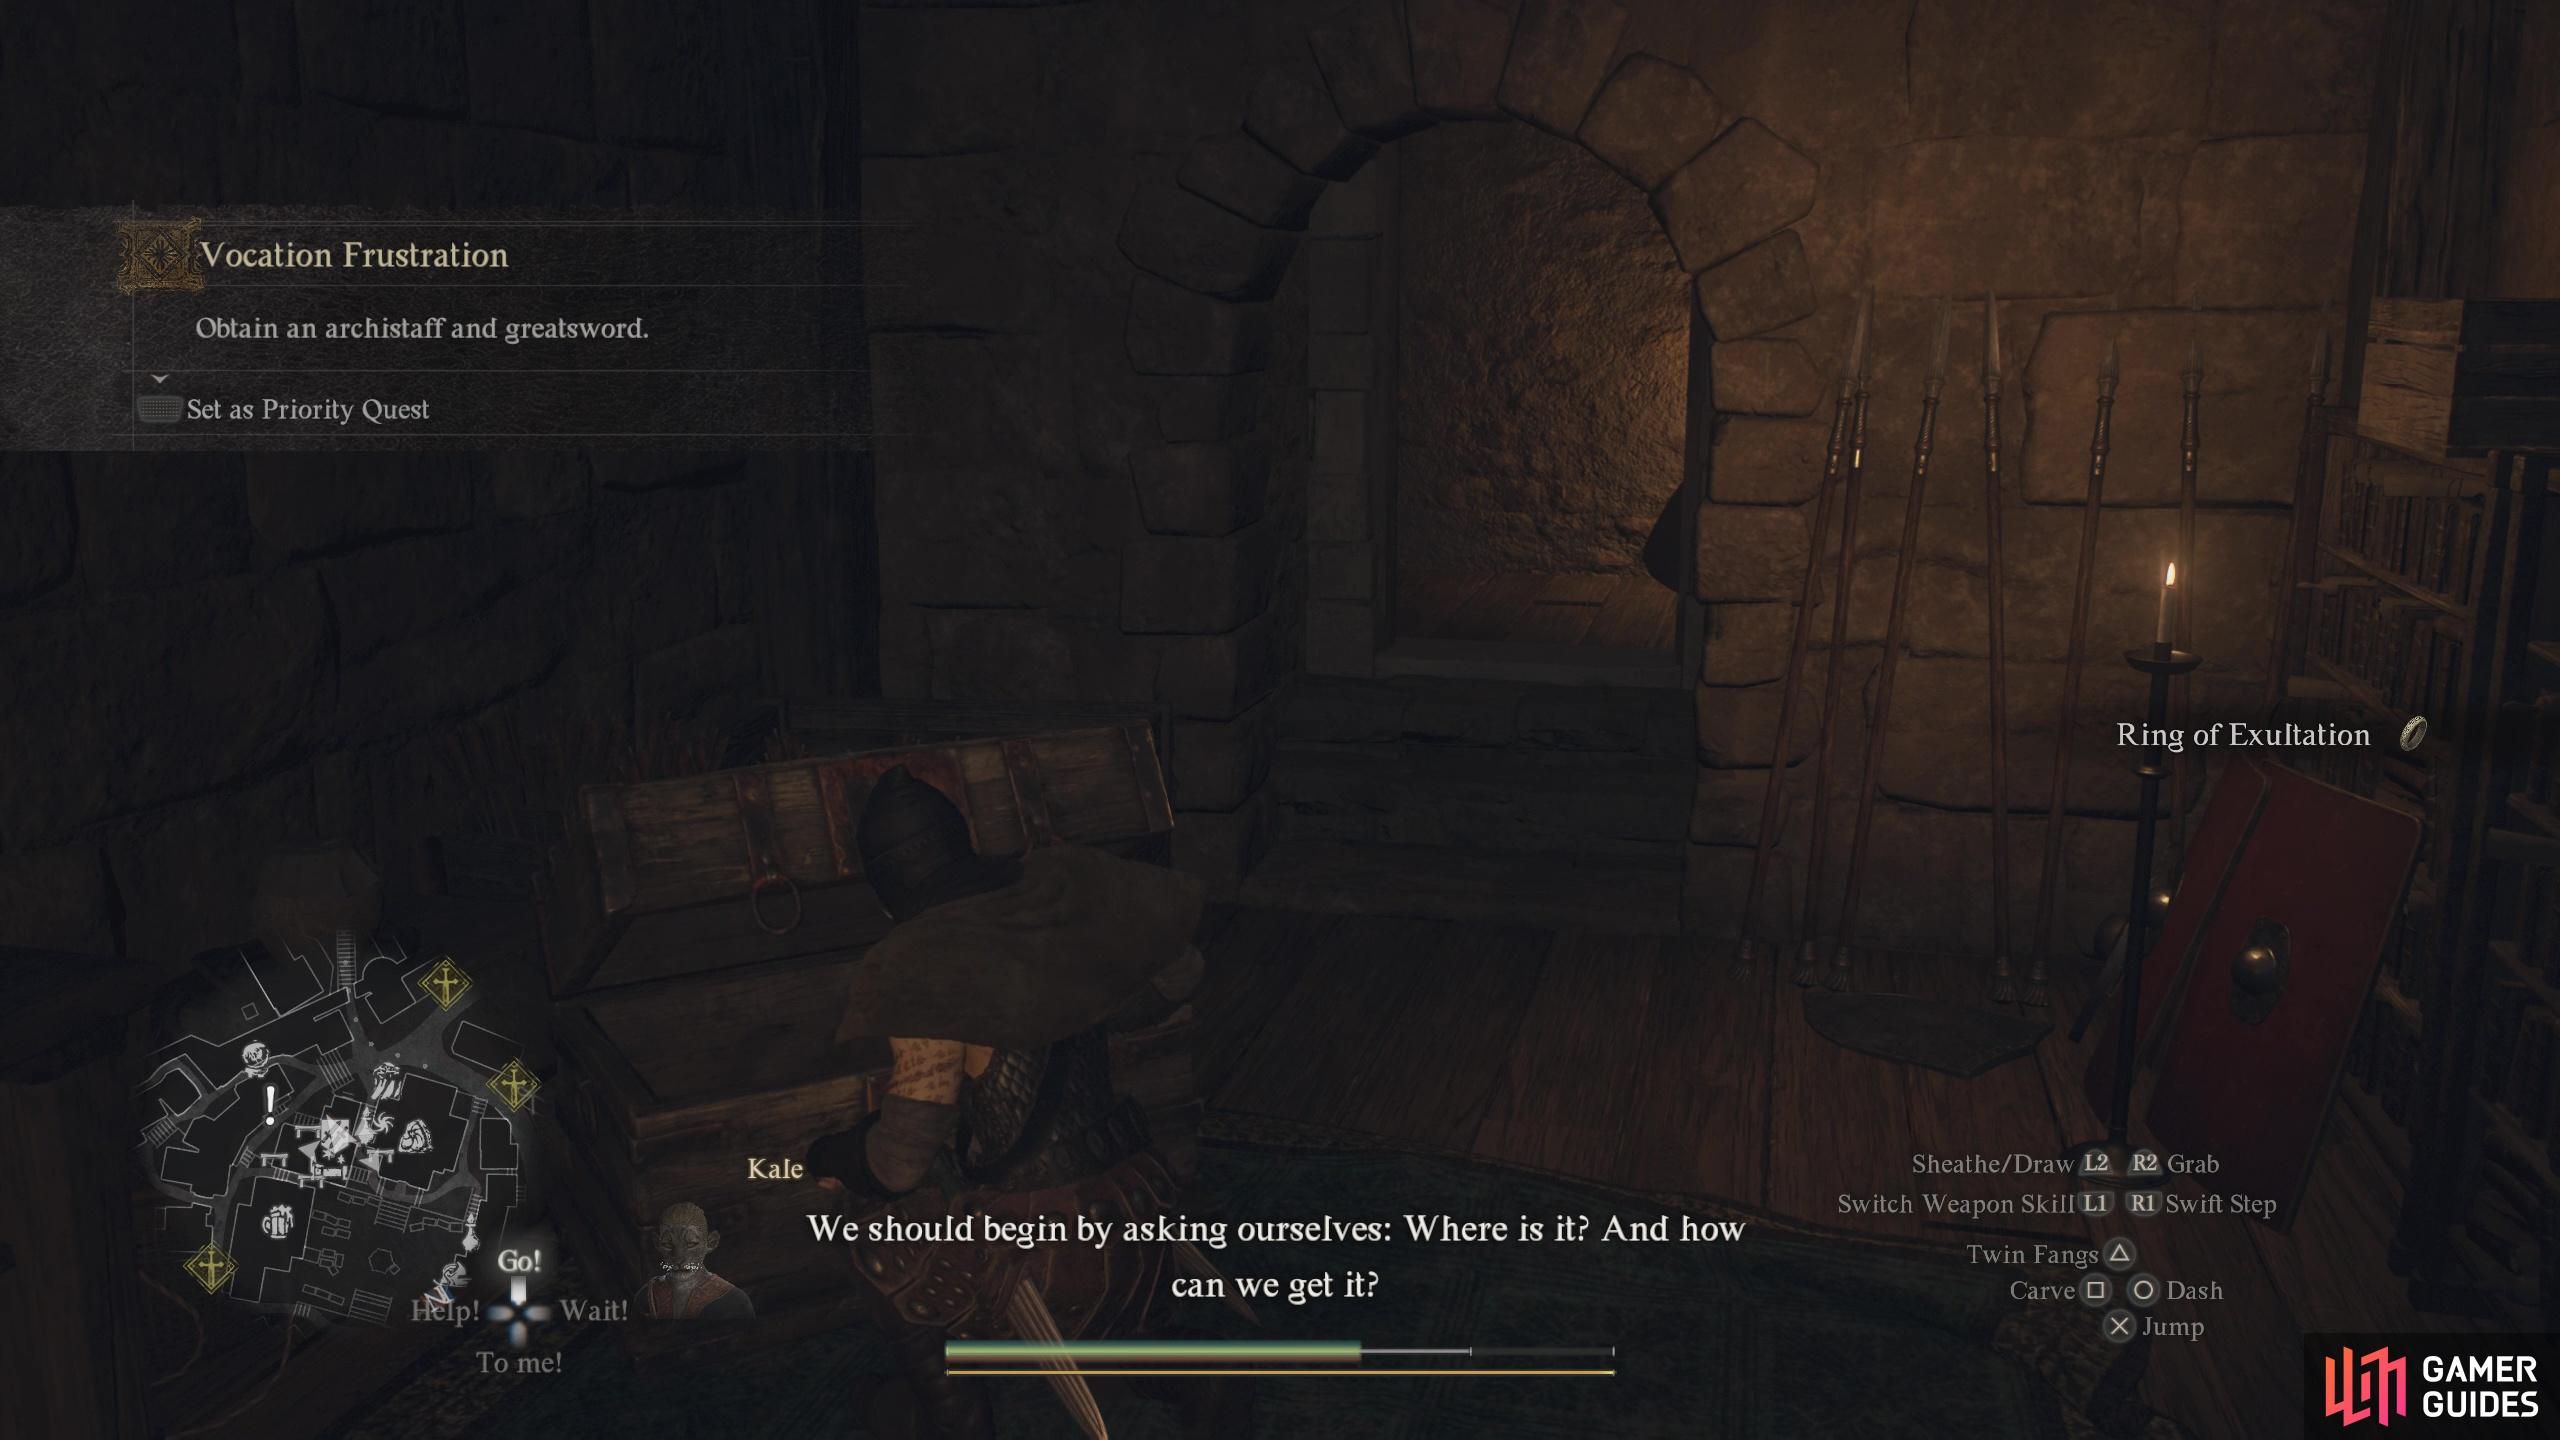
Found behind the desk of the ![]() Vernworth Vocation Guild.
Vernworth Vocation Guild.
Contains : ![]() Ring of Exultation
Ring of Exultation
51. World Map
In the basement of the ballista tower. Contains five ![]() Explosive Arrows.
Explosive Arrows.

52. World Map
Inside the small shack next to the path.
Contains: ![]() Lantern Oil and
Lantern Oil and ![]() Salubrious Draught.
Salubrious Draught.

53. Vernworth Map
On top of the archway next to ![]() Roderick’s Smithy. Jump onto the white fabric-covered market stall over to the awning above Roderick’s Smithy. Now, jump around the sign to the archway where you’ll find the chest.
Roderick’s Smithy. Jump onto the white fabric-covered market stall over to the awning above Roderick’s Smithy. Now, jump around the sign to the archway where you’ll find the chest.
Contains: ![]() Ferrystone x1.
Ferrystone x1.
54. Vernworth Map
Under the balcony behind the Well in the Common Quarter. Contains 180 RC.

55. Vernworth Map
On the balcony. You will need to go up to the watchtower (where another chest is). From there, drop onto the roof via the northern side of the watchtower, and continue north over to the wooden boarding. Now jump on the small awnings over to the balcony to the northeast where you’ll find the chest at the end. Contains ![]() Ferrystone x1.
Ferrystone x1.

56. World Map
On top of a rock pile among the ruins on the plateau above the ![]() Riftstone of Remembrance. Contains 2300 G and
Riftstone of Remembrance. Contains 2300 G and ![]() Ripened Apple x1.
Ripened Apple x1.

57. World Map
In the corner of some ruins on the plateau above the ![]() Riftstone of Remembrance. Contains
Riftstone of Remembrance. Contains ![]() Threshing Blaze x2.
Threshing Blaze x2.

58. World Map
At the edge of the cliff south of ![]() Riverside Cavern. Contains Detoxifying Toxic x1 and
Riverside Cavern. Contains Detoxifying Toxic x1 and ![]() Sobering Tonic x1.
Sobering Tonic x1.


60. World Map
On the small rocky floor near the underpass, East of ![]() Checkpoint Rest Town.
Checkpoint Rest Town.
Contains: ![]() Bunch of Flowers
Bunch of Flowers

61. World Map
At the edge of the stream below ![]() Checkpoint Rest Town. Contains
Checkpoint Rest Town. Contains ![]() Governing Soul x1.
Governing Soul x1.

62. World Map
Opposite the small wooden bridge resting against some rocks. At the bottom of the slope leading to the stream.


64. World Map
In the small ruin overlooking the cliff. Some bandits may be around here. Contains 2600 G.

65. World Map
Climb up the ruins above a ![]() Campsite guarded by several
Campsite guarded by several ![]() Lost Mercenary to find this chest.
Lost Mercenary to find this chest.
Contains: ![]() Onyx x3.
Onyx x3.


67. World Map
Near the top of the rock formation. Contains ![]() Detoxifying Decoction x1.
Detoxifying Decoction x1.
68. World Map
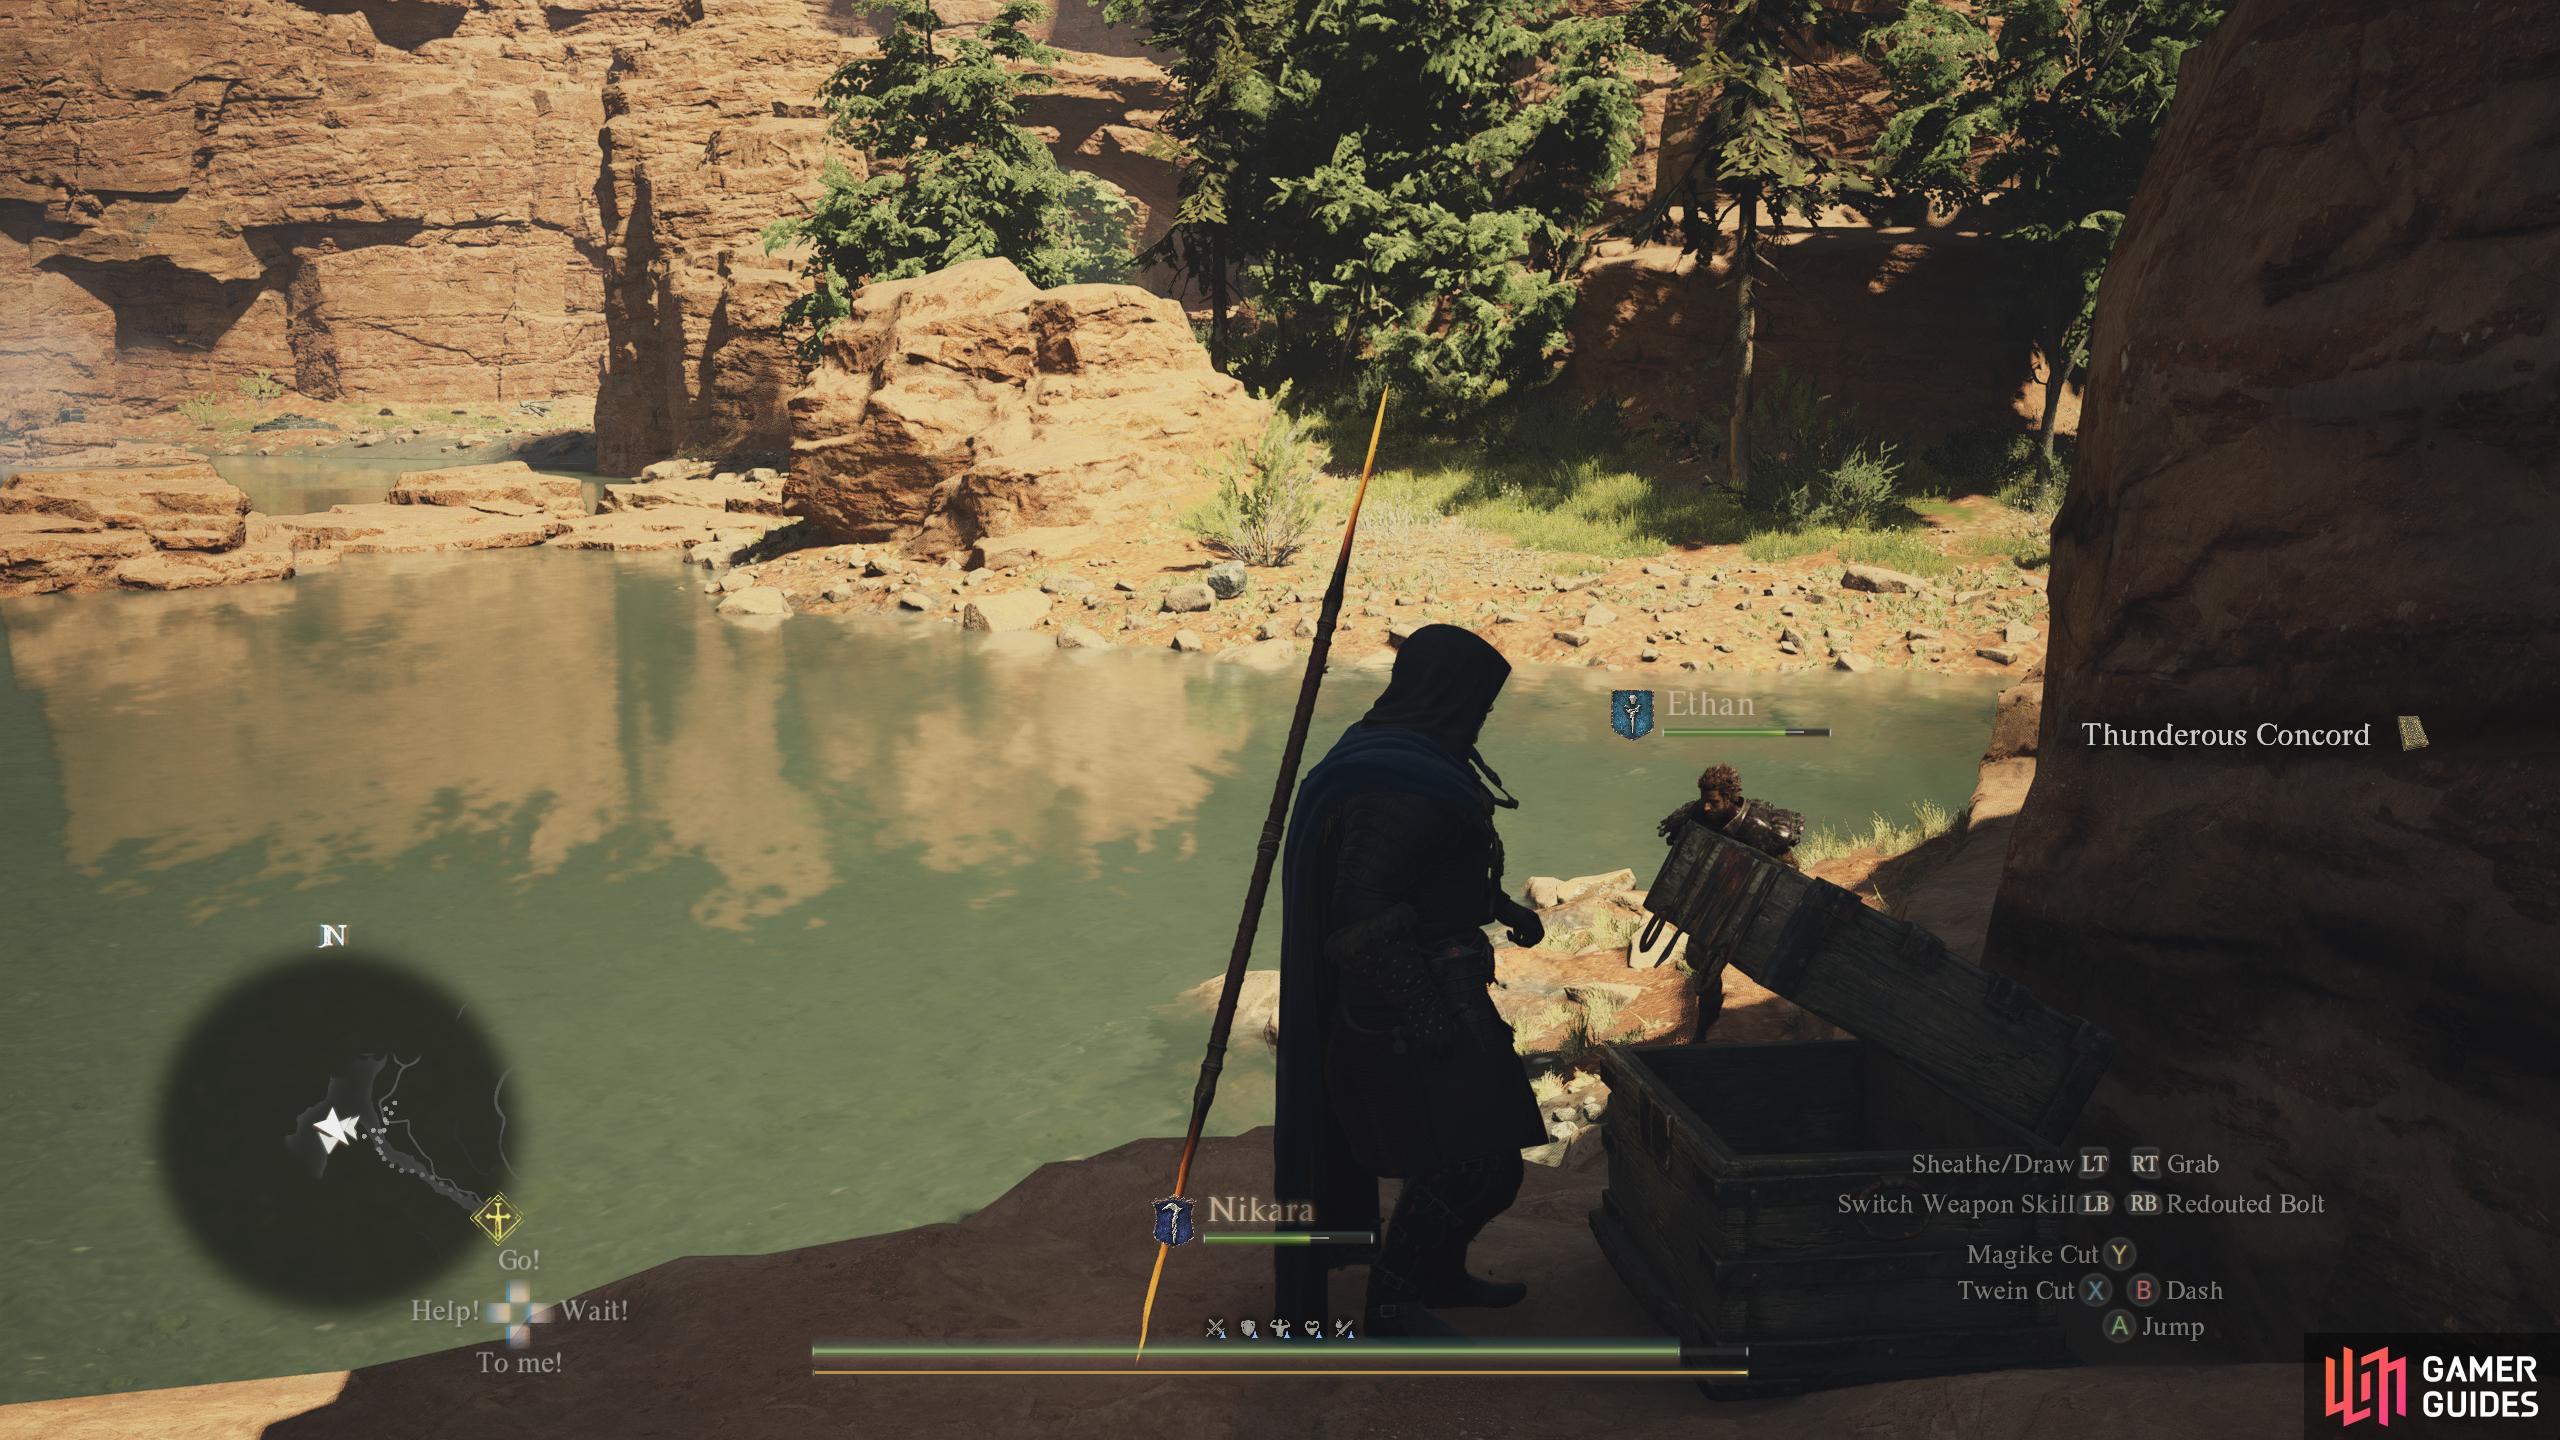
On the rock formation next to the stream. Opposite the waterfall. Contains ![]() Thunderous Concord x1.
Thunderous Concord x1.
69. World Map
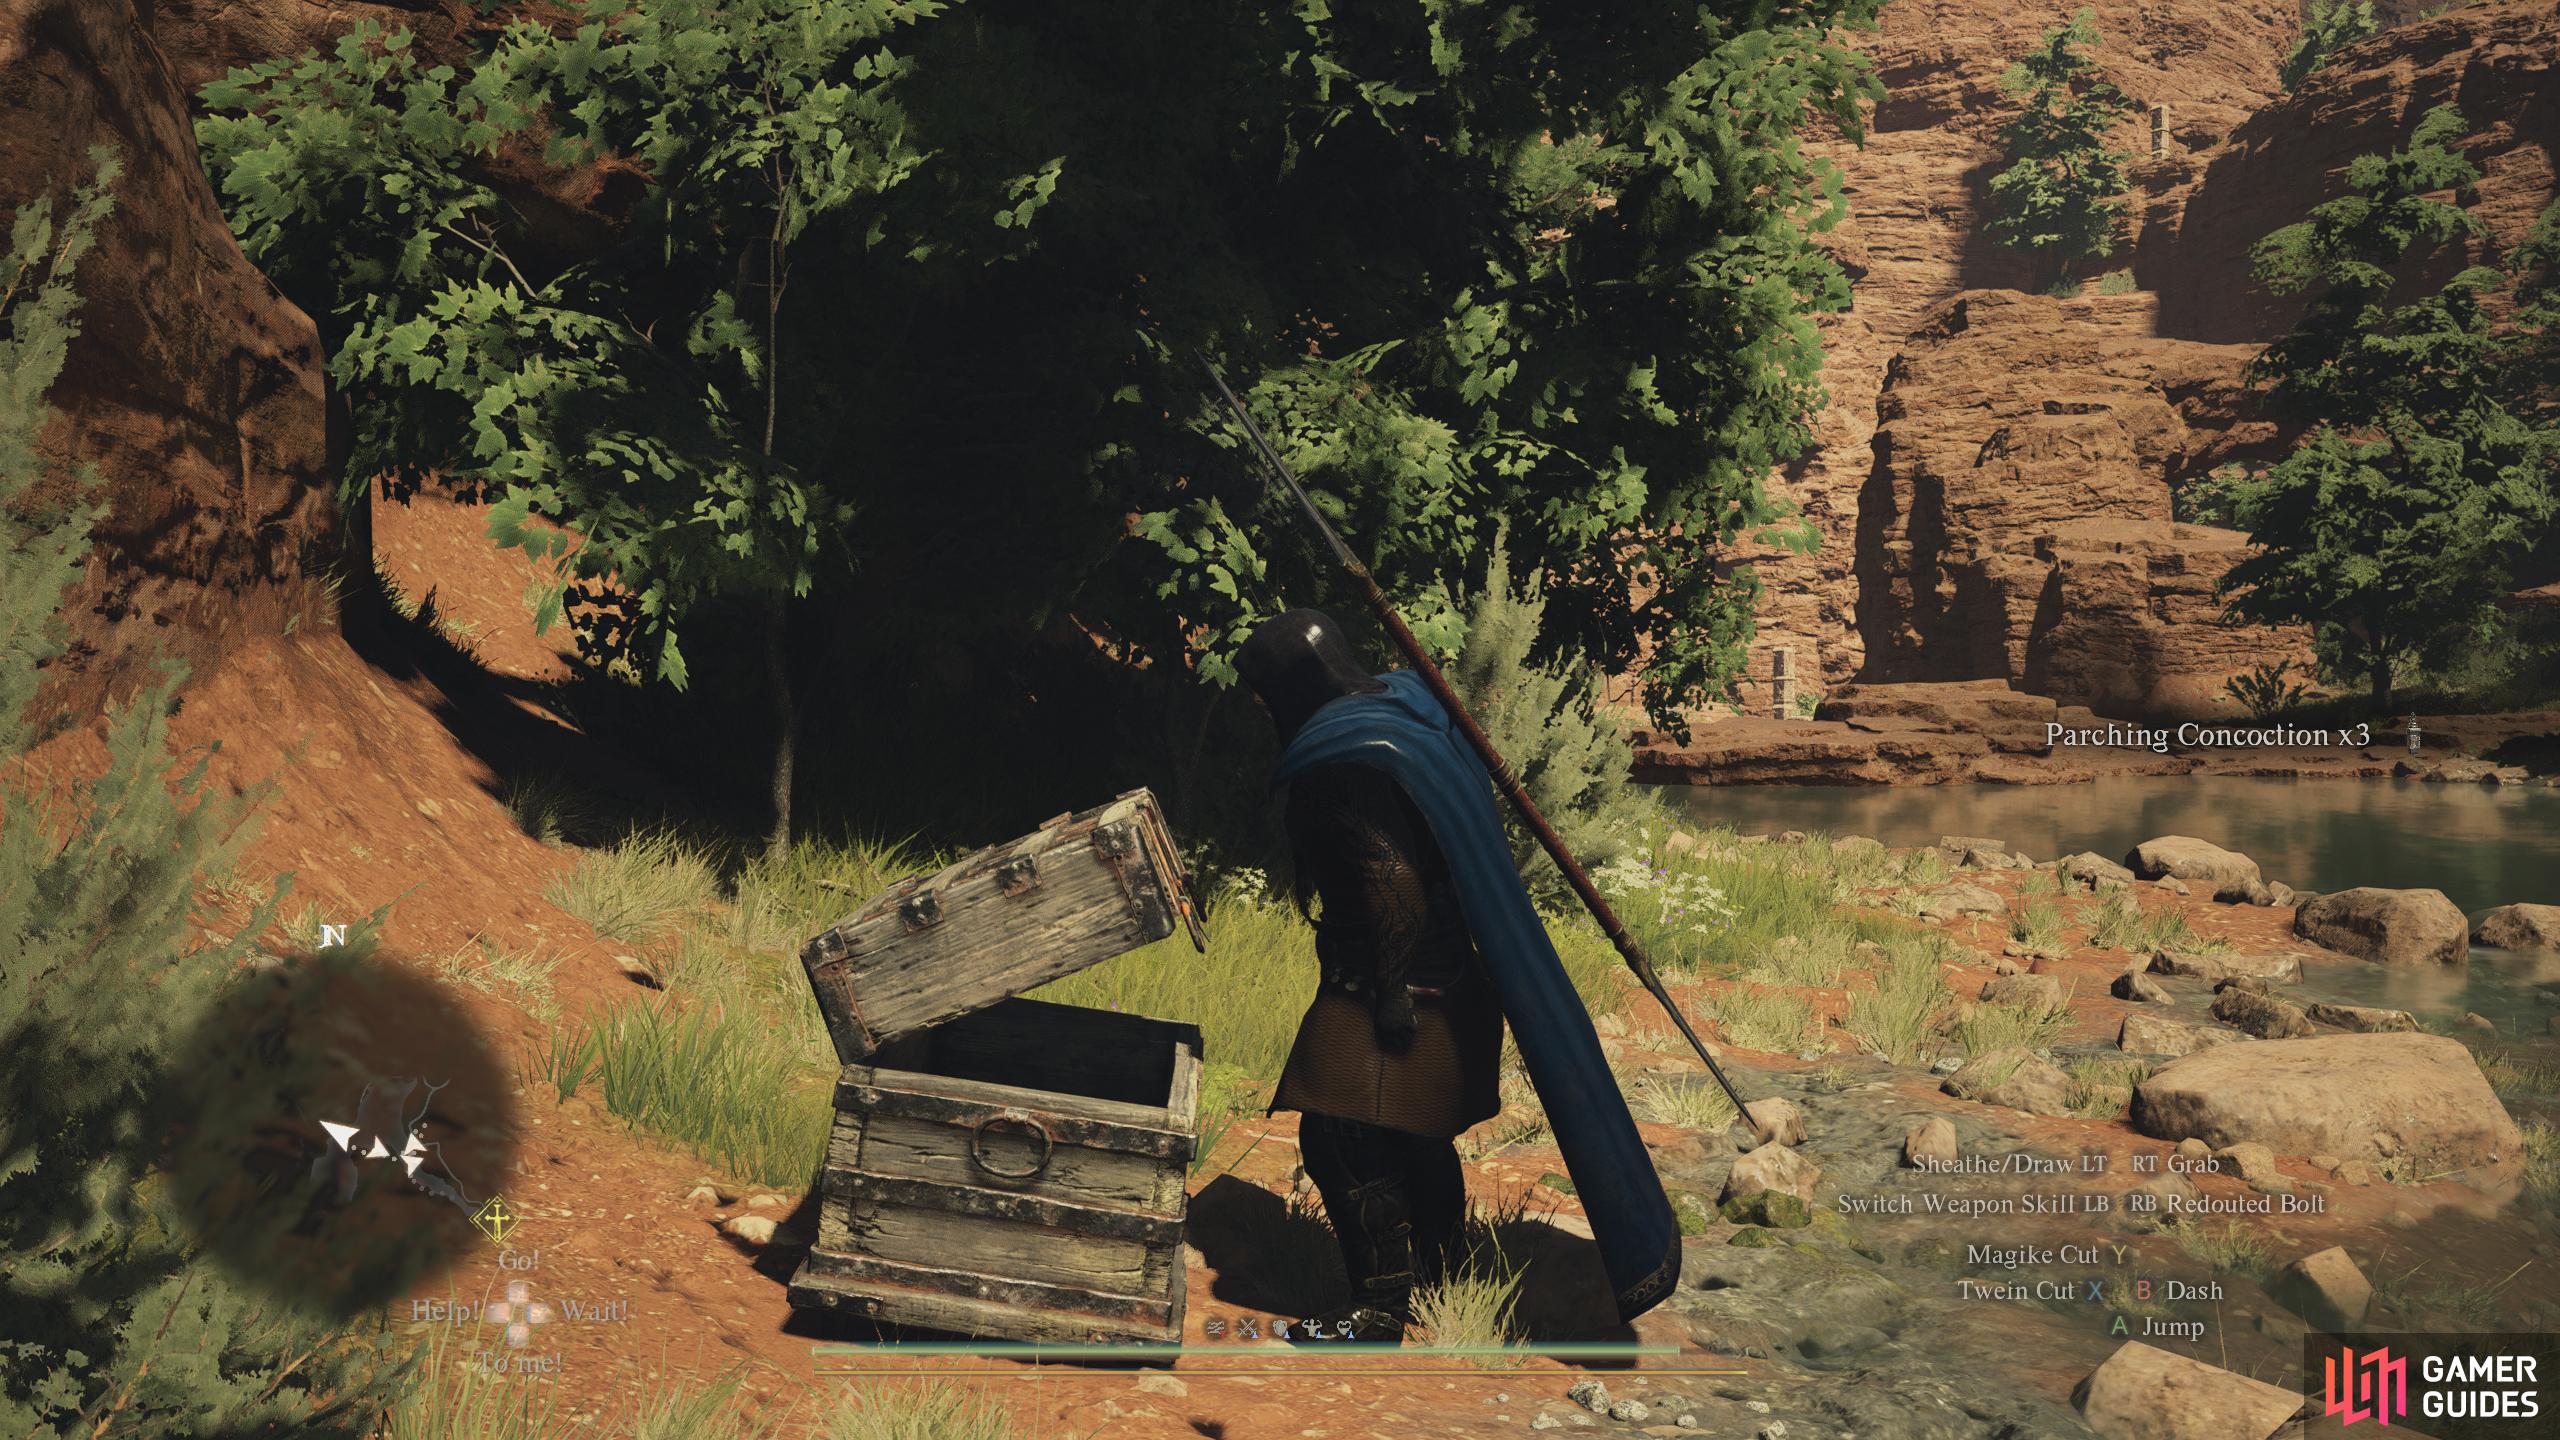
On the floor by the stream, west of the large waterfall.
Contains: ![]() Parching Concoction x3
Parching Concoction x3


71. World Map
Inside a small cave guarded by ![]() Hobgoblins.
Hobgoblins.
Contains ![]() Bardiche Daggers x1 and 570 G.
Bardiche Daggers x1 and 570 G.


77. Vernworth Map
Behind Walter in ![]() Walter’s Tavern by the sea. Contains
Walter’s Tavern by the sea. Contains ![]() Shorefish x1 and
Shorefish x1 and ![]() Dried Fish x1.
Dried Fish x1.

79. Vernworth Map
Atop the Watchtower in the Common Quarter. Contains ![]() Lantern Oil x1.
Lantern Oil x1.


81. Vernworth Map
Inside the Gracious Hand. From the entrance, head through the door on your left and take the stairs to the bottom. Enter the room on the right and you’ll find the chest next to the table.

82. Vernworth Map
Under the market stool in the Merchant Quarter.
Contains: 400 gold coins

83. World Map
On the second floor of the ballista tower.
Contains: ![]() Explosive Arrows x5
Explosive Arrows x5


85. World Map
Next to the handrail on the third floor of the ballista tower.
Contains: ![]() Fruit Roborant.
Fruit Roborant.

86. World Map
Next to the handrail on the fourth floor of the ballista tower. Contains ![]() Thunderous Concord.
Thunderous Concord.

87. Vernworth Map
Inside the ![]() Vermund Charnel House. Head down the stairs and you’ll find the chest in the corner to your left. Contains
Vermund Charnel House. Head down the stairs and you’ll find the chest in the corner to your left. Contains ![]() Wakestone Shard x1.
Wakestone Shard x1.

88. Vernworth Map
Inside the ![]() Vermund Charnel House. Head down two flights of stairs and head to the back of the room. The chest can be found in the left corner.
Vermund Charnel House. Head down two flights of stairs and head to the back of the room. The chest can be found in the left corner.
Contains: ![]() Wakestone Shard
Wakestone Shard

89. Vernworth Map
Inside the ![]() Watchhead’s Home. From the main entrance, enter the dining room on your left and continue through to the adjacent room. The Chest will be in the back left corner.
Watchhead’s Home. From the main entrance, enter the dining room on your left and continue through to the adjacent room. The Chest will be in the back left corner.
Contains: ![]() Dried Meat,
Dried Meat, ![]() Dried Fish, and
Dried Fish, and ![]() Dried Spud.
Dried Spud.

90. Vernworth Map
Inside ![]() Comptroller’s Home. Enter the first room on your right. The chest will be in the back-right corner of the room. Contains
Comptroller’s Home. Enter the first room on your right. The chest will be in the back-right corner of the room. Contains ![]() Soothing Brew x1, and
Soothing Brew x1, and ![]() Salubrious Draught x1.
Salubrious Draught x1.
91. Vernworth Map
On the balcony outside ![]() Klark’s Estate. Head upstairs in the estate and enter the room on the left. Go out the window to the balcony and the chest will be on your right. Contains
Klark’s Estate. Head upstairs in the estate and enter the room on the left. Go out the window to the balcony and the chest will be on your right. Contains ![]() Silver Ore x1, and
Silver Ore x1, and ![]() Gold Ore x1.
Gold Ore x1.

92. Vernworth Map
In the Guest House of ![]() Allard’s Estate. The chest will be on your left as you enter the building. Contains
Allard’s Estate. The chest will be on your left as you enter the building. Contains ![]() Dried Spud x1,
Dried Spud x1, ![]() Dried Fish x1, and
Dried Fish x1, and ![]() Dried Meat x1.
Dried Meat x1.

93. Vernworth Map
In ![]() Vernworth Hall. The chest can be found in the small room at the back of the hall in the southwestern corner.
Vernworth Hall. The chest can be found in the small room at the back of the hall in the southwestern corner.

94. Vernworth Map
Found behind the desk in the Merchants Guild.
Contains : ![]() Ring of Exultation
Ring of Exultation

95. Vernworth Map
On the roof of the small white building next to the Grand Riftstone building. To get this, head inside Sakir’s Inn and head upstairs. Go out to the balcony and climb up the ladder to your right. Jump over to the wooden boards ahead of you before jumping over toward the tower to the west.
Walk past the tower and stand by the western edge of the roof and jump over to the wooden boards. Head over the small roof and drop to find the chest.

96. Vernworth Map
On top of the archway. Climb up the nearby boxes and hoist yourself up to the archway where you’ll find a chest to your right.

97. Vernworth Map
Inside the house. Enter the house and go into the adjacent room where you’ll find the chest at the end of the bed at the back. Contains ![]() Ripened Grapes x3.
Ripened Grapes x3.

98. Vernworth Map
On the balcony behind ![]() Roderick’s Smithy. Go behind the shop to the houses opposite it and you’ll find a small fireplace outside the house. Use it to reach the balcony above where you’ll find a ladder to the roof. Head west across the roof onto the other balcony to find the chest. Contains
Roderick’s Smithy. Go behind the shop to the houses opposite it and you’ll find a small fireplace outside the house. Use it to reach the balcony above where you’ll find a ladder to the roof. Head west across the roof onto the other balcony to find the chest. Contains ![]() Jasper x3.
Jasper x3.

99. Vernworth Map
On the northwest corner of the dock. Contains ![]() Aged Tideswimmer x1 and
Aged Tideswimmer x1 and ![]() Aged Shorefish x1.
Aged Shorefish x1.


101. Vernworth Map
Inside ![]() Patrick’s Estate. Head upstairs and enter the door on the left. The chest will be against the wall to your right.
Patrick’s Estate. Head upstairs and enter the door on the left. The chest will be against the wall to your right.

102. Vernworth Map
On the balcony outside of ![]() Patrick’s Estate. Head upstairs in the estate and go out the window to your right. Follow the balcony right to find the chest. Contains
Patrick’s Estate. Head upstairs in the estate and go out the window to your right. Follow the balcony right to find the chest. Contains ![]() Panacea x1.
Panacea x1.

103. World Map
Inside the locked house. Shoot the lock via the wide-open windows to get access.
Contains: 1450 gold coins and ![]() Tarring Arrow x7
Tarring Arrow x7


106. World Map
In the corner of the building at the edge of the ![]() Ruined Settlement.
Ruined Settlement.
Contains: ![]() Fine Harspud Roborant.
Fine Harspud Roborant.

107. World Map
On the second floor of the lighthouse, near the curved banister.
Contains: ![]() Dried Fish x3
Dried Fish x3


109. World Map
On the edge of the cliff behind the headless statue. Contains 1800 gold coins.

110. World Map
Resting against the cliff wall in a small dip.
Contains: 1500 gold coins.

111. World Map
Next to the entrance to the ![]() Twilight Cave.
Twilight Cave.
Contains: ![]() Prescribed Tranquility
Prescribed Tranquility


113. World Map
In a watery ravine.
Contains: ![]() Shorefish,
Shorefish, ![]() Aged Shorefish, and
Aged Shorefish, and ![]() Tideswimmer.
Tideswimmer.


116. World Map
Next to the headless statue at the top of the hill. Contains a ![]() Ferrystone.
Ferrystone.

117. World Map
On a raised section of the cliff, near the archway. Contains ![]() Salubrious Draught.
Salubrious Draught.


119. World Map
Next to the campsite at the edge of the path.
Contains: ![]() Salubrious Draught.
Salubrious Draught.


122. World Map
Next to the entrance of a ruined structure. Contains Salubrious Delight.

123. World Map
On top of a ruined pillar. Requires some climbing to reach, and contains ![]() Stoutness Extract.
Stoutness Extract.
124. World Map
Behind a stone pillar in the ruined structure. Contains ![]() Lantern Oil.
Lantern Oil.


129. World Map
Guarded by ![]() Saurians in the
Saurians in the ![]() Underbridge Grotto.
Underbridge Grotto.
Contains: ![]() Dried Fish.
Dried Fish.


132. World Map
At the edge of a tunnel accessed via ![]() Great Bridge Passage. Contains 90 RC and two
Great Bridge Passage. Contains 90 RC and two ![]() Ripened Princess Harspud.
Ripened Princess Harspud.

133. World Map
Inside the locked house, accessed by climbing a ladder in the ![]() Great Bridge Passage tunnels. Contains five
Great Bridge Passage tunnels. Contains five ![]() Silver Ore.
Silver Ore.

135. World Map
Next to the wall in the wooden shack. Contains a ![]() Ripened Princess Harspud.
Ripened Princess Harspud.


142. World Map
In a small wooden section of the ruined stone house. Contains ![]() Mighty Roborant.
Mighty Roborant.


147. World Map
Next to a pile of wood on the right side of the house.
Contains ![]() Dried Fruit
Dried Fruit


149. World Map
Chest underneath the wooden structure.
Contains :2![]() Rotten Beast-Steak
Rotten Beast-Steak
3 ![]() Harspud Roborant
Harspud Roborant


151. World Map
Found against the rock face of the mountain over the river.
Contains : ![]() Lantern Oil ,
Lantern Oil , ![]() Stability Extract
Stability Extract


154. World Map
On the top of the cliffs near the ![]() Goblin camp.
Goblin camp.
Contains: 1300 gold coins


158. World Map
In the corridor of the ![]() Spirits’ Path cave.
Spirits’ Path cave.
Contains: ![]() Dried Spud and
Dried Spud and ![]() Dried Fruit
Dried Fruit

159. World Map
In the corner of a ![]() Skeleton-guarded room in the
Skeleton-guarded room in the ![]() Spirits’ Path cave.
Spirits’ Path cave.
Contains: ![]() Winter’s Path and
Winter’s Path and ![]() Onyx
Onyx

160. World Map
In the corner of the largest room in the ![]() Spirits’ Path cave, next to some explosive barrels.
Spirits’ Path cave, next to some explosive barrels.
Contains: ![]() Threshing Blaze and 1150 gold coins.
Threshing Blaze and 1150 gold coins.

161. World Map
In a small alcove in the ![]() Timeworn Shaft cave, on the left.
Timeworn Shaft cave, on the left.
Contains: 2400 gold coins.

162. World Map
In a small alcove in the ![]() Timeworn Shaft cave, on the right.
Timeworn Shaft cave, on the right.
Contains: ![]() Modest Camping Kit
Modest Camping Kit

163. World Map
In a small room at the back of the ![]() Timeworn Shaft.
Timeworn Shaft.
Contains: 1100 gold coins.

164. World Map
In the ruined house at the top of the hill.
Contains: ![]() Harspud Roborant
Harspud Roborant

165. World Map
Found along the path just to the west of where you land at the ![]() Ultramarine Waterfall. You should spot this while following Justinn.
Ultramarine Waterfall. You should spot this while following Justinn.
Contains: ![]() Salubrious Draught
Salubrious Draught

166. World Map
Found under the ladder leading up to a watchtower.
Contains: ![]() Aged Scrag of Beast
Aged Scrag of Beast

168. World Map
Take a right soon after entering the ![]() Indigent Bedlands.
Indigent Bedlands.
Contains: ![]() Jasper
Jasper

169. World Map
Guarded by ![]() Goblins in the
Goblins in the ![]() Indigent Bedlands.
Indigent Bedlands.
Contains: ![]() Chain Mail and 890 coins.
Chain Mail and 890 coins.

170. World Map
On a raised section of the cliff, only accessible by travelling through the ![]() Indigent Bedlands.
Indigent Bedlands.
Contains: 150 RC

171. World Map
Climb the small mound here to find the chest on top.
Contains: ![]() Emergent Vitality
Emergent Vitality

172. World Map
Guarded by some ![]() Goblins before you cross the river.
Goblins before you cross the river.
Contains: ![]() Parching Concoction
Parching Concoction

173. World Map
Near the harpy nests on top of the wall.
Contains: ![]() Ring of Percipience
Ring of Percipience

174. World Map
At the entrance to the camp near the checkpoint.
Contains: ![]() Savagery Extract
Savagery Extract

175. World Map
Across the other side of the waterfall from the campsite.
Contains: ![]() Wakestone Shard
Wakestone Shard


177. World Map
In the circular chamber near the northern end of the ![]() Waterfall Cave, with
Waterfall Cave, with ![]() Skeletons guarding it.
Skeletons guarding it.
Contains: 4510G

178. World Map
On the 2nd floor of ![]() Waterfall Cave, just past the Ore deposits.
Waterfall Cave, just past the Ore deposits.
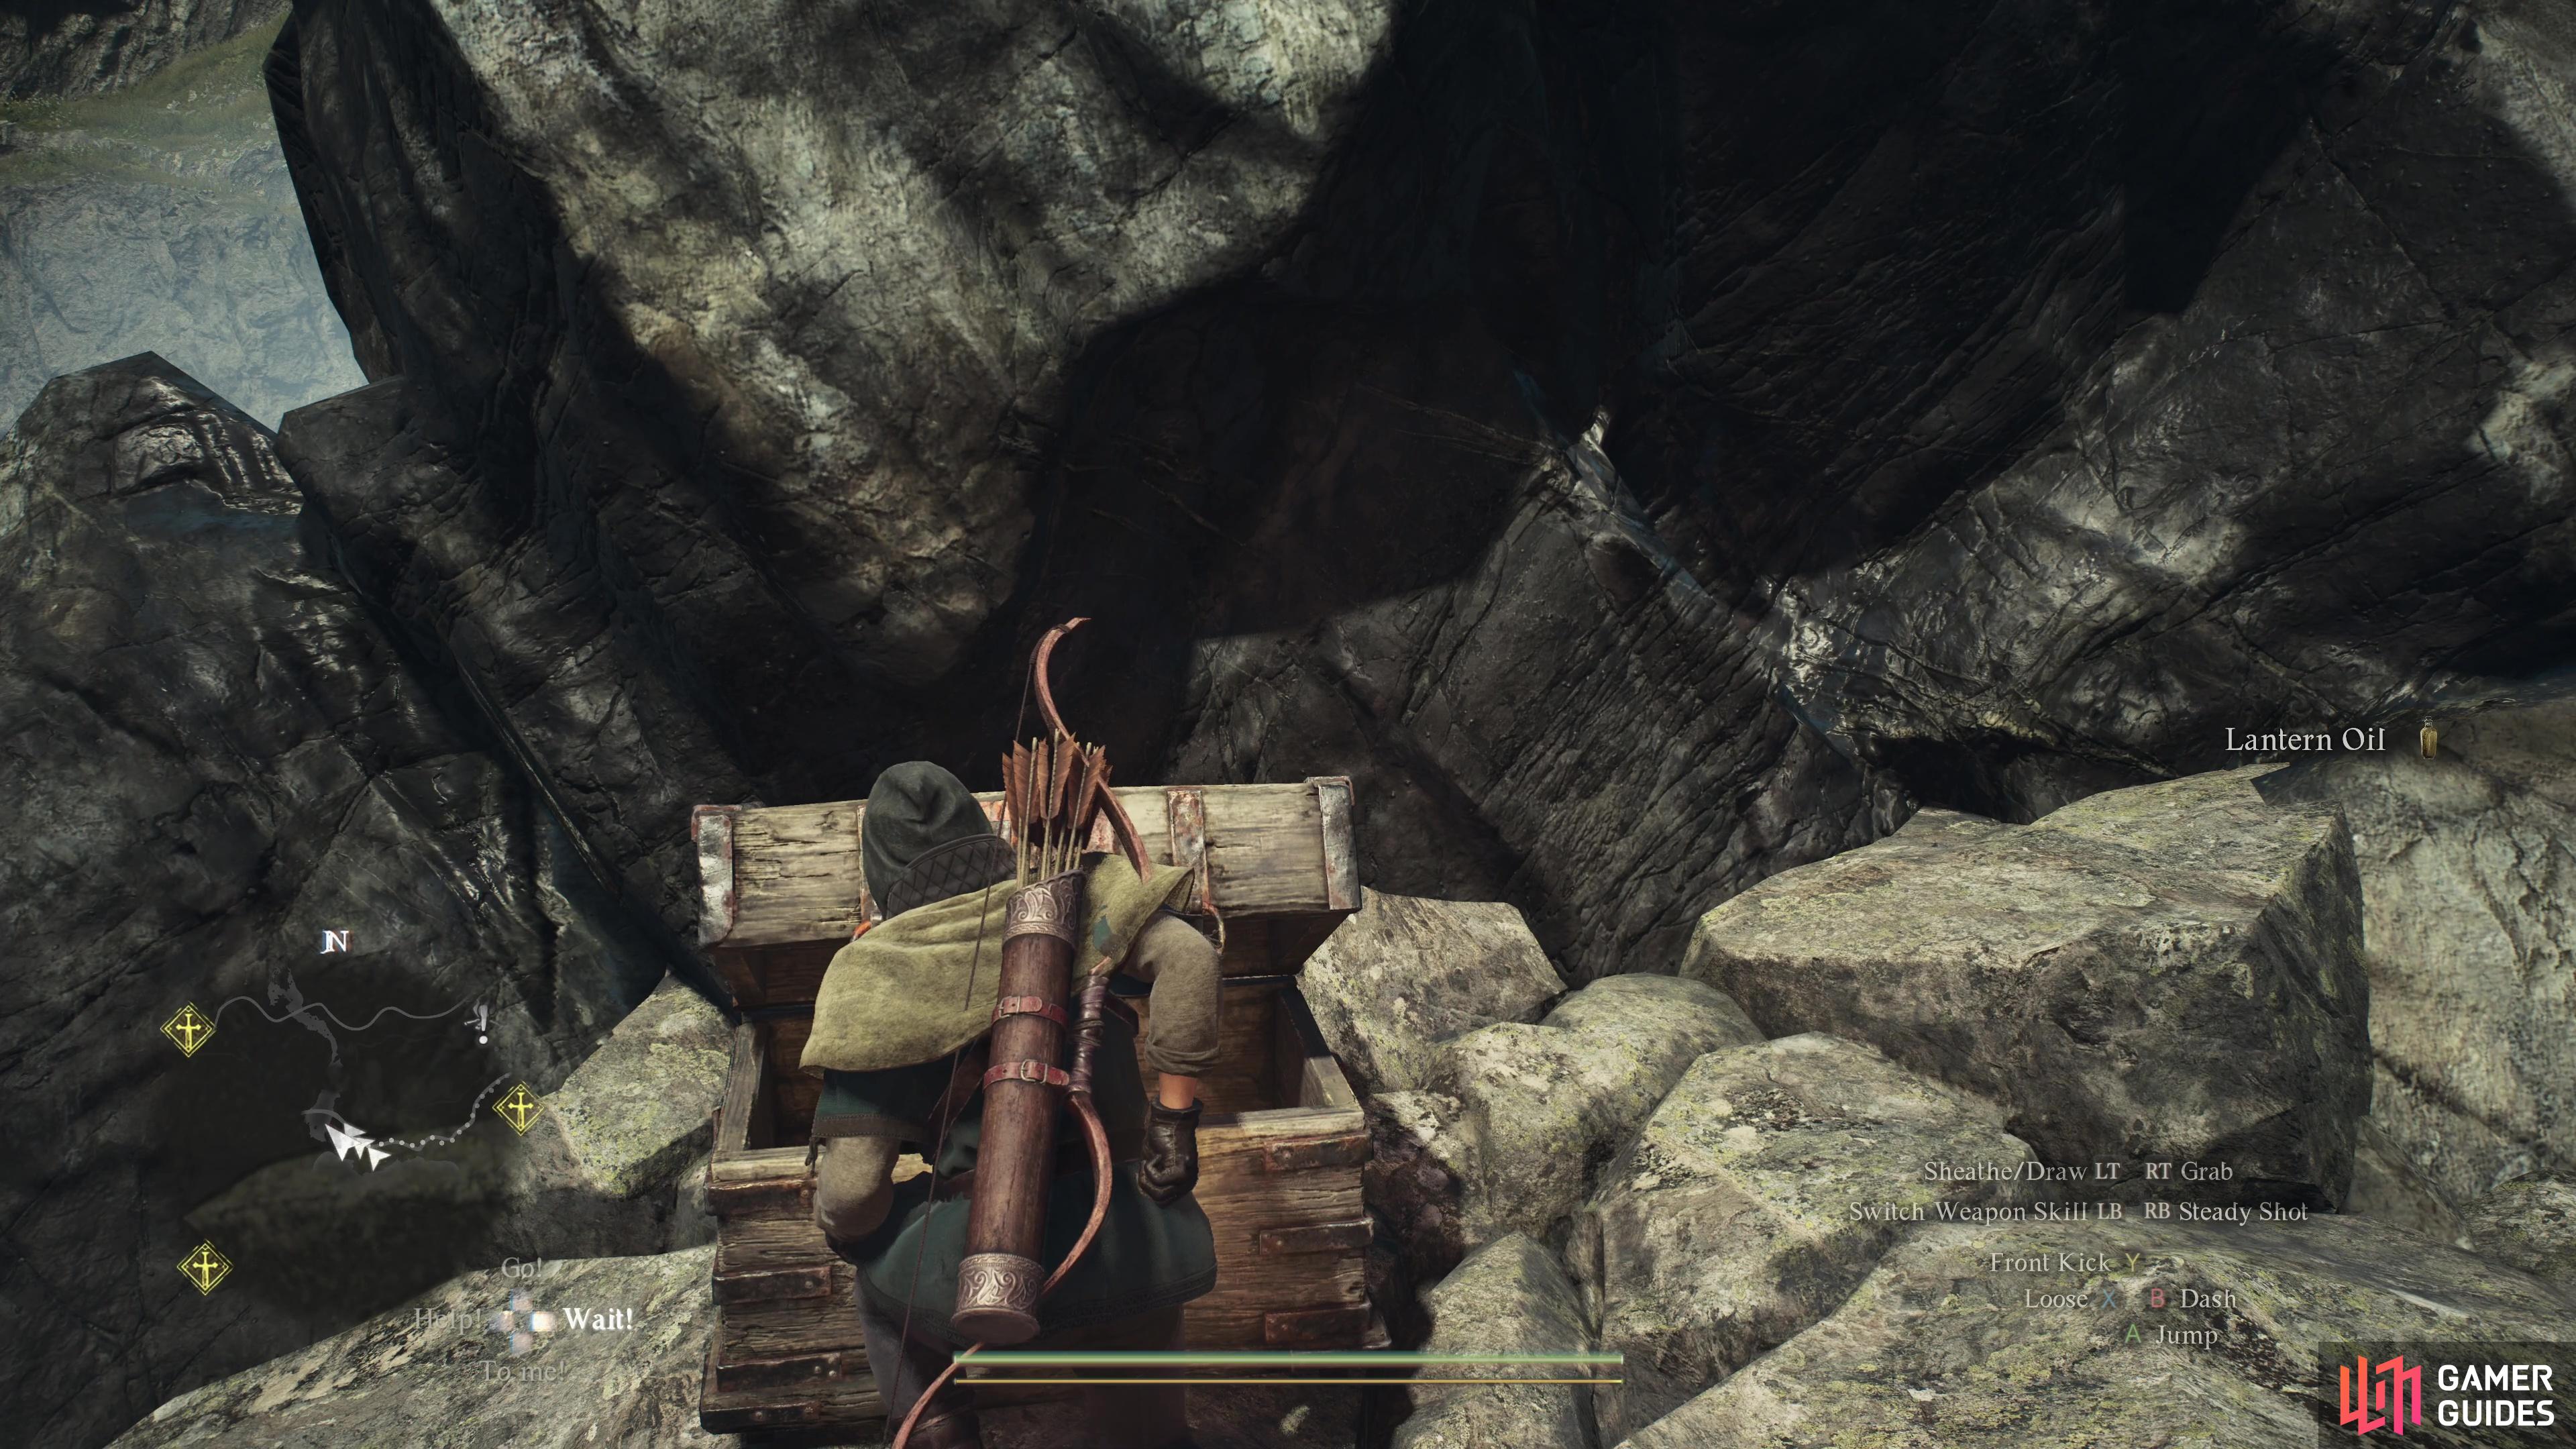
Contains: ![]() Lantern Oil
Lantern Oil

179. World Map
Halfway up the mountain on a ruin guarded by ![]() Goblins. Opposite the Campfire. Contains:
Goblins. Opposite the Campfire. Contains: ![]() Fool’s Prize.
Fool’s Prize.


182. World Map
Small chest against the cave wall on the left if coming from ![]() Checkpoint Rest Town
Checkpoint Rest Town
Contains: ![]() Waking Powder
Waking Powder


186. World Map
Found ontop of fortress after climbing the battlement.
Contains: ![]() Salubrious Draught
Salubrious Draught

187. World Map
Found ontop of fortress after climbing the battlement.
Contains: ![]() Stoutness Extract
Stoutness Extract

188. World Map
Found ontop of fortress after climbing the battlement.
Contains: Assortment of Arrows


193. World Map
Contained ![]() Fulgurous Lord book for us. Looted inside the chest inside the abandoned shack guarded by the ogre. Northwest of
Fulgurous Lord book for us. Looted inside the chest inside the abandoned shack guarded by the ogre. Northwest of ![]() Harve Village.
Harve Village.

194. World Map
Next to the door in the ![]() Vernworth Castle Magistrate’s Office.
Vernworth Castle Magistrate’s Office.
Contains: ![]() Stability Extract
Stability Extract

195. World Map
On the third floor of ![]() Vernworth Castle, near the stairs.
Vernworth Castle, near the stairs.
Contains: ![]() Waking Powder
Waking Powder

197. World Map
At the top of the elevator shaft on the third floor.
Contains: ![]() Lantern (Half-Full)
Lantern (Half-Full)

198. World Map
On the fourth floor of ![]() Vernworth Castle.
Vernworth Castle.
Contains: ![]() Explosive Arrow x10
Explosive Arrow x10

199. World Map
On the fourth floor of ![]() Vernworth Castle, next to a broken ballista.
Vernworth Castle, next to a broken ballista.
Contains: ![]() Lupine Bow
Lupine Bow

200. World Map
When the elevator reaches its destination, head down the stairs to find this chest on a wooden platform.
Contains: ![]() Sentry’s Coif and
Sentry’s Coif and ![]() Chain Mail
Chain Mail

201. World Map
At the bottom of the waterfall on the west side.
Contains: ![]() Aged Shorefish.
Aged Shorefish.

203. World Map
In the goblin camp at the end of the clearing, just off the main path.
Contains: ![]() Dried Spud
Dried Spud

204. World Map
Among some ruins near the entrance to the Misty Marshes.
Contains: ![]() Fine Mincemeat Roborant x3
Fine Mincemeat Roborant x3

205. World Map
At the top of a watchtower near the campsite.
Contains: 4300 gold coins, ![]() Mighty Roborant
Mighty Roborant


209. World Map
At the edge of the water.
Contains: ![]() Savagery Extract and 1100 gold coins.
Savagery Extract and 1100 gold coins.


212. World Map
Standard chest found south of the broken statues.
Contains 1* ![]() Fine Roe Roborant
Fine Roe Roborant

213. World Map
Found inside the cave after defeating th ![]() Wight.
Wight.
Contains: 3 * Detoxifying Decotin
214. World Map
On the elevated rocks after fighting the ![]() Harpys.
Harpys.
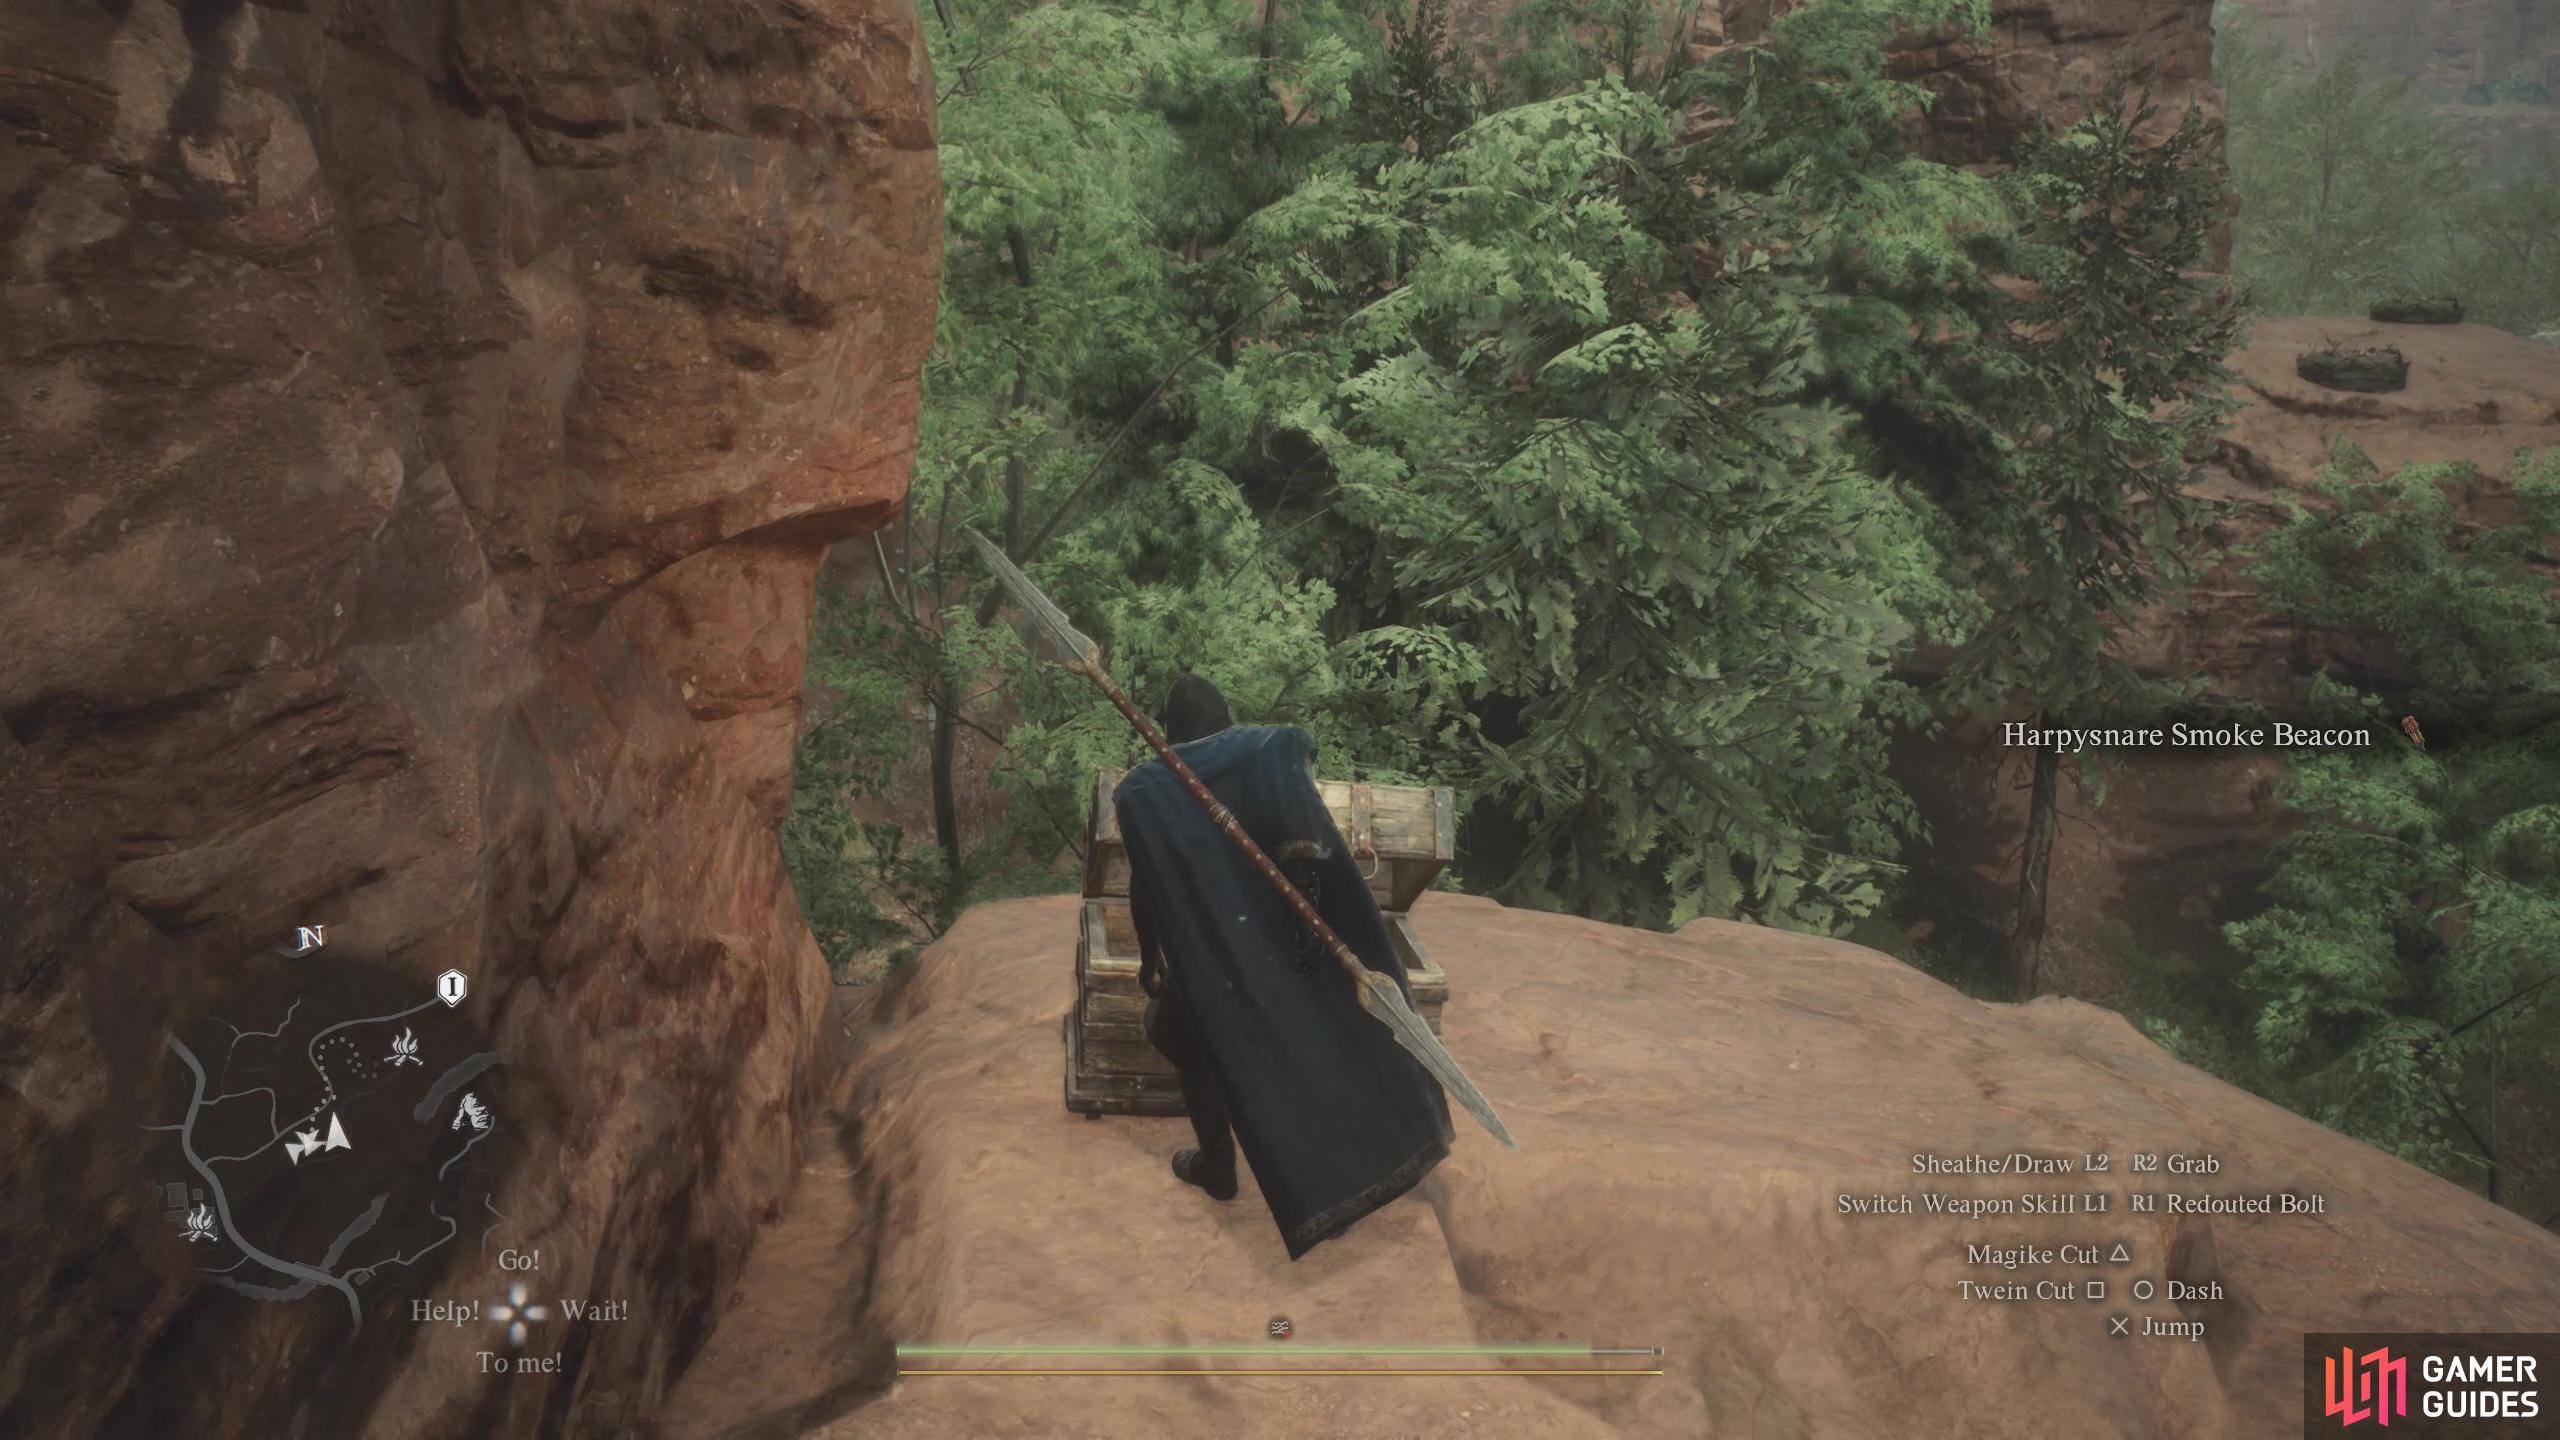
Contains : ![]() Harpysnare Smoke Beacon
Harpysnare Smoke Beacon

215. World Map
Between ![]() Eldart’s Apothecary and
Eldart’s Apothecary and ![]() Grisha’s Armory.
Grisha’s Armory.
Contains: ![]() Gold Ore x5
Gold Ore x5

216. World Map
On the ground floor of ![]() Kough’s Inn, in the northernmost room to the left.
Kough’s Inn, in the northernmost room to the left.
Contains: ![]() Dried Fruit x4
Dried Fruit x4
217. World Map
On the ground floor of ![]() Kough’s Inn, in the northernmost room to the left.
Kough’s Inn, in the northernmost room to the left.
Contains: ![]() Fine Roe Roborant
Fine Roe Roborant

218. World Map
On the ground floor of ![]() Kough’s Inn, in the northernmost room to the right.
Kough’s Inn, in the northernmost room to the right.
Contains: ![]() Asp Toxiscale x3
Asp Toxiscale x3

219. World Map
Chest found along the rocky ledge of ![]() Thunderclap Cave.
Thunderclap Cave.
Contains: ![]() Stoutness Extract
Stoutness Extract

220. World Map
On the ground floor of ![]() Kough’s Inn, inside a room to the right. This chest is next to the door.
Kough’s Inn, inside a room to the right. This chest is next to the door.
Contains: ![]() Cinnamon Bark x5
Cinnamon Bark x5

221. World Map
On the ground floor of ![]() Kough’s Inn, inside a room to the right. This chest is next to the box of arrows.
Kough’s Inn, inside a room to the right. This chest is next to the box of arrows.
Contains: ![]() Greenwarish x5
Greenwarish x5

222. World Map
On the ground floor of ![]() Kough’s Inn, in the room directly right of Kough.
Kough’s Inn, in the room directly right of Kough.
Contains: ![]() Miasmite x5
Miasmite x5


224. World Map
On the second floor of ![]() Kough’s Inn, in the leftmost room on the northern side.
Kough’s Inn, in the leftmost room on the northern side.
Contains: ![]() Chopper Horn x5
Chopper Horn x5

225. World Map
On the second floor of ![]() Kough’s Inn, in the room on the right.
Kough’s Inn, in the room on the right.
Contains: ![]() Prescribed Tranquility
Prescribed Tranquility

226. World Map
On the second floor of ![]() Kough’s Inn, in the room on the right.
Kough’s Inn, in the room on the right.
Contains: ![]() Governing Soul
Governing Soul


228. World Map
Between two beds in a side-room of the ![]() Arborist’s Home.
Arborist’s Home.
Contains: 1000 gold coins

229. World Map
In the corner of a side room in the ![]() Arborist’s Home.
Arborist’s Home.
Contains: ![]() Drenching Arrow x10
Drenching Arrow x10

230. World Map
Against the wall as you drop into the cavern.
contains: ![]() Hiemal Euphony
Hiemal Euphony


233. World Map
This chest can be found overlooking the river, just off the side of the path.
Contains: ![]() Panacea
Panacea

234. World Map
This chest sits under the shortcut ladder that you can kick down.
Contains: ![]() Mundane Camping Kit
Mundane Camping Kit

235. World Map
On a raised platform next to the ![]() Forgotten Riftstone. Need to come from the east. Contains 4900G
Forgotten Riftstone. Need to come from the east. Contains 4900G

237. World Map
Climb the cliff after you cross the river to find this chest tucked in the corner.
Contains: ![]() Detoxifying Decoction
Detoxifying Decoction

238. World Map
Sitting behind the tree next to the ![]() Campsite.
Campsite.
Contains: ![]() Mincemeat Roborant
Mincemeat Roborant

239. World Map
Found in the back of ![]() Rivage Cavern, in an area with some
Rivage Cavern, in an area with some ![]() Asps.
Asps.
Contains: ![]() Salubrious Draught x2,
Salubrious Draught x2, ![]() Parching Concoction
Parching Concoction

240. World Map
Found on a ledge in ![]() Rivage Cavern, you must go through the
Rivage Cavern, you must go through the ![]() Asps area to find it.
Asps area to find it.
Contains: 1400G

241. World Map
Found in a shack located at the southern exit of ![]() Rivage Cavern.
Rivage Cavern.
Contains: ![]() Fine Harspud Roborant
Fine Harspud Roborant

242. World Map
Found in the shack located at the southern exit of ![]() Rivage Cavern.
Rivage Cavern.
Contains: ![]() Shadewalker’s Neck Wrap
Shadewalker’s Neck Wrap

243. World Map
Found on the cliff’s edge outside the southern exit of ![]() Rivage Cavern.
Rivage Cavern.
Contains: ![]() Thunderous Concord x3
Thunderous Concord x3
244. World Map
On top of the rock by the pillars just past the wooden bridge. North of ![]() Forgotten Ruins. Contains
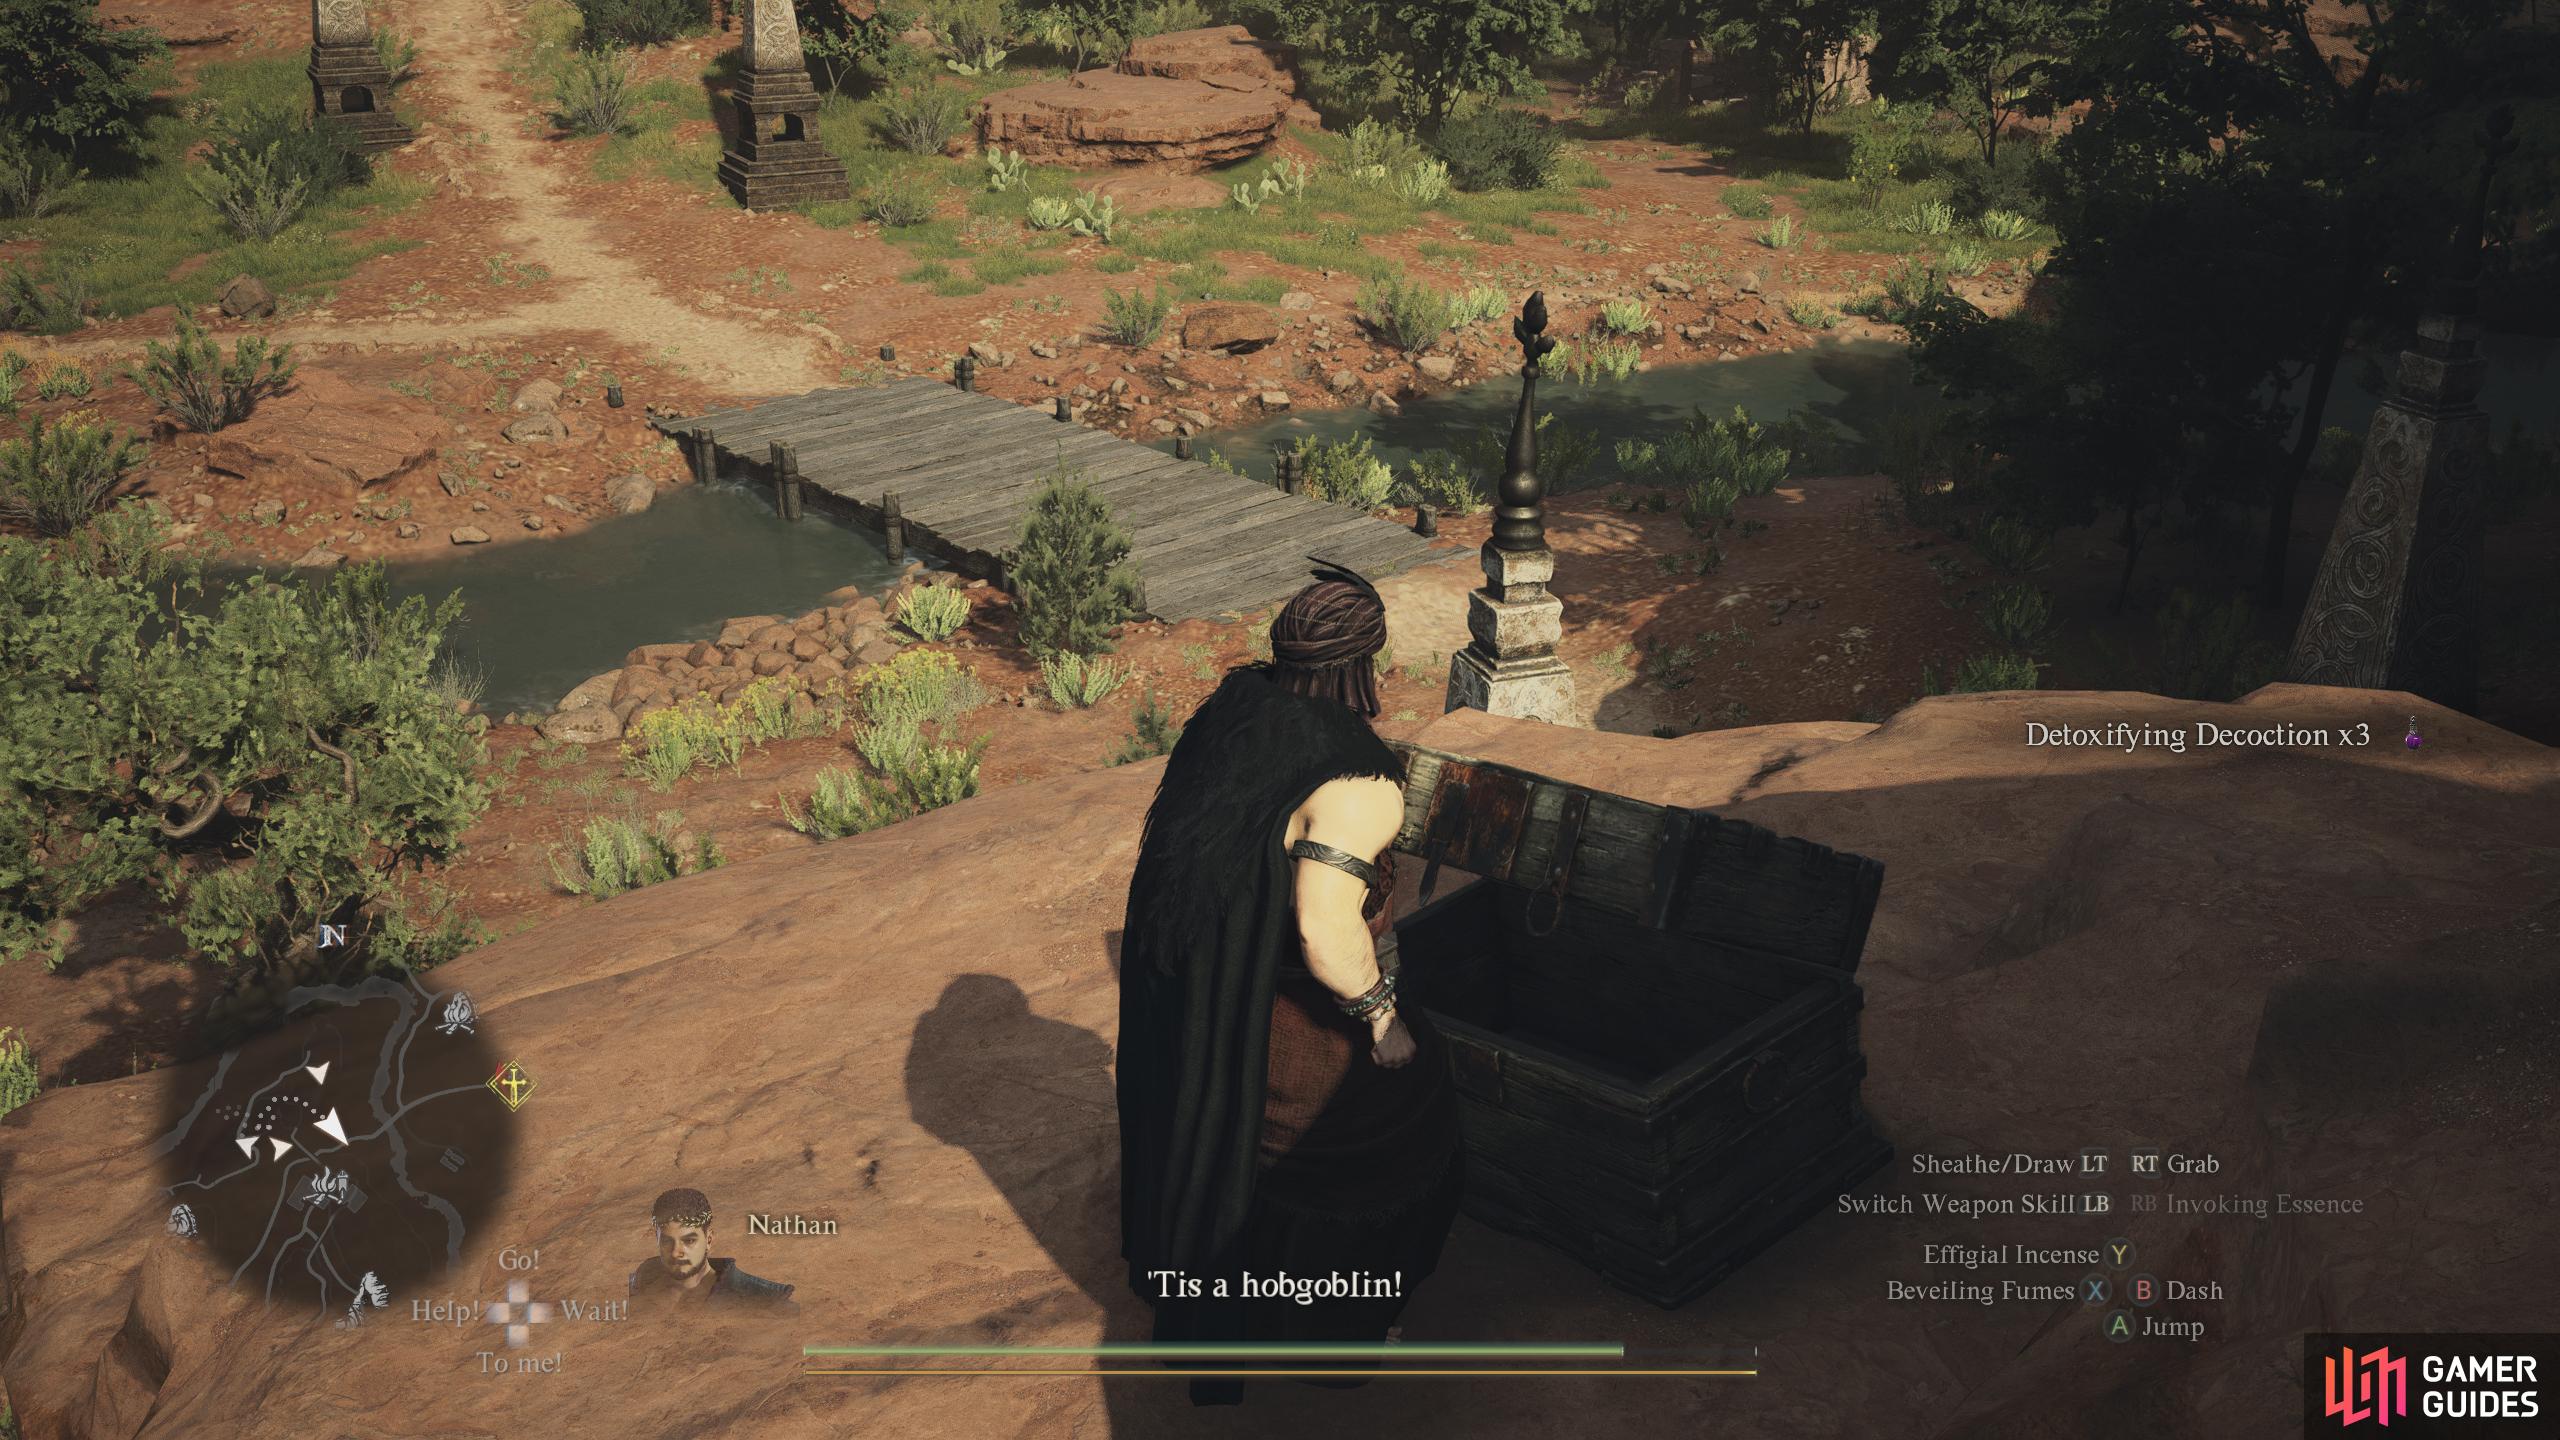
Forgotten Ruins. Contains ![]() Detoxifying Decoction x3.
Detoxifying Decoction x3.

245. World Map
Found in a large area of ![]() Rivage Cavern that features an
Rivage Cavern that features an ![]() Ogre and
Ogre and ![]() Saurians.
Saurians.
Contains: ![]() Panacea x2
Panacea x2
246. World Map
Inside the ![]() Tomb of Ku’Myage. In the cave, drop down to the floor below and follow the path down. In the large room, head into a small room to the north. Contains
Tomb of Ku’Myage. In the cave, drop down to the floor below and follow the path down. In the large room, head into a small room to the north. Contains ![]() Wakestone Shard x1.
Wakestone Shard x1.

247. World Map
This chest is hidden against the edge of the cliff, along the shore.
Contains: 1800G


251. World Map
Follow the left fork of the tunnel. Fight off the bandits found in this room.
Contains :3517 gold


256. World Map
On the highest point of the ![]() Goblin camp, on a large rock face.
Goblin camp, on a large rock face.
Contains: ![]() Savagery Extract.
Savagery Extract.

257. World Map
From the bridge on the main road, you can find a shortcut down around the cliffside, leading to the chest.
Contains: ![]() Jasper
Jasper


259. World Map
In the corner of the house near the campsite.
Contains: ![]() Parching Concoction,
Parching Concoction, ![]() Tarring Arrow x4
Tarring Arrow x4

260. World Map
On a raised section in the ![]() Darkhorde Cave.
Darkhorde Cave.
Contains: ![]() Mincemeat Roborant,
Mincemeat Roborant, ![]() Fine Harspud Roborant
Fine Harspud Roborant

261. World Map
As you enter the lair of the Coral snakes (after the cutscene), jump down from the platform and the chest is on the left, ground floor, against the wall.
Contains:10 * ![]() Blighting Arrows
Blighting Arrows


263. World Map
At the bottom of the stairs behind the breakable wall that’s opposite the entrance to the ![]() Derelict Mine.
Derelict Mine.
Contains: ![]() Dried Meat x2
Dried Meat x2

264. World Map
After breaking through the wall on the right in the ![]() Derelict Mine, jump over a pit and collapsible floor. Fall through the second collapsible floor to find this chest behind you.
Derelict Mine, jump over a pit and collapsible floor. Fall through the second collapsible floor to find this chest behind you.
Contains: ![]() Dried Fruit x3
Dried Fruit x3

265. World Map
Break through the wall on the right in the ![]() Derelict Mine, then jump over a pit and two collapsible floors. This chest is at the edge of a second regular pit.
Derelict Mine, then jump over a pit and two collapsible floors. This chest is at the edge of a second regular pit.
Contains: ![]() Detoxifying Decoction
Detoxifying Decoction

266. World Map
On top of a raised section of the cave near the path.
Contains: ![]() Thunderous Concord x2
Thunderous Concord x2

267. World Map
On top of a small rock next to the path.
Contains: ![]() Monster Fang x2,
Monster Fang x2, ![]() Putrid Gold Tooth
Putrid Gold Tooth

268. World Map
On top of a large rock near the path. You may need to use Double Jump or ![]() Levitate to make the jump across.
Levitate to make the jump across.
Contains: ![]() Savagery Extract
Savagery Extract
269. World Map
Under a tent on the middle level of the Bandit’s Hideout. Contains 8000G.


272. World Map
On a scaffold in the Bandit’s Hideout on the lower level. Use the nearby tents to reach it. Contains ![]() Blighting Arrow x10.
Blighting Arrow x10.

273. World Map
At the edge of the cliff near the statue.
Contains: ![]() Savagery Extract x1.
Savagery Extract x1.

274. World Map
Just up on the grass ledge past the riftstone.
Contains: ![]() Salubrious Draught
Salubrious Draught

275. World Map
Follow the grassy ledge until you reach this chest.
Contains: ![]() Panacea x2
Panacea x2

276. Bakbattahl Map
Chest found in the room behind the Inn keeper.
Contains 2173 gold
277. World Map
In the corner of a house near the entrance to the ![]() Nameless Village.
Nameless Village.
Contains: ![]() Rabbit Pelt x2
Rabbit Pelt x2

278. World Map
In the corner of a house opposite the ![]() Nameless Inn.
Nameless Inn.
Contains: ![]() Fine Mincemeat Roborant
Fine Mincemeat Roborant

279. World Map
In the corner of the house where you find the ![]() Folded Letter.
Folded Letter.
Contains: 1000 gold coins


283. World Map
Behind the table in the corner of the house.
Contains: 500 gold coins


286. World Map
Near the end of the ![]() Nameless Village Depths, on the right side of the corridor.
Nameless Village Depths, on the right side of the corridor.
Contains: 2110 gold coins

287. World Map
Near the end of the ![]() Nameless Village Depths, on the right side of the corridor.
Nameless Village Depths, on the right side of the corridor.
Contains: ![]() Aged Shorefish,
Aged Shorefish, ![]() Aged Tideswimmer
Aged Tideswimmer

288. World Map
Near the end of the ![]() Nameless Village Depths, on the left side of the corridor.
Nameless Village Depths, on the left side of the corridor.
Contains: ![]() Tiger Eye
Tiger Eye

289. World Map
On top of a roof near ![]() The Stardrop Inn. Jump across a gap from the nearby street to reach it.
The Stardrop Inn. Jump across a gap from the nearby street to reach it.
Contains: ![]() Harspud Roborant
Harspud Roborant

290. Vernworth Map
On top of a roof near ![]() The Stardrop Inn. Jump across a gap from the nearby street to reach it.
The Stardrop Inn. Jump across a gap from the nearby street to reach it.
Contains: ![]() Harspud Roborant
Harspud Roborant

291. World Map
Behind several barrels and boxes on the house’s balcony.
Contains: ![]() Harpysnare Smoke Beacon
Harpysnare Smoke Beacon

292. World Map
Chest found in the room behind the innkeeper.
Contains: 2173 gold coins

293. Vernworth Map
In the bushes next to ![]() Vernworth Hall.
Vernworth Hall.
Contains: Soutness Extract

294. World Map
From the southern entrance, head north into the cave to find the chest on top of a ledge.
Contains: ![]() Dried Meat
Dried Meat

295. World Map
Inside ![]() Cavern of the Forsaken on 2nd Floor. Head north from the chamber entrance.
Cavern of the Forsaken on 2nd Floor. Head north from the chamber entrance.
Contains: ![]() Panacea
Panacea


297. World Map
In thre building to teh eaast of Fluvio’s workshop.
contains : ![]() Bunch of Flowers
Bunch of Flowers


299. World Map
Found inside the abandoned house East of the campsite.
Contains: ![]() White-Leather Kerchief x2
White-Leather Kerchief x2

300. World Map
Found as you travel north up Guerco Mountain road.
Contains: 1* ![]() Emergent Vitality
Emergent Vitality


302. World Map
Across the river, north of ![]() Riverside Ruins, in a small
Riverside Ruins, in a small ![]() Saurian nest.
Saurian nest.
Contains: ![]() Rugged Bone,
Rugged Bone, ![]() Aged Shorefish
Aged Shorefish

303. World Map
On the southwest path from ![]() Riverside Ruins, in a little nook in the wall.
Riverside Ruins, in a little nook in the wall.
Contains: ![]() Tiger Eye
Tiger Eye


308. World Map
One of two chests next to the Ballista. Contains ![]() Fine Harspud Roborant x1.
Fine Harspud Roborant x1.

309. World Map
One to two chests next to the Ballista. Contains ![]() Thunderous Concord x1.
Thunderous Concord x1.

310. World Map
Next to a dangling piece of cloth in the room with the ![]() Golem.
Golem.
Contains: 2730 gold coins


314. World Map
Between two rocks at the edge of the cliff.
Contains: ![]() Fine Harspud Roborant
Fine Harspud Roborant

315. World Map
Found in the chamber beneath the ![]() Northern Harve Ruins.
Northern Harve Ruins.
Contains: 3x ![]() Tarring Arrow
Tarring Arrow


319. Bakbattahl Map
In a back corner of the ![]() Battahl Morgue.
Battahl Morgue.
Contains: ![]() Wakestone Shard
Wakestone Shard


321. Bakbattahl Map
In a corner near the entrance to the ![]() Battahl Morgue.
Battahl Morgue.
Contains: ![]() Wakestone Shard
Wakestone Shard
322. Bakbattahl Map
In a corner near the entrance to the ![]() Battahl Morgue.
Battahl Morgue.
Contains: ![]() Wakestone Shard
Wakestone Shard

323. World Map
Next to the door in the ![]() Flamebearer Palace Guardians’ Barracks.
Flamebearer Palace Guardians’ Barracks.
Contains: ![]() Ring of Cooling
Ring of Cooling

324. World Map
In the ![]() Forbidden Magick Research Lab, near the tunnel leading to the
Forbidden Magick Research Lab, near the tunnel leading to the ![]() Bakbattahl Gaol.
Bakbattahl Gaol.
Contains: ![]() Black Crystal
Black Crystal

325. World Map
In the corner of the ![]() Laboratorium - Testing Room.
Laboratorium - Testing Room.
Contains: ![]() Blackened Horn
Blackened Horn

326. World Map
On the edge of the cliff, you must go up to the top of the hill with the pillars and loop around to reach it.
Contains: ![]() Ferrystone
Ferrystone

327. World Map
Follow the path to the west and then go east when given the chance and follow the path to the end.
Contains: ![]() Thunderous Concord,
Thunderous Concord, ![]() Hiemal Euphony
Hiemal Euphony


329. World Map
Climb the rocks near where you fight the ![]() Griffin to locate this chest.
Griffin to locate this chest.
Contains: ![]() Savagery Extract,
Savagery Extract, ![]() Harspud Roborant
Harspud Roborant

330. World Map
Guarded by ![]() Hobgoblins in the
Hobgoblins in the ![]() Howling Cave.
Howling Cave.
Contains: 8090 gold coins.

331. World Map
Guarded by ![]() Hobgoblins, at the back of the
Hobgoblins, at the back of the ![]() Howling Cave.
Howling Cave.
Contains: ![]() Sand-Patterned Camping Kit .
Sand-Patterned Camping Kit .
332. World Map
Found in the shack at the end of the mountain path.
Contains: ![]() Harpysnare Smoke Beacon
Harpysnare Smoke Beacon


335. World Map
On the west side of the ruins, on a broken stone wall.
Contains: ![]() Panacea
Panacea

336. World Map
The chest is found crookedly on top of a broken stone wall, southwest of the main tower in ![]() Riverside Ruins.
Riverside Ruins.
Contains: ![]() Chain Mail
Chain Mail
337. World Map
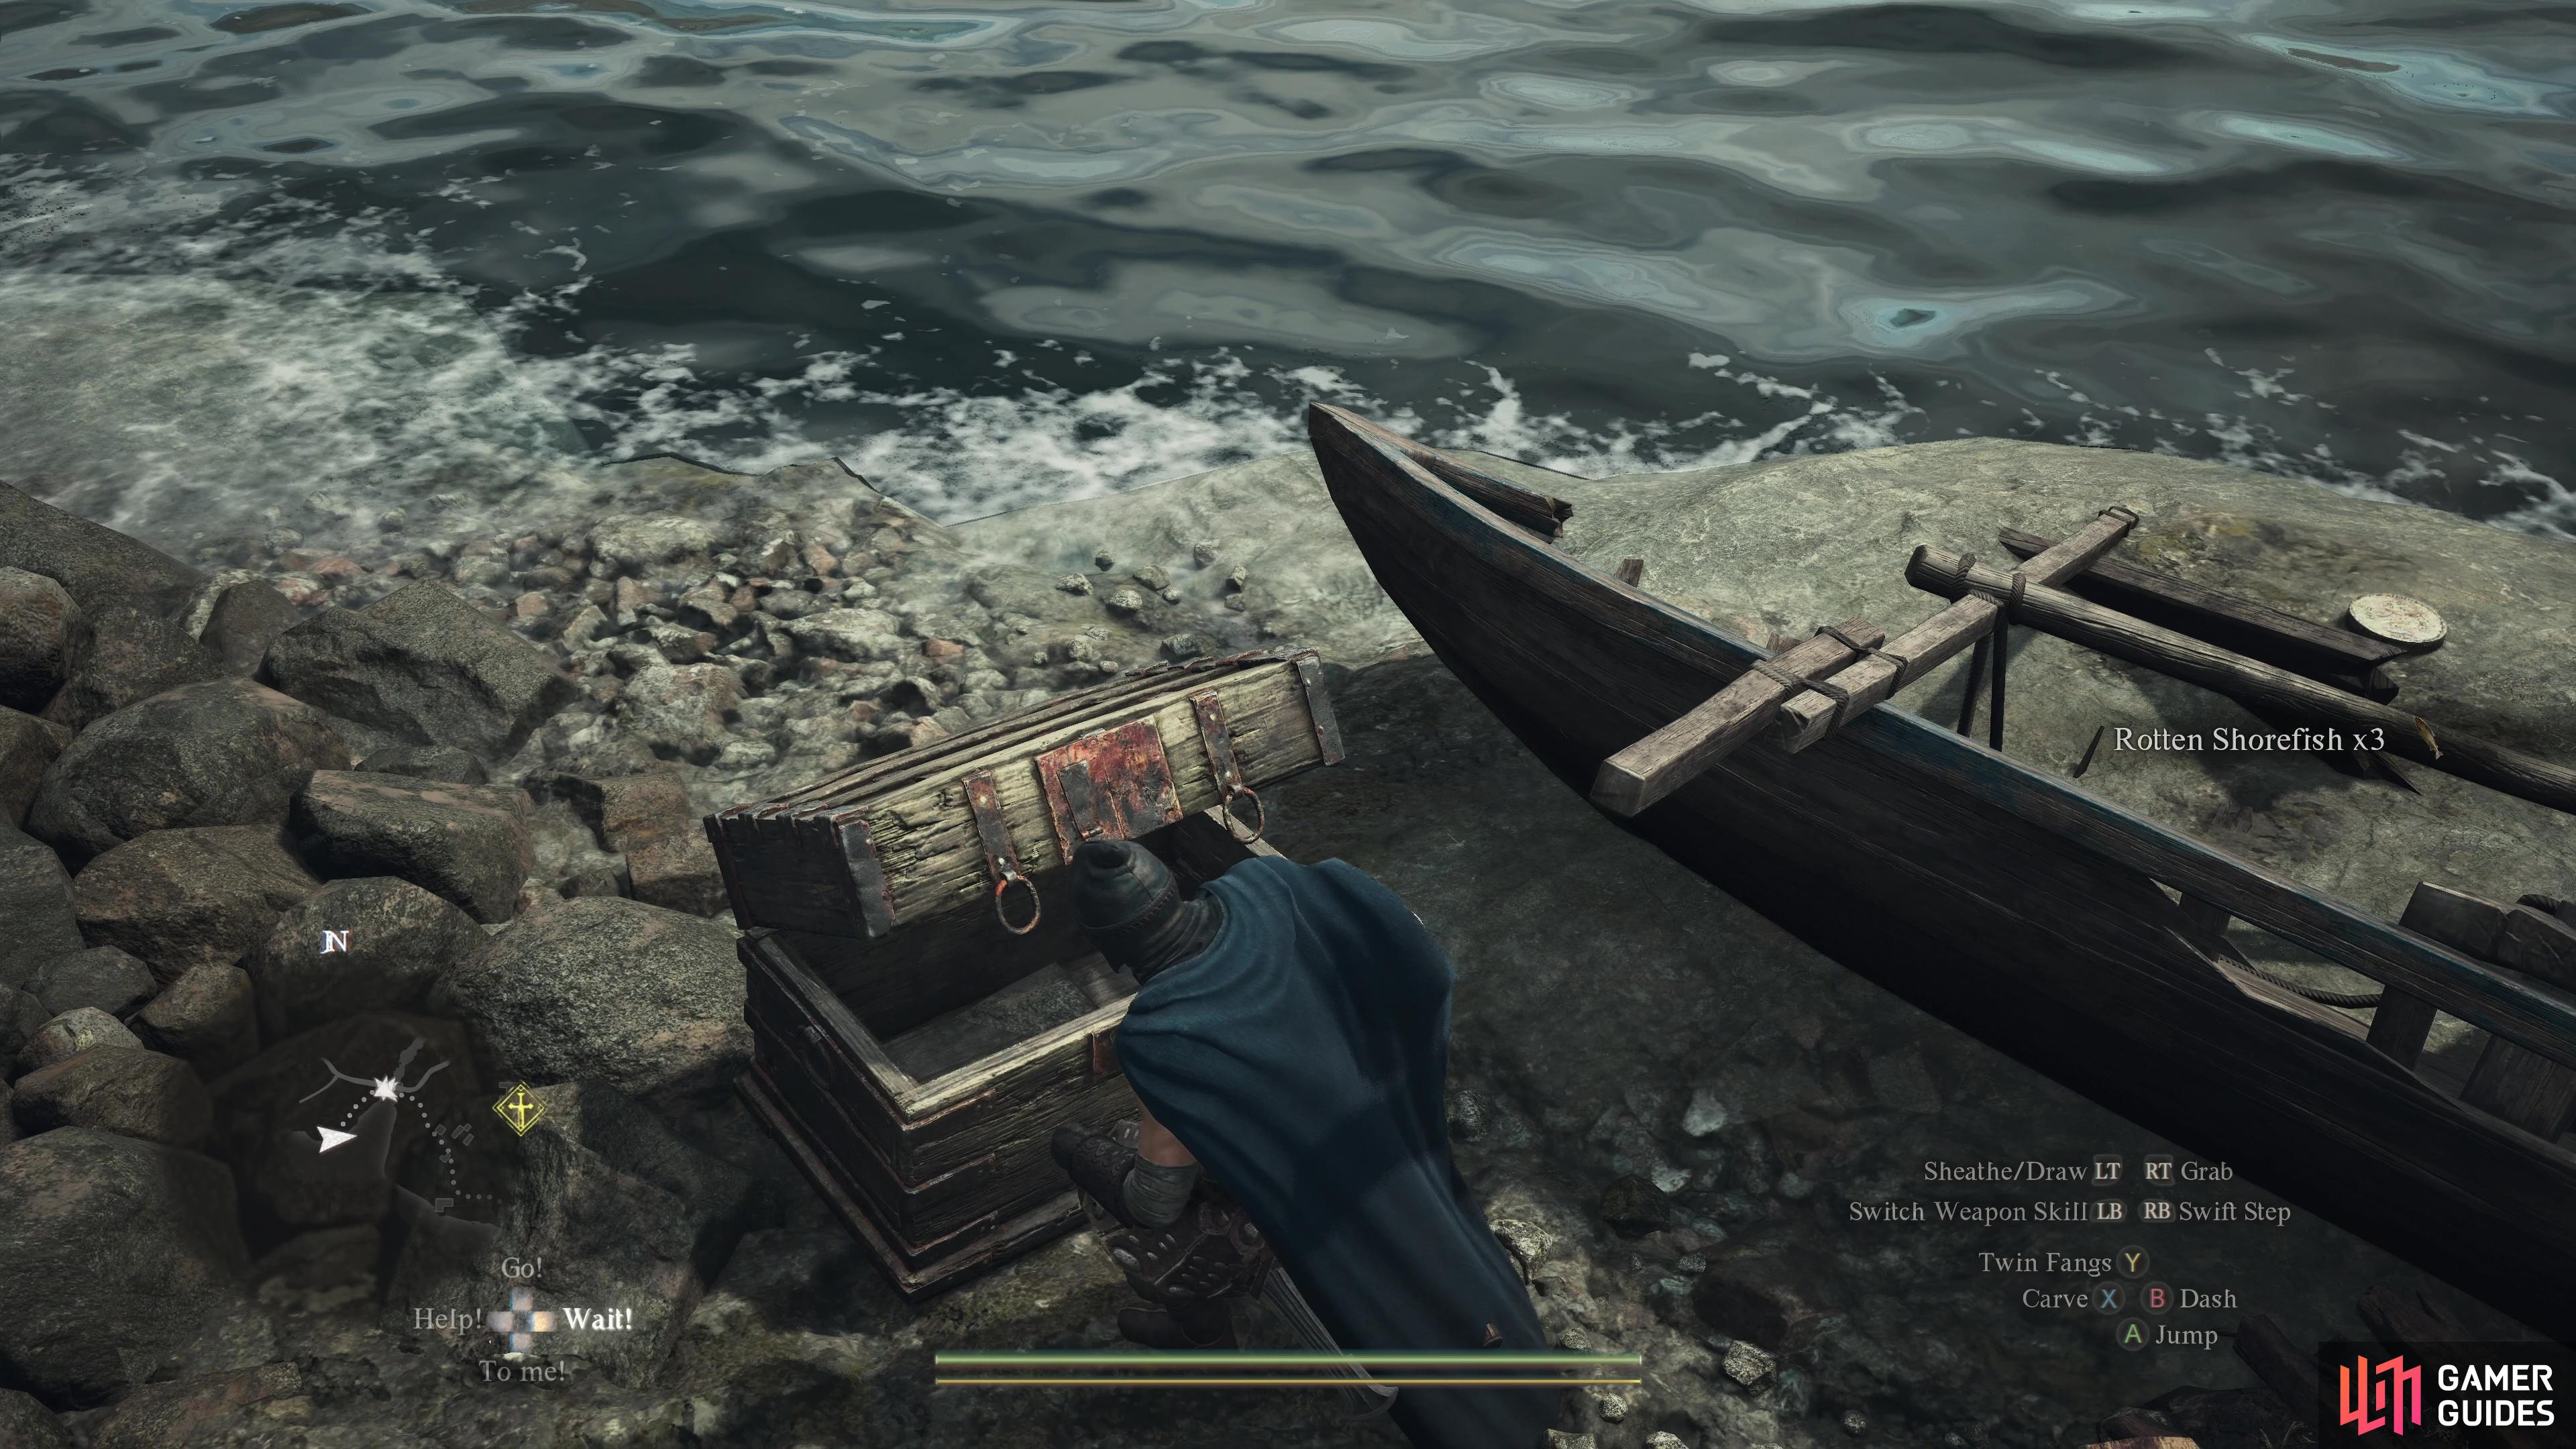
Sitting next to the boat, near the edge of the water.
Contains: ![]() Rotten Shorefish x3
Rotten Shorefish x3

338. World Map
Found within ![]() Collapsed Mine, located in an area with a large group of
Collapsed Mine, located in an area with a large group of ![]() Goblins.
Goblins.
Contains: ![]() Tiger Eye
Tiger Eye

339. World Map
Inside the ![]() Digger’s Ruins, Next to a bunch of supplies in the corner by a slope.
Digger’s Ruins, Next to a bunch of supplies in the corner by a slope.
Contains: ![]() Ferrystone
Ferrystone

340. Dungeon & Town Maps
At the edge of a narrow path, guarded by a ![]() Knacker.
Knacker.
Contains: ![]() Tarring Arrow
Tarring Arrow

341. Dungeon & Town Maps
After running across a wooden bridge, this chest is on the right.
Contains: ![]() Dried Meat.
Dried Meat.

342. Dungeon & Town Maps
In the corner of the ![]() Laboratorium - Testing Room.
Laboratorium - Testing Room.
Contains: ![]() Blackened Horn
Blackened Horn

343. Dungeon & Town Maps
In the large chamber on the northern edge of the first floor. Head over the wooden bridges, then climb the rocky ledges to find the chest.
Contains: ![]() Explosive Arrows x5.
Explosive Arrows x5.

344. Dungeon & Town Maps
Jump up into the hole in the wall to the right as you enter the cave. Then follow the path to the right and break the boxes at the dead end. The chest can then be found.
Contains: 3450 gold coins
345. Dungeon & Town Maps
Found in the small alcove in the far East of this passageway.
Contains 2X ![]() Fulgurous Lord
Fulgurous Lord

346. Dungeon & Town Maps
Found at the north-west dead end of the split.
Contains: 3330 gold coins


350. Dungeon & Town Maps
Inside a room filled with skeletons.
Contains: 4510 gold coins

351. Dungeon & Town Maps
On the rock in the middle of the water. Jump across the gap to the east to reach it.
Contains: ![]() Dried Fish
Dried Fish

352. Dungeon & Town Maps
On the left side of the ![]() Eremitic Sanctuary.
Eremitic Sanctuary.
Contains: ![]() Dried Fruit,
Dried Fruit, ![]() Dried Spud,
Dried Spud, ![]() Dried Fish
Dried Fish

353. World Map
On a slightly lower section of the cliff at the end of a narrow path.
Contains: ![]() Harspud Roborant x3
Harspud Roborant x3

354. Dungeon & Town Maps
At the top of the slope, guarded by ![]() Goblins.
Goblins.
Contains: ![]() Mincemeat Roborant and 930 gold coins.
Mincemeat Roborant and 930 gold coins.

355. World Map
Inside the ![]() Backwoods Nest, guarded by goblins at the top of a slope.
Backwoods Nest, guarded by goblins at the top of a slope.
Contains: ![]() Mincemeat Roborant and 930 gold coins.
Mincemeat Roborant and 930 gold coins.

356. Dungeon & Town Maps
Found in the left hand loop as you enter the dungeon.
Conatins: 3* ![]() Dried Meat
Dried Meat


358. World Map
Inside the wooden shack south of ![]() The Mountains’ Secret southern exit.
The Mountains’ Secret southern exit.
Contains: ![]() Harpysnare Smoke Beacon
Harpysnare Smoke Beacon

359. Dungeon & Town Maps
Found on the ground level of the hideout against the East wall.
Contains 10* ![]() Blighting Arrows
Blighting Arrows

360. World Map
In the corner of the ![]() Borderwatch Training Grounds.
Borderwatch Training Grounds.
Contains: ![]() Waking Powder
Waking Powder

362. Dungeon & Town Maps
Jump across the gap after climbing the ladder to find this chest.
Contains: 990 gold coins

363. World Map
Next to the headless statue in front of a waterfall.
Contains: ![]() Wakestone Shard
Wakestone Shard

364. Dungeon & Town Maps
Take the western path in the large room and find the chest halfway down the stairs.
Contains: ![]() Prescribed Tranquility x2
Prescribed Tranquility x2

365. World Map
At a bend in the path leading toward a ![]() Mt. Alles Tunnel entrance.
Mt. Alles Tunnel entrance.
Contains: ![]() Waking Powder
Waking Powder

366. World Map
On a raised section of the cliff near a stick effigy.
Contains: ![]() Aged Scrag of Beast
Aged Scrag of Beast

367. World Map
On the edge of a raised section of the cliff, overlooking the river.
Contains: ![]() Scrag of Beast
Scrag of Beast

368. Dungeon & Town Maps
Opposite the coffins in a small doorway. Opening it spawns a ![]() Phantasm.
Phantasm.
Contains: ![]() Governing Soul
Governing Soul

369. World Map
Climb up the pile of rocks near the path to find this chest at the top.
Contains: 150 RC


371. Dungeon & Town Maps
Found underneath the scaffolding against the East wall.
Contains : 3* ![]() Beast-Steak
Beast-Steak

372. World Map
At the edge of a narrow path around the back of the raised cliff.
Contains: ![]() Jasper
Jasper

373. Dungeon & Town Maps
Found against the Northern wall of the hideout on the bottom floor.
Contains : ![]() Fine Harspud Roborant
Fine Harspud Roborant

374. Dungeon & Town Maps
Found against the wall in the small enclave.
Contains: 5* ![]() Rabbit Pelt
Rabbit Pelt

375. Dungeon & Town Maps
Found ontop of the scaffolding against the south wall.
Contains: 2086 gold

376. World Map
Found on a ledge overlooking the nearby river.
Contains: ![]() Harspud Roborant x3
Harspud Roborant x3

377. World Map
Found on top of a cliff that overlooks the main path.
Contains: ![]() Stoutness Extract
Stoutness Extract

378. World Map
Inside the ![]() Vermund Charnel House, at the edge of the body storage area.
Vermund Charnel House, at the edge of the body storage area.
Contains: ![]() Wakestone Shard
Wakestone Shard

380. Dungeon & Town Maps
On the southern side of the cave’s largest room.
Contains: 2490 gold coins


383. World Map
At the edge of a tiny cave next to the path.
Contains: 3500 gold coins

384. Dungeon & Town Maps
On 1F of ![]() Indigent Bedlands just as you enter the cave. Turn right to find the chest in a dead end.
Indigent Bedlands just as you enter the cave. Turn right to find the chest in a dead end.
Contains: ![]() Jasper
Jasper

385. Dungeon & Town Maps
Right at the back of the cave at the top of a rocky climb. Guarded by ![]() Goblins.
Goblins.
Contains: ![]() Chain Mail, 890 gold coins
Chain Mail, 890 gold coins

386. World Map
At the top of the ladder in ruins guarded by ![]() Hobgoblins.
Hobgoblins.
Contains: 4200 gold coins

387. World Map
Contains 2 x ![]() Jasper, in the purple ghost room in the
Jasper, in the purple ghost room in the ![]() Worldsend Cavern.
Worldsend Cavern.

388. Dungeon & Town Maps
At the end of the short corridor.
Contains: ![]() Stoutness Extract
Stoutness Extract

390. Dungeon & Town Maps
Behind the stone pillars.
Contains: ![]() Lantern Oil,
Lantern Oil, ![]() Rotten Scrag of Beast x2, 1200 gold coins
Rotten Scrag of Beast x2, 1200 gold coins


392. Dungeon & Town Maps
Tucked against the wall near some crates.
Contains: ![]() Detoxifying Decoction x3
Detoxifying Decoction x3


396. World Map
Guarded by ![]() Saurians in the cave. Climb to the highest point on the eastern side, jump across to a ledge, and you’ll find this chest in the corner.
Saurians in the cave. Climb to the highest point on the eastern side, jump across to a ledge, and you’ll find this chest in the corner.
Contains: ![]() Aged Shorefish x2,
Aged Shorefish x2, ![]() Aged Tideswimmer
Aged Tideswimmer

397. World Map
At the edge of a ![]() Saurian-guarded cave.
Saurian-guarded cave.
Contains: ![]() Harpysnare Smoke Beacon
Harpysnare Smoke Beacon


400. World Map
On the same ledge as the ![]() Seeker’s Token, in the corner.
Seeker’s Token, in the corner.
Contains: 1280 gold coins


404. World Map
At the top of a rock on the high-up cliffs.
Contains: ![]() Salubrious Draught x3
Salubrious Draught x3

405. World Map
Behind the headless statue on some high-up cliffs near the river. Climb the cliffs to the south and follow them over a stone bridge to reach it.
Contains: 90 RC
406. Dungeon & Town Maps
On the right side of the tomb.
Contains: ![]() Ring of Recompense
Ring of Recompense


409. World Map
Hidden among the trees near the entrance to the ![]() Roadside Hollow.
Roadside Hollow.
Contains: ![]() Fine Harspud Roborant
Fine Harspud Roborant

410. Dungeon & Town Maps
Outside of the ![]() Goreminotaur’s room.
Goreminotaur’s room.
Contains: ![]() Stoutness Extract
Stoutness Extract

411. Dungeon & Town Maps
At the edge of the left path, guarded by several ![]() Lost Mercenary.
Lost Mercenary.
Contains: 11030 gold coins


413. Dungeon & Town Maps
Behind a pillar in the mazelike room.
Contains: ![]() Rotten Harspud
Rotten Harspud

414. Dungeon & Town Maps
At the end of the room.
Contains: ![]() Rotten Scrag of Beast,
Rotten Scrag of Beast, ![]() Detoxifying Decoction
Detoxifying Decoction

415. Dungeon & Town Maps
Found against the West wall opposite the entrance.
Contains: 2x ![]() Aged Shorefish
Aged Shorefish


417. Dungeon & Town Maps
In a small room at the back of the ![]() Timeworn Shaft.
Timeworn Shaft.
Contains: 1100 gold coins
418. Dungeon & Town Maps
In a small alcove at the back of the cave, on the right.
Contains: ![]() Modest Camping Kit
Modest Camping Kit

419. Dungeon & Town Maps
In a small alcove at the back of the cave, on the left.
Contains: 2400 gold coins.


422. World Map
In the corner of the ruins near the campsite.
Contains: 4790 gold coins

423. Dungeon & Town Maps
Near the end of the dungeon, on the left side of the corridor.
Contains: ![]() Tiger Eye
Tiger Eye

424. Dungeon & Town Maps
Found on the right hand side of the corridor, heading towards the end of the dungeon.
Contains: 2110 gold coins
425. Dungeon & Town Maps
In the right section of the chamber against the wall.
Contains: ![]() Aged Shorefish ,
Aged Shorefish , ![]() Aged Tideswimmer
Aged Tideswimmer


427. World Map
At the edge of some ruins near the northern path.
**Contains: ![]() Emergent Vitality x2, 1420 gold coins **
Emergent Vitality x2, 1420 gold coins **


429. World Map
On a ledge near a split between the canyons on a high-up cliff.
Contains: ![]() Blighting Arrow x10
Blighting Arrow x10


431. Dungeon & Town Maps
In the corner of the room, guarded by ![]() Undead.
Undead.
Contains: 270 RC

432. Dungeon & Town Maps
At the edge of a short corridor.
Contains: ![]() Visionary’s Mask
Visionary’s Mask


434. Dungeon & Town Maps
In the corner of the wooden shack.
Contains: ![]() Copper Ore x3
Copper Ore x3

435. Dungeon & Town Maps
Behind the table in the corner of the house.
Contains: 500 gold coins

436. Dungeon & Town Maps
In the corner of a house opposite the ![]() Nameless Inn.
Nameless Inn.
Contains: ![]() Fine Mincemeat Roborant.
Fine Mincemeat Roborant.

437. Dungeon & Town Maps
In the corner of the house where you find the ![]() Folded Letter.
Folded Letter.
Contains: 1000 gold coins

438. Dungeon & Town Maps
In the corner of the wooden shack.
Contains: ![]() Leapworm Skin x3
Leapworm Skin x3

439. Dungeon & Town Maps
In the corner of the large house.
Contains: ![]() Salubrious Draught
Salubrious Draught

440. Dungeon & Town Maps
In the corner of the house as you enter the ![]() Nameless Village
Nameless Village
Contains : ![]() Rabbit Pelt*2
Rabbit Pelt*2

441. Dungeon & Town Maps
Found on the Ramparts, accessed from the ![]() Vernworth Palace Courtyard.
Vernworth Palace Courtyard.
Contains: ![]() Ferrystone
Ferrystone

442. Dungeon & Town Maps
In ![]() Vernworth Hall. The chest can be found in the small room at the back of the hall in the southwestern corner.
Vernworth Hall. The chest can be found in the small room at the back of the hall in the southwestern corner.
Contains: ![]() Bunch of Flowers x2
Bunch of Flowers x2

443. Dungeon & Town Maps
In the bushes next to ![]() Vernworth Hall.
Vernworth Hall.
Contains: ![]() Stoutness Extract
Stoutness Extract

444. Dungeon & Town Maps
Inside the ![]() Vernworth Castle Gaoler’s Room.
Vernworth Castle Gaoler’s Room.
Contains: ![]() Waking Powder
Waking Powder

445. Dungeon & Town Maps
Found near the second split of the cave.
Contains: 1120 gold coins

446. Dungeon & Town Maps
Climb down into the well by the ![]() Vernworth Castle Gaol Tower to find this chest nearby.
Vernworth Castle Gaol Tower to find this chest nearby.
Contains: ![]() Expeditioner’s Cloak,
Expeditioner’s Cloak, ![]() Marcher’s Helm,
Marcher’s Helm, ![]() Marcher’s Armor, and
Marcher’s Armor, and ![]() Marcher’s Cuisses.
Marcher’s Cuisses.

447. Dungeon & Town Maps
Found on a rock in the narrow corridor.
Contains: ![]() Savagery Extract
Savagery Extract

448. Dungeon & Town Maps
Between ![]() Eldart’s Apothecary and
Eldart’s Apothecary and ![]() Grisha’s Armory.
Grisha’s Armory.
Contains: ![]() Gold Ore x5
Gold Ore x5


450. Dungeon & Town Maps
On the second floor of ![]() Kough’s Inn, in the room on the right.
Kough’s Inn, in the room on the right.
Contains: ![]() Governing Soul
Governing Soul

451. Dungeon & Town Maps
On the second floor of ![]() Kough’s Inn, in the room on the right.
Kough’s Inn, in the room on the right.
Contains: ![]() Prescribed Tranquility
Prescribed Tranquility

452. Dungeon & Town Maps
On the ground floor of ![]() Kough’s Inn, in the room directly right of Kough.
Kough’s Inn, in the room directly right of Kough.
Contains: ![]() Miasmite x5
Miasmite x5

453. Dungeon & Town Maps
In the corner of the ![]() Borderwatch Training Grounds.
Borderwatch Training Grounds.
Contains: ![]() Waking Powder
Waking Powder

454. Dungeon & Town Maps
Found under the ladder leading up to a watchtower.
Contains: ![]() Aged Scrag of Beast
Aged Scrag of Beast

455. Dungeon & Town Maps
Found on the second floor within the old lighthouse.
Contains: ![]() Wyrmslife Crystal
Wyrmslife Crystal

456. Dungeon & Town Maps
Found on the upper balcony of the lighthouse.
Contains : ![]() Fine Roe Roborant.
Fine Roe Roborant.


458. Dungeon & Town Maps
Found inside a broken room on the rooftops above ![]() Ulrika’s House. You can reach it by climbing down the ladders at the
Ulrika’s House. You can reach it by climbing down the ladders at the ![]() Dracanward tower and looking down.
Dracanward tower and looking down.
Contains: ![]() Fulgurous Lord,
Fulgurous Lord, ![]() Winter’s Path,
Winter’s Path, ![]() Threshing Blaze.
Threshing Blaze.

459. Dungeon & Town Maps
Next to the door in the ![]() Flamebearer Palace Guardians’ Barracks.
Flamebearer Palace Guardians’ Barracks.
Contains: ![]() Ring of Cooling
Ring of Cooling

460. Dungeon & Town Maps
In the ![]() Forbidden Magick Research Lab, near the tunnel leading to the
Forbidden Magick Research Lab, near the tunnel leading to the ![]() Bakbattahl Gaol.
Bakbattahl Gaol.
Contains: ![]() Black Crystal
Black Crystal
461. Dungeon & Town Maps
Next to the door in the ![]() Vernworth Castle Magistrate’s Office.
Vernworth Castle Magistrate’s Office.
Contains: ![]() Stability Extract
Stability Extract
462. Dungeon & Town Maps
In ![]() The Guardhouse. The chest can be found as soon as you enter the building via the southern entrance. This area is restricted and will require you to be wearing the Marcher’s Set to get through it peacefully.
The Guardhouse. The chest can be found as soon as you enter the building via the southern entrance. This area is restricted and will require you to be wearing the Marcher’s Set to get through it peacefully.
Contains: ![]() Marcher’s Helm,
Marcher’s Helm, ![]() Marcher’s Cuisses,
Marcher’s Cuisses, ![]() Marcher’s Armor
Marcher’s Armor

463. Dungeon & Town Maps
Outside in the ![]() Vernworth
Vernworth ![]() Castle Training Ground, under a tent covered with black cloth near the wall.
Castle Training Ground, under a tent covered with black cloth near the wall.
Contains: ![]() Iron Shield
Iron Shield

464. Dungeon & Town Maps
At the top of the elevator shaft.
Contains: ![]() Lantern (Half-Full)
Lantern (Half-Full)

465. Dungeon & Town Maps
On the fourth floor of ![]() Vernworth Castle, next to a broken ballista.
Vernworth Castle, next to a broken ballista.
Contains: ![]() Lupine Bow
Lupine Bow

466. Dungeon & Town Maps
On the fourth floor of ![]() Vernworth Castle.
Vernworth Castle.
Contains: ![]() Explosive Arrow x10
Explosive Arrow x10

467. Dungeon & Town Maps
Halfway up the ![]() Vernworth Watchtower.
Vernworth Watchtower.
Contains: 1150 gold coins.

468. Dungeon & Town Maps
On the third floor of ![]() Vernworth Castle, near the stairs.
Vernworth Castle, near the stairs.
Contains: ![]() Waking Powder
Waking Powder

469. Dungeon & Town Maps
When the elevator reaches its destination, head down the stairs to find this chest on a wooden platform.
Contains: ![]() Sentry’s Coif and
Sentry’s Coif and ![]() Chain Mail
Chain Mail

470. Dungeon & Town Maps
Between two beds in a side-room of the ![]() Arborist’s Home.
Arborist’s Home.
Contains: 1000 gold coins

471. Dungeon & Town Maps
In the corner of a side room in the ![]() Arborist’s Home.
Arborist’s Home.
Contains: ![]() Drenching Arrow x10
Drenching Arrow x10

472. Dungeon & Town Maps
On the second floor of ![]() Kough’s Inn, in the leftmost room on the northern side.
Kough’s Inn, in the leftmost room on the northern side.
Contains: ![]() Chopper Horn x5
Chopper Horn x5

473. Dungeon & Town Maps
On the ground floor of ![]() Kough’s Inn, in the northernmost room to the left.
Kough’s Inn, in the northernmost room to the left.
Contains: ![]() Dried Fruit x4
Dried Fruit x4

474. Dungeon & Town Maps
On the ground floor of ![]() Kough’s Inn, in the northernmost room to the left.
Kough’s Inn, in the northernmost room to the left.
Contains: ![]() Fine Roe Roborant
Fine Roe Roborant

475. Dungeon & Town Maps
On the ground floor of ![]() Kough’s Inn, in the northernmost room to the right.
Kough’s Inn, in the northernmost room to the right.
Contains: ![]() Asp Toxiscale x3
Asp Toxiscale x3
476. Dungeon & Town Maps
On the ground floor of ![]() Kough’s Inn, inside a room to the right. This chest is next to the door.
Kough’s Inn, inside a room to the right. This chest is next to the door.
Contains: ![]() Cinnamon Bark x5
Cinnamon Bark x5

477. Dungeon & Town Maps
On the ground floor of ![]() Kough’s Inn, inside a room to the right. This chest is next to the box of arrows.
Kough’s Inn, inside a room to the right. This chest is next to the box of arrows.
Contains: ![]() Greenwarish x5
Greenwarish x5


479. Dungeon & Town Maps
At the end of a narrow corridor.
Contains: ![]() Stoutness Extract
Stoutness Extract

480. Dungeon & Town Maps
In the corner of the room, near some coffins.
Contains: 4370 gold coins

481. Dungeon & Town Maps
At the eastern edge of the cave.
Contains: 2910 gold coins

482. World Map
Next to the southern entrance to ![]() Digger’s Ruins.
Digger’s Ruins.
Contains: ![]() Lantern (Fueled)
Lantern (Fueled)

483. Dungeon & Town Maps
At the end of the corridor, near the wooden objects.
Contains: ![]() Ferrystone
Ferrystone


485. Dungeon & Town Maps
At the top of the high-up ledge. Easiest to reach by dropping down from above.
Contains: ![]() Lantern Oil
Lantern Oil


487. Dungeon & Town Maps
Break through the wall on the right in the ![]() Derelict Mine, then jump over a pit and two collapsible floors. This chest is at the edge of a second regular pit.
Derelict Mine, then jump over a pit and two collapsible floors. This chest is at the edge of a second regular pit.
Contains: ![]() Detoxifying Decoction
Detoxifying Decoction

488. Dungeon & Town Maps
At the bottom of the stairs behind the breakable wall that’s opposite the entrance to the ![]() Derelict Mine.
Derelict Mine.
Contains: ![]() Dried Meat x2
Dried Meat x2

489. Dungeon & Town Maps
Near a pile of boxes in the corridor.
Contains: ![]() Rotten Harspud x3
Rotten Harspud x3

491. Dungeon & Town Maps
At the back of the cave, guarded by ![]() Hobgoblins.
Hobgoblins.
Contains: ![]() Sand-Patterned Camping Kit .
Sand-Patterned Camping Kit .

492. Dungeon & Town Maps
At the northern edge of the cave.
Contains: 3120 gold coins

493. Dungeon & Town Maps
In the side room. Opening will wake up several ![]() Undead in the main room.
Undead in the main room.
Contains: ![]() Wakestone Shard
Wakestone Shard
494. Dungeon & Town Maps
At the top of a ledge on the left side.
Contains: ![]() Fulgurous Lord
Fulgurous Lord


496. Dungeon & Town Maps
Behind a pillar at the edge of the room.
Contains: ![]() Ferrystone
Ferrystone


502. Dungeon & Town Maps
At the end of the corridor, guarded by a ![]() Knacker.
Knacker.
Contains: ![]() Panacea x2,
Panacea x2, ![]() Dried Fruit x3
Dried Fruit x3

503. Dungeon & Town Maps
In the middle of the tunnels.
Contains: ![]() Blighting Arrow x10
Blighting Arrow x10
504. Dungeon & Town Maps
At the edge of a high-up ledge.
Contains: ![]() Fine Harspud Roborant, 1510 gold coins
Fine Harspud Roborant, 1510 gold coins


506. Dungeon & Town Maps
Climb up into the tunnel at the top of the rocky climb to find this chest inside.
Contains: 1390 gold coins

507. Dungeon & Town Maps
At the edge of the ledge, guarded by several ![]() Harpy.
Harpy.
Contains: ![]() Harpysnare Smoke Beacon
Harpysnare Smoke Beacon

508. Dungeon & Town Maps
On a ledge near the campsite. Can only be reached by using ![]() Levitate or grabbing onto the harpies on floor 1F.
Levitate or grabbing onto the harpies on floor 1F.
Contains: ![]() Panacea x2,
Panacea x2, ![]() Dried Fruit x3
Dried Fruit x3

509. Dungeon & Town Maps
On a ledge near the campsite. Can only be reached by using ![]() Levitate or grabbing onto the harpies on floor 1F.
Levitate or grabbing onto the harpies on floor 1F.
Contains: ![]() Dried Meat x3
Dried Meat x3

510. Dungeon & Town Maps
At the northern edge of the cave, guarded by a ![]() Slime.
Slime.
Contains: ![]() Threshing Blaze
Threshing Blaze

512. Dungeon & Town Maps
On a ledge behind the breakable wall.
Contains: ![]() Onyx,
Onyx, ![]() Threshing Blaze
Threshing Blaze

513. Dungeon & Town Maps
At the end of the corridor.
Contains: ![]() Detoxifying Decoction
Detoxifying Decoction

514. Dungeon & Town Maps
In the water of the cave’s small outside area.
Contains: ![]() Panacea
Panacea
515. Dungeon & Town Maps
From the southern entrance, head north into the cave to find the chest on top of a ledge.
Contains: ![]() Dried Meat
Dried Meat


517. Dungeon & Town Maps
Guarded by ![]() Saurians, on the cave’s left side.
Saurians, on the cave’s left side.
Contains: ![]() Dried Fish
Dried Fish

518. Dungeon & Town Maps
At the end of the corridor near the pool of water.
Contains: ![]() Harpysnare Smoke Beacon
Harpysnare Smoke Beacon

519. Dungeon & Town Maps
In the corner of the ![]() Skeleton-guarded room.
Skeleton-guarded room.
Contains: ![]() Winter’s Path and
Winter’s Path and ![]() Onyx
Onyx

520. Dungeon & Town Maps
In the corner of the cave’s largest room, next to some explosive barrels.
Contains: ![]() Threshing Blaze and 1150 gold coins.
Threshing Blaze and 1150 gold coins.

521. Dungeon & Town Maps
Next to the blocked door in the room where you found Malcolm.
Contains: ![]() Ring of Conservation
Ring of Conservation
522. Dungeon & Town Maps
On top of a ledge. Easiest to reach by jumping across from the nearby rocks.
Contains: ![]() Jasper x3
Jasper x3

523. World Map
At the end of a narrow ledge beneath the bridge.
Contains: ![]() Hiemal Euphony
Hiemal Euphony


527. Dungeon & Town Maps
On top of the ruins at the end of the room. Climb the collapsed pillars and jump between the chunks - or just run along the edge of the room - to reach it.
Contains: 1830 gold coins

528. Dungeon & Town Maps
At the end of the path, guarded by ![]() Choppers.
Choppers.
Contains: ![]() Dried Fruit x5, 1200 gold coins
Dried Fruit x5, 1200 gold coins

529. Dungeon & Town Maps
Tucked against the cliff wall on the raised section.
Contains: ![]() Mincemeat Roborant,
Mincemeat Roborant, ![]() Fine Harspud Roborant
Fine Harspud Roborant


531. Dungeon & Town Maps
Behind a clutch of eggs on top of a ledge.
Contains: ![]() Panacea x2
Panacea x2

532. Dungeon & Town Maps
After breaking through the wall on the right, jump over a pit and collapsible floor. Fall through the second collapsible floor to find this chest behind you.
Contains: ![]() Dried Fruit x3
Dried Fruit x3

533. Dungeon & Town Maps
Under a tent in the large room.
Contains: ![]() Detoxifying Decoction x3
Detoxifying Decoction x3

534. Dungeon & Town Maps
In the short corridor near the coffins.
Contains: ![]() Igneous Melody x2
Igneous Melody x2

535. World Map
Between several boxes and barrels on top of the tower.
Contains: 1980 gold coins
537. World Map
A chest found on the top platforms of ![]() Excavation Site, reached by ladder. Contains 1x
Excavation Site, reached by ladder. Contains 1x ![]() Fine Harspud Roborant.
Fine Harspud Roborant.
538. World Map
A chest inside the overseer house in ![]() Excavation Site. Contains 1x
Excavation Site. Contains 1x ![]() Dried Spud.
Dried Spud.
539. World Map
A chest inside the overseer house in ![]() Excavation Site. Contains 1x
Excavation Site. Contains 1x ![]() Detoxifying Decoction.
Detoxifying Decoction.
540. World Map
A chest sitting atop a platform in Excavation Camp. Contains 1750 Gold

542. Dungeon & Town Maps
Halfway up the stairs opposite the cave’s entrance.
Contains: ![]() Winter’s Path x2,
Winter’s Path x2, ![]() Hiemal Euphony x2,
Hiemal Euphony x2, ![]() Quenching Syrup x3
Quenching Syrup x3


544. Dungeon & Town Maps
Tucked between the rocks near the tunnel entrance.
Contains: ![]() Hiemal Euphony,
Hiemal Euphony, ![]() Winter’s Path x2
Winter’s Path x2


547. Dungeon & Town Maps
At the bottom of the watchtower, directly left of the castle’s entrance.
Contains: 780 gold coins
548. Dungeon & Town Maps
In the corner of some ruins near the castle wall.
Contains: ![]() Tarring Arrow x11
Tarring Arrow x11


550. Dungeon & Town Maps
Next to the doorway on the south side of the room. Opening it makes a ![]() Phantom spawn.
Phantom spawn.
Contains: 5000 gold coins

551. Dungeon & Town Maps
Between two magic torches against the wall. Watch out for the breakable floor nearby.
Contains: 6060 gold coins

554. Dungeon & Town Maps
Behind the breakable wall.
Contains: ![]() Rotten Scrag of Beast
Rotten Scrag of Beast


556. Dungeon & Town Maps
At the end of the short corridor.
Contains: 1080 gold coins


559. Dungeon & Town Maps
At the edge of the raised section. From the northern edge of the room, jump to the east near a cloth-covered pyramid thing.
Contains: ![]() Fool’s Prize
Fool’s Prize

560. World Map
At the end of a cliff after following a narrow path.
Contains: ![]() Explosive Arrow x10
Explosive Arrow x10


562. World Map
Tucked between two walls in a ruined building.
Contains: ![]() Savagery Extract x2, 1400 gold coins
Savagery Extract x2, 1400 gold coins

563. World Map
On top of the wall, in the corner.
Contains: ![]() Dried Meat x2, 1340 gold coins
Dried Meat x2, 1340 gold coins

564. World Map
Tucked against the rocks in the dark forest.
Contains: ![]() Tarring Arrow x5
Tarring Arrow x5


567. Dungeon & Town Maps
In the corner of the locked cell.
Contains: ![]() Rotten Harspud x5
Rotten Harspud x5
 Sign up
No Comments