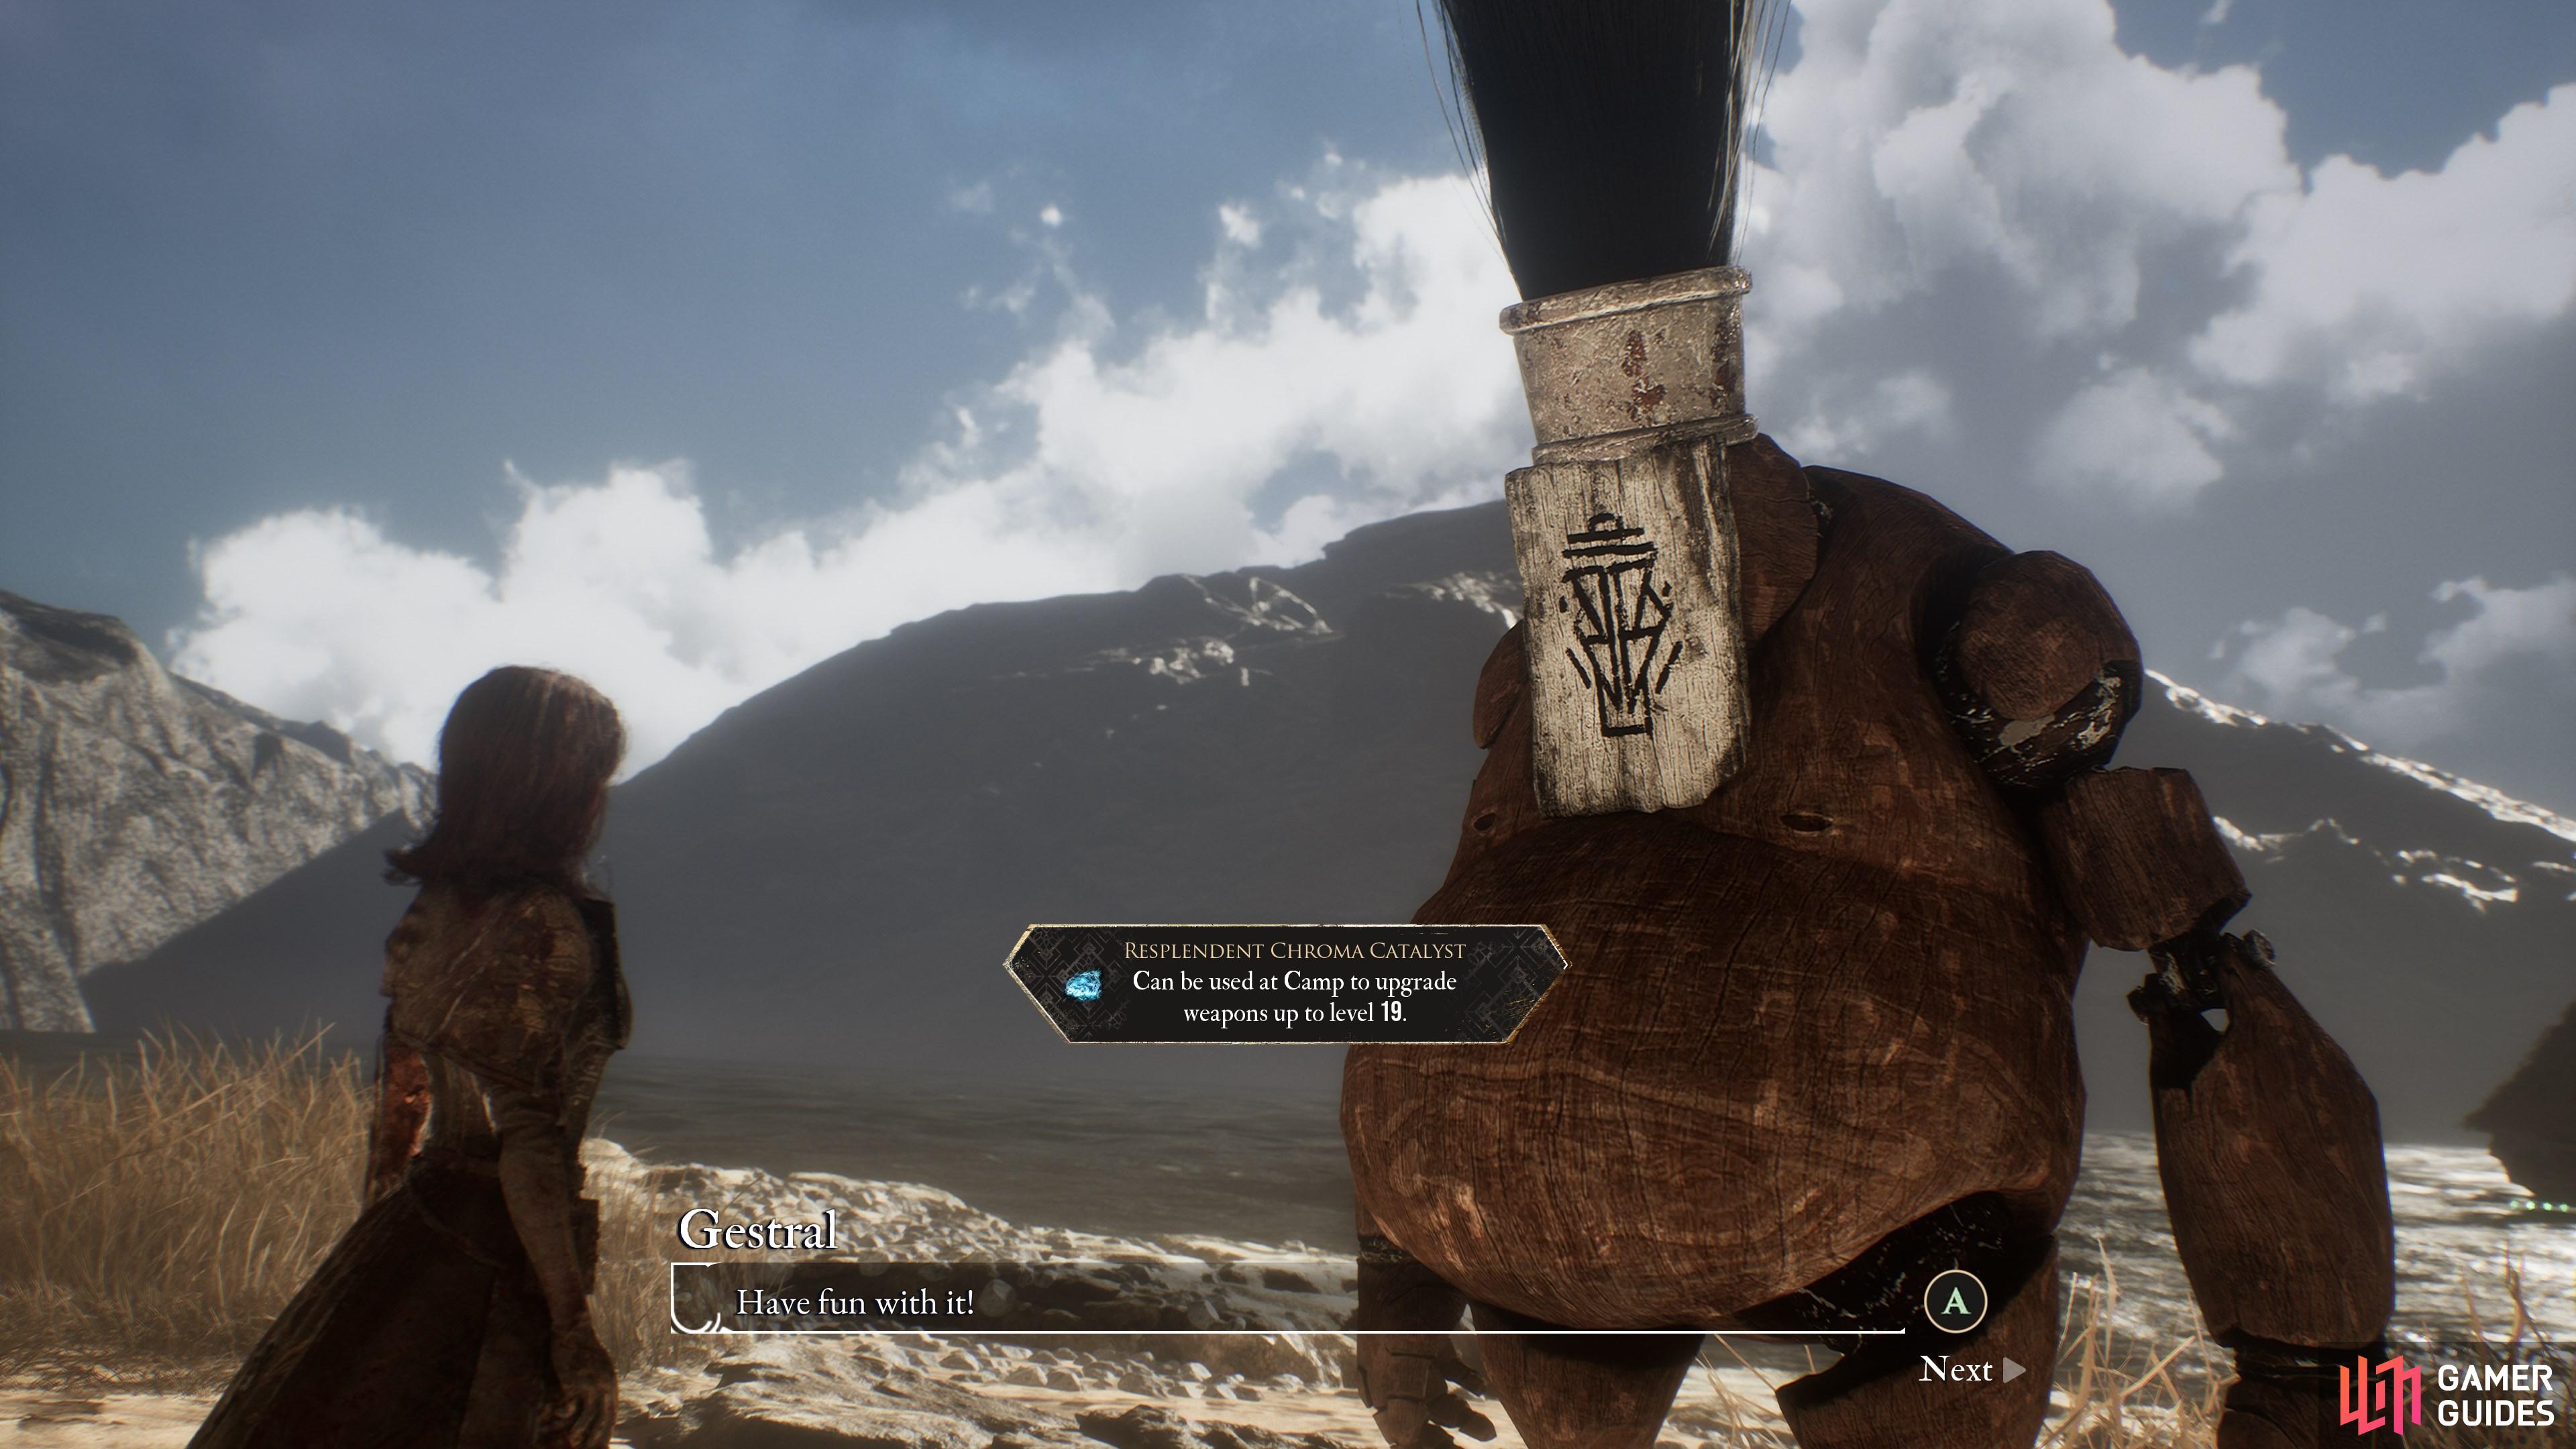
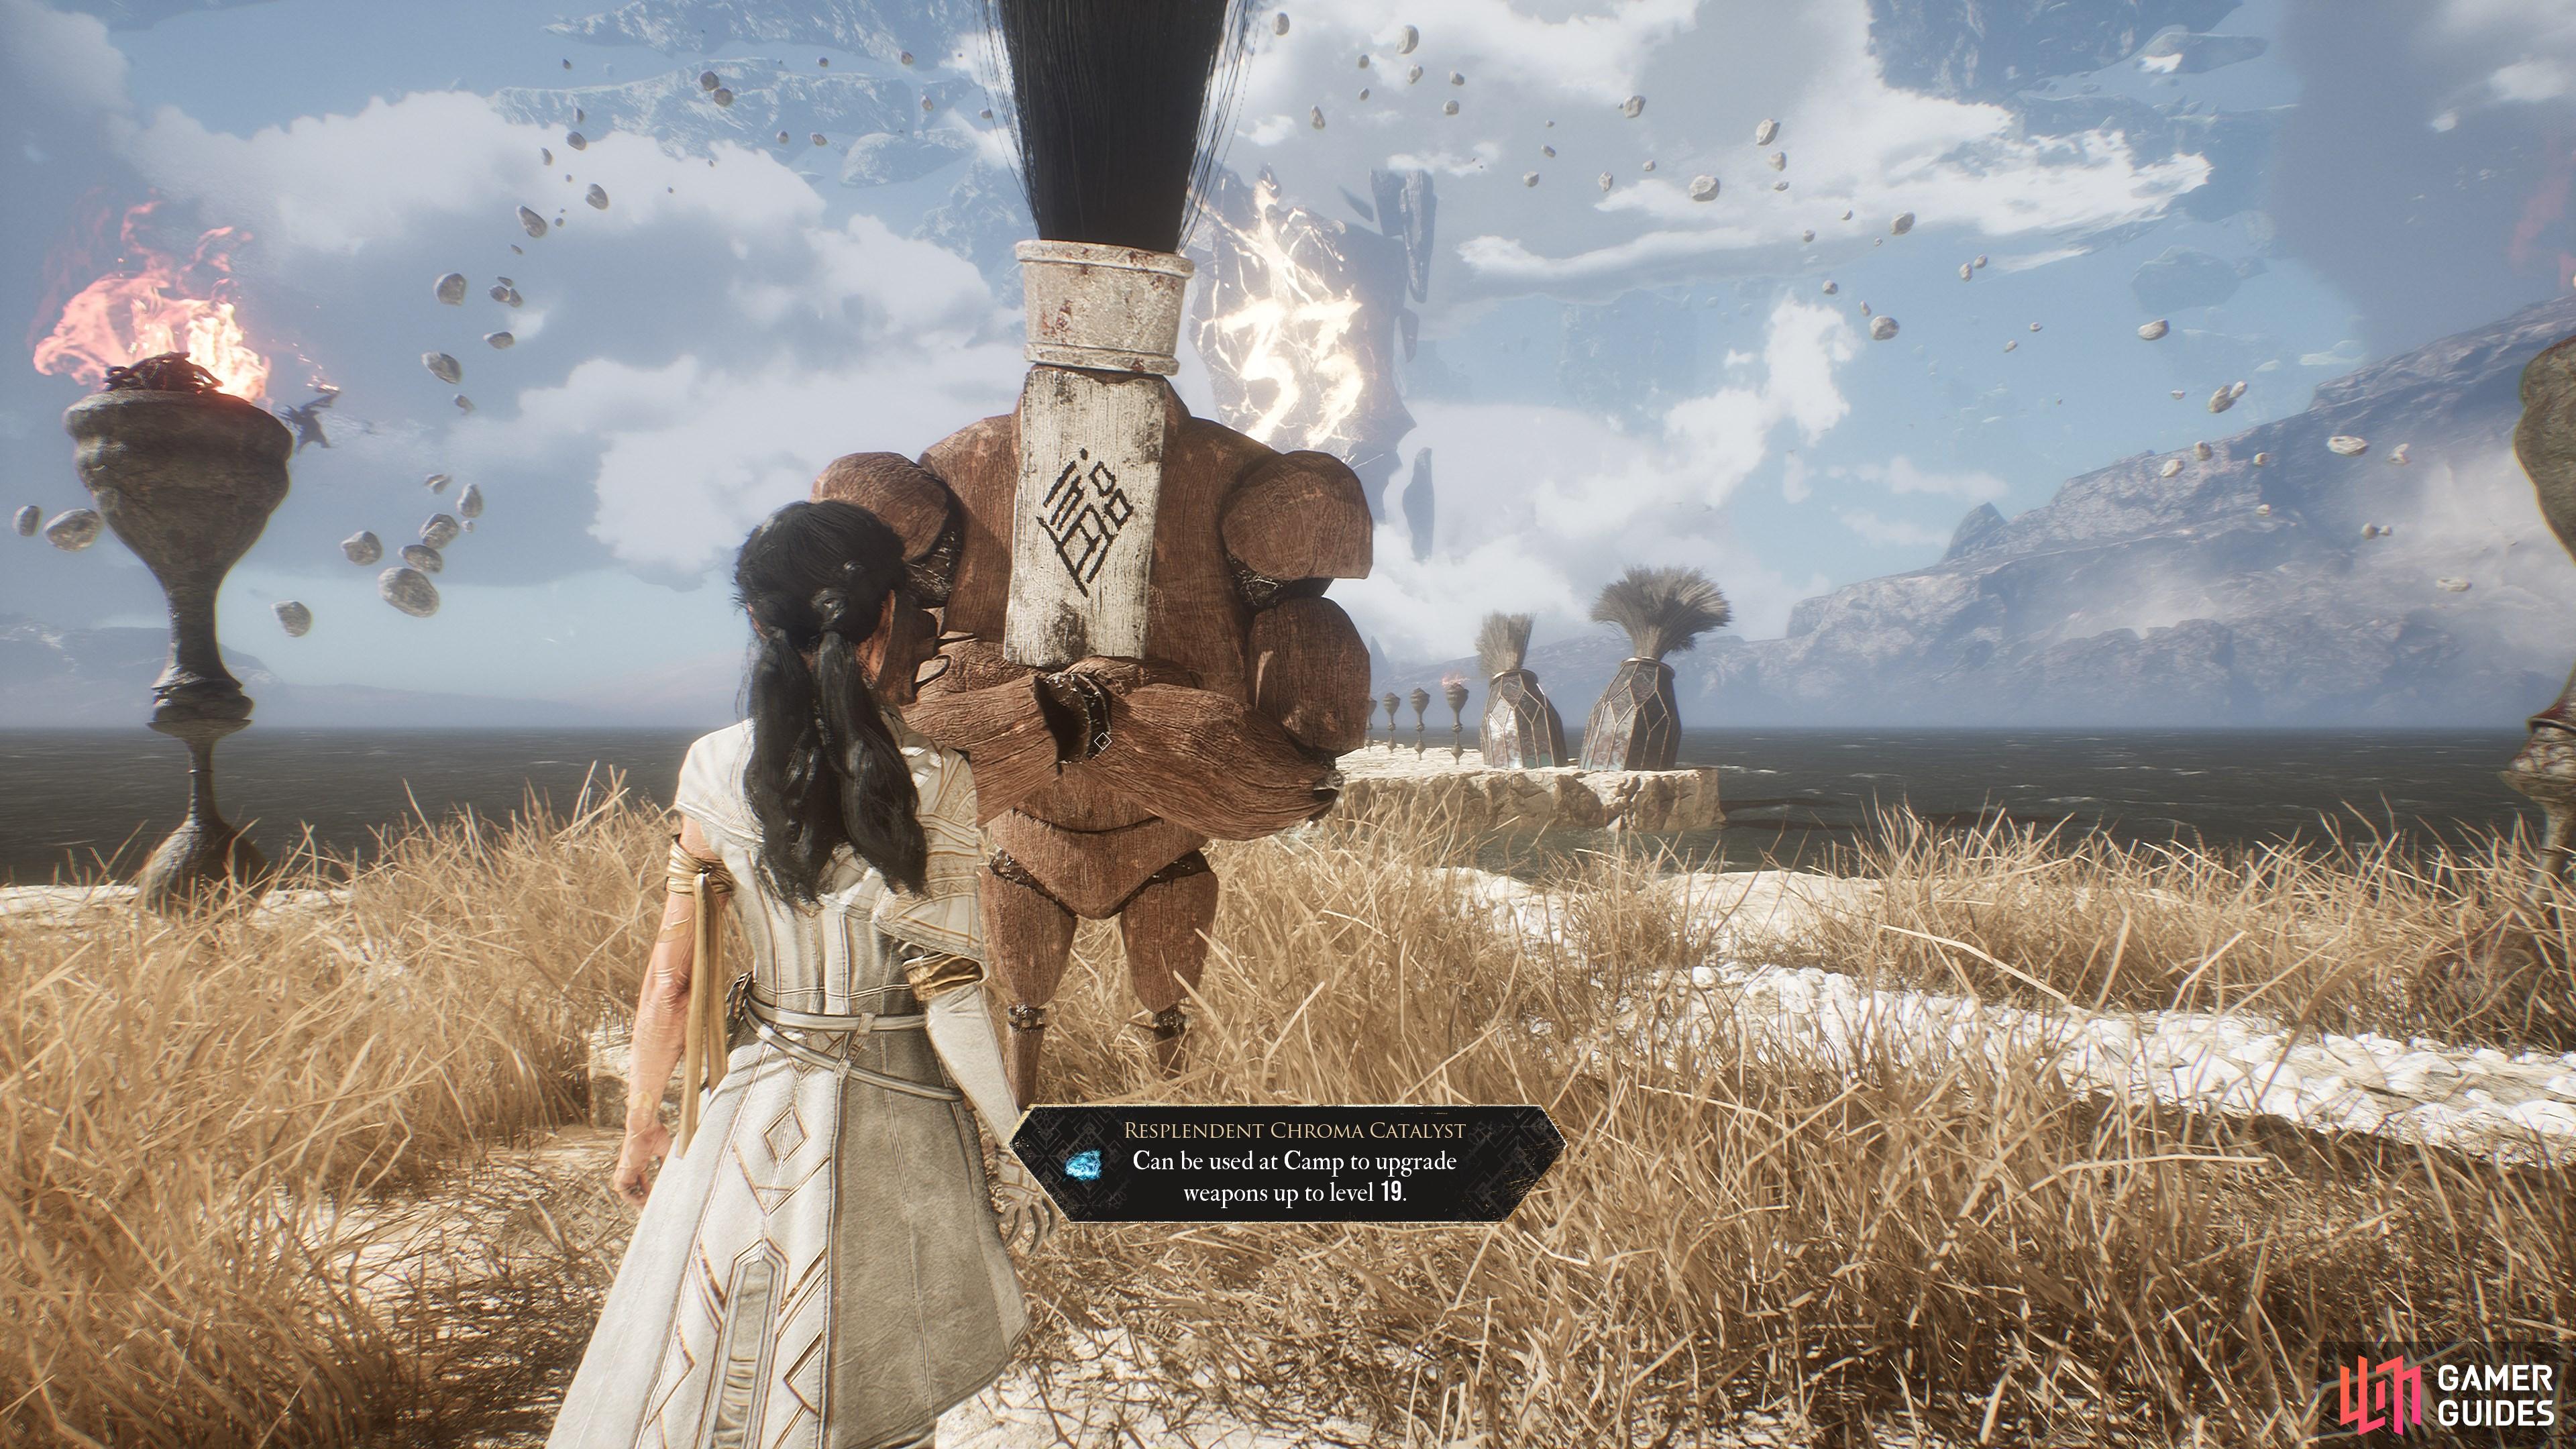
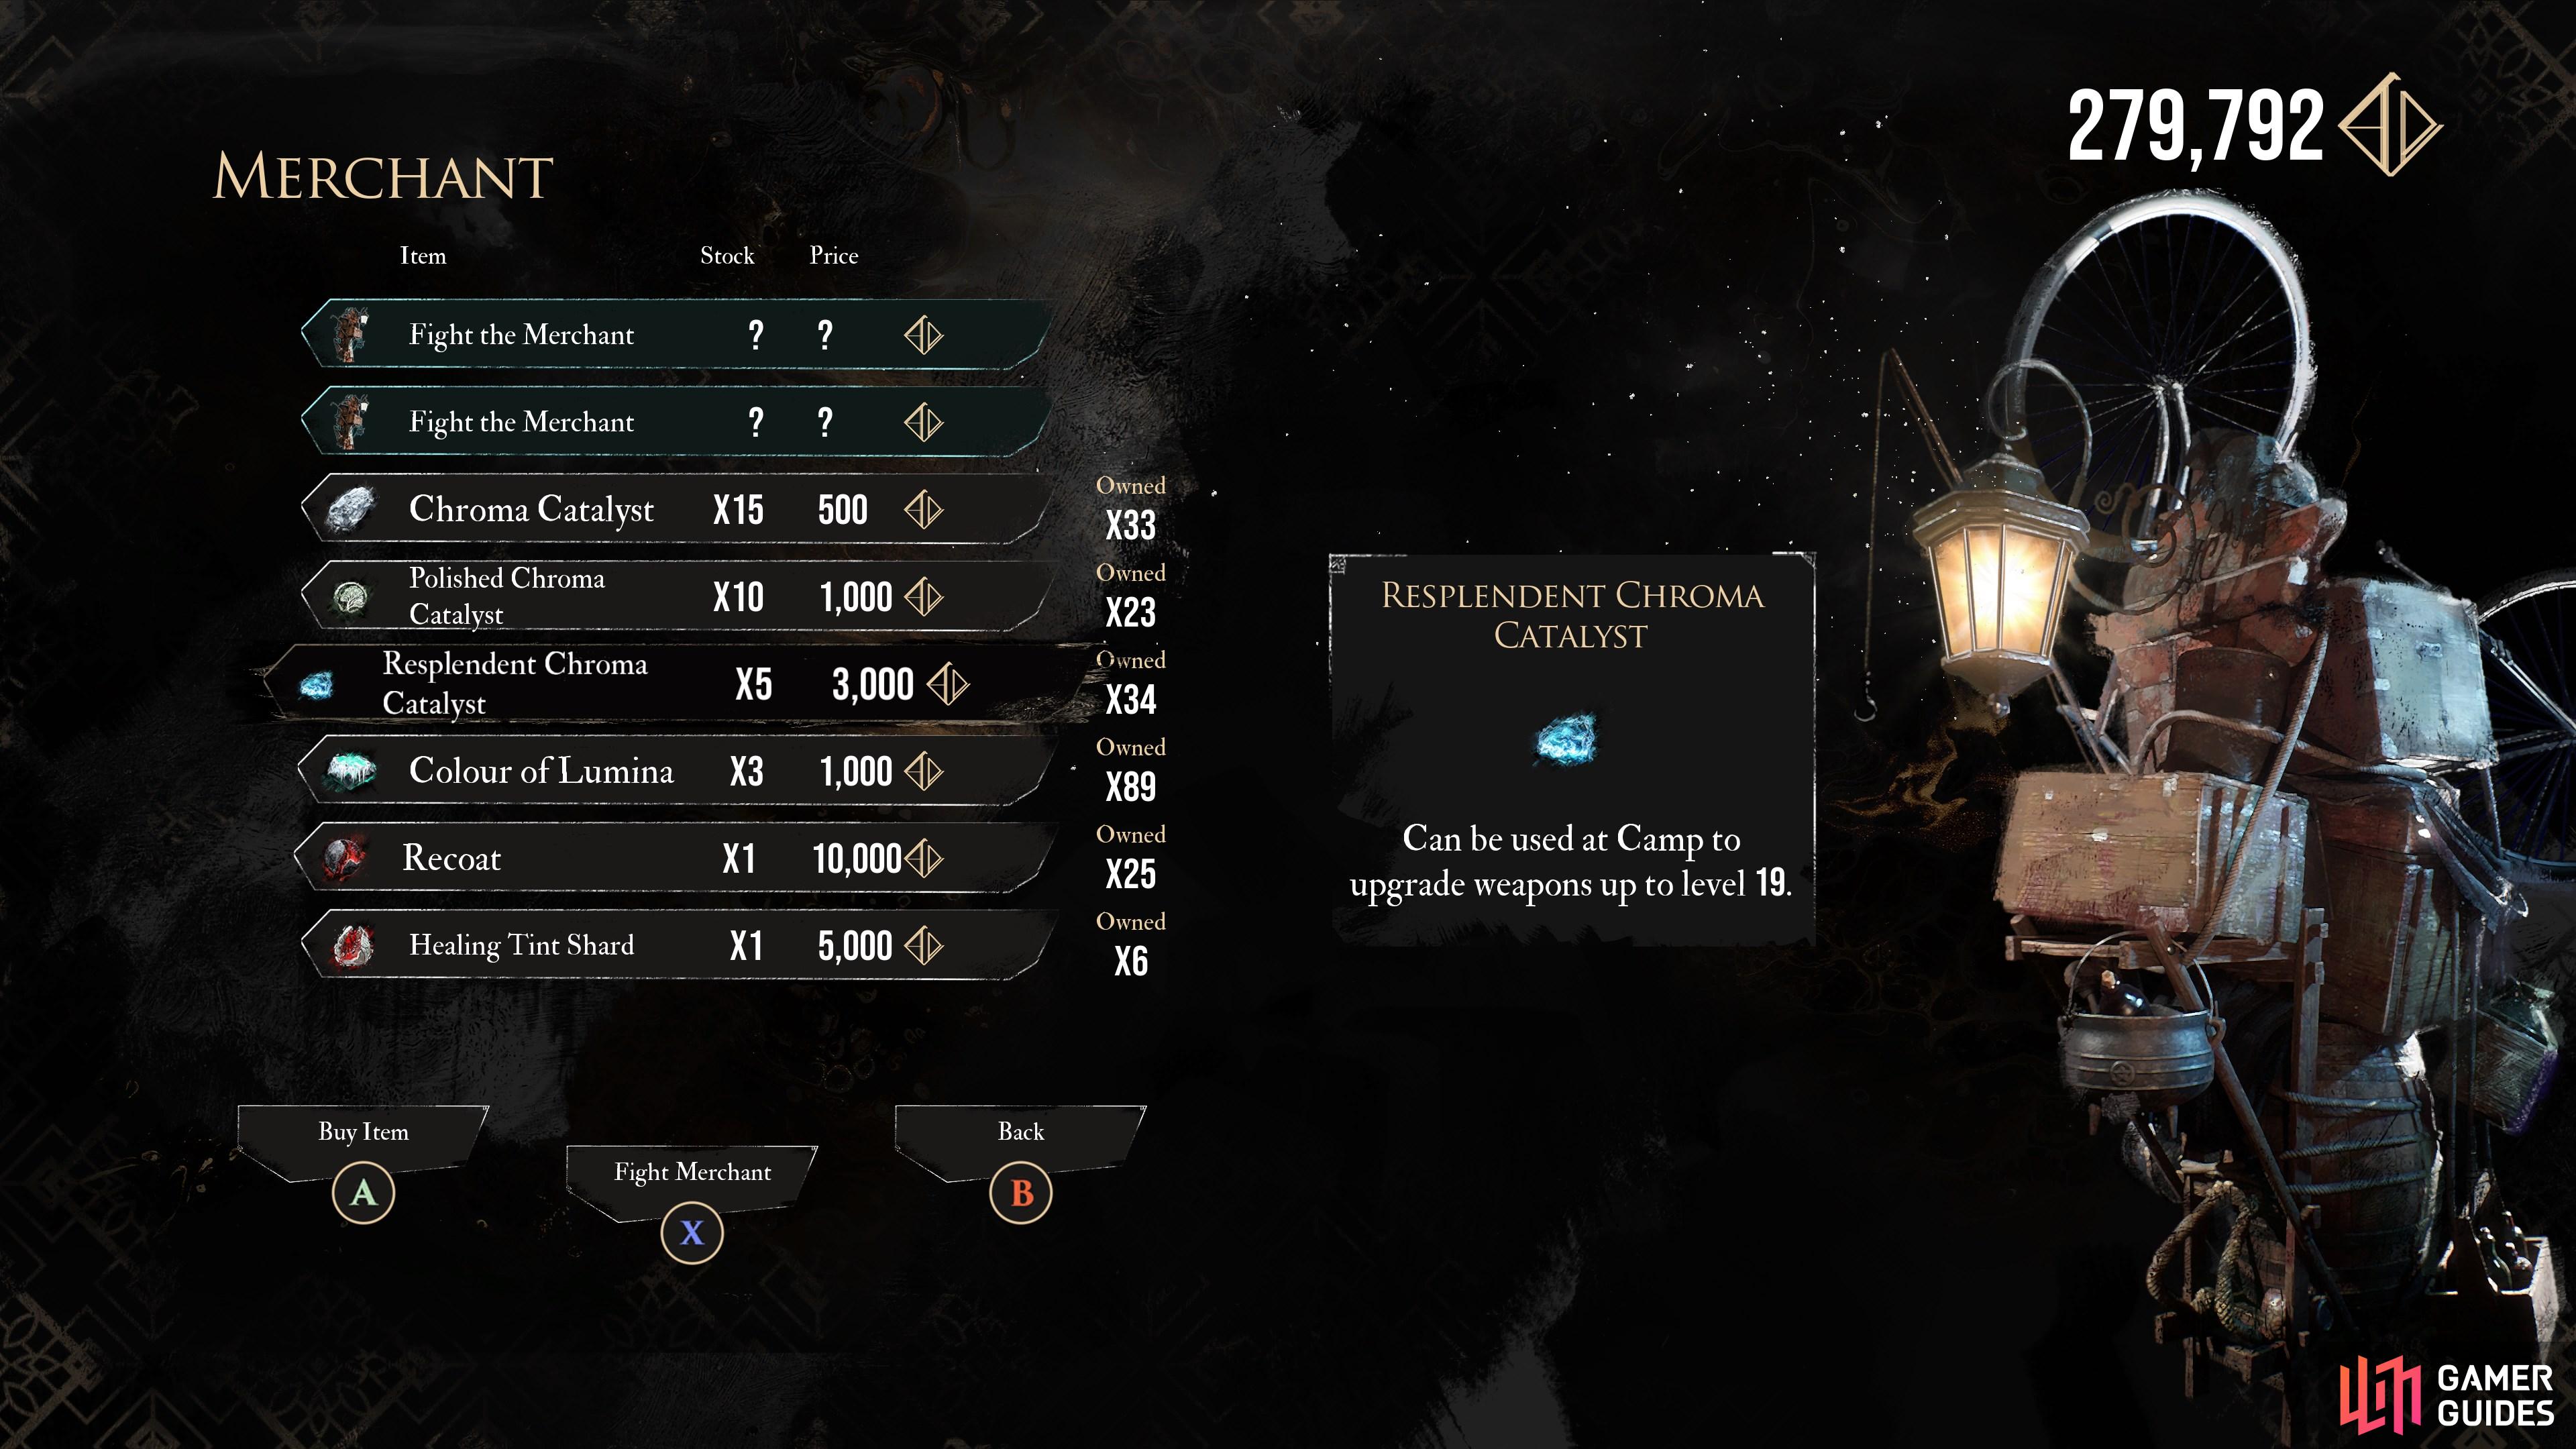
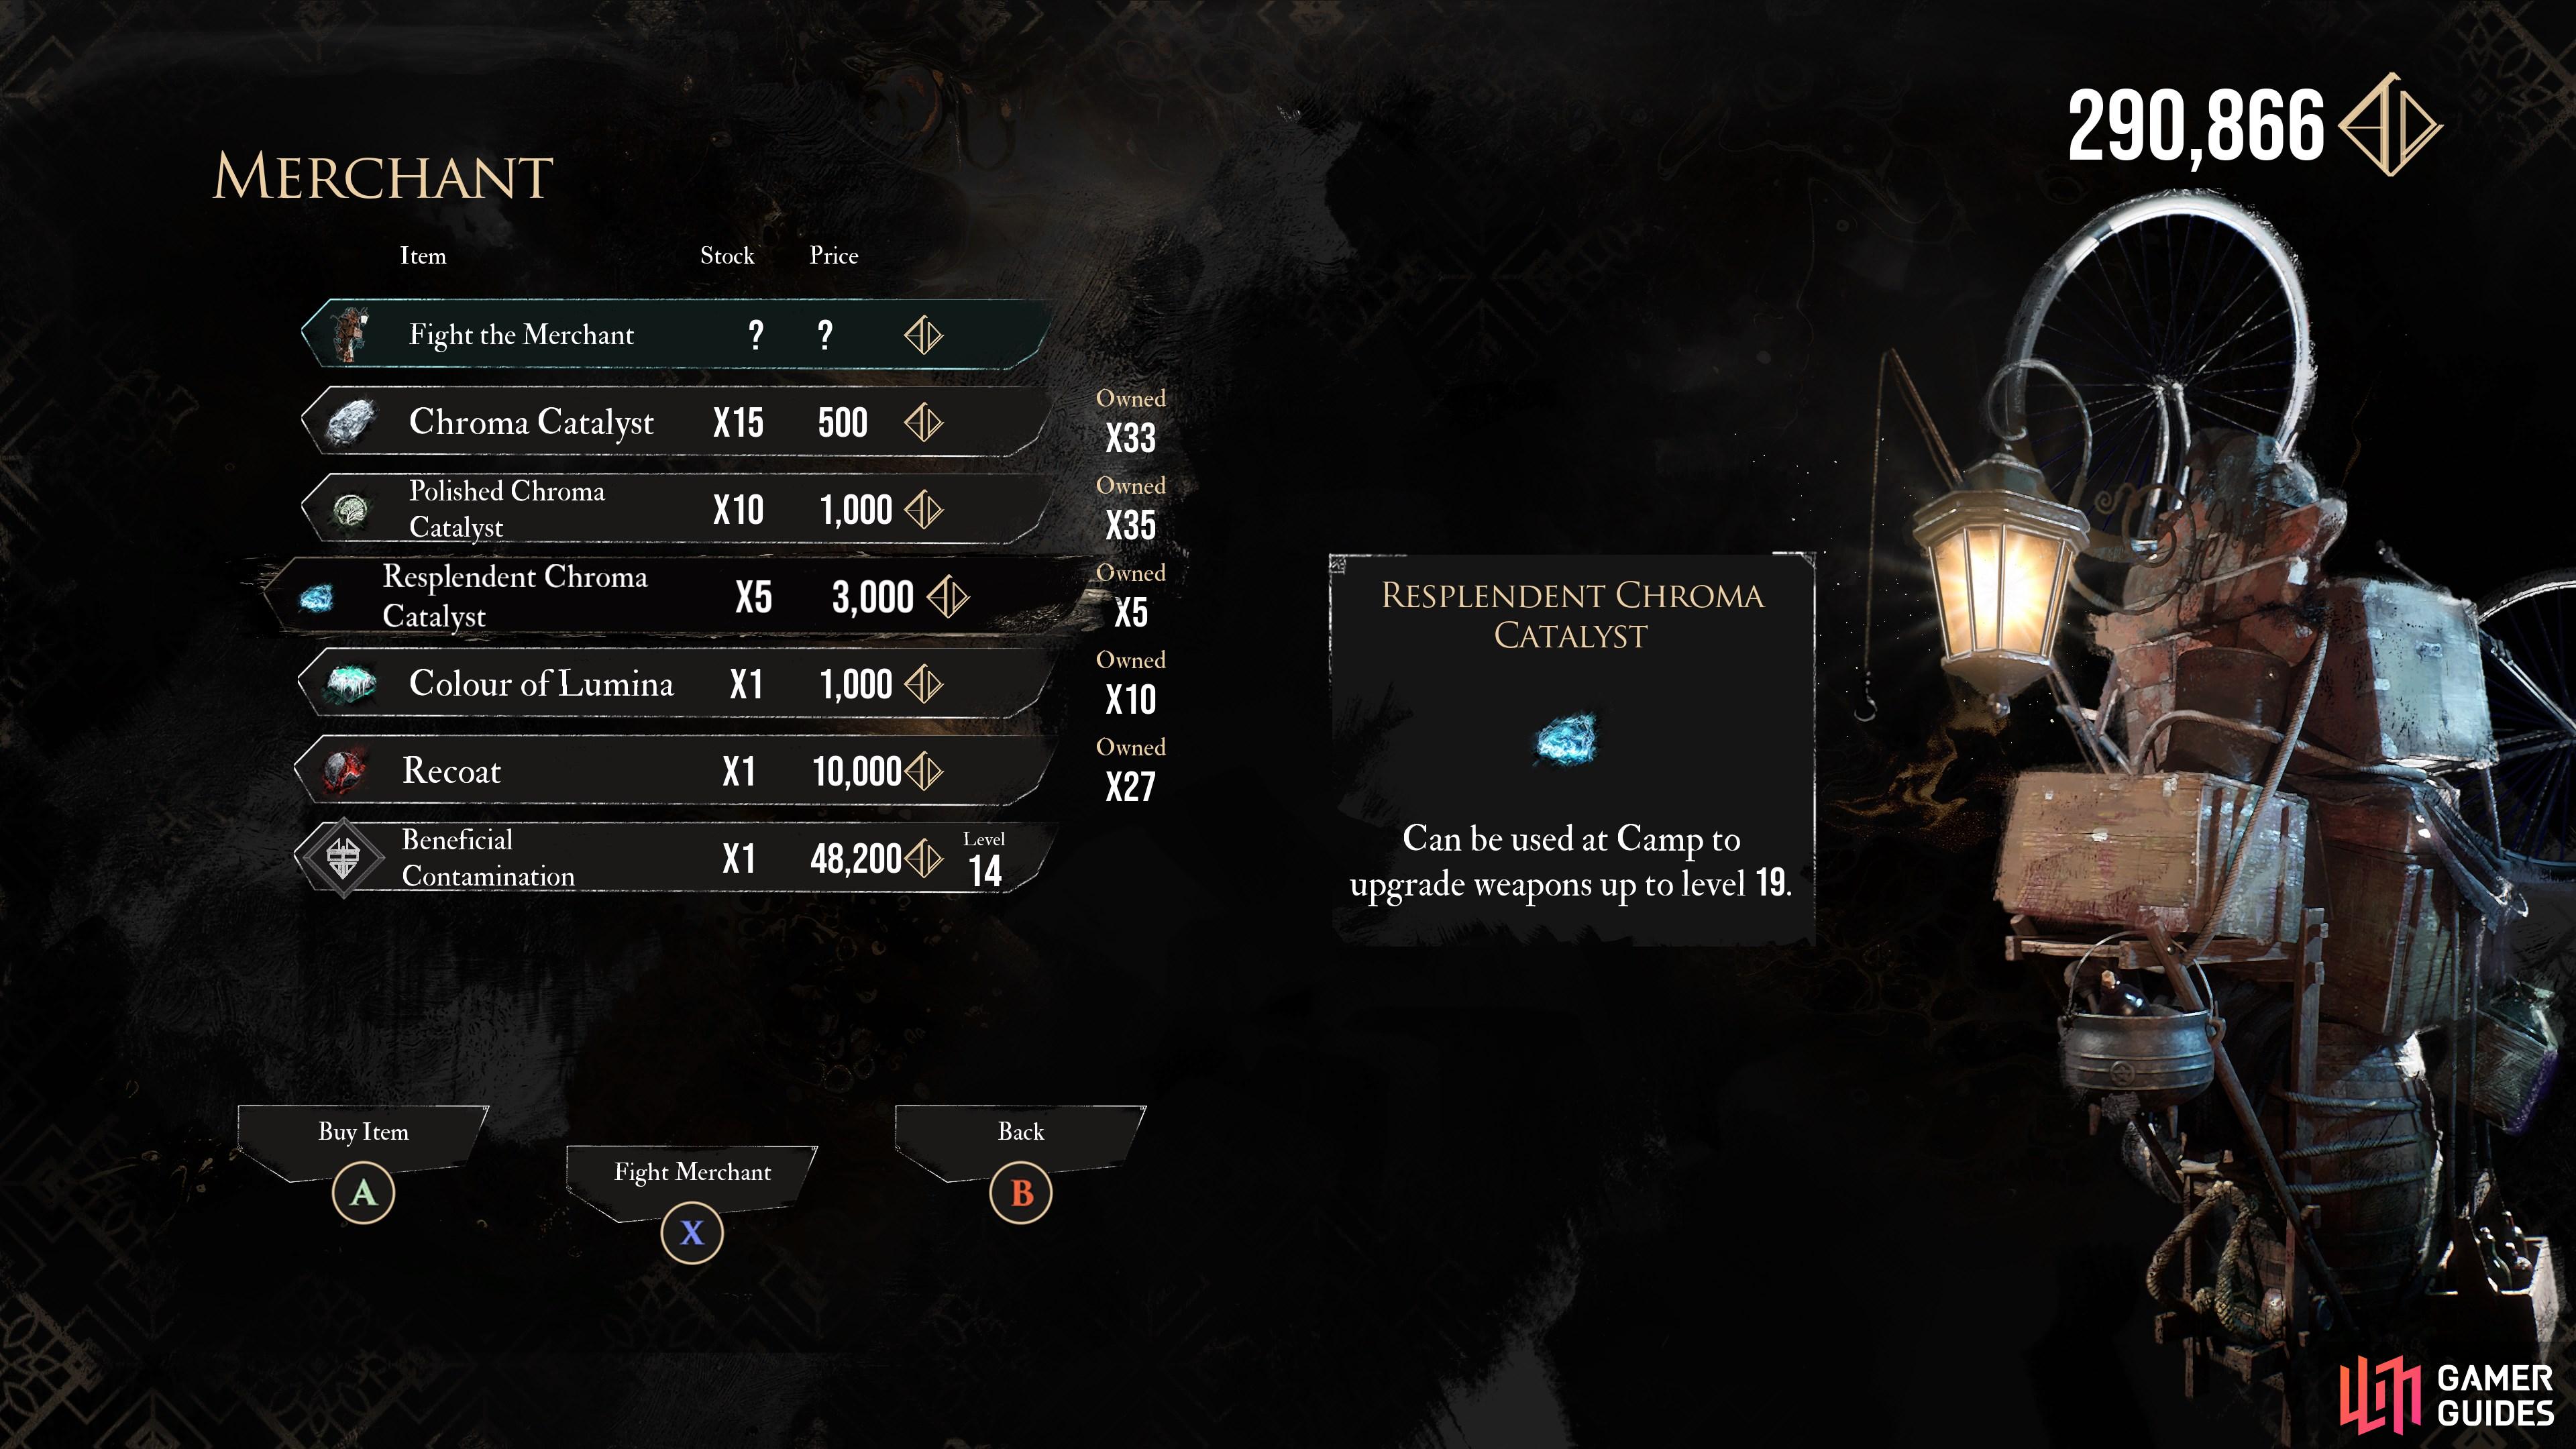
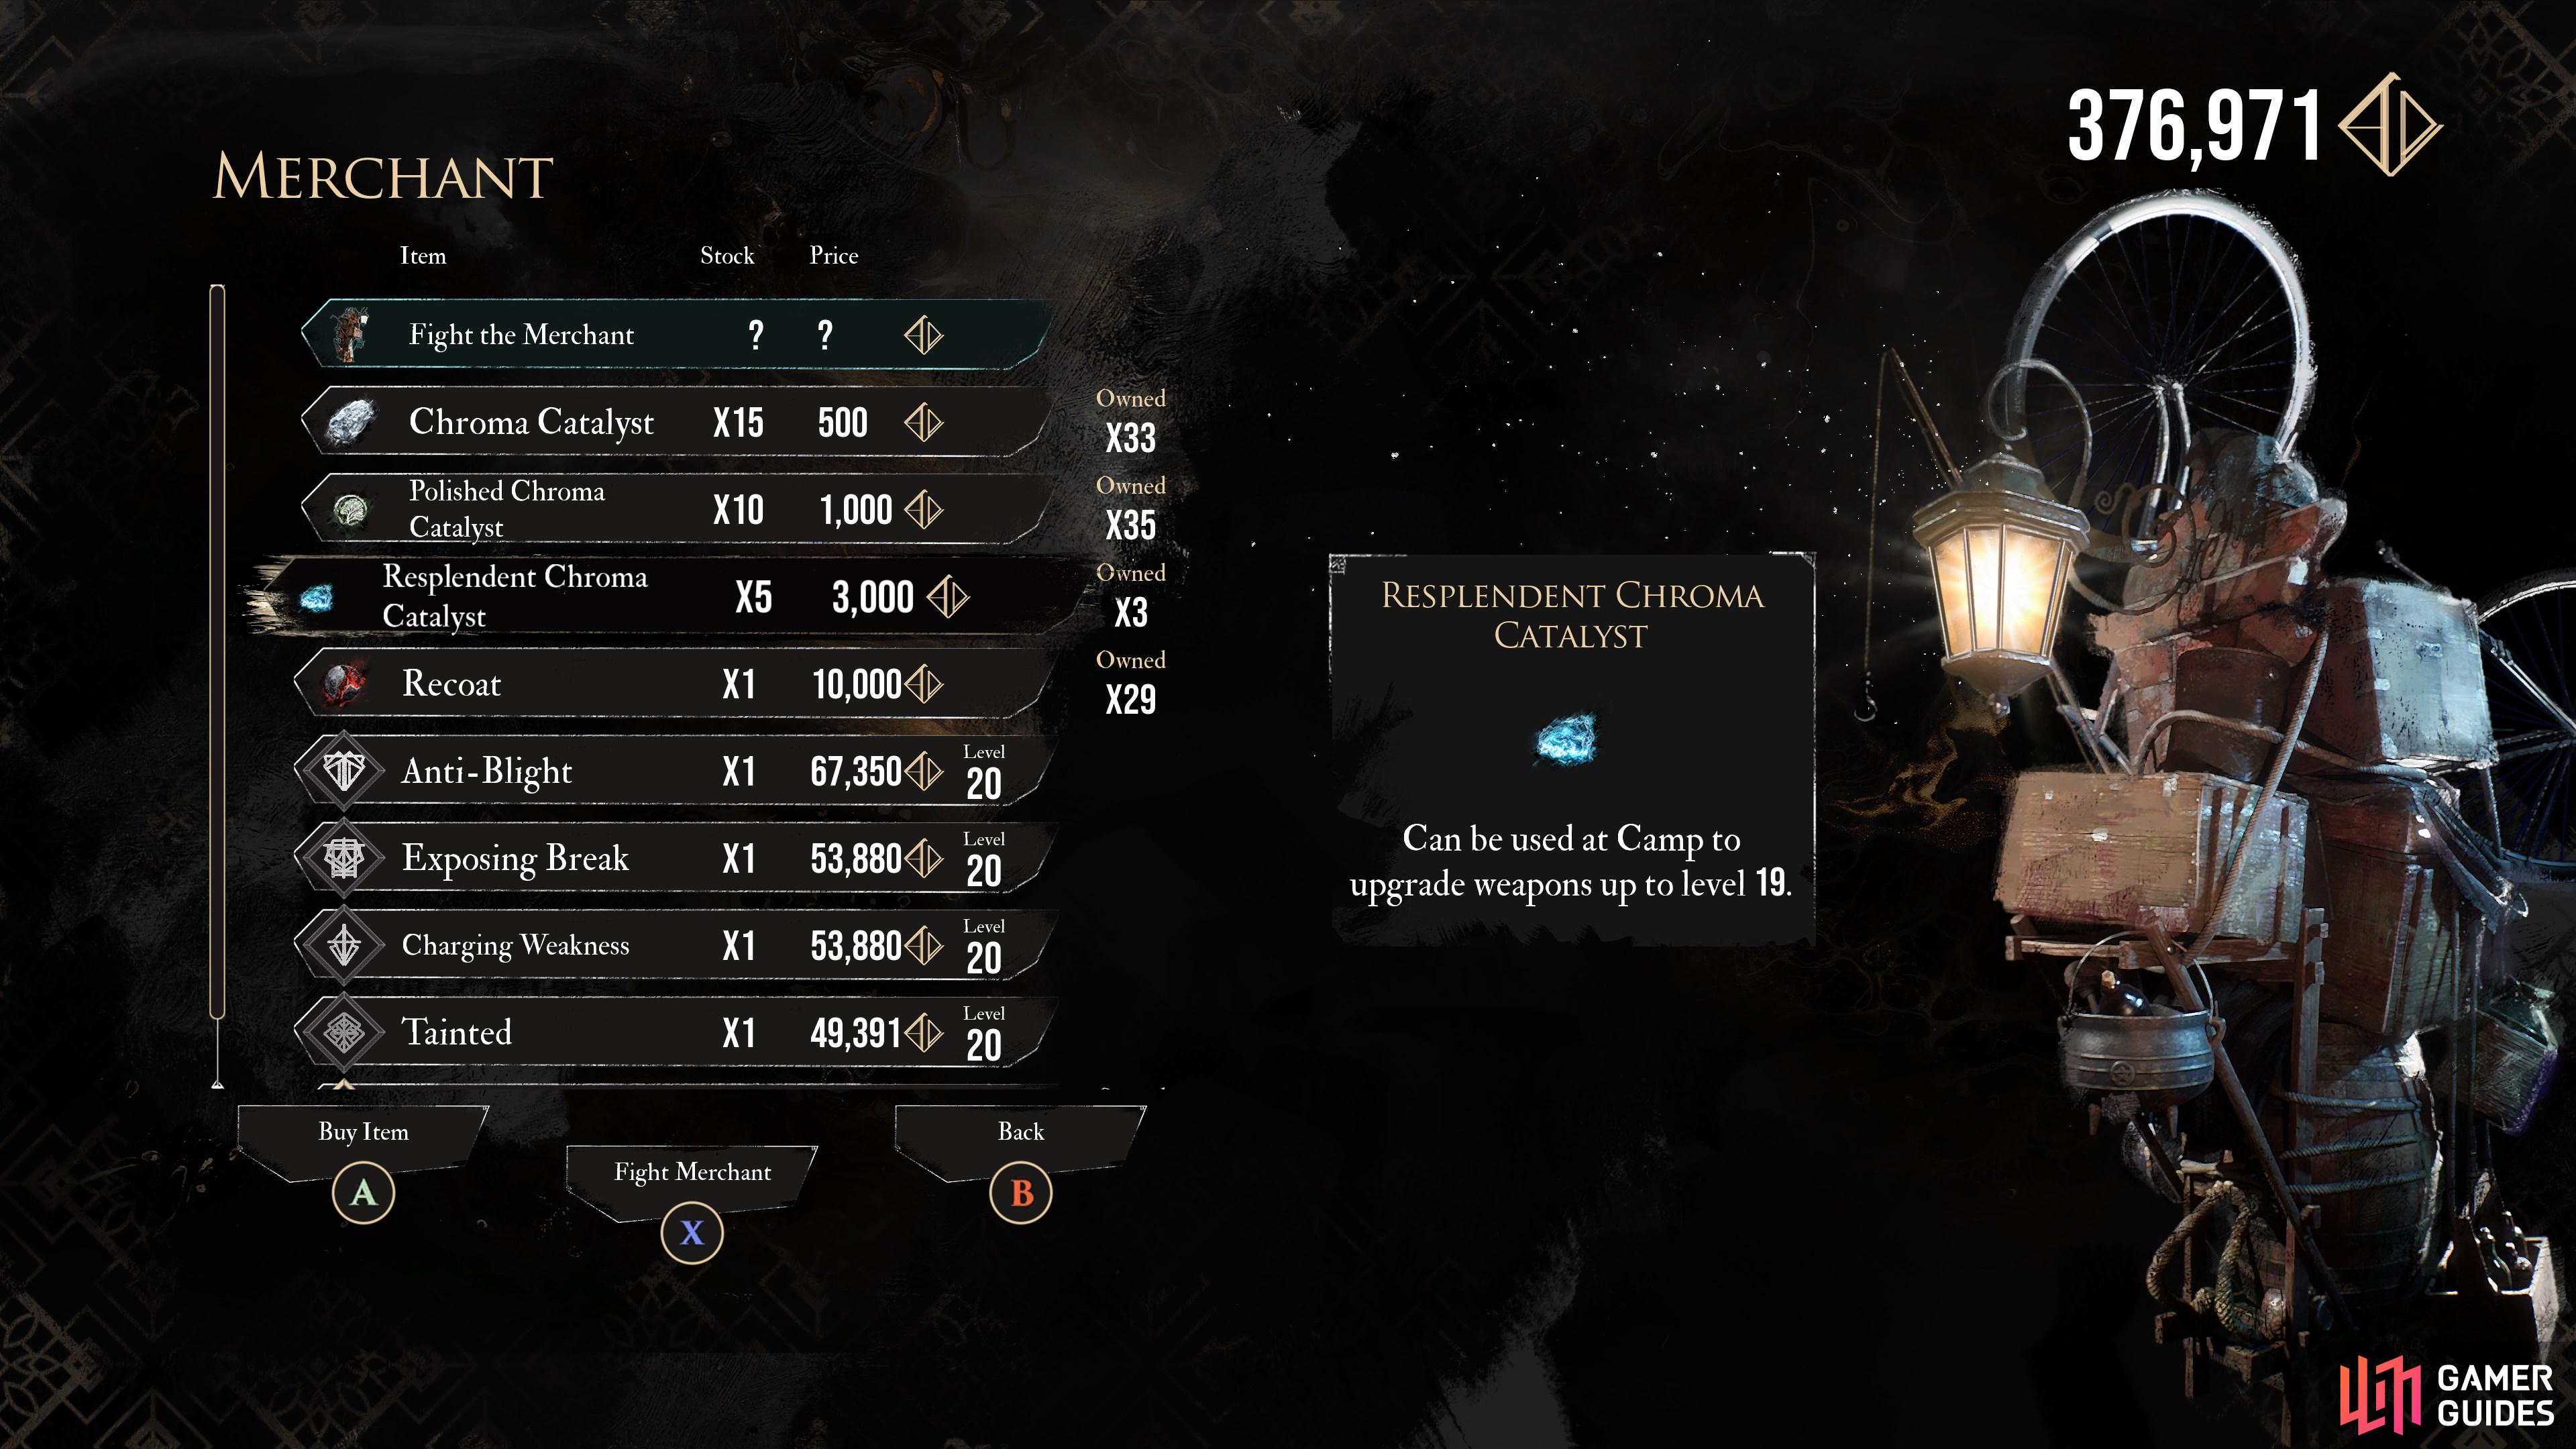
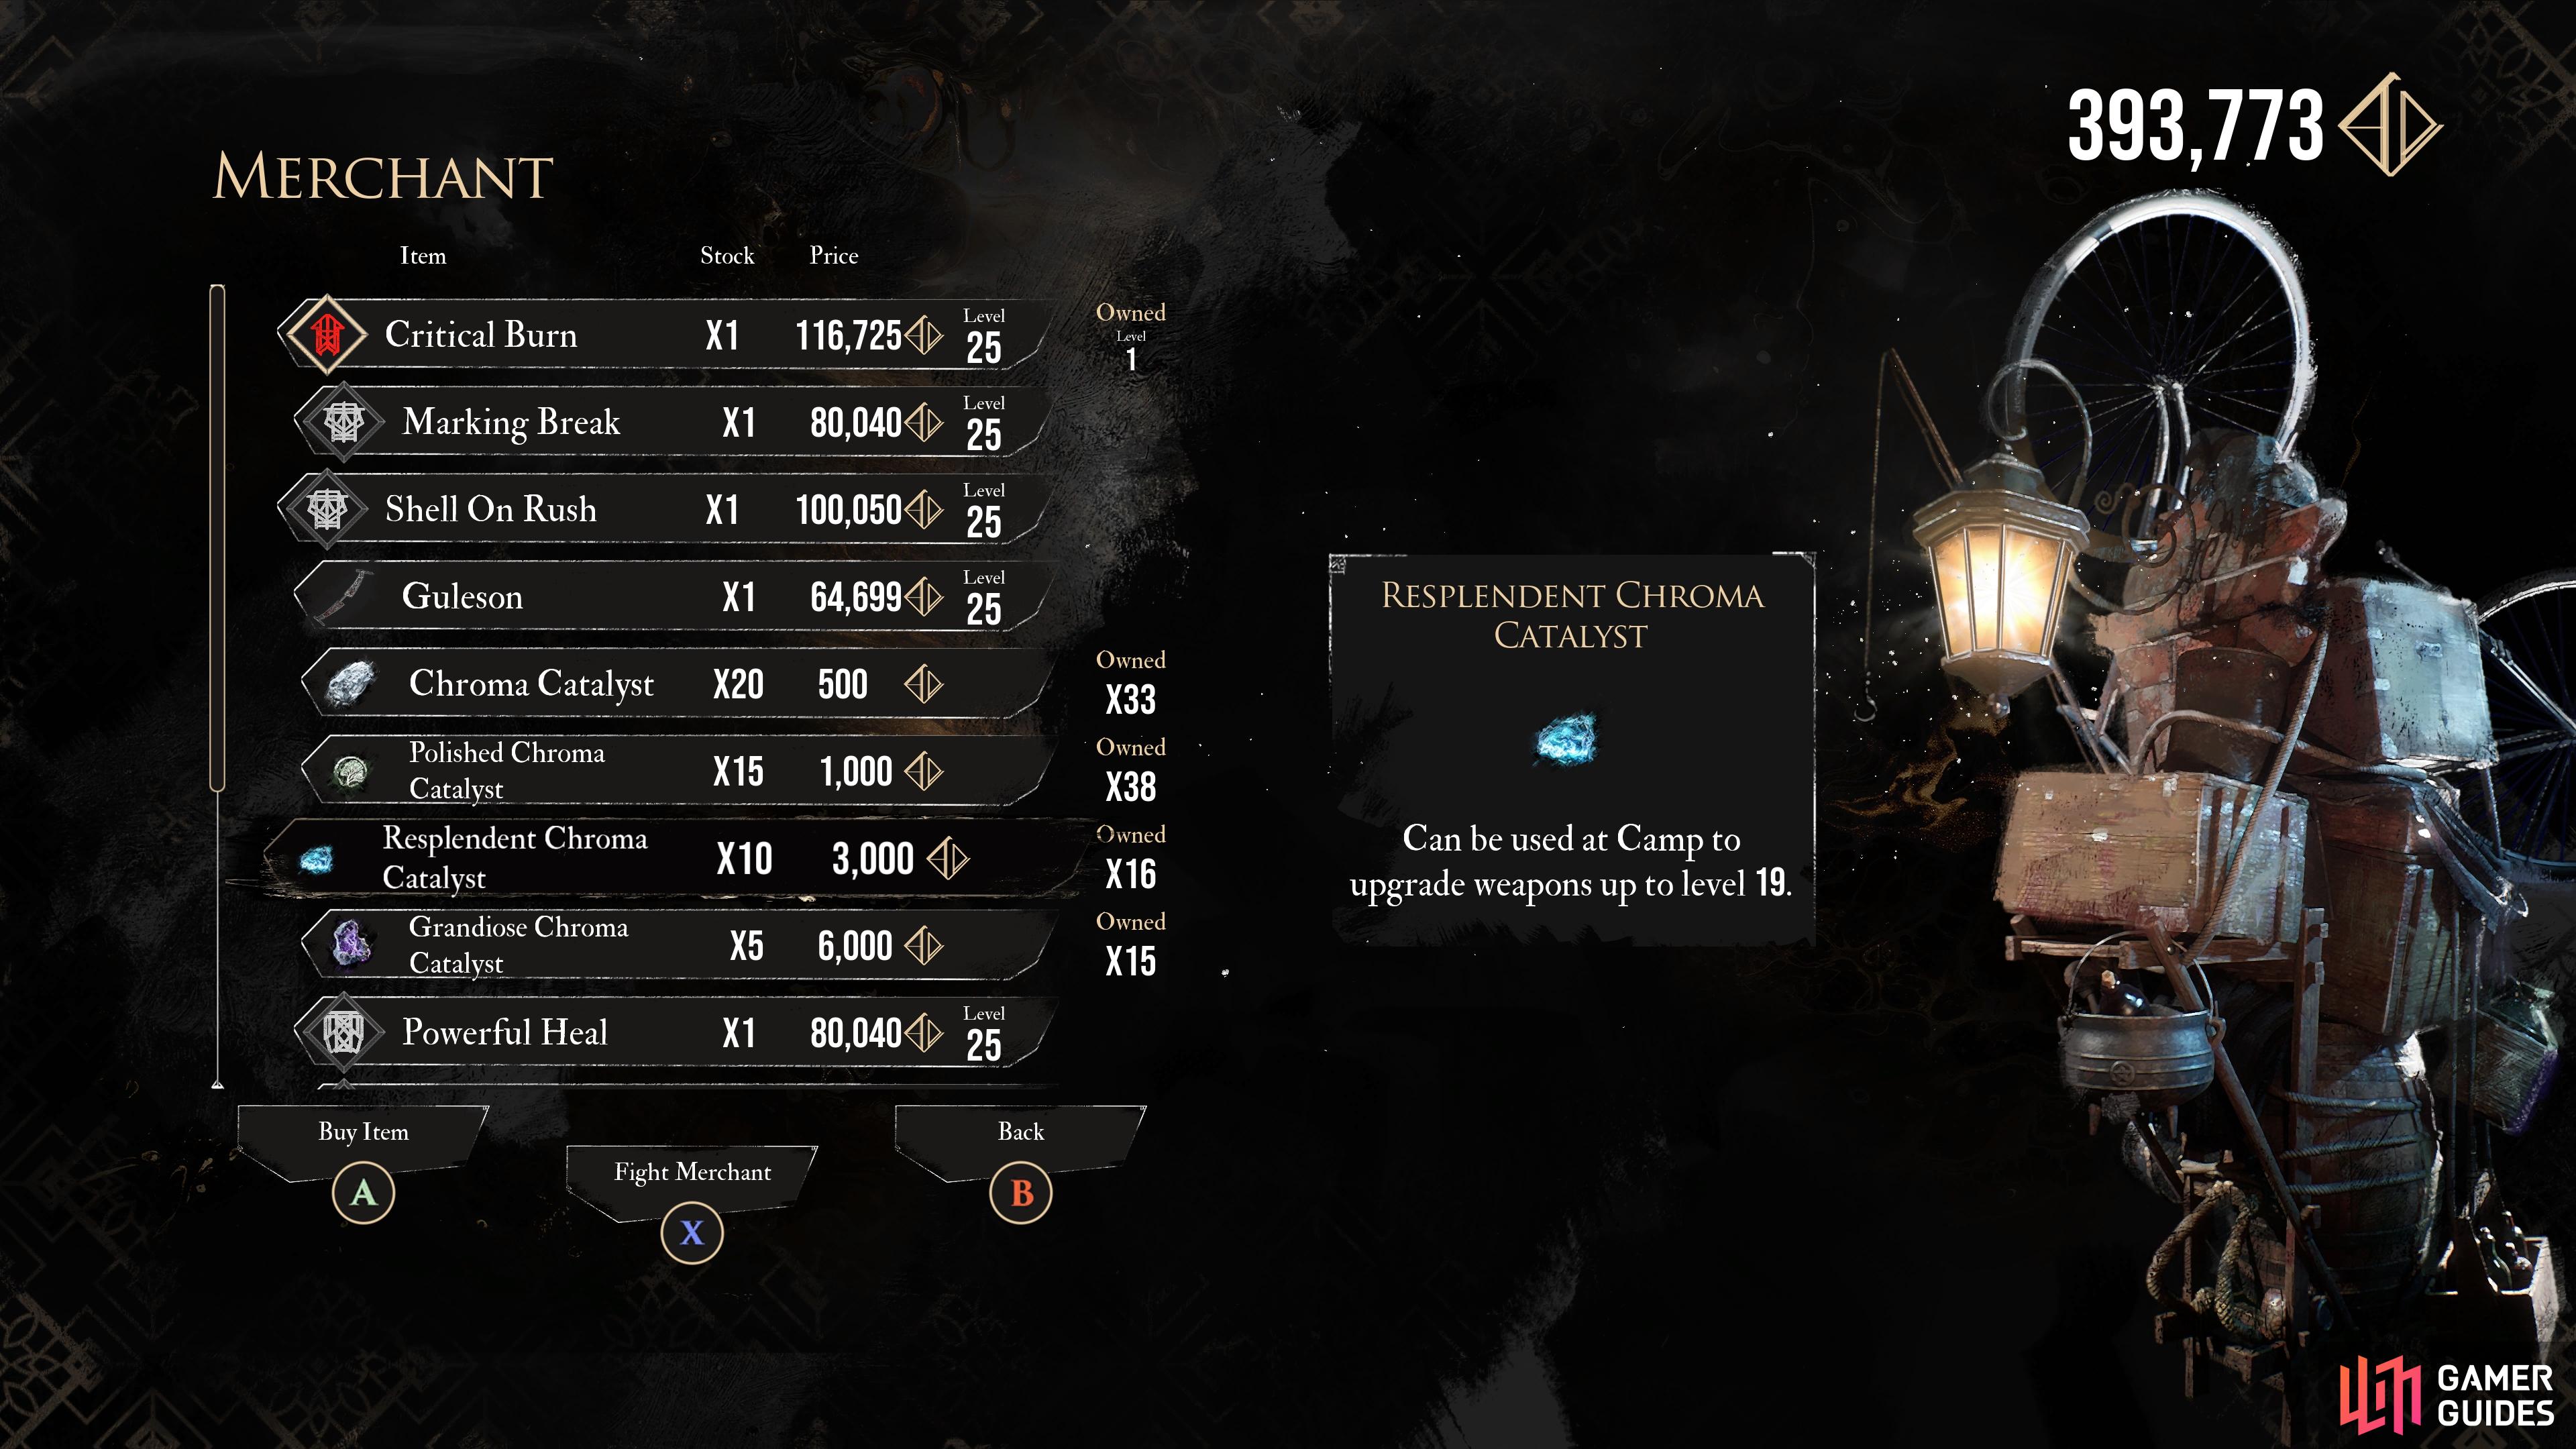
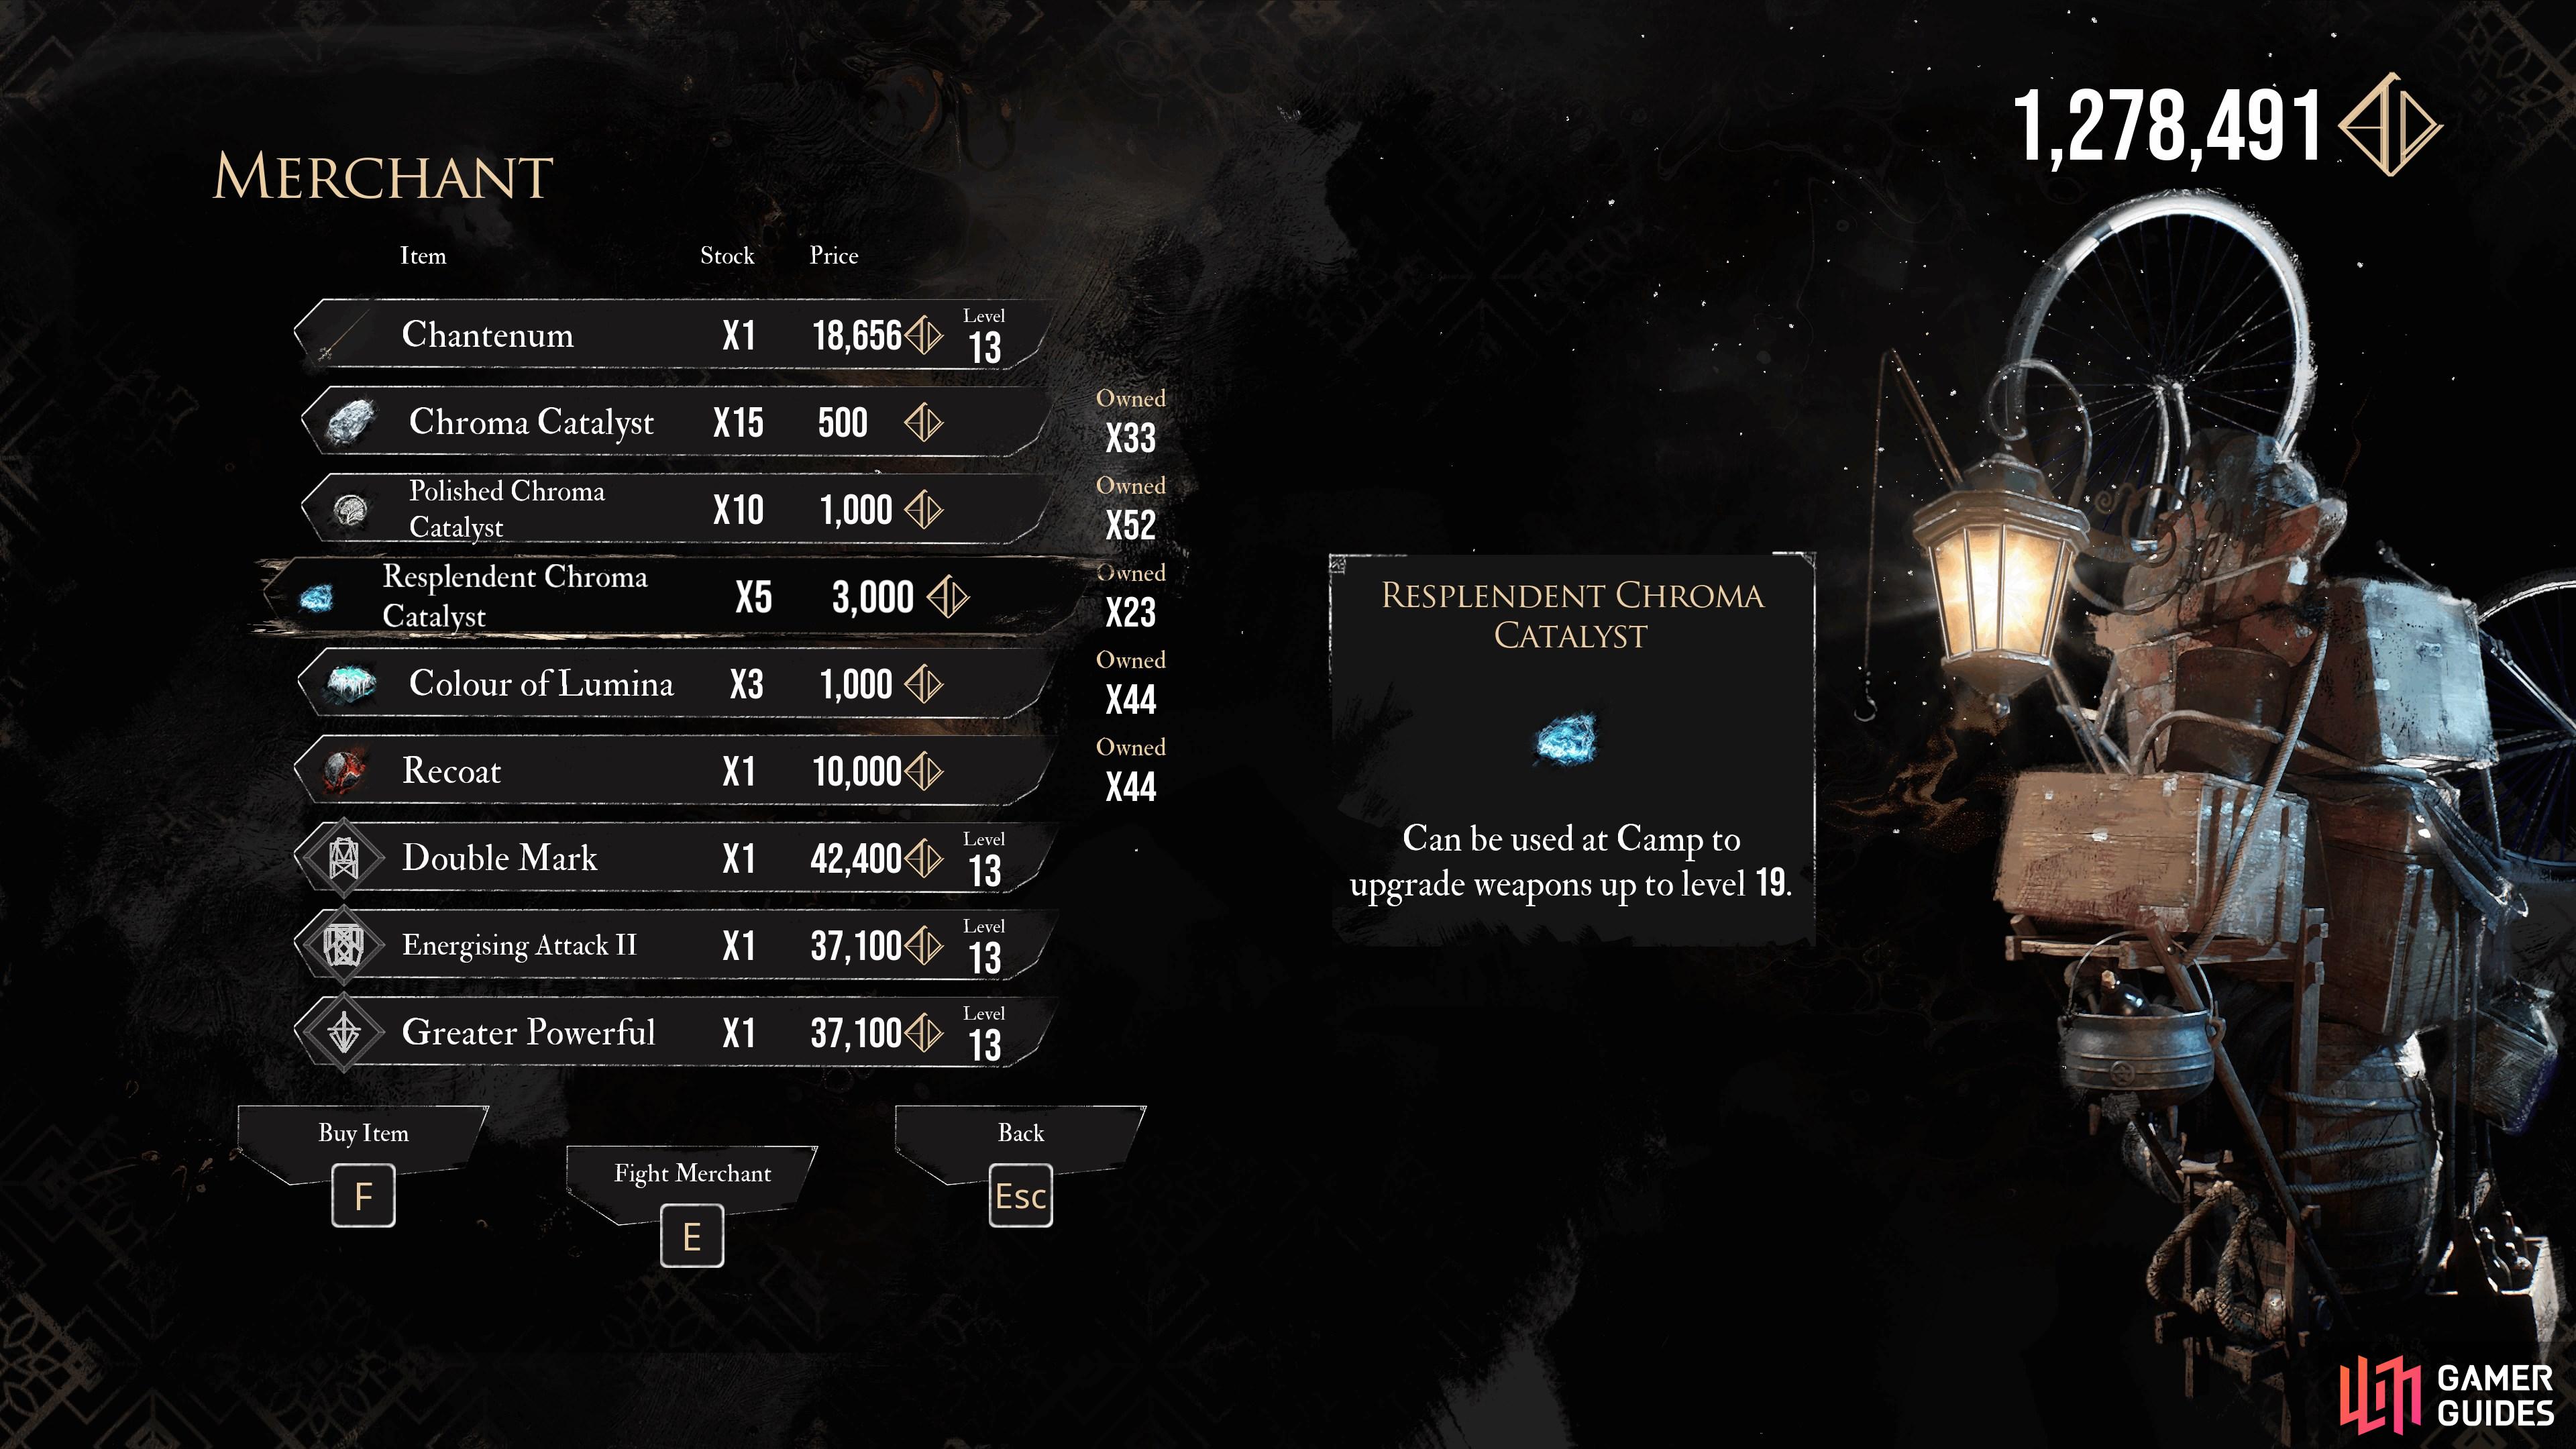
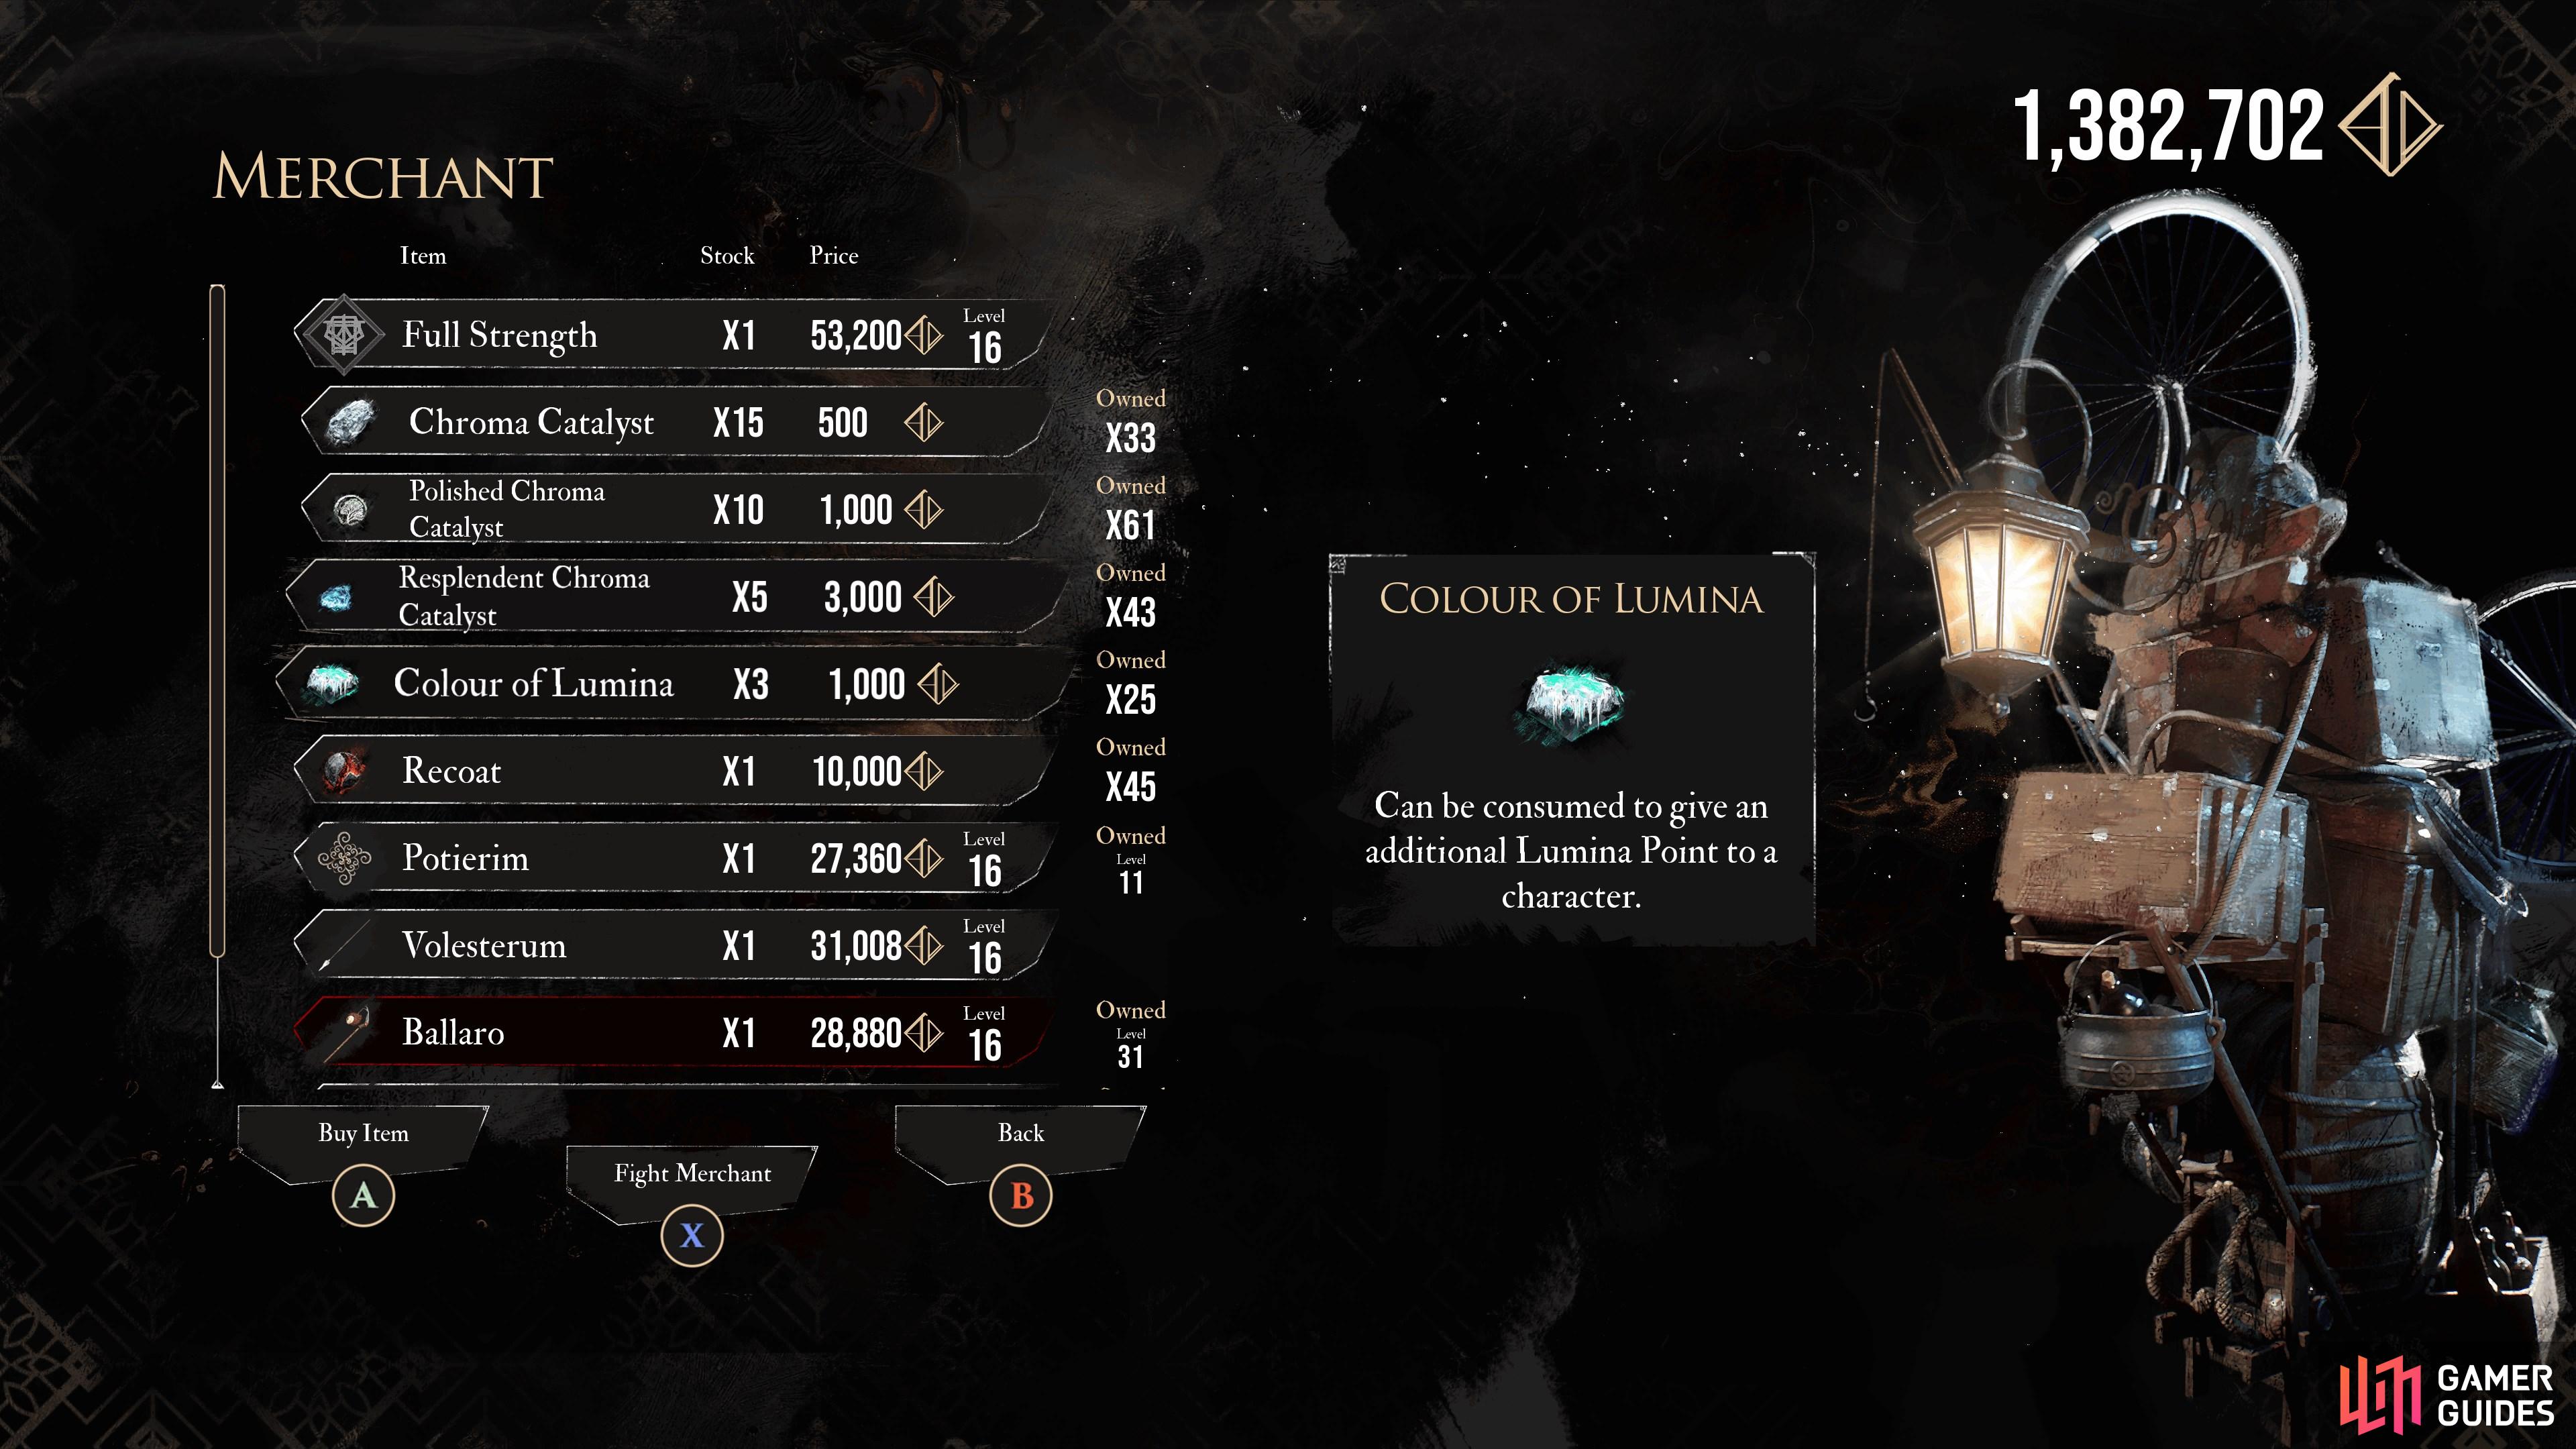
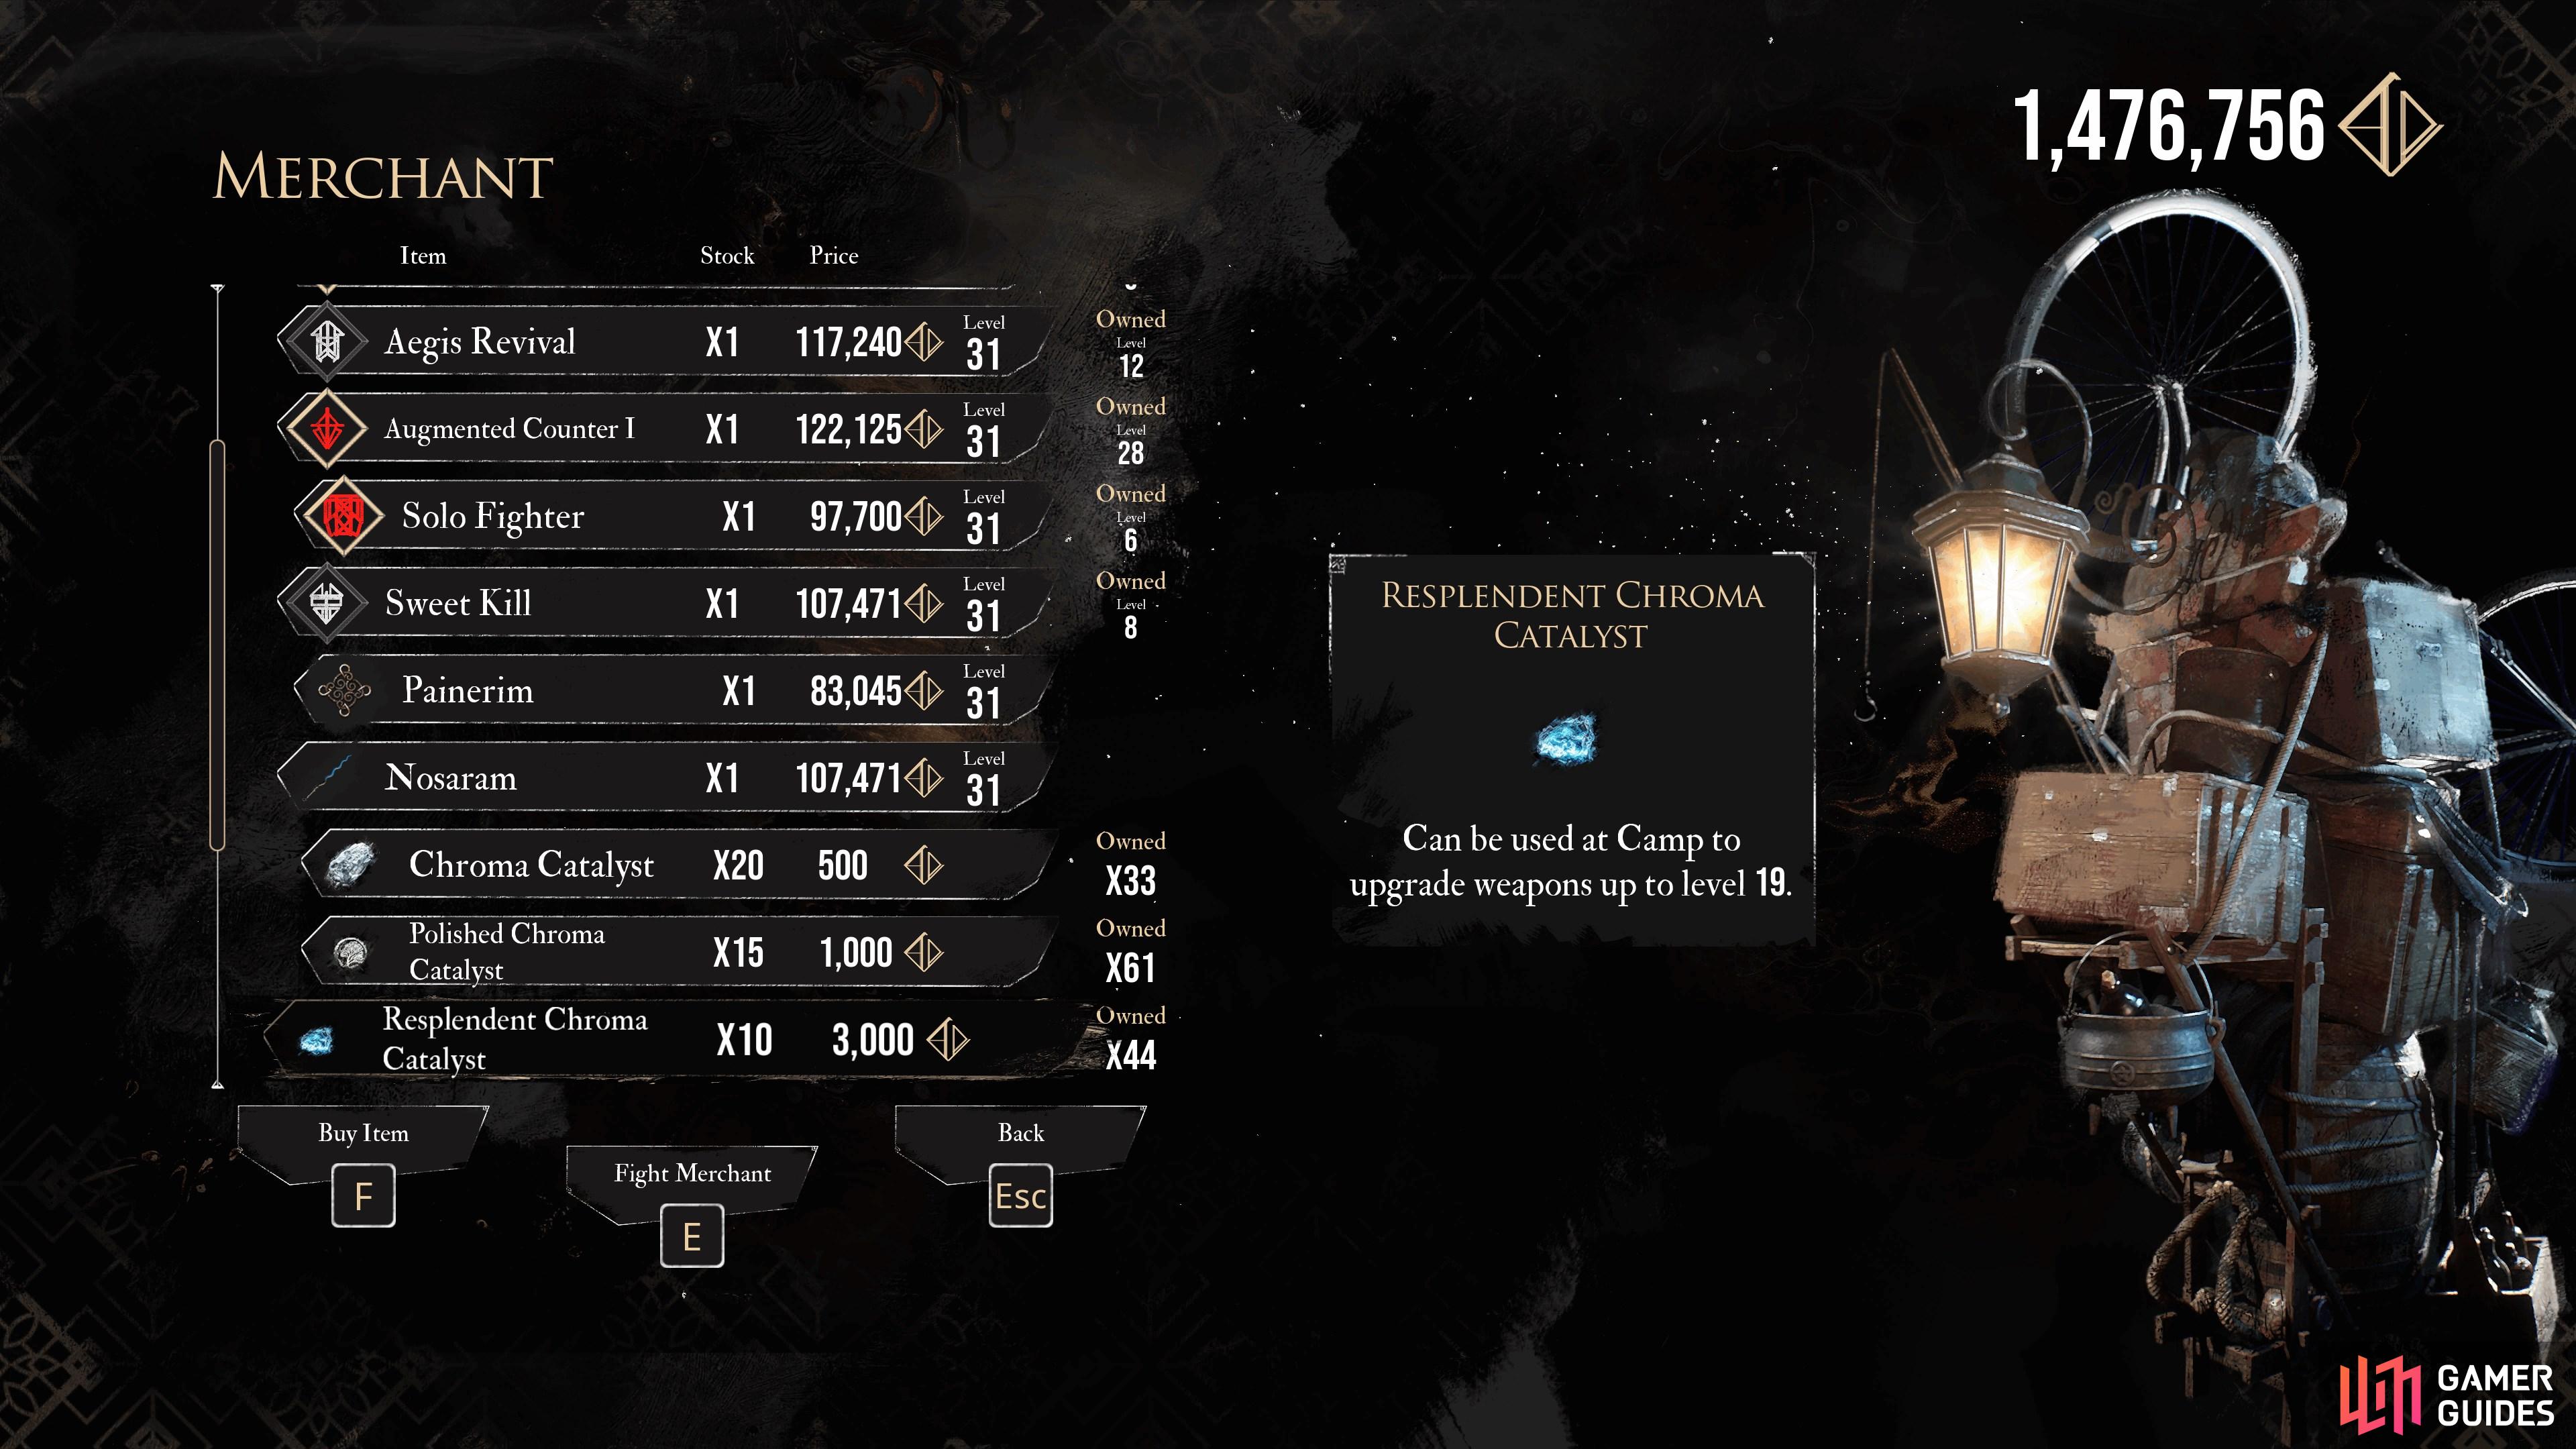
Description
Can be used at ![]() Camp to upgrade weapons up to level 19.
Camp to upgrade weapons up to level 19.
Found At
Bought From
How to Use
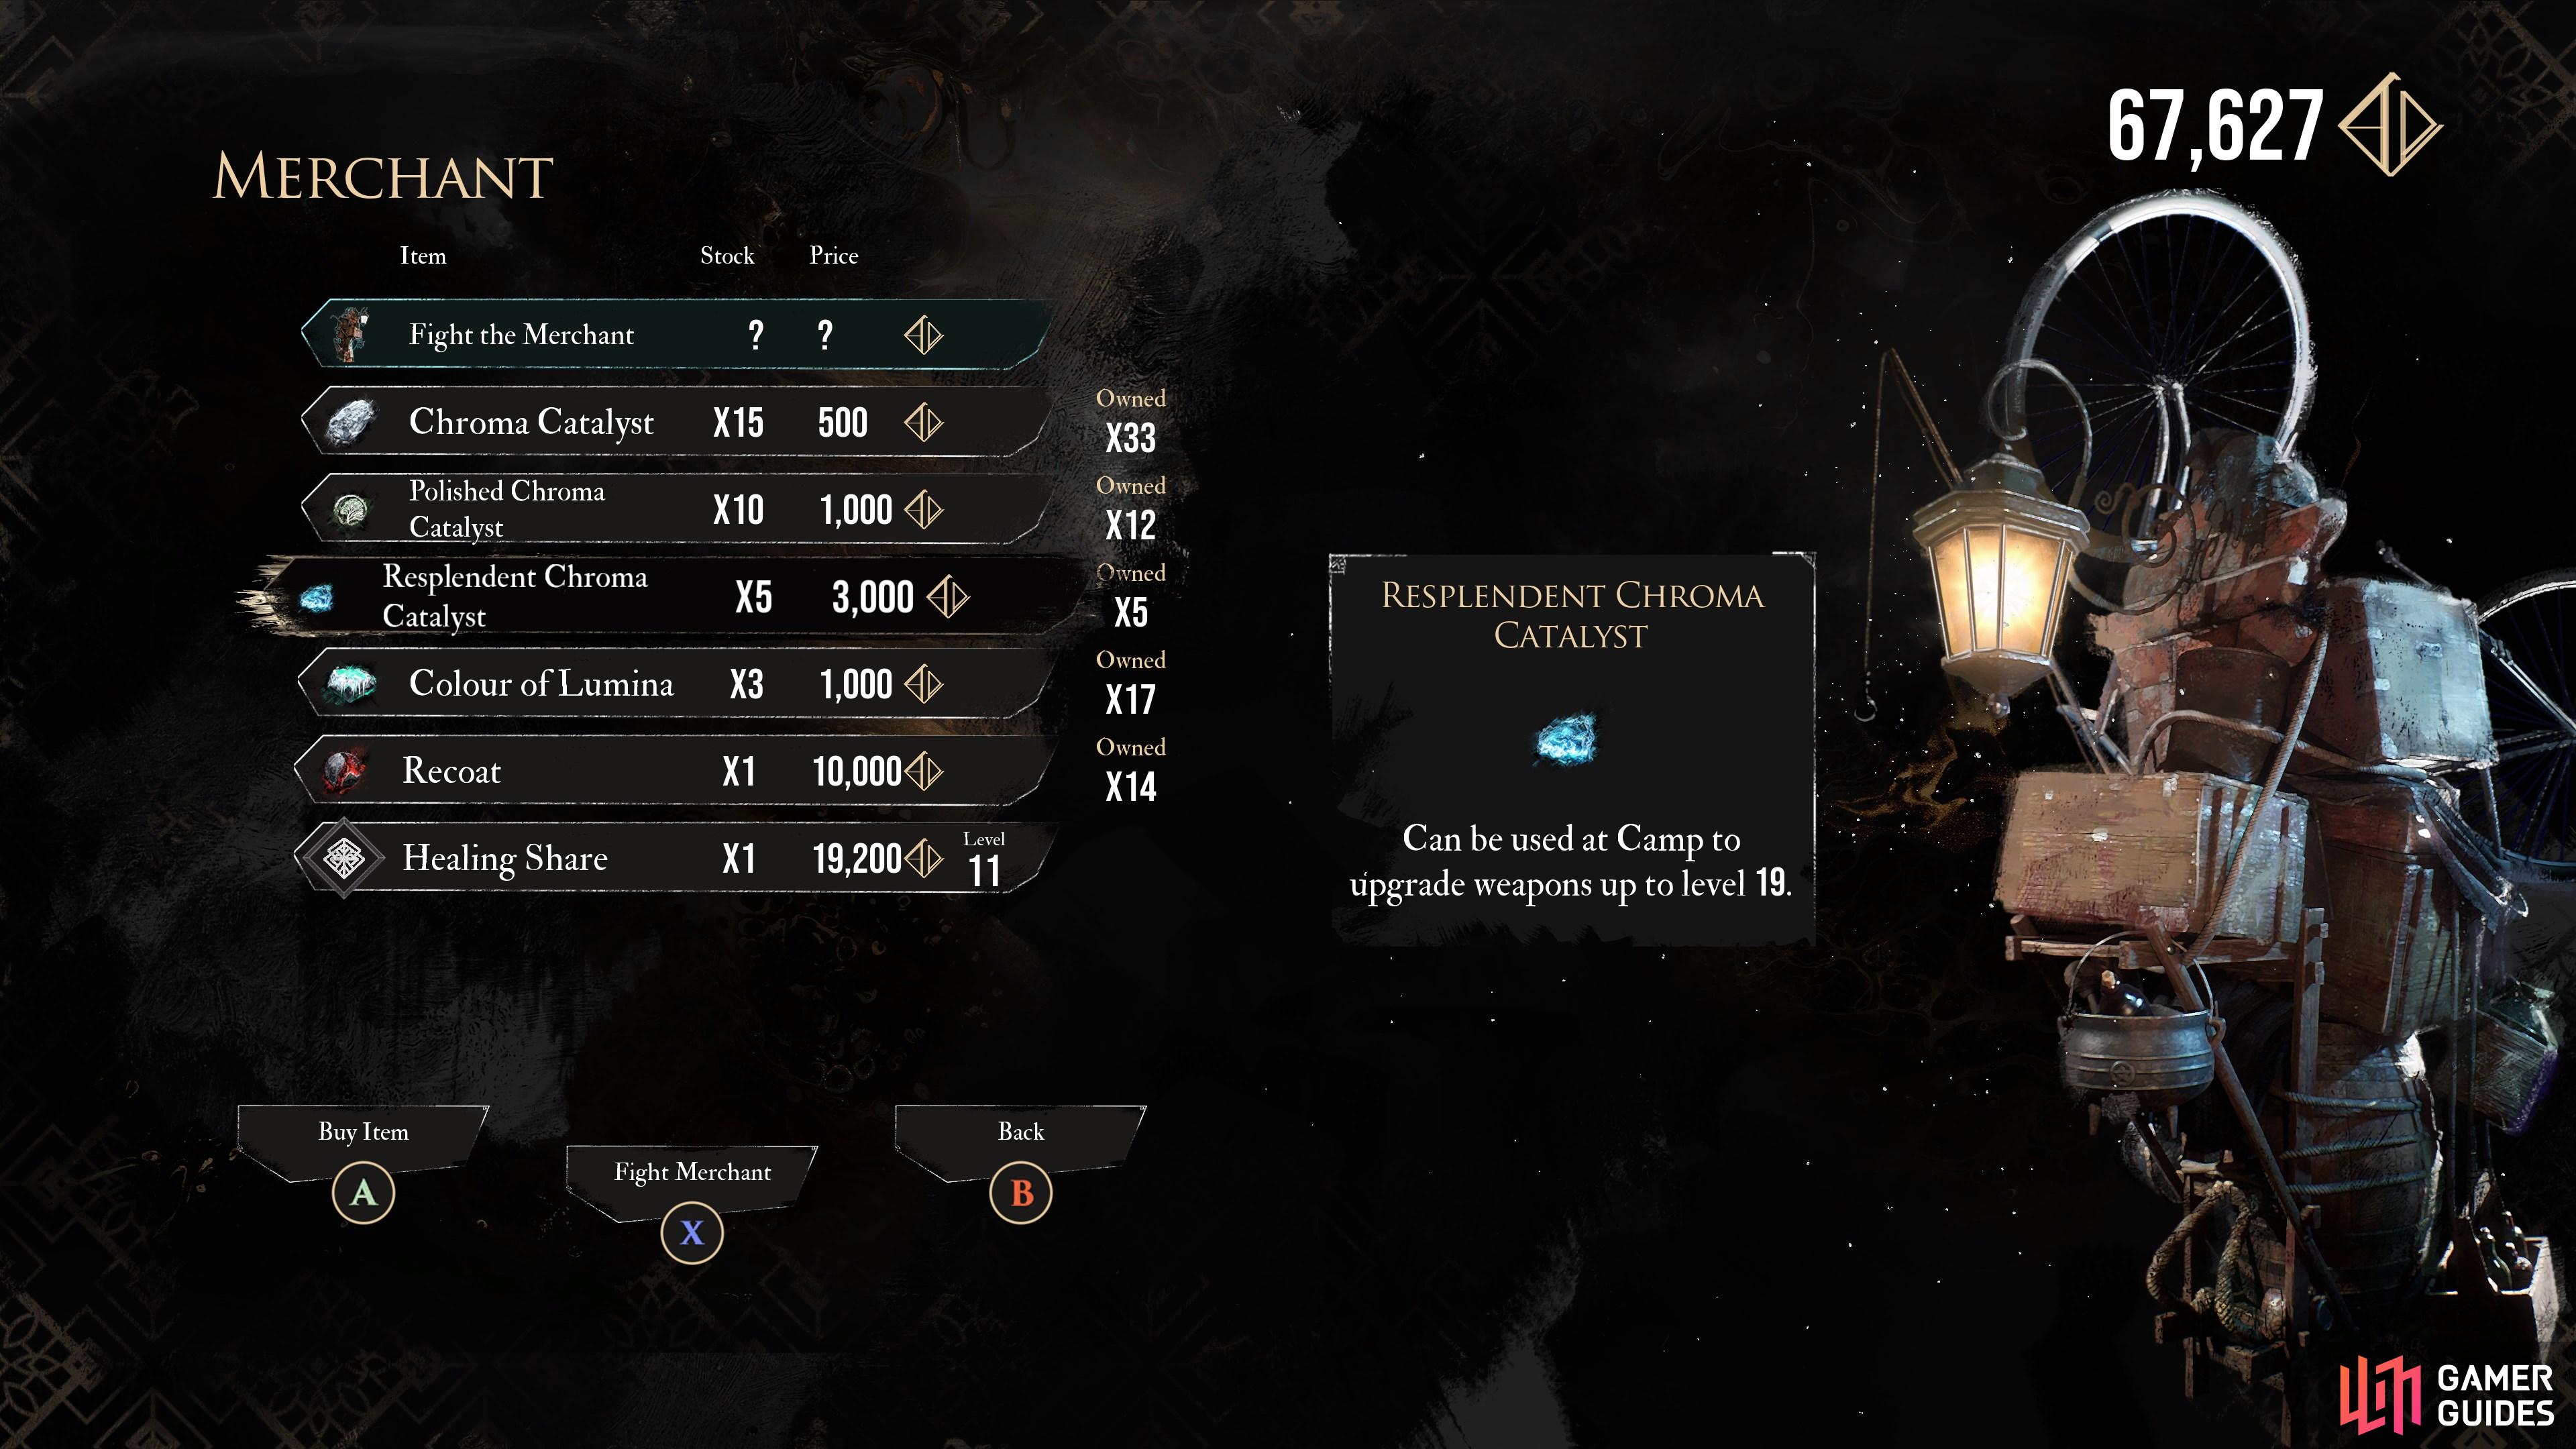
To use ![]() Chroma Catalysts you will need to clear the
Chroma Catalysts you will need to clear the ![]() Flying Waters dungeon, after which the Curator will take up residence in a cave at your camp. Talk to the Curator and pick the option [Upgrade Weapons] and you can select weapons you wish to upgrade. Of course, nothing is free, and upgrading weapons requires various resources depending on the weapon’s level.
Flying Waters dungeon, after which the Curator will take up residence in a cave at your camp. Talk to the Curator and pick the option [Upgrade Weapons] and you can select weapons you wish to upgrade. Of course, nothing is free, and upgrading weapons requires various resources depending on the weapon’s level.
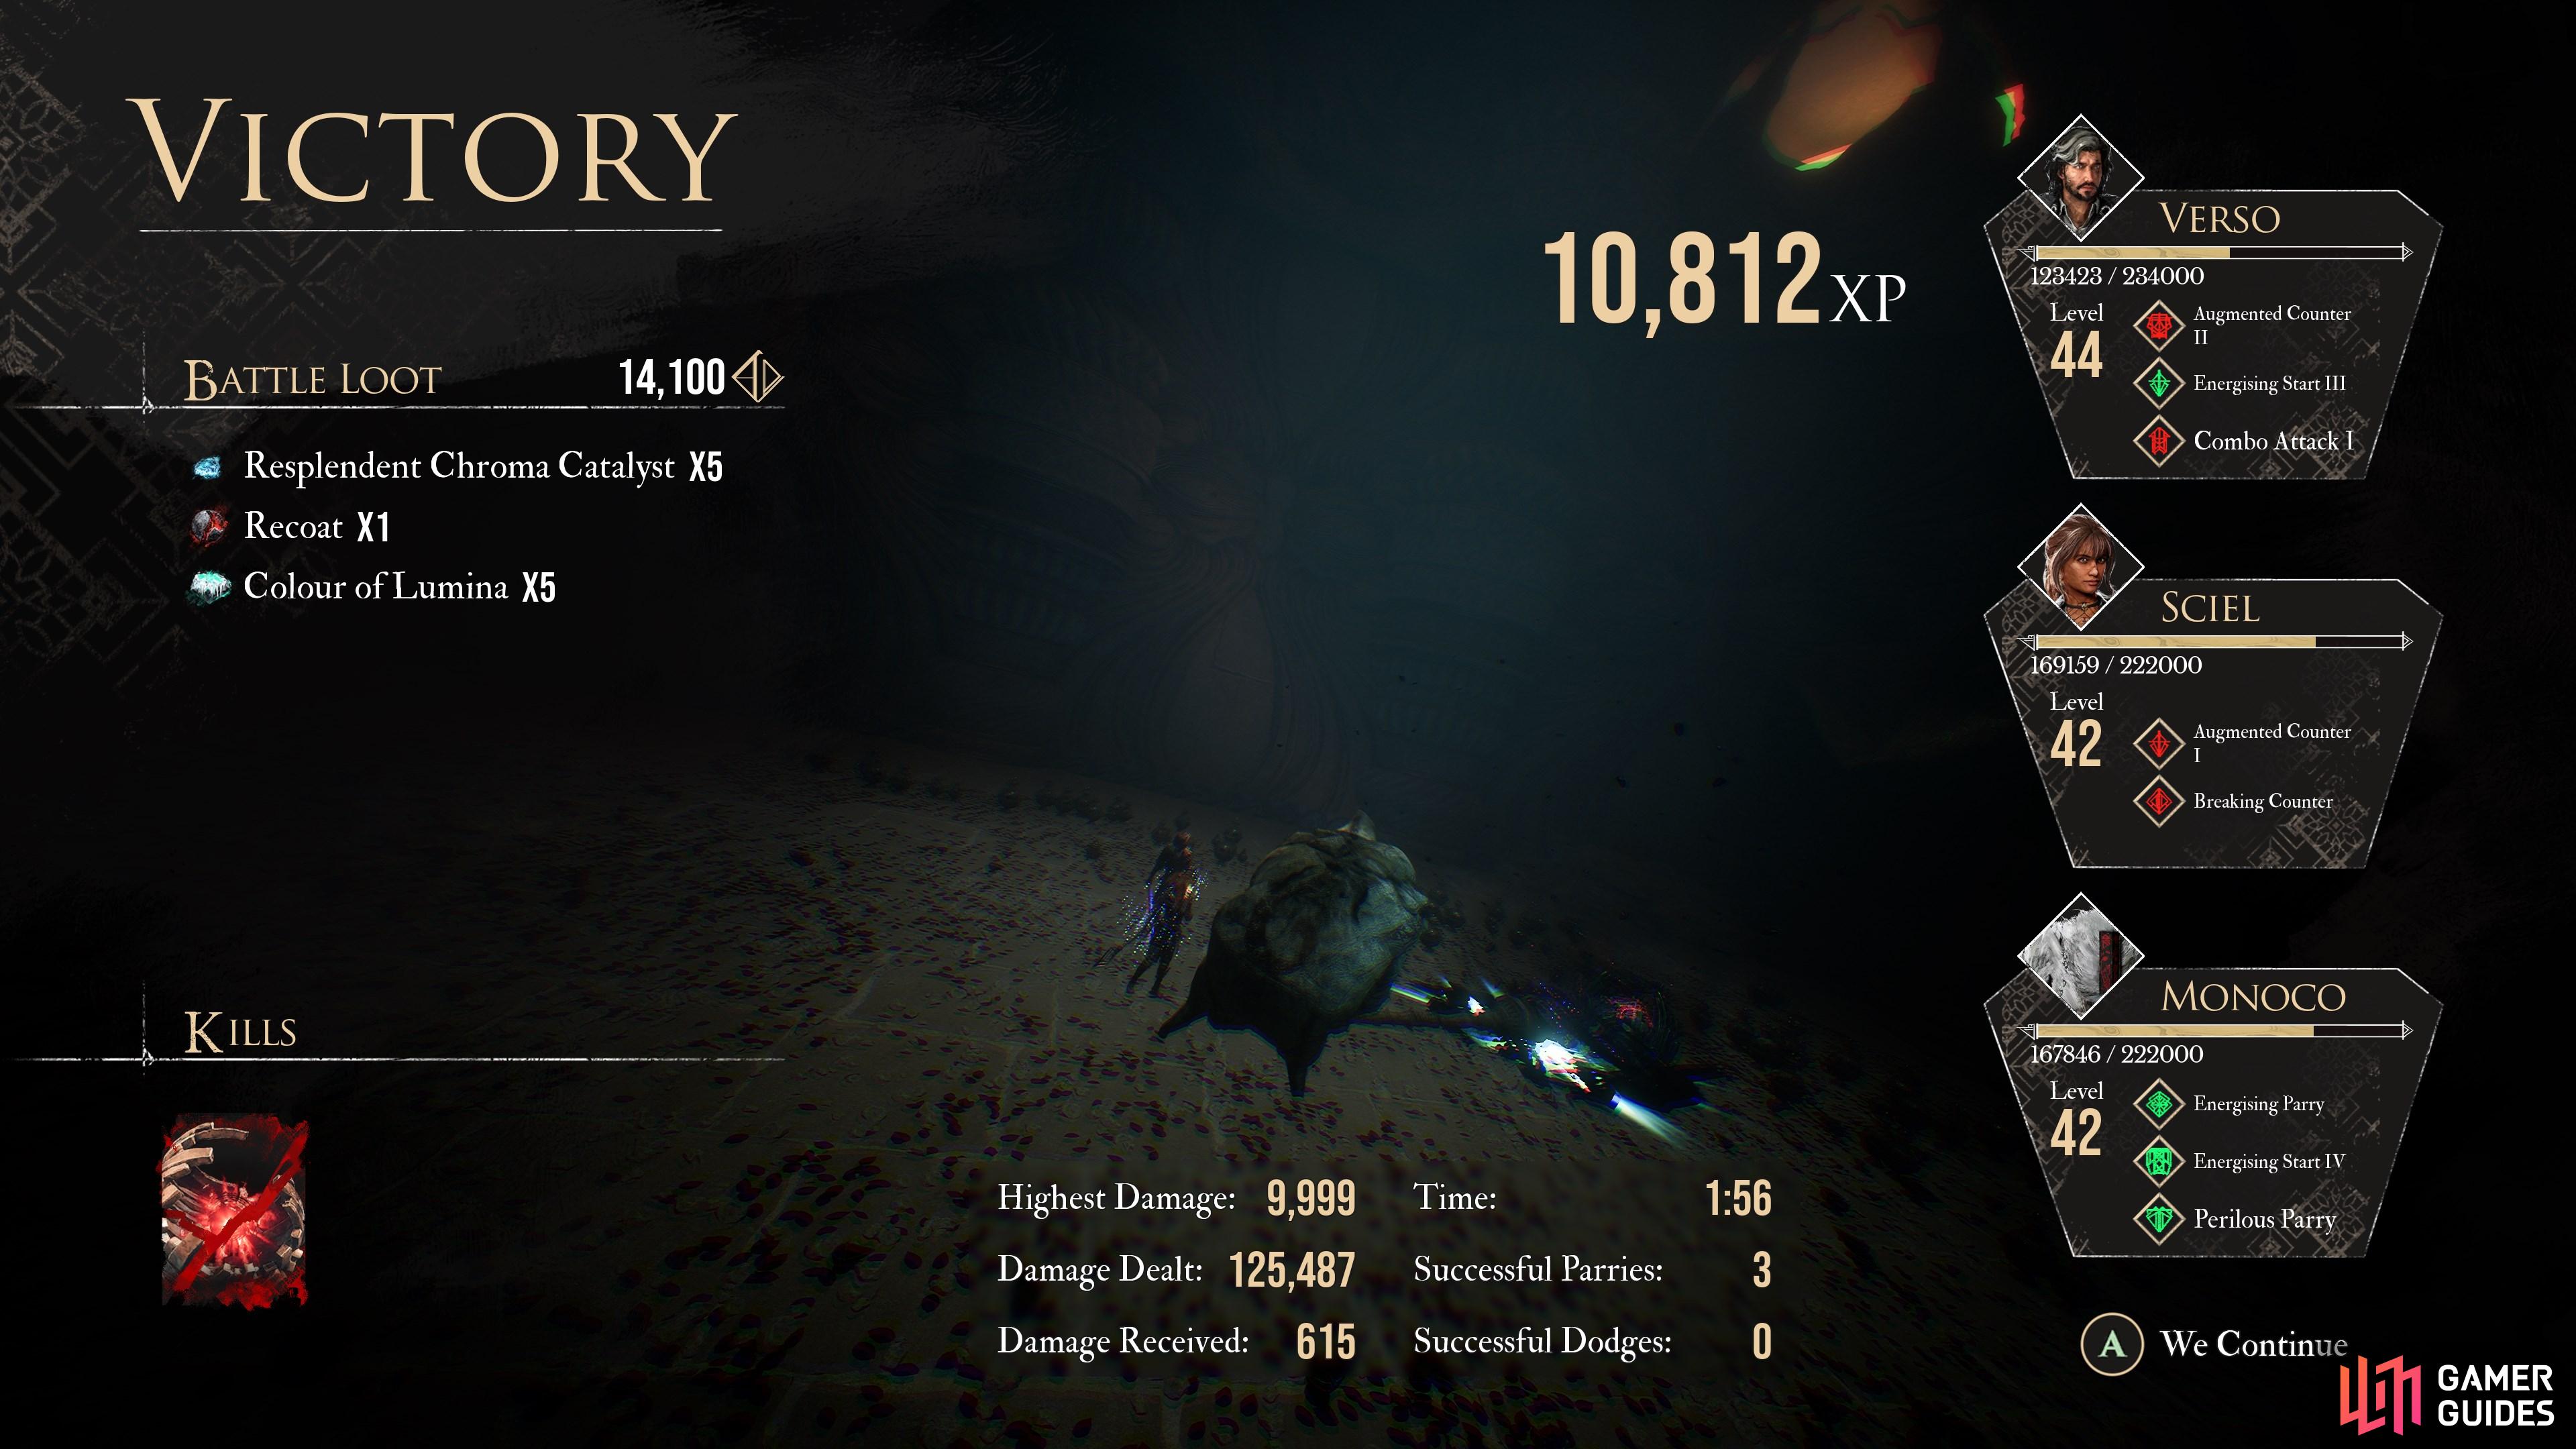
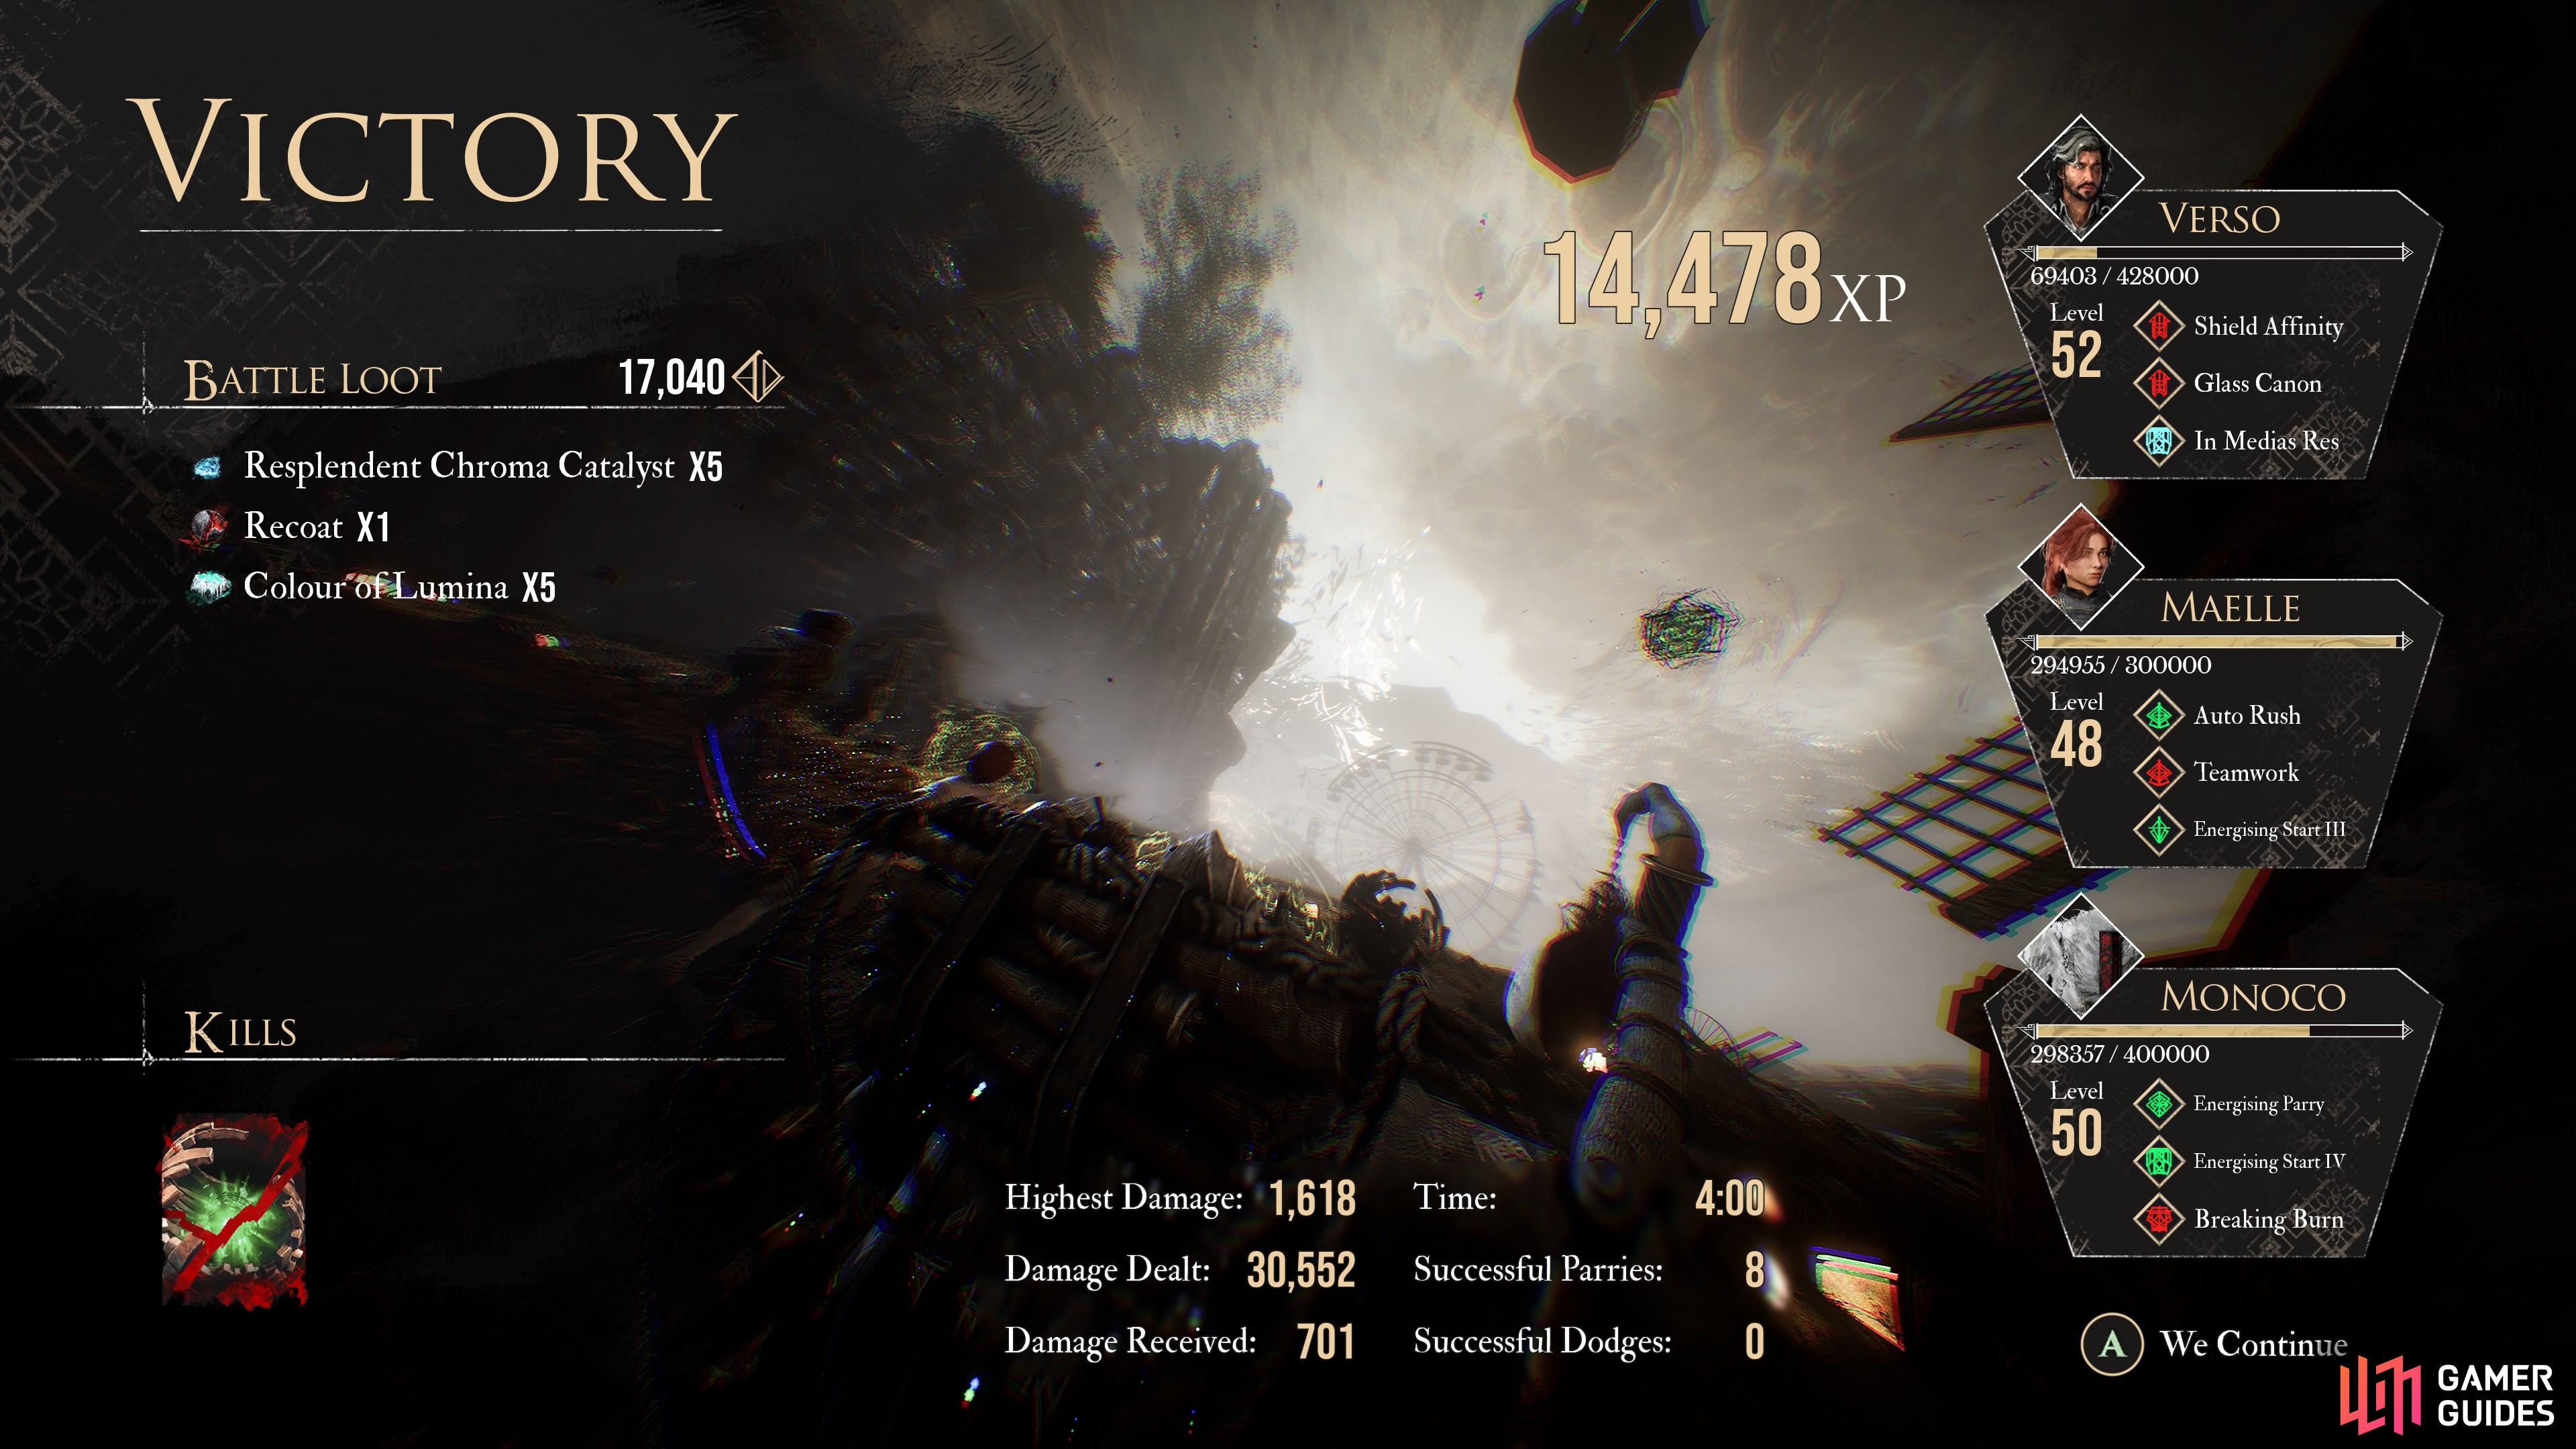
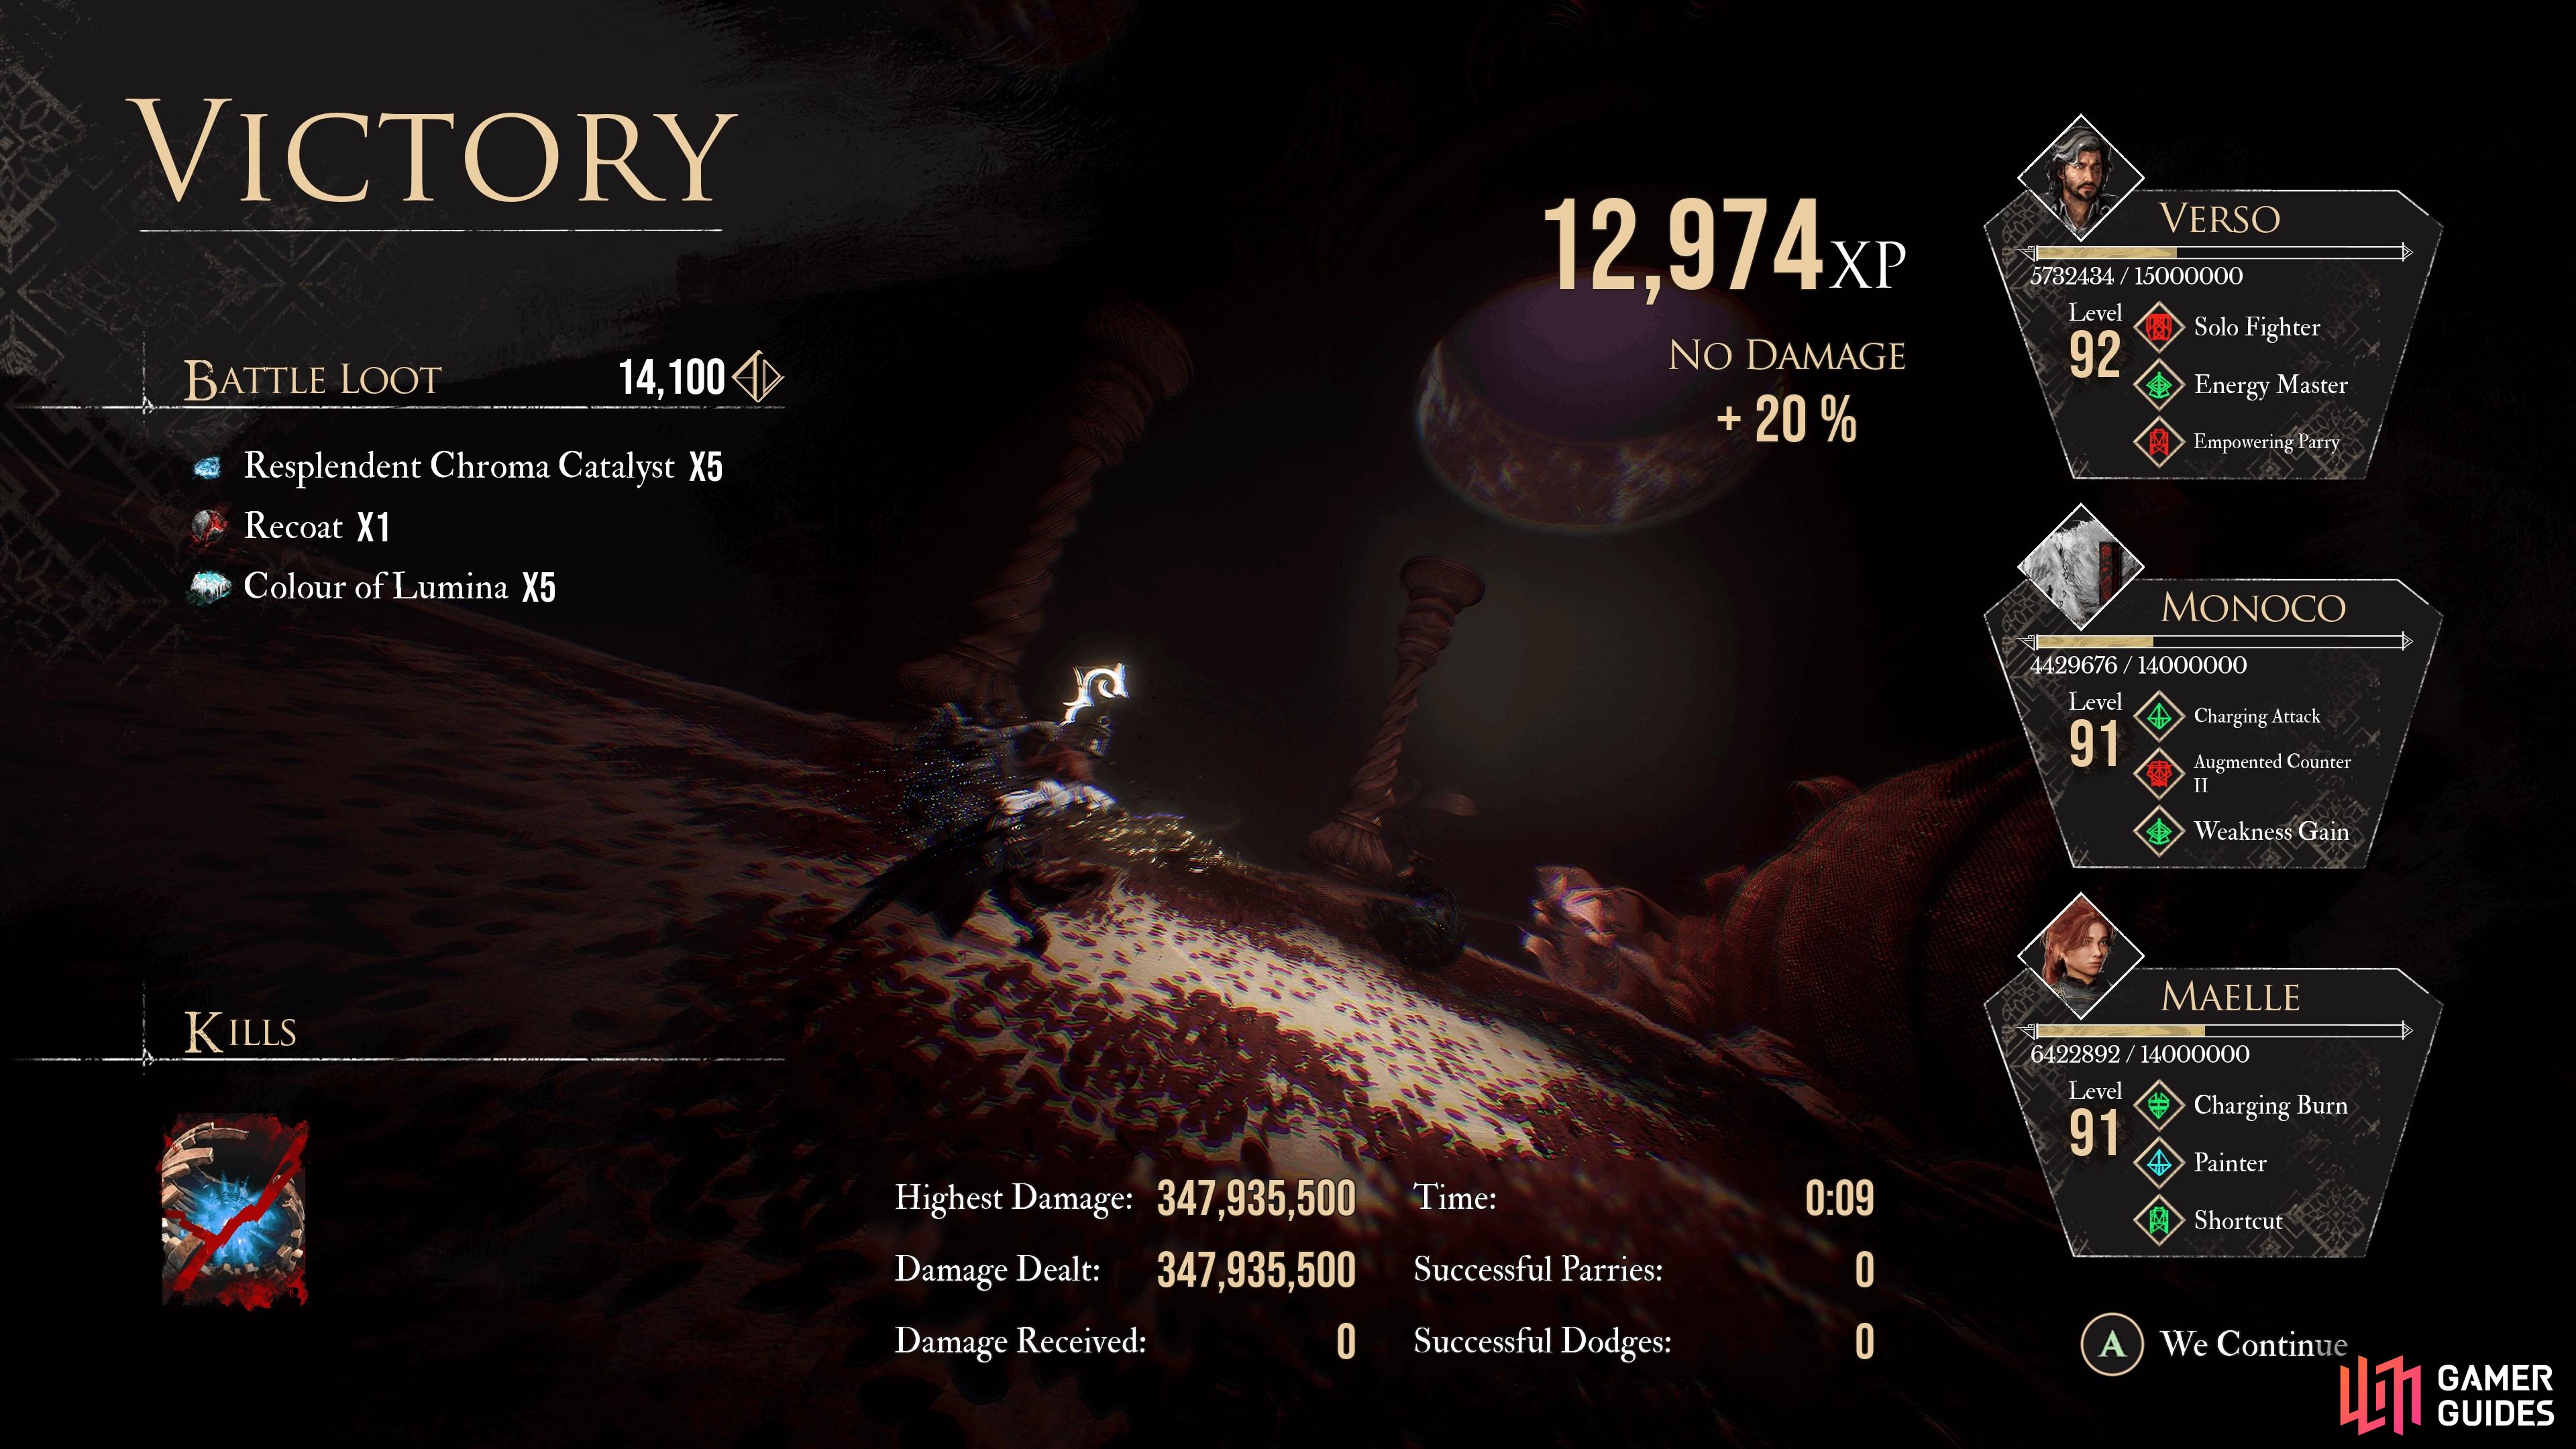
Battle Loot
This item can drop from enemies in Battle Loot. Whether you recieve it, and in what quantity, depends on the enemy you are fighting and is subject to randomization.
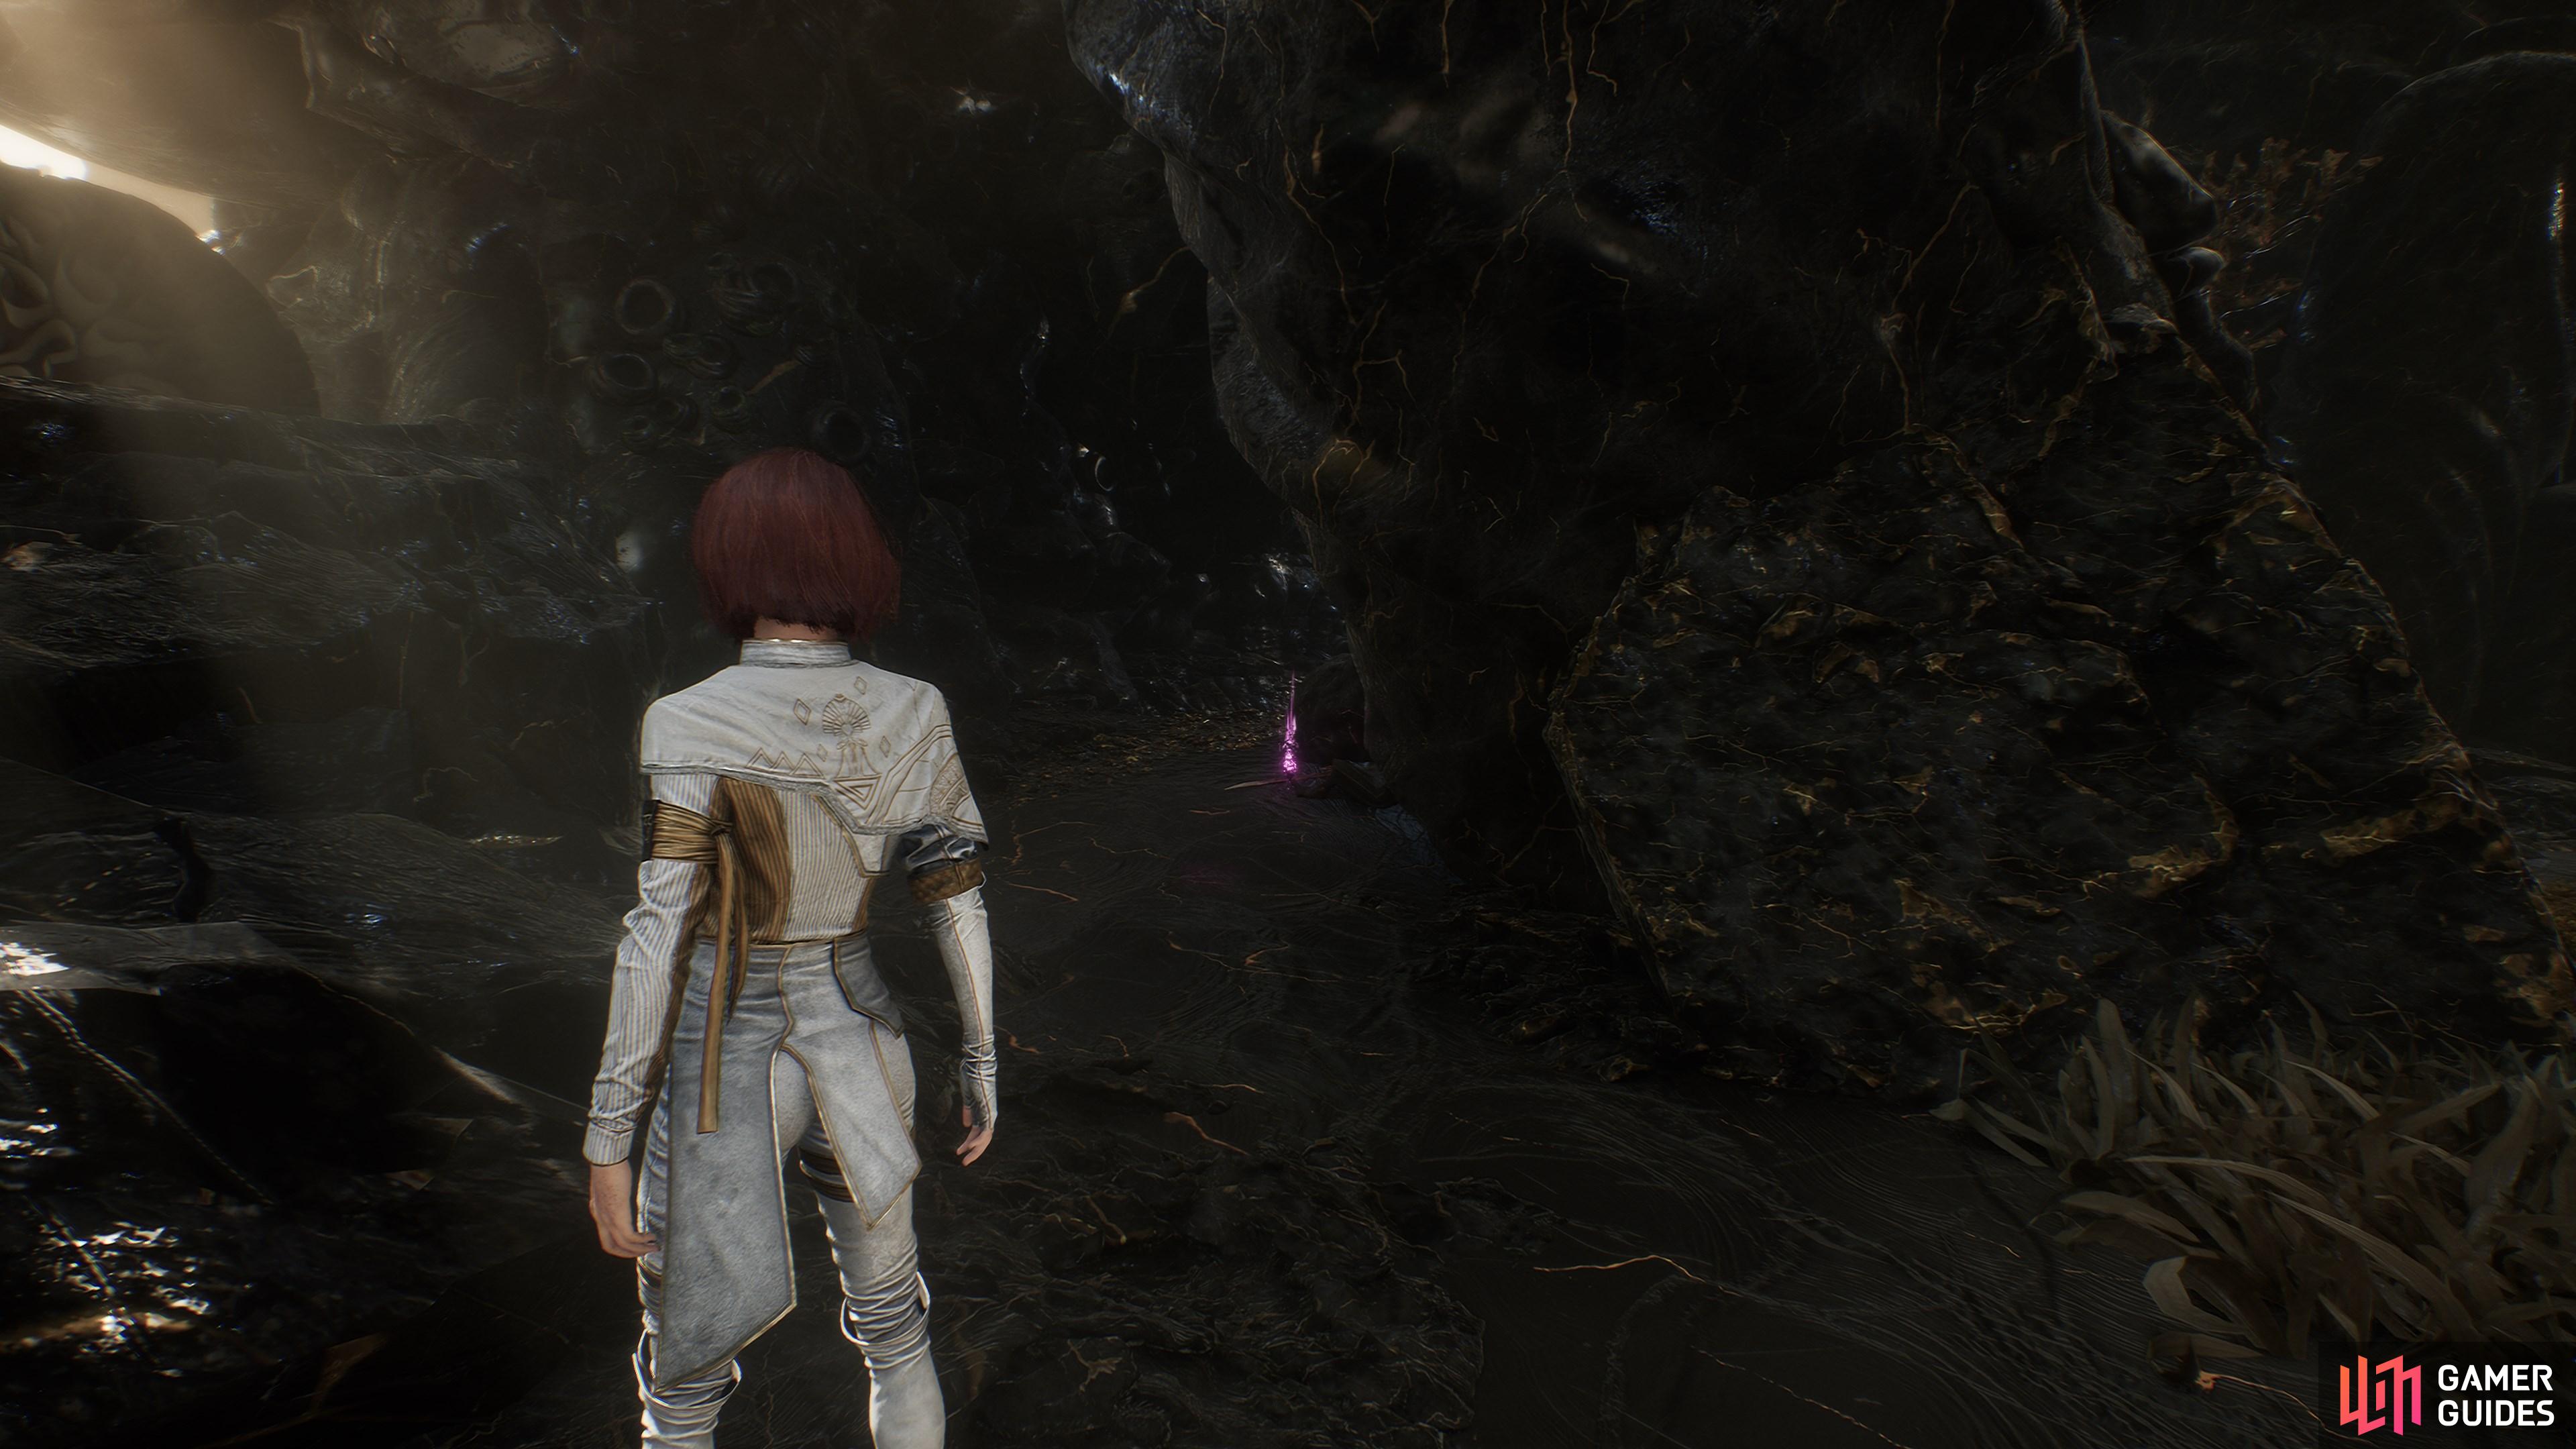
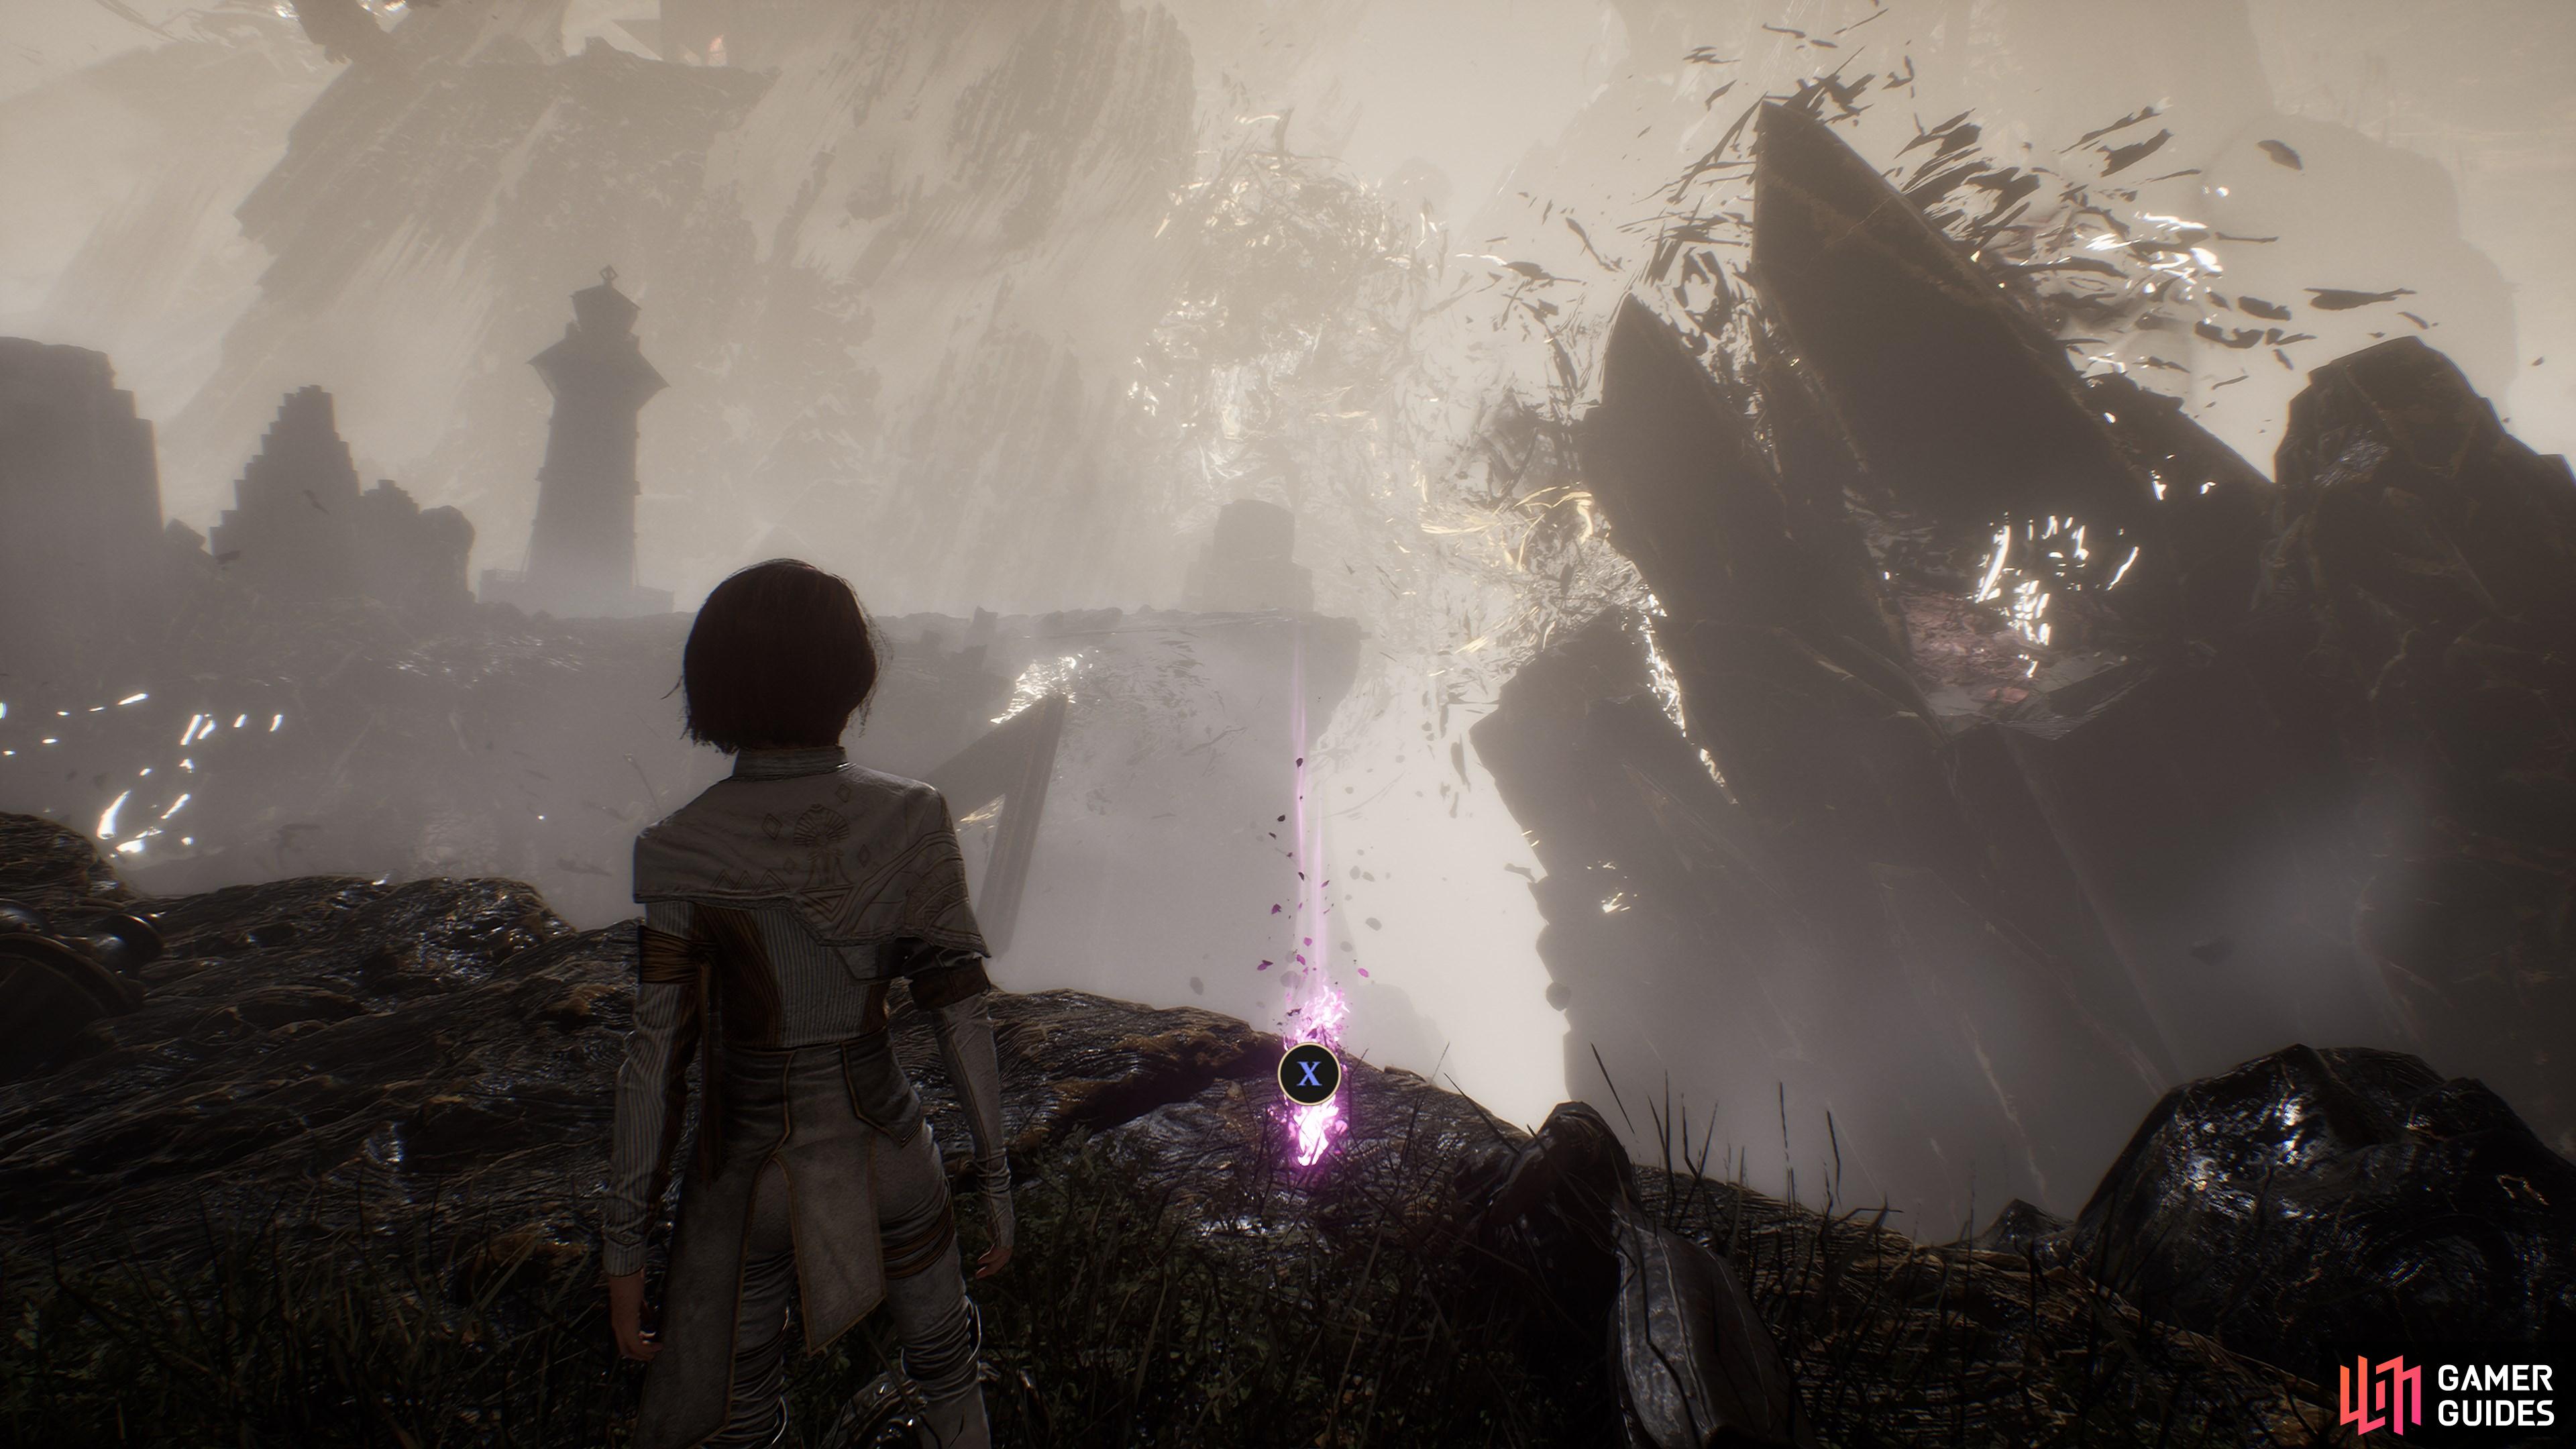
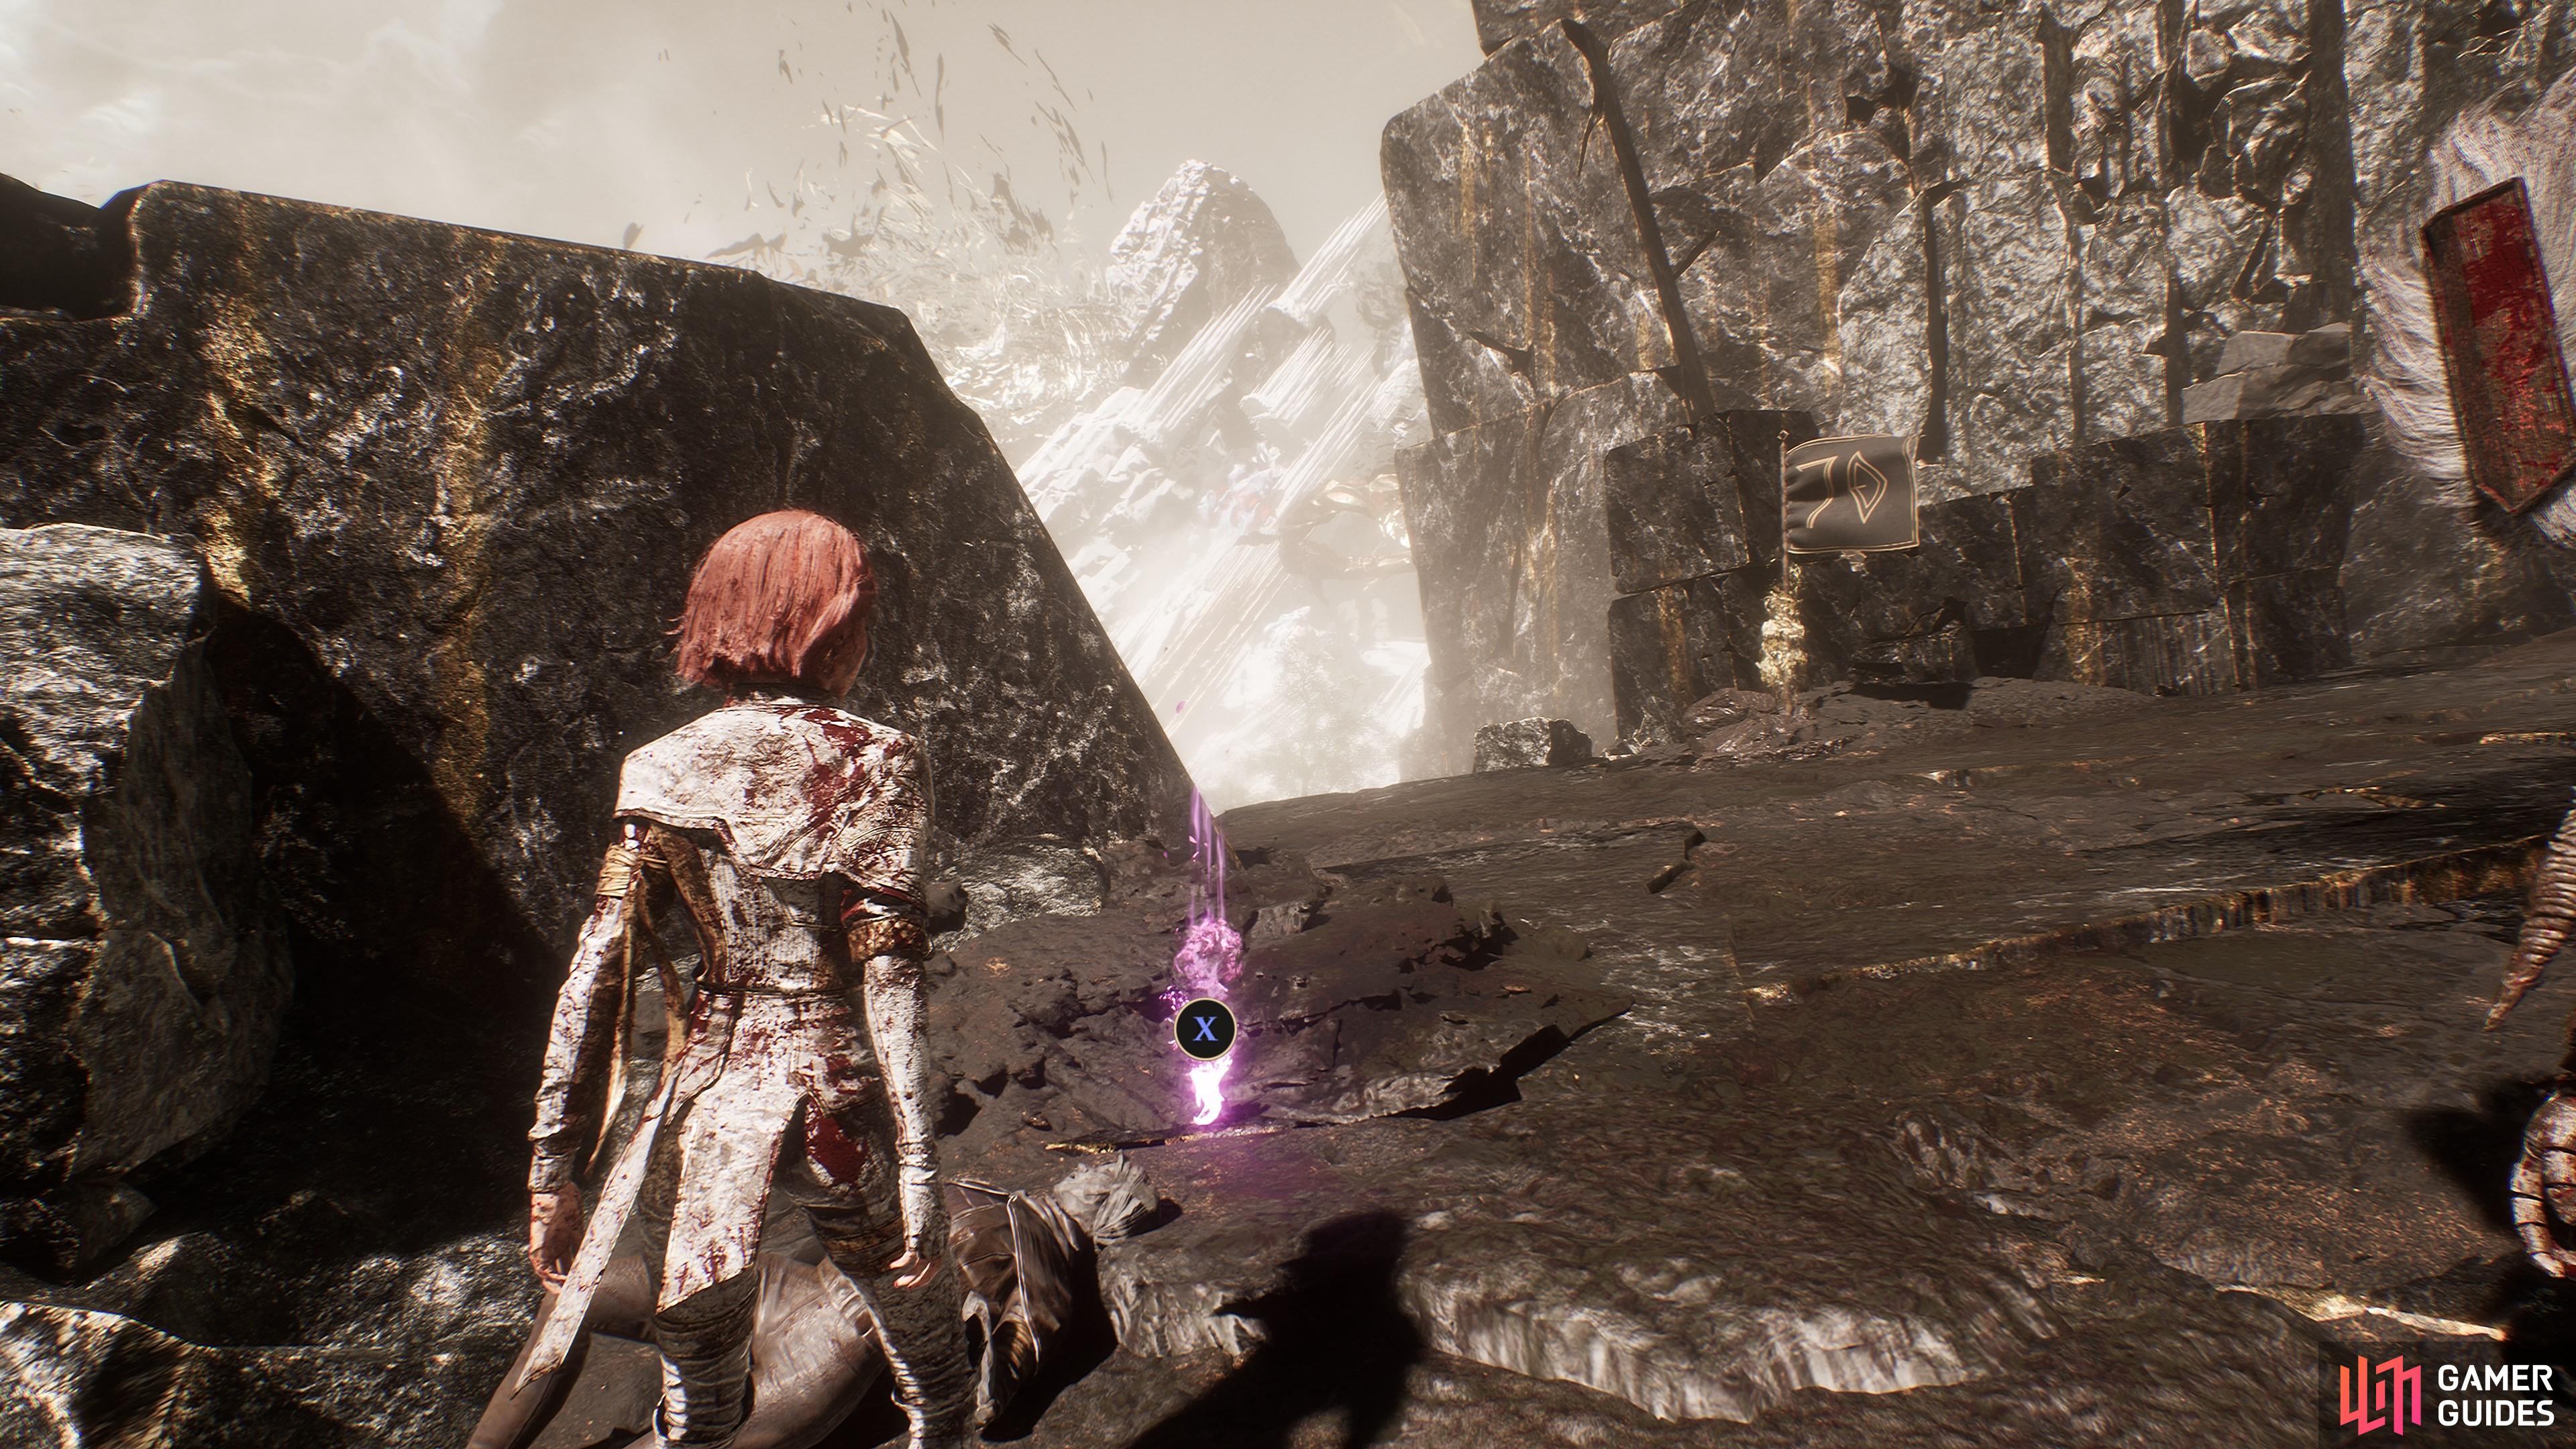
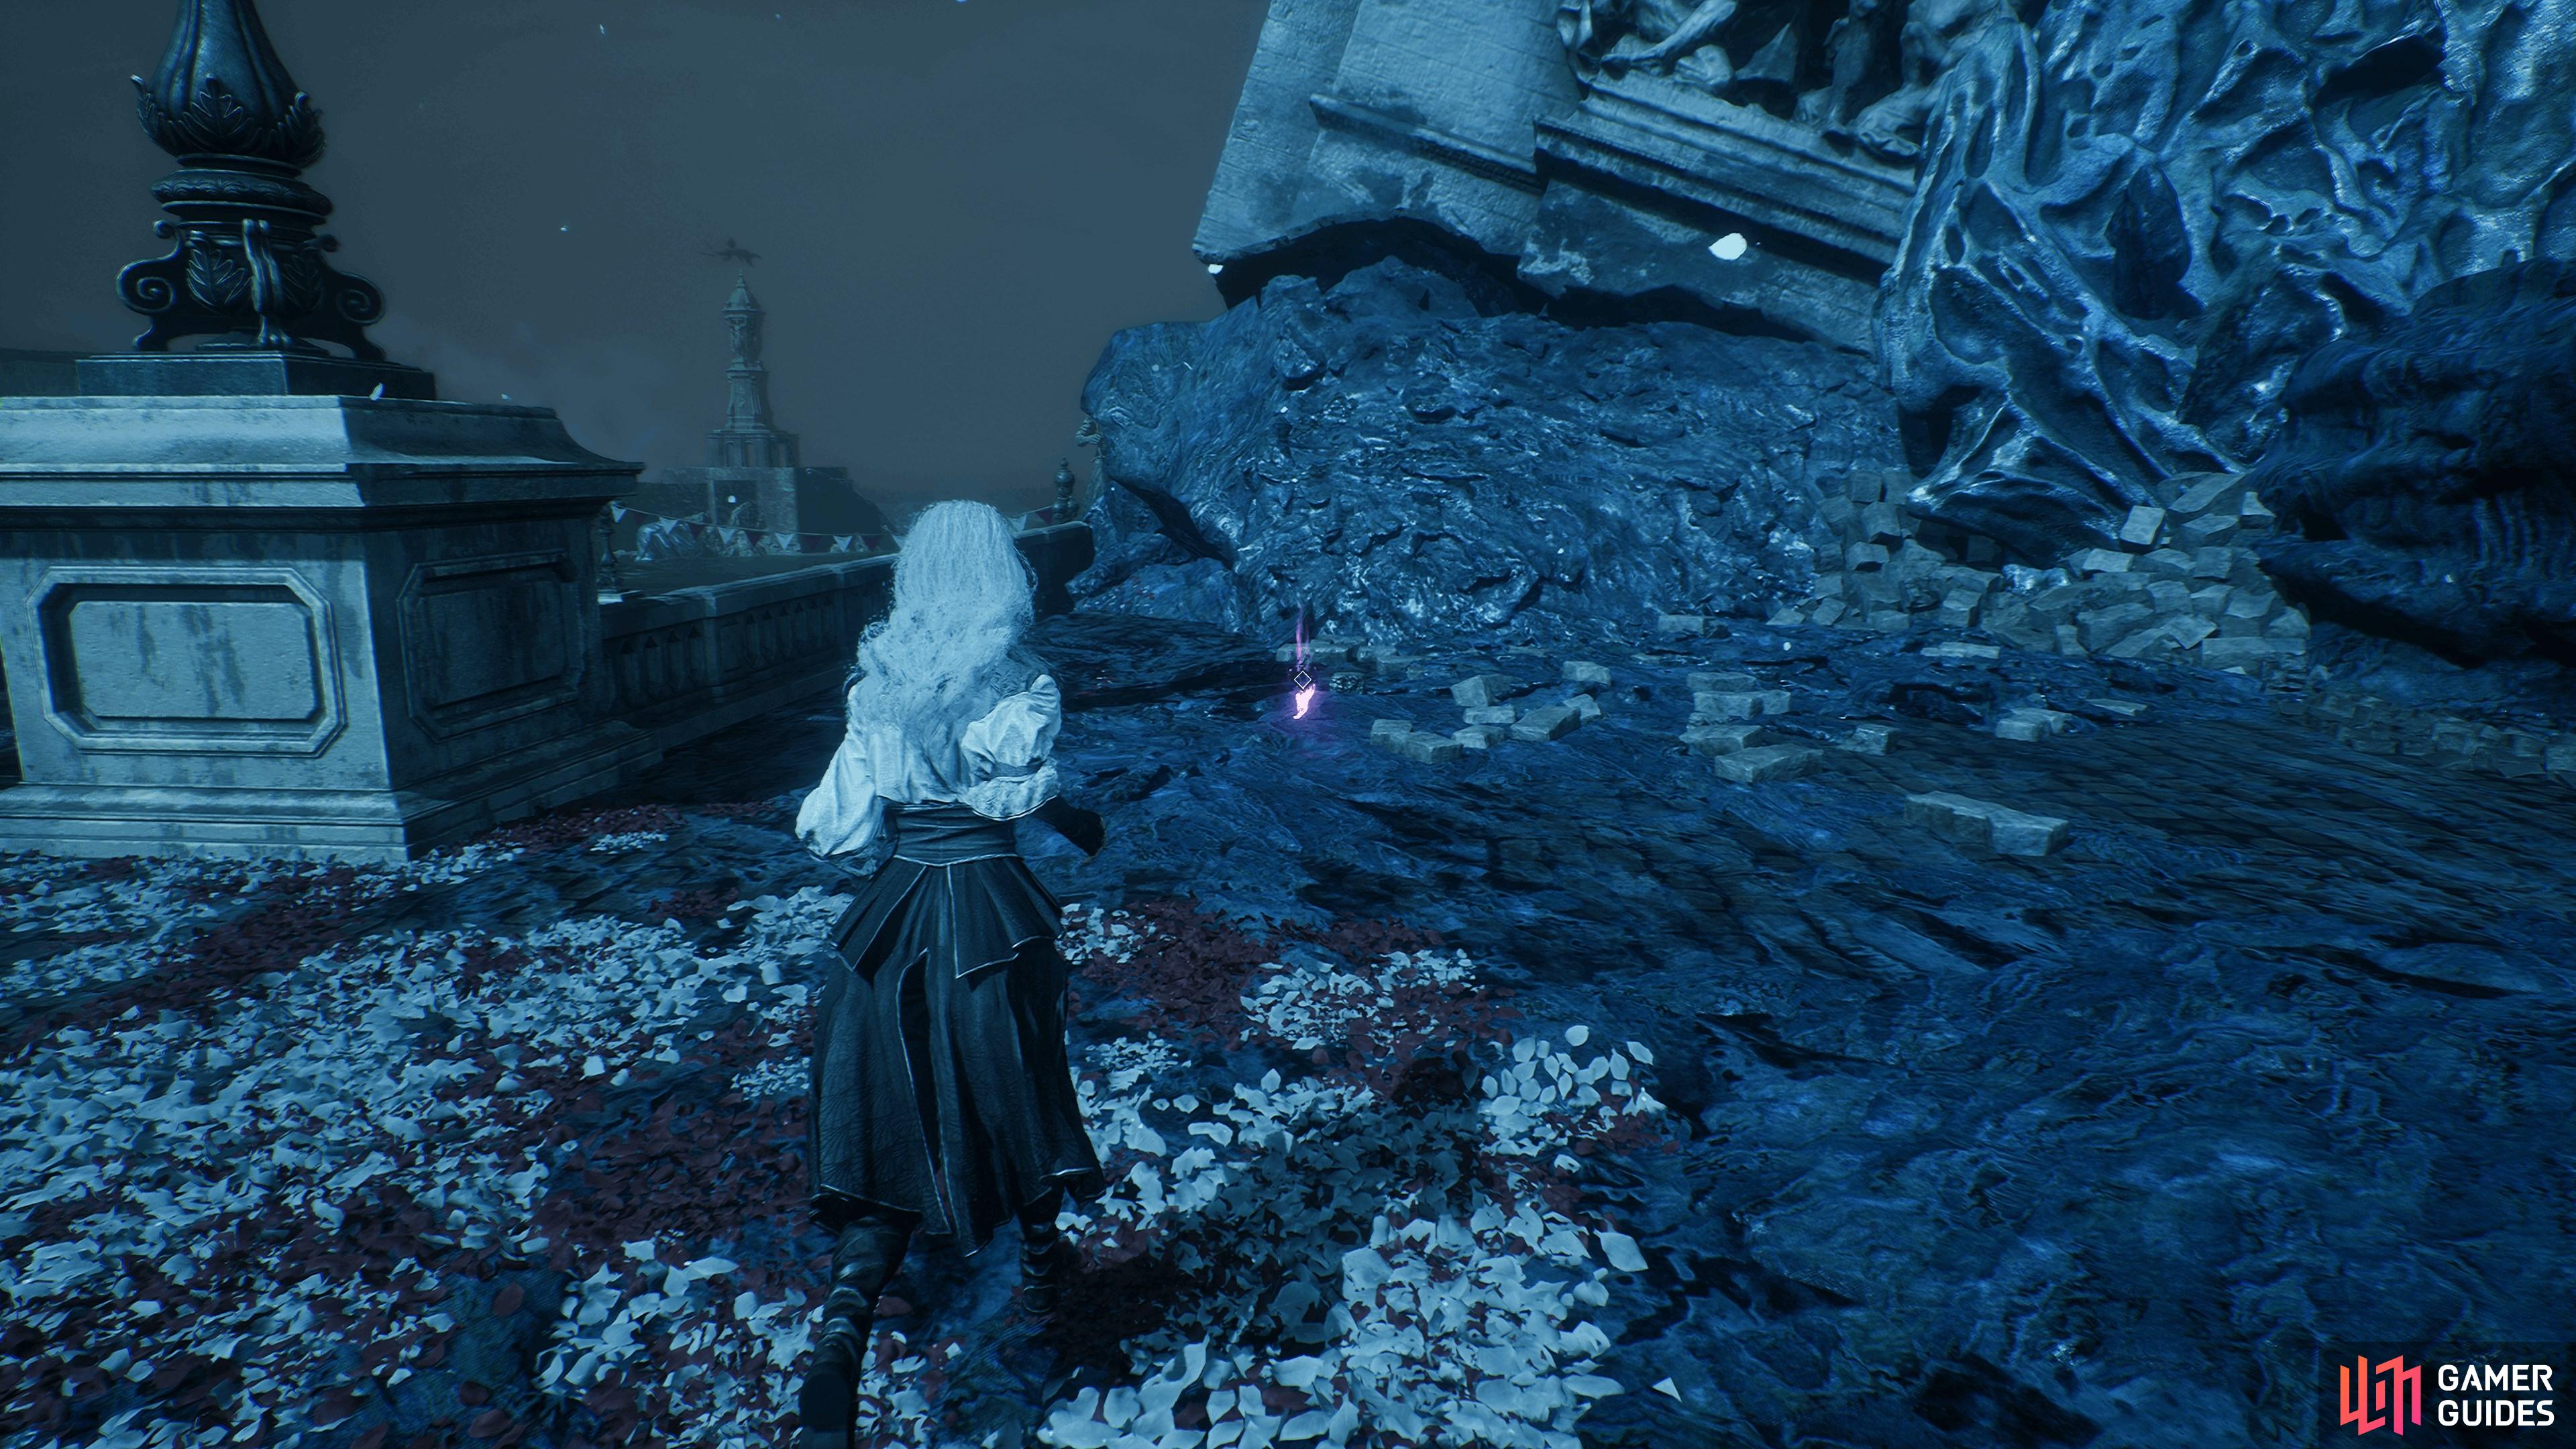
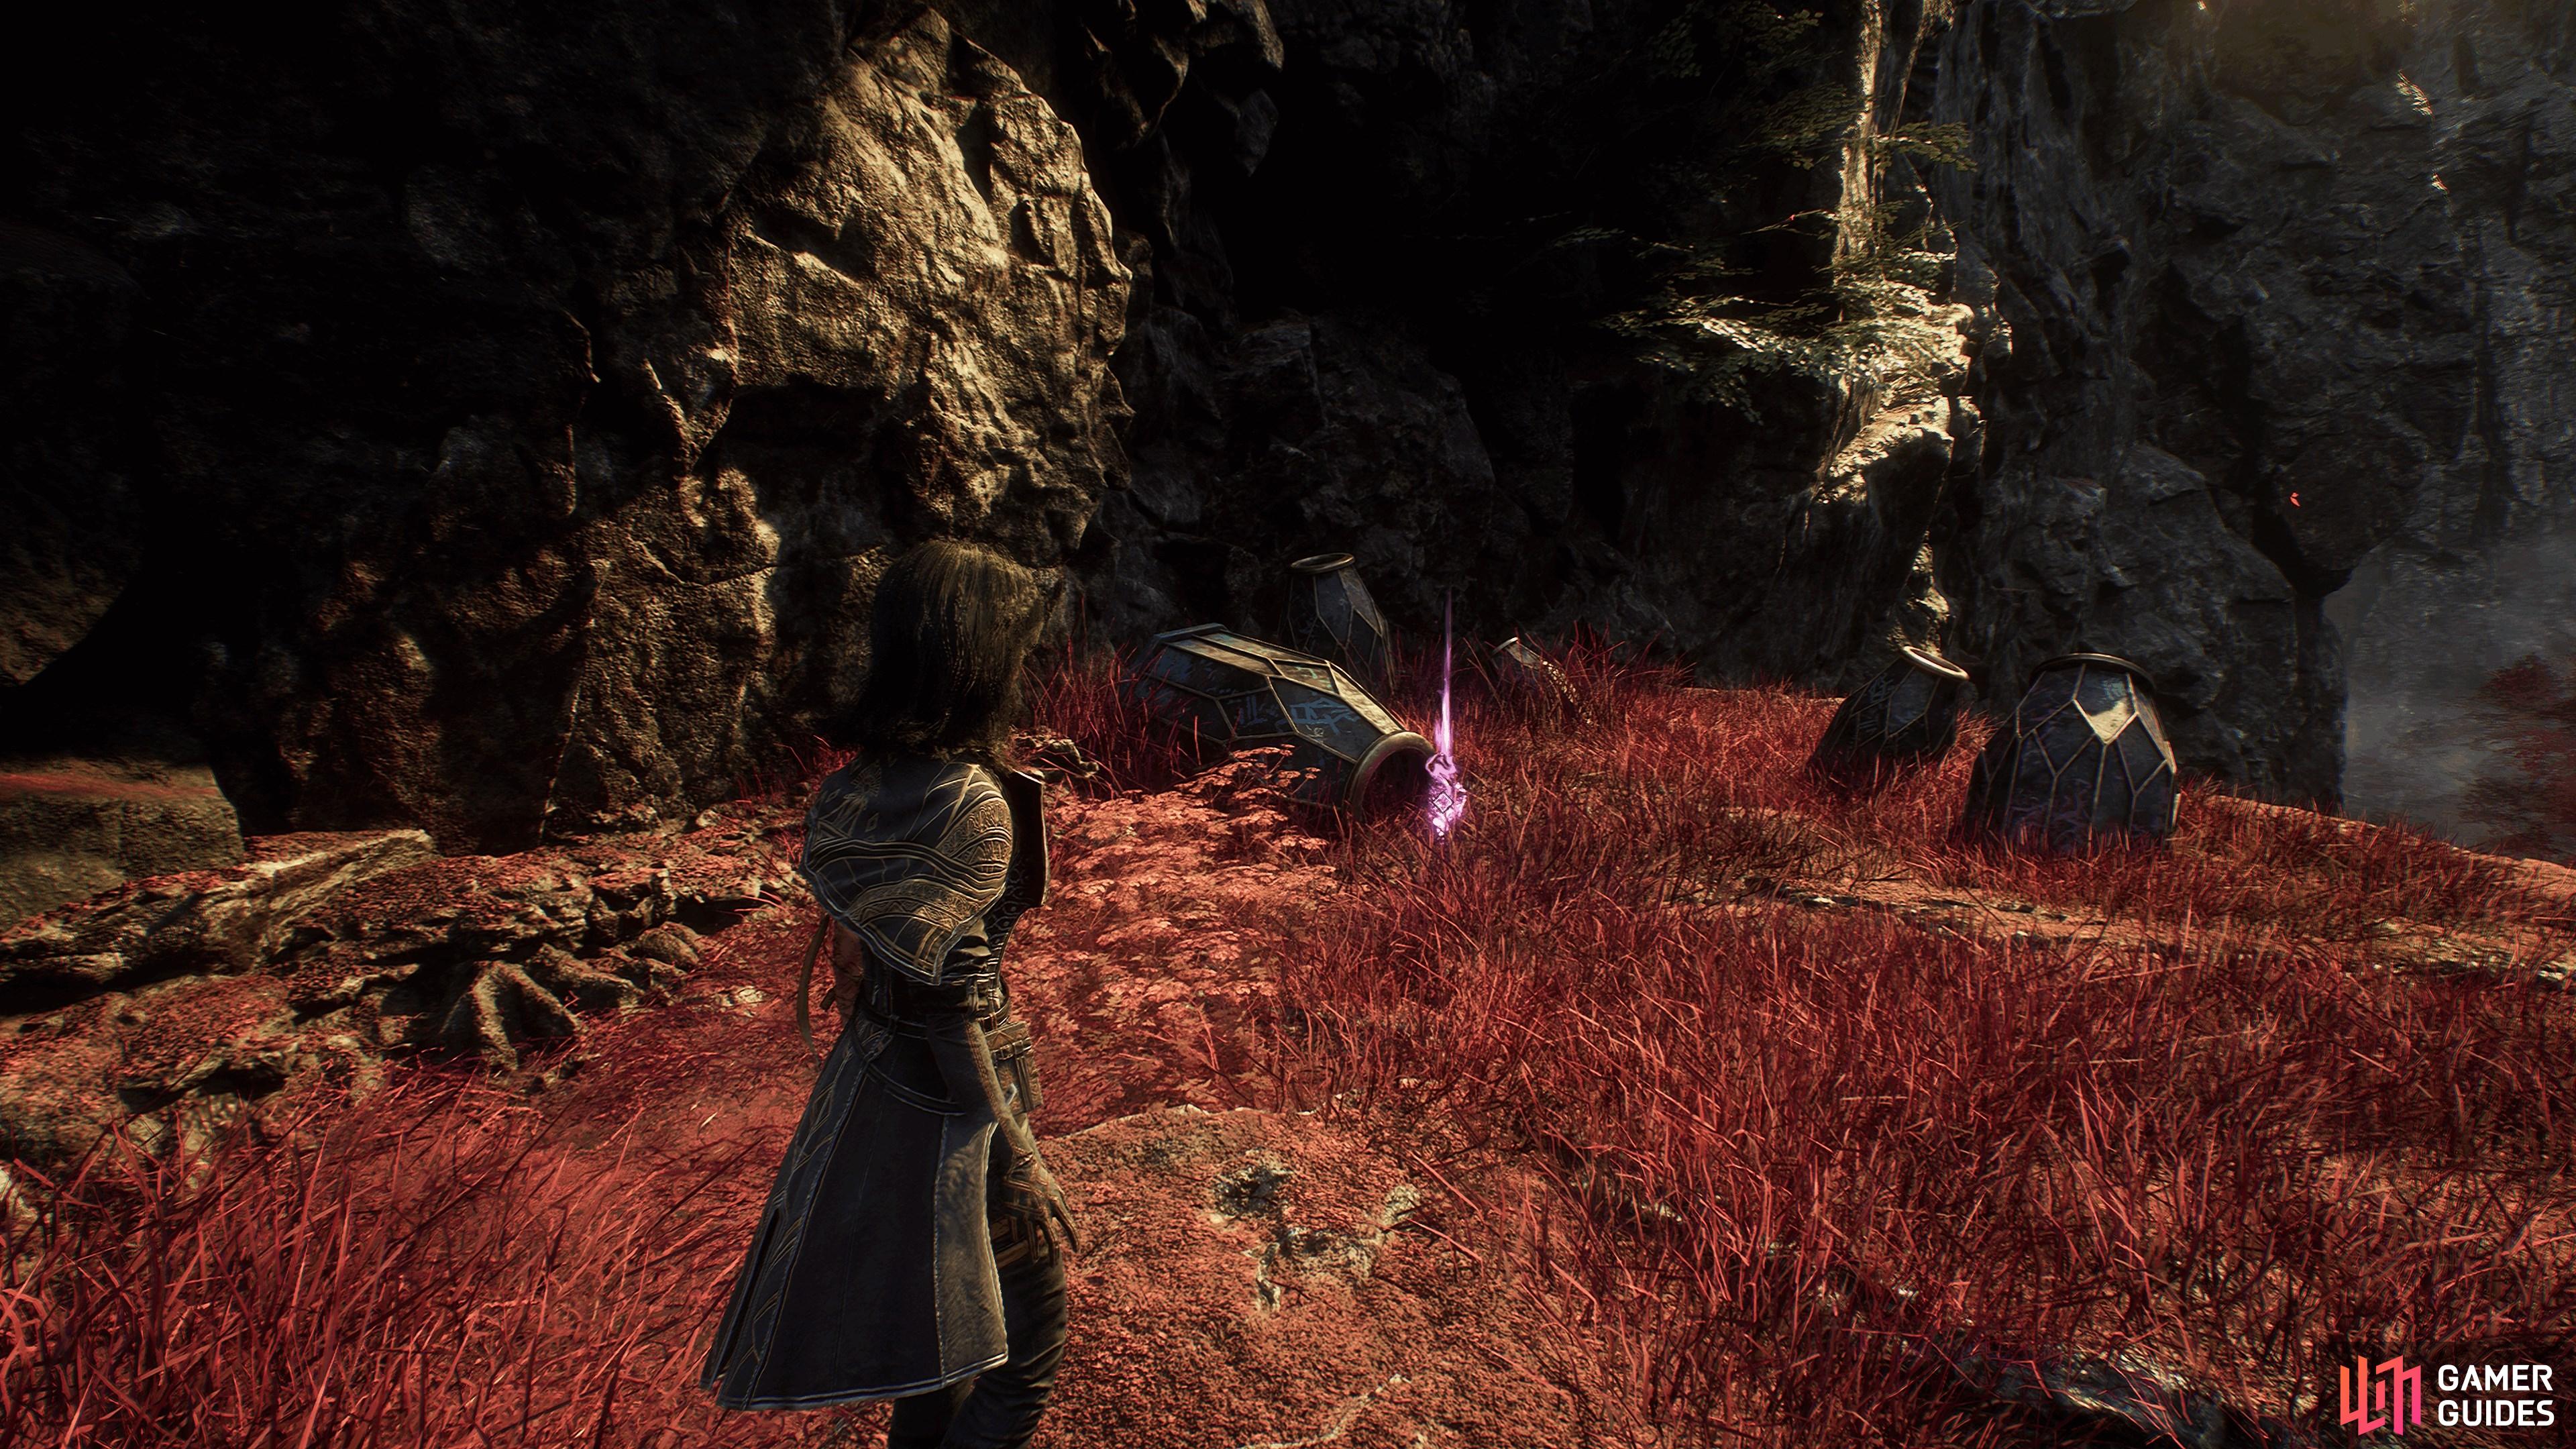
Interactive Map Locations
4. The Continent
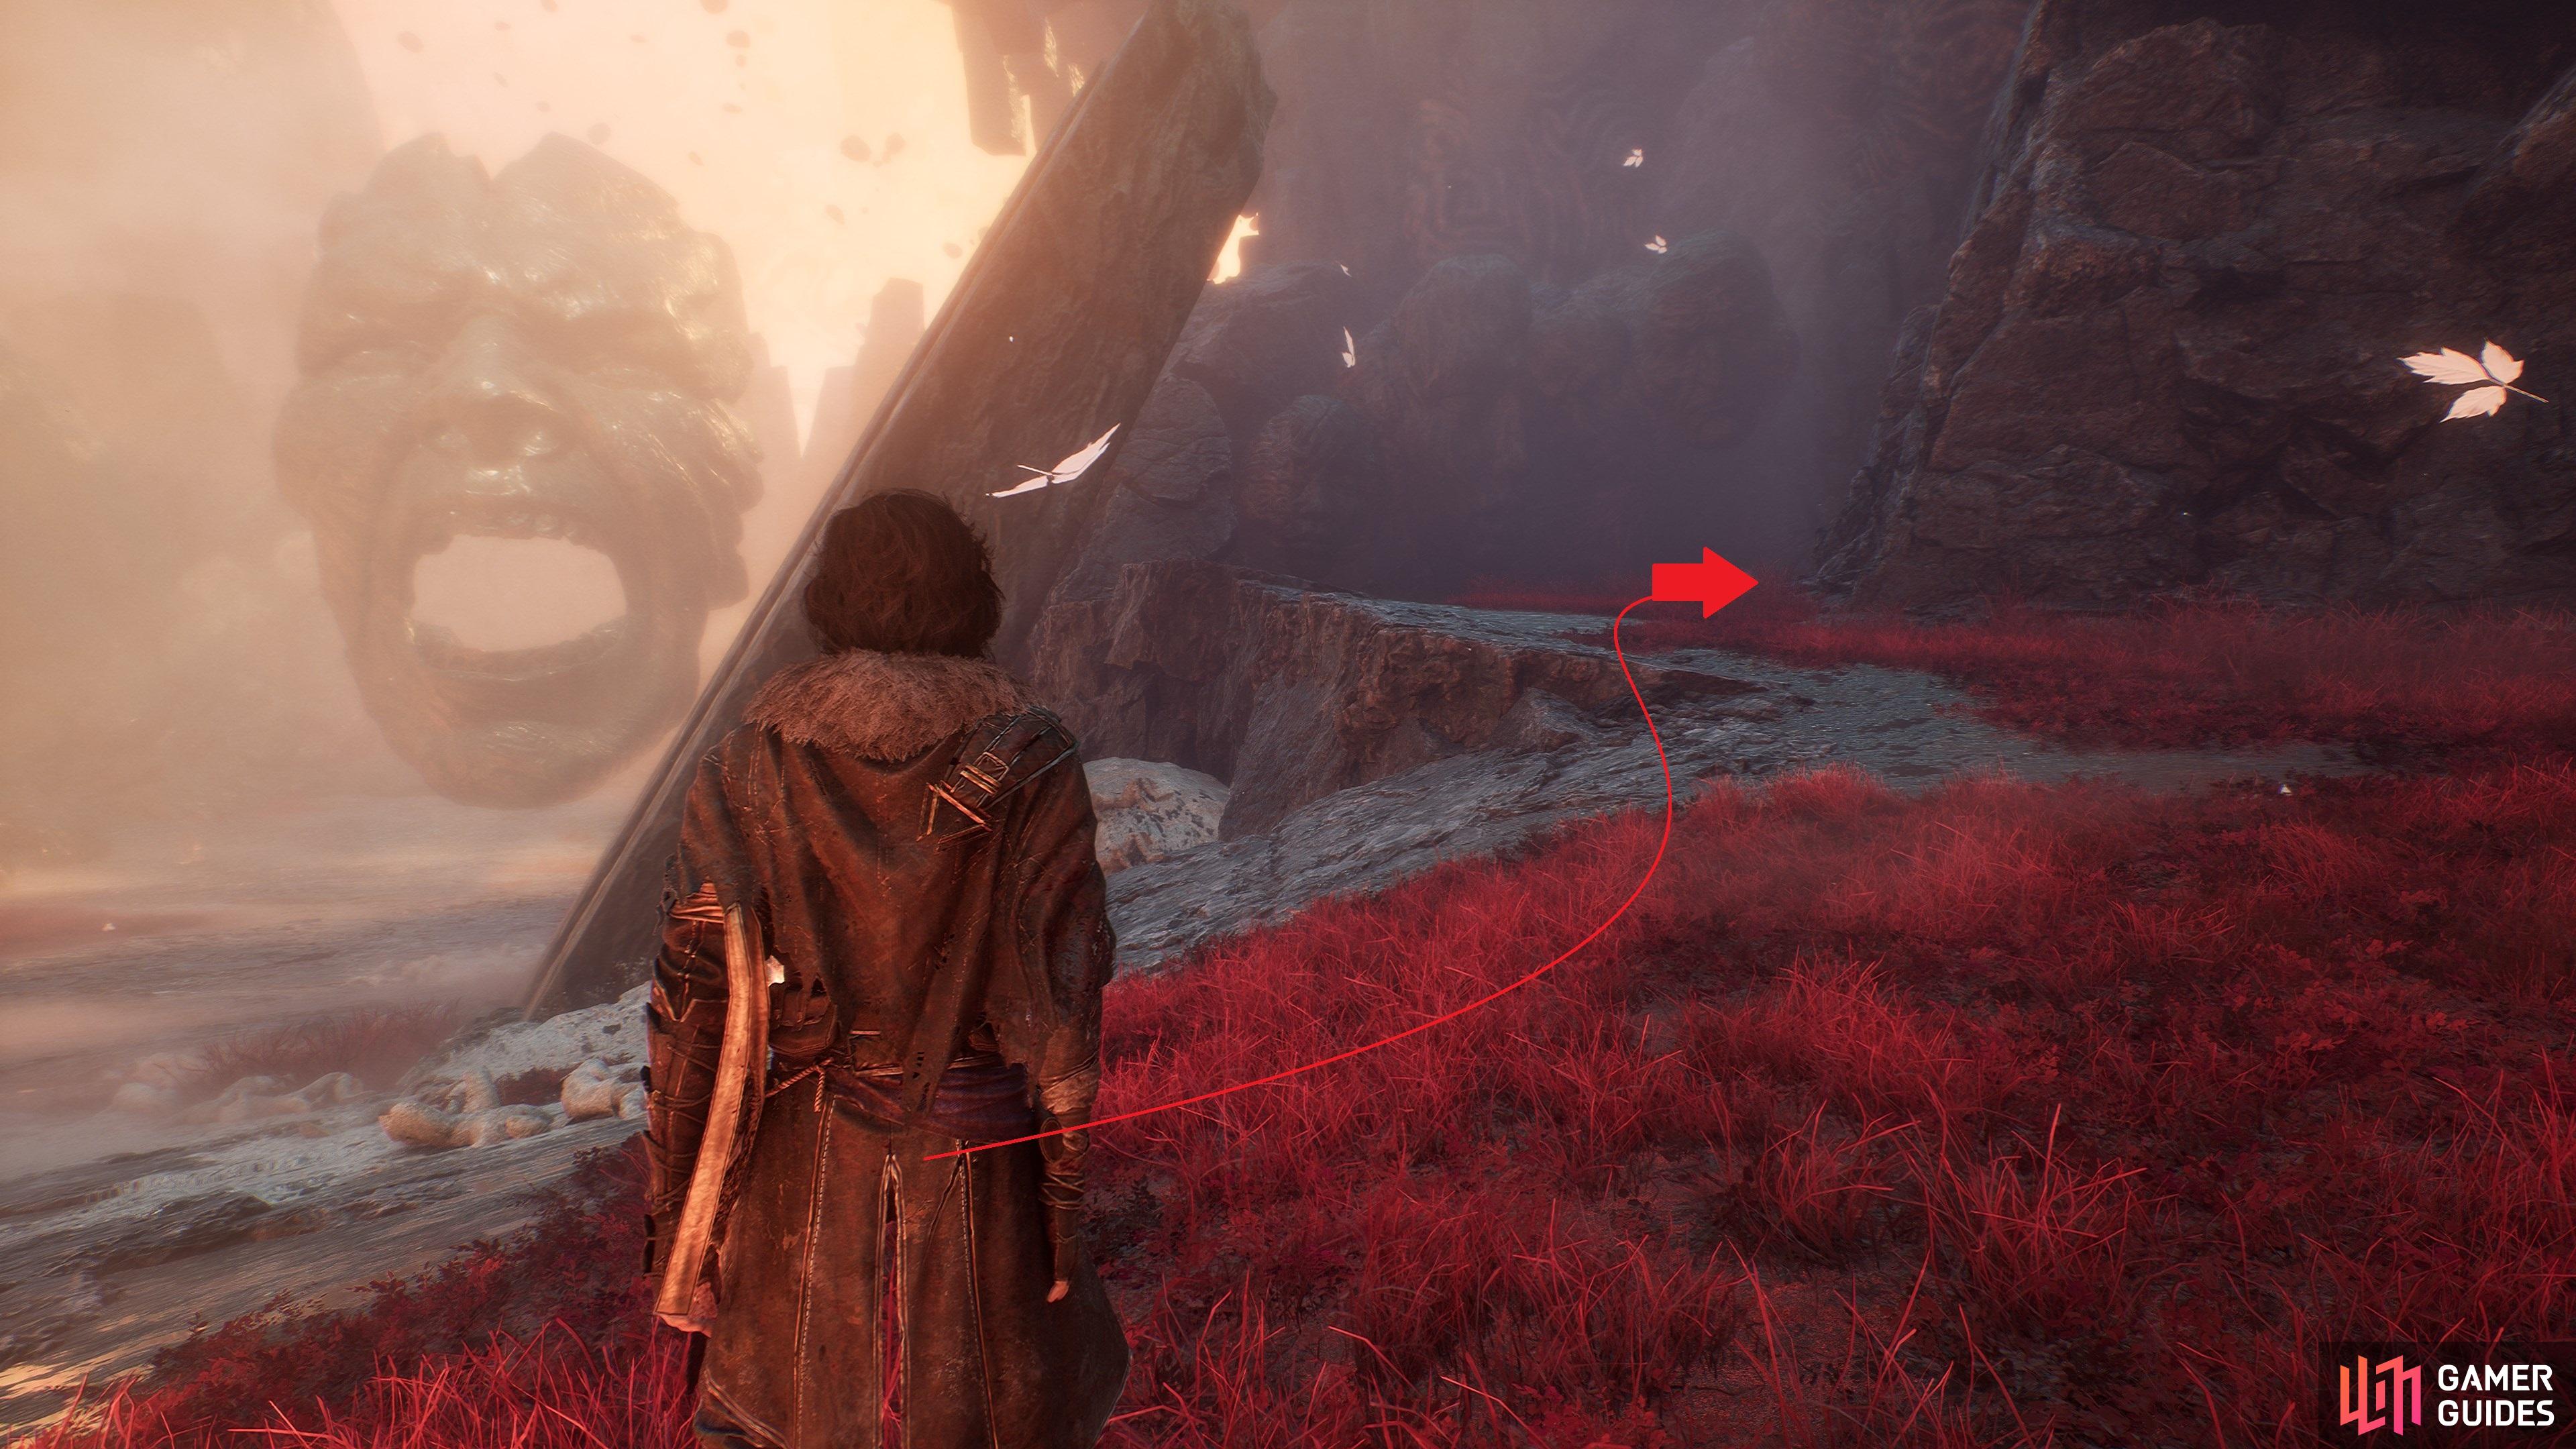
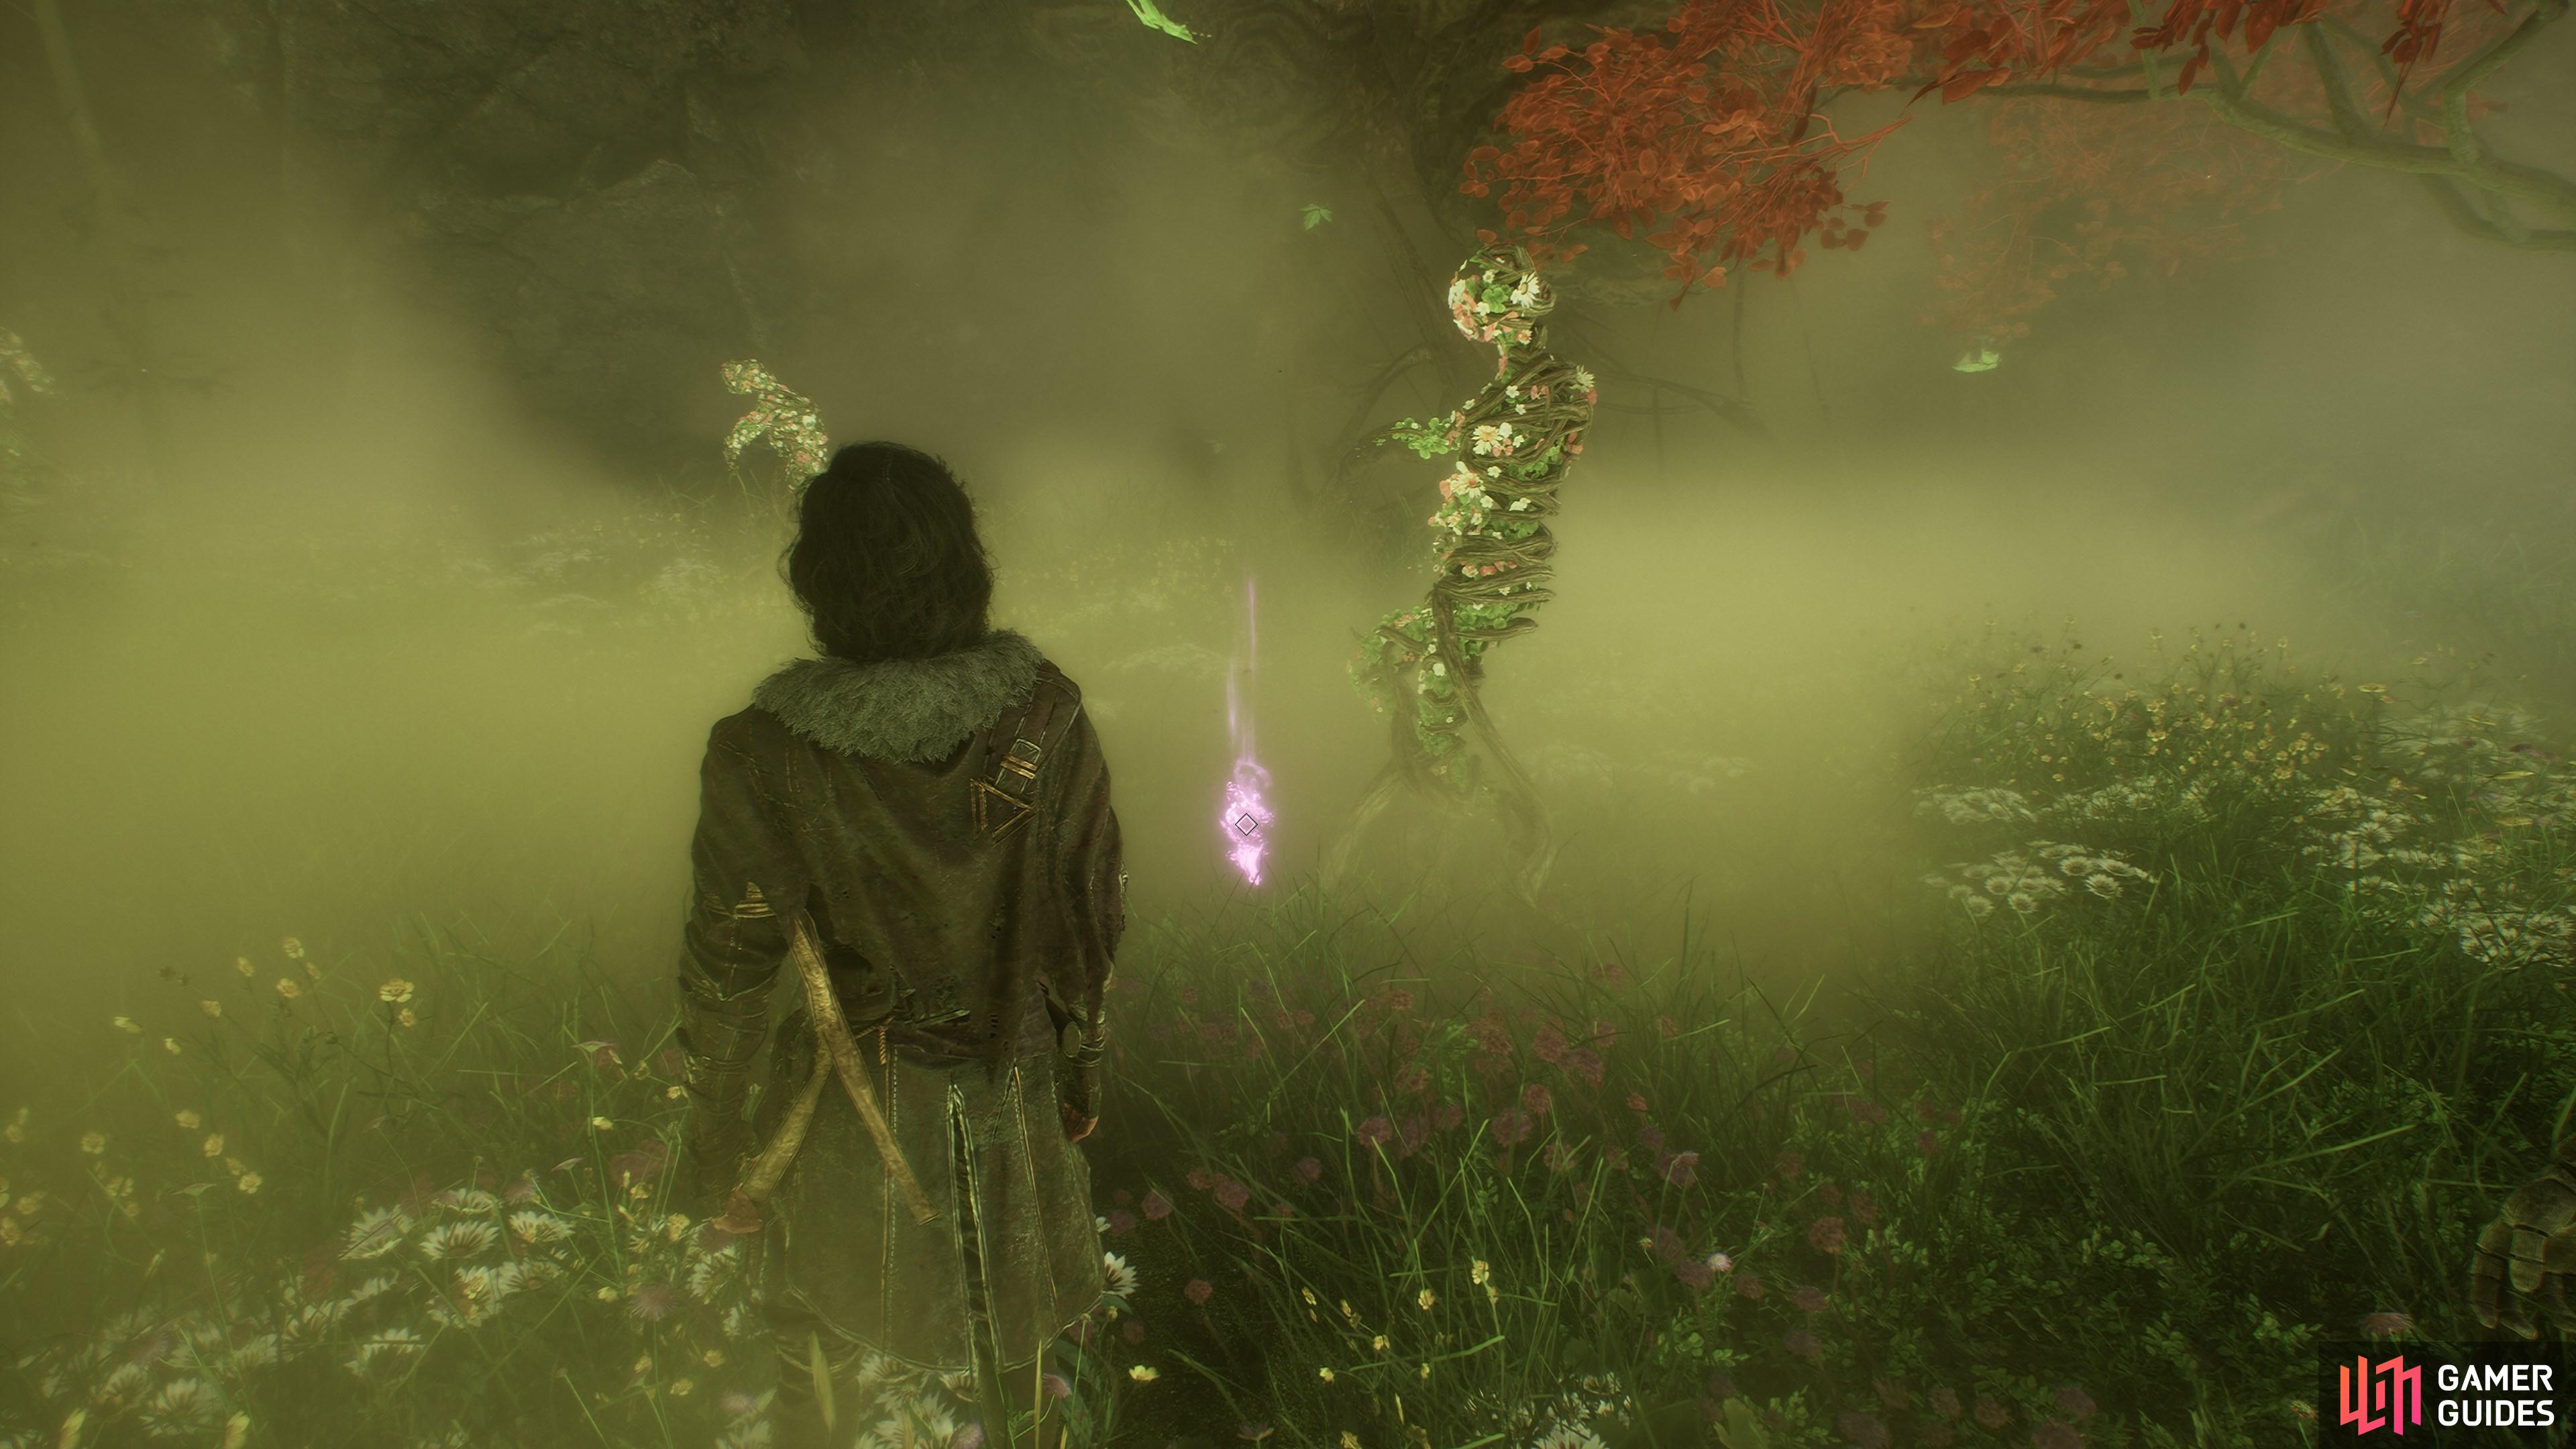
From the ![]() Anger Vale flag, head towards the giant mask in the distance but follow the path of red flowers up to a raised area on the right. You’ll find the catalyst among a pile of crates.
Anger Vale flag, head towards the giant mask in the distance but follow the path of red flowers up to a raised area on the right. You’ll find the catalyst among a pile of crates.
5. The Continent
From the ![]() Joy Vale flag, head towards the giant mask in the distance, but take a right before you reach it. You’ll find this in the field with the
Joy Vale flag, head towards the giant mask in the distance, but take a right before you reach it. You’ll find this in the field with the ![]() Moissonneuse enemies.
Moissonneuse enemies.
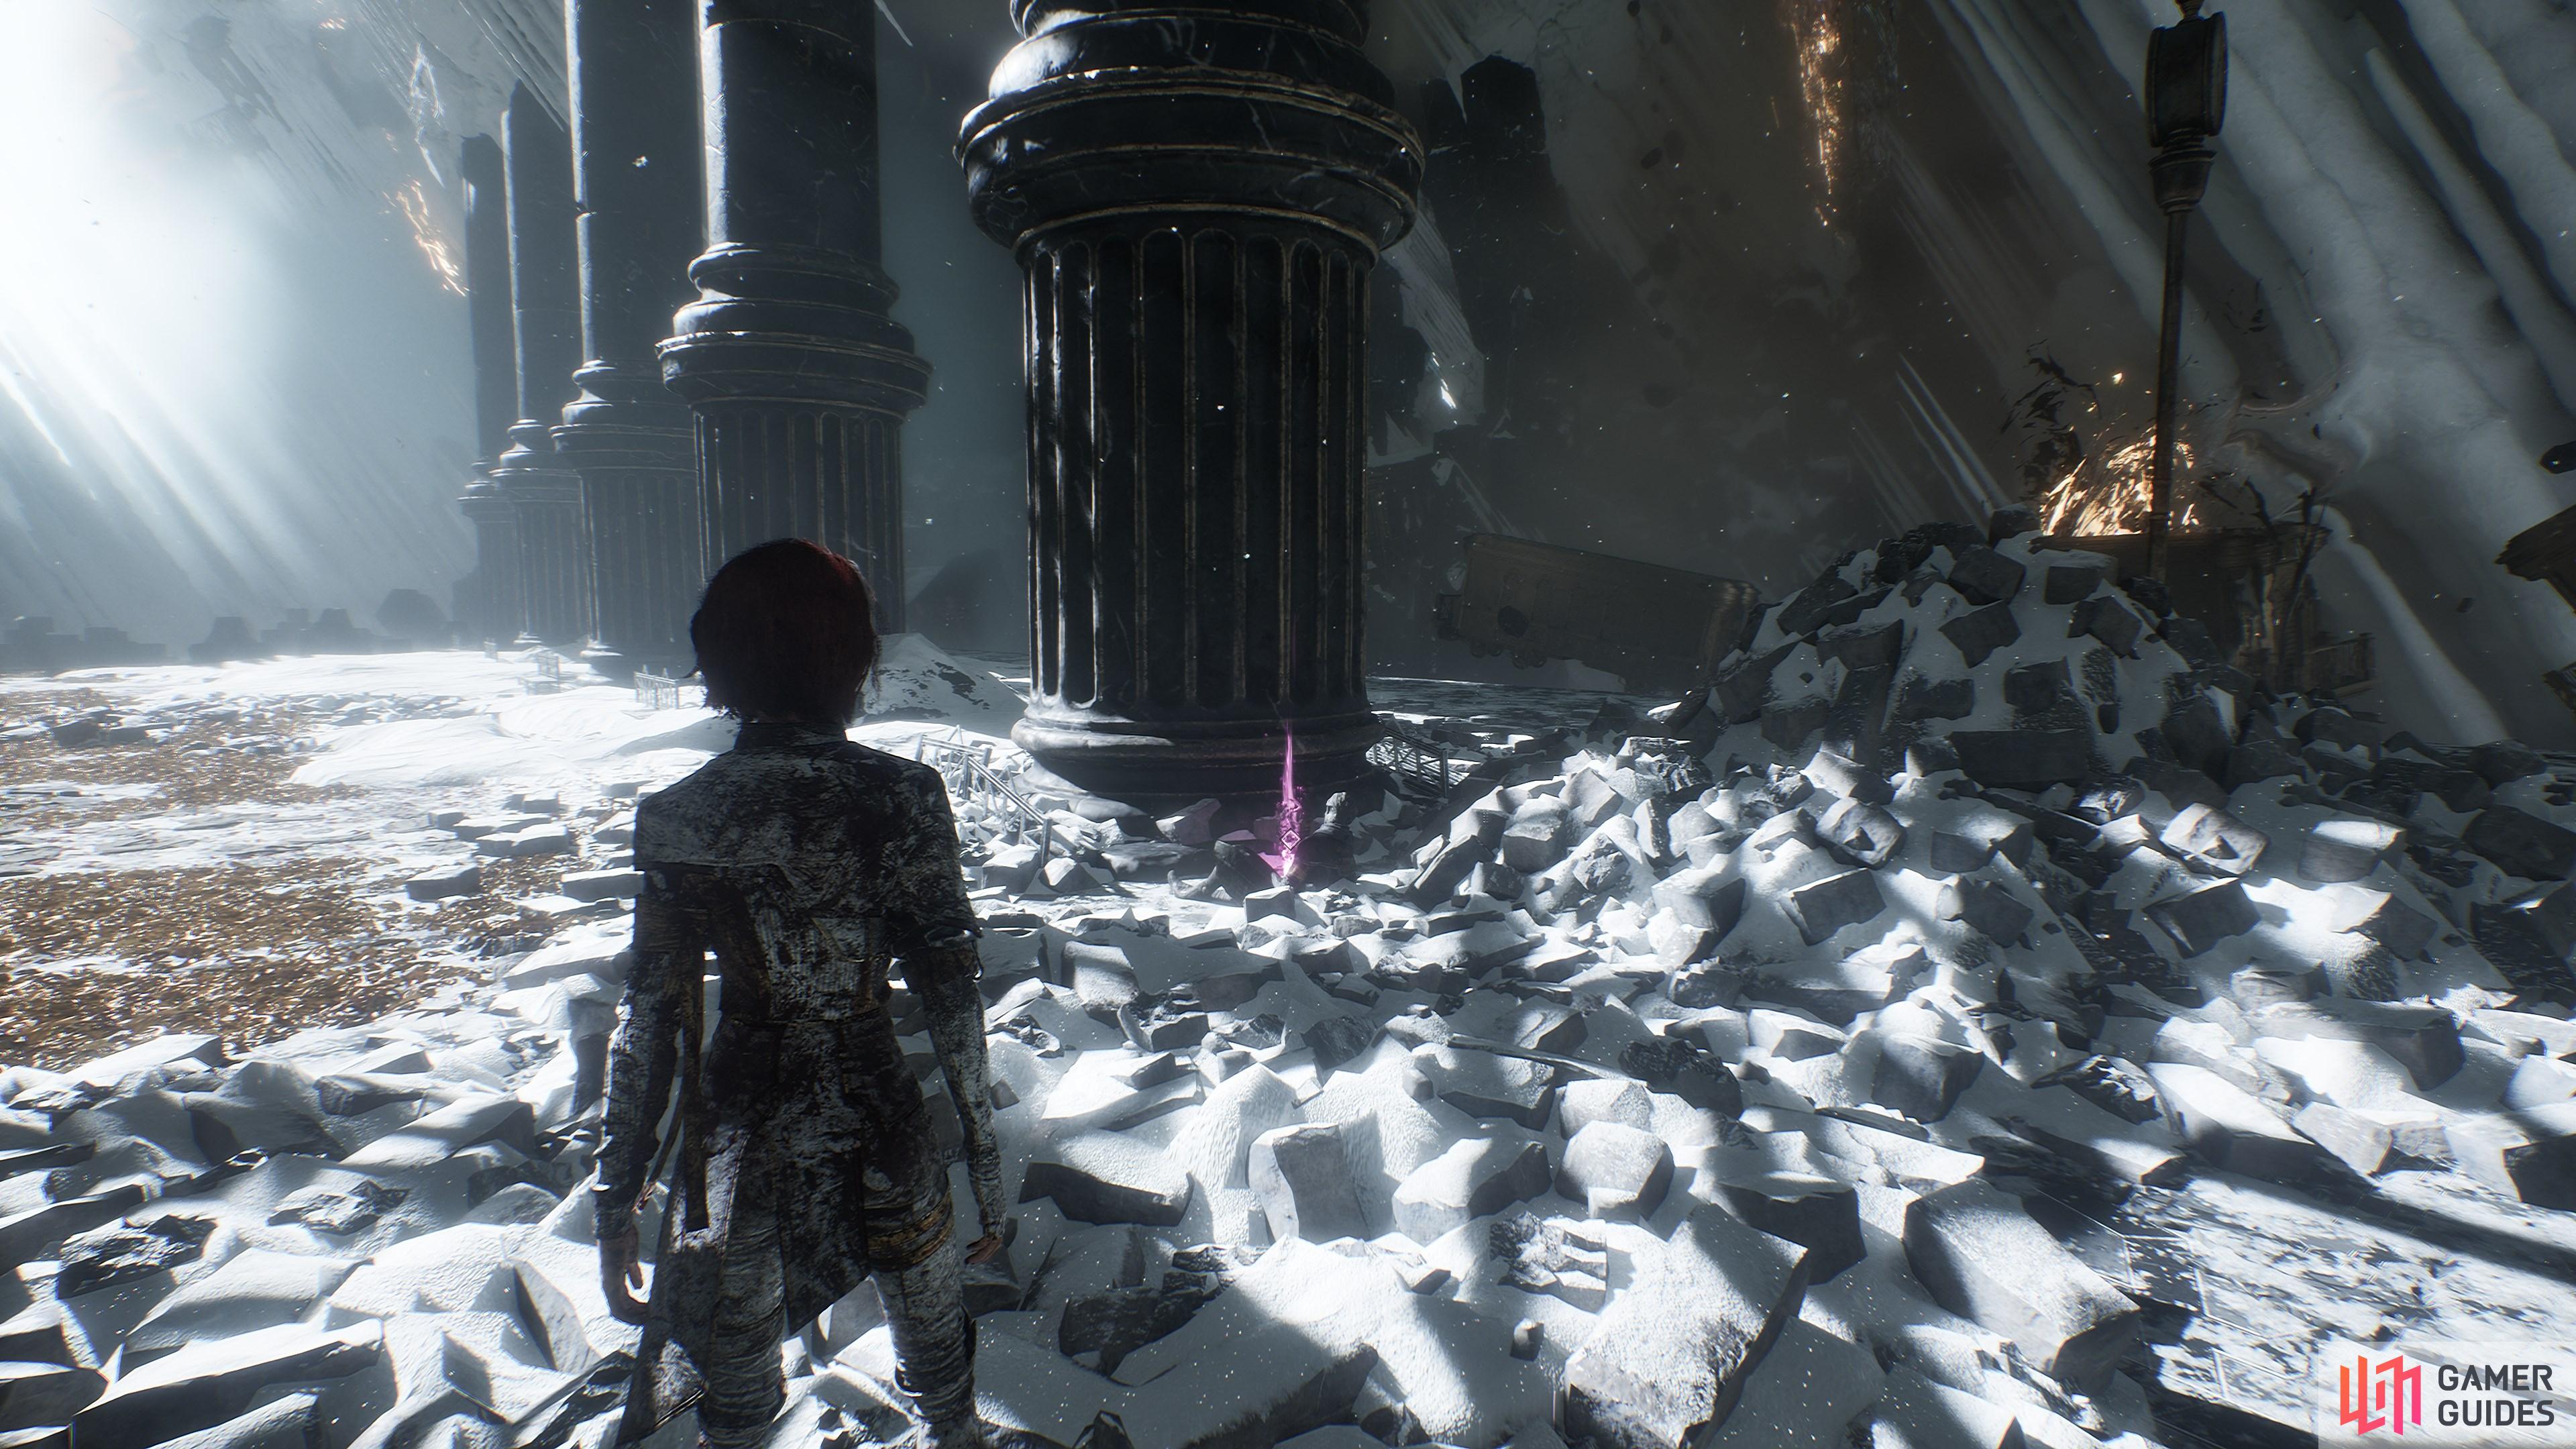
6. The Continent
After your first ride on a floating disc, take exit to the right, downhill through the rocky passage. You’ll find the catalyst below.
7. The Continent
In the room opposite where you find the ![]() Expedition 55 journal, take the rope down to the level below. At the bottom, turn right to find this catalyst, and a
Expedition 55 journal, take the rope down to the level below. At the bottom, turn right to find this catalyst, and a ![]() Ballet enemy, beyond the archway.
Ballet enemy, beyond the archway.
8. The Continent
In the room opposite where you find the ![]() Expedition 55 journal, take the rope down to the level below. At the bottom, use the grapple point and head down the stairs. Take a ride on the floating disc elevator. At the end of the area ahead, past the patrolling
Expedition 55 journal, take the rope down to the level below. At the bottom, use the grapple point and head down the stairs. Take a ride on the floating disc elevator. At the end of the area ahead, past the patrolling ![]() Ballet enemies, you’ll see a set of handholds leading upward.
Ballet enemies, you’ll see a set of handholds leading upward.
Climb up, then crouch under the crawlspace at the top. The catalyst is just inside, as is a handy shortcut rope to whizz you back to the start of the area.

9. The Continent
On the raised platform overlooking the floating disc elevator at the far end of the path leading away from the ![]() Dancing Classes flag.
Dancing Classes flag.
10. The Continent
Five found in Battle Loot from the Petank in this area, which can be tricky to locate.
At the end of the ![]() Dancing Classes area, you will take a ride down on on of the strange, floating discs to an area below.
Dancing Classes area, you will take a ride down on on of the strange, floating discs to an area below.
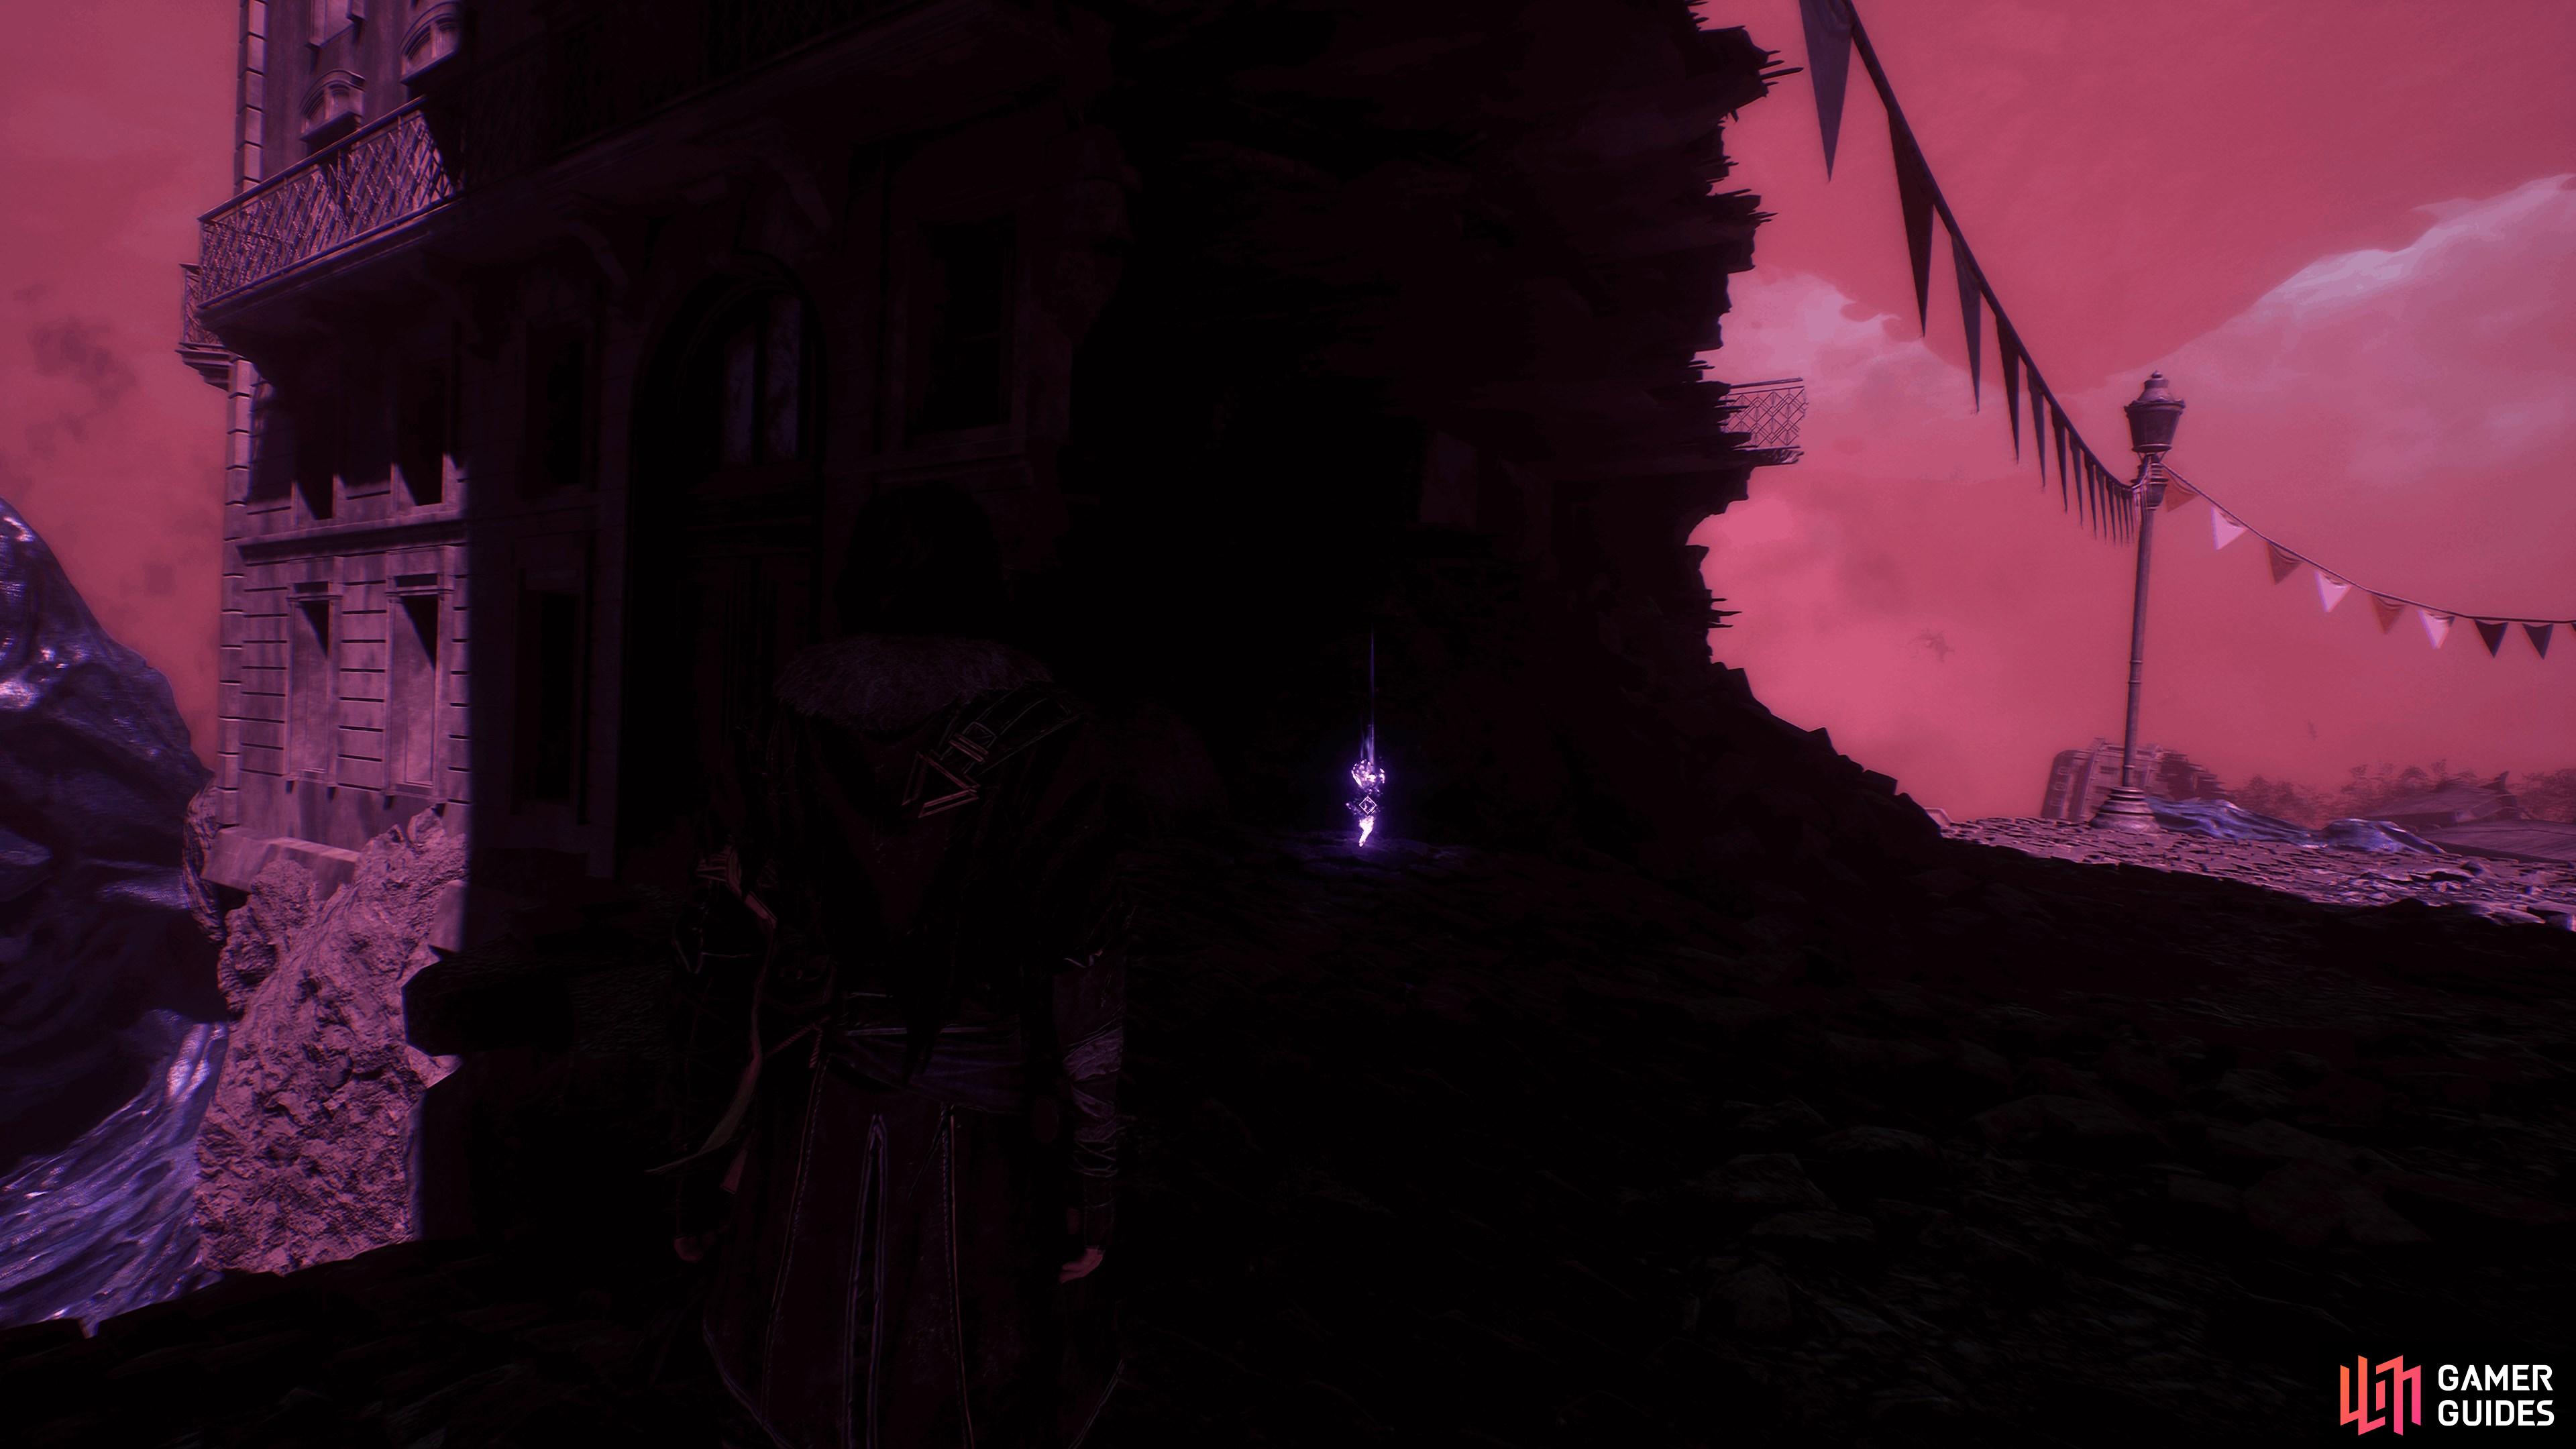
There are three possible paths, all illuminated by a different colored light. Head down the blue path to find the Petank, then chase it around to the red path to corner it.
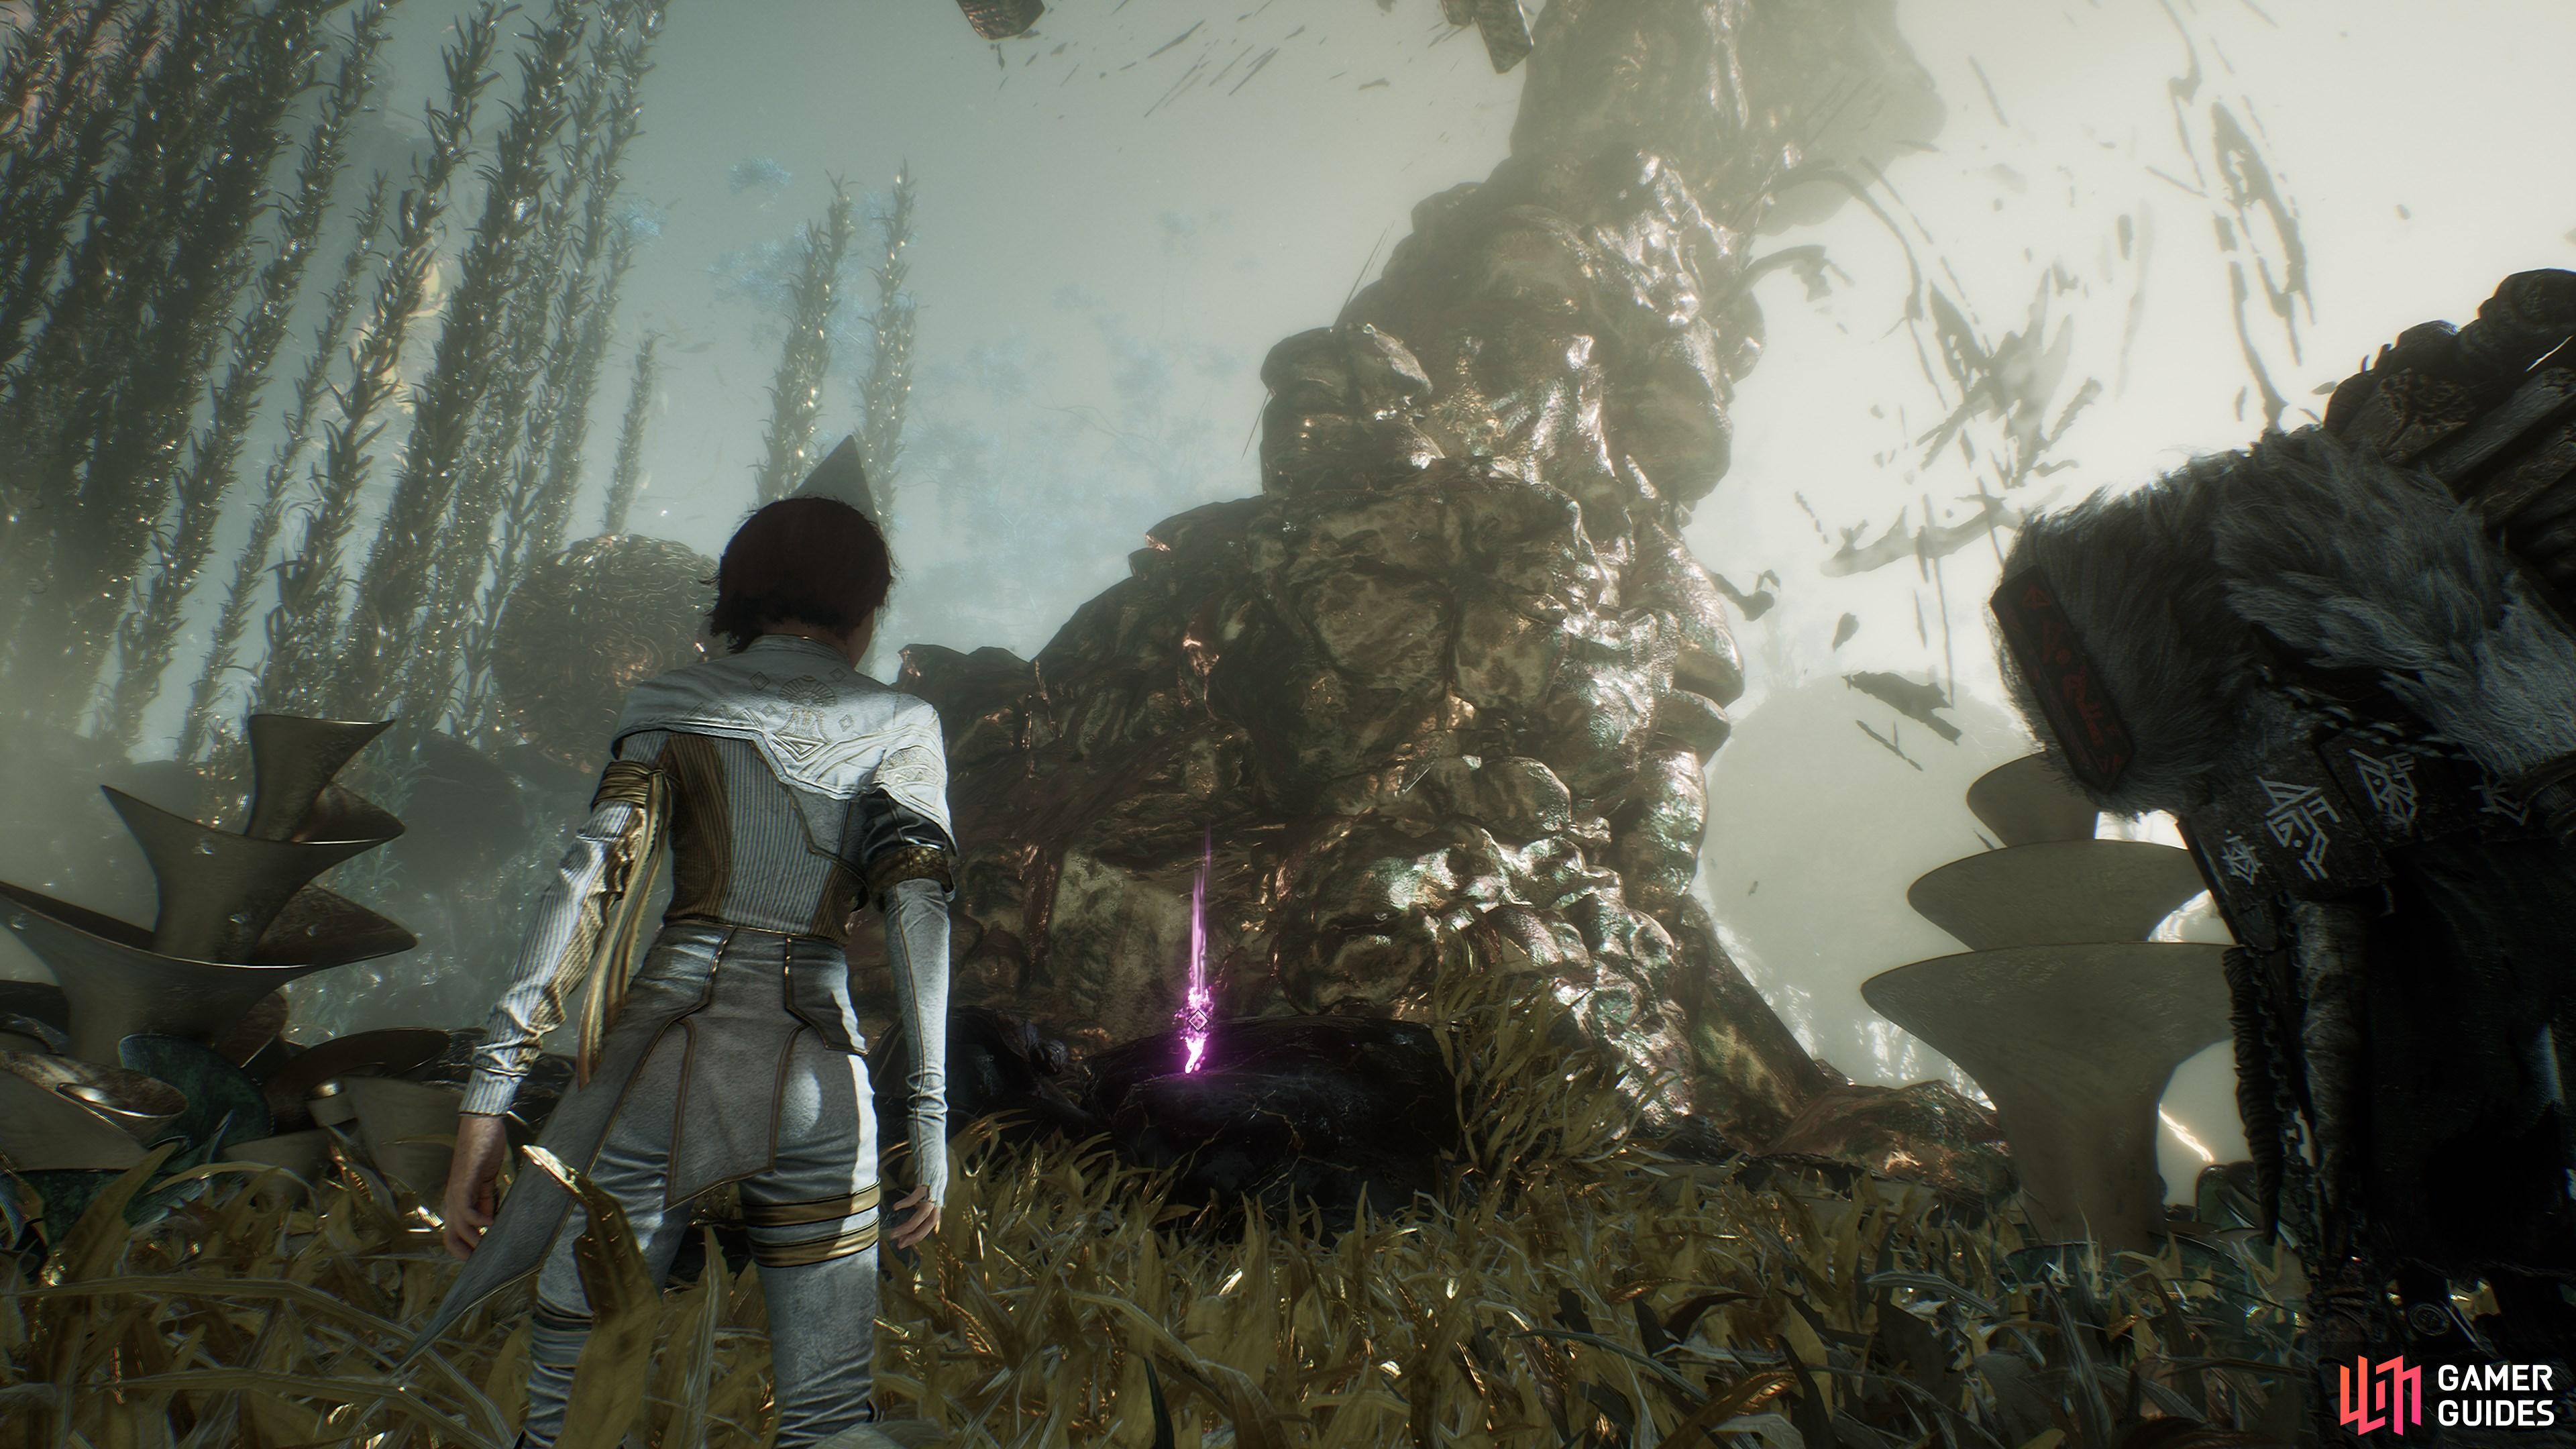
11. The Continent
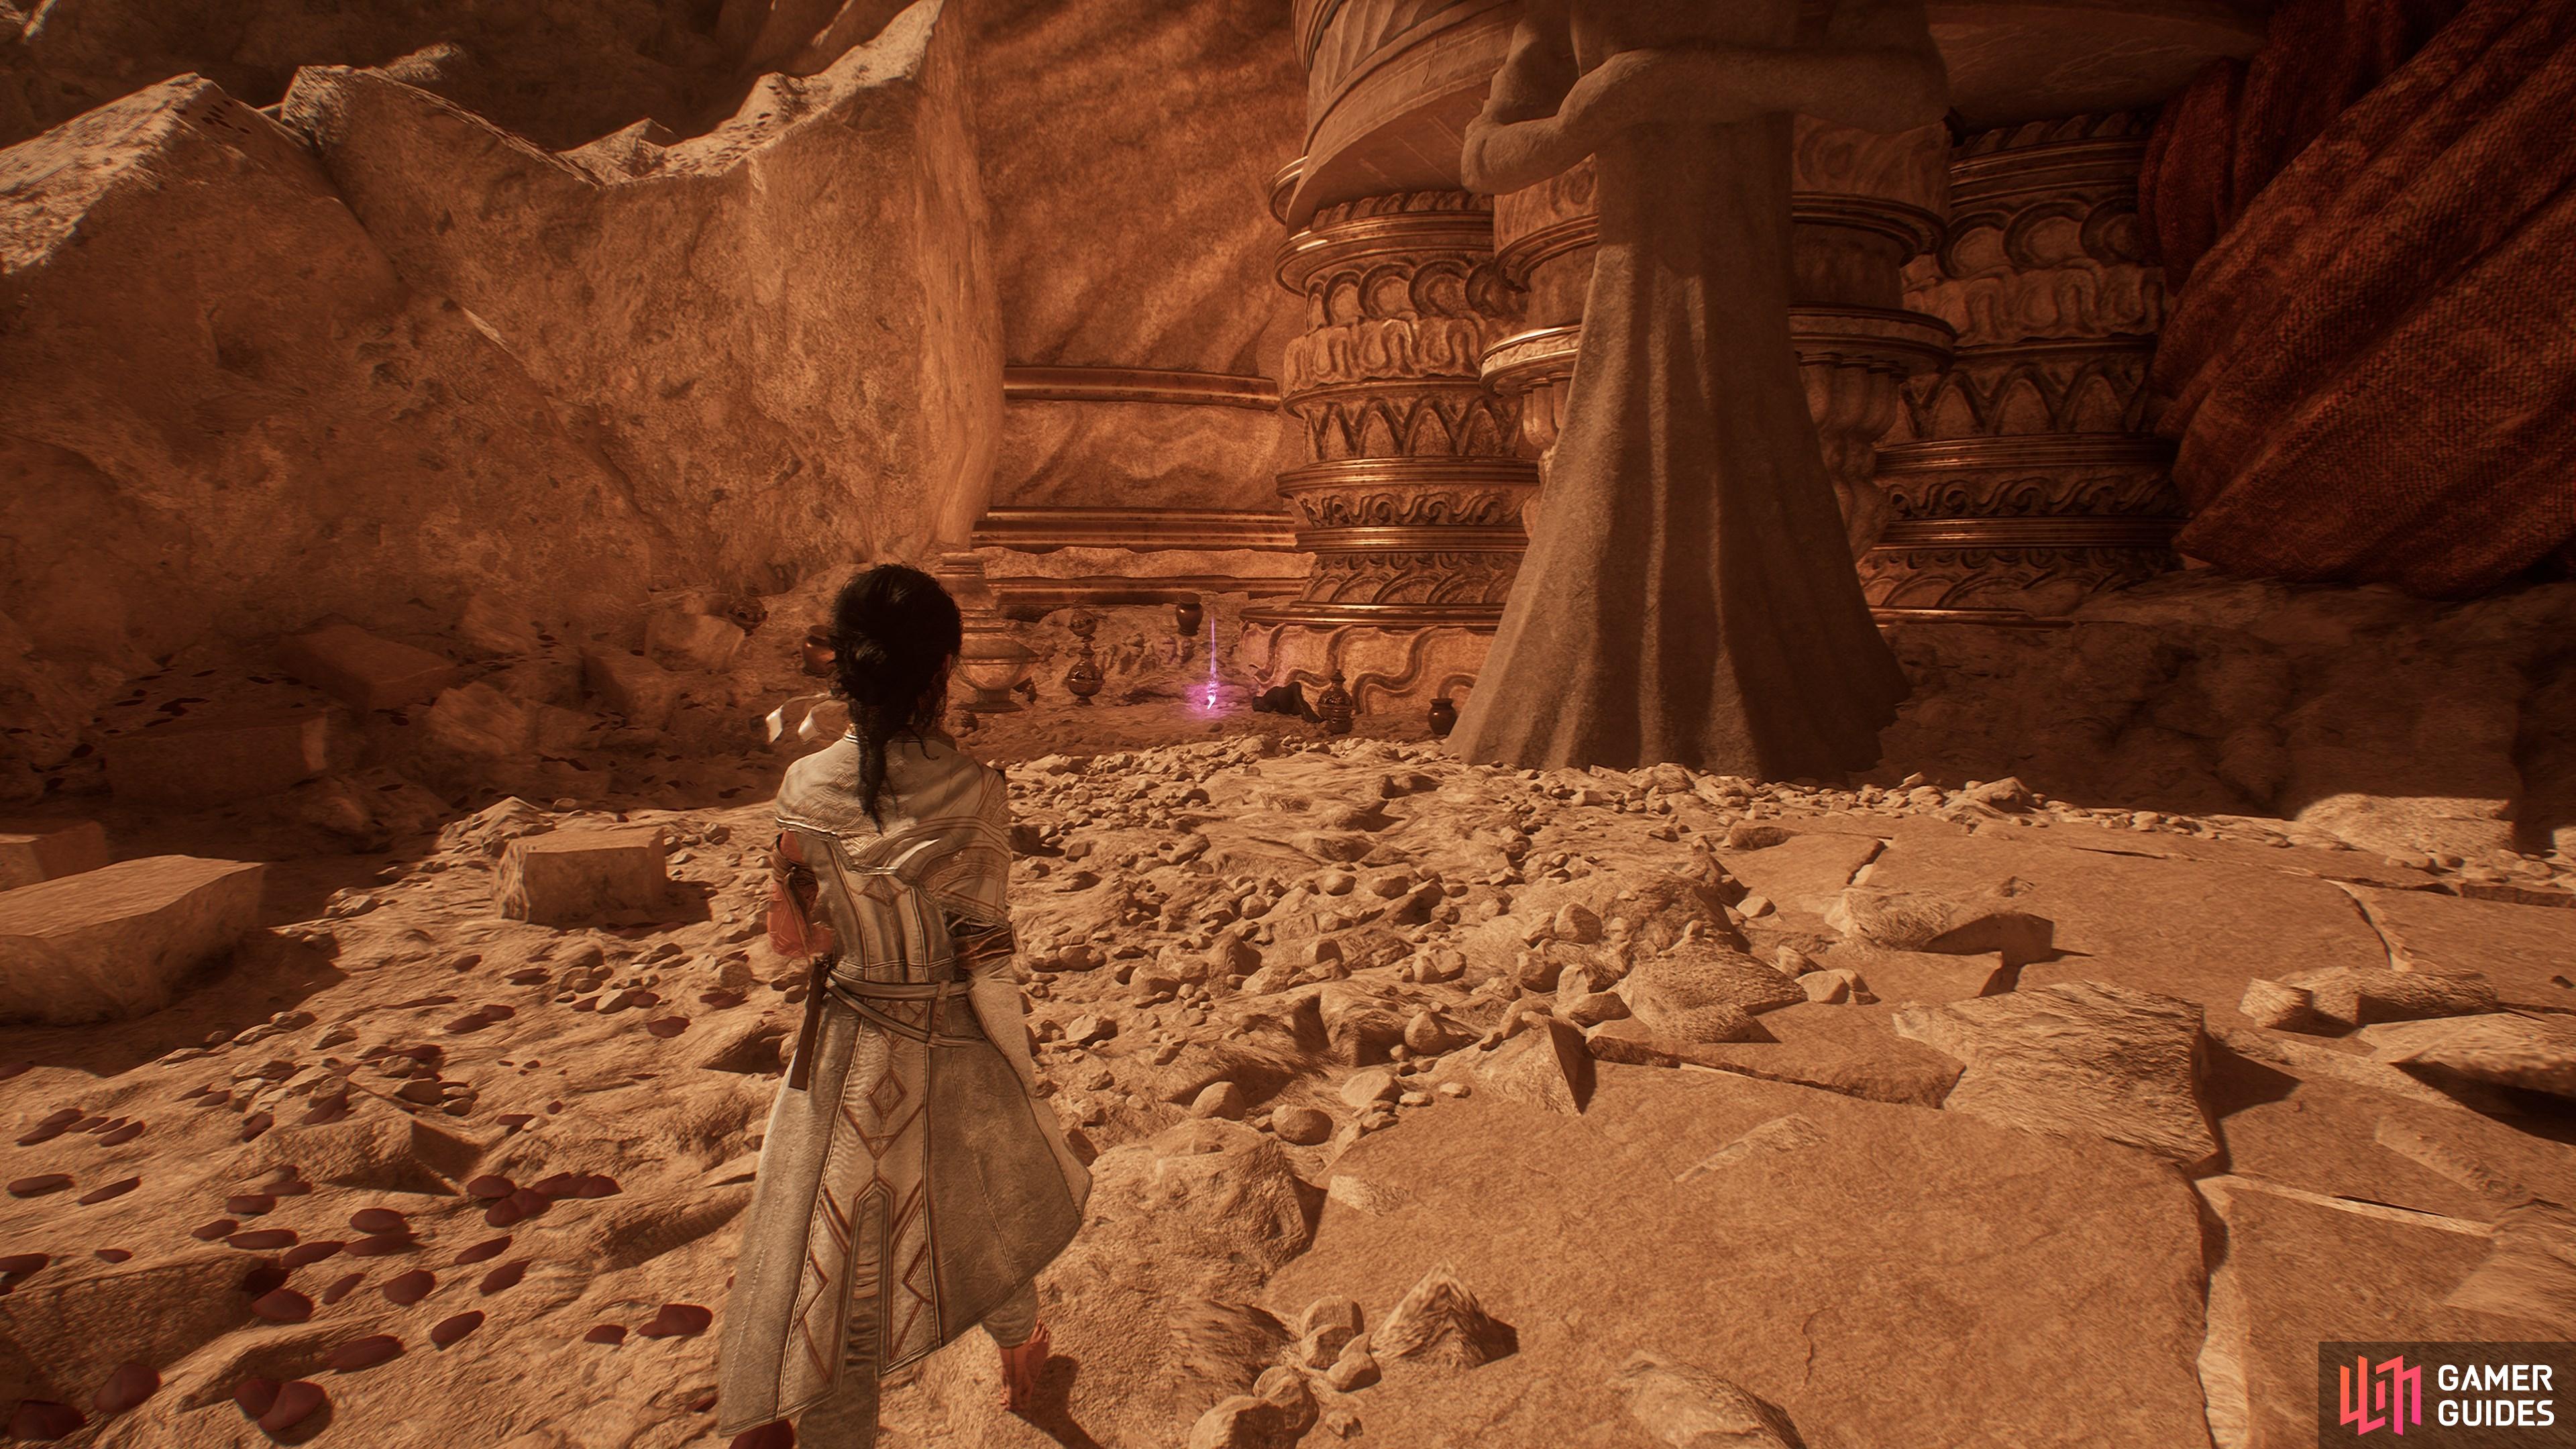
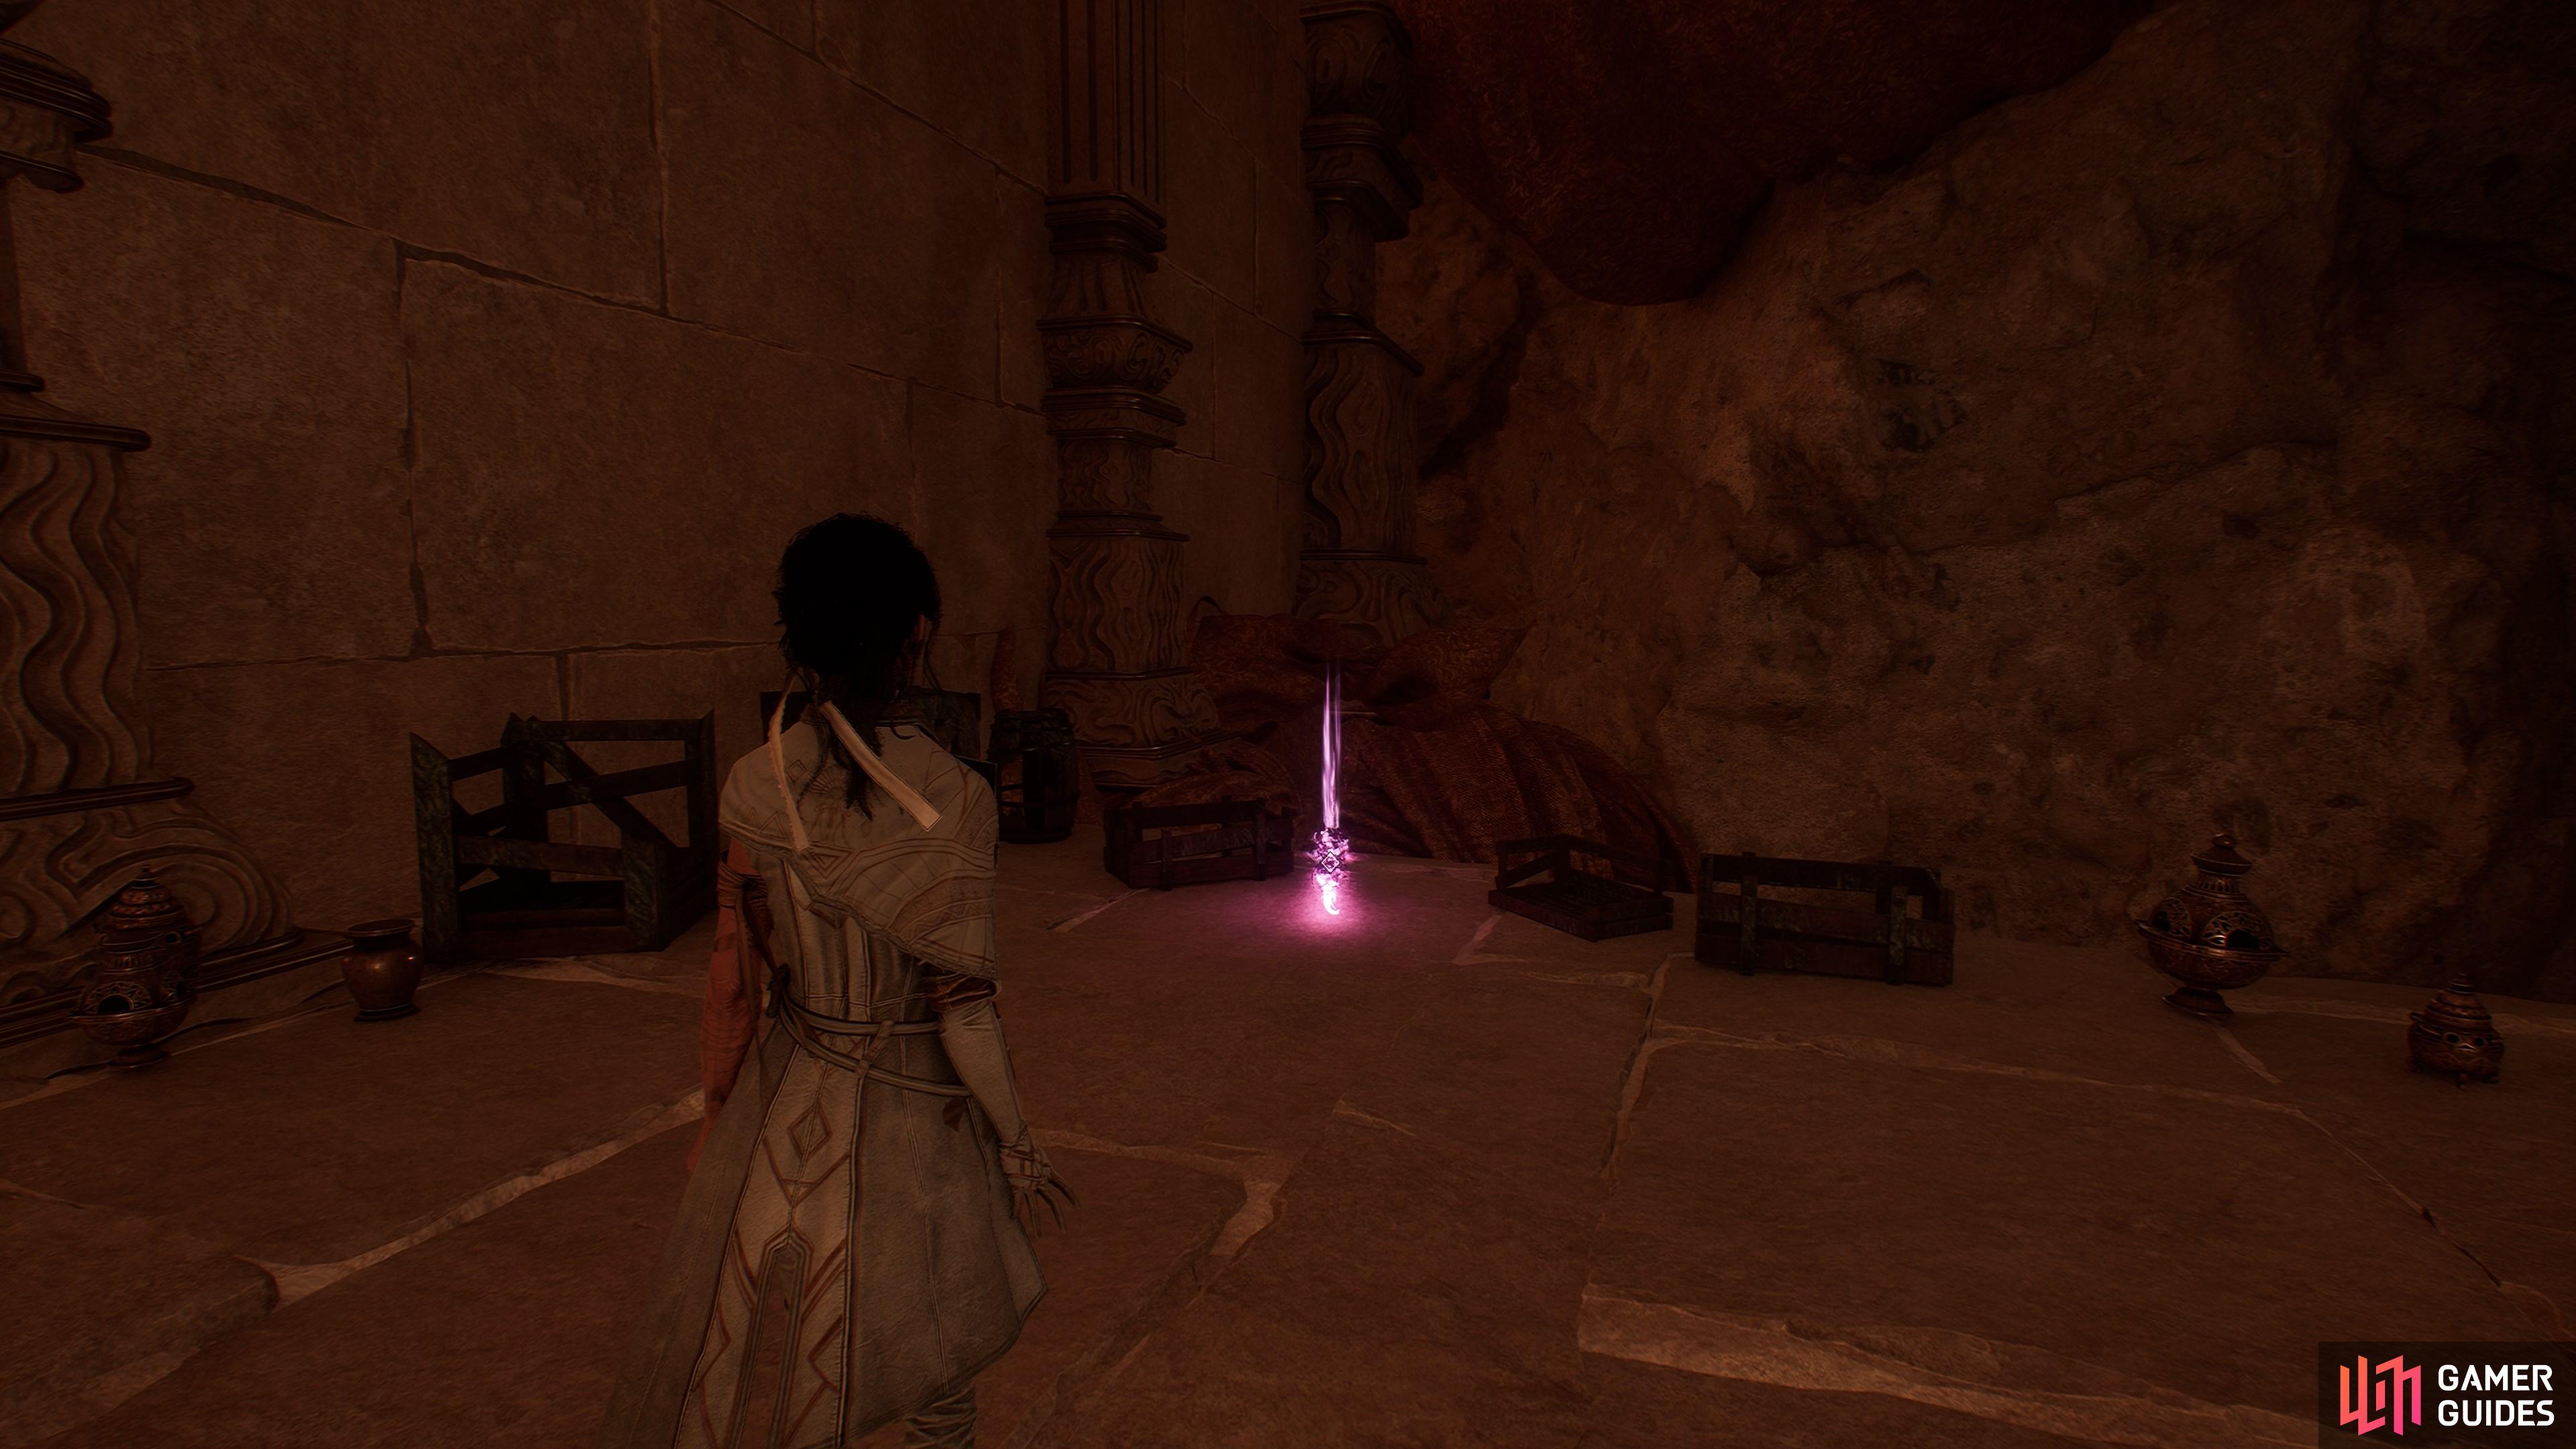
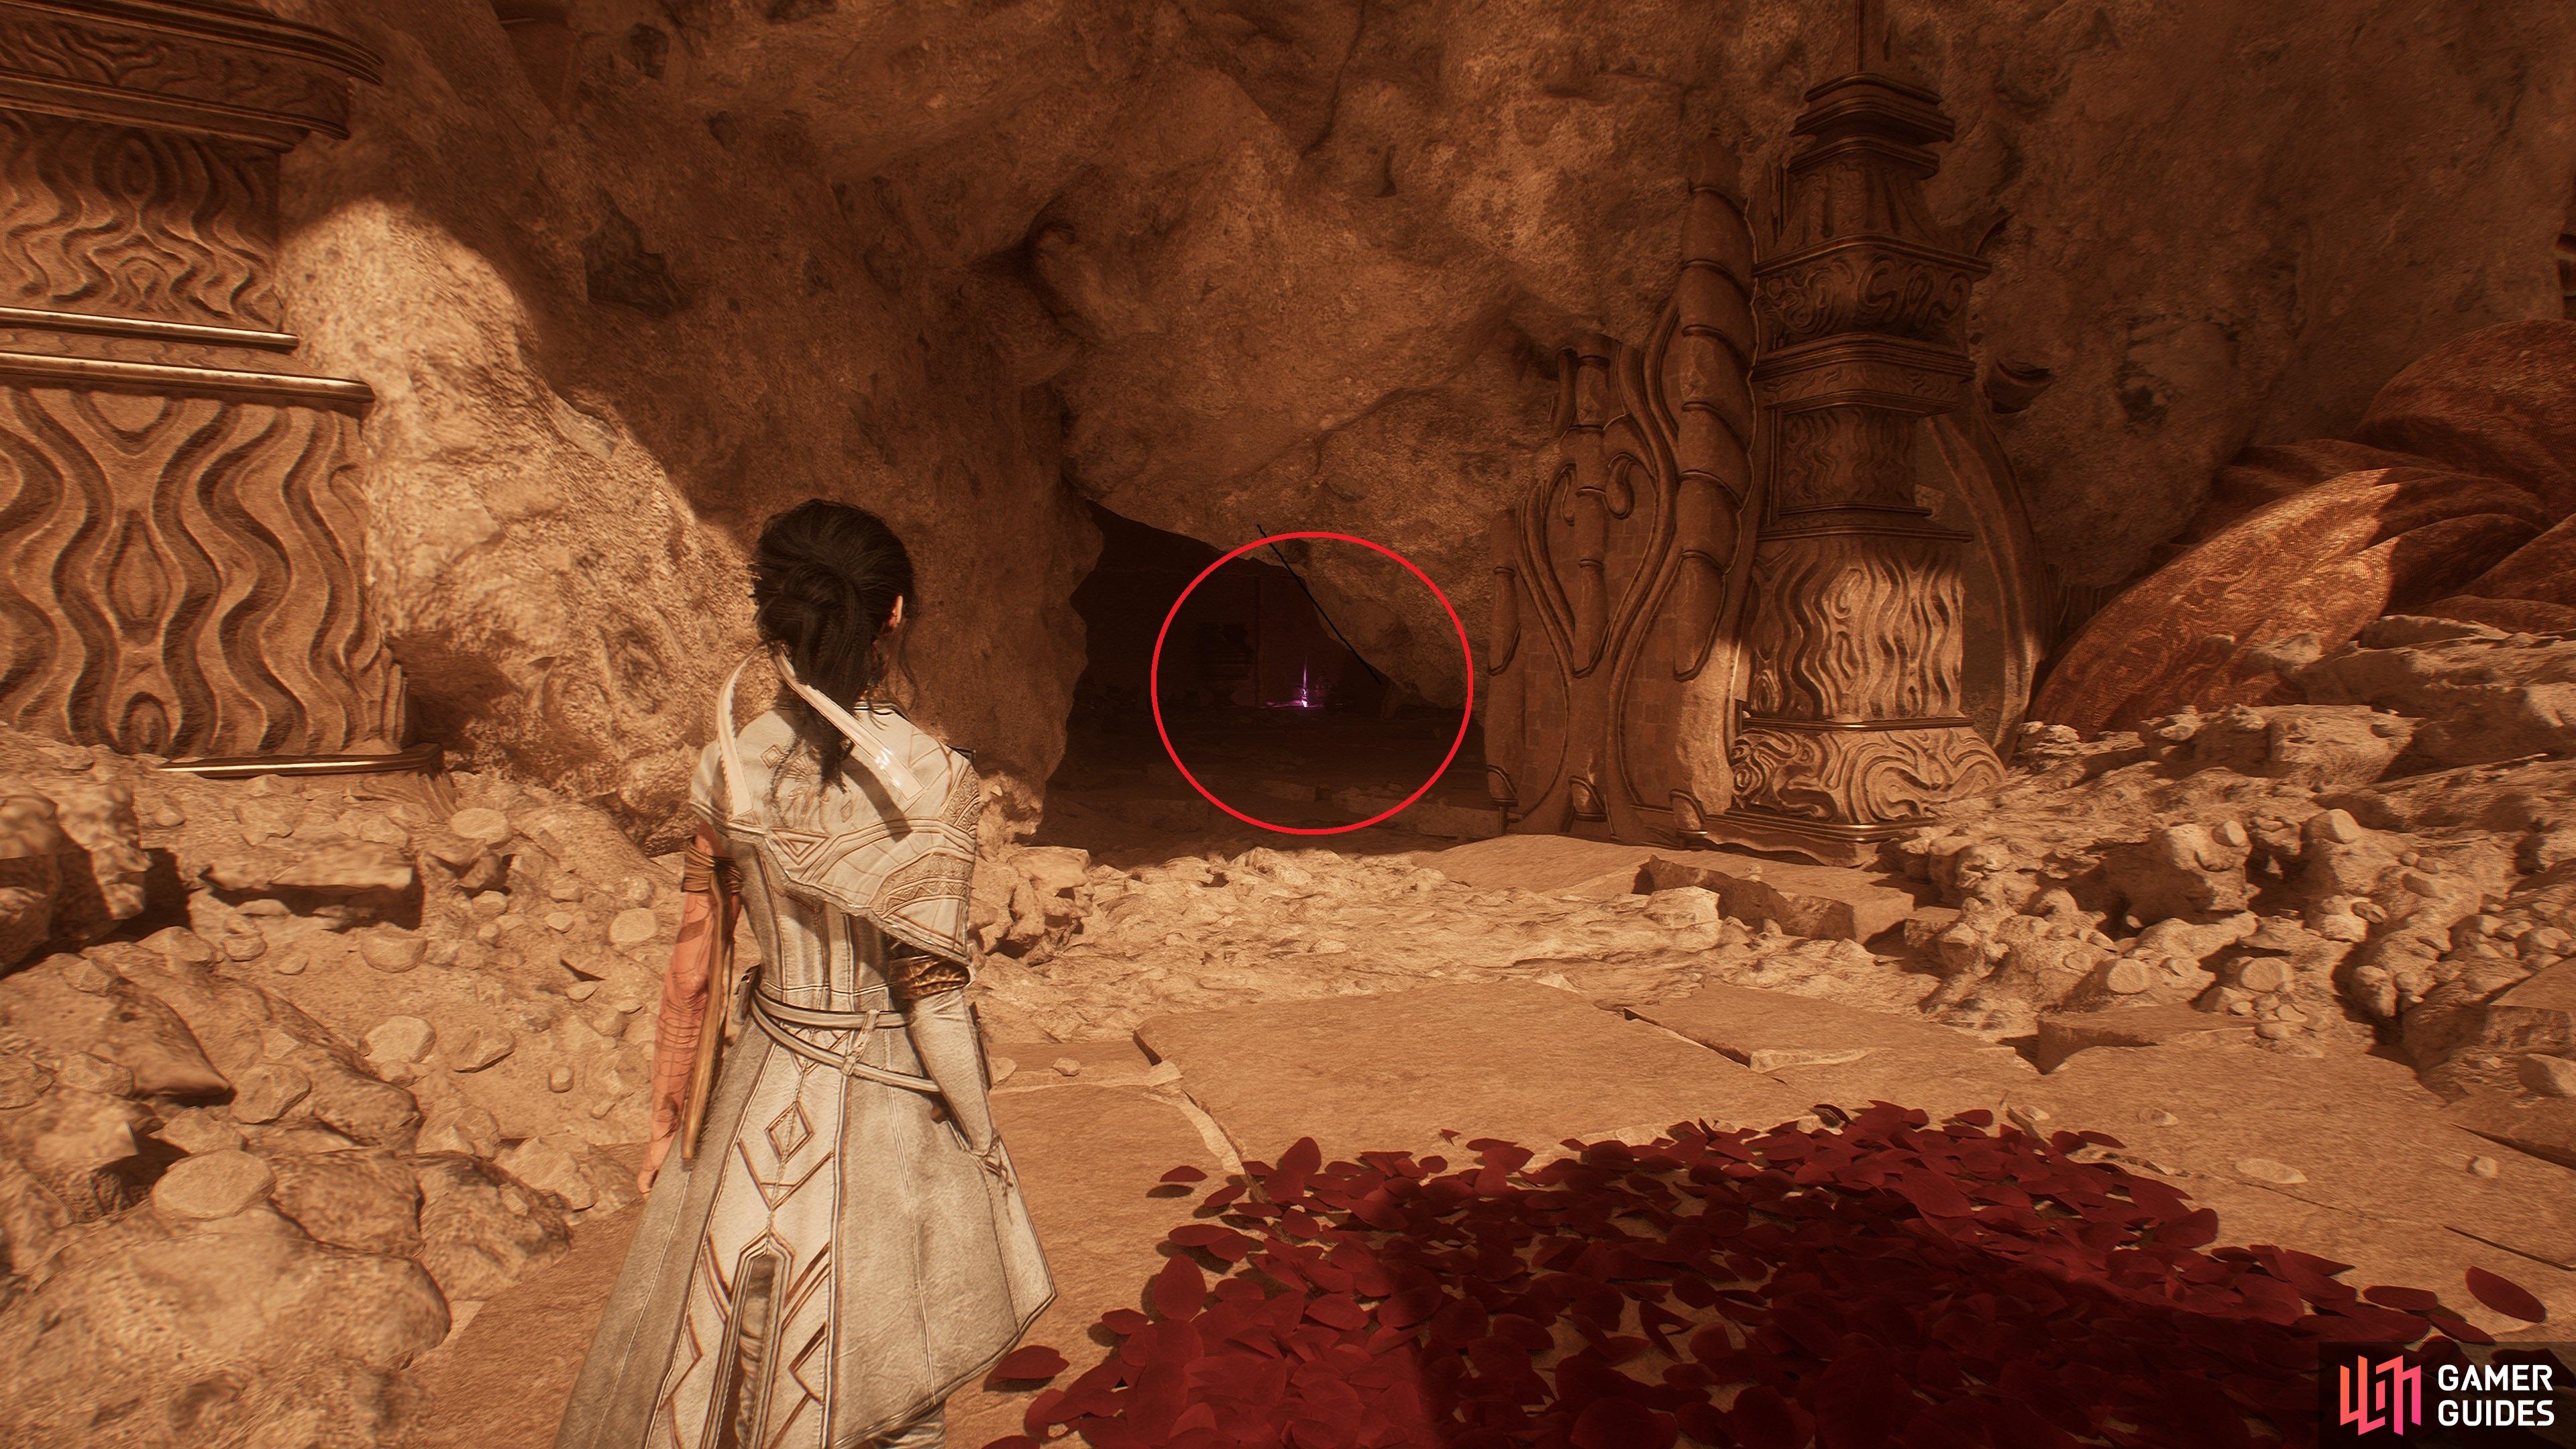
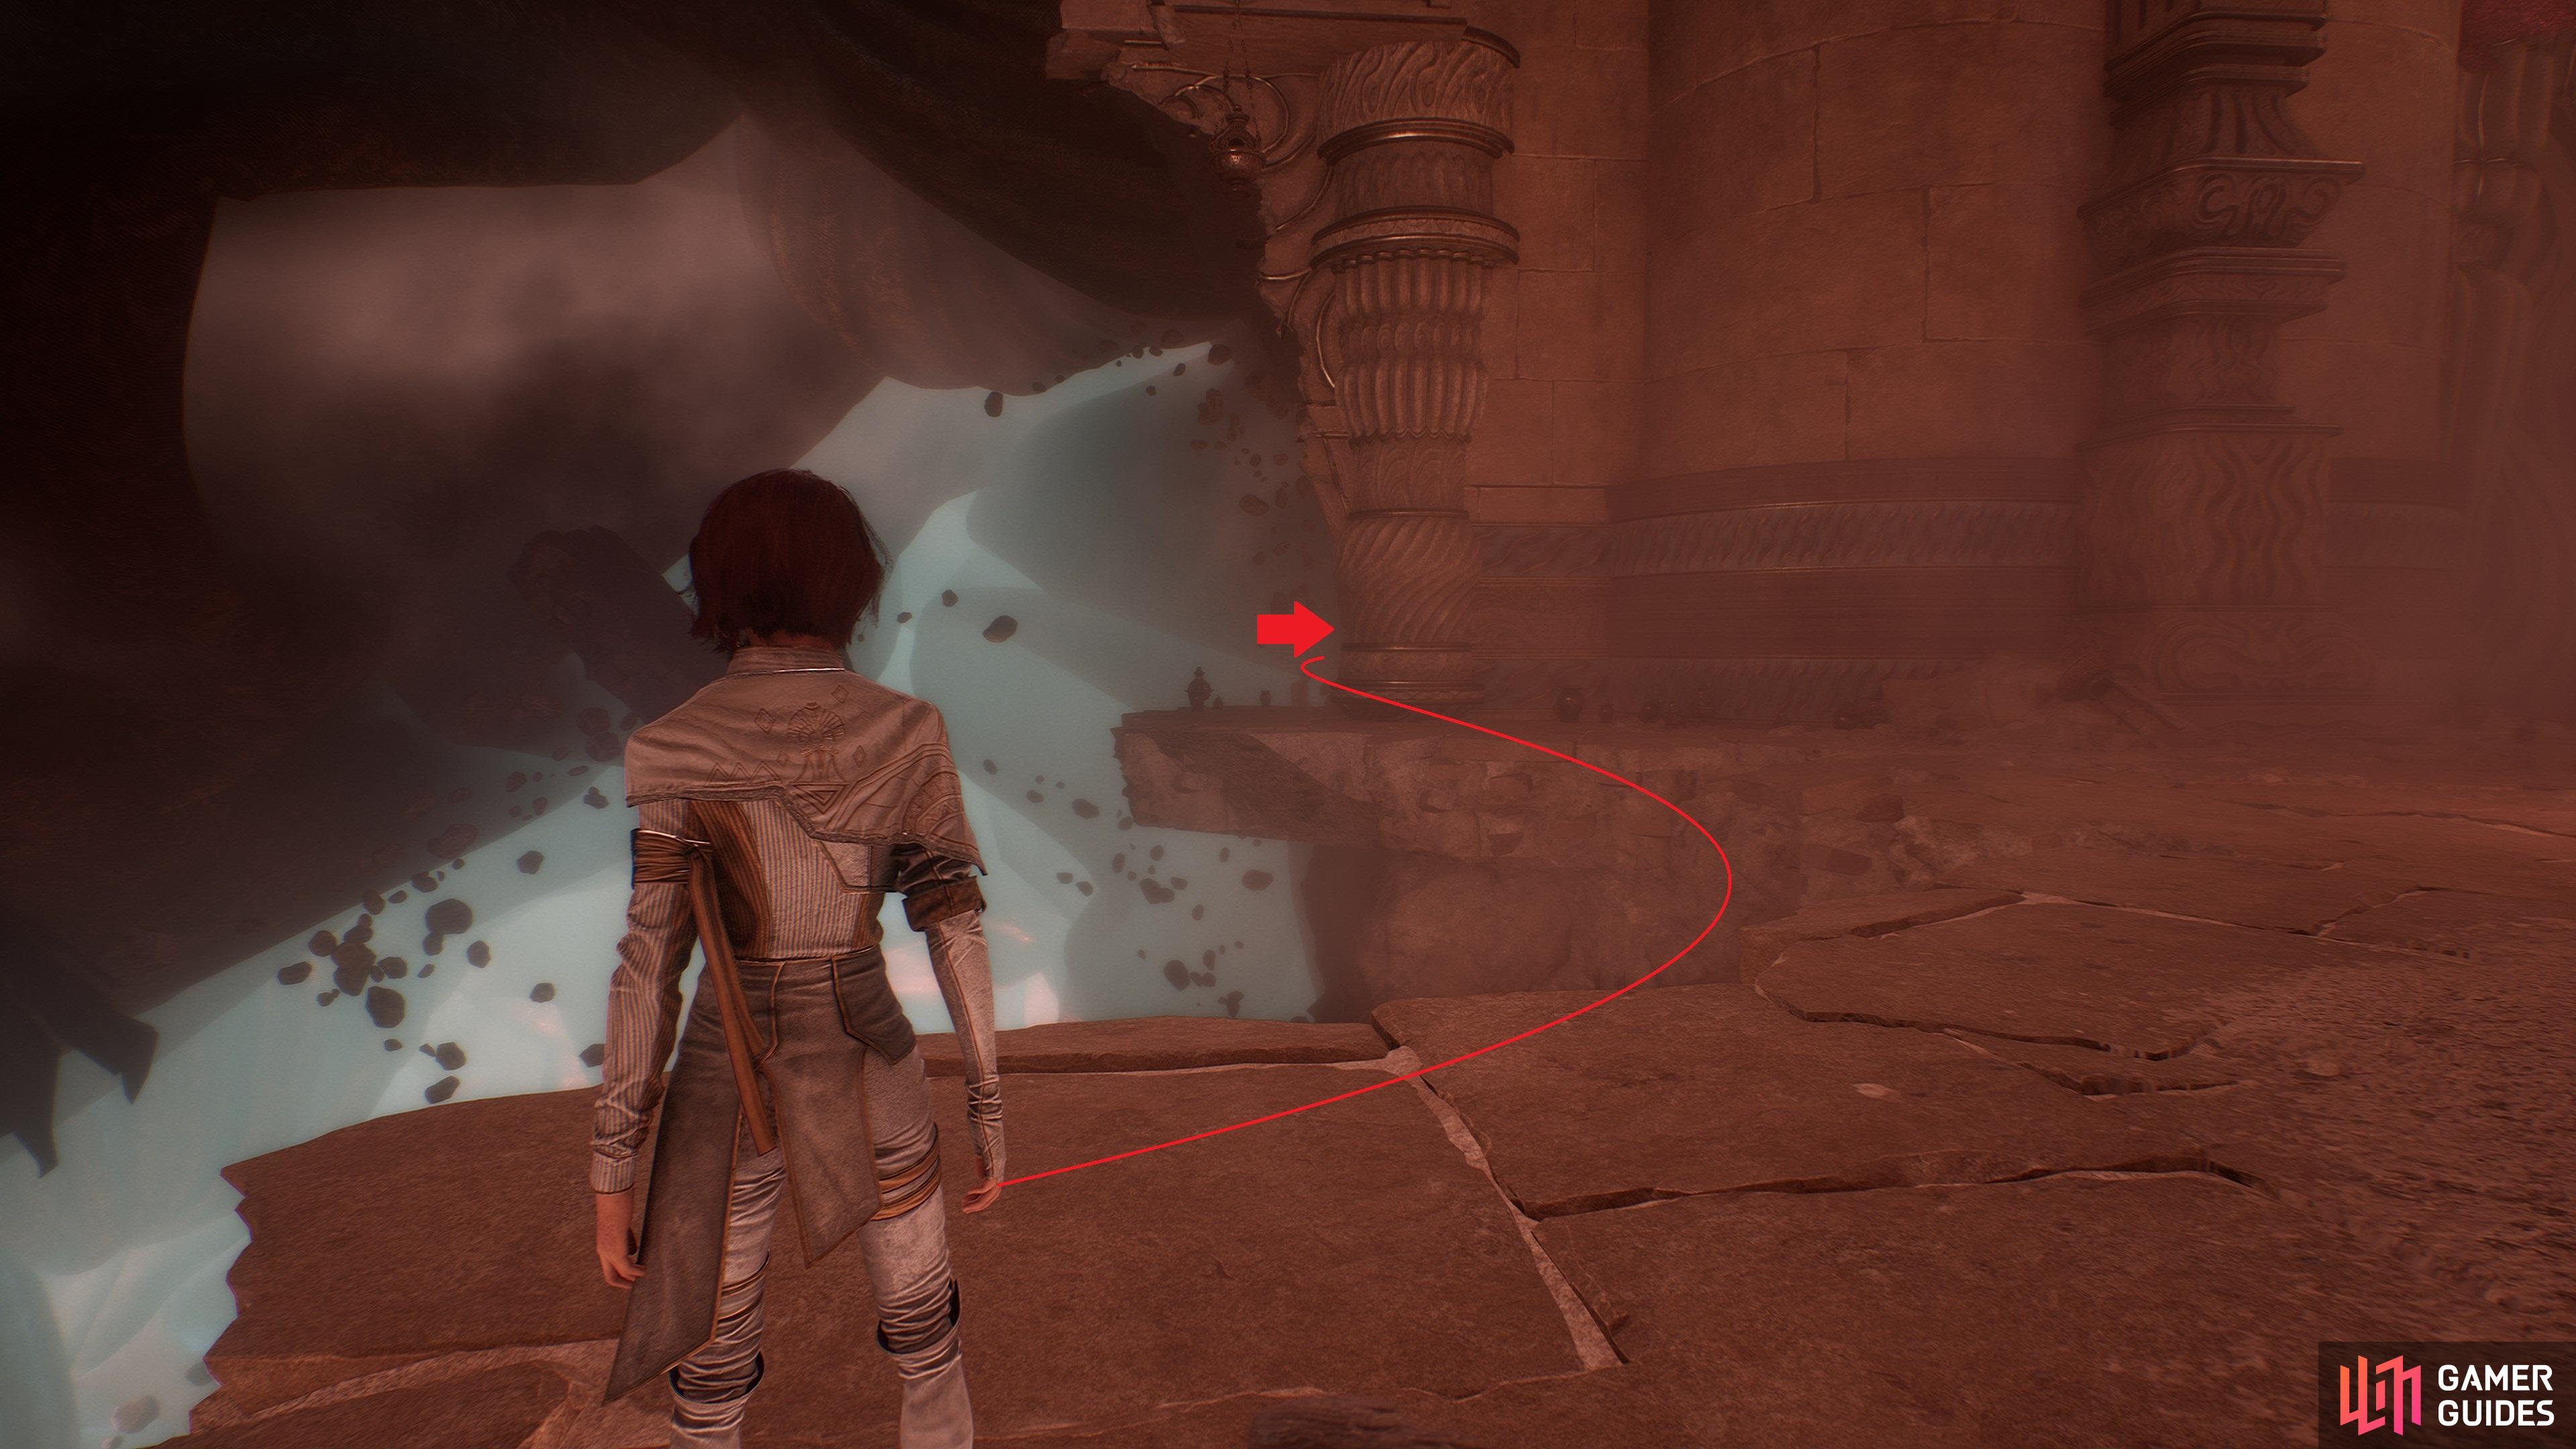
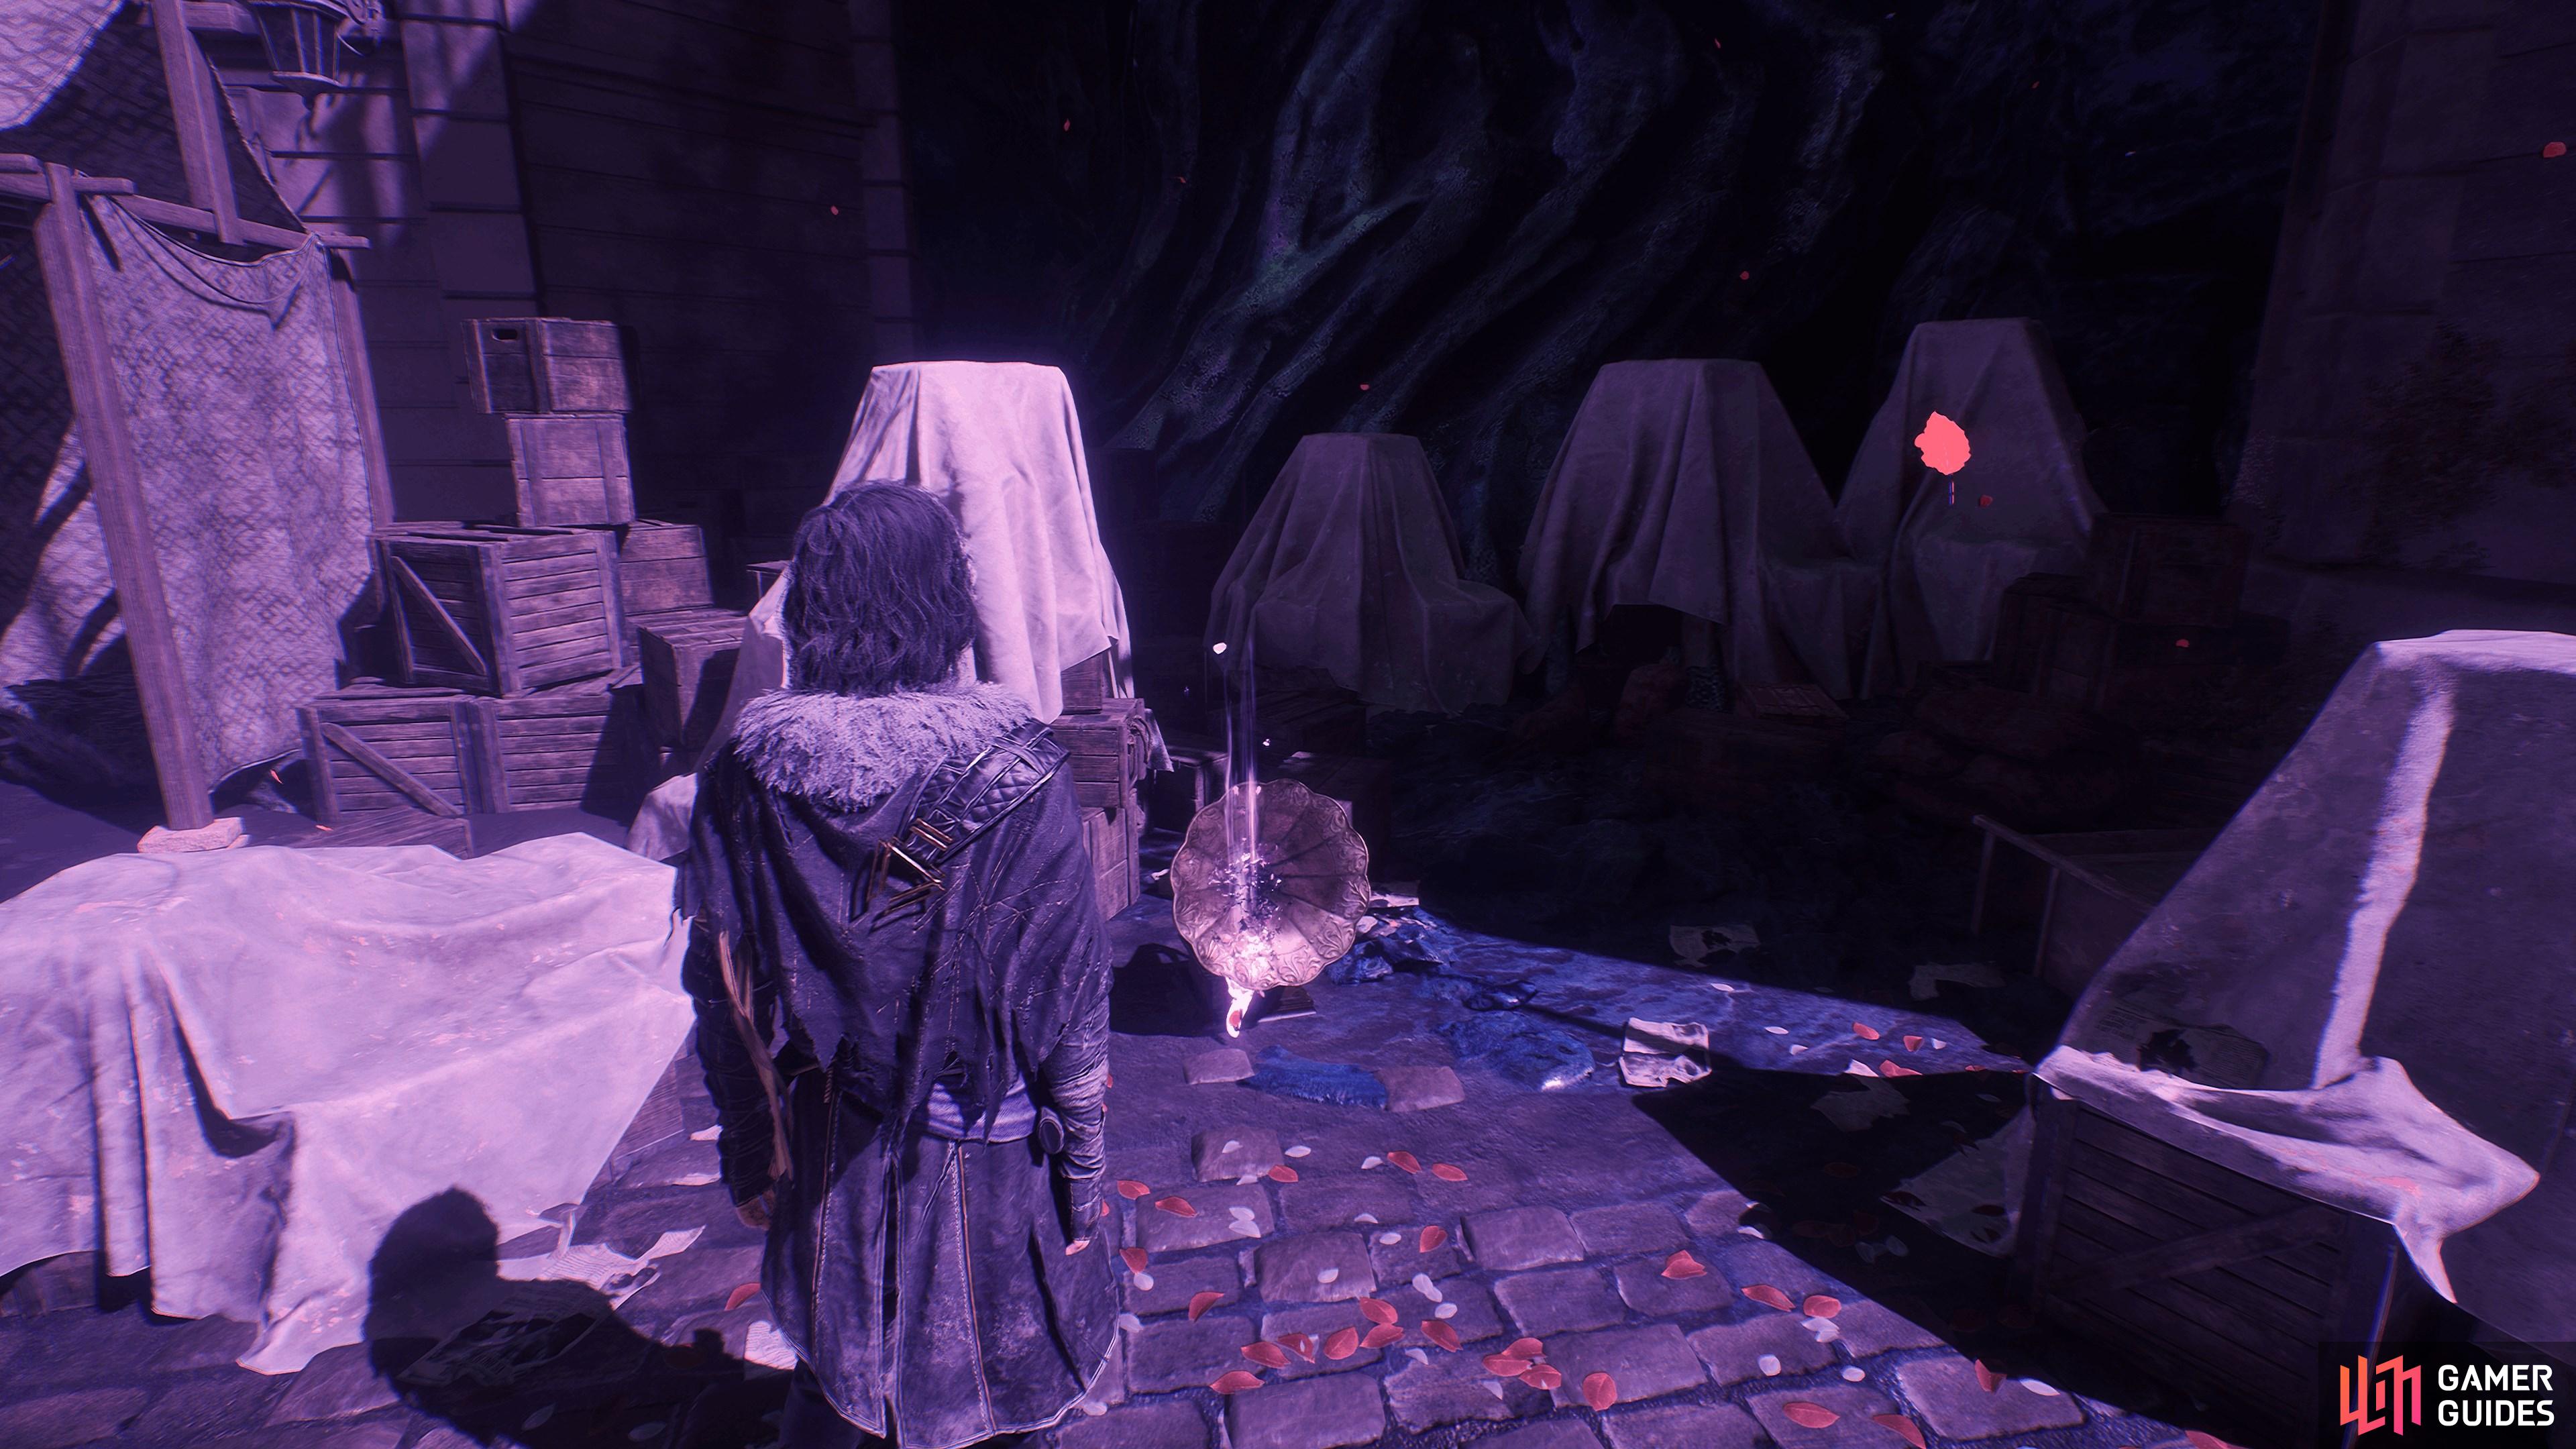
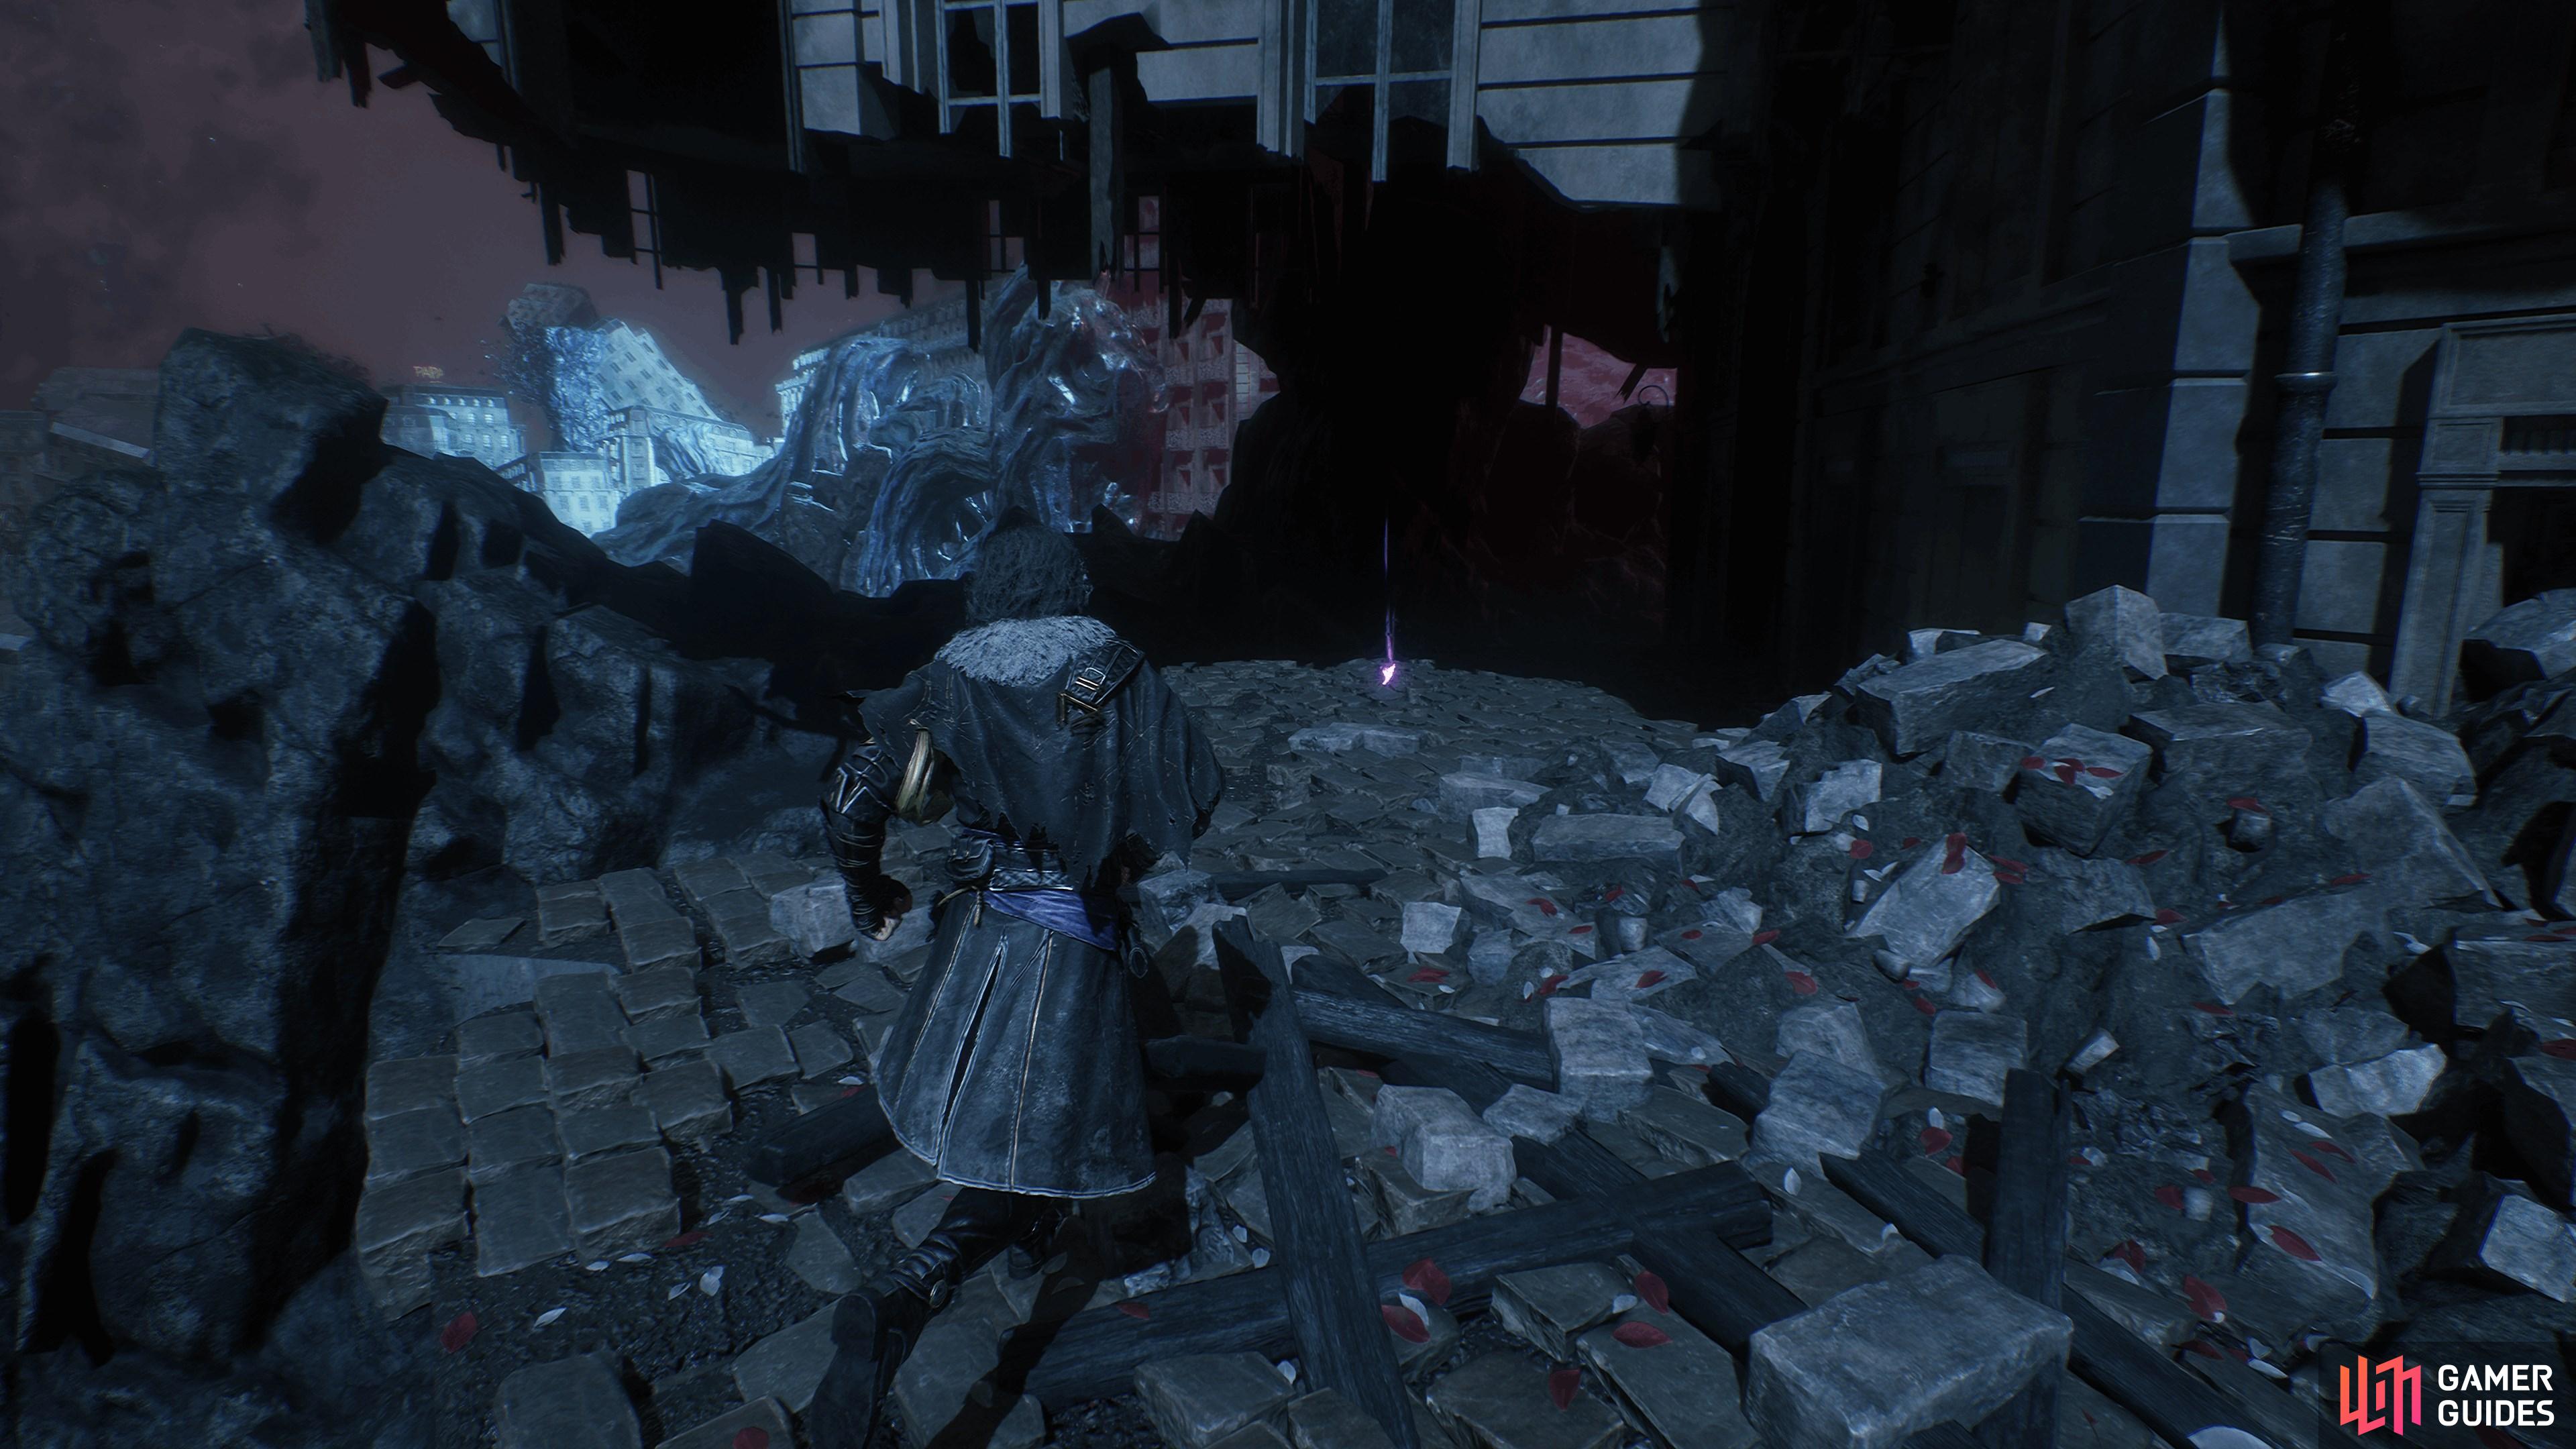
After exiting the area with the flowing fabric pathway, follow the crumbling pathway in the next room, around the back of the pillar. You’ll find the catalyst behind there.

12. The Continent
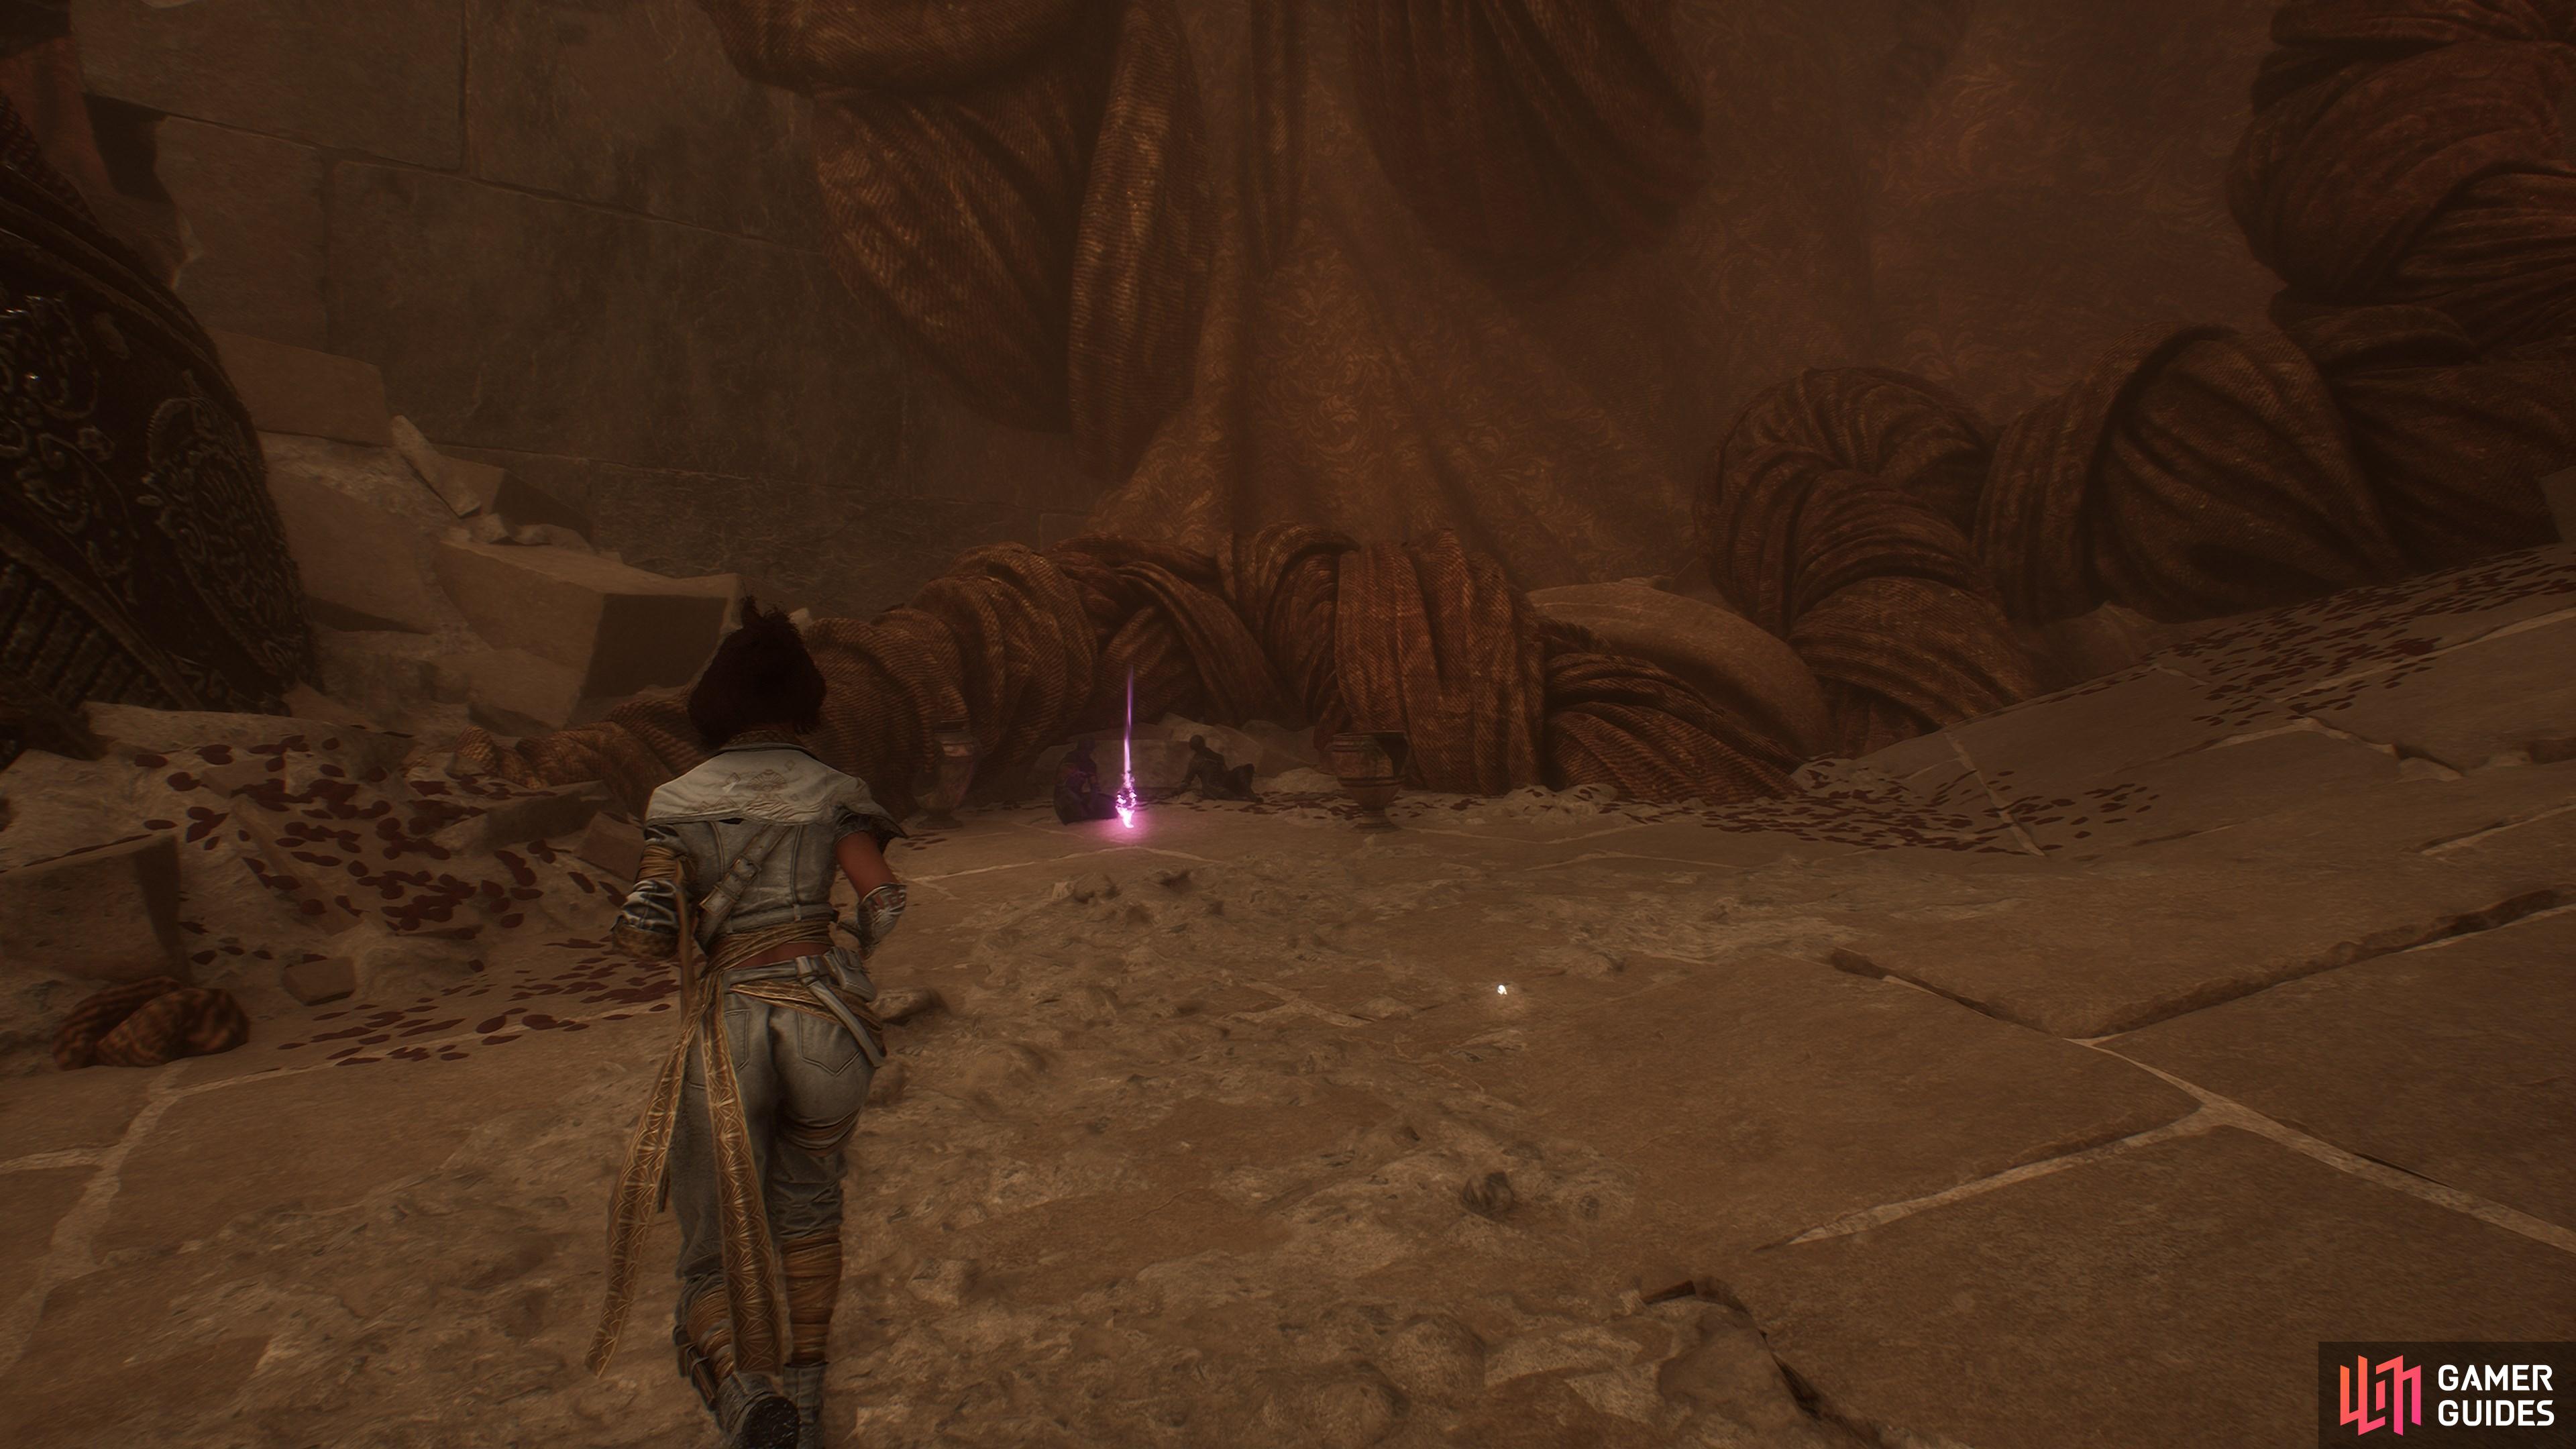
In the huge fabric cavern past where you find the fading man, use the two grapple points to reach the other side. Then, instead of going through the archway you find up top, follow the fabric pathway around to the left. You’ll find the catalyst past the patrolling ![]() Bénisseur.
Bénisseur.

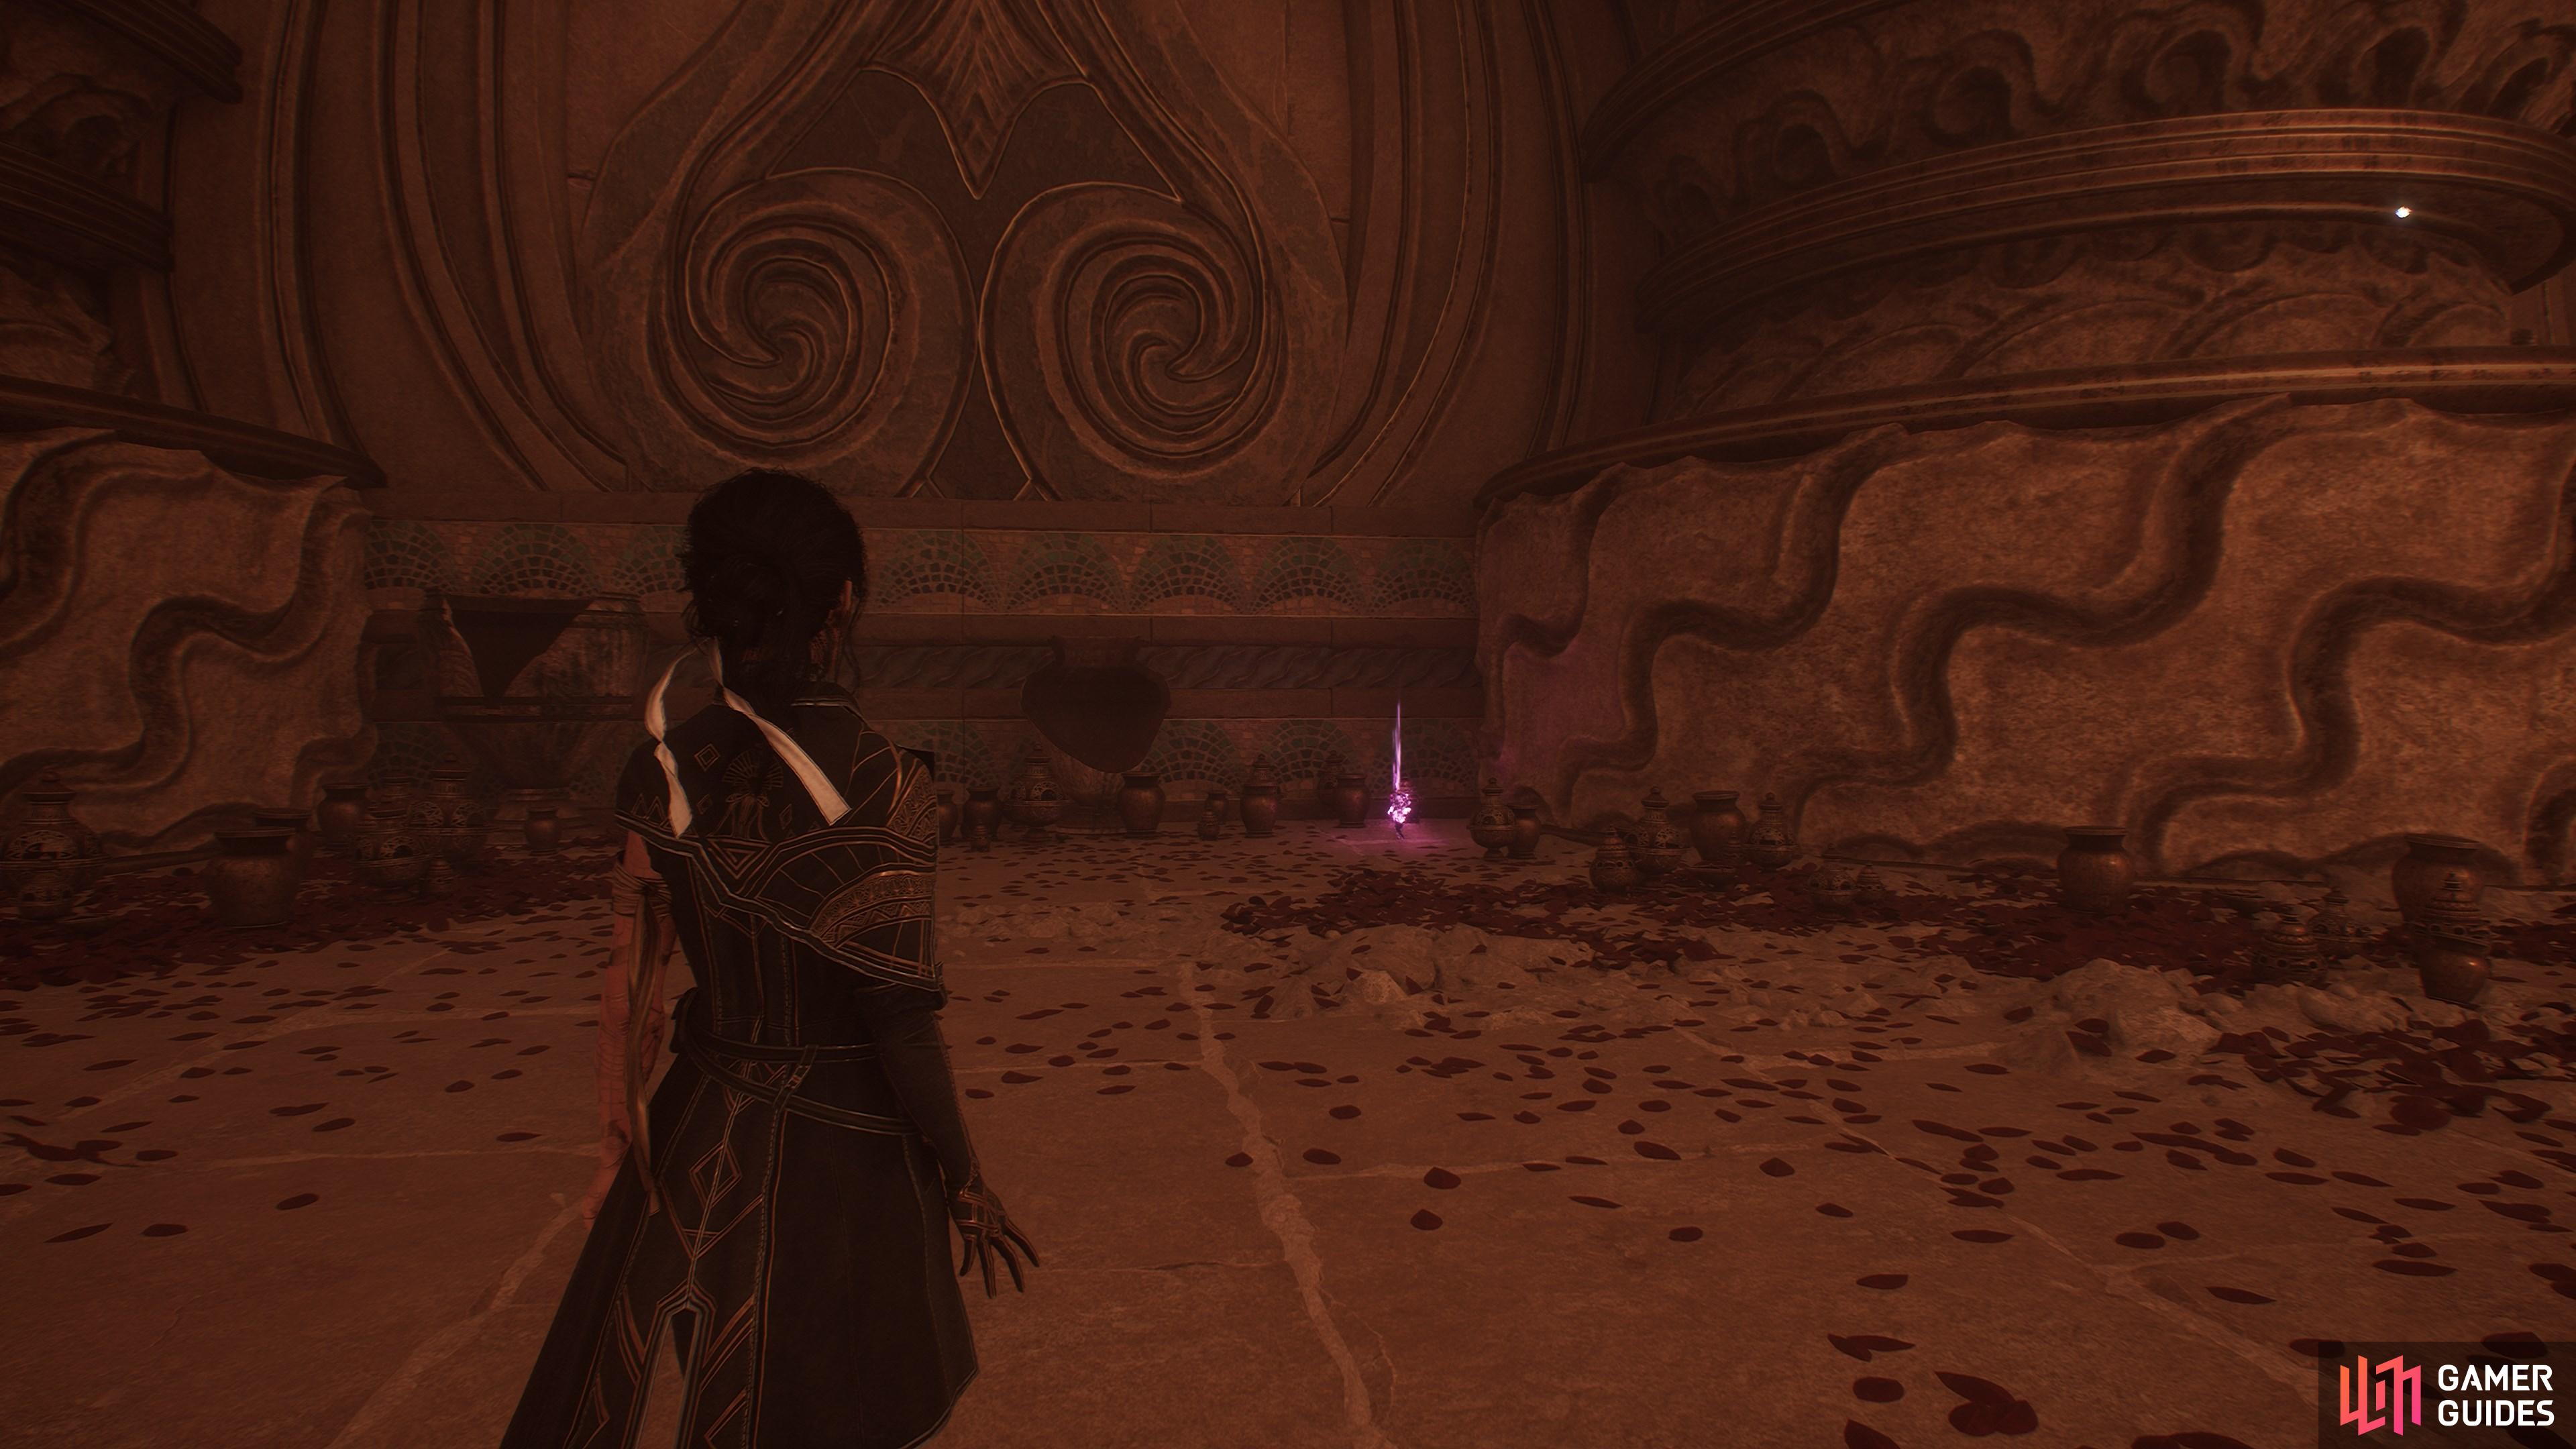
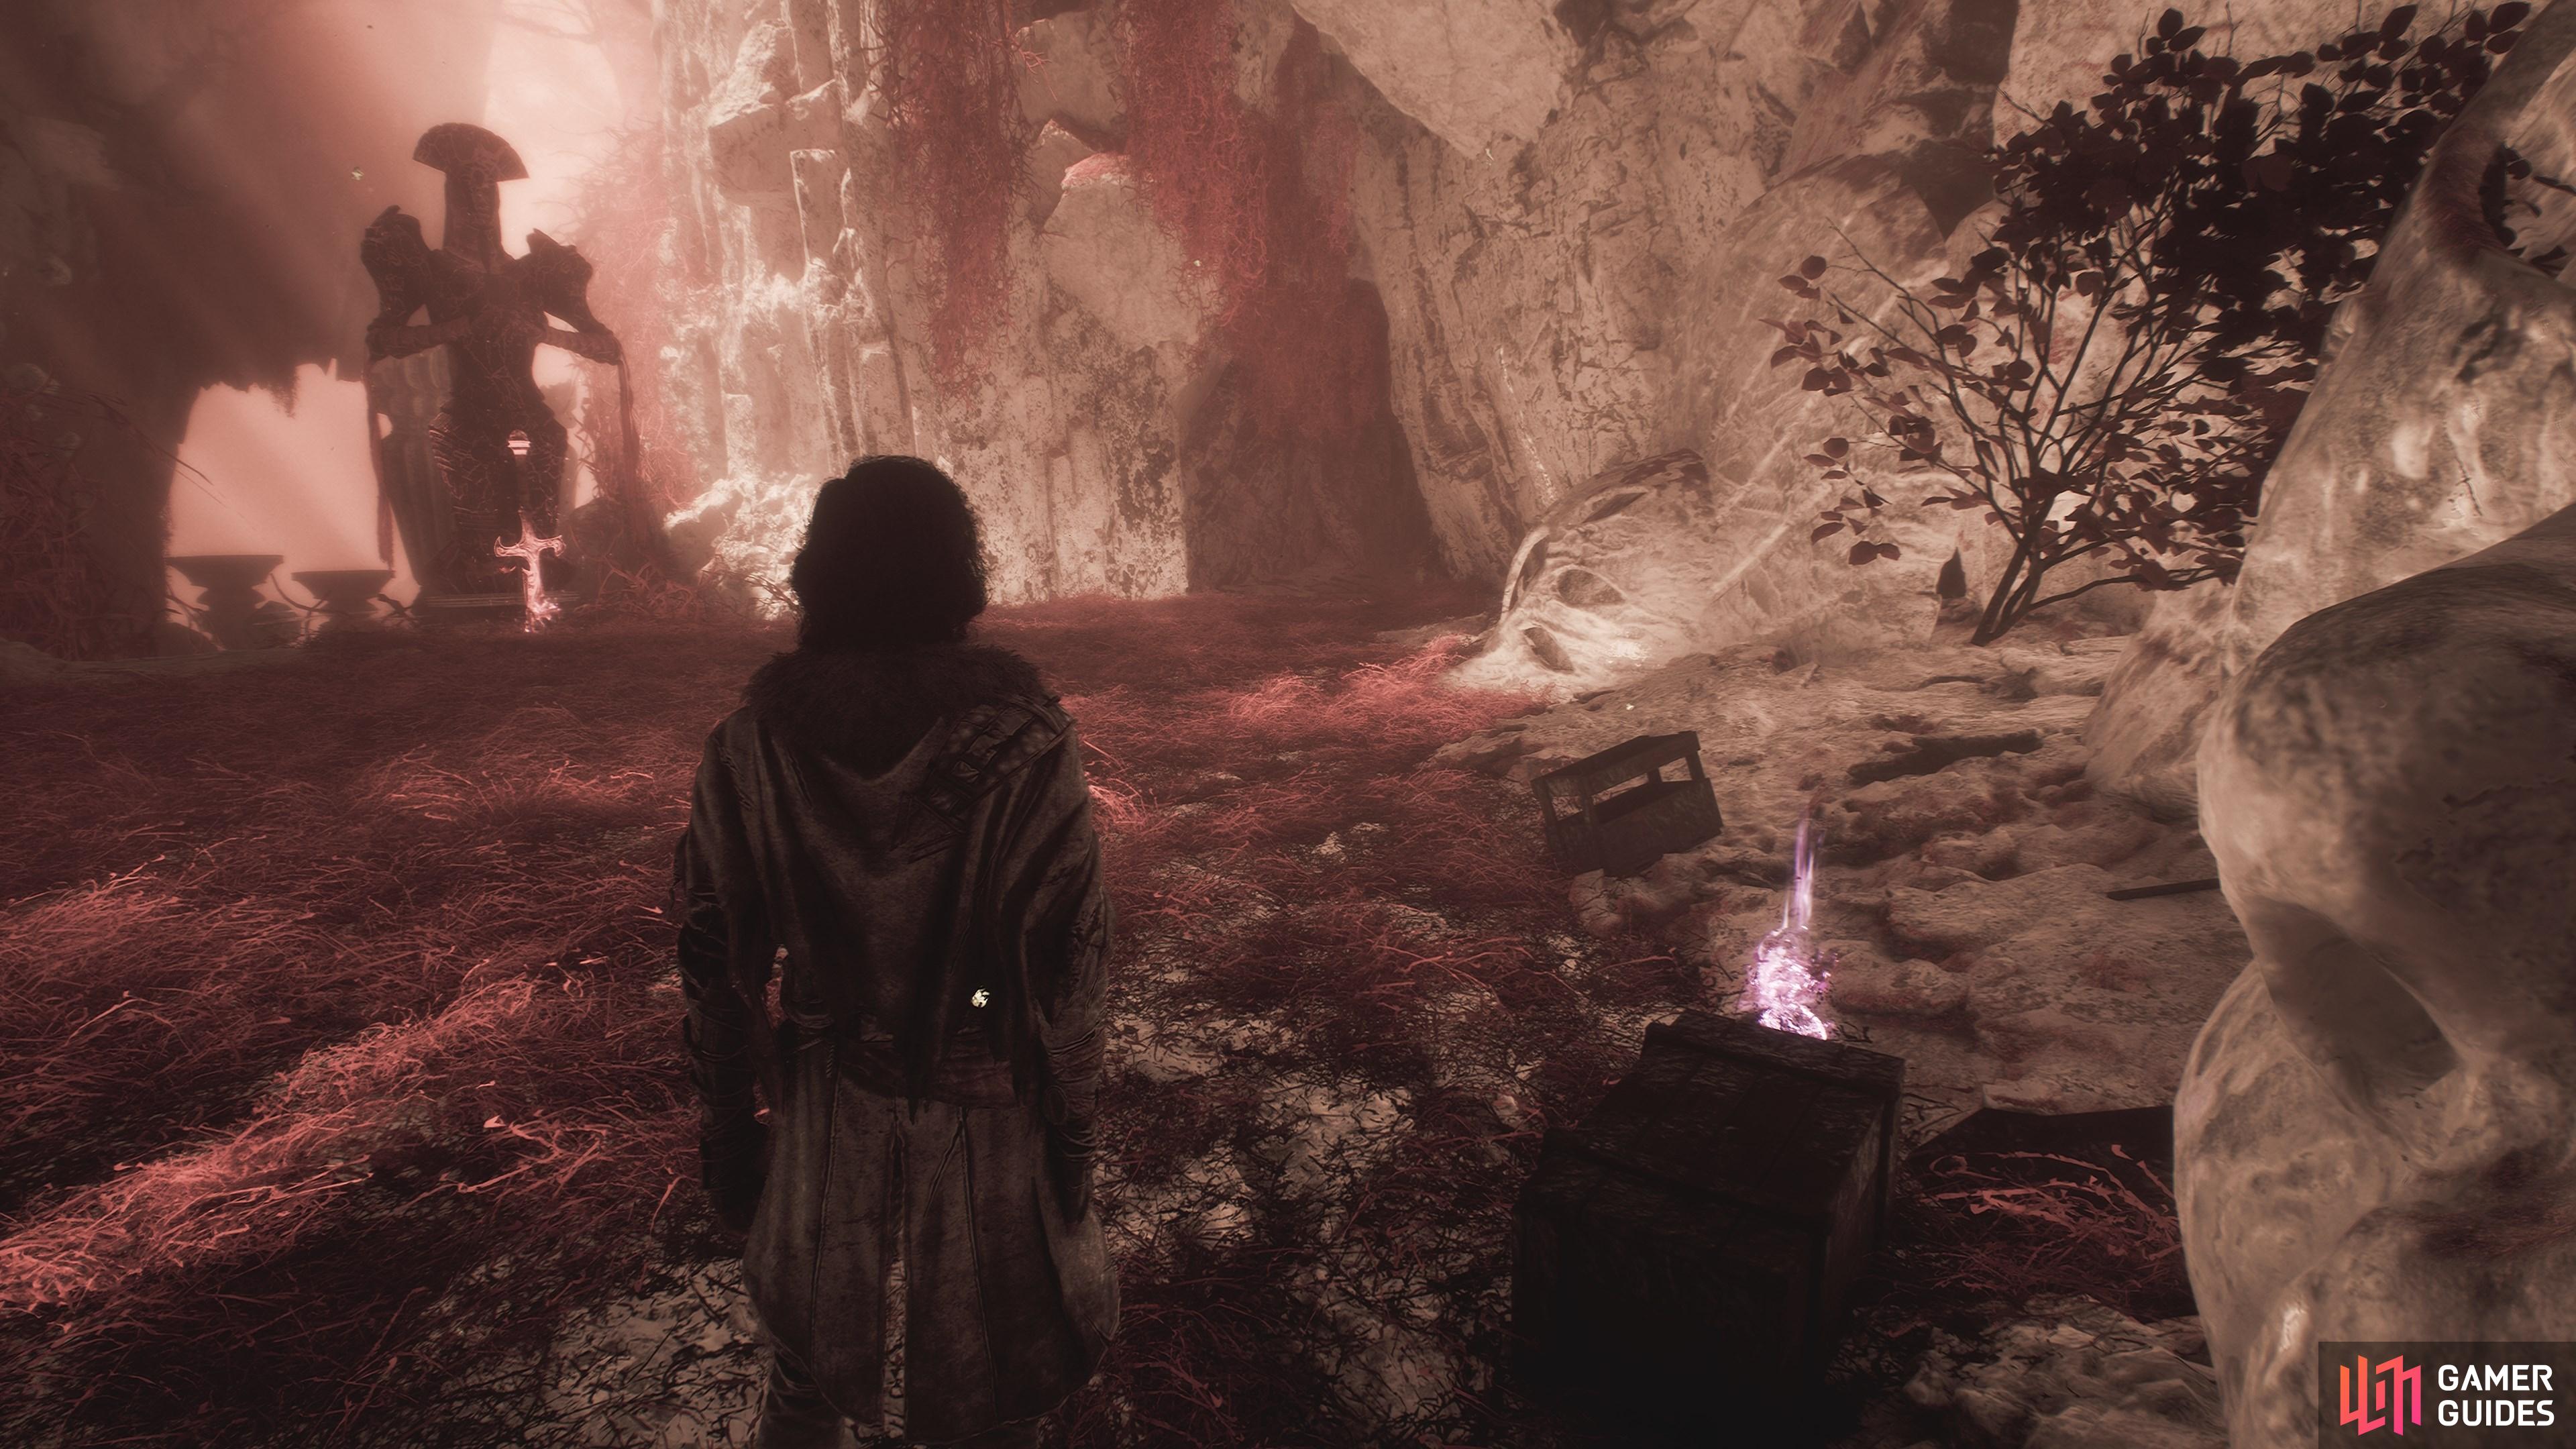
13. The Continent
Up on a ledge in the room where you find the ![]() Tisseur, just beyond the
Tisseur, just beyond the ![]() Sewing Atelier flag.
Sewing Atelier flag.
15. The Continent
Found in the room with the ![]() Dancing Arena flag, on the opposite side.
Dancing Arena flag, on the opposite side.

18. The Continent
Behind a rock on a corpse, to the right of where you find the merchant, Mistra.
19. The Continent
On a rock behind the strange structure in the center of the open area past the flag.
20. The Continent
Climb the hill behind the ![]() Ultimate Sakapatate and go behind the rocks to find this.
Ultimate Sakapatate and go behind the rocks to find this.
21. The Continent
On the cliff edge at the top of the spiral staircase leading into this area.
22. The Continent
Five in the Battle Loot from the Petank in this area. To find the Petank, follow the cliff egde on the right after color returns to your screen following the monochrome section. It will lead you down a path to the Petank
Chase it back up the way you came, but leave it alone just before you get to the end of the path. Go back down and circle around to the right, then use your positioning to poke it onto the green plate where it will stop.

28. The Continent
Battle Loot from a Petank in this area. From the ![]() Ladder Area flag, go down the sloped walkway. Ignore the rising path in front of you and take the path to the right that leads down to a large open area underneath.
Ladder Area flag, go down the sloped walkway. Ignore the rising path in front of you and take the path to the right that leads down to a large open area underneath.
You’ll find the Petank, and a lot of strong ![]() Orphelin, at the bottom. Deal with the Orphelin first to make chasing the Petank easier.
Orphelin, at the bottom. Deal with the Orphelin first to make chasing the Petank easier.
32. The Continent
Break the Paint Spike at the ![]() Sanctuary Maze area (you need the Paint Break skill first), then progress to the next area. At the
Sanctuary Maze area (you need the Paint Break skill first), then progress to the next area. At the ![]() Gestral Totem flag, take a left to find this.
Gestral Totem flag, take a left to find this.
34. The Continent
Battle Loot from the ![]() Pétank (Blue) in this area.
Pétank (Blue) in this area.
To find it, from the ![]() Crumbling Path flag, face the boss,
Crumbling Path flag, face the boss, ![]() Glissando (or where it was standing if already defeated), and turn left instead of going forward to ride the floating platform. Look for some handholds on the side of a collapsed pillar and climb down to the area below.
Glissando (or where it was standing if already defeated), and turn left instead of going forward to ride the floating platform. Look for some handholds on the side of a collapsed pillar and climb down to the area below.
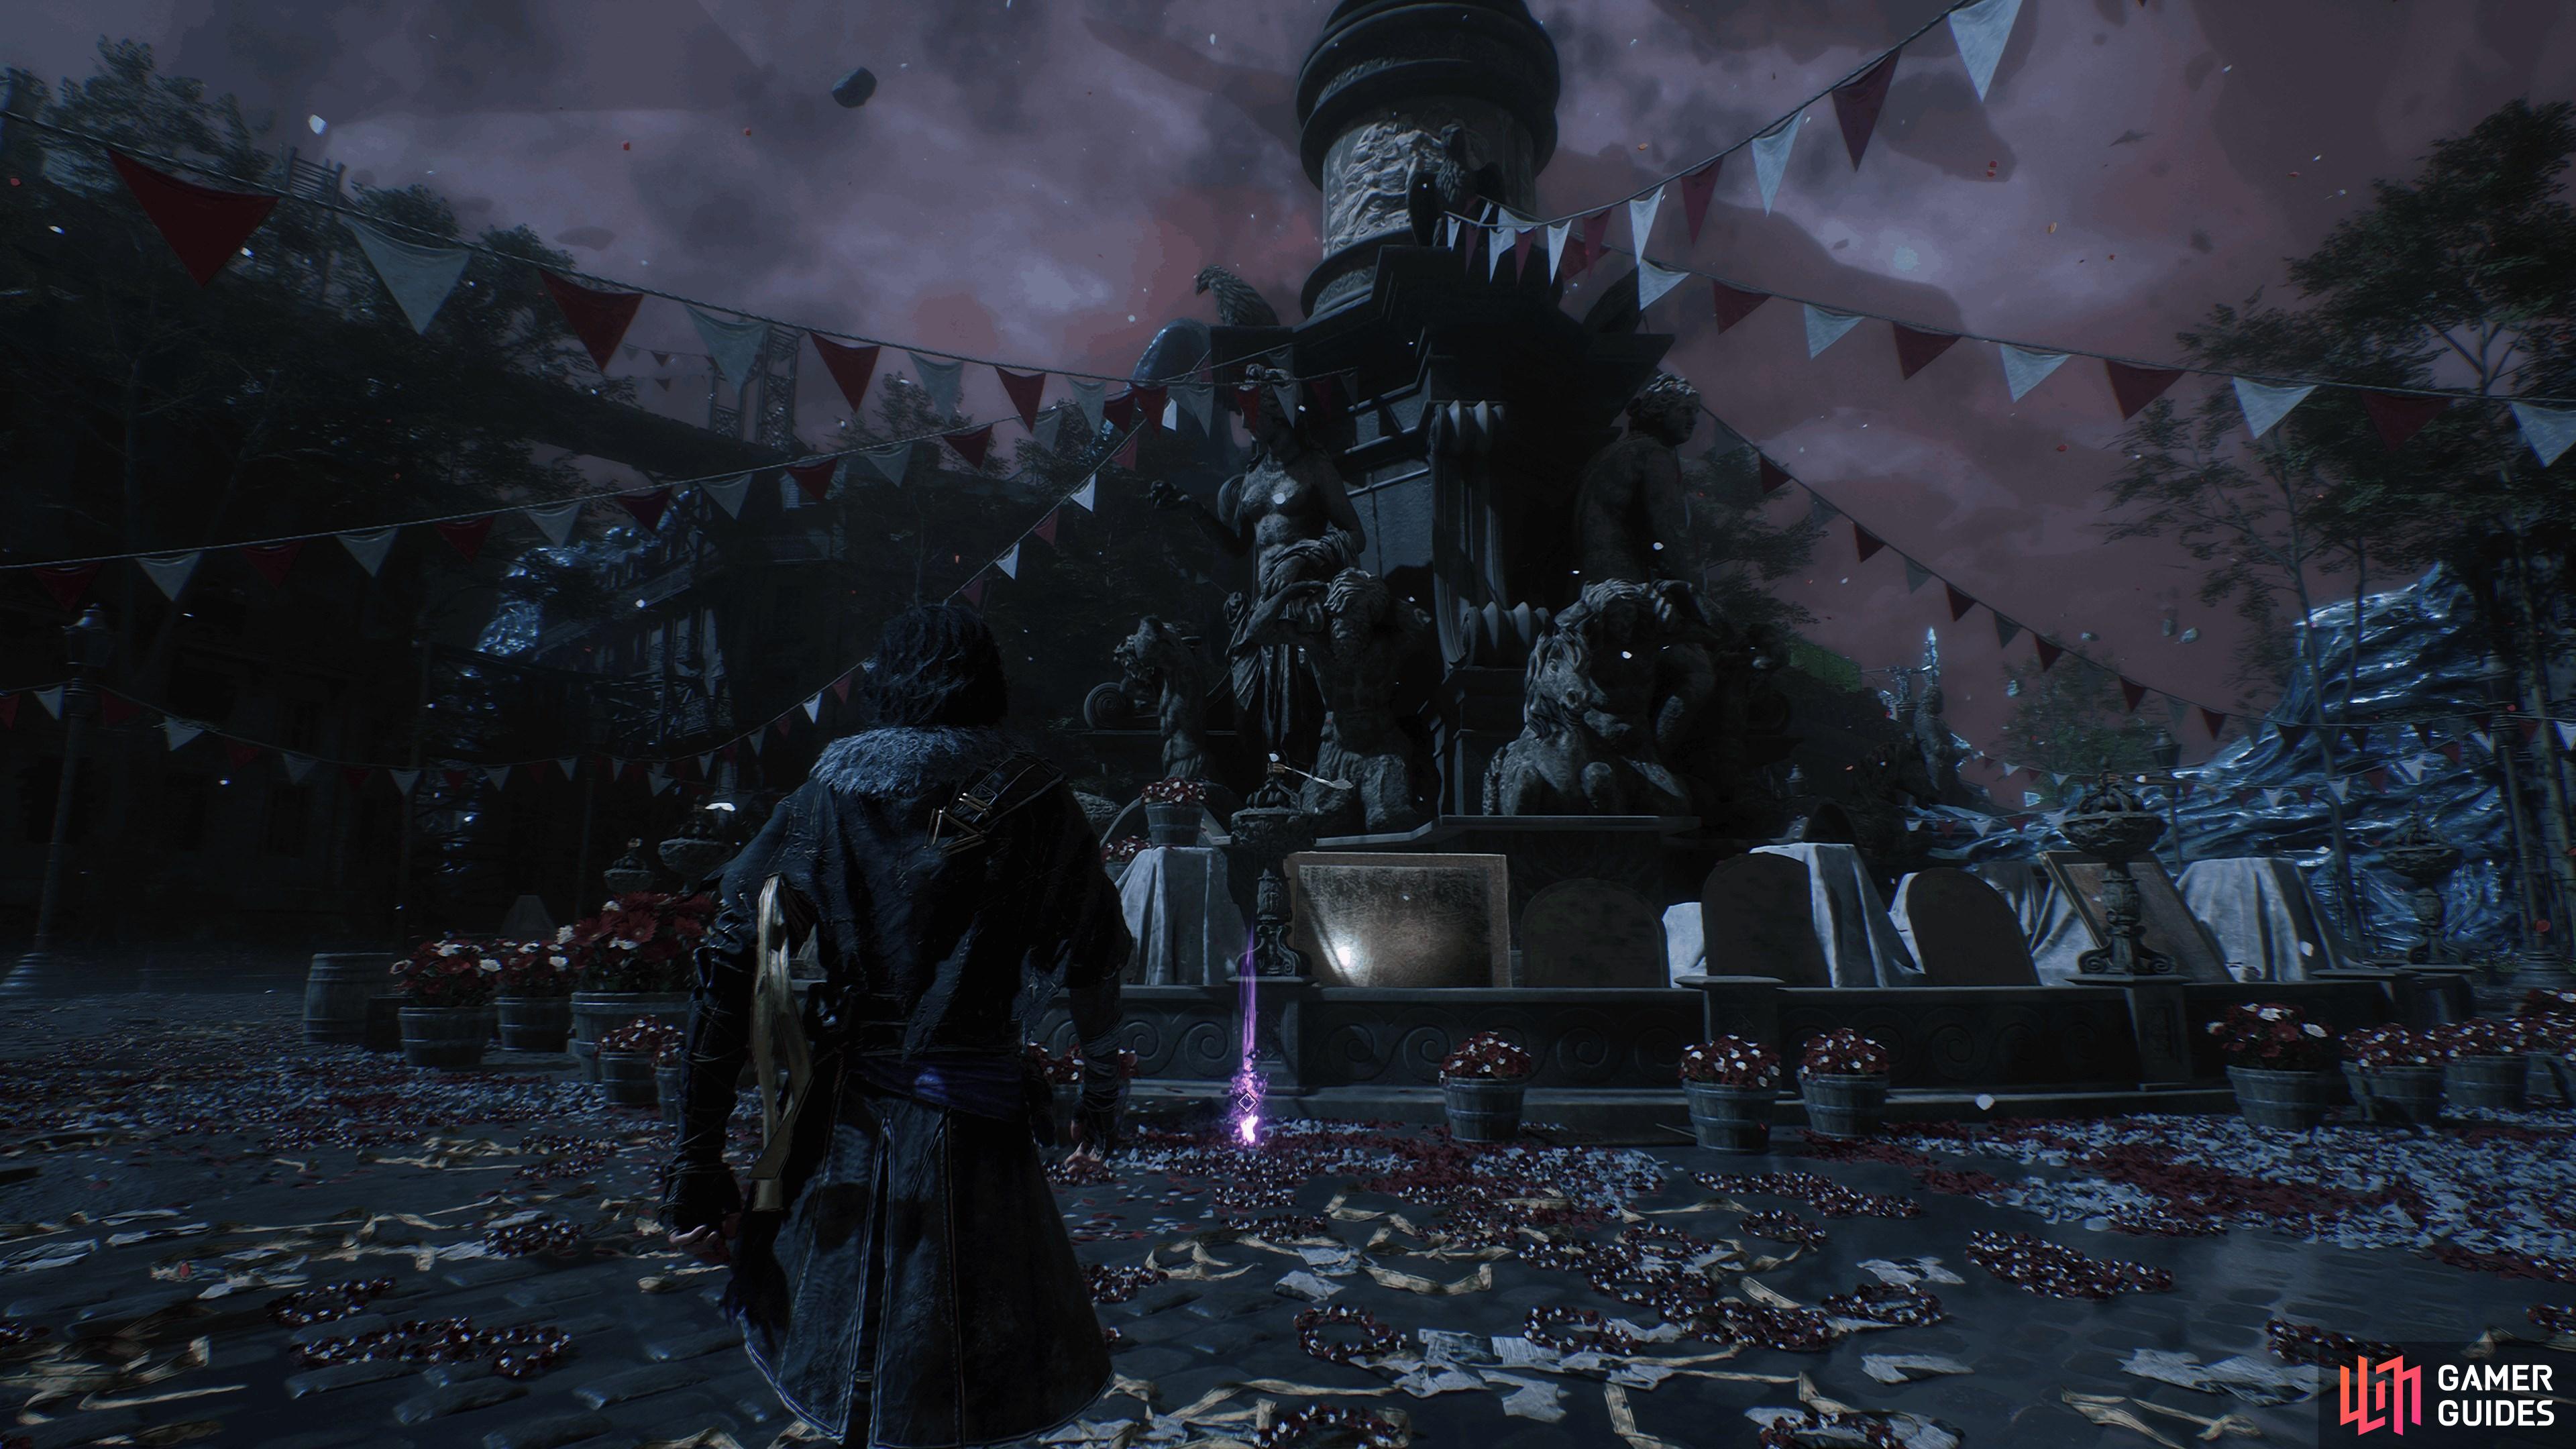
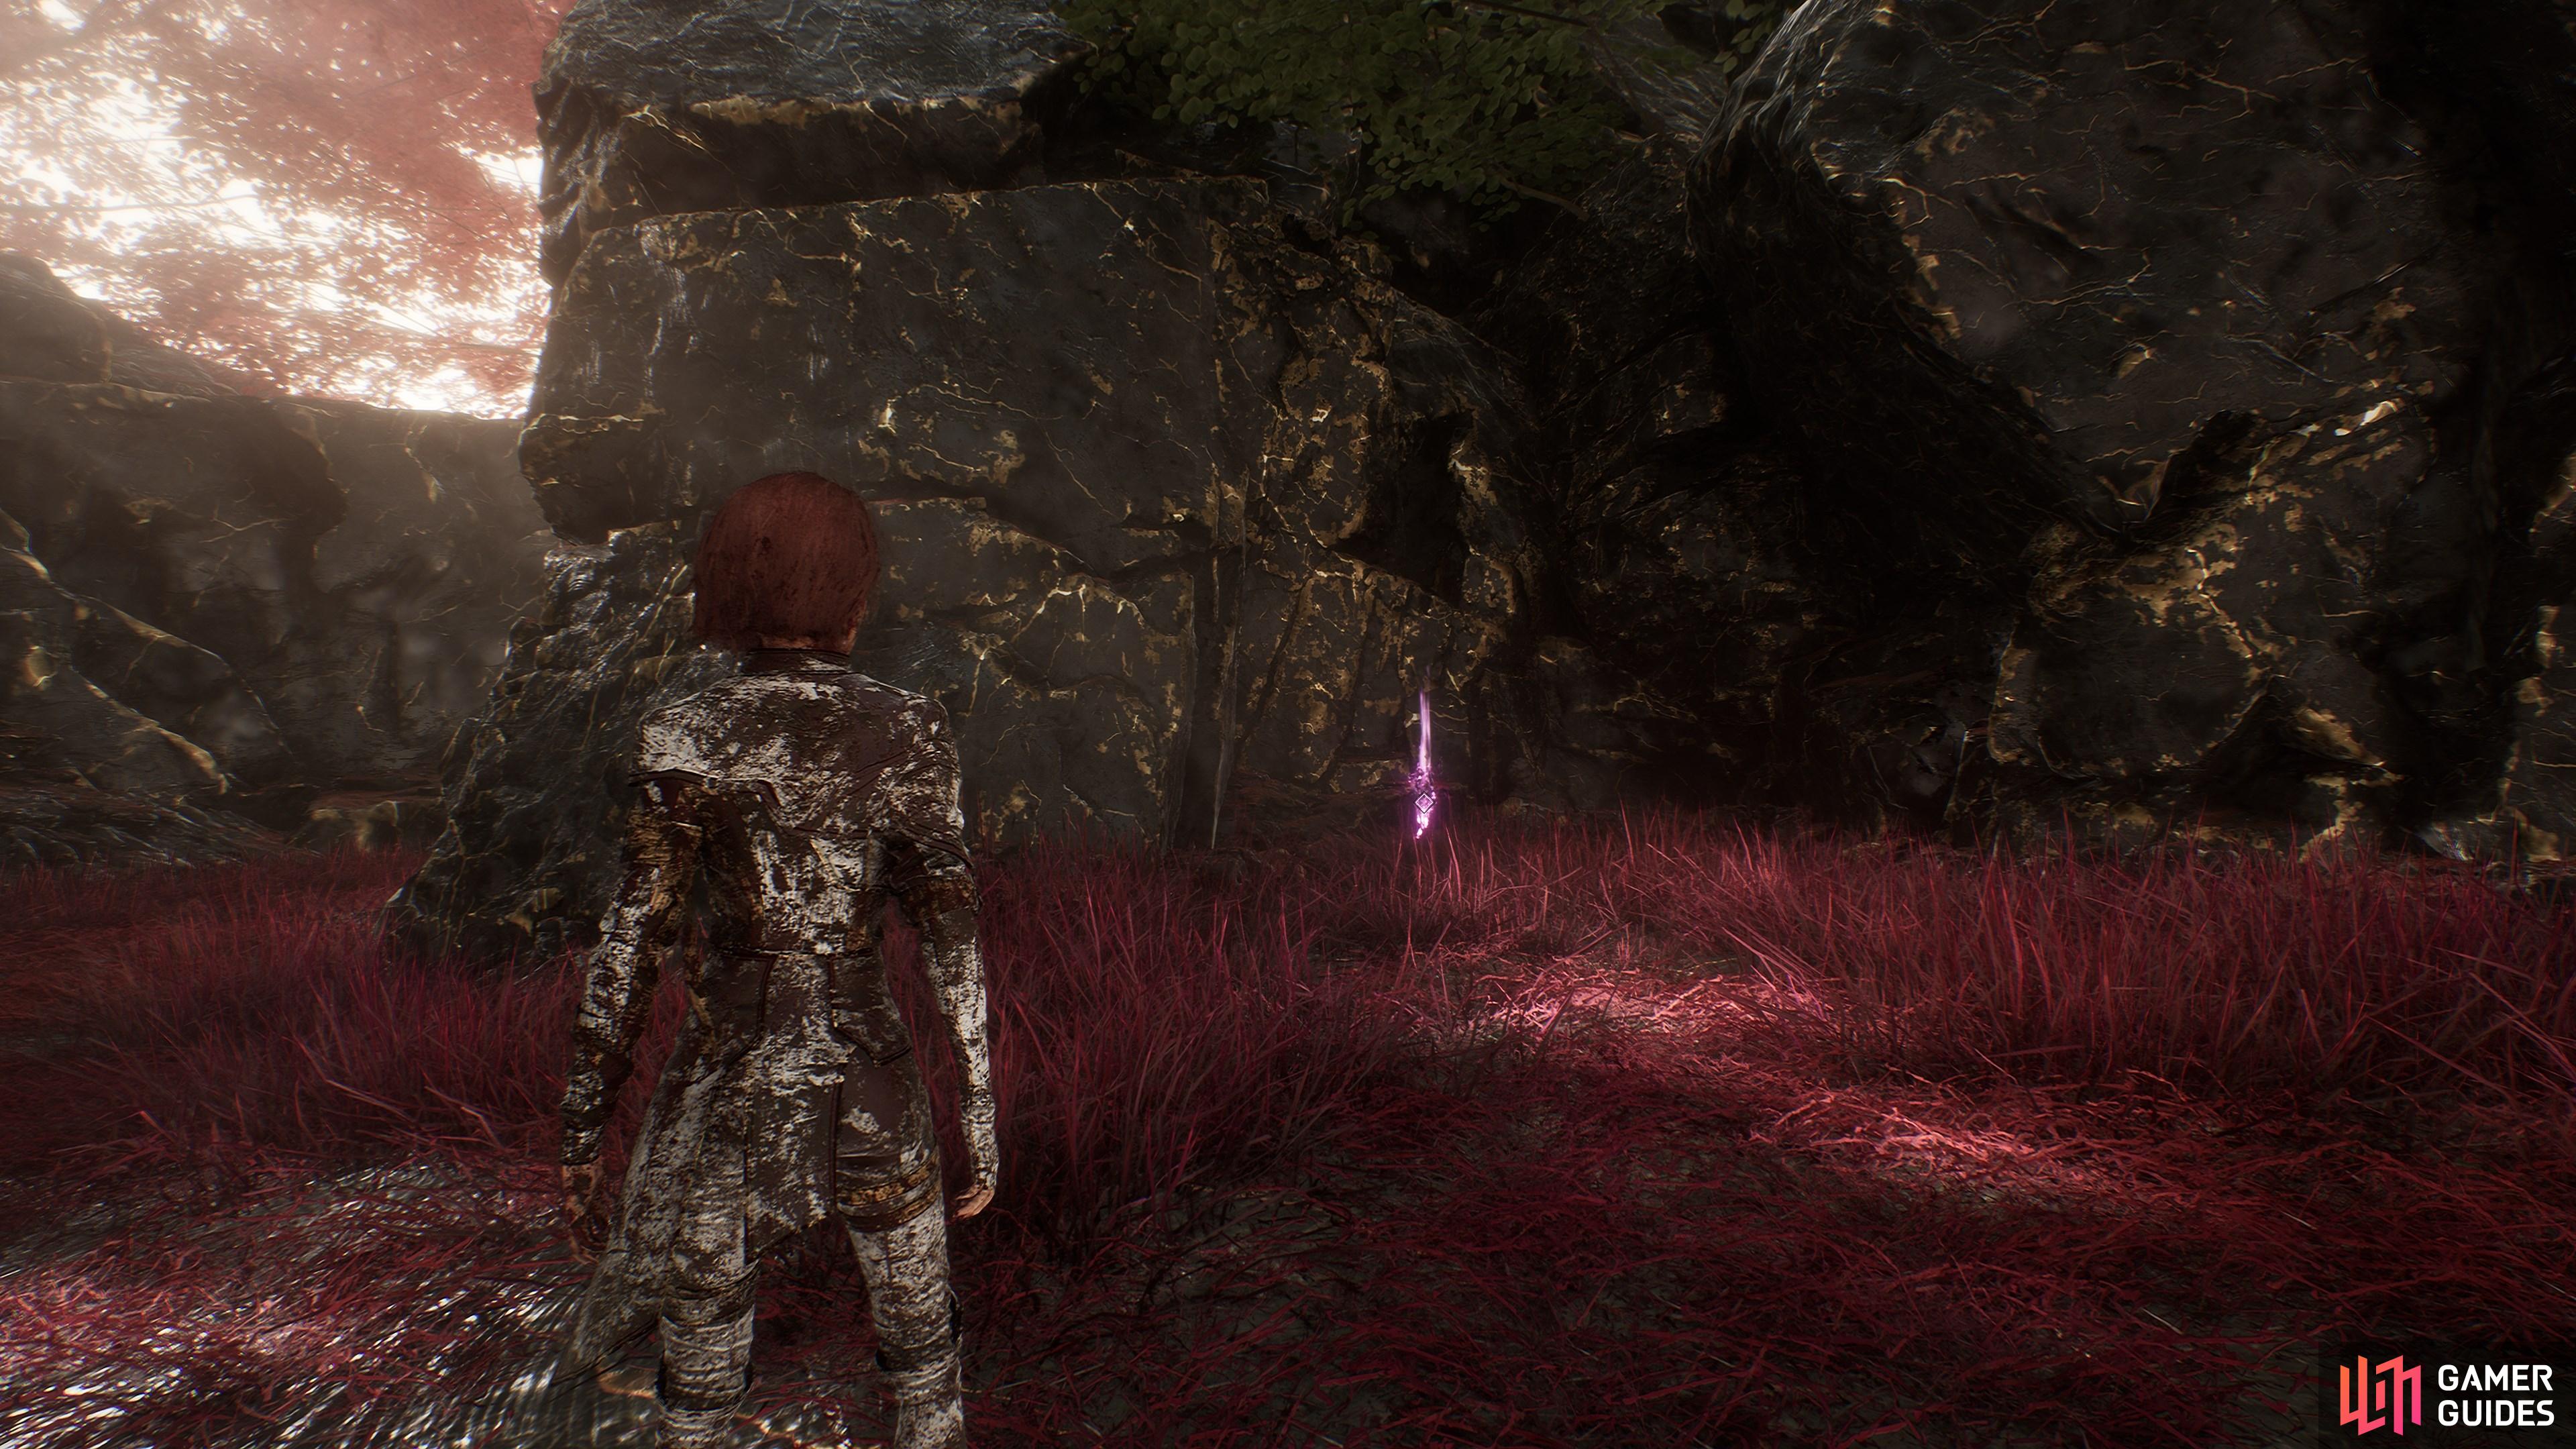
35. The Continent
Climb down the rope at Central Plaza and look behind the Statues in the center.
36. The Continent
On the road leading out of the Central Plaza, look right after our encounter with the enemies there.
37. The Continent
Among a pile of crates in the area where you find the ![]() Shattered Alley flag with the large white tree in the middle.
Shattered Alley flag with the large white tree in the middle.
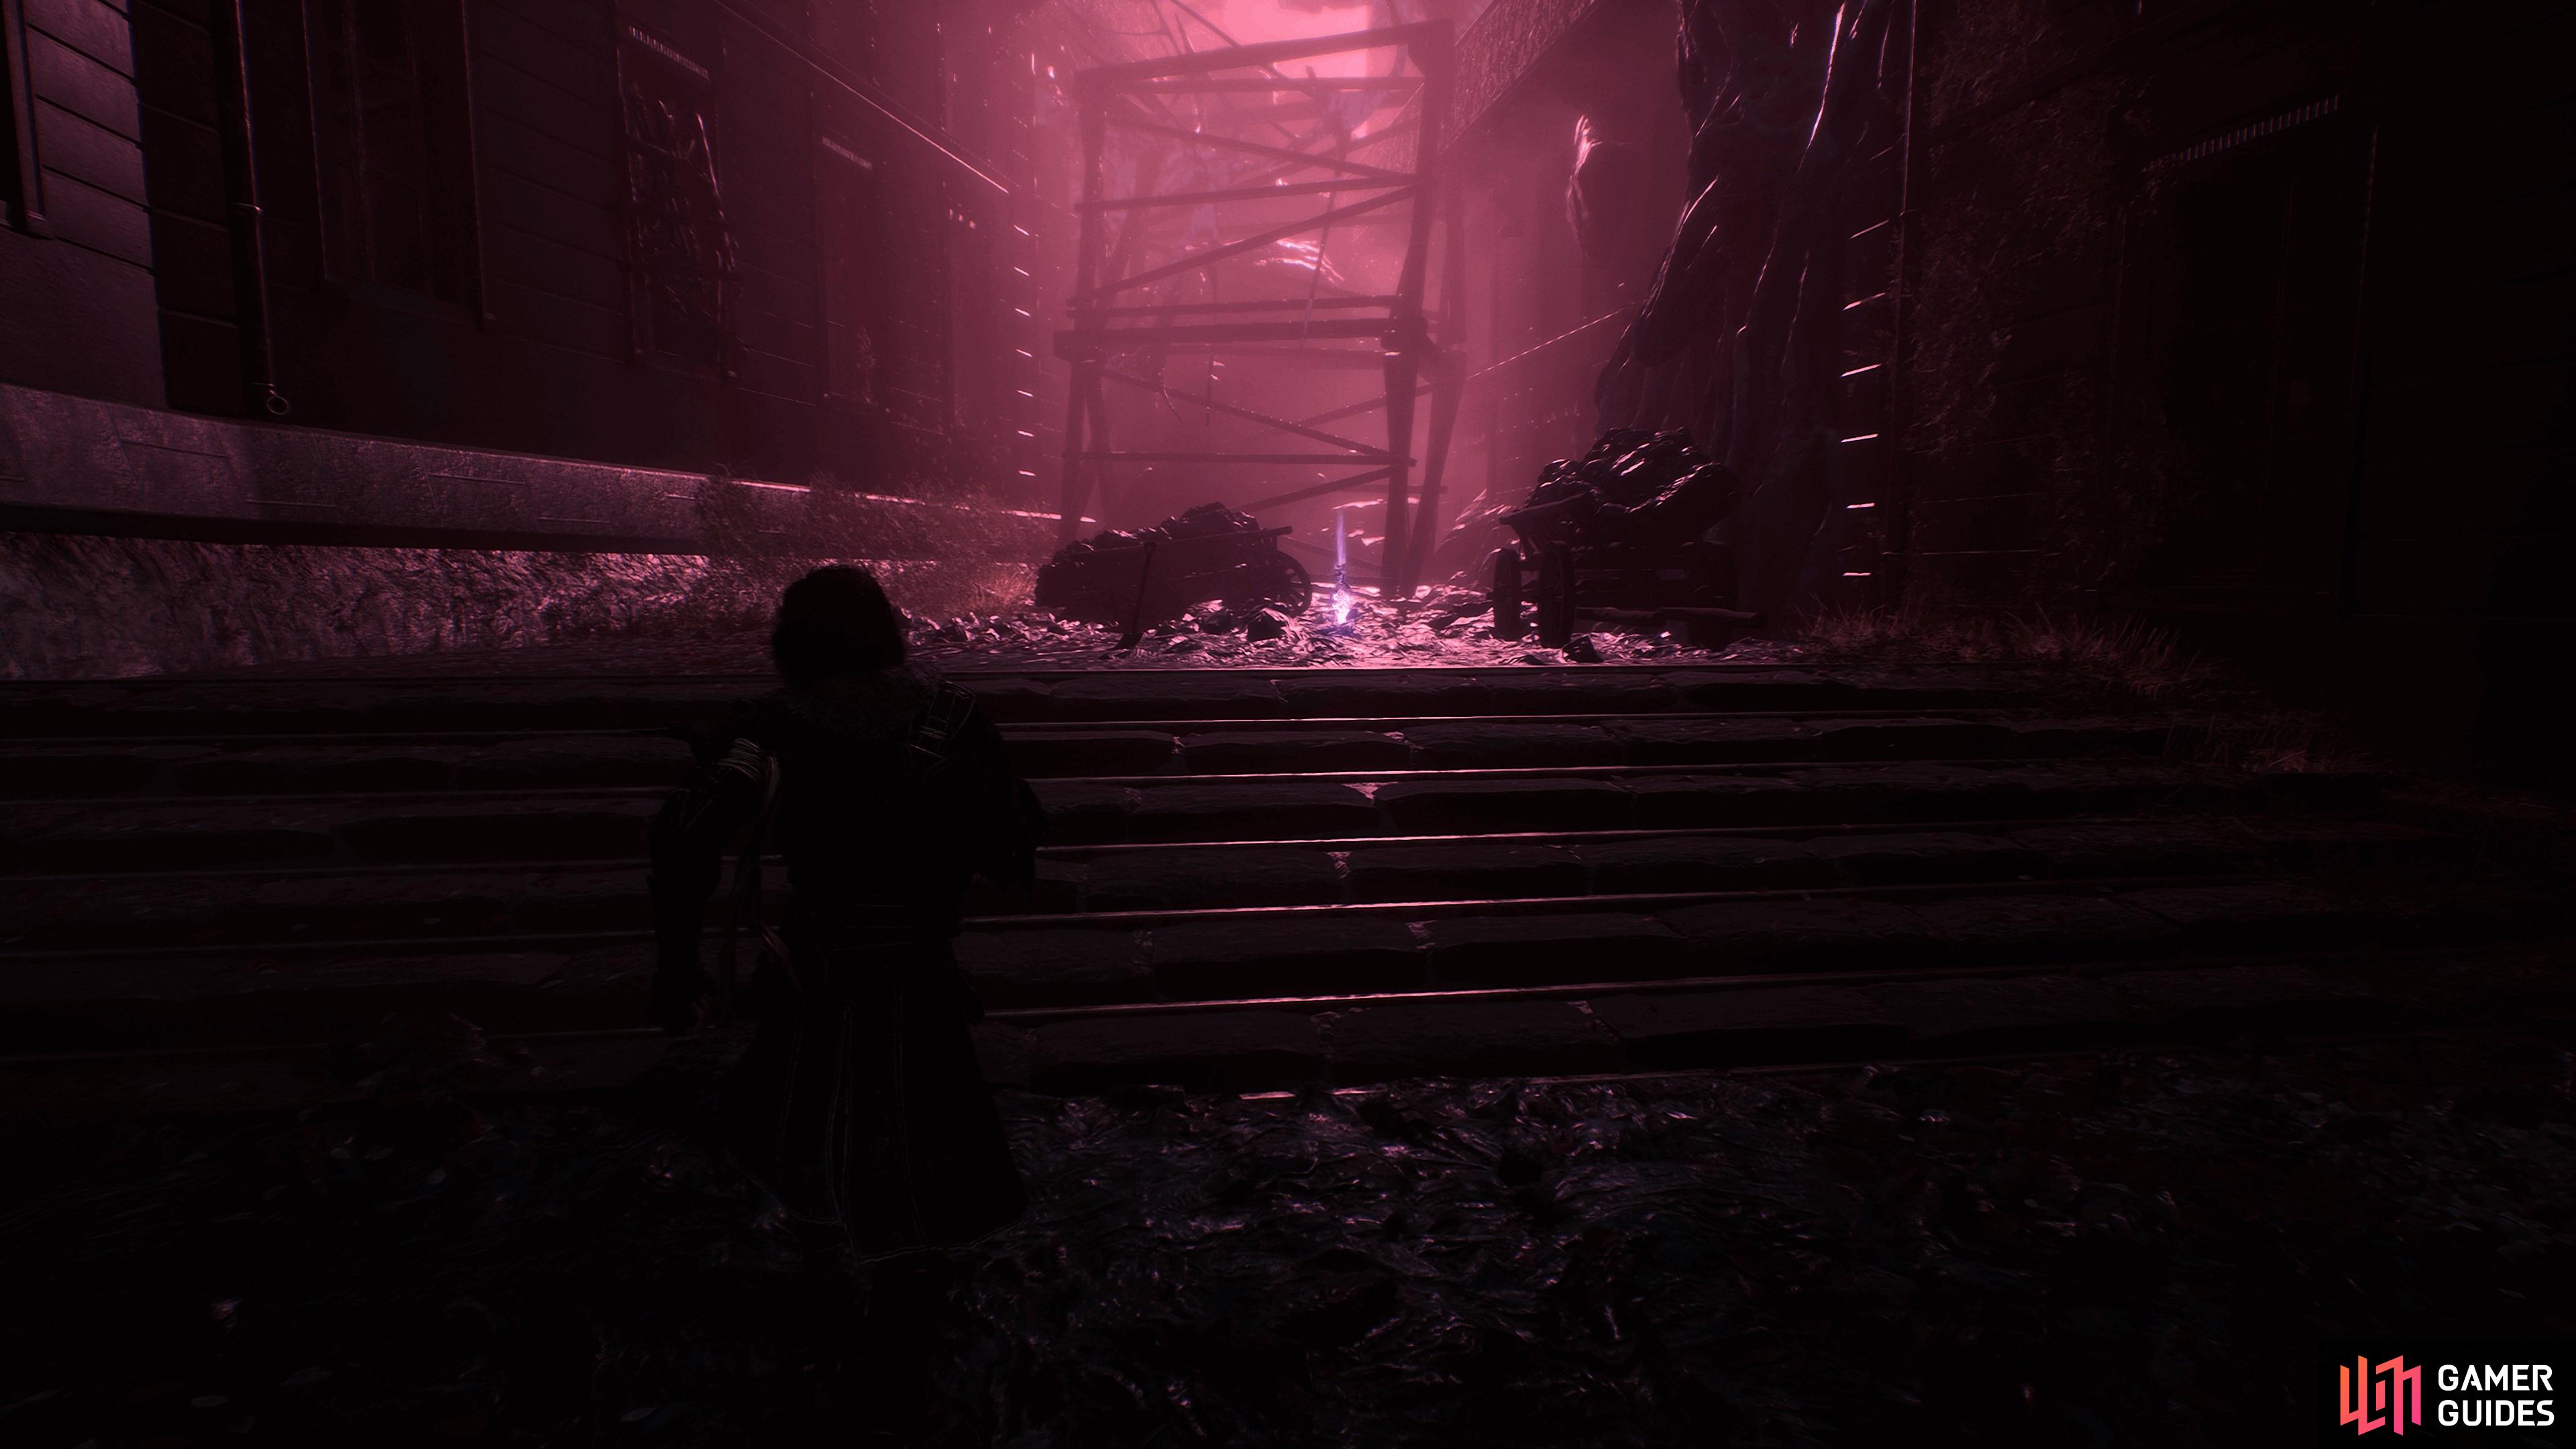
38. The Continent
Exit the ![]() Opera House, then use the two grapple points. take the left path to find this.
Opera House, then use the two grapple points. take the left path to find this.
39. The Continent
In the area past the Young Boy spirit, grapple over the gap and turn left to find this.
No Comments