In order to start this DLC, go to any fast travel station and pick the Hallowed Hollow location. You will find yourself in a secluded spot, with a lot of spooky trees and stuff around you. Not long after you arrive, you will hear Zombie T.K. Baha talking to you, who says you need to find him. Luckily for you, TK Baha isn’t that far from your current location, so just follow the marker to find him sitting on his chair on a porch.
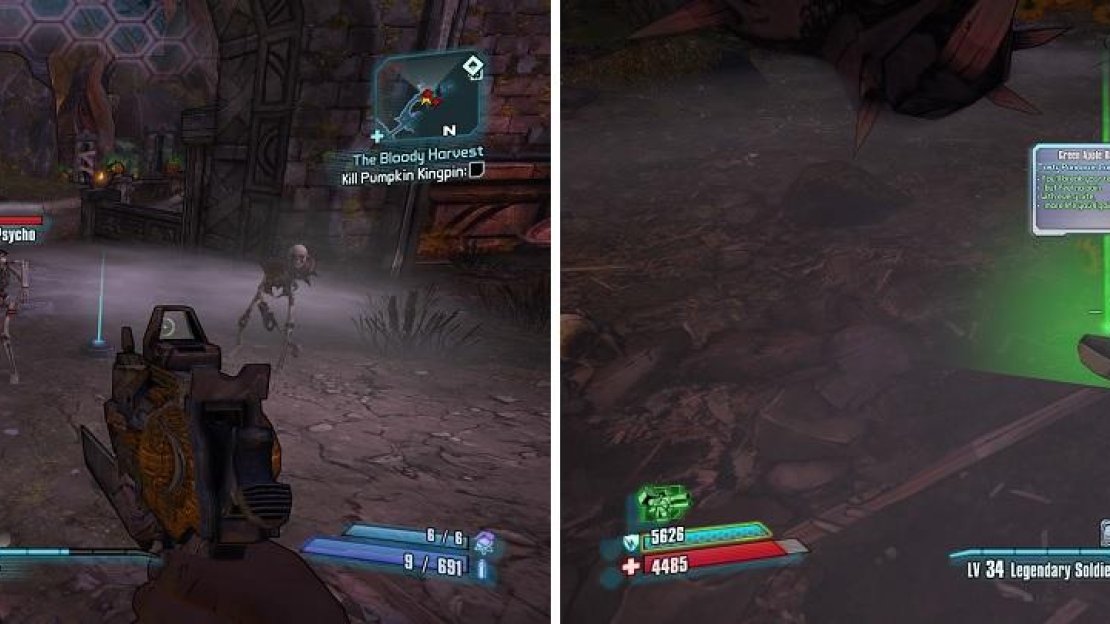
TK Baha mentions someone named the Pumpkin Kingpin harassing the town, so he wants you to take care of him. As you step into the next area, you’ll encounter your first enemies in this DLC, which are nothing more than Undead Bandits. They truly are skeletal versions of the bandits you fought in the main game, so they should be nothing new to you. Something you may happen upon are pieces of candy, which will grant you a temporarily buff to one aspect of your character (check the Introduction page to this DLC for more details).
The enemies are familiar, but with just a different look (left). Candies will provide a temporary buff when picked up (right).
Fight through the small area until Baha mentions the Pumpkin Kingpin is just beyond some gate, which promptly closes tight whenever you approach it. In order to open it, you’re going to need an enchanted skeleton key. Baha mentions digging up some graves in the area to find some enchanted skeletons, so go to the highlighted spots to either dig or break some boards blocking mausoleums. You’ll soon find out that you will need a special kind of undead fellow to get the skeleton bones you need, as it’s likely you found some ordinary undead bandits.
There will be one special skeleton in each area that you’ll need to kill, which will be glowing blue, so it’s very easy to spot. Concentrate on the first area and loot the item it drops once you’ve killed it, then find a gate that will be busted open by some bandits to reach the other areas. Note that the Enchanted Skeleton is quite a strong foe, as it can shoot some electrical orbs at you that deplete your shields fast and can do a little shockwave attack.
Once you have all three bones, you’ll need to head to the blacksmith to get the key made. There’s a pretty easy path that will lead straight to the blacksmith, with the only enemies on the way being Spiderants. Use the switch to open the door to the blacksmith and wait to find out that the blacksmith is a Spiderant/Human hybrid named Sully! As it turns out, Sully isn’t going to part with his hammer without a fight, so you’ll have to kill him first. Sully seems to like to stay back and just toss hammers at you, which can hurt, so make sure you dodge them.
Upon his death, loot his hammer, then use it and the skeletal pieces you picked up earlier to make a key on the anvil. Return to the gate and go through, fighting to what looks like an arena where you’ll fight the Pumpkin Kingpin, only to find out that he isn’t showing his ugly mug. Baha has plans to flood the place and sends you to the windmills, only they’re not working. It seems some Skrakks (Skags and Rakks) have set their nests to where the windmills are being jammed.
There might be a lot of these things flying about, making it very annoying, so if you don’t have a way to quickly down the Skrakks, go after the nests. There’s a total of six nests and three windmills, with two nests per windmill. One nest will be up high, while the other will be near the base. Shooting them once will destroy the nest, so if you act quickly, you might be able to limit the number of Skrakks that spawn. Once you’ve taken care of them all, head back to the arena and hit the switch to spawn the Kingpin.
Boss - Pumpkin Kingpin
The Pumpkin Kingpin can be quite an annoying boss, especially because he is able to heal himself. He has a variety of attacks at his disposal, one of which involves him throwing pumpkins that can either explode on contact with you or are planted into the ground, exploding after a few seconds. It also seems that getting hit with these at first can slow your movements. He also can charge towards you and hit you with a melee attack, which doesn’t seem to hurt that much.
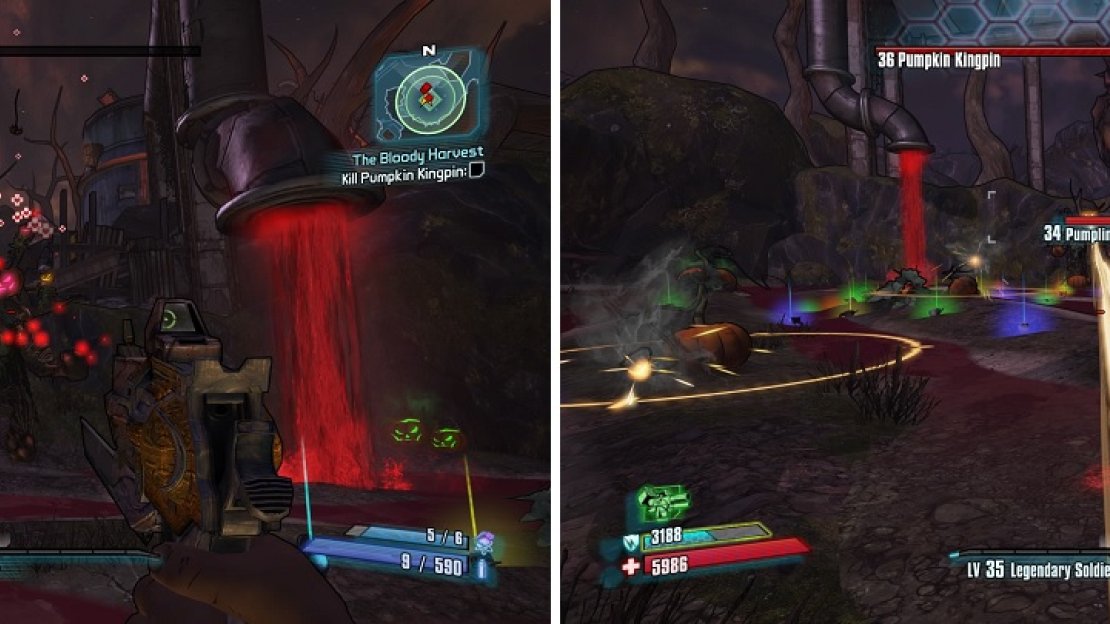
Shoot the Pumplings off Kingpin’s shoulders to negate his health regenerating (left). His laser attack can do a lot of damage (right).
In addition to a flamethrower breath attack, Kingpin can also fire a laser from his mouth. The latter hurts a lot more and has great range, so try to avoid it by jumping back and forth over it. Another devastating attack is Kingpin firing a volley of fireballs that home in on where you’re standing. One more attack, before talking about the most annoying part about this battle, is a move where he charges and a circle appears on the ground. Stay out of range, as a shockwave-type maneuver will be unleashed.
The most troublesome part section of the battle with Pumpkin Kingpin happens when he starts summoning his minions, Pumplings. Normally, they are a welcomed addition to any fight, since they always drop the delicious candies that give you buffs, but they have an added task in this battle. If you see any with a white exclamation over their head, they will go sit atop the Pumpkin Kingpin’s shoulders and start regenerating his health. You can shoot them off his shoulders, so you definitely want to do that.
After finally taking the Kingpin down, the battle isn’t quite over yet, as his head will start flying around now. Its only attack is to spit fireballs at you, so keep moving to avoid them and the minions from before. Luckily for you, the head has pretty poor defense and the entire thing is a critical spot, so it should go down very quickly. Upon its death, loot the goodies it drops, then return to TK Baha to turn in the mission.


No Comments