
Despite the undoubtedly lofty intentions of its builders, the Tom of Ja’Nuwa is now merely one of many tomb dungeons that litter the arid wastes of Battahl. In the eyes of any self-respecting adventurer, this supposedly sacrosanct corpse repository is just as ripe for plunder as any other hole in the ground - the dusty bones within aren’t going to miss their worldly trappings! The Tomb of Ju’Nuwa is particularly ripe for plunder due to a rare item of unusual potency you can find within - a ![]() Ring of Recitation. A potent tool for any caster, especially ones who view the term “glass cannon” as a badge of honor. This page will provide a walkthrough for the
Ring of Recitation. A potent tool for any caster, especially ones who view the term “glass cannon” as a badge of honor. This page will provide a walkthrough for the ![]() Tomb of Ja’Nuwa in
Tomb of Ja’Nuwa in ![]() Dragon’s Dogma 2, including its location and where to find the Ring of Recitation within.
Dragon’s Dogma 2, including its location and where to find the Ring of Recitation within.
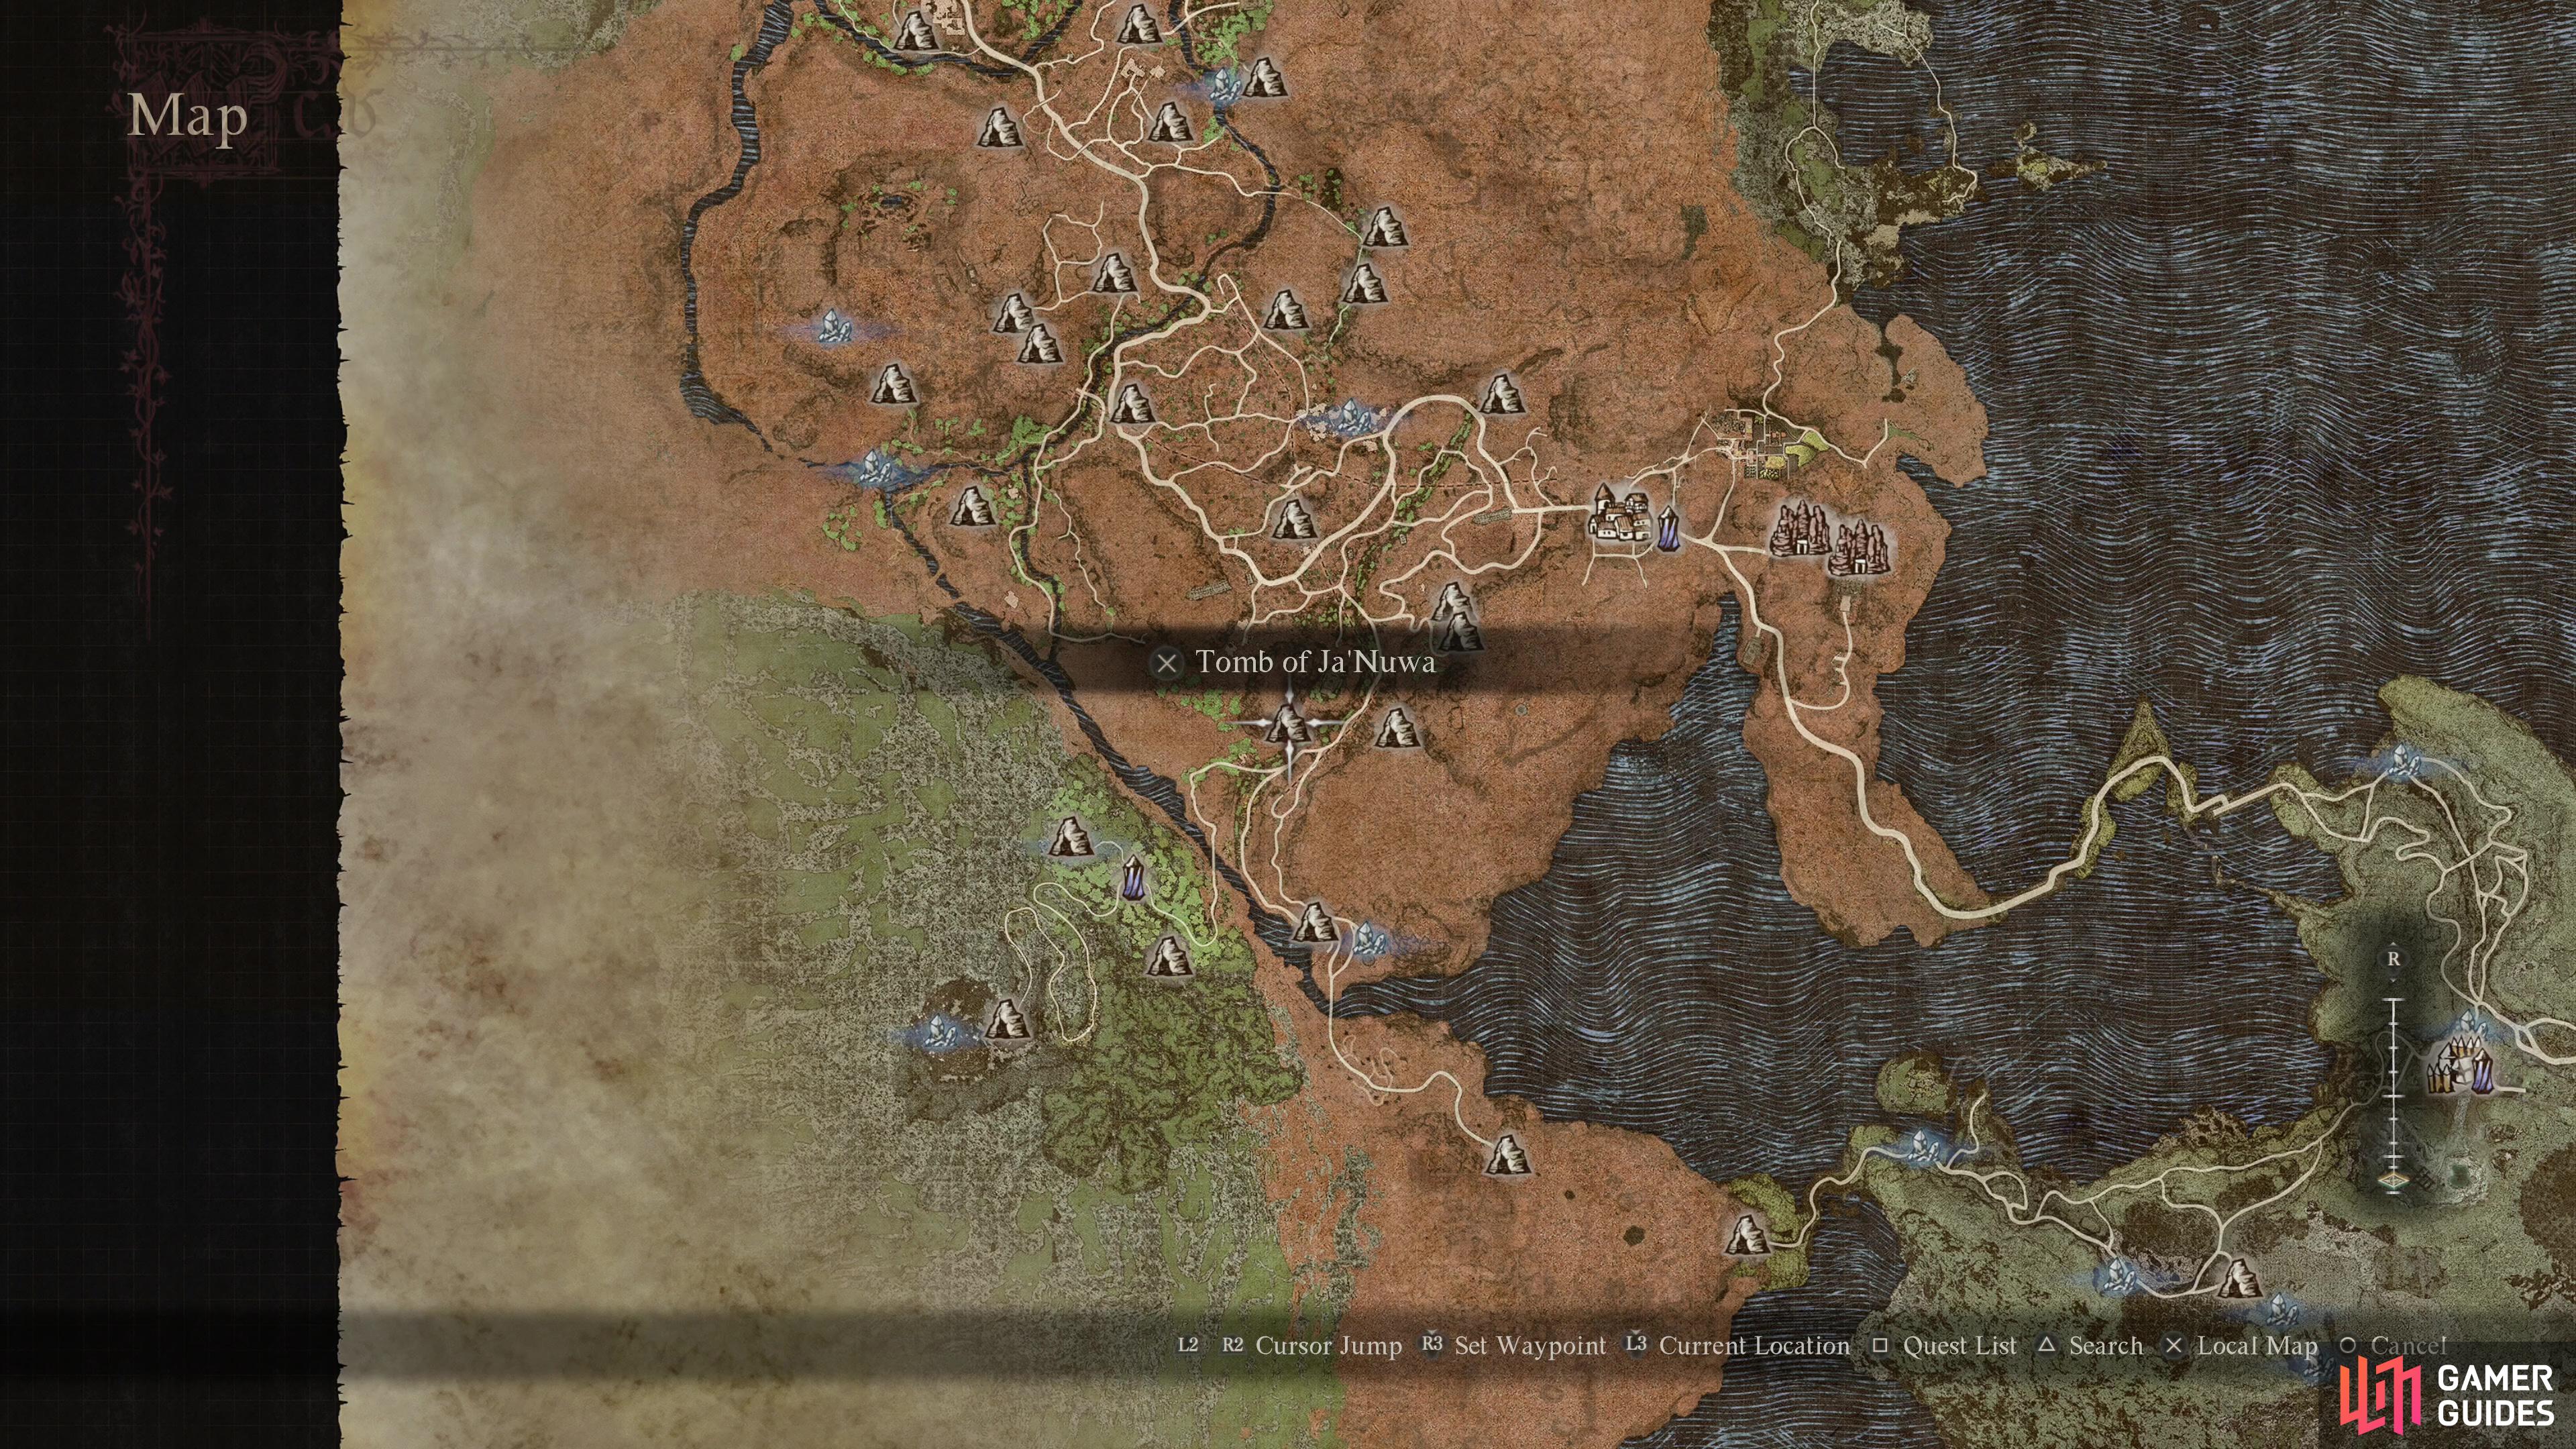
(1 of 3) The location of the Tomb of Ja’Nuwa on the map.
Tomb of Ja’Nuwa Location
The Tomb of Ja’Nuwa is southwest of ![]() Bakbattahl, as the crow flies, not a terrible trek on foot. You can make this journey even easier if you’re willing to use Battahl Ropeway Station One to reach Battahl Ropeway Central Station, from which you can use a second ropeway to reach Battahl Ropeway Station Four to the south. Battahl Ropeway Station Four is just south of the Tomb of Ja’Nuwa… you just need to be mindful of the odd
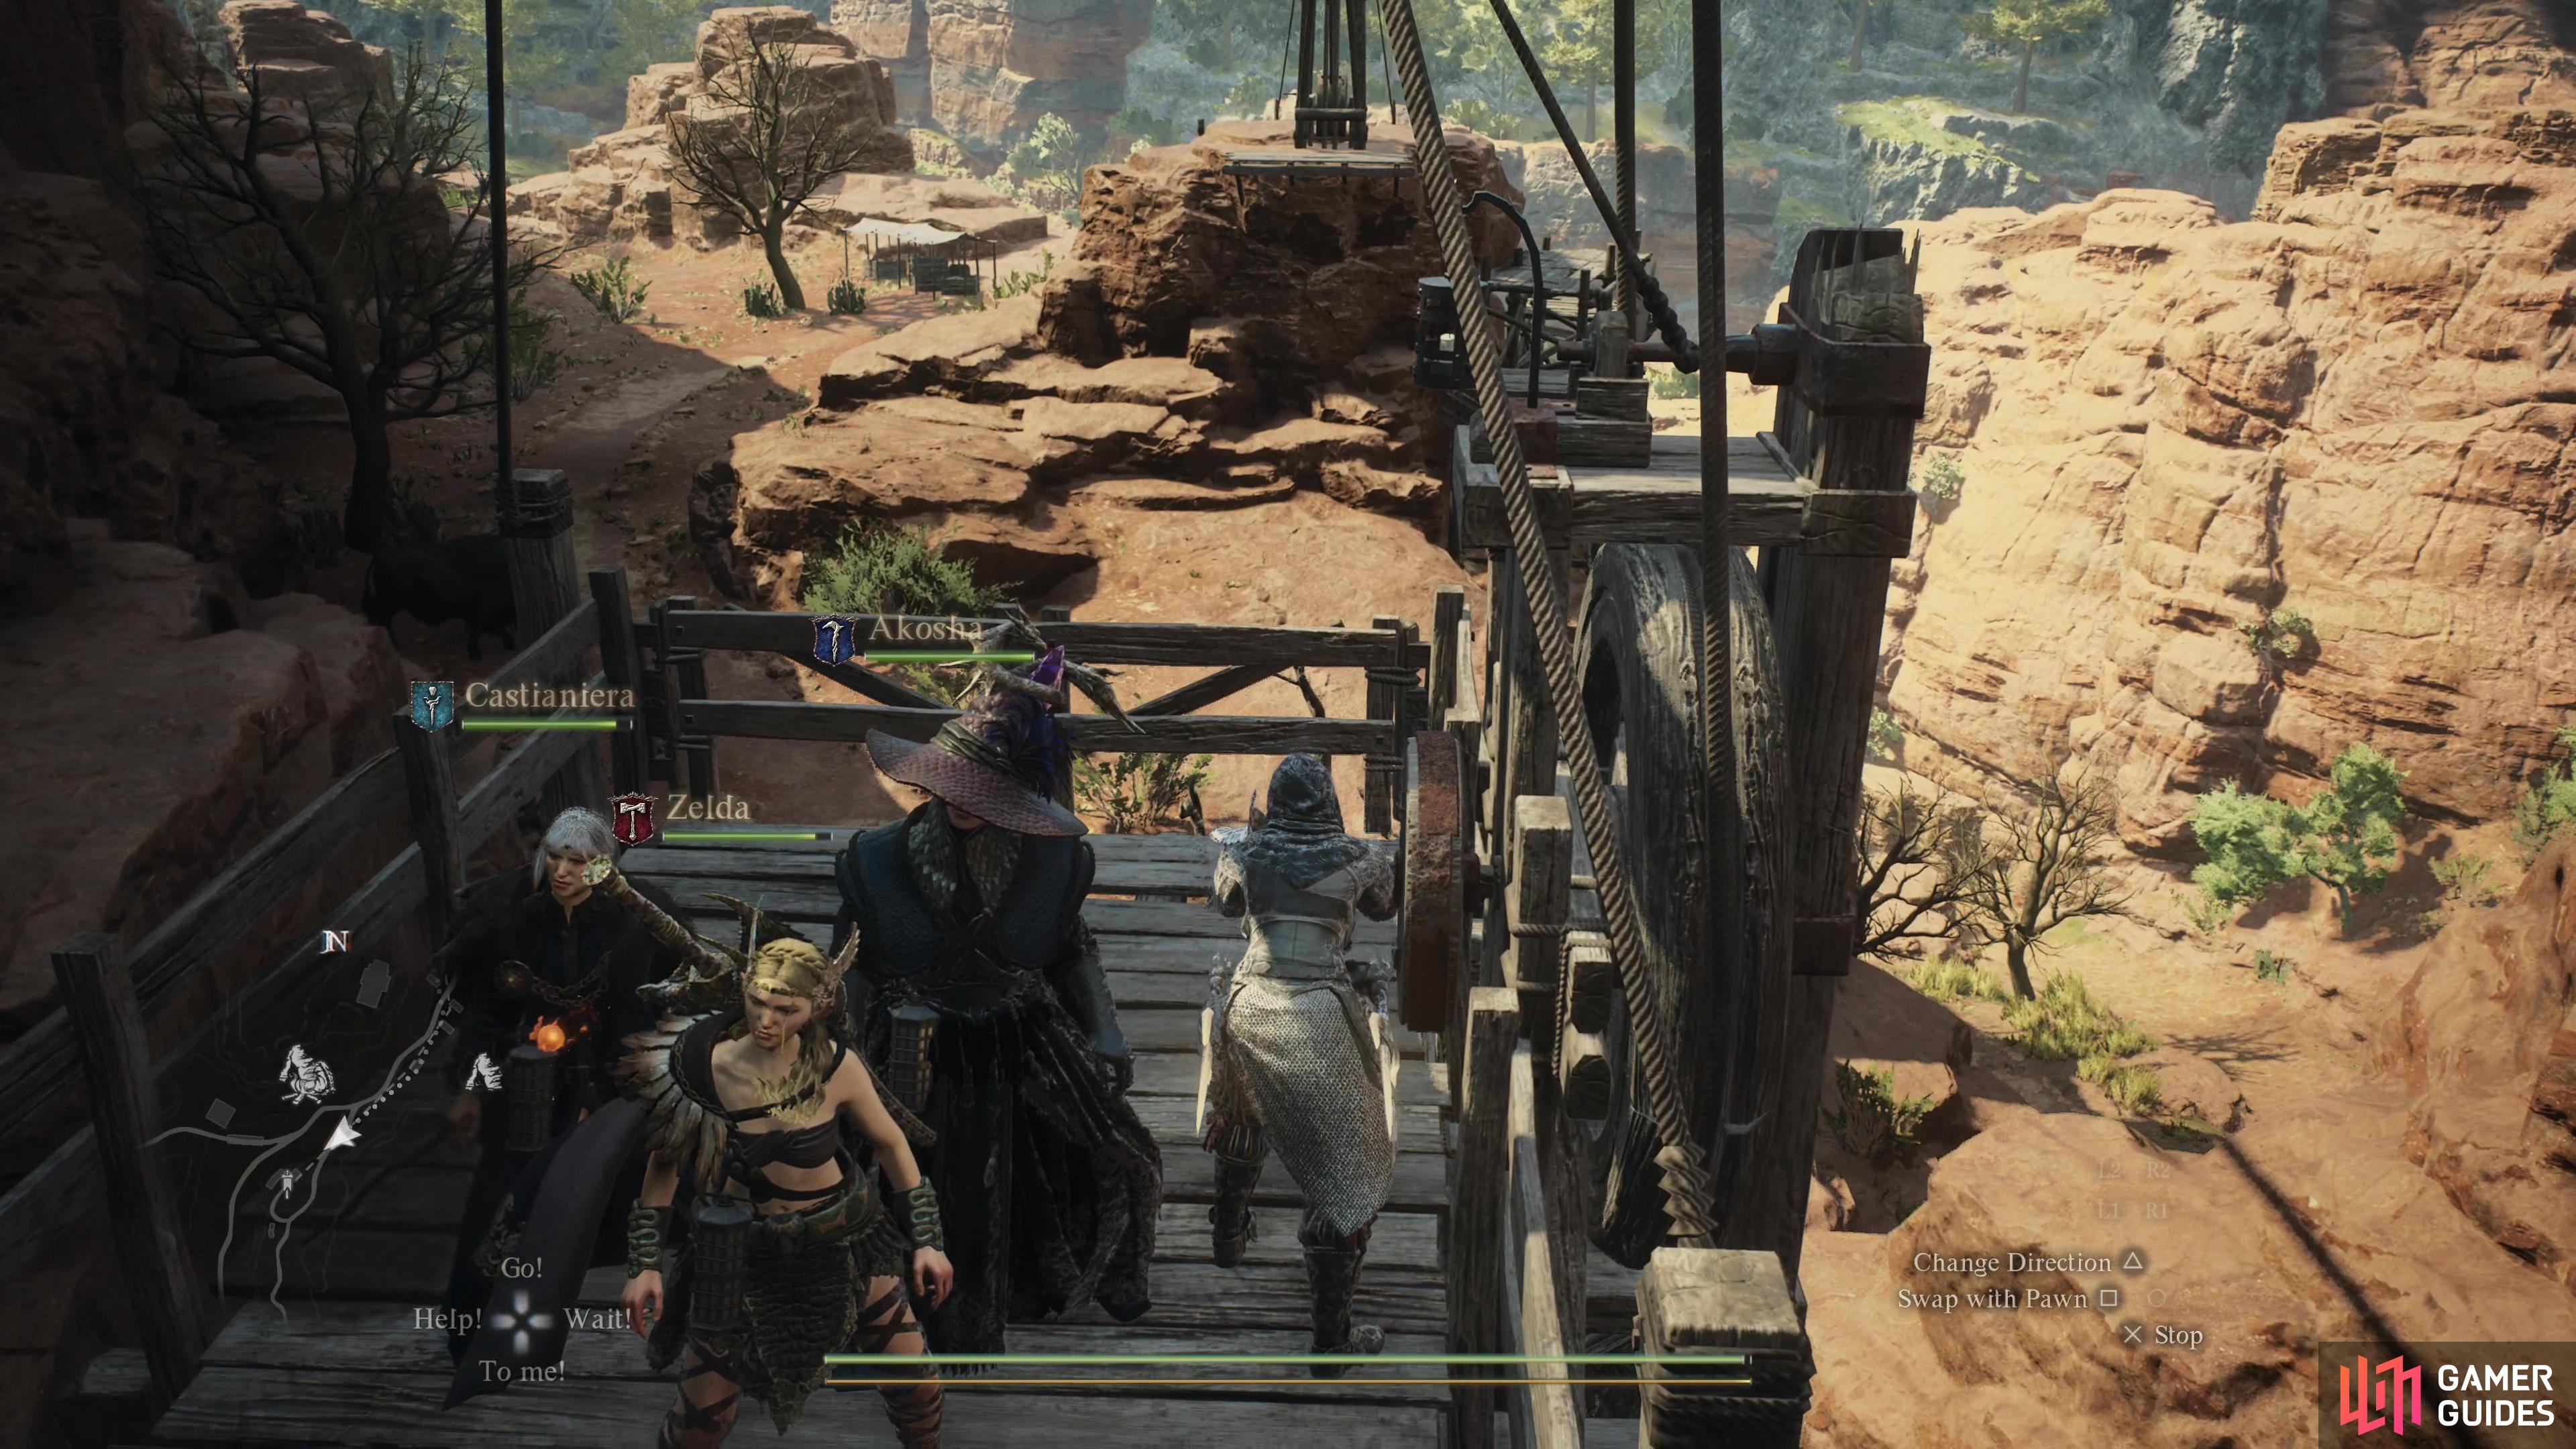
Bakbattahl, as the crow flies, not a terrible trek on foot. You can make this journey even easier if you’re willing to use Battahl Ropeway Station One to reach Battahl Ropeway Central Station, from which you can use a second ropeway to reach Battahl Ropeway Station Four to the south. Battahl Ropeway Station Four is just south of the Tomb of Ja’Nuwa… you just need to be mindful of the odd ![]() Harpy and
Harpy and ![]() Griffin that may pester you while you ride the ropeway.
Griffin that may pester you while you ride the ropeway. ![]() Hobgoblins and
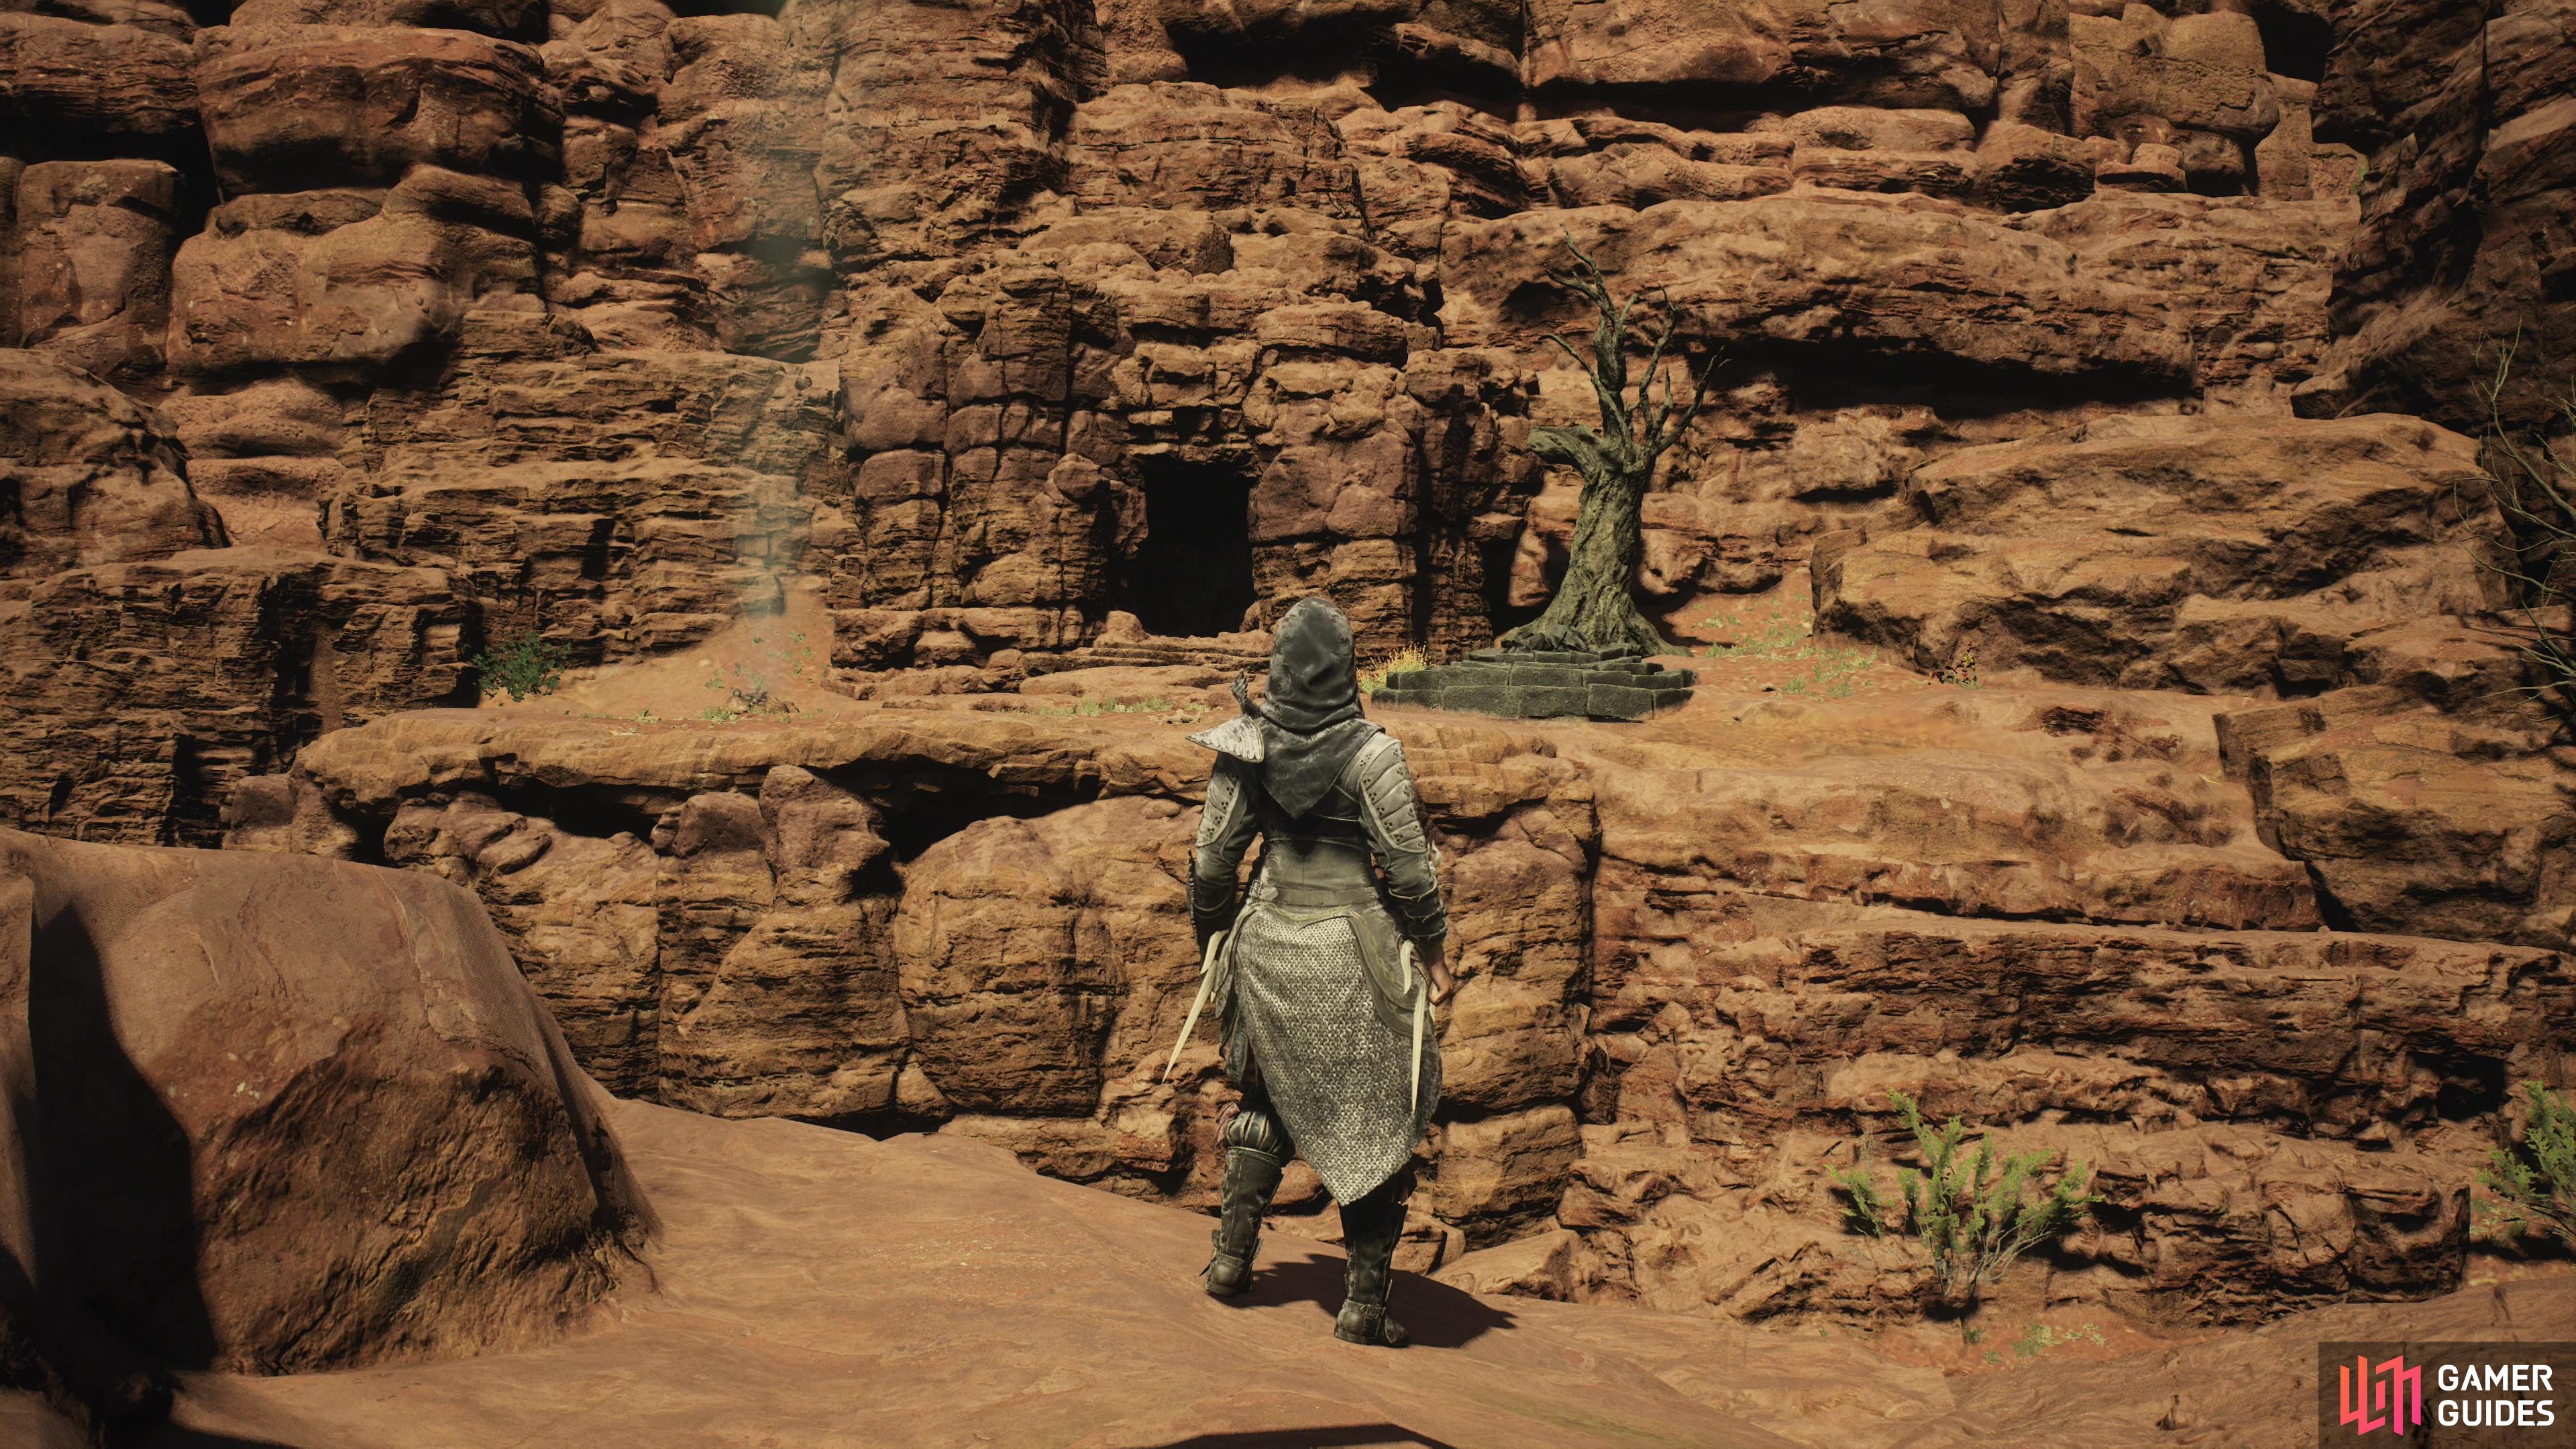
Hobgoblins and ![]() Saurians litter the ground, so it’s a pick-your-poison scenario, really. On the plus side, the Riftstone of the Fanged can be found outside, along with a campsite, so however arduous you found the journey, you should be able to recover before heading into the tomb.
Saurians litter the ground, so it’s a pick-your-poison scenario, really. On the plus side, the Riftstone of the Fanged can be found outside, along with a campsite, so however arduous you found the journey, you should be able to recover before heading into the tomb.
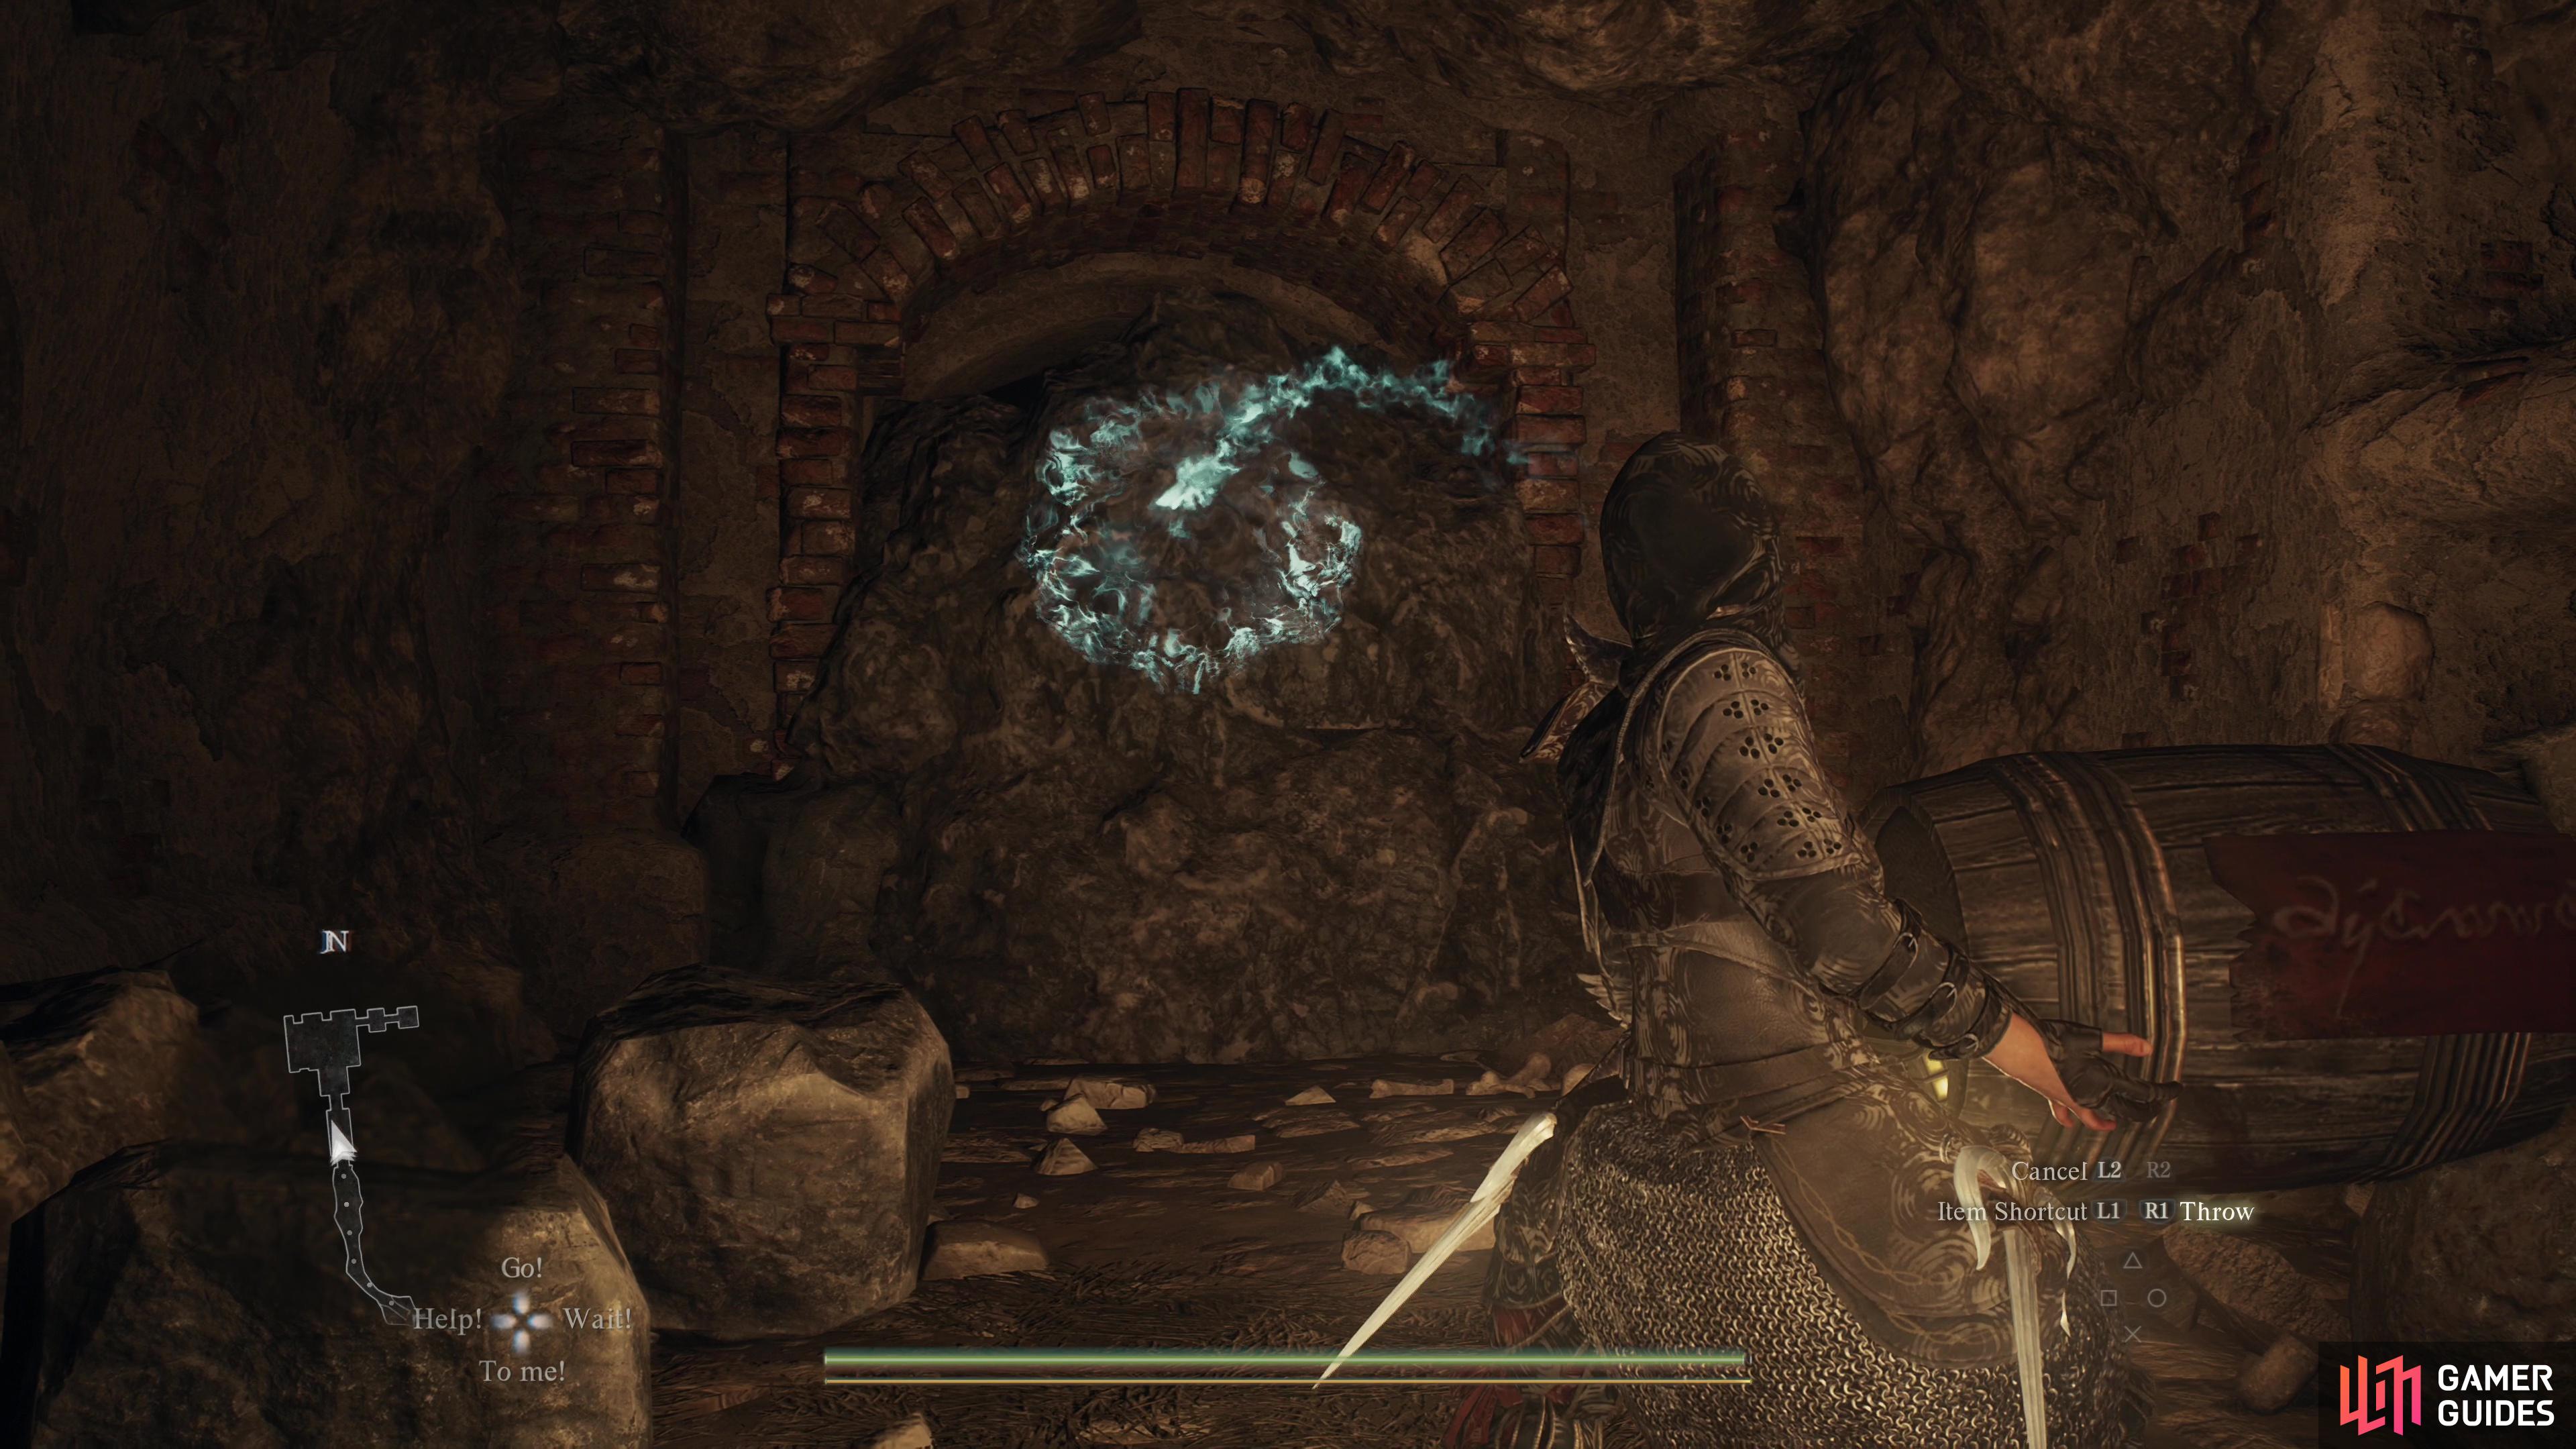
(1 of 4) Use an explosive barrel to destroy an obstruction,
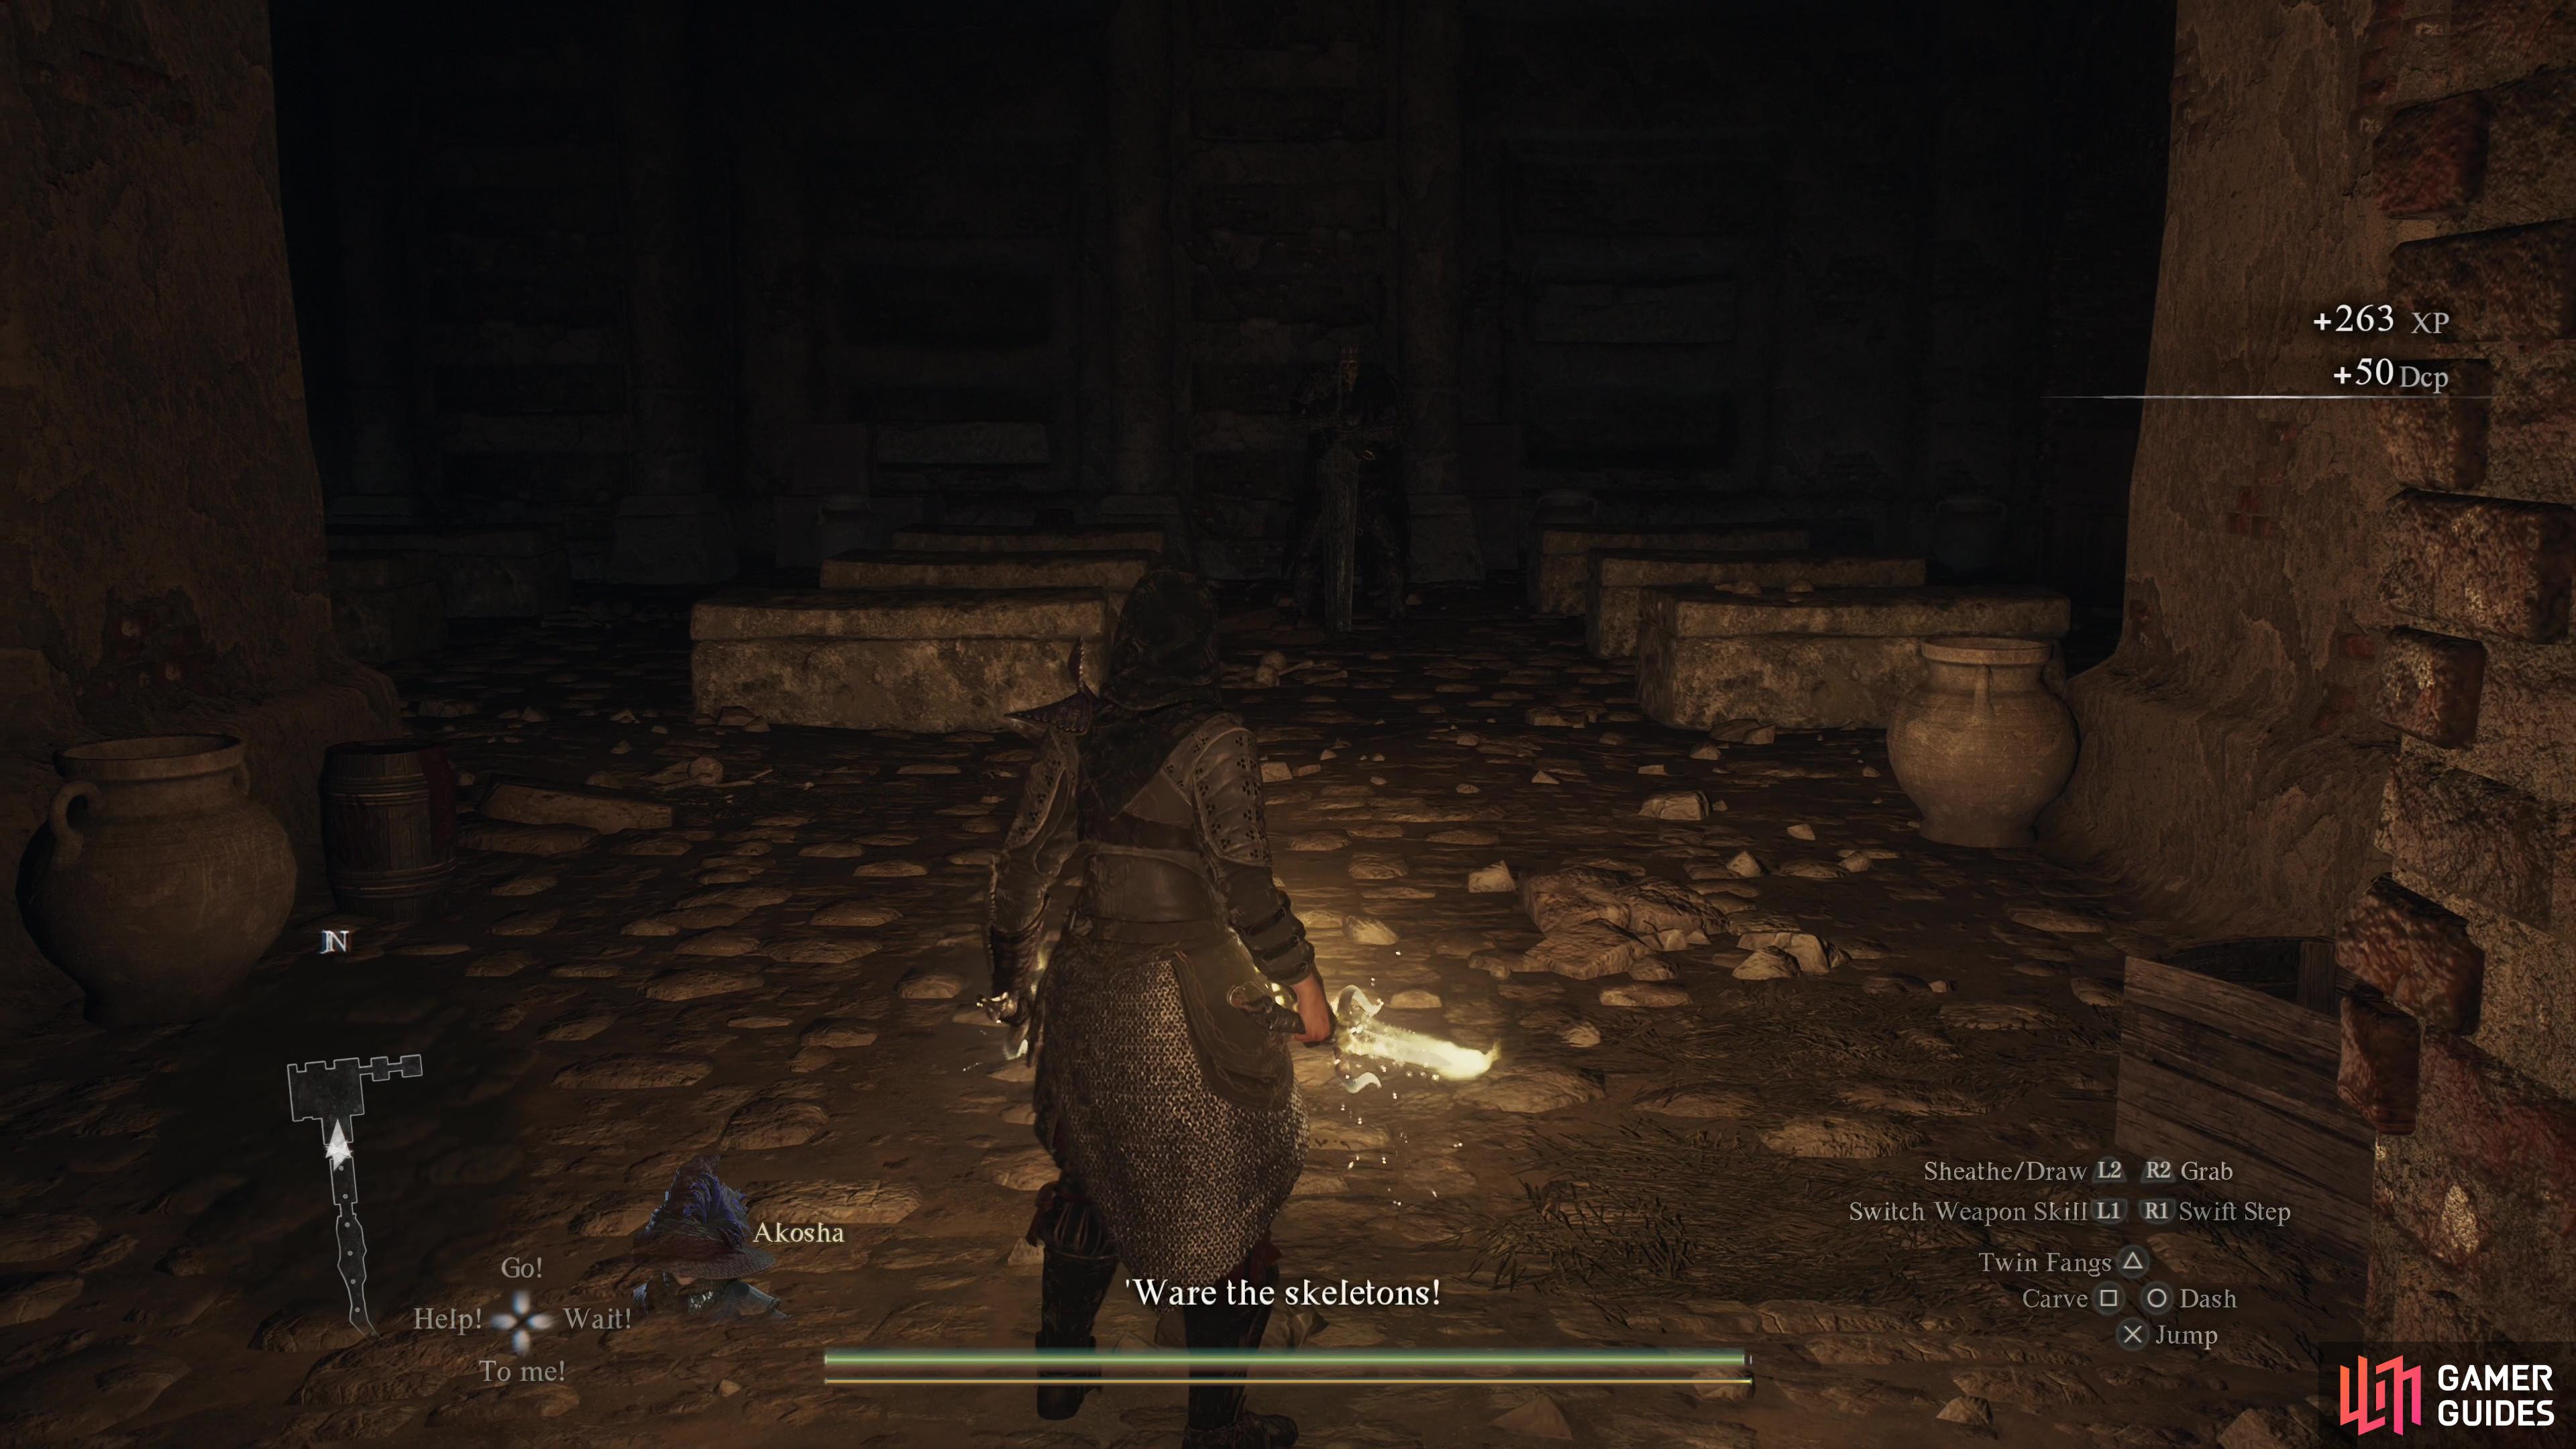
Defeat the Skeleton Lord
Speaking of which, when you’re ready head into the tomb and pop your lantern on. This is a simple enough tomb in terms of layout, and it’s not all that big. Just make your way downhill to the northwest, then north, then pass through a doorway to find your path blocked by rubble. Fortunately, there’s an explosive barrel nearby - introduce your new explosive friend to the obstruction ahead to encourage the rocks to respect your right to travel, then cut your way through whatever is left. Before you enter, make sure you put down any undead you may have roused - there’s a powerful enemy ahead and it doesn’t need any assistance.
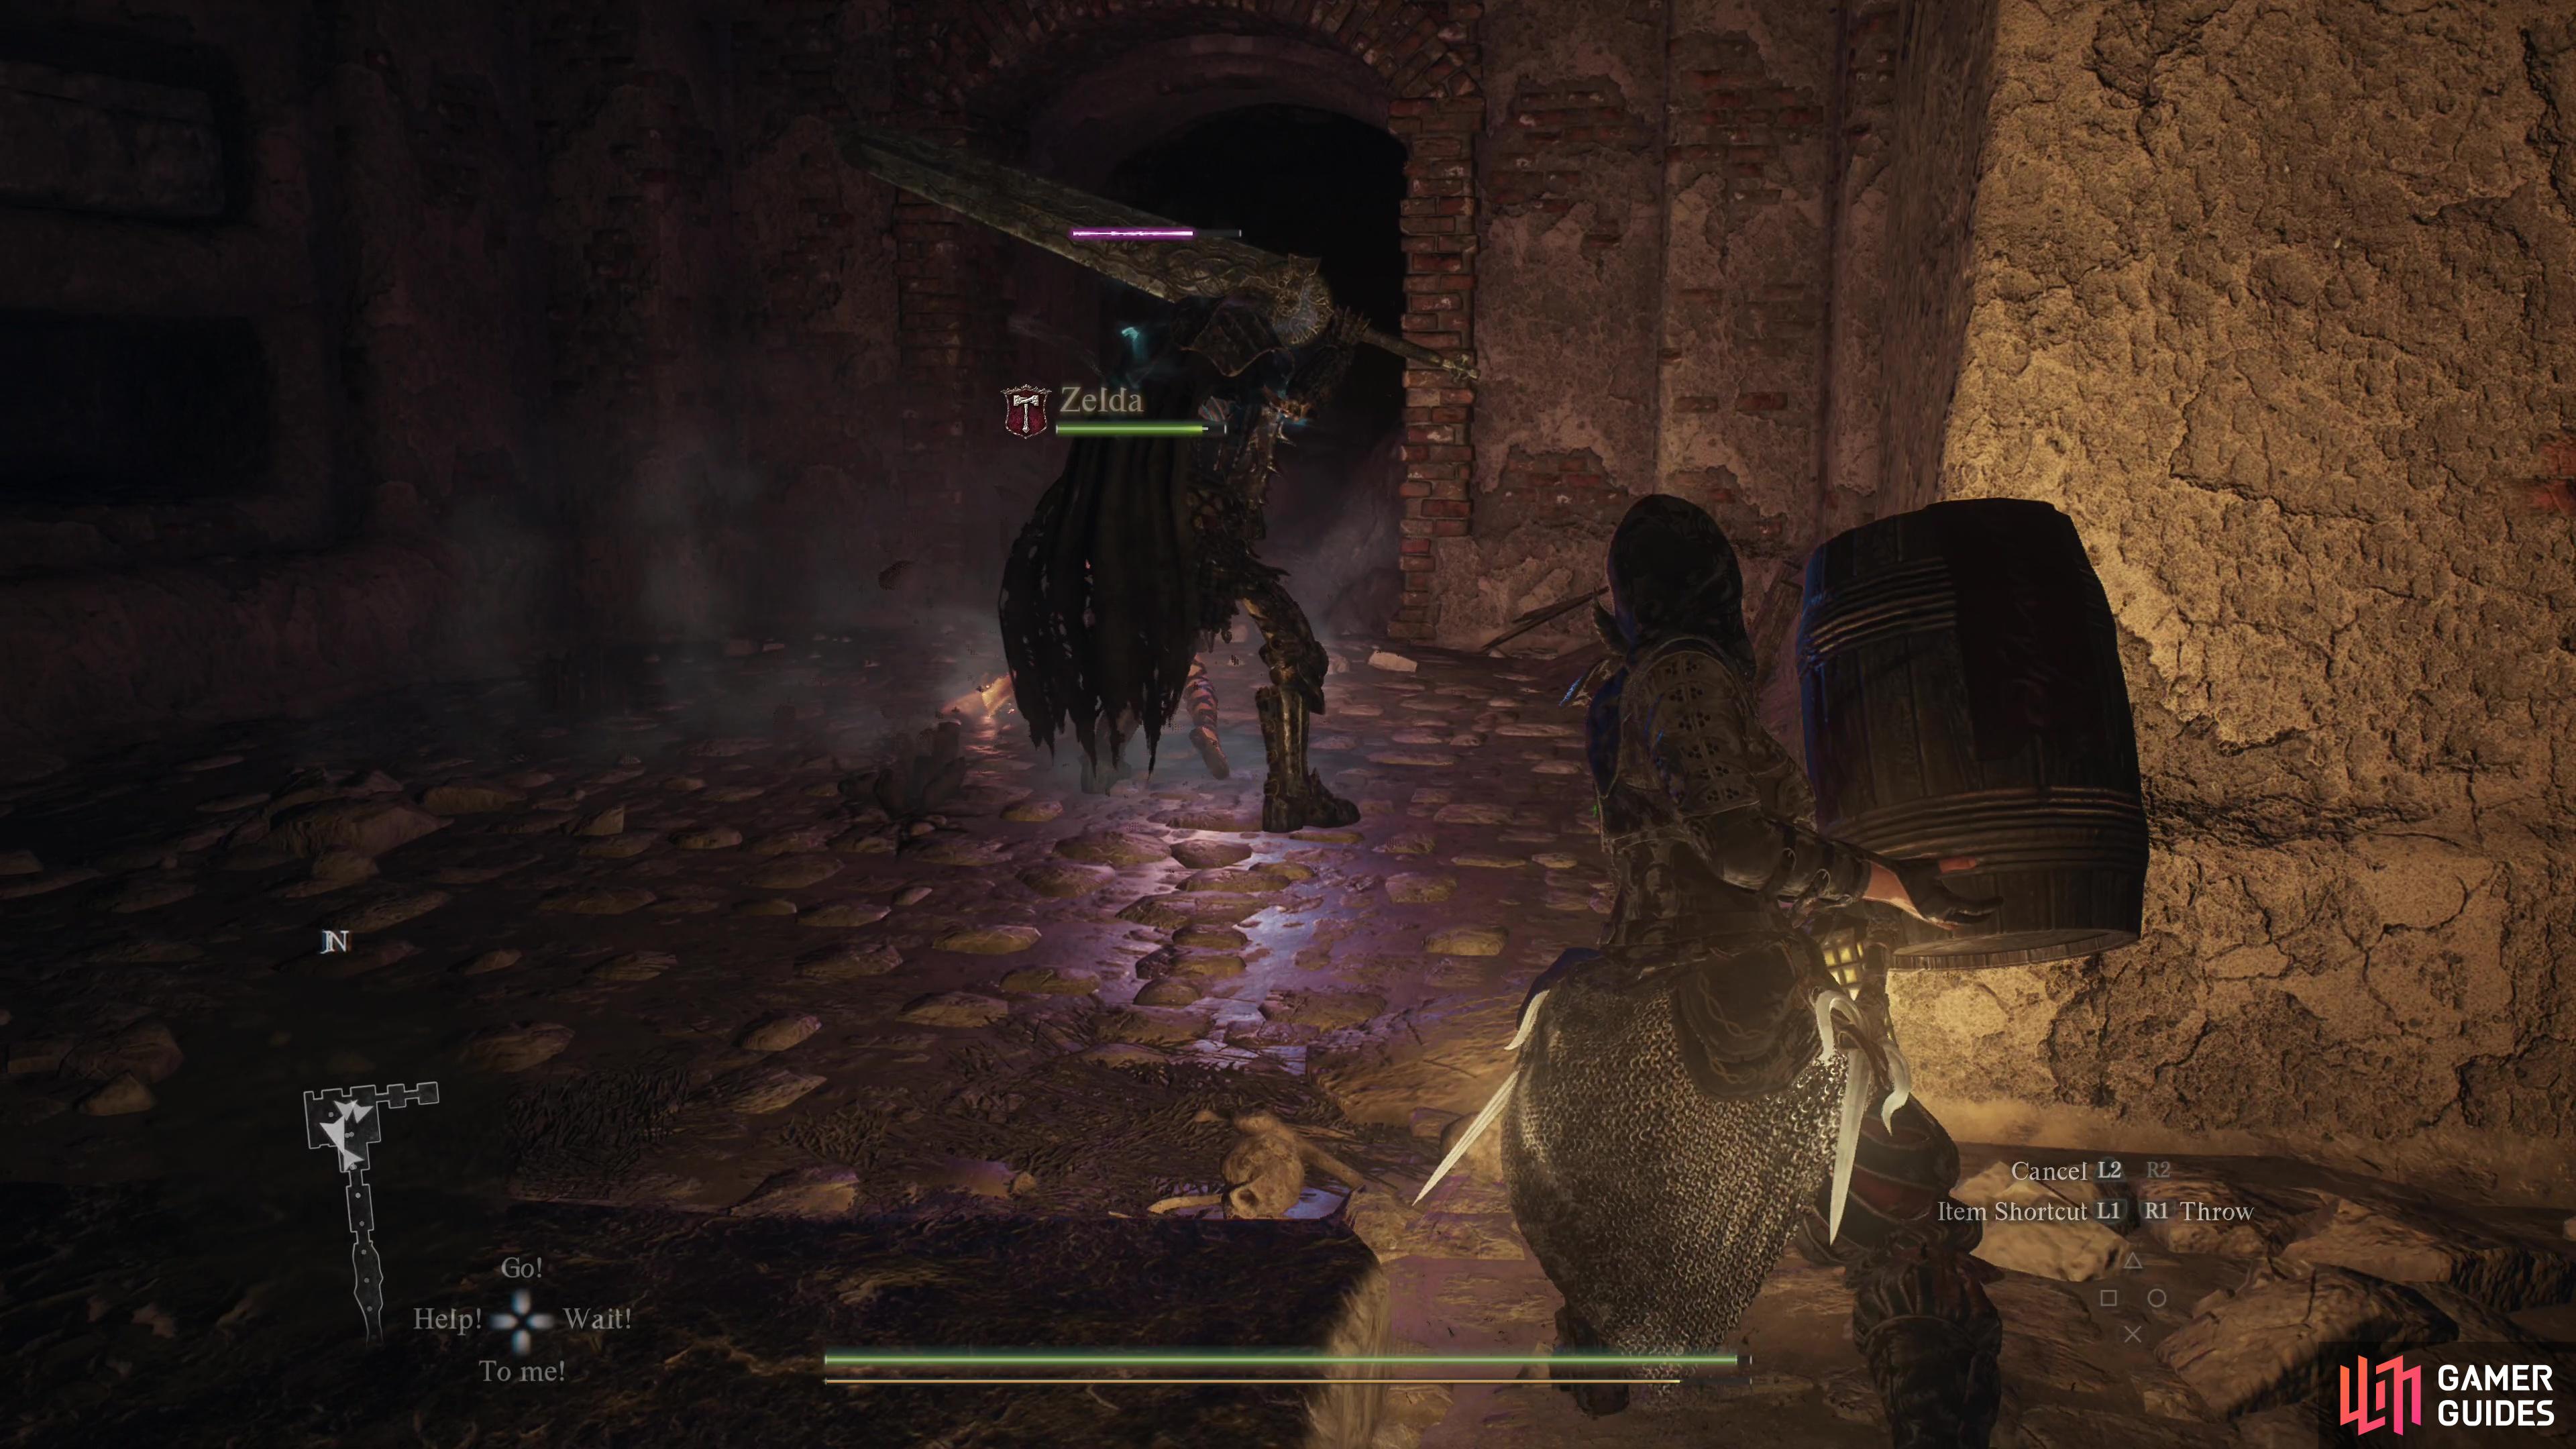
Enter the room to the north when you’re ready and you’ll find yourself in a moderately-sized chamber filled with stone sarcophagi. Waiting on the opposite end of this chamber is a ![]() Skeleton Lord, a rare and powerful skeletal foe who is a mix of a
Skeleton Lord, a rare and powerful skeletal foe who is a mix of a ![]() Warrior and a
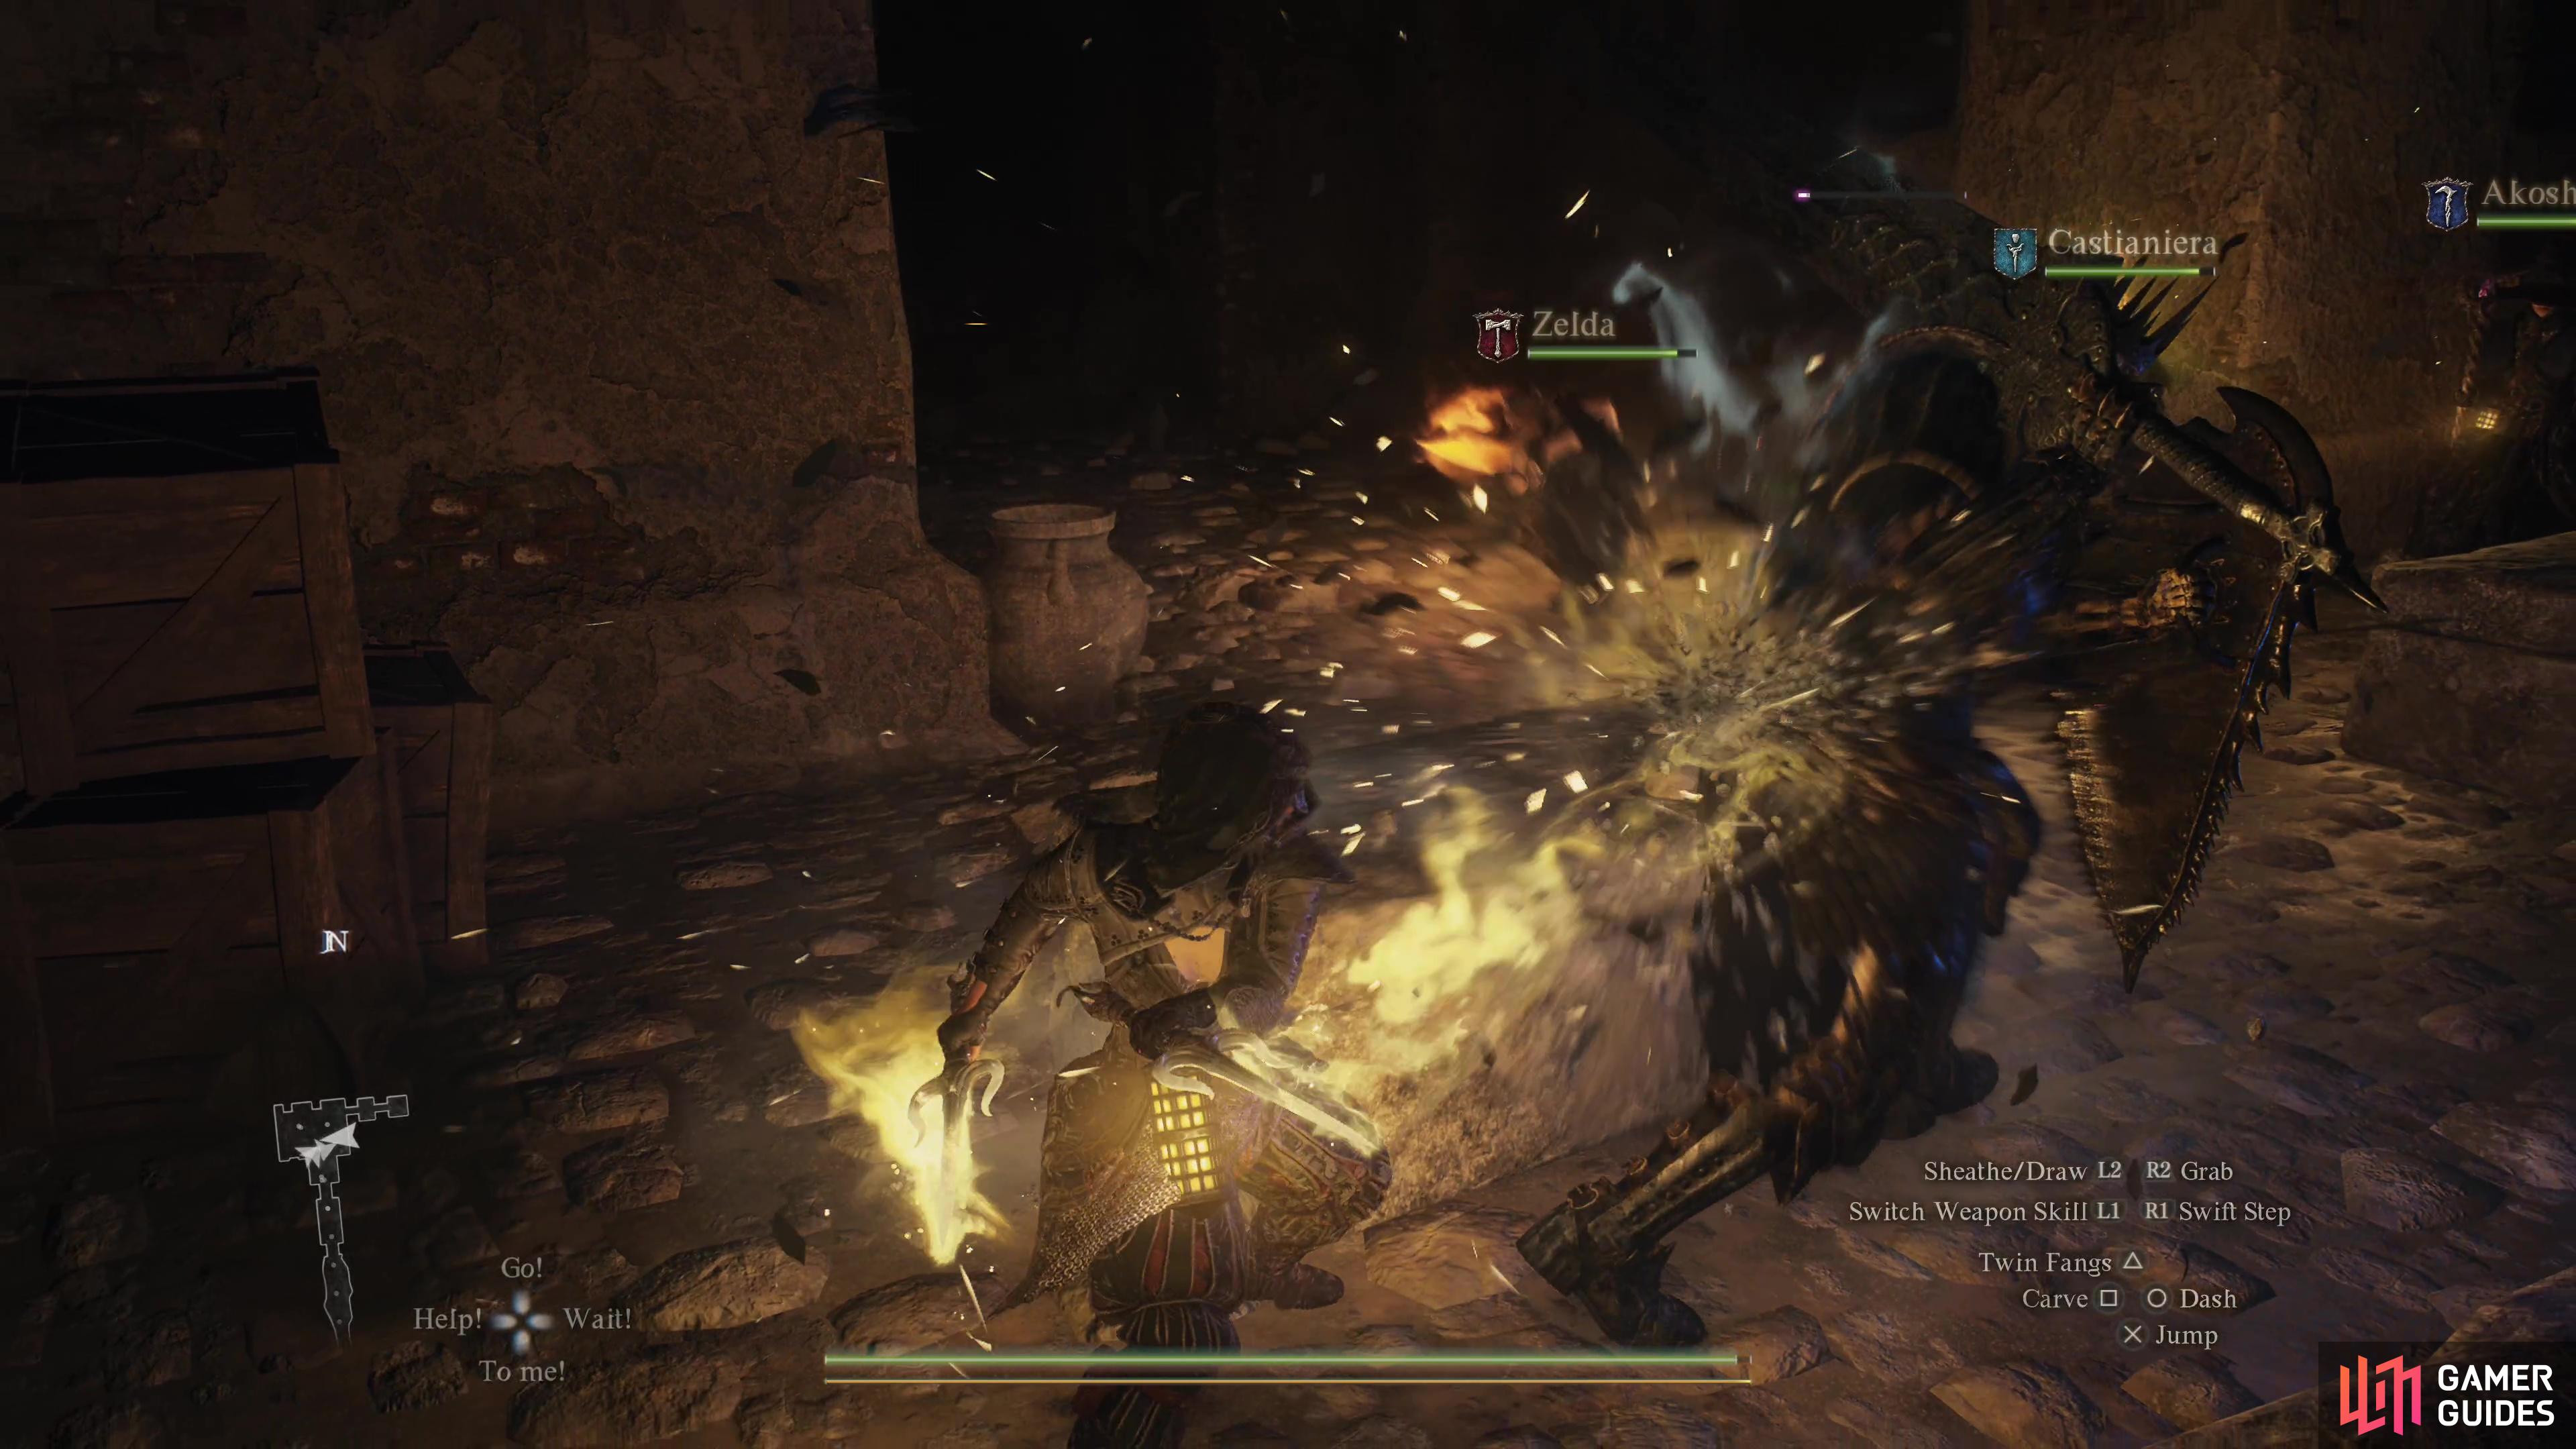
Warrior and a ![]() Fighter. It’ll primarily use a greatsword, but it can also bear a shield should it feel the need to do so. That said, it trends towards the Warrior side of things when it comes to speed, being ponderous but powerful. You’re usually safe if you attack from the rear, just watch out for it when it readies its greatsword for a sweeping attack. It can also charge, and while this is somewhat lumbering, too, the sarcophagi can get in the way. The dark humor of dying because you tripped on a sarcophagus while trying to rob a tomb is too rich to indulge, so be wary. If you need more help, there are explosive barrels littered throughout the room - they only deal moderate damage, at best, but can set the
Fighter. It’ll primarily use a greatsword, but it can also bear a shield should it feel the need to do so. That said, it trends towards the Warrior side of things when it comes to speed, being ponderous but powerful. You’re usually safe if you attack from the rear, just watch out for it when it readies its greatsword for a sweeping attack. It can also charge, and while this is somewhat lumbering, too, the sarcophagi can get in the way. The dark humor of dying because you tripped on a sarcophagus while trying to rob a tomb is too rich to indulge, so be wary. If you need more help, there are explosive barrels littered throughout the room - they only deal moderate damage, at best, but can set the ![]() Skeleton Lord ablaze. Plus, it gets them out of your way so they won’t be a nuisance. Win-win.
Skeleton Lord ablaze. Plus, it gets them out of your way so they won’t be a nuisance. Win-win.
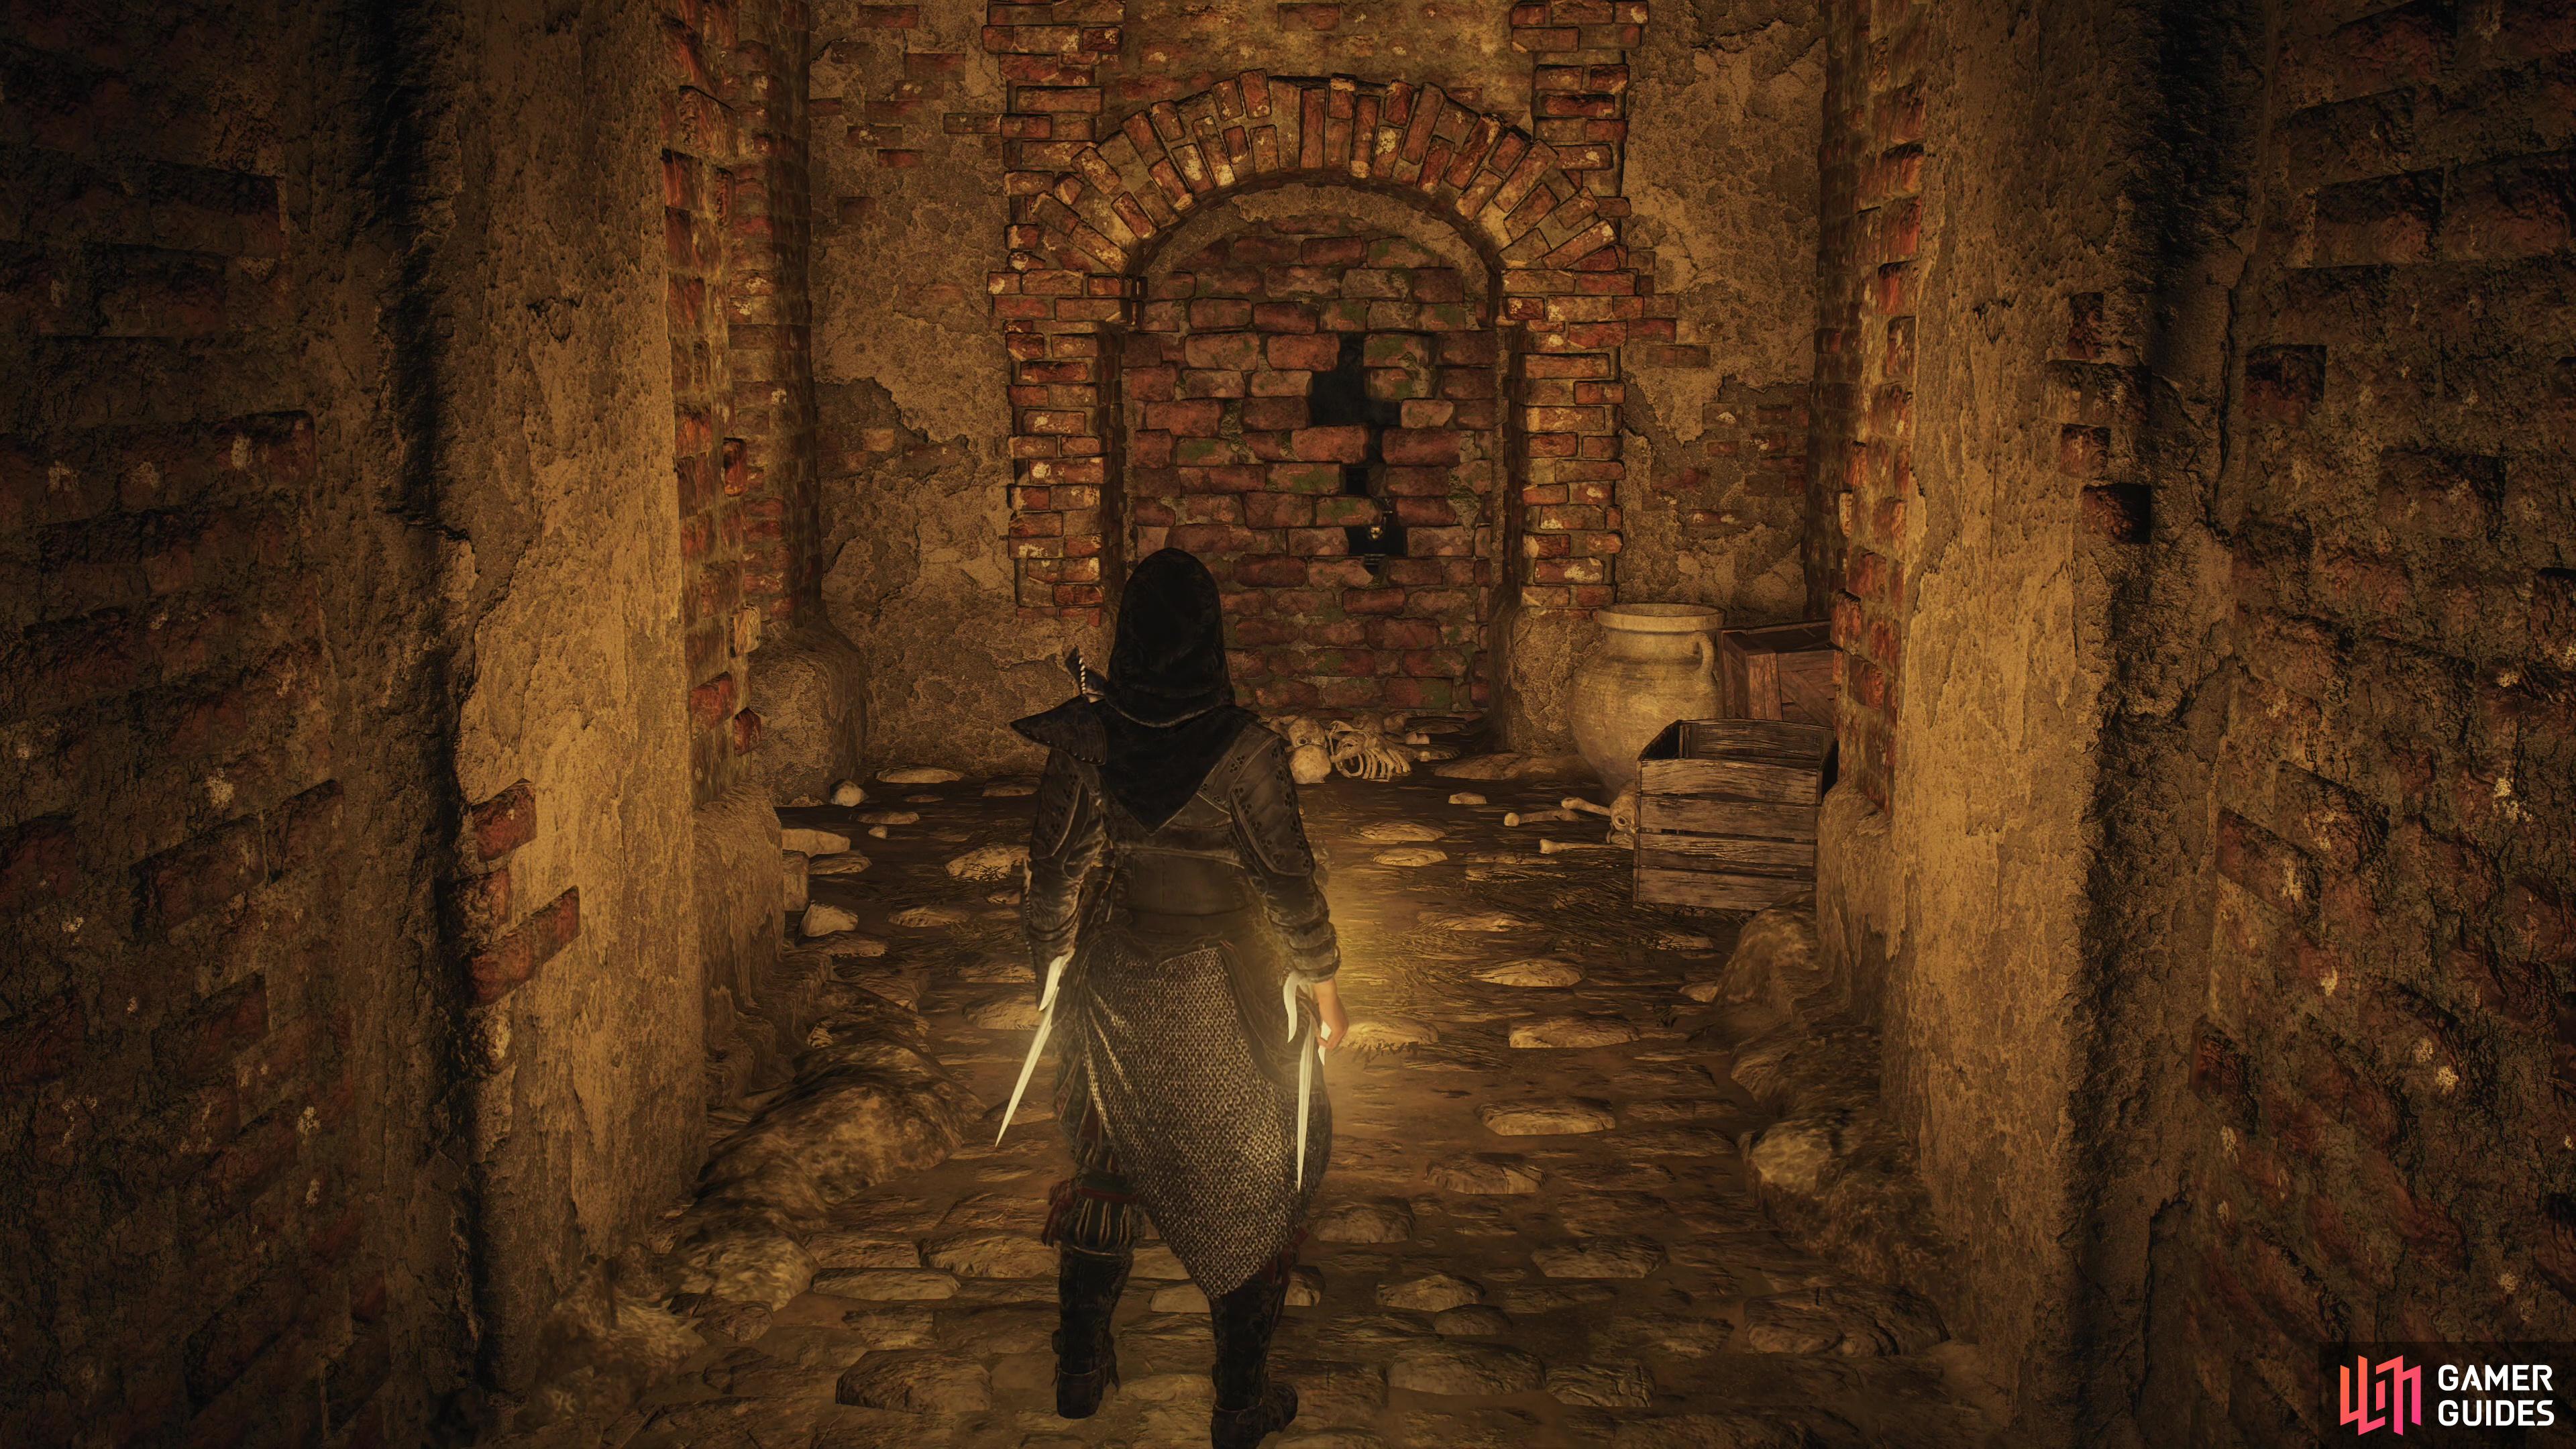

(1 of 2) After taking ownership of this tomb, smash a flimsy brick wall to the east,
After taking ownership of this tomb, smash a flimsy brick wall to the east, (left), then loot an ornate chest for a Ring of Recitation. (right)
Find the Ring of Recitation
Defeat the Skeleton Lord and loot its remains to obtain - along with other goodies, the ![]() Visage of Ja’Nuwa, a unique head armor option for the
Visage of Ja’Nuwa, a unique head armor option for the ![]() Sorcerer. You can also plunder a chest in the northwestern corner of the room to score 4,370G. Not a bad start, but you came here for bigger and better things. Head down a passage to the east and you’ll find some shoddy brickwork barring your path. Smash it to reveal an ornate chest containing a Ring of Recitation. Now that’s better - this ring “greatly reduces time taken to incant spells, but also reduces maximum Health”. Double-edged sword? Sure, specifically it reduces casting time by 25% at the expense of 20% Health. Whether it’s worth the trade-off rather depends on your caster - for an Arisen, maybe not the best choice, since it’s game over if you fall. But on a Sorcerer pawn with 1,000+ Magick? Yeah, faster spells means everything dies faster, and making everything too dead to kill you is generally a sound strategy.
Sorcerer. You can also plunder a chest in the northwestern corner of the room to score 4,370G. Not a bad start, but you came here for bigger and better things. Head down a passage to the east and you’ll find some shoddy brickwork barring your path. Smash it to reveal an ornate chest containing a Ring of Recitation. Now that’s better - this ring “greatly reduces time taken to incant spells, but also reduces maximum Health”. Double-edged sword? Sure, specifically it reduces casting time by 25% at the expense of 20% Health. Whether it’s worth the trade-off rather depends on your caster - for an Arisen, maybe not the best choice, since it’s game over if you fall. But on a Sorcerer pawn with 1,000+ Magick? Yeah, faster spells means everything dies faster, and making everything too dead to kill you is generally a sound strategy.
That’ll do it for this dungeon - short, lucrative, and one powerful enemy to fight. What more could you want out of a dungeon? If you’re in search of more dungeons in Battahl to plunder, check out the following pages:

 Sign up
No Comments