
Dragonsbreath Tower may not be the most dangerous dungeon in ![]() Dragon’s Dogma 2, but it is one of the most prominent due to its size, complexity, the setpiece encounter that occurs when you visit it, its remoteness and the fact that it’s one of the very few dungeons in the game to grant an achievement when you reach it. This page will provide a walkthrough for
Dragon’s Dogma 2, but it is one of the most prominent due to its size, complexity, the setpiece encounter that occurs when you visit it, its remoteness and the fact that it’s one of the very few dungeons in the game to grant an achievement when you reach it. This page will provide a walkthrough for ![]() Dragonsbreath Tower, including how to find the dungeon, how to help
Dragonsbreath Tower, including how to find the dungeon, how to help ![]() Sigurd defeat the
Sigurd defeat the ![]() Lesser Dragon and where to find all the treasure in Dragonsbreath Tower.
Lesser Dragon and where to find all the treasure in Dragonsbreath Tower.
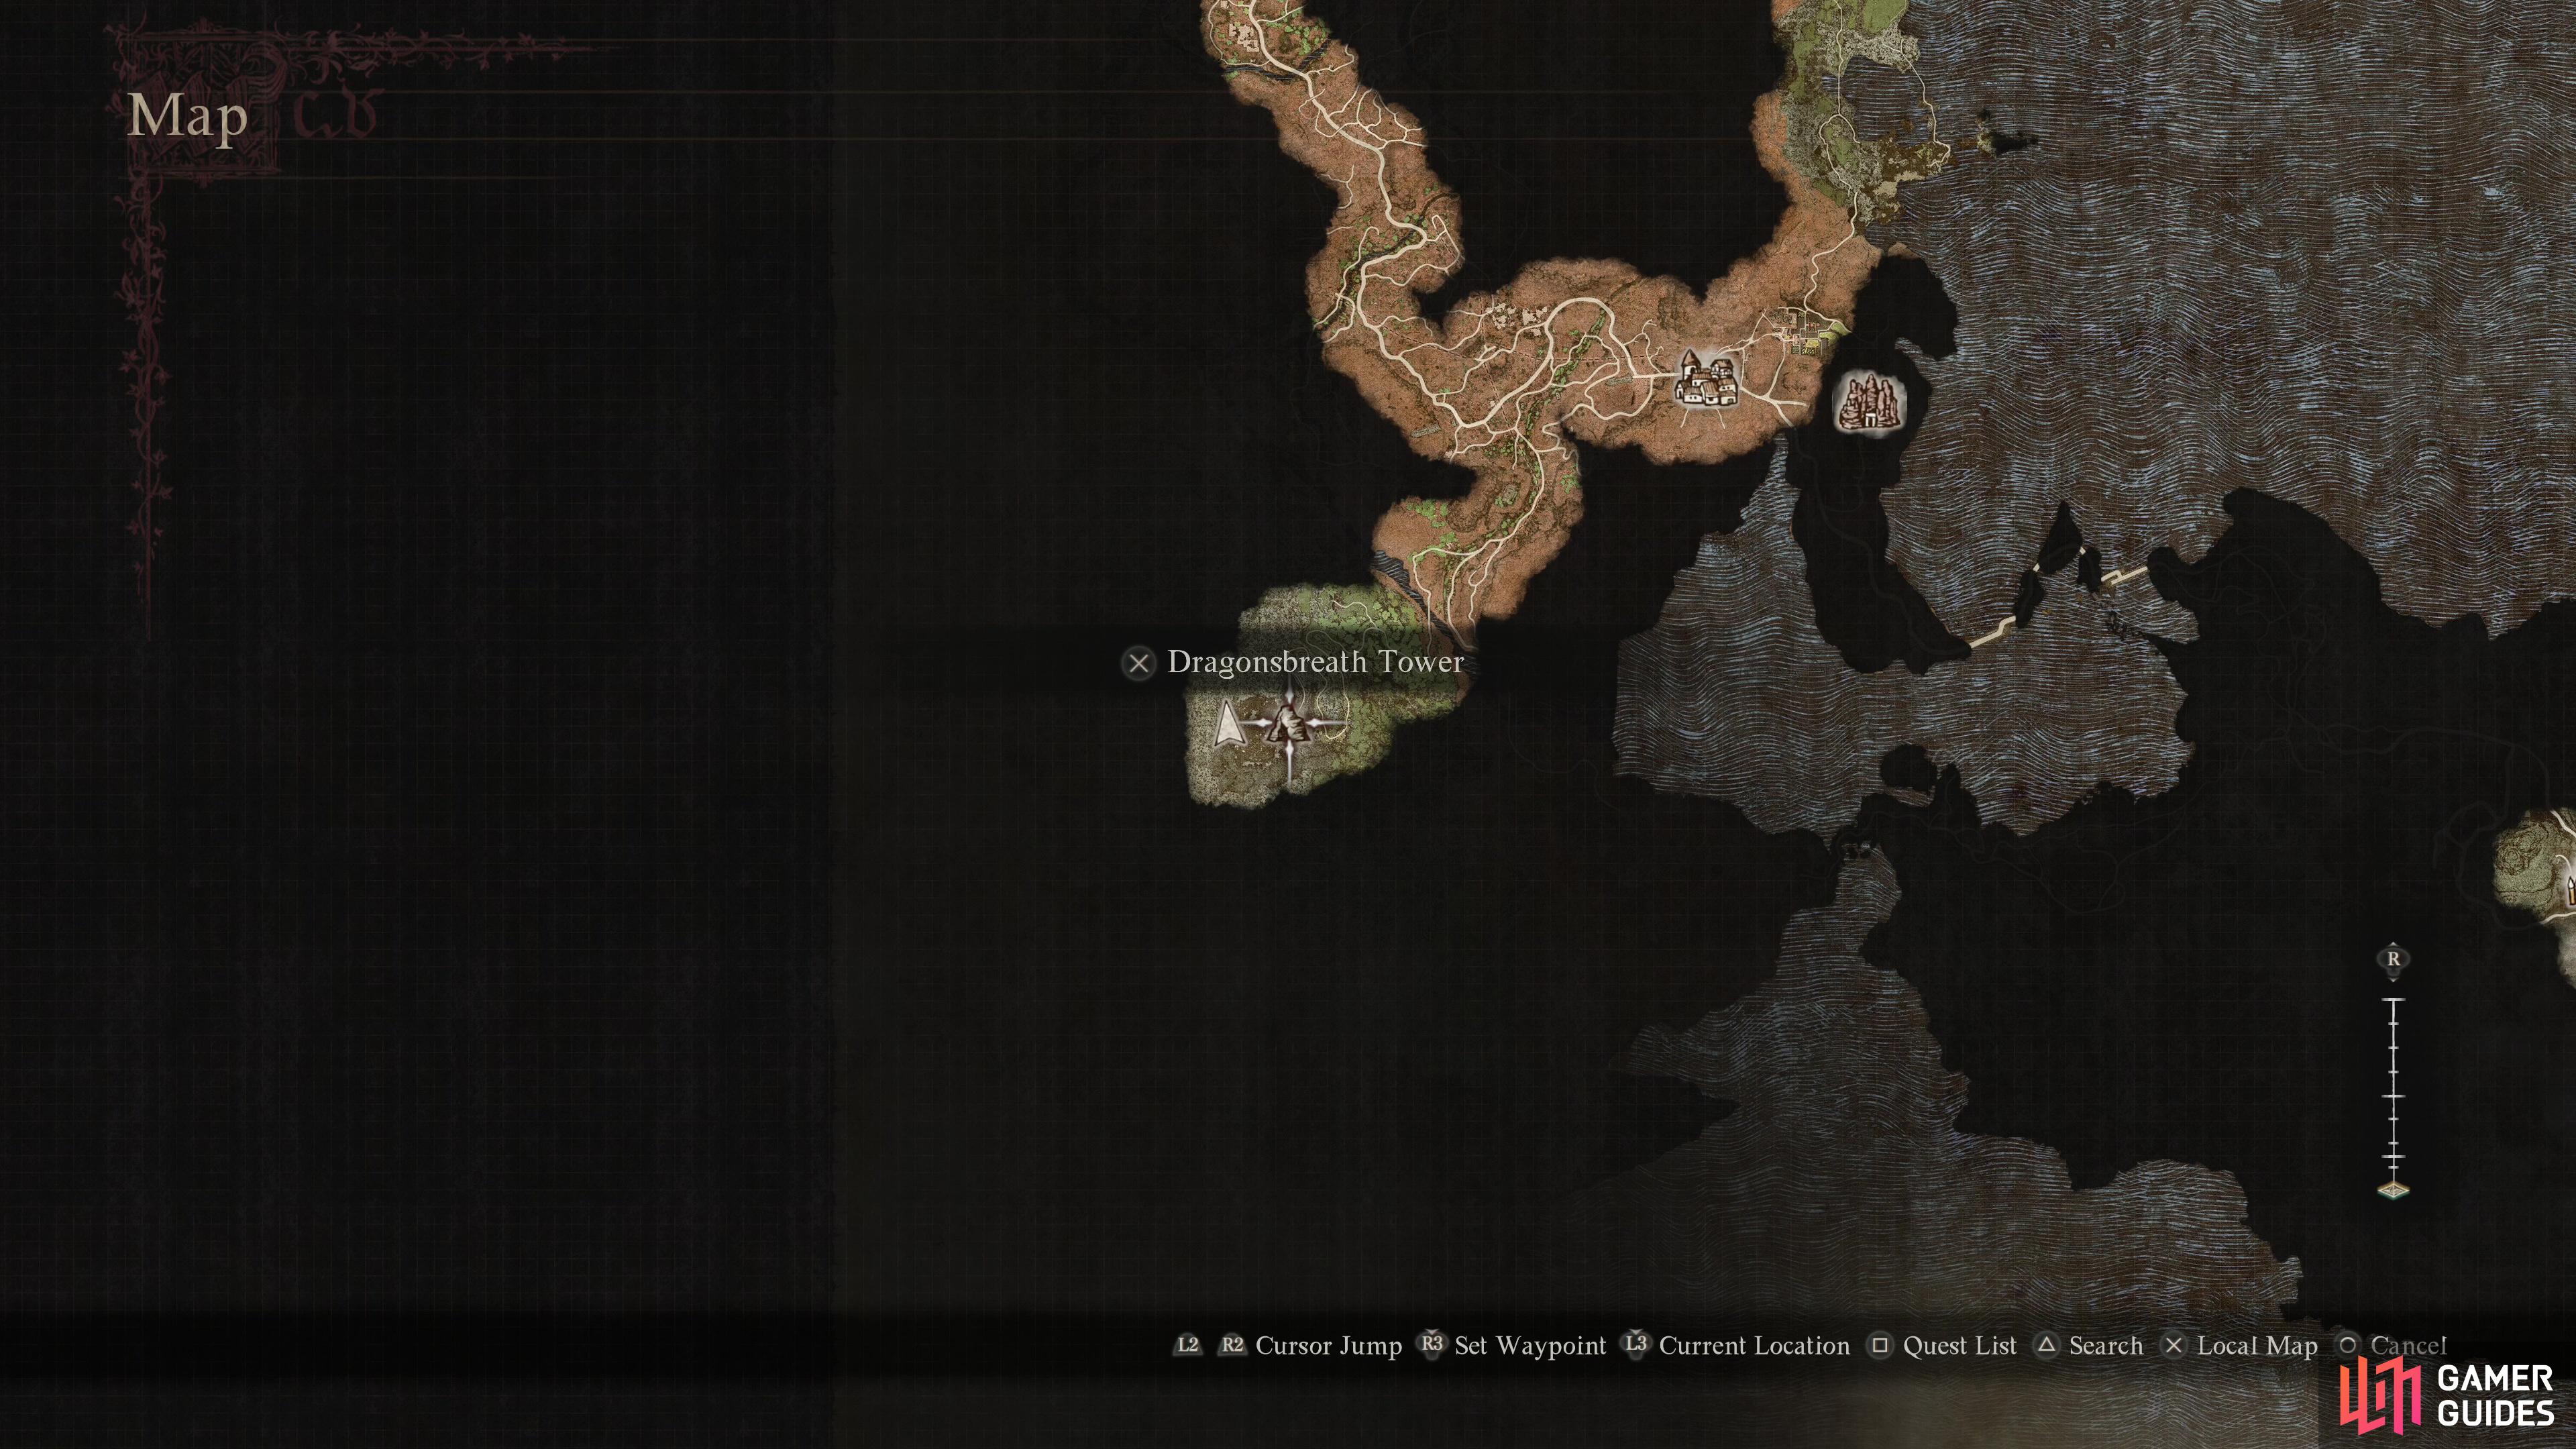
Dragonsbreath Tower can be found along the far southwestern edge of the map. It’s a trek riddled with monsters, but using the ropeway stations can at least expedite the first half of the journey.
Reach Dragonsbreath Tower
Dragonsbreath Tower is located in the far southwestern corner of the map, deep in the Wyrmsblood Forest. The quickest way to reach this dungeon is to take the lift at Battahl Ropeway Station One to reach Battahl Ropeway Central Station, and from there take another lift to the south to reach Battahl Ropeway Station Four. This will put you on the edge of the Battahli desert, just across the river from Wyrmsblood Forest. Once you reach Wyrmblood Forest you’ve still got quite a trek ahead of you, as the path you need to follow meanders uphill until you reach the ruins of Dragonsbreath Tower, making the route much longer than it might seem on the map. As you advance through the forest you’ll have to fend off ![]() Hobgoblins,
Hobgoblins, ![]() Knacker,
Knacker, ![]() Redwolf,
Redwolf, ![]() Lost Mercenary,
Lost Mercenary, ![]() Venin Harpy,
Venin Harpy, ![]() Gore Harpy and
Gore Harpy and ![]() Succubus enemies, along with the odd
Succubus enemies, along with the odd ![]() Grim Ogre. In addition to this overt threat there are a few bridges that can be destroyed, and if they are your run is over - you’ll need to return a few days later once the bridge is repaired.
Grim Ogre. In addition to this overt threat there are a few bridges that can be destroyed, and if they are your run is over - you’ll need to return a few days later once the bridge is repaired.
As some consolation, you’ll find a ![]() Campsite right outside of the dungeon so you can recover lost health before you tackle the dungeon itself.
Campsite right outside of the dungeon so you can recover lost health before you tackle the dungeon itself.
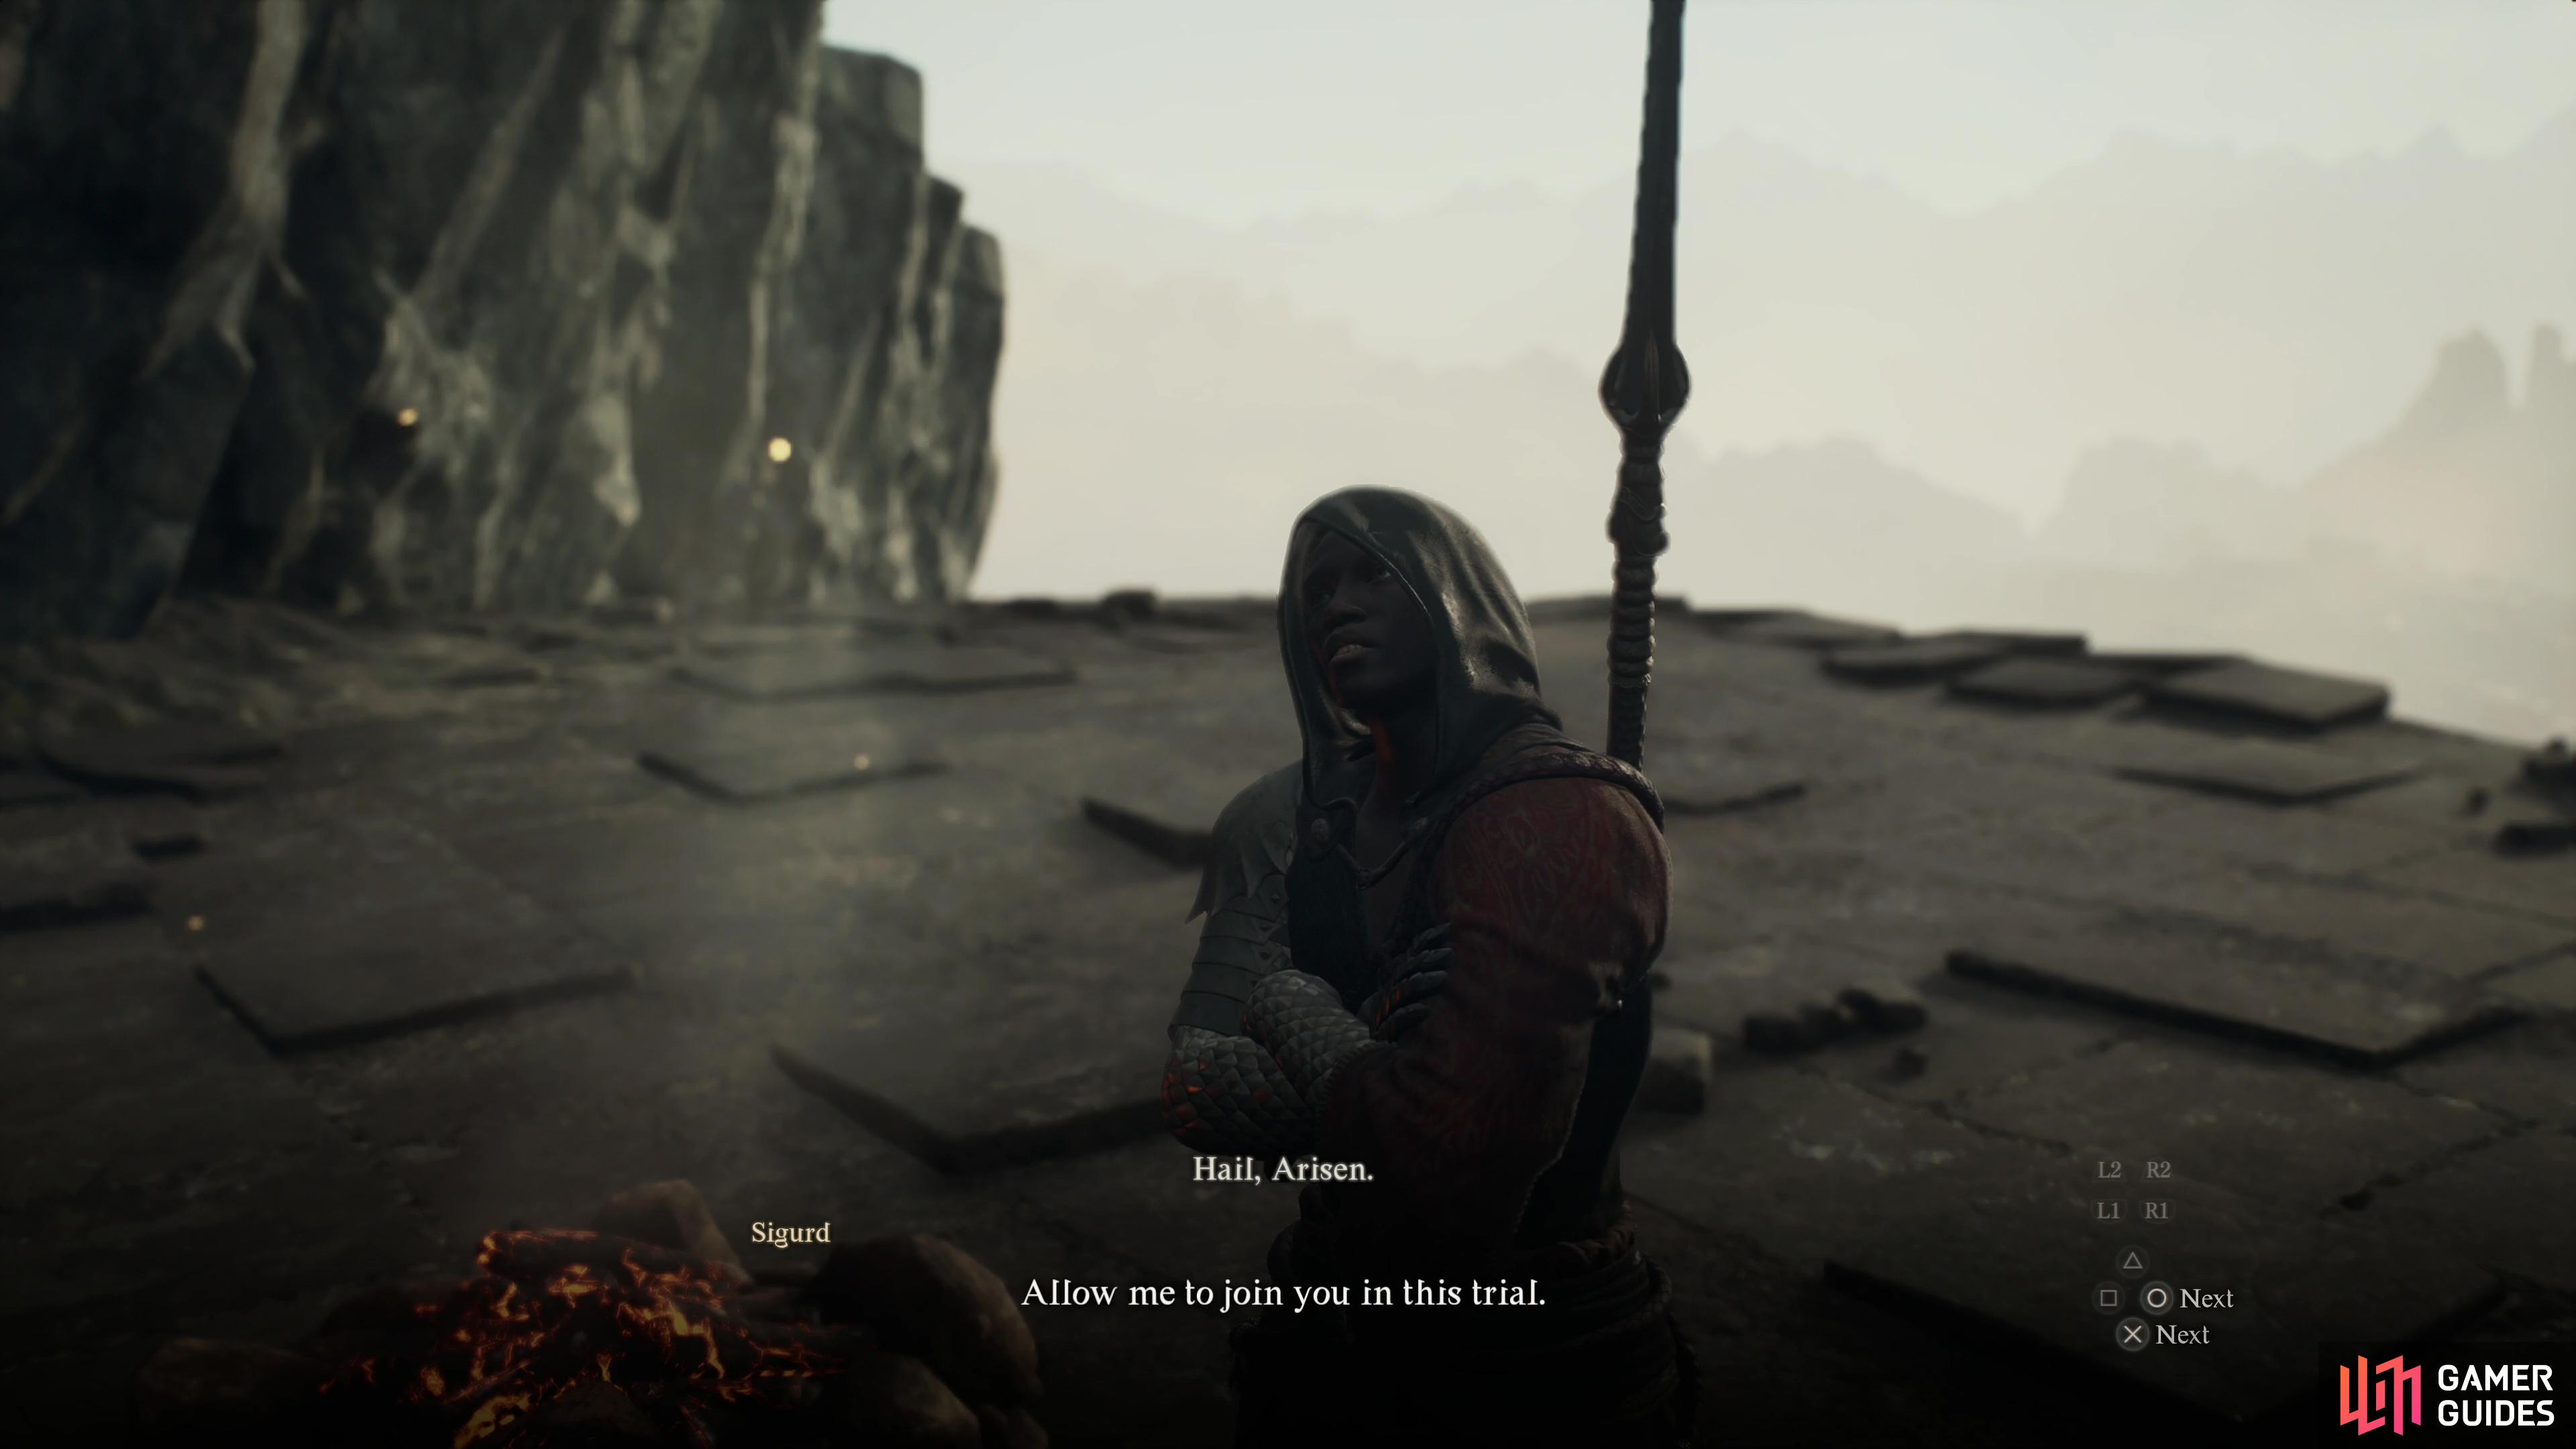


(1 of 4) When you reach Dragonsbreath Tower, Sigurd will appear and offer to help you slay the Lesser Dragon within, assuming you met him during “Readvent of Calamity”.
Help Sigurd Slay the Lesser Dragon
Rest up if necessary, then head upstairs and pass through the still intact archway leading to the dungeon. When you cross the threshold you’ll be treated to a scene showing off the Lesser Dragon in the distance, and Sigurd will appear behind you, suggesting you team up to defeat the draconic beast. An extra pair of hands that won’t claim any of the spoils is a welcome addition… not that you can really refuse.
While it may seem odd, it’s best to charge through the tower and defeat the Lesser Dragon before searching the place. If you got scouring for chests, SIgurd is likely to get lost, and it can turn into a chore - we’ll be clearing the tower (with Sigurd’s help) then sweeping through again to get all the loot.
From the entry arch, cross a bridge to the west to reach the interior of the tower - what’s left of it, anyways. You’re on 1F, and you’ll be welcomed by some resident Hobgoblins. Clear them out so they won’t be a nuisance later. Make your way south, round a corner to the right, then head upstairs. As you go up the first flight of stairs, be wary, as you may encounter some ![]() Skeletons depending on the time of day. Grab a
Skeletons depending on the time of day. Grab a ![]() Savagery Extract in a cubby to the northeast, then head up another flight of stairs to reach 2F.
Savagery Extract in a cubby to the northeast, then head up another flight of stairs to reach 2F.
Once you reach 2F, note the loose brickwork on the wall in front of you - something to keep in mind for later. Instead of smashing the wall, for now continue southeast to reach daylight, where you may encounter more Hobgoblins and the odd Gore ![]() Harpy. It should go without saying, but falling off the tower is a serious hazard, and Hobgoblins and Gore Harpy enemies will love to facilitate such peril. Again, it’s best to defeat them now so they can’t pester you later. If you’re observant and look at the crumbling floor of the level above you, you might spot a ladder waiting to be unfurled. Alas, it’s there to make our descent easier, not our ascent. Head north, then northwest to find some more stairs leading up to 3F.
Harpy. It should go without saying, but falling off the tower is a serious hazard, and Hobgoblins and Gore Harpy enemies will love to facilitate such peril. Again, it’s best to defeat them now so they can’t pester you later. If you’re observant and look at the crumbling floor of the level above you, you might spot a ladder waiting to be unfurled. Alas, it’s there to make our descent easier, not our ascent. Head north, then northwest to find some more stairs leading up to 3F.
If you’re unlucky, more Hobgoblins may lurk on 3F. Turn west from the stairs you just ascended to find another flight of stairs that finally lead up to 4F. Make sure Sigurd is nearby and there are no more enemies to dispatch - you’ll likely want Sigurd’s aid and NPC pathfinding can be… precocious, at times.
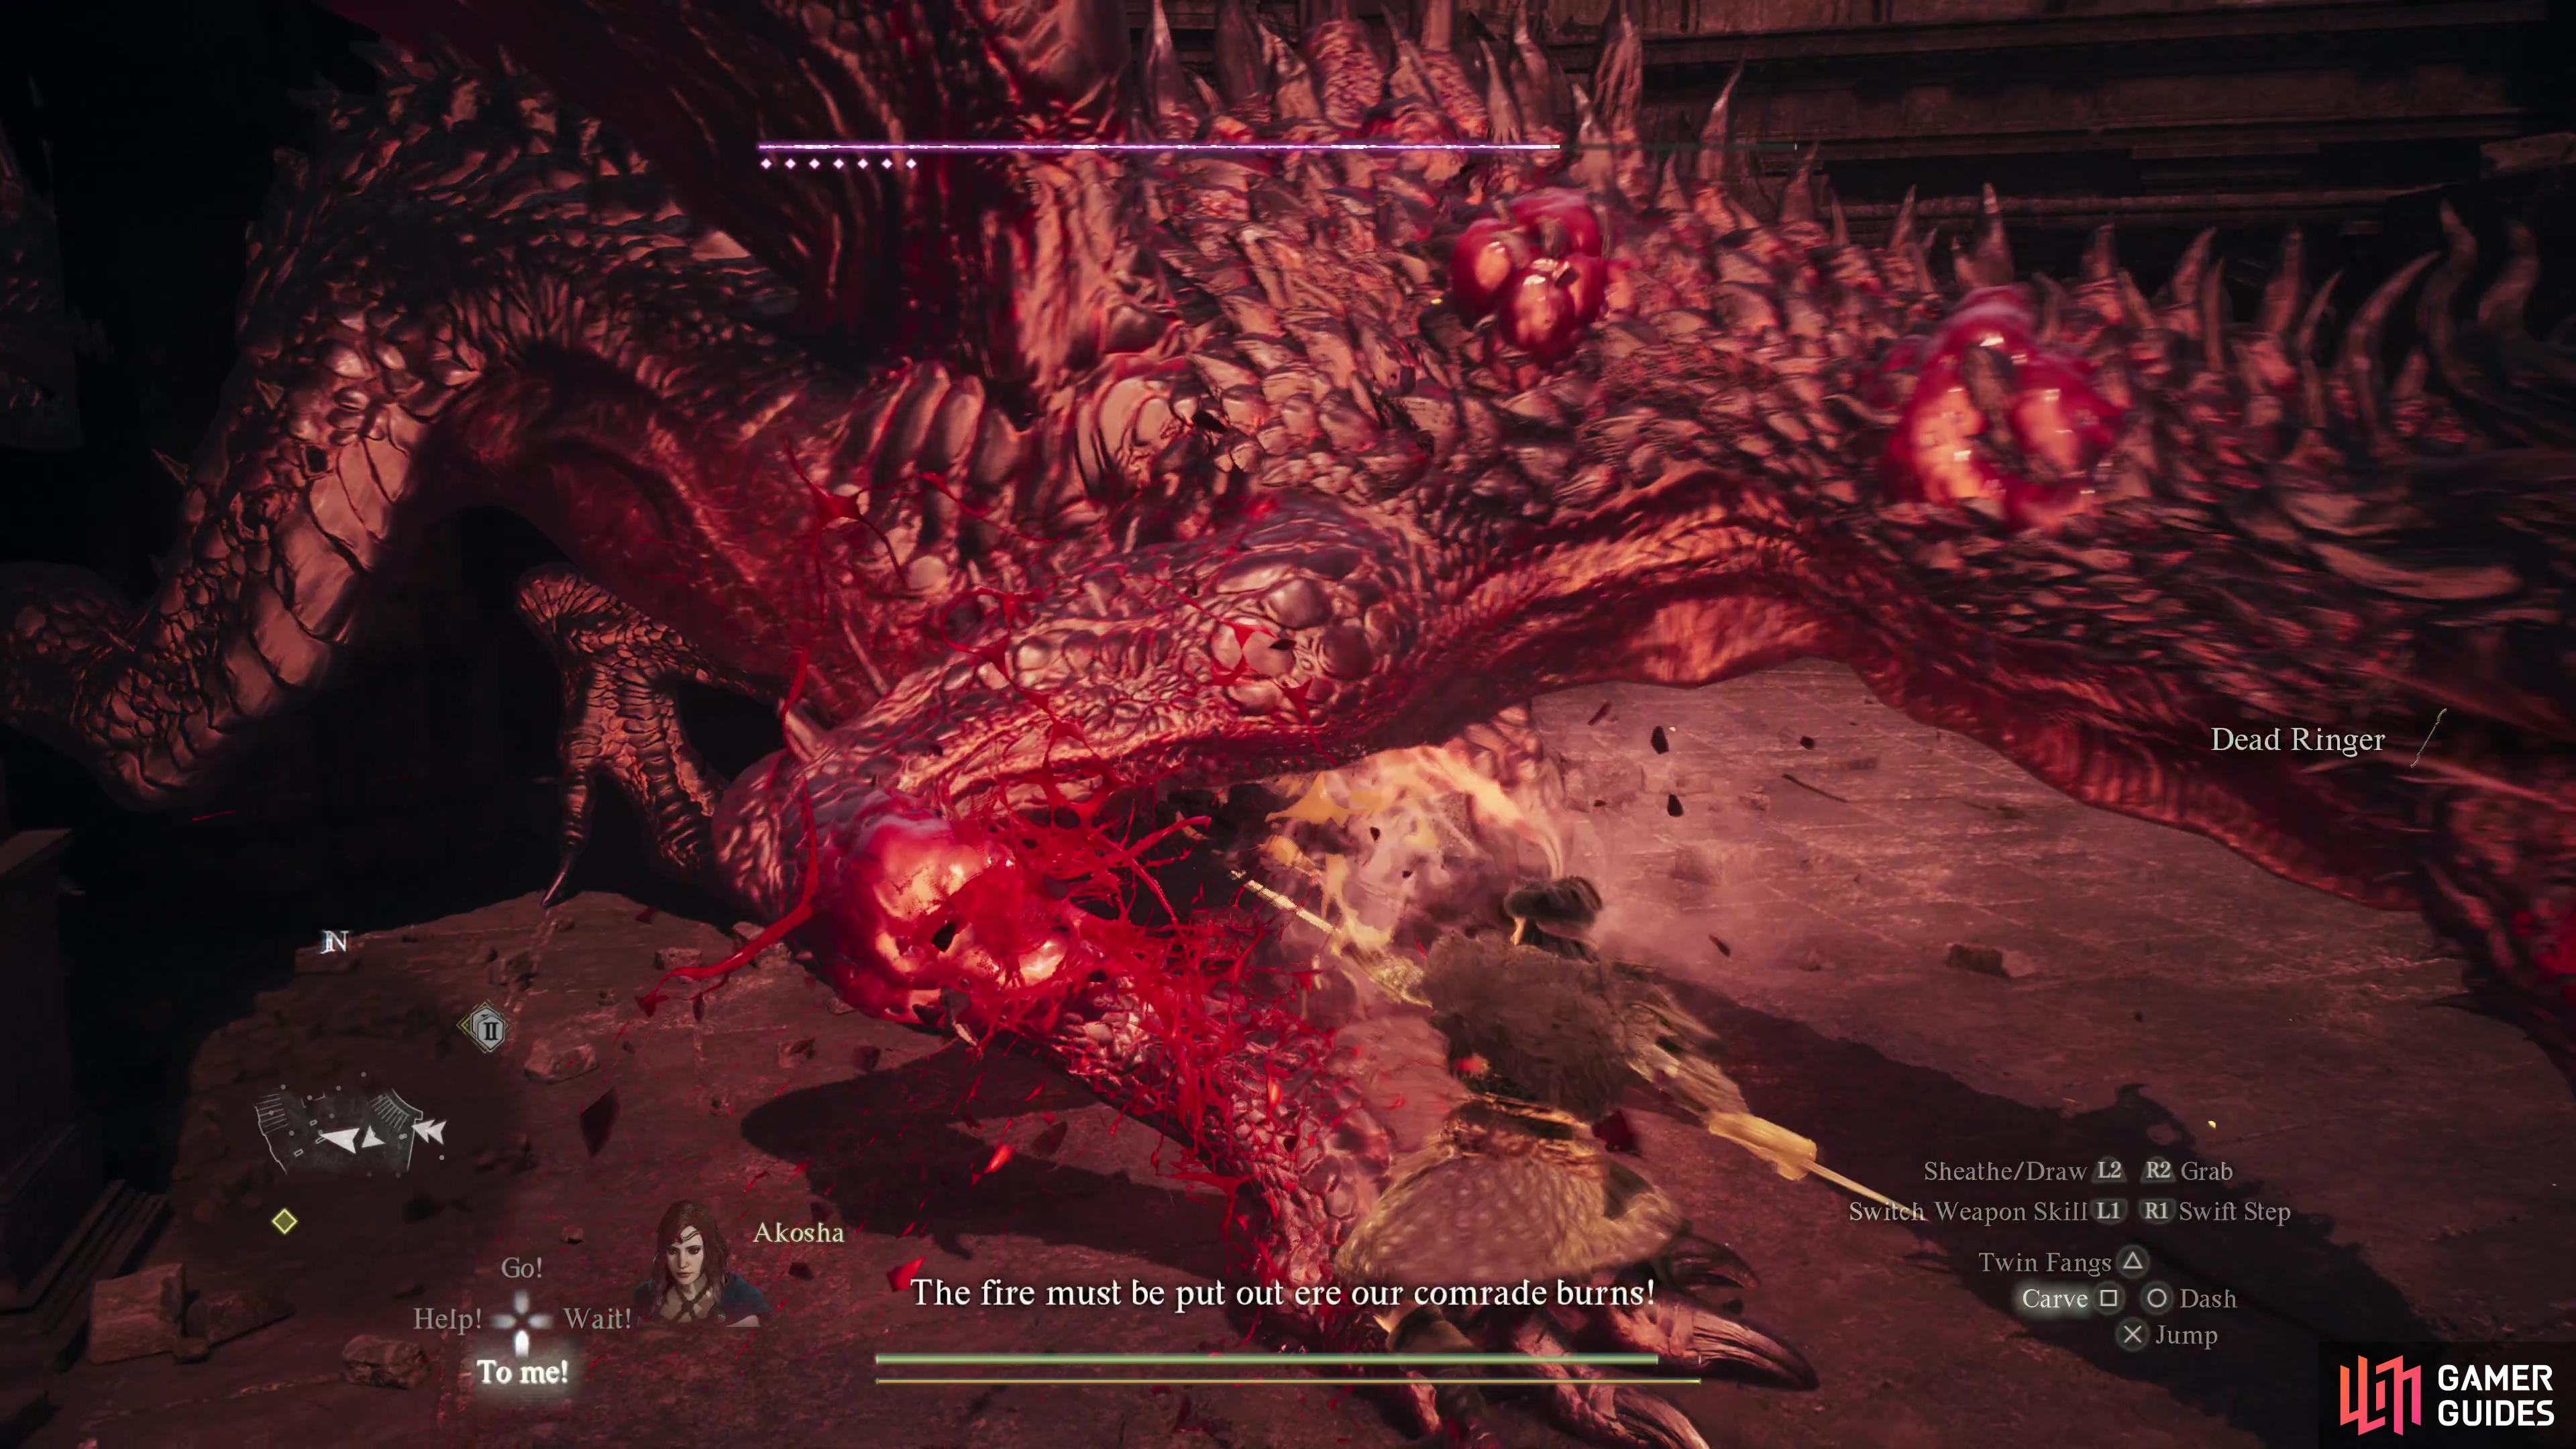
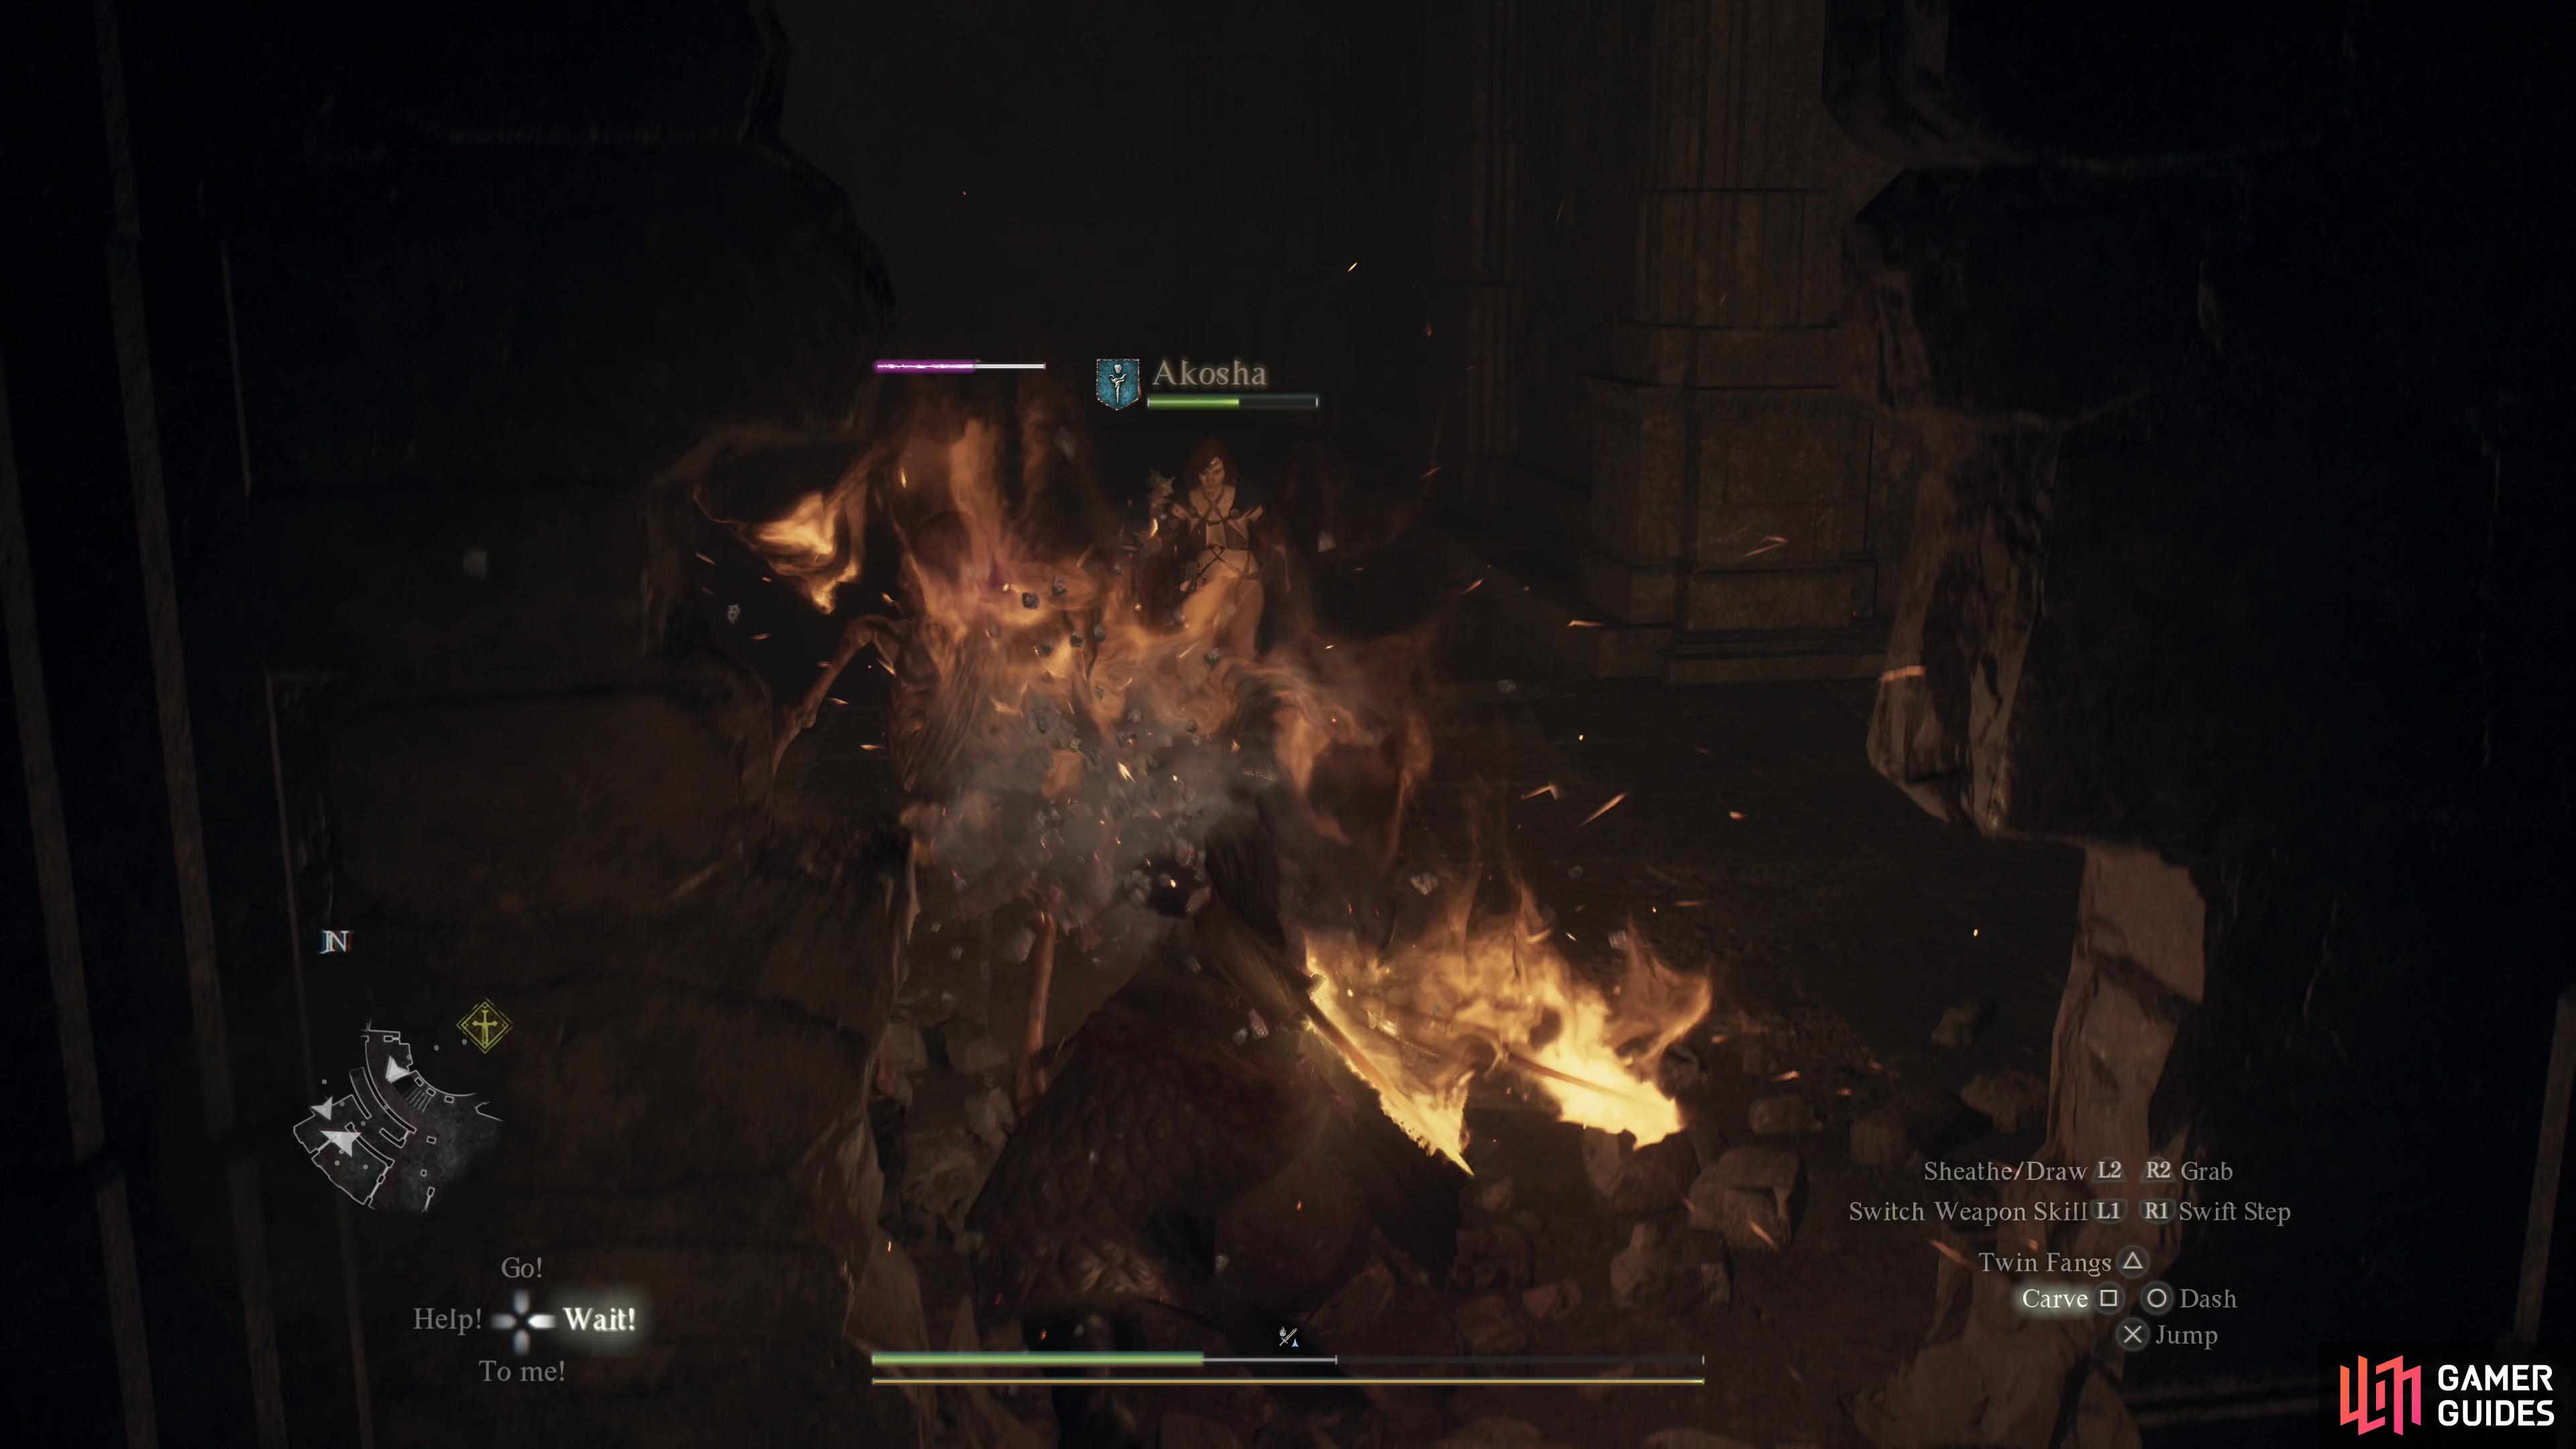
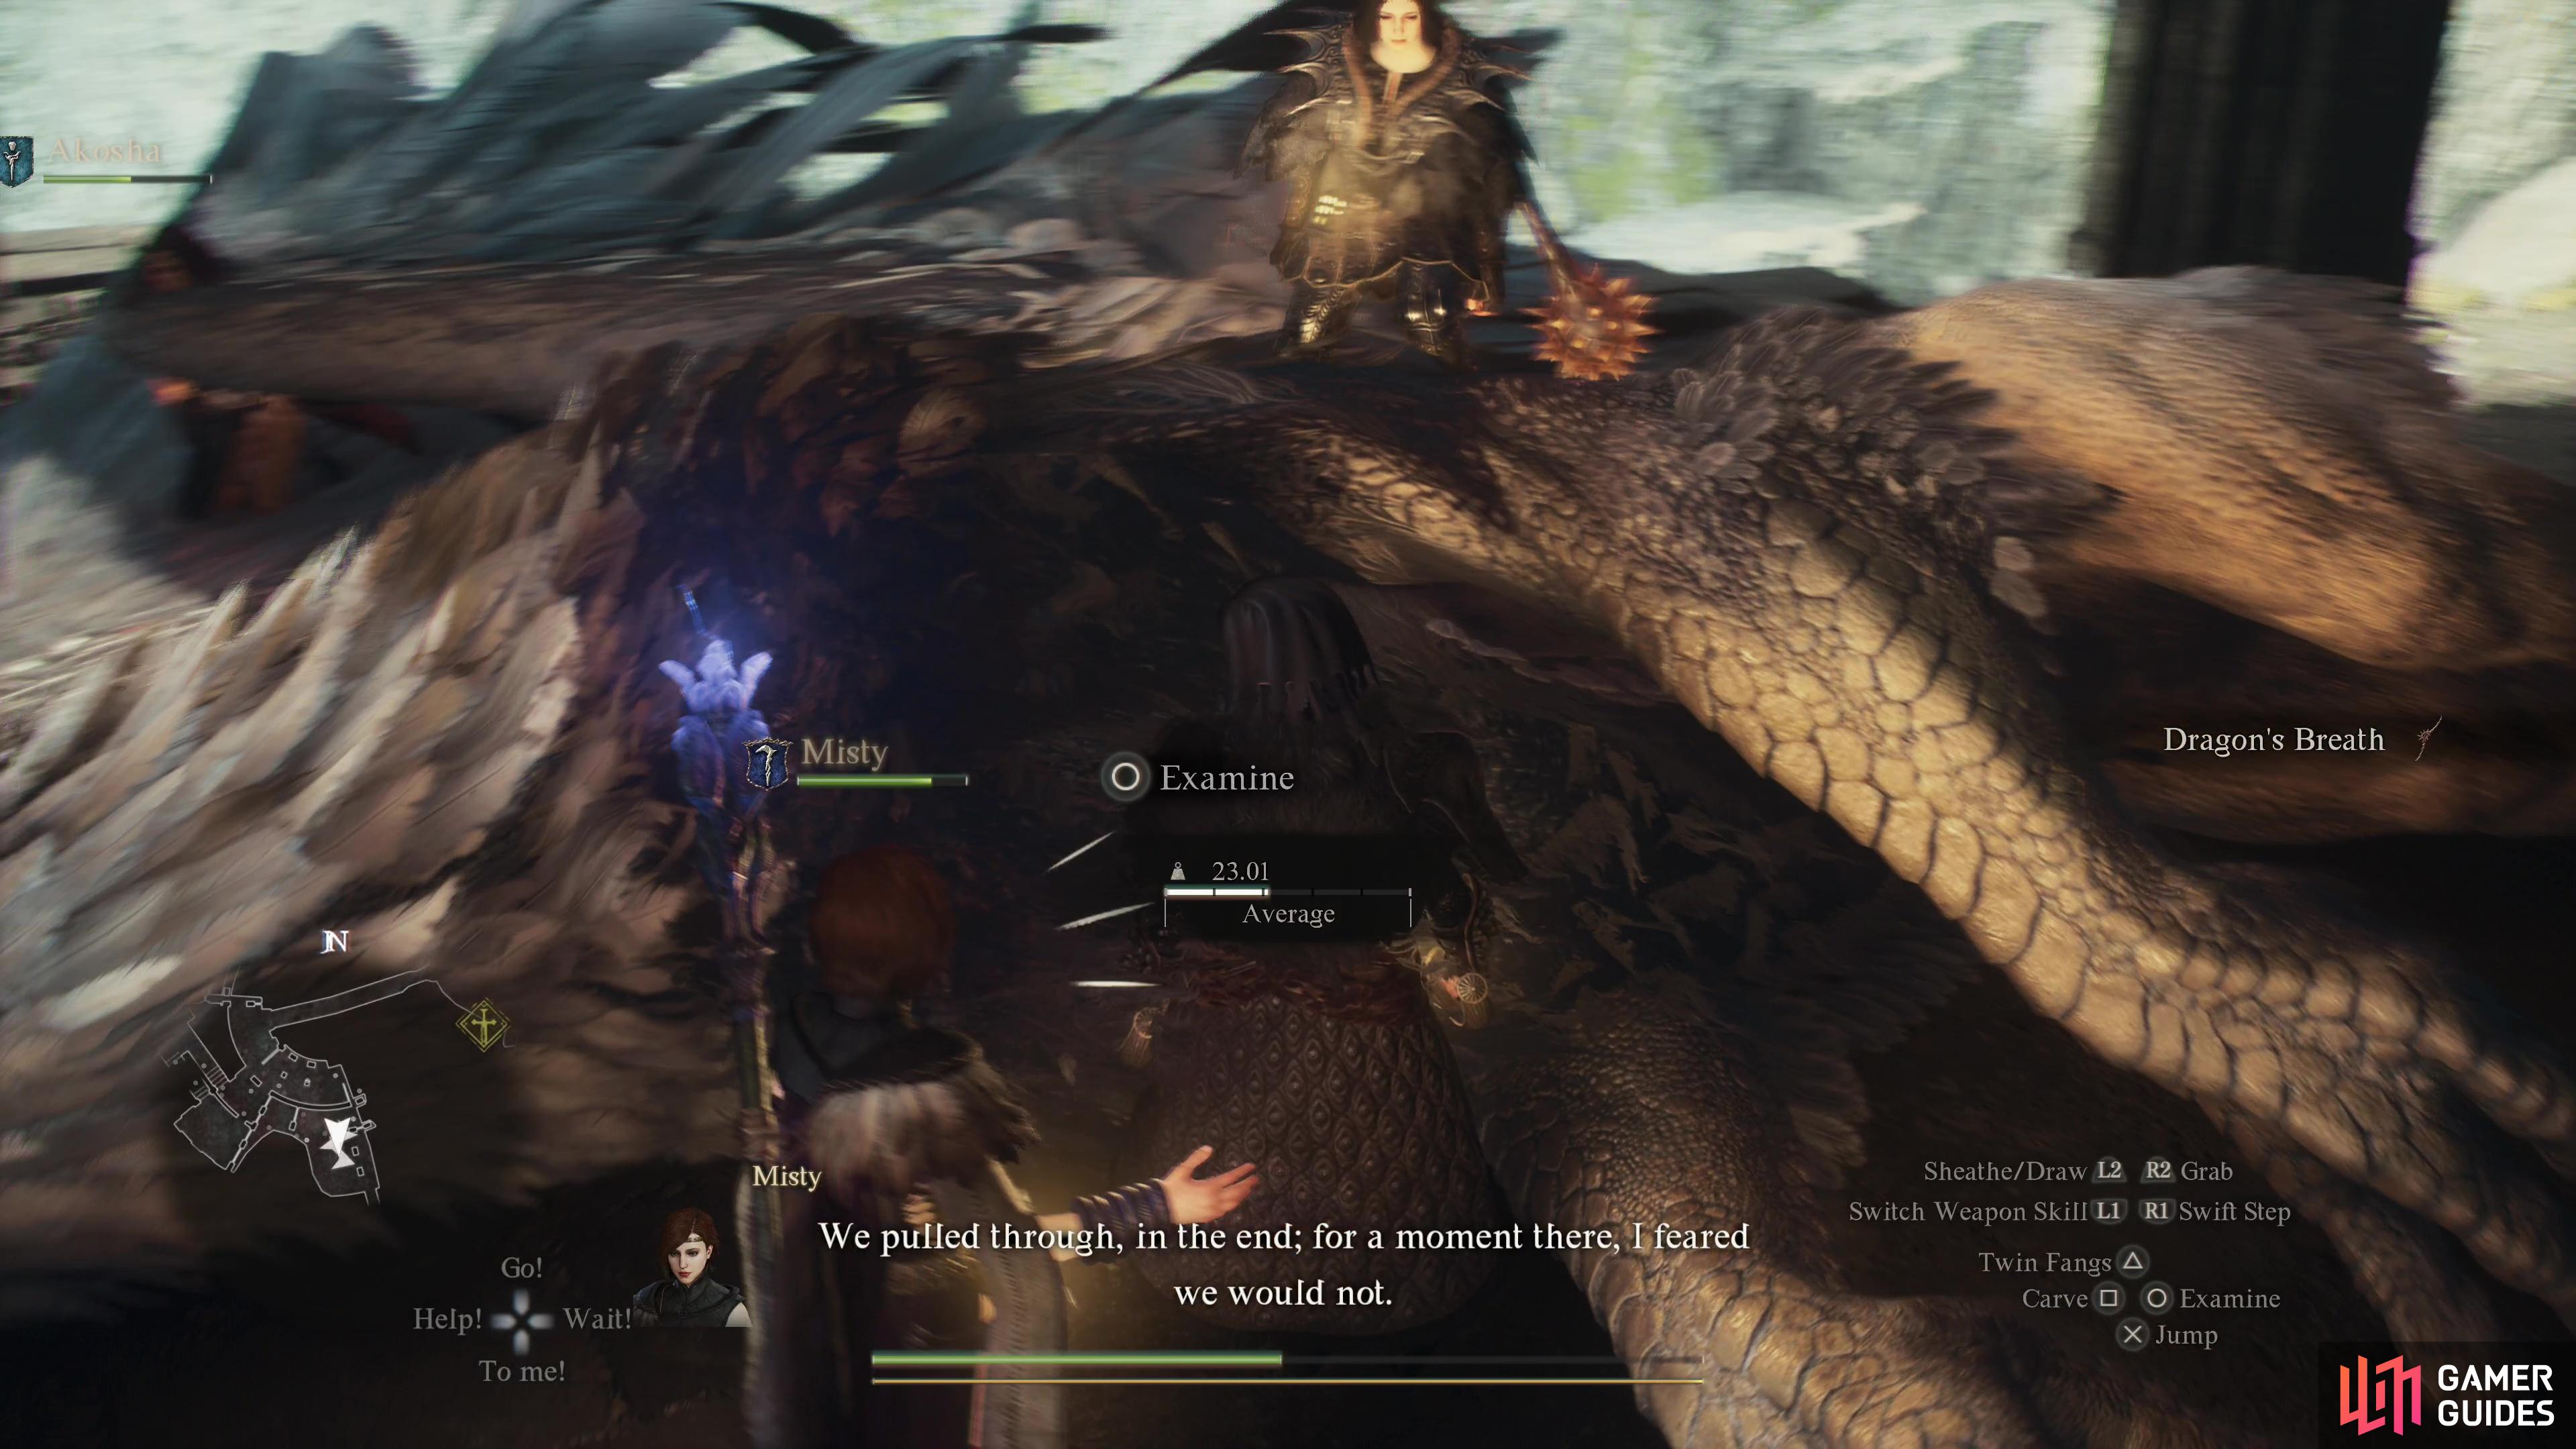
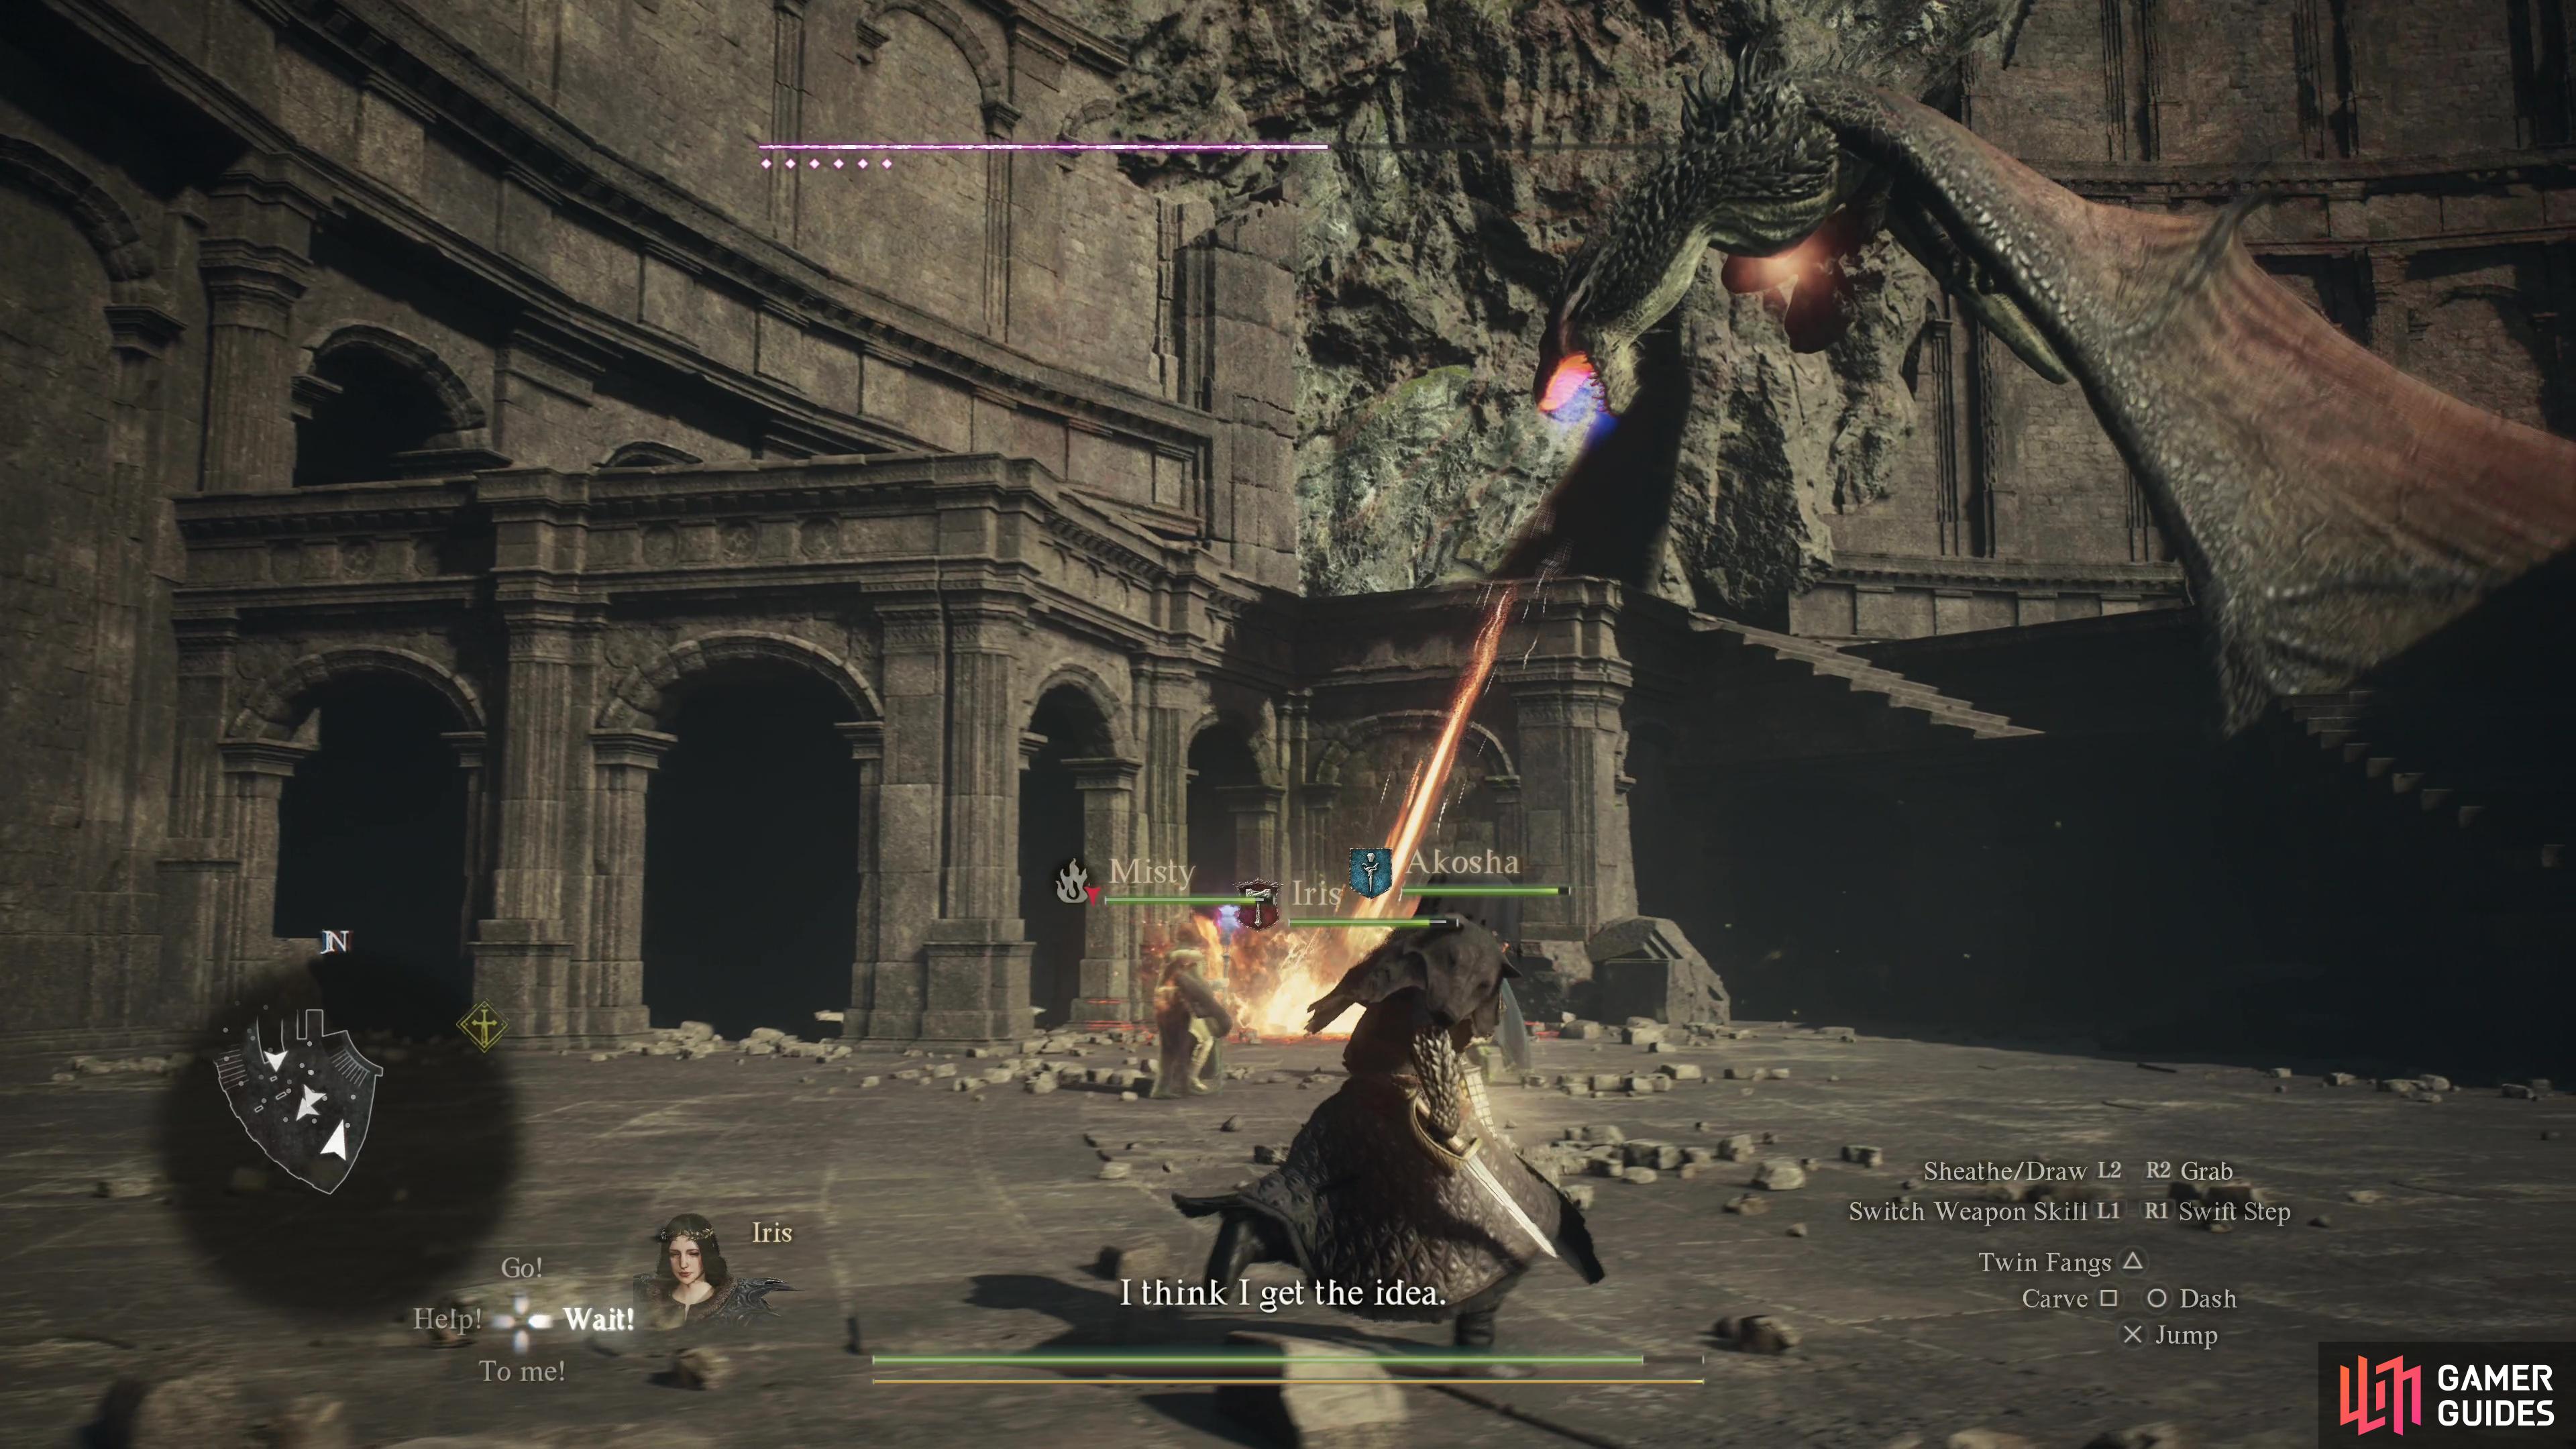
On 4F you’ll encounter the Wyrm that rules this roost - a Lesser Dragon if the event with Sigurd has triggered, or a ![]() Drake if not. Potentially the same Lesser Dragon that appeared in
Drake if not. Potentially the same Lesser Dragon that appeared in ![]() Melve during Readvent of Calamity? If you’re fighting a Drake, check out our Drake Enemy Guide, if you’re fighting a Lesser Dragon attack its pustules on its arms, neck and head, as these are its weakspots. If you can destroy them all the Lesser Dragon will get staggered, allowing you to punish. If it starts spewing toxin, get away, as this can deal massive damage to both your health and loss gauge. Sigurd should help by dealing damage and buffing you so that you deflect the odd attack. Defeat the Lesser Dragon and Sigurd will take his leave, allowing you to explore the tower - which should now also be clear of monsters - in peace.
Melve during Readvent of Calamity? If you’re fighting a Drake, check out our Drake Enemy Guide, if you’re fighting a Lesser Dragon attack its pustules on its arms, neck and head, as these are its weakspots. If you can destroy them all the Lesser Dragon will get staggered, allowing you to punish. If it starts spewing toxin, get away, as this can deal massive damage to both your health and loss gauge. Sigurd should help by dealing damage and buffing you so that you deflect the odd attack. Defeat the Lesser Dragon and Sigurd will take his leave, allowing you to explore the tower - which should now also be clear of monsters - in peace.
(1 of 3) Along the northern end of the B1F ruins you can find a ledge just out of reach,
Dragonsbreath Tower B1F
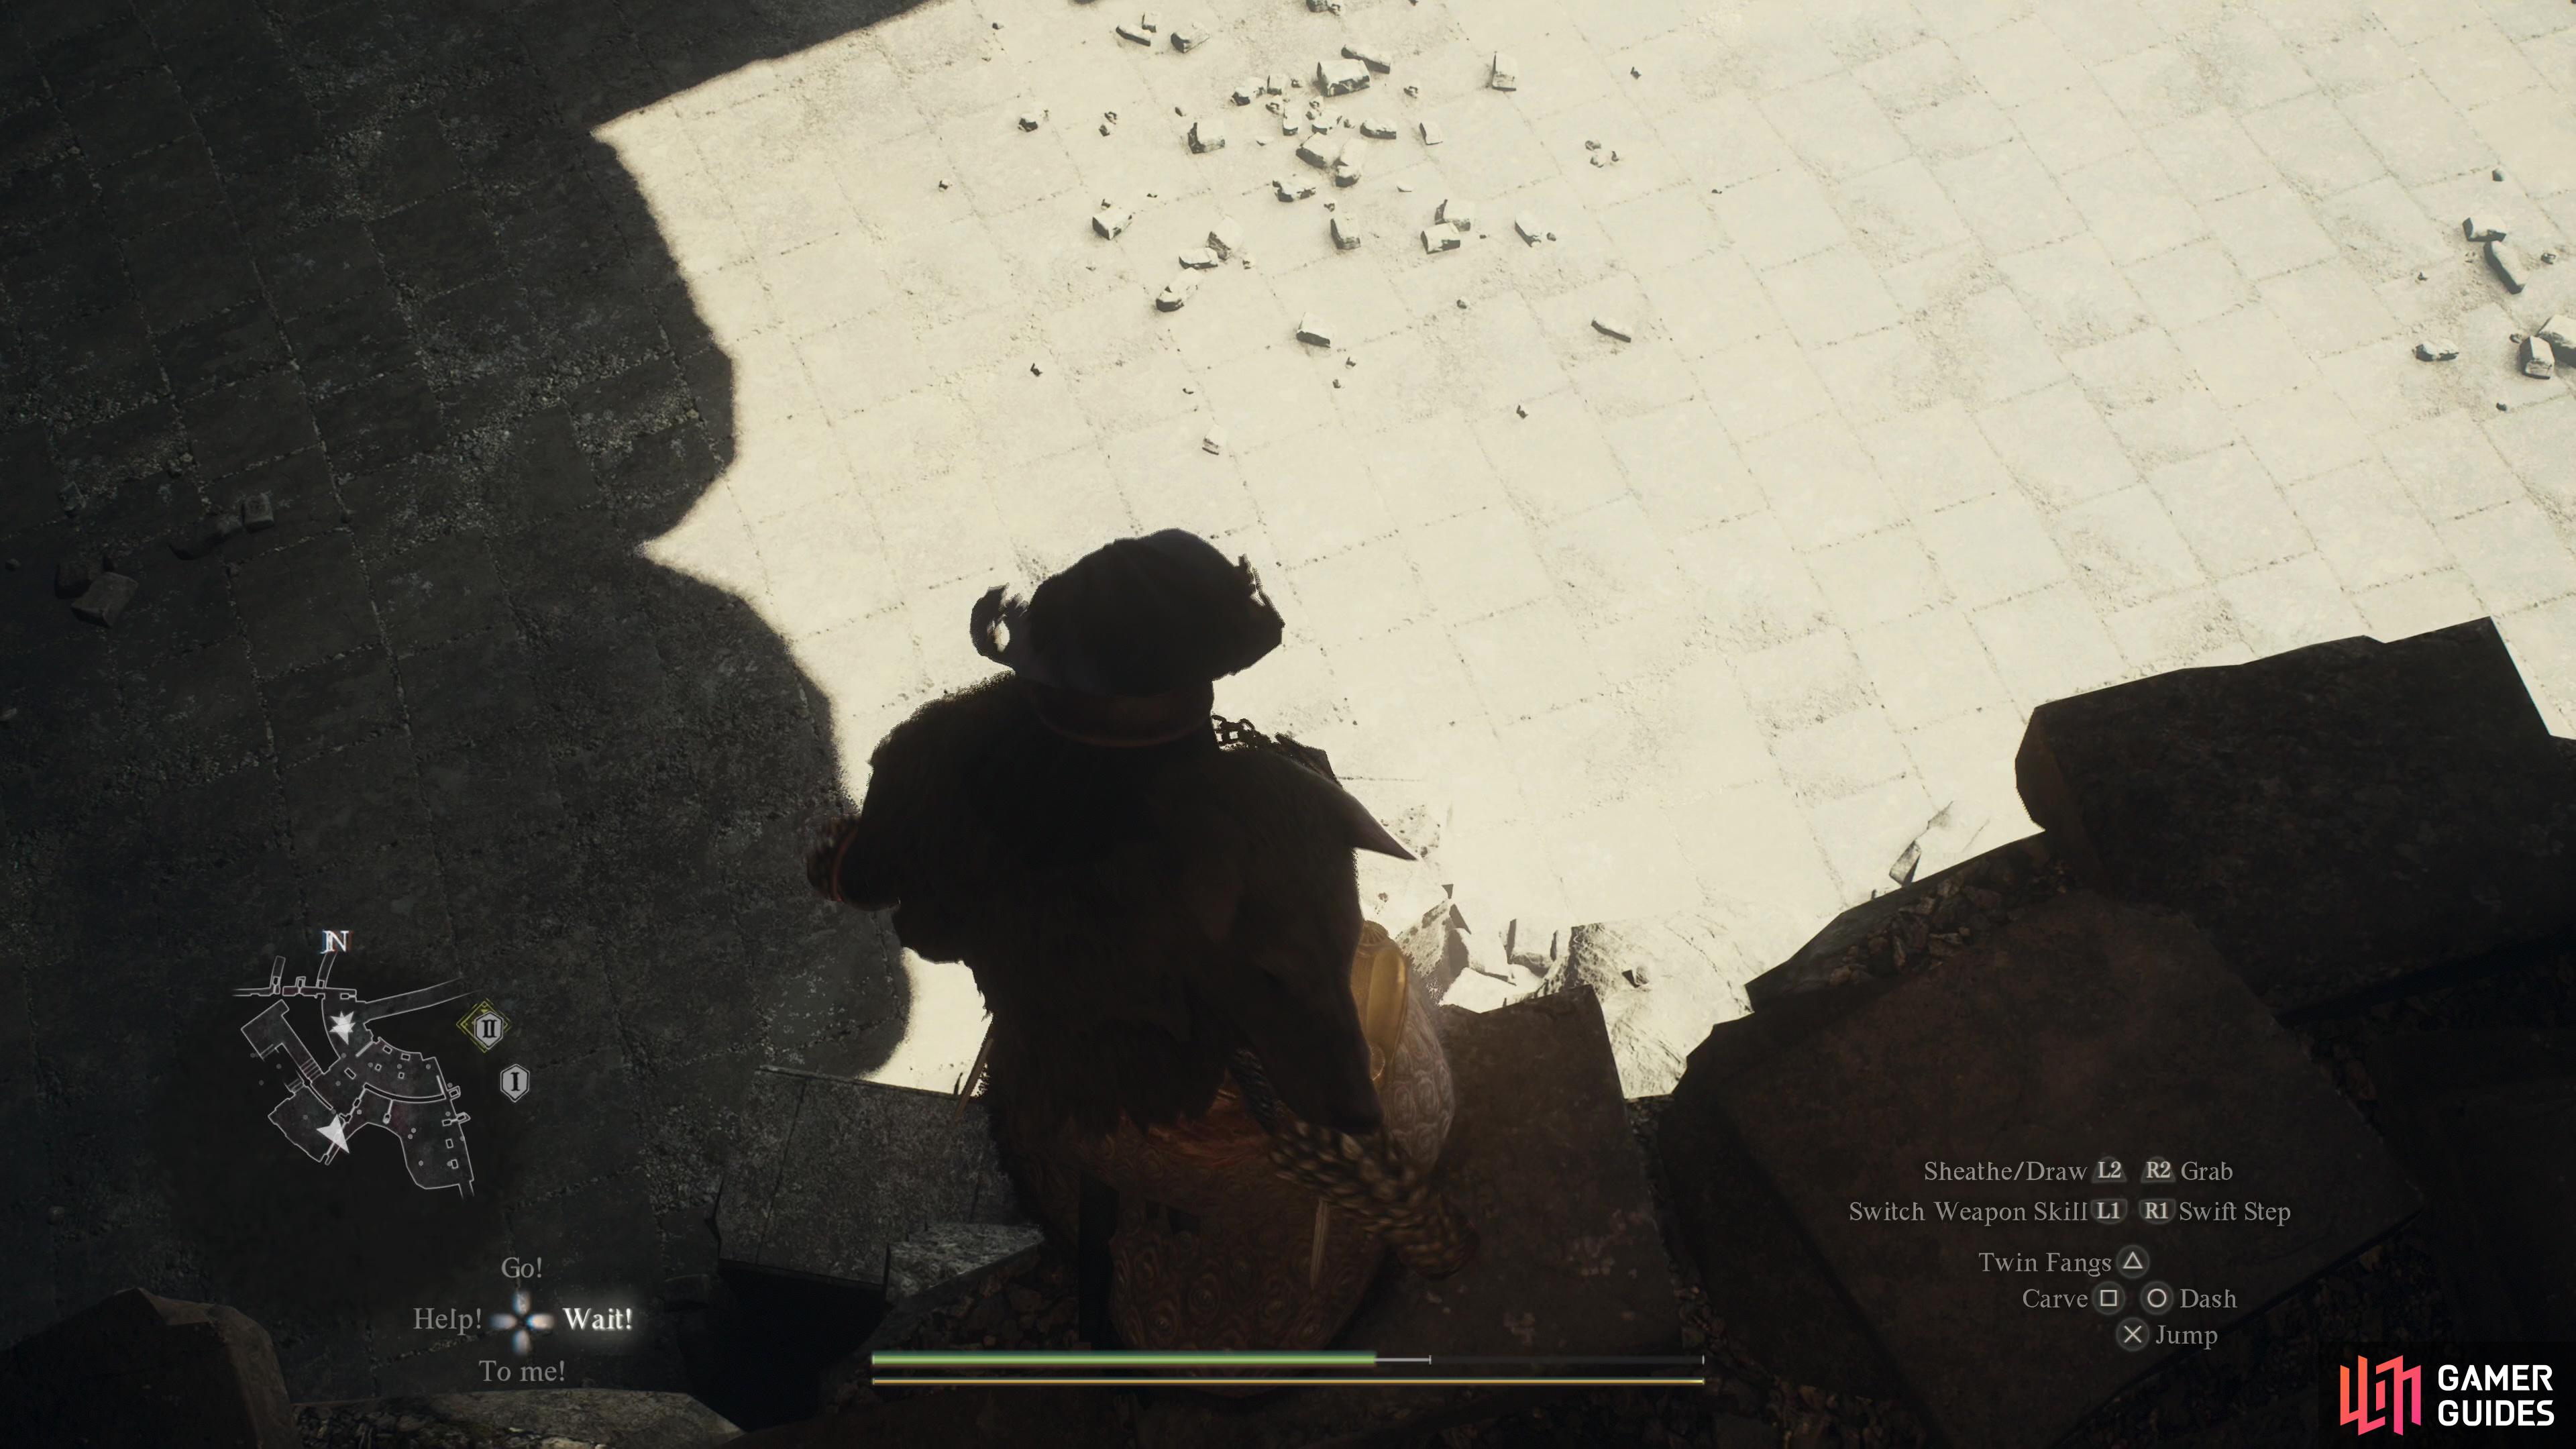
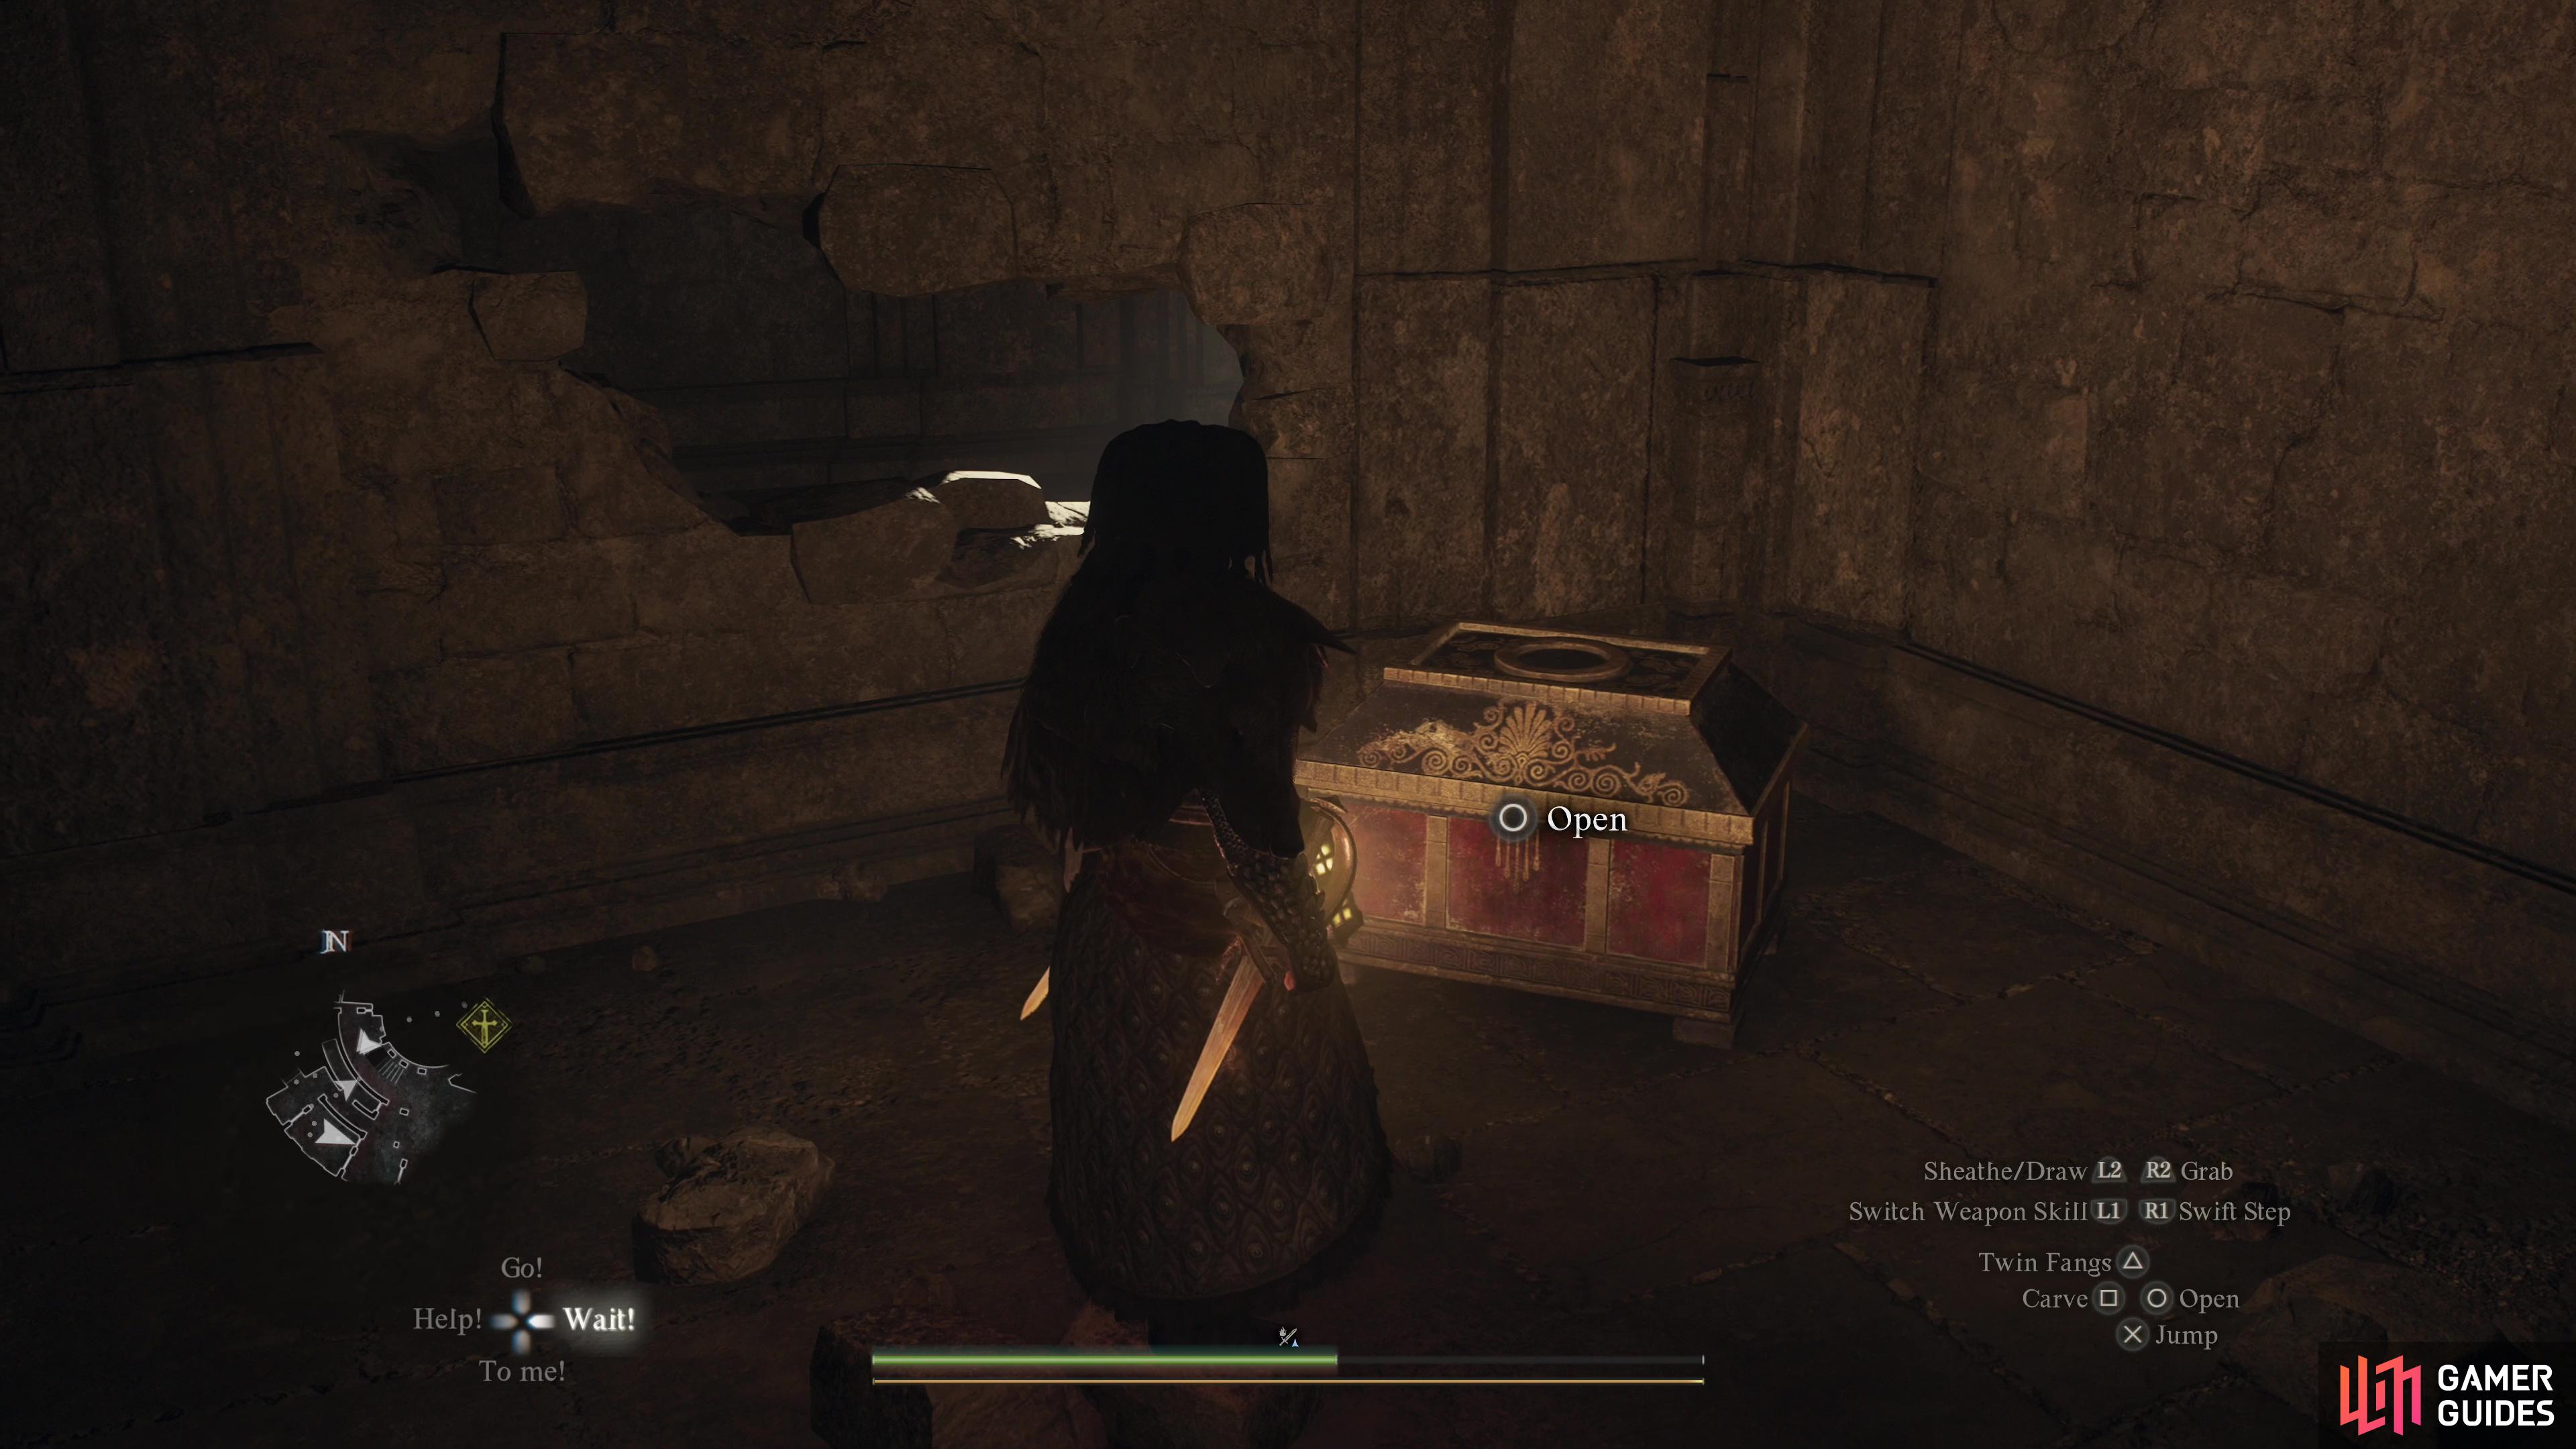
Now that you’ve vanquished the Lesser Dragon, return to the beginning of the dungeon so you can explore it properly. Return across the bridge to the entrance arch and from there head northwest to find a slope you can slide down to reach B1F of the ruins, which is largely a crater with rubble strewn about. Don’t slide down too far - there’s a slope that leads down and out of the dungeon. Instead, you want to make your way up and through the rubble to the west, picking your way up some ruins when you must in order to reach higher ground. Search behind some rubble to find a chest containing a ![]() Ferrystone, your first taste of proper loot in this dungeon, but far from the last.
Ferrystone, your first taste of proper loot in this dungeon, but far from the last.
Work your way south to reach the relatively intact base of the tower and turn west to find a break in the wall and a rocky ledge just out of reach. If you have ![]() Concussive Leap you can jump up there and reach the southern end of the ruins, where you can find a
Concussive Leap you can jump up there and reach the southern end of the ruins, where you can find a ![]() Griffin nest (almost certainly unoccupied - for now) and some chests. If you can’t double jump, don’t worry - you can reach this area via another means, and we’ll just assume nobody can get up there just yet.
Griffin nest (almost certainly unoccupied - for now) and some chests. If you can’t double jump, don’t worry - you can reach this area via another means, and we’ll just assume nobody can get up there just yet.

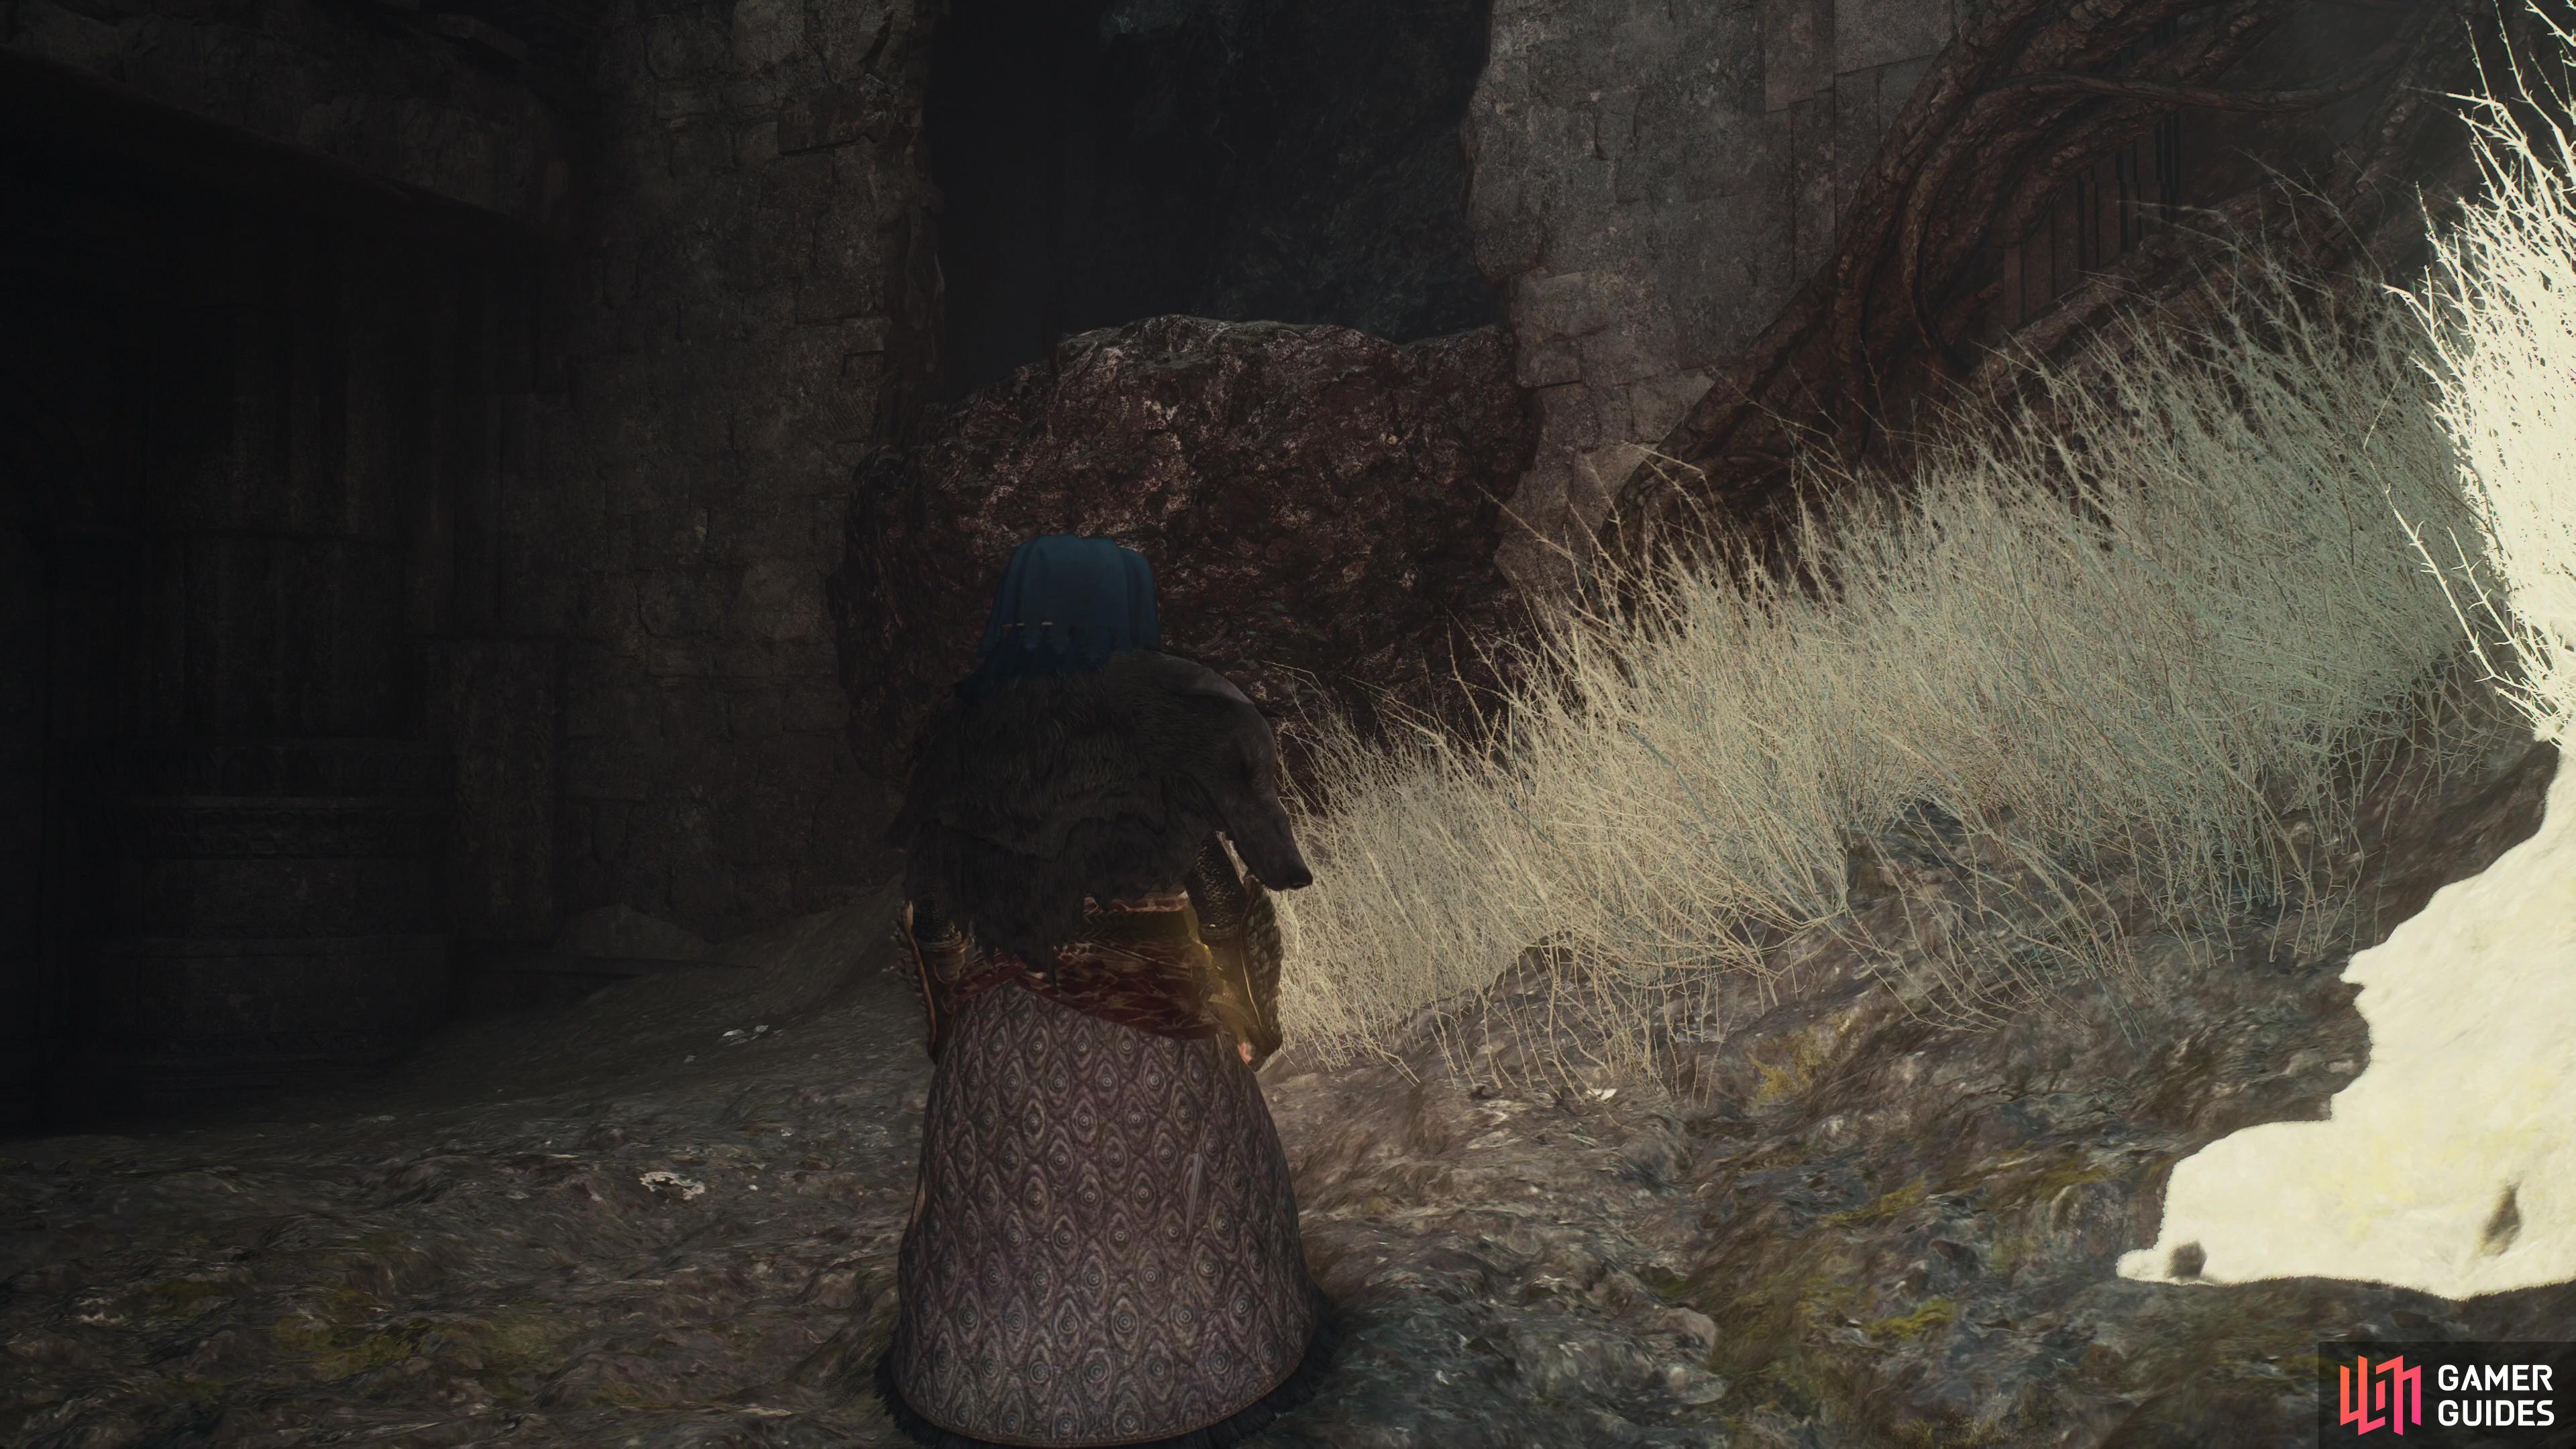
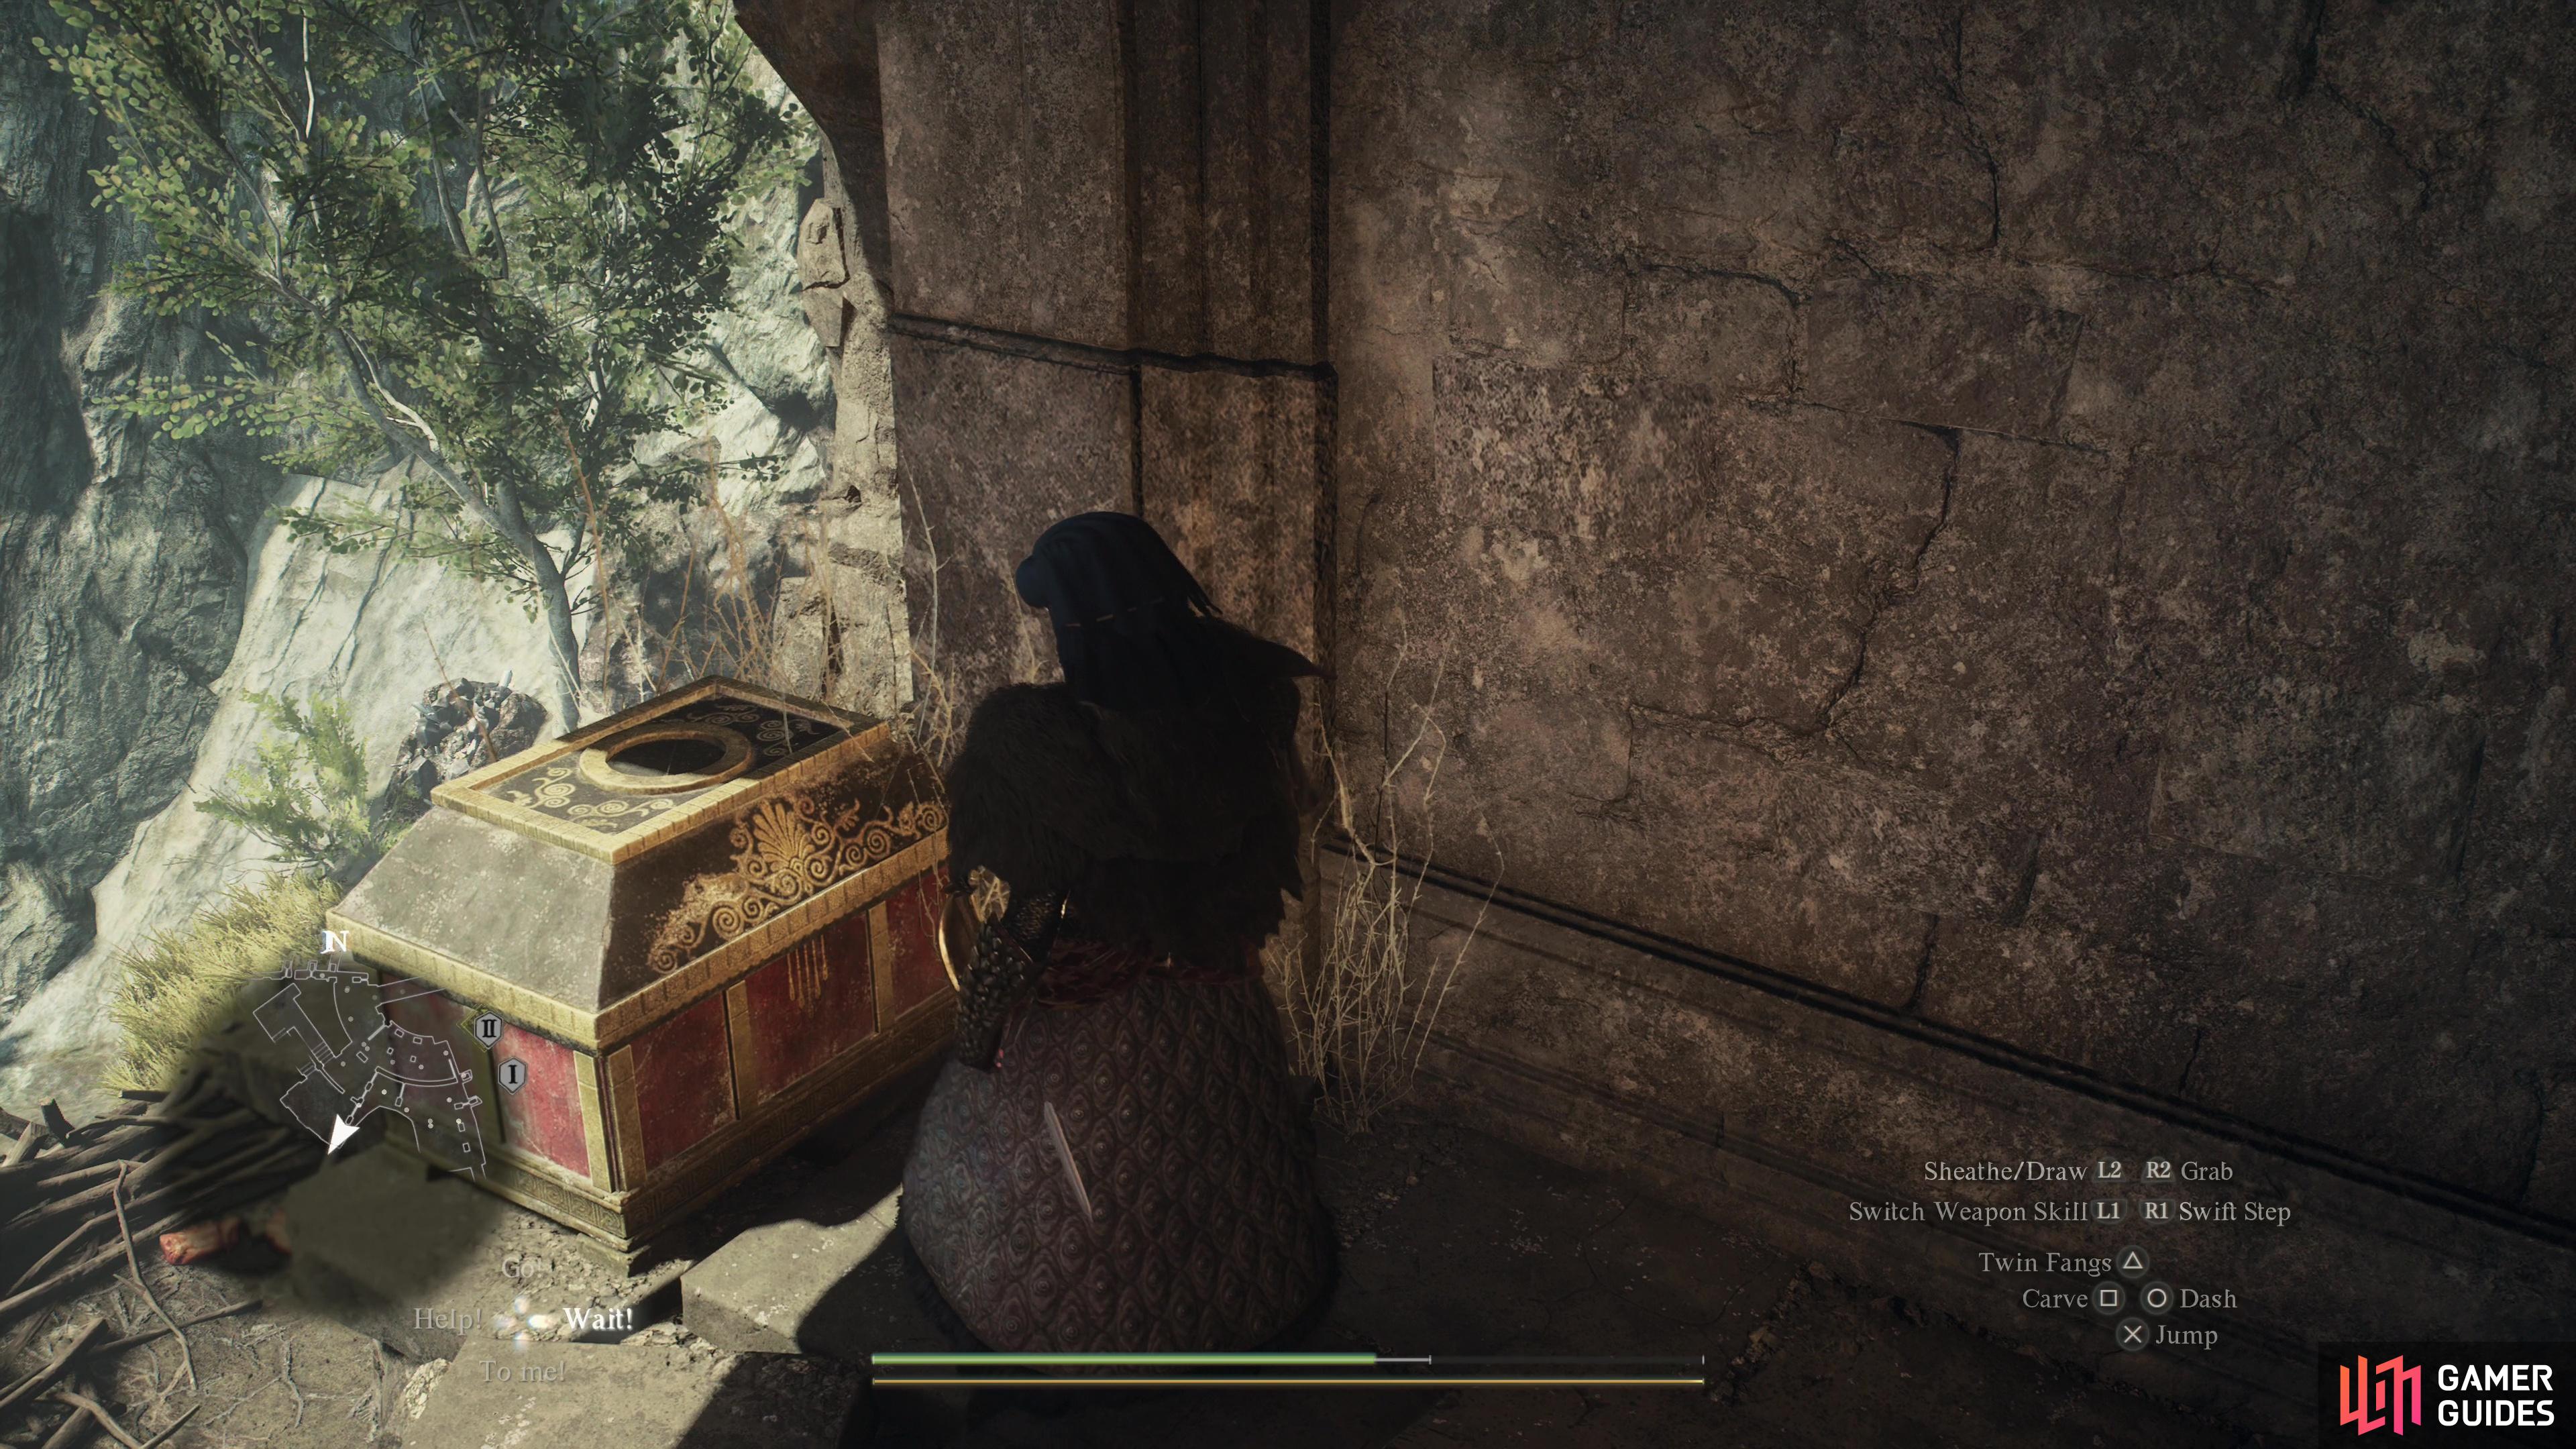
(1 of 2) Smash a weak section of wall (seen from the bridge side) to allow easy access between 1F and 1BF.
Smash a weak section of wall (seen from the bridge side) to allow easy access between 1F and 1BF. (left), Search a chest near a Hobgoblin campsite to score some Roborant items. (right)
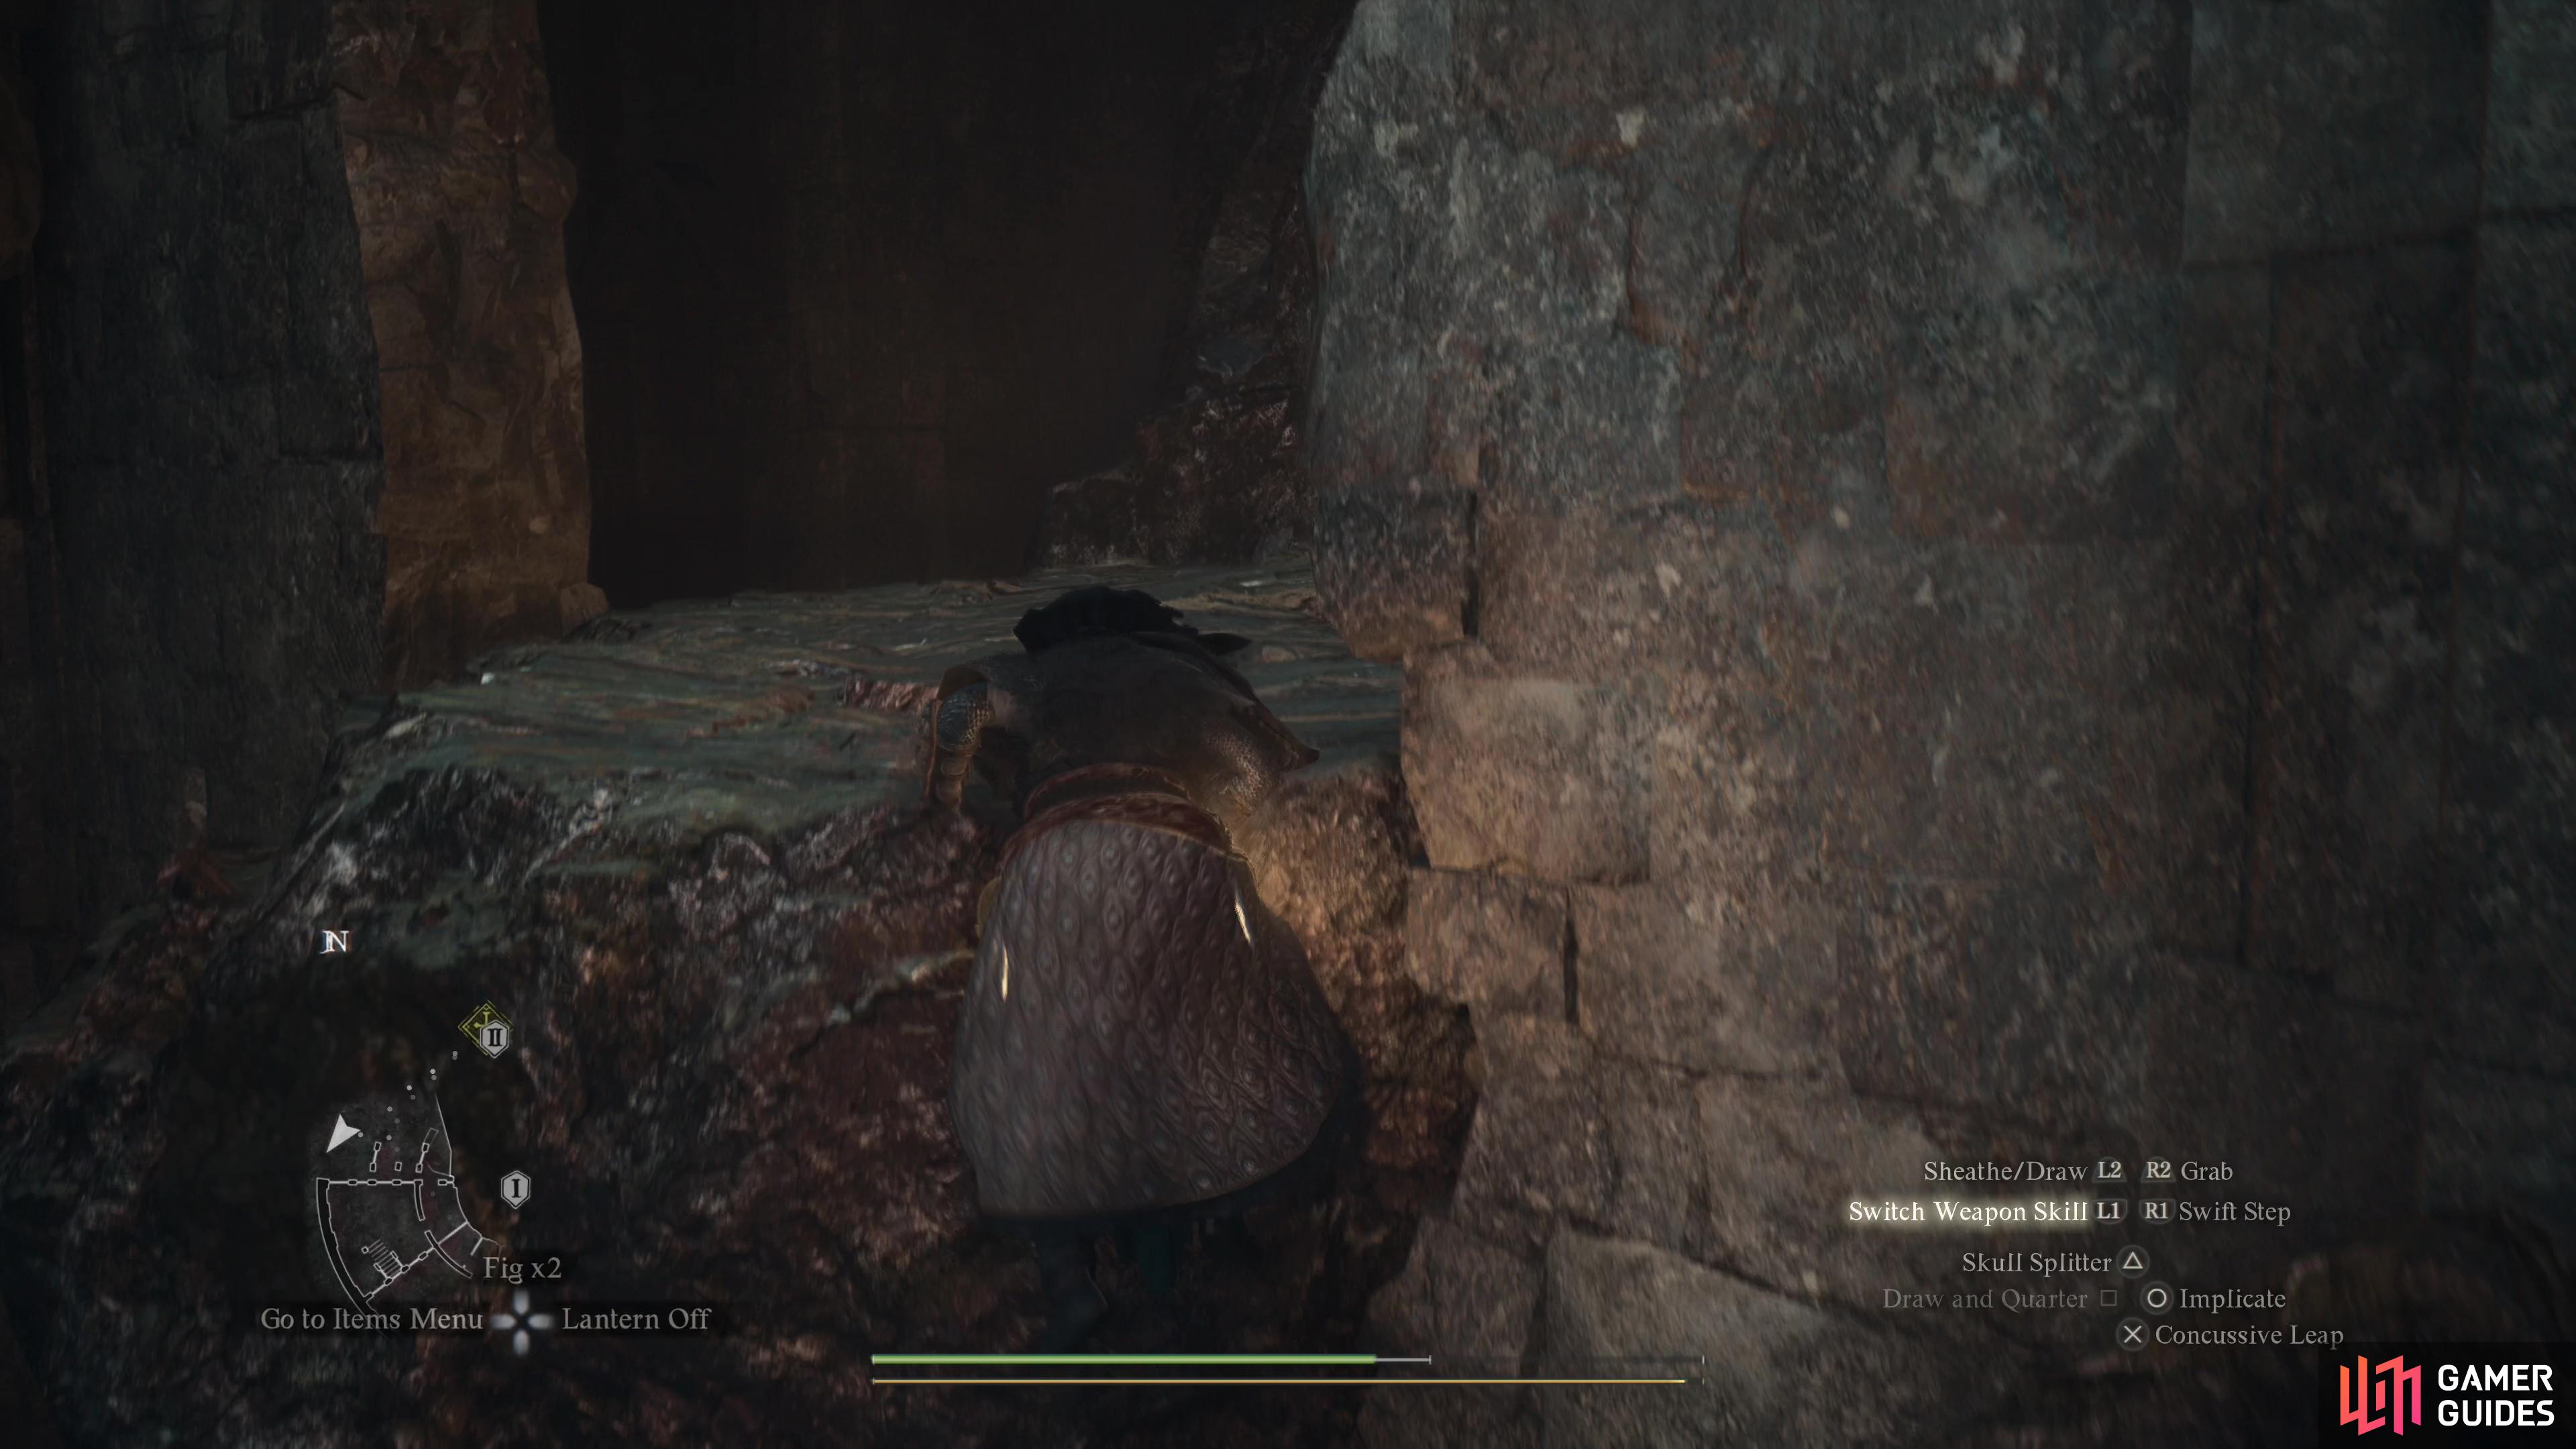
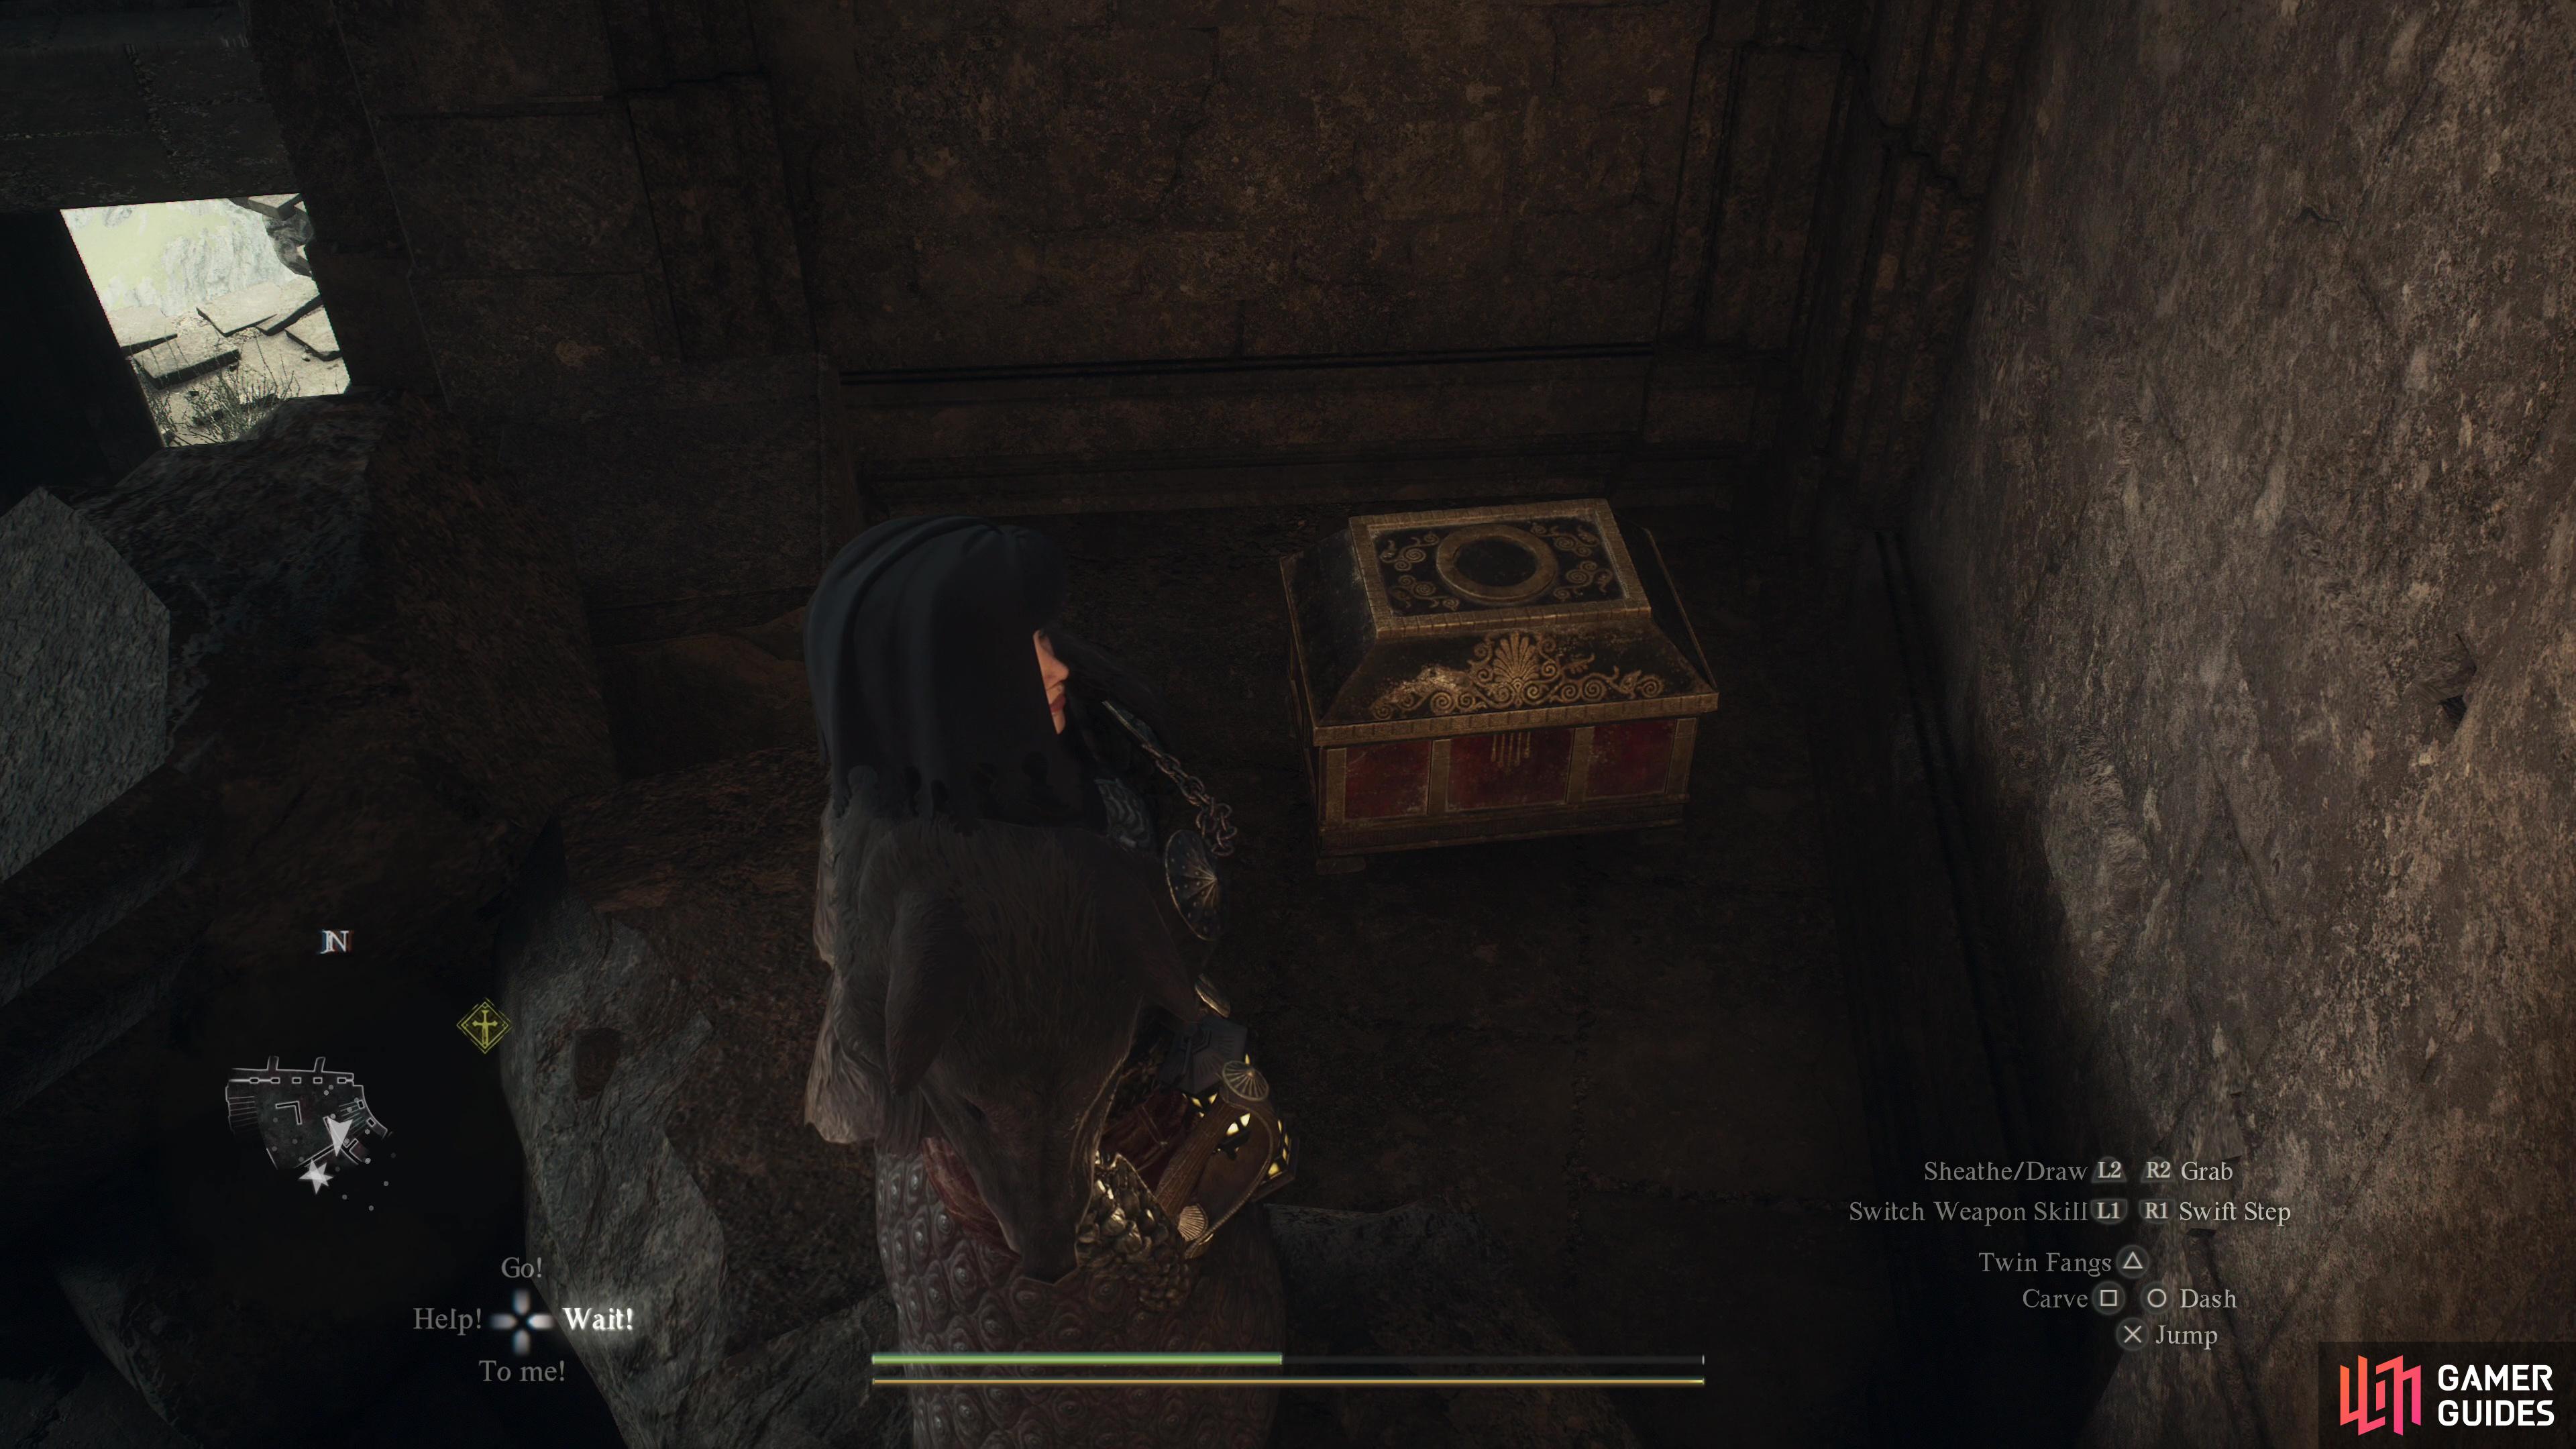
Instead turn east and follow the base of the tower until you find an opening to the right (south). Enter the tower and loot a chest ahead of you to score 6,120G and 2x ![]() Panacea. Surprisingly there’s not much else on this level… or rather, on this side of the level, and to continue to the southern side of B1F you’ll need to go up and through the tower - literally. Head up some stairs to the southwest, dispatching any Skeletons that may oppose you, then search a wall to the north to find that some of the bricks seem… out of place. Newer bricks stand out from the old, signifying a patch job… and possibly a weakspot? Sure enough, smash the wall and you’ll create a passage to out to 1F.
Panacea. Surprisingly there’s not much else on this level… or rather, on this side of the level, and to continue to the southern side of B1F you’ll need to go up and through the tower - literally. Head up some stairs to the southwest, dispatching any Skeletons that may oppose you, then search a wall to the north to find that some of the bricks seem… out of place. Newer bricks stand out from the old, signifying a patch job… and possibly a weakspot? Sure enough, smash the wall and you’ll create a passage to out to 1F.
(1 of 3) After working your way around the 1F ruins you’ll be able to look down upon the Griffin’s nest.
Dragonsbreath Tower 1F
Ideally, you killed the Hobgoblins out earlier on your way to confront the Lesser Dragon. If so, there’s not much left to do on 1F, just head right (west) and loot some camping supplies, including a ![]() Sand-Patterned Camping Kit near a makeshift camp then continue west around some rubble to find a chest housing some
Sand-Patterned Camping Kit near a makeshift camp then continue west around some rubble to find a chest housing some ![]() Fine Harspud Roborant and
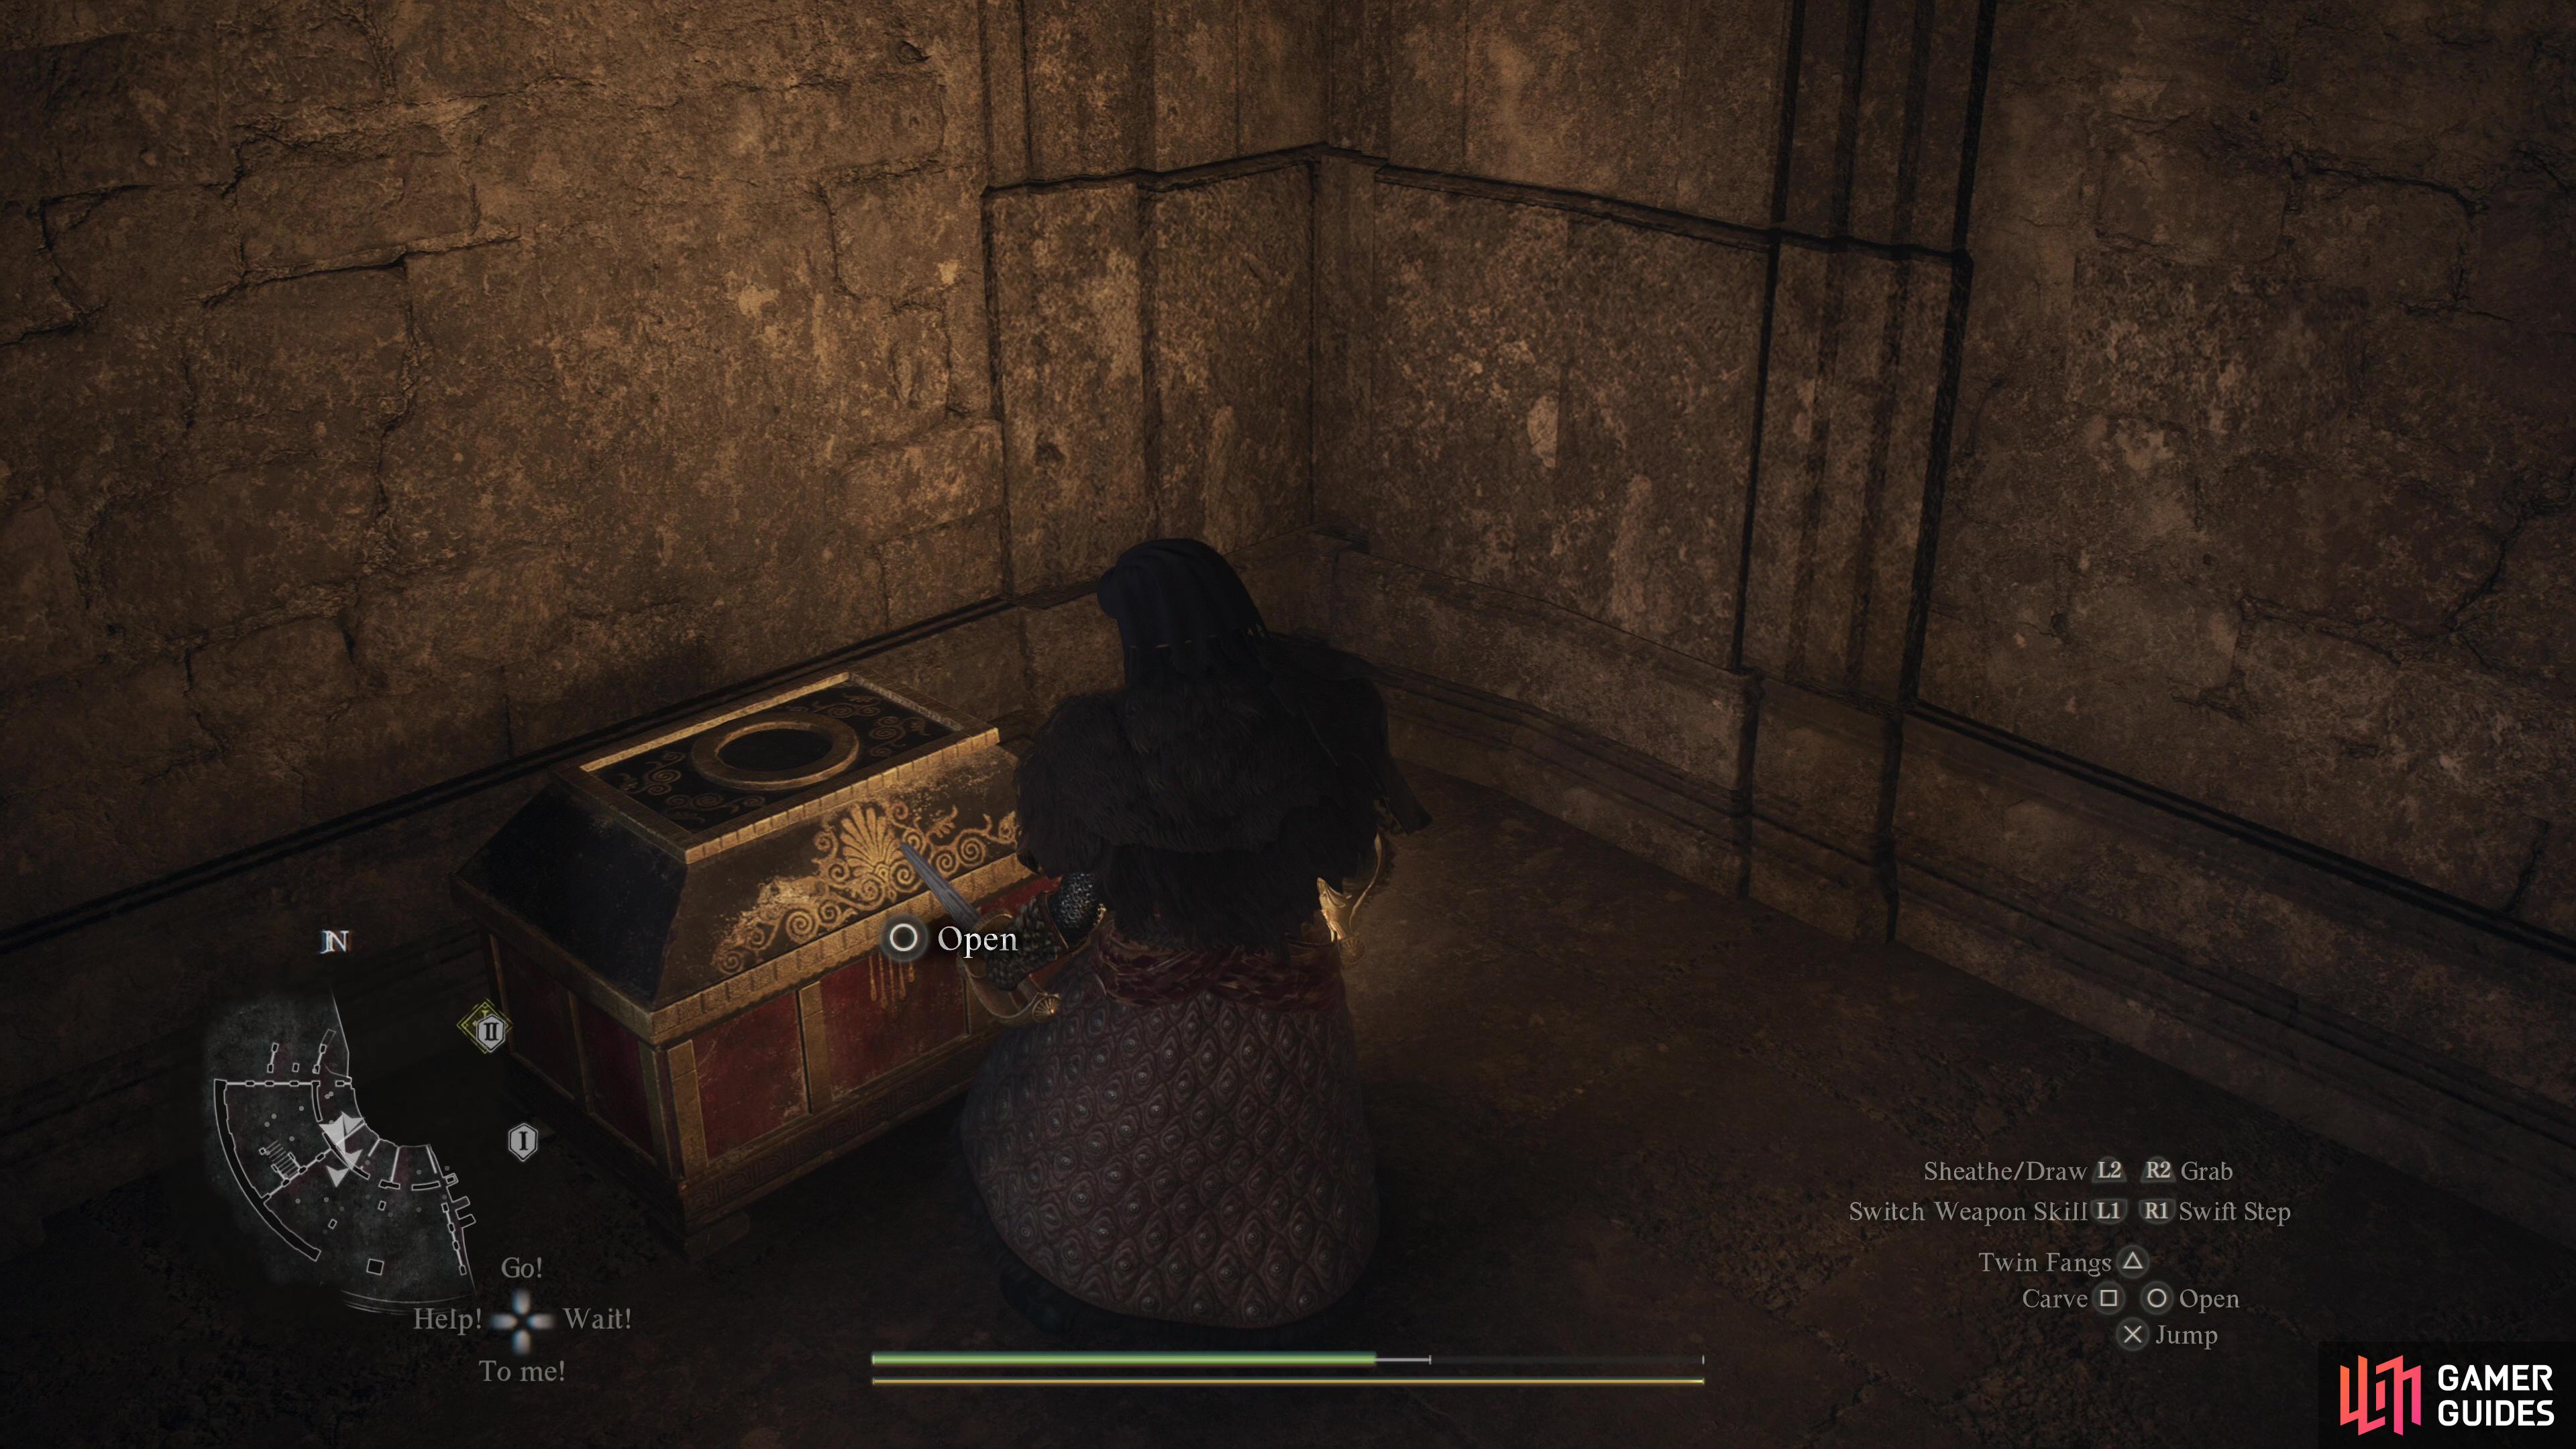
Fine Harspud Roborant and ![]() Fine Fruit Roborant. Follow the edge of the ruins south and turn right when you must to find a rather large chamber ahead to the west. Make your way to the edge of the ruined floor and you should spot a Griffin nest on the lower level, below you and to the west. You should also spot an ornate chest on the edge of a ruined floor overlooking the Griffin nest. Follow the ruined floor around to reach the chest and loot it to score 15,500G. Nice.
Fine Fruit Roborant. Follow the edge of the ruins south and turn right when you must to find a rather large chamber ahead to the west. Make your way to the edge of the ruined floor and you should spot a Griffin nest on the lower level, below you and to the west. You should also spot an ornate chest on the edge of a ruined floor overlooking the Griffin nest. Follow the ruined floor around to reach the chest and loot it to score 15,500G. Nice.
Now you can drop down to reach the Griffin nest, and the southern end of the B1F ruins - try to aim for some of the rubble below the chest you just lured, though - the extra few feet of height they offer can prove the be the difference between an undignified but safe landing, and a painful splat on the stone below.
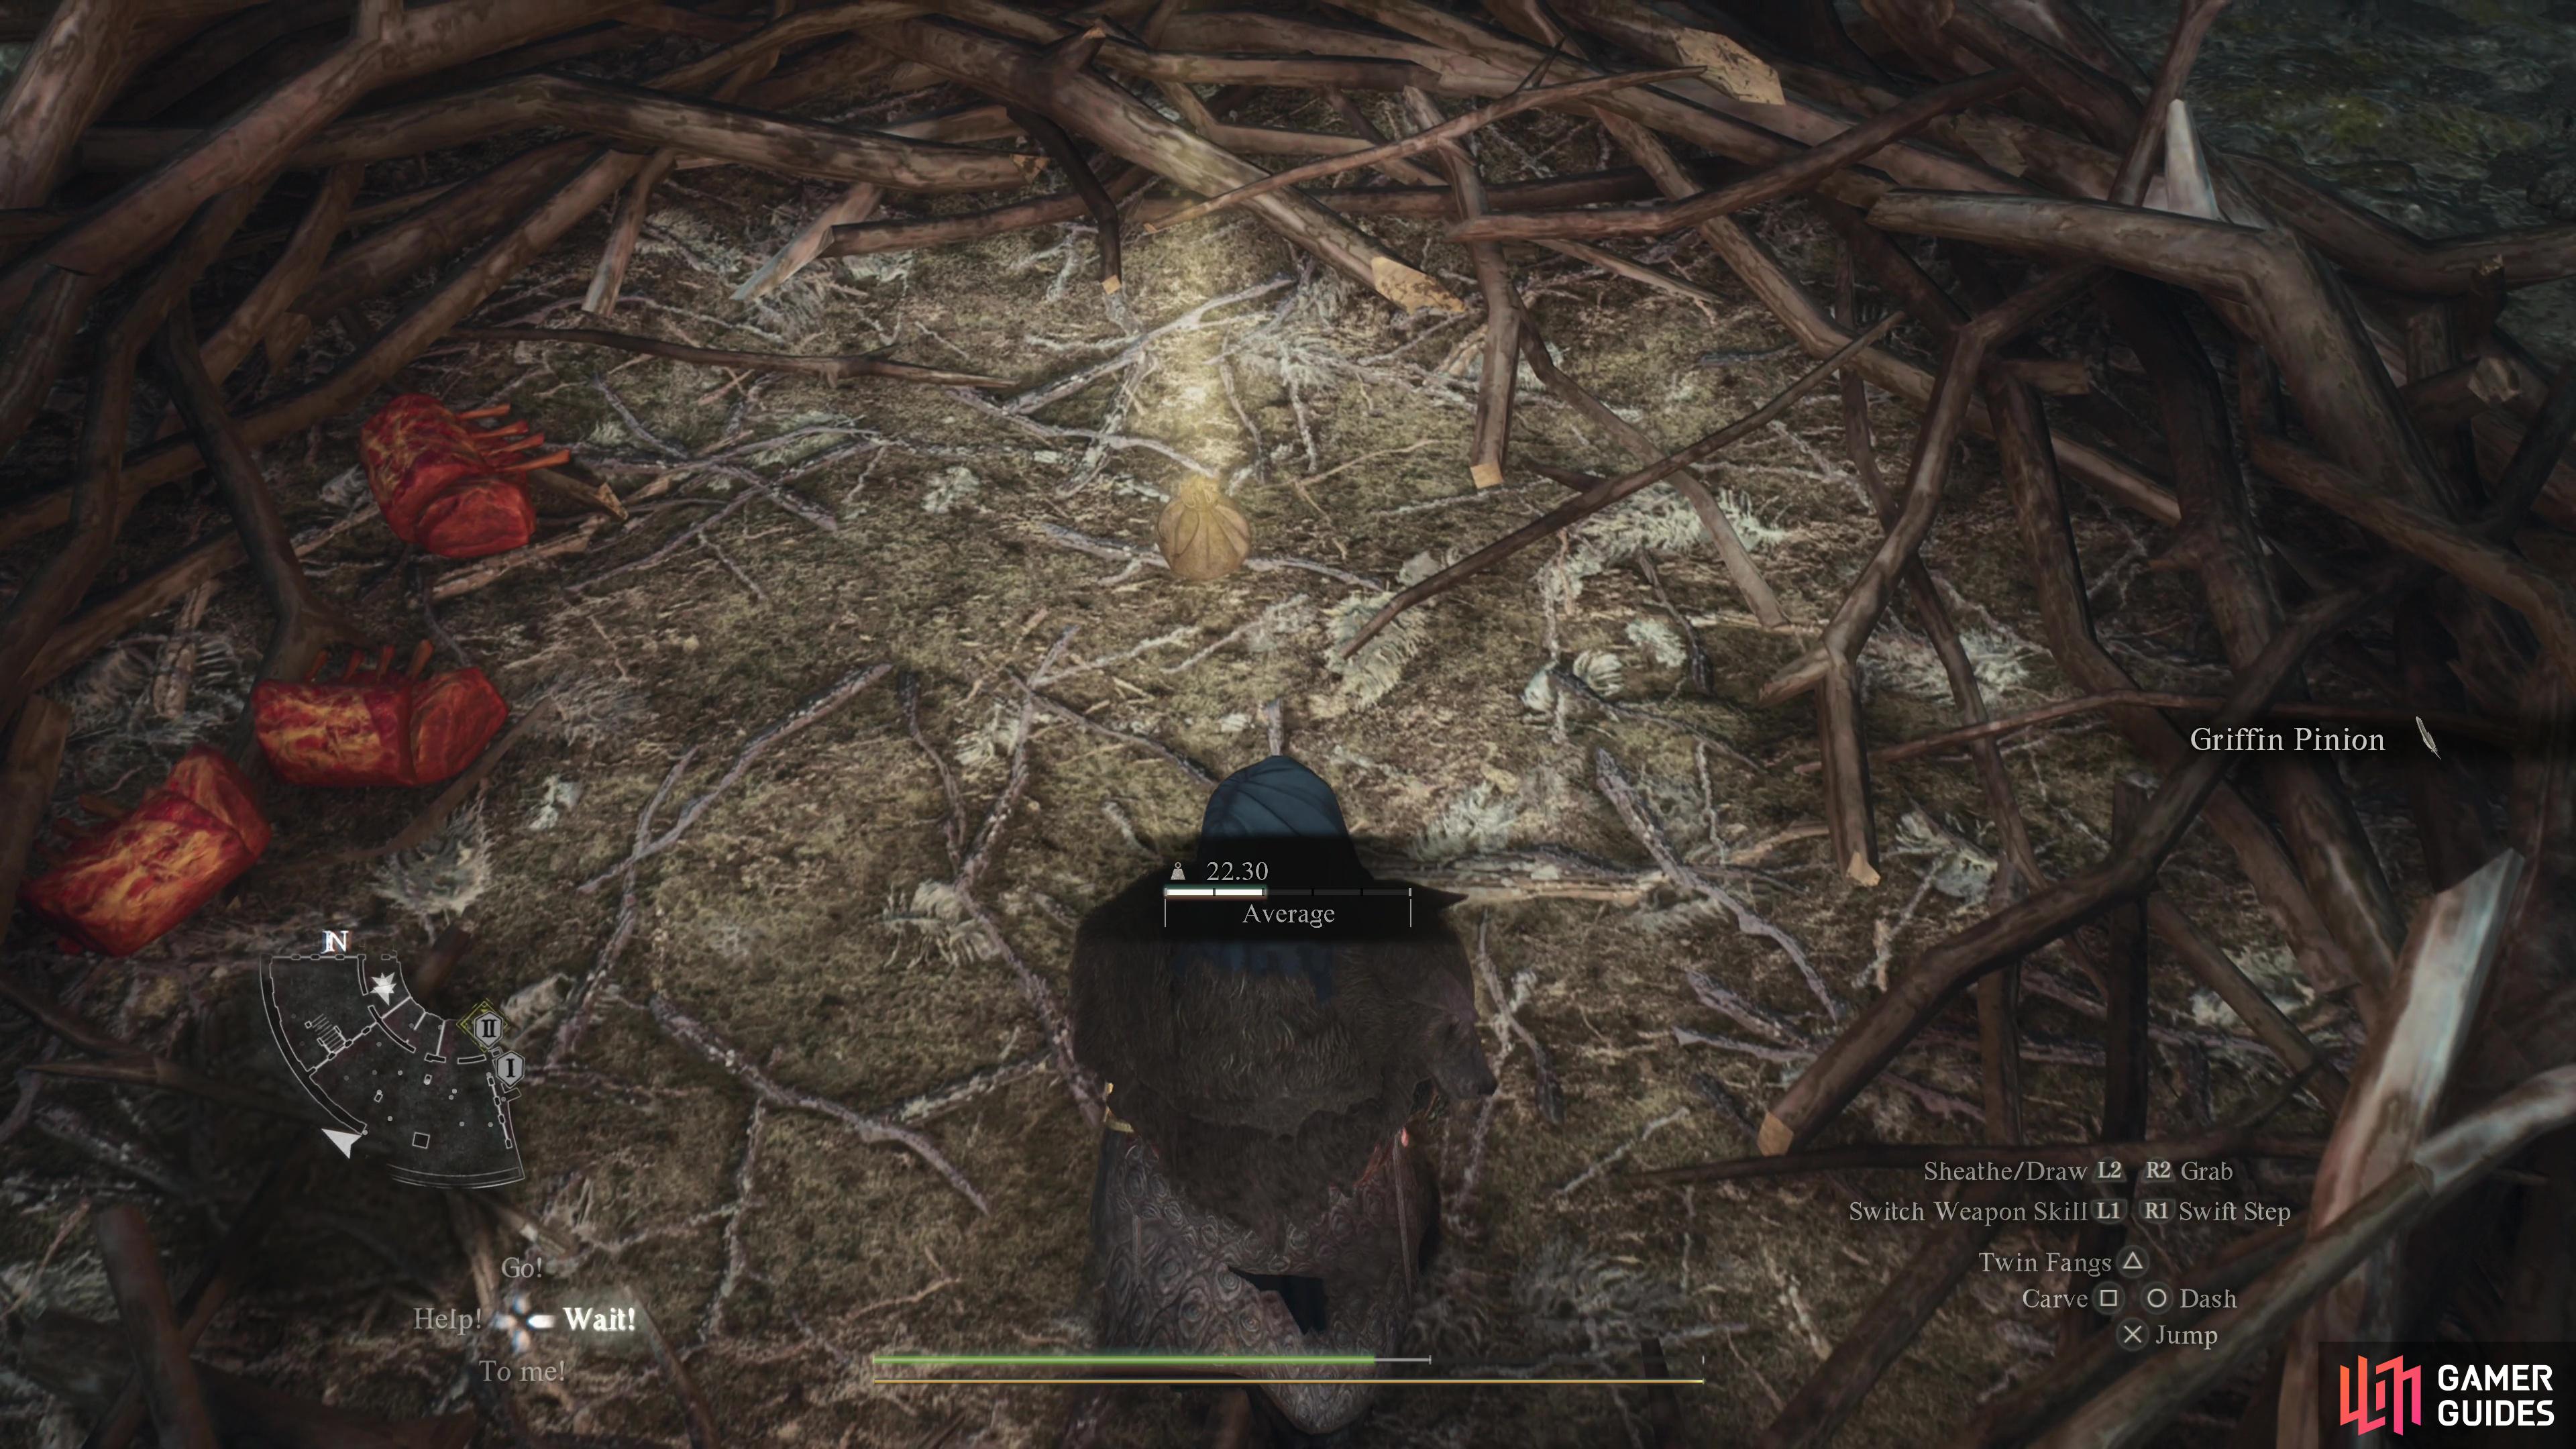


(1 of 3) Loot the Griffin nest,
Explore Southern B1F - Plunder the Griffin Nest!
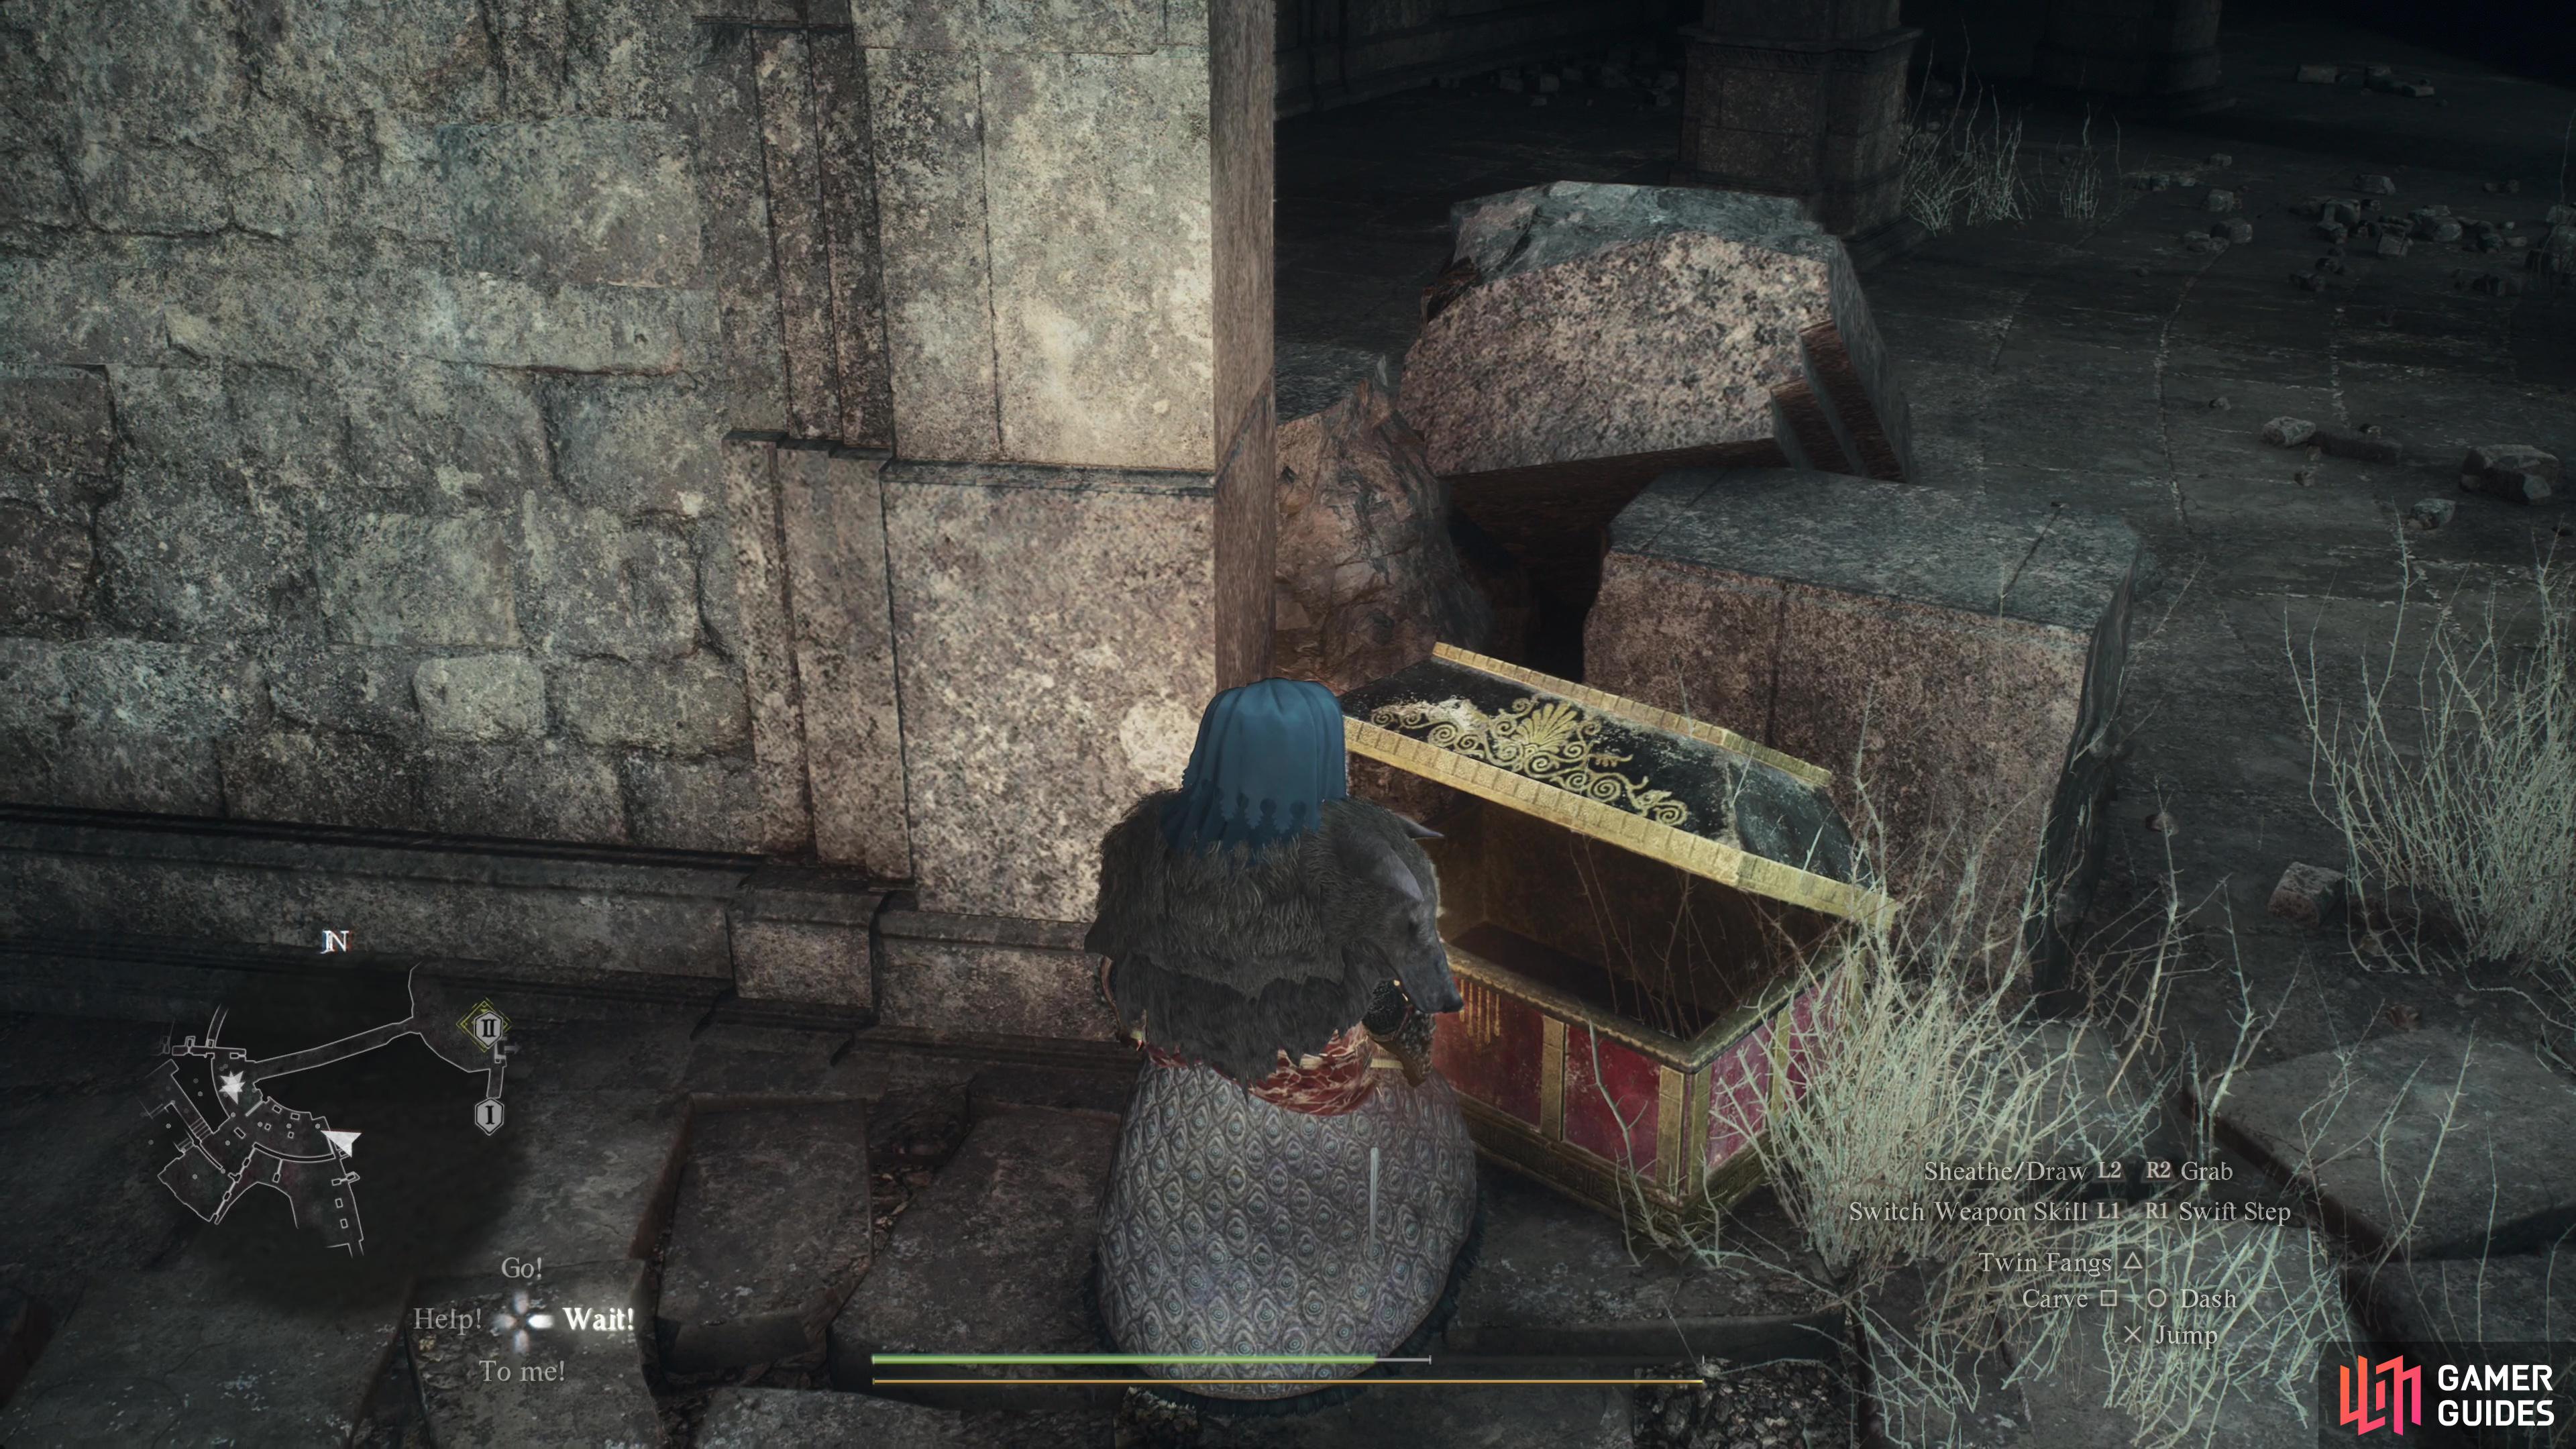
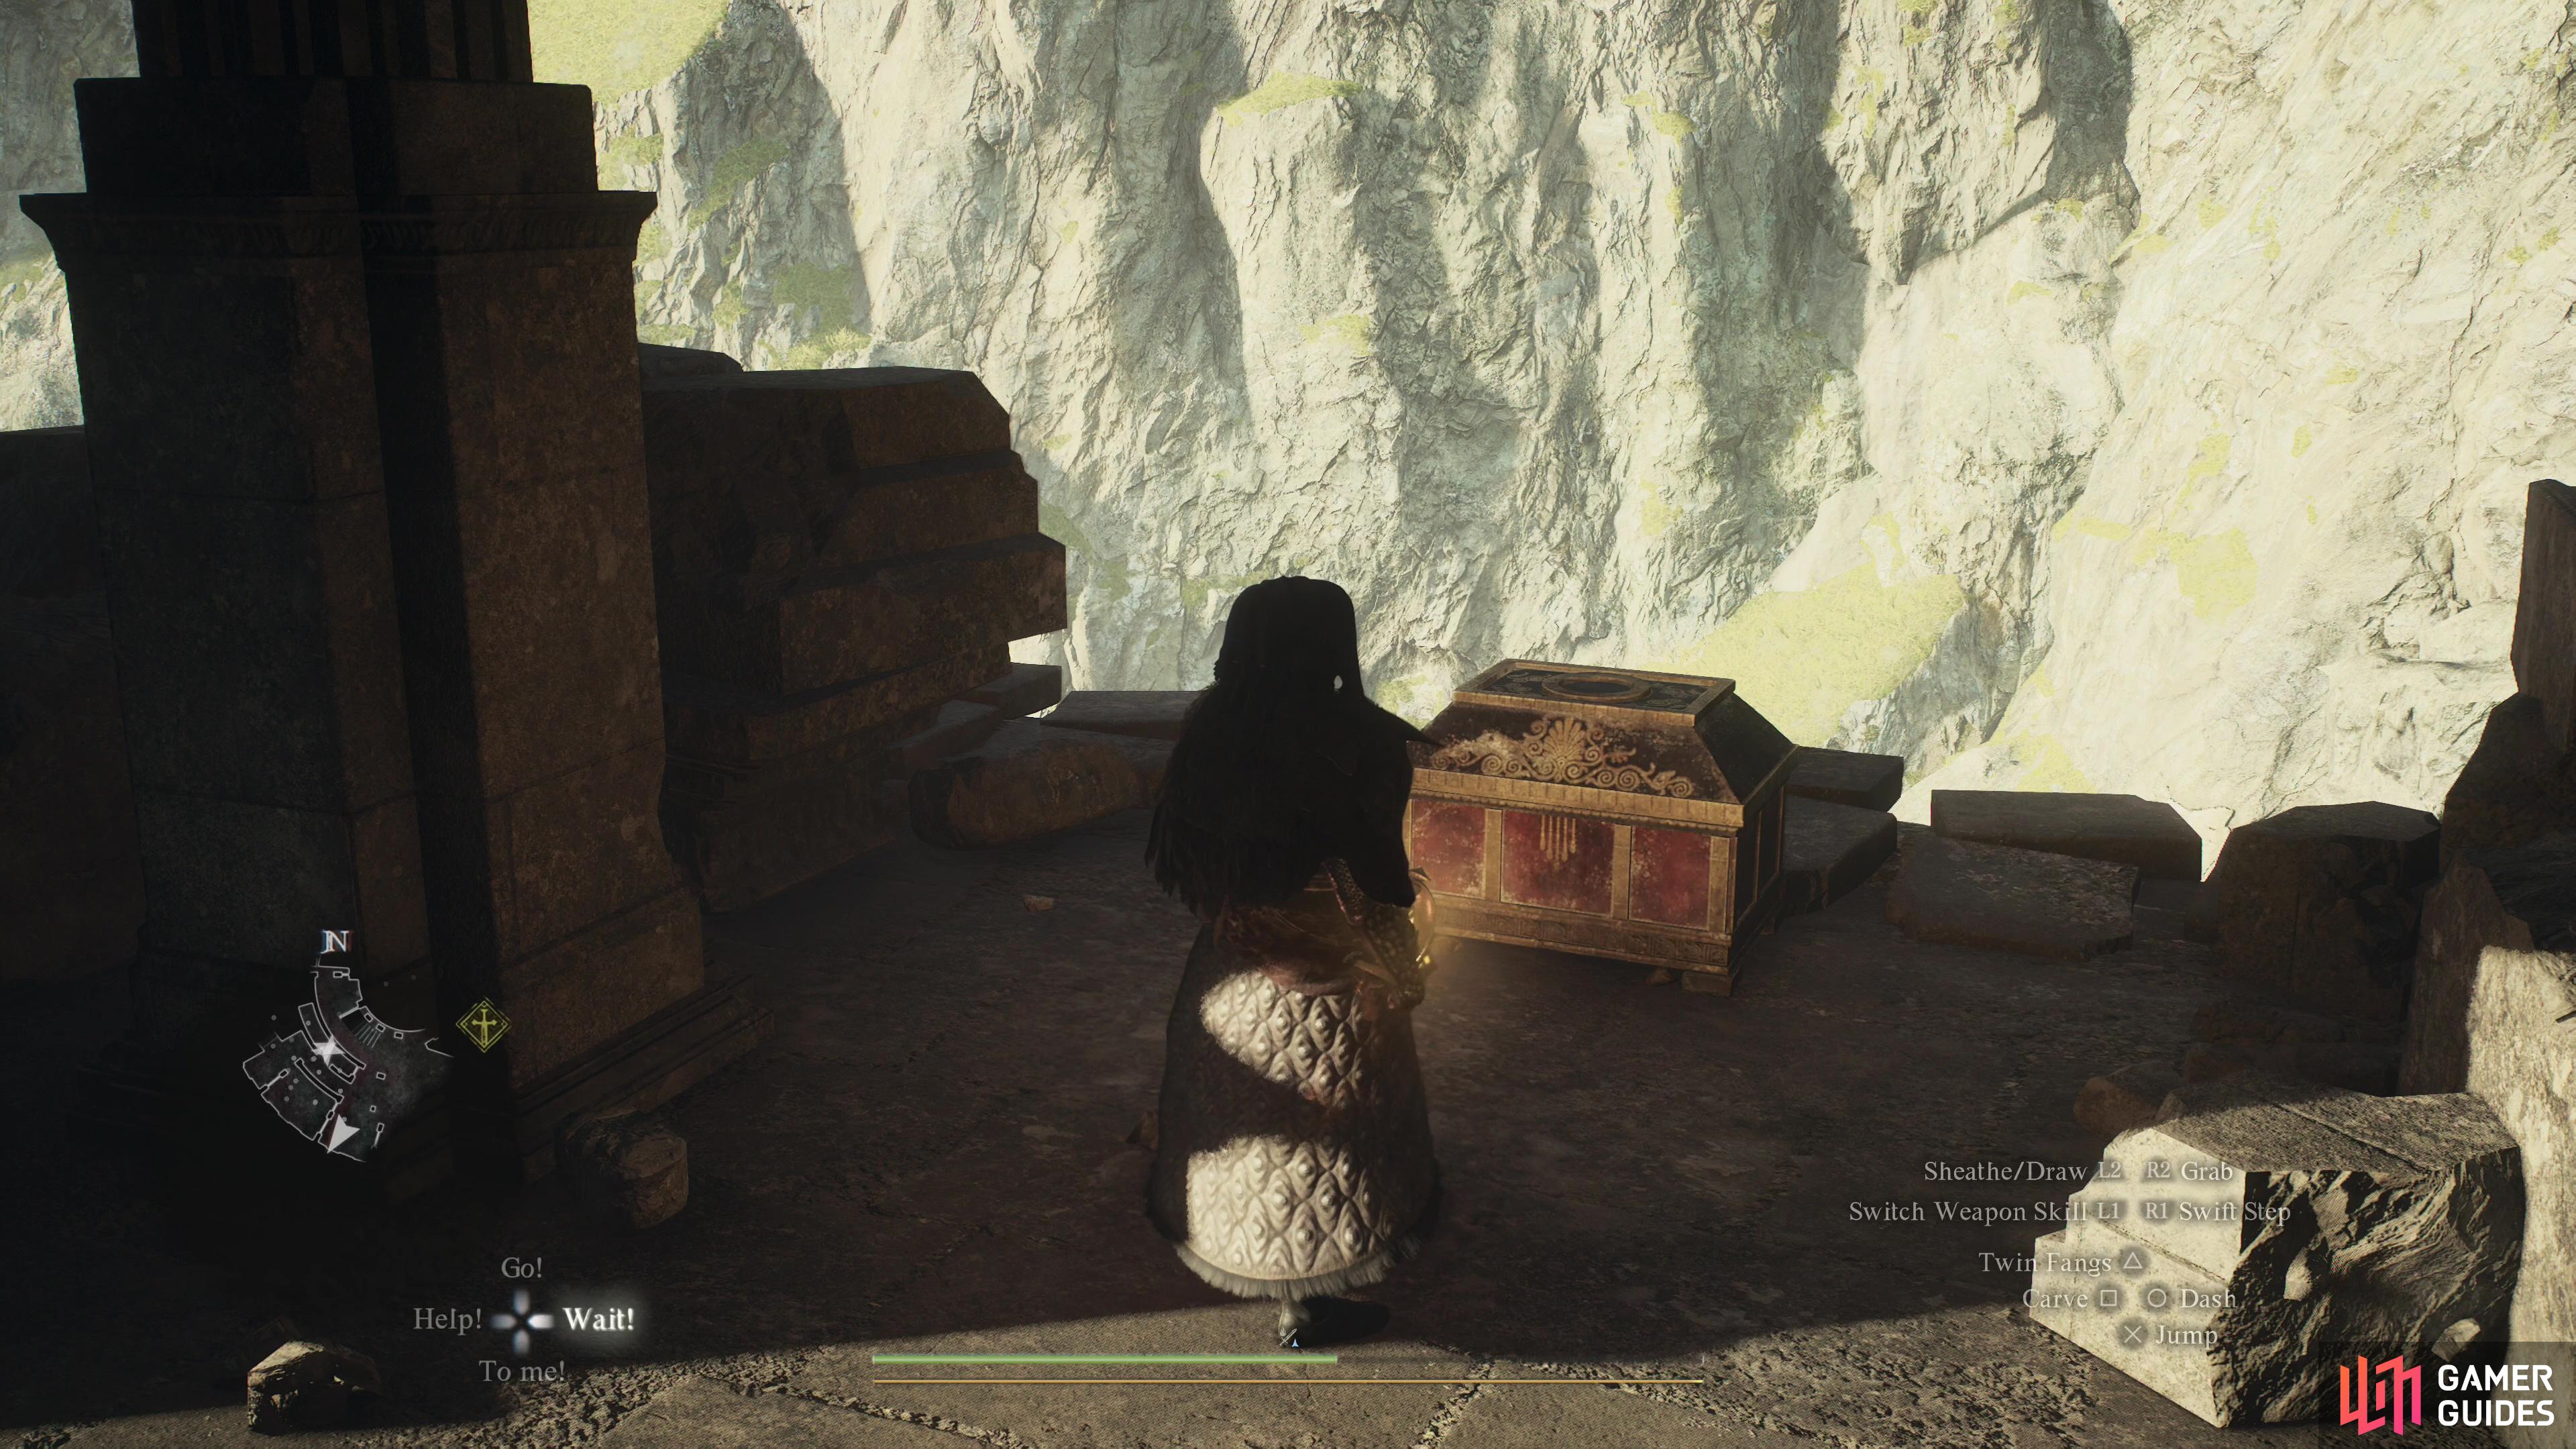
Once you finally reach the southern end of B1F (be quiet, double jumpers - we know you got here earlier), make your way west and loot the Griffin nest. You’ll find the odd ![]() Griffin Pinion lying about as well as some meat, but nothing too spectacular. Next, explore the northeastern part of these ruins to find two rooms with chests in them - the chest in the eastern room yields 10,030G while the one on the western room forfeits a
Griffin Pinion lying about as well as some meat, but nothing too spectacular. Next, explore the northeastern part of these ruins to find two rooms with chests in them - the chest in the eastern room yields 10,030G while the one on the western room forfeits a ![]() Frigid Finger staff. Return to the Griffin nest and follow the edge of the tower uphill to the north, then turn right and drop off a ledge to find yourself back outside of the tower, at the northern edge of B1F. From here you can just head back inside the tower, take the stairs up, go through the hole in the wall you made earlier, and emerge back out into 1F.
Frigid Finger staff. Return to the Griffin nest and follow the edge of the tower uphill to the north, then turn right and drop off a ledge to find yourself back outside of the tower, at the northern edge of B1F. From here you can just head back inside the tower, take the stairs up, go through the hole in the wall you made earlier, and emerge back out into 1F.
(1 of 3) Note some weak brickwork when you reach 2F.
Dragonsbreath Tower 2F
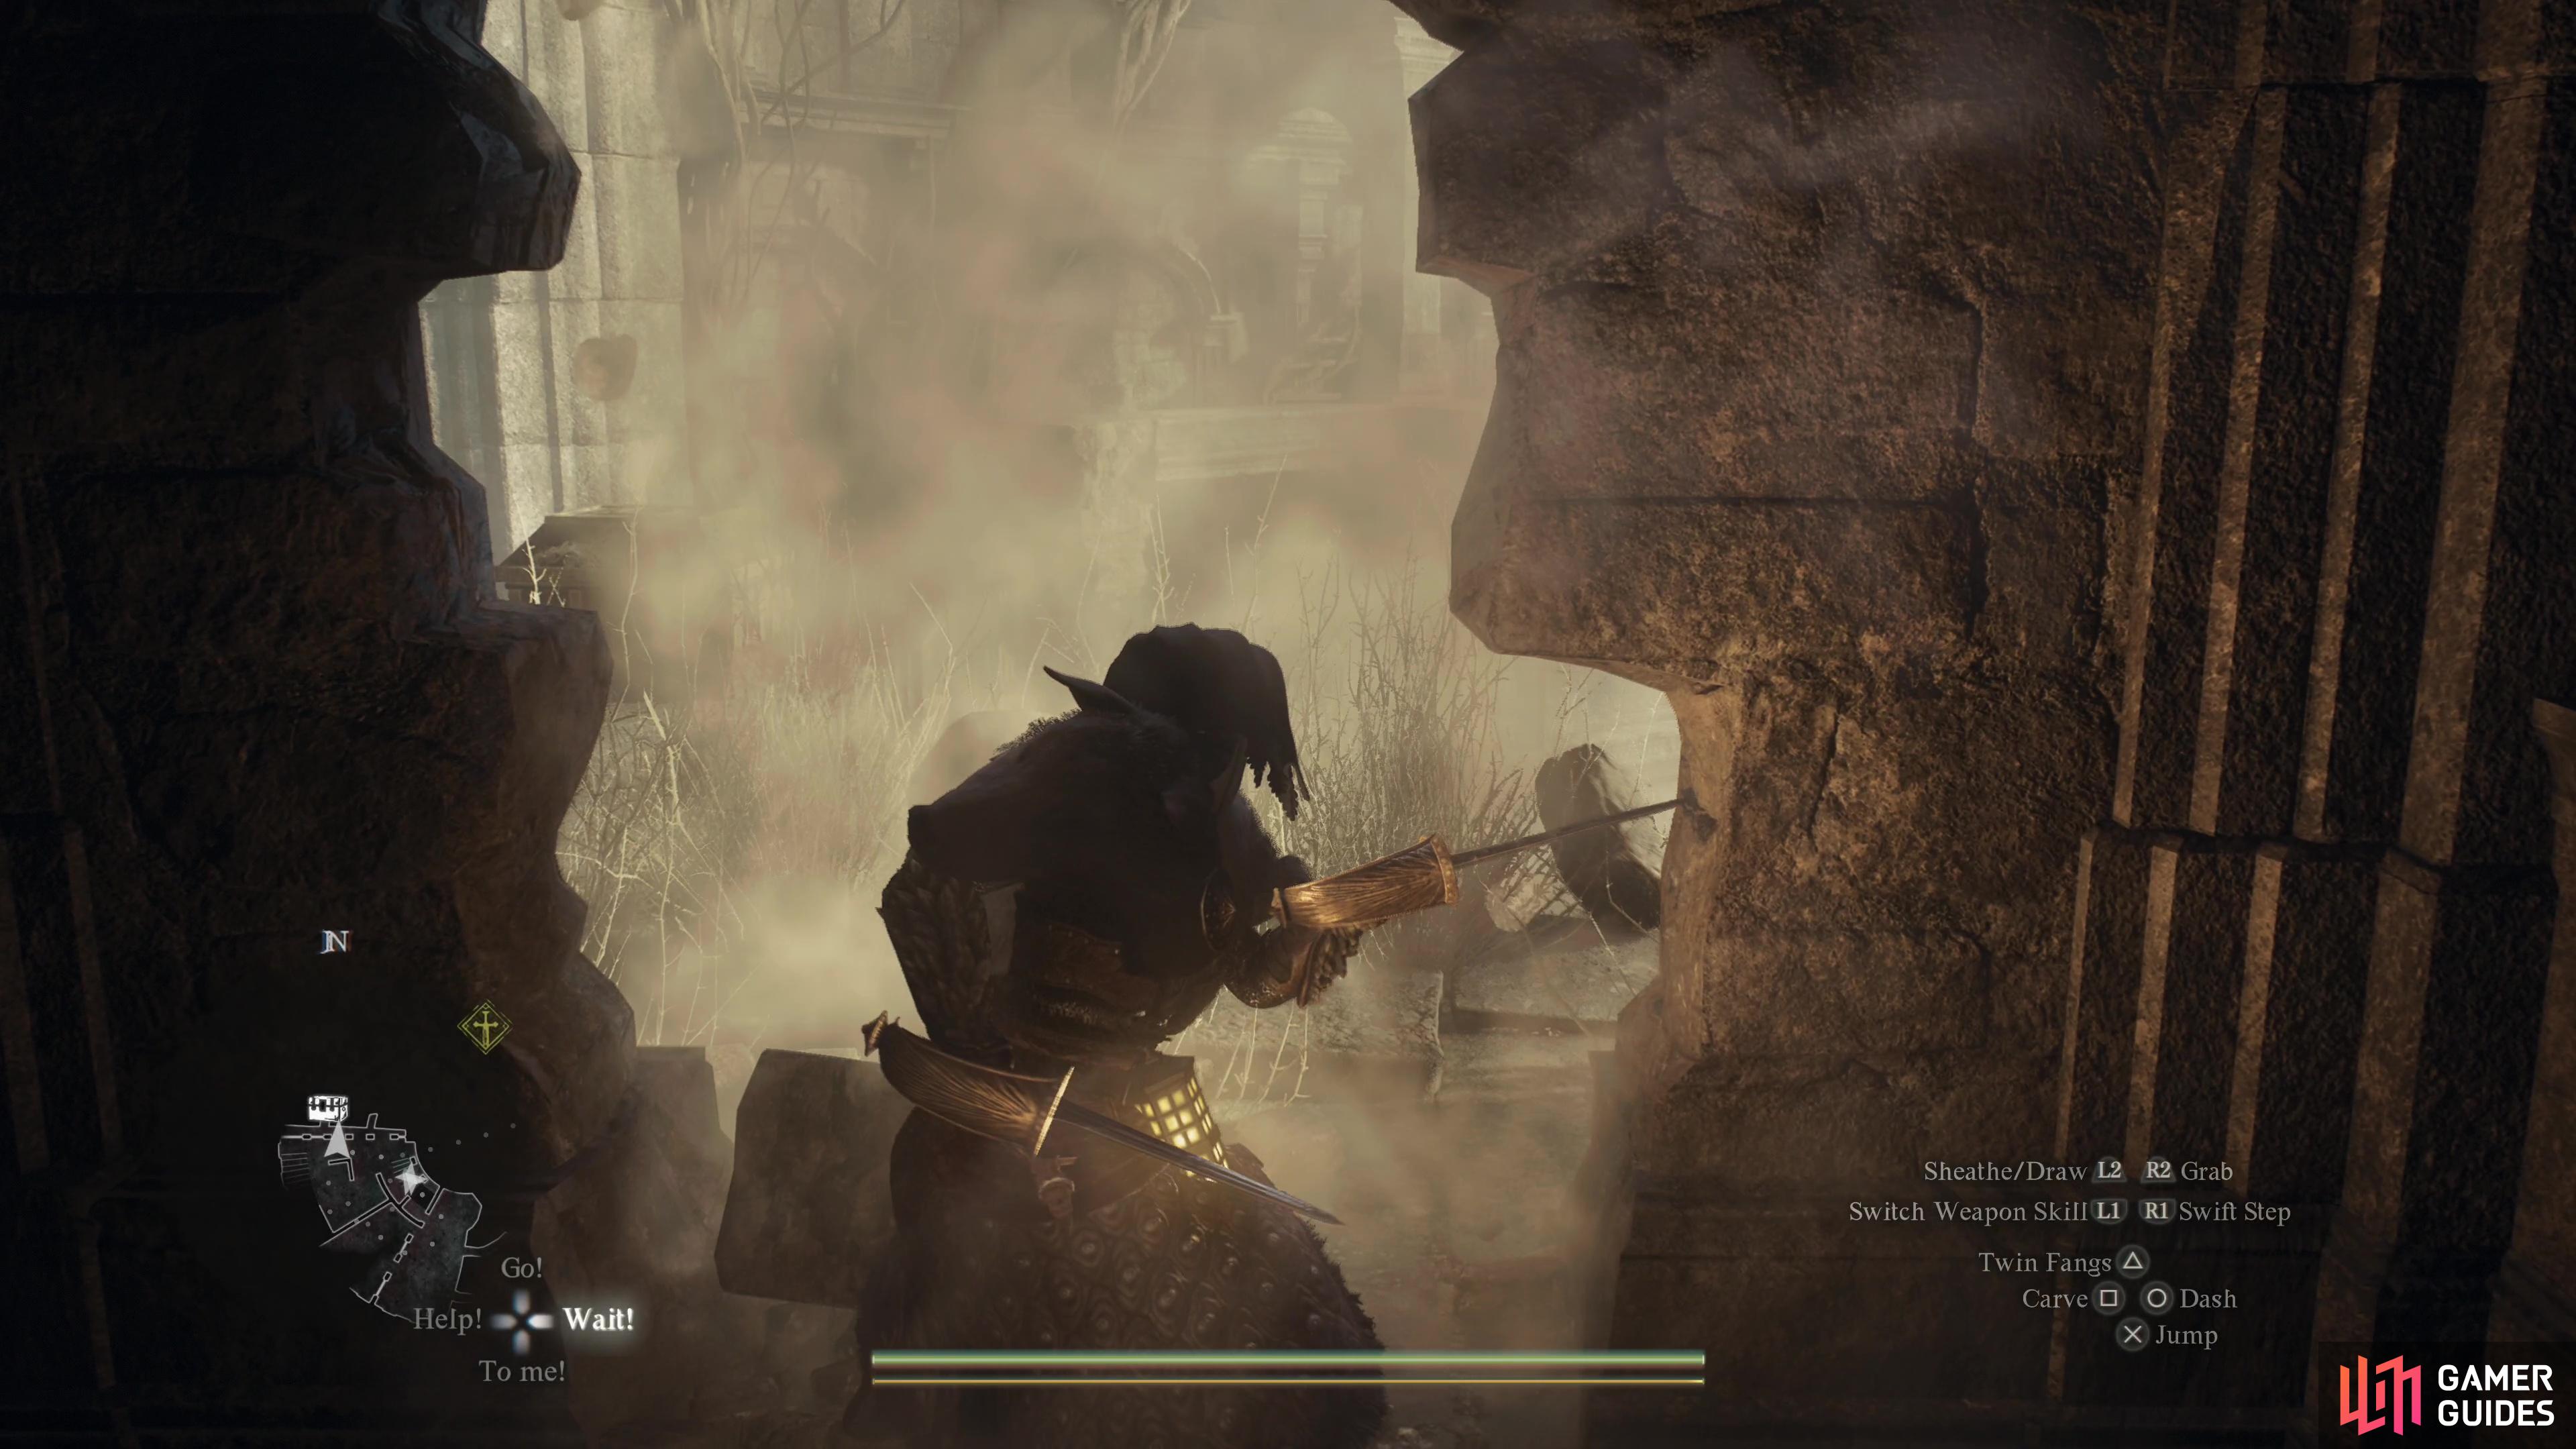
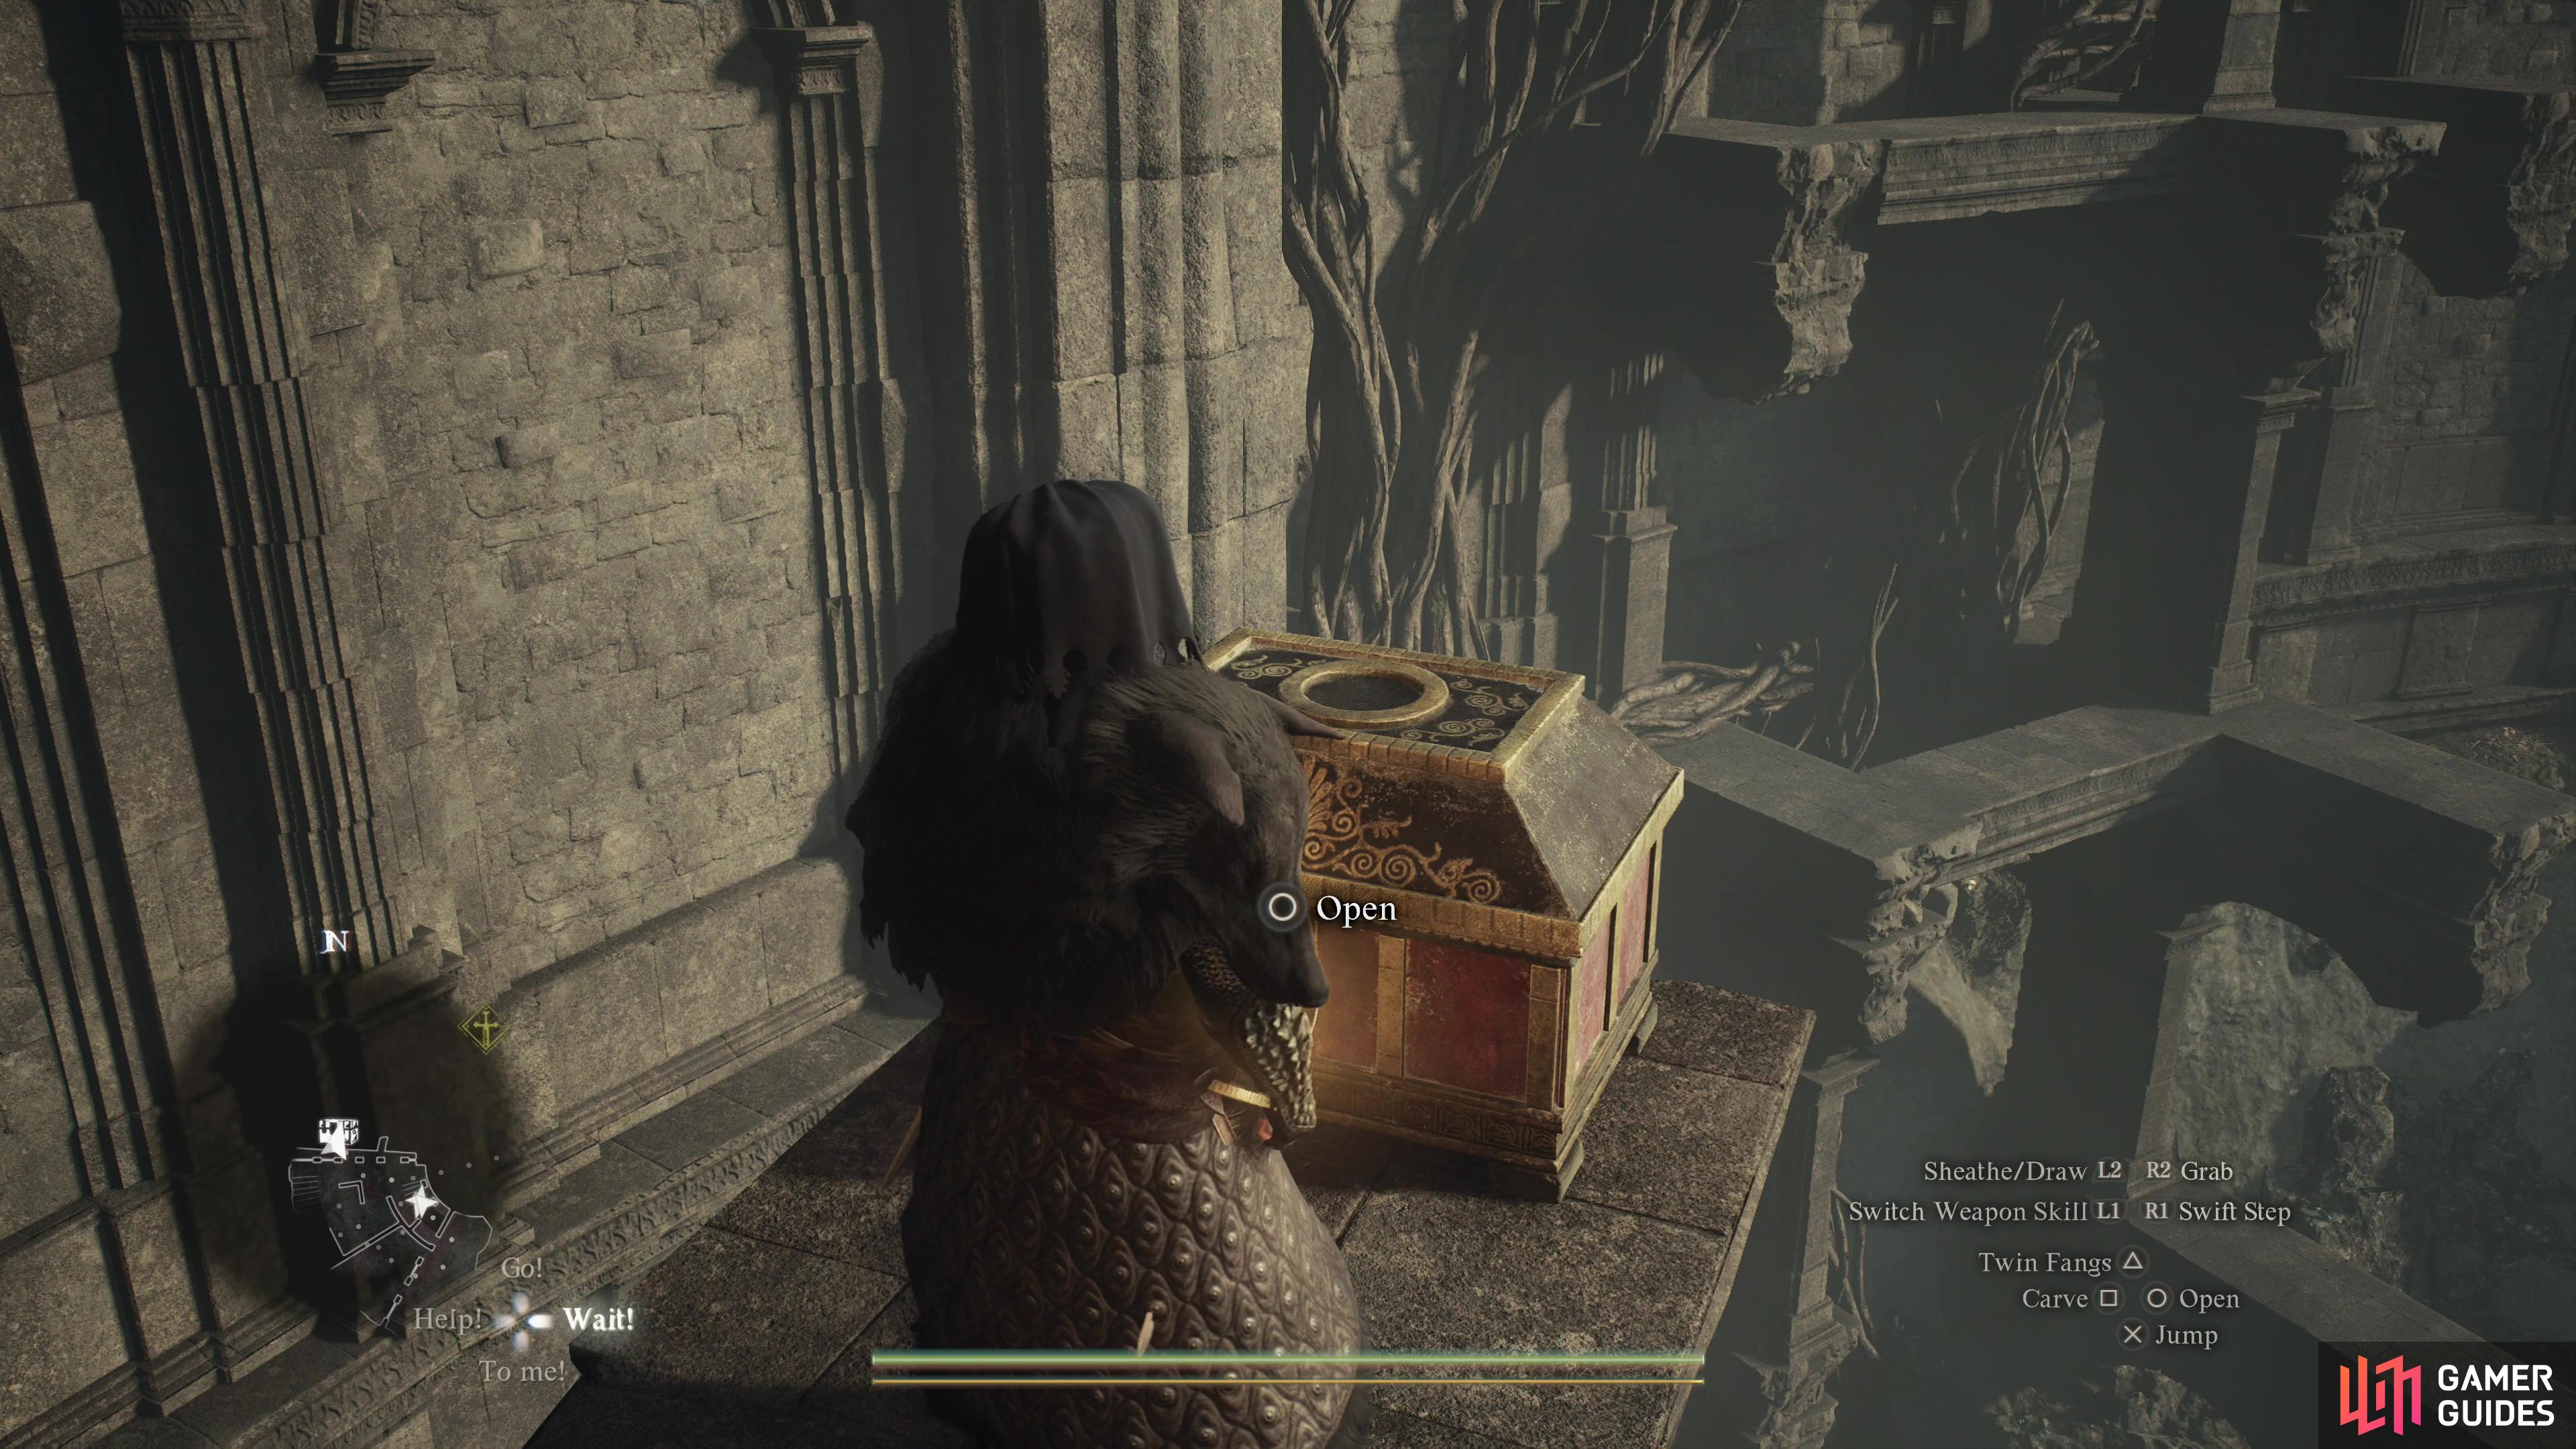
Once you’re back on 1F, take the stairs up to 2F, kill any Skeletons that may be lurking in the darkness and when you reach the landing search an alcove to the northeast to find a Savagery Extract, then continue up a second flight of stairs. As soon as you reach the stop of this second flight of stairs, note the weak wall in front of you (southeast). Smash it and head inside to find an ornate chest containing an ![]() Anathema Archistaff. Just be wary of Skeletons lurking in the darkness - there are almost certainly some lurking to the east of the stairs you just ascended.
Anathema Archistaff. Just be wary of Skeletons lurking in the darkness - there are almost certainly some lurking to the east of the stairs you just ascended.
(1 of 3) After reaching daylight on 2F, turn right to find a chest containing the Dragon’s Faith shield.
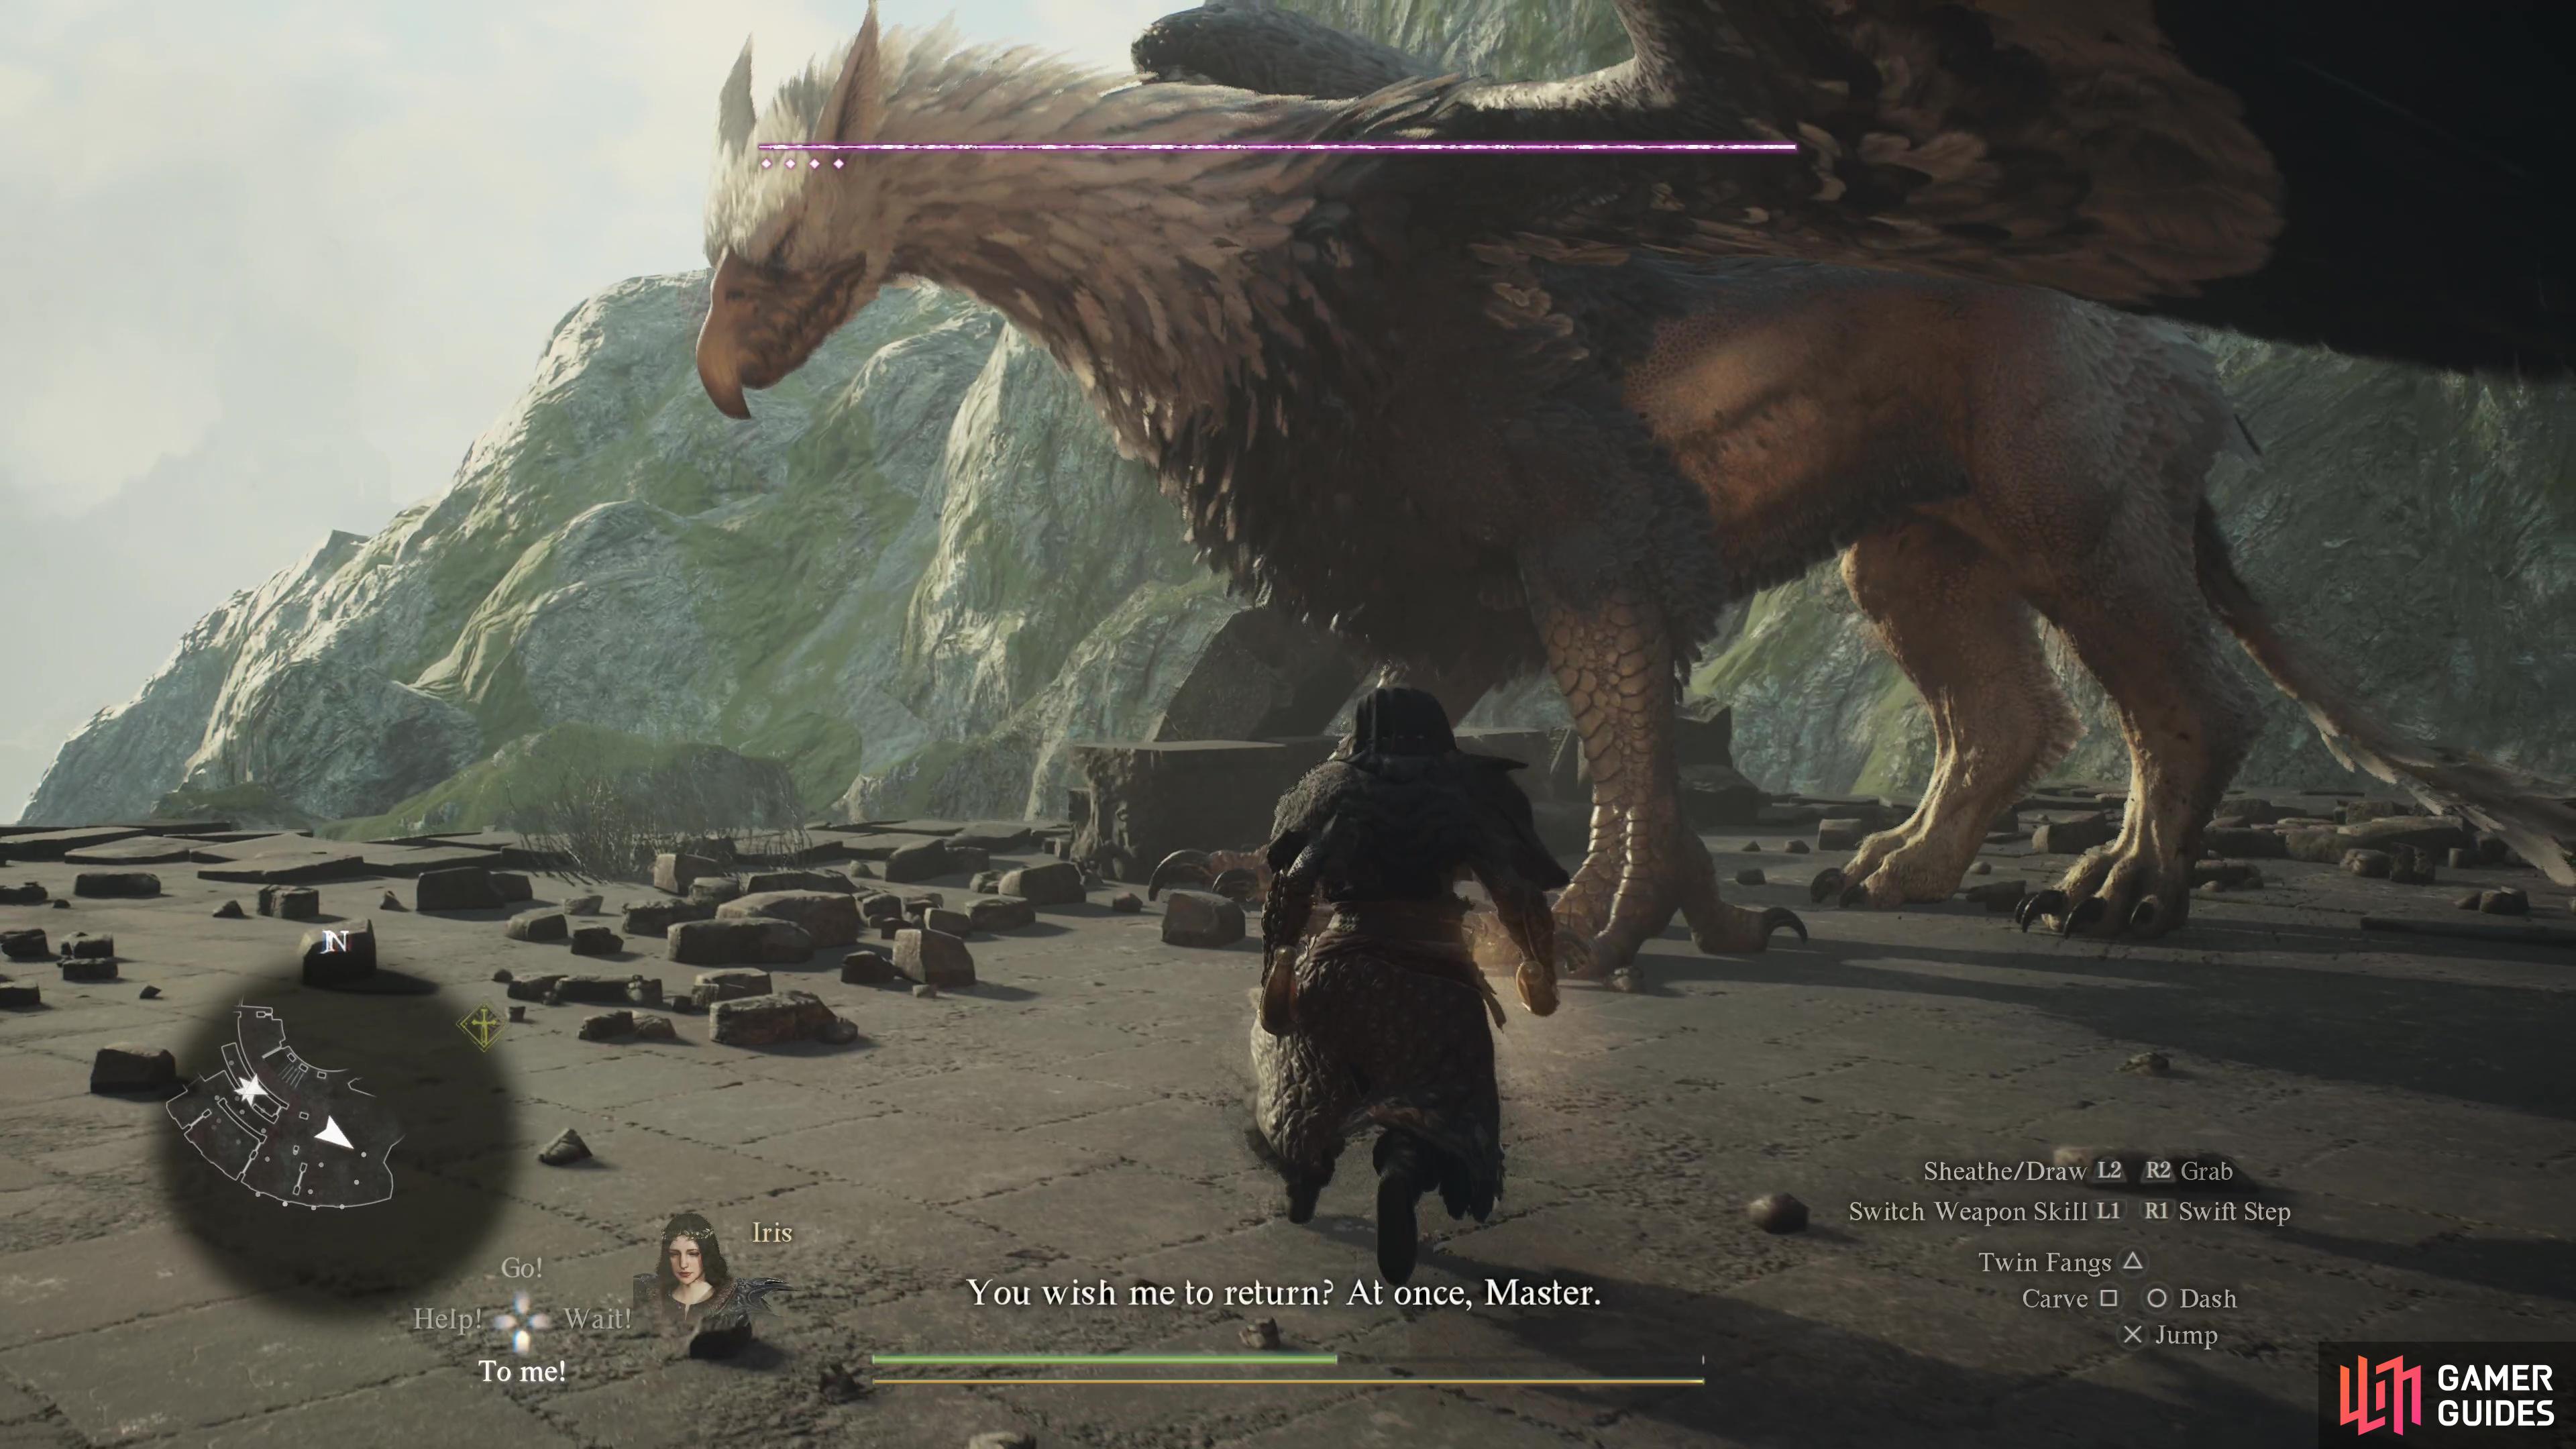
Speaking of which, return to the stairs and head east, kill any Skeletons that may arise (you can search the dead end for a ![]() Wyrmslife Crystal, then continue southeast to return to daylight. The upper floors are smashed away, opening much of this area to the sky - Hobgoblins and Gore Harpies tend to spawn here, so deal with them if you haven’t already. It’s also worth pointing out that if you cleared the Lesser Dragon out (and enough time has passed) you may encounter a Griffin here, if it wasn’t at its nest. Defeating it will earn you the
Wyrmslife Crystal, then continue southeast to return to daylight. The upper floors are smashed away, opening much of this area to the sky - Hobgoblins and Gore Harpies tend to spawn here, so deal with them if you haven’t already. It’s also worth pointing out that if you cleared the Lesser Dragon out (and enough time has passed) you may encounter a Griffin here, if it wasn’t at its nest. Defeating it will earn you the ![]() Dragon’s Breath Magick Bow, but it likely won’t spawn until some time has passed following your encounter with the Lesser Dragon.
Dragon’s Breath Magick Bow, but it likely won’t spawn until some time has passed following your encounter with the Lesser Dragon.
Anywho, shortly after entering this area turn right (south) to find a chest containing the ![]() Dragon’s Faith shield, then head north to the opposite end of this floor and turn left (west) to find a tunnel leading into the darkness and some stairs leading up. The tunnel just leads to dead end ledges, so go upstairs to reach 3F.
Dragon’s Faith shield, then head north to the opposite end of this floor and turn left (west) to find a tunnel leading into the darkness and some stairs leading up. The tunnel just leads to dead end ledges, so go upstairs to reach 3F.


Dragonsbreath Tower 3F
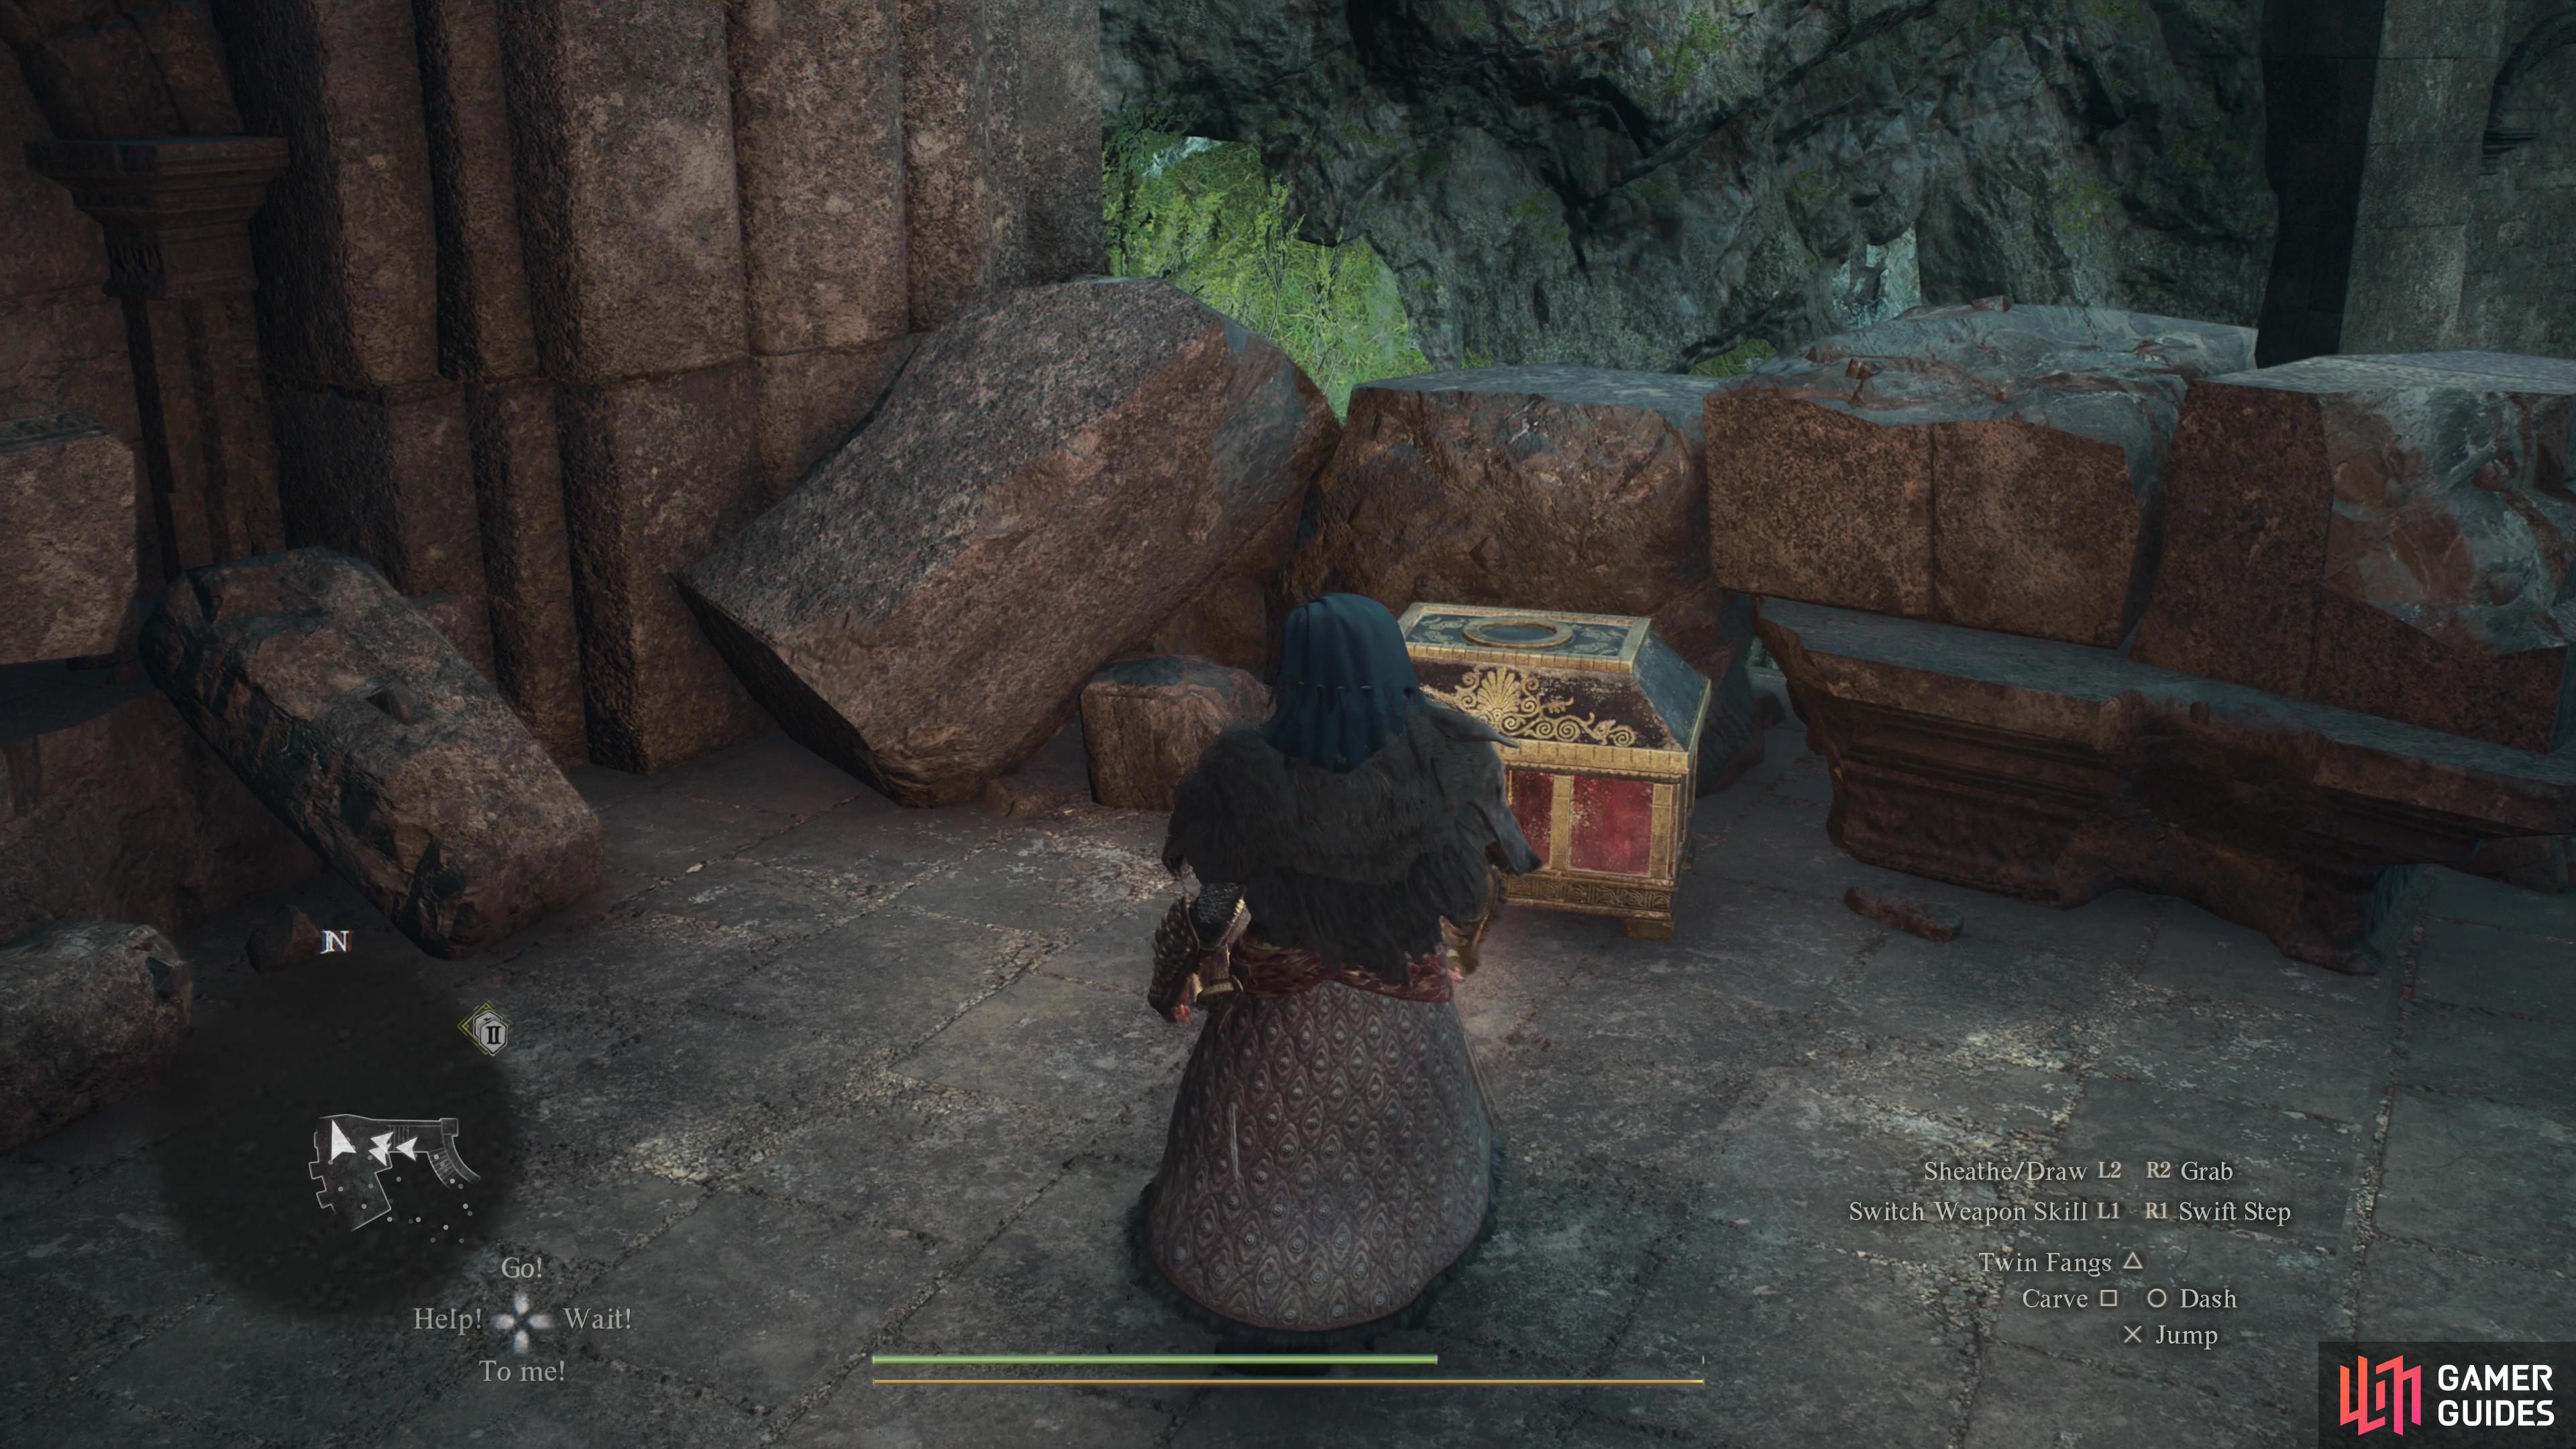
There are two treasures and few enemies on this level, but the treasures are fairly well hidden. First, once you’re atop the stairs turn south and spot some rubble near the stairs. Jump over them and you’ll find a chest hiding 7,360G. Whatever you think about the quality of the loot in Dragonsbreath Tower, you’re not going home poor, that’s for sure. For the second treasure look north from the stairs and you’ll spot some rubble-filled arches. Look northwest through the rubble just right and you’ll find a chest on a ledge outside. You can tempt fate by climbing over the rumble and jumping to the chest, or you can just head west past the arches, then turn north to spot a weak section of wall. Smash it and you’ll create a much safer way to access the chest, wherein you’ll find a ![]() Wakestone Shard.
Wakestone Shard.


(1 of 4) You’ll encounter a Drake on 4F, assuming the Lesser Dragon is defeated and enough time has passed.
Dragonsbreath Tower 4F and 5F - The Drake’s Roost
From the hole in the wall you just made, head west to find some stairs and go up to 4F. This is where you fought the Lesser Dragon with Sigurd earlier, and failing that, where a Drake likes to roost in the Lesser Dragon’s absence. Worth keeping in mind if you visit this location again, or tarry too long following the Lesser Dragon’s demise.
Assuming there aren’t any angry flying reptiles lurking about, turn north from the stop of the stairs to find a chest housing a ![]() Threshing Blaze and 2,650G. Enter out into daylight and ascend some stairs to the east to find another chest, this one containing a
Threshing Blaze and 2,650G. Enter out into daylight and ascend some stairs to the east to find another chest, this one containing a ![]() Dead Ringer duospear, if you’re of the
Dead Ringer duospear, if you’re of the ![]() Mystic Spearhand persuasion. That’s the last chest you can find in this dungeon, but follow the narrow ledge west from the chest, climb a shattered pillar, then work your way south to find a
Mystic Spearhand persuasion. That’s the last chest you can find in this dungeon, but follow the narrow ledge west from the chest, climb a shattered pillar, then work your way south to find a ![]() Seeker’s Token hidden at the edge of the ruins. Sneaky!
Seeker’s Token hidden at the edge of the ruins. Sneaky!
And that’s all for Dragonsbreath Tower, one of the larger optional dungeons in Dragon’s Dogma 2! If your itch for exploration isn’t scratched yet, check out the following pages for more quests to complete and dungeons to explore:
- Waterfall Cave Walkthrough
- Drabnir’s Grotto Walkthrough
- Cavern of the Forsaken Walkthrough
- Guerco Cave Walkthrough
- Medusa Location
- [https://www.gamerguides.com/dragons-dogma-2/guide/side-quests/vermund/sphinx-locations-and-riddle-solutions](
 Sphinx Location and Riddles)

 Sign up
No Comments