
One of the biggest features of Starfield is the option to build various outposts on unexplored planets. Outposts allow you to construct various structures such as Storage, Crew Stations, a variety of workbenches, and more importantly, mineral extractors. At first, it isn’t obvious when you can begin building your own personal safe haven, or what you need to do it. Well, read below to find out everything you need to know about Outposts and Base Building.
It’s not much, but it’s home.
Starfield Outpost Guide: Creating your First Outpost
You can begin building outposts in Starfield as soon as you reach ![]() The Lodge where you’ll gain access to it after completing the first main mission “
The Lodge where you’ll gain access to it after completing the first main mission “![]() One Small Step”. After finishing the mission, speak to your robot companion,
One Small Step”. After finishing the mission, speak to your robot companion, ![]() Vasco, who will briefly mention to you about building your own Outposts. Now, you’ll need a place to build an Outpost, which we recommend Nesoi, in the
Vasco, who will briefly mention to you about building your own Outposts. Now, you’ll need a place to build an Outpost, which we recommend Nesoi, in the ![]() Olympus System (more on that later). When you’ve landed on a planet, find a good spot to place the Outpost which will depend on what you want to achieve.
Olympus System (more on that later). When you’ve landed on a planet, find a good spot to place the Outpost which will depend on what you want to achieve.
Once you’ve found your spot, get out your scanner (


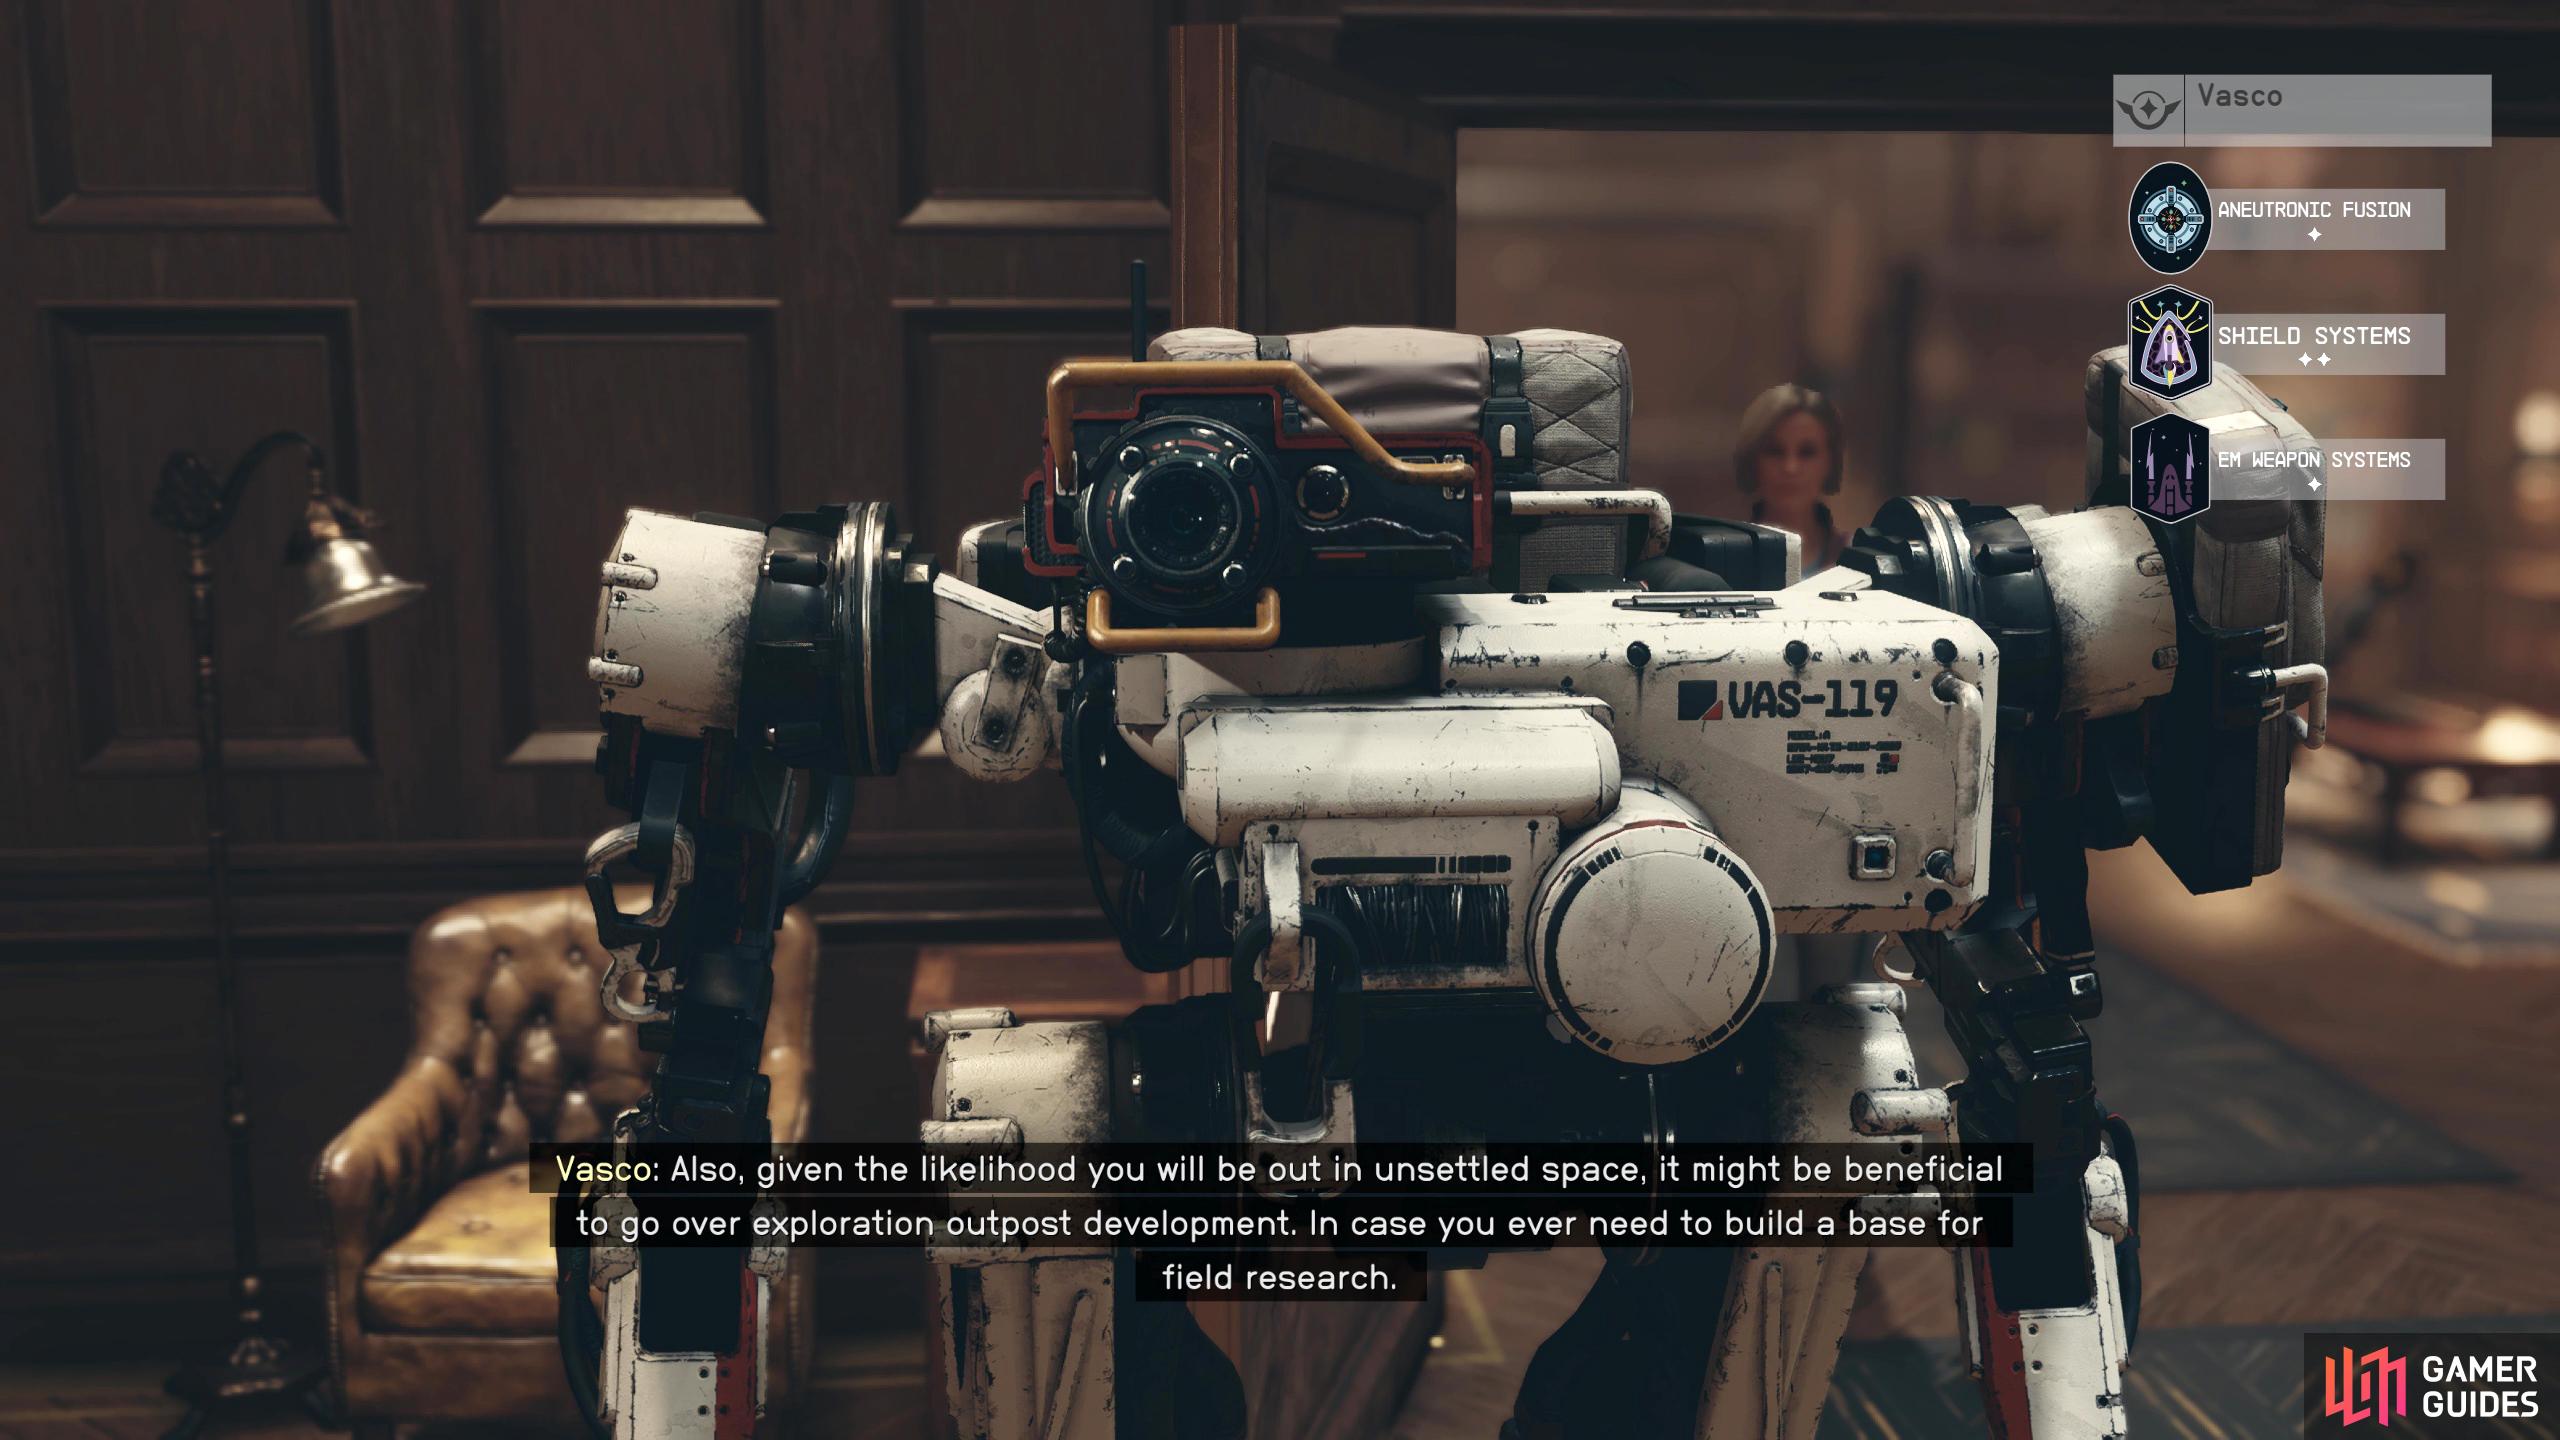
(1 of 2) Speak to Vasco after completing the first quest and it’ll tell you about Outposts.
Speak to Vasco after completing the first quest and it’ll tell you about Outposts. (left), Find a planet (not this) and place a Beacon where you want to build. This allows you to build within the perimeter. (right)
Starfield Base Building Guide
Now that you have a Beacon down, it’s time to build! Once again, get out your scanner and press
- Furniture: This is where you’ll find Beds, Chairs, Tables, Shelves, and Fridges.
- Decorations: If you want to make your living quarters better, this is the category for you. It’s worth noting that you can craft Storage Boxes and Crates where you can store some of your goods. Not to be confused with Storage Containers, and Warehouse in the Storage section.
- Displays: Various displays for your armor, weapons, and any other goods you want to show off.
- Extractors: Full of Mining Extractors which you can place on deposits scattered around the planets to get resources.
- Power: Fuel Generators, Solar Arrays, and various other ways to power up your Outpost. Most stuff will need some form of power.
- Storage: Probably one of the main reasons you’ll build an Outpost. You’ll have storage containers for various materials, a warehouse, and a transfer container. The Transfer Container will allow you to transfer Cargo while on your ship. A must-have!
- Builders: Fabricators can be found in this section.
- Structures: All your base building parts and prefabs.
-
Crafting: Numerous crafting stations can be constructed here. You’ll want to build an
 Industrial Workbench ASAP as you’ll need it to build the Outpost.
 - Defenses: Various equipment to help defend your Outpost such as Turrets.
- Robots: These robots will give you various buffs depending on which ones you have out. The Engineering Robot will increase the production rate of manufactured items by 10% for example.
-
Miscellaneous: This section has a lot of useful stuff to build in here. Here, you’ll find the Crew Station, Scan Booster, Landing Pad, Bounty Clearance, and
 Cargo Link just to name a few.
You can cycle between the categories by pressing 


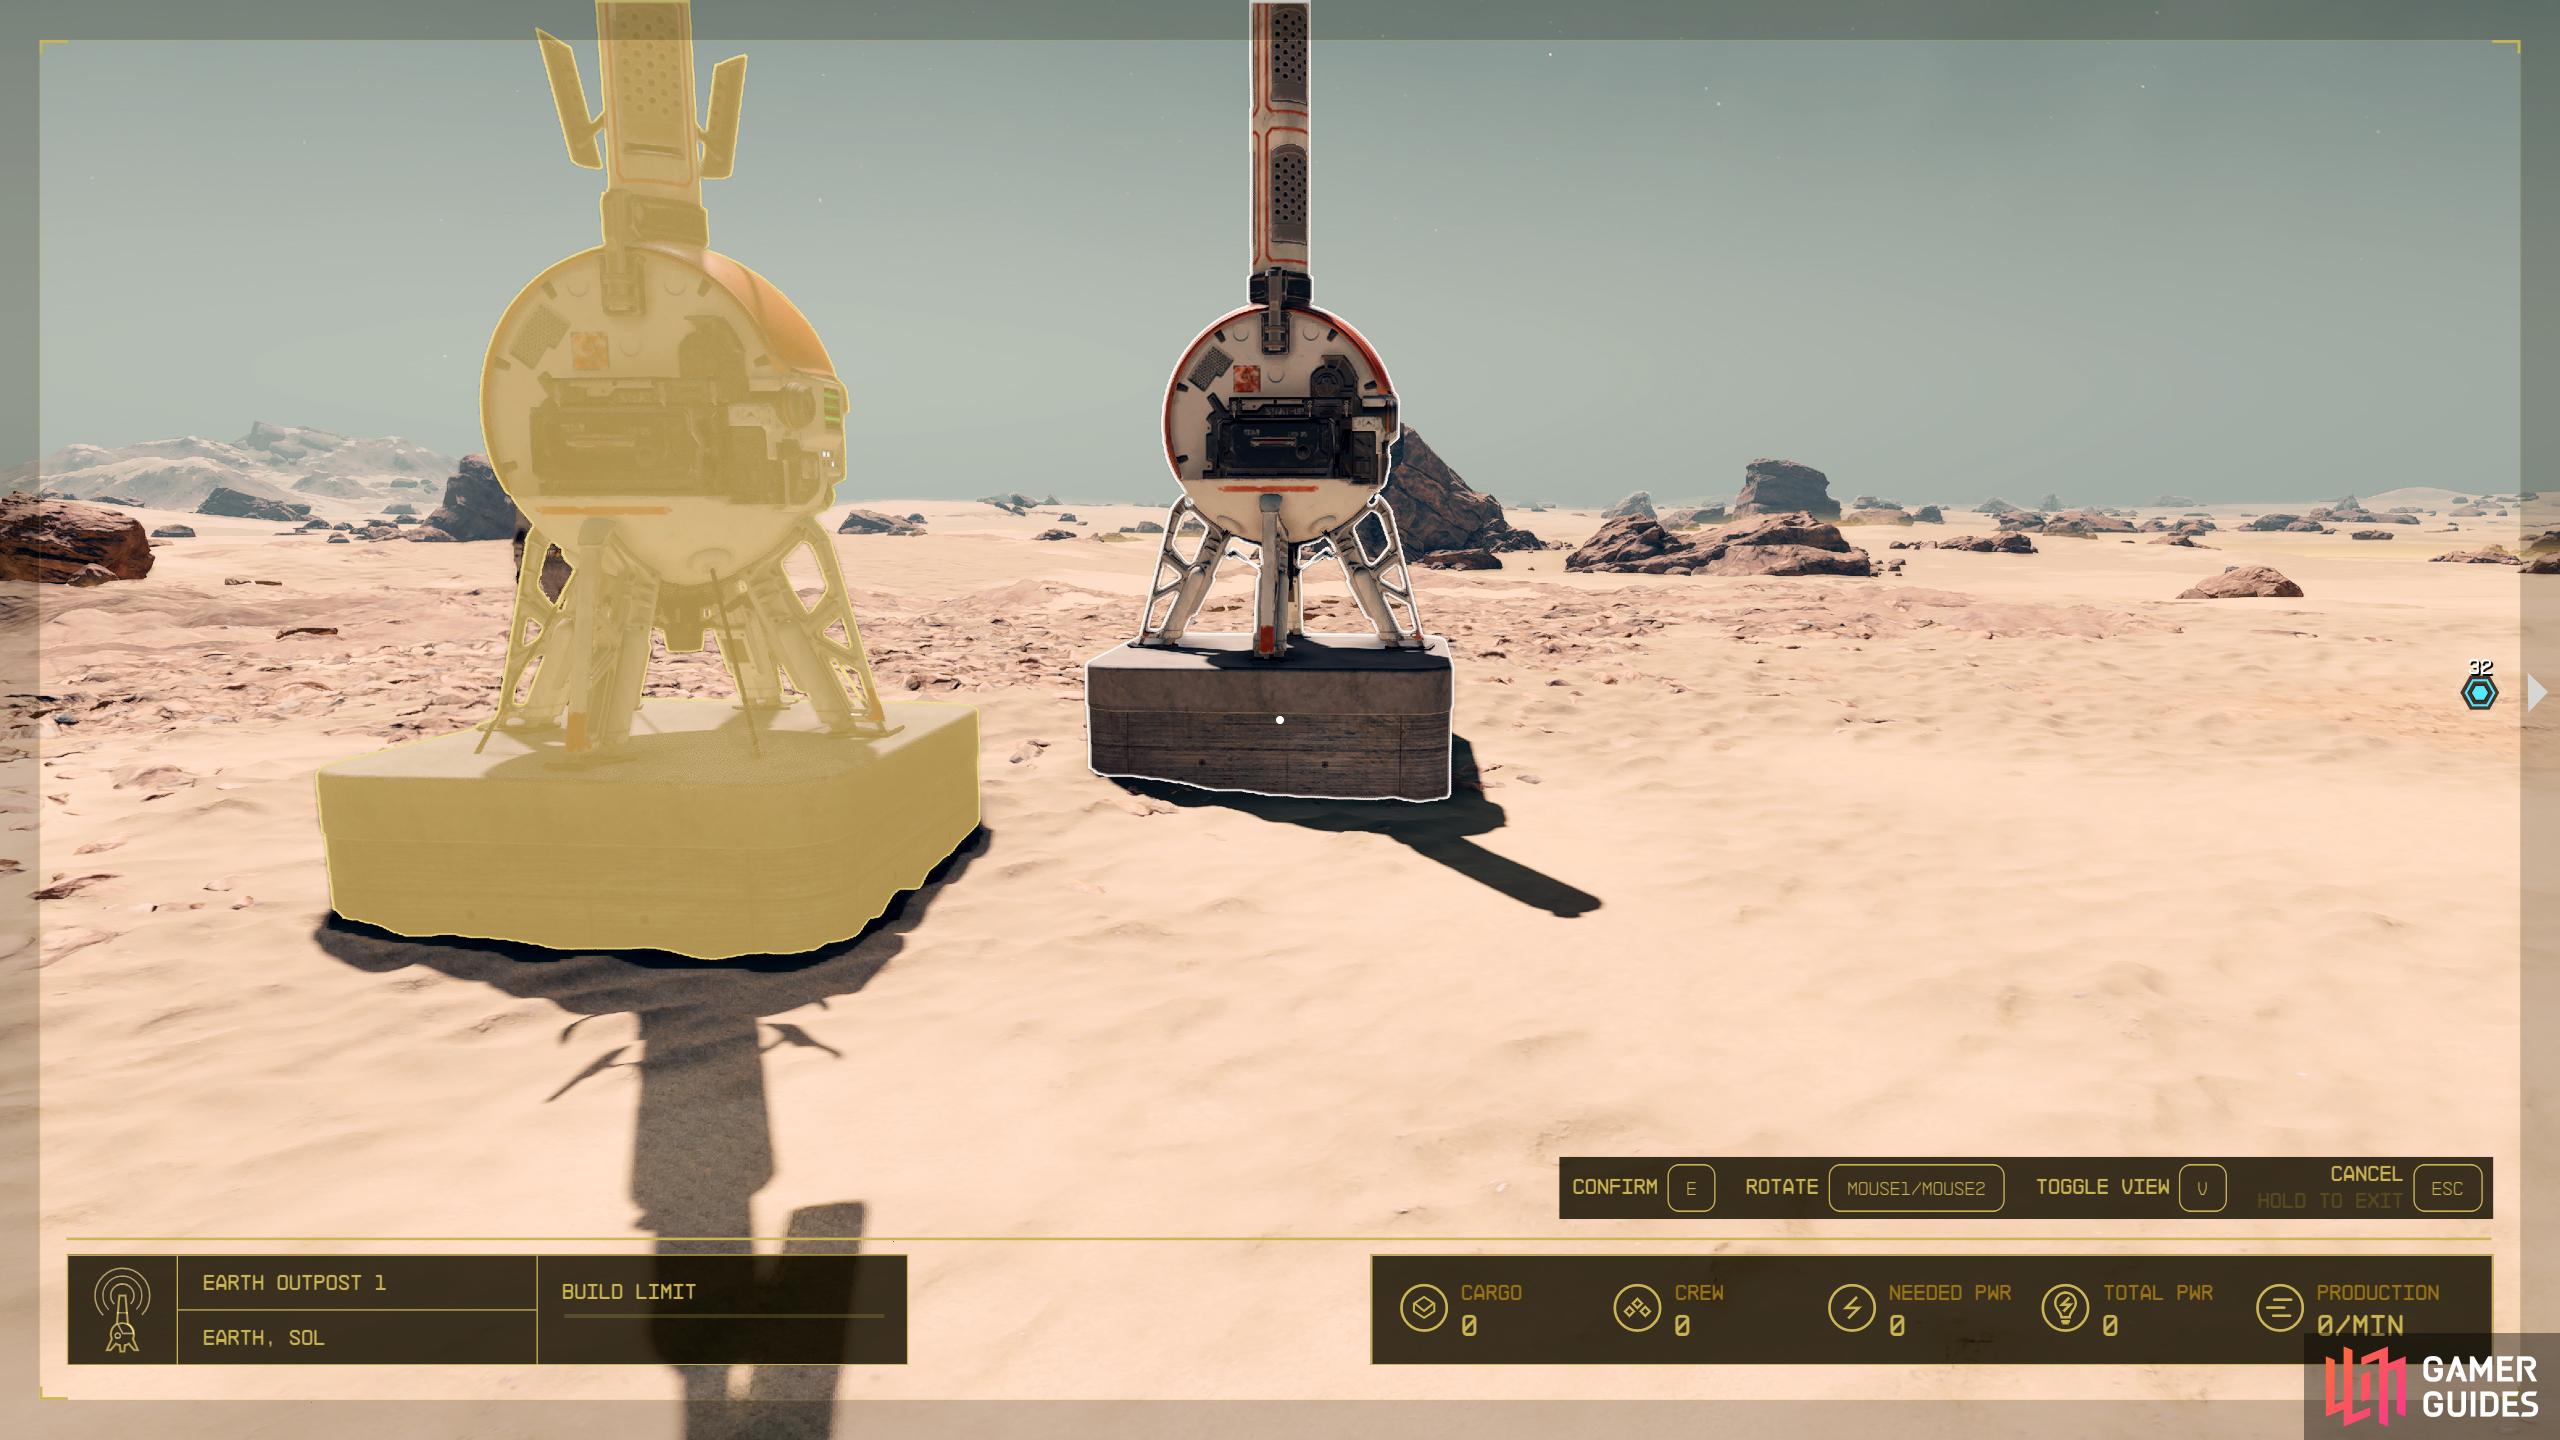
If you’re not happy with where you placed a building or anything else for that matter, you can press 
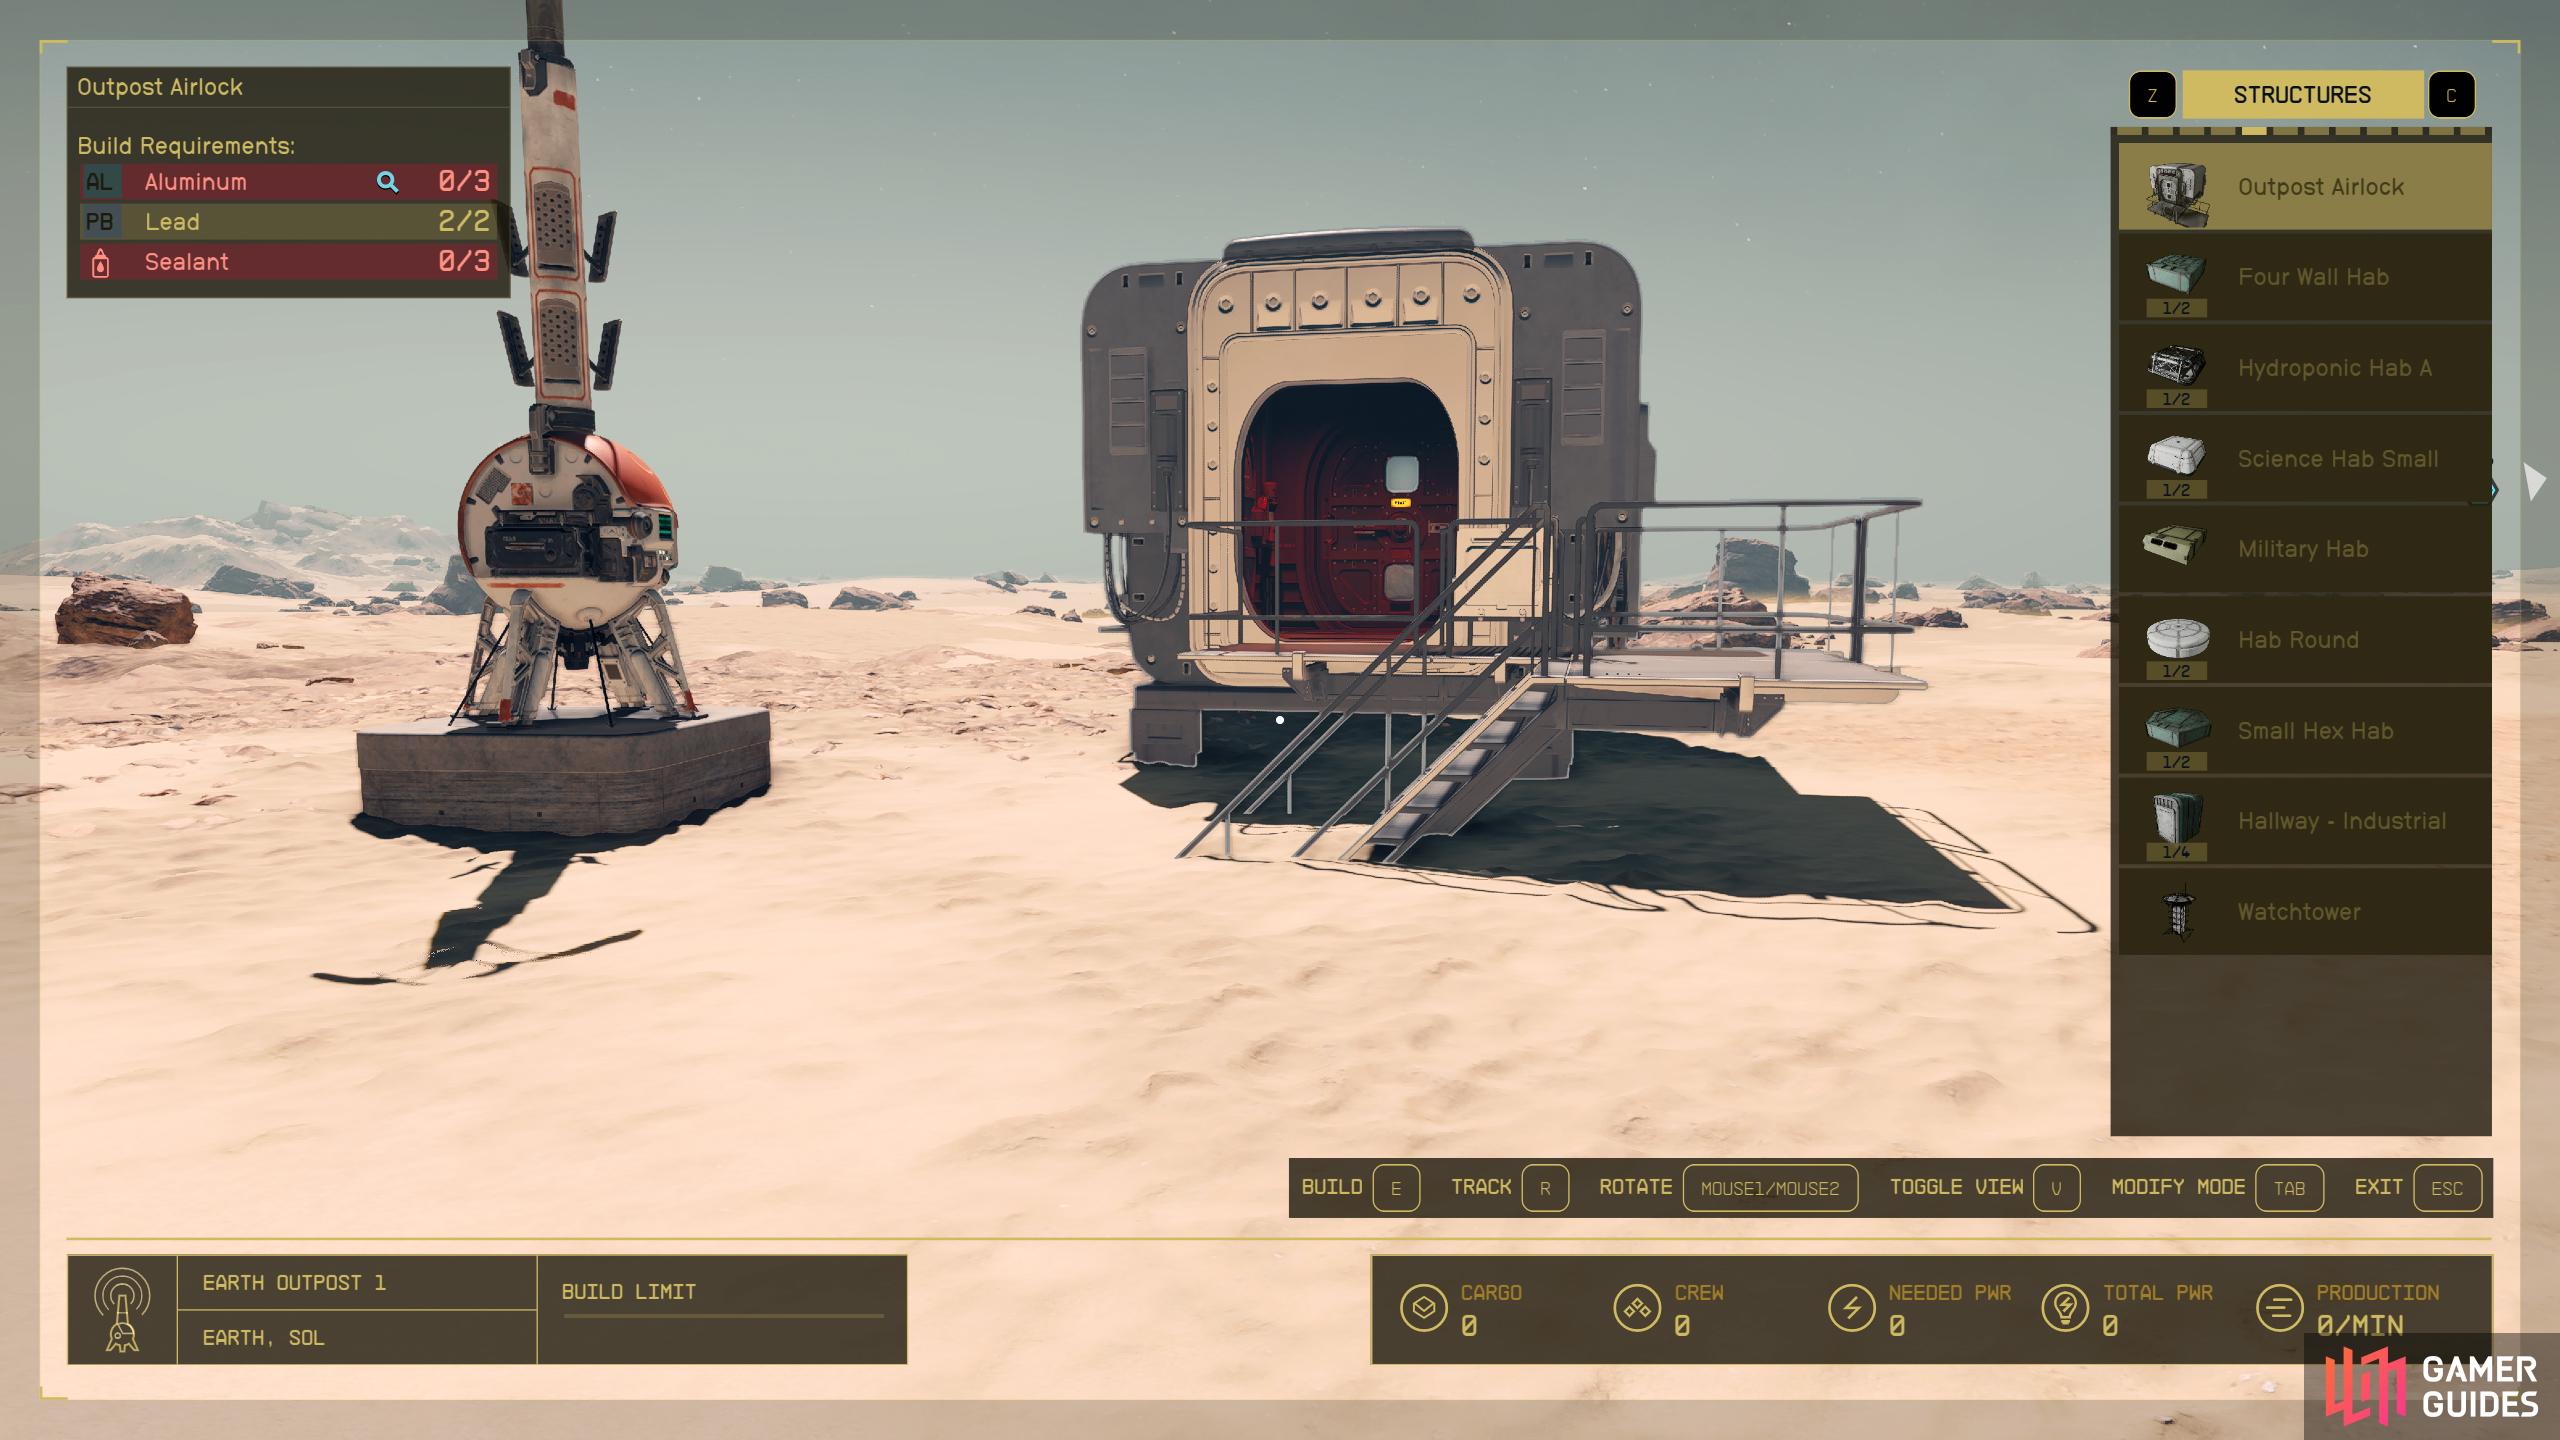
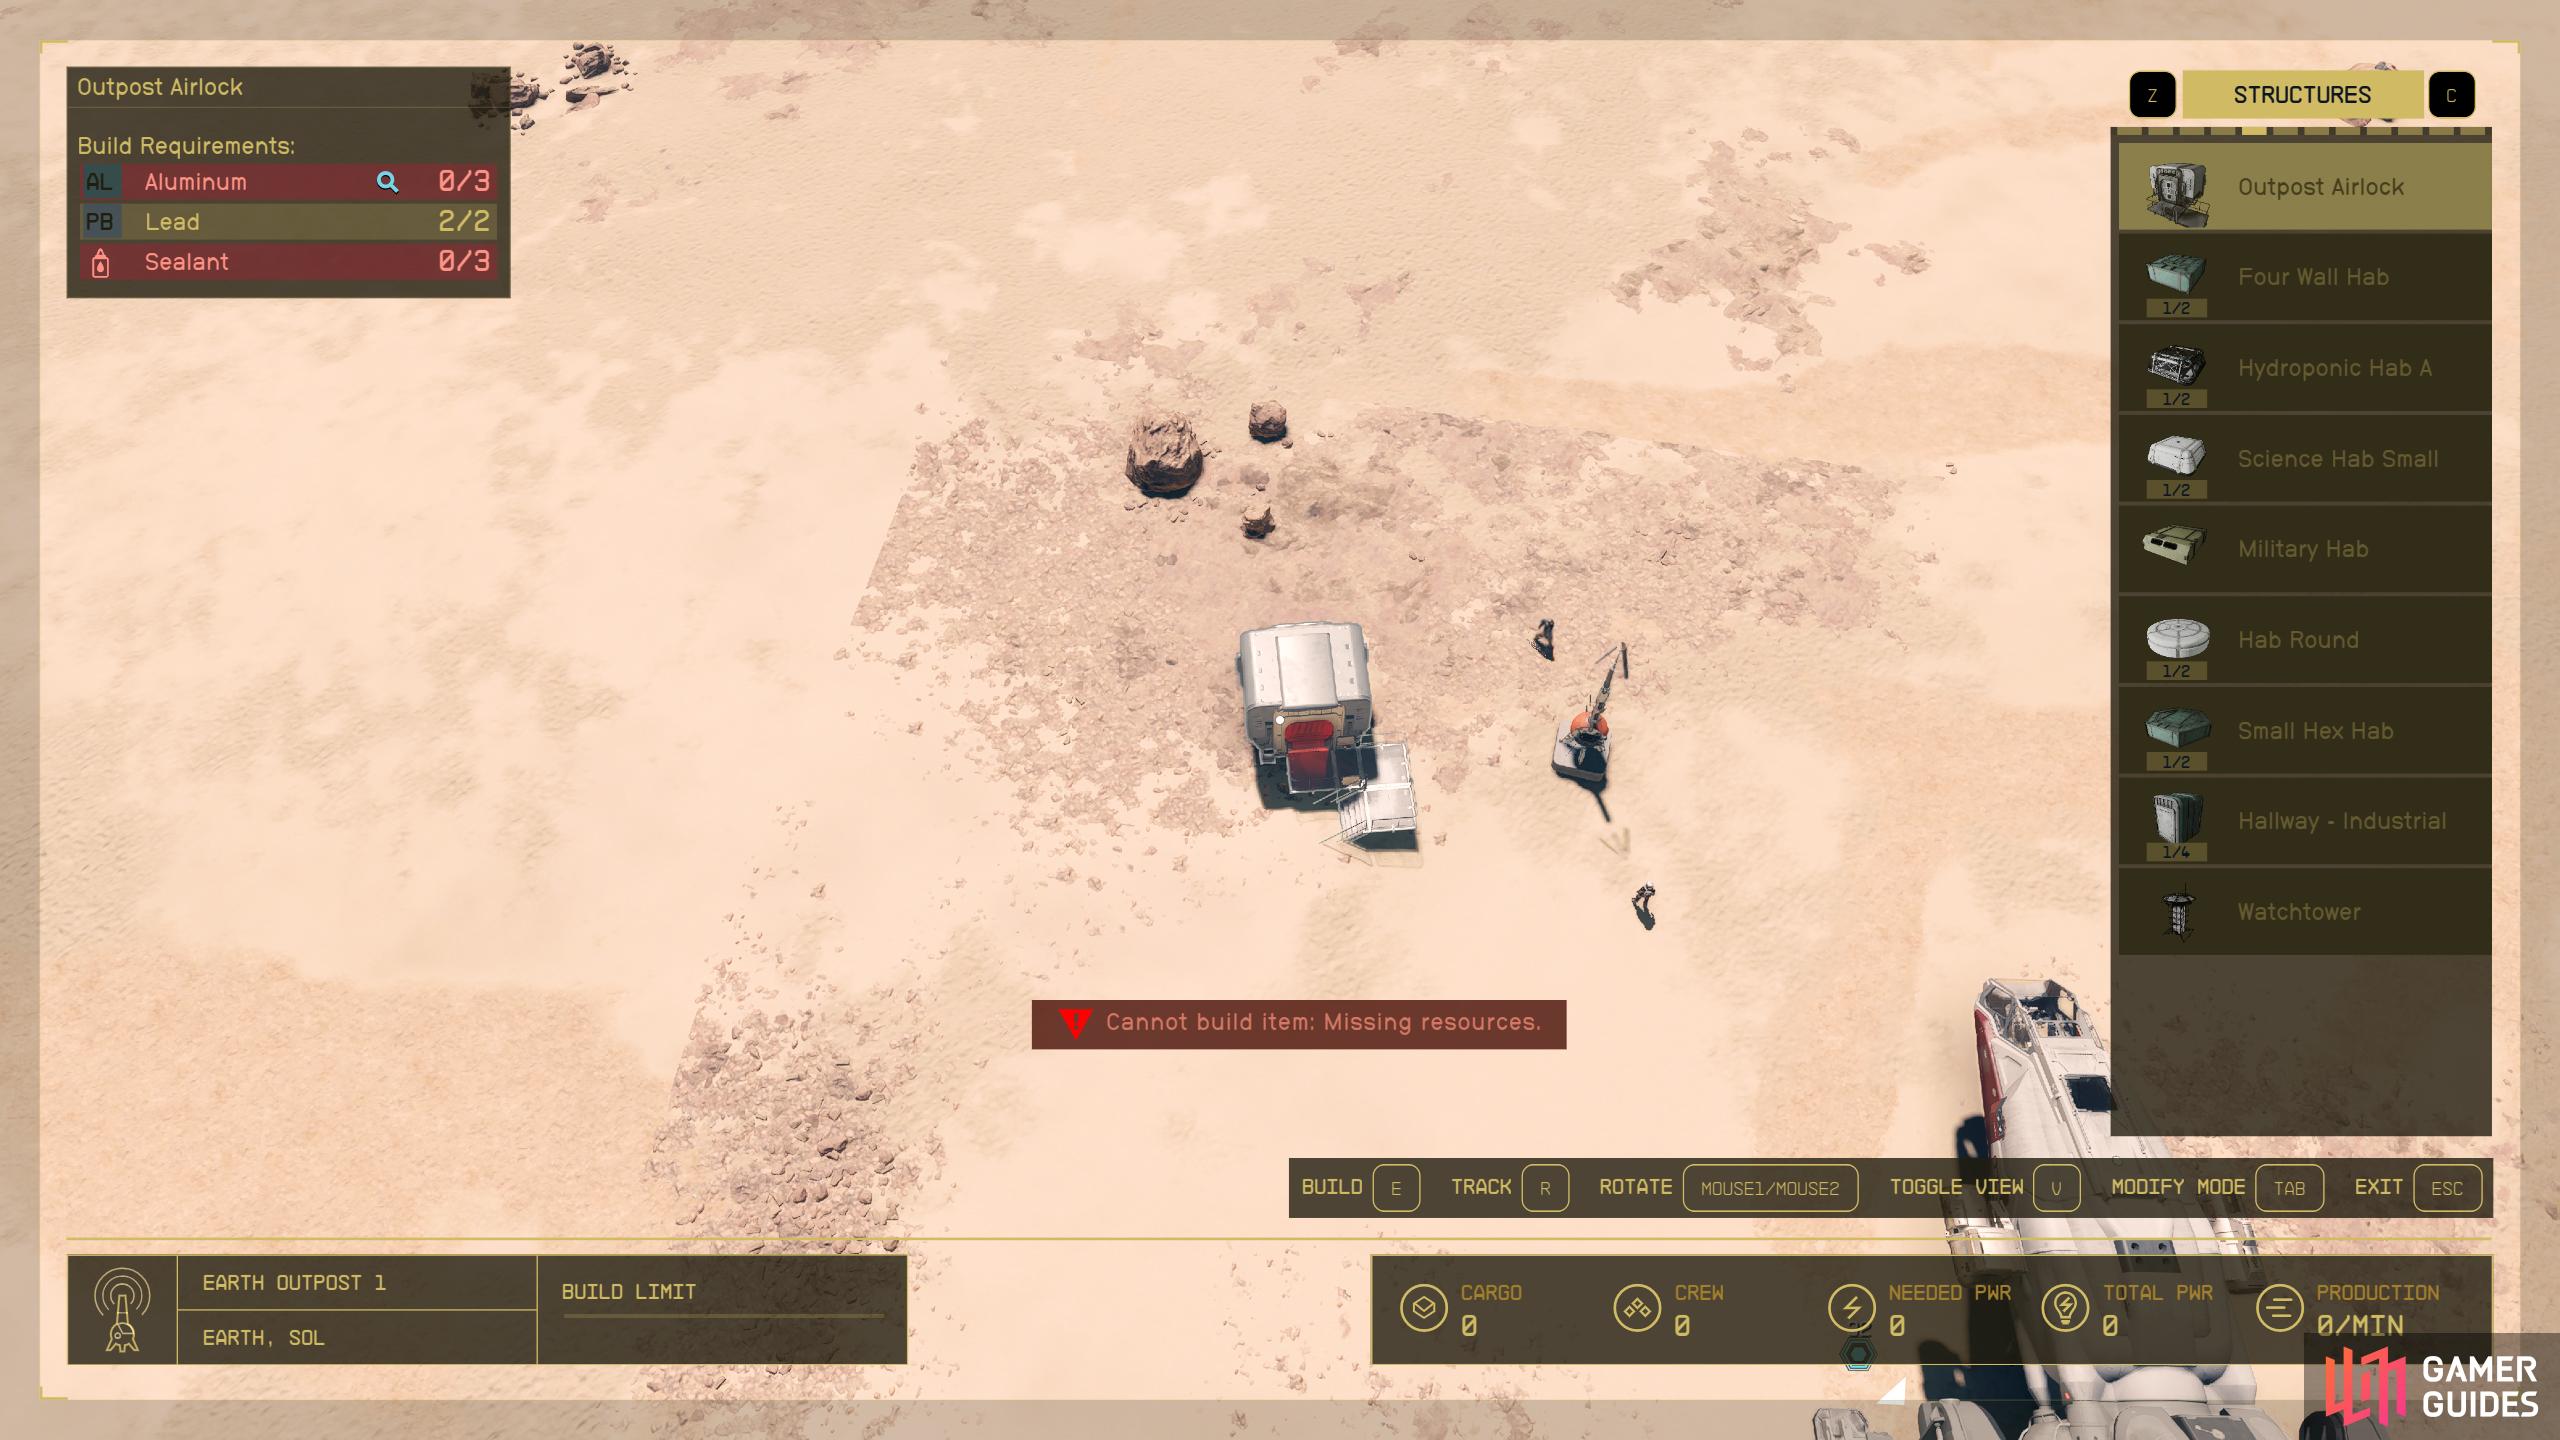
(1 of 3) You will most likely want to start off with an Outpost Airlock, or a Prefab.
How to Find Out What Buildings Do
Now that you know how to place a building piece, you’ll want to know what the pieces do, and what they cost. When you hover over a piece, a box will appear in the top left of your screen which will tell you the build requirements (material cost), and a description below it telling you what the piece does. Some pieces will have specific things related to the piece such as power cost, or how much power it’ll give, etc. Using the Solar Array as an example, you’ll see it needs the following materials:
Under that, you’ll see that it produces 6 power, and finally, you’ll get a short description of what it does.
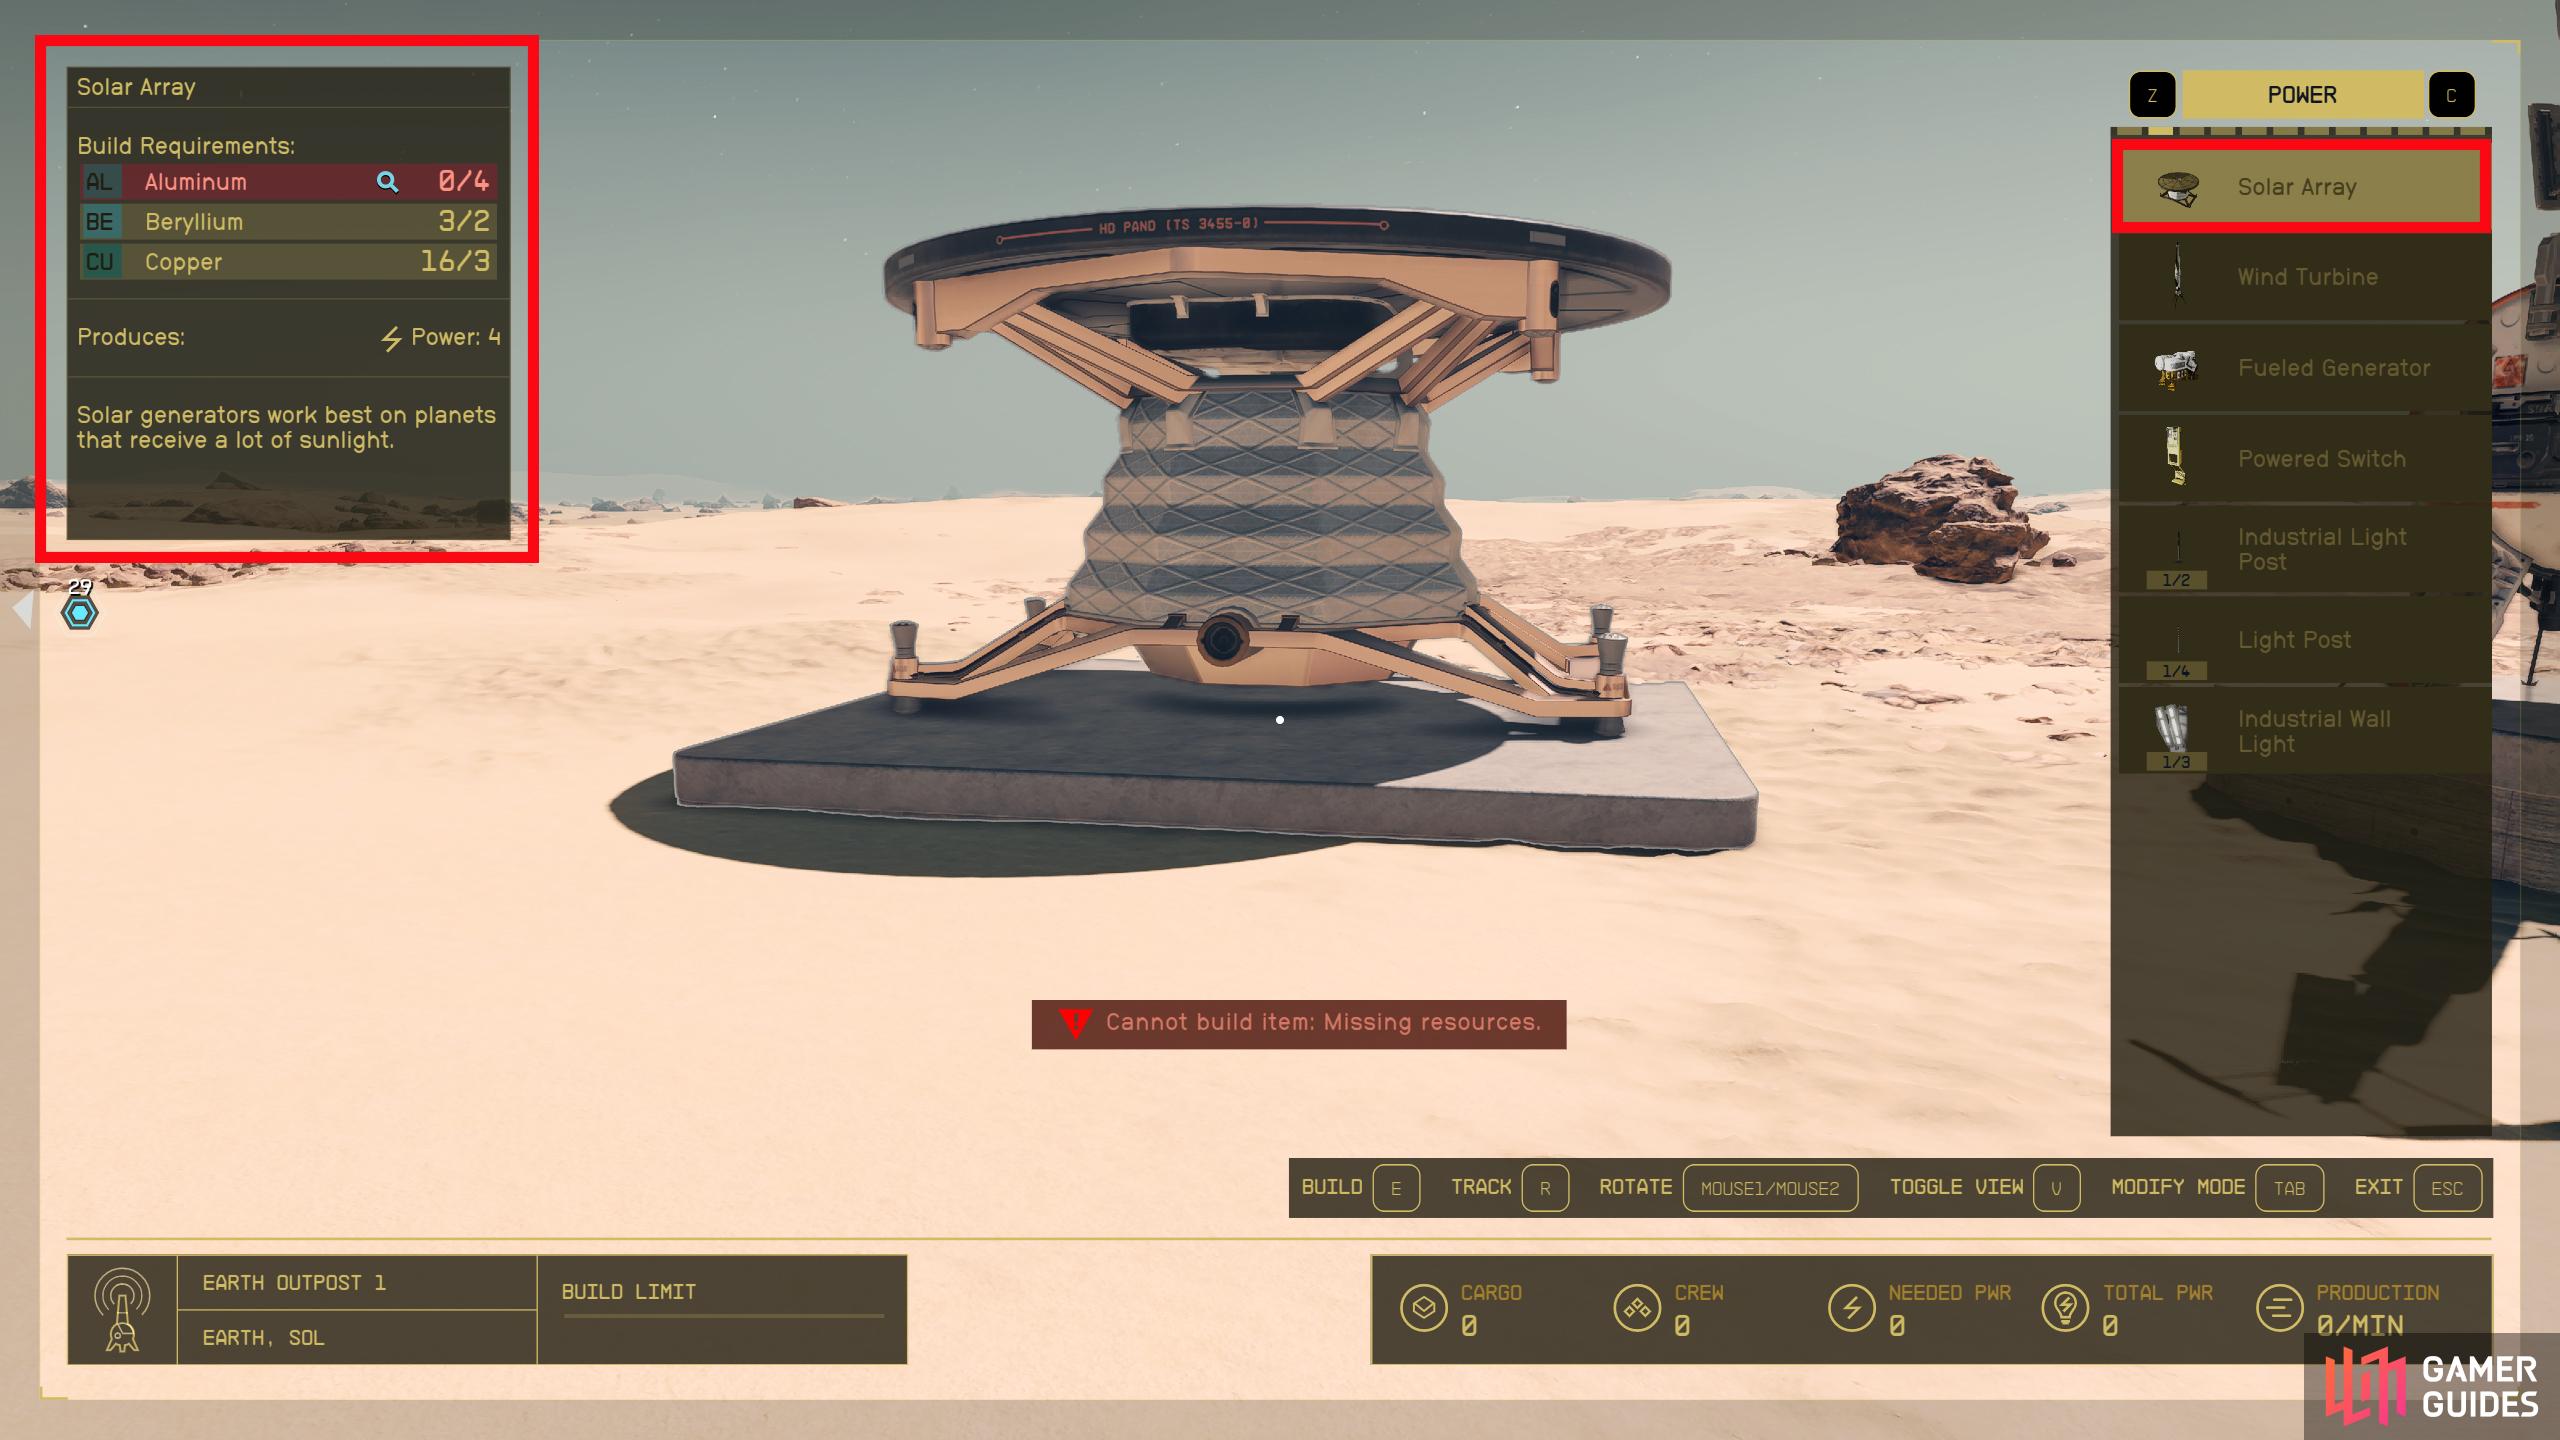

(1 of 2) In the top left of Build Mode, you’ll get information for the current building you want to place.
In the top left of Build Mode, you’ll get information for the current building you want to place. (left), In the bottom right of the screen, you can see how your Outpost is doing. (right)
Outpost Information
At the bottom right of the screen in Build/Modify Mode you’ll see the following:
- Cargo: Shows you how much Cargo you have in the Outpost. This only counts for buildings under the Storage section.
- Crew: How many Crew Members are present at your Outpost.
- Needed PWR: How much Power is required to run everything at your Outpost.
- Total PWR: The Current Power your Outpost has. If this is lower than the Needed PWR, you’ll need to build more generators.
- Production: This will tell you how much your Outpost is producing per minute.
All of this information pertains to the whole Outpost. This gives you an overview of how the Outpost is performing.

 Sign up
No Comments