
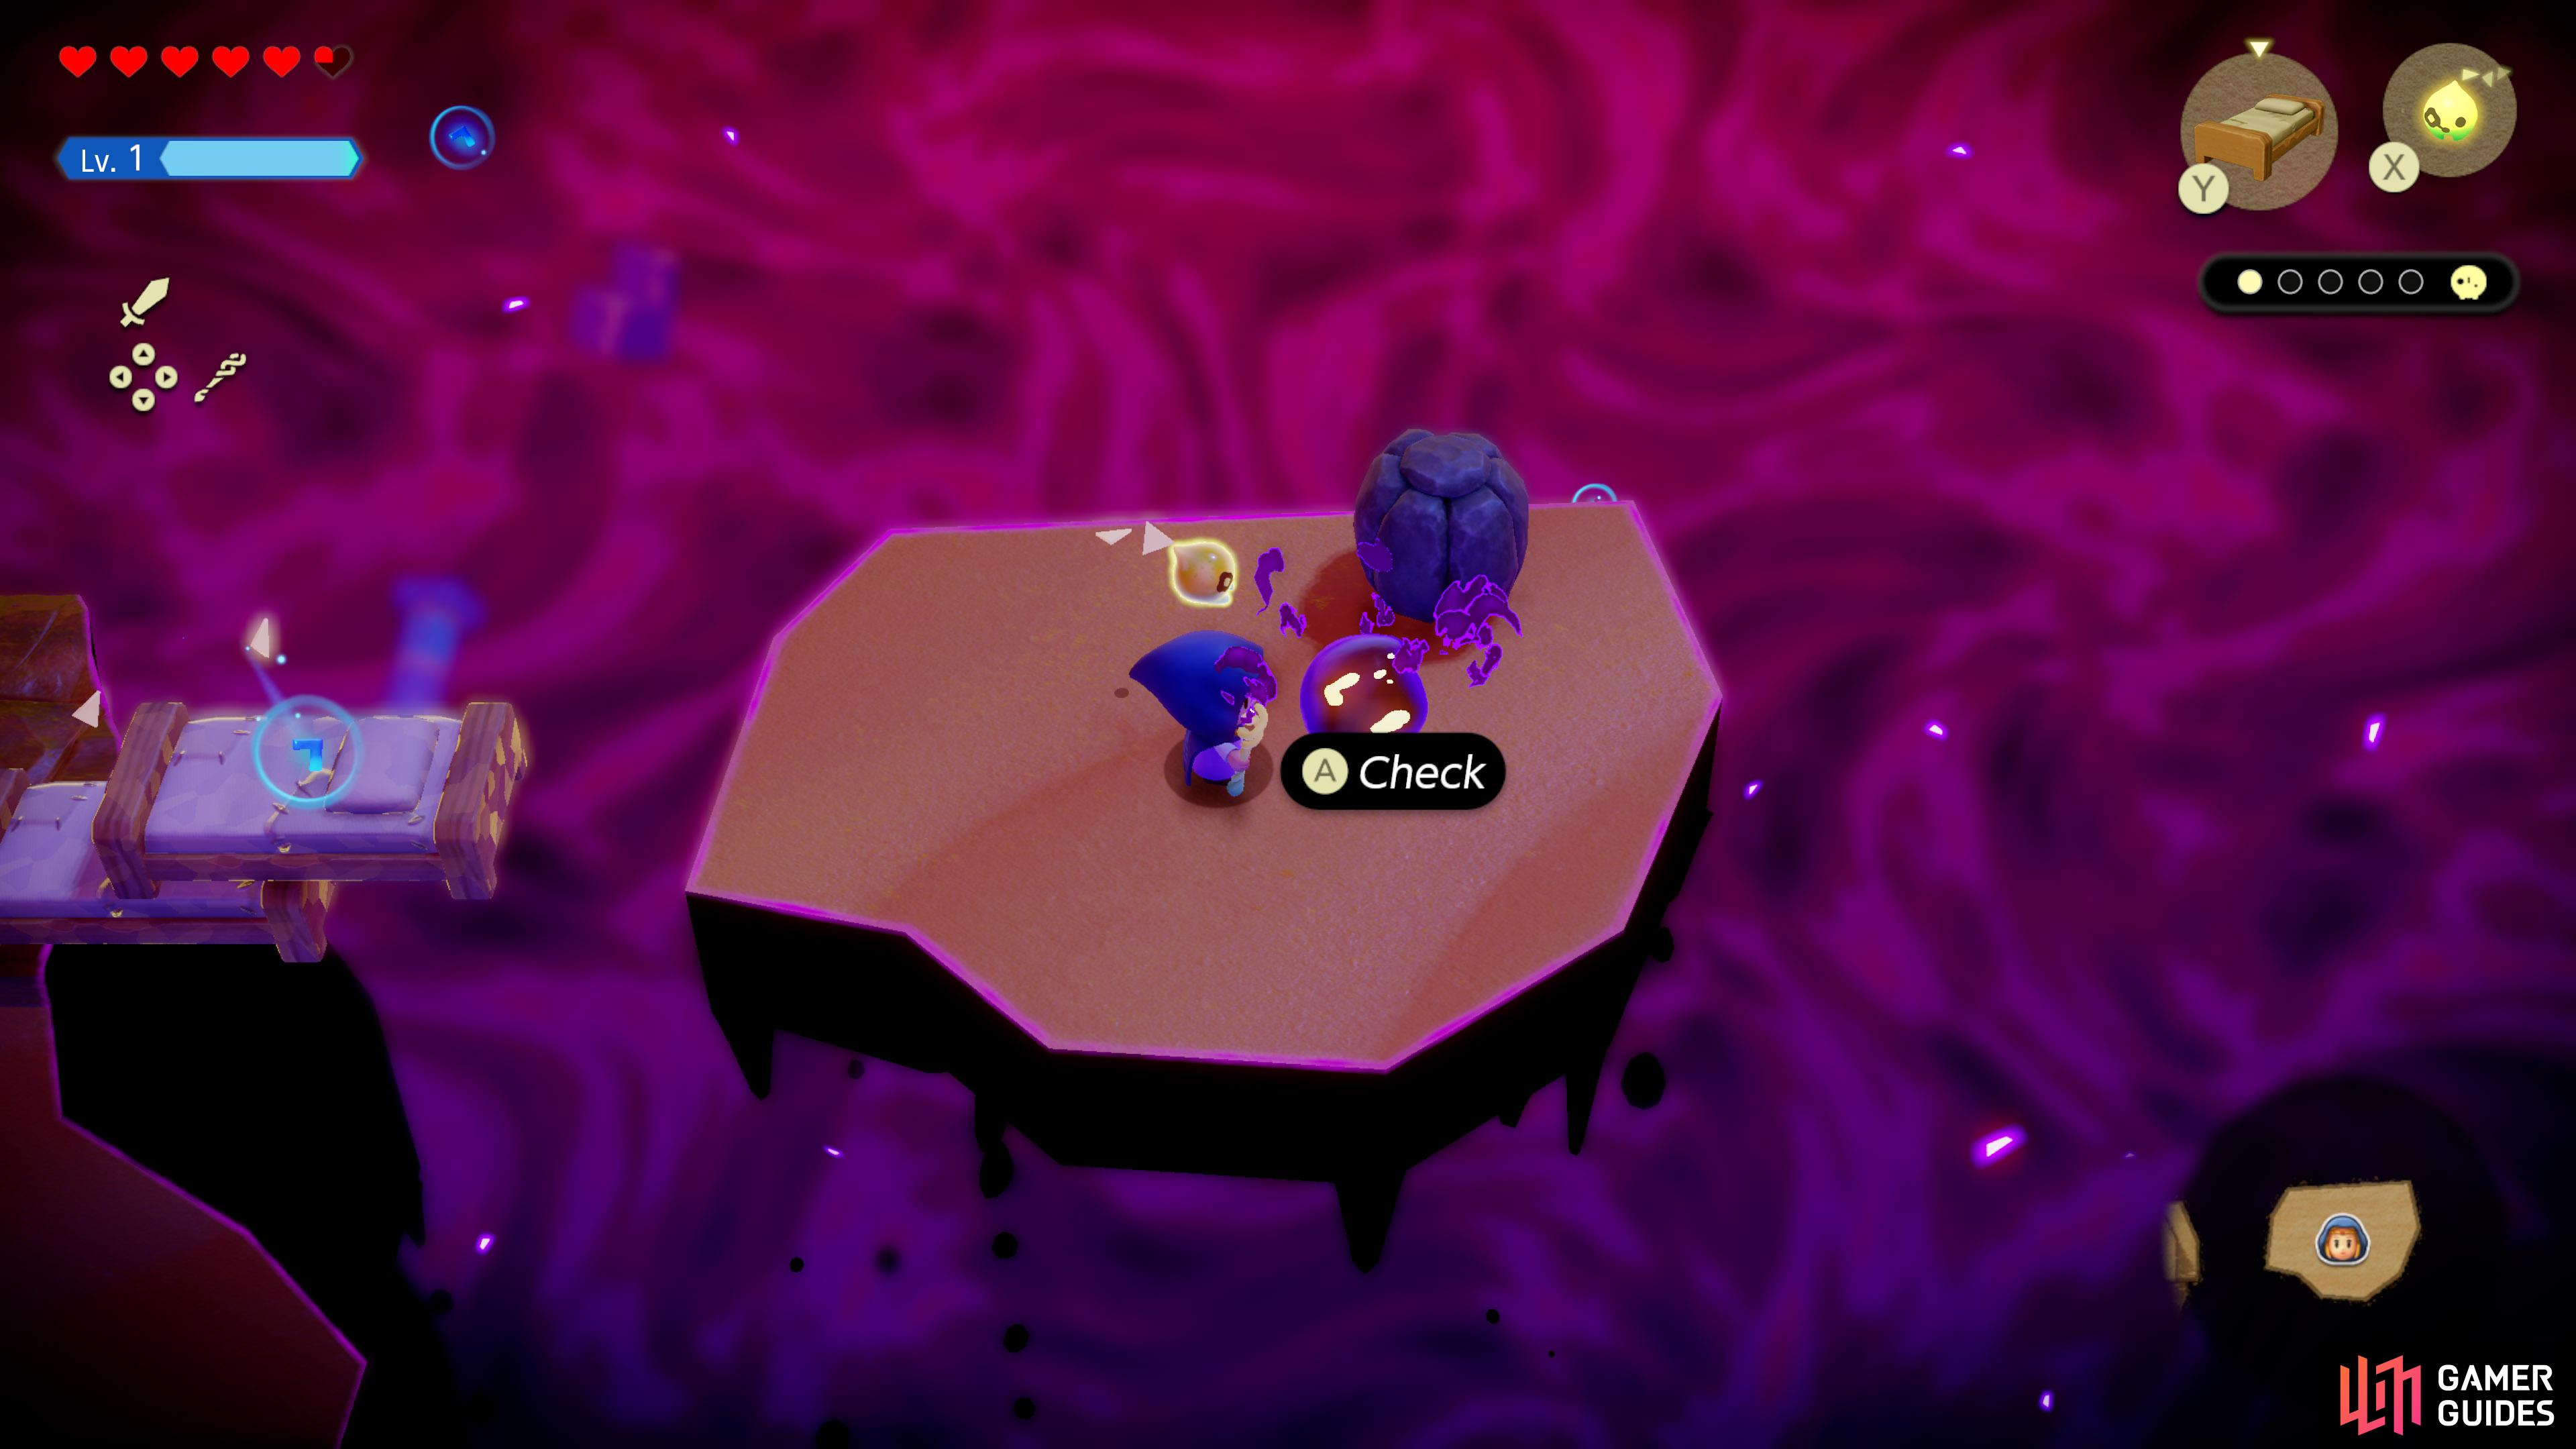
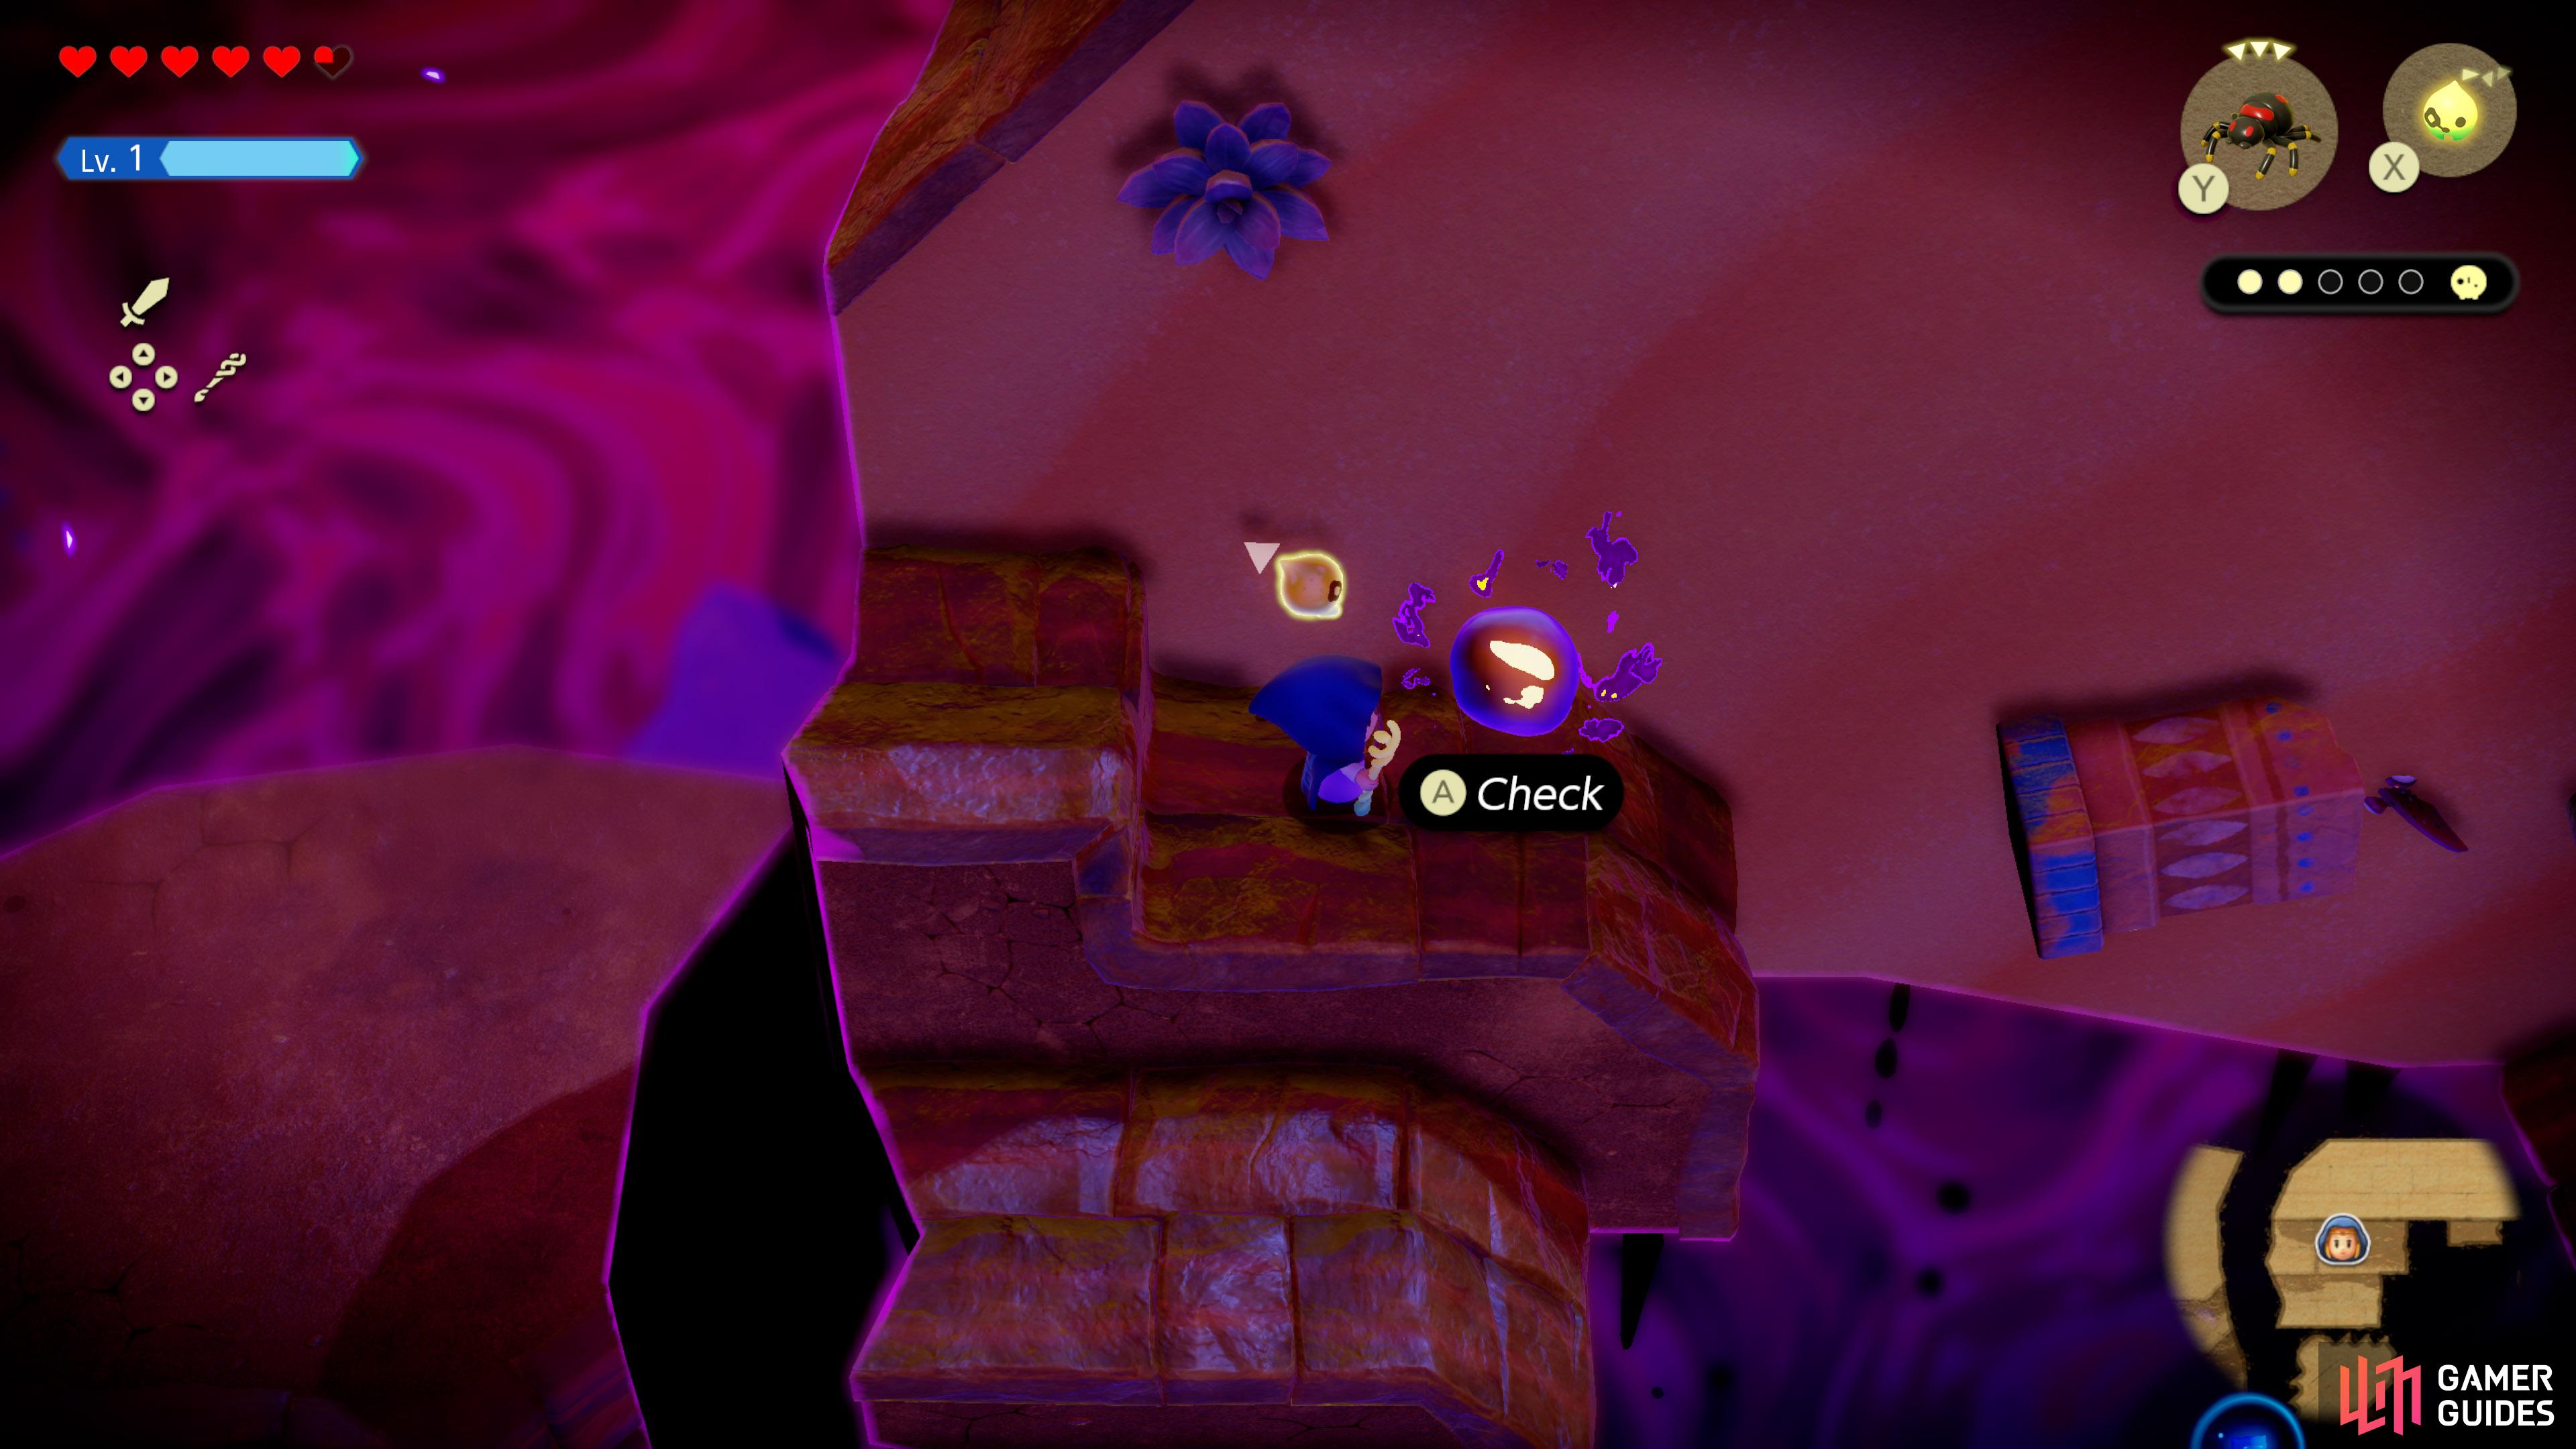
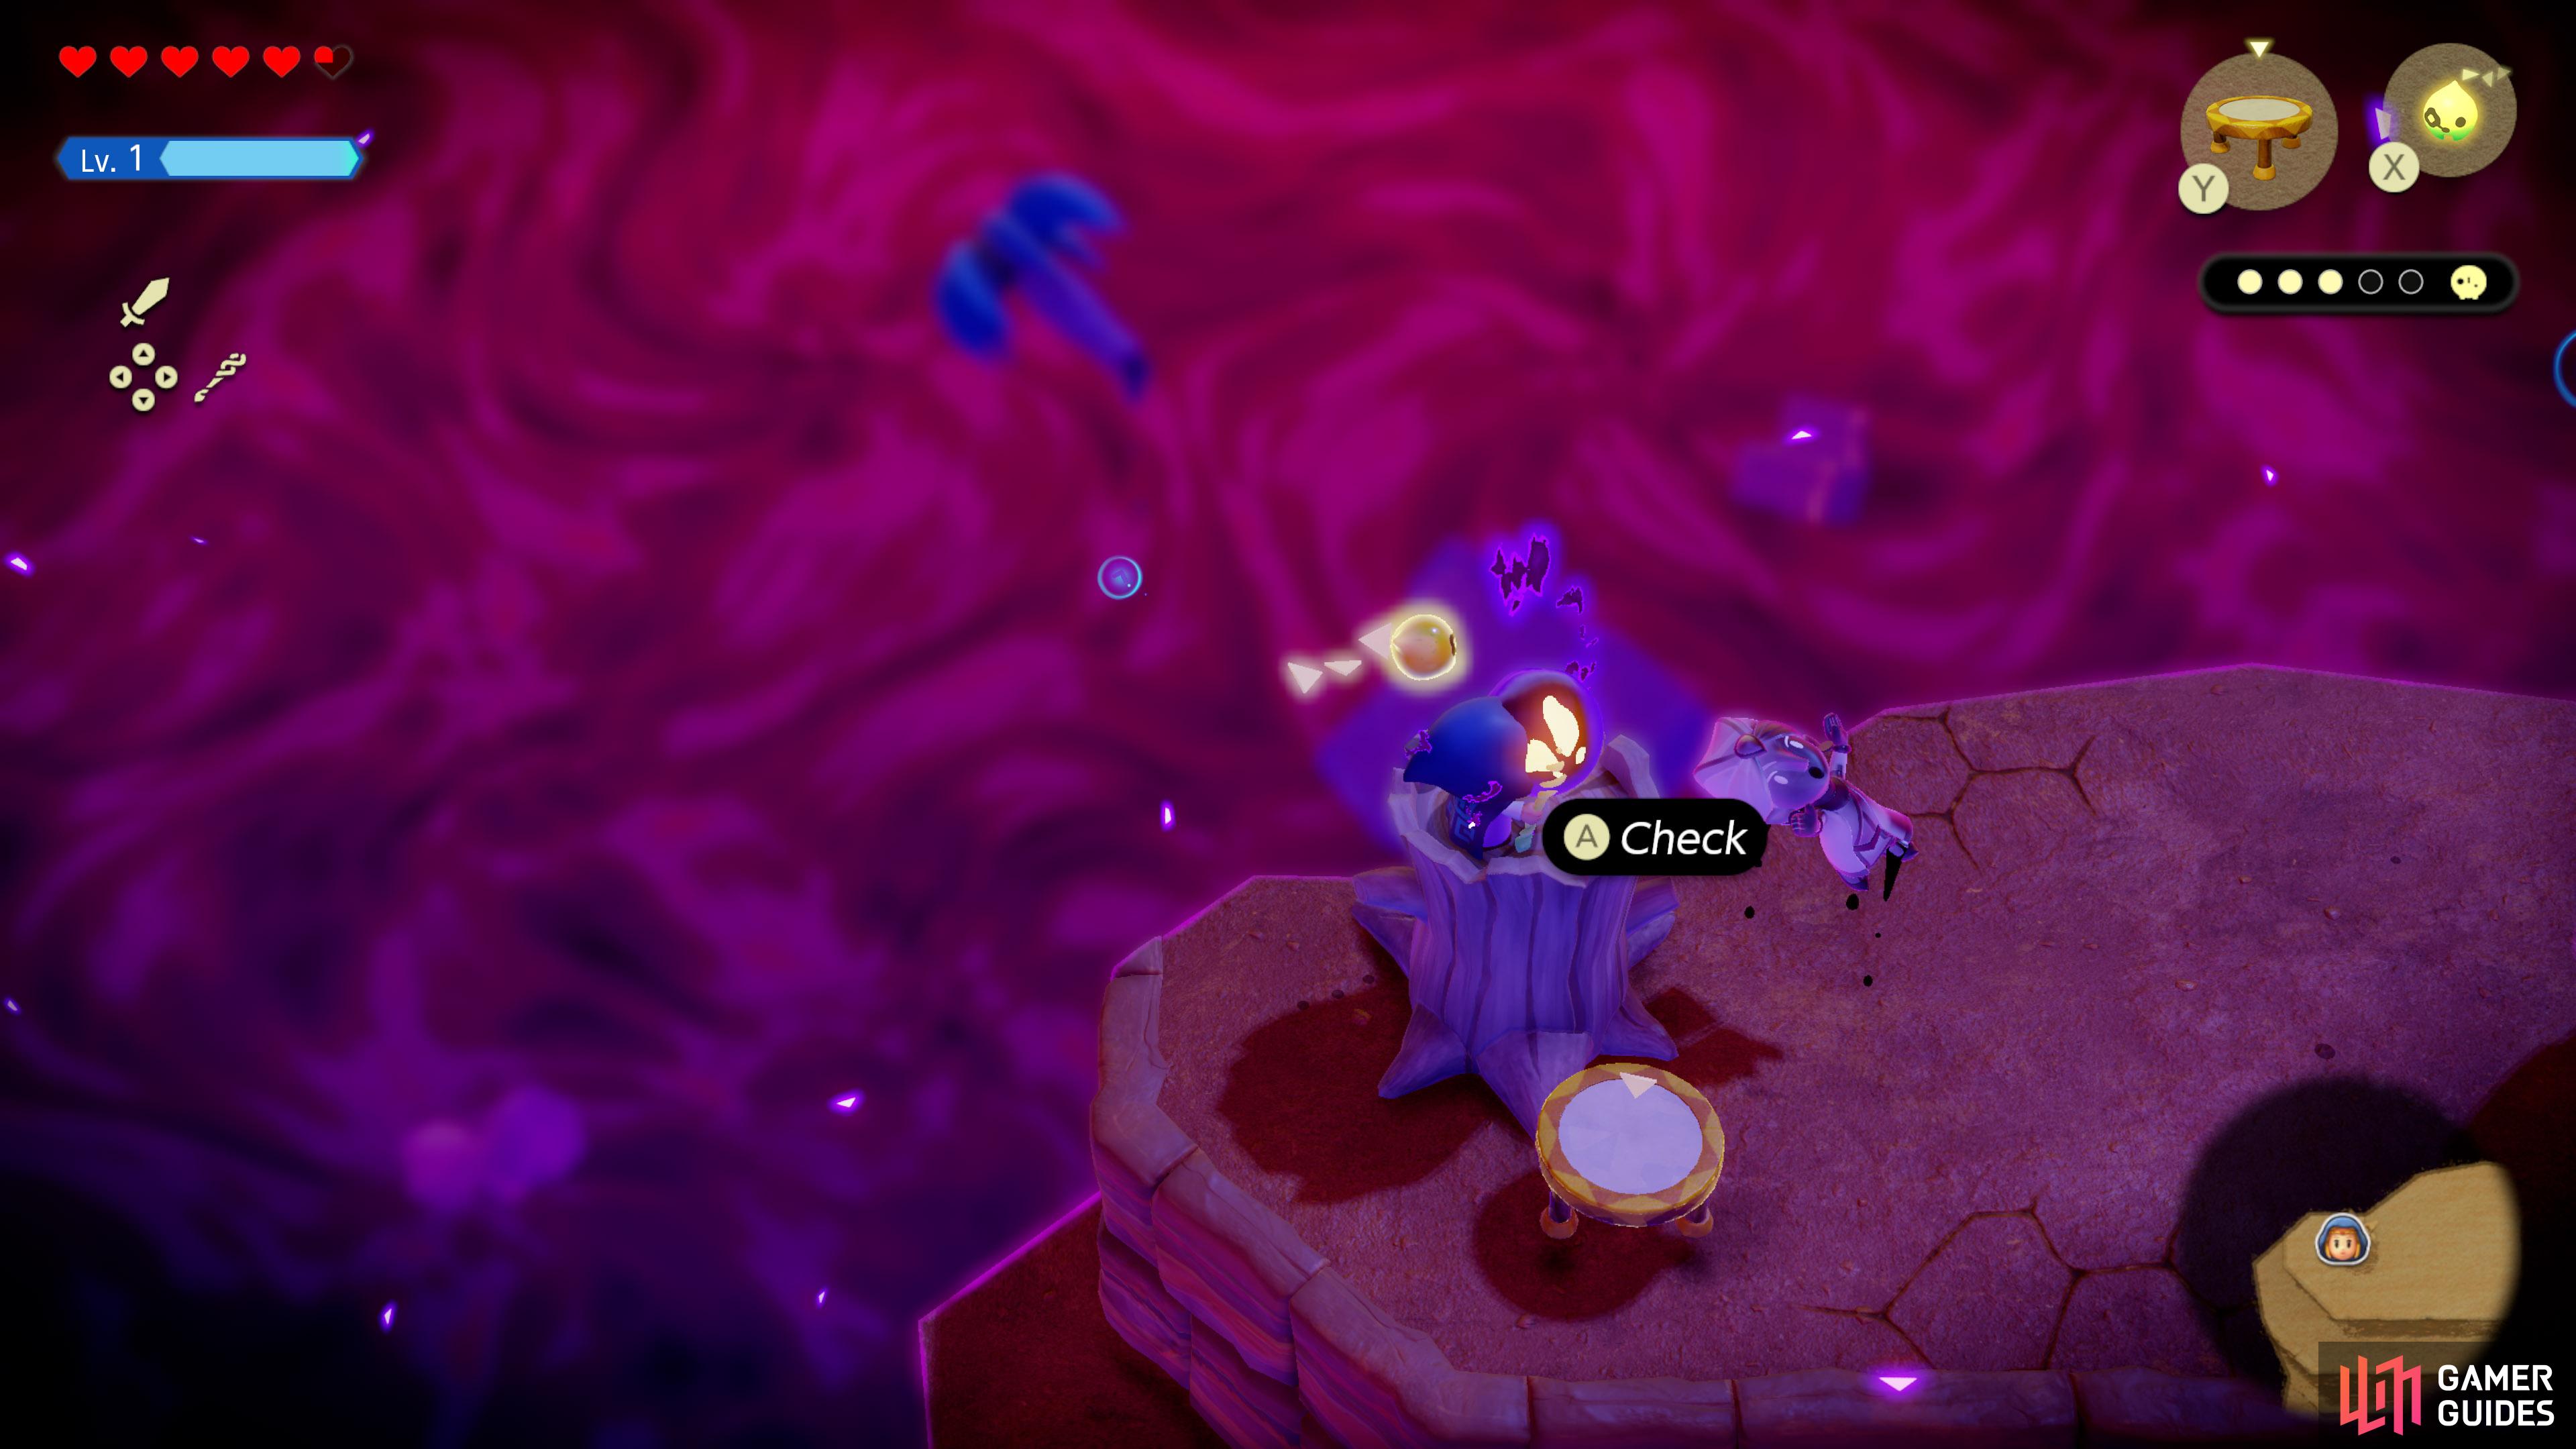
Overview
One of Tri’s friends, trapped in the Still World. You need to save all of them to repair the rift. Sometimes they are trapped inside a monster–or even a boss.
Interactive Map Locations
2. Still World Map
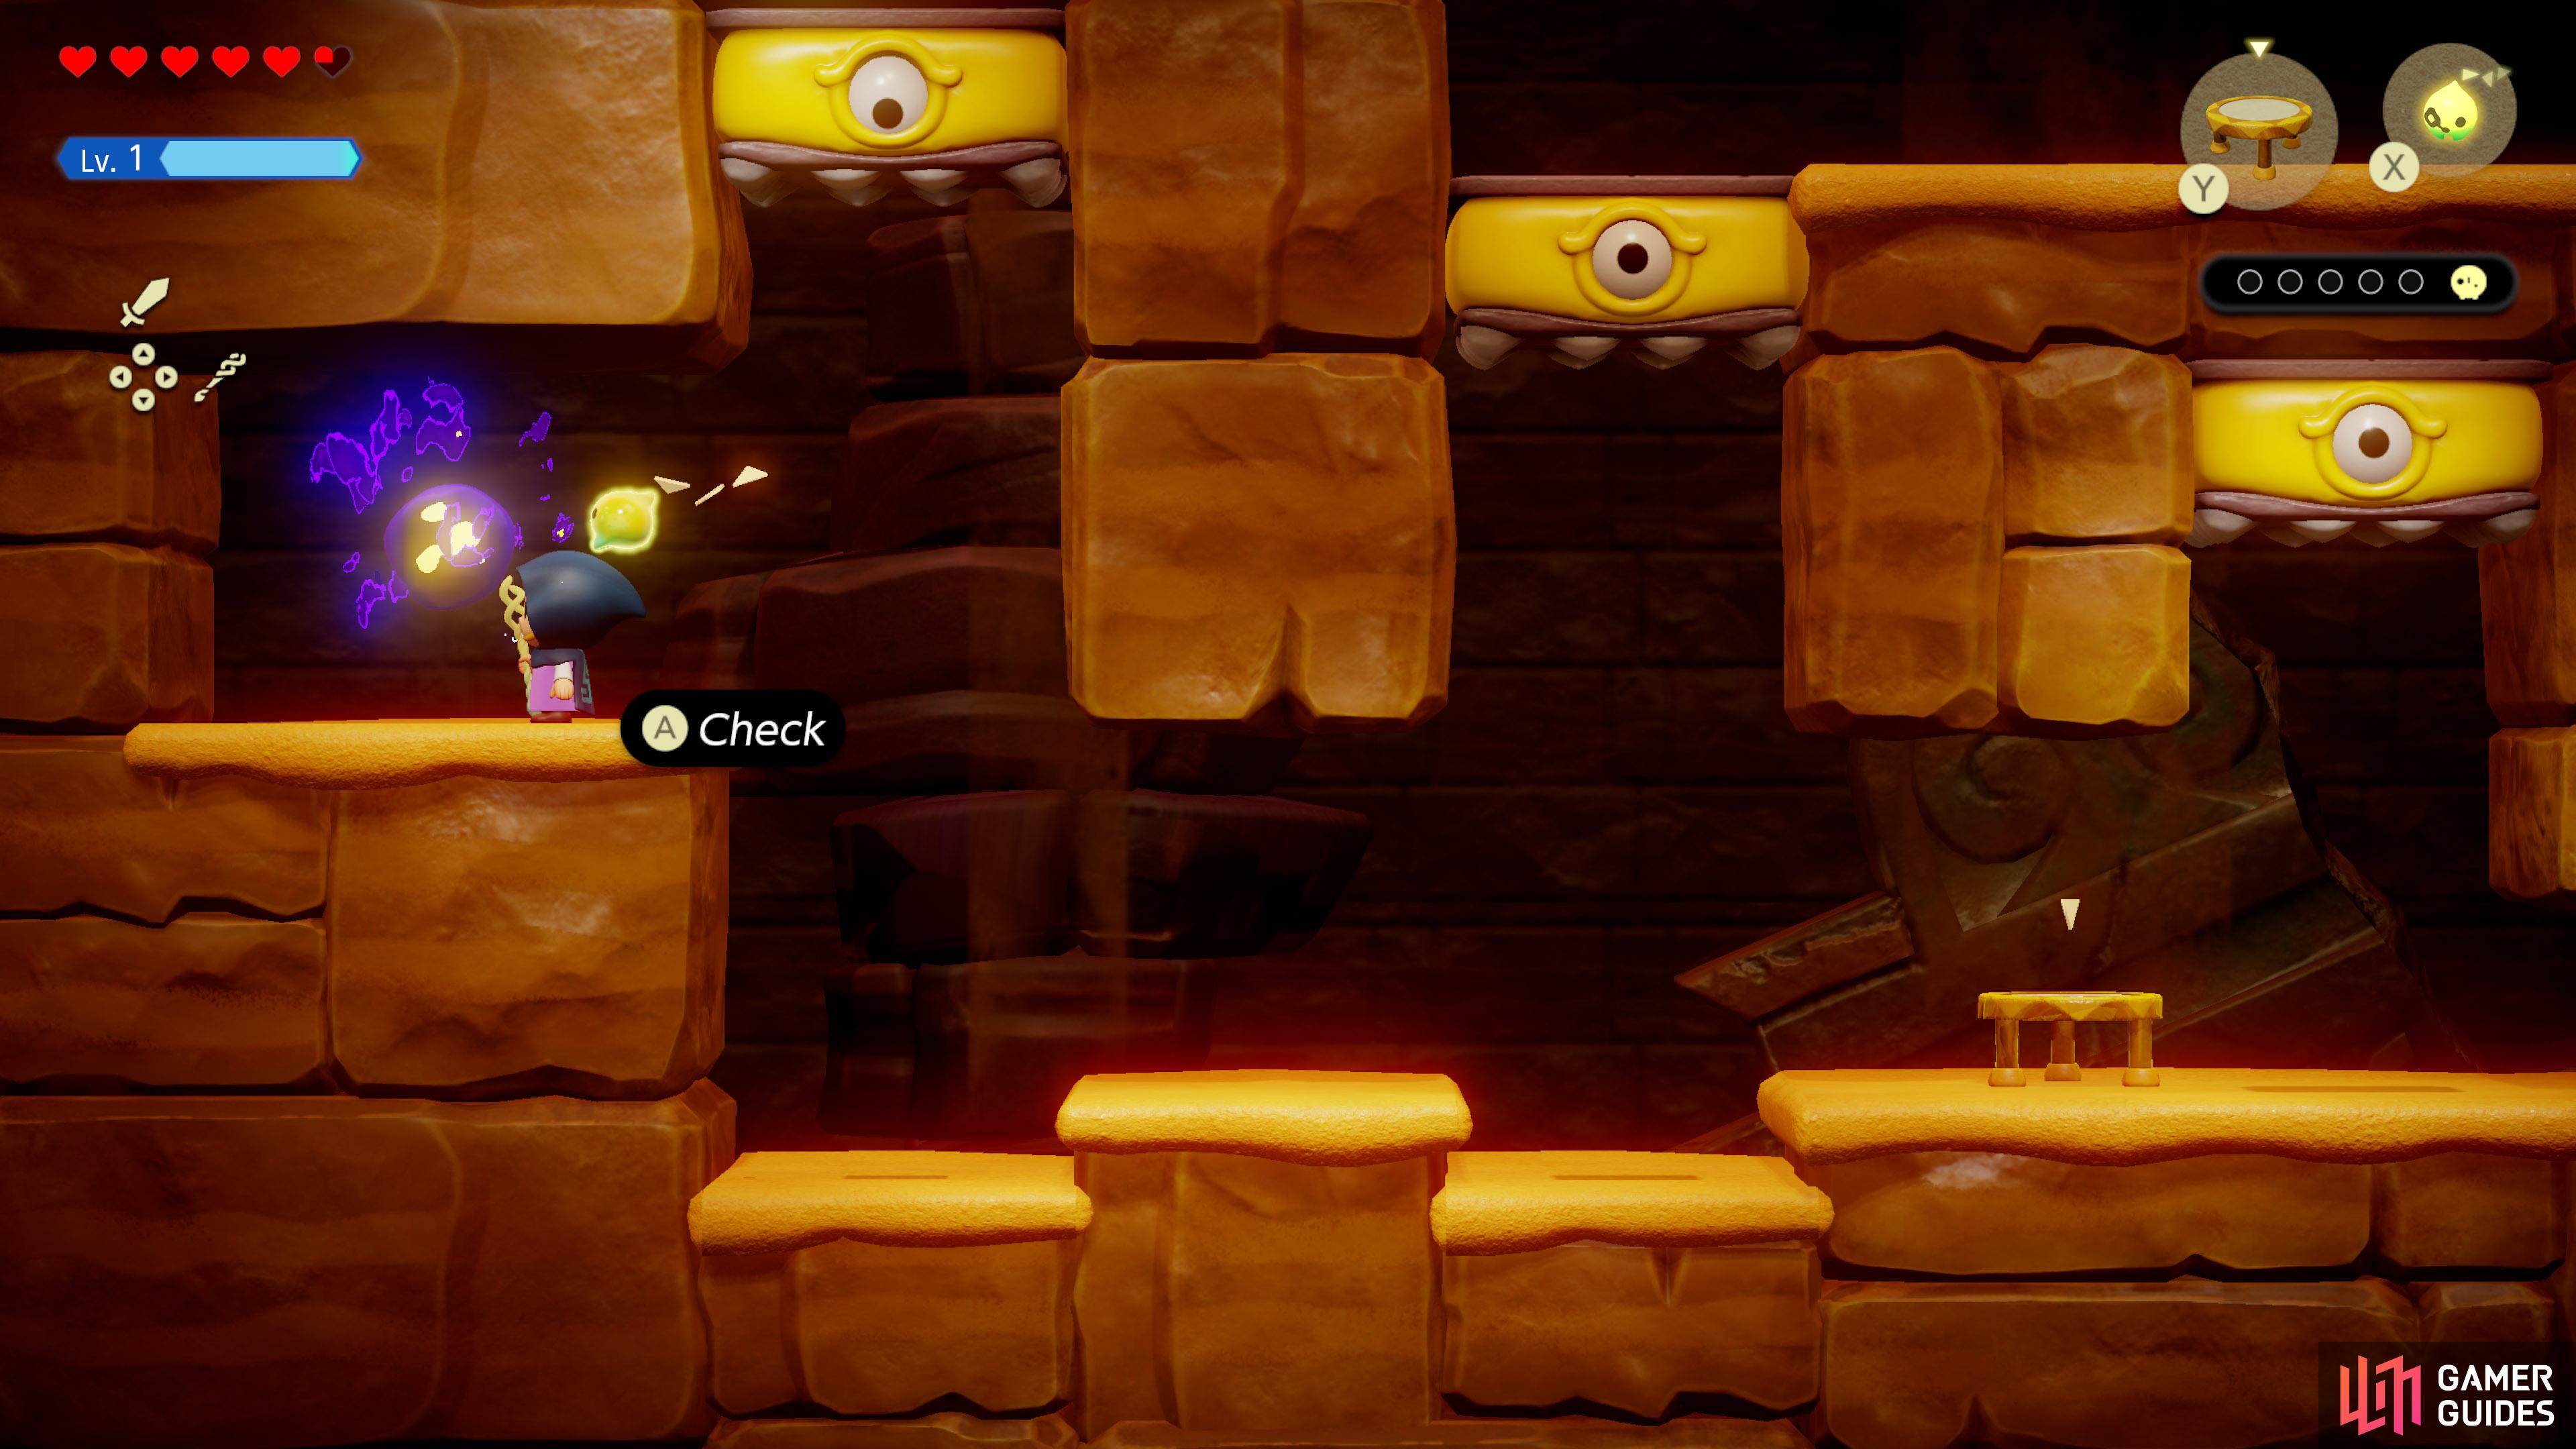
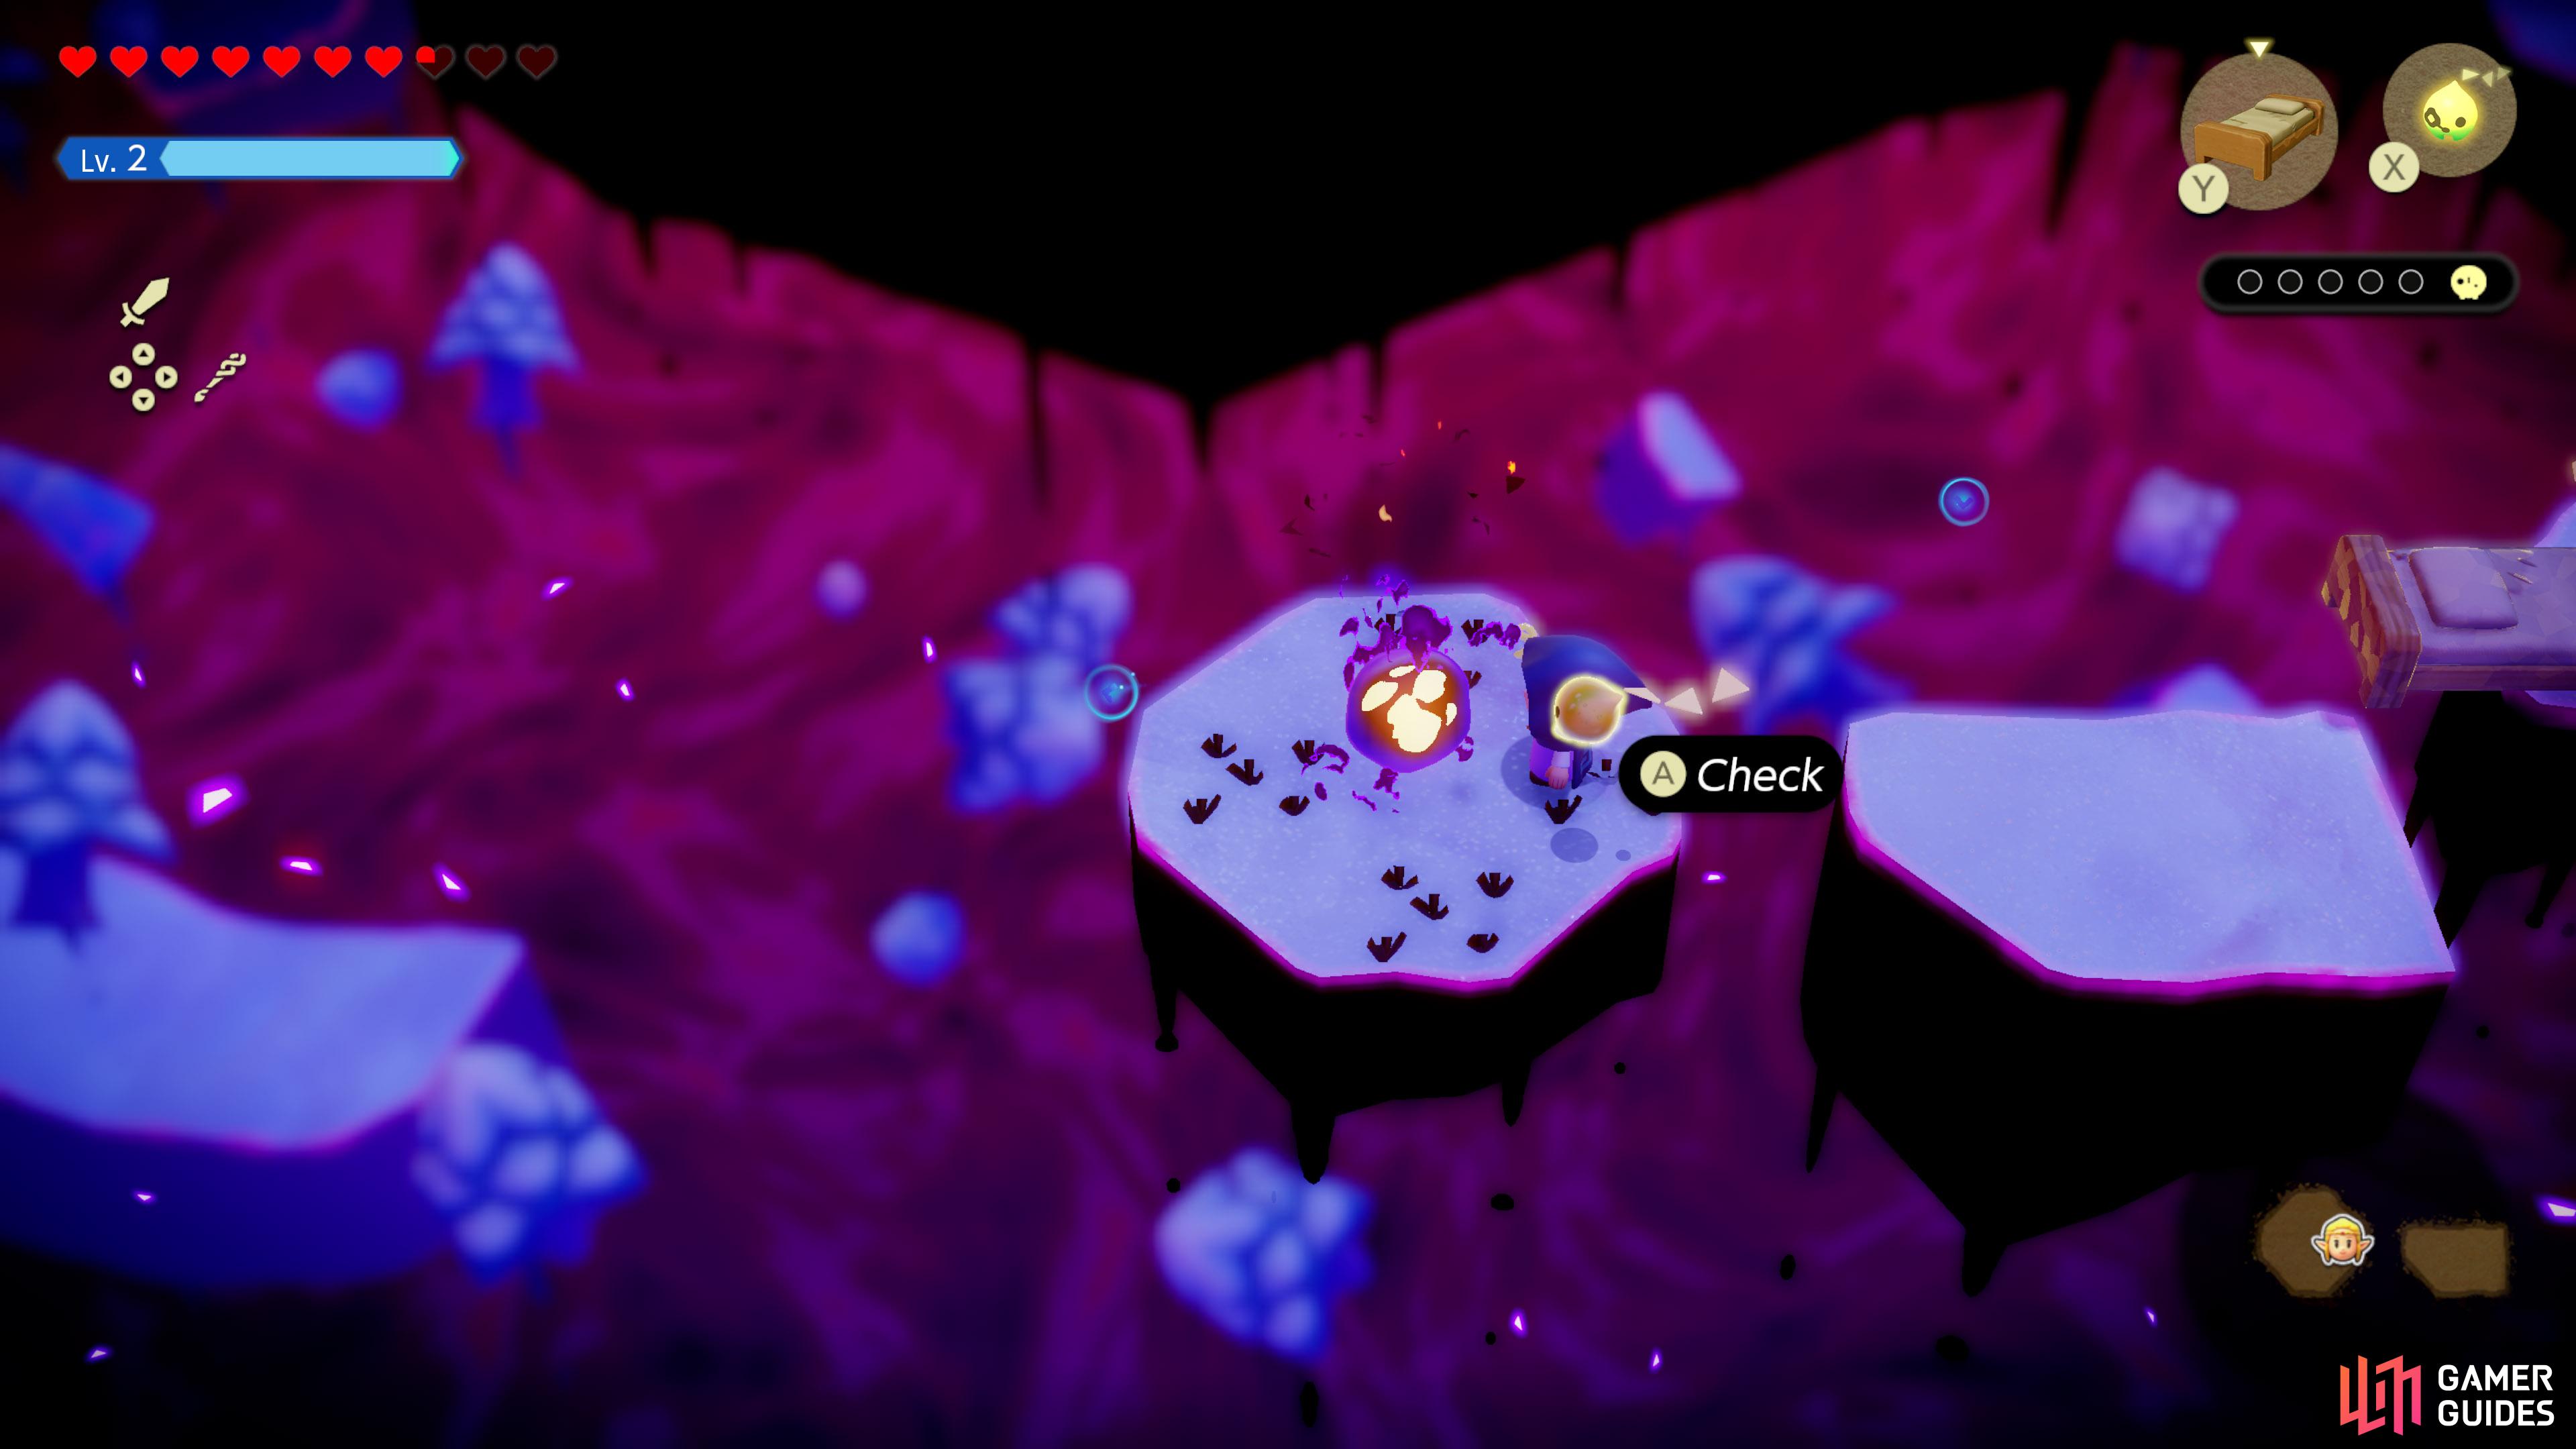
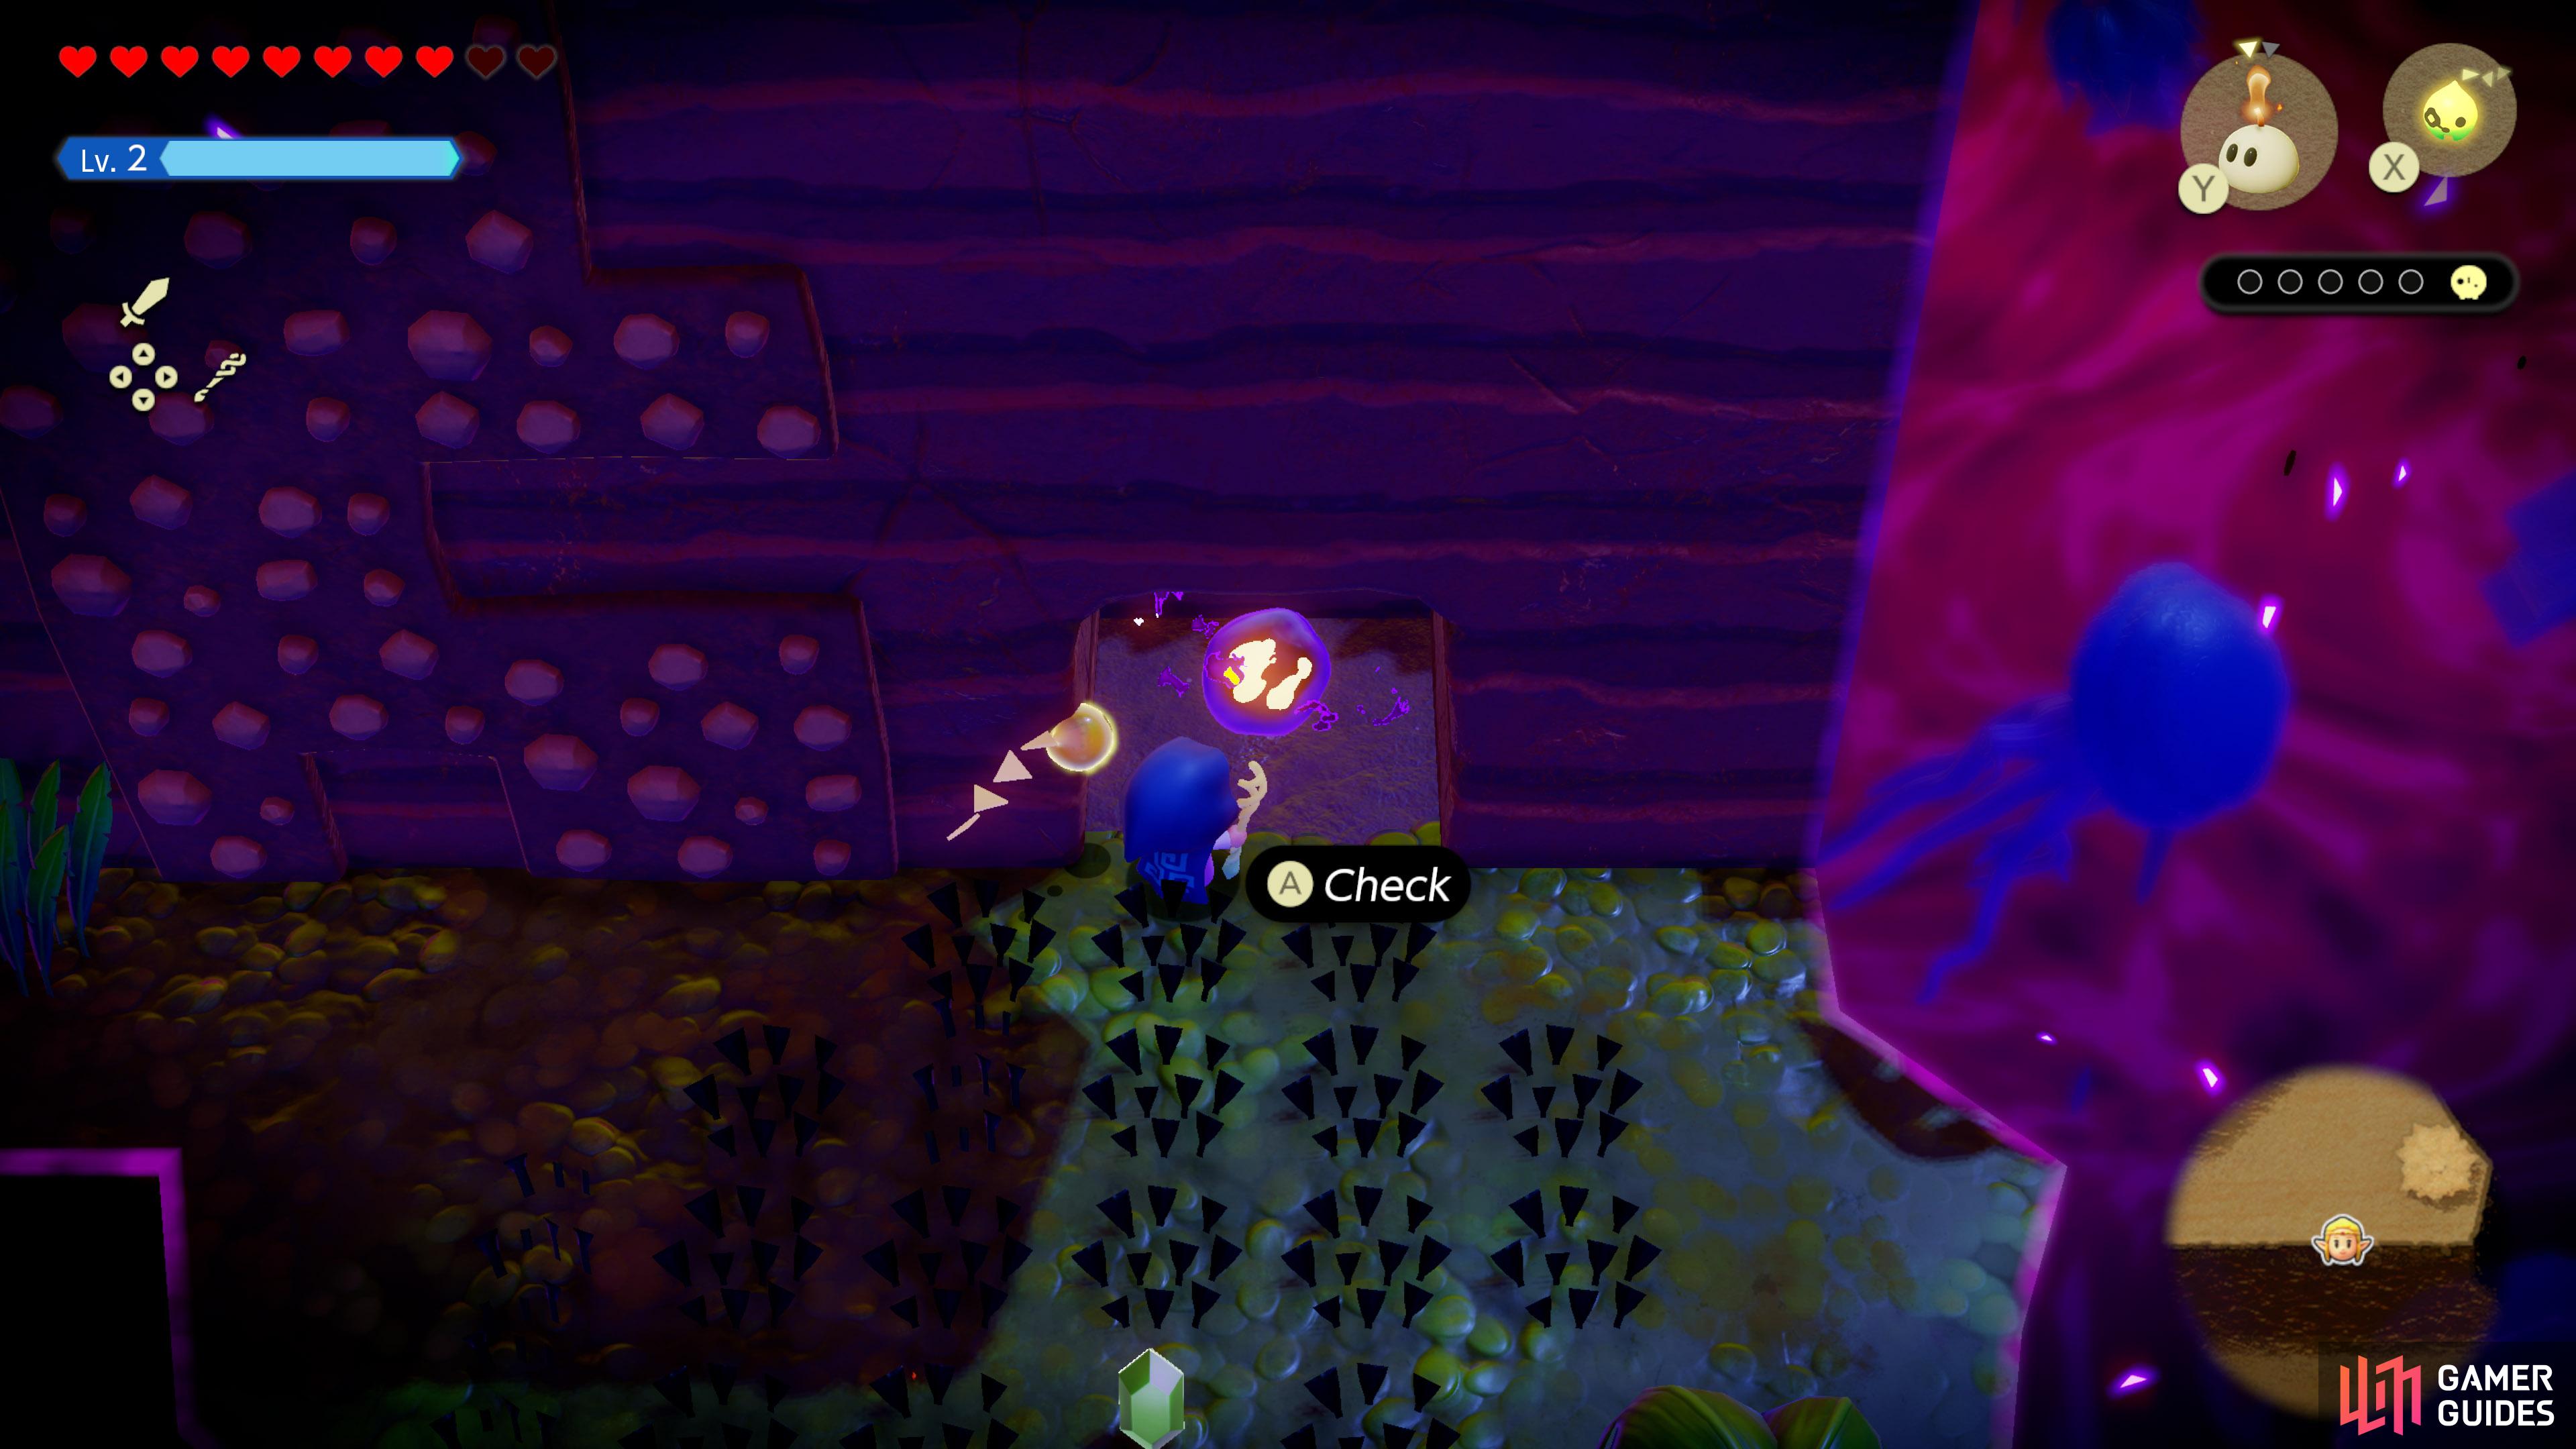
![]() Stilled Desert Temple Ruins, on easternmost island. Under a
Stilled Desert Temple Ruins, on easternmost island. Under a ![]() Boulder.
Boulder.

5. Still World Map
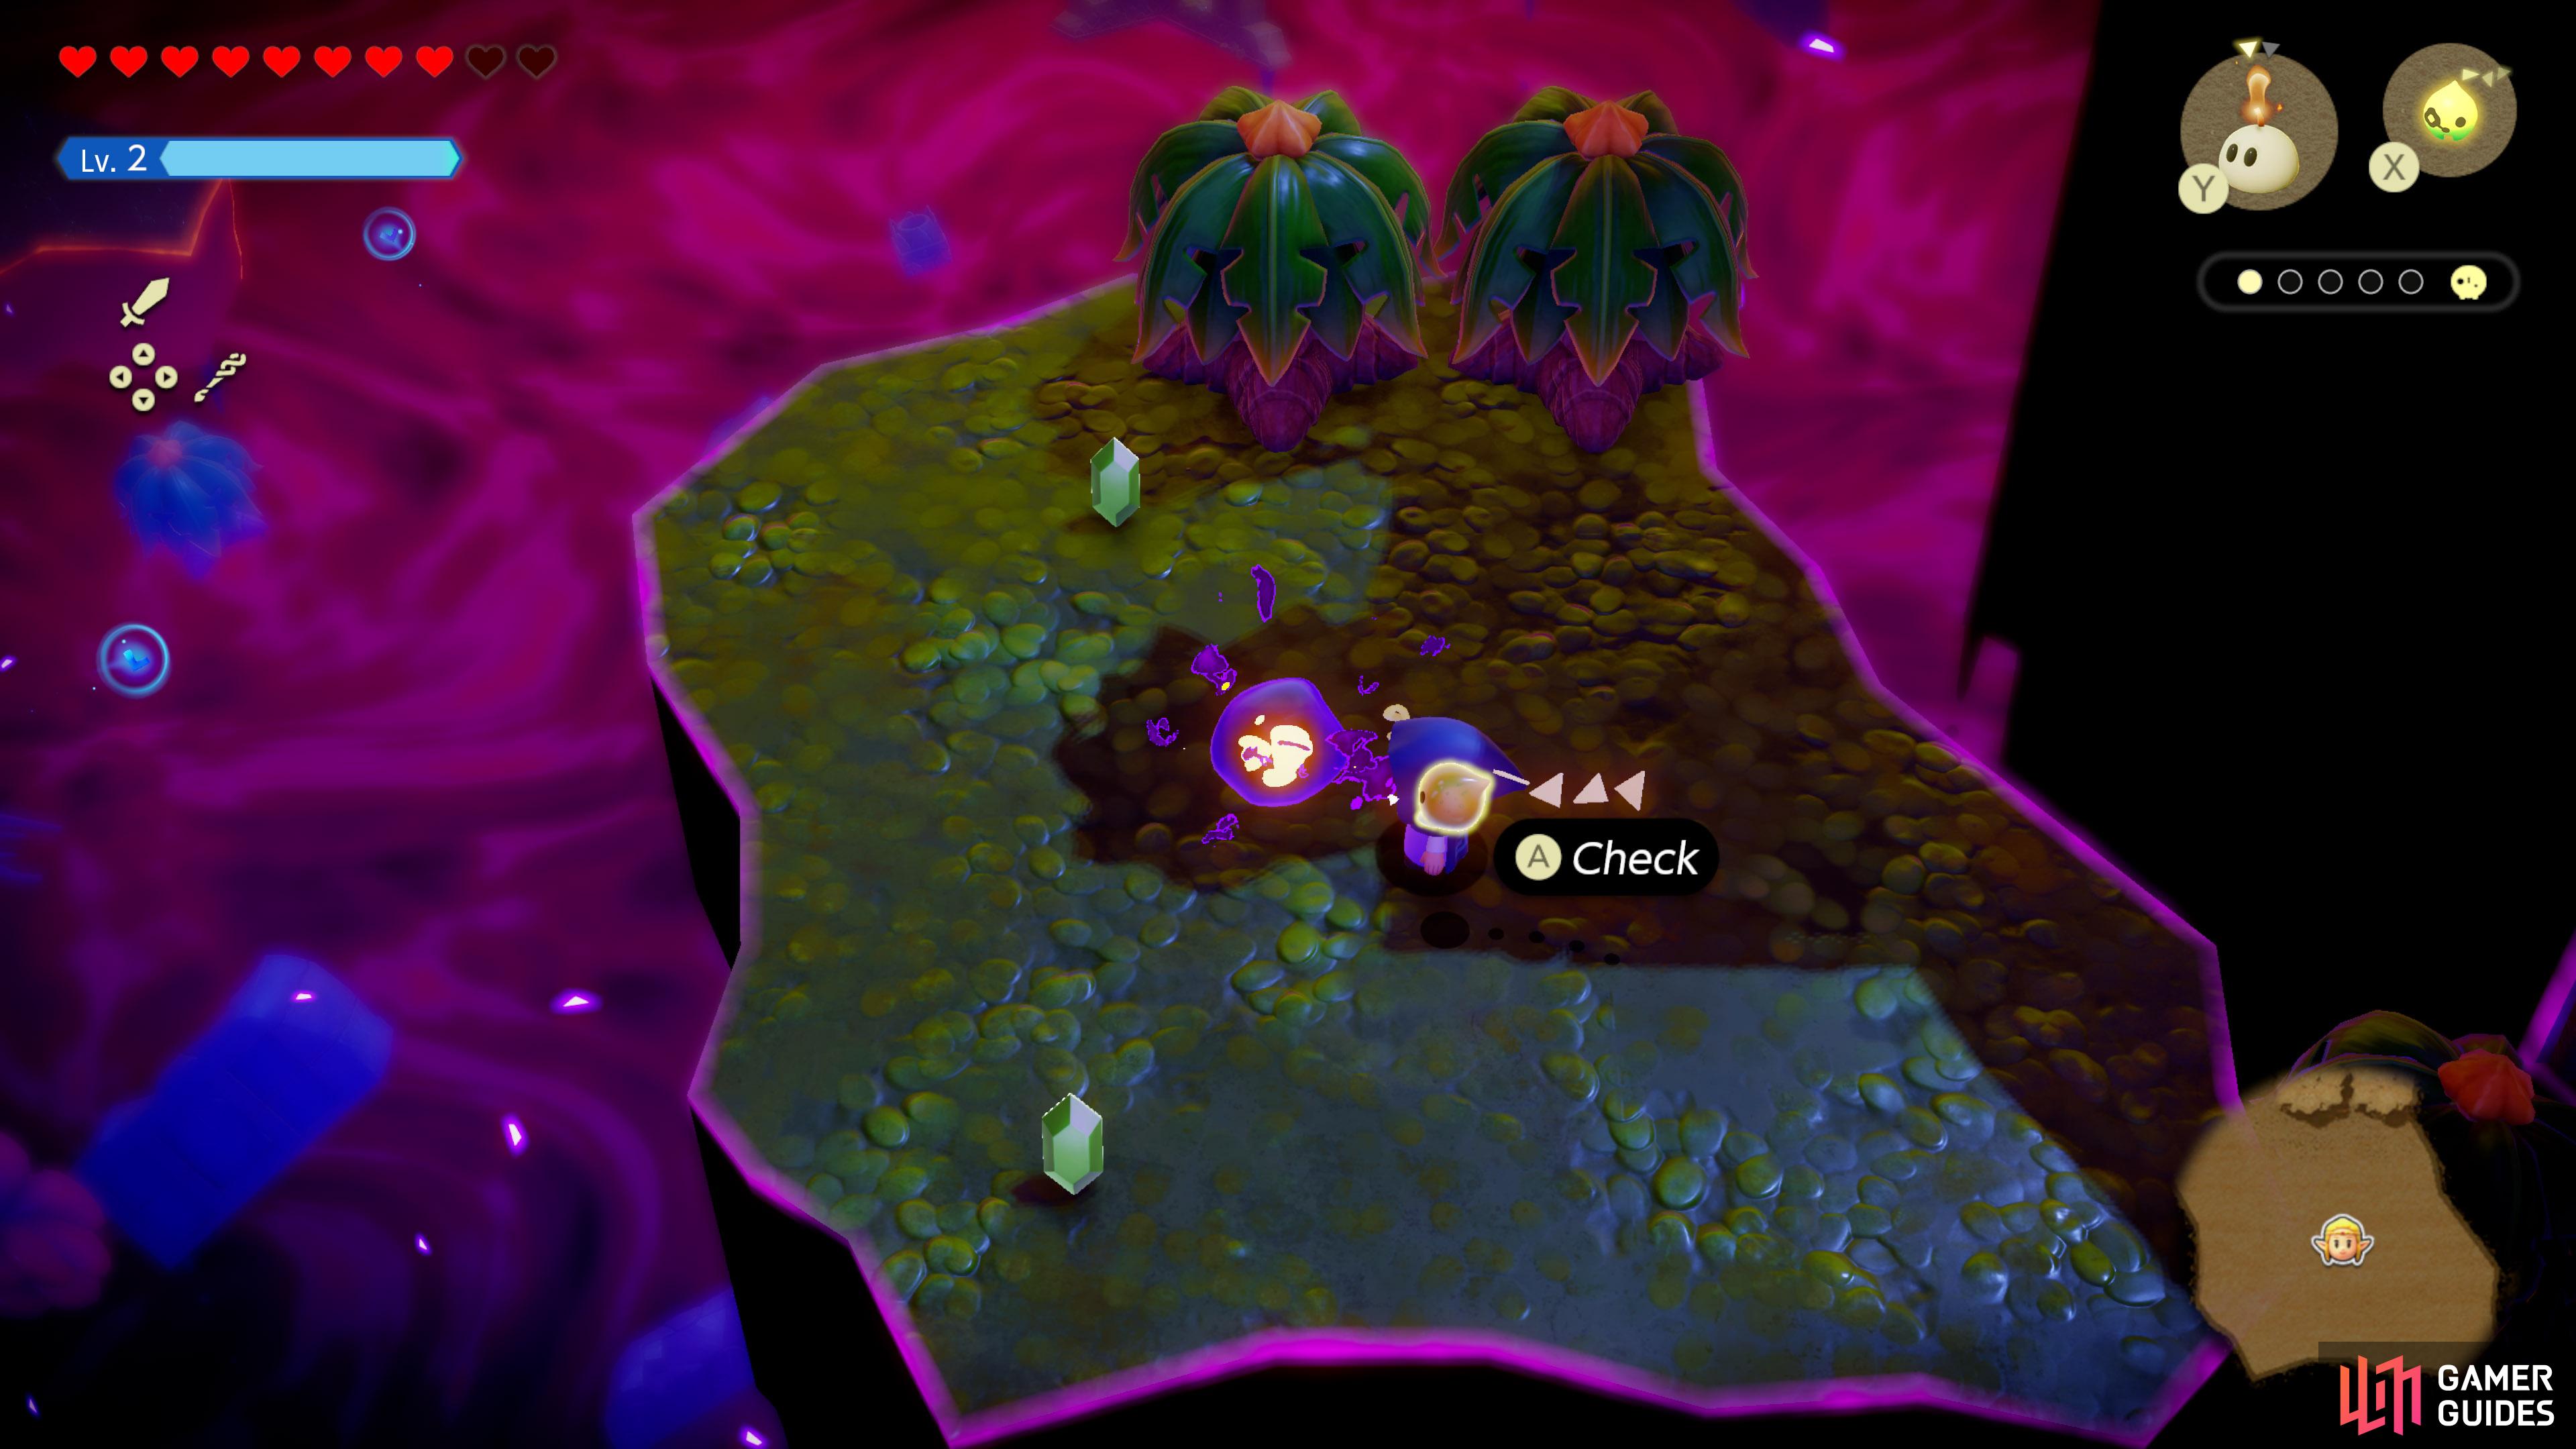
![]() Stilled Desert Temple Ruins, near south-west corner, atop a tall stone pillar.
Stilled Desert Temple Ruins, near south-west corner, atop a tall stone pillar.

7. Still World Map
![]() Stilled Upper Zora River, towards the south-east, at the end of a pillar.
Stilled Upper Zora River, towards the south-east, at the end of a pillar.
9. Still World Map
![]() Stilled Upper Zora River, along the area north from the entrance.
Stilled Upper Zora River, along the area north from the entrance.
10. Still World Map
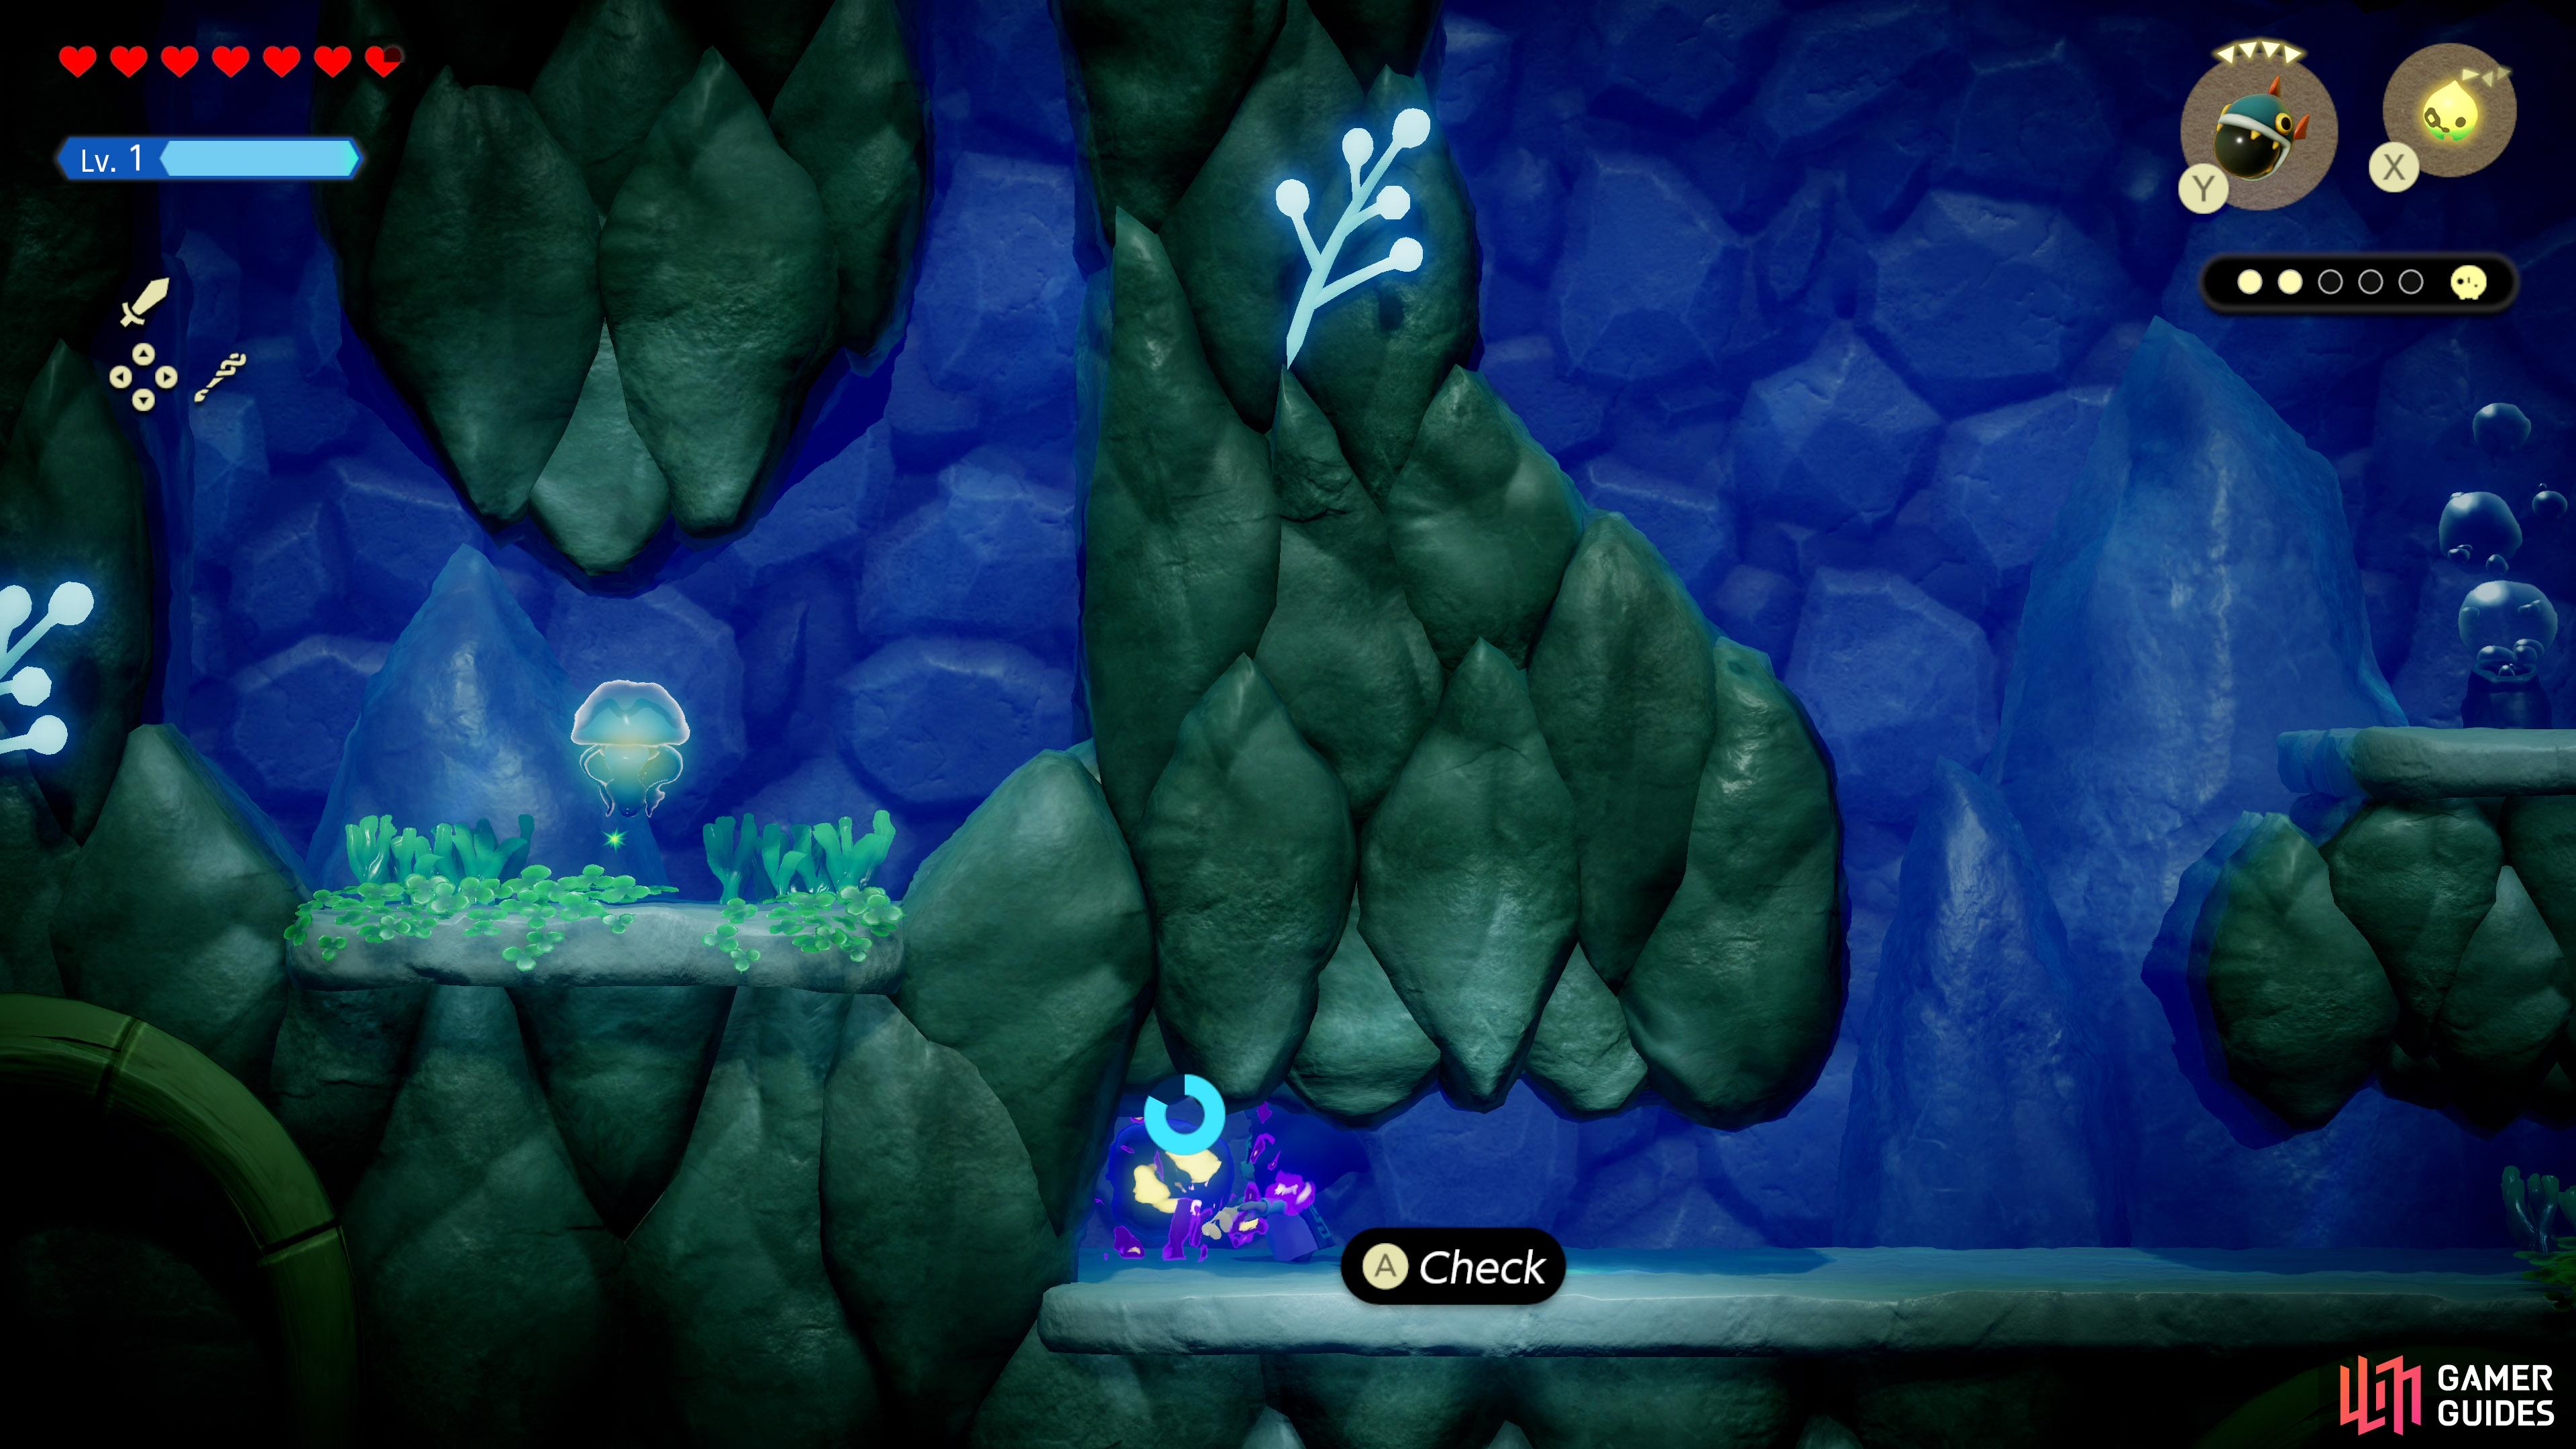
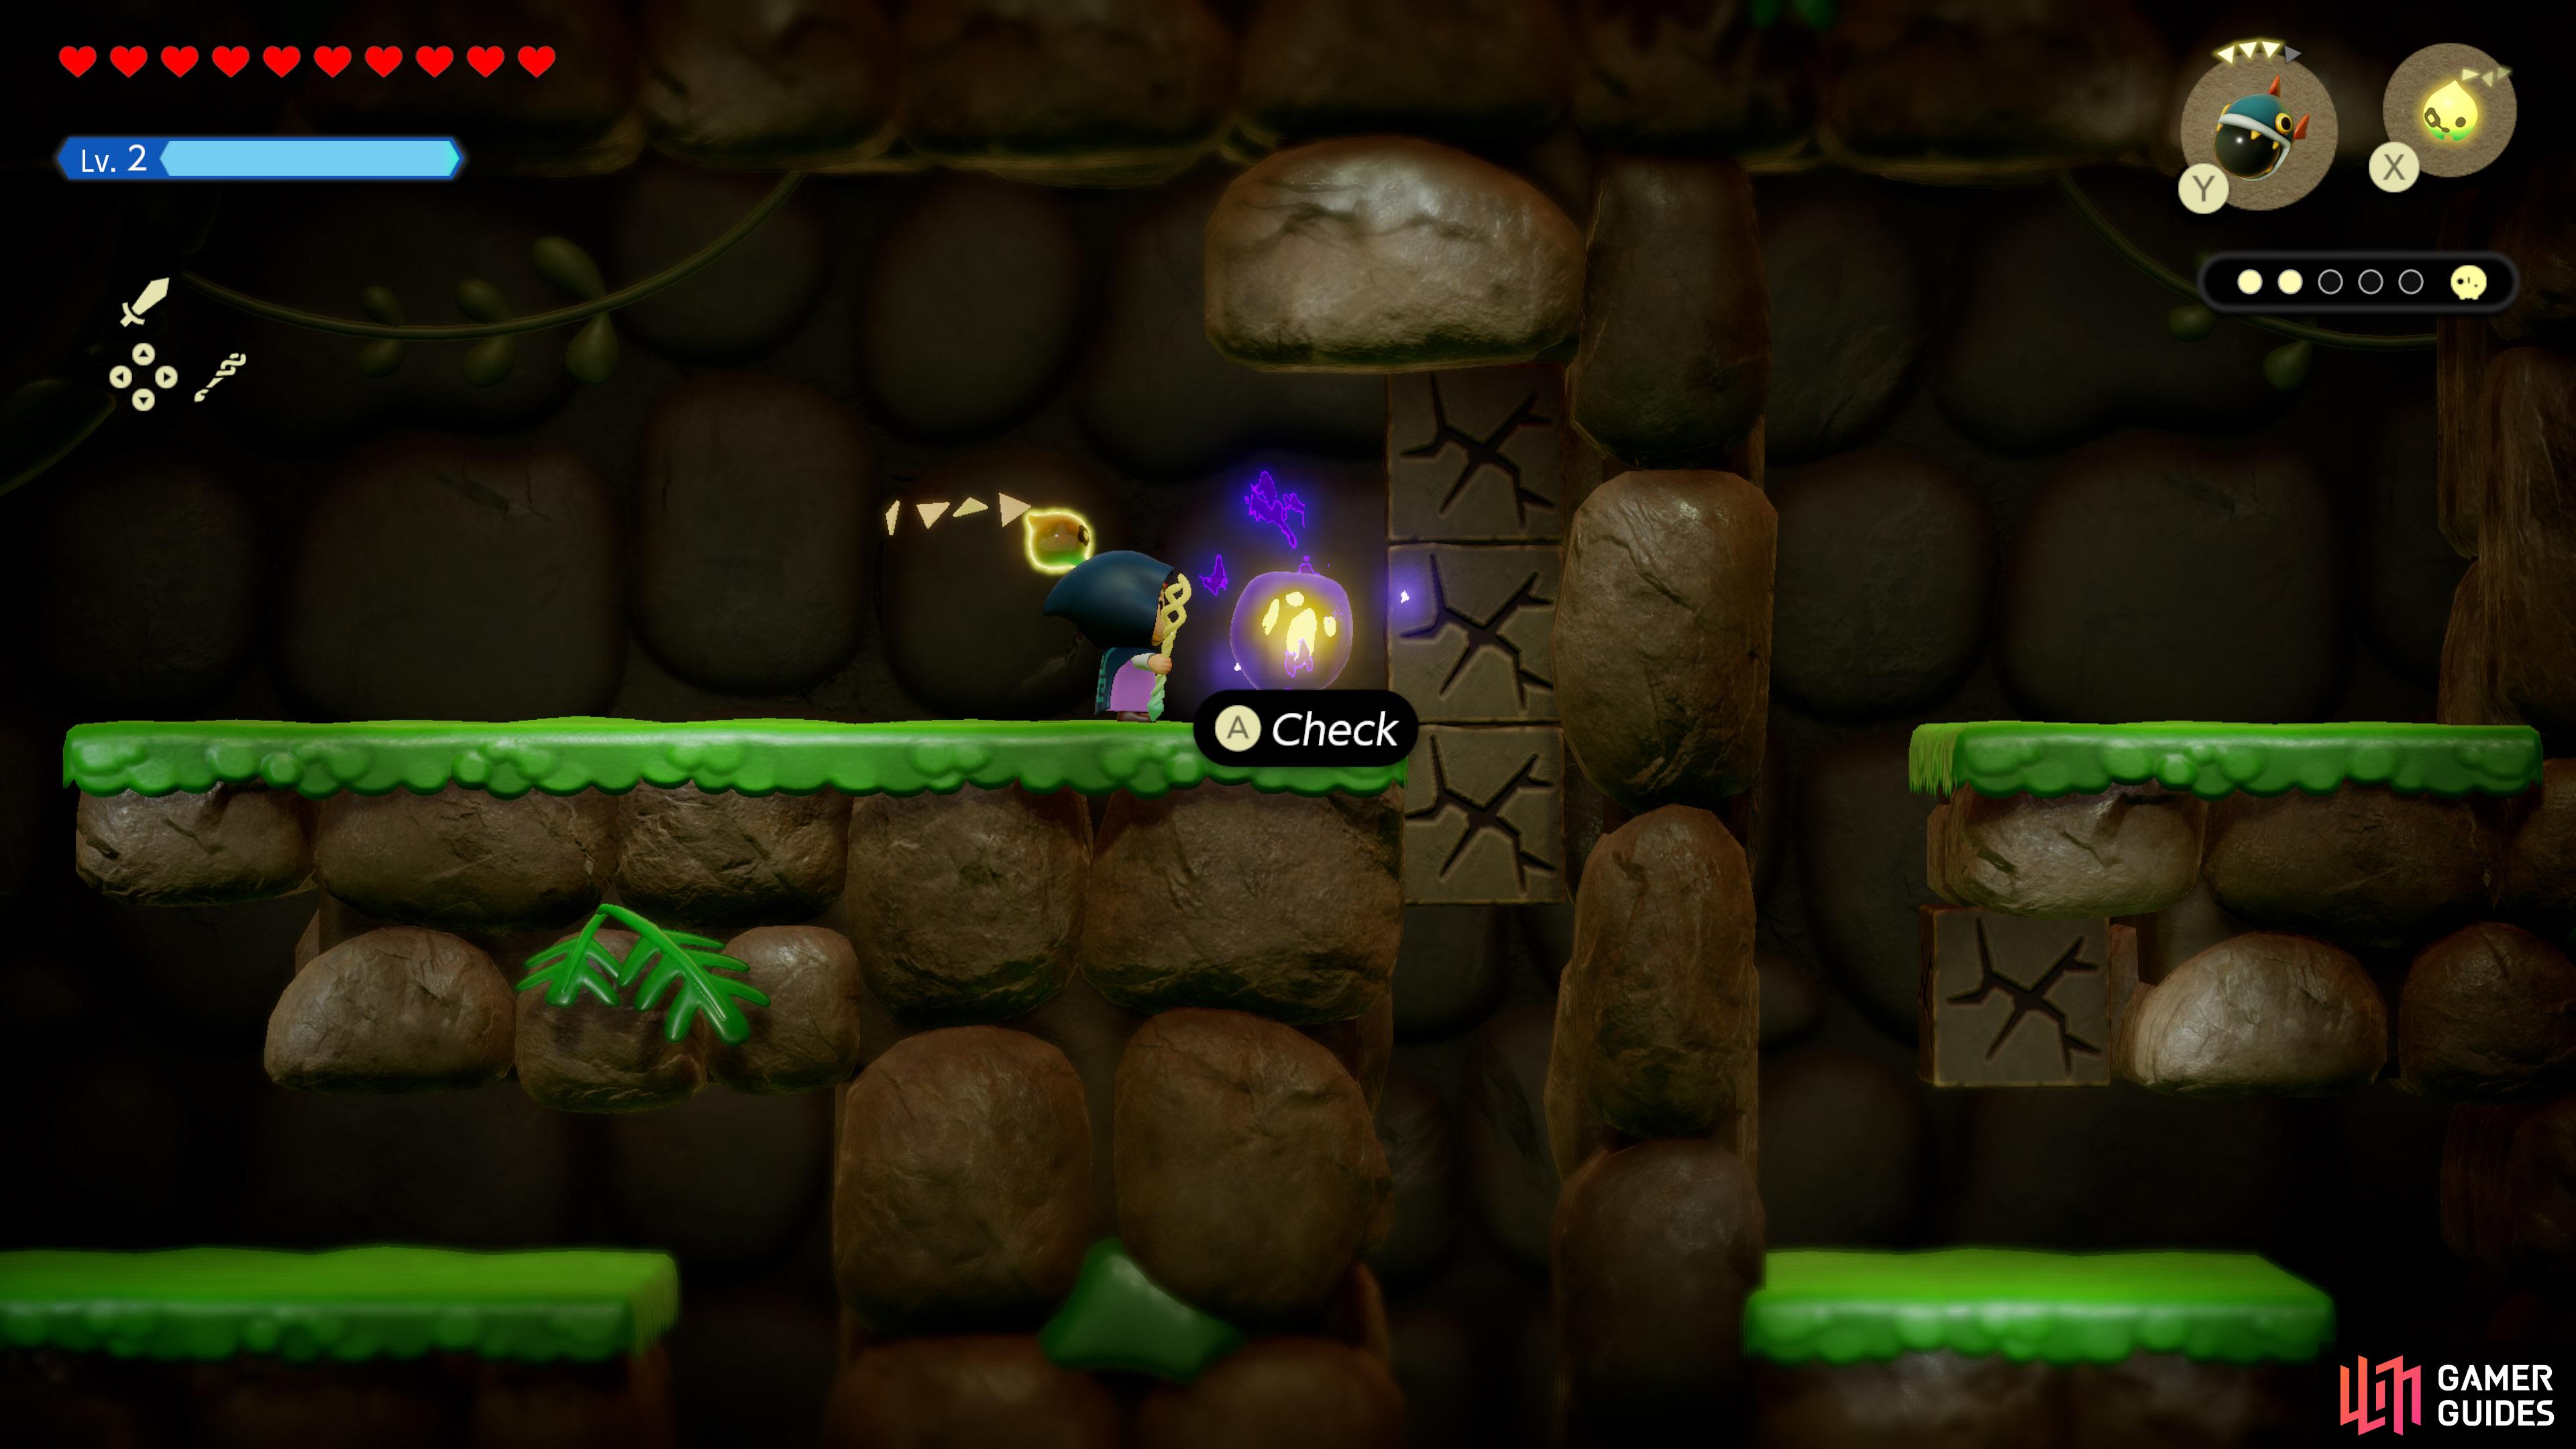
![]() Cave inside
Cave inside ![]() Stilled Upper Zora River, towards the north-east.
Stilled Upper Zora River, towards the north-east.
Defeat the shadow Tektike at the end.
11. Still World Map
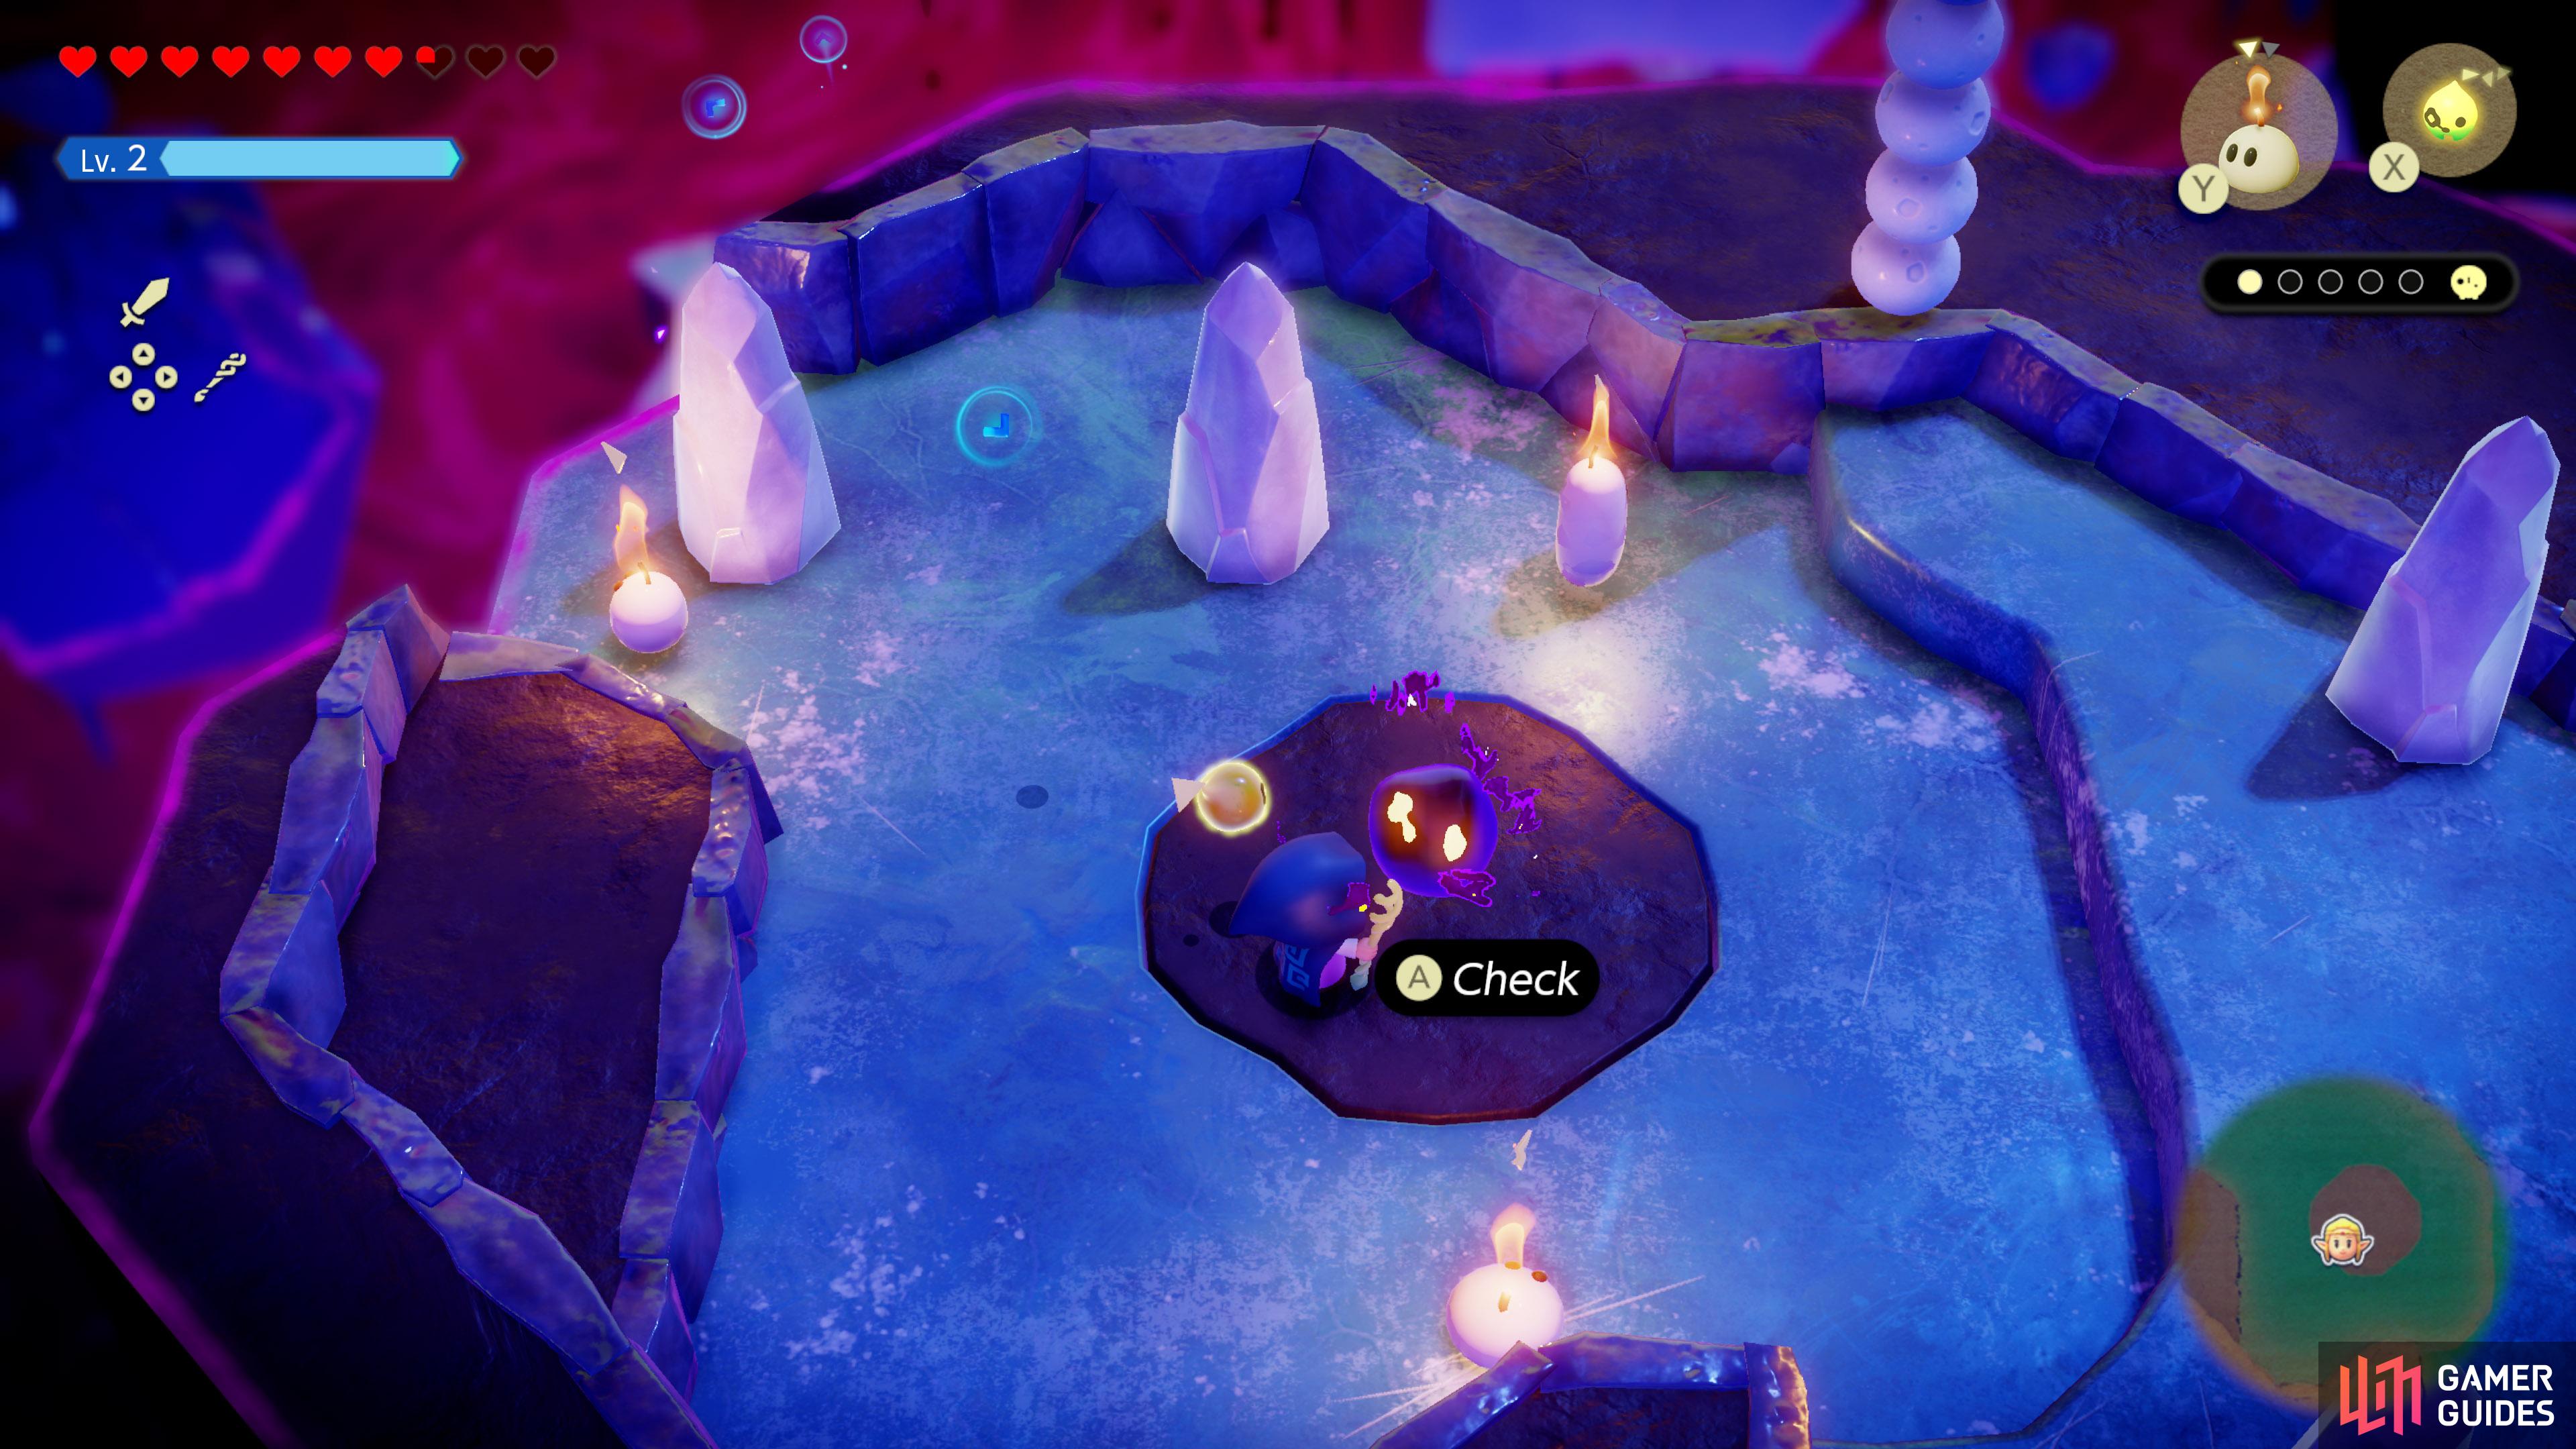
![]() Stilled Hebra Mountain Cave, towards the south. Hidden inside an ice pillar.
Stilled Hebra Mountain Cave, towards the south. Hidden inside an ice pillar.
12. Still World Map
![]() Stilled Hebra Mountain Cave, towards the west. Hidden inside an ice pillar.
Stilled Hebra Mountain Cave, towards the west. Hidden inside an ice pillar.

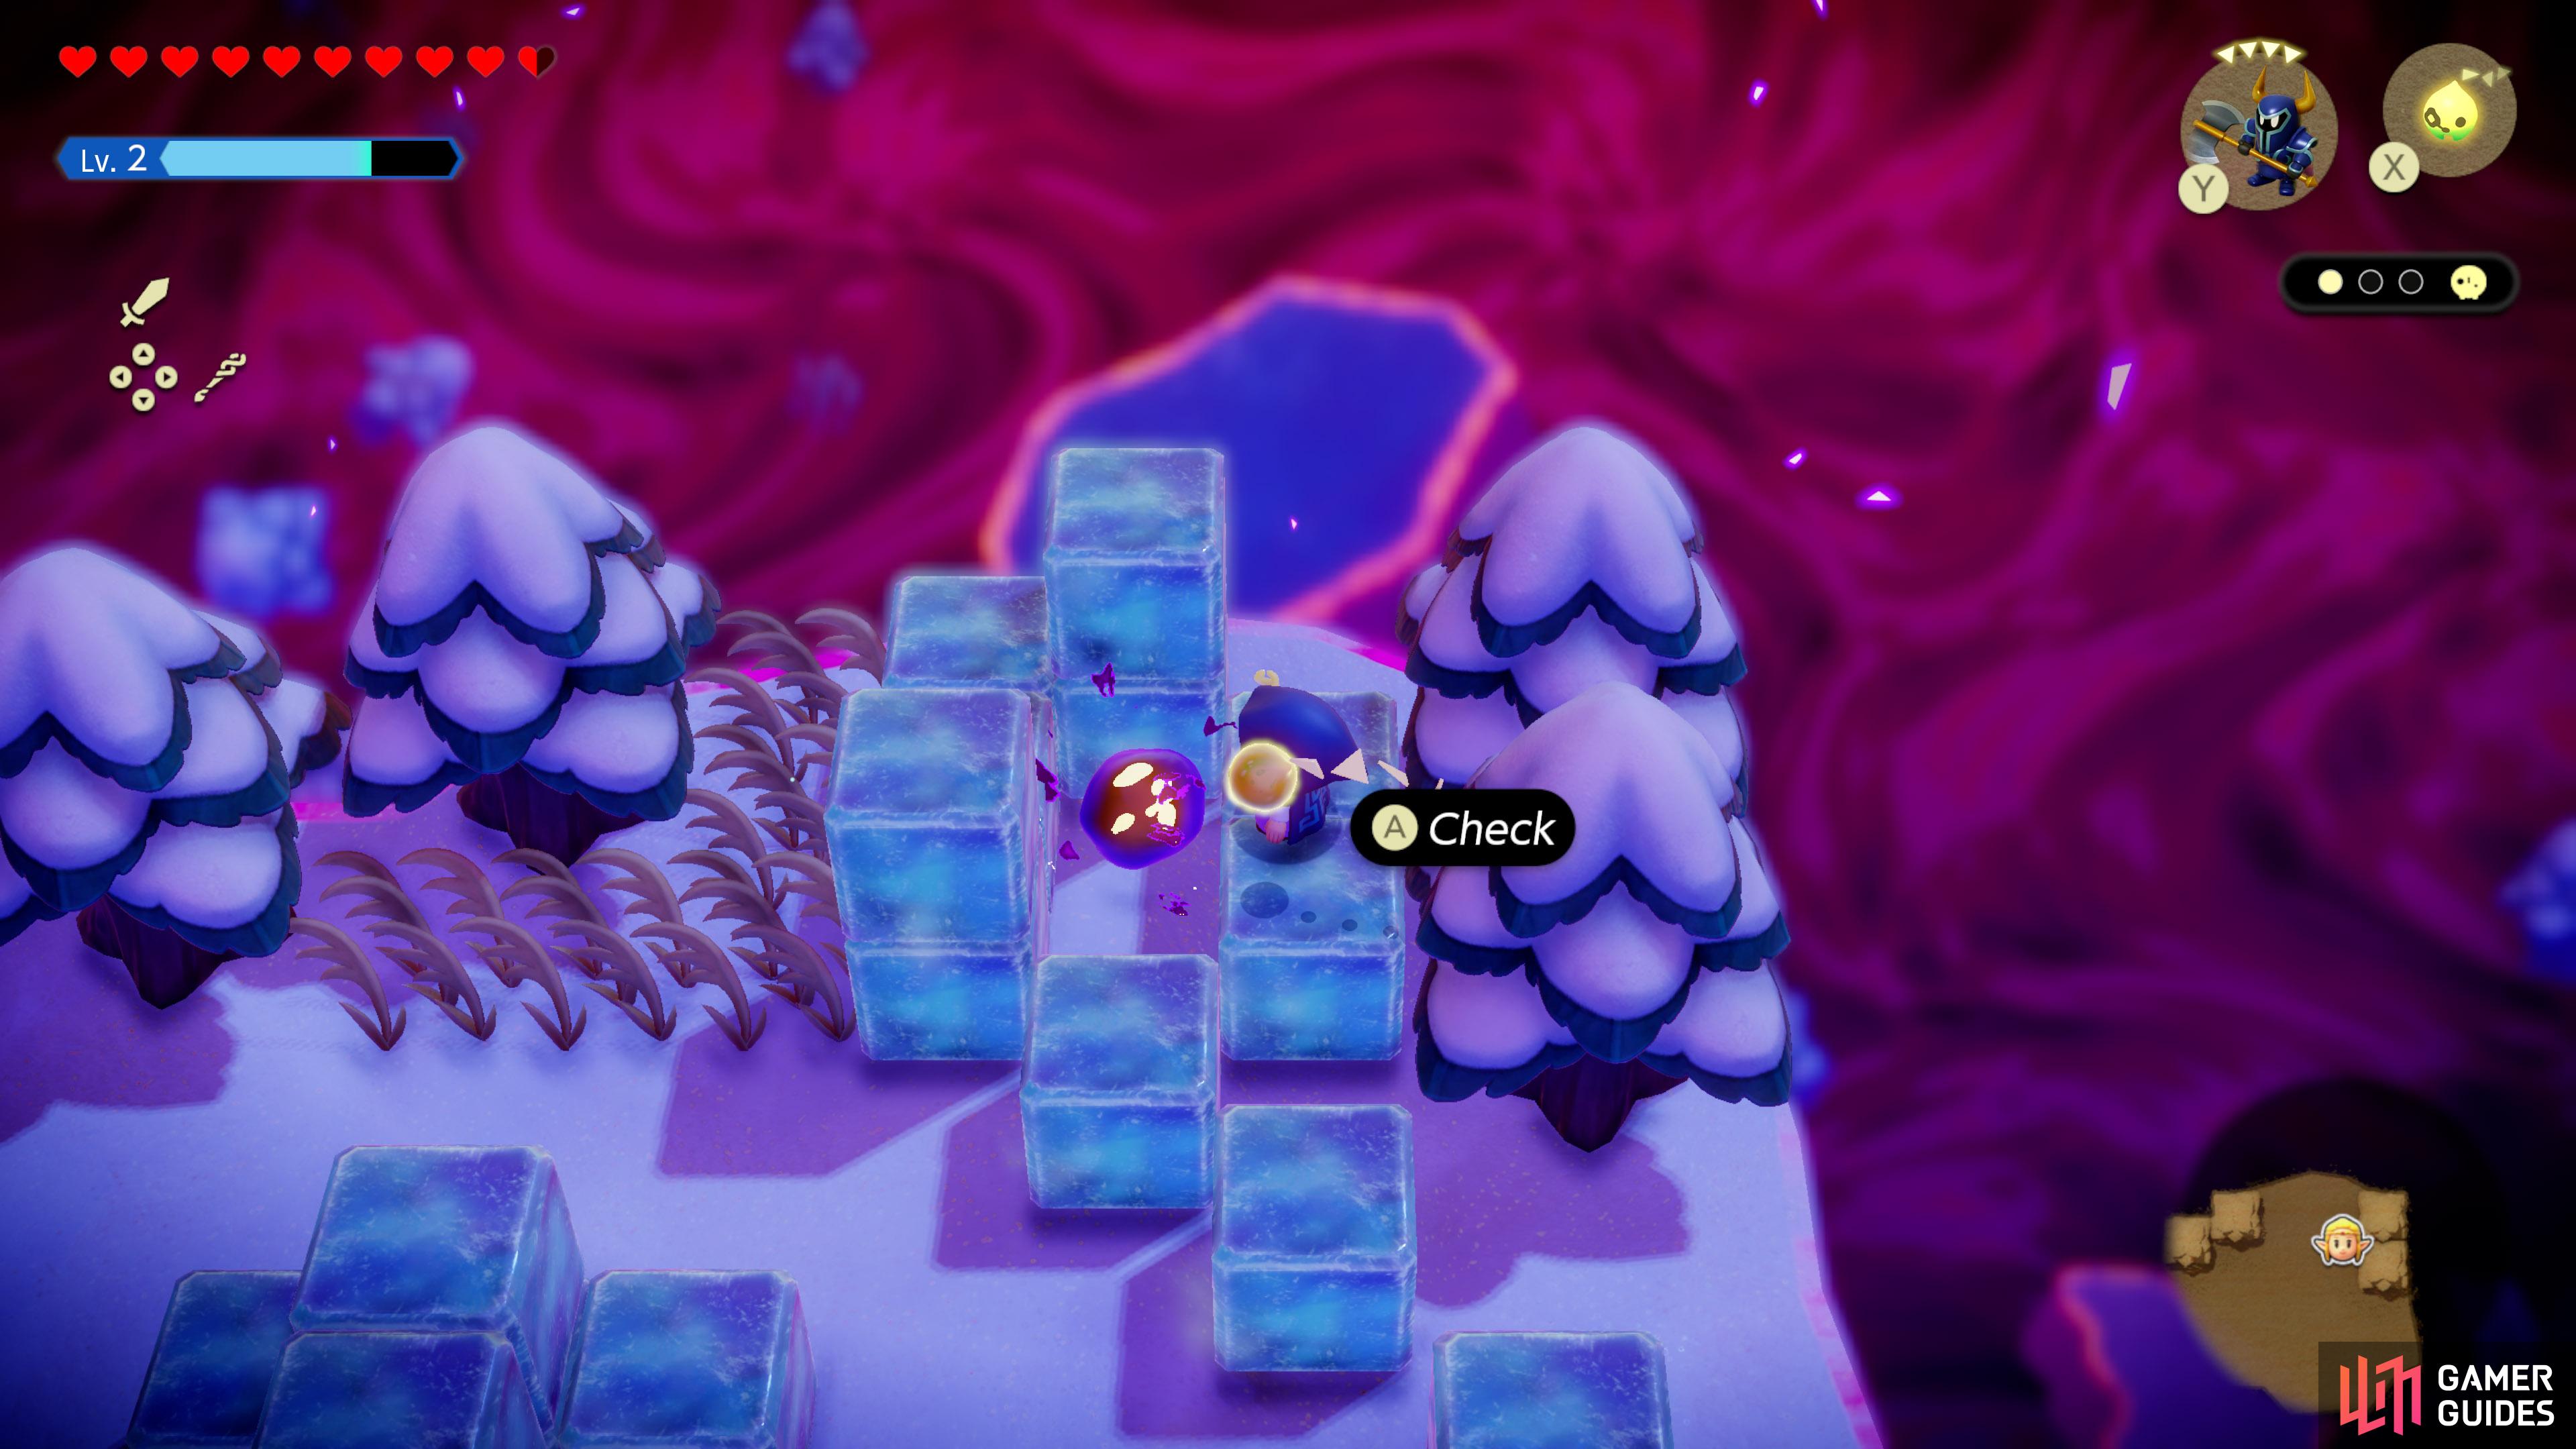
13. Still World Map
![]() Stilled Hebra Mountain Cave, around the north-western trees, inside an ice pillar.
Stilled Hebra Mountain Cave, around the north-western trees, inside an ice pillar.

16. Still World Map
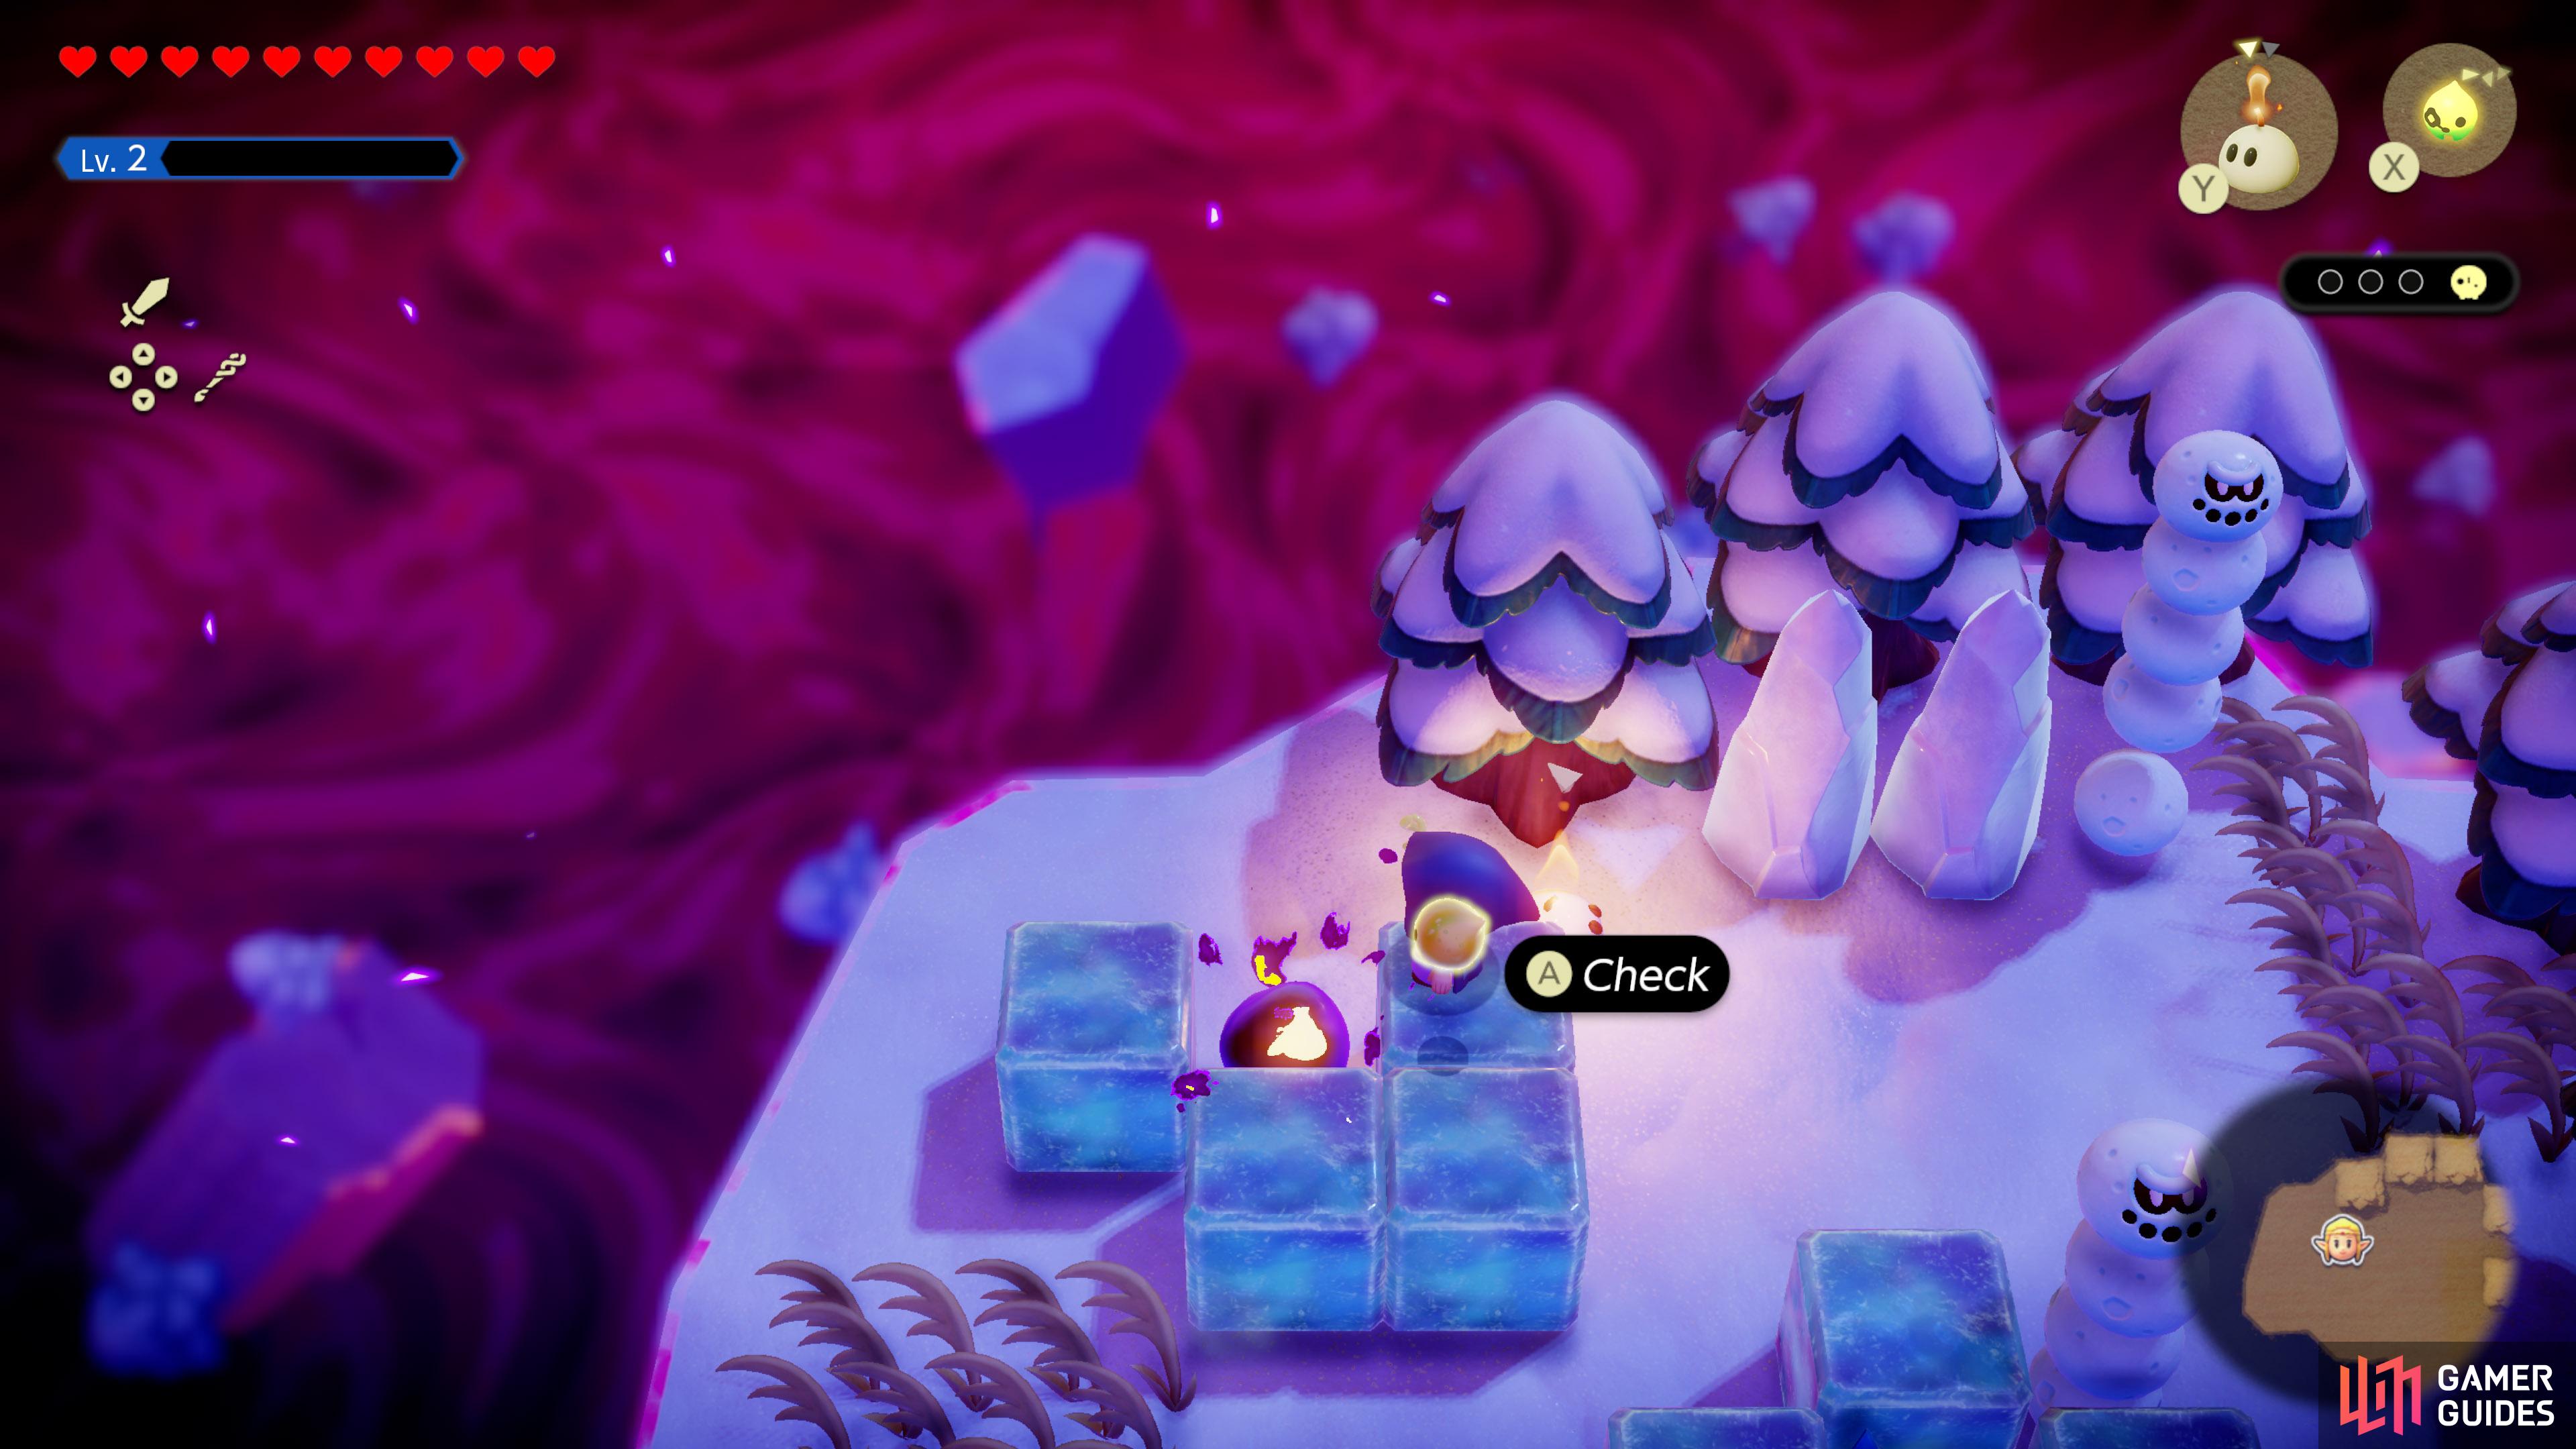
![]() Stilled Hebra Mountain Passage, towards the west. Behind some
Stilled Hebra Mountain Passage, towards the west. Behind some ![]() Ice Blocks.
Ice Blocks.
17. Still World Map
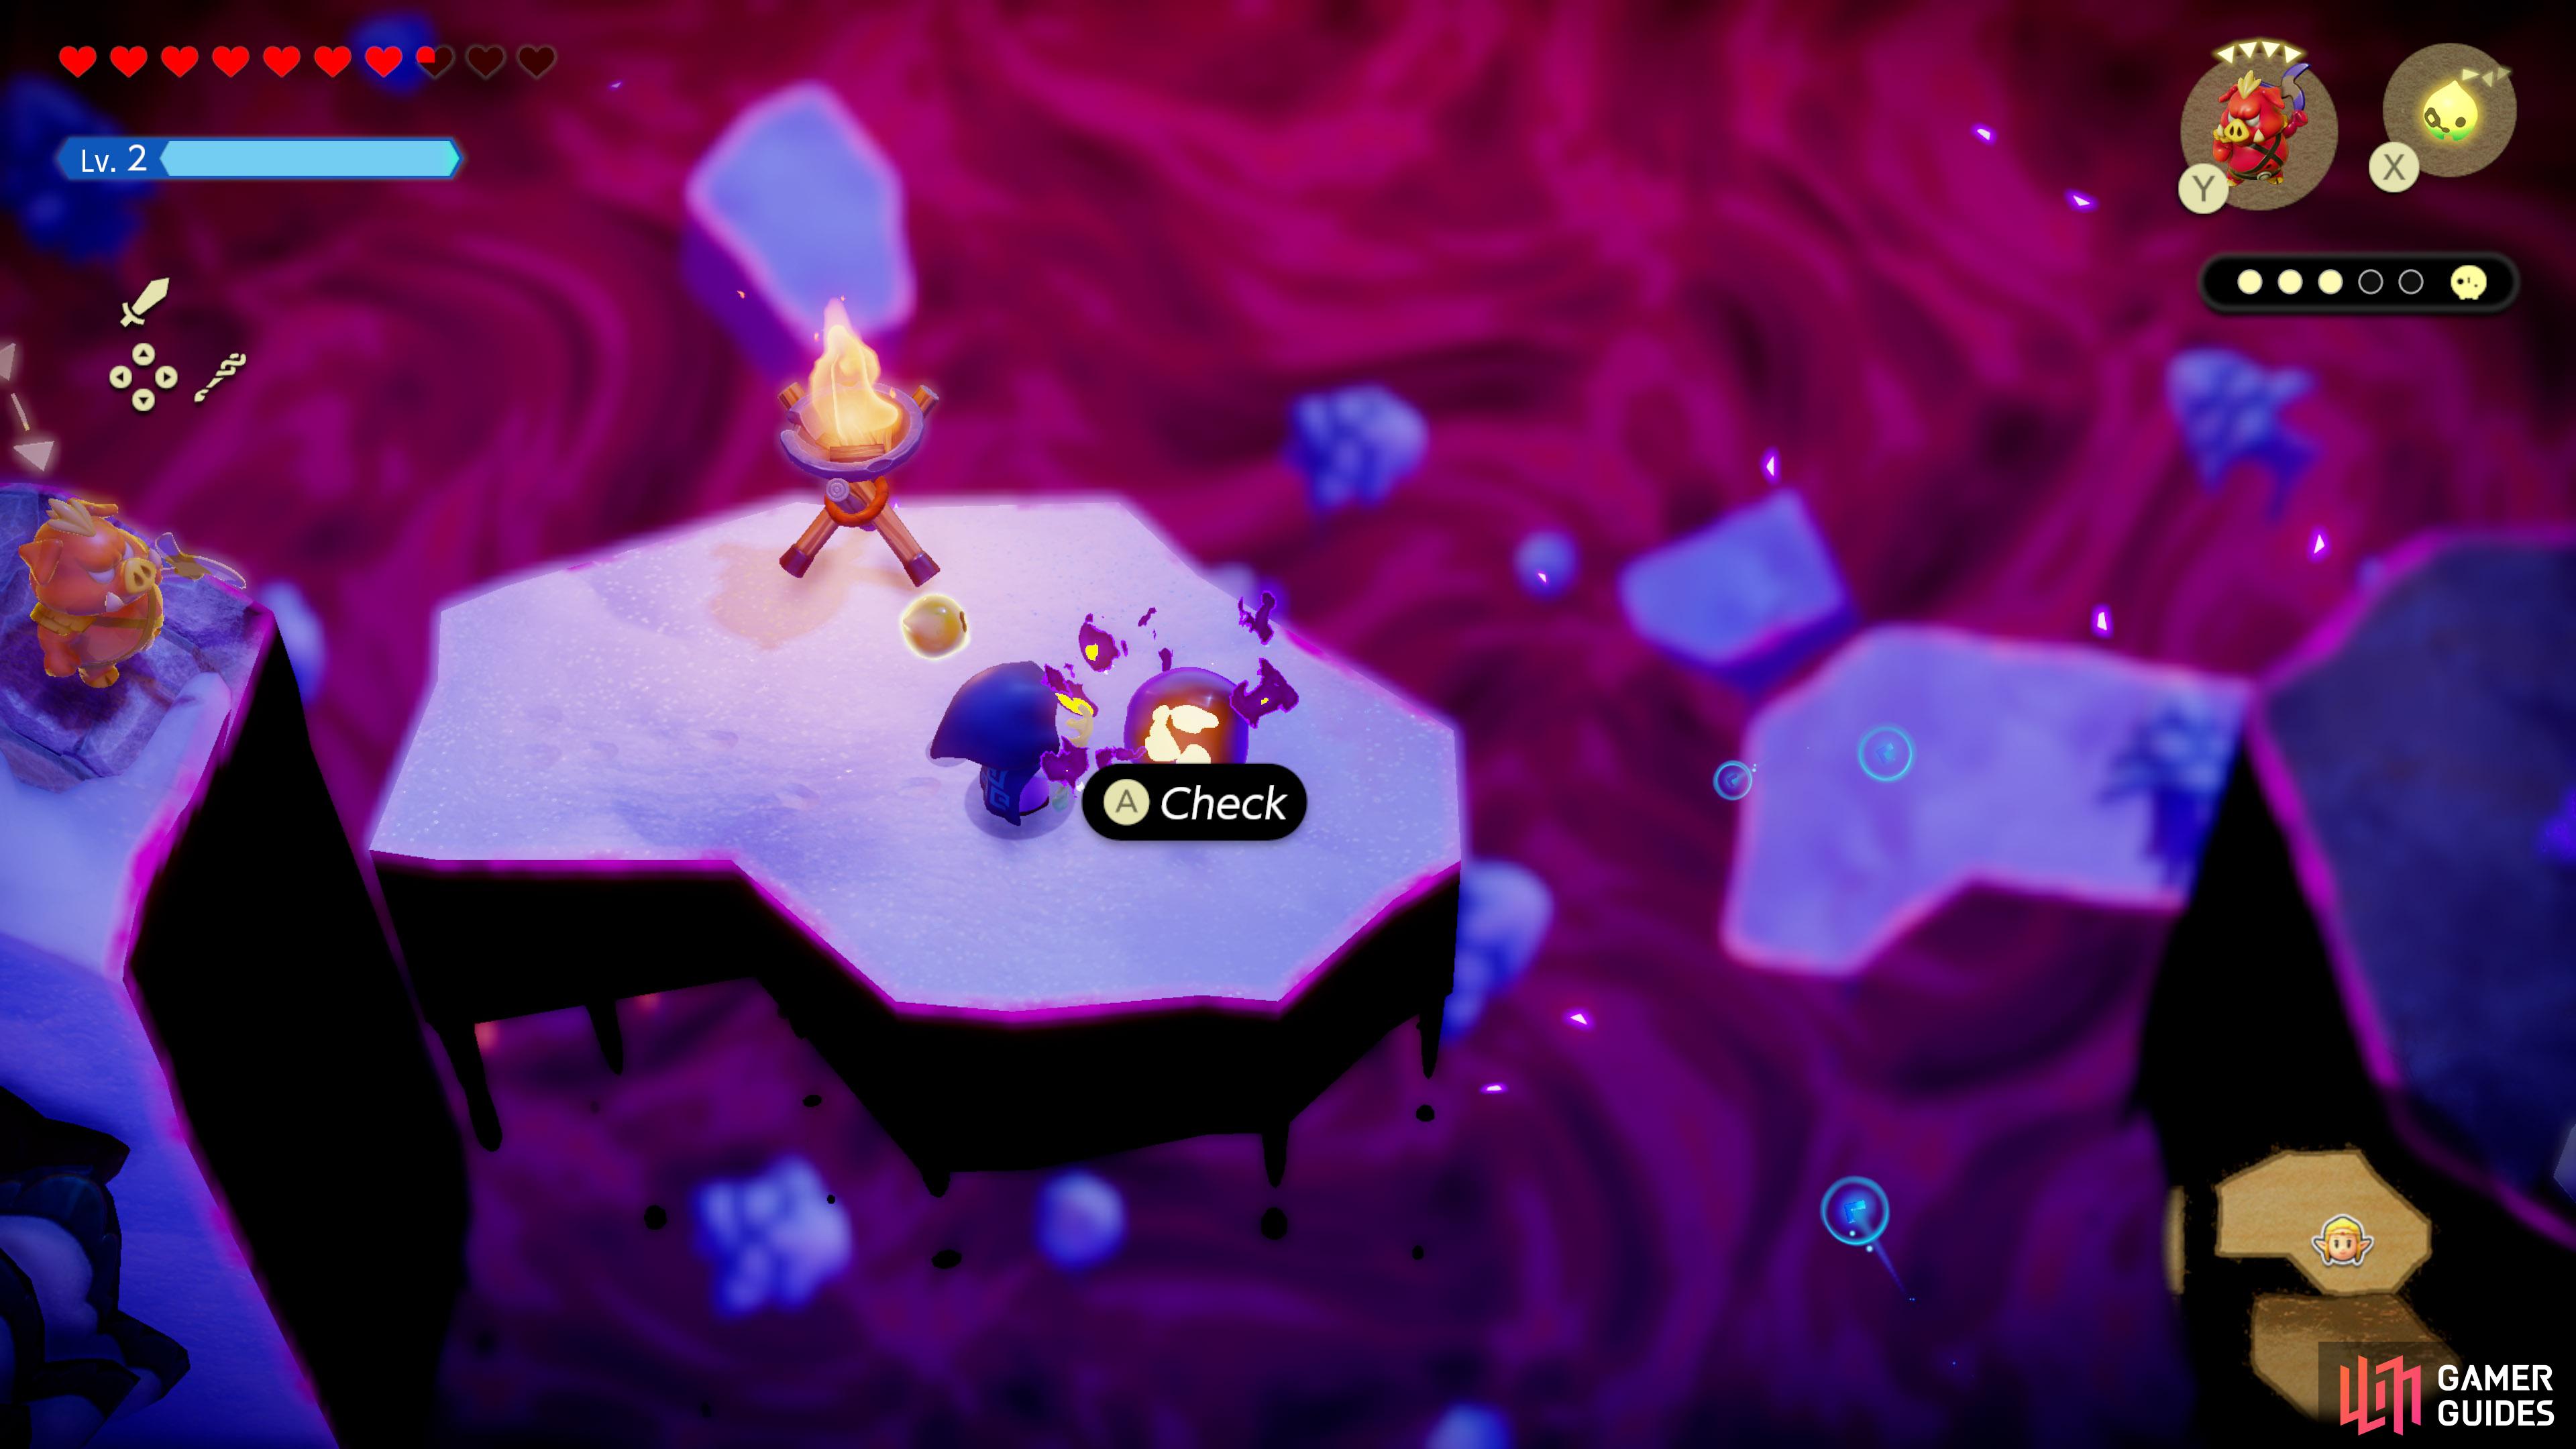
![]() Stilled Hebra Mountain Passage, towards the east. Defeat the shadow
Stilled Hebra Mountain Passage, towards the east. Defeat the shadow ![]() Freezard to release it.
Freezard to release it.

18. Still World Map
![]() Stilled Hebra Mountain Passage, towards the north, hidden by
Stilled Hebra Mountain Passage, towards the north, hidden by ![]() Ice Blocks.
Ice Blocks.

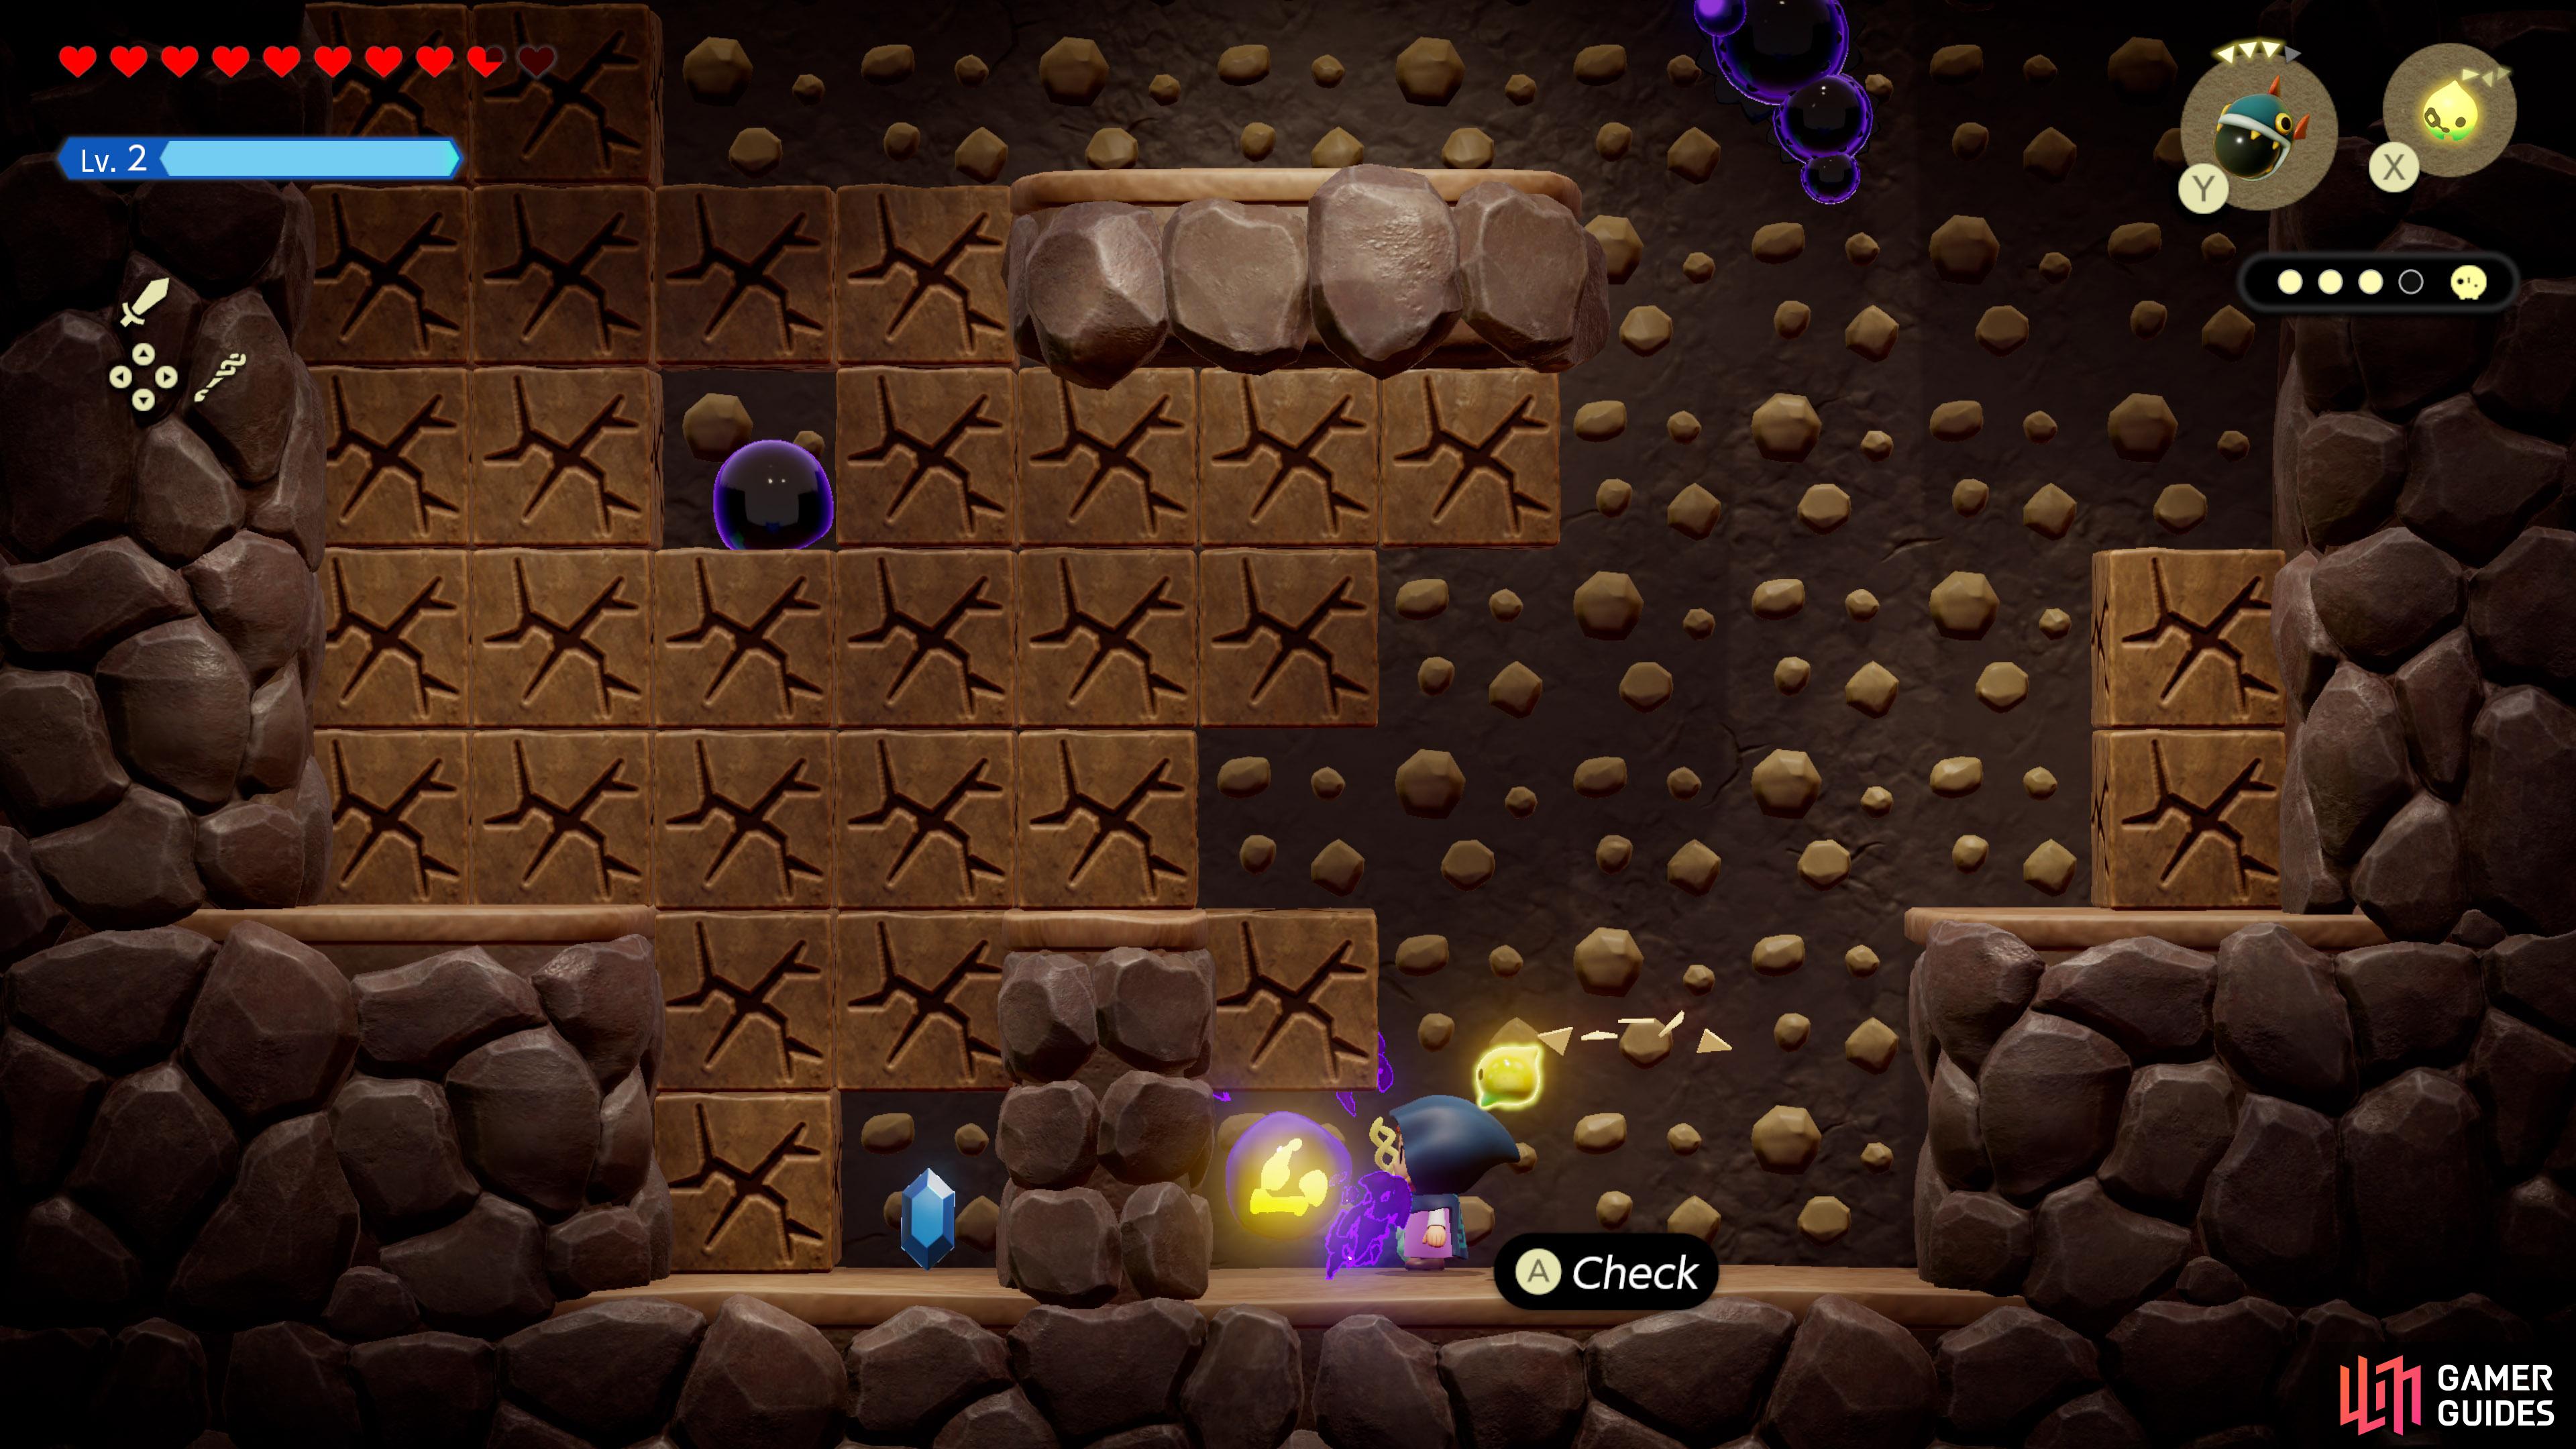
22. Still World Map
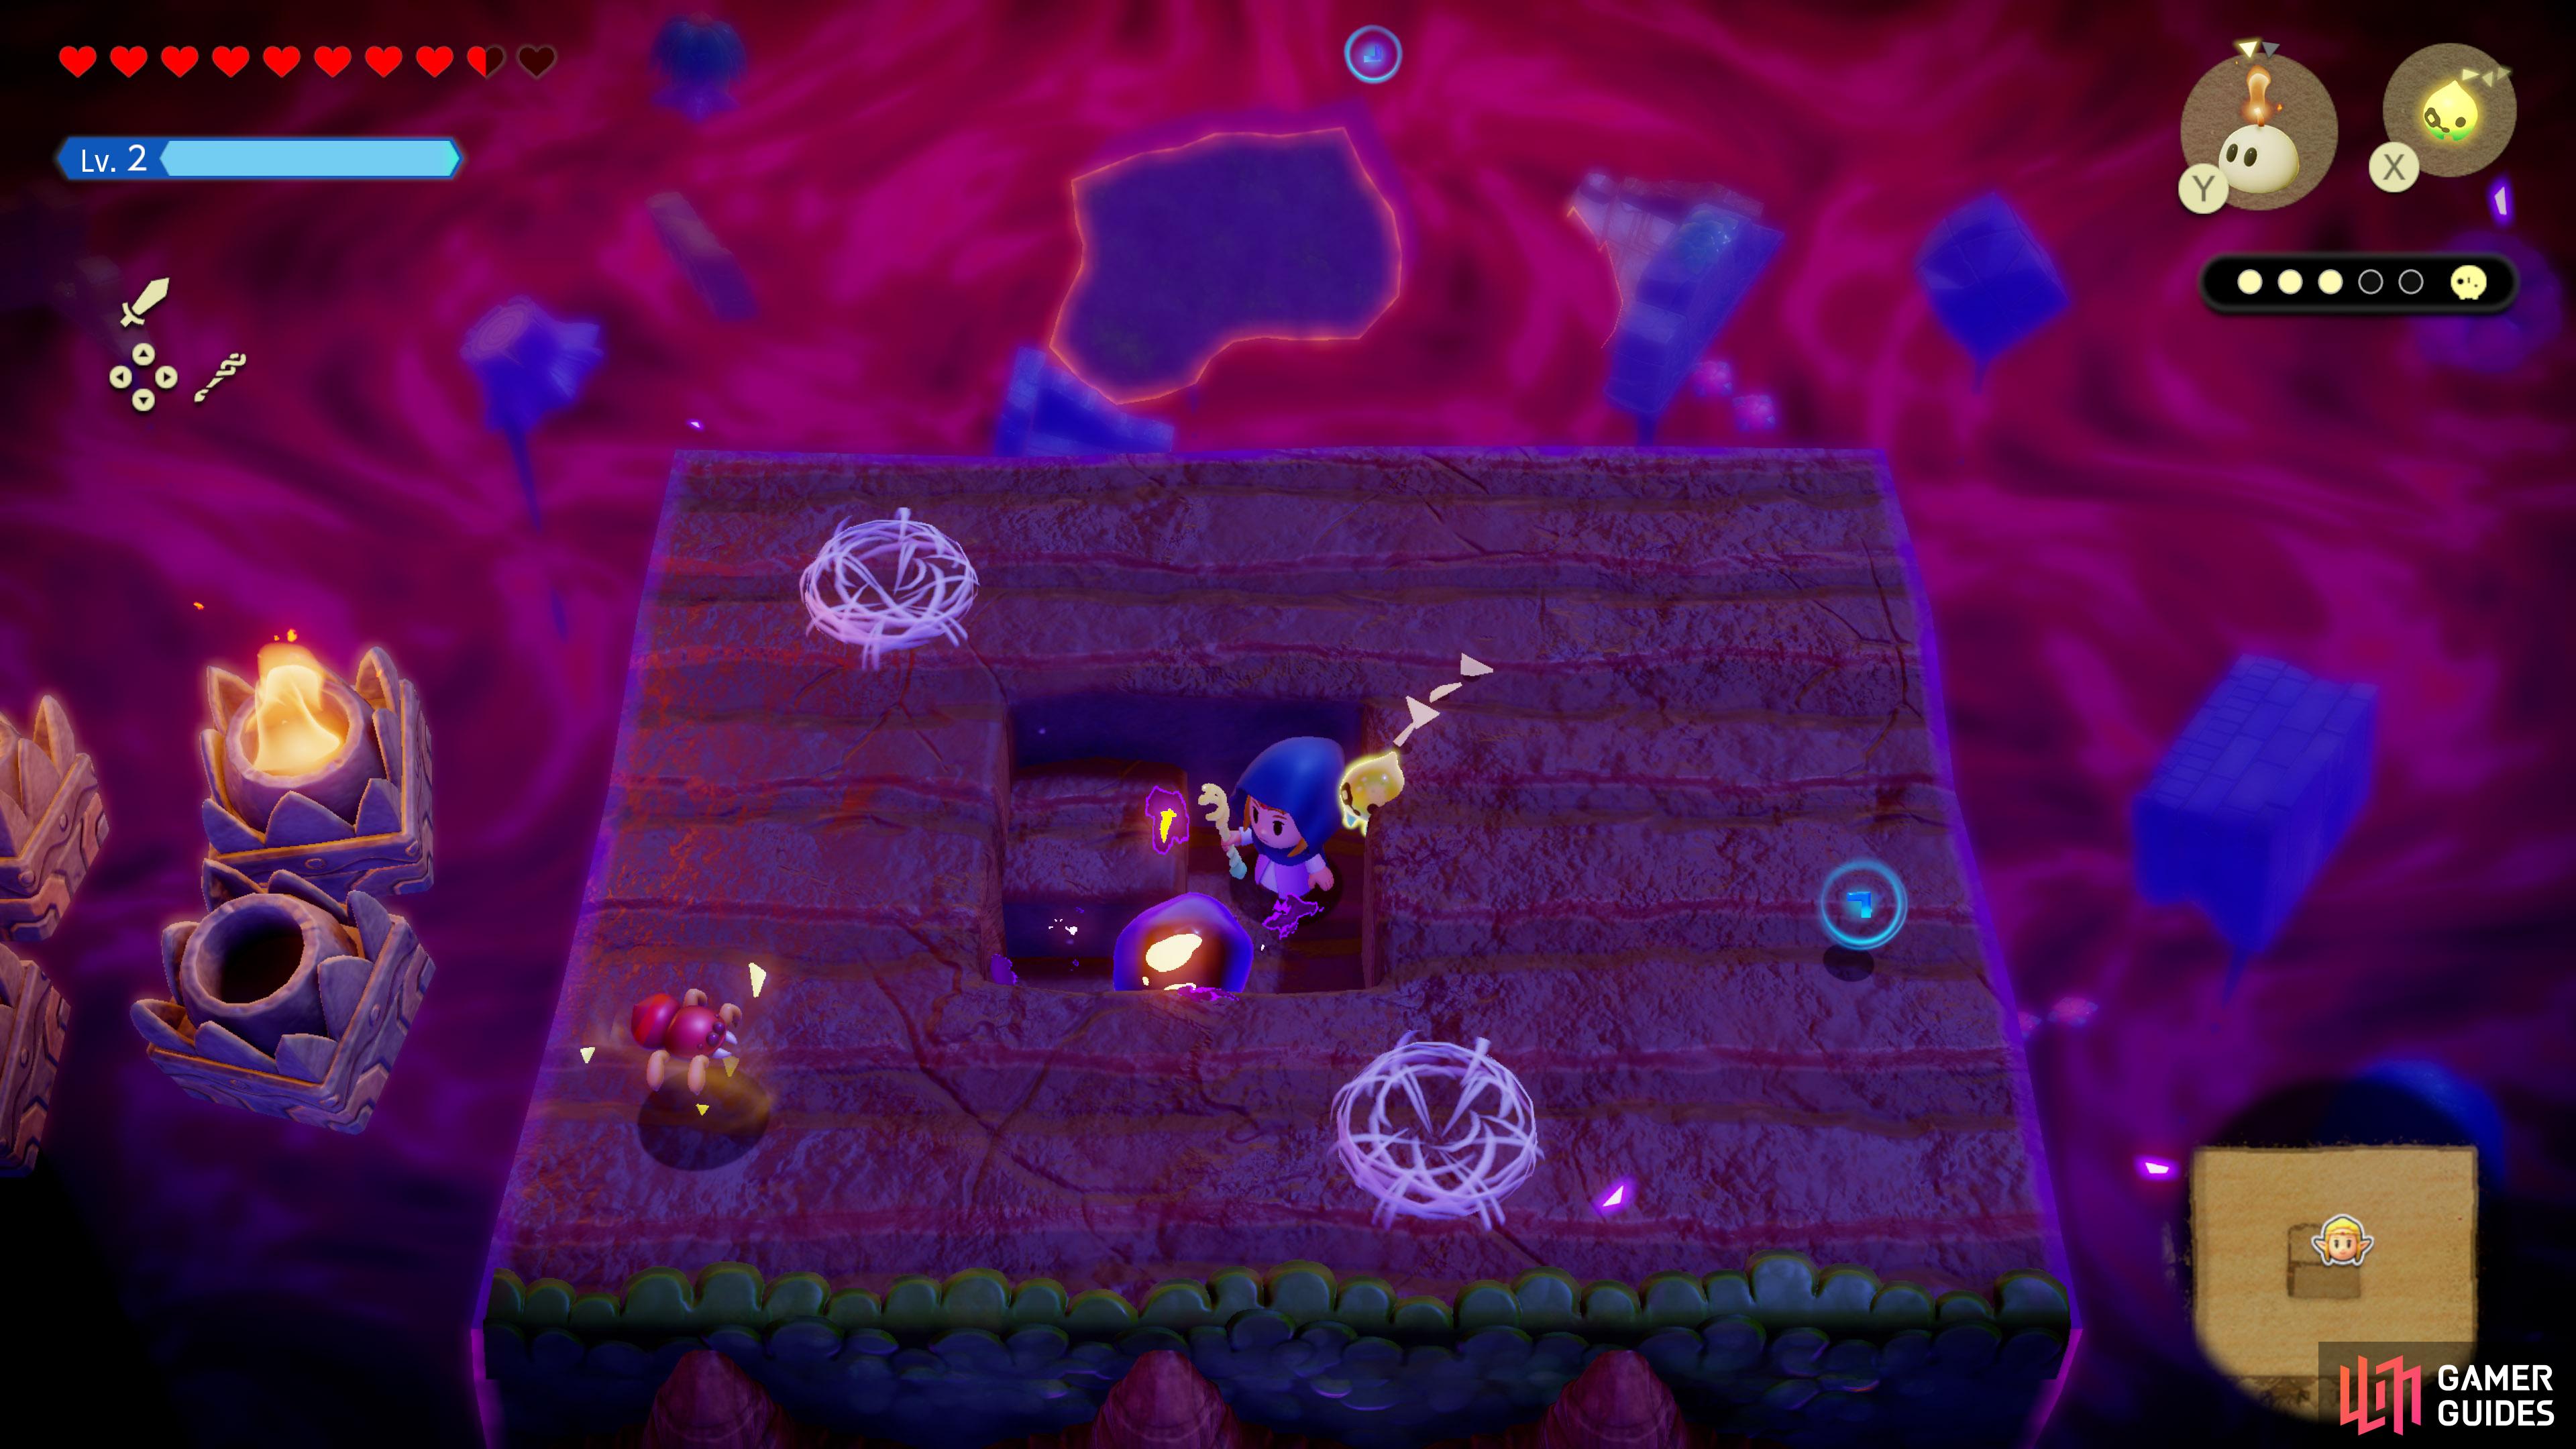
![]() Cave inside
Cave inside ![]() Stilled Goron City, accessible via the top of the Goron statue.
Stilled Goron City, accessible via the top of the Goron statue.
23. Still World Map
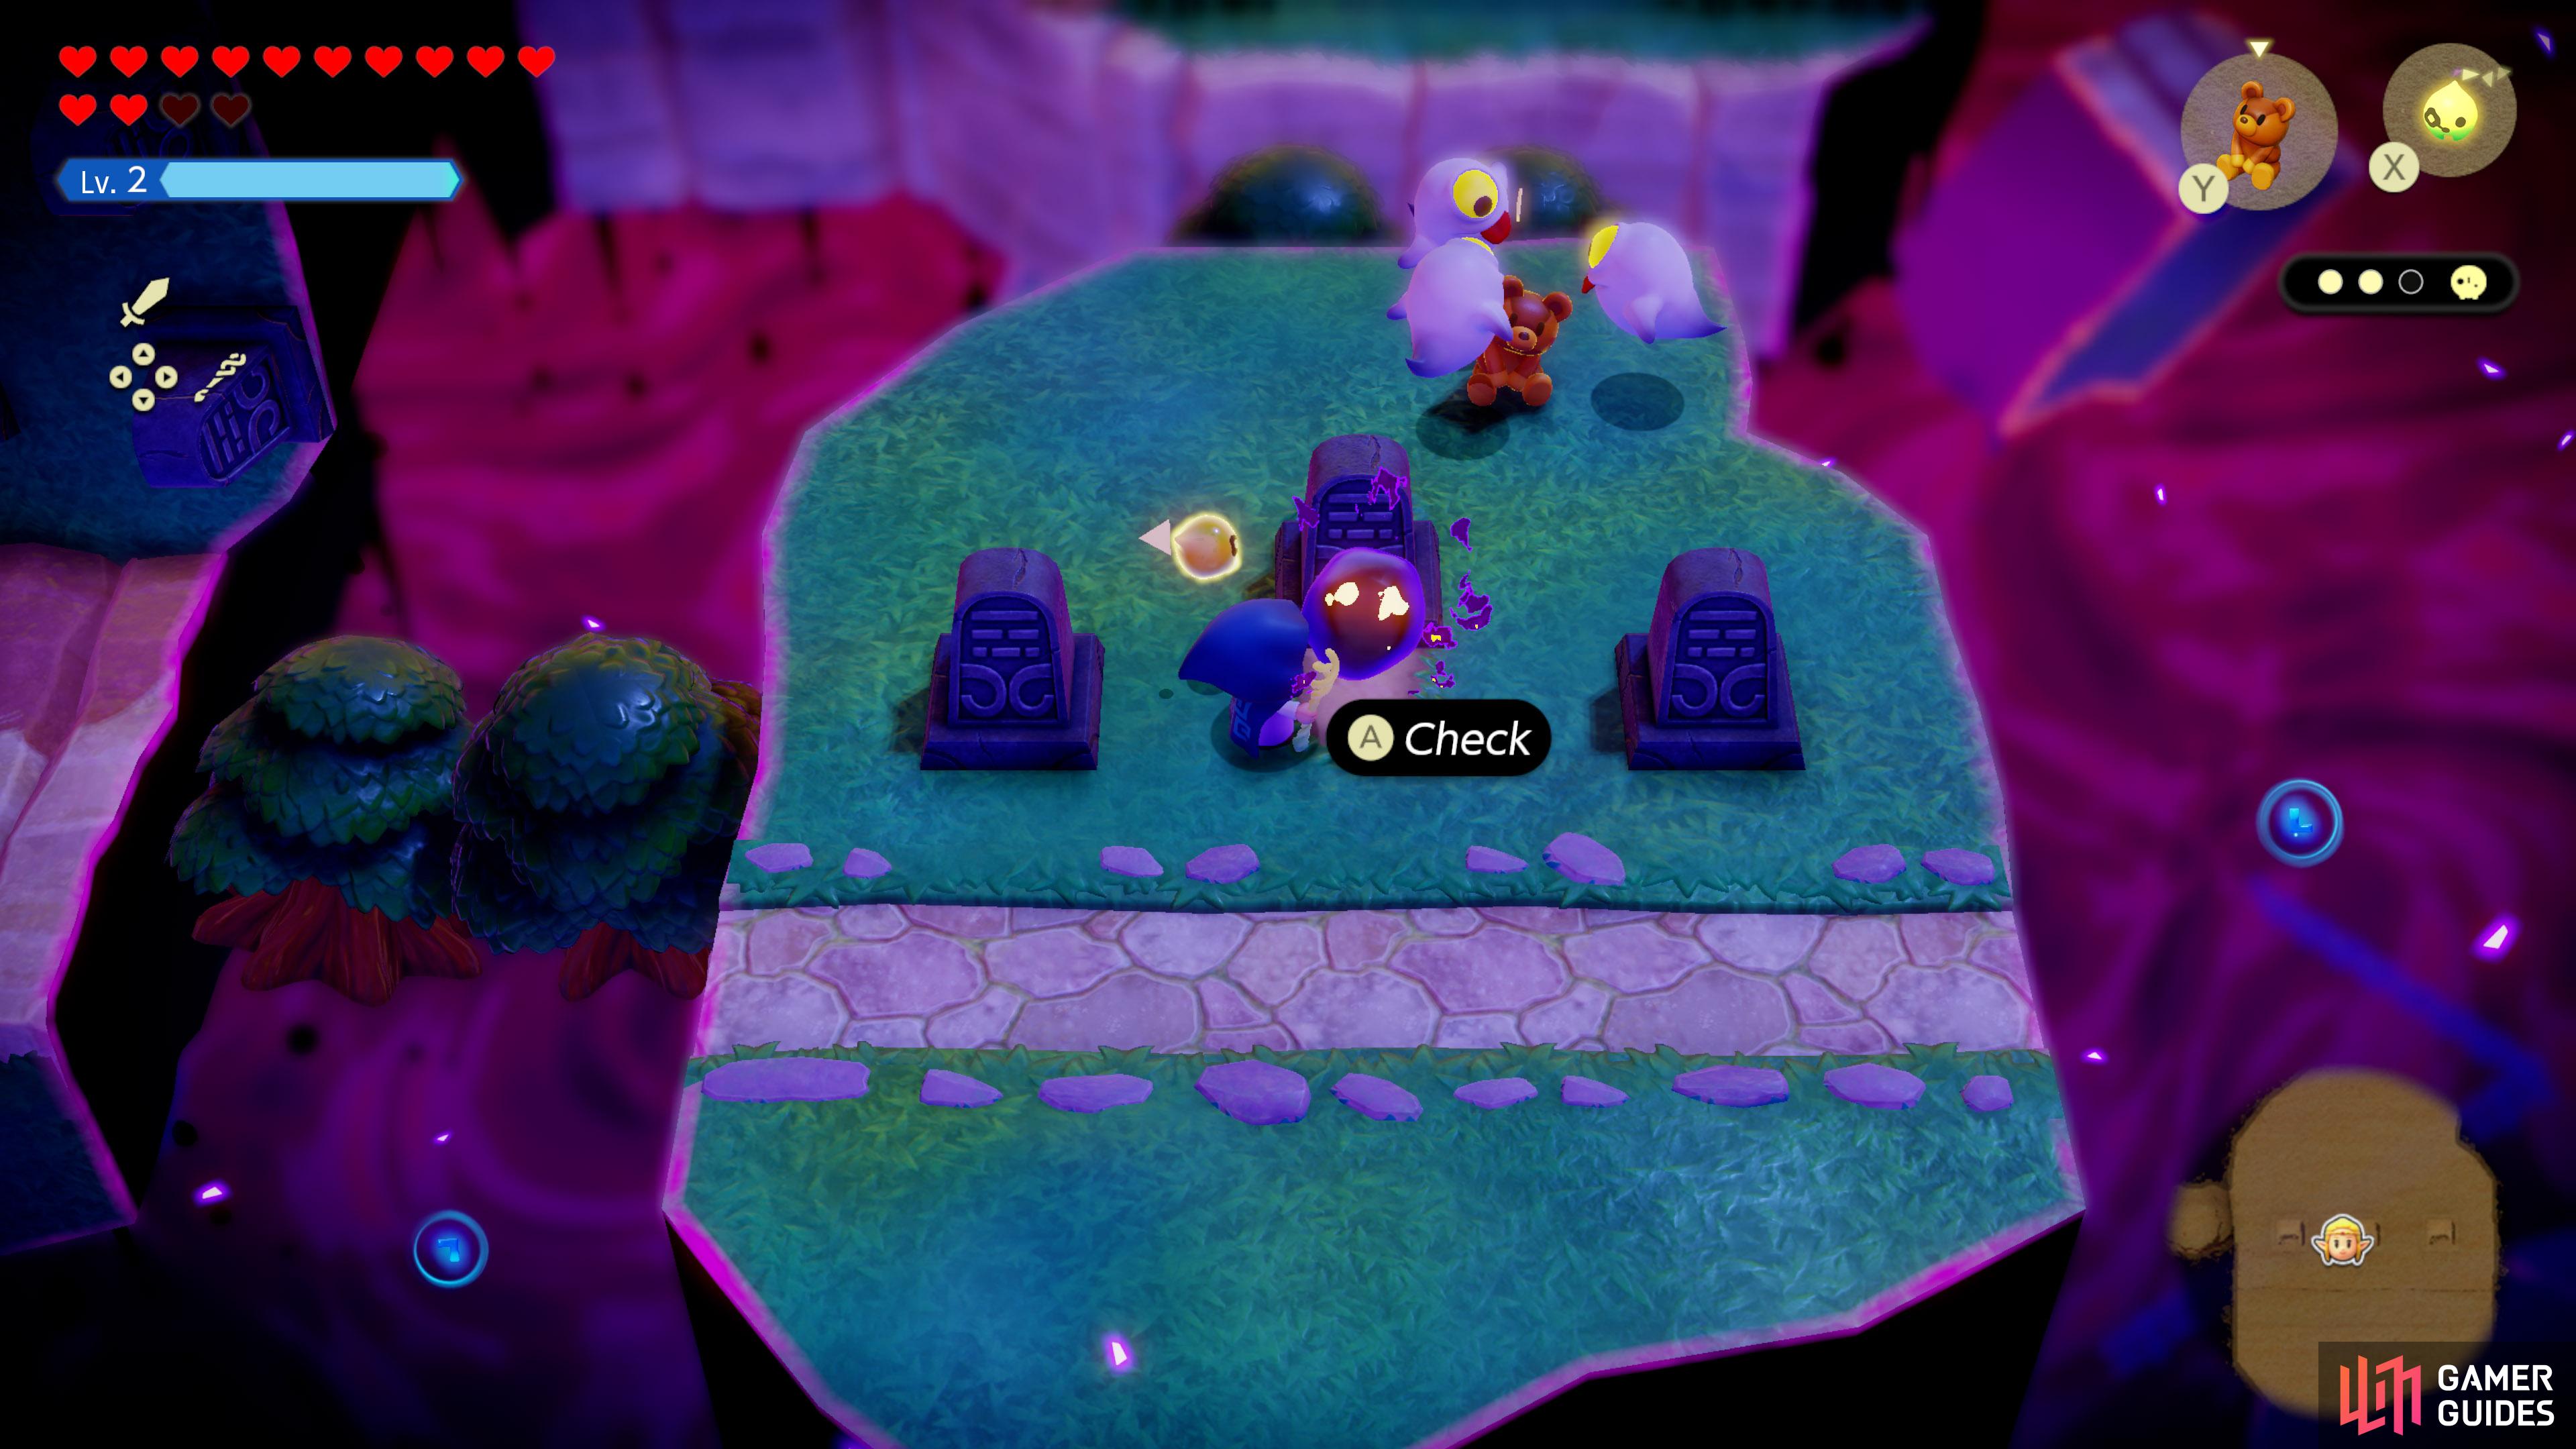
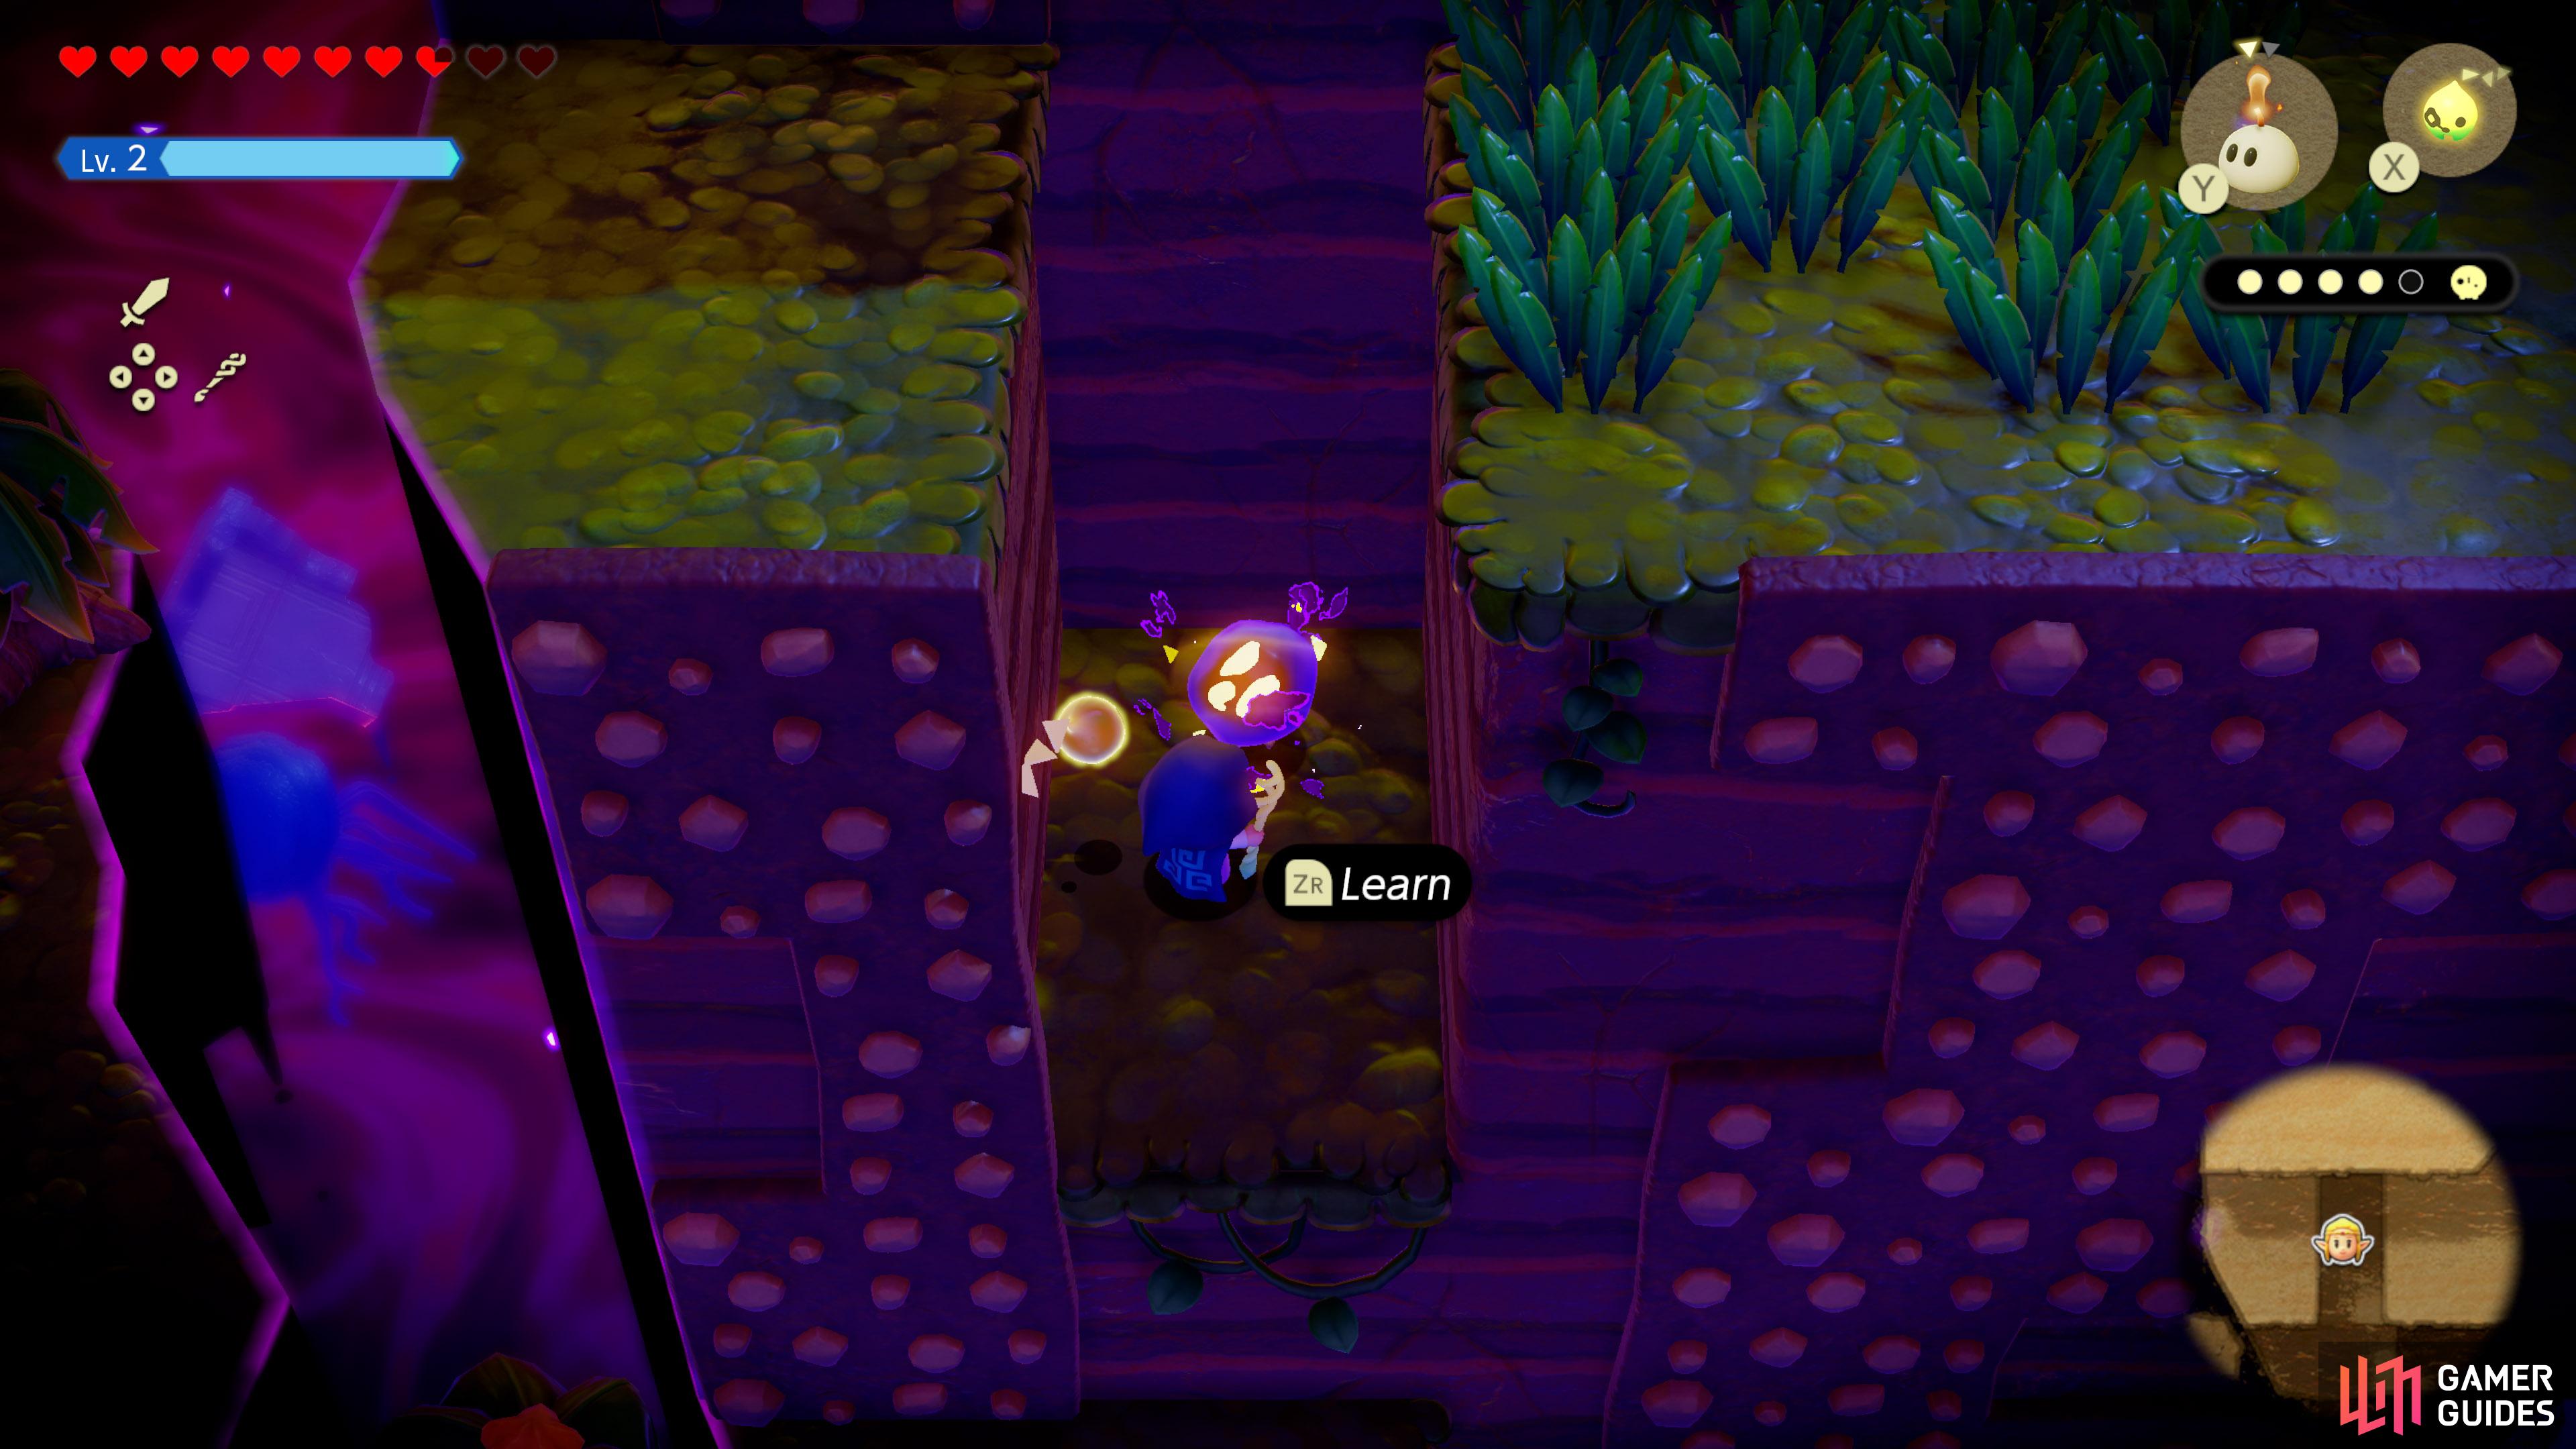
![]() Stilled Carrot Patch, inside the basement. Defeat the shadow
Stilled Carrot Patch, inside the basement. Defeat the shadow ![]() Spear Moblin to release it.
Spear Moblin to release it.
24. Still World Map
![]() Stilled Carrot Patch, towards the north-west. Behind some giant rocks.
Stilled Carrot Patch, towards the north-west. Behind some giant rocks.

25. Still World Map
![]() Stilled Carrot Patch, inside
Stilled Carrot Patch, inside ![]() Cave accessible via ladder north from the entrance.
Cave accessible via ladder north from the entrance.


29. Still World Map
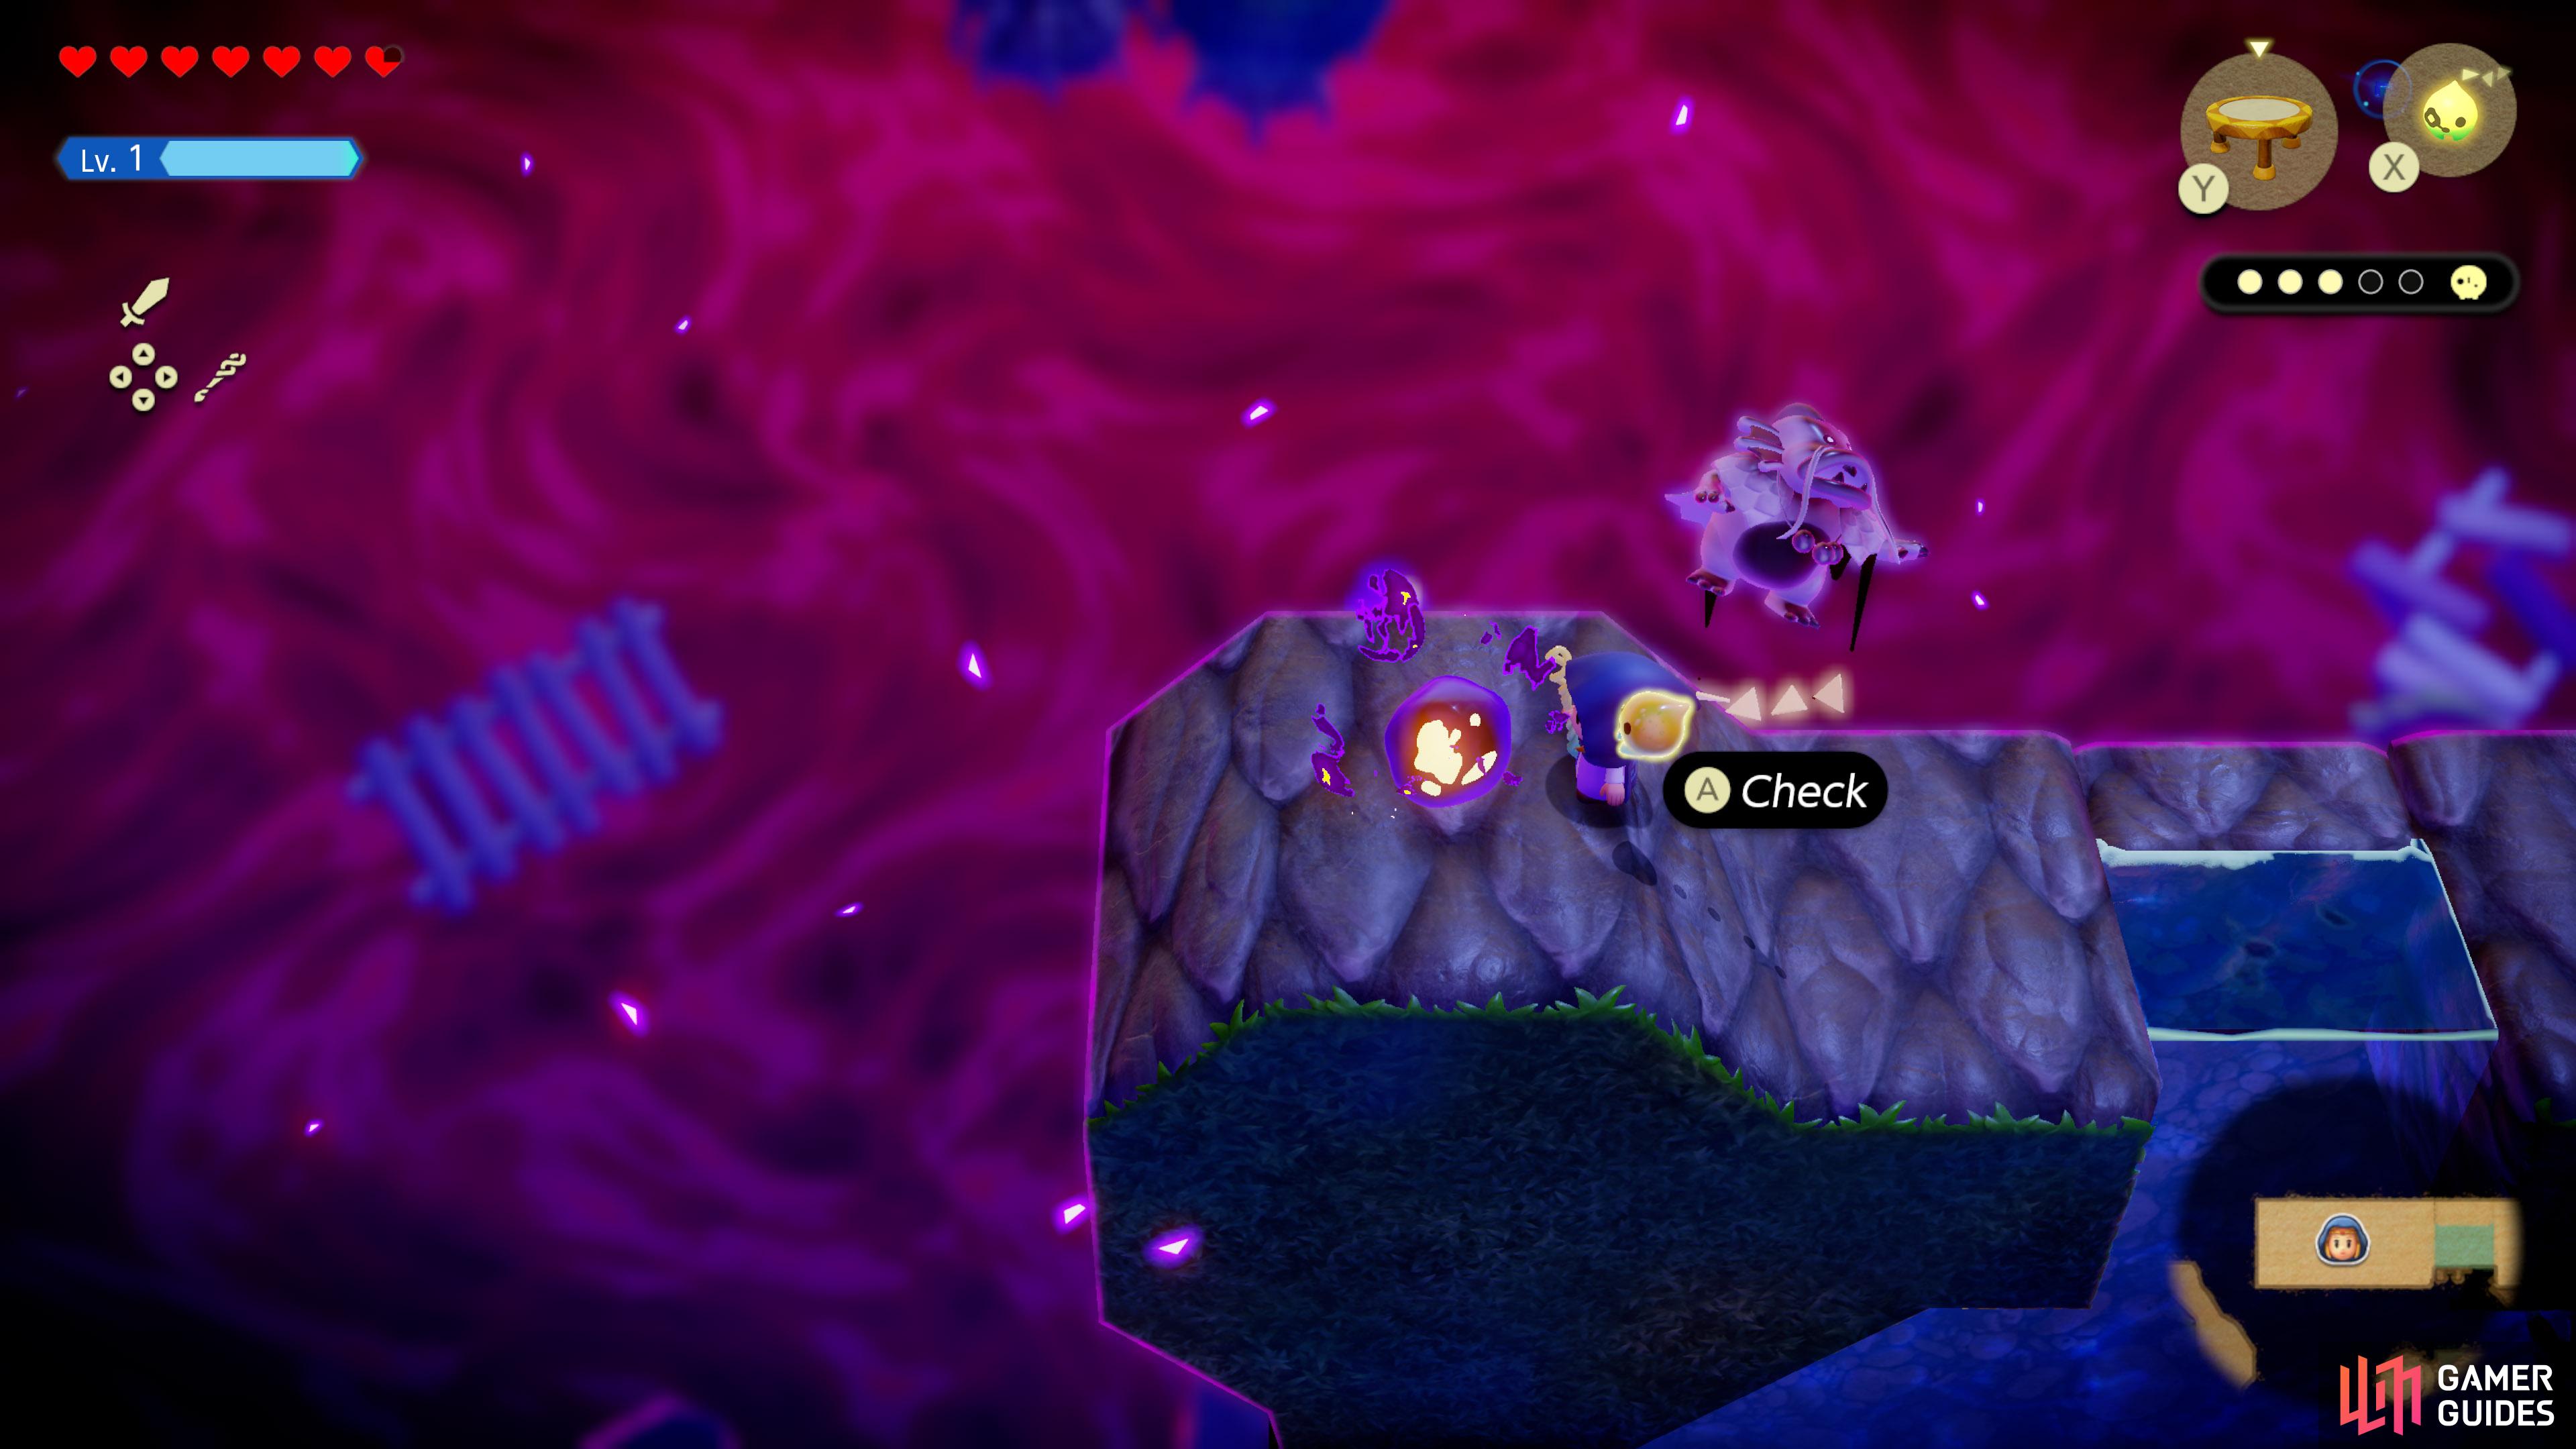
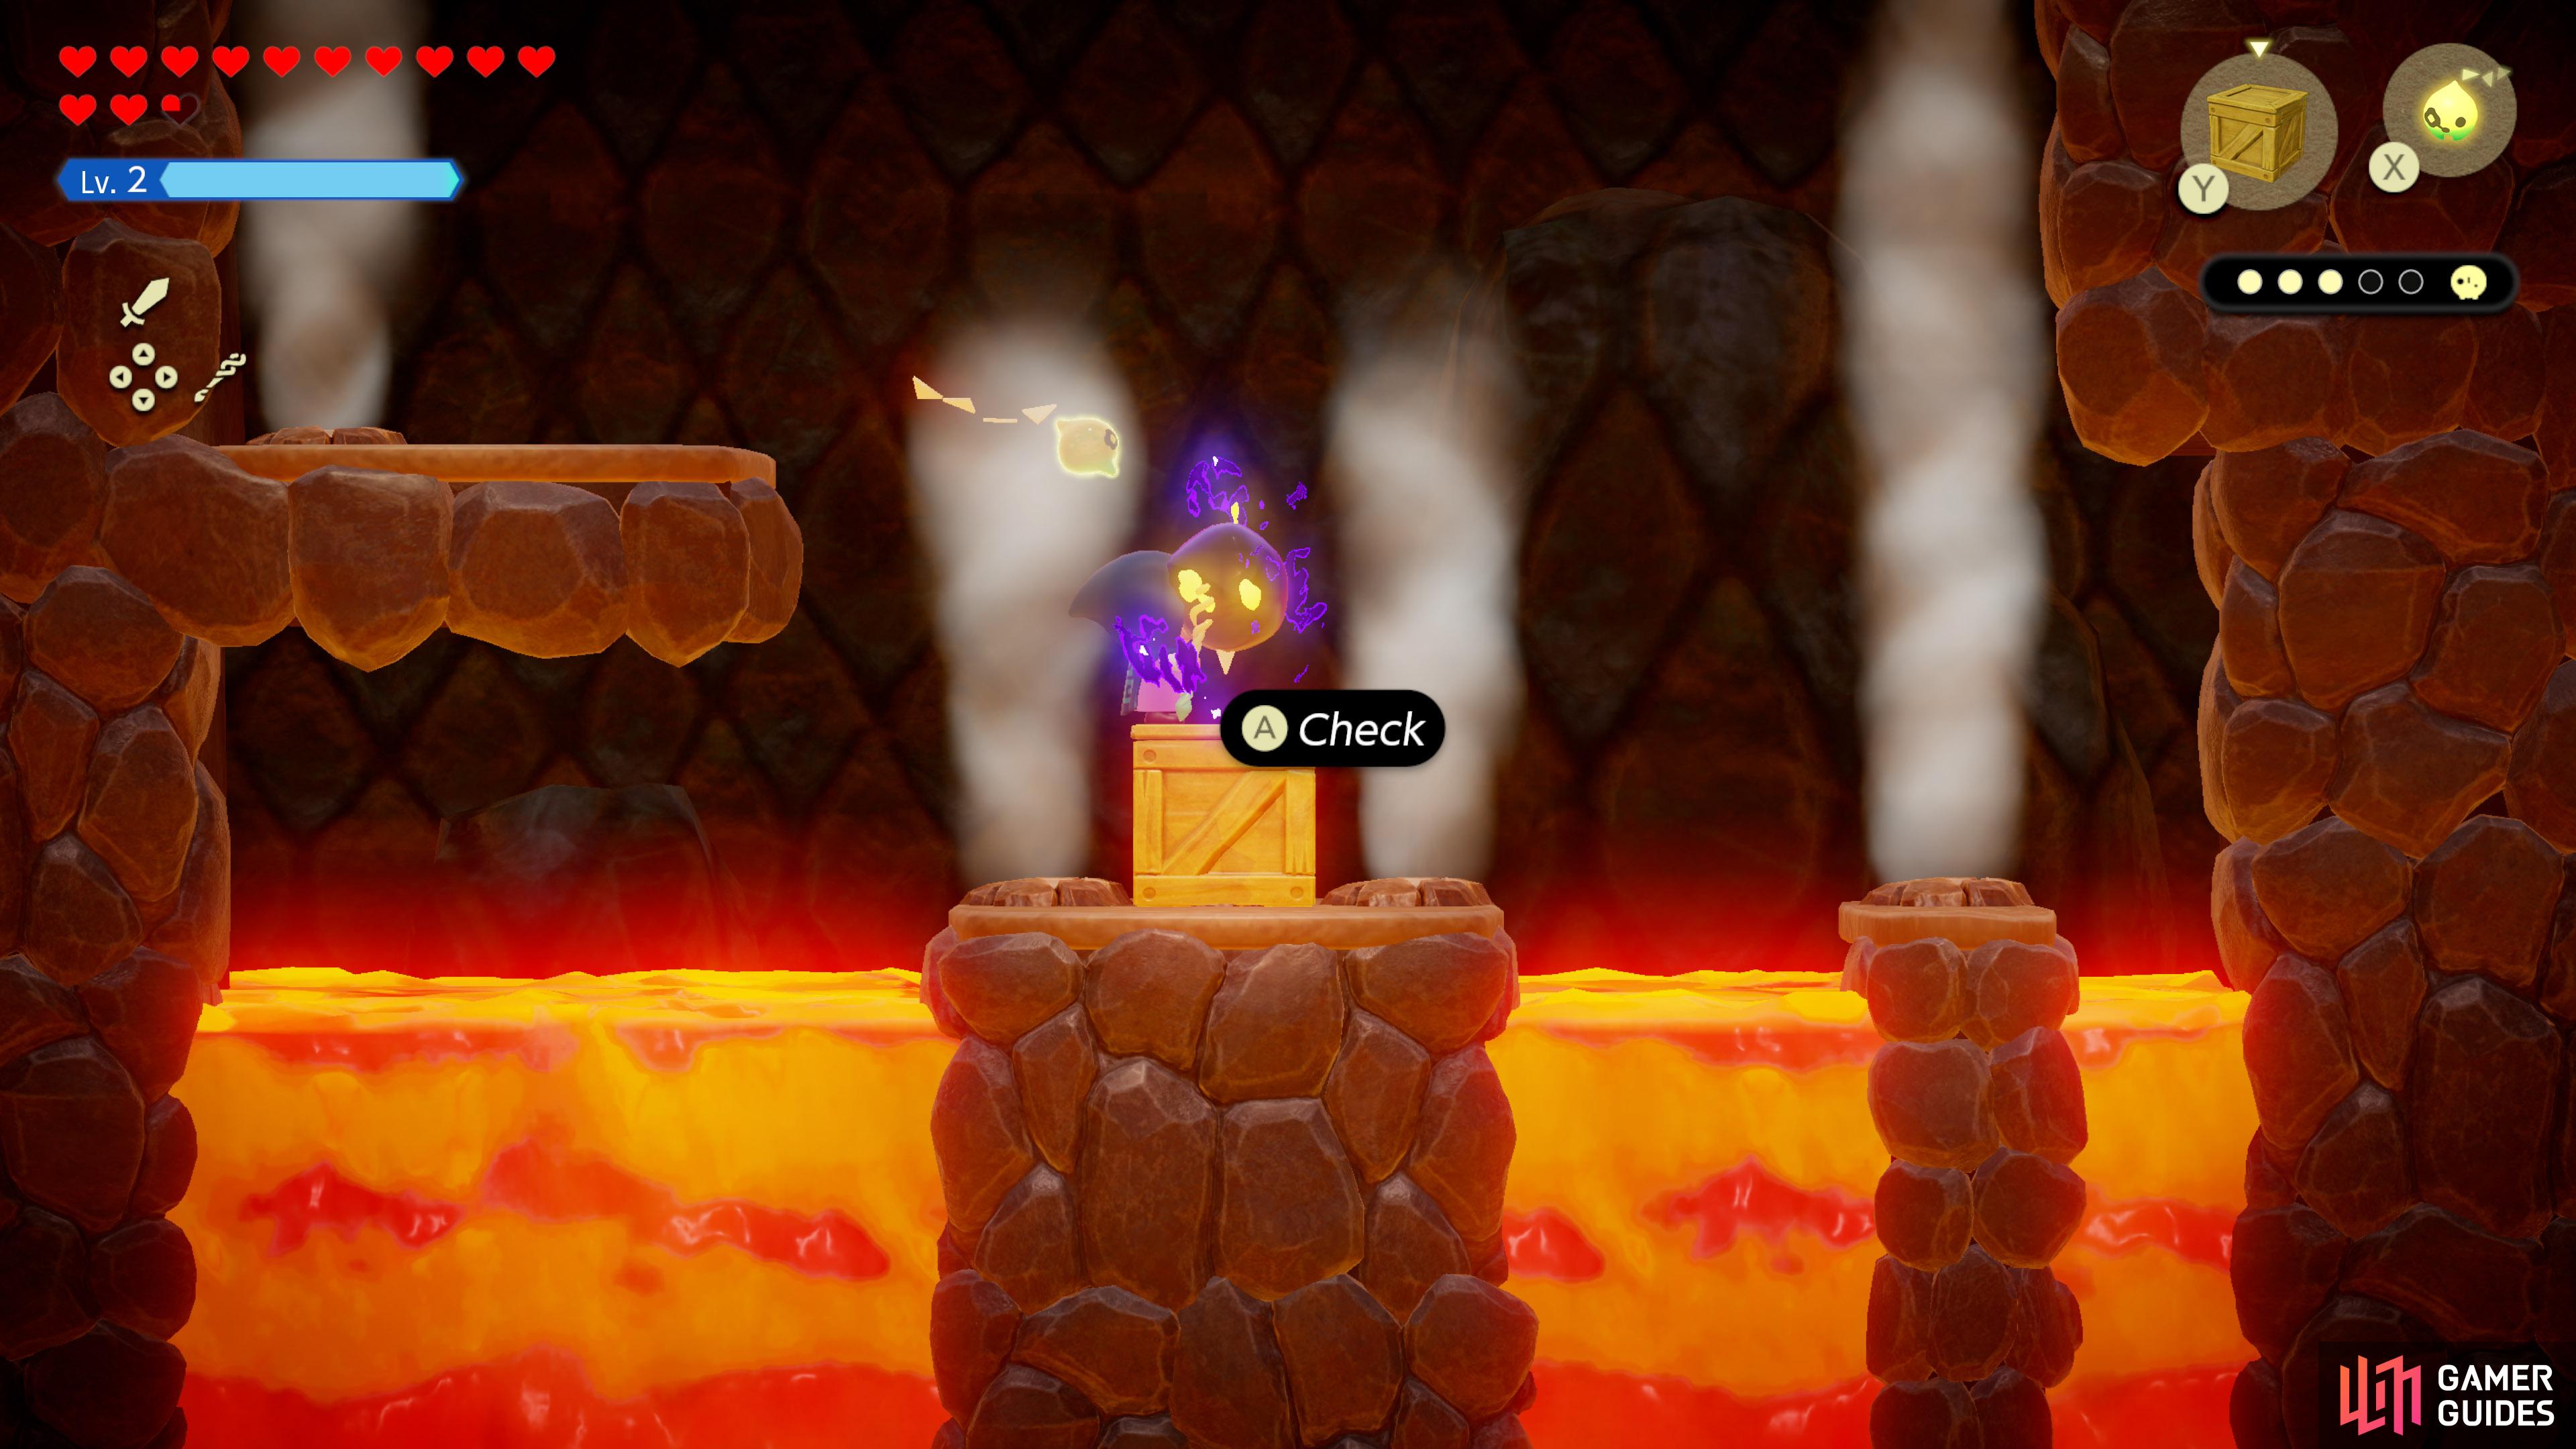
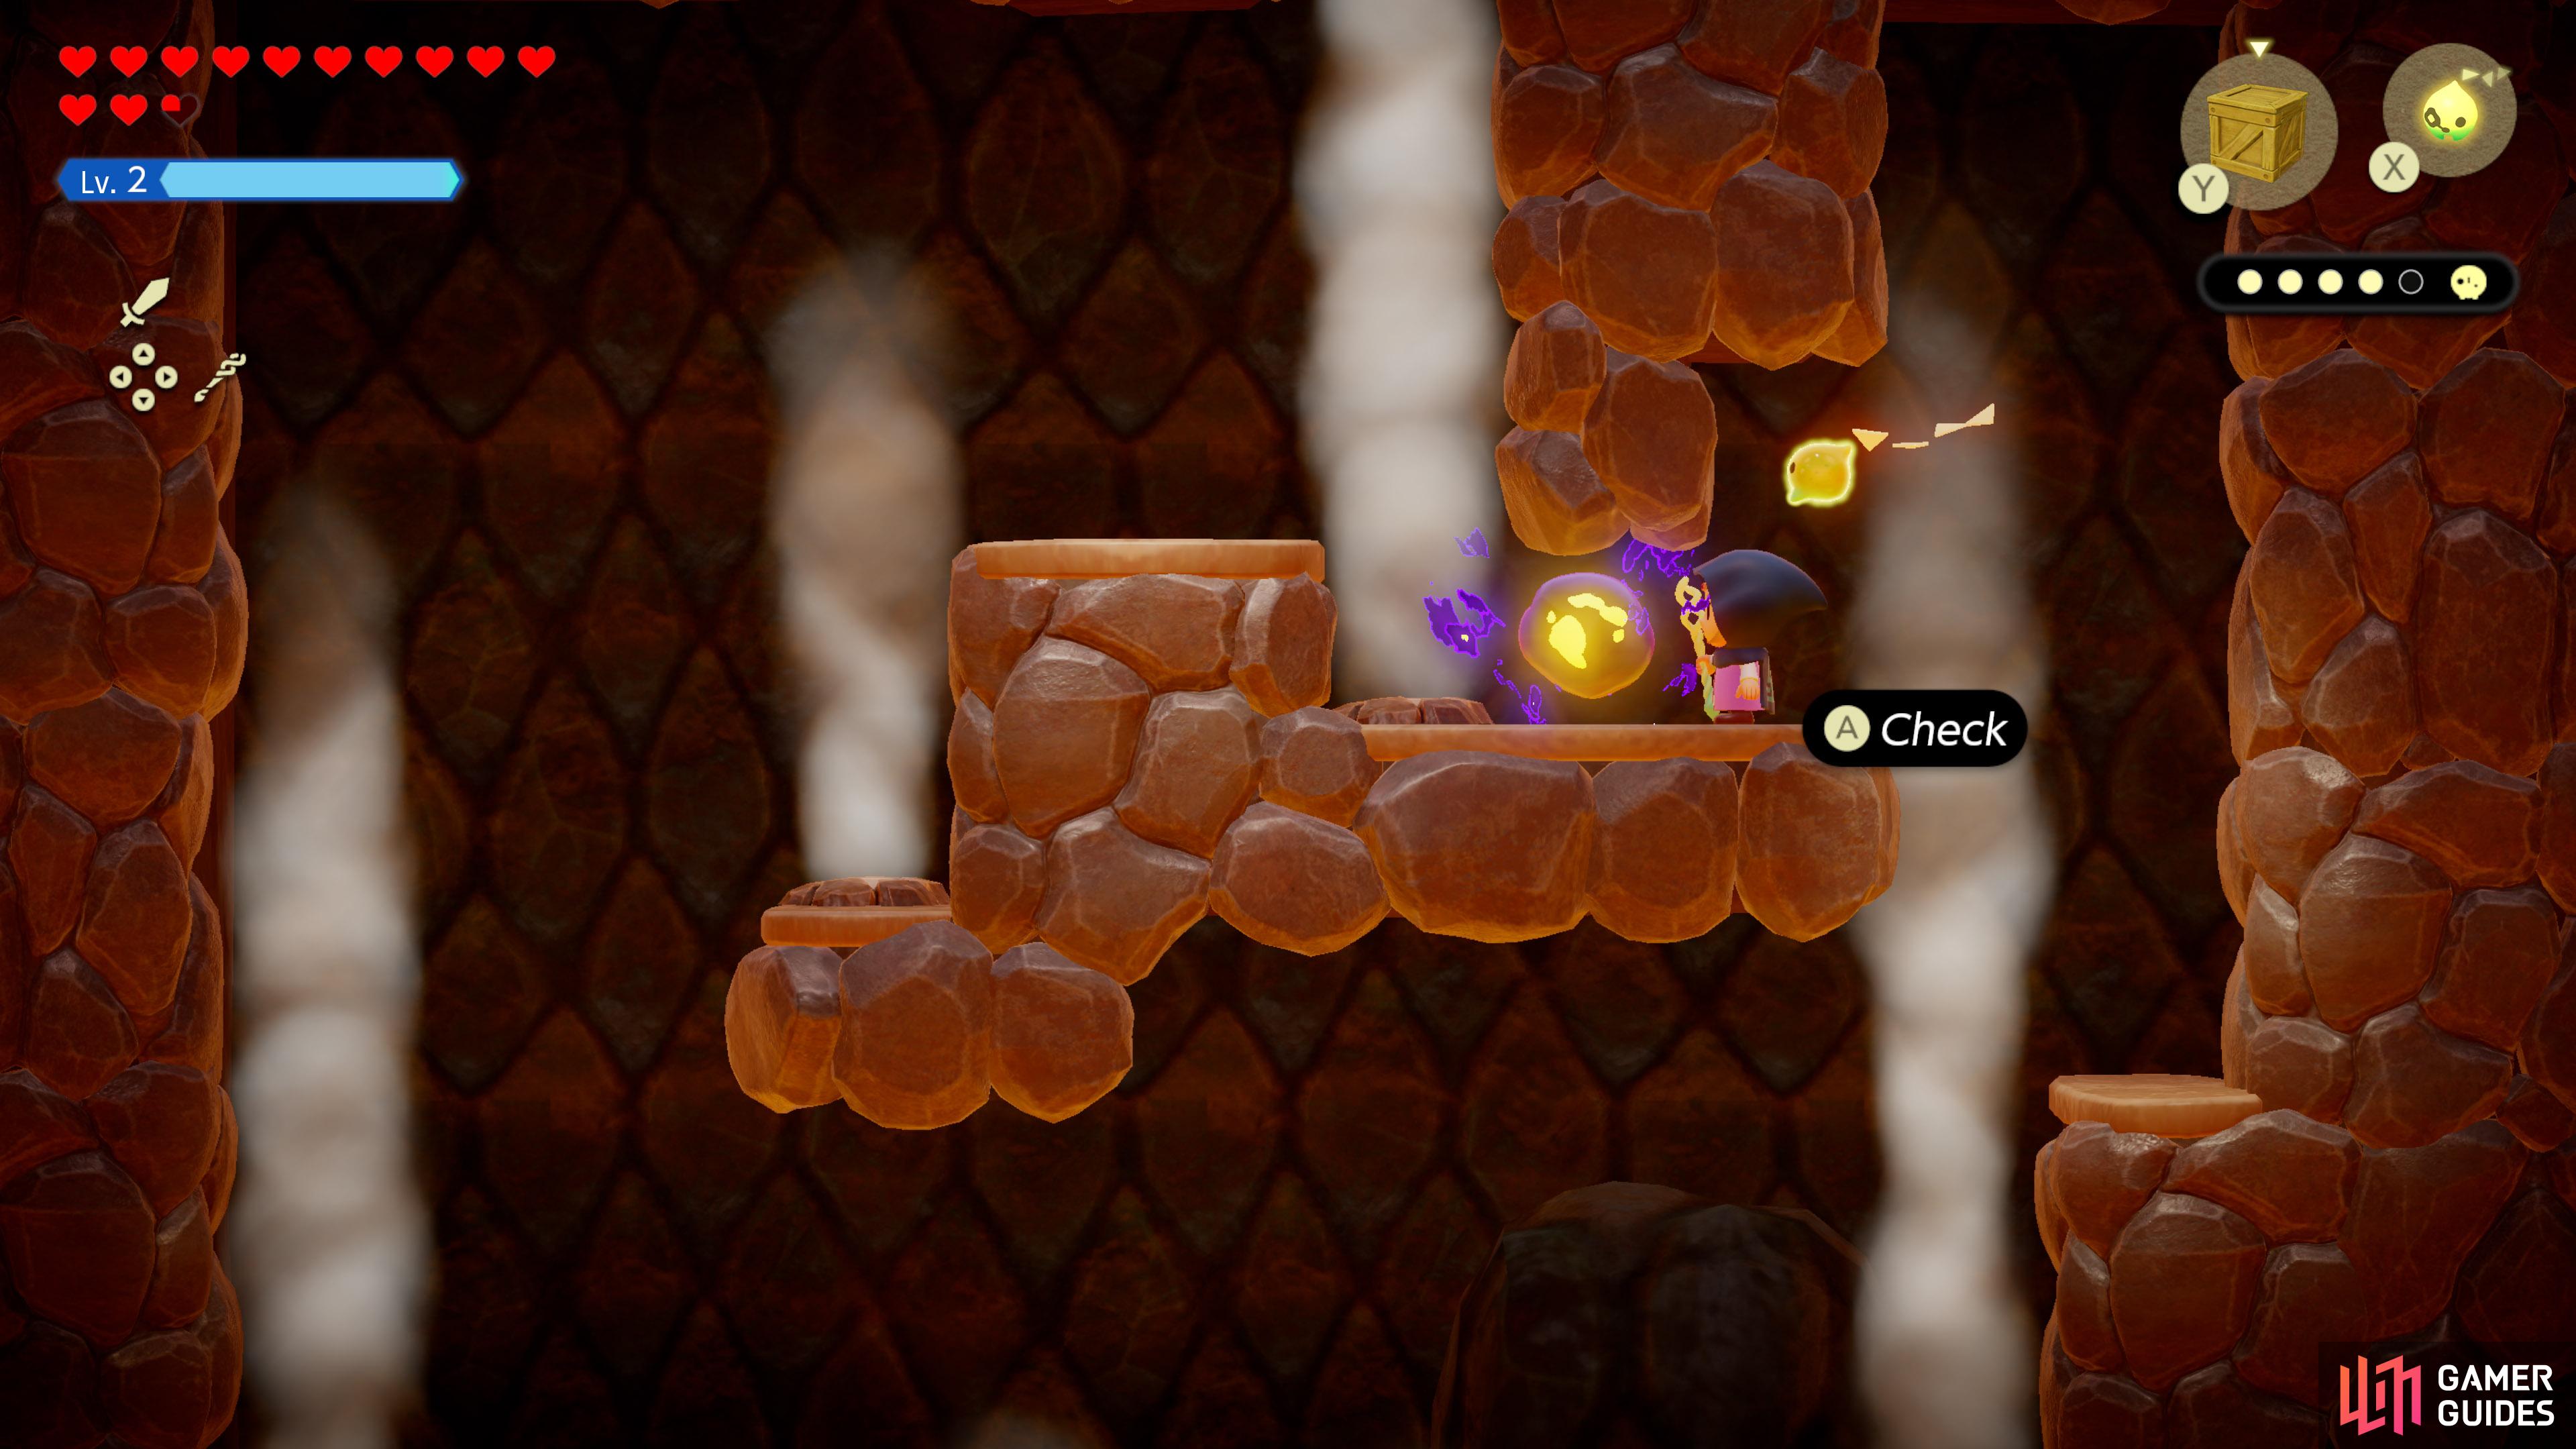
![]() Stilled Western Eldin Volcano, inside
Stilled Western Eldin Volcano, inside ![]() Cave towards the north. Defeat the shadow
Cave towards the north. Defeat the shadow ![]() Spear Moblin to release it.
Spear Moblin to release it.
30. Still World Map
![]() Stilled Western Eldin Volcano, inside
Stilled Western Eldin Volcano, inside ![]() Cave towards the north. At the bottom of the cave.
Cave towards the north. At the bottom of the cave.

32. Still World Map
![]() Stilled Northern Gerudo Desert, inside
Stilled Northern Gerudo Desert, inside ![]() Cave near the entrance. Defeat the shadow Redead to release it.
Cave near the entrance. Defeat the shadow Redead to release it.

33. Still World Map
![]() Stilled Northern Gerudo Desert, towards the north-east. Use a
Stilled Northern Gerudo Desert, towards the north-east. Use a ![]() Wind Cannon etc. to blow away the sand.
Wind Cannon etc. to blow away the sand.
34. Still World Map
![]() Stilled Northern Gerudo Desert, towards the north. Use a
Stilled Northern Gerudo Desert, towards the north. Use a ![]() Flying Tile from the east or west.
Flying Tile from the east or west.
35. Still World Map
![]() Stilled Northern Gerudo Desert, towards the north-west. Defeat the shadow
Stilled Northern Gerudo Desert, towards the north-west. Defeat the shadow ![]() Club Boarblin to release it.
Club Boarblin to release it.
36. Still World Map
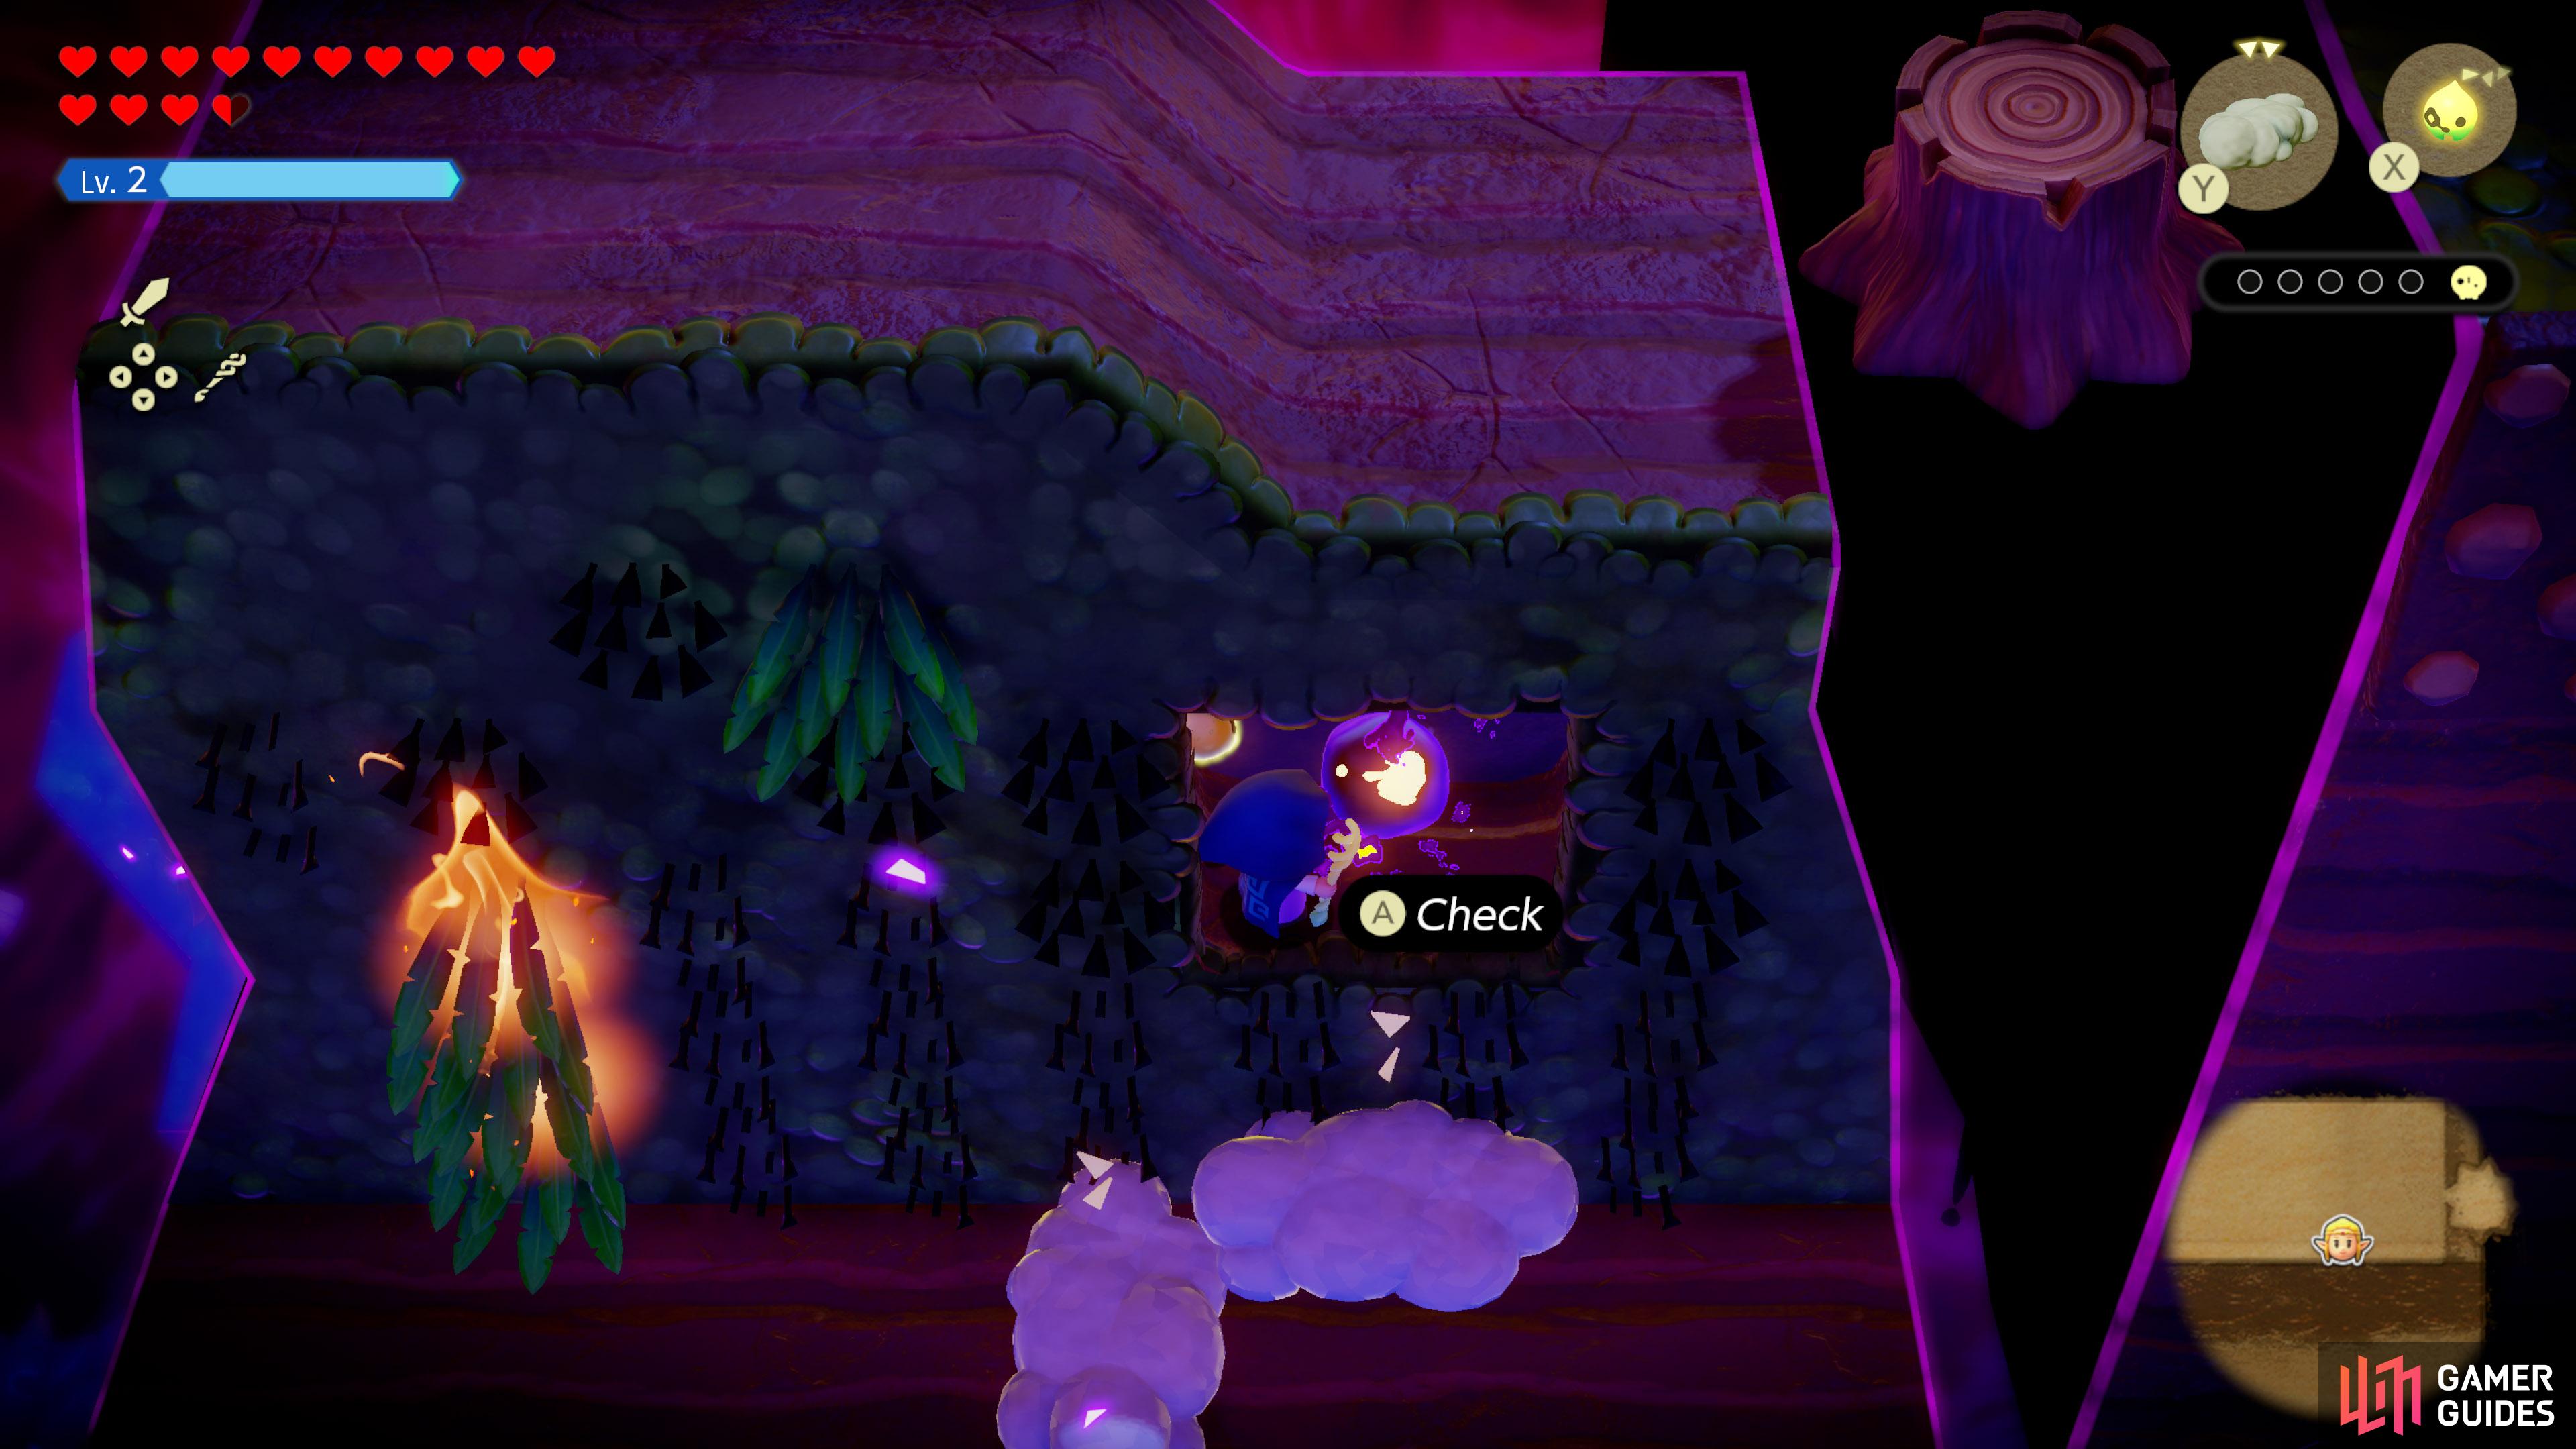
![]() Stilled Heart Lake, in an alcove towards the north, behind a spiderweb. Burn it with fire.
Stilled Heart Lake, in an alcove towards the north, behind a spiderweb. Burn it with fire.
38. Still World Map
![]() Stilled Heart Lake, towards the north-east, in an alcove on the wall, behind a spiderweb.
Stilled Heart Lake, towards the north-east, in an alcove on the wall, behind a spiderweb.

39. Still World Map
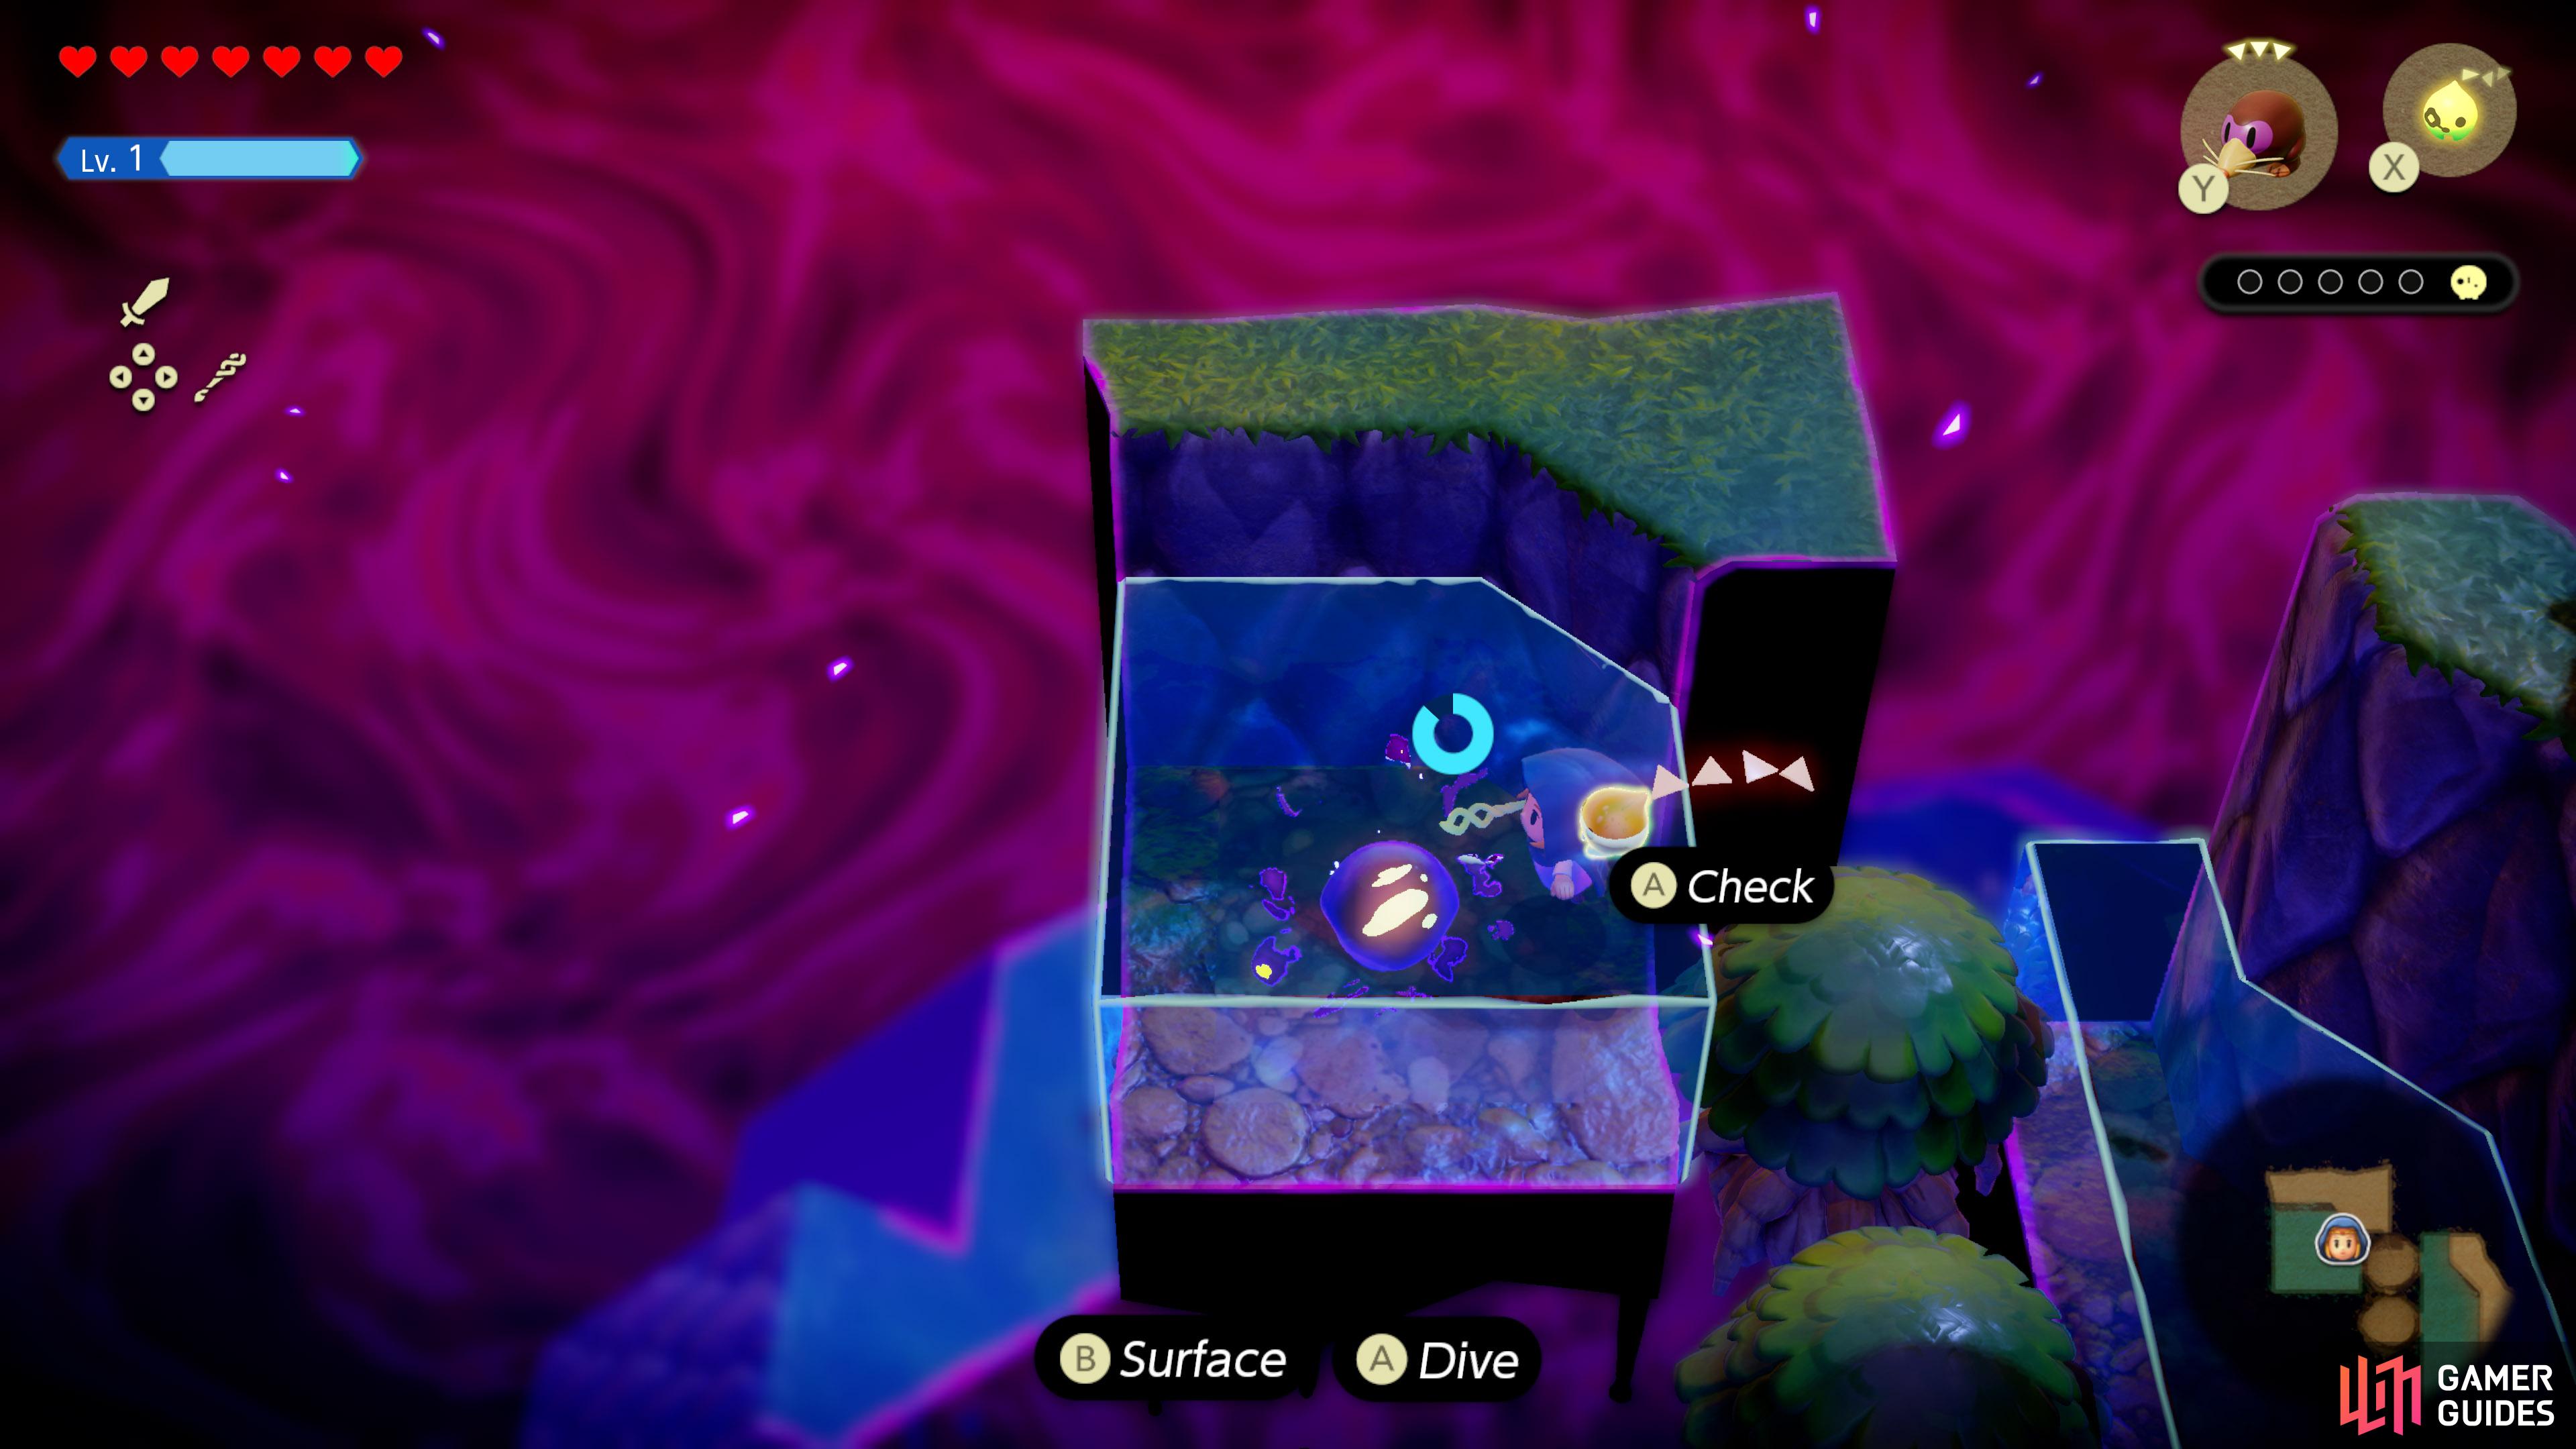
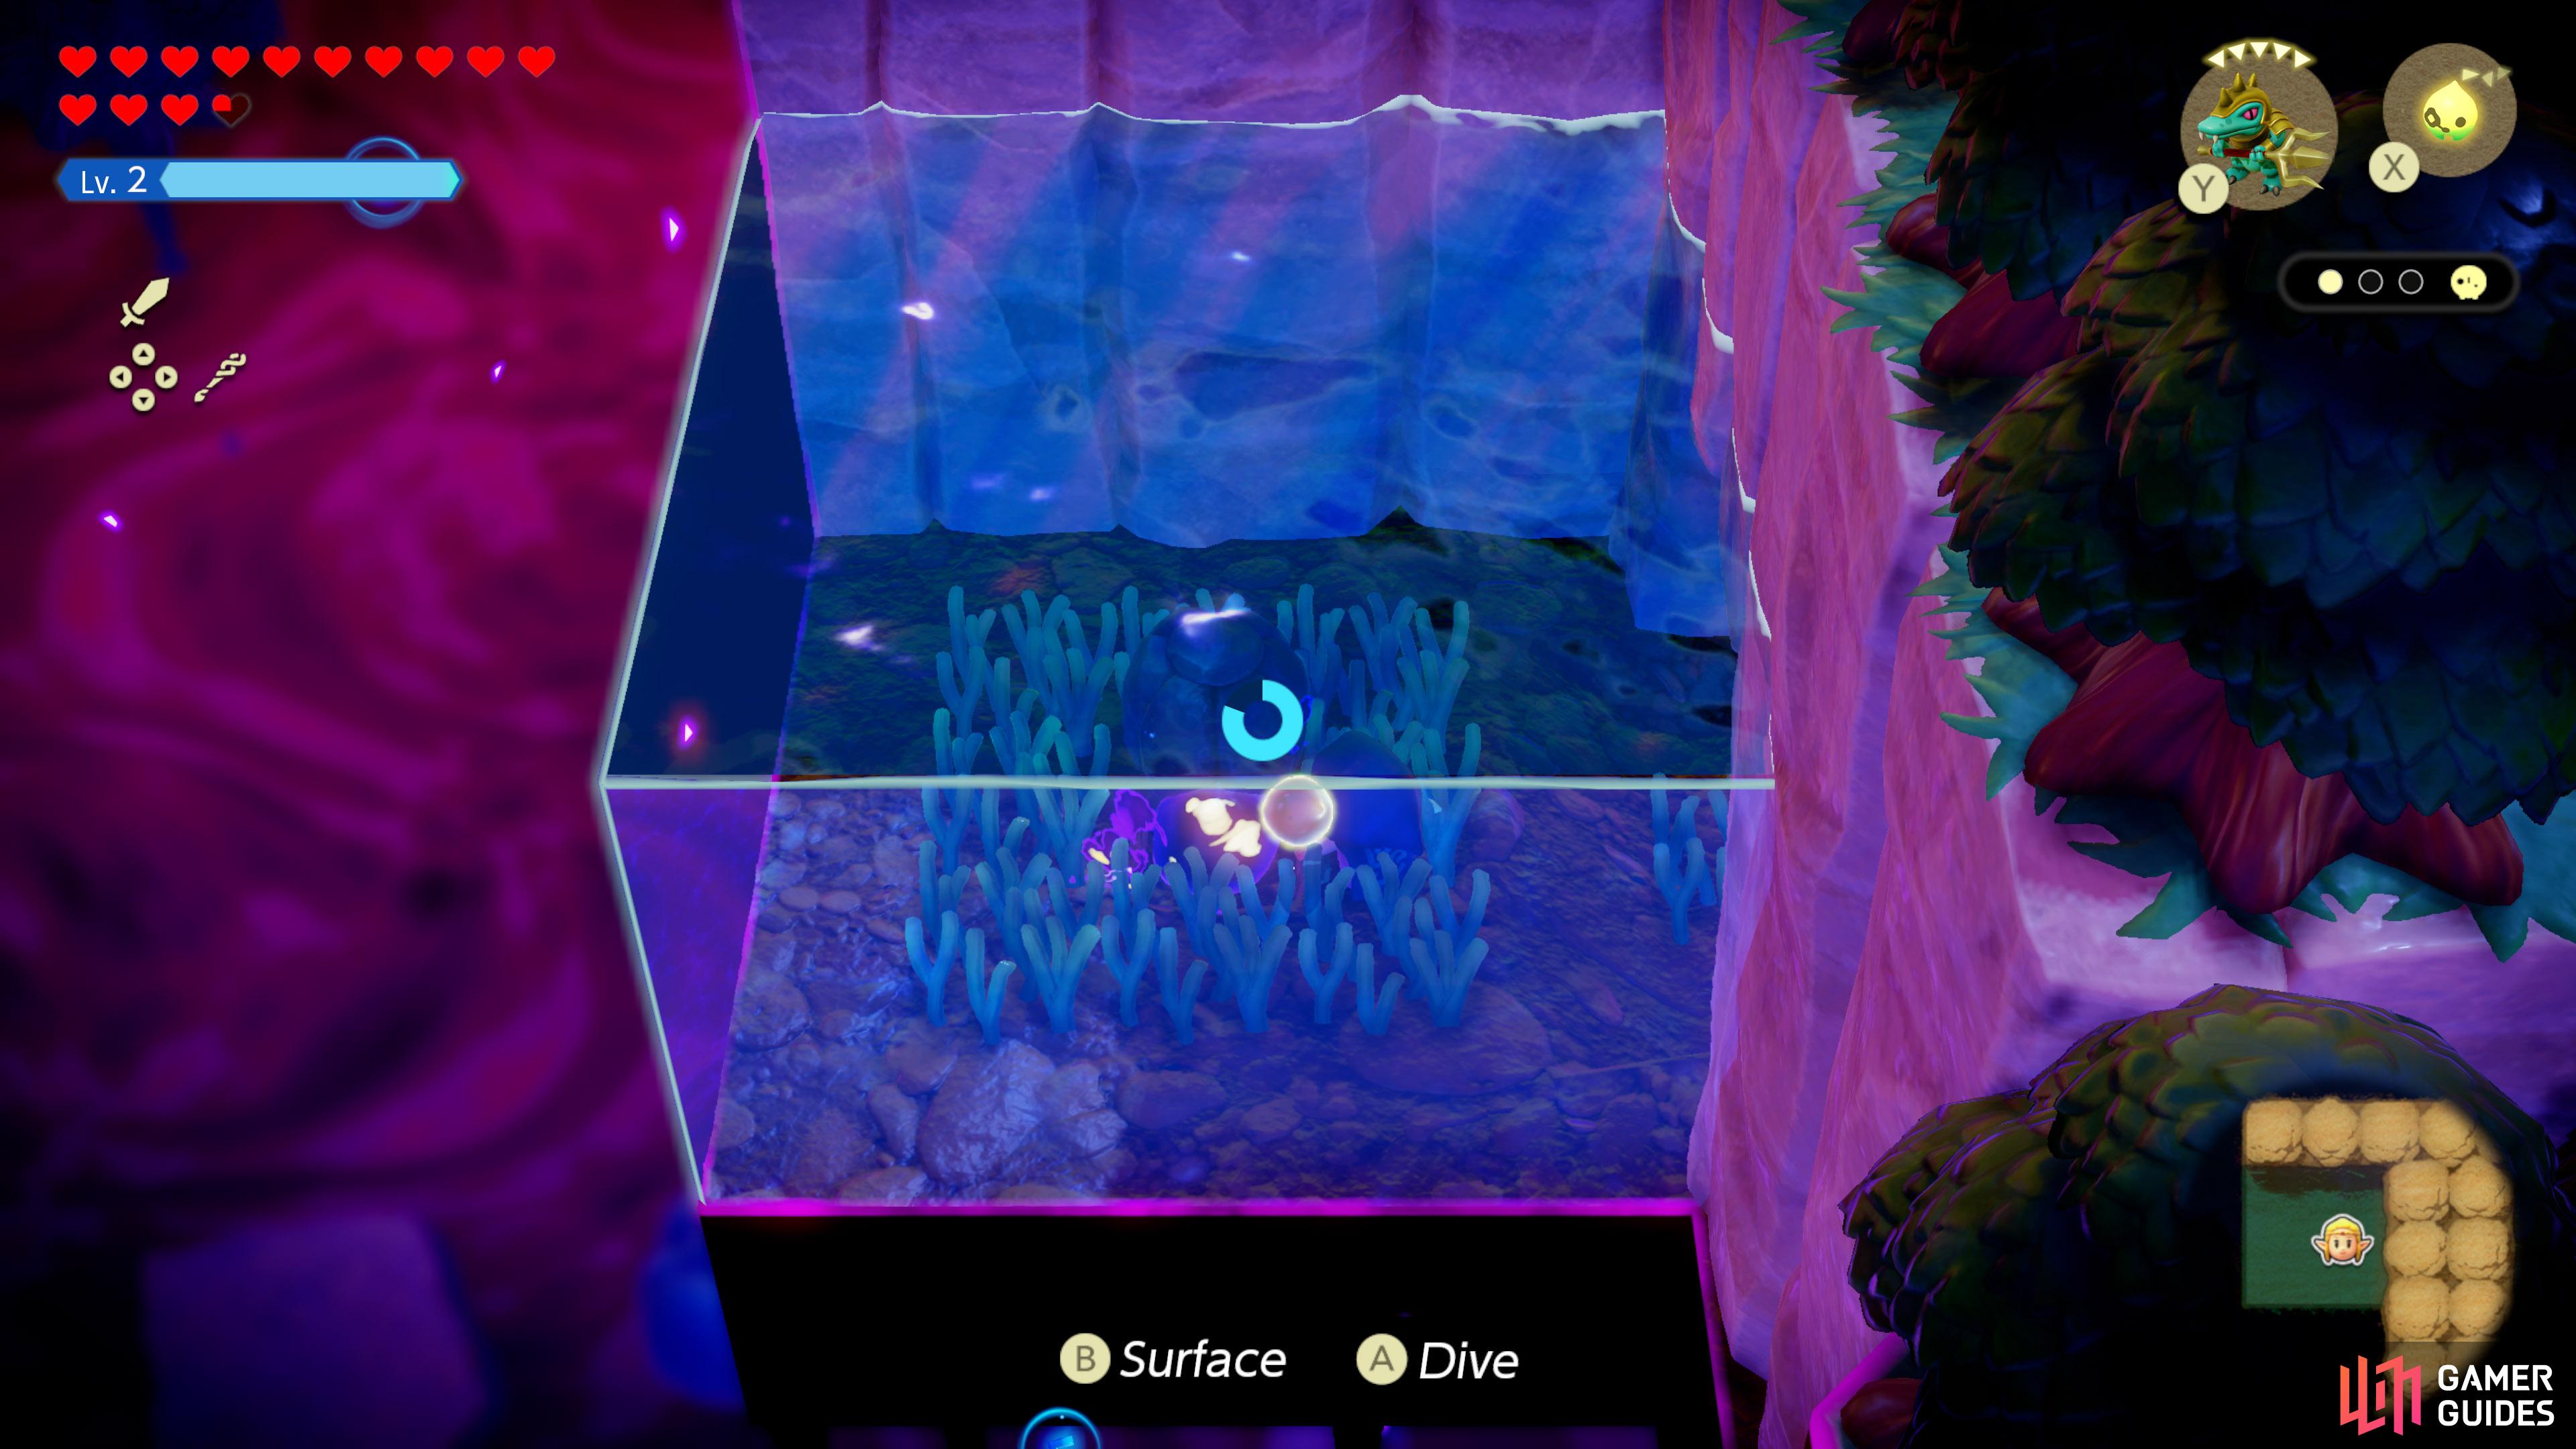
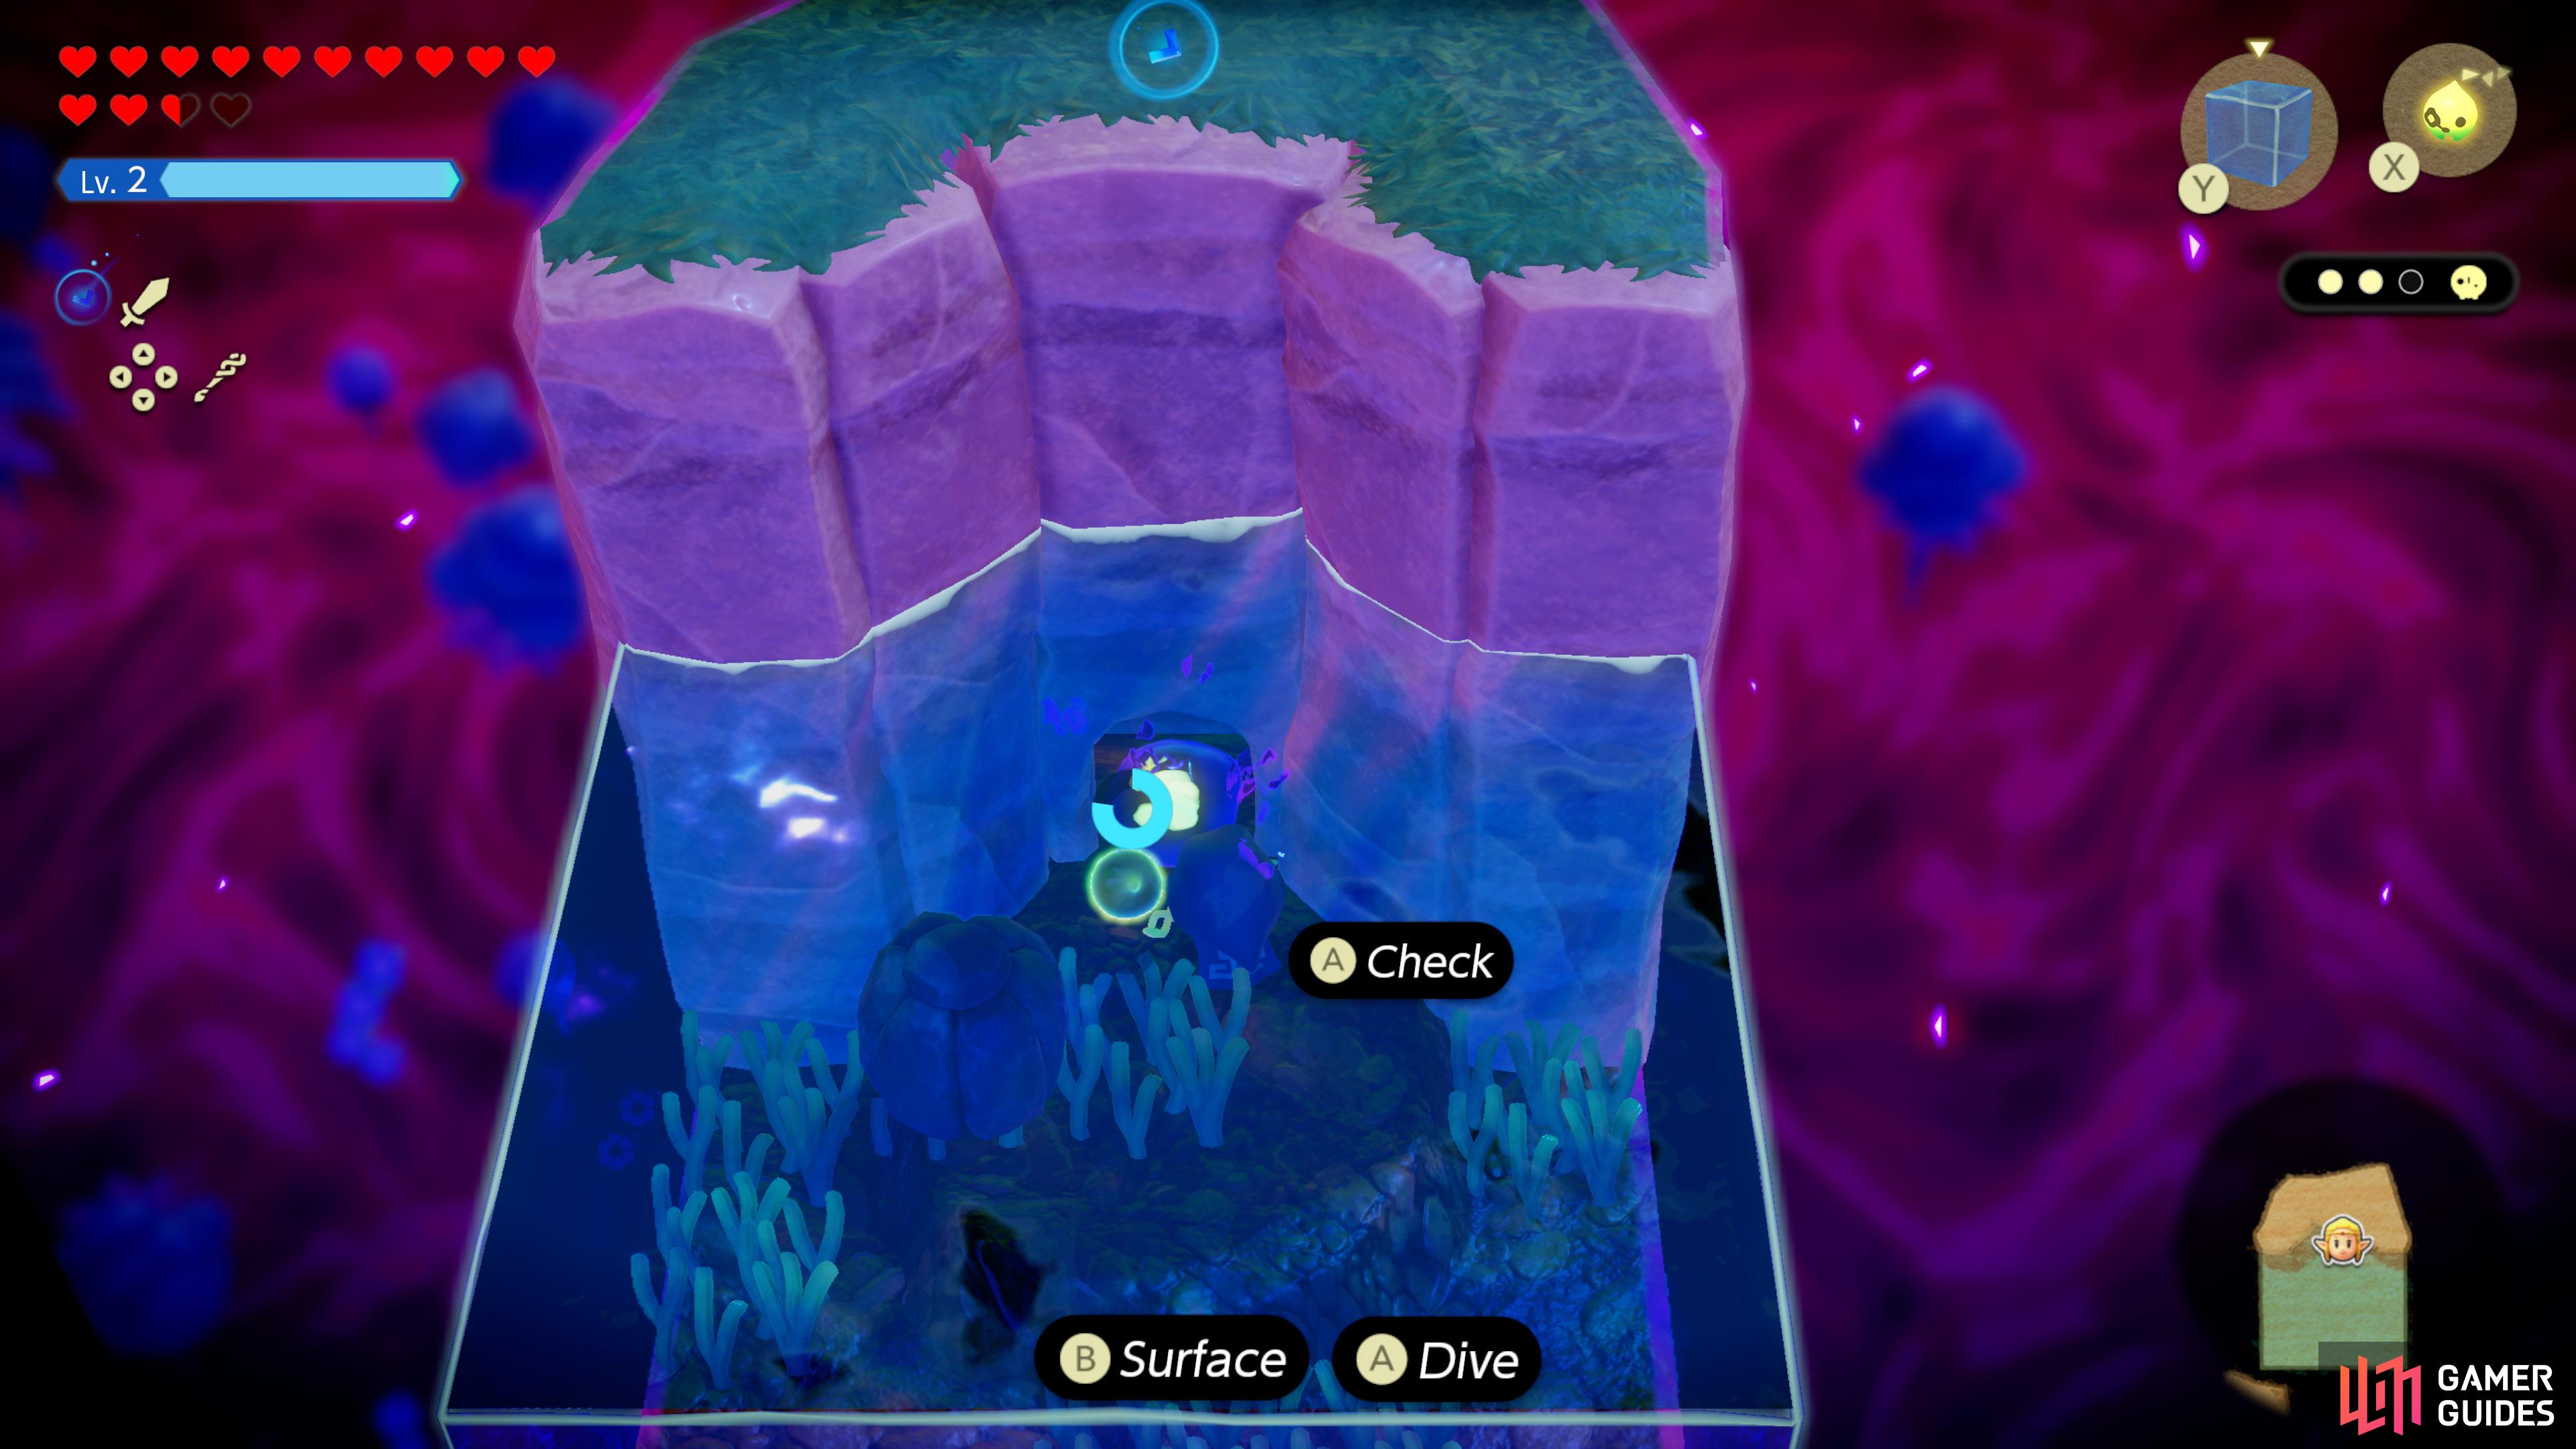
![]() Stilled Heart Lake, inside
Stilled Heart Lake, inside ![]() Cave towards the north-west, accessible by diving.
Cave towards the north-west, accessible by diving.

40. Still World Map
![]() Stilled Heart Lake, inside
Stilled Heart Lake, inside ![]() Cave towards the north-west, accessible by diving.
Cave towards the north-west, accessible by diving.
42. Still World Map
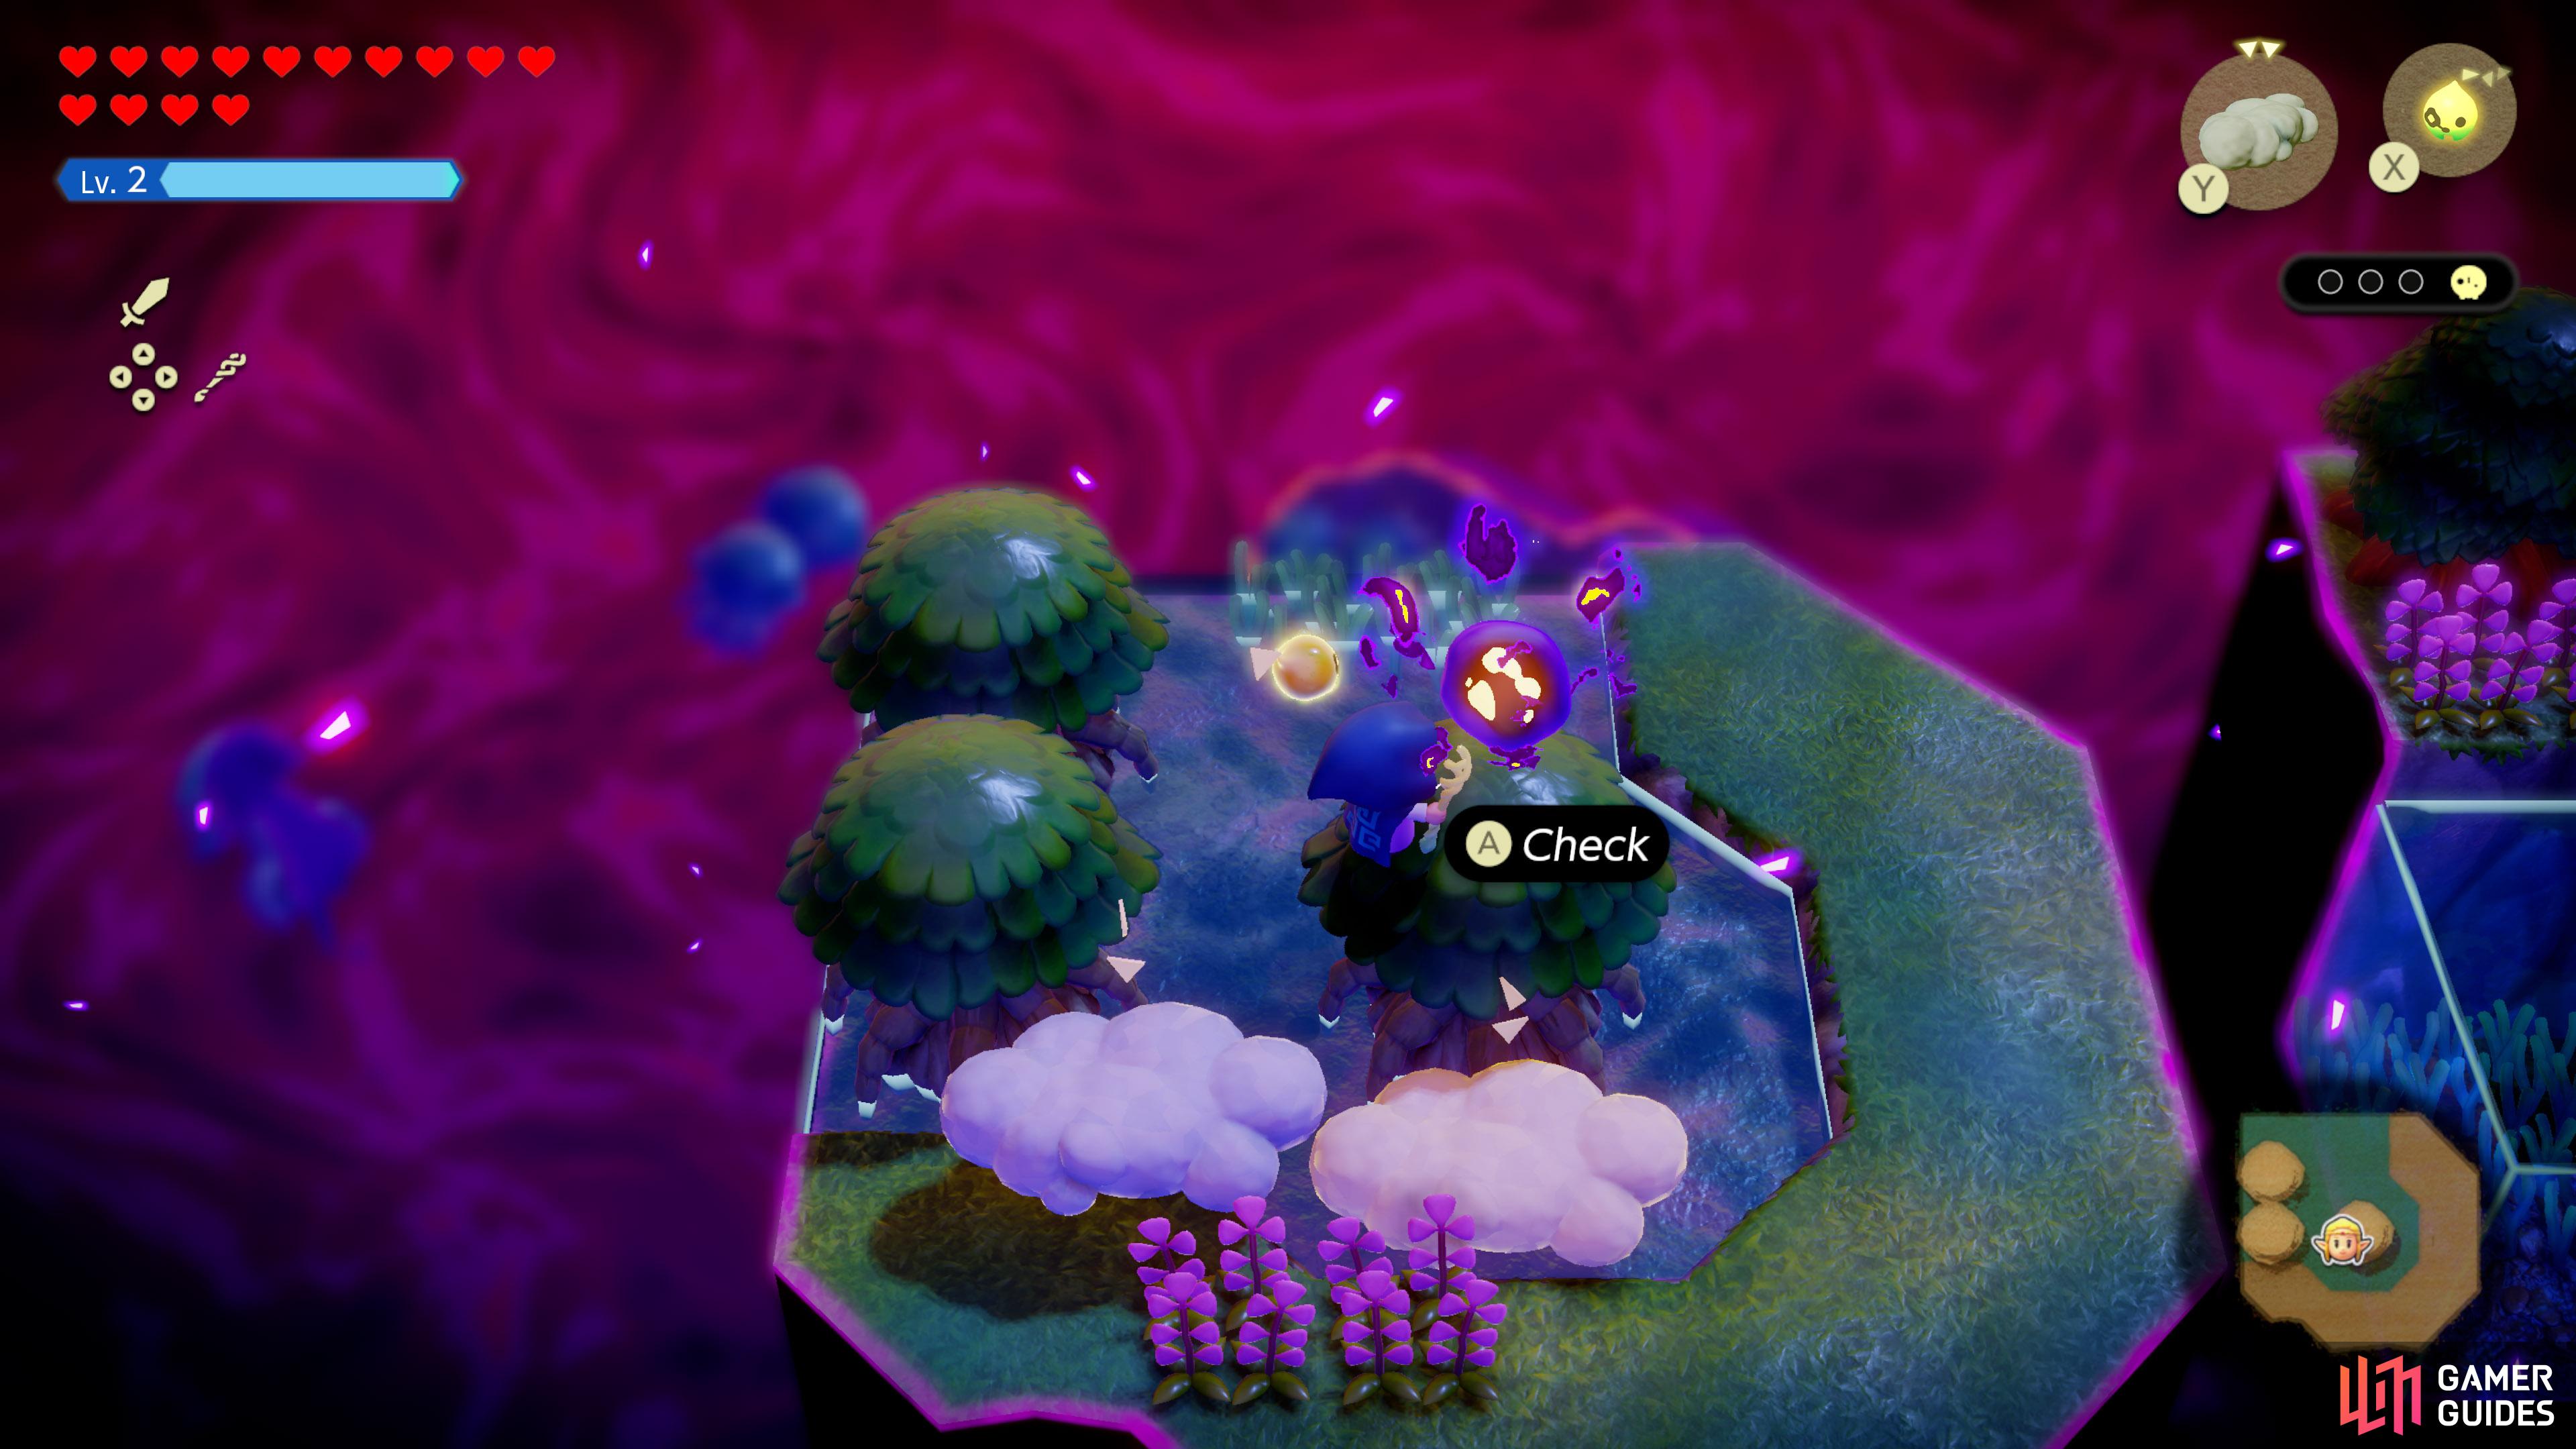
![]() Stilled Northern Sanctuary, towards the south-east, behind a grave.
Stilled Northern Sanctuary, towards the south-east, behind a grave.
43. Still World Map
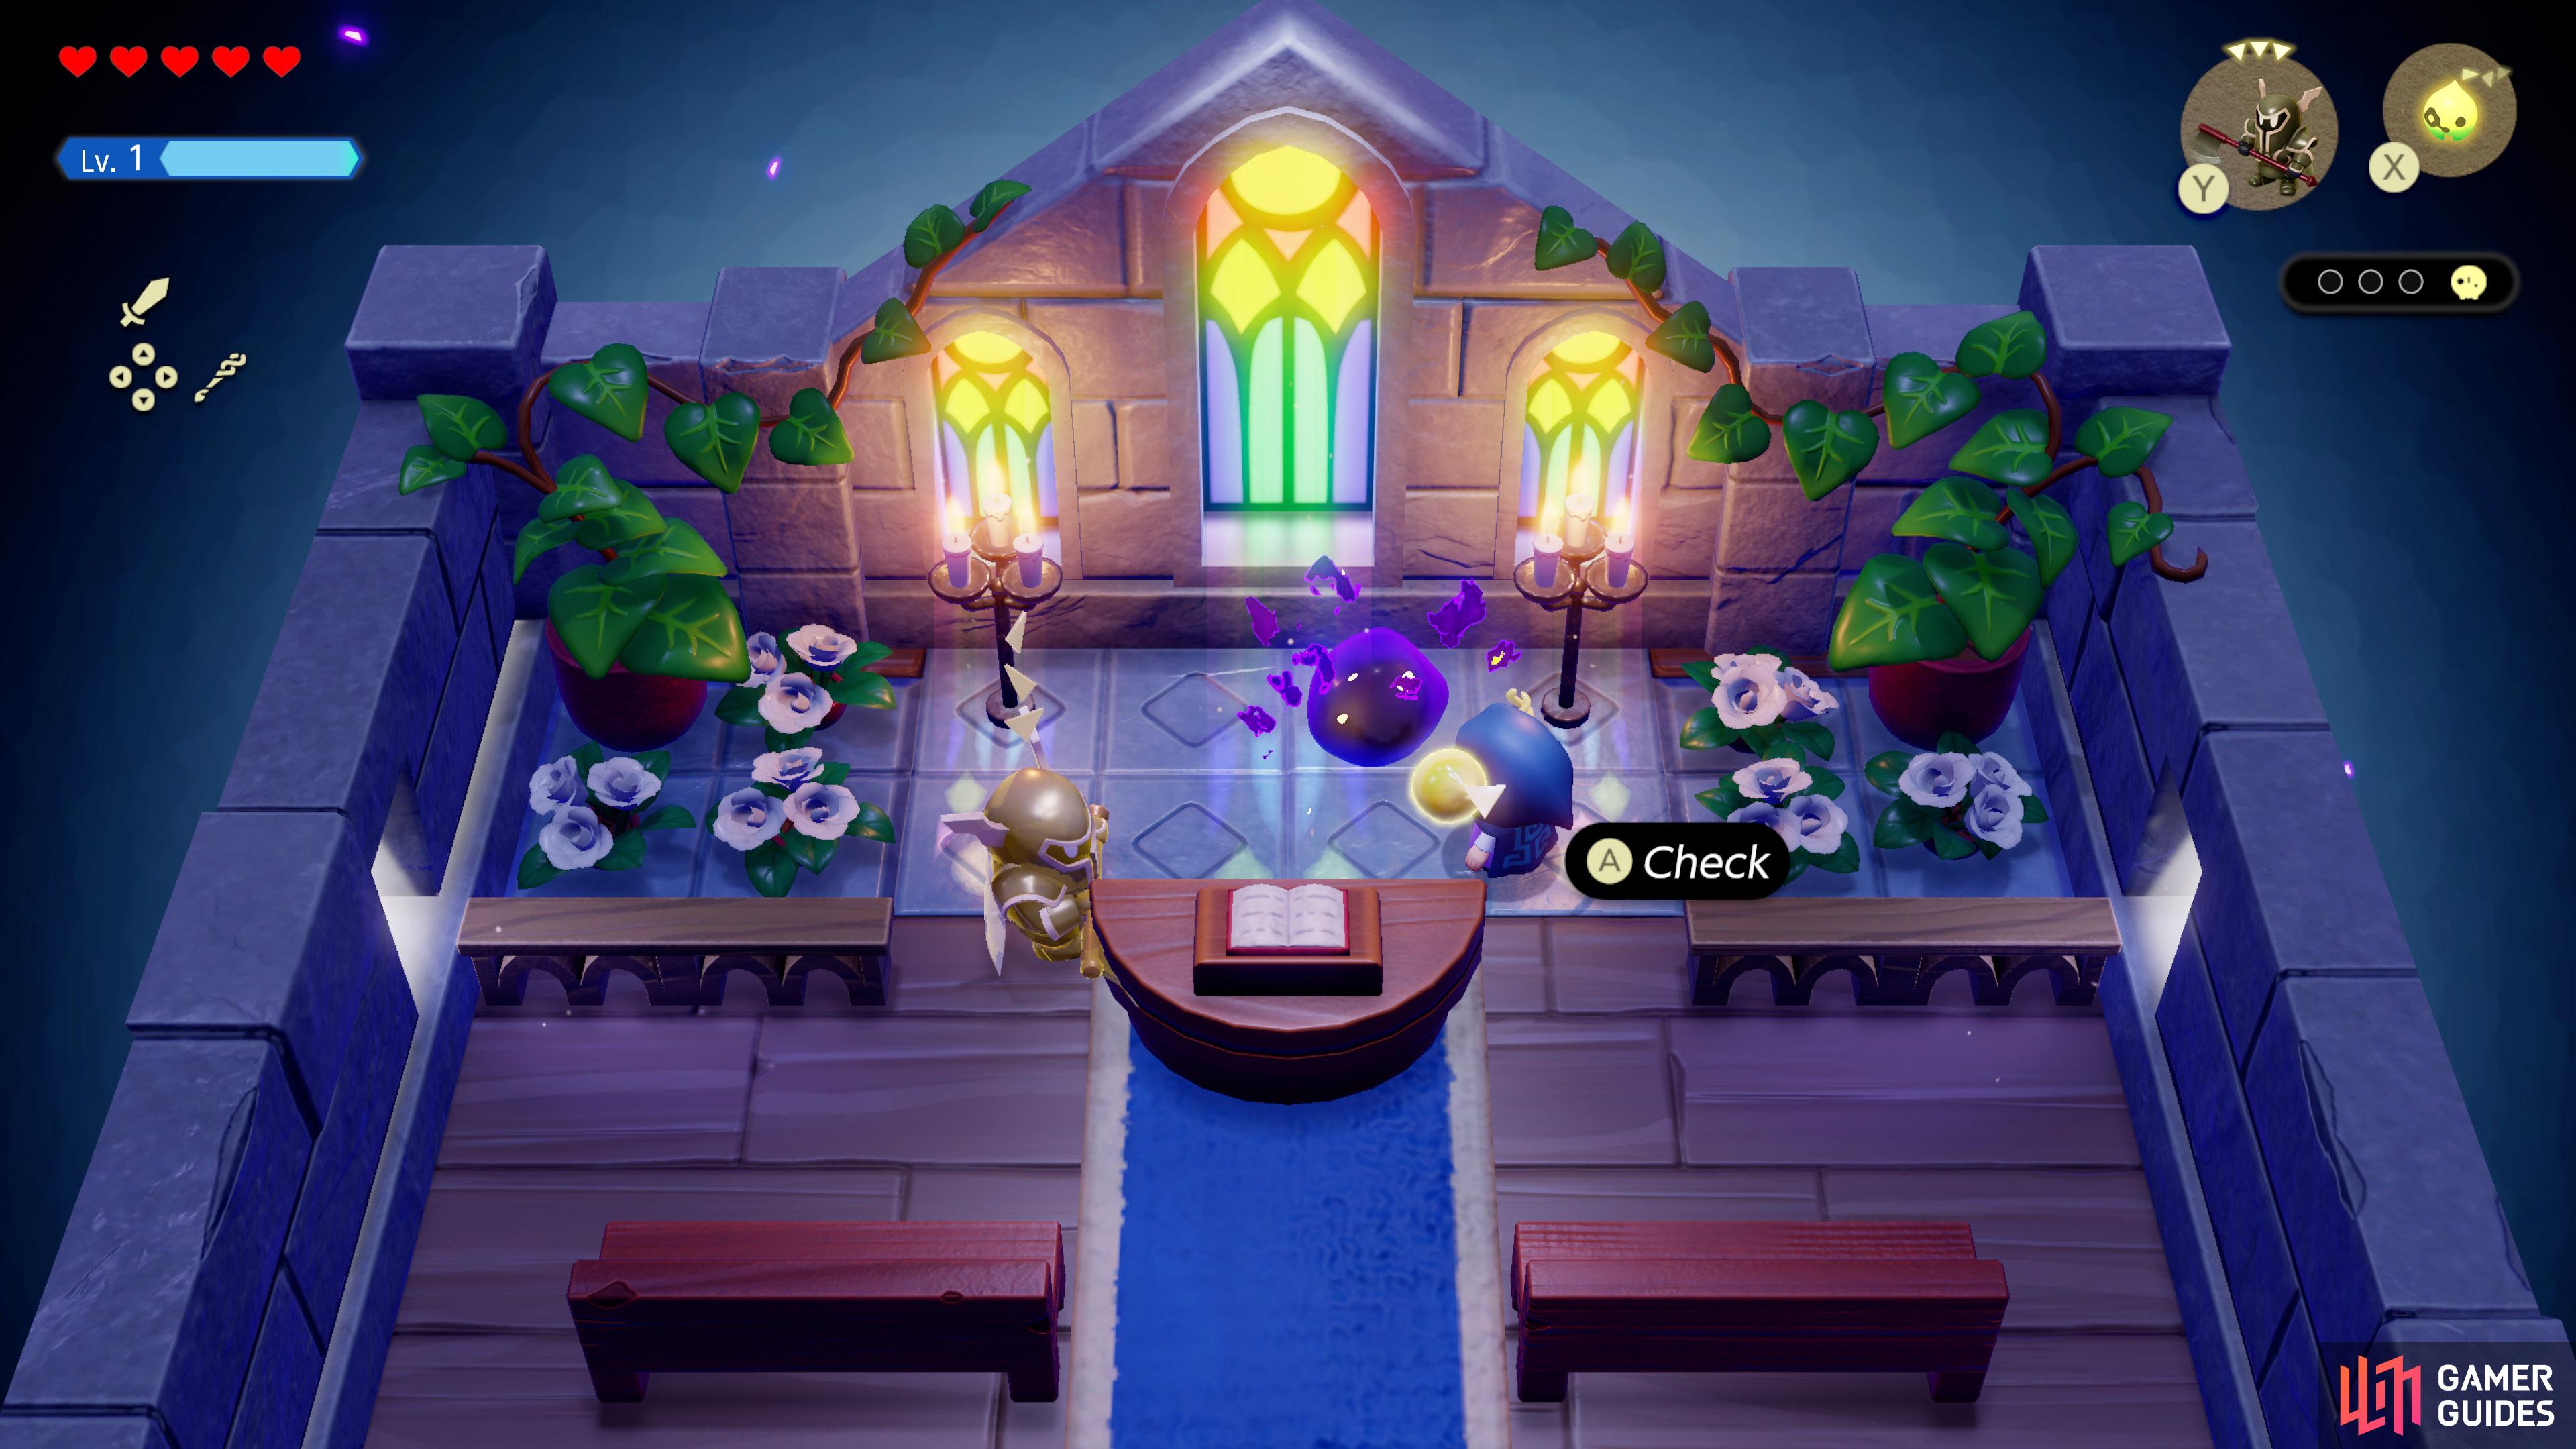
![]() Stilled Northern Sanctuary, inside the building. Defeat the shadow
Stilled Northern Sanctuary, inside the building. Defeat the shadow ![]() Spear Moblin to release it.
Spear Moblin to release it.
45. Still World Map
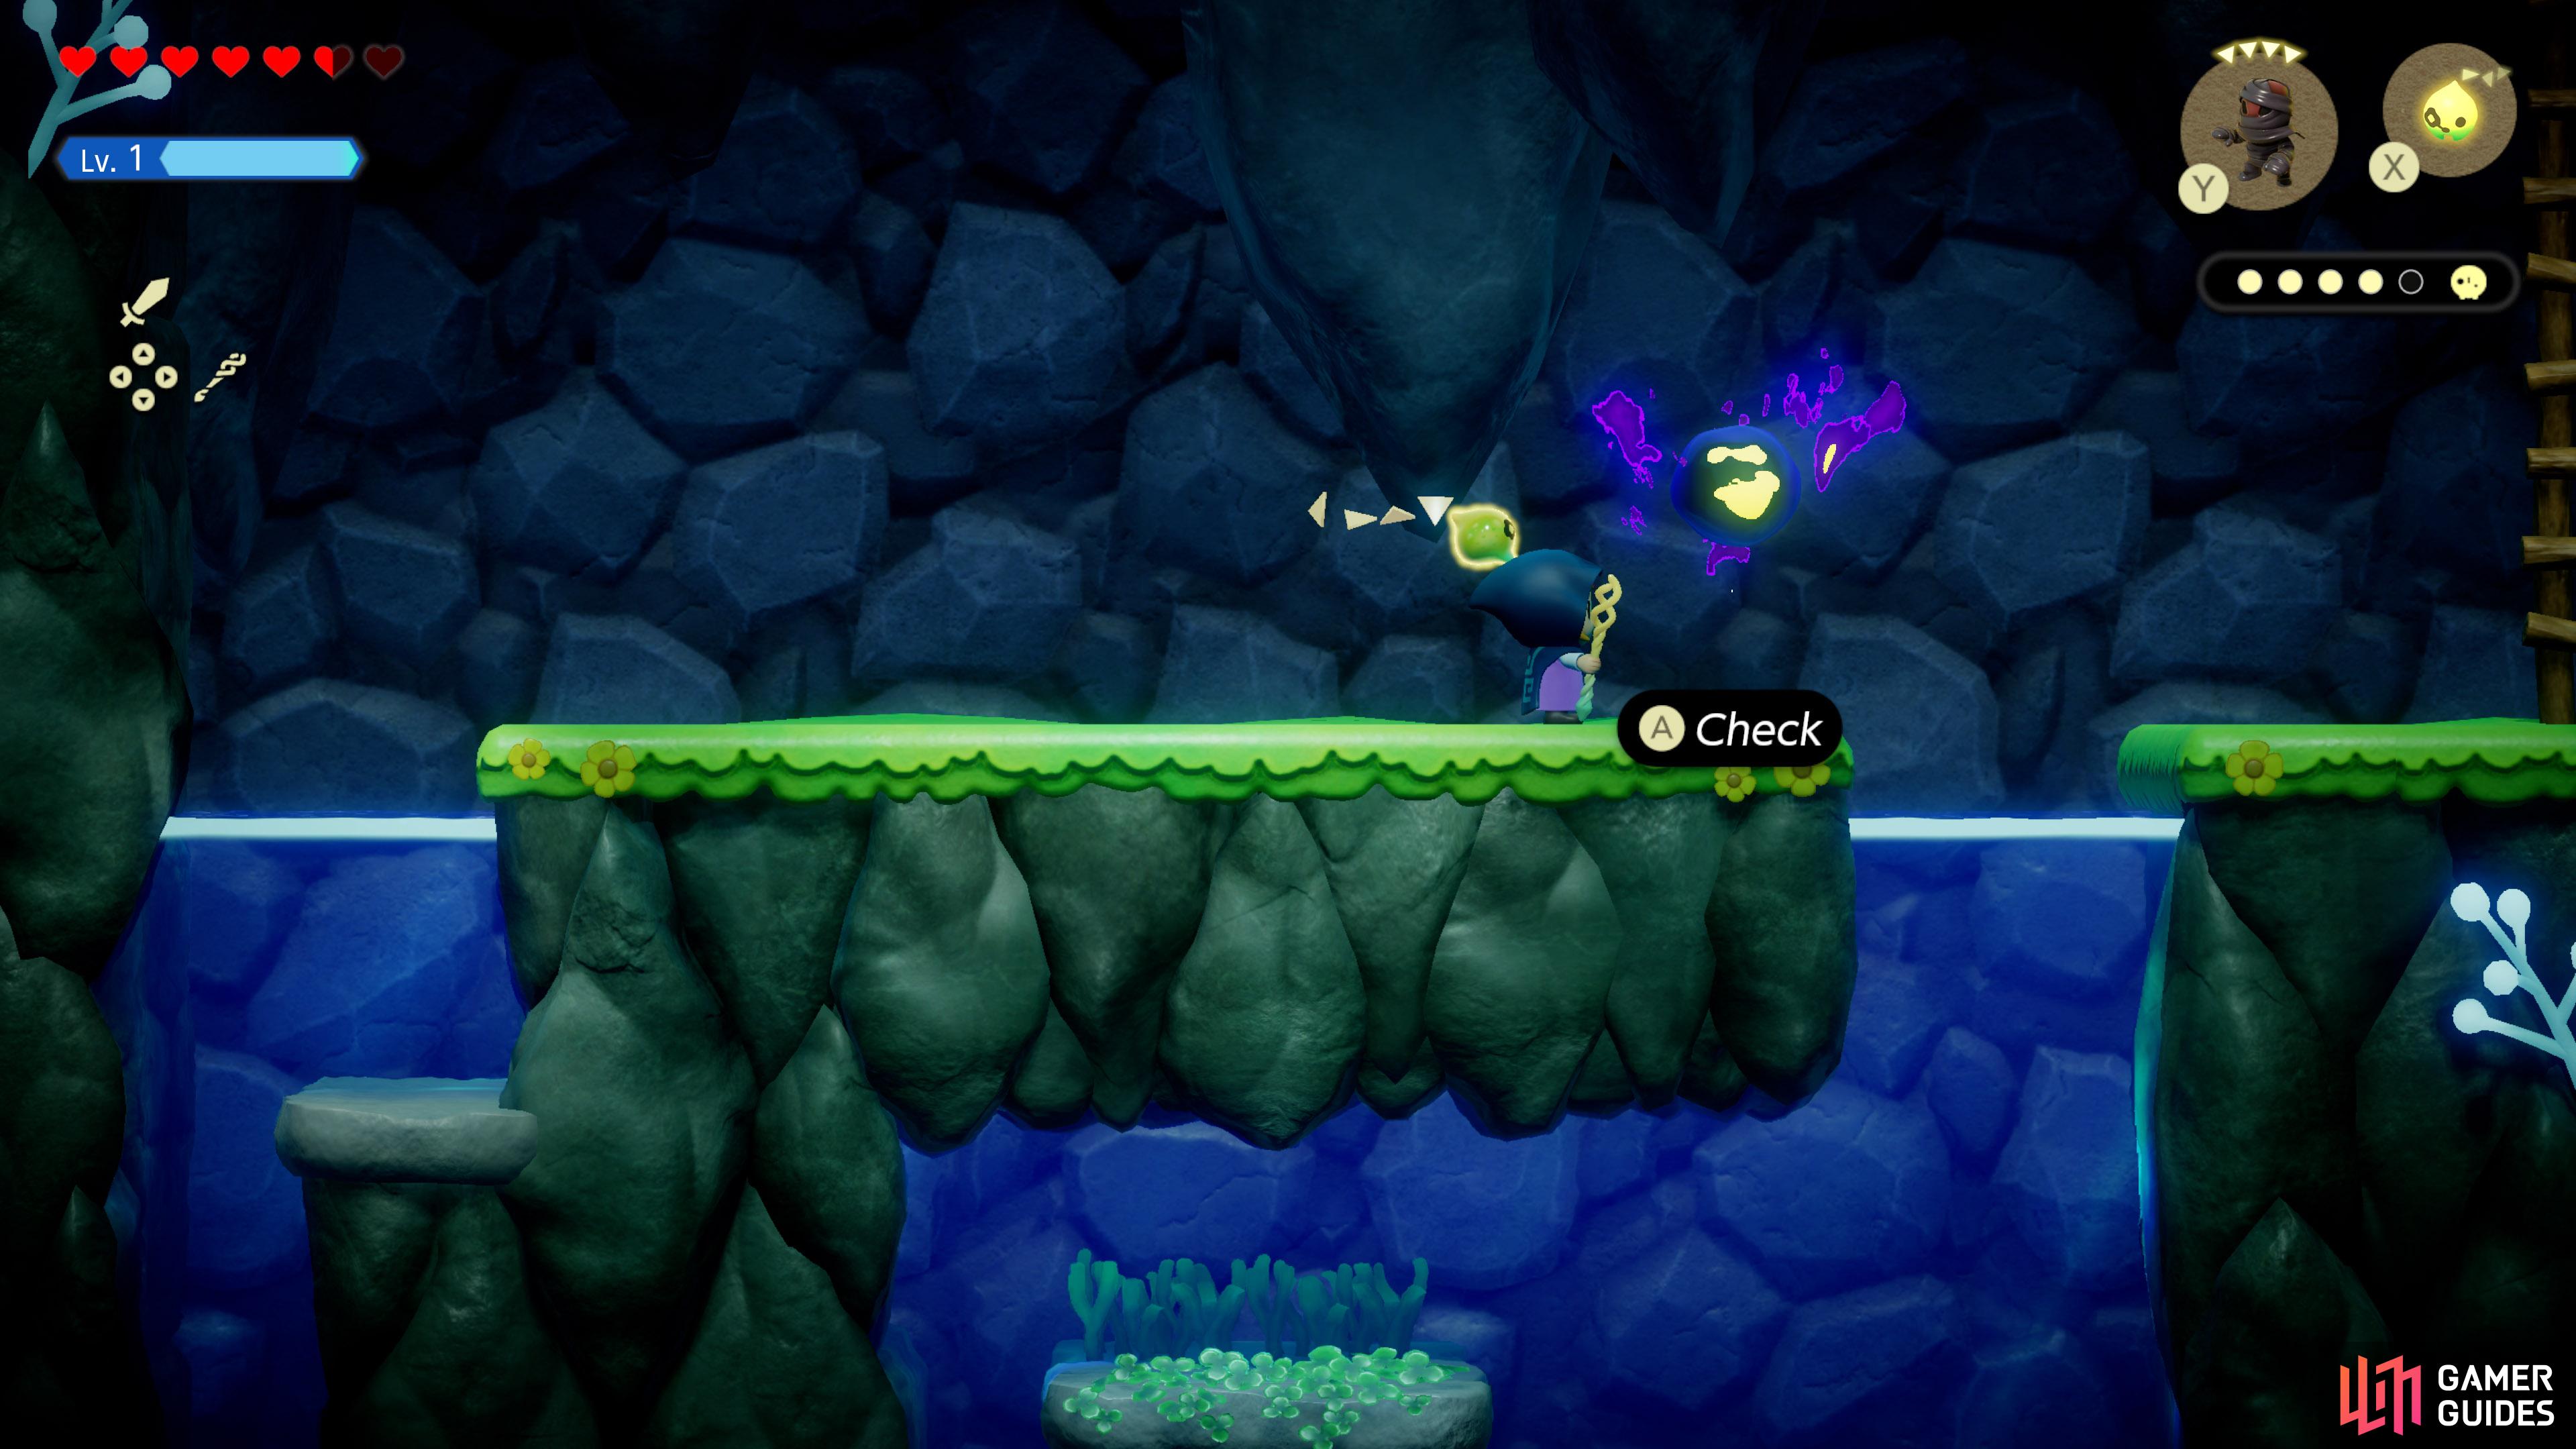
![]() Stilled Eastern Zora River, inside north-eastern
Stilled Eastern Zora River, inside north-eastern ![]() Cave. Along the west path.
Cave. Along the west path.

46. Still World Map
![]() Stilled Eastern Zora River, inside north-eastern
Stilled Eastern Zora River, inside north-eastern ![]() Cave. Defeat the shadow
Cave. Defeat the shadow ![]() Tangler to release it.
Tangler to release it.
47. Still World Map
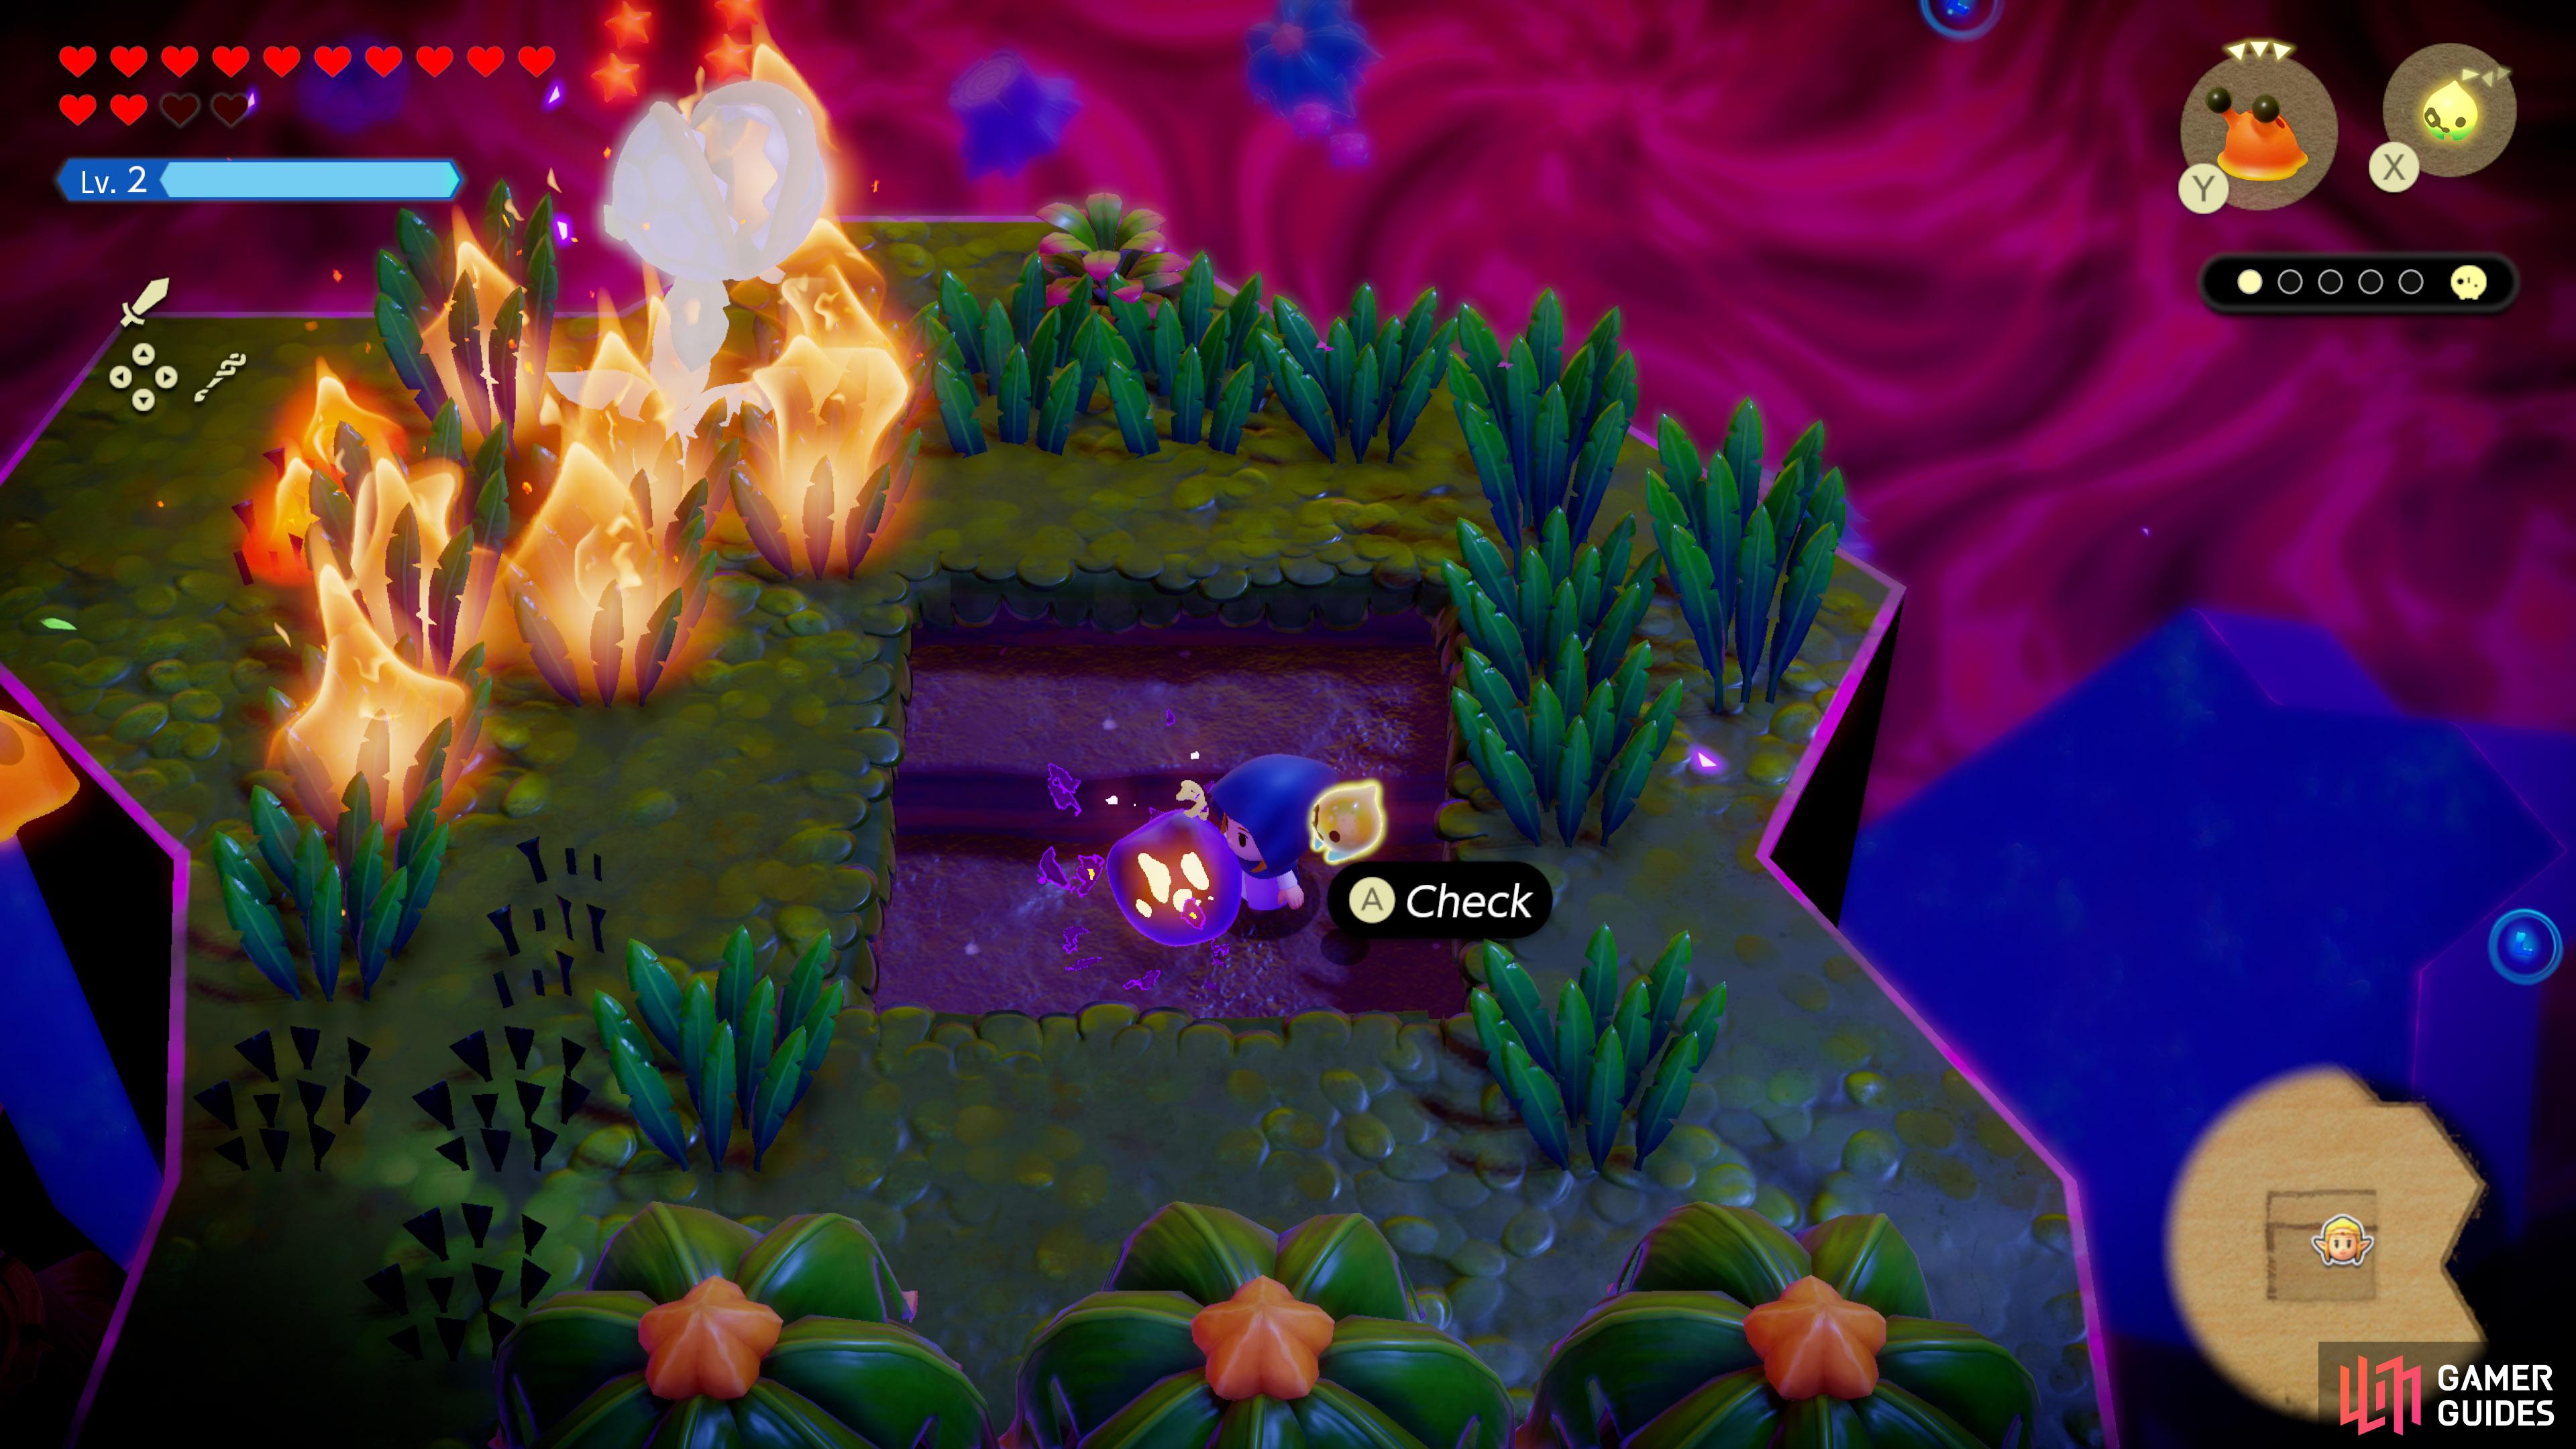
![]() Stilled Blossu’s House, behind a spiderweb near the
Stilled Blossu’s House, behind a spiderweb near the ![]() Giant Goponga Flower. Burn it with fire.
Giant Goponga Flower. Burn it with fire.
48. Still World Map
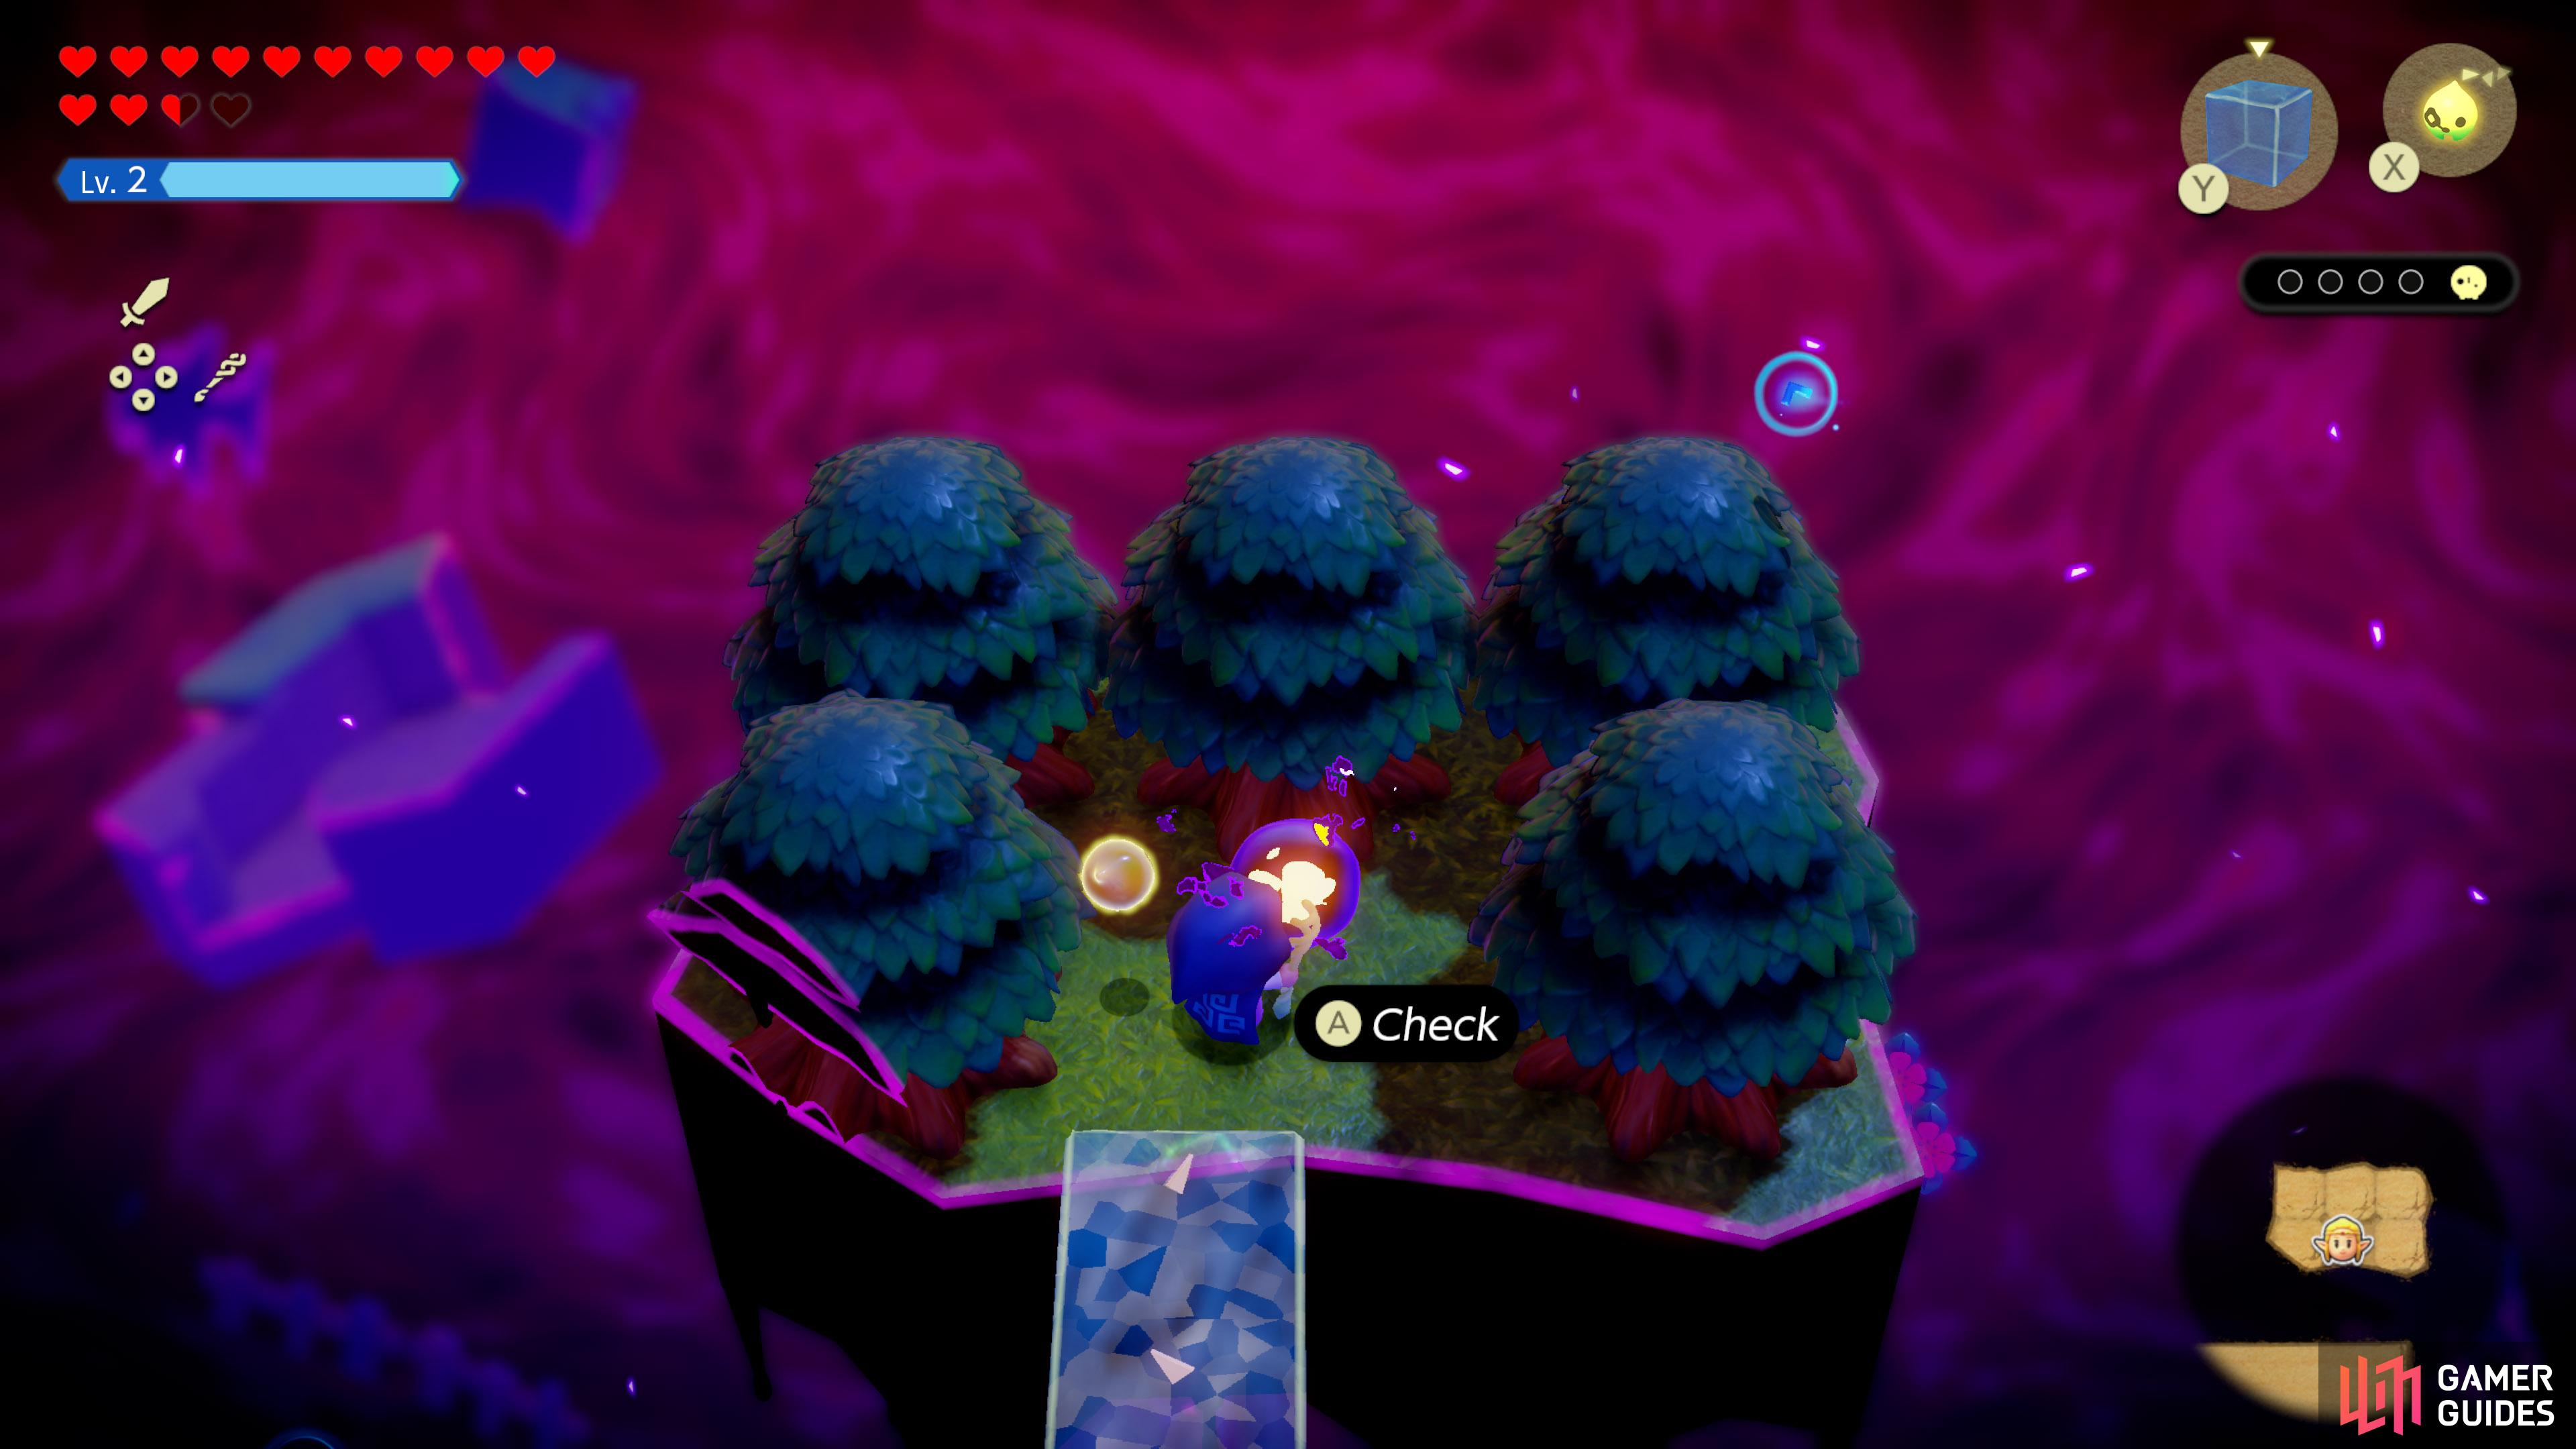
![]() Stilled Blossu’s House, towards the north-west. Surrounded by
Stilled Blossu’s House, towards the north-west. Surrounded by ![]() Deku Baba Lv. 2s.
Deku Baba Lv. 2s.
49. Still World Map
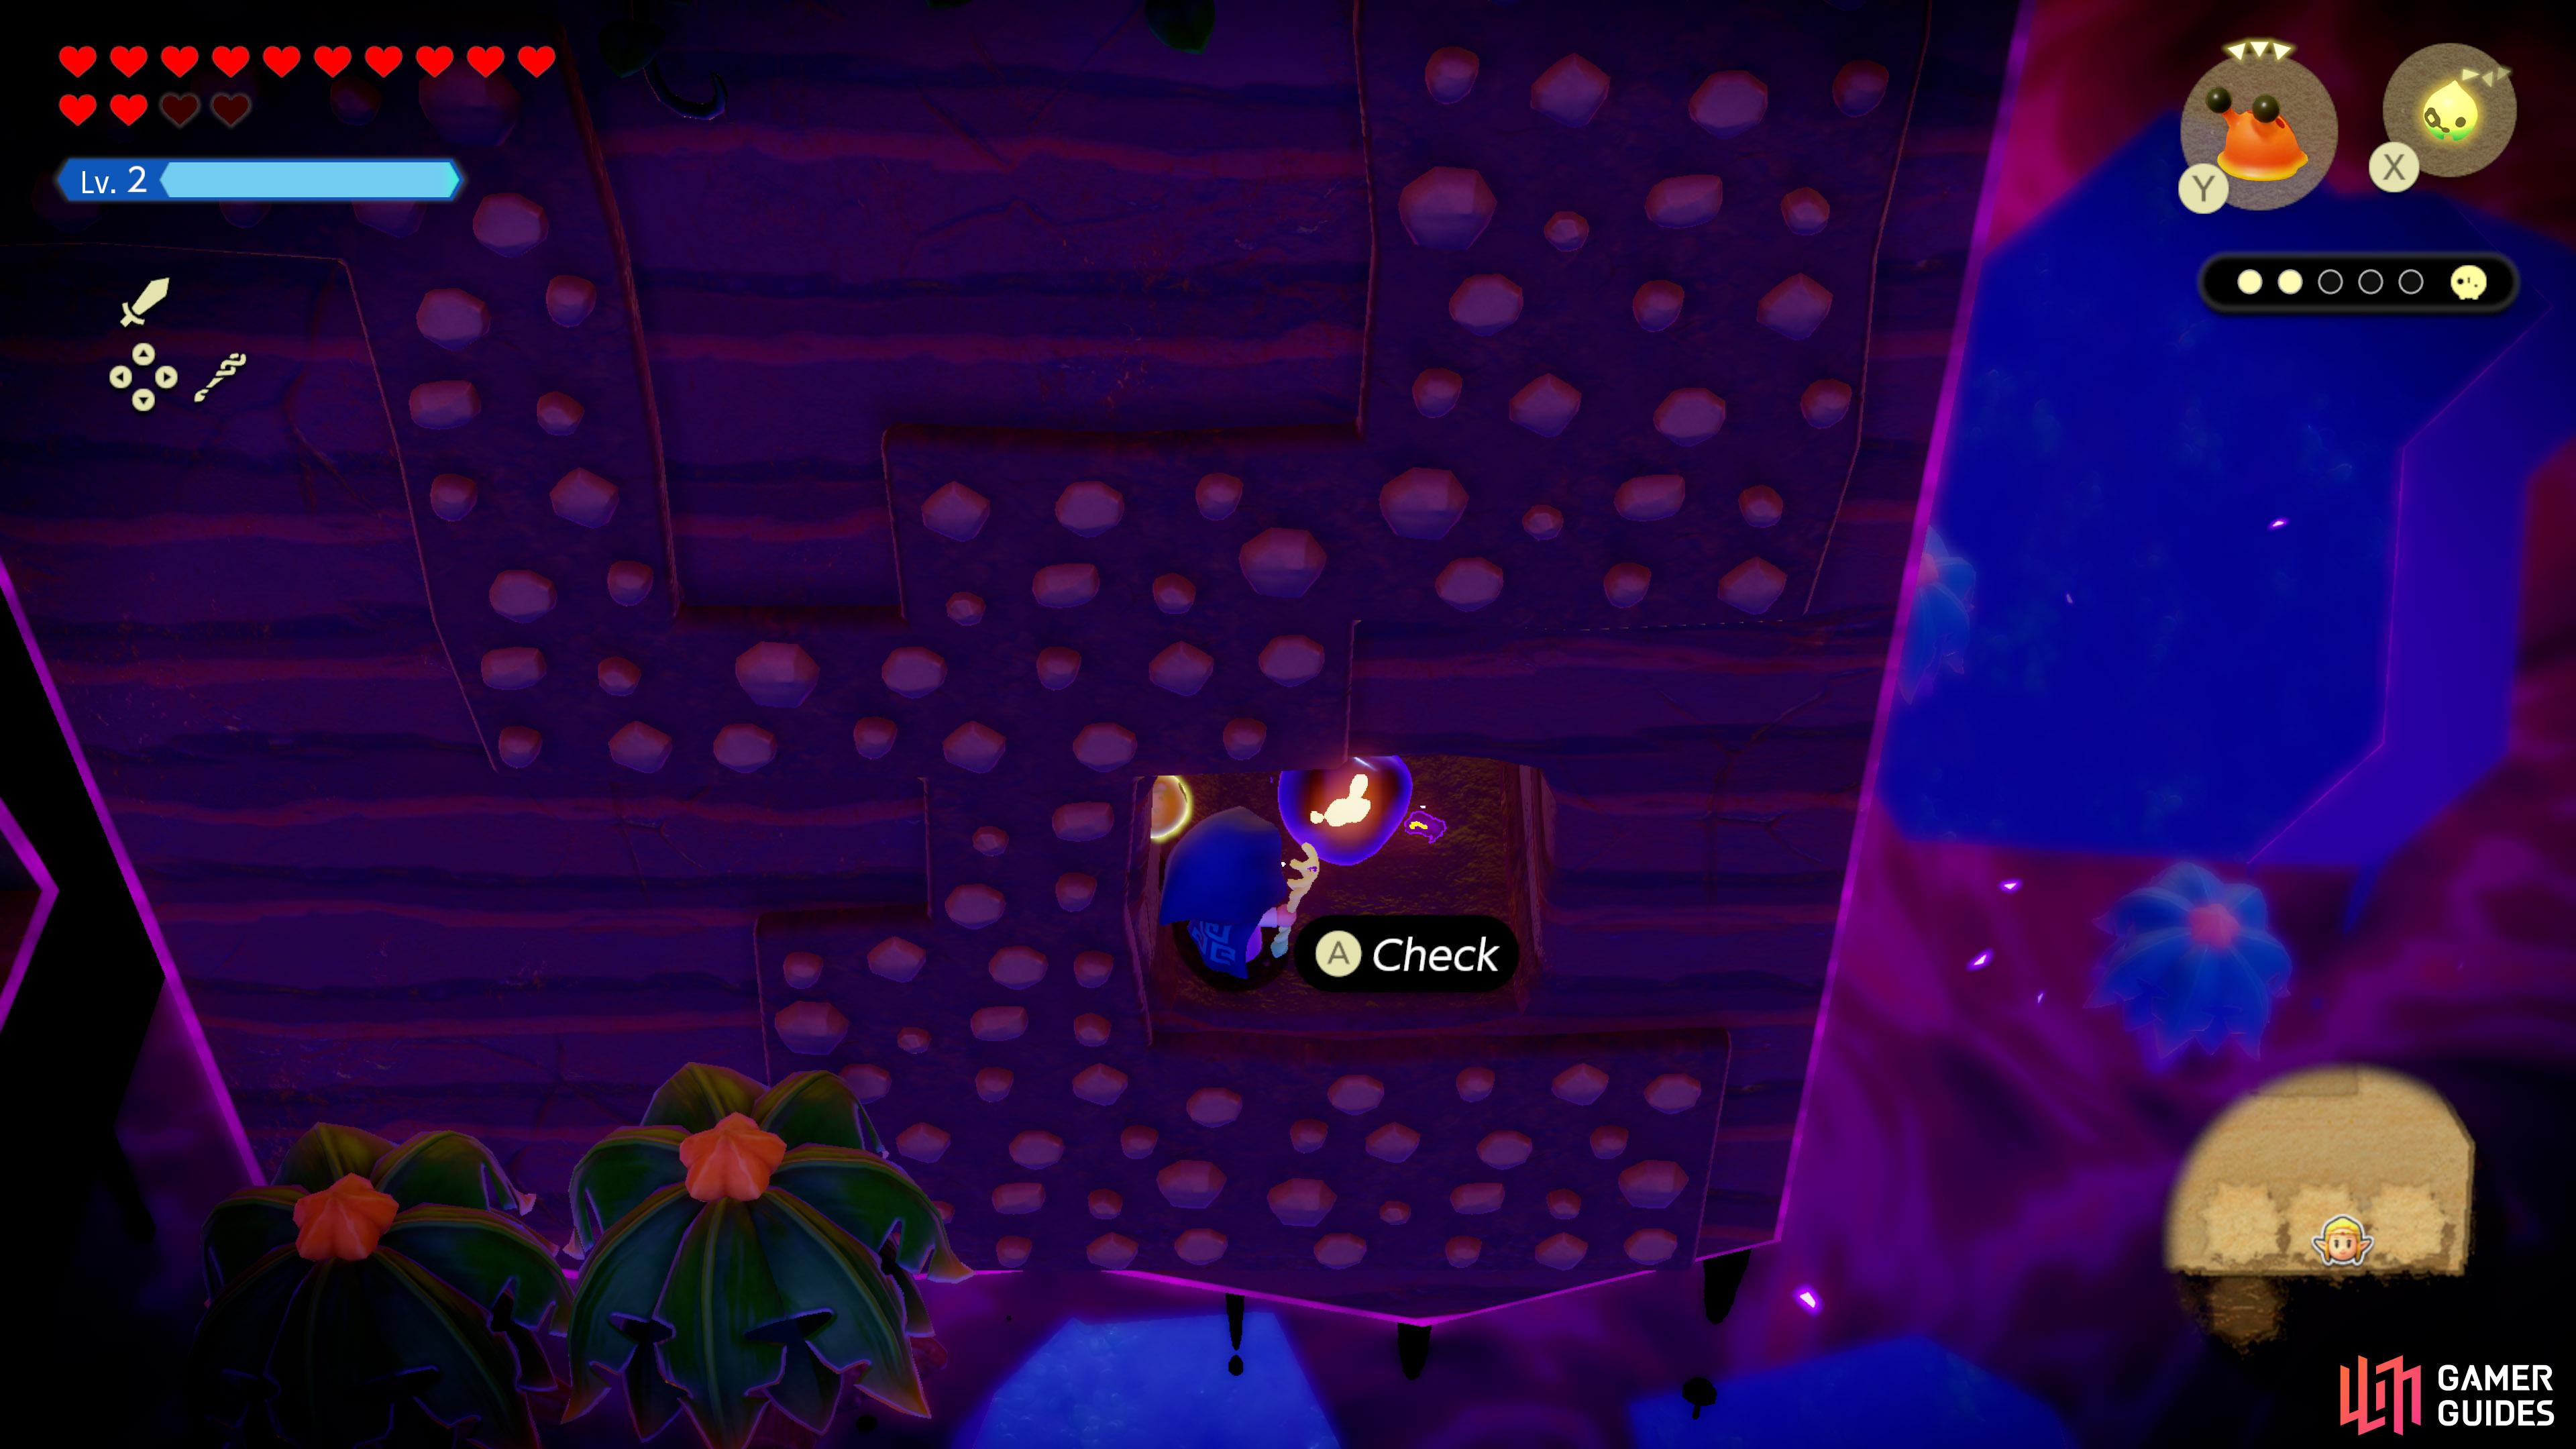
![]() Stilled Blossu’s House, inside northern
Stilled Blossu’s House, inside northern ![]() Cave. In the breakable blocks near the
Cave. In the breakable blocks near the ![]() Deku Baba Lv. 2.
Deku Baba Lv. 2.
50. Still World Map
![]() Stilled Blossu’s House, towards the north-east. Underneath some spiderwebs.
Stilled Blossu’s House, towards the north-east. Underneath some spiderwebs.
51. Still World Map
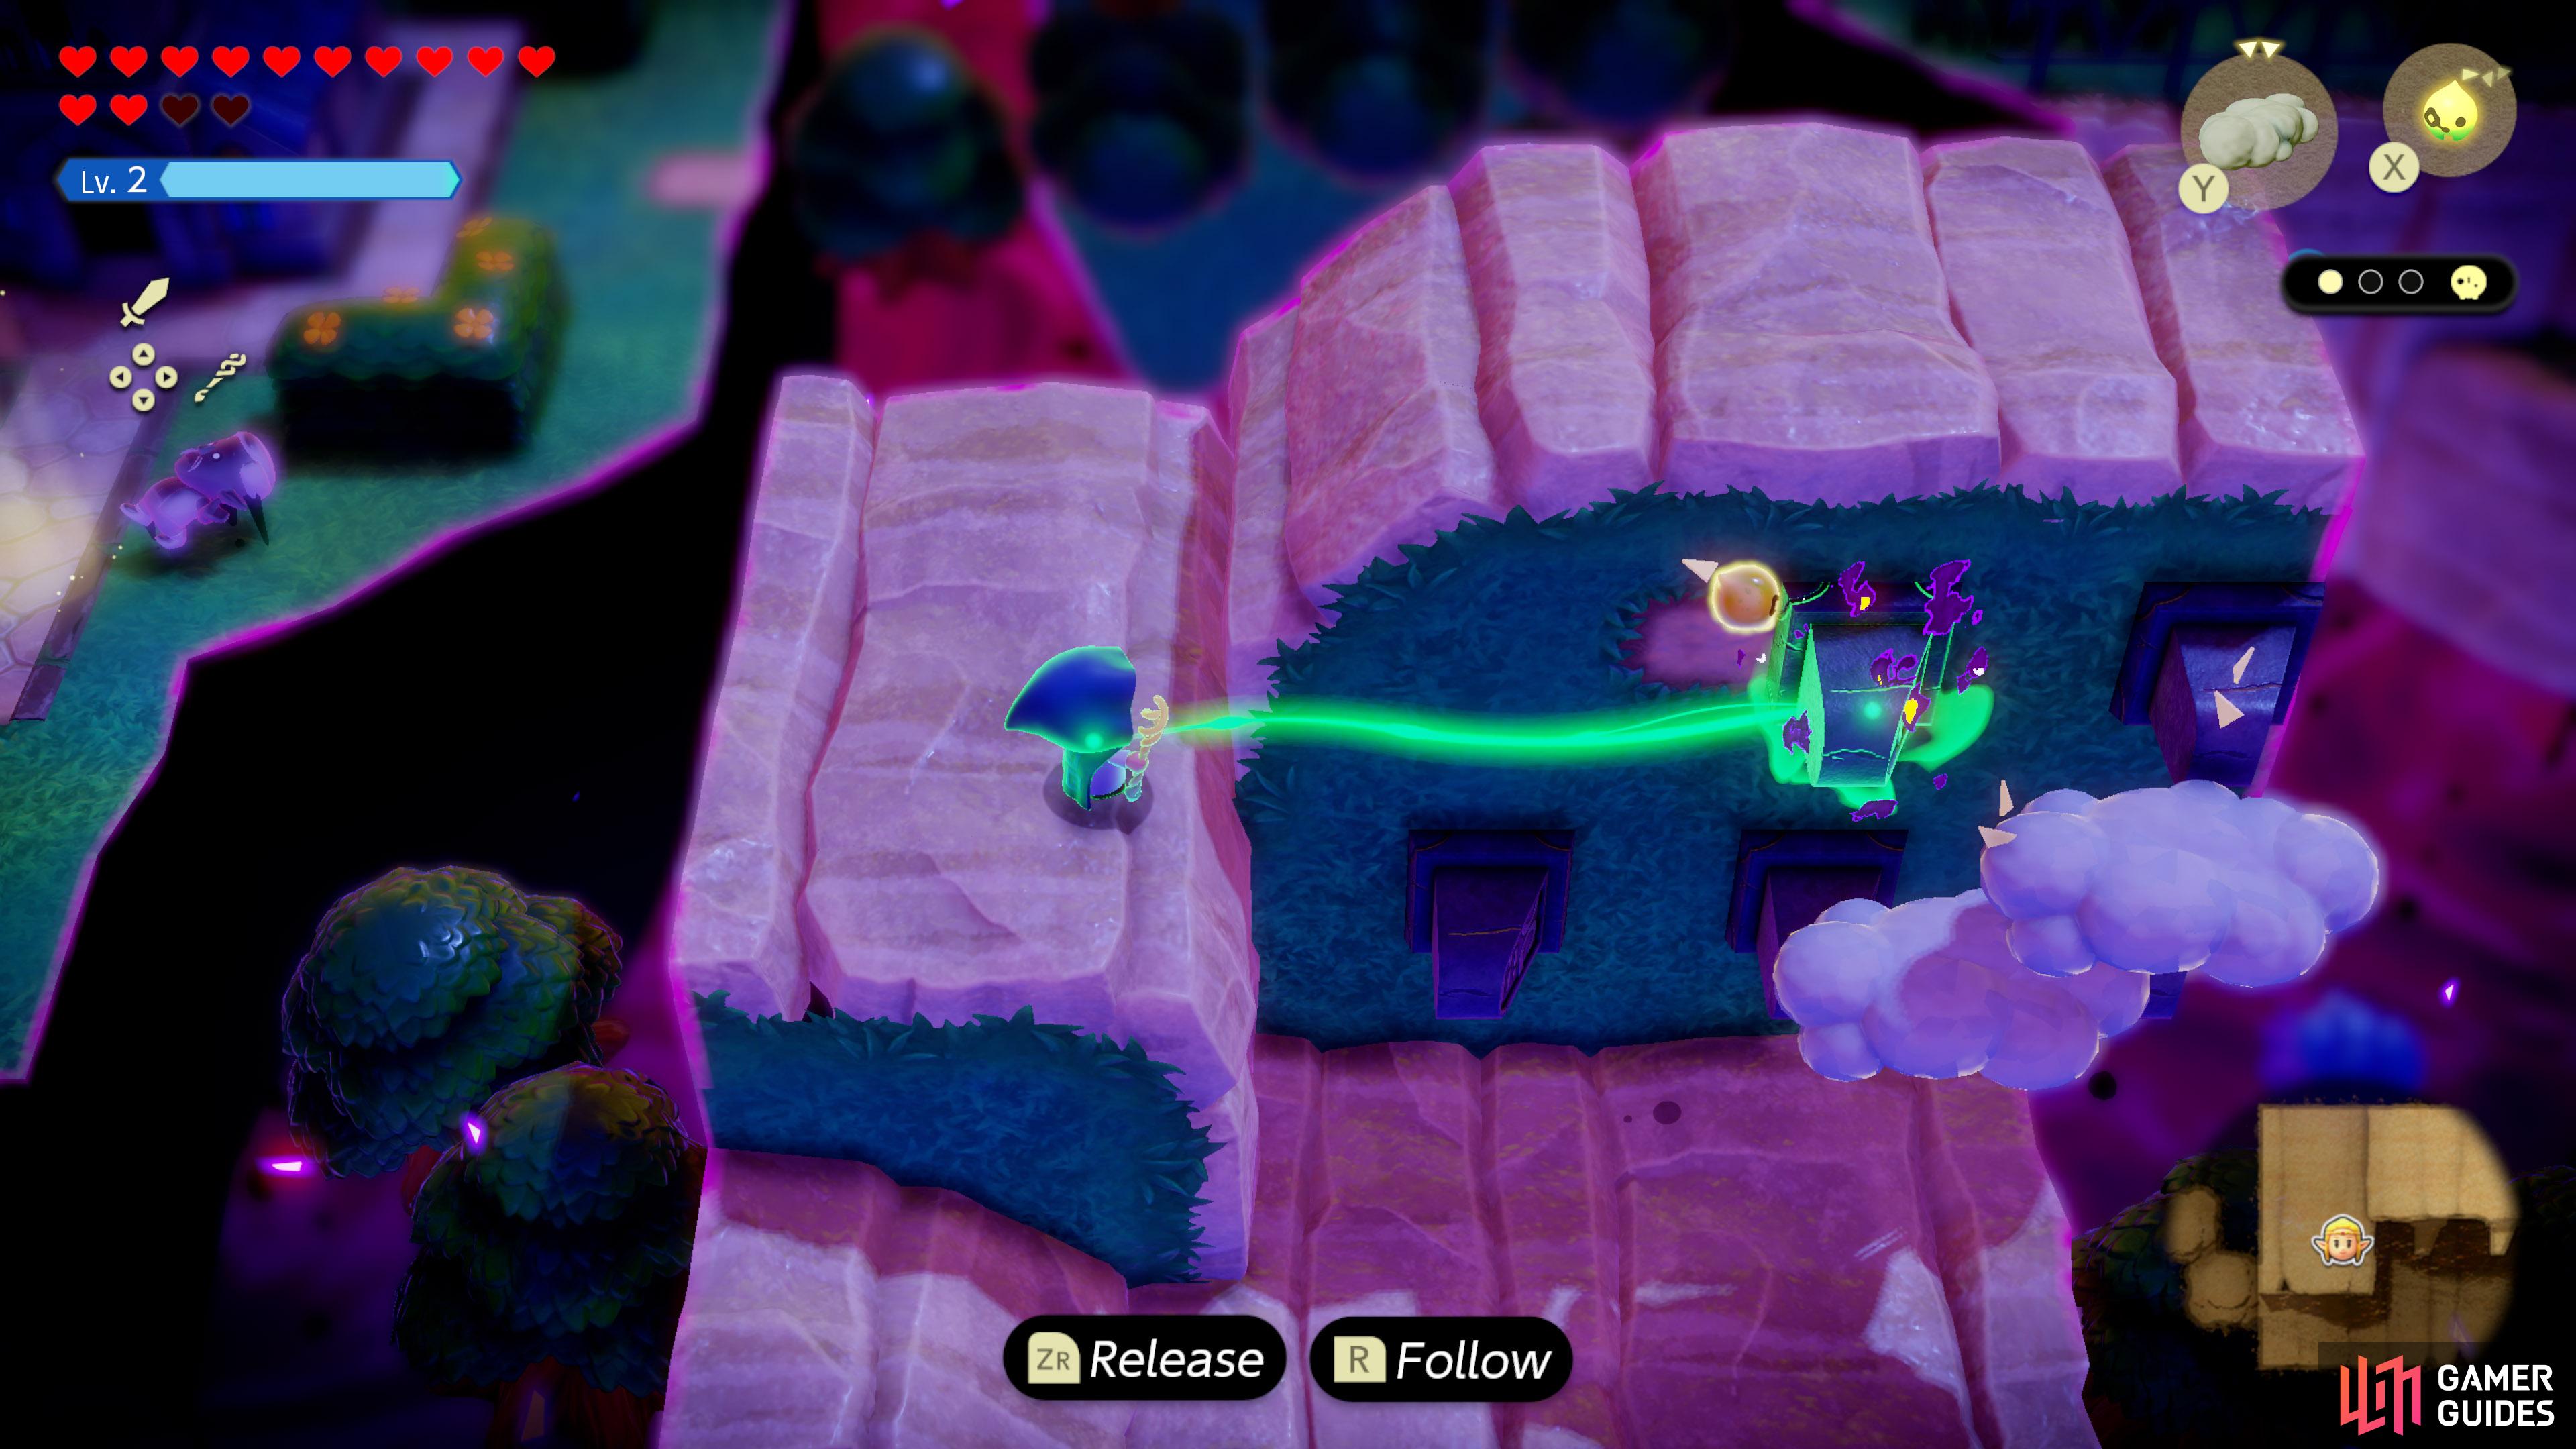
![]() Stilled Blossu’s House, north from the entrance. Defeat the shadow
Stilled Blossu’s House, north from the entrance. Defeat the shadow ![]() Giant Goponga Flower to release it.
Giant Goponga Flower to release it.

52. Still World Map
![]() Stilled Lake Hylia, west from the entrance, surrounded by
Stilled Lake Hylia, west from the entrance, surrounded by ![]() Tanglers.
Tanglers.
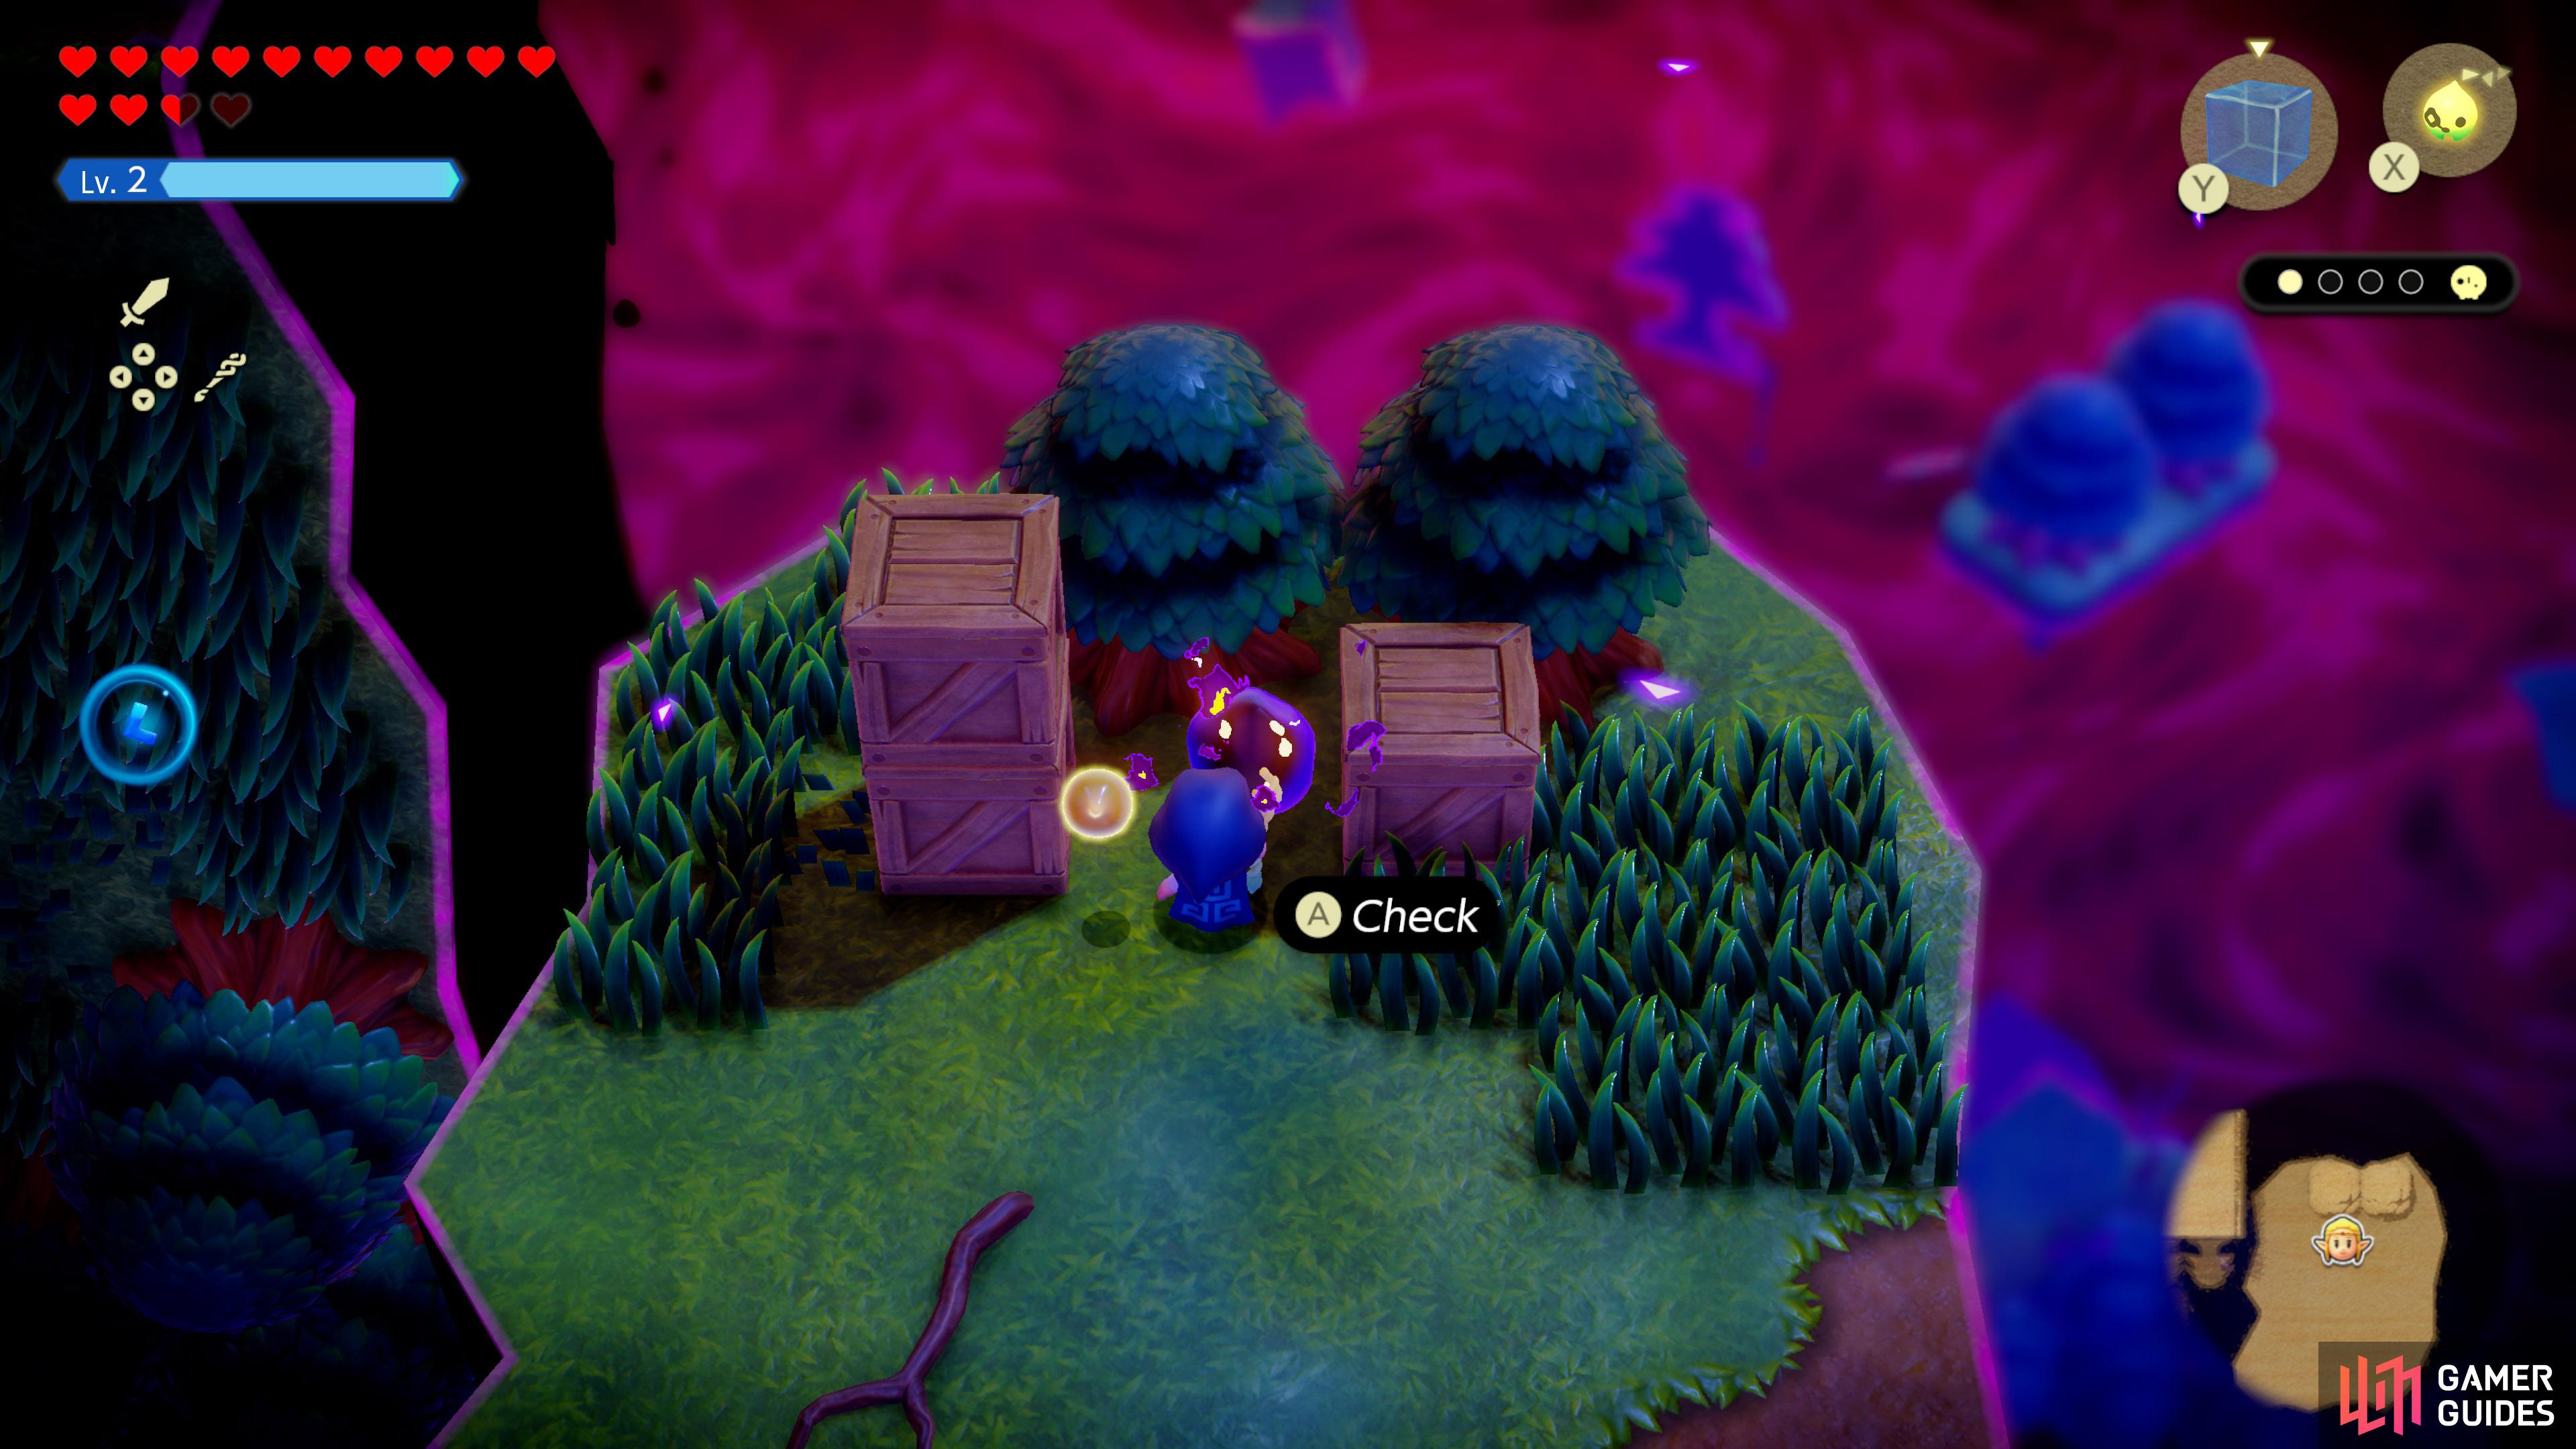
56. Still World Map
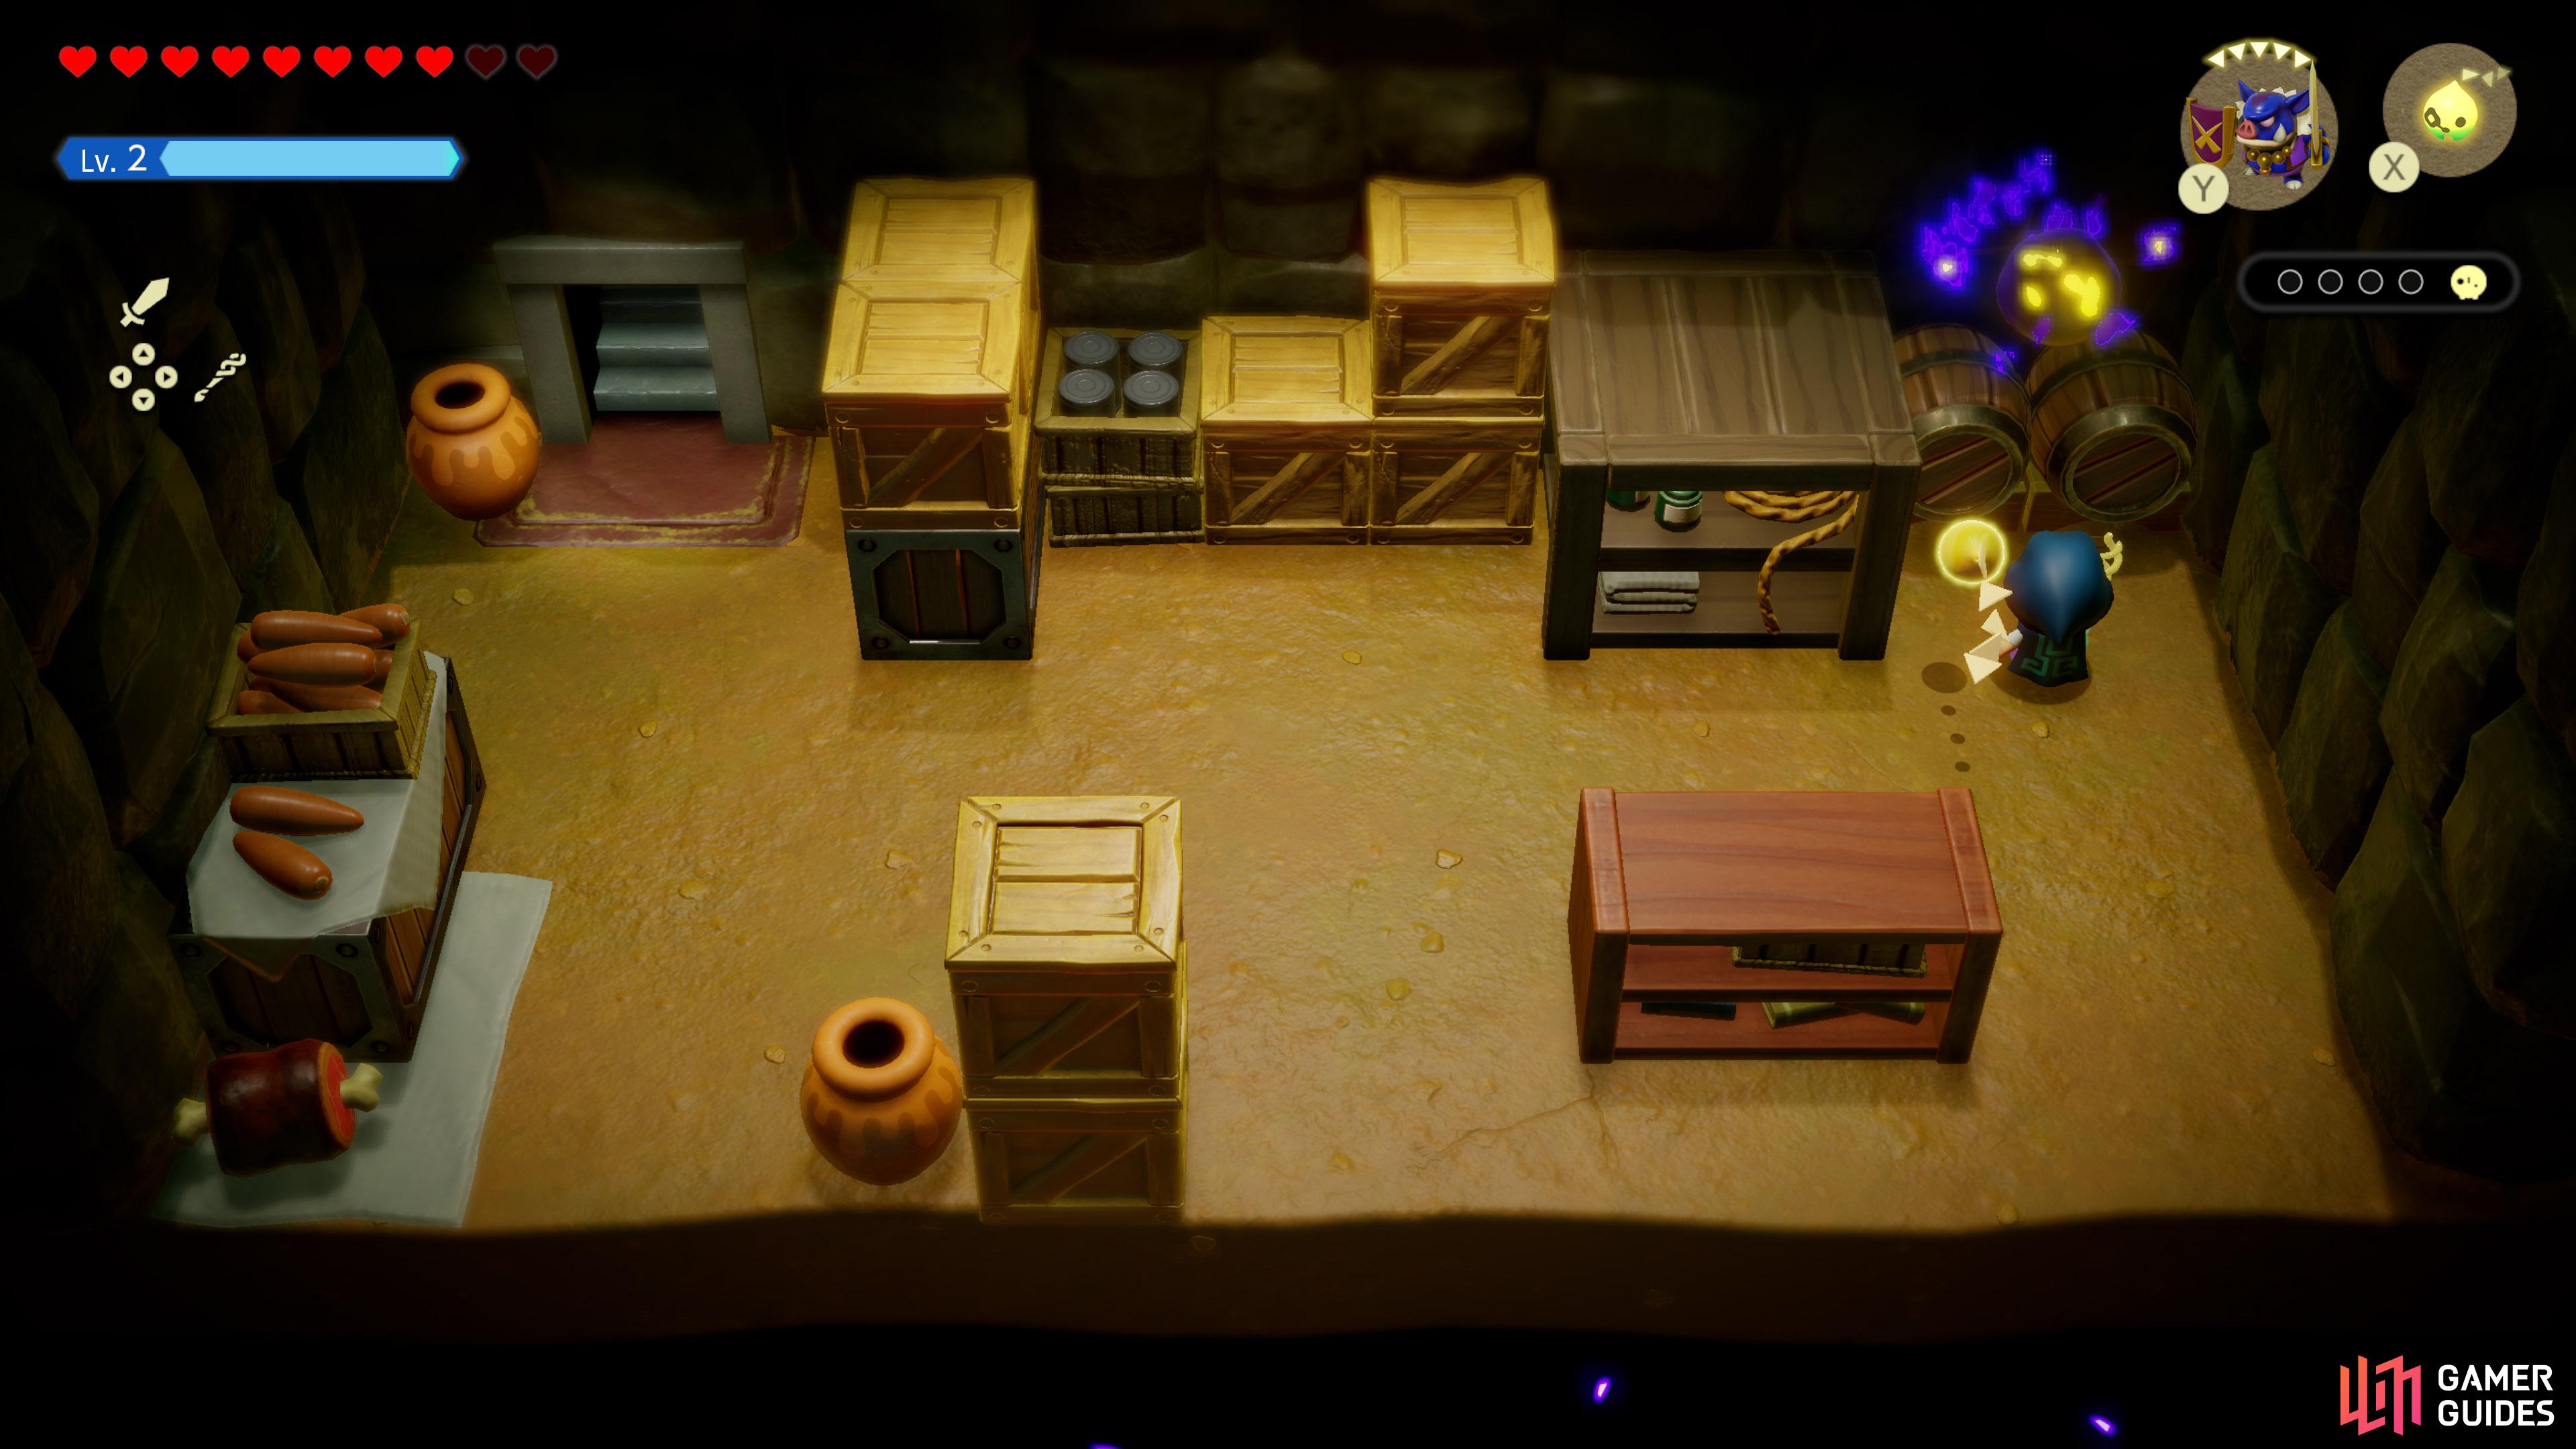
![]() Stilled Lower Suthorn Forest, towards the east. Behind some
Stilled Lower Suthorn Forest, towards the east. Behind some ![]() Wooden Boxes.
Wooden Boxes.
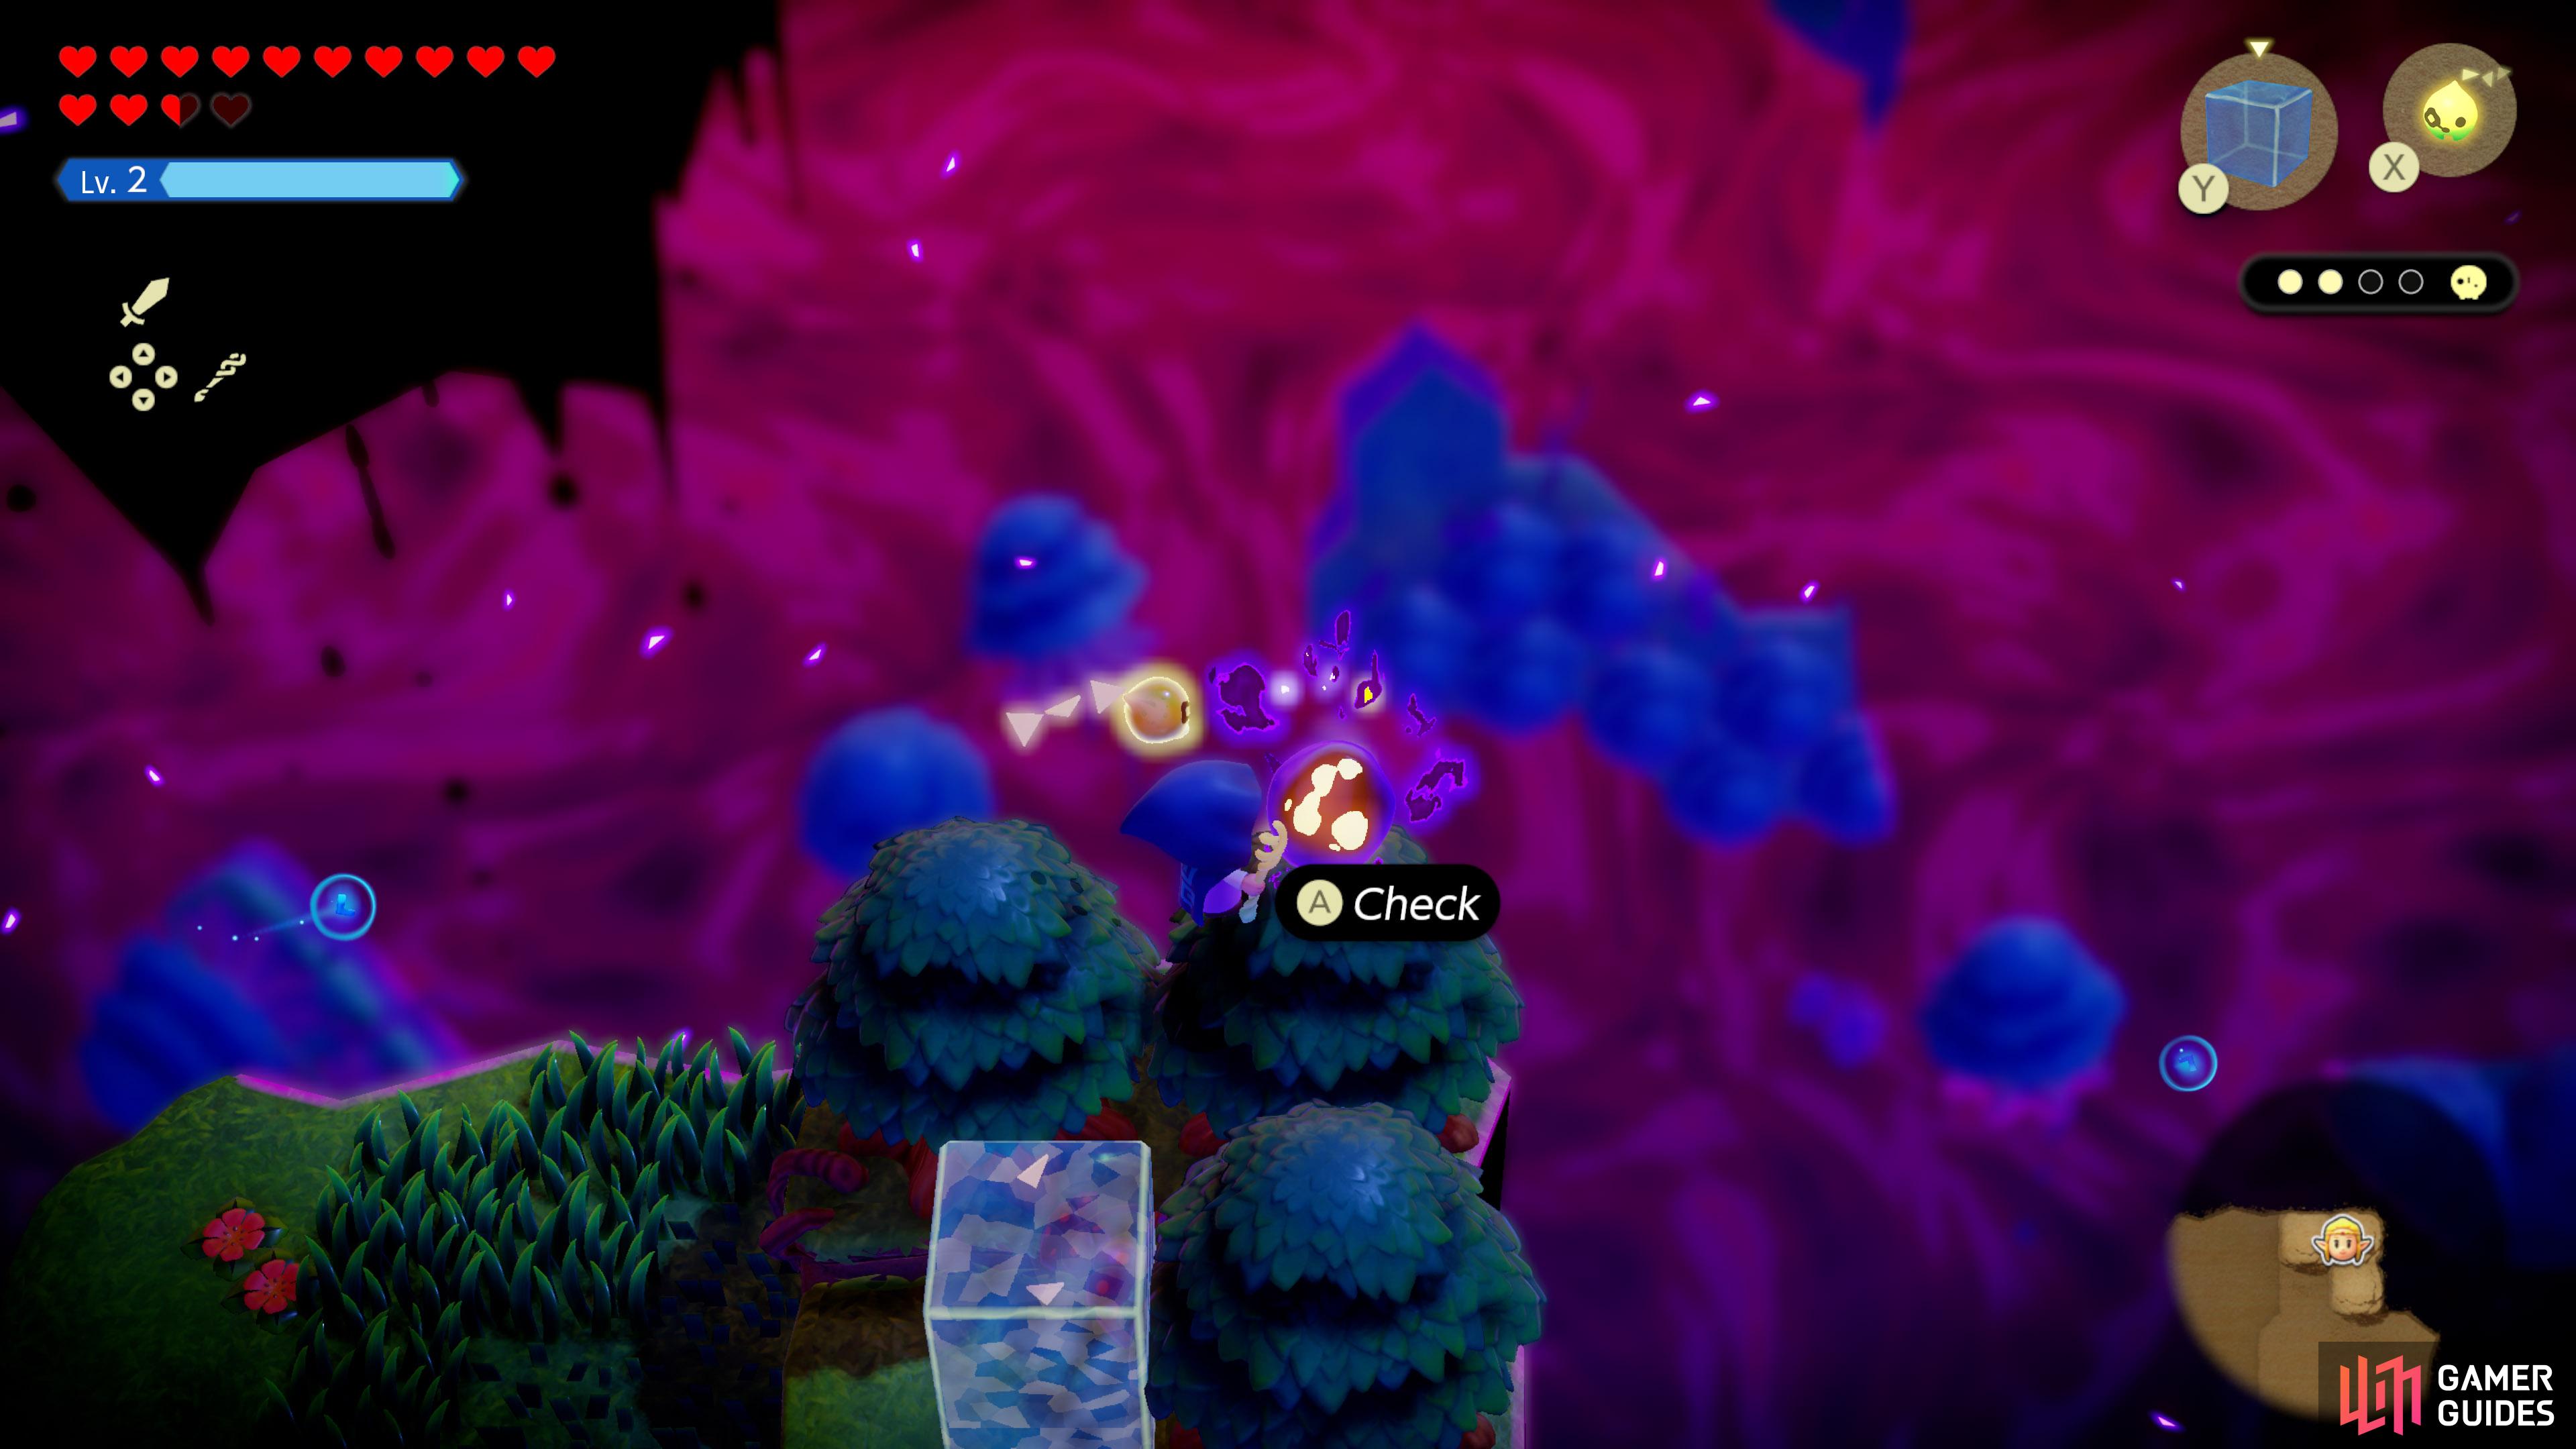
57. Still World Map
![]() Stilled Lower Suthorn Forest, towards the south-east, atop a tree.
Stilled Lower Suthorn Forest, towards the south-east, atop a tree.
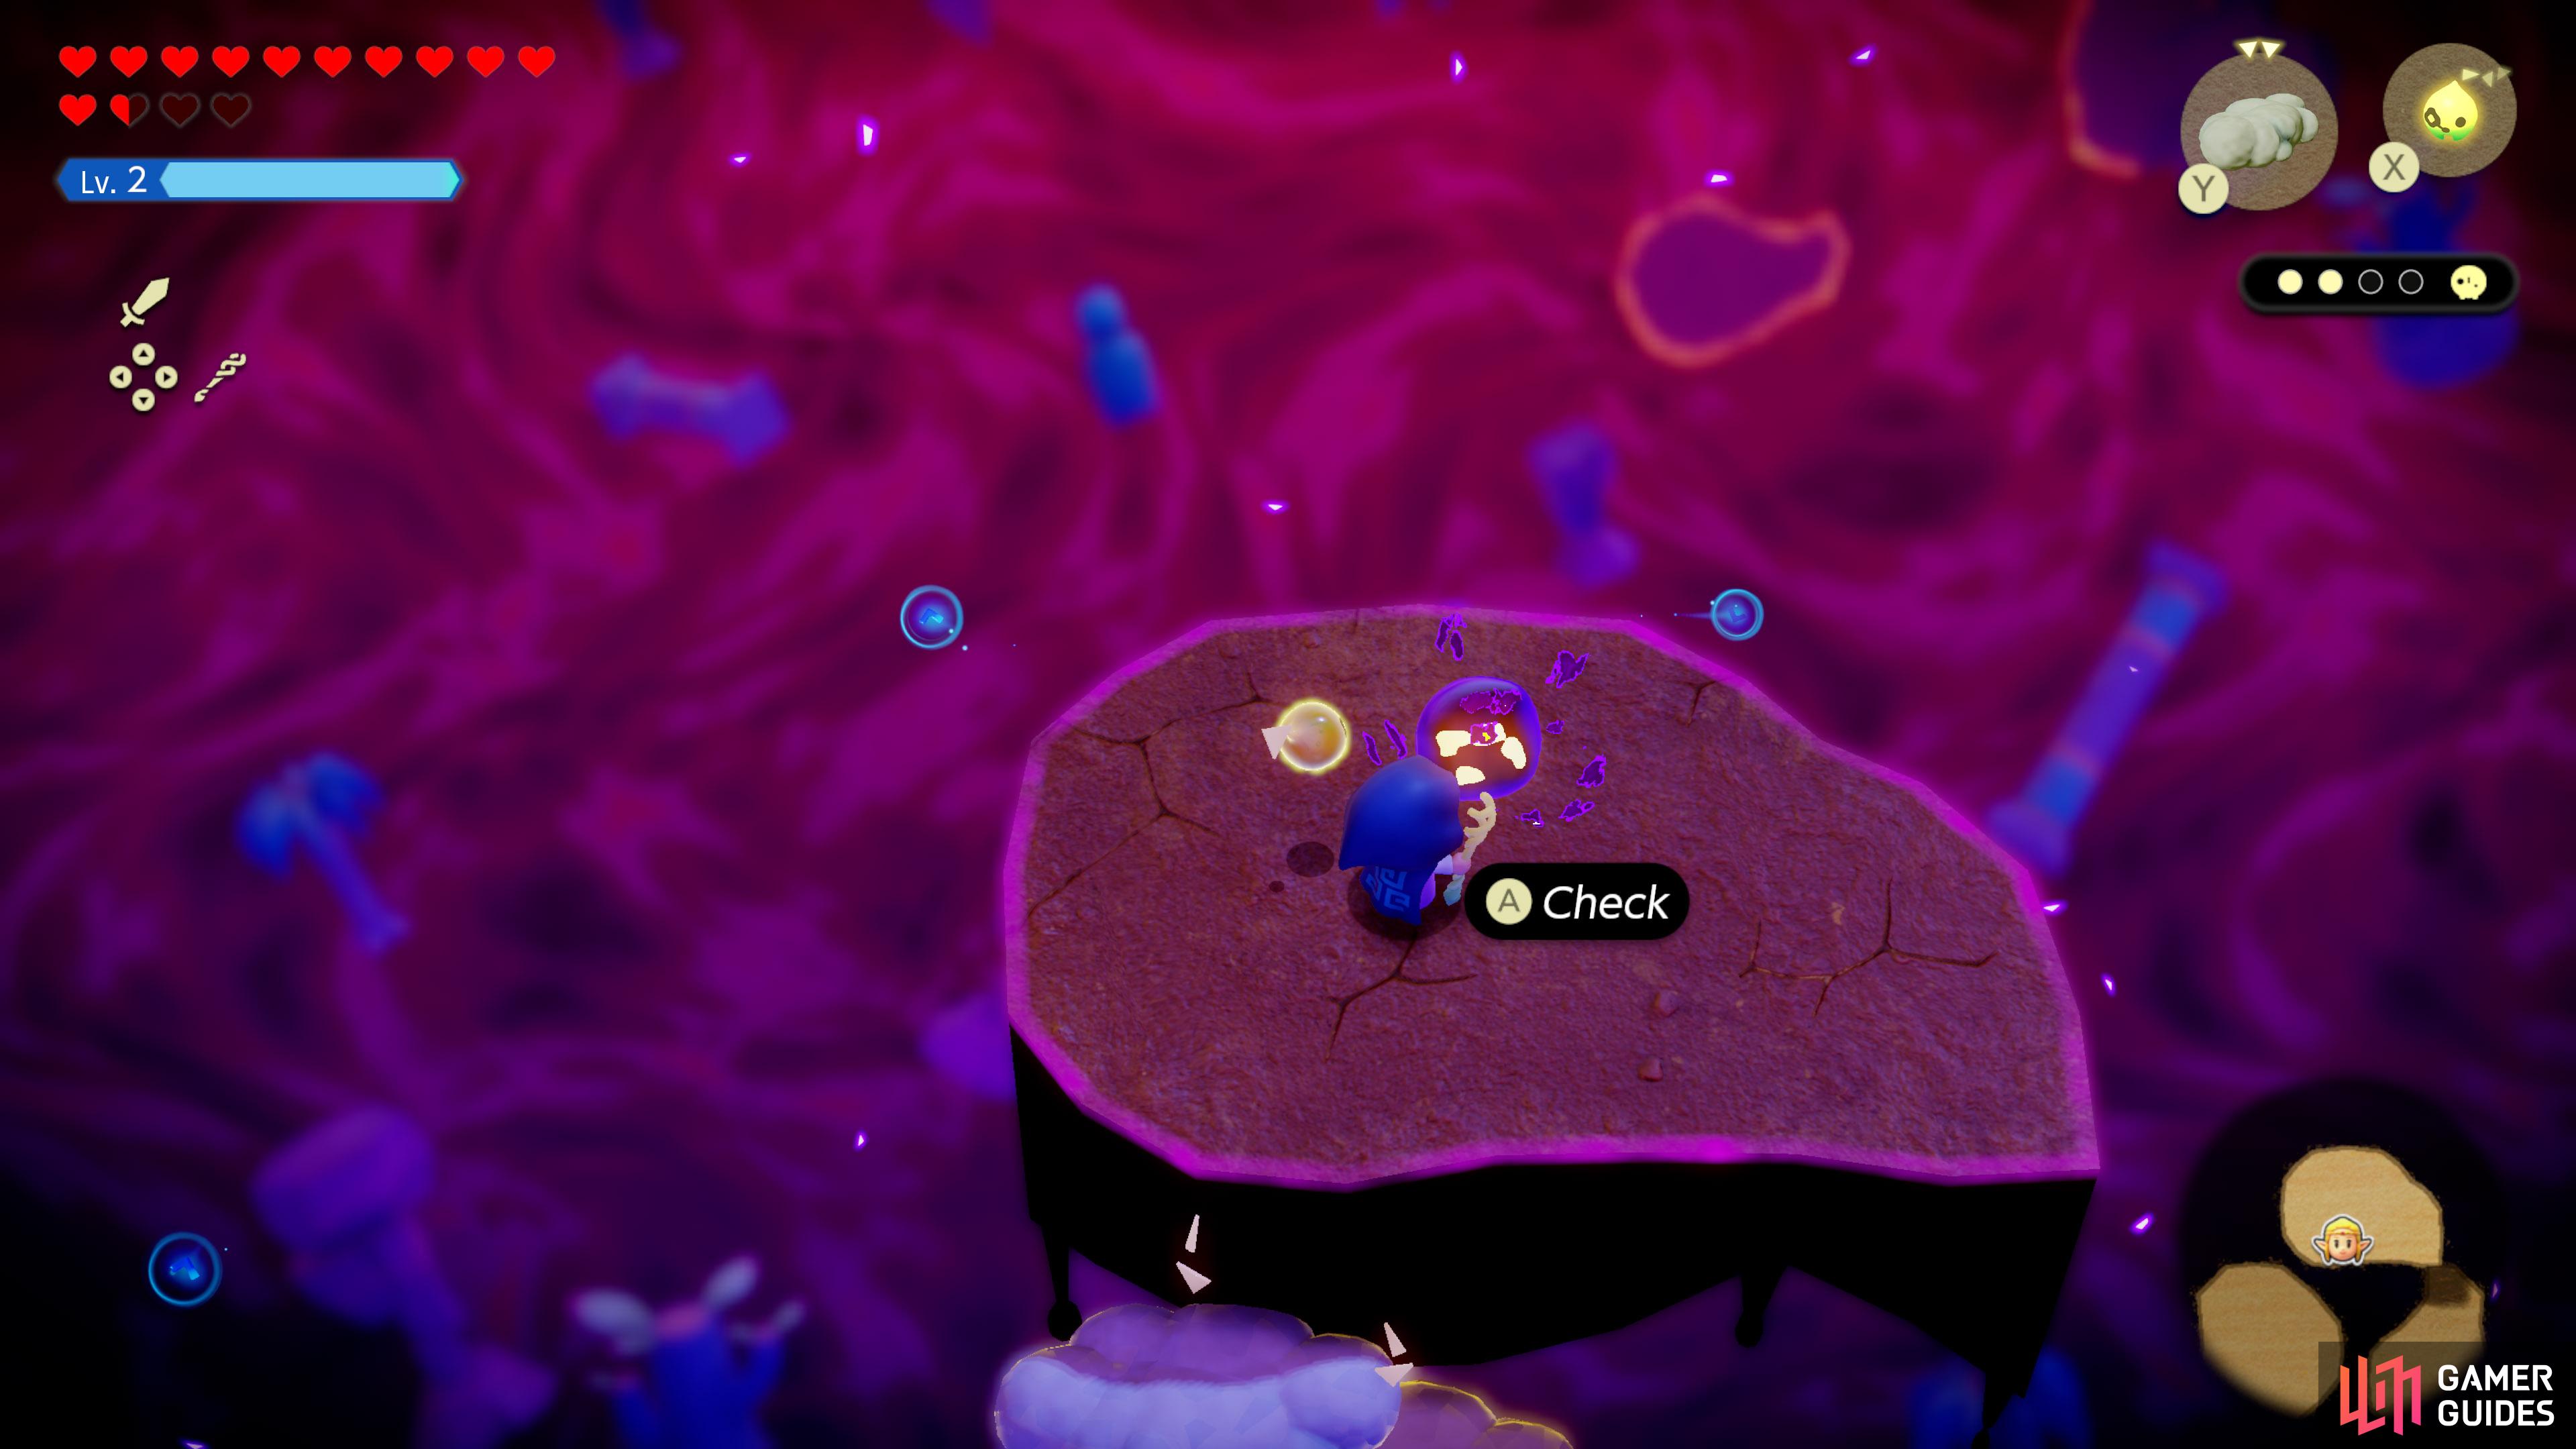
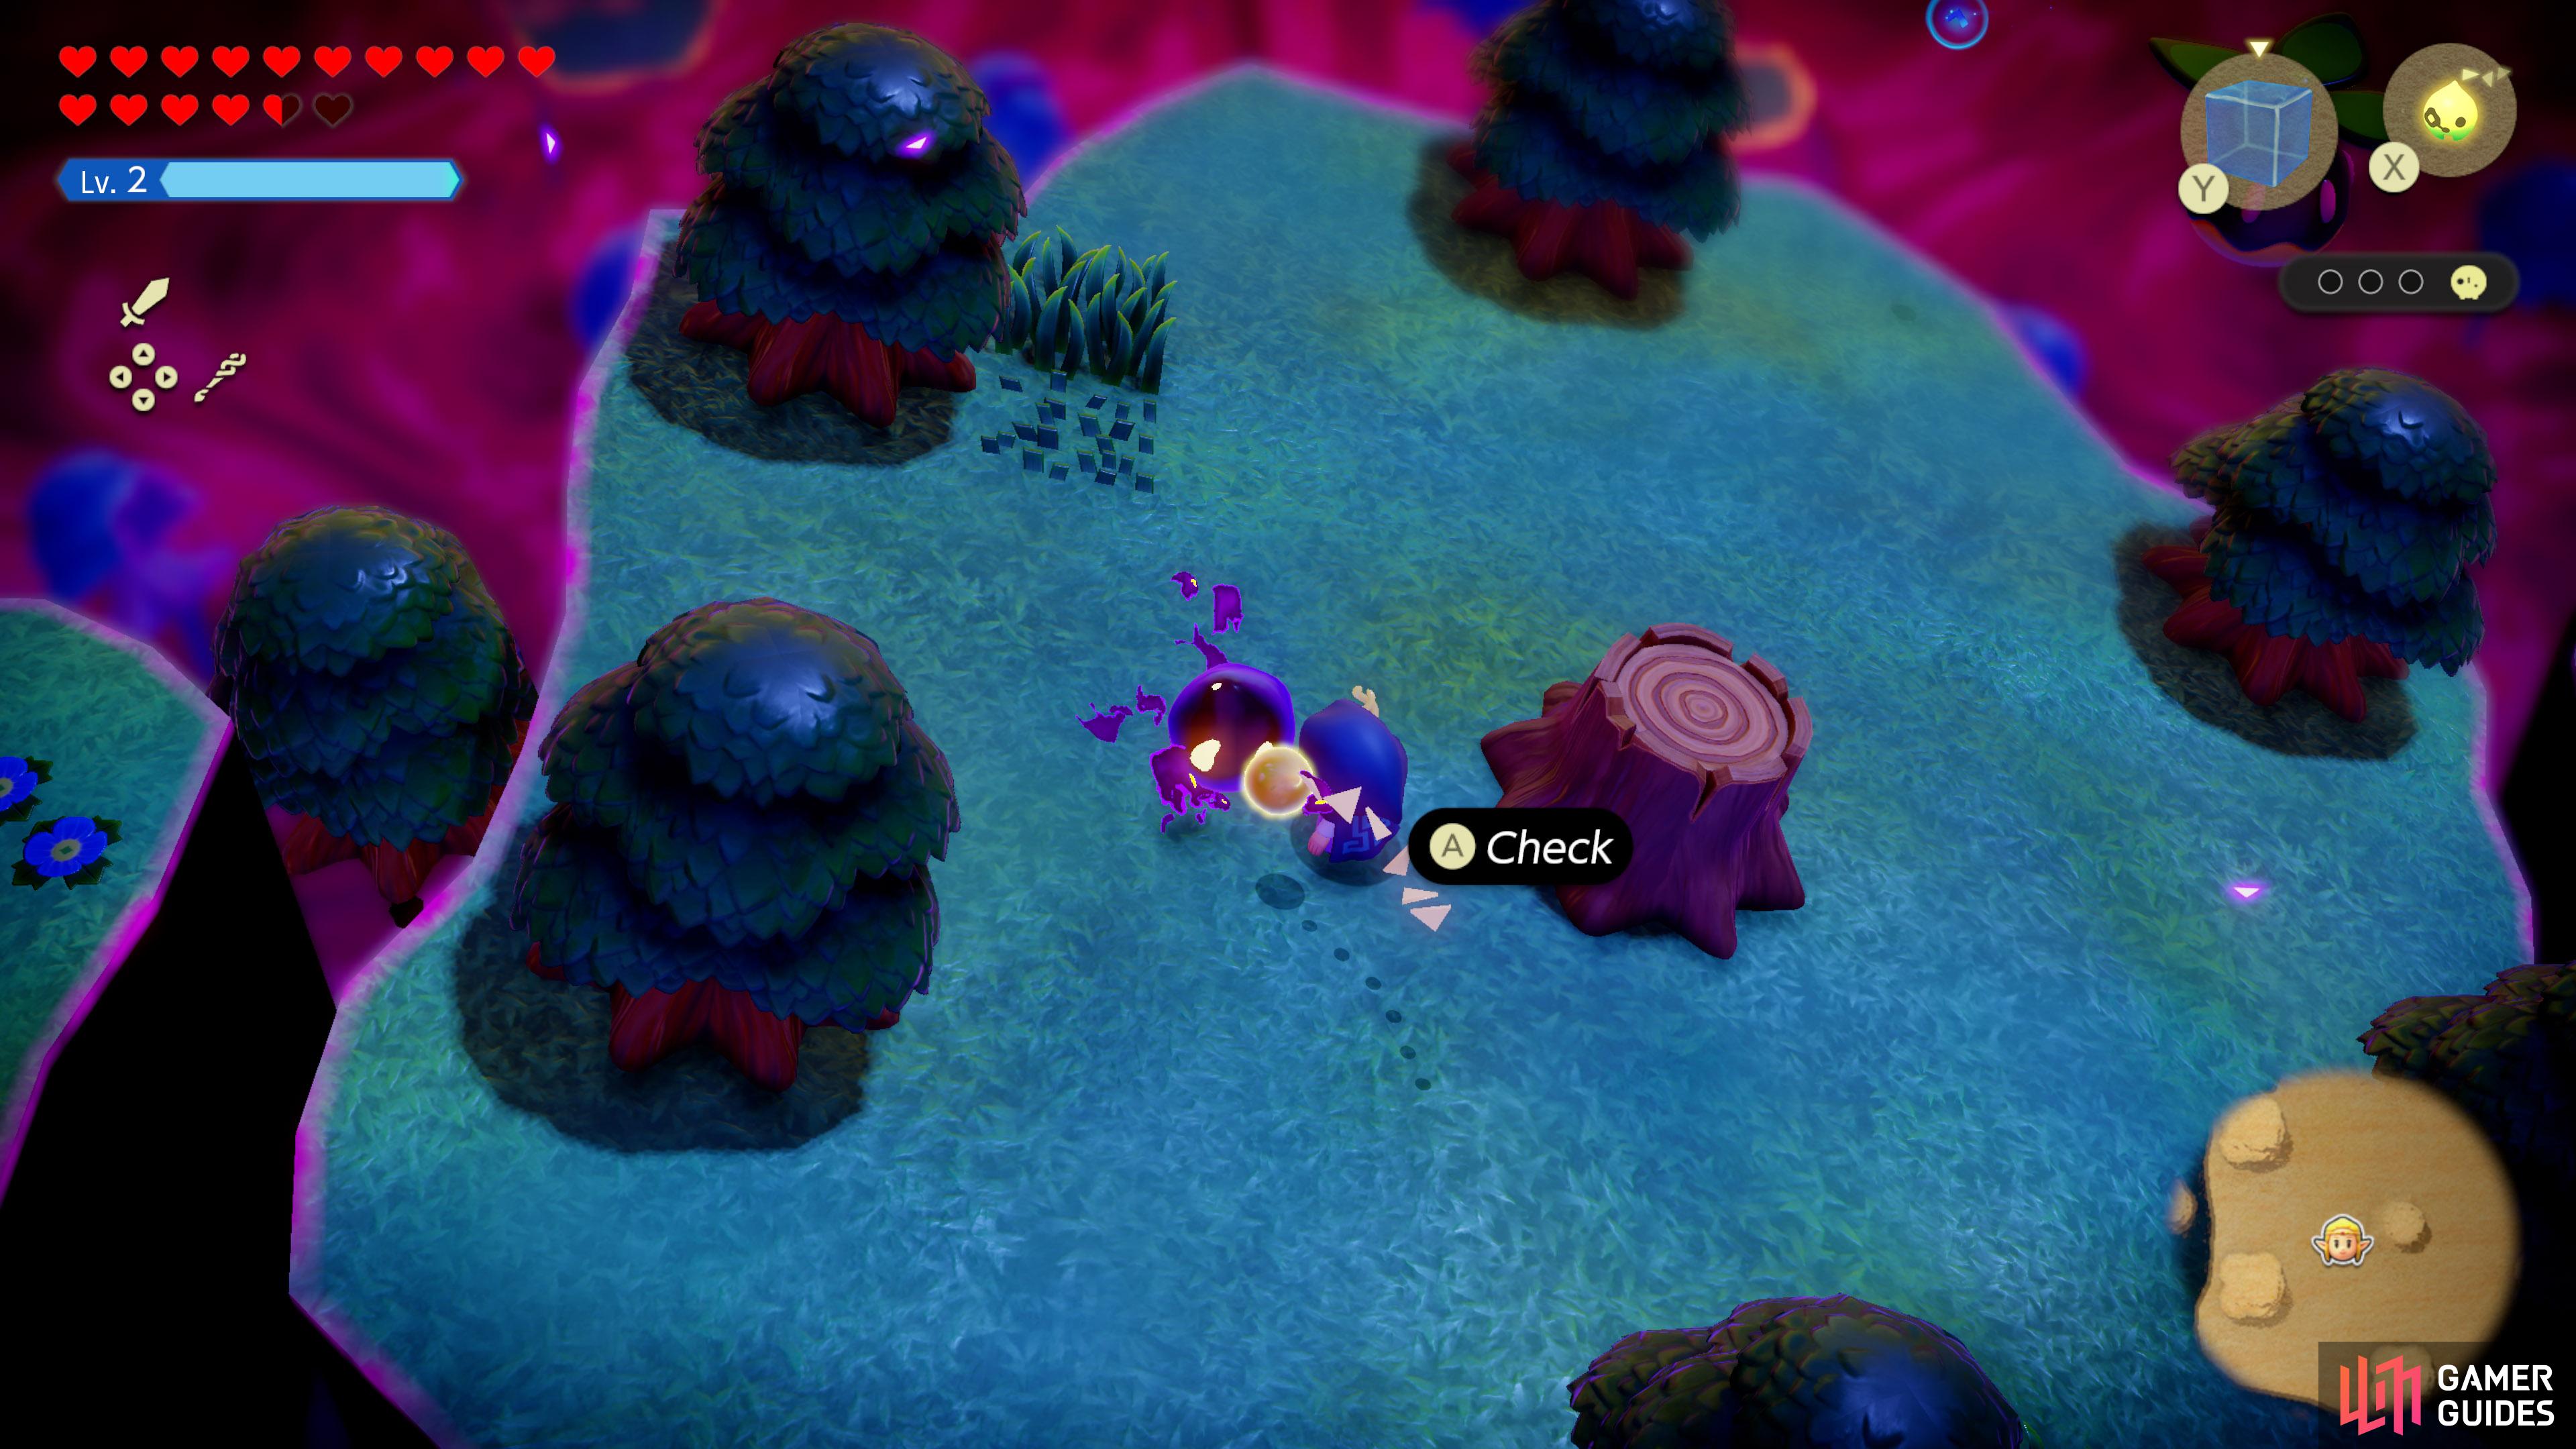
58. Still World Map
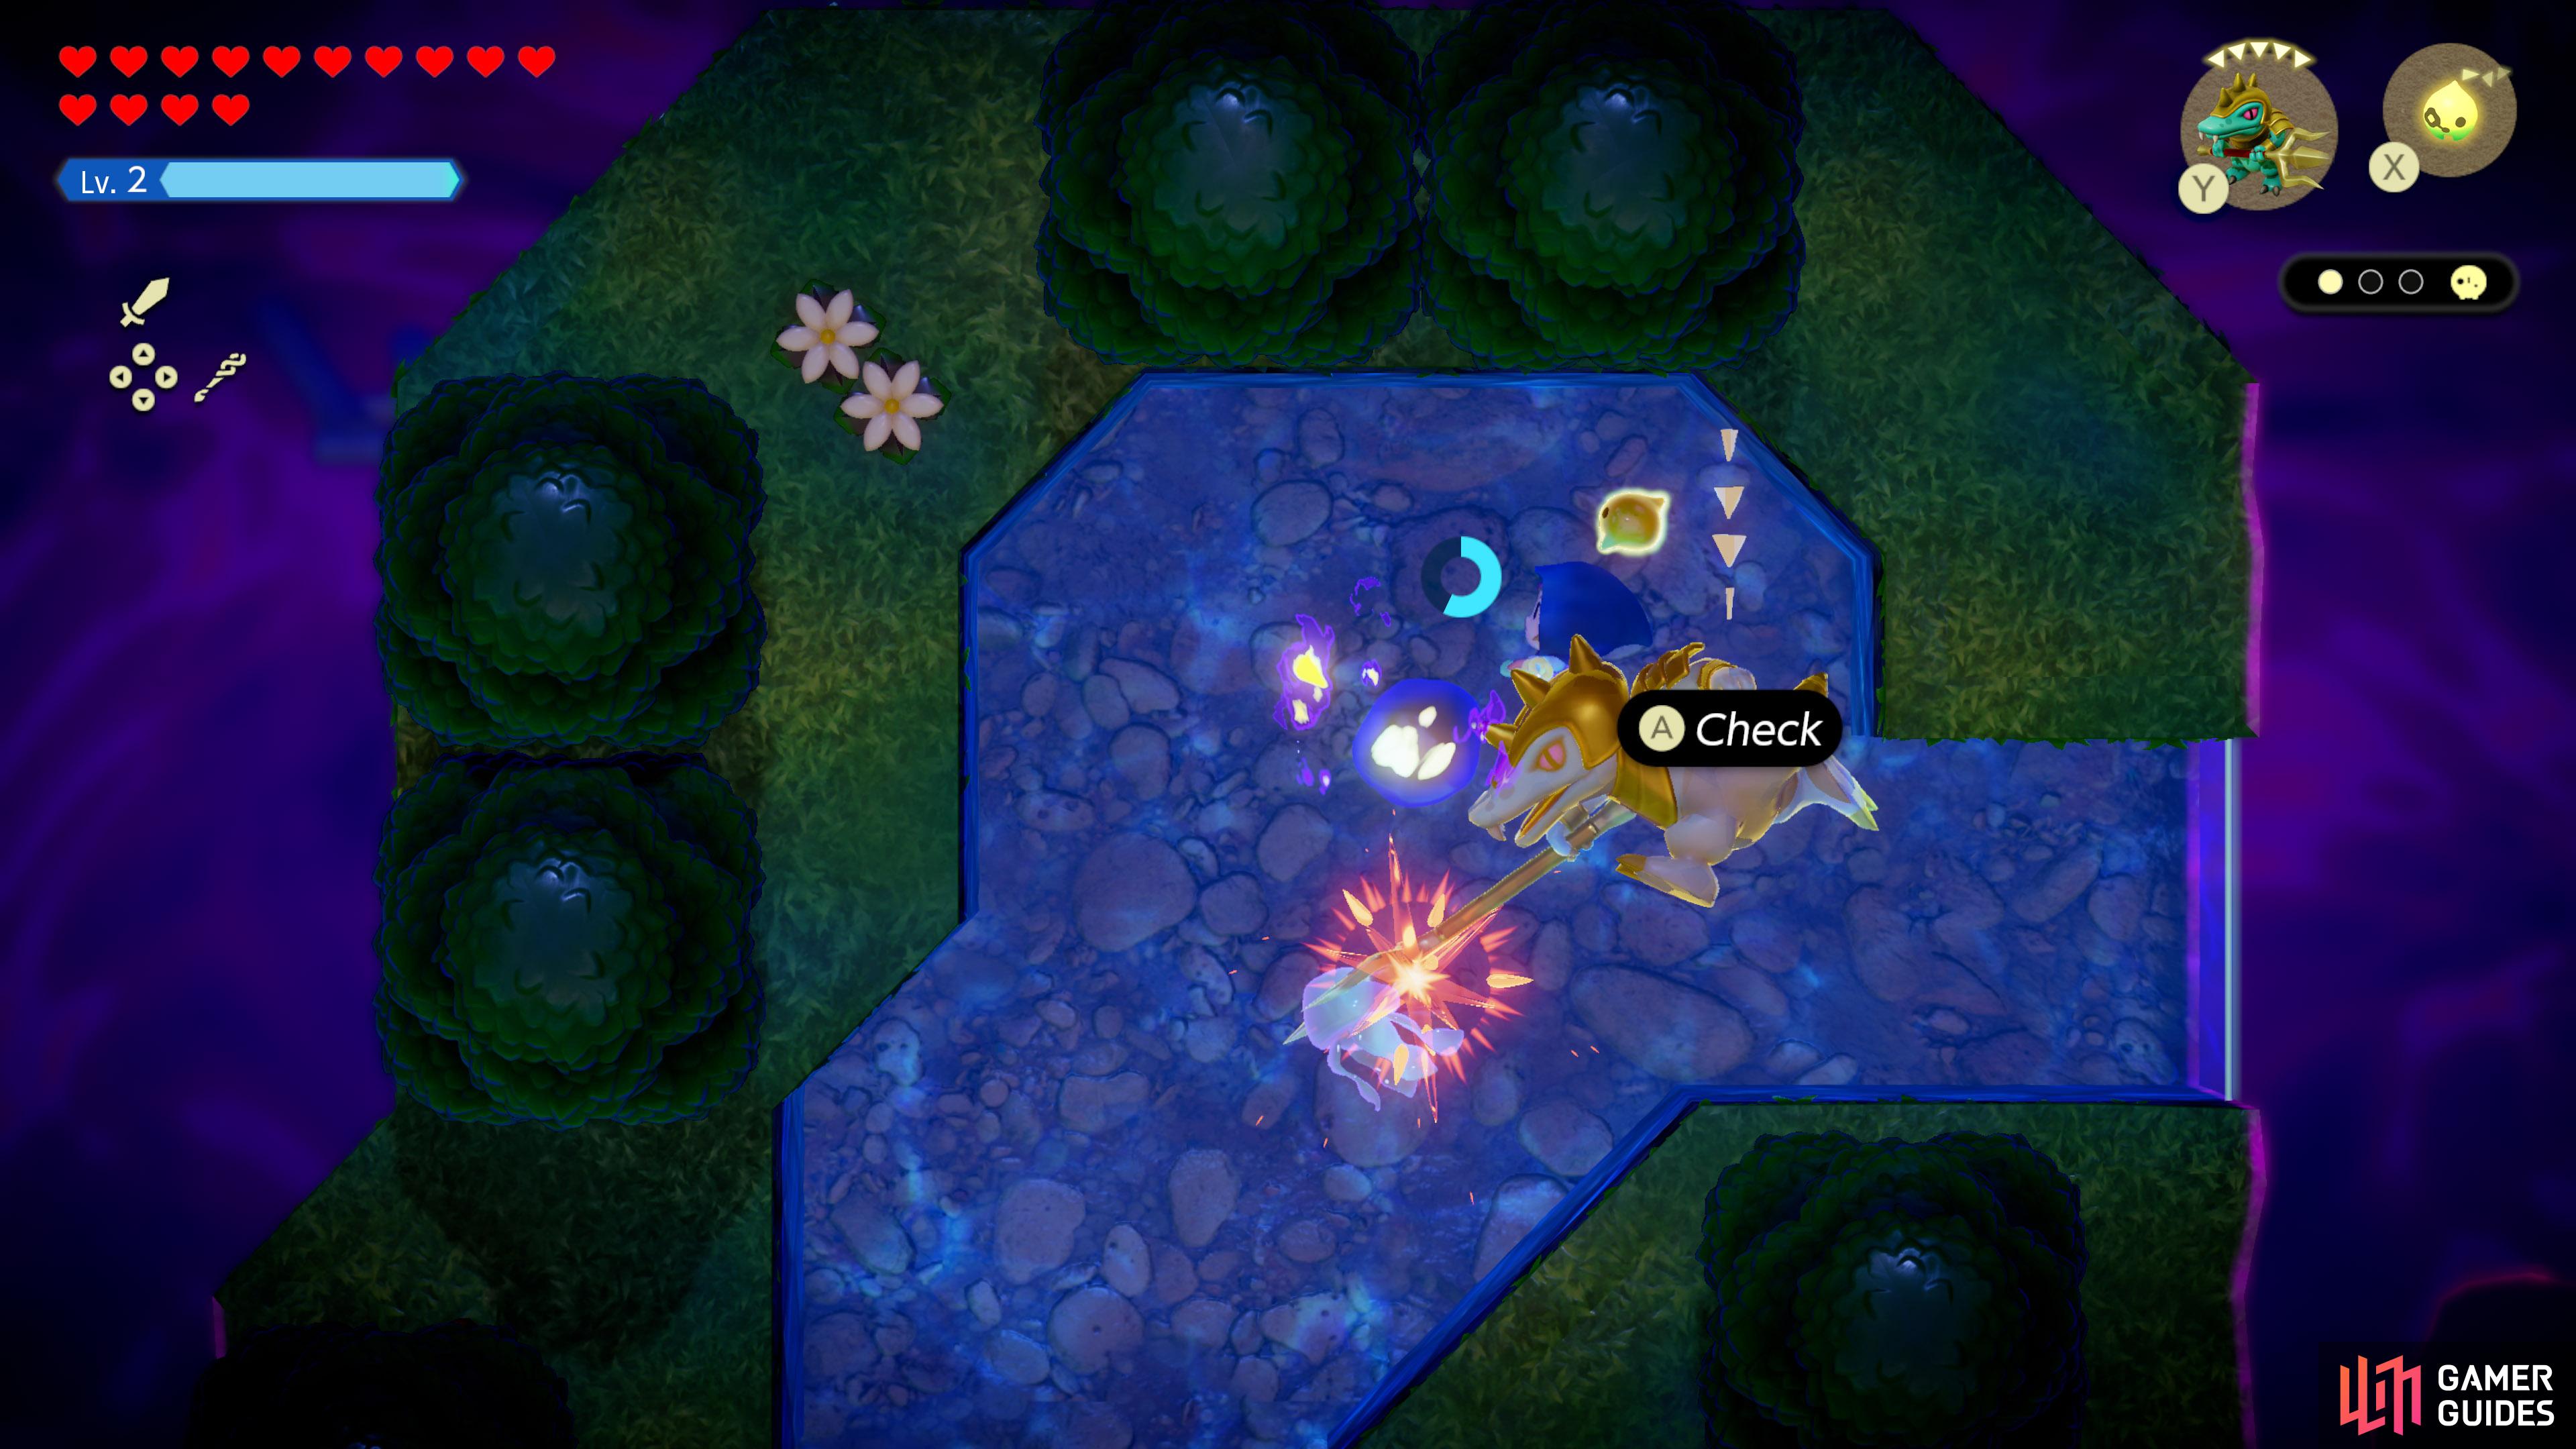
![]() Stilled Southern Hyrule Field, towards the west. Defeat the shadow
Stilled Southern Hyrule Field, towards the west. Defeat the shadow ![]() Mini-Moldorm to release it.
Mini-Moldorm to release it.
59. Still World Map
![]() Stilled Southern Hyrule Field, towards the north. Defeat the shadow
Stilled Southern Hyrule Field, towards the north. Defeat the shadow ![]() Zol to release it.
Zol to release it.

60. Still World Map
![]() Stilled Southern Hyrule Field, towards the east. Defeat the shadow
Stilled Southern Hyrule Field, towards the east. Defeat the shadow ![]() Tangler to release it.
Tangler to release it.

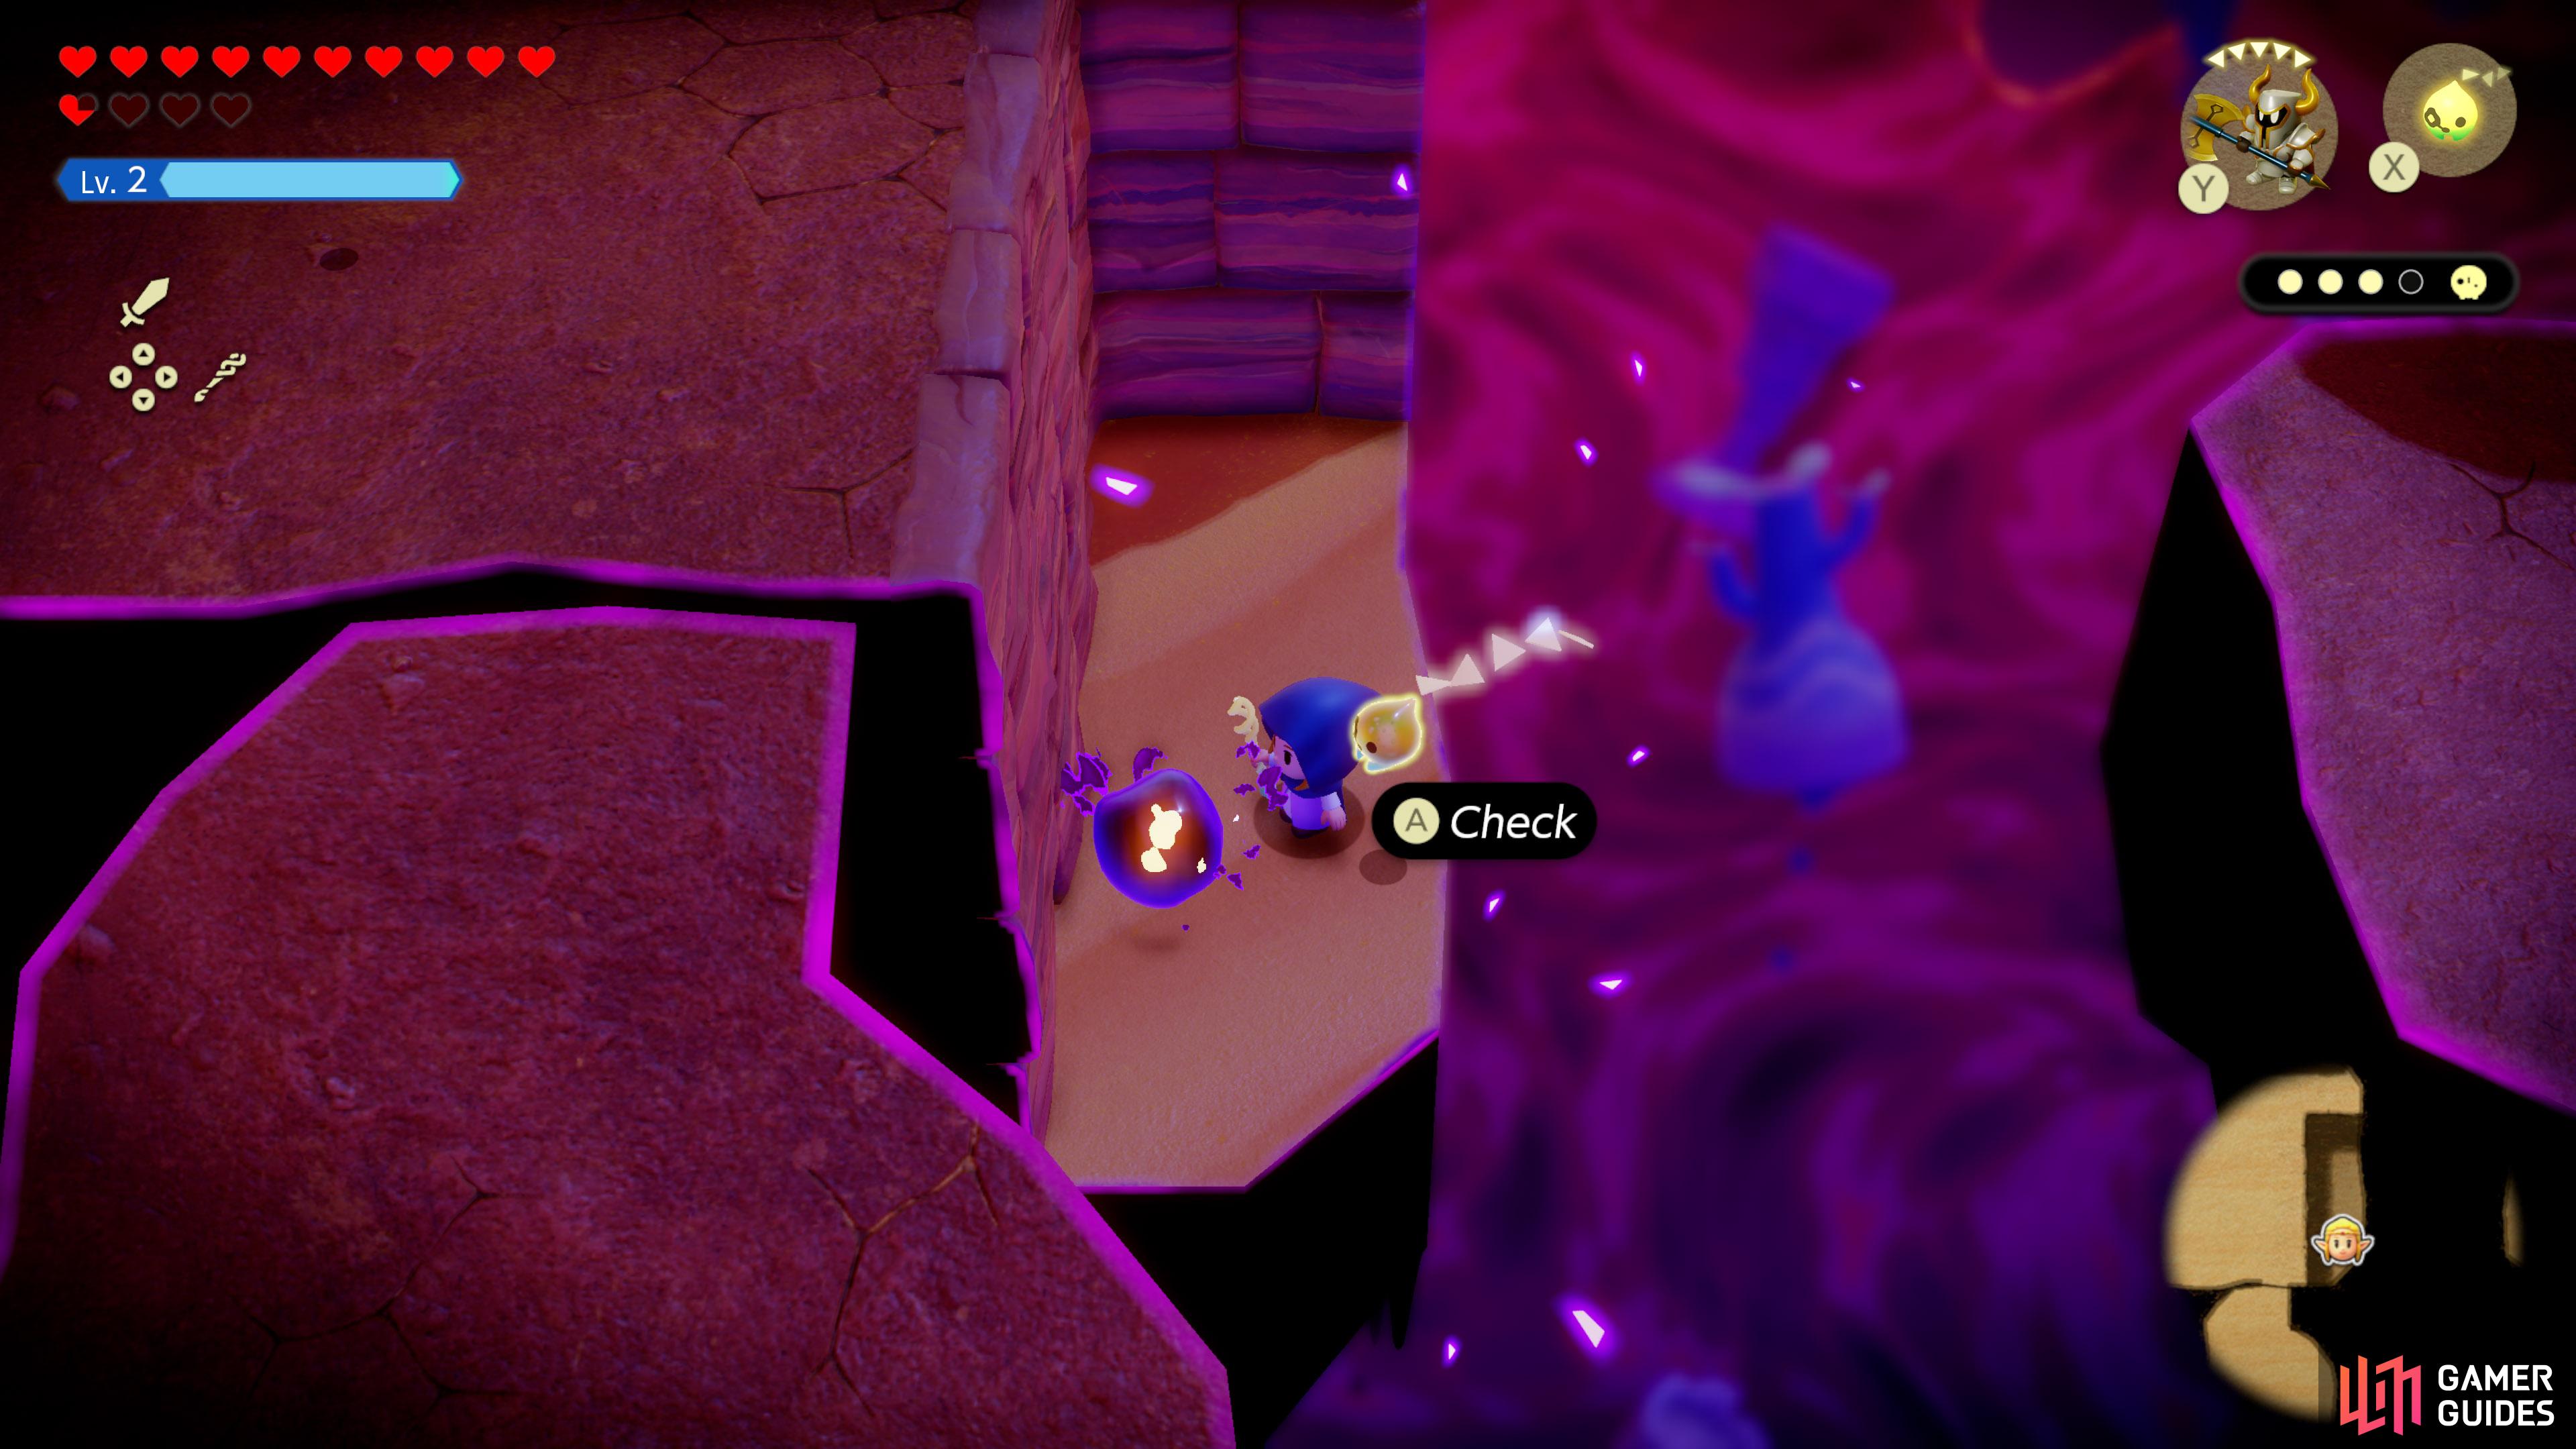
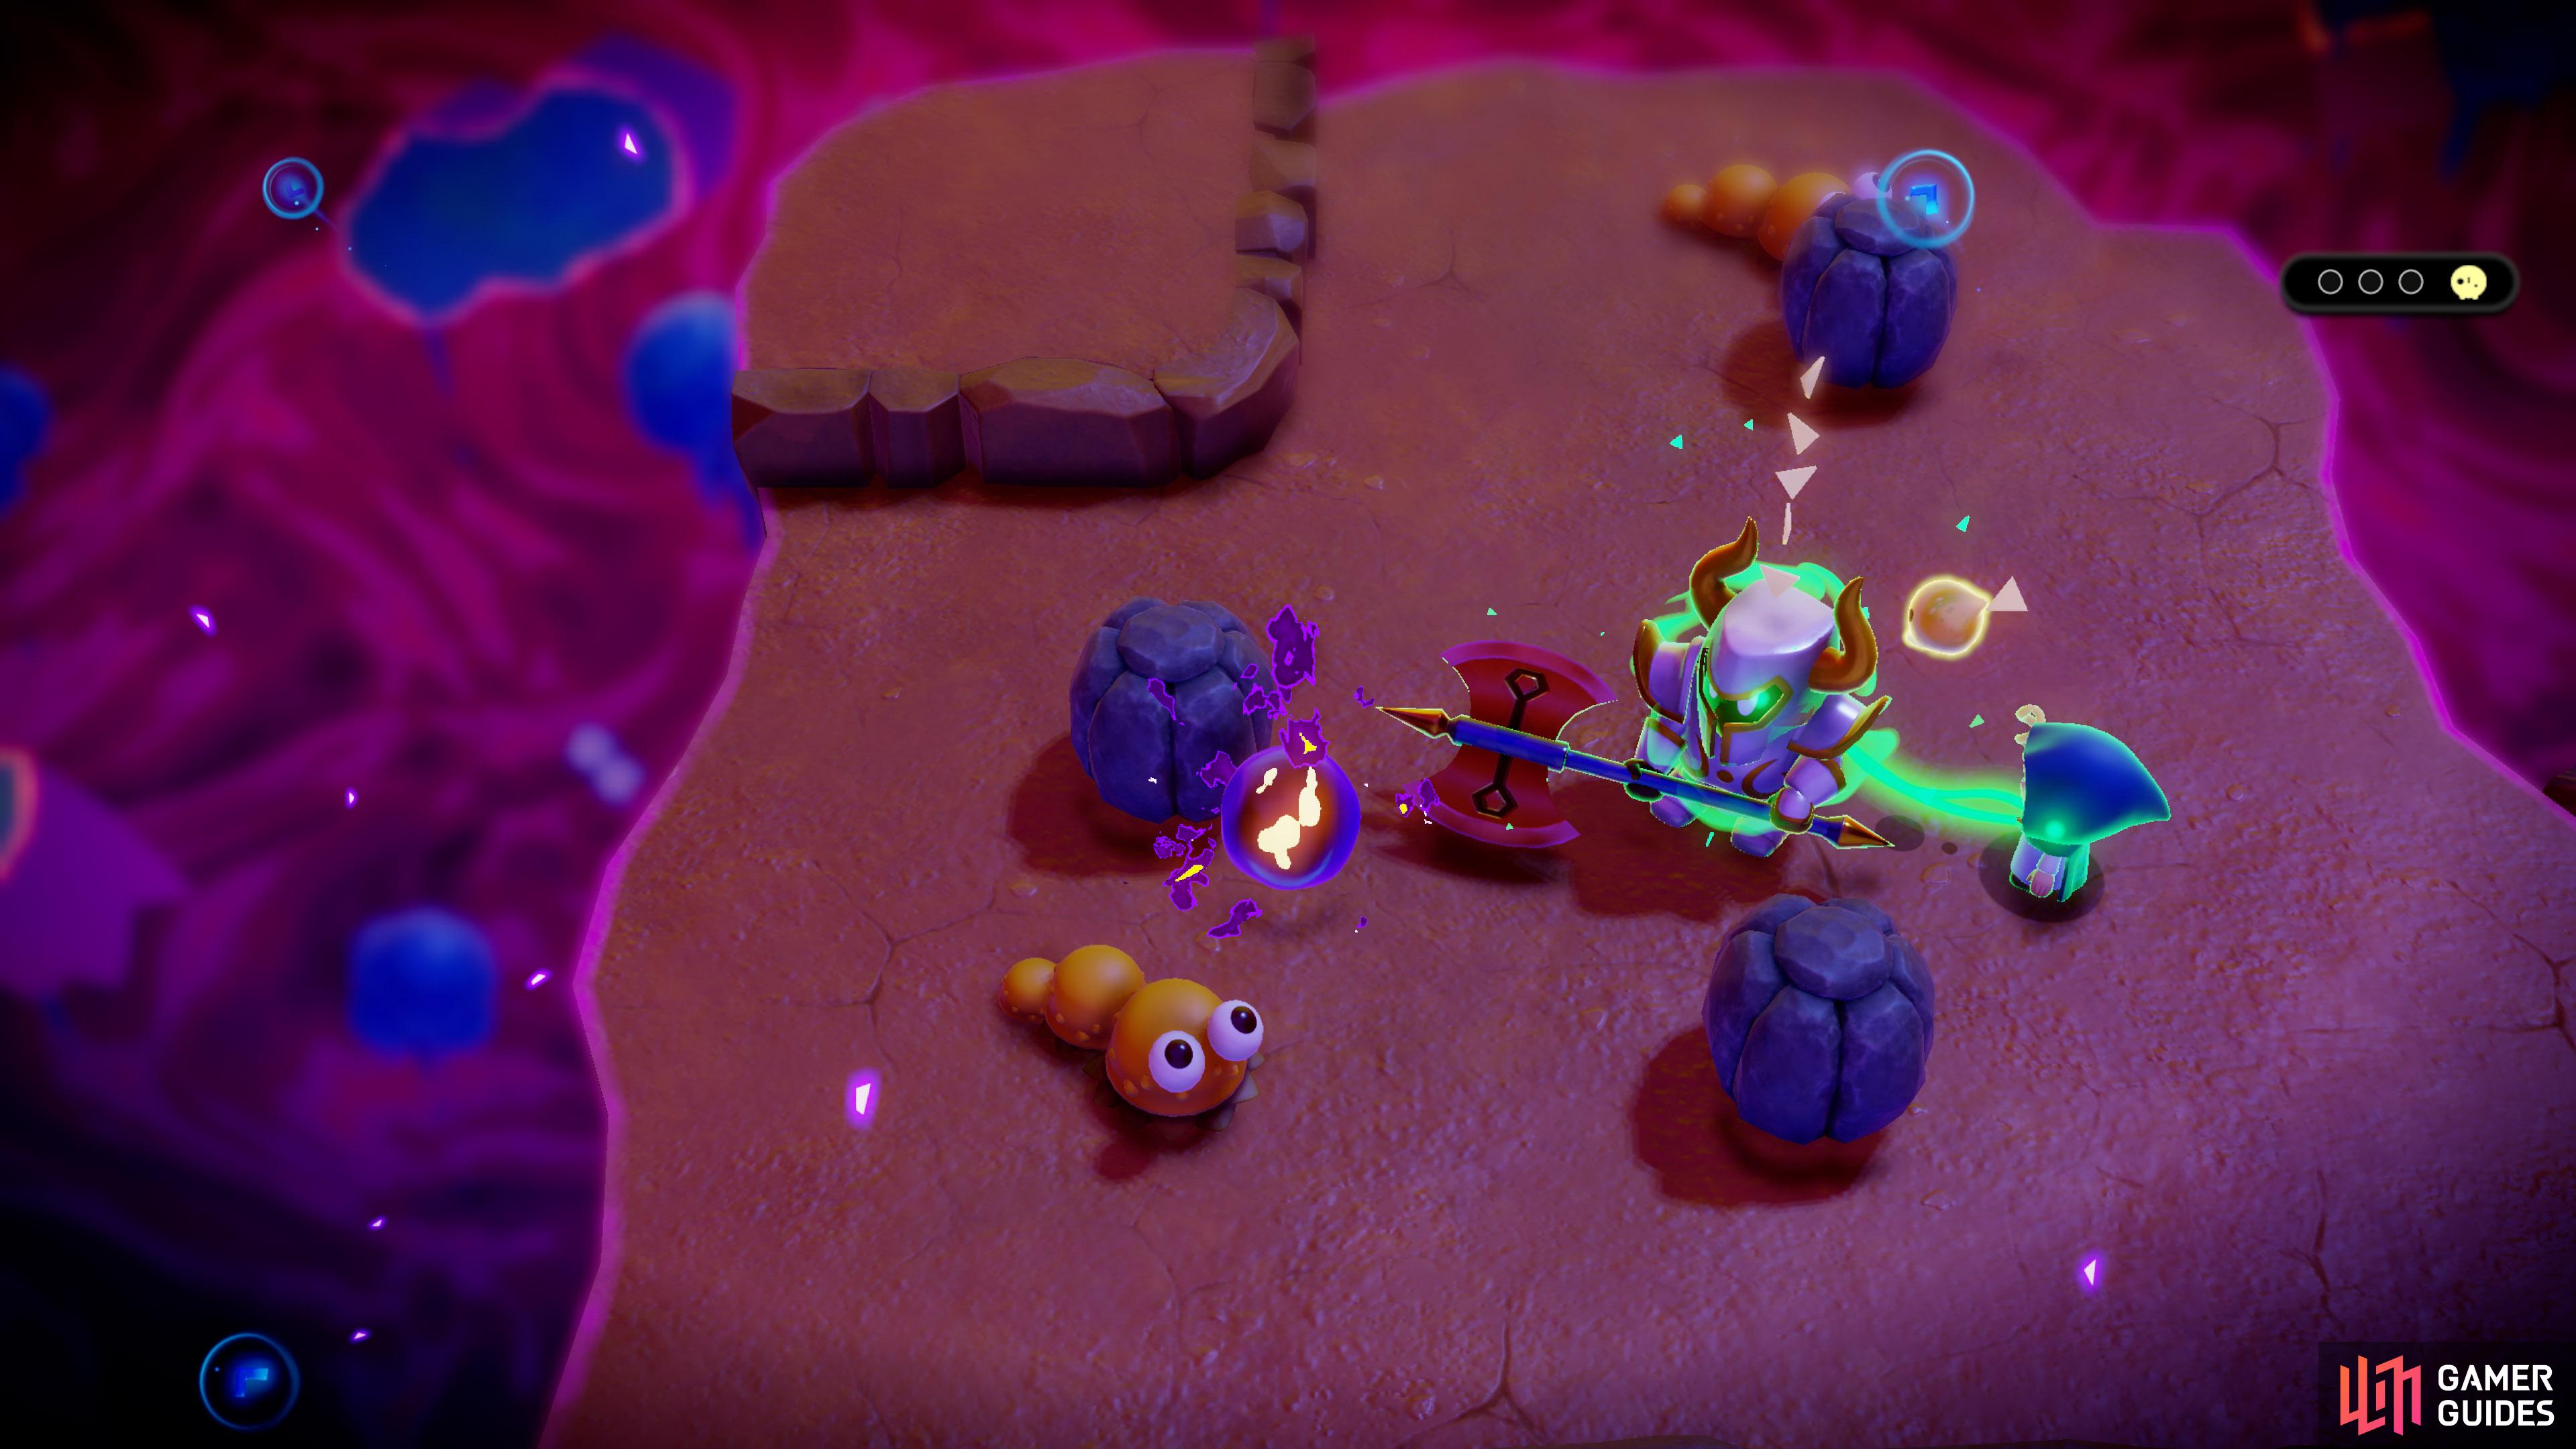
61. Still World Map
![]() Stilled Lower Suthorn Forest, towards the west. Defeat the shadow
Stilled Lower Suthorn Forest, towards the west. Defeat the shadow ![]() Spear Moblin to release it.
Spear Moblin to release it.
No Comments