
The Echo Knight is the ultimate boss that can be found at the end of the Crucible Trials in No Rest for the Wicked. You can find the Echo Knight after you complete eight random floors of the Crucible Trial, with the following trial being the boss itself. The Echo Knight has a huge health pool, high defense, and high attack power, which is why it is considered the most difficult boss currently in the game. Read on to find out what weaknesses the Echo Knight has, how you can avoid its attacks, and how you can defeat it.
The Echo Knight is the boss of the Crucible Trials and your most difficult challenge yet!
Echo Knight Tips
Before we get started on the actual strategy of the battle, we’ll give you some basic tips to further increase your chance of defeating the Echo Knight.
- Reach the (current) level cap of 30. You will want every advantage you can get for this battle, and a few more levels will go a long way.
- Fully upgrade your armor and weapons. This means having an armor set and weapon as near to your level as possible, while also upgrading them to the maximum.
- Bring plenty of Focus Potions. More focus means more skill usage. More Skill usage equals boss dead quicker.
- Bring plenty of Healing Items/food. We recommend eating a Vegetable Cake (+10% damage for 600 seconds) or a Shepherd’s Pie before you start the boss. Then use Fish Skewer, Fish Salad, or Angler’s Delight Chowder for the extra 50 Focus when you need it.
- Use a Stamina Potion and keep the effects on you for the entire battle if possible. You’ll be rolling/dodging a lot, and you’ll need all the extra stamina you can get.
- If all else fails, get a trainer and cheat (not really).
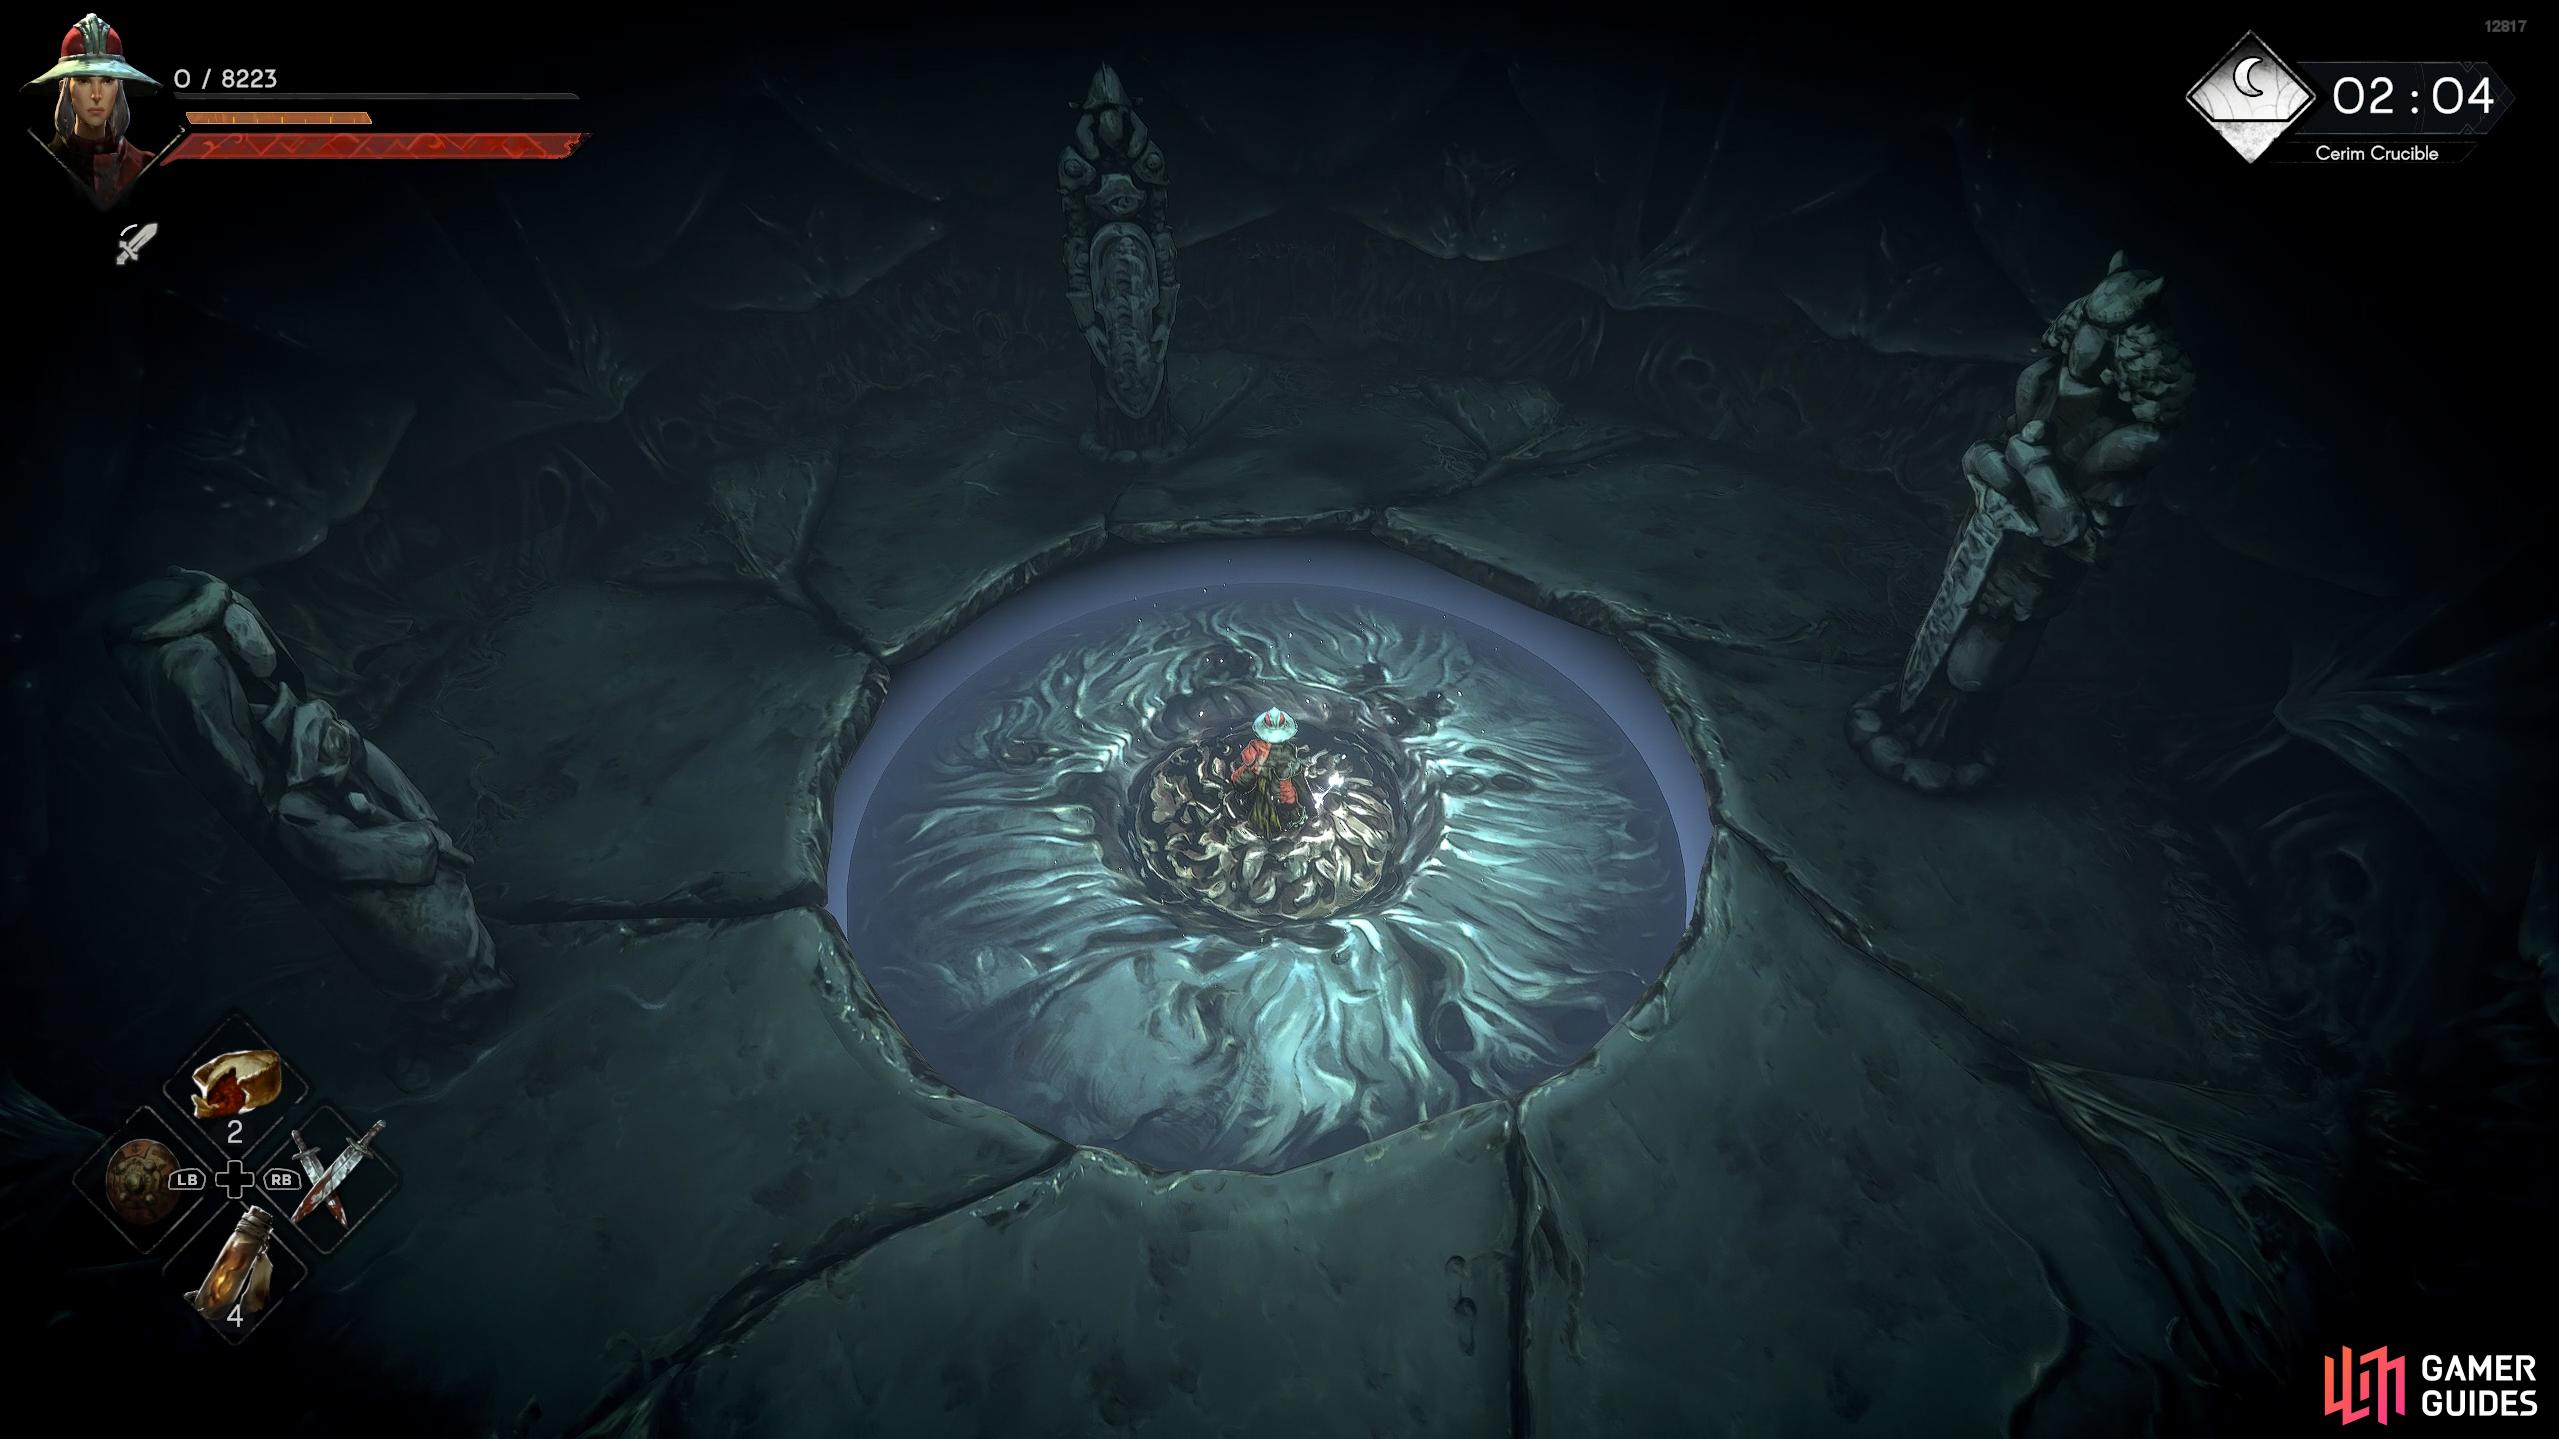
Echo Knight Boss First Battle Attacks
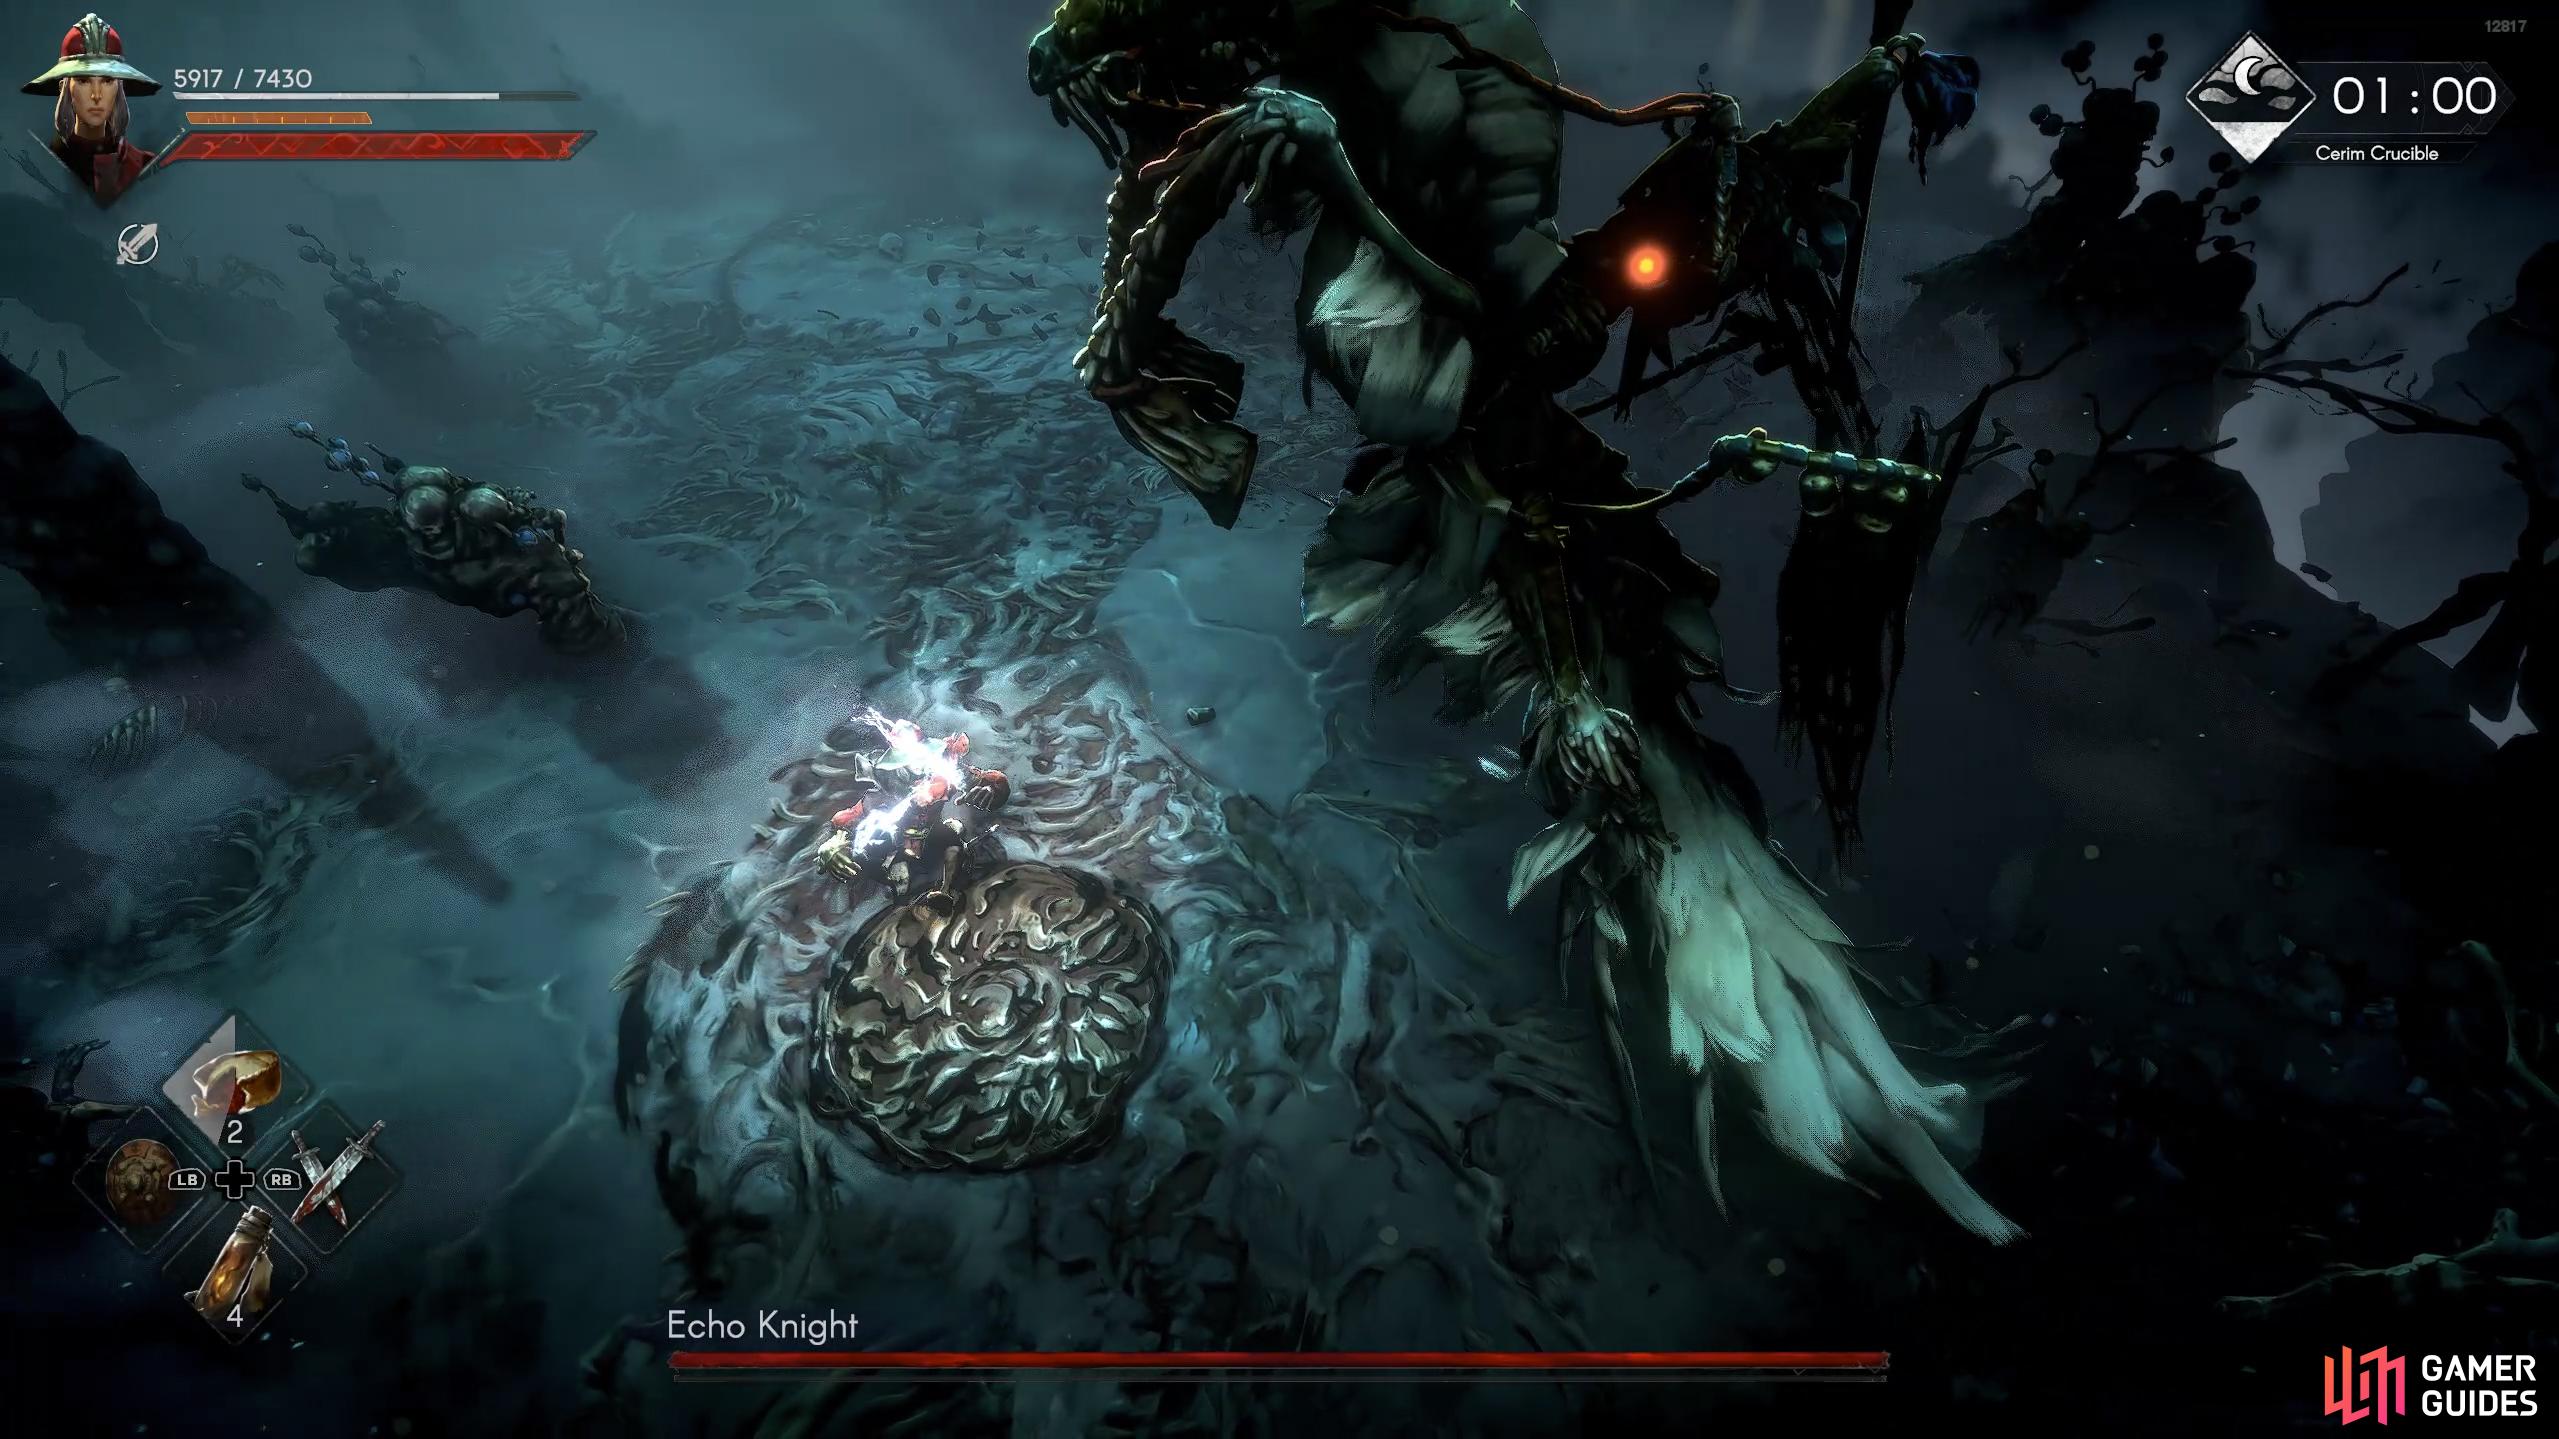
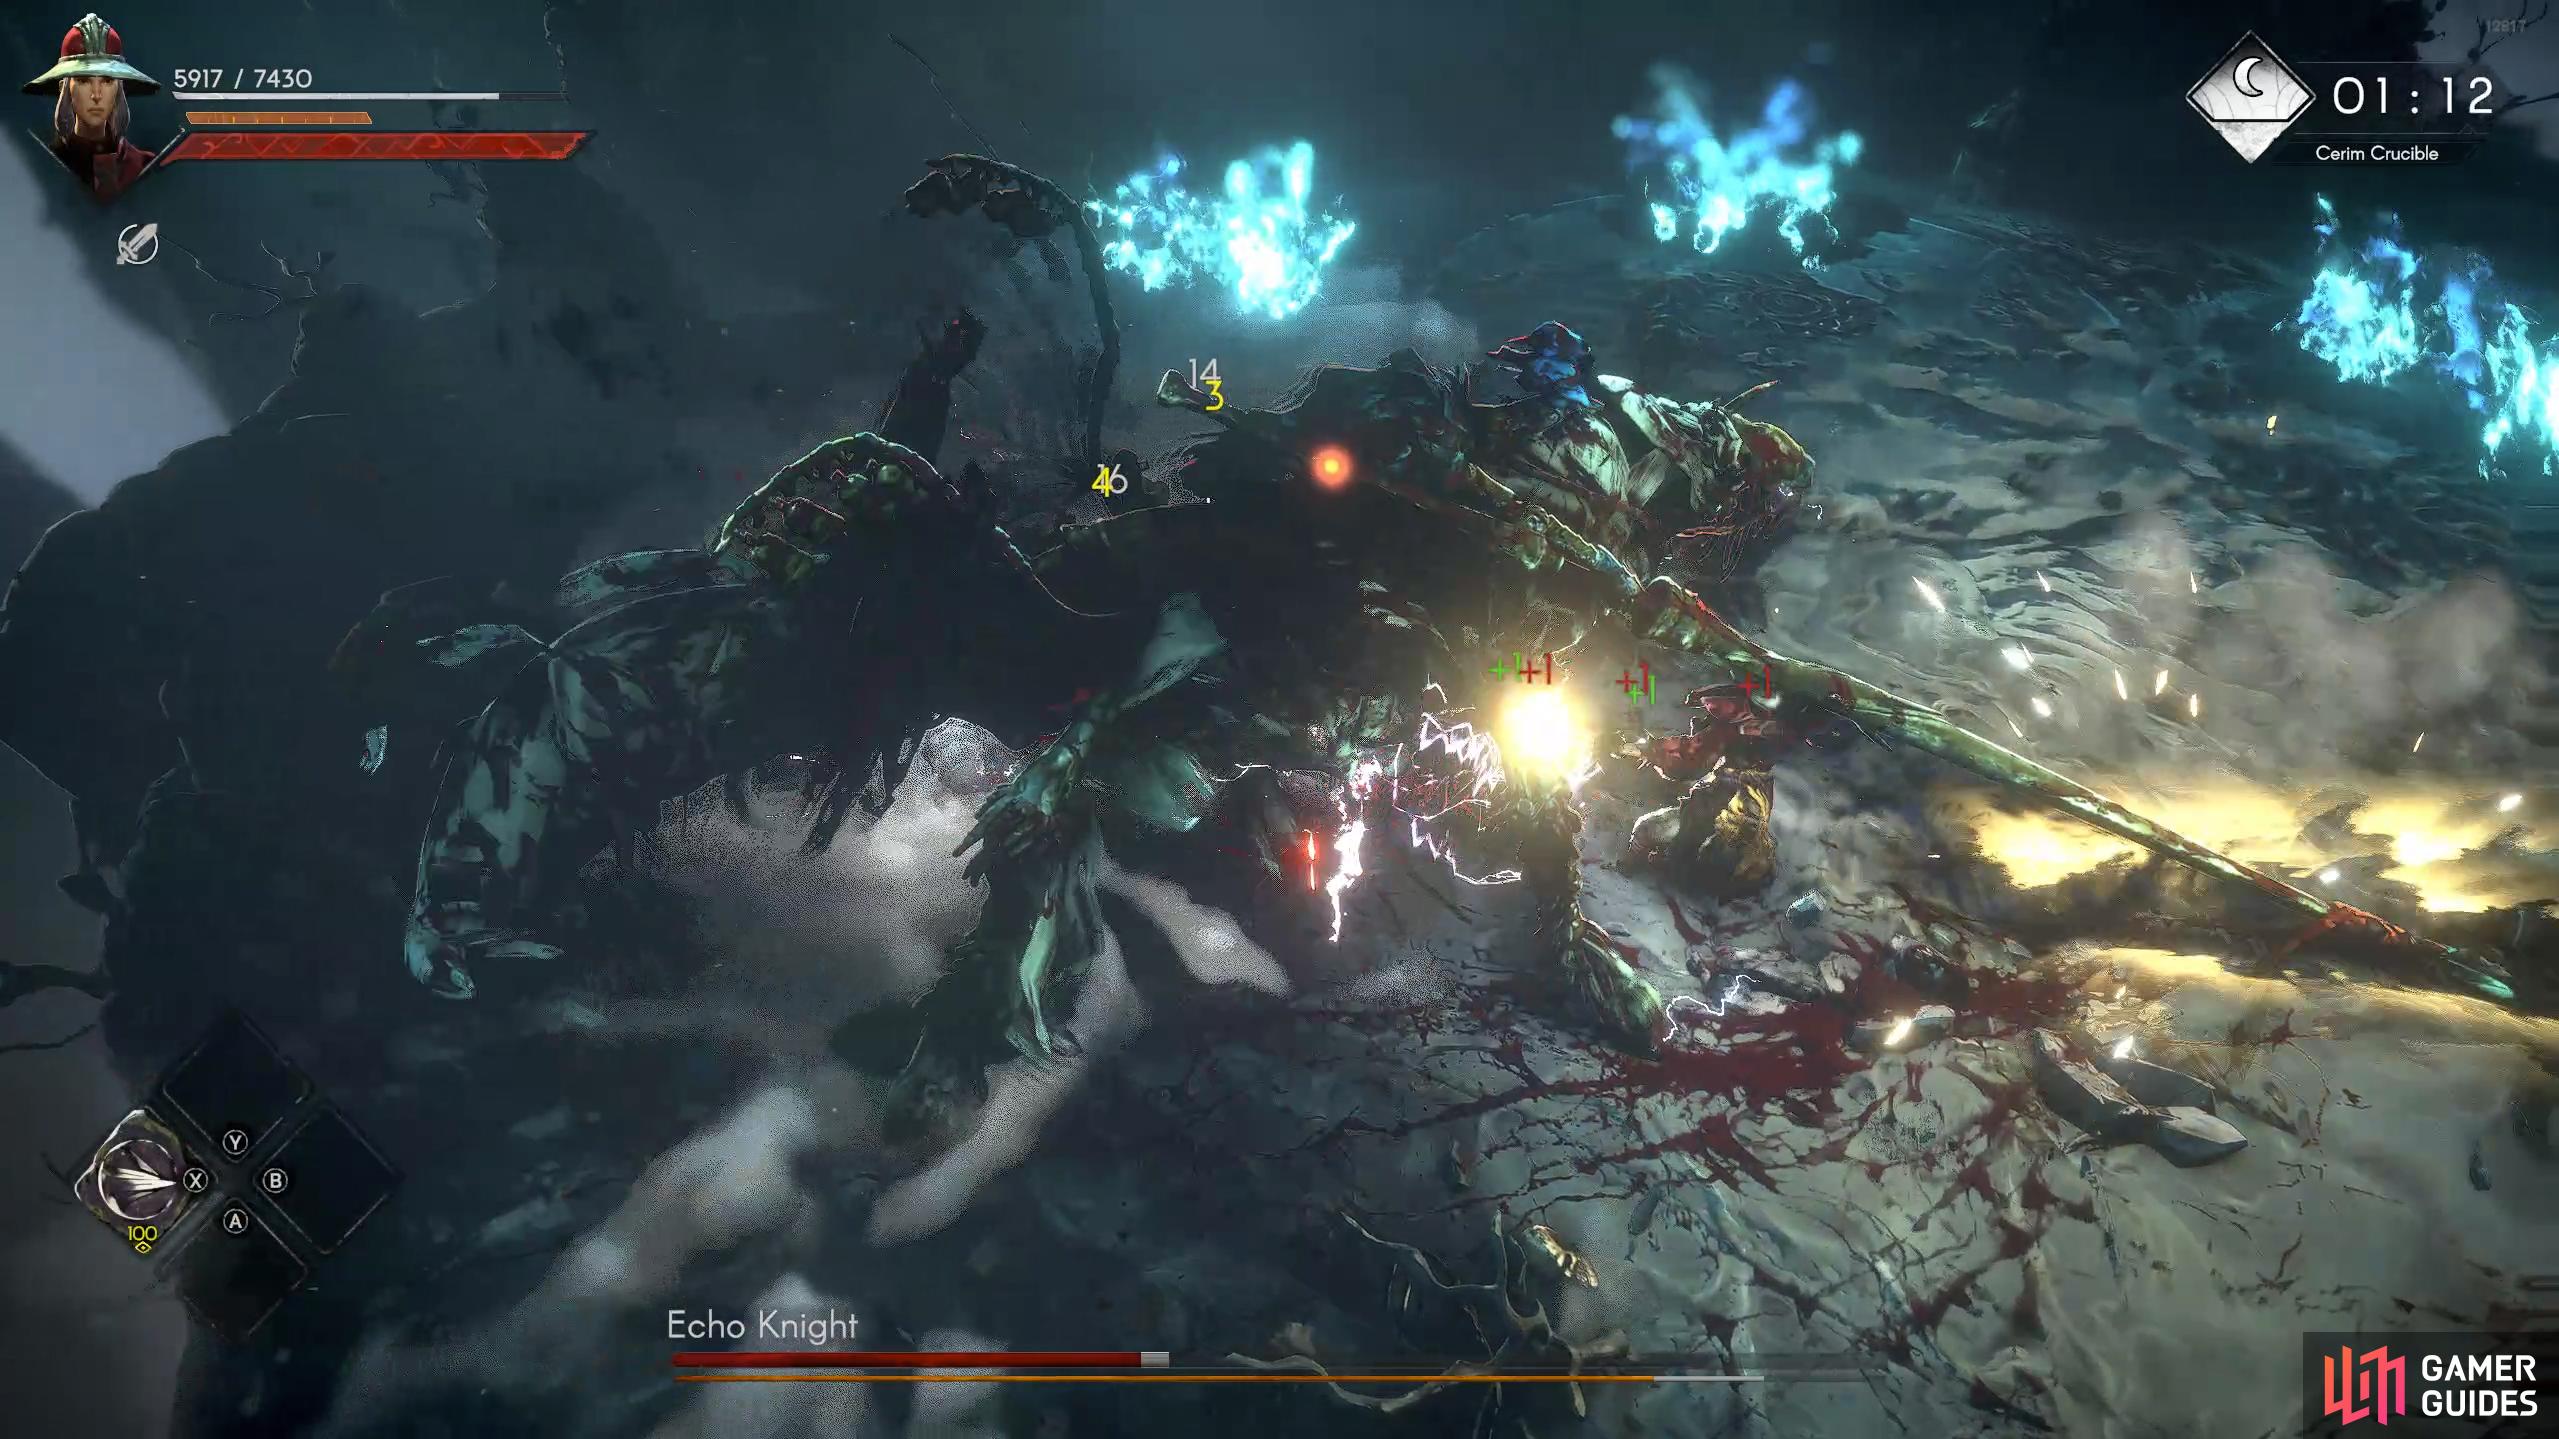
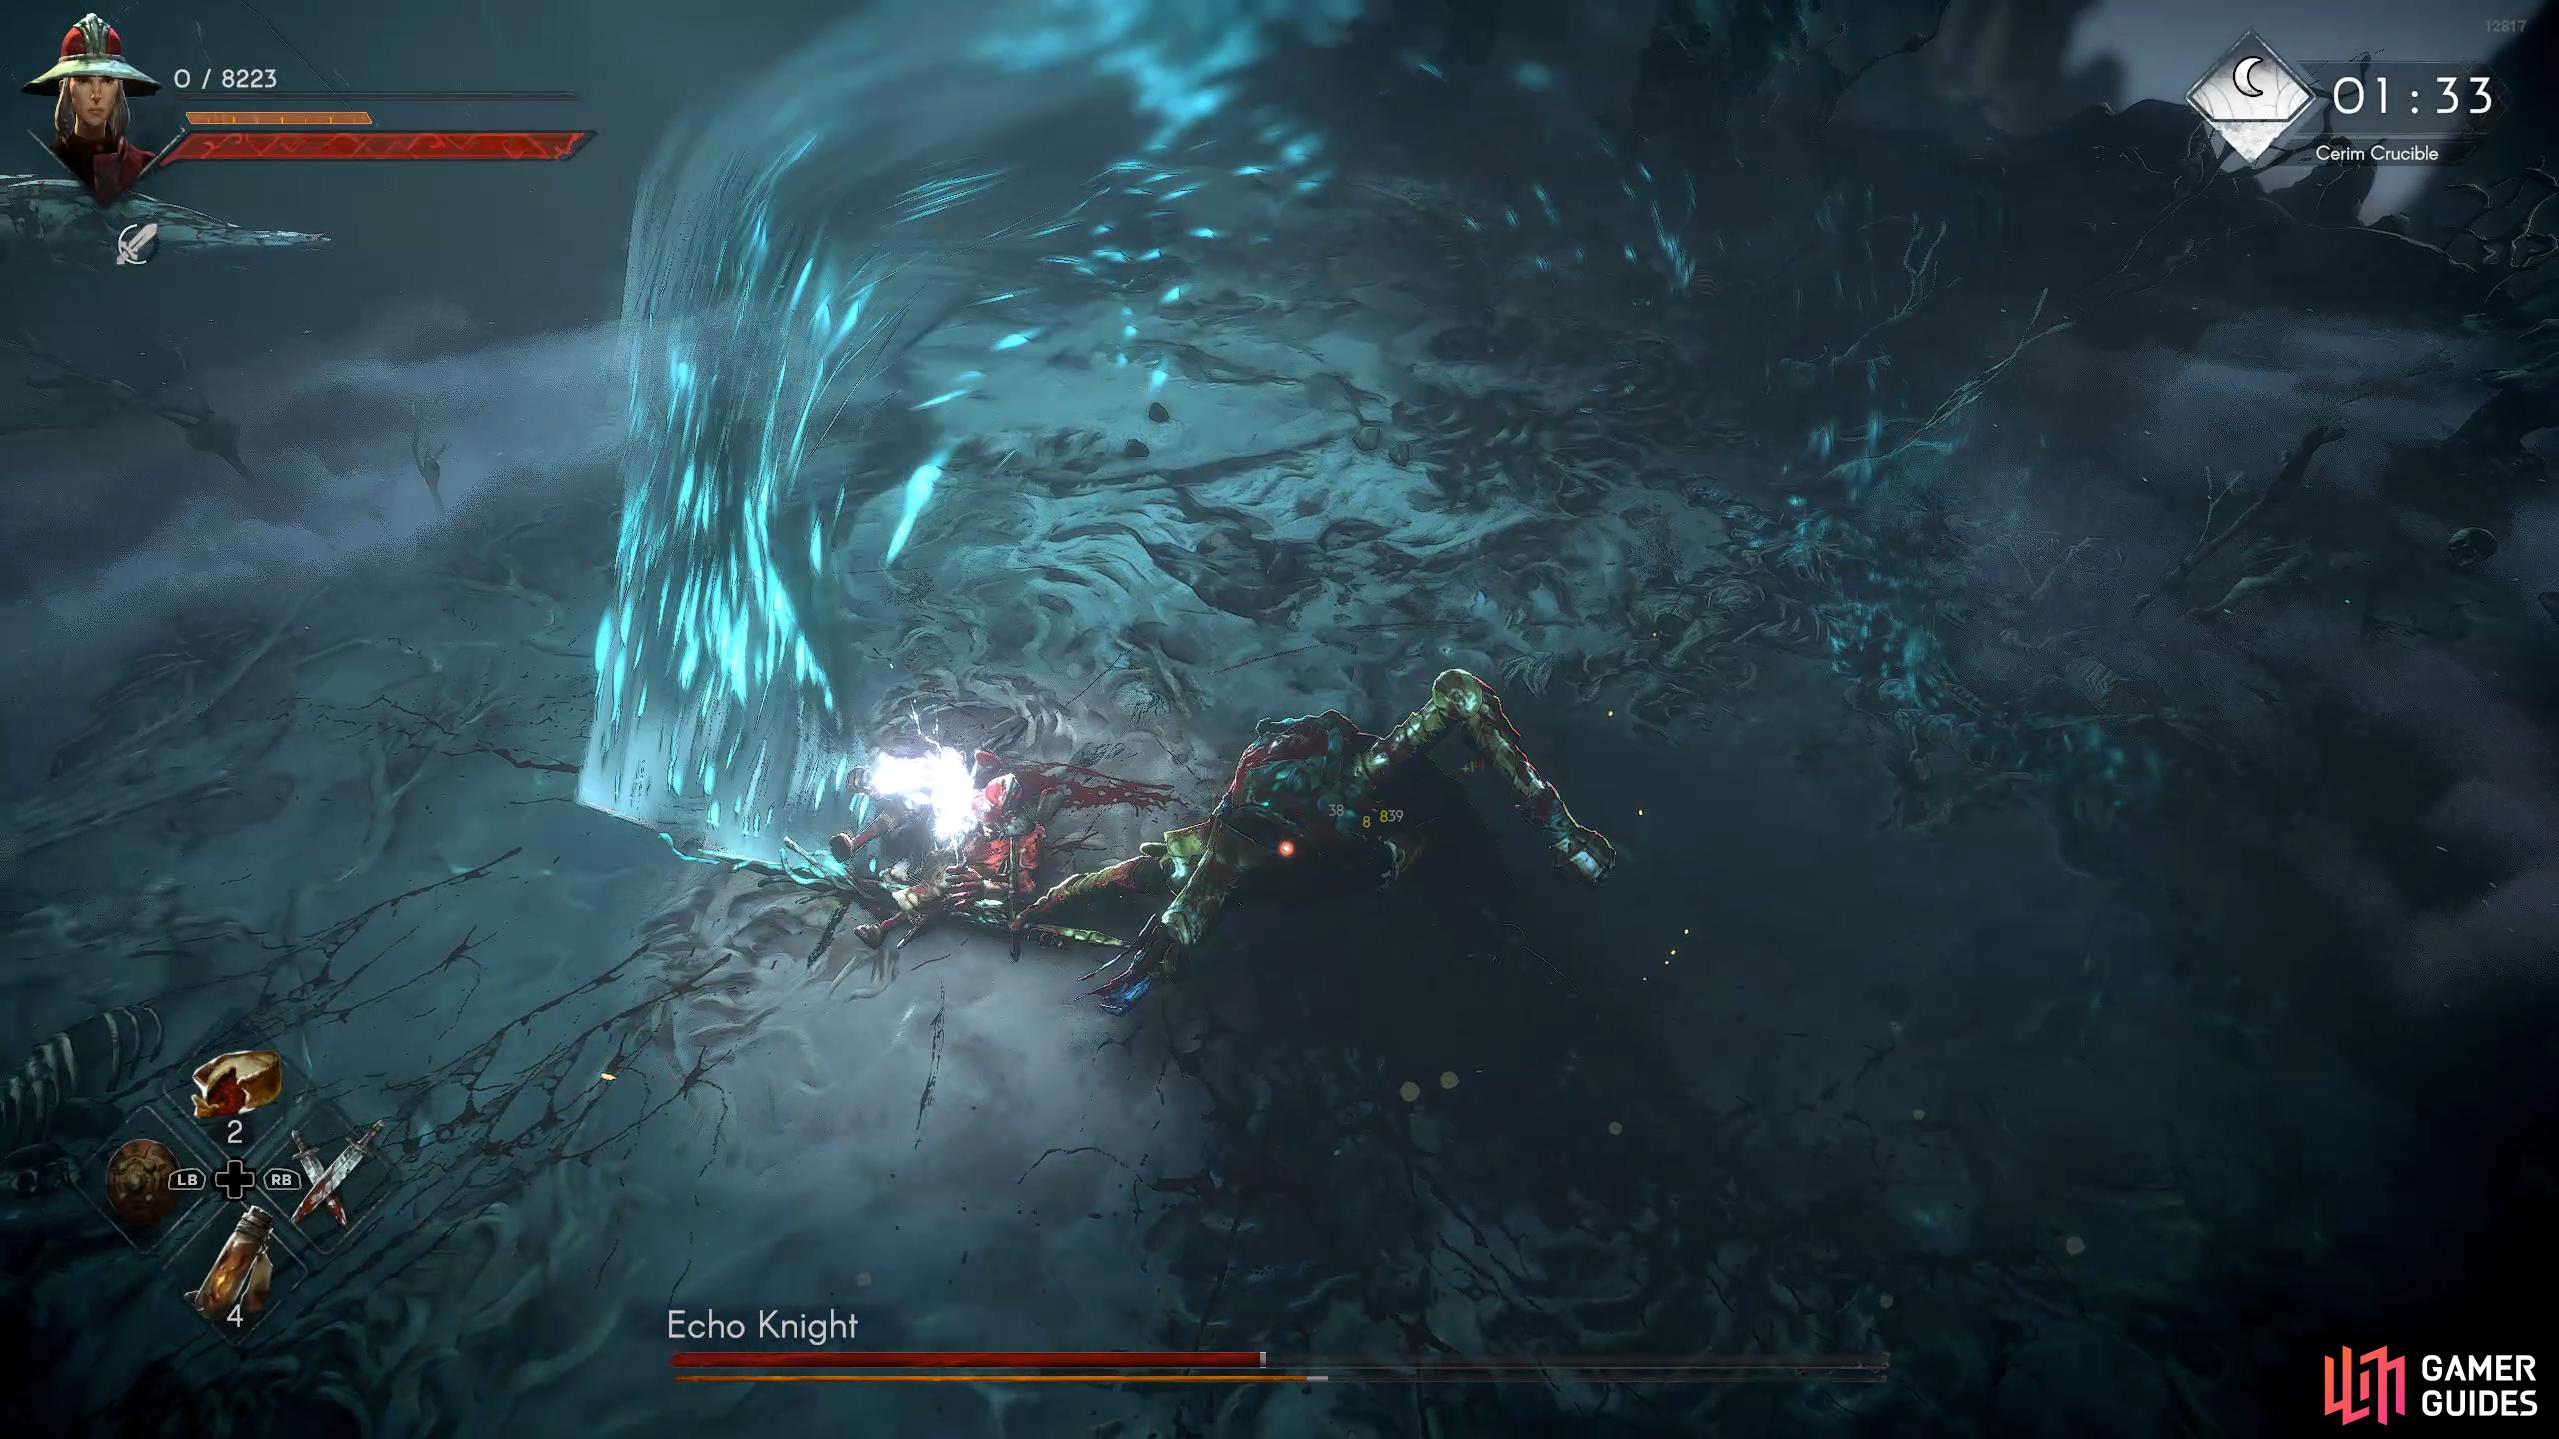
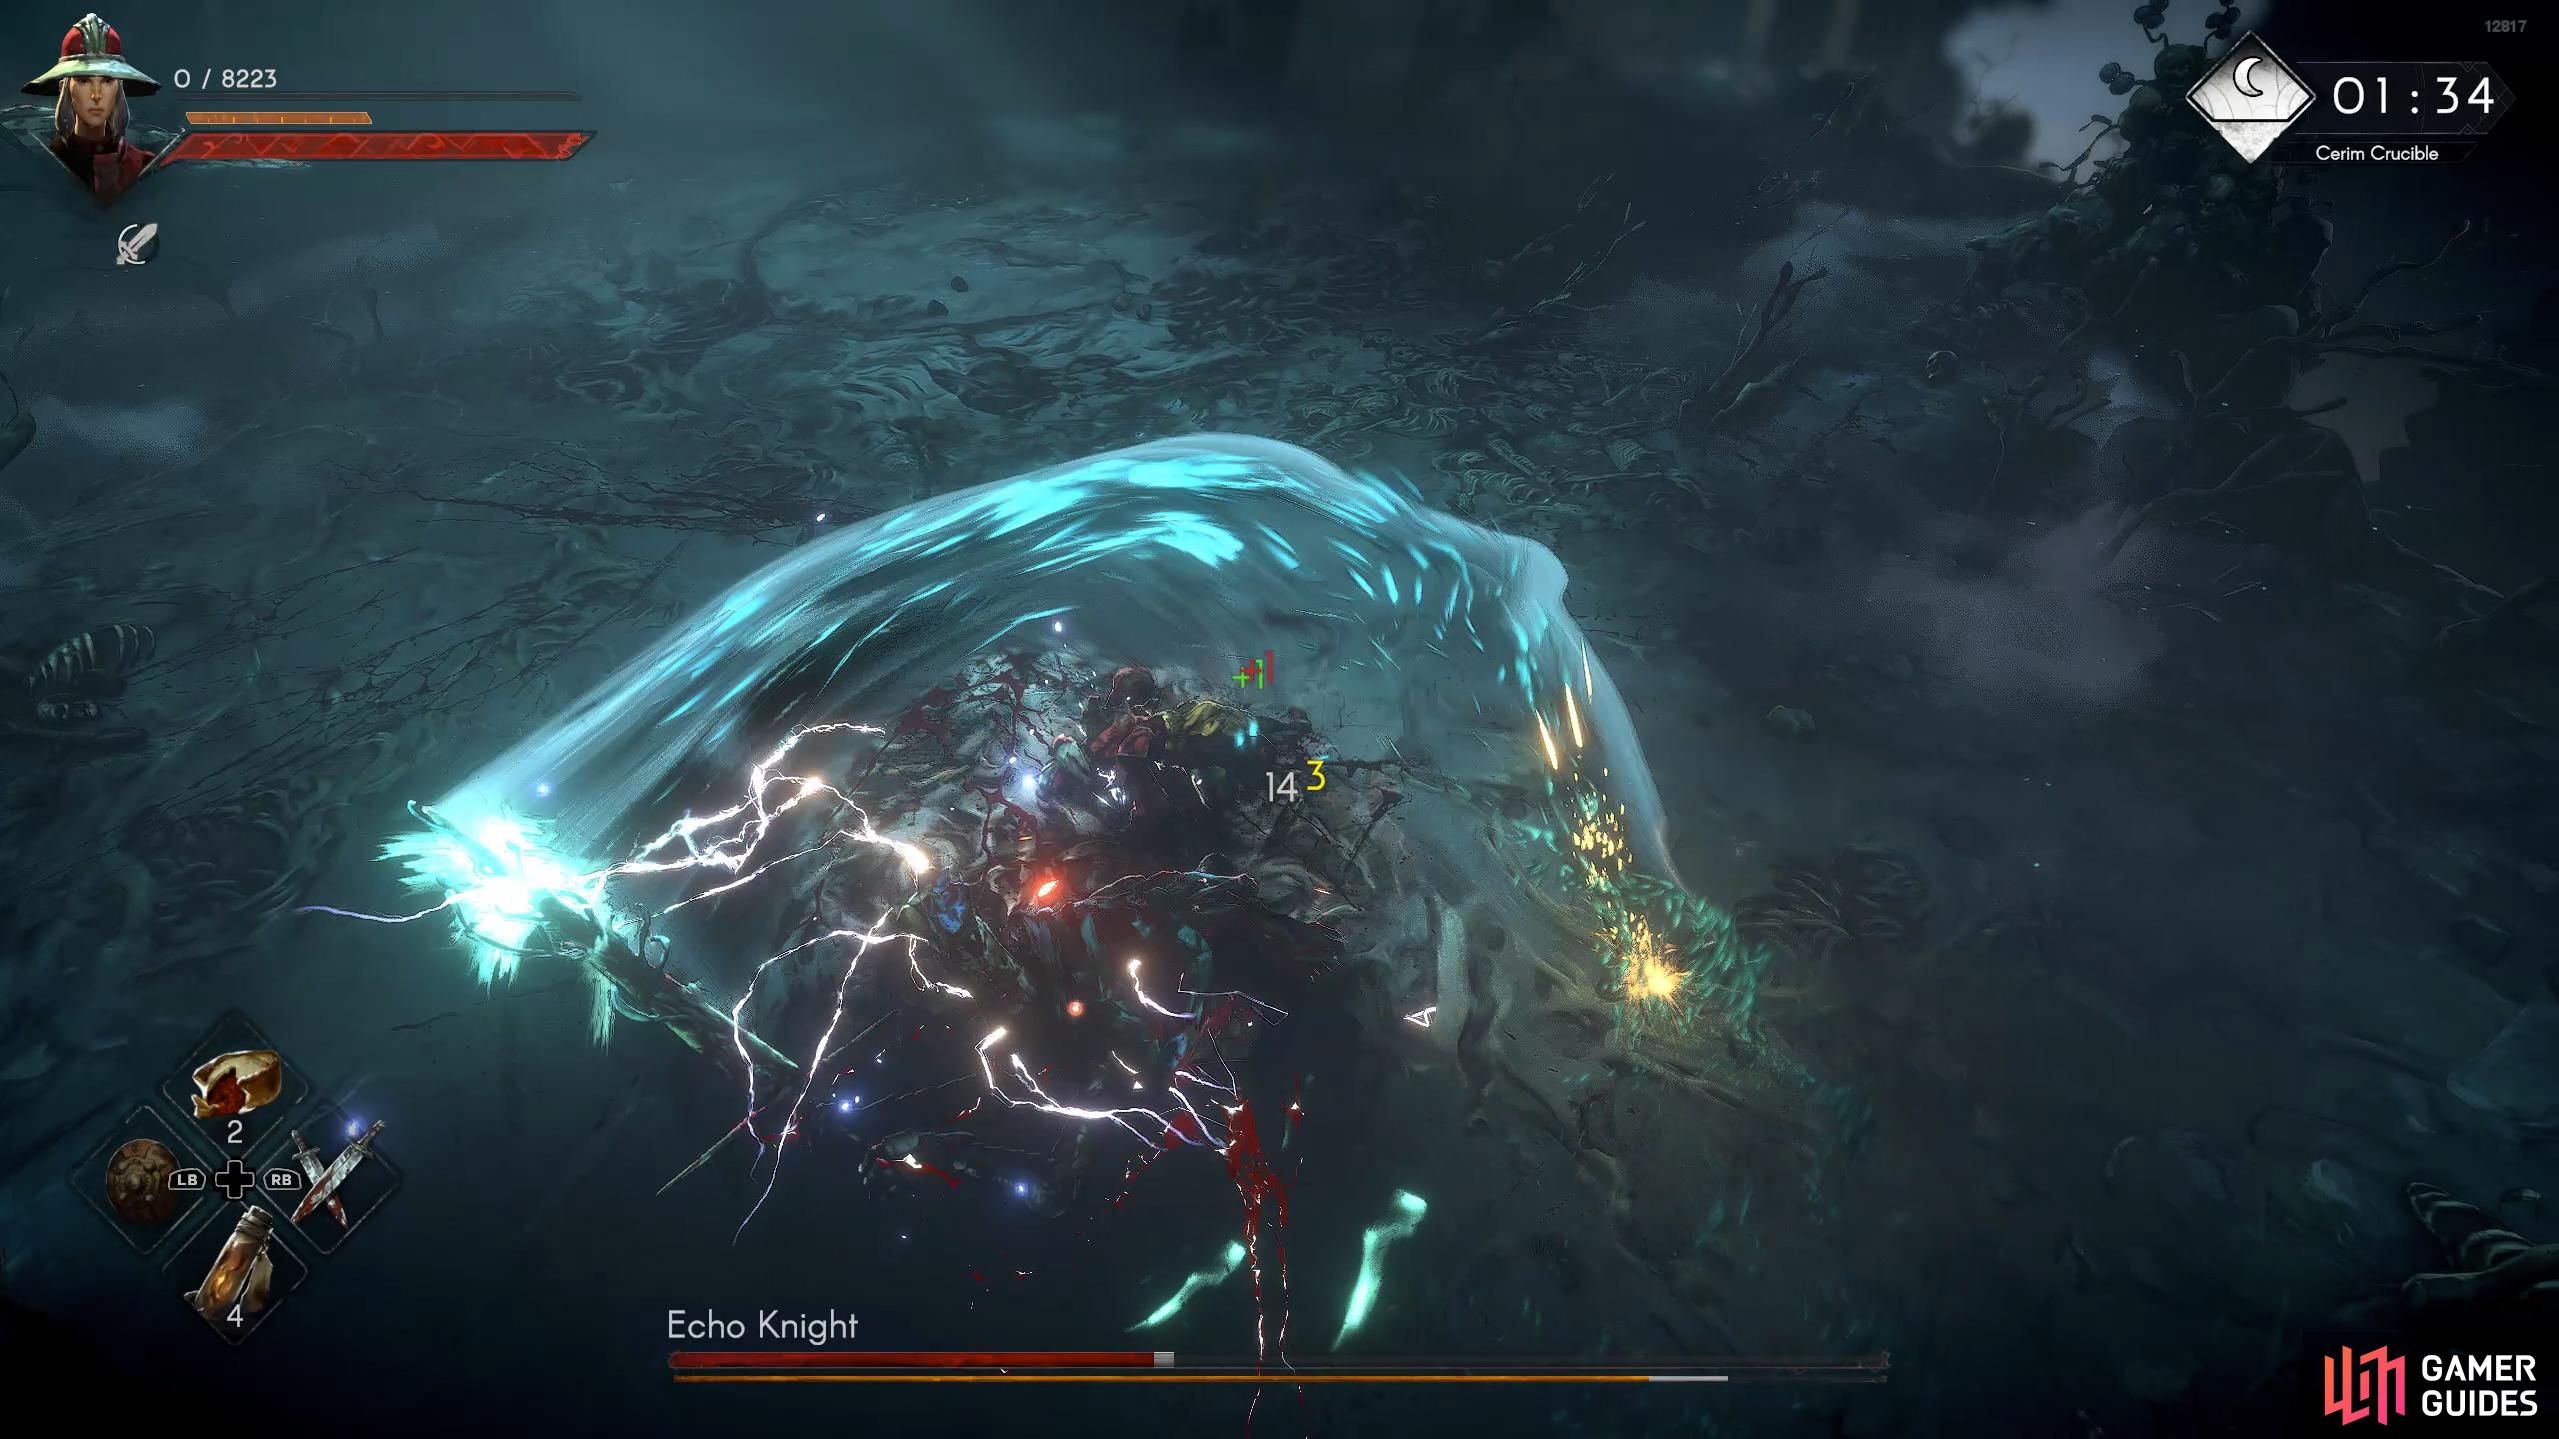
When you enter the room containing the Echo Knight, the first thing you’ll realize is it’s on a mount that we’ll call a horse for simplicity. The majority of its attacks will be some form of charge, stomp, and varied spear thrusts and slashes. Before you get started on the boss, let’s go over a few things. Firstly, most of its attacks can be interrupted by using a focus skill on it, preferably a lightning one. Second, you want to pace yourself as the boss is two bosses in one, so after taking the bosses’ health down, it’ll get another full bar of health, similar to Falstead Darak. Finally, you’ll only get time for a single or two hits in between its attacks, unless you’re using a powerful build that can stun-lock and/or interrupt it.
Let’s take a look at all the attacks that the first Echo Knight fight can use:
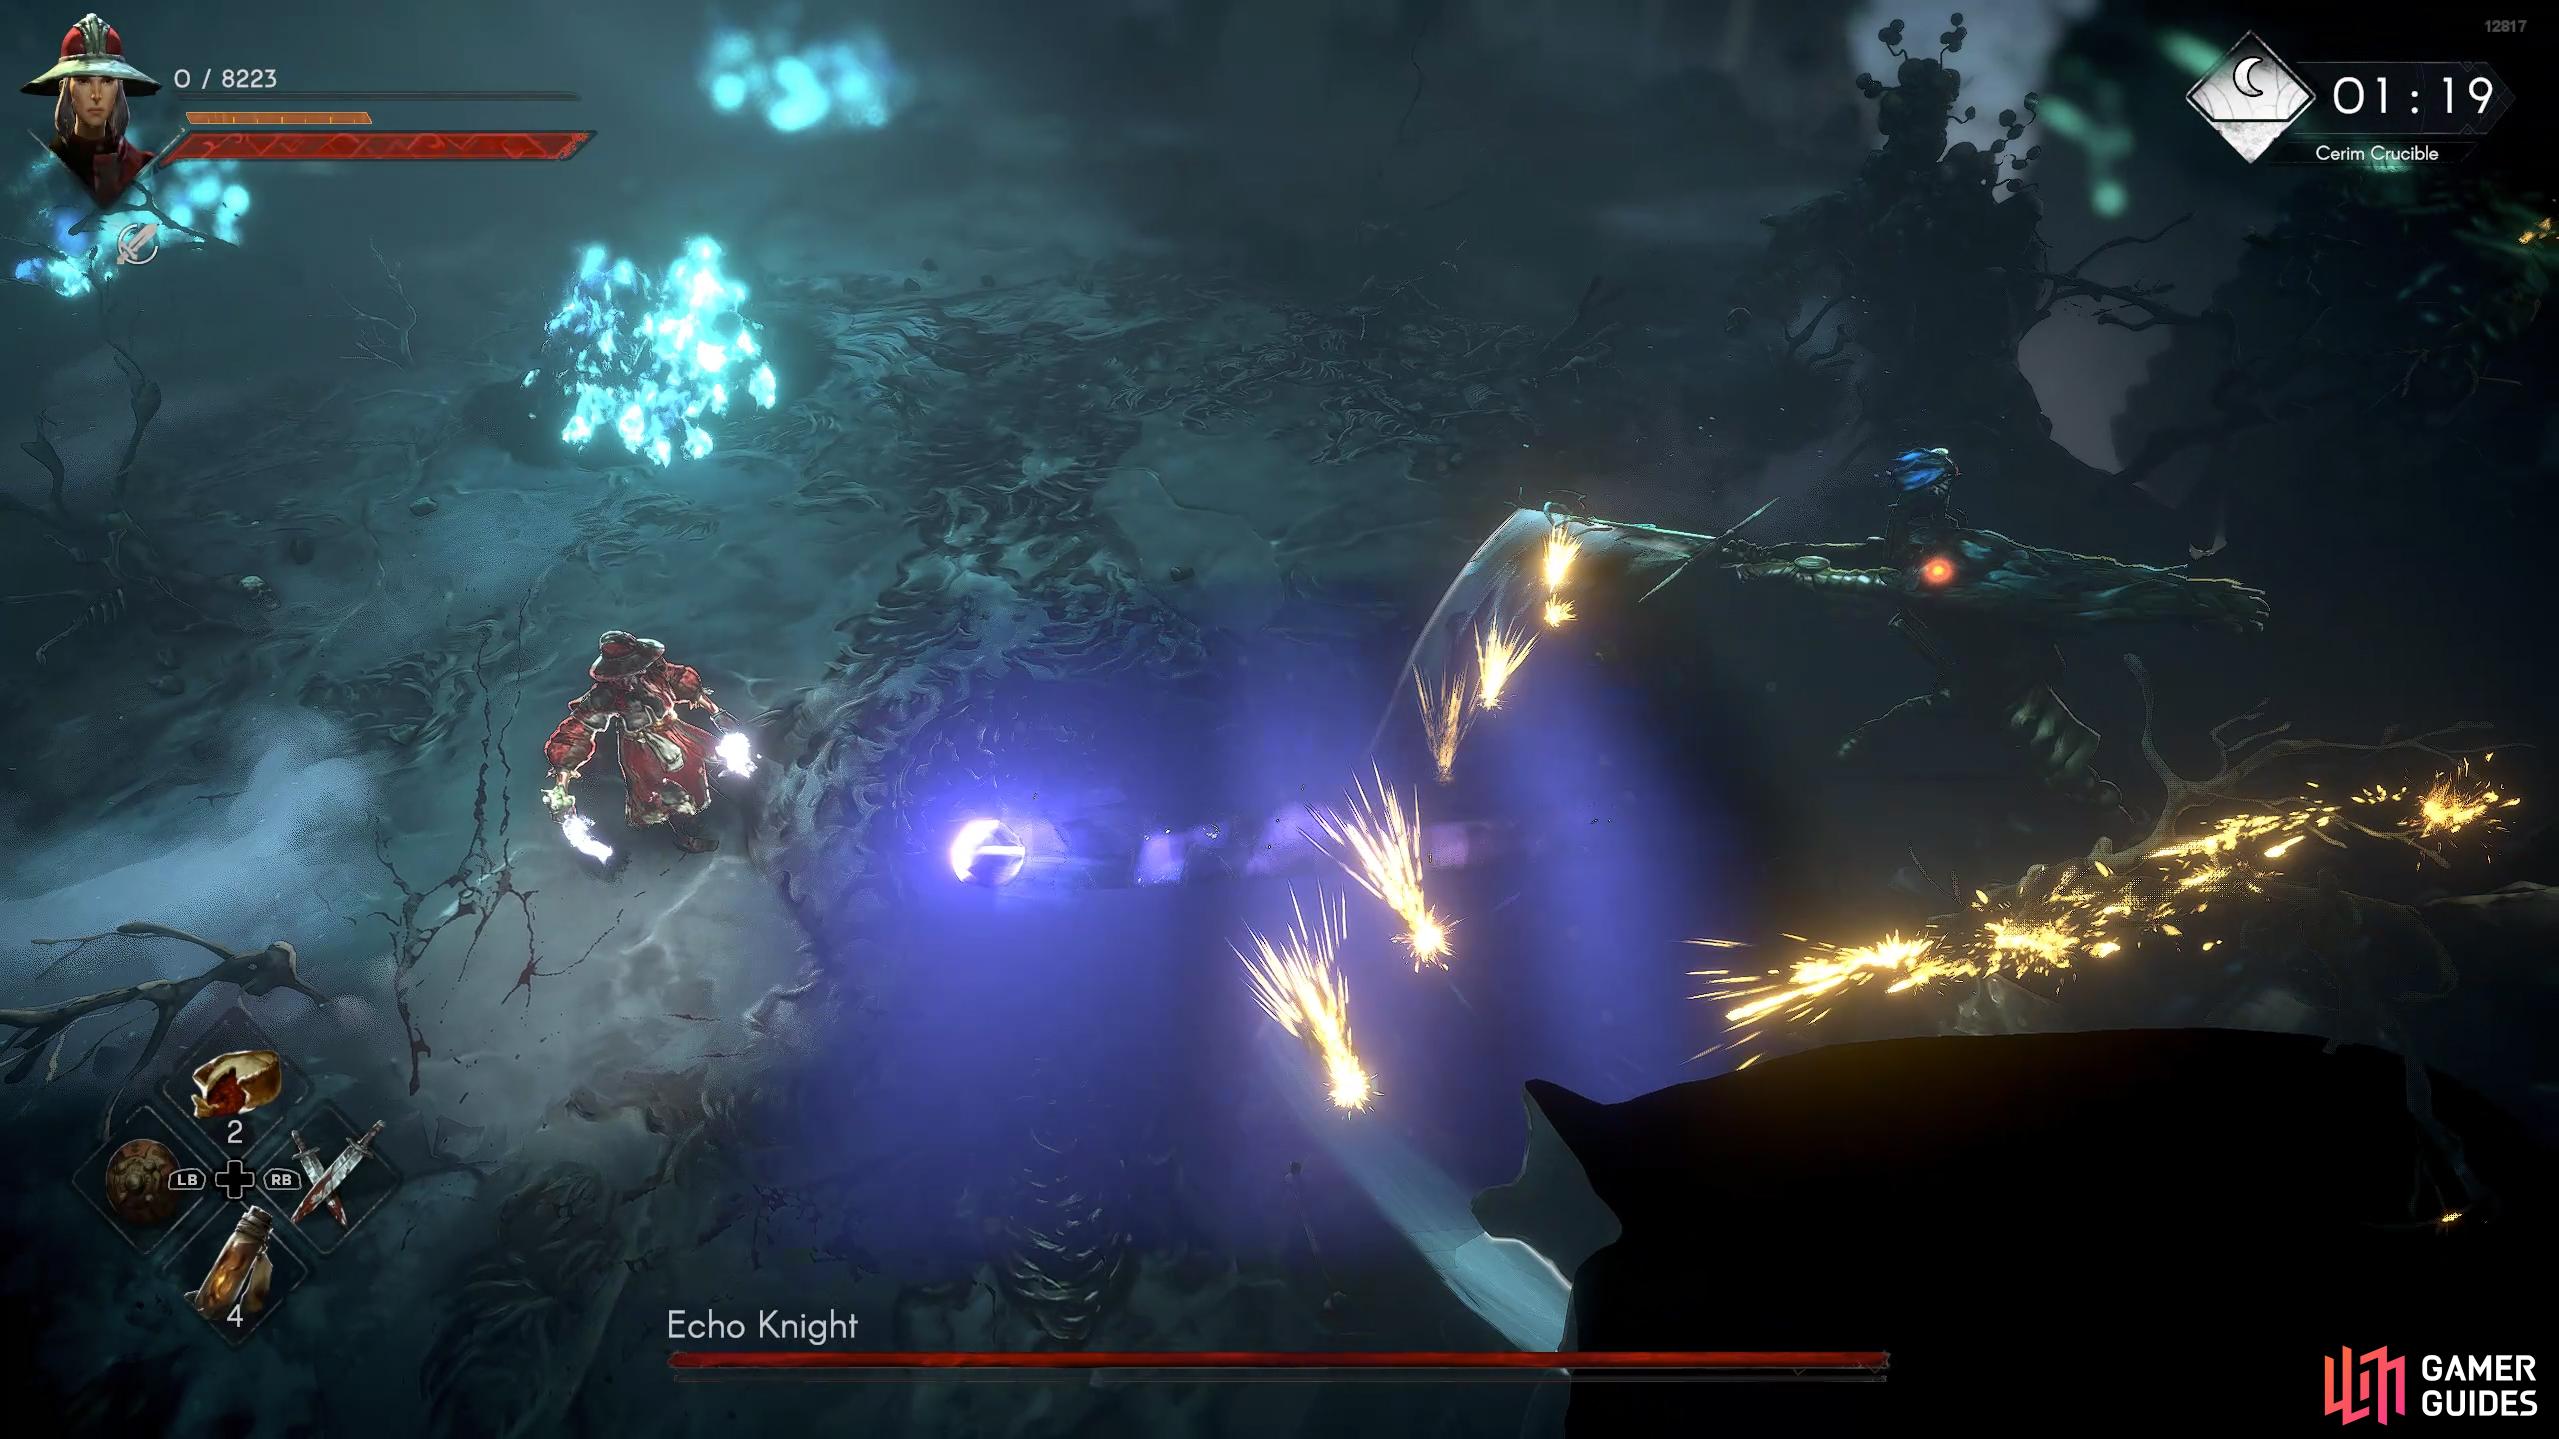
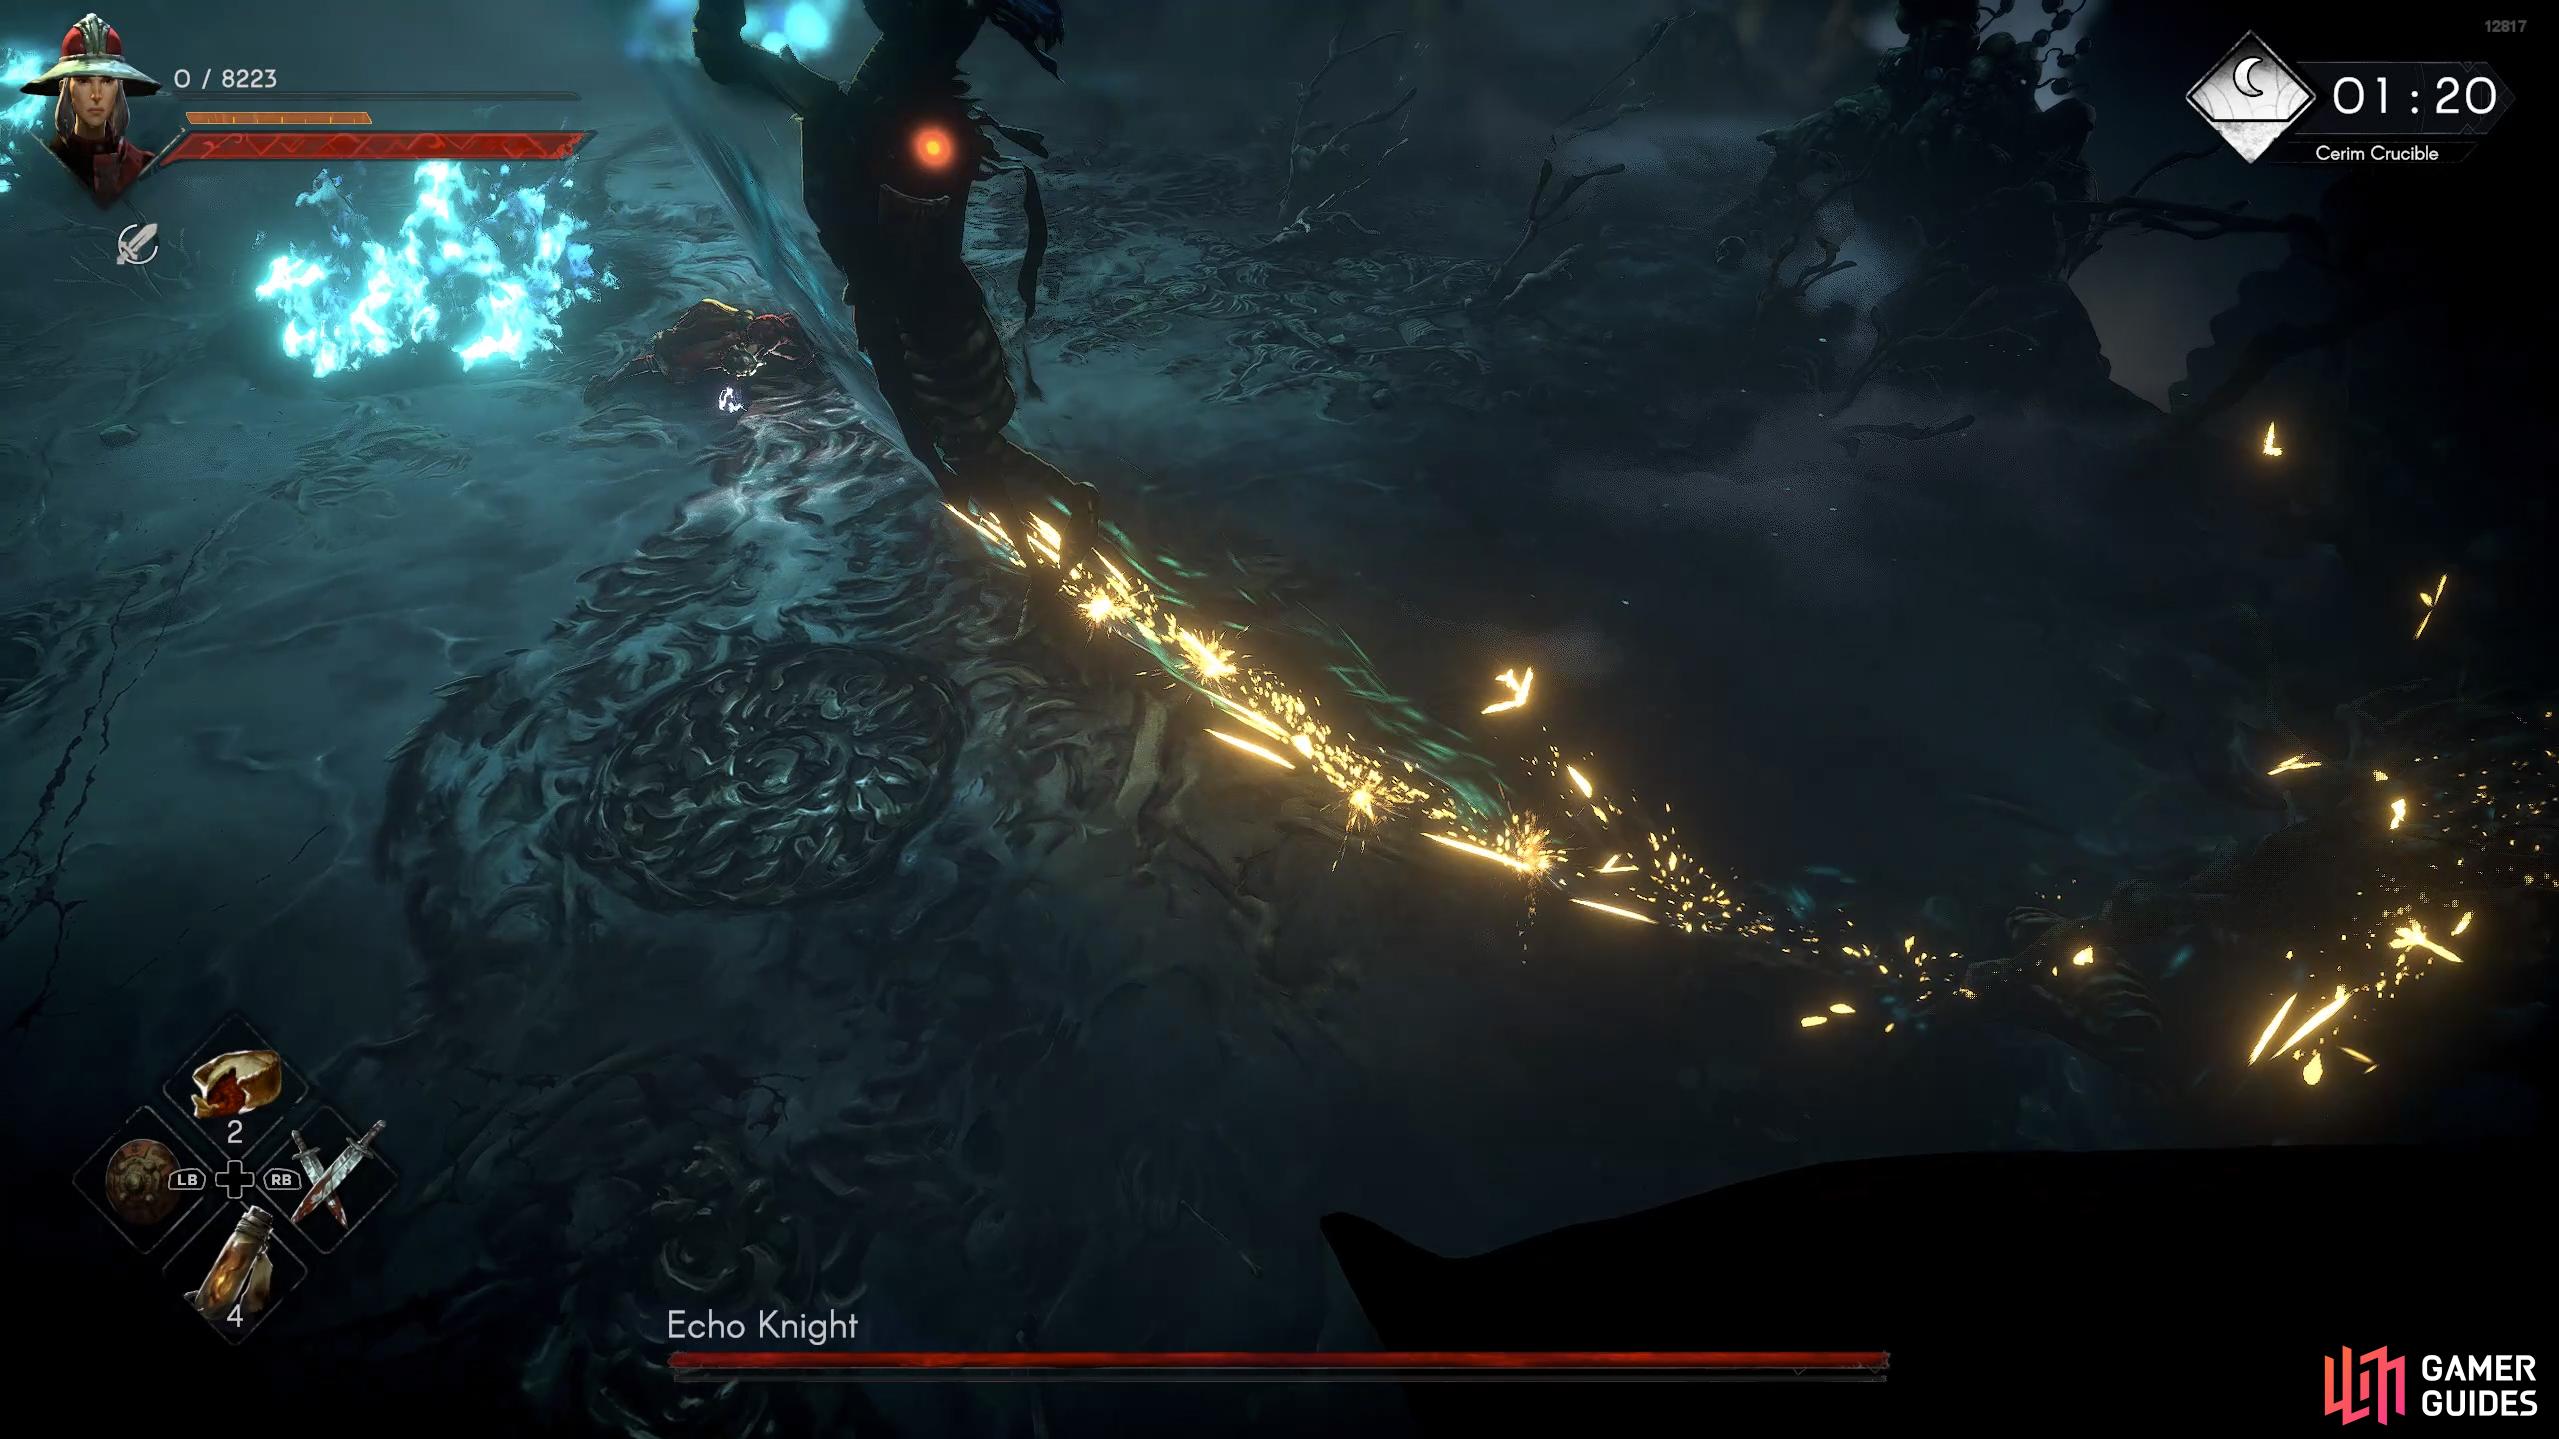
Plague Barrage
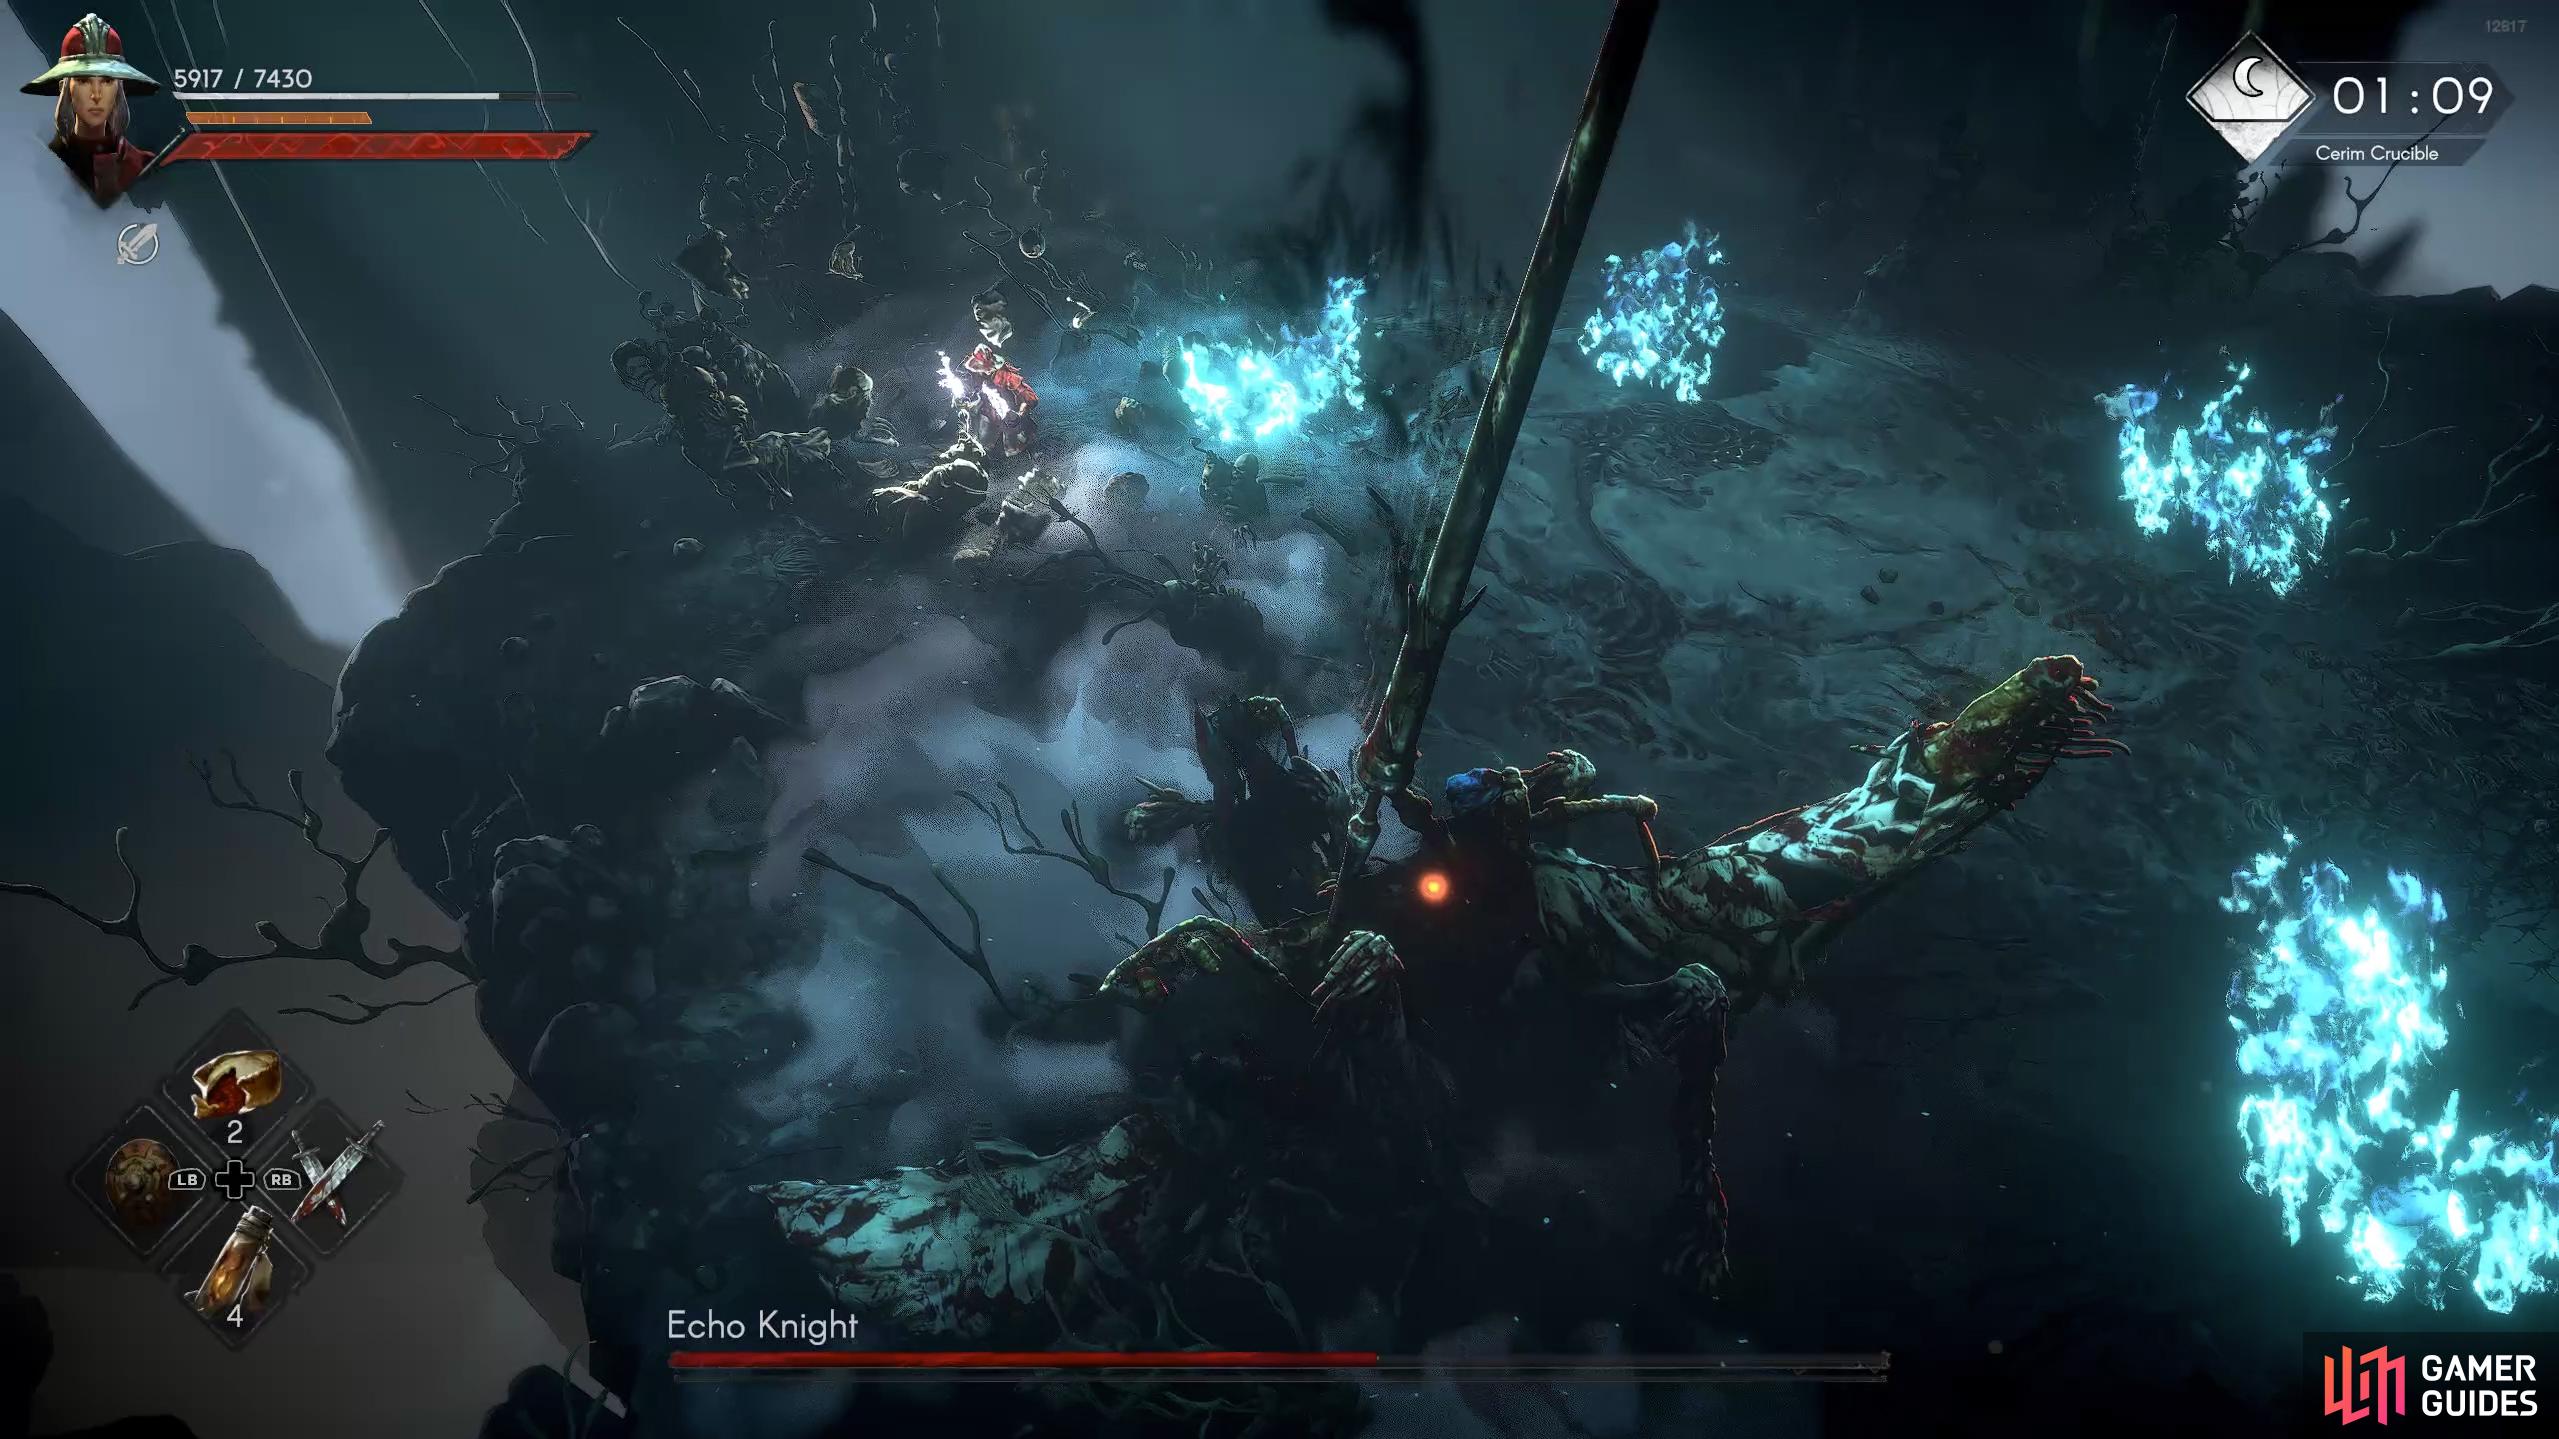
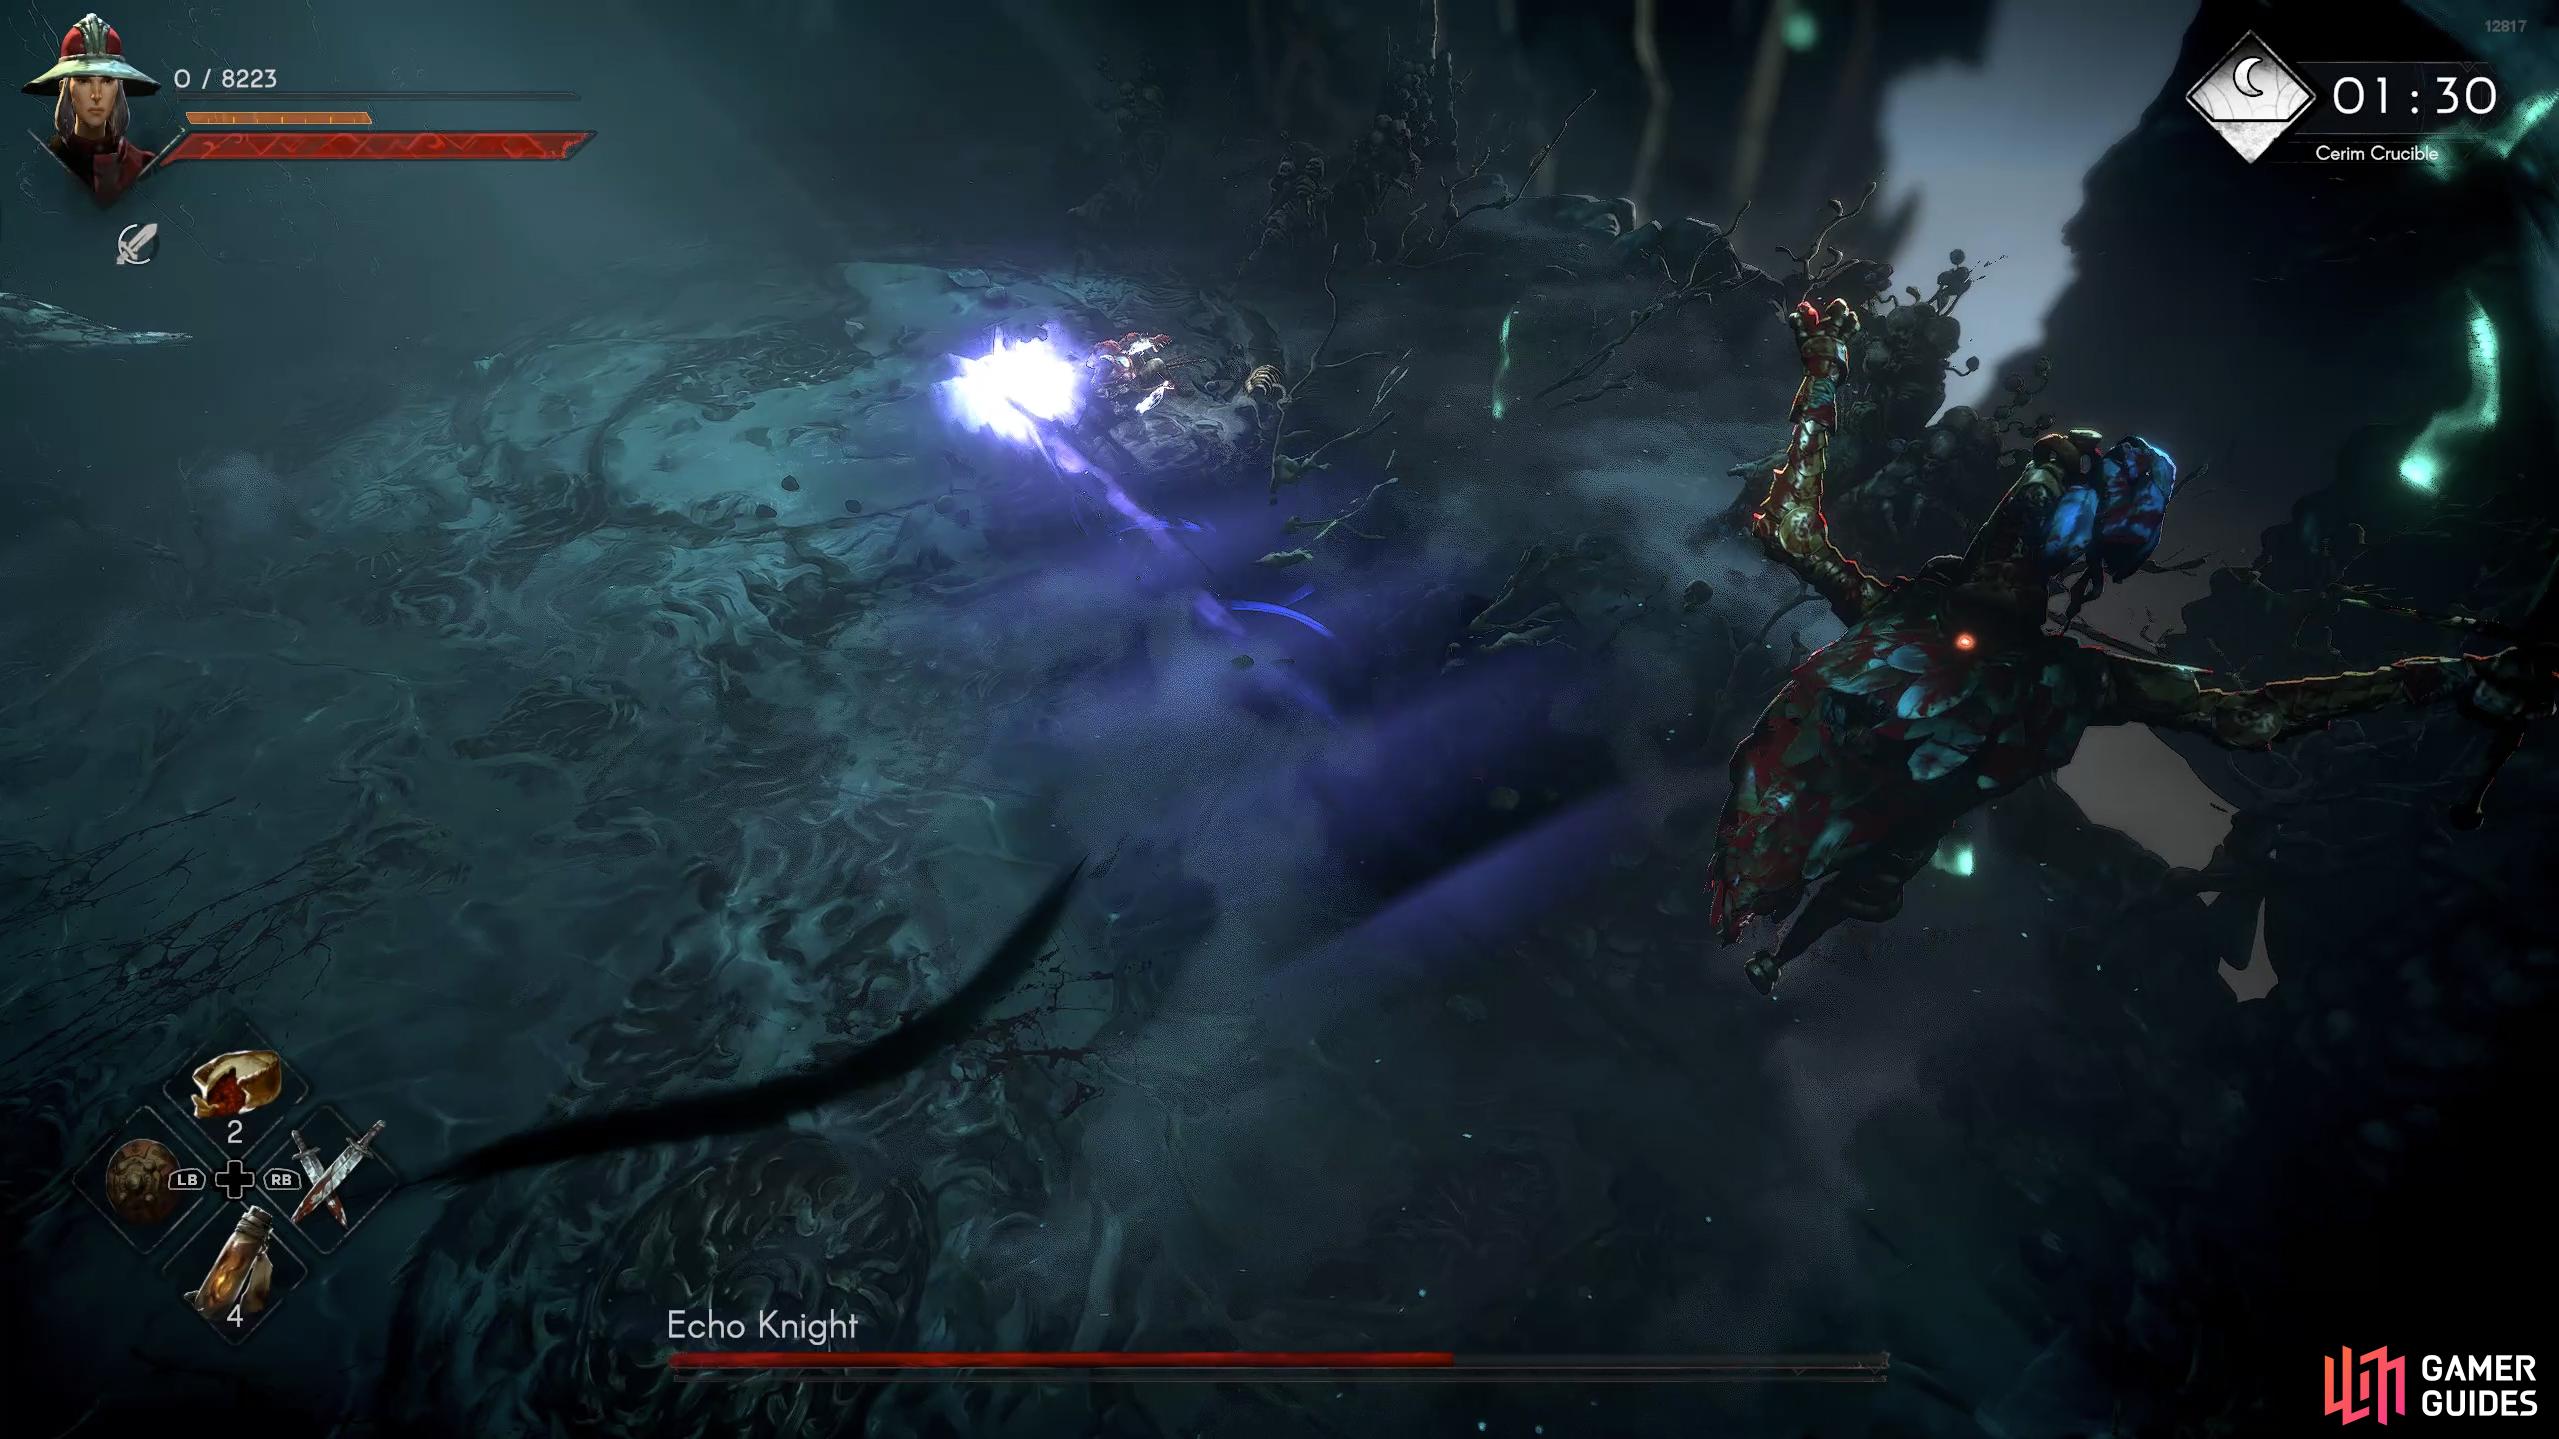
The Knight will unleash up to three purple orbs inflicting plague damage at range in your direction. It will briefly stand on its hind legs before it leans forward to fire the orbs out of its spear. Roll through the orbs toward the boss and attack it after the final orb.
Stomp
The horse will go on its hind legs and stomp down at you. This isn’t your usual stomp, as the boss will move across the arena on its hind legs until it reaches you, and then it’ll stomp. The stomp can be performed three times in a row in phase two.

(1 of 3) Plague Barrage: Echo Knight will unleash up to three plague orbs in a barrage at your location.
Swipe
When you’re close to the boss, it can perform a horizontal swipe attack that covers a fair distance. Simply roll through the attack toward the boss and attack it a couple of times.
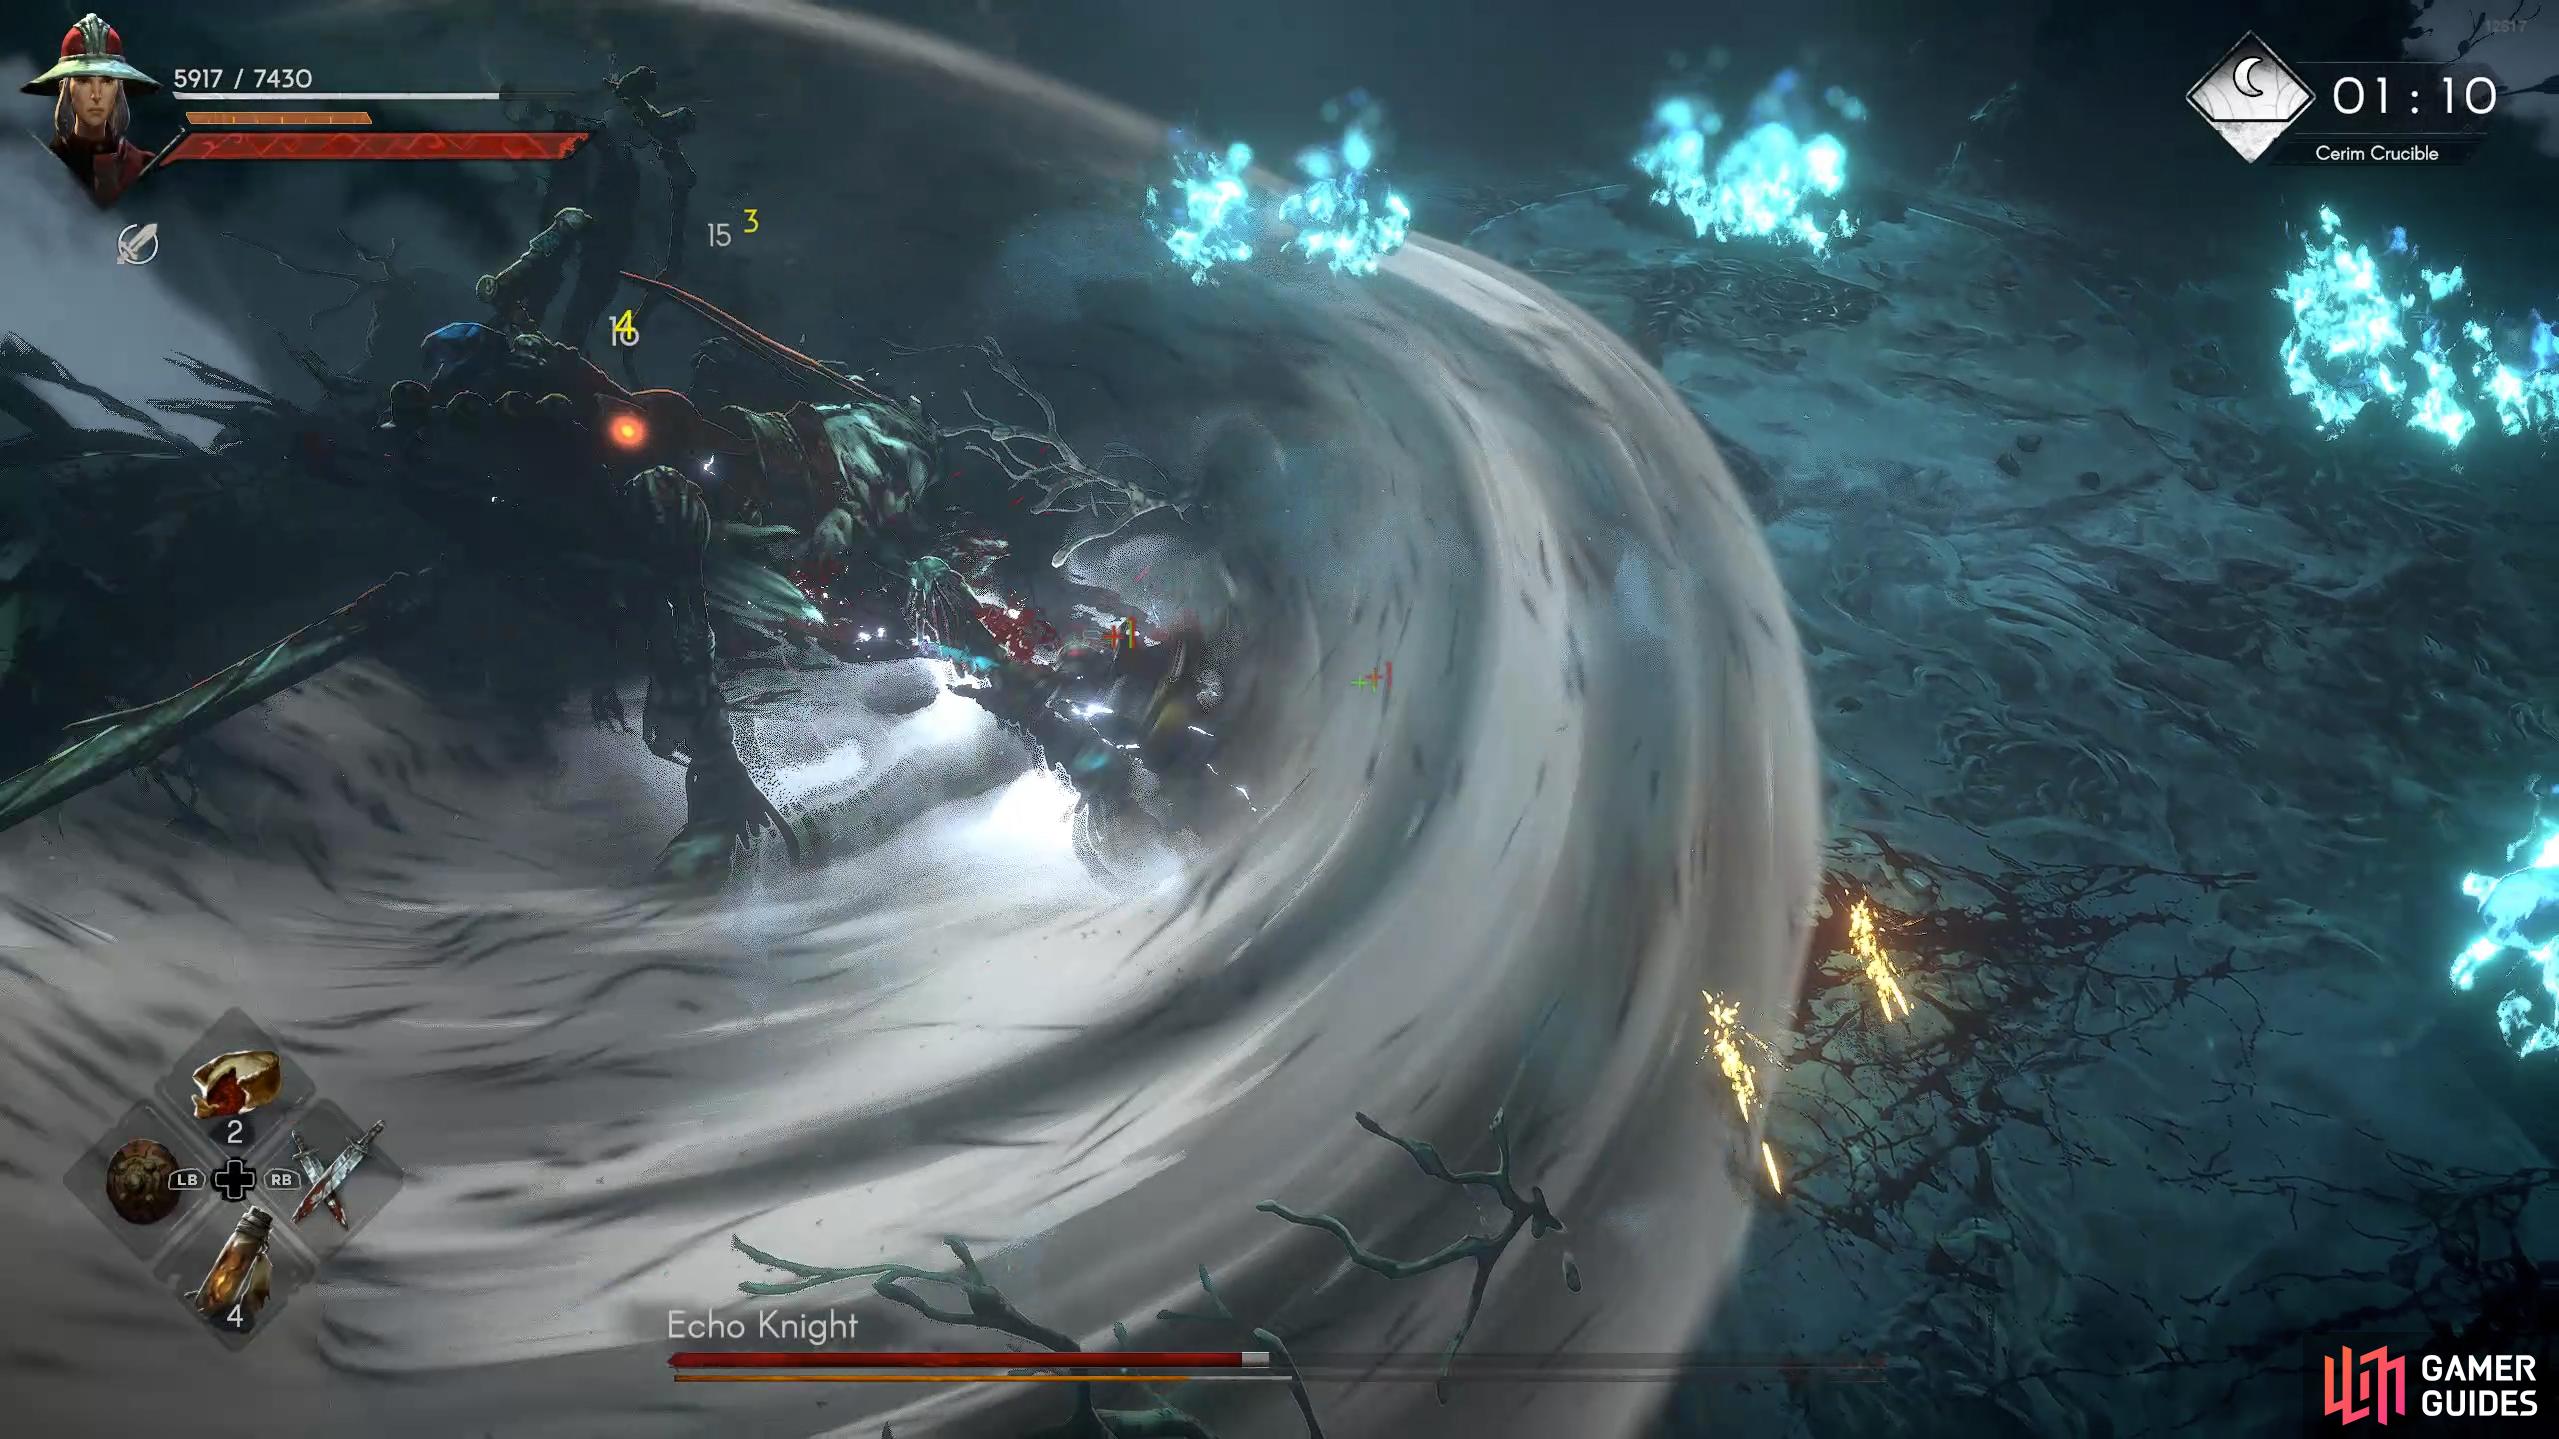
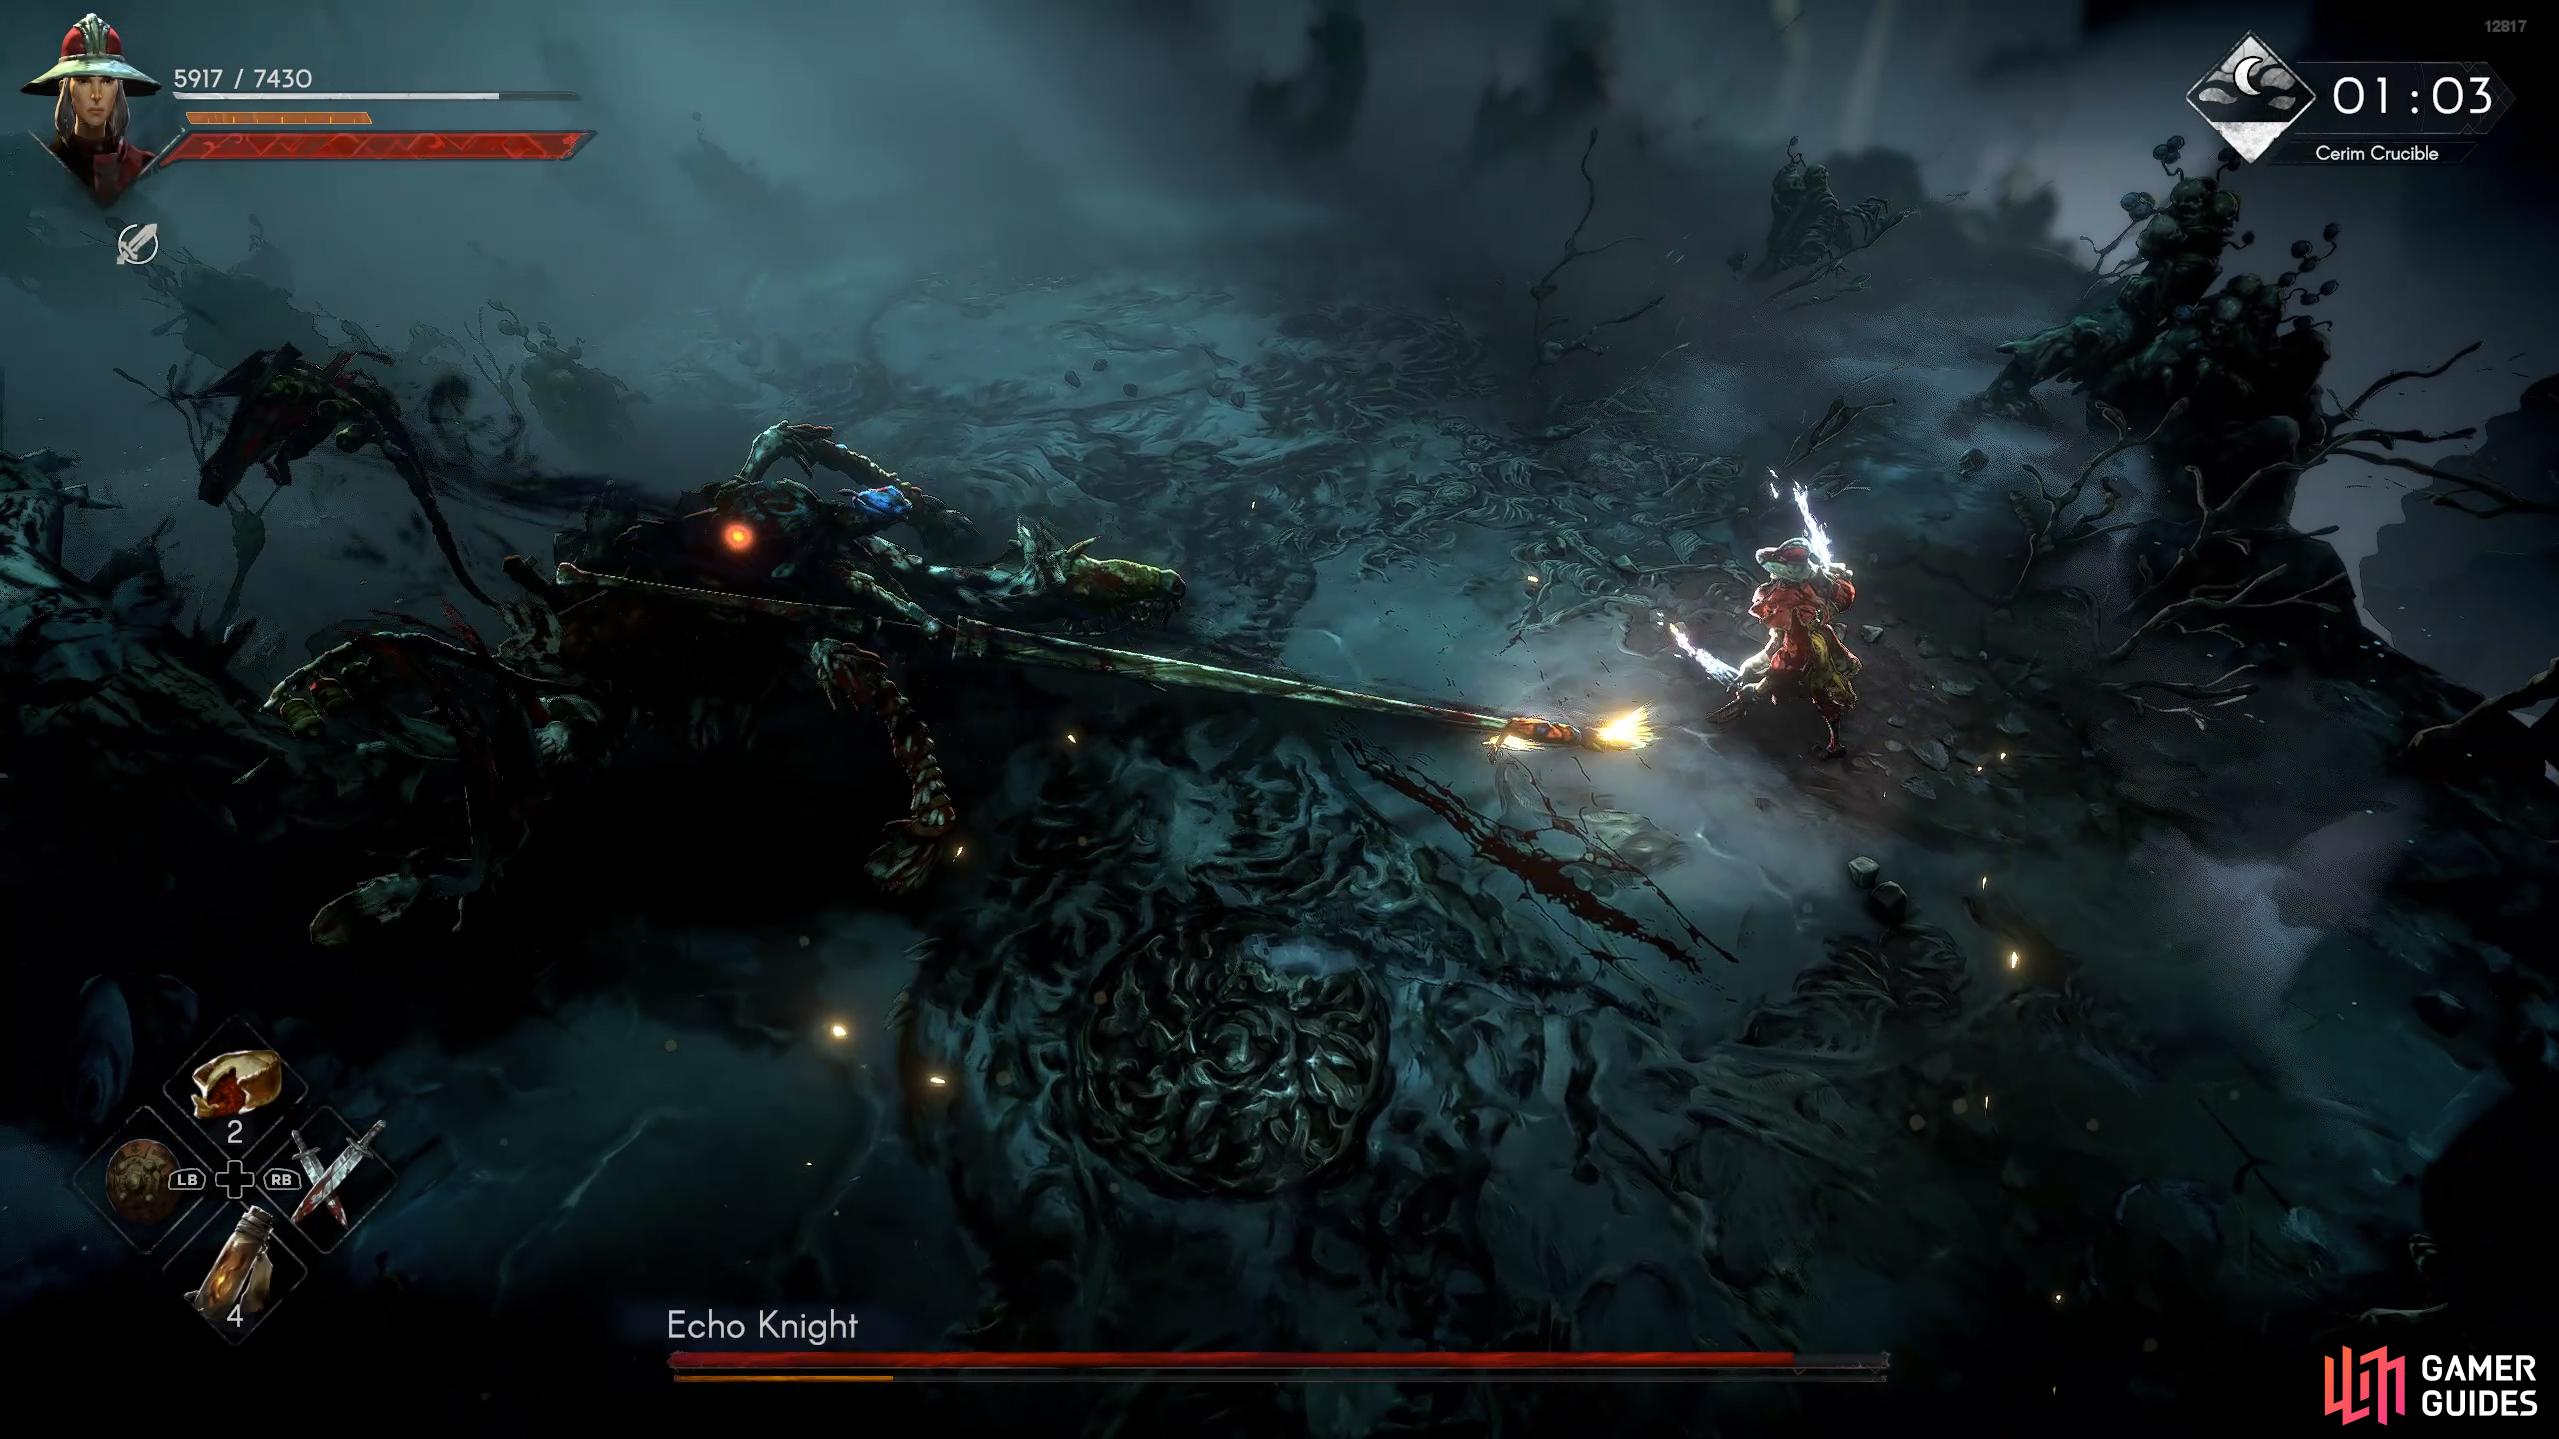
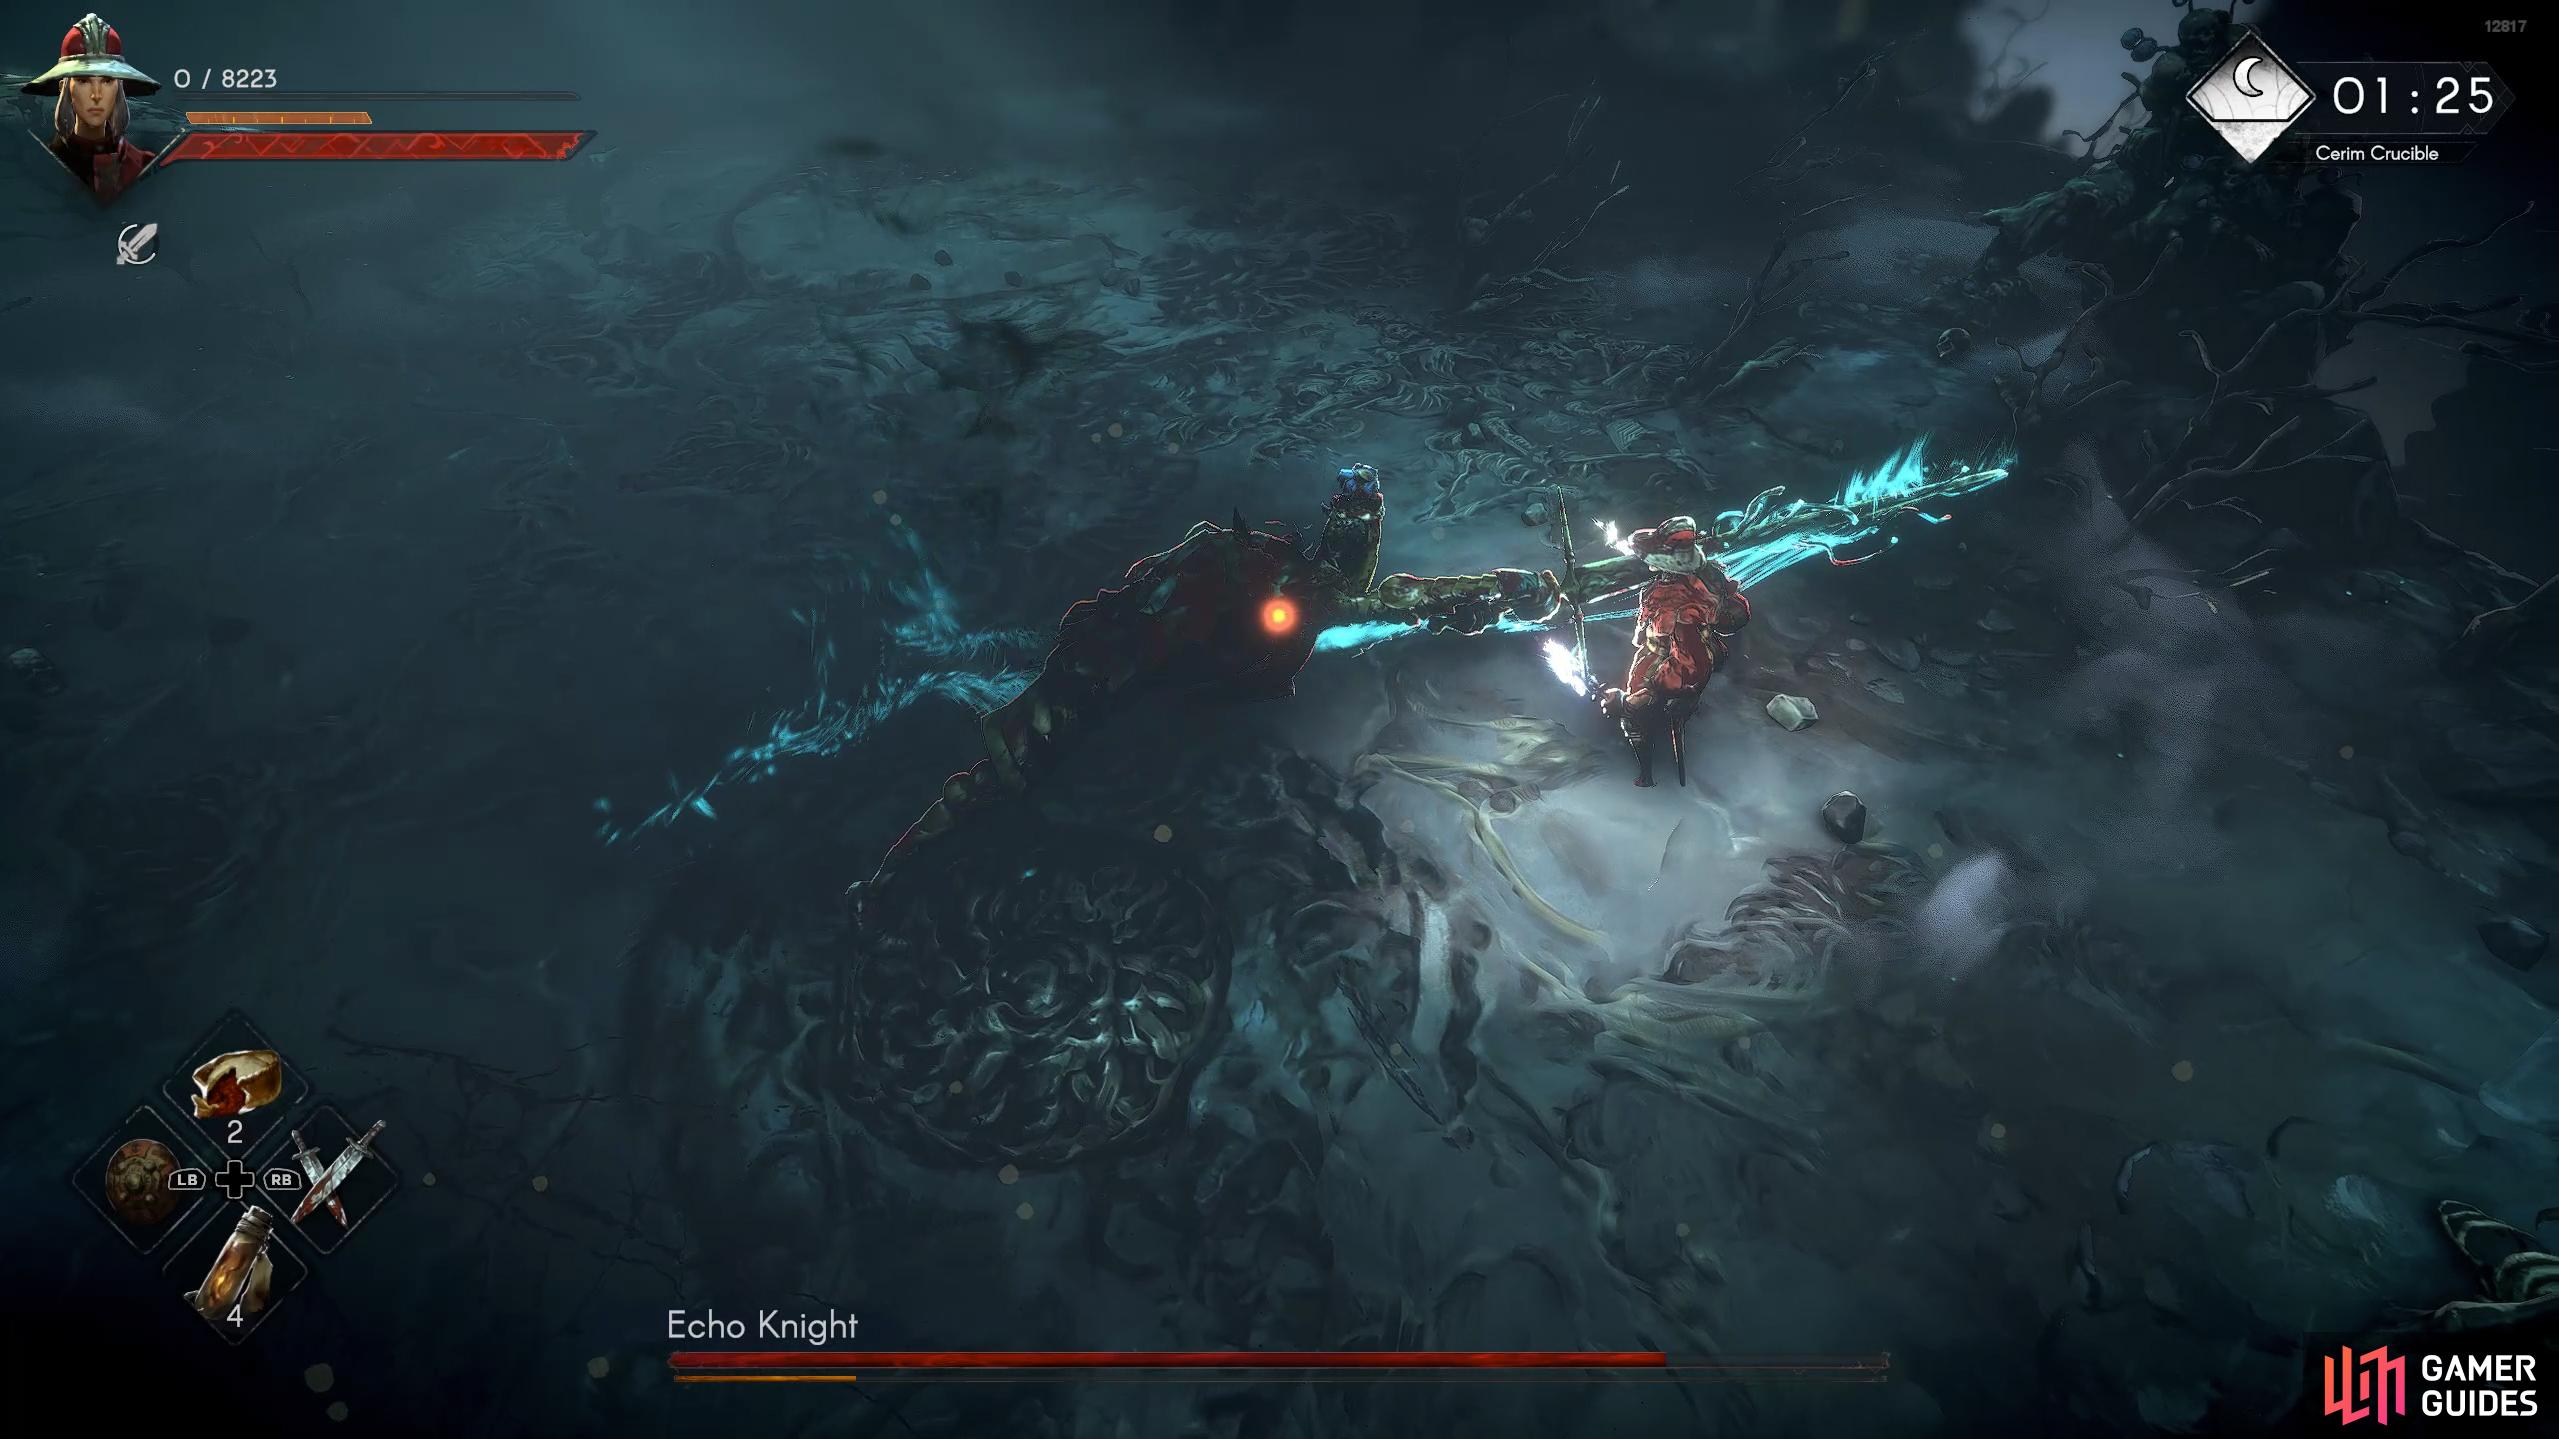
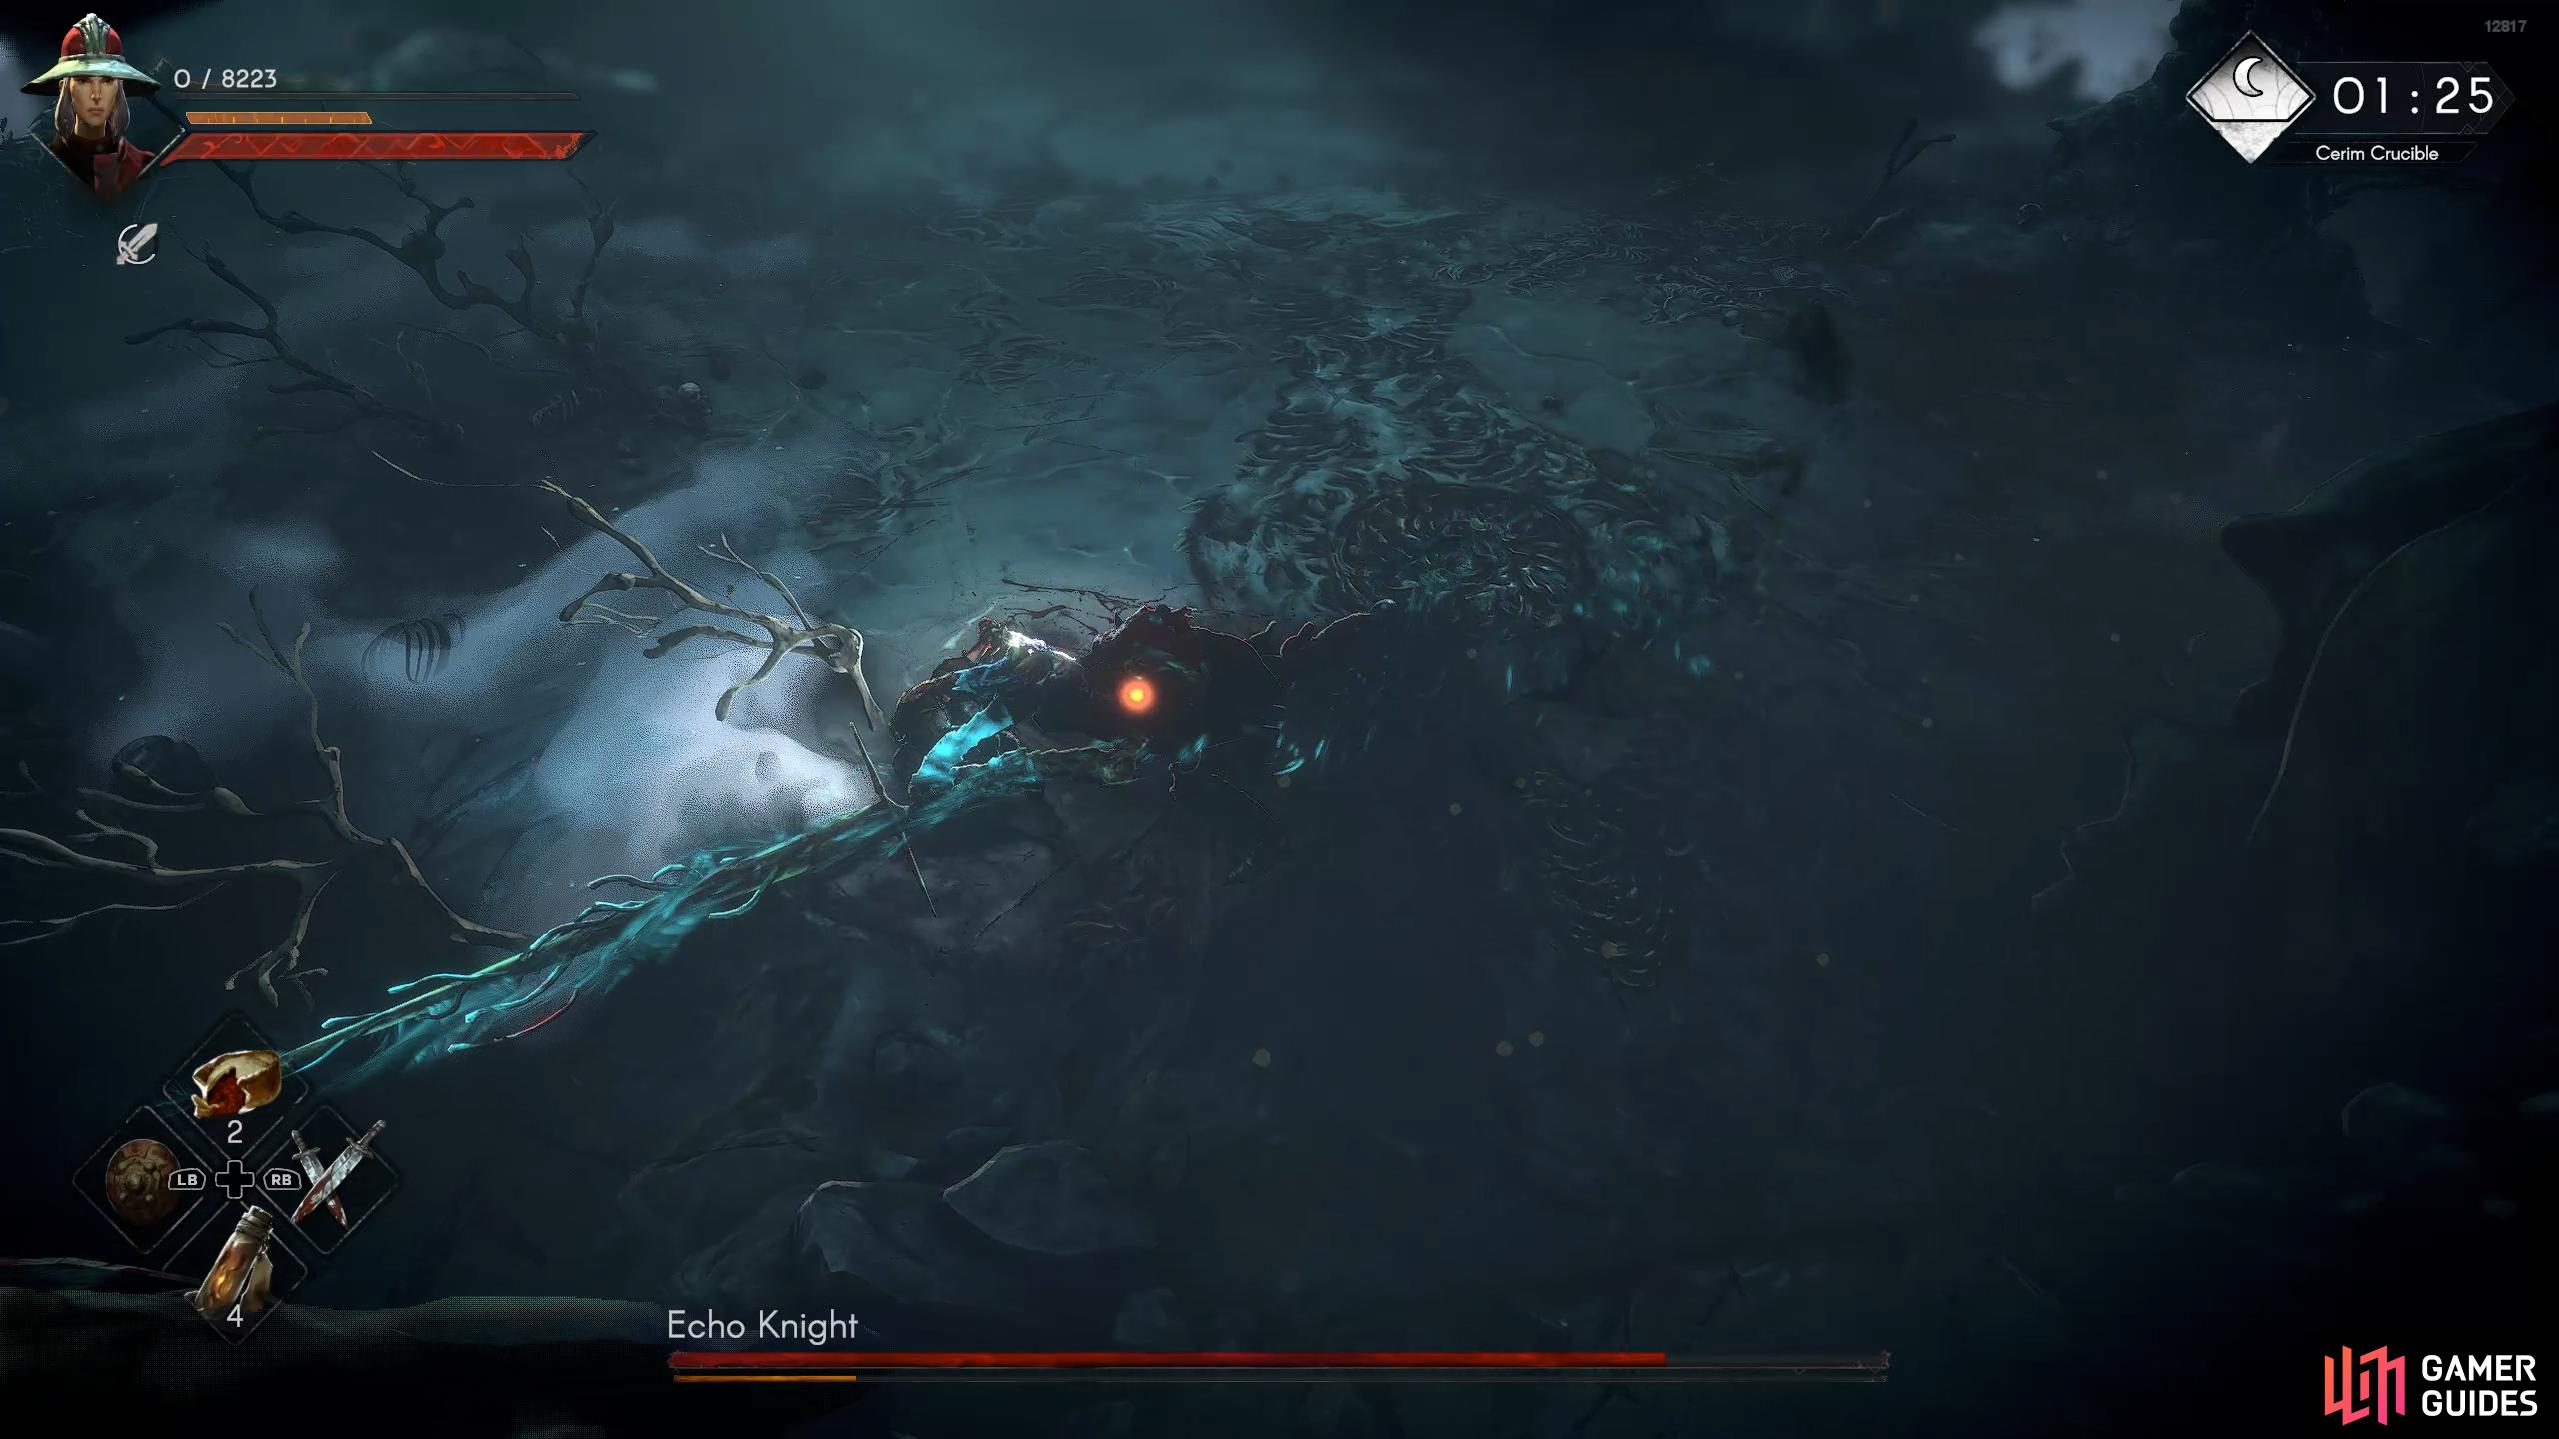
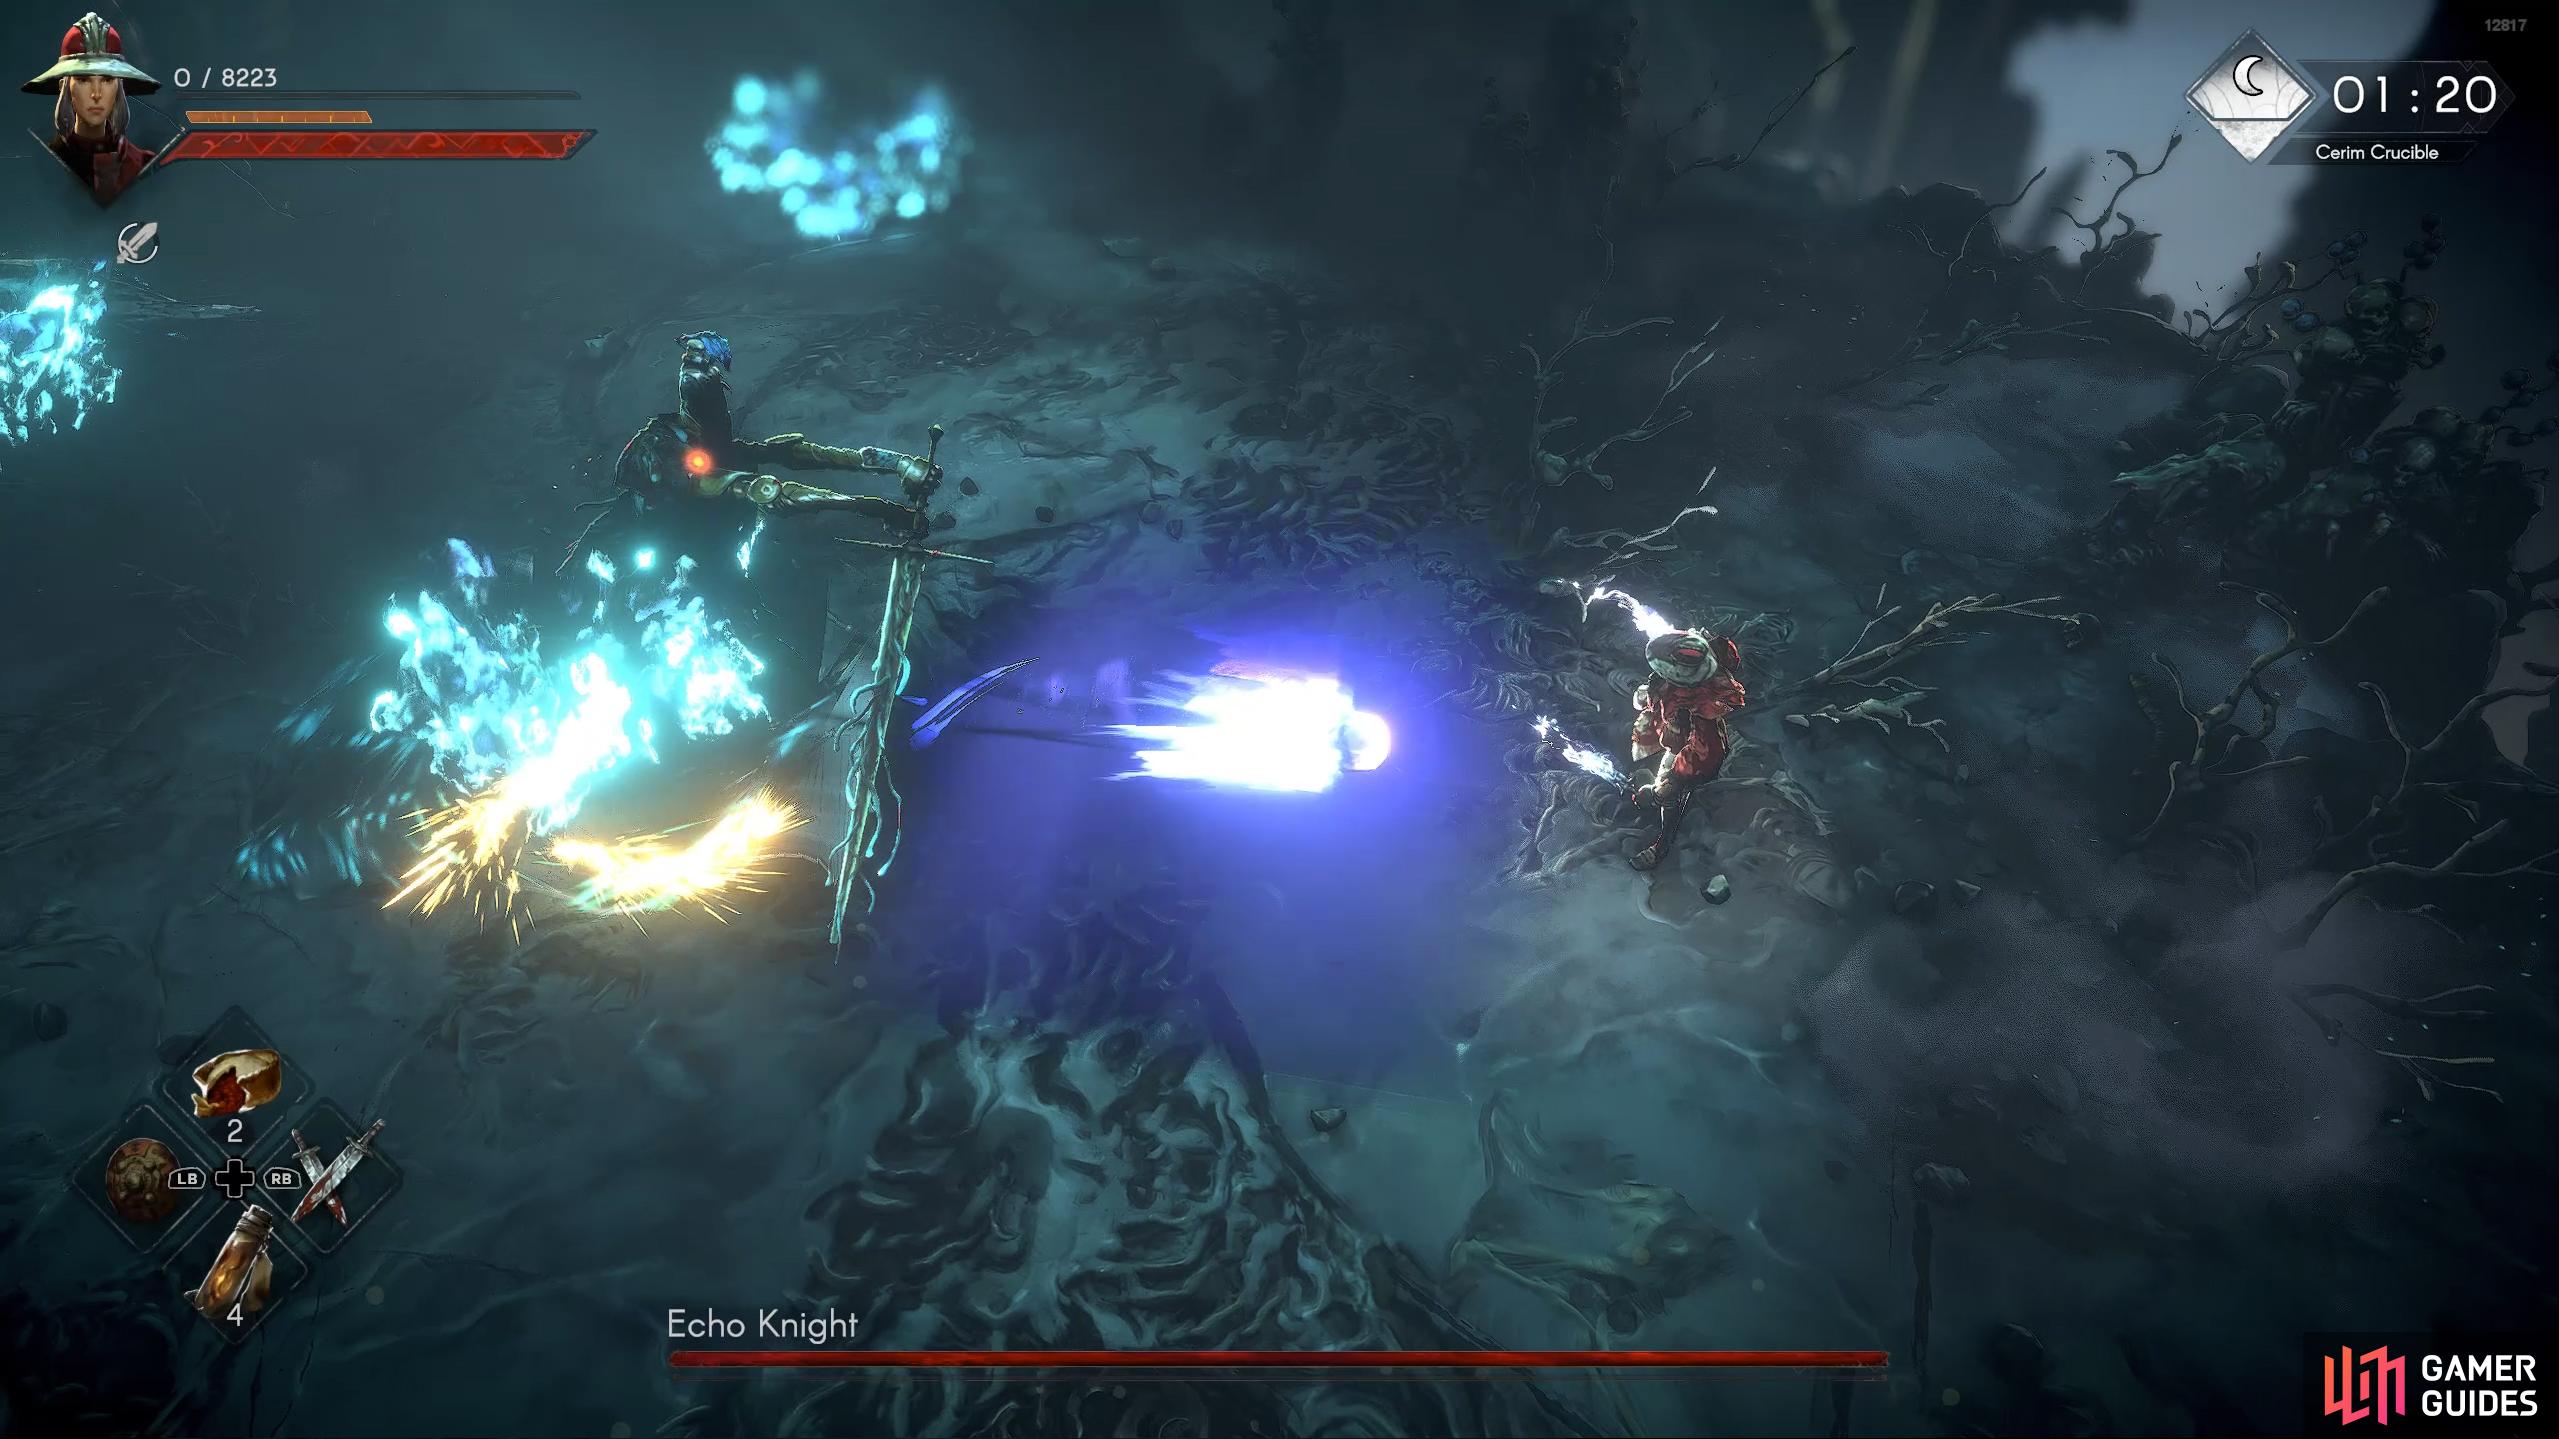
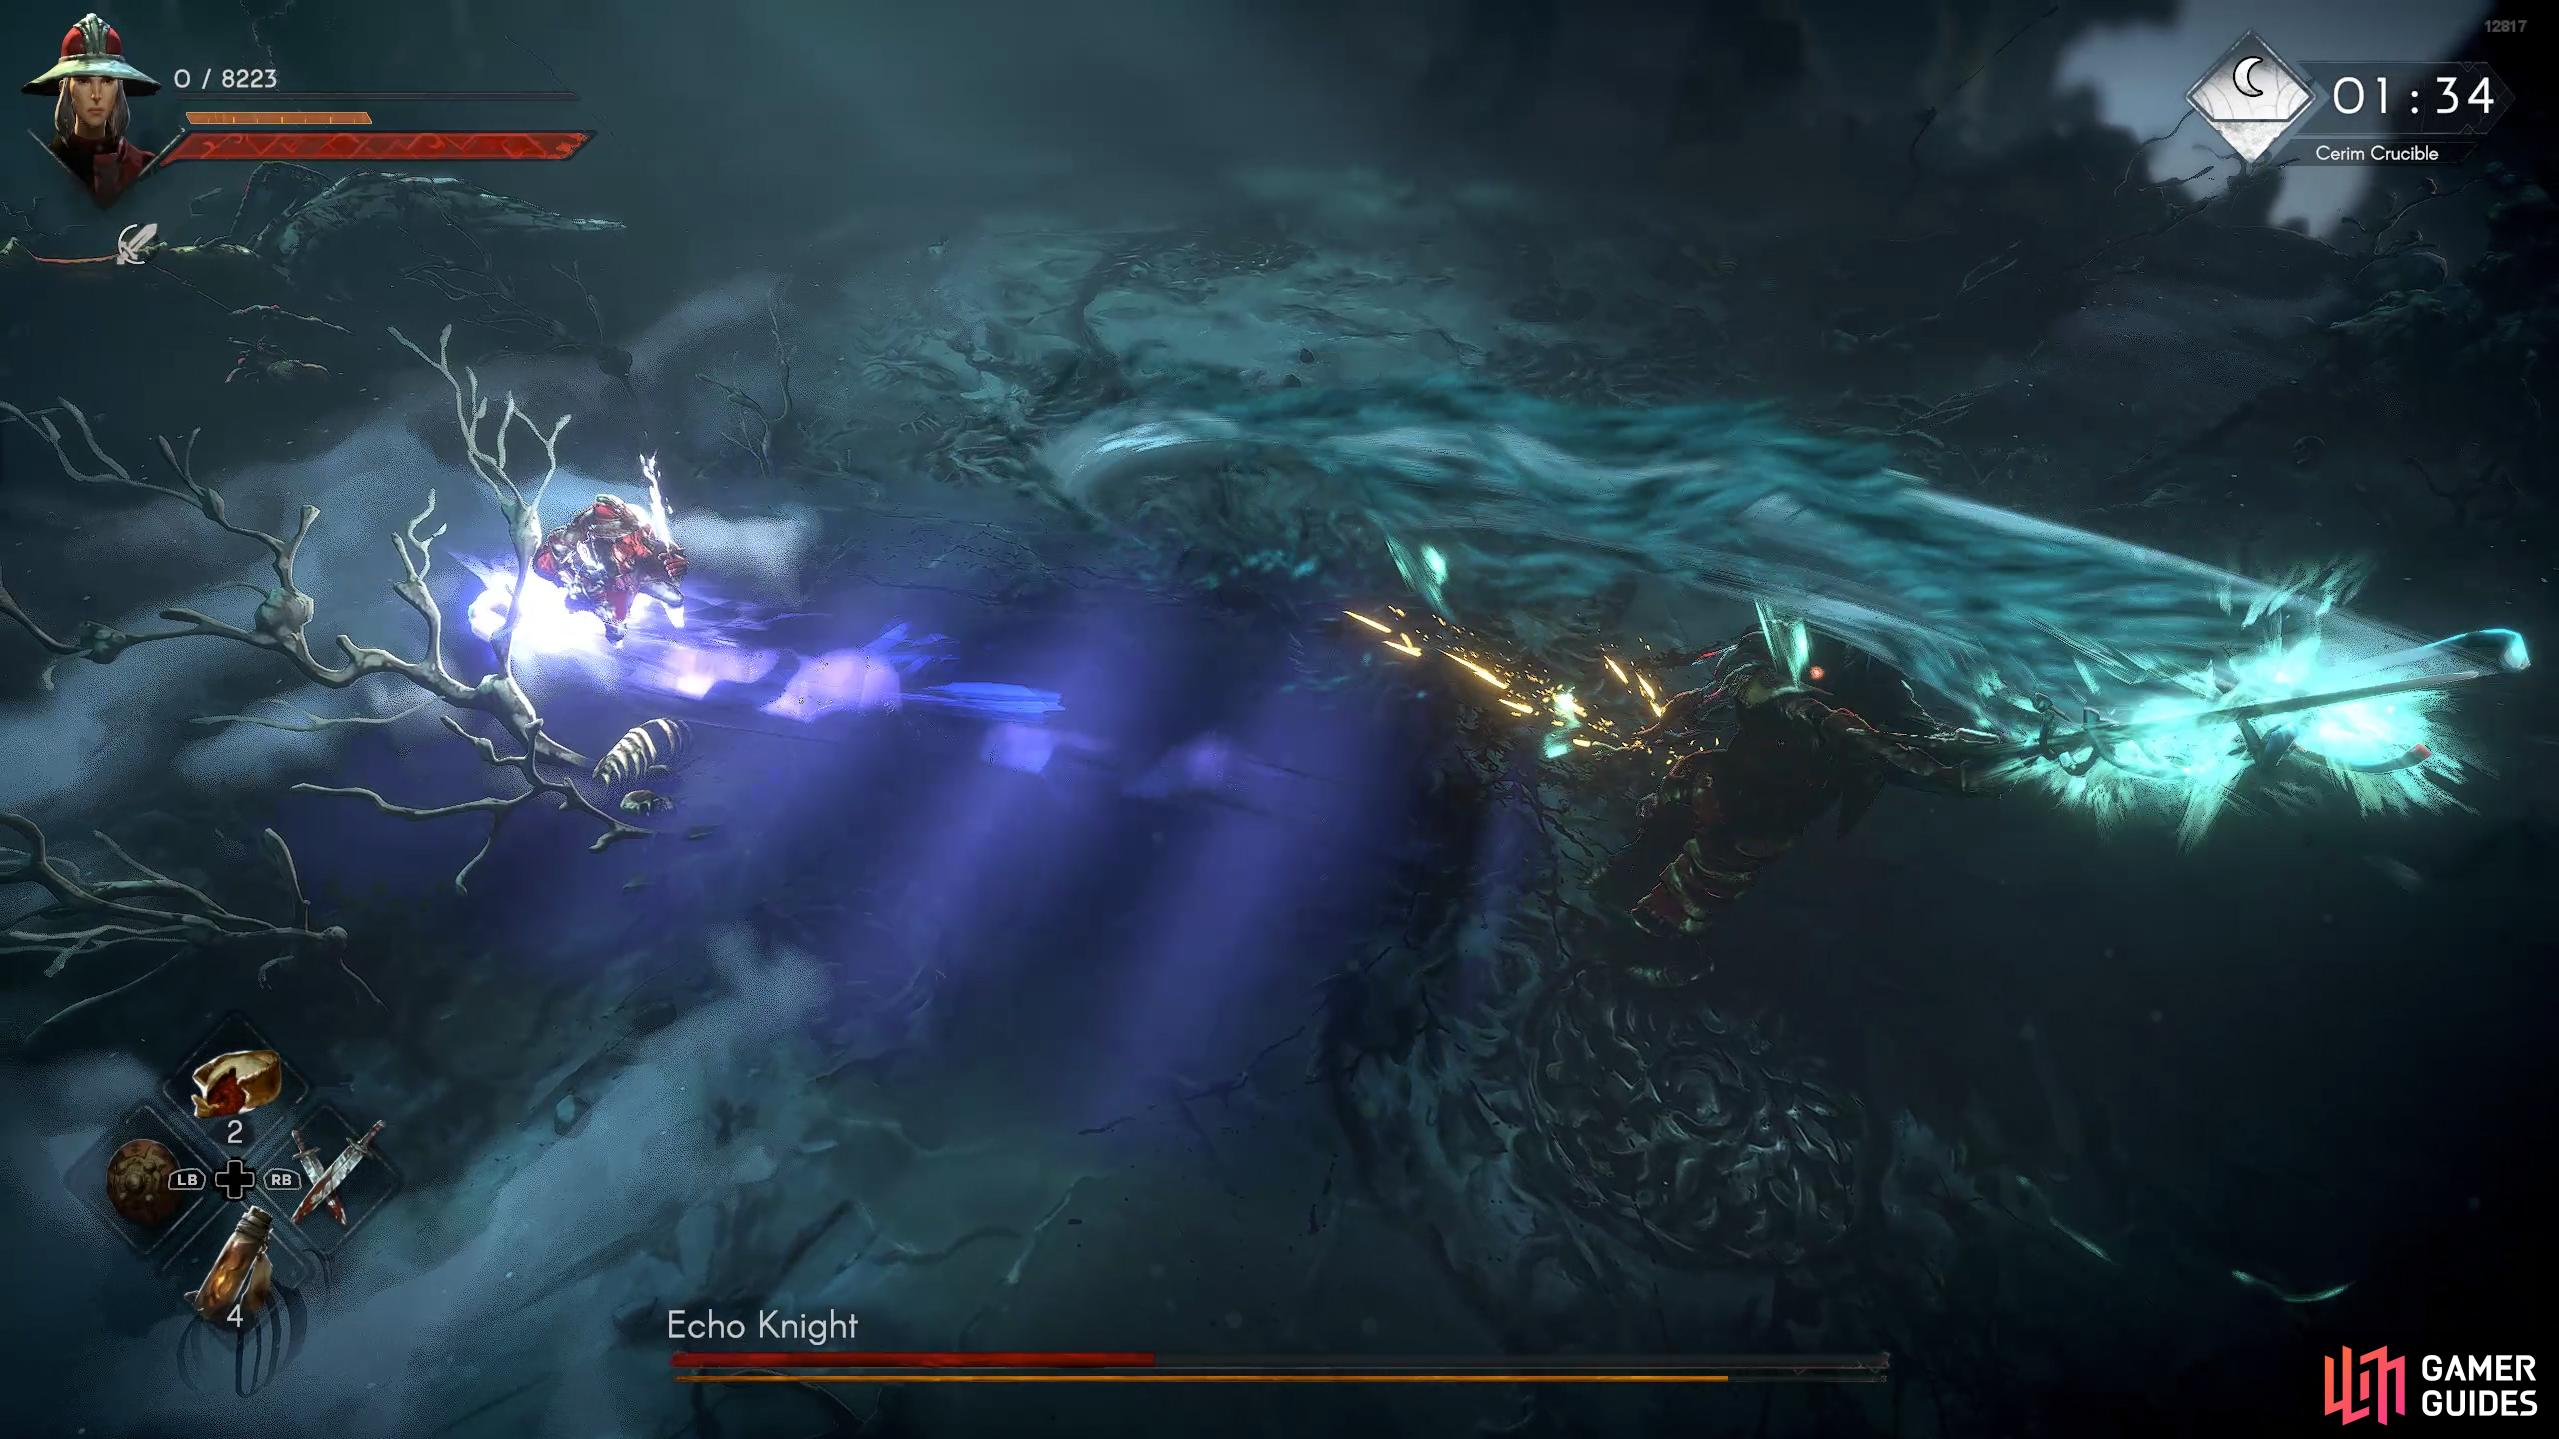
Charge
The Knight and its steed will charge at you across the arena. Note that the horse has a hit box too and will damage you should it hit you. This can also knock you off the arena, so positioning is key.
Twin Thrust
The Knight will perform two downward thrust attacks in quick succession. Either keep your distance or roll through the thrusts toward the boss.
Circular Swipe
The Knight will spin around 180° with its spear out. Roll away from the boss to avoid the attack.
(1 of 3) Charge: One of the main attacks of the first boss fight. The Knight will charge at you on their steed.
Spear Slam
This is one of those attacks that isn’t anything special but will catch you off-guard. The Knight will simply slam down the side of its spear at you.
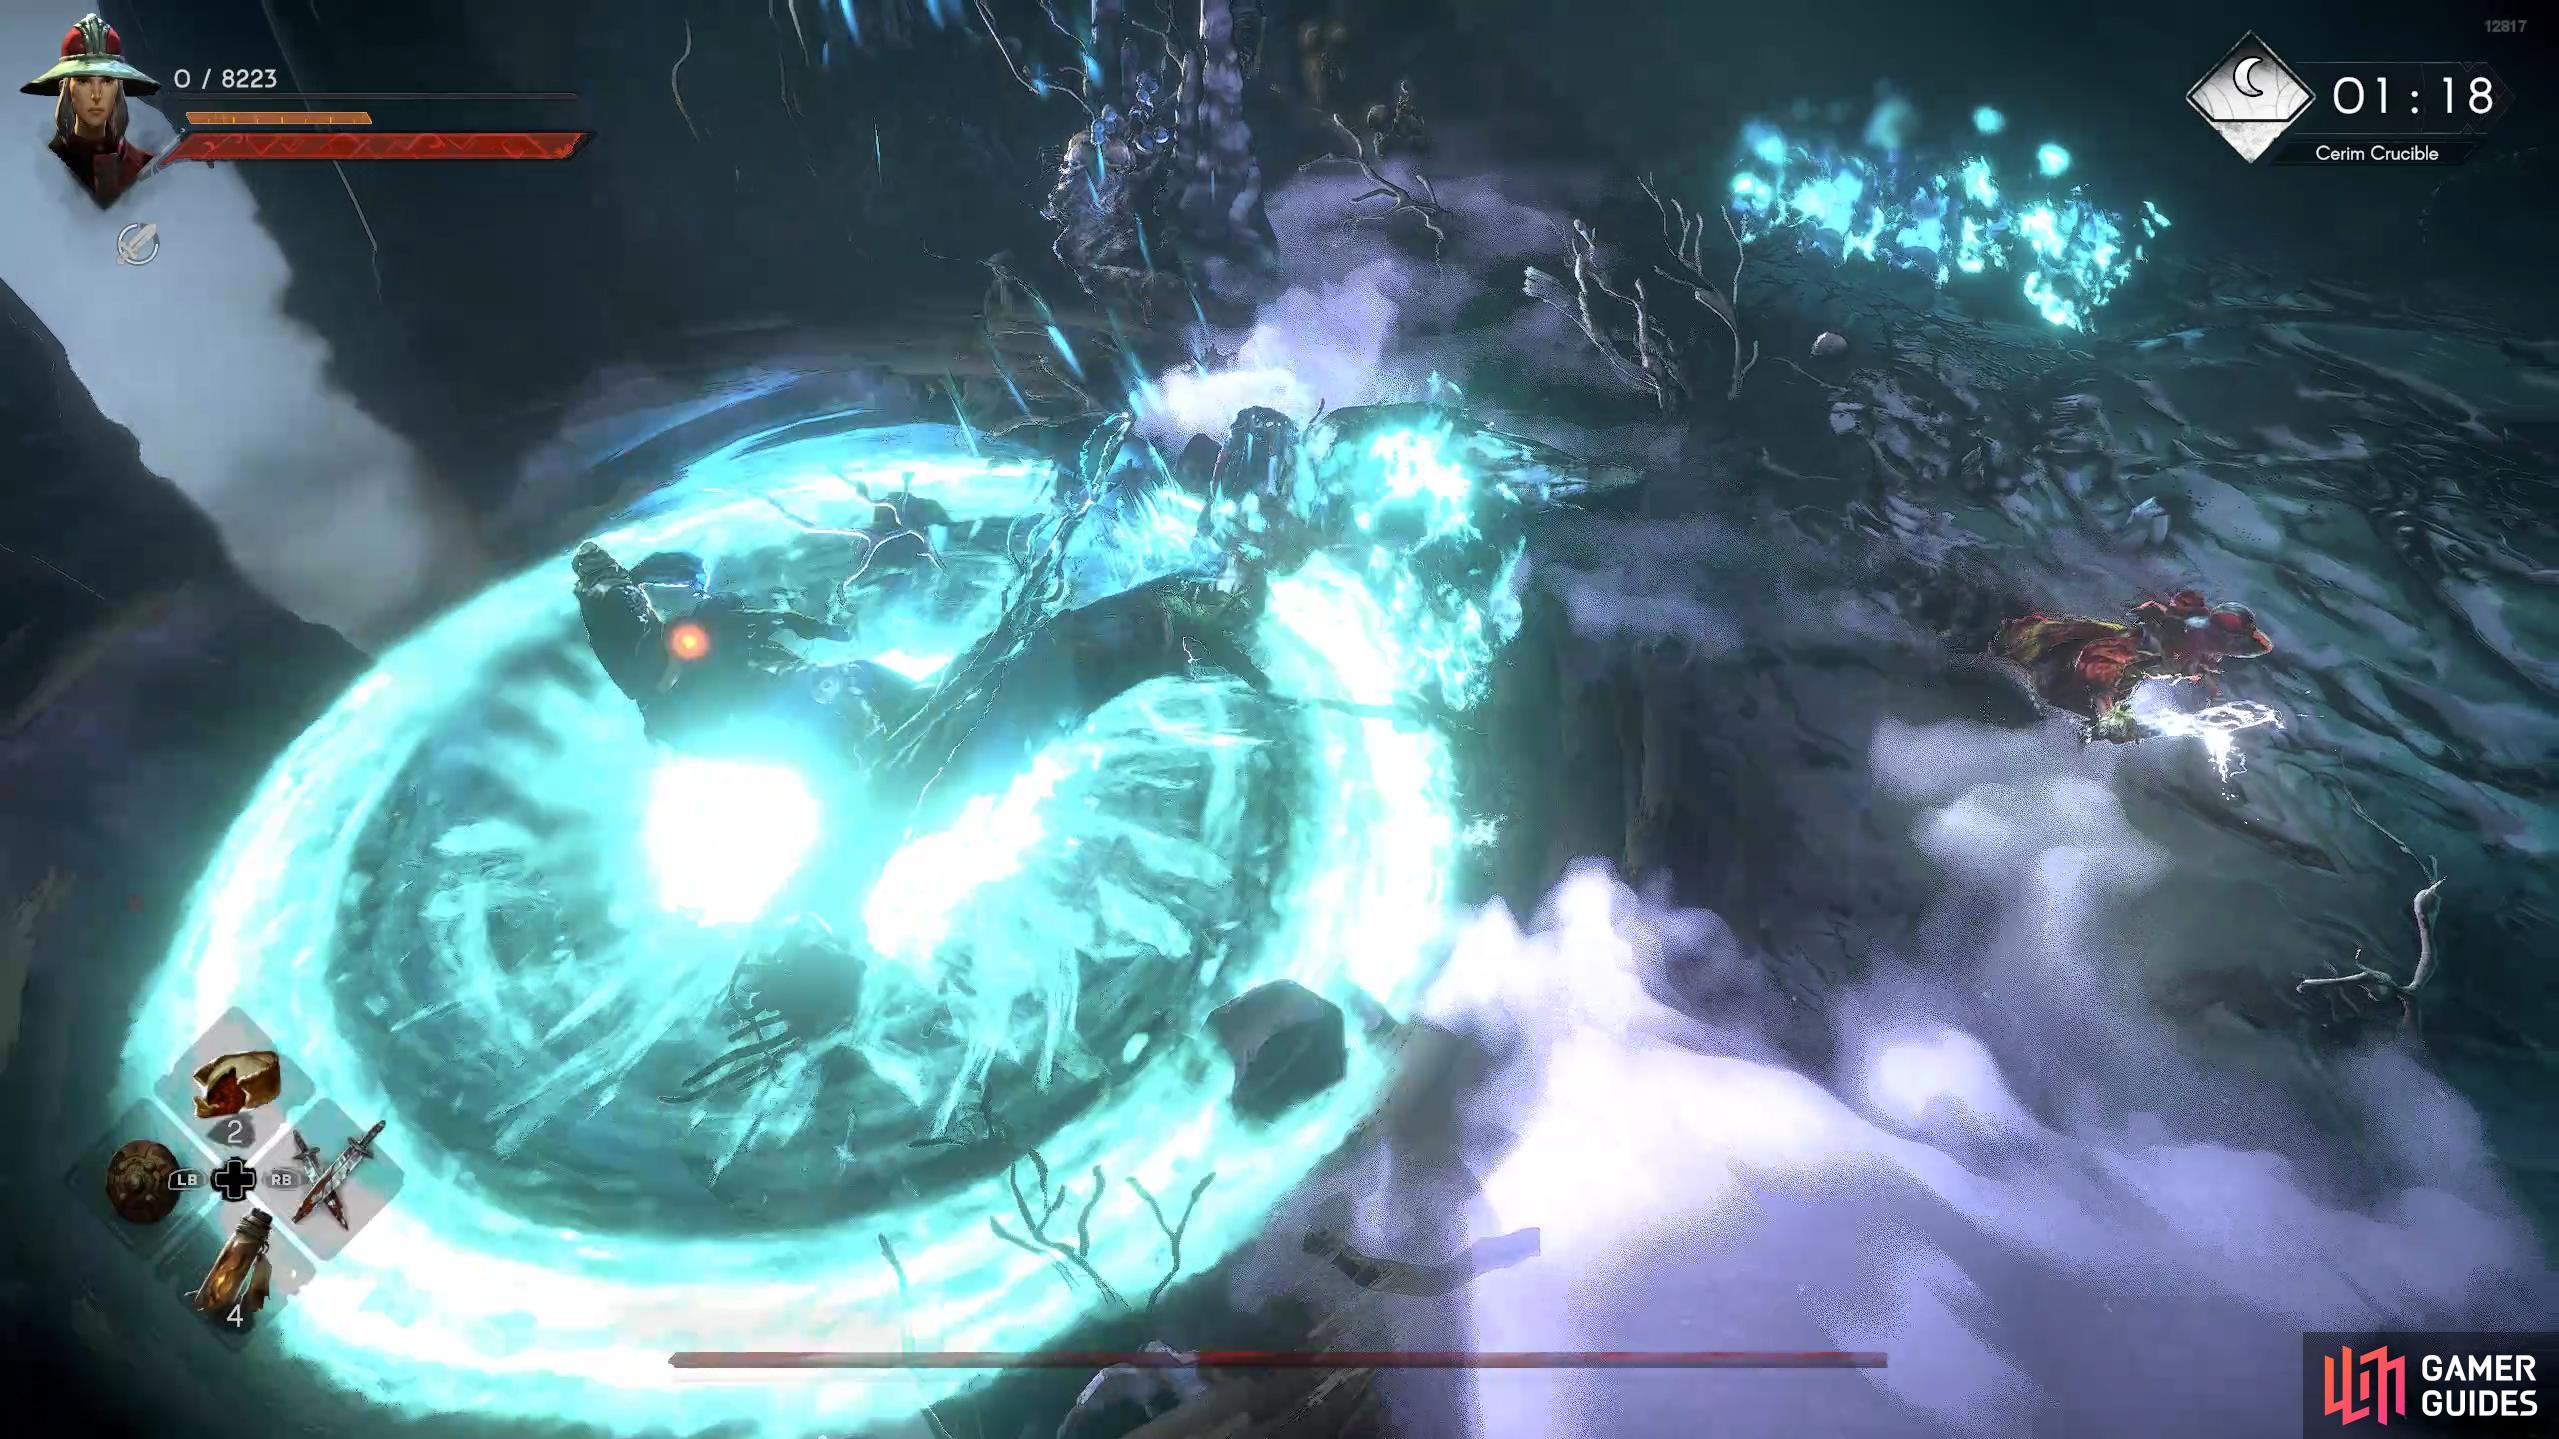
Lingering Fire
At 30-40% health, the boss will go into phase two which is indicated by a yell/scream. This will be followed up with the boss casting a blue fire under your location four times. These fires will persist for a long time, even into the next battle, so make sure you place them at the back of the arena (so they don’t get in your way), and keep them spread apart. If you take too long to finish the first battle, the boss can cast this again.
Explosion
This is a transition attack that the boss will use when you defeat the first part. It will jump off its horse and let off a small explosion around itself as it lands. Simply keep your distance once you defeat the first part.
(1 of 3) Spear Slam: A simple slam attack with the side of its spear.
Echo Knight Boss First Battle Strategy
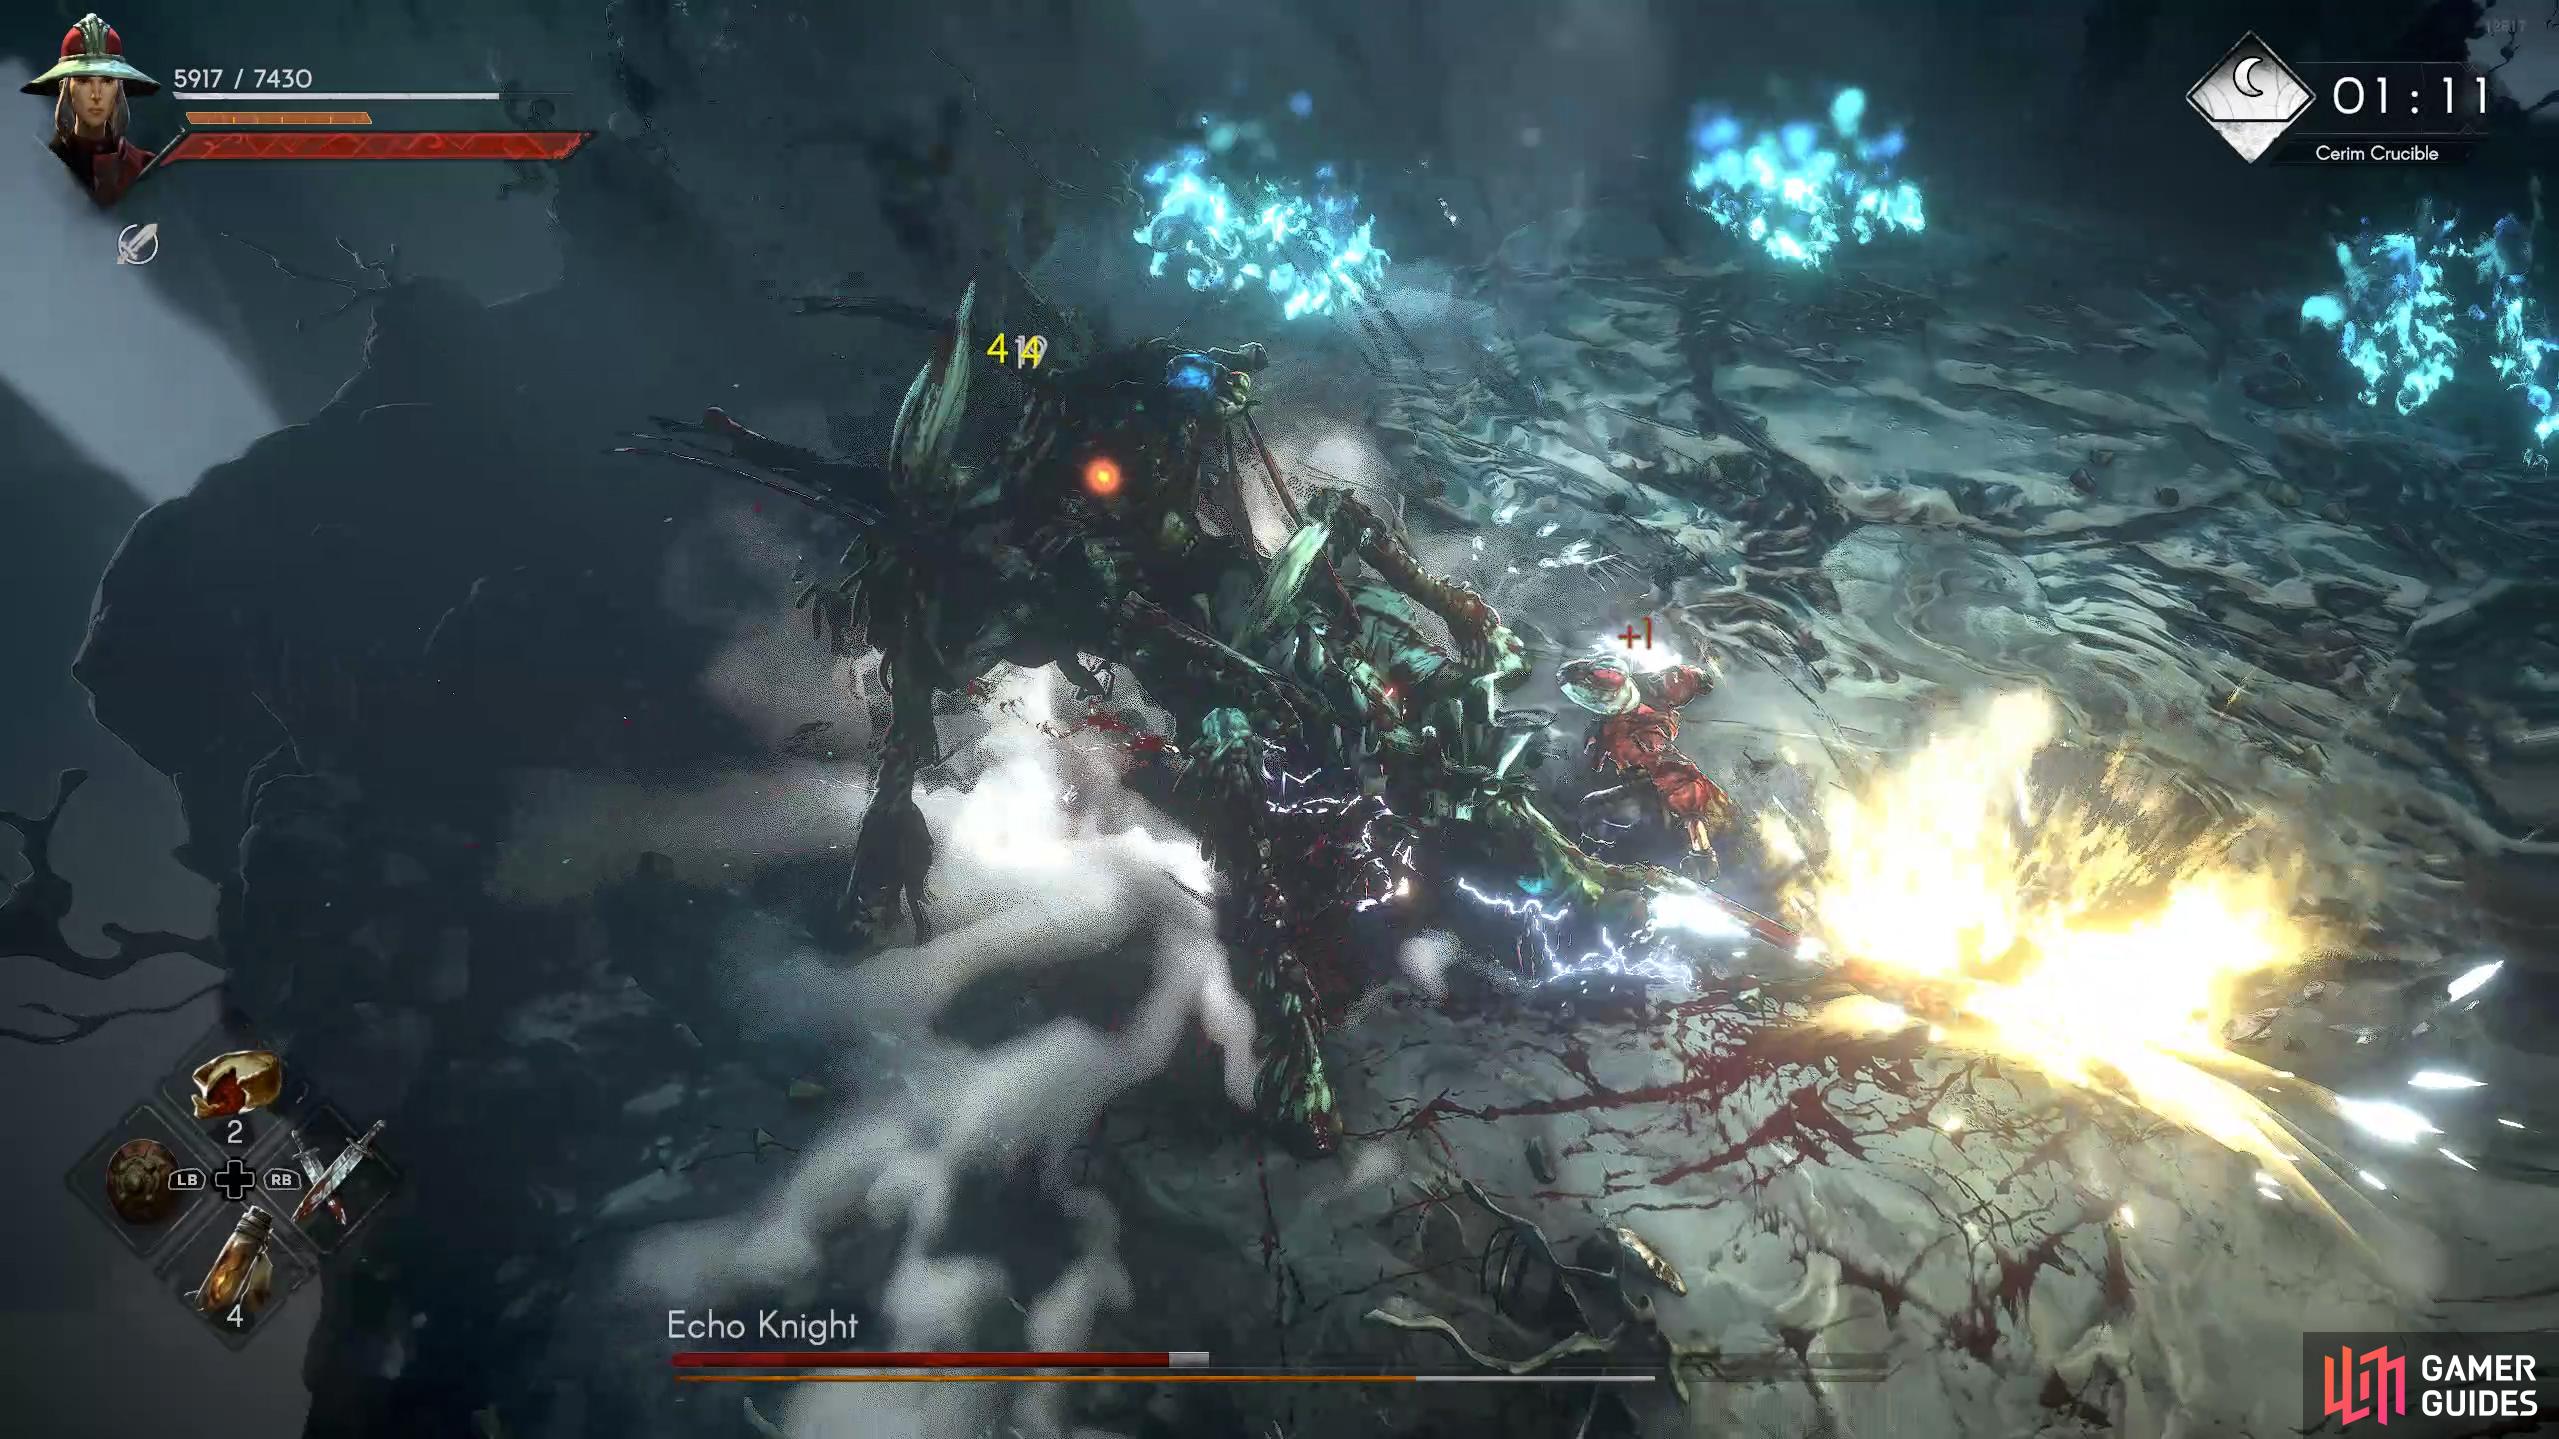
The beginning of the battle starts with a charge at you. Avoid the attack with a double-roll to the side and get ready for its next attack, which can be any of the attacks listed above, although we predominantly see a stomp. If it does a stomp, keep backing up until it’s about to stomp, and then roll away from the attack as it comes down. This will give you a brief opening to get an attack on the boss. Another great time to get a couple of attacks on the boss is when it performs its triple plague orb combo. Roll through each projectile while closing in on the boss and by the third attack, you’ll get an opening for one to two attacks.
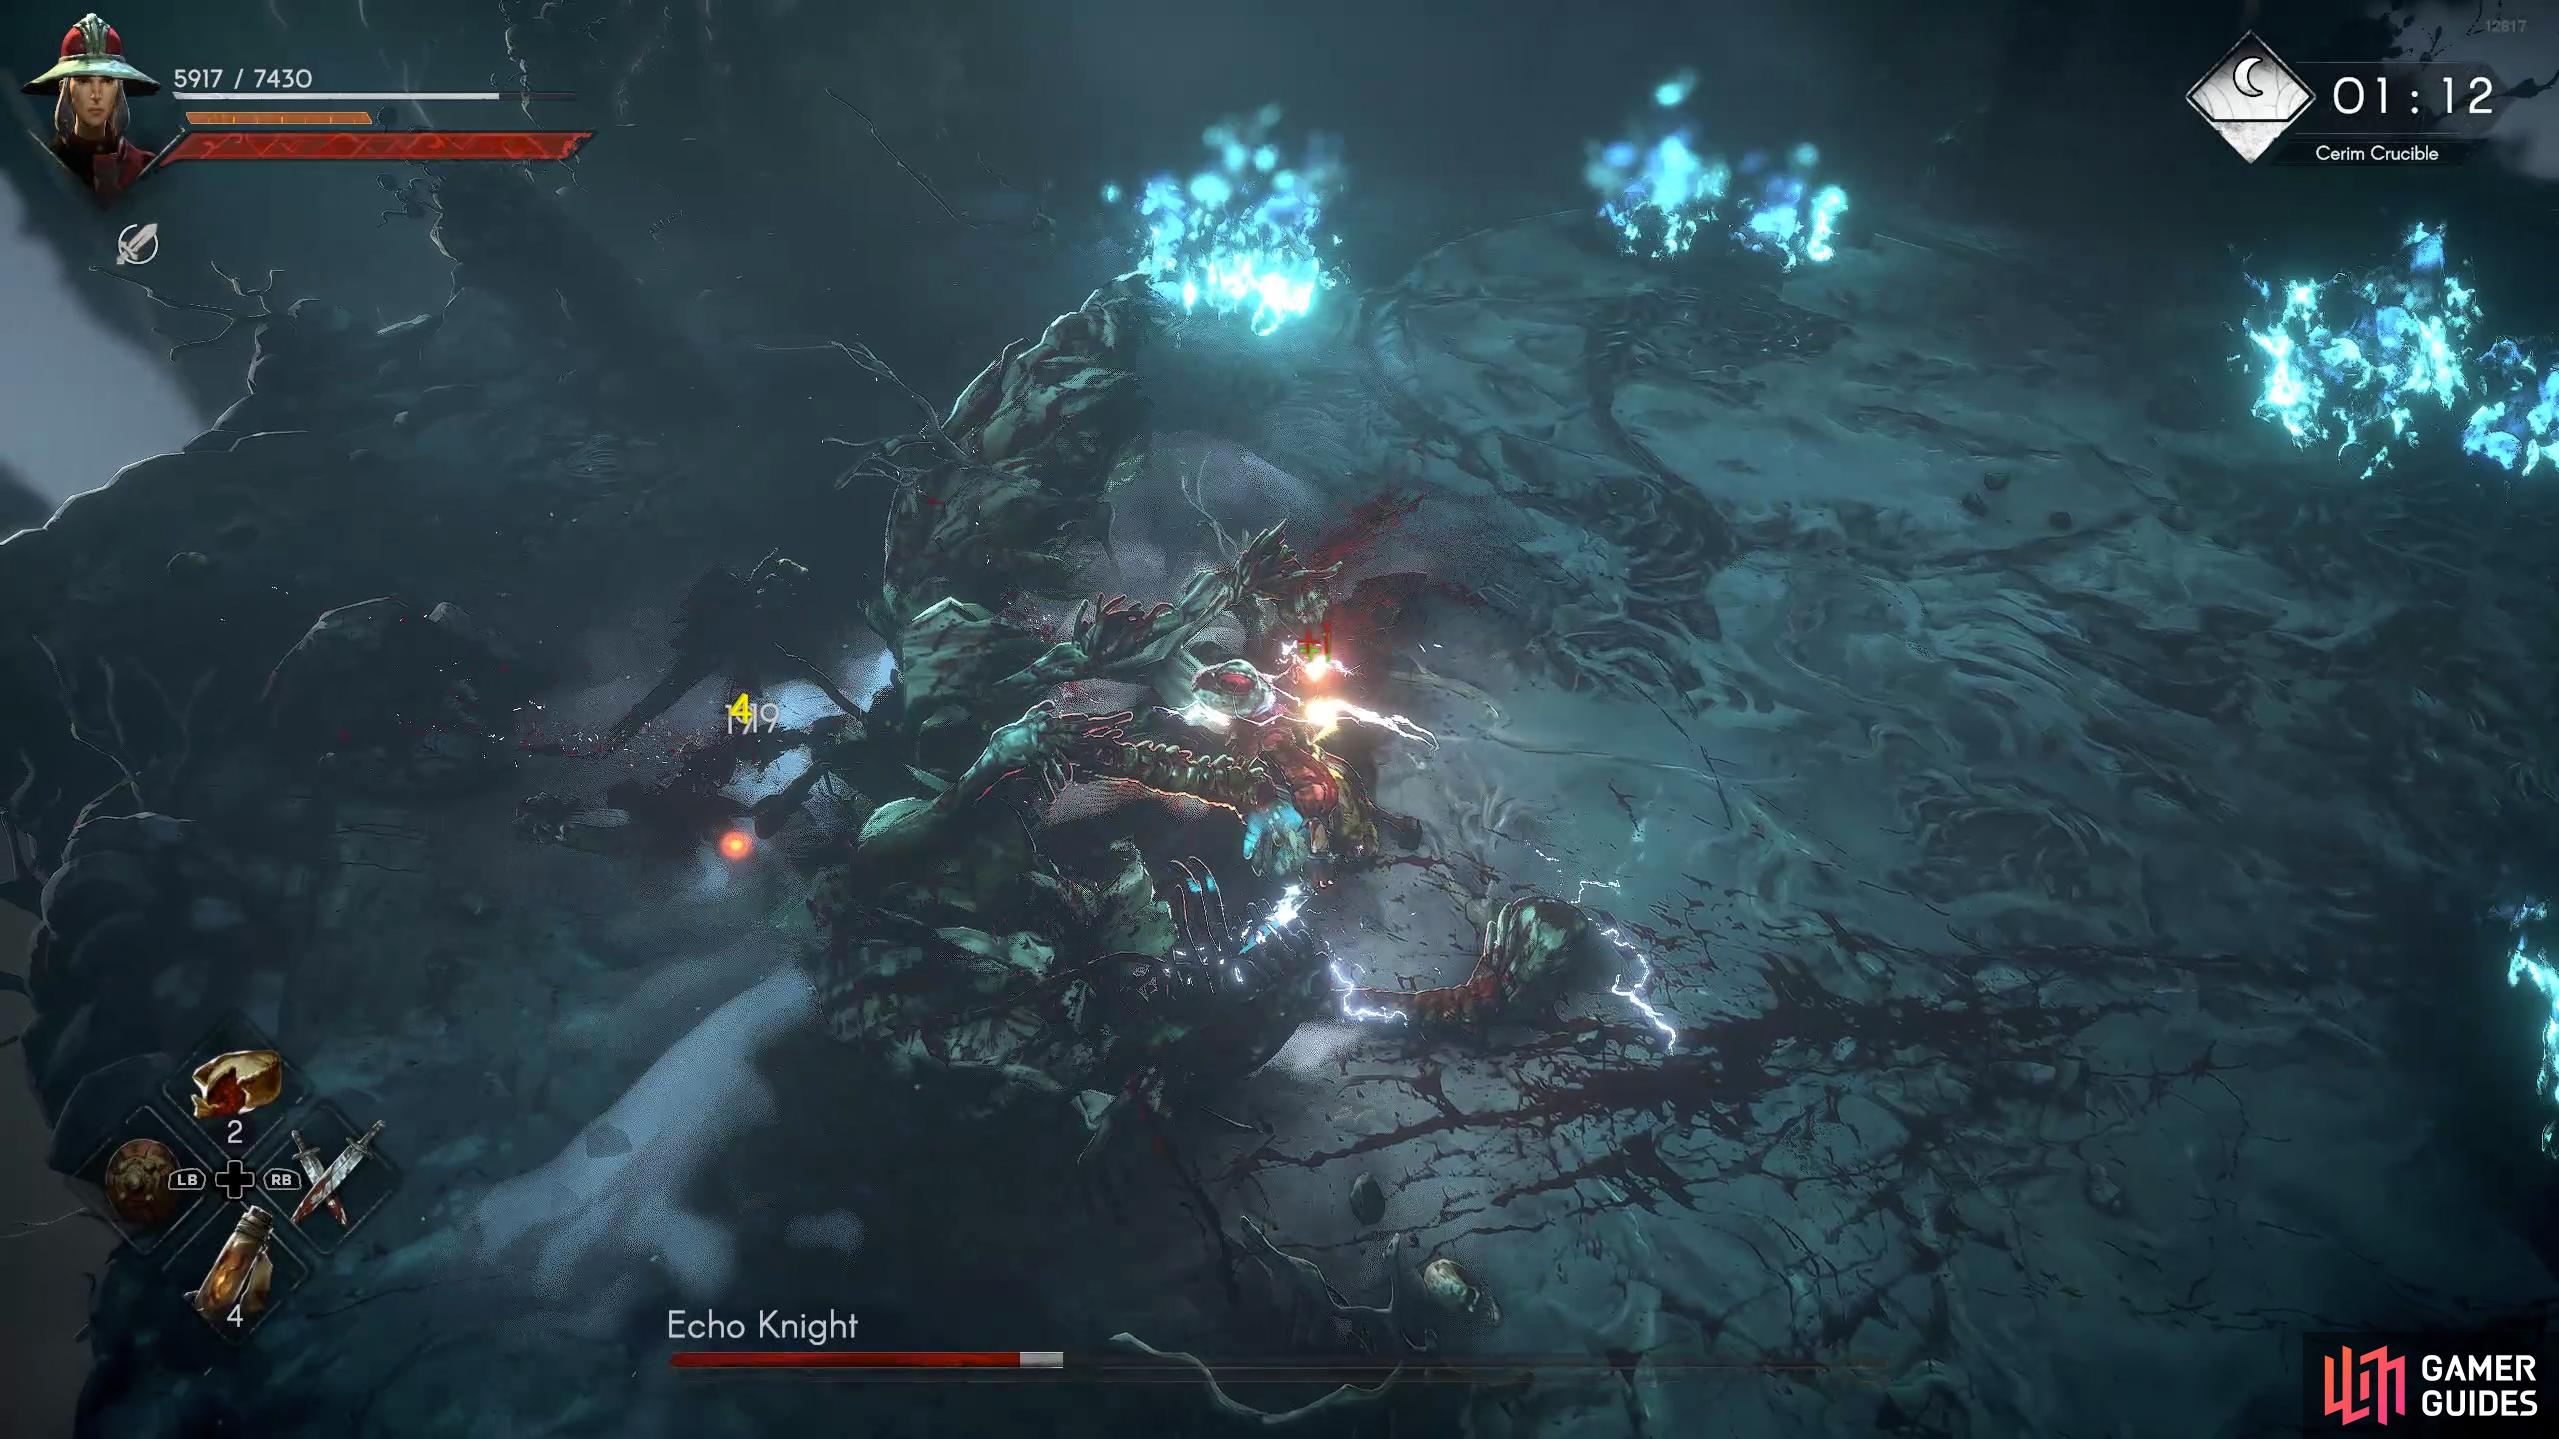
For most of the battle, you’ll want to spend your time close to the boss so you can punish every opening it leaves after an attack. Most of the attacks can be avoided by a simple roll toward or away from the boss and because you’re close, you can hit it once or twice. Most of your damage will come from Focus attacks, and we recommend having Lightning Assault or Lightning Swirl equipped, as it can interrupt almost every attack if you land it just as the boss is about to perform its attack. Outside the Charge, Orbs, and Circular Swipe attacks, the rest will be simple weapon attacks that may hit you but won’t cause too much damage. When the boss gets to around 30-40% health, it’ll enter phase two with a yell.
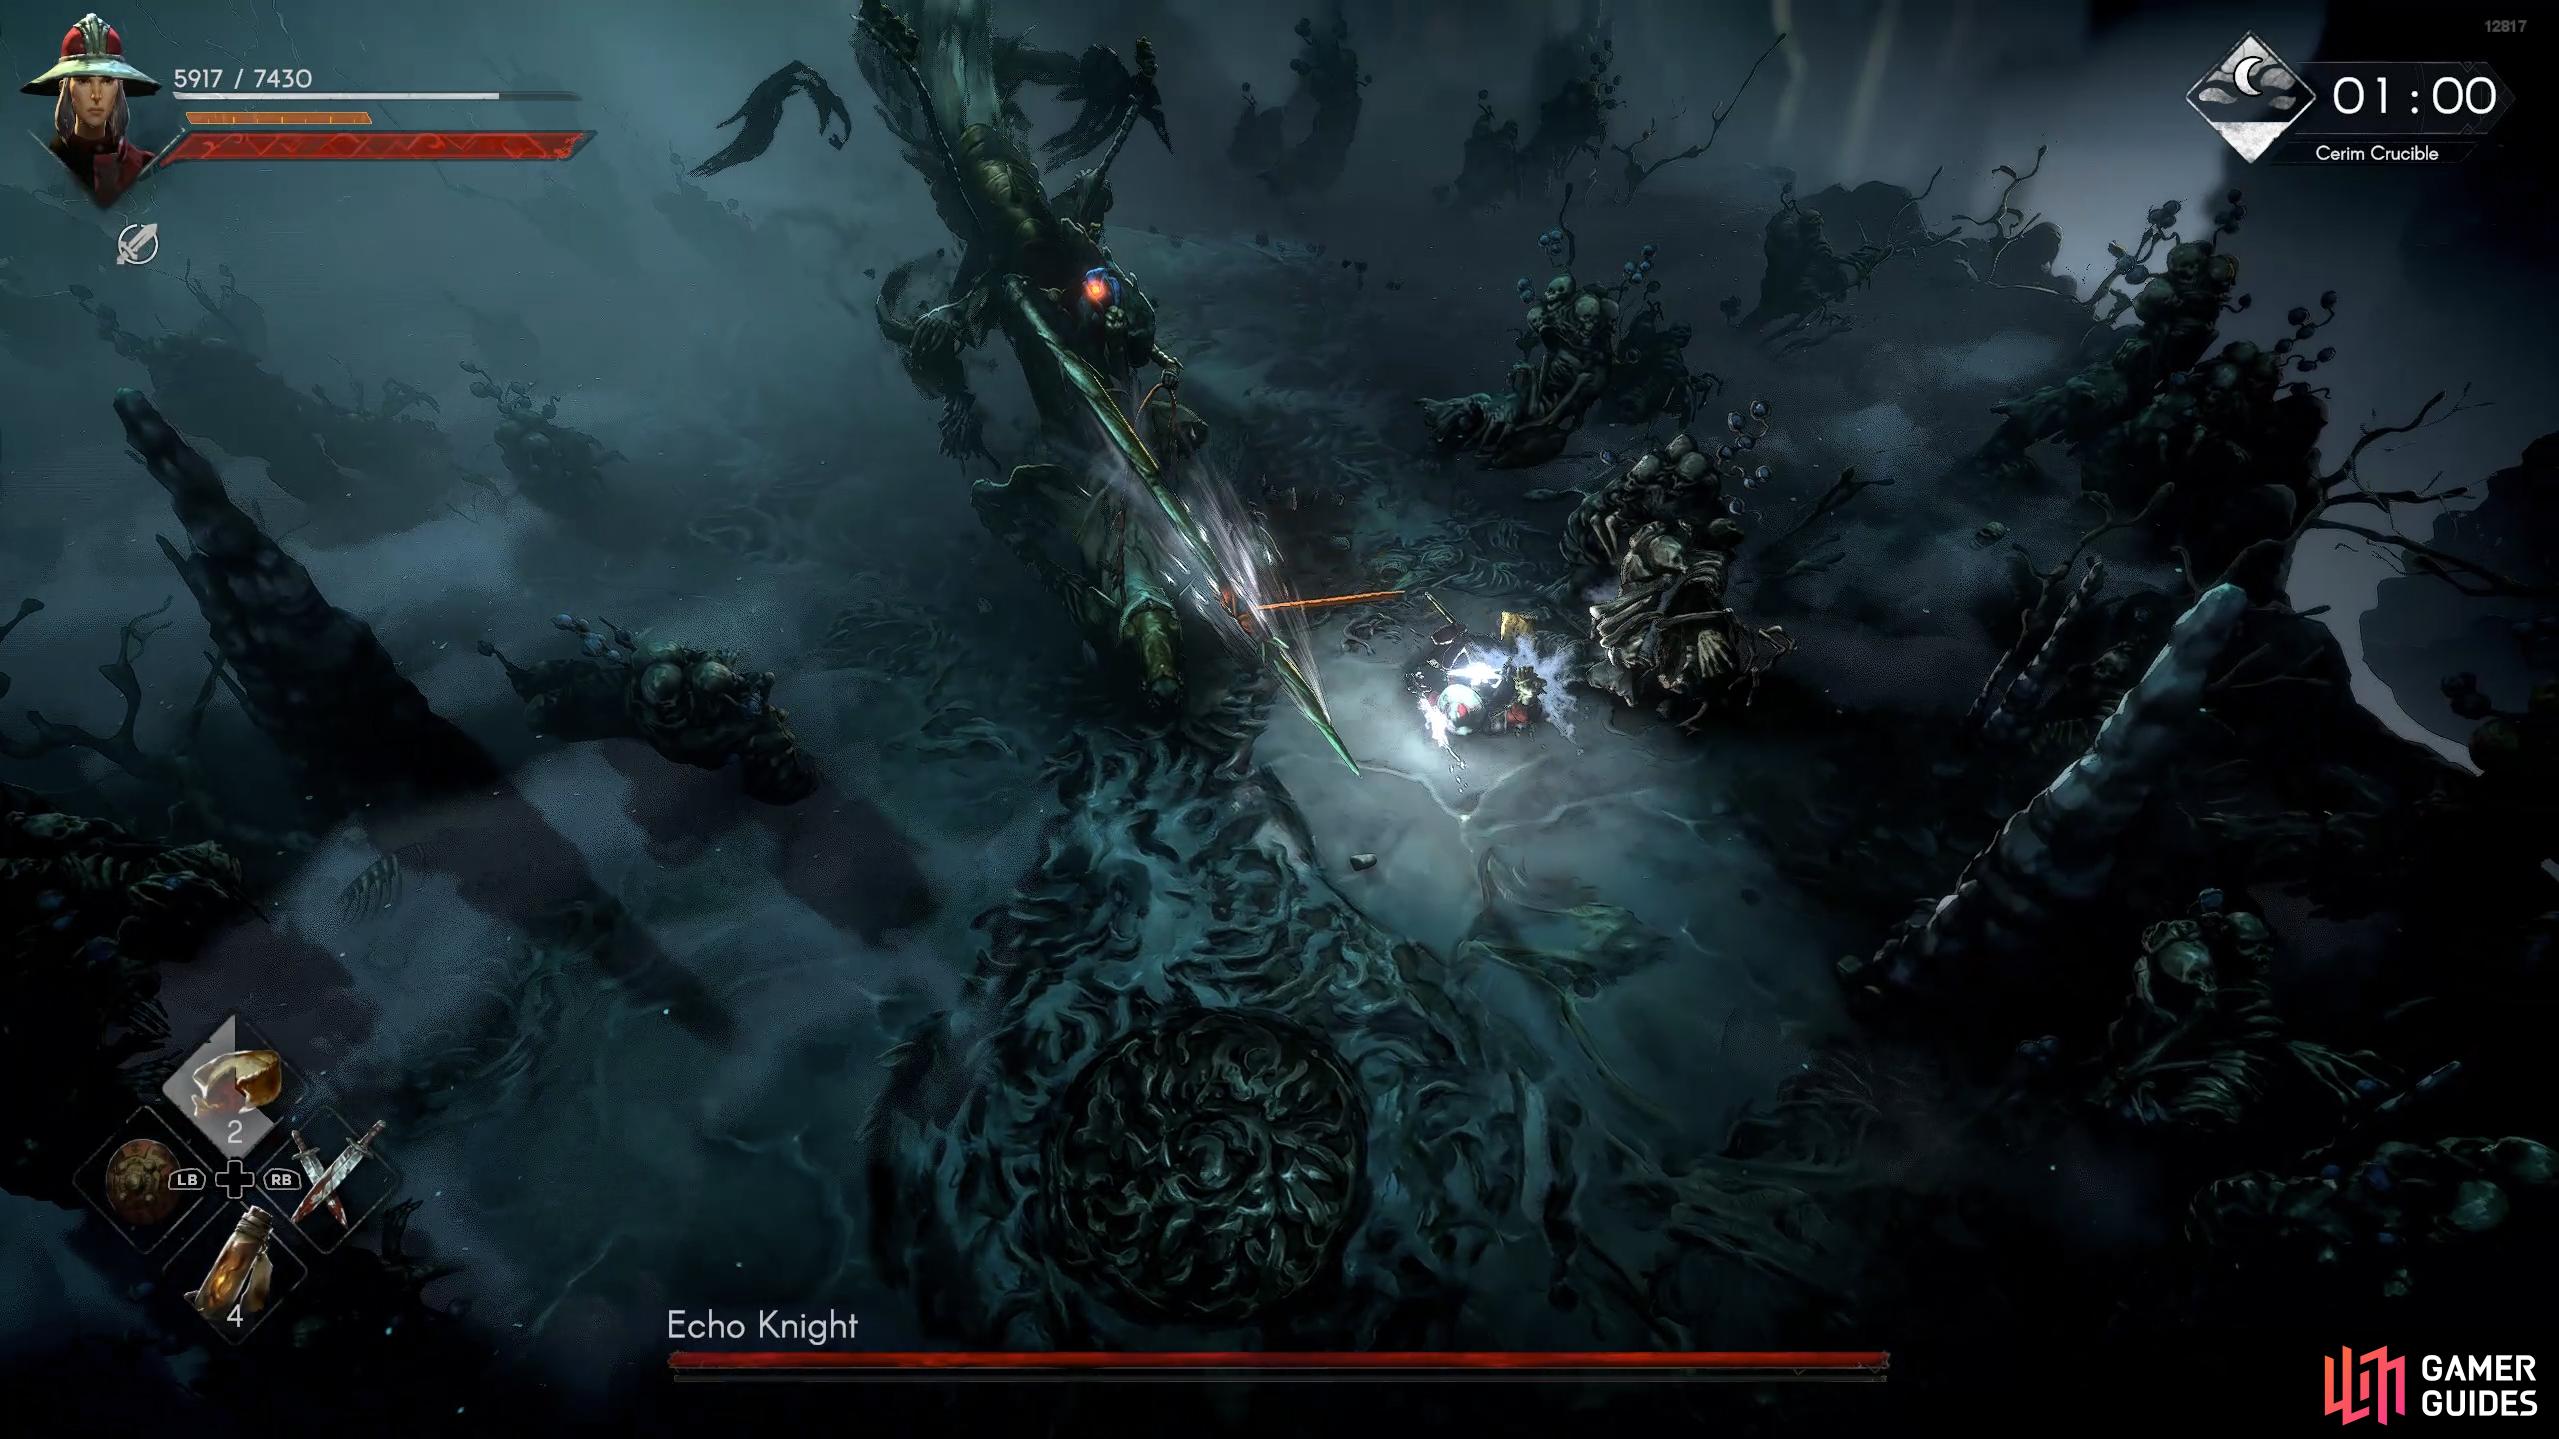
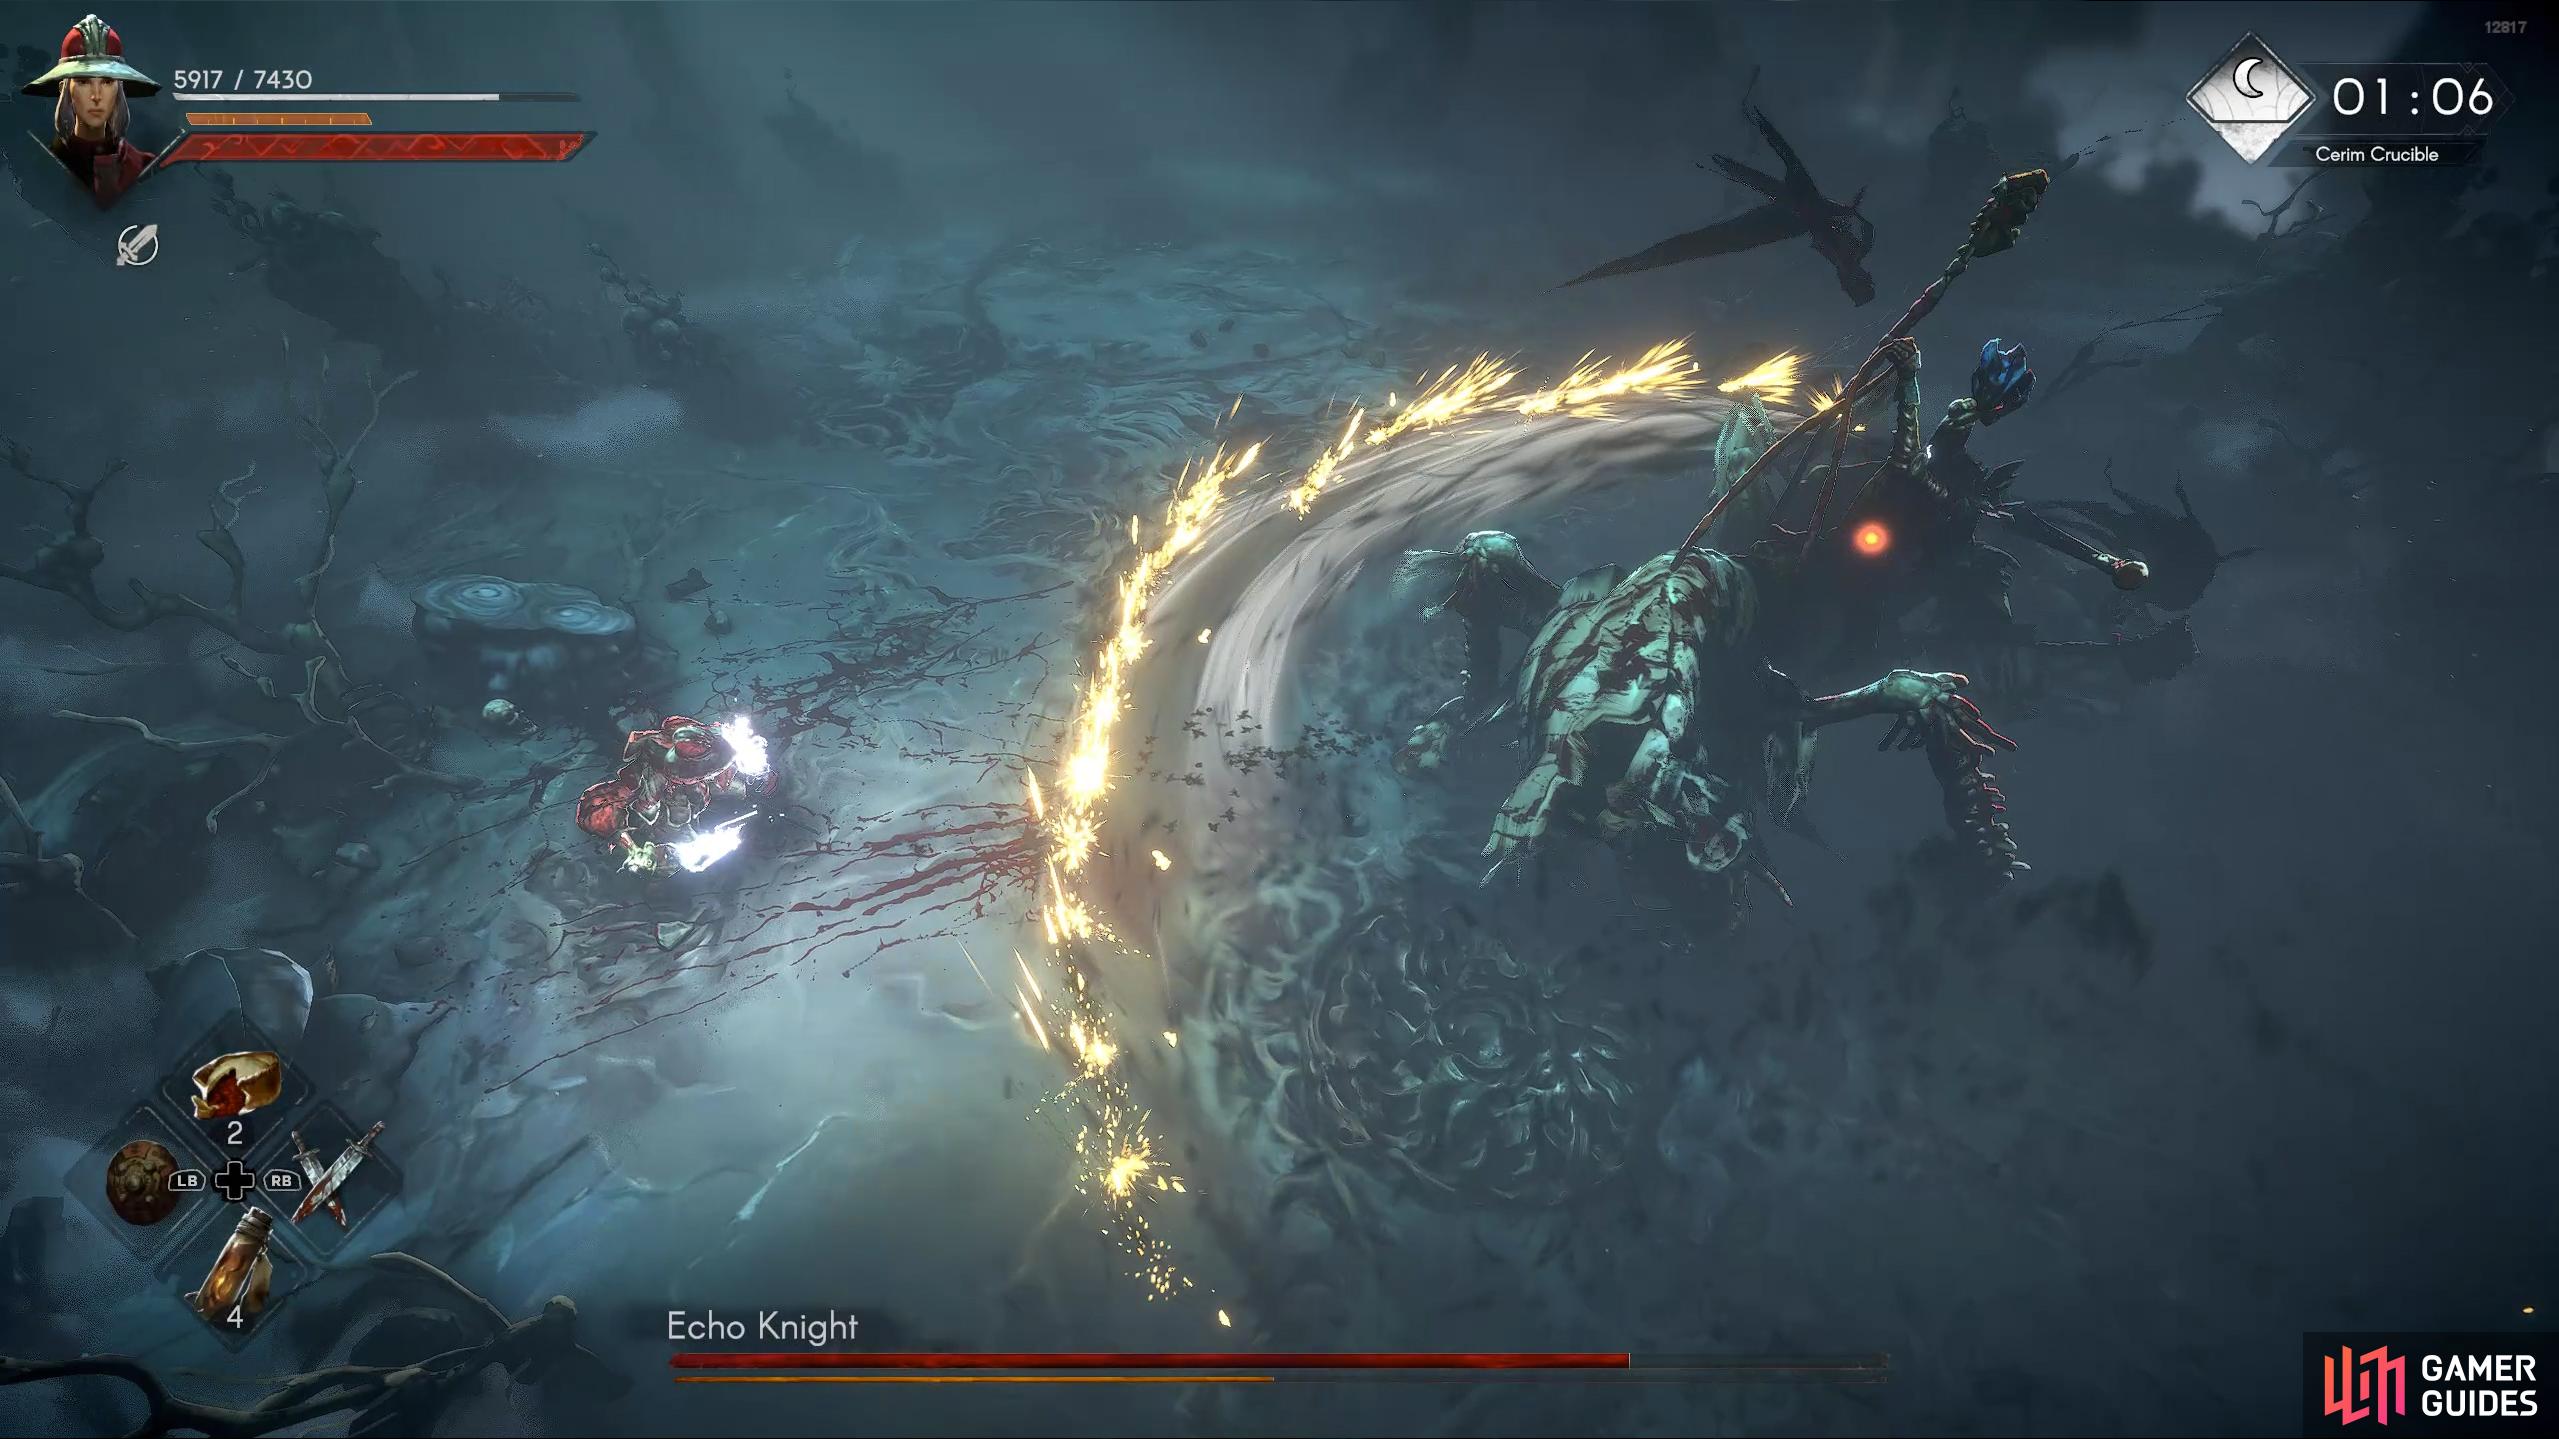
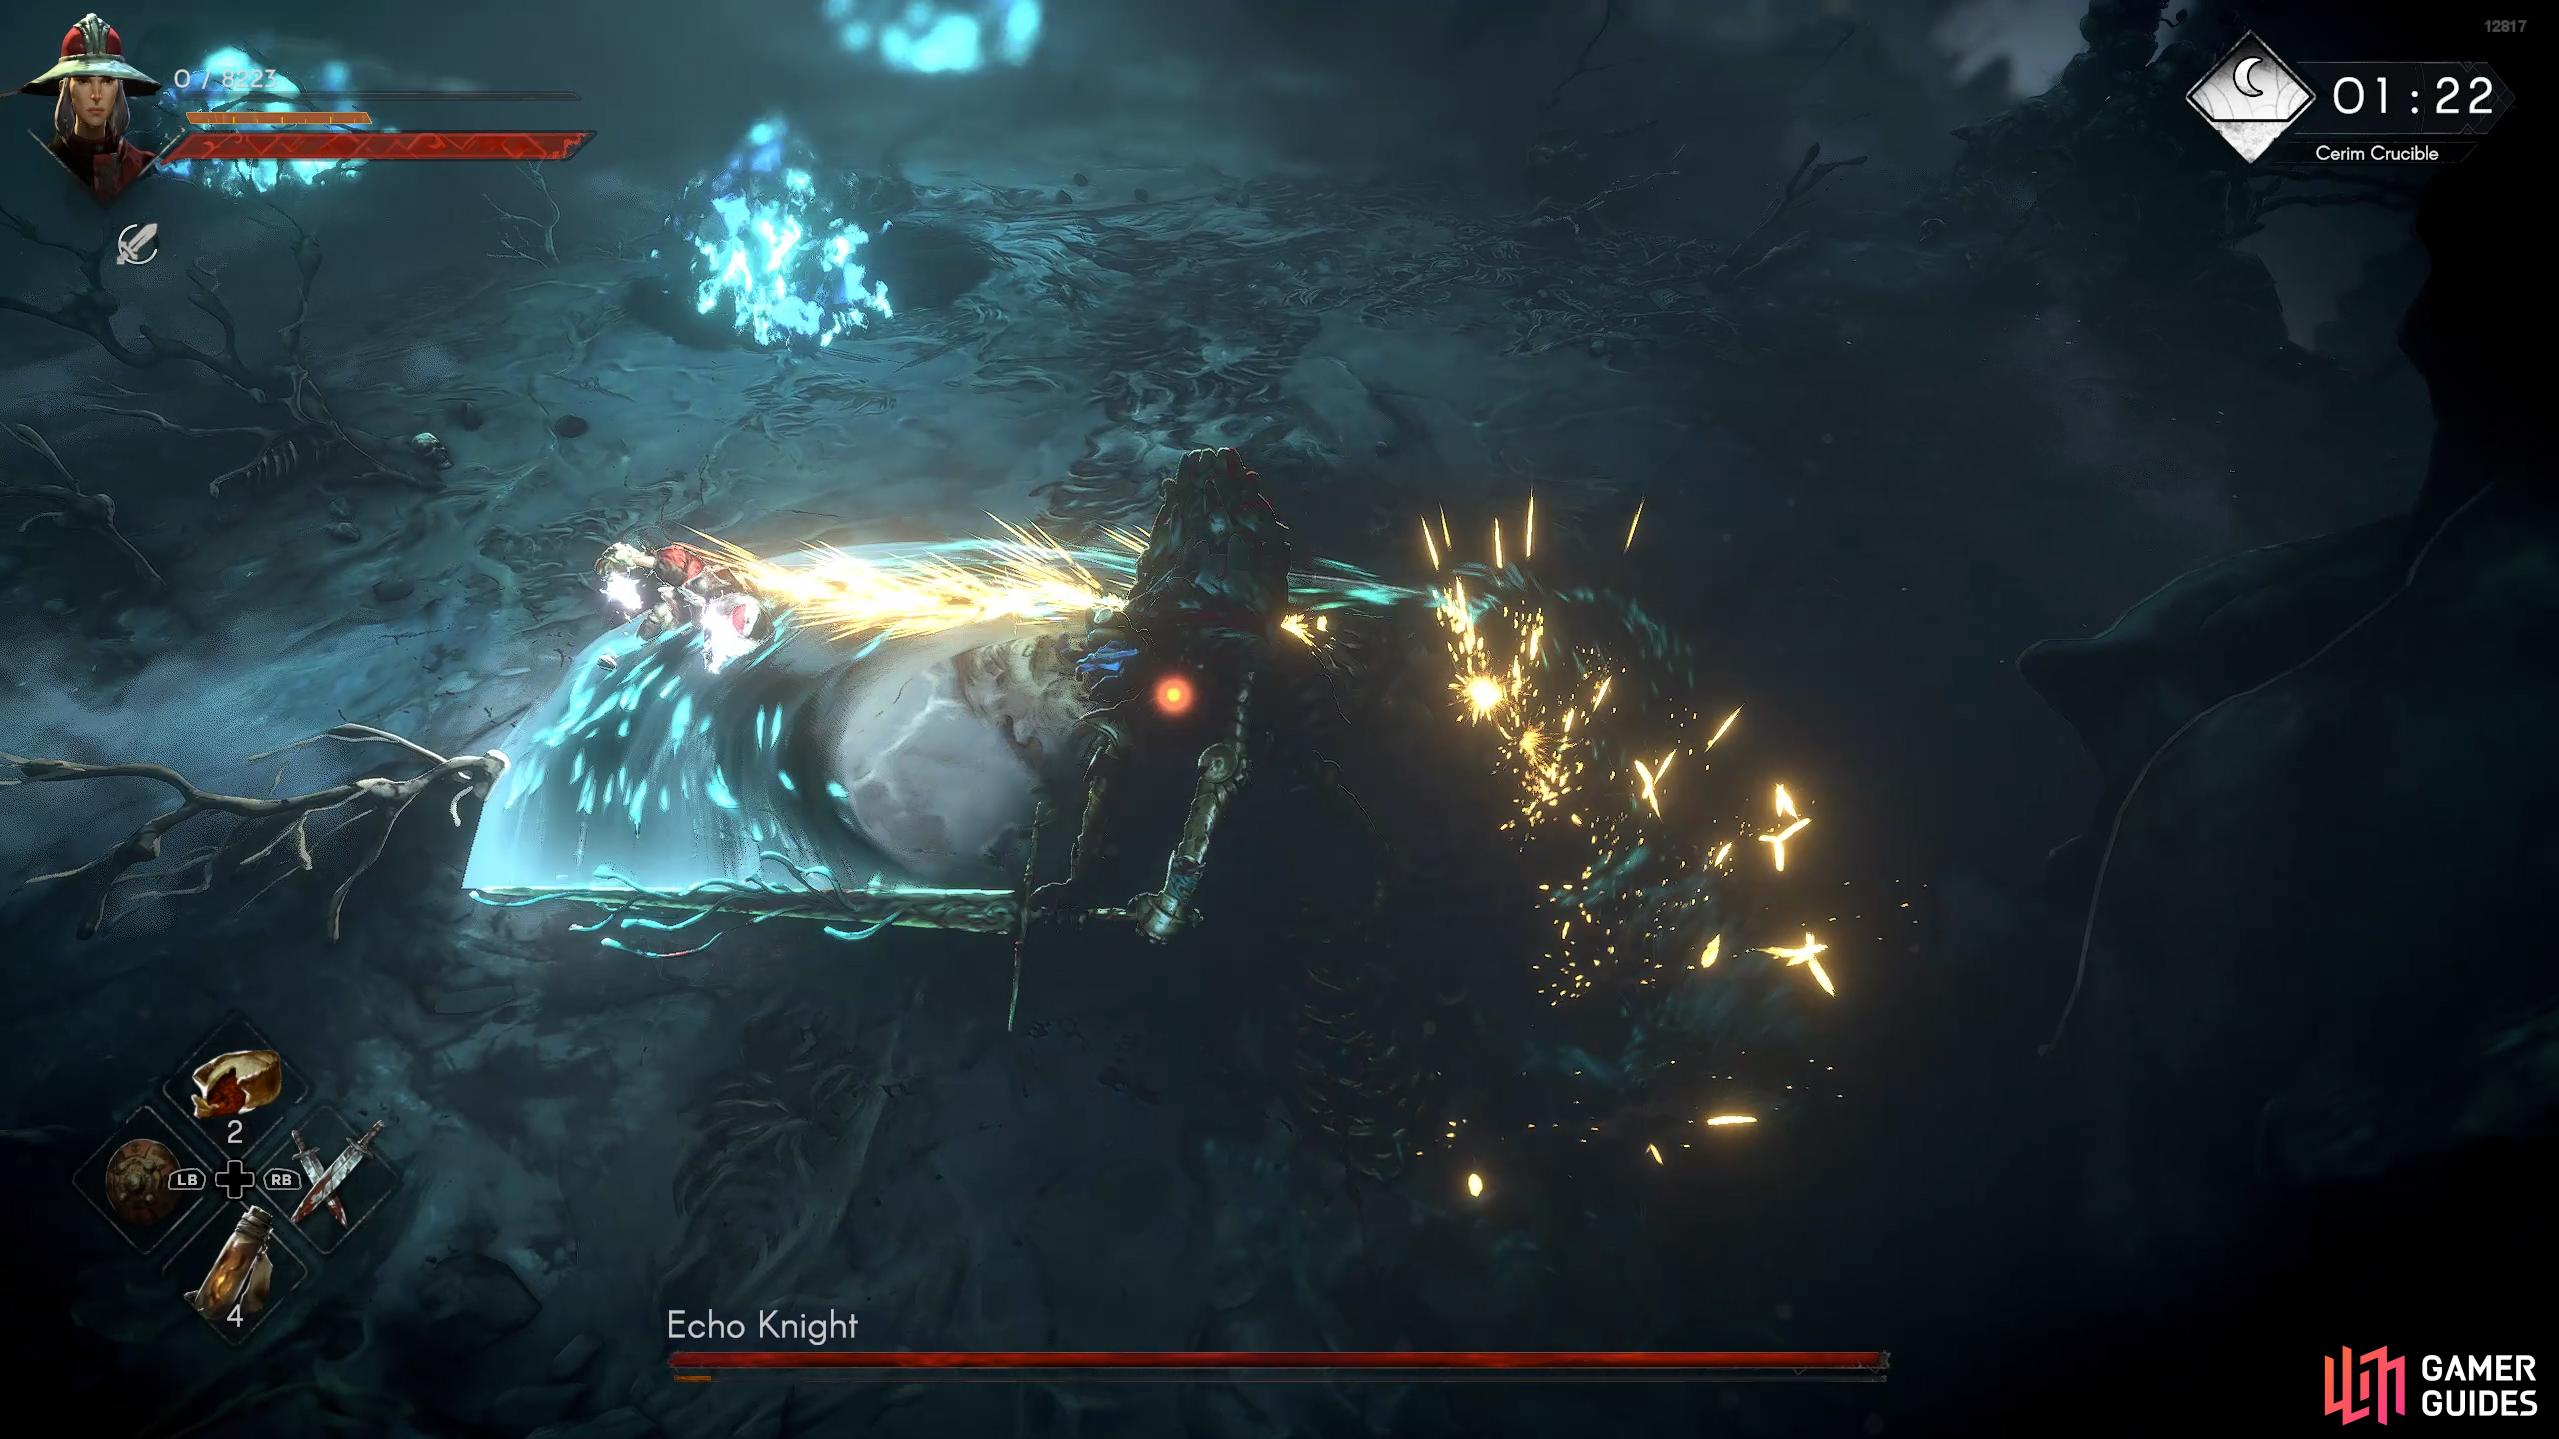
(1 of 2) If you fill up the Knight’s orange bar (poise), you’ll knock it to the ground.
If you fill up the Knight’s orange bar (poise), you’ll knock it to the ground. (left), This will give you a decent amount of time to deal significant damage to it. (right)
Phase Two
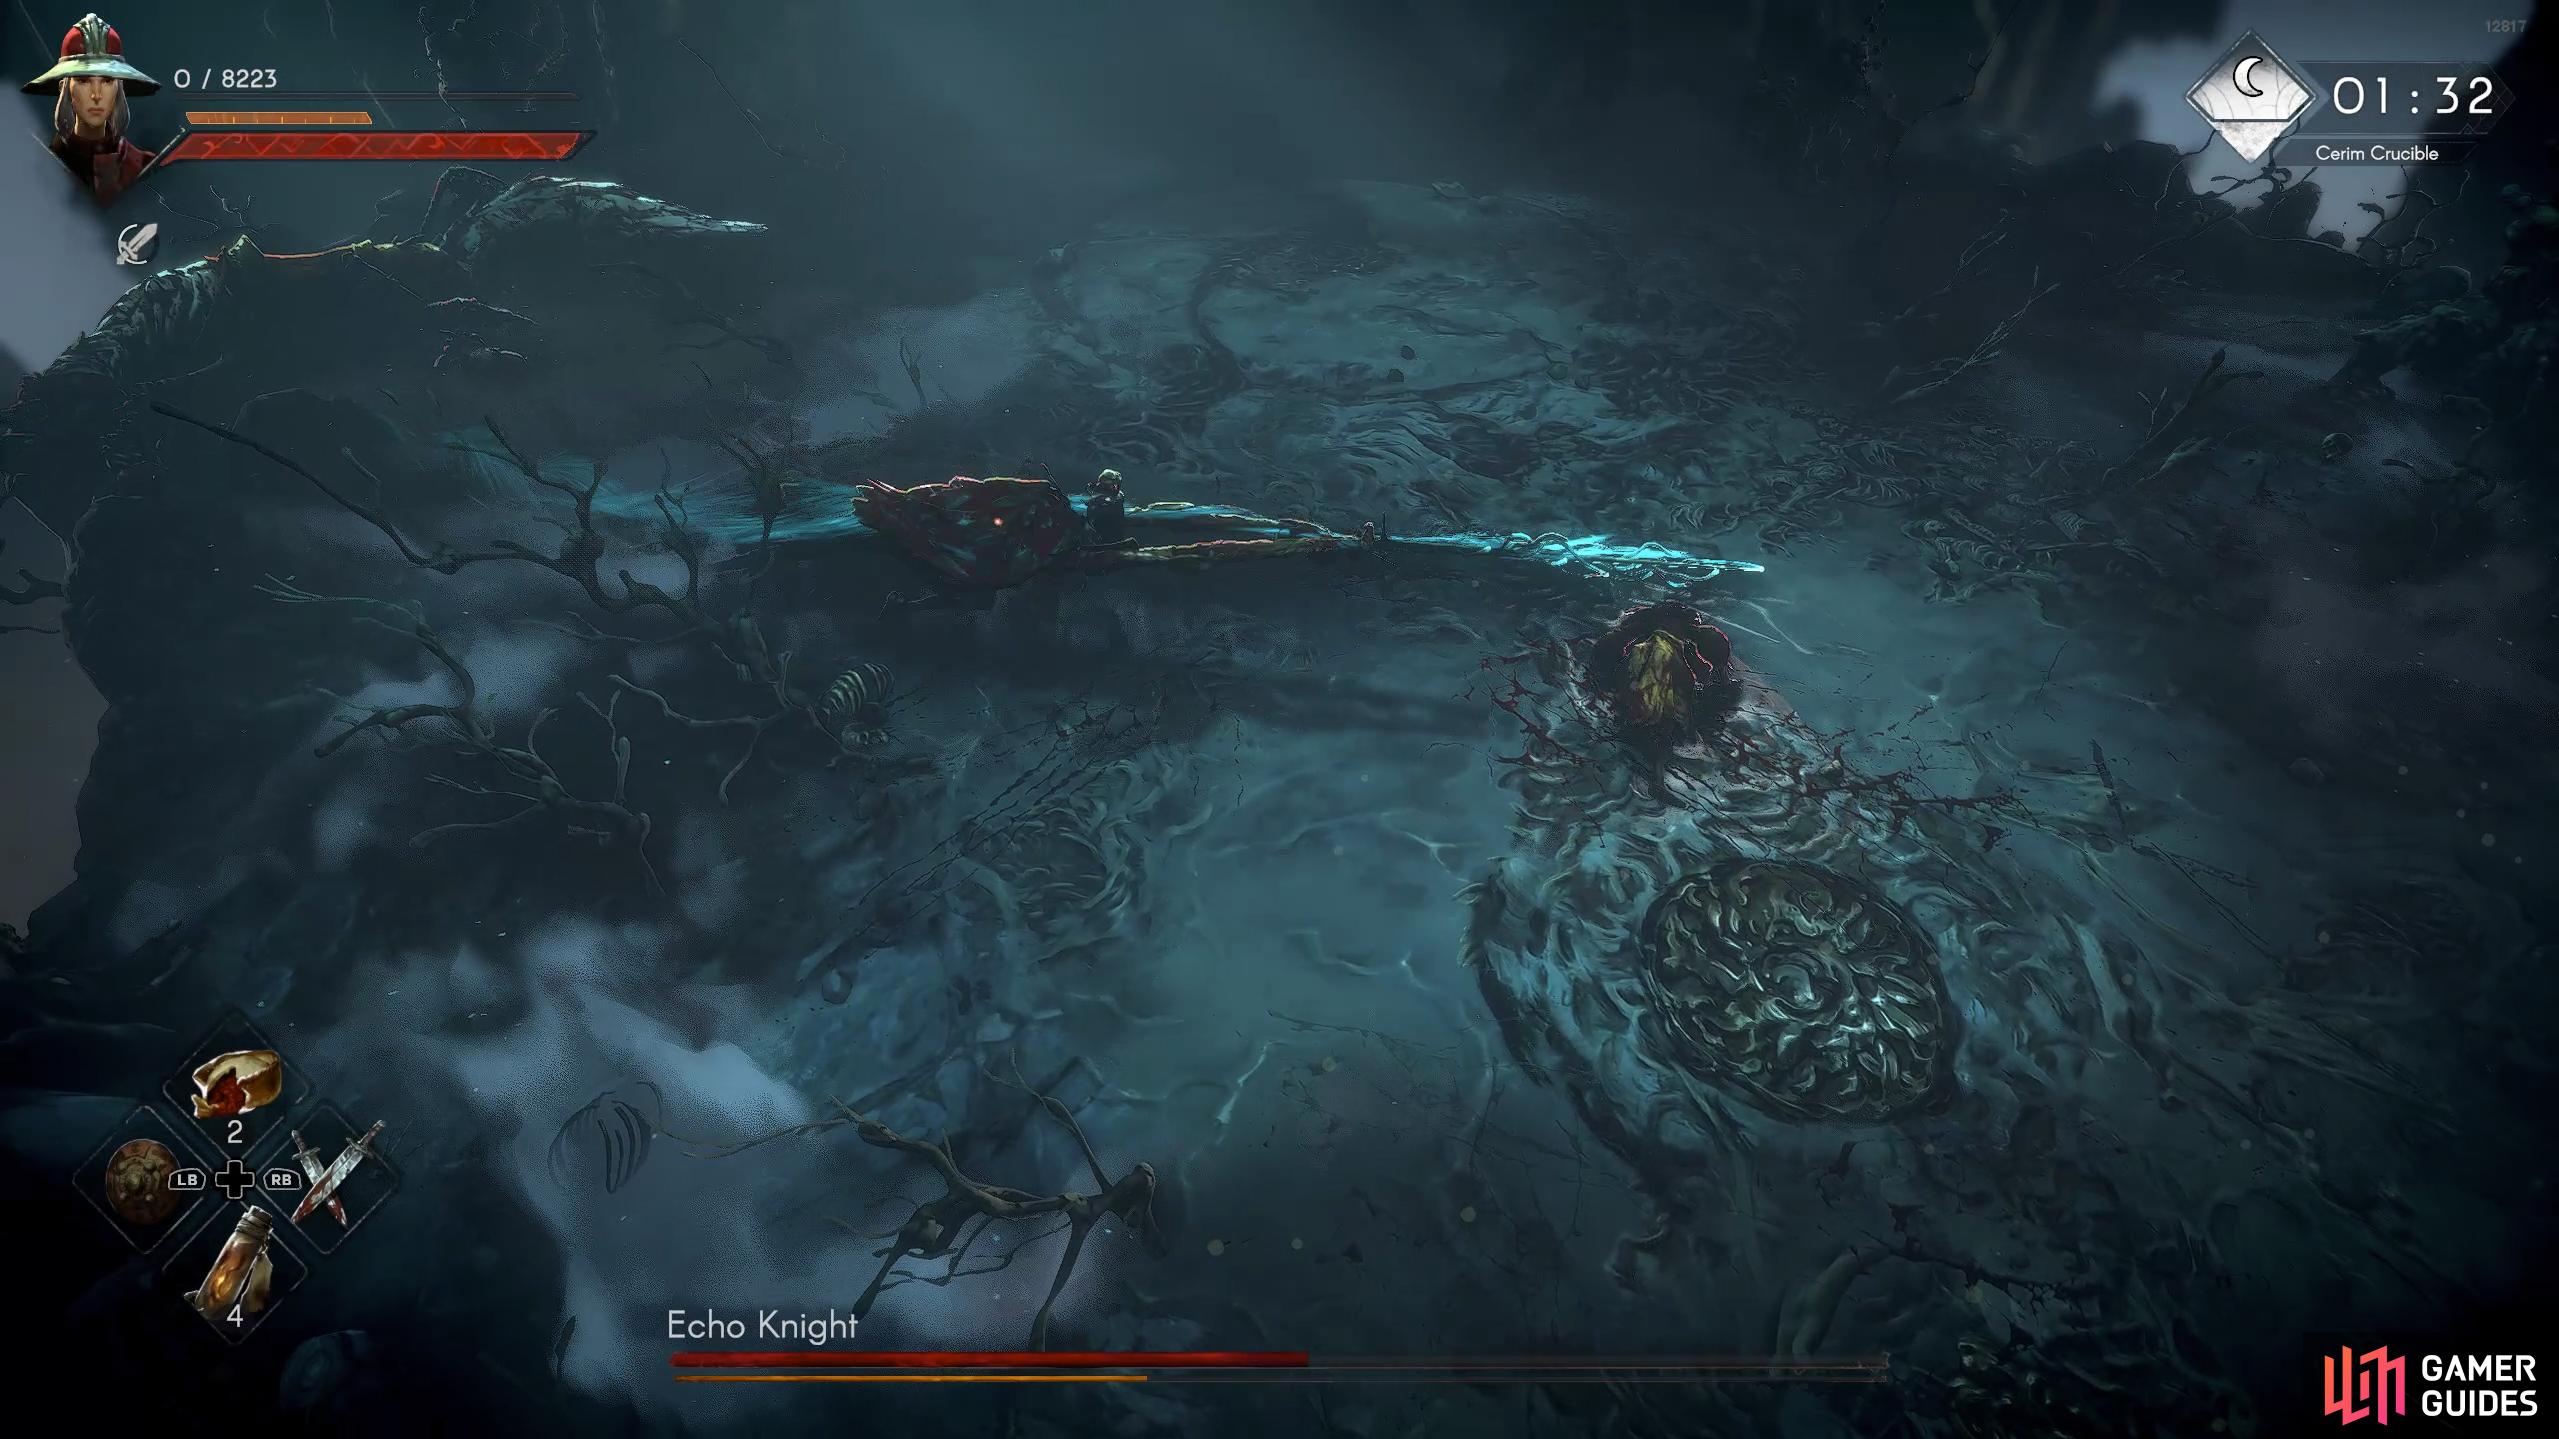
This is immediately followed up with the Lingering Fire attack that will cast four flames under your person. Run to the edge of the arena and drop the flames there as they will persist until the end of the first battle. Ideally, you’ll leave a gap between them so you can still run in that area without taking damage to them. Finally, when you defeat the boss, the second battle will begin. Make sure you run away from the boss when this happens, as it’ll jump off the horse and let off a mini explosion.
Echo Knight Second Battle Attacks
This battle is Mano a Mano, meaning no silly horse is charging you off the arena. However, the boss gains the canny ability to hover in the air at times. Boo! The second fight feels like the boss has sped up 20%. Everything it does will come at you more quickly, and it’ll have a lot more multi-hit attacks.
Triple Thrust
The boss will lunge forward, stabbing at you three times. There’s a delay between each thrust, so keep that in mind when dodging the attack. Don’t underestimate its power, as it’s capable of striking you from a considerable distance.
Double Circular Swipe
This attack is the same as the Circular Swipe attack in the first battle, but the boss will follow it up immediately with another swipe.
Charging Slam
The boss will perform a charging thrust attack and follow it up with an overhead slam attack. The second attack can change direction mid-swing.

(1 of 5) Charging Slam: The boss will charge at you with their sword pointing at you.
Aerial Orb: Upward Swing
The orbs in this battle always happen when the boss is hovering in the air. It will leap into the air, unleash an orb in your direction, and then follow it up with an upward swing. Most of the orb attacks can be avoided by standing under the boss when it does them, just be careful of the follow-up attack.
Spinning Orb
The Knight will spin toward you with its sword out before it performs an overhead slam attack that unleashes an orb.
Side Swipe Orb
This is a half swipe, so 90°, followed up by another swing that unleashes an orb at you.

(1 of 4) Aerial Orb: Upward Swing: The boss will leap into the air and unleash an orb at you.
Sword Combo
This is a three-hit attack. The boss will perform three horizontal slashes with the first attack being from right to left, the second being from left to right, and finishing it with another right to left attack.
Sword Explosion
In phase two indicated after a yell, the boss will plunge its sword into the ground creating three shockwaves. Although the animation only has the effect around the boss, it can hit you from anywhere in the arena. Because the attack is three explosions, you’ll need to roll through each explosion to avoid taking damage.


(1 of 4) Sword Combo: This is a three-hit attack. The first attack will be from right to left (boss’).
Orb Barrage
In phase two, the boss will spin on the ground, unleashing an orb at you and immediately following it up with another before leaping into the air to unleash one more orb.
Aerial Orb: Double Swipe
In phase two, the boss will combine both the Aerial Orb and Double Circular Swipe attacks into one. It’ll start with the Aerial Orb attack and when it lands it’ll chain together the Double Circular Swipe.


(1 of 3) Orb Barrage: This is a three-hit attack. The first attack will involve the boss spinning around and unleashing an orb.
Echo Knight Second Battle Strategy
The second fight with the Echo Knight has the boss mix up its attacks or chain them together. For this battle, you’ll want to keep your distance, although you can avoid almost all the orb attacks by standing underneath it. The reason for this is that if it uses the triple thrust attack while you’re near it, you can take a significant amount of damage. Enough that it may outright kill you, depending on your health and defense.
Although the boss looks intimidating, you would’ve dealt with similar attacks from the Cerim Knights you’ve been fighting to get here. The attacks that might throw you off are the aerial orb combos due to the fact the boss will leap and hover in the air to unleash them, and then follow it up with an upward slash. Another attack that may catch you is the Double Circular Swipe as you may have the original attack in your mind when dealing with it but keep in mind that the boss will immediately follow it up with another. If the boss charges at you with its sword, roll through it, but be wary of its following upward slash that can track where you are.
This battle will have the boss perform a lot more multi-hit attacks such as its sword combo which is three horizontal slashes alternating directions. Fortunately, you can just back up out of the attack’s range and then roll through the last attack to punish the boss with some of your own. Another tricky multi-hit attack to deal with is its side-swipe orb attack. The boss will stand side-on and spin 90° before performing another spin that unleashes an orb out of the sword after. If you have the time, get some distance so all you have to worry about is the orb, which you can roll through. However, if the boss does it while you’re next to it, you may want to repeatedly roll past the boss, but odds are you’ll still get hit by some of the attacks.
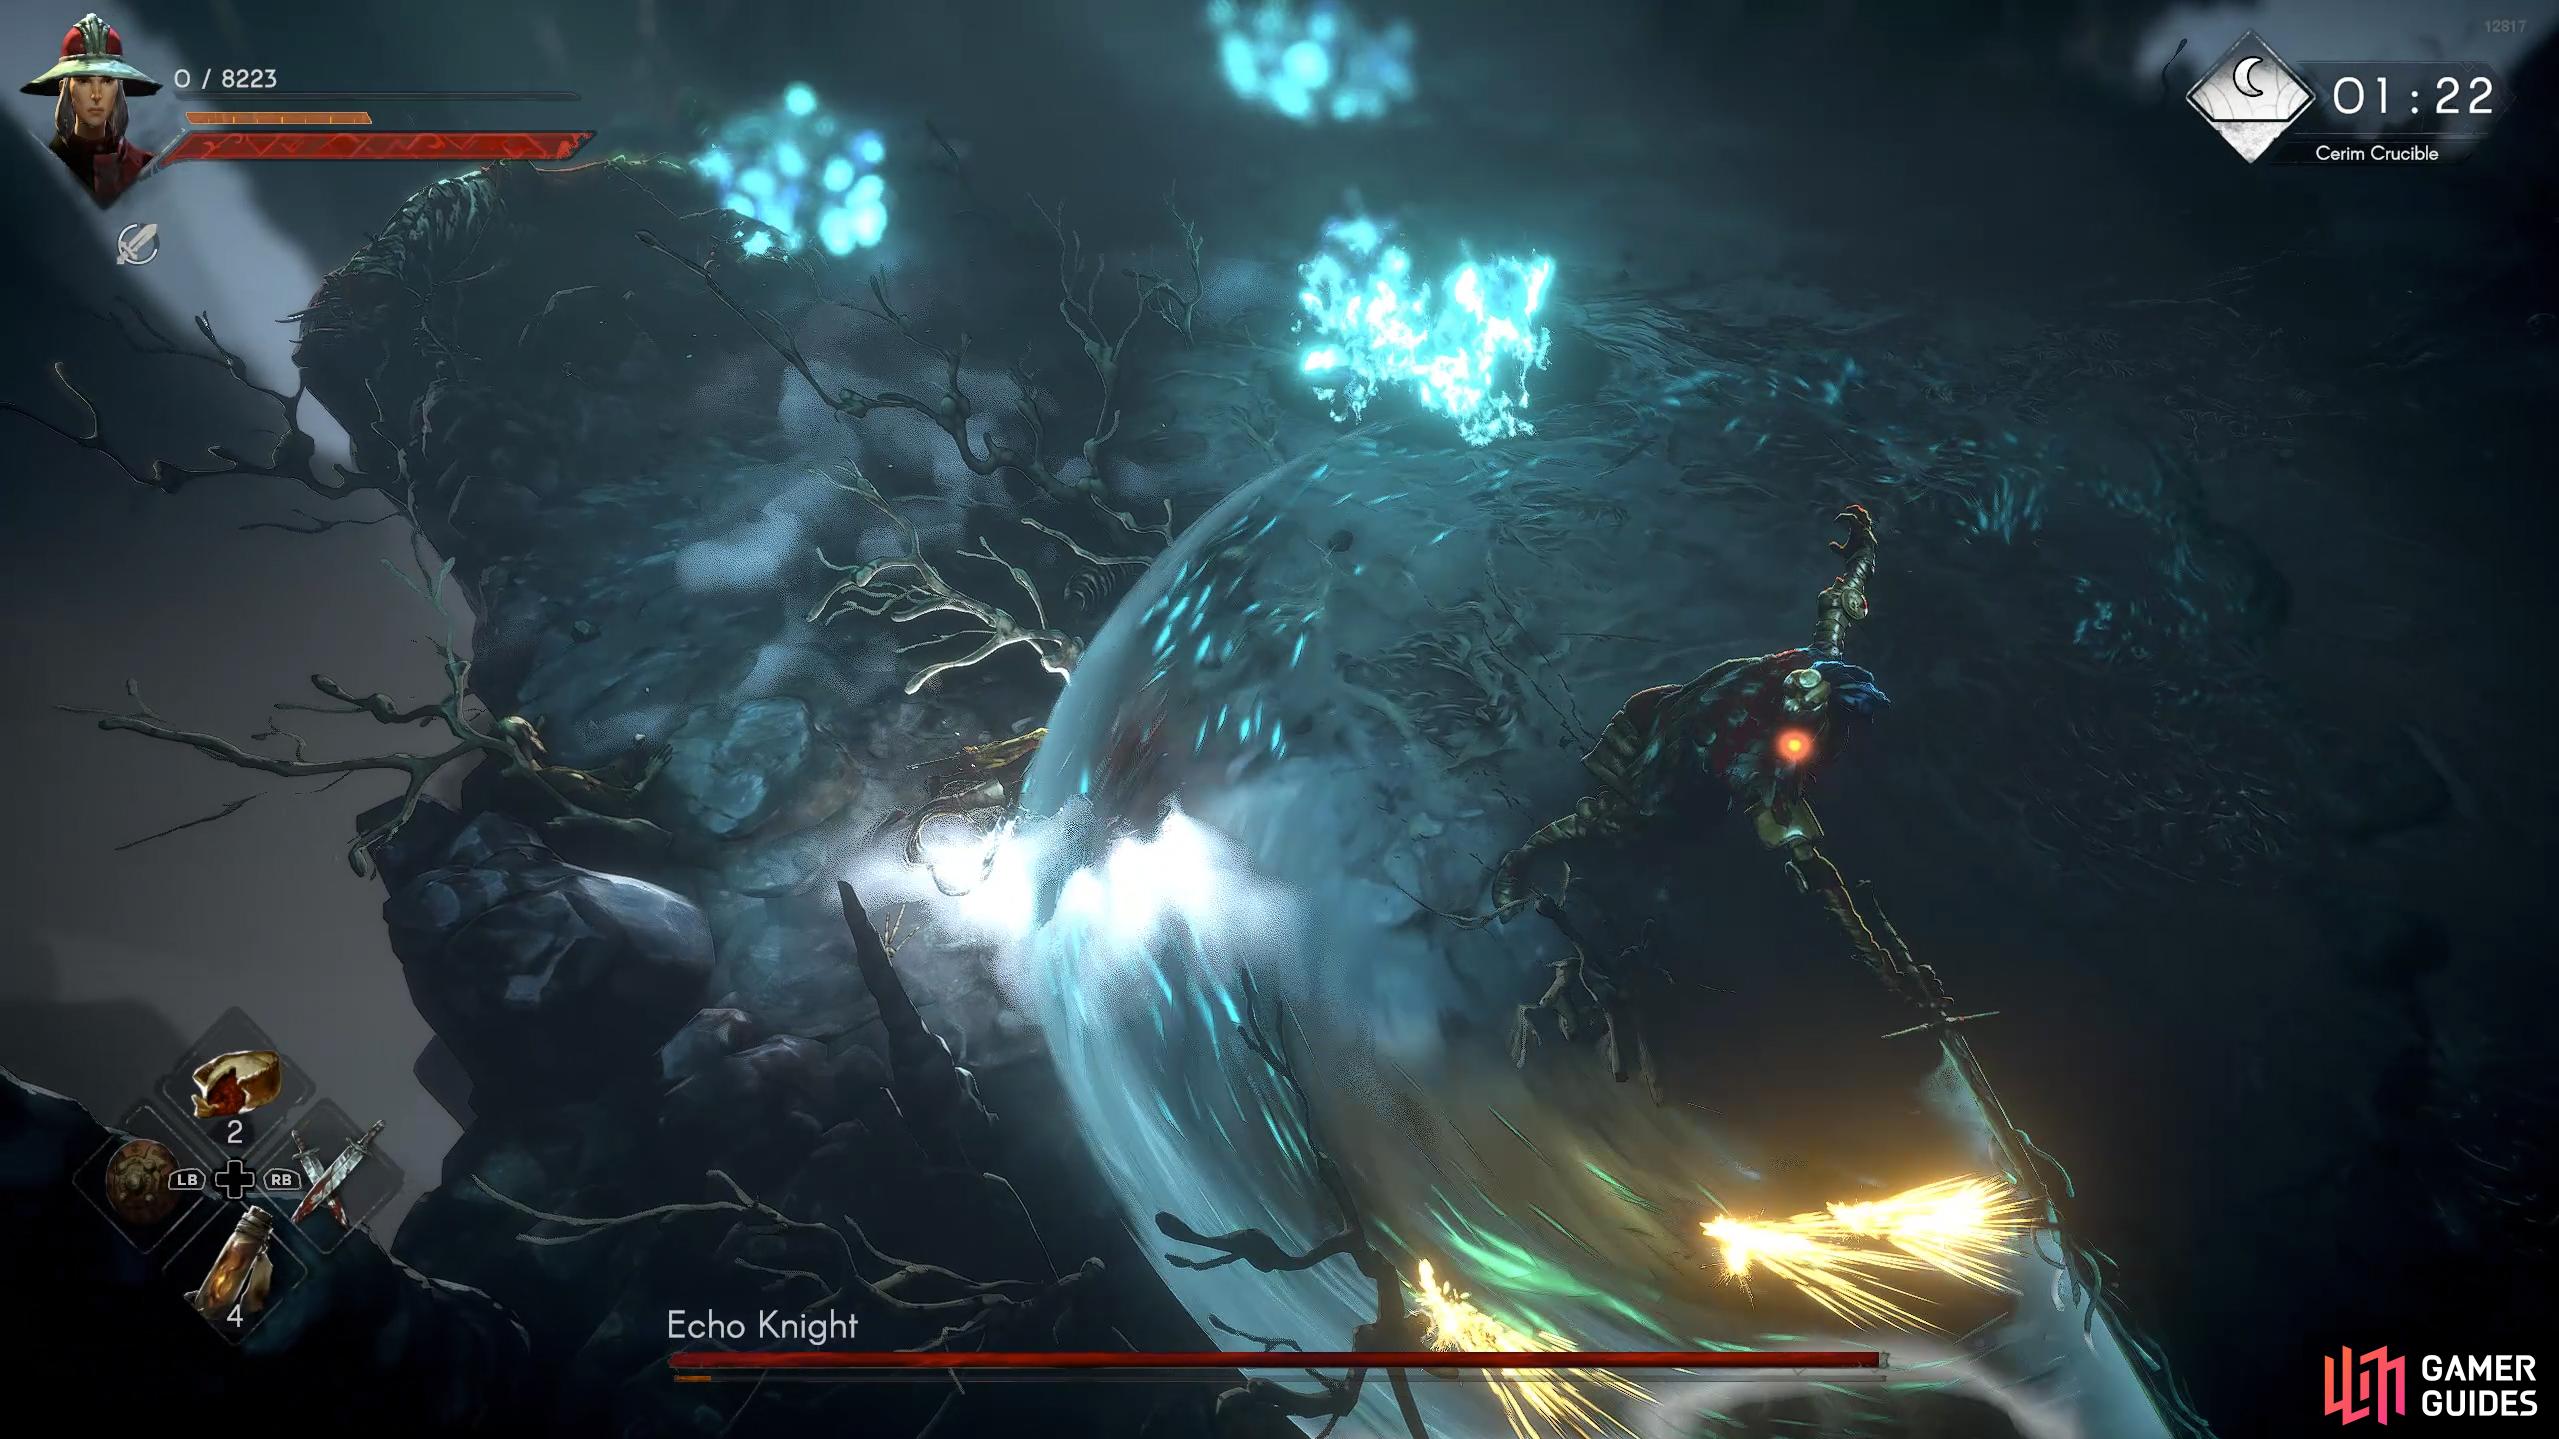
(1 of 2) Throughout the battle, the boss can perform a swipe attack.
Throughout the battle, the boss can perform a swipe attack. (left), This will be followed up with a spinning attack unleashing an orb. (right)
Phase Two
The first 50-60% of the second battle will be the attacks mentioned above, but when it reaches this threshold, phase two will begin with a yell, and it’ll begin to chain attacks together as well as add a few more to its arsenal. Its most deadly attack is the sword explosion attack, as the boss will plunge its sword into the ground, letting out three shockwaves that cover the arena. You will want to get some distance and then roll through each shockwave to avoid taking damage. If all three shockwaves hit you, you will most likely die, so make sure you can roll through at least one of them. Another interesting attack is the orb combo. This will have the boss perform multiple spins toward you before unleashing an orb at the end of it, which will be immediately followed up with a leap and another orb. Back away from the spin, roll through the orb, and try to place yourself under the boss to avoid the follow-up.
Finally, one of its other deadly attacks is where it’ll chain both aerial orb and double circular swipe together. It’ll leap into the air to unleash an orb and then follow it up with an upward strike. Normally, this would end here, but the boss will then spin around twice for the circular swipe. What you want to do is roll through the first orb and upward strike, and then roll away from the circular swipes. Keep chipping away at the boss while avoiding its attacks, and the last part will finally close once you deplete the last of its health. The final note is that you can interrupt the majority of the boss’s attacks by hitting it with a Focus attack during the attack. If you have the Focus, this should be your priority, as the boss can’t hurt you if it can’t attack.
(1 of 3) Once the Echo Knight is defeated, you’ll most likely get a legendary drop.
Echo Knight Rewards
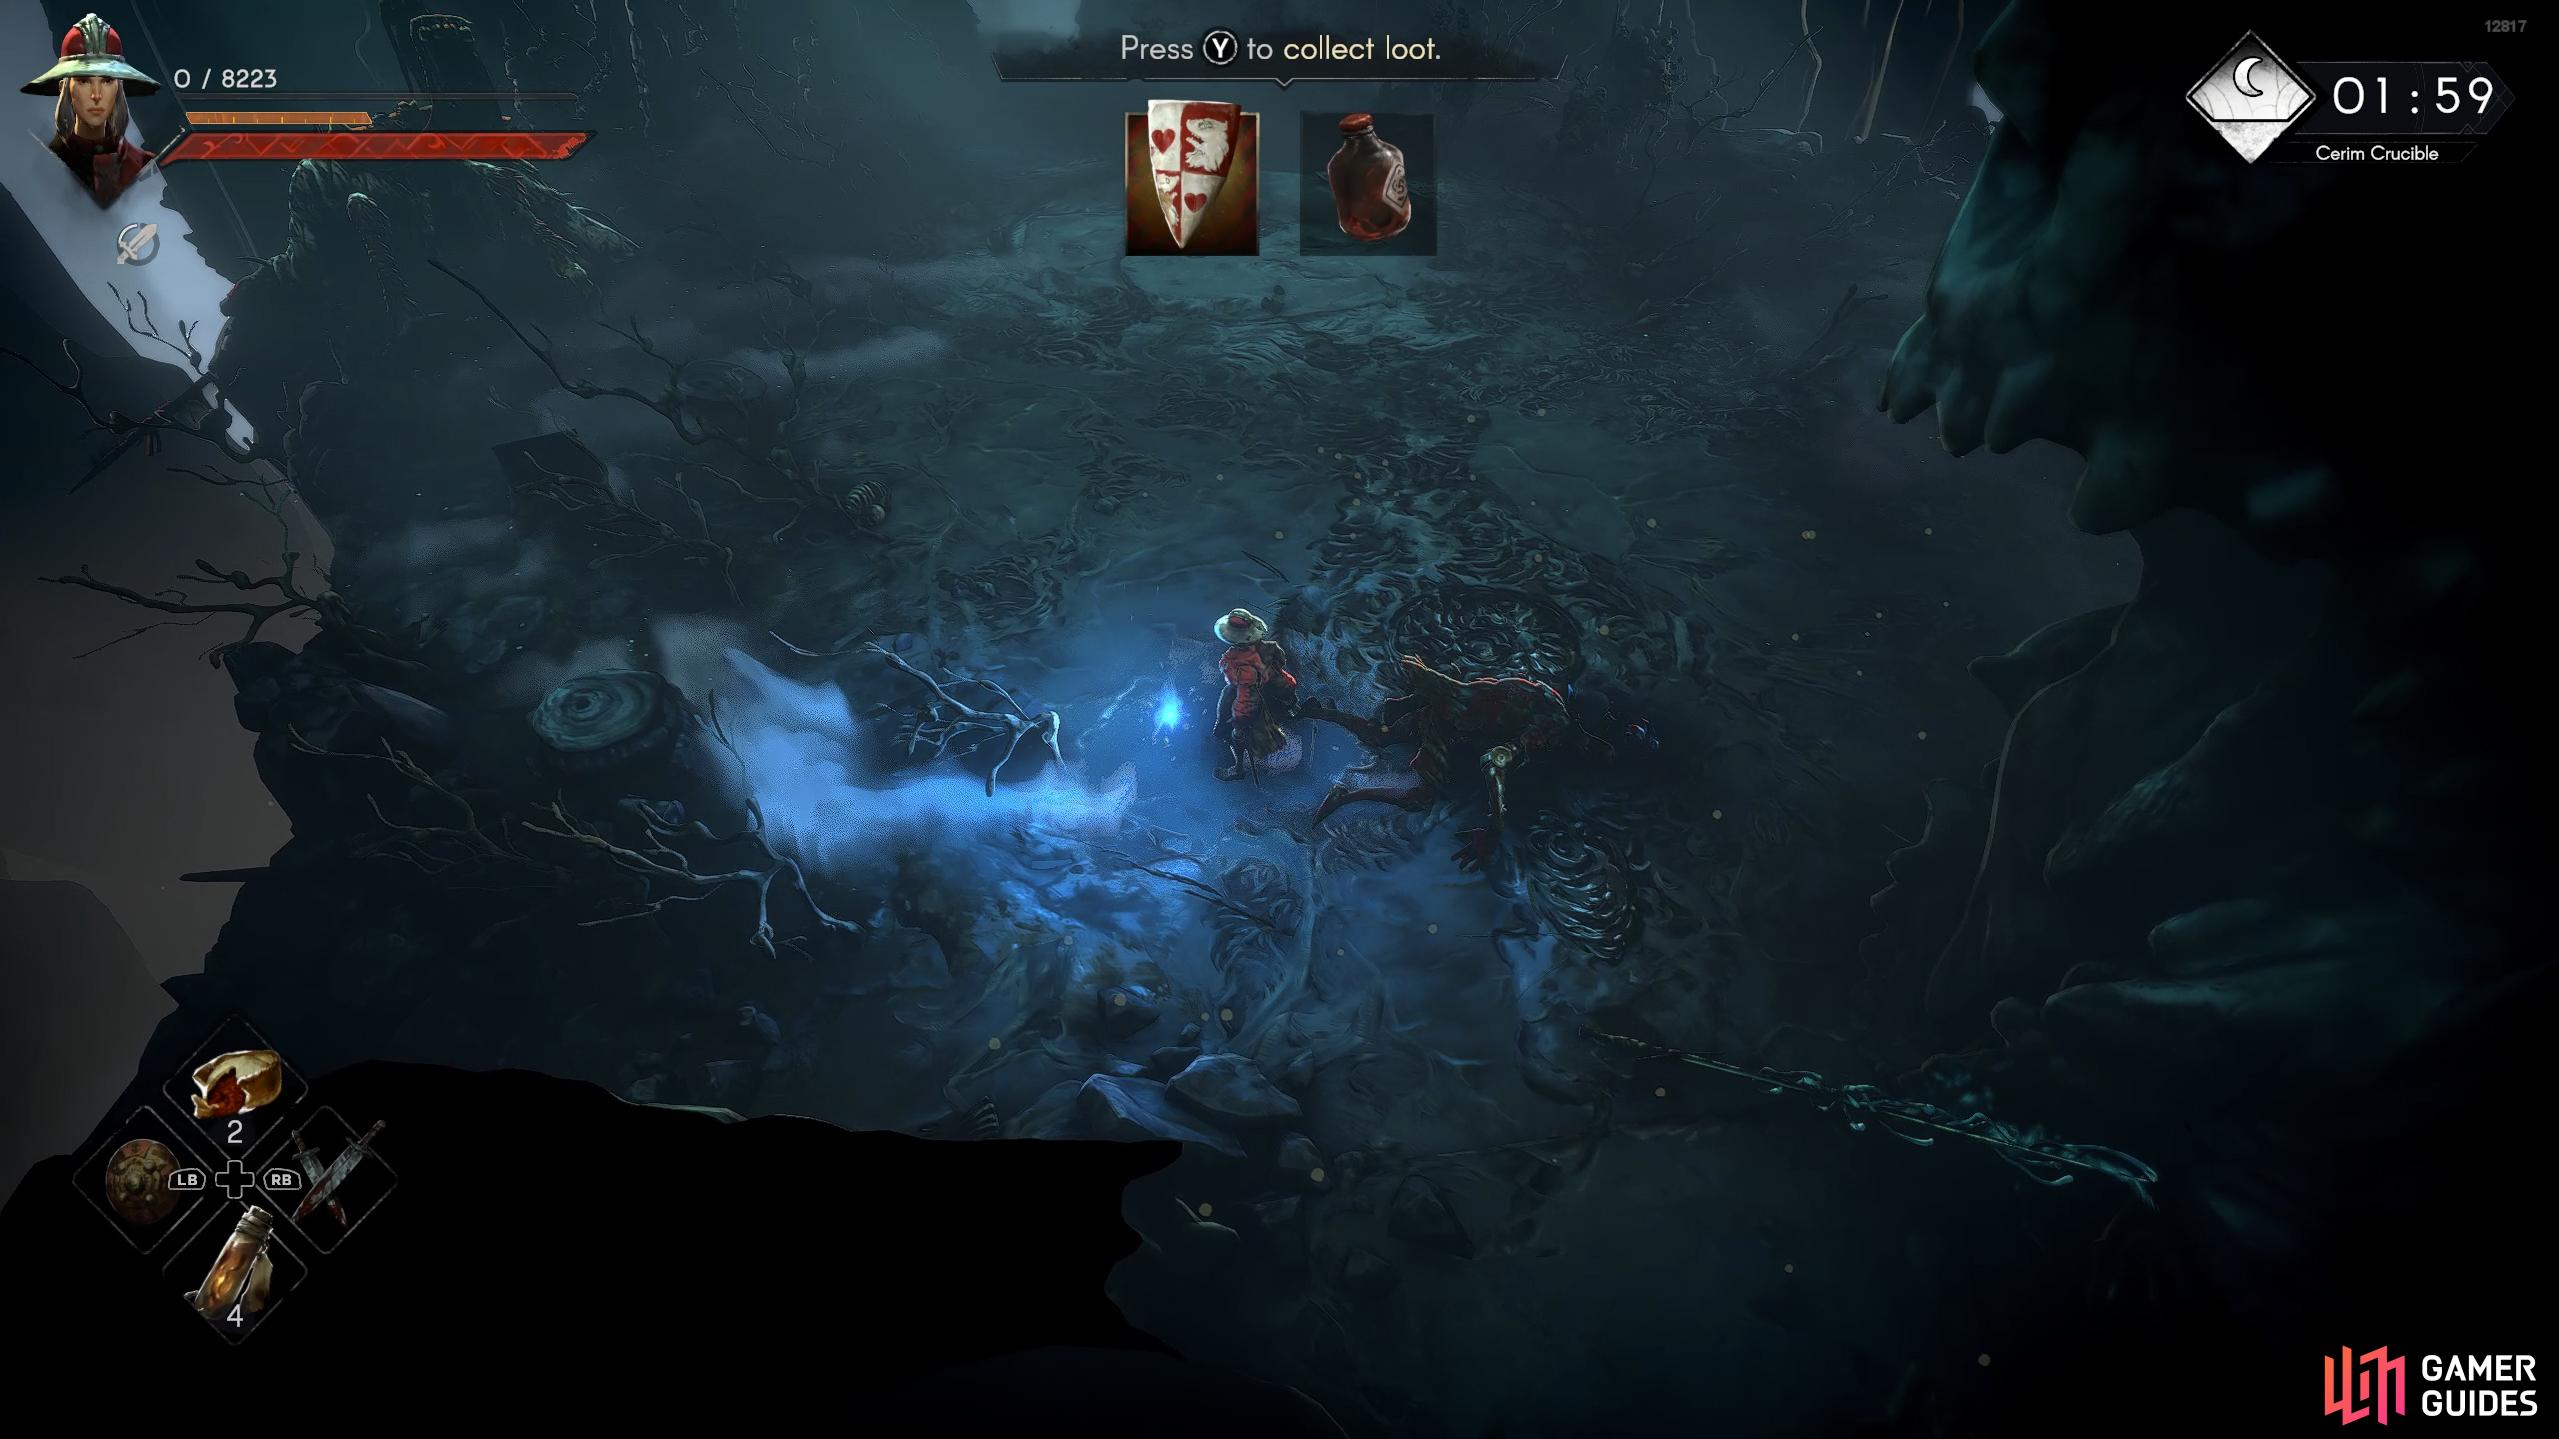
Once you’ve defeated the Echo Knight, loot its body for a chance of some legendary loot, and then after you’ve taken the elevator down, you’ll get to loot some more chests at the end of the Crucible with one of the chests being a legendary chest, again giving you another chance of multiple legendary gear.

 Sign up
No Comments