
Manor Lords has a fairly short but in-depth combat system filled with combat units, stances, features, and more. However, it does lack a definitive combat tutorial to get those struggling with bandits or barons on the map a chance to fight back. This guide will go through everything you need to know to understand basic combat mechanics, controls and tactics, defense strategies and preparing to fight off the early game bandits.
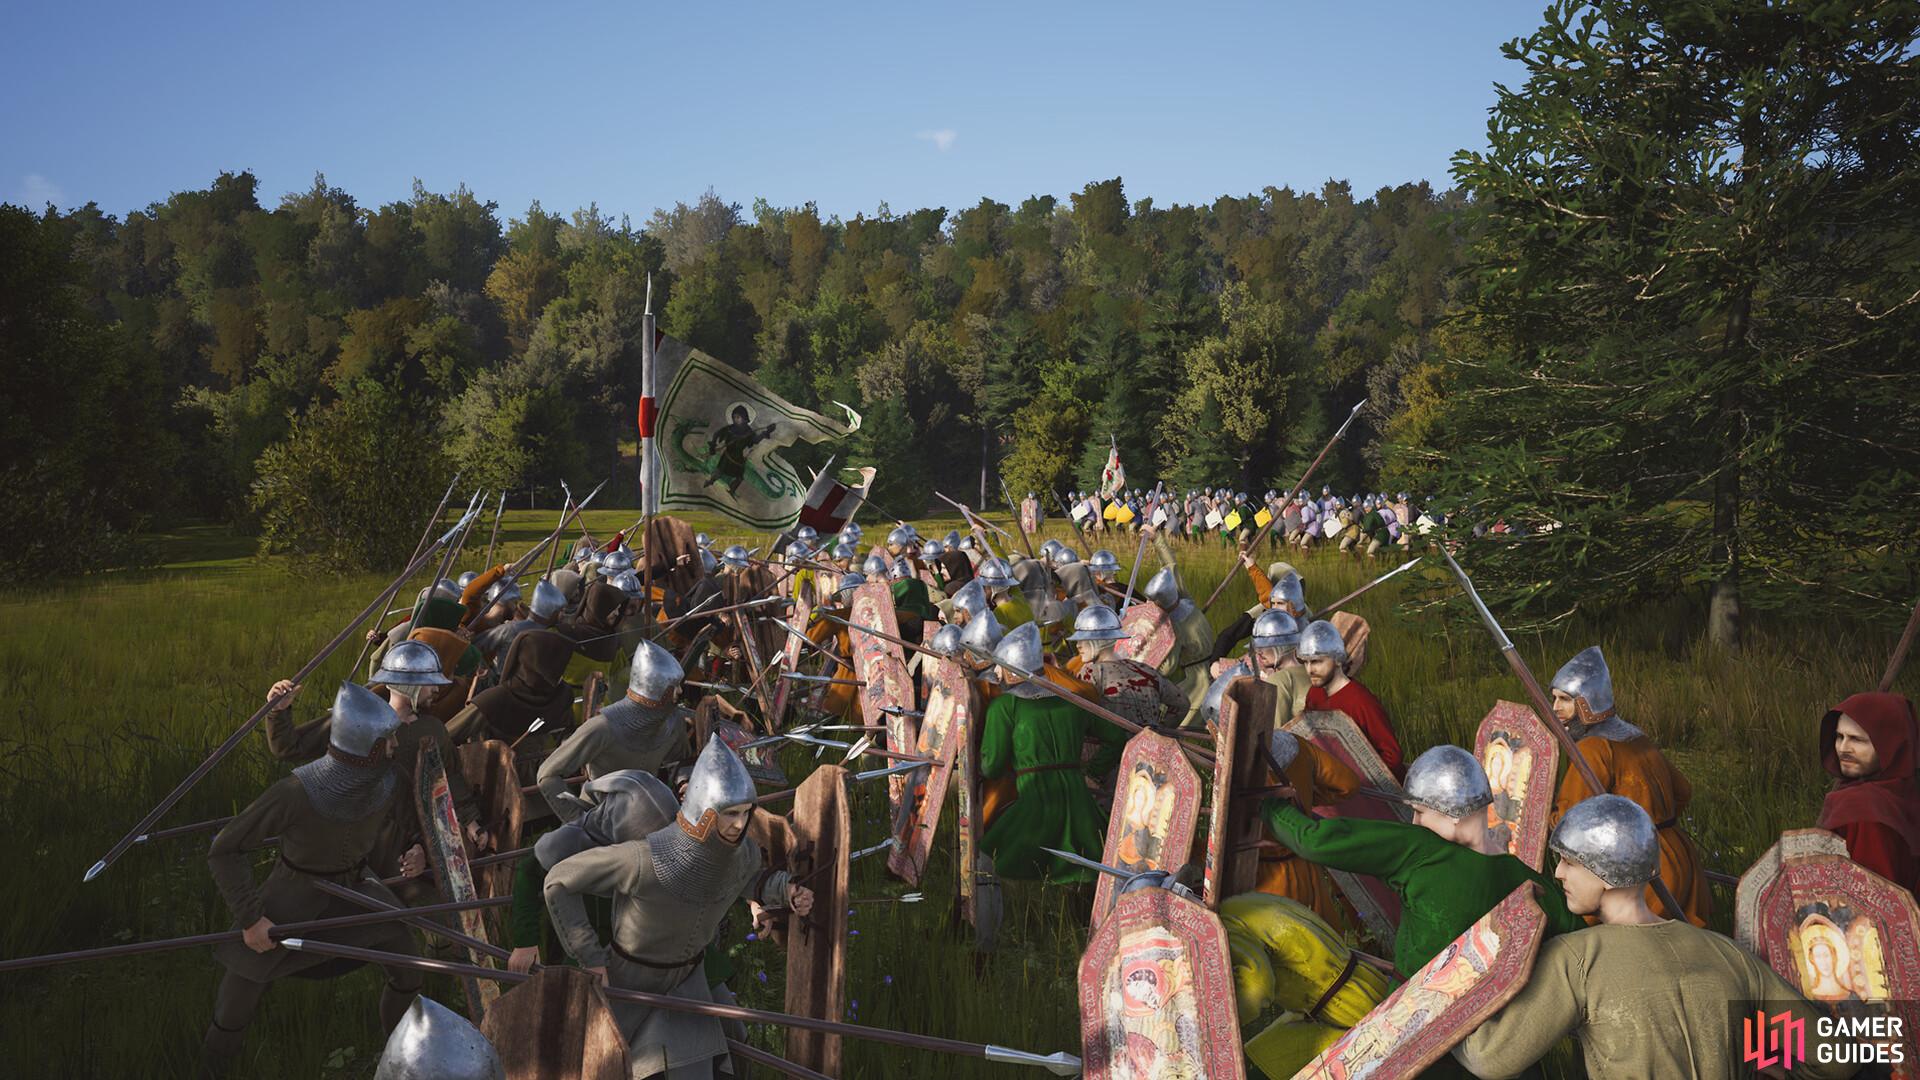
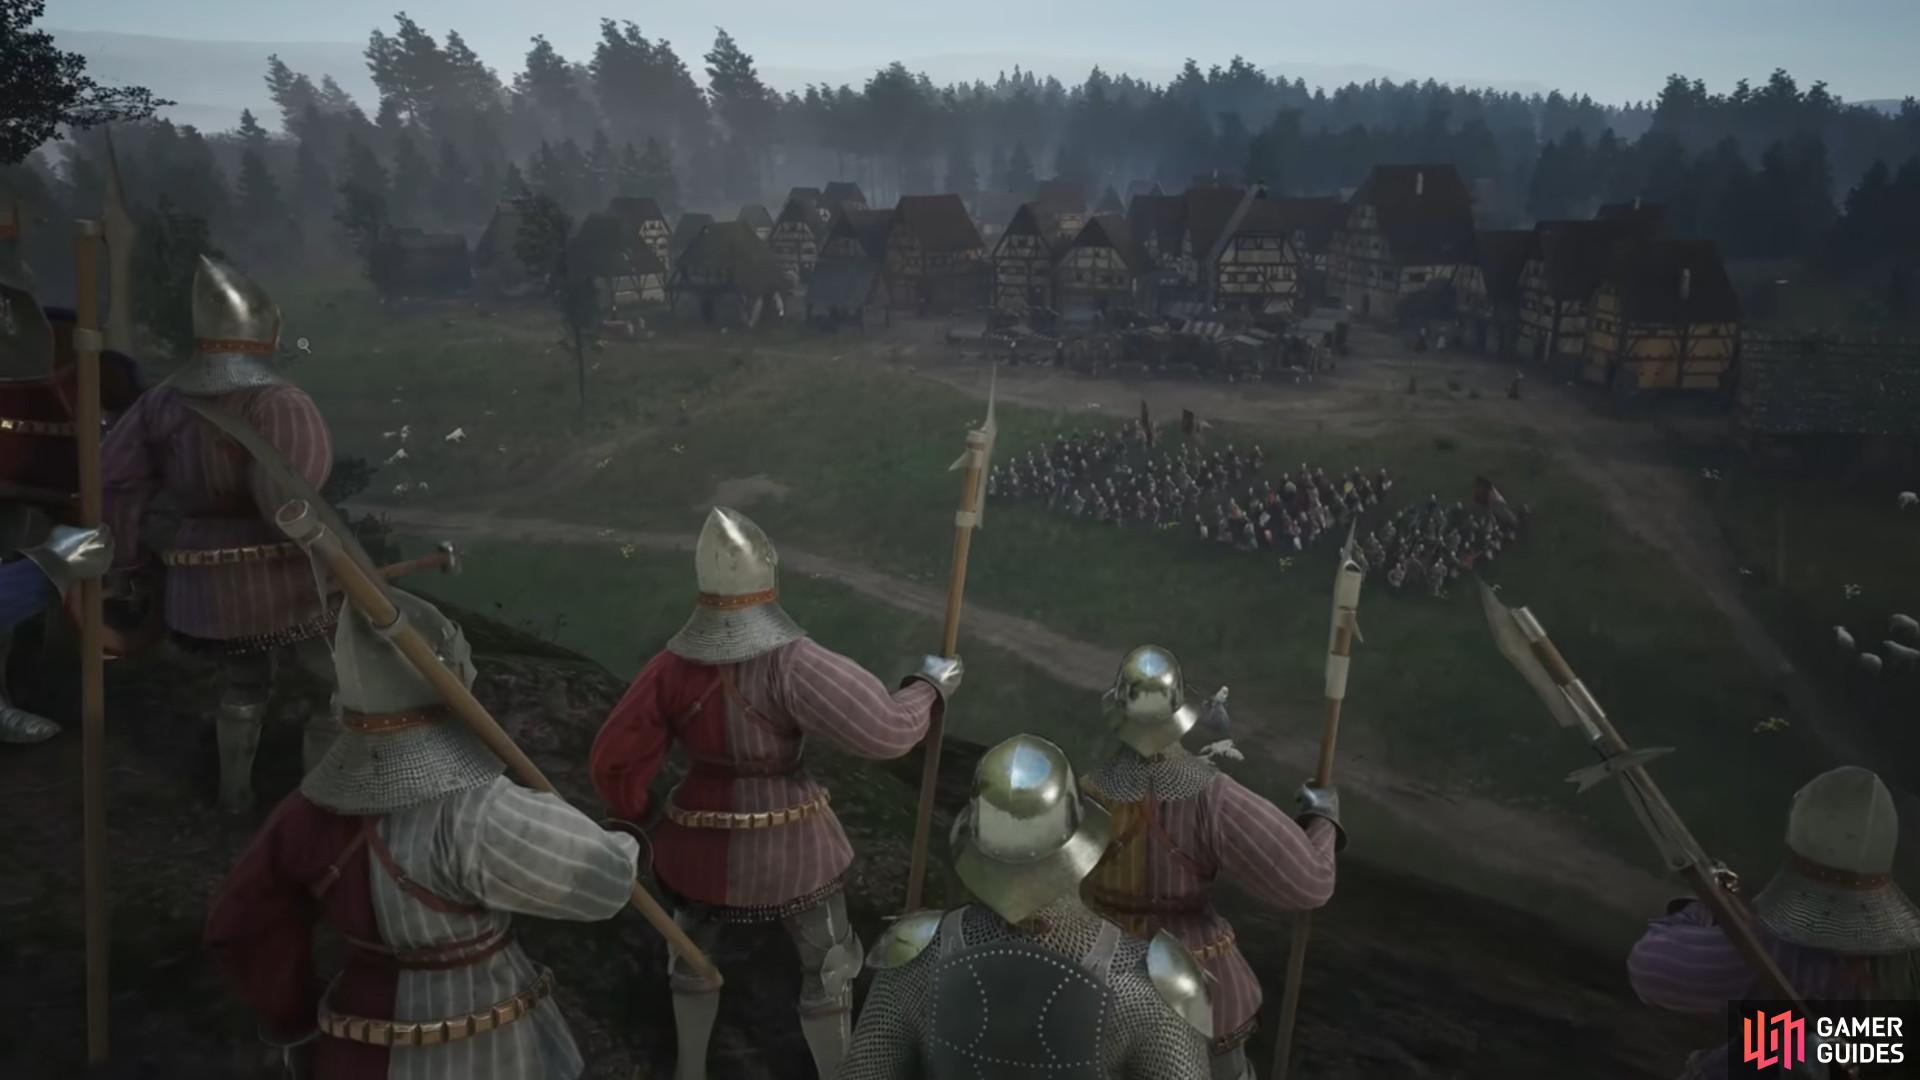
This guide covers all the basics to give you tips on how combat and army management works in Manor Lords. Image via Hooded Horse.
Table of Contents
Recruiting Armies
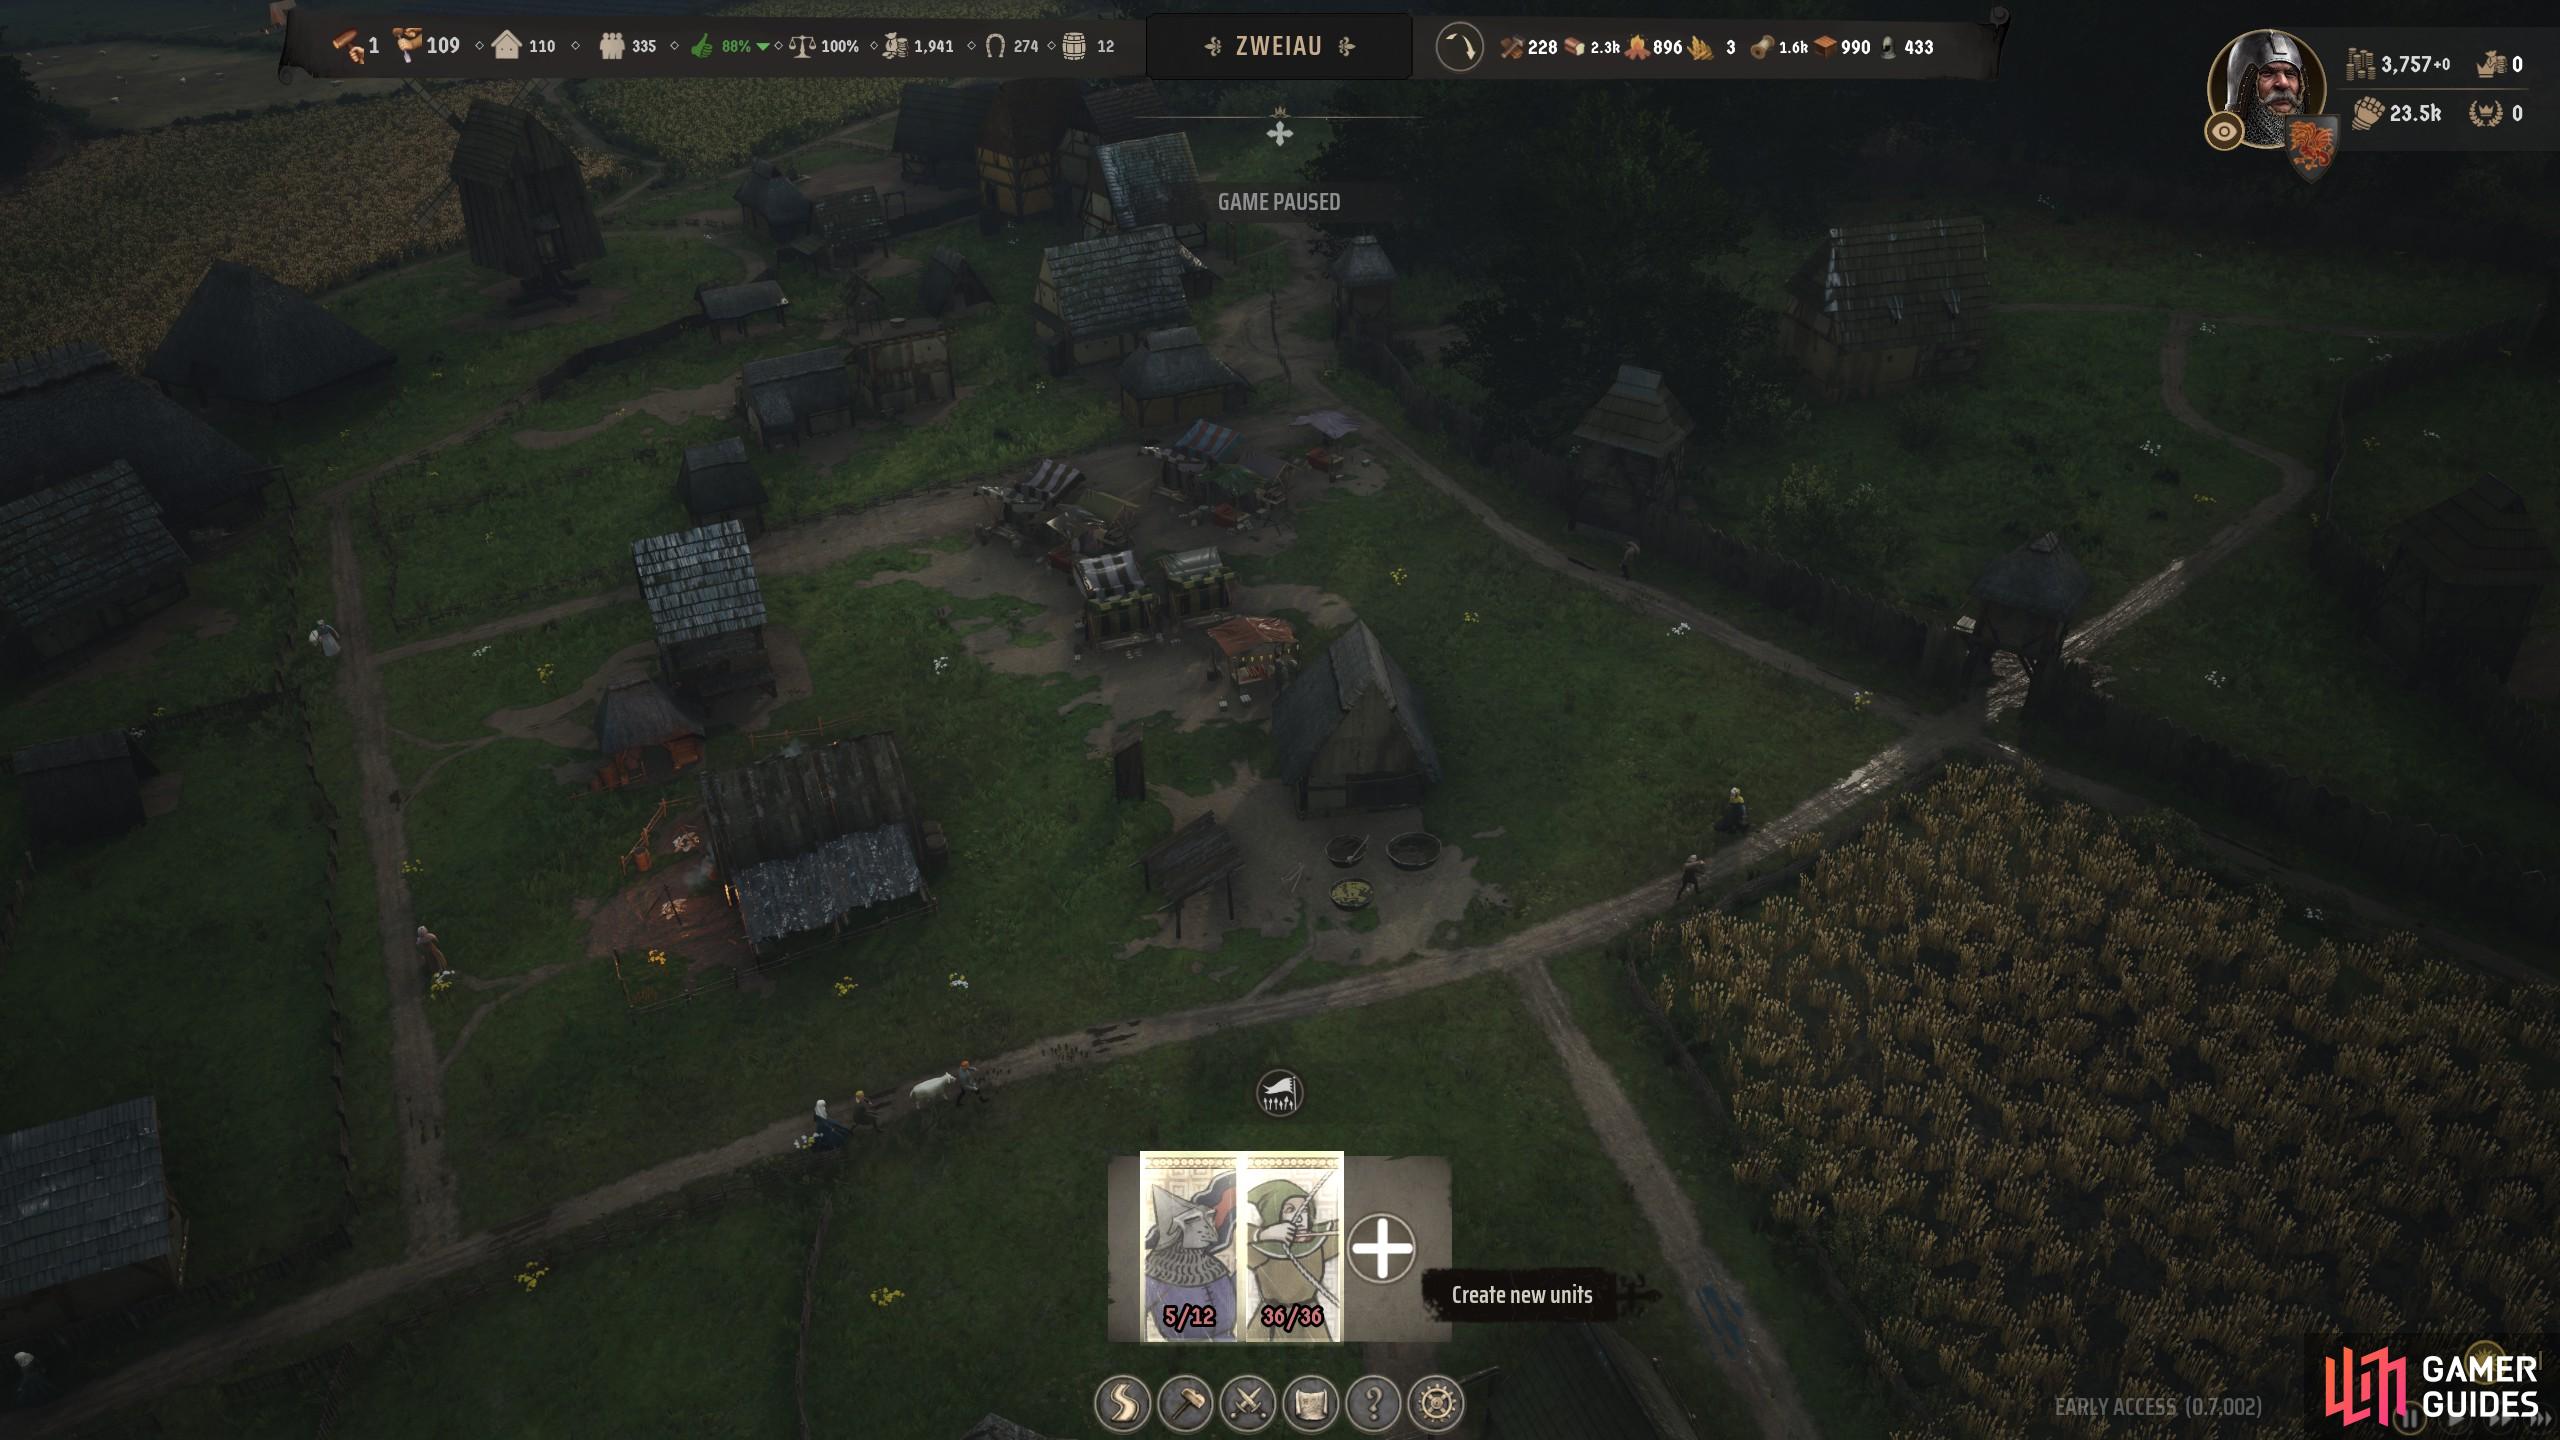
Open the army tab and press the plus icon to recruit a new unit to your militia army.
To start building your armed forces, you can click on the army button on your UI, and then check what units you have. If you’re first starting to make armies, then you can click the create unit button, and select the type of troop you want. You have a range of footmen, spearmen, polearm units and archers in the currency version of the game. The game will naturally expand into javelin throwers, cavalry, and crossbowmen in the future.
Select the unit type you want, and your population will auto-assign male citizens into the ranks of that unit. From there, you need to start getting armaments, which are pieces of kit needed to fight in that unit.
In general, each troop in a unit type requires the following gear:
| Unit | Basic Gear | Level 3 Burgage Plot Gear |
|---|---|---|
| Archer | Gambeson, Warbow | Helmet, Mail Armor |
| Swordsman | Sidearm, Small or Large Shield, Gambeson | Helmet, Mail Armor |
| Spearman | Spear, Small or Large Shield, Gambeson | Helmet, Mail Armor |
| Polarm | Polearm, Gambeson | Helmet, Mail Armor |
And yes, your units do upgrade their defenses from time to time. When your units live in burgage plot level 3, they will start wearing mail armor and can equip helmets. It is a role-play feature to more accurately represent the wealth of families living in better houses from medieval times having better equipment. Your lowly low-level burgage plot residents will use gear more akin to peasants, hence the lack of helmets and use of gambesons. Keep this in mind if you’re making mail armor and wonder why units wont equip them in the early game.
- Read more military guides here:
Best Units
Lots of units are the best at different tasks. Yet, certain units stand out the most for battles. Image via Hooded Horse / Slavic Magic.
For the most part, units are fairly balanced in Manor Lords. Yet spear users with large shields are the best units in Manor Lords. Spearmen makes great controllers and front liners. You are best equipping large shields on spearmen and having them become tanks on the frontline, and the spear range keeping footman at a distance. This makes your units incredibly safe and sturdy, and you can control enemy units to employ flanking and harassing strategies later on. You can even use the give ground control and watch your units peel back while stabbing at range. Think phalanx in reverse.
Archers were extremely overpowered in the review build and are now very underpowered until the new patch comes in (written as of May 2, 2024). It’s best to avoid recruiting archers for now, since they don’t really deal too much damage. They are still decent ranged support units in large-scale armies for harassing enemies and dealing with their exhaustion and morale. They are also effective at mobile harassing enemies and moving positions when needed. Not to mention archers are incredibly easy to create, as they only need warbows, requiring planks to make.
As for the melee units, the units you want to make depend on strategy. Classic footman militia with sidearms and shields are your standard melee skirmishers. These are jack of all trades for your damage and front lining. Gambesons and small shields make them agile warriors, but they can drop very easily. These are better used as skirmishers and flankers in the early game. When you get mail armor they become much better for being in the frontline for longer and taking on a more direct face-to-face role.
Meanwhile, Polearm units are typically longer-range glass cannons. These are very good at running through enemy flanks, but don’t let them take combat on face-to-face, as they’ll drop down very easily due to a lack of early-game defensive stats. Keep these as flankers or fill in gaps in the front to harass enemies for high damage. You can let them run in when you can get mail armor on them in the later game.
Retinues and Treasury Wealth
Hiring Retinues brings with it more defensive and stronger units that are permanently available to you.
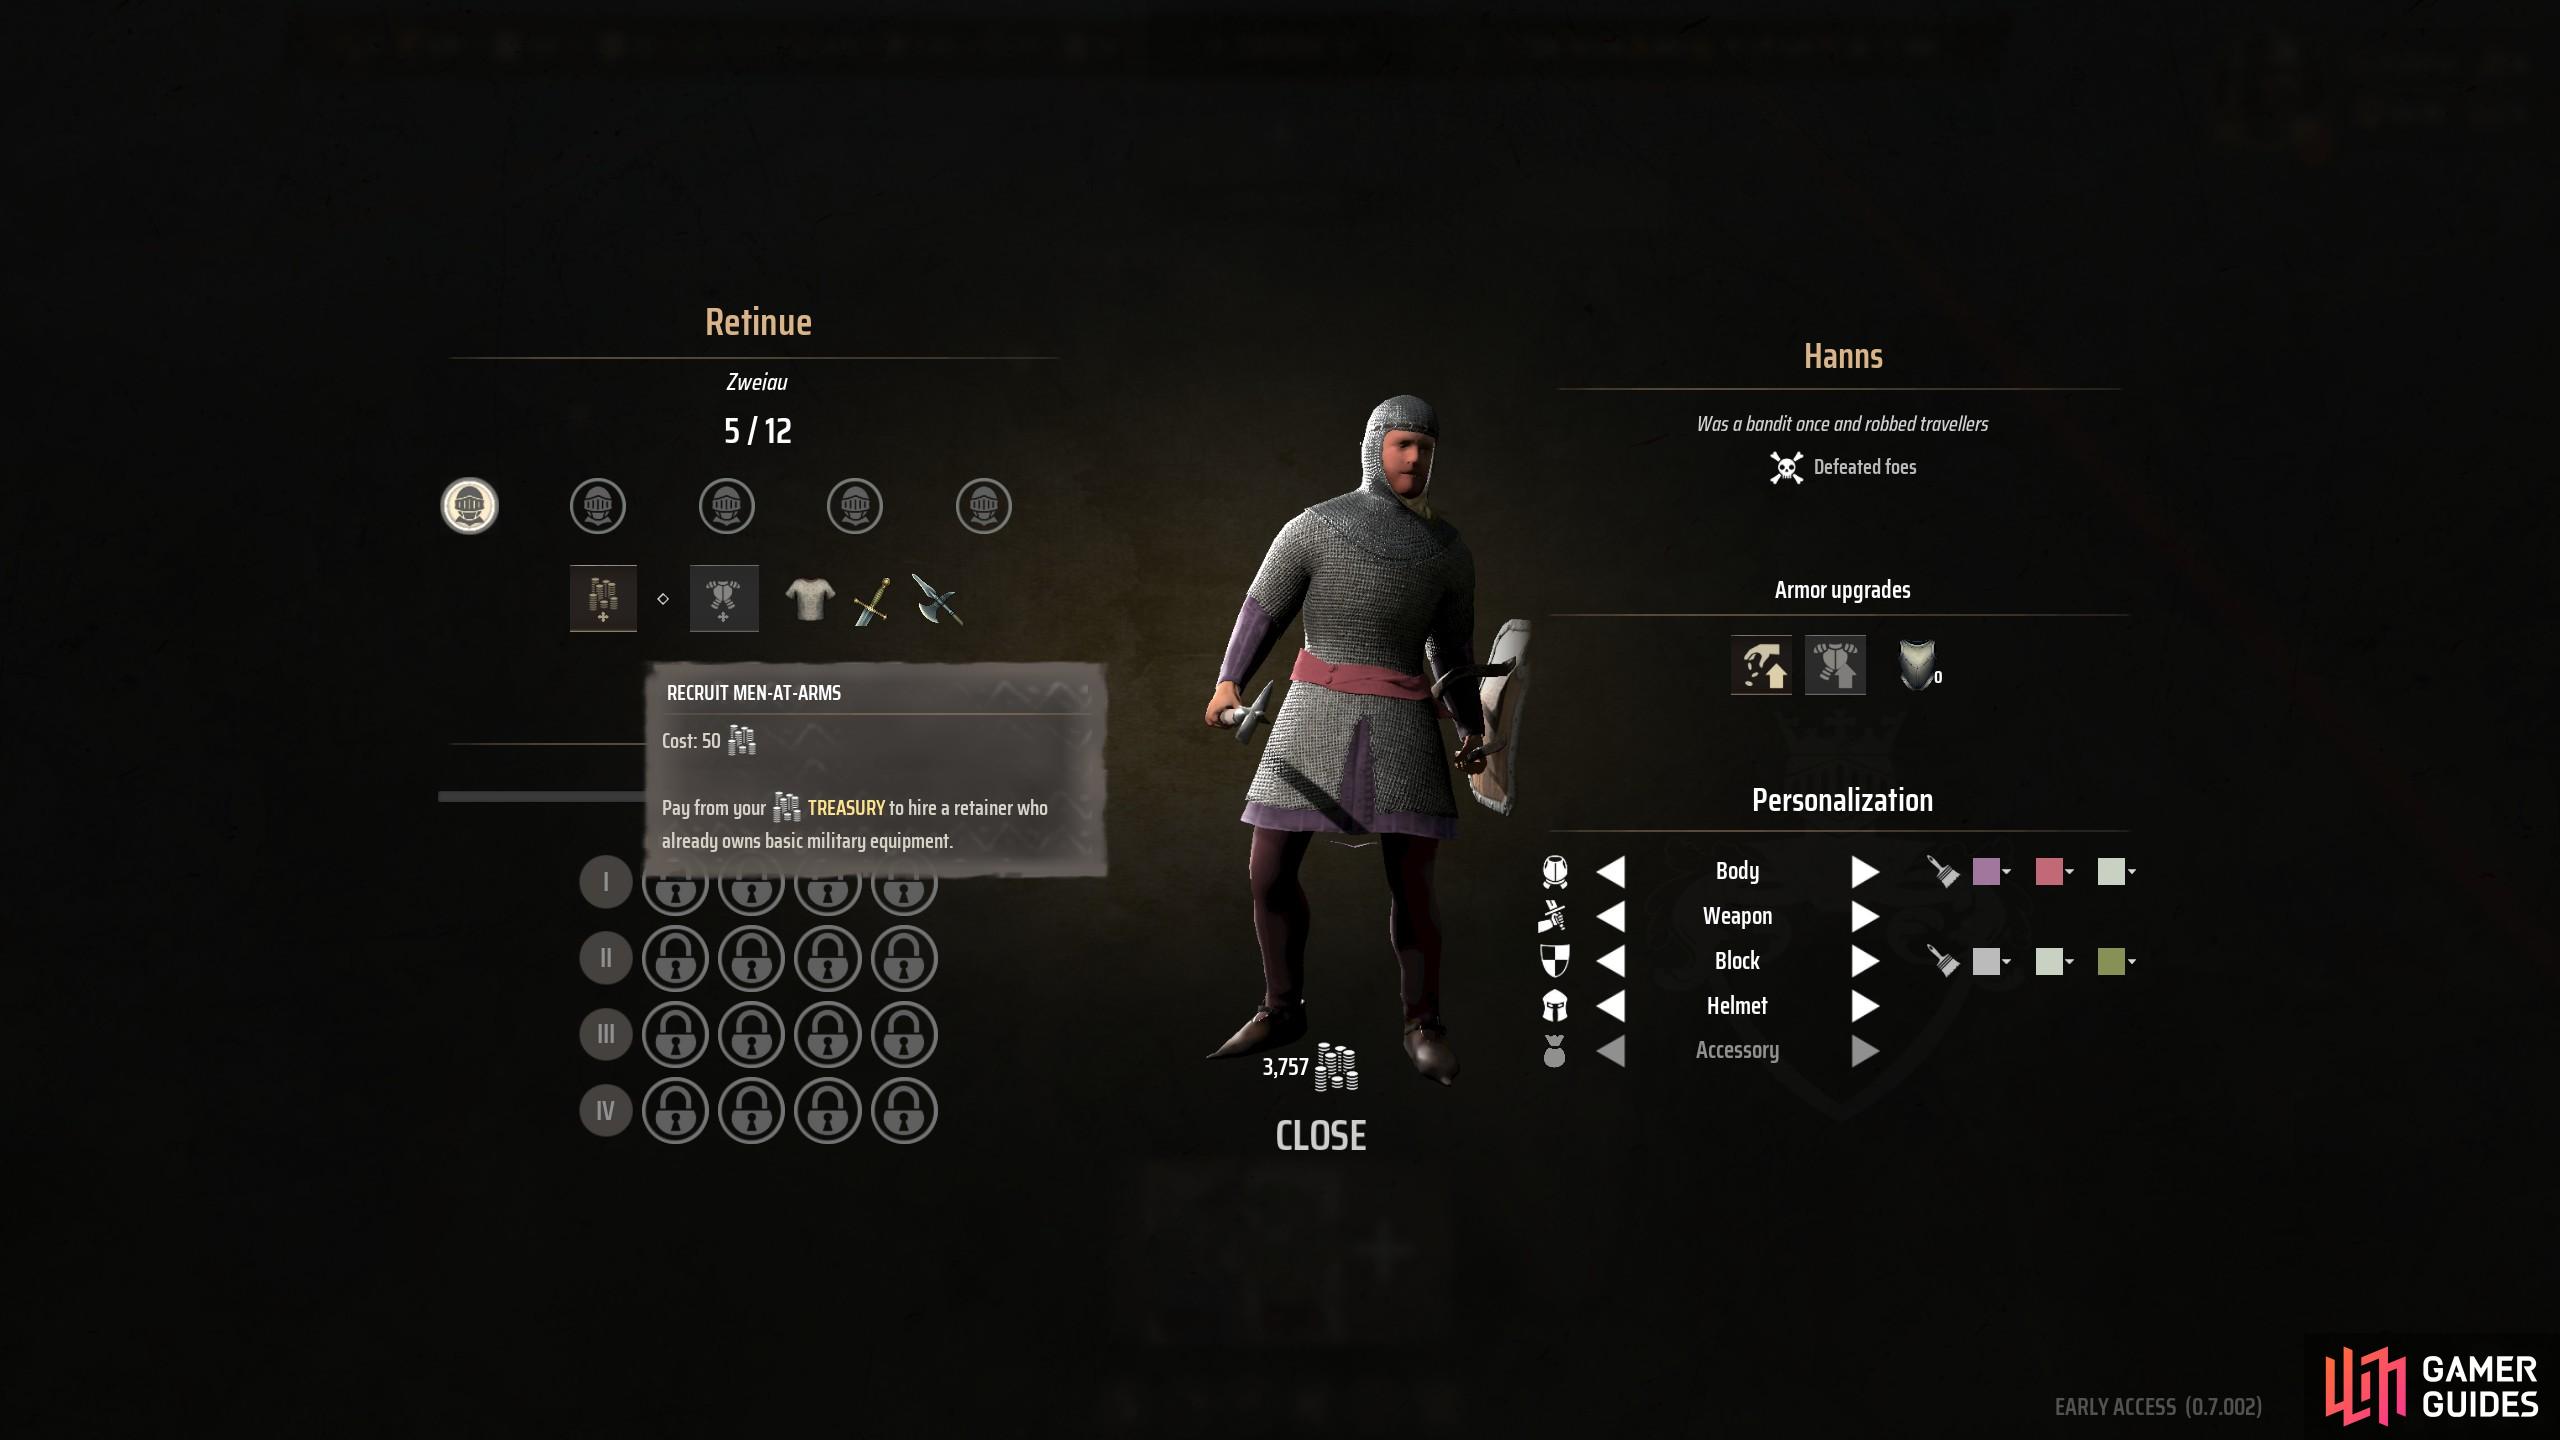
Retinues are one such army type you get once you build yourself a Manor. Retinues are permanently employed military units that don’t cost anything to maintain. When you build your Manor, you get 5 retainers straight away, which are random assortments of polearm, spearmen and footmen units.
Players can recruit up to a maximum of 12 retainers troops at a time. Typically, these cost you 50 treasury wealth each, which is a special wealth accrued via taxation of your citizens. Go to your retinue customization, and then hire more retinue via the coin icon below the retainers icons on the left side of the screen.
If you want to further upgrade your units, then you can import plate armor for your retainers. These cost between 9 personal wealth if you import them locally, or 18 treasury wealth if you import from foreign markets. Note that your unit instantly gets the plate armor if you hire them this way, which is secretly OP.
We highly recommend building a Manor as you can start getting stone and planks, and setting taxation policy to get your hands on retinues early. You can then accrue treasury wealth and start buying more retainers and their upgrades to deal with early game threats incredibly easily. They’ll also be your disposable super soldiers for late game battles.
In future versions of Manor Lords, retinue troops will gain expertise, which can then unlock talent trees to specialize the troop type. You can also convert units into Minstrels. However, those features are yet to be implemented. Don’t worry too much about those features for now, and we’ll update this combat guide with builds and tips for retainers at another time.
Early Game Army Building
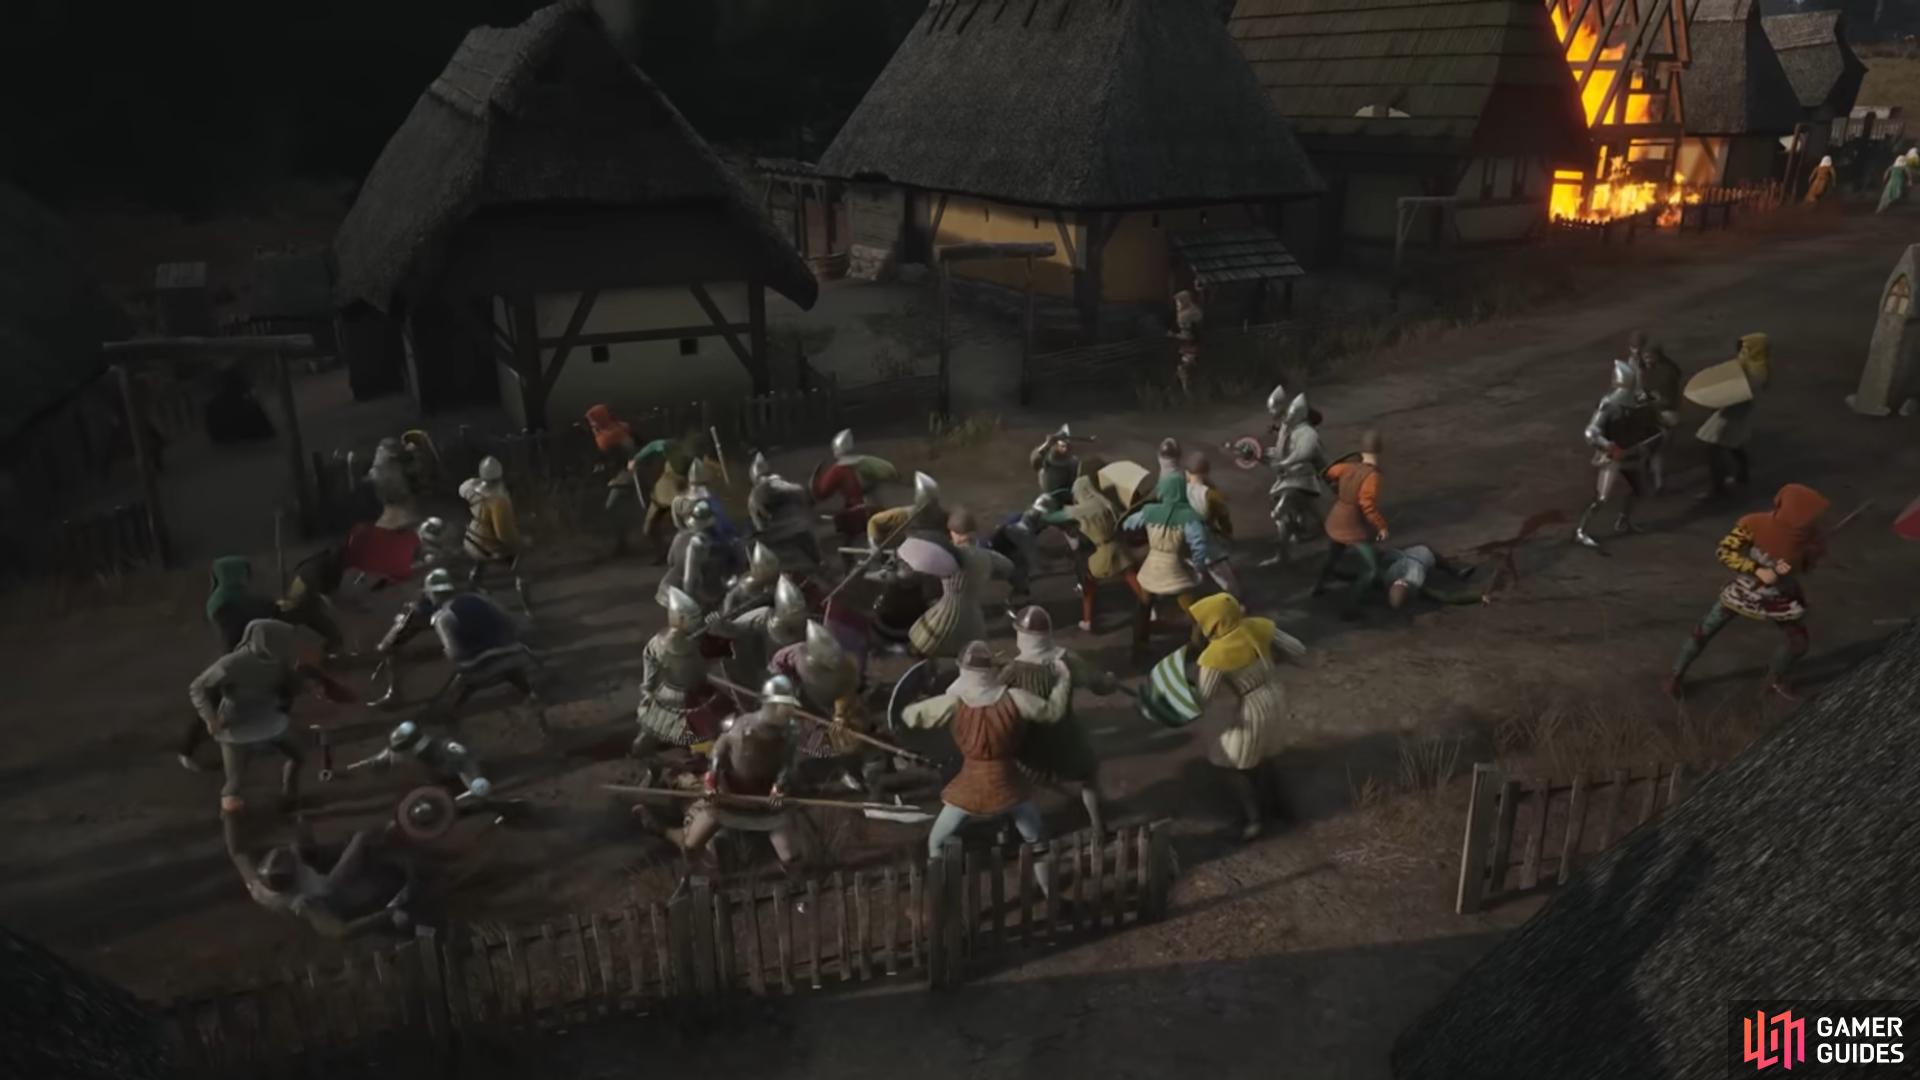
When you start a save and you have enemy barons and bandits enabled, you will need to build up to defend yourself early on. The first year or two will leave you exposed to raiders stealing items and burning the odd building down here or there. It is something you will need to learn to accept for a small period.
At the start of the game, accept that you are going to have some supplies stolen. However, by the end of year 2, you should have the military preparations you need to defend yourself. If you have enabled bandit raids straight away, you can start farming flax straight away and prepare for an early defense if you so wish.
You want to get iron and flax early on and process it to prepare a strong army in the early game. Image via Hooded Horse/Slavic Magic.
Either way, your general rules that you need to do are the following:
- Build a 1.0 morgan-sized field flax at a fertile flax area. 1.0 morgan size fields generate about 75 flax a year.
- Upgrade burgage plots to level 2 by building your economy, wooden church and approval rating up.
- Build a Weaver’s Workshop after the flax harvest to convert flax into linen.
- Build a tailor extension at a level 2 burgage plot. Set it to produce gambesons. Gambesons require two Linen to power one craft.
It means that you will be able to field 36 troops a year with gambesons so your early game units are somewhat protected.
While setting up your armor production, you also need to set aside spare workers to create weapons and shields. You should do the following to set them up:
- Set aside three families for artisans and gathering.
- Mine iron ore using the three families. You’ll need around 96 iron ore to stockpile to be safe.
- Create a Bloomery and put an iron ore minor into the bloomery to turn iron ore into iron slabs.
- Convert two burgage plot extensions into a blacksmith and joiners. ideally houses without living space extensions.
- Set the blacksmith to make spears. 32 spears are enough for one spear army.
- Have the joiner produce 32 large shields for your spearmen. This makes them incredibly tanky. You’ll need 64 planks to fund this production.
- You can then create small shields and sidearms for footmen. You’ll need 32 small shields, costing 1 plank, and 32 sidearms, costing 64 iron slabs to fund.
This means you can now fund 64 melee units, with units equipped for tanking enemies in battles and a melee unit for flanking and damaging. You can even create fletchers and fund 32 warbows using 32 planks. You don’t need to worry about giving them gambesons as they’ll largely be playing safe or micro-managed to hit and run enemies in favorable positions. Giving them gambesons when they are spare the following years is fine.
By the end of the second year, you can easily have between 32-64 equipped troops ready to fight. Presuming you’ve been managing your approval and building burgage plots over the year to get more families. 32-64 men at arms is more than enough to fight the 32 bandit stacks coming your way for the coming years. It’s also enough to go raid the bandit camp and clear it out when you want to.
Just remember to keep building your population to support the farmers, lumberers, and sawpit workers to fund this expensive year 2 project. You’ll want around 15-20 families to properly support your economic development, and your rush to create resources to support an early-game army.
Army Mechanics and Controls
In this section, of our Manor Lords’ combat tutorial guide, you’ll learn the general mechanics behind your units in combat. You’ll need to become aware of combat efficiency more and fatigue, all of which can determine how well your troops can move and perform in combat. In addition, we’ll go through the controls of your units, which will teach you all you need to know about tactical uses of these buttons, which you can use in your combat needs.
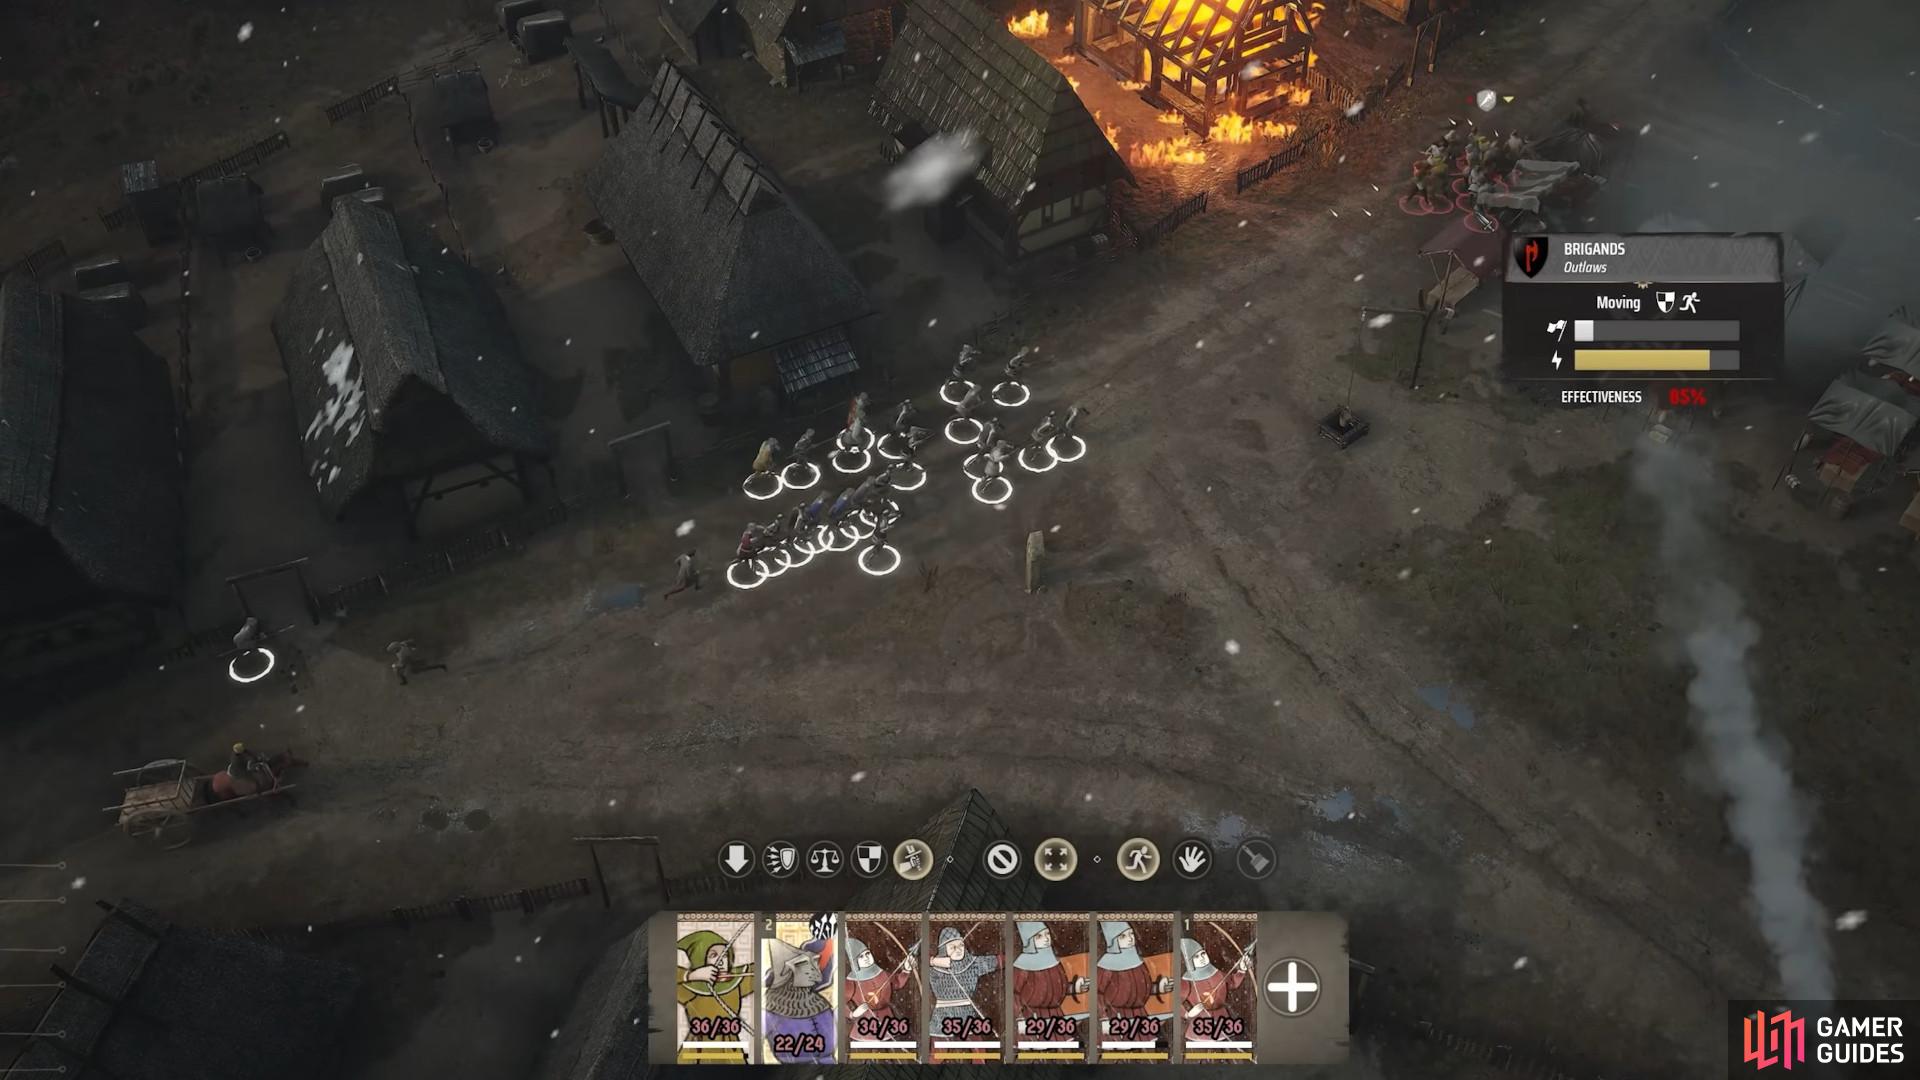
Controlling and managing army and unit features will help you win tactical battles and outplay your opponents. Image via Hooded Horse/Slavic Magic.
Now you have yourself retinues or an army, you need to start planning how to best use your units. There are a few key measurements to consider.
Effectiveness is how well your units are going to perform in battle. Effectiveness is determined under the following penalties:
- Fatigue - How frequently they have moved recently, especially ran to the location.
- Climbing - Are they climbing over buildings to get to where they need to go? If so effectiveness penalty. Be careful of navigating through dense urban areas to reduce this penalty the best you can.
- Cohesion - Formation of the unit. If they are mindlessly running then cohesion breaks down easily until they regather and regroup correctly.
- Raining - Raining annoys your people so they become less effective trailing through mud and such things.
The other thing to factor in for combat readiness is approval rating. Approval rating affects your people’s willingness to fight. These are typically indicated by the flag bar when you hover over the unit. Higher morale means more eagerness to fight before the unit breaks and disbands. The fatigue meter is simply how much the unit can move before it succumbs to energy, preventing movement and action for a period of time. Exhausted units become exposed to attacks and arrow volleys.
For the most part, the effectiveness depends on if each soldier in the unit is in their assigned positions. Most of the penalties you amass to effectiveness is largely due to running to their new spot, whether they had to climb fences and buildings in urban terrain or not, and other such factors. Try to keep movement controlled and clean to reach objectives without accruing too much fatigue or effectiveness before they meet their enemies. If a force has better effectiveness at the start of combat then that team has an advantage in the fight ahead. These are plans you can use in larger battles to lure tired and ineffective units into fresher and prepared units for slaughtering.
Controls

Placing units in formation helps with controlling your units. It also helps with the effectiveness of the units.
When you have raised an army There are lots of buttons you can use to tactically outwit your opponents. These are as follows:
- Give Ground: Slowly push the formation line backwards. Encourages the enemies to open forward. Handy for luring enemies into a trap
- Missile Alert: Doubles the chance of your units dodging enemy missiles, but lowers defense by half
- Balanced: Default stance with no bonuses or penalties
- Stand your Ground: Soldiers enter a tanky stance, and double their defenses The frequency of attacks are halved, however
- Push Forward: Soldiers force move forward with full force
- Disband Unit: Militia and retinues disband and go back to normal life
- Special: Melee units get Spread Out, which encourages the unit into a loose formation. Handy against avoiding archer attacks or creating gaps in the front line. Archers get fire at will so they can free-attack if you don’t plan on managing them
- Run to positions: Units run towards their newly assigned position, but greatly lowers fatigue
- Hold: Units stop all movement and hold formation and position
Depending on what you want to do, different orders are particularly helpful. Against archers, “Missile Alert” and “Spread Out” are ideal tactics to employ to avoid clumping units together into archer volleys. This significantly reduces the threat of arrows.
If you have frontline units with large shields, then the “Stand Your Ground” control makes units incredibly tanky. These make for great frontline holders when you need to heavily defend an area. Combine this with “Give Ground” to create tanky and well controlled retreats.
“Push Forward” is also very good for units on the offense, such as polearm or lighter armored footmen on flanks. Heavily aggressive enemies that push too far forward can become vulnerable via exposed flanks, allowing you to apply pressure to enemy forces.
Remember to rotate between “Stand Your Ground” and “Push Forward” to toggle between aggressive and defensive stances.
The only time you really want to use “Give Ground” is if you have plans to slowly lead enemies backward. This is handy if you want enemies to follow you uphill to tire them out. It is also handy for drawing enemies into archer range, or exposing themselves to flanks. It’s really good with spear units, who can passively fall back and maintain effective range against opponents pushing them.
When cavalry is added in, you should consider manually creating square formations among units. You can do this by shaping two units into two distinct lines adjacent to each other. You can do the same again to the exposed flanks with another two units. Square formation naturally traps enemies who push through lines into a kill box. Spear and polearms in this formation will cause havoc against trapped cavalry like this. However, archers become an effective counter to this strategy. But it is something to consider if you want to trap enemies in a defensive mosh pit against future cavalry attacks or against aggressive melee units.
This concludes all the tips and tricks we have to share about combat in manor lords. Hopefully this guide and tutorial gives you a better idea of how you want to prepare armies, plan ahead, and little micro tactics you can use in battles.

 Sign up
No Comments