
Quite a bit of content was added to Fallout 4 via the Creation Club over the years - curated fan-made mods that could be purchased in-game. While some of this content might be old news to die-hard Fallout 4 fans, some standout Creation Club mods were bundled along with the next-gen update of Fallout 4. Pair that with the influx of new players picking up Fallout 4 in the wake of the Fallout series on Amazon Prime and a scenario where a multitude of new gamers might not even realize that some of the quests popping up on their screen are extraneous mods only now getting a wider release. Since this content is functionally part of the standard Fallout 4 experience on Playstation 5 and Xbox Series now, it only makes sense to cover them as such.
One such quest, Echoes of the Past, is especially standout, as it’s the centerpiece of a related series of mods that brings the Enclave to the Commonwealth. Villains from Fallout 2 and Fallout 3, they’re notoriously dangerous due to their military training and the technological edge they enjoy from their plasma weaponry and advanced power armor. Completing this quest will not only get you a taste of the Enclave’s arsenal, but it’ll also provide background information on the quests Pyromaniac and Crucible. This page will provide a walkthrough for the quest Echoes of the Past in Fallout 4, including details on how to find the missing caravan, how to use the Enclave Homing Beacon to find the Enclave Base, and end the lockdown once it’s triggered.

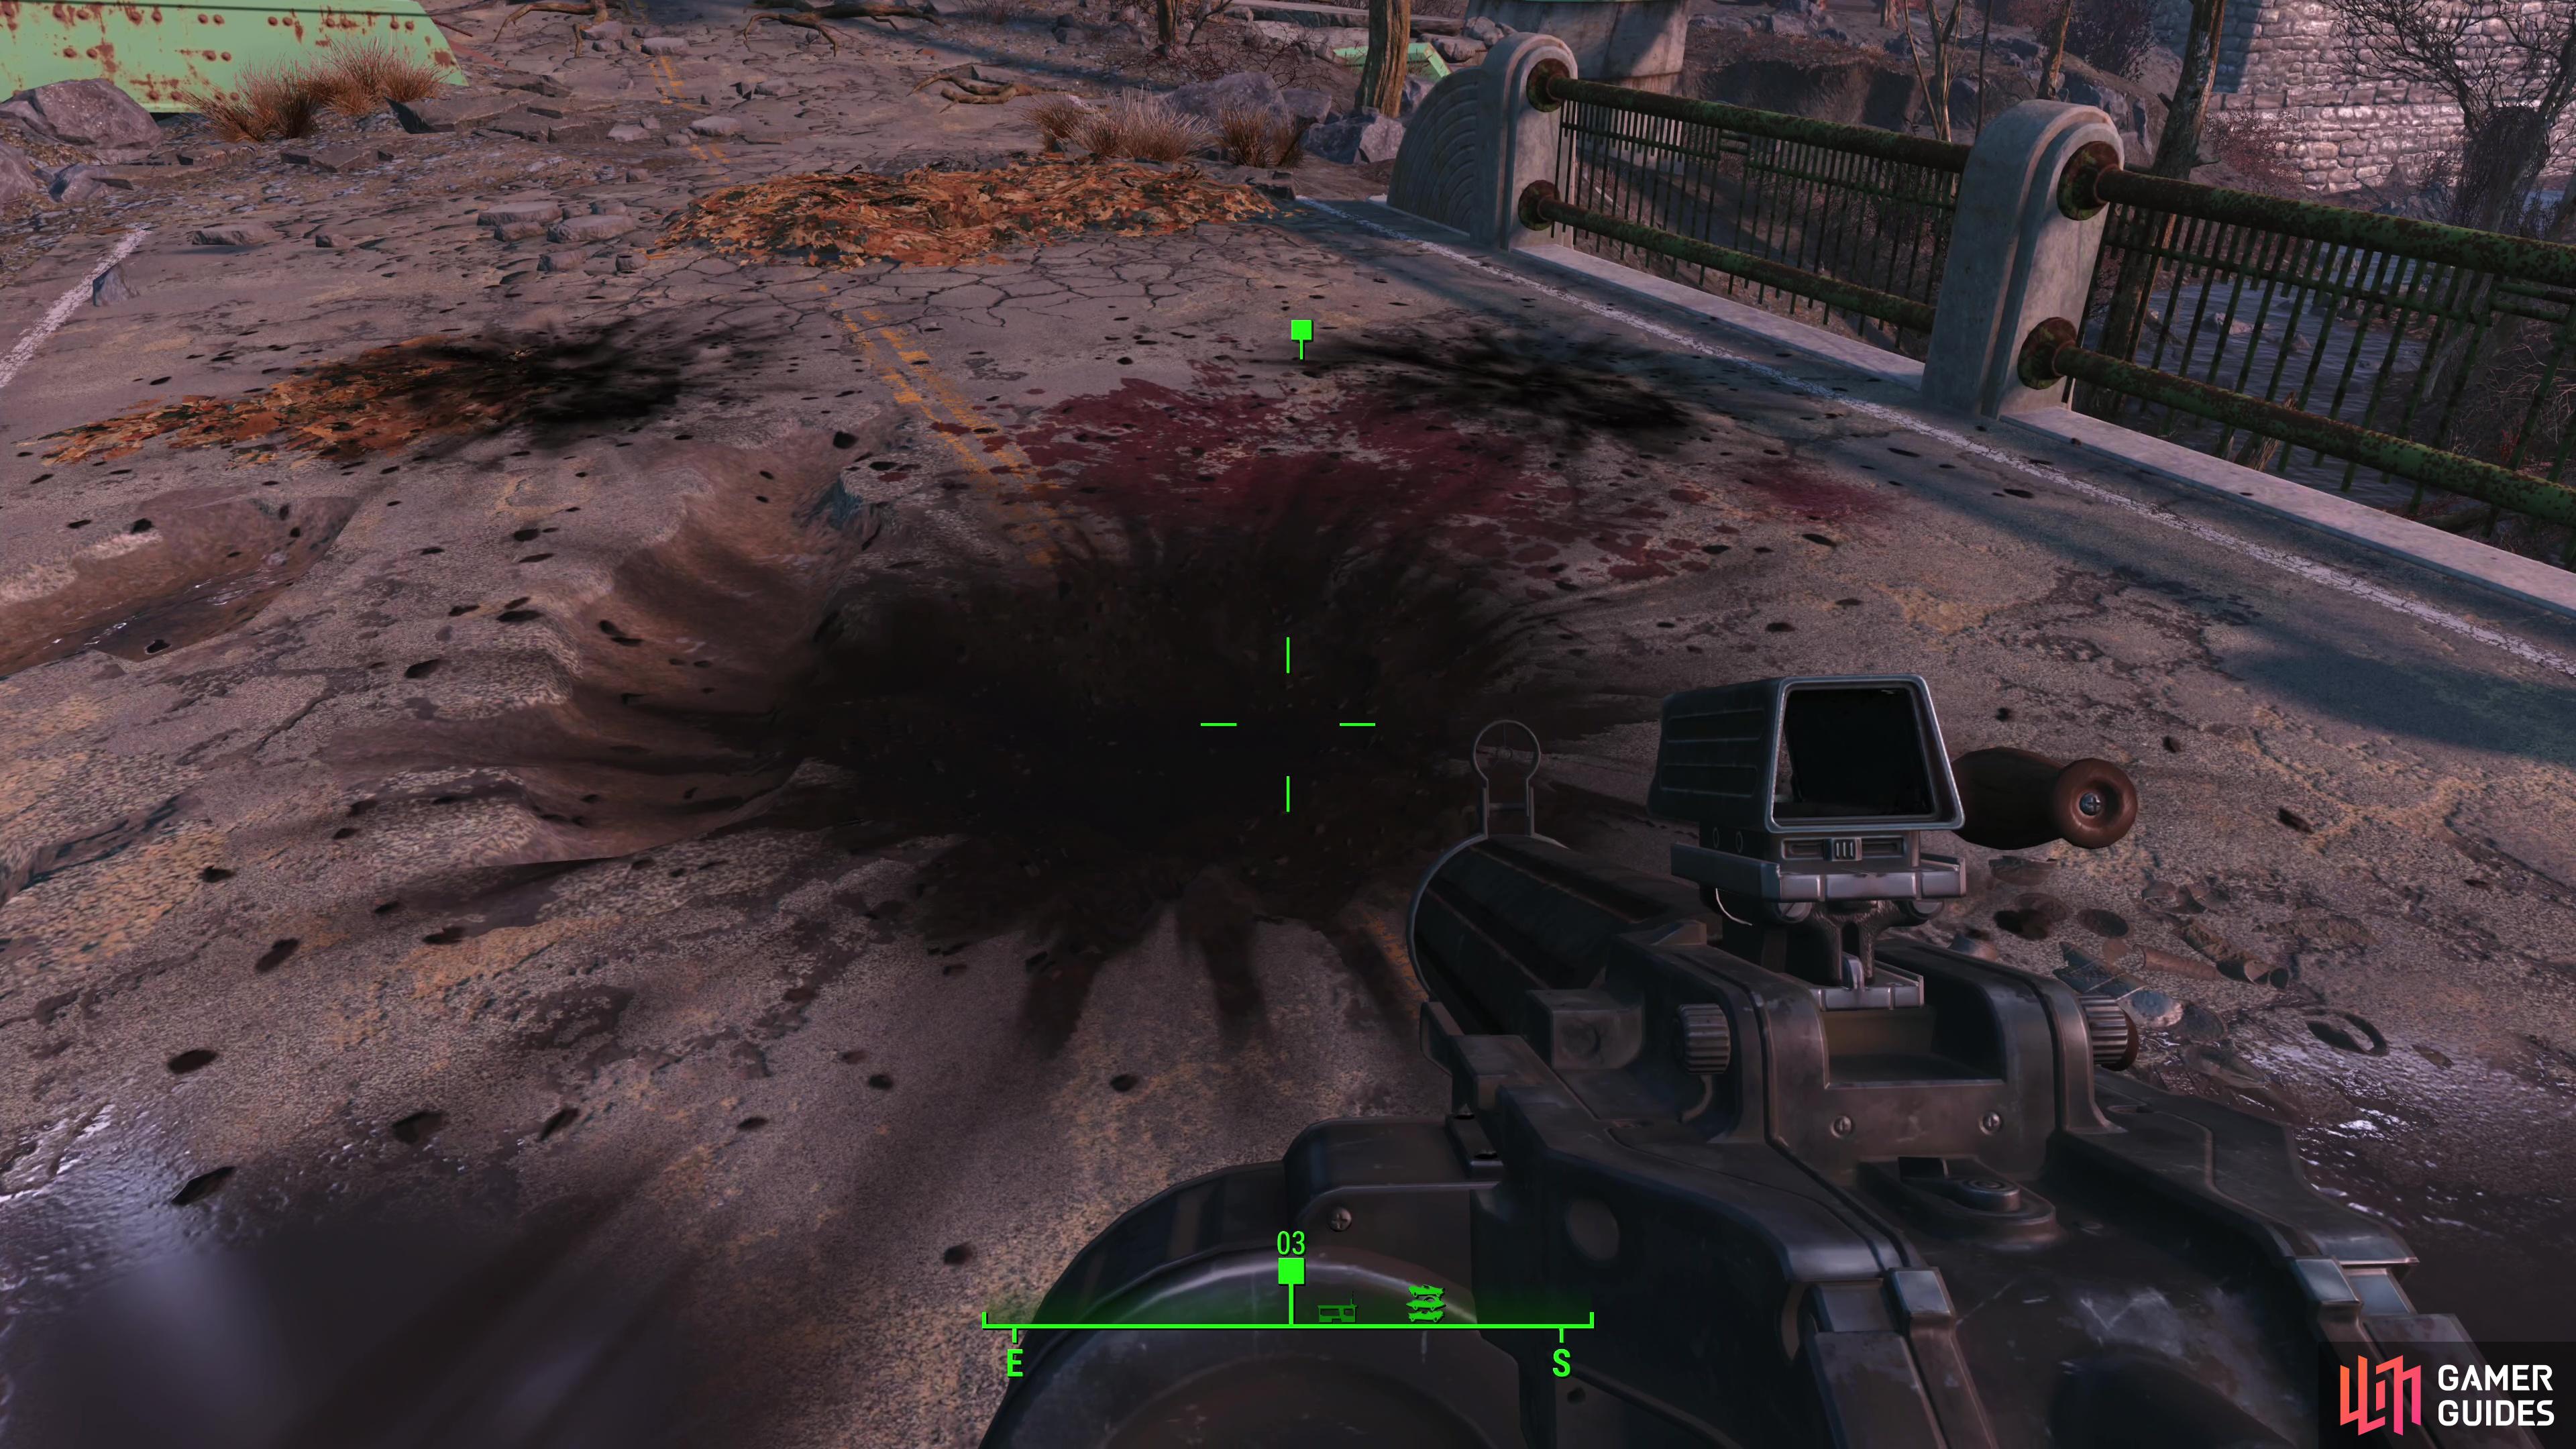
(1 of 2) The caravan you’re searching for was last seen far to the east, near The Slog.
The caravan you’re searching for was last seen far to the east, near The Slog. (left), Search a bridge southeast of The Slog and you’ll find signs that the caravan didn’t meet with trouble. (right)
Find the Missing Caravan
Once you’re finally out in the wasteland after escaping Vault 111, you should get a barrage of quest popups, including one for Echoes of the Past. This tasks you with “Investigating the last known location of the Missing Caravan”, and if you’re new to the game, a quick look at this quest’s location on the map should be sufficient to deter you. You’ll be fighting many powerful enemies during the quest, quite a few clad in power armor. This quest also requires you to travel into The Glow. Simply put, it’s not suitable for low-level characters, and ideally you’ll leave it on the back burner until you have your own power armor, powerful weapons and plenty of Rad-X, RadAway and Stimpaks… at least before you tackle the later phases of the quest.
When you deem yourself sufficiently ready you’ll need to head a good ways east of Sanctuary. If you’ve claimed it already, the settlement The Slog is actually quite close, and a fine base of operations. From the Slog, head south towards Saugus Ironworks but cross a bridge to the east when you hit a road. You’ll find signs of foul play on the bridge - blood stains and blast marks - and your quest marker will update when you get close. Follow the trail of carnage as it zig-zags along an elevated highway and you’ll find yourself tangling with Enclave forces before long, including some Enclave Soldiers (including one in power armor!) and their pet turret.


![Search a terminal and pick the option [Download Homing Beacon Frequency].](/assets/media/17/107/fallout4_echoes_of_the_past_enclave_terminal-98eb2e6d.jpg)
(1 of 3) Follow the signs of carnage until you run afoul of an Enclave camp.
Outside of their power armor, Enclave Soldiers are nothing special, but their power armor is quite advanced, making any wearers quite durable. This is a good time to use any banked criticals you have, and generally throw everything you’ve got at your foe. It’s a luxury you won’t necessarily be able to employ later when you’re facing off against number power armor clad enemies, but it’ll suffice for now.
After clearing the Enclave camp, search for an Enclave Field Operations Terminal, where you can find details on what the Enclave is hunting for and their less-than-humanitarian inclinations. To advance the quest, however, be sure to pick the option [Download Homing Beacon Frequency], which will help you find the Enclave’s main base in the Commonwealth.
So far this quest hasn’t been too difficult, but trekking into The Glow is another matter entirely. Dangerous enemies spawn regularly down here and radiation is rampant. This is where the power armor, Rad-X and RadAway come into play. Come well stocked, ready for both a fight and for a difficult, rad-filled journey.
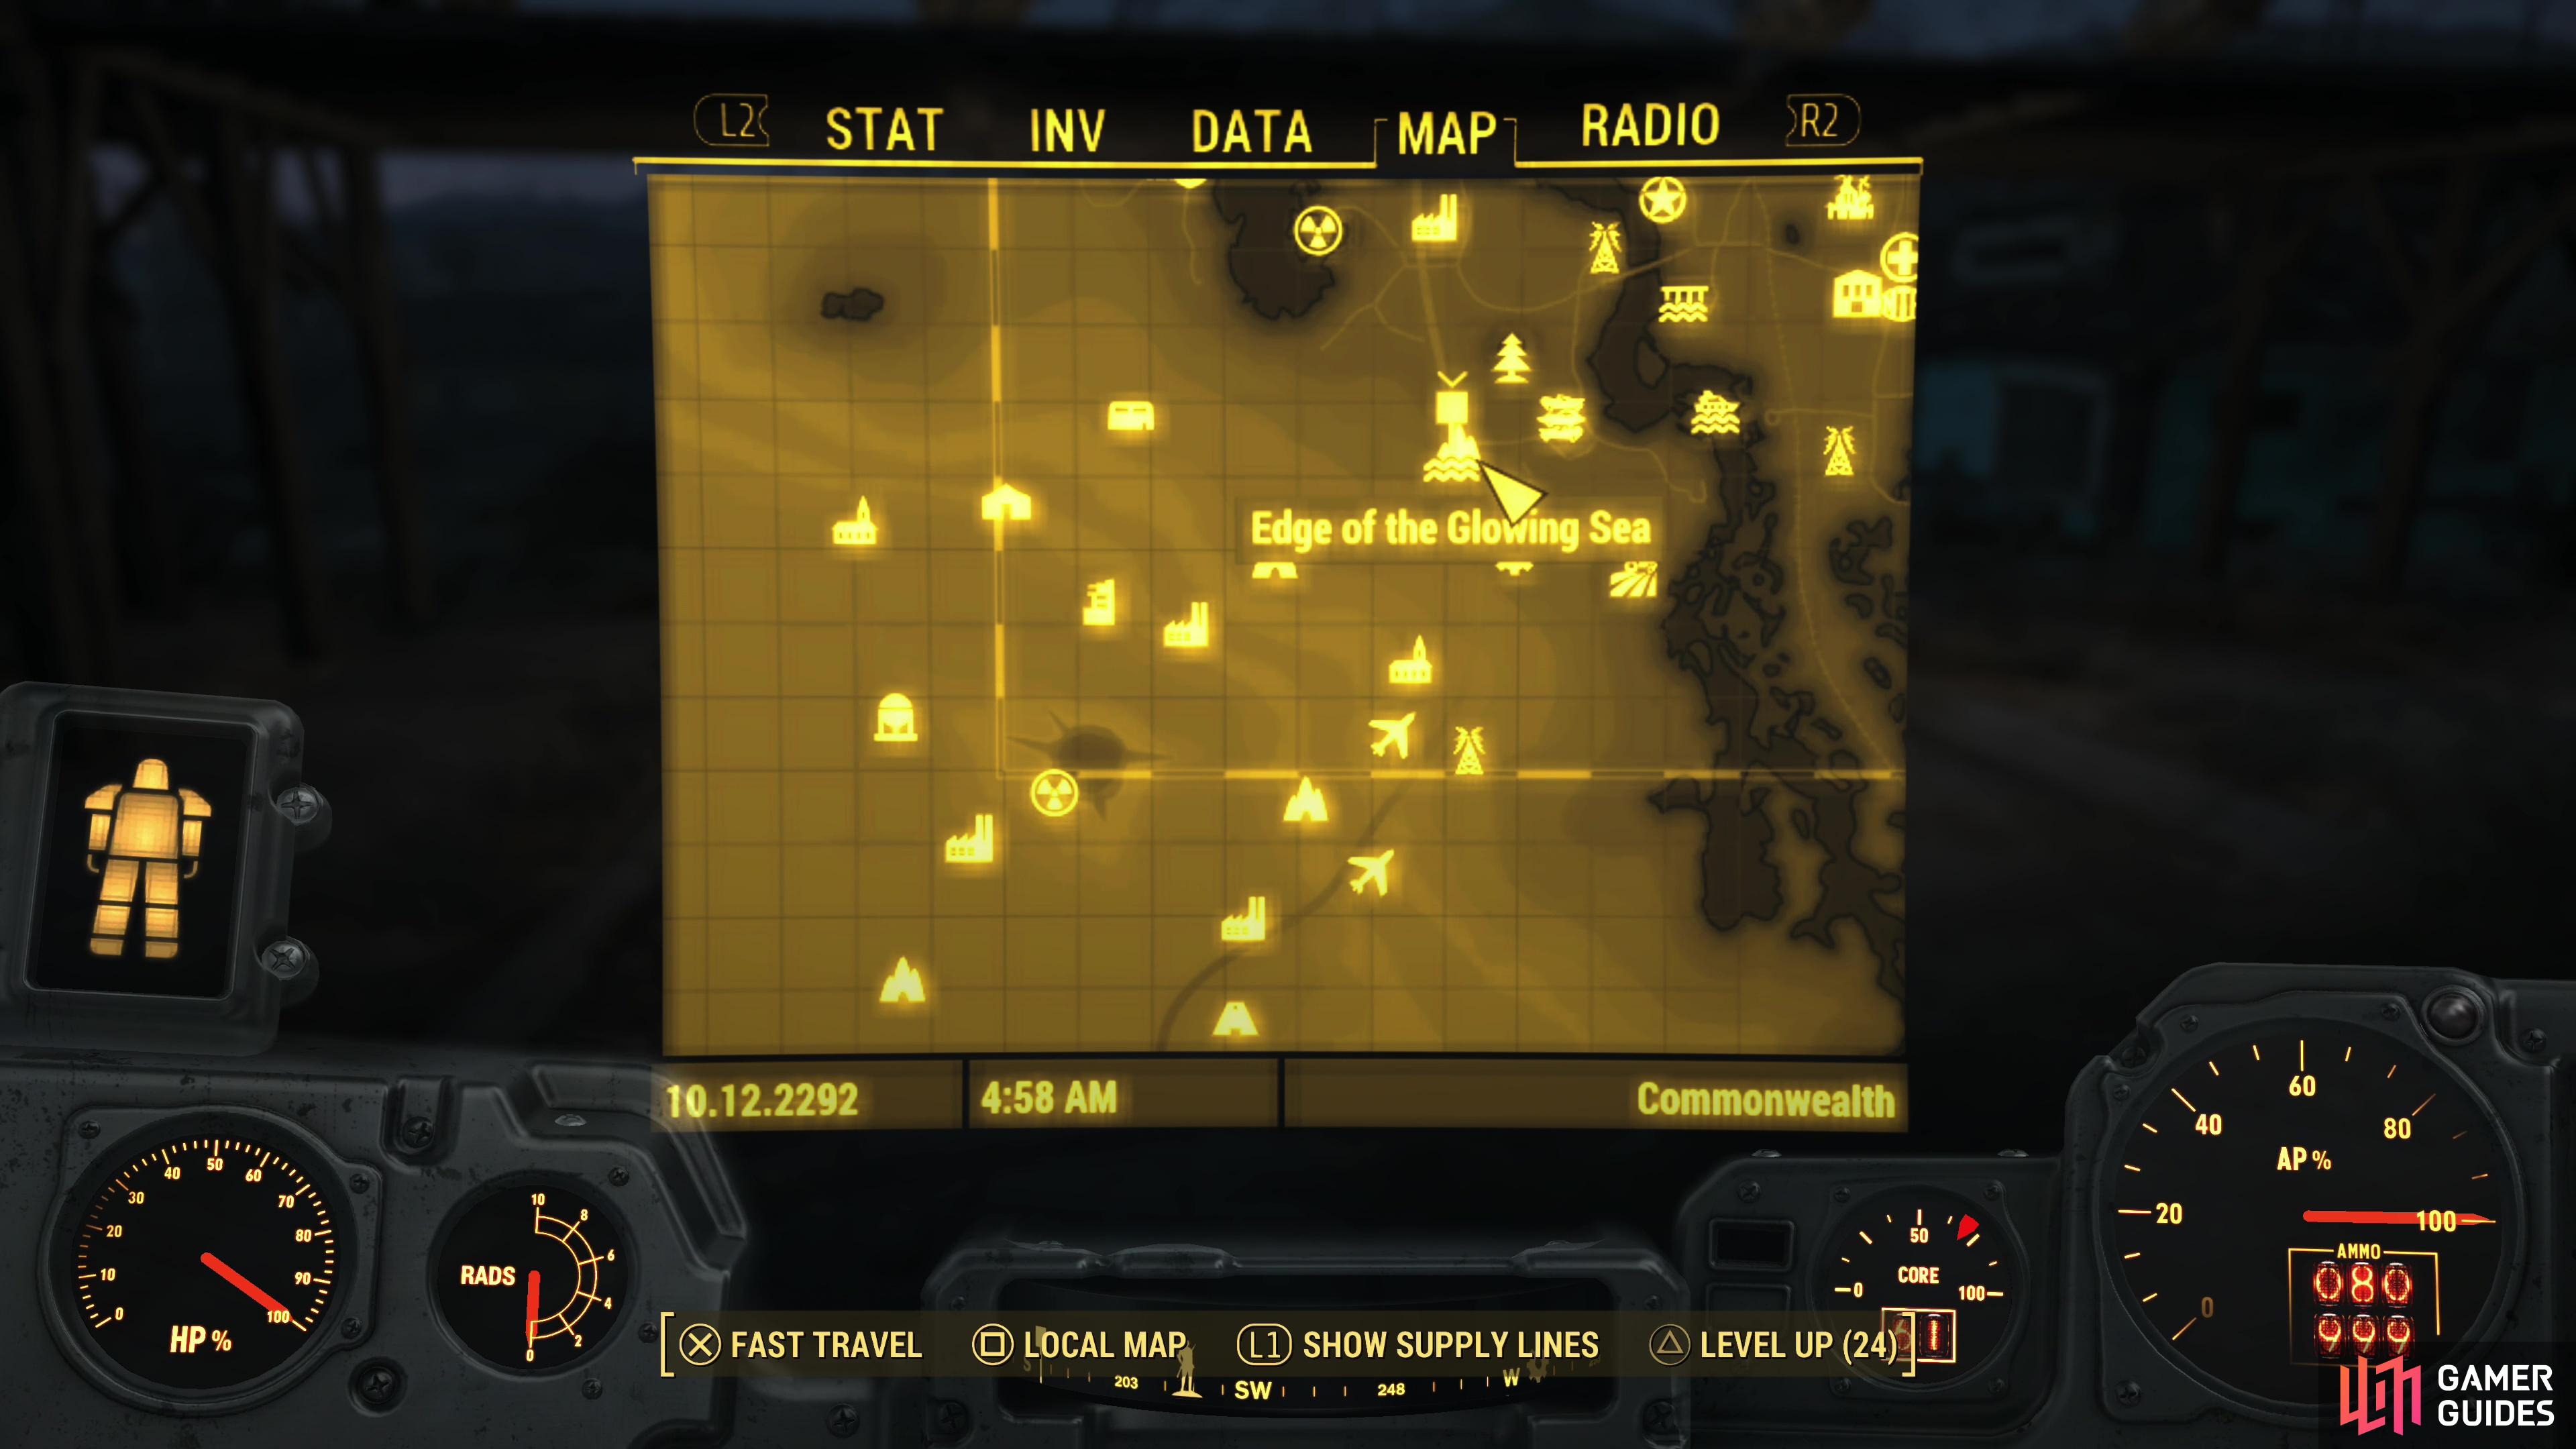
(1 of 3) Head to the Edge of the Glowing Sea,
Use the Enclave Homing Beacon to Find the Enclave Base
Once you’re ready for the second, more difficult phase of this quest, you’ll need to travel to the Edge of the Glowing Sea map marker, which, as its name implies, is on the edge of the Glowing Sea in the southwestern corner of the map. This is a bit northwest of the Somerville Place settlement, if you’ve brought it into the fold. When you arrive, bring up your Pip-Boy, go to the “Radio” tab, and activate the “Enclave Homing Beacon.
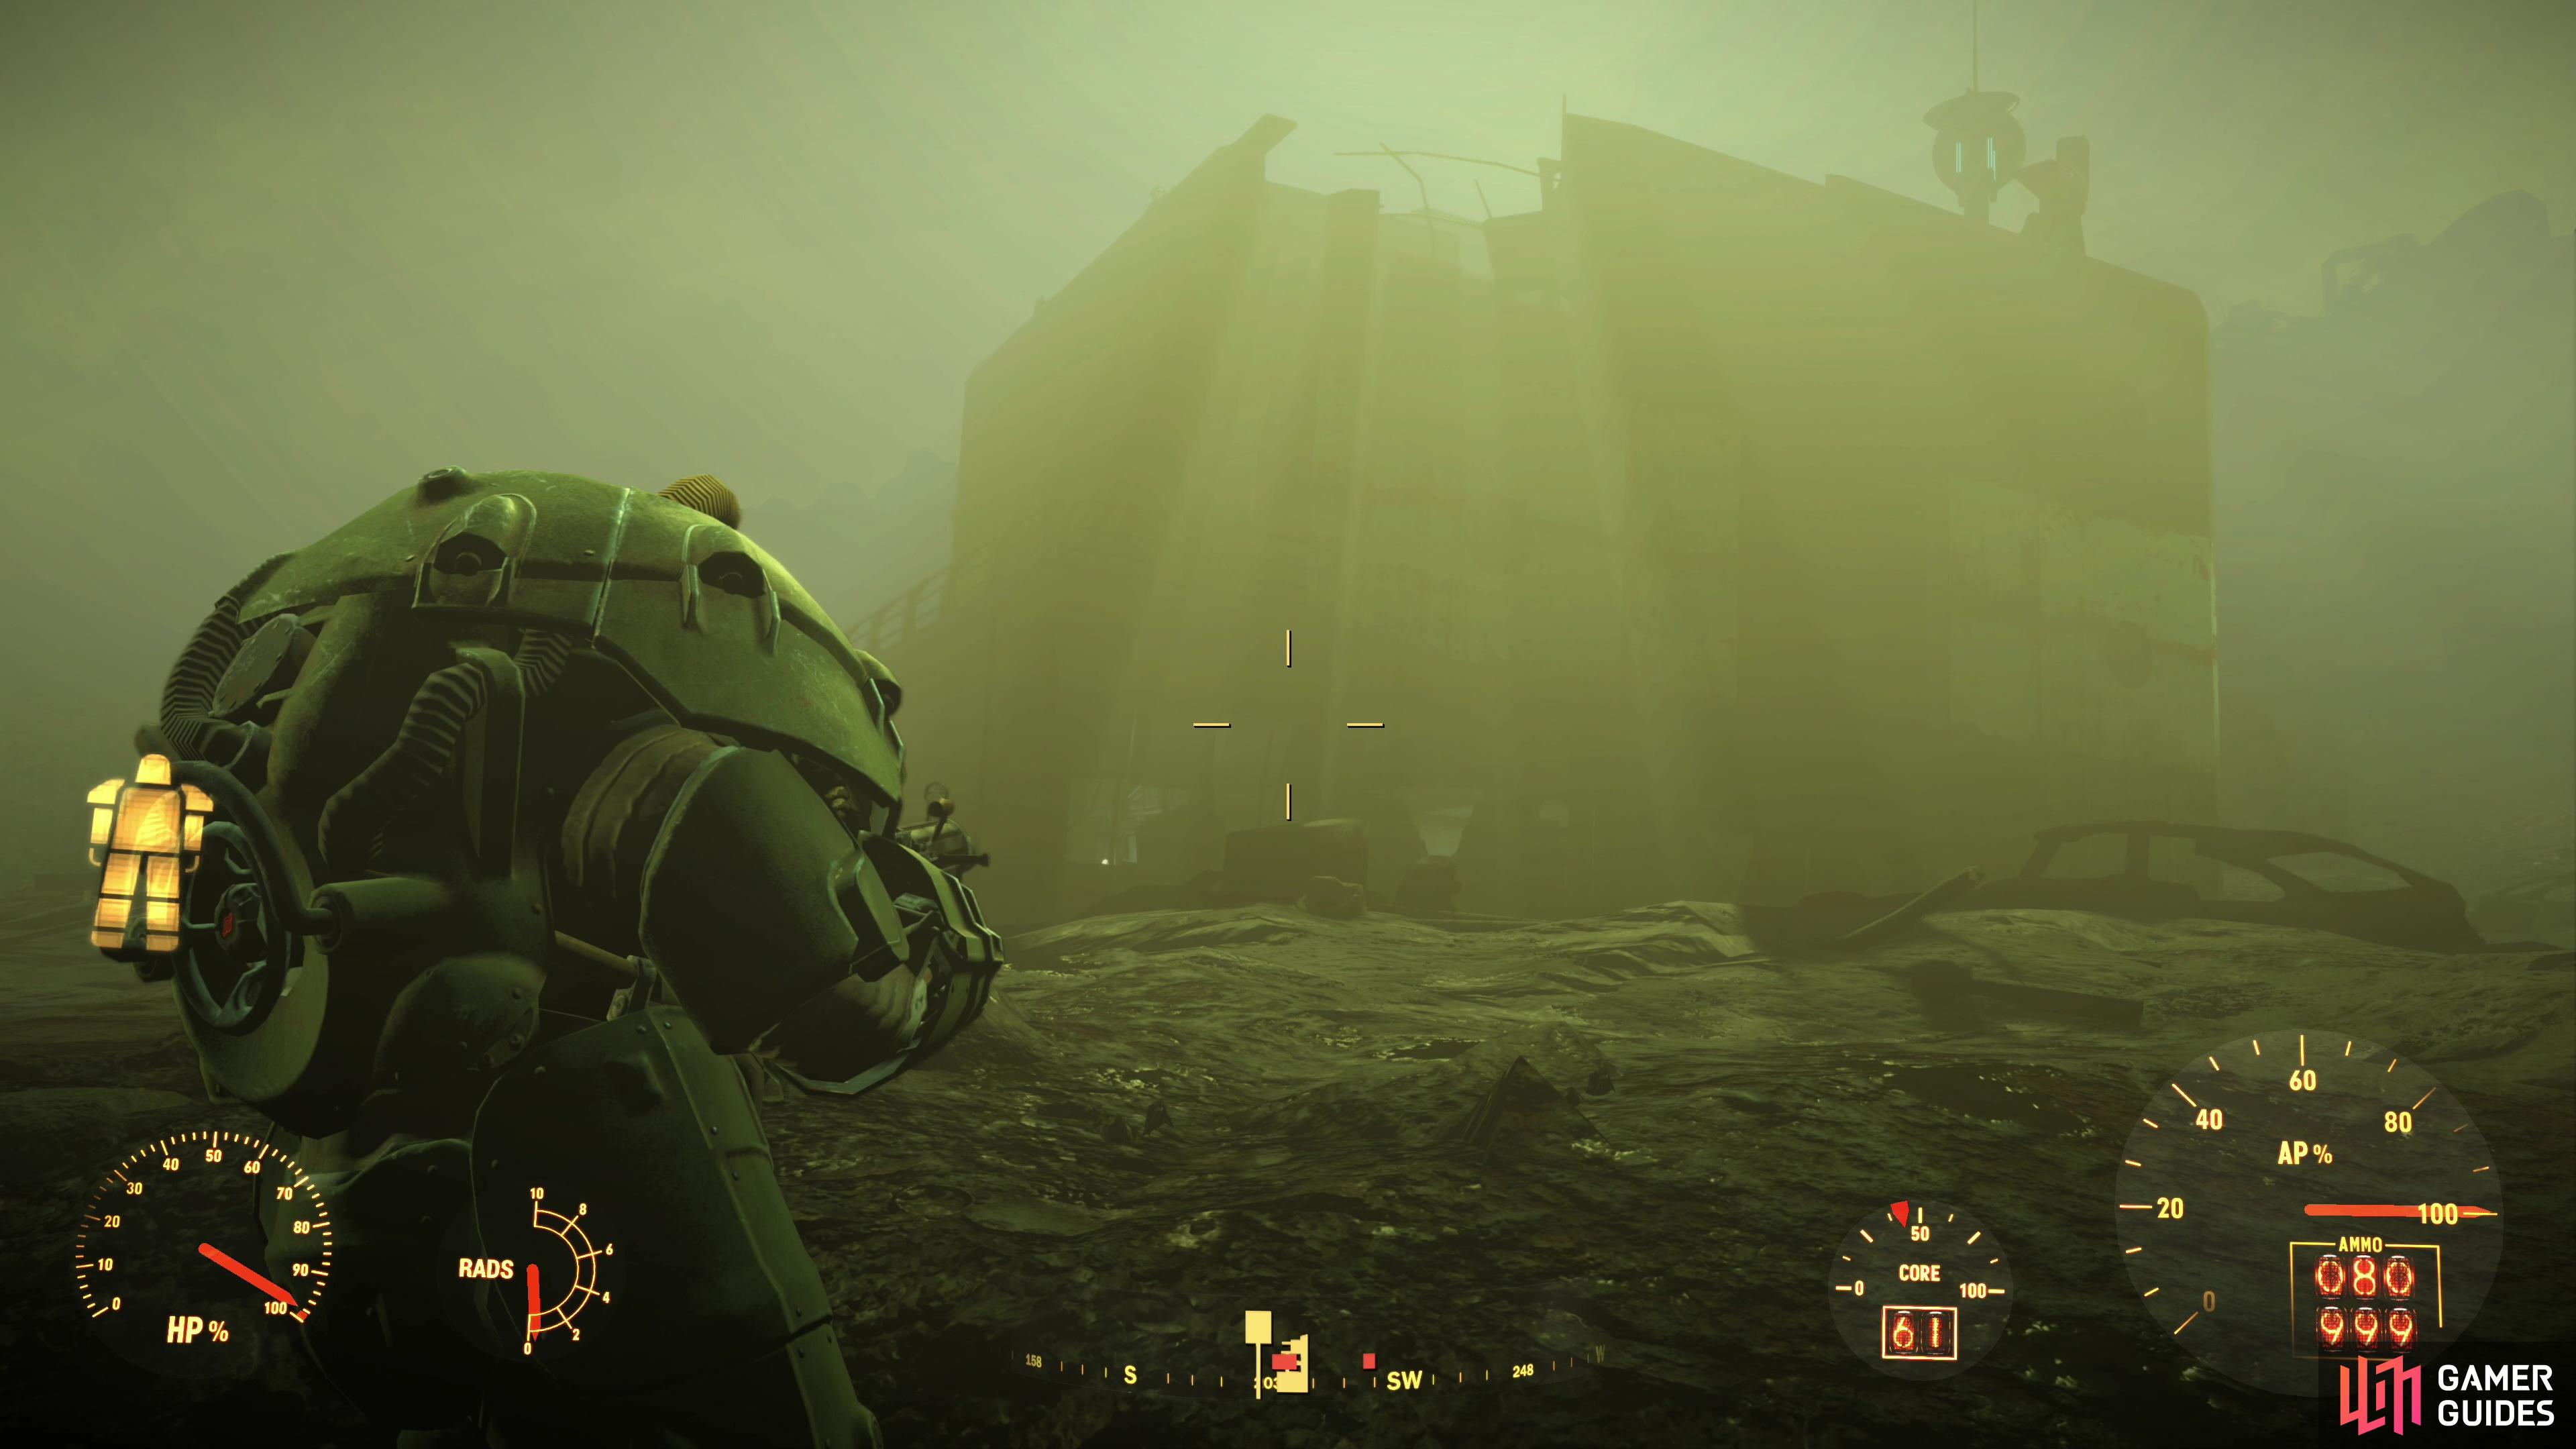
With this active, you’ll need to play a game of hot-and-cold, with text boxes appearing at the top left of the screen at regular intervals updating you on the Enclave Homing Signal Strength. The closer you are to your destination, the higher the percentage will be. Your goal is to the west, southwest of the Edge of the Glowing Sea, just northwest of the Capsized Factory. Don’t be concerned when the signal strength text box vanishes - it doesn’t mean you’re going the wrong way, it’s just refreshing. It shouldn’t be terribly hard to find your destination as long as you’re heading southwest-ish (favoring west), but the wildlife haunting the Glowing Sea may have other ideas - be wary of Deathclaws and Radscorps and count yourself lucky if you only have to deal with the odd Bloatfly.
Eventually, you should stumble across the Atlantic Offices building, your destination. In its current state of collapse the ground floor can’t be accessed, so head around to the eastern side of the building to find a hole in the wall along what used to be one of the building’s many stepped roof levels. Go through an open security door and the Enclave’s trap will spring shut - an alarm will blare and the door will lock behind you. The only way out is to dispatch the Enclave occupying the building.

Kill the Enclave Colonel and End the Lockdown
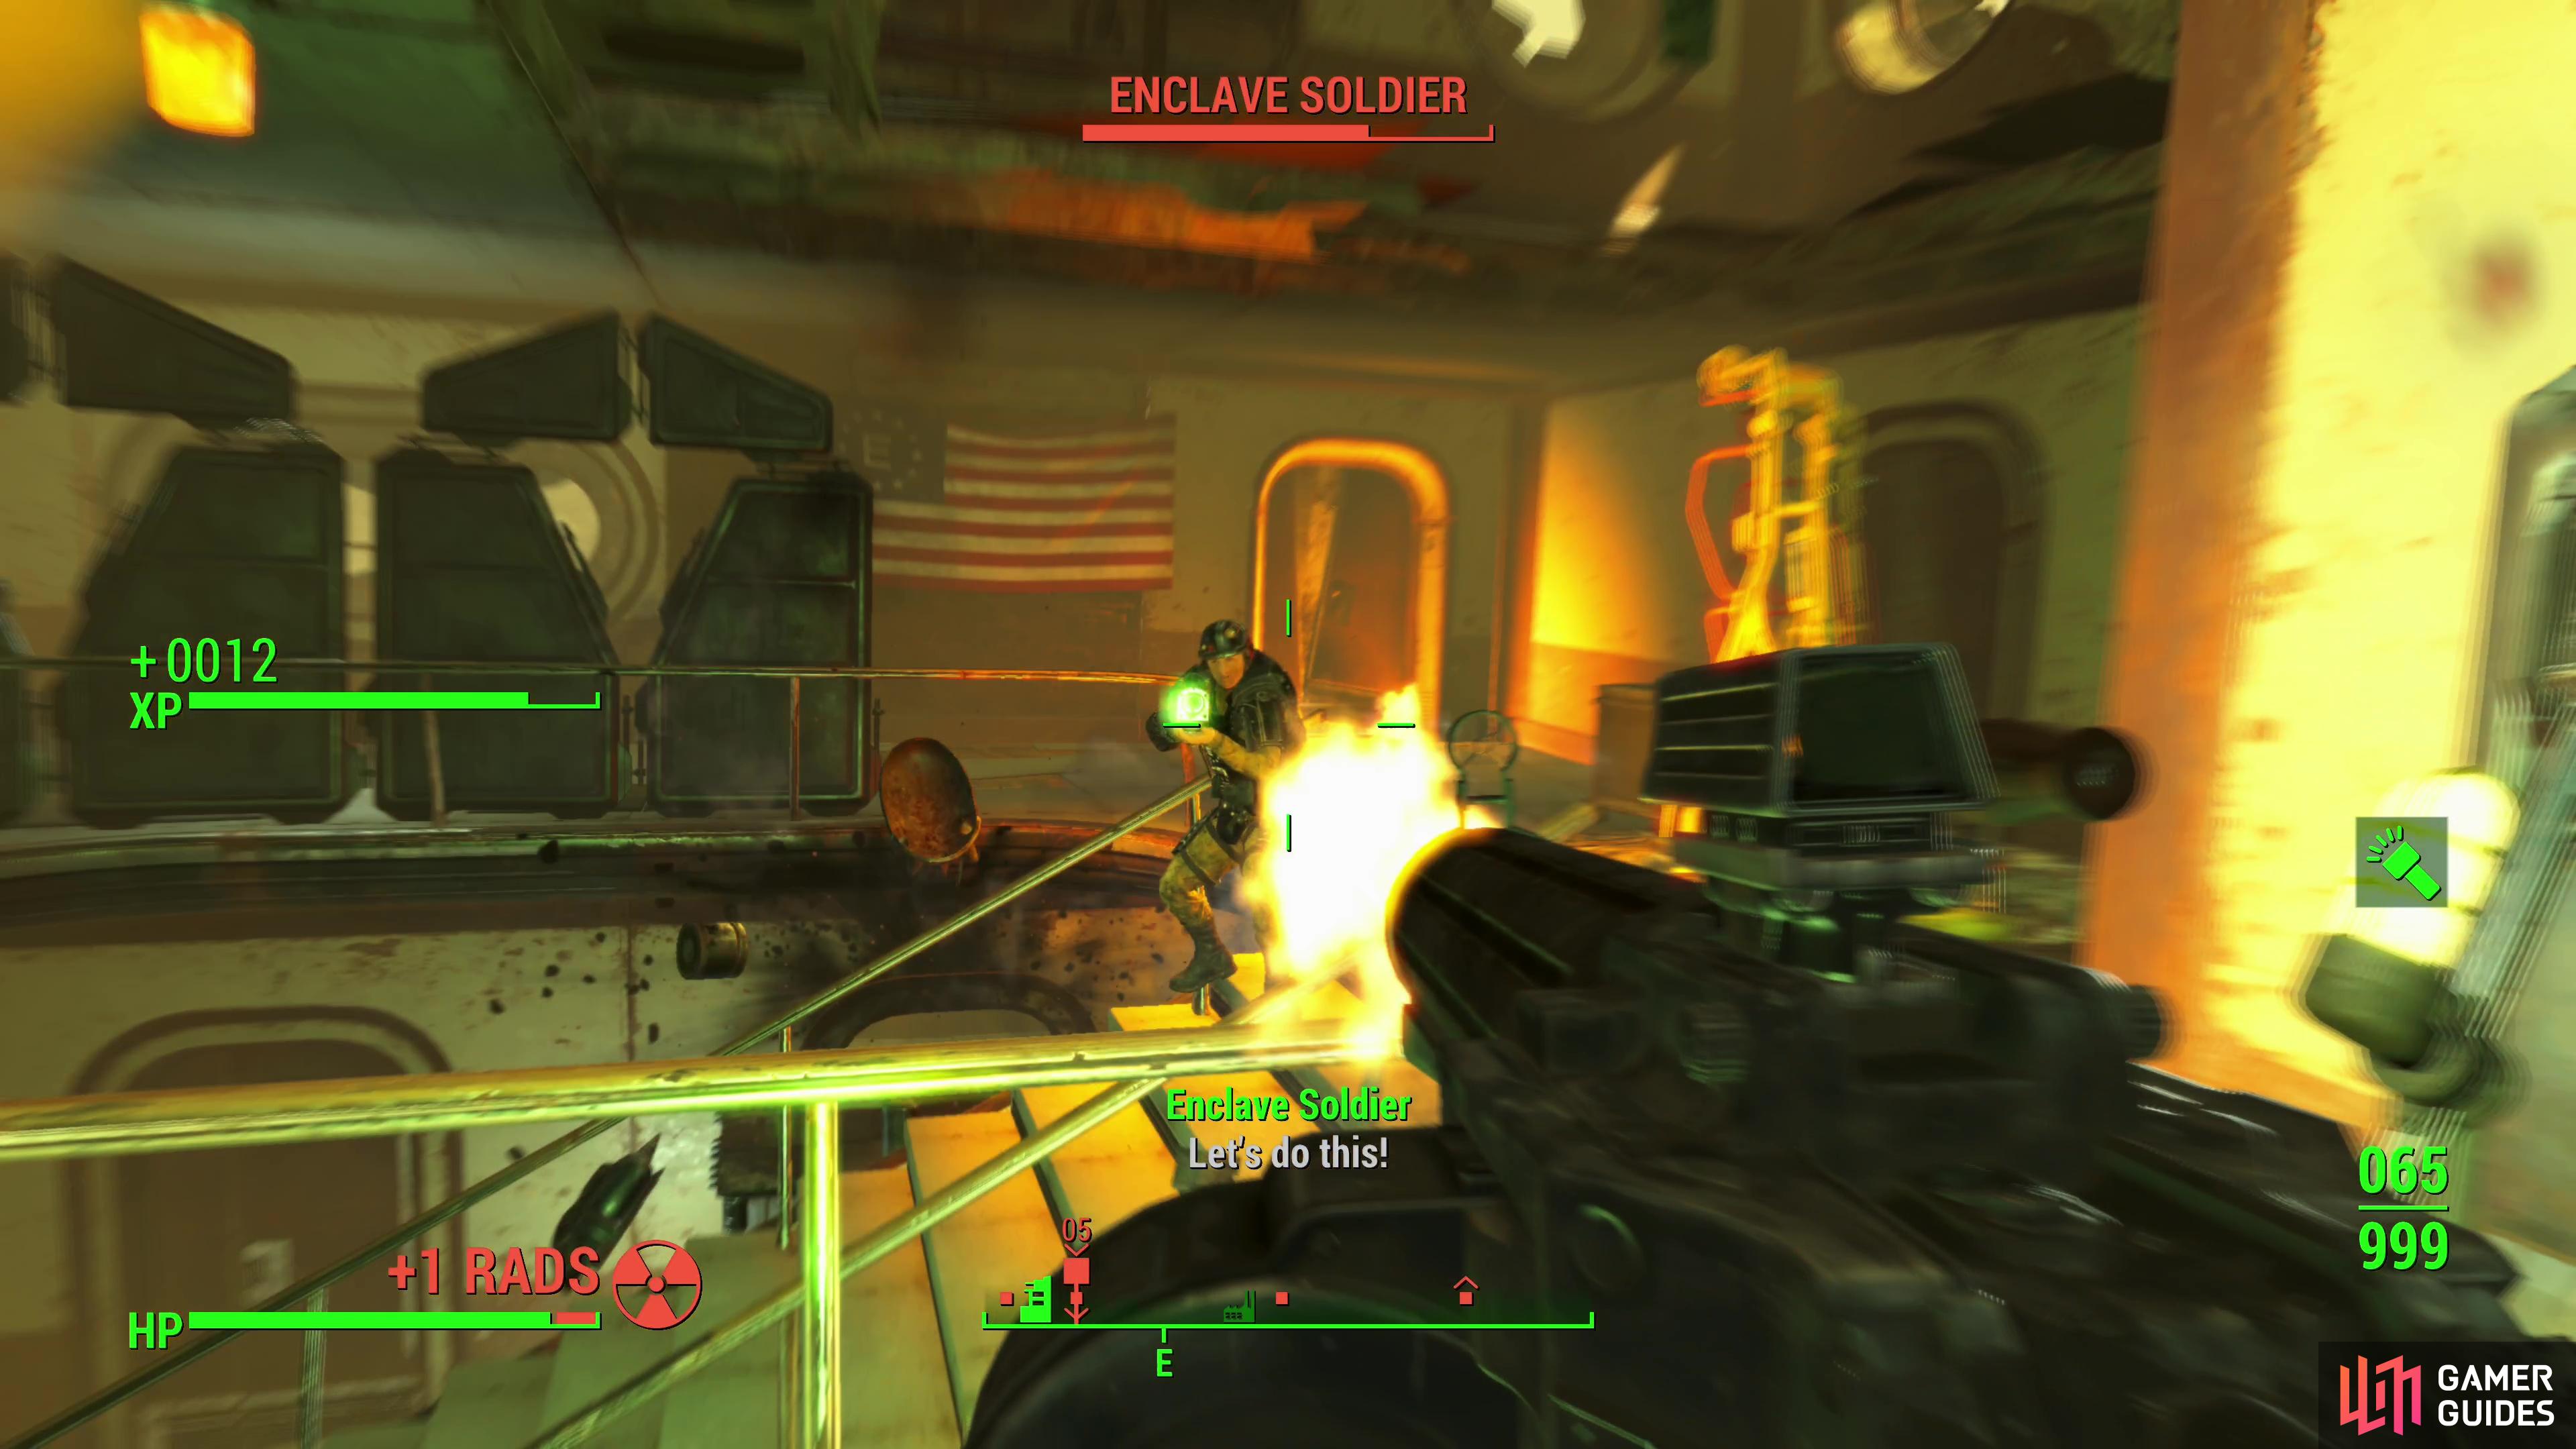
Make your way west through a doorway, killing any Enclave Soldiers you see - we encountered one wearing power armor, and unlike at the Enclave camp you sacked earlier, this is going to be the norm. Expect at least half of the dozen or so enemies you need to kill to be wearing power armor, so if your last fight with such foes was a close call, this might not be pretty. Defeat the Enclave Soldier and note the locked door to the right (north). Not a whole lot in here, but if you want it open you’ll need to sidle around a hole in the floor to the south, access a terminal, and pick the [Open Door] option. You have to exit your power armor to interact with terminals.
Enclave Terminal Password Location
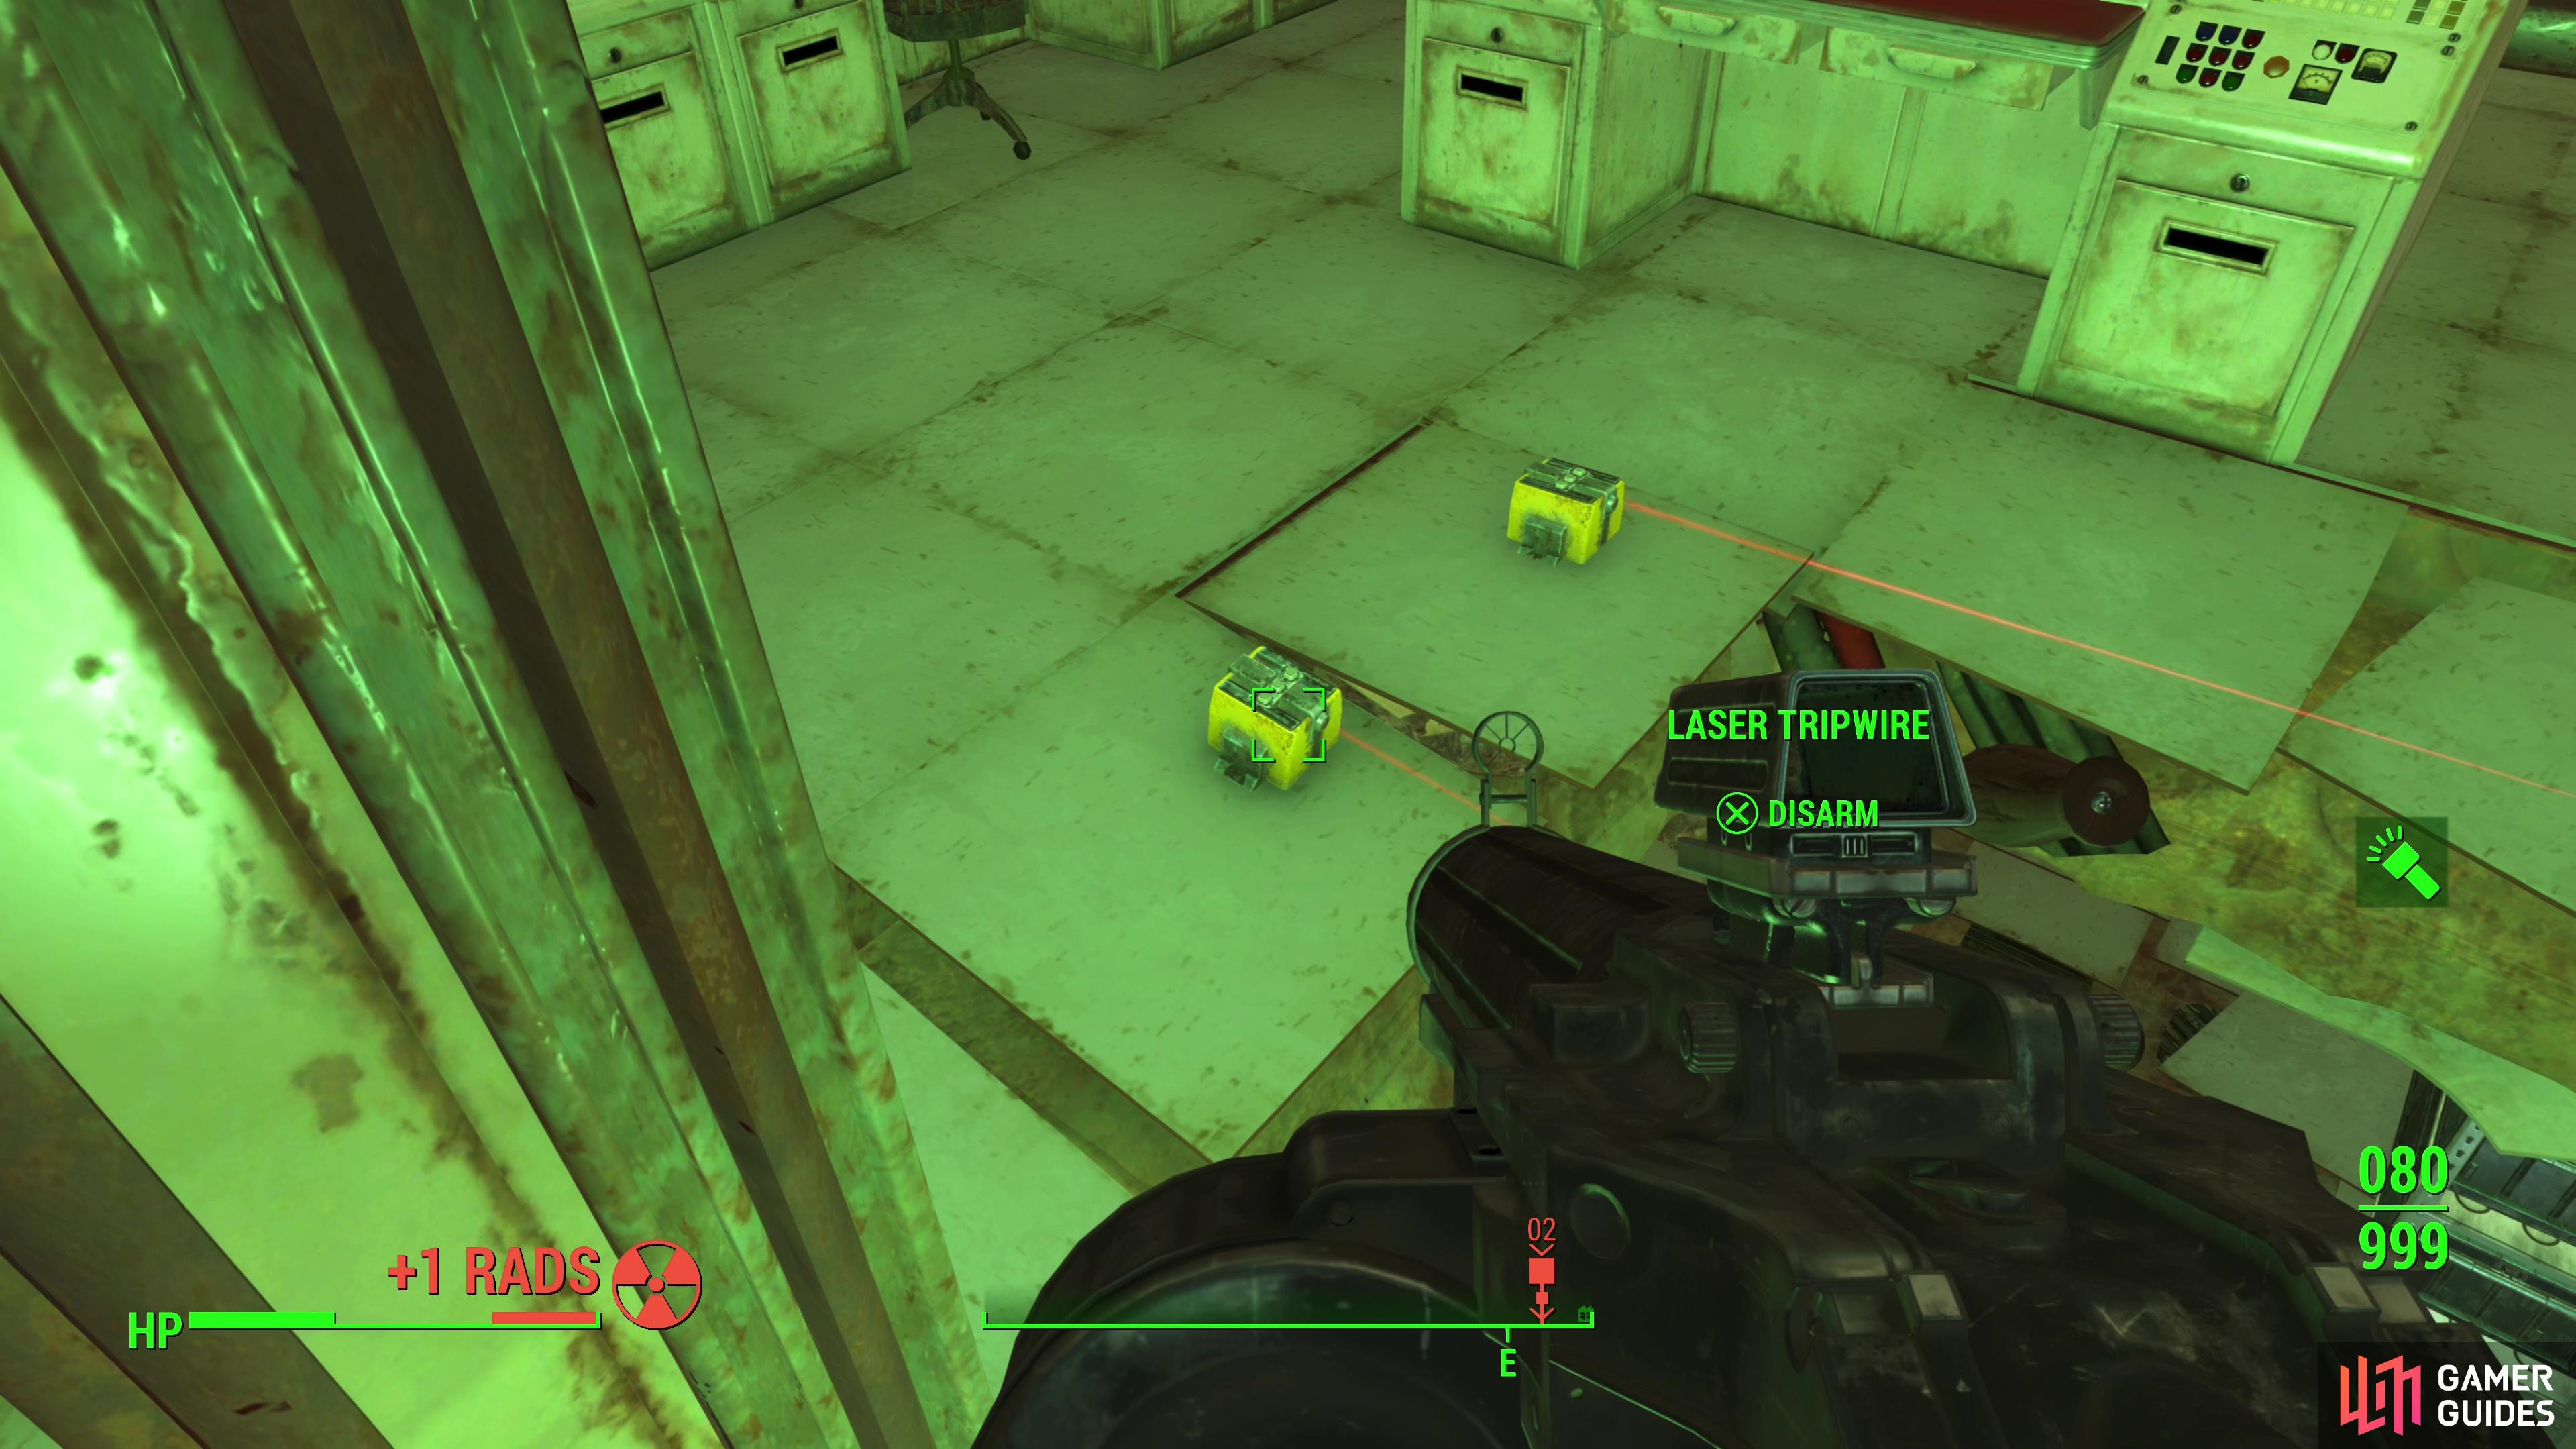
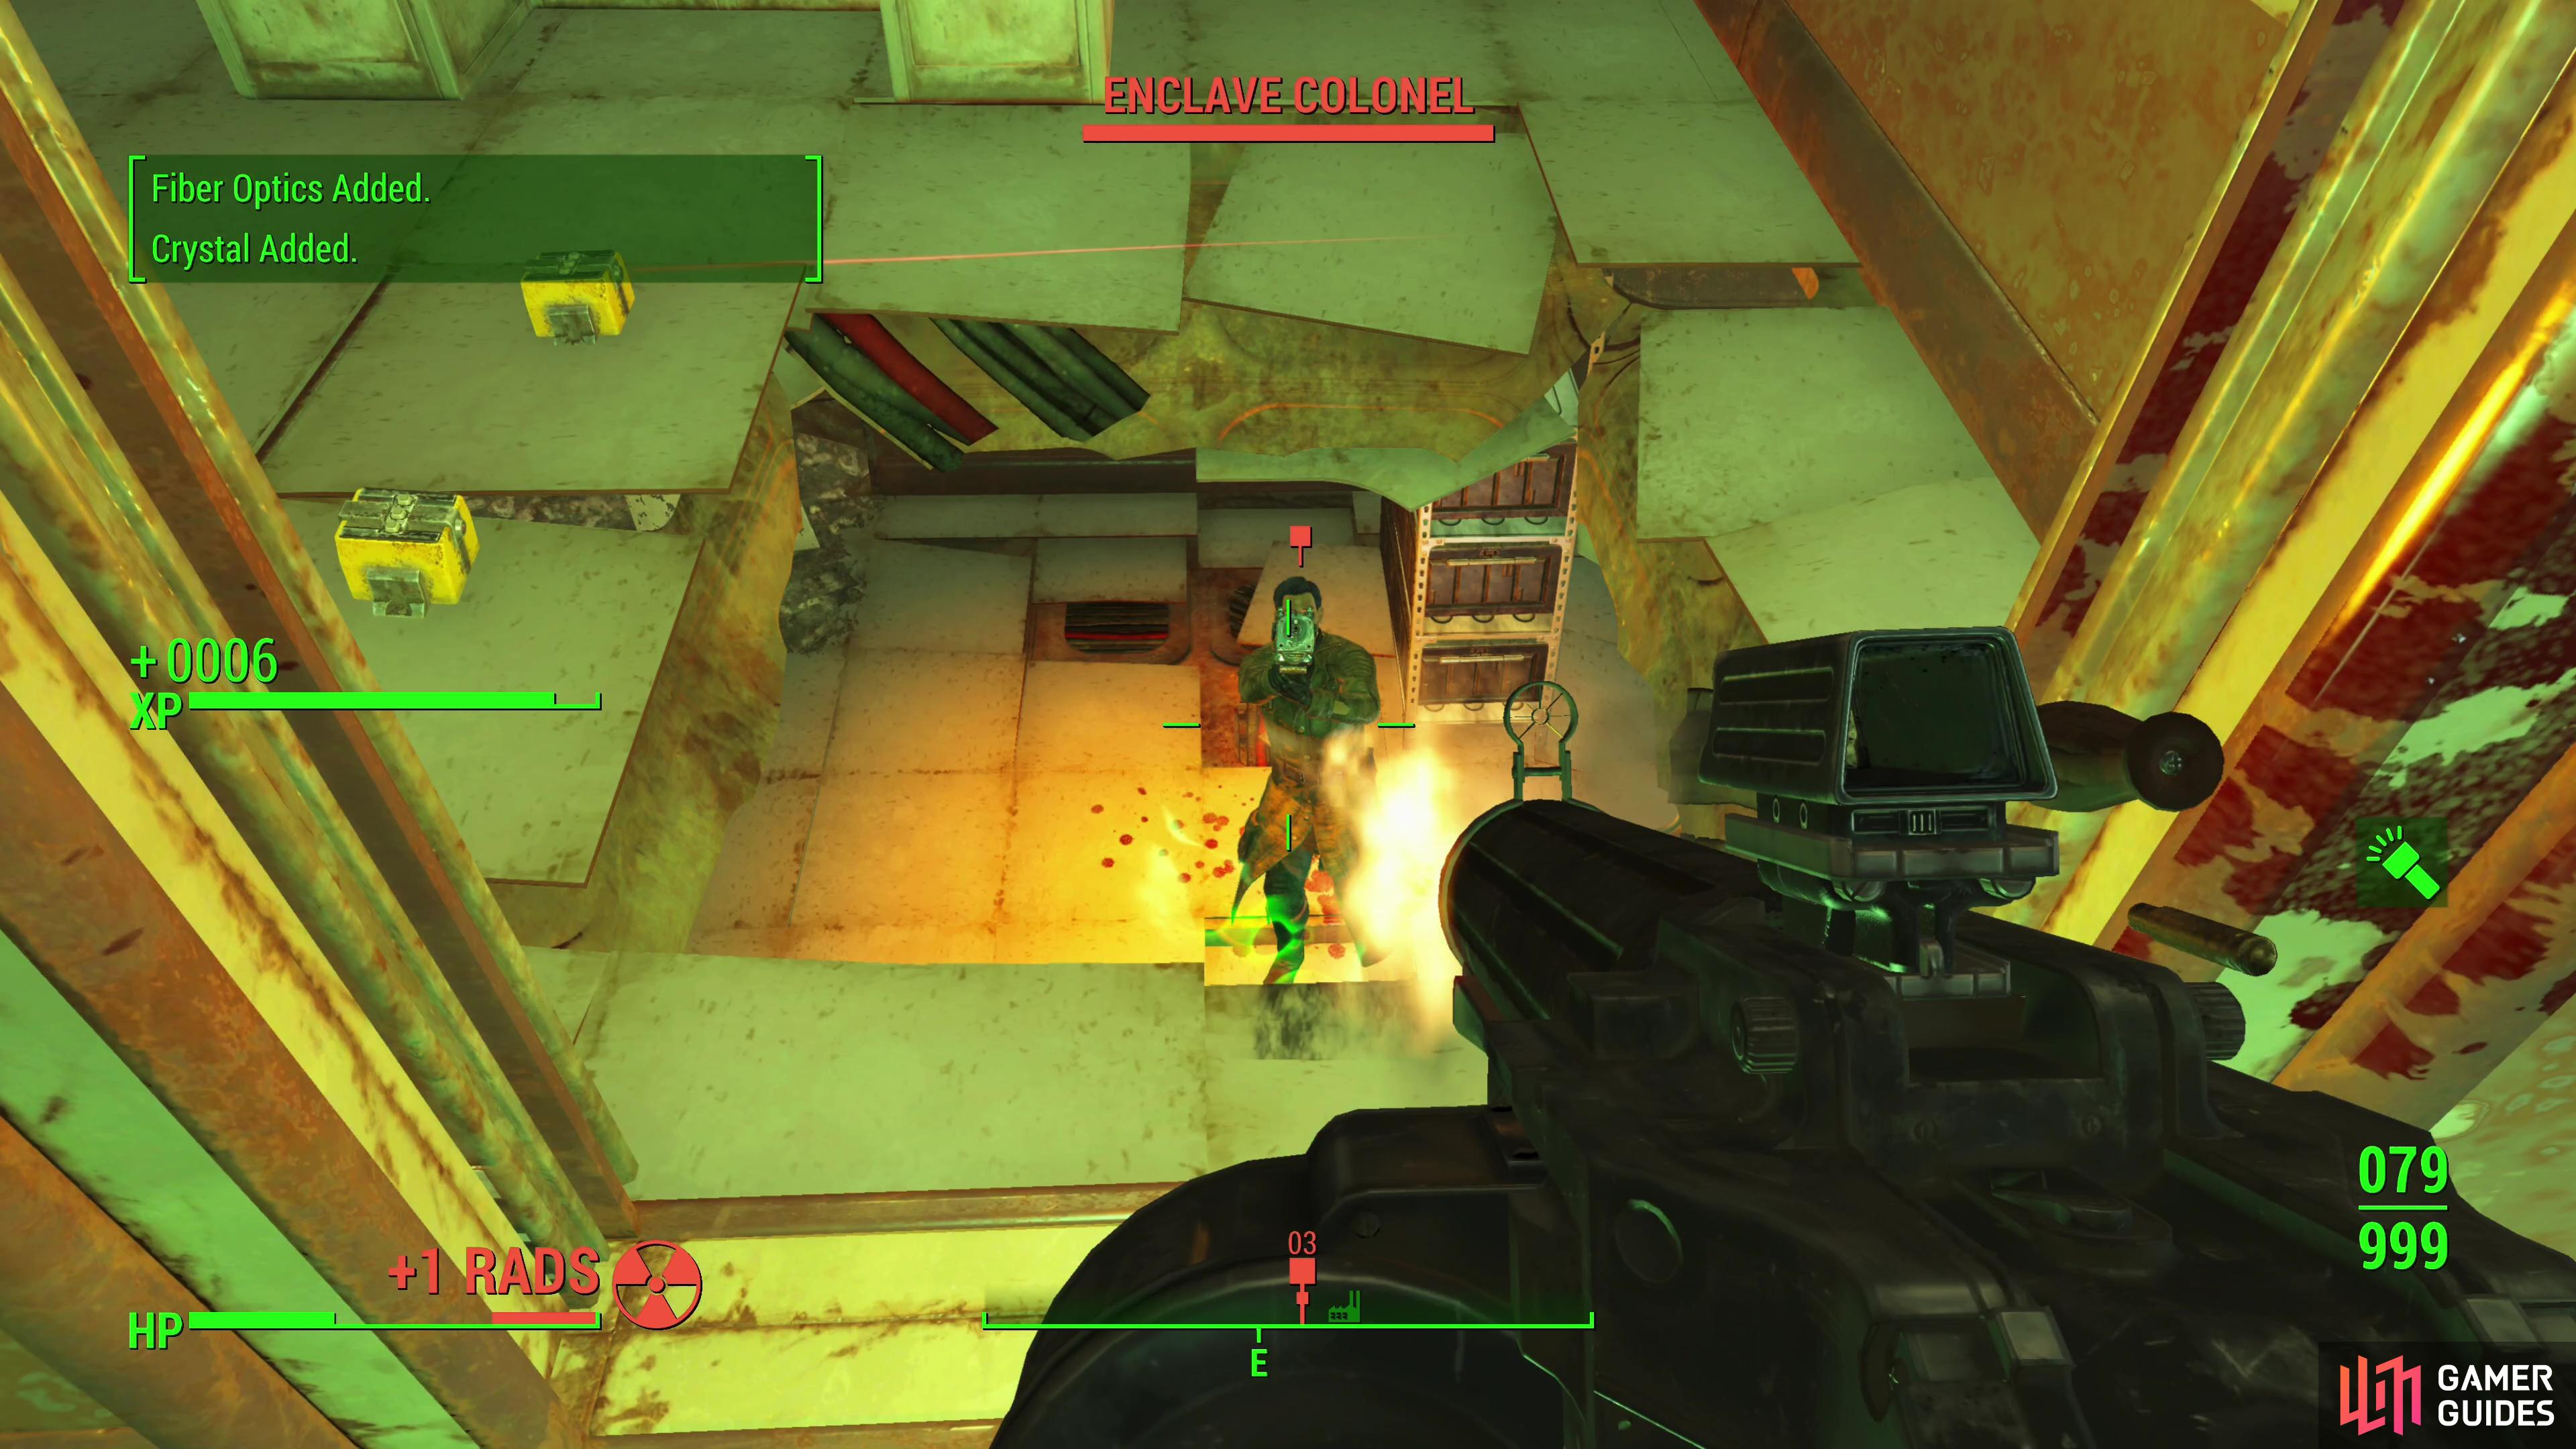
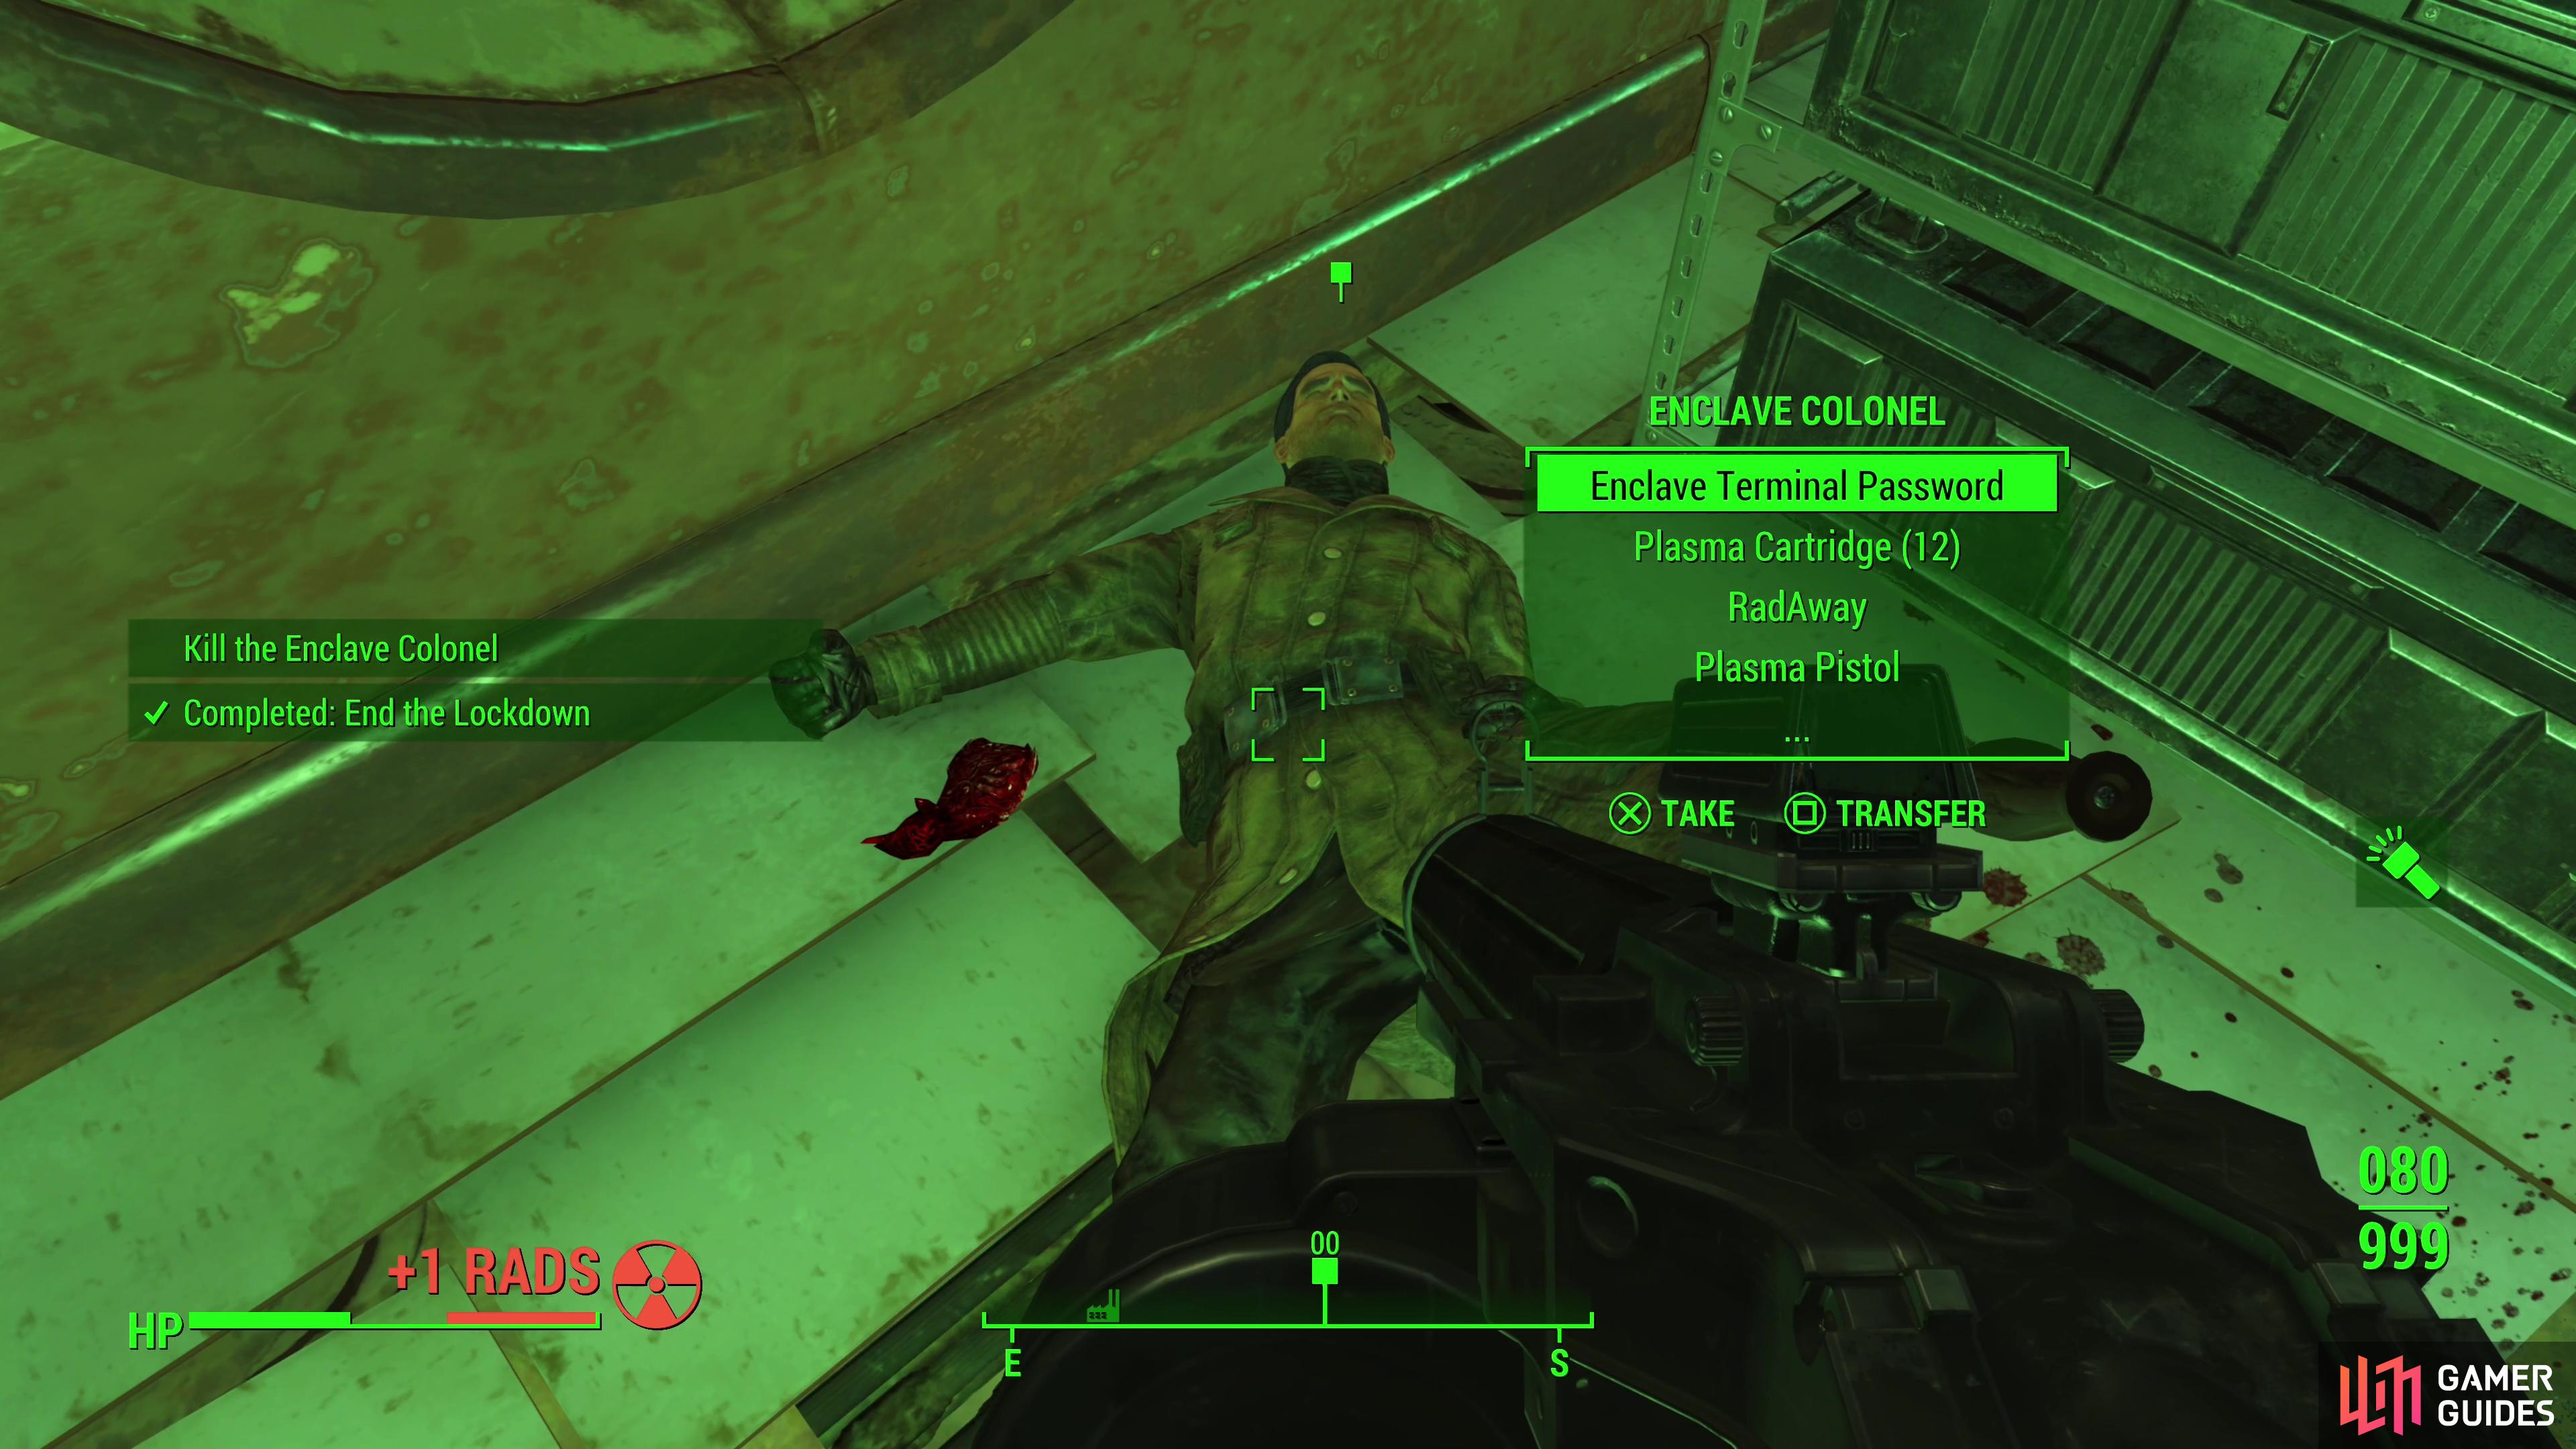
Open and loot the room if you wish, then drop down the hole you sidled around to reach the lower floor. Loot some Enclave crates and a First Aid box, then open a door to the east to reach the lobby, where you’ll encounter more Enclave Soldiers, both upstairs and downstairs. Fight your way downstairs and peek your head through a doorway to the east. Laser Tripwires boobytrap a hole in the floor, and through said hole are more Enclave Soldiers, including the Enclave Colonel. Shoot them when they inevitably go to attack through the hole in the floor, then drop down and loot the Enclave Colonel for the Enclave Terminal Password.
With the password in hand, go through a door to the west and turn south to find the Enclave CO’s Terminal, which you can now access thanks to the aforementioned password. Be sure to read all the entries in the [Encampment Distribution] option to learn the location of three Enclave bases:
- Southern Enclave Encampment: South of Galaxy News Network
- Eastern Enclave Encampment: East of Parsons State Insane Asylum
- Western Enclave Encampment: Southwest of Dark Hollow Pond
(1 of 3) After cancelling the alarm, ride an elevator up to the roof and get the drop on some more Enclave Soldiers.
Escape the Building and Defeat the Remaining Enclave Soldiers
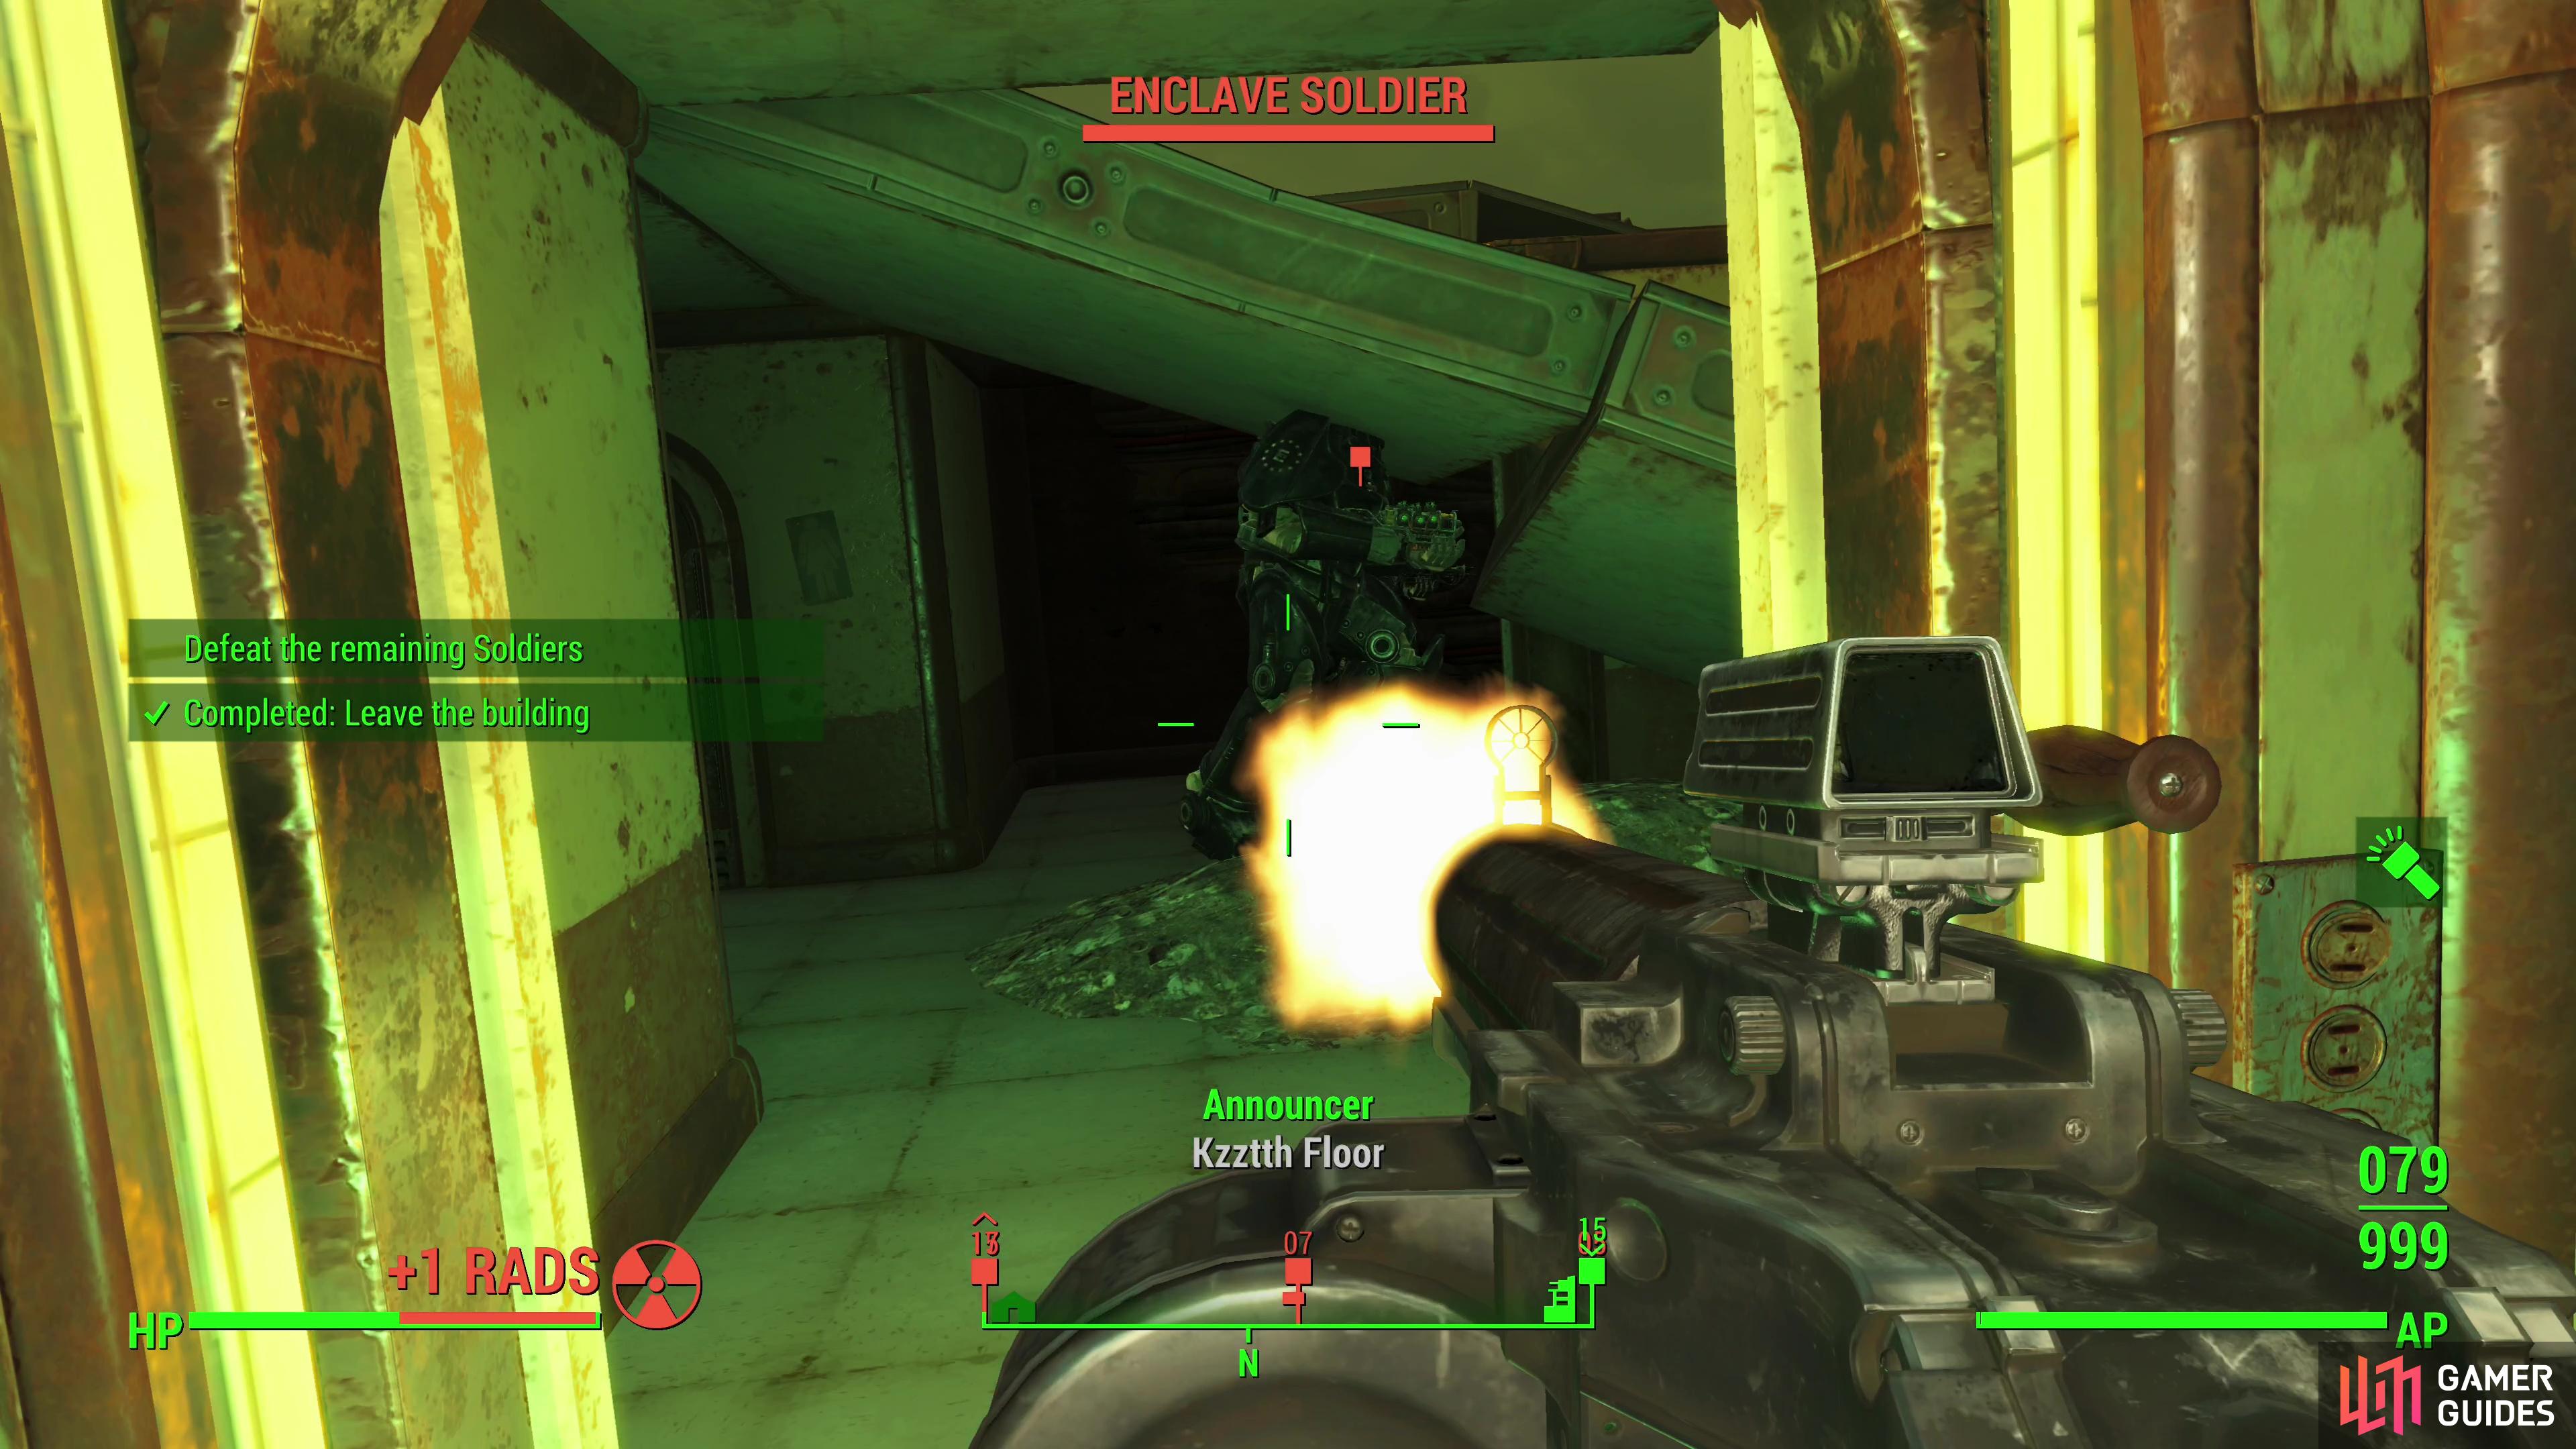
Just some more targets if you feel up for some additional mayhem. Also, be sure to end that pesky alarm. Had just about enough of that. When you’re ready to go, take an elevator in the southwestern corner of the room to reach the roof… well, rather the upper floor which, thanks to father time and general atom are quickly becoming one and the same. Get the drop on some Enclave Soldiers when the elevator door opens and clear the floor (one of them was kind enough to drop us a Tesla Cannon!). Once you’re not in immediate danger, loot a safe [Advanced] in the southeastern corner of the floor and open a door [Novice] to the northwest if you want to score some extra loot, then head up a collapsed section of roof to reach the top of the building.
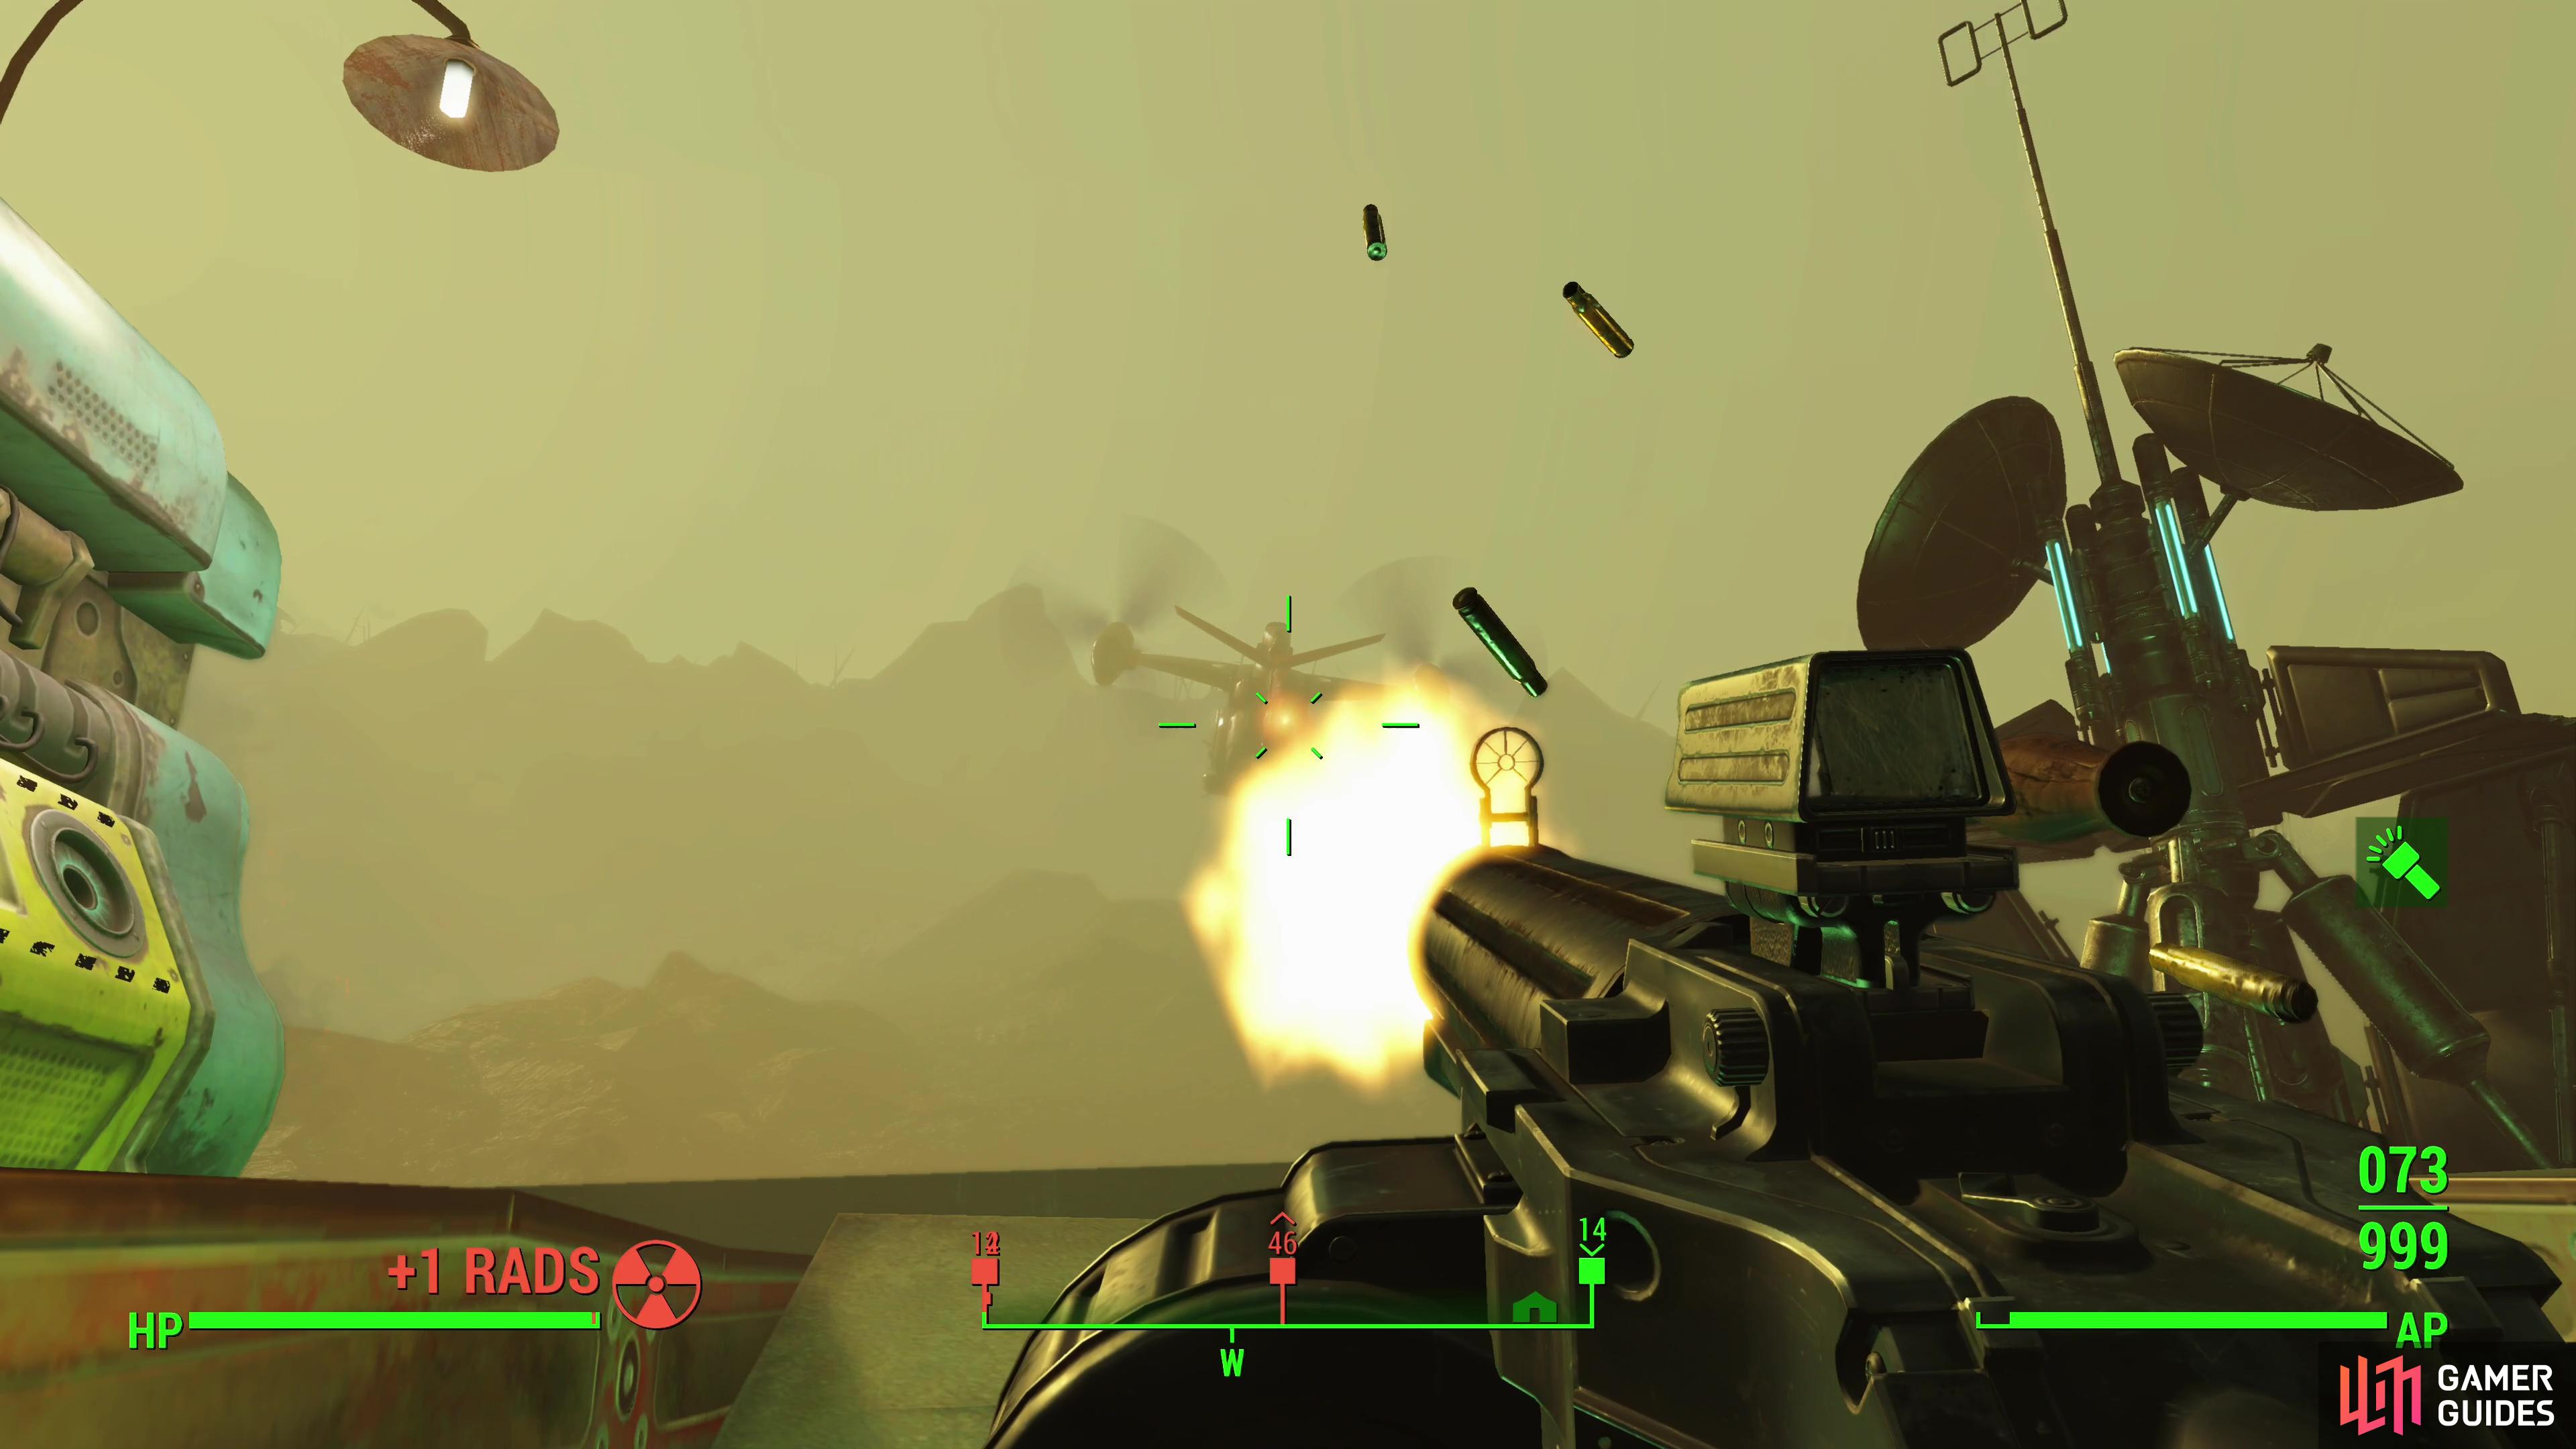
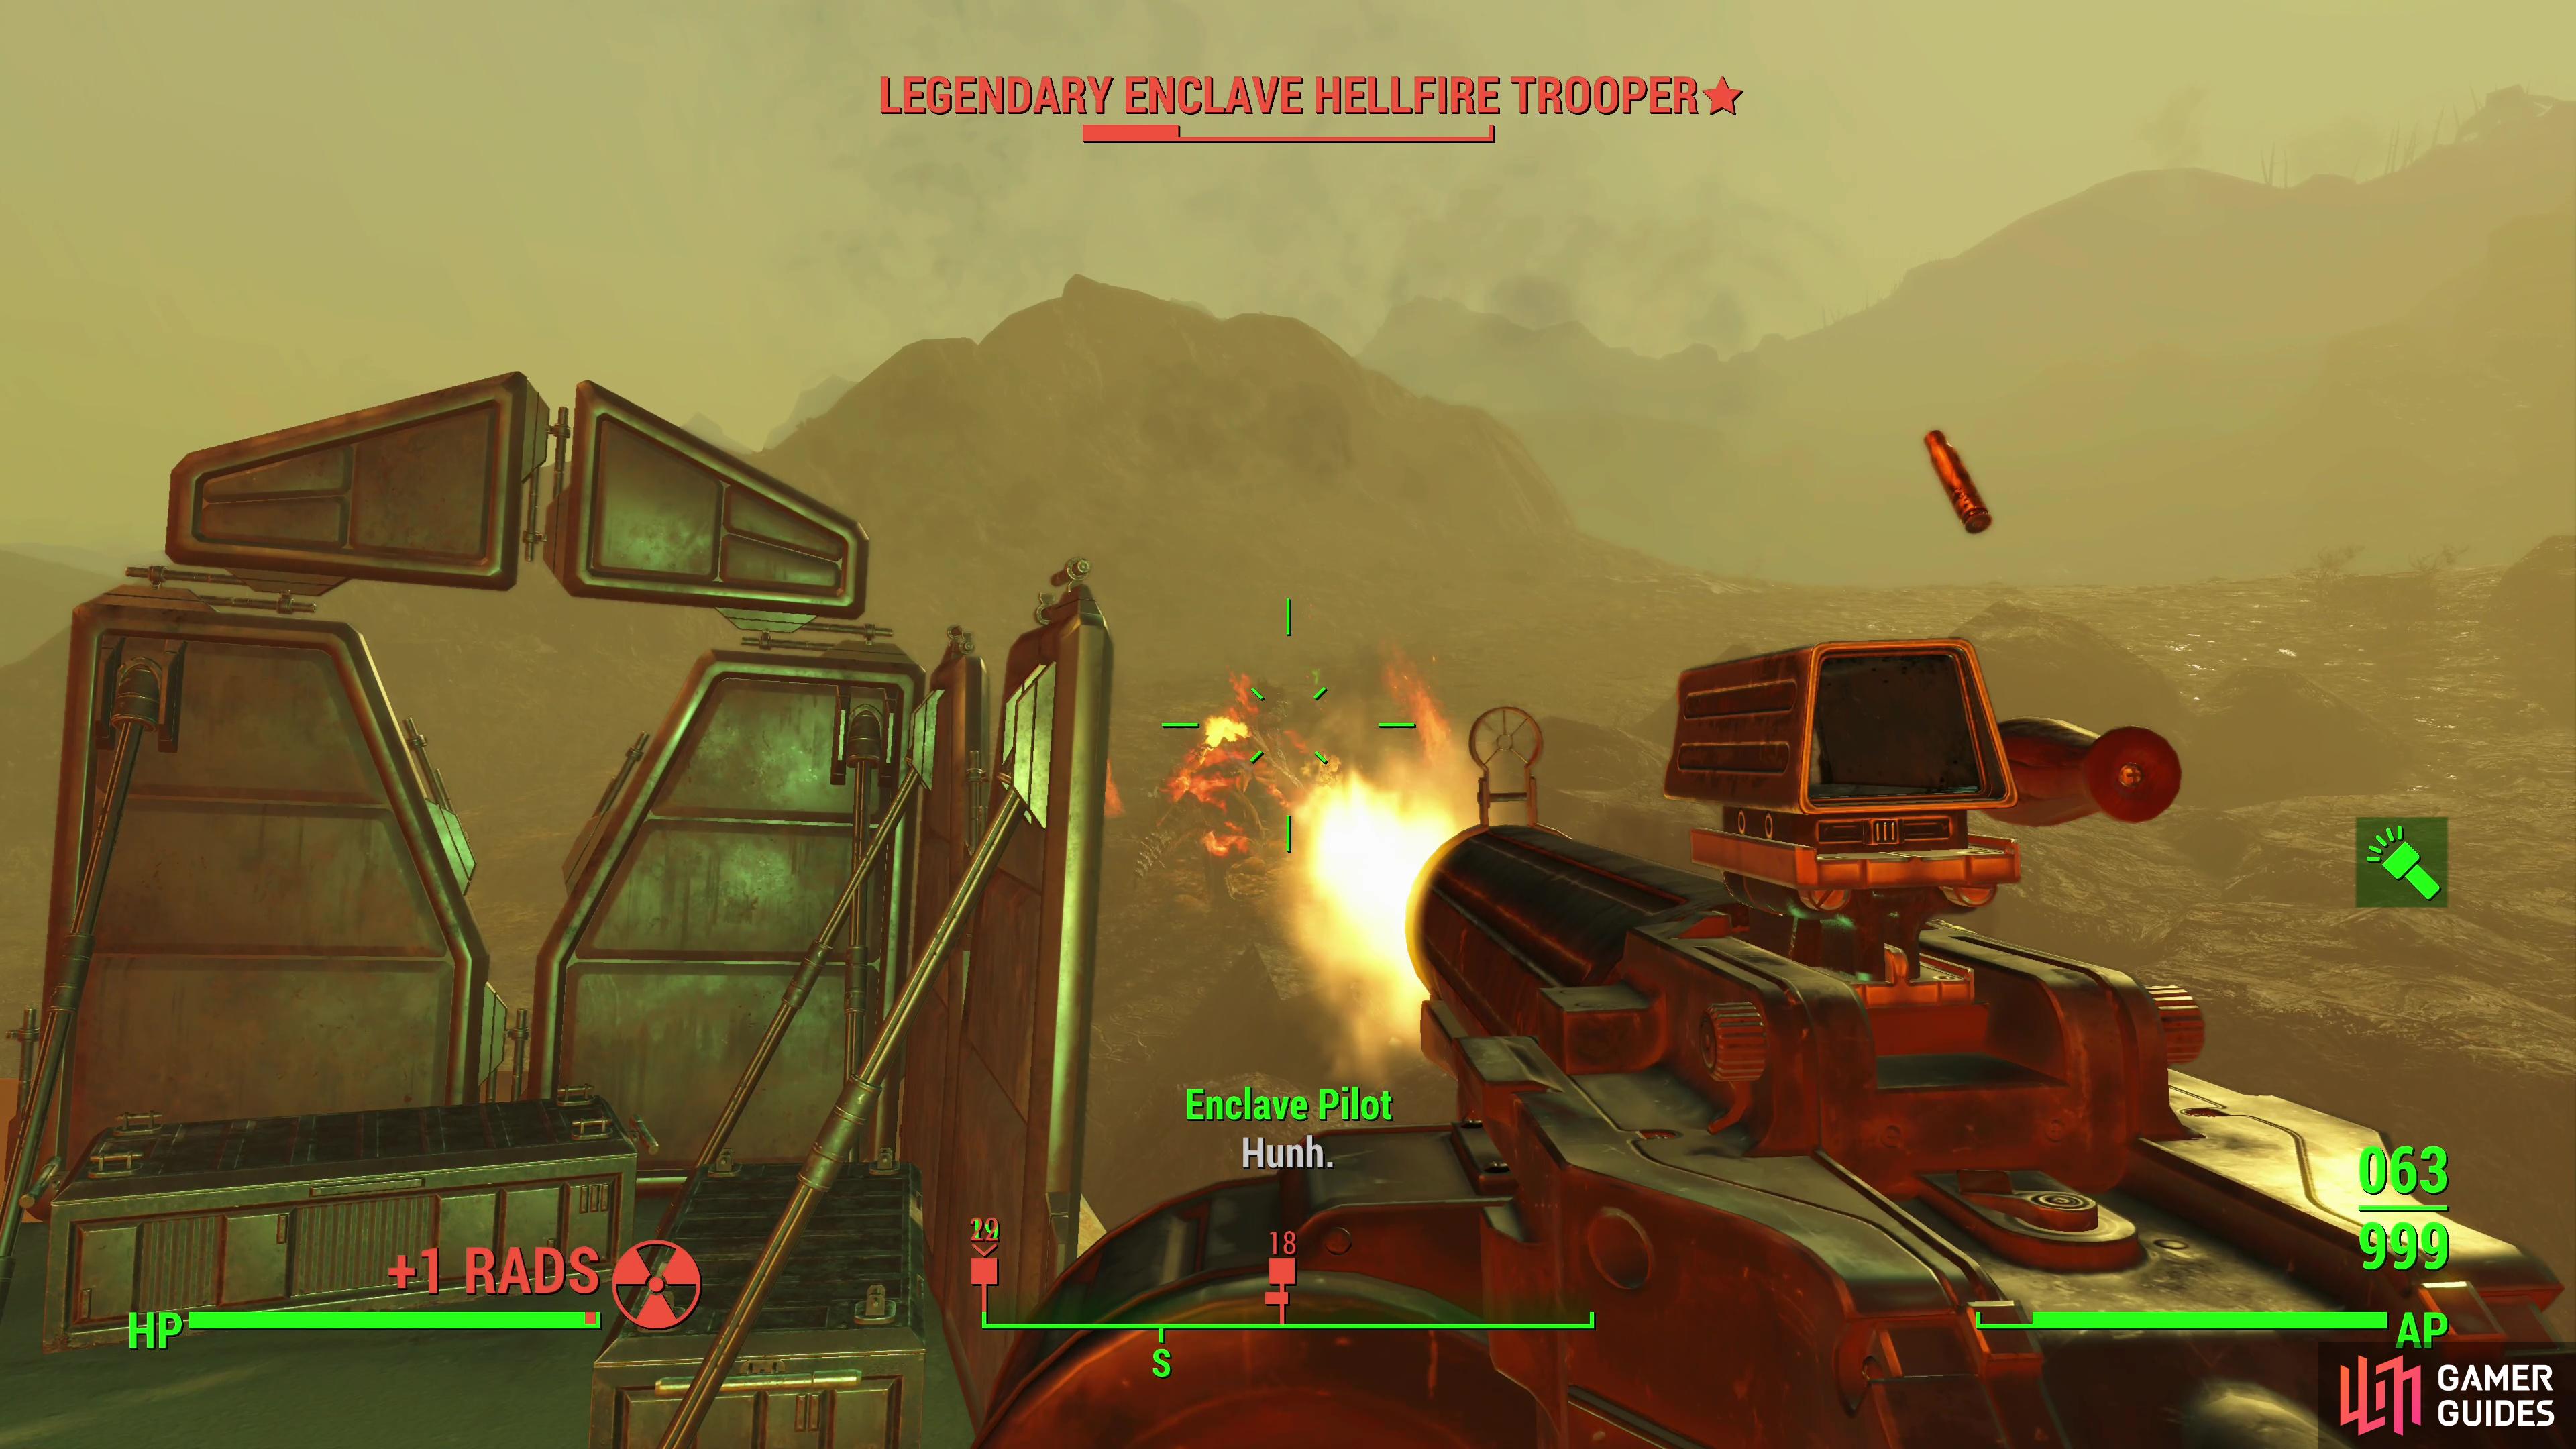
The alarm you set off didn’t just alert the Enclave in the building, apparently, as reinforcements - including a Vertibird - now await you. Stay near the center of the roof and dispatch the Vertibird while using the building as cover, then pick off the power-armored Enclave Soldiers below - there are several of them, but if you stay on the roof you’ll have some protection against their attacks – hit and run if you must. We were lucky and some local Deathclaws showed up to distract the Enclave Soldiers. How kind of them! When the last Enclave Soldier dies, this quest will end, leaving the tedious business of lugging all your treasure home up to your own machinations.

 Sign up
No Comments