
Brave the perils of Booster Pass and you’ll reach Booster Tower, a much longer, more elaborate area. You originally ended up here after overhearing a lead in Moleville - apparently, some Booster fellow is keeping some “princess from the sky” entertained. We don’t know any other princesses besides Peach, so it’s worth checking out! This page will provide a walkthrough for the Booster Tower area in Super Mario RPG, including how to find all the hidden treasures and secrets, how to avoid being discovered during the Curtain Hiding minigame, and how to open the secret area in Booster Pass.
| Booster Tower Enemies |
|---|
| Booster |
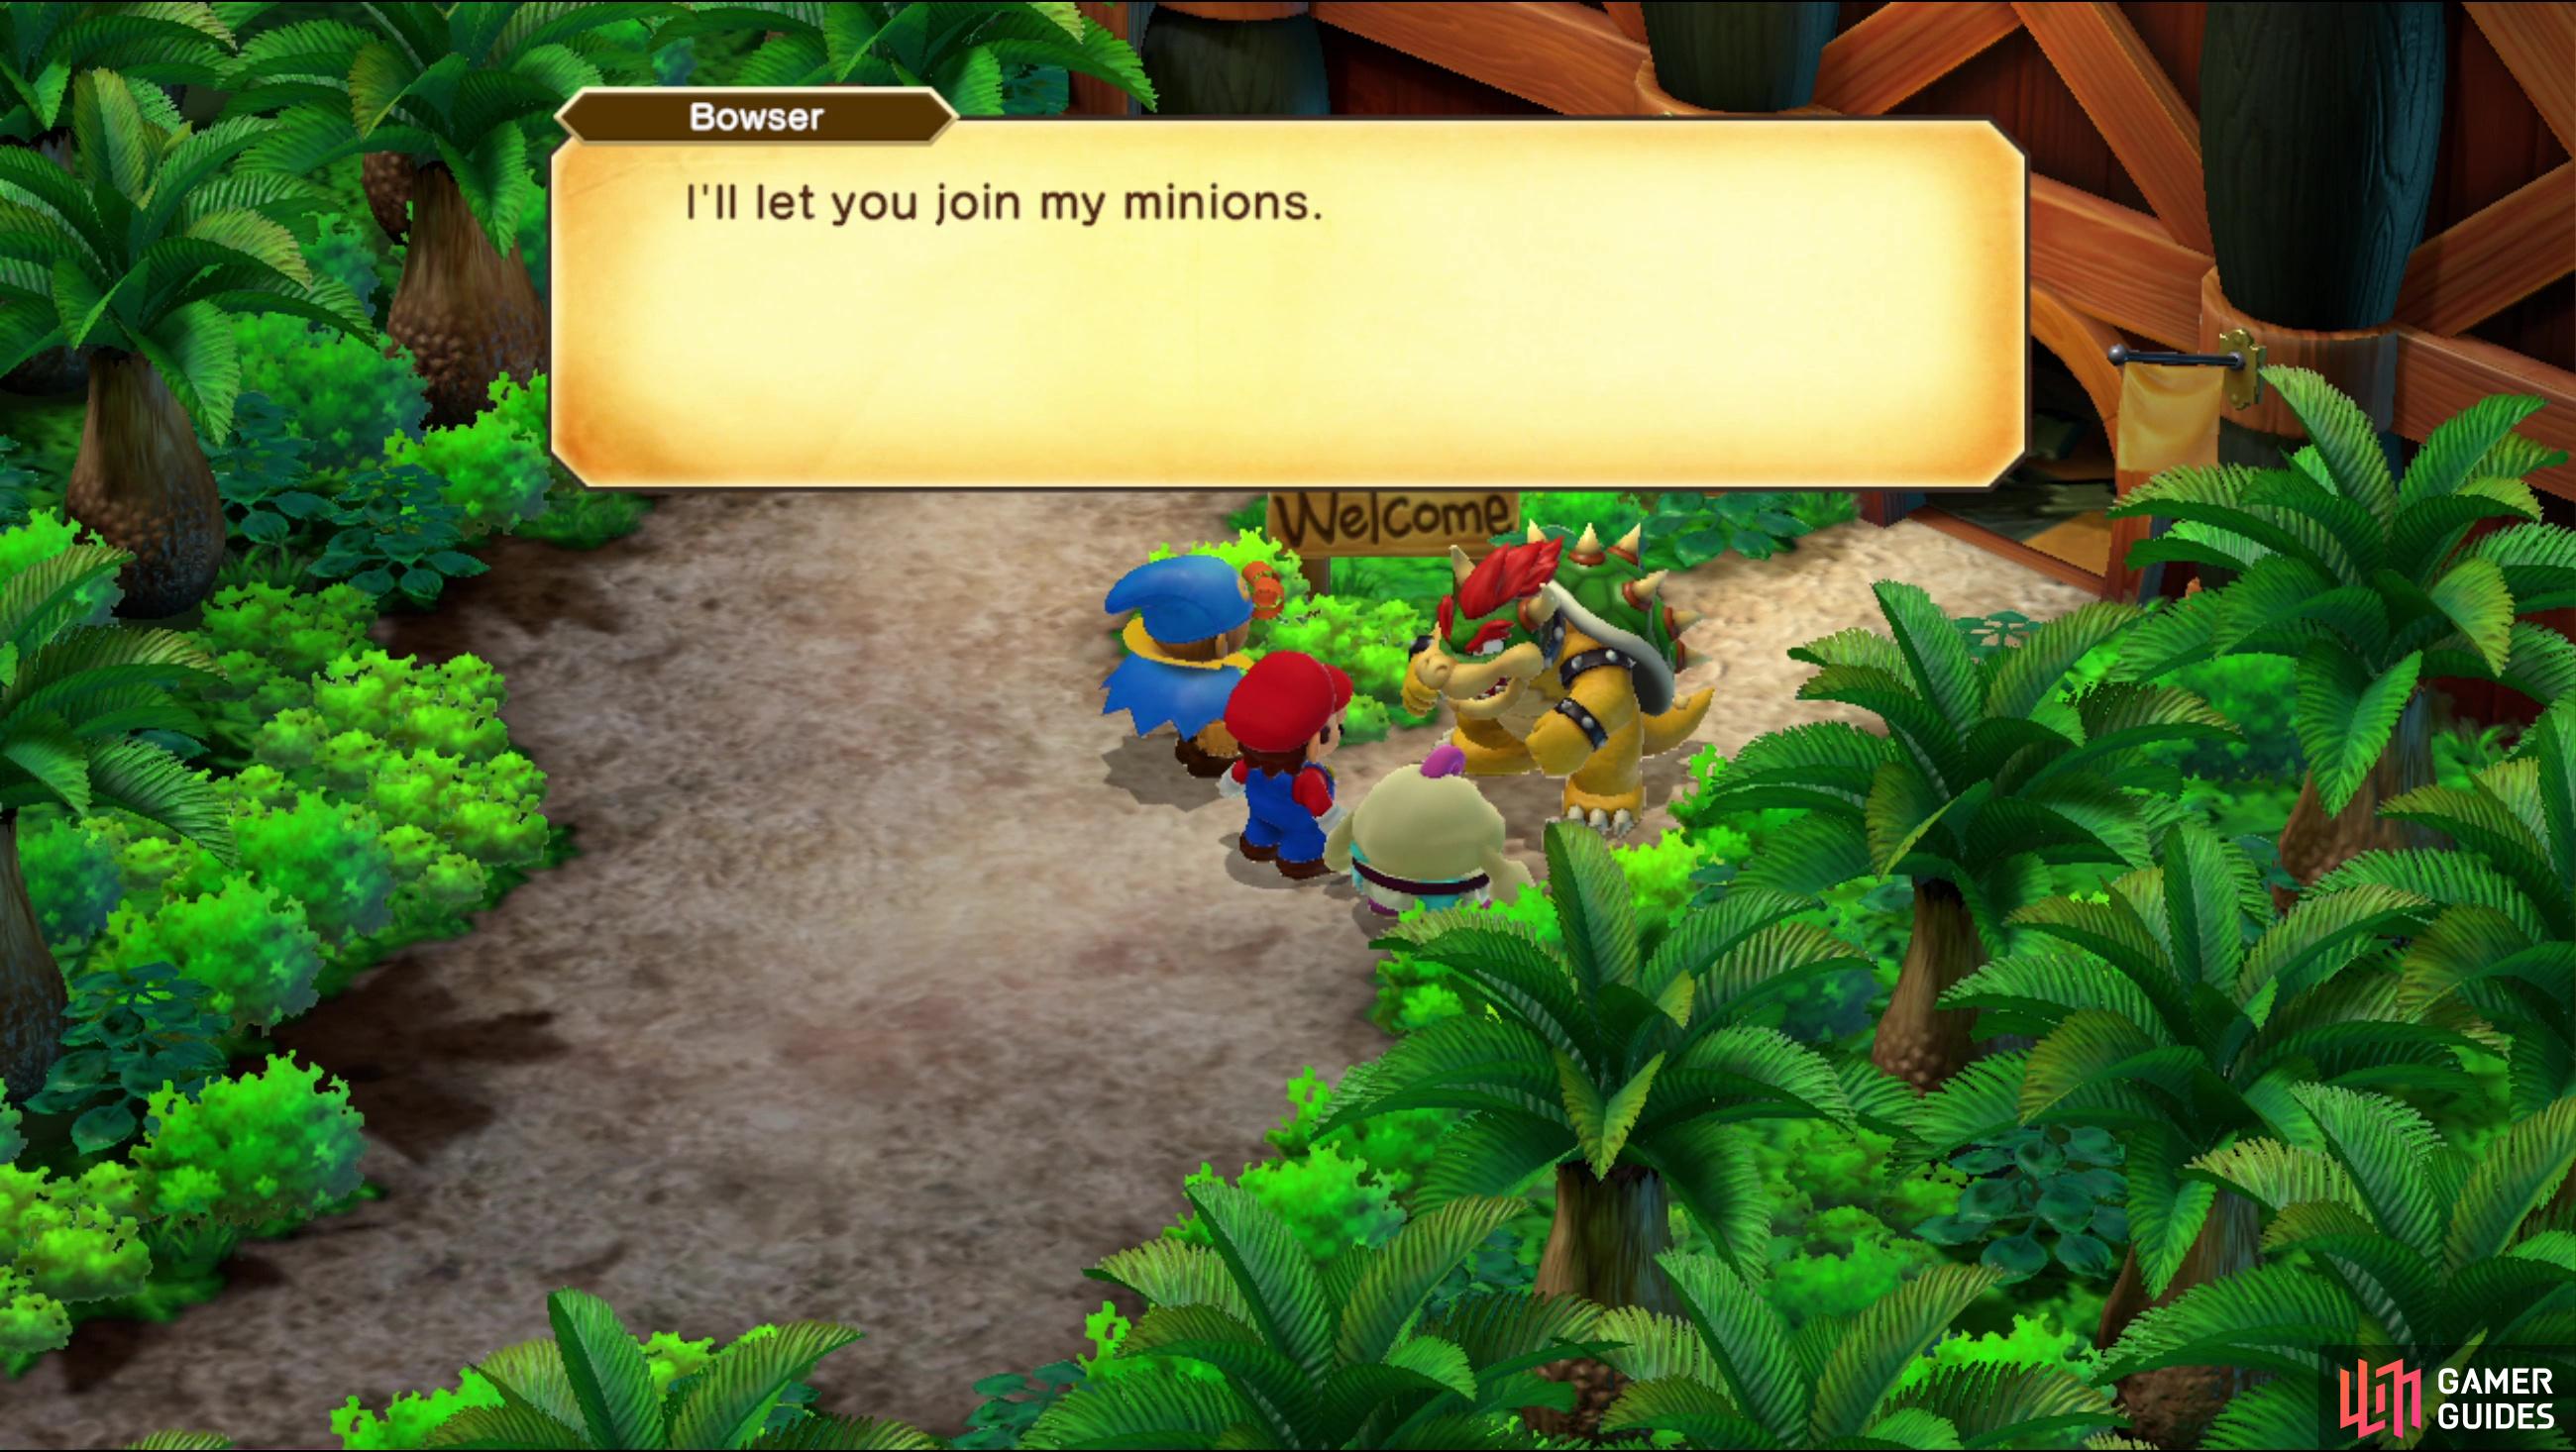
You’ll find Bowser outside of Booster Tower, and after some shenanigans he’ll invite you to become his minions.
Booster Tower - Entrance
When you arrive you’ll find that you’re not the first one here - your nemesis, ![]() Bowser, arrived before you! He’ll bemoan the good ol’ days before putting on a brave face. After some chatter that confirms your suspicions about this “sky princesses” identity, you’ll get a cinematic, where Bowser’s evil nature ends up benefiting us by securing a way inside Booster Tower. Bowser will join the part - or rather, you’ll temporarily join Bowser’s Minions! Either way, you’ll be able to switch out party members for the first time in the game - if you want a high-defense character, consider bringing Bowser along, benching either Mallow (his healing is still quite handy!) or Geno. When you’re ready, enter Booster Tower.
Bowser, arrived before you! He’ll bemoan the good ol’ days before putting on a brave face. After some chatter that confirms your suspicions about this “sky princesses” identity, you’ll get a cinematic, where Bowser’s evil nature ends up benefiting us by securing a way inside Booster Tower. Bowser will join the part - or rather, you’ll temporarily join Bowser’s Minions! Either way, you’ll be able to switch out party members for the first time in the game - if you want a high-defense character, consider bringing Bowser along, benching either Mallow (his healing is still quite handy!) or Geno. When you’re ready, enter Booster Tower.
Booster Tower - First Area
Not much to see on this screen, ignore the ![]() Snifits on the ground floor and the door and instead jump on a series of ledges to the northwest to reach an upper level, where you’ll find another Snifit patrolling. Note the photos on the wall here - these are the solution to a puzzle later on, and list six generations of Boosters from oldest (northwesternmost) to younger (southeasternmost). Some distinguishing features include:
Snifits on the ground floor and the door and instead jump on a series of ledges to the northwest to reach an upper level, where you’ll find another Snifit patrolling. Note the photos on the wall here - these are the solution to a puzzle later on, and list six generations of Boosters from oldest (northwesternmost) to younger (southeasternmost). Some distinguishing features include:
- Booster the First: Round red hat and large glasses
- Booster the Second: Yellow hat
- Booster the Third: Eyepatch
- Booster the Fourth: Sunglasses and mohawk
- Booster the Fifth: Red beanie hat and glasses
- Booster the Sixth: Red skullcap
We’ll remind you of these when you reach the puzzle and provide you with a solution. Until then, go through the doorway to reach the next area.
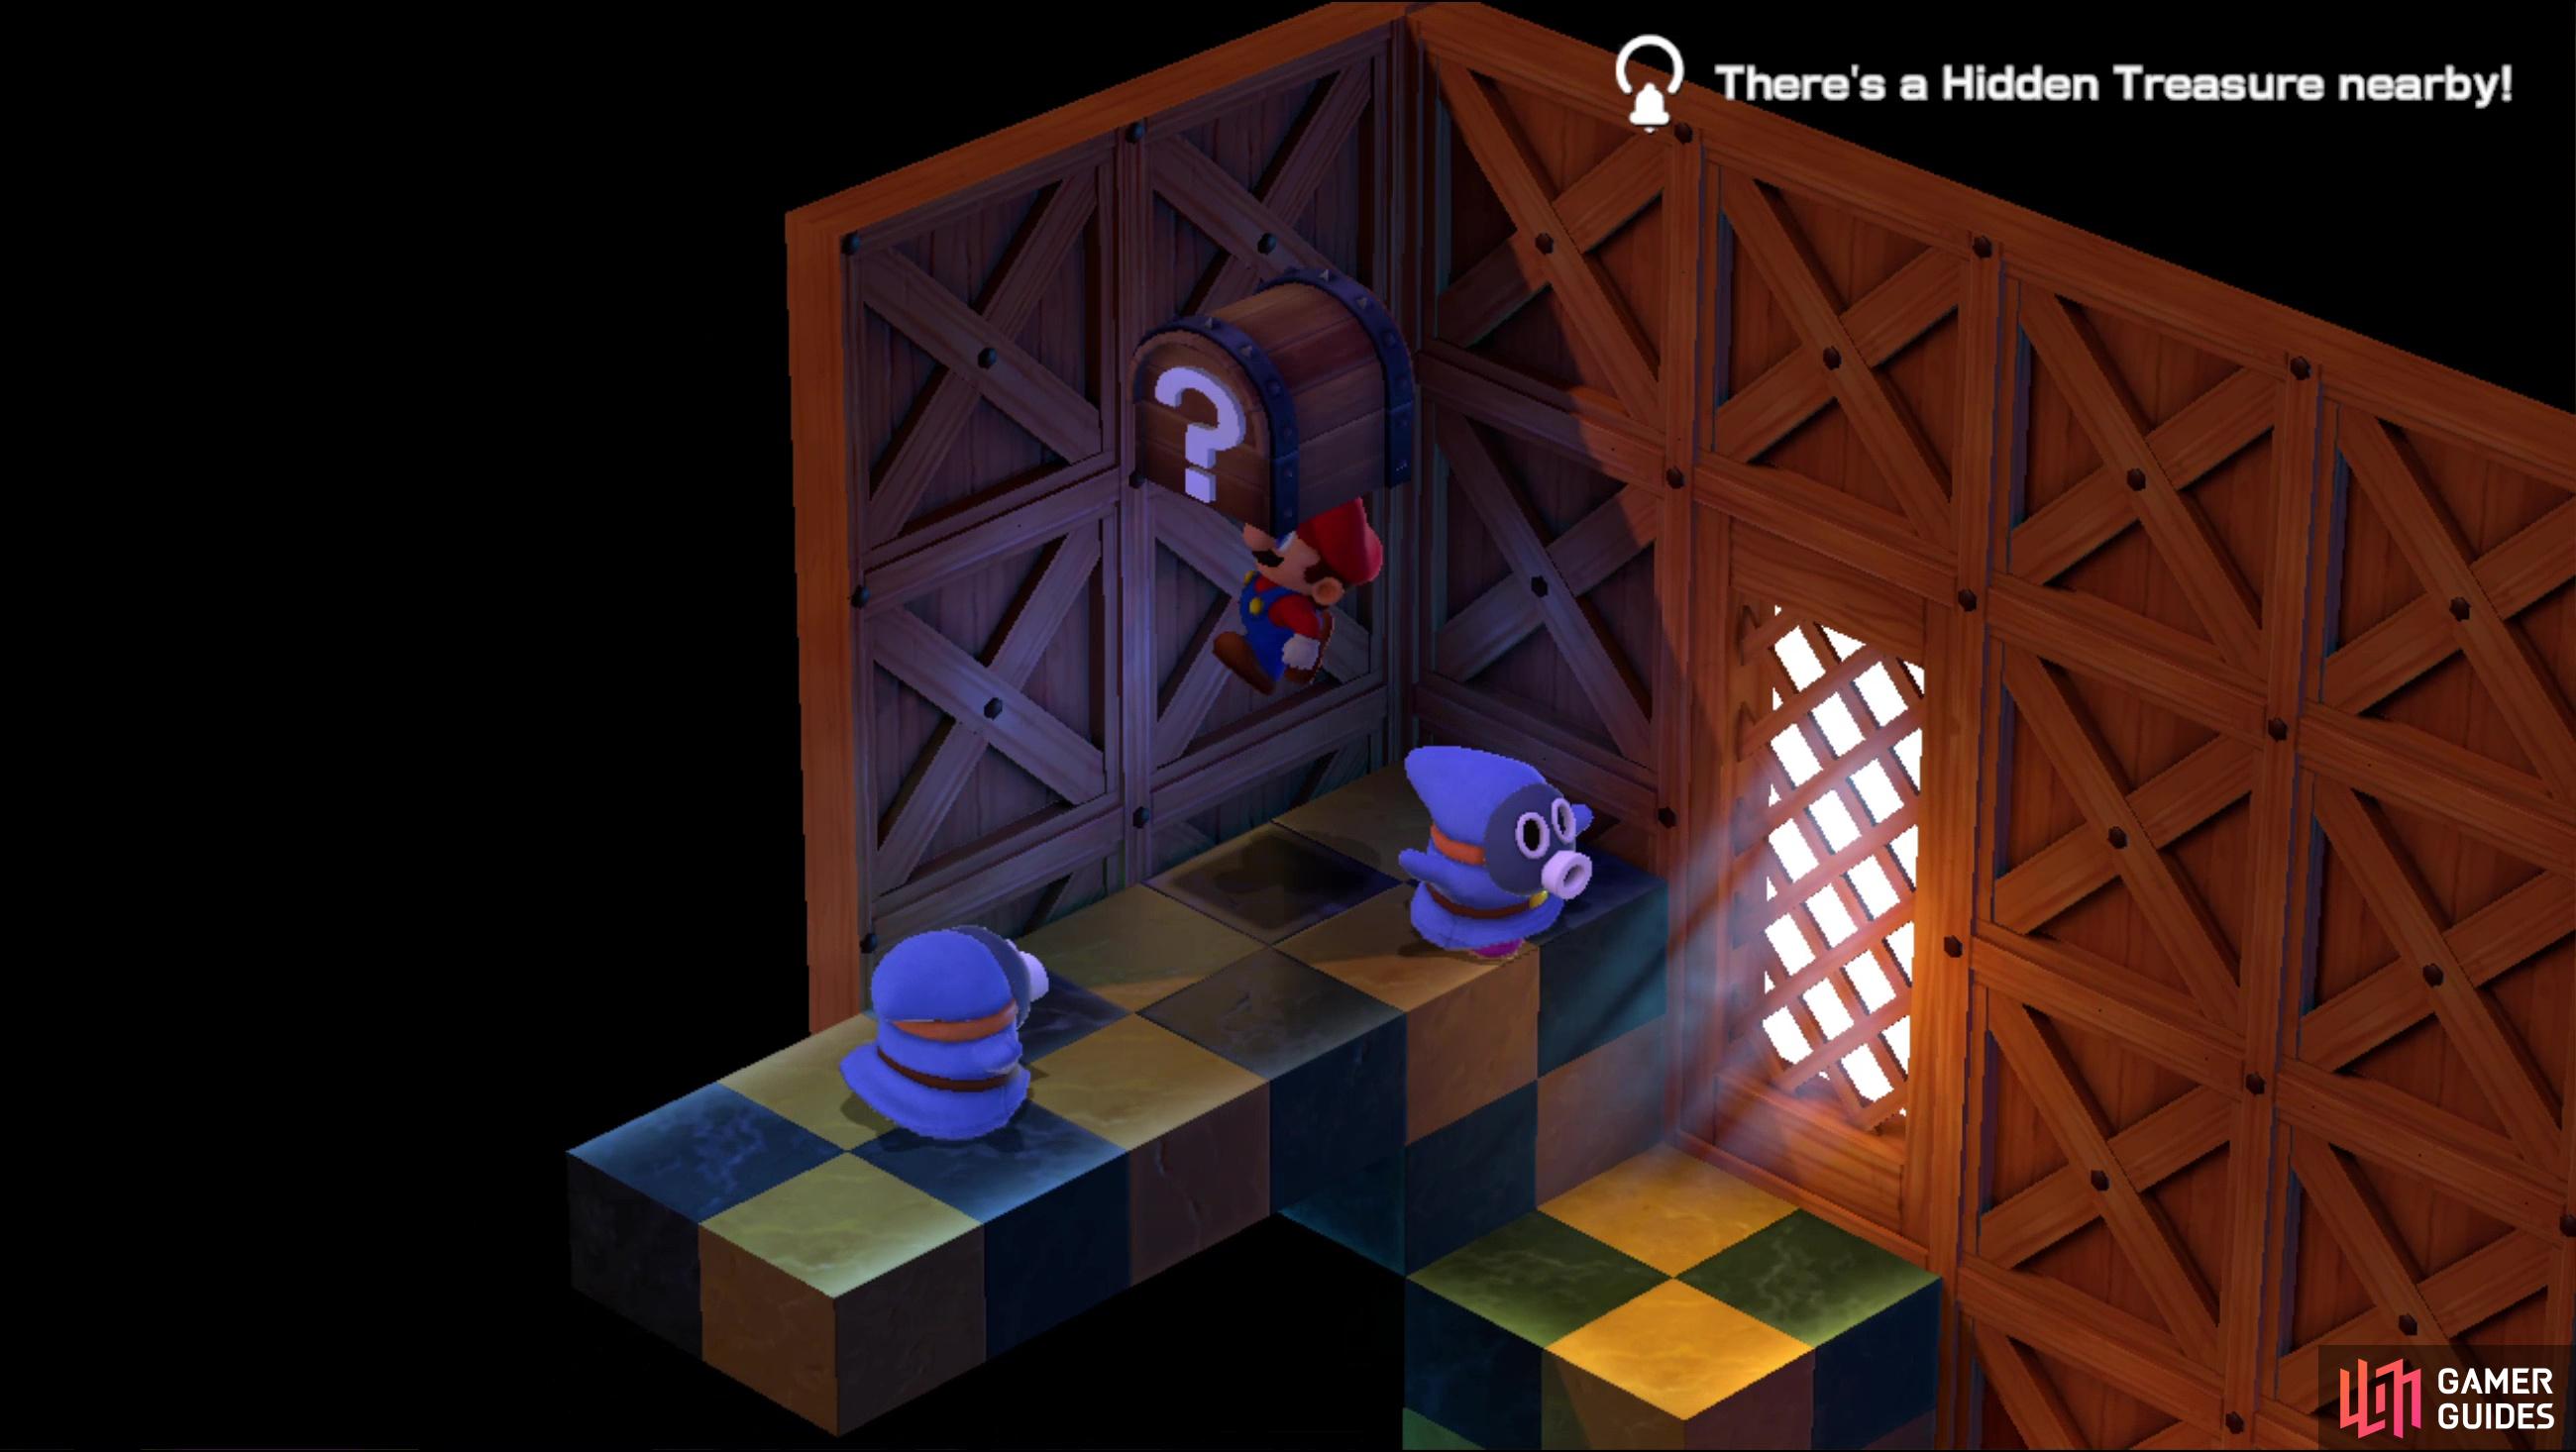
Jump up some blocks and find a hidden treasure near the upper corner of the second screen, inside of which is a Frog Coin.
Booster Tower Hidden Treasure - Second Area
Jump up the cube stairs and hug the exterior walls if you want to avoid the endless parade of Snifits that will walk through this area. Ascend to the upper level, stand in the corner, then head down one tile and jump to find Hidden Treasure #1, which contains a Frog Coin. Exit to the southwest when you’re done.
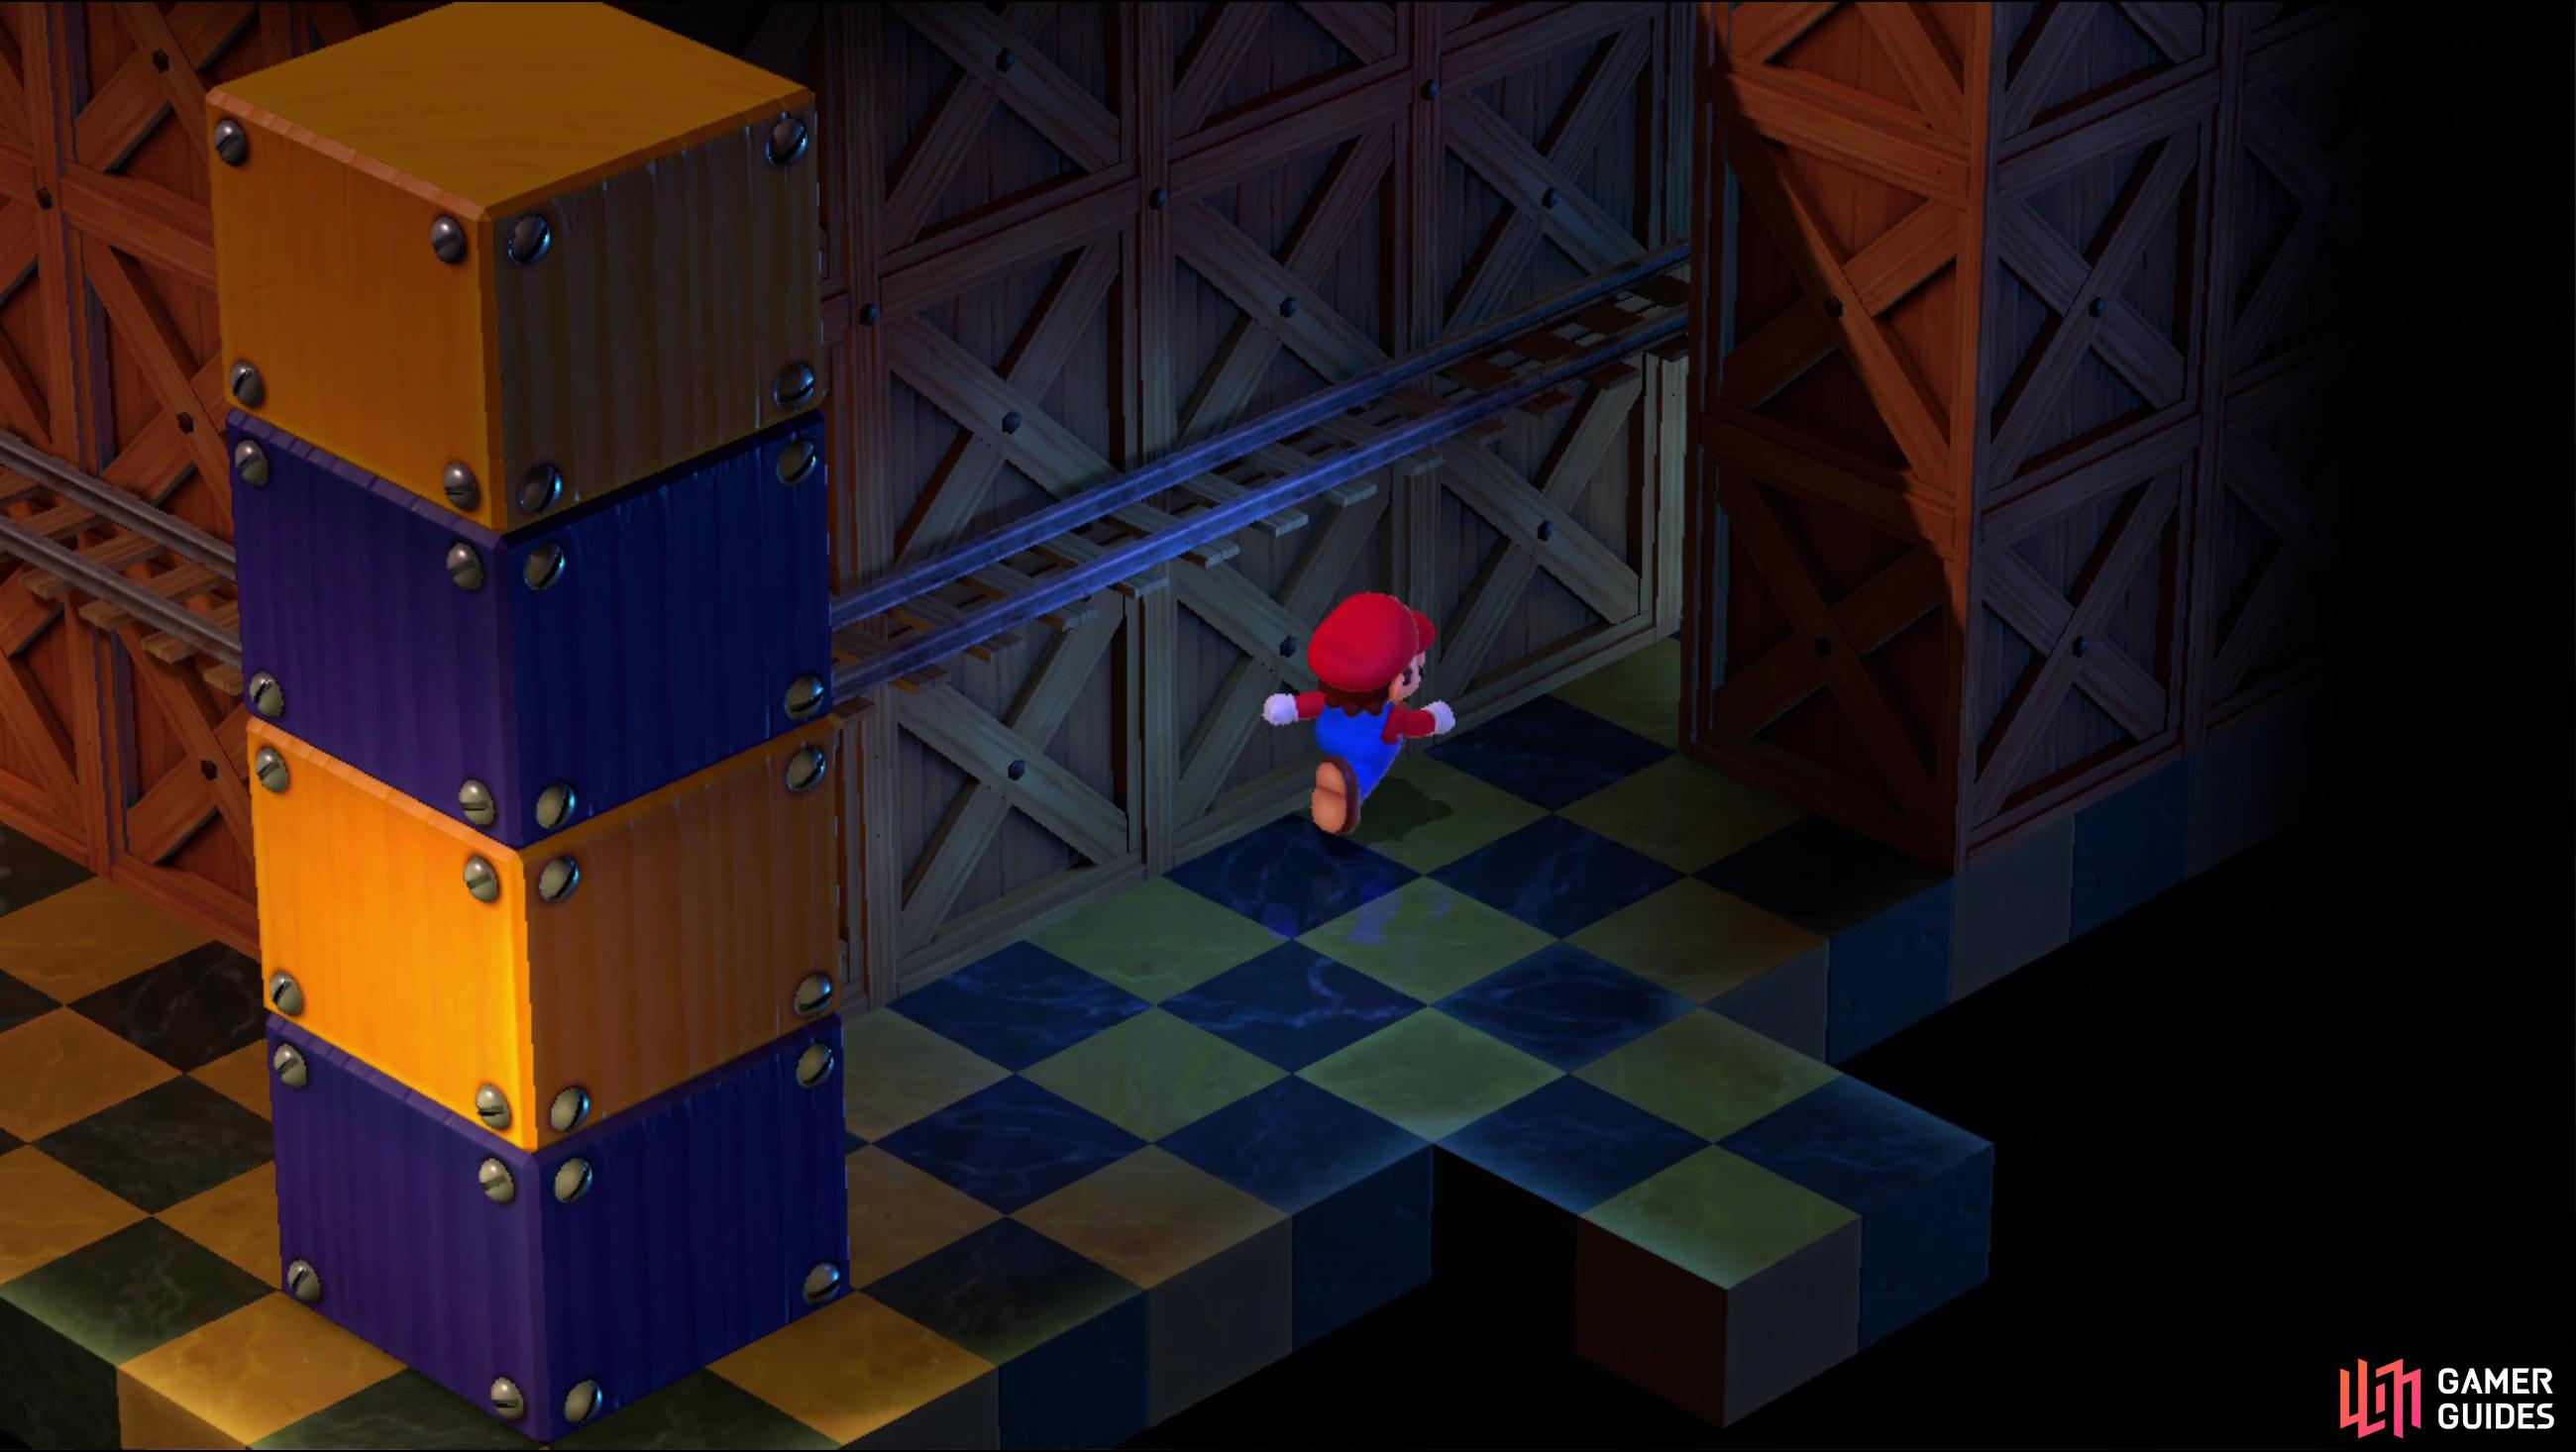

(1 of 2) Follow the train tracks into an alcove,
Follow the train tracks into an alcove, (left), to find a Flower Tab. (right)
Booster Tower - Third Area
In this area, you’ll find some train tracks over your head, and Booster will momentarily arrive and introduce himself. All mouth and no brain. When he’s done talking, head southeast past some stacked yellow and blue boxes, get under the train tracks, and follow them into an alcove where you can find a Flower Tab hidden out of sight. Exit to the southeast when you’re ready.
Booster Tower - Fourth Area
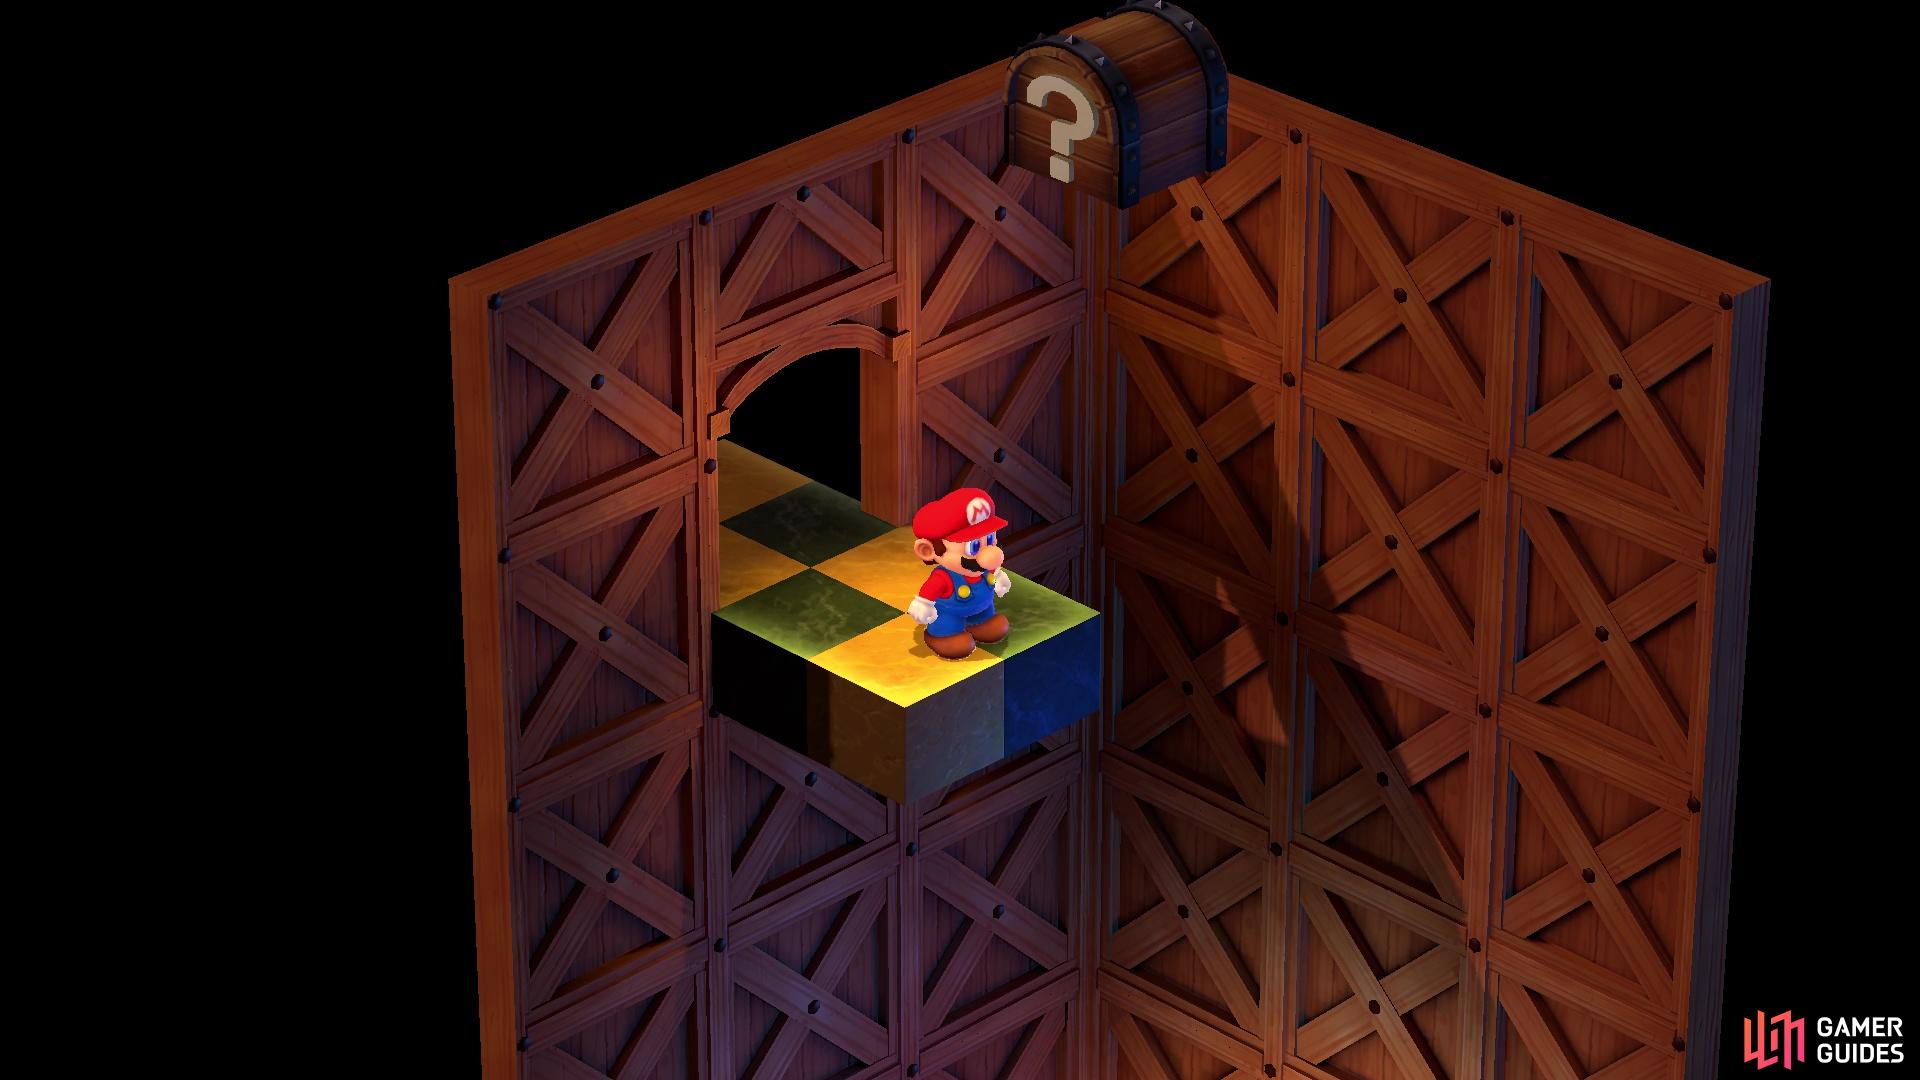
A transitional screen that consists mostly of ledges occupied by patrolling ![]() Rob-ombs. Avoid them if you care to and ascend to the top, then notice two exits. The one closest to the ledges you jumped up just leads to a chest suspended over a pit - you can’t reach it and falling will take you back down the first screen of Booster’s Tower (or rather, to a side room where a bomb enemy is standing on a seesaw). You will actually want to jump down from a certain spot, about where the green and beige tiles meet at the edge. Doing this will have Mario launch the Bob-Omb on the seesaw into the air, which will then launch Mario up and into the chest you couldn’t normally reach.
Rob-ombs. Avoid them if you care to and ascend to the top, then notice two exits. The one closest to the ledges you jumped up just leads to a chest suspended over a pit - you can’t reach it and falling will take you back down the first screen of Booster’s Tower (or rather, to a side room where a bomb enemy is standing on a seesaw). You will actually want to jump down from a certain spot, about where the green and beige tiles meet at the edge. Doing this will have Mario launch the Bob-Omb on the seesaw into the air, which will then launch Mario up and into the chest you couldn’t normally reach.
Your reward for doing this is the Masher, a new hammer weapon for Mario. Make your way back and head into the further exit - Booster is hiding behind a curtain and he’ll flee through this exit at your approach.

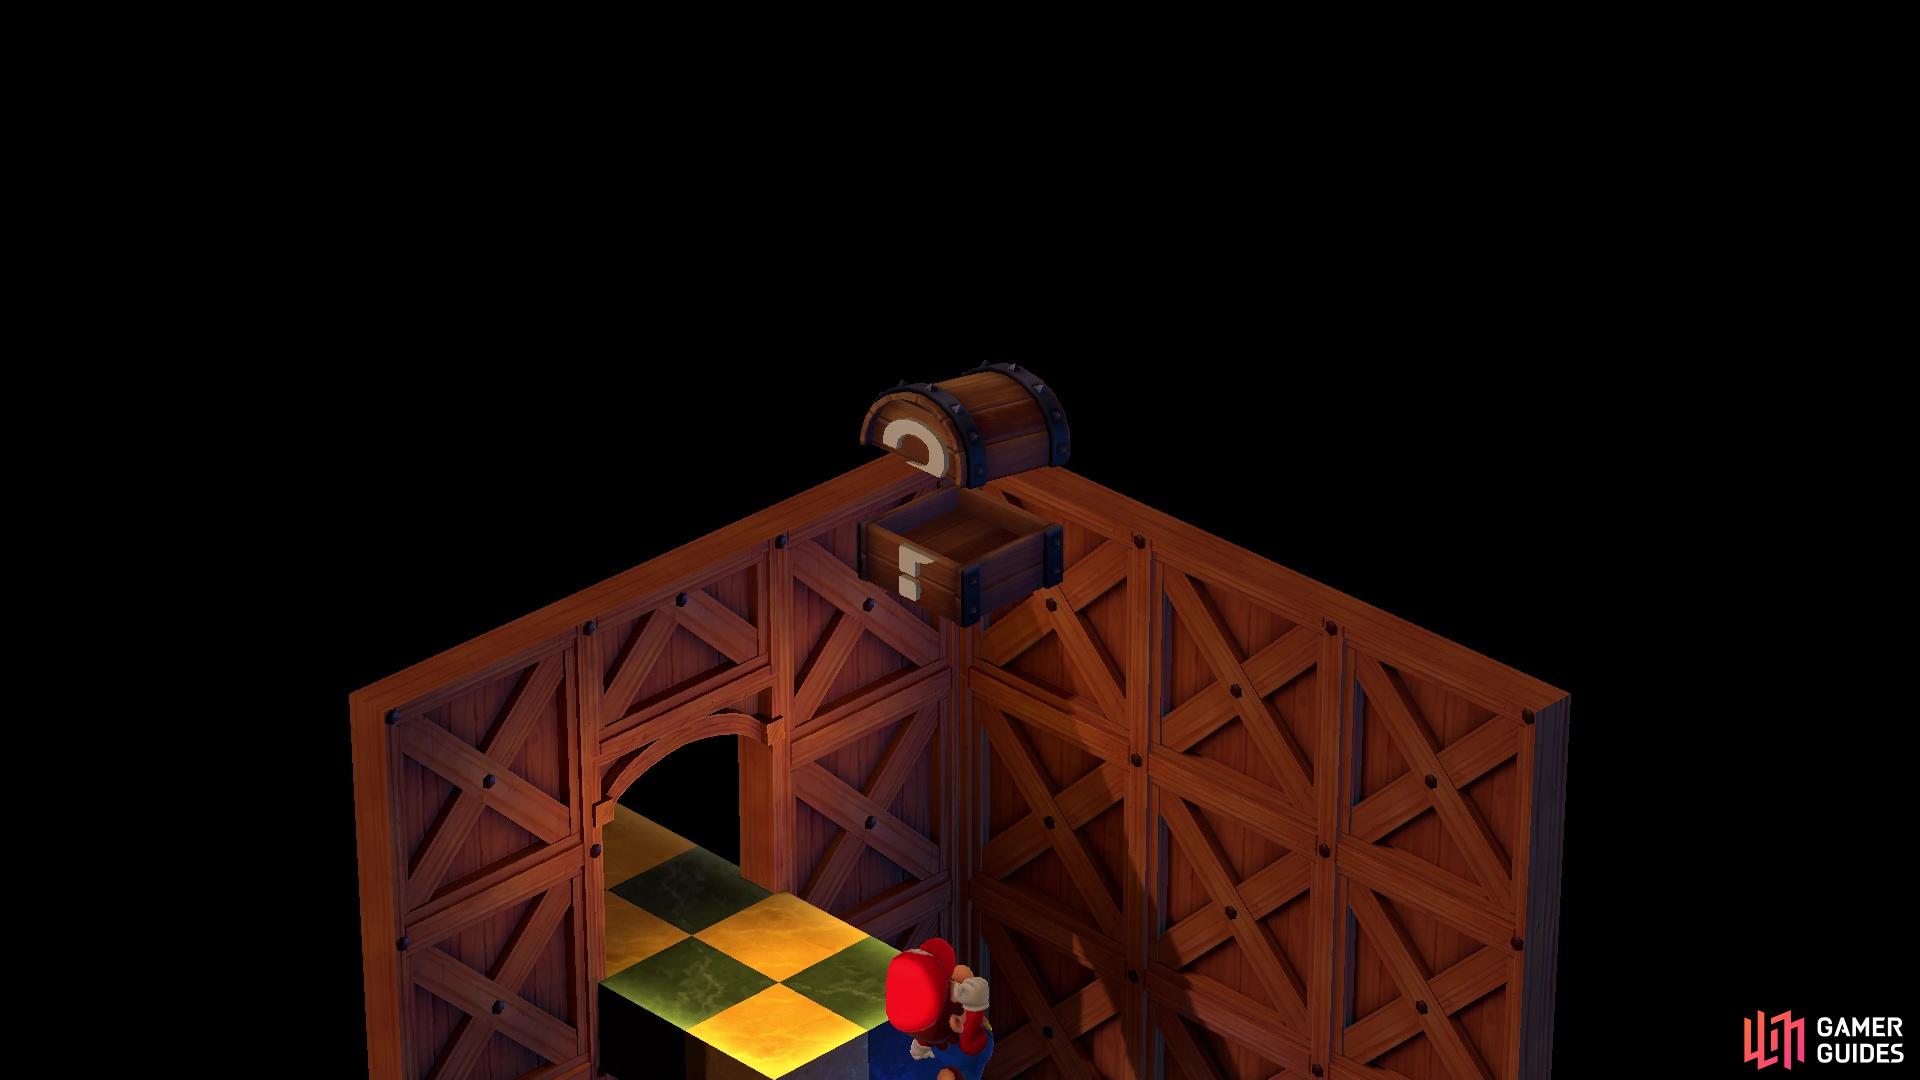
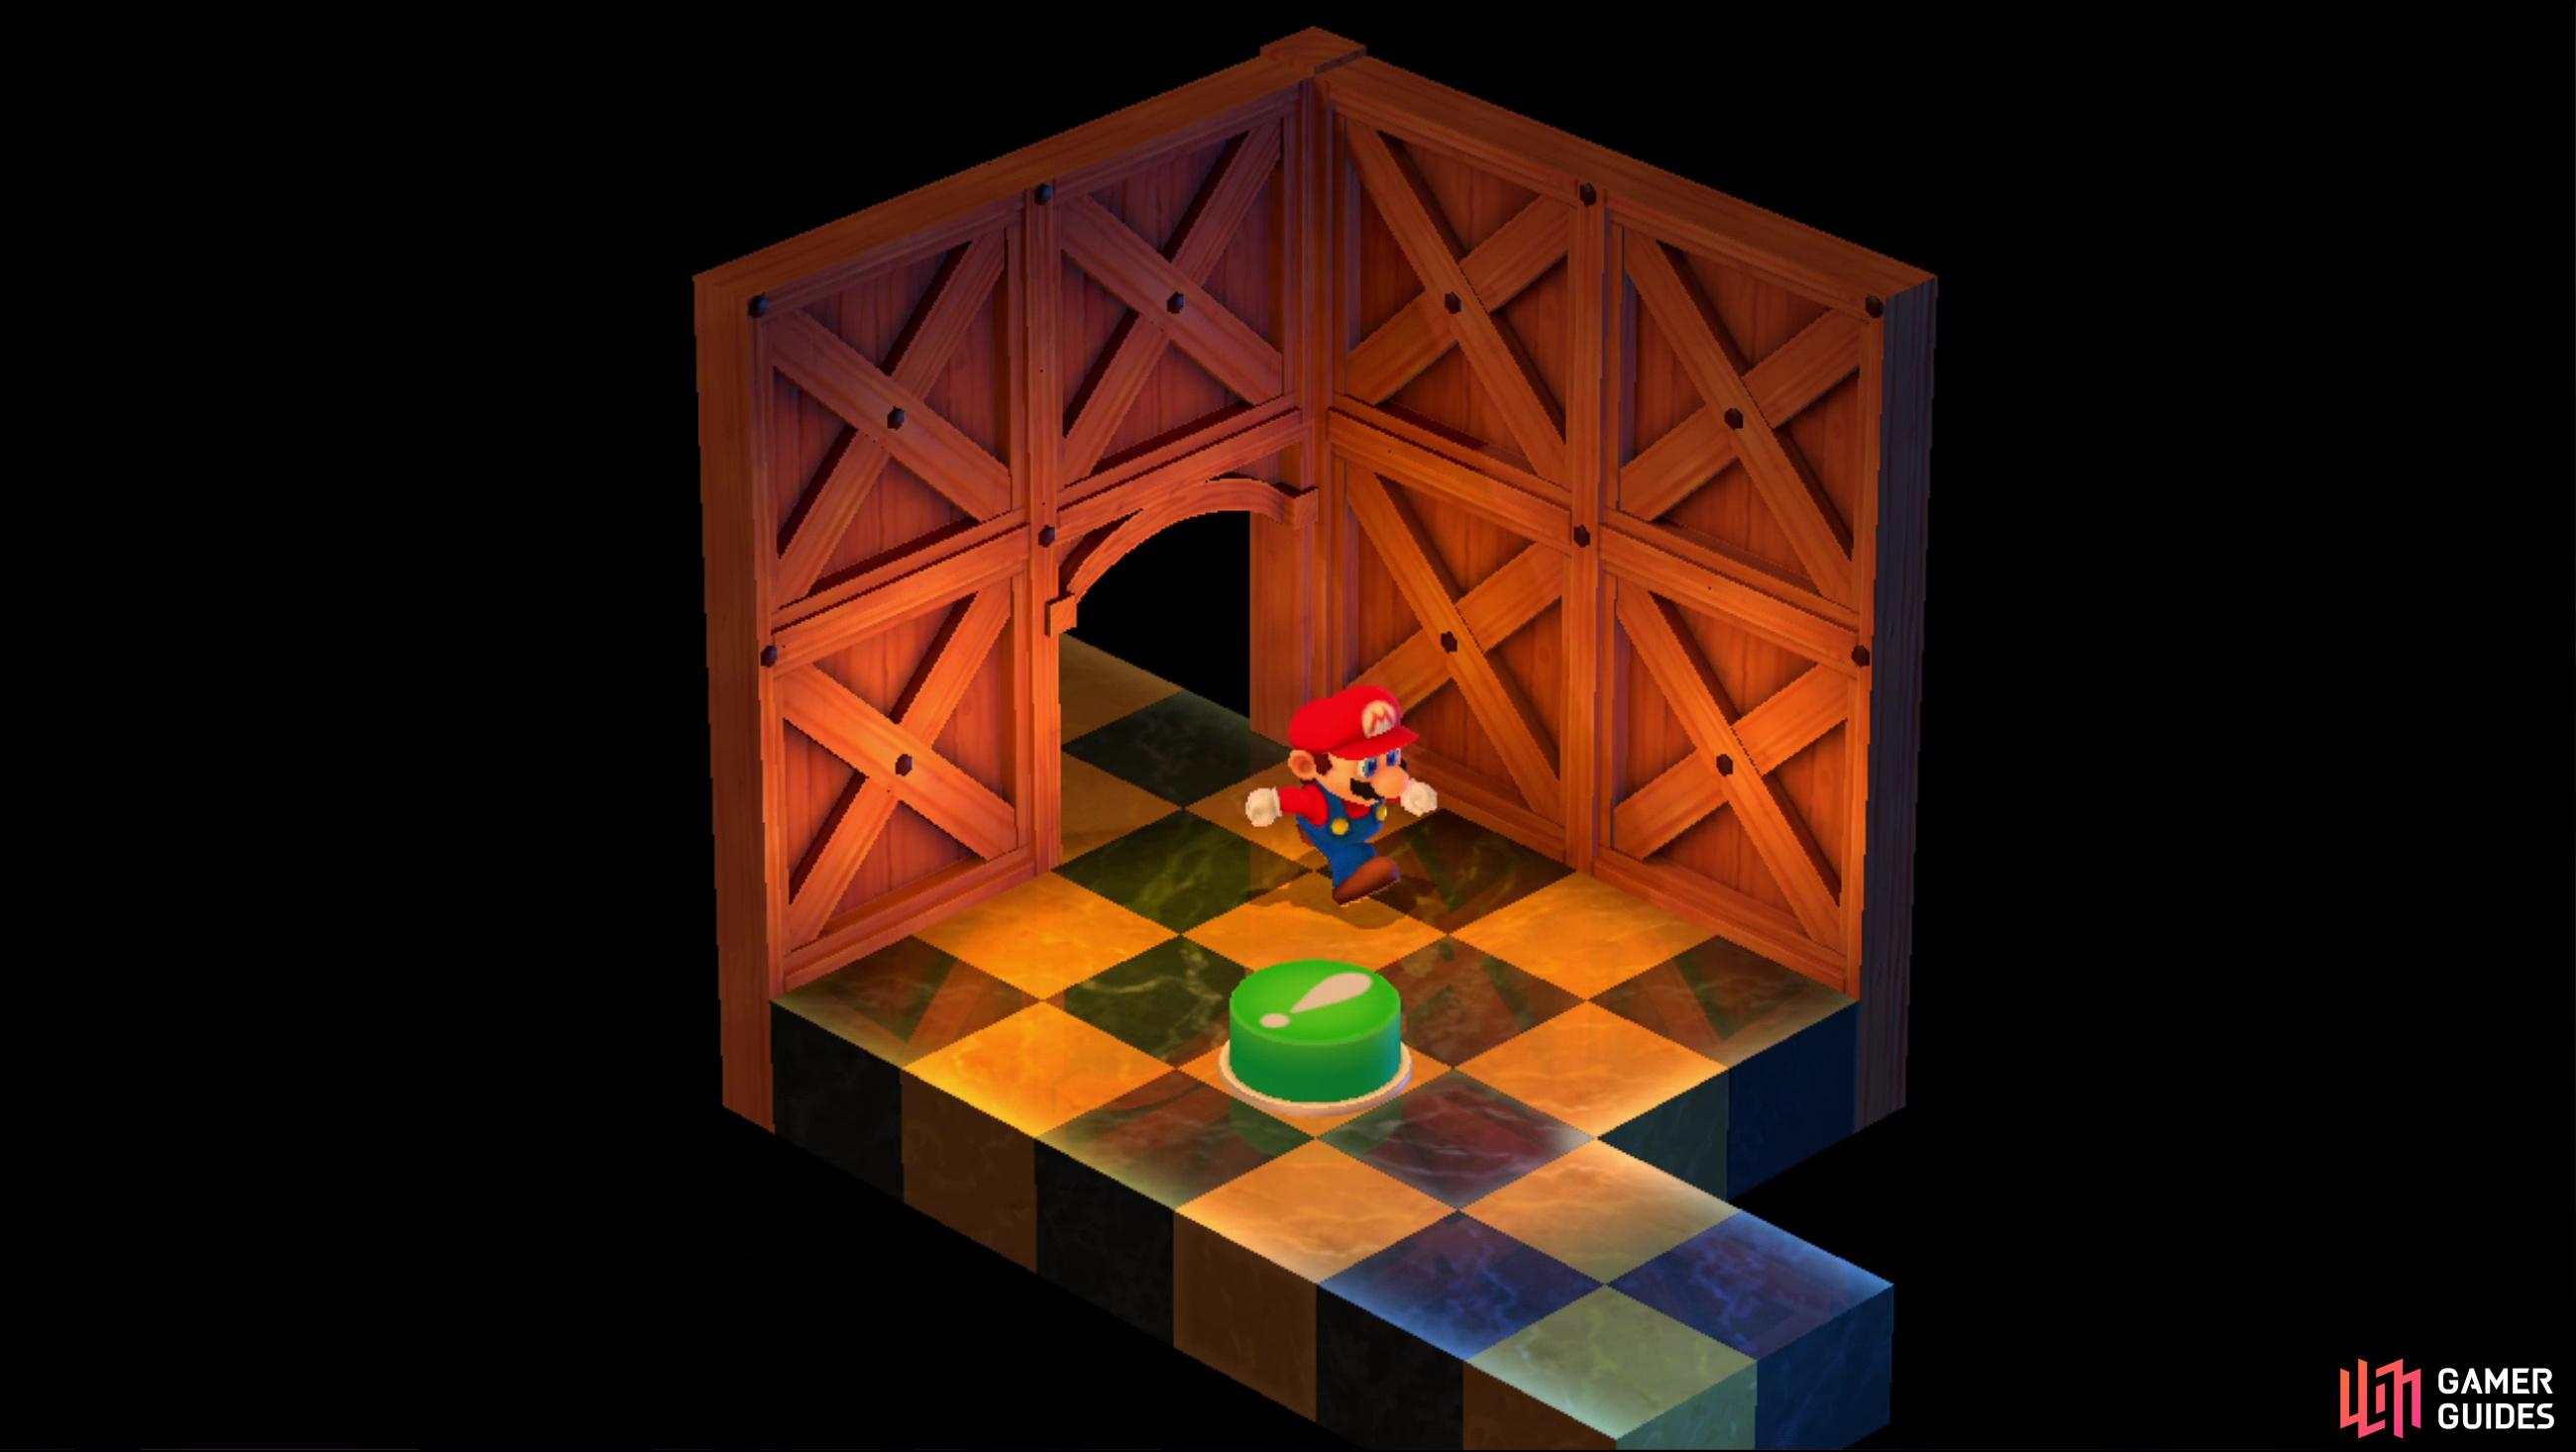

Booster Tower - Booster Pass Secret Area Button - Fifth Area
In the next area you’ll find a green button on the ground - be sure to jump on it, as this will open the secret area in Booster Pass. That diversion can wait, however - exit to the southeast.
Booster Tower - Sixth Area
Not much here, jump up some ledges and note some curtains to the northwest. If you go through them you’ll find Mario transformed into a somewhat antiquated version of himself. Try to leave through the door to the northeast and he’ll shake it off. Enjoy this little easter egg, then exit to the northeast.
Ascend through another screen where a Snifster will shoot an endless stream of bullets at you, which manifest as Blaster enemies if you make contact with the bullets.
Booster Tower - Seventh Area
More ledges to jump up, this time guarded by Snifits. Fight them or avoid them as you please and jump up to the highest level of this area, where you’ll find a ![]() Snifster shooting an endless stream of bullets at you - if you run into one of these bullets you’ll end up in a random encounter, including a
Snifster shooting an endless stream of bullets at you - if you run into one of these bullets you’ll end up in a random encounter, including a ![]() Blaster enemy. Dodge or defeat this menace (if you talk to the Snifster shooting the bullets, he’ll pick a fight - defeating him will remove the bullet menace), then exit via a door to the northwest.
Blaster enemy. Dodge or defeat this menace (if you talk to the Snifster shooting the bullets, he’ll pick a fight - defeating him will remove the bullet menace), then exit via a door to the northwest.
Booster Tower - Eighth Area
More of the same. Various Rob-ombs patrol the ledges here. Jump up and exit to the southeast.


(1 of 3) Eventually, you’ll come to a long hallway lined with paintings of the Booster lineage. As the note says, you must select them in order of oldest to youngest.
Booster Tower - Booster Painting Puzzle - Ninth and Tenth Areas
The next floor just contains a Save Point, so make use of it if you need to, then exit to the southeast to find a locked door and a hall lined with Booster portraits, just like in the entrance area, although these portraits are in a different order. To get the locked door open, you need to examine the paintings from oldest Booster to youngest (and current) Booster. On the ground floor these paintings were arranged from oldest (Booster the First) to youngest (Booster the Sixth) and the distinguishing features of each were as follows:
- Booster the First: Round red hat and large glasses
- Booster the Second: Yellow hat
- Booster the Third: Eyepatch
- Booster the Fourth: Sunglasses and mohawk
- Booster the Fifth: Red beanie hat and glasses
- Booster the Sixth: Red skullcap
So, let’s assign the northwesternmost painting #1 and the southeasternmost painting #6 and we end up with the following order on this floor:
- #1: Booster the Fourth
- #2: Booster the Fifth
- #3: Booster the Third
- #4: Booster the Sixth
- #5: Booster the Second
- #6: Booster the First
So you want to examine the painting in the following order: #6, #5, #3, #1, #2 and finally #4. Do this correctly and you’ll obtain the Elder Key, which unlocks the door to the northwest. Go through said door and jump up to a ledge where a ![]() Chain Chomp lurks. She’ll do what comes naturally to her and Bowser will ask for some privacy, after which he’ll have a new Chain Chomp weapon - be sure to equip it, as it’s the strongest weapon he’ll get for a bit. Now that you’re done here, return to the painting room and exit to the southeast.
Chain Chomp lurks. She’ll do what comes naturally to her and Bowser will ask for some privacy, after which he’ll have a new Chain Chomp weapon - be sure to equip it, as it’s the strongest weapon he’ll get for a bit. Now that you’re done here, return to the painting room and exit to the southeast.


(1 of 3) Jump on a seesaw to get a Thwomp to elevate you to the next area.
Booster Tower - Eleventh Area
Not much going on in this screen, jump up some ledges, and on the highest floor you’ll find another seesaw, this time with a Thwomp on the other end. This is a far heftier foe than the Bab-bomb near the entrance, and jumping on the other end of the seesaw will shoot you up into the sky and to the next area. Just be sure to hit a chest to the east of the seesaw to get a Mushroom, first.
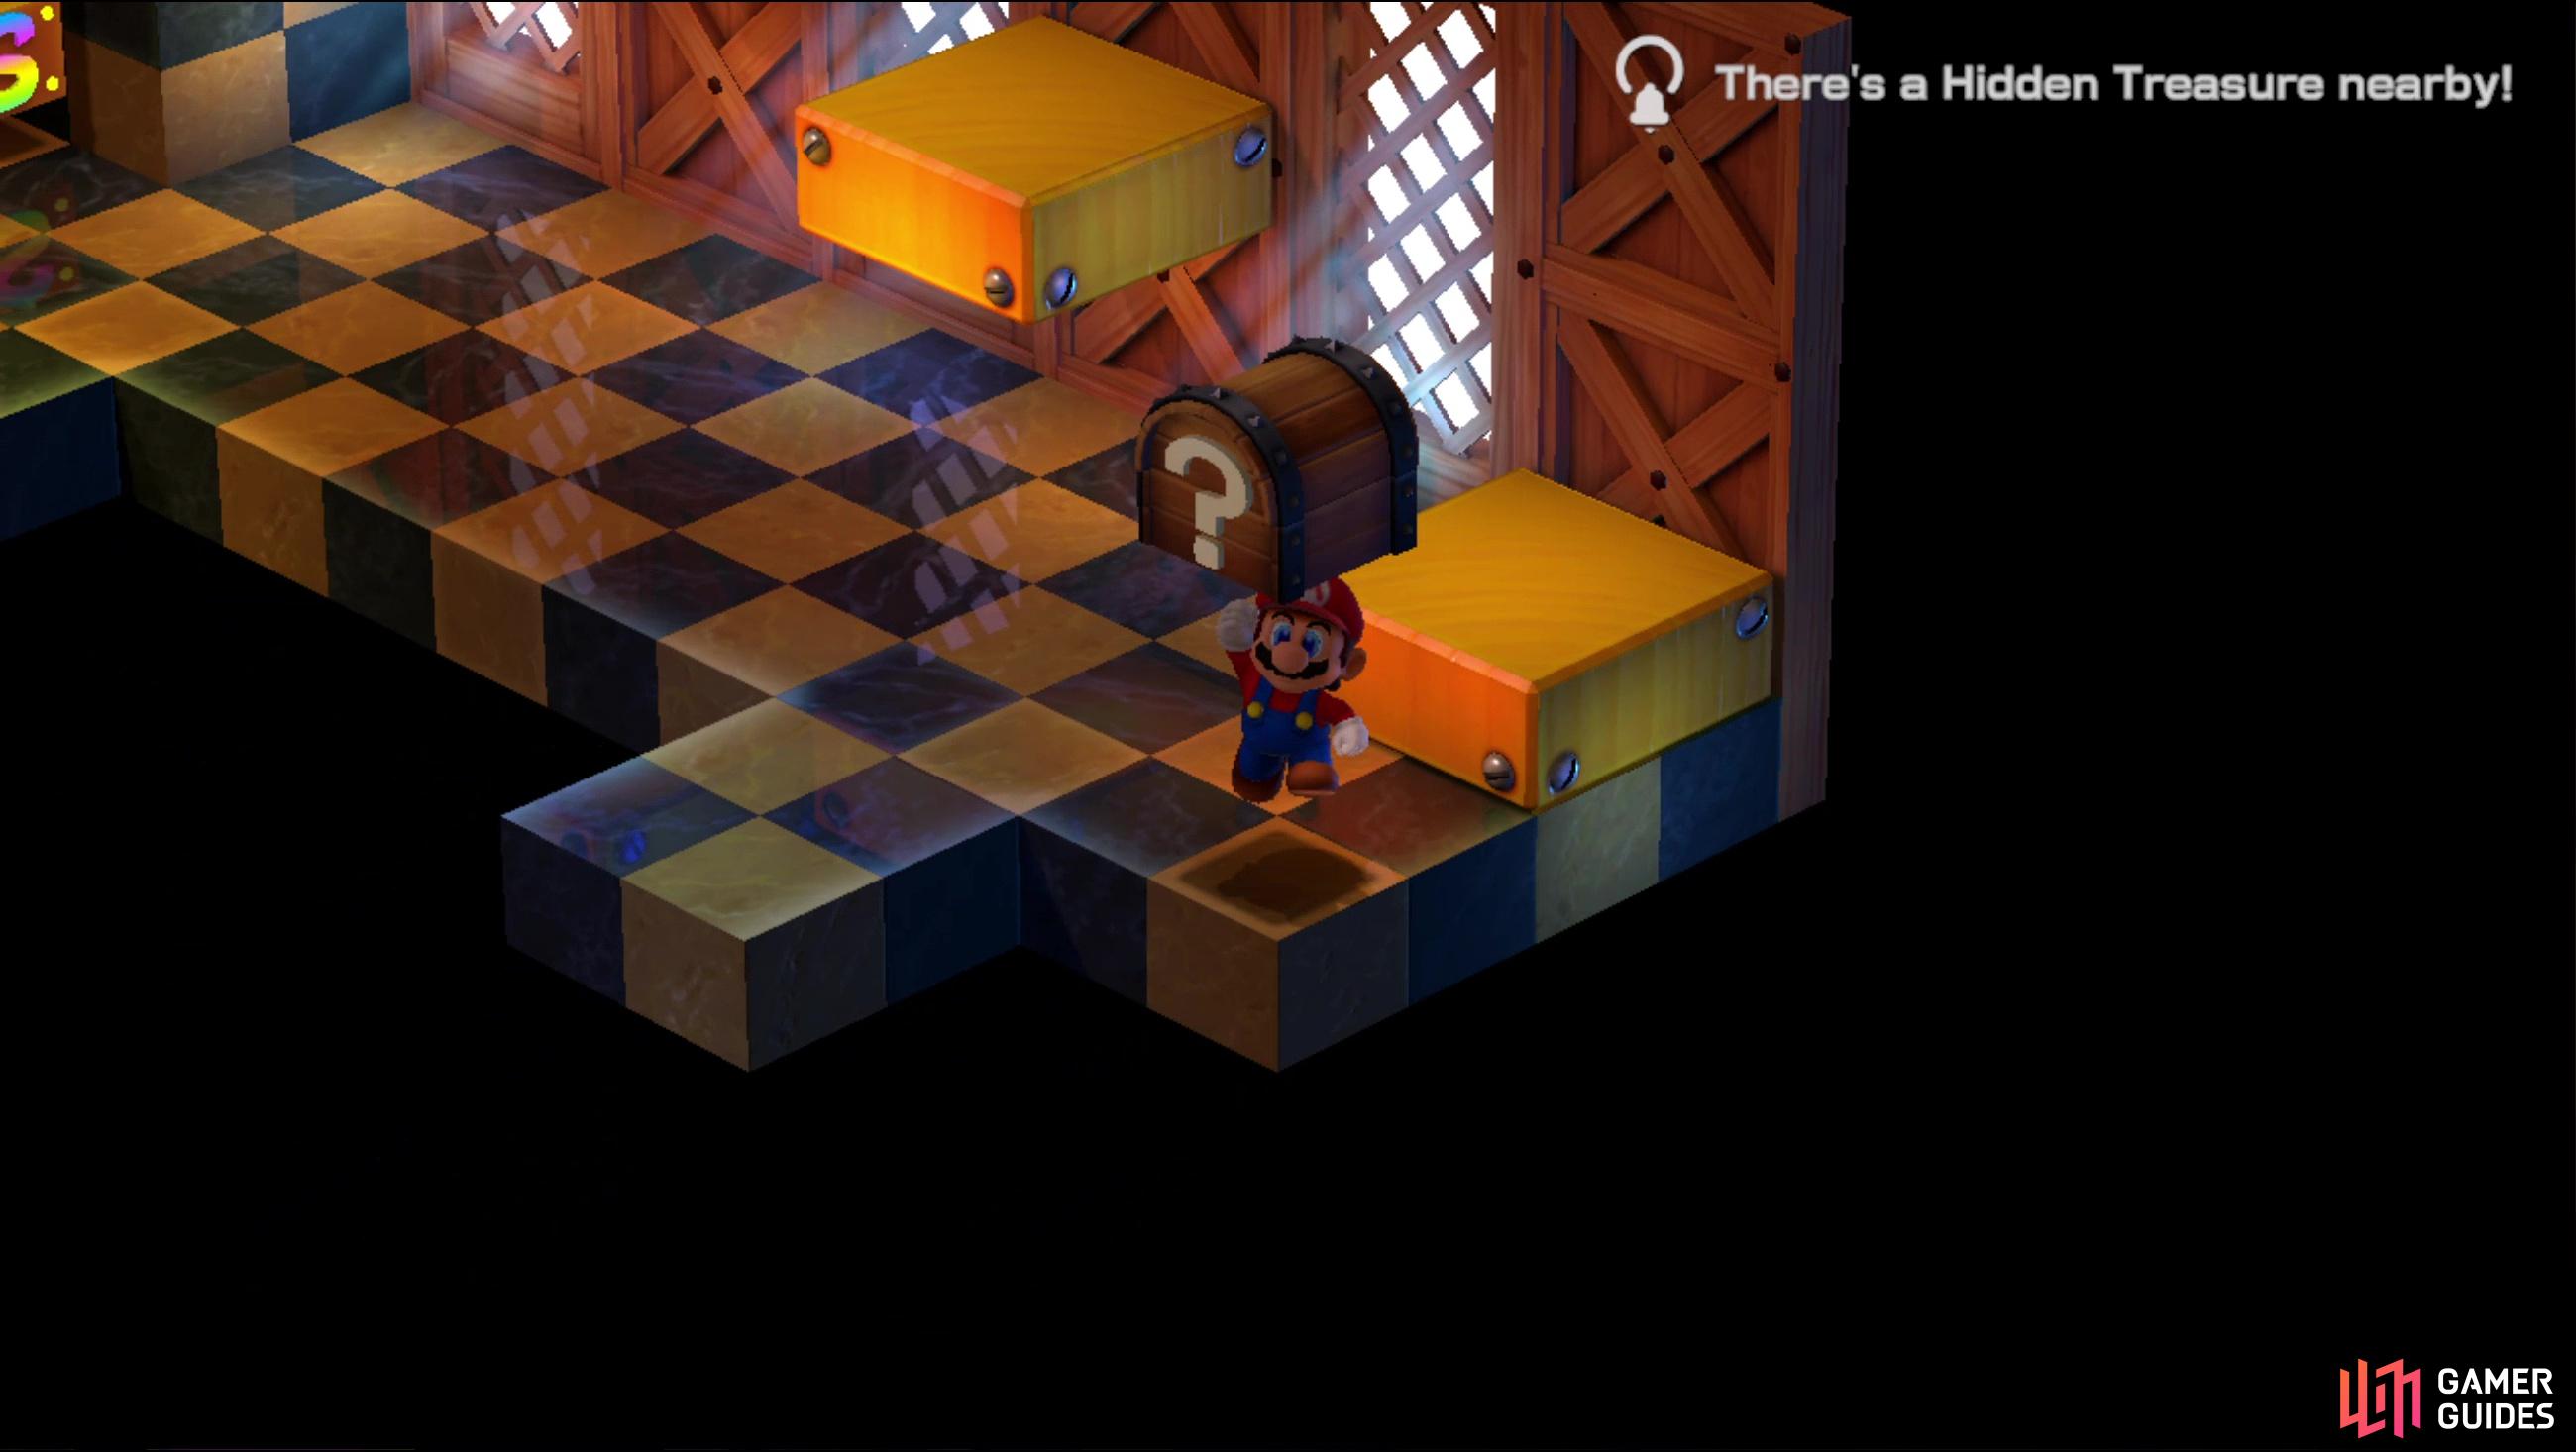
Booster Tower Hidden Treasure - Twelfth Area
A bit of platforming involved here, as you’ll have to jump some gaps and ascend some platforms to reach the top of this area. Complicating matters are some Snifits who ride down on balloons - despite their unusual delivery mechanism, they’re just normal mobs. Before you jump anywhere, work your way around to the westernmost corner of the room and jump to find Hidden Treasure #2, which contains a Frog Coin. Work your way up the ledges until you reach an upper level with some “stairs” running northeast. Ignore them and follow the path northeast along the stairs and enter a cubby where you can find another Frog Coin by jumping around. Go up the stairs and exit to the northeast.


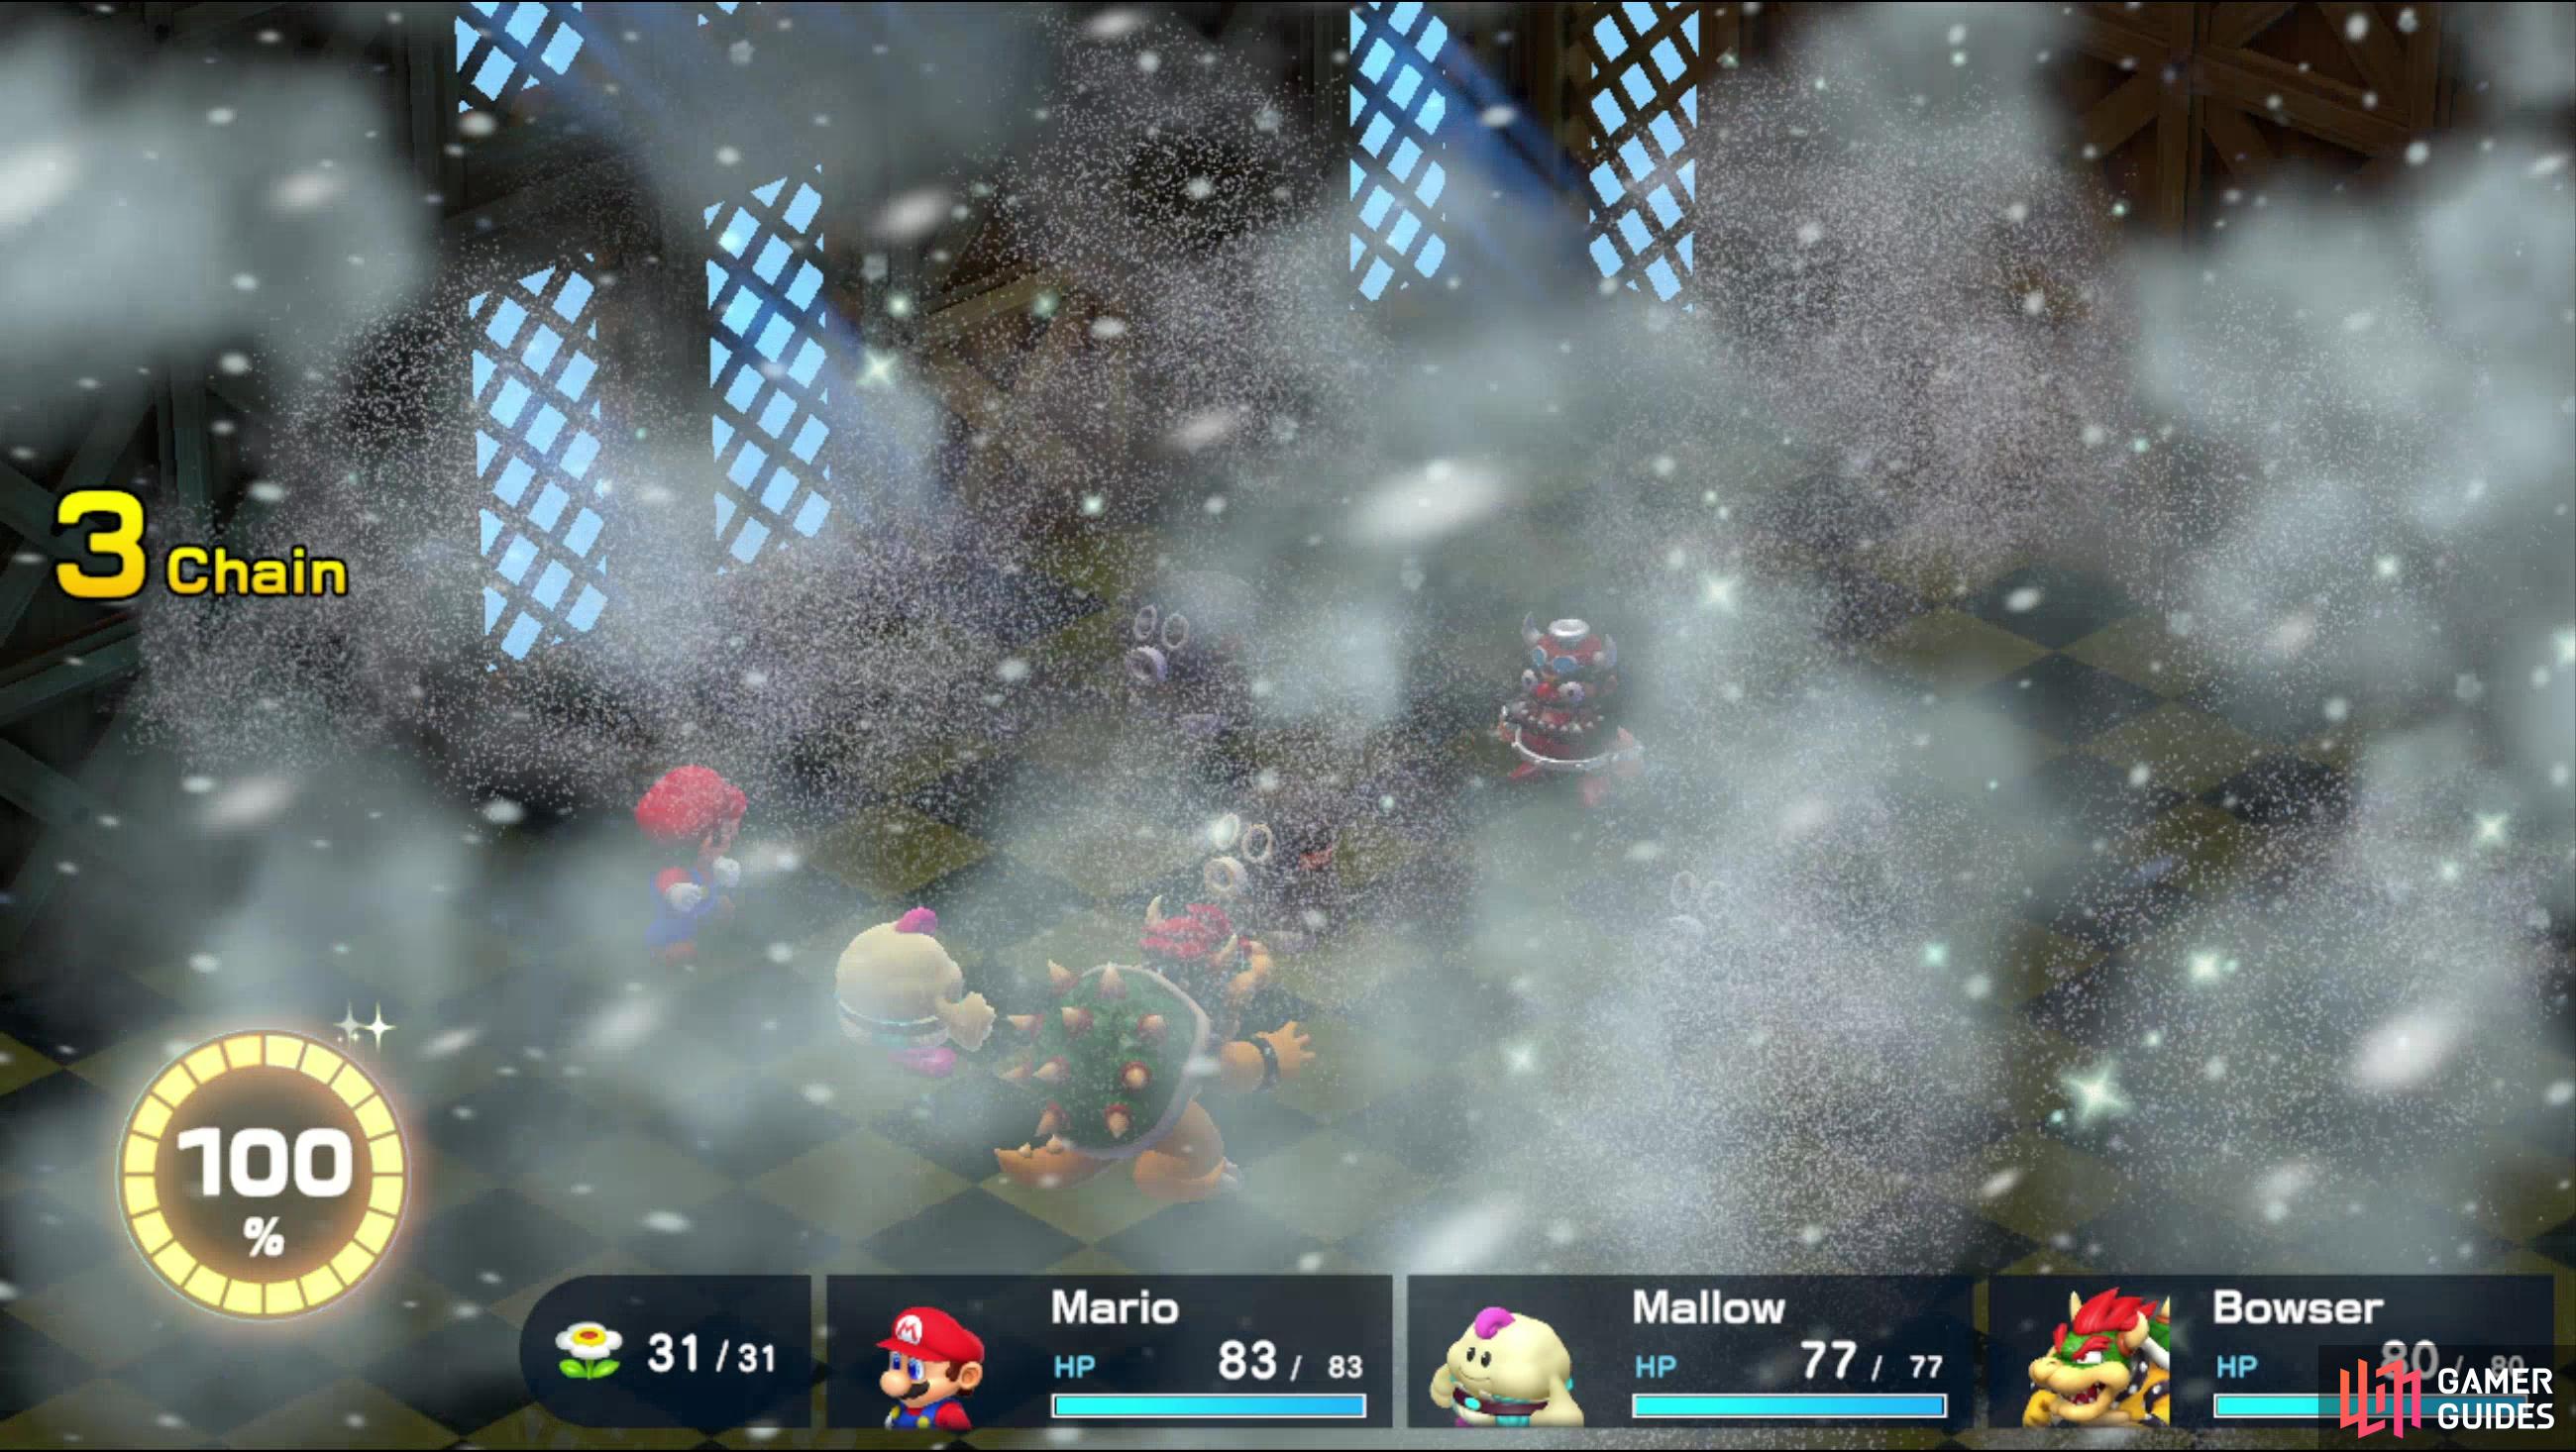
(1 of 4) If you step on the wrong tile, some Blubbles will ambush you… usually to little effect.
Booster Tower - Blubble Floor Puzzle - Thirteenth Area
In this room, you’ll find numerous coins and several Frog Coins littering the tiled floor. If you think it’s too good to be true, it is - some of the tiles are trapped and if you step on them you’ll be ambushed by Blubble enemies. If there’s any trick to this “puzzle” aside from just farming the Blubbles - who isn’t remotely difficult to defeat - it’s the tiles housing coins are safe, and you can just jump between most of them. Get all the coins and work your way to the room’s eastern edge to find a Room Key, then open the locked door to the north. In this room, you’ll find a chest containing some Zoom Shoes, which boosts the wearer’s Speed by +10. Exit the treasure room, then go through a doorway to the northwest.
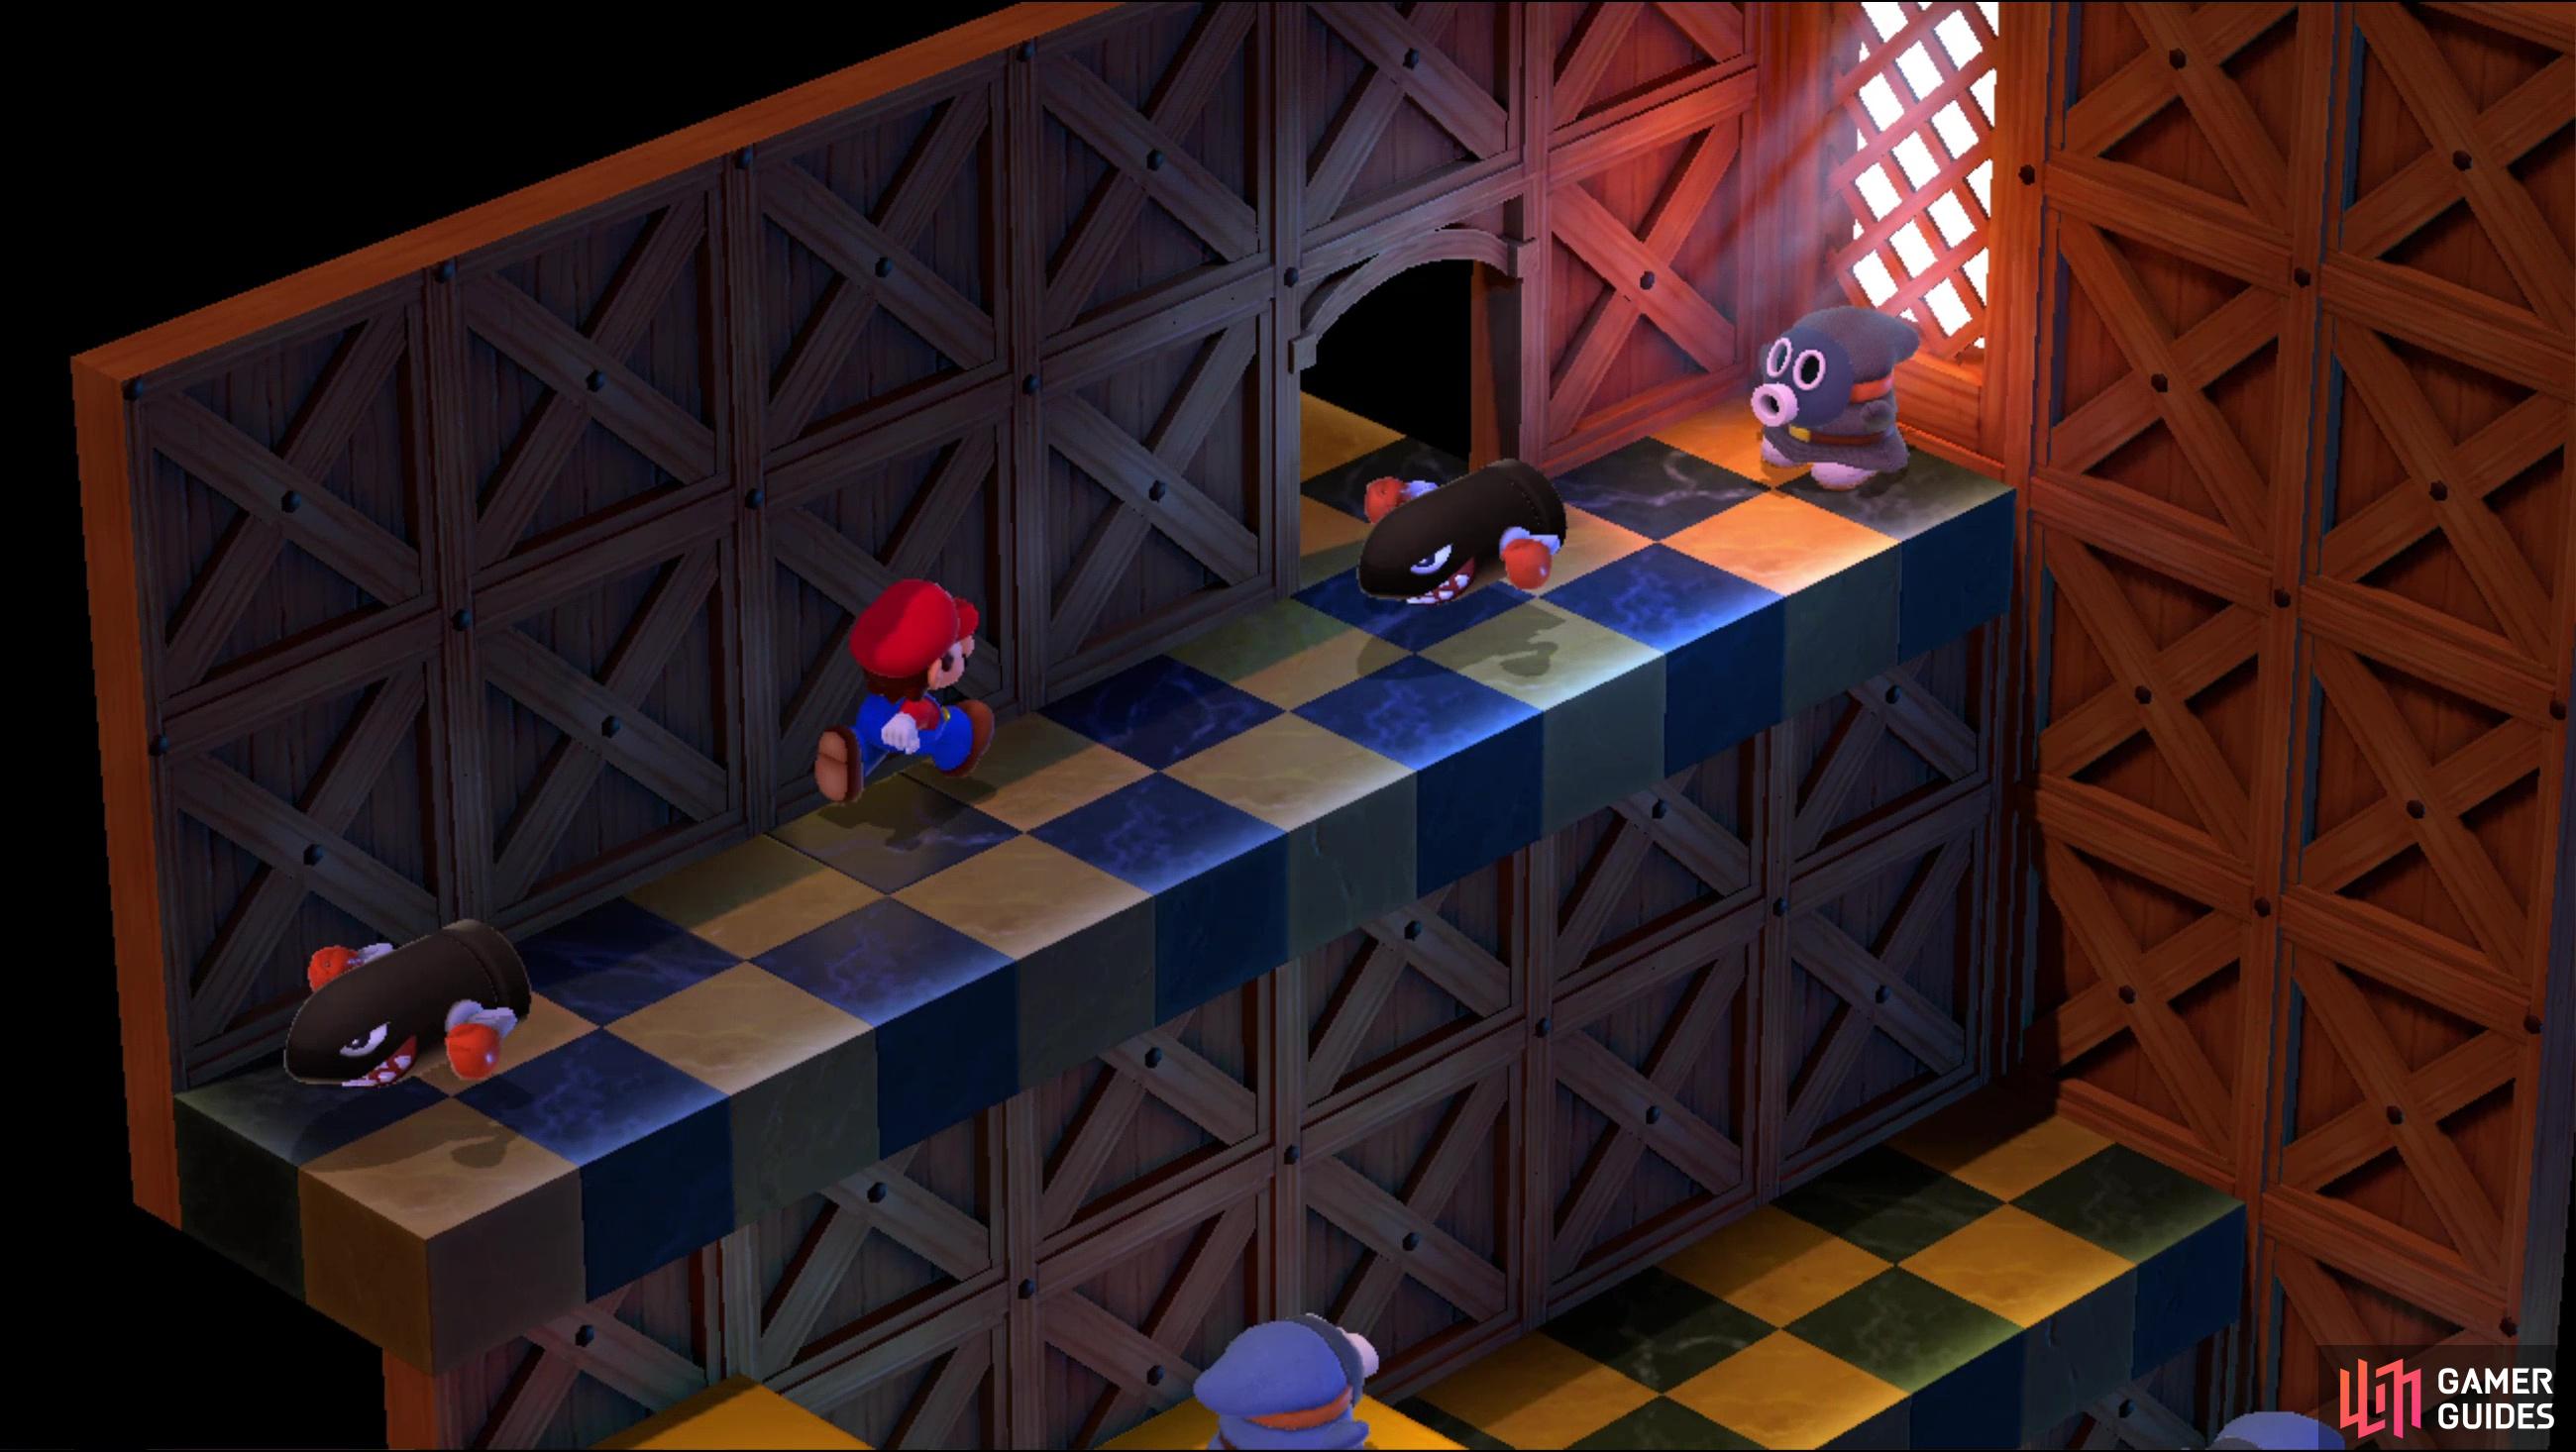
Booster Tower - Fourteenth Area
Chain Chomps! There are three of them on the ledges ahead of you. Fight the first one, after which you can just avoid the rest by jumping around them.

As you ascend Booster Tower, Booster will finally piece together who you are and launch an inept bomb attack. Just leave the area to thwart him.
Booster Tower - Fifteenth Area
Chugga, chugga! Booster arrives on his toy train and pieces together what Mario is here to do, turning him decidedly hostile. He’s still incompetent, however, and will start throwing bombs at you. Bombs attached to balloons. That float to the ground very slowly. Even if they do make it to the ground, they just wander around hoping you walk into them. Just exit to the southwest and Booster will complain.
Booster Tower - Sixteenth Area
When you zone in, a Chain Chomp will be chomping at the bit to get at you, but it can’t reach you from where you are. Ignore it and jump up the ledges to the northwest and exit to the next screen.


(1 of 3) Reach the ledge above the save point to find a chest with a Frog Coin,
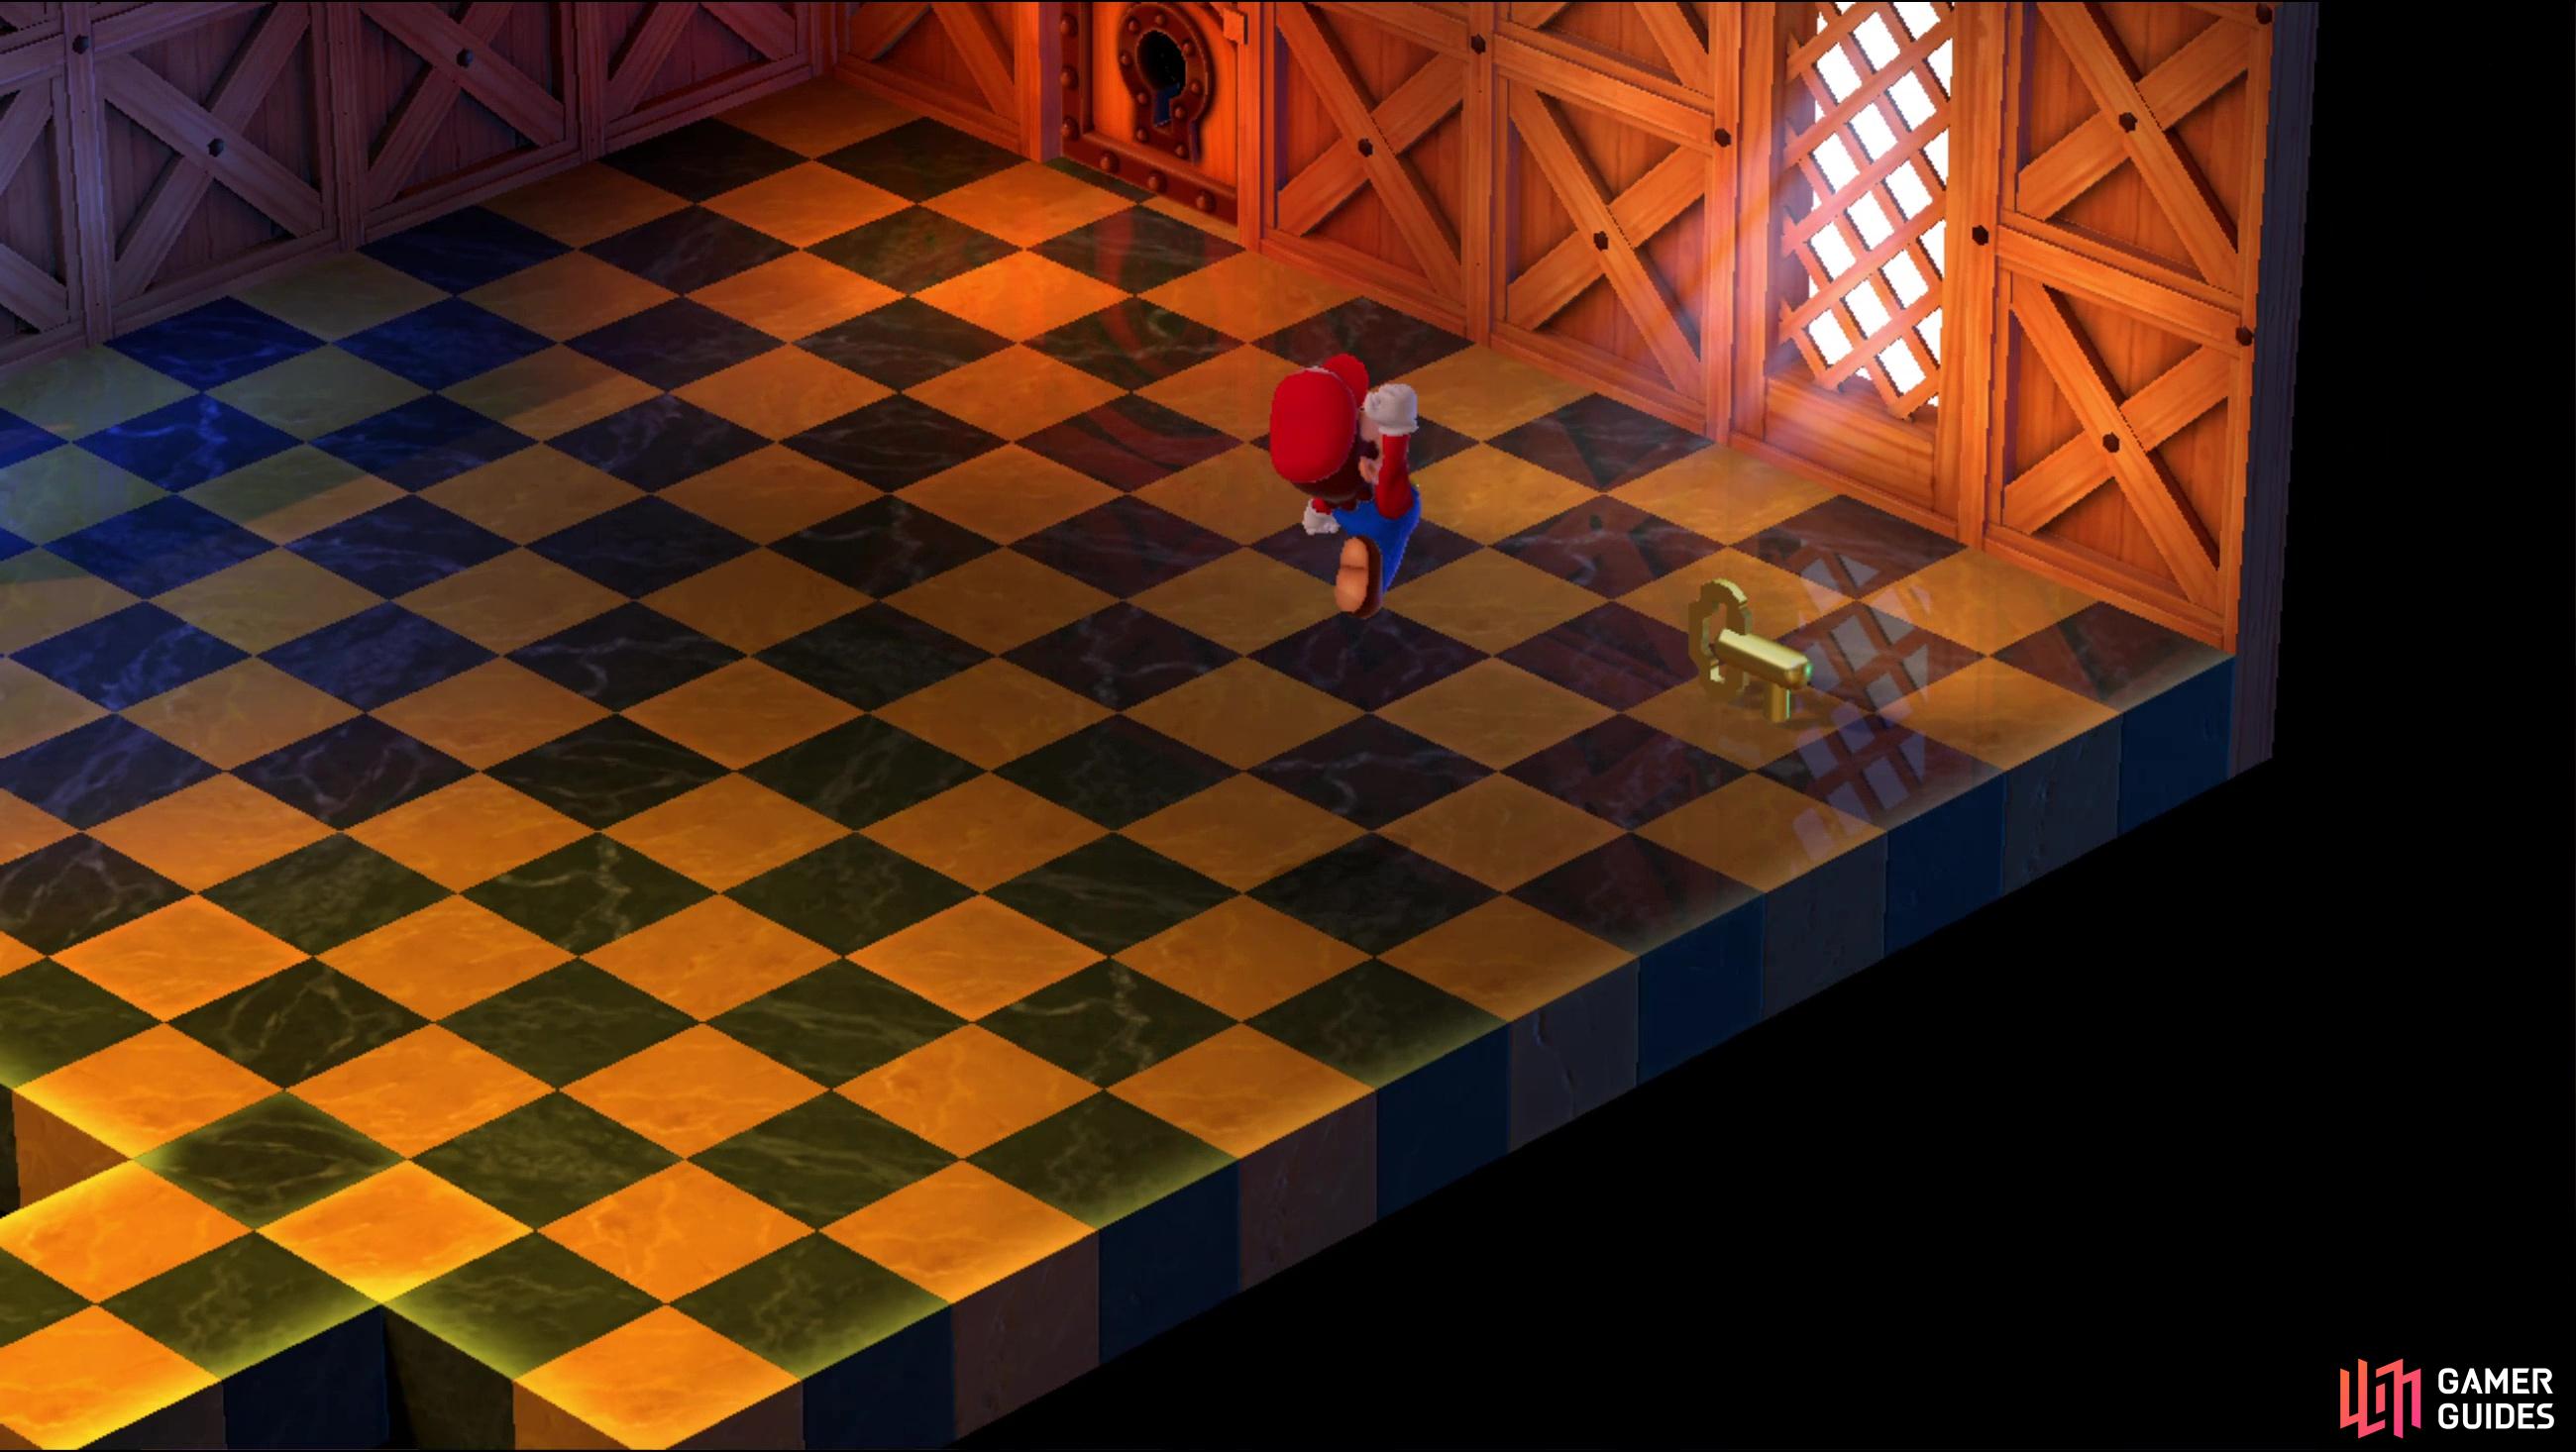
Booster Tower Hidden Treasure - Seventeenth Area
Right off the entrance, you’ll find a save point - use it, then note the platforms nearby. Make your way to the southeastern edge of the screen and jump on the lowest platform, then leap your way northwest across the platforms to reach the ledge above the save point, where you’ll find a chest containing a Frog Coin. You’re not done here, however, as there’s still hidden treasure in this area… and it’s right above the chest you just looted. Jump back onto the platform, then try to land a jump from said platform onto the top of the chest you just opened. It may take a few tries, but when you get atop the chest, jump again to find Hidden Treasure #3, which contains a Goodie Bag. Still not done! Drop down to the ground floor and make your way to the southern corner of the room and jump to find Hidden Treasure #4, which contains a Mushroom.
Unlike the previous Mushroom, this one portends difficulties ahead, as you’re getting near (finally) the end of this area, and the obligatory boss battle that tends to end dungeons like this. Before that, however, there’s one more minigame to indulge in, so save your game again, and when you’re ready exit to the southwest.


(1 of 5) At first, you’ll need to evade the search of a single Snifster, which is a trivial affair.
Booster Tower Curtain Hiding Minigame - Eighteenth Area
This room doesn’t have much of interest in it, at a glance - curtains, some dolls, a cage… exit to the southwest and you’ll have a brief meeting with Peach. After some scenes, Mario will end up hiding behind the curtains along the northwestern edge of the room, and after throwing a tantrum Booster commands his Snifsters to live up to their name and find his Mario doll, which they’ll do by searching the curtains you’re hiding behind!
The minigame is simple, you can move southwest and northeast behind the curtains, and there are four sections of curtain in all. Don’t be behind the section that gets searched, else you’ll be exposed, and if you get spotted three times you’ll have to fight Booster and his three Snifsters. It’s not the most difficult fight in the world, actually not a bad bit of Exp, but you’ll gain an accessory by remaining undetected which may be more worth your while.
At first, you’ll only have to contend with one Snifster searching the curtains and since he’s only got a 25% chance to search the one you’re hiding behind, it should be trivial to avoid his search. You’ve got plenty of time to move if he does end up searching near you, just keep an eye on him as he walks up and down the curtains, and don’t remain behind the curtain he stops at. After Snifster one tries for a while to find the Mario doll, he complains, only to be joined by another Snifster.
Now two of the curtain sections will be searched at a time, and it’s harder to keep track of both Snifsters. The general rules remain the same, you’re free to move and you need to watch the Snifsters and avoid standing behind curtain segments they stop at. Just be wary, as they play off each other a bit now, and one may shift his search at the last second after bumping into the other Snifster - you have to watch them and be ready to run if they get sneaky.
Evade the pair of Snifsters and finally Booster will set all three on the task. You’ll have to pay attention here and be ready to move constantly because, with all but one section of curtains covered, they’ll almost always be threatening to expose you. Just watch them and be ready to sprint at any moment and with some luck you should be able to avoid detection until Booster decides to join in on the fun. There’s nowhere left to hide now, and nothing you can do to prevent yourself from being discovered… Fortunately, Booster is an imbecile and ends up distracted by the discovery of the real Mario doll. When he starts crying, head under the Mario doll and jump up to dislodge it and Booster will thank you by giving you Booster’s Charm before marching off and opening the door leading to Peach.
Now’s a good time to save your game, as a boss fight is imminent. If you end up getting detected three times, you’ll have to fight Booster and his three Snifsters, which will be discussed below.


(1 of 5) If you get detected three times during the Curtain Hiding minigame you’ll have to fight Booster and his Snifsters.
Booster Tower Battle: Booster and Snifsters
| Enemy | HP | Weaknesses | Resistances |
|---|---|---|---|
| 200 | Ice | None | |
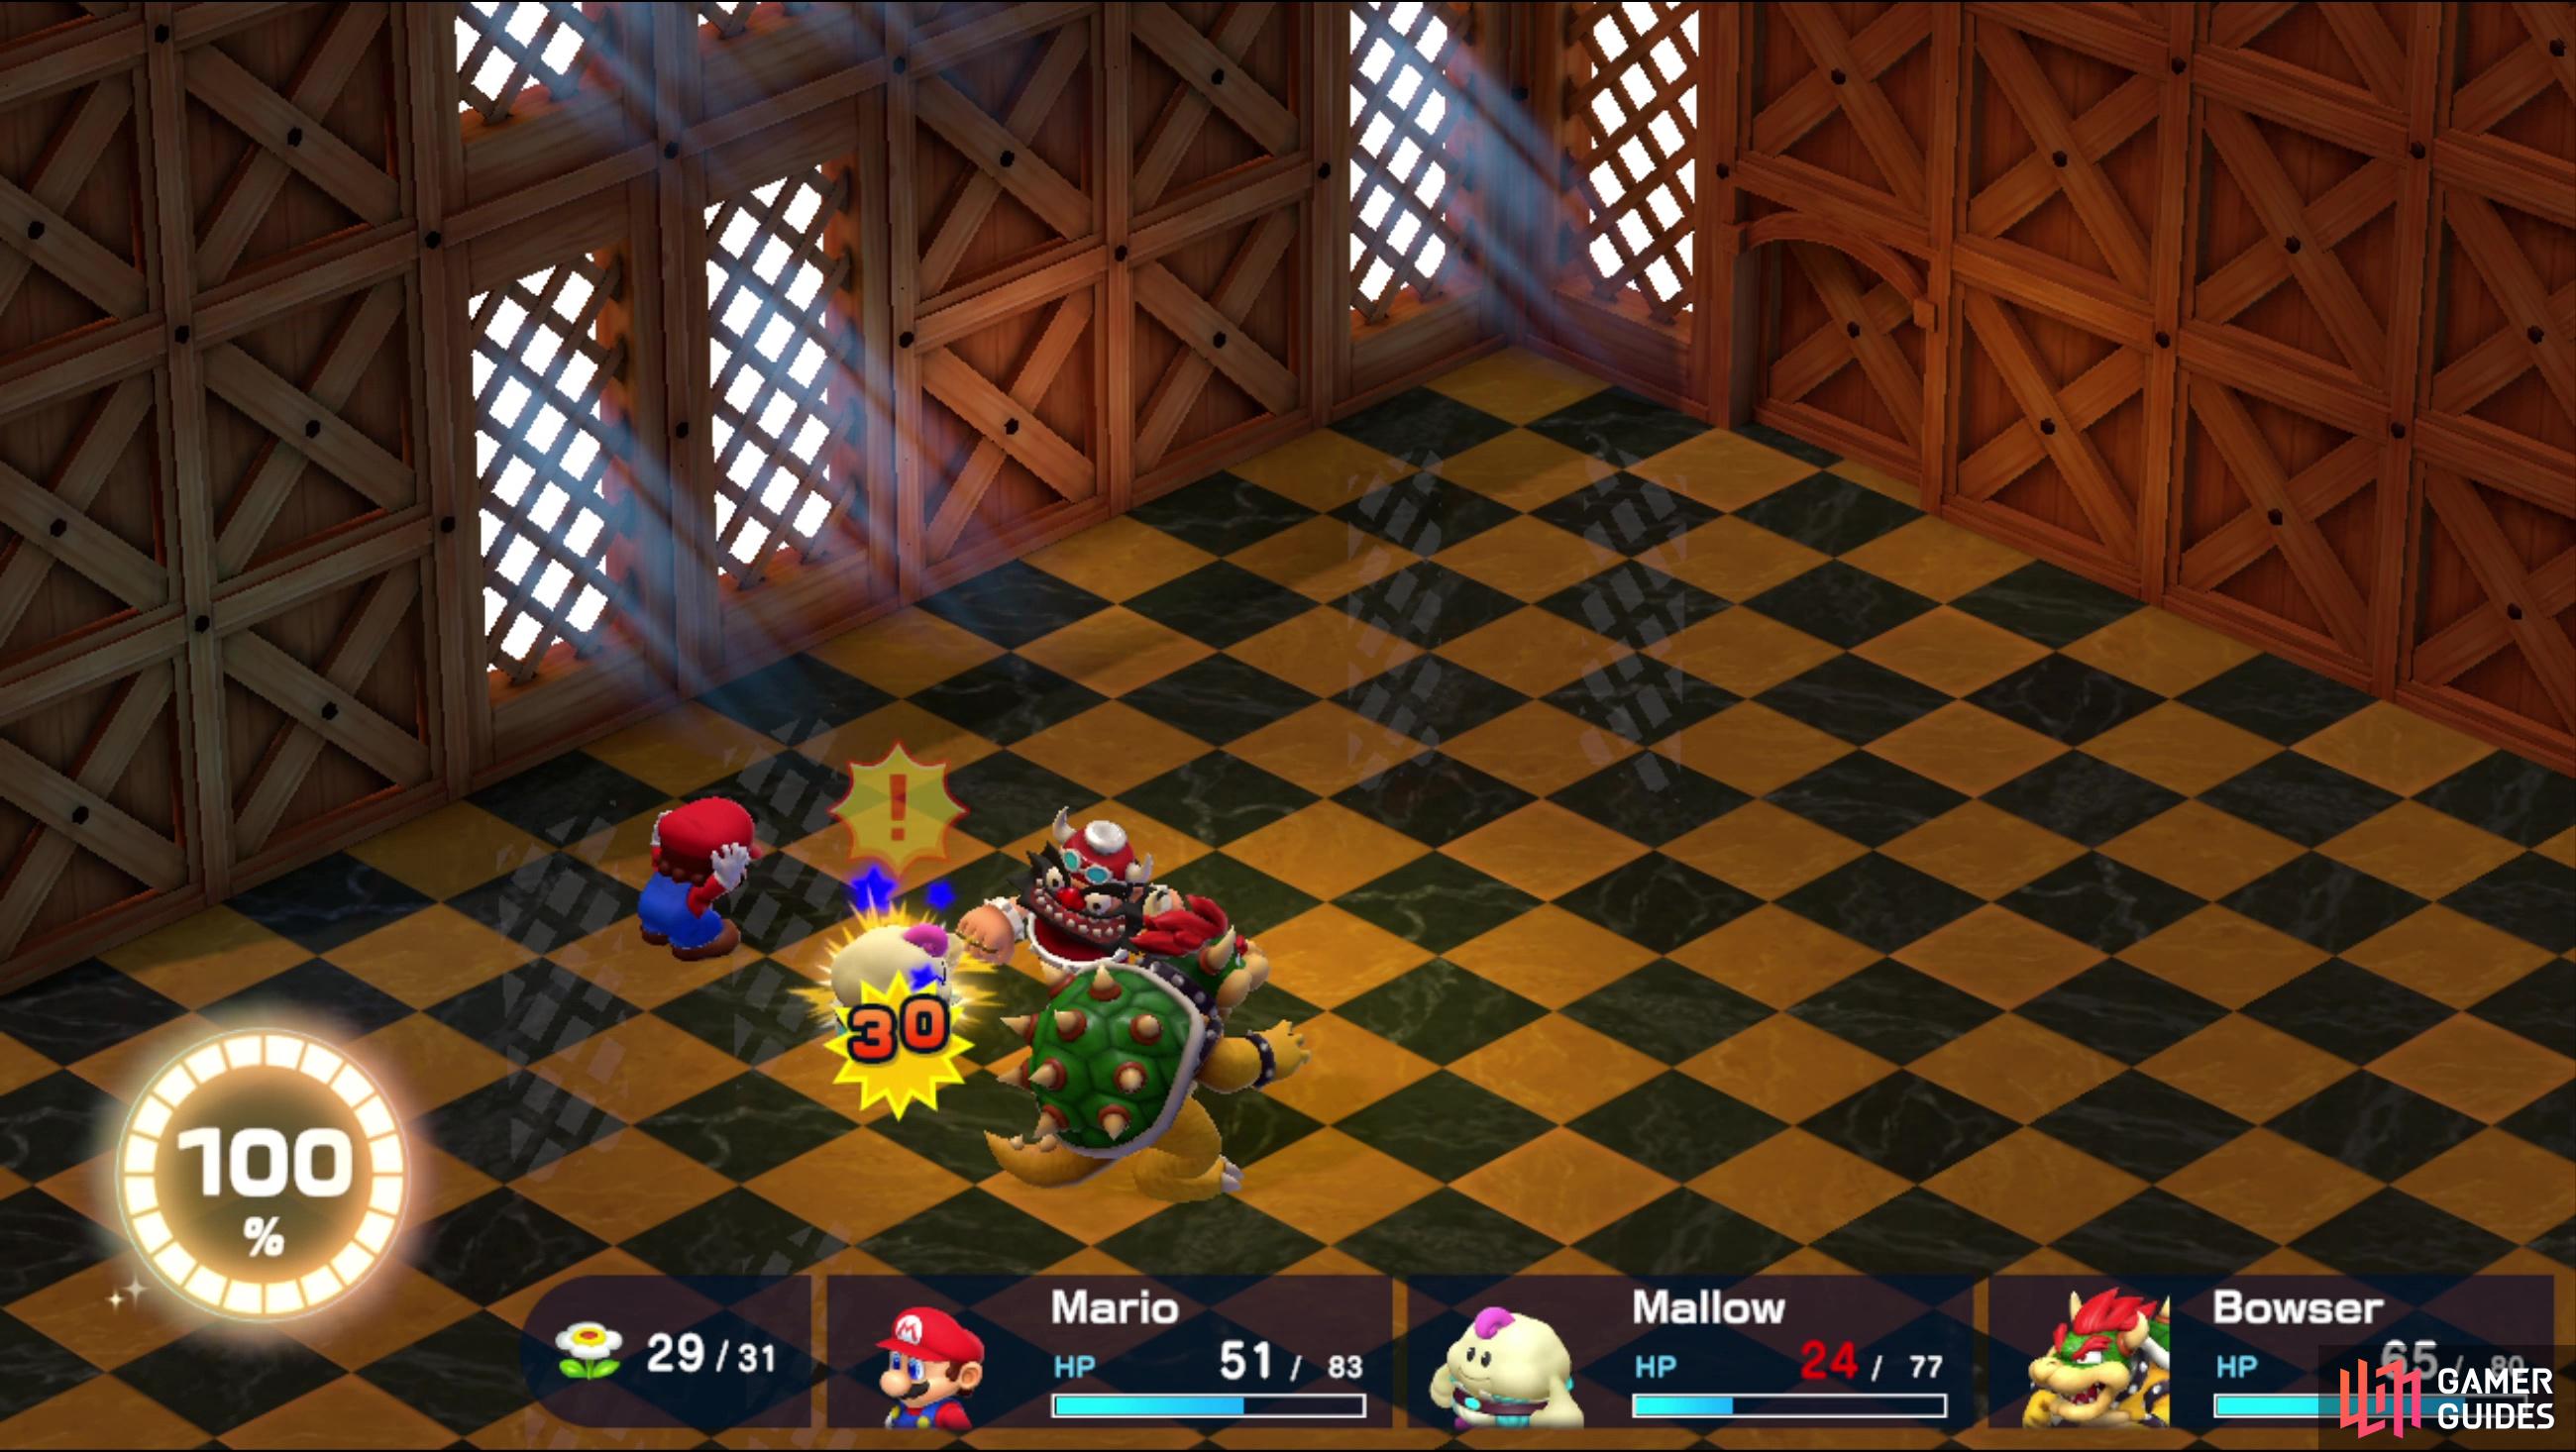
| Booster | 800 | Jump, Fear, Poison, Mute | None |
This is a two-phase battle, first against Booster’s three Snifster minions, then against Booster himself. The Snifsters will use various elemental magics against you, including Bolt, Static Electricity, and Blizzard, although their Mg. Attack isn’t quite high enough to make this as threatening as it sounds. Most of the time they’ll be dealing single-digit damage to the party. It can add up, but unless you’re careless it shouldn’t get out of hand. Each Snifster has 200 HP, meaning you should be able to defeat one each turn.
Defeat all three and Booster will step up to take their place. He can land heavier attacks than his underlings, but he doesn’t have party-wide attacks, and the damage he deals isn’t overwhelming, capping out at around 30~. As long as you’re willing to heal everybody who falls below 40 HP, you should be safe. Booster does have 800 HP, which makes him more durable than all his Snifsters combined, but he’s weak to Fear (Bowser can inflict this via his Terrorize special) and Jump damage. If you time it right, Mario’s Jump special can inflict 200 damage to Booster, which can dramatically speed things up! It’s not the last time in this dungeon that Mario will be able to deal massive damage to an enemy…
Once you beat down Booster, he’ll flee to Peach, opening the way for Mario and the rest of Bowser’s Minions. You’ll earn 66 Exp (split three ways) and 145 Coins, but you won’t get Booster’s Charm. Go back and save your game and consider healing up, if you need to. You don’t want to go into the next fight at a disadvantage!

 Sign up
No Comments