
Head east back through the village to reach Woesong Bridge, which is where your first bout of exploration will begin. Cross the bridge and loot a Nilfgaardian outpost, then cross another bridge to reach an island. Not too much going on here - there’s a house in the center of the island with two chests in it, one of which contains a diverse bit of Alchemy and Crafting items. The woman in this house, Liseje, has nothing to say at the moment, which is just fine. Another chest outside (north of) the house also contains some Alchemy and Crafting items.
Leave the house and follow the road leading to it back south and continue until you reach a road running east-west along the southern end of the island. South of this road are some ruined docks, near which you’ll find a sack, a crate, and a chest worth looting.
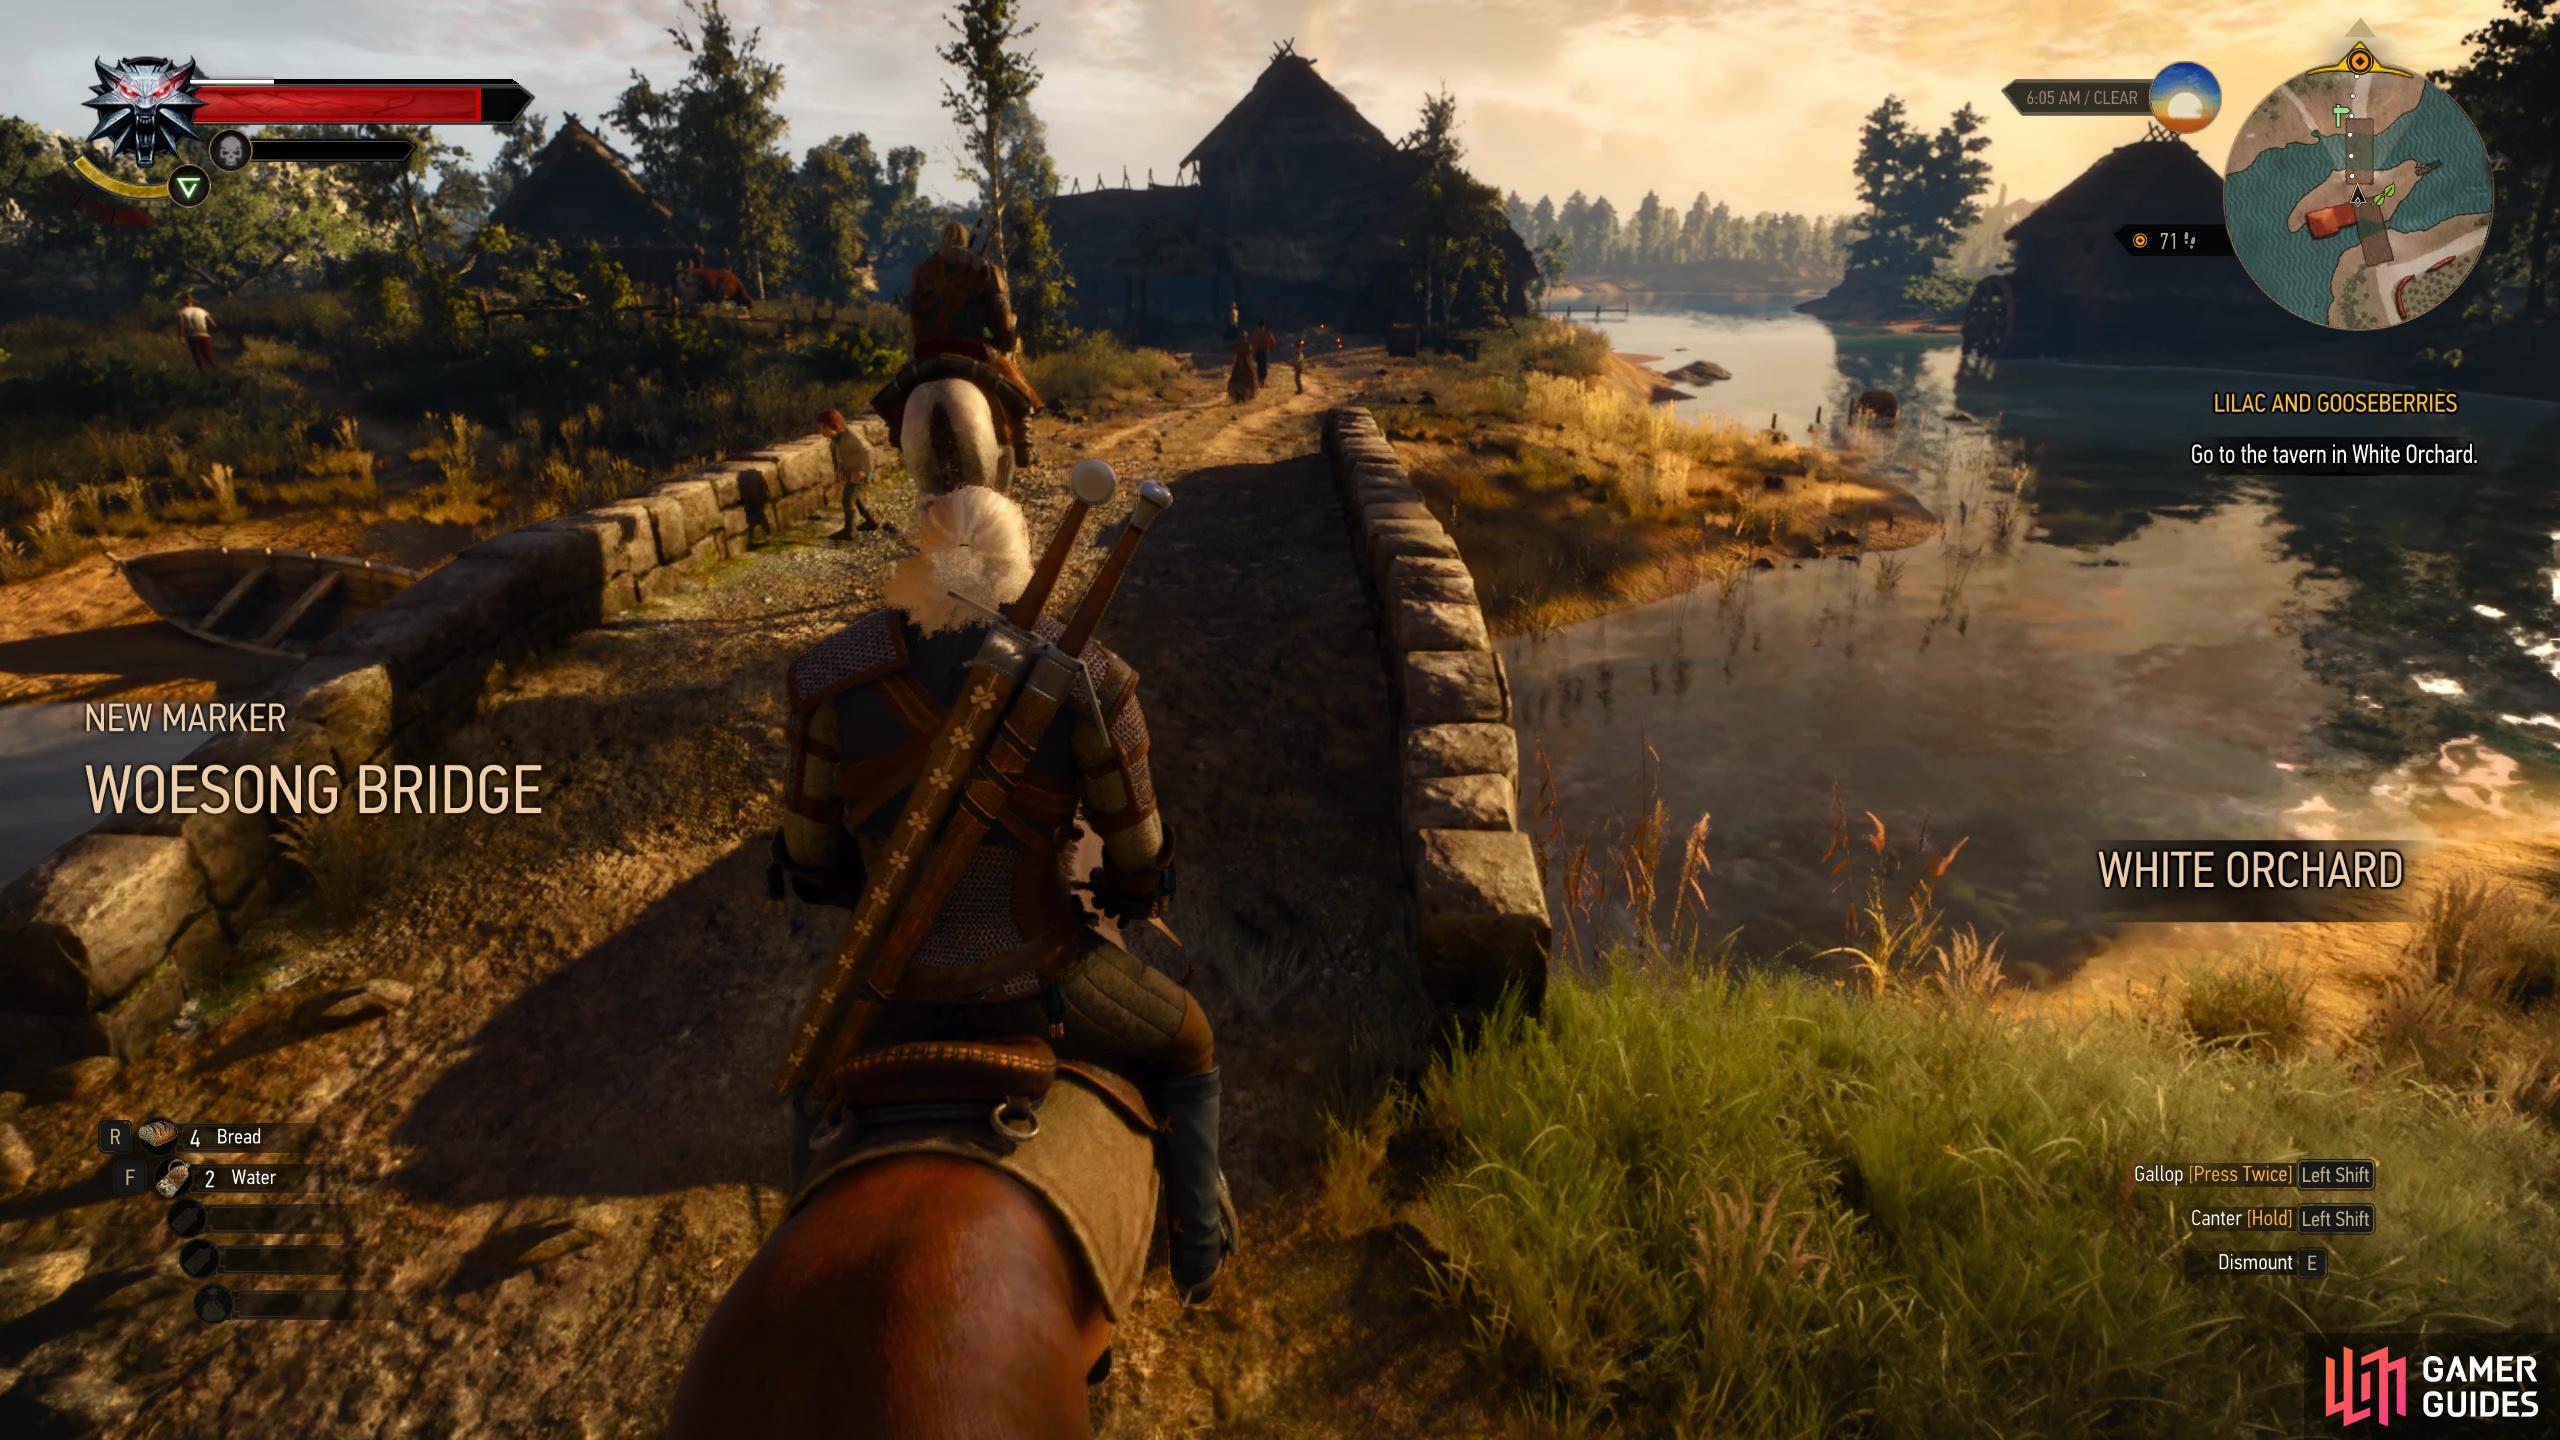
Crossing Woesong Bridge will set a new marker on your map.
| Important Items in this Area |
|---|
| Angrily Scrawled Note |
| Interrogation Report |
| Diagram: Serpentine Steel Sword |
Guarded Treasure (level 4)
Cross a shallow ford to the south-east to reach the woods near the Ransacked Village. If you explore to the south along the beach you’ll find some Drowners brazenly walking about during the day. At this point in the game, Drowners are best fought solo, and they really only become dangerous in groups. Igni works well on them, especially if it catches one on fire, as they can be further punished with melee attacks. Don’t try to parry them, however, as their physical attacks can stun you whether you block or not. Dispatch them, then continue following the shore counter-clockwise. Across the river to the south-west you’ll see more Drowners near a beached boat. Swim across (aim to land a bit away from the Drowners) and kill them. Once done, loot the treasure they were guarding, which includes three crates, a sack, and a chest. In the partially submerged crate and chest you’ll find particularly interesting loot.
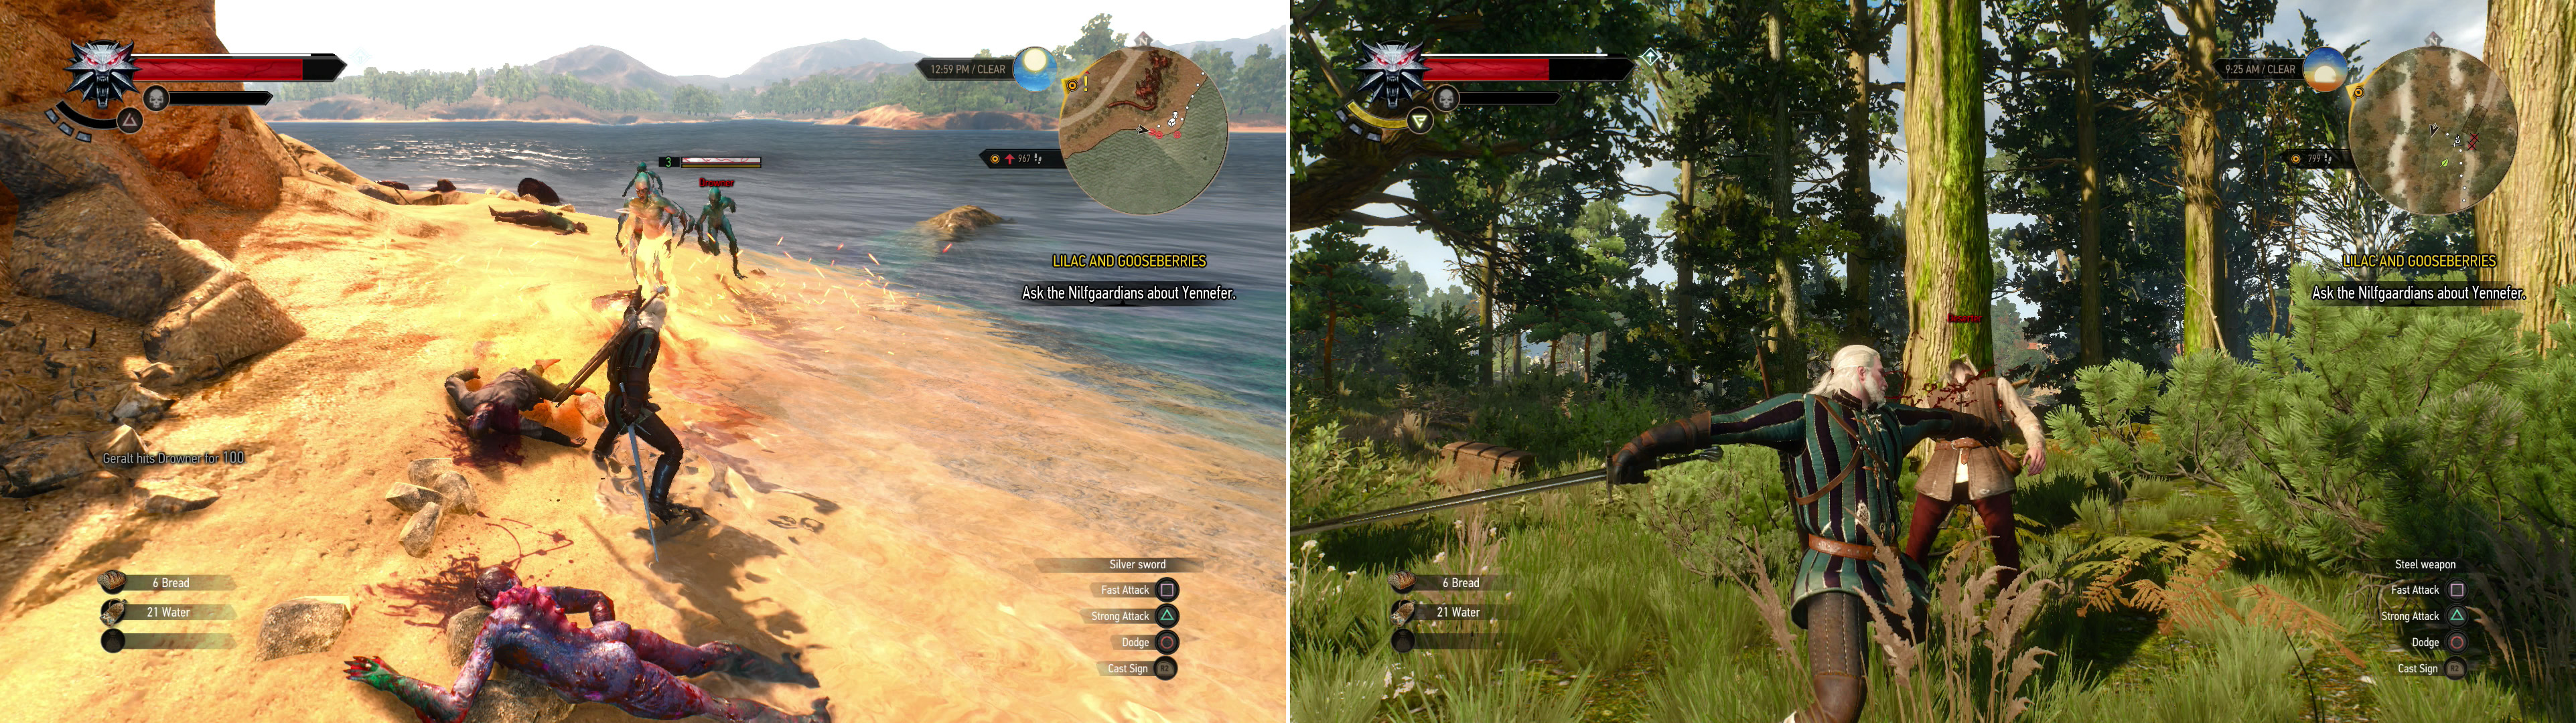
Kill the Drowners by the shore and steal their treasure (left). Bandits also typically guard treasure, and are just as much of a menace as Drowners, monster or not. (right).
Bandit Camp (level 5)
Swim back across the river (to the north-east) and explore the southern end of the forest, where, near the center, you should find a Bandit Camp. Hit and run tactics work to take them out one at a time. Focus on killing any archers first, if you have the opportunity, and use the Quen Sign to protect you. Once they’re all dead, loot the sacks south of their campfire for rare crafting components, while the chest contains rarer loot.
Smugglers Cache
Return to the shore and follow it east until you reach a bridge connecting the Ransacked Village to the land to the south. Under the bridge is a Smuggler’s Cache, which is a good bit simpler than the last two events you completed, just approach the bridge from the east and loot the packages lying about. The loot isn’t as unique as it was in the last two events, but hey… can you really complain? You didn’t even have to fight anything.
Bandit Camp (level 5)
From the bridge follow the road to the north-east until it turns north-west. At the bend, veer off the road, continuing north-east up a short hill. Climb a collapsed brick structure, scale a rock ledge above it, then turn north and jump a gap to reach another stone ledge, then climb up onto more brickwork to find a Bandit Camp. Dispose of the ne’er-do-wells here, then search a ruined brick building to the south to find plenty of lootable sacks, crates, and a chest. Investigate an “Angrily Scrawled Note” on the floor, which discloses the location of a Bandit Camp. In the chest you’ll find an odd bit of static loot-an “Interrogation Report” and a “Diagram: Serpentine Steel Sword” . Picking up the former starts the quest “Scavenger Hunt: Viper School Gear” . The Serpentine Steel Sword is a nice upgrade, but it requires Emerald Dust. Unless you’re lucky and find some while exploring, it’ll set you back some 500 Crowns to buy it from Willis.
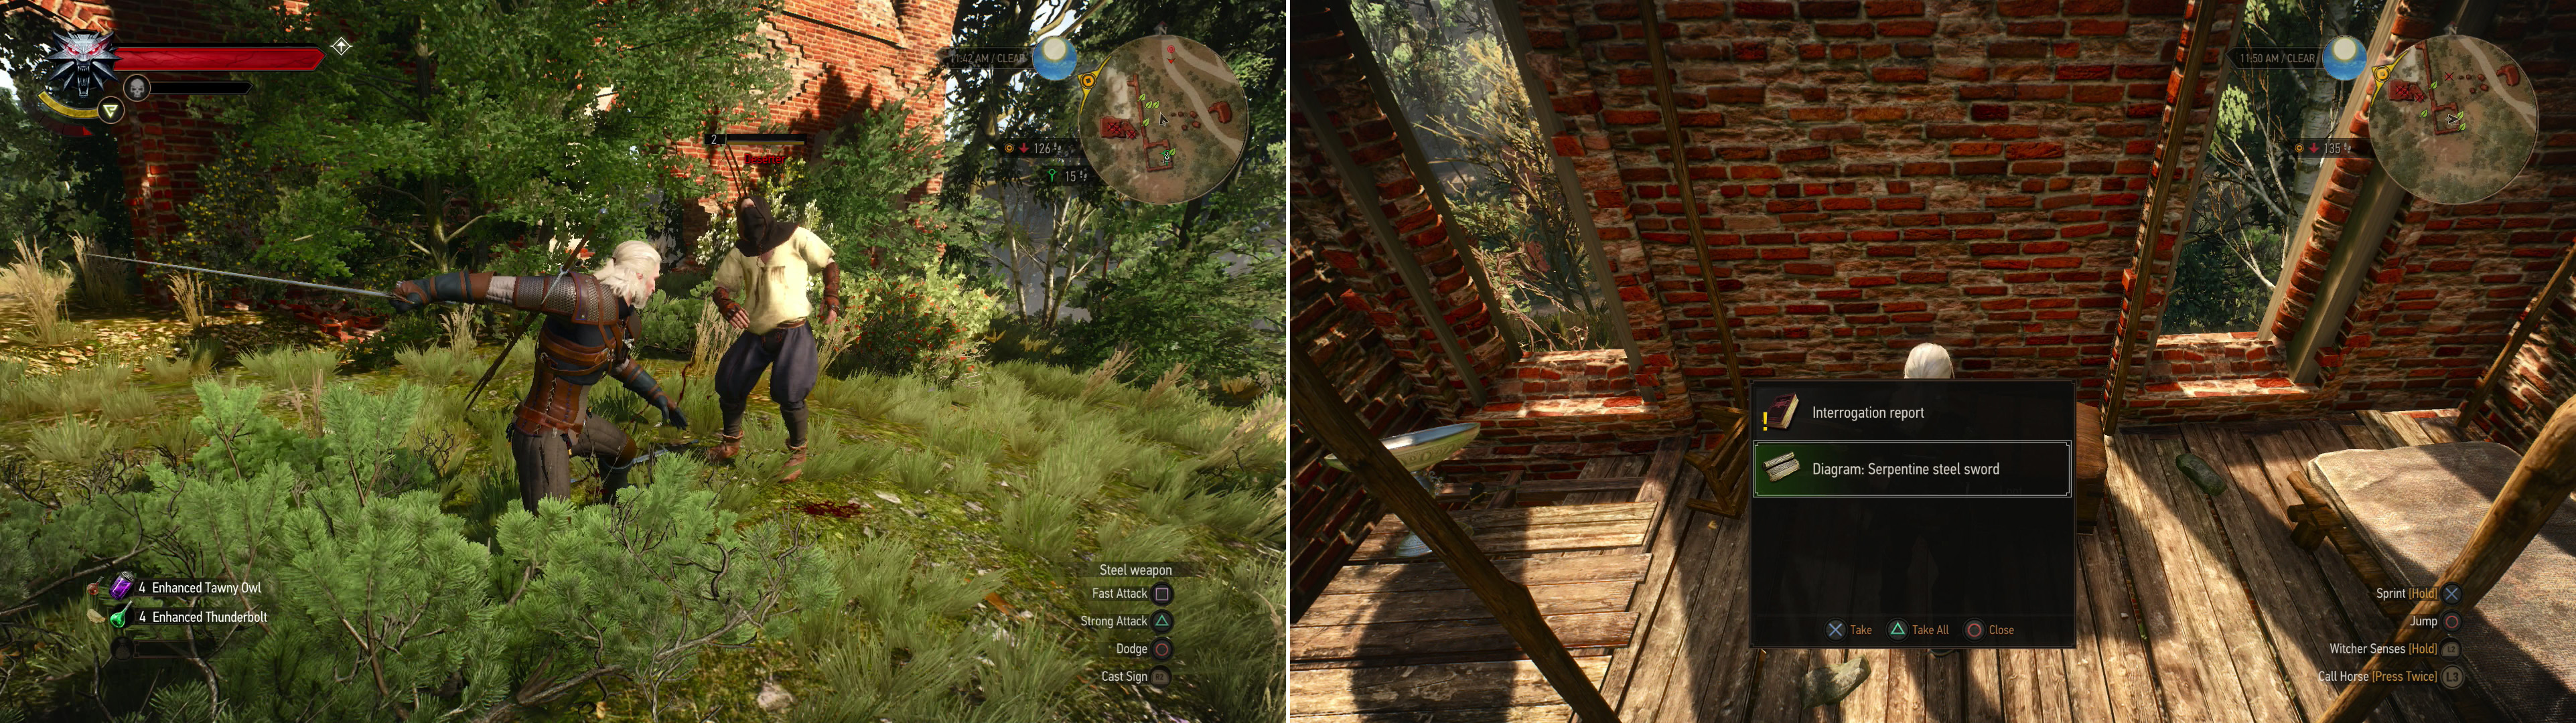
Kill the Bandits on the ruins overlooking the Ransacked Village (left) then grab the Diagram: Serpentine Steel Sword out of a chest (right).
Guarded Treasure (level 4)
Pick your way down back the way you came, then head south until you reach the shore again… that’s right, back to this business. Follow the shore north-east to eventually find another Guarded Treasure. You’ll need to drop into the water near the bridge at first, but it beats dropping off the ledge later. Along the way you’ll find a pair of Drowners guarding a beached boat and some sacks with minor loot in them. Further on is the Guarded Treasure, protected by the expected quartet of Drowners. Once they’ve been slain search the two chests in the sand they were guarding.

 Sign up
In the "Guarded Treasure (level 4)" incorrect link to the map, it's not a #10 Treasure, but #26.