
After battling through an ancient Elvish temple, fighting off Wild Hunt creatures, and rubbing magical lamps and puzzles, Keira still has some jobs for you. You now have the choice to help Keira with her own personal storyline in a secondary quest. To make you get through this is easily as possible, we are here to give you a Towerful of Mice walkthrough, featuring ghost locations, and explaining the best choice. All in all, this is the bulk of the Keria Metz side plot.
| Important Items in this Area |
|---|
| Magic Lamp |
| Xenovox |
| Mage Alexander’s Log, Part 1 |
| Mage Alexander’s Log, Part 2 |
| Missing Merchant’s Letter |
| Package for Keira |
When should you do An Invitation from Kiera Metz in the Witcher 3?
Before going any further we want to say the best chance to do this side quest is now. Kiera has a strong side quest chain in this game, which largely stems from one another. It eventually leads up to her side involvement in a main mission down the line, or not depending if you don’t help her through some other tom foolery options much further on. Therefore, if you want to do this, the best time is straight after finishing off with the Wandering in the Dark Quest.
However, you do have until the Isle of Mists main story quest to complete it, as do many other side quests relating to main story characters within this area. So, make sure to get most of these done before that point if you care about future story plots.
An Invitation from Keira Metz Walkthrough in the Witcher 3
To start the Kiera Metz storyline off, head back to her cabin after completing Wandering in the Dark. You could go after these “Ladies of the Wood”, but why risk messing with witches you don’t know when a pretty one you DO know wants to see you? Head over to her house and you’ll overhear her talking to somebody. Interrupt her and you’ll see that she’s already started playing with her new toy. Ask about the request she has for you and she’ll ask you to help her lift a curse on a nearby isle, and provide you some background information about how the curse might have been formed, and her motivations, if you ask. You’ll need to sail over to Fyke Isle, from whence this curse emanates. To aid you in your task she’ll give you the “Magic Lamp” and a “Xenovox”. This ends the quest “An Invitation from Keira Metz” and begins “A Towerful of Mice” .
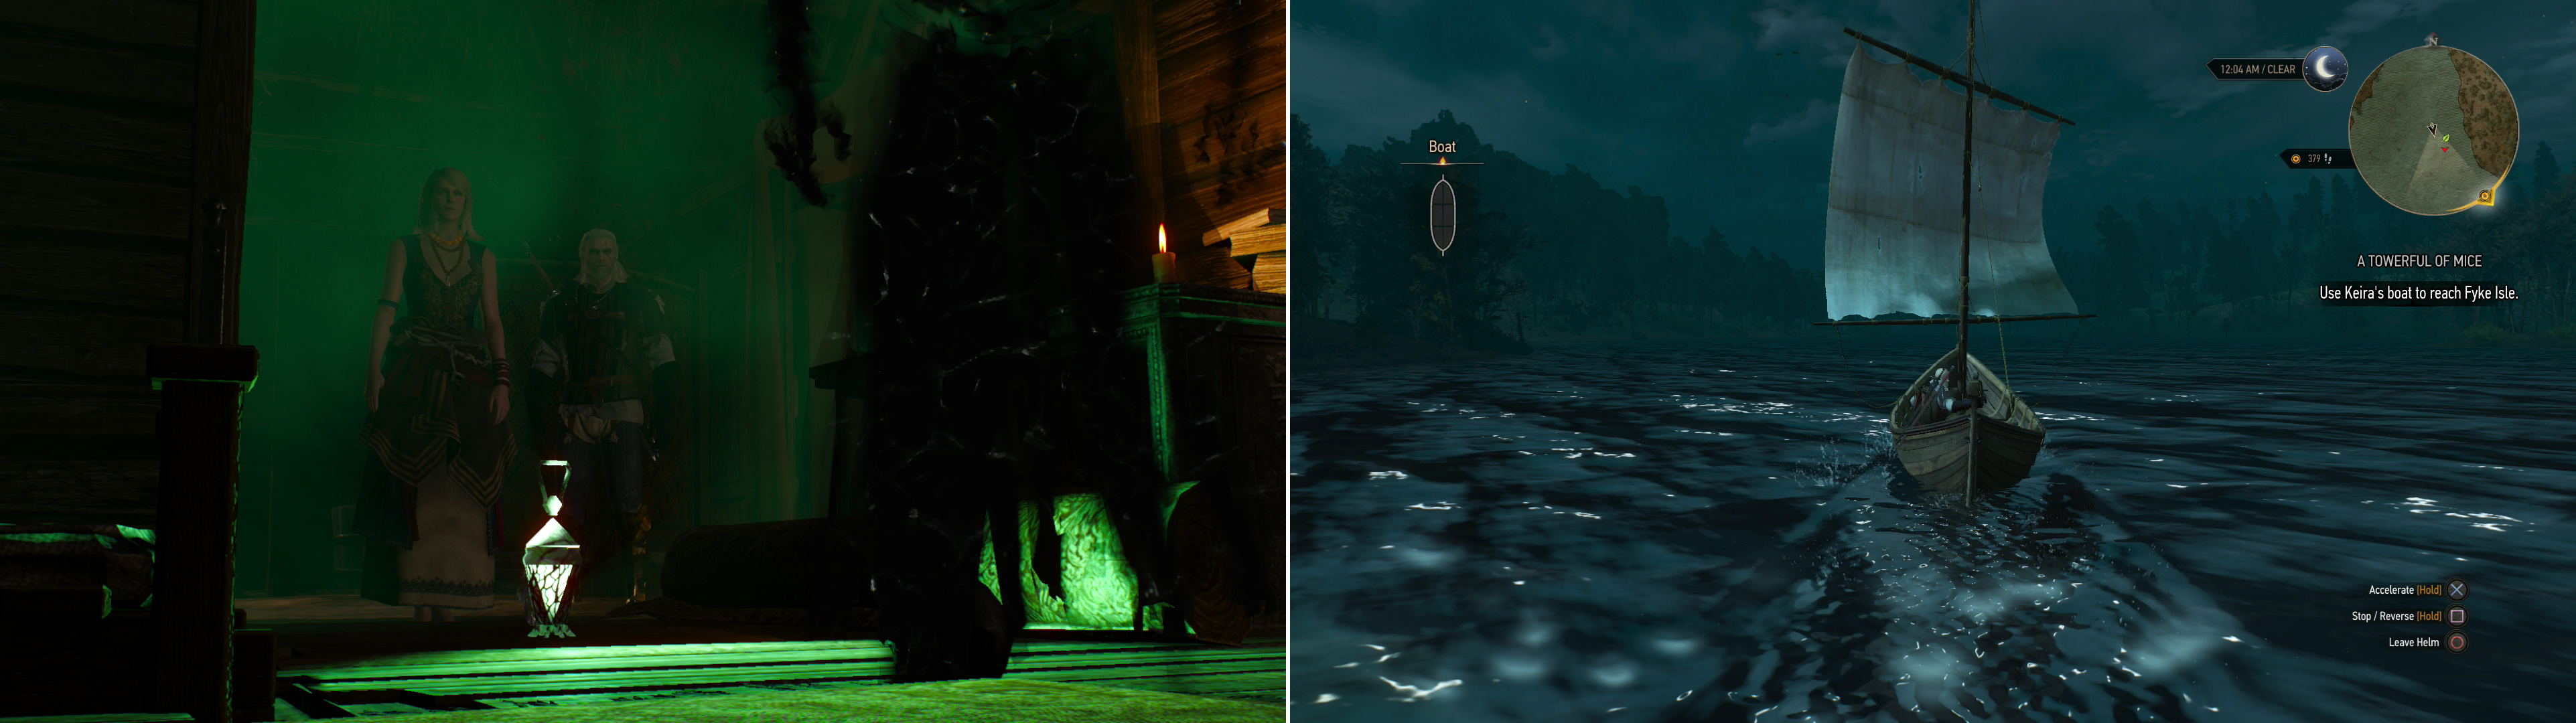
You’ll interrupt Keira Metz making good use of that Magic Lamp you helped her recover (left). Agree to help her, then board a boat and set sail for Fyke Isle (right).
A Towerful of Mice Walkthrough
You’re going to need to to do some sailing to get to Fyke island, which is where you’ll begin the Towerful of Mice quest. Hop on board and pilot the vehicle down the river to the east and Keira will shortly make use of the Xenovox to bug you. Turn south-east when you run out of east and hold course to reach the island. Once you land Keira will attempt to bug you again, but it seems the Xenovox is performing about as well as your standard cellphone. You’ll be greeted by a batch of Rotfiends (level six) if you land on the western end of the island.
Continue east along the southern end of the island, fighting off Drowners (level four) as you go until you come across the ruins of what appears to have been either a shrine or a tomb. North of the moss-covered rock in the center of the ruins you’ll find a doorway leading to a flooded cavern, within which lies a chest. Loot, leave, and continue exploring to the east, where you’ll find more Necrophages along a trail in the form of Ghouls (level six). North of here another group of Rotfiends (level six) lurk.
Kill them and proceed south-east to reach the edge of the search area where you’ll find more Ghouls (levels six and nine) as well as the “Fyke Isle” signpost. If you spot any green clouds, whip out Keira’s Magic Lamp and focus it on the aberration to witness a ghost scene play itself out. If you encounter a cloud of bugs… blast them with Igni to disperse them. There’s a ghost scene at the far southern end of the search area, opposite the signpost and one a short distance south-east of the signpost. Spot them out then head to the signpost.
| Objective | Reward |
|---|---|
| For witnessing a ghost scene | 50 XP (each time) |
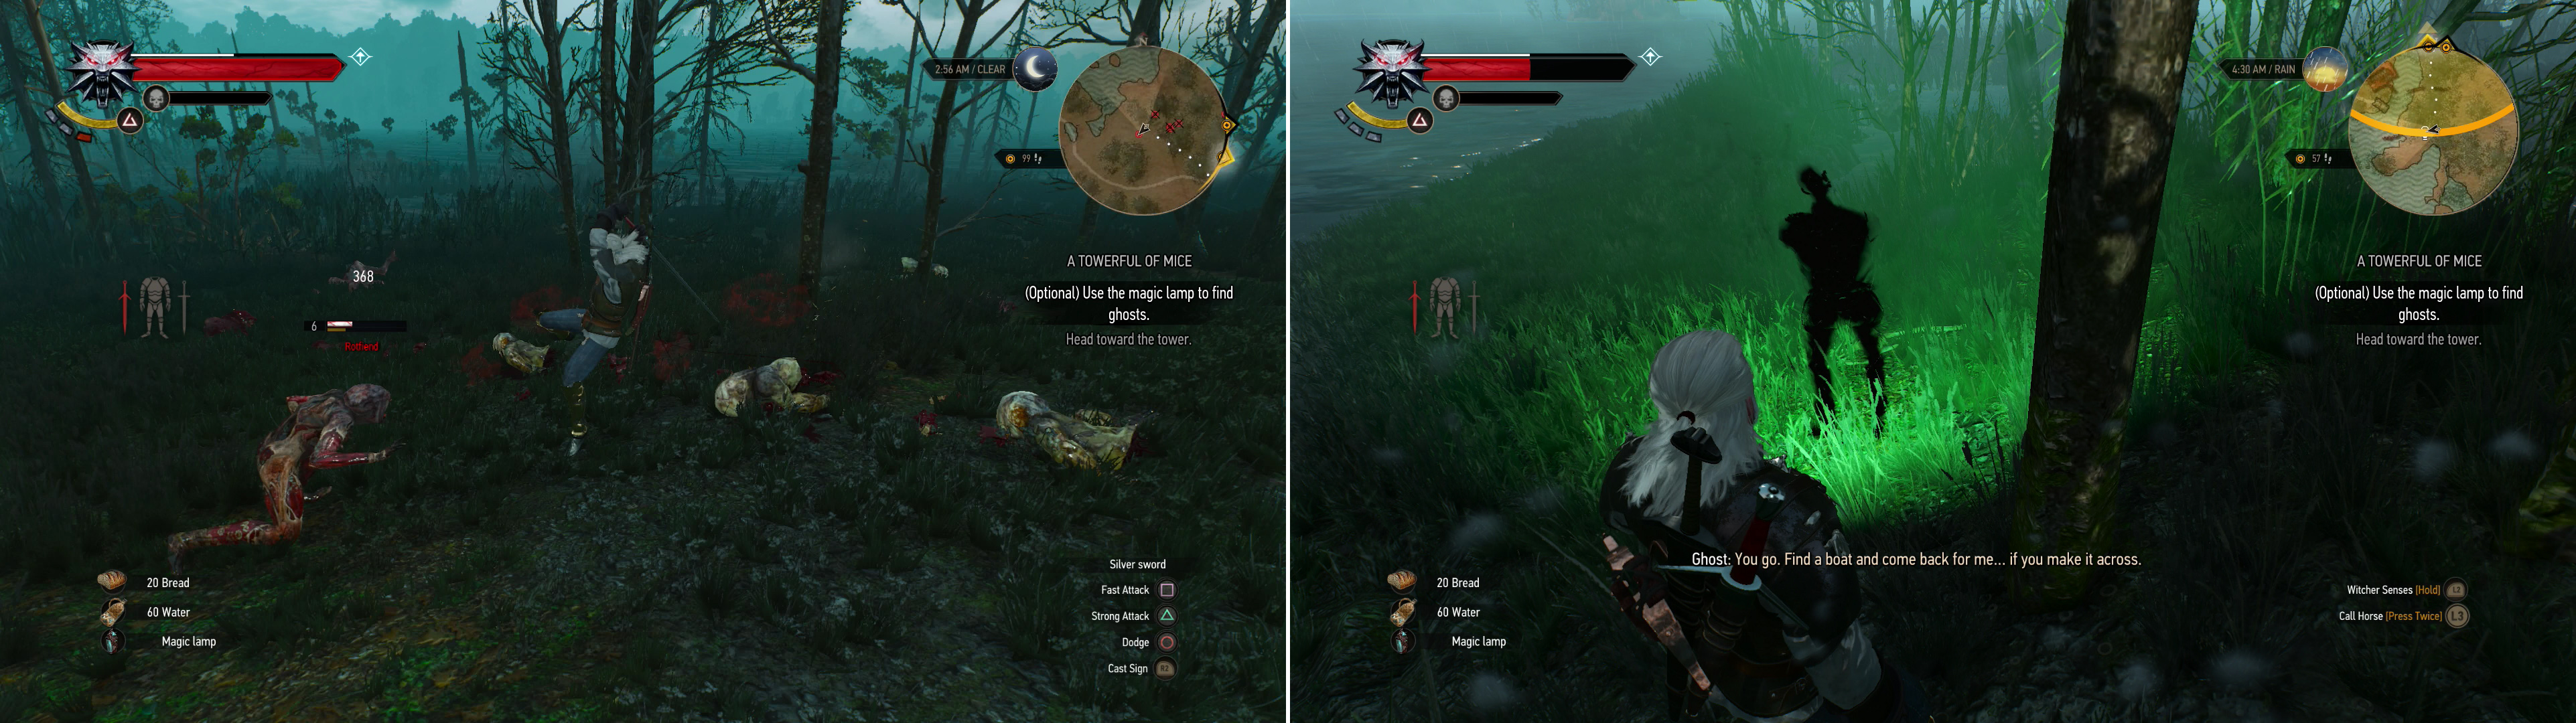
Fyke Isle is crawling with necrophages, including Ghouls, Rotfiends and Drowners (left). You can also find less threatening, incorporeal ghosts you can spy on with the Magic Lamp (right).
South of the signpost you’ll find the opening in the palisade. Head through the gates and continue north to find a tower, outside of which you’ll encounter a Water Hag (level six). Kill it, then use your Witcher Senses to spot a corpse in the water near where the hag appeared. Examine it, then turn south to find some stairs leading to a watch tower, upon which you’ll find two chests and a crate to loot. Another crate can be found beside the stairs. When you’re done looting, head around the northern side of the tower where you’ll find another ghost scene. Along the way you can search a house to the north-west of the tower, and an adjacent shelter, both of which have containers to loot.
Towerful of Mice Ghost Locations
In this section, we will go through the Towerful of Mice ghost locations. Note there’s typically one ghost scene on each floor of the tower. You need to go down stairs for one, so make sure to reach the guide and not get confused. You also get quite a bit of EXP for finding the ghost locations in Towerful of Mice, which is a nice touch before you reach the main objective of the tower. Make sure you grab them before you reach the top of the tower with the puzzle
Return to the southern end of the tower and head up some stairs to enter the tower. Once inside, turn your Witcher Senses on and search some weaponry near the door, then some dead rats (which makes Keira object). Loot a chest in a fire place to the north-east, then turn north-west and use the Magic Lamp to spy on a ghost scene. Seems that, despite the bad rap nobles have been getting all game, the peasants might be the more vile party here. Then again, maybe anybody with any power sucks. Loot a crate near the stairs, then rummage through two sacks and search some blood on the floor.
| Objective | Reward |
|---|---|
| For witnessing the noble’s death ghost scene | 50 XP |
Ignore the stairs for now… the ones up, anyways, and go through a door north of the blood. As you descend the stairs you’ll witness a mainstay of paranormal activity; the old swinging chandelier trick ghost seems to adore so much. The rats don’t seem to mind, however, so neither should you. There are some sacks and a chest you can loot to the north, and another chest stacked atop some cages to the south-west. To the south-east you’ll find another ghost memory. Guess that explains where the rats came from…
| Objective | Reward |
|---|---|
| For witnessing the rats ghost scene | 50 XP |
Head back upstairs, and continue up another flight of stairs which were ignored a little while ago. All you can do here is witness another ghost scene opposite the door. Watch it, then head up another flight of stairs. Another favorite mainstay of poltergeists will occur here - self-lighting candles. Spooky. Head out onto a balcony opposite the stairs to score a chest, then return inside and loot some sacks near the next flight of stairs leading up. Go through a doorway to the north-east and loot another chest, then go through an adjacent doorway and use your Magic Lamp to witness another ghost scene.
| Objective | Reward |
|---|---|
| For witnessing the peasant invasion ghost scene | 50 XP |
| For witnessing the mysterious death ghost scene | 100 XP |
Climb another flight of stairs, loot a chest, walk around some beds, then go up more stairs. Keira will bug you when you reach the top, telling you to look for a laboratory. Search near a wall to examine some damage to the floor, then pull a lever on the north-western wall to open a door near the scratches on the floor. Go through a doorway, then up some stairs, then through another doorway to reach the laboratory. Once here, loot a chest along the north-western wall, examine some seedy testing tubes to the south-west, then score a smaller chest to the south-east, near another ghost image. Ignore the ghost image for a moment so you can grab “The Mage Alexander’s Log, Part 1” off a desk to the north-east, and “The Mage Alexander’s Log, Part 2” off a bookshelf along the north-western wall.
More loot can be found upstairs. Don’t worry about that crying ghost - she isn’t going anywhere. Instead, up some some stairs to the south-east to reach the top of the tower. Search an interior chamber on the roof to find some cages, with their former occupants still inside. Geralt sums up the situation tersely. Next head north-west through a broken wall to reach a wooden walkway, on which a friendly, lootful chest lurks. Yum.
Now that that’s taken care of return downstairs and pop the Magic Lamp on the ghost scene to find out what all this disembodied crying is about.
| Objective | Reward |
|---|---|
| For discovering the laboratory | 100 XP |
With all that said and done, you will have found all of the Towerful of Mice ghost locations, and got all the optional additional XP you can get from this.
The Best Towerful of Mice Choice & Endings
Once you reach the lab, you’ll find a ghost of a girl crying for help. Converse with the ghost and she’ll mention that the mage who owned this tower was named Alexander (remember that Keira had a - presumably unsent - letter to a mage who lived in a tower named Alexander) and she’ll also tell the story of what happened here, including the story of her gruesome demise. No wonder she can’t rest in peace. After a while she’ll tell you the conditions that will free her from this place and presumably lift the curse.
The request is rather reasonable, and if you offer to help her she’ll ask you to bring Graham to her. You also have the option to turn her down, which is more involved in the short-run. If you do turn her down, she’ll get understandably upset, turn into a Plague Wraith, then attack. She fights similarly to a Noonwraith, save she summons swarms of insects to attack you. Normally Yrden would be the correct course of action, but in this case starting out with Igni to disperse her bugs and rats might prove more helpful at the beginning of the fight. Of course, like other wraiths of this type, she’ll take a pathetic amount of damage if she’s not under the effects of a Yrden Sign. Once she’s taken a bit of damage she’ll flee. Chase her down the tower and fight her again in front of it. She’ll stay a bit longer this time, but still vanishes before you can finish her off. Keira will berate you via the Xenovox and tell you to find Graham - the object of Anabelle’s undying affection - in Oreton.
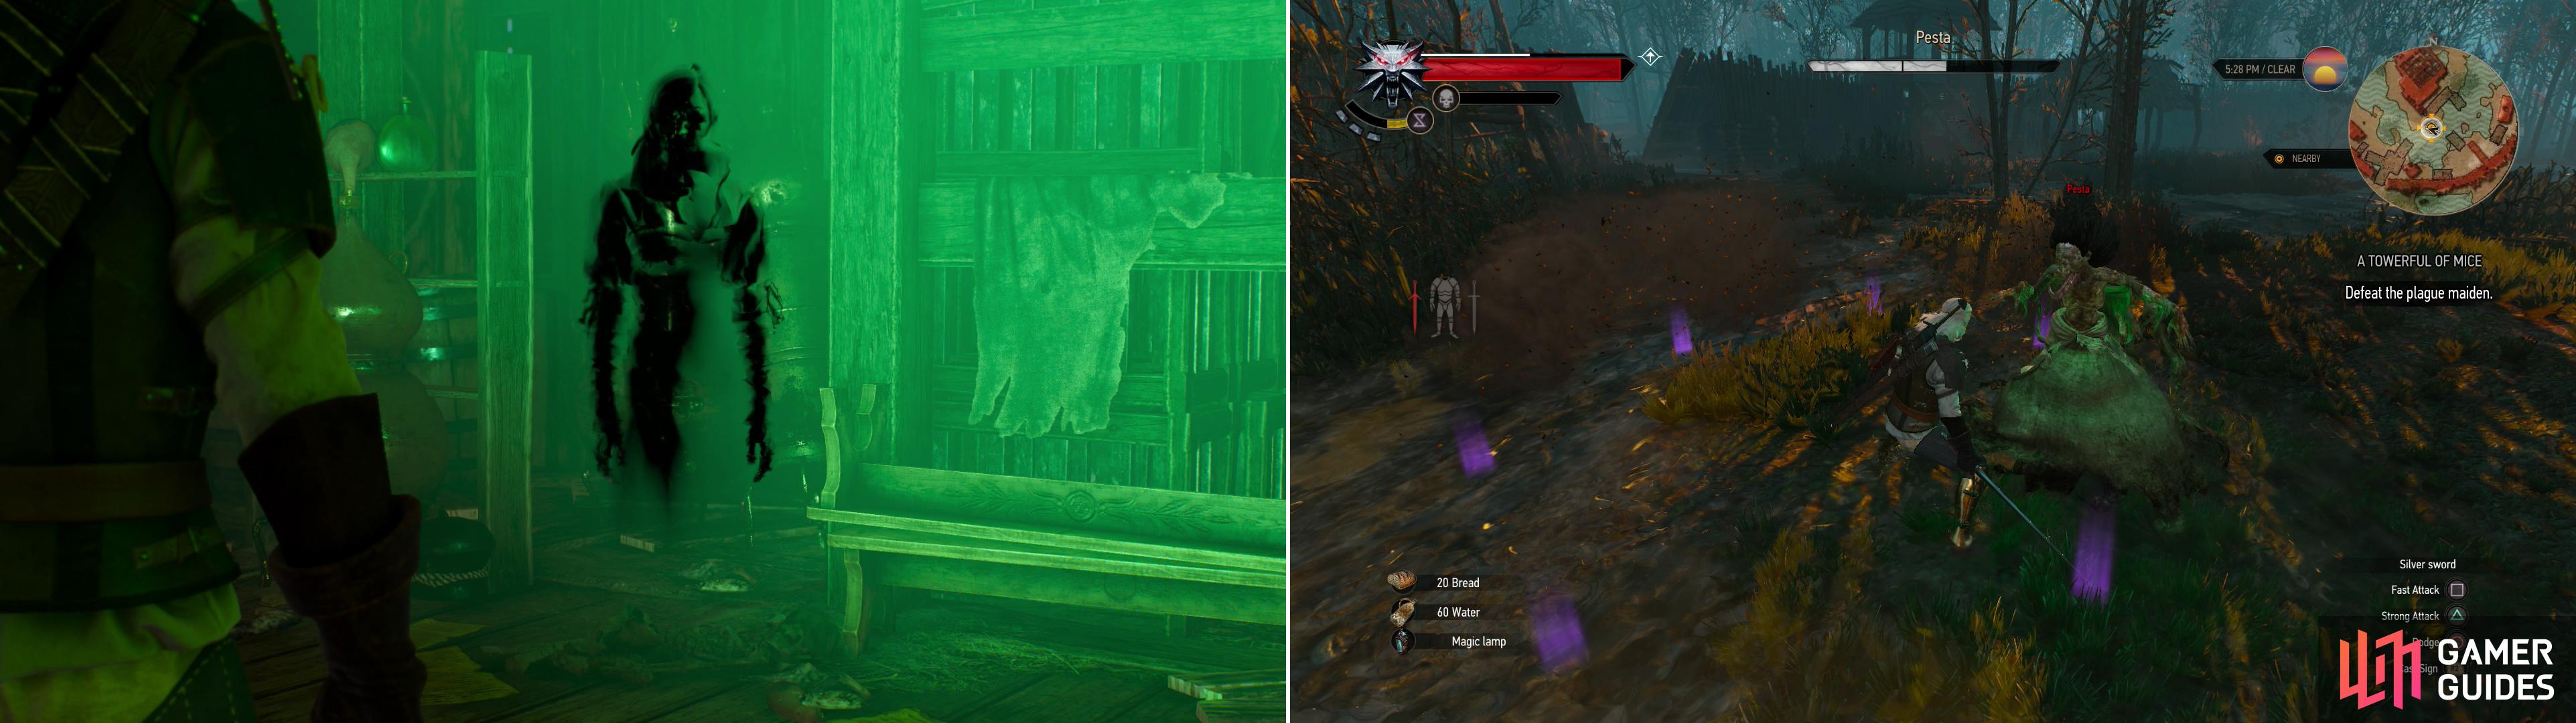
Use the Magic Lamp to talk to Annabelle at the top of the tower (left). If you refuse to help her, she’ll reveal her true form and turn violent (right).
Either way, you’ll end up having to go pay Graham a visit. Return to your boat and sail north-east to reach Oreton. You’ll find Graham in an isolated riverside hut south-west of the rest of the village. Be sure to visit Oreton to get the signpost, in case you need to travel here later. Once done, knock on his door and he’ll talk to you when you tell him about Fyke Isle. He’ll tell you his side of the story, after which you can convince him to either go with you back to the island (if you got into a fight with Anabelle earlier) or bury her bones (if you agreed to help her).
If you got into a tussle with Anabelle earlier you’ll be back at the tower. Enter it and kill a pair of Wraiths (level five) on the first floor. Continue to the top of the tower to confront Anabelle again, who doesn’t seem happy to see Graham. She’ll ask for a show of his affection (eww…) and will be cruelly treated by Anabelle for this show of love… but at least they’re together now.
| Objective | Reward |
|---|---|
| For reuniting Graham and Anabelle | 500 XP |
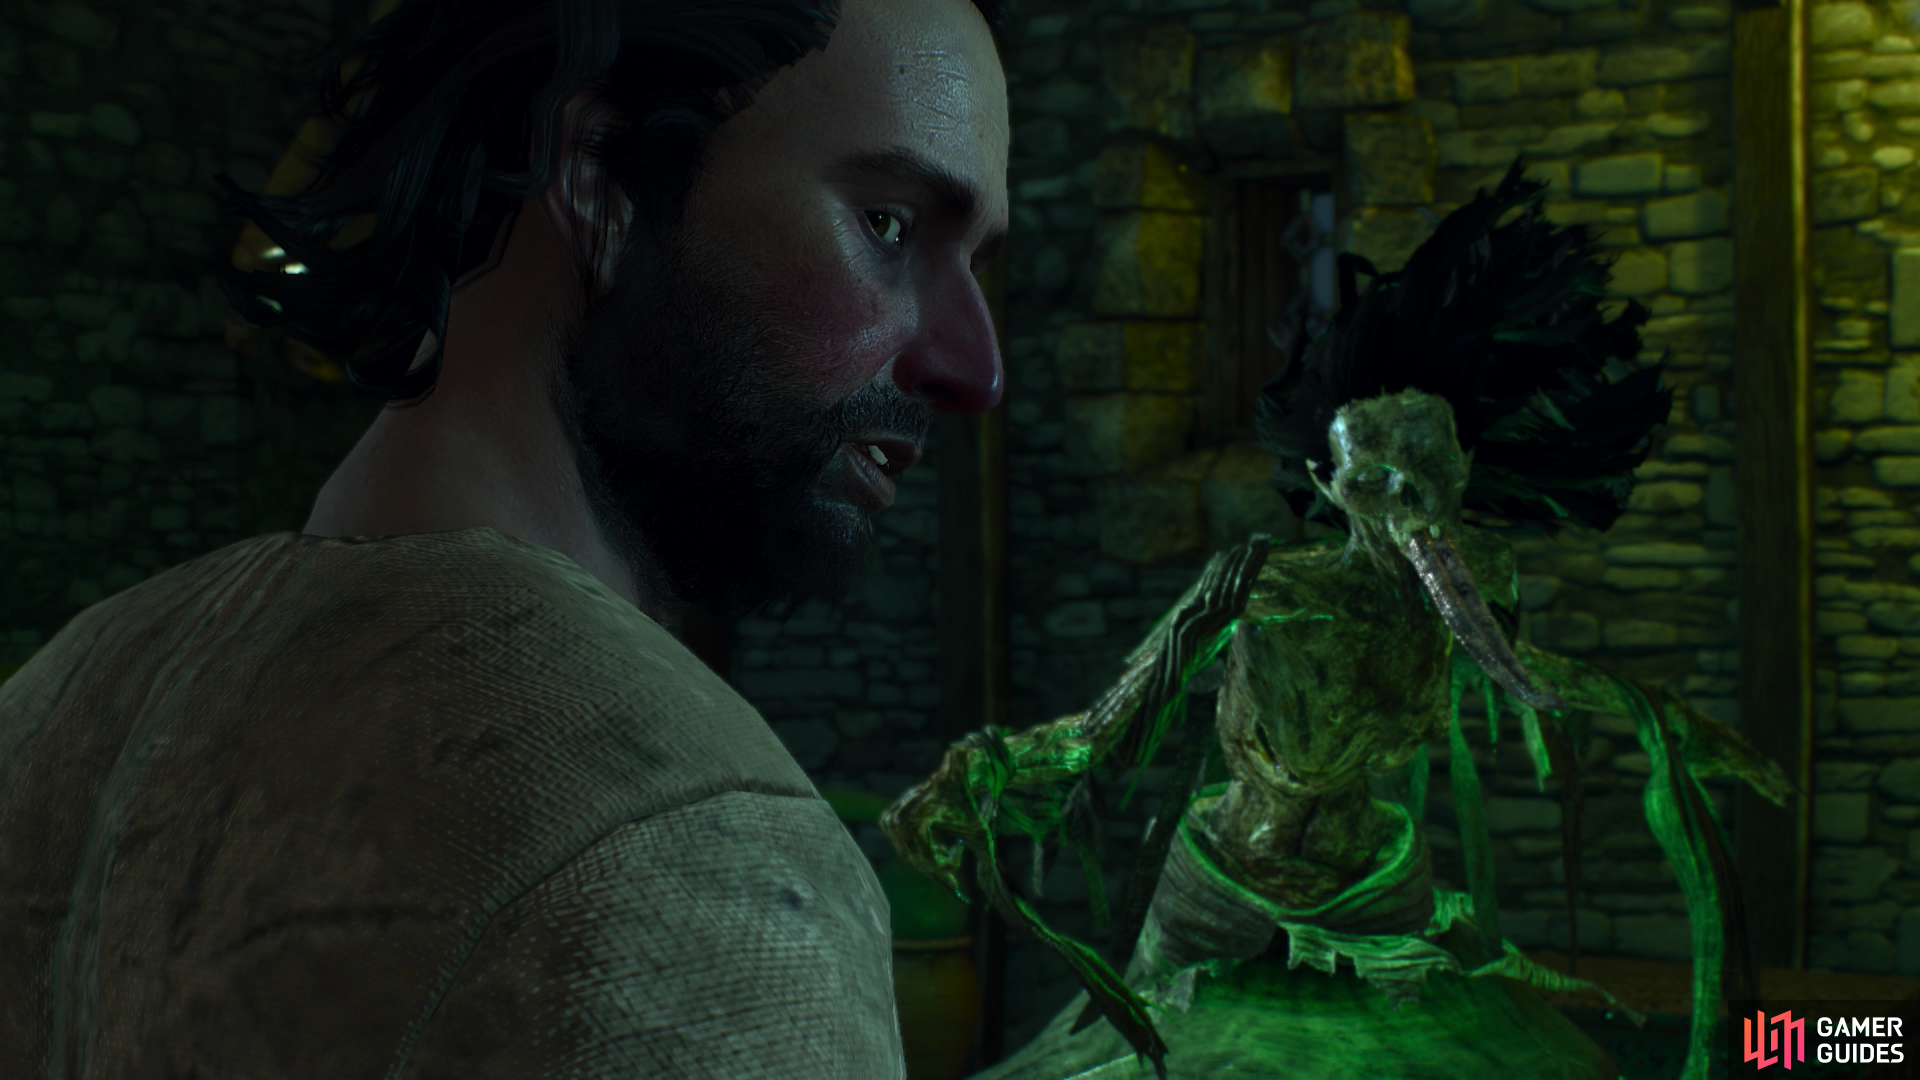
On the other hand, if you handed her remains over, leave the hut. You’ll hear a scream shortly afterwards. Return to see that Graham is dead, and Anabelle - the Pesta - is floating over him. Either way, the curse is lifted… at least from Fyke Isle. The Pesta that Anabelle became, however, is now free to spread disease and pestilence across the world. Oops.
| Objective | Reward |
|---|---|
| For bringing Anabelle’s remains to Graham | 300 XP |
Return to Keira (using the Fyke Isle signpost to return to Midcopse) and tell her the good… well, the news, in any event. Go to leave and Keira will ask you to perform another task for her… this time somewhat more mundane. Agree to help her to complete “A Towerful of Mice” and start “A Favor for a Friend” .

 Sign up
And not a word about completing “A Favor for a Friend”, before move to a next "For the Advancement of Learning" quest. It's simple, but worse mention, I think?
"Agree to help her to complete “A Towerful of Mice” and start “A Favor for a Friend” ."
Just to add, when you exit the hut, Pellar will tell you about the ritual that is supposed to take place on Fyke Island, which will start the "Forefathers Eve" quest, which is described in the next part.
"Ignore the stairs for now… the ones up, anyways, and go through a door north of the blood"
North door is locked. You need door east from the blood spot.