
Velen, a swampy land that is poor and inhospitable at the best of times. Now it’s the no man’s land between the Nilfgaardian and Redianian armies.
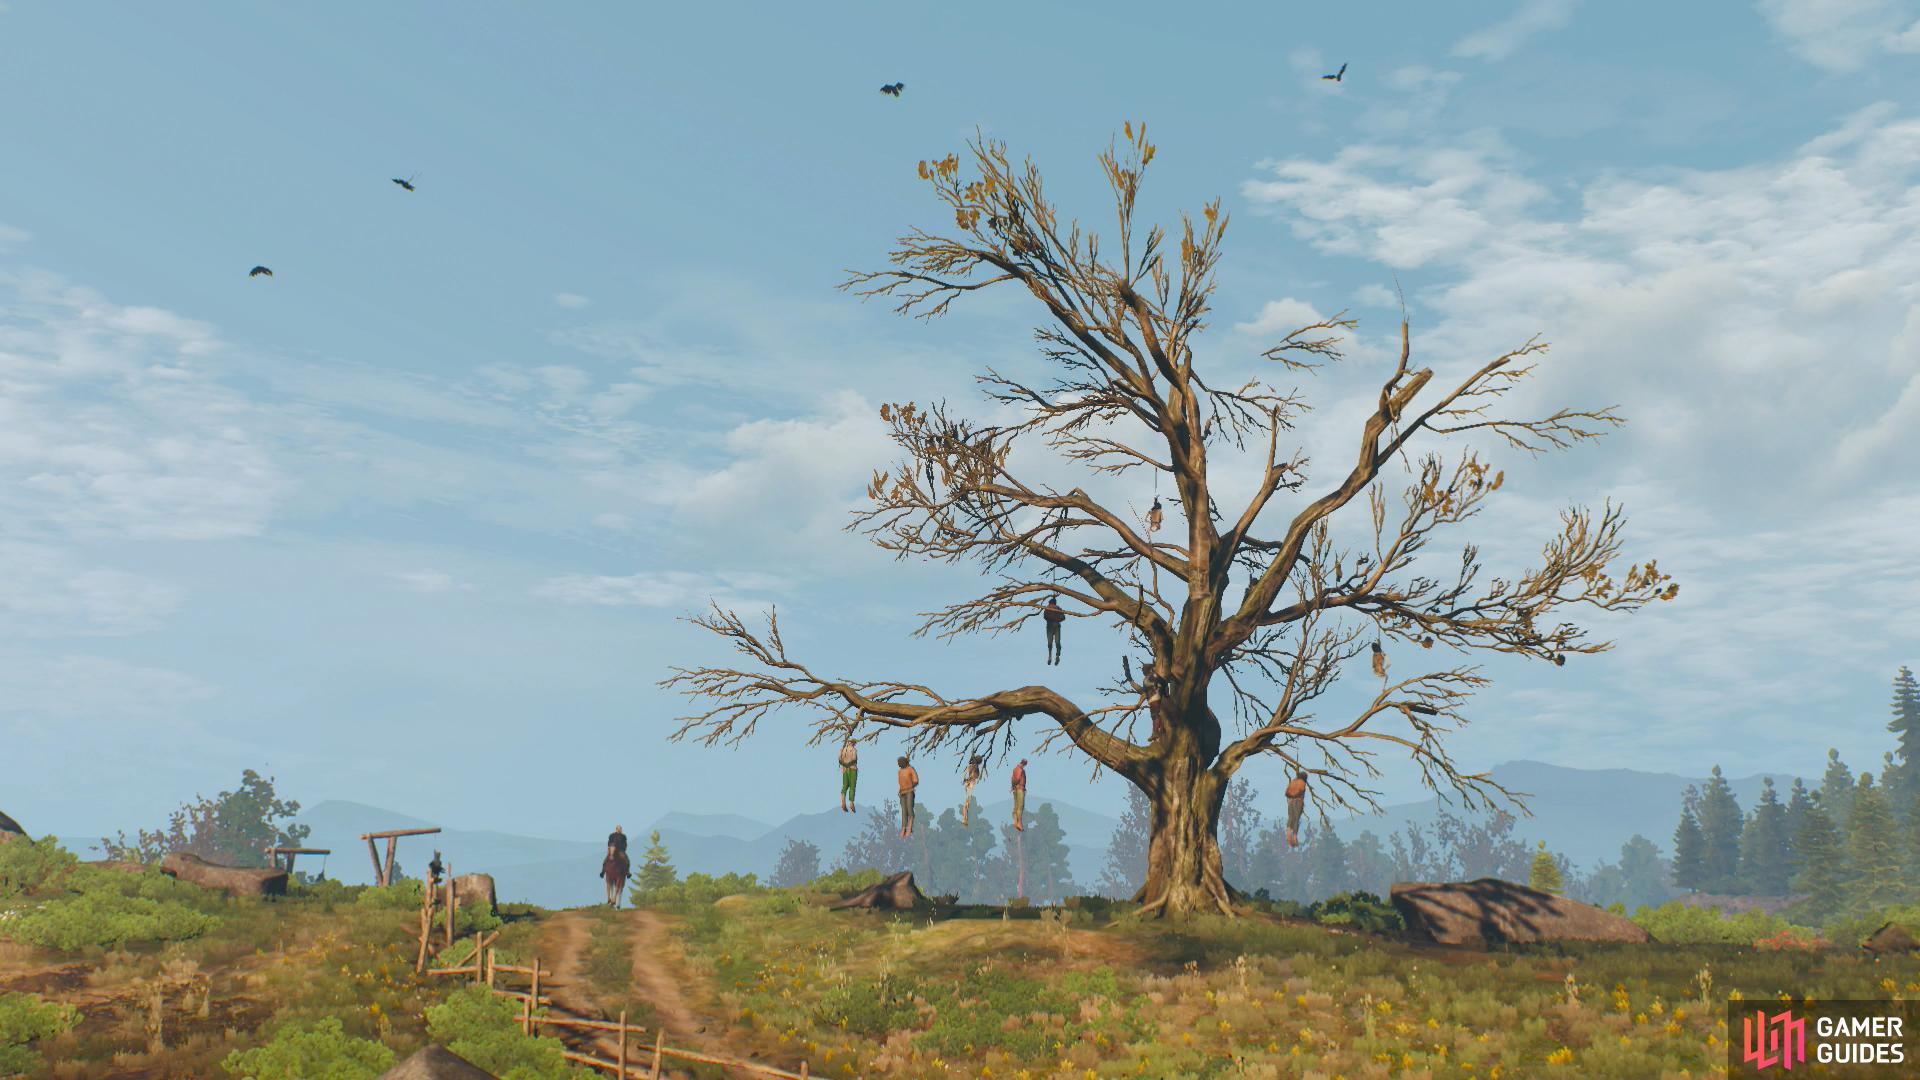
Geralt arrives at Velen to discover that the “Hanged Man’s Tree” lives up to its name. This area is the front lines in the war between Redania and Nilfgaard, with the Pontar River serving as the major geographical feature separating the two hostile forces. Atrocities are, unfortunately, to be expected in such a situation.
Go into your menu and take a peek at your map, and one thing should become abundantly clear; this area is on an entirely different scale than White Orchard was. It’s different in another regard, as well: Enemy levels will vary quite a bit more here than in White Orchard. In the fields near Hanged Man’s Tree you can find Wild Dogs (level one) that might lull you into a false sense of security. A short distance north can encounter Nekkers (level six). Still not too bad. Further north, by the shore, you can expect to start running into Endrega (levels nine and eleven, for workers and warriors, respectively), and Drowners (also level nine). As a level four Witcher with a Viper Silver Sword, these kinds of critters are probably at the limit of your powers. Further east along some swamp island you might encounter a level twenty Water Hag.
Simply put, the old geographical/clear everything in the area approach used in White Orchard won’t work here. You’ll have to pick and choose your targets as we can handle them, even if it means a bit of back-tracking.
| Important Items in this Area | . |
|---|---|
| Diagram: Superior Ursine Armor | Siege Engineer Card |
| Diagram: Superior Ursine Boots | Impera Brigade Guard Card |
| Diagram: Superior Ursine Gauntlets | Nausicaa Cavalry Rider Card |
| Diagram: Superior Ursine Trousers | Emhyr Var Emreis, His Imperial Majesty Card |
| Cage Key | Hendrik’s Key |
| Unsent Letter | Hendrik’s Notes |
| Commander’s Horn Card |
There are plenty of things you can do in Velen, and generally it’s a good idea to start with side-quests first. You never know who is going to live or die, what politics are going to change, and who is going to end up where when you do main story missions, after all. Still, partly due to the suggested levels of various quests, and due to the fact that the two major cities in this area have barriers to access (ones you can get around easily enough, but still…) it just makes sense to continue on with the main questline for the foreseeable future… while doing extra exploration and side quests that happen to be along the way, of course.
Mulbrydale
Now that you’re in Velen, it’s time to search for Ciri. From the “Dead Man’s Tree” head south along the road until you reach a small village. There’s not much to see and do here, but we might as well grab the notices on the Notice Board while you’re here. Of the six notices on the board, on the last one, “Missing Wife” starts a quest “Wild at Heart” , which will be taken care of shortly.
From the Notice Board turn south-west to spot a house, the door of which you can Aard into submission. Do so and head inside, then make your way through another, less stubborn door to the north-east, beyond which you’ll find an open cellar. Drop down and you’ll find several containers you can loot, including one awfully generous chest.
To find another generous house head down the dirt road south-west from the Notice Board and, at the Mulbrydale fast-travel signpost turn up another road to the north-west. The first house to the left possess another Aardable door, beyond which another container potentially hiding exceptional loot can be found. There are also other houses, sacks, crates and whatnot around to loot for more mundane goods (how many Broken Rakes does one Witcher need, and why are peasants here so keen on storing them?), as it suits you.
Funeral Pyres Walkthrough in the Witcher 3
When you’re done in Mulbrydale, head out along a road to the north-west and follow it until you find a Priest of the Eternal Fire standing north of the road, along with two guards. Talk to the priest (who is slightly less rude than his guards) and he’ll tell you the good news - you get to serve the Cult of the Eternal Fire by burning some bodies, hence depriving some Necrophages of a meal. He even promises to pay you. Well… Ciri’s been alright this long, this diversion won’t hurt. Agree to his request and he’ll give you some oils. Time to find three piles of bodies lying around that need to be cremated.
The first pile of bodies lies to north, so backtrack along the road to Mulbydale and follow the road north-west from there until you spot the necrophages the priest warned you of feasting on some corpses left of the road. Dismount, apply Necrophage Oil to your Silver Sword, then head to the site of the feast - the debris suggests a skirmish of some sort - and kill a quartet of Ghouls (levels two and four). Once done locate the pile of bodies in a shallow depression, douse them with oil and give the oily mess a shot of Igni.
| Objective | Reward |
|---|---|
| For cremating the first pile of bodies | 10 XP |
Backtrack south to where the priest was, then head south-west to find the second pile of bodies at the end of a small road. A Rotfiend (level six) and some Wild Dogs (level one) lurk nearby. Rotfiends are quick, nasty necrophages which prefer leaping attacks. Individually they’re not much of a problem, just dodge when they attack and counter with a strong attack when they leave themselves open, repeat until victorious. The only thing to be wary of is the fact that they like to go out in spectacular fashion, suffering apparent death-throes when low on health before violently exploding. Be sure you’re far away when they pop. Anyways, dispose of baddies, apply the oil, and ignite the corpses with Igni.
| Objective | Reward |
|---|---|
| For incinerating the second pile of bodies | 10 XP |
Two down, one to go. From here head south-east to find the third pile of bodies, which is a short distance north of the road running along the southern end of the island, a good distance south-east of Mulbrydale. Here you’ll find a man named Titus Gielas under assault from a pack of Ghouls (levels two and four). Fight off the Necrophages and save Titus, who will tell you that our good priest lied about his motivations. He’s got an interest in the Fisstech trade, and these bodies he had us burning belong to his victims - or intended victims, in the case of Titus. Finish burning the third pile of corpses, then head back north. It’s time to pay this priest a visit.
| Objective | Reward |
|---|---|
| For feeding the third pile of bodies to the flames | 10 XP |
| For discovering the priest’s true motivations | 25 XP |
Returning to the Priest in Funeral Pyres Quest in Witcher 3
Find the priest and his two henchmen loitering under a shelter. When you talk to him and tell him that you’ve completed his task and Geralt will automatically bring up the Fisstech dealer. When confronted with this, the priest will offer to buy your eternal silence. If you refuse the bribe, he’ll try to earn your eternal silence in another fashion. They’re push-overs, despite what they might think about their three-to-one odds, and the priest can be looted for a whopping 200 Crowns. Geralt doesn’t seem to be the type to enjoy being jerked around, but as a Witcher, it’s not his job to seek justice for drug deals gone bad. Whether your Geralt is incorruptible and turns down the bribe, or whether he’s glad to just be done with the business, is up to you.
| Objective | Reward |
|---|---|
| For taking the bribe | 50 XP / 60 Crowns |
| For turning down the bribe | 50 XP |
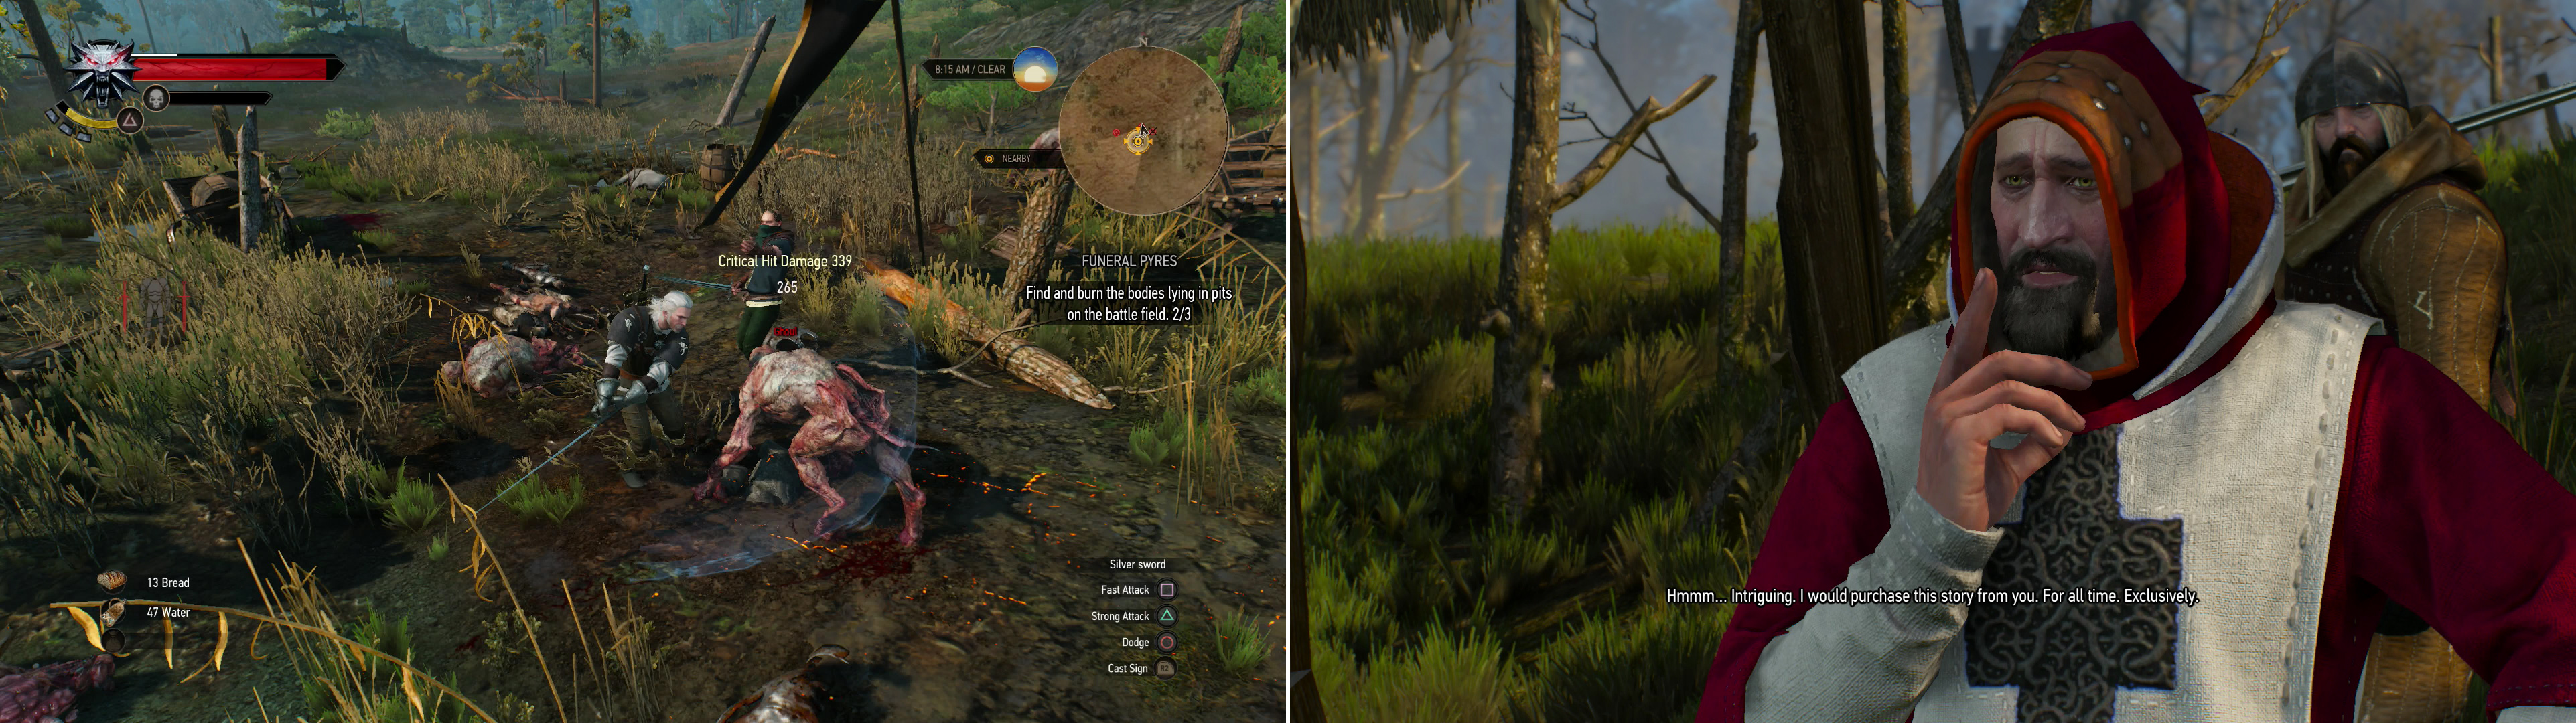
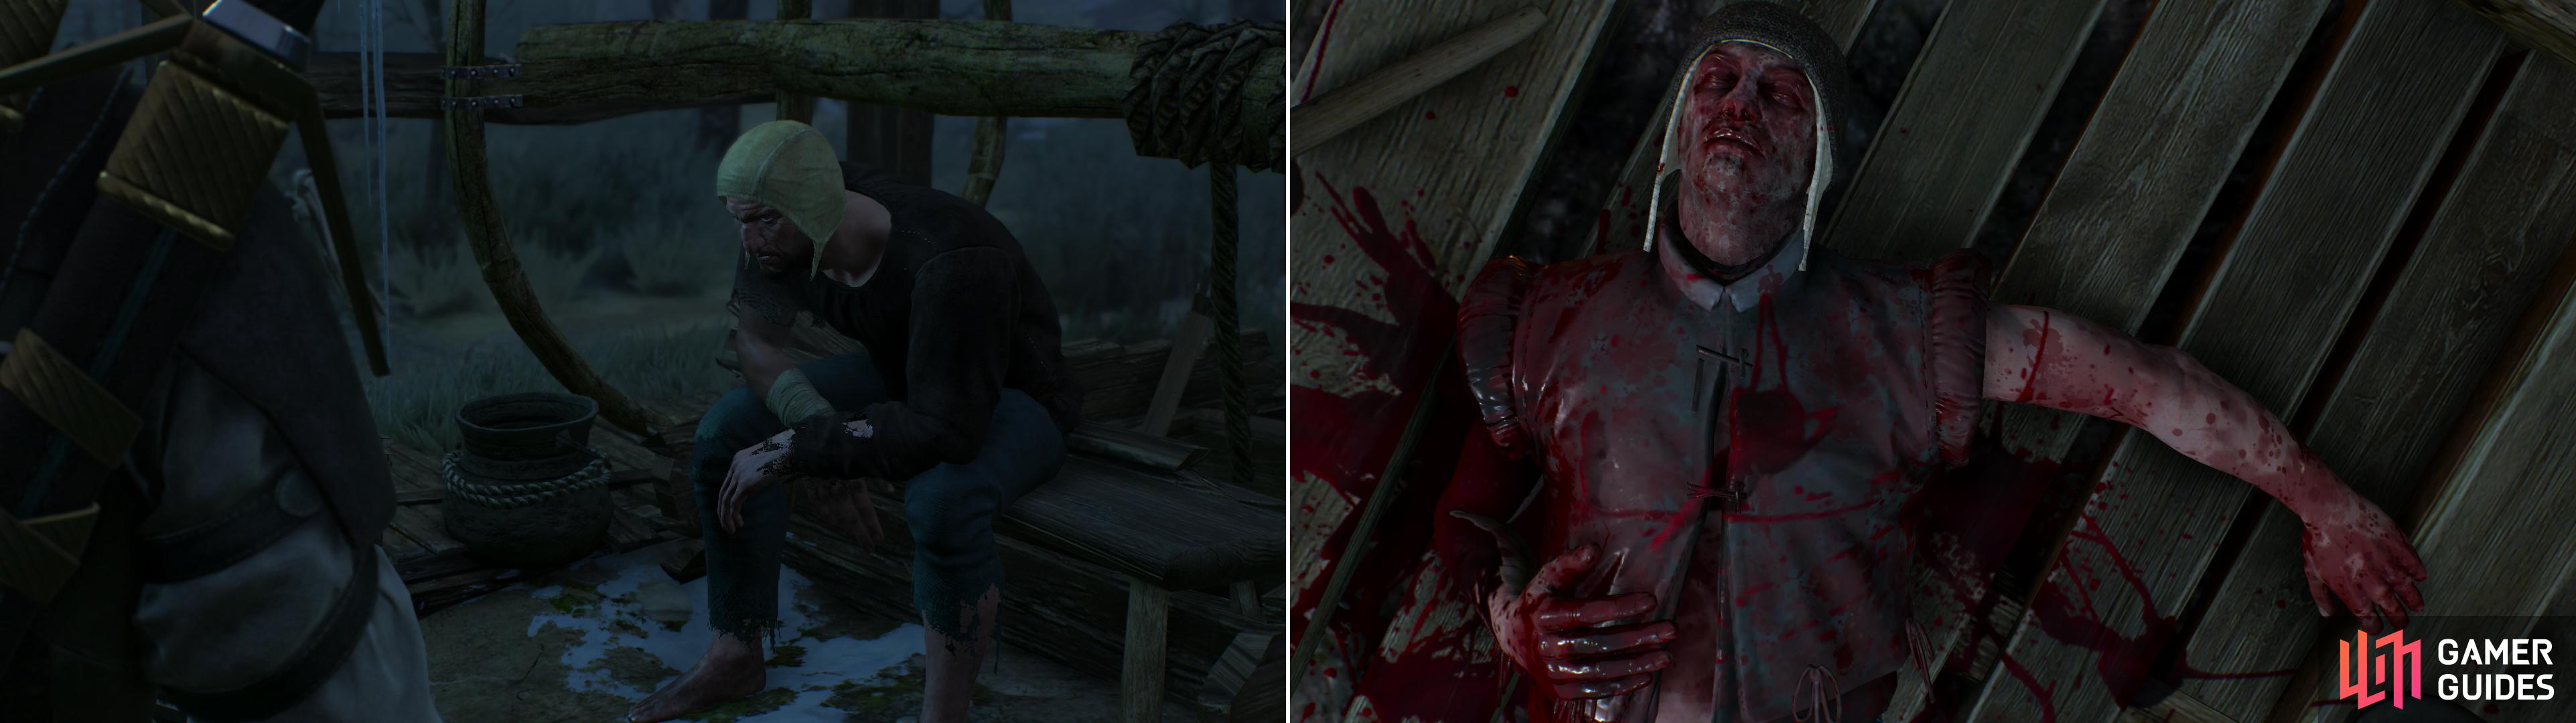
Kill the Ghouls and save Titus to discover about the misdeeds of your employer (left). The Priest of the Eternal Fire will attempt to buy your silence when confronted (right).
Monster Den (Level 6)
If you’re looking for other side content, Return to Mulbydale, and from there continue north along the road until you reach Hanged Man’s Tree again. From here continue north until the road splits, at which point take the western path running along a ledge until you discover a wagon (and some lootable parcels!) on the right side of the road, and a crude bridge to the left. Dismount, if necessary, and head across the bridge to discover a Monster Den, home to a nest of Nekkers, in fact.
You may have encountered a few of these beasties in White Orchard, but in case you haven’t, some pointers are in order. They’re small, weak, and they like to attack in packs, at which they excel due to the fact that they can burrow underground and pop out to flank you. Otherwise, they really don’t warrant too much strategy, considering you can knock them out of attacks with even fast attacks (even on Death March difficulty!), just try to not get surrounded. Exterminate the pests, using Quen to absorb damage, if necessary, then cross the bridge to find a cave entrance. Before you head inside, loot a chest just south-west of the cave entrance before climbing some scaffolding to the north of the cave to score another chest. Further south, in a chasm bridged by a decrepit wooden construction, you’ll find more goodies to loot.
Head into the cave and go down a tunnel that loops around counter-clockwise. Make sure to loot a cubby to the north as you go, as it has a pair of crates and a chest with the “Diagram: Superior Ursine Armor” , “Diagram: Superior Ursine Gauntlets” , “Diagram: Superior Ursine Trousers” , and the “Diagram: Superior Ursine Boots” in it. Score. It’s a high-level set (level 30), and you’ll need to find its lesser versions before you can craft it (which will not be any time soon)… but better to have it than not. This is, in effect, a tease.
Keep heading down the tunnel until you reach a large chamber occupied by more Nekkers. Smite them, loot a chest along the northern end of the room, then climb onto a wooden structure and loot another chest above the last one. In a cubby to the east you’ll also find another chest worth searching.
You’ll find the Superior Ursine gear in a chest in a Nekker-infested cave (left). Kill some Bandits to rescue a merchant from peril (right).
Person(s) in Distress (level 10) Walkthrough
Don’t let the level scare you off, with a little patience, this map marker is easy enough to clear. It lies north and slightly east of the Monster Den, above, but it’s also close to the road you were traveling along. Just travel back east to where the path split and follow the northern road. You’ll probably spot some mounted Bandits (level seven) before encountering any of the stronger Bandits on foot (levels nine and ten). Kill the mounted Bandits first, either by slashing them as they ride by (using Quen to negate their attacks) or by using Aard to knock them off their horses, and performing a coup-de-grace while they’re on the ground.
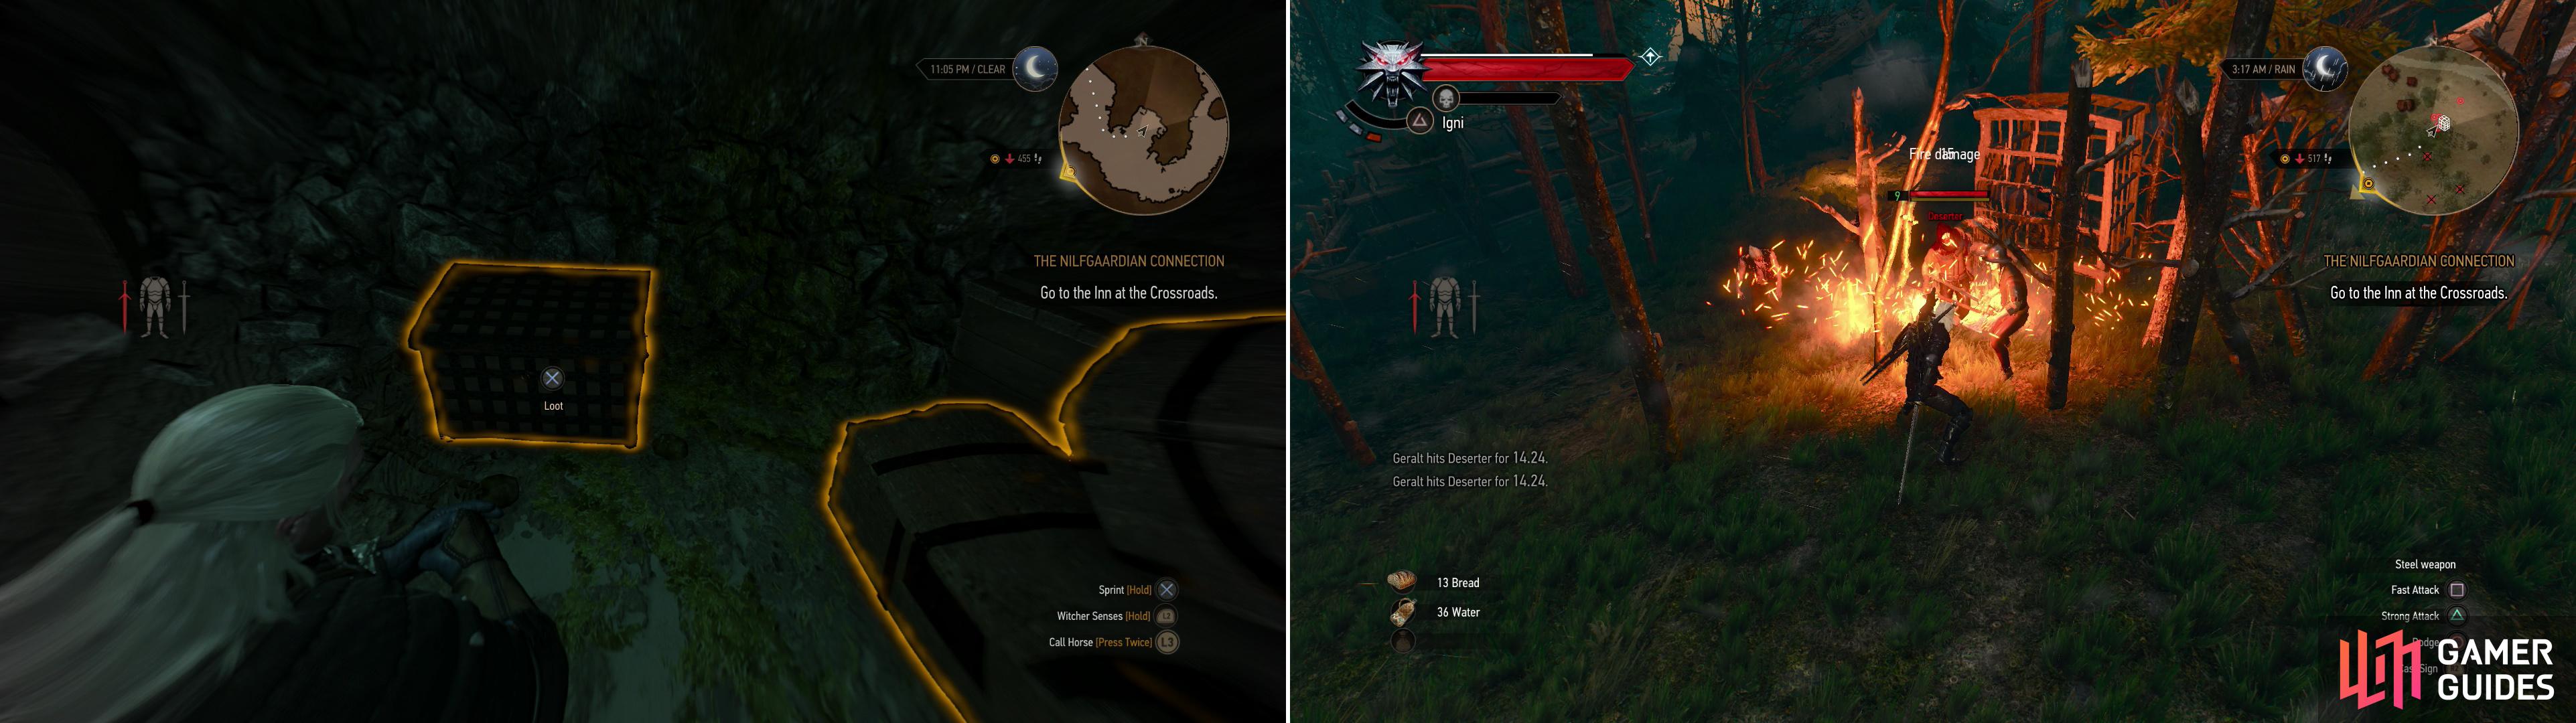
Once that’s done, head to the map marker where you’ll find stronger Bandits on foot. A combination of ripostes, strong attacks, and either Aard or Quen will see you to victory, just as long as you’re patient. They’re not fast or powerful enough to be really dangerous, despite their levels. Once they’re dead, loot the Bandit Leader for a “Cage Key” , then head over to the cage where you’ll find a poor, imprisoned merchant. Free him and he’ll tell you he’s heading to the camp near the Pontar (near your own destination, to the north-west), where he’ll happily sell you junk you don’t need. Be sure to pick up the note “Unsent Letter” where the Bandit Leader gleefully laid out his plans to spend the ill-gotten gain and show up his nagging wife. Right. Head north from the cage to find some containers to search, including a chest which can contain exceptional items. Once done, head continue north towards the marker that indicates the wayward, dishonest priest.
Deserter for Drowners Walkthrough
Now that you’re done with that little diversion, return to Mulbrydale (there’s no need to explore near the military checkpoint to the west yet) and make another attempt at running down the road to the south-west. Continue on until it bisects another road near the coast, this one running north-south. At the point where the three roads bisect you’ll hear a man calling for help off the road to the south-west, near the shore. Go investigate and you’ll find a soldier named John Verdun being pestered by two Drowners (level four). Eradicate them, and talk to poor John. He’ll tell you he’s a Temerian deserter who, when some refugees heard about his cowardice, decided to tie him up and offer him to the Drowners. It’s not really very Witchery to leave him to his fate, so lend him a hand and he’ll be grateful. Sadly, gratitude is about all he has to offer you.
| Objective | Reward |
|---|---|
| For rescuing John Verdun | 25 XP |
John Verdun has been tied up and left for the Drowners (left). Friendly faces are scarce at the Inn at the Crossroads (right).
Inn at the Crossroads
Follow the nearby road to the north-west until you come to another three-way fork, this time following the road to the south-west. Cross a ford and continue on until you find the “Inn at the Crossroads” signpost. Search the Notice Board and grab the notice “Missing: Mikel”, which starts the quest “Contract: Missing Brother” … a quest with a whopping suggested level of thirty-three. Simply put, you won’t be doing it for a while.
Head inside the inn and talk to some peasants near the Innkeep to learn a bit about the area, namely that this “Baron” you heard about in Vizima apparently has claimed this land by right of might. You can also find Bruno, who will give you information about his brother (now spelled Mikkel), but you don’t need to bother with that just yet.
Talk to the Innkeeper and ask him for Hendrik. When information doesn’t seem forthcoming, Geralt asks for a drink. The peasants will scamper off, and the Innkeep, sensing trouble, offers to sneak Geralt out back. Before anything can be done, however, a trio of armed and armored men will show up. With all the swagger and bravado of dead men walking, they’ll pester Geralt.
You’ll now have a series of timed responses you can make. Pick the first option and you’ll end up in a fight. Pick the second option and the three will decide not to tangle with a Witcher, and the worst Geralt will suffer is some insults about his profession. With the third option, Geralt can offer to buy them drinks. Even that’s not enough to win them over, however, so continue by telling them you’re heading to Novigrad, then either ask for information about the Baron, then end with “Cheers” to avoid a fight.
If you end up in a fight, you’ll have to dispatch the three Bandits (level four). If you tarry too long in the inn, more Bandits (level five) will arrive, and the Innkeeper is only too quick to rat you out. If things end up peacefully you can finish talking to the Innkeeper around a corner. Either way, learn that Hendrik is in Heatherton, where the Innkeeper claims to have seen a “strange glow” earlier.
Endeavor to keep the peace, as afterwards you’ll be able to talk to the Innkeeper again (it’ll also allow you to advance a quest more easily later). Ask him for more information about the Baron and his namesake to learn that the Baron has holed himself up in Crow’s Perch, and despite his tyranny, the name comes from a rather benign incident.
After this, peruse his wares to find that he sells a couple of Gwent cards, albeit mostly Nilfgaardian ones, including the “Siege Engineer” (6 Strength), the ever-useful “Impera Brigade Guard” (3 Strength, “Tight Bond” ability), a “Nausicaa Cavalry Rider” card (2 Strength, “Tight Bond” ability), “Emhyr Var Emreis, Emperor of Nilfgaard” and most importantly a “Commander’s Horn” Card (Double’s the strength of all units cards in that row), which is an essential card for dominating your opponents, and you should waste no time putting it in your deck(s). The unit cards all cost 20 Crowns, the leader card costs 50, while the Commander’s Horn Card is a steal at 10 Crown, and they’re good cards… but not yet enough to build a deck around.
Bandit Camp (level 7)
Before you head off to Heatherton, let’s take a brief detour to deal with some pests. Most of the events on the northern end of this island are probably too much for you to handle right now, but one event is well within your means. From the Inn at the Crossroads follow the road north-west to find a Bandit Camp. Kill the Bandits (level seven) and loot their treasure, which includes a chest full of potentially exceptional goodies.
A Troll in Distress
If you keep following the road north you’ll find some burnt-down houses now being picked over by some Nekkers (level six). Kill them if you wish, but there’s not much reward for doing so. For some more interesting exploration, however, head west to reach the western shore, then follow the coast north until you find a poor Troll being beset by some Nekkers (level two). Kill the Nekkers and the Troll will thank you for your help… kind of. After Geralt ensures that the Troll isn’t eating humans, the Witcher will go on his merry way… but not before the Troll gives you a rather vile present. Like tomatoes! Anyways, loot some parcels nearby to have a chance at scoring some quality loot, then return back to the Inn at the Crossroads.
| Objective | Reward |
|---|---|
| For helping the Troll fend off the Nekkers | 25 XP |
Heatherton
Now for a long, boring trek. From the Inn at the Crossroads head west along a road, ignoring the fork to the north which leads to the Bandit Camp you cleared earlier. Cross some marshy lowlands, then, when the road forks near some peasants congregating near a shrine, take the road to the north-west. When you reach another fork, take the south-western branch, which will take you, finally, to Heatherton. Shortly after the fork you’ll find some Bandits (levels five and six) looting corpses on the road. Talk to them if you wish, but they’re not a friendly bunch. Kill them and continue on to your destination.
| Objective | Reward |
|---|---|
| For killing the Bandits | 10 XP |
Pass an outlying hut (which has some low-quality goodies to loot inside) then approach the village of Heatherton. Geralt will comment on - and you should notice - the odd mist. Oh, and the fact that in an otherwise temperate location there’s snow covering the houses. Probably not a good sign. Explore the houses along the southern end of the village and Geralt will note that they weren’t looted, and that the town looks recently lived in.
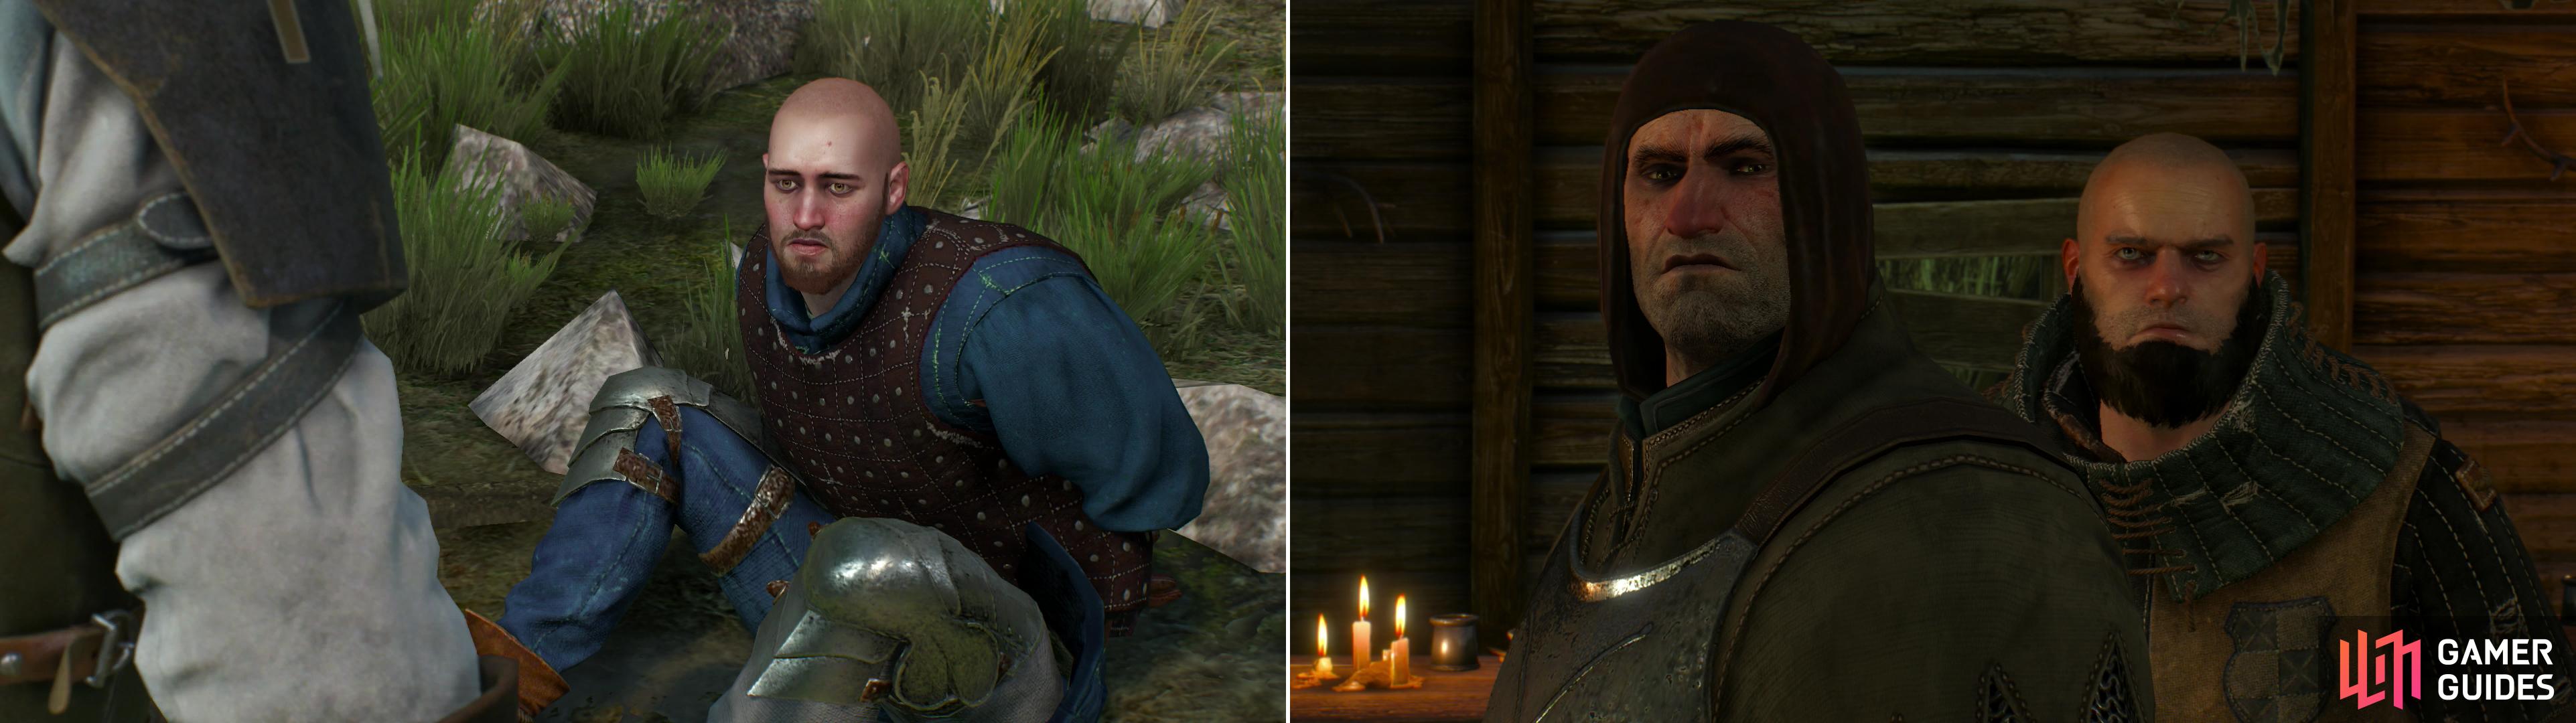
Go north to find a Survivor being harassed by some Wild Dogs (level two). Kill the mutts, then Geralt will calm the Survivor down with Axii. After the survivor takes a seat, he’ll tell Geralt that Hendrik apparently had a bad day… not that, by the looks of things, anybody in Heatherton seems to have come out in a good way. Ask him for more information and he’ll inform you - through a cutscene - what happened in Heatherton, and to Hendrik, specifically.
| Objective | Reward |
|---|---|
| For finding Hendrik’s information | 100 XP |
The sole survivor of the attack at Heatherton is understandly shaken (left). The Nilfgaardian spy wasn’t kindly treated by the Wild Hunt (right).
Go to the third house along the southern end of the village to find the body of Hendrik, who is a bloody mess. Use your Witcher Senses to highlight it, then search him, more specifically, his boots, to find “Hendrik’s Key” . Go into the next room and search the hay to discover a trap door in the floor, which you can open with Hendrik’s Key. Search a candle on the wall, then investigate a chest in a cubby along the north-western wall to find a ledger. Read the entries and Geralt will pick up on two of Hendrik’s leads, starting the quests “Bloody Baron” and “Hunting a Witch” , and after reading you’ll also get “Hendrik’s Notes” . Before you leave loot the chest in this room to score some Crowns, then note the poster in the northern room. Apparently the daughter of the Bloody Baron is missing. This will probably come up again.

 Sign up
Some ppl are way too picky... Considering the amount of work which went into this guide, time and effort, one would think they wouldn't nit-pick. I personally think that this guide is AWESOME, thanks for posting it!
Part of the quest "Returning to the Priest in Funeral Pyres Quest in Witcher 3": https://www.gamerguides.com/the-witcher-3-wild-hunt/guide/walkthrough/velen/the-niflgaardian-connection#returning-to-the-priest-in-funeral-pyres-quest-in-witcher-3
does not fit with subsequent parts "Monster Den (Level 6)" and "Person(s) in Distress (level 10) Walkthrough", because you have to find priest in the area beyond this POI. It would be more logical if it was after these events.
"When you’re done in Mulbrydale, head out along a road to the north-west and follow it until you find a Priest of the Eternal Fire standing north of the road, along with two guards."
Not to the north-west, but to the west.