
Ugly Baby is a main story quest, which has Geralt chase quite a few side mission errands before he can advance through the storyline. While most of the tasks can be done separately. there is a bulk of the side quests that Geralt must undergo in a particular order. Here is how to complete the Ugly Baby umbrella quest, featuring a walkthrough for the back to back main story quests.
| Important Items in this Area |
|---|
| Diagram: Tor’haerne |
| Diagram: Superior Wolven Boots |
| Magic Firefly |
Here is a walkthrough on completing the Ugly Baby main storyline.
How to Complete The Ugly Baby In Witcher 3
In order to complete the Witcher 3’s Ugly Baby quest umbrella, players will need to do the following quests and complete them.
The three standalone quests are:
However, the three that you need to do in order is the following quests
- Disturbance
- No Place Like Home
- Va Fail, Elaine
This Ugly Baby walkthrough in the Witcher 3 will focus on the three quests you need to do in the chain together. If you’re interested in the standalone quests as part of the Ugly Baby umbrella, then we have linked to the individual walkthroughs.
The Ugly Baby: Disturbance Walkthrough: Finding Yennefer (Level 19)
Oh well, fun time’s over. No excuses left; it’s time to face Yennefer. You can just fast-travel back to the “Kaer Morhen” signpost, from whence you can easily return to the keep. Head to the south-eastern corner of the keep, go through the kitchen, then climb some stairs to reach Yennefer.
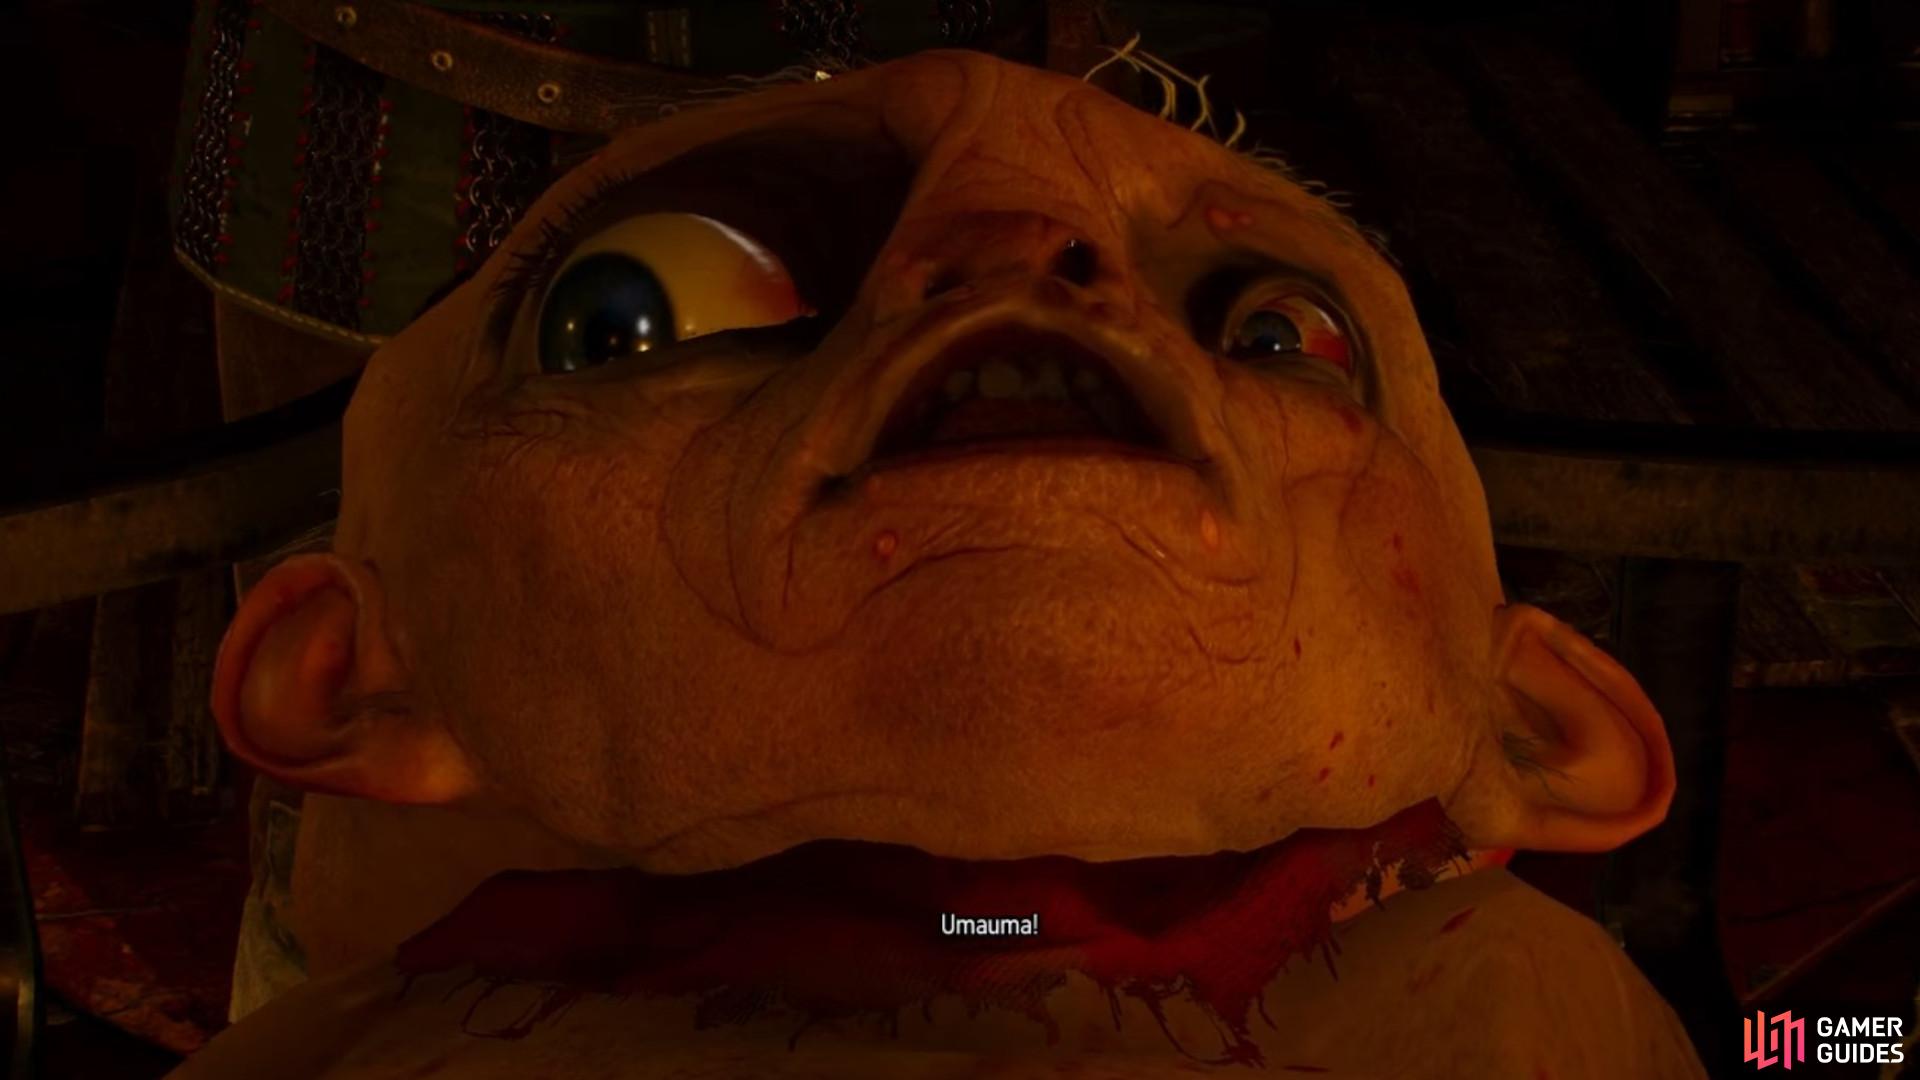
Talk to Yennefer, who seems to be in a worse mood than your fellow Witcher let on - if you press her too much on matters concerning Triss you could end up taking an unexpected swim. If you stick to business, she’ll pass on Lambert and Eskel’s tasks to you, which you may or may not have already done if ytou have done side missions in the area. This leaves only her own, personal problem to be dealt with; her megascope. She needs to make a call, but there’s some interference, so you’ll have to find and remove the source of said interference. She’ll give you a “Potestaquisitor”, a device with which you’ll have to play a game of “hot-and-cold” to locate the offending disturbance.
Equip the device using you raial menu wheel, and head down to the main level of the keep, then head over to Vesemir and Uma to get a good reaction out of the device. The source of the disturbance is in some crates to the south. Approach the crates and Vesemir will come over and offer to deal with them while you babysit Uma. After a while you’ll be free to go report to Yennefer, who will contact a fellow sorceress and question her on relevant matters. Before the communication is ended, however, you’ll have to hear some more warnings concerning Ithlinne’s Prophecy.
| Objective | Reward |
|---|---|
| For helping Yennefer troubleshoot her Megascope | 600 XP |
No Place Like Home Walkthrough and Choices (Level 19)
Question Yennefer further if you wish, then head downstairs, where Vesemir will make a power-play on Yennefer and decide to try a less risky cure for Uma. Yennefer and the three remaining Witchers will sit around and decide to waste the evening drinking and catching up. The Witchers tell stories, Lambert provokes Yennefer, and Yennefer explains her plans regarding Uma. When Yennefer retires for the night, the boys will contemplate some serious drinking, and the mischief that comes with it… or you can just call it a night, but what fun is that? Play some Gwent, a drinking game (which, if you’ve played the previous two games, you’ll be drinking a lot) and, if you drink too much, you’ll have to go on a hunt for a missing Eskel, who wandered outside the keep after going to fetch some more vodka.
| Objective | Reward |
|---|---|
| For finding Eskel | 600 XP |
Lambert will come up with an awful idea… but if you continue to indulge your drunkenness, you’ll find yourself in Yennefer’s room as part of a ploy to liven the party up. Loot her chest and put on the clothes you find there, then the three odd Witchers will do their best to work Yennefer’s megascope. Sadly, Yennefer arrives and puts an end to the fun before the three can cause too much trouble with the megascope. This ends “No Place Like Home” and begins “Va Fail, Elain” .
Va Fail, Elain Walkthrough (Level 19)
In the morning the experiment on Uma will begin. Ask Vesemir about his attempt to remove the curse, after which Yennefer will hand out more tasks. You’ll be given the task to brew a potion, and correspondingly she’ll give you the formula for the “Decoction of the Grasses”. Head west from Uma and search a box to obtain the ingredients you need, make the potion, then return to Yennefer, after which the operation begins.
Your only task is to operate some valves (the order doesn’t matter), clean up a mess, and pick some dialogue options, including telling Yennefer a story to keep her awake through the trial. When the trial is over, you’ll learn where Ciri is. This ends “Va Fail, Elain” and “Ugly Baby” .
| Objective | Reward |
|---|---|
| For lifting Uma’s Curse | 1,500 XP |
You must recover Ciri, but when you do so, the Wild Hunt will immediately find her and inevitably follow. It’s time to stop running from them and fight back. You can run off to go and find Ciri (the object of the quest “The Isle of Mists” ) but you’d be wiser if you called in some favors, first. The quests “Brothers in Arms: Nilfgaard” , “Brothers in Arms: Novigrad” , “Brothers in Arms: Skellige” and “Brothers in Arms: Velen” cover this. In fact, if you’ve been following this guide, you’ve already done the requirements to satisfy your allies, you need only ask them for aid. In fact, the quest “Brothers in Arms: Velen” should complete as soon as it begins. Neat. Anyways, it’s time to go gather some allies.
Berengars Blade (Level 27)
Return to Kaer Morhen’s keep, where you’ll find Vesemir tending to Uma, Eskel performing an autopsy on a Katakan (you can help him with this, if you care to) and Lambert being… Lambert. He’ll play Gwent with you, if you haven’t beaten him already. Of all of the Witchers, however, Vesemir is the most interesting to you right now. Talk to him and tell him about Berengar’s Tor’haerne note and he’ll tell you of an unexpected complication in Berengar’s forging process. Seems the setback that prevented him from completing this sword also ended his Witchering career, or at least his affiliation with the school of the wolf.
You’re almost out of excuses to avoid facing the tempest that is Yennefer, but this provides you with one final diversion. Chasing down the source of Berengar’s frustration will also score you the last Witcher set diagram and complete the Wolven set, too. Two birds! What more could you ask for? Leave Kaer Morhen again and head south to the river, crossing to the southern shore. This time, however, follow the river east, swimming when you must and turning north when the river turns in that direction. Work your way north until you find a cave to the east - the location of Berengar’s humiliation.
Enter the cave and head uphill to the south-east, turning south as the passage turns to reach a large chamber, in which the Chort resides. Drop off a ledge and do battle with the Chort (level twenty-seven); damage-over-time effects like burning (Igni) and poison (Poisoned Blades) work wonders. Once it’s dead, loot it, then head to the southern-most end of the chamber to find the “Diagram: Tor’haerne” . After you have that, head west then north along the edge of the cavern to find some stalagmites blocking your way. Blast them with Aard and plunder a chest beyond to obtain the “Diagram: Superior Wolven Boots” . There are other lootables in this cave as well, but those two diagrams are the real prizes.
| Objective | Reward |
|---|---|
| For finding the Diagram: Tor’haerne | 50 XP |
:::note:
You may be wondering about this diagram, as it’s possible to find a Tor’haerne diagram elsewhere. The Tor’haerne diagram you get from this quest is for a relic-quality, level twenty-seven blade with FAR superior modifiers than the one you can find/buy elsewhere. It’s even better than the Superior Griffin Sword! In fact, it’s one of the few non-set weapons you might be tempted to craft, should you not care too much about Sign Intensity.
:::
Return to Kaer Morhen’s keep, where you’ll find Vesemir tending to Uma, Eskel peforming an autopsy on a Katakan (you can help him with this, if you care to) and Lambert being… Lambert. He’ll play Gwent with you, if you haven’t beaten him already, but aside from all that-and some looting-there’s not much to see here. Head to the south-eastern corner of the keep, go through the kitchen, then climb some stairs to reach Yennefer.

 Sign up
It seemed that part must be before finding Yennefer https://www.gamerguides.com/the-witcher-3-wild-hunt/guide/walkthrough/the-wild-hunt/ugly-baby-disturbance#berengars-blade-level-27