
| Important Items in this Area |
|---|
| Key to Phillipa Eilhart’s Hideout |
| Professor Sigismund Gloger’s Notes |
| Diagram: Feline Silver Sword |
| Power Cell |
| Letter to Phillipa |
| Power Cell |
| Agate |
| Polished Crystal |
An Eye for an Eye (Level 12)
Speaking of Radovid, let’s start a line of quests that might significantly impact his future - and the future of the north. First, let’s go see how his tentative ally, Vernon, is doing. Head to the “Temerian Partisan Hideout” and talk to Roche, who will reveal that Ves has a bit of an insubordination problem these days, and her impulsive patriotism might get her killed… that is, if a certain Witcher doesn’t track Ves down and intervene, first.
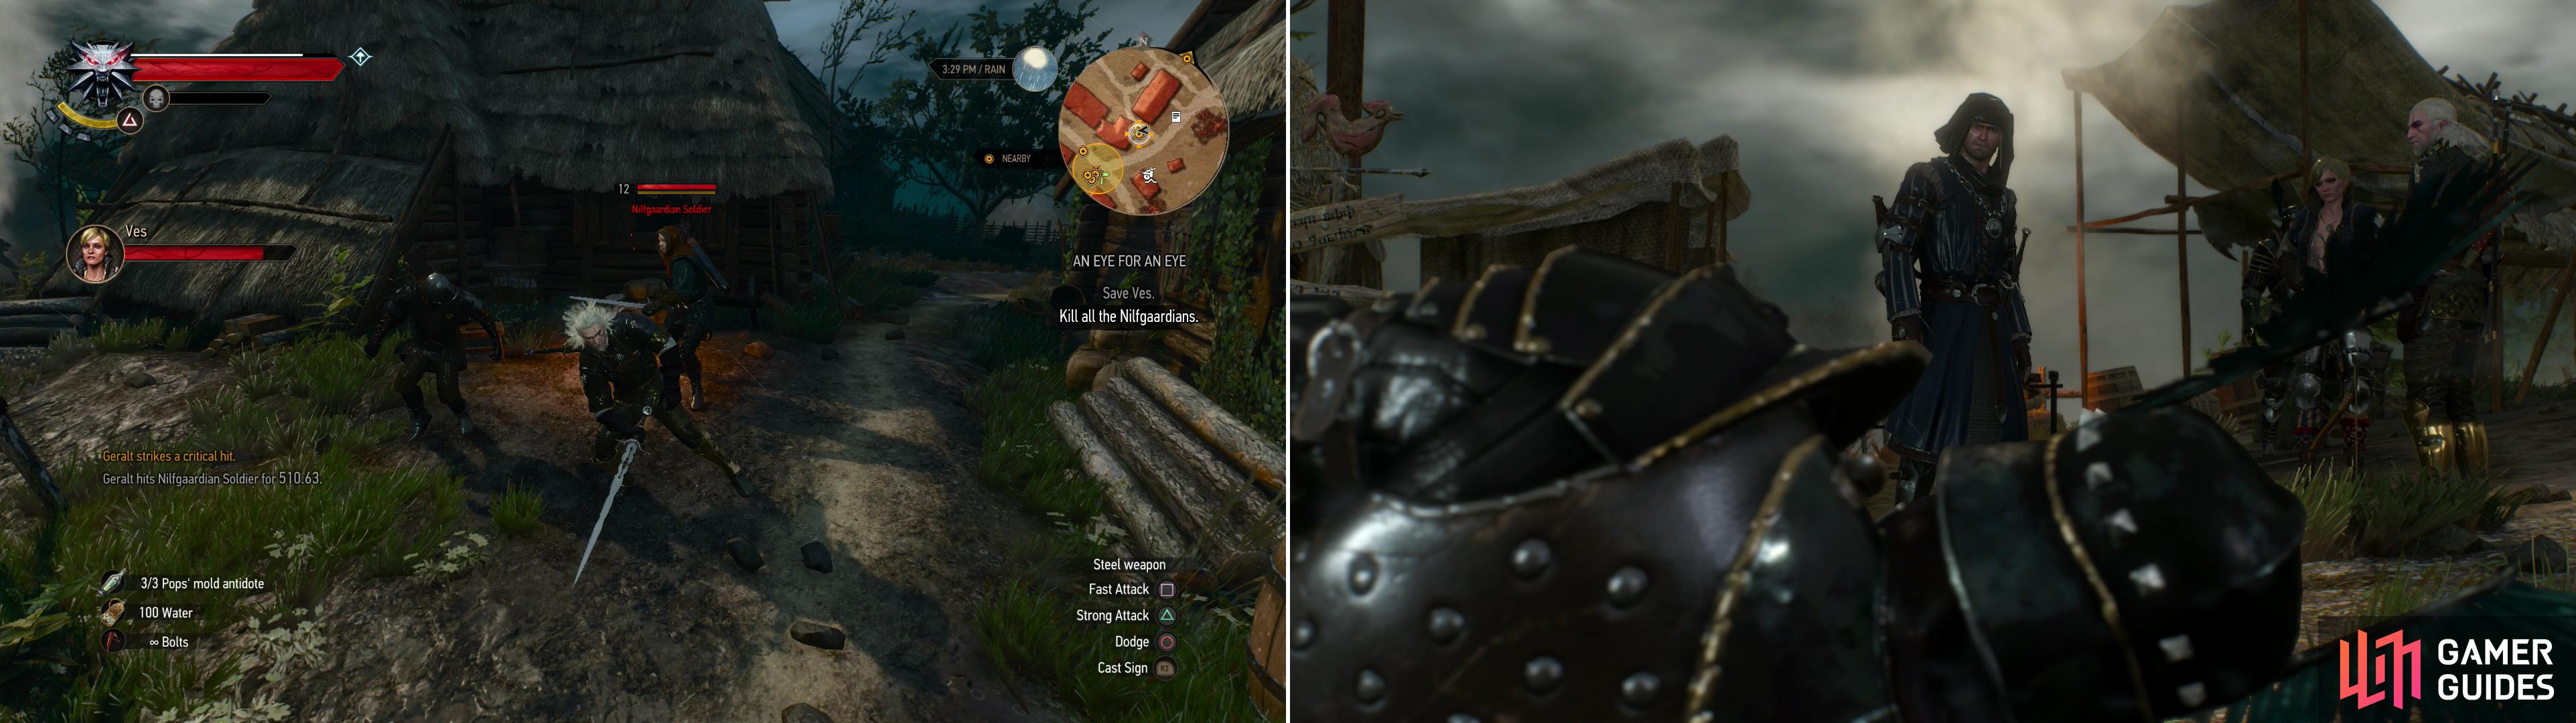
Fight your way to Ves before the Nilfgaardians can cut her down (left), then influence Vernon’s decision on the fate of a wounded foe (right).
Fast-travel to the “Hanged Man’s Tree” signpost and head south-east to find Vernon. After some chatter, you’ll find that you’re too late to stop Ves, but right on time to rescue her. Mount Roach and ride down to the village and kill the Nilfgaardians (level twelve) before Ves is slain - she can only take several hits, especially from pikemen that might be nearby. After the black ones are all dead, Vernon and Ves will squabble, and you’ll have to decide whether to let a Nilfgaardian survivor live or not. Either way, the quest ends.
| Objective | Reward |
|---|---|
| For saving Ves | 50 XP |
Eye for an Eye Consequences
If you happen to let Ves die here, then you can encounter some issues later in the main storyline. For example, Ves turns up as part of the Kaer Morhen storyline, and you need her for the full crew trophy. Moreso, failing this quest means you can’t complete the Deadly Plot questline, which prevent anyone going for some of the alternate endings for Nilfgaard.
So, when you grab this quest, make sure you actually finish it and save Ves, otherwise, it can determine one of the major side plots that can affect the ending of the game.


Redanias Most Wanted (level 12) Walkthrough
Well… that was a short quest. Time to help Radovid, though, and this quest will be a little bit more involved. Fast-travel back to the “Temerian Partisan Hideout” then head east and slightly north to find “Est Tayiar”, some elven ruins where some Witch Hunters now loiter. Activate your Witcher Senses and investigate the corpses near them, then talk to the Witch Hunters near said corpses. Glean what little information you can out of them, then collect the “Key to Phillipa Eilhart’s Hideout” .
From the Witch Hunters head north-east down into a hole in the ground, descend some ledges until you reach a small chamber. Turn south-east and blast a weak section of wall with Aard, beyond which you’ll find a corpse with “Professor Sigismund Gloger’s Notes” and the “Diagram: Feline Silver Sword” . This has already been a profitable little venture! Backtrack to the north-west, then continue in that direction to find a door shielded by a magic barrier. Along the north-eastern wall you’ll find an alcove into which your key fits. Plant it and the barrier will fall. It might be in your best interests to chug a Cat potion here, as the place is pretty dark, although not prohibitively so, if you’re stingy.
| Objective | Reward |
|---|---|
| For disabling the magic barrier | 50 XP |
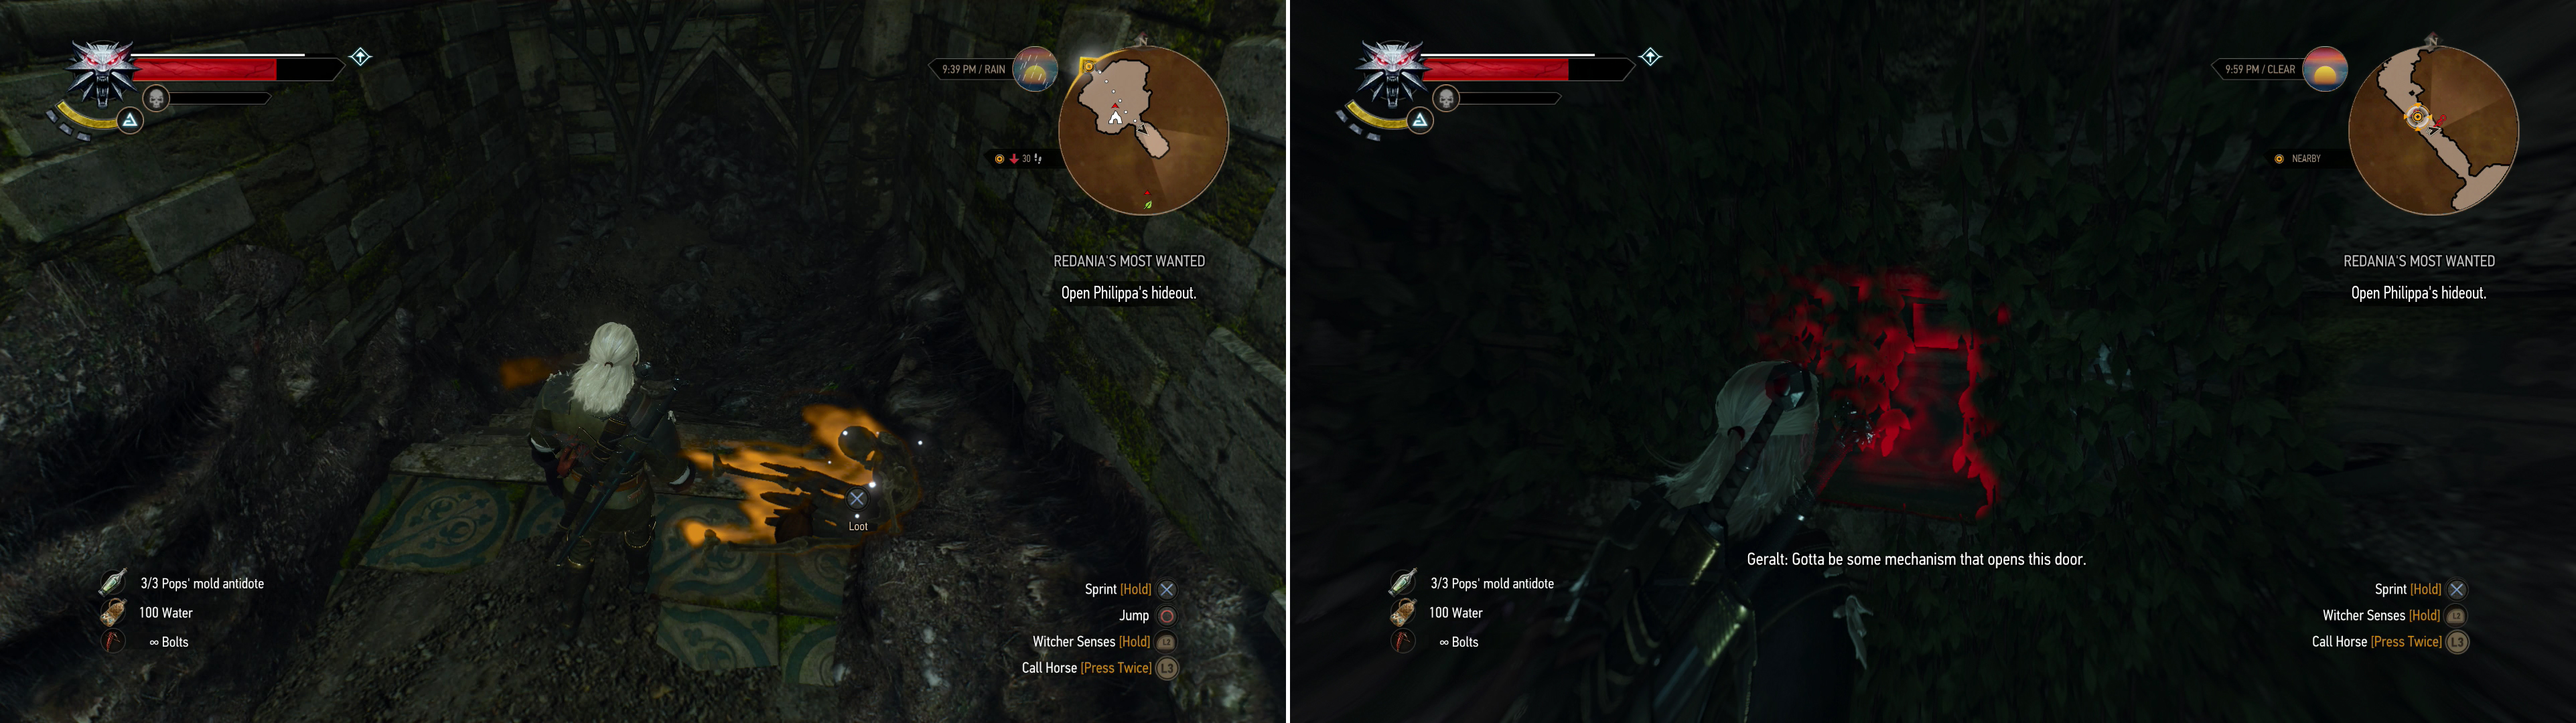
Loot the corpse behind the weak wall to find the Diagram: Feline Silver Sword (left), then use the key to disable the barrier protecting Phillipa’s hideout (right).
Continue into the ruins until you find a portal - Geralt’s favorite devices - and head through it. Investigate a feather on the floor to the south-east, then continue through a doorway, down a tunnel, and into an open chamber occupied by Nekkers (level nine). Hack through the pests as you head down some stairs until they terminate at an inactive portal. Search to the south-east with your Witcher Senses to find an inactive power cell, then blast it with Aard to power the portal up.
On the other side of the portal you’ll meet a stranded witch Hunter, who talks about some mysterious meeting of some of the world’s most powerful sorceresses, and unwisely refuses to see the sense in leaving when Geralt suggests it. Either beat some sense into him, or use the Axii Sign to convince him to cooperate and obtain the “Power Cell” , then loot the chests in the room to find a “Letter to Philippa” . If you search the floor near the doorway to the east you’ll find another feather, which bears the sign of polymorphy. Go through the doorway to the east to find another inactive portal. From this dormant portal turn south-west to find some decorative vine-work on the wall, which is where you’ll need to install the Power Cell you got from the Witch Hunter. Once done, hit it with Aard to open portals leading back (to the west) and forward (to the east).
| Objective | Reward |
|---|---|
| For using the Axii Sign on the Witch Hunter | 40 XP |
Go through the portal to the east and, when you arrive, kill a trio of Nekkers (level nine). Loot a chest and investigate another feather on the ground, then head down a hole in the ground to the south. Drop down a few ledges and kill another trio of Nekkers (level nine) and grab a “Power Cell” off the ground. Climb back up into the room you teleported into, then continue through a doorway to the north-west to find yet another deactivated portal. Put the Power Cell in a slot to the north of the door, charge it with Aard, then go through the newly activated portal. This stuff almost writes itself.
| Objective | Reward |
|---|---|
| For reaching the lowest level of Phillipa’s Hideout | 70 XP |
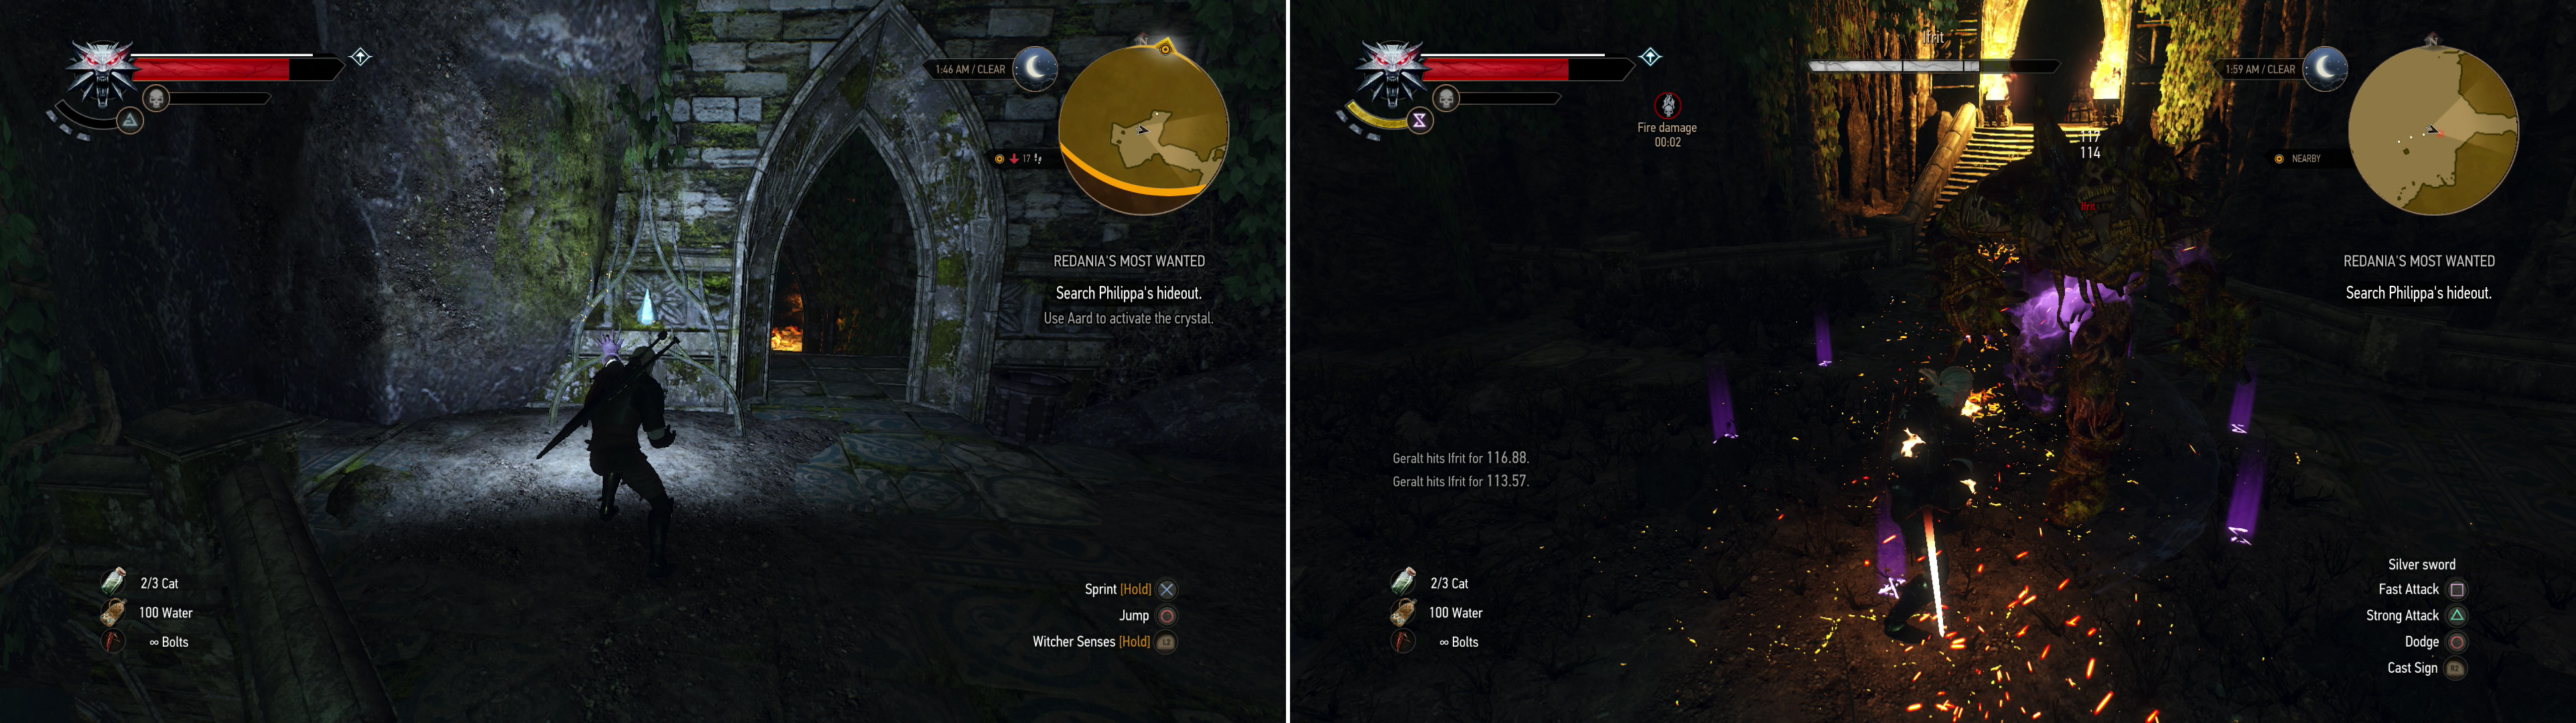
Charge up power crystals by hitting them with the Aard Sign (left). Guarding Phillipa’s lab is an Ifrit (right).
Search around, as there are several chests you can claim; one to the south-east, one through a doorway to the north-west, and another behind the portal, which requires you to take some stairs north-west of the portal to wrap around behind it. Once the looting is done, head north-east into the large search area, where you’ll be greeted by an elemental guardian - an Ifrit. These things sure have changed since the first game, where they were basically fiery canine creatures. Now they’re more hulking fiery elemental humanoids. Expect powerful punches from its fists, explosive ground-pounds, and persistent fire damage while you’re nearby. The latter can be temporarily disabled by blasting the beast with Aard, after which just apply some Elementa Oil and use the tried-and-true dodge and strong attack combo. Once it’s dead search the area, as there’s a chest to the north, then go through the doorway to the east.
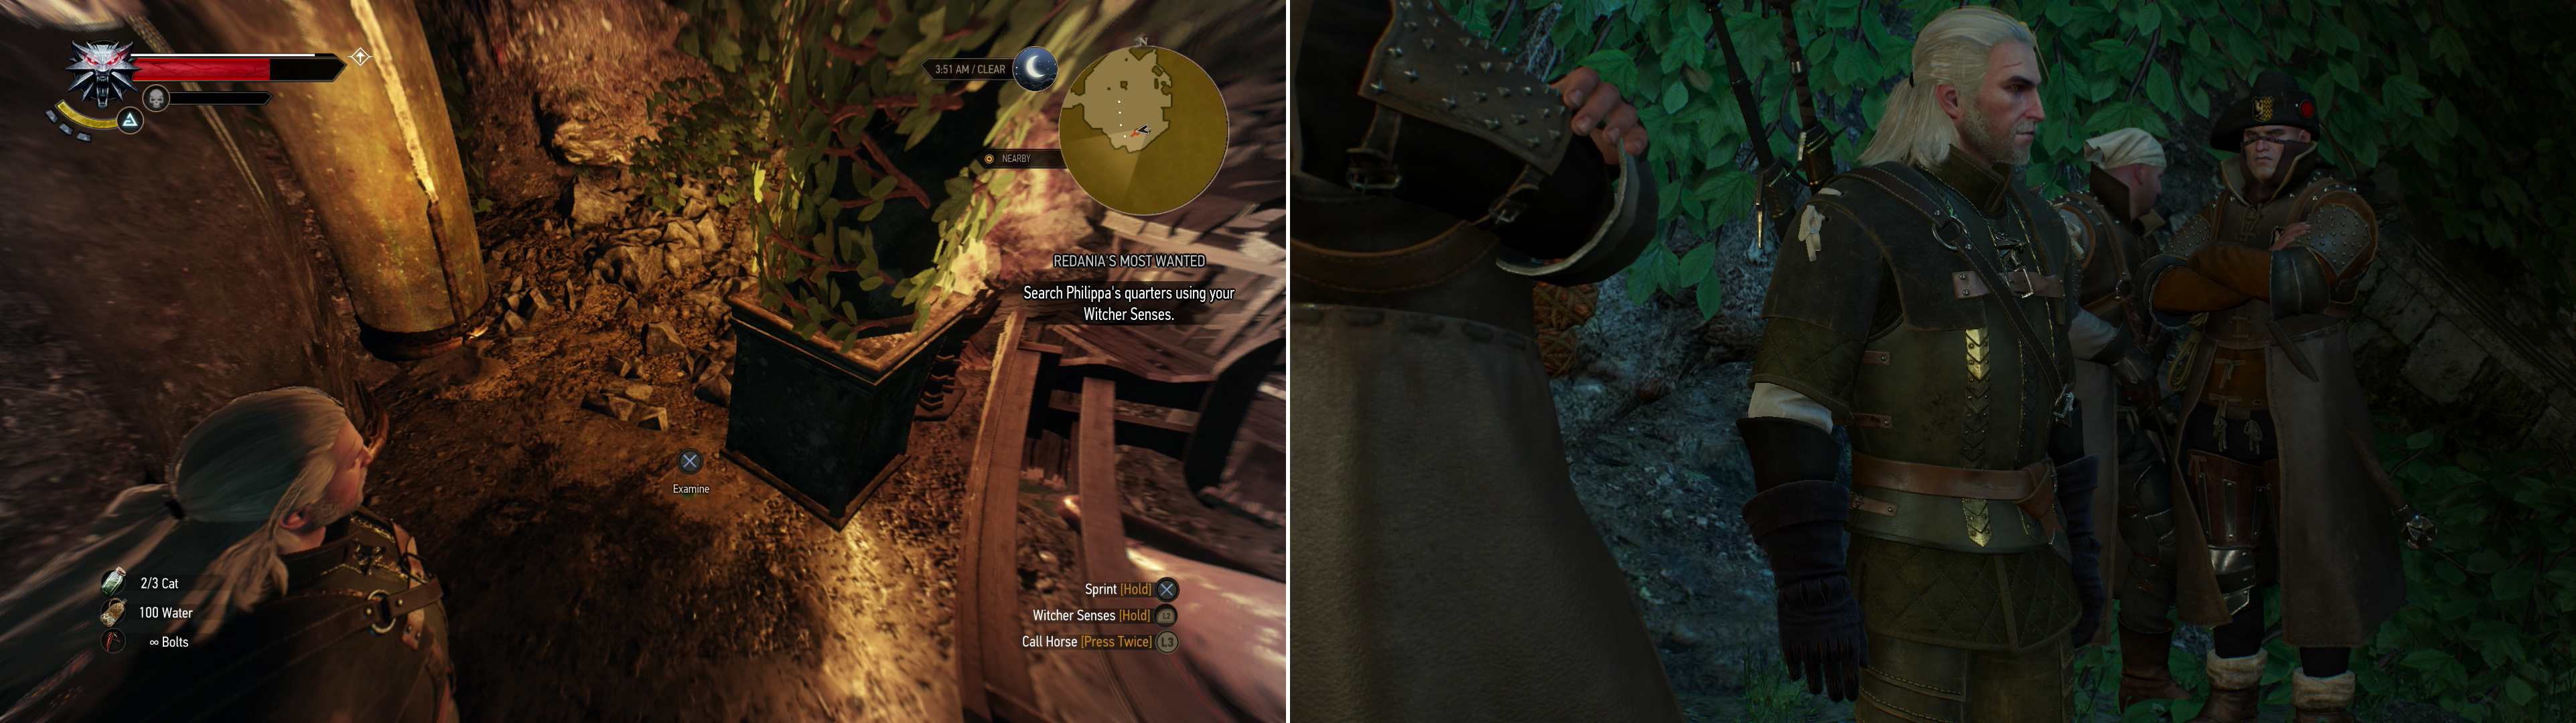
Find a megascope crystal on the floor of Phillipa’s lab (left) then return to the surface, where you’ll have to settle some business with the Witch Hunters waiting above (right).
Go through a gate to reach Phillipa’s quarters, as identified by Geralt. Search a chest to the north-west to find an “Agate” , which Geralt comments on, then pop on your Witcher Senses and look around. You’ll find some disinfectant near a pillar to the north, some surgical instruments on a table further north, some burnt notes to the east, and finally a megascope to the south-east. From the megascope head west over some rubble to find a “Polished Crystal” near a pillar.
Leave with the crystal in hand and, on your way out, you’ll be confronted by the Witch Hunters, who want to know what you’ve found. If you do anything except give them the megascope crystal, they’ll attack you. Either give them the crystal, kill the Witch Hunters (level ten) and take it to Radovid, or take it to Triss or Yennefer… which you can only do if “Now or Never” hasn’t started or if you’ve reached Skellige. All things considered, it might be better if you hold onto onto the gem to have one of your mage friends investigate it later. If you give it to Radovid you’ll just get coin and ingratitude… if you want to give the crystal to Radovid, the reward is below, otherwise hold onto it until you start dealing with Triss again.
| Objective | Reward |
|---|---|
| For giving the megascope crystal to Radovid | 50 XP / 135 Crowns |

 Sign up
"it can determine one of the major side plots that can affect the ending of the game."
Why info about achievement is here? Where not even close to get it at this point, am I wrong?