Infiltrate the Palace
Move down the stairs for a short scene and then cross over the water pipe, avoiding the watery slope. Drop to the right to find a walkway with a barricade and blast through to find the Diaries of a Madman: Belief . You can now drop to the ground for some Salvage in the east courtyard and look up to the south to spot a net with more Salvage .
Cross the sludge and enter the building, but instead of crossing the bridge you can turn around to spot Salvage in the nose of the helicopter. On the other side of the bridge, drop off to the left to find a walkway that goes beneath the bridge to find the GPS Cache 6 .
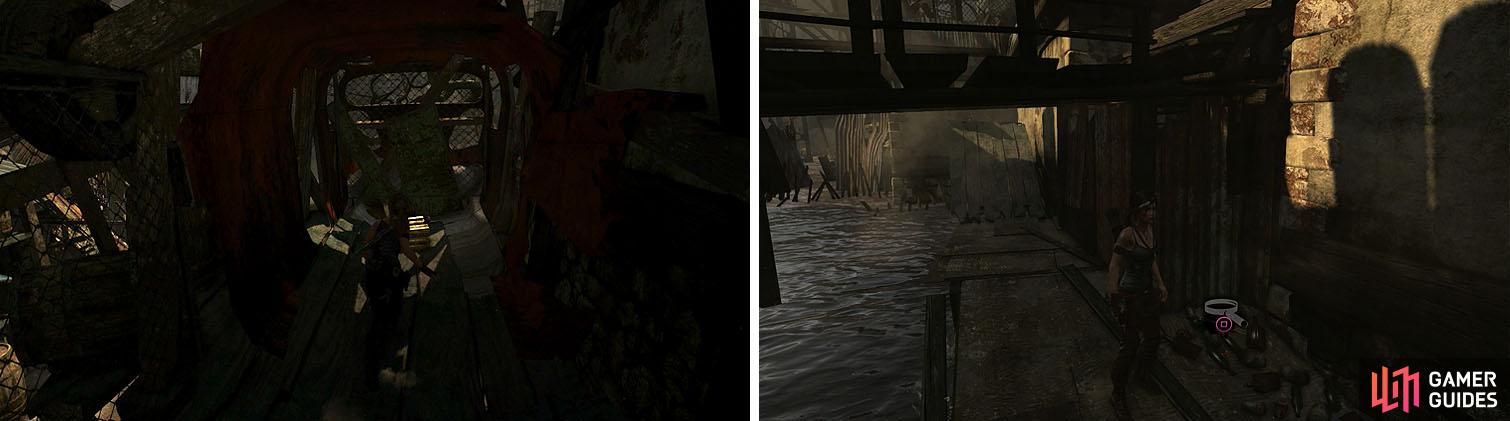
Collect the salvage from the helicopter nose and don’t miss the GPS Cache.
As soon as you climb the ladder a scene will occur and a shootout commences. At the top of the building is an alarm that the enemies will use to call reinforcements, meaning you’ll want to kill anyone who tries to use it to limit the number of enemies you have to deal with.
In the first phase the enemies will stay at a distance, throwing dynamite and shooting arrows. You’ll need to keep moving to avoid the dynamite or try and get them to drop it by shooting them right before they toss it. At the start of the second wave an archer will create a zipline to the bridge, allowing enemies to come closer. Keep an eye on the rope while you finish of the remaining enemies.
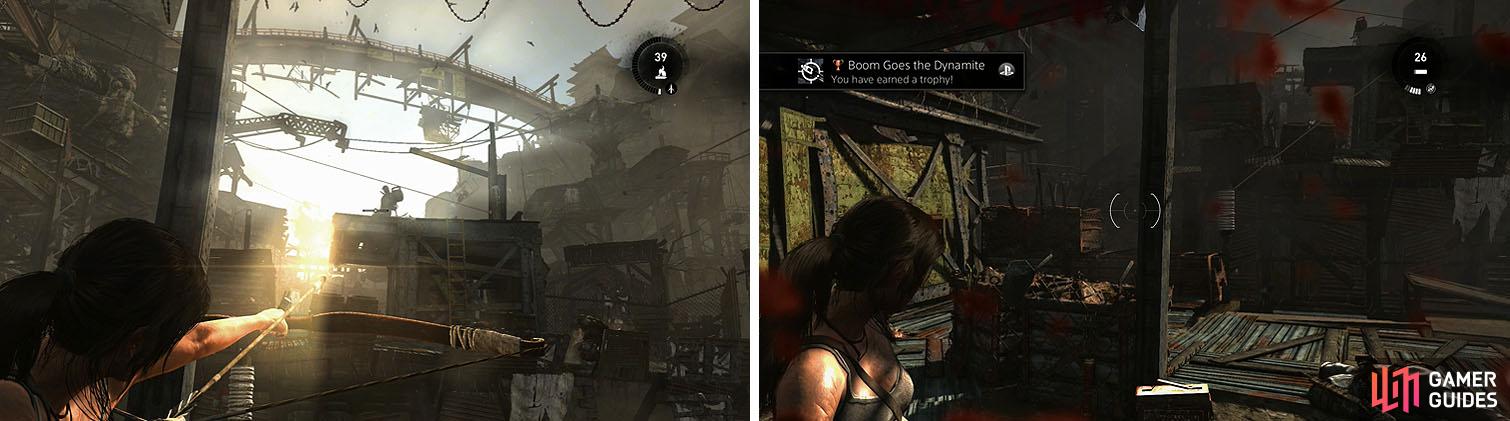
Target the men on the alarm to prevent reinforcements (left), while trying to work towards the trophy/achievements (right).
Find Your Way to Grim
Climb the rope created by the enemy to reach the upper floor of the building for some Salvage . Circle around the back to find a Food Cache and then scramble up to the top of the building for an Alarm (2/4) .
Blast through the barricade to the west and head straight into the building for the Commander’s Inro and then drop from the middle of the bridge to the south to find the GPS Cache 7 . Return to the building and scramble up the wall, or take the stairs, to reach the second floor.
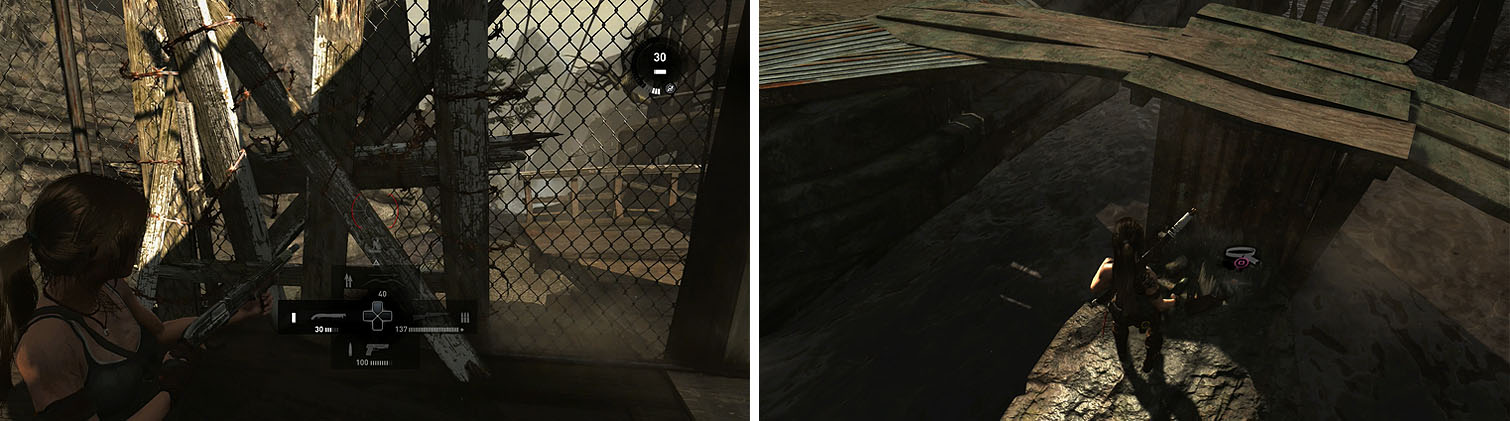
Break through the barricade to a new area, where you can find a GPS Cache.
Open the metal Salvage crate on the level above and then blast through the barricade to the north to find the GPS Cache 8 . Scramble up to the next level to find a Food Cache and then scramble up another floor and turn around to spot a Salvage net (make sure to drop down to collect it).
Some enemies to the northeast will fire at you from a distance, so finish them off and then circle to the west side of the building where you can climb up for another Alarm (3/4) . Drop back down and head toward the windmill, looking for a gap in the fence on the right for a Food Cache .
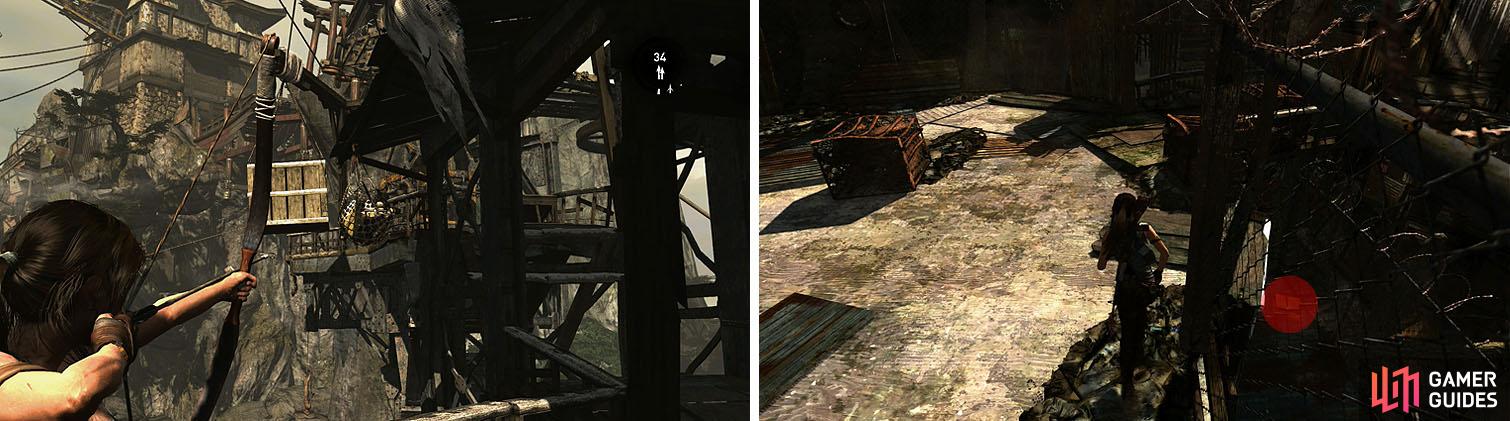
Check the area carefully so you don’t miss the salvage (left) or Food Cache (right).
Continue toward the windmill, grabbing the GPS Cache 9 on the right and the Scribe’s Inro behind a barricade to the left before your scramble the up the wall. Move enemies will attack from across the windmill blades, so take out the group and then jump across and finish them off.
Cross the cargo area and check behind the white planked wall for a Food Cache and then scramble up to spot an Alarm (4/4) to the left. This can be reach by dropping back to the cargo area and scrambling up the wall to complete the challenge.

Grab the Food Cache before you scramble up and spot an Alarm to the left.
Climb up to the top of the windmill and turn left to spot a GPS Cache 10 sparking among some trash and then use the zipline on the other side.
Enter the mine and notice the salvage in some nets, surrounded by metal mesh. In order to drop these you’ll need to shoot fire arrows through the provided holes to drop the salvage to the bottom floor. Start by heading left and using the holes to drop Salvage x3 and then circle counterclockwise around the area.
Hop down to the next level and open the metal Salvage crate and then collect the Food Cache near another Salvage x2 . Cross the beam for the GPS Cache 11 on the ground to the right and then shoot down another Salvage from the mesh in the middle.
Continue down the steps to open all the salvage you’ve dropped and then aim up through the lowest hole to release the final Salvage net.
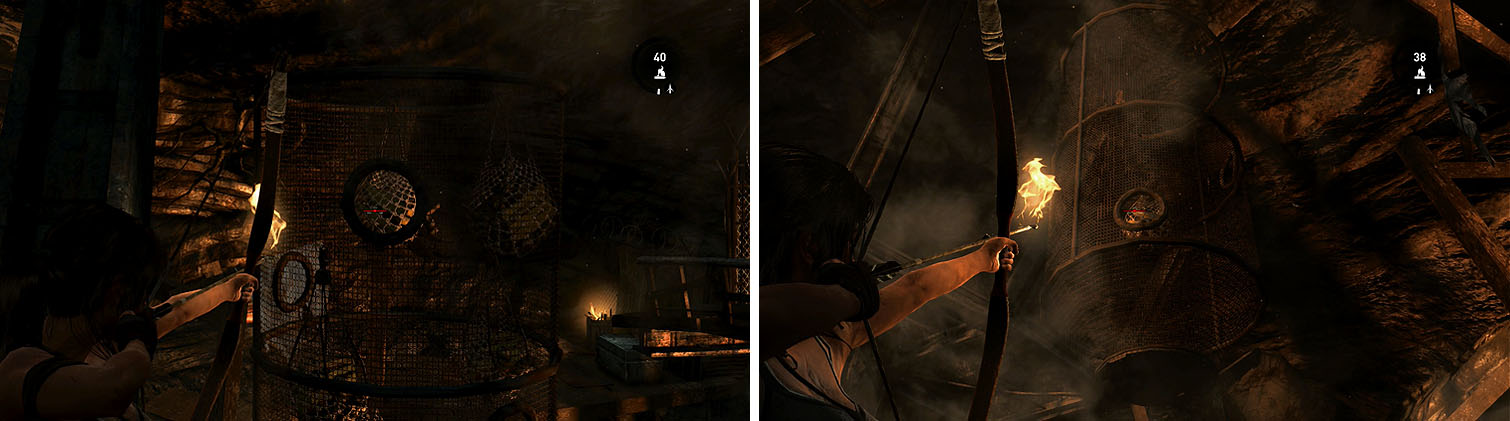
Circle the mesh to shoot through the holes, dropping all five salvage nets.
Move through the tunnel to the right of the stairs and head straight toward the fire barrels, checking under the walkway to find the Jade Drinking Vessel . Turn around and pass under the staircase and check behind the metal panels straight ahead to find the GPS Cache 12 .
Turn around to spot a barricade that you can blast through to find a Plant and the GPS Cache 13 and then return through the barricade. There is an opening on the left where you can drop to find the GPS Cache 14 and another barricade, which creates a shortcut to the large gate and a Food Cache .
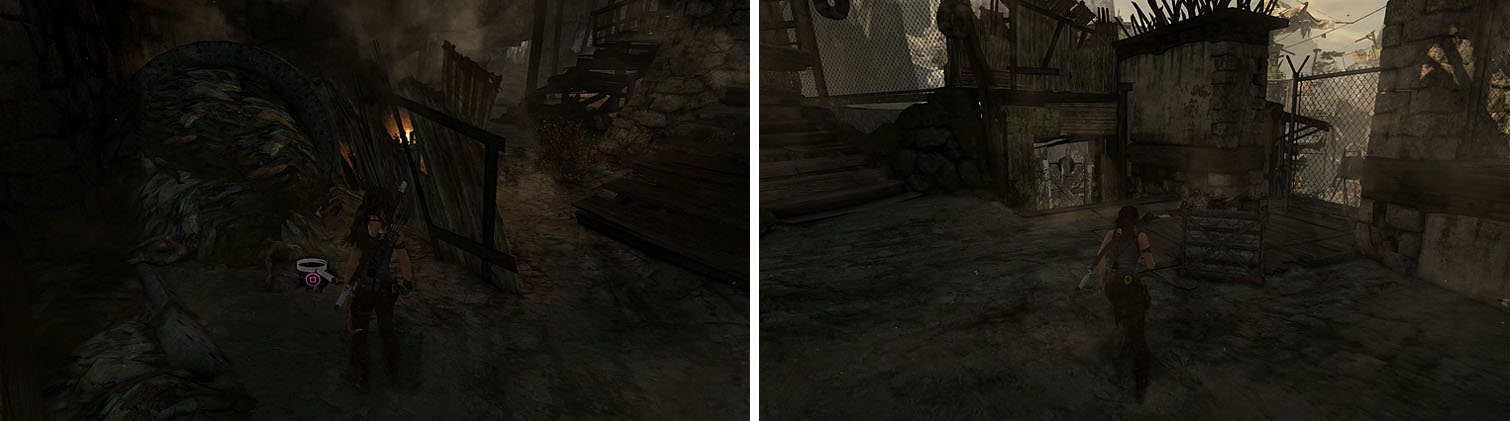
Check behind the metal panels to find a GPS Cache (left). Behind you is a barricade and a ledge, both with GPS Caches (right).
Backtrack and climb up the ledge and then head for the stairs, but don’t head up the stairs and instead look to the left to find the Diary of a Madman: Obsession . You can now head up the stairs to burn down a Salvage net on the left before walking to the Windmill Base Camp .
Check behind the tree to the south for a crate of Salvage and then enter the tomb.
- Chamber of Judgement -
As you make your way into the tomb, hug the left wall to find the GPS Cache 15 and then continue through the tomb until you slip down slope. Grab onto the ledge and shimmy right until you can climb up to find some Salvage and then continue right to enter the heart of the tomb.
Note the circular structure with a ramp on top of it that acts as a seesaw when you step on it and then grab the yellow can nearby and drop it on the side nearest to the camp. Use the ramp next to the seesaw to jump to platform in front of the statue, dropping another can, and then drop the yellow can on the seesaw. Use a rope arrow on the tire hanging from the ceiling to swing it into the platform high in the corner to drop a third can and then drop it on the seesaw as well.
With three of the four cans, use the seesaw as a ramp to reach the rocky wall and attach yourself to the wall to reach the treasure. Inside the treasure chest you’ll find 1250 XP , 250 Salvage , the Shantytown GPS Cache Map , and a Handgun part.
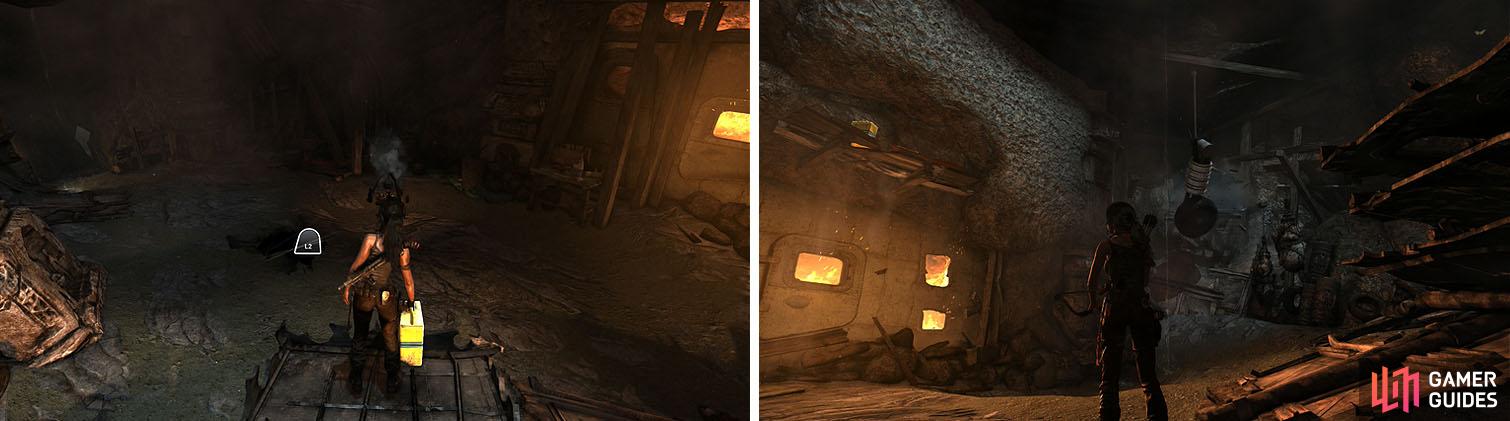
You need three cans on the metal seesaw to weigh it down, which will allow you to use it as a ramp to reach the rocky wall and the treasure.
Return to the cargo area to climb one of the boxes and use it to reach a tower for a quick scene. Use your assault rifle in this fight to allow you to quickly fire on the enemies that zipline across to you and only use your bow for precision shots.
Keep moving from cover to cover, as there are enemies throwing molotov cocktails and dynamite, and shoot explosive barrels when enemies are near. This is a difficult fight, especially on high difficulties, so back up and take cover if you need time to heal. Once all the enemies are defeated you’ll trigger a scene to complete this section. [400 XP]

 Sign up
No Comments