
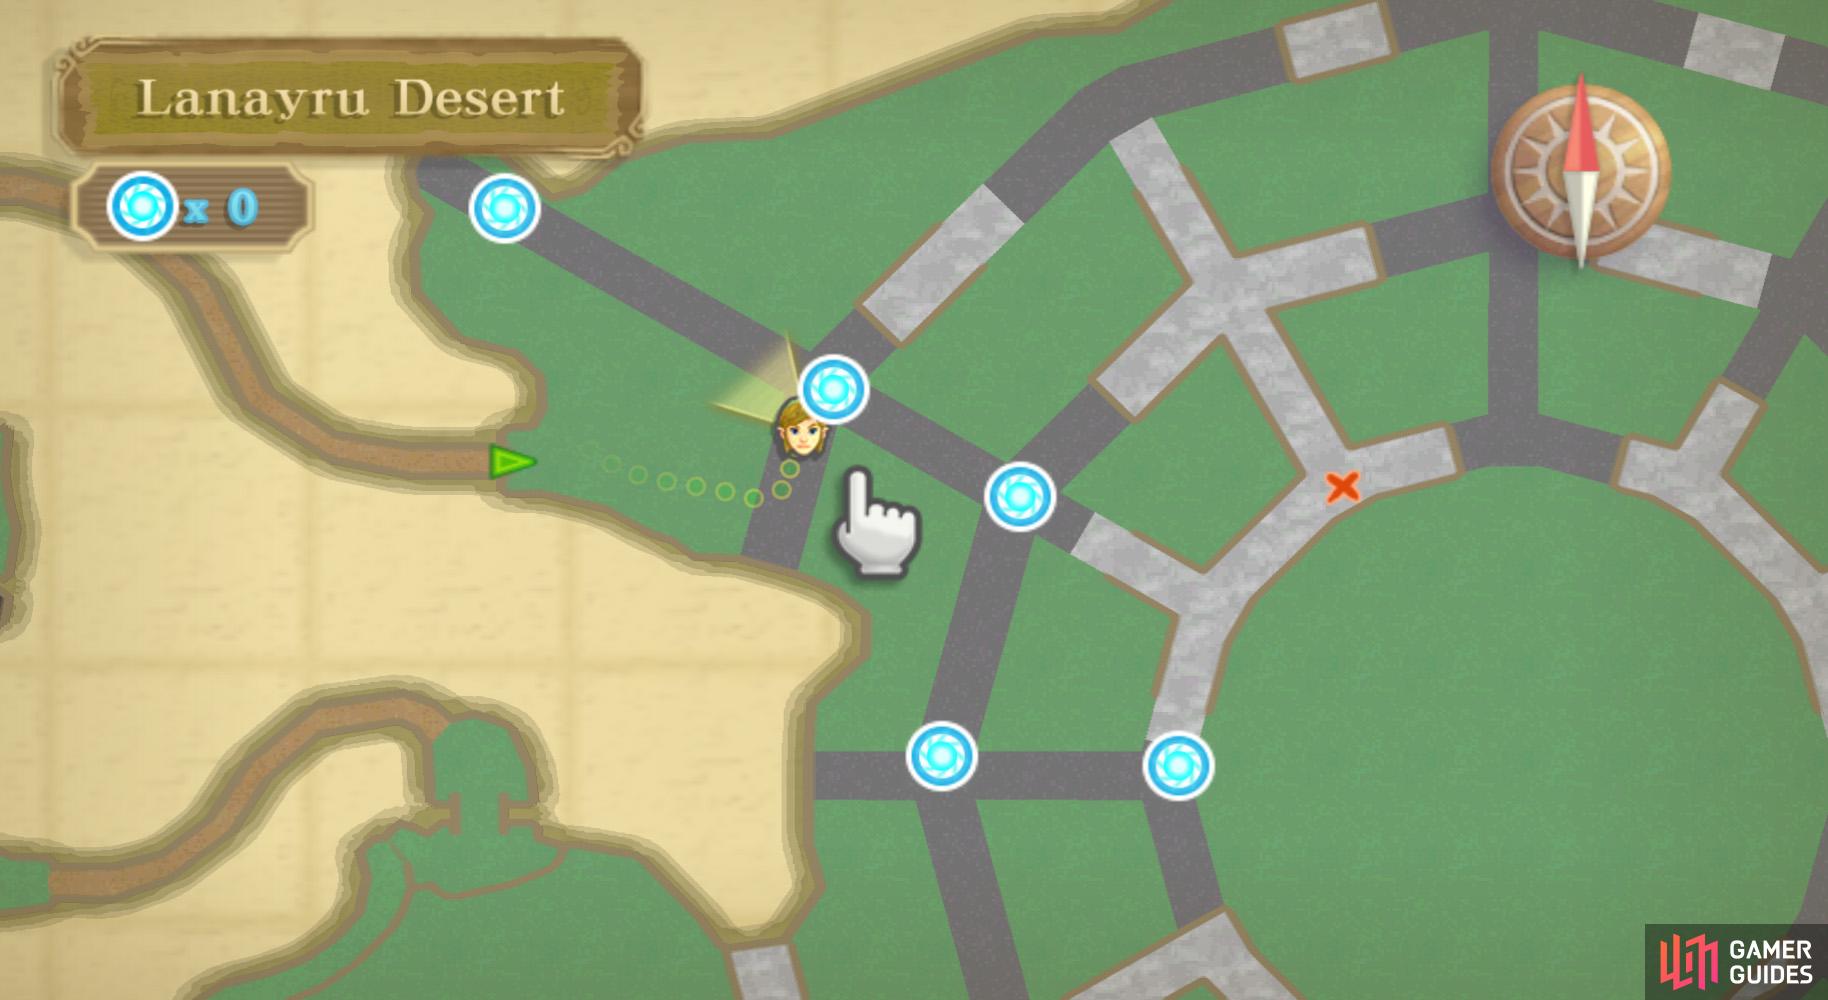
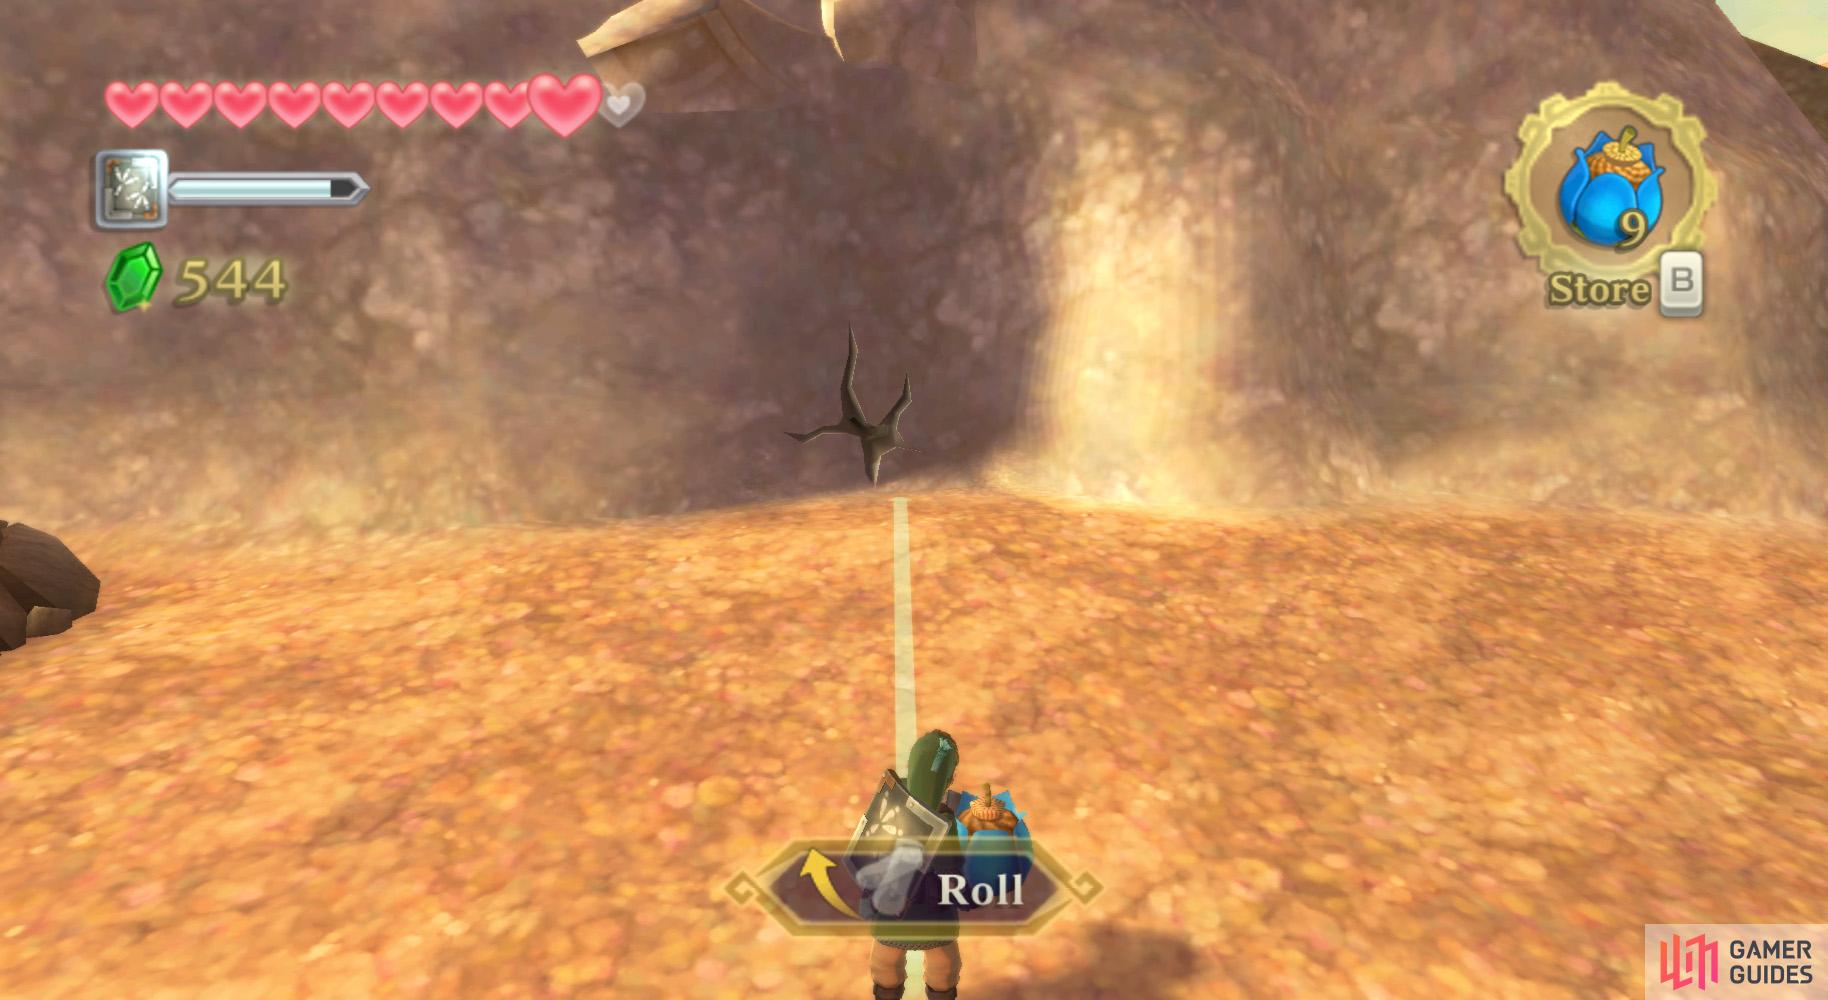
(1 of 2) You can place the beacons at intersections to make it easier.
You can place the beacons at intersections to make it easier. (left), After triggering this Timeshift Stone, your task has only just begun. (right)
Back here, use the Hook Beetle to grab the nearby Bomb Flower and blow the Hrok off the tree nearby. Then use the map to find a submerged pathway beneath the quicksand – Fi then allows the use of five beacons. Using them, it is more convenient to find your way. Head to the southeast along such a path to find an incline to the upper ledge. Here, go left to find a device, which is marked on your mark.
Map
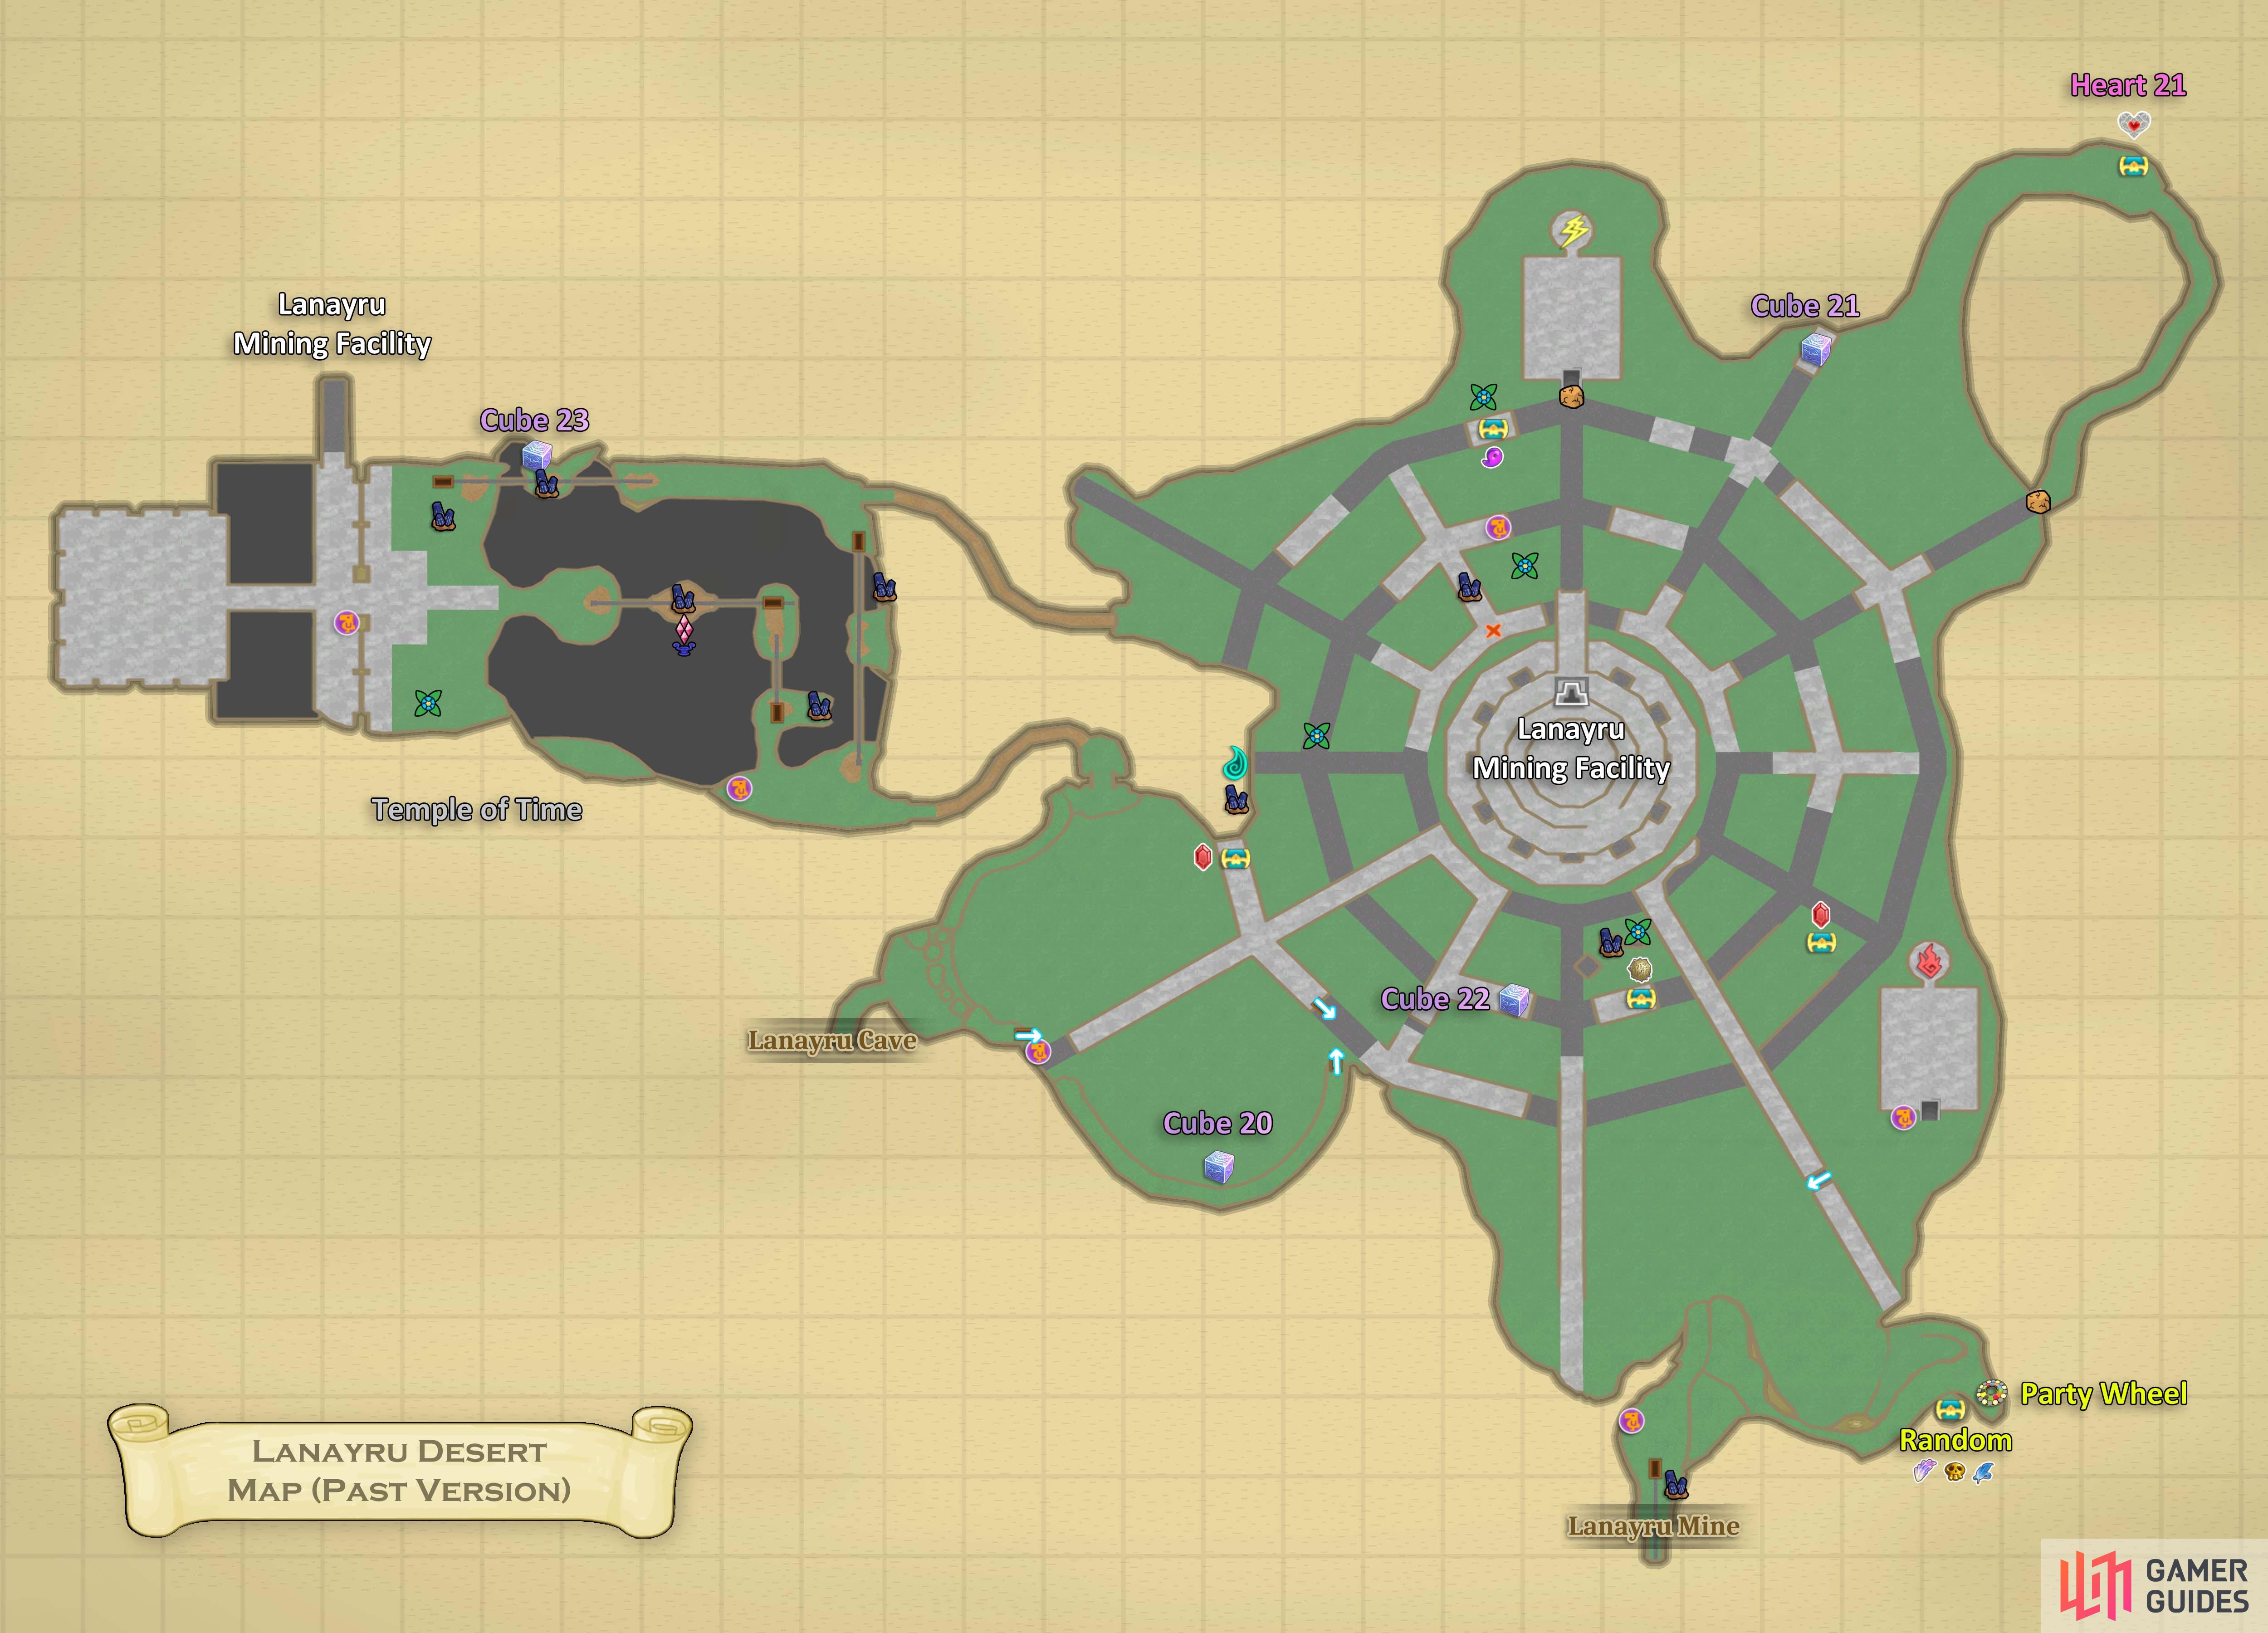
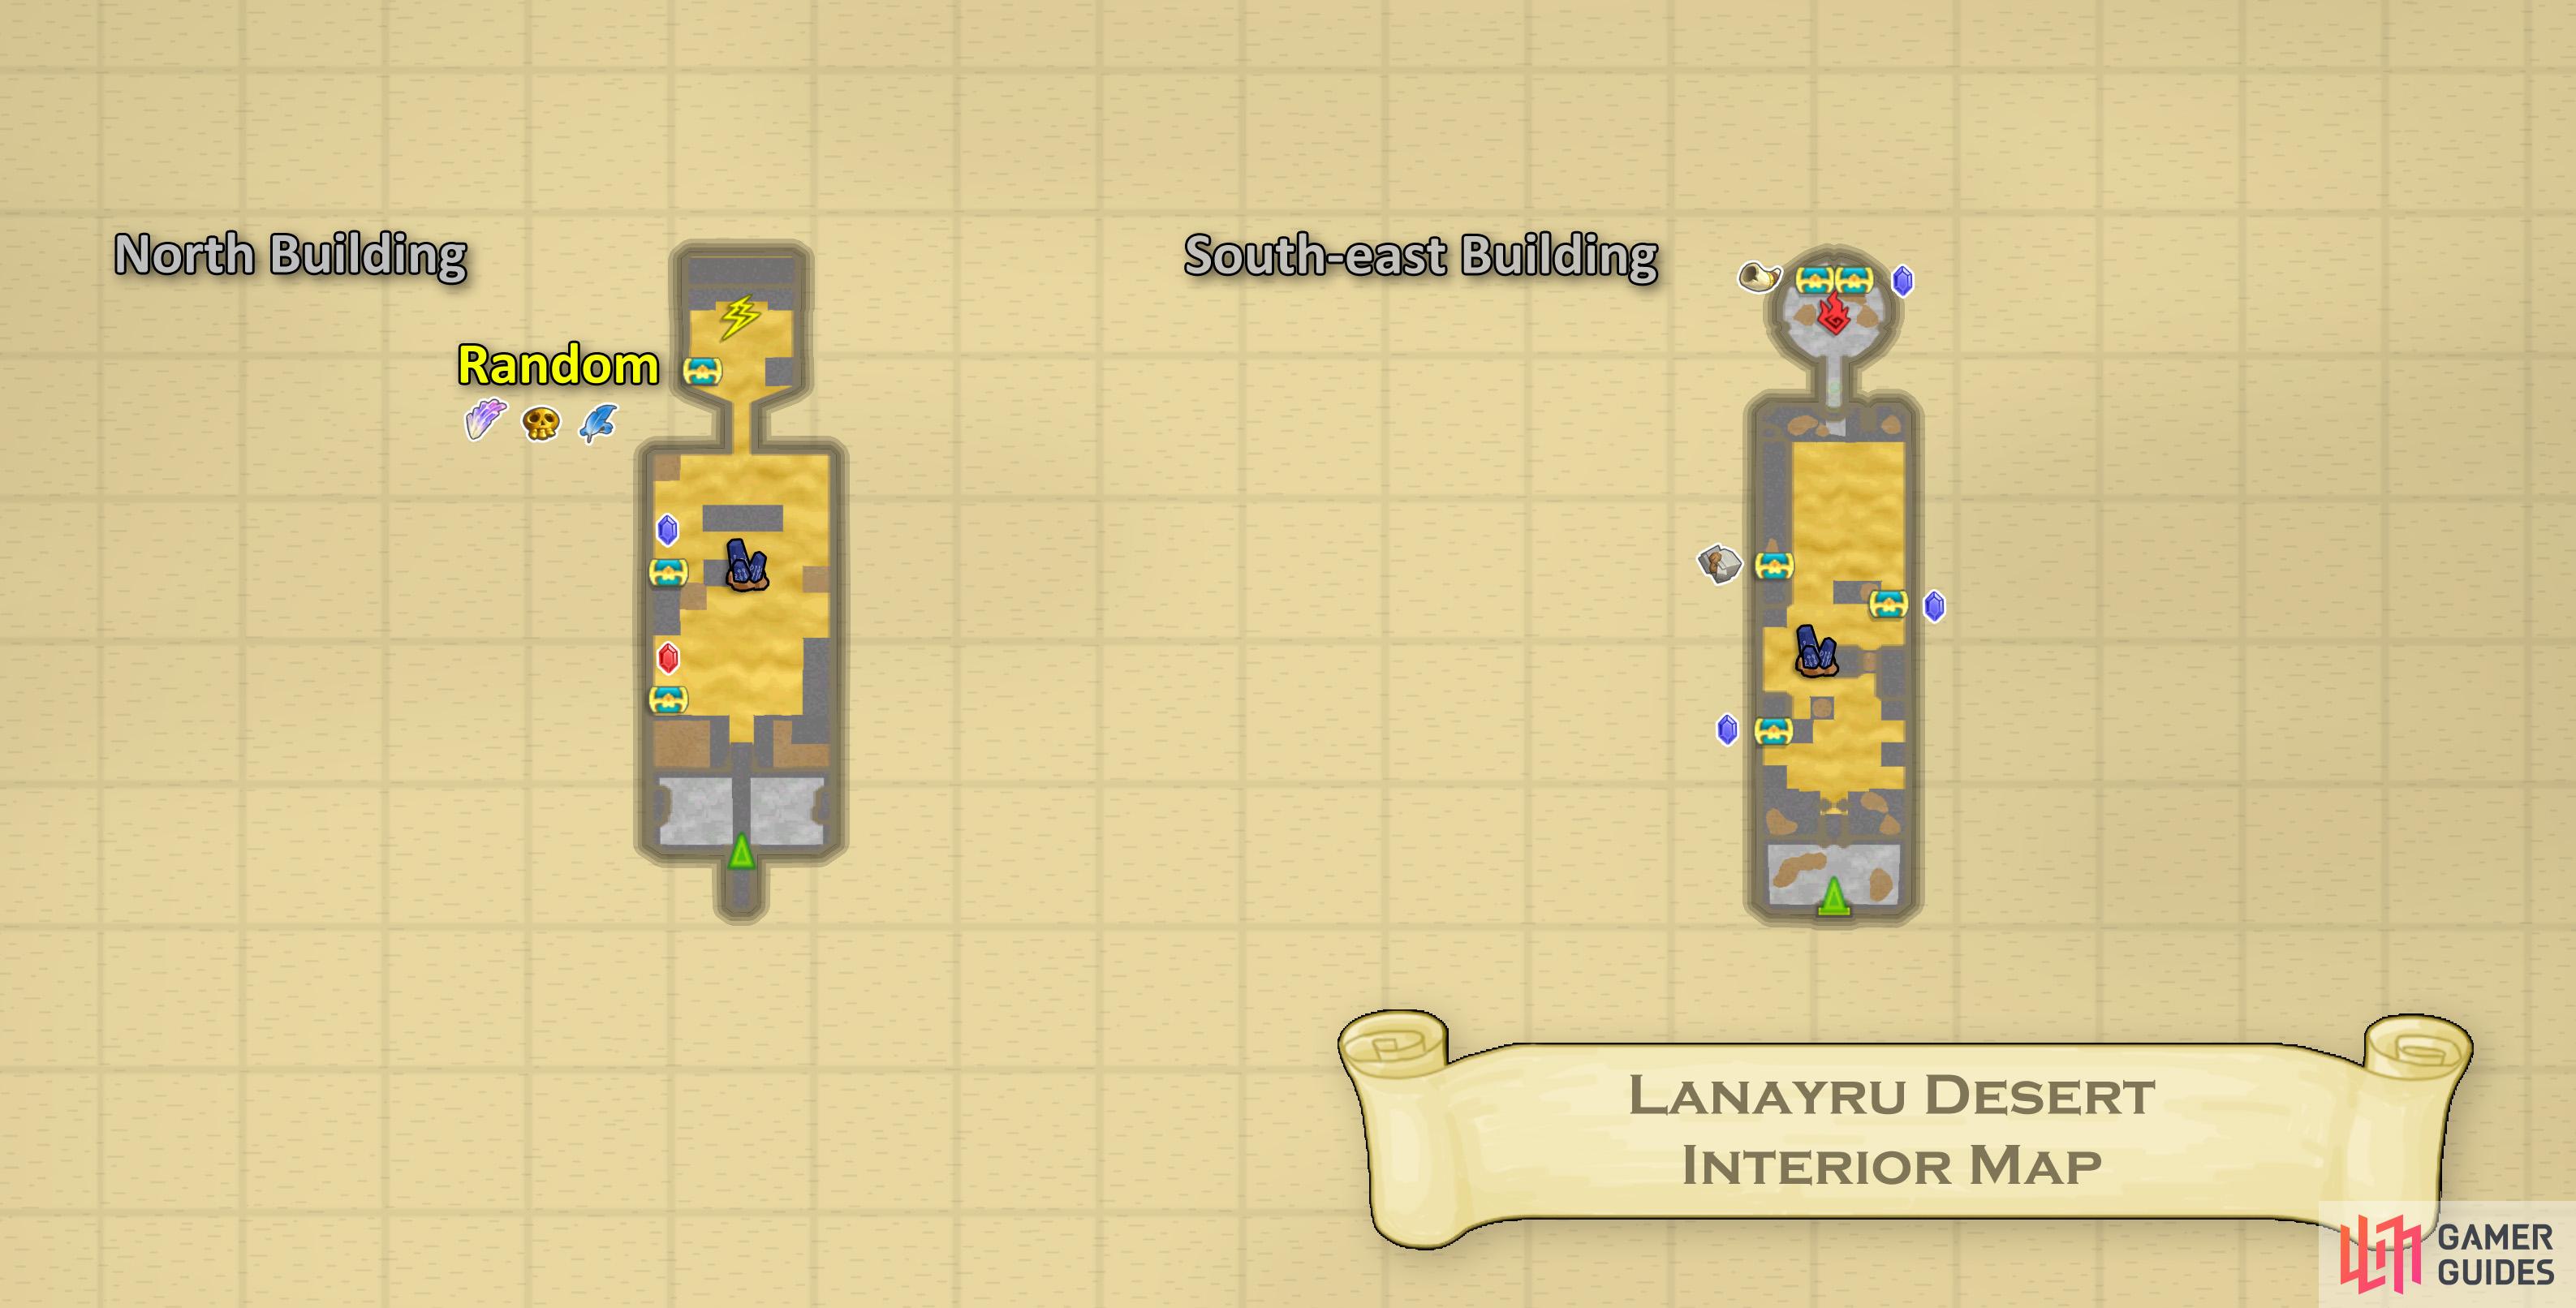
(1 of 2) Map of Lanayru Desert (past version).
Map of Lanayru Desert (past version). (left), Map of Lanayru Desert’s interior. (right)
First, Bomb the rock piles nearby and you’ll find a Timeshift Stone. Hit it and kill the two Technoblins nearby. Speak with the robot near the large device from earlier. It seems that this is the power source providing power to the entrance to the Mining Facility; no power, no entry. After this, you can dowse for the generator locations. Let us go north for the first one.
Power Node 1
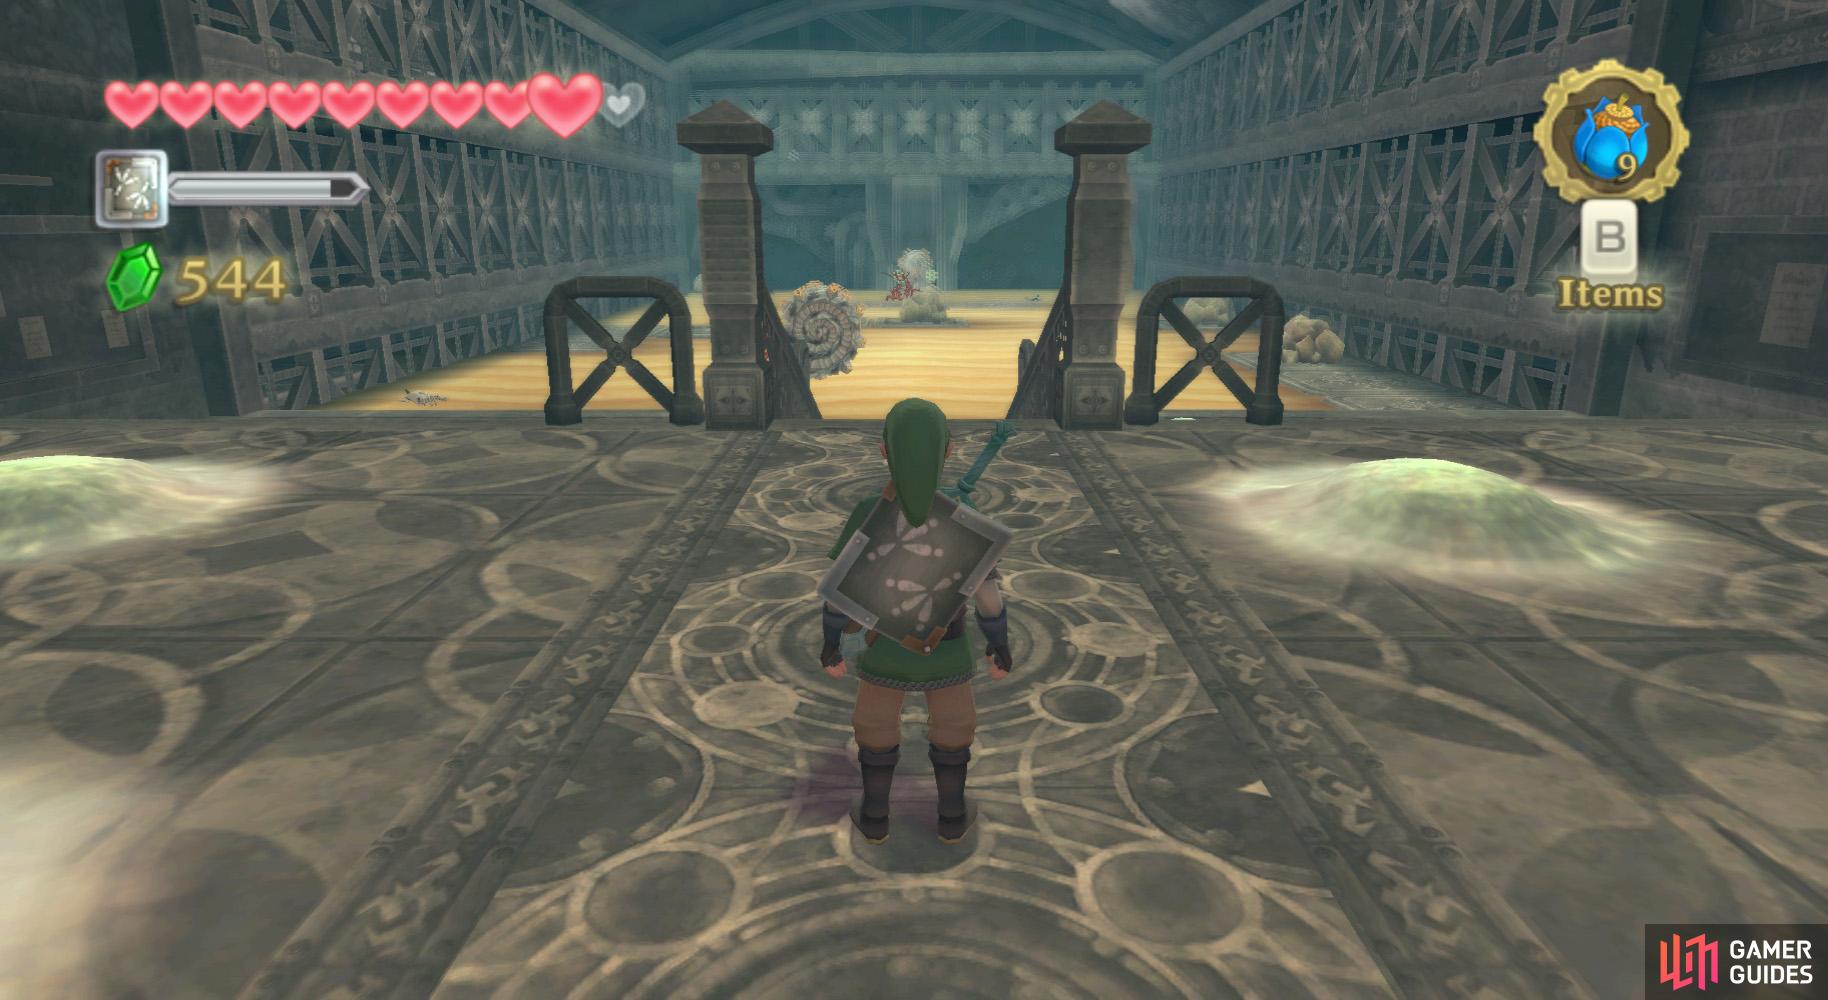
(1 of 2) Bomb this suspicious crack in the wall.
Bomb this suspicious crack in the wall. (left), Head for the center of this room to find a Timeshift Stone. (right)
Continue northward to the Bird Statue. Drop to the solid ground below and continue to the northernmost portion of the area to find a crack in the wall. Bomb it to find an entrance. Go into this building.
Here, stay on the right side of the room upon entering and follow the path along the quicksand. Run towards the center platform and Bomb the rocks nearby to find a Timeshift Stone. Hit it and the sand leaves, Ampilus enemies become the egg forms, and Technoblins appear. Go to the lower area and open up some chests and fight some Technoblins.
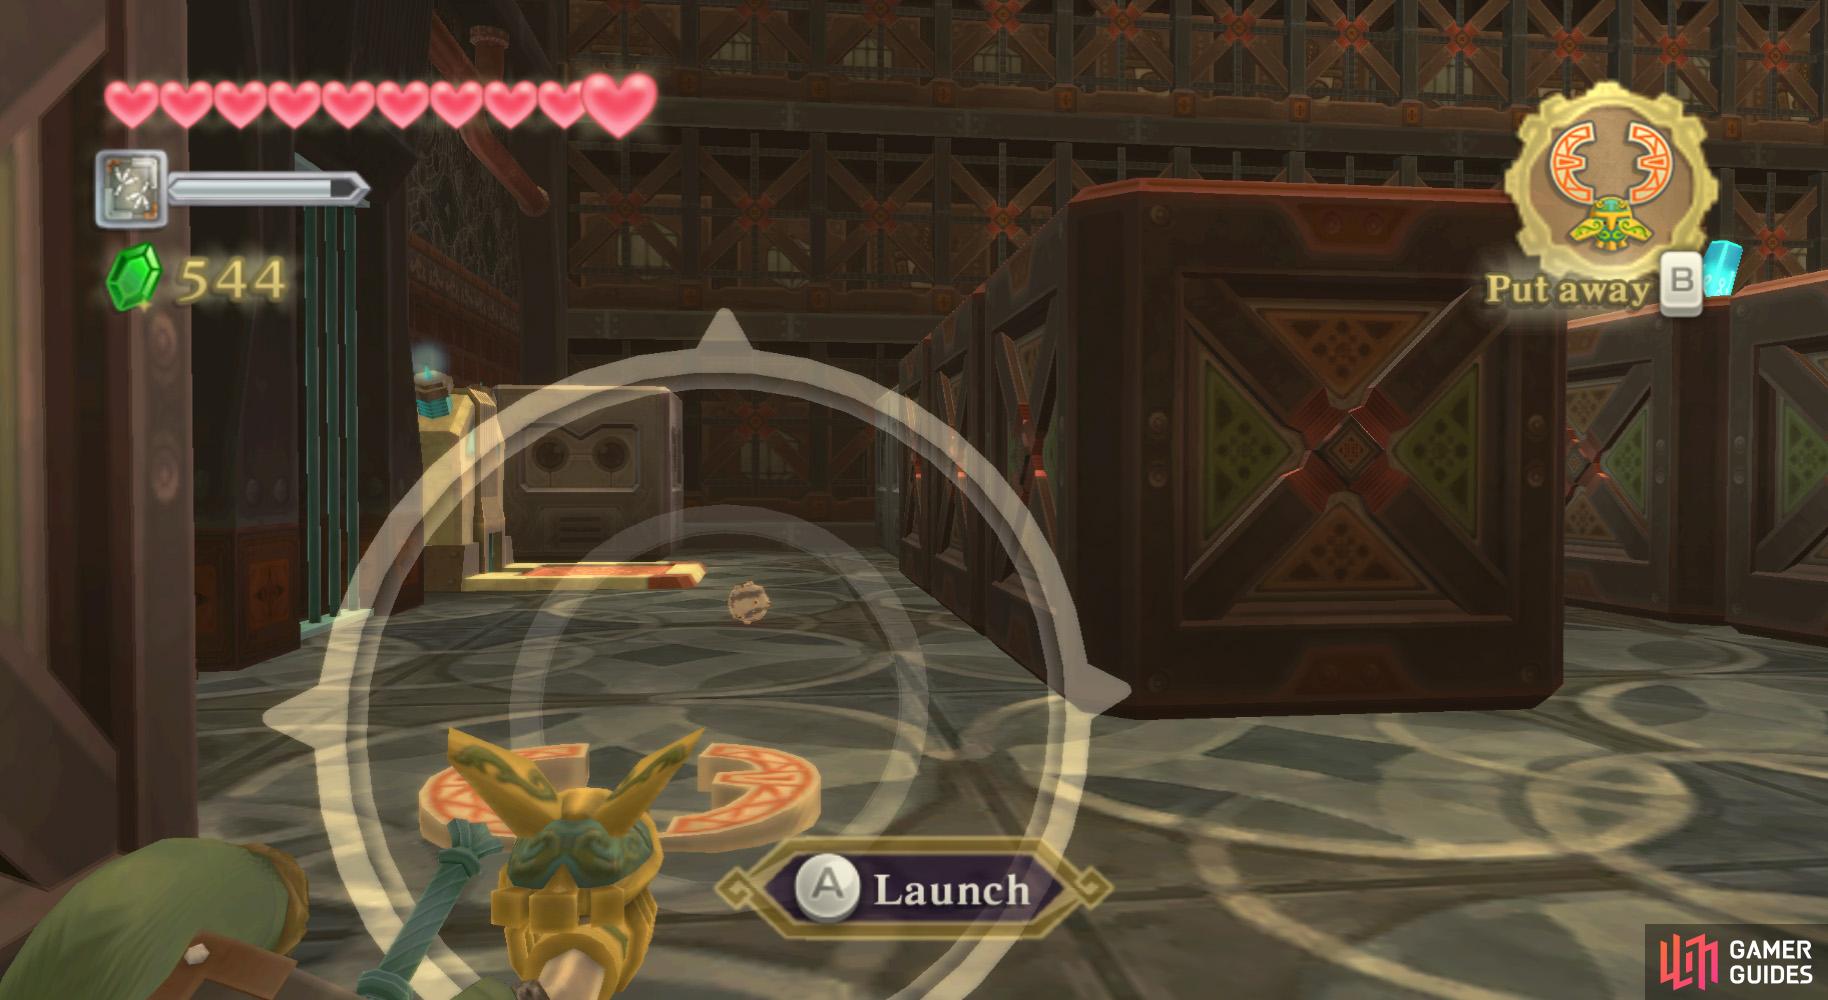
(1 of 2) Use your Hook Beetle to grab one of these babies.
Use your Hook Beetle to grab one of these babies. (left), Then poke it into the gap. (right)
Afterwards, head to the northern portion of the room. There is a pressure-sensitive switch here. Standing on it opens the grate to the power source operating this door. You’ll need to find an Ampilus Egg and knock it in there. You can bring one nearby with the Hook Beetle, then drop it on the switch and knock it into the hole with your sword.
Next, enter the back room and thrust the Goddess Sword into the hole on the mechanism there. Rotate the switch and insert it. Then leave the building.
Power Node 2
Outside, head to the southeastern area. From where you are now, go south some and Bomb-drop the Hrok in the distance with the Beetle. Then use the map to find the submerged paths and head to the southeastern solid area.
Heart Piece 21


(1 of 2) Bomb this crack in the wall, at the northeast part of the desert. It’s at the end of a submerged path next to solid land.
Bomb this crack in the wall, at the northeast part of the desert. It’s at the end of a submerged path next to solid land. (left), (right)
Just before you reach the solid area, check your map. There’s a submerged path nearby pointing towards the northeast–and what looks like a loop shape. Walk along this path and bomb the crack in the wall at the end. Follow the tunnel, being mindful of the Yellow Chuchus that appear. Eventually, you’ll reach a treasure chest with Heart Piece 21.
When you’ve reached the solid area to the south east, run towards the south side of the nearby building. In front, there’s a Bird Statue. Use it and go through the door nearby to another node-containing building.

(1 of 2) Again, there’s a Timeshift Stone in the center, but resist to urge to activate it straight away.
Again, there’s a Timeshift Stone in the center, but resist to urge to activate it straight away. (left), Instead, ride an Ampilus shell to the end of the room first. (right)
In this one, note that the quicksand moves towards the back of the building. Go from ledge to ledge to reach the center area, where you’ll find a Timeshift Stone nearby by Bombing the rock piles. Don’t activate it yet, however. Defeat an Ampilus and dash onto the shell. Ride it to the far back portion of the area, near the gate. Climb up the western ledges and go south to find a random treasure; also push off the block for a future shortcut. Then use the Hook Beetle to activate the Timeshift Stone.
Use the Hook Beetle to grab an Ampilus Egg from below and carry it across the gap, preferably dropping it near the switch. Go back there and smack the Ampilus Egg into the power slot, opening the gate. Open a few chests in here for a random treasure and five Rupees. Go to the power node and thrust your sword in there, rotate the switch, and push the switch into the node. Then leave the back room and climb the western ledges and leave the building.
Power Node 3
(1 of 2) This is the view you want to see.
This is the view you want to see. (left), Behind the crack is the last Timeshift Stone in this area. (right)
Outside, use the Bird Statue if you feel like it. From the entrance, to the west, you should see a switch on the wall. Dash-jump on the wall to pull down the switch and opening the gate. This is a useful shortcut to the southern part of the desert; let’s not use it. Go to the large quicksand pit we’ve been traversing of late and make your way towards the power generator from earlier. Continue from there, going clockwise along the outermost path of the submerged ledges, until it crumbles away and apparently ends.
From there, use the Hook Beetle and a nearby Bomb Flower to get rid of the Hrok. Consult your map and you’ll find a westbound submerged pathway. Go along it and you’ll find two more of the bowl-holding statues with a cracked wall nearby. Go over there and Bomb this crack to find a Timeshift Stone. Trigger it. Throw some Bombs into the bowls of the statues. The middle one has the last node in it. Do the usual sword-thrust, rotate, and insert here. The power generator is now active, and Fi will notify you of such. Go back to the generator via the submerged pathways.
Main Generator
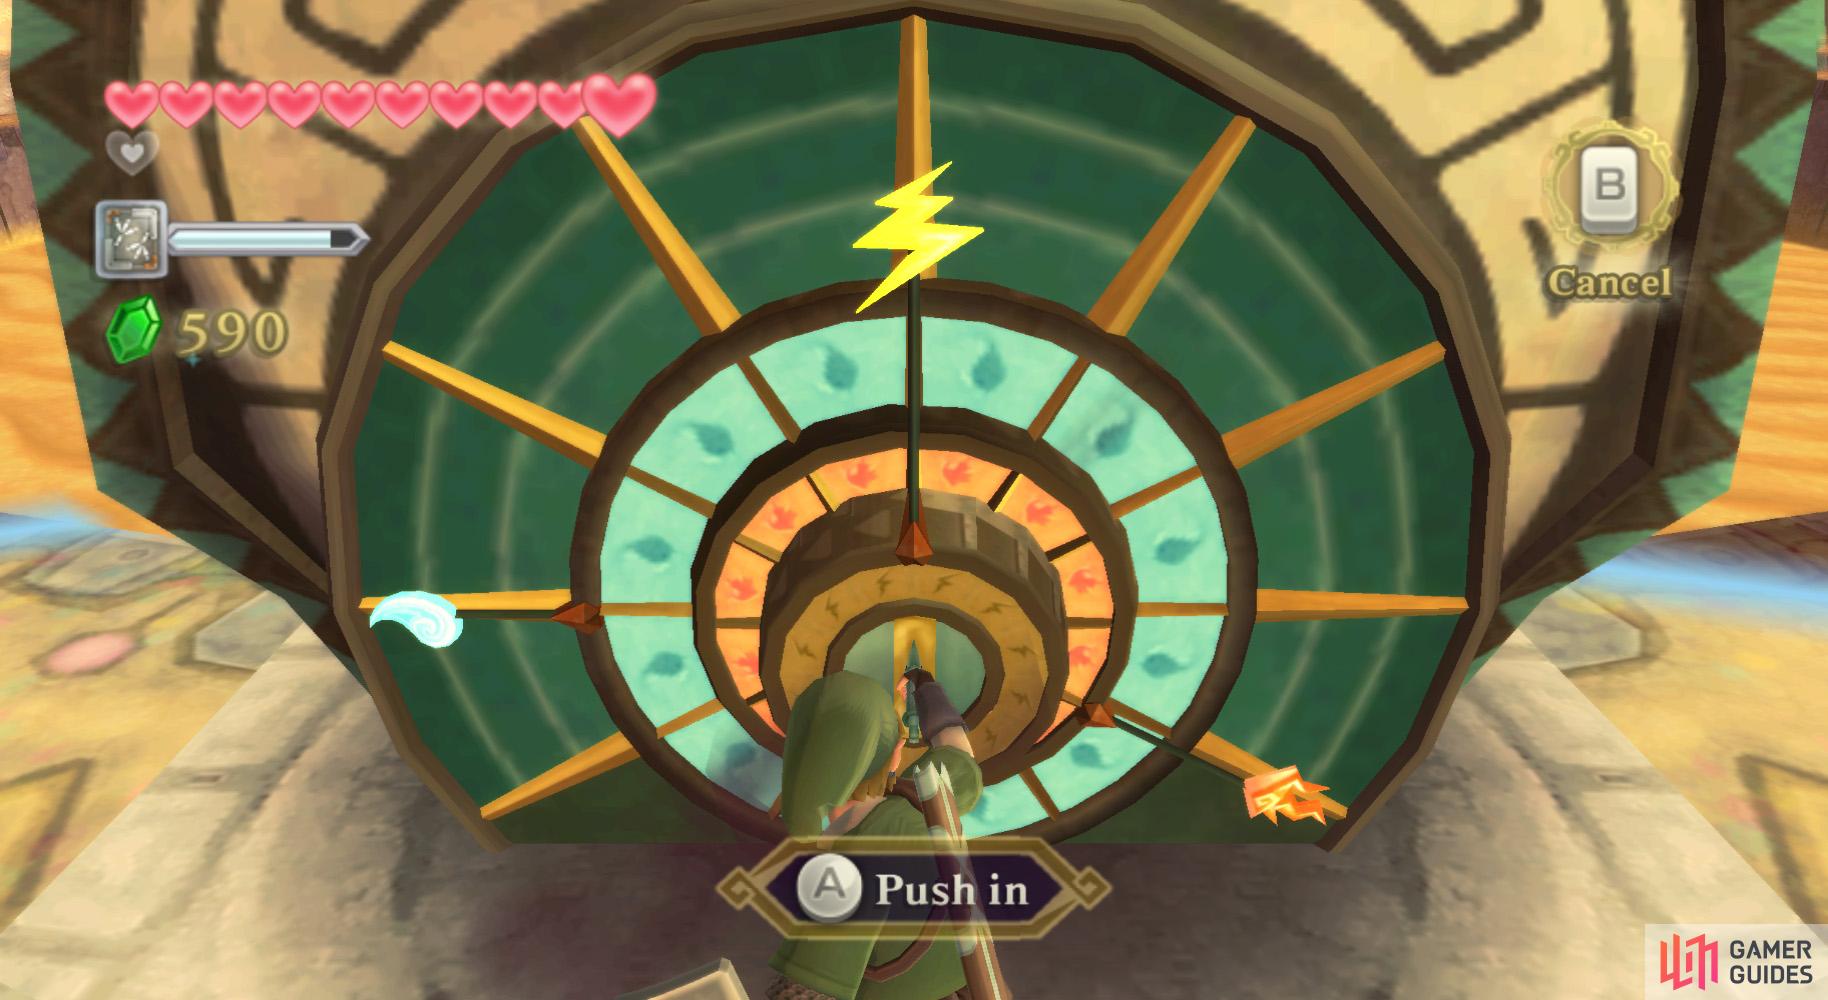

(1 of 2) Match the three symbols like this.
Match the three symbols like this. (left), Hey presto, there’s your dungeon. (right)
Once you get back, be sure to use the Timeshift Stone to make the power generator more activate. When you thrust your sword into the generator, you will need to rotate the three dials one at a time, back to front, and put them in their correct positions. These positions correspond to how they look on the map. For reference, here is an image of where you should put each symbol on the generator:
Basically, I think you can understand this. Water is three ticks left of the top-center; fire is four ticks to the right of the top-center; thunder is at the top-center. You place them in that order: water, fire, thunder.
After this, entrance to the Lanayru Mining Facility will rise from beneath the quicksand, granting you access to your next dungeon!

 Sign up
No Comments