
Investigate the lab
Exit the Safe Room and collect the Nap Room Log file from the computer, then head through the door to the east side where you’ll find the Cafeteria. Enter the room to find a Hand Grenade left on a Zombie in the east side of the room followed by some Fuel on the table to west and finally some Handgun Ammo from the table in the center of the room. Now follow the room around to find a ladder but before heading up, shoot the Raccoon that’s sitting on table to the right. Once you’ve climbed up follow the vent around and drop down into the Kitchen where can find some Gunpowder (Large) sitting by the window to your left, head further in to find a Combat Knife laying on the kitchen worktop before going through the door and taking a right to the Nap Room. Inside you’ll find some Shotgun Shells sitting on desk, open the locker next to it find the Regulator (Flamethrower) attachment and combine it with your flamethrower in your inventory.
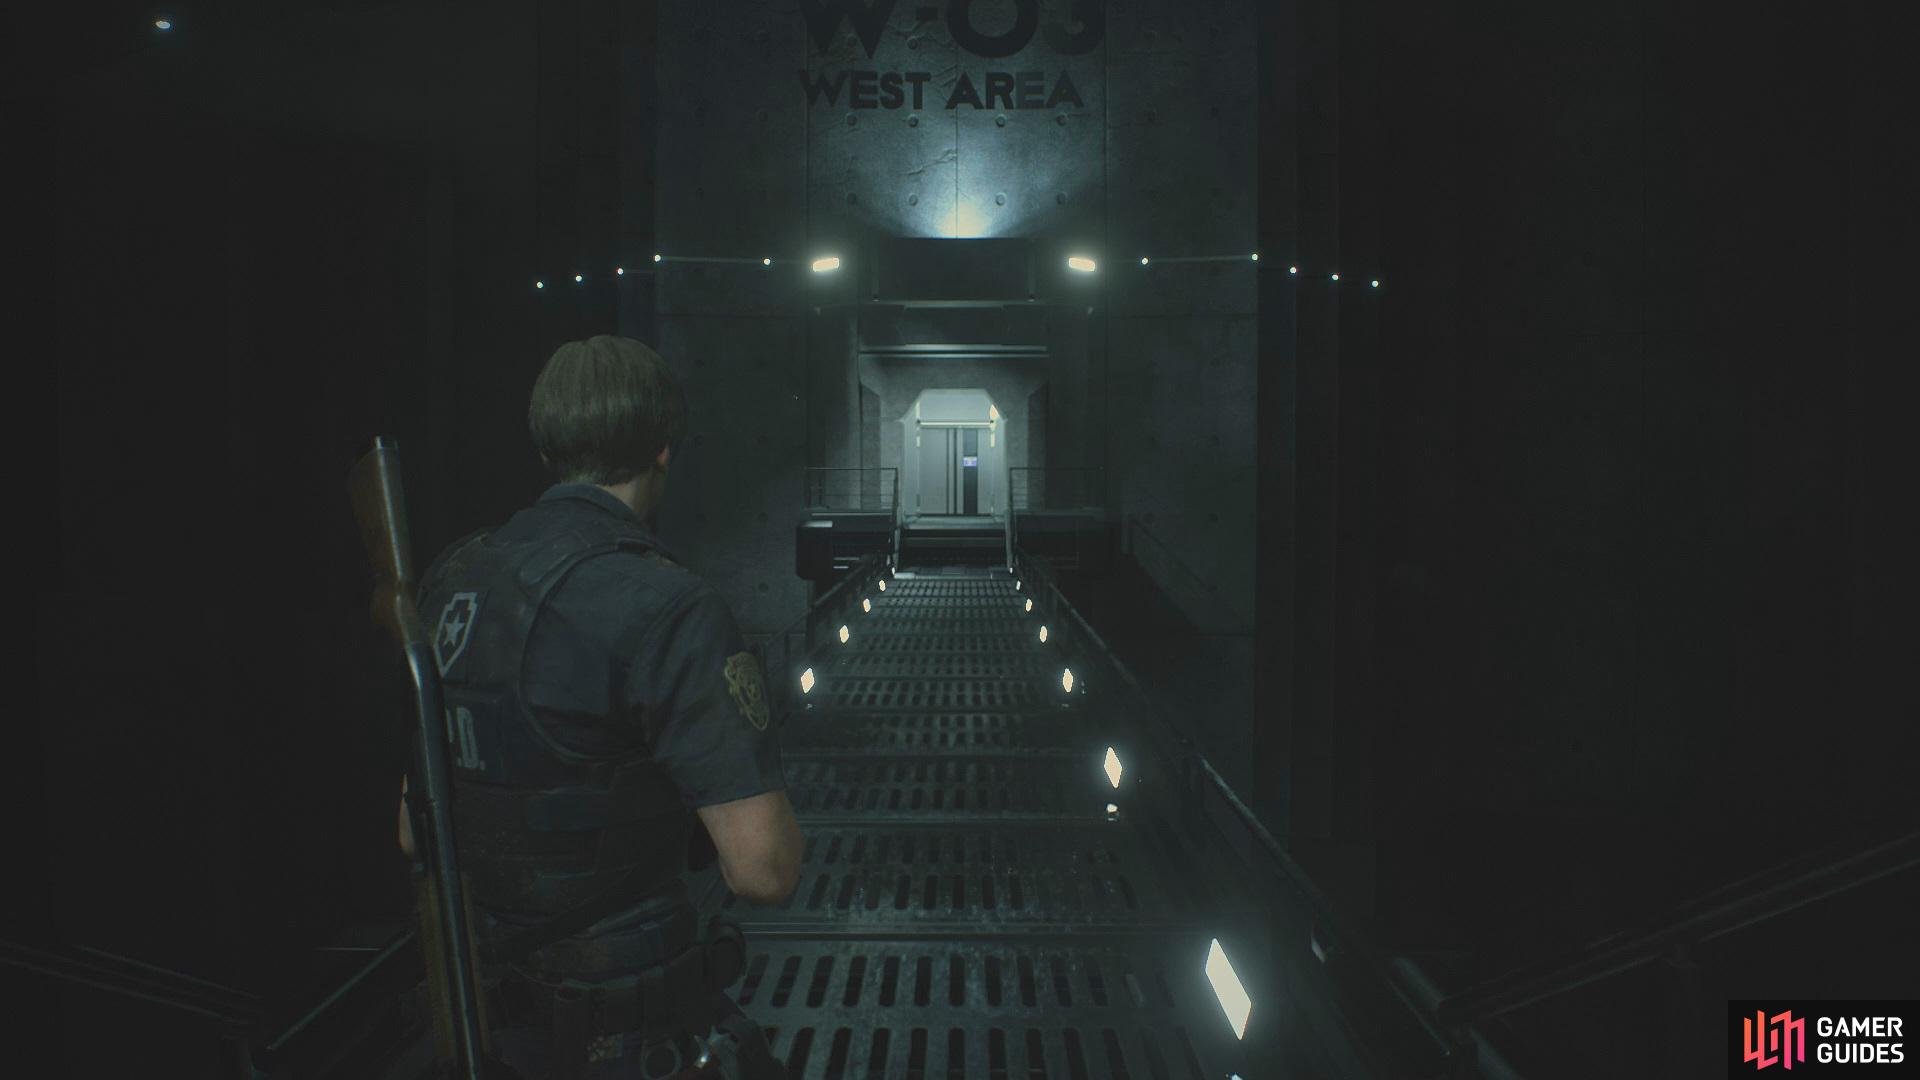
Remove the Electronic Chip from the Zombie’s hand in the middle sleeping station and combine this with your ID Wristband to turn it into the ID Wristband (General Staff), this will give you access to more areas around the Lab. Exit the room and head back out into the Reception, making your way east of the corridor to enter the Security Room, inside you’ll find some Shotgun Shells sitting on the desk and the Research Lab North Area Map on a desk a bit further in. Exit the room and use the ID Wristband to extend the bridge, collect the Special Forces Recording from the Zombie before heading across to the Main Shaft.
Once you’ve crossed the bridge, head to the south and use your ID Wristband on the left control panel to extend another bridge to the East Area, make your way across to the Lobby. Once inside collect the Green Herb off the desk and Gunpowder that’s on the desk to the northeast of the room, save and head through the east door.
Upgrade your ID wristband
Once inside make your way to the northwest corner and enter the door to a corridor, follow it around until you see a High-Grade Gunpowder (Yellow). Continue along until you encounter a new enemy, the Ivy, use the Flamethrower as it’s the perfect weapon to take them down. After you’ve dealt with the Ivy, head on over to the Greenhouse Control Room and collect the Flash Grenade as soon as you enter before interacting with the Solution Sprinkler System to receive the Dispersal Cartridge. Head into the Greenhouse and take a left downstairs to find a Red Herb, then head to the south of the room to find yourself a Blue Herb, go to the southeast corner of the room where you’ll see a combination, remember this and head back to the control room to input it into the Facility Control Terminal.
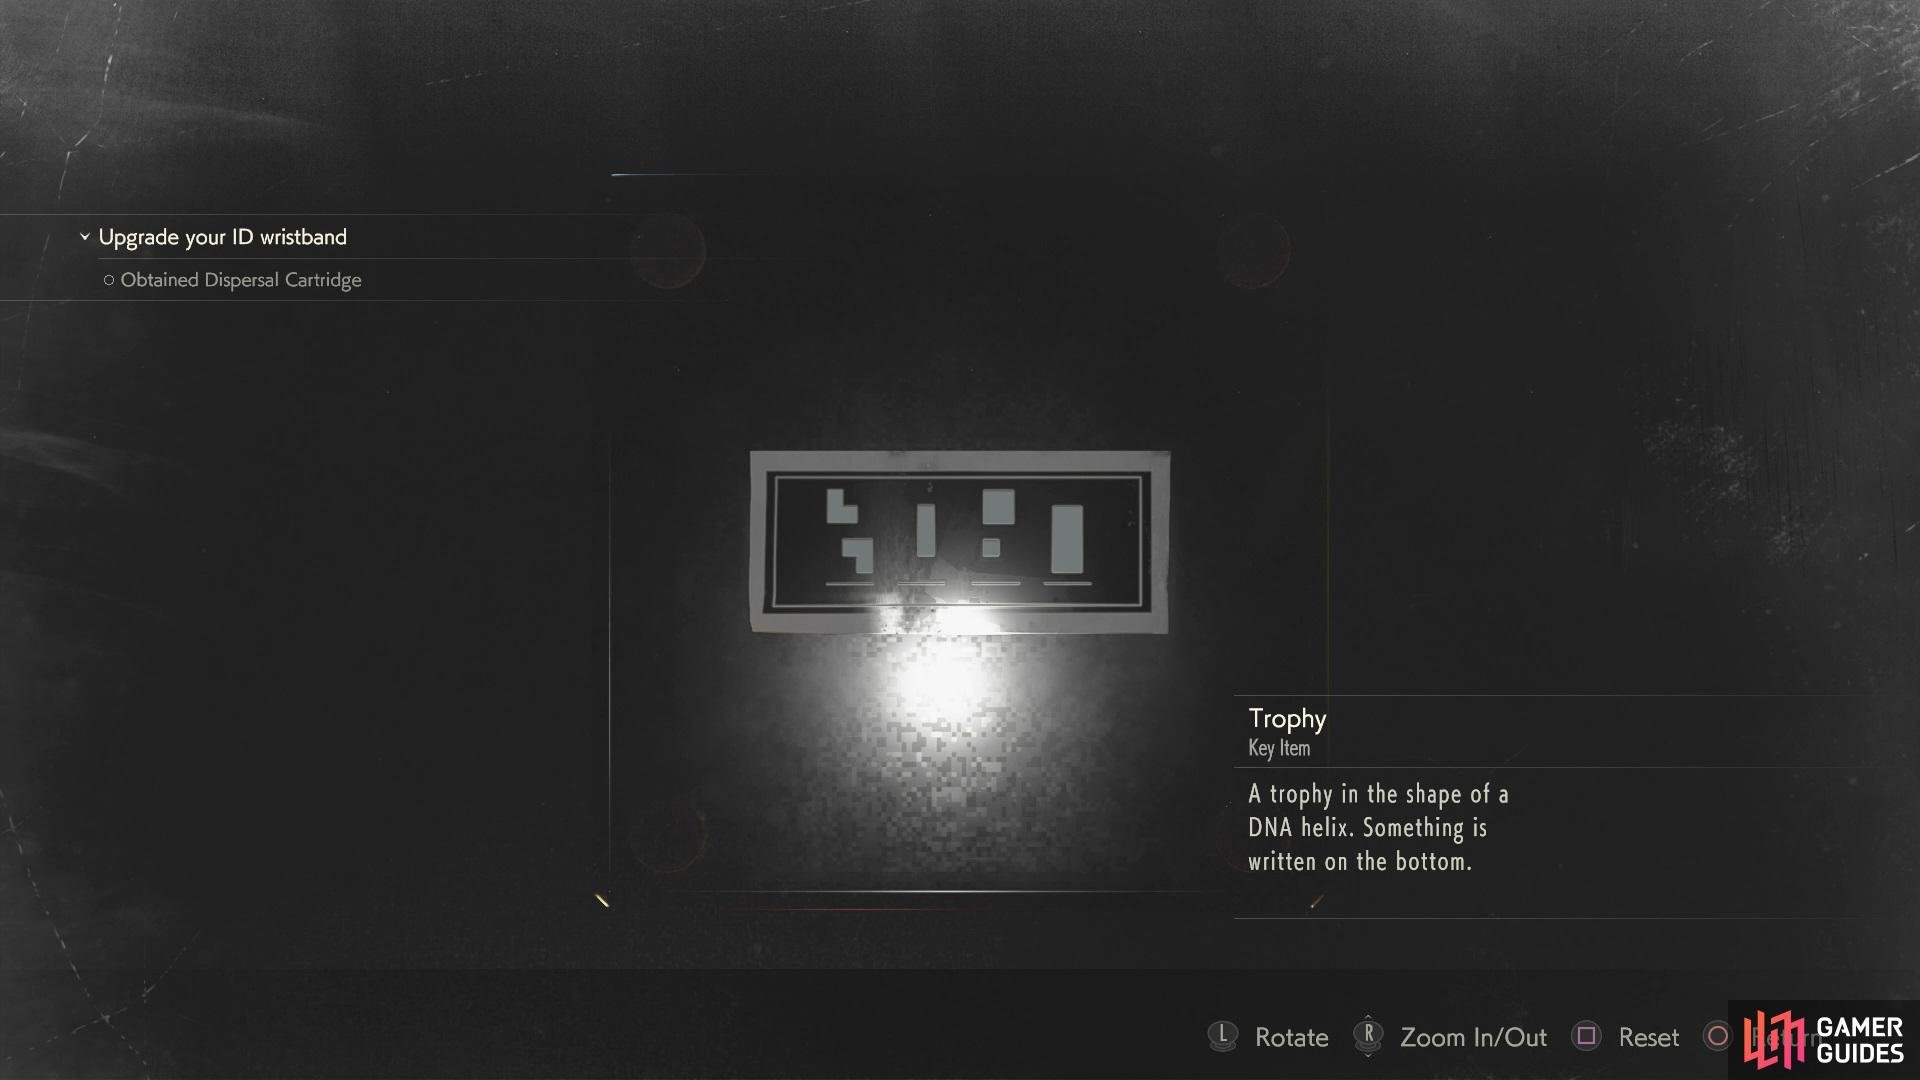
After you’ve opened the hatch, head down and take a left to find a Gunpowder (Large) alongside the Research Lab East Area Map, now turn around and head into the Lounge, inside you’ll find a Green Herb to the south on a chair, some Shotgun Shells on another chair to the north side. Finally, a Trophy sits close to the Green Herb, examine it to find the combination for a puzzle you’ll encounter later.
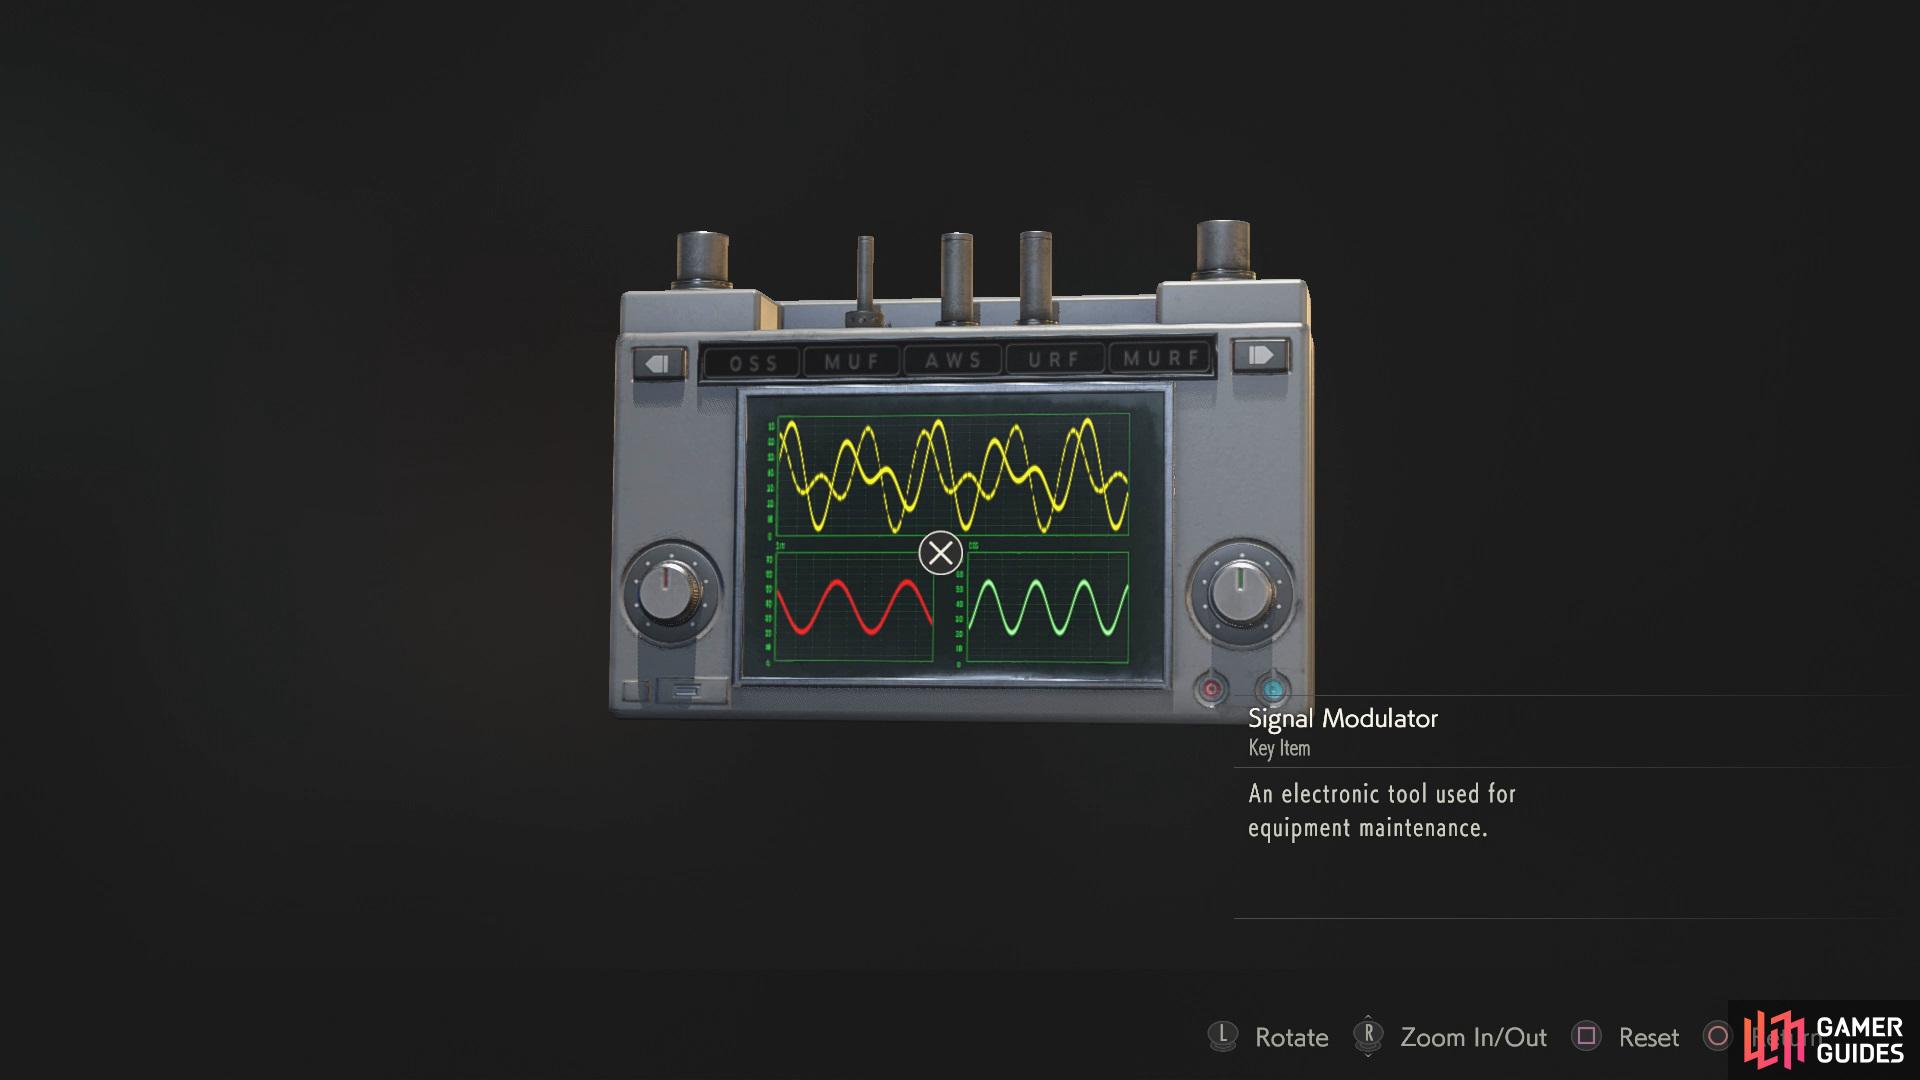
Make your way to the west of the room but as you get closer, two Lickers will fall from the ceiling along with a horde of Zombies that get up off the floor. Once you’ve gotten past them, head through the door and through the corridor as you head up the stairs and into the room where you’ll find High-Grade Gunpowder (Yellow) to your left as soon as you enter. Continue on to find some Handgun Ammo in a locker and then turn to find Somebody’s Note left on top of the blue chair. Finally, collect the Signal Modulator off the wall and head over to the north part of the room to unlock the door back to the Lobby.
Head back to the Greenhouse Control Room with the Trophy in your inventory, once there input the combination that’s located at the bottom of the trophy to open the Drug Testing Lab. Head over with the Dispersal Cartridge in your inventory, once inside collect the Herbicide Synthesis off the desk and pick up a Hand Grenade off the Zombie at the back of the room, you’ll also be able to find a Hand Grenade left on a desk in the centre of the room.
Destroy Plant 43
Head over to the southwest of the room and interact with the Solution Dispenser to place the Solution Cartridge, now you’ll need to solve a puzzle, so the tube has the perfect amount of solution which is indicated by the red line.
To begin the puzzle, press the red button to move the large tube to the middle then press the green button to put a portion of the solution into the medium sized bottle, now press the blue button to rotate the small tube to the middle then press the red button to bring it to the left. Use the green button again to relocate the solution, after press the blue button and then press the red button to bring the large tube back to the left before finally pressing the left button once more to retrieve the **Dispersal Cartridge (Solution).

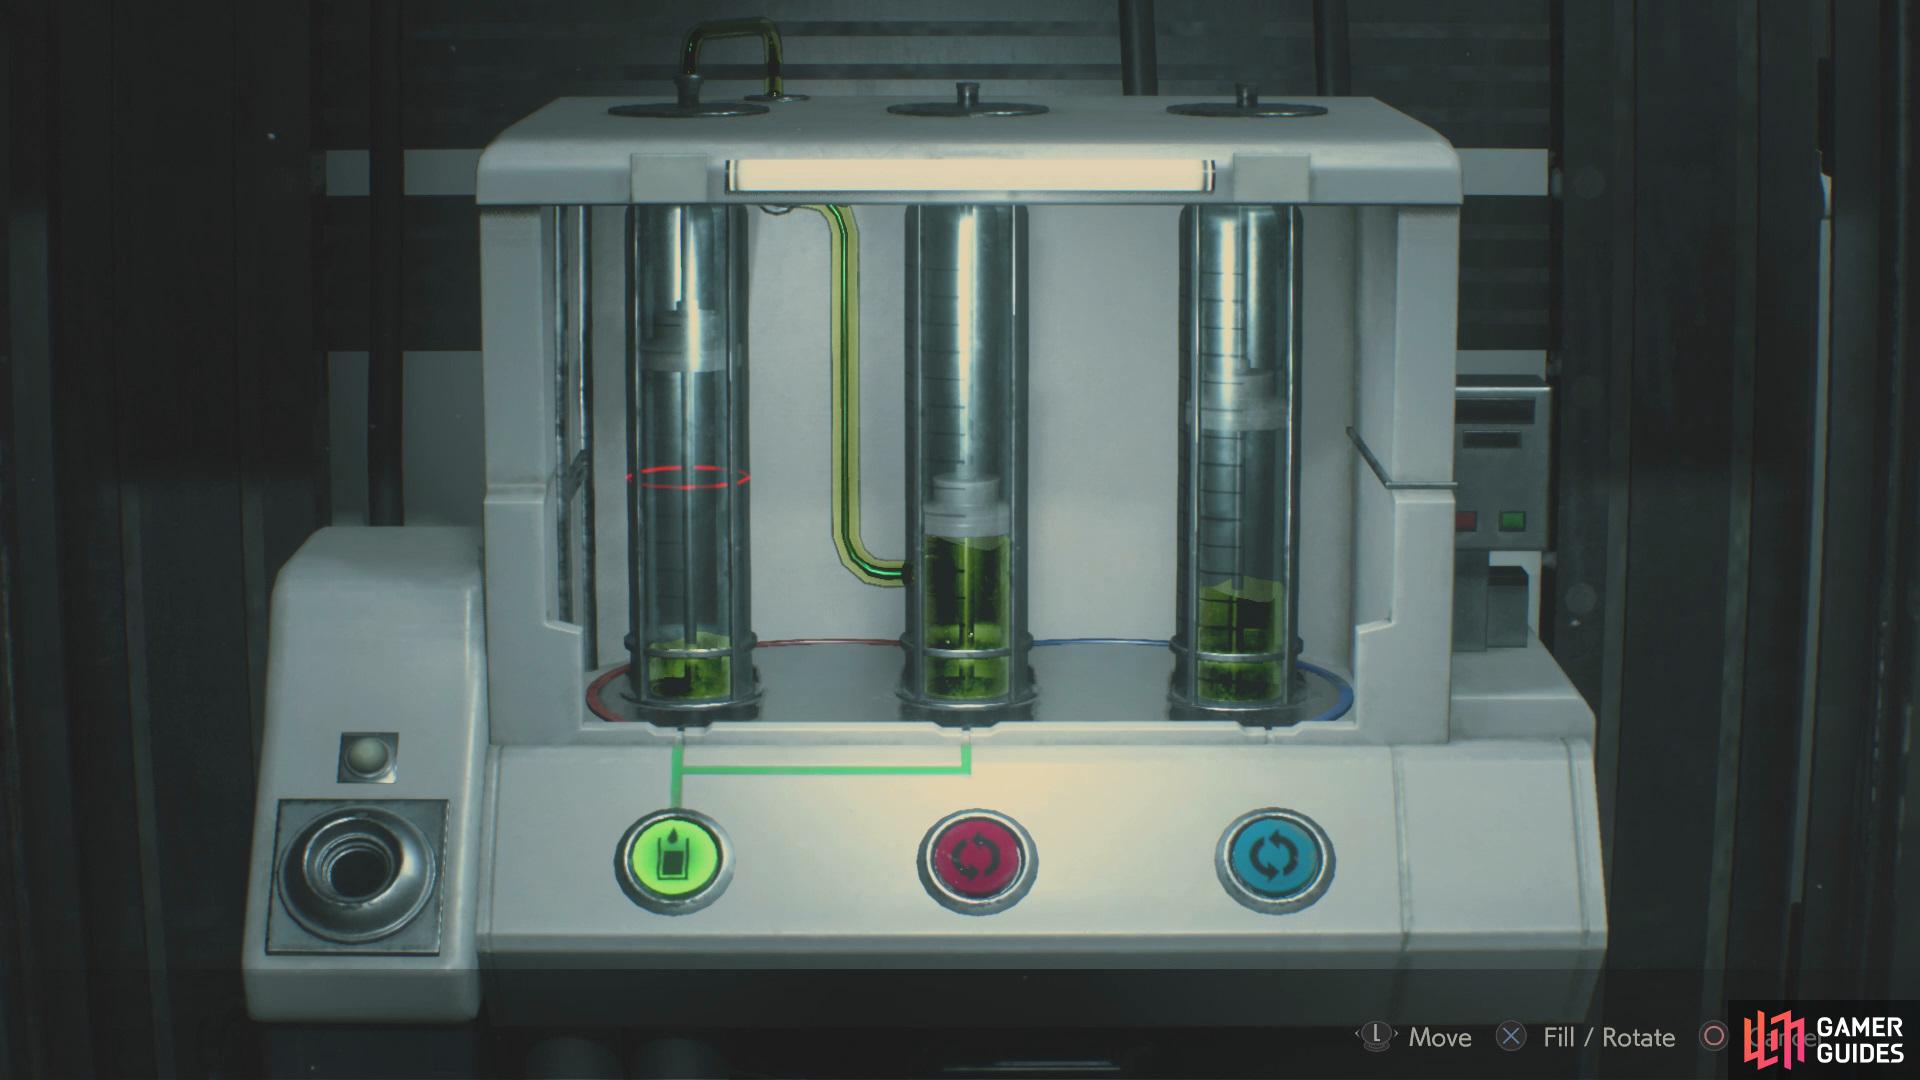
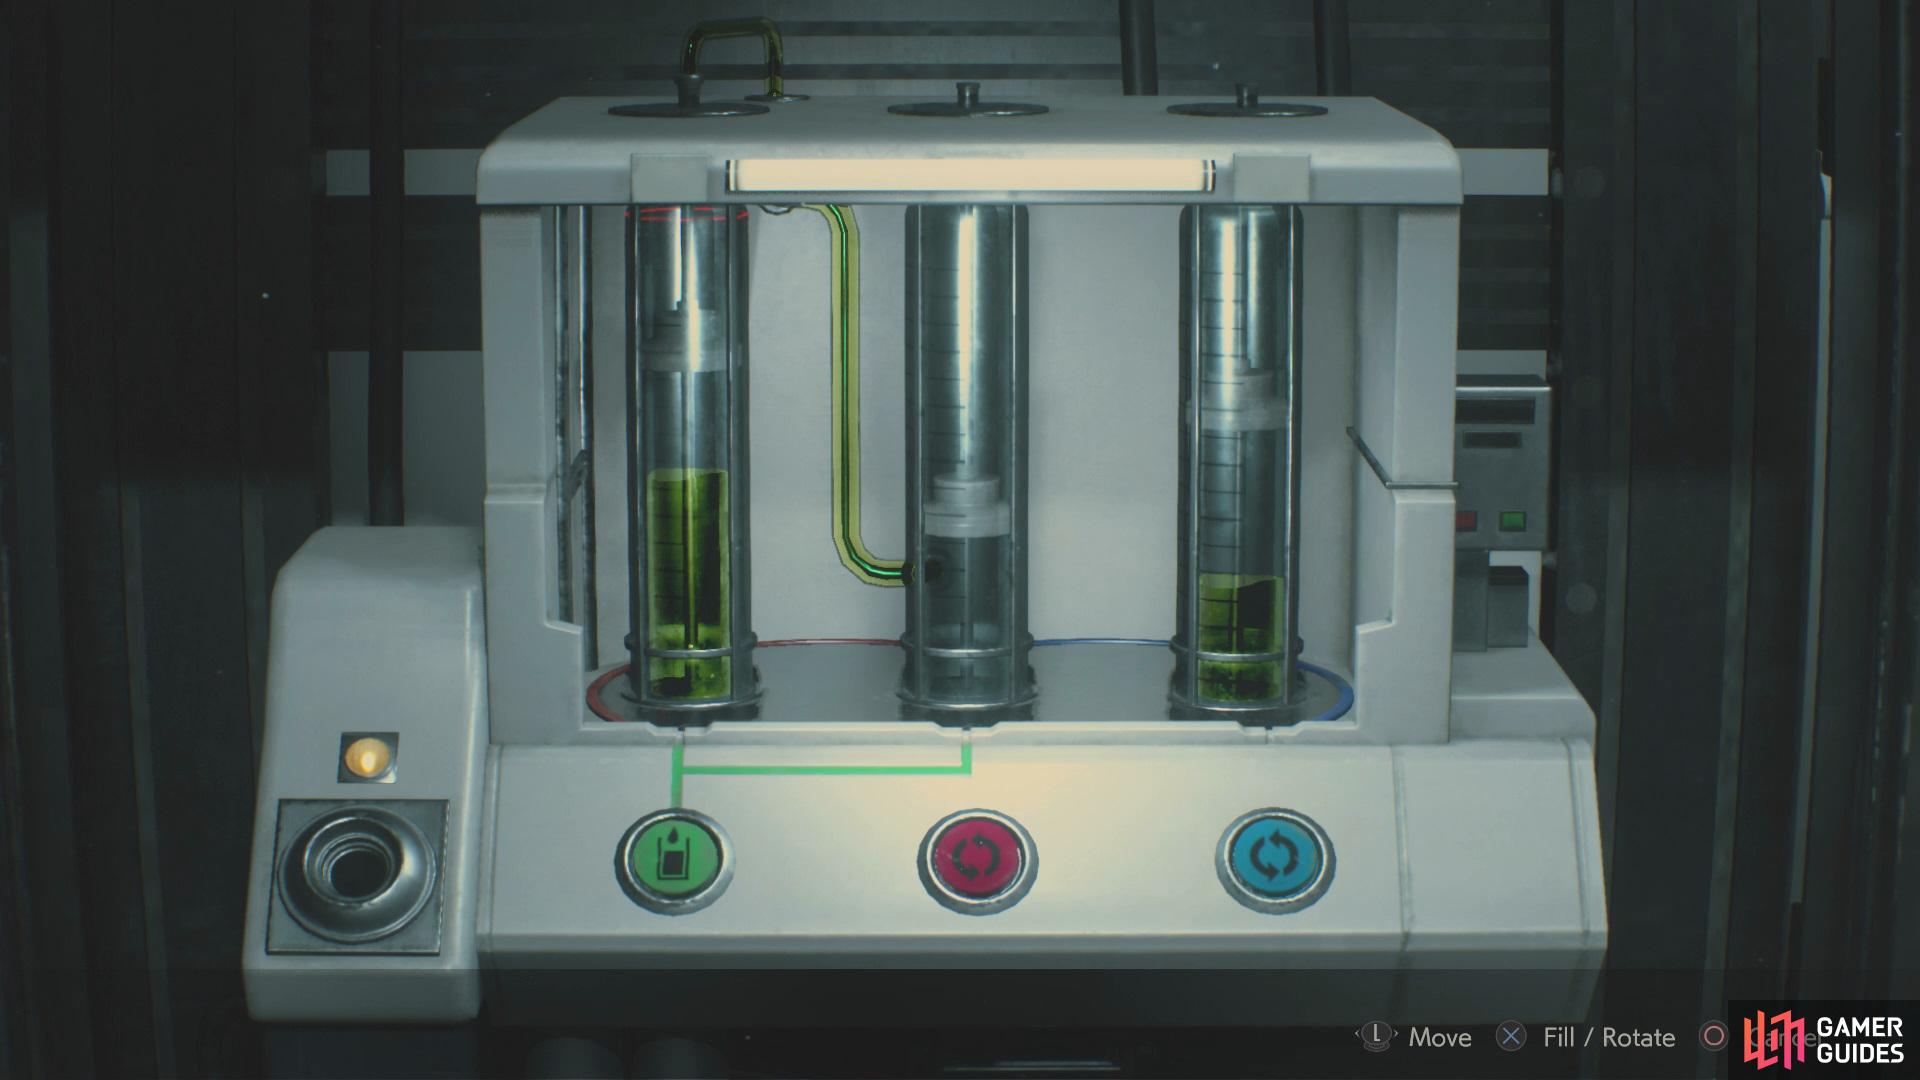
(1 of 3) Place all of the solution into the large tube
You’ll now need to cool the solution so make your way back down to the Lounge and then head over to the southwest where you’ll find a circuit breaker, examine the Signal Modulator and set the frequency to what is shown on the circuit breaker. For this circuit, set the modulator to MURF by pressing R1/RB, once you’ve changed the frequency realign the lines until the yellow lines are matching before placing the modulator into the circuit breaker, if done correctly you’ll have power in the Lounge.
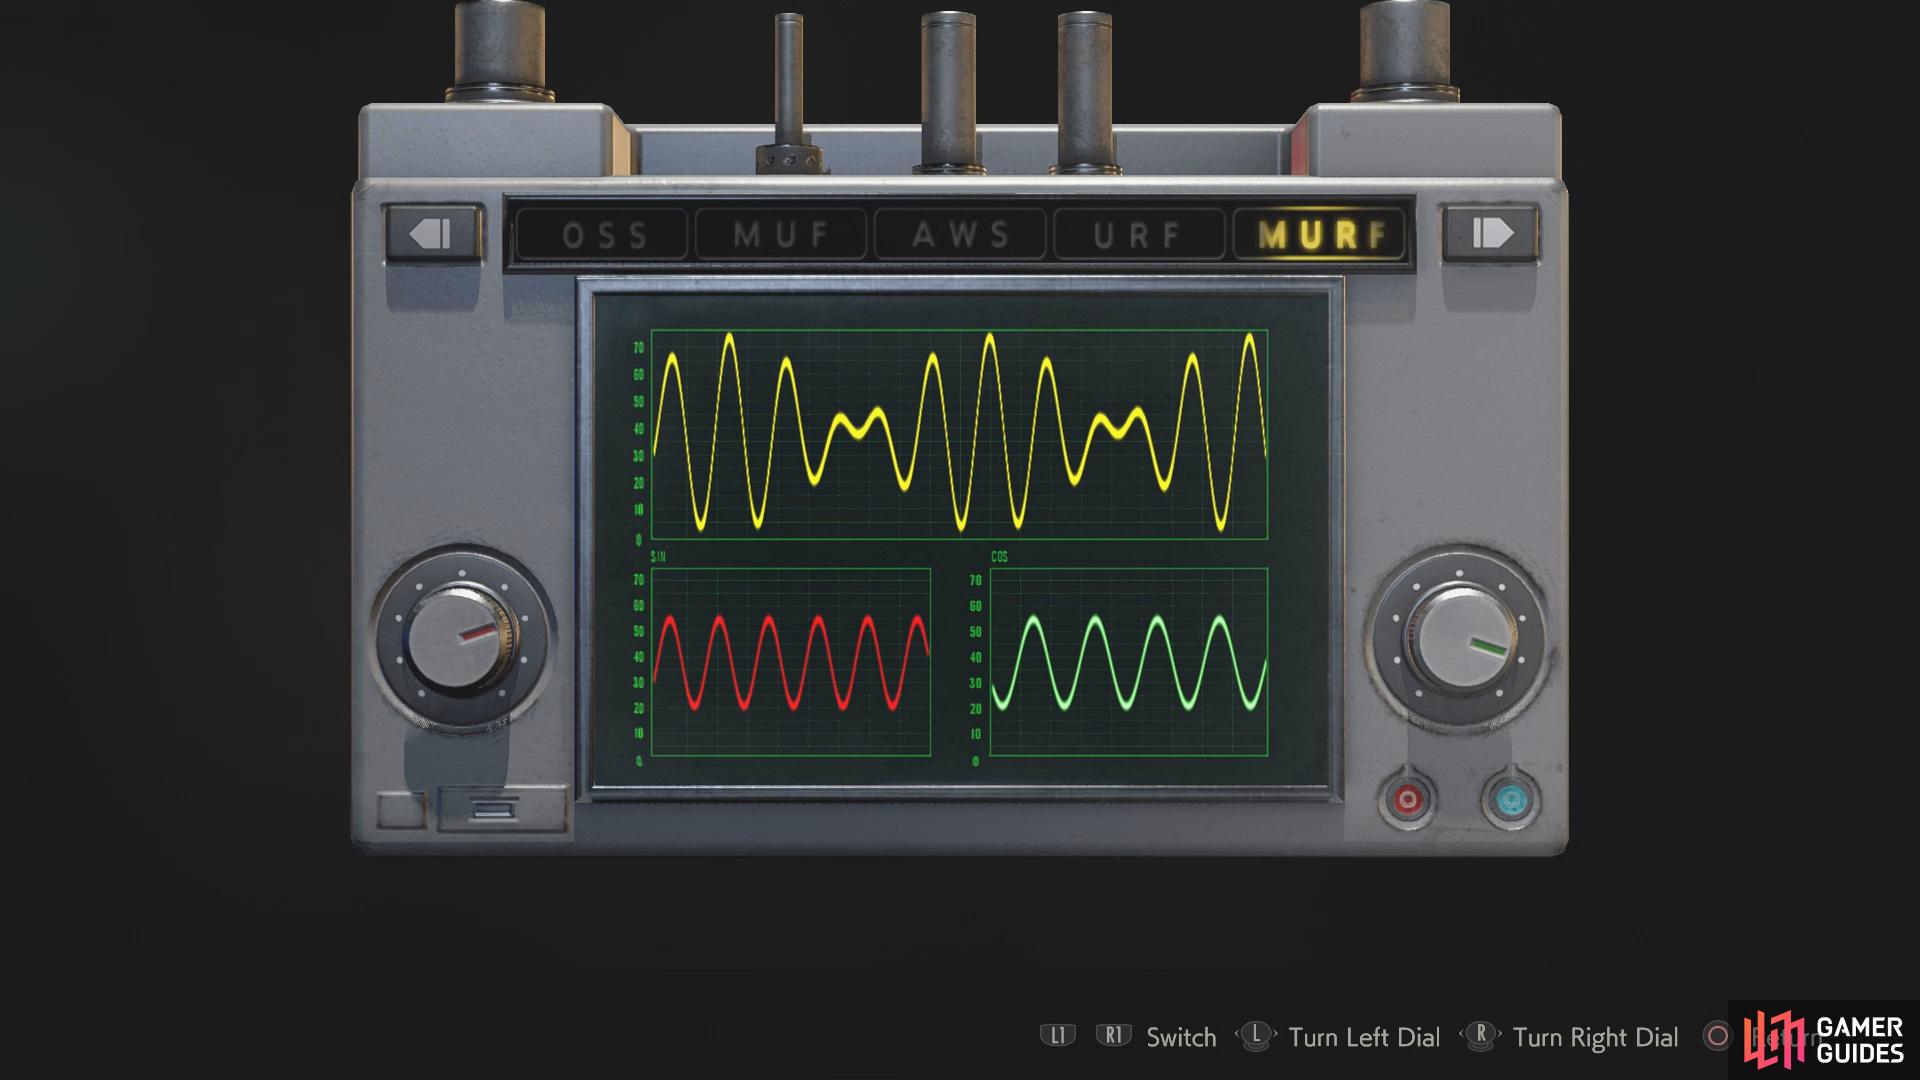
(1 of 2) Change the frequency on the modulator so it matches the display on the circuit breaker,
Change the frequency on the modulator so it matches the display on the circuit breaker, (left), now align the yellow lines so they become one. (right)
With the power turned on, it will allow you to enter the Server Room (Safe Room), inside you’ll be able to find a Combat Knife on your way to the Typewriter, some Fuel to the left on a shelf, and finally collect the High-Grade Gunpowder (Yellow) that can be found on a table to the south of the room. Exit the Server Room and make your way to the Low-Temp Testing Lab. Inside, follow the room around until you can interact with a computer to receive Wayne Li’s Inbox, head deeper into the room to find a Cooling System, place the Dispersal Cartridge (Solution) into it to receive the Dispersal Cartridge (Herbicide). Before exiting the Testing Lab, collect the Gunpowder behind you.
Head back over to the Nap Room, with your Signal Modulator in your inventory, once inside examine it and switch the frequency to MUF, realign the yellow lines until both are matching and place it on the circuit breaker. Now the power has been turned on, the sleeping stations have been opened so look to your right to find the final Hip-Pouch alongside a Raccoon, before leaving look inside the middle sleeping station to find Wayne Li’s Note.


Make your way over to the Greenhouse Control Room with the Dispersal Cartridge (Herbicide), place it into the Solution Sprinkler System to allow access to the body against the window, head over to him to collect the Electronic Chip. Combine it with your wristband to receive the ID Wristband (Senior Staff), this will increase your clearance level once more.
Get the G-Virus sample in the West Area
Head back to the Presentation Room and interact with the computer to retrieve Byron Cartwright’s Inbox, then make your way to the Main Shaft with the ID Wristband in your inventory. Once there, head to the opposite control panel and extend the bridge to the West Area. Walk across the bridge and enter West Area door, follow the path into the Biotesting Lab, on your way there you’ll find the Lab Digital Video Cassette alongside a Hand Grenade by the dead solider. Go deeper into the Lab and head over to the northwest corner and examine the circuit breaker, this time you’ll need to set your Signal Modulator to OSS and match the yellow lines for the final time to turn on the power.
With the power restored, you can interact with the video player that’s left of the storage box, place the recently acquired Video Cassette inside to trigger a cutscene. After you’ve finished viewing the cutscene, interact with the computer to receive William Birkin’s Inbox, grab the Blue Herb to the left of the west door on the way out. Inside the next room you’ll find a High-Grade Gunpowder (Yellow) just before the next room.
Continue onwards until you reach the P-4 Level Testing Lab, once there head right into the Safe Room, inside you can find a Gunpowder (Large) to your right and a High-Grade Gunpowder (Yellow) to the northwest corner alongside a Red Herb. Save and collect the Research Diary from the computer on your way to grab the G-Virus.
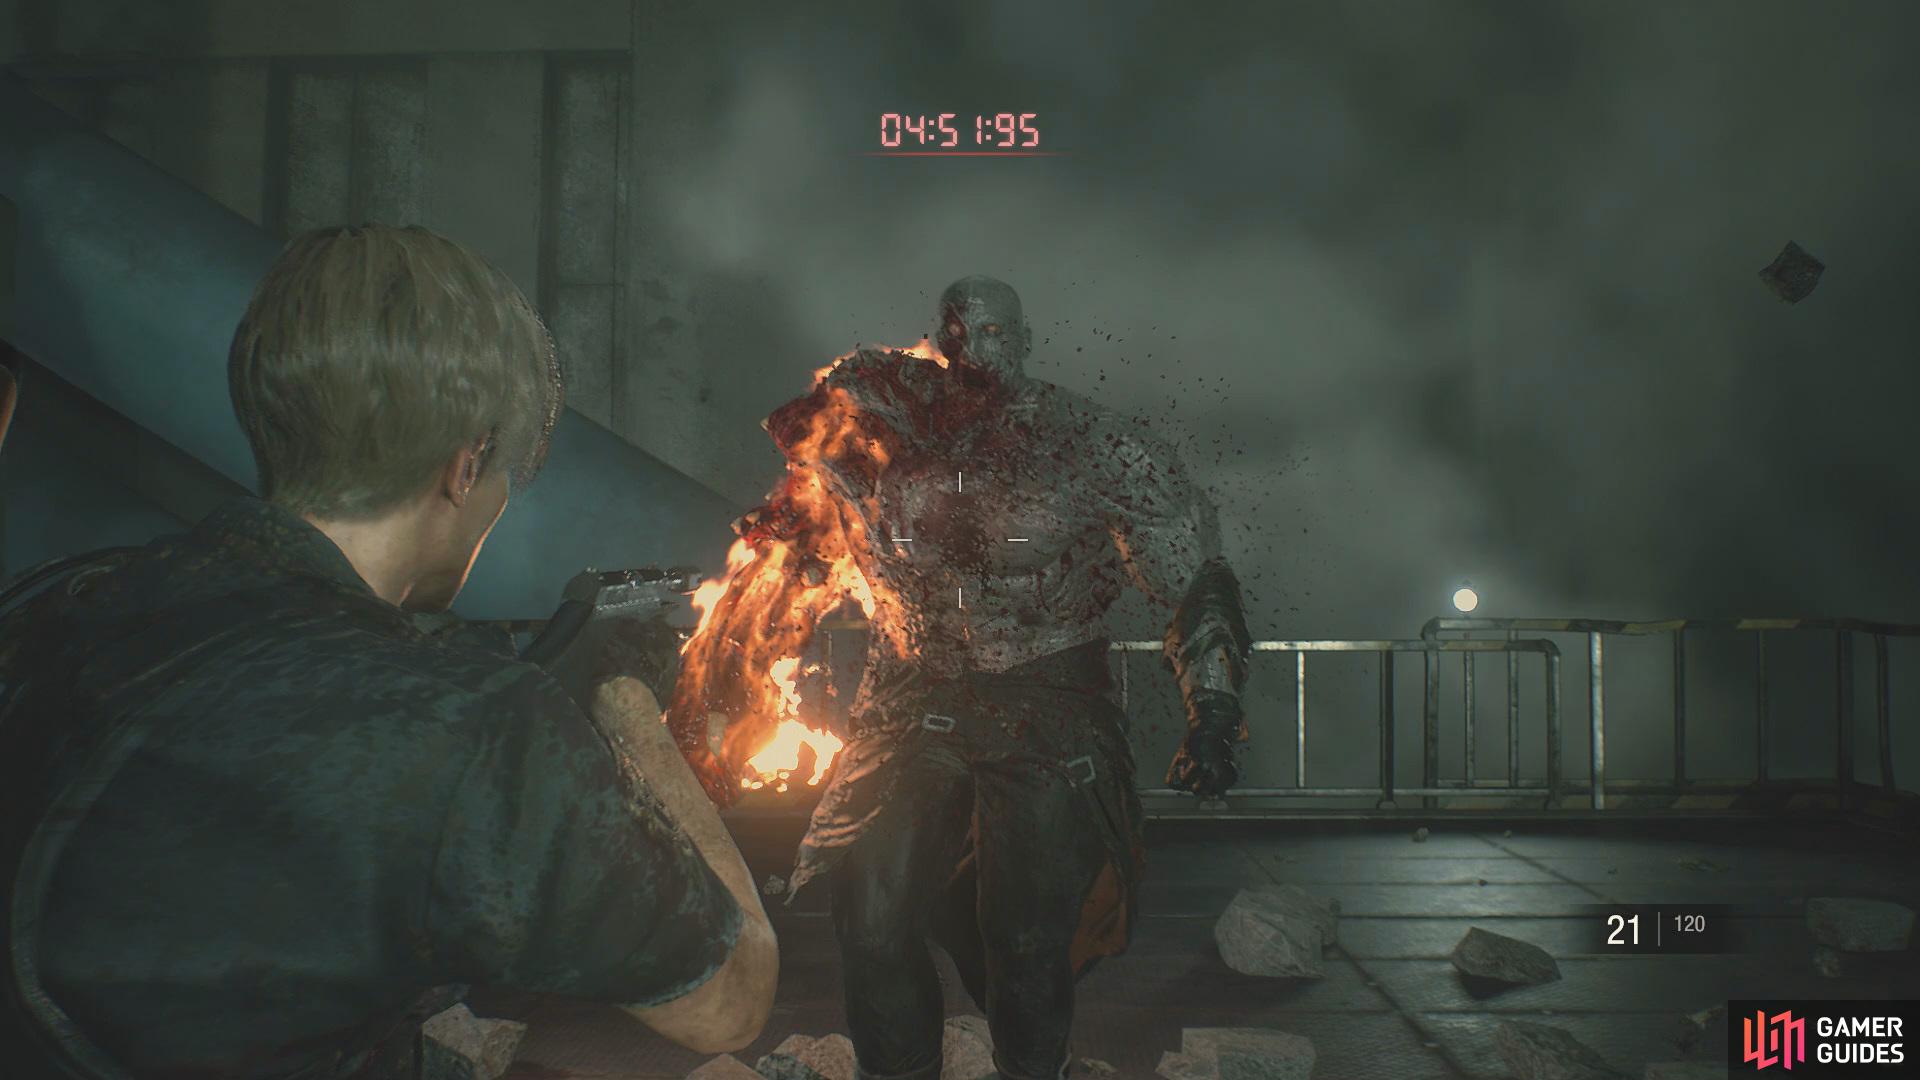
Boss: G (Stage 3)

Once you’ve picked up the G-Virus, head towards the Biotesting Lab to trigger a cutscene. You’ll now face the G boss for the third and final time, but be warned this time isn’t going to be as simple because G has now become larger and stronger.
This time around, G has more eyes that you’ll have to shoot to stun him. Once all the eyes have been popped, he will kneel, during this phase he will expose several eyes so shoot them until they pop. You’ll have to repeat this cycle a few times until he changes to a reddish color, here his attacks will be faster but the eyes on his chest will stay exposed so keep shooting at them until he dies.
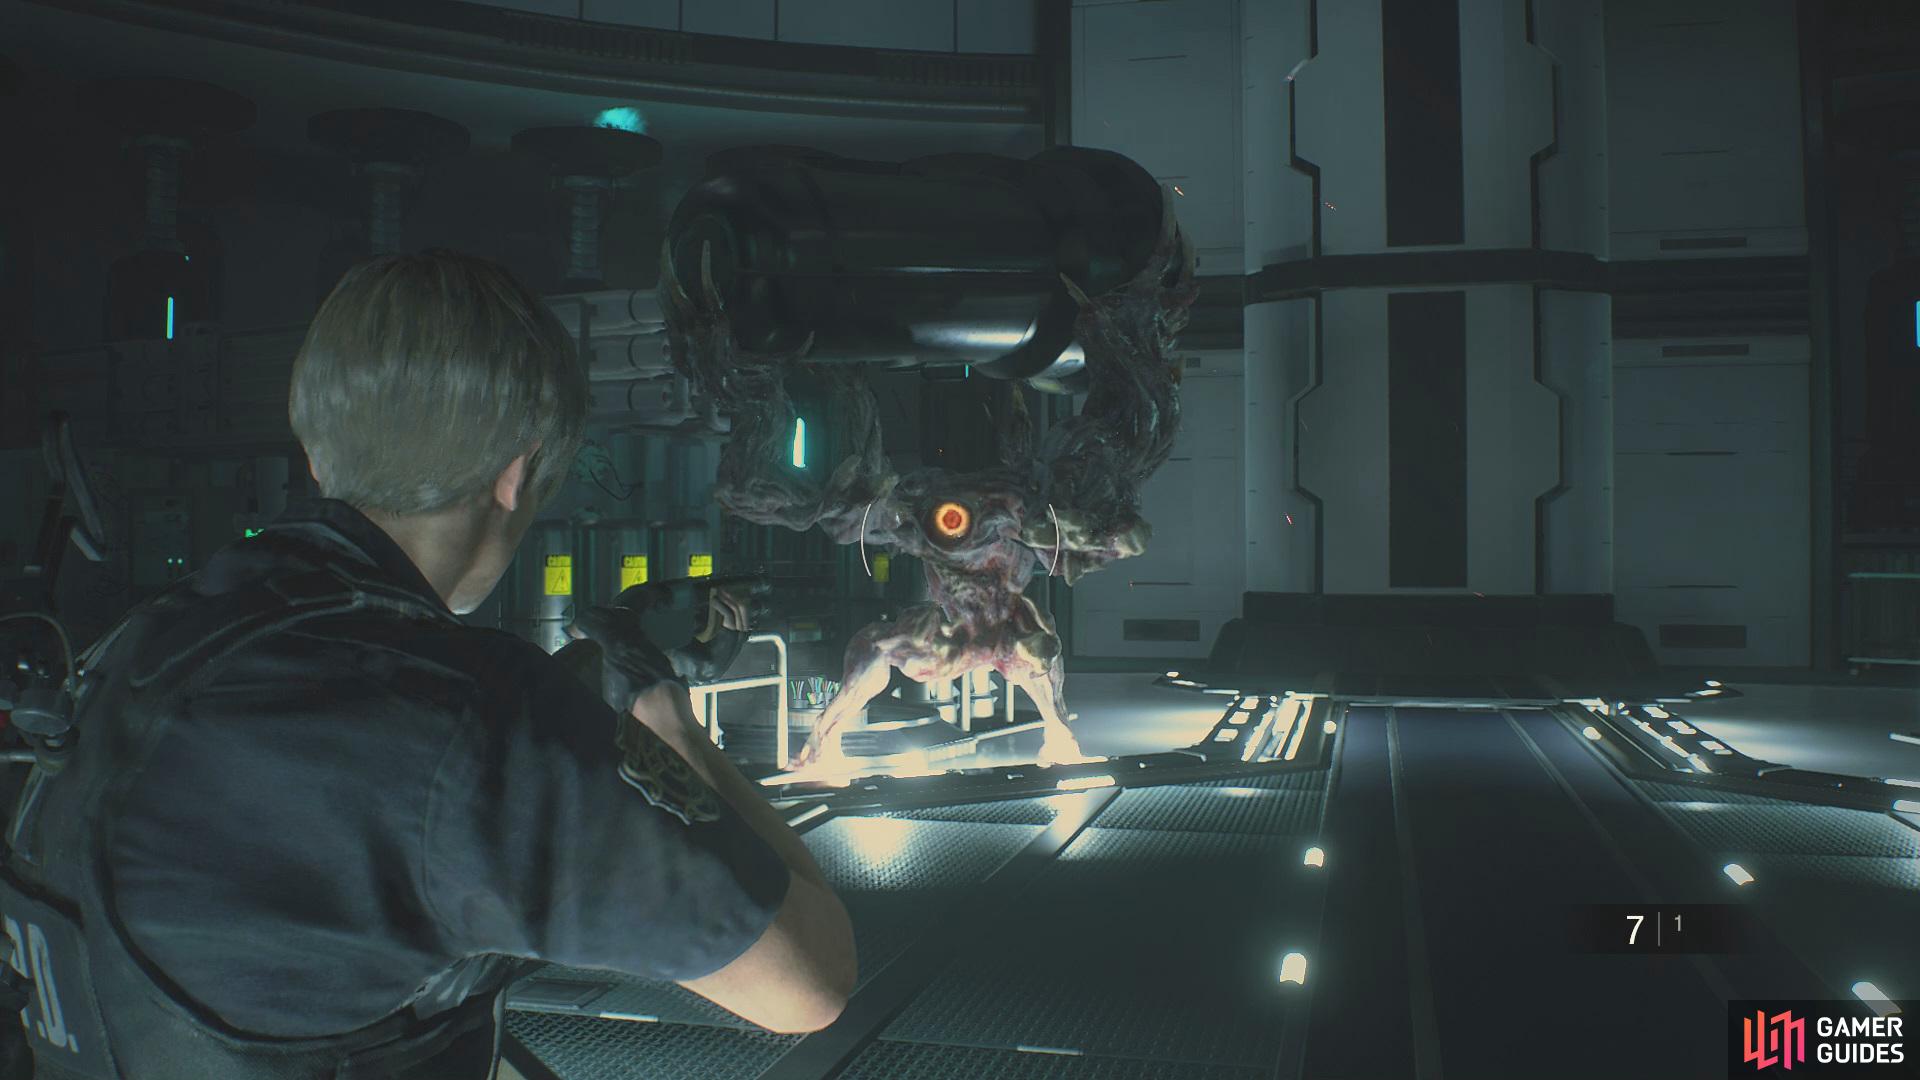

(1 of 2) Shoot the eye on the back of the G when he goes to pick up and object,
Shoot the eye on the back of the G when he goes to pick up and object, (left), once he’s stunned for a short while, shoot the cluster of eyes on his chest to weaken him. (right)
You’ll need to keep a large distance from the boss in order to avoid his lunge attacks but beware he will pick up objects around the arena to throw at you so get into cover and use the opportunity to shoot the eye on his back. Make sure you explore the arena as there are lots of ammo, healing items, and grenades to use against G tucked away in the corners.
Return to Ada
Once the boss has been defeated, head over to the east side of the room to use the lift where you’ll enter a cutscene. Now make your way back to the Main Shaft for another cutscene. After this cutscene has concluded, you’ll be given 9 minutes to escape the lab. Once you’re ready to escape, use the lift in the center of the Main Shaft.
Once you reach the bottom, collect the First Aid Spray to your right and continue on to view another cutscene. Head for the exit but grab the Combat Knife to your right on the way out. Follow the path until you see a storage box and typewriter.
After your finished with the storage box, continue through the door and follow the room around until you see a lift, interact with it to go down. Once you reach the bottom, head left to collect a Blue Herb. Turn around and continue along the path, you’ll come across three Ivy’s so this would be the perfect opportunity to use your Flamethrower. Once you go through the next door, grab the Green Herb from the floor and then climb down the ladder before you continue to do a loop around the Duct to find some Handgun Ammo and then continue forward until you enter a cutscene.
After the close call, proceed onwards to another safe room, grab the Red Herb that’s next to the storage box followed by some Handgun Ammo on the table alongside the Joint Plug. Head over to the lift with the Joint Plug, insert it to trigger Leon’s final boss fight.
Boss: Super Tyrant
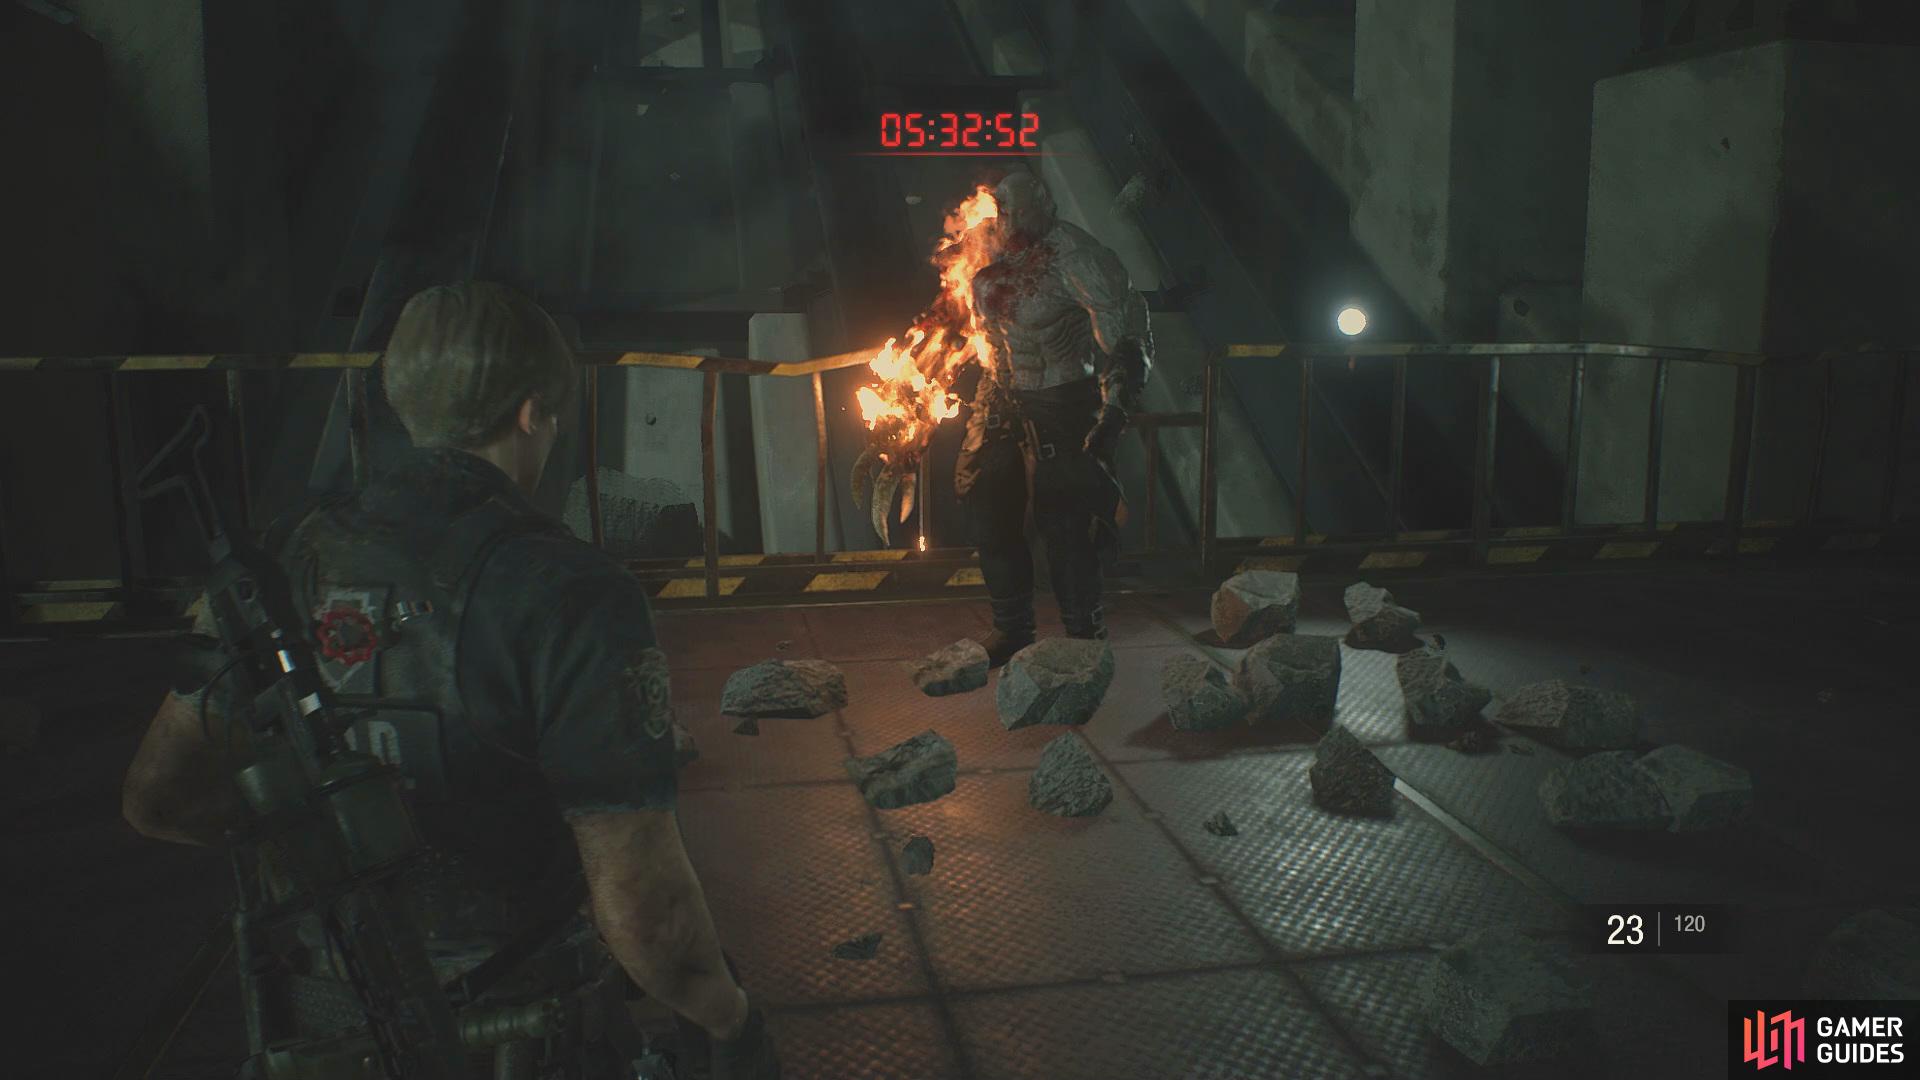
Finally, after of hours running from the Tyrant you’ll be able to go head to head with him but beware, you don’t have very much space to dodge his attacks.
To begin with you’ll have to watch out for his large arm because he will try to throw punches which can do some serious damage. Whilst dodging his punches you’ll have be ready to move out of the way of his swipe attacks where after each swipe he’ll get closer. In the middle of dodging the other attacks you’ll need to be prepared for a jump attack.
(1 of 2) Focus fire on the Tyrants exposed heart that’s located in the center of his chest,
Focus fire on the Tyrants exposed heart that’s located in the center of his chest, (left), eventually the Tyrant will go to charge up his super attack, use the Lightning Hawk to shoot at the heart to counter. (right)
Now you know the Super Tyrant’s attacks, it’s time to deal some damage of your own. You’ll be able to see his heart exposed in the middle of the chest, shoot this with either the Shotgun or Lightning Hawk to deal some serious damage. After enough damage has been dealt, the Tyrant will become stunned, use this opportunity to deal even more damage until he becomes stunned for a second time. Eventually he will charge up a super attack where you’ll see the Tyrant’s arm covered in fire. This is the perfect opportunity to use the Lightning Hawk on his heart to stop his charge up. If you don’t deal enough damage, he will sprint with an attack that cannot be avoided.
Once you’ve prevented his super attack, you’ll need go back to shooting his heart, after you’ve stunned him a few more times a cutscene will trigger. Following the cutscene you’ll be able to pick up the Rocket Launcher but don’t collect it straight away as you’ll need to divert the Tyrant away from it first. Once the Tyrant is out of the way, head in to collect the rocket launcher and fire it at the Tyrant to finally kill him once and for all.
With the Tyrant defeated at long last, you’ll be able to escape the lab for good, exit the lift and head for the train to complete Leon’s story.


 Sign up
No Comments