
Preparations For The Temple of the Goddess
Whilst in the Research Camp, stop by the vegetable plots you visited. Your Tantal Greens should have grown by now so collect those. You can now activate his sidequest “ The Old Man and the Field ” formally.
There are also new items at the Jagd Woods Forge, notably the Iseult’s Lament shield that substantially increases magic. This is very useful for your magic-based schema and is relatively cheap at only 26,000 Gil.
Return to Poltae and initiate the “ Mercy of a Goddess ” sidequest if you haven’t already by speaking with Taleb, the very sick man collapsed on the floor. This requires you to pay a visit to Cardesia in Jagd Village so venture there if you wish to complete this sidequest.
Notable Abilities To Farm
Collect 5 of each of the following ability for synthesis and equip the Beggar’s Beads found in Poltae to increase the drop rate:
| **Abilities** | **Monster** |
|---|---|
| Blizzard, Fire, Aero, Thunder | Gremlin |
| Galestrike, Aerora | Dryad |
| Froststrike, Blizzara | Miniflan |
| Attack | Rafflesia |
| Sparkstrike | Vali |
| Electric Blitz, Thundara | Hanuman |
| Blitz | Reaver |
| Fira | Ectopudding |
Once you have 5 of each, head to a Sorcery Shop and synthesise them ready for Level Boost. Use the Bronze Malistones you got on the Ark to increase the level of whichever abilities you can.
You can also start “ The Grail of Valhalla ” before entering the Temple as it requires you to interact with objects inside. Speak to the Professor near Taleb to begin it. Now you are ready to enter the Temple.
Temple of the Goddess
Keep Chronostasis active for the majority of the trip in the Temple. It can be a time sink if you don’t. Head up the stairs upon entry until you reach War’s Cage: Lower Level. You should not find the enemies too difficult here anymore, most of them you have already encountered. The only ones that pose anything of a risk are the dual Ectopuddings you encounter in hallways sometimes. Equip ice-based attacks to get rid of them easily.
There is an annoying drain on your health for the duration of your time in the Temple until you defeat the boss so do be aware you may need to heal regularly. Try and only use Potions and items to heal though instead of Curaga.
Drop down into the chamber and go to the northeast corner for Ruinga Level 2 . Head up the rubble on the west side to reach the Hall of Avarice. Head through the corridor until you reach Yeul. Talk to her and she will summon platforms for you to use to get to the other side. You will find multiple Yeuls throughout the Temple who all help by generating platforms. They disappear after a while so just speak with Yeul again to resummon them.
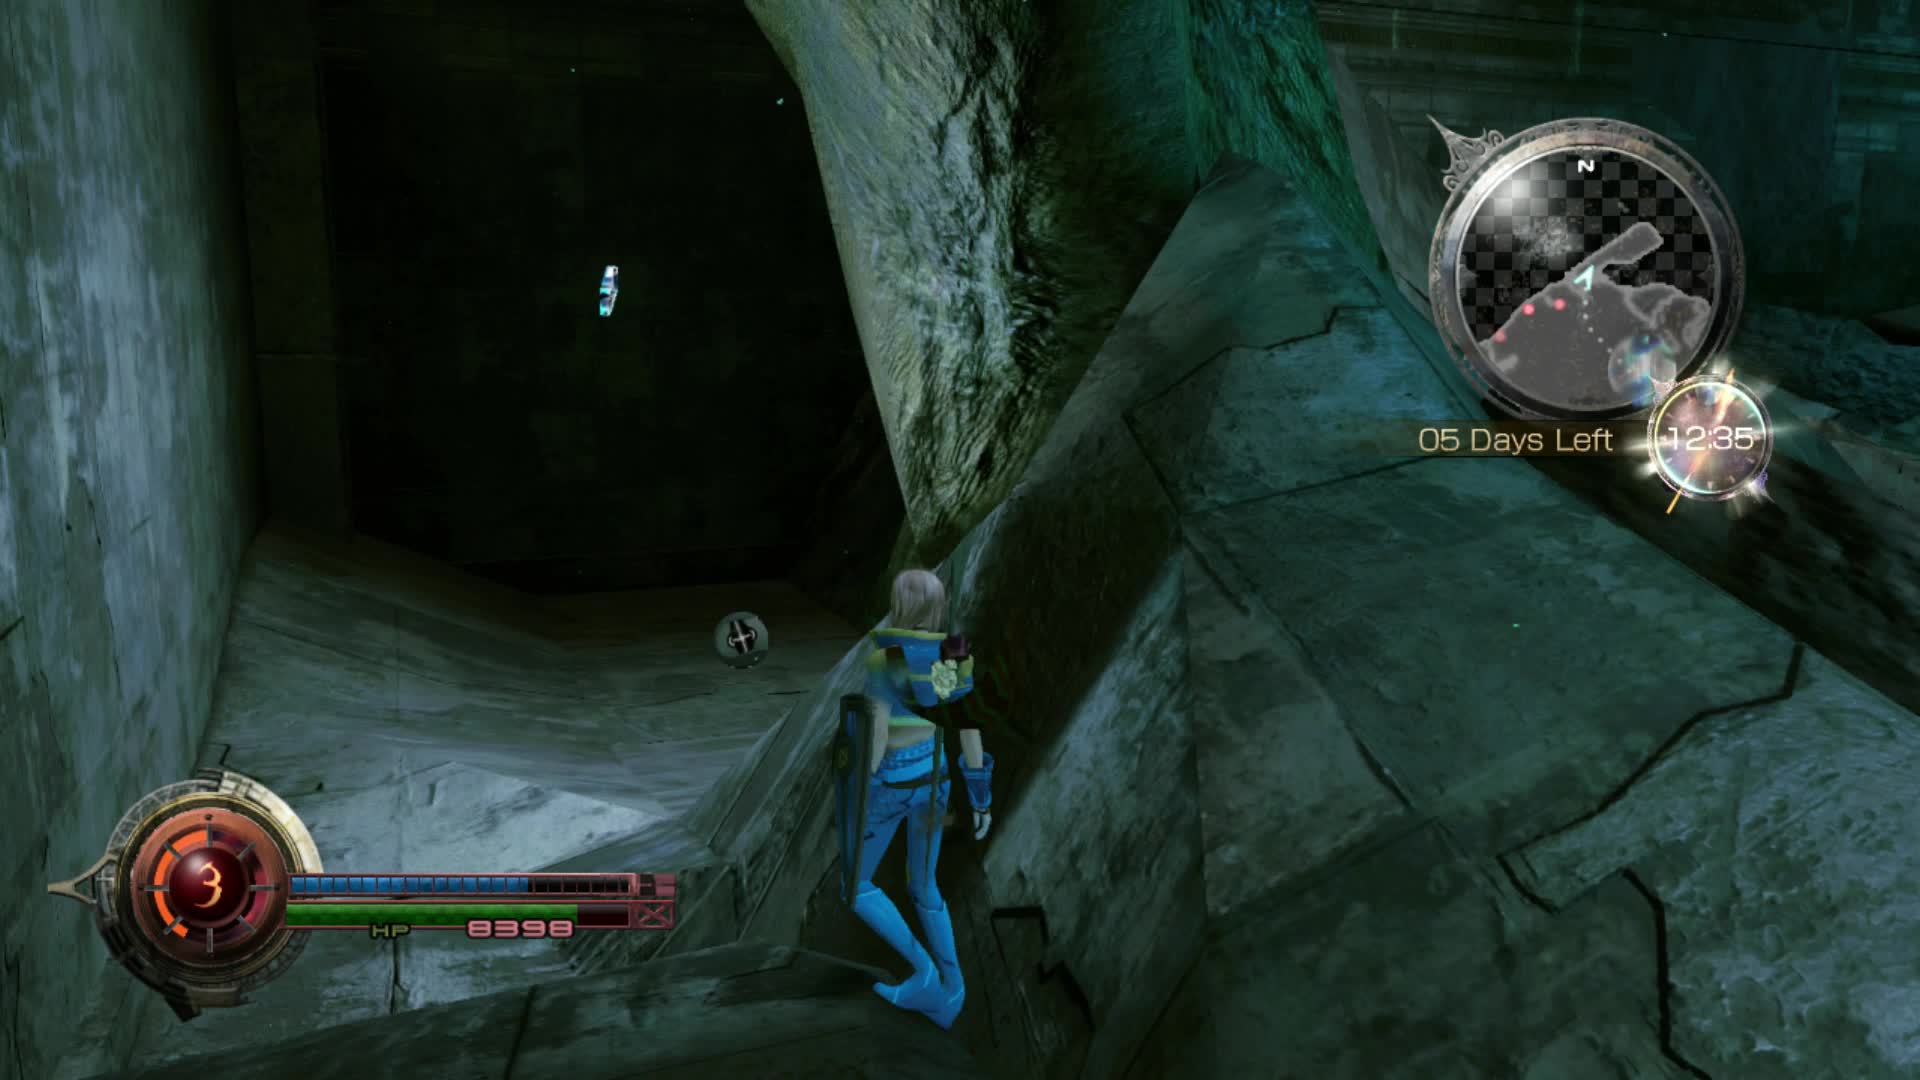
Always check the nooks inside the Temple for any treasure.
Before crossing the bridge, jump down into the room below and examine the glowing glyphs on the wall there. This is one of two murals you need for the Grail of Valhalla quest.
Head up the platform and run ahead to the next Yeul for another access point. Cross the bridge and then turn left immediately to collect Firaga from the corner. You will be able to collect a full set of “aga” spells during your journey through the Temple. Continue on down the incredibly long corridor (watch out for sneaky Ectopuddings) and enter War’s Cage Middle Level.
In the southwest corner standing on a raised ledge is another Yeul who will spread more joy when you talk to her. She really is a cheerful soul. Climb the new platform up to the top and follow the broken stone until you get to the next level. Through a doorway to the right is the next Yeul who will conjure up more helpful platforms. Before you dash all the way up, there is a treasure to collect. Go half way up until you can jump across to the treasure and collect Blizzaga .
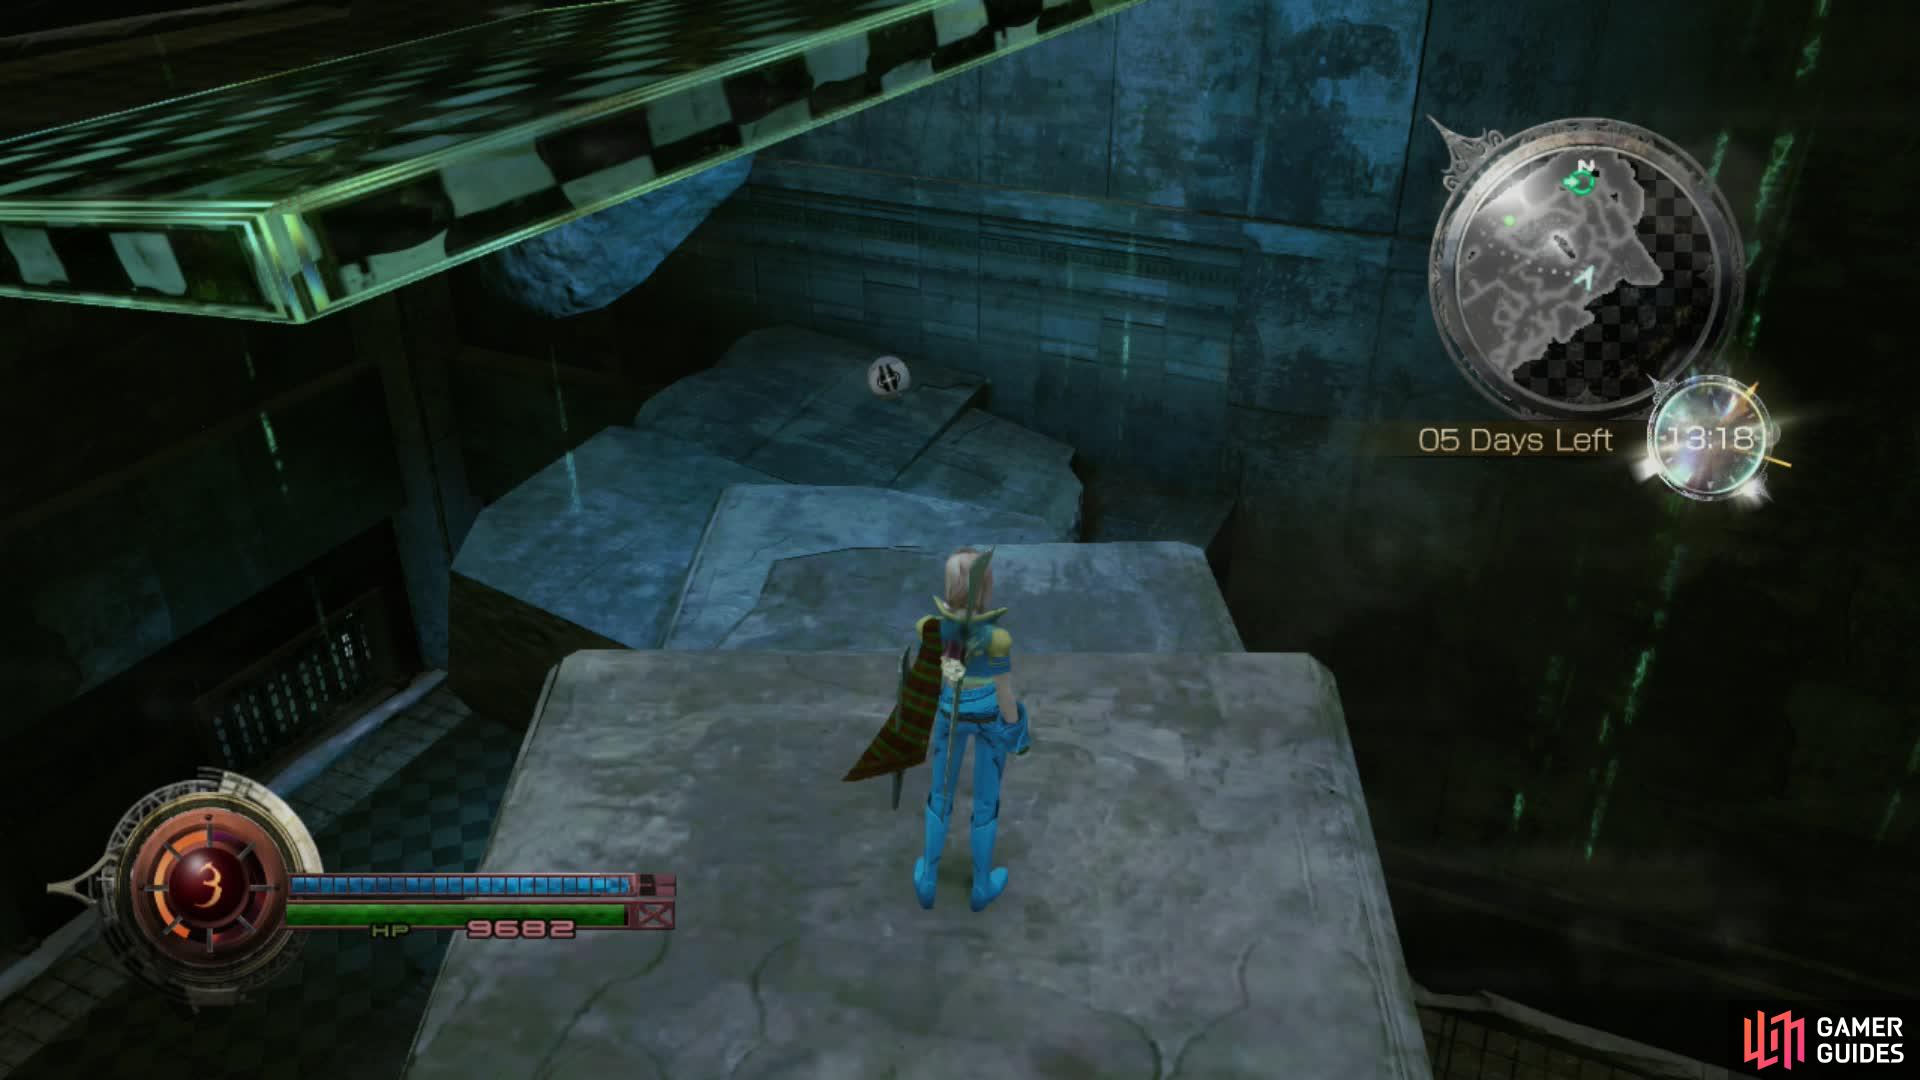
To reach this treasure, climb the glowing platforms half way and jump to the stone platforms.
Return to your last position and climb the rest of the way to reach the Hall of Rebirth. Just around the corner is the Prophecy of Rebirth that contains Libra notes for the boss. In the room ahead is a fixed enemy which you must fight to continue. The Aster Protoflorian you should be familiar with by now so kill it and move on.
Jump up the stone rubble and then jump down into the next room to reach yet another Yeul. Follow the path around until you reach Yeul again and a cutscene will play. After it ends, carry on across the platform but instead of venturing onto the path, jump to the right to grab Thundaga . Simply retrace your steps to get back to where you were.
Go round the corner and then turn right at the next path. Follow the route to reach the next super long corridor. You will finally emerge into War’s Cage: Highest Level. On the back wall along the northwest wall lies the second of the glyphs . Examine then and you can then access the next stage of the Grail of Valhalla quest when you return to the outside world.
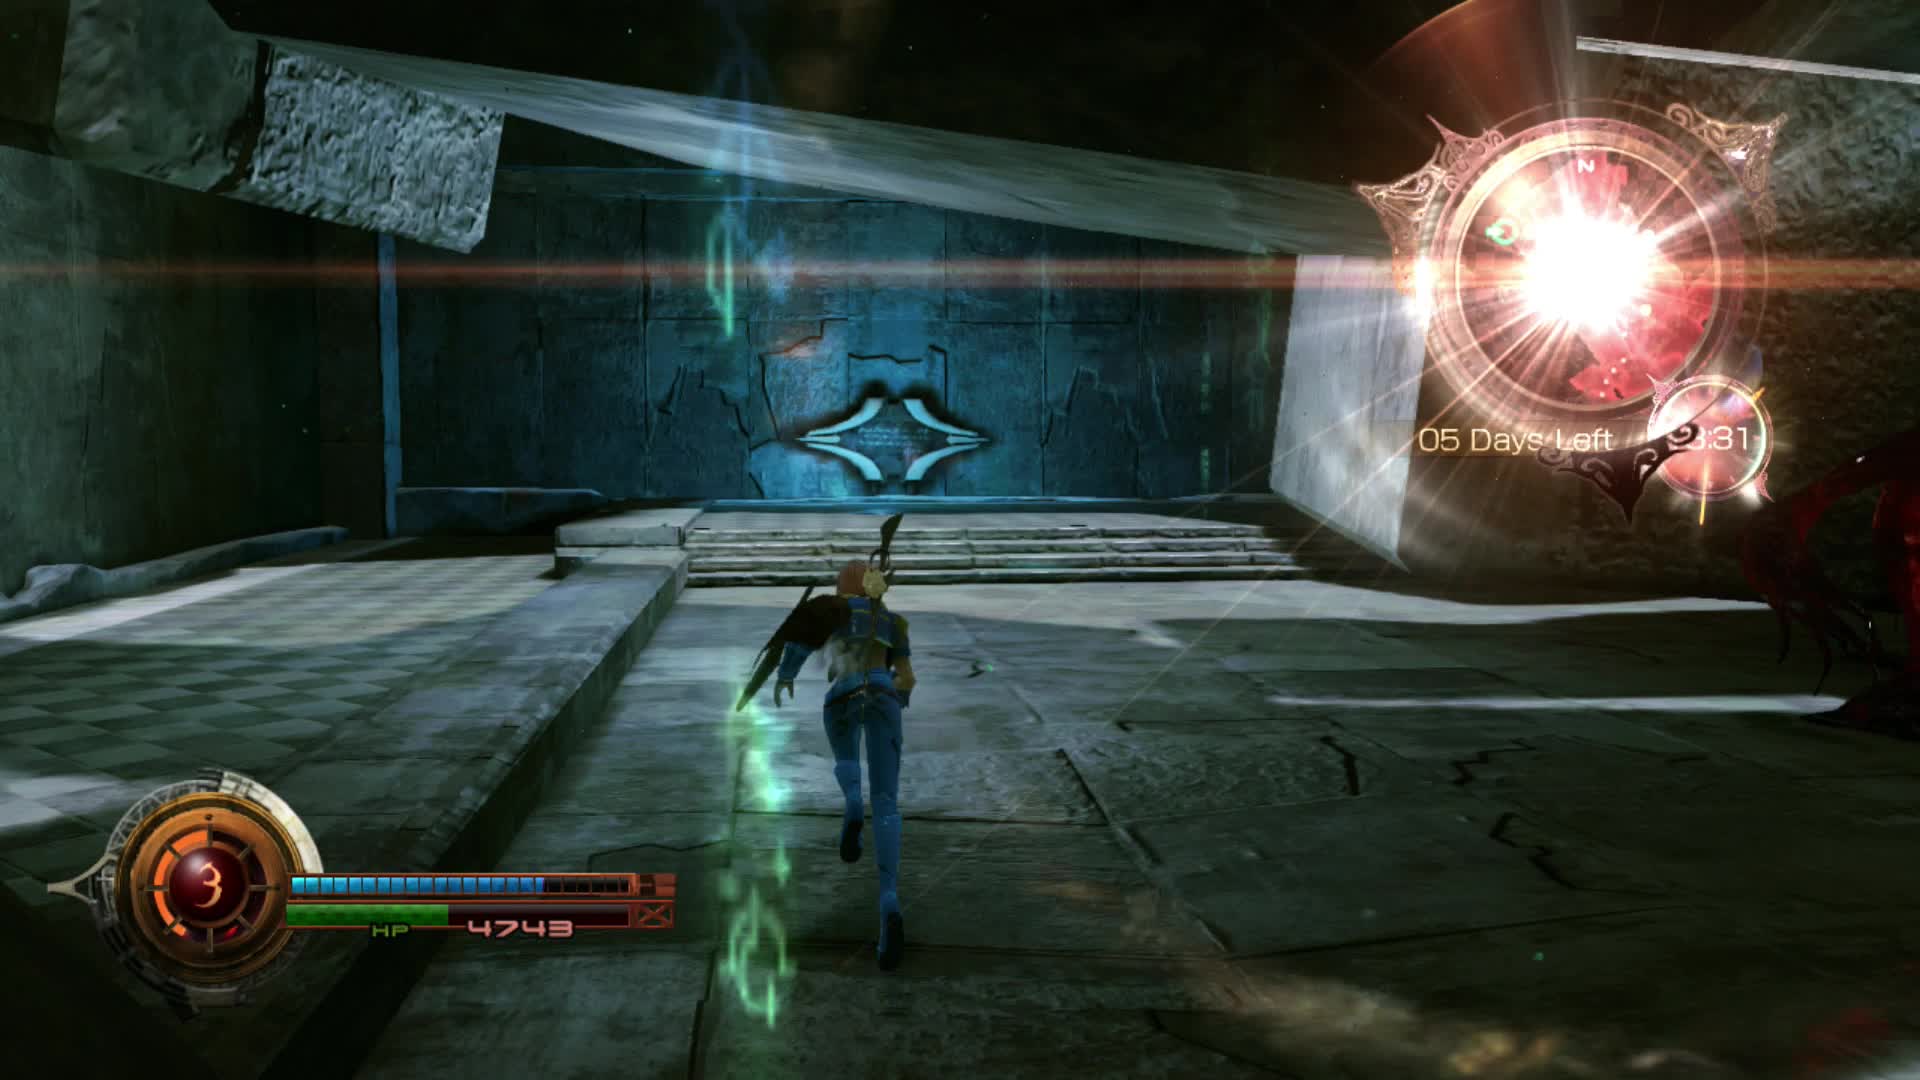
Remember to examine the glyphs while you’re in the Temple for the “Grail of Valhalla” quest.
Go back to where you entered and jump up the large stone platforms. Keep following them until you see another Yeul. Happily, we’re near the end now. Before you follow the shiny path, jump down onto the stone path below. This path is really narrow and enemies will spawn here so be very careful not to fall off or you could end up right back at the start.
The first prize for your bravery and excellent navigation is Elementa Level 2 and right at the top of the path is the Tri-Point Coronet a useful accessory that protects you from three types of elements. Carefully make your way back down again then jump back onto the large slabs you used earlier.
Resummon the shiny platforms and continue. On a ledge along the way is Aeroga Level 2 so pick it up and climb the rest of the way. Another short hallway leads out onto more rubble and another Yeul who will summon a bridge to get across the chasm.
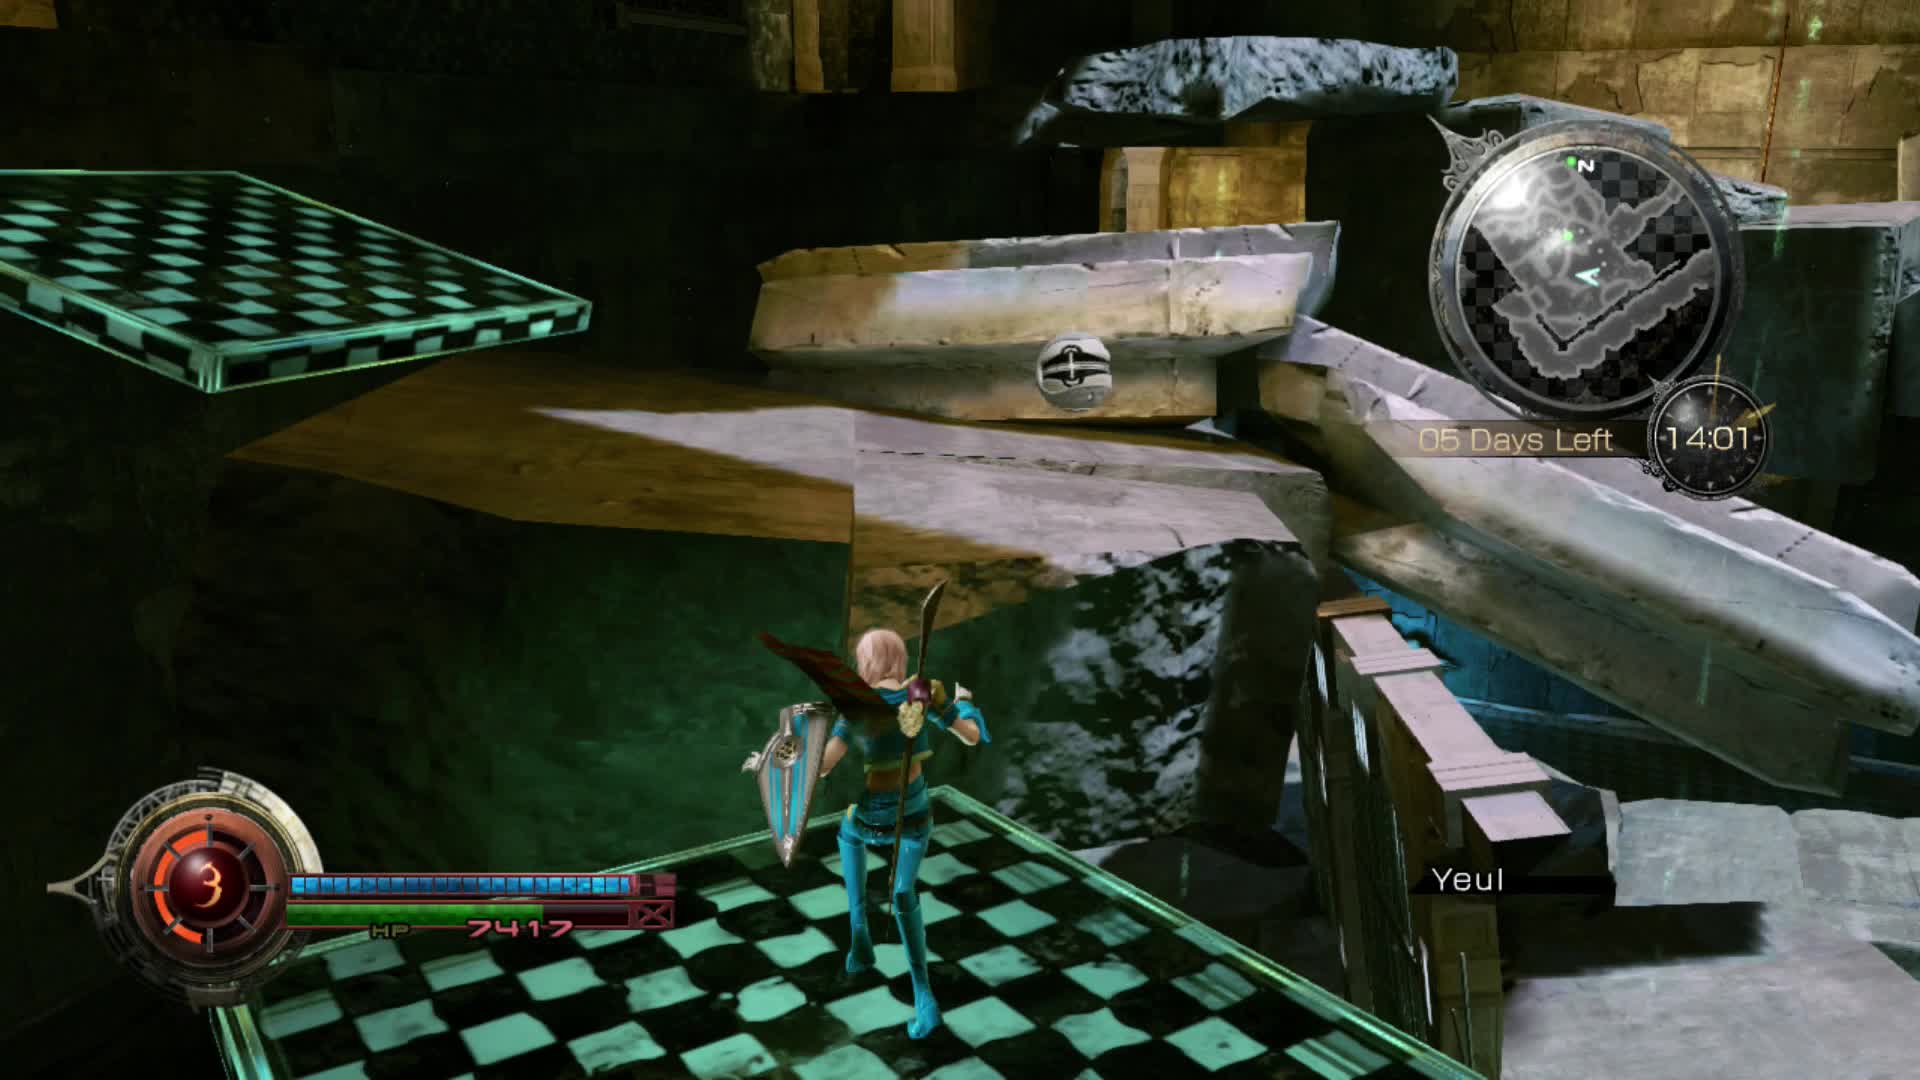
Don’t walk past this treasure here.
On the other side you will reach the Hall of Memory. Run all the way round until you come out into a room with a Reaver. This is another fixed encounter but you shouldn’t have any problems removing it at this stage. Head through the doorway behind where the Reaver was and speak to Yeul.
Head over the platforms and follow another path round to another Yeul and a cutscene. After the scene, Yeul will summon the last bridge to the boss. As you follow the path around, turn right when you get to a junction and pick up Element Level 2 . You can now go down the other path and follow the stairs to the boss.
If you wish to go back to Poltae for items and healing, you must first Escape from the boss to gain access to the Yeul that teleports you straight back to the boss. It is advisable to return to Poltae at this stage. All you have to do, is head back where you came and jump right down to the lower level. Climb the path leading back to the exit. When you return, simply enter the Temple and speak to Yeul at the bottom floor.
Boss Battle: Caius Ballad
Schemata Setup
You will need a good mix of debuffs like Imperil, Curse etc and some good stagger building abilities like Fira, Thundara etc.
Dragon’s Blood
| **Weapon** | Battleaxe of the Believer |
|---|---|
| **Shield** | Il Nome Della Rosa or another strong shield |
| **Accessories** | Fighter’s Emblem, Healer’s Lore |
| **Abilities** | Heavy Slash Lv 3 (locked), Guard Lv 2, Sparkstrike Lv 2, Attack Lv 2 |
As usual, this will be your primary physical damage dealer, used particularly when Caius is Staggered and during Overclock. The Battleaxe of the Believer allows Bravery Thief so you can attack Caius when he has buffed himself and steal Bravery.
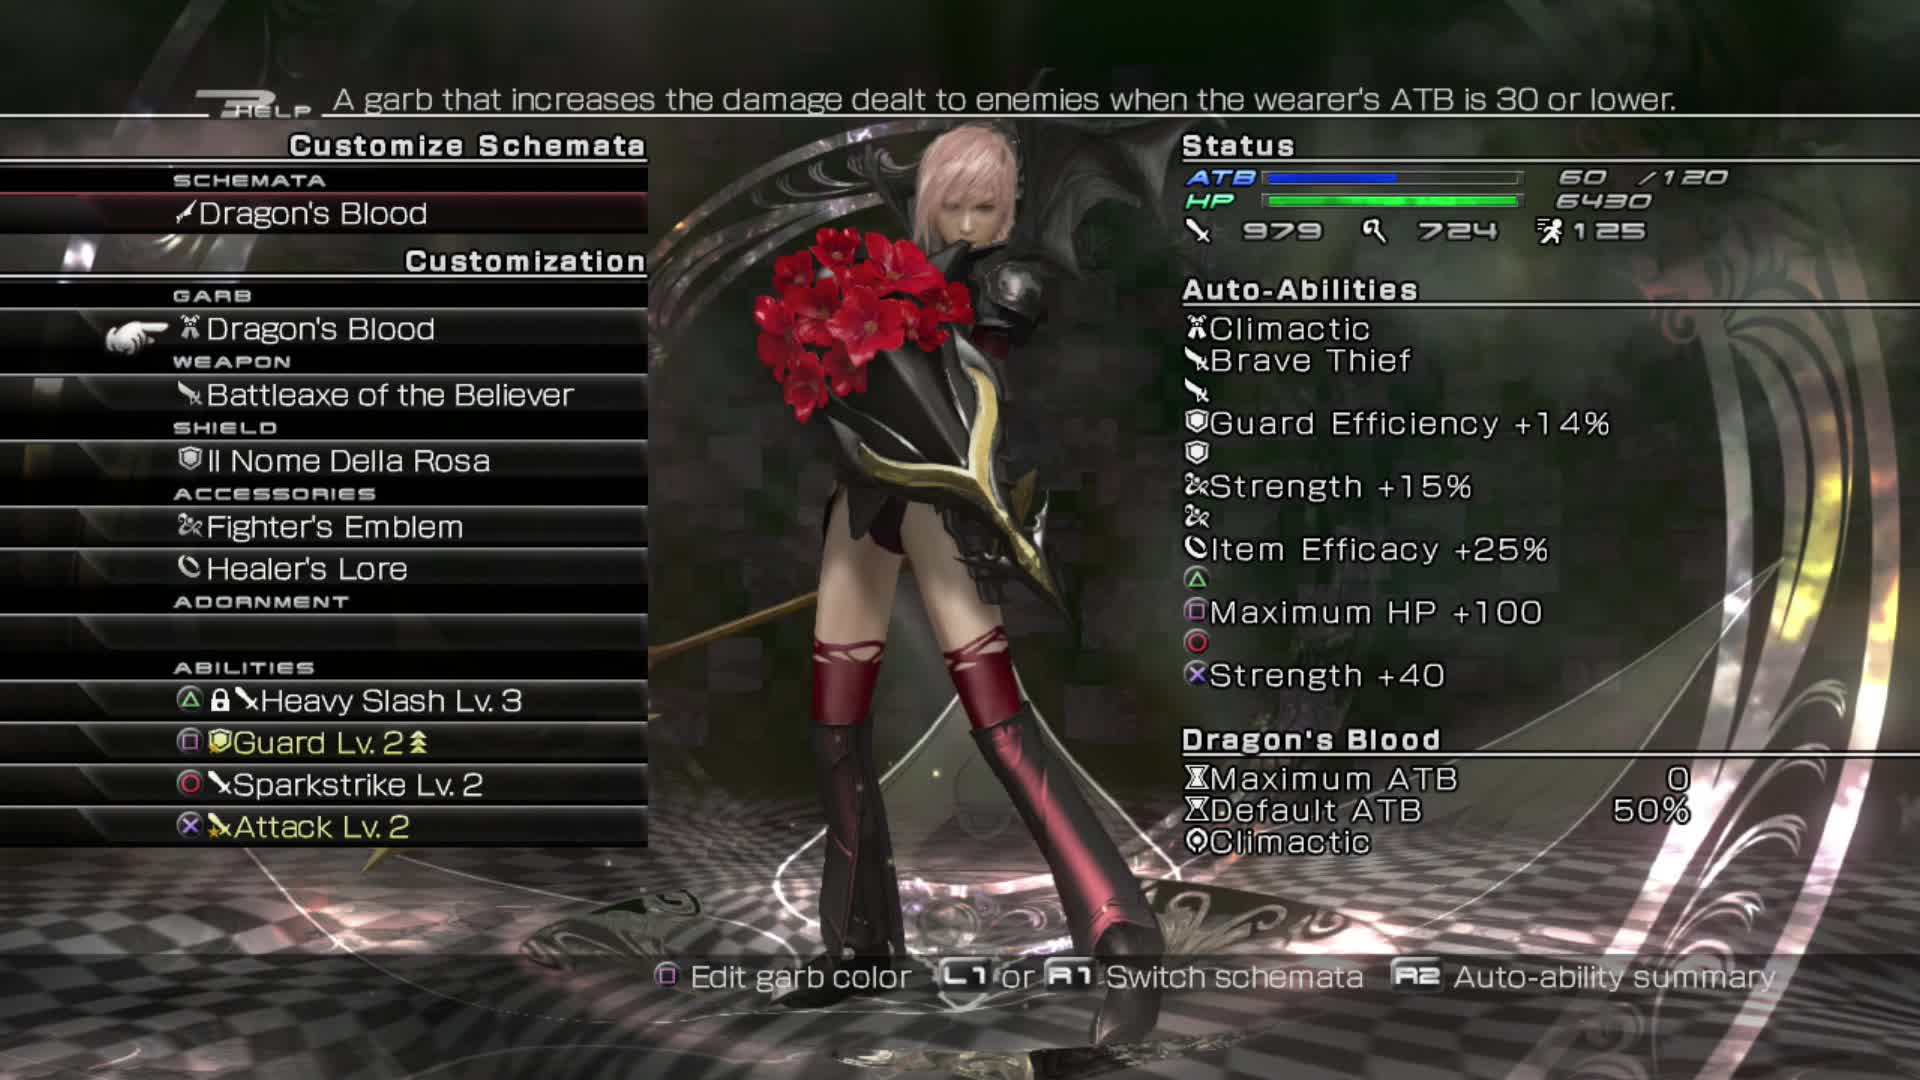
Dragon’s Blood is still a viable physical garb. It is really a matter of preference though.
Passion Rouge
| **Weapon** | Femme Fatale |
|---|---|
| **Shield** | Dame Du Lac |
| **Accessories** | Dreamdragon’s Scale, Collector Catalog |
| **Abilities** | Deprotect Lv 2 (locked), Imperil Lv 2, Curse Lv 2, Deshell Lv 2 (locked) |
Passion Rouge is a great schema to use defensively and for debuffing. The Femme Fatale makes the application of status ailments much easier. You will need Imperil and Curse for this fight as Caius attacks relentlessly and he is vulnerable to magic damage.
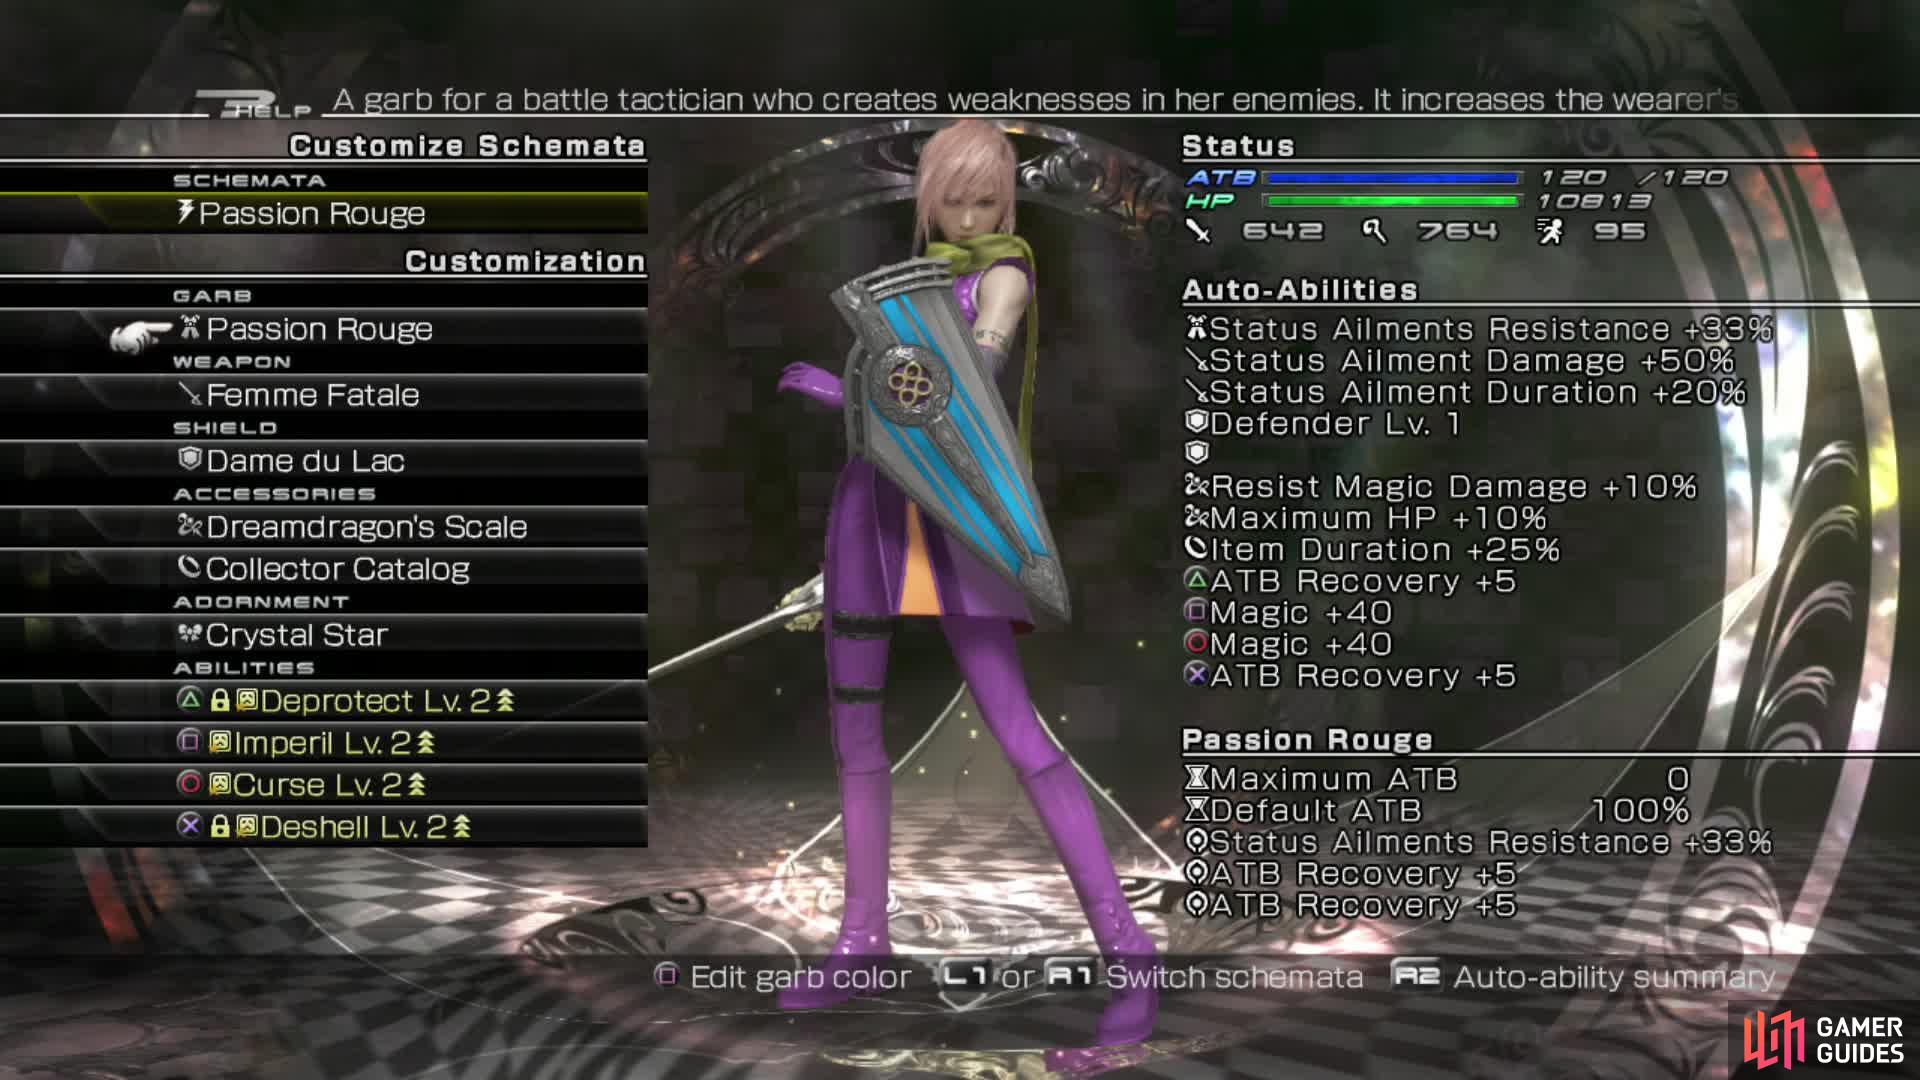
If you equip Femme Fatale you can easily debuff Caius and its innate status ailment resistance makes it essential.
Midnight Mauve
| **Weapon** | Sickle of the Faithful (or other high magic weapon) |
|---|---|
| **Shield** | Iseult’s Lament |
| **Accessories** | Devil Crest (if possible or another magic boosting accessory), Runic Ring |
| **Abilities** | Blizzaga Lv 2, Heavy Guard Lv 2, Fira Lv 3 (locked), Aeroga Lv 2 |
This schema will be used to build the Stagger Wave and to exploit Caius’s defenses when he is staggered. You can opt out of using Aeroga and replace it with a high stagger building ability.

Midnight Mauve remains a very strong magical schema because Fira Level 3 at this stage is still an excellent choice.
Strategy
Bring plenty of healing items and it will help enormously if you have a Warrior’s Potion for the second half of the battle when Caius gets stronger. Make sure you have full EP before you begin as well or at the very least 6 EP.
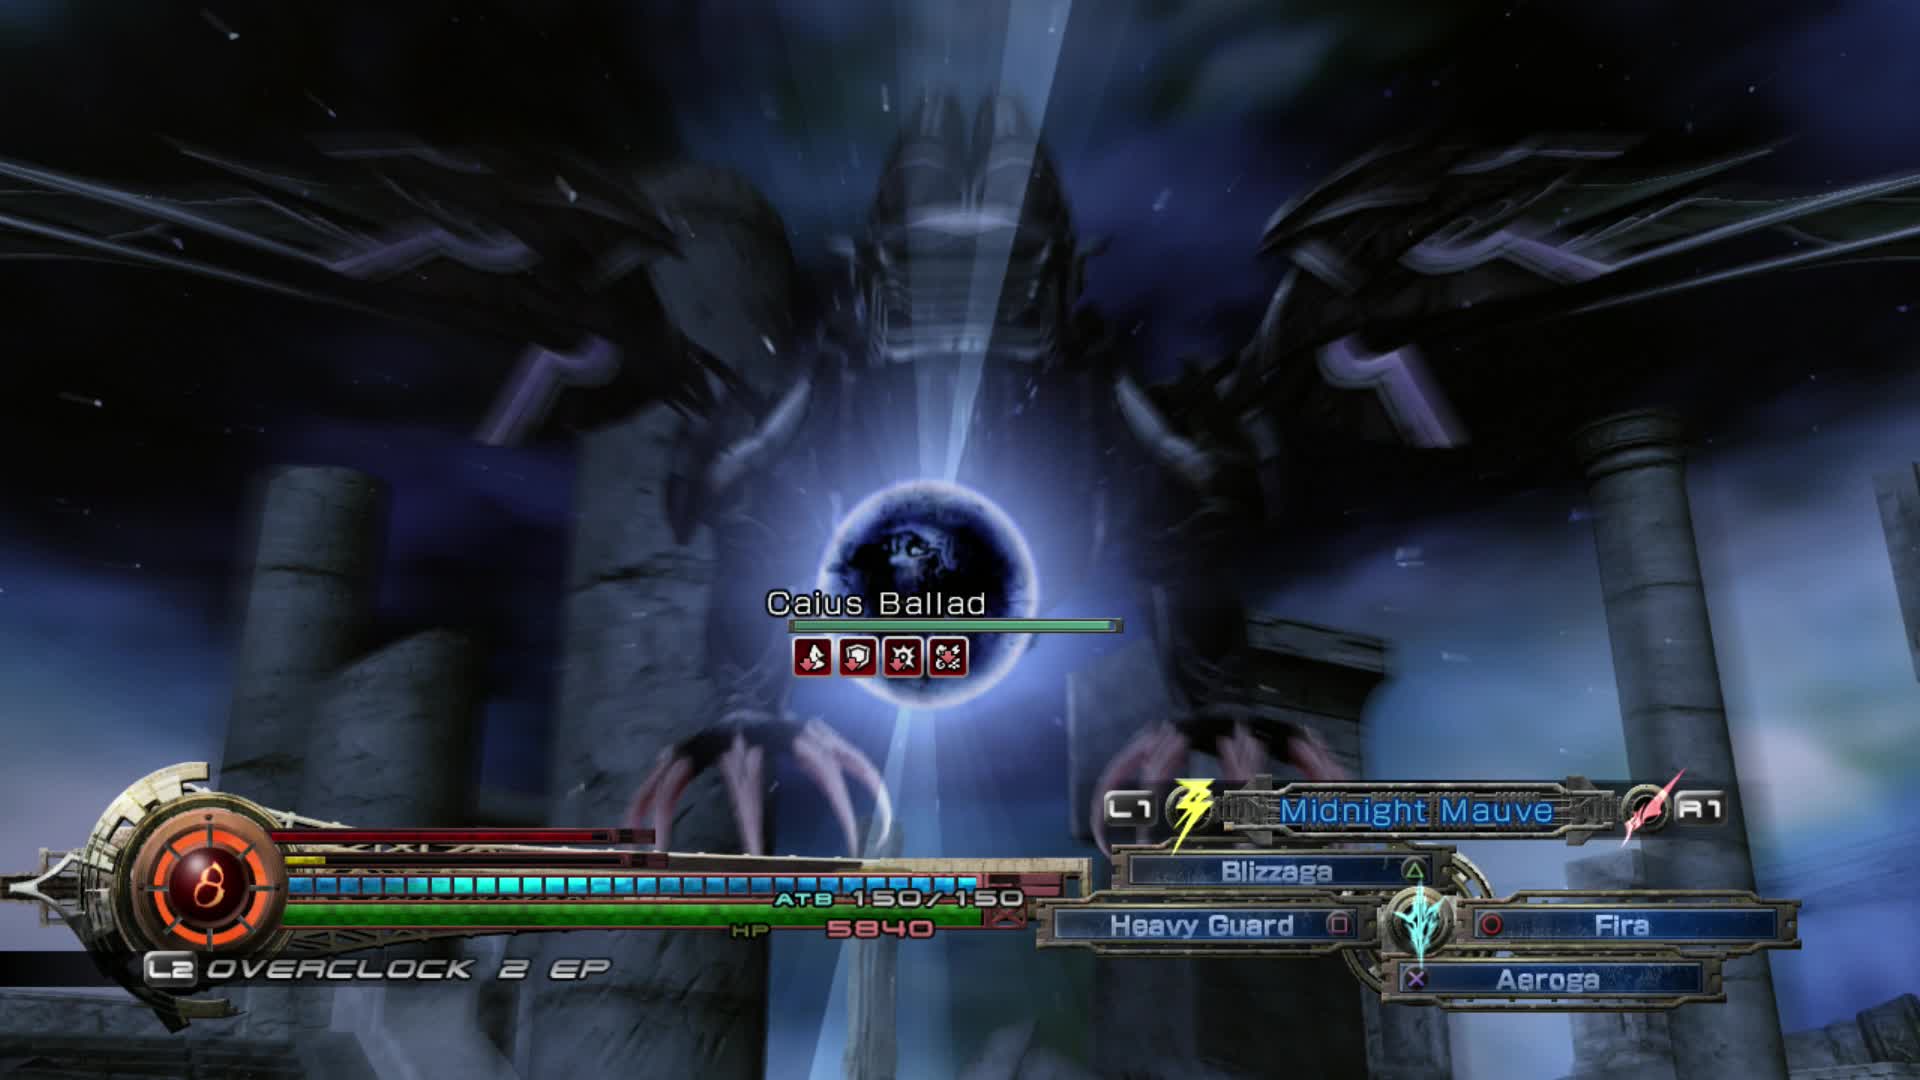
Caius has two stances in this battle; Ravager and Commando. He will always start in the Commando stance and immediately cast Megaflare. Be aware that to Stagger him, you must use physical attacks in Commando Stance and elemental attacks in Ravager stance.
Debuff him straight away with Passion Rouge and then switch to Midnight Mauve to Heavy Guard the attack. You can Perfect Guard it but it is very, very difficult to time it right.
Caius will attack relentlessly and it can be overwhelming sometimes to stop him. The best way to tackle this fight is just to keep pounding away. If you get hit, don’t worry, just heal and carry on. It is unlikely you’ll be able to Guard all his attacks anyway. Do not try to wait him out or you will surely lose.
Megaflare hurts like hell even if you Heavy Guard the attack. You absolutely must Guard as best you can to survive.
As soon as Megaflare ends, switch straight to Dragon’s Blood and use Sparkstrike to build the Stagger Wave. Renew any buffs (usually Curse) that run out and then switch back to Dragon’s Blood and initiate Overclock to bring him to Stagger using Sparkstrike.
When he’s staggered keep attacking him with Heavy Slash and Sparkstrike. If he casts Eye of Bahamut , Guard immediately or you will be availed with numerous status ailments. Caius will also throw out Giga-Graviton, Blast Wave and Pulsar Burst which are all powerful attacks but you should still be able to absorb them.
He will eventually cast Absolution to buff himself. When he does, use Bravery Feeder on your Dragon’s Blood schema to steal the buff for yourself.
He may cast another Megaflare at some point too so keep your HP topped up above half at all times. It takes him quite a long time to switch to the Ravager Stance, usually around half HP. In this stance he will use “aga” spells. As soon as he switches, use the Warrior’s Potion and then switch to Midnight Mauve and build his wave up using Fira in Overclock. You will Stagger him again and he’ll suffer from Parched and be extremely weak to Fire attacks.
You must keep attacking him with Fira, ignoring his attacks and push to the finish. Renew Imperil and Curse after the stagger too. He will try and use Invigorate at this time so just use a final Overclock to avoid him gathering enough energy to unleash his most powerful attacks like Tornado, Chill etc. Keep using Fira and he will fall before he gets a chance.
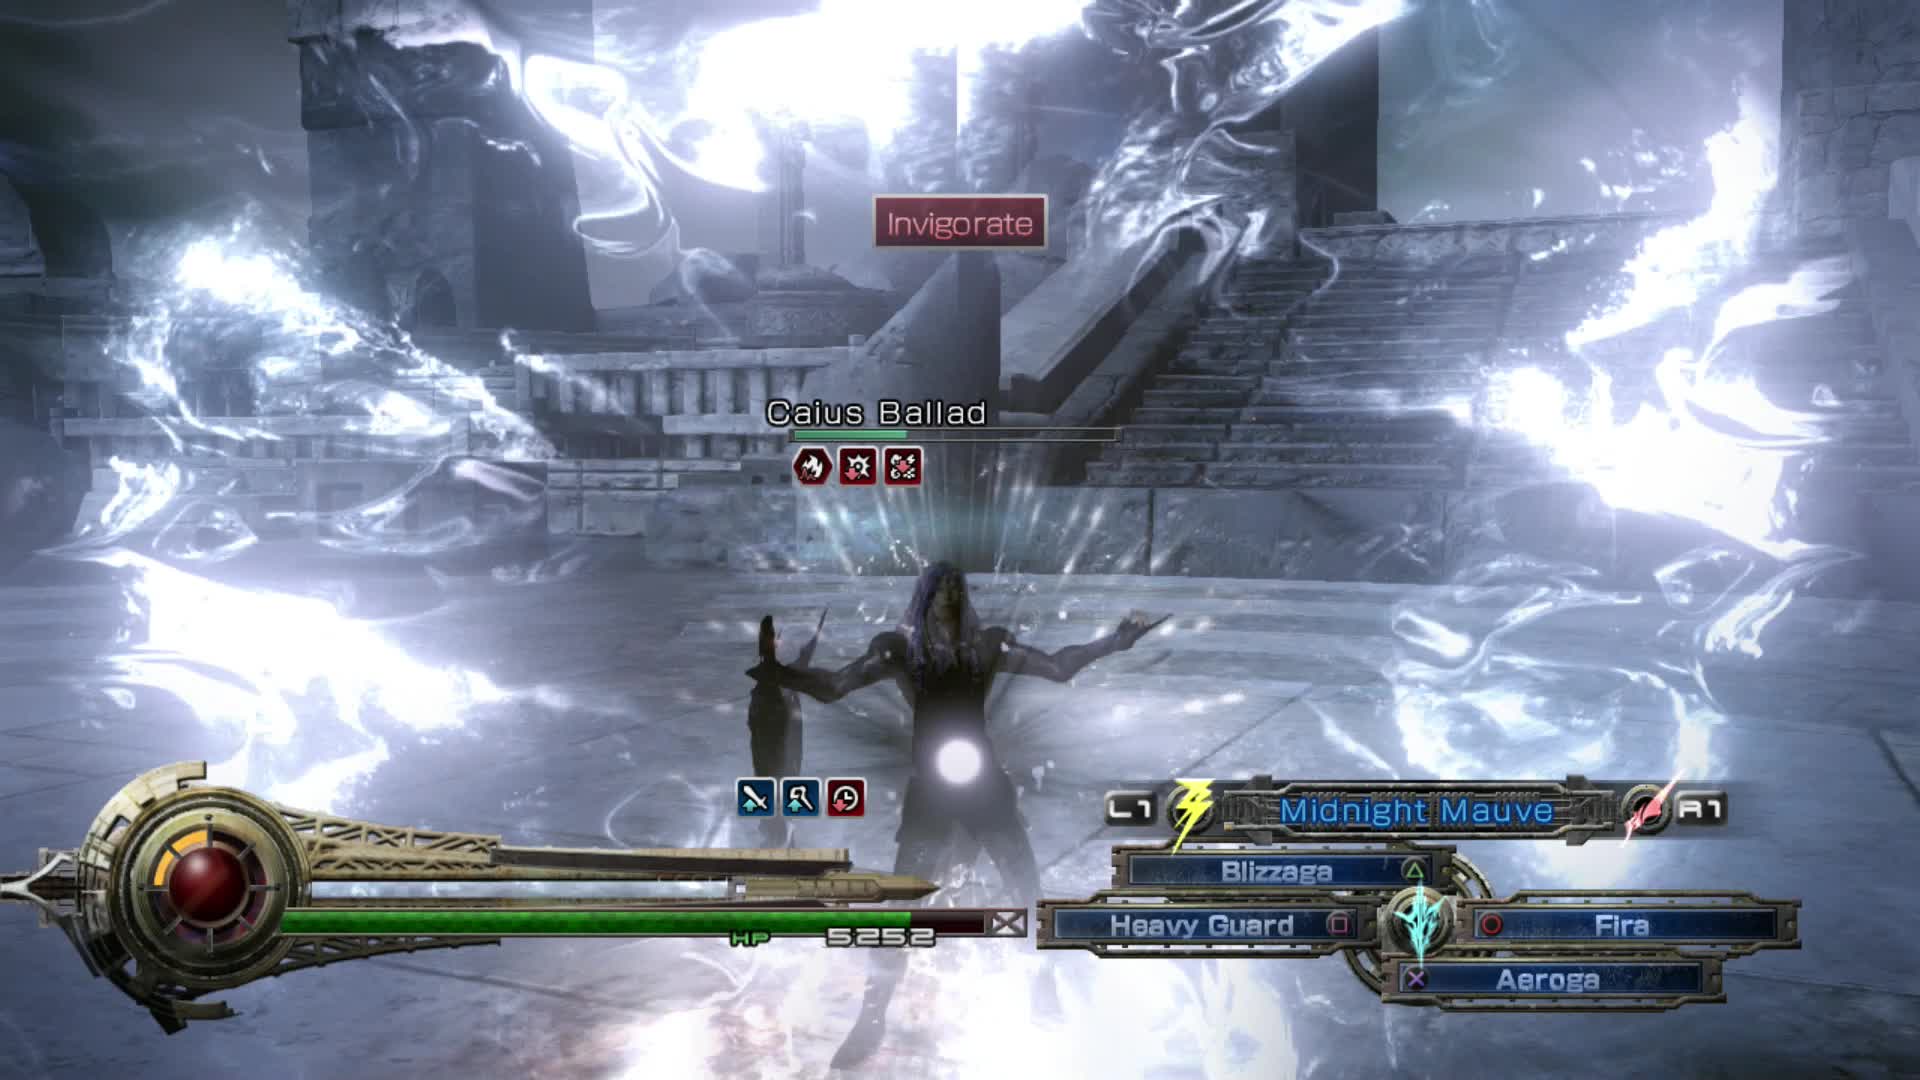
At this point, Caius will start to gather energy ready to unleash his most powerful abilities. You should try to kill him before this happens.
If you are confident and can time your attacks right, you can Stagger him just before he enters Ravager Stance and this will result him ending up with the Broken status ailment. You can then Stagger him again to inflict Parched and follow up with Overclock for massive damage.
For defeating him you will be rewarded with 5 EP, 1000 Gil, Max HP +120, Max ATB +10, Strength +56, Magic +126 and Recovery Item Capacity +1 . You will also meet an old friend as you are returned to the bridge just outside the Temple. After the scenes, don’t forget to pick up the Chaos’s Revenge weapon left for you. This is Caius’s sword and it is an awesome weapon at this stage in the game and should be equipped on either your physical or magical schema. It has a very useful Quick Stagger ability.

An Appetite for Chaos
Proof of one who has visited the temple that towers over the Wildlands and touched the great Chaos.

15
Upon returning to Poltae, you can now complete Grail of Valhalla. Before you leave the Wildlands, stop by the station and look at the Canvas board to trigger the “ To Live in Chaos ” sidequest. You may also wish to complete any Canvas quests at this time. Pay another visit to the board before you move on. When you’re ready, teleport or board a train to Luxerion North Station.

 Sign up
No Comments