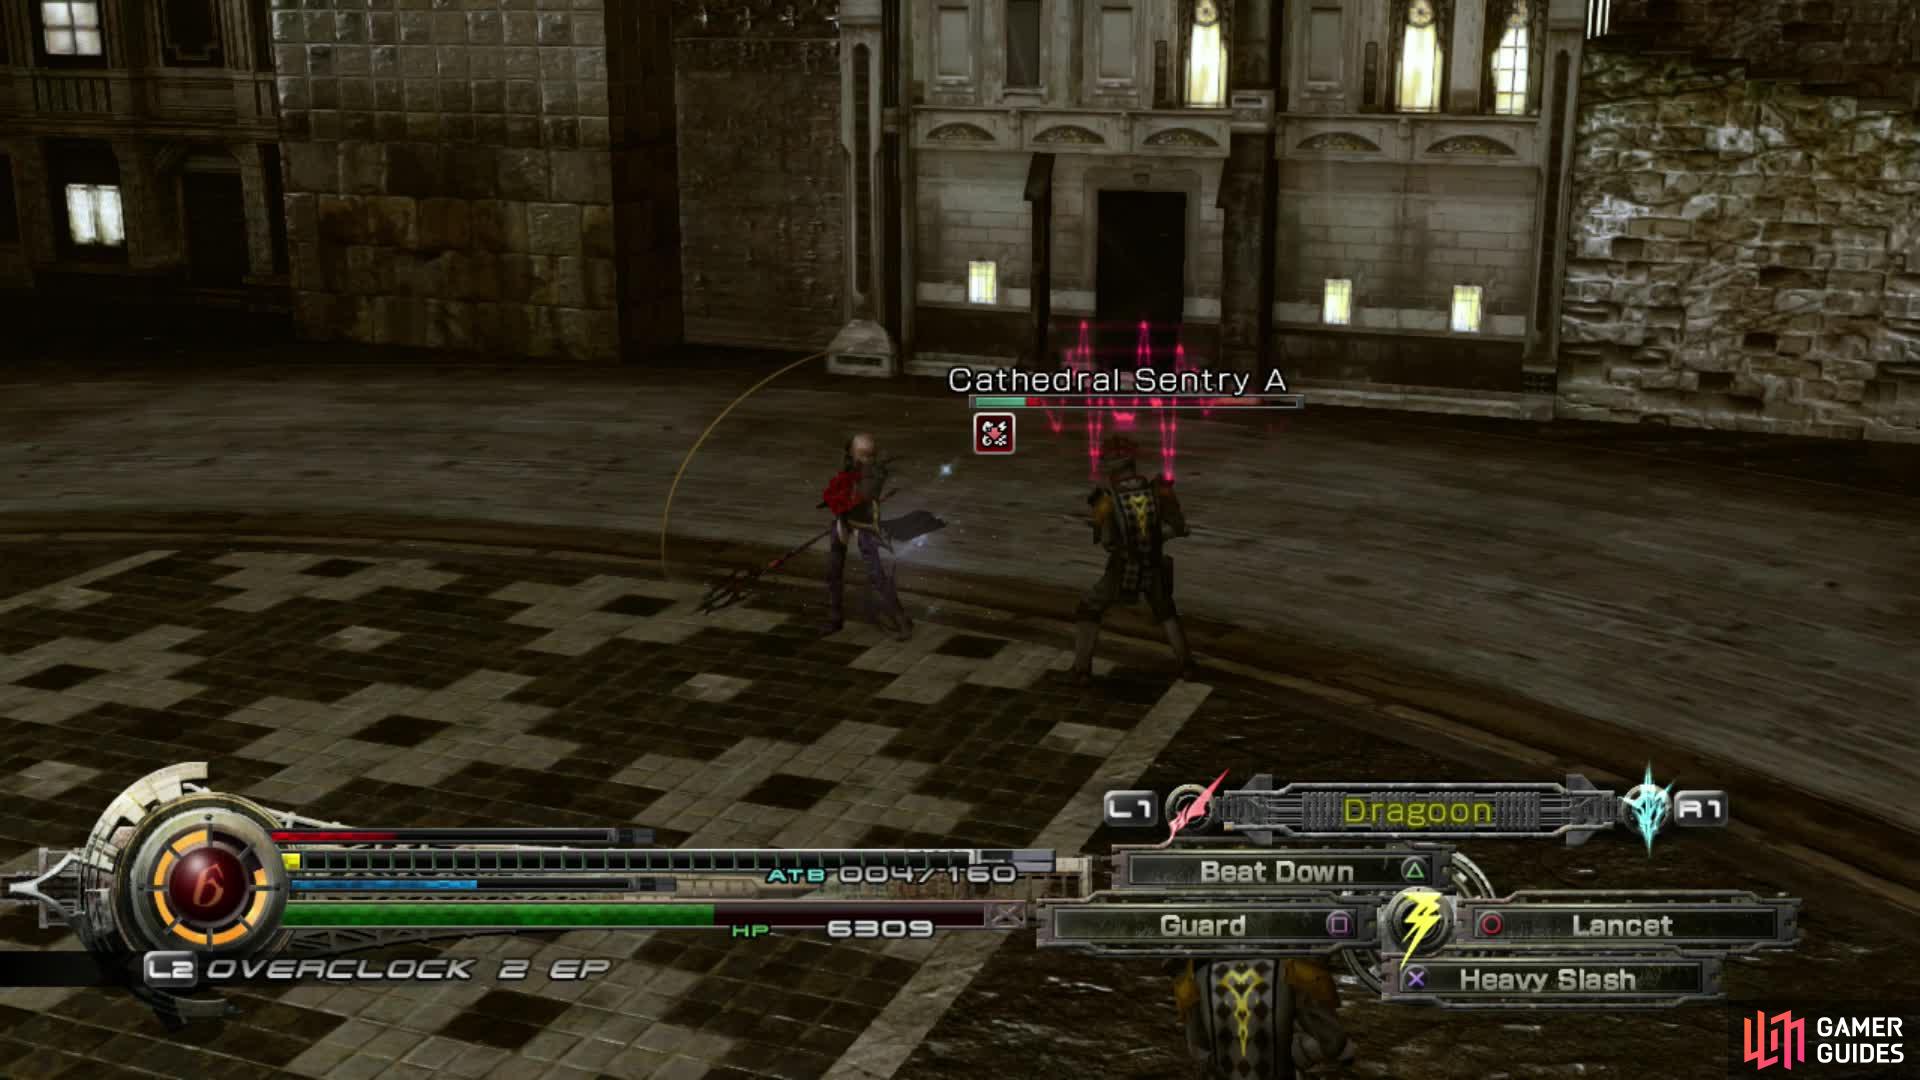
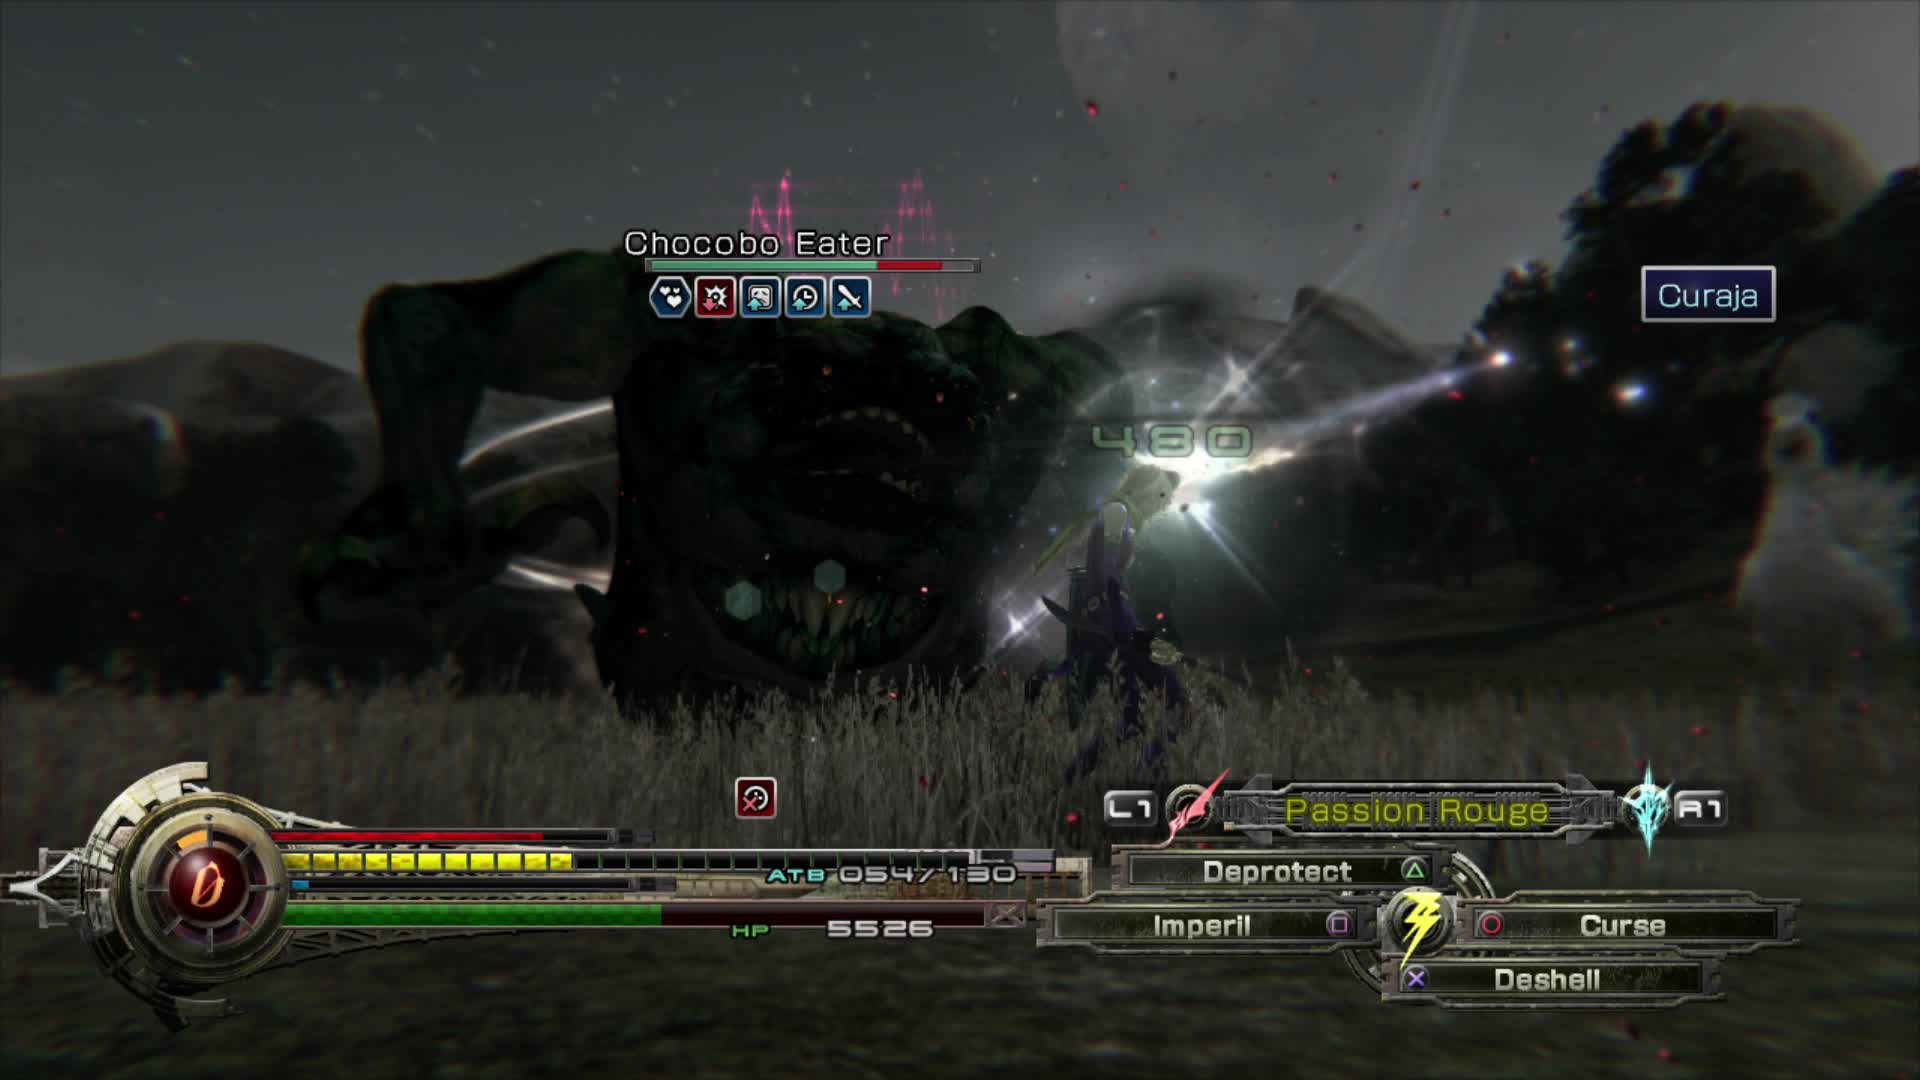
Battle takes place in a circular area of which there is a limited amount of space. You can move Lightning around using the Left Stick though she walks rather slow so it is pointless to waste too much time dallying when you could be attacking. The only instances where you may want to move out of range is when an enemy does a large Area of Effect attack that you can avoid the brunt of if you move out of reach. The Zomok’s Heavenly Storm is a notable attack.
Certain enemies can be vulnerable at different ranges, so if one only uses melee attacks, you can simply use long-range attacks and keep yourself far enough away to avoid damage and make them miss. There can be other instances where attacking a specific body part will deal a significant amount of damage or activate Stagger. So for instance, you may be using spells on an enemy but then you notice a weakness starts to show. At this point you can switch to close range attacks and exploit it.
The battlefield is a circular area where you can move around. By exploiting distances depending on the enemy, you can take advantage of their weaknesses.
You should focus on using the right abilities to exploit weaknesses and know when to switch Schemata. Battles will have you largely reacting to an enemy’s attacks or resistances. A quick check of the Libra Screen can help you to solve what an enemy’s vulnerabilities may be. As with previous games, you will switch Schemata (as you would Paradigm Shift) depending on what kind of abilities you need to use at that point, all the while keeping an eye on your ATB gauge.
Equipping similar abilities on the same face buttons can help you attack continuously and build the Stagger Wave (see below) while you switch between Schemata. You can also choose to equip Guard abilities on the same face buttons as your two other attacking Schemata. This allows you to quickly block enemy’s assaults and then immediately switch back to offense afterwards.
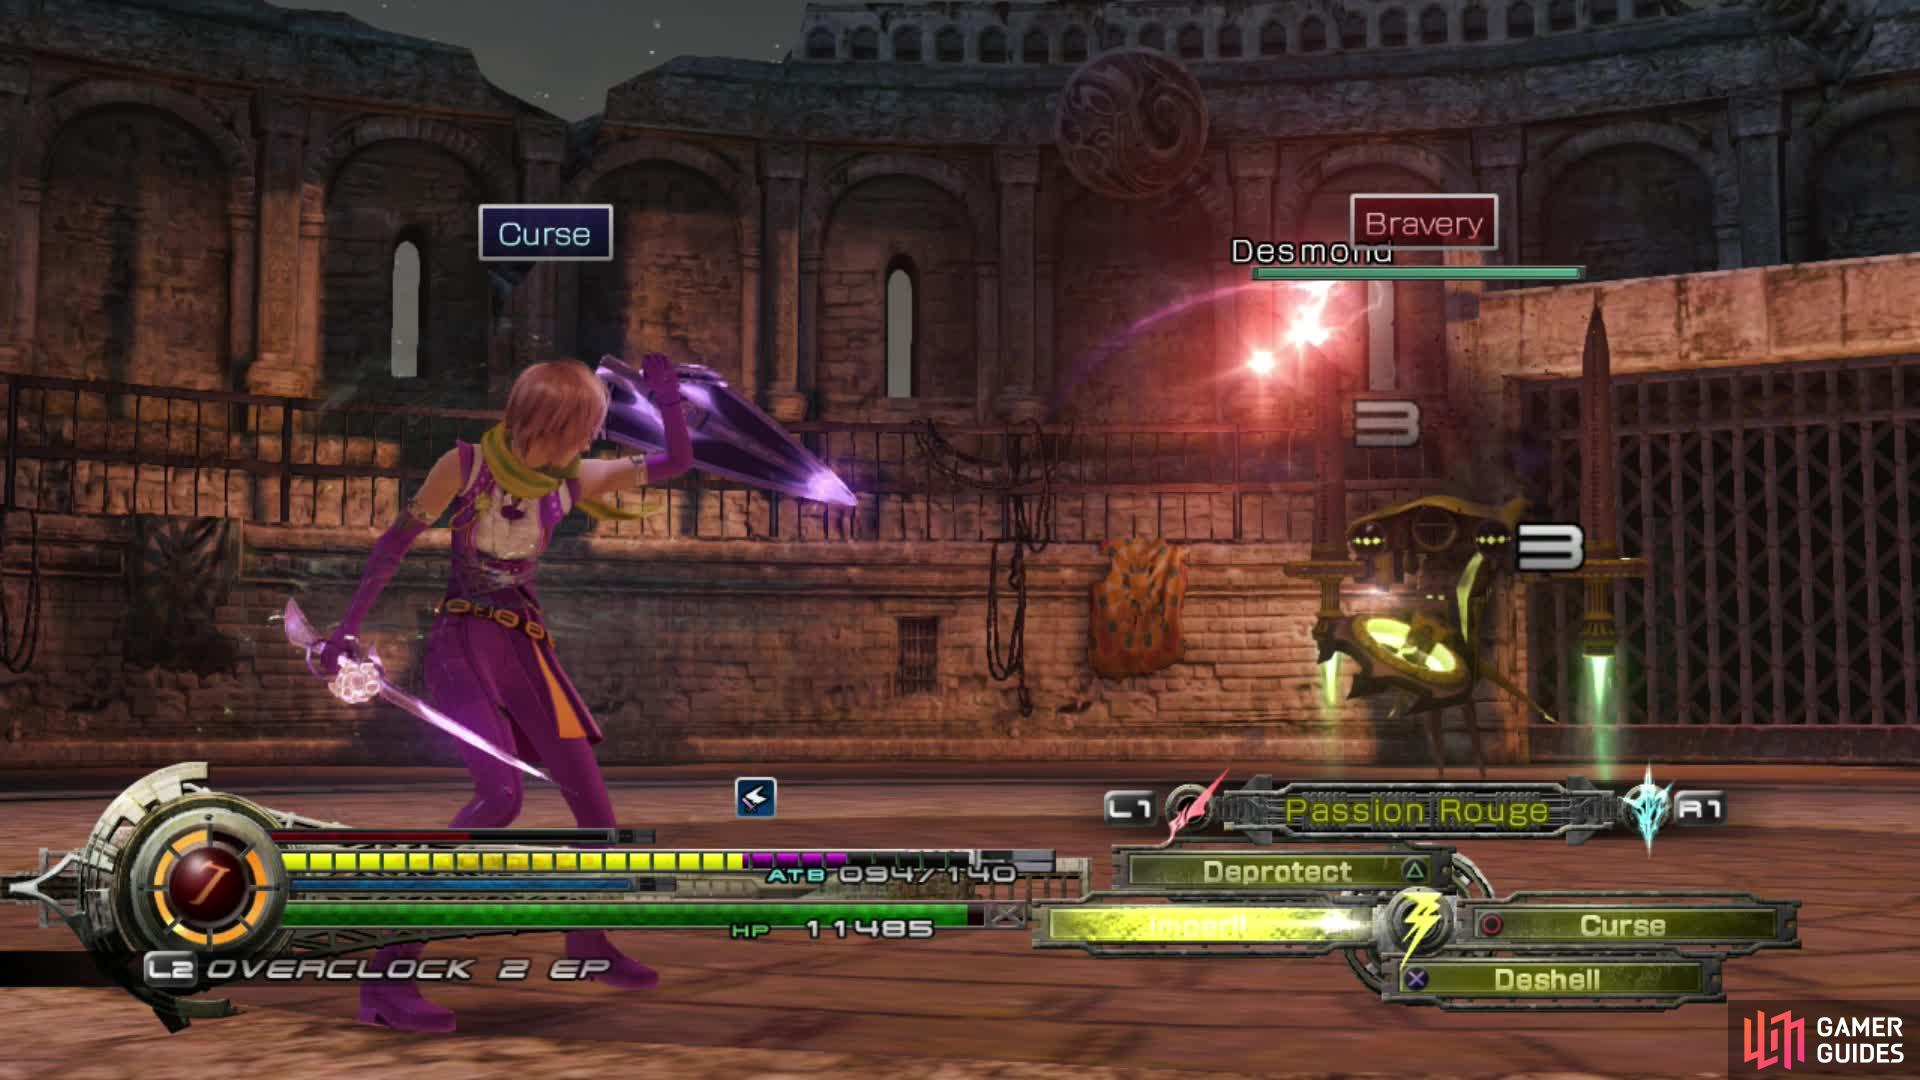
Prioritise Targets
You can also zoom out on the battlefield by pressing R3/Push In Right Stick so you can see each enemy when you face multiple adversaries. You can prioritise targets better.
There can be instances during battle where you will face multiple enemies and one particular enemy is more dangerous than the others. You should learn which enemies to remove first to eliminate the chance of a more difficult battle. For instance, you may enter battle with a monster who buffs the other (usually weaker) monsters. You should remove the stronger monster first so it can no longer strengthen its allies.
The Stagger Wave and Staggering
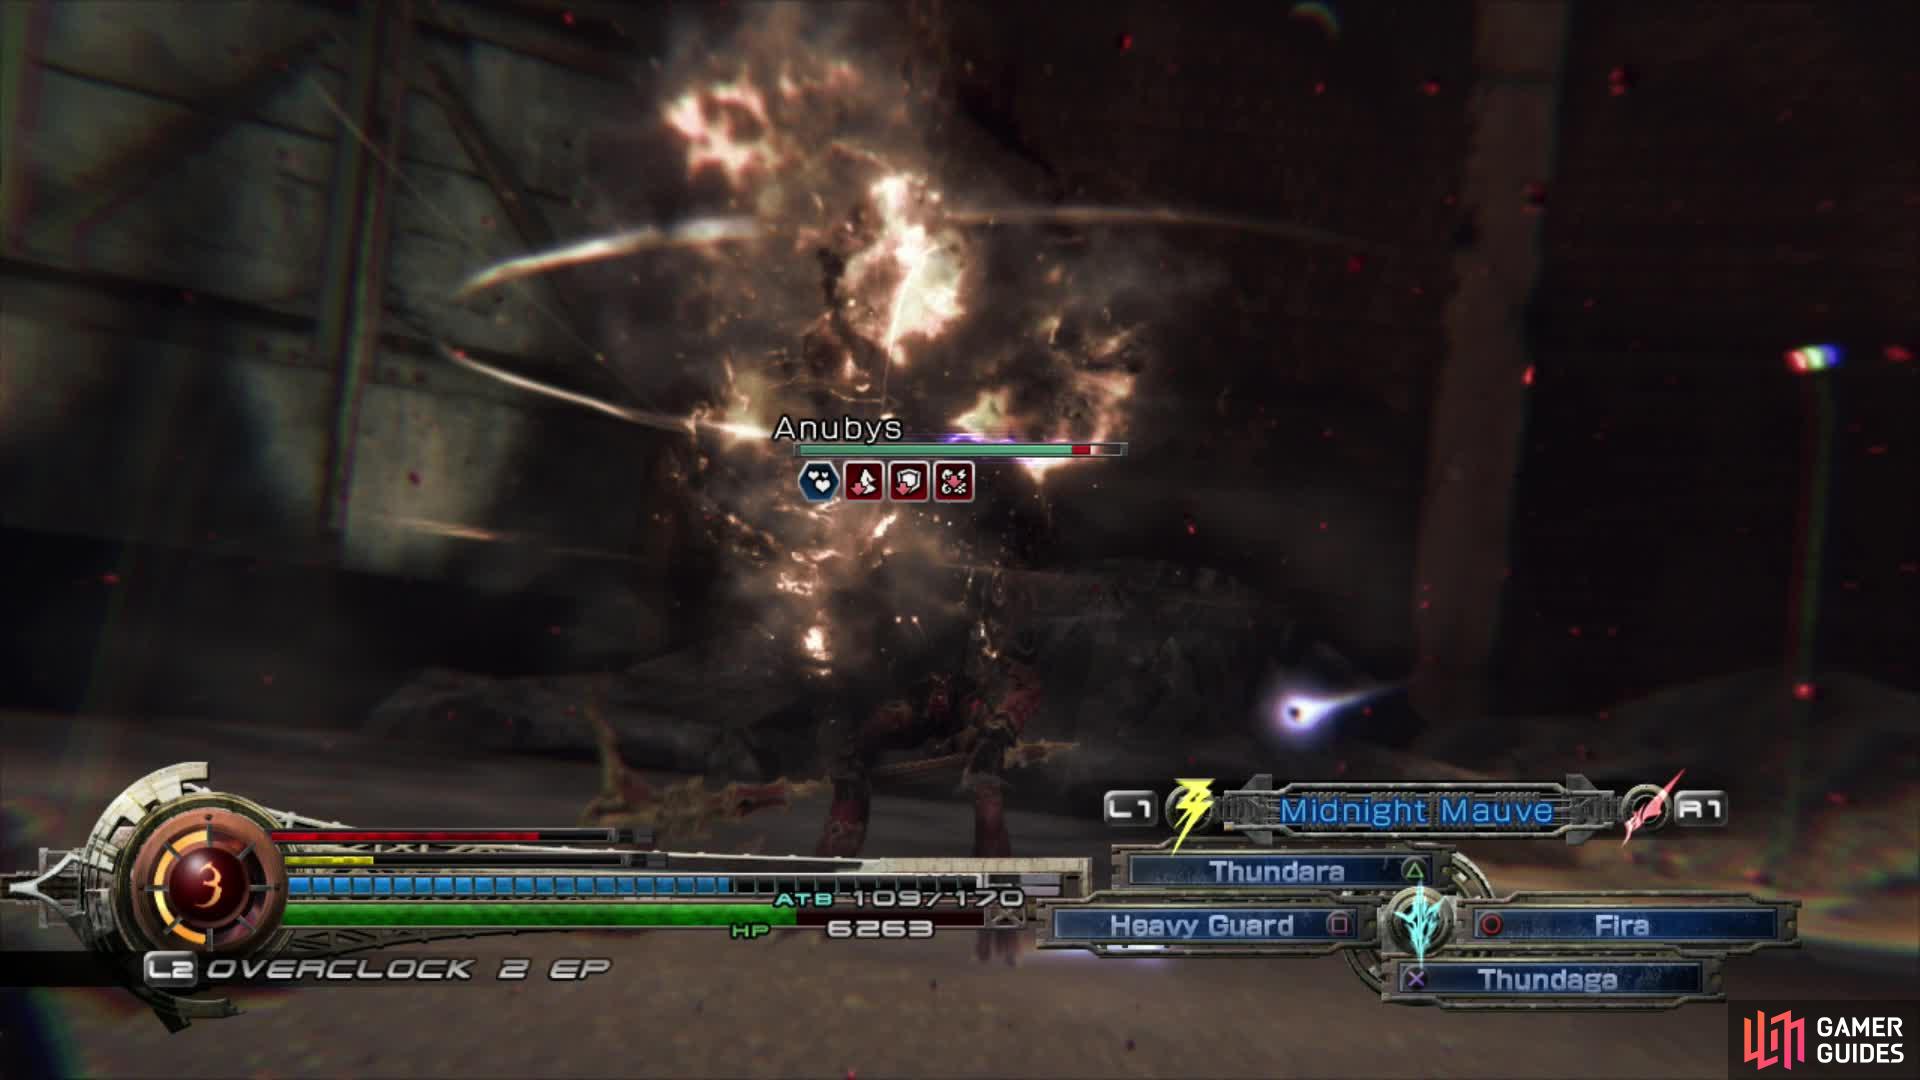
Though it looks very different to previous iterations, the battle system is not that dissimilar to the other games. The basic premise of Stagger remains the same in that you must find an enemy’s weakness and break down their defences by exploiting it.
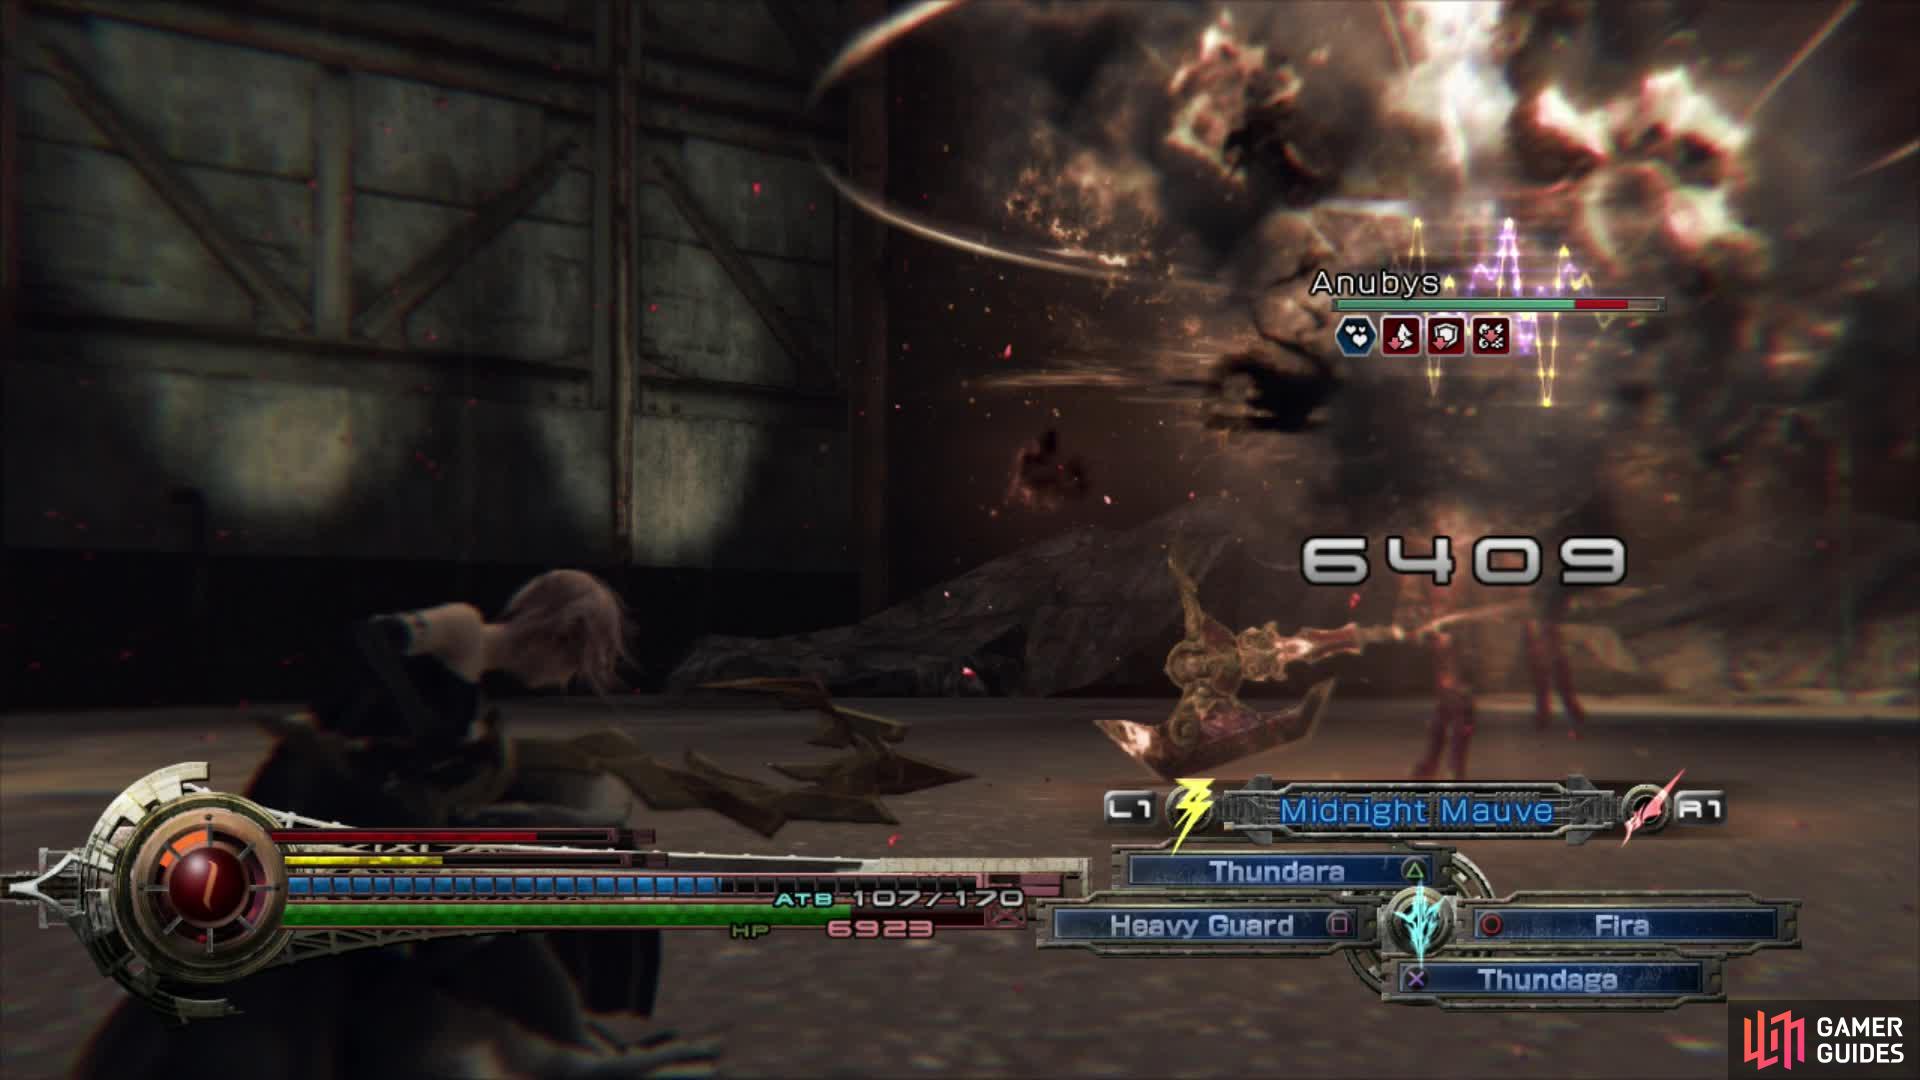
You can see the wave change colour over time as it gets closer to Stagger. Blue to yellow, yellow to red, red to Stagger.
You have a Stagger Wave that tells you how close you are from achieving Stagger. This will start off blue with small peaks and gradually change from blue to yellow to red, with the peaks getting higher and higher the closer you get to Stagger. You can see how effective your attacks are by watching the wave closely for movement. Should you find an attack makes the wave start to jump, you know you have found at least one potential way to Stagger an enemy.
After finding a successful attack, it is then a simple matter of attacking with similar attacks until you break through. The wave can also be maintened using a physical attack, much like previous games where the Commando role involved chain maintenance.
There is a noticeable change to an enemy’s stance when they have been staggered. Usually they keel over and you can then really ramp up the damage. Often when an enemy is staggered, their status can change and they may be vulnerable to new things that they weren’t before. Check Libra for information.
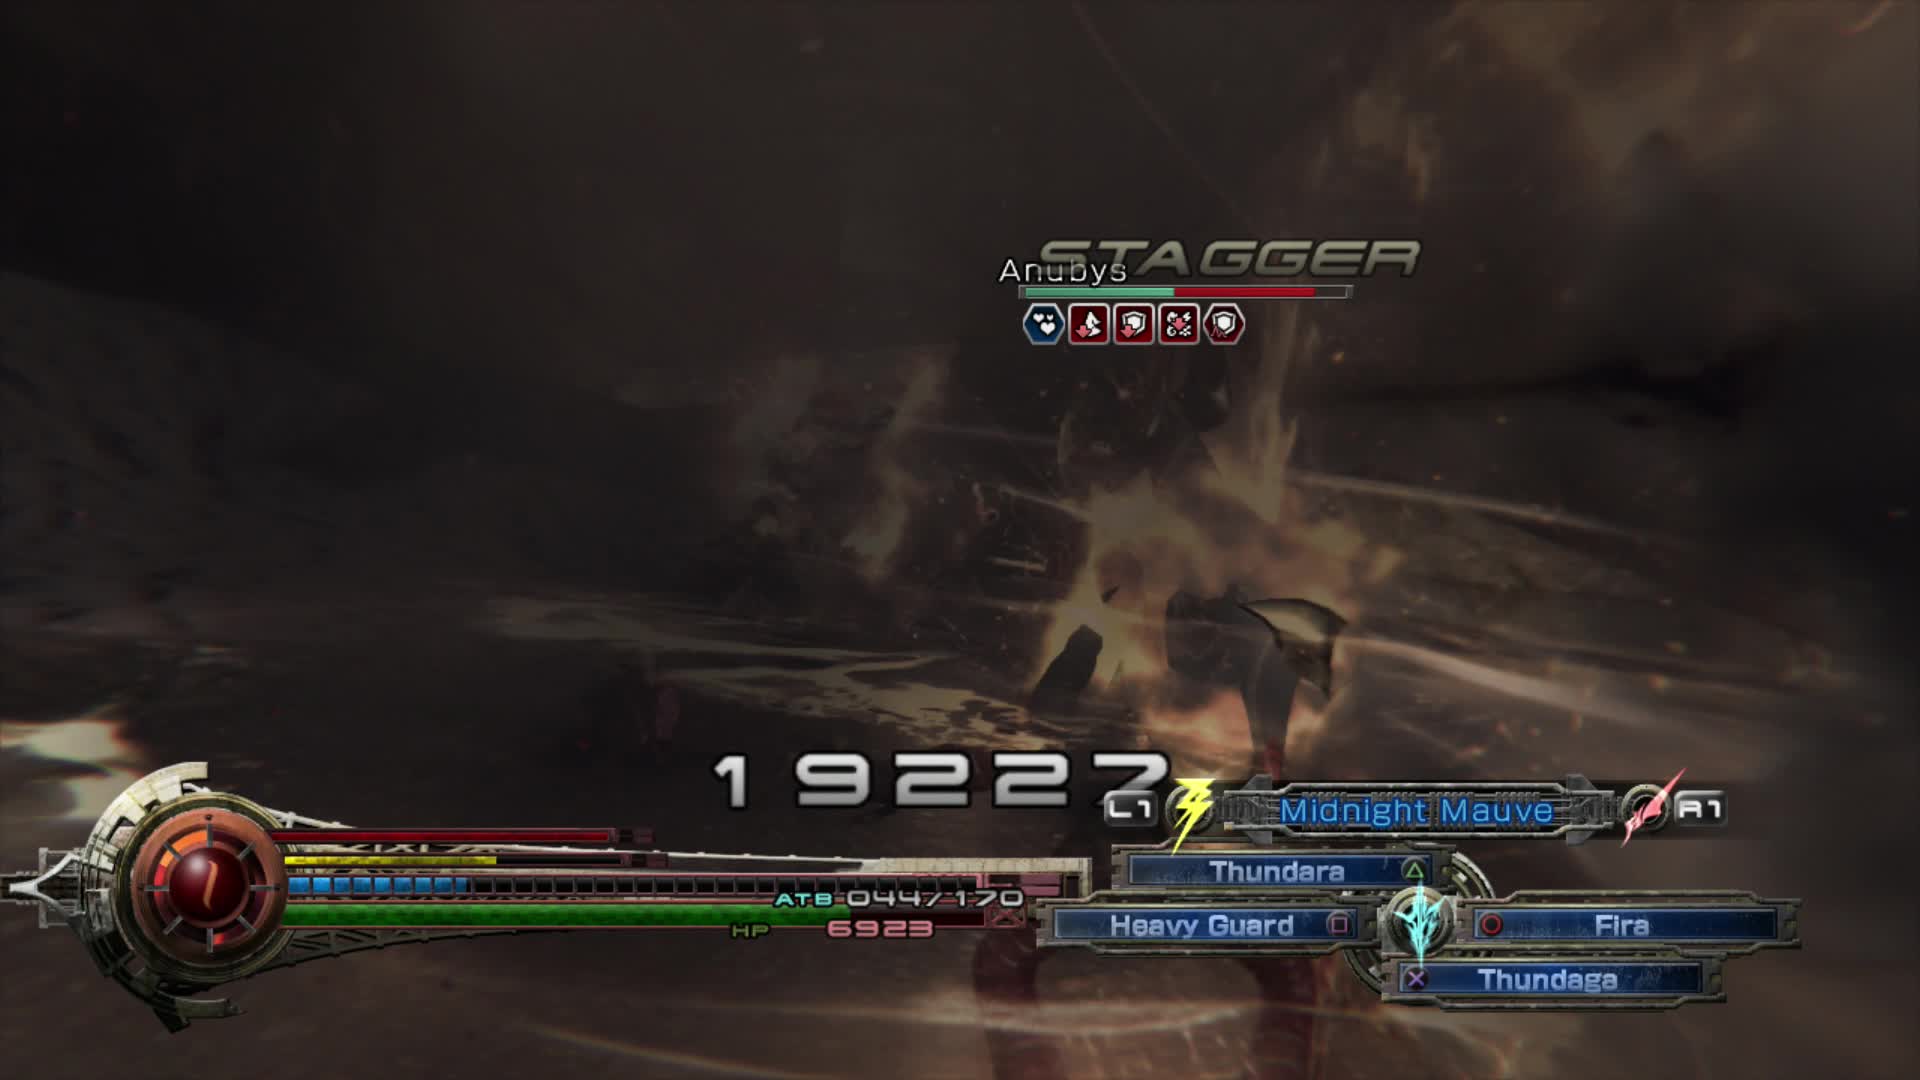
The word Stagger will appear above an enemy’s head.
Depending what attack caused the Stagger will then depend what weakness they will show in this phase. Each enemy usually has multiple ways of being staggered, and depending whether the attack was magical or physical, will then depend what weakness they will be afflicted with. More often than not, staggering with a physical attack will make them vulnerable to magic attacks and vice versa. You can see what kind of Stagger you have achieved by their status bar. See the status ailments section for info on the different types.
In addition to the type of stagger there can also be levels of stagger. Sometimes staggering an enemy once can then lead to being able to inflict a further stagger. Usually as staggers grow in level, the enemy becomes more and more vulnerable to abilities. Achieving these levels quickly can make an otherwise difficult battle a much simpler affair.
Perfect Timing
Some abilities can be enhanced by achieving Perfect Timing with the animation. These fall into distinctive categories:
- Offensive : some abilities can be linked to the end of a combo and when activated at precisely the right time, can then substantially boost that attack. This takes a lot of skill and practice and is hard to learn from the get go. As you become more knowledgeable, you may wish to start employing this technique. Holding the button down will not count towards a perfect attack.
- Defensive : A perfect Guard is probably the easiest way to implement this technique. Slow and ponderous enemies can be especially weak to this technique and by guarding perfectly it can also cause an instant Stagger. It will also greatly reduce any damage Lightning would have sustained.
- Certain enemies have powerful signature attacks that can be prevented by perfectly timing a strike either before or after the attack. This can induce immediate Stagger and also avoid what could be a devastating attack.
You can tell when you have achieved Perfect Timing by the caption on screen and Lightning will also glow with a gold aura. For your first run of the game, it is not essential to master this technique. Start out with practising how to guard and go from there.
Damage Types and Elements
Many of the abilities and elements, as well as status ailments/enhancements remain unchanged from previous games. If you have played the other games, you will be familiar with their functions. There are a few new types though that you should be aware of.
Basic damage types :
- Physical
- Magic
- Fire
- Ice
- Lightning
- Wind
Each enemy has affinities and/or resistance to certain types as well as weaknesses.
Damage Affinities :
Weakness - enemy takes extra damage
Normal - enemy takes average damage
Halved - enemy takes half the damage it normally would
Resistant - damage taken is minuscule
Immune - no damage will be taken and the word ‘Guard’ will appear
Absorbed - damage will heal the enemy
Status enhancements can be applied to Lightning or enemies. Many enemies you encounter will employ buffs to augment their abilities and increase damage. They can also be used to neutralise any negative status effects.
Status Enhancements :
Bravery - raises target’s strength stat, increasing physical damage
Faith - raises target’s magic stat, increasing magical damage
Protect - increases target’s resistance to physical attacks
Shell - increases target’s resistance to magic attacks
Haste - increases the speed of the ATB gauge refill
Vigilance - increases the target’s ability to prevent interruptions
Regen - slowly restores target’s HP
Veil - increases status ailment resistance
Enfire - strengthens fire attacks and imbues other non-elemental attacks with fire
Enthunder - strengthens lightning attacks and imbues non- elemental attacks with lightning
Enaero - strengthens wind attacks and imbues non-elemental attacks with wind
Enfrost - strengthens ice attacks and imbues non-elemental attacks with ice
Reraise - automatically revives target from K.O.
Status enhancements show up blue in the status bar.
Status ailments
These act as a neutraliser where any buff is in play or they can weaken a target. For instance, if an enemy buffs itself with Bravery, you can cast Debrave and remove the enhancement. If there is no buff in place, the ailment will be applied and severely weaken an enemy. Status ailments play a huge role in how quickly you finish battles and can make tough encounters much easier when used correctly.
Debrave - reduces strength stat (cancels Bravery)
Defaith - reduces magic stat (cancels Faith)
Deprotect - reduces physical damage resistance (cancels Protect)
Deshell - reduces magical damage resistance (cancels Shell)
Slow - reduces the ATB refresh rate (cancels Haste)
Curse - reduces resistance to interruptions (cancels Vigilance)
Poison - slowly depletes HP gauge. The more HP, the faster the depletion (cancels Regen)
Imperil - reduces elemental resistance (cancels any one of Enthunder, Enfire, Enaero, Enfrost)
Pain - prevents the use of physical attacks
Fog - prevents the use of magic attacks
Daze - stuns the target and increases damage sustained
Status ailments show up red in the status bar.
The following are a list of ailments that can be induced with a certain Stagger level and can be in place at the same time as other ailments:
Unprotected - lowers physical resistance
Unshelled - lowers magic resistance
Parched - lowers fire resistance
Exposed - lowers ice resistance
Conductive - lowers lightning resistance
Brittle - lowers wind resistance
Broken - makes target easier to stagger
Infected - makes target more vulnerable to status ailments
Hindered - slows targets movement
Confused - makes target unable to distinguish friend or foe
Cursed - makes target more likely to recoil and increases chances of interruptions
Dazed - makes target unable to act more vulnerable to damage
Pained - makes target unable to use physical attacks
Foggy - makes target unable to use magic attacks

 Sign up
No Comments