

The Sickness, God of War.
Ask Freya for help
Atreus’ condition is deteriorating and Mimir’s suggestion to visit Freya seems to be the only course of action. Carry the stricken Atreus back to the boat and row to the south, through the tunnel and dock it once you reach the cave. With Atreus in his arms, take the lift up to the top and follow the path to Freya’s house.
Freya needs Kratos to retrieve a special ingredient, found only in the land of the dead, Helheim but first he must equip himself with something to defend himself in the harsh cold climate. Exit the house and head to the nearby boat of flowers and it will carry you back to the Wildwoods. It’s clear from the skies above that Odin is on the warpath and Kratos is reminded of his past.
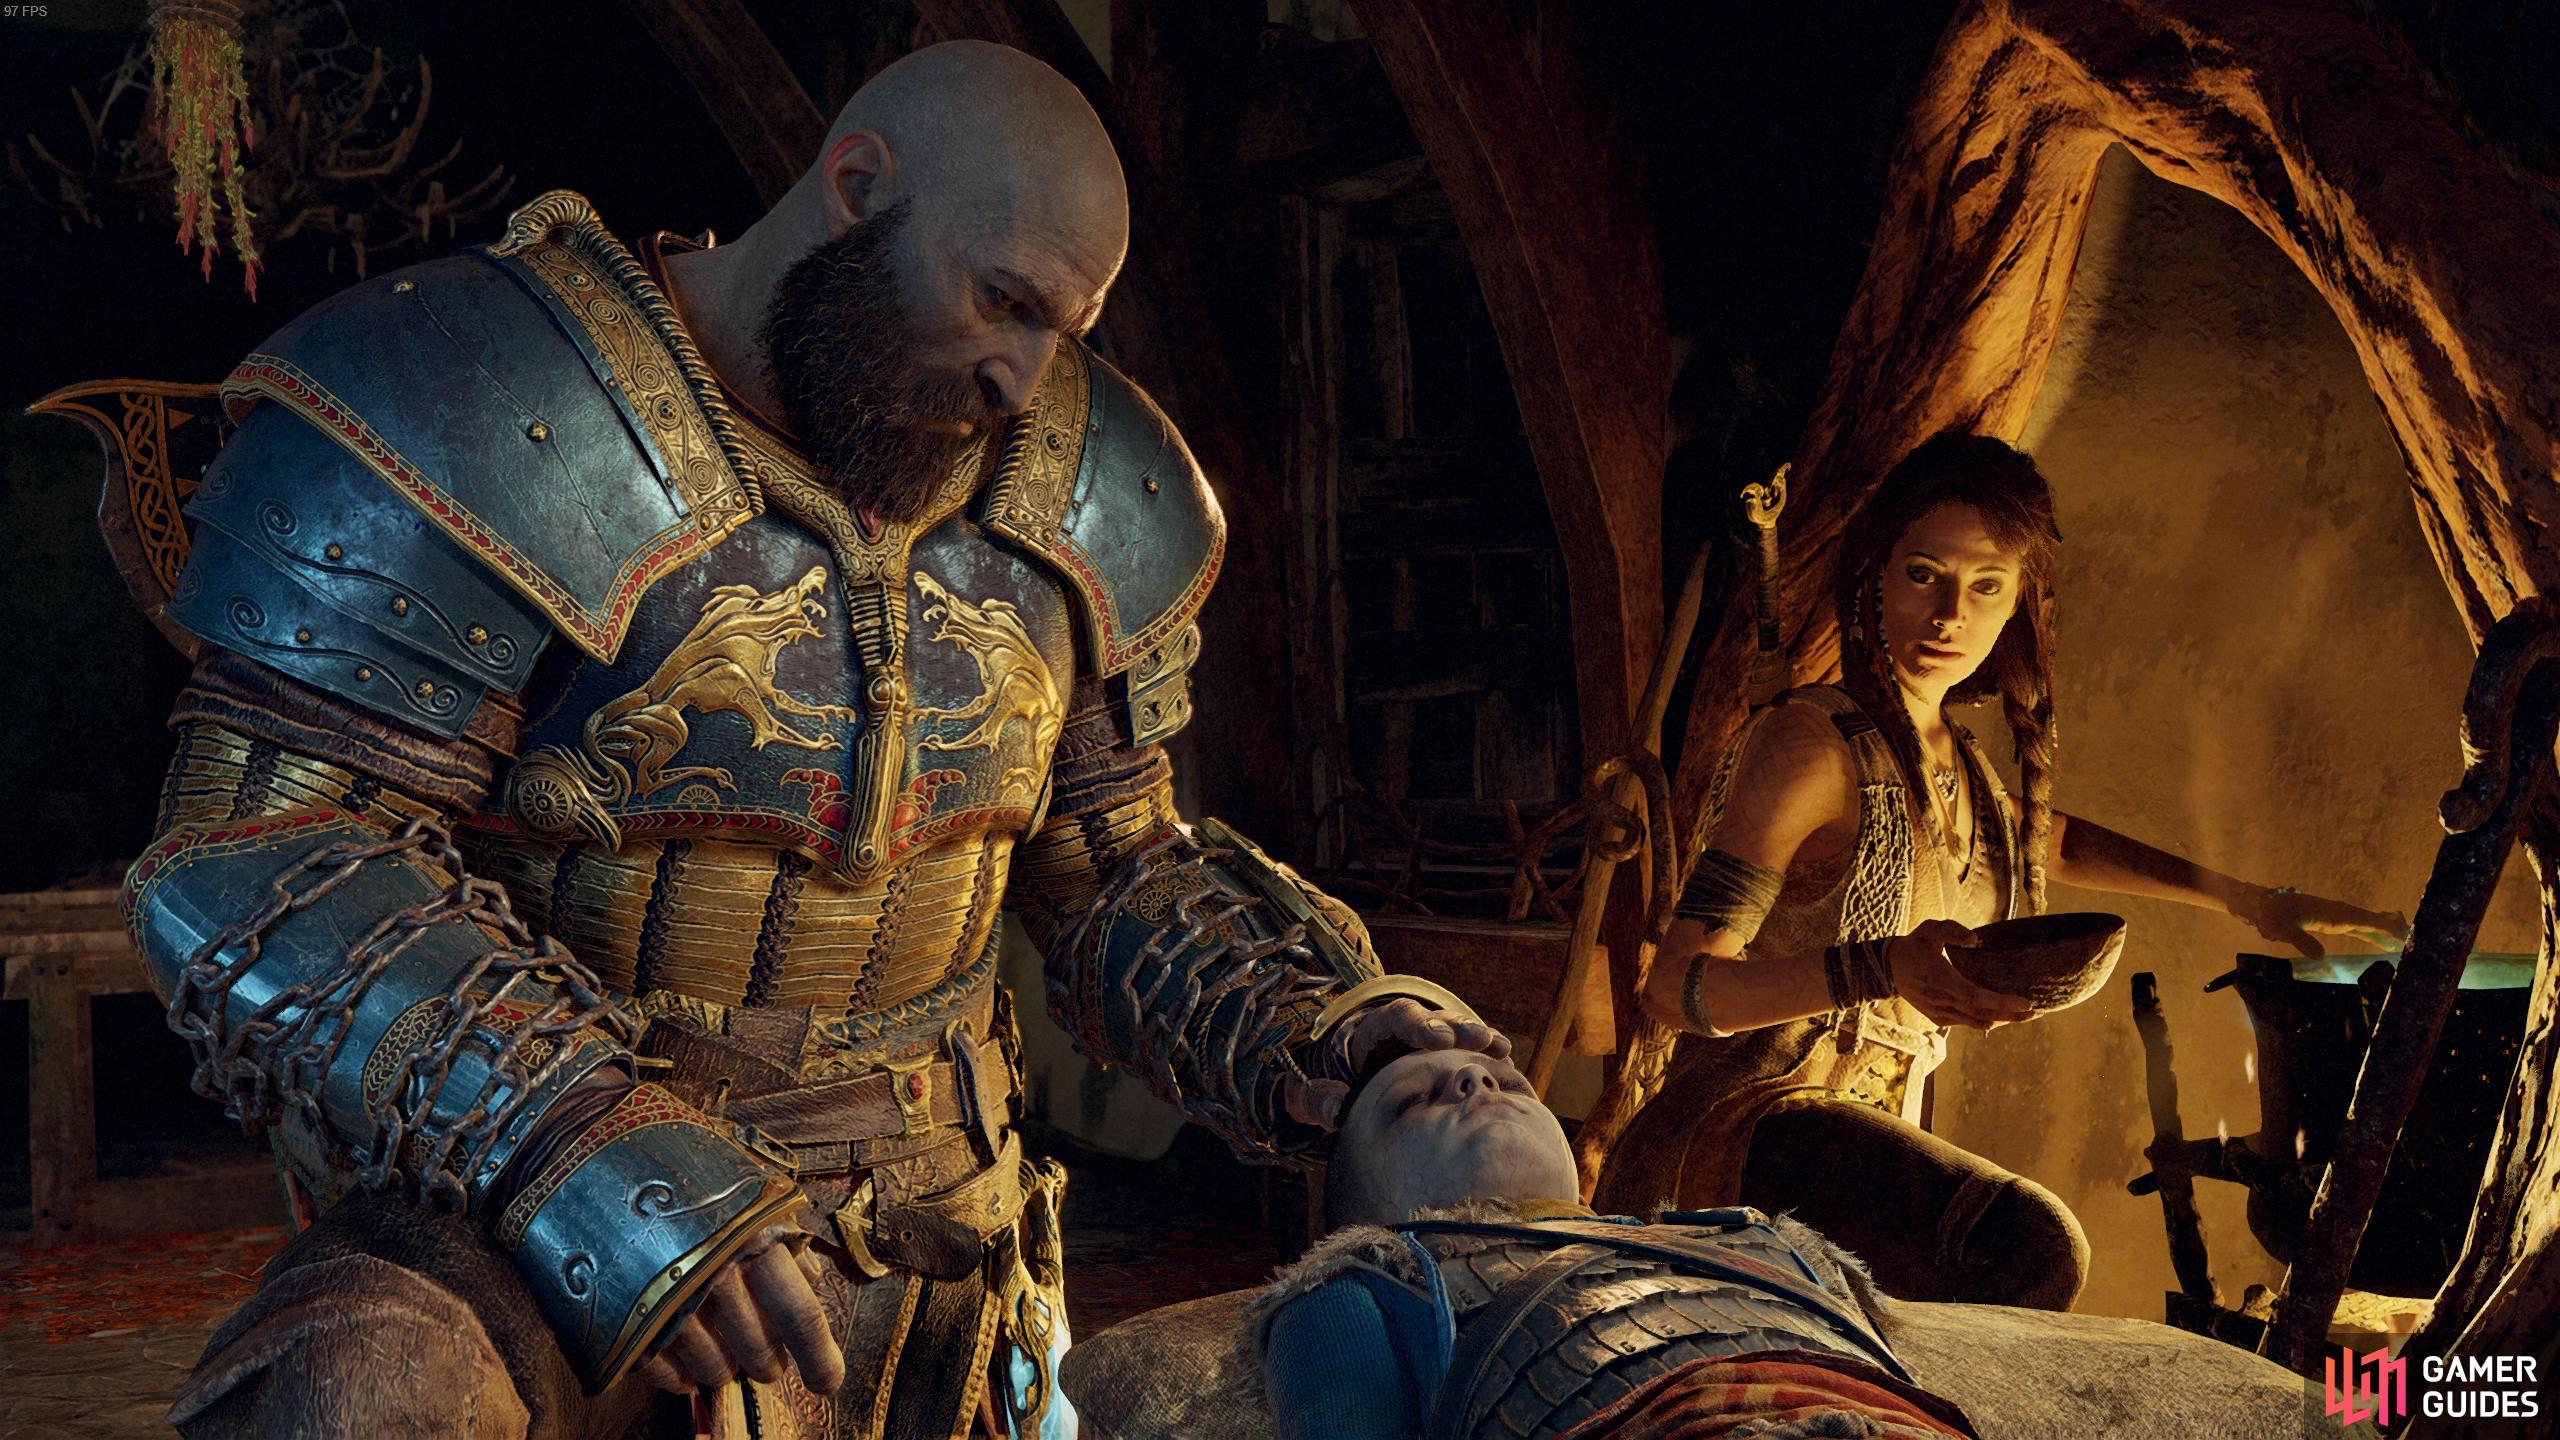
You’ll find yourself back in the Wildwoods, head up the path and as you reach the clearing outside of Kratos’ house, a whole host of Hel-Reaver Lords attacks. Like always, resort to your fists in order to damage them, taking care not to let yourself get surrounded. You’ll be fighting without Atreus for a while so you’ll need to pay more attention in battle. Once defeated, head inside the house to trigger a story event as Kratos reclaims his past in the form of a deadly weapon.
The Blades of Chaos
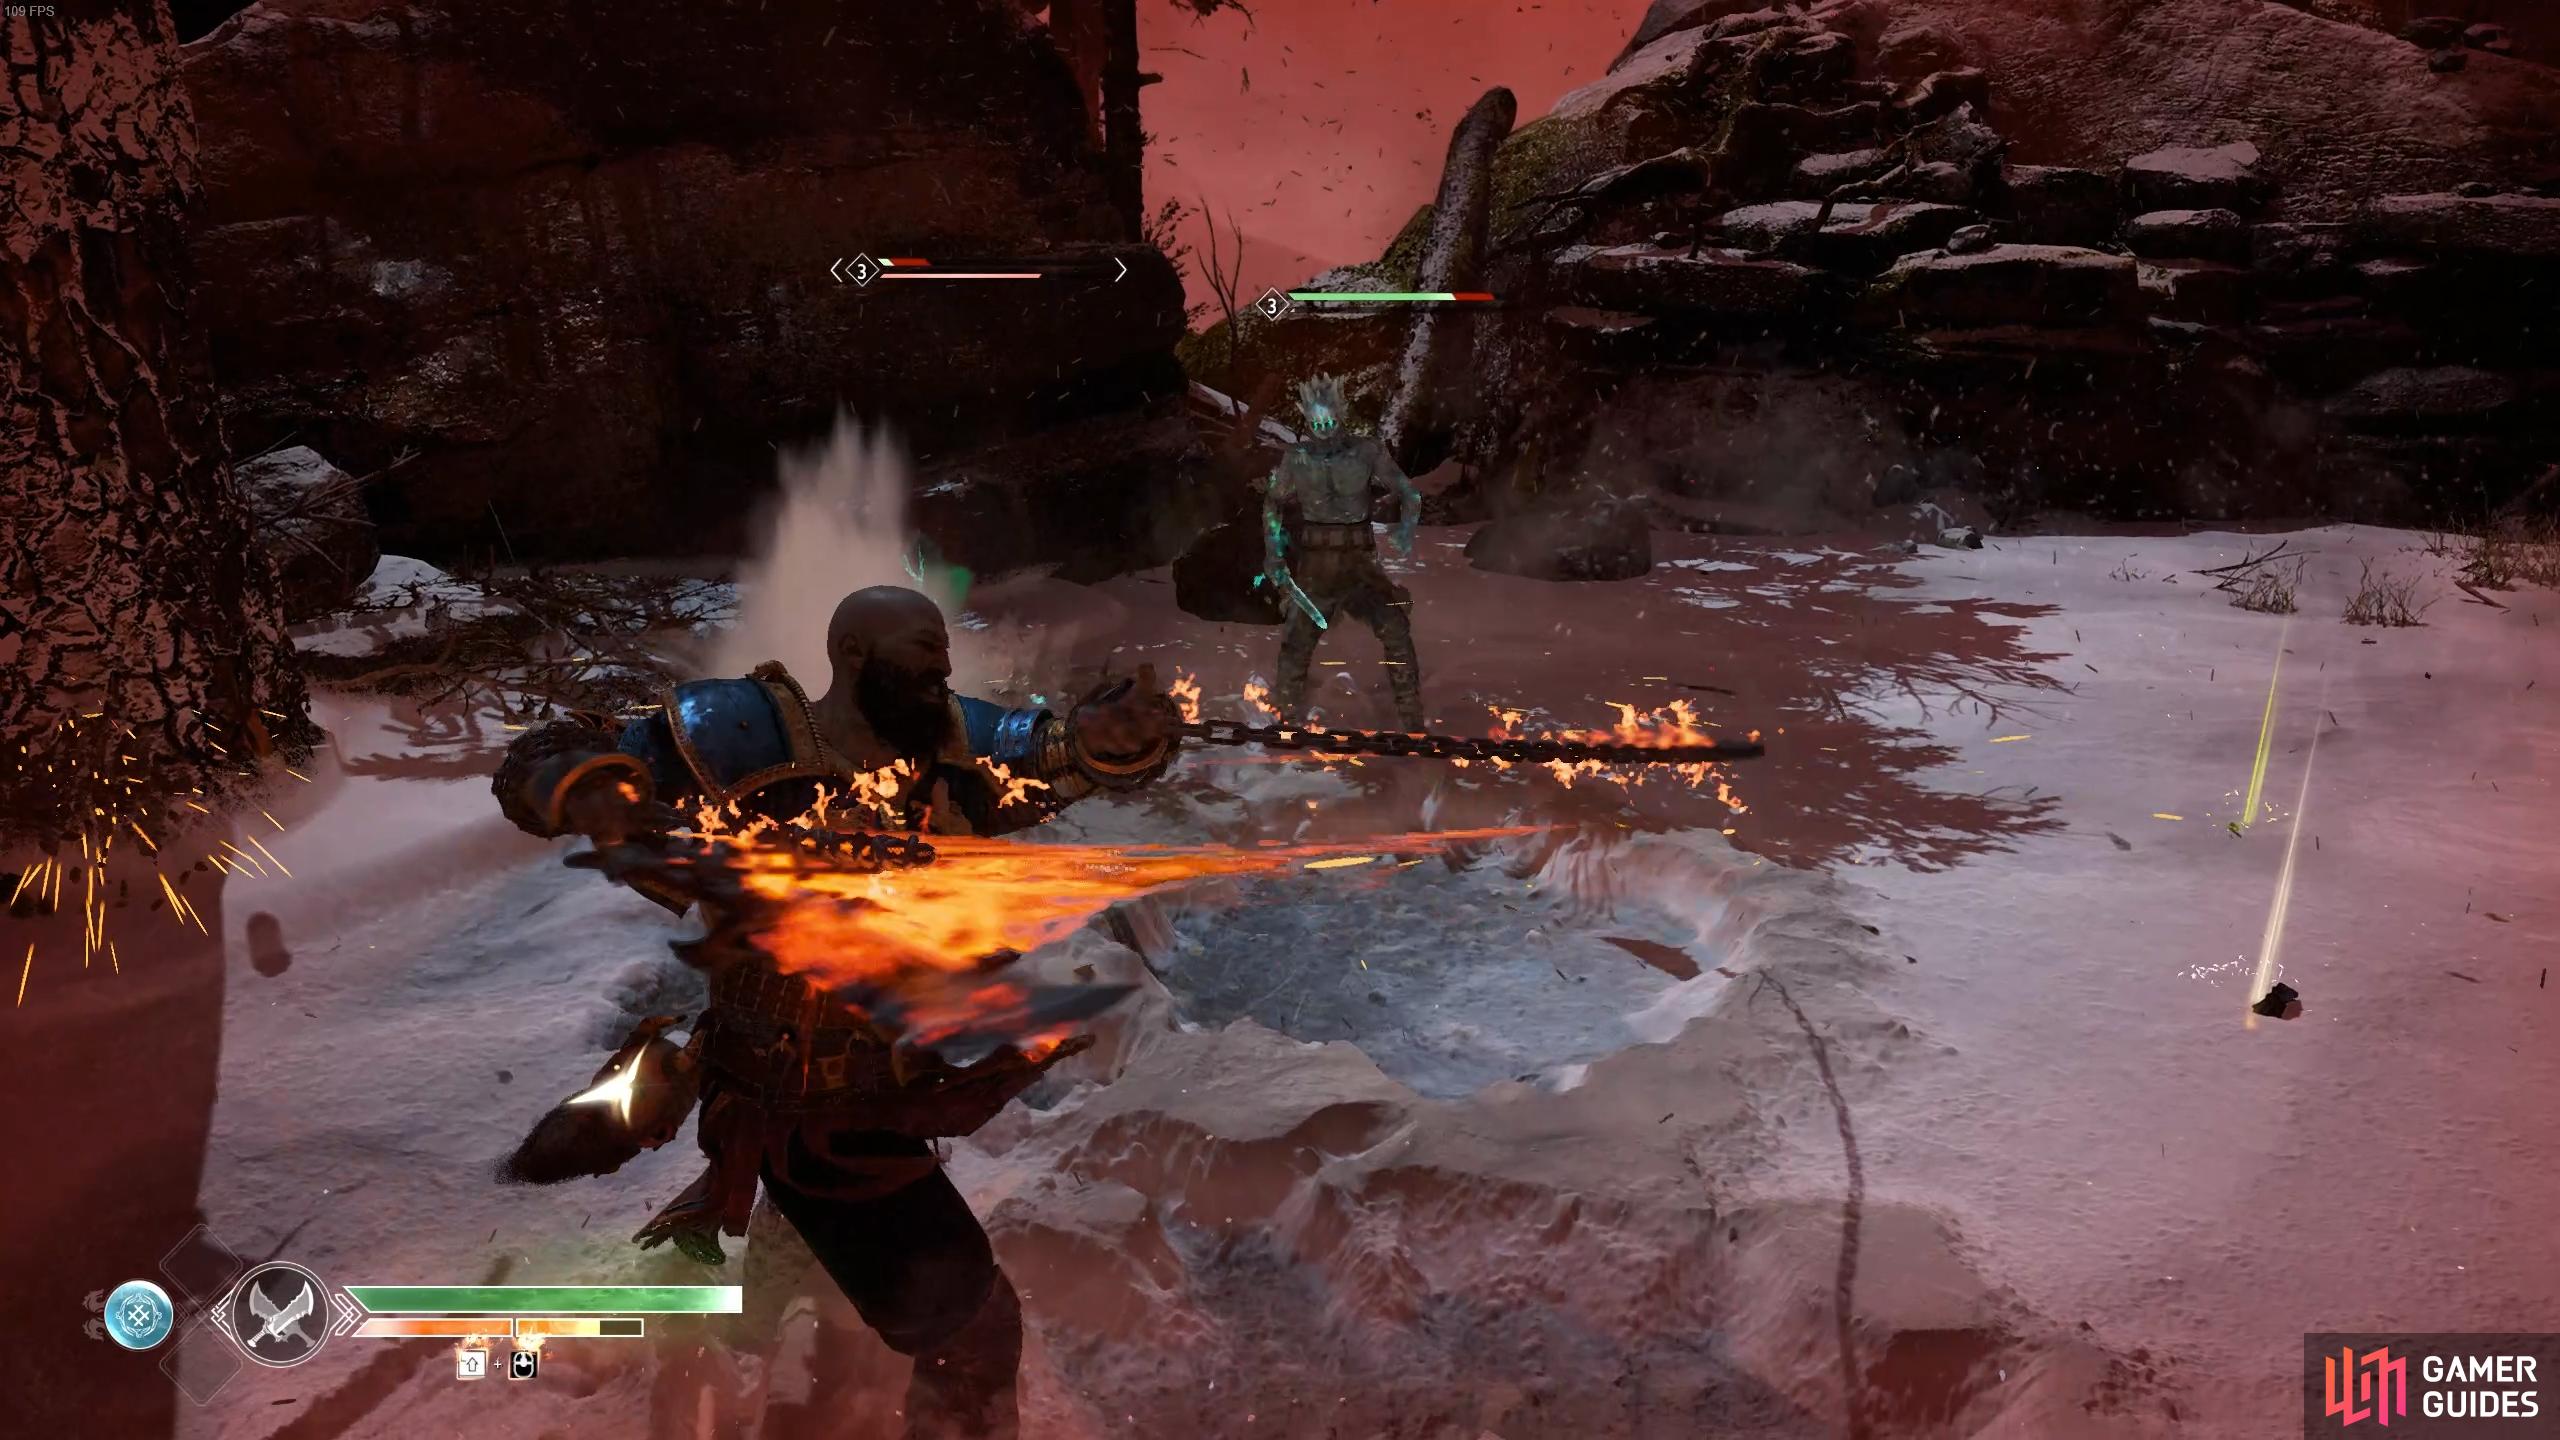
As you step outside the house, more Hel-Reaver Lords will be there to greet you, this time however, you have a new tool at your disposal. The Blades of Chaos do Burn damage against enemies, effective against any denizens of Hel meaning you’ll no longer need to switch to your fists.
While the Leviathan Axe is stronger and scales based off the Strength stat, the Blades of Chaos are more for crowd control and scales off the Runic stat. Whenever you find yourself surrounded by enemies, switch to the Blades with the [Left D-Pad] button and make use of it’s sweeping motions. On top of that, the Blades also have their own Runic Attacks to find and pommels to equip along with skills to unlock. Before you begin this battle, access the menu screen and head over to the Skills section.

(1 of 2) The sweeping motions are great for crowd control.
The sweeping motions are great for crowd control. (left), Heavy hits with the blades are very powerful. (right)
There are 5 Skills available to purchase right now and you should have more than enough XP to buy all of them. They’re all useful, especially the Rising Fury skill that allows you to launch enemies in the air. Take the time to get used to the attacks and begin taking out the waves of Hel-Reaver Lords in front of you.
You’ll unlock the Hello, Old Friend achievement when you obtain the Blades of Chaos.
Head now to the Mystic Gateway and use it to travel back to Brok’s shop at Týr’s Temple. You can make use of Brok’s shop here to do any last minute shopping before your visit to the realm of the dead and he has acquired a few new interesting items. You can now craft a few Legendary Enchantments to customize Kratos a little more to your liking and he now sells the Berserker’s Resurrection Stone. This will only recover a little health when revived but will give you a full gauge of Spartan Rage to use, if you feel confident enough, go with this stone from now on. When you’re ready, leave the shop and head into the Realm Travel room, using the Bifröst to journey to Helheim.
Reach the Bridge Keeper
It becomes clear just what kind of place you’ve come to once you step through the doors. Helheim is a cold and unforgiving place and you’ll need to be on your toes. From the entrance to the Temple, head over to the east corner to find the first Artefact belonging to the [Family Heirloom] quest. As you press forward you’ll come across another group of Hel-Reaver Lords and once they’re defeated, open the Legendary Chest to obtain the Spartan Charge Light Runic Attack gem.
(1 of 2) Head to the east corner from the Temple entrance to find this Artefact.
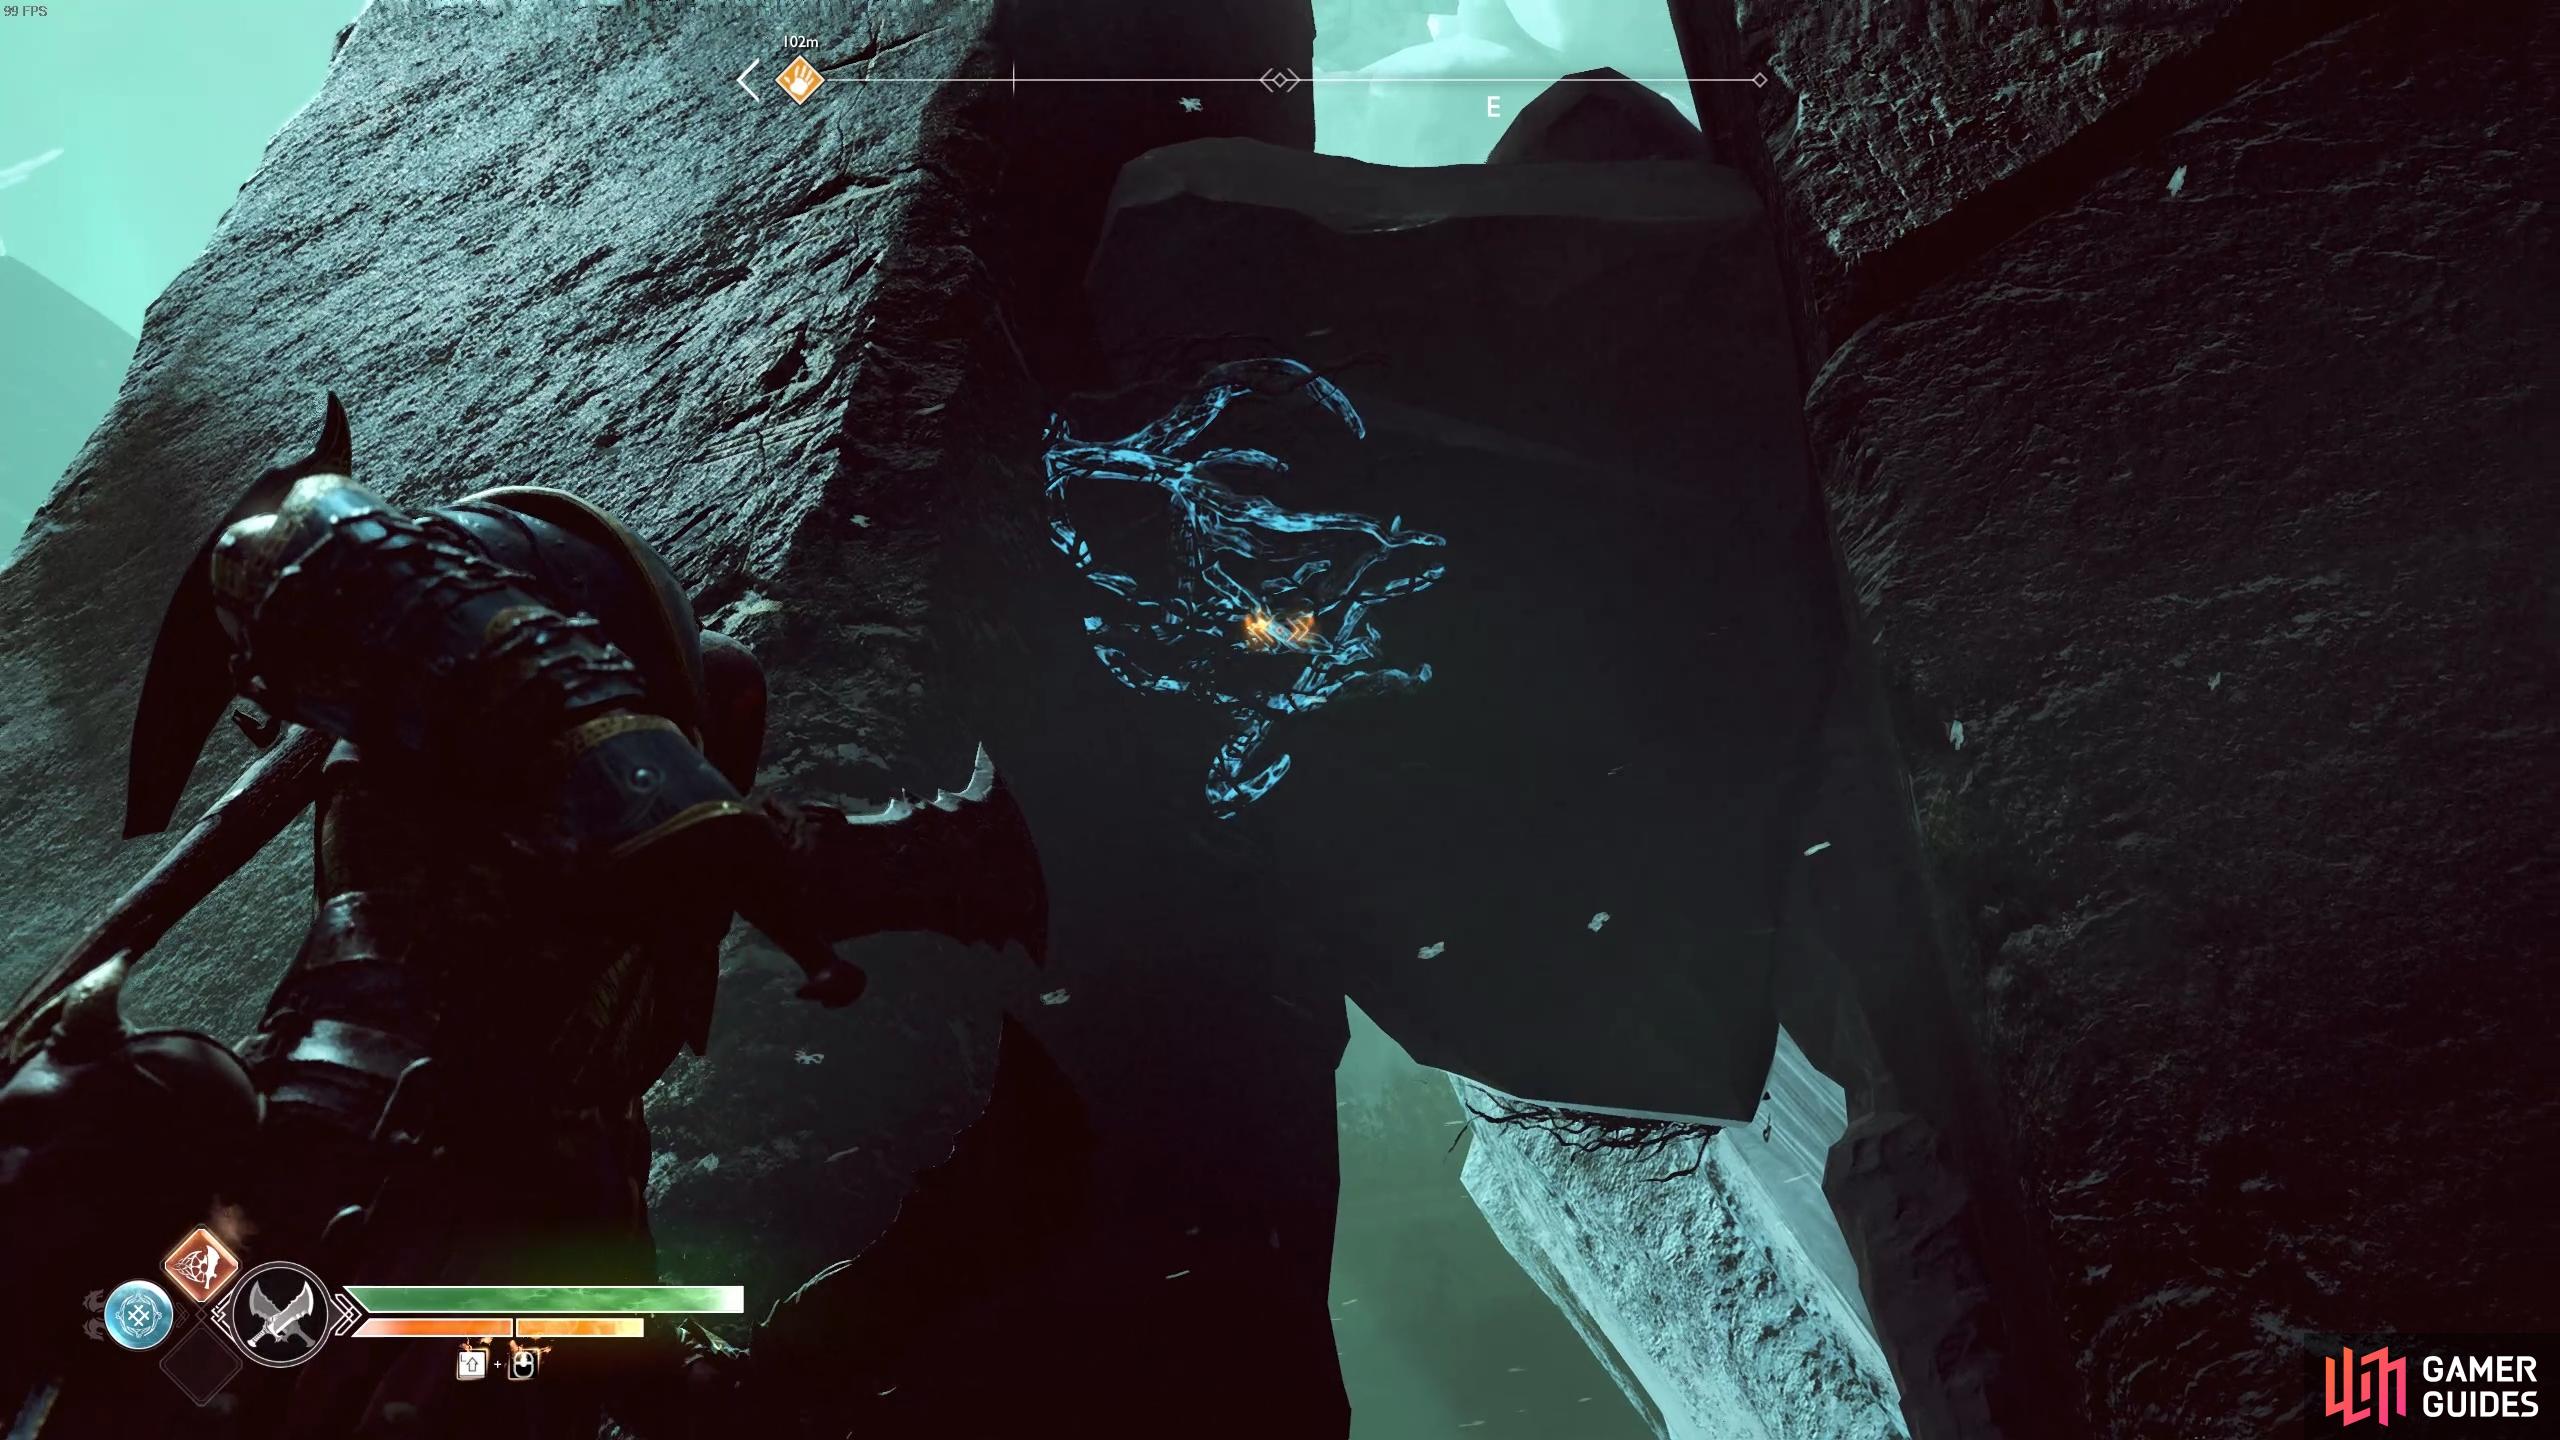
Head to the east corner from the Temple entrance to find this Artefact. (left), Look to the ring above the first Hel’s Bramble to find this Raven. (right)
Face north and look up at the ring above to find the first of six Ravens in Helheim. Finally, you’ll see more of that bramble in front you, known as Hel’s Bramble and you can finally access these. Attack them with the Blades of Chaos to set them alight and continue your trek across the bridge. A new type of enemy will attack here, the Hel-Broods, an enemy that alone pose little threat but can be deadly in the swarms they arrive in. They will attempt to run towards you before jumping and grabbing you, they do however have little health.
With the Hel-Broods defeated, burn away more bramble on the east side of the bridge to find a Hacksilver chest and then leap over the fallen pillar. A Hel-Shadow Archer initiates the next attack followed by another swarm of Hel-Broods, make use of your Runic Attack and defeat them all. Look to the west side after their death to find a platform you can climb leading to another Hacksilver chest before passing through the large doors ahead.
Burn the brambles to the left of the gate to push on.
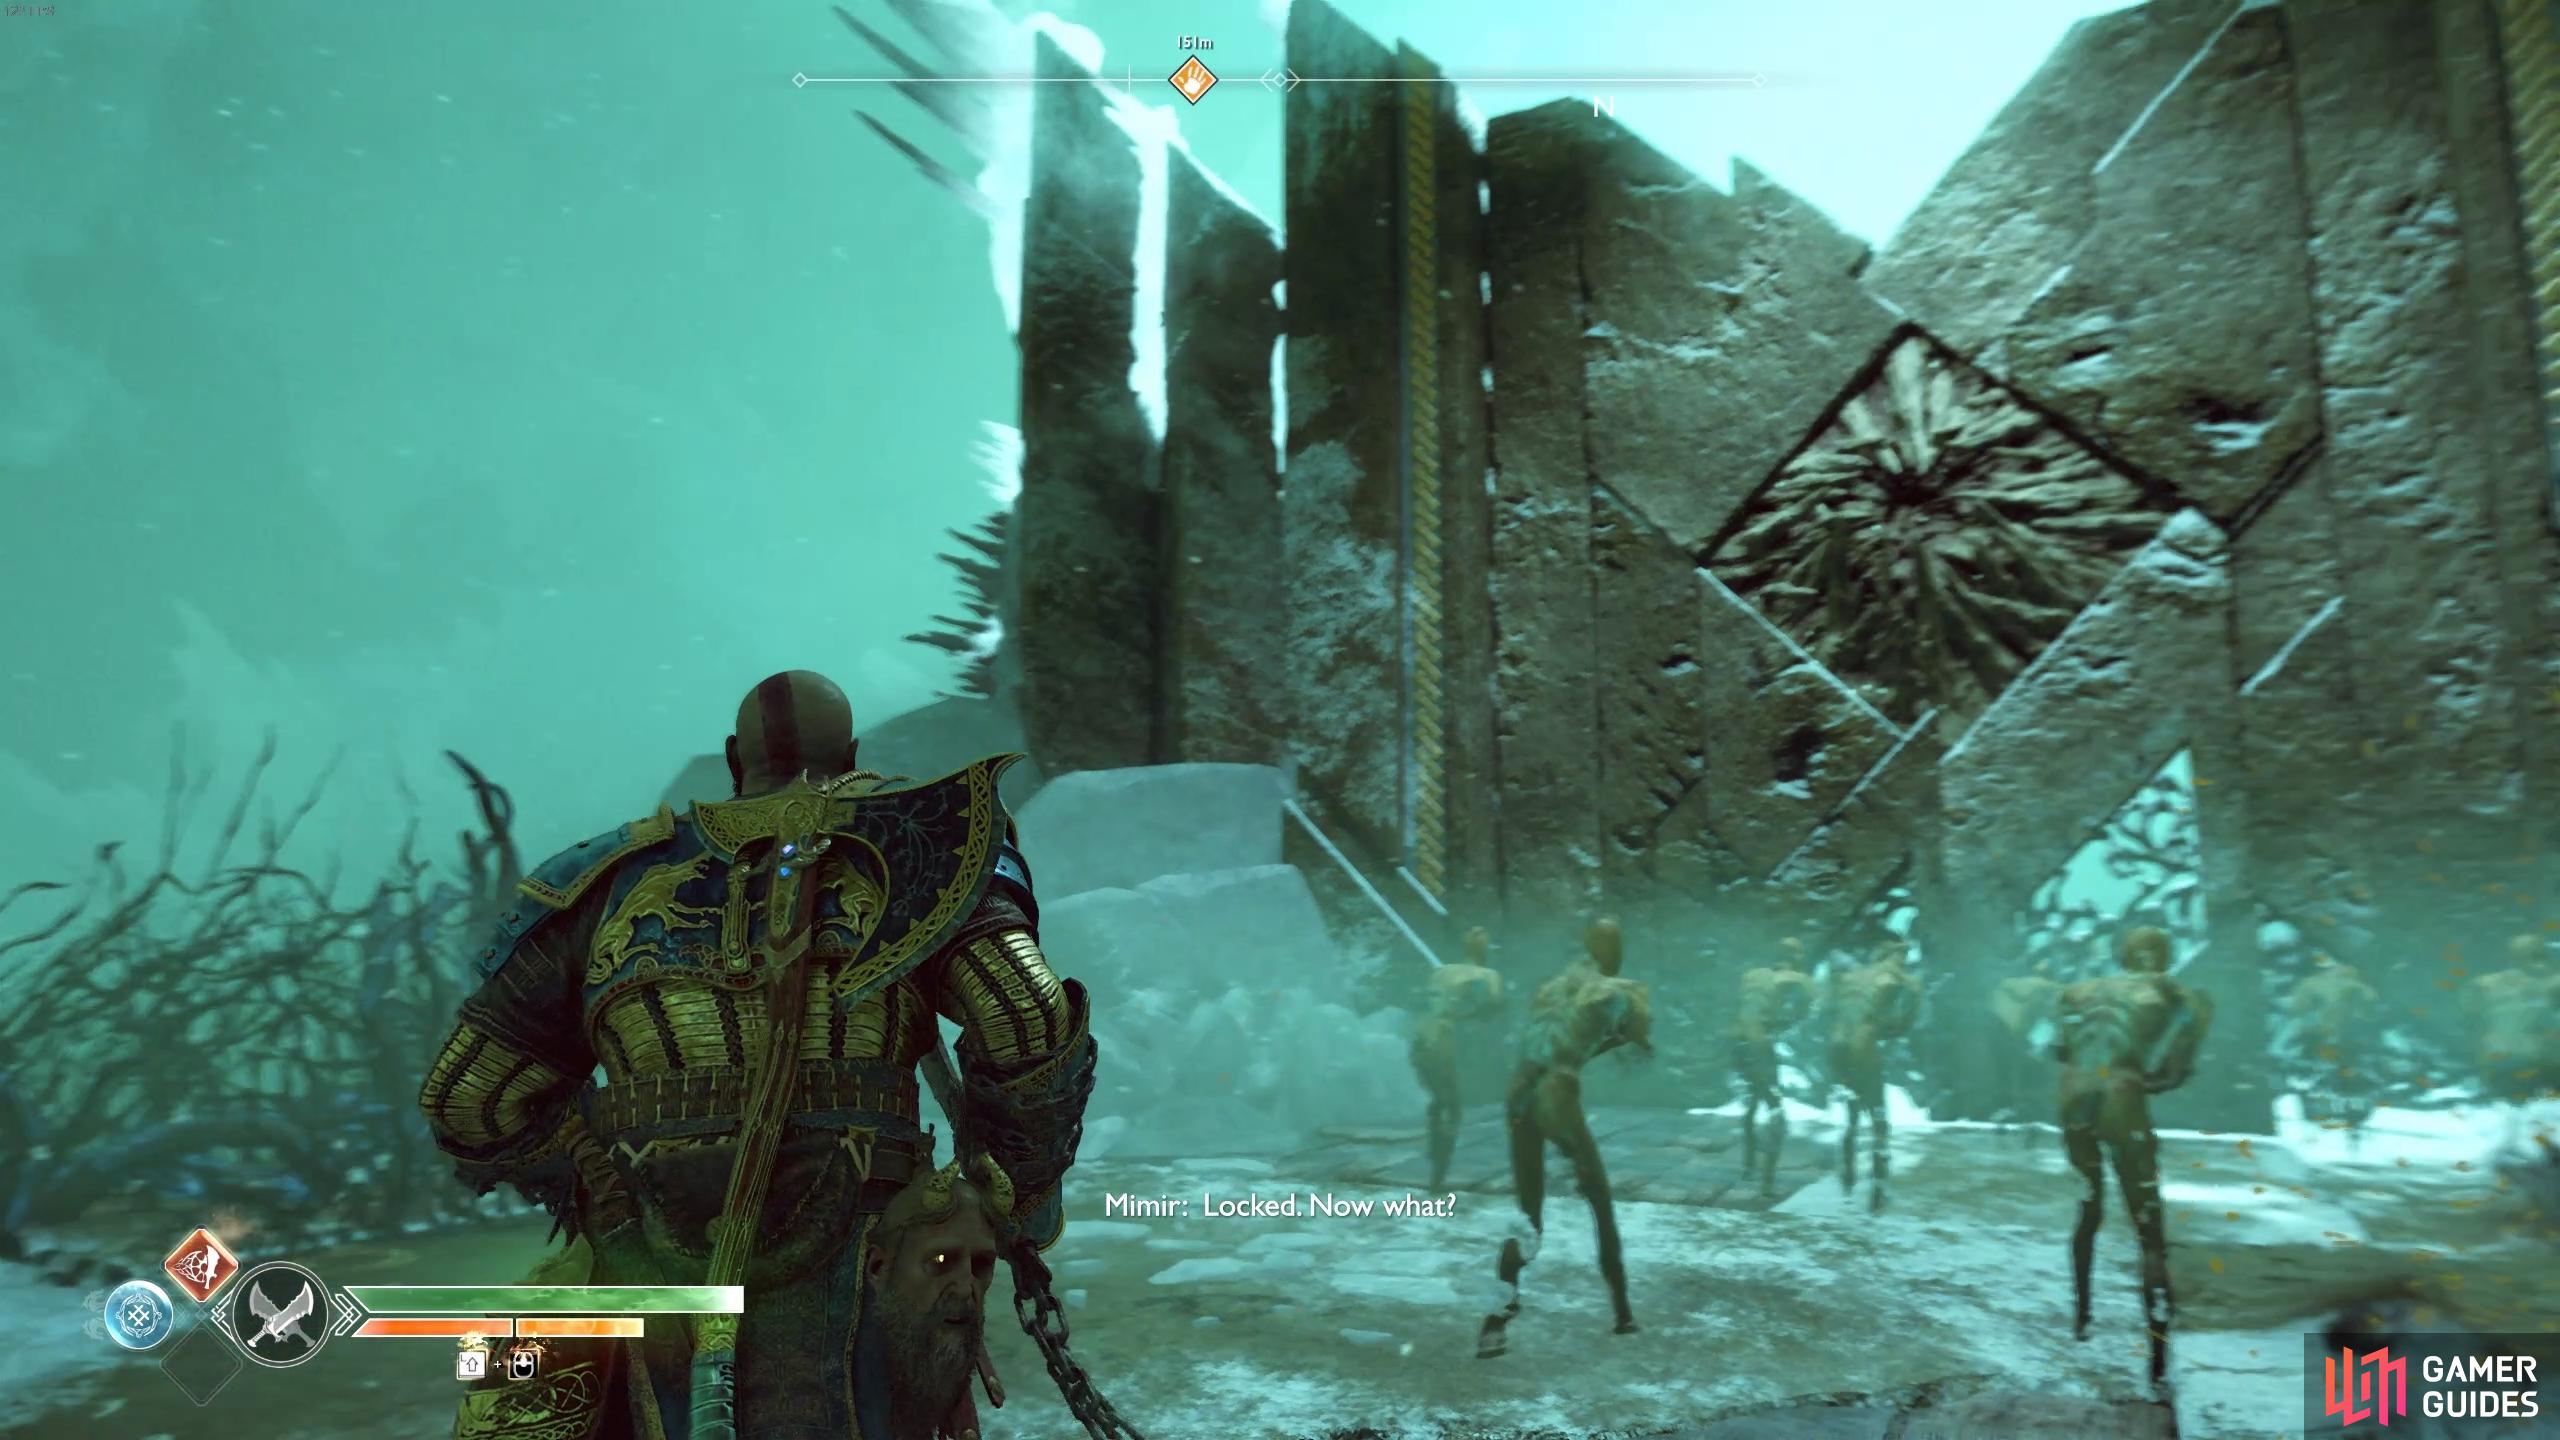
The next large gates in front of you are locked, you’ll need to find another route to the Bridge Keeper. Thankfully, to the left of the doors are more brambles for you to burn away. Drop down and burn away more as you shimmy across the ledge to the other side.
As you exit into the clearing, a group of Hel-Reaver Guards attack, make use of the Block Break skill to break their guard before attacking with the Blades. To the right of where you entered this area are some brambles for you to burn, hiding a Hacksilver chest behind it.
Head over to the large block on the left now and burn away the brambles, climbing it after. At the bottom, defeat the three Hel-Shadow Archers and then look inbetween the two blocks you climbed down a moment ago to spot more brambles to burn away. Head around the back to find a second piece to burn away and drop the Hacksilver chest to the ground.
(1 of 2) Look between the two walls you climbed along to find brambles either side.
Look between the two walls you climbed along to find brambles either side. (left), The first pillar near the weapon rack has an Artefact hiding in the bramble. (right)
Proceed toward the first pillar near the weapons rack and look up to see some brambles, burn it away and pick up the Artefact that falls to the ground. Head forward and the ice that you’re standing on will drop and a Hel-Viken will attack. These are harder to stun with the Blades so make use of your Runic Attack and keep your distance. Upon it’s death, more Hel-Reavers attack, try to not let them surround you and take out the Hel-Shadow Archers first.
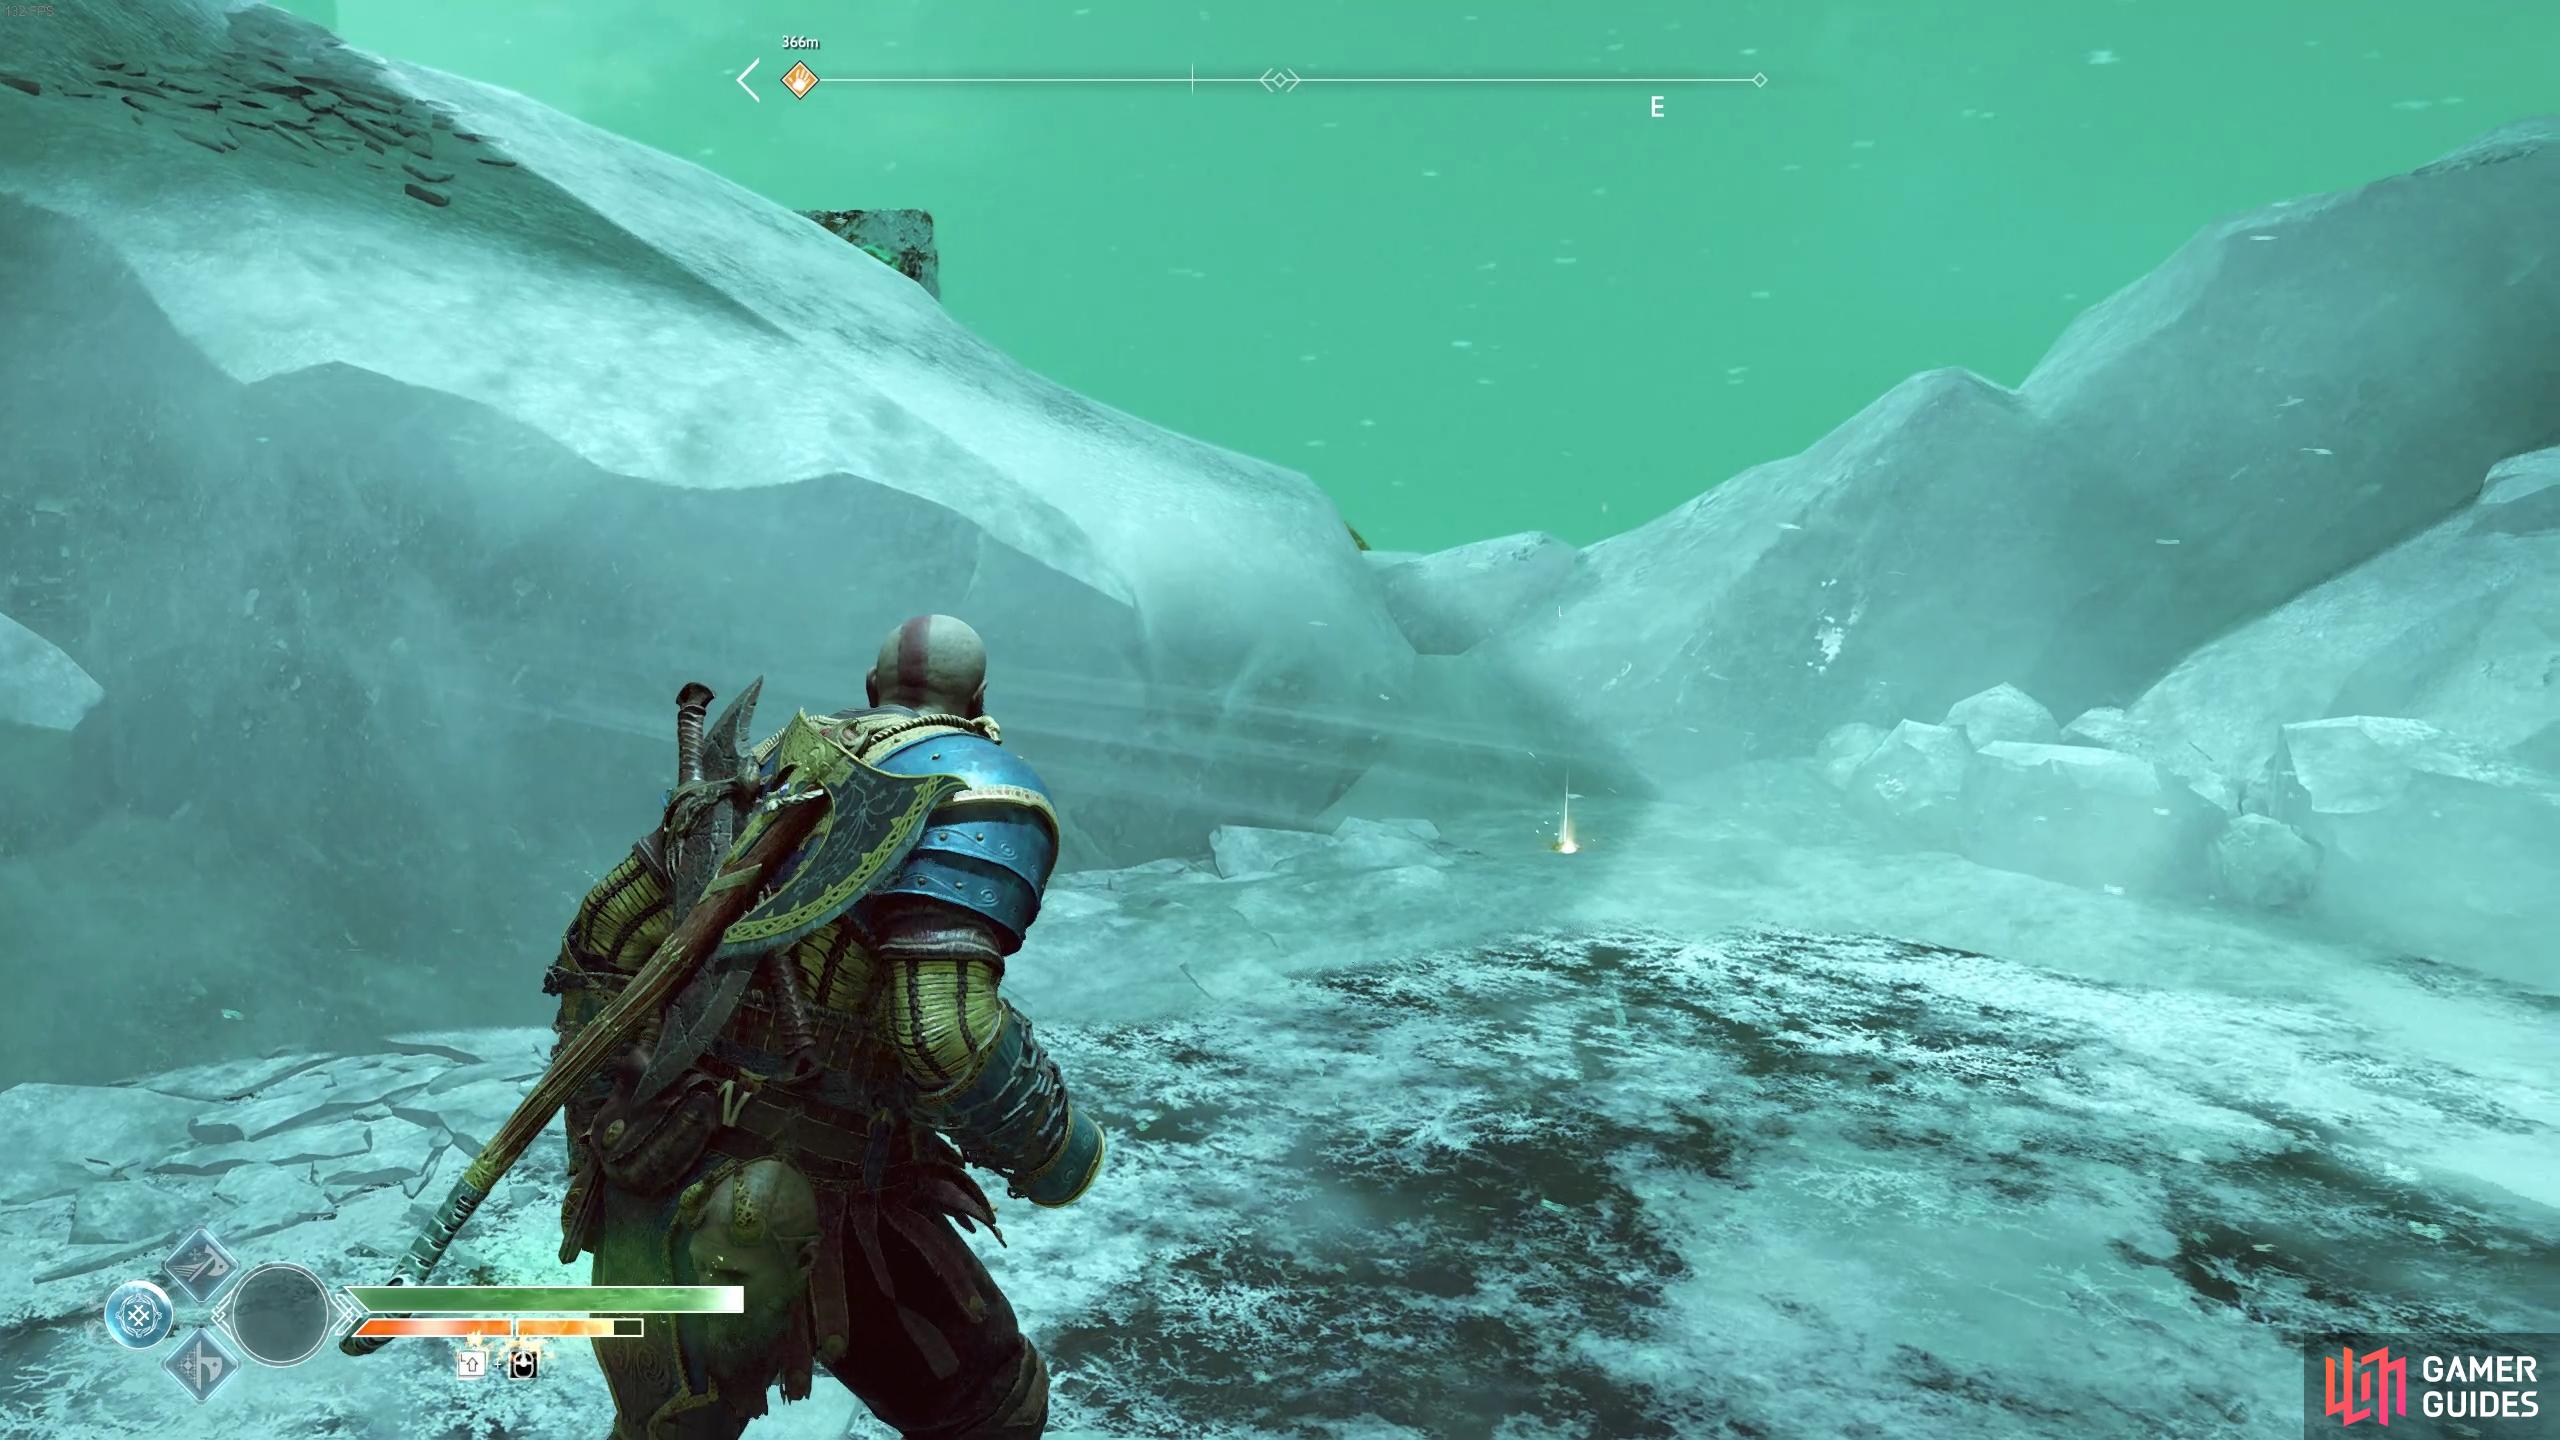
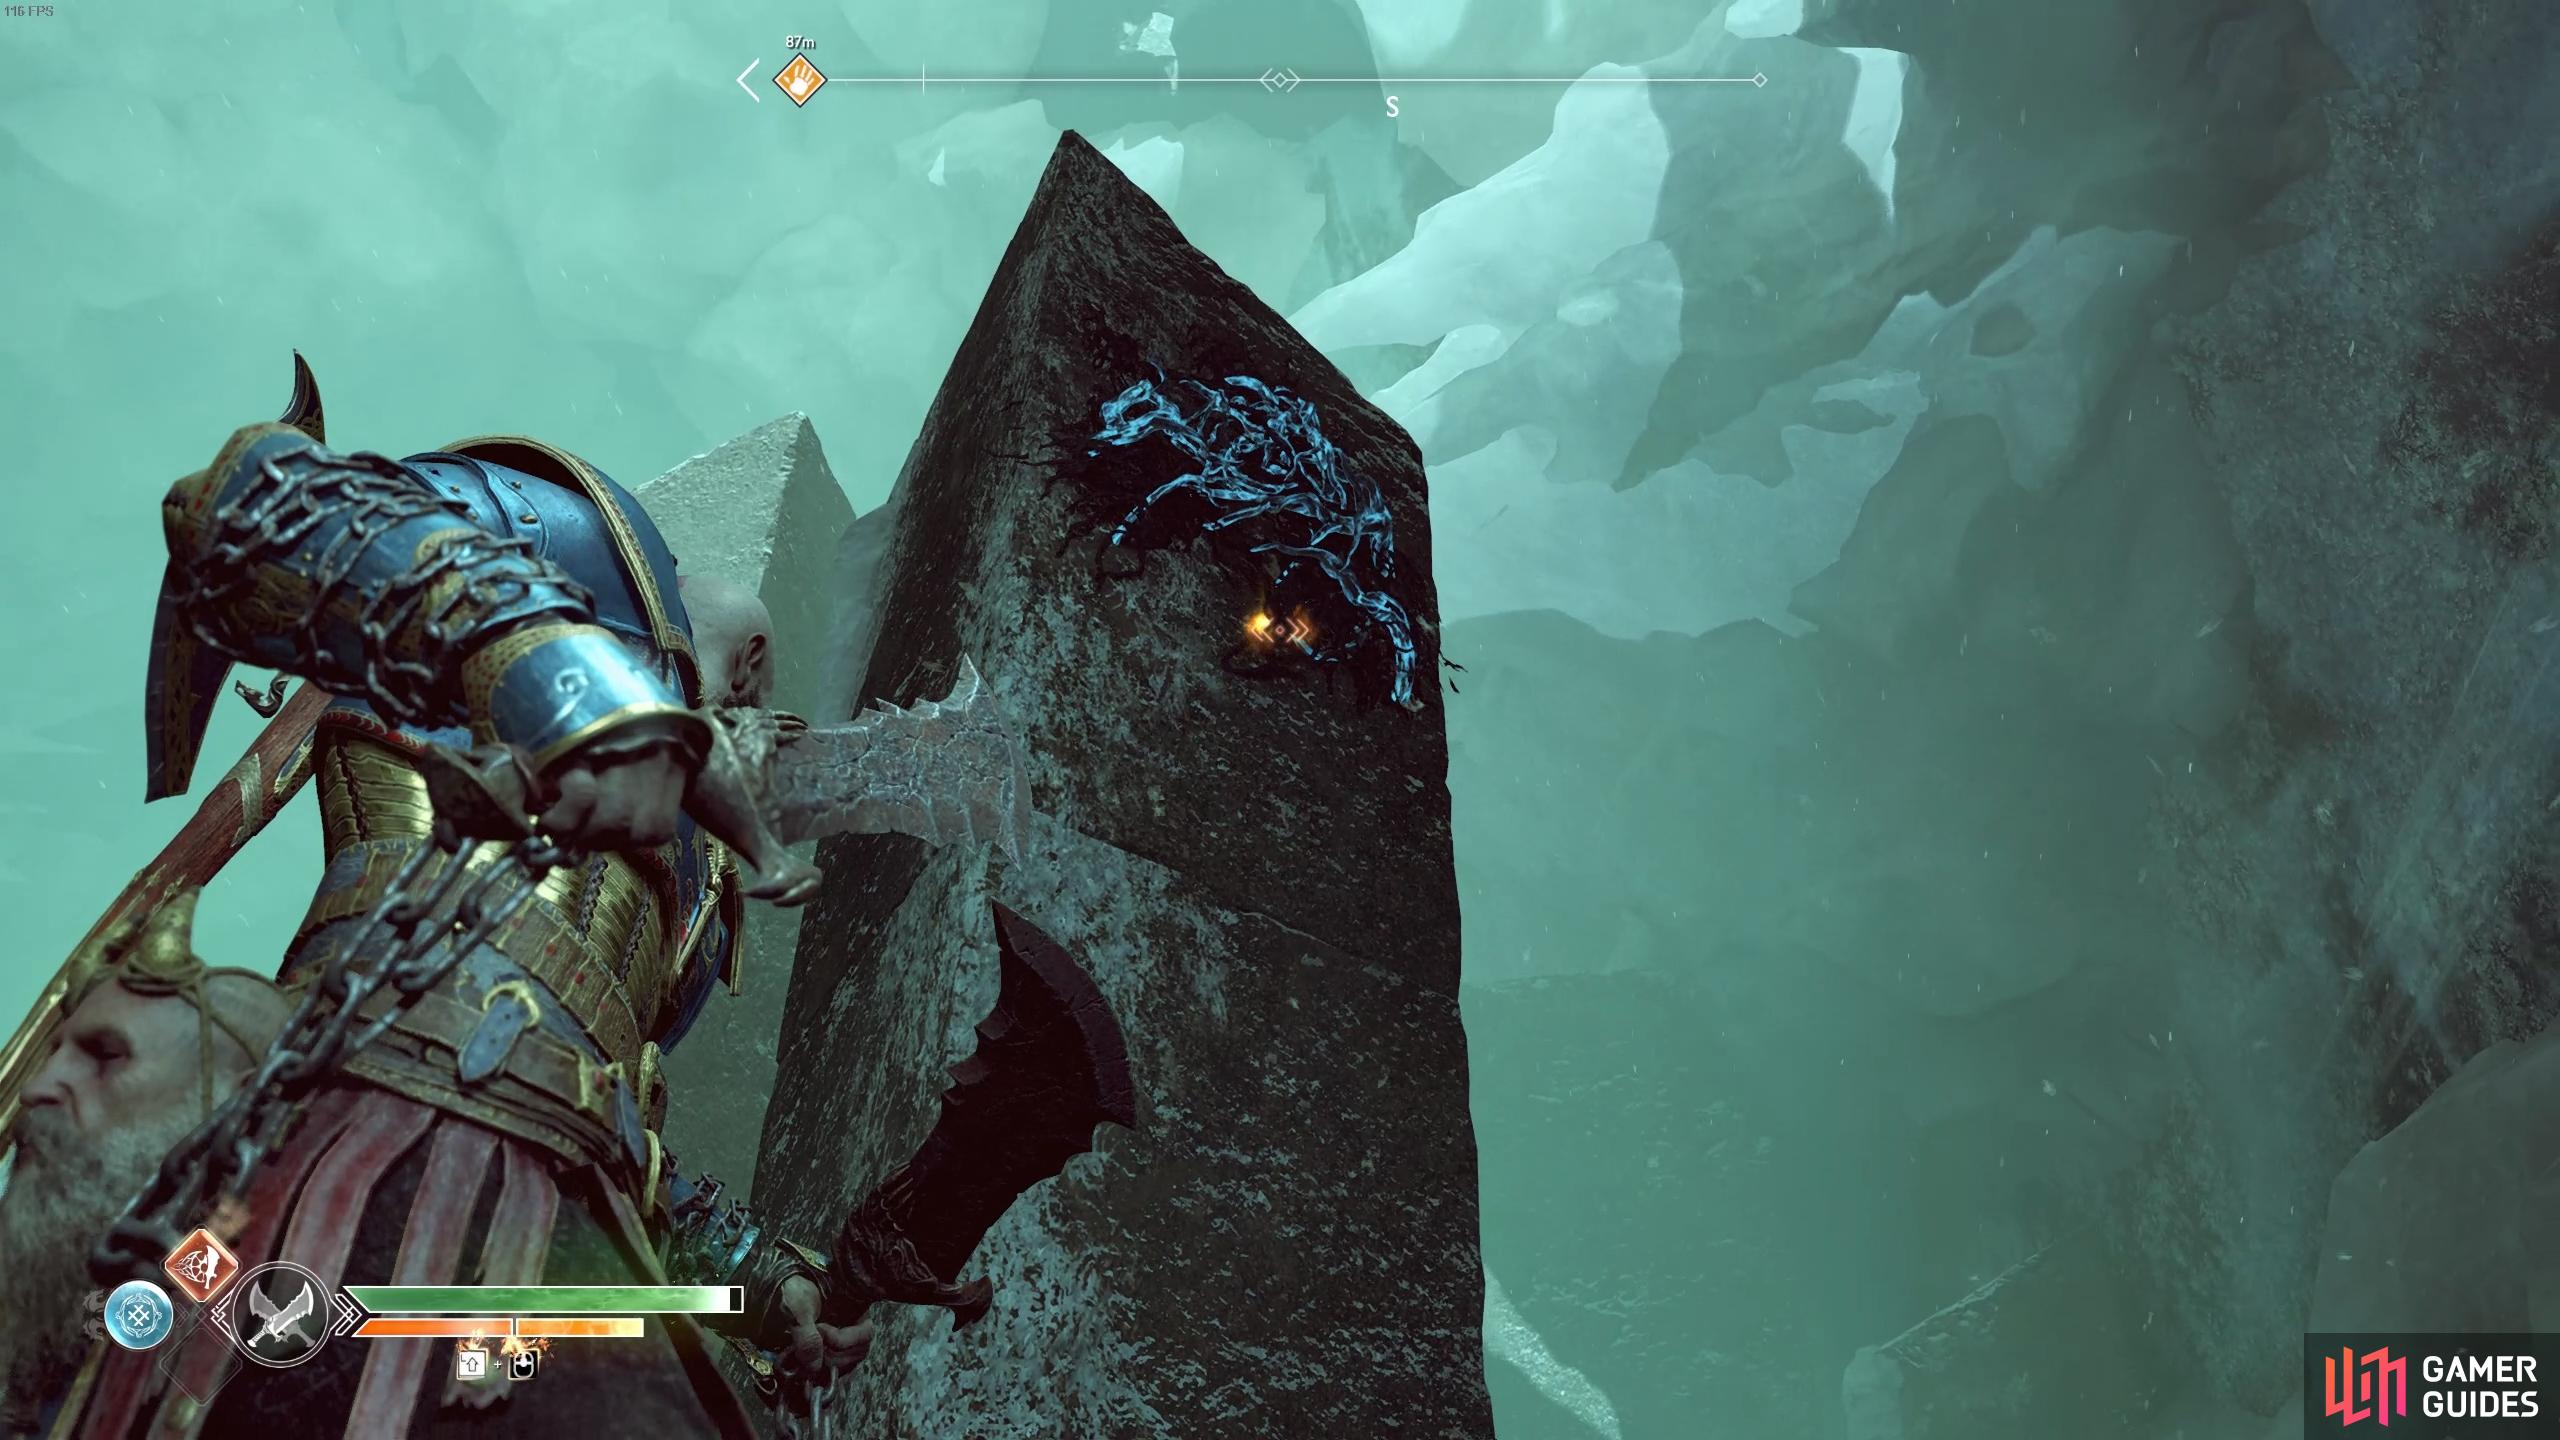
Once they’re defeated, burn away the brambles on the west wall if you wish to return the way you came and then look up to the northeast to find some more. Burn it away to drop a platform down to the ground level. Before you climb this however, climb the north wall and look to the back to find the next Raven. Drop down once more and look down the ravine to the right of the pillar you knocked down to find yet another Raven.
(1 of 2) Climb the north wall at the bottom to find this Raven.
Climb the north wall at the bottom to find this Raven. (left), Then search the ravine below to find another one. (right)
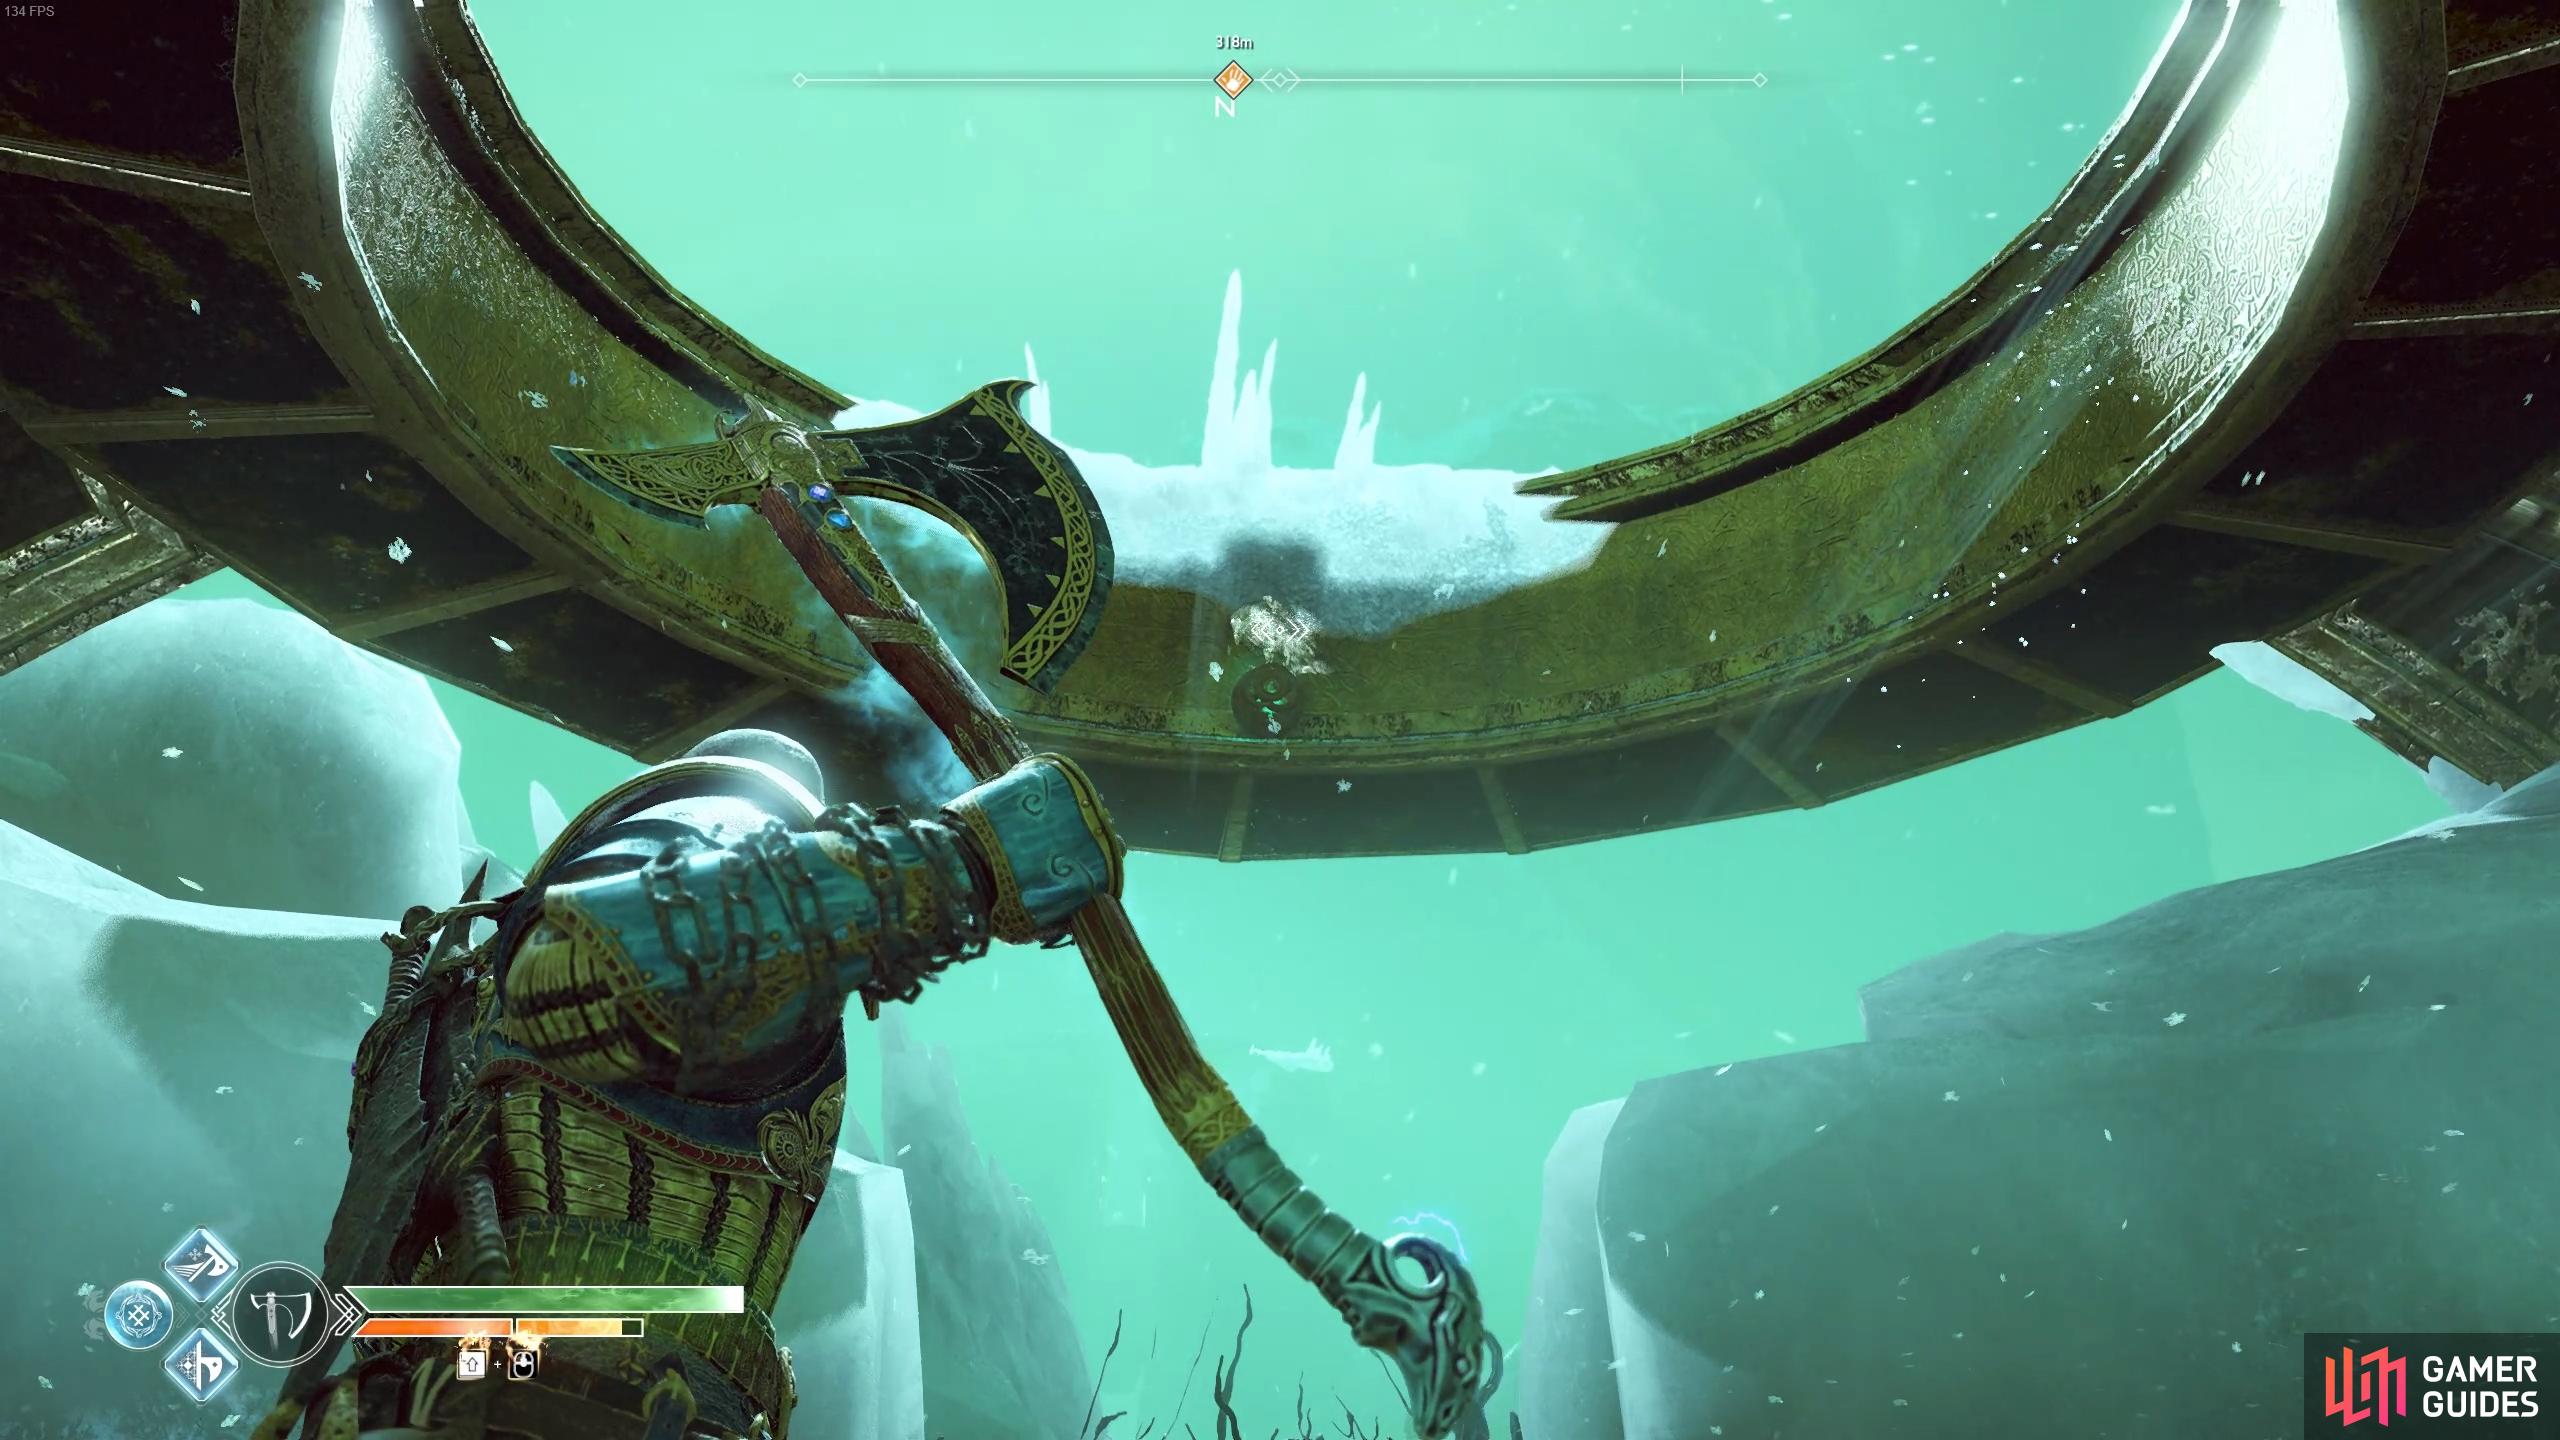
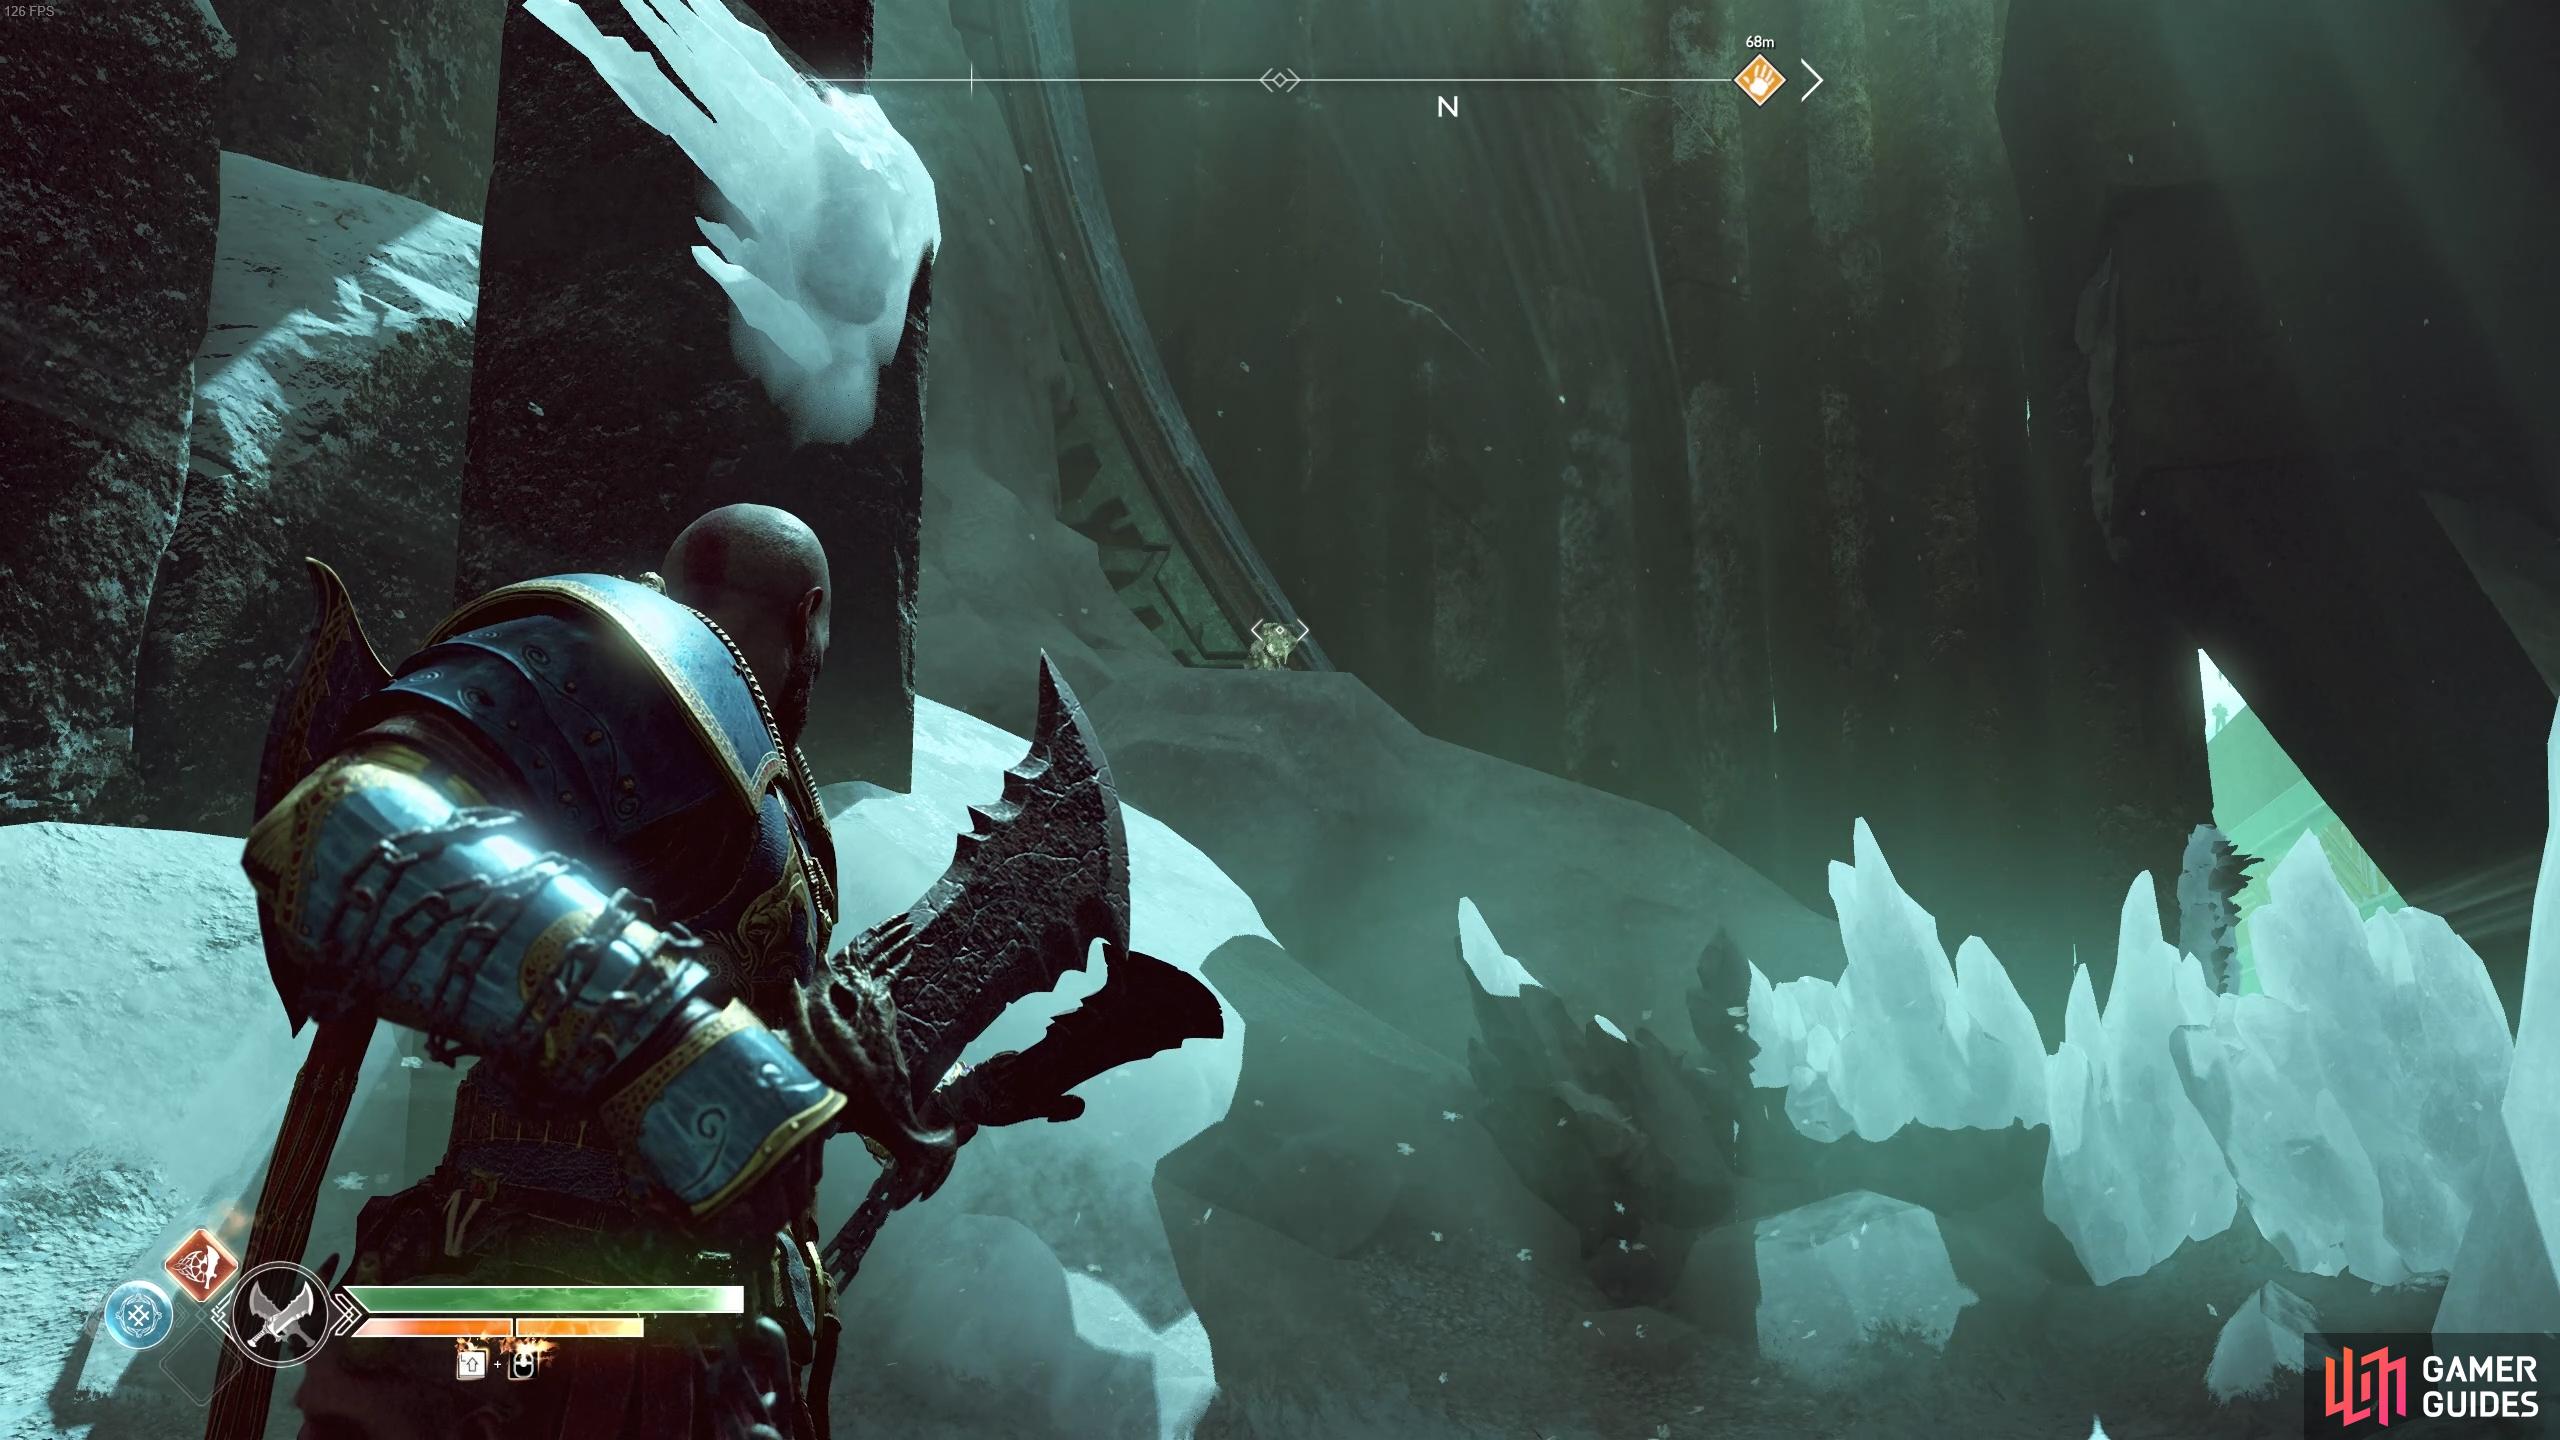
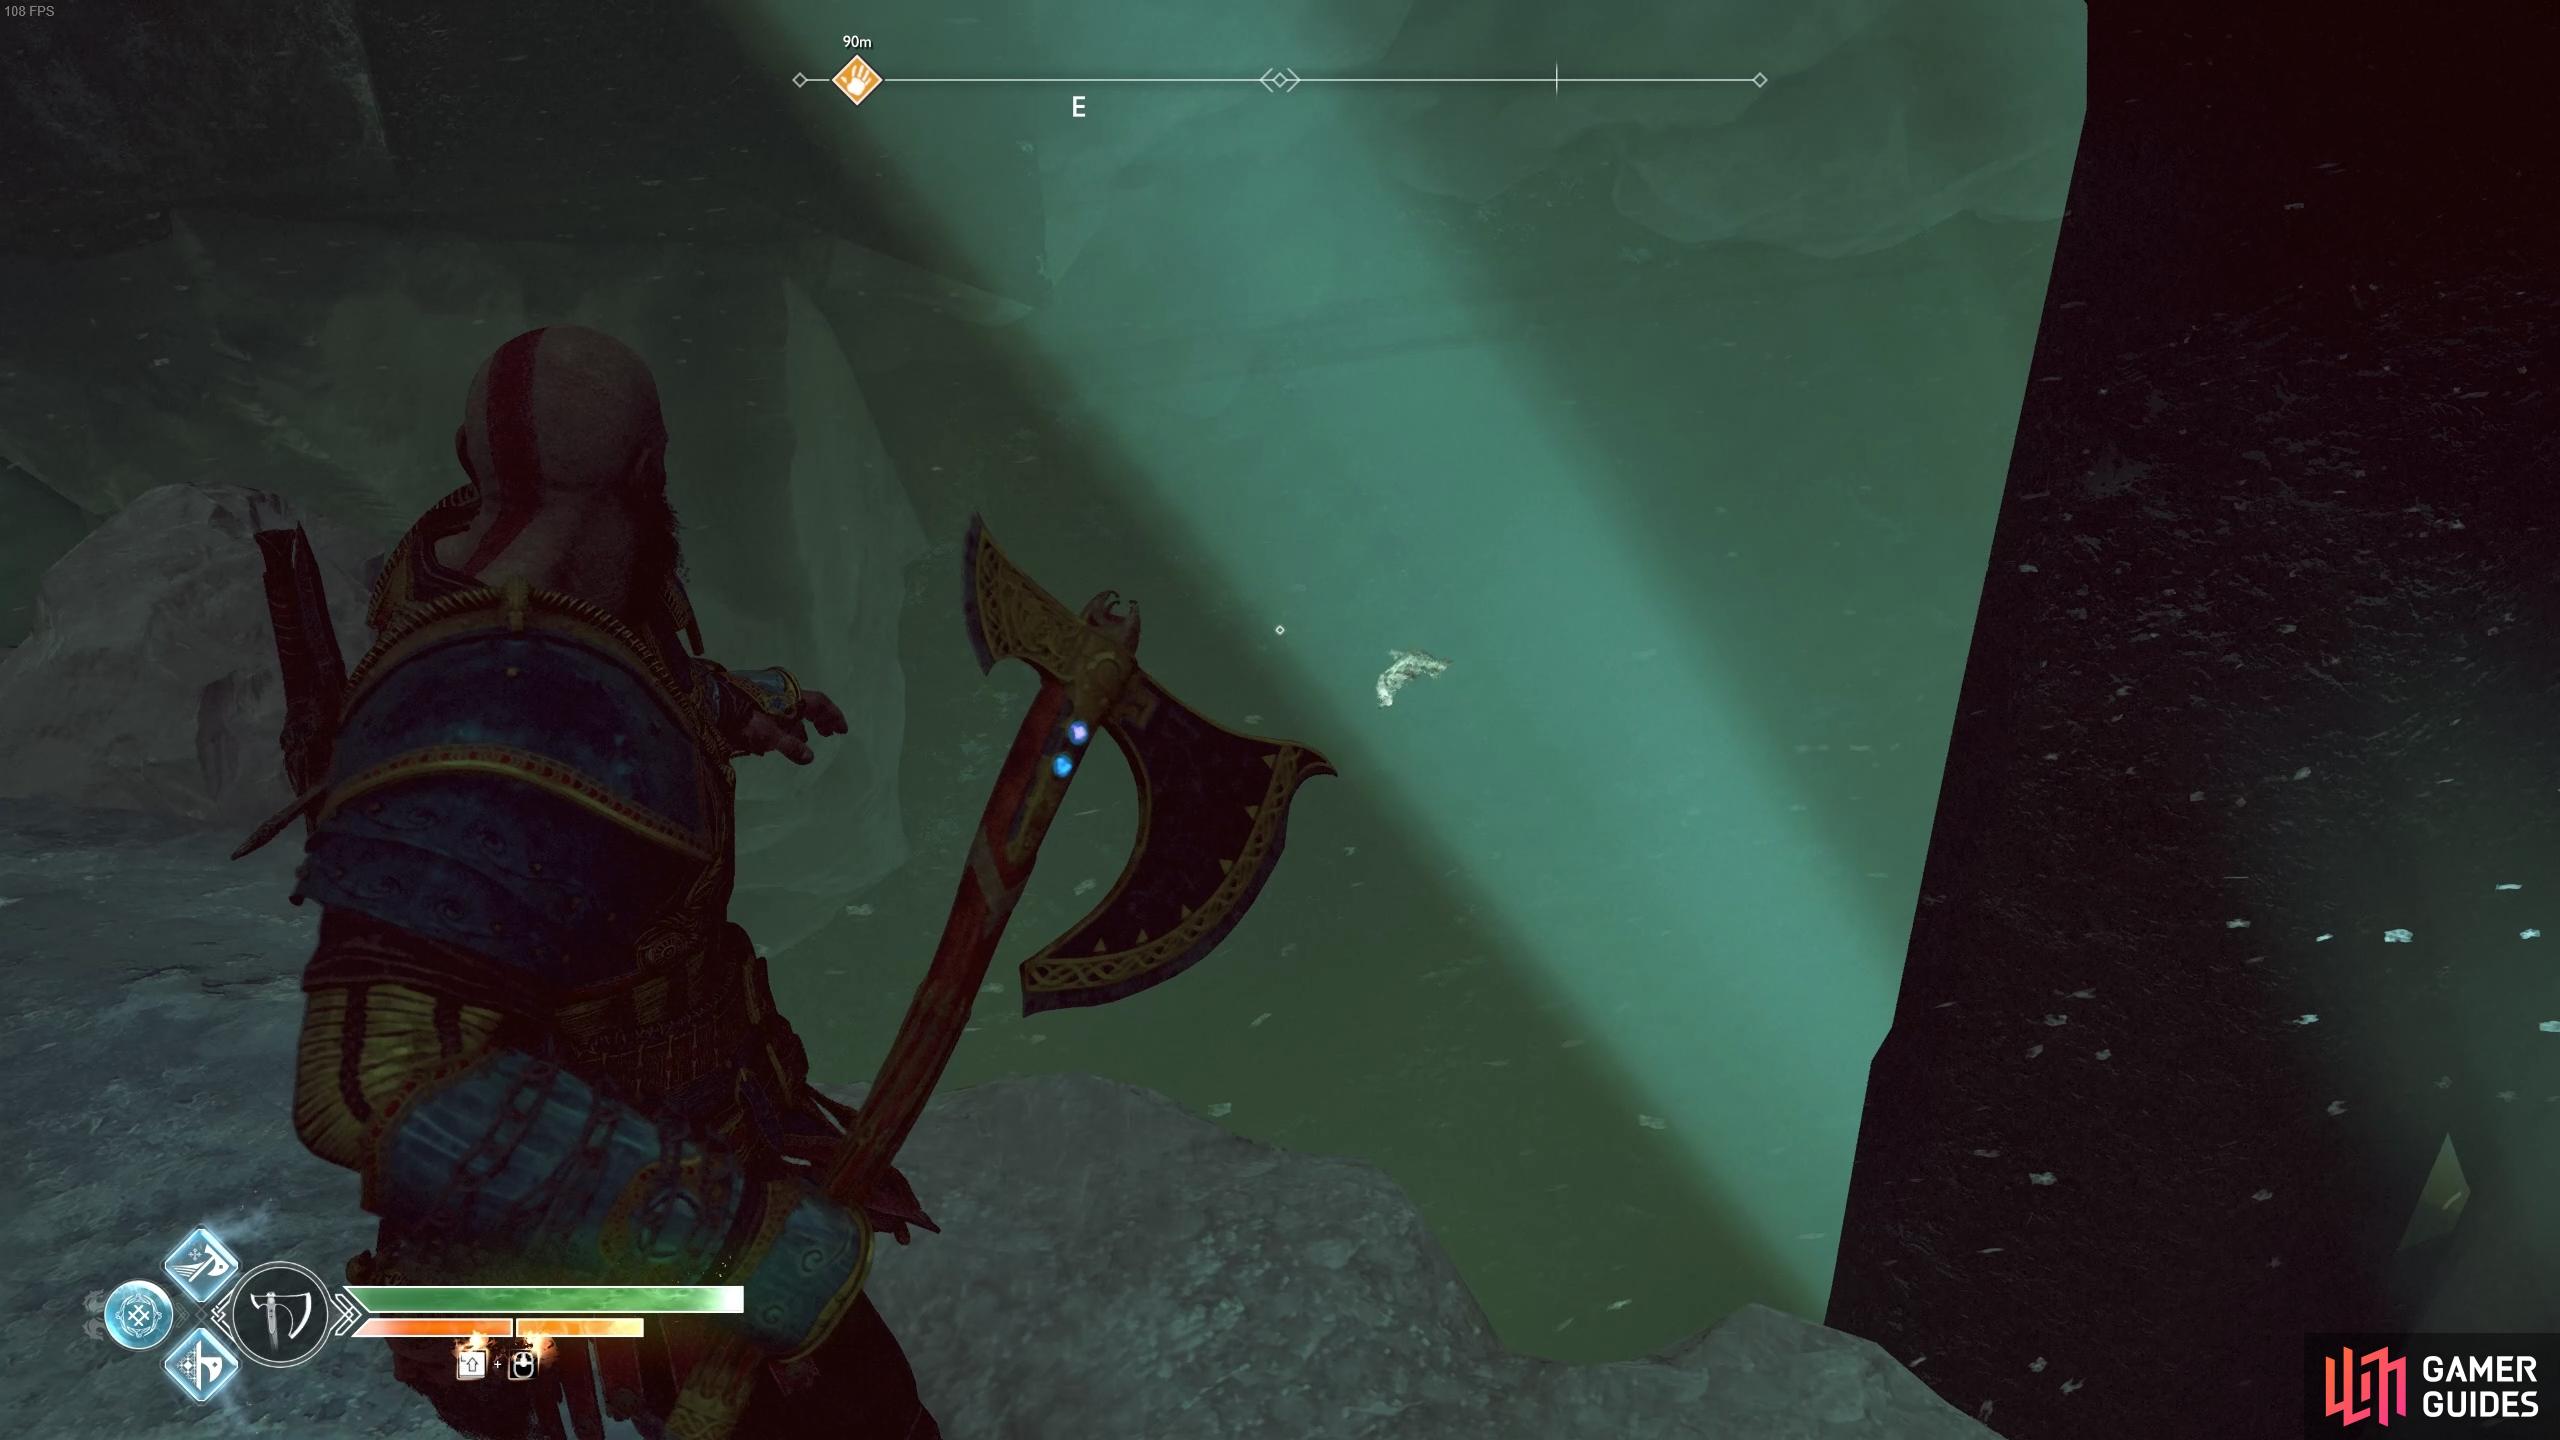
With all the Raven killing concluded for now, climb the wall on the east side to find more brambles and then look high in the air to find another set of brambles on the underside of a platform. Burn this away to free another Artefact and then climb the wall at the end. You’ll need Shock Arrows to progress further to the south so ignore this and climb the wall to the north to finally find your prey.
Defeat the Bridge Keeper
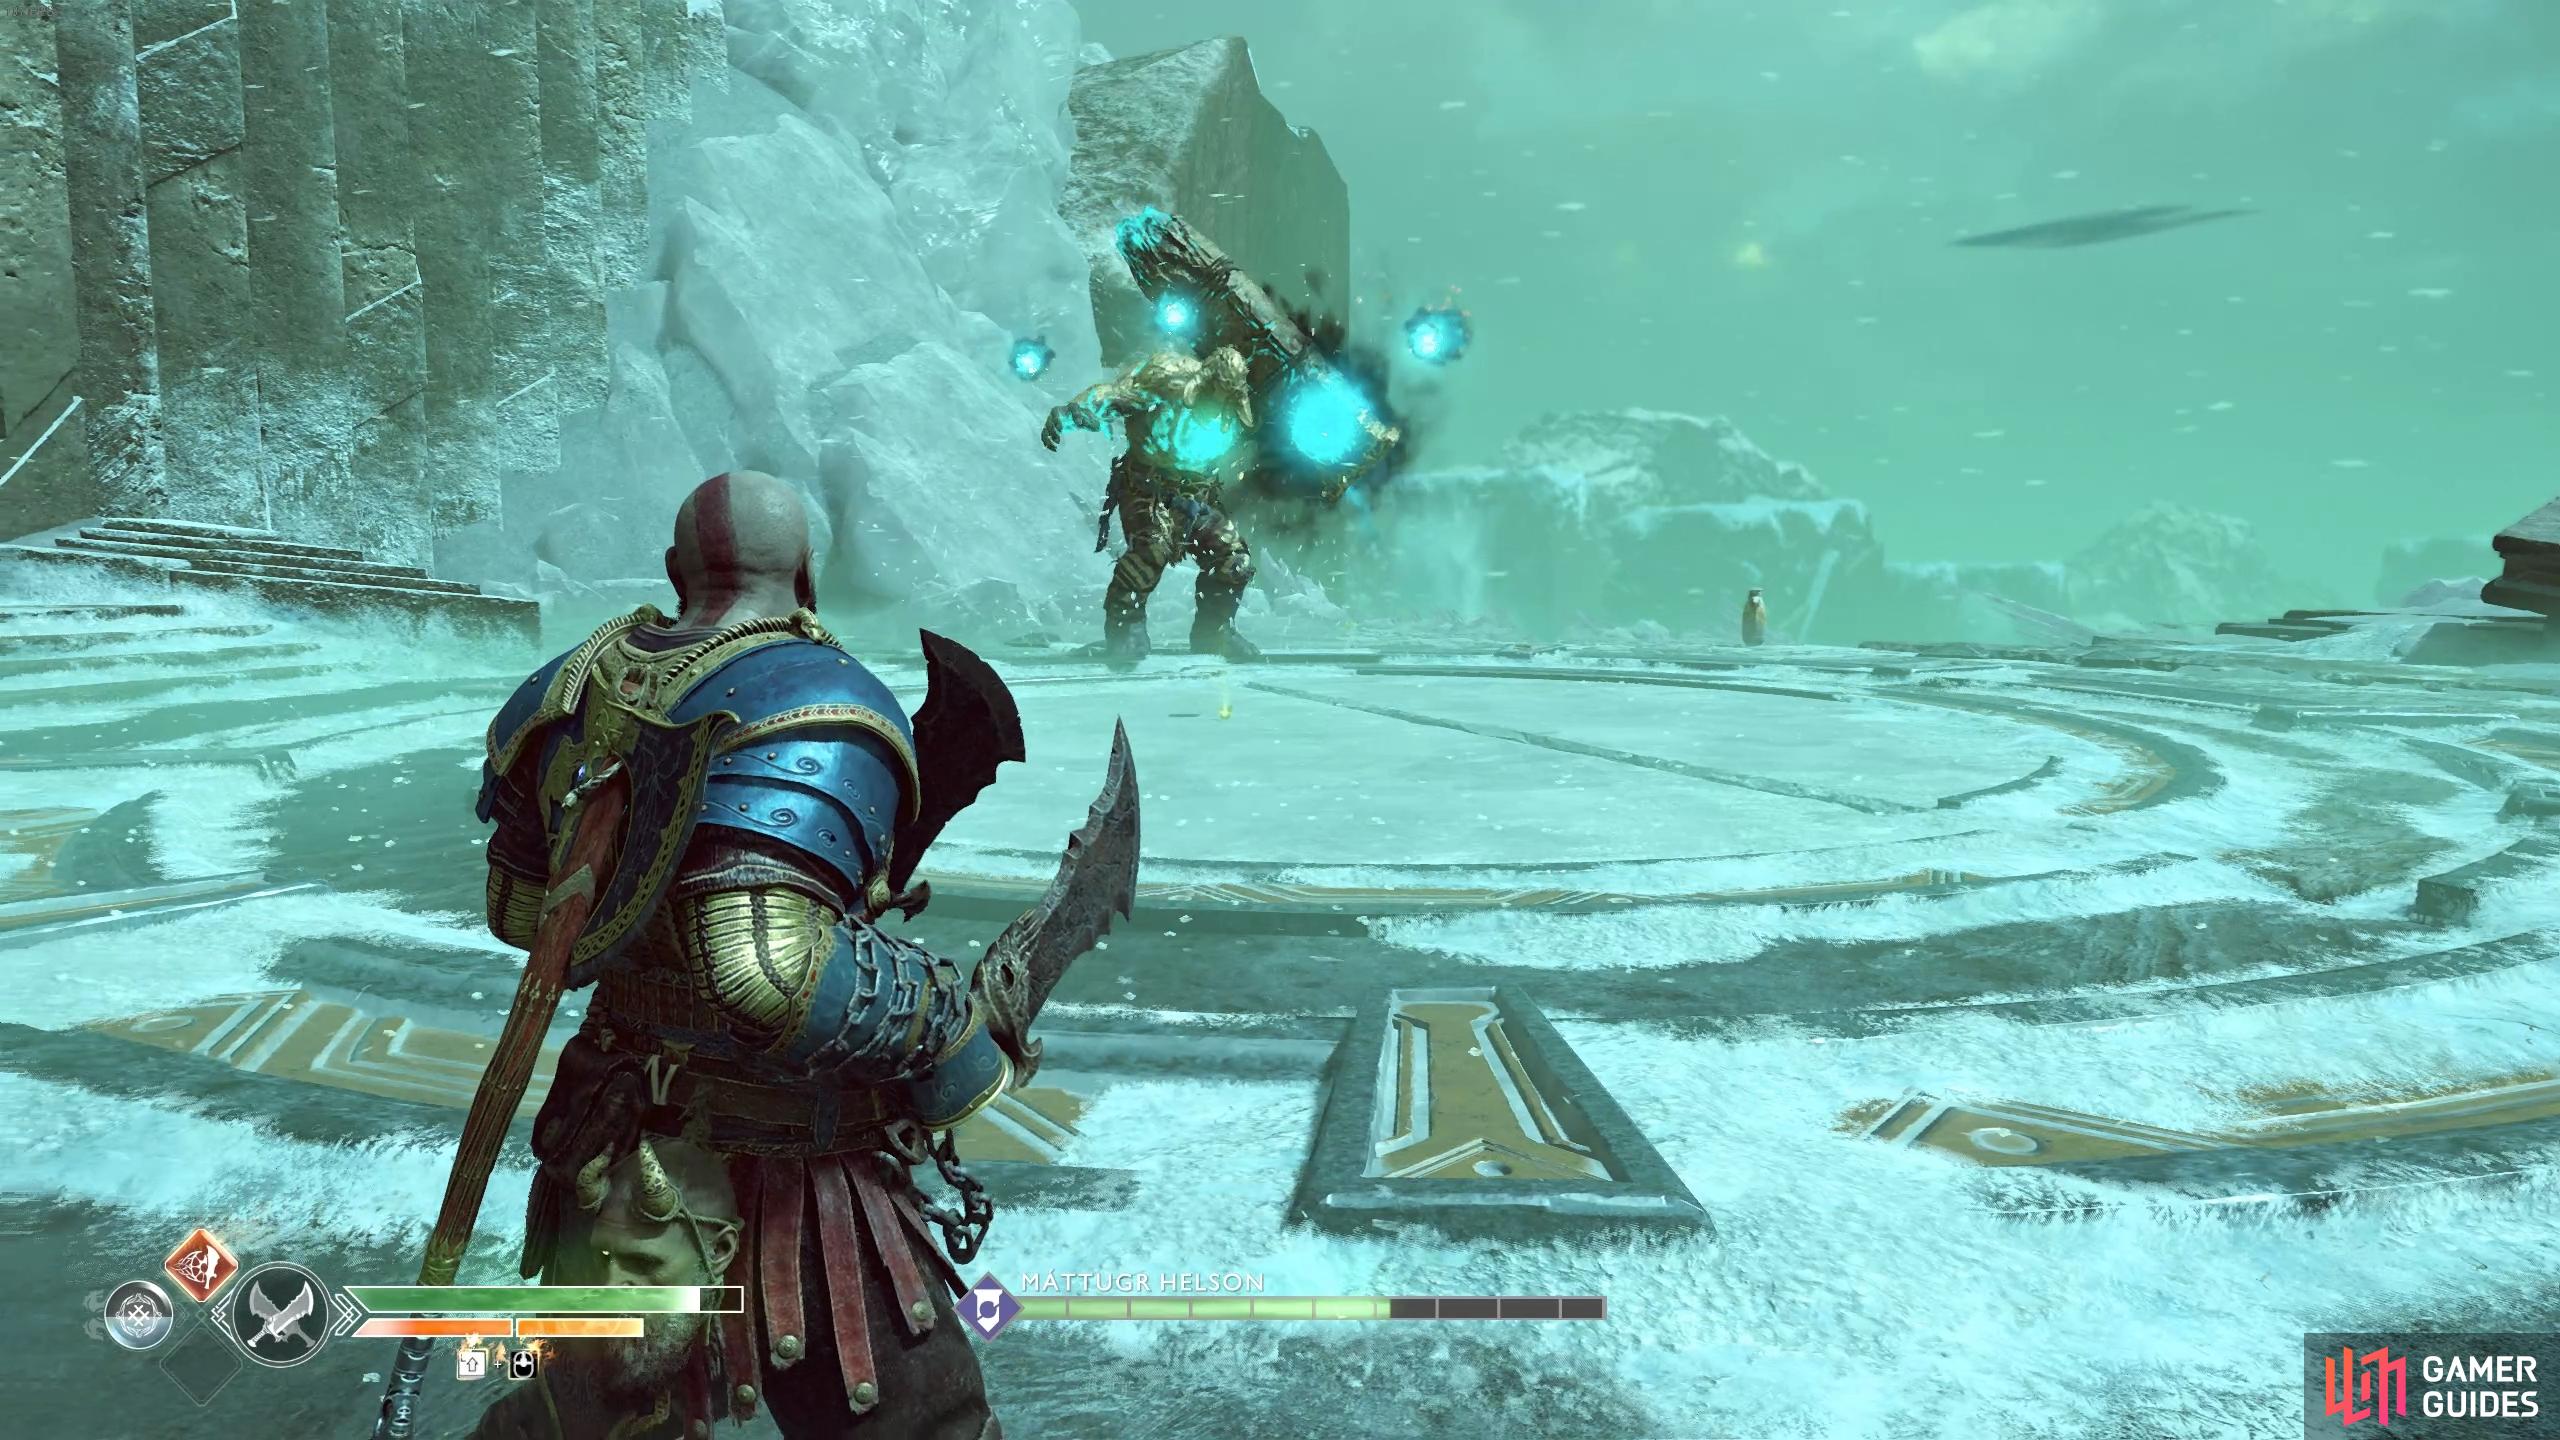
As you may surmise from its appearance, the Bridge Keeper is a Troll by nature however he has a lot more damaging attacks. The Bridge Keeper possesses the ability to teleport away from you and appear at a random location so always be on the move. You’ll notice as he swings the pillar during his combo, small green orbs will appear in the area. These will track you and deal damage upon contact, either avoid them or strike them with the Blades to dissipate them. The Pillar Combo in general is easy to dodge once you understand that he teleports you to perform the next hit in the sequence.
(1 of 2) Rush in for some attacks once the Pillar Combo is finished.
Rush in for some attacks once the Pillar Combo is finished. (left), Look for safe places to run during the Shockwave attack. (right)
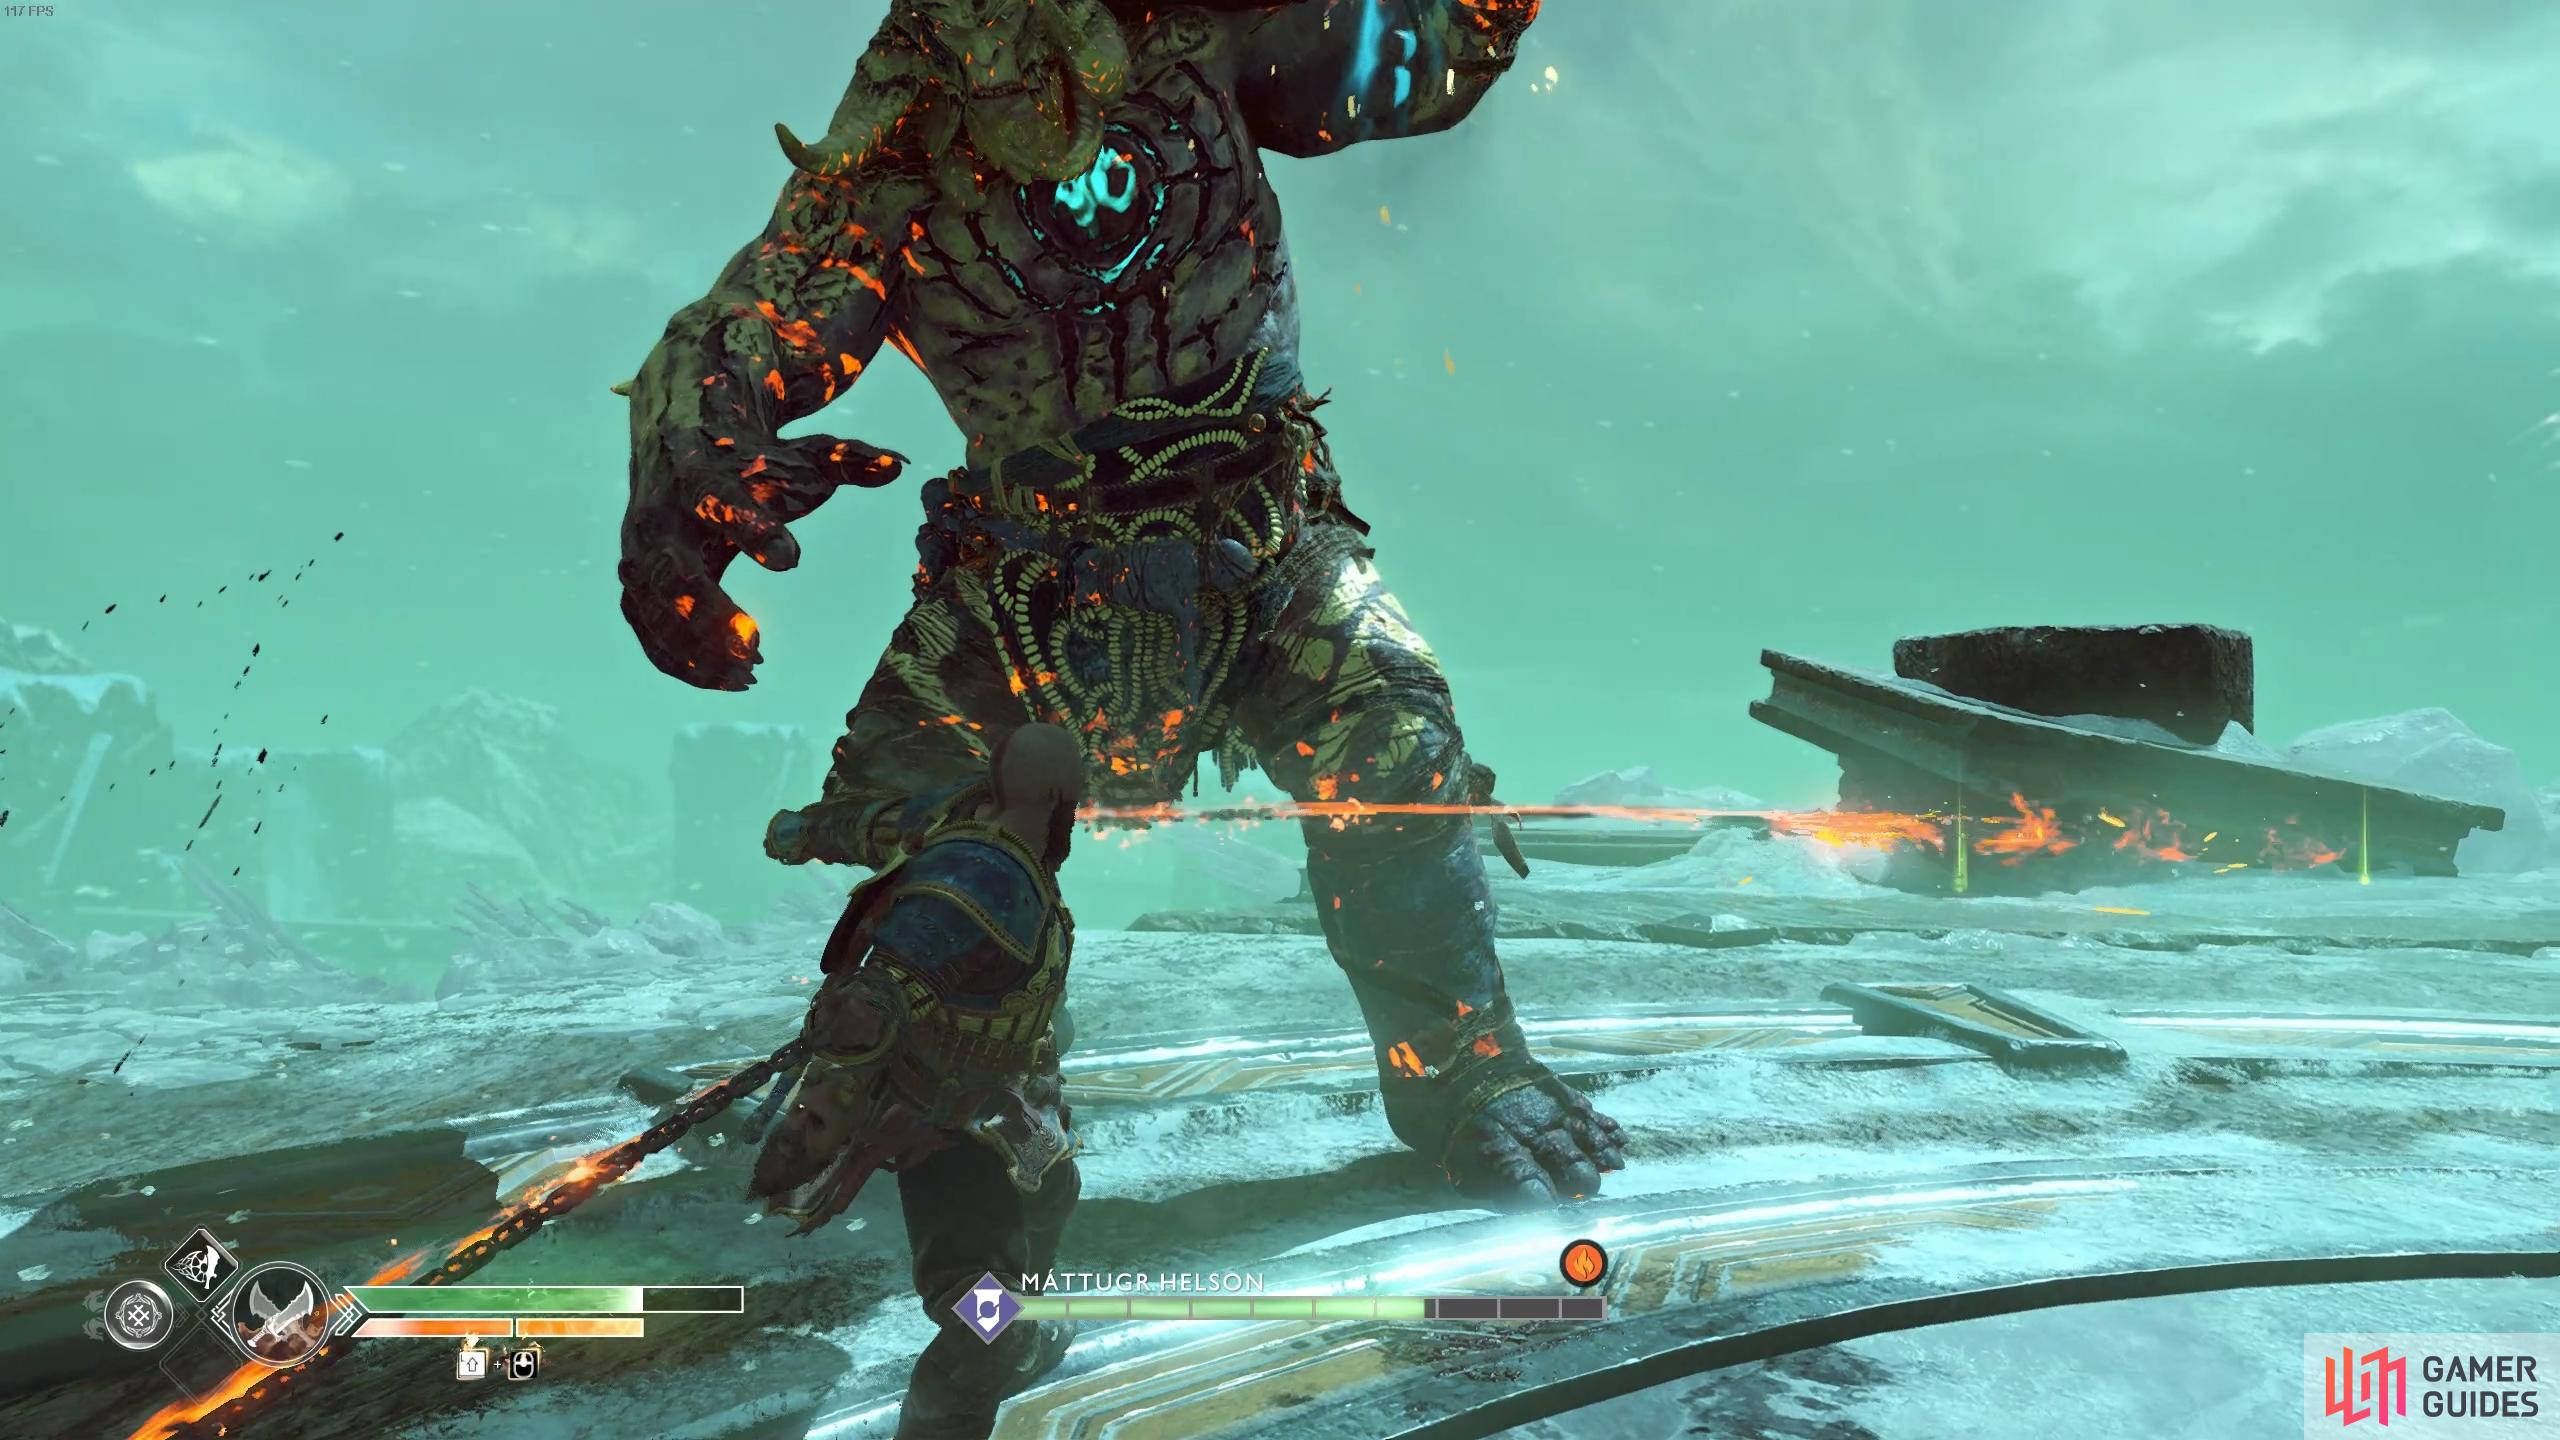
If you see Máttugr Helson charge the air around his hand, be prepared to dodge to the side as he hurls ice shards your way. Once he teleports out of the way, spin the camera to find where he is and be prepared to dodge the shockwaves he sends out towards you. There will be three waves of these, try to dodge towards him as once the third wave is completed, the Bridge Keeper falls to his knees to catch his breath. He’ll repeat this until you can get close enough to score some hits on him and knock him out of it.

(1 of 2) Defeat the Hel-Brood that spawns immediately.
Defeat the Hel-Brood that spawns immediately. (left), Dodge roll to the side to avoid the Ice Blast. (right)
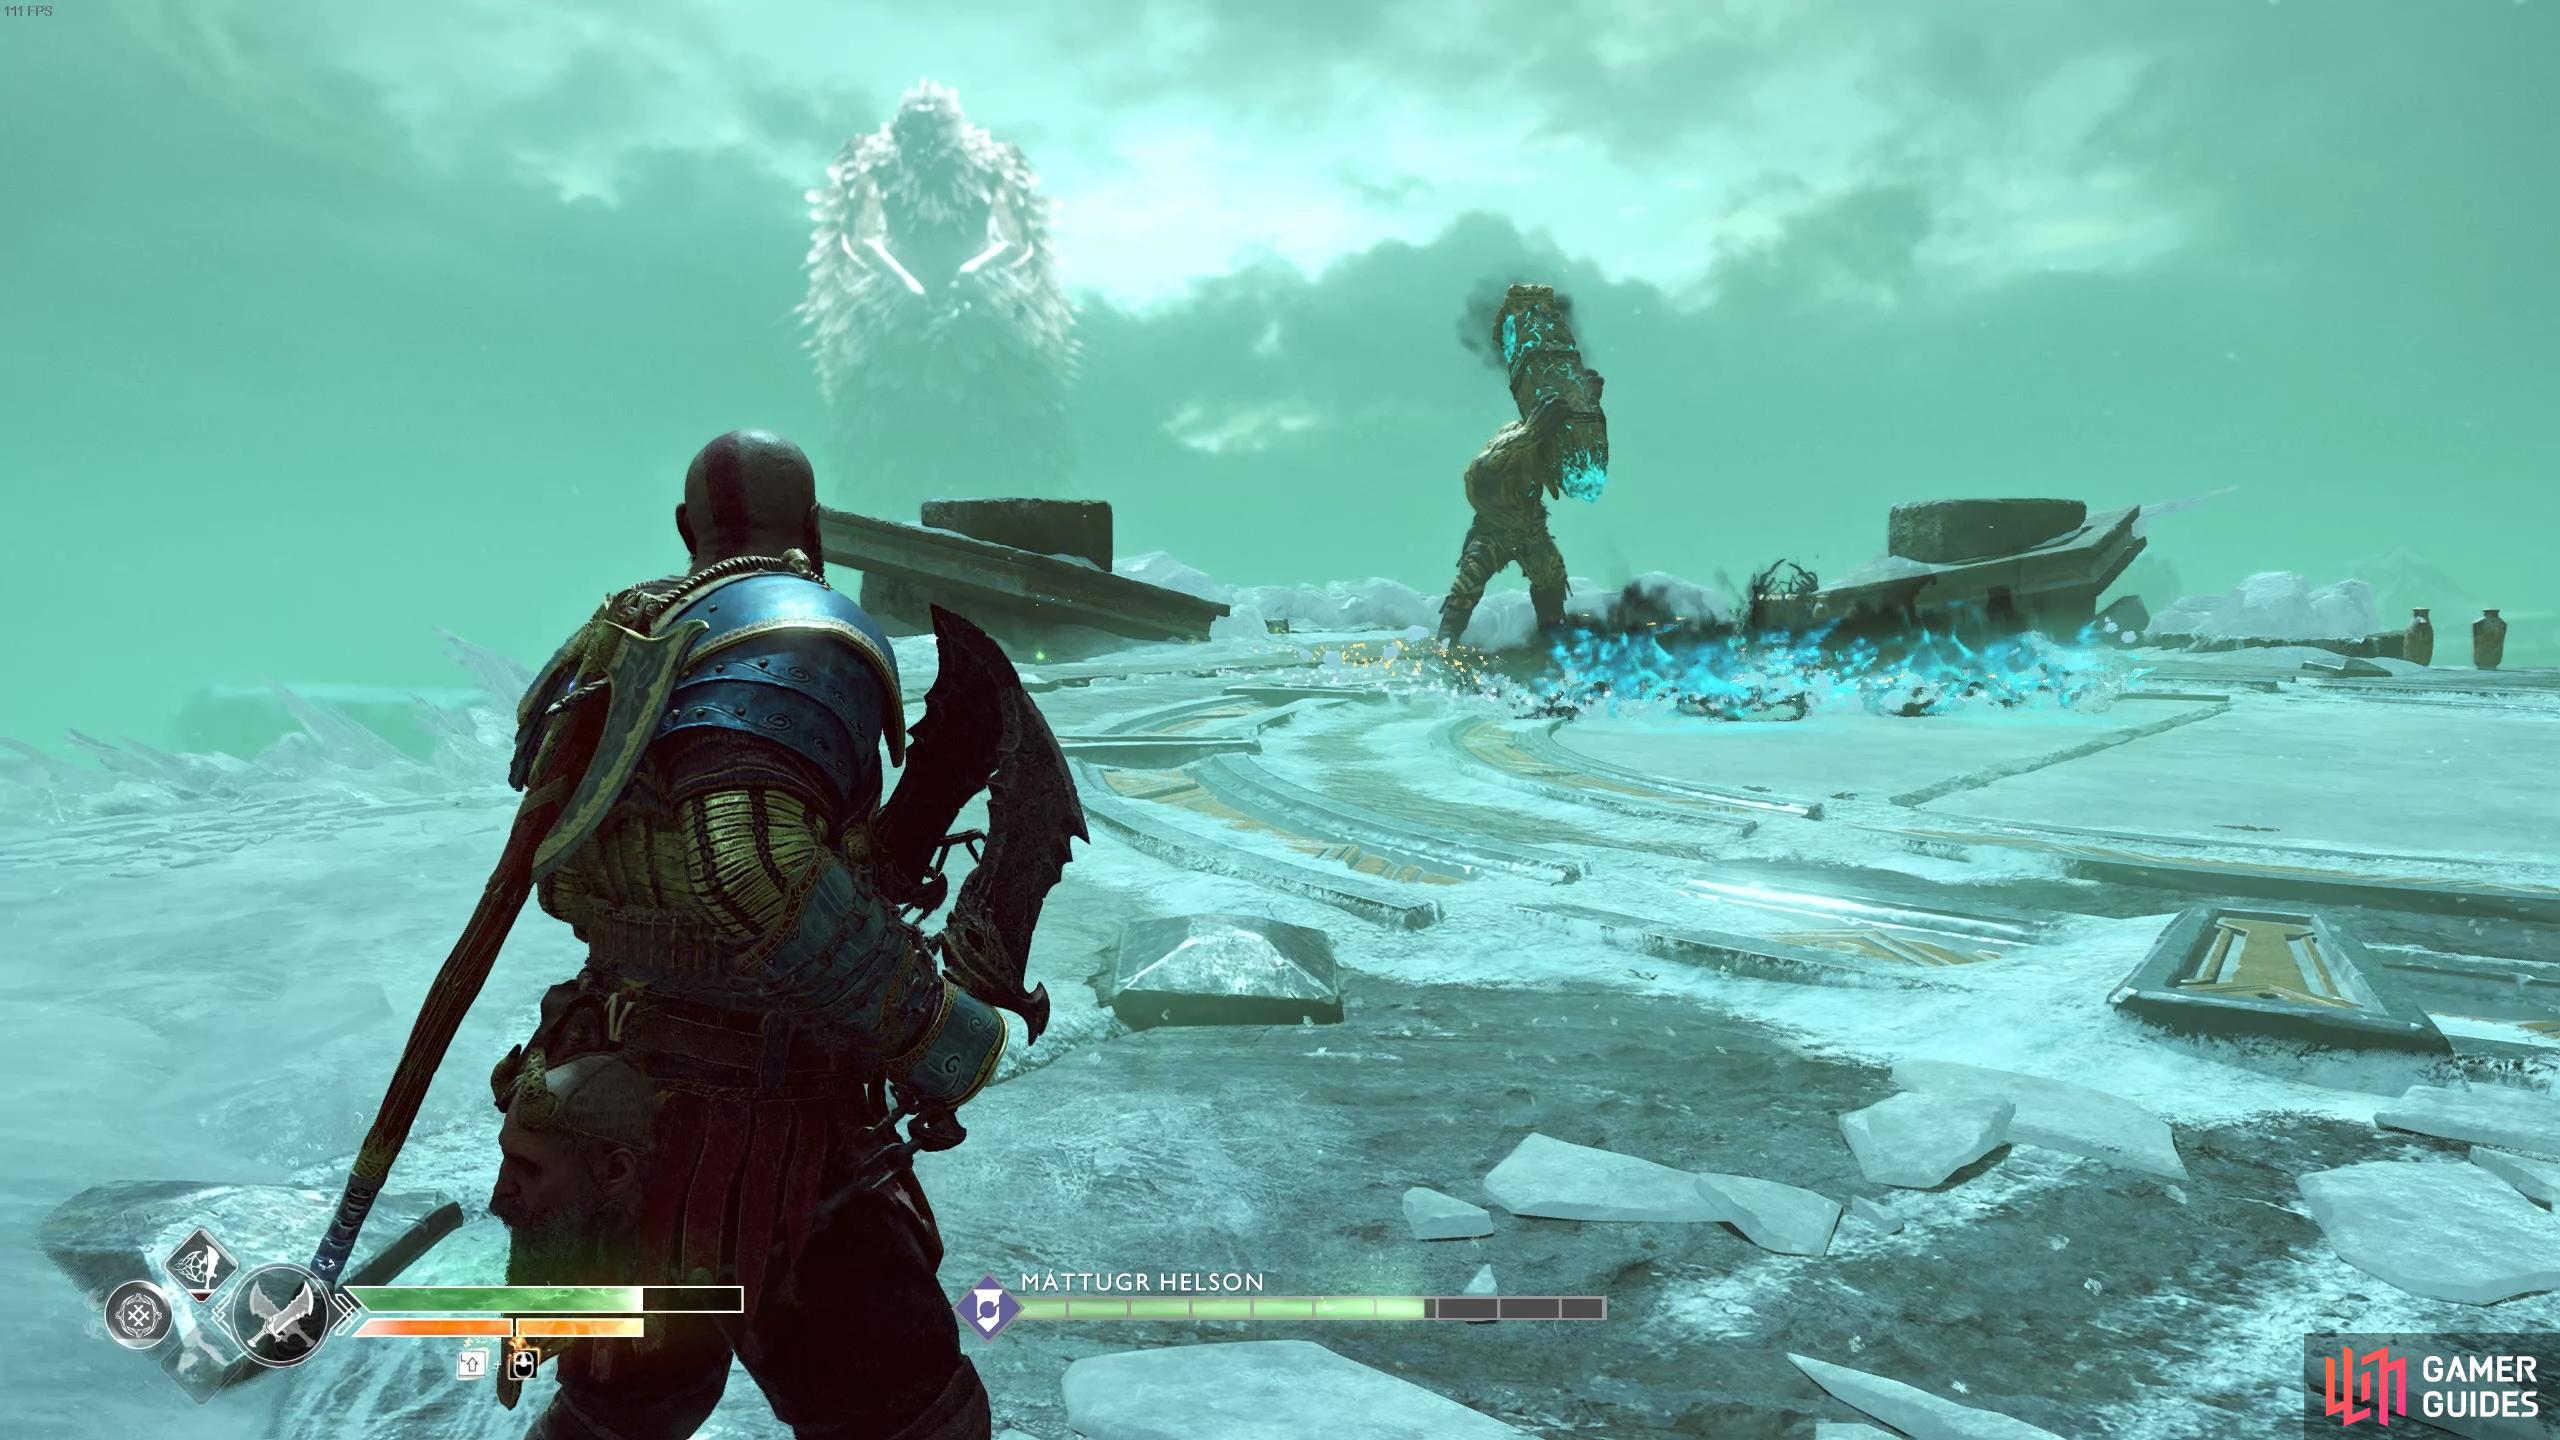
As the battle rages on, the Bridge Keeper will begin to summon Hel-Broods, stay on your feet and defeat them as soon as possible to avoid being overwhelmed. As his health falls, the Bridge Keeper will combine all of his attacks at once, making this a battle where you’ll always want to be on the move to avoid everything going on. Pay special attention to his roars, this usually signifies either a new wave of Hel-Broods or the start of his shockwave attack.
Your best opportunities for attacking him is after dodging a Pillar Combo or when he falls to his feet after his shockwave. Remember that if your health drops low, make use of Spartan Rage, this can deal some real damage to him and restore your health in the process. If you possess a Berserker’s Resurrection Stone then you may even be able to get a second Spartan Rage in should you fall.
(1 of 2) Avoid or destroy the orbs that spawn from this combo.
Avoid or destroy the orbs that spawn from this combo. (left), Spartan Rage can put a huge dent into his health. (right)
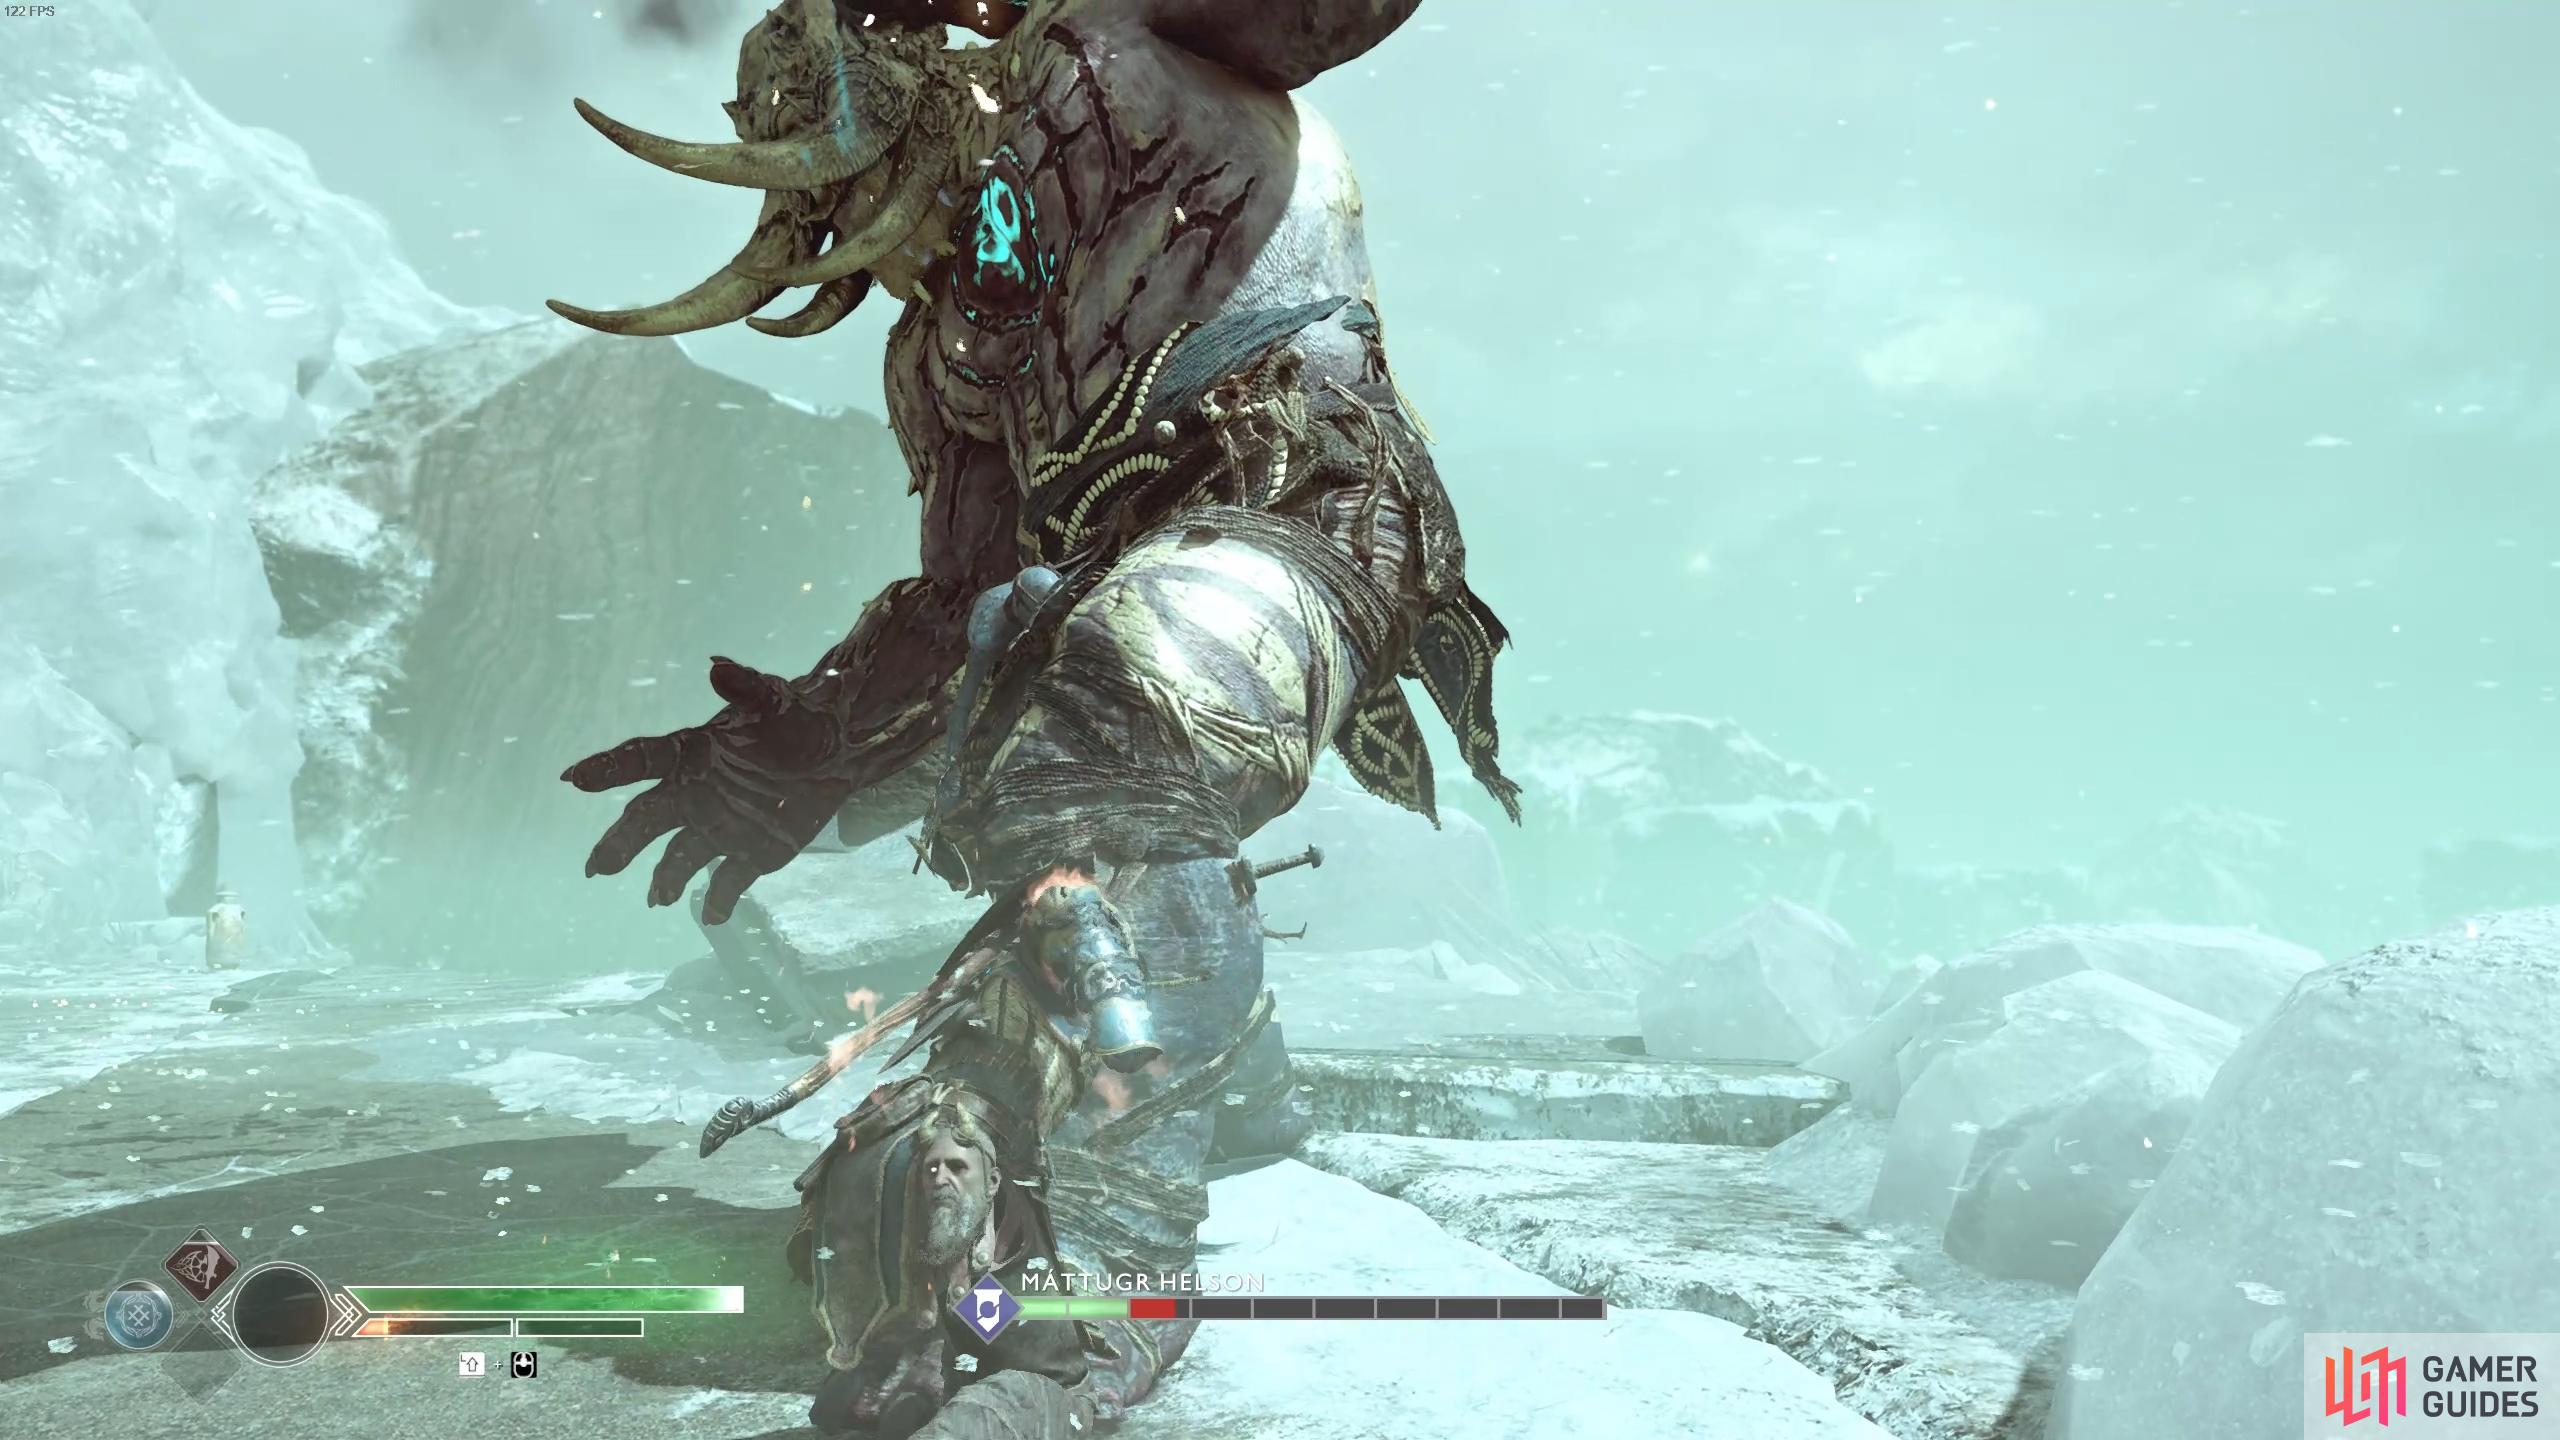
Once the brute’s health is depleted, he wall fall to his knees in the center of the arena so dash over quickly to initiate the Stun Grab to end the battle. Kratos climbs onto the defeated Bridge Keeper upon it’s death, press the 

Return to Týr’s Travel Room
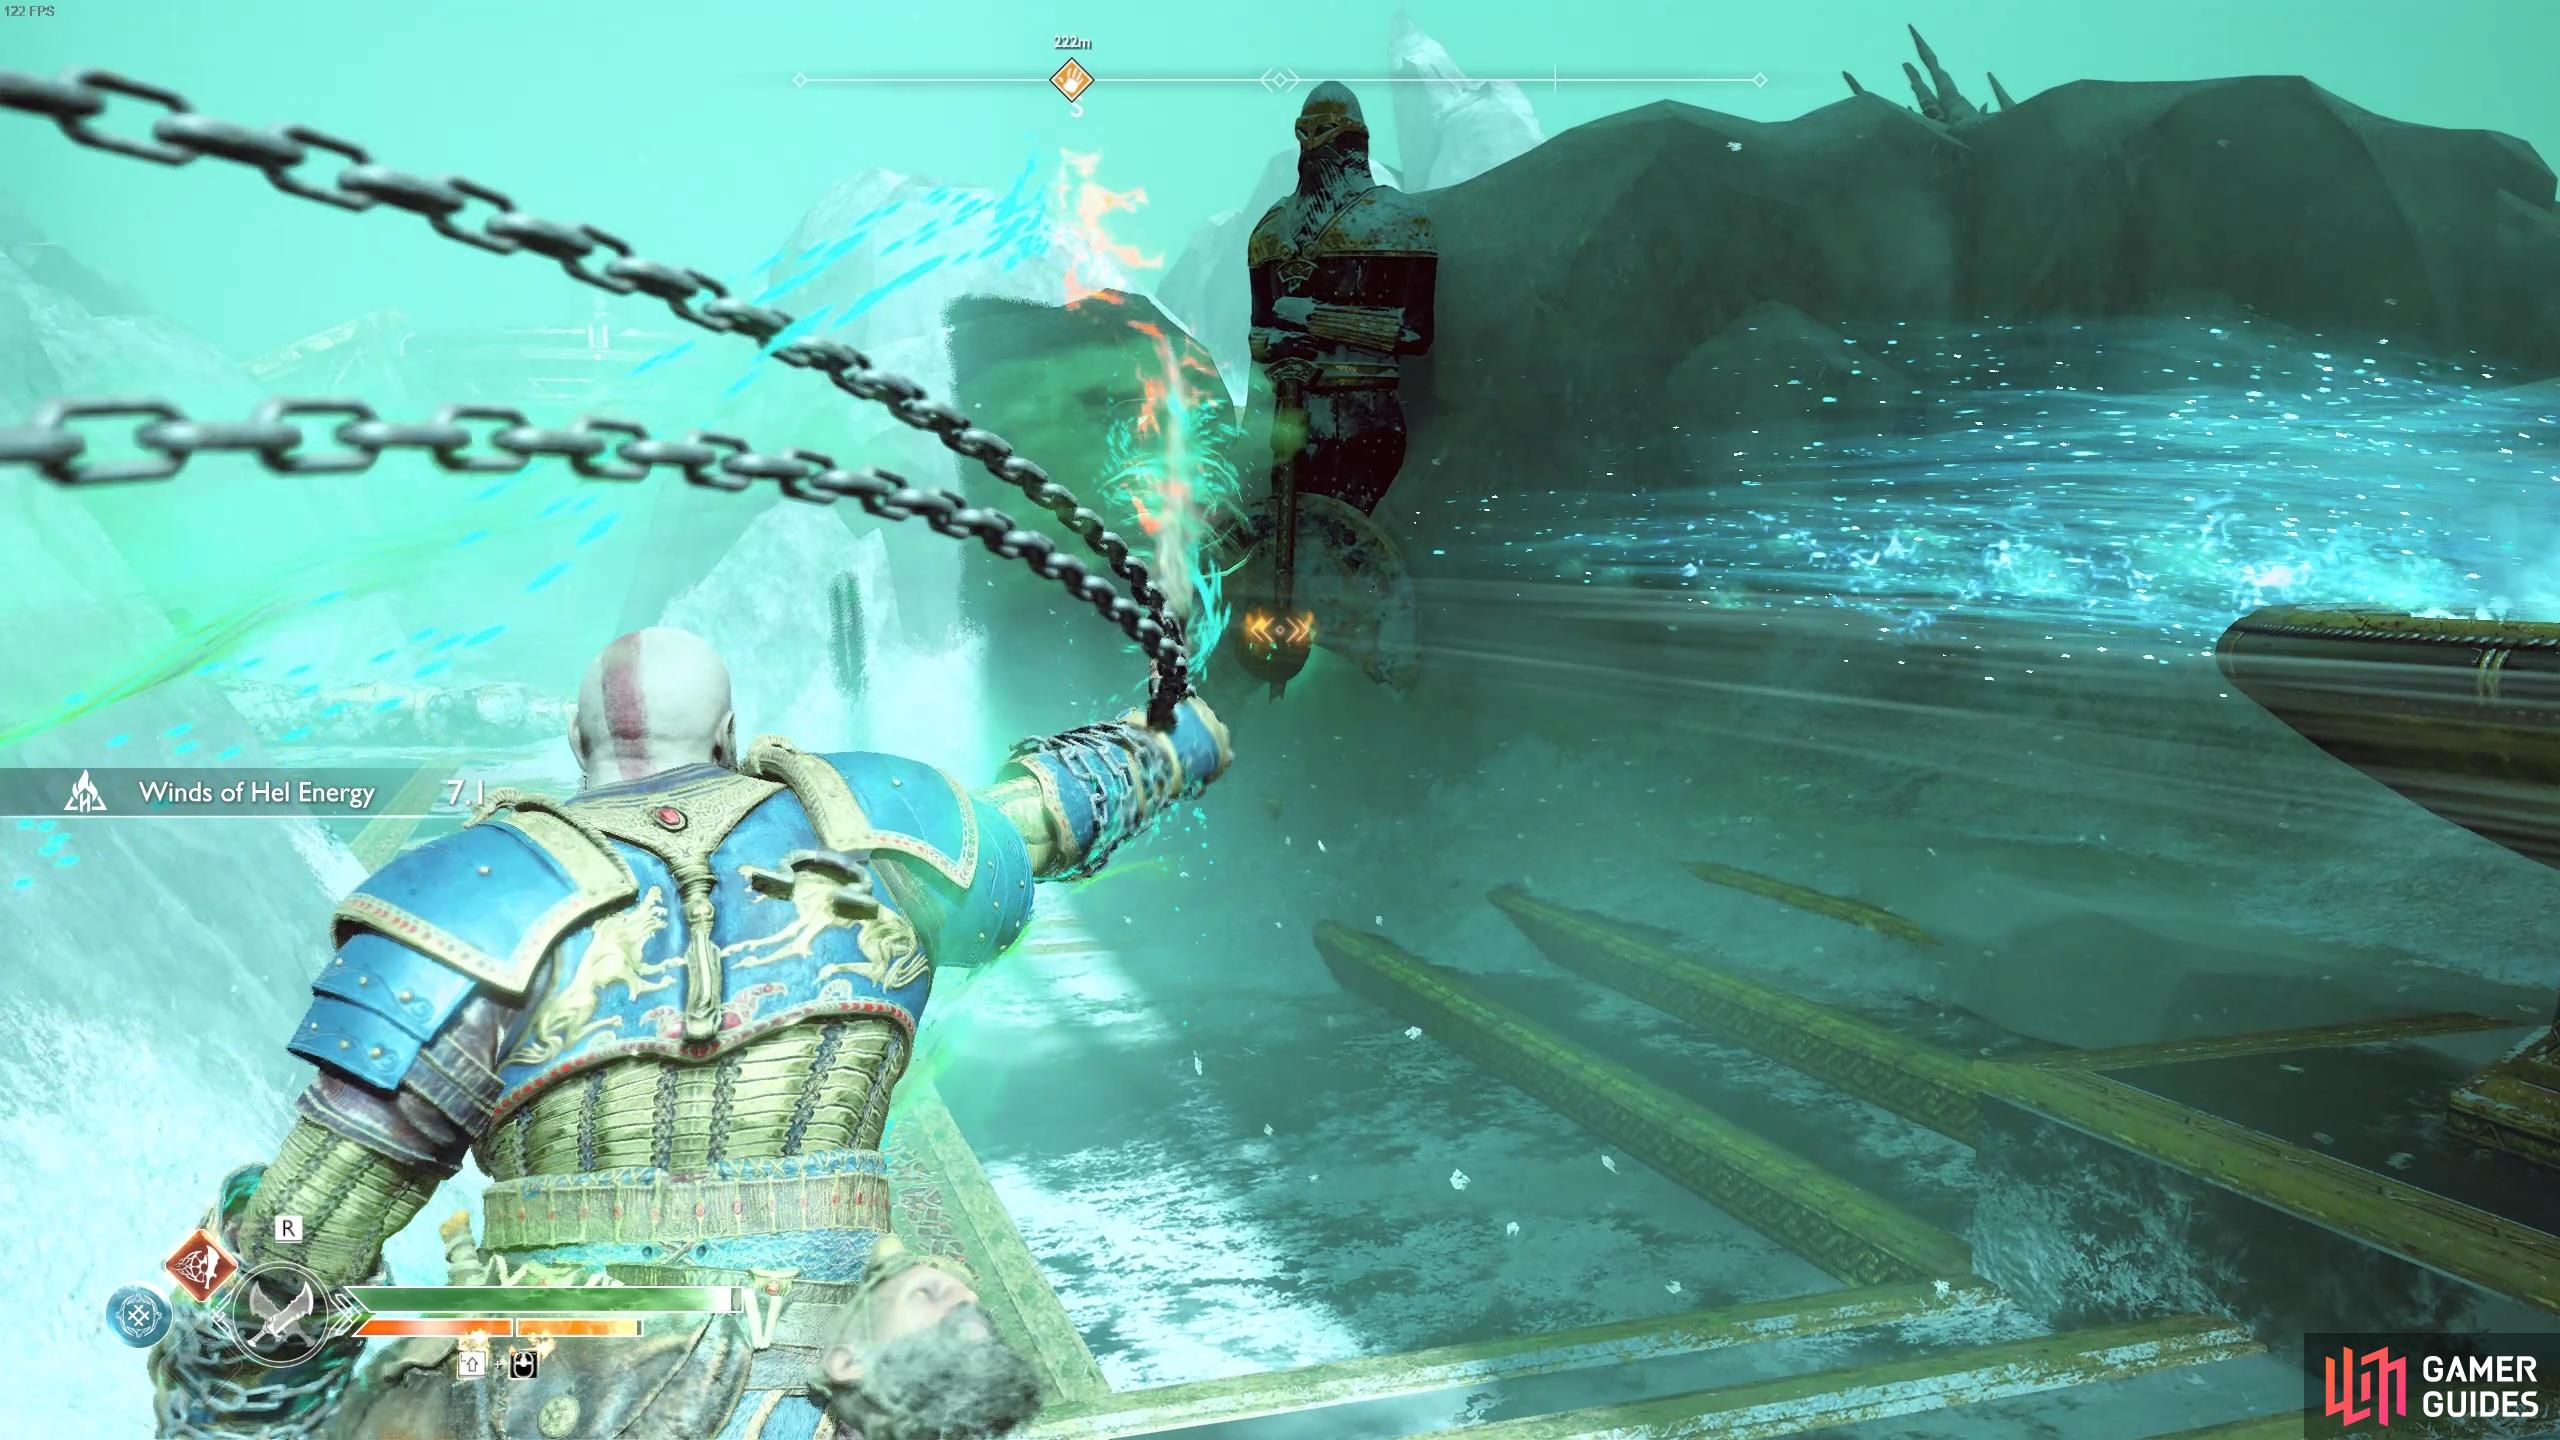
Turn to the northeast to find a Hacksilver chest covered in brambles and then head towards the locked doors to discover that you’ll need a gust of Hel’s wind to open it. Look to your right to find the Bridge Keeper’s weapon and head over to it to find Brok hiding there. He’ll take Kratos’ Blades and make adjustments to them before handing them back over. Aim at the glowing orbs in front of you and press the [R1] button to trap the wind in the Blades.
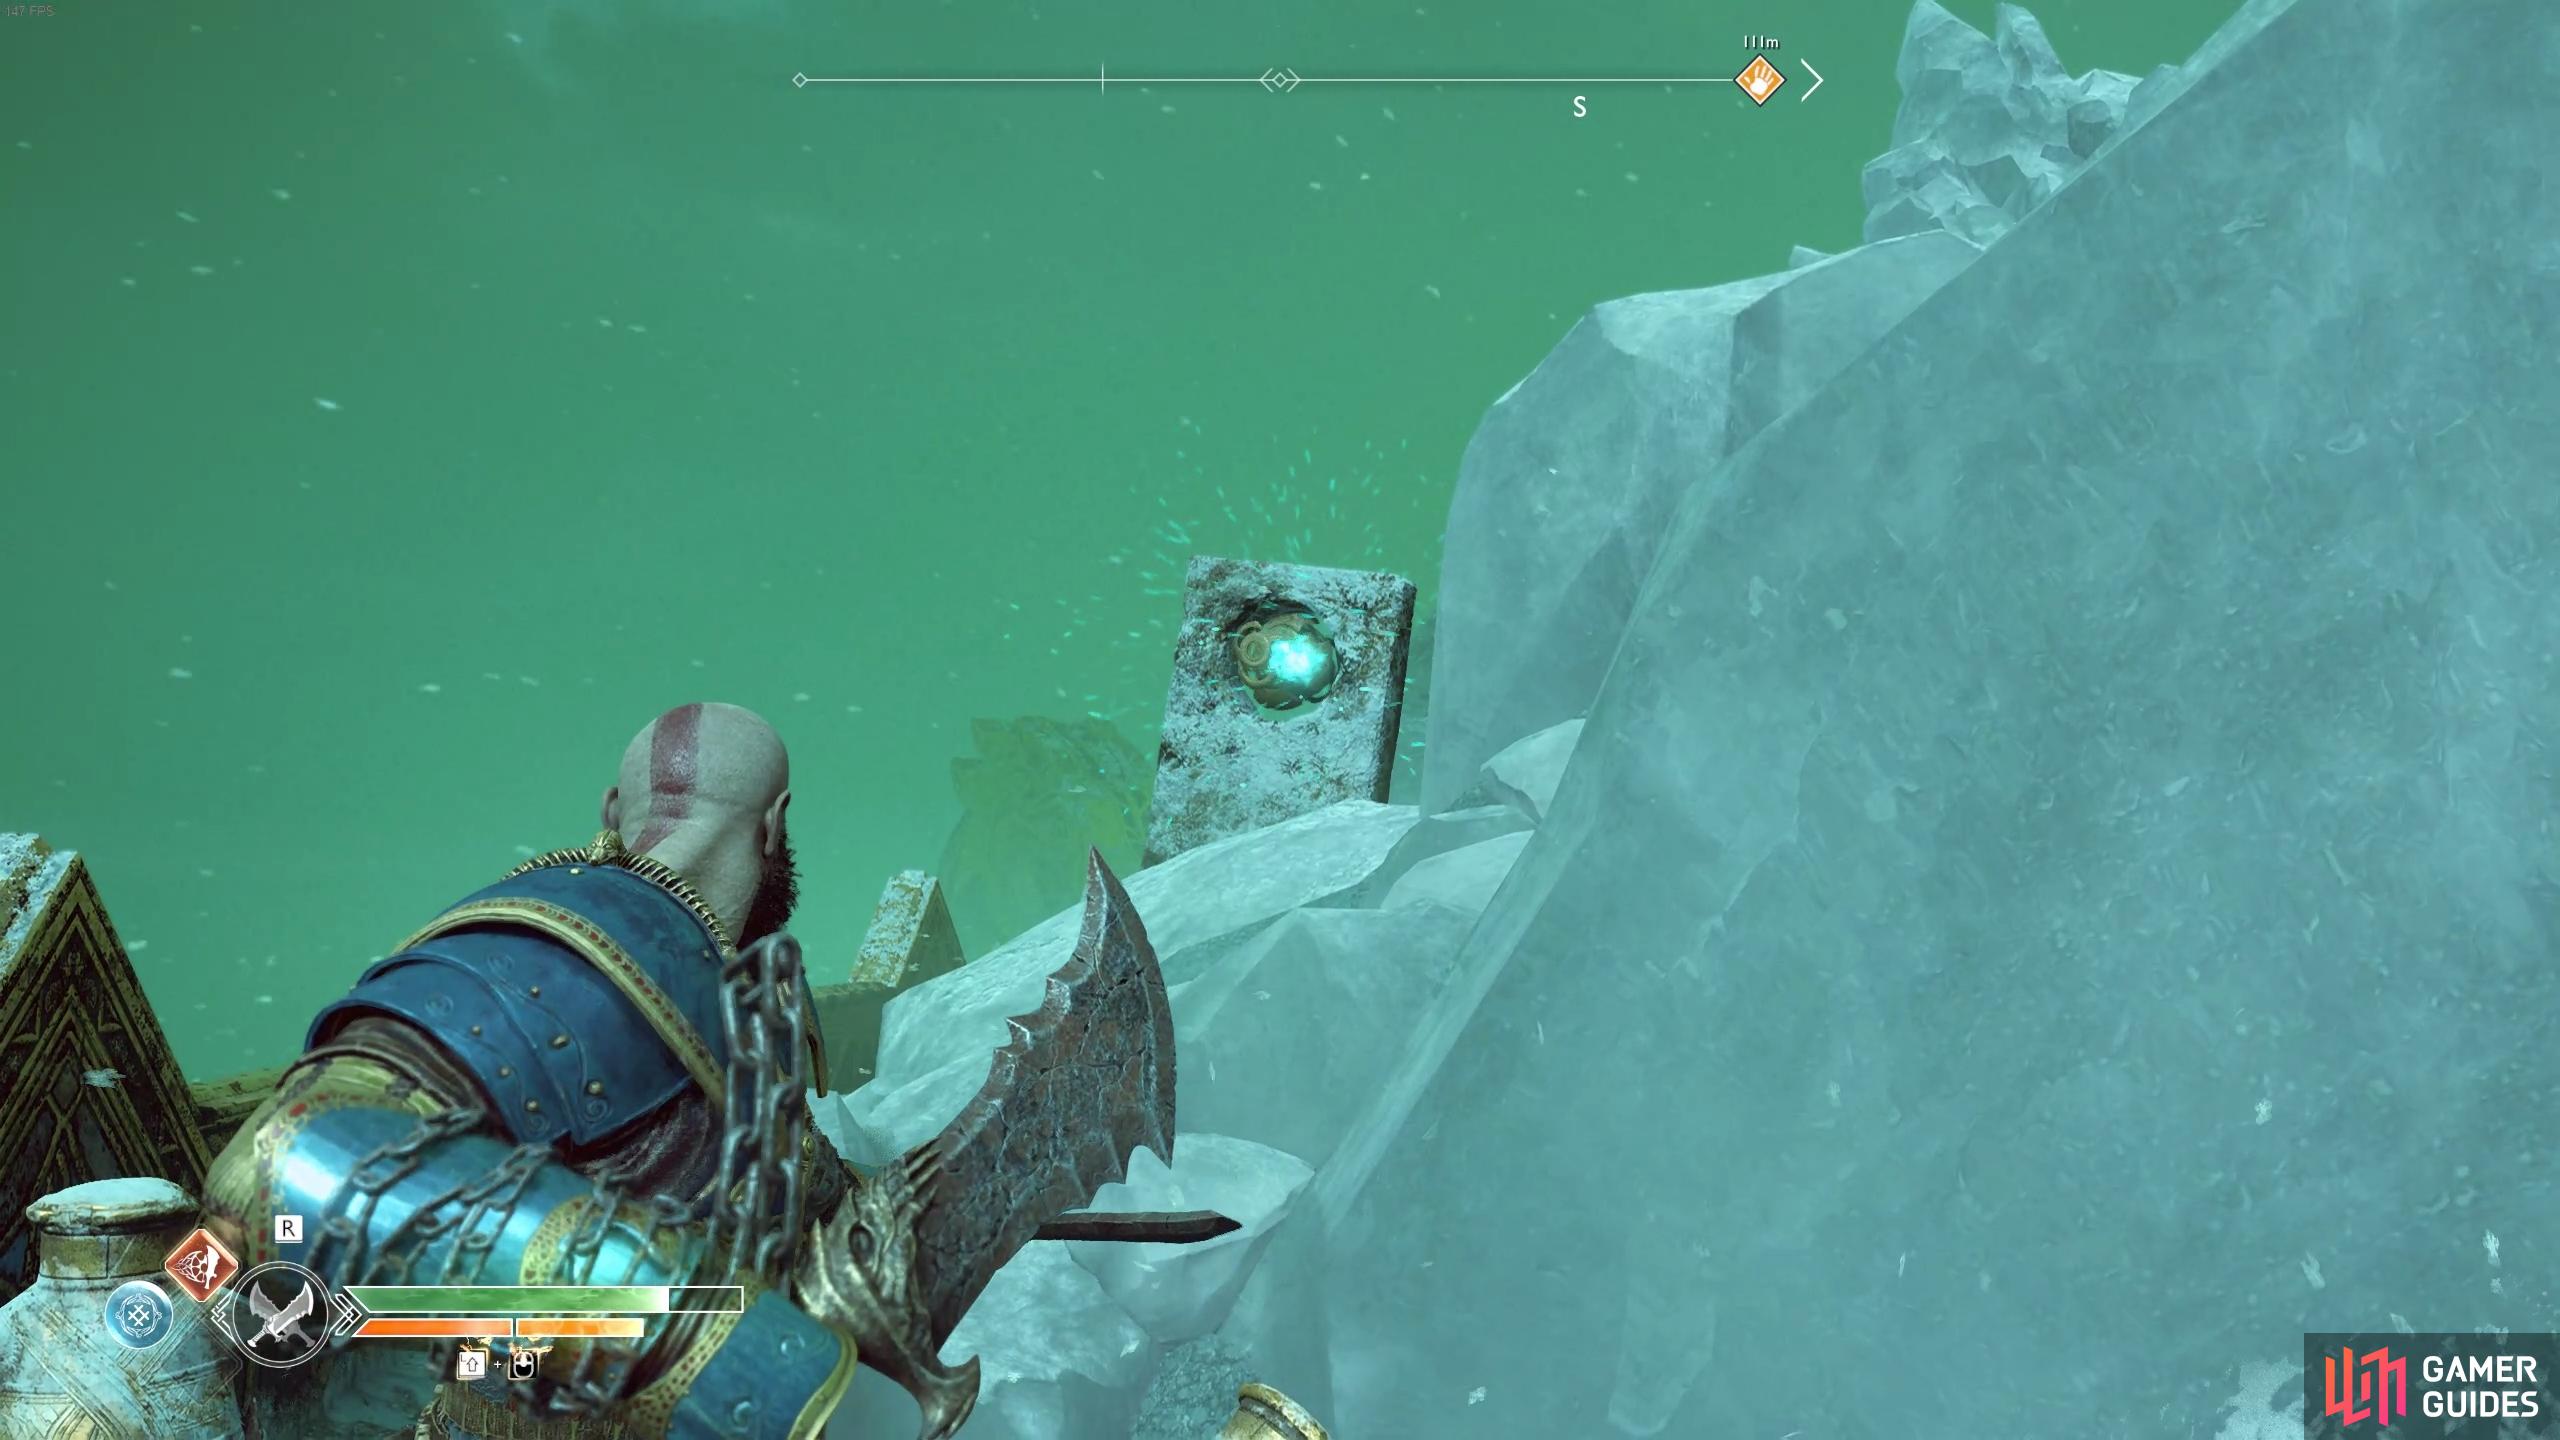
The Winds of Hel Energy can only be held for 10 seconds at a time, this means you’ll need to use the wind traps to store it before taking it again and finding the next trap. You will have noticed these green orbs throughout your travels in Midgard. For this first trap, run over to the door and aim at the wind trap on the large doors to open it. This stores the energy in this particular wind trap and allows you to pass through the doors.
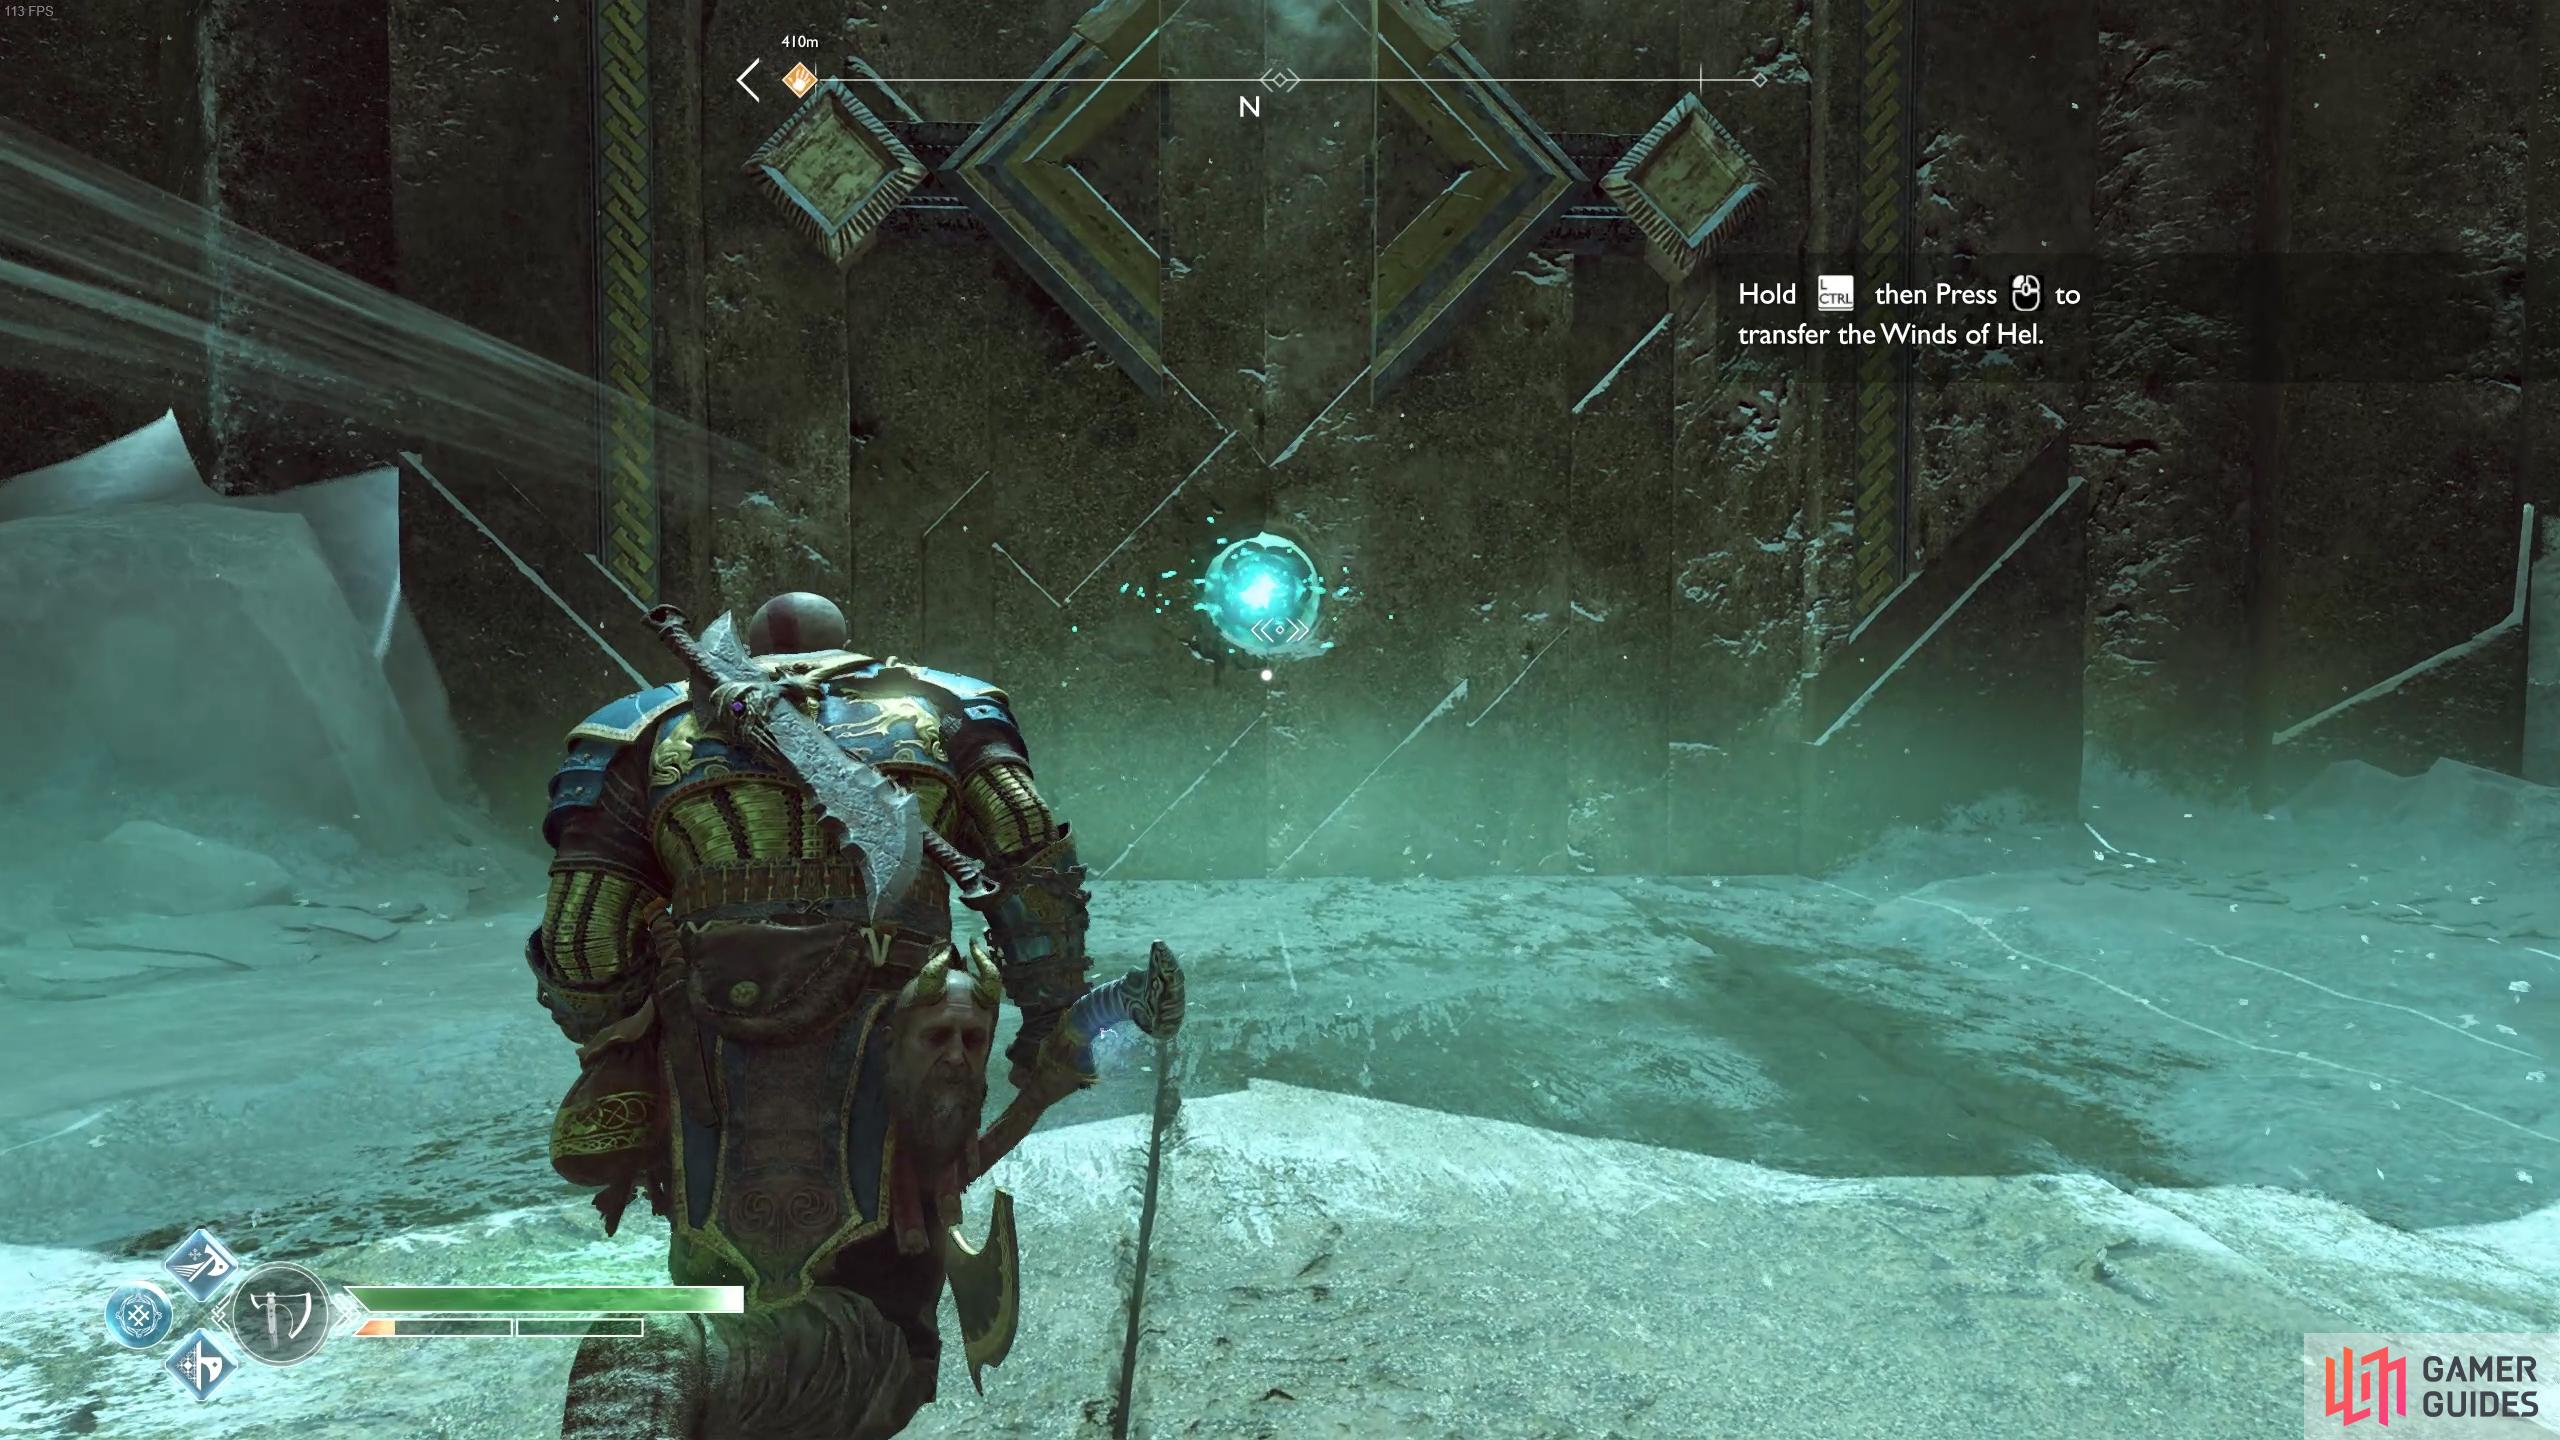
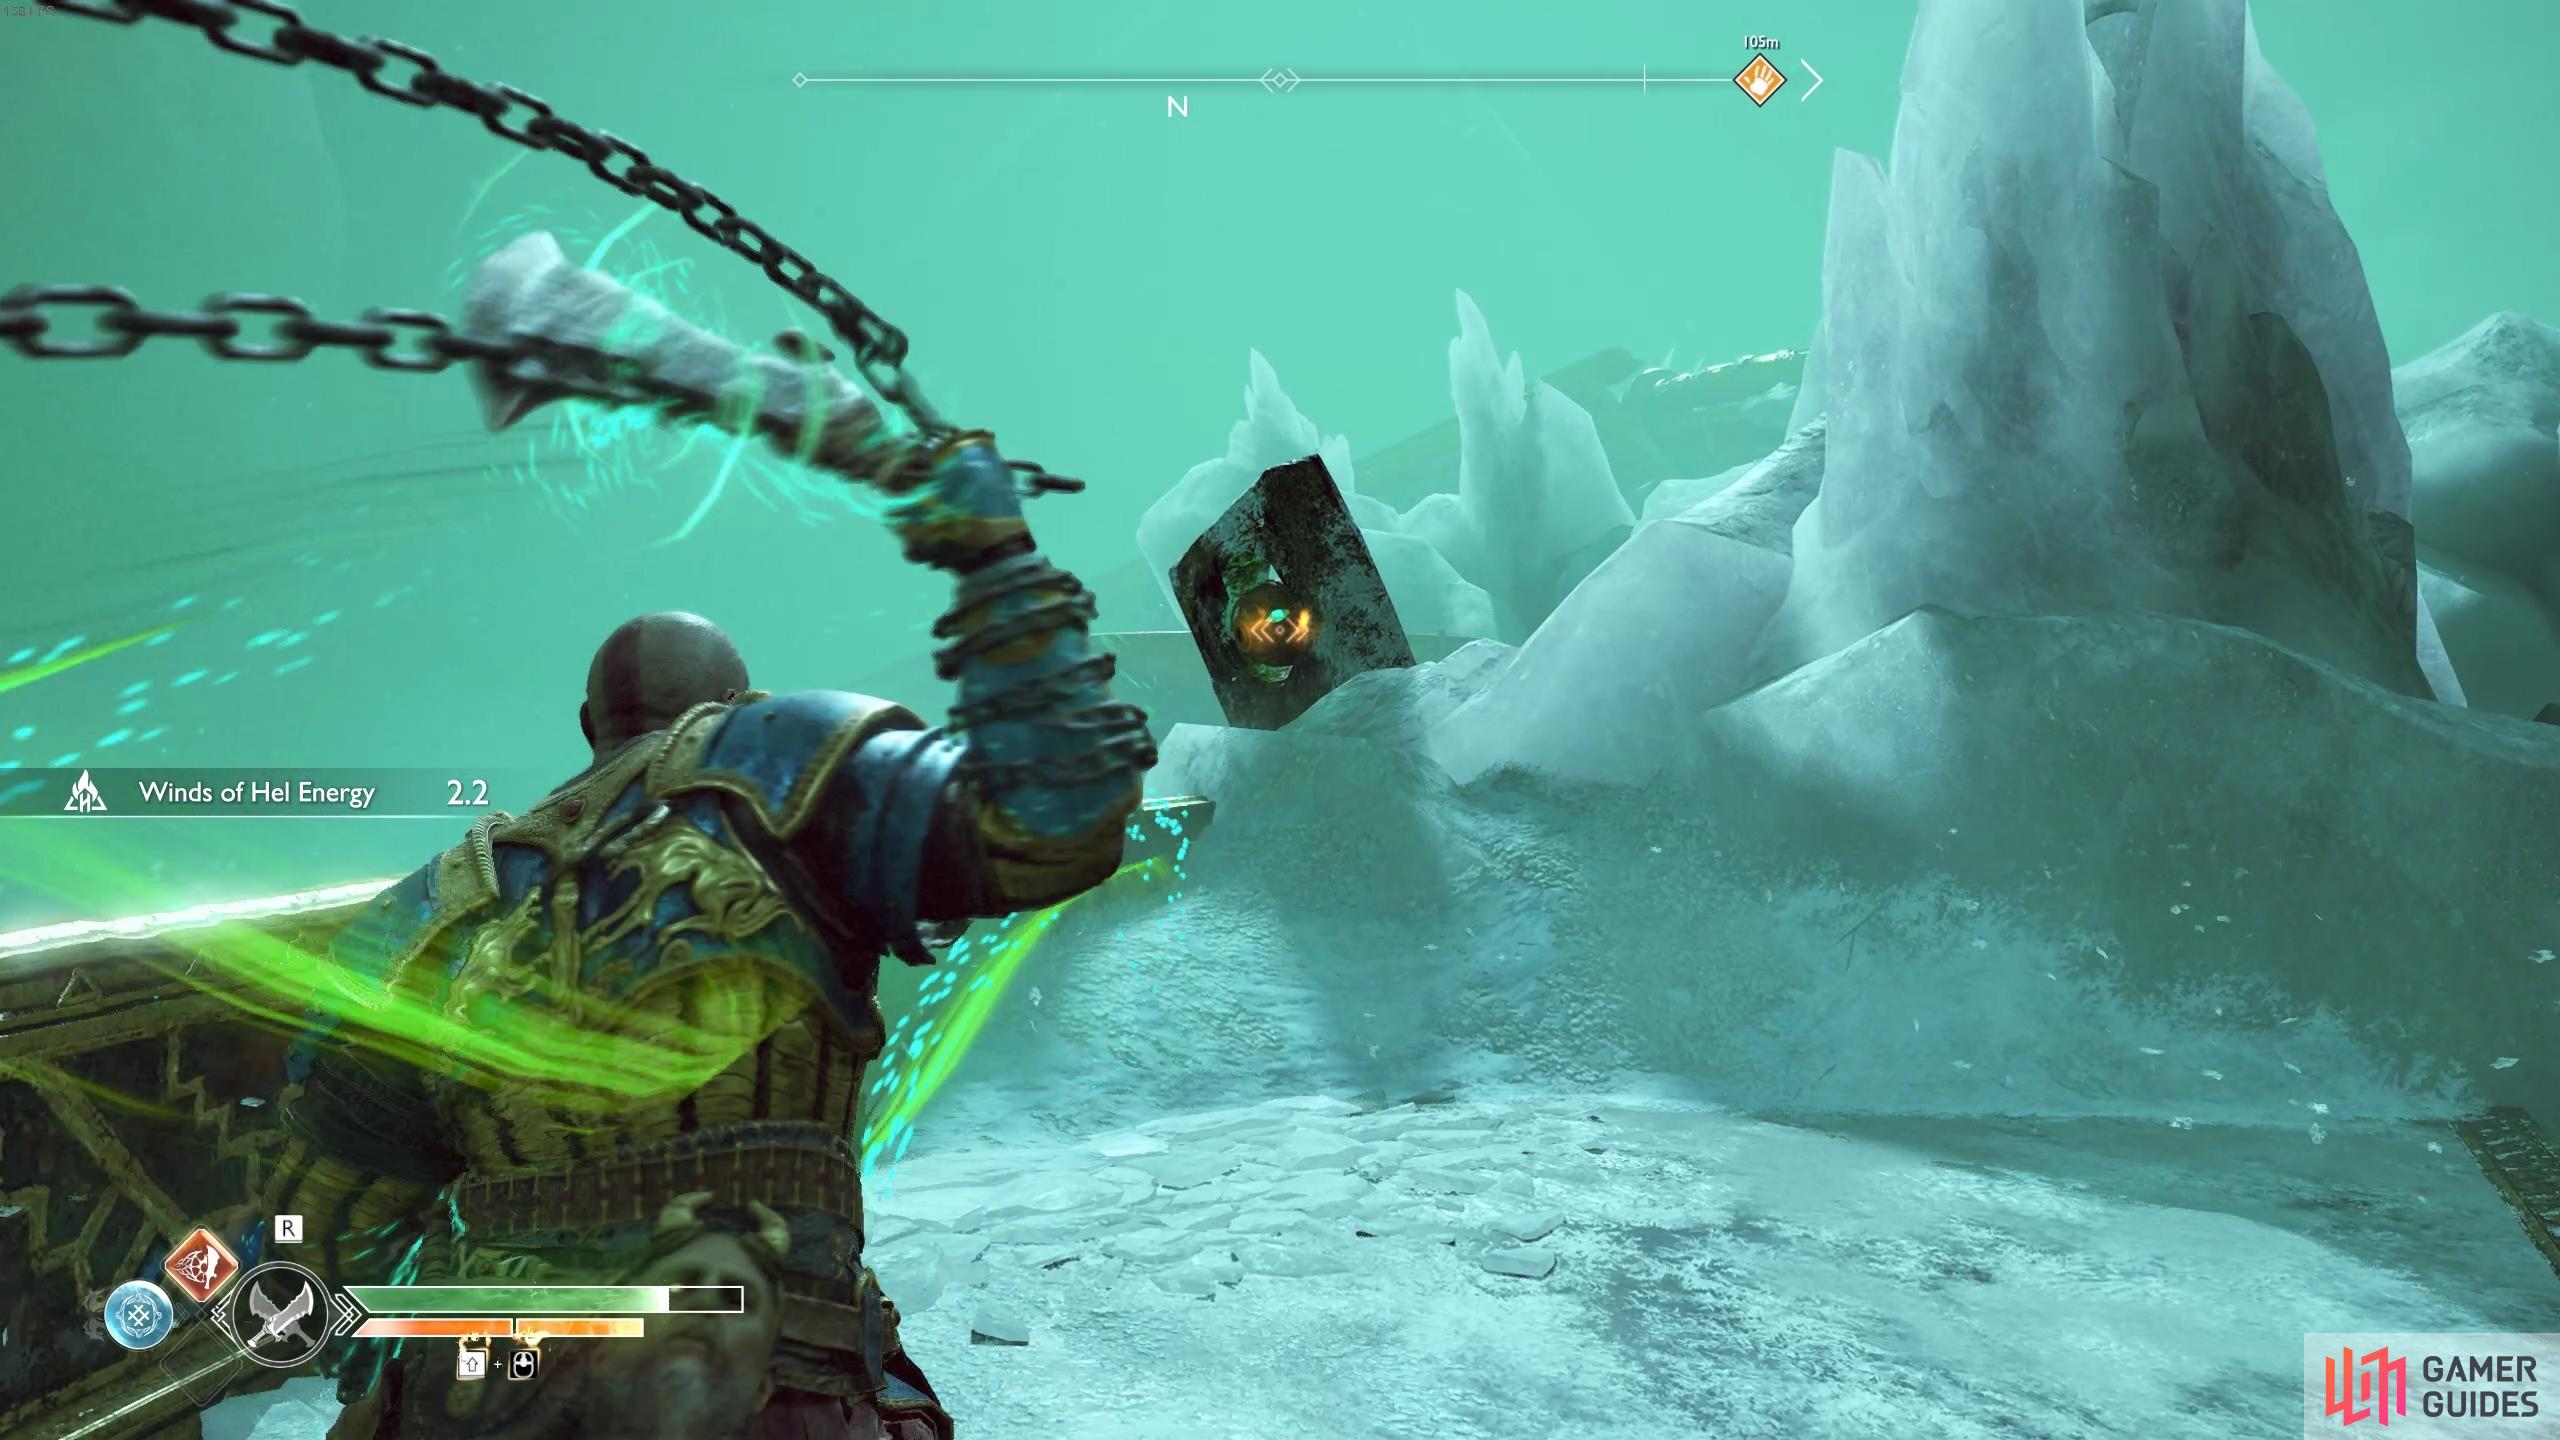
Use the Winds of Hel to open doors by storing the energy in these wind traps.
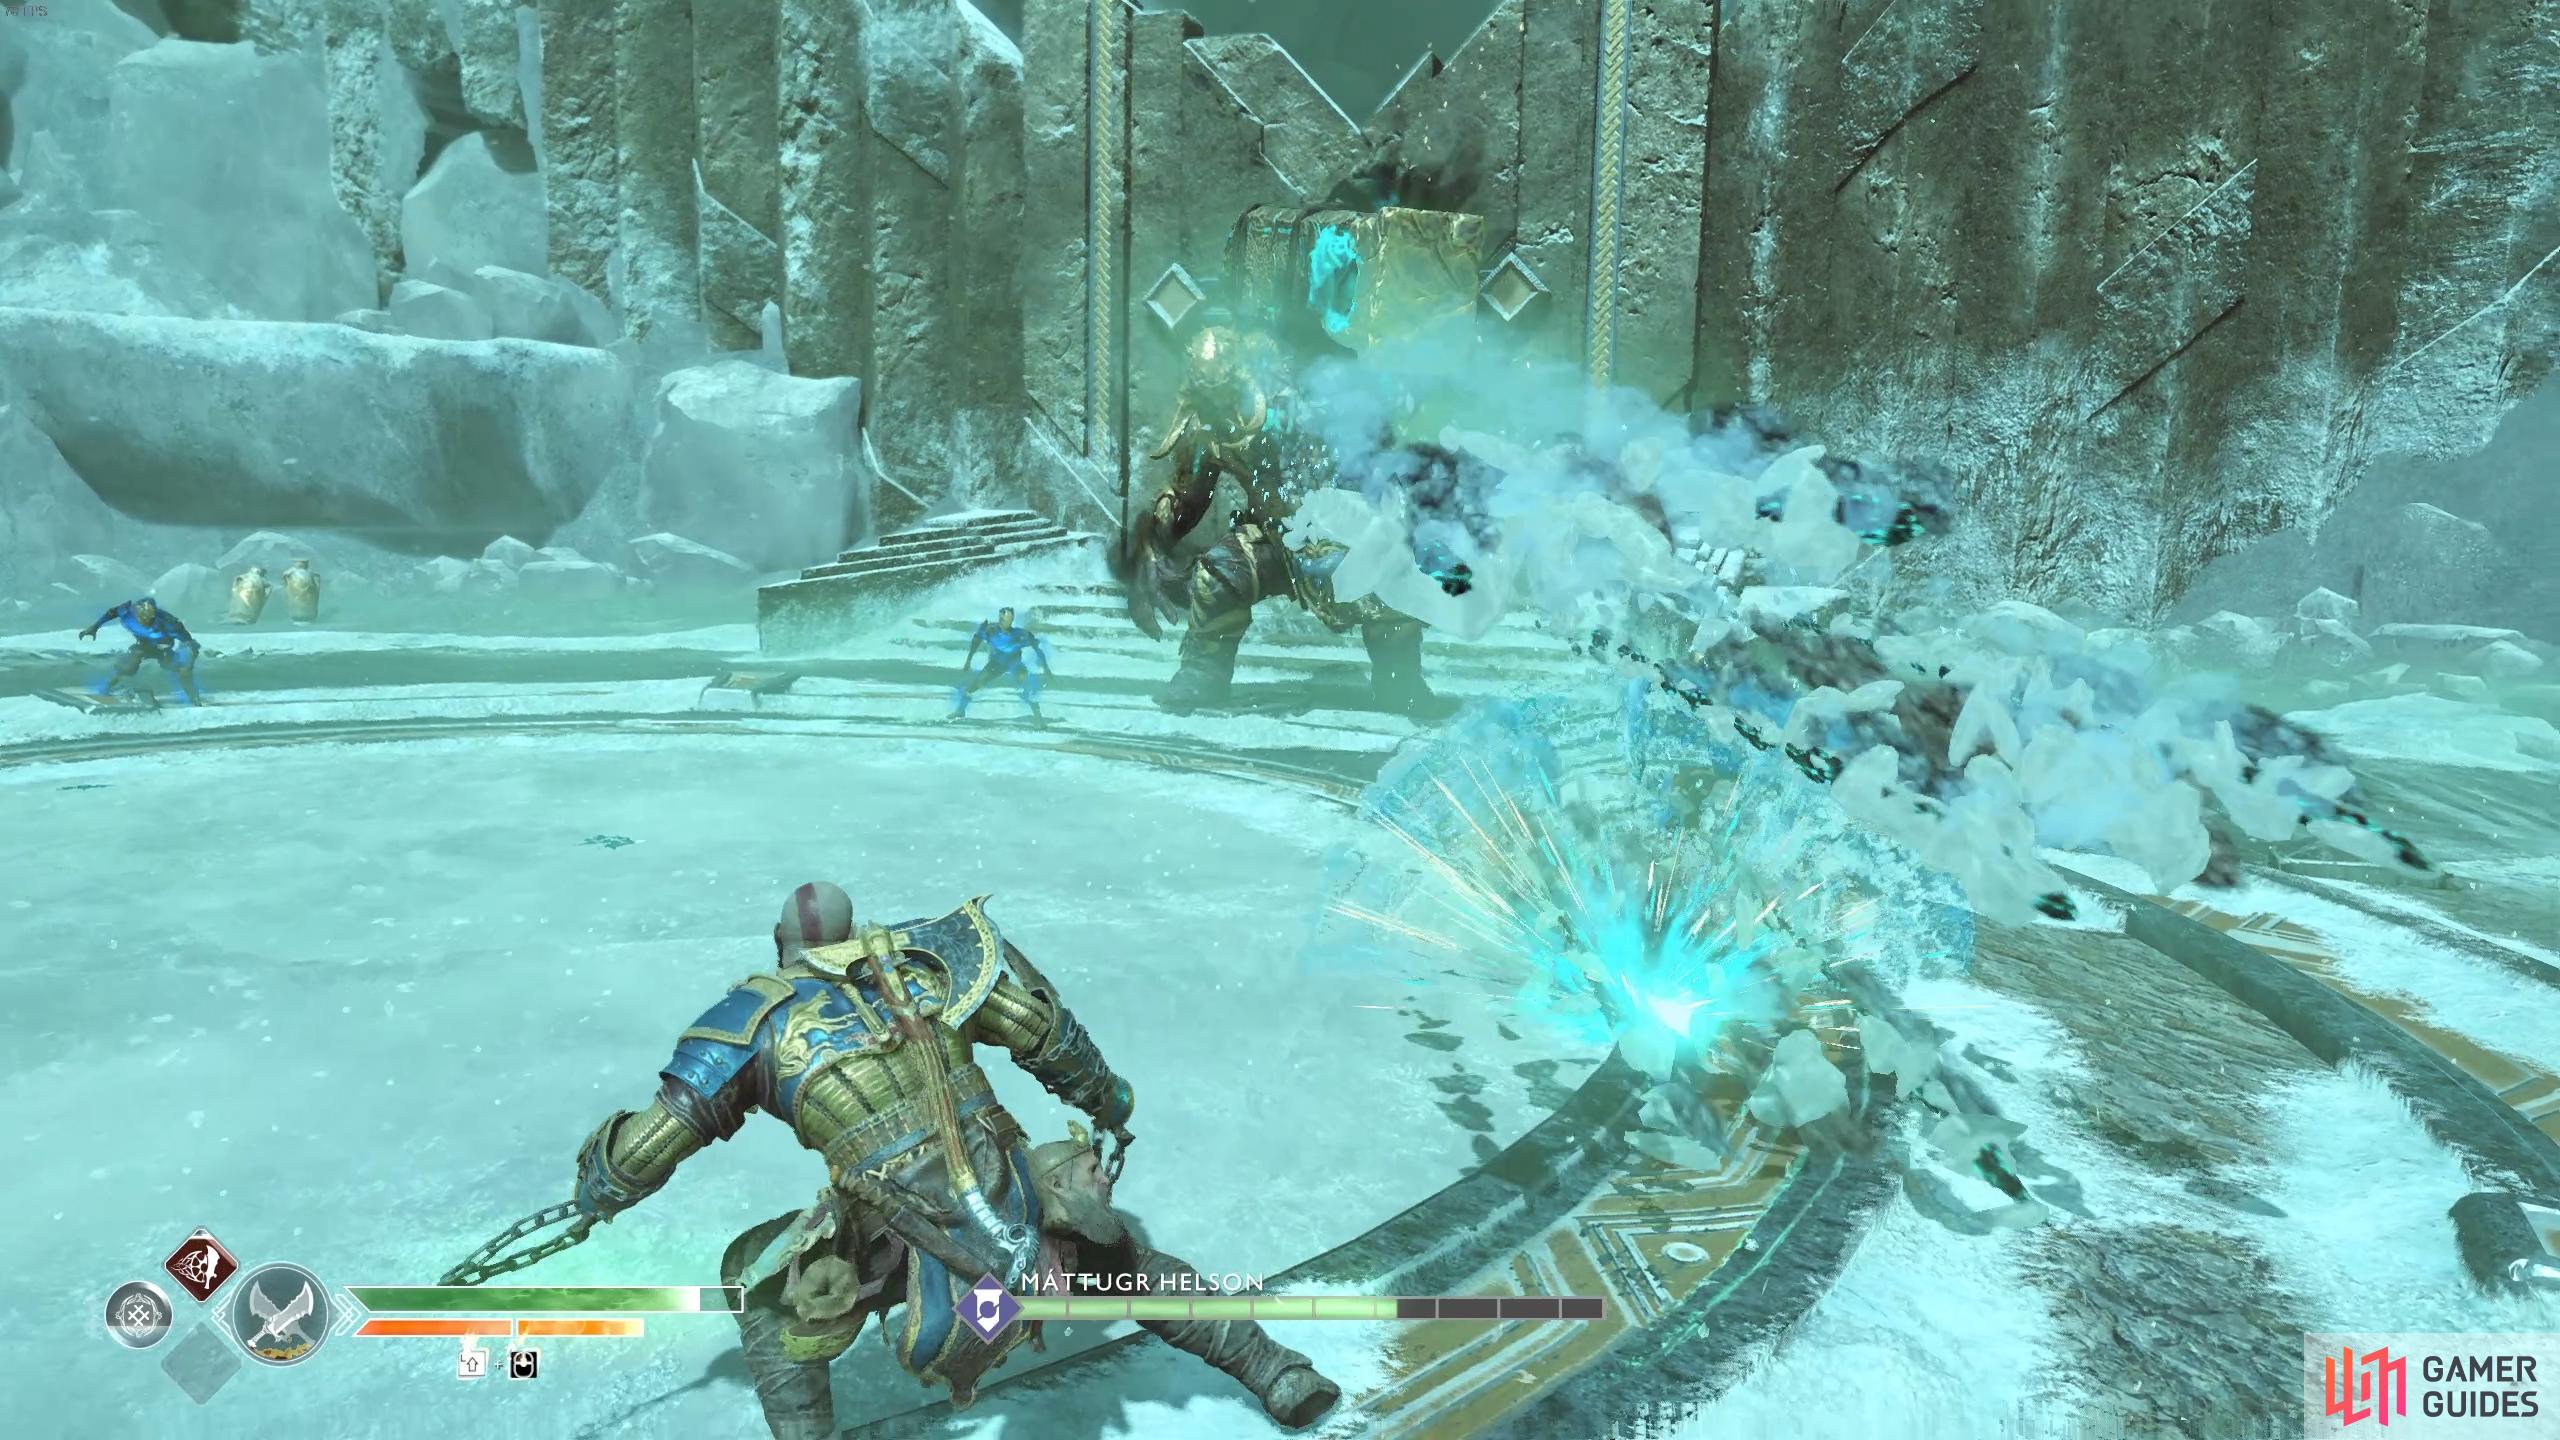
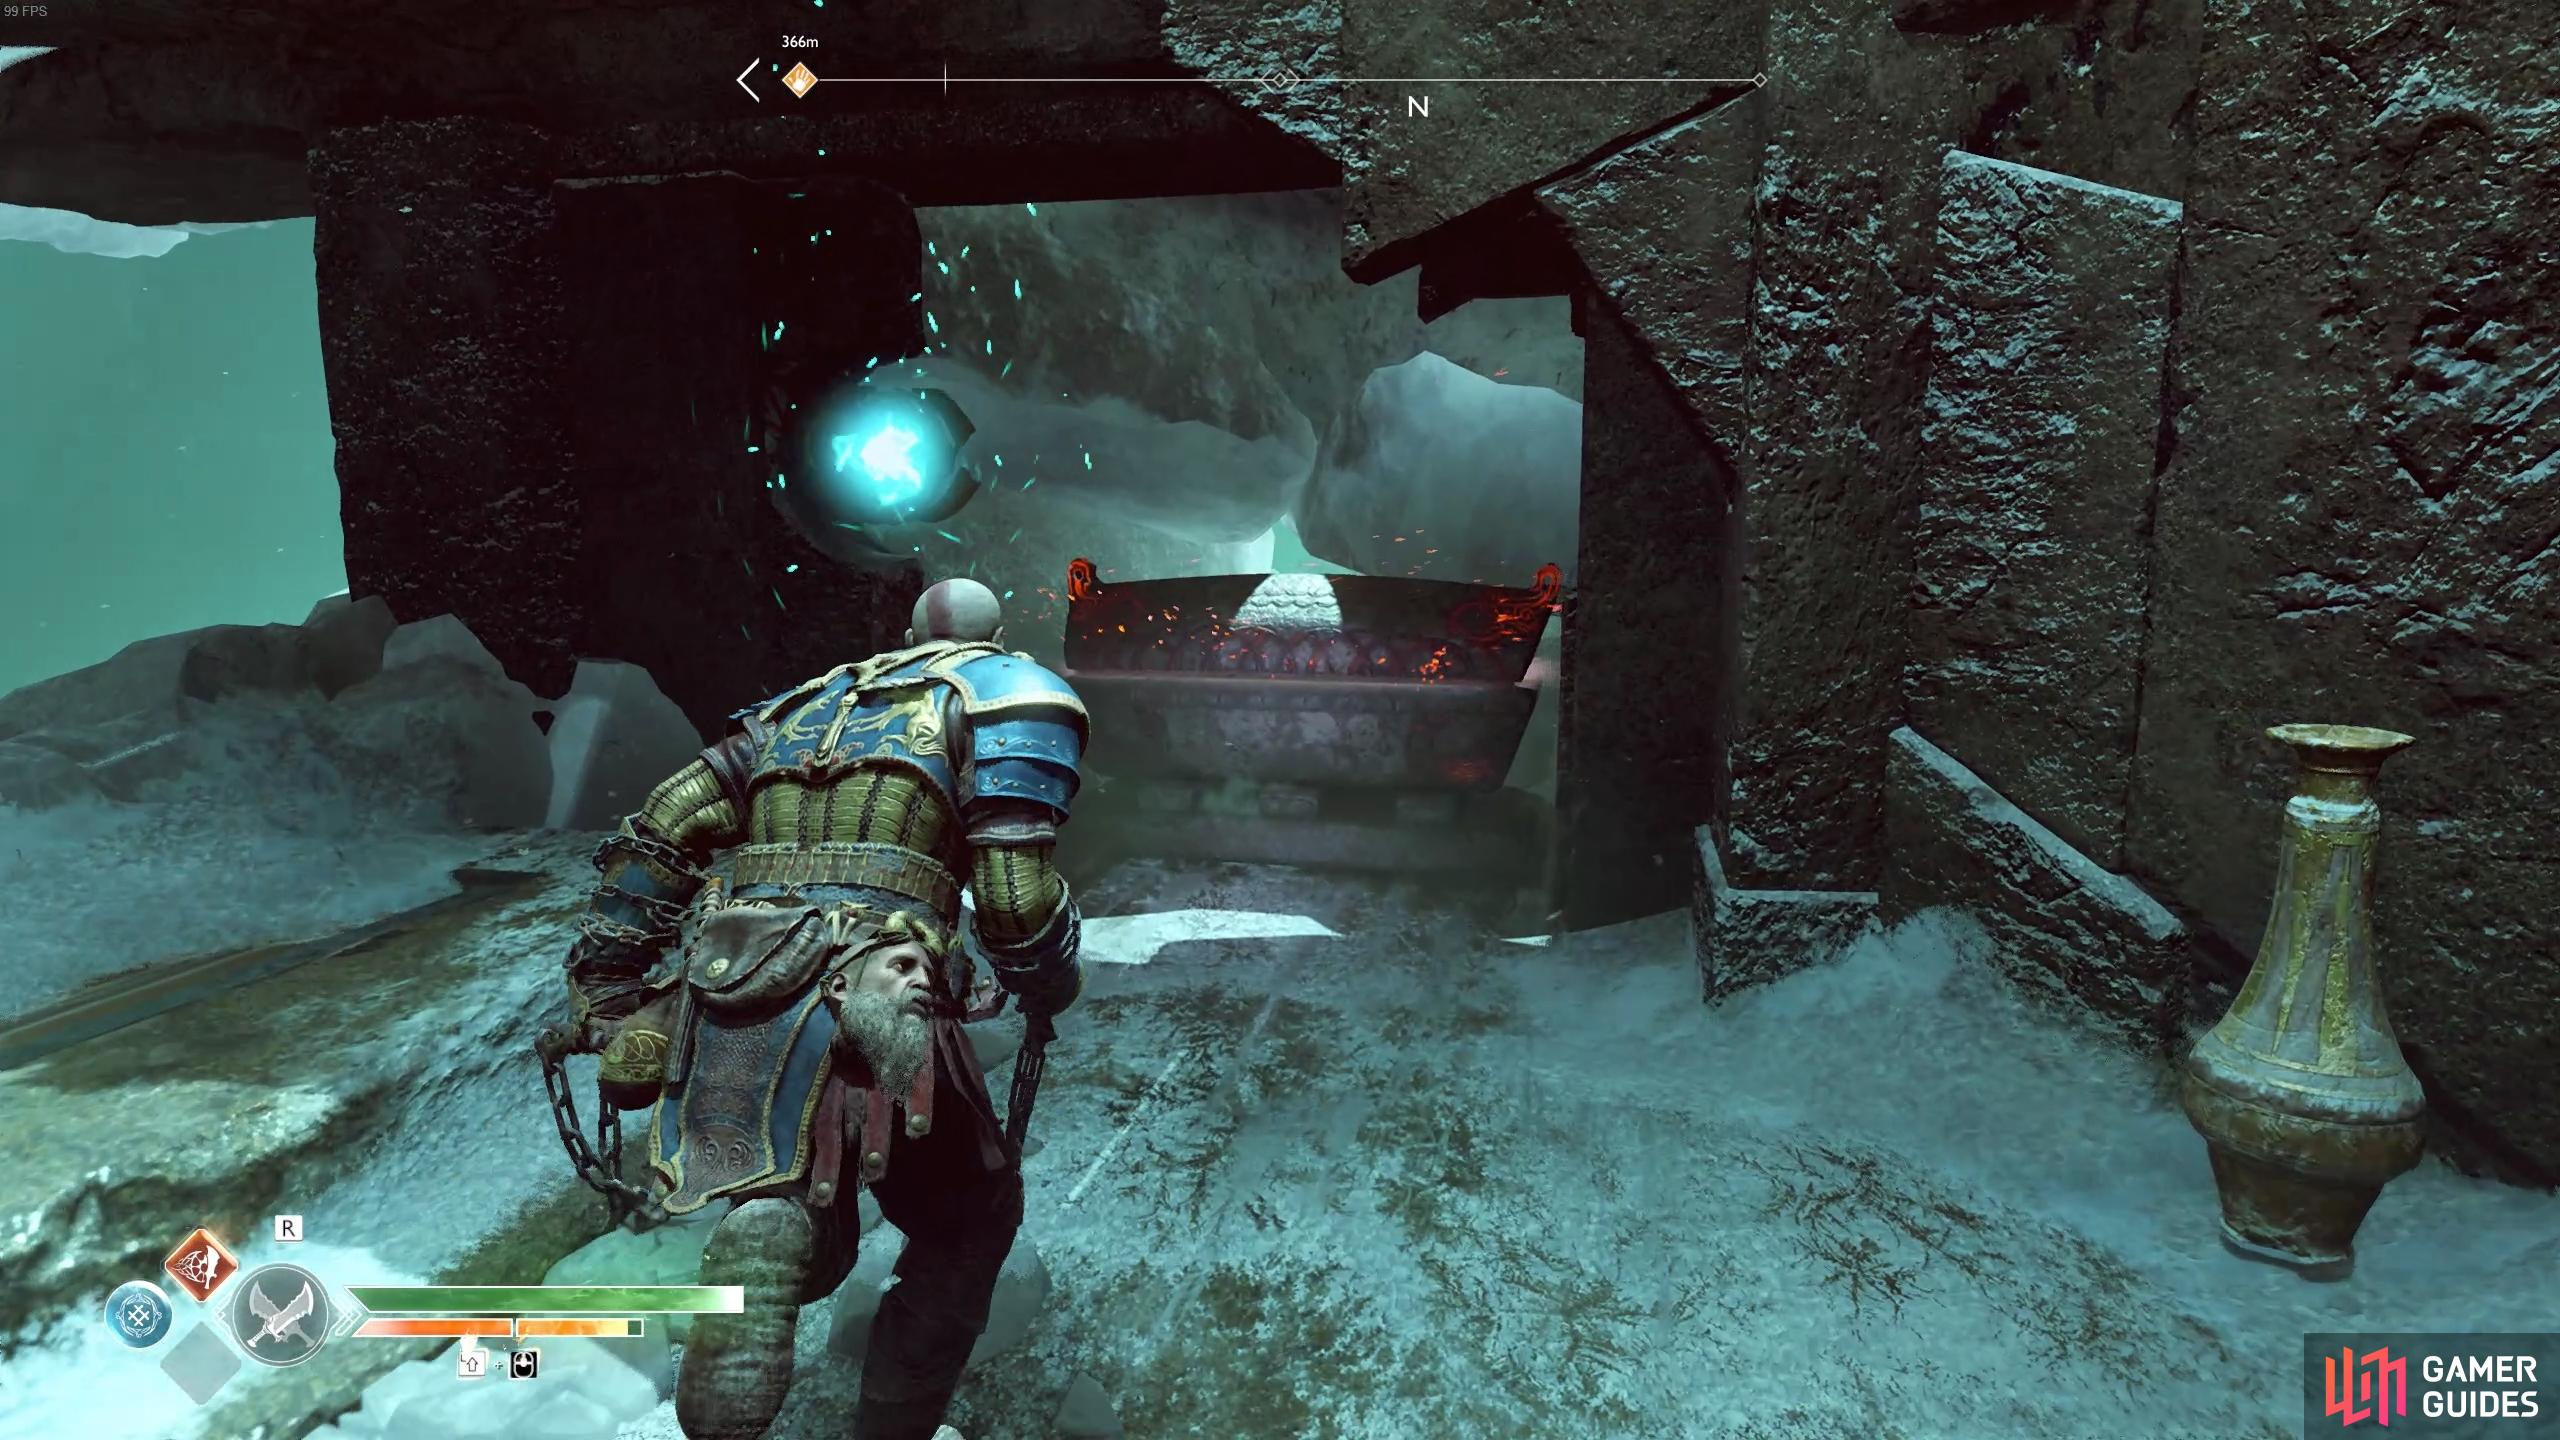
Once on the other side, activate the wind trap again and store it in the nearby trap to the southwest to open the door. Head through and defeat the Ice Nightmares along with a Hel-Reaver, you can throw the Blades at Nightmares to impale and kill them instantly. Grab the Winds of Hel once again and store it in the next wind trap in front of you and pass through this door, defeating the next group of enemies that spawn.
Climb up the ledge behind you and take the right path to the end where you can target the previous wind trap and activate the Winds of Hel again. Quickly dash back down the ledge and store it on the trap to the right to gain access to the coffin behind it. Face the south tunnel now and burn away the brambles, passing through it after. Open the Hacksilver chest when you emerge and then turn around to face the tunnel you just left. Another wind trap can be found amongst the rocks to the right, activate it and store the energy in the other trap on the door to unlock it.
Turn around and grab another Winds of Hel, depositing it in the trap to your left to unlock the chamber and open a coffin. Grab the energy again and take it with you to the next trap to the left of the archway. Head through this archway and defeat the Nightmares and Hel-Reavers that spawn before once again grabbing the energy and taking it with you to the next trap, found on the shield of the statue to your right.
(1 of 2) Deposit the energy here to open the door.
Deposit the energy here to open the door. (left), Store it on the shield of the statue to continue. (right)
Head forward without the energy to clear the area of more Hel-Reavers before returning back to the last wind trap and grabbing the energy once more. This time you’ll need to deposit it on the first statue’s back once you leap the pillar. Activate the energy again and this time dash forward to the platform with the ring overhead and deposit the energy up where the Raven sat before.
(1 of 2) Run to the left of the bridge to spot this wind trap.
Run to the left of the bridge to spot this wind trap. (left), Take it across to the other side and store it near the stairs. (right)
Walk forward towards the Temple entrance and defeat the last of the Hel-Reavers and Nightmares that spawn to clear the area. Head back to the wind trap and grab the energy, taking it with you to the left and depositing it in the wind trap you see at the back. Head around to the other side of this wind trap (where you picked up the artefact earlier) and activate it again. Dash west across this platform until you hit the edge and look to the right to find another wind trap to deposit it. Finally, activate the energy one final time and take it with you down the stairs and deposit it into the door to unlock it. Your reward for this task is a Legendary Chest containing the Cyclone of Chaos Light Runic Attack gem.
Return to the Temple now and speak to Brok to use the Chaos Flame to upgrade the Blades of Chaos to Level II. Also take the time to craft a better Pommel, the Deadly Grips of Magic being an excellent choice. Provided you have the resources (and you should), upgrade the Pommel, this should be enough to increase Kratos’ Level to 6.
You’re finished with Helheim for now, head into the Realm Travel room and activate the bridge to travel back to Midgard.
Deliver the heart to Freya
Back in Midgard, Brok delivers some great news in the form of the Mystic Gateways. Using the Winds of Hel has allowed him to upgrade it allowing you to travel to any gates you’ve found previously, this will make getting around the world a lot more convenient. Make good use of this right now and use it to travel to the Witch’s Cave Upper Level. Once you emerge from the door head straight to the house to give the heart to Freya and conclude this step of the journey.
You’ll unlock the Promise Fulfilled achievement upon completion of the quest.

 Sign up
No Comments