

Post Game, God of War.
There’s still many activities to complete and now is the best time to complete them. If you’ve been following this walkthrough, you’ll be cleaning up the rest of collectibles before taking on the game’s two optional realms and the ultimate boss. If you’ve not been following the walkthrough, take a look at all the sections in this guide to find any information you may be seeking.
The Shattered Gauntlet of Ages
Let’s begin by unlocking the secret of the Shattered Gauntlet of Ages Talisman. By now you should’ve already freed all of the Dragons around Midgard, with this you’ll have enough Dragon Tears to upgrade the Talisman two levels. You are missing one more Dragon Tear to take it to its final level and you’ll have to find the Dragon that fell during your battle with Baldur earlier in the game. Take a trip to the Forgotten Caverns and climb the wall to the top to find the remains of the Dragon. Head over to find the final Dragon Tear and return to Brok’s Shop.
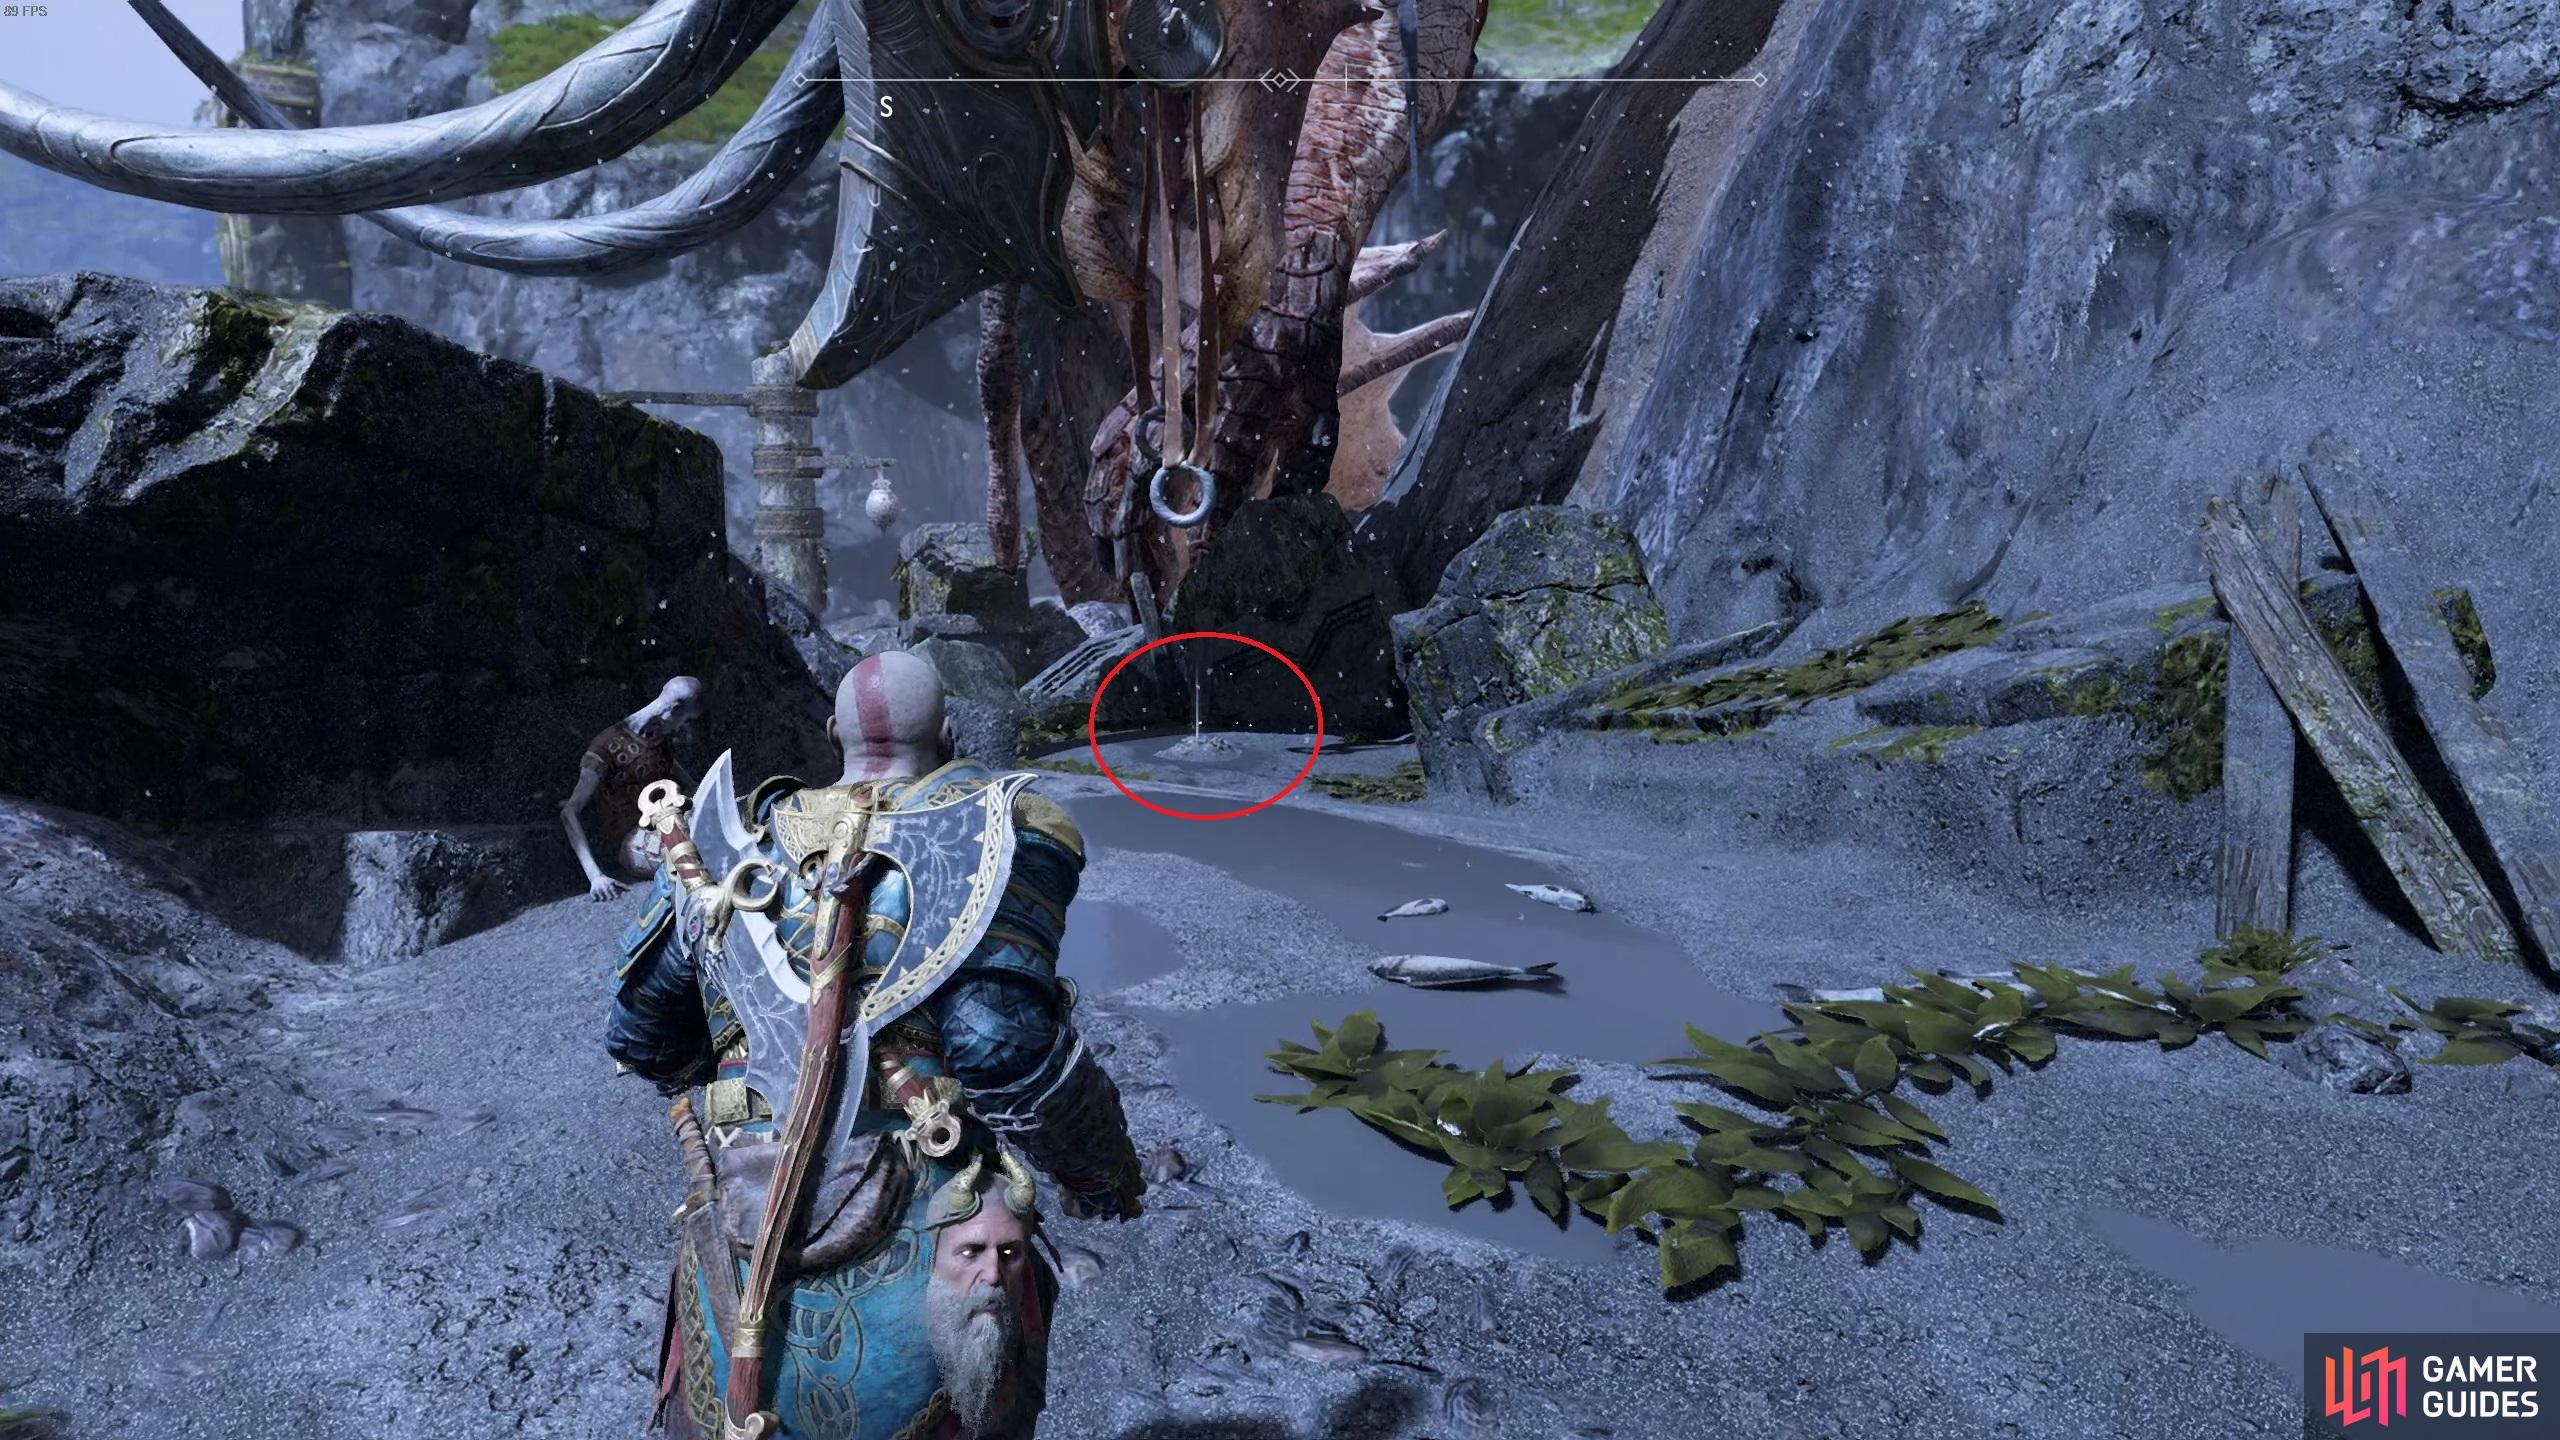
(1 of 2) The final Dragon Tear can be found at the top of the Forgotten Caverns.
The final Dragon Tear can be found at the top of the Forgotten Caverns. (left), Equip these Enchantments to unlock the hidden ability on the Talisman. (right)
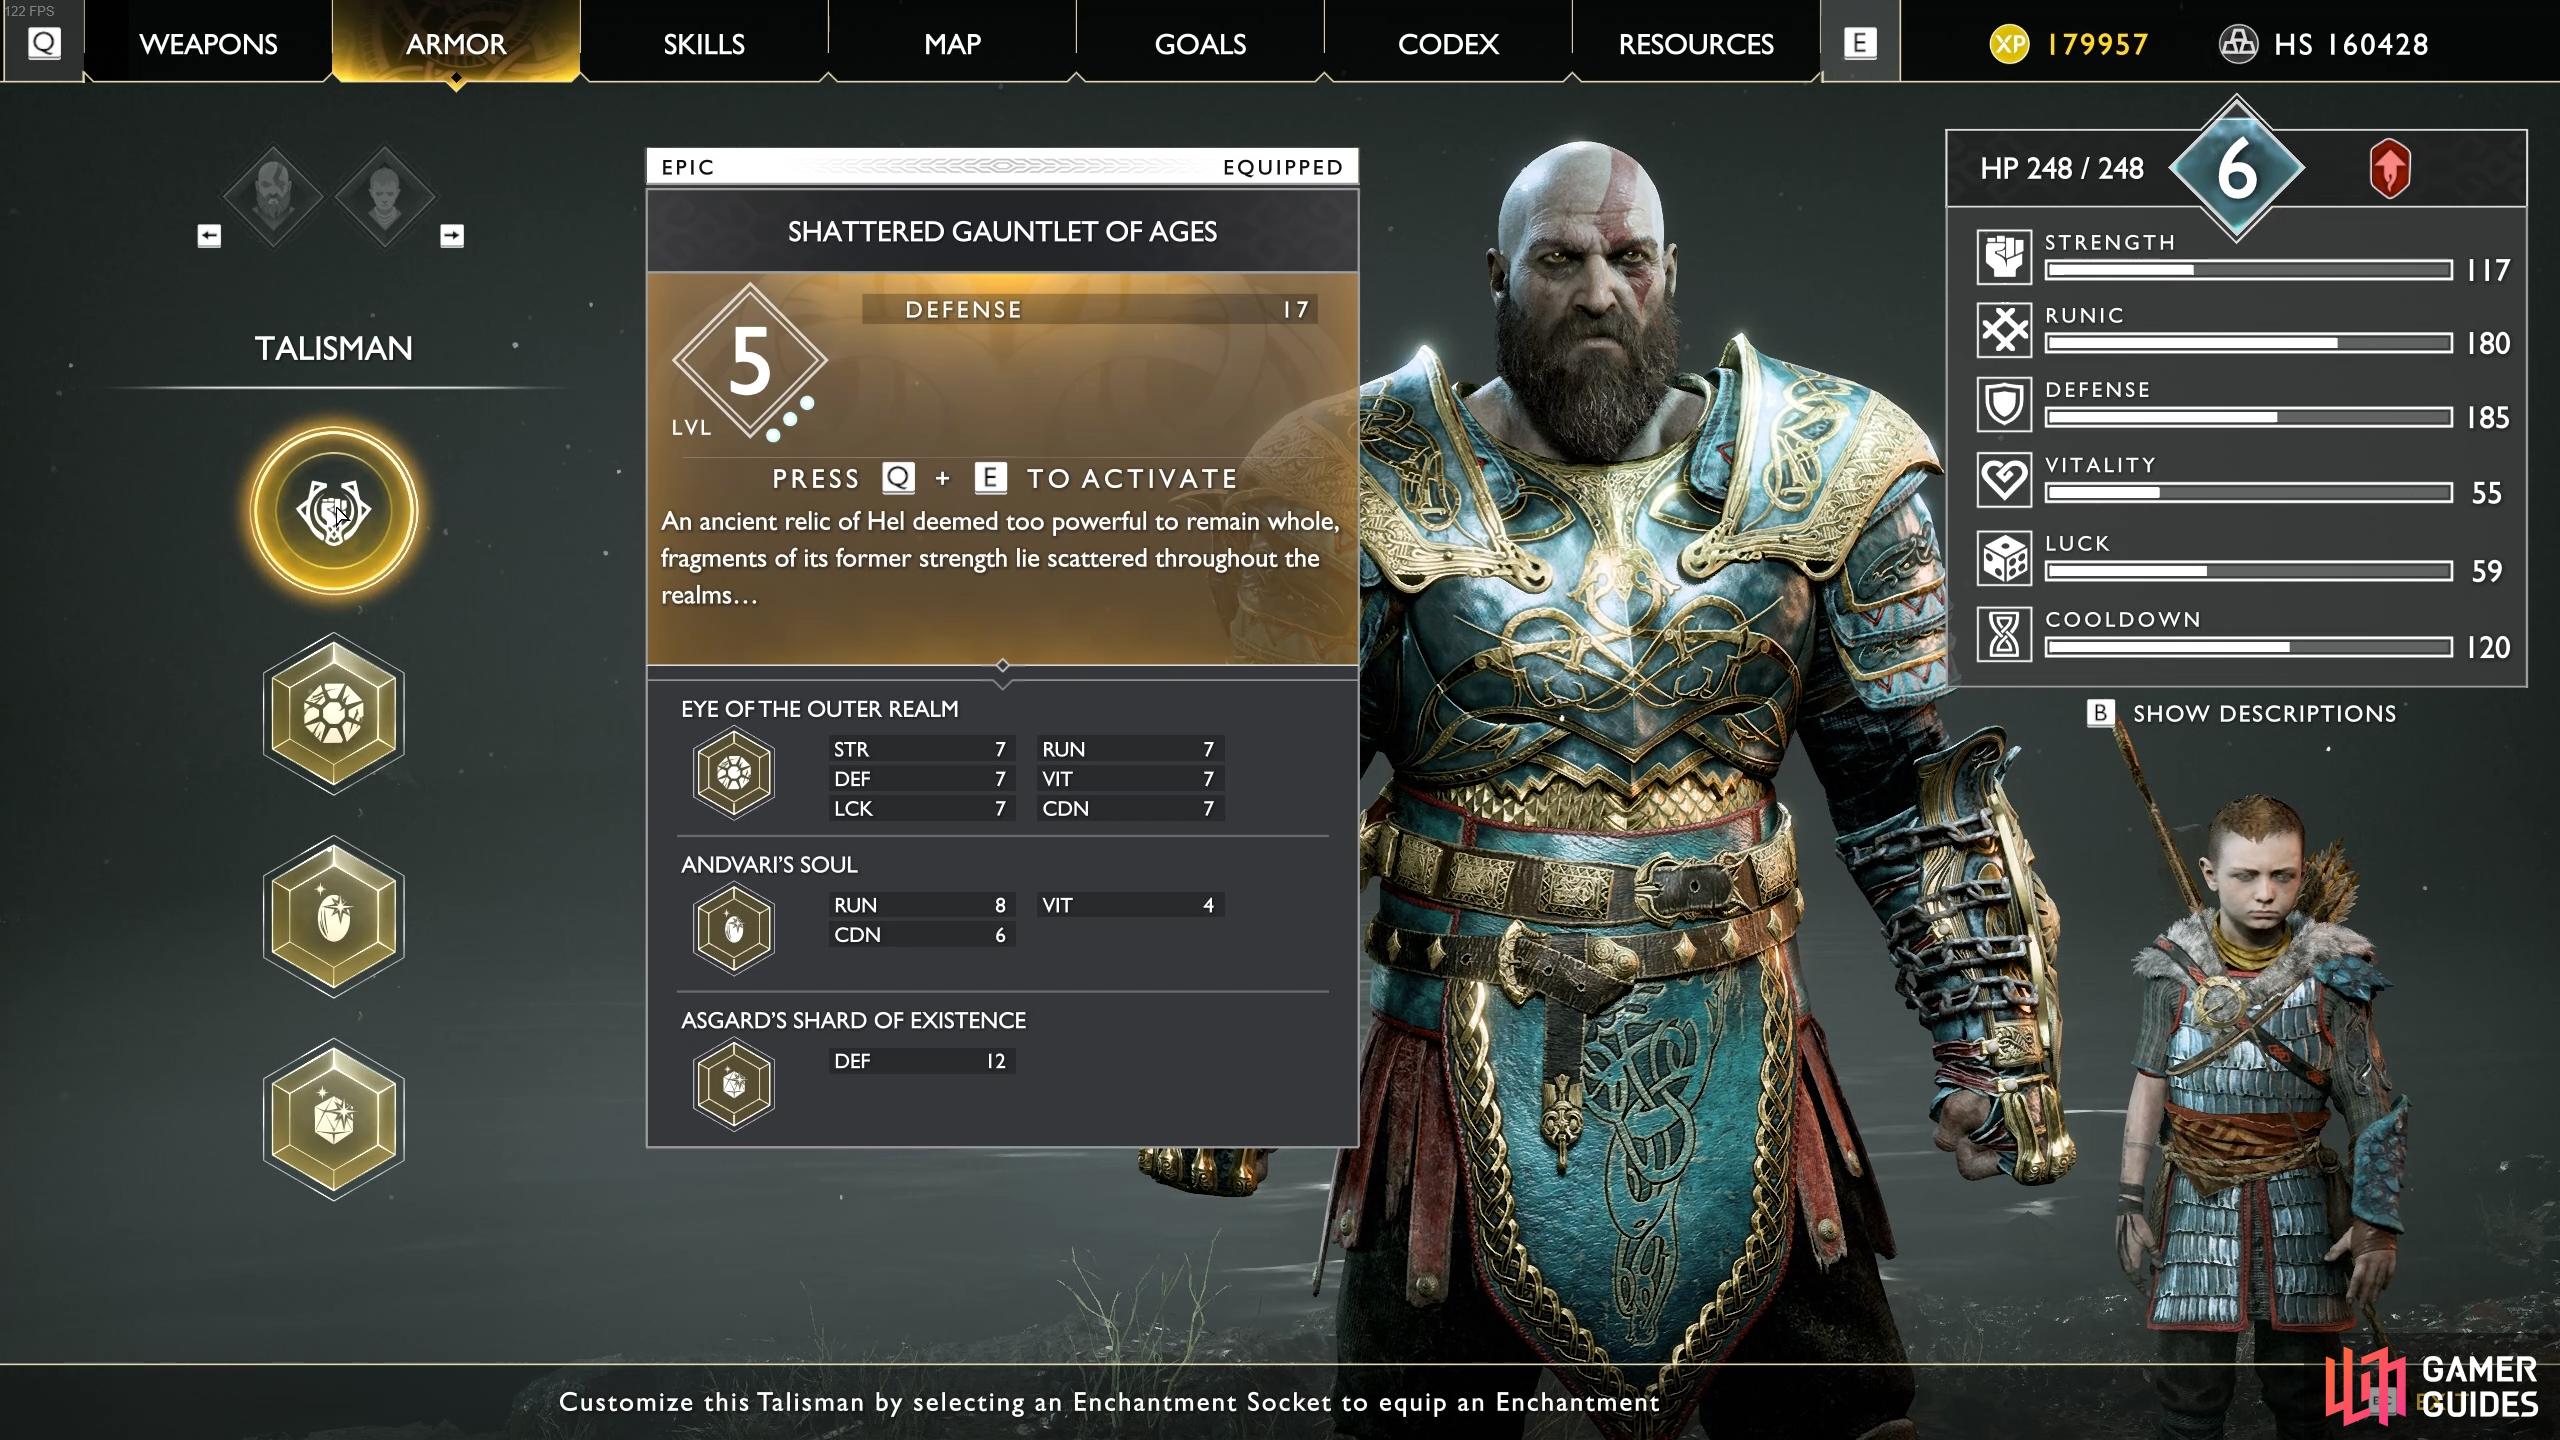
Upgrade the Shattered Gauntlet of Ages to its max level, this will allow you to socket three Enchantments into the Talisman. Here is where the hidden effect comes into play, ordinarily the Shattered Gauntlet of Ages is nothing special however if you equip three specific Enchantments, the ability will change delivering an incredibly strong special attack in which you’ll be invulnerable during its animation. You need to choose any three from the six Enchantments listed below to unlock it:
– Andvari’s Soul - Obtained from completing the Second Hand Soul Favor from Brok.
– Asgard’s Shard of Existence - Obtained from defeating the Valkyrie, Rota.
– Eye of the Outer Realm - Obtained in the Secret Chamber of Odin during the Escape from Helheim sequence.
– Ivaldi’s Corrupted Mind - Obtained from defeating the Valkyrie, Olrun.
– Muspelheim Eye of Power - Purchase from Brok’s shop after unlocking Muspelheim
– Njord’s Temporal Stone - Obtained from defeating the ultimate boss.
If you’ve been following this guide, you should have at least three of these you can equip to bring out the latent power in the Gauntlet. This should be your primary Talisman from this point on not only for the ability but also for the three additional sockets you receive from it.
Wildwoods Hidden Chamber of Odin
There’s still a few Hidden Chambers of Odin you’ve yet to open, begin by heading back to the Wildwoods (avoid resting at Kratos’ house for now) and climb the ledge at the back by burning the brambles away. You’ll need to deal with some high level Draugrs in the next area and now is as good a time as any to try out the devastating properties of your new Talisman. Once the enemies are defeated, head over to the sealed door and use the Magic Chisel to gain entry.
Climb down the stairs and use the elevator to reach the bottom where a Mystic Gateway awaits. You’ll find a coffin up the stairs before leaping the gap to find some more stairs leading down. At the bottom, kill the Draugr and open the two Hacksilver chests before returning back up and into the central chamber.
(1 of 2) The Revenant should be the focus of your aggression.
The Revenant should be the focus of your aggression. (left), Don’t miss the Raven before you leave the chamber. (right)
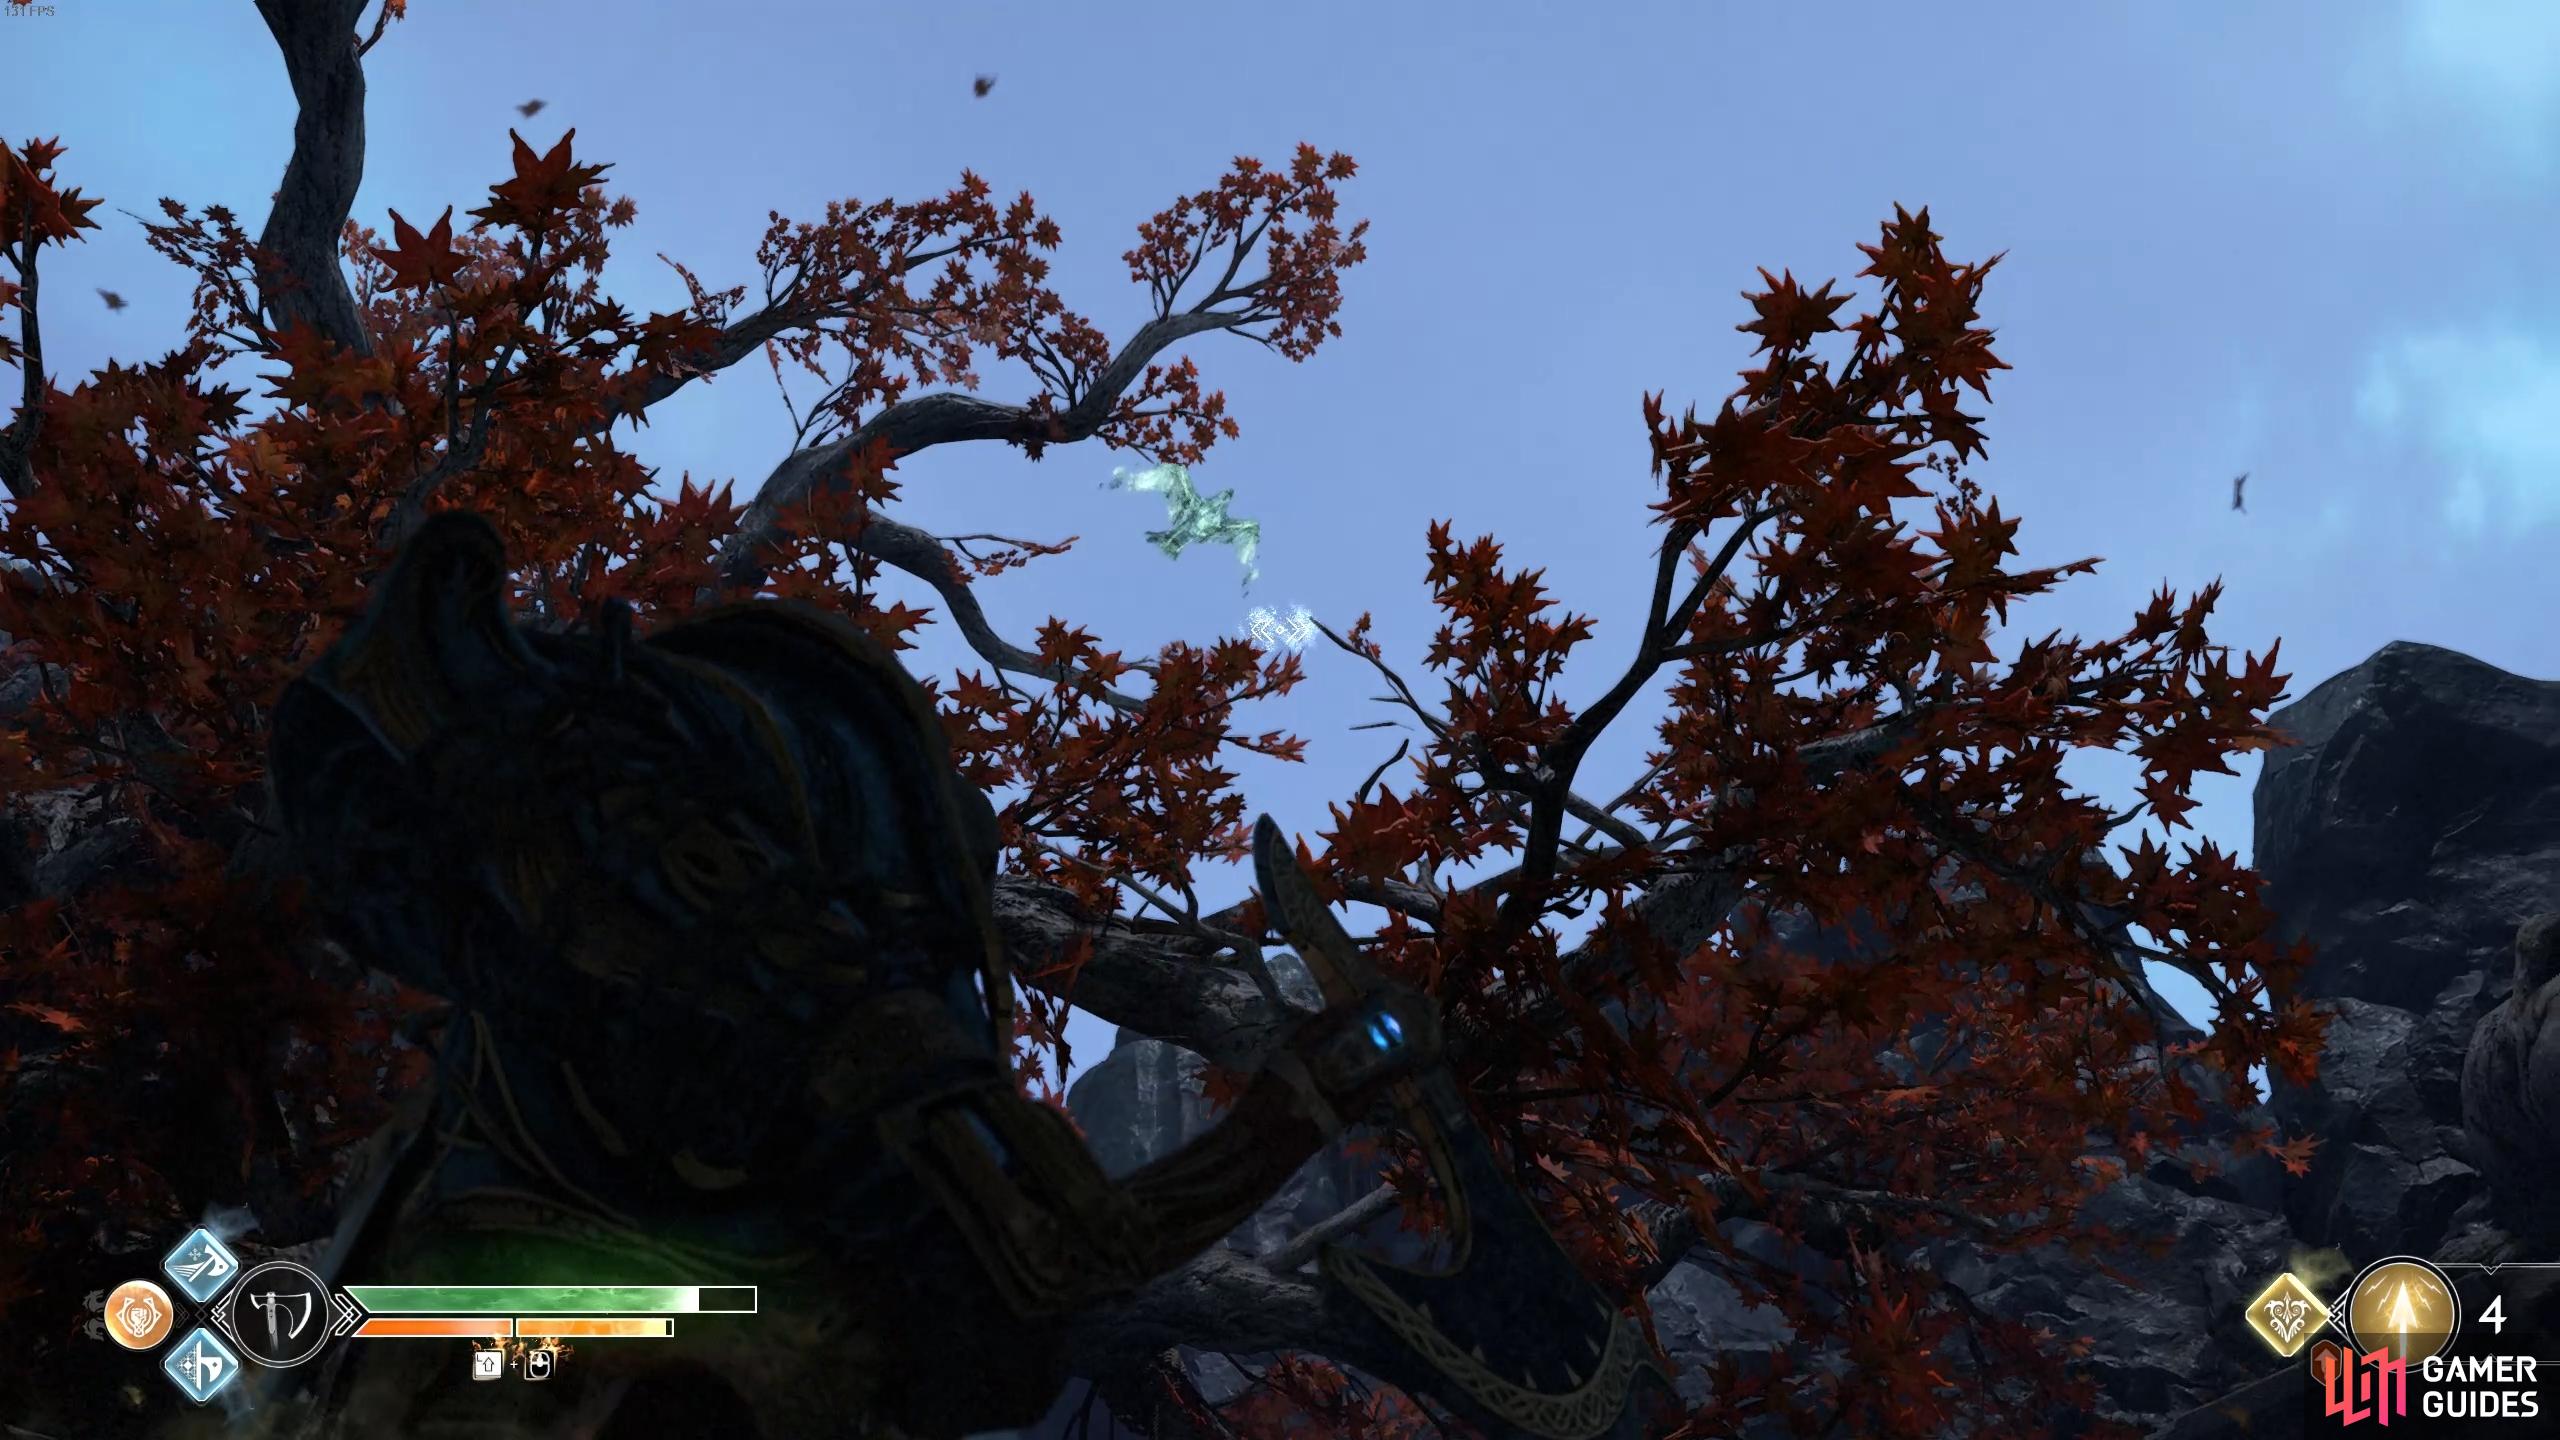
No Valkyrie this time, a Realm Tear takes her place instead, prepare yourself and open it when you’re ready. The main threat here is the Level 8 Revenant who can very quickly kill you if you’re unprepared. Hopefully you have the unlocked Shattered Gauntlet of Ages, using this will take off a huge chunk of health allowing you to finish her off at ease. The other Draugrs should pose little threat once she’s defeated. Close the Ream Tear upon her defeat to obtain Pure Essence of the Realms, Dust of Realms, the Heart of Svartalfheim Legendary Enchantment along with 10,000 Hacksilver. On the ground you’ll find another Lore Marker that hints about the location of the Valkyrie and if you look in the air, you’ll discover another Raven.
Alfheim’s Hidden Chamber of Odin
Use the Mystic Gateway to return to Brok’s Shop and use the Realm Travel room to return to Alfheim. Exit the shop and head across the bridge and back to the boat. Travel along the river and back to Light Elf Sanctuary, found to the northwest of the Lake of Light and dock the boat. Defeat any enemies on the shore and then head through the southwest cave to find the sealed door, unlock it and head in.
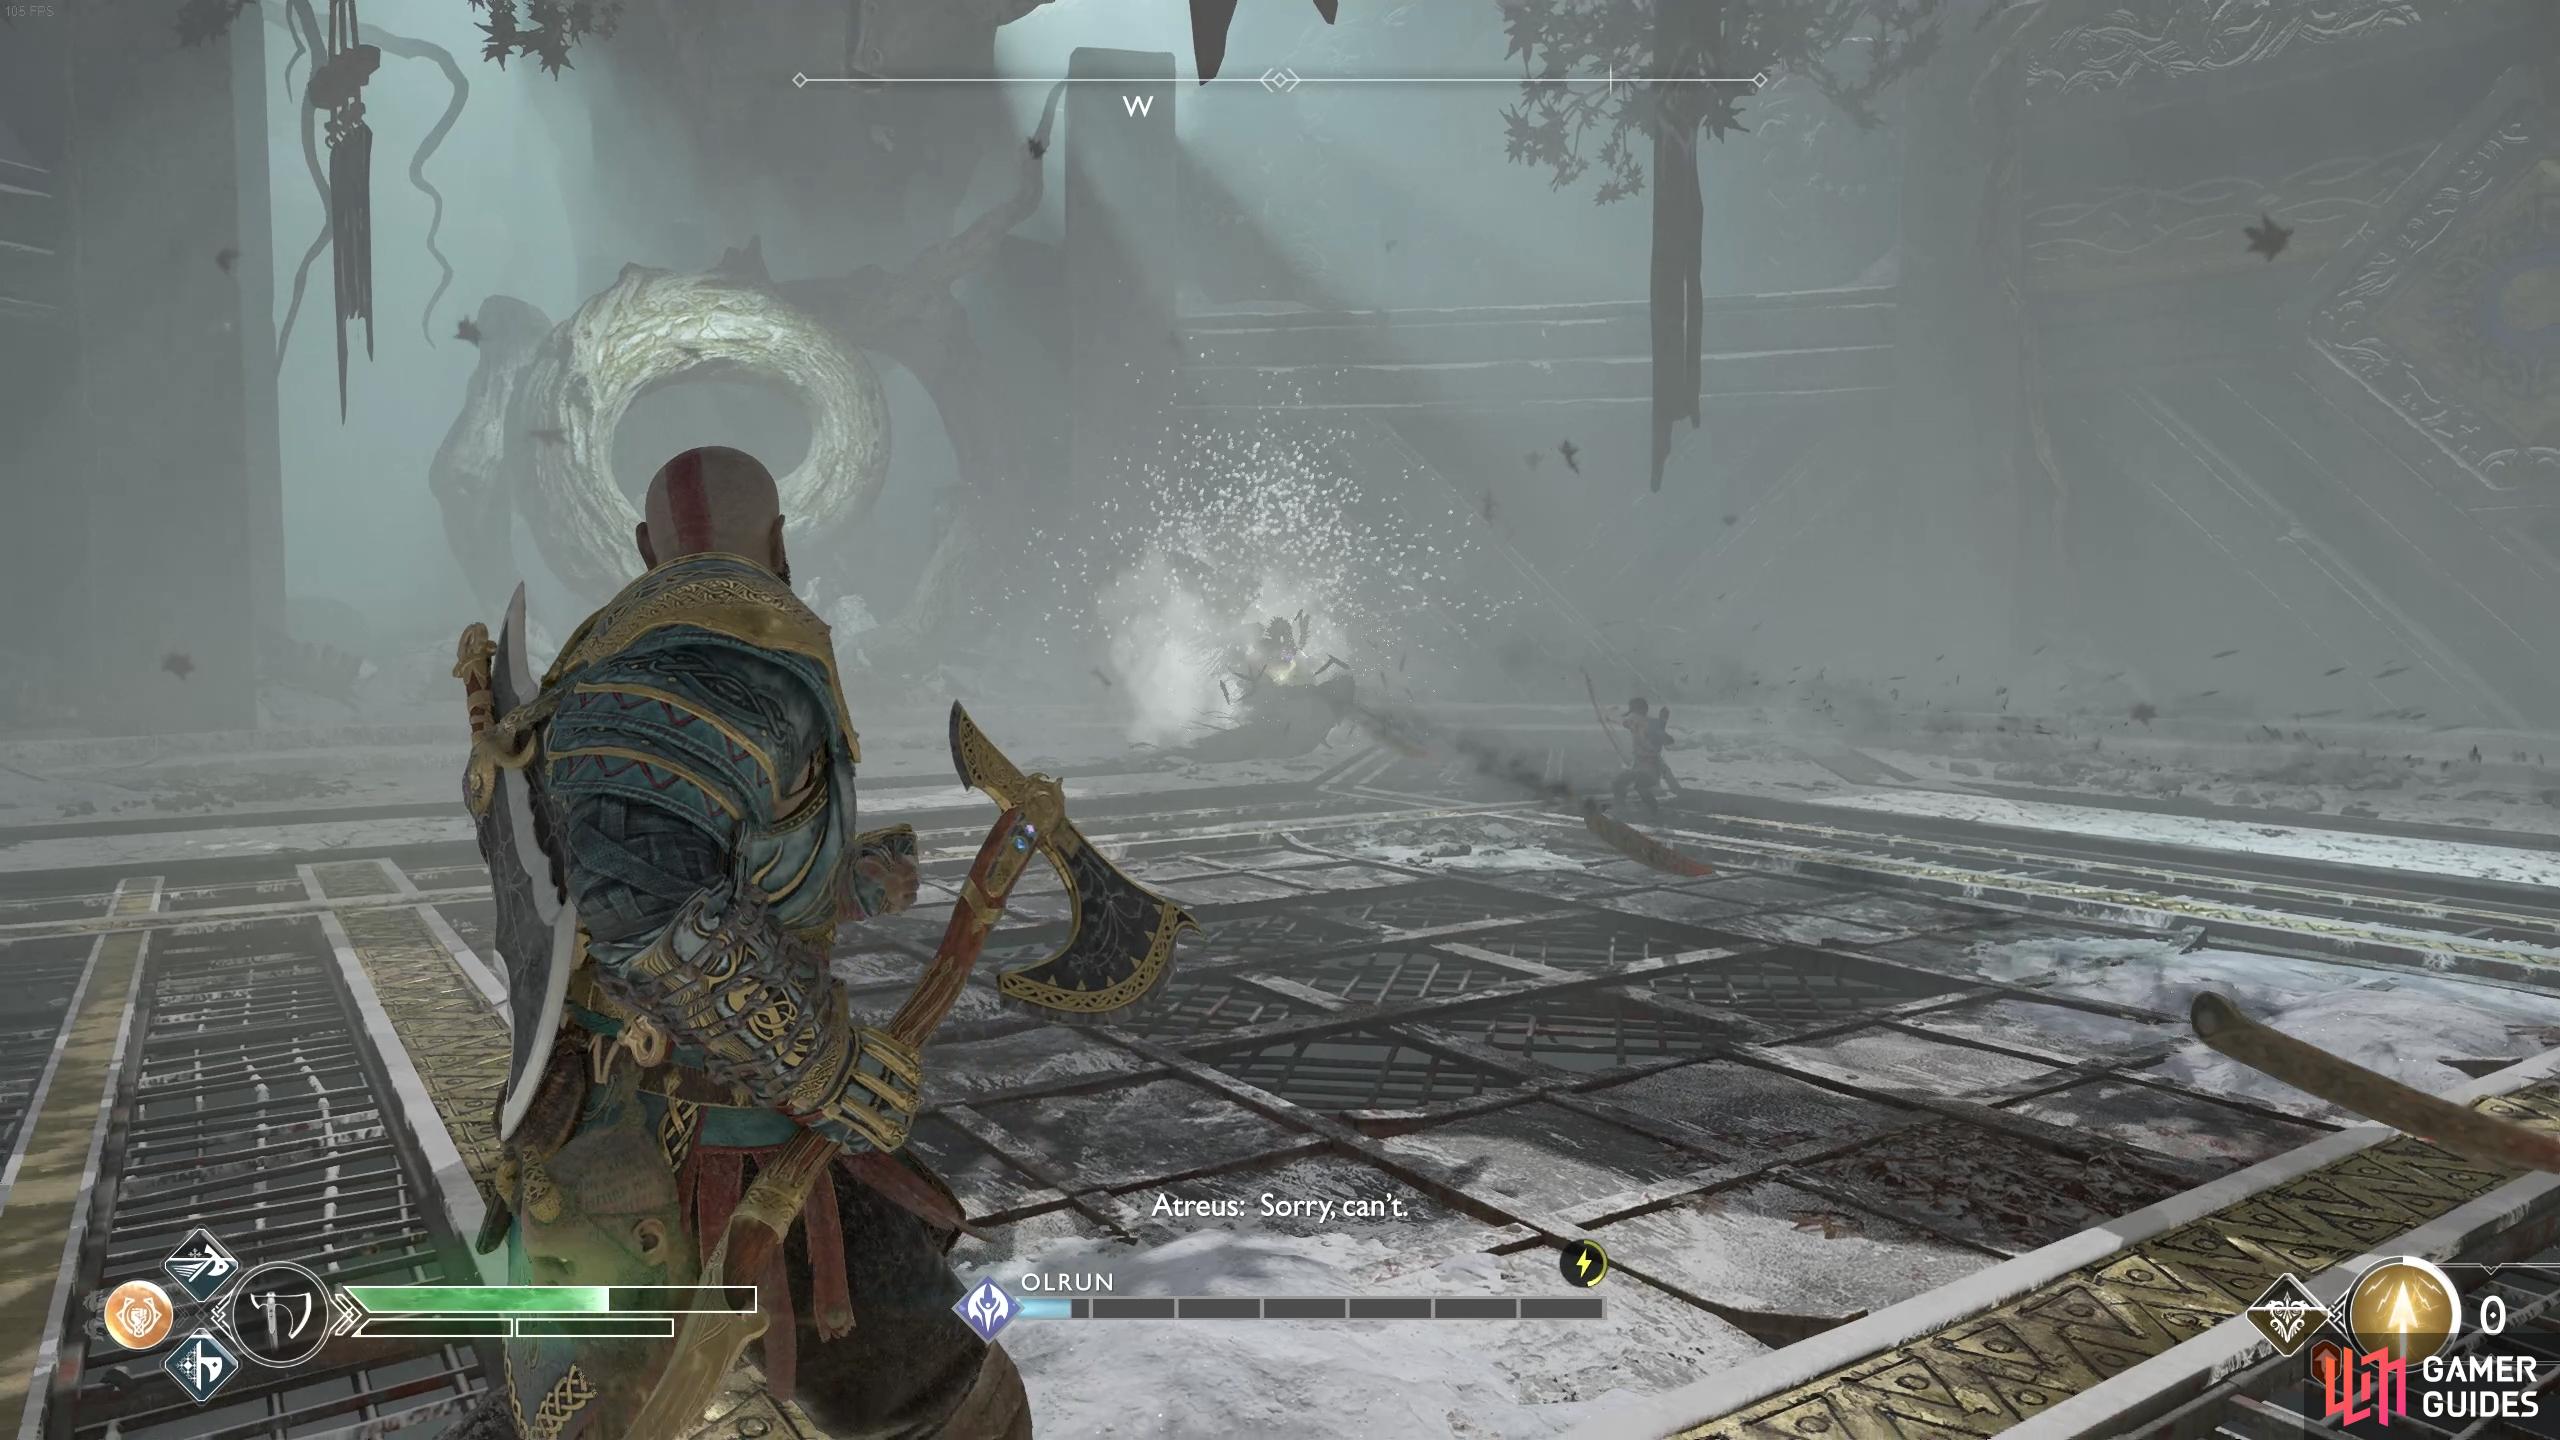
Take the elevator down to the bottom and activate the Mystic Gateway within. There’s a Hacksilver chest to open behind you and a coffin up the stairs. Leap over the gap and open up two more Hacksilver chests before finding the Valkyrie, Olrun, in the central chamber.
Defeat Olrun
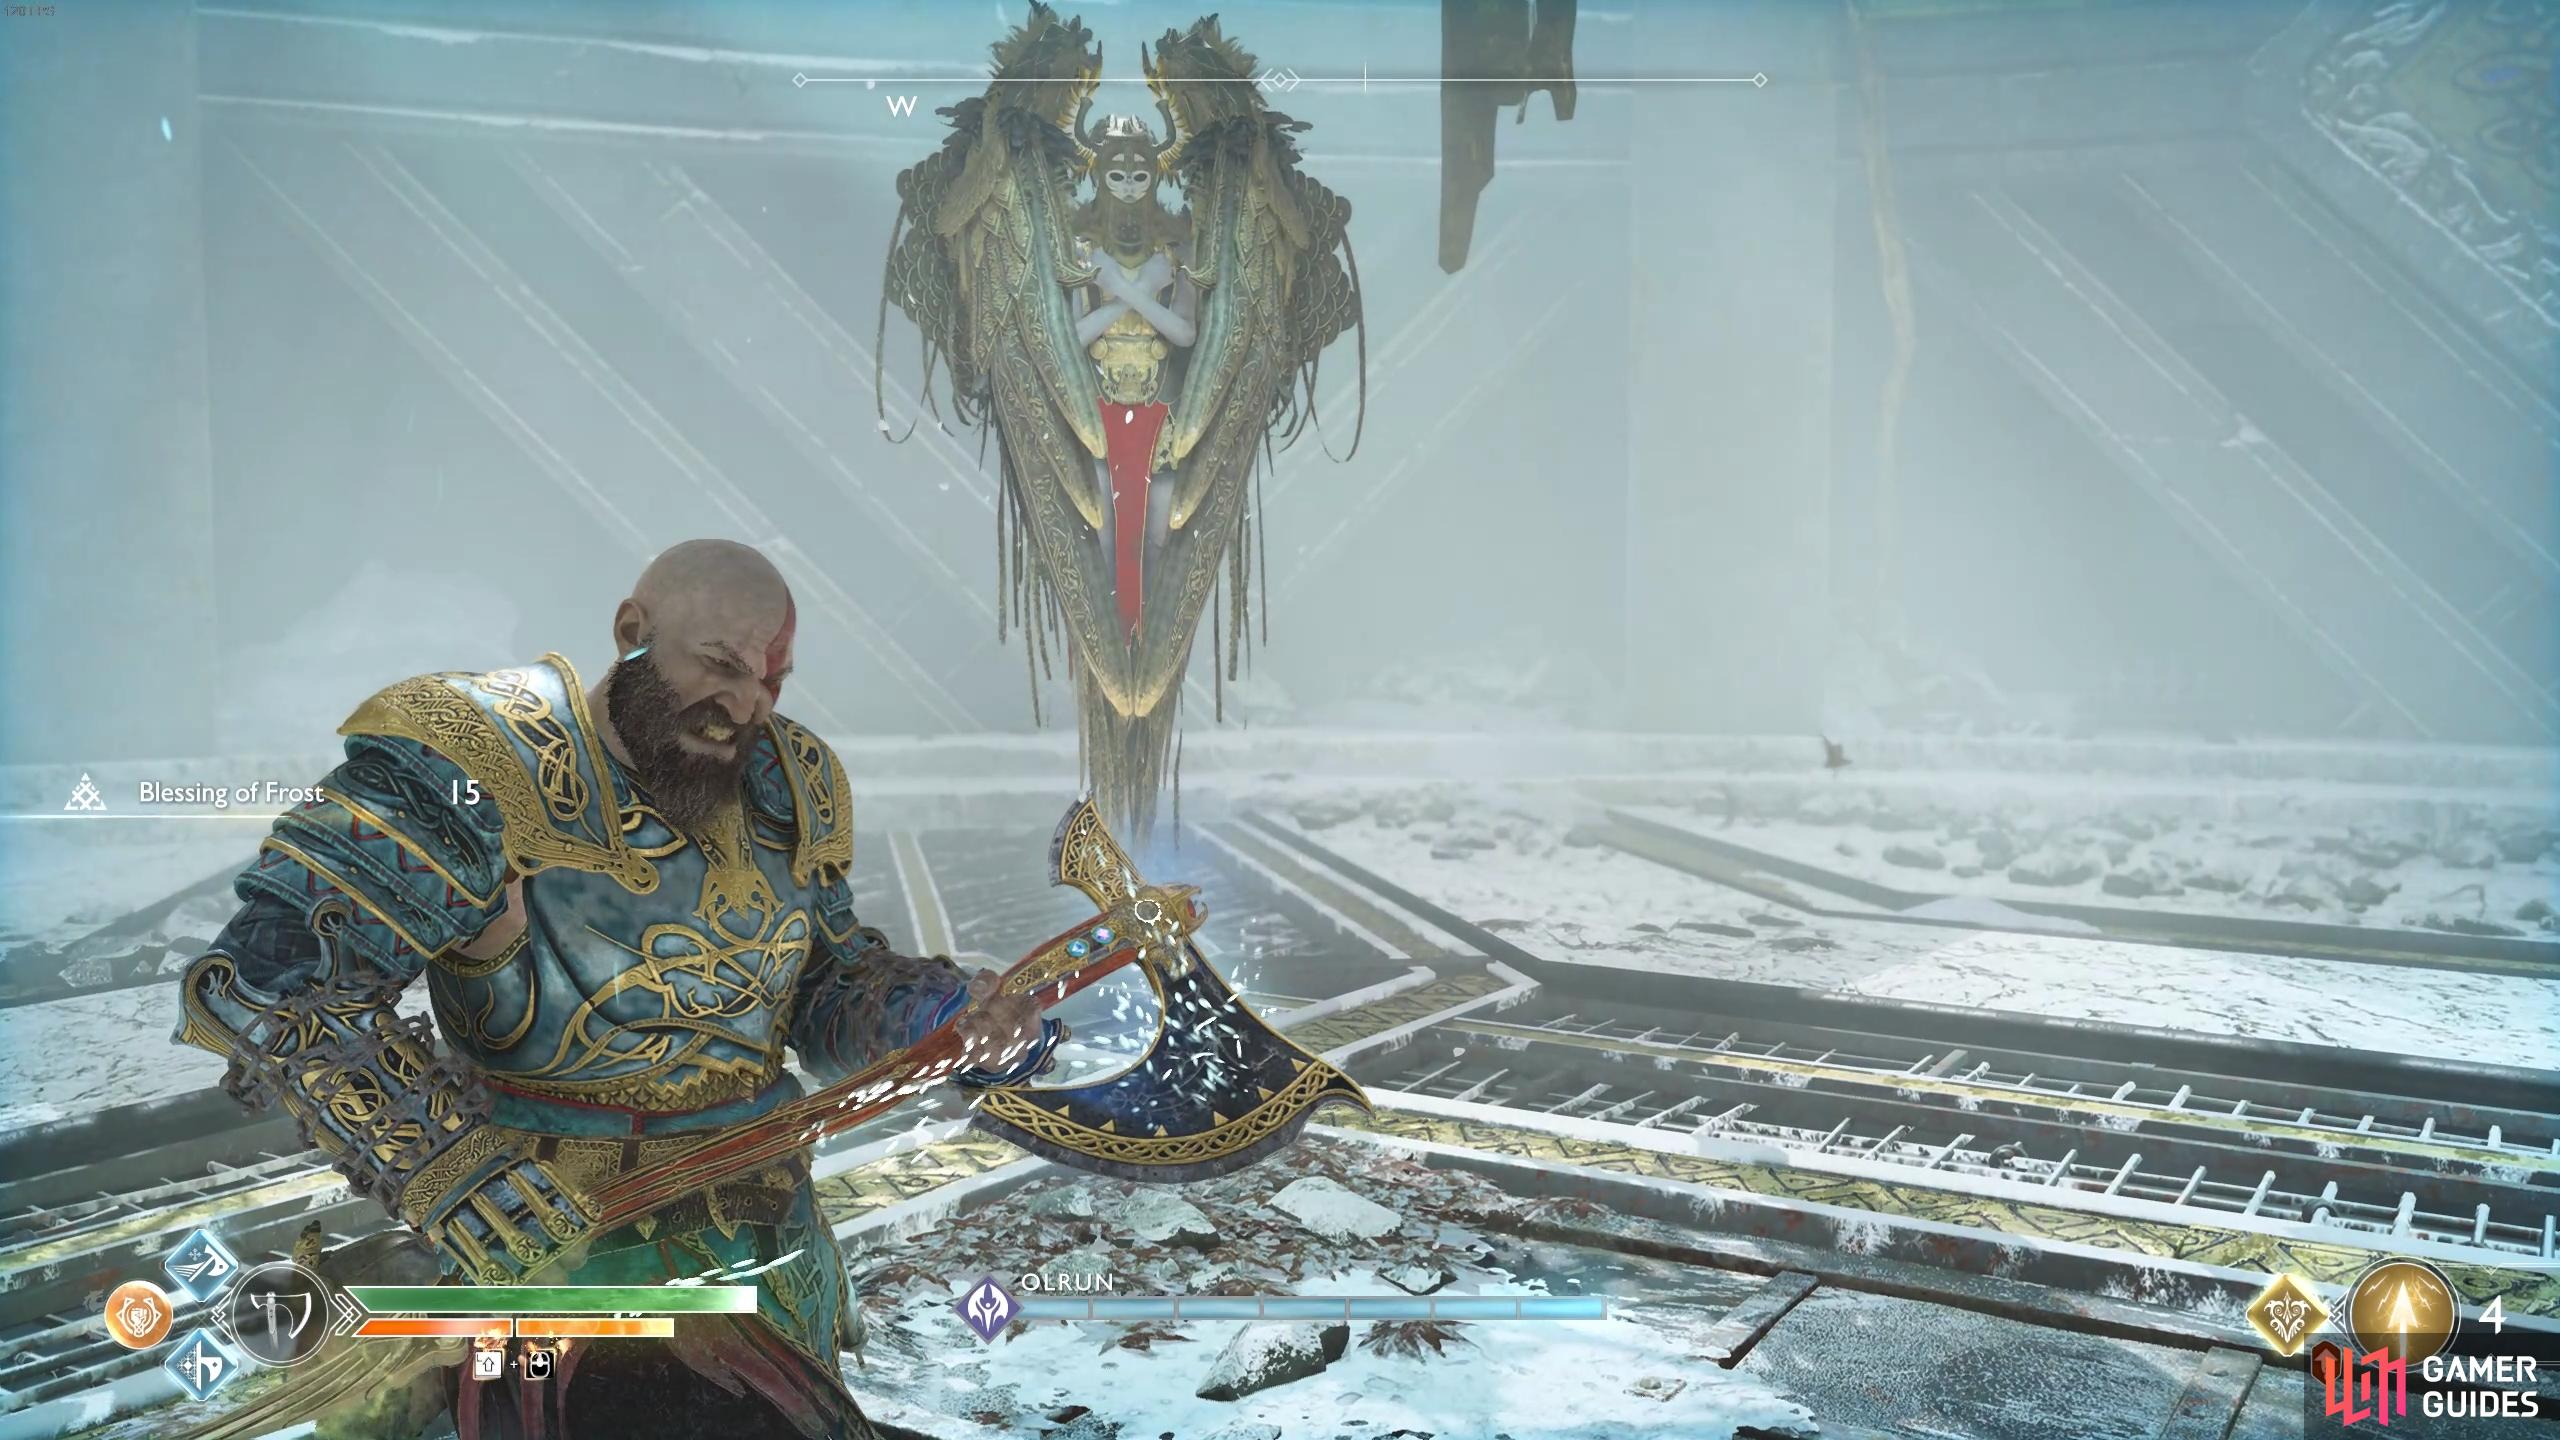
Olrun, God of War.
Although Olrun doesn’t possess many unique attacks over the previous Valkyries, she does have increased speed to make up for it. This means you’ll want to attempt to stay locked on to her most of the time if possible and make frequent use of the shield to block attacks if you can’t dodge away in time.
One new attack available to Olrun is the ability to spin around on a spot with her wings out, dealing damage if you’re not blocking. Later in the fight she can quickly follow this up with a Stab attack or even draw you in closer to her, it’s for this reason that it’s better to evade backwards rather than block the attack. On top of that, if she does this Spin move from distance, it may even shoot projectiles out at you, something which you can block.
Olrun has the usual Wing Combo followed by the unblockable punch, as usual dodge away from this if you can, a block leaves you open to the punch. She can also perform the Heel Stomp attack, the most deadly of Valkyrie attacks, however she’ll only perform it once so be sure to listen out for the “Valhalla” shout to get yourself ready to dodge it.
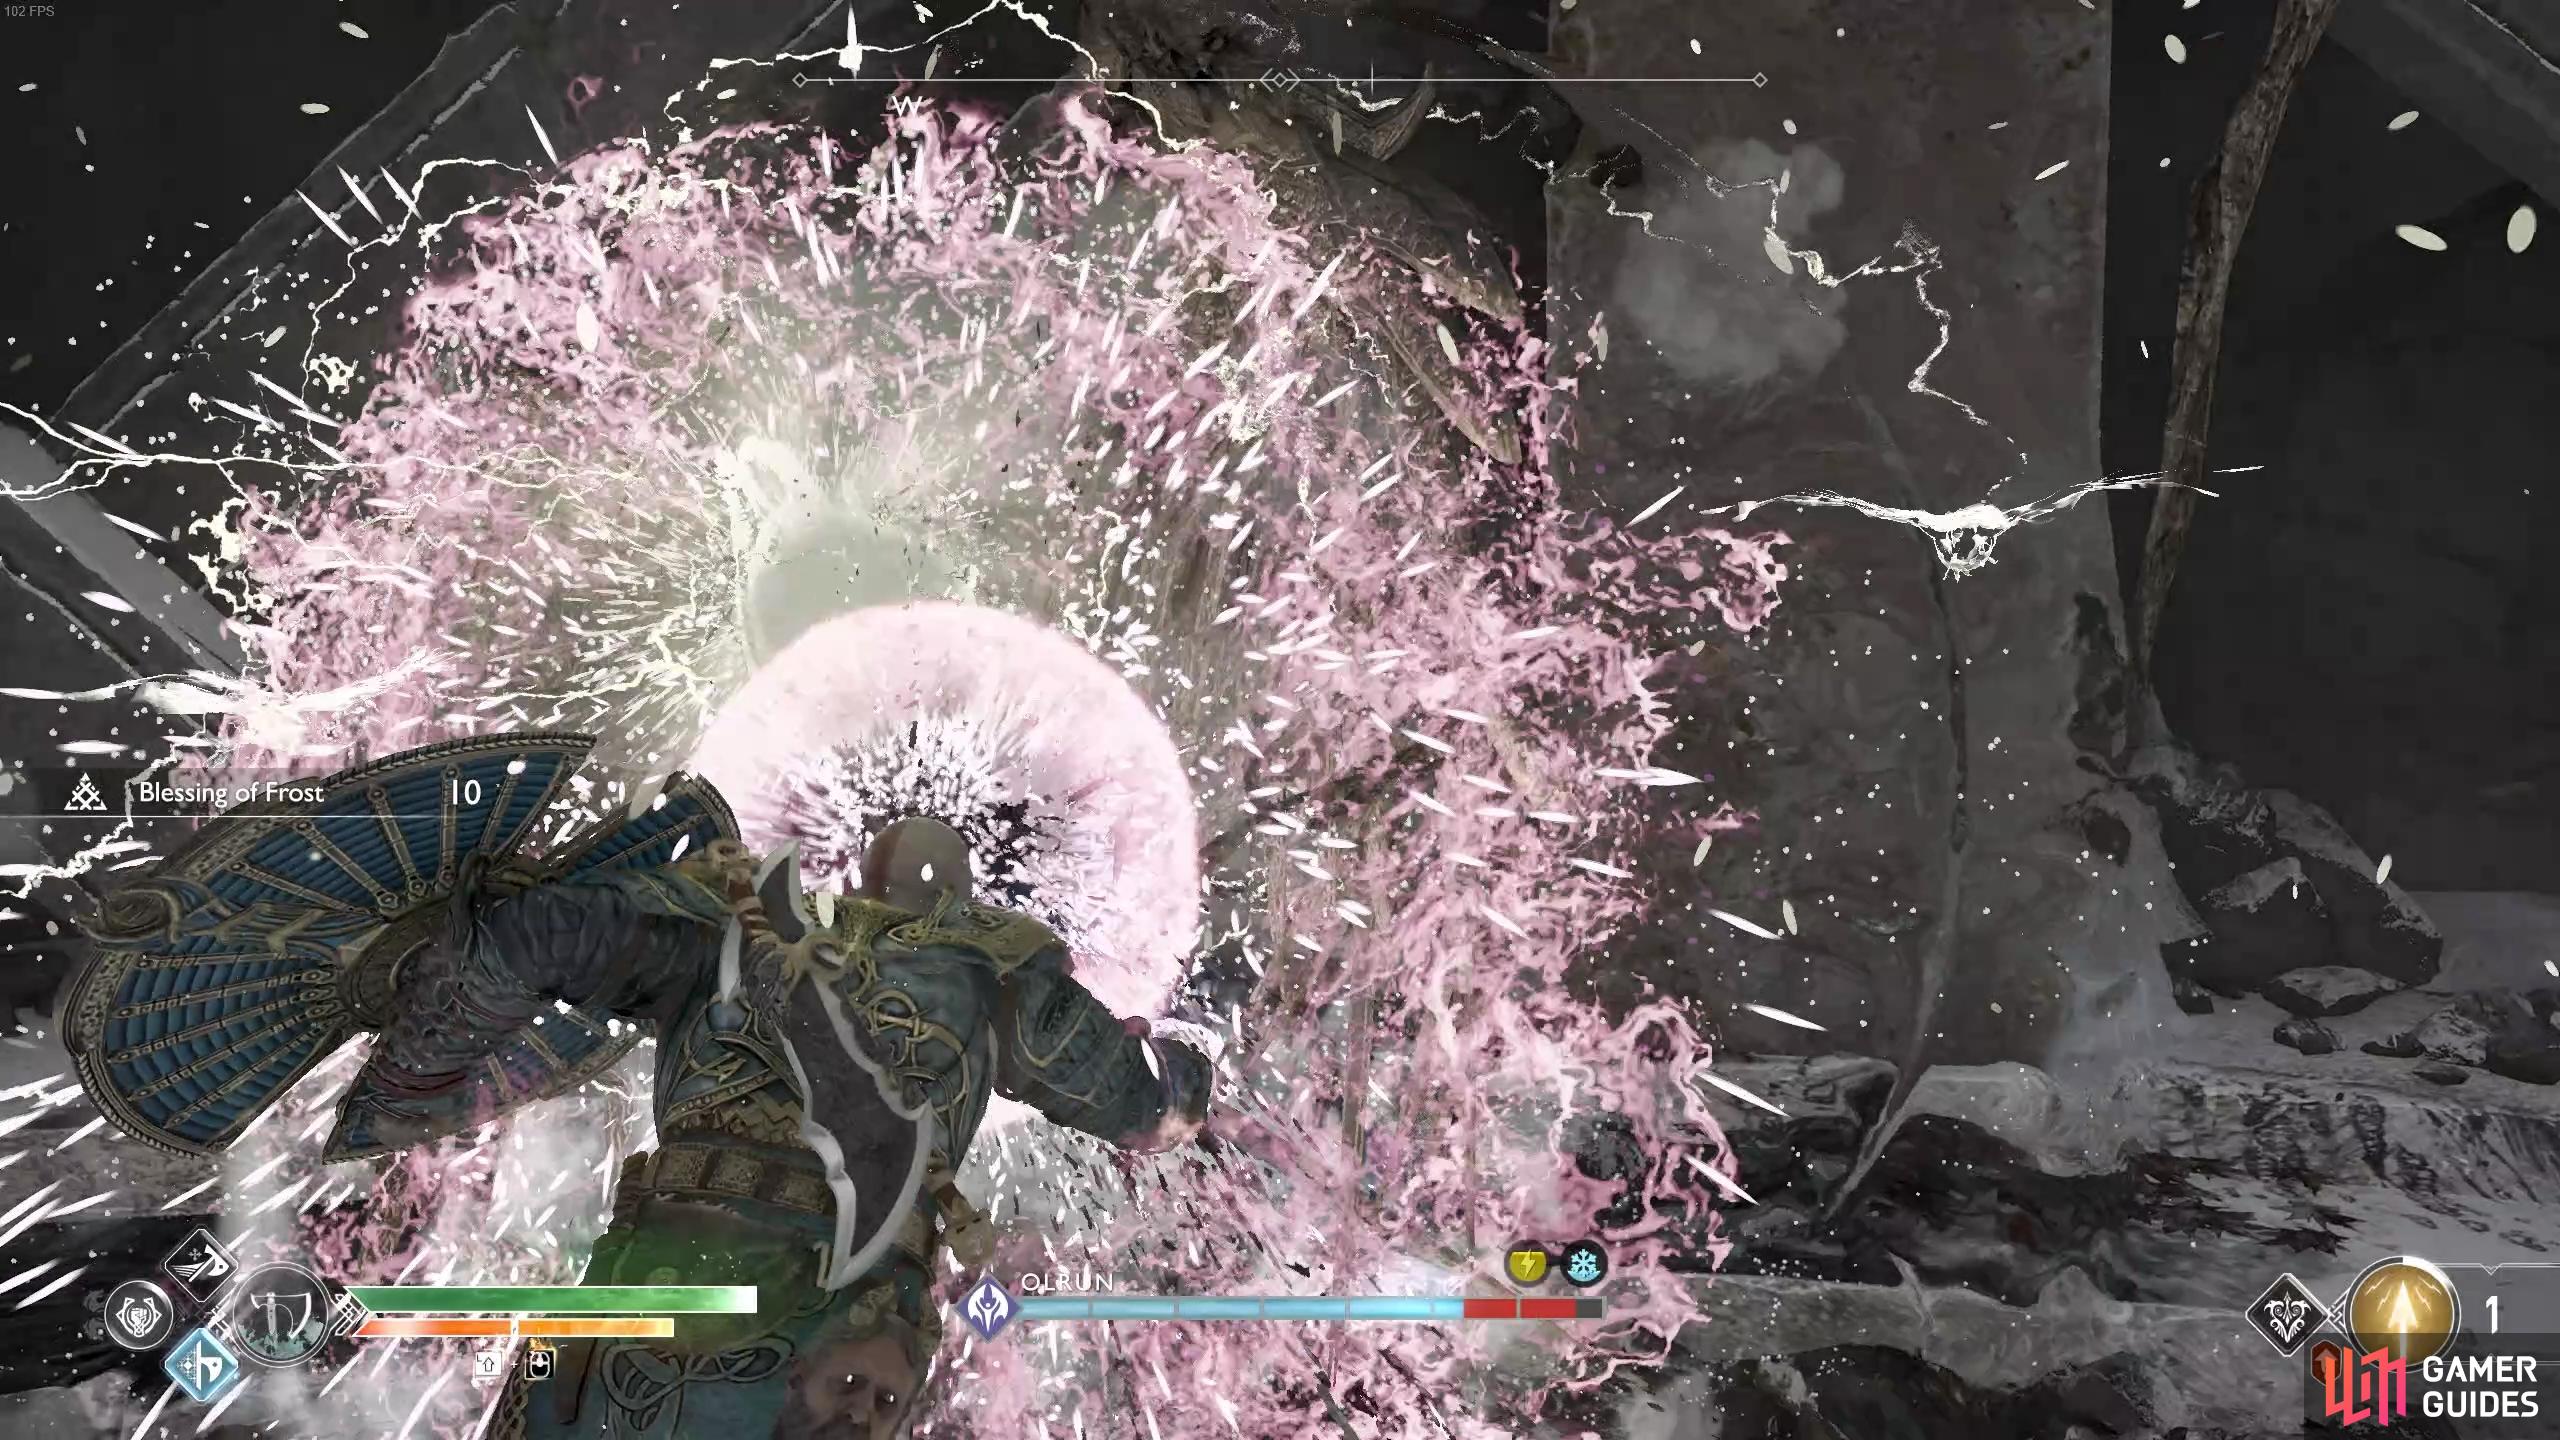
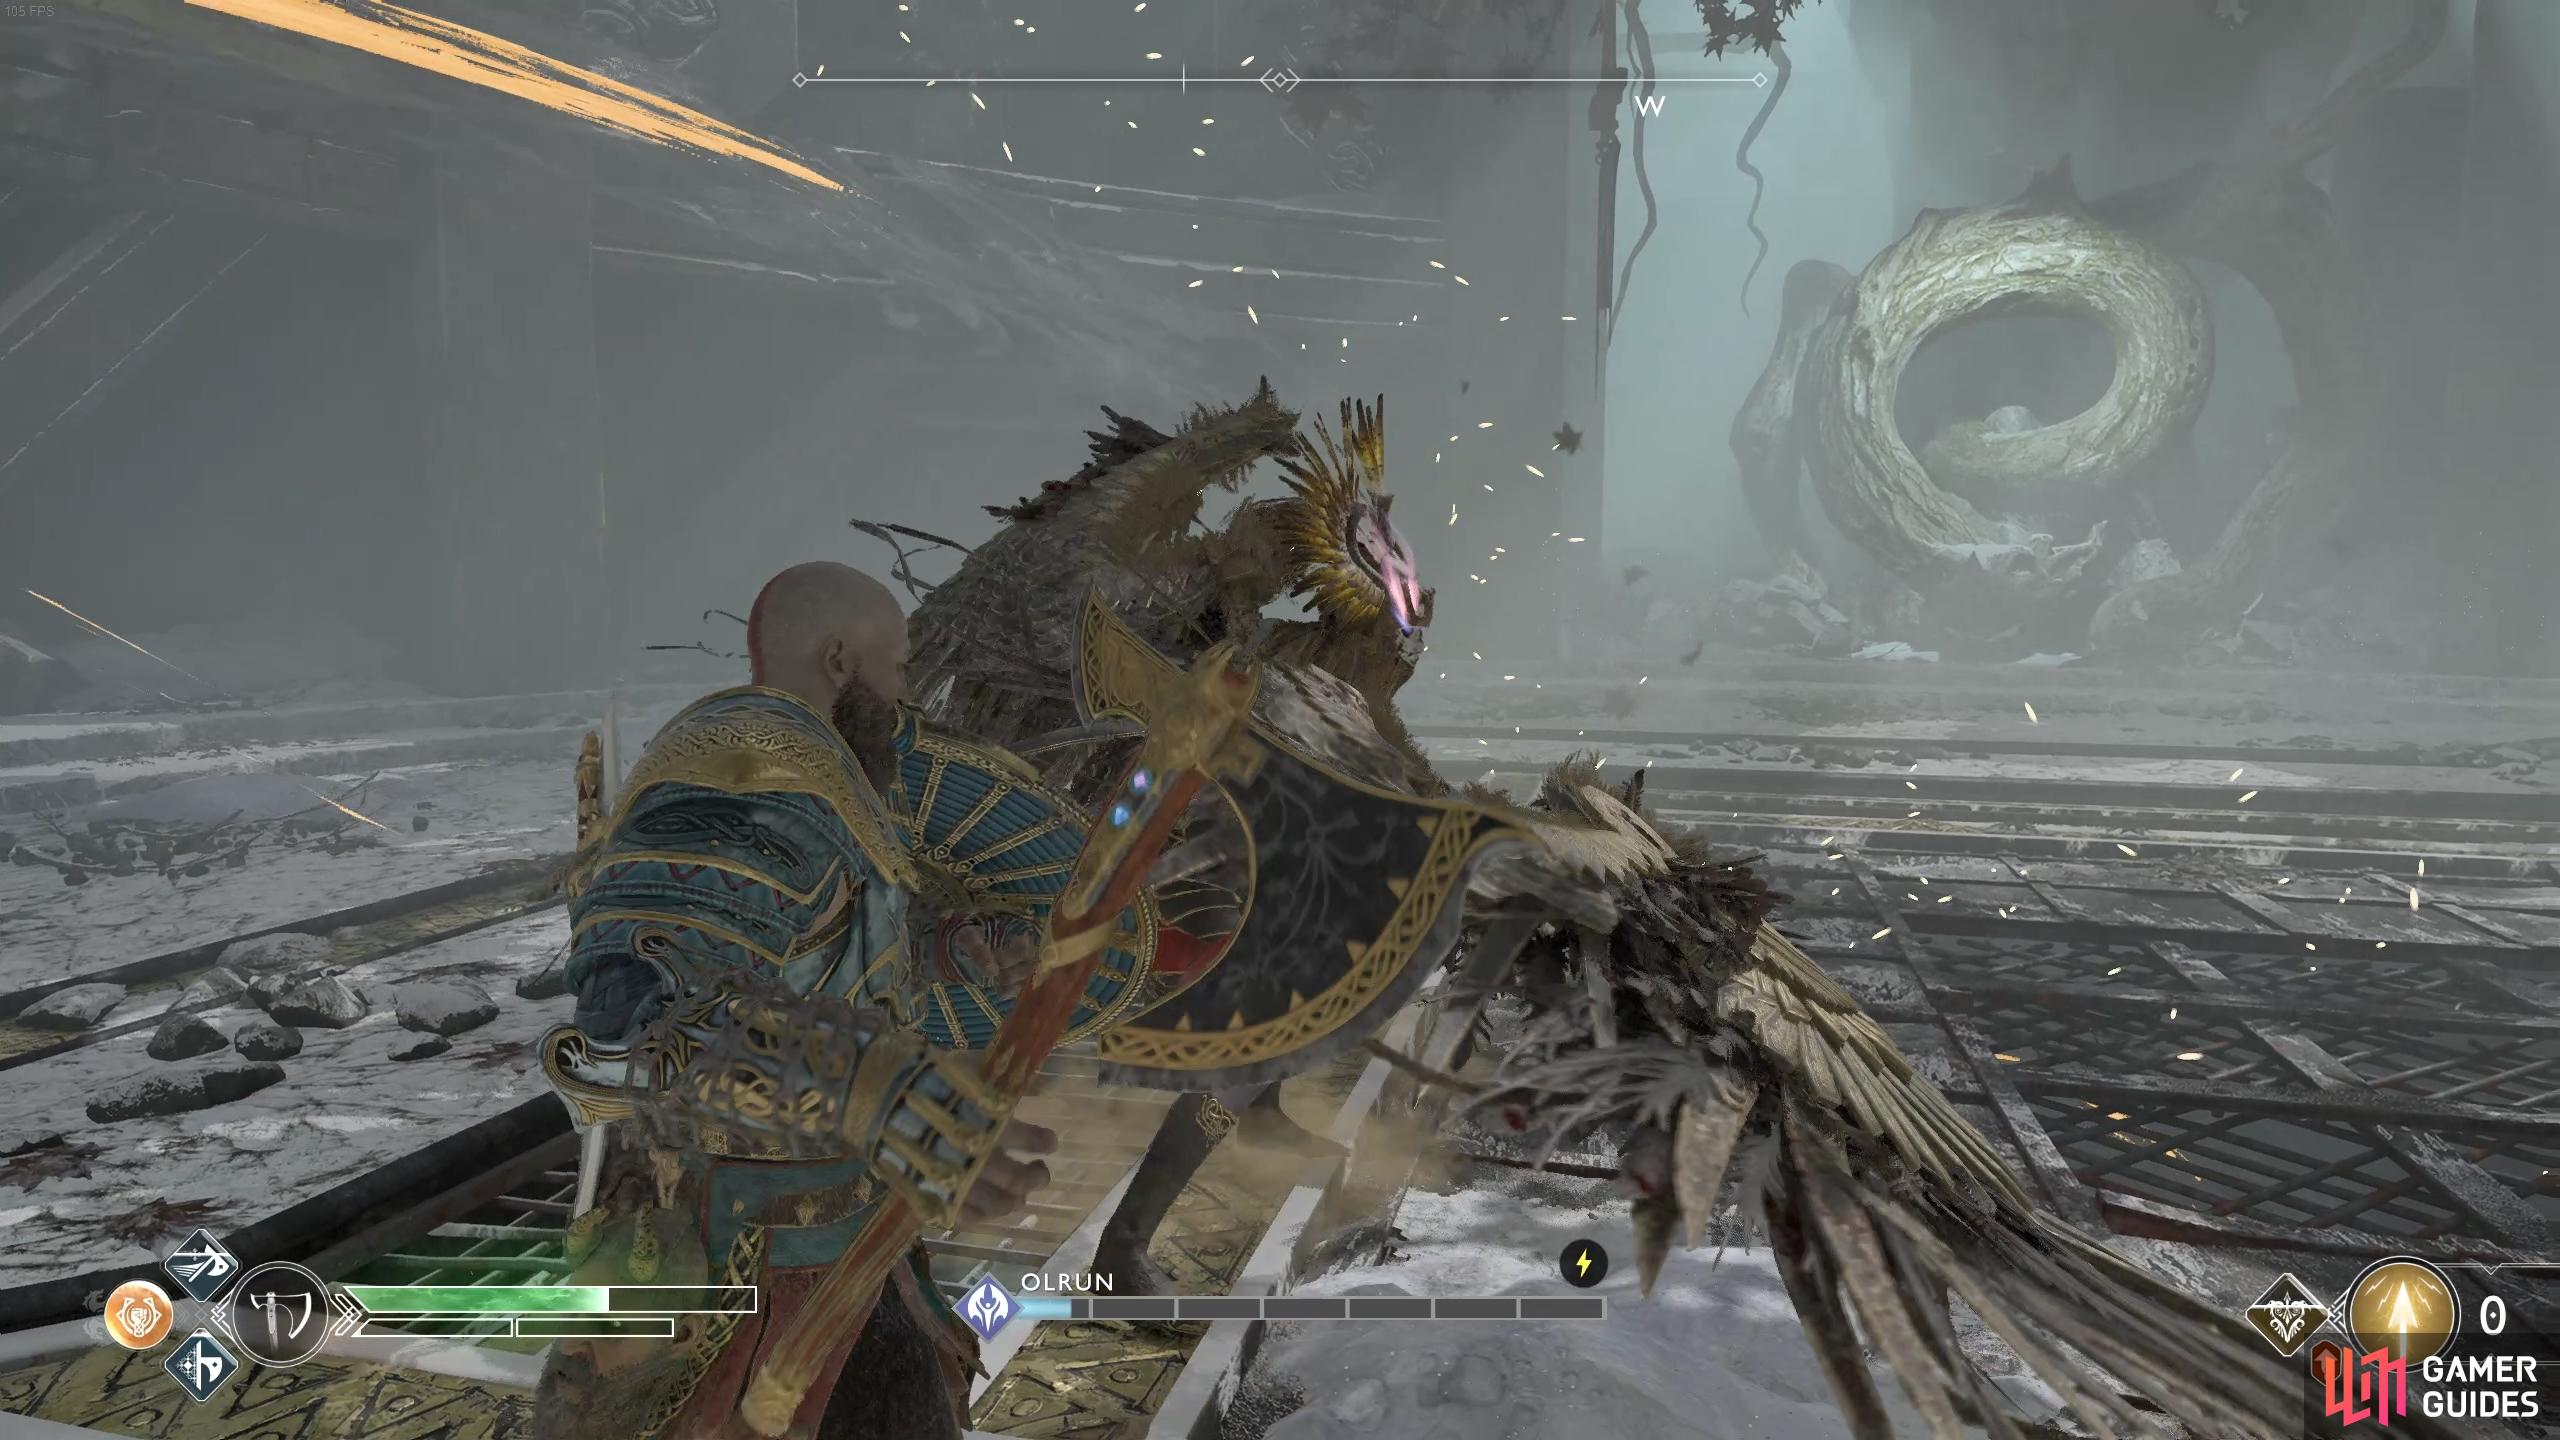
(1 of 3) Shattered Gauntlet of the Ages will inflict massive damage to Olrun.
If you can dodge the deadly Heel Stomp and keep track of her movements, Olrun shouldn’t be too difficult, especially at this stage of the game. Make use of the Shattered Gauntlet of Ages whenever it’s available to deal some huge damage to her and she should go down rather quickly.
Once defeated, you’ll obtain Olrun’s Helmet along with the spoils on the ground containing Perfect Asgardian Steel, two Asgardian Steels, the Ivaldi’s Corrupted Mind Epic Enchantment and the Waist Guard of the Valkyrie. Before you leave, look on the southeast wall to find the final Raven in the game, unlocking the Allfather Blinded achievement in the process.
A quick word about armor
You’ve just received your first Epic armor piece, part of the Valkyrie set and you now have several choices on how to finish your build of Kratos. There are three main endgame armor sets that are worth using, you can find a little bit of information about them below or go more in depth by taking a look at the Builds section of this guide.
The Ivaldi armor sets obtained from the optional realm, Niflheim, offer the ability to take Kratos to his highest possible level, 9, when fully upgraded. There’s three sets to choose from and the Deadly Mist version is probably the most useful. The Perk’s aren’t overly great, offering a small health regeneration but the increase in level is enough to make Kratos powerful. You’ll be crafting one of these armor sets regardless to use during your time in Niflheim.
The Dwarven sets are also very good when upgraded to max level, the Sindri version especially. It offers extremely high Cooldown allowing you to use your Runic Attacks constantly, this is probably the best bet to go for if you’re looking at Runics. You’ll need high level Enchantments to take Kratos’ level to around level 8.
Finally, the Valkyrie armor set is probably the best all around set in the game when fully upgraded. It offers a great boost to both Strength and Runic and it’s Cooldown is not that much lower than the Sindri set, even if the Perk on the Sindri chest piece is more useful.
For the purpose of this guide, stick with the Sindri set for the time being, at least until you have all three pieces of the Valkyrie set. The next course of action is to find the two remaining Valkyries and to do that you’ll need to finally visit the two optional realms, starting with Muspelheim.
Muspelheim
Muspelheim, God of War.
Head to the Realm Travel room and lock in Muspelheim, exiting out the doors once you reach the area. Brok has some new items to craft in his shop such as a new Heavy Runic Attack and Blade Grips, nothing of which is anything major.
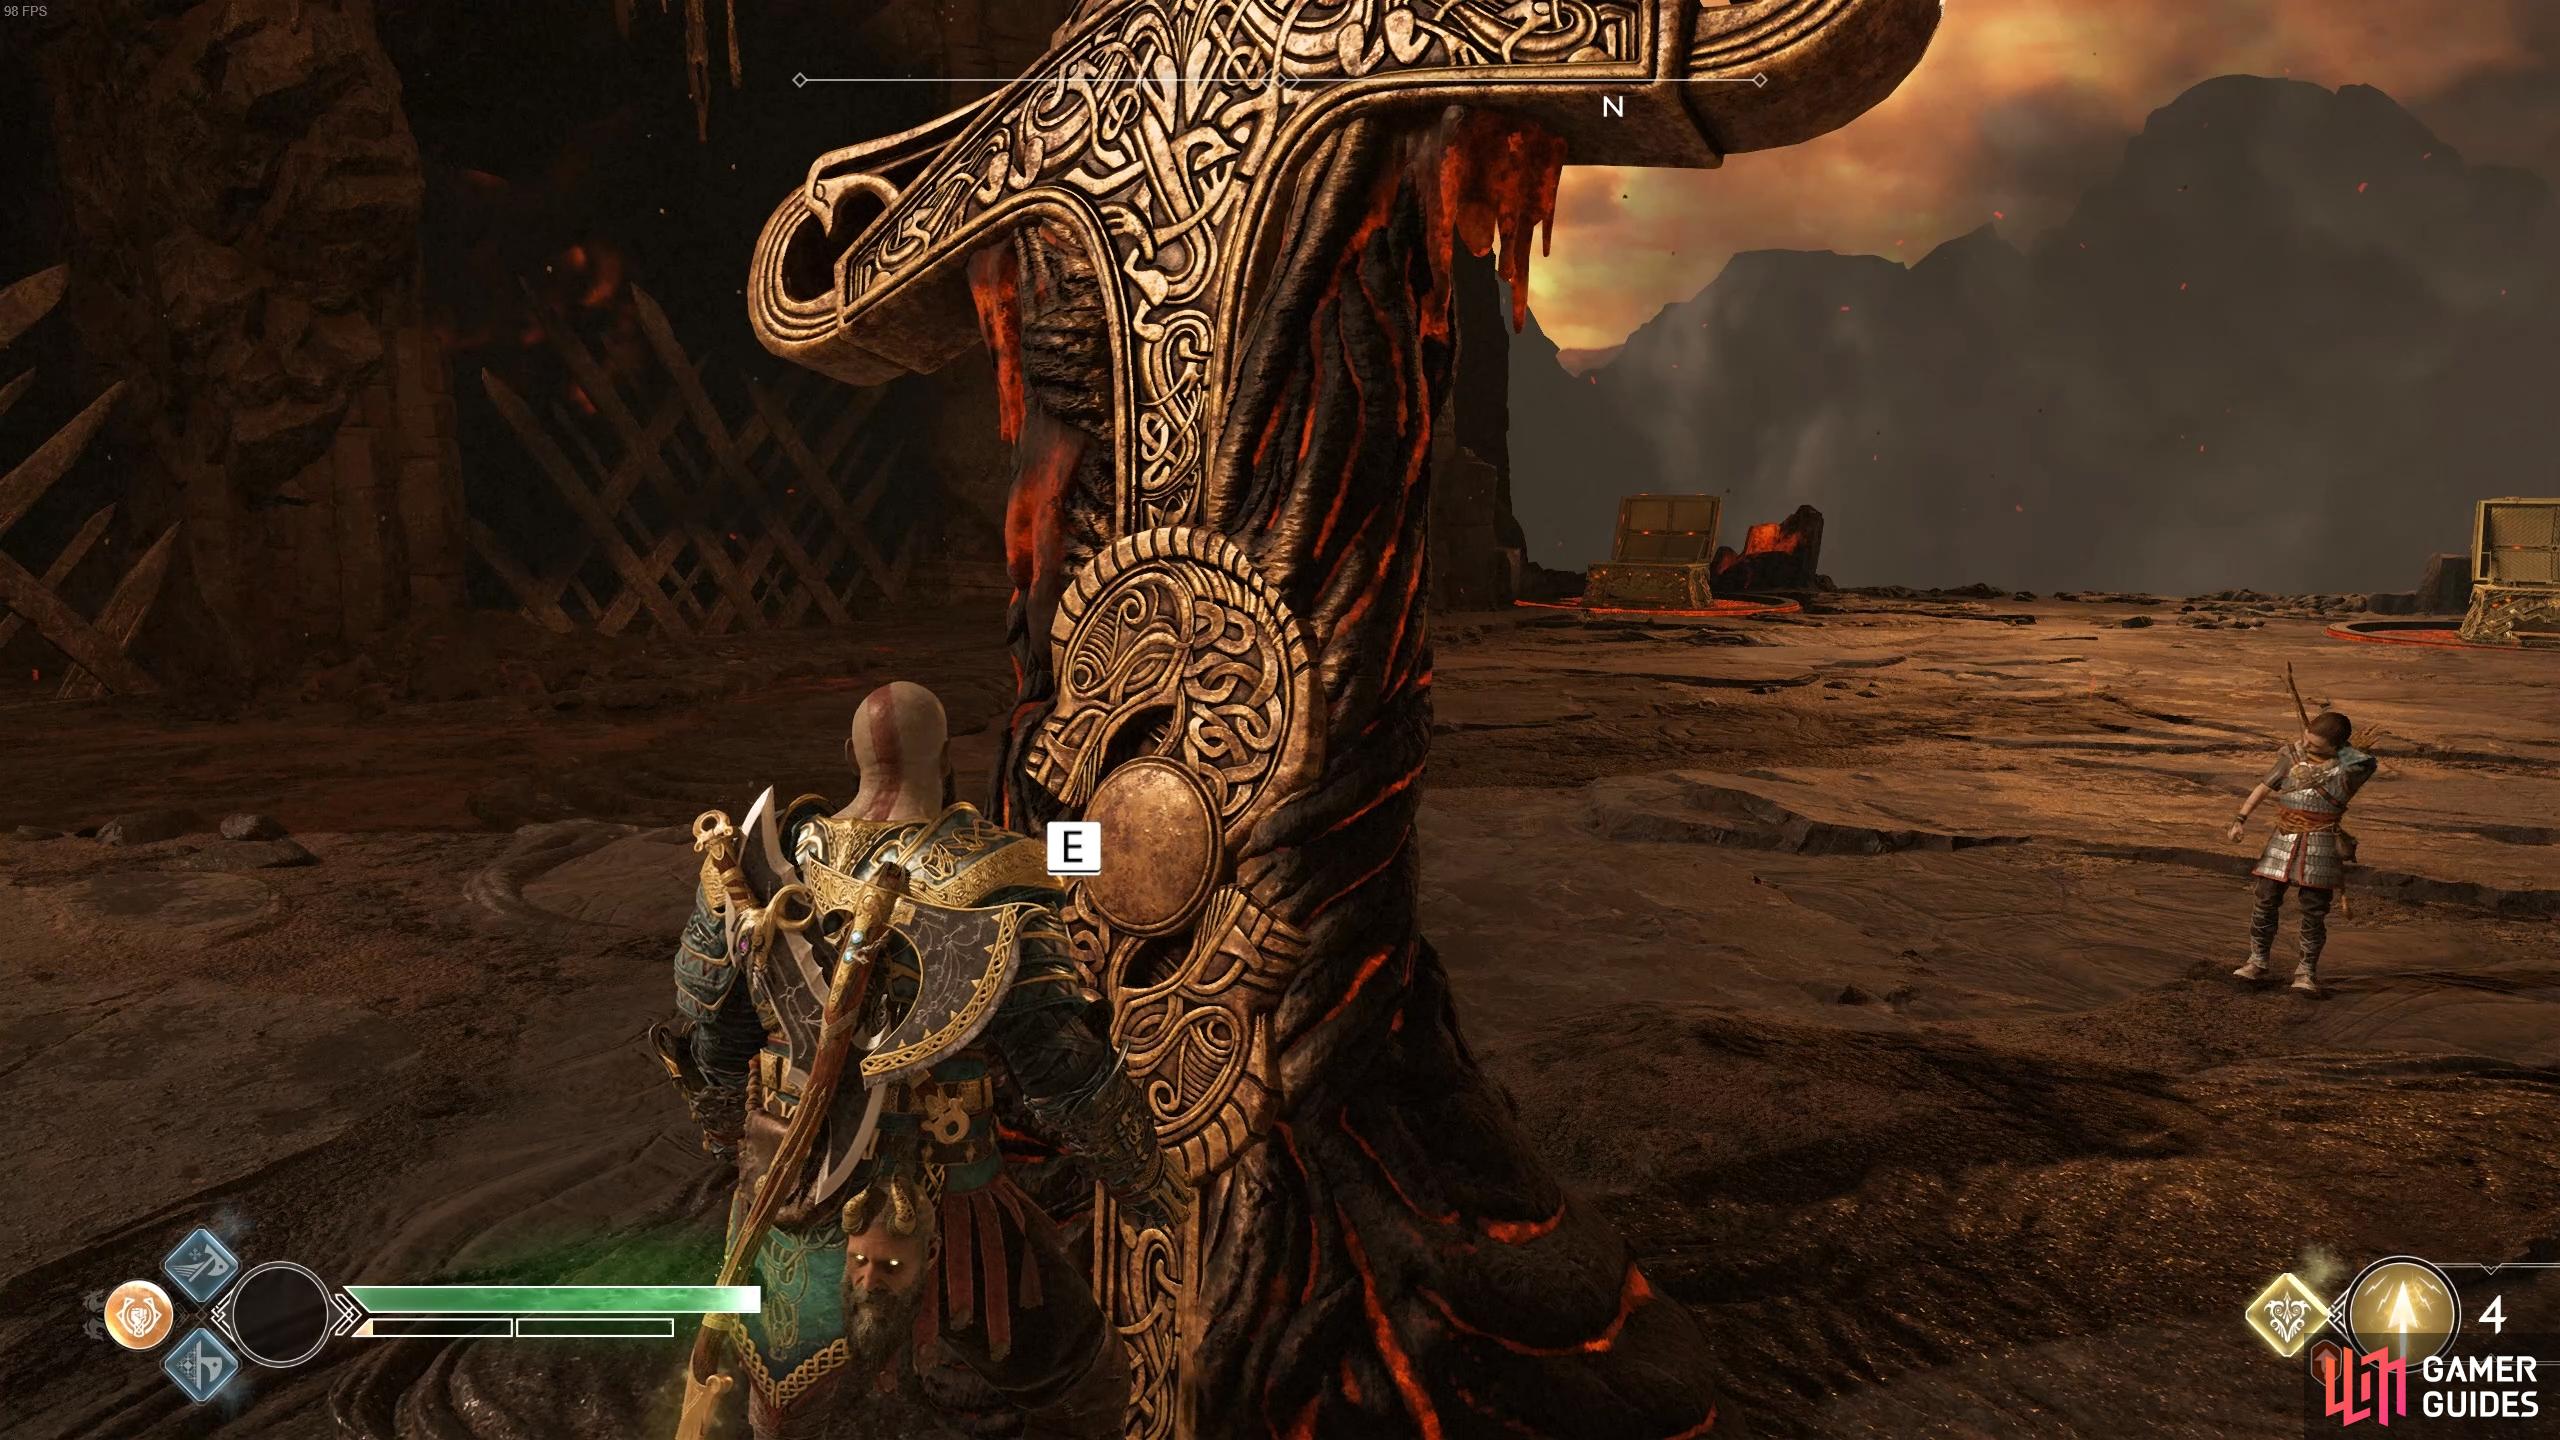
Muspelheim is unique in that you progress through the area by completing a series of combat challenges at five different arenas while you ascend the volcano, your main objective. Upon completing the main objective, you’ll have to defeat a Valkyrie followed by five more “Impossible Trials” opening up access to the final challenge of Muspelheim. Cross the large bridge and through the caves to find Brok has set up a shop here for you to use, next to a Mystic Gateway and the final Jötnar Shrine in the game, which unlocks the The Truth achievement in the process.
This should be your final shrine needed for the achievement.
You’re mainly here to fight the Valkyrie at the top of the volcano and obtain the Trophy from the ultimate challenge. Head over to the Muspelheim section to find details on how to tackle every trial and return to this walkthrough once you reach the Valkyrie at the top.
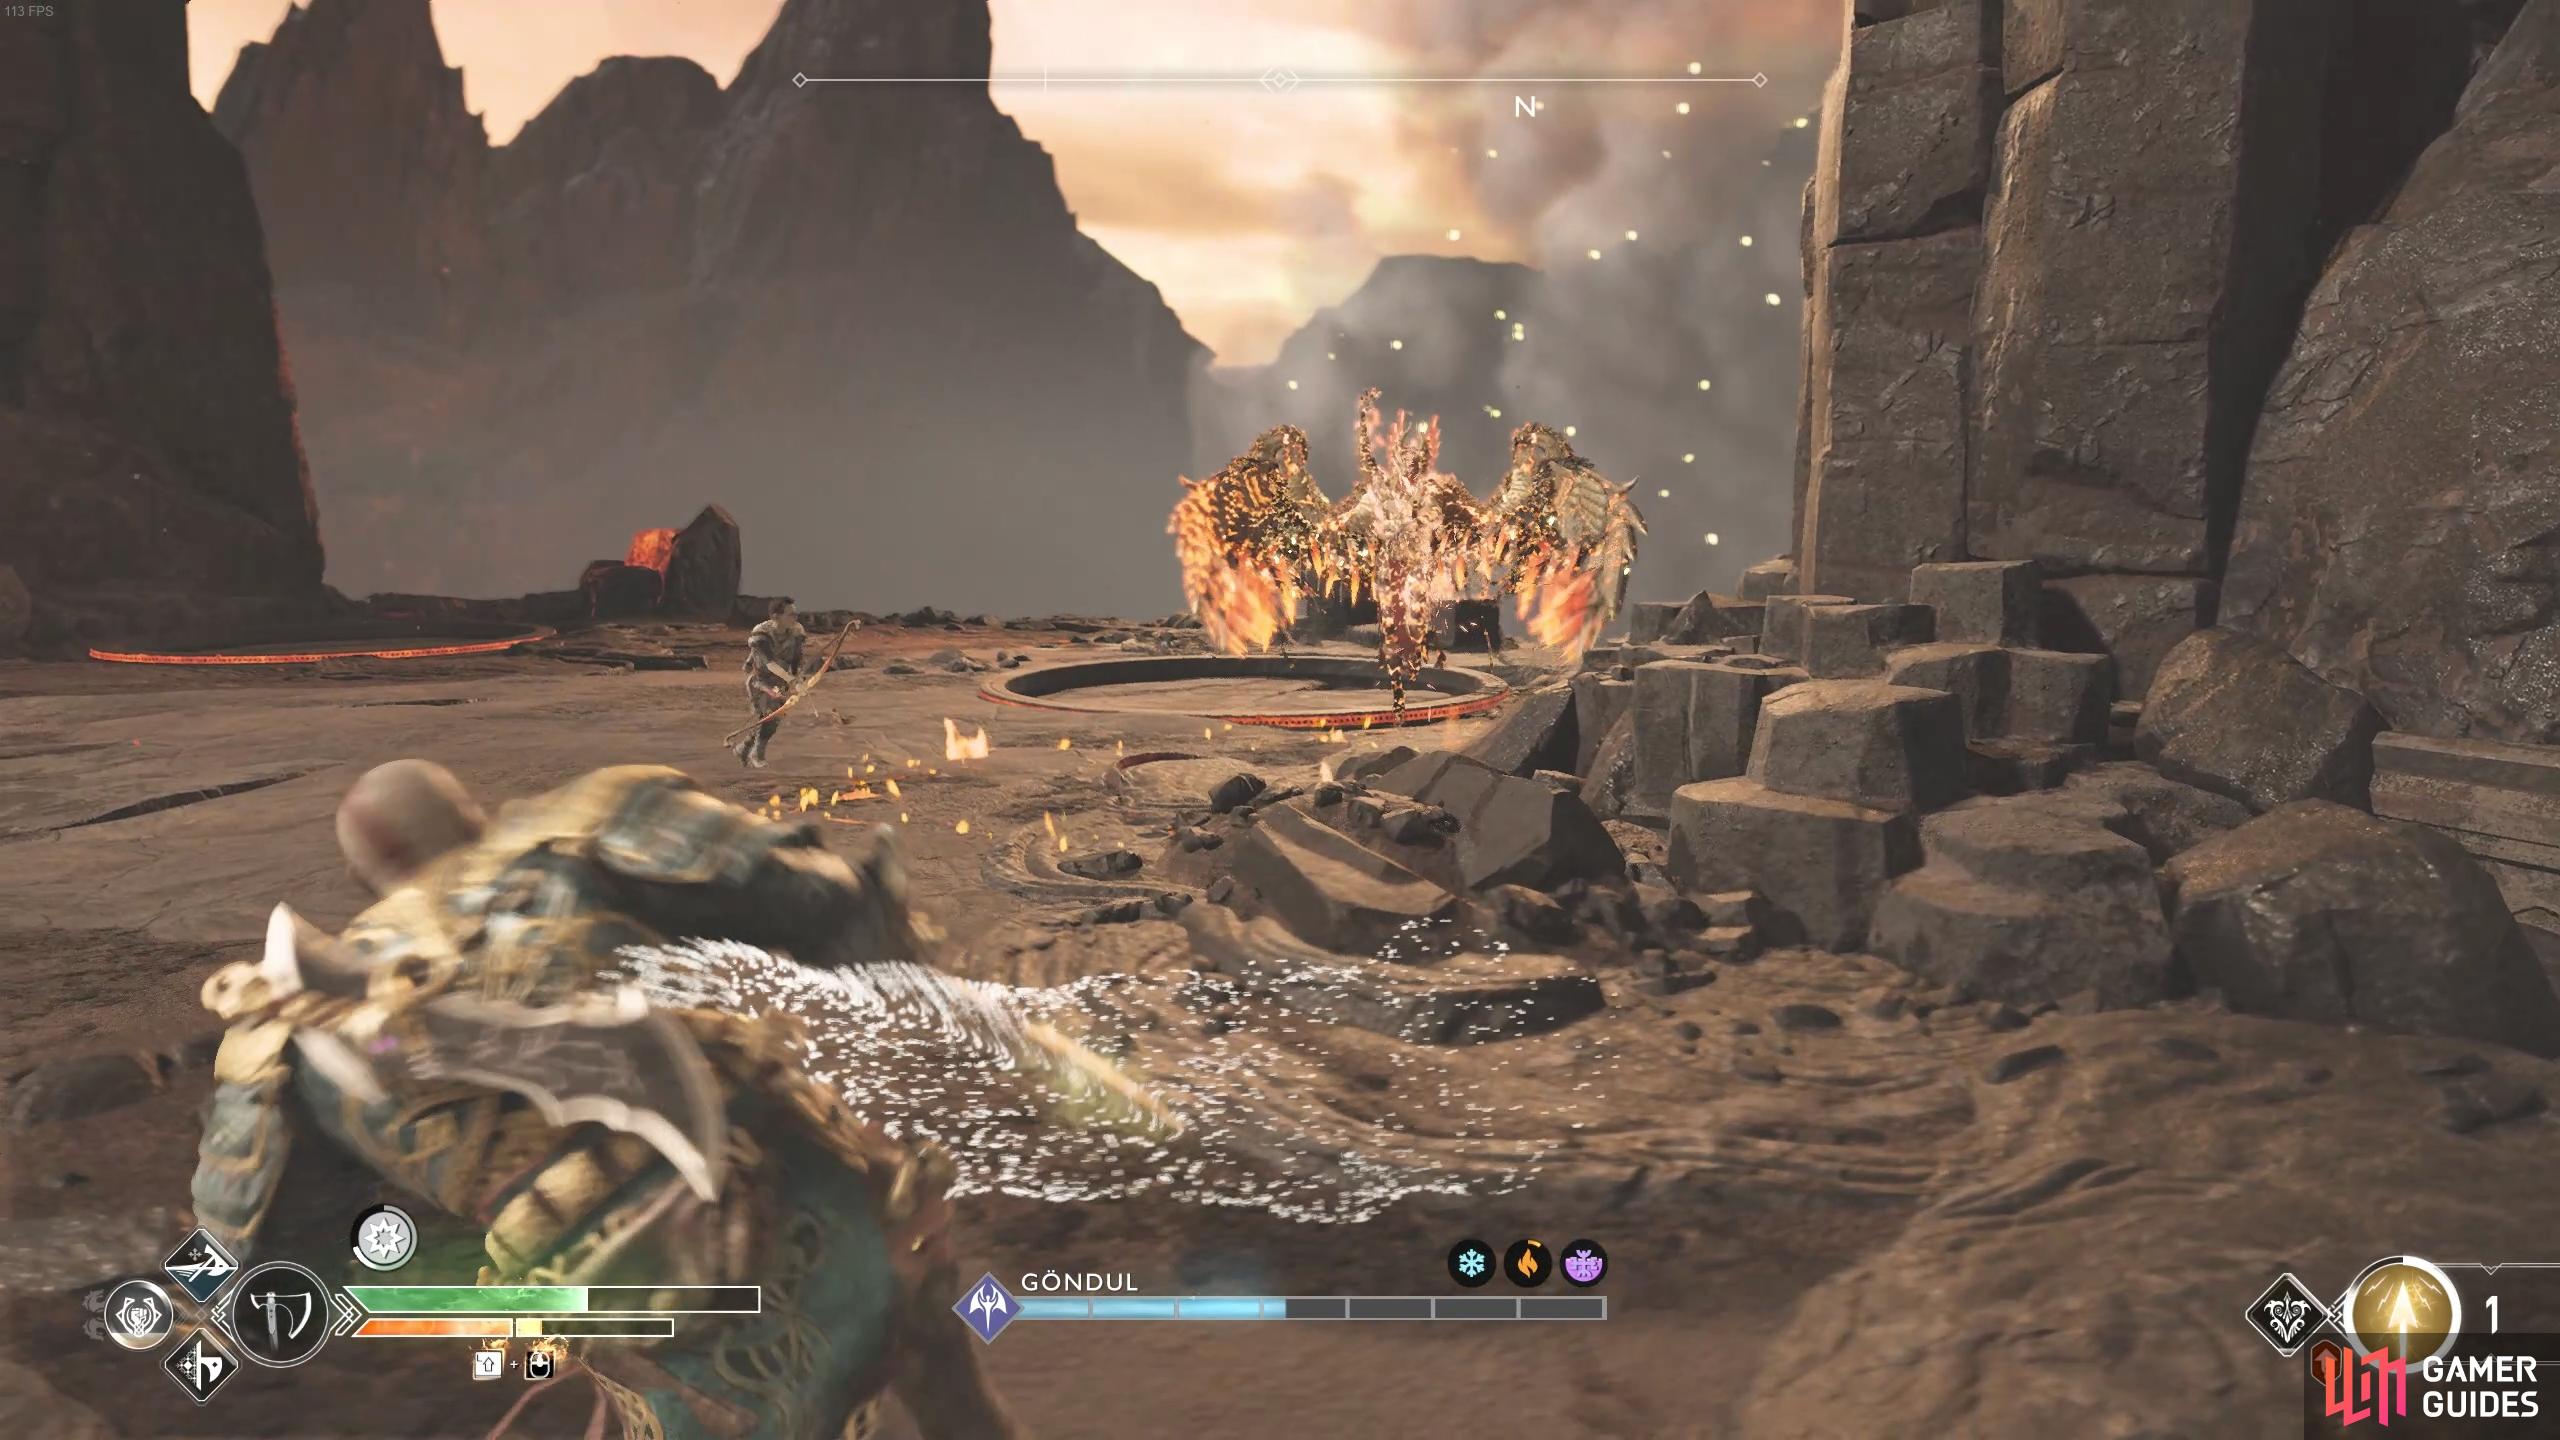
Defeat Göndul
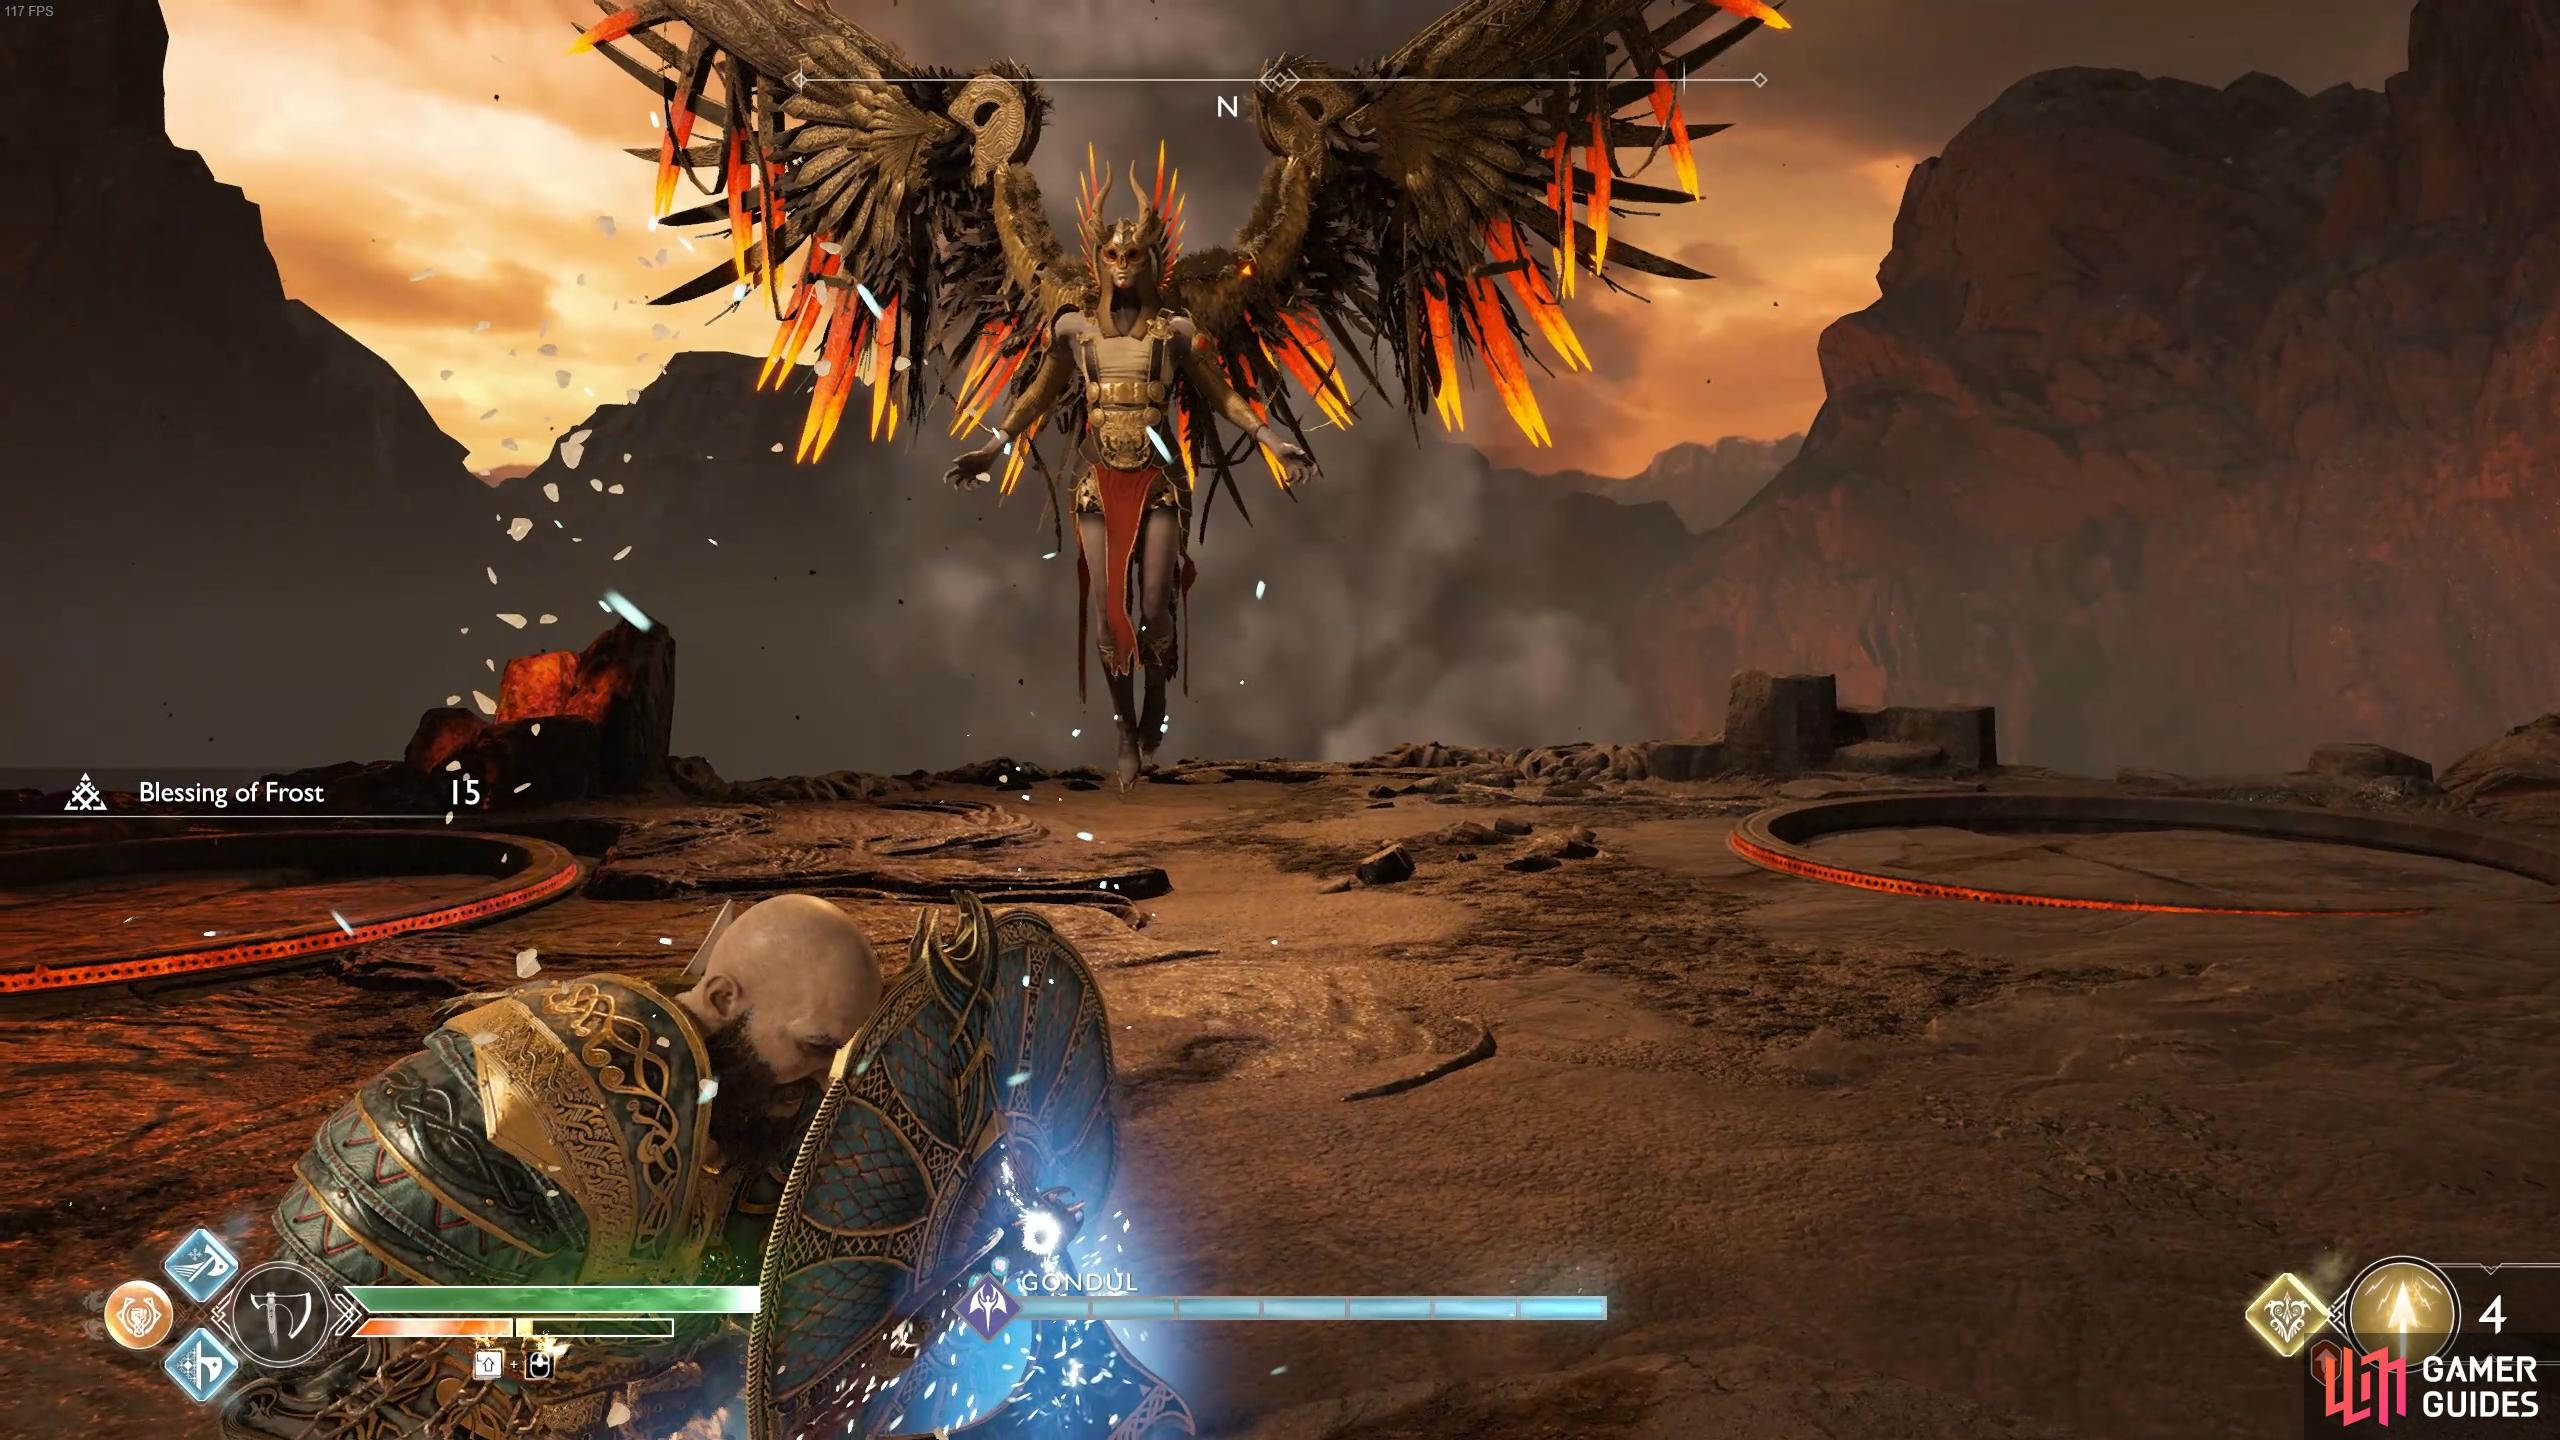
Gondul, God of War.
Göndul is the most difficult Valkyrie you’ve fought yet and you’ll need to put into motion everything you’ve learnt from the previous battles. As you may expect, Göndul is in fact weak to the Leviathan Axe and all Frost related attacks so be sure to use it throughout the battle.
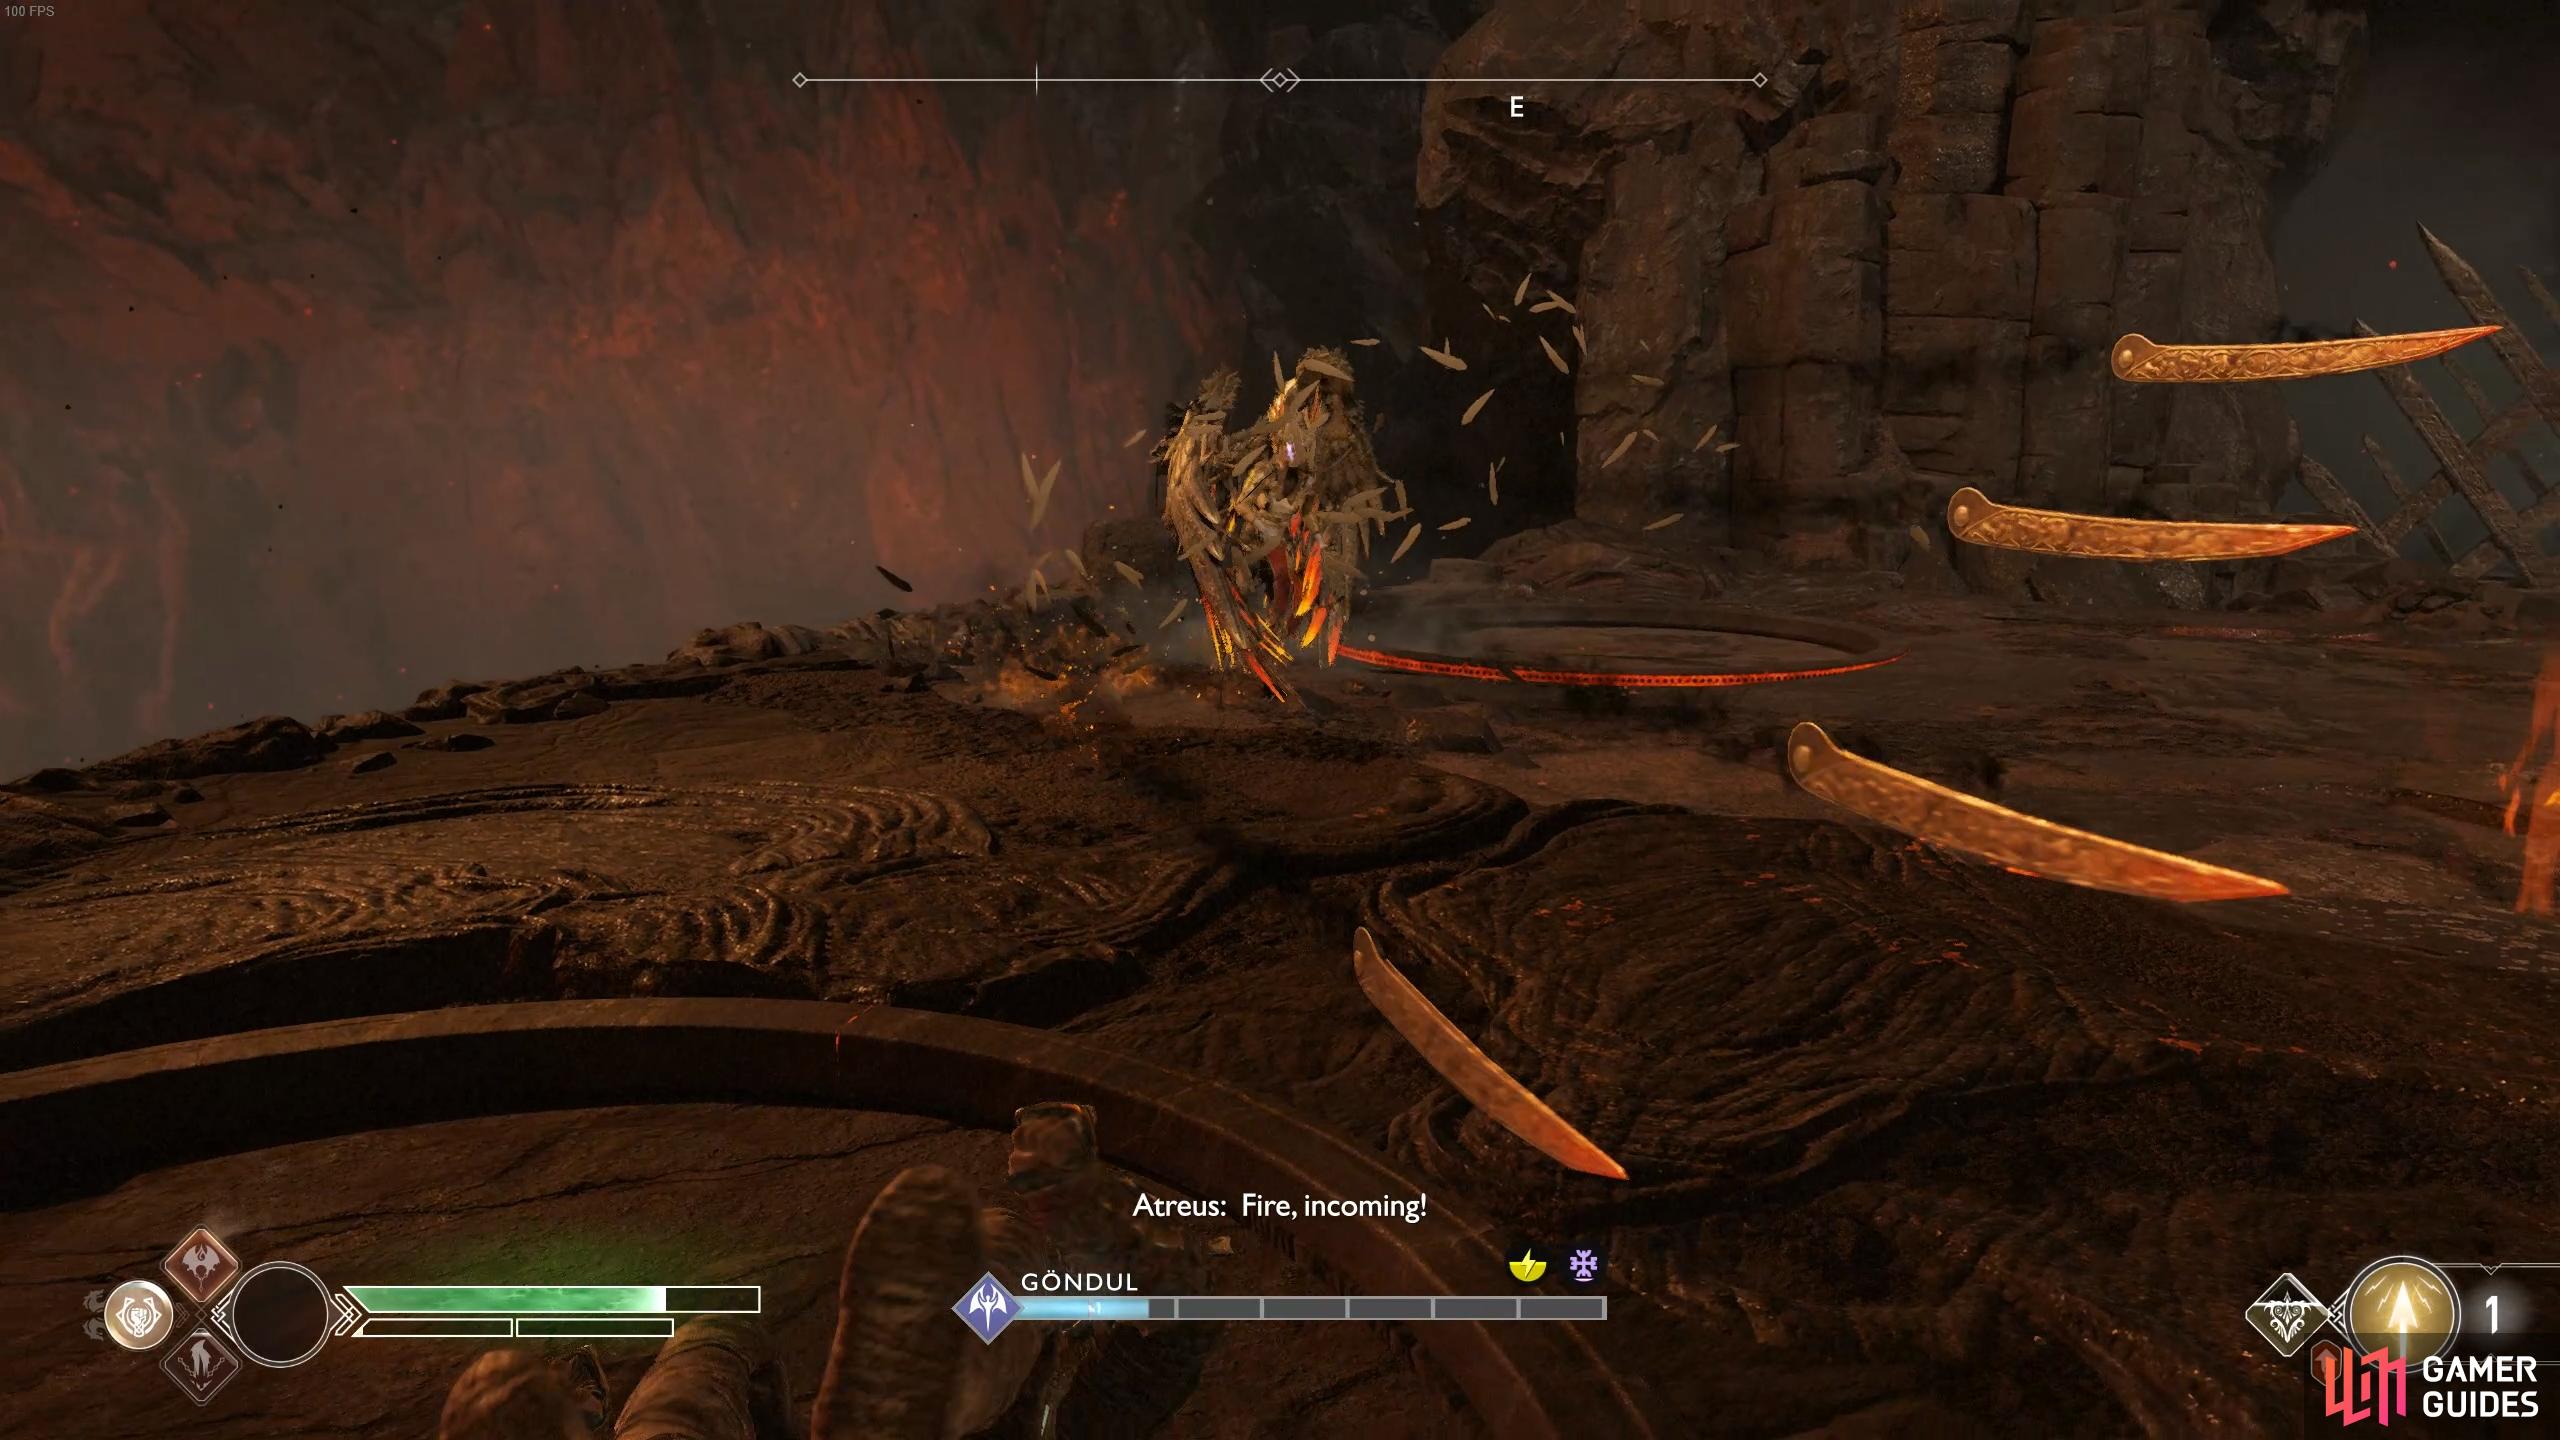
Göndul’s first new attack, and the one she opens the battle with, is a Meteor Shower. Three flaming rings will appear in a straight line where meteors will rain down, leaving a burning field effect in it’s aftermath. Dodge either side of this line to avoid the attack but be ready, Göndul will dash in straight after and attempt either a Stab attack or a Wing combo. Burn resistance Enchantments can help here if you are caught in it but it’s better to learn how to avoid the attack altogether.
Her other new attack is a change up to the deadly Heel Stomp. Like the Valkyries that came before, Göndul will scream “Valhalla” before the attack begins, giving you time to prepare however this time she won’t jump straight away. Instead, a ring of fire will appear at your feet followed by the jump straight after. You’ll need to be fully prepared to avoid this, dodge once away from the fire and be prepared to quickly follow up with another dodge from the jump. This does however leave her completely open if you manage to avoid the attack and allow you to deal some heavy damage.
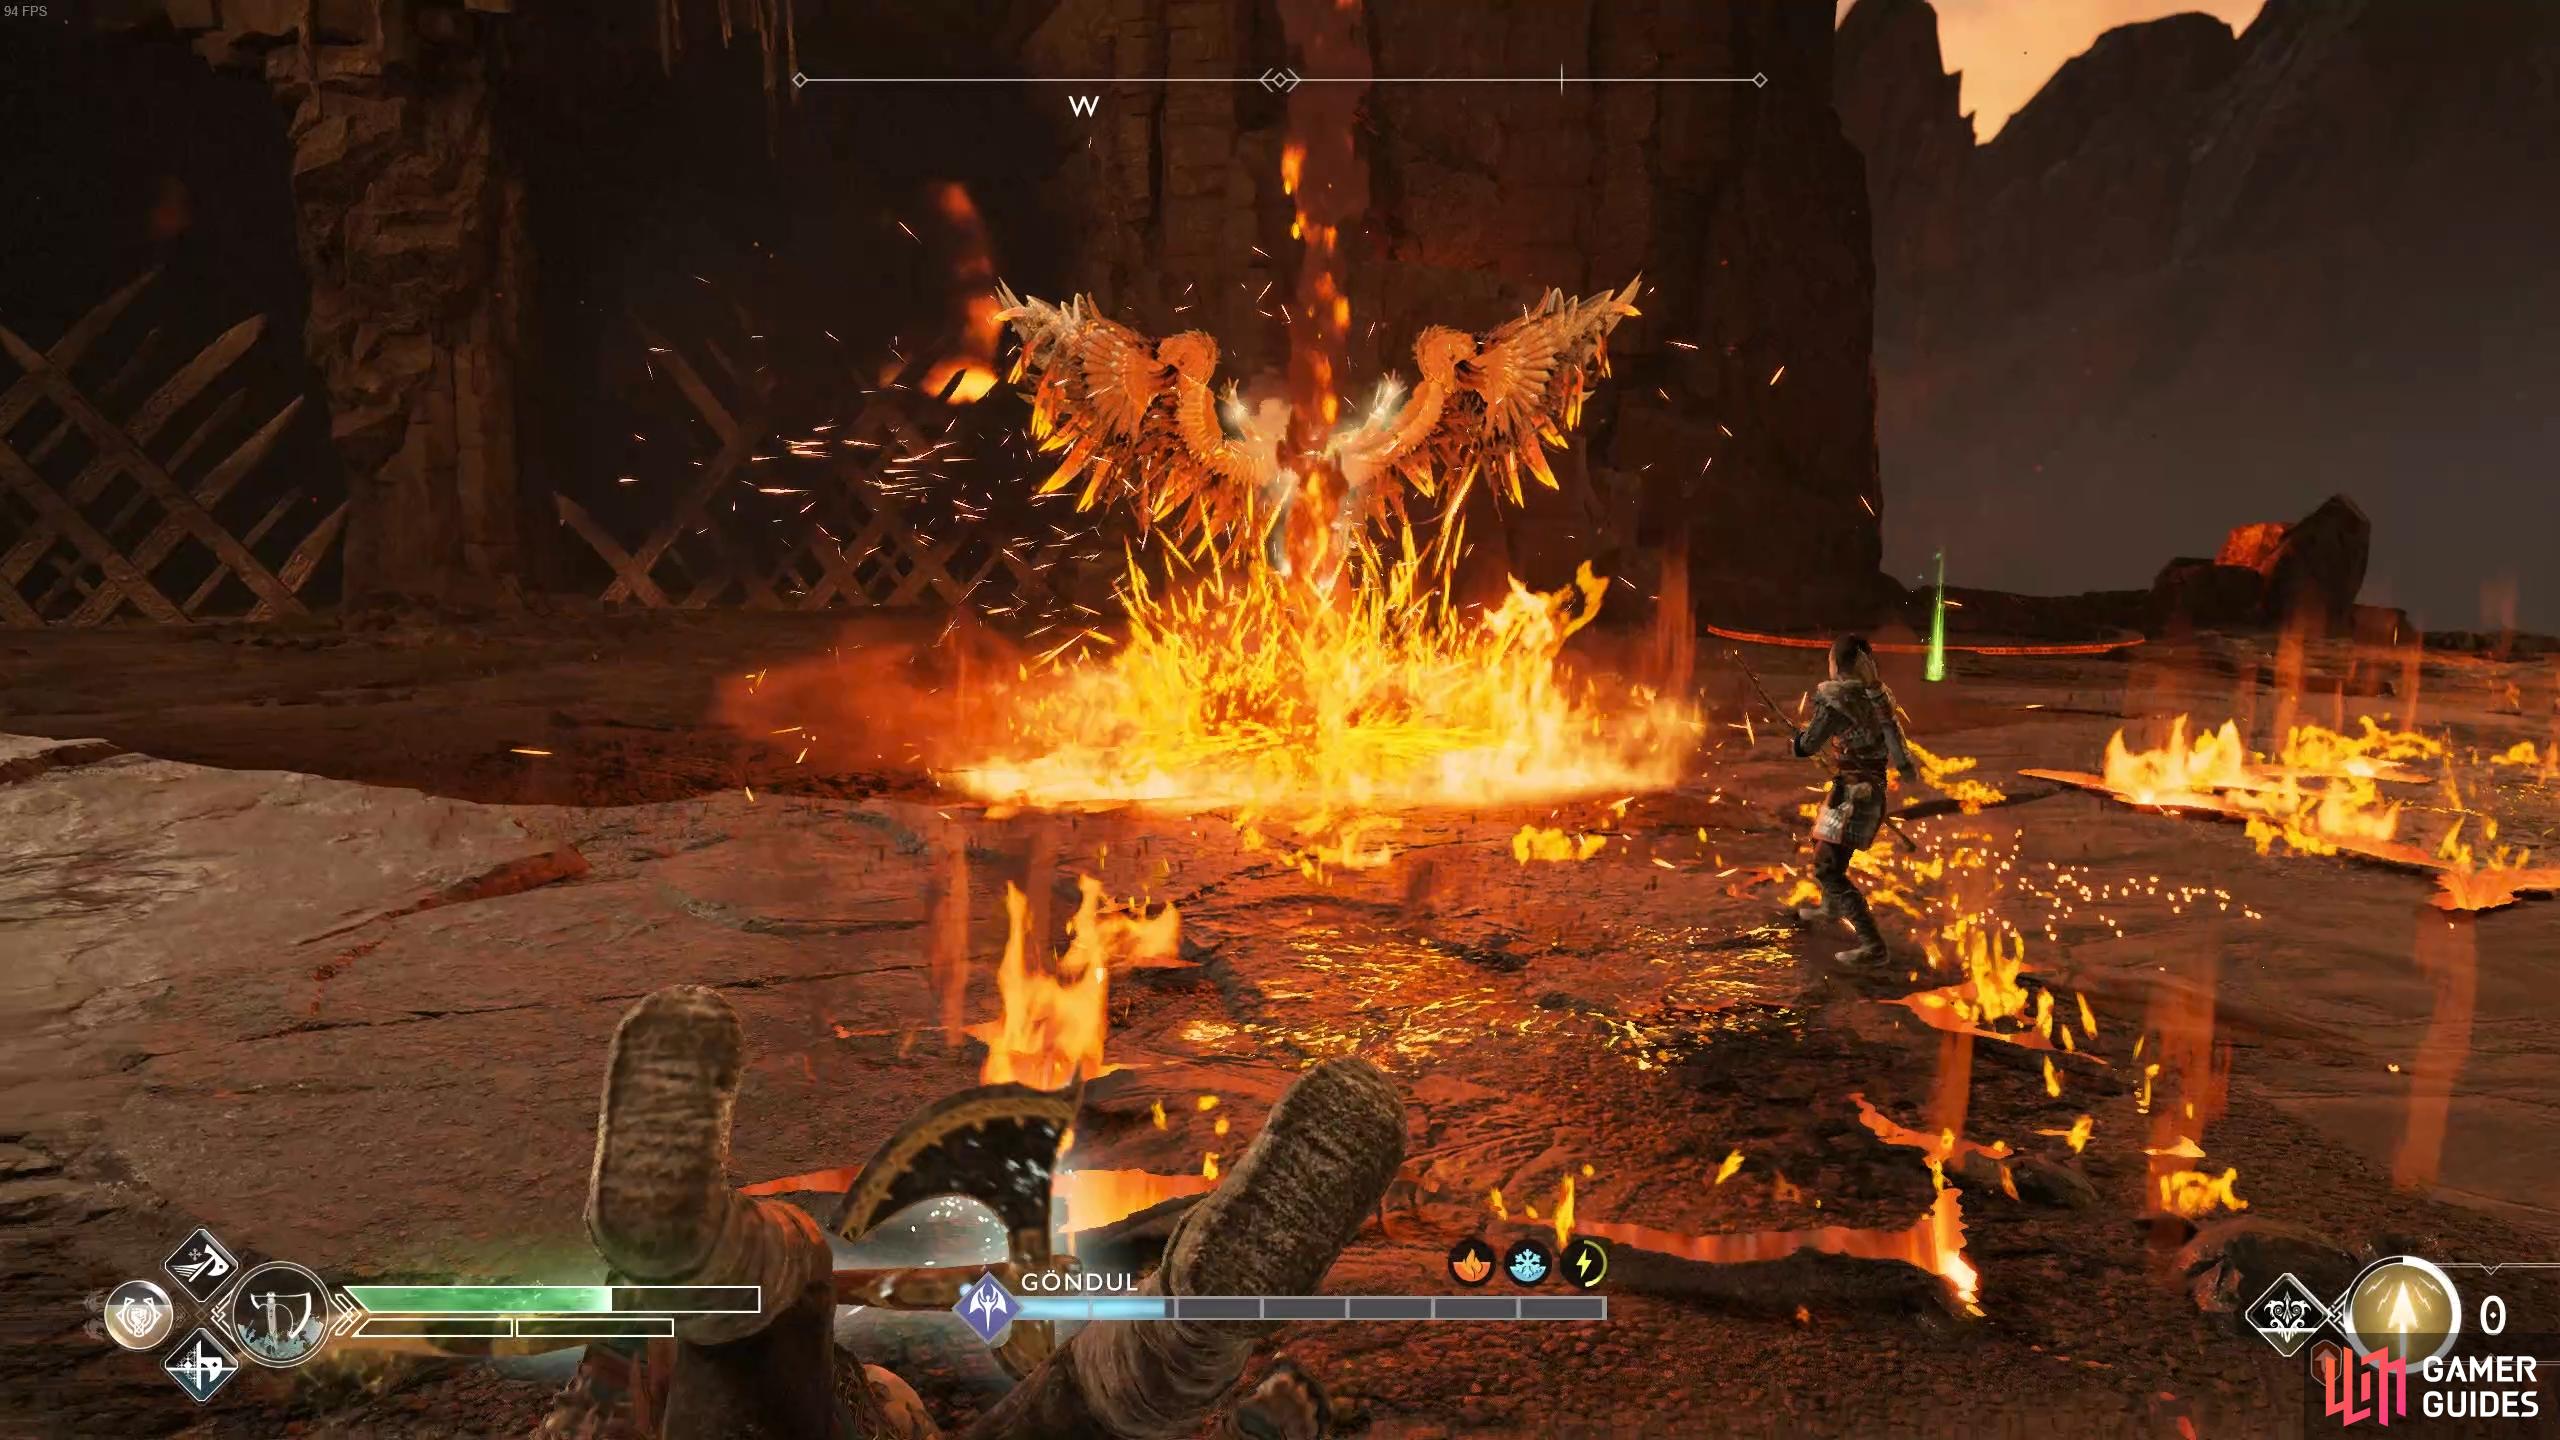
(1 of 2) Look out for the raised wings which indicate the imminent meteor shower.
Look out for the raised wings which indicate the imminent meteor shower. (left), You’ll need to dodge away from the meteor shower, which will reign down in a straight line. (right)
On top of these attacks, she wields a mace and so possess the same mace slam combo that Eir had, dodge roll away from the two hit slam she does to avoid the area of effect. The Wing combo and projectile attacks are also carried over, these should be bread and butter to you by now and used as an opportunity to attack her. Finally, she can also rise in the air and perform the Mace Shockwave attack, knock her out of the air with an axe throw or one of Atreus’ arrows to avoid the heavy damage that follows.
(1 of 2) You can dodge away as soon as you see this circle of light to avoid being knocked back.
You can dodge away as soon as you see this circle of light to avoid being knocked back. (left), You can either block or dodge these projectiles. (right)
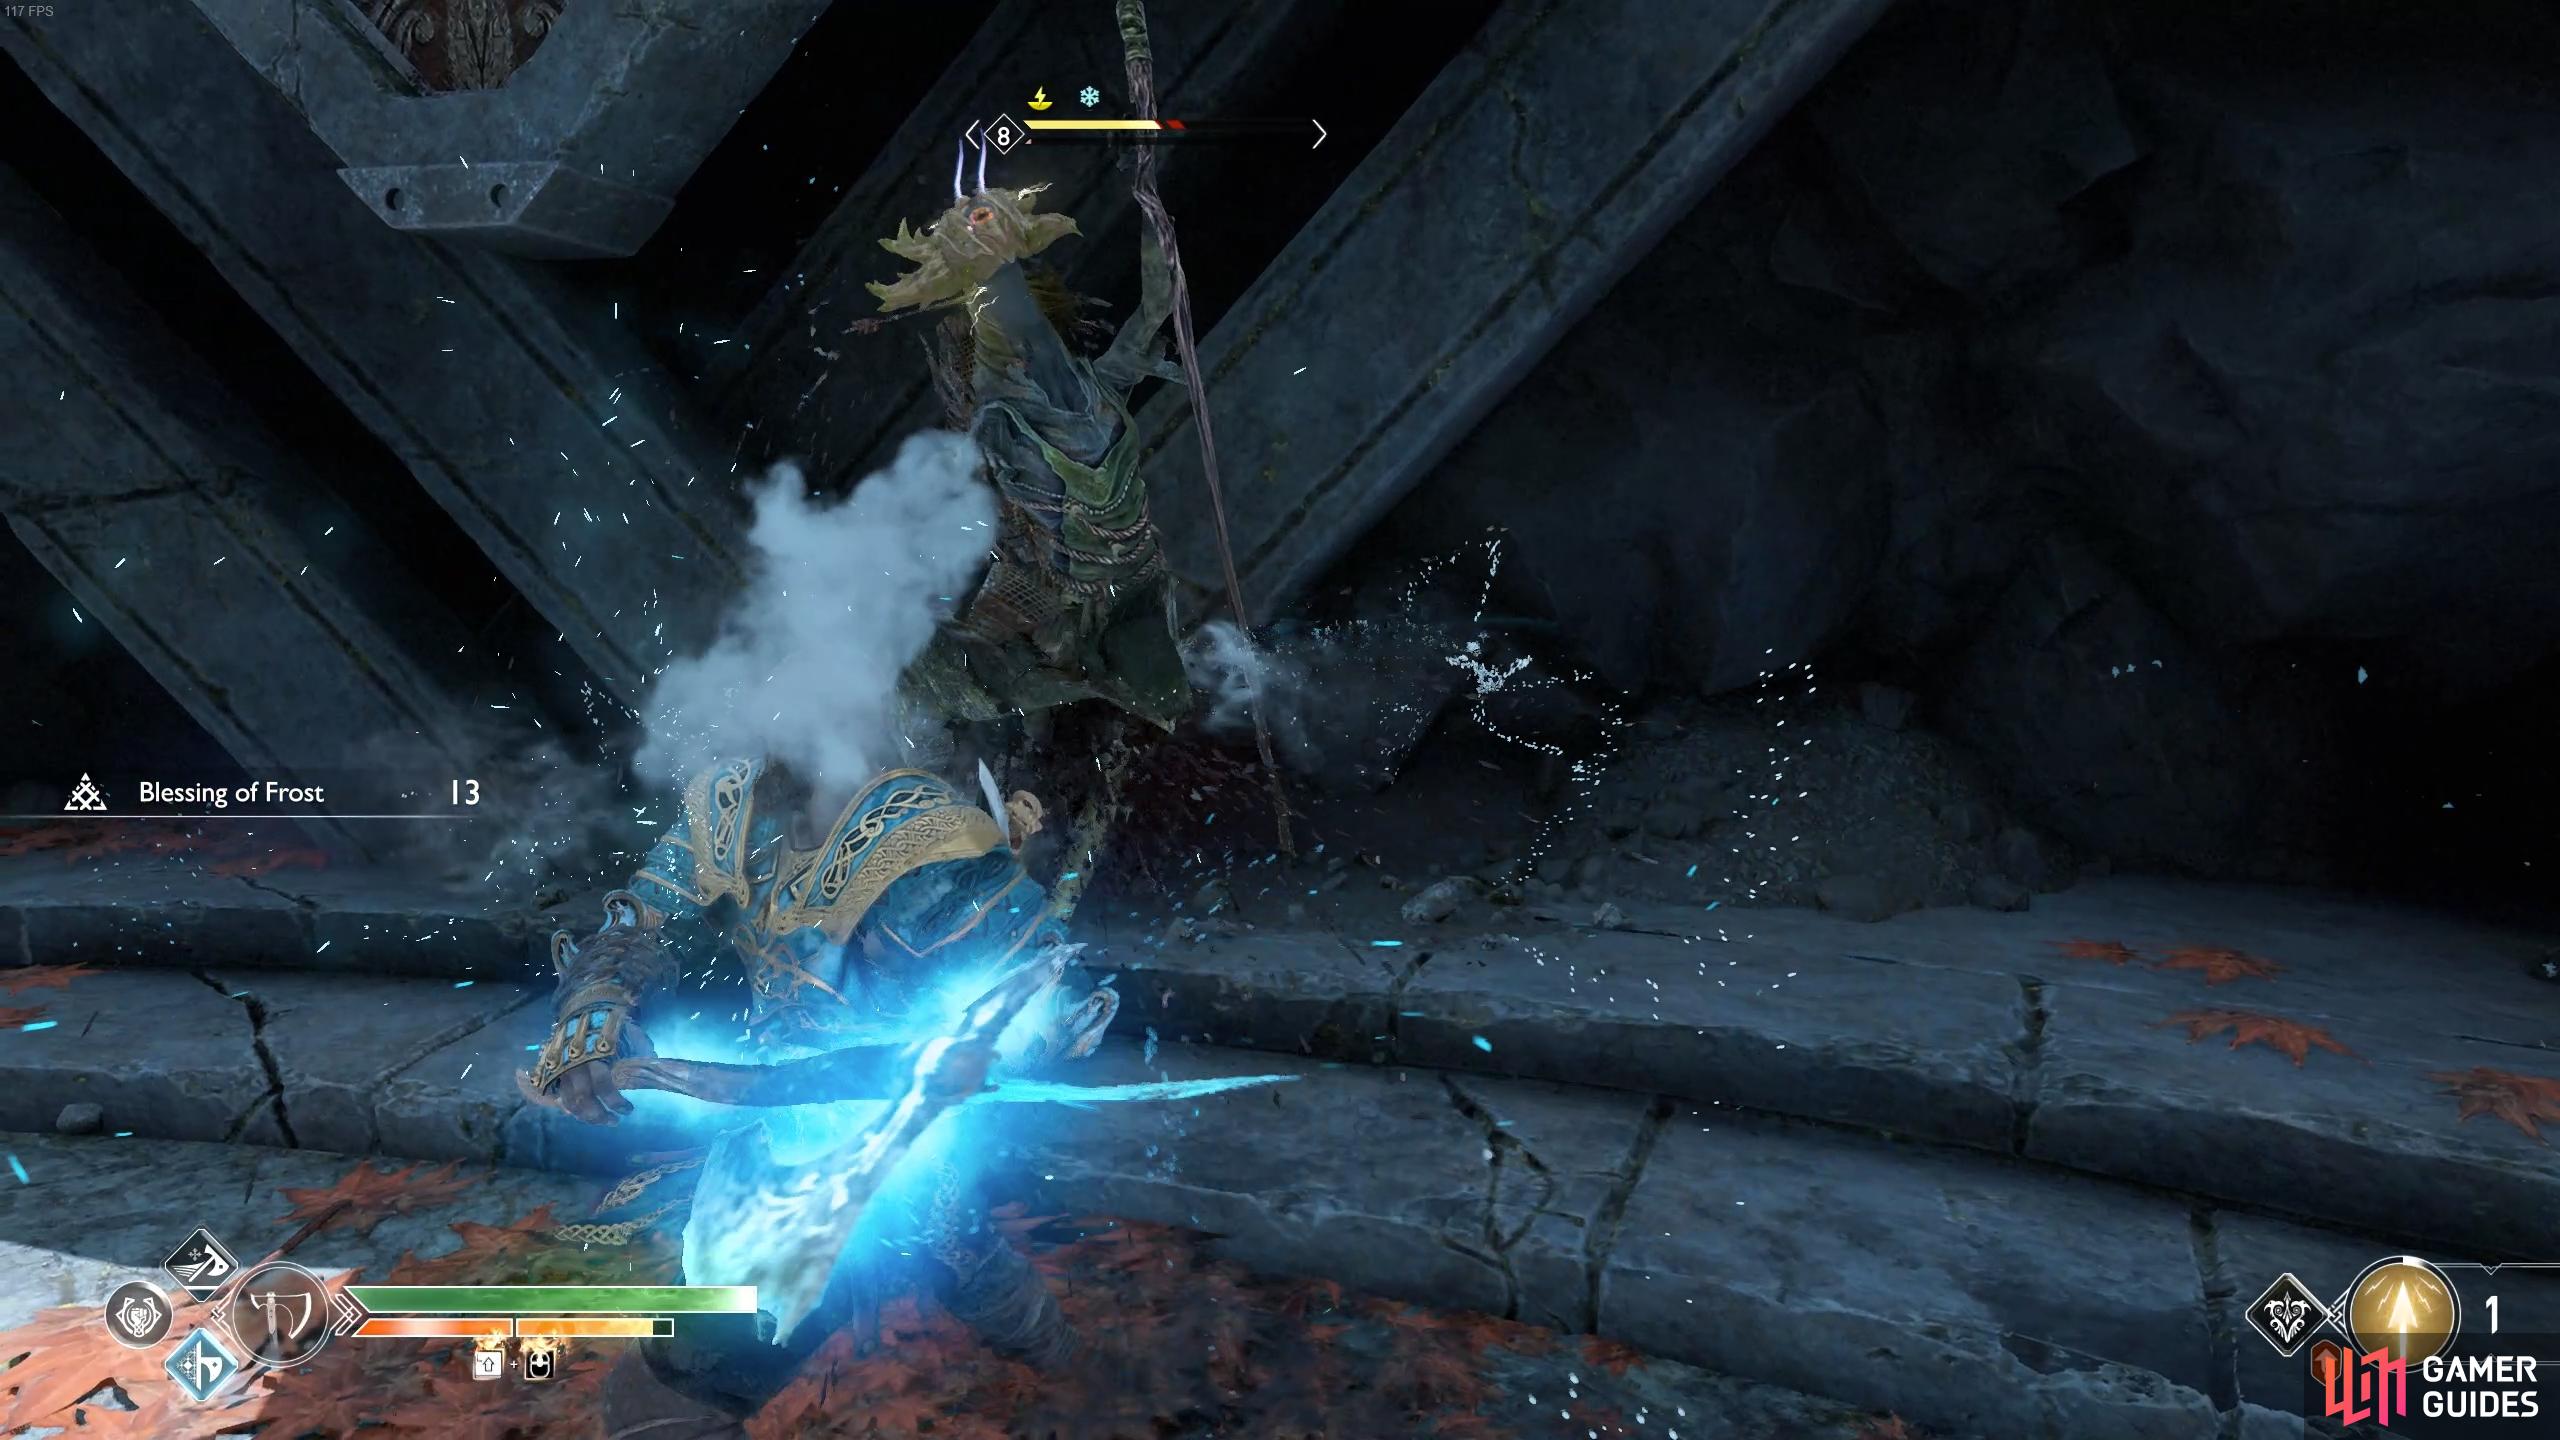
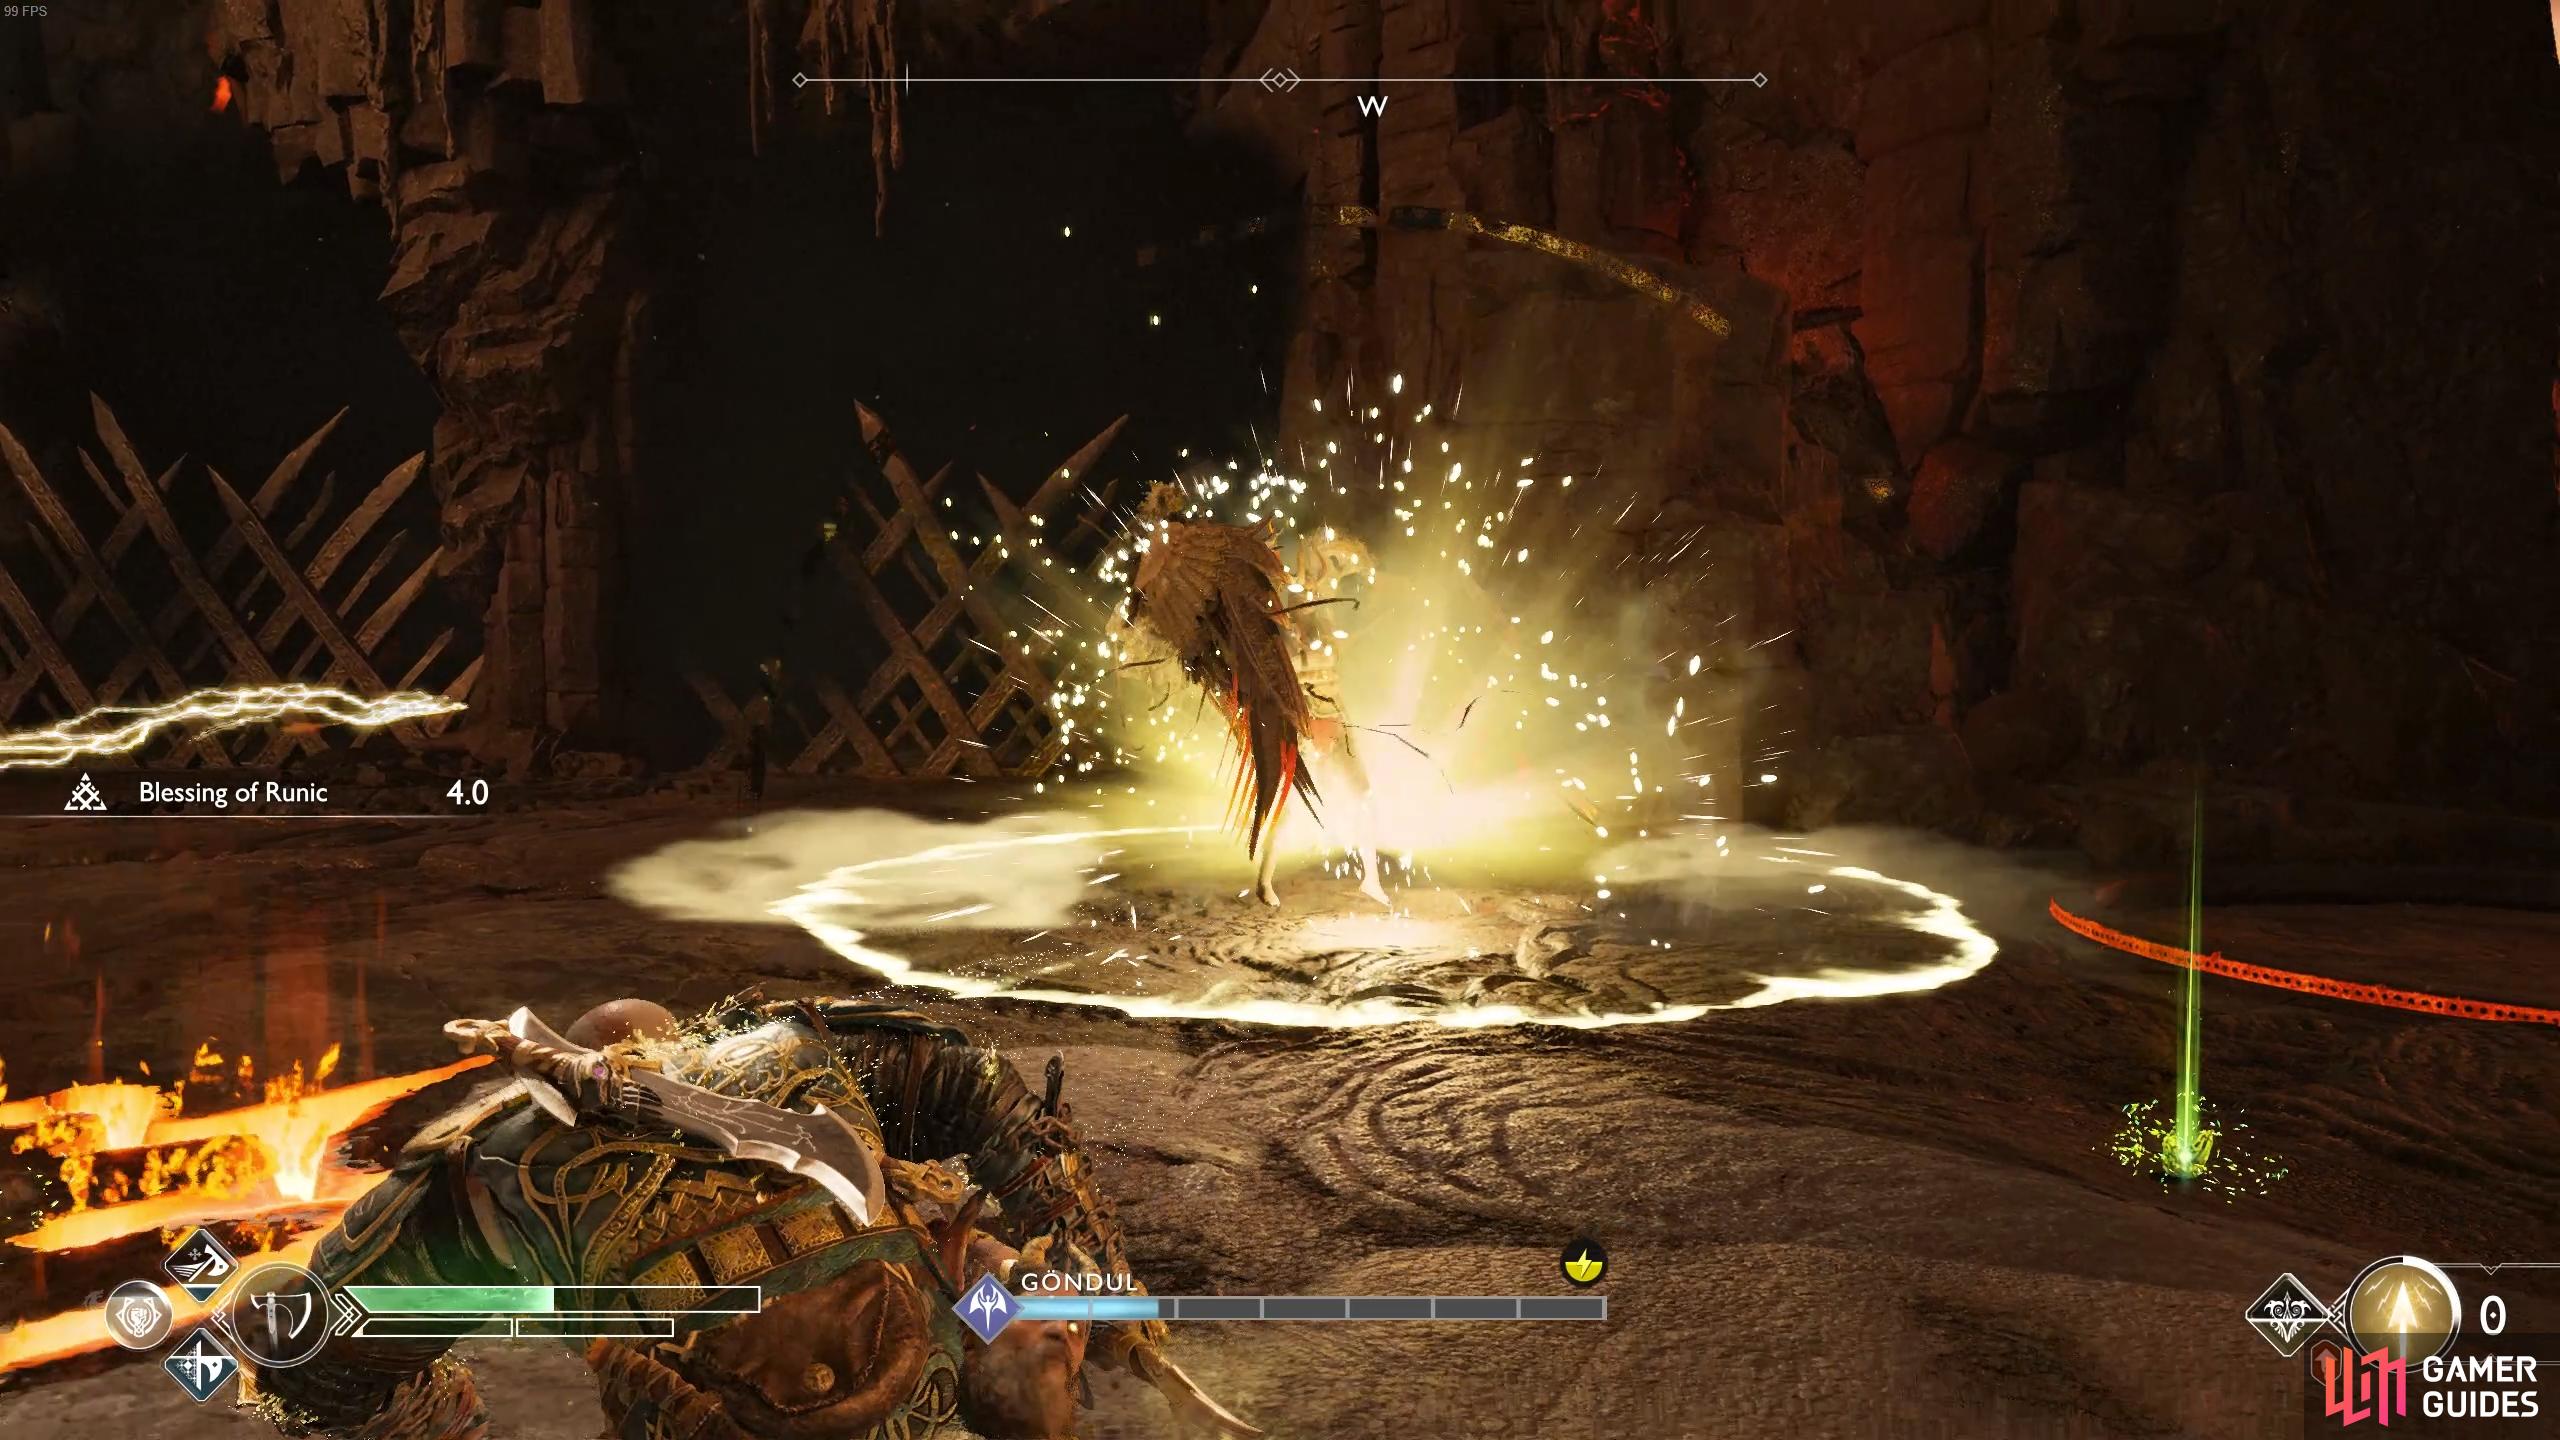
You’ll need to remain cautious throughout the battle, don’t get too greedy with your attacks, making sure you’re ready to avoid the Heel Stomp attack. If you have the unlocked Shattered Gauntlet of Ages then use it to deal heavy damage to her and make use of the Blessing of the Frost skill.
The reward for this gruelling battle is Göndul’s Helmet along with the Leviathan’s Eye Epic Enchantment, Raging Inferno of Muspelheim, two Asgardian Steels, Perfect Asgardian Steel and Gauntlets of the Valkyrie. Finally, open the two Legendary Chests up here to obtain 30 Smoldering Embers, 12 Crest of Flames and 5000 Hacksilver from one along with three Greater Crest of Flames and a Crest of Surtr from the other.
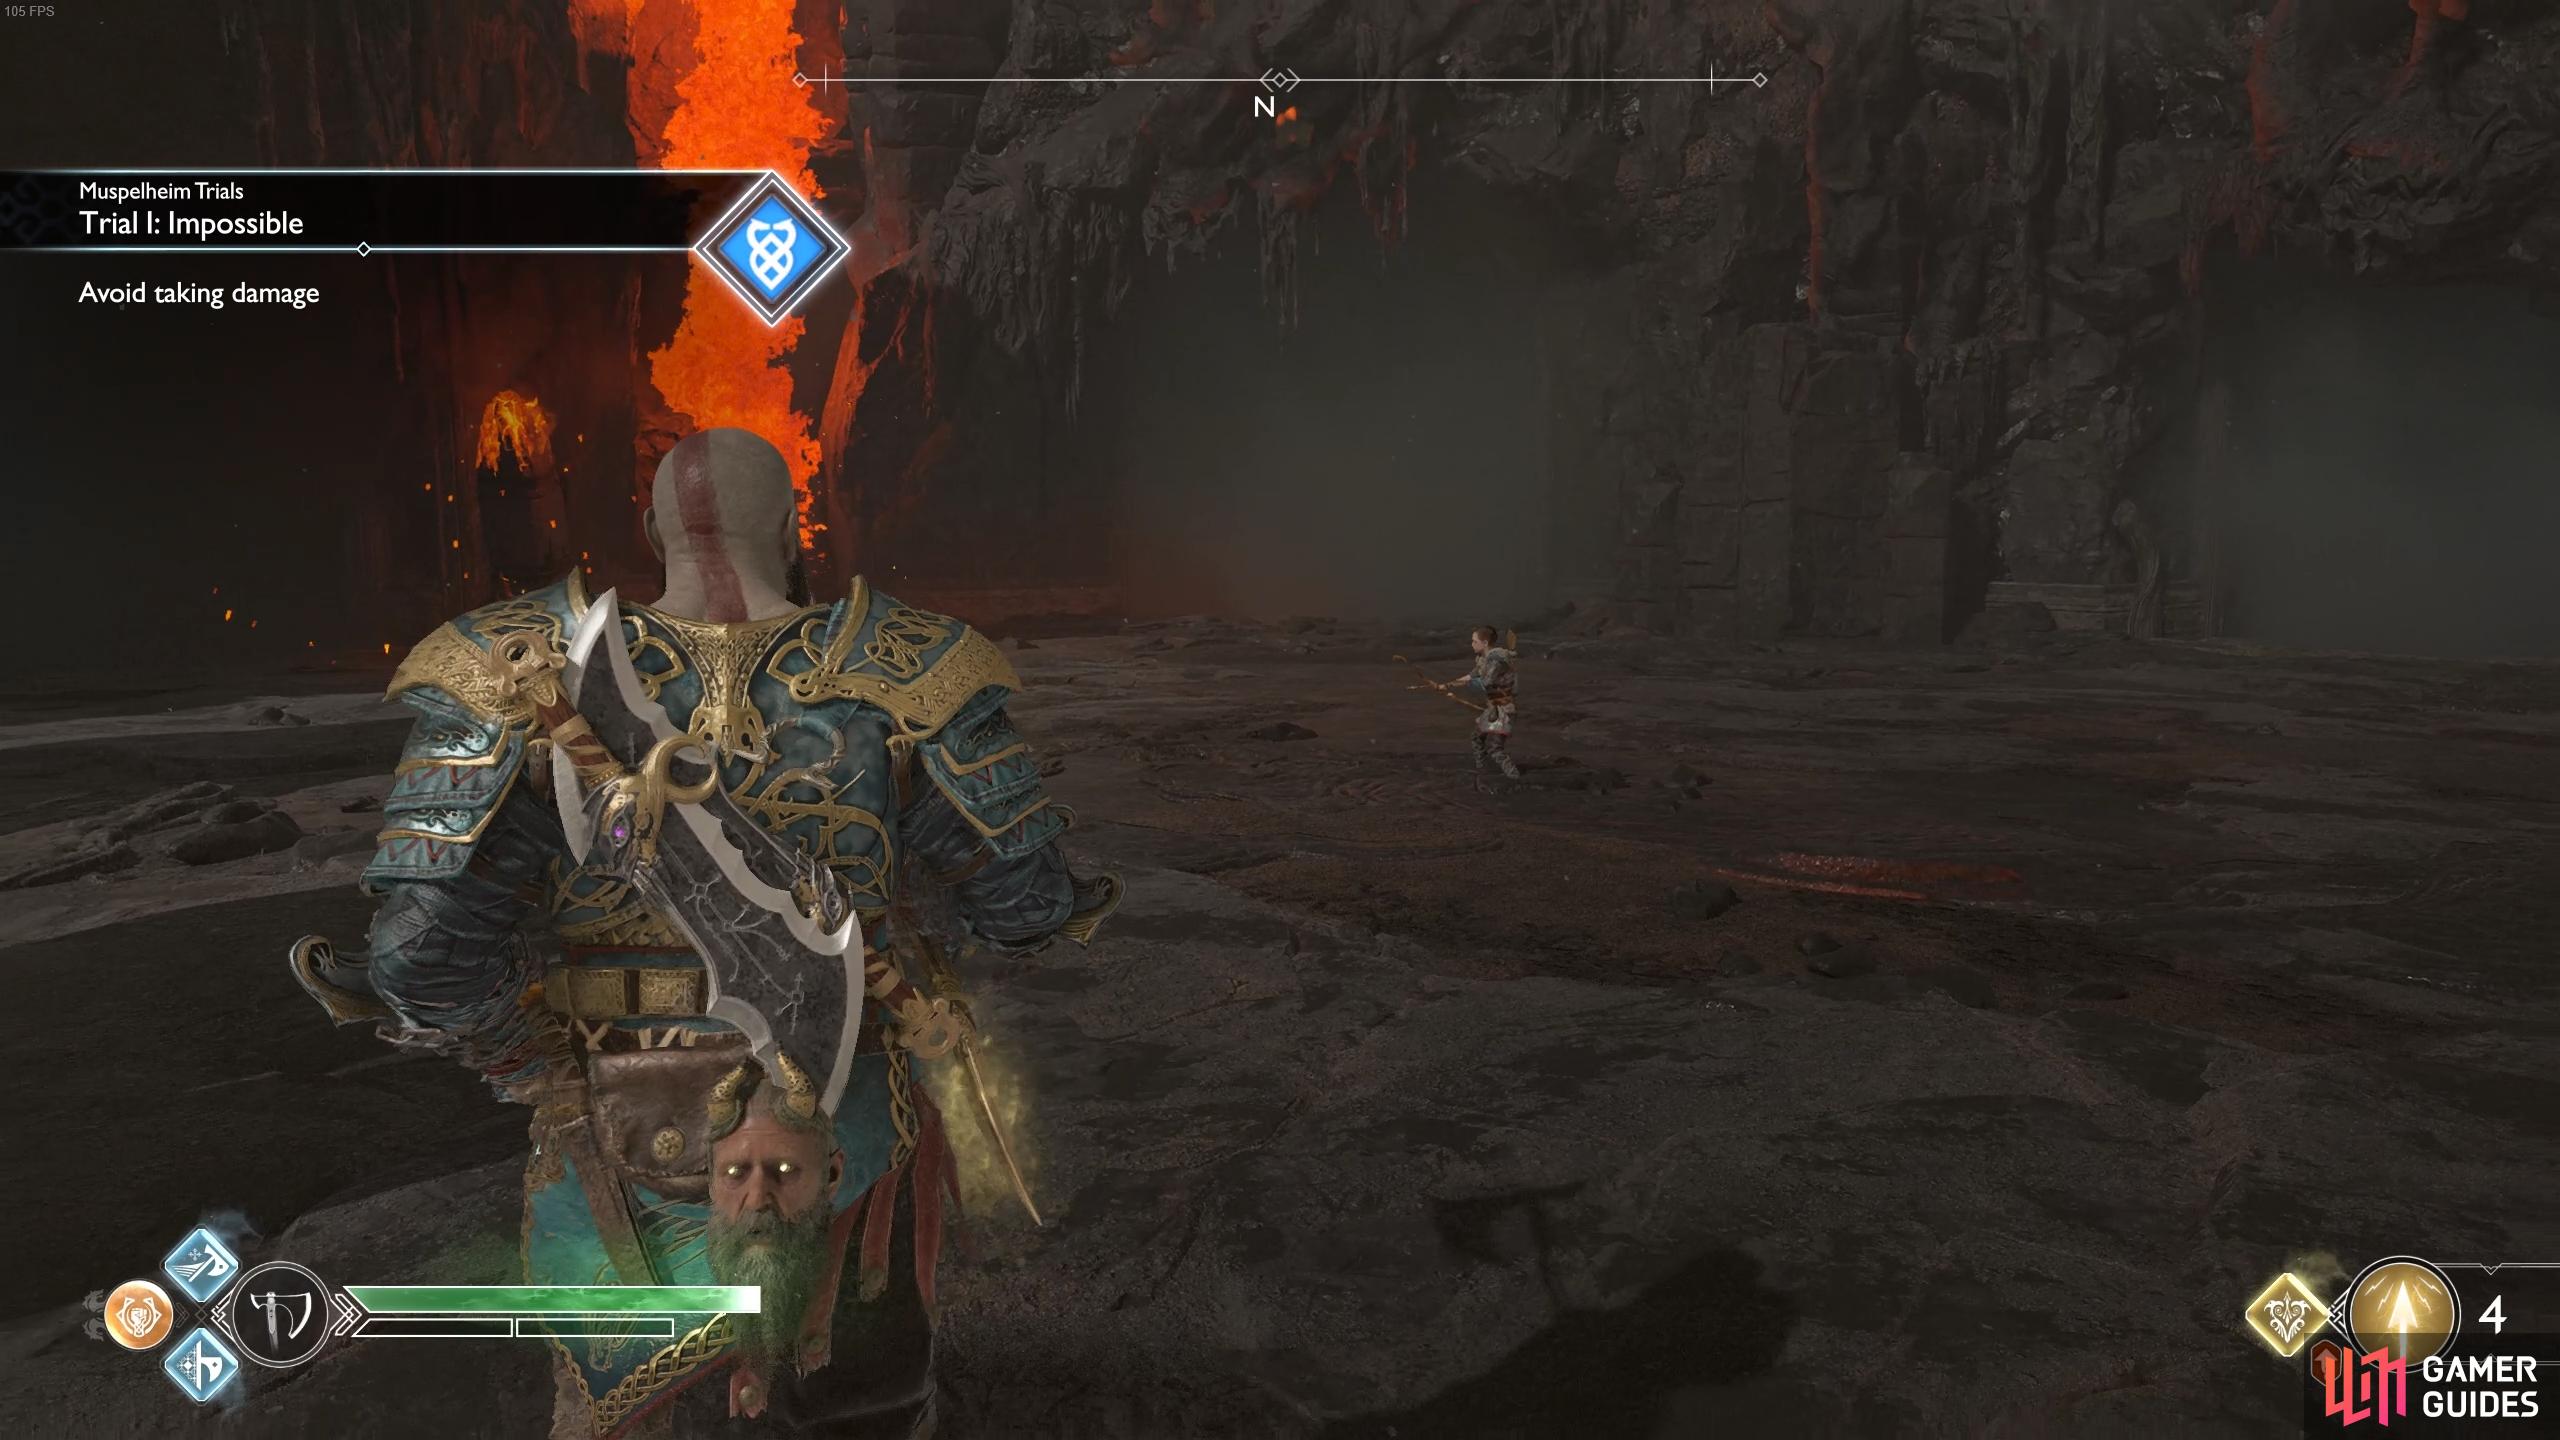
This will return the swords to all of the arenas you’ve just completed, unlocking the impossible difficulty for each one. The final challenge of Muspelheim is at the sword at the summit however you’ll need to receive three keys from the other trials to attempt it. You receive a key for completing one of the Impossible Trials meaning that you only need to three out of the five available to gain access to this final challenge.
(1 of 2) You’ll need three keys to enter the final trial at the summit.
You’ll need three keys to enter the final trial at the summit. (left), Collect these by passing the new impossible trials. (right)
Due to the nature of how this works, you’ll be able to farm these trials, the ultimate challenge offers the rarest Muspelheim resources based on your performance. Head back to the Muspelheim section to find out how to tackle these new trials, you’ll need to finish the ultimate trial once to unlock the Fire and Brimstone achievement.
Once you’re done with everything you wish to accomplish in Muspelheim, take the Mystic Gateway back to the Temple and head to the shop. With the Raging Inferno of Muspelheim you can finally upgrade the Blades of Chaos to it’s final level, unlocking the Why Fight It? achievement.
With the rest of your resources be sure to at least purchase the Muspelheim’s Eye of Power Enchantment, it’s a fantastic Epic Enchantment you’ll want to socket right away. The Runic Attacks available, while fun, are not worth the resources unless you have excess.
With another two Trophies unlocked, your next course of action should be tackling the optional realm, Niflheim. Head to the Realm Travel room and lock the destination in.
Niflheim
Head across the bridge toward the Lore Marker and then open the two chests either side of it to obtain your first Mist Echoes, the currency of this realm needed to upgrade and purchase equipment. Continue along and in the middle, where the cursed mist lingers, is a coffin along with another small chest to the left of it containing more Mist Echoes.
Sindri awaits just past here, speak to him to obtain the Favor Ivaldi’s Workshop requiring you to obtain 500 Mist Echoes and bring them back to Sindri. Niflheim contains many useful equipment sets to craft and other useful treasures to find along with the final Valkyrie hiding out here. Be sure to open the Legendary Chest in the central chamber costing 5000 Mist Echoes to obtain the Chilling Mists of Niflheim, take this with you to Sindri’s shop to purchase the final Frozen Flame, thereby unlocking the Worthy achievement.
Head to the Niflheim section for more information on this maze and return once you’re ready to face off against the Valkyrie.
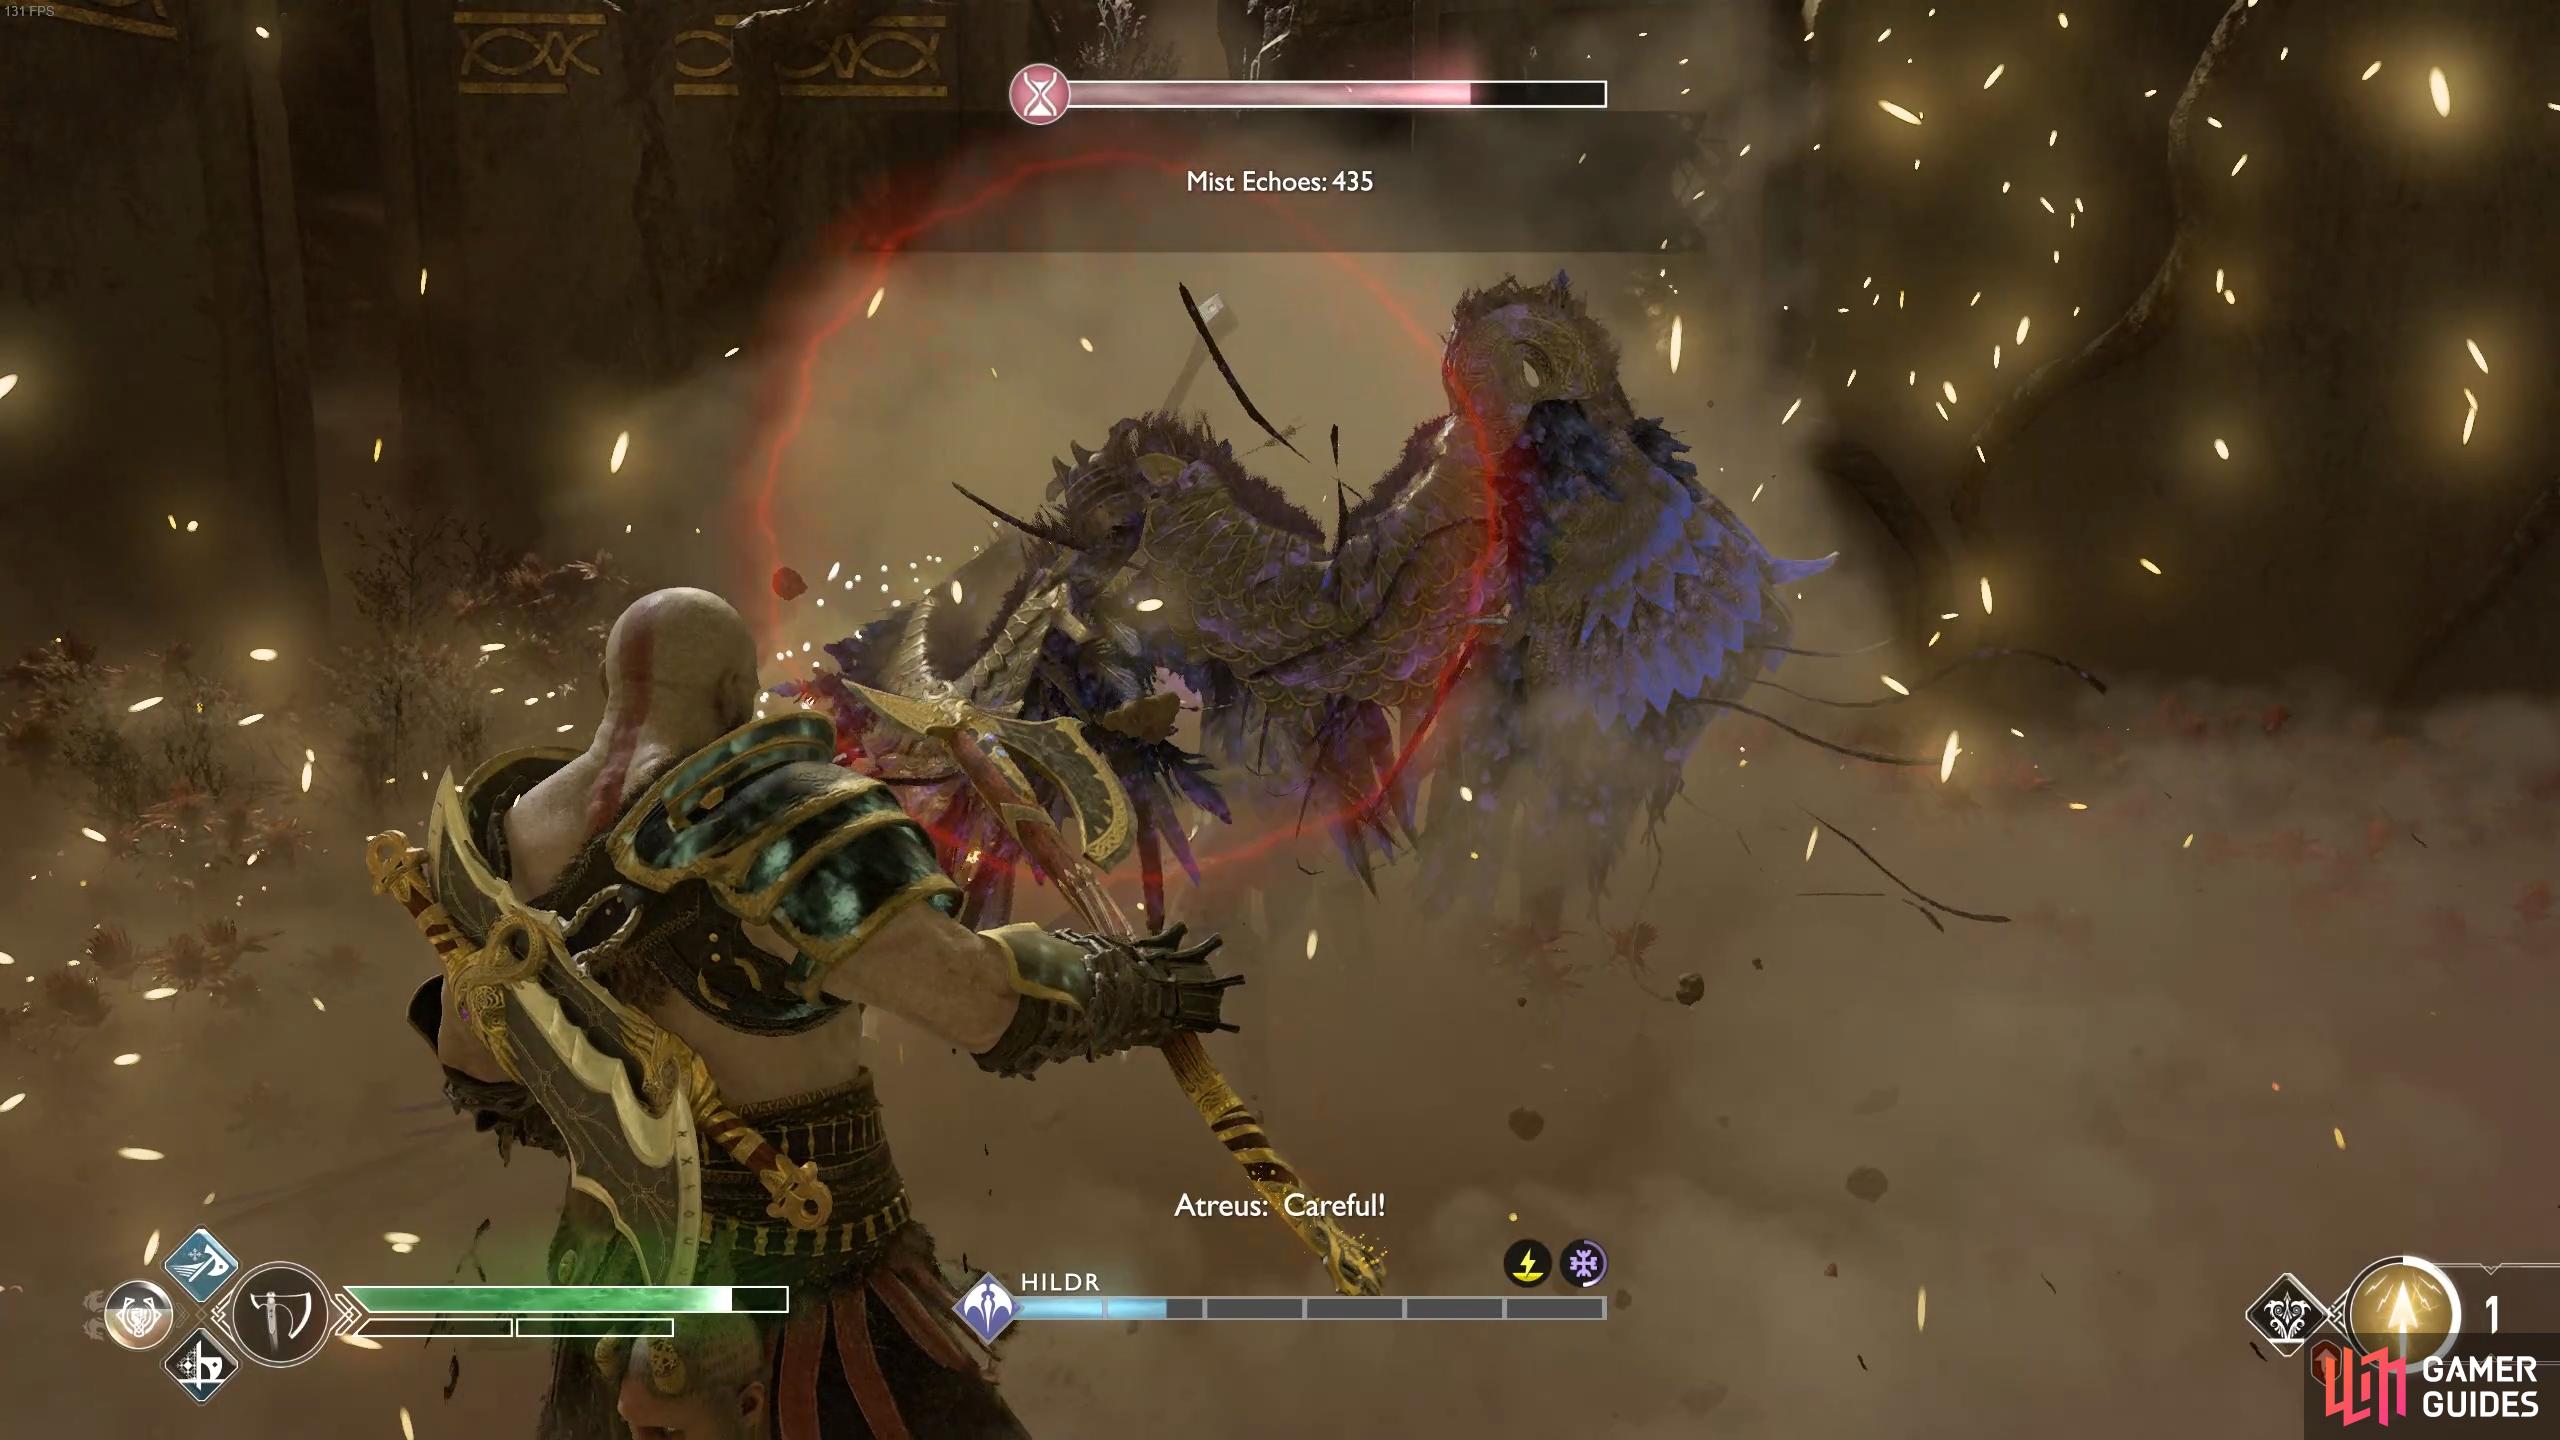
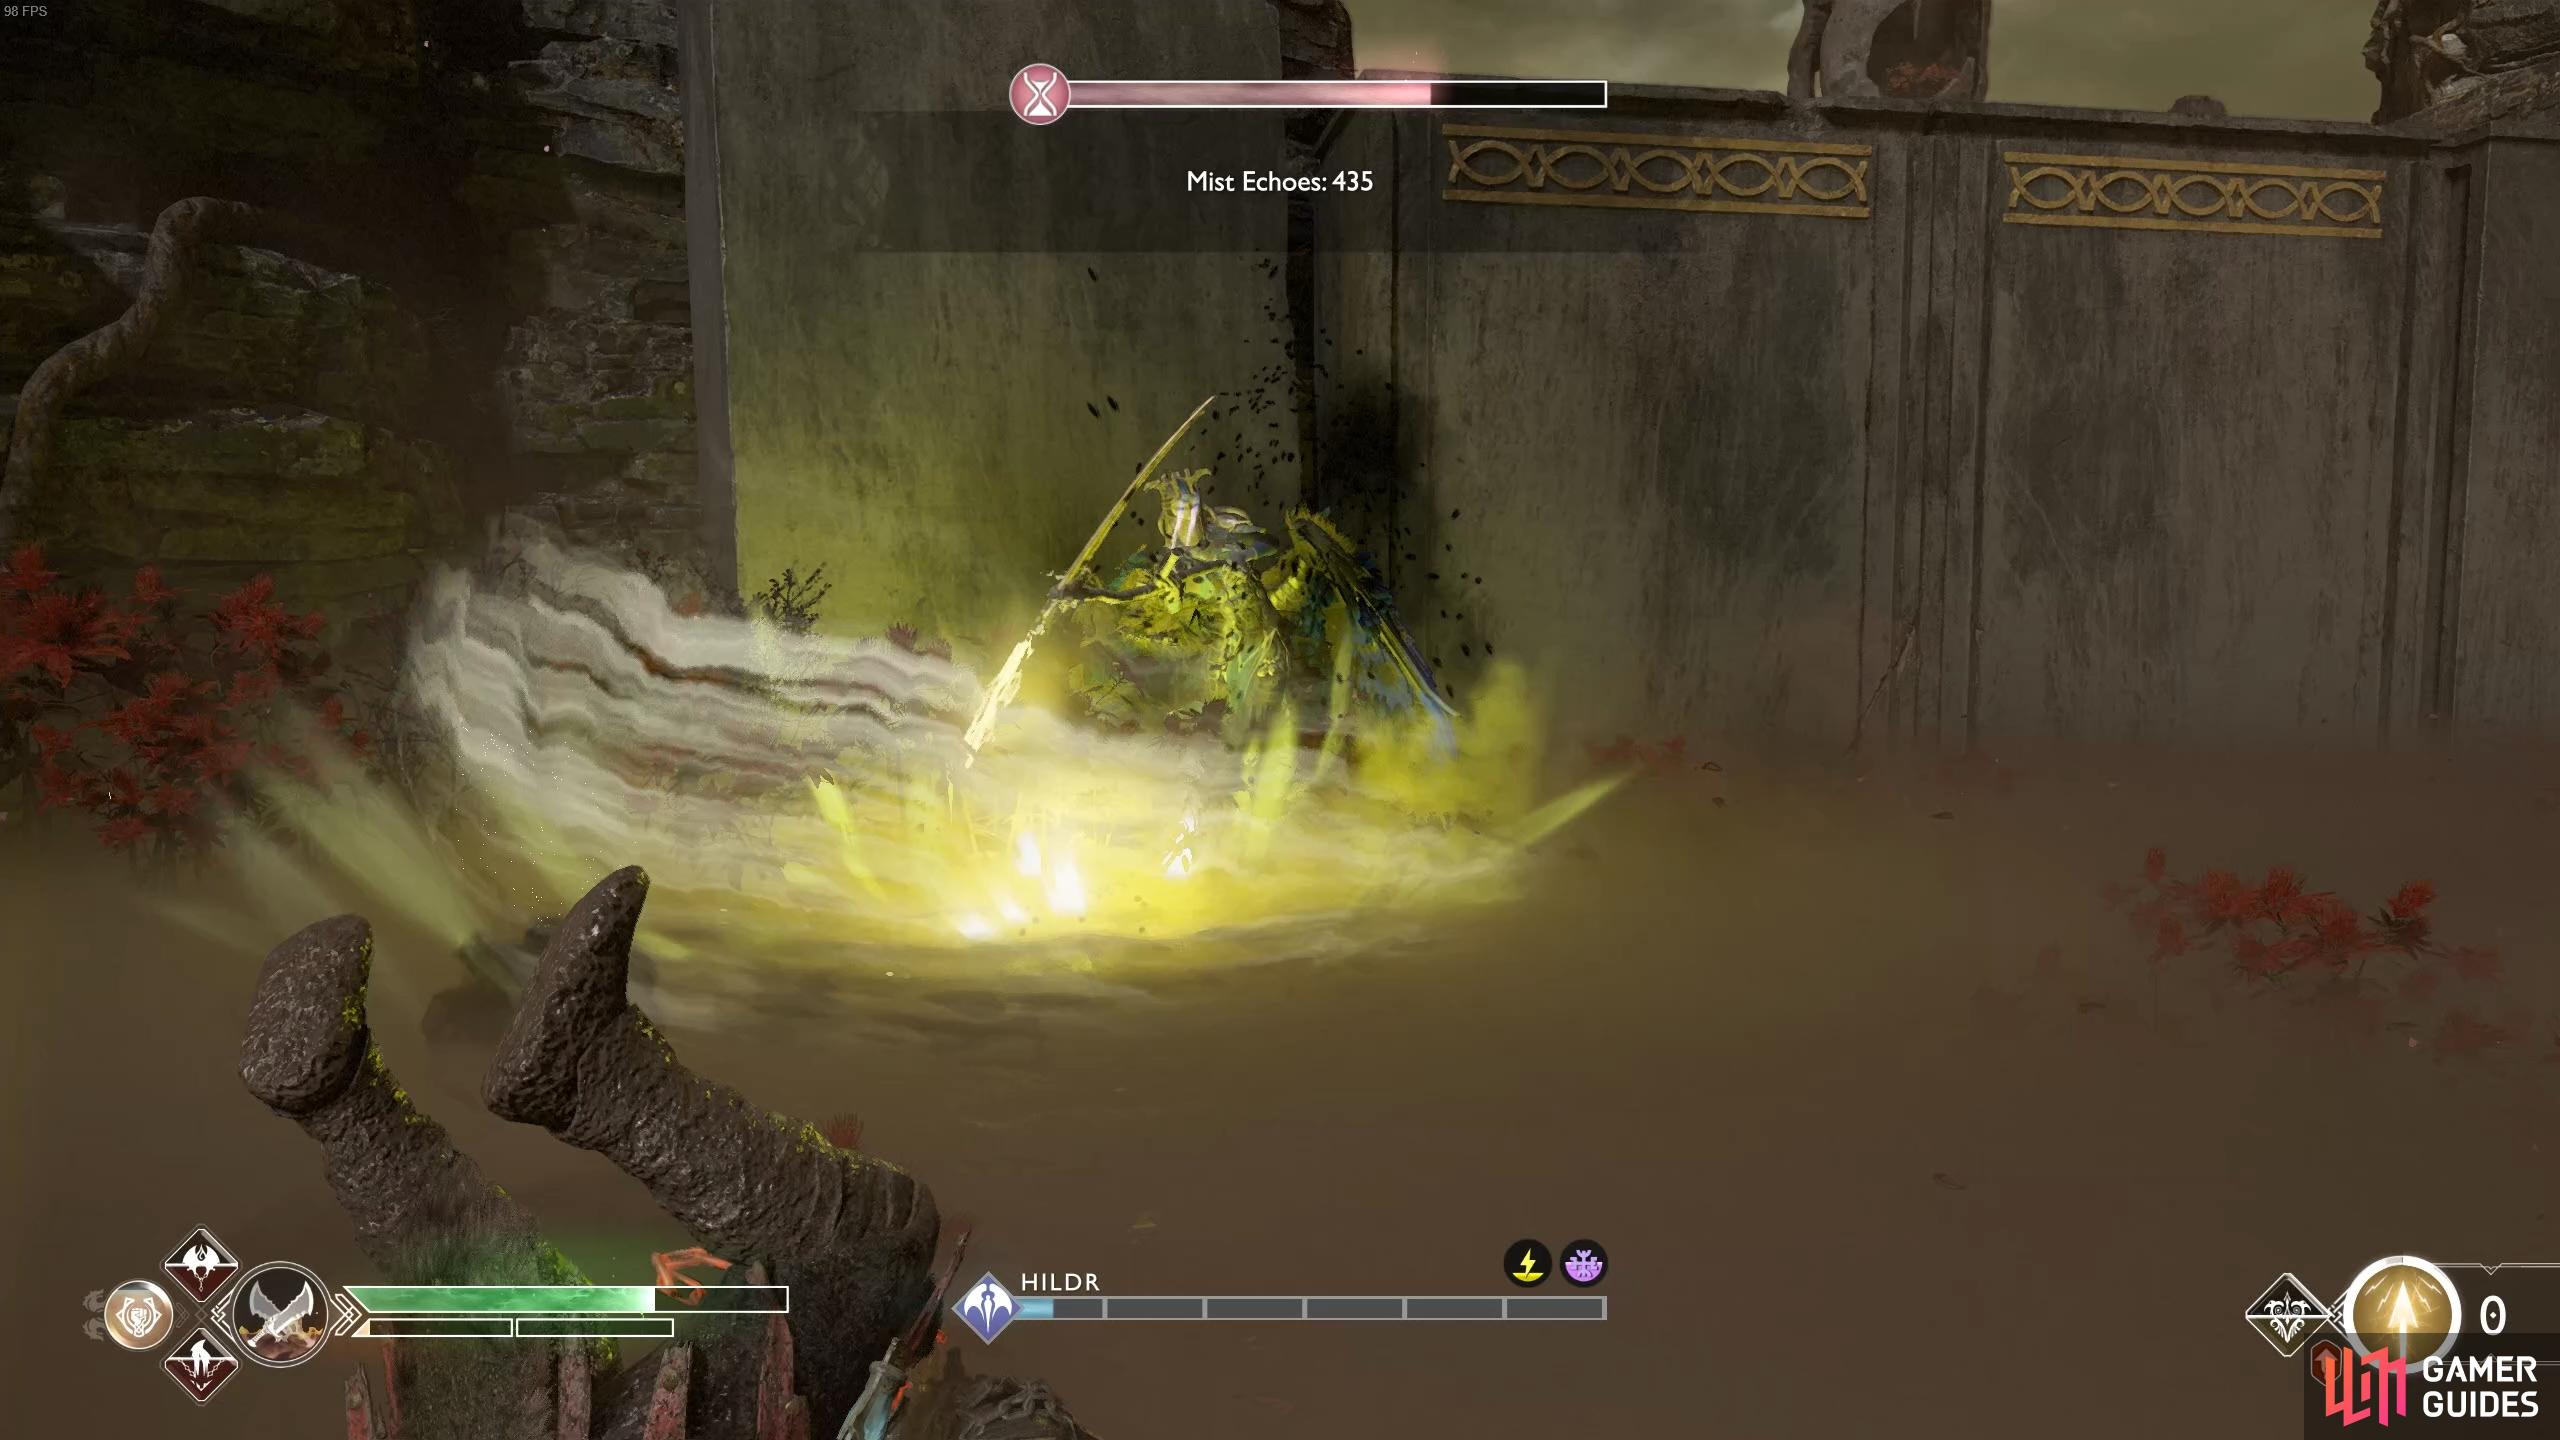
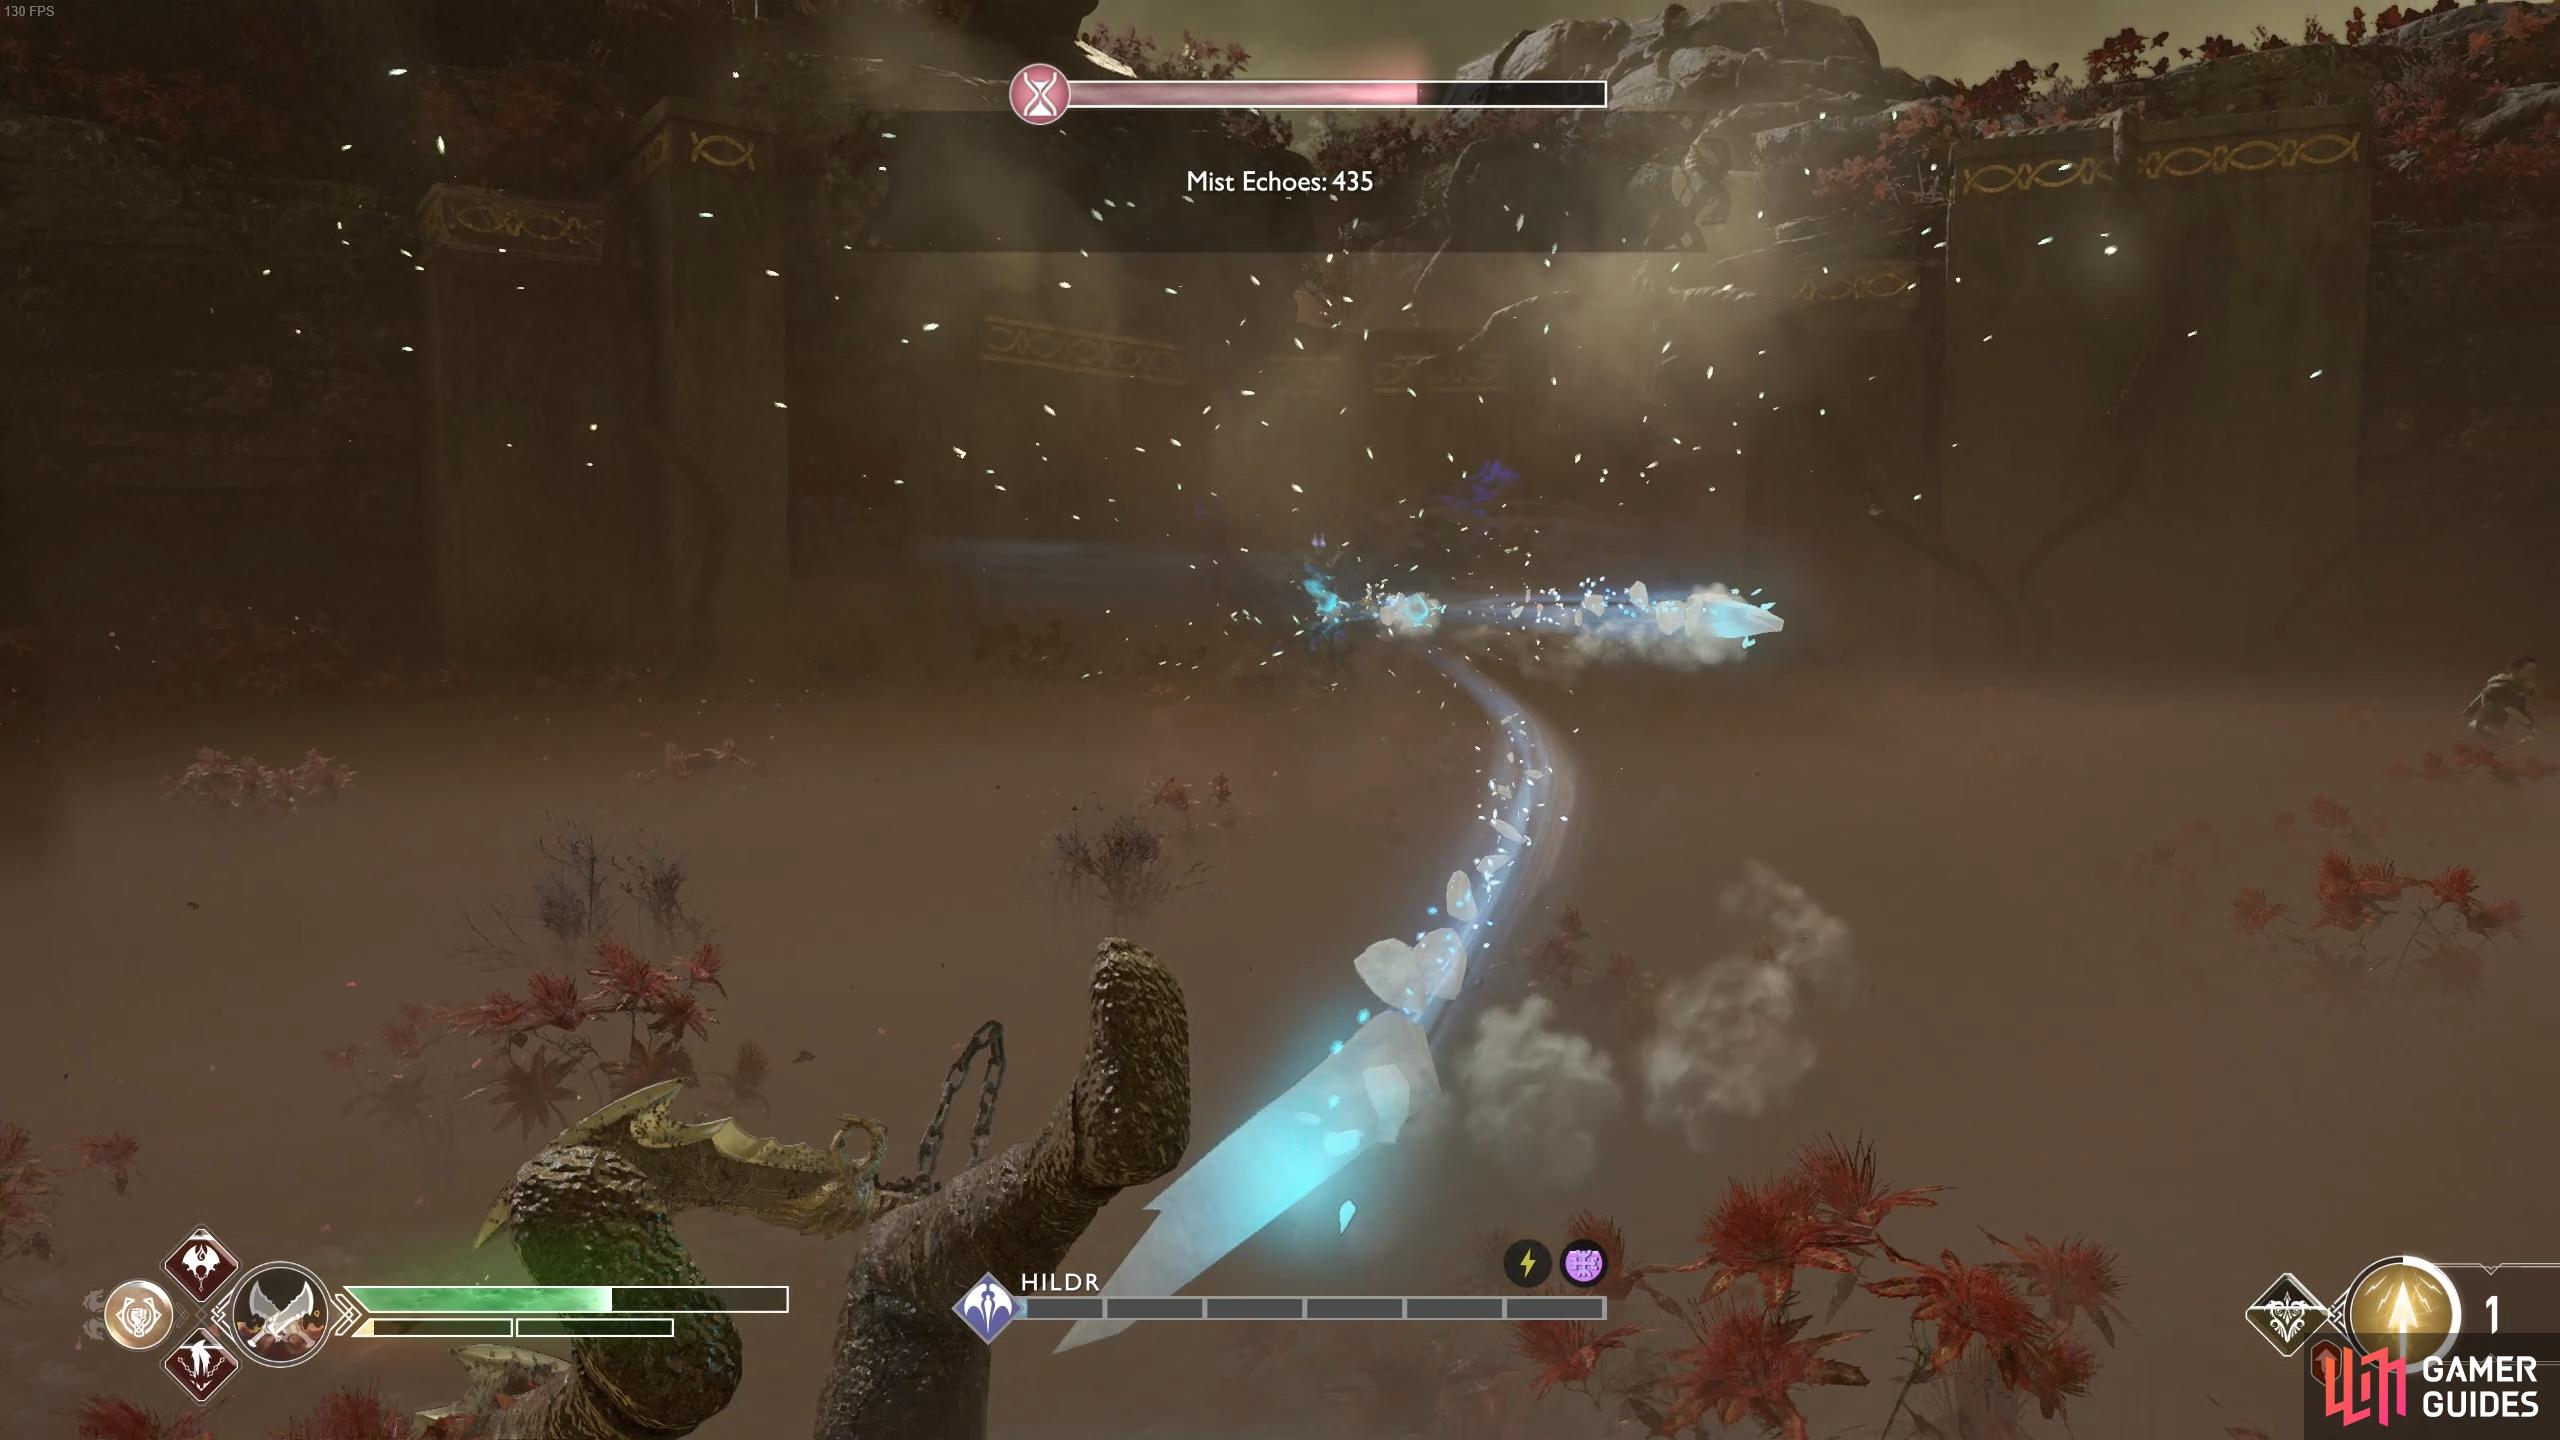
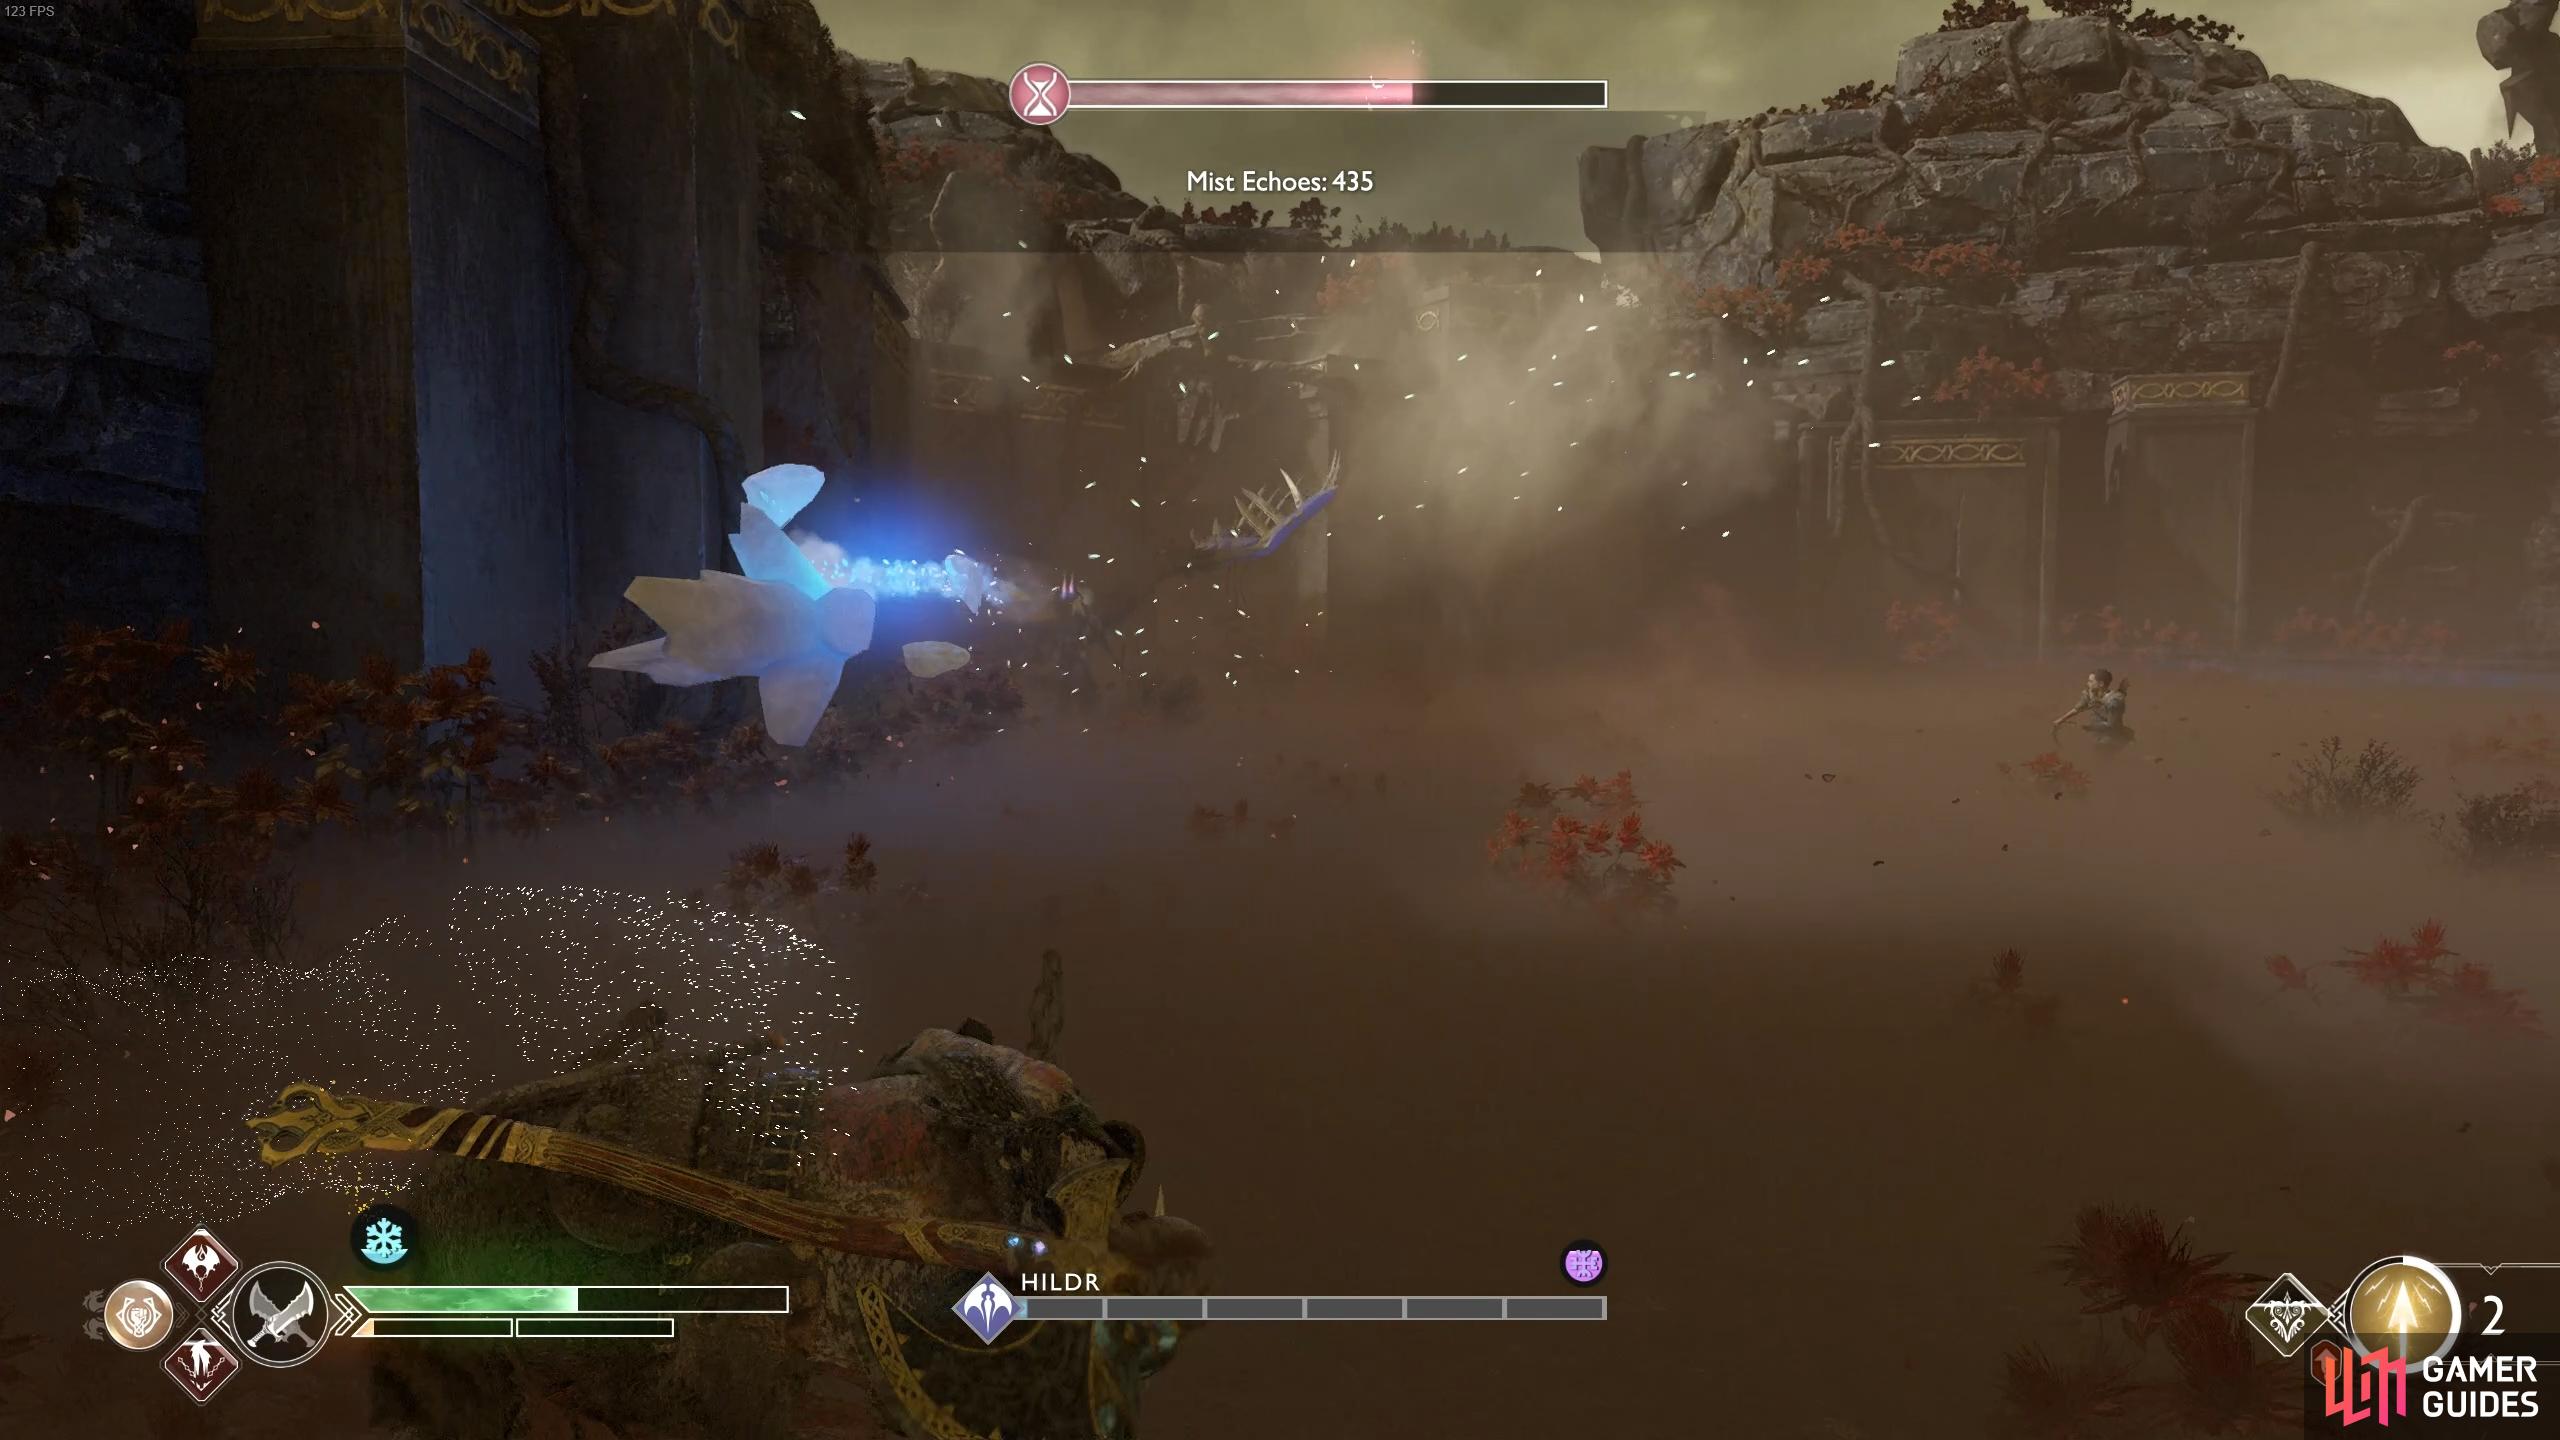
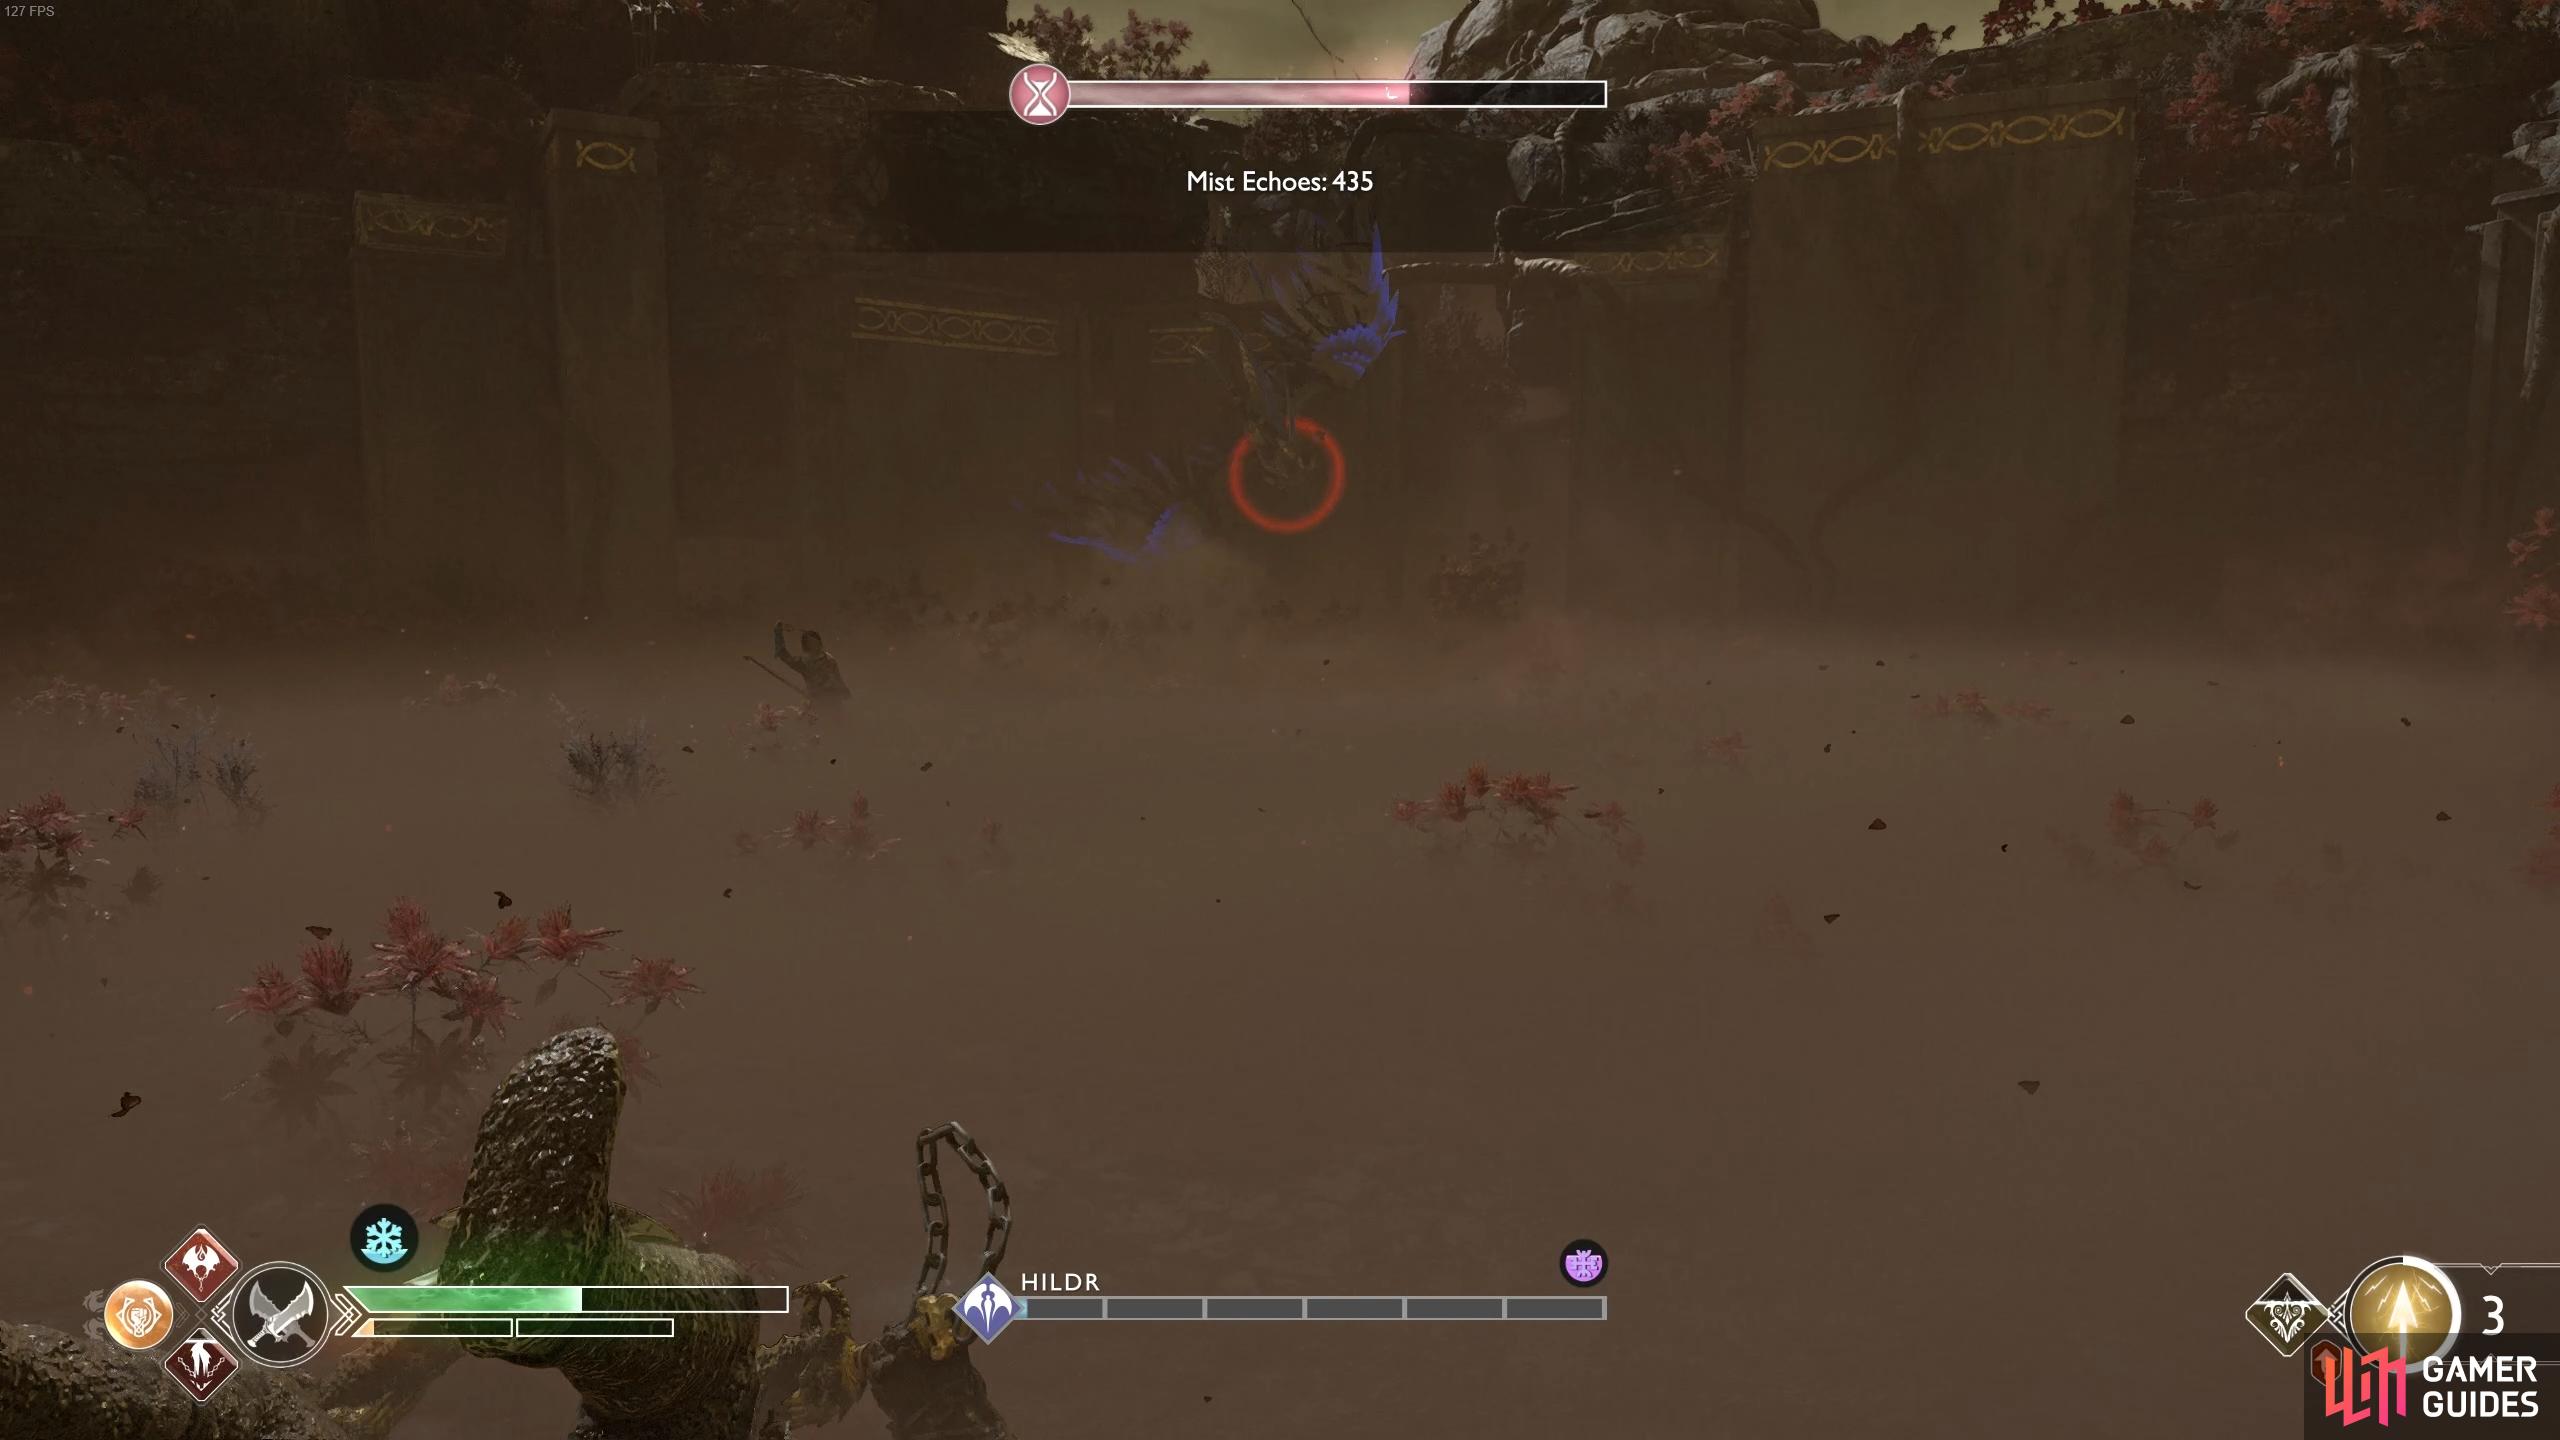
Defeat Hildr
Hildr is the toughest Valkyrie you’ve faced yet as she’s not only the highest Level Valkyrie so far but you also find yourself up against the clock. Before you even attempt her, make sure you have your Leviathan Axe fully upgraded along with the Blades of Chaos (using the item form Muspelheim). Next, make sure you have a full set of the Ivaldi’s Deadly Mist armor set along with the Grip of the Maze Axe Pommel and the Eye of Niflheim Enchantment. This should give you enough time to kill her before the Cursed Mist starts sapping your health. When you’re ready to face her, head down the hill from Sindri’s shop and ignore the enemies while you hug the left wall through the first two rooms to save yourself some time.
As for Hildr herself, as you may have guessed, she has an Ice Affinity and as such, the Blades of Chaos Runics will be very powerful. Her first new attack is the Ice Hail, Hildr will launch a barrage of Ice Shards at you that you’ll need to block until the final one. Watch for the red ring around her to indicate an Ice Chunk that finishes off the attack, you’ll need to dodge this to the side to avoid heavy damage and the slow status effect.
(1 of 2) You’ll need to dodge the last hit of the melee wing attack.
You’ll need to dodge the last hit of the melee wing attack. (left), When you see this light being generated, be ready to dodge out of the blast wave. (right)
The rest of her attacks are ones you’ve already dealt with before from the other Valkyries. Hildr is a scythe wielder and as such, has the Scythe Combo and Shockwave from the other Valkyries as well as the usual Wing Combo. This should be second nature for you by now and you should be able to avoid this easily. Hildr also brings back the Wing Block from Eir, remember to use the Block Break skill to knock her out of the guard and gain an opportunity to score some heavy damage. Finally, Hildr can perform the dive attack where she will swoop across the arena attempting to grab you. You’ll be pleased to hear that she will only do this once unlike the other Valkyries.
(1 of 3) You can either block or dodge these initial ice projectiles.
If you can safely avoid the Ice Hail attack then you should have no problem avoiding her attacks. It then comes down to beating the clock, you’ll have to be aggressive in this battle to avoid running out of time. Make full use of Runics as and when they’re available, the Shattered Gauntlet of Ages and Spartan Rage, anything that will deal large amounts of damage to Hildr.
Following her death, the timer will be frozen so don’t feel the need to rush. You’ll obtain Hildr’s Helmet along with the Cuirass of the Valkyrie, the Heart of the Valkyrie Epic Enchantment, two Asgardian Steels, a Perfect Asgardian Steel, the Wing of the Fallen Axe Pommel and an Aesirbane.
Be sure to exit out of the area as soon as possible with all your loot and then be prepared to continue through the Cursed Mists to fully open everything in the central chamber as detailed in the Niflheim section to unlock the Darkness and Fog achievement.
Final Preparations
You’ve braved through the fires of Muspelheim and discovered all the secrets of Niflheim while defeating more Valkyries and assembling the best armor in the game. There’s one challenge left for you to tackle in God of War and it’s the toughest yet. Before you begin taking on the ultimate challenge, take the time to prepare yourself.
Make sure you have both the Leviathan Axe and the Blades of Chaos at their final Upgrade level using the items from Muspelheim and Niflheim. Equip and fully upgrade the Mistbourne Axe Pommel and the Grips of the Valkyrie Pommel for the Blades of Chaos. Finally, it’s time to decide what armor set to go for and there’s three ways you can go.
The Ivaldi’s Deadly Mist set, while not overly great for it’s Perks is the highest Level armor in the game and as such, should allow you to reach Level 9 when fully upgraded. Level 9 will make the battle a little more manageable but you’ll miss out on some decent Perks. Your next choice is to continue using the fully upgraded Sindri armor set, a decent choice if you want a high Cooldown stat to allow for more Runics. Finally, the upgraded Valkyrie set offers great all around stats, the choice of this walkthrough.
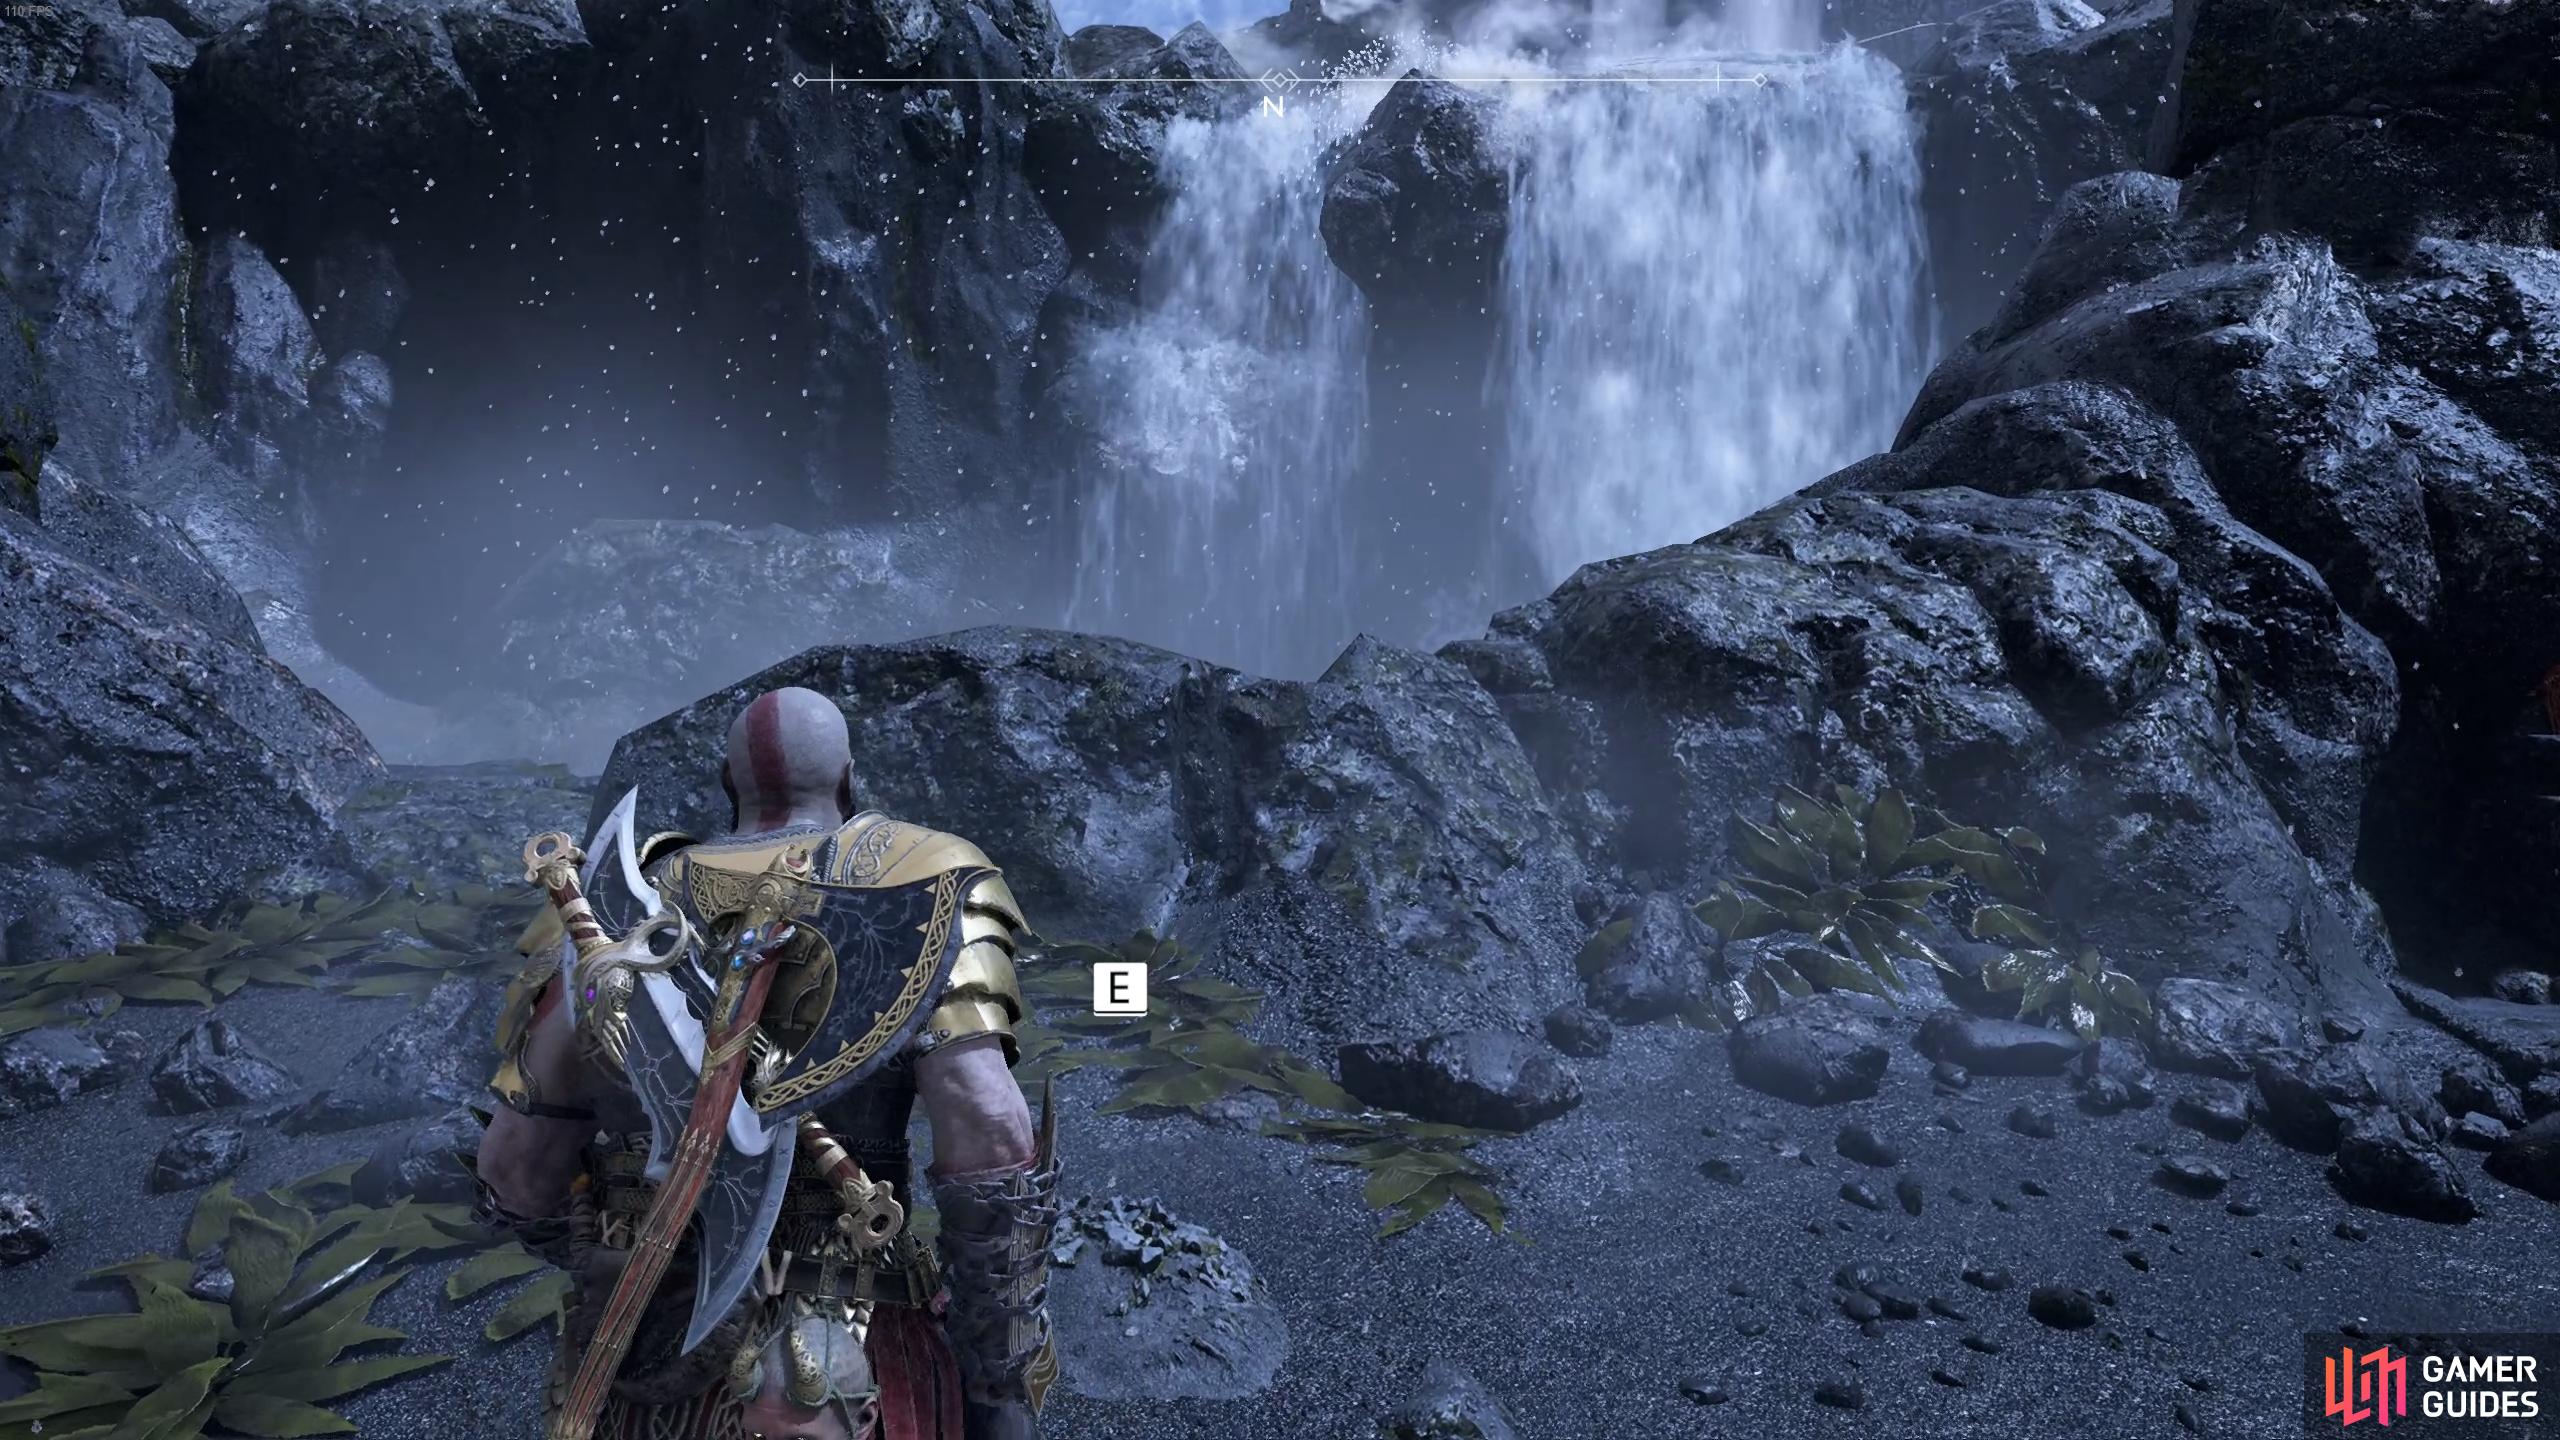
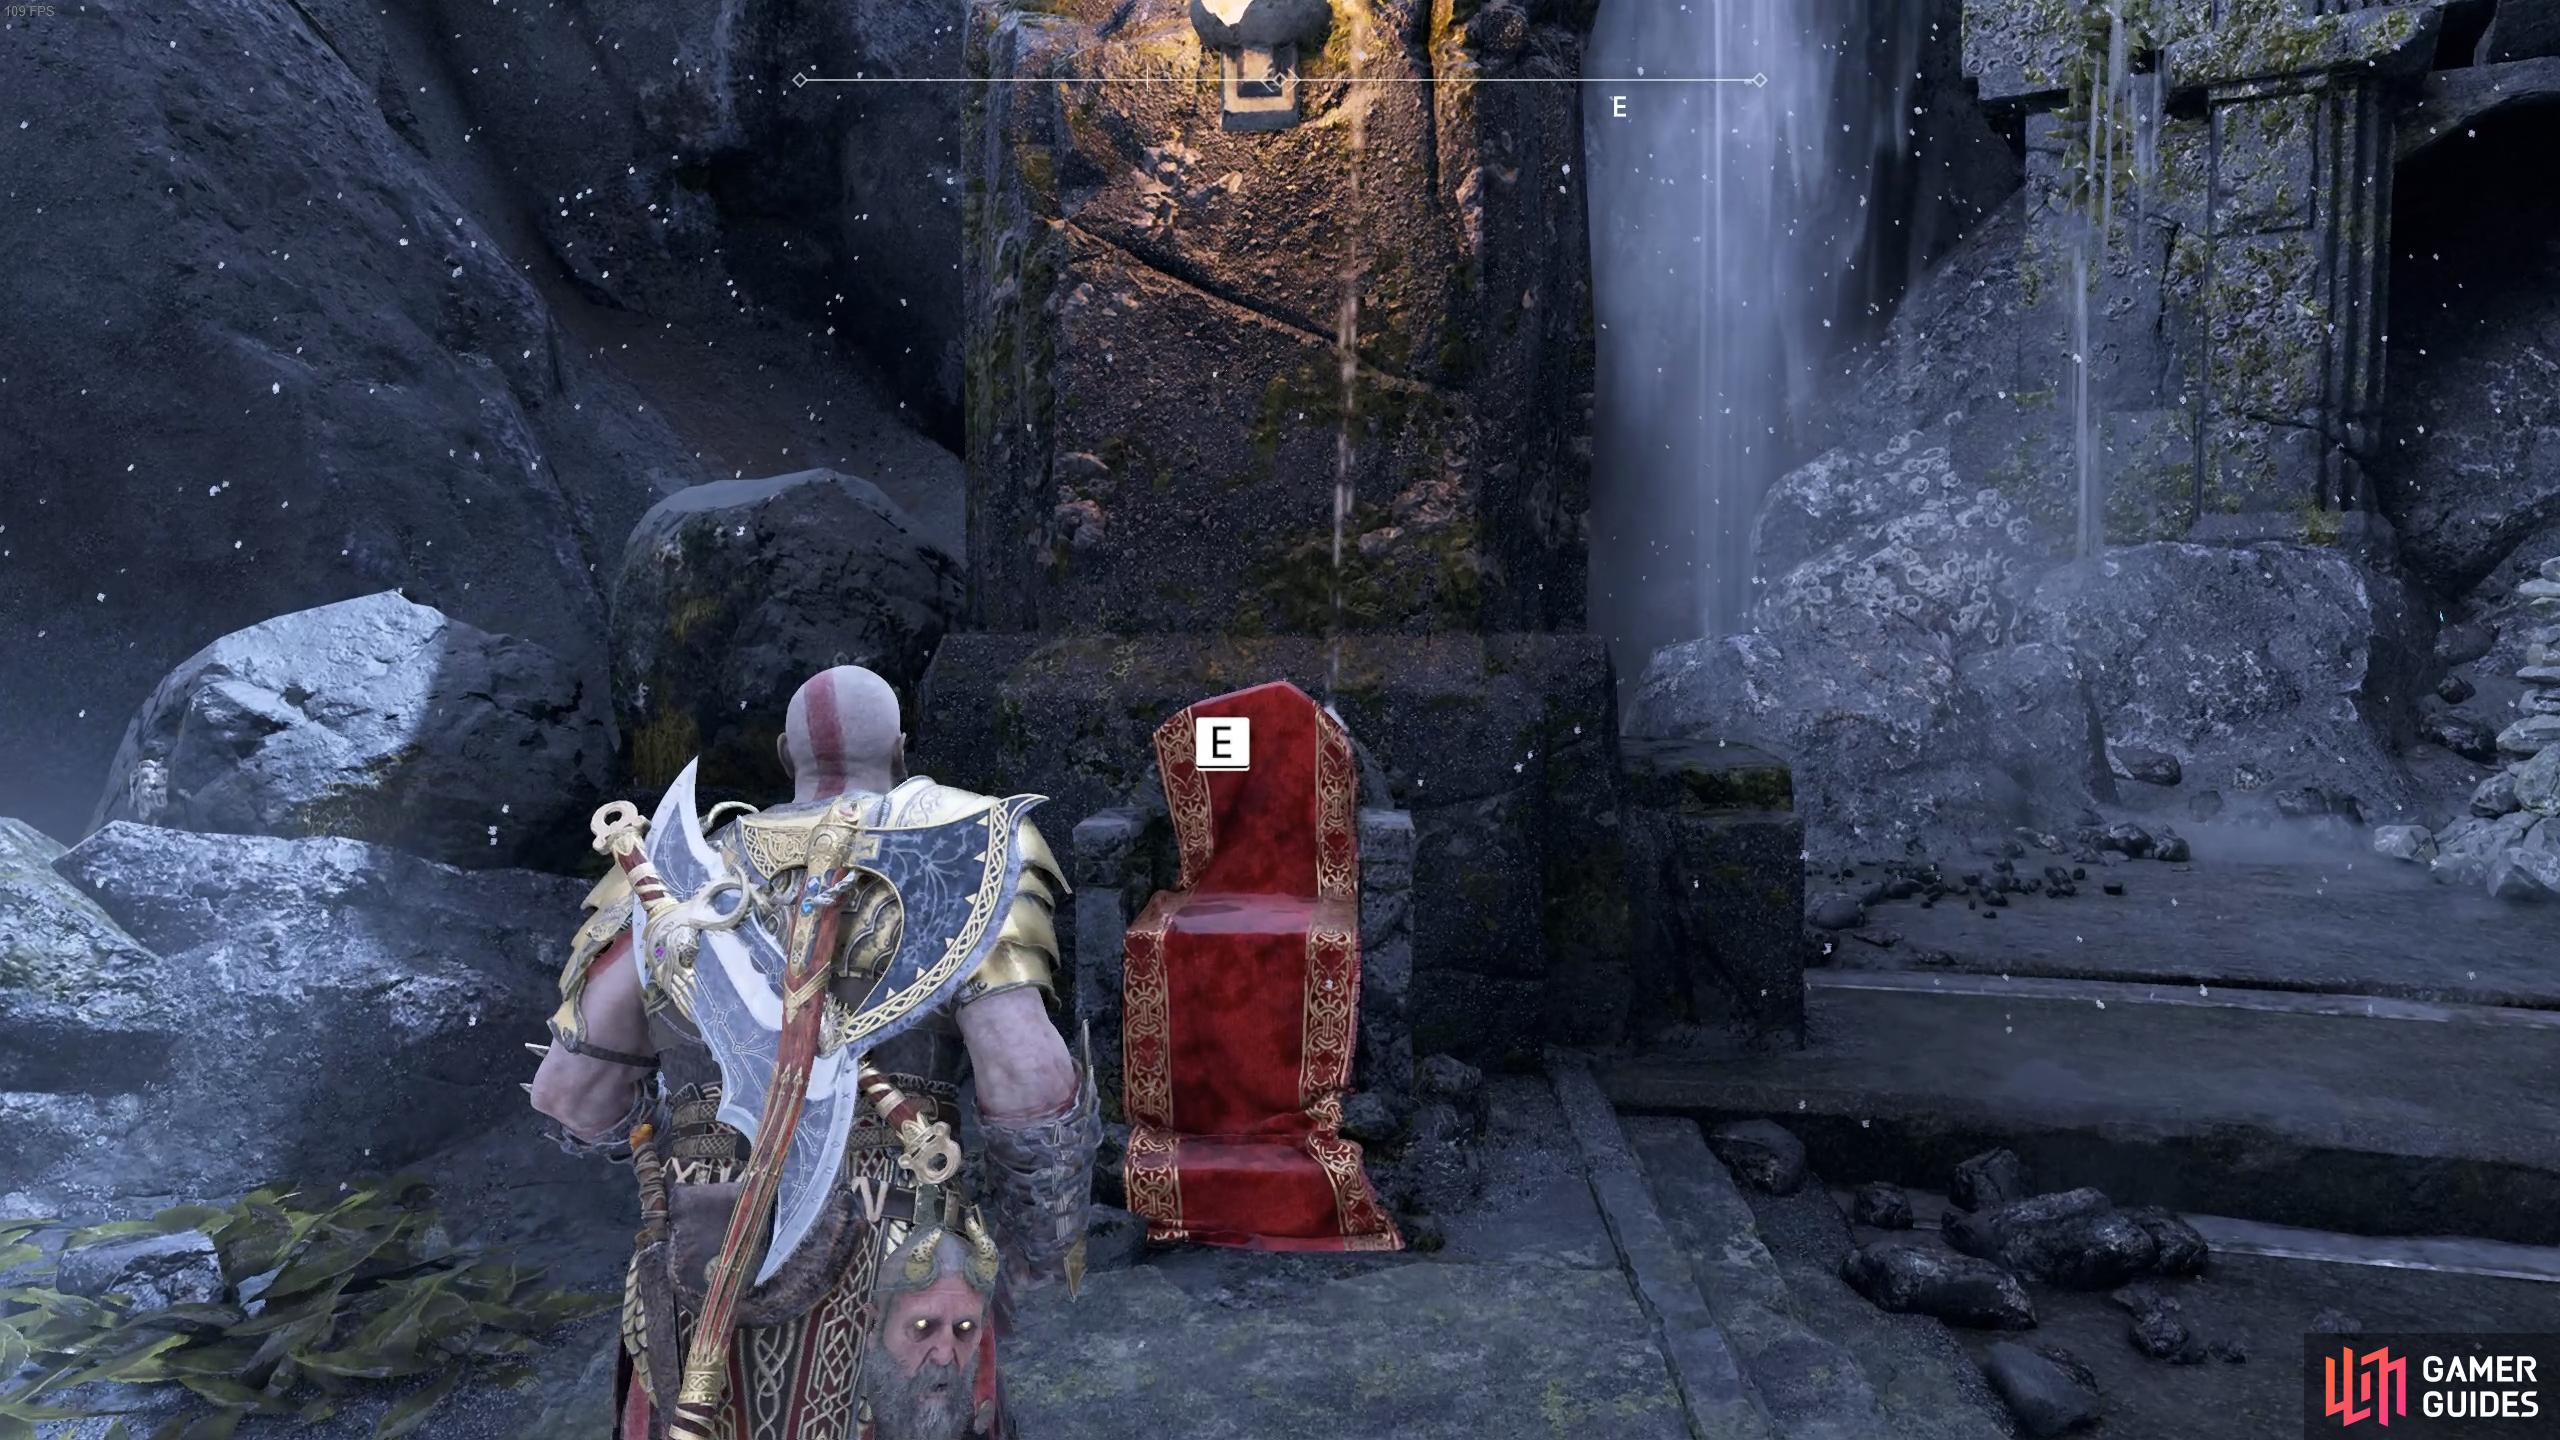
(1 of 2) The final dig spot is just in front of this waterfall.
The final dig spot is just in front of this waterfall. (left), Place all the helmets on the thrones after. (right)
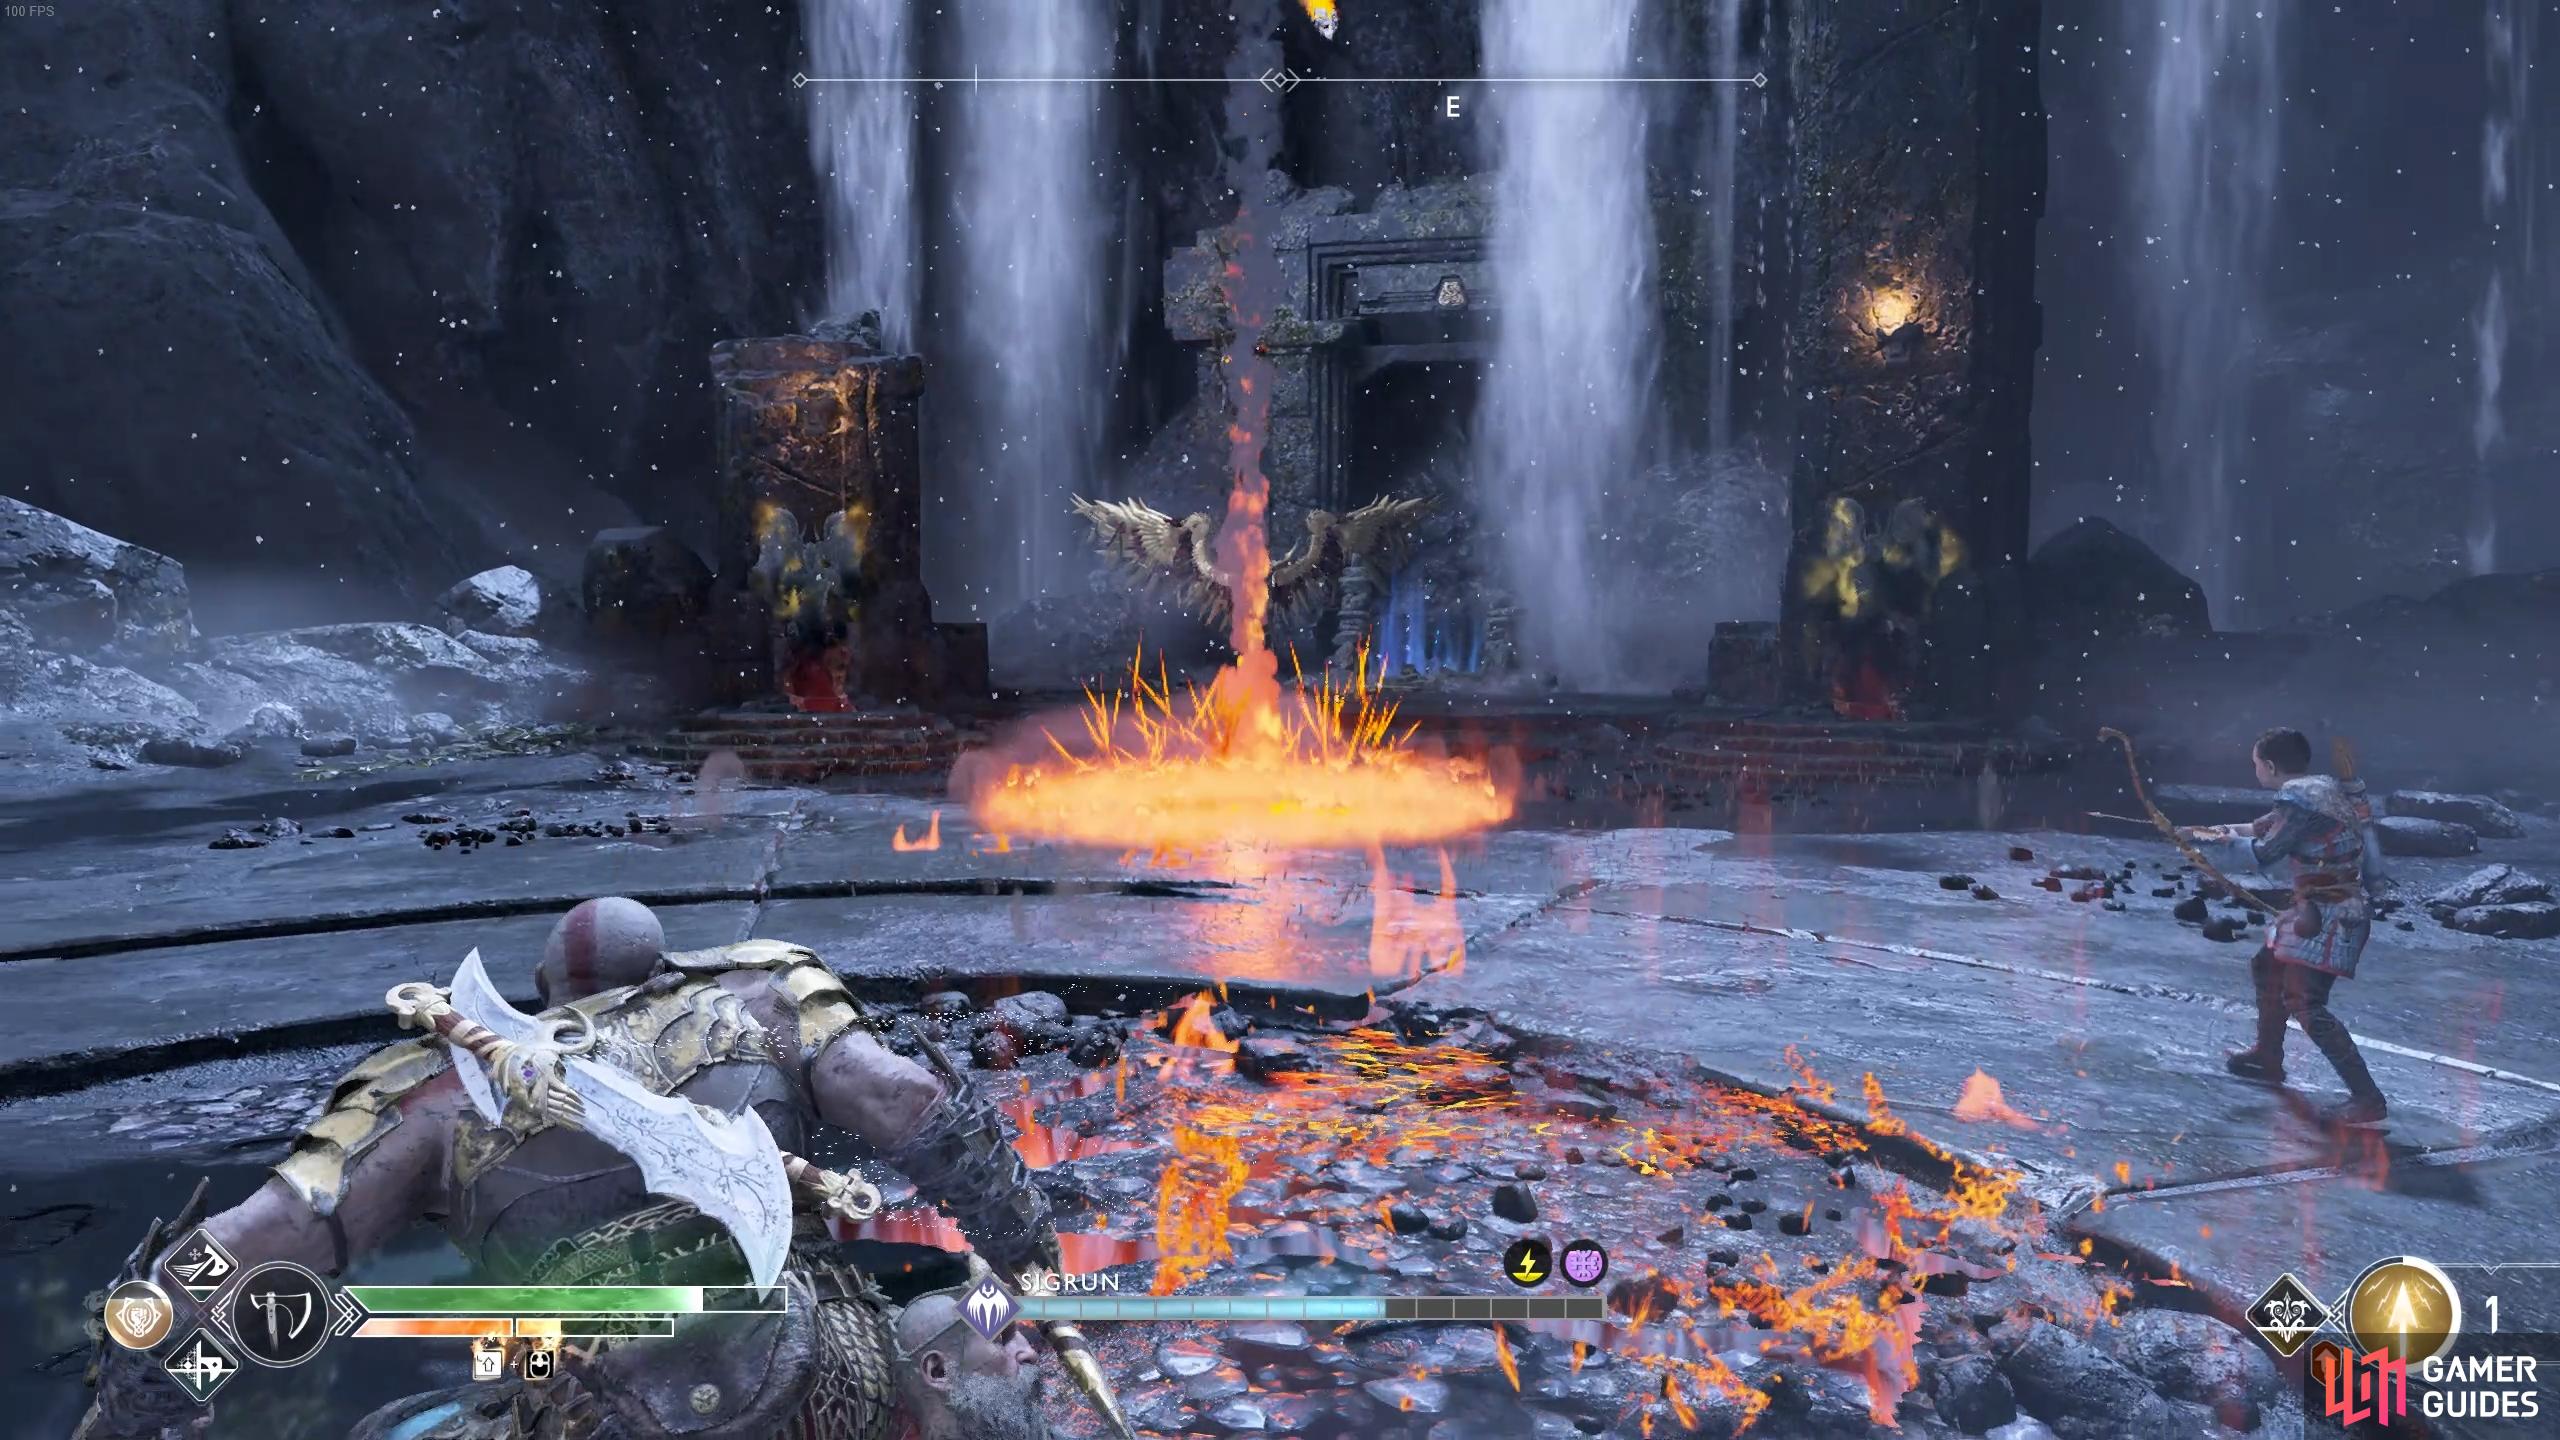
When you’re ready, use the Mystic Gateway to travel to the Council of Valkyries. Before you do anything, head over to the north of the area, close to where a waterfall is to find the final dig spot containing Unstable Ore, the Eye of Runic Supremacy Legendary Enchantment, 5 Hardened Svartalfheim Steel and 10,000 Hacksilver along with the Treasure Hunter achievement.
Set about now going to every throne and putting all of the Valkyrie Helmets on them. Mimir will give you a bit of backstory about each one of them if you wish. This will open the final Realm Tear in the center of the arena where the ultimate boss lies in wait, the Valkyrie Queen Sigrun.
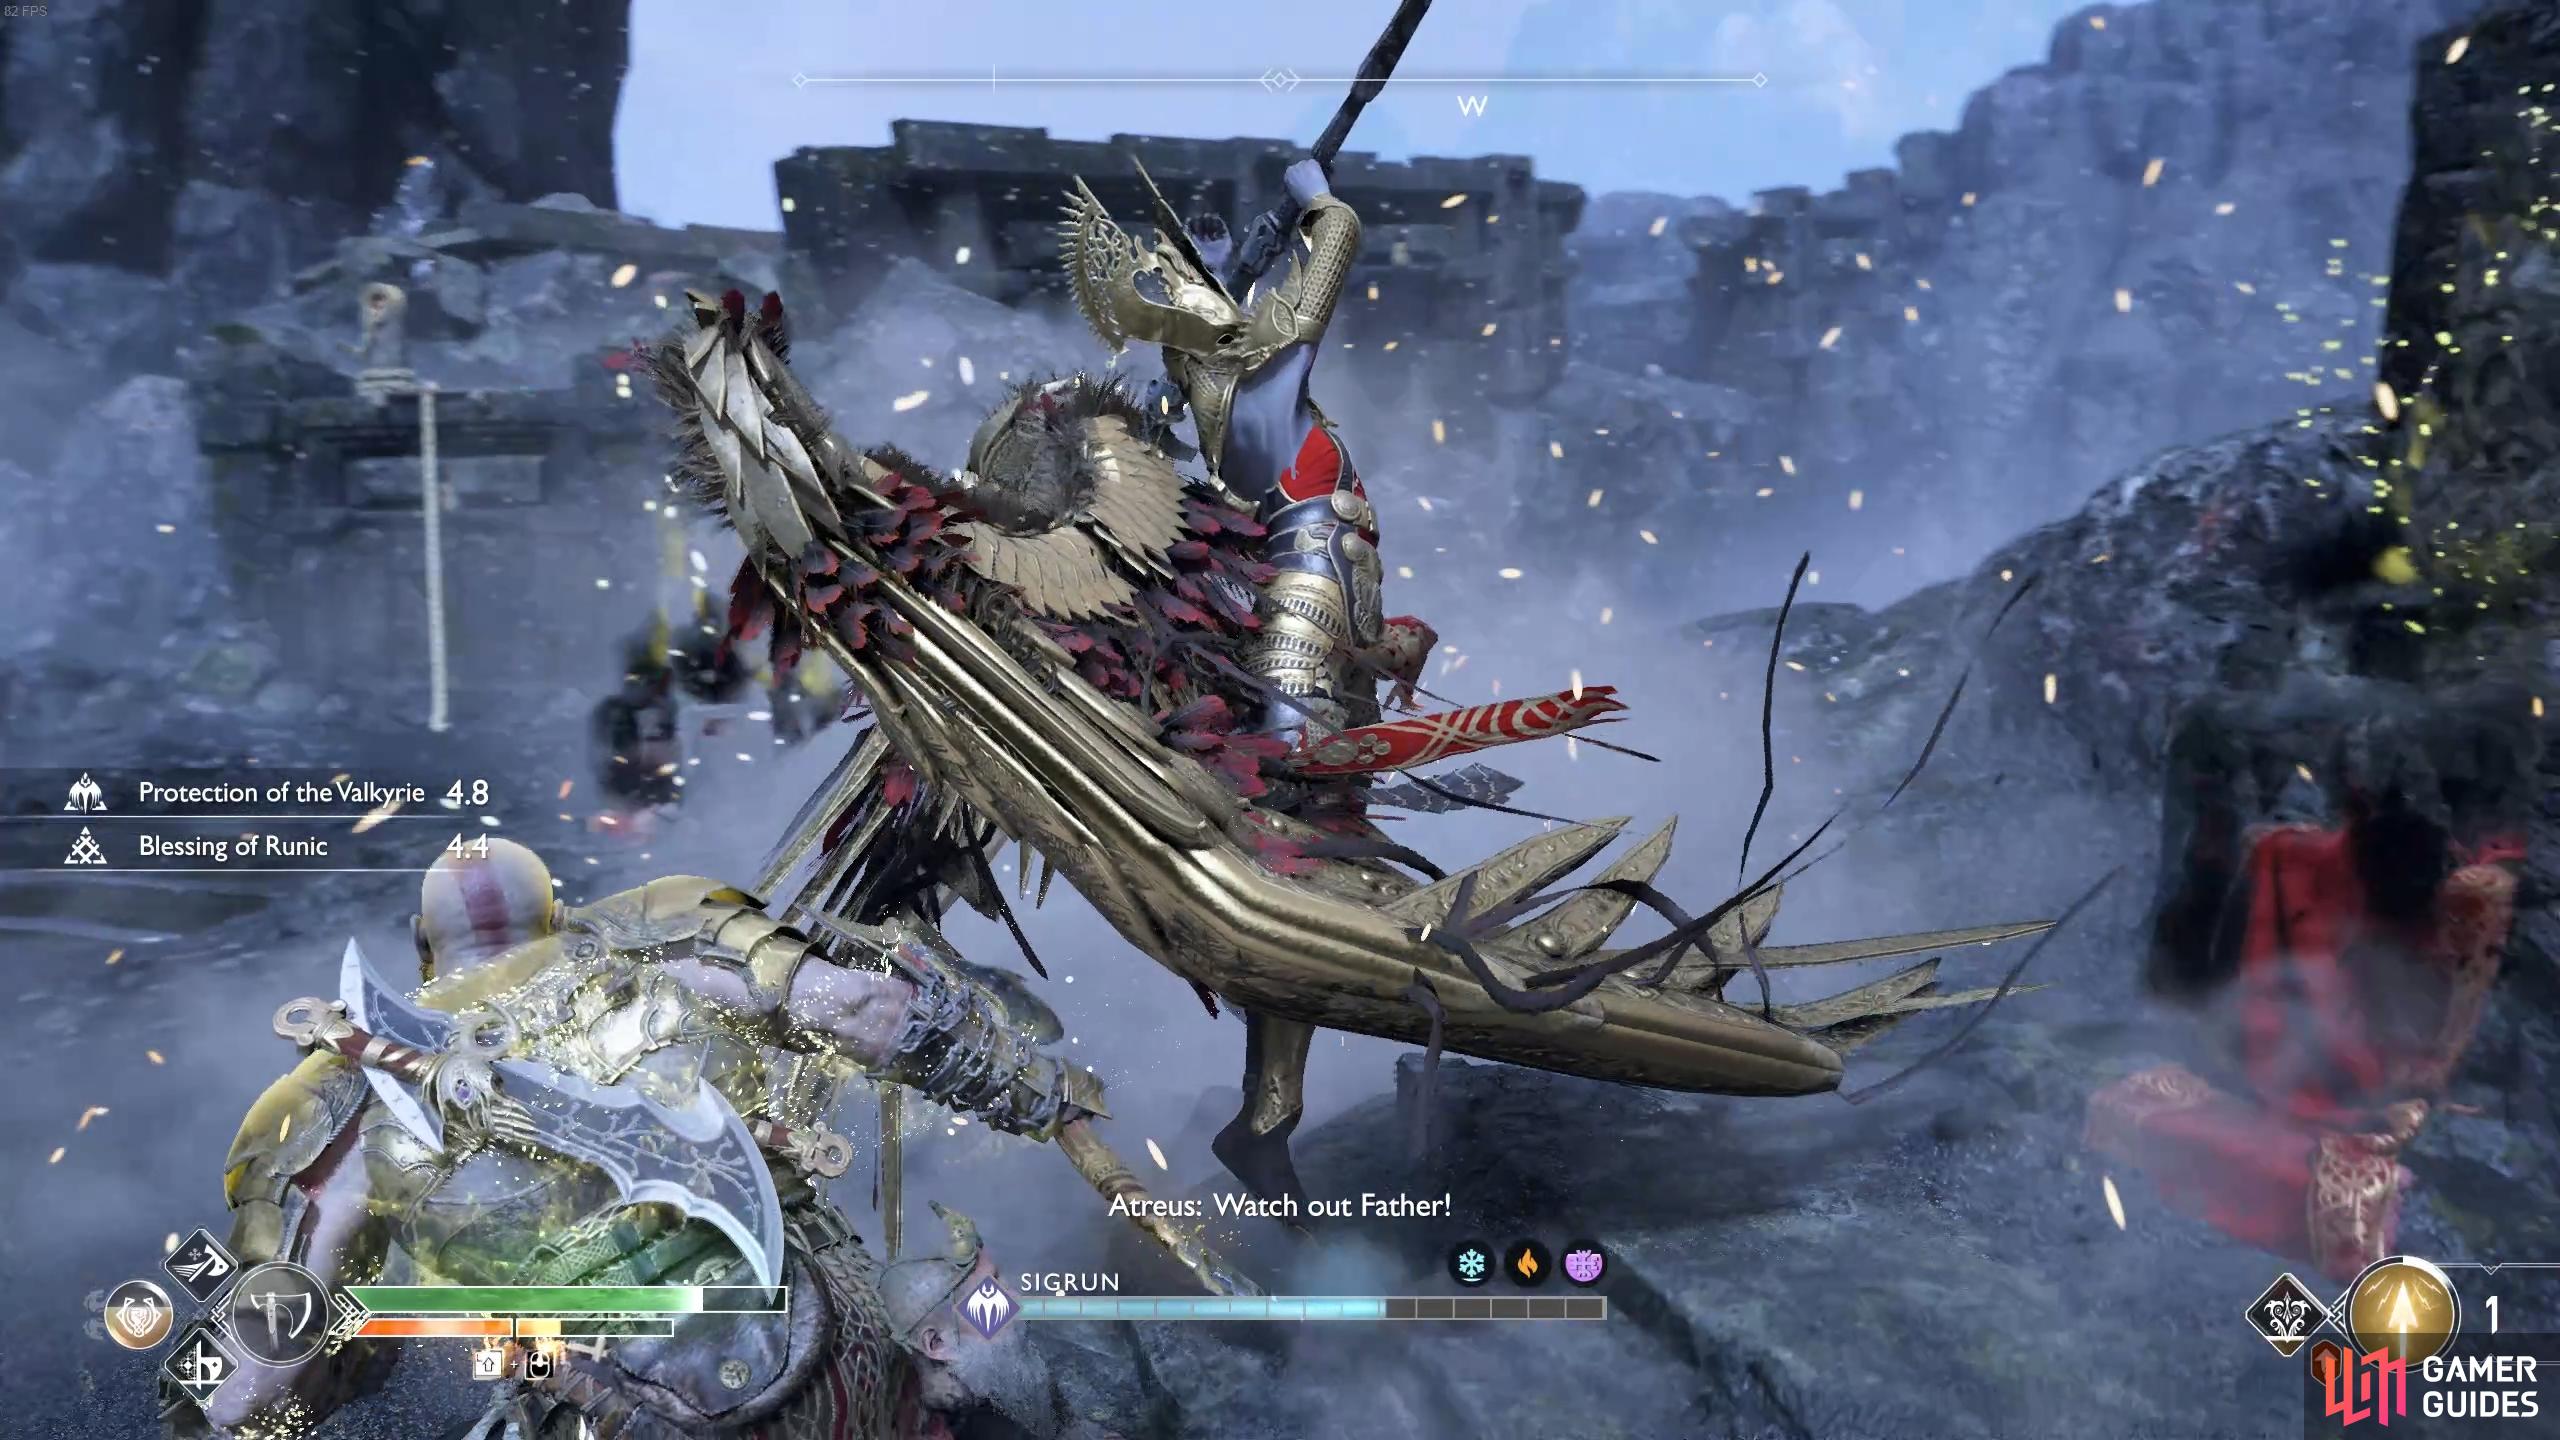
Defeat Sigrun
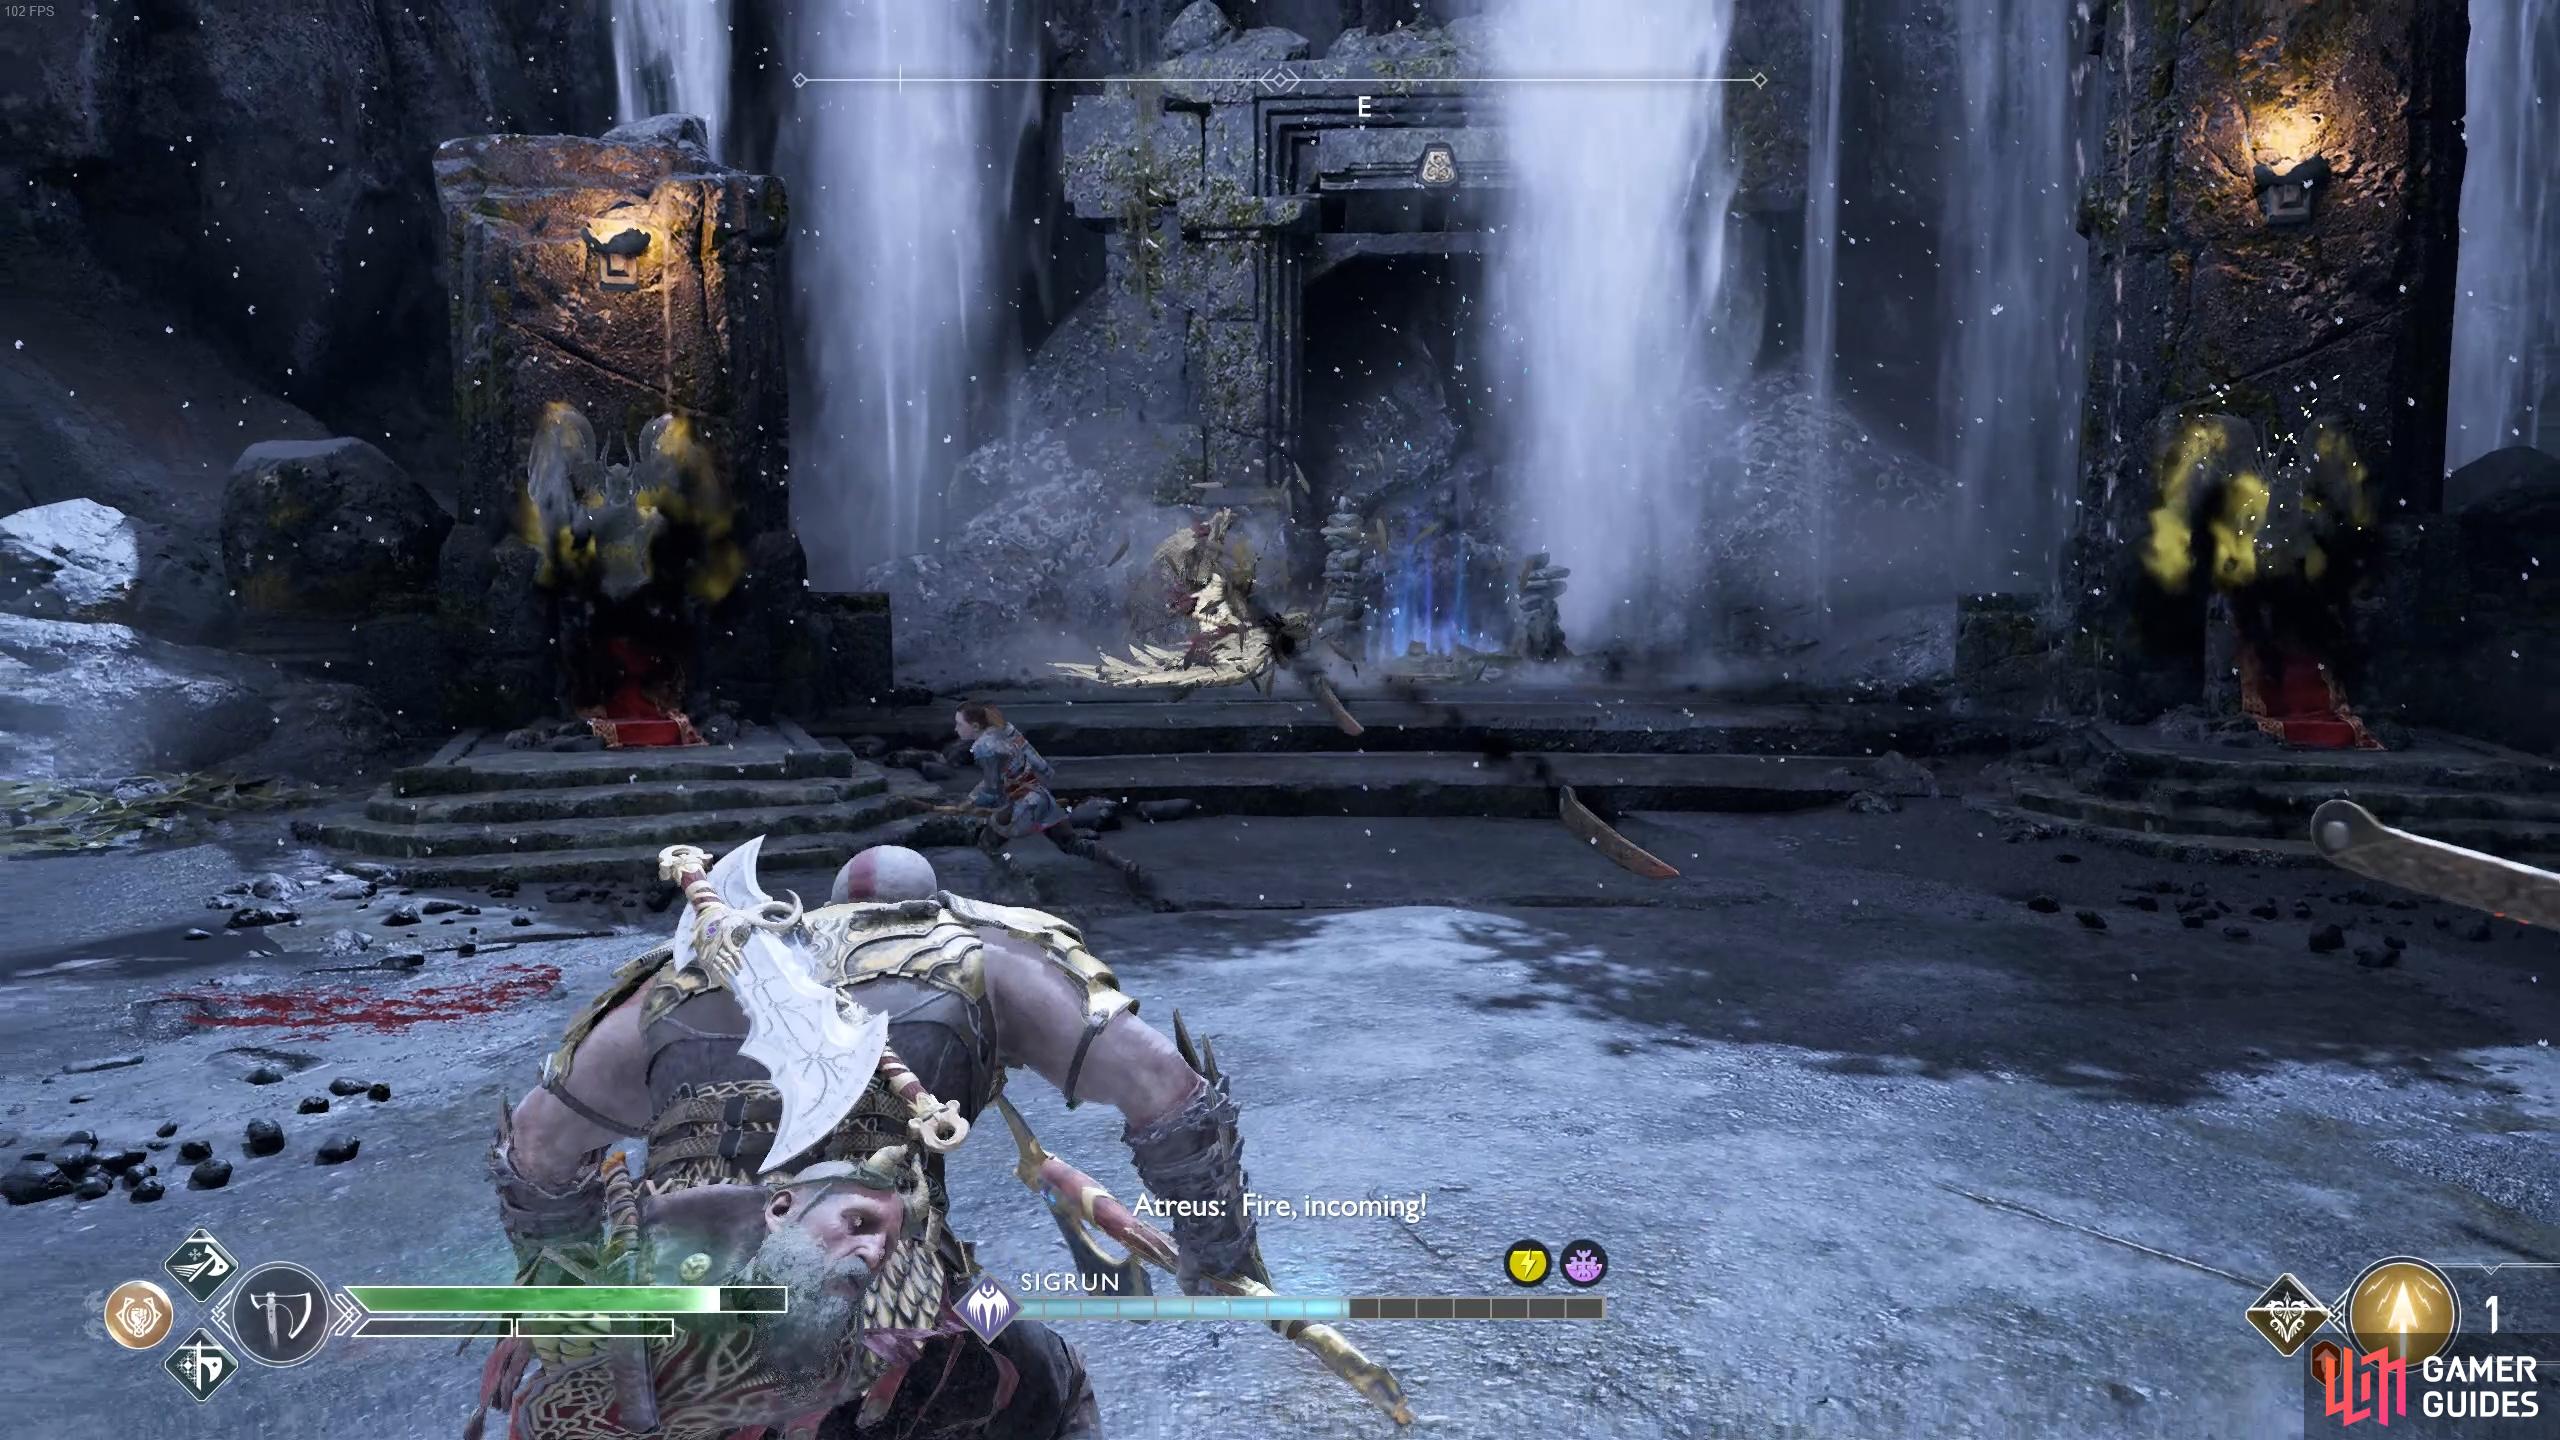
The Valkyrie Queen is by far the toughest challenge in God of War and you’ll need to put in motion everything you’ve learned throughout the game, especially the Valkyrie battles. Being the Queen of the Valkyries, Sigrun has every single attack that the other Valkyries did along with the speed of Olrun. This means you’ll have to be patient in your approach to her, waiting for her to use a skill that you’re comfortable at evading to score some hits on her.
The most deadly of Sigrun’s attacks is the Heel Stomp, she’ll perform this up to three times in succession and it can be the difference between victory and failure. She can also use the Dive attack three times in a row as well so always be on your guard and keep on the move. Like always, watch out for attacks such as the Mace Shockwave to knock her out of the air and make use of all your Runics only when it’s safe to do so.
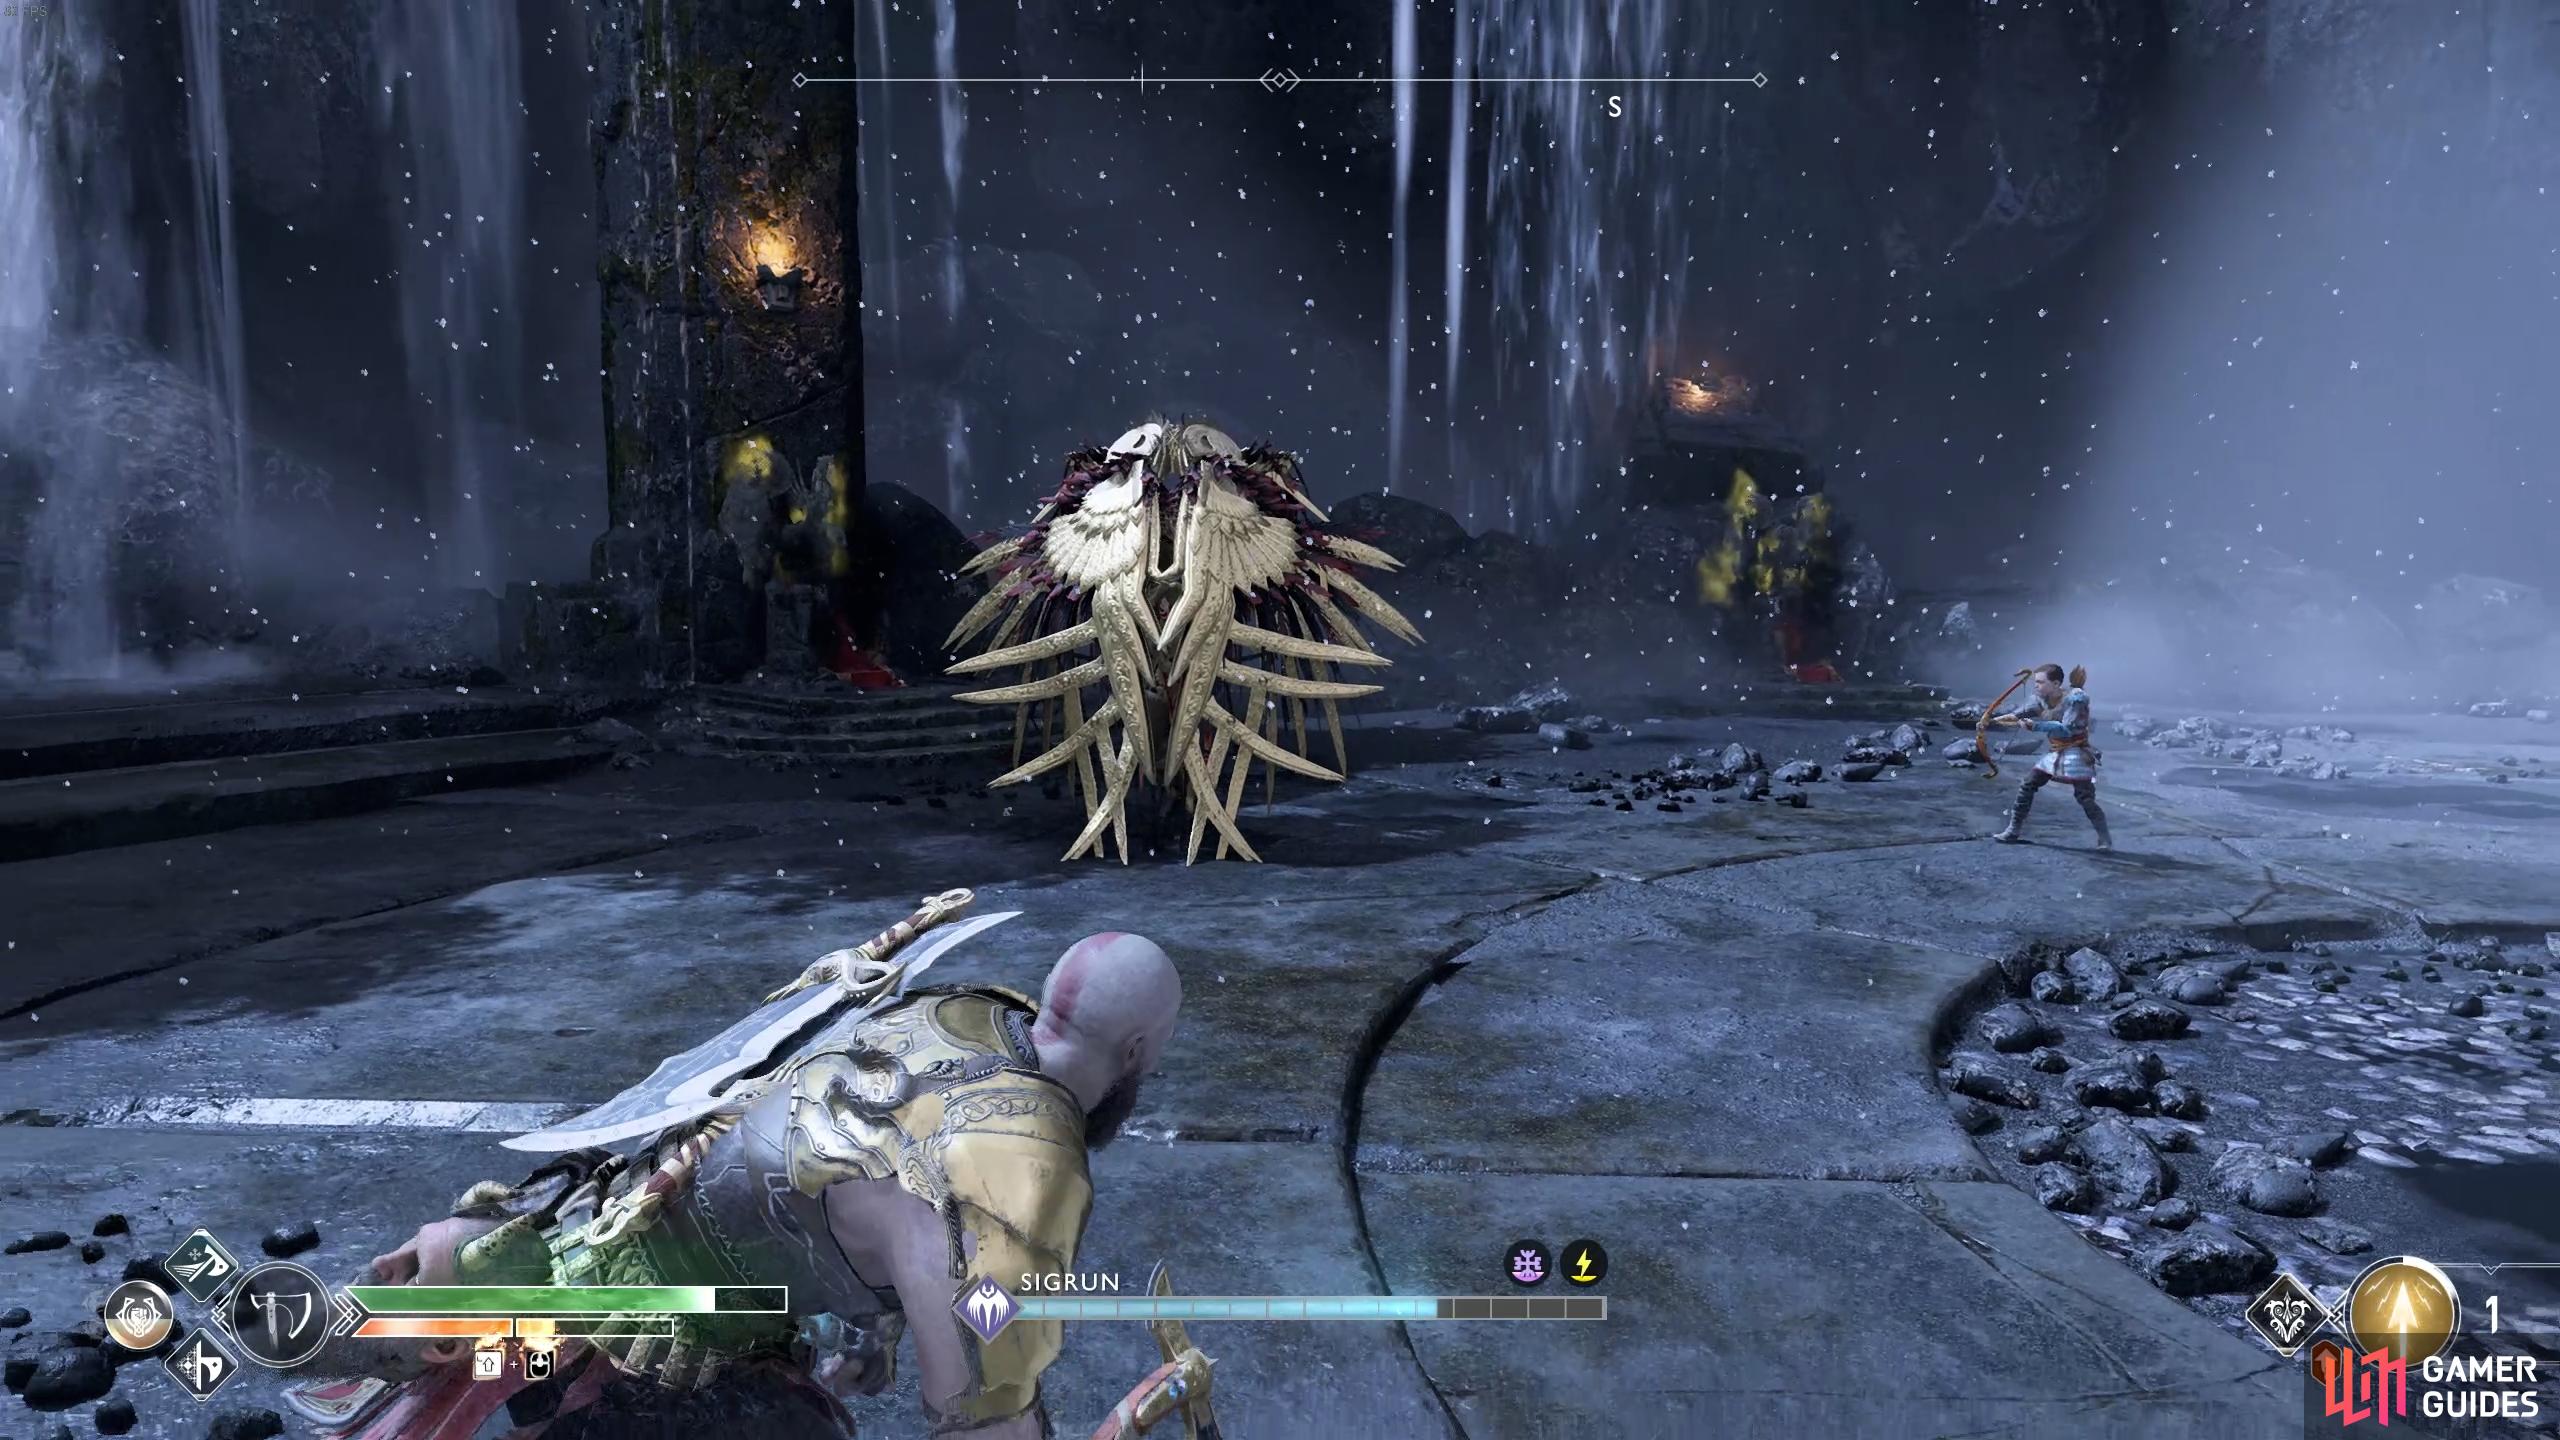
(1 of 2) Sigrun launches the ice projectiles which can be blocked, aside from the last one.
Sigrun launches the ice projectiles which can be blocked, aside from the last one. (left), She’ll also launch blades like Gondul did, all of which can be blocked or dodged. (right)
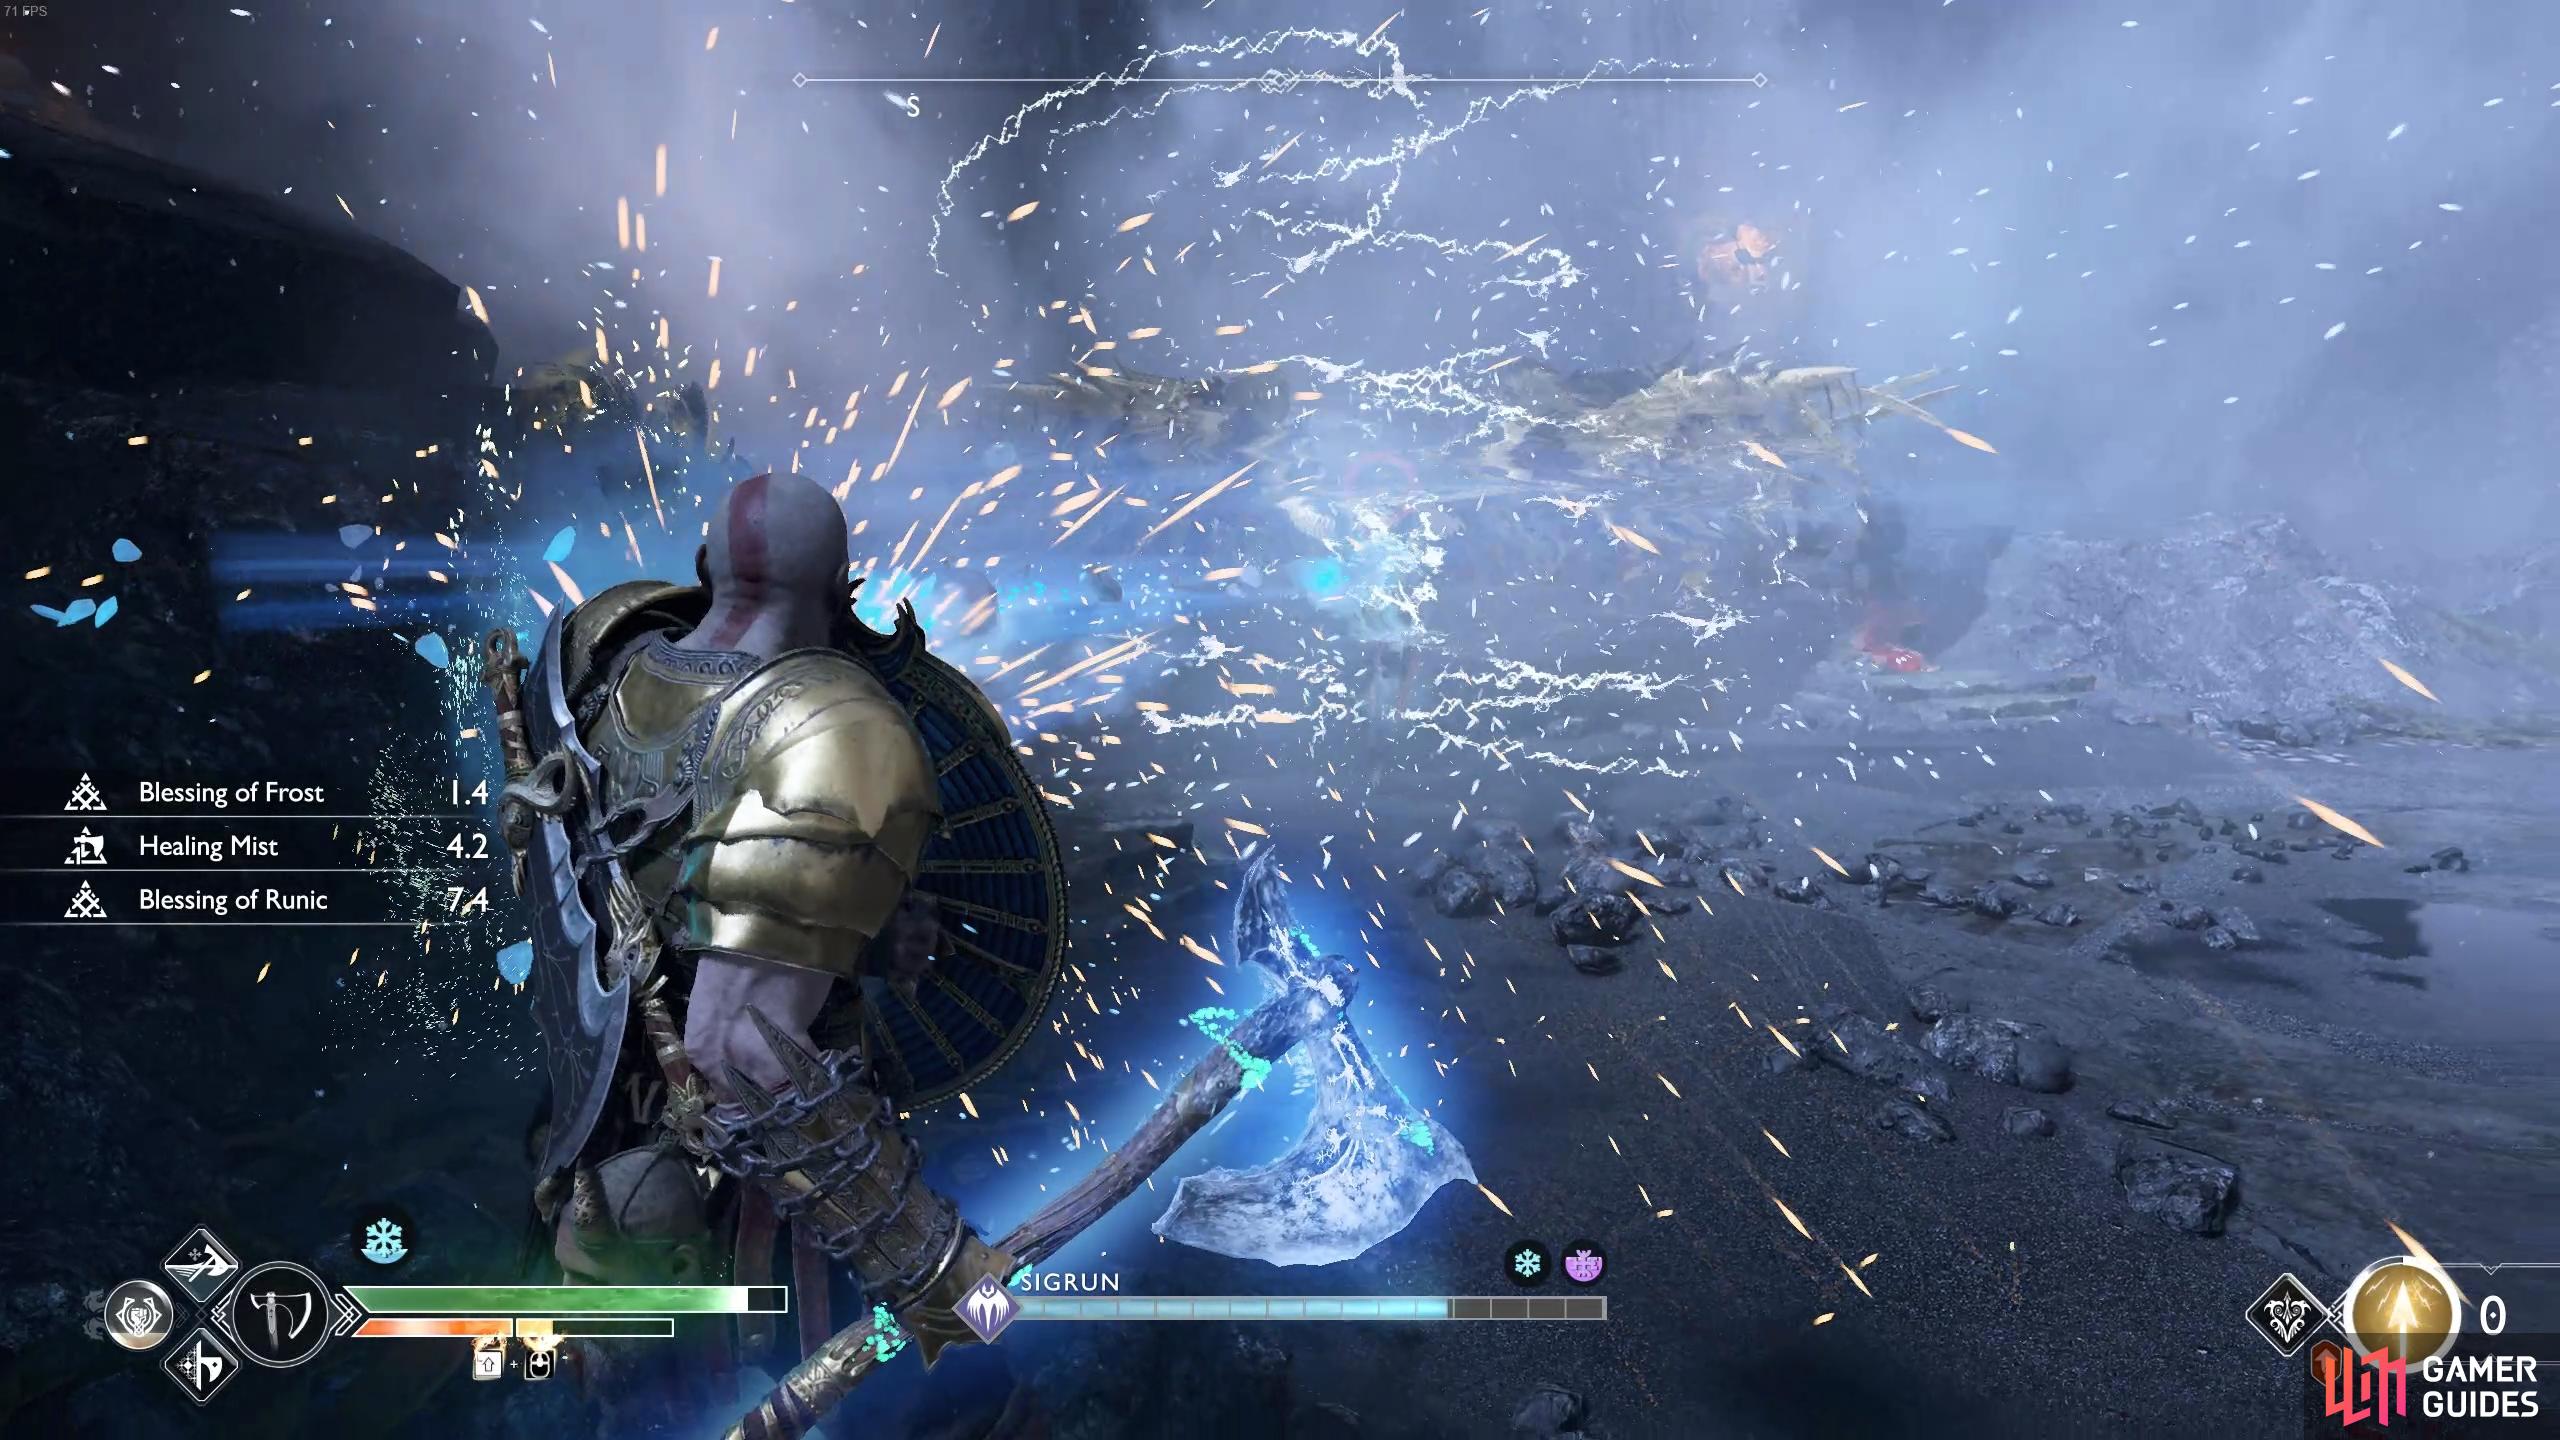
If you have the unlocked Shattered Gauntlet of Ages, make good use of it here. It not only does a lot of damage but you’ll also be invulnerable during the attack, a valuable trait in this battle. The best moment to attack her is when she puts up her Wing shield, use Block Break and get some quick attacks on her.
Don’t be afraid to use Spartan Rage too, especially if your health drops. Hopefully you have a Berserker’s Resurrection Stone on you too so you can unleash another if you’re defeated. If you find yourself being defeated a lot, consider Atreus’ Bitter Squirrel Runic, at max level and using Light Arrows, this will drop three healthstones on the ground.
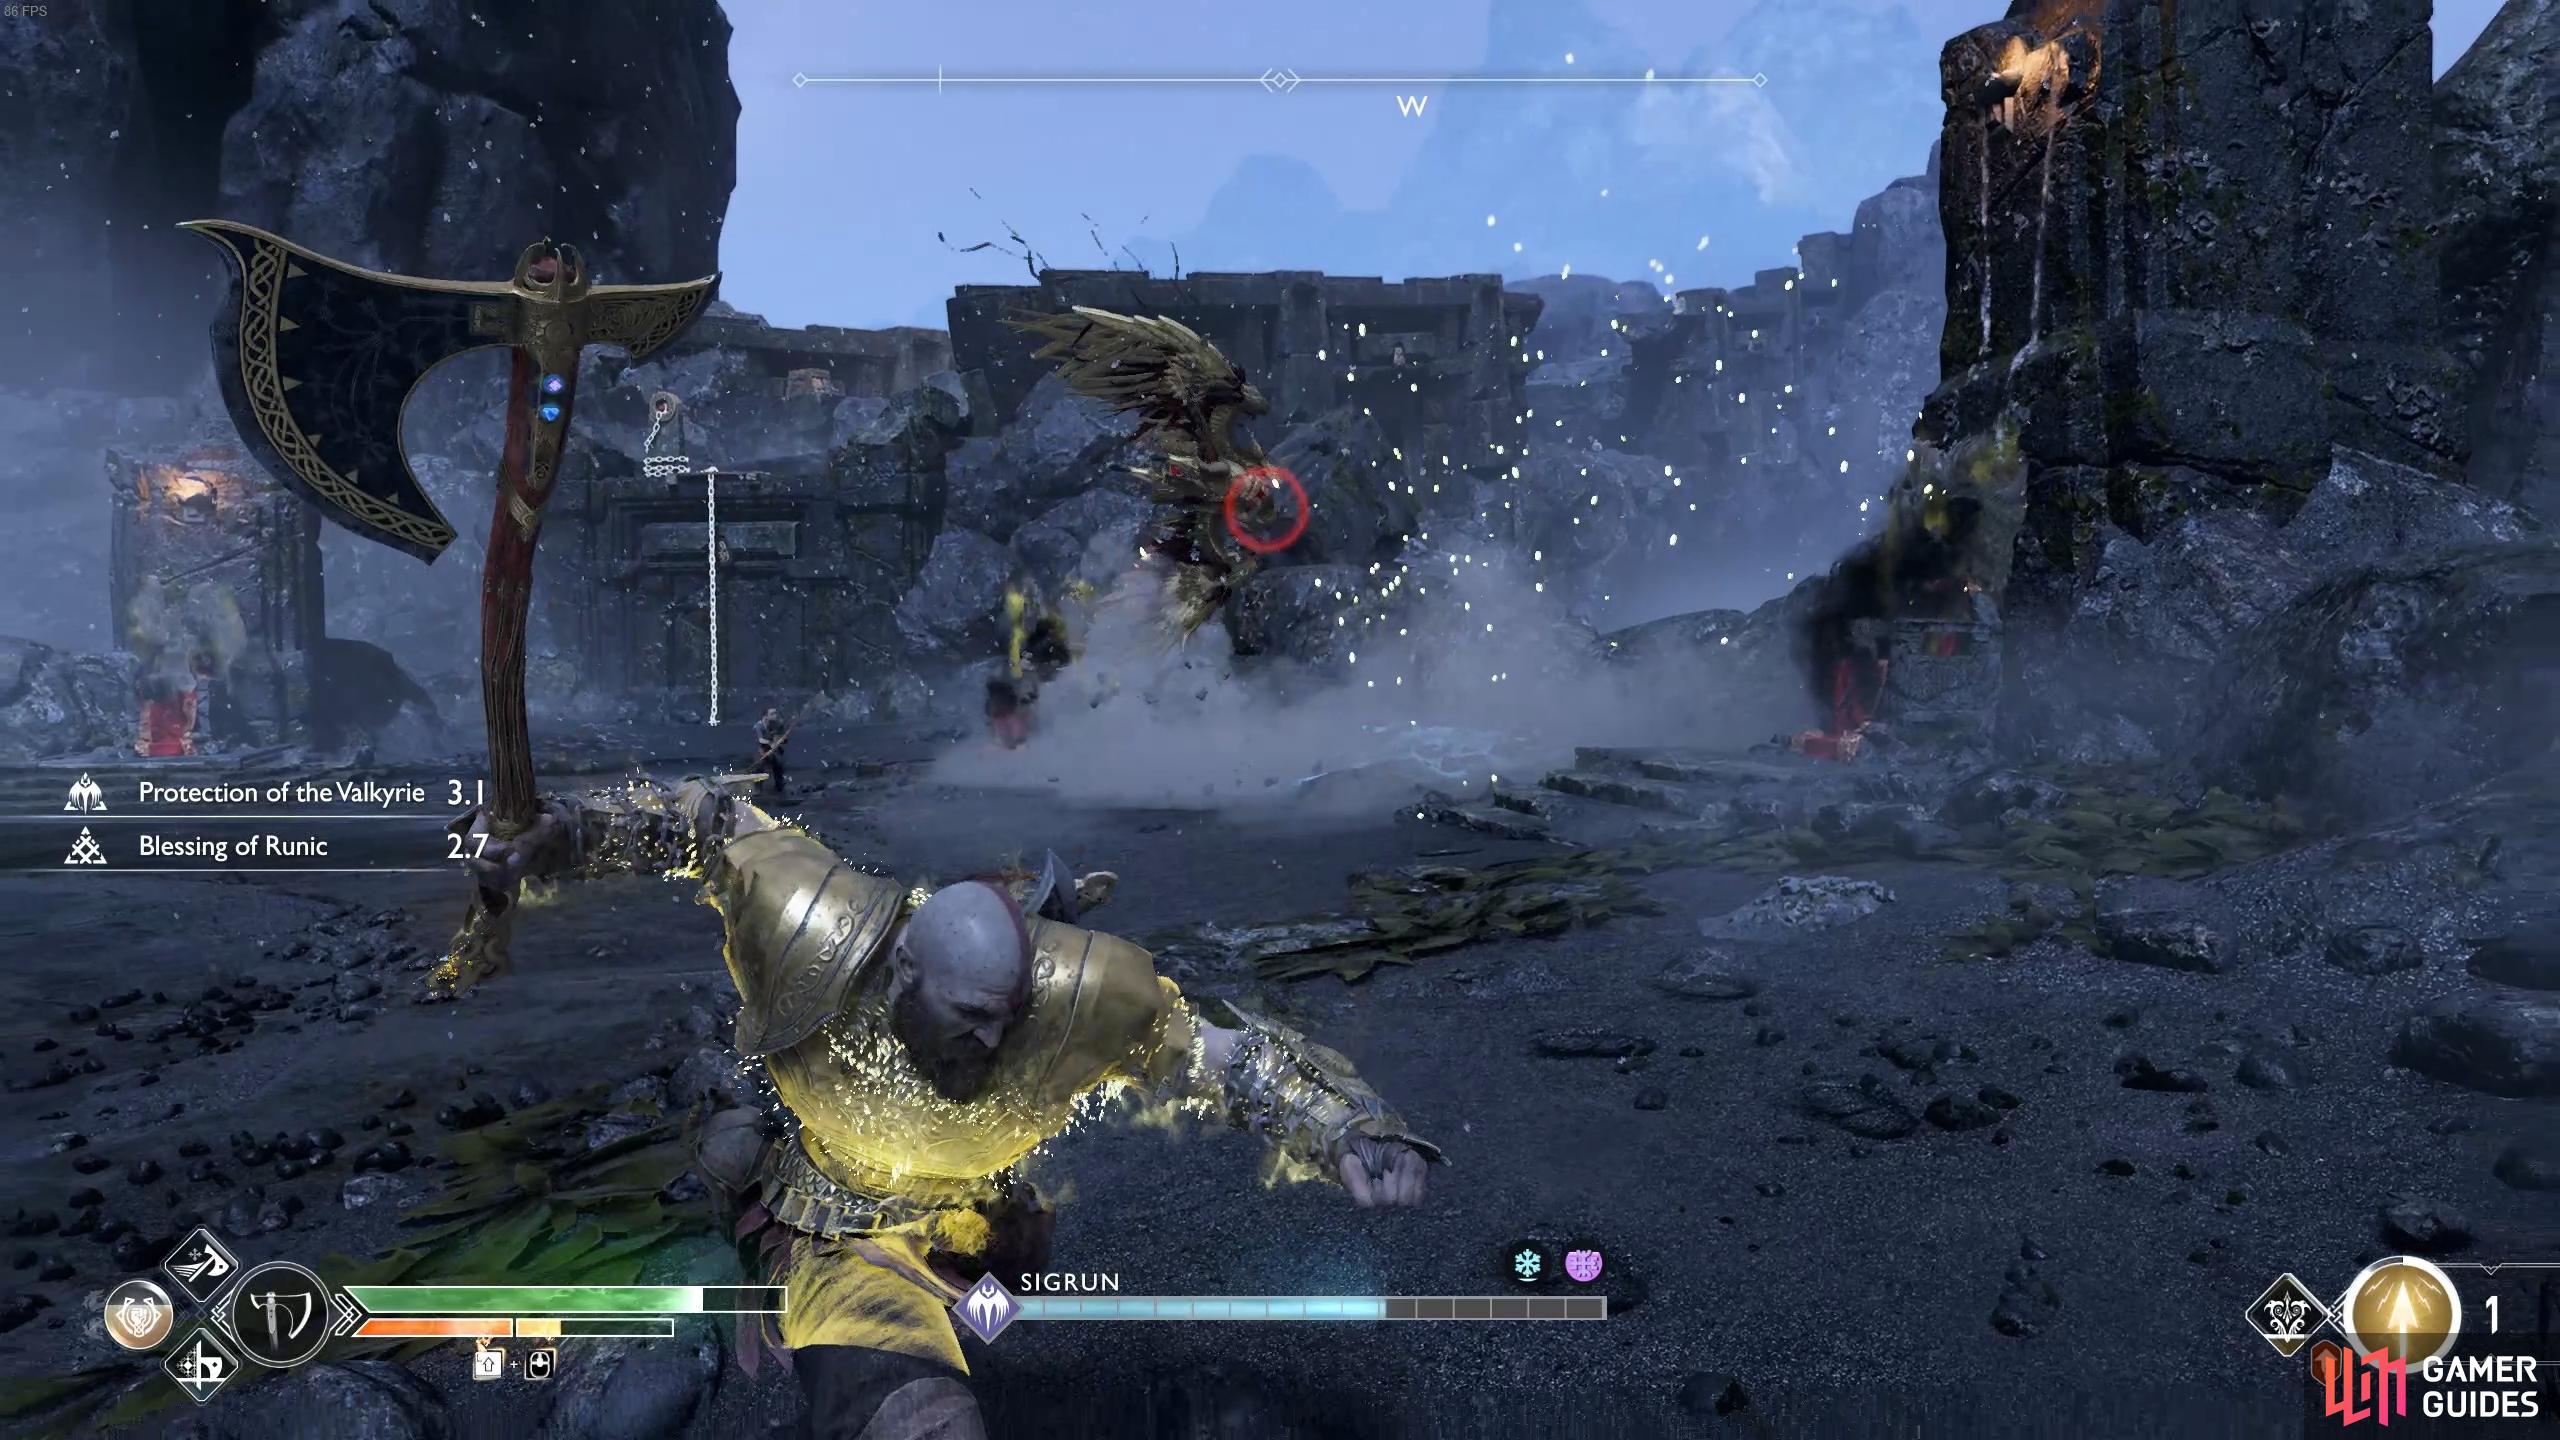
(1 of 4) You can break the block stance by double tapping block yourself, or with a runic attack.
Sigrun is a tough battle but you should be experienced yourself by this point. Remember that there’s no time limit and try not to get too greedy with your attacks, only go for a combo if you know you can get out of the way after. Following her defeat you’ll obtain Sigrun’s Helmet along with the loot on the ground containing the Njörd’s Temporal Stone Epic Enchantment, the Retribution Axe Pommel, Perfect Asgardian Steel and Asgardian Steel. You’ll also unlock the Chooser of the Slain achievement for finishing the Valkyrie Quest line and if you’ve been following this walkthrough, the Father and Son platinum trophy.
What now?
You’ve beaten every challenge there is to do and received every Trophy. You can head back to Muspelheim and try to perfect your score on the Gauntlet or you can begin a new playthrough on the gruelling Give me God of War difficulty if you haven’t already done so.
When you’re ready to finish everything up, head back to Kratos’ house and rest on the bed there to get a small glimpse into the future.
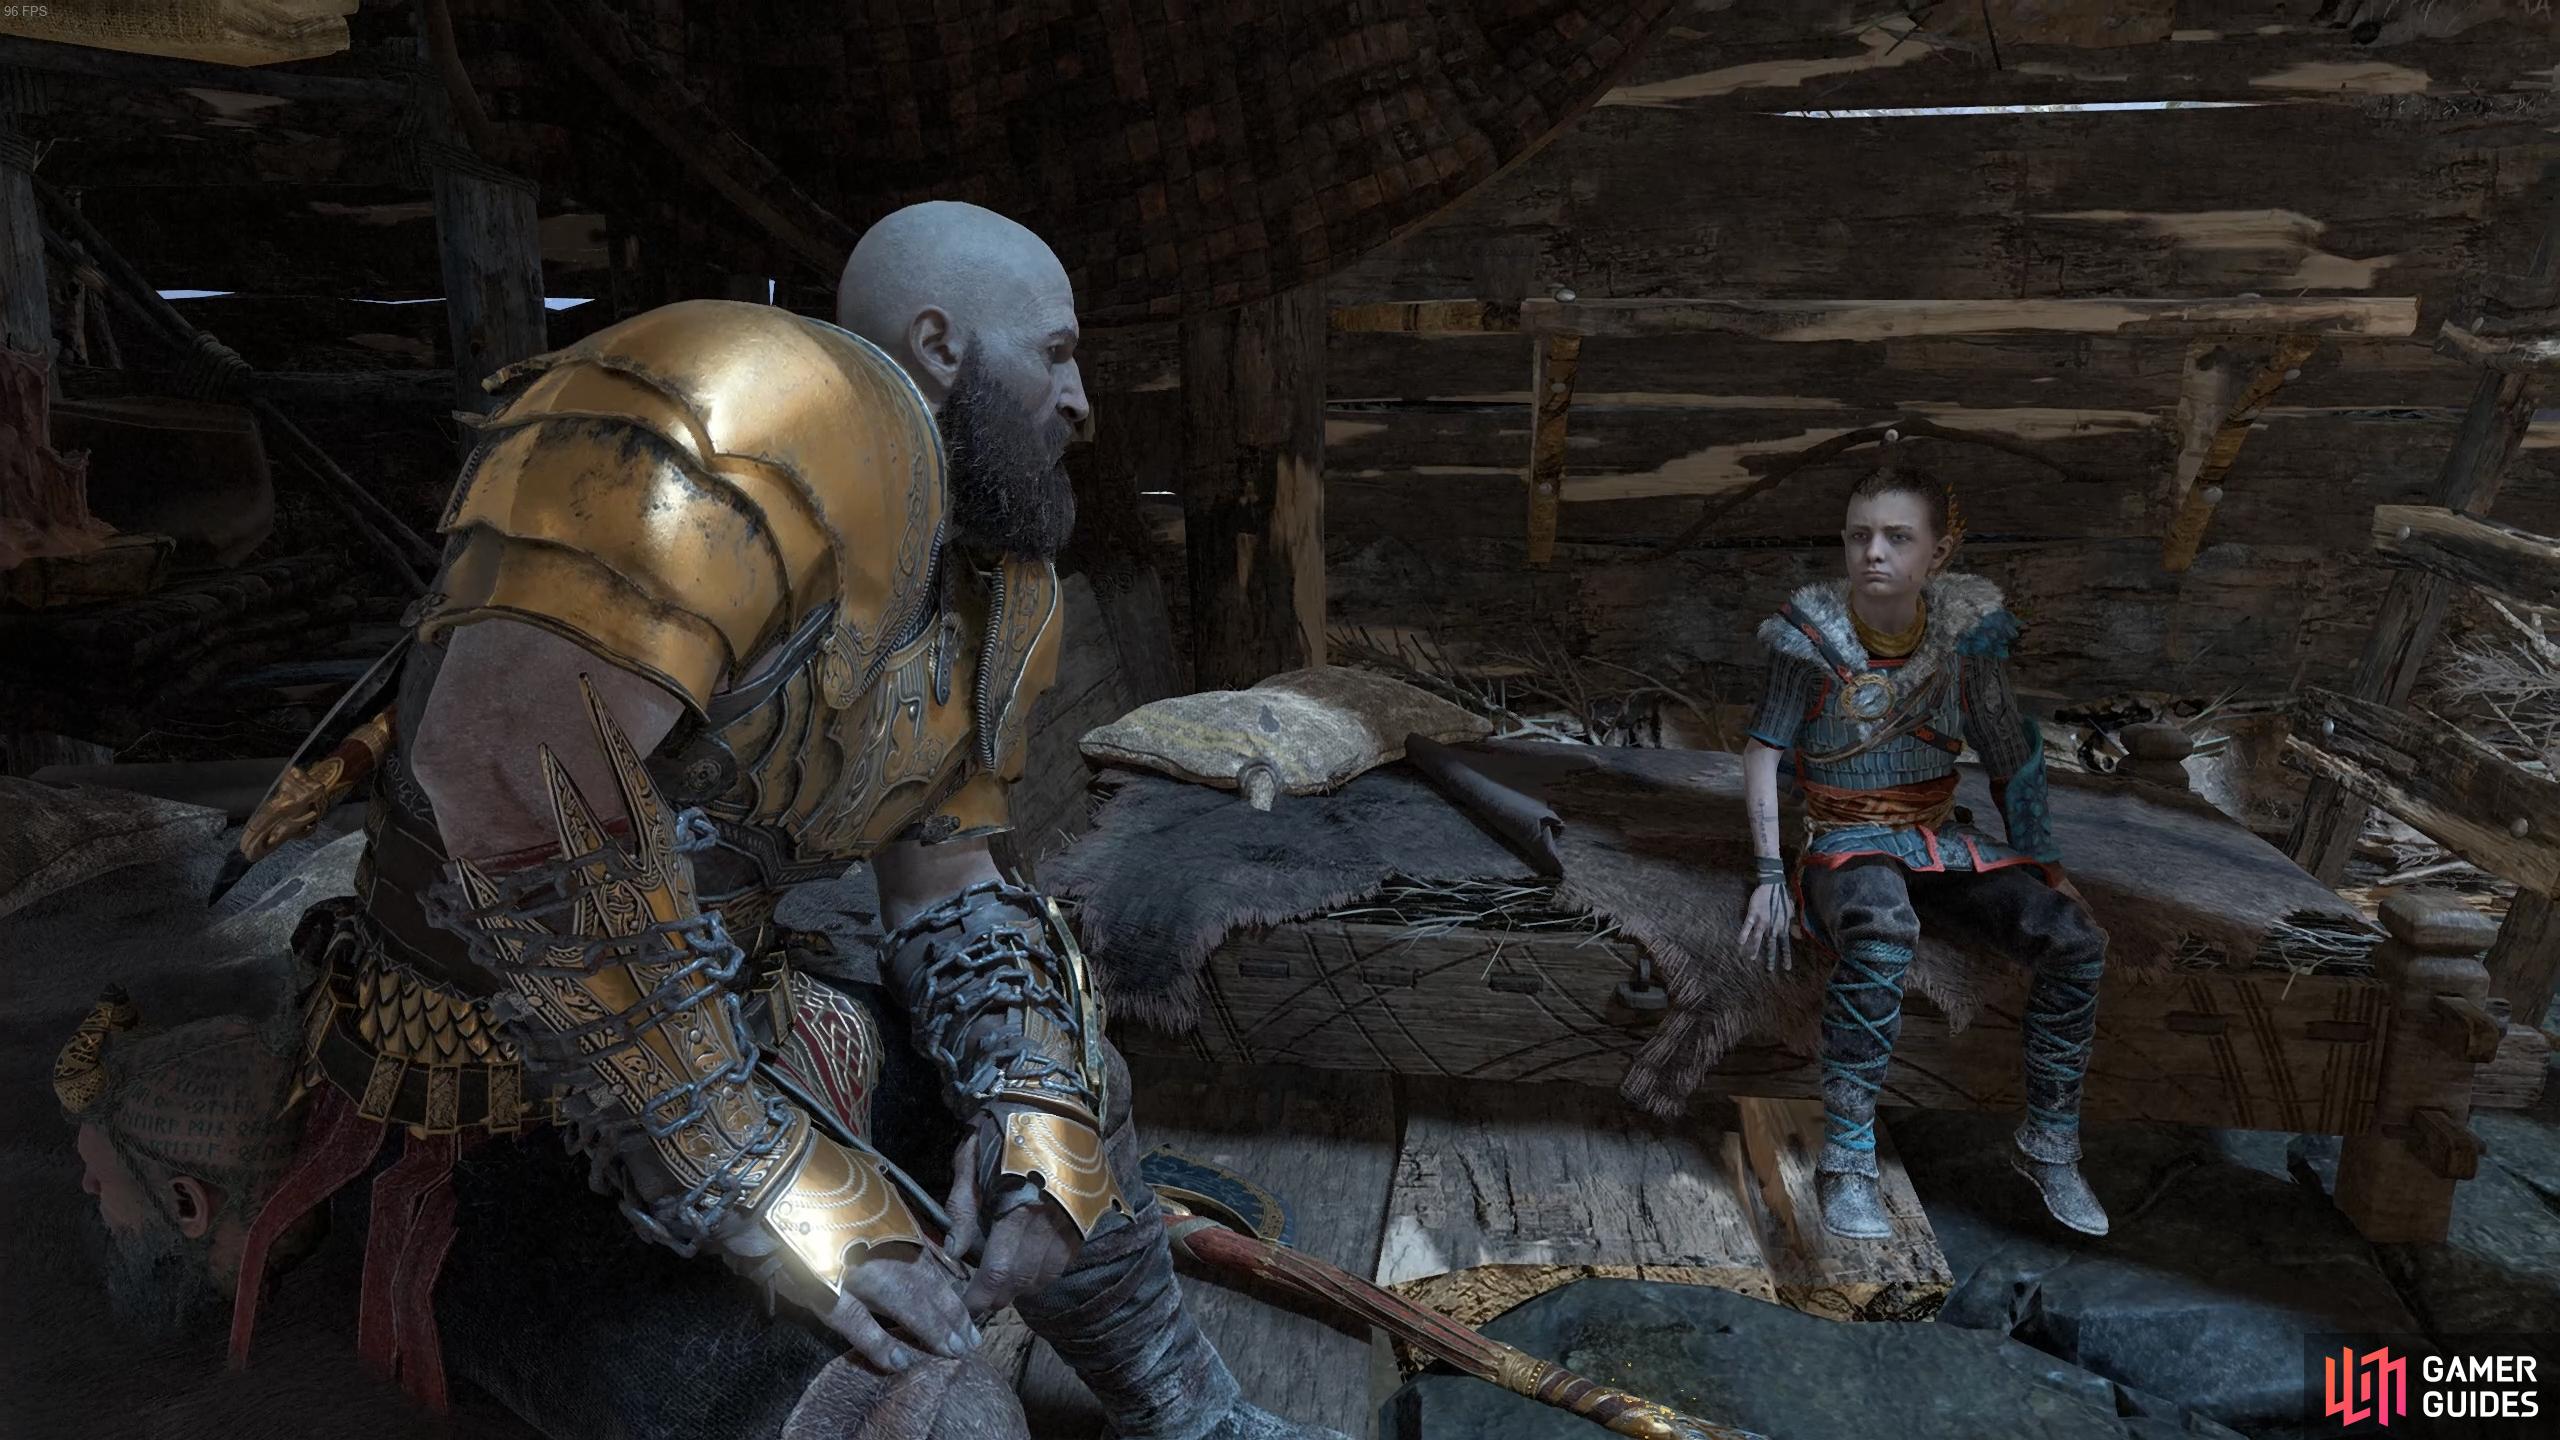
Back Home, God of War.

 Sign up
No Comments