

Exploring the Lake of Nine 2, God of War.
Midgard Uncovered
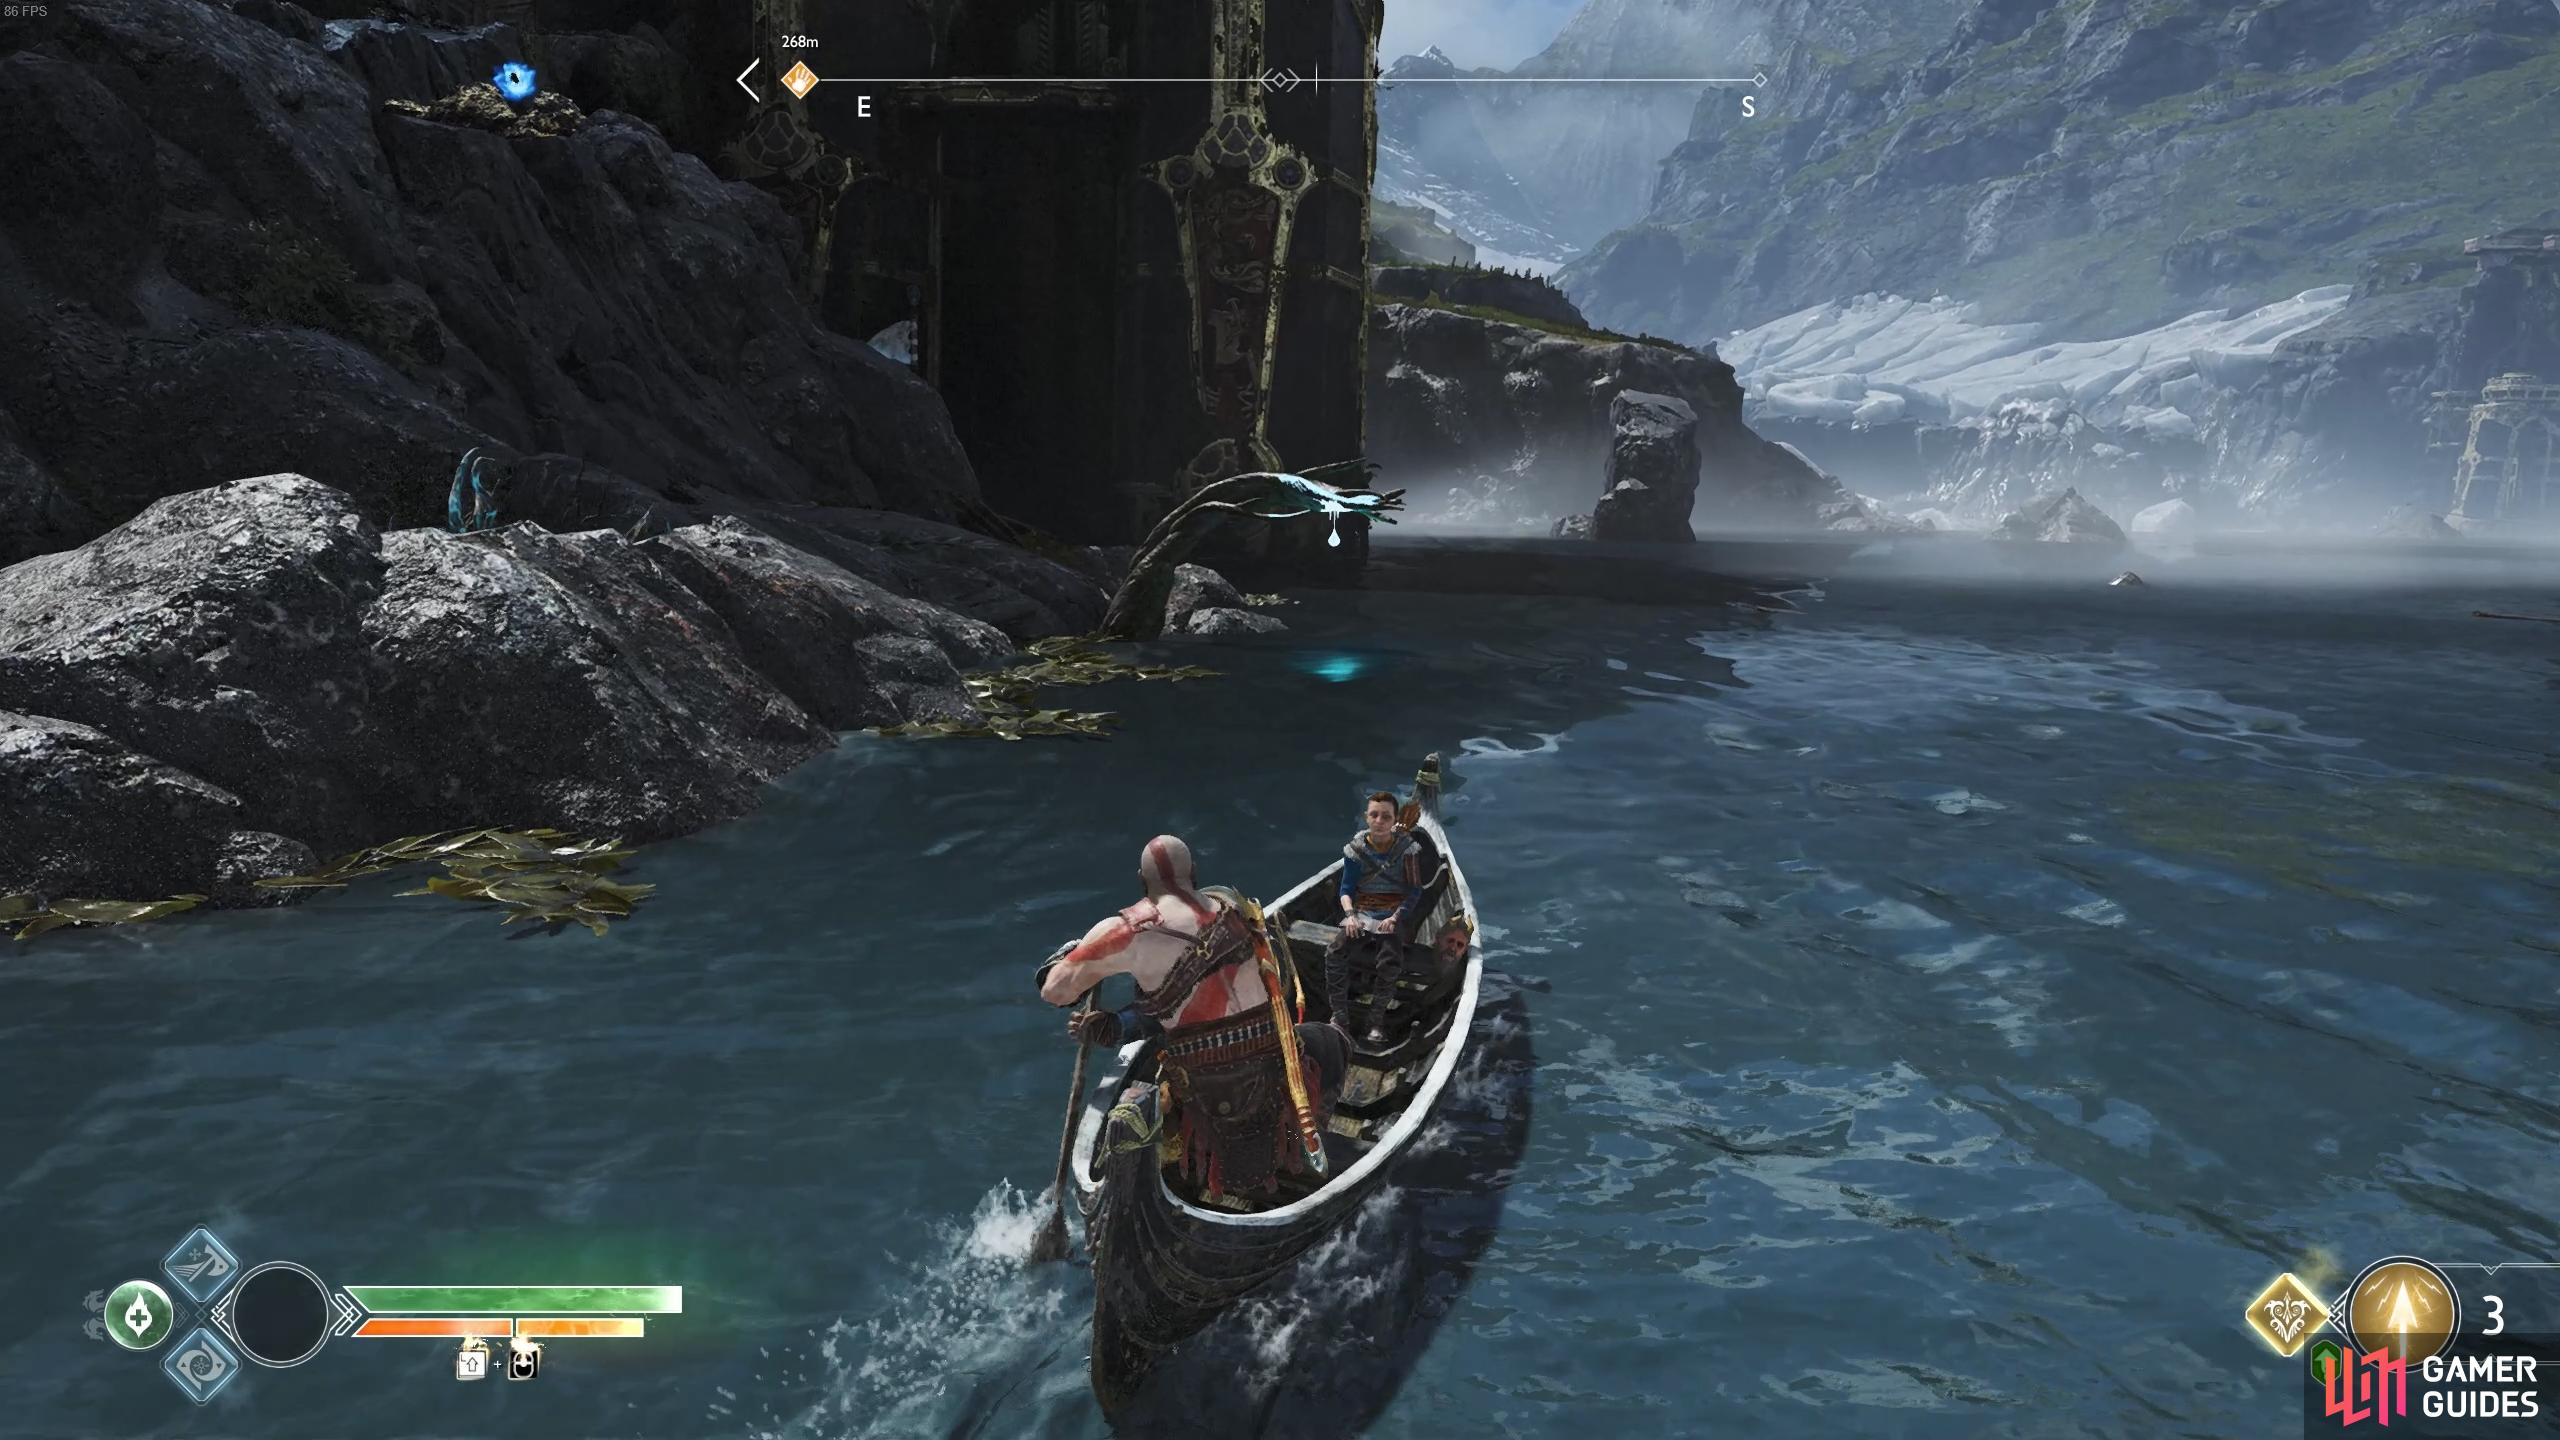
With the World Serpent’s latest guest appearance, the water level has once again dropped in the Lake of Nine revealing new places to visit and other areas accessible in the previous locations. This is a fantastic time to take a break from the main journey and go exploring, finding more collectibles and completing more favors.
Return to Brok’s Shop
Begin by heading to Brok’s Shop and listen to him, agreeing to help with his old pal Andvari and beginning the Favor, [Deus Ex Malachite]. It’s best to explore the islands first and tackle the Favors after as they involve more thorough exploration. You may also notice that Brok’s wares have updated again.
Your first Epic armor sets are now displayed, these are crafted using materials obtained in the Muspelheim realm and are best left for a while. You can also craft the Plated Völunder and Dwarven Runic sets, hold off on these for now because you’ll be finding better materials as you explore the Lake of Nine. You’ll also see that there’s an Axe Pommel and Talisman related to the Muspelheim realm as well. There’s an Axe Heavy Runic Attack available for purchase now, this also uses the materials gathered from Muspelheim. You can also now buy Soft Svartalfheim Steel form Brok with Hacksilver should you need it.
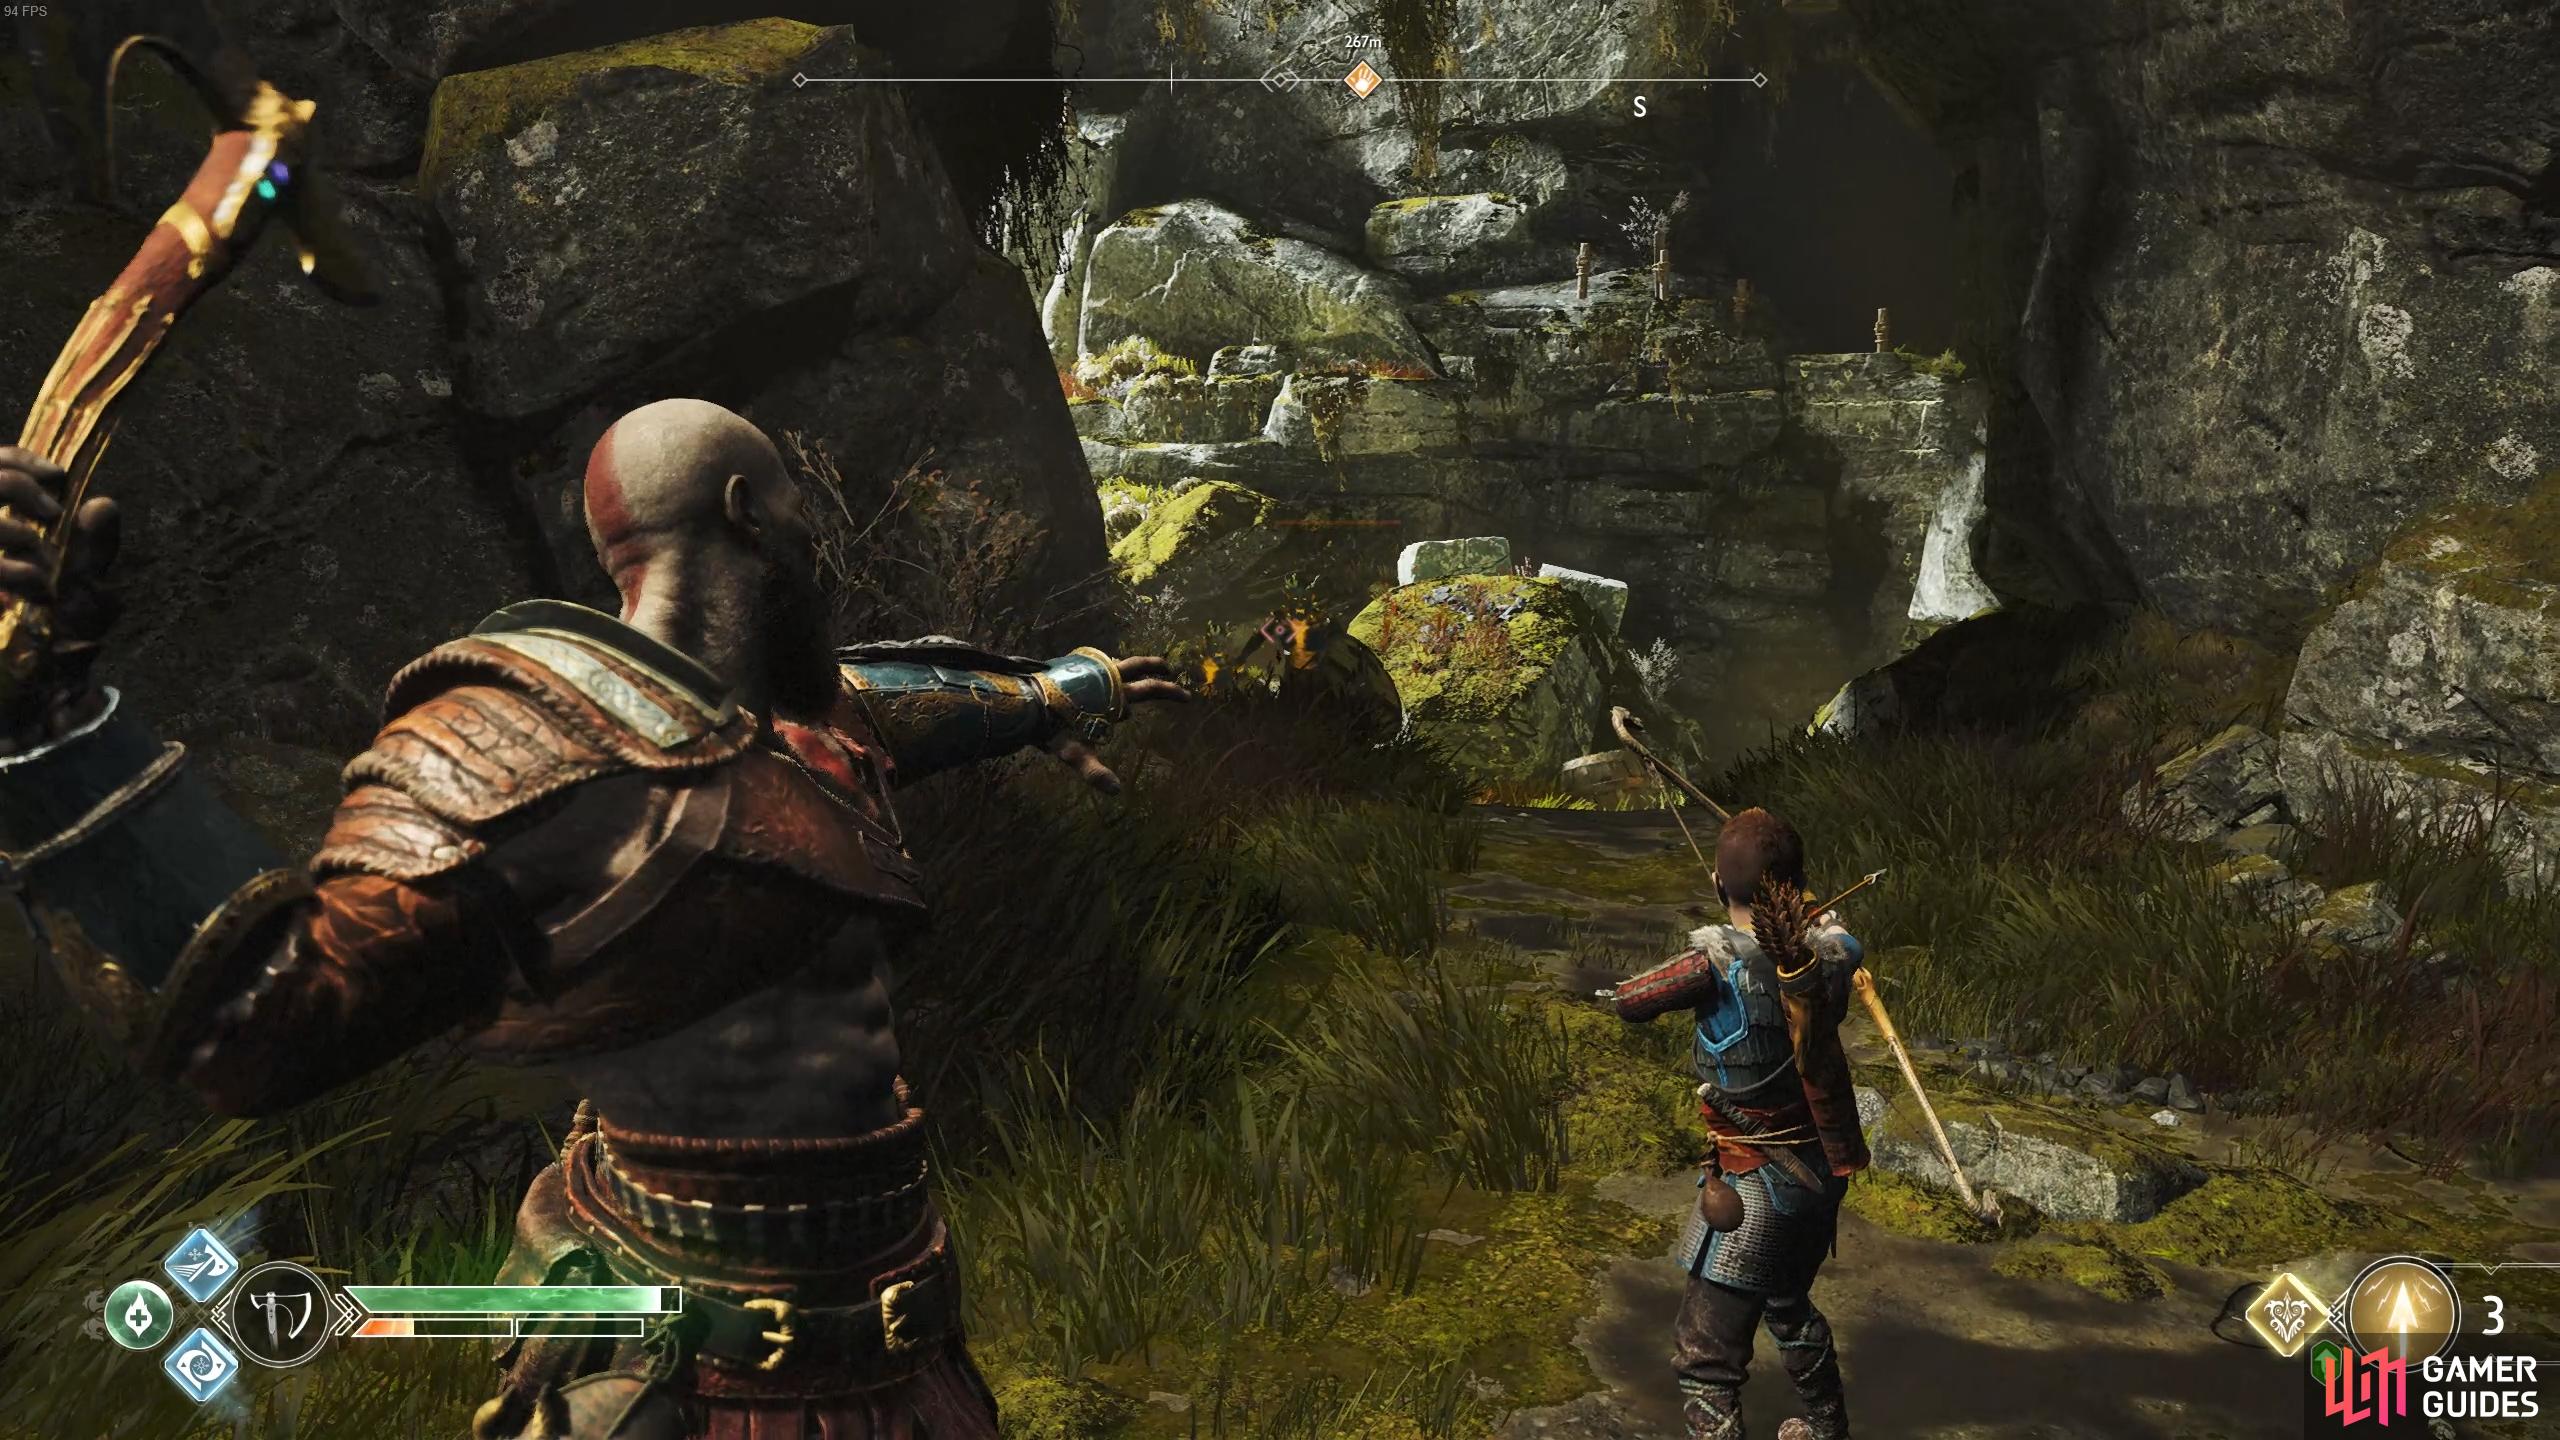
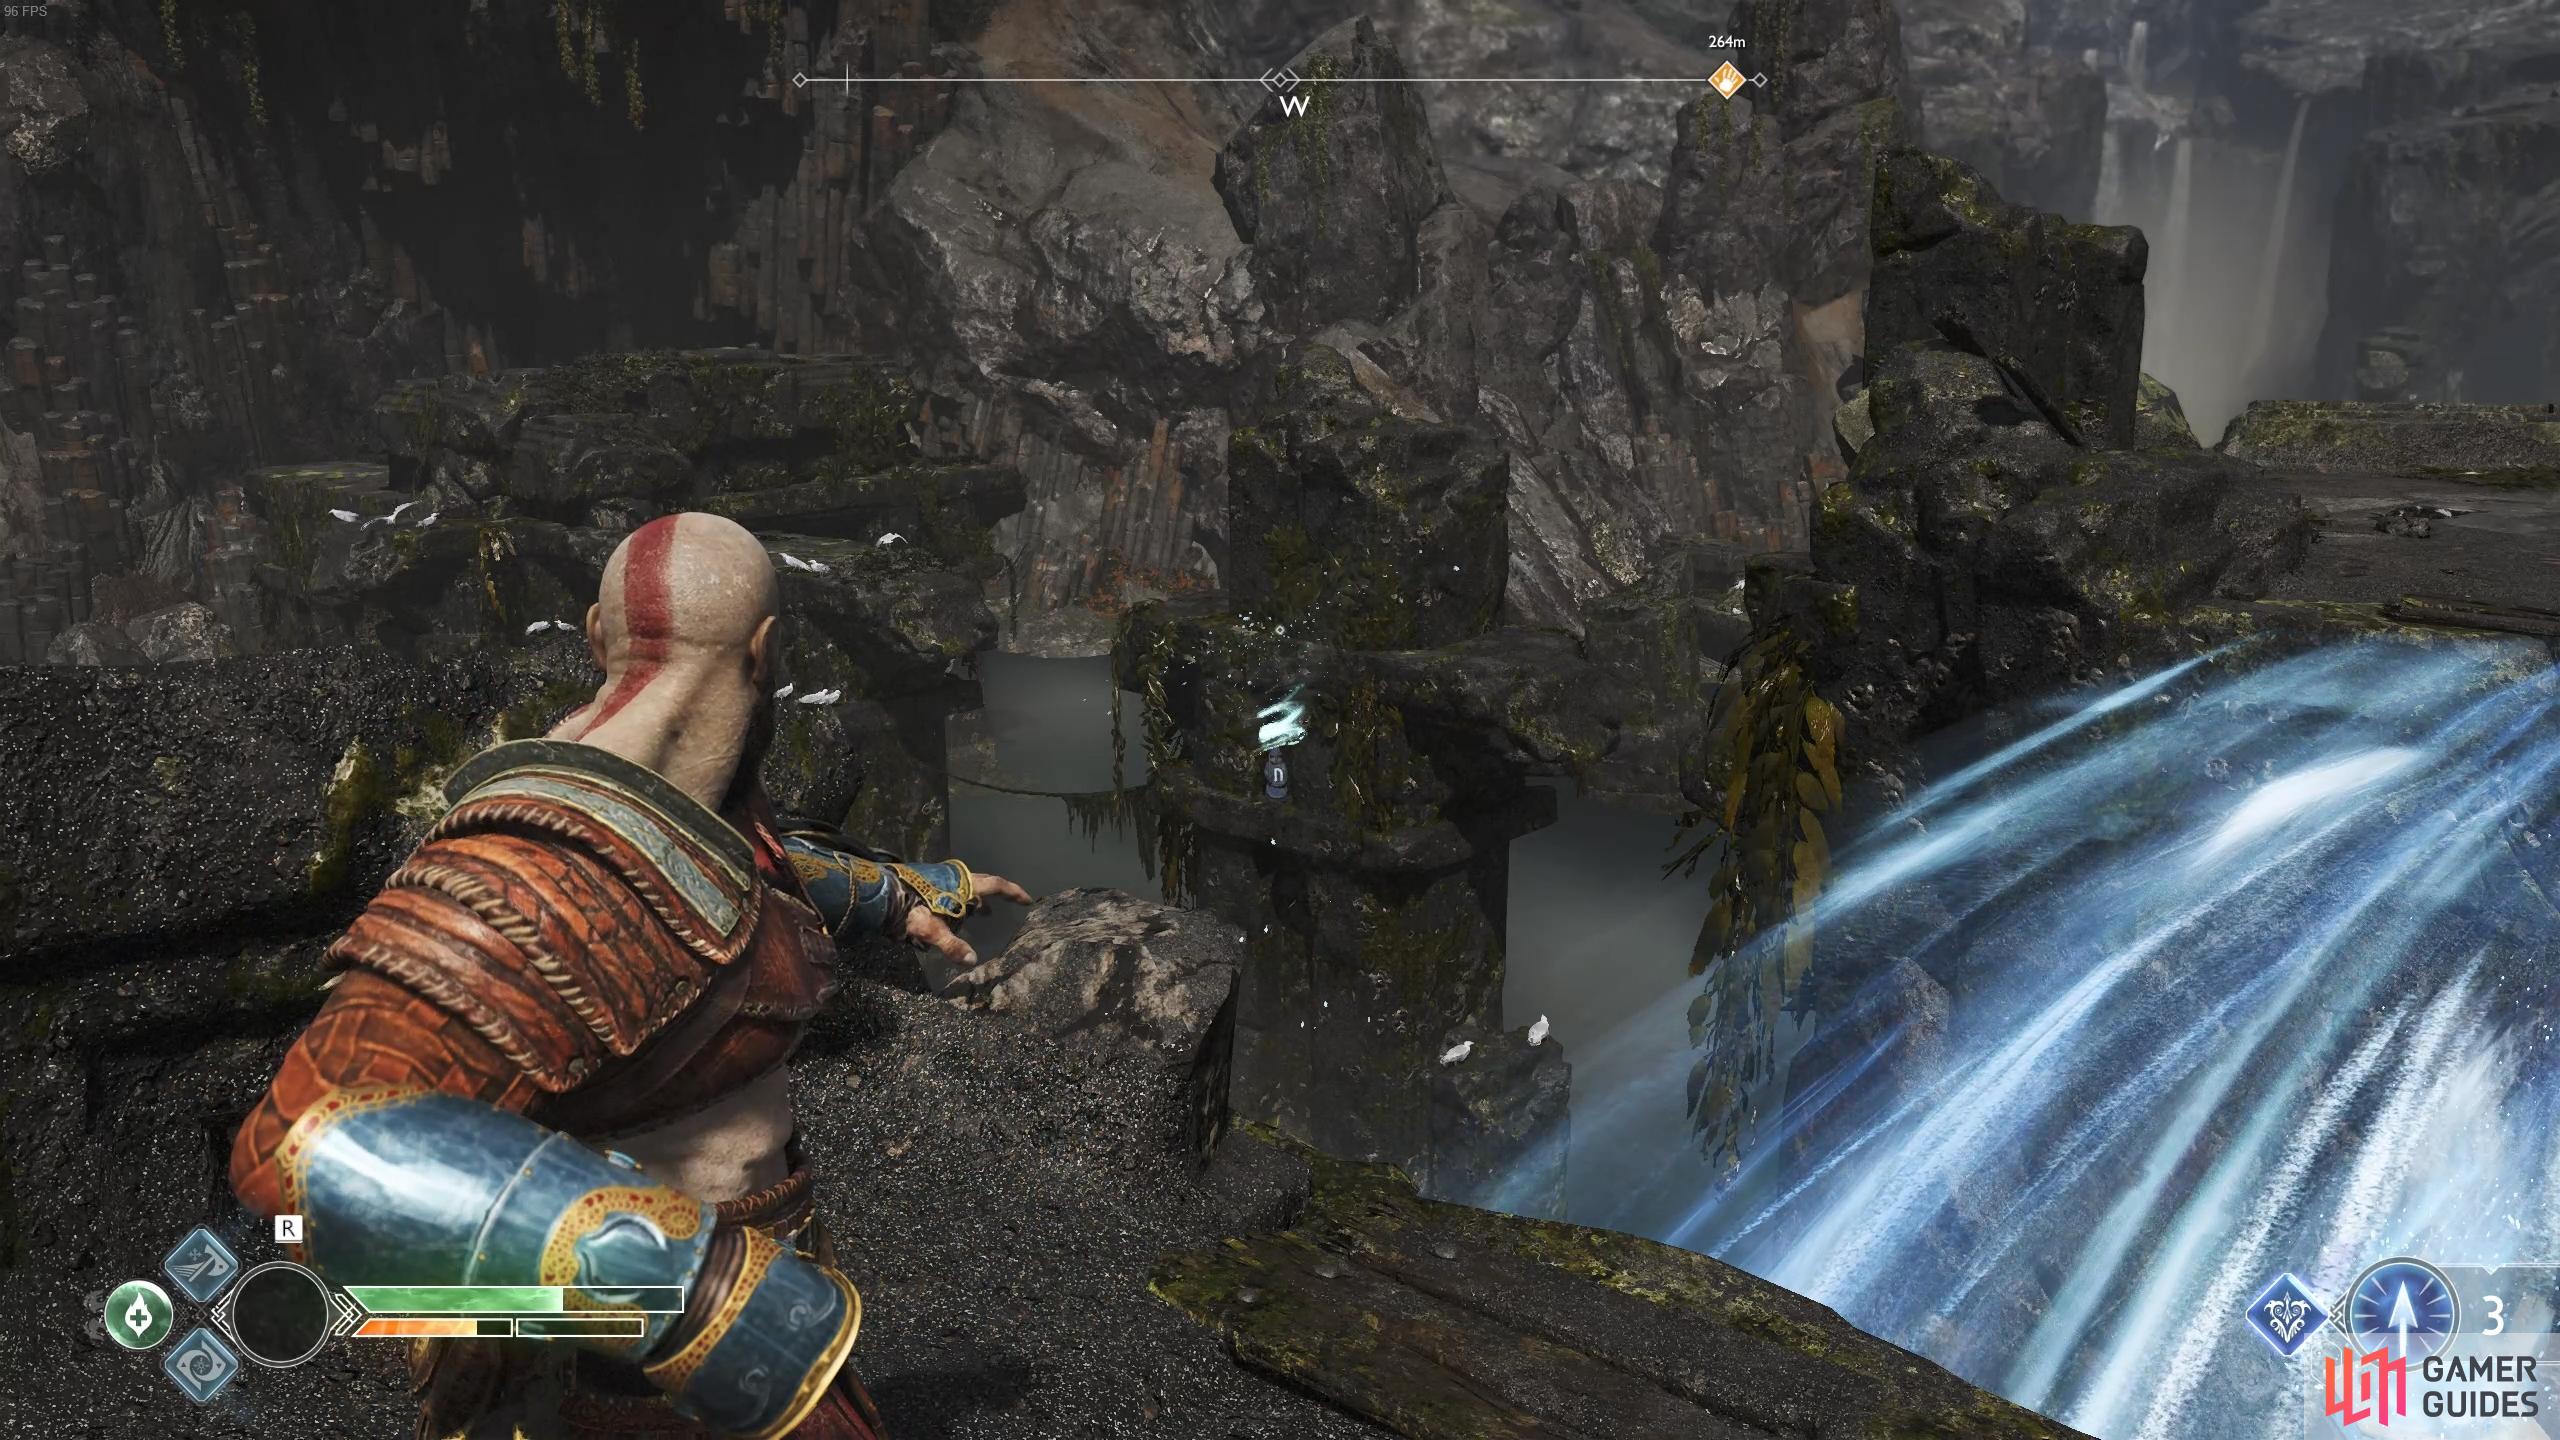
With your business concluded, leave the shop and board the boat at the northeast dock found at the bottom of the stairs to the right of the shop. Begin by rowing the boat directly north of you and then follow the rocks toward the giant statues of the oarsman to find a beach you can dock at.
Council of Valkyries
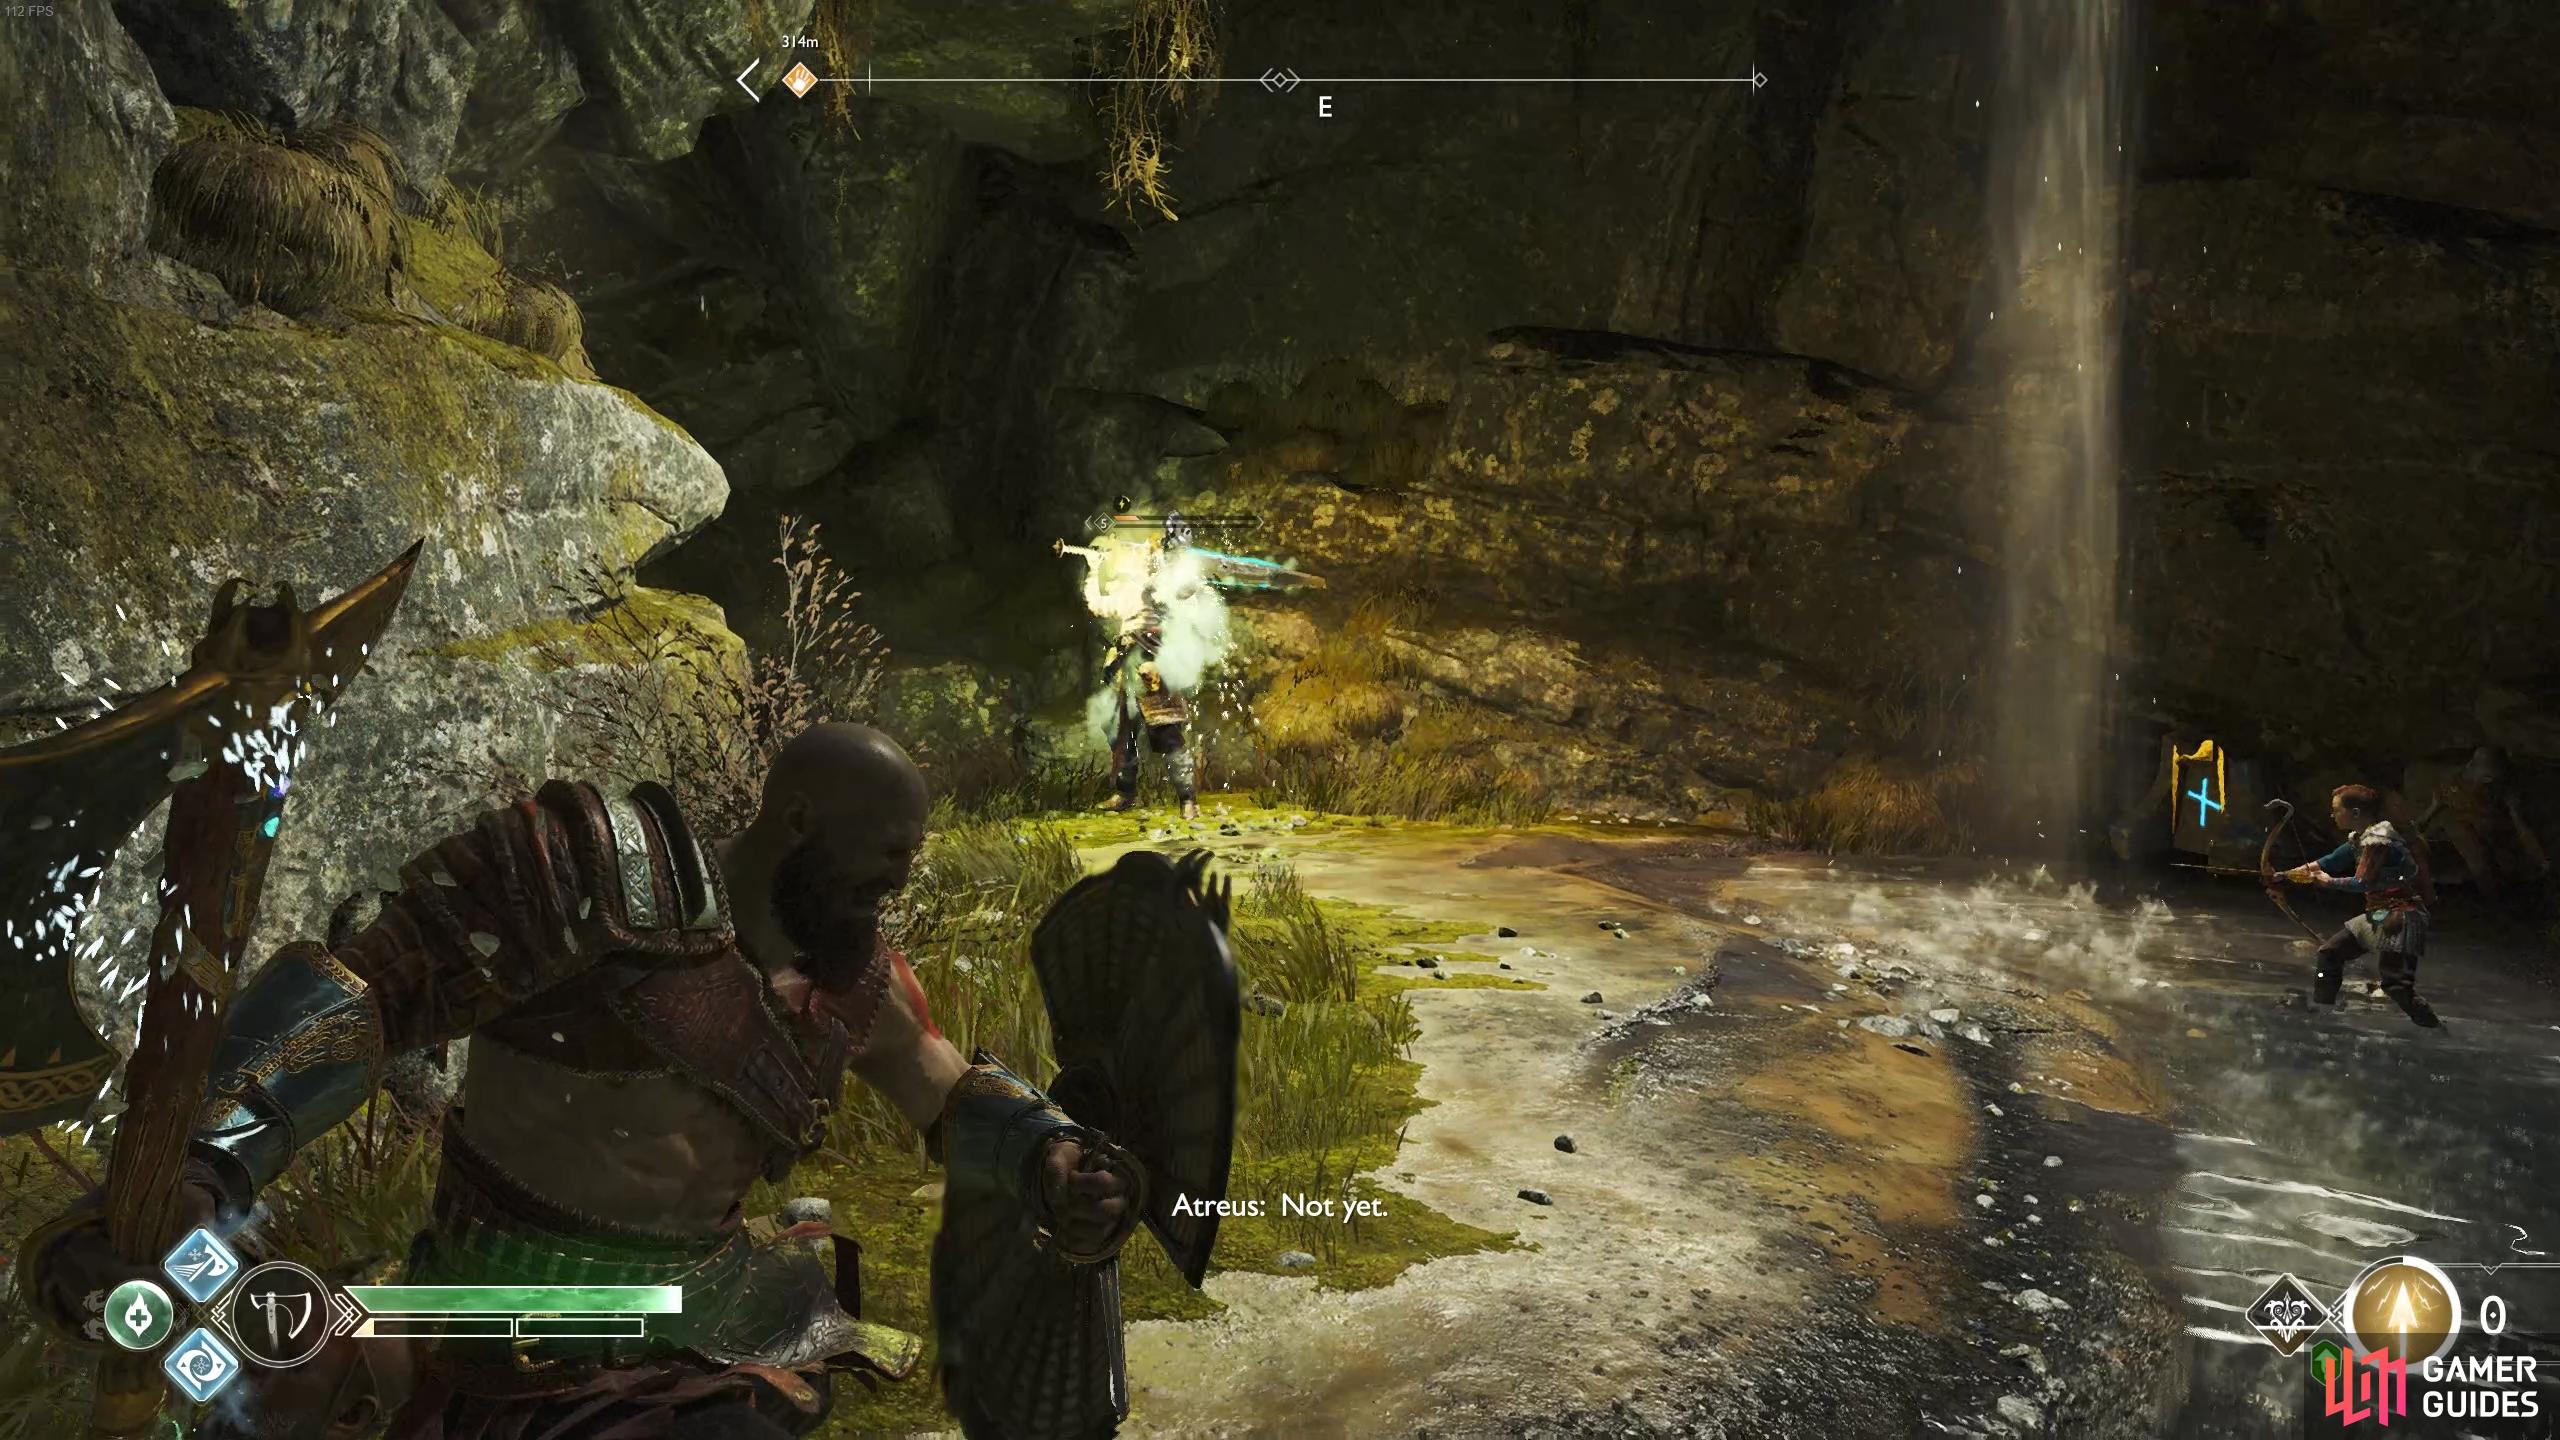
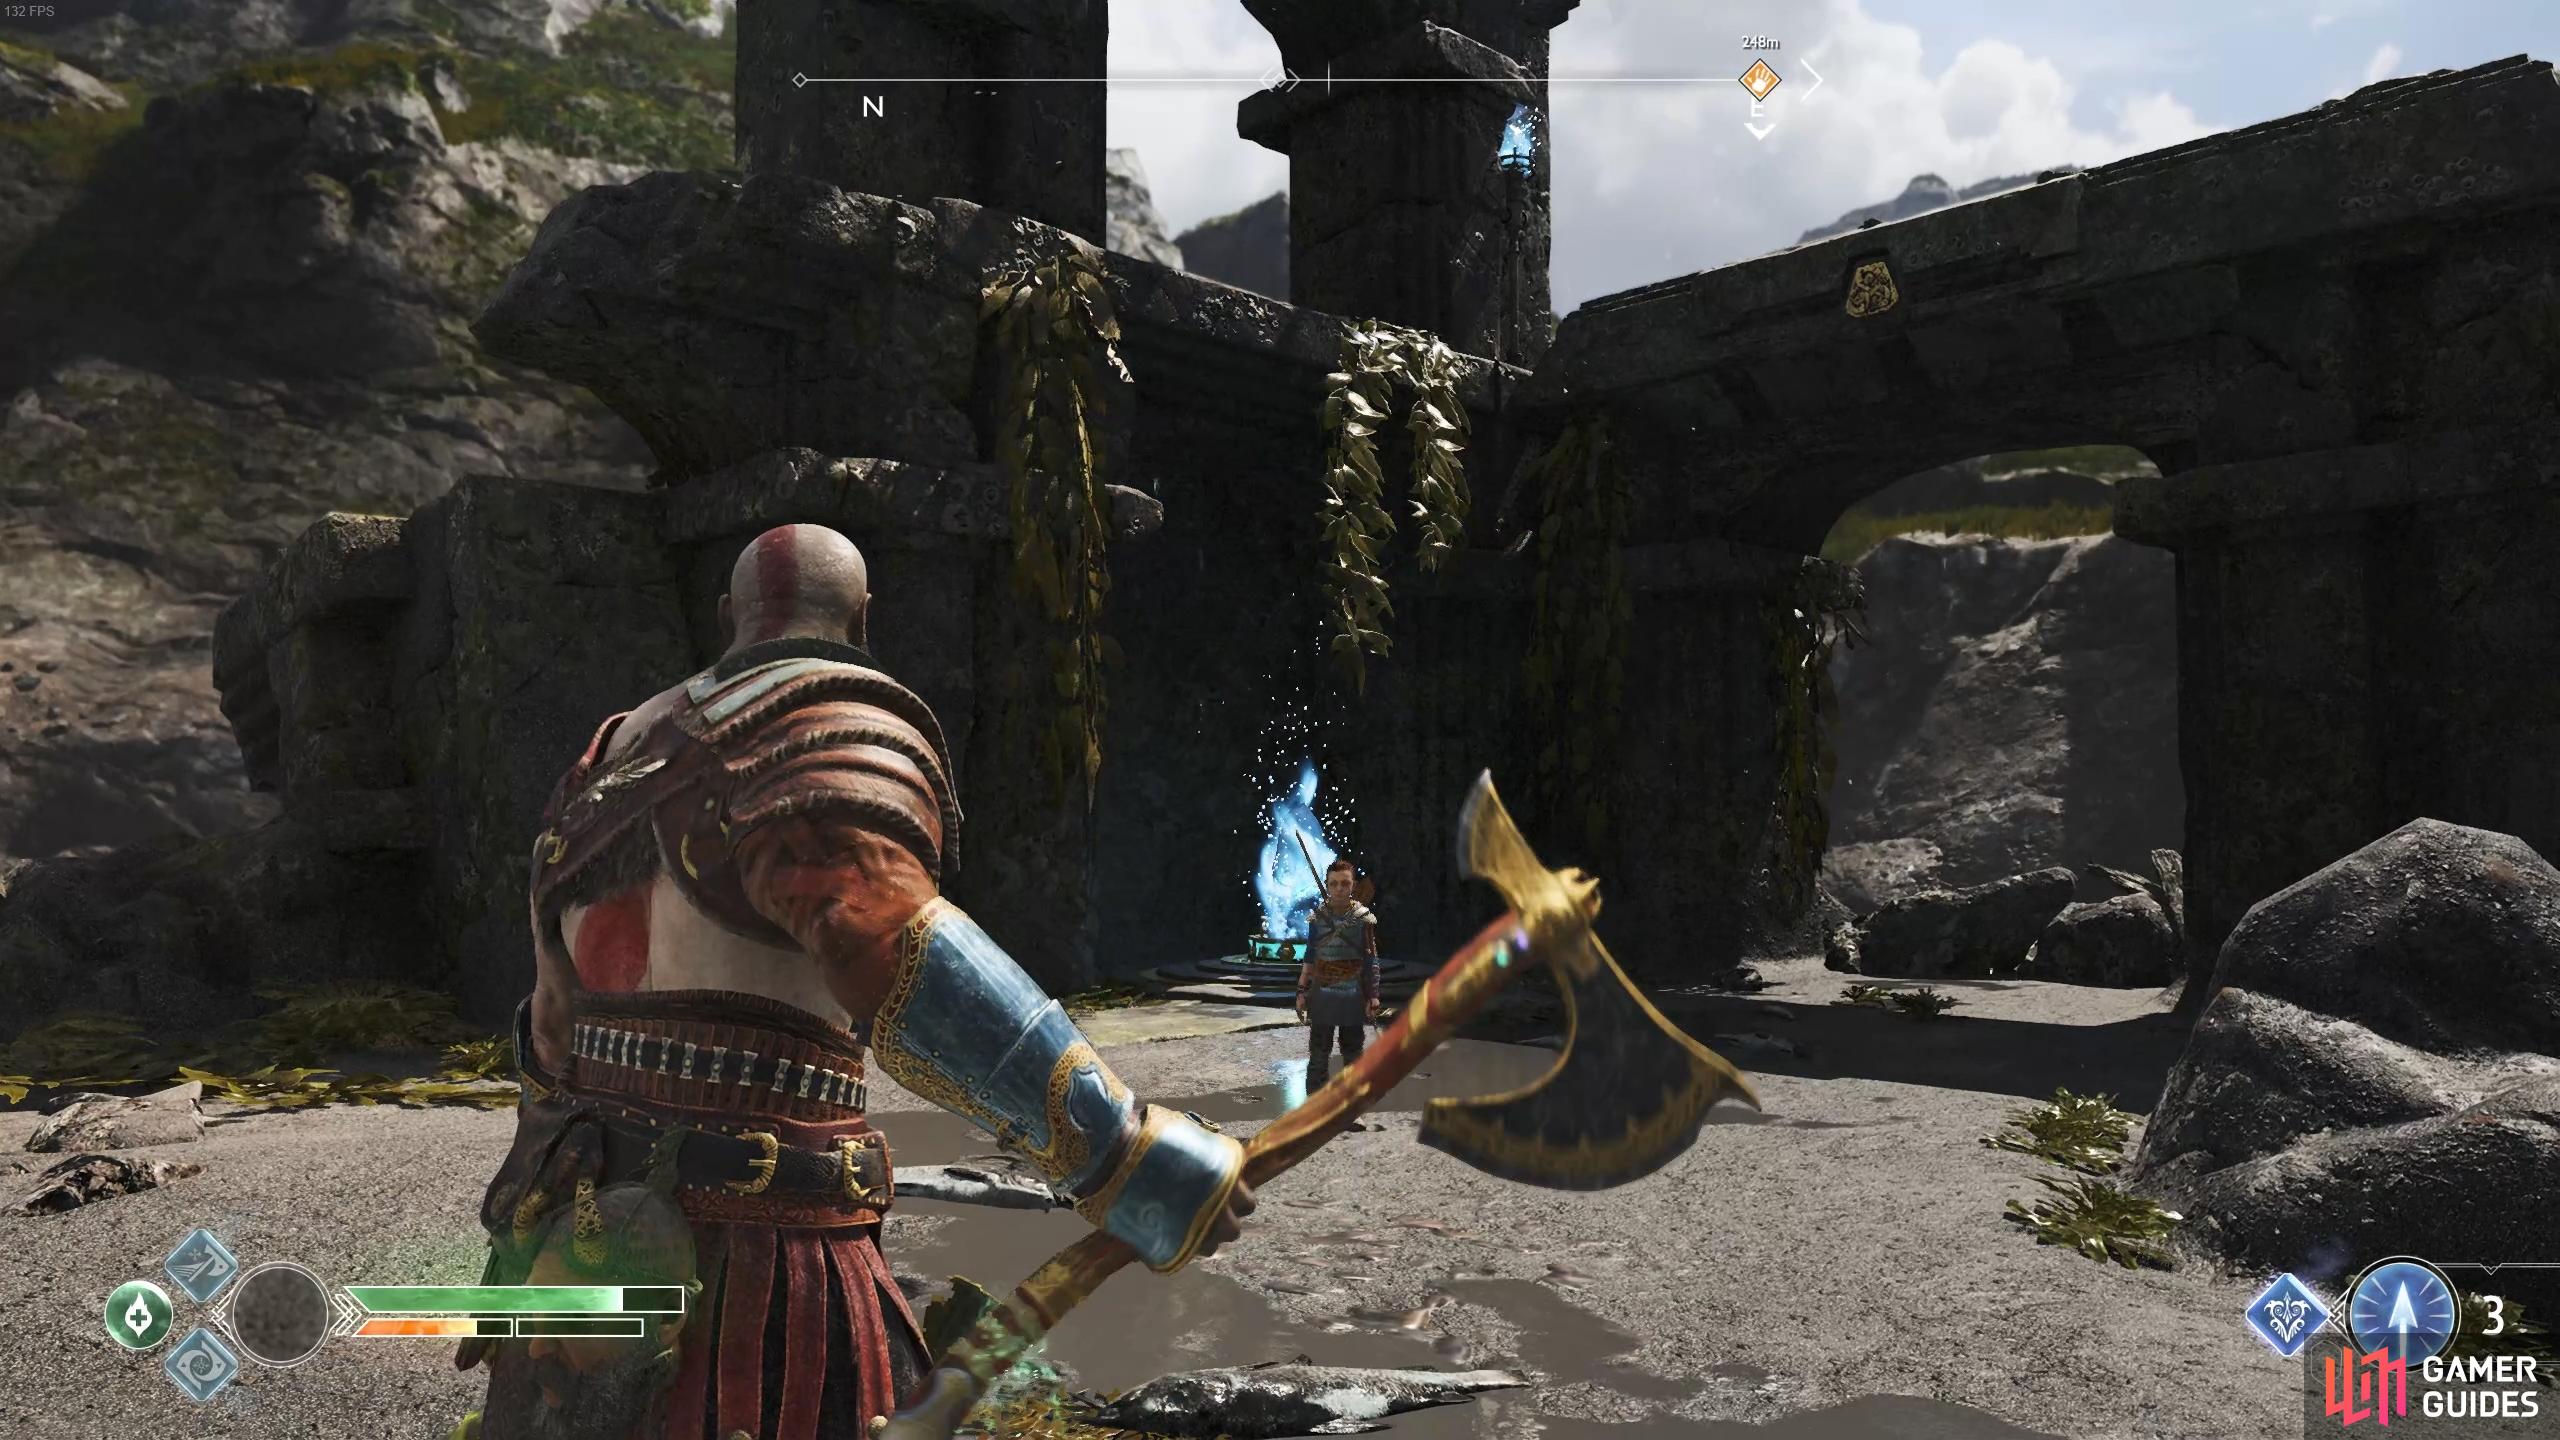
A host of Fire Nightmares await you on this beach, they’re around Levels 4 and 5 but you should be able to deal with them easily if you’re around Level 3. Once defeated you’ll find a Mystic Gateway and a Treasure Map, [Island of Light], on the ground.
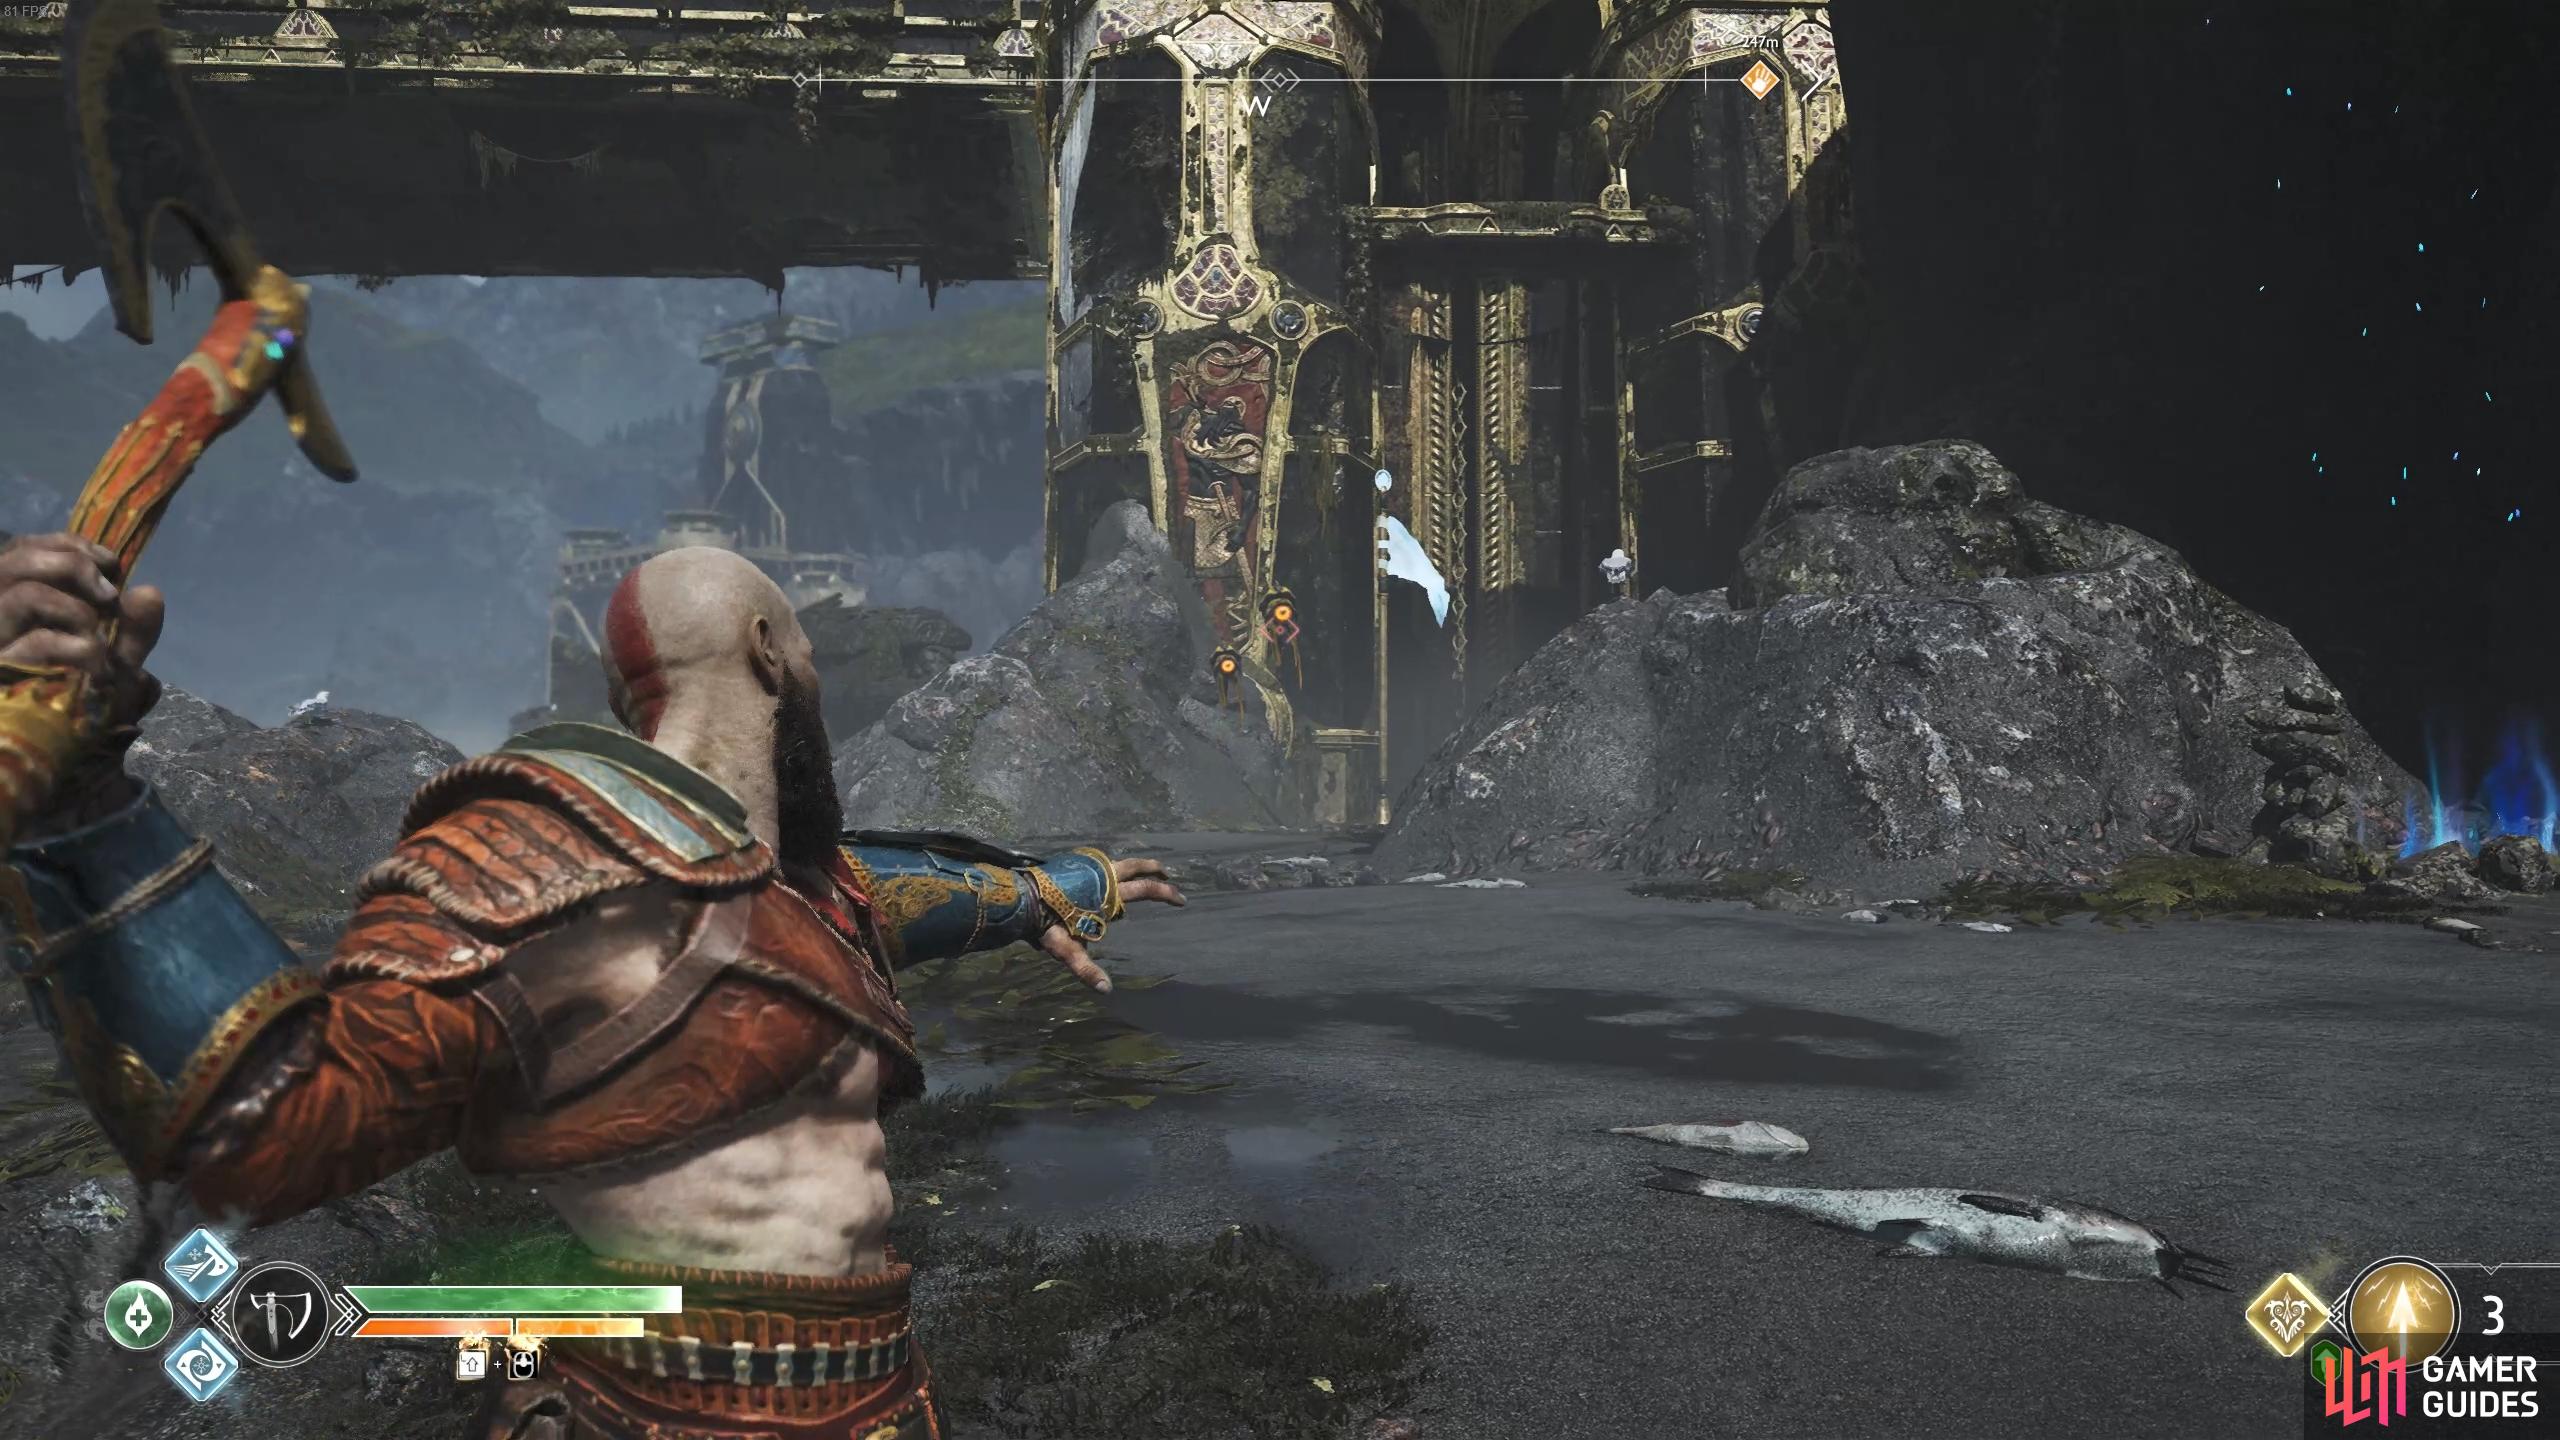
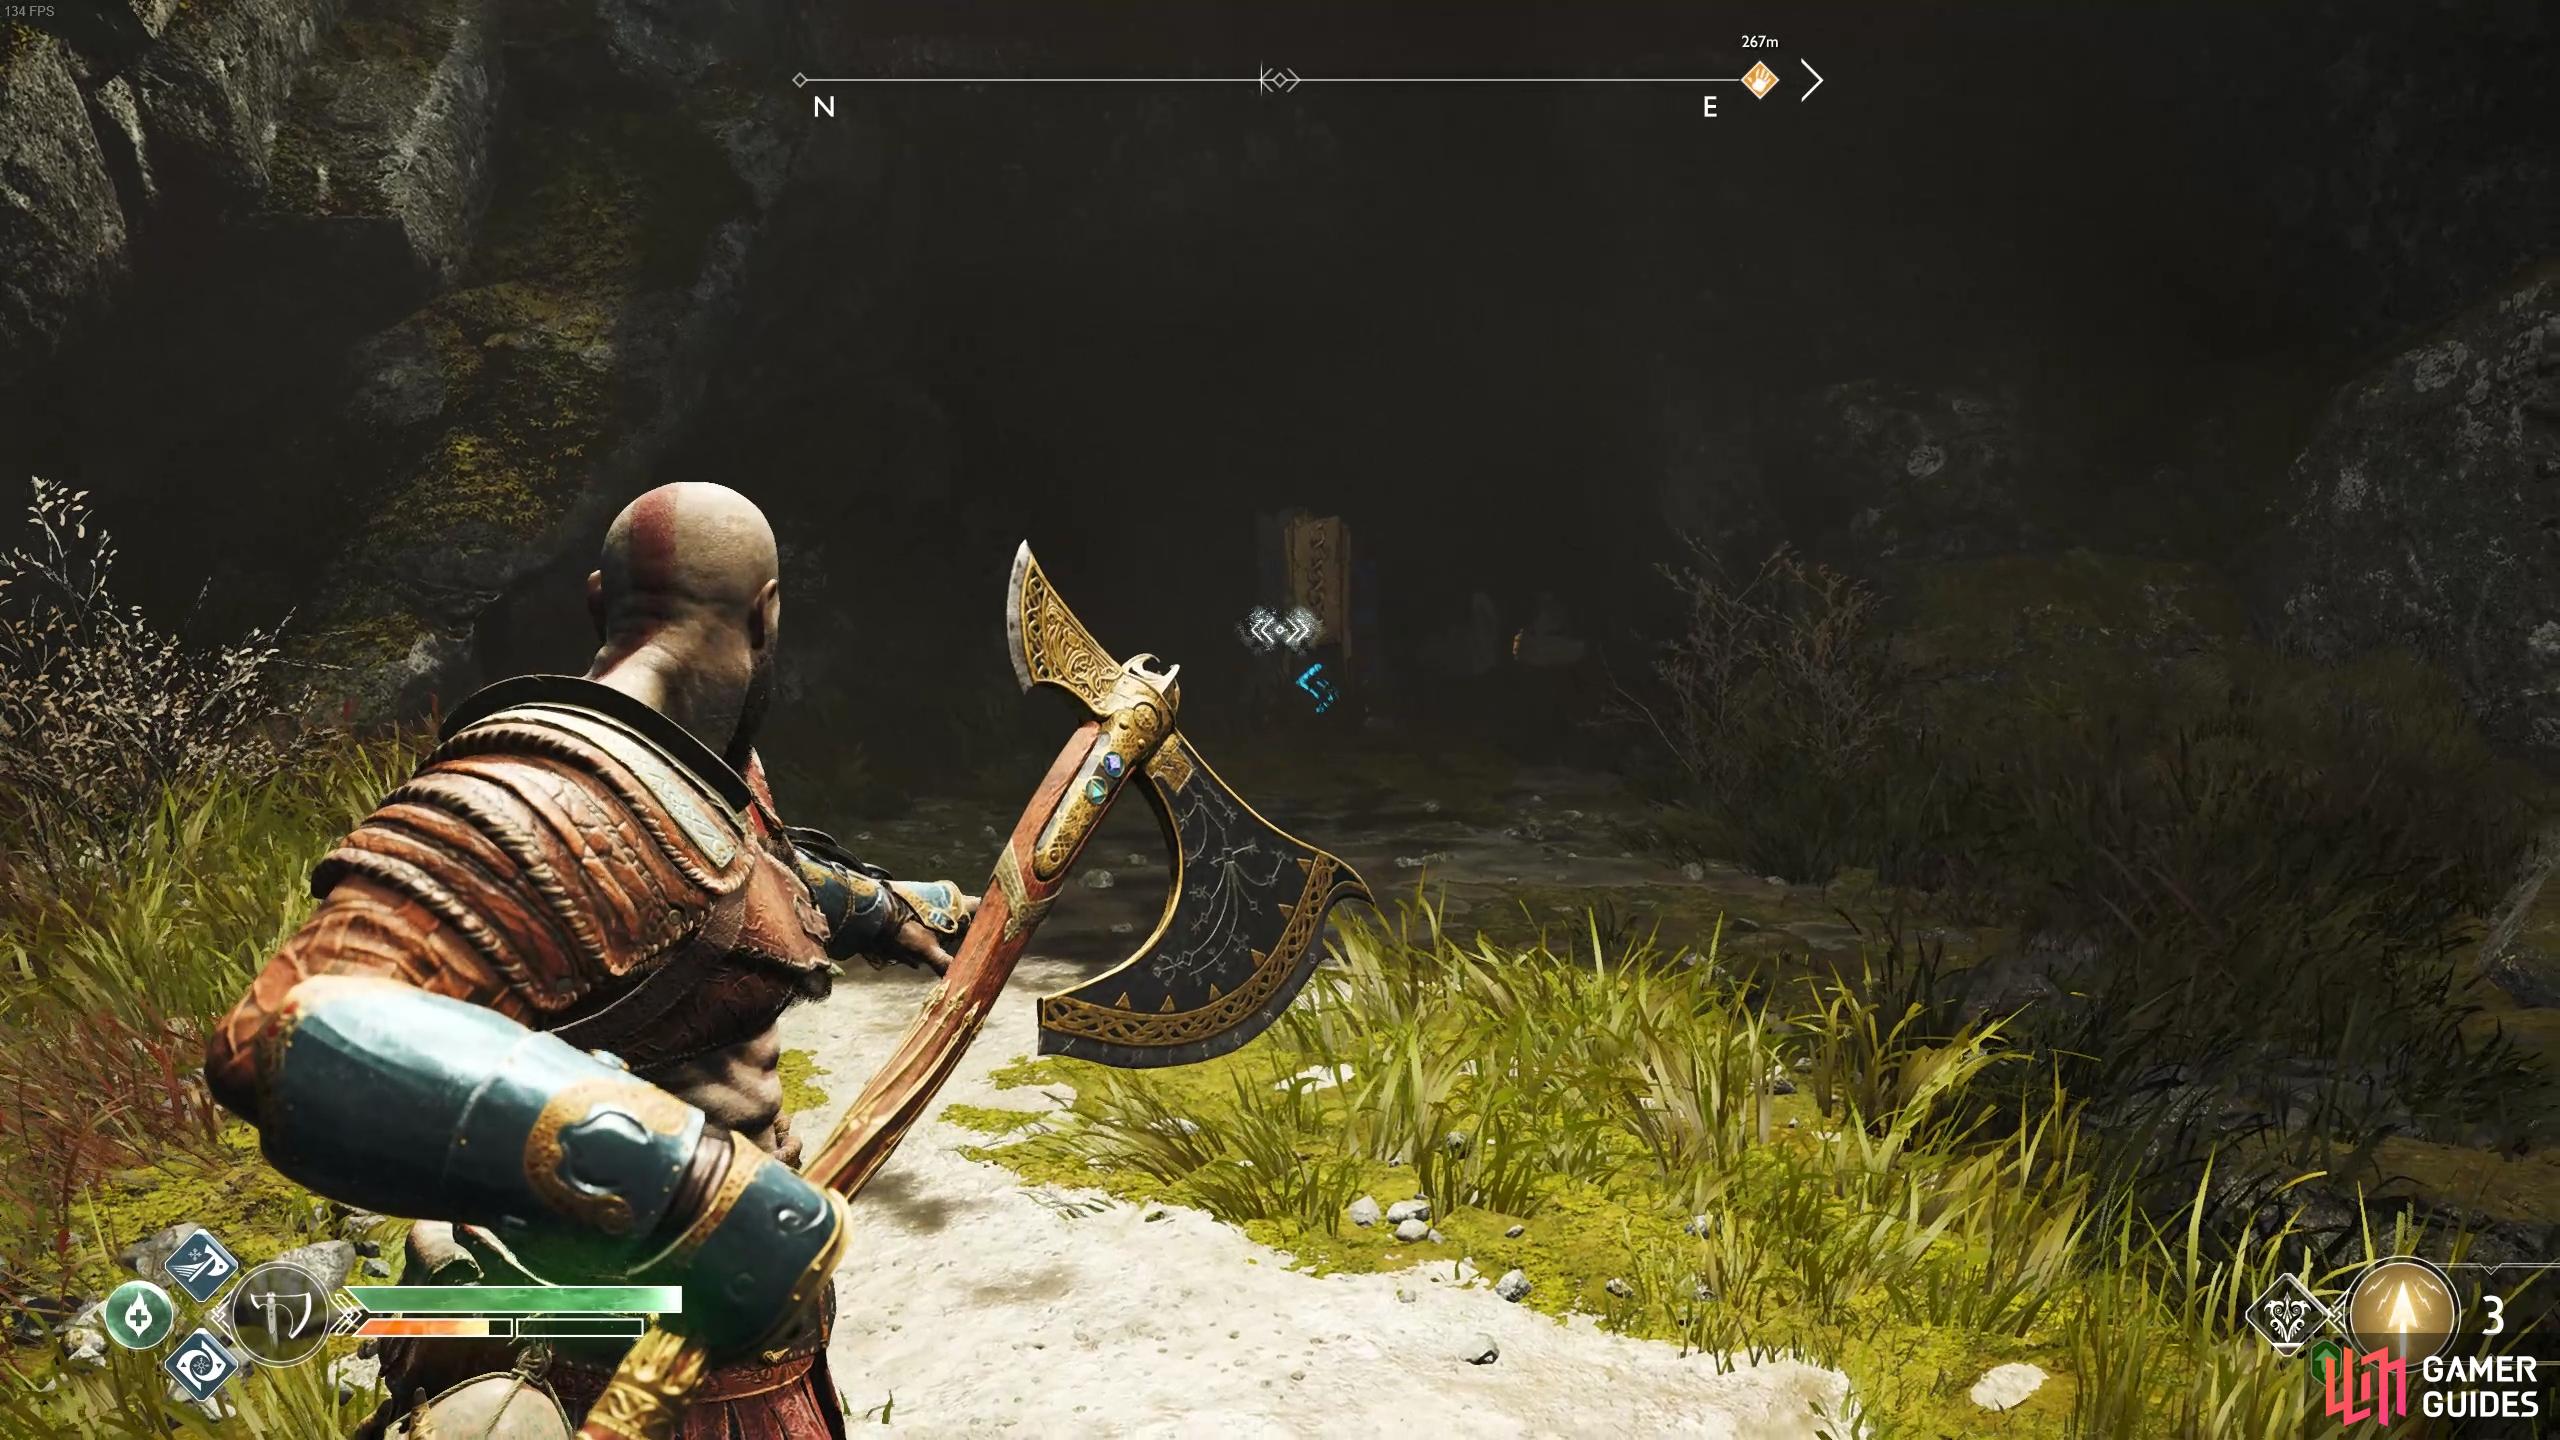
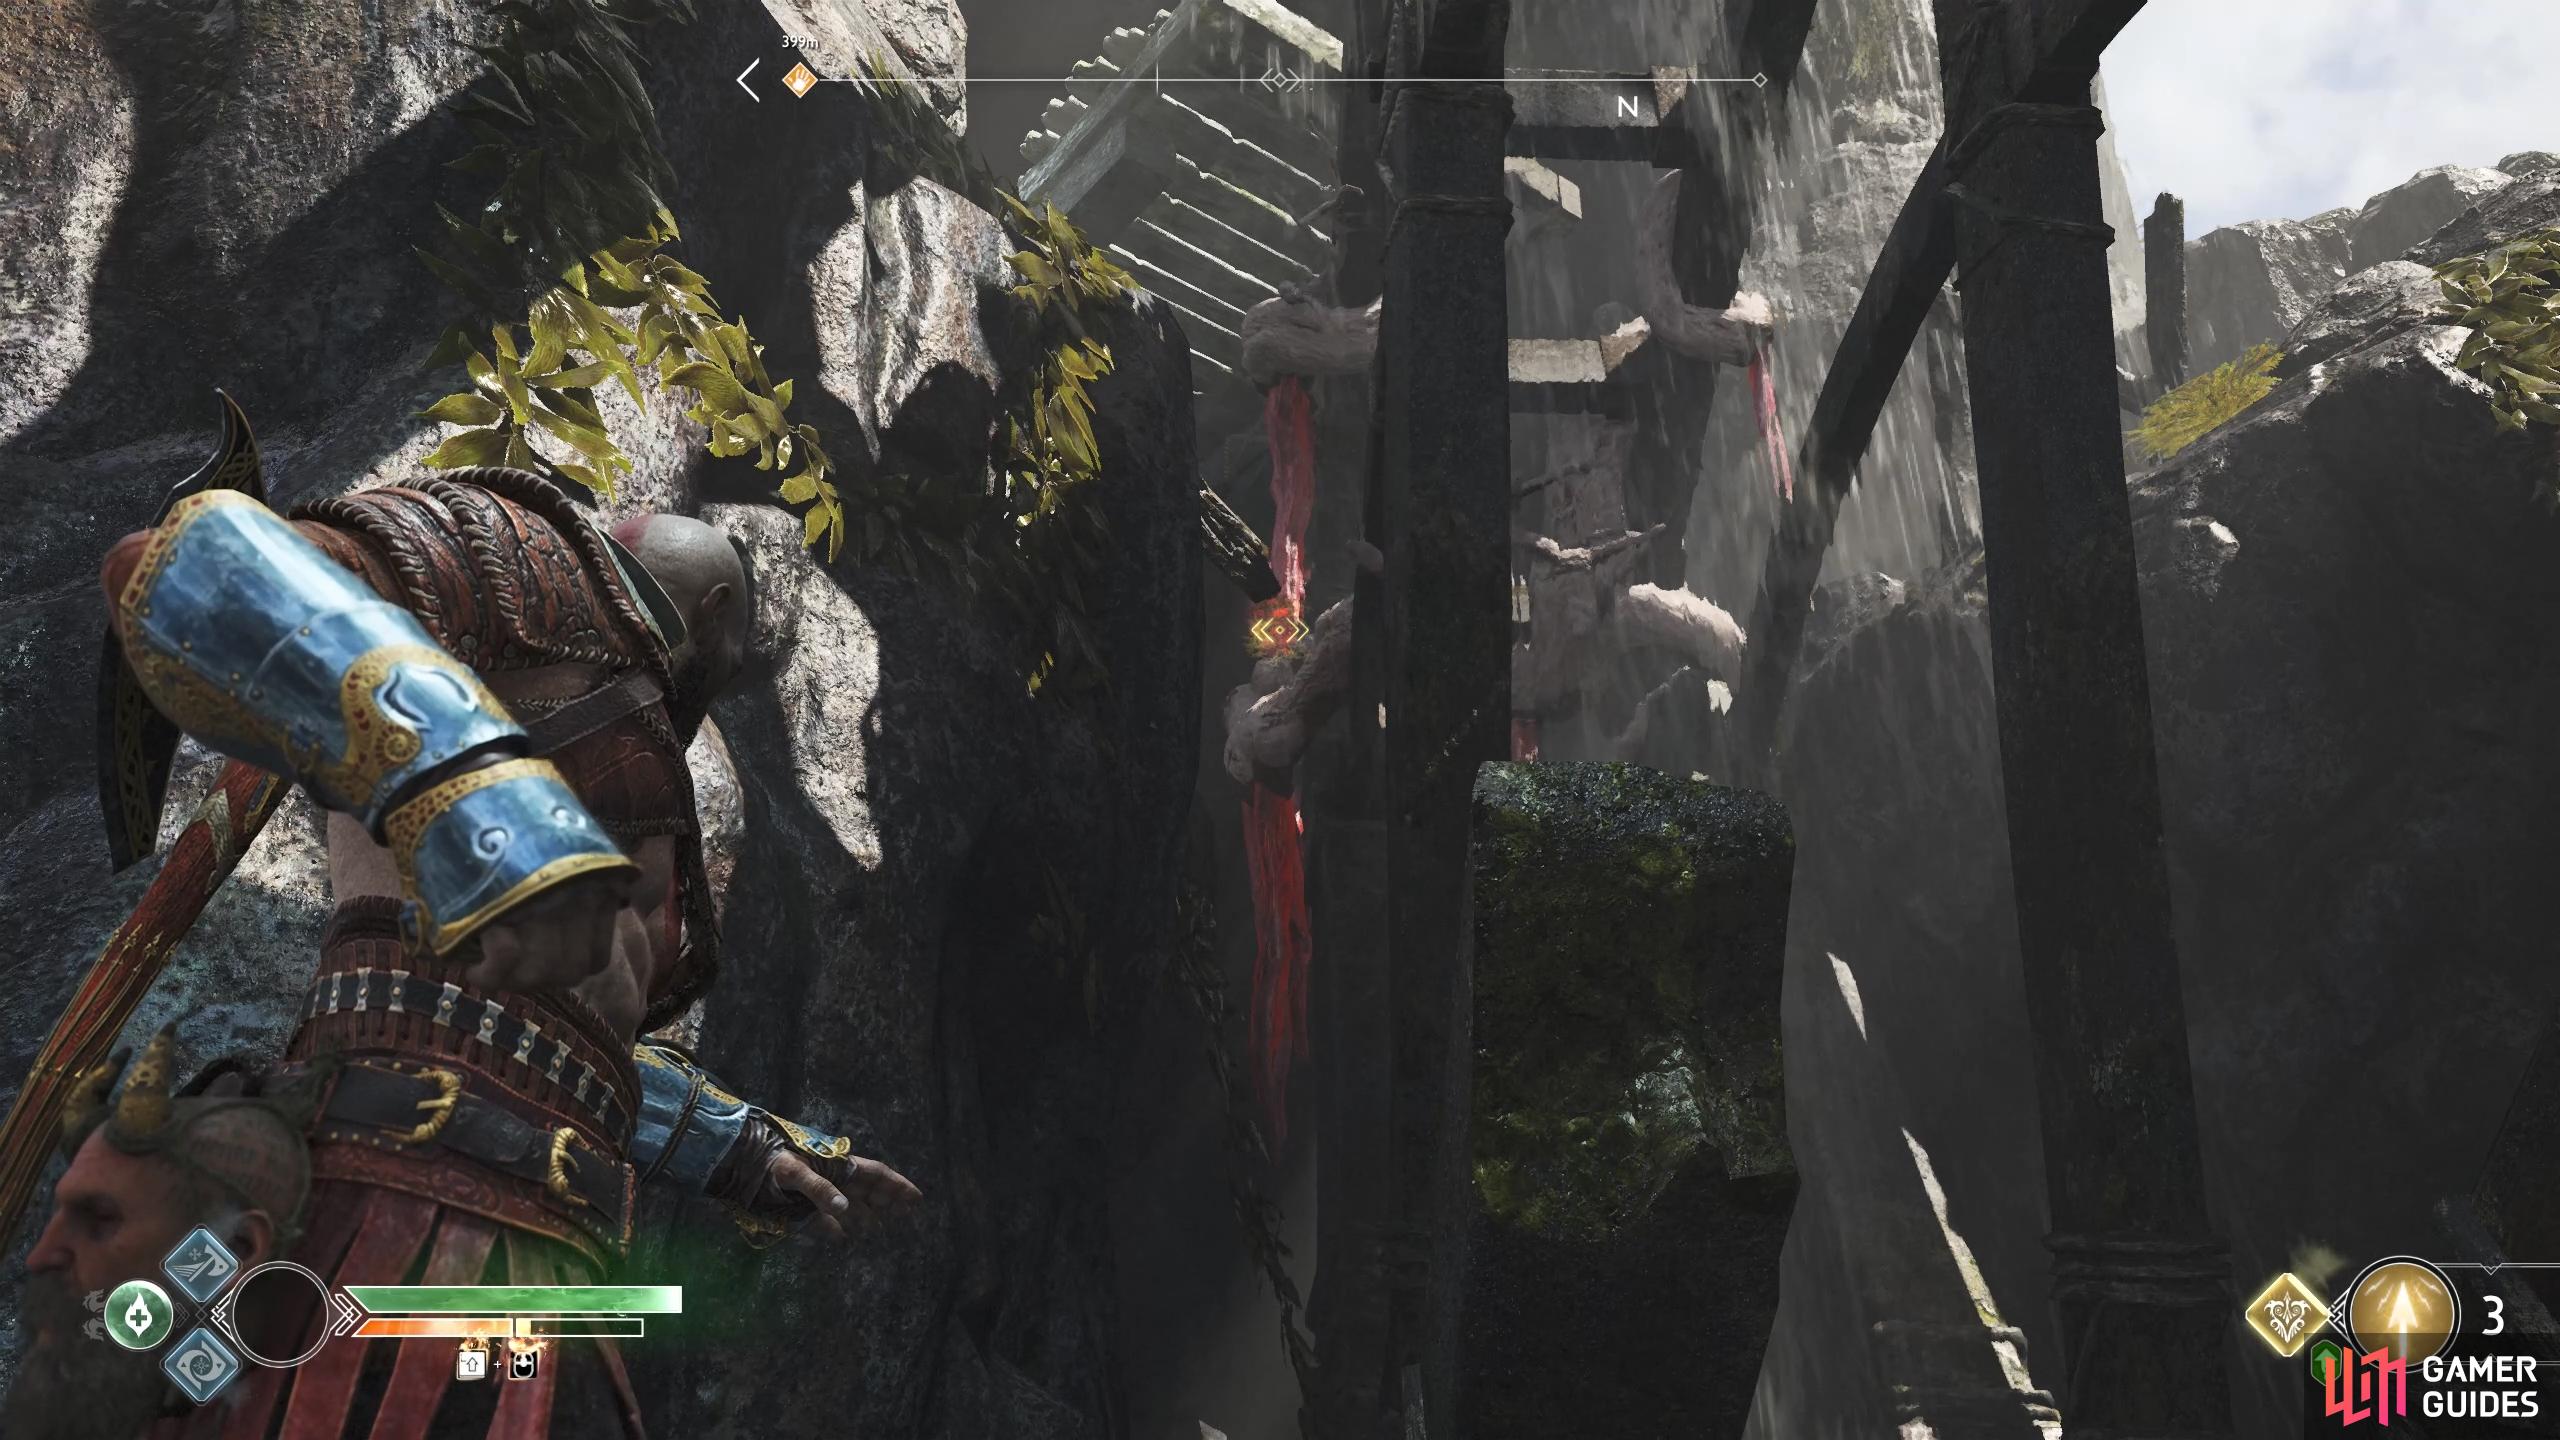
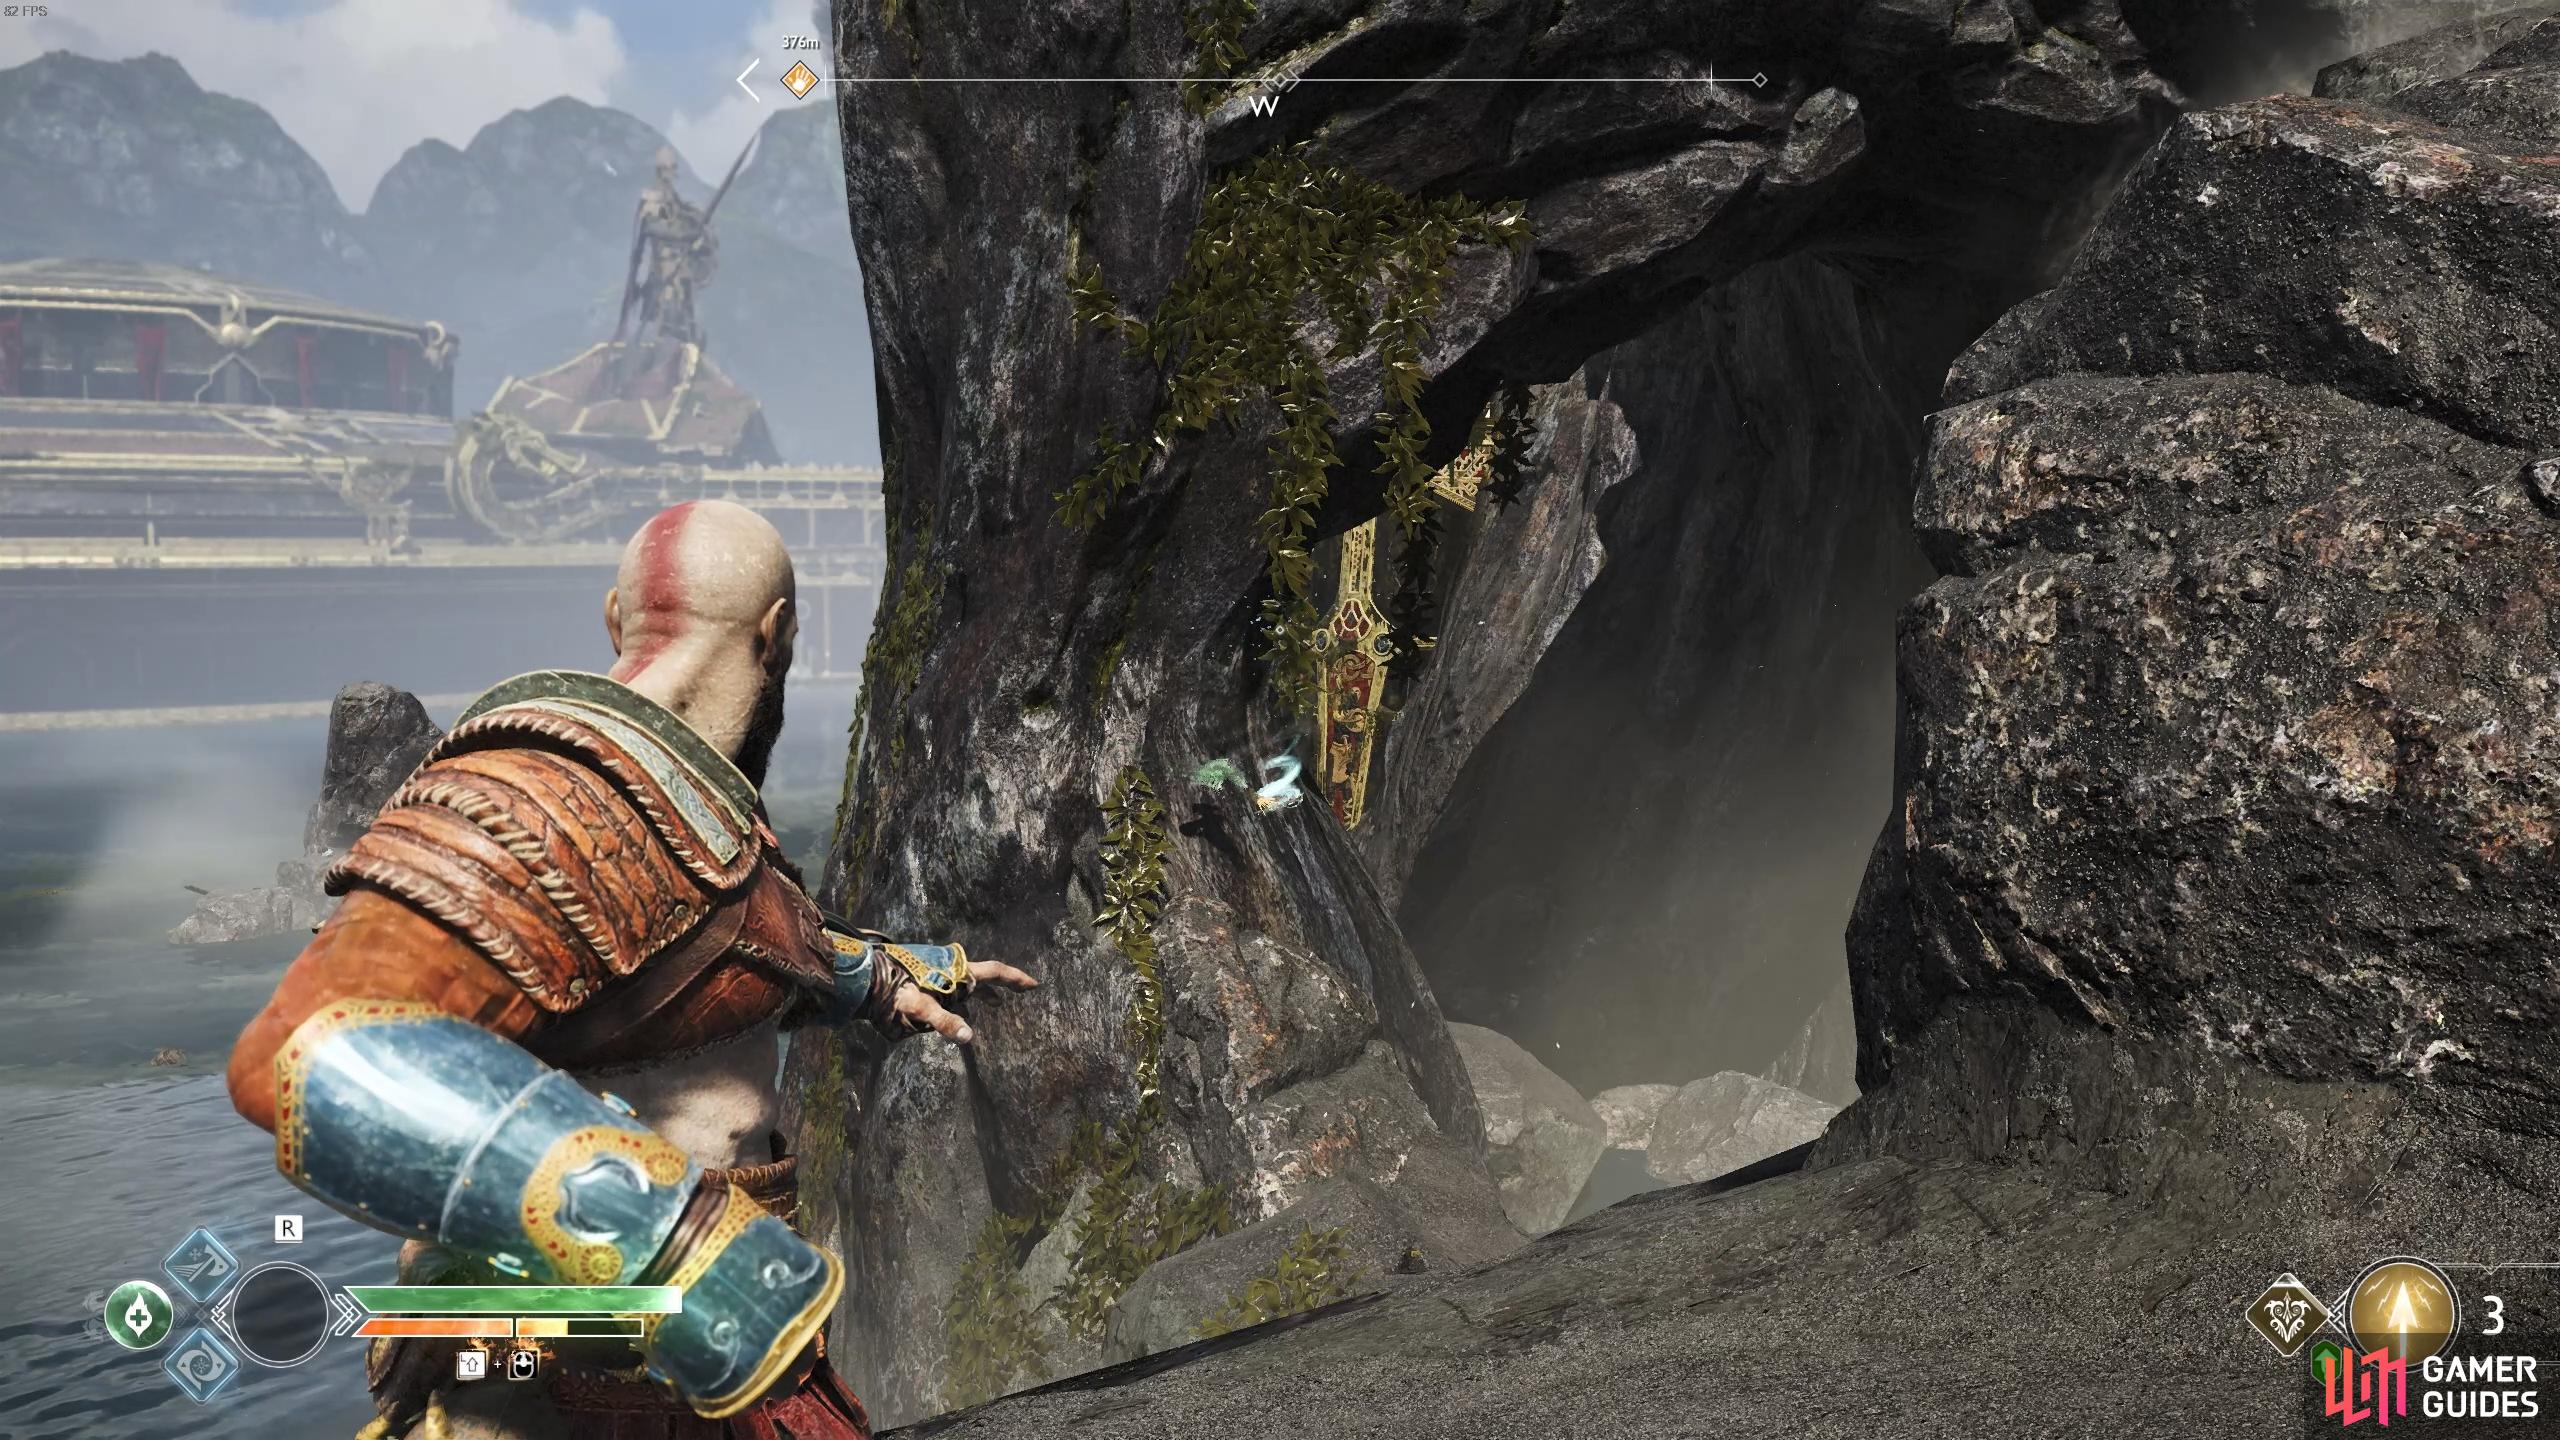
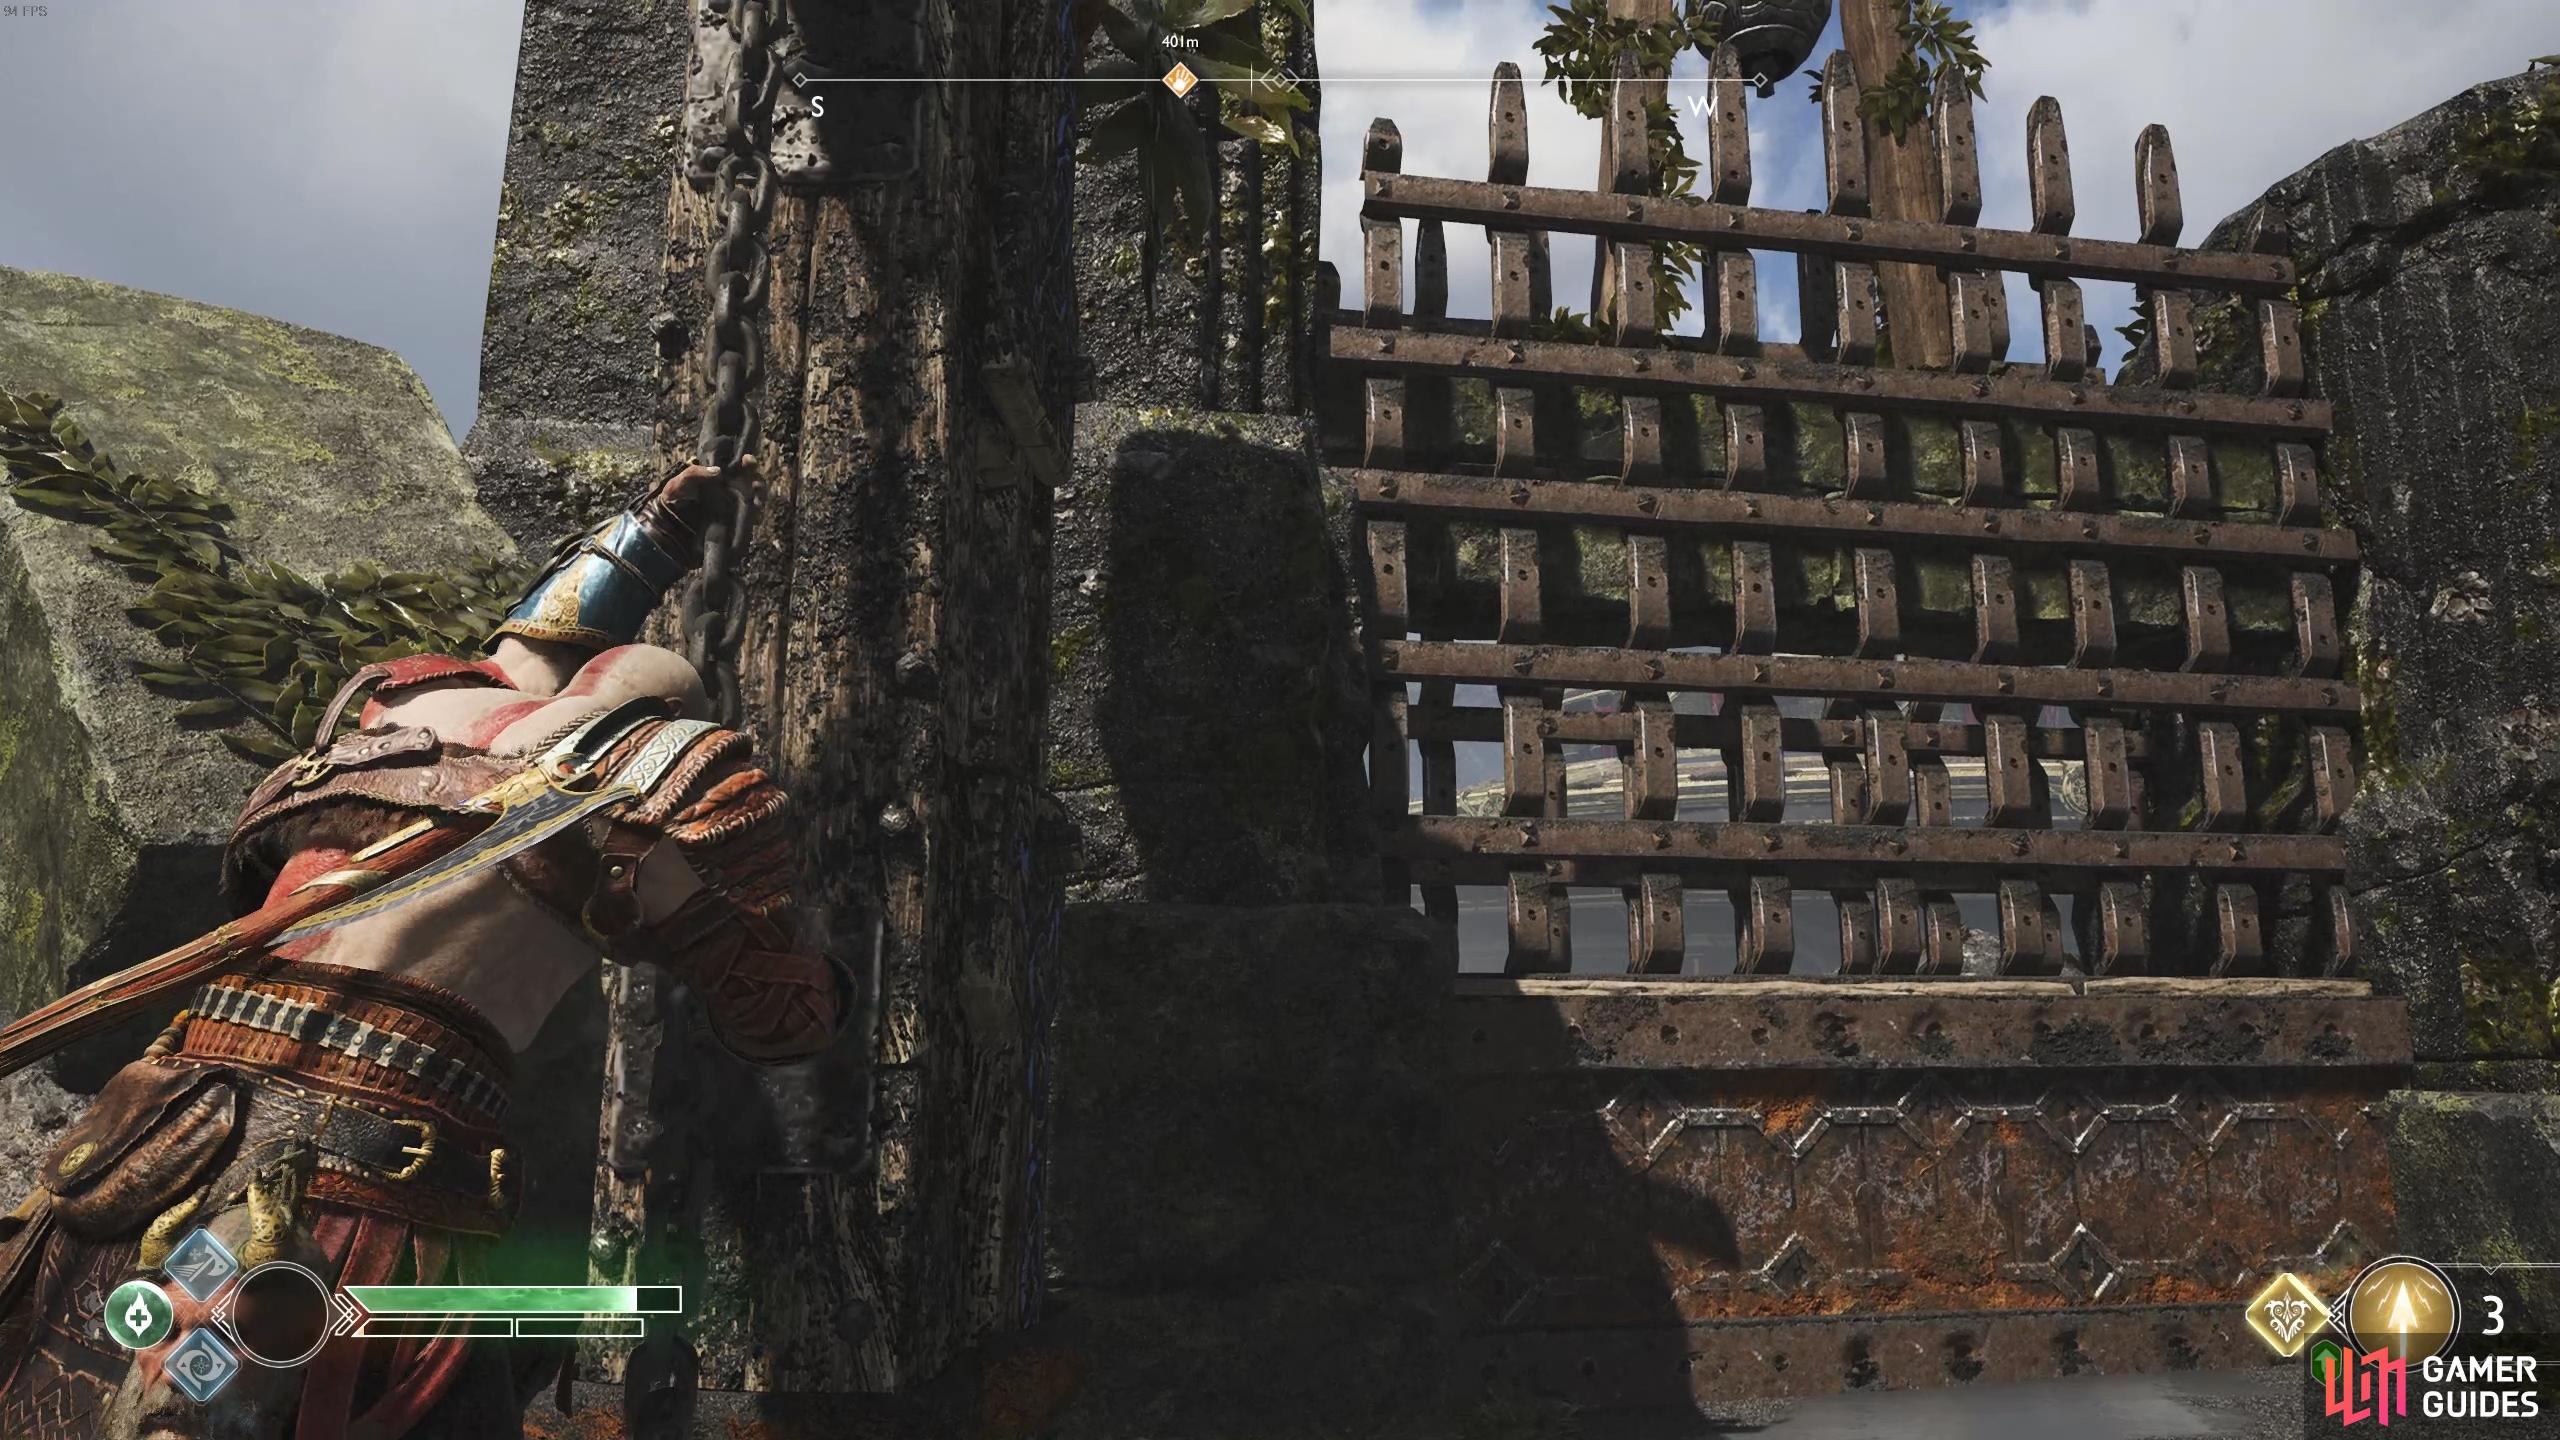
To the right of the boat is a ledge you can climb and use to access a cave. Shimmy across and you’ll find Sindri has set up shop inside here. Ignore him for now and scale the wall, taking a right to find a sack of Hacksilver on a corpse. Continue to scale the wall and open the Hacksilver chest at the top before heading through the large doors in front to find yourself in the Council of Valkyries.
(1 of 2) Use Shock Arrows to pin down the Nightmares.
Use Shock Arrows to pin down the Nightmares. (left), The next Treasure Map is on the ground here. (right)
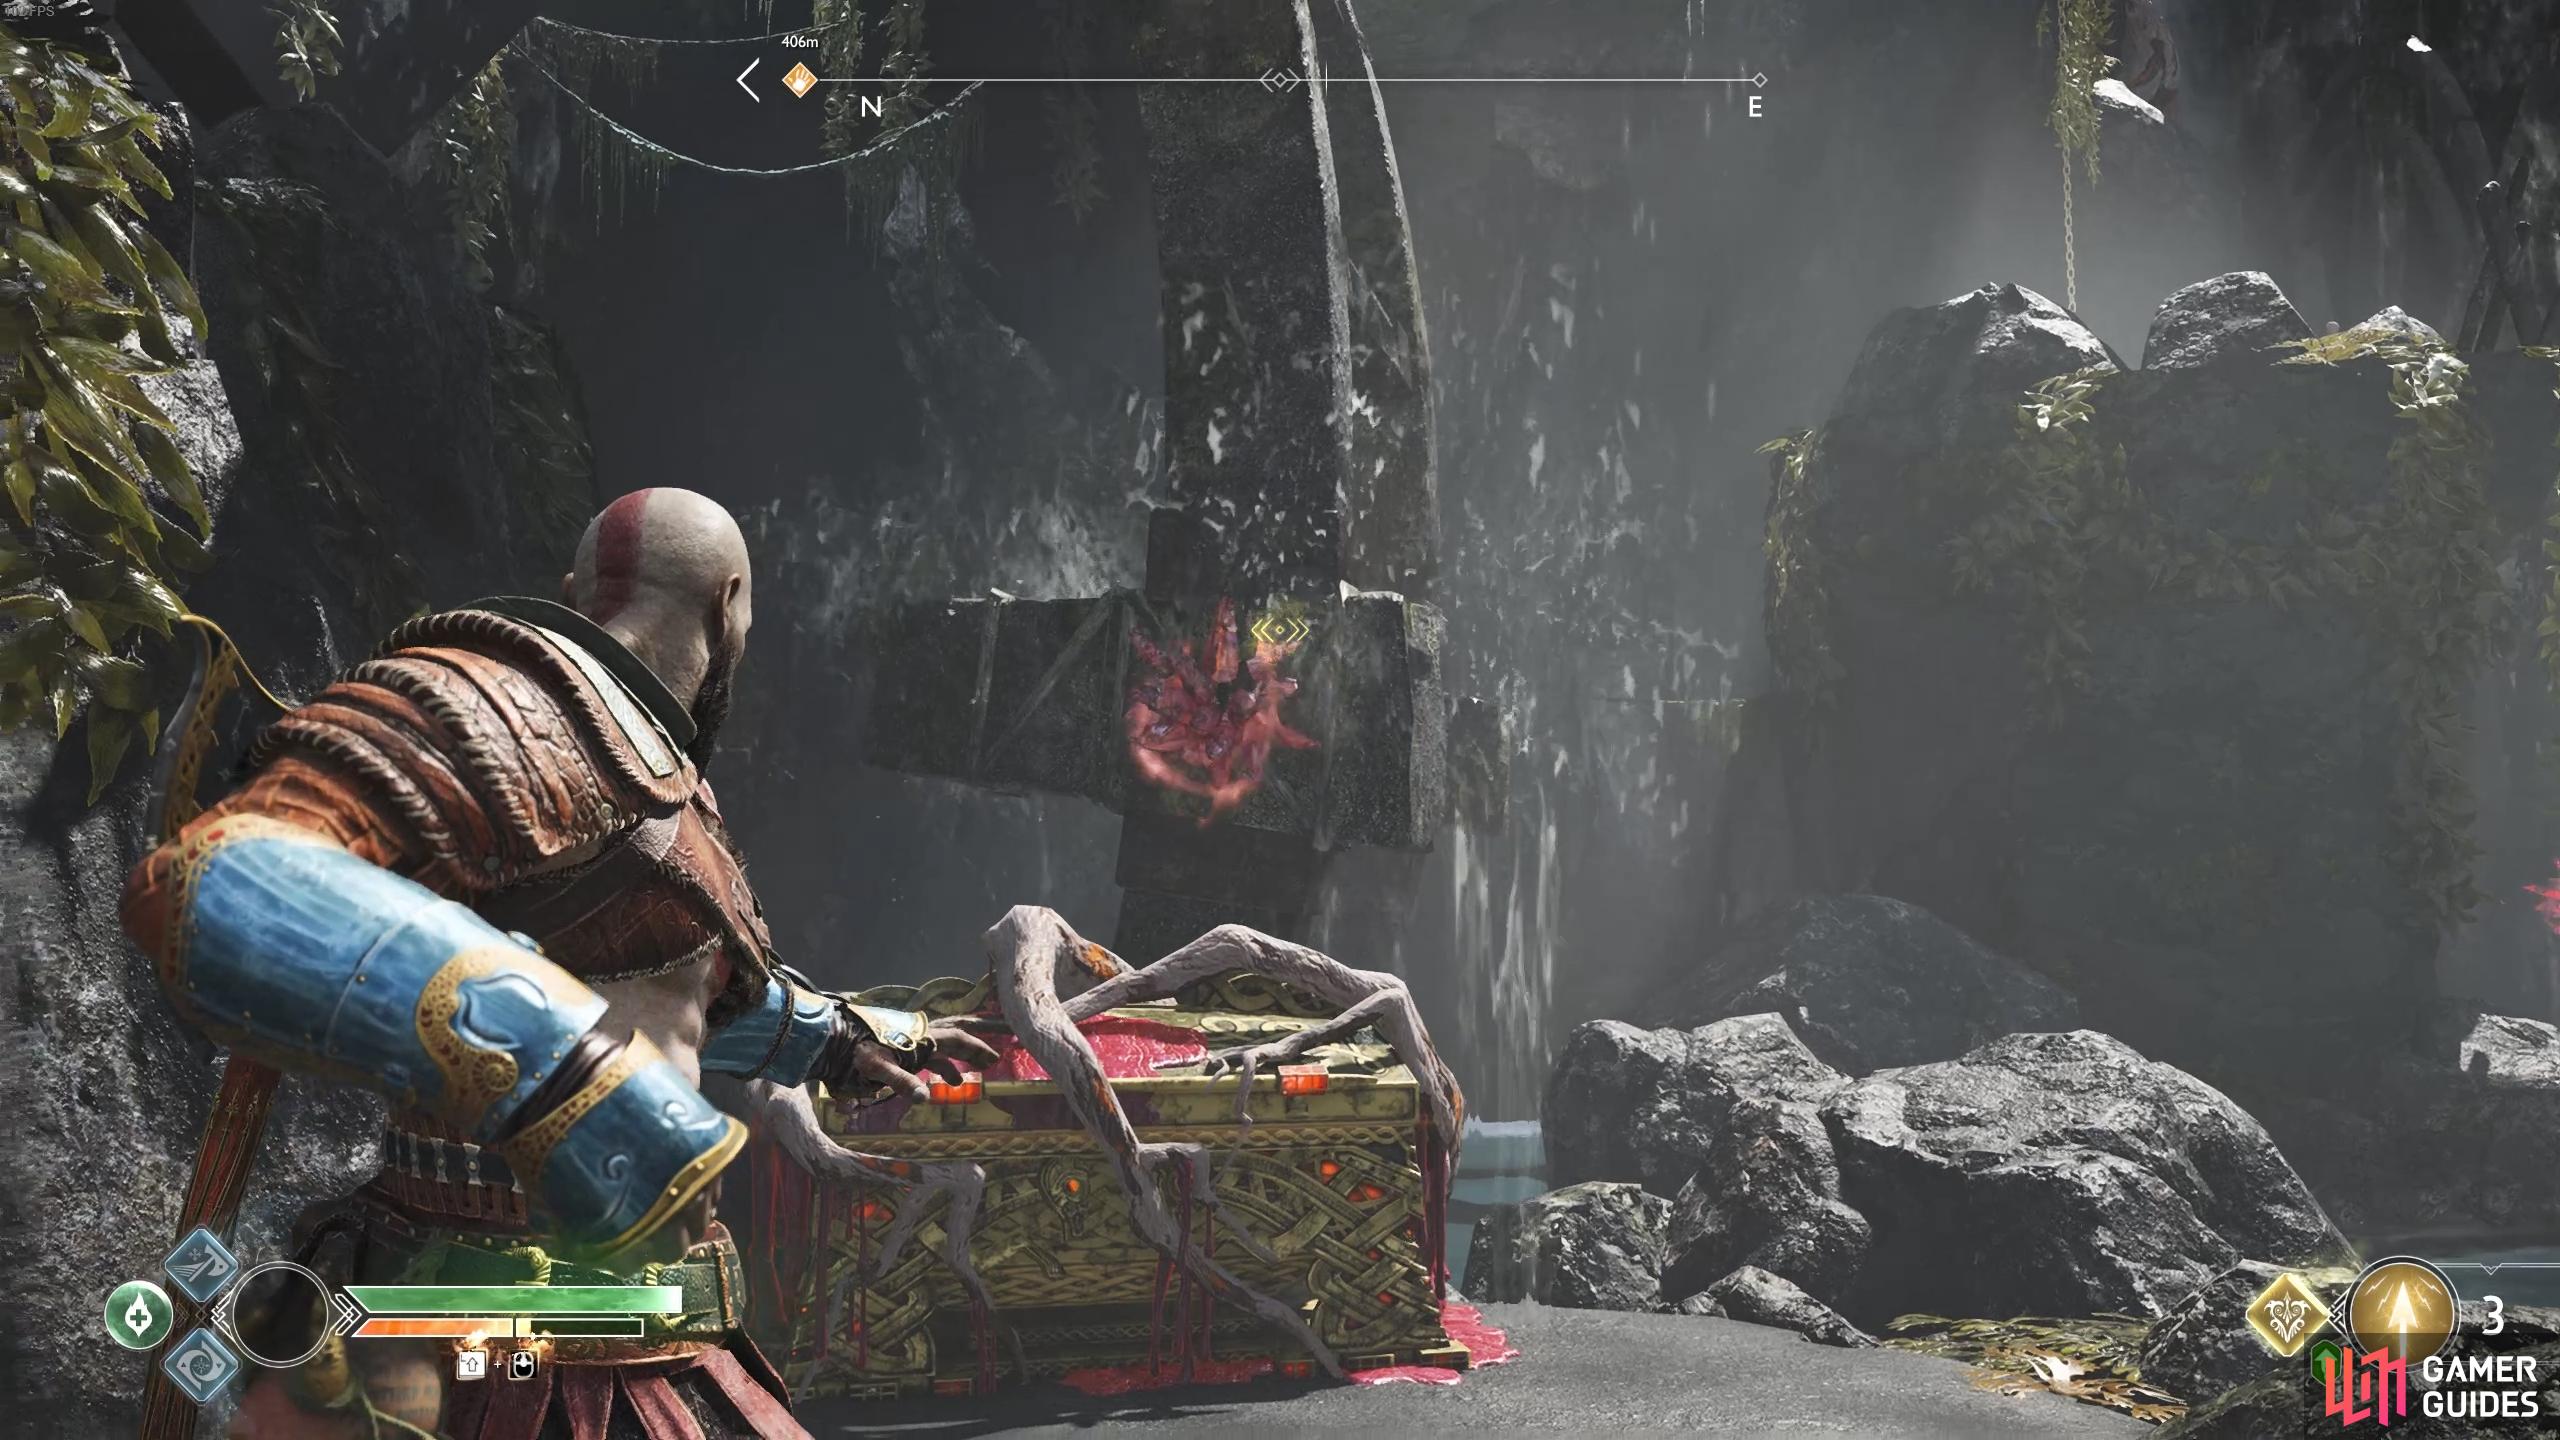
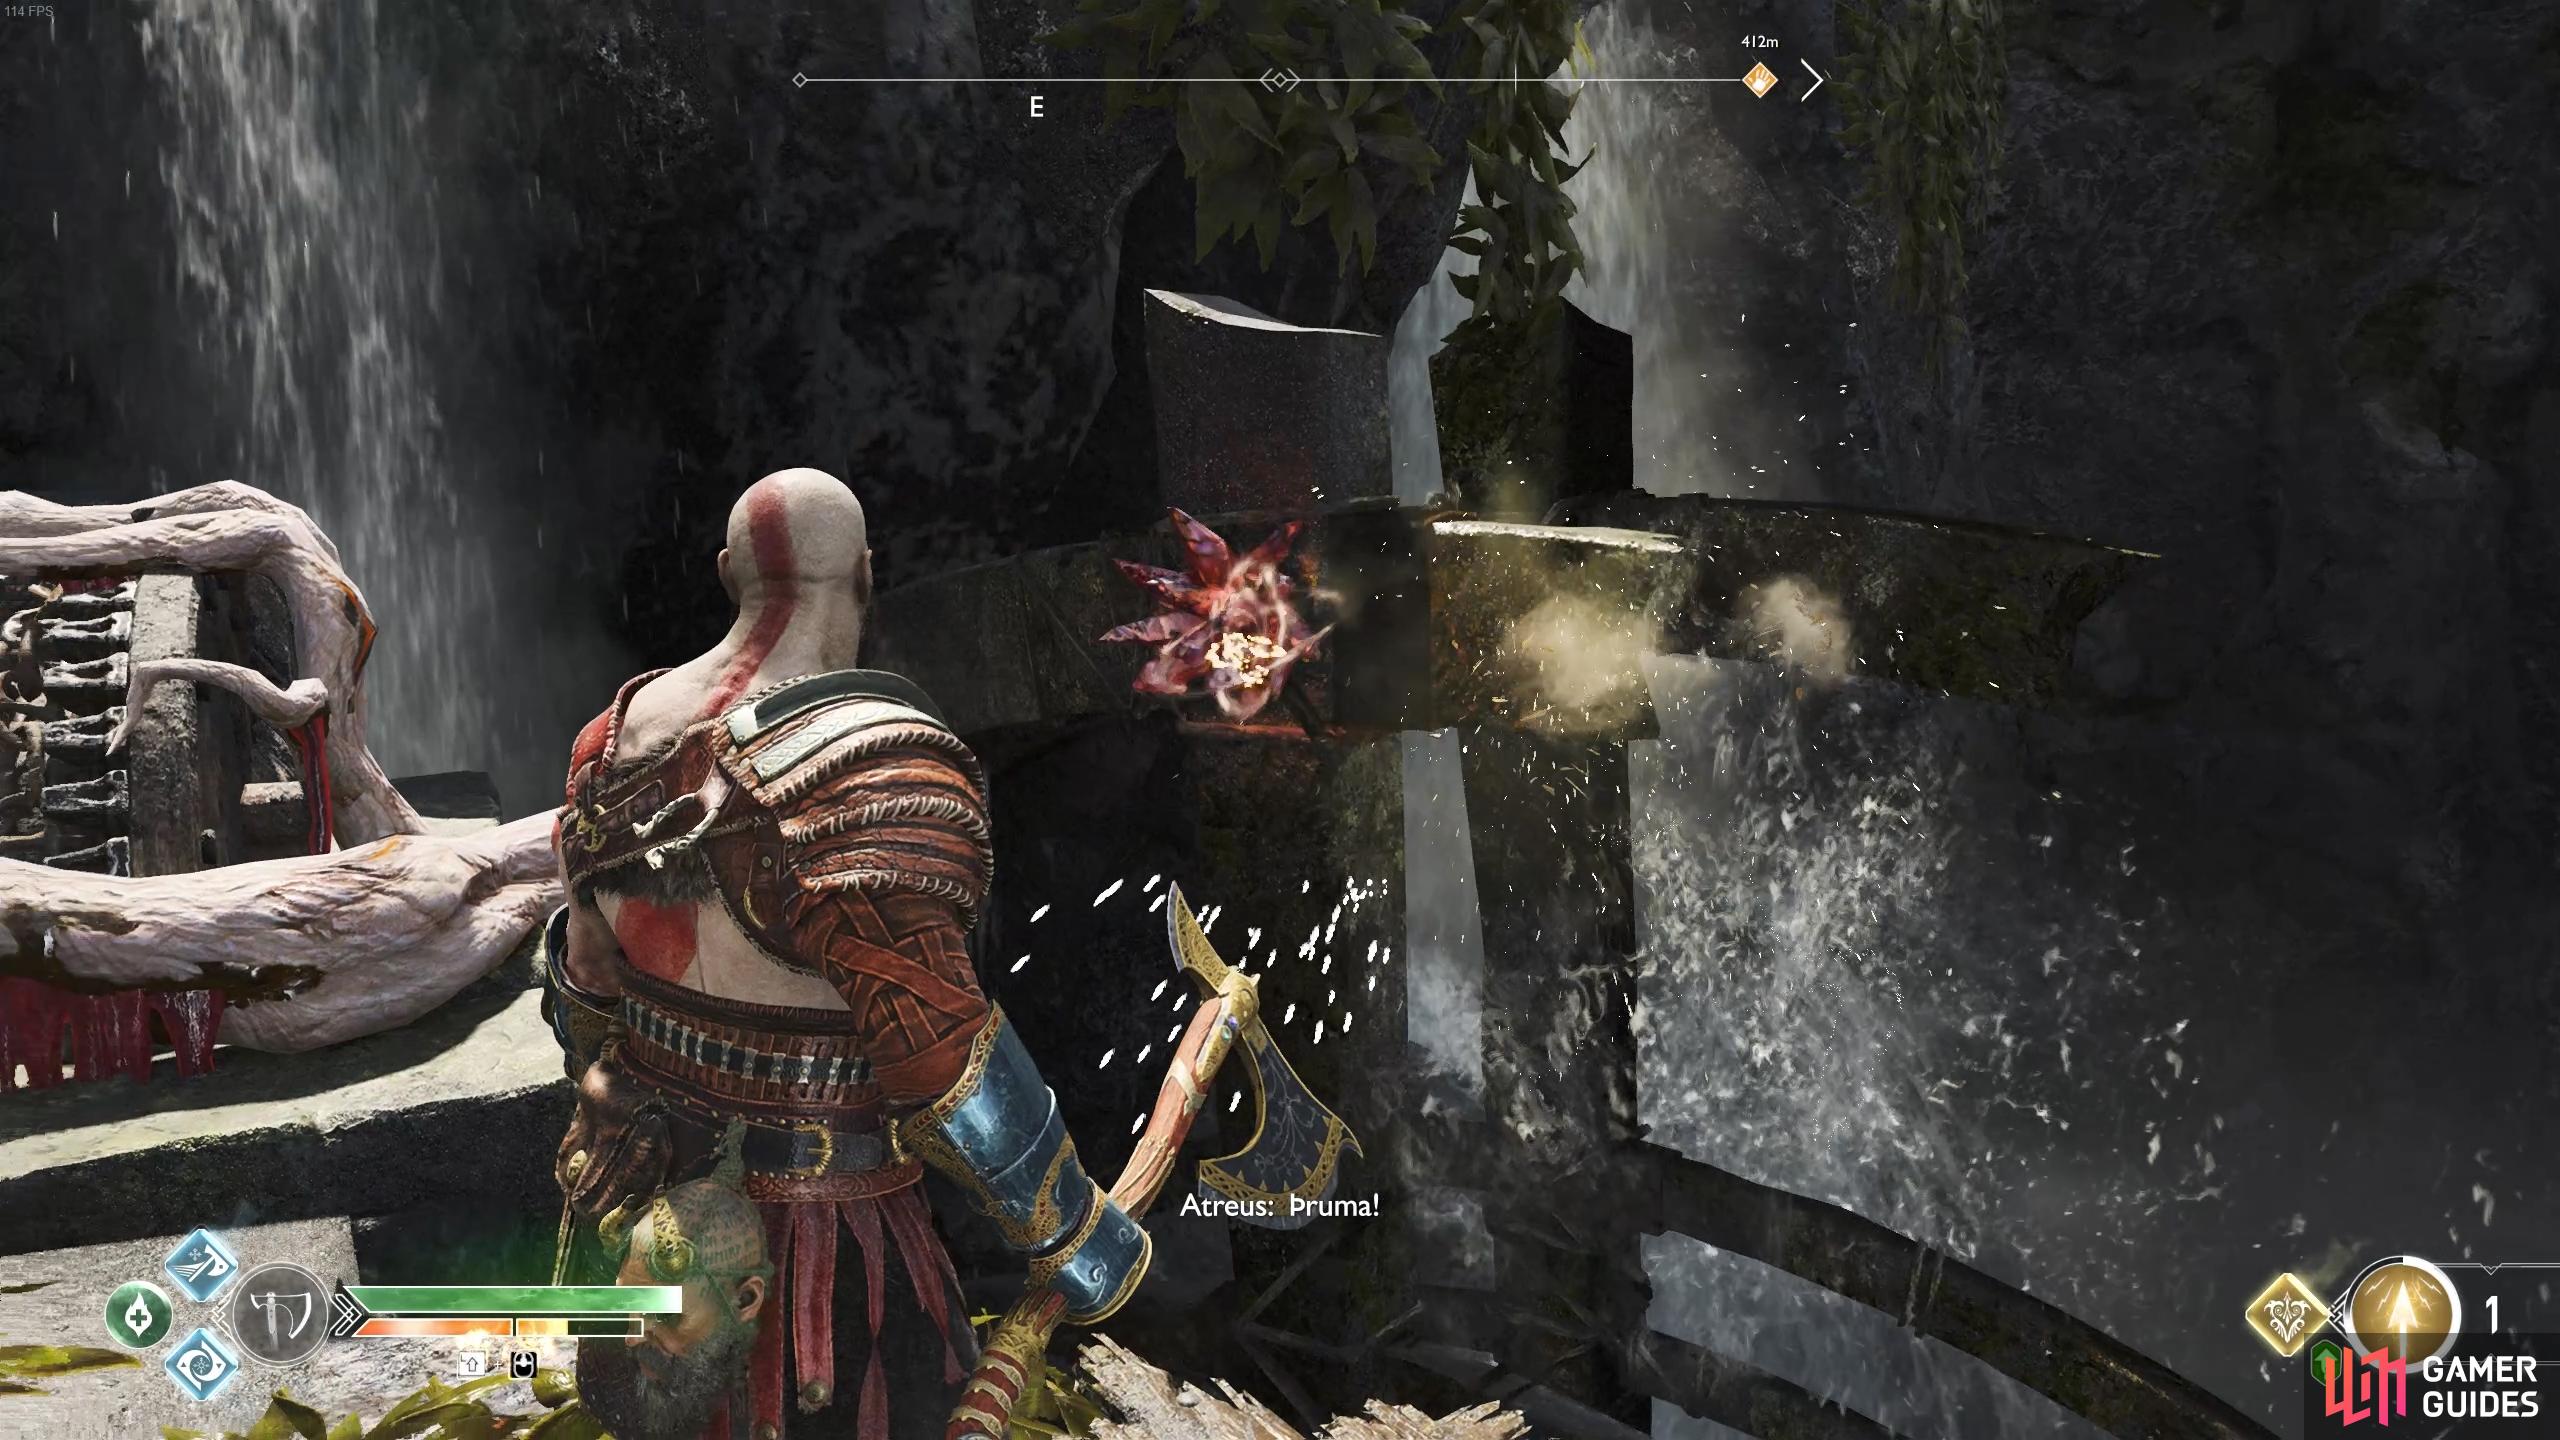
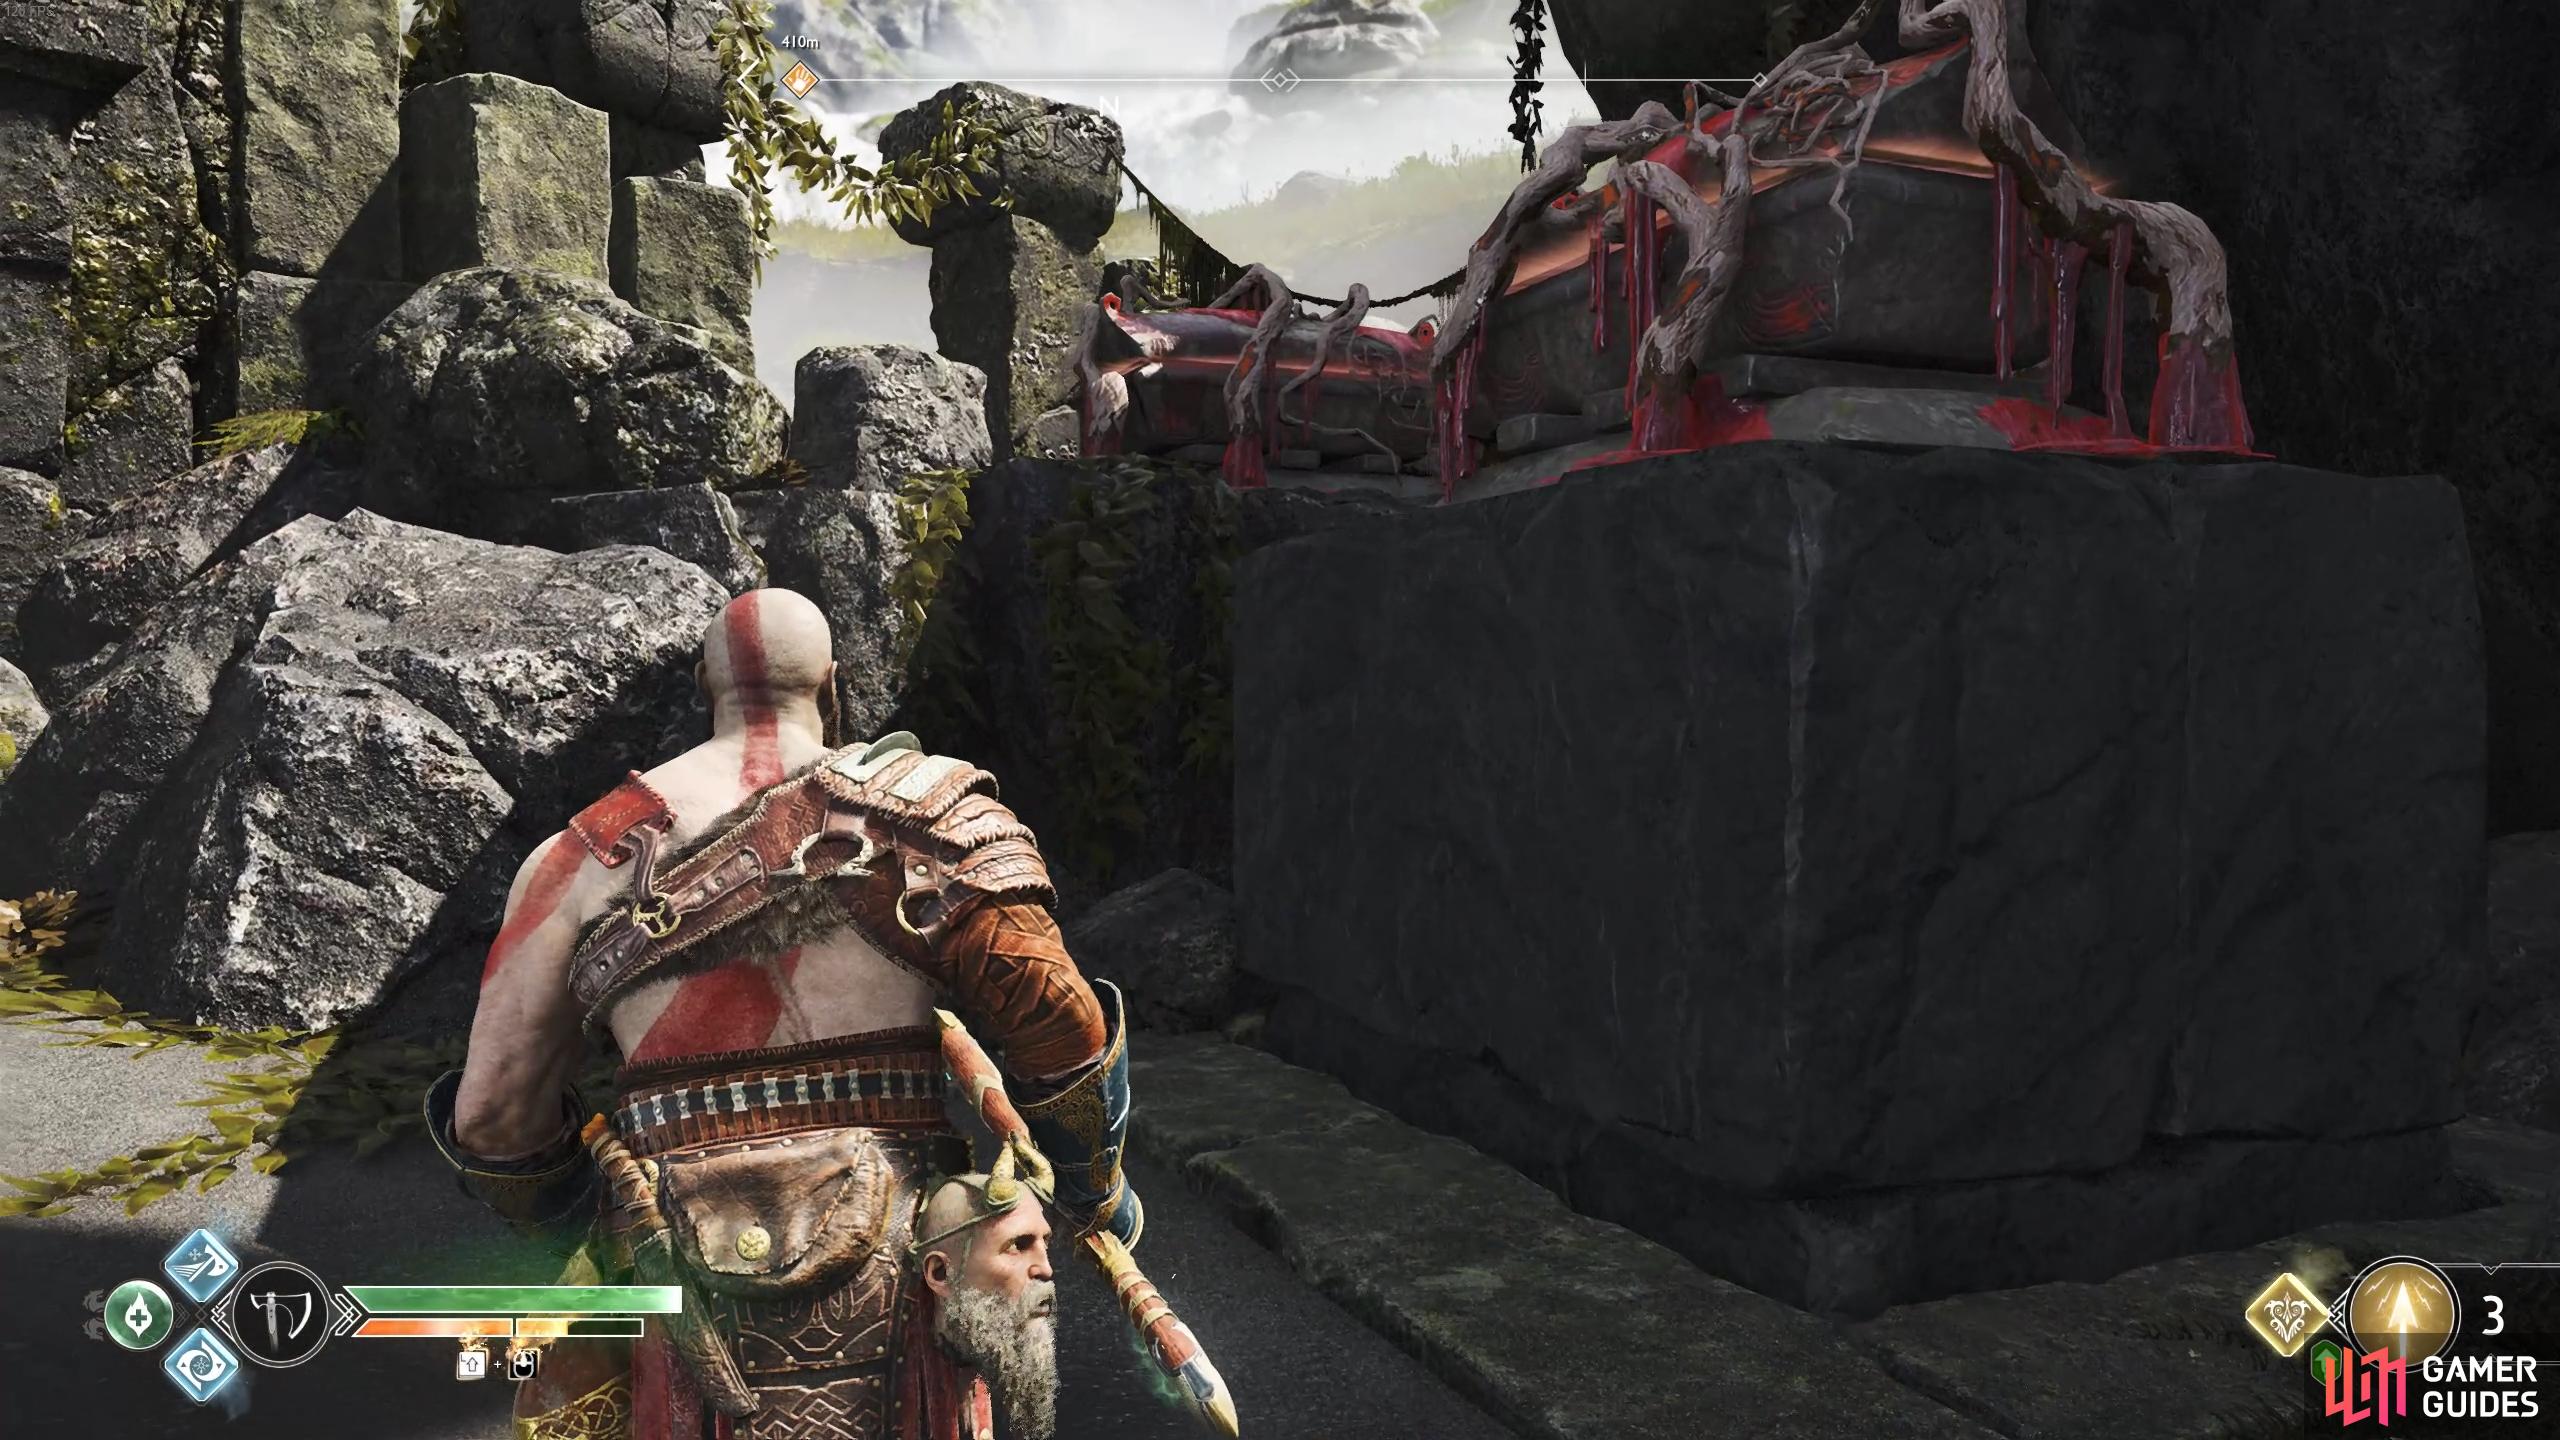
This secluded area is home to where the Valkyries convene whilst in Midgard, the vista is stunning indeed. Head forward and jump the gap before turning around and looking into it to find a bomb you can strike with the axe. Continue along the path and open the Hacksilver chest and then drop down to the area below, heading to the Mystic Gateway and unlocking it for later use. There’s not much else to do here for now, this is a location you’ll be visiting for some end game activities. On your way back head to the right of the ledge after you climb the chain to gain access to the coffin from earlier.
Look into the gap once you leap it to find this bomb hiding at the back.
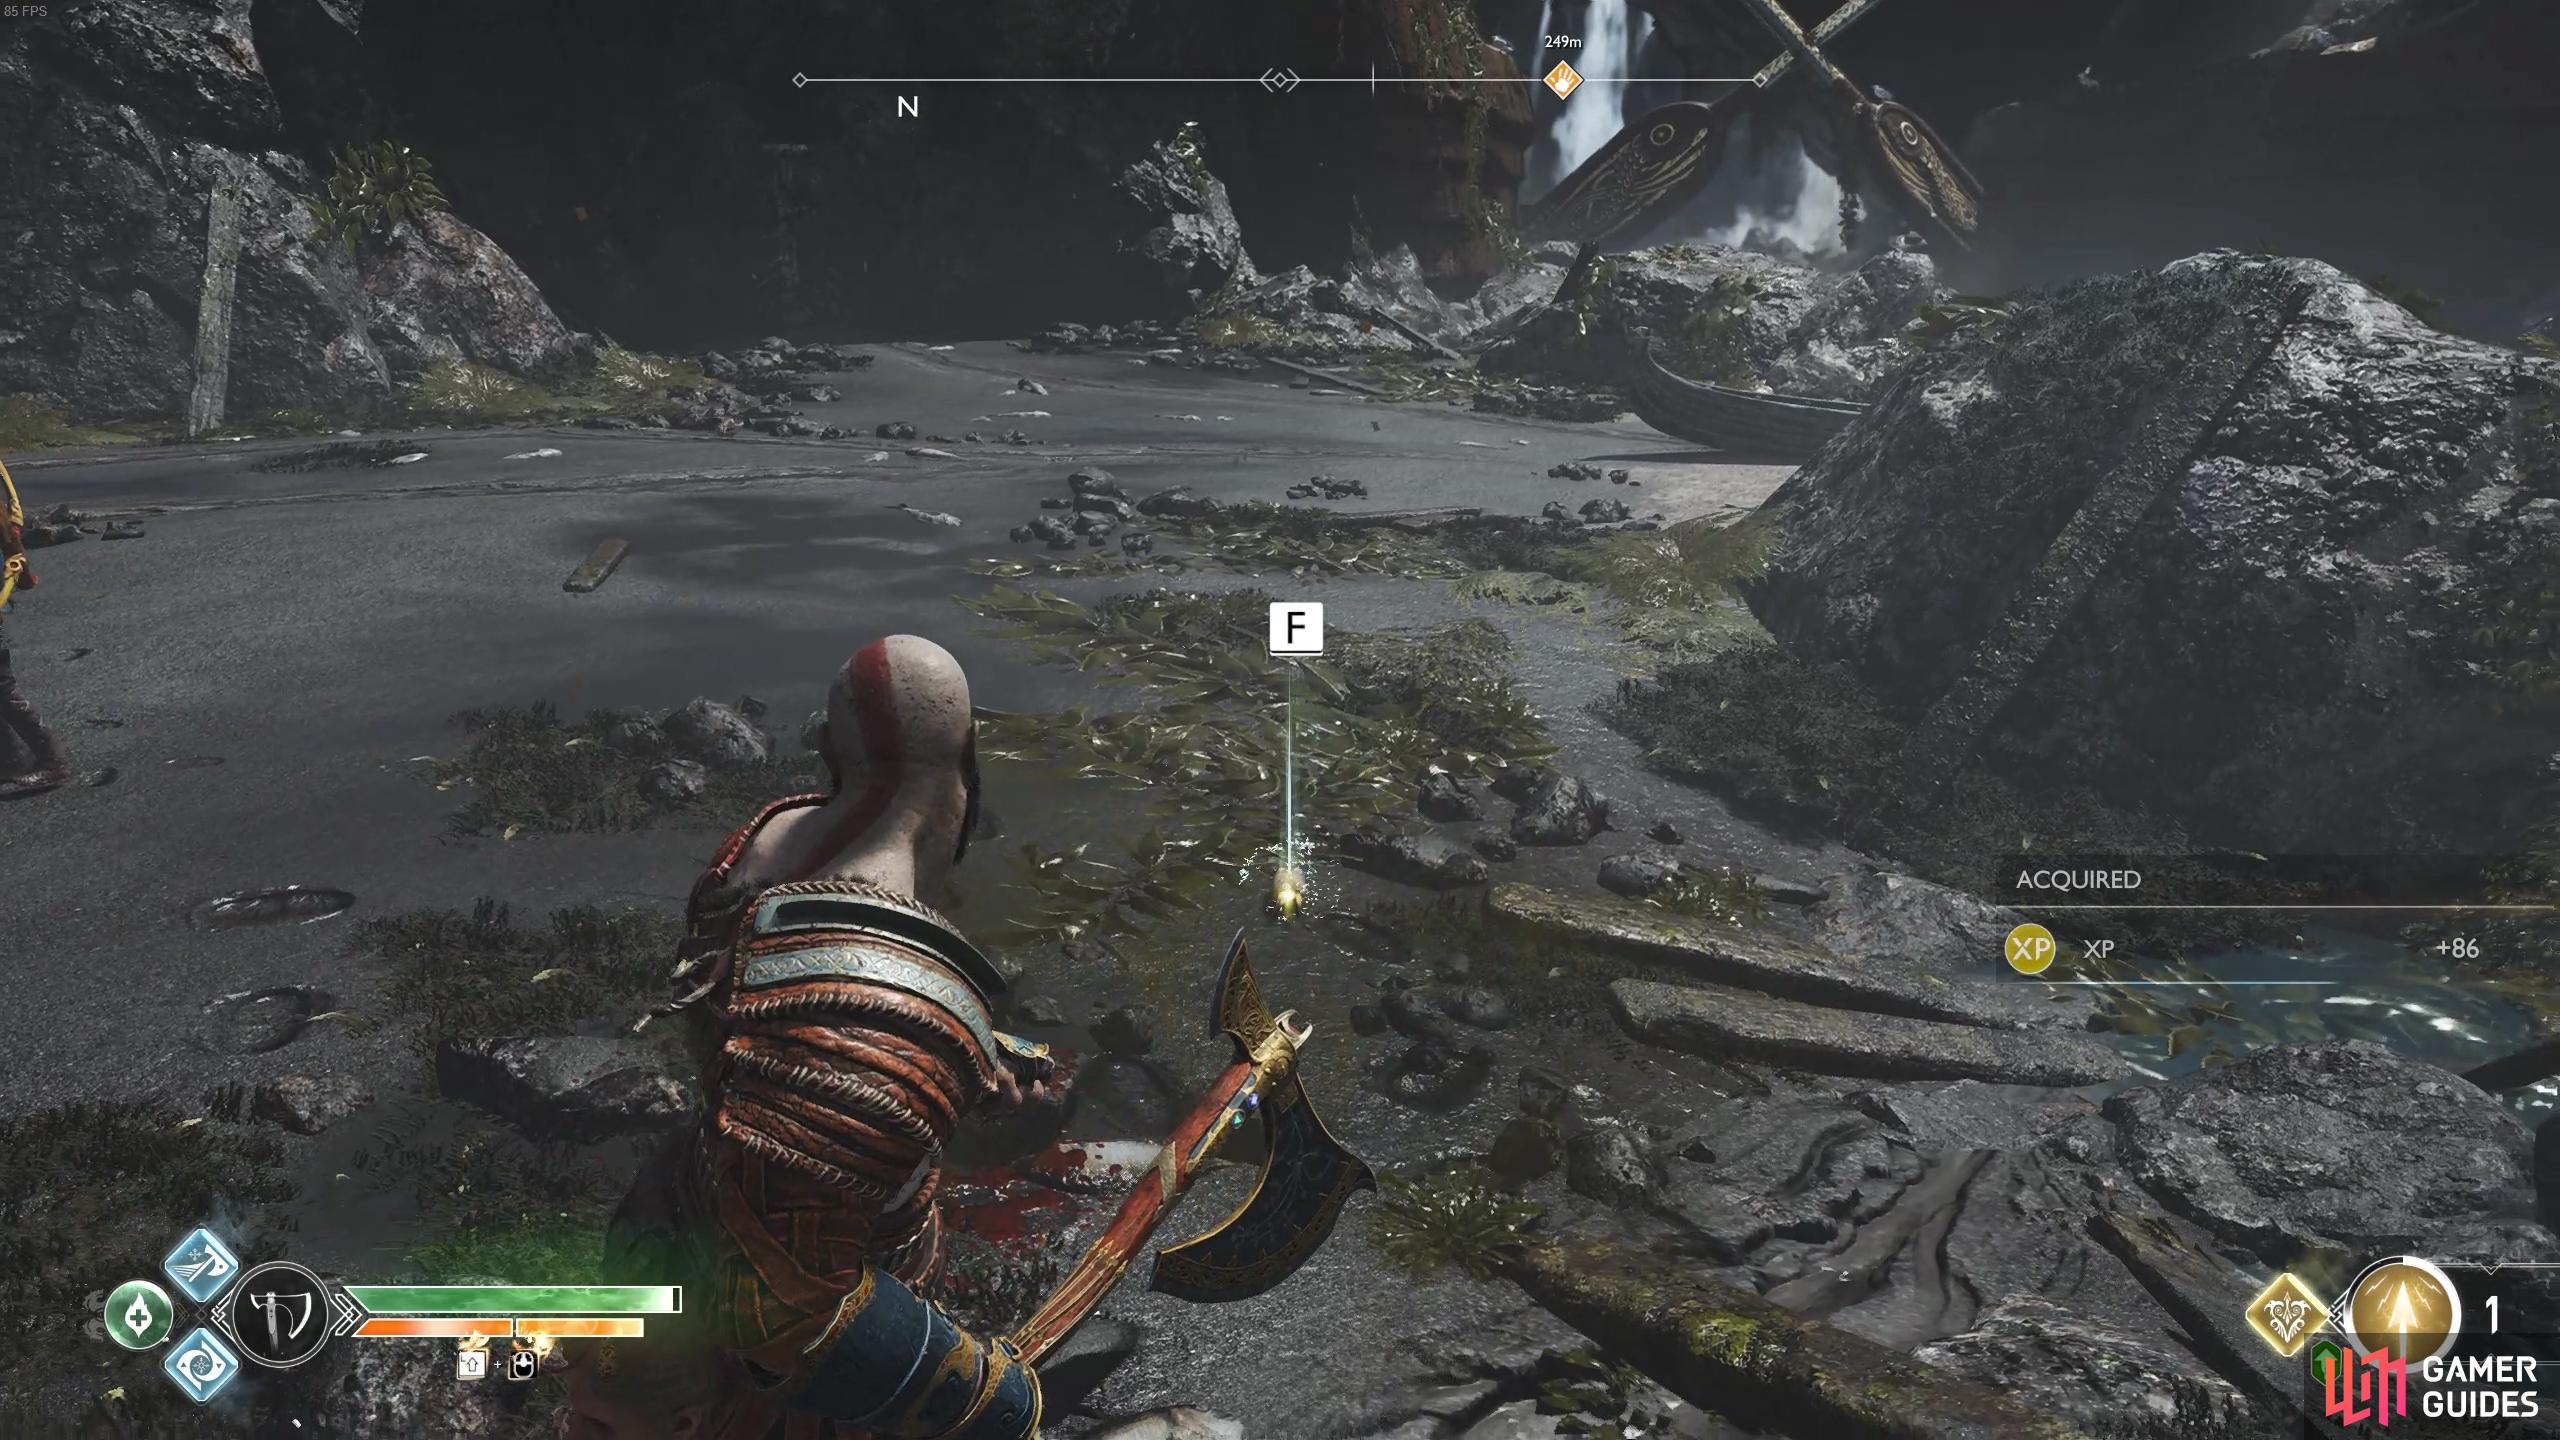
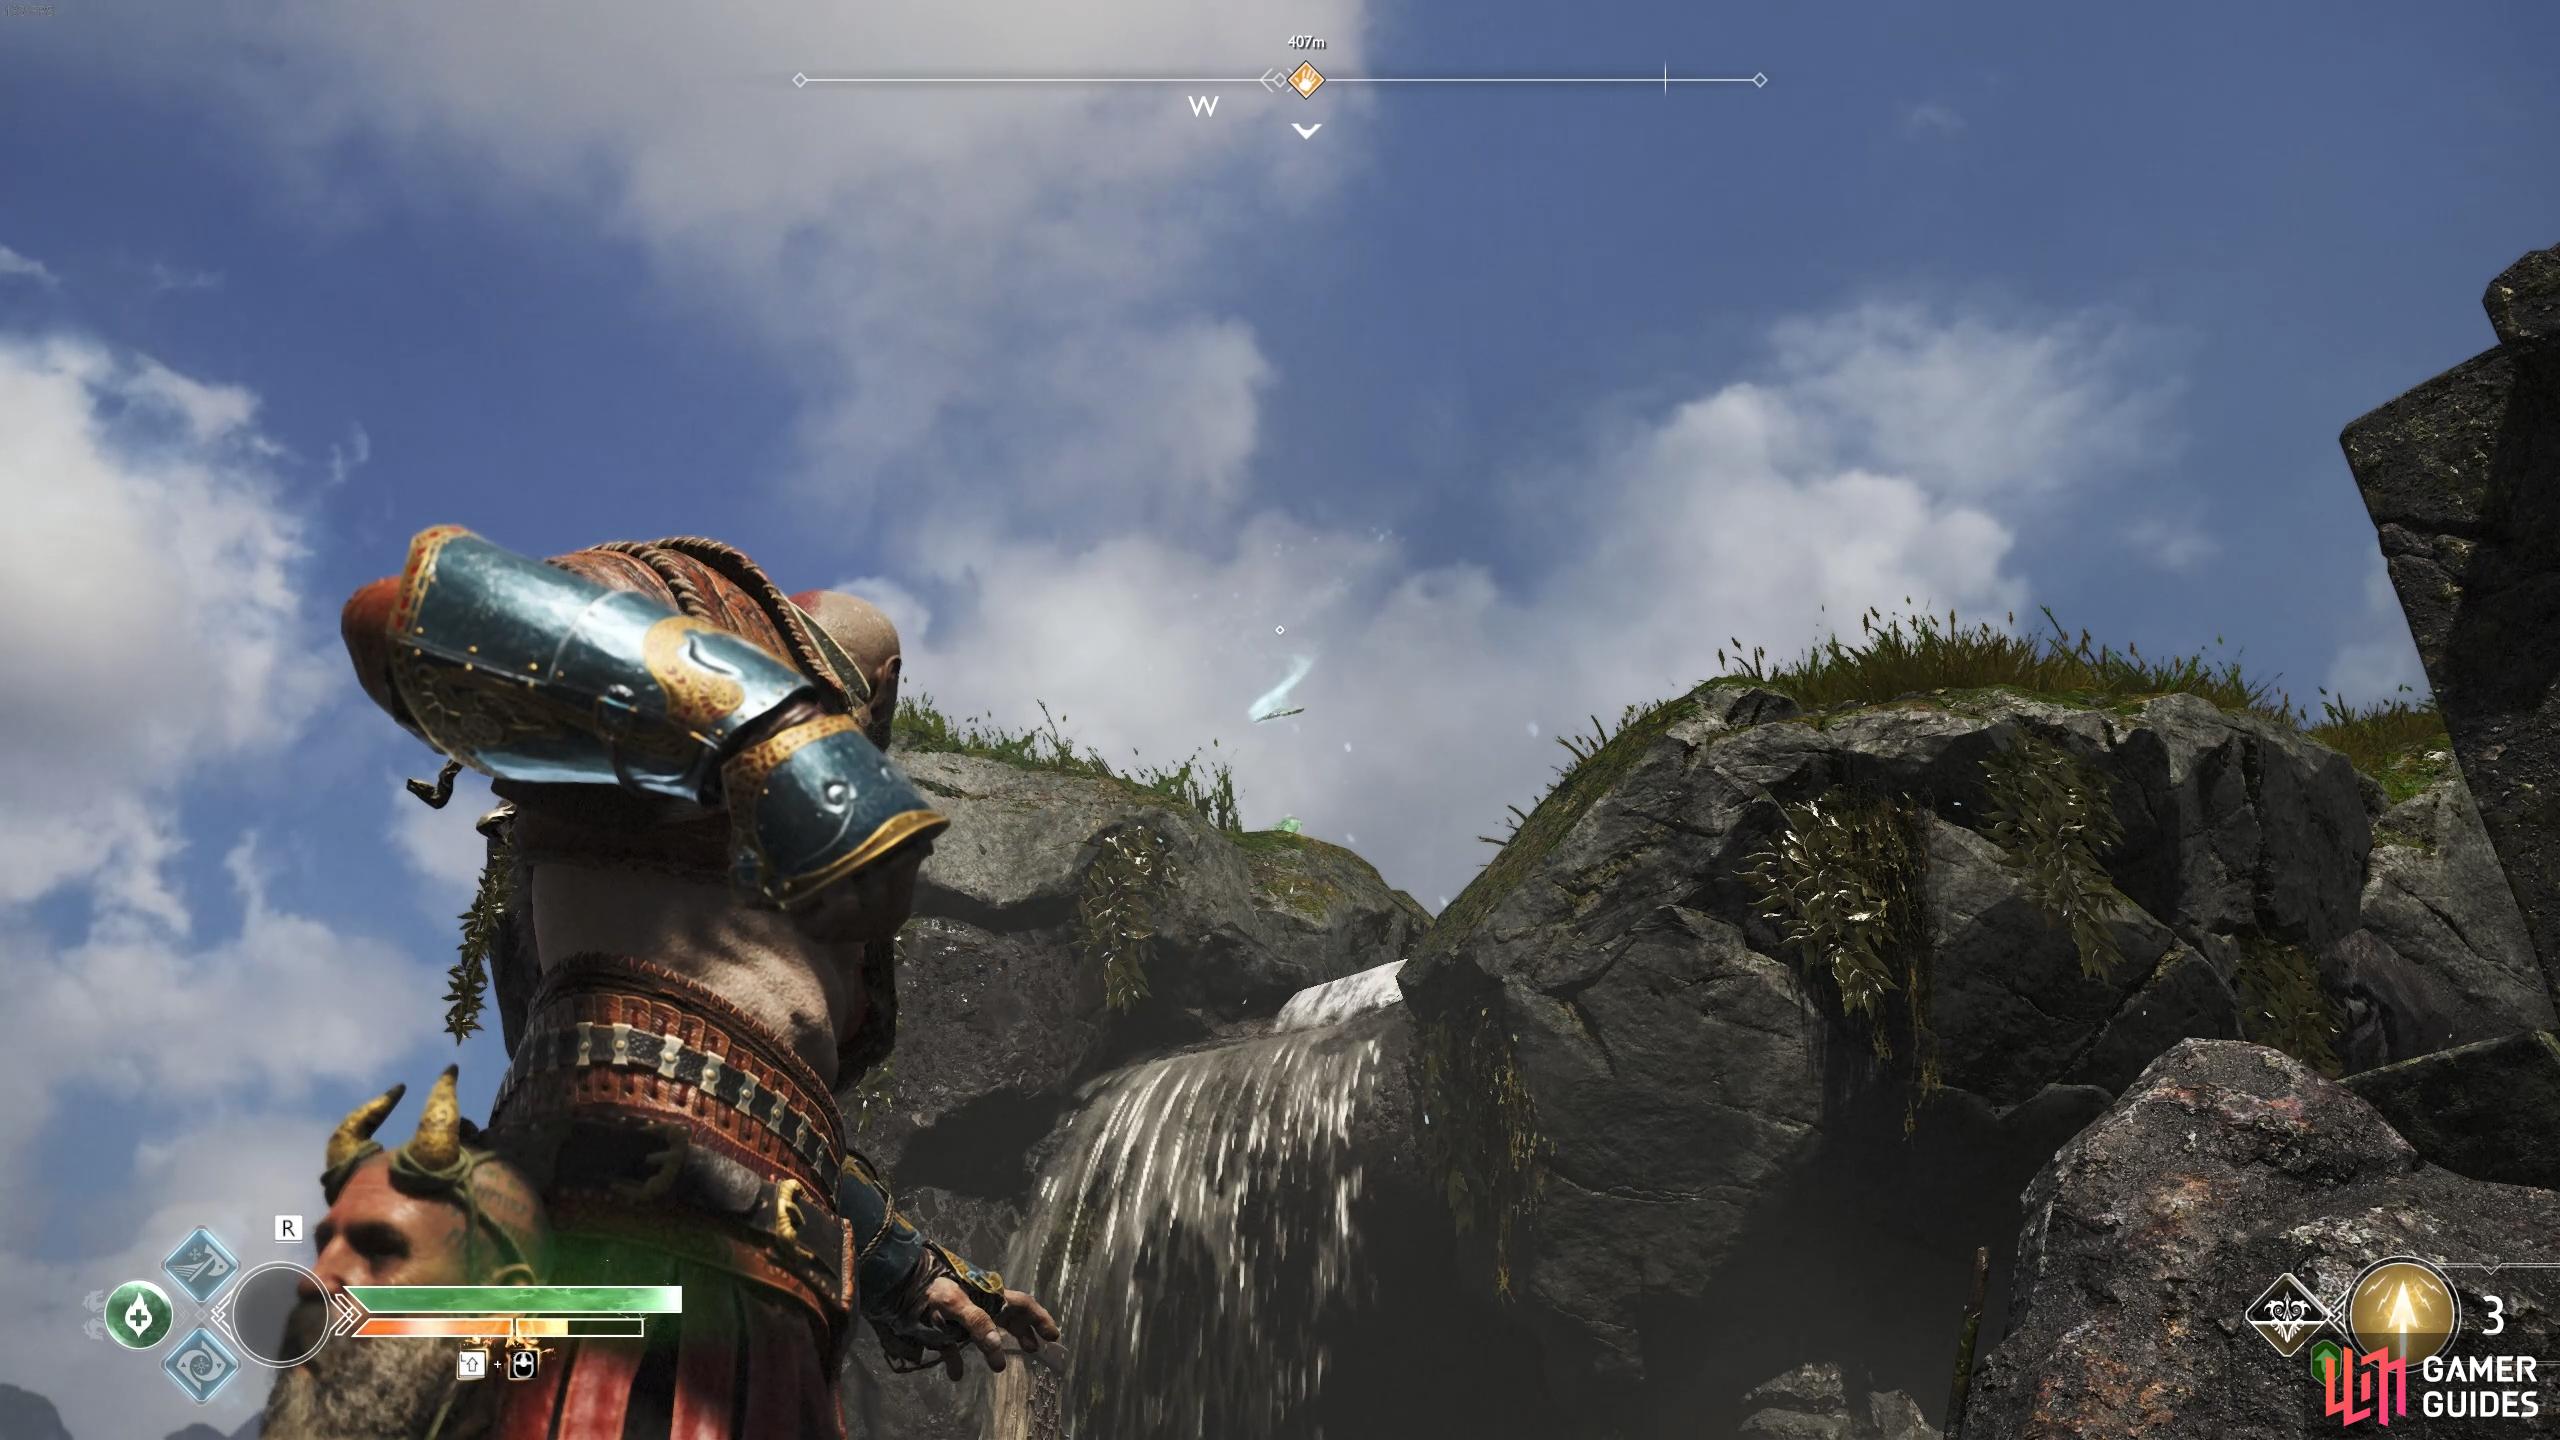
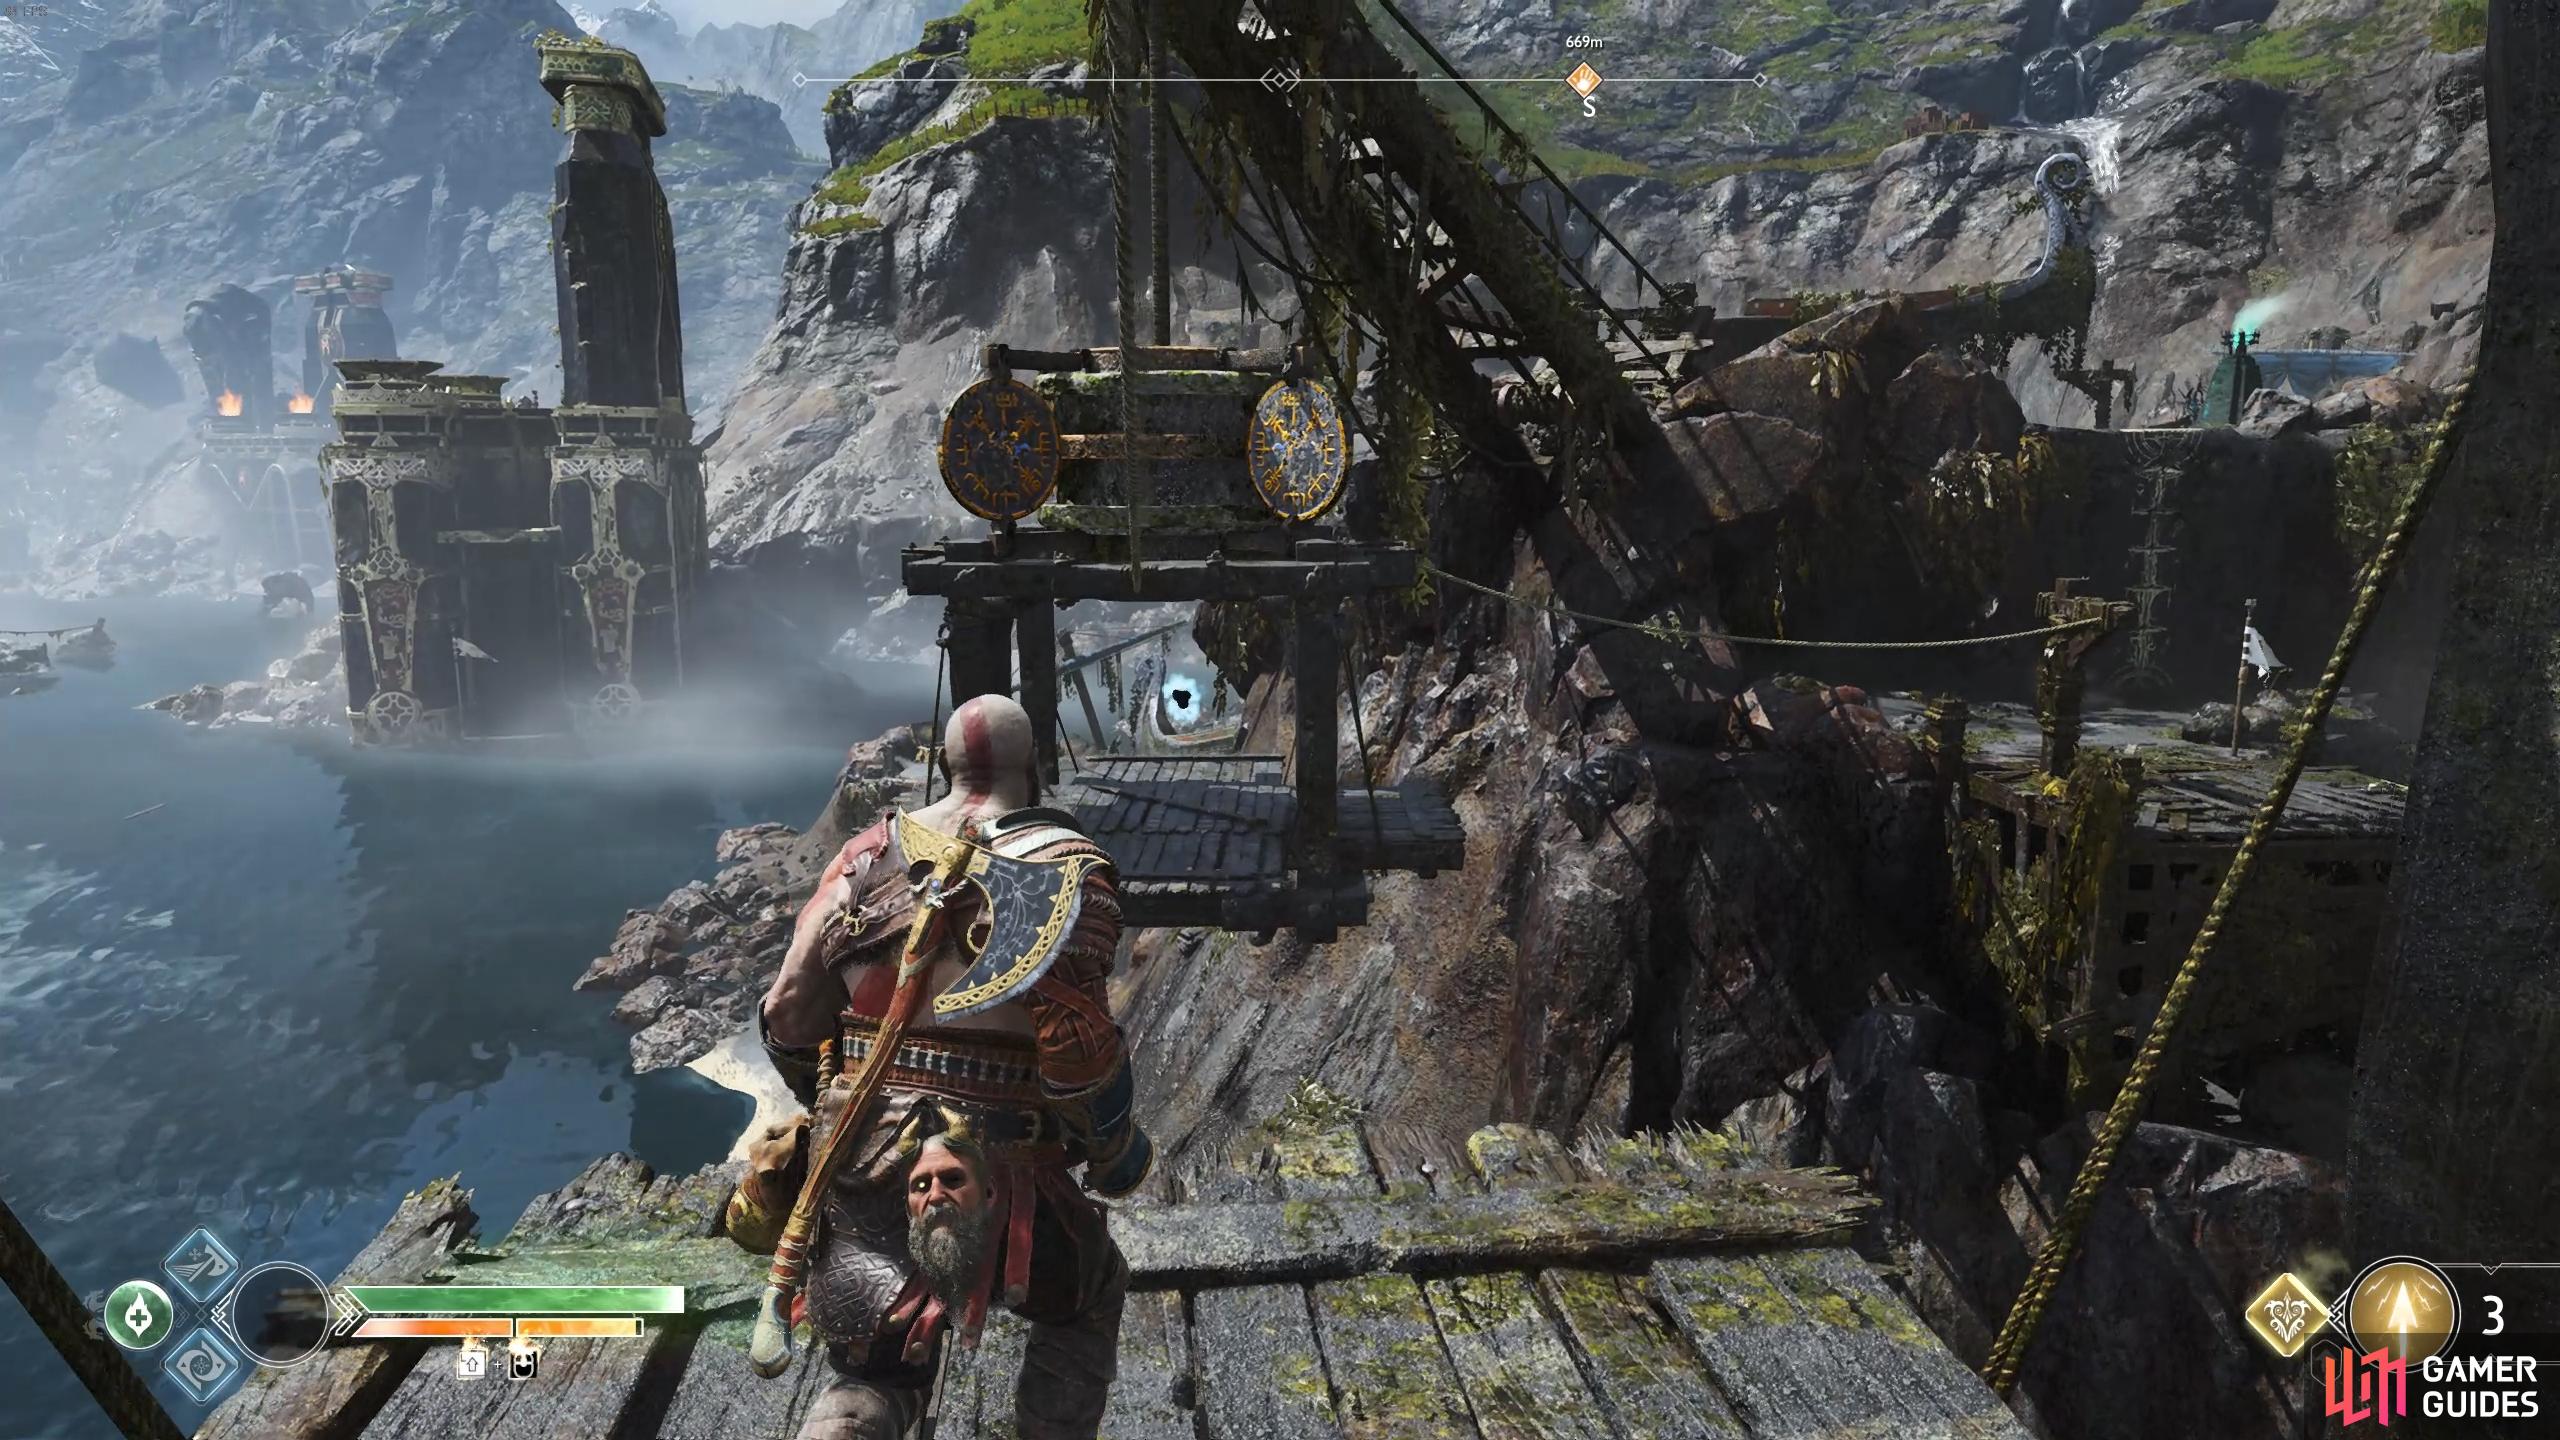
Leave the area, take the zipline at the top back down and return to the boat. Ignore the route through the Oarsman, the Mason’s Channel for now and row over to the other side to the east to find a Yggdrasil’s Dew of Strength before docking at the beach to the left of it.
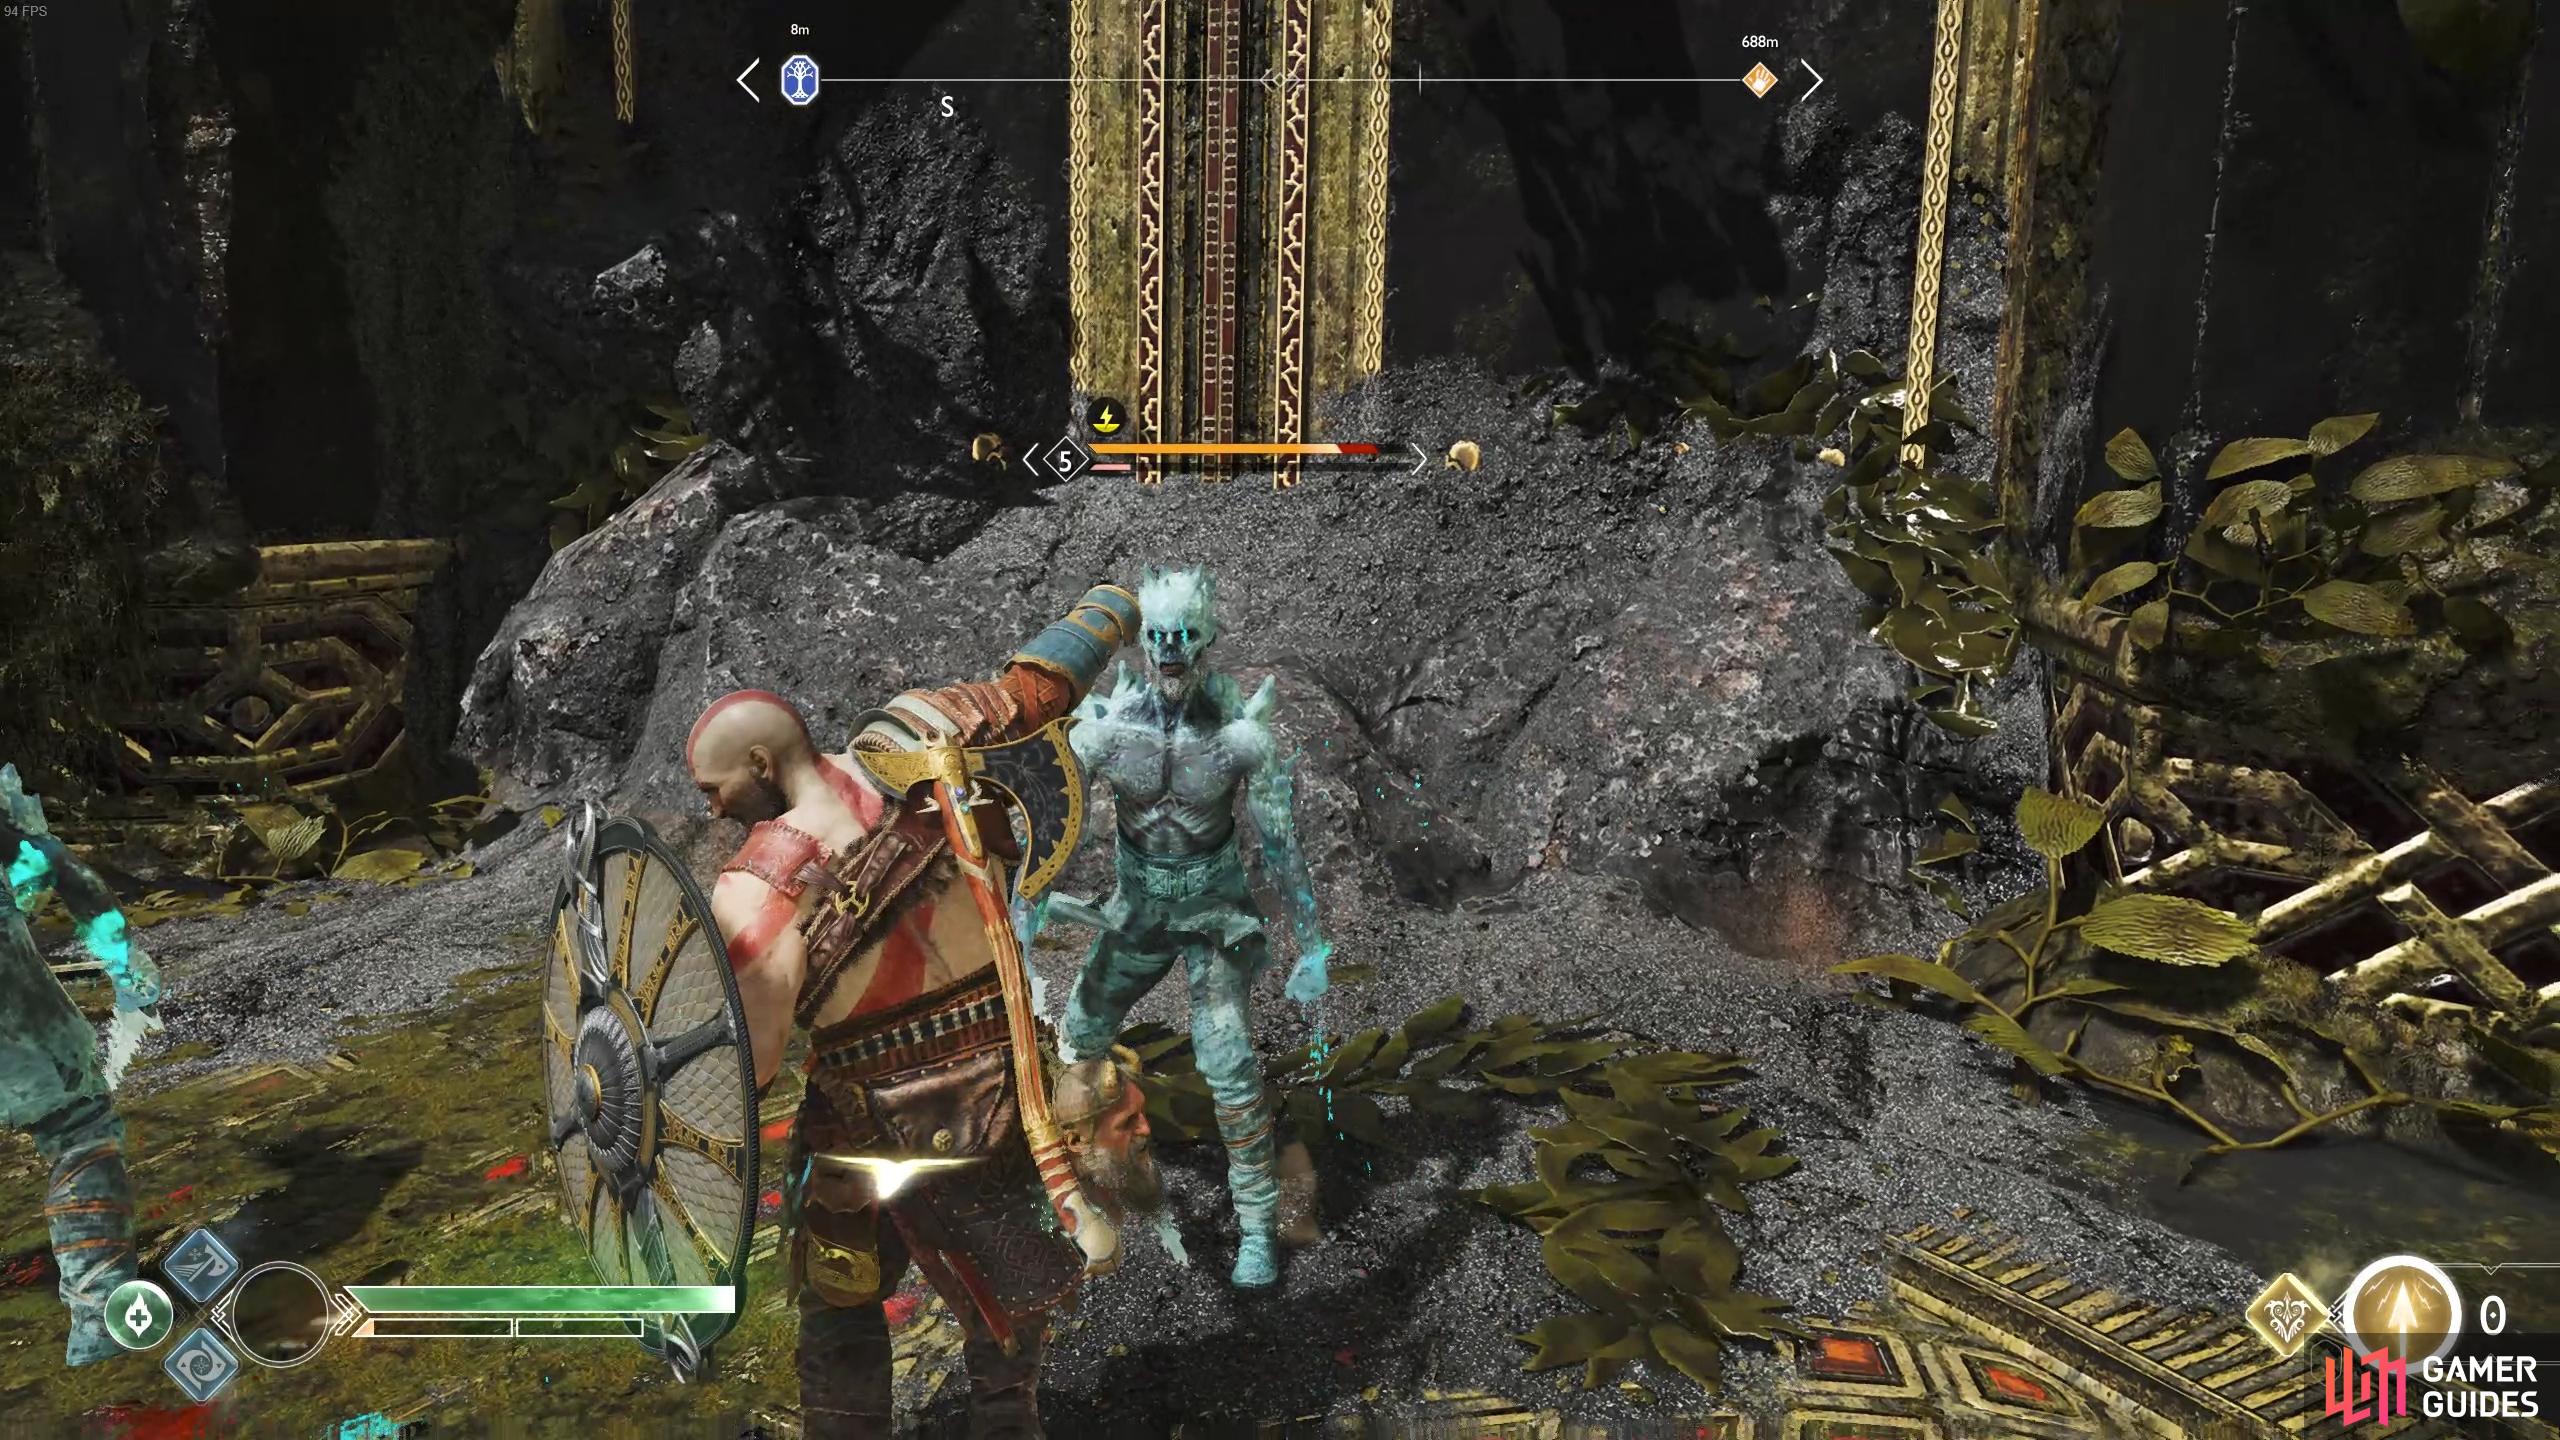
The ledge in front is blocked by debris, thankfully someone left some Shatter Crystals nearby, shoot these with a Shock Arrow to remove the debris and climb the ledge. You’ll find a Realm Tear to your right, this is a battle against two very tough Level 6 enemies, a Hel-Walker and a Hel-Viken. At this Level, it’s a good idea to use your Spartan Rage in order to pummel and build up the Stun Gauge, failing that, try to knock the enemies over the side. After their defeat, check the tear to obtain Dust of Realms and 2500 Hacksilver.
(1 of 2) Pick up the dew hanging from this branch before you dock at the nearby beach.
Pick up the dew hanging from this branch before you dock at the nearby beach. (left), Make use of Spartan Rage to build up the Stun Gauge. (right)
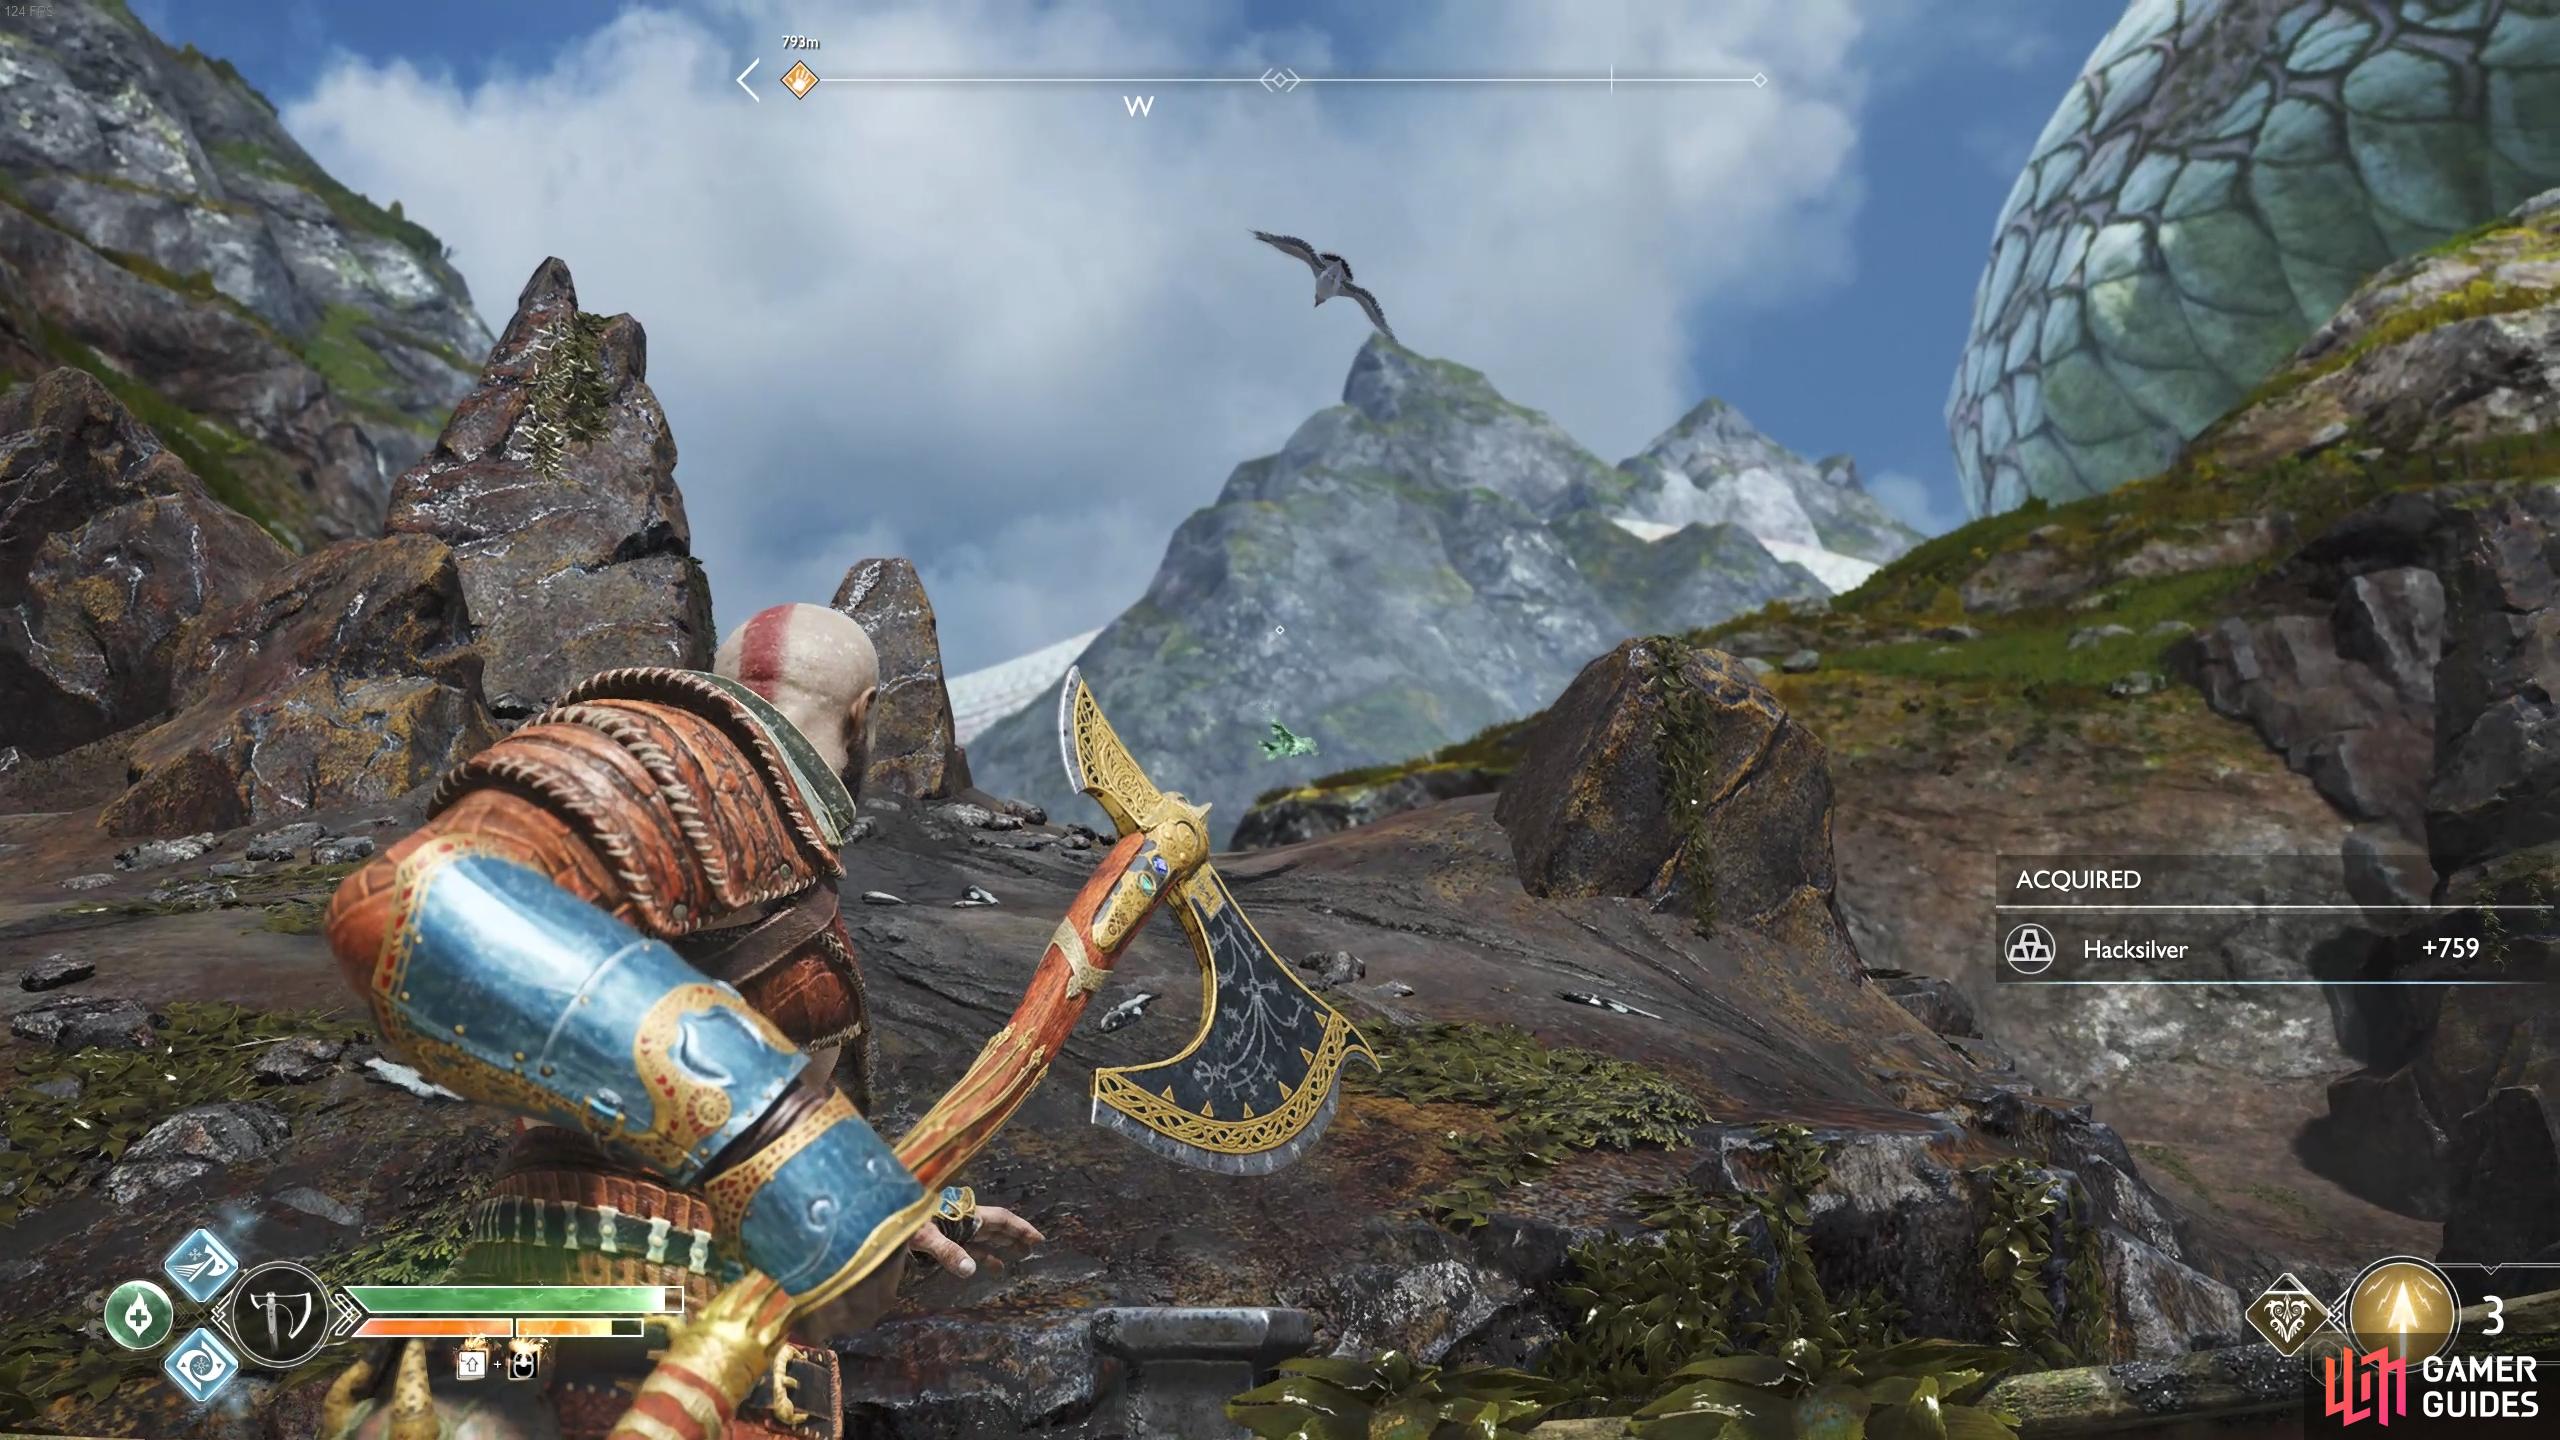
Turn behind you and face the Oarsman statues to the northwest to spot a Raven perched on top. Climb the ledge and as you proceed along the path, look over the side to your right to find Shatter Crystals you can hit with Shock Arrows. Drop back down the ledge and follow this now open path to a Legendary Chest at the end containing a Niflheim Cipher Piece and beginning the Realm of Fog Favor. Climb the ledge once more and follow the path to a door, the Dragon Fafnir awaits inside.
(1 of 2) This Raven is on top of the oarsman statue.
This Raven is on top of the oarsman statue. (left), You’ll find your first Niflheim Cipher Piece just past the debris. (right)
The Flight of Fafnir
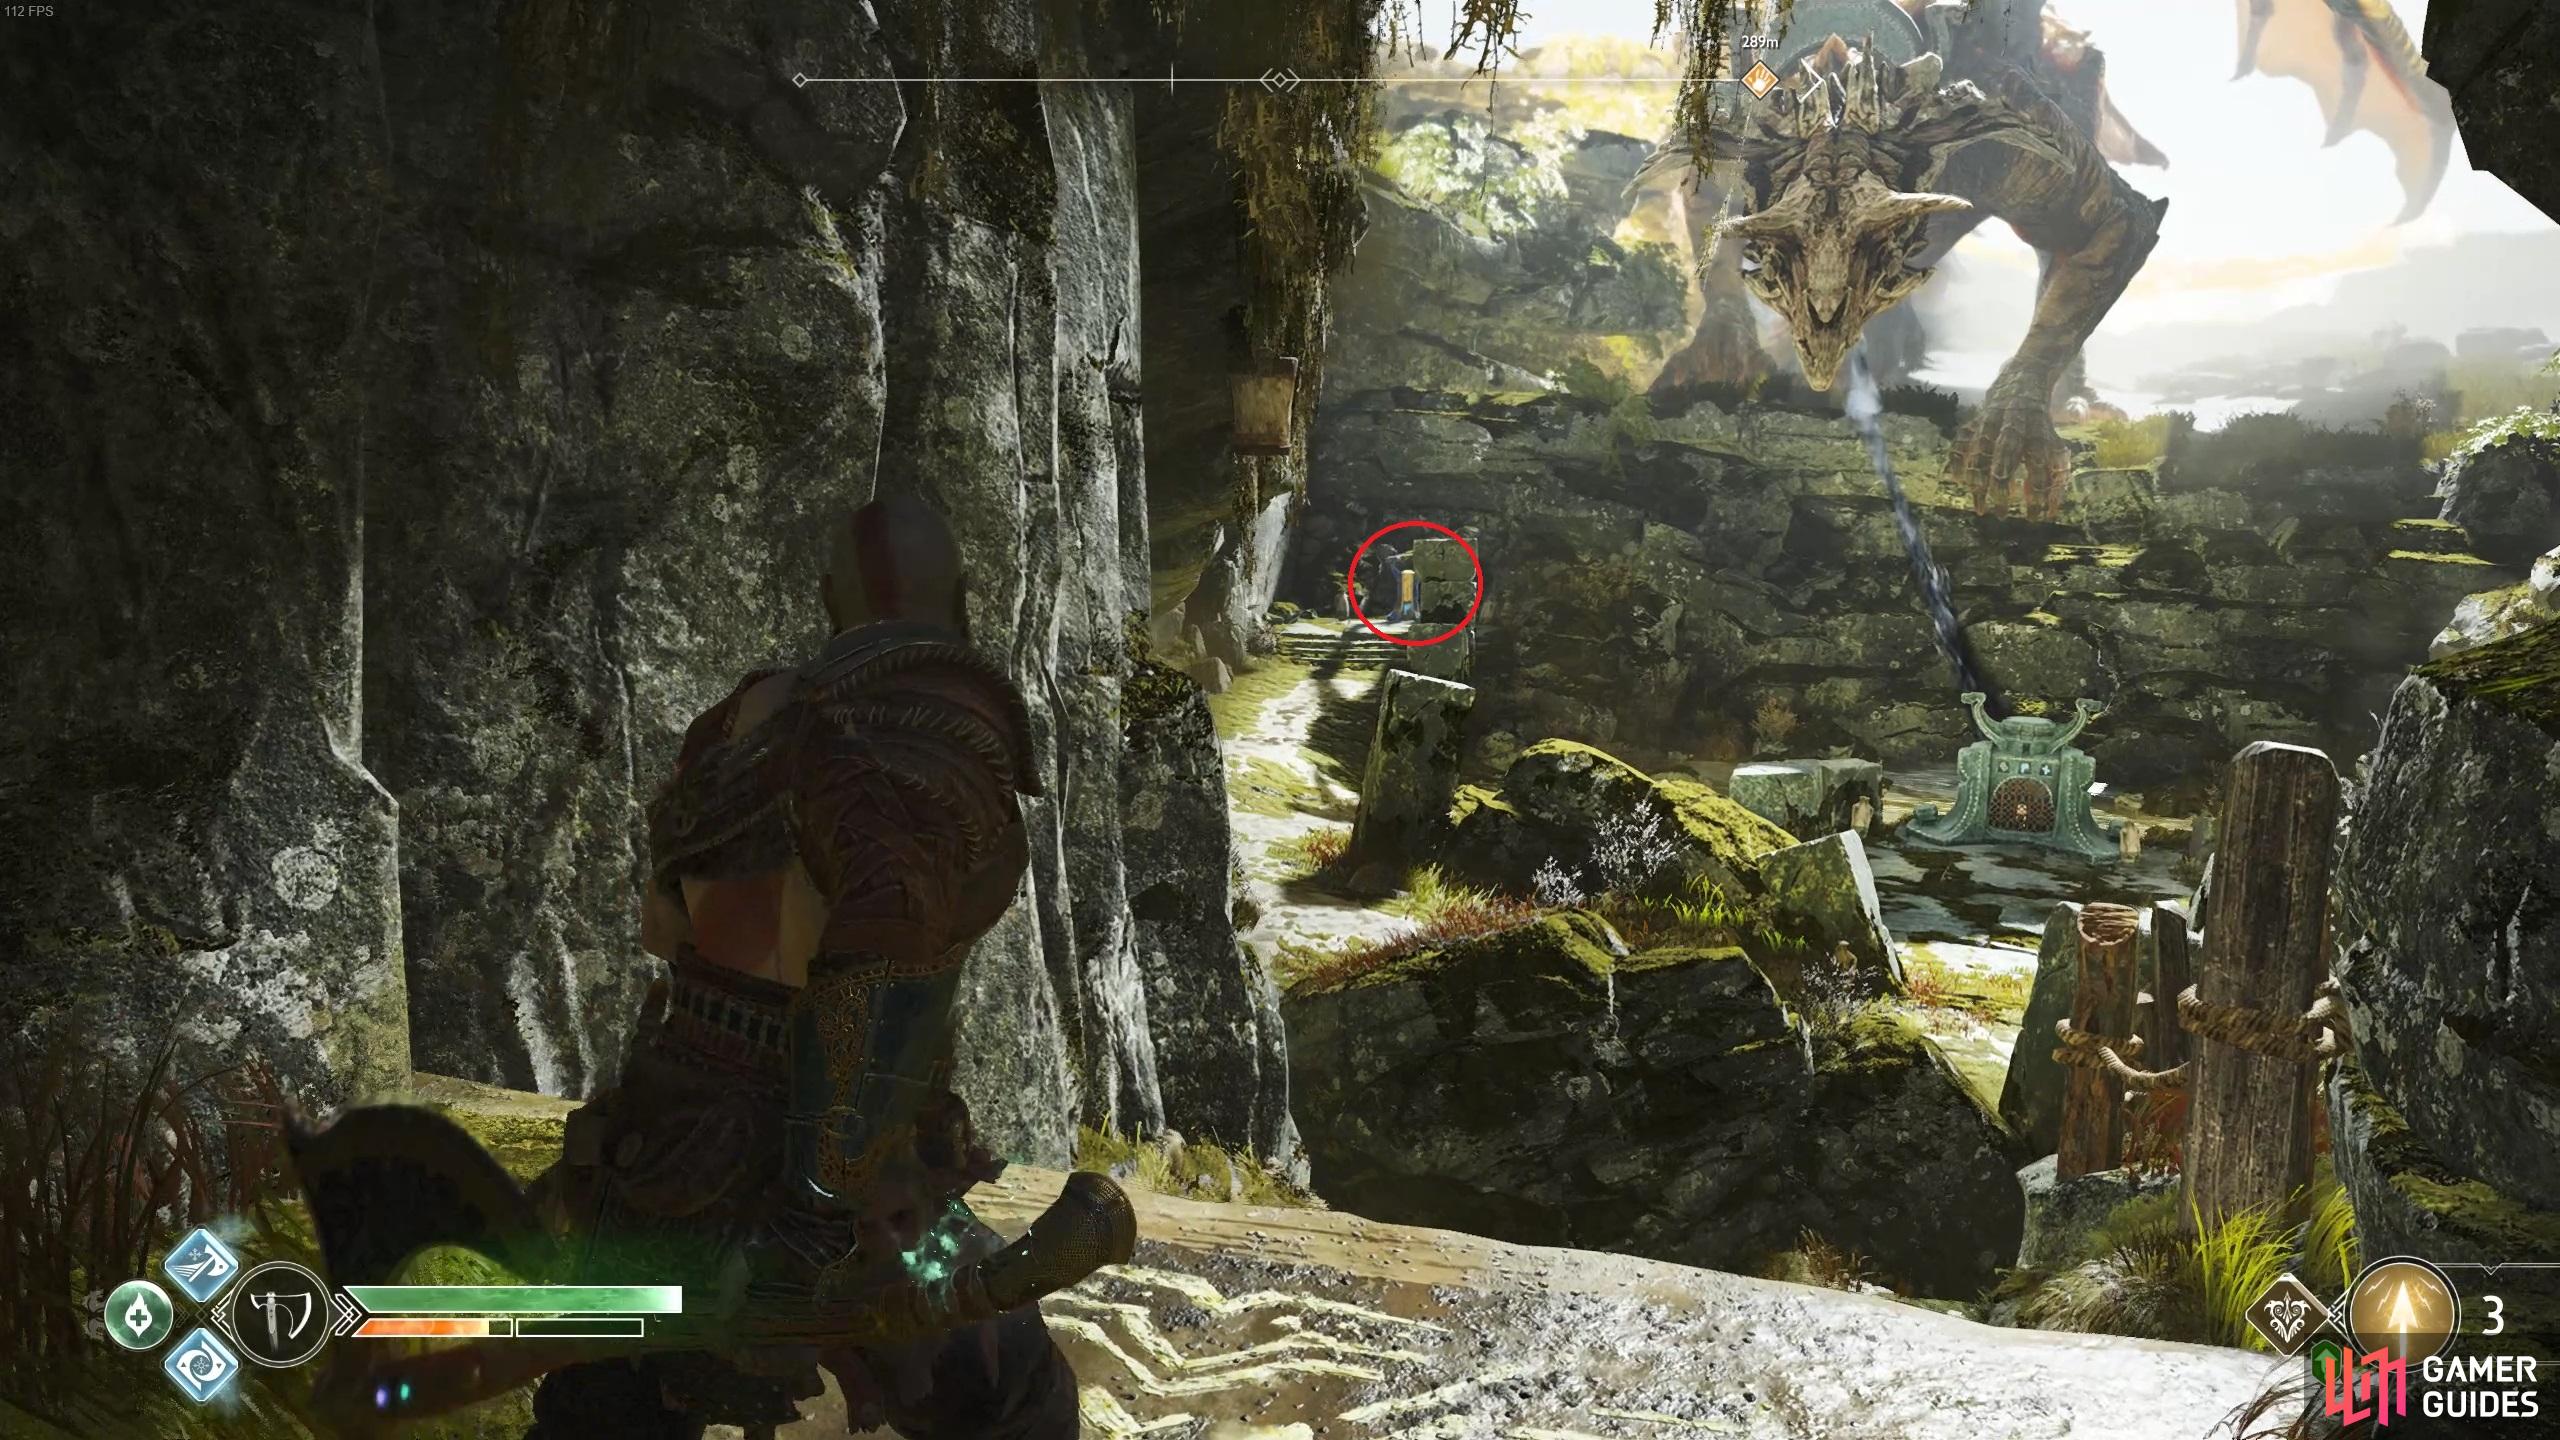
You automatically begin the Dragons Favor, The Flight of Fafnir, upon entering this area. The Dragon sits bound at the back of the area, gazing toward you. Pick up the sack of Hacksilver behind you and open the Hacksilver chest before you begin.
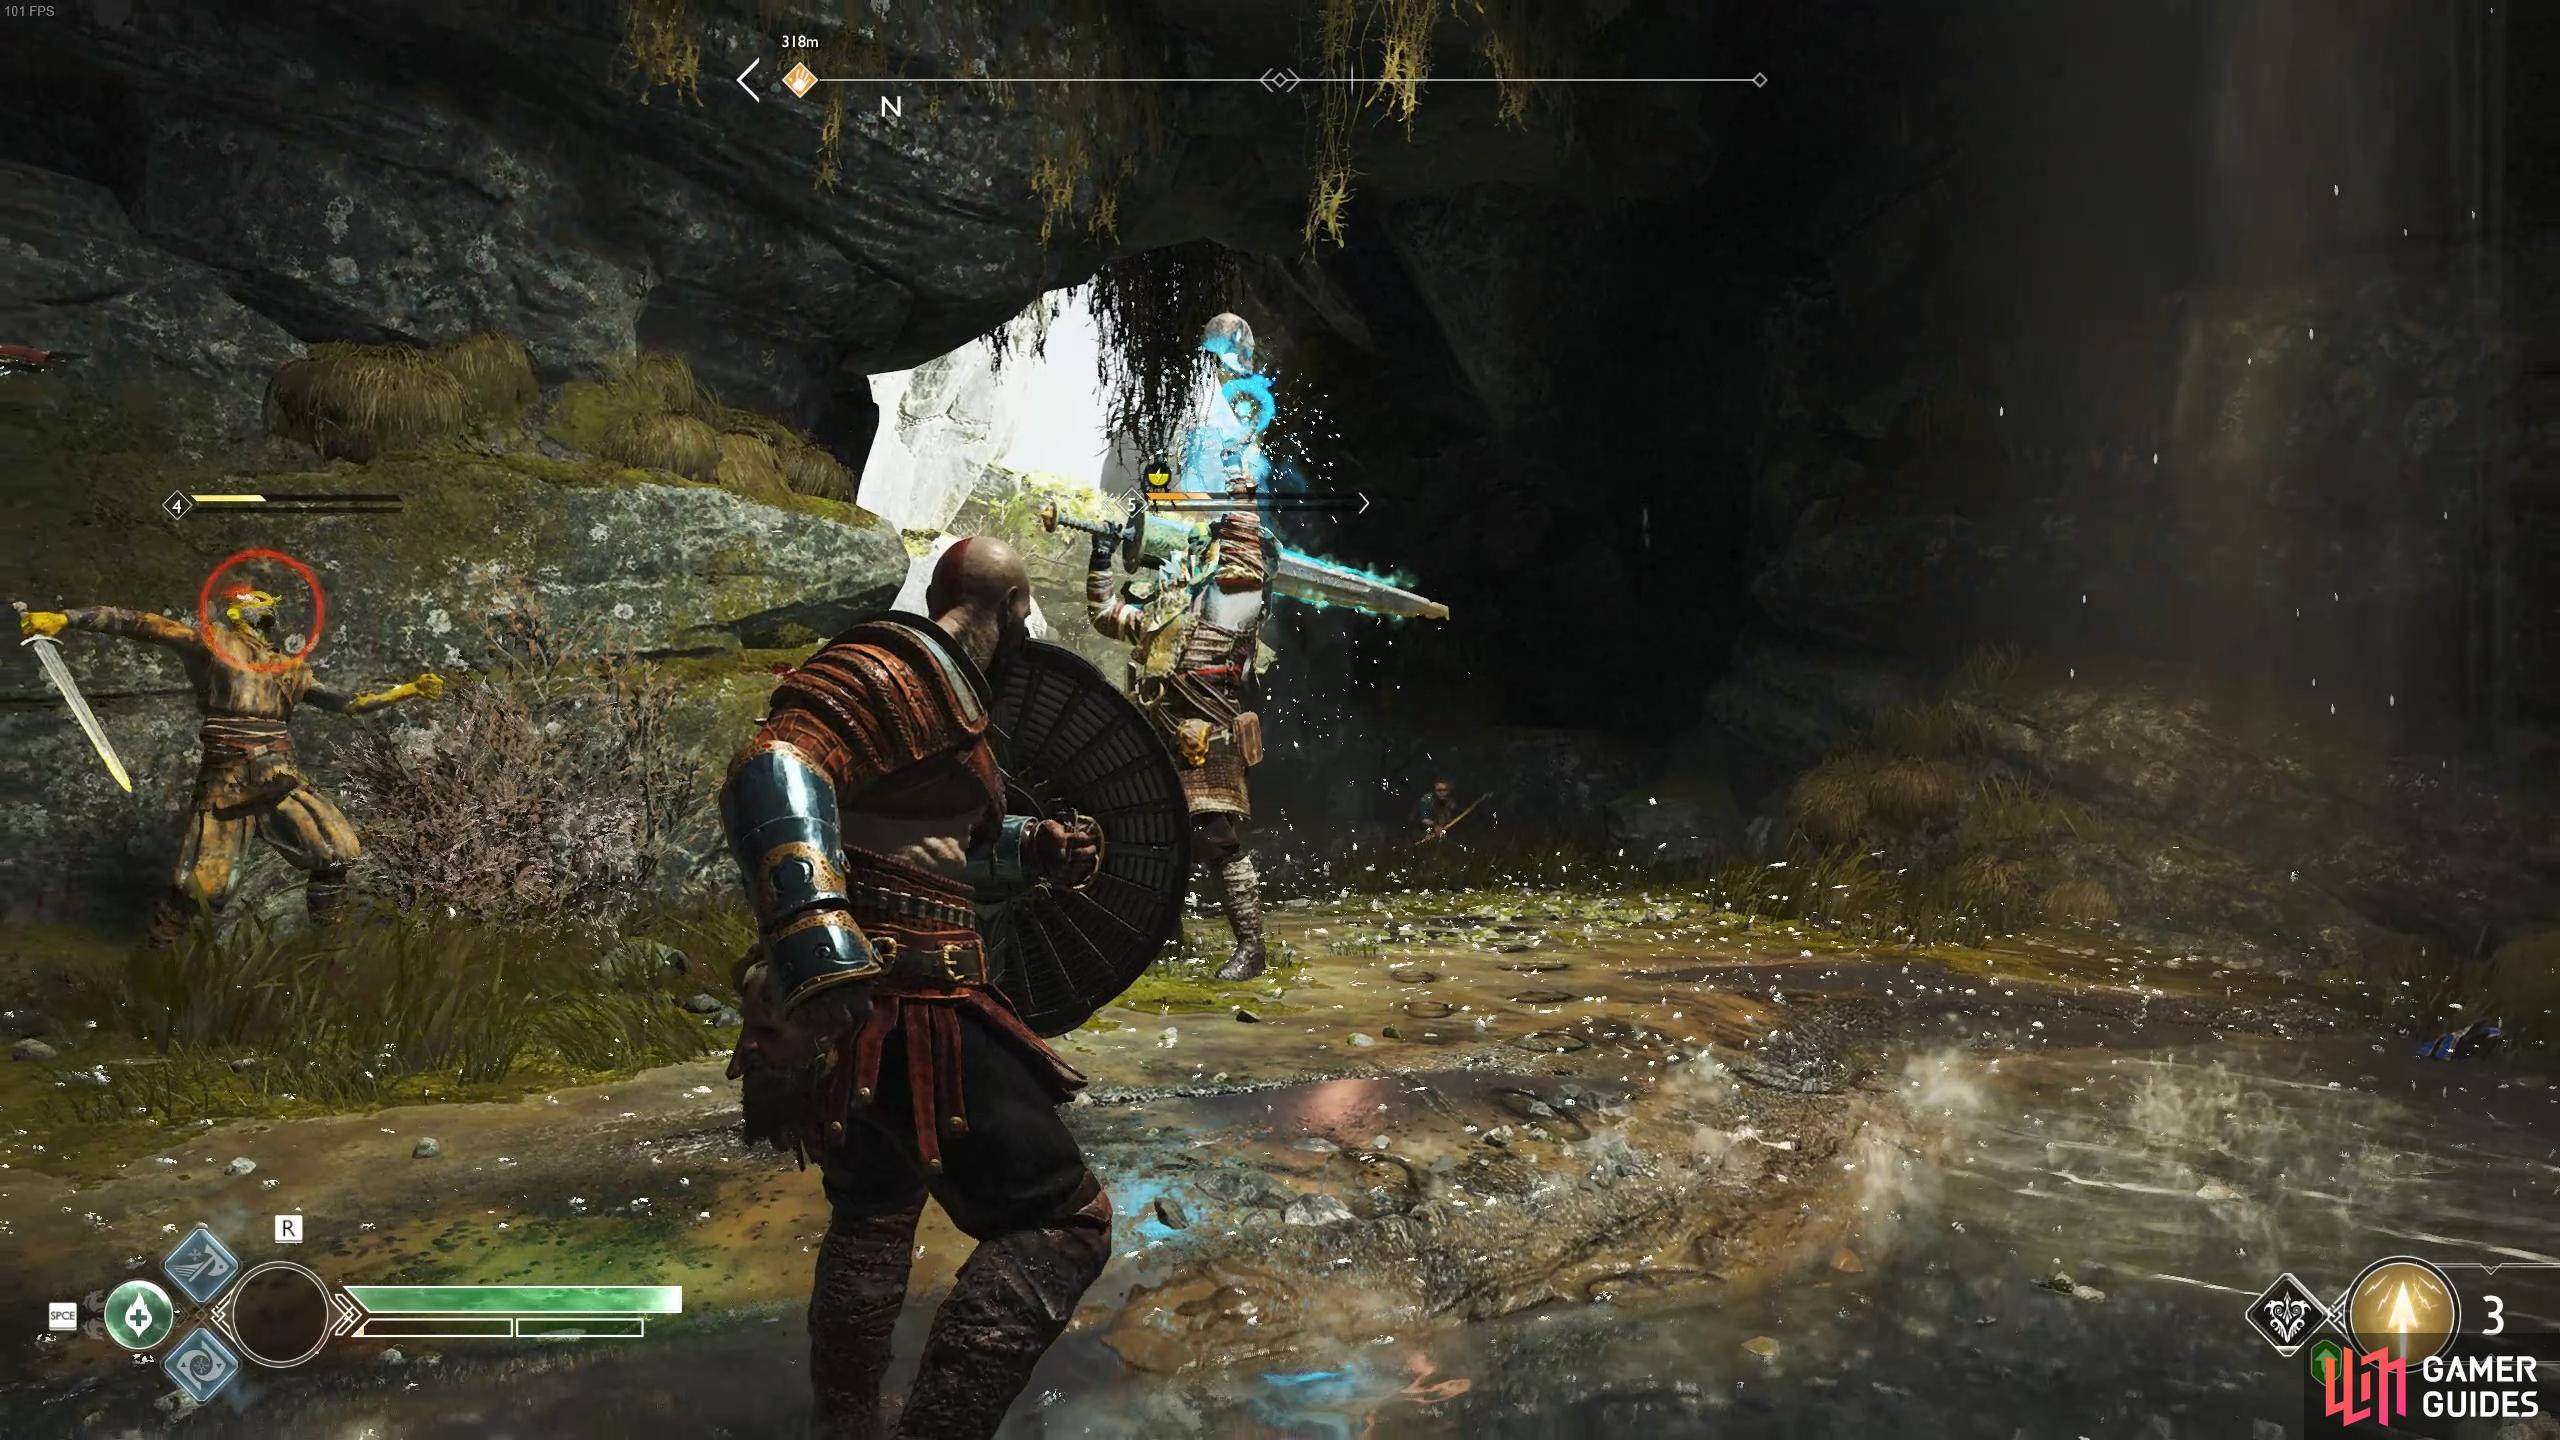
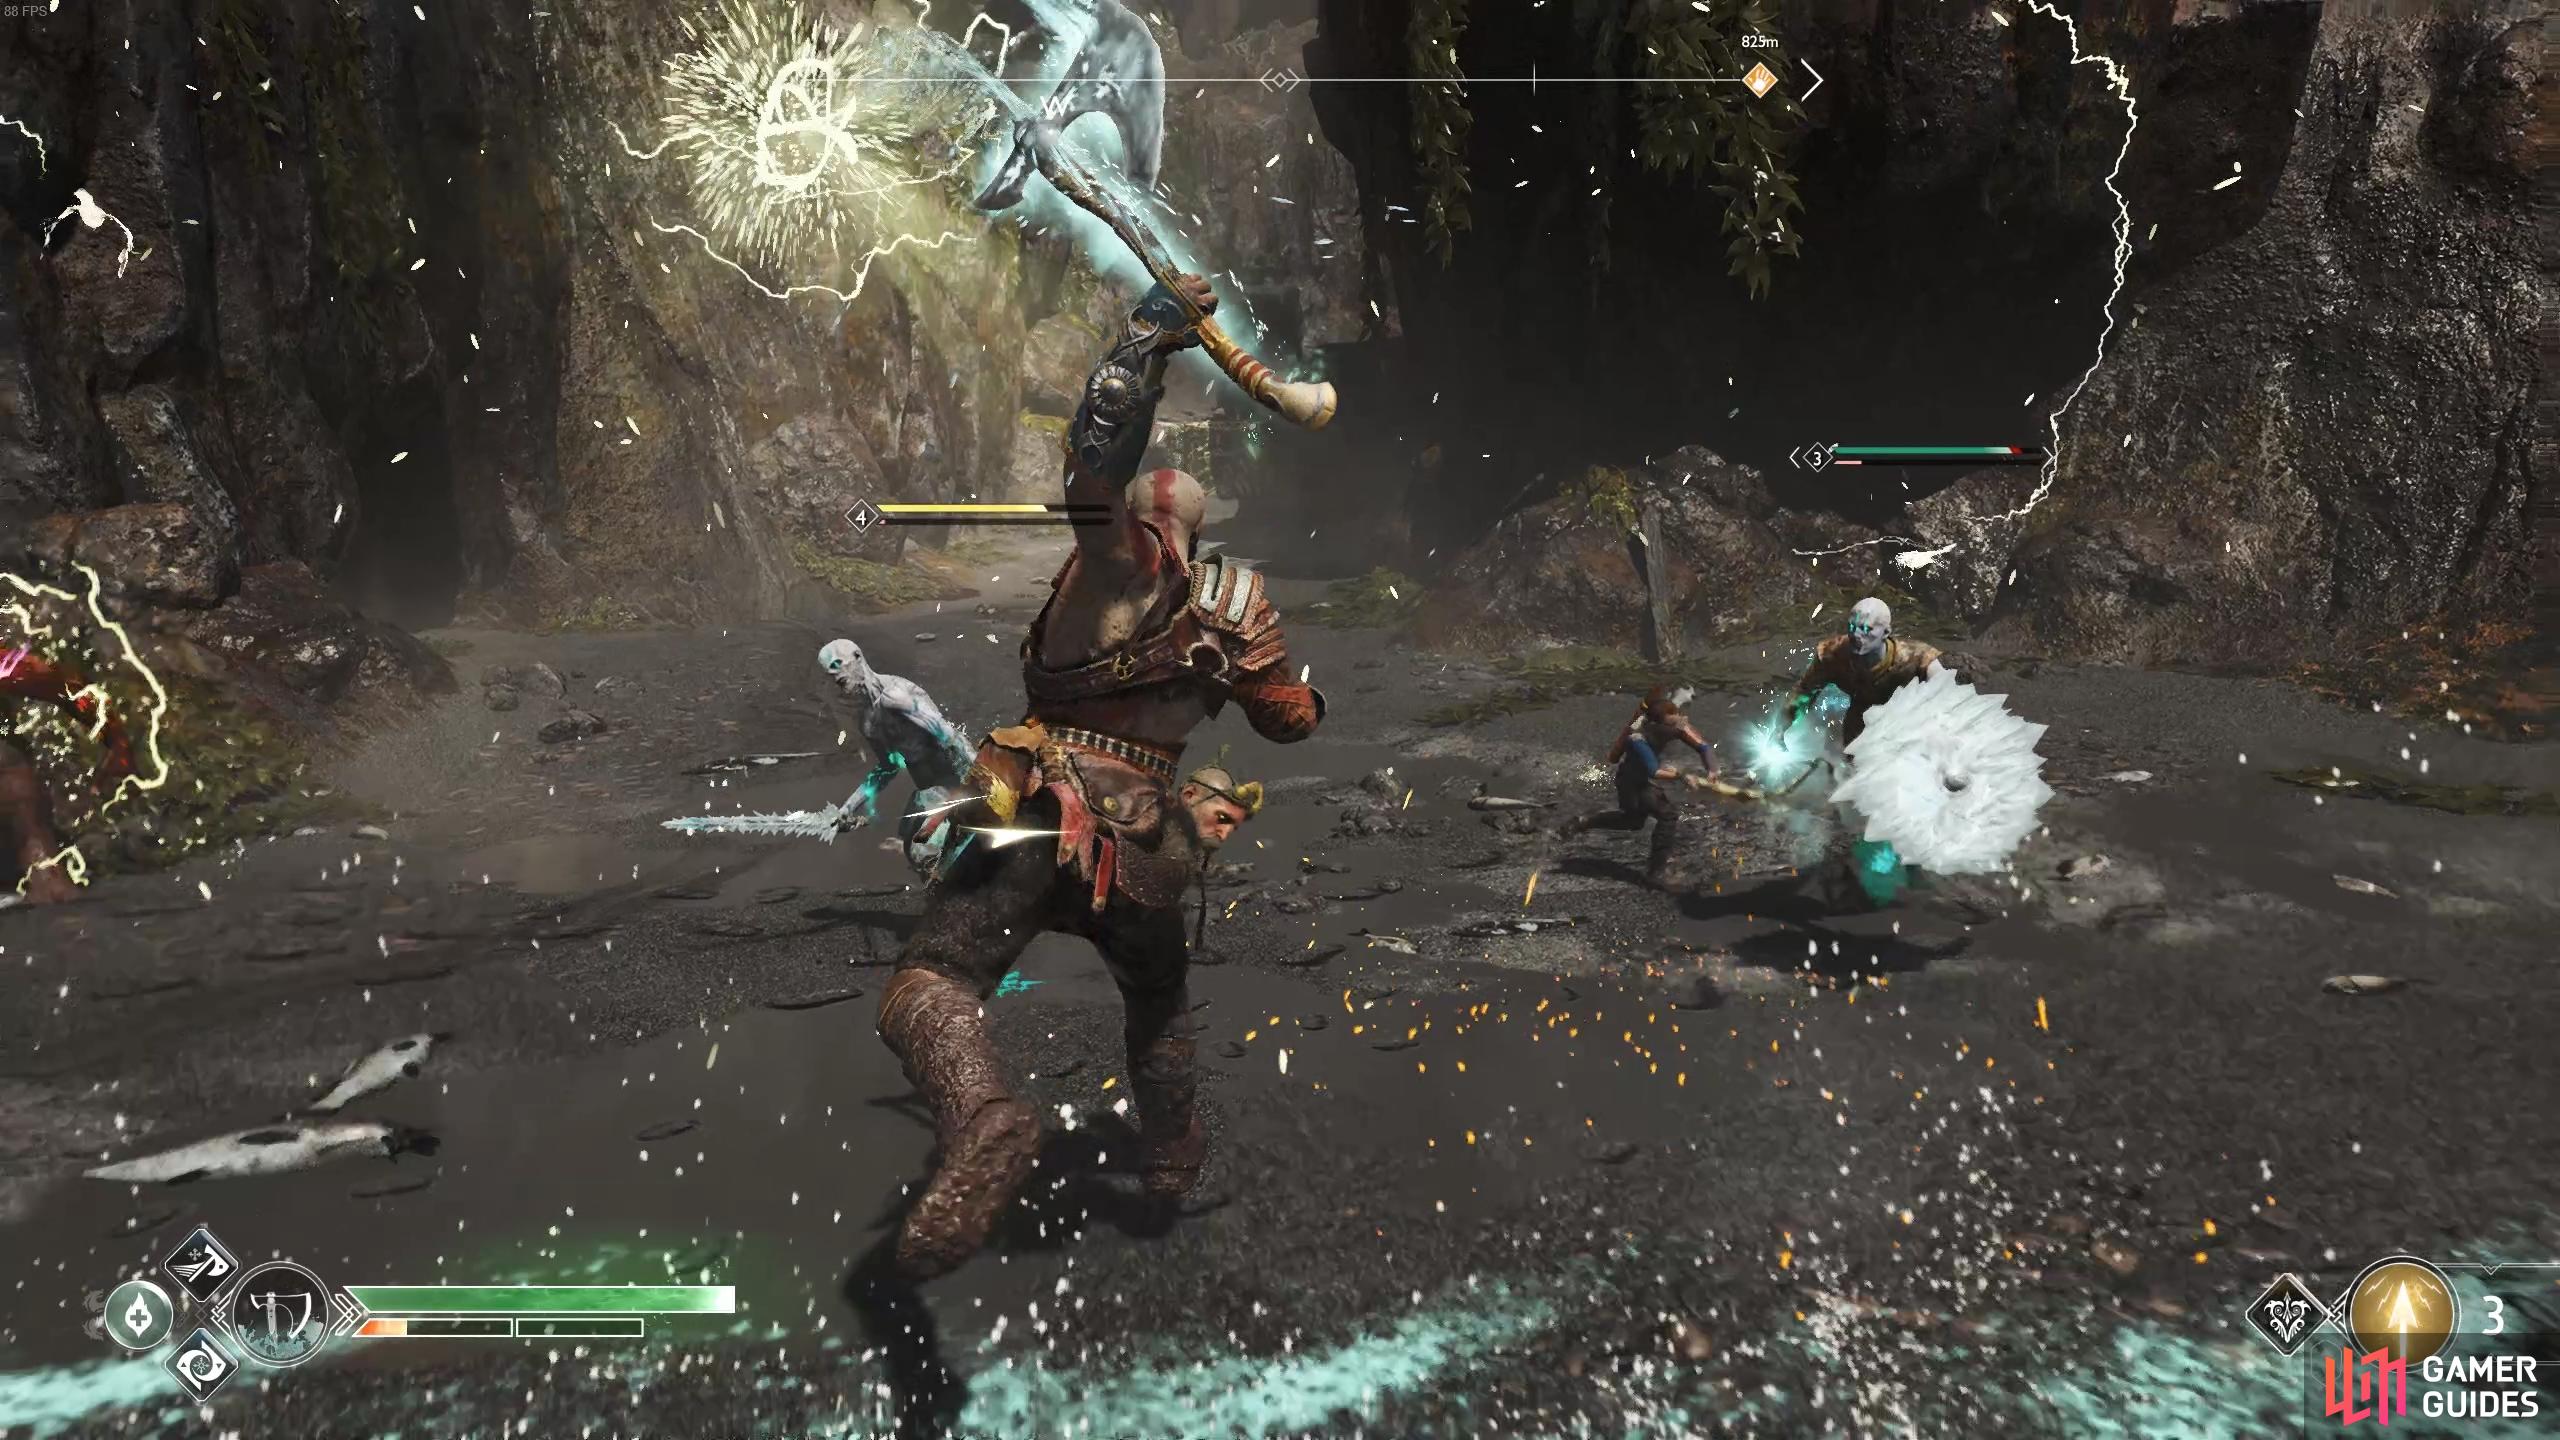
Start by heading to your left and dropping down the ledge to the area below. Fafnir will begin raining down lightning via static circles, wait for the area to be clear and dash to the cave to your left. There’s a Shadow-Reaver waiting for you in here that should go down quickly and then use the safety of this area to lure the other Shadow enemies here to dispatch them. Once they’re dead, look to the northeast to find the first Dragon Shrine to destroy.
(1 of 2) Use the safety of this cave to defeat the enemies.
Use the safety of this cave to defeat the enemies. (left), Destroy the first statue before you leave it. (right)
Climb the wall behind you to find a Lore Marker and a coffin before opening the gate to return to your starting position. Once again drop down to the area below and then when the area is clear, dash to the left and down the long path to the Dragon Statue at the end, destroying it in the process.
Take the path to the left of Fafnir to find the second statue.
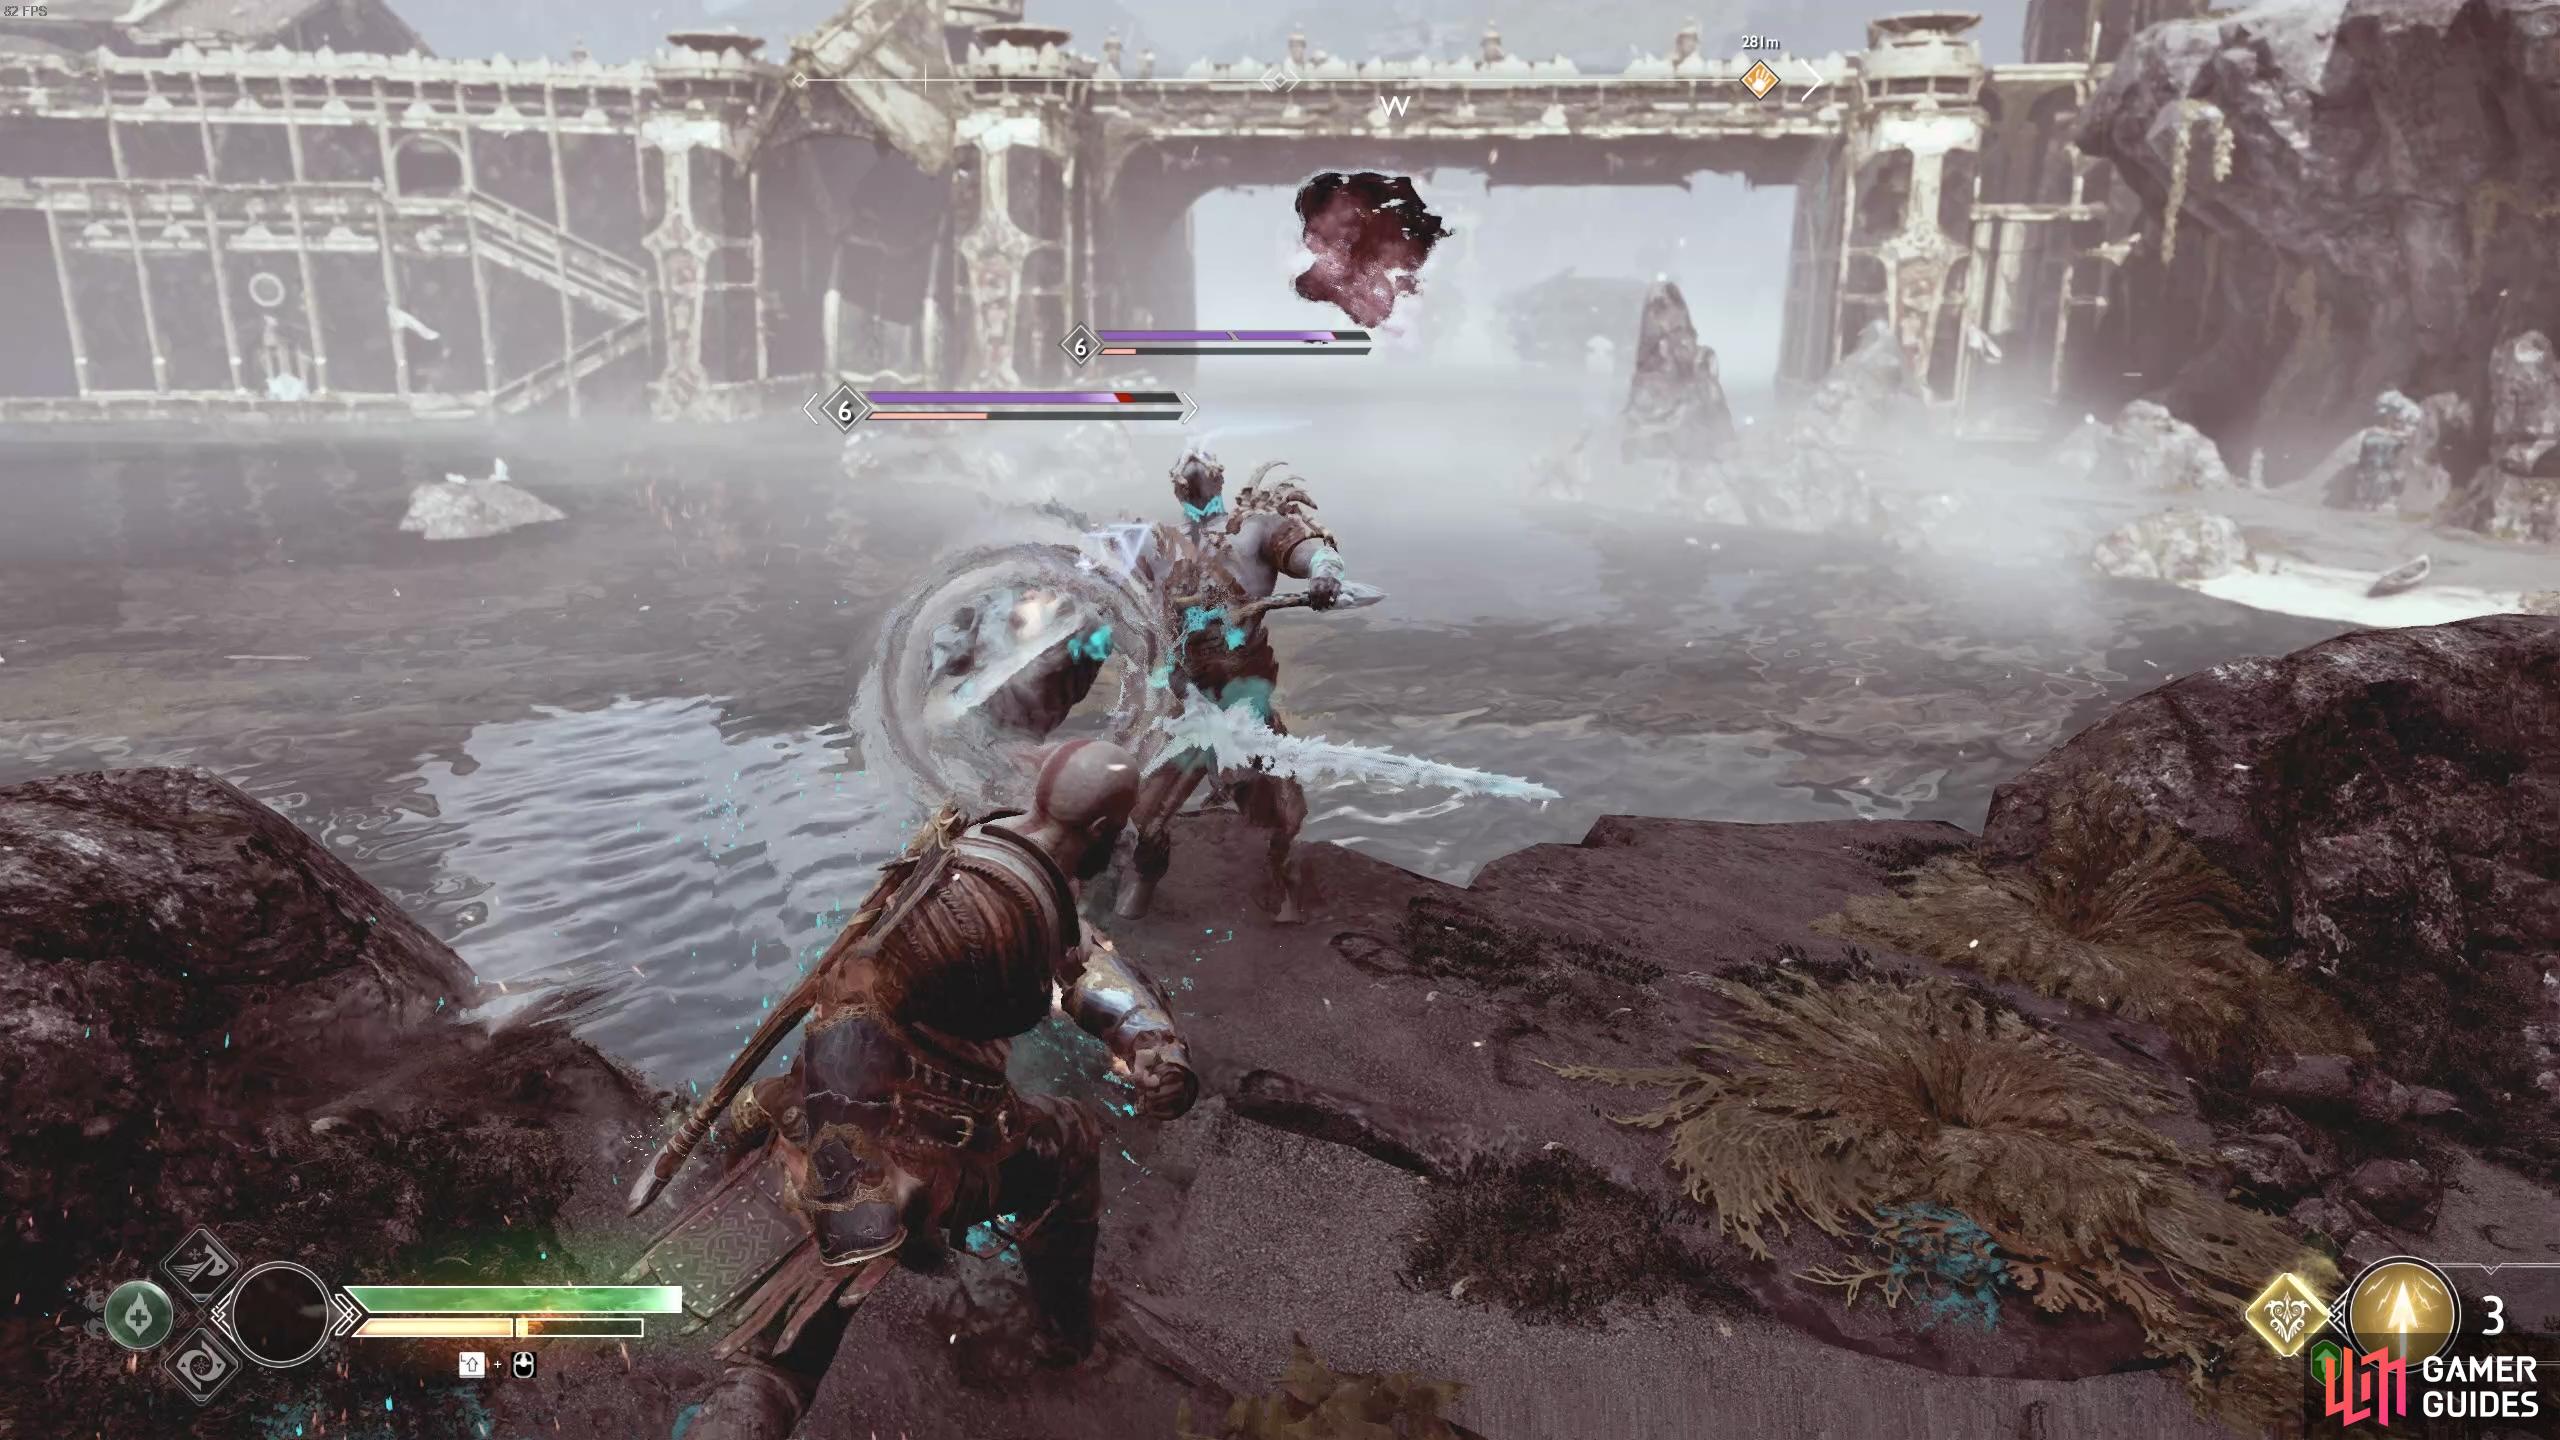
Two down, one to go and Fafnir continues to grow restless. Return to where you dropped down into the area and this time take a right and jumping to the wall to climb it. A Shadow Reaver awaits you at the top followed by your first encounter with the terrifying Traveler. These are incredibly tough adversaries and you’ll want to play it safe to avoid a quick death as they hit hard and most of their attacks are unblockable. If you see the Traveller pause and raise his hand, get back and put your shield up to block the wave of magical energy that follows. Make good use of your Runic Attacks and use Atreus to distract him, allowing you time to get some attacks in from behind. Destroy the Dragon Statue following his death and loot the remains to receive useful Traveller related resources that you’ll want to show to Brok or Sindri later.
(1 of 2) If you see the Traveller raise his hand then prepare to keep your shield up to block the incoming magic.
If you see the Traveller raise his hand then prepare to keep your shield up to block the incoming magic. (left), The third statue awaits after climbing the wall to the right. (right)
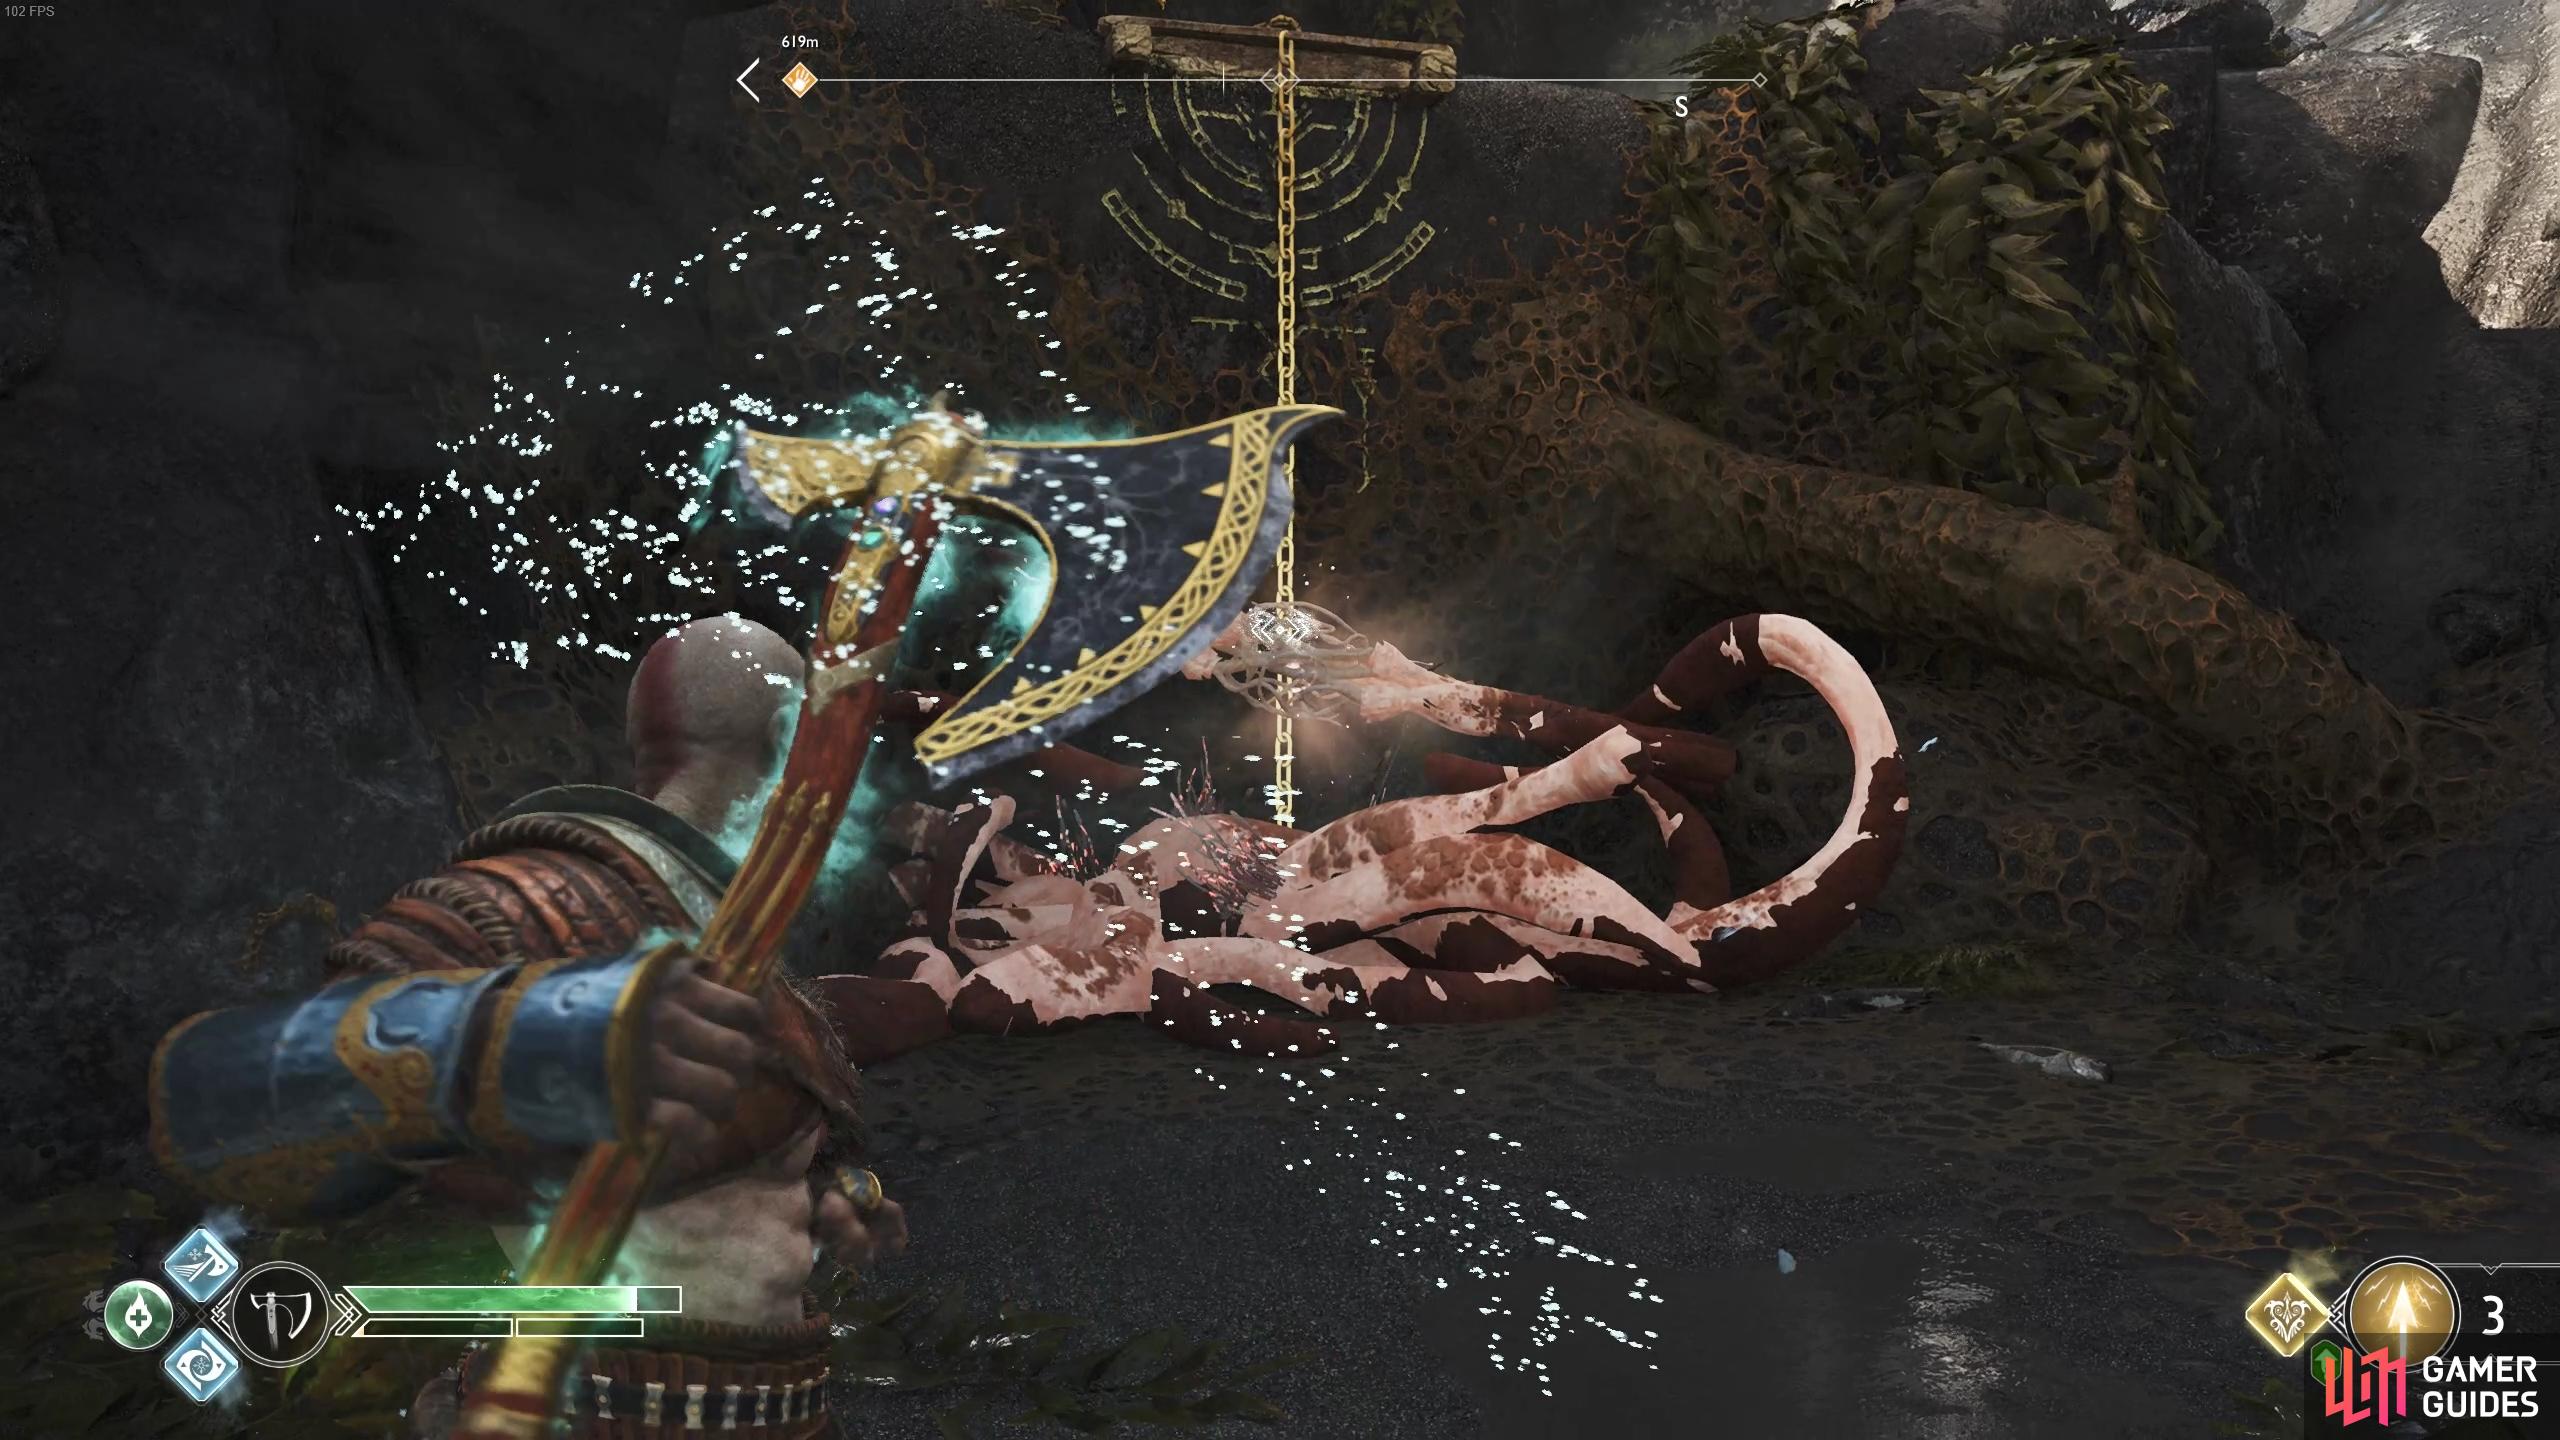
Open the gate in this area and drop down to the area below one final time, heading up to the Anchor that binds the Dragon. A Realm Tear opens up, unleashing a group of enemies including Revenants and Vikens. Dash back to the cave where you found the first Dragon Statue and let the enemies come to you, you’ll find Fafnir will deal a lot of damage to them in the process as you whittle them down. With the area clear of hostiles, walk back toward the Anchor, opening the Hacksilver chest in the process and destroy it, freeing Fafnir from his binds.
You’ll receive the Brilliant Scale of the Chained Enchantment along with another Dragon Tear. you’ve done everything you can in this area so leave and return to the boat.
Take the passage through the Oarsman statues now and row all the way to the north to find a beach you can dock at.
The Mason’s Channel
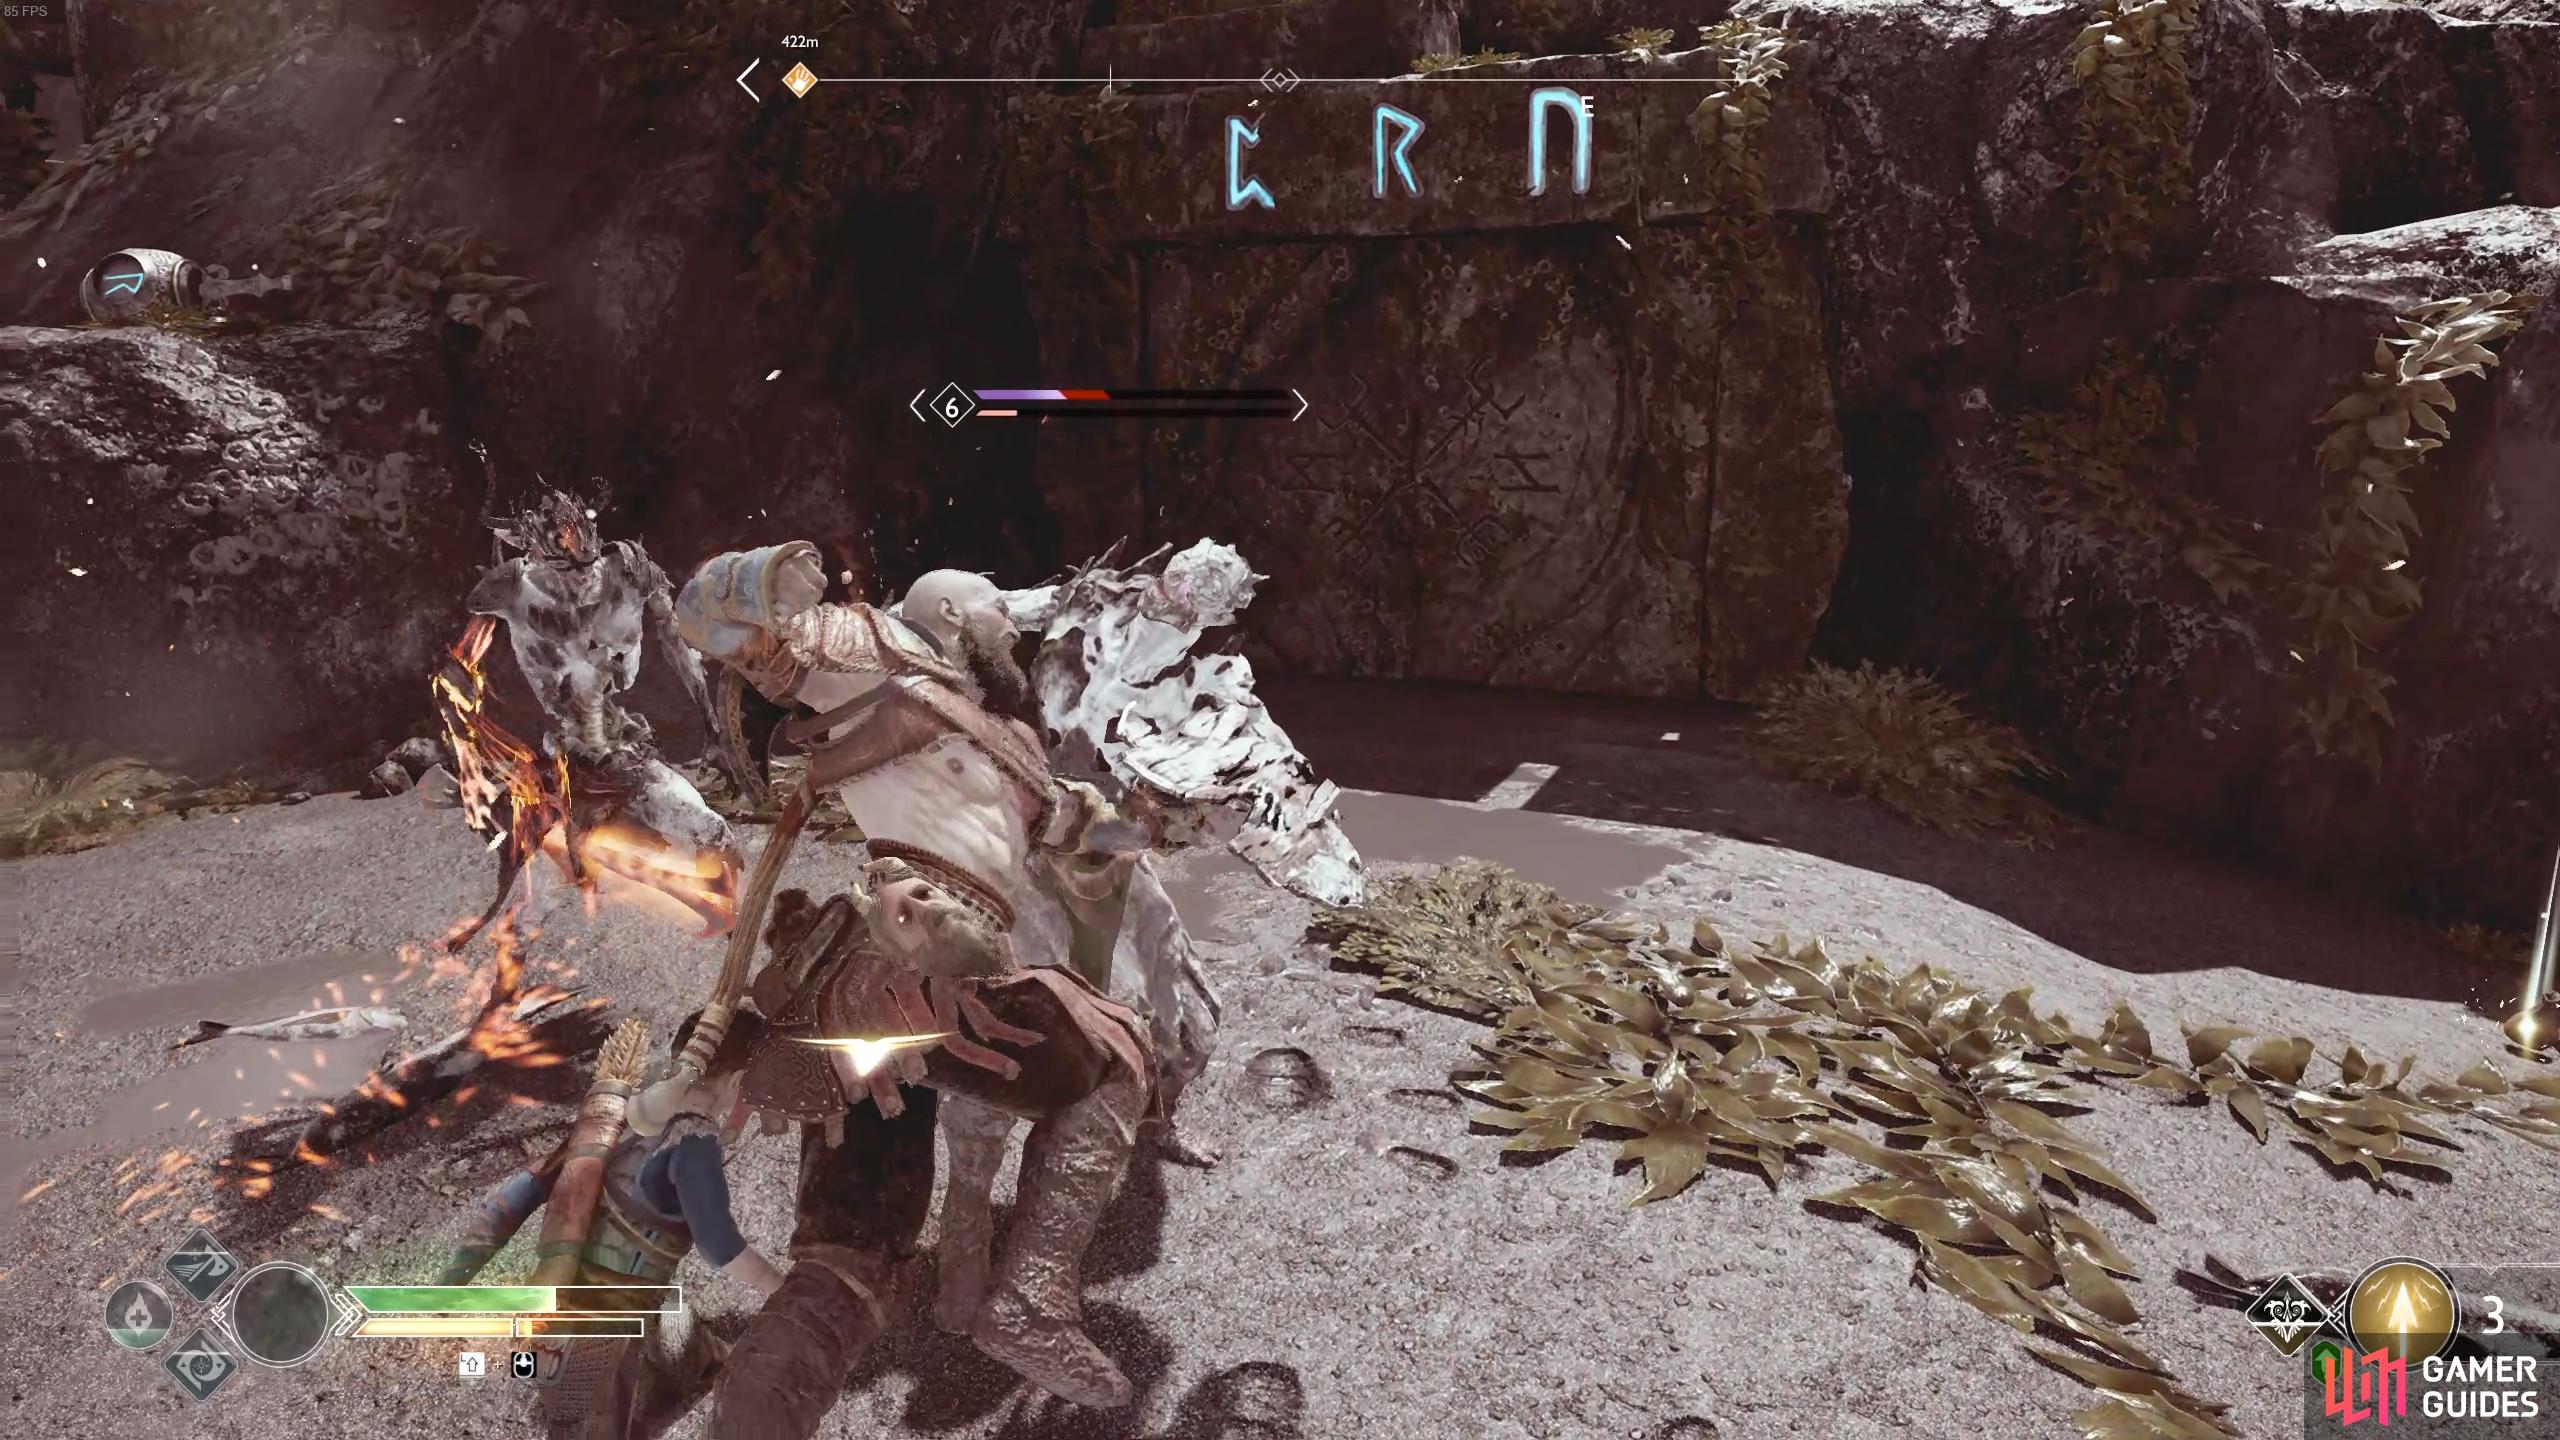
Upon docking at the beach, walk forward and speak to the Spirit and listen to his tale about his beloved Gullveig, an attempt to raise the dead and a tale that piques Atreus’ interest. This begins the Favor The Anatomy of Hope as part of the Wayward Spirits quest line.
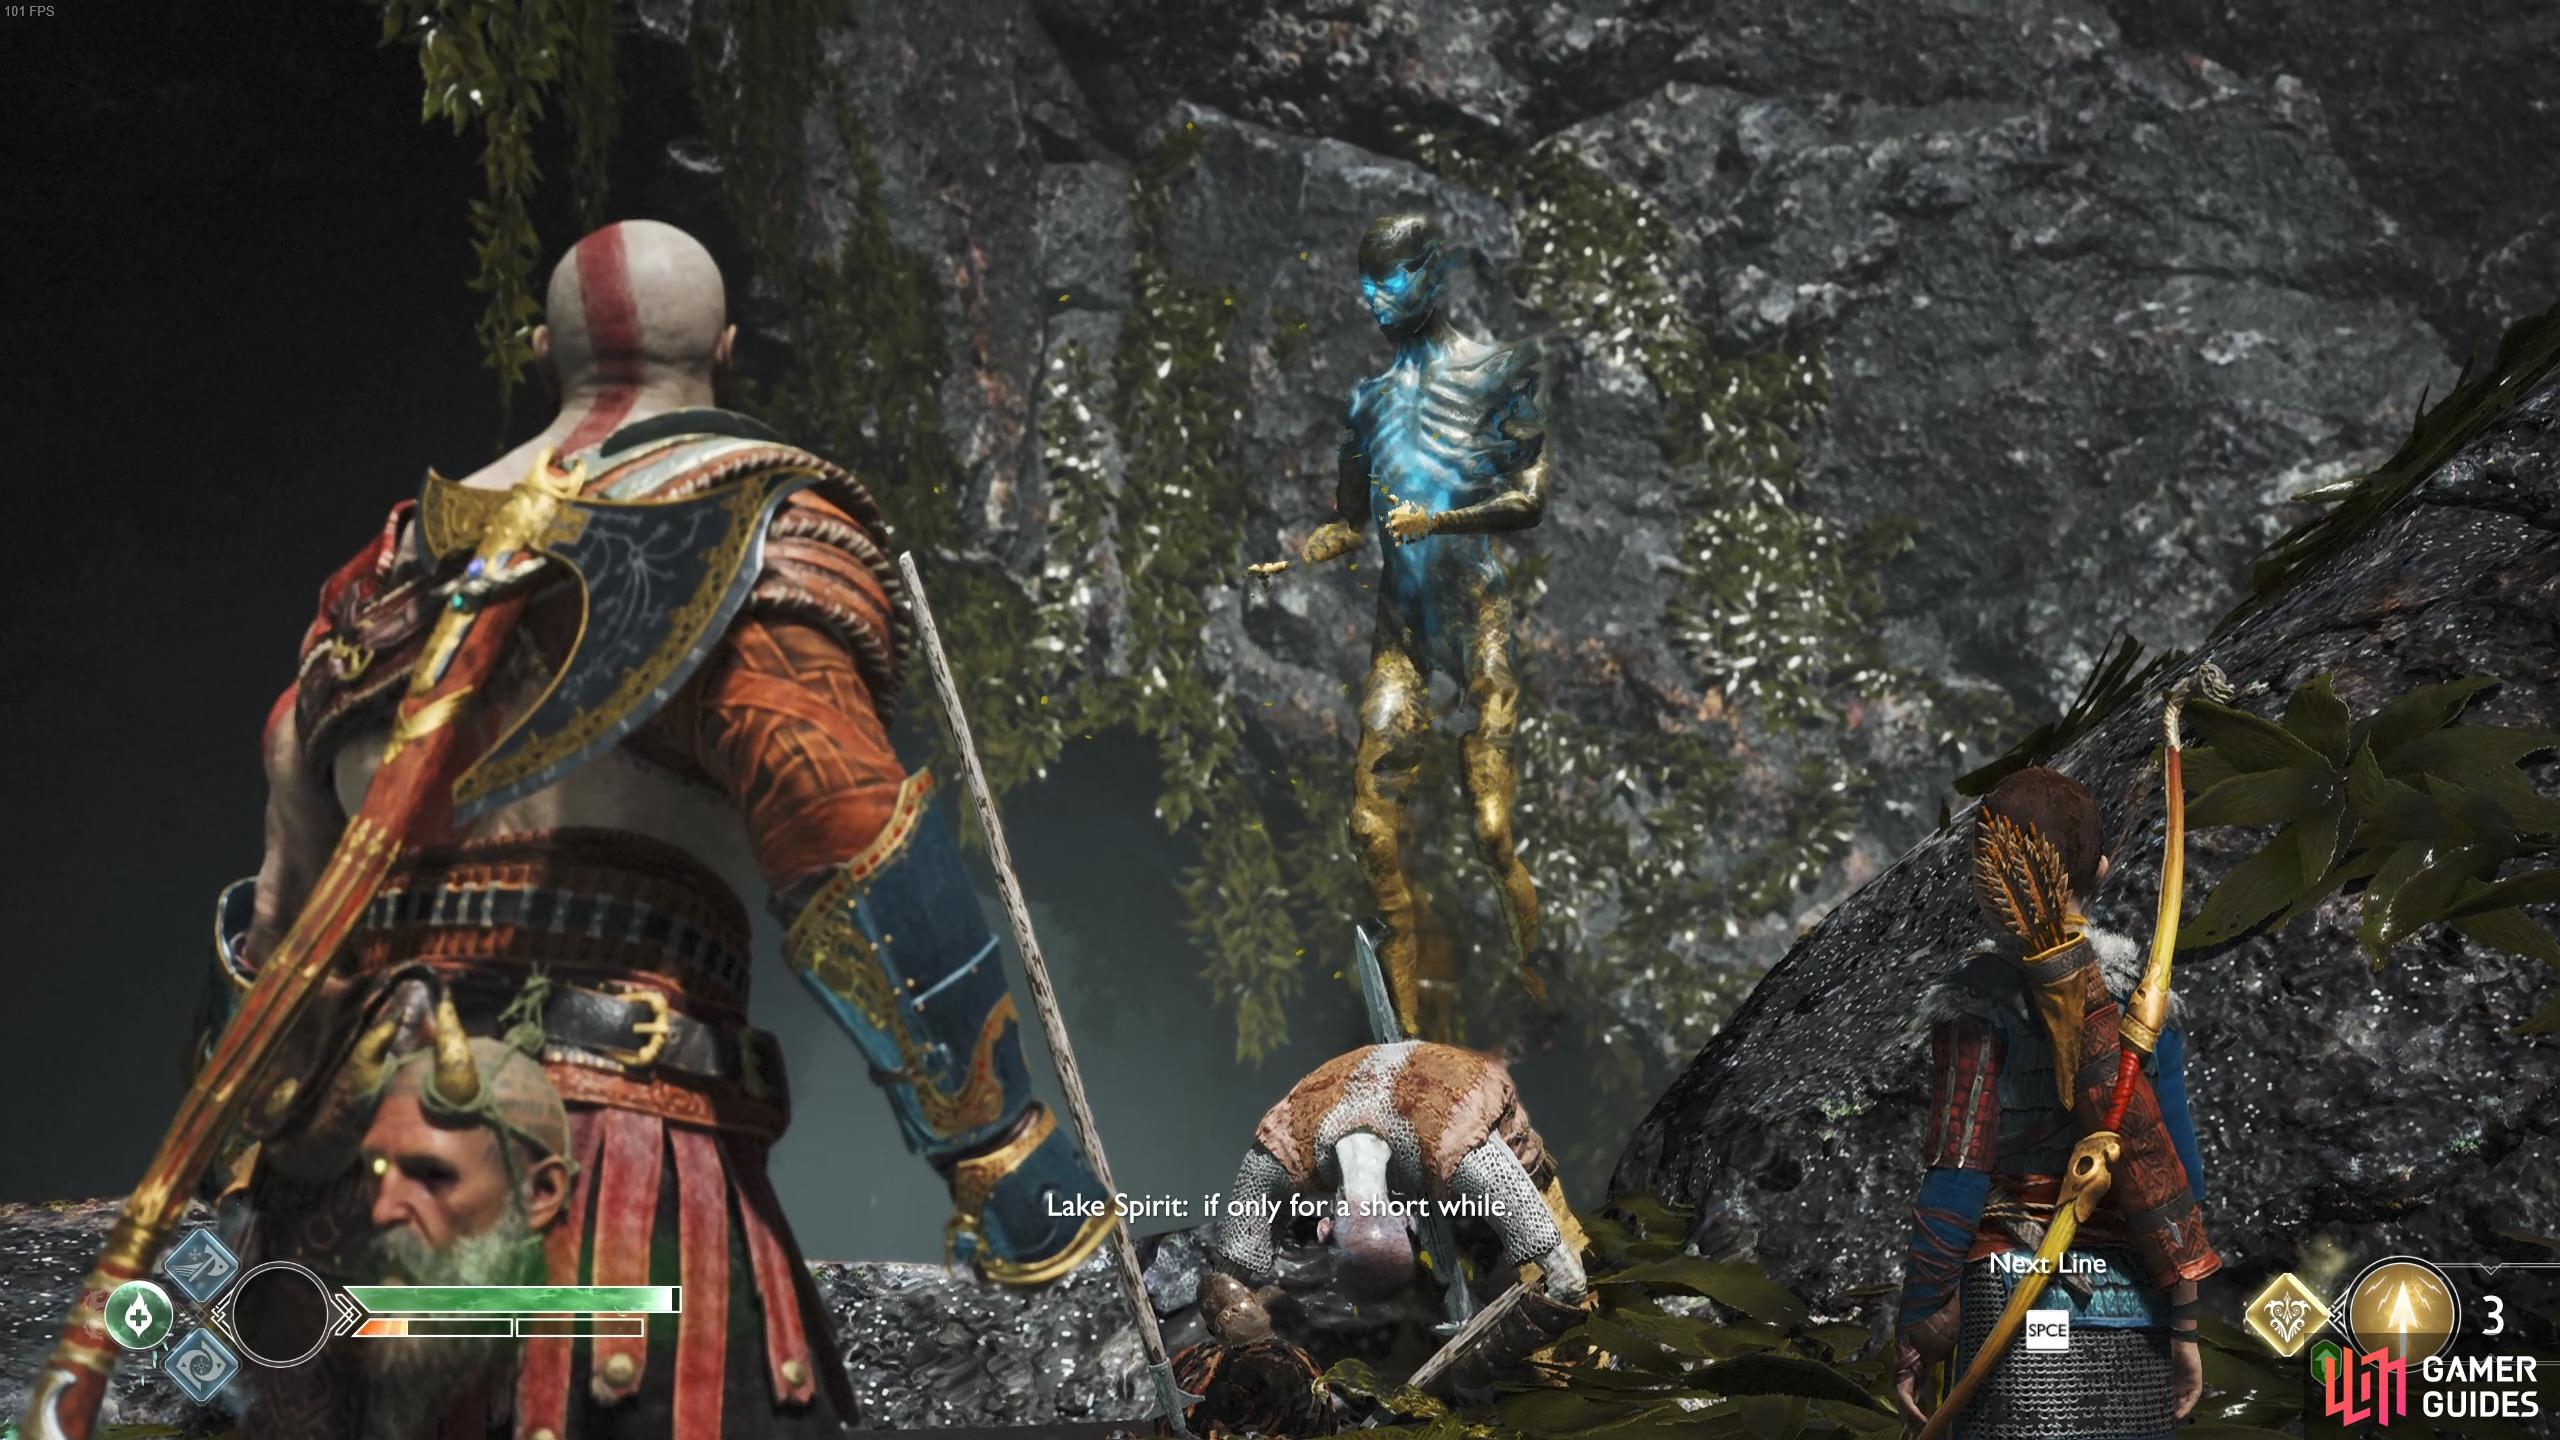
(1 of 2) The spirit here asks for help finding his beloved Gullveig’s bones.
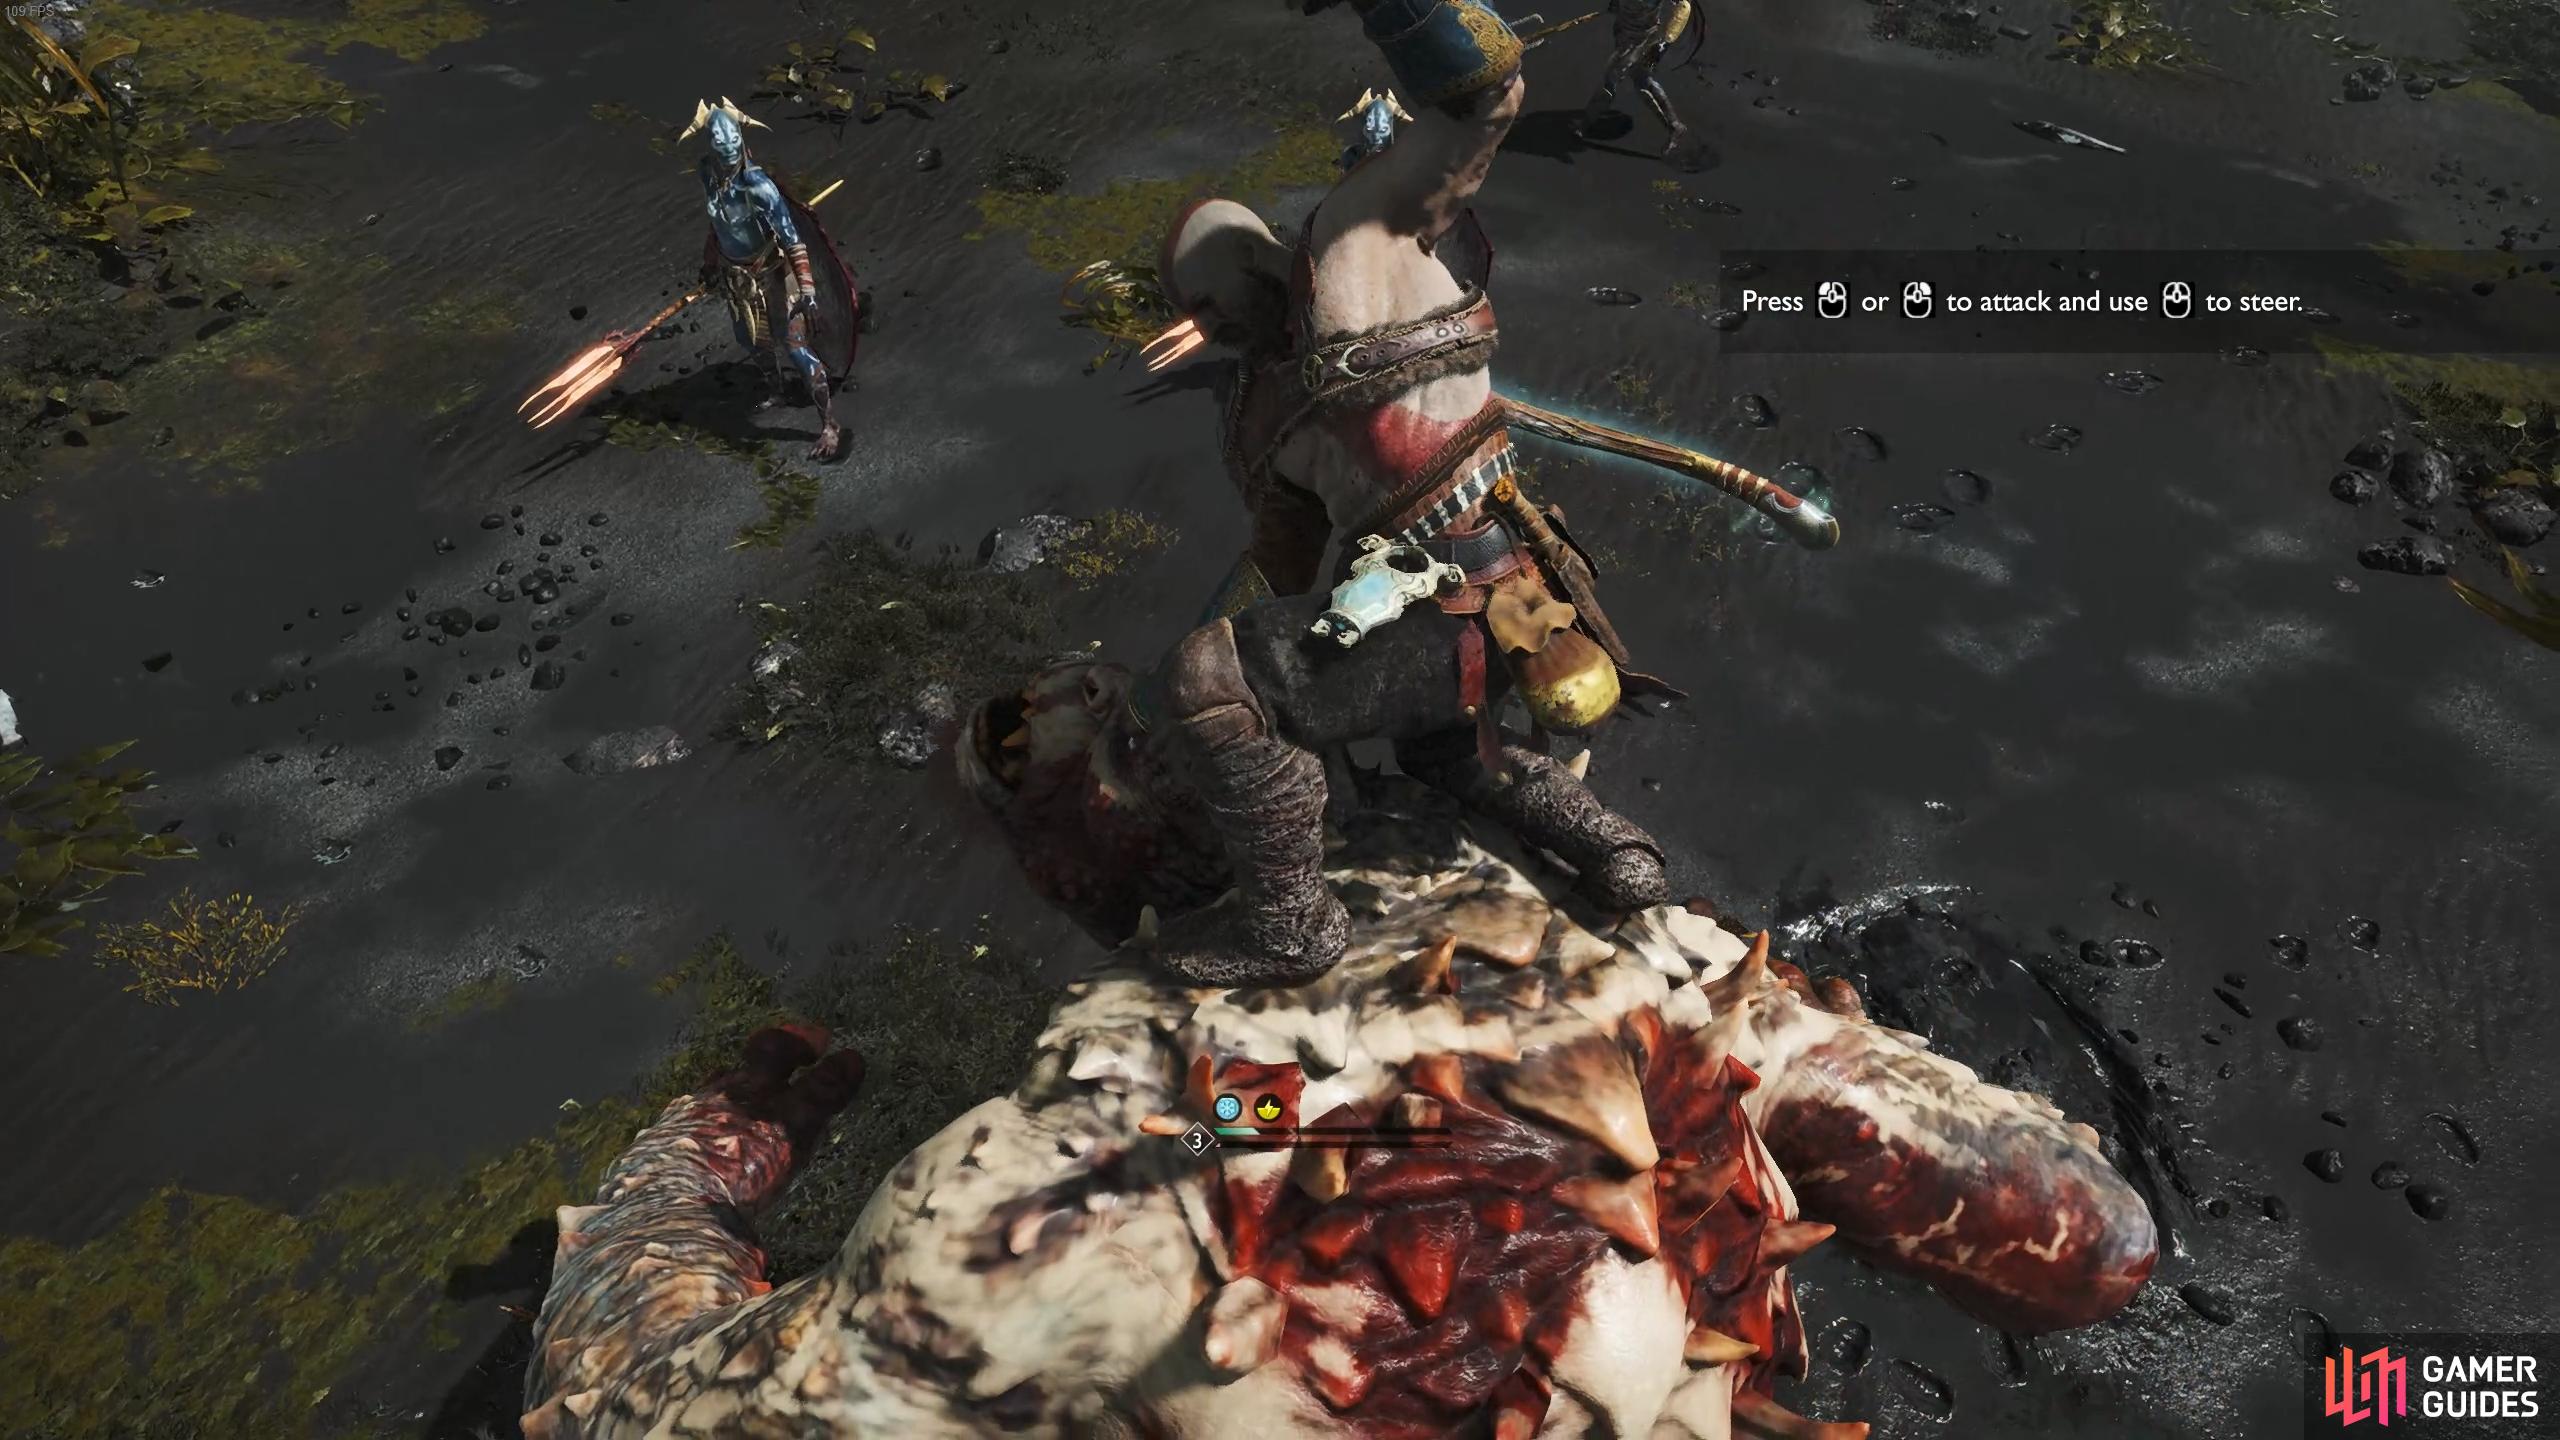
The spirit here asks for help finding his beloved Gullveig’s bones. (left), Take advantage of mounting the ogre to defeat the rest of the enemies quickly. (right)
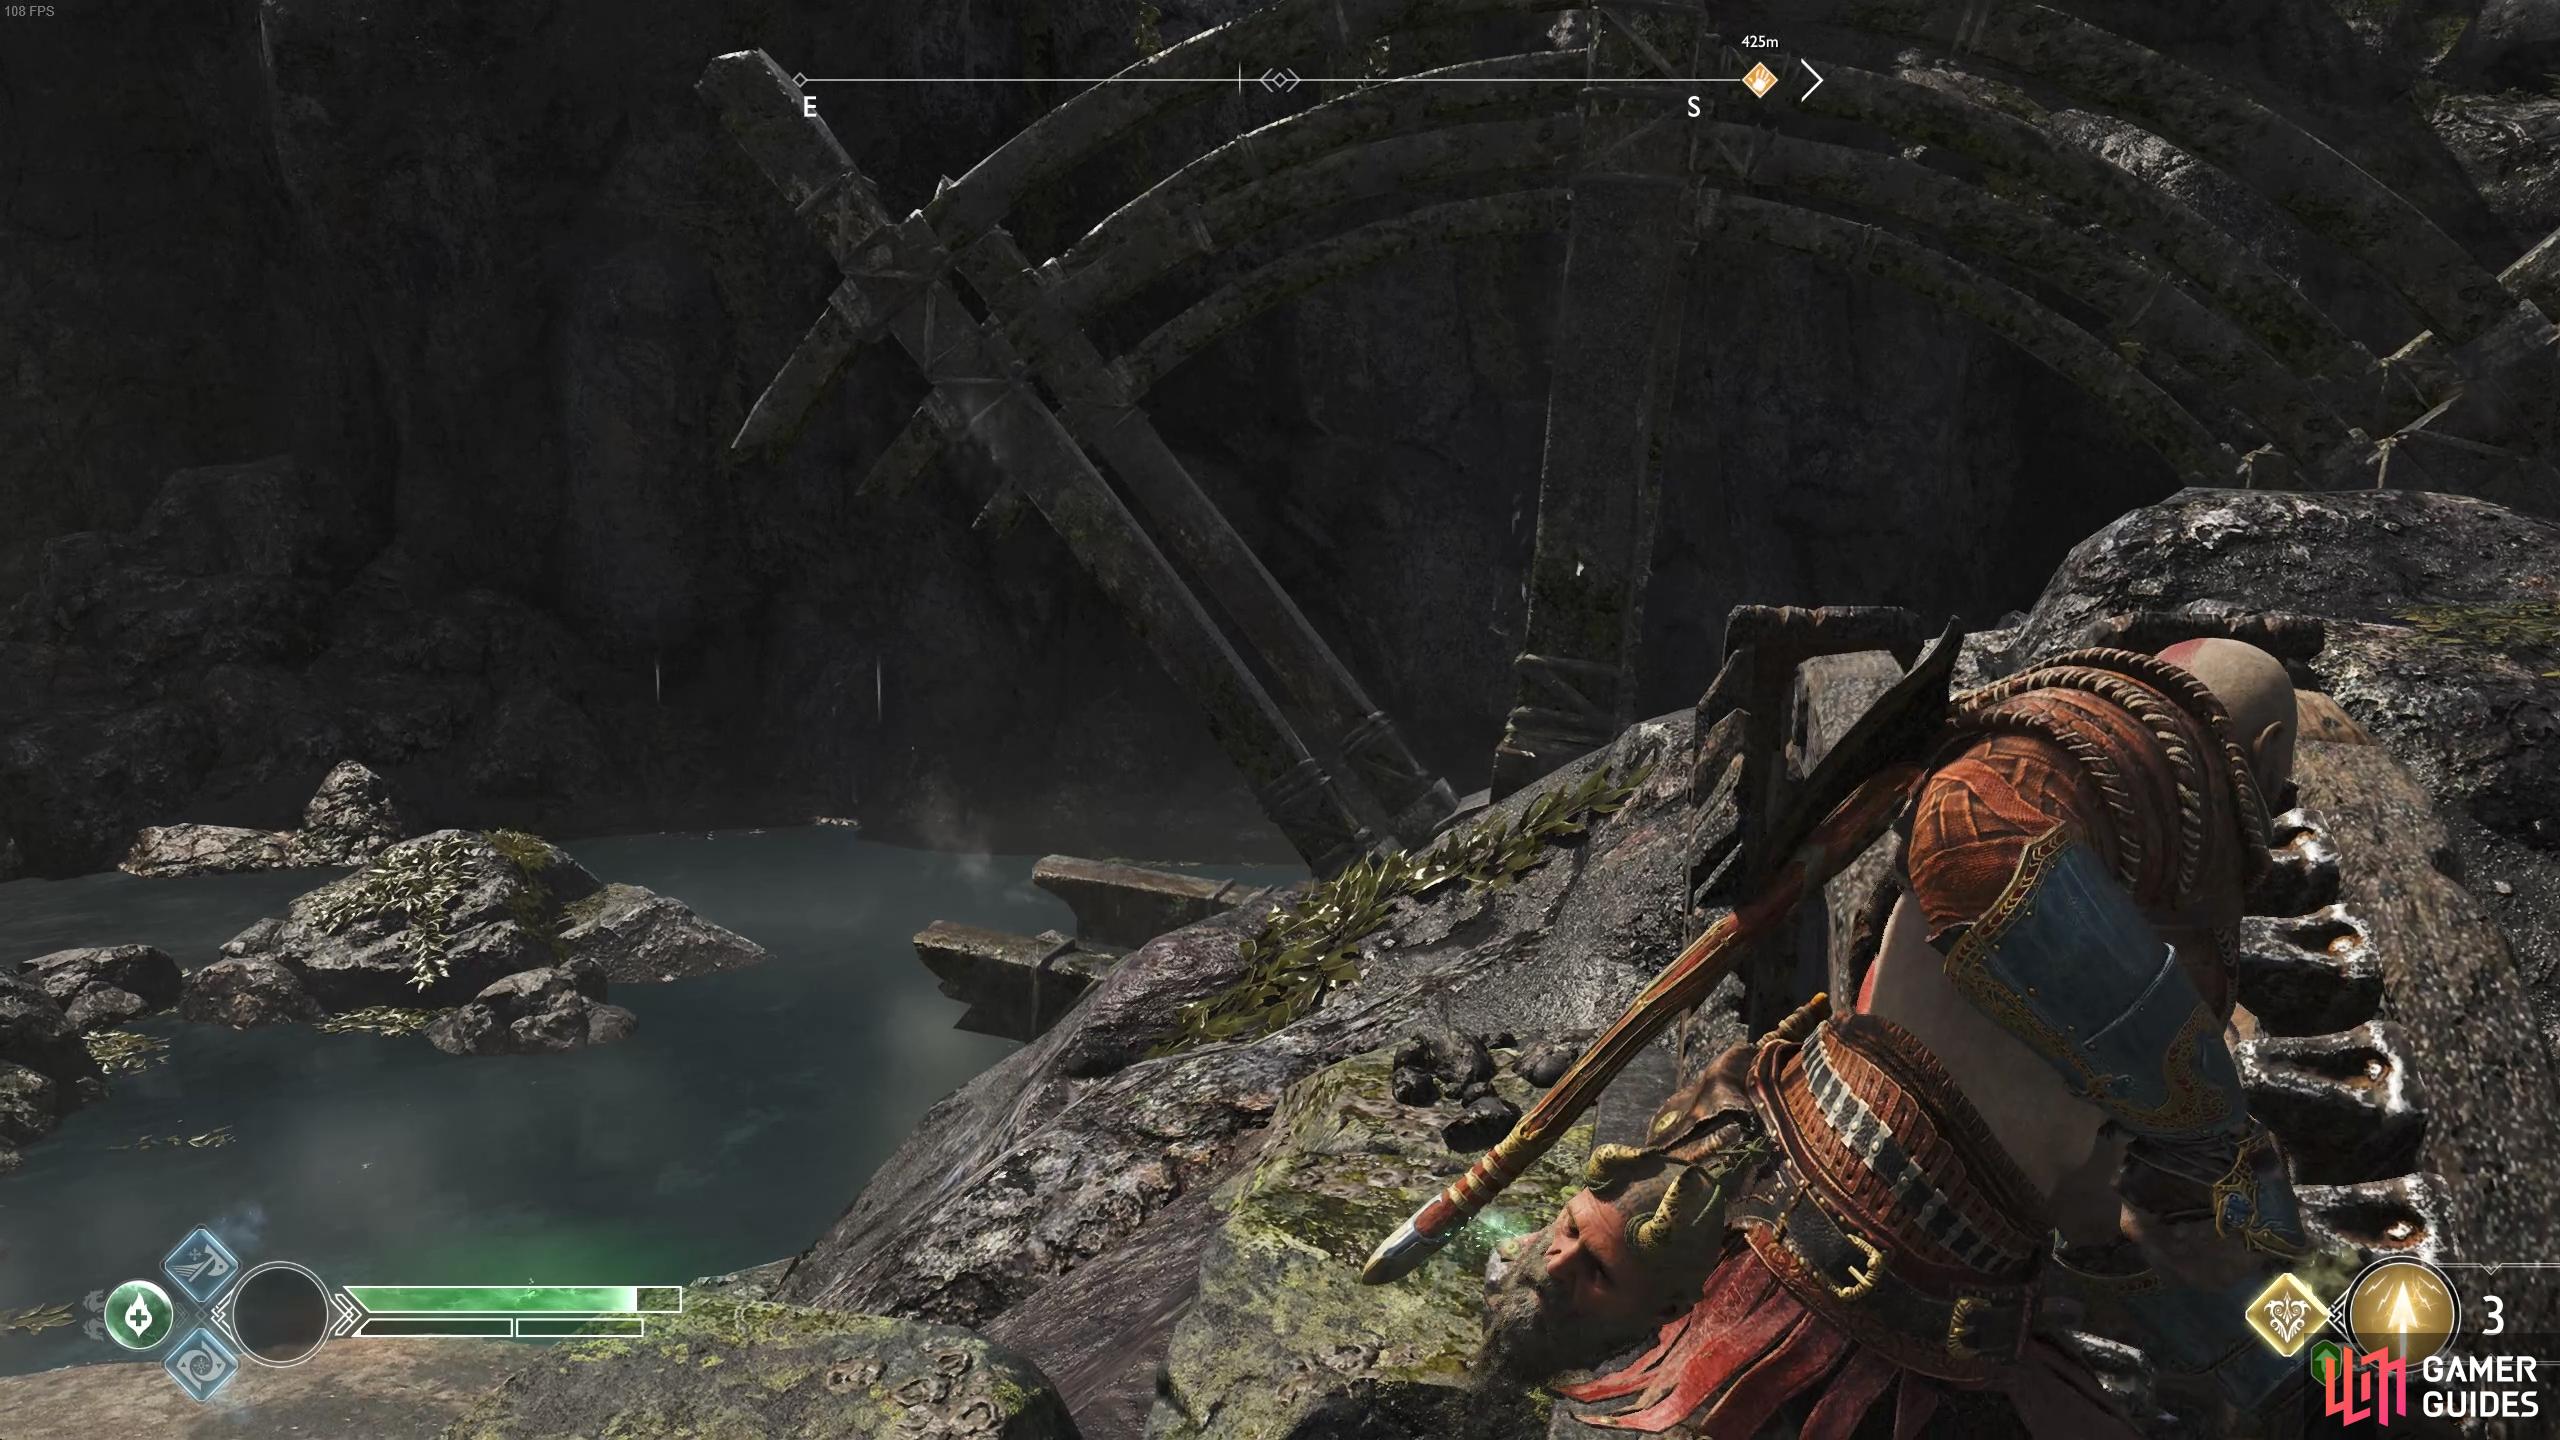
Before you leave the area, use the wheel to open the gate ahead. This leads to Thamur’s Corpse, your next journey destination so ignore this for now. When you leave the wheel, an Ogre attacks with a group of Dark Elves. Stun the beast and use it to take out the Dark Elves, picking up the spoils after the battle. You can now board the boat and exit out of the Channel the way you came in.
Dock once more at the beach to your left as you leave the Mason’s Channel and climb the ledge again. On your left is the first of Gullveig’s bones.

(1 of 2) The first of Gullveig’s bones is found on the island to the right of the Mason’s Channel.
The first of Gullveig’s bones is found on the island to the right of the Mason’s Channel. (left), You’ll need the Muspelheim Labor to light the brazier. (right)
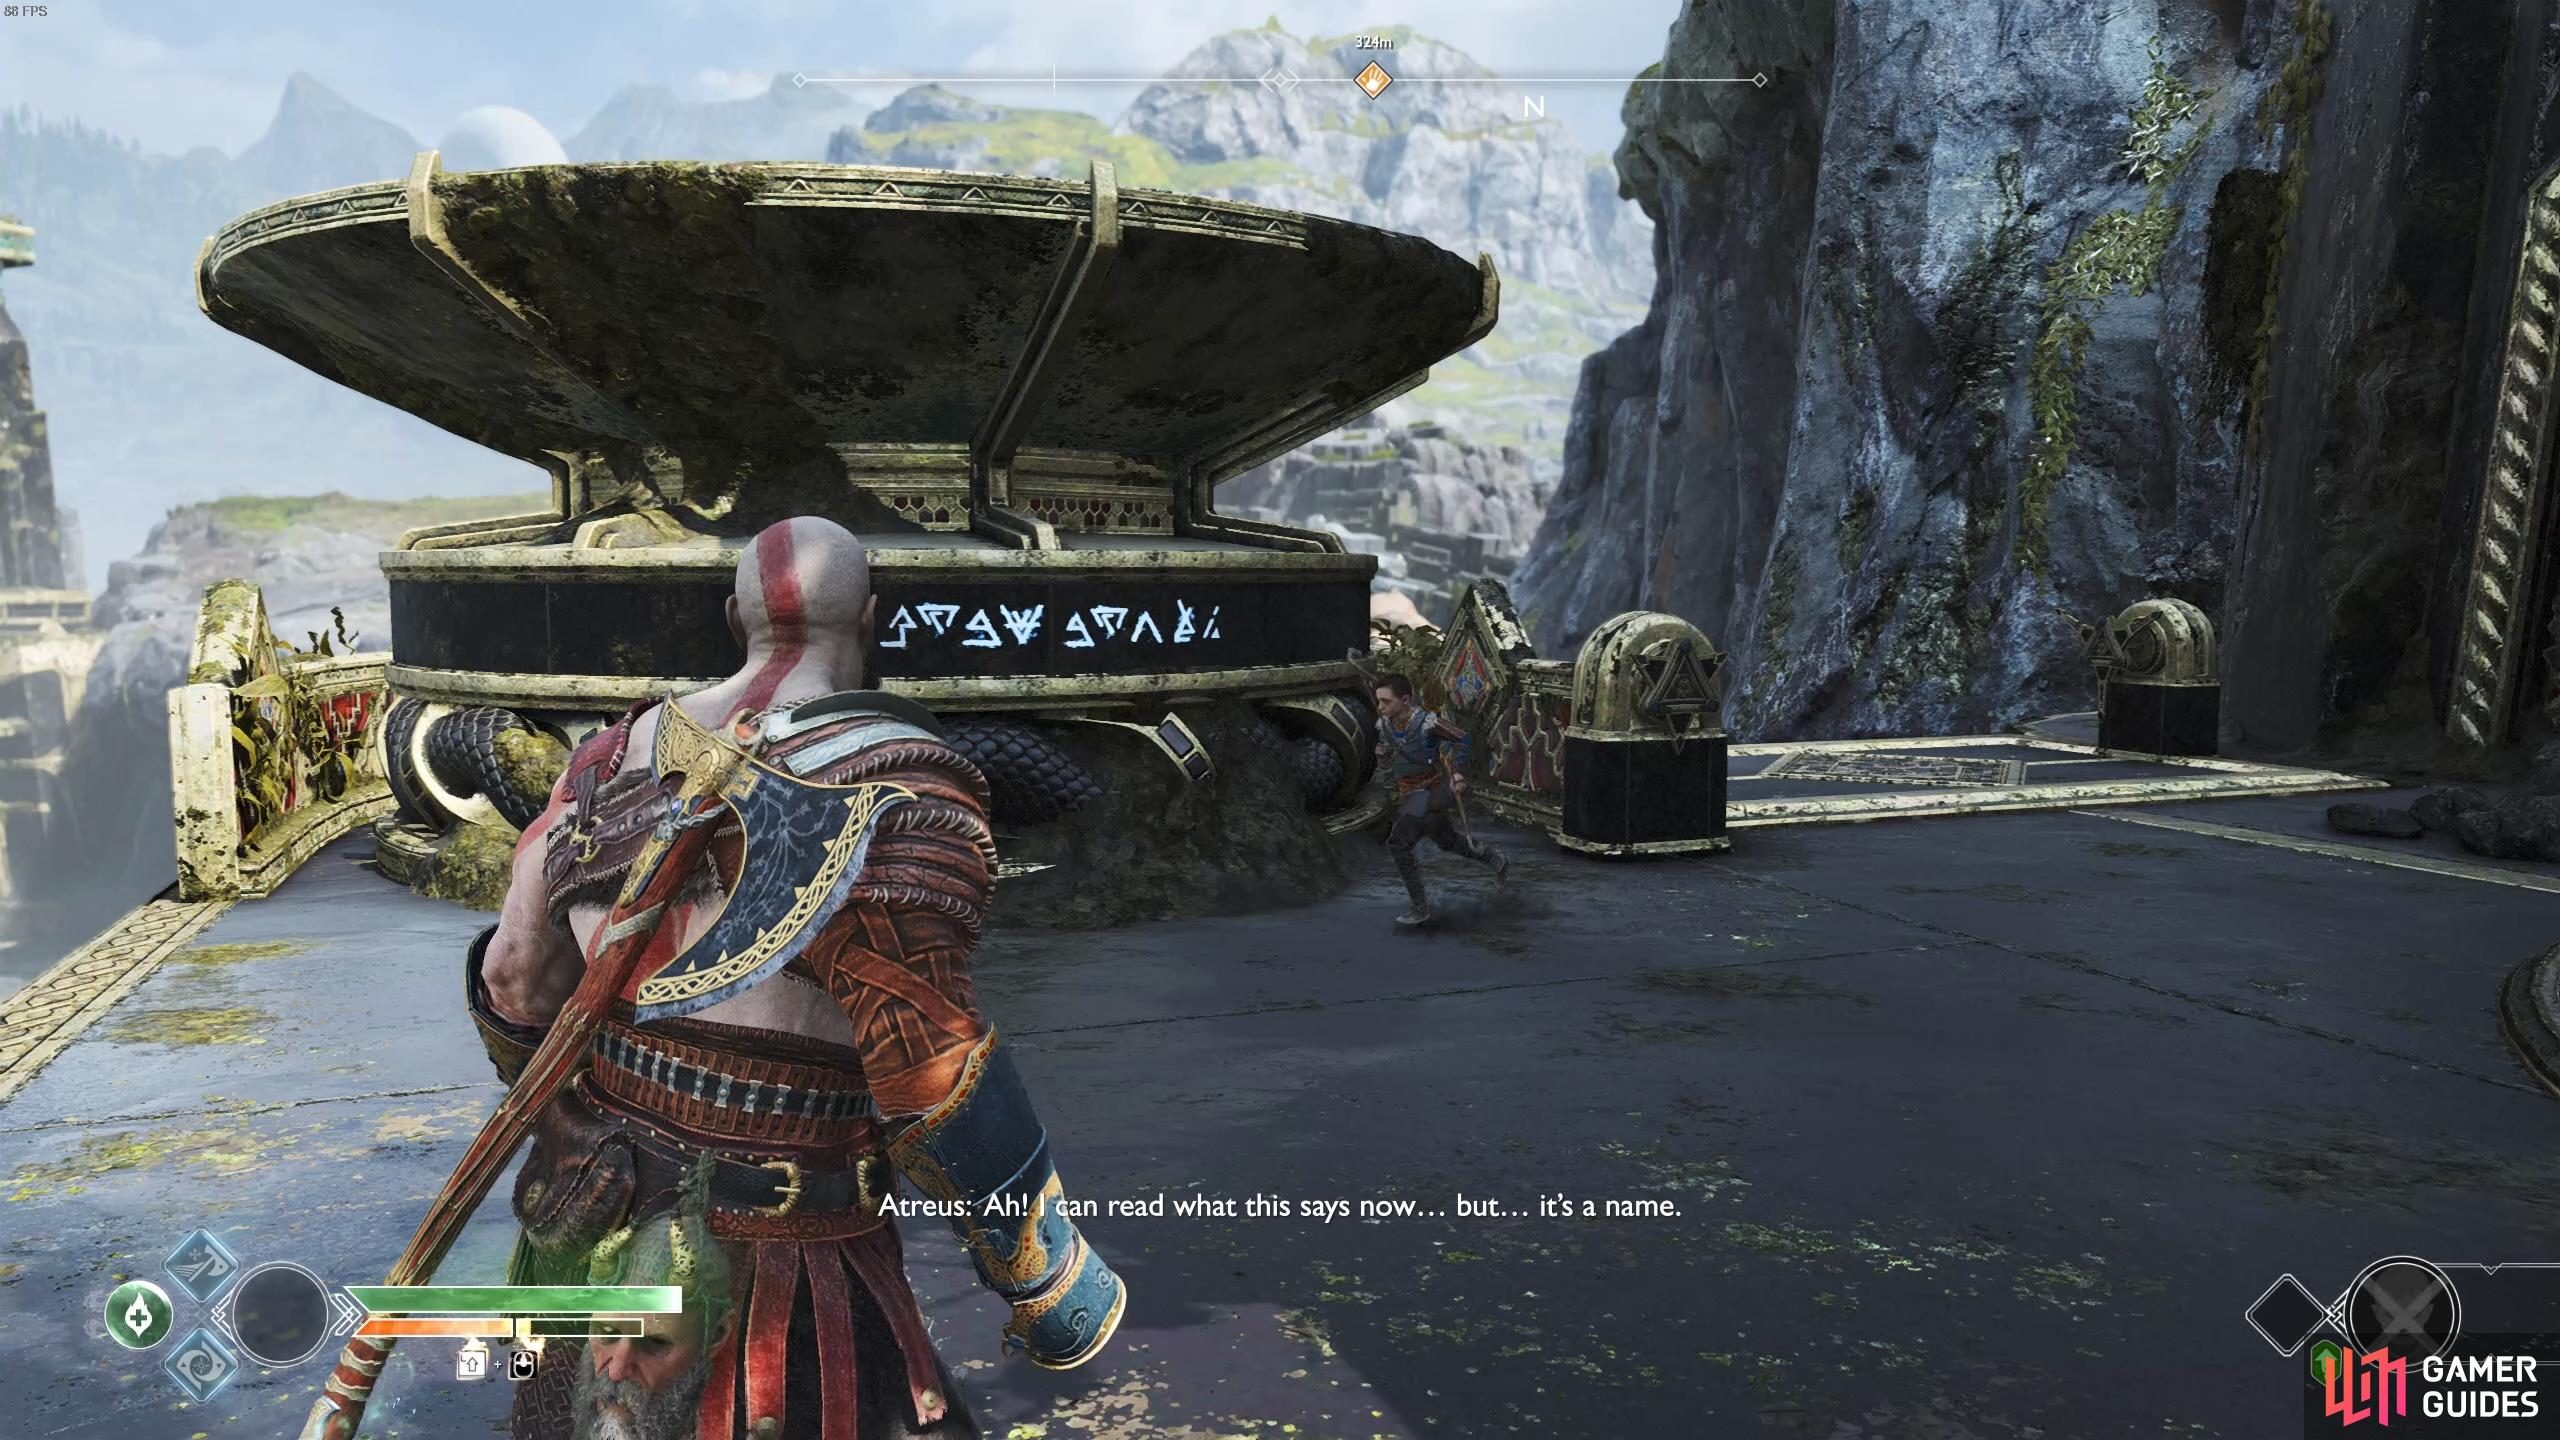
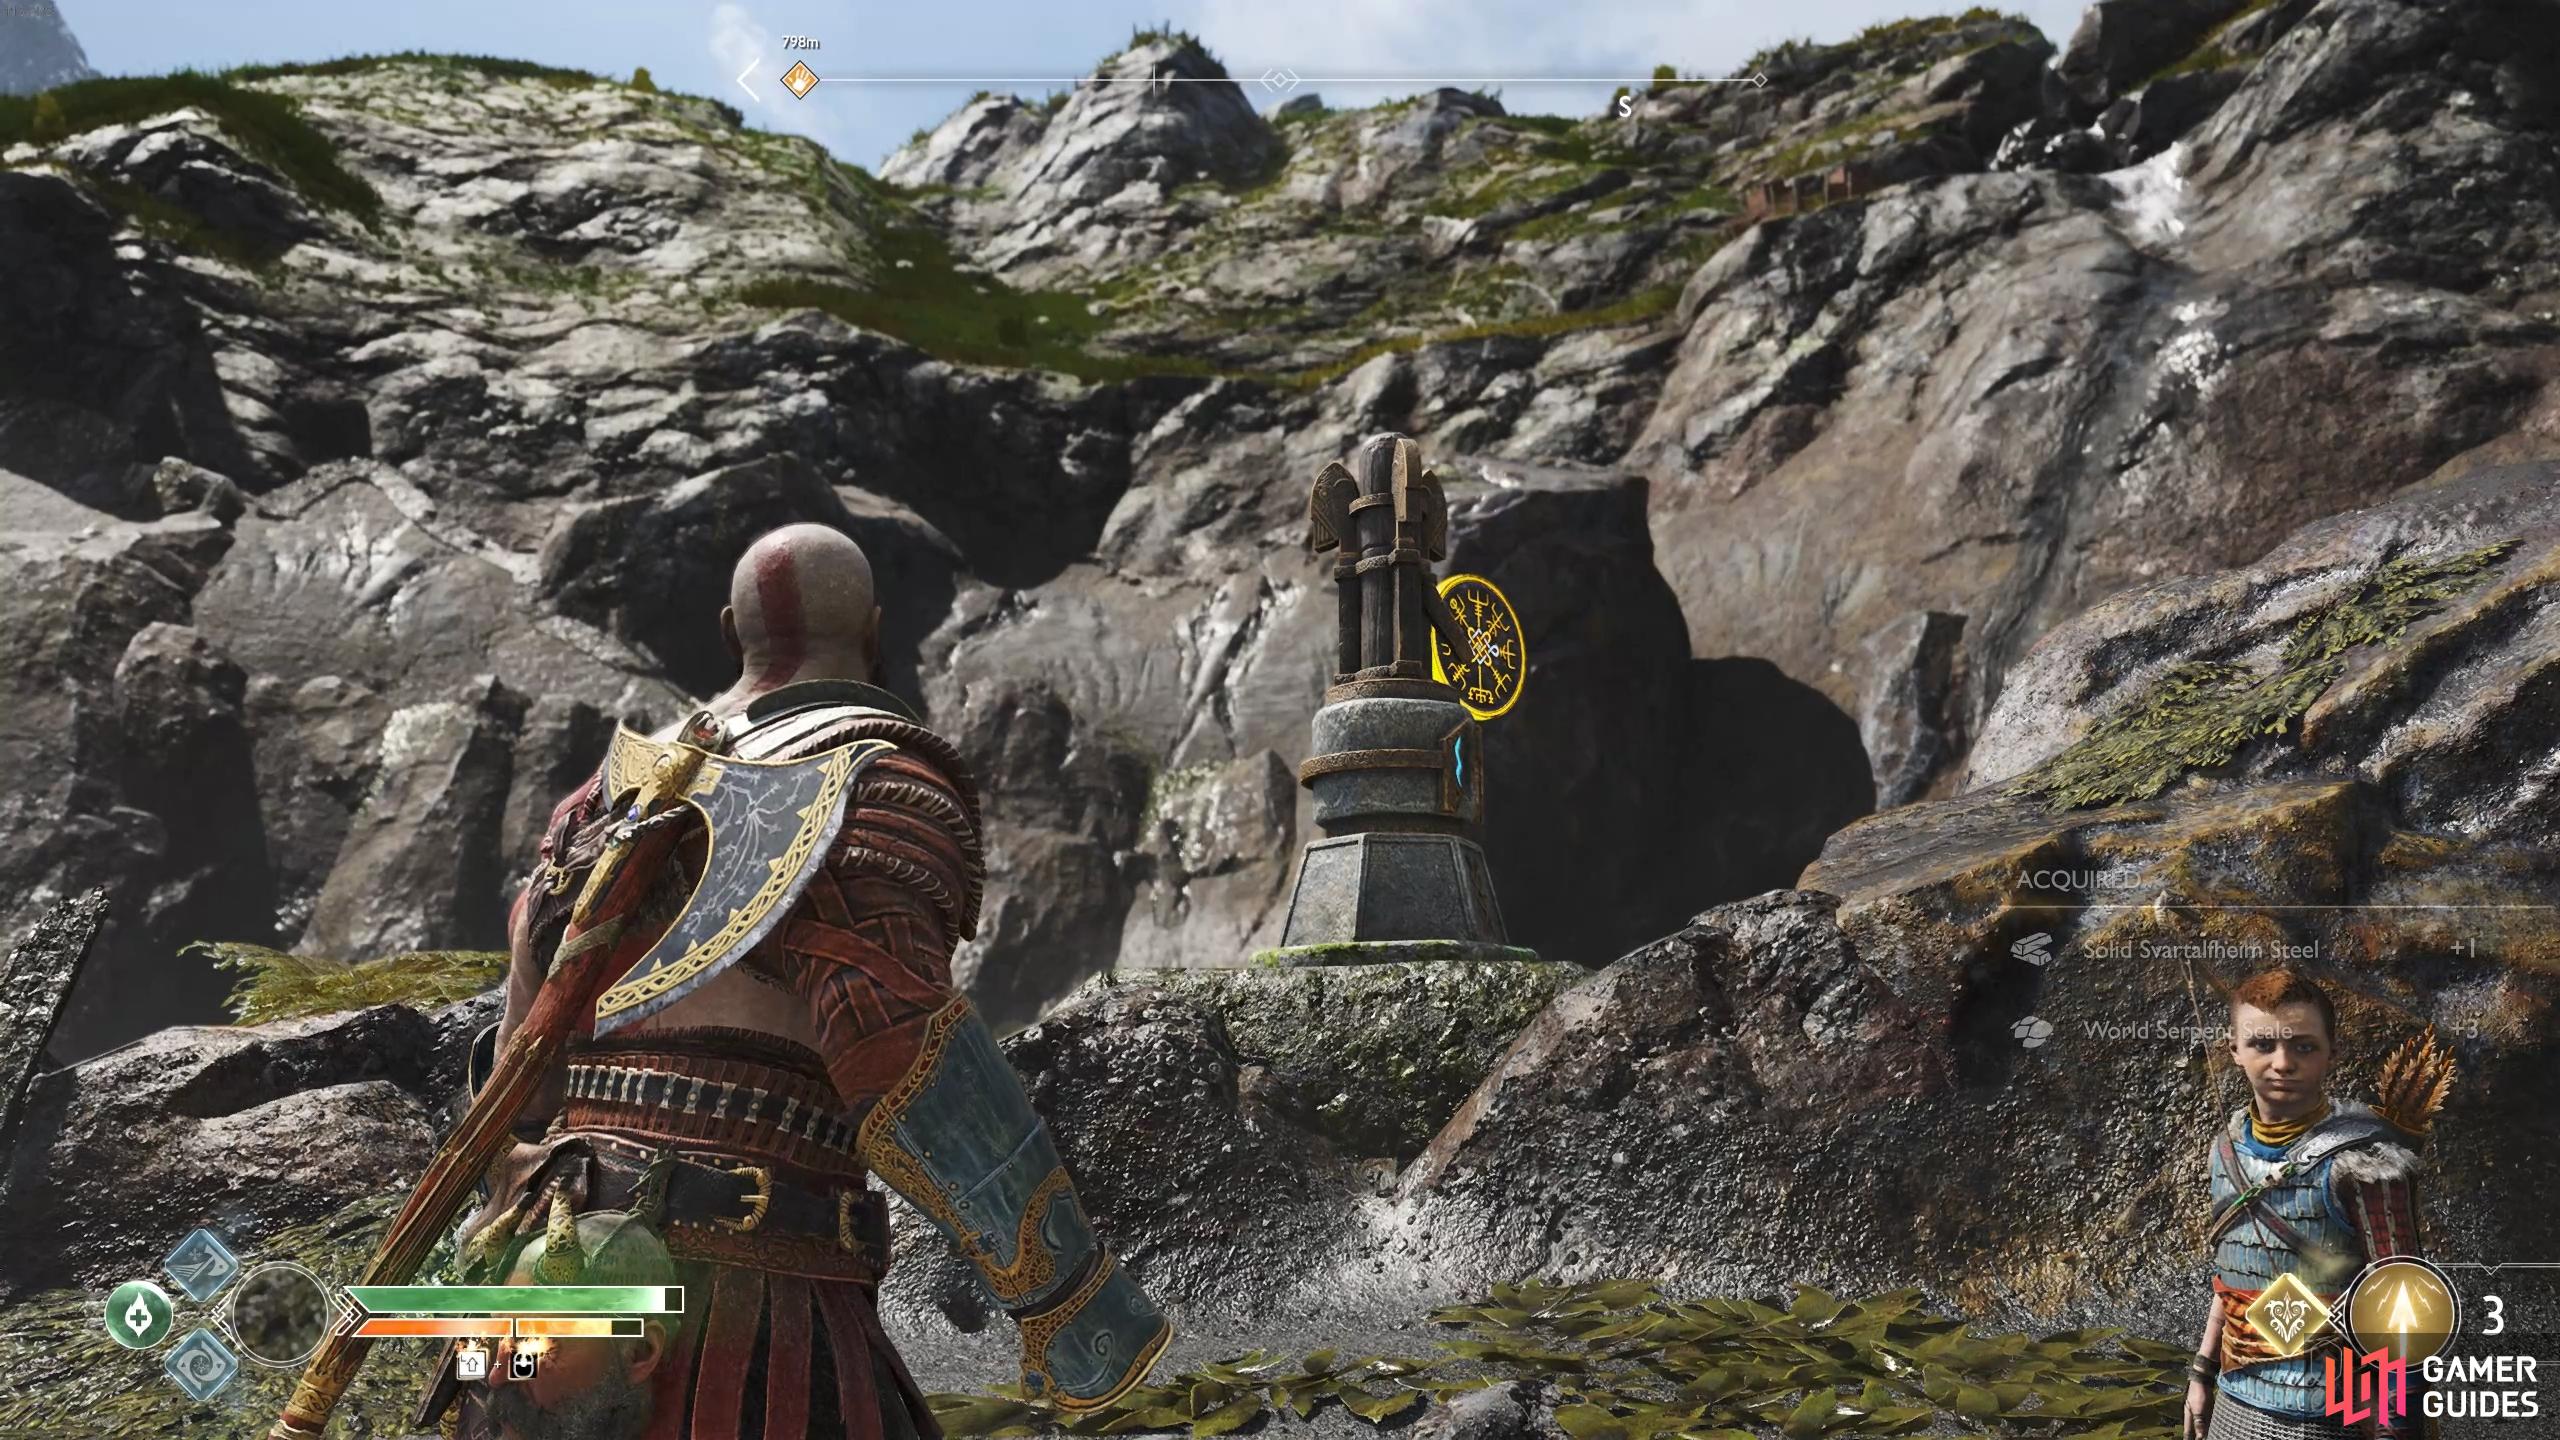
Continue around the edge of the Lake of Nine, dock at the nearby Alfheim Tower and ride the elevator to the top. You can now read the runes on this brazier due to possessing the Muspelheim Language Cipher, this lights the brazier and begins a new Labor. Use the switch on the other side and take the elevator back down to the dock on the other side.
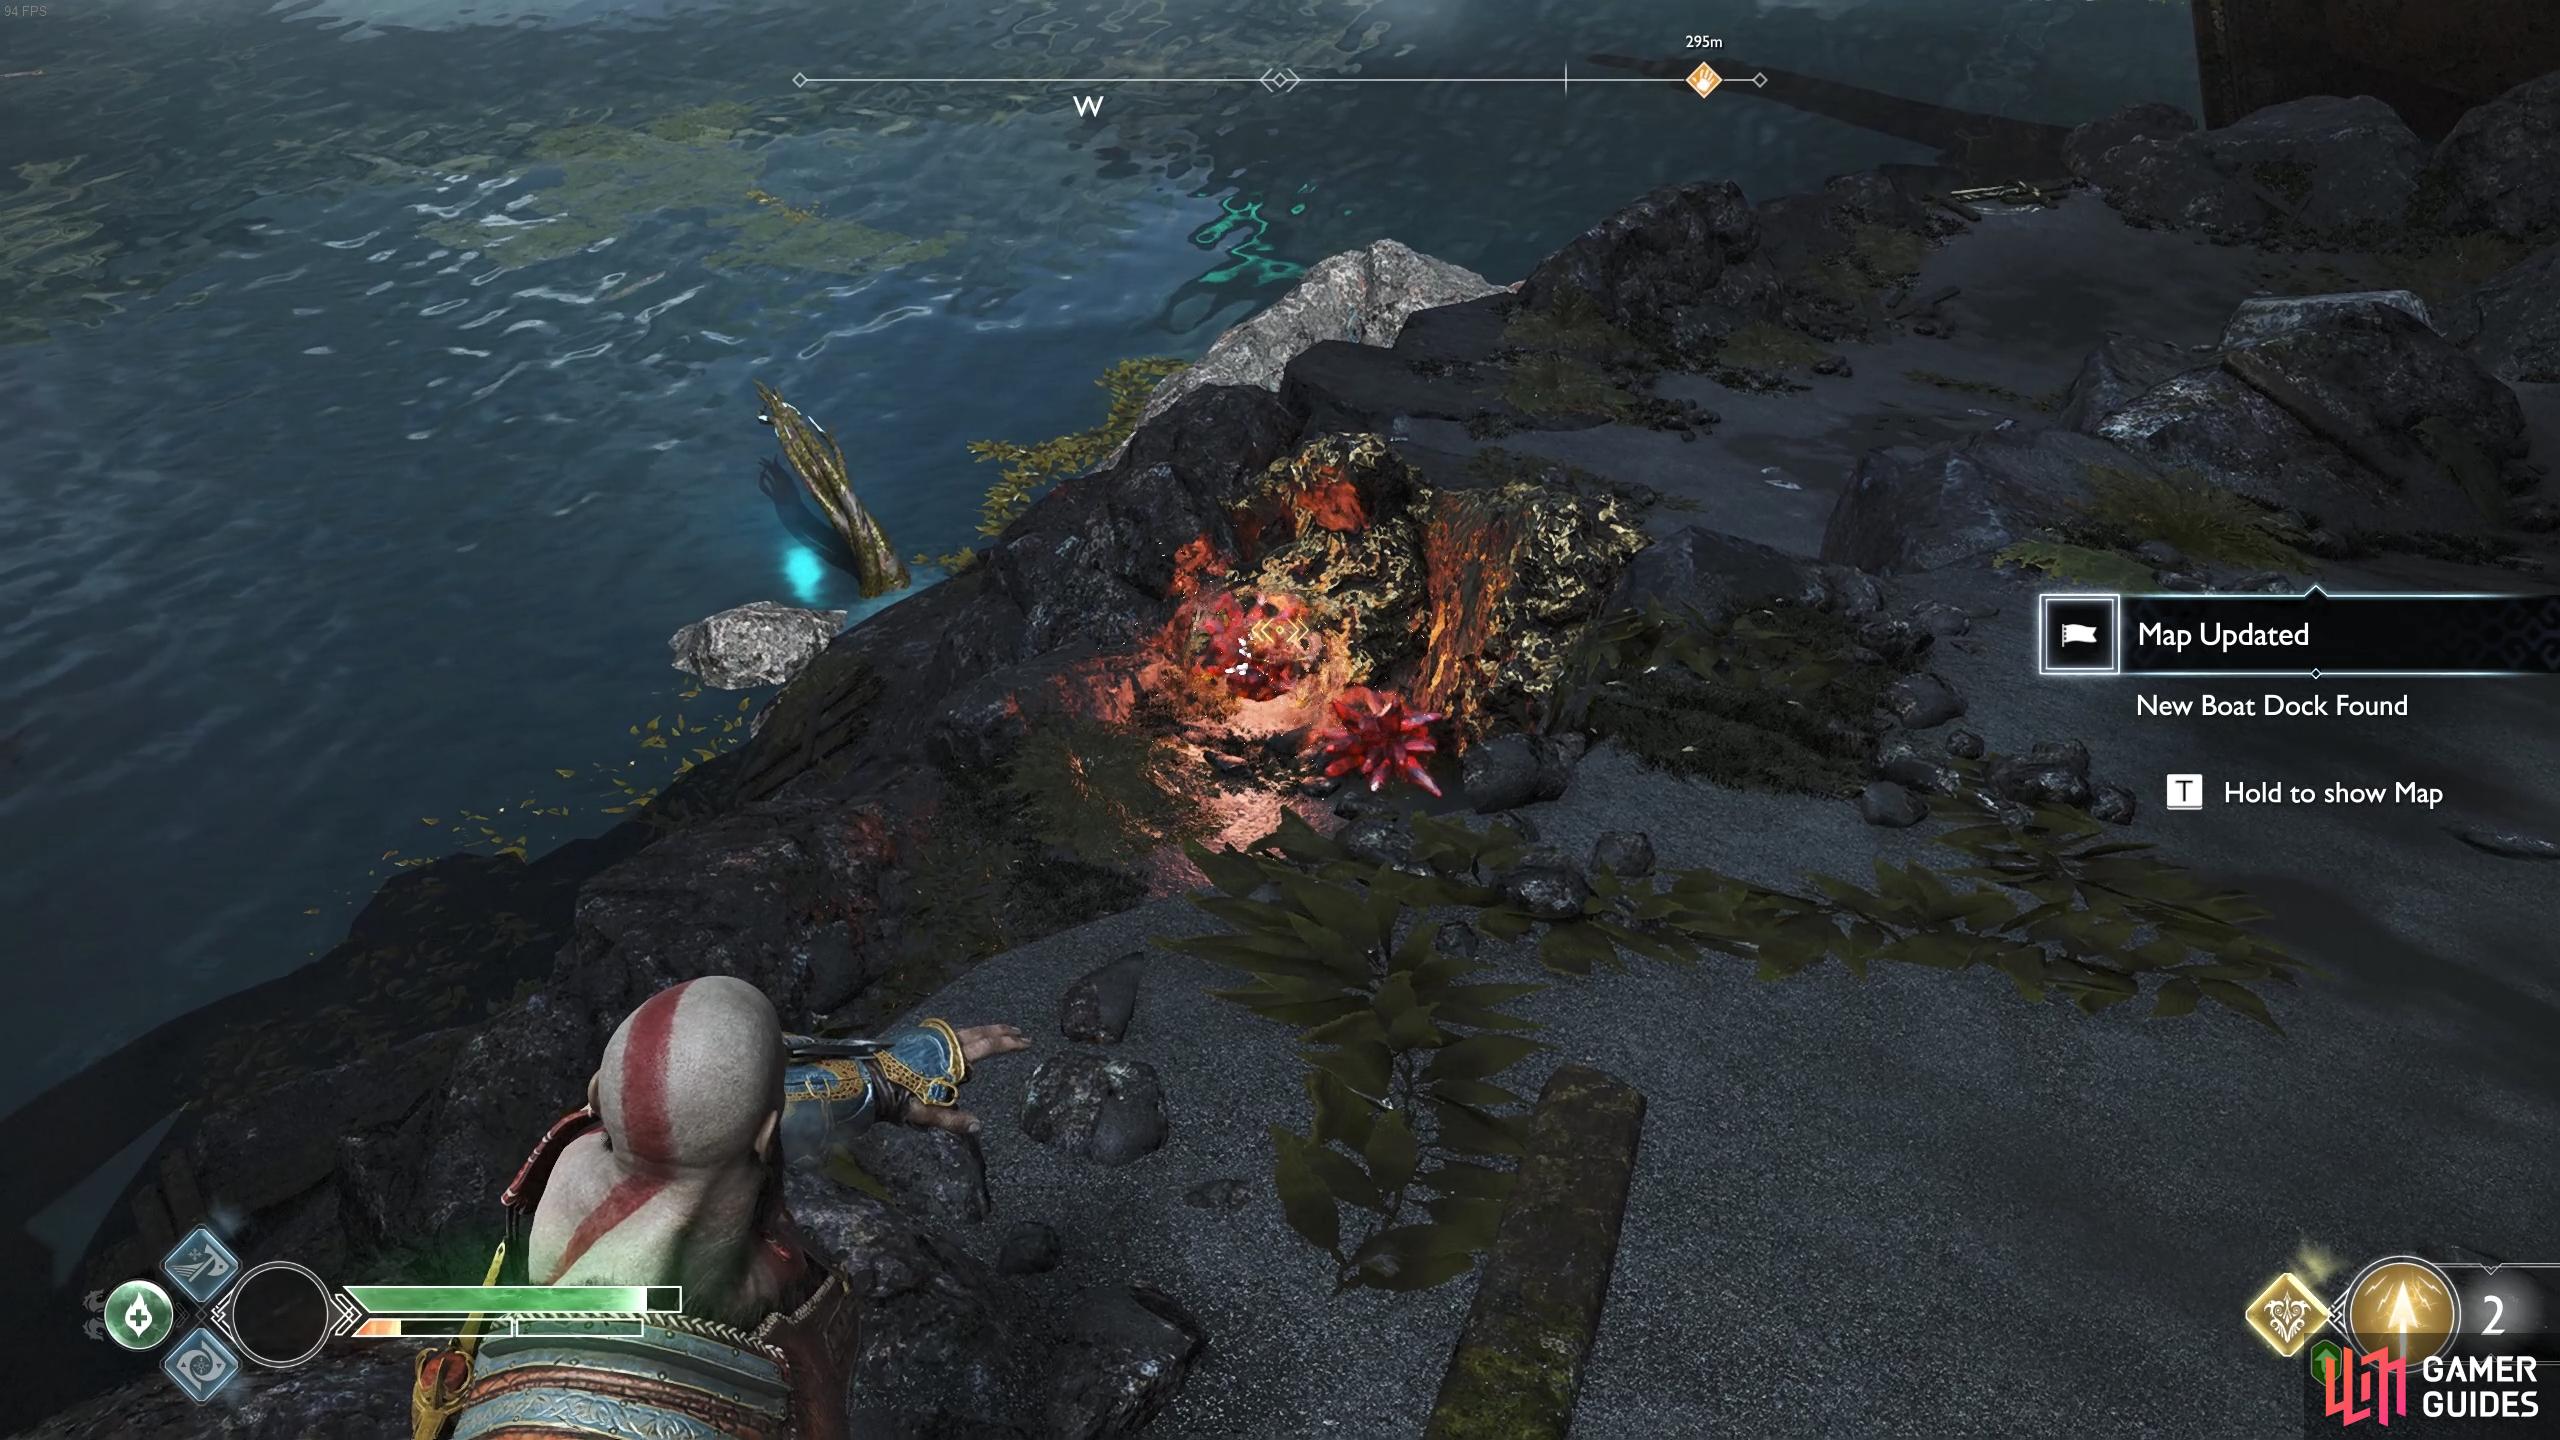
Back on the boat, row over to the northeast to find a beach that you can dock the boat at, this is Stone Falls.
Stone Falls
You now have access to the entire area, begin by heading forward and breaking the boards to your left to find a Hacksilver chest. Walk to the edge, next to the inaccessible Legendary Chest and you’ll see a Shatter Crystal you can hit with Shock Arrows. Once detonated, the wheel at the back begins to turn again.
Turn around and climb the ledge and before you leap the gap, look to the northwest to spot a Shatter Crystal you can target at the back. Have Atreus shoot this to get the wheel moving again. Drop back down the ledge and head to where the Legendary Chest is and time a Shock Arrow to hit one of the Shatter Crystals as it passes the Legendary Chest. Open the chest to obtain the Deadly Grip of Fury and Pristine Dust of the Realm.
(1 of 2) Stand at the edge of the gap and look to the left to spot this Shatter Crystal.
Stand at the edge of the gap and look to the left to spot this Shatter Crystal. (left), Time your Shock Arrow to hit the Shatter Crystal as it passes above the chest. (right)
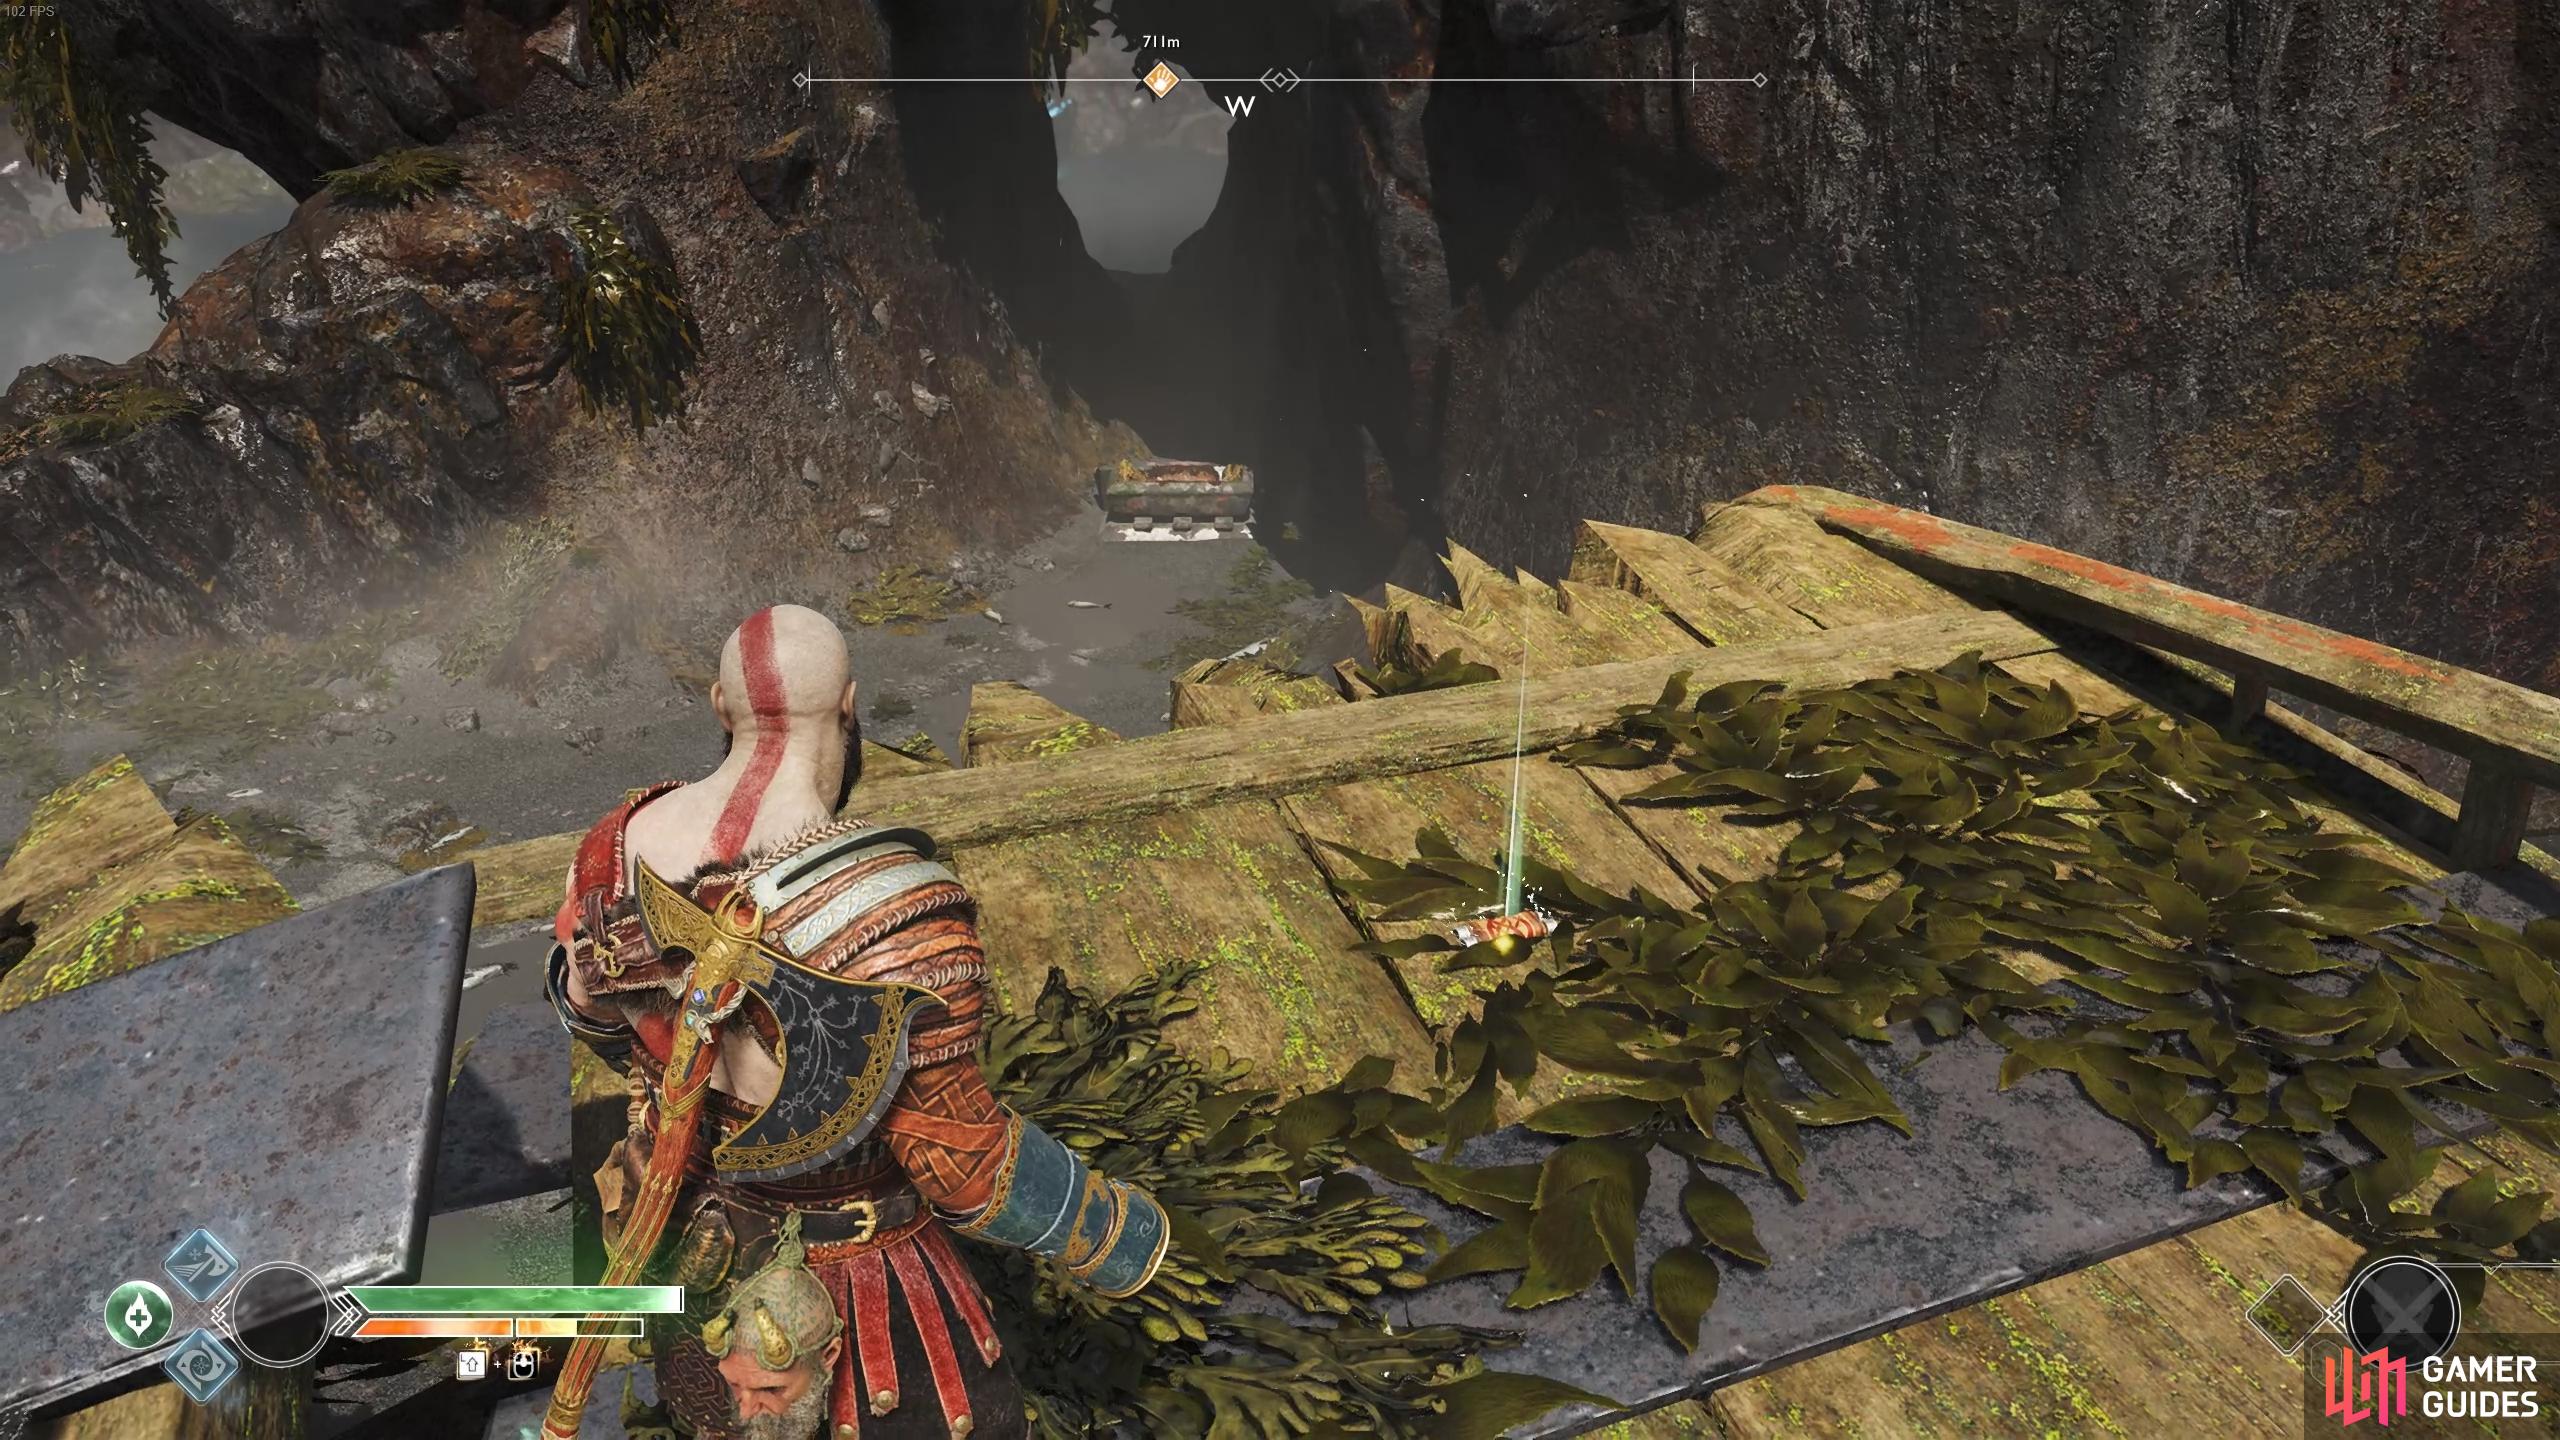
Return to the ledge and jump the gap, defeating the Draugr that bursts out of the boards in front. Pick up the small sack of Hacksilver inside and then open the Hacksilver chest itself before looking to the southeast. Once again, wait for a Shatter Crystal to appear below the coffin and detonate it to destroy the sap as it travels up. Open the coffin for some valuable resources and climb the chain.
Turn to face the chain and wait for a Shatter Crystal to pass near the wheel and detonate it. You can now use the wheel and pull it back to its furthest position revealing a coffin on a high ledge. Once this is in line with the other coffin, shoot the Shatter Crystal on this coffin to remove the sap from both. Return to the wheel and lower the platform so you can reach the coffin and open the pair of them.
(1 of 2) Once again wait for the Shatter Crystal to pass near the wheel before detonating.
Once again wait for the Shatter Crystal to pass near the wheel before detonating. (left), Raise the platform so that it’s level with the other before detonating the Shatter Crystal. (right)
Return to where the chain was and then face the cliff to the west to spot a Raven on the cliff. Head across the bridge and follow the path all the way to the end of the cliff overlooking the Lake of Nine. There’s another Raven circling around that you can hit from this location. There’s nothing left to do at the Stone Falls now, you’ve achieved 100% for the region so return to the boat and row towards the left of the doors leading to Veithurgard to find a Yggdrasil’s Dew of Luck.
(1 of 2) Look up at the cliff above the bridge to find this Raven.
Look up at the cliff above the bridge to find this Raven. (left), You can hit another one from the highest point of Stone Falls. (right)
There’s not much new at Veithurgard however, if you dock here you’ll find a group of Draugr followed by a Lava Ancient, defeat this for additional Ancient materials and a Fire Sigil of Might and then leave Veithurgard the way you came in. Row around the rocks in front of you and dock on the beach at the north side.
Buri’s Storeroom
A group of high level Draugrs await on this beach, you’ll need to be careful and not let yourself get hit too much to survive the encounter. If you can fight close to the water you may be able to knock some into the water. The Heavy Draugr is the greatest threat, make good use of Shock Arrows to stun him and whittle away at him while making your safety the main priority.
Once the area is clear of enemies head through the gate and follow the wall to the other beach (there’s a Legendary Chest trapped in Hel’s Bramble that you can’t access for now). Facing the wall, look up to the top to spot a Shatter Crystal, hit it with a Shock Arrow to remove the sap and then pass back through the gate.

(1 of 2) Spartan Rage will serve you well here.
Spartan Rage will serve you well here. (left), Look up to see a Shatter Crystal you can detonate. (right)
Ignore the Nornir runes for now and take the steps up to the now sap free wheel and begin spinning it. You’ll need to spin it until the beach to your left is accessible by boat. Return to the boat and row around the rocks to your left to reach the other beach and run over to the gate to pull the chain, closing the gate in the process.
(1 of 2) Spin the wheel until it reaches this position.
Spin the wheel until it reaches this position. (left), Head to the new beach and close the gate before returning to the original beach. (right)
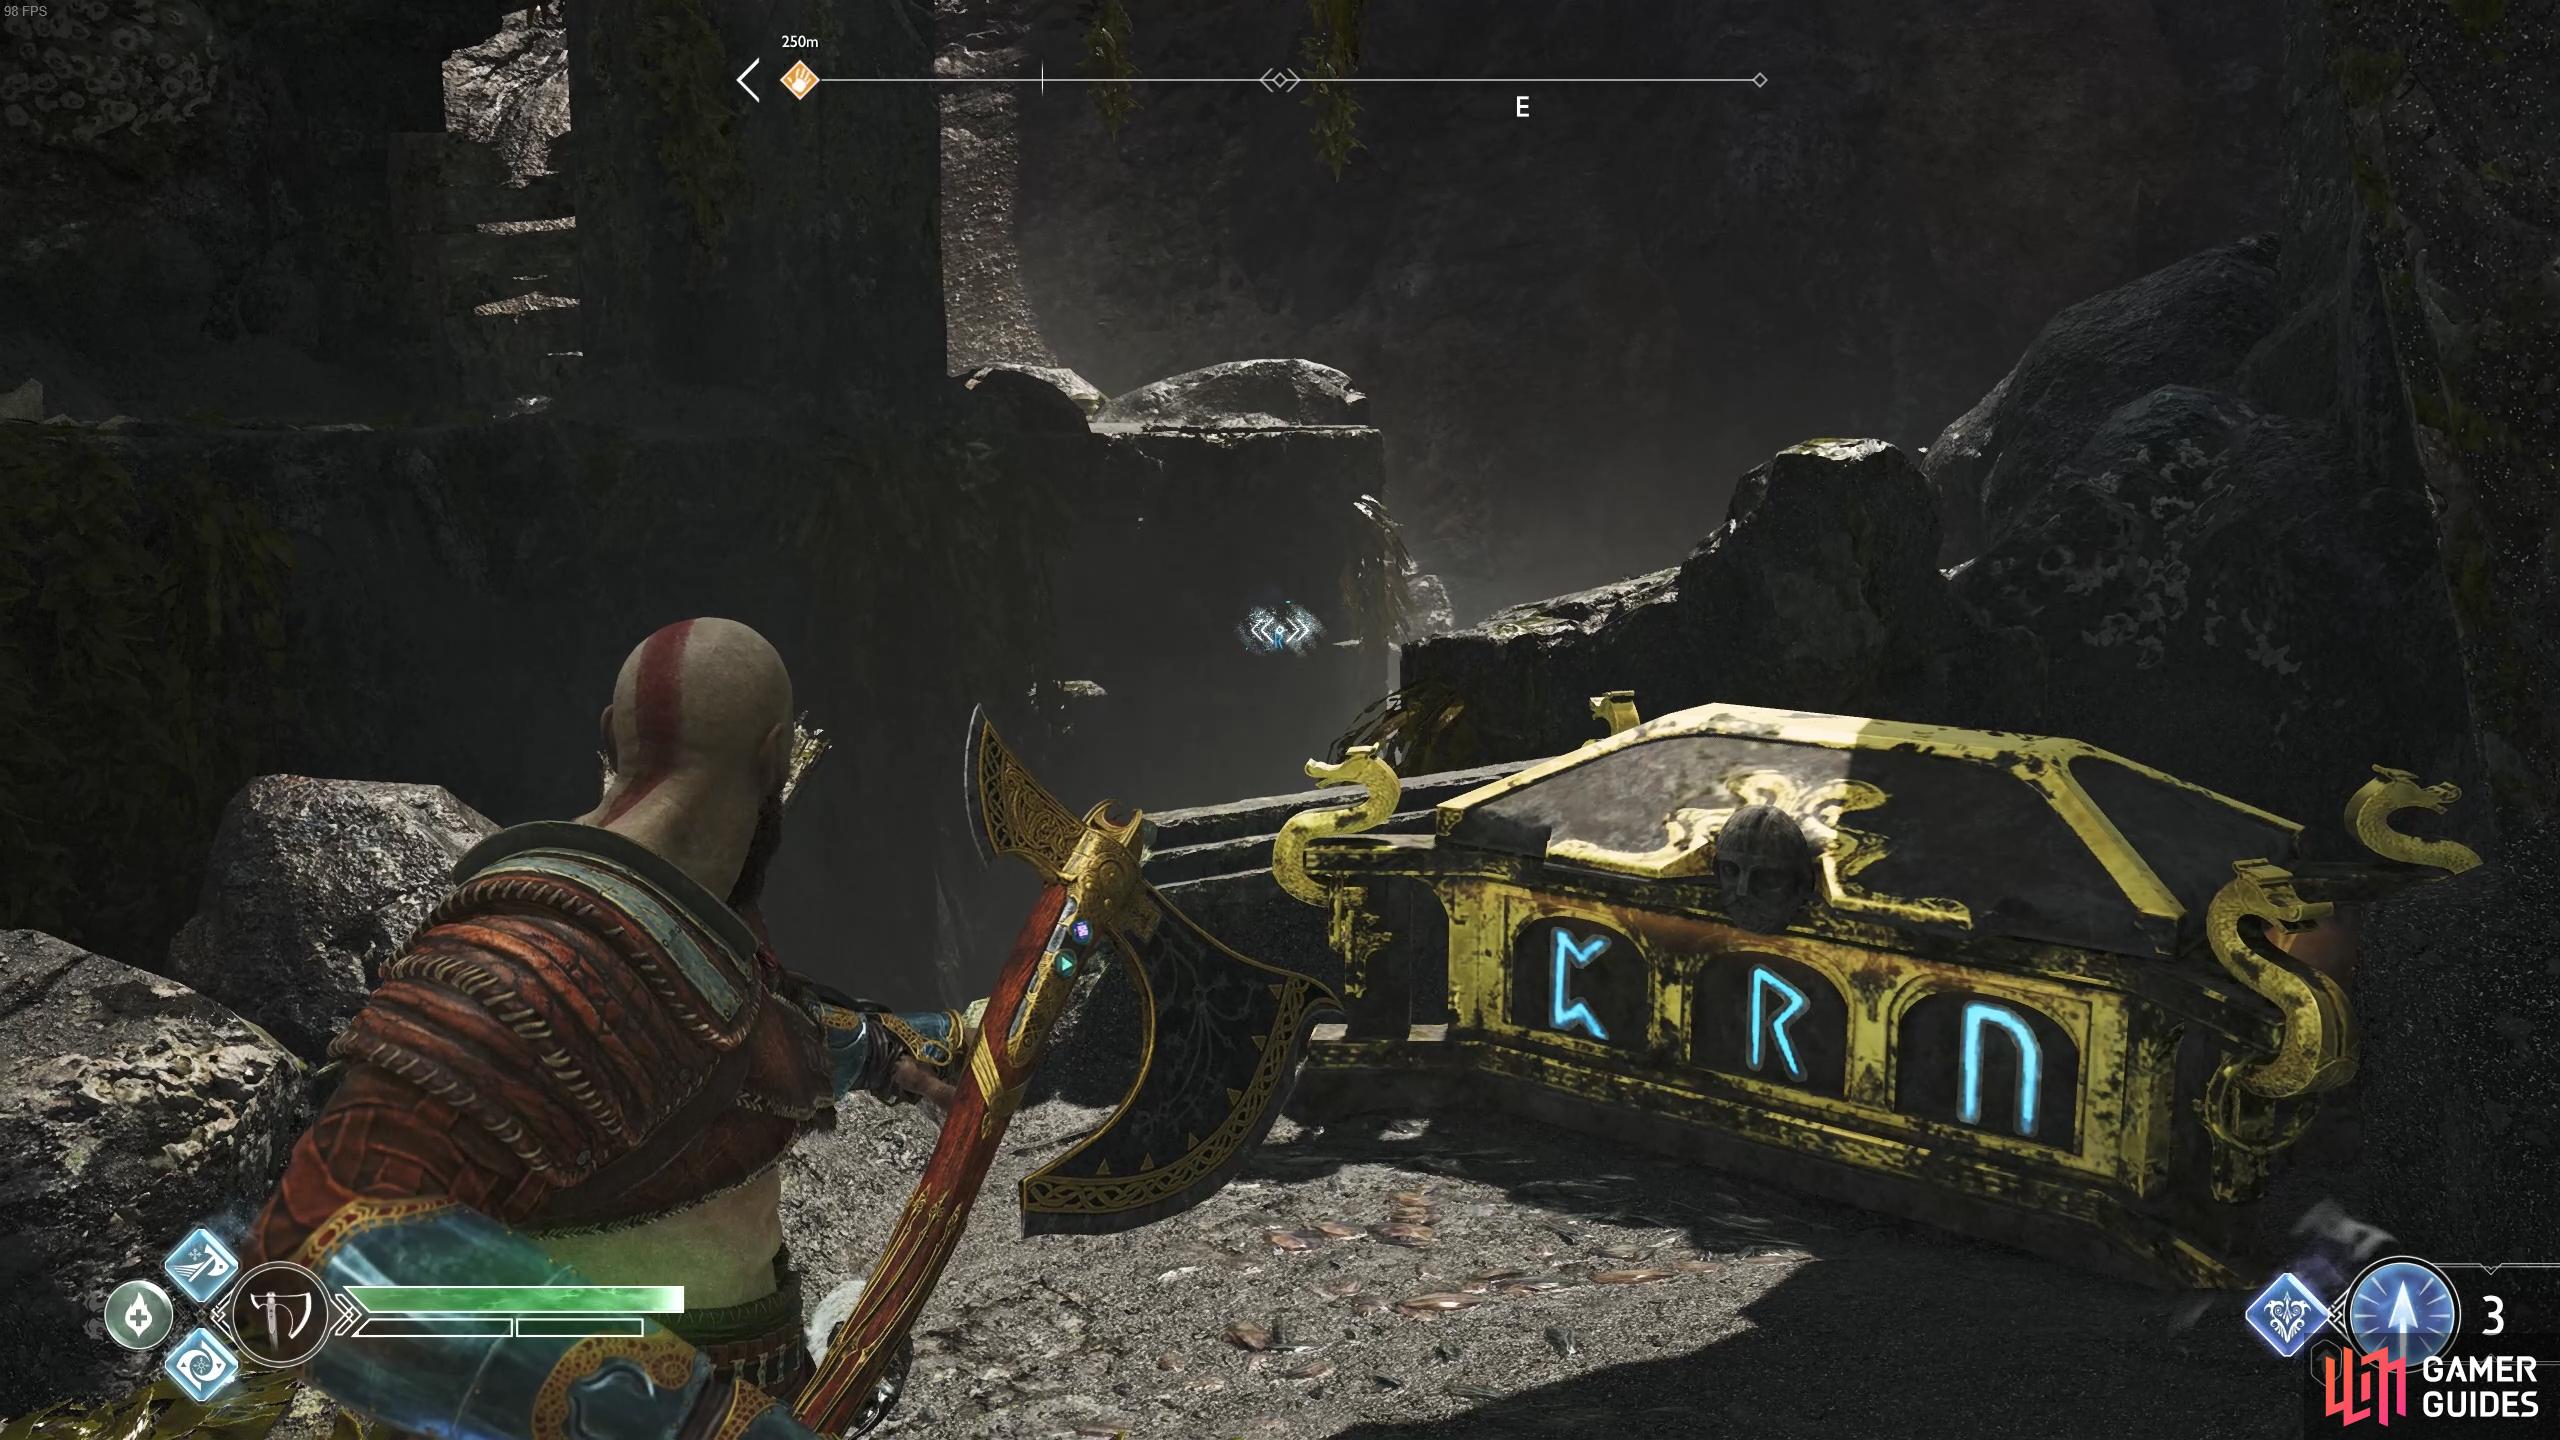
Return to the boat once more and sail back to the first beach and dock again. You can now hit all three Nornir Runes, starting with the first one above the gate you just closed followed by the one on the far right and finishing with the one in the middle (the middle one needs to be the last one you hit). Open the door and you’ll find a Legendary Chest containing the Glaive Storm Heavy Runic Attack gem along with two Hacksilver chests to the left and right.
Leave the area and return to the boat, rowing to the southwest and ignoring the passage to the Völunder Chasm as there’s nothing new to see there. Continue to row along the outer wall and you’ll come across yet another World Tree branch containing a Yggdrasil’s Dew of Strength just before a beach you can dock at.
Cliffs of the Raven
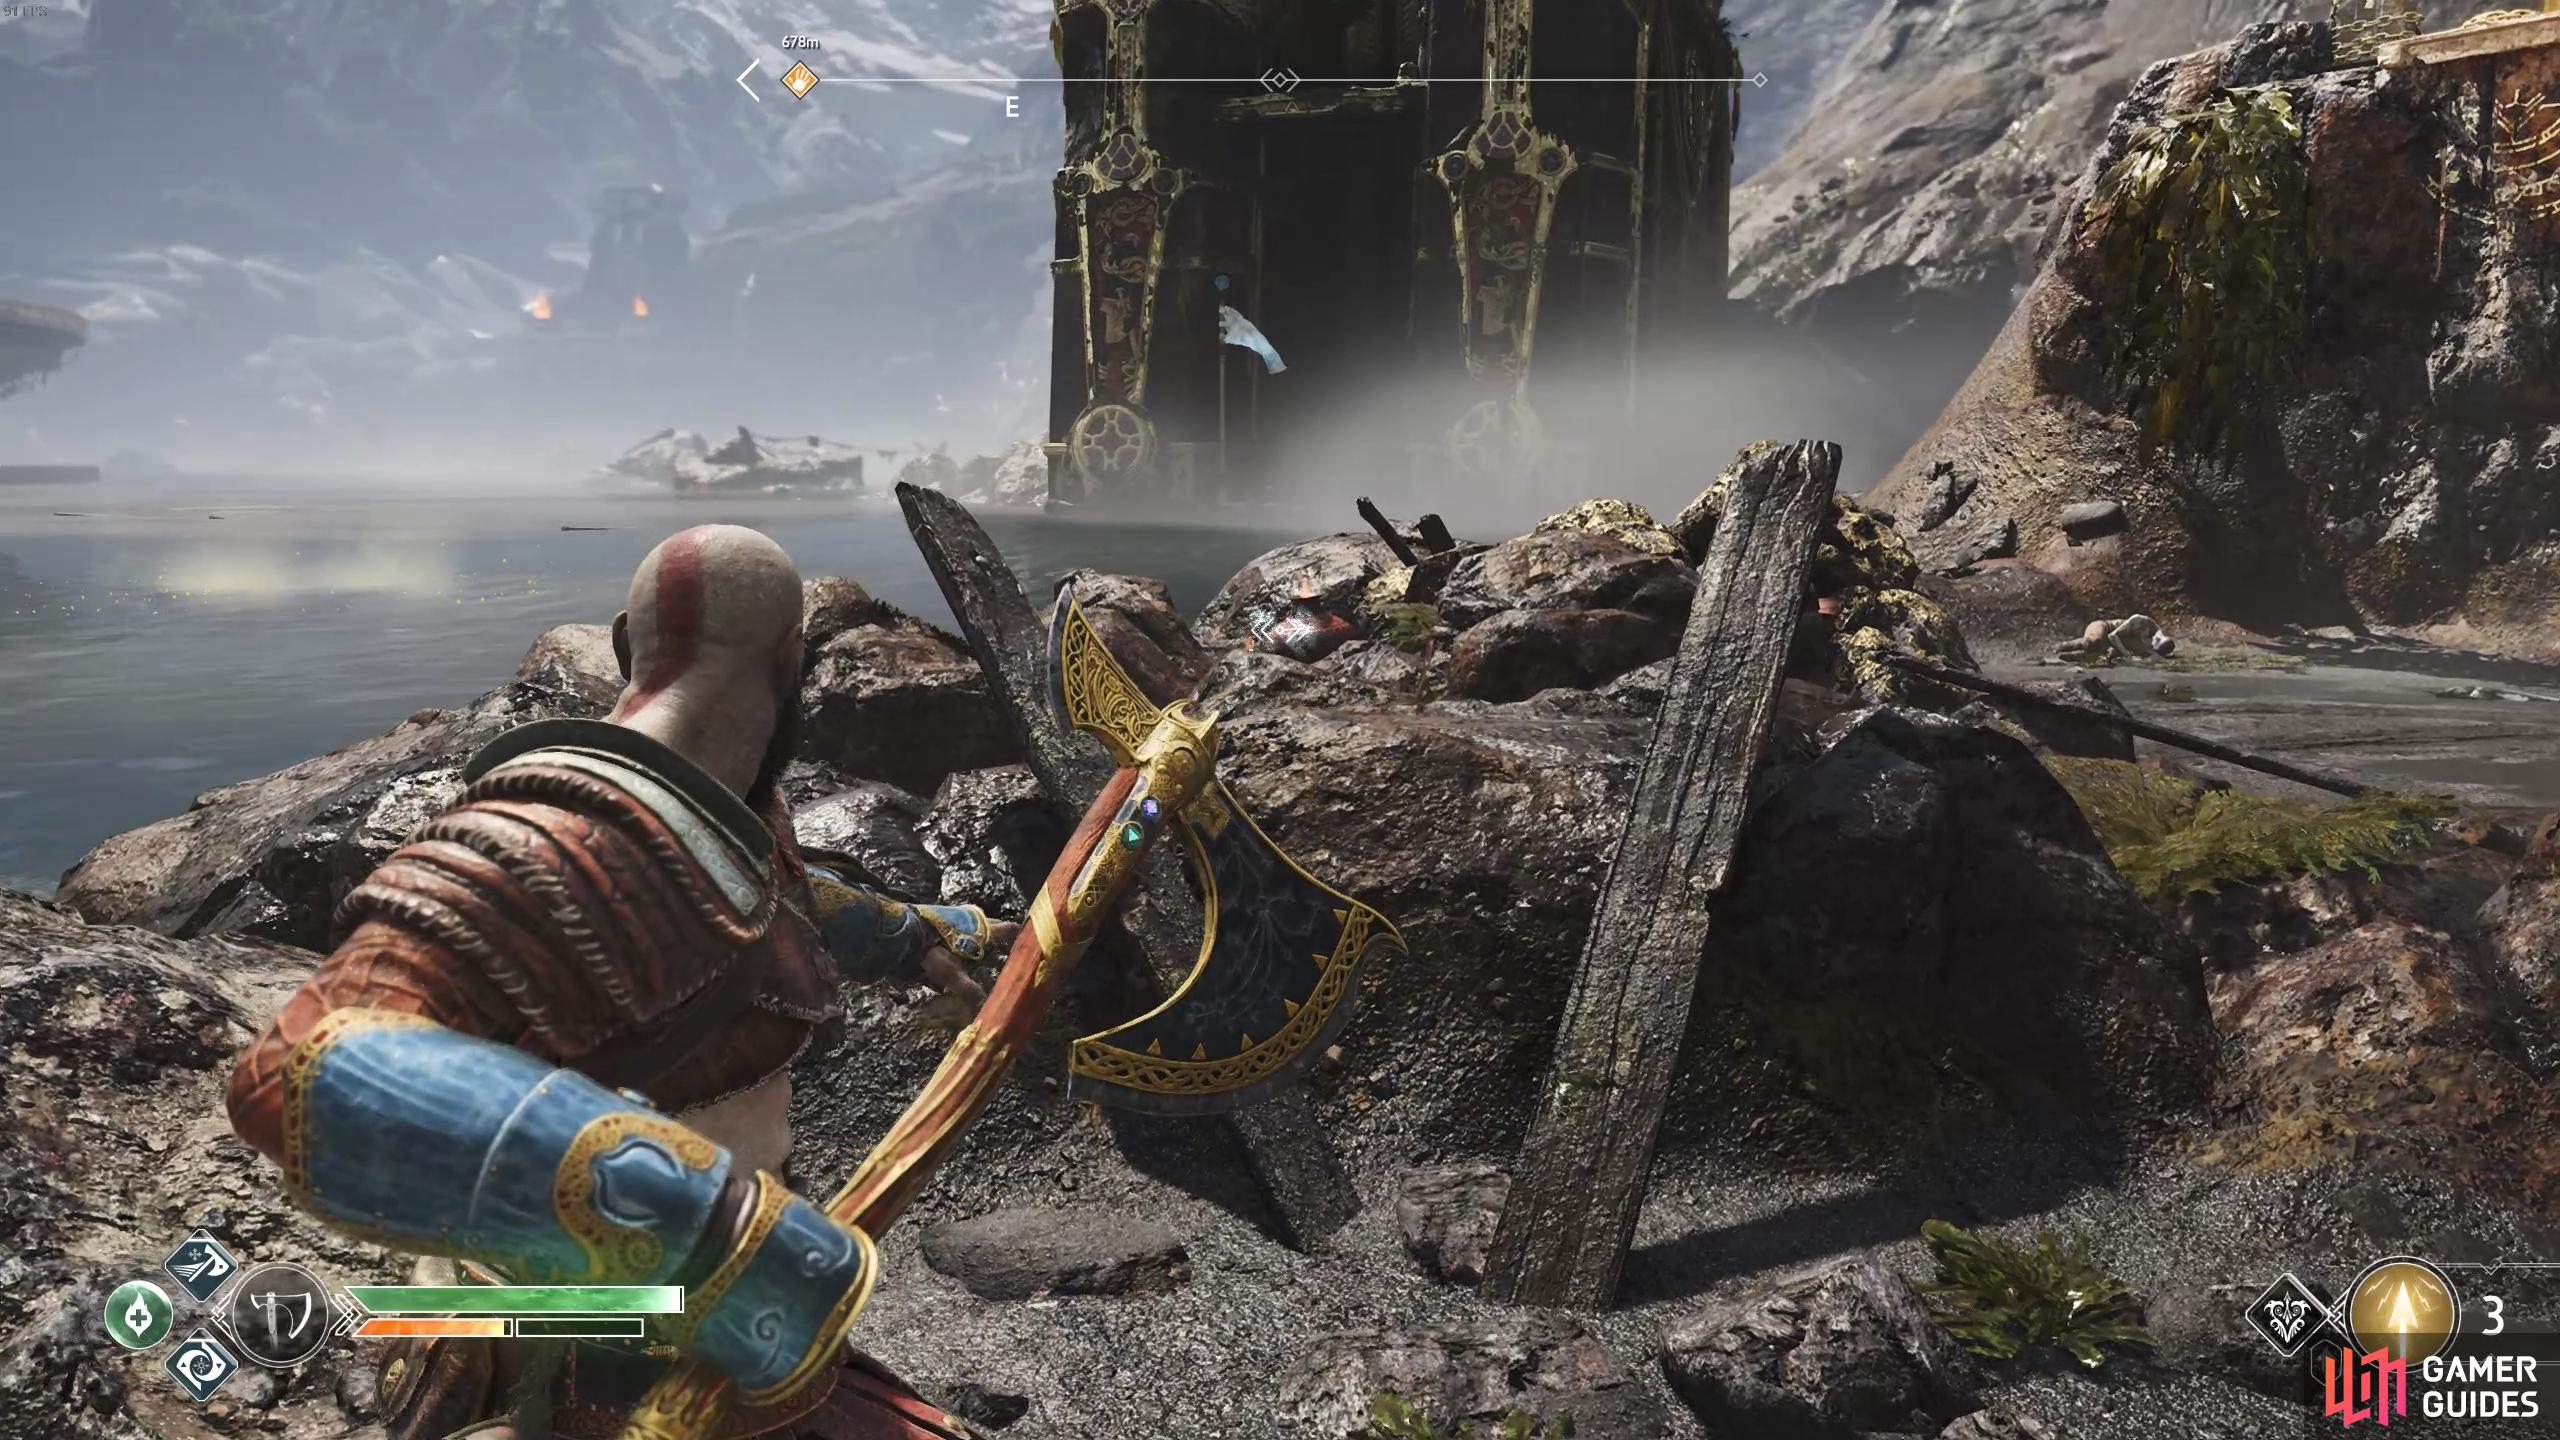
As you leave the boat grab the small sack of Hacksilver from the nearby corpse and then head to the closed gate to your left. Look into the air to see a knot that you can destroy with the axe and then go over to the chain. Pull the chain down as far as it will go and then toss the axe through the two knots to destroy them.
Release the chain and head to the right where there’s another knot to destroy allowing you access to the chain behind it. Take a left at the top and climb the two ledges to find another small sack of Hacksilver. Turn to your right and leap over the gap to where a Nornir Chest sits, unfortunately you don’t possess the tools to open this right now. Turn to the left of the chest and look down at the knots below, line them up and throw the axe through them to destroy them.

(1 of 2) Take the time to clear all the knots from the area.
Take the time to clear all the knots from the area. (left), This will save you time when you come back later. (right)
Leap this gap now and scale the wall to the top, leaping over another gap and grabbing another small sack of Hacksilver. Climb the chain close to you and open the Hacksilver chest before leaping over yet another gap for another Hacksilver chest. Kick down both chains up here, climbing down the one next to the Hacksilver chest.
Two Dark Elves and a Dark Elf Lord will attack you down here, make use of Runic Attacks and the Murder of Crows Summon to lock them in place and take them down. Once defeated, head down the path to the west and toss the axe through the knots to unblock the gate and raise it to create a shortcut. Return to where you fought the Dark Elves and take the other path down to the west to find yourself attacked by some Tatzelwurms.
Once the enemies are defeated, head down this path (climbing the ledge to the right for another sack of Hacksilver) and climb the ledge at the end for one more Hacksilver chest. You can head back to the boat now, you’ve prepared this area for your return once you gain the tools later in your adventure.
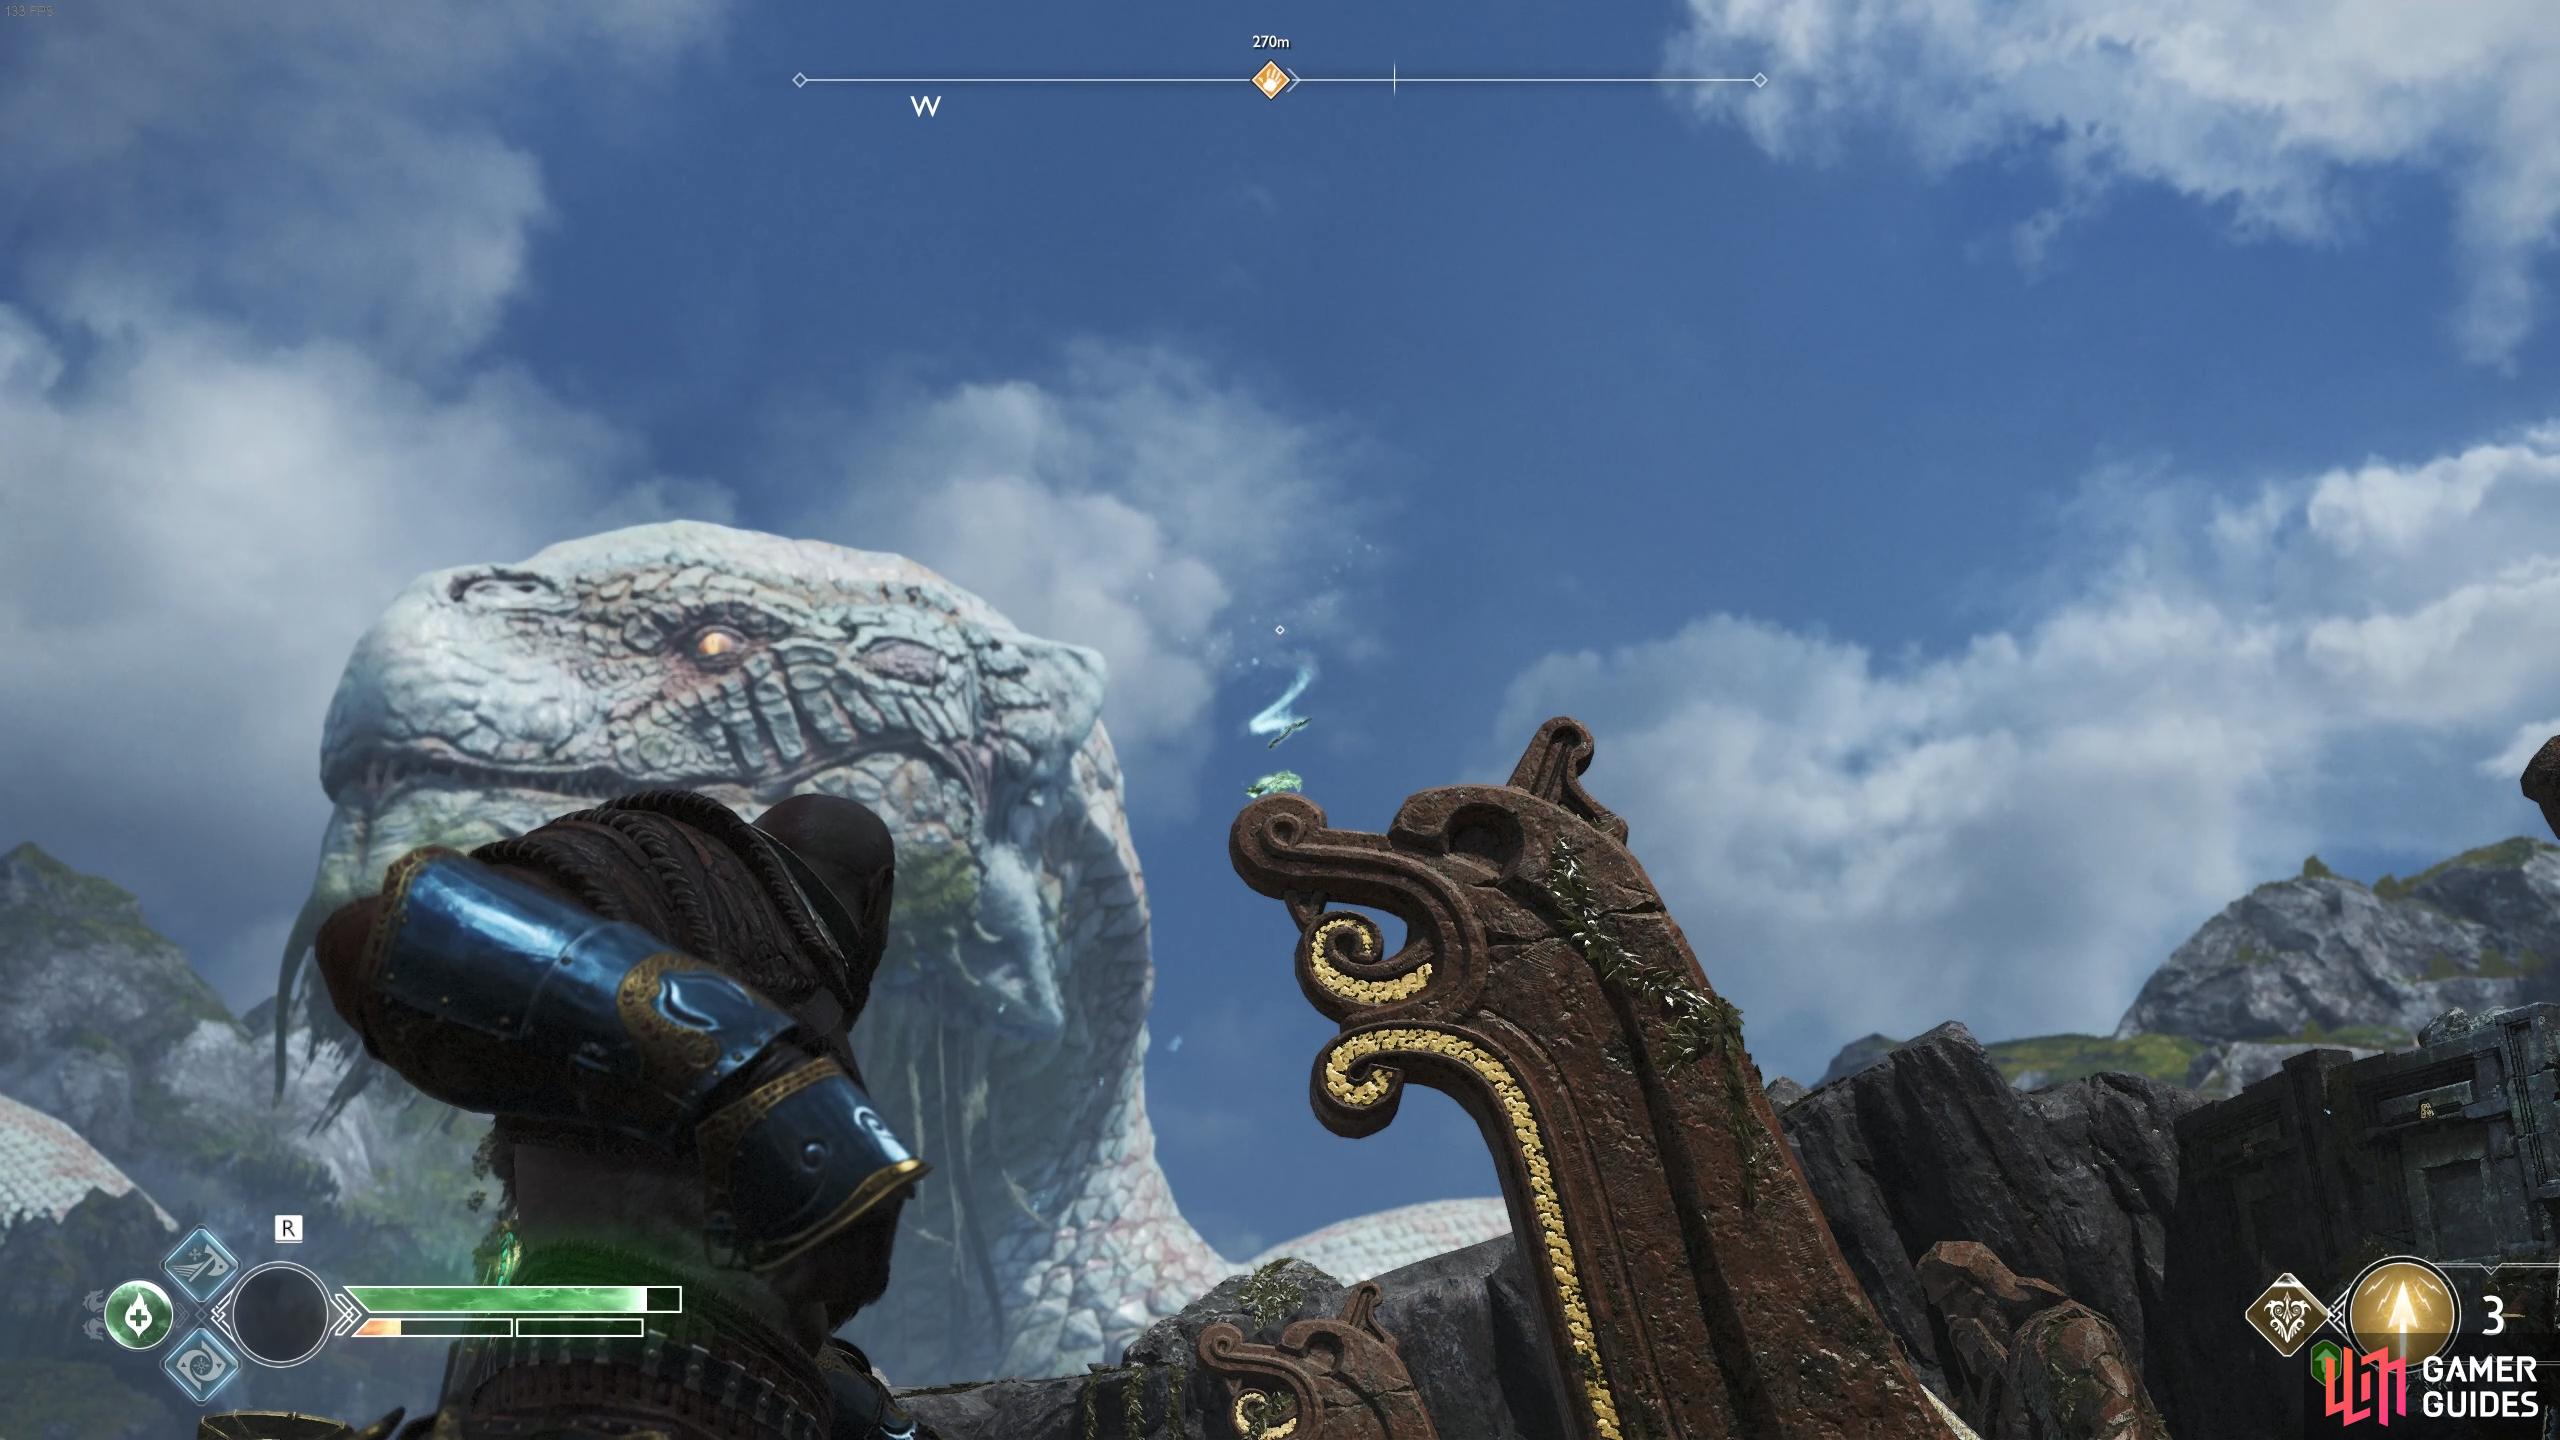
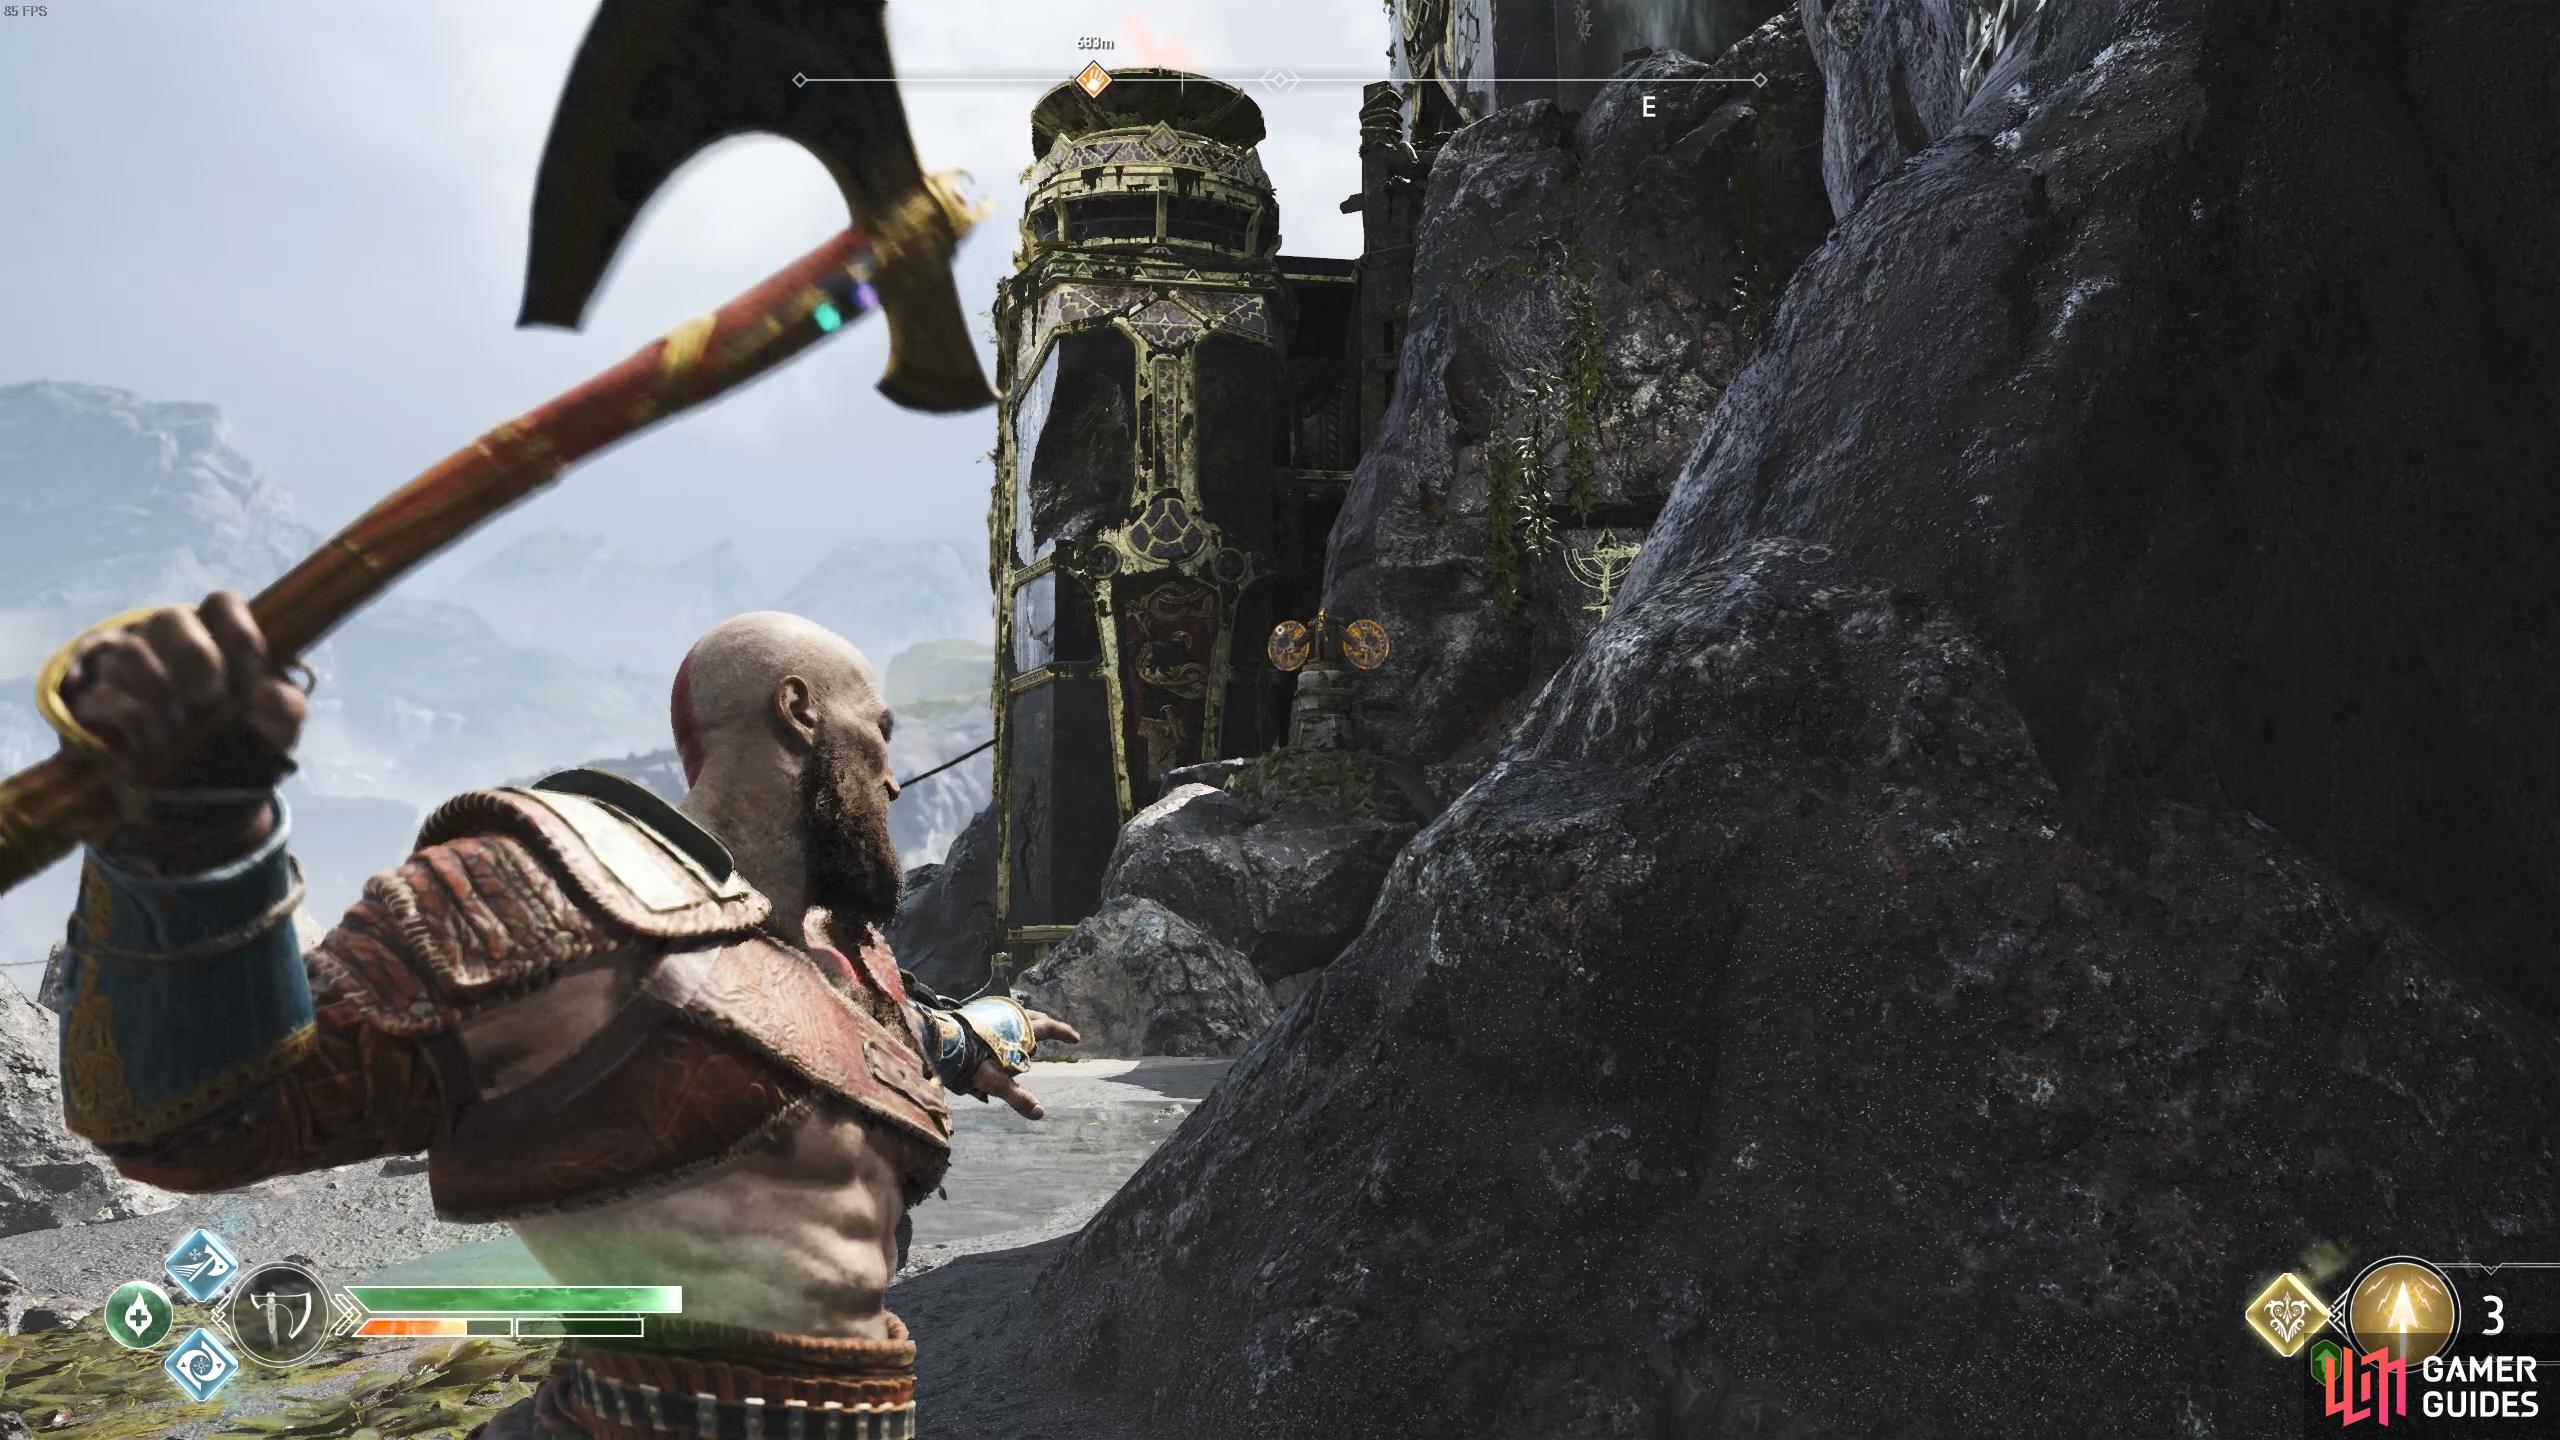
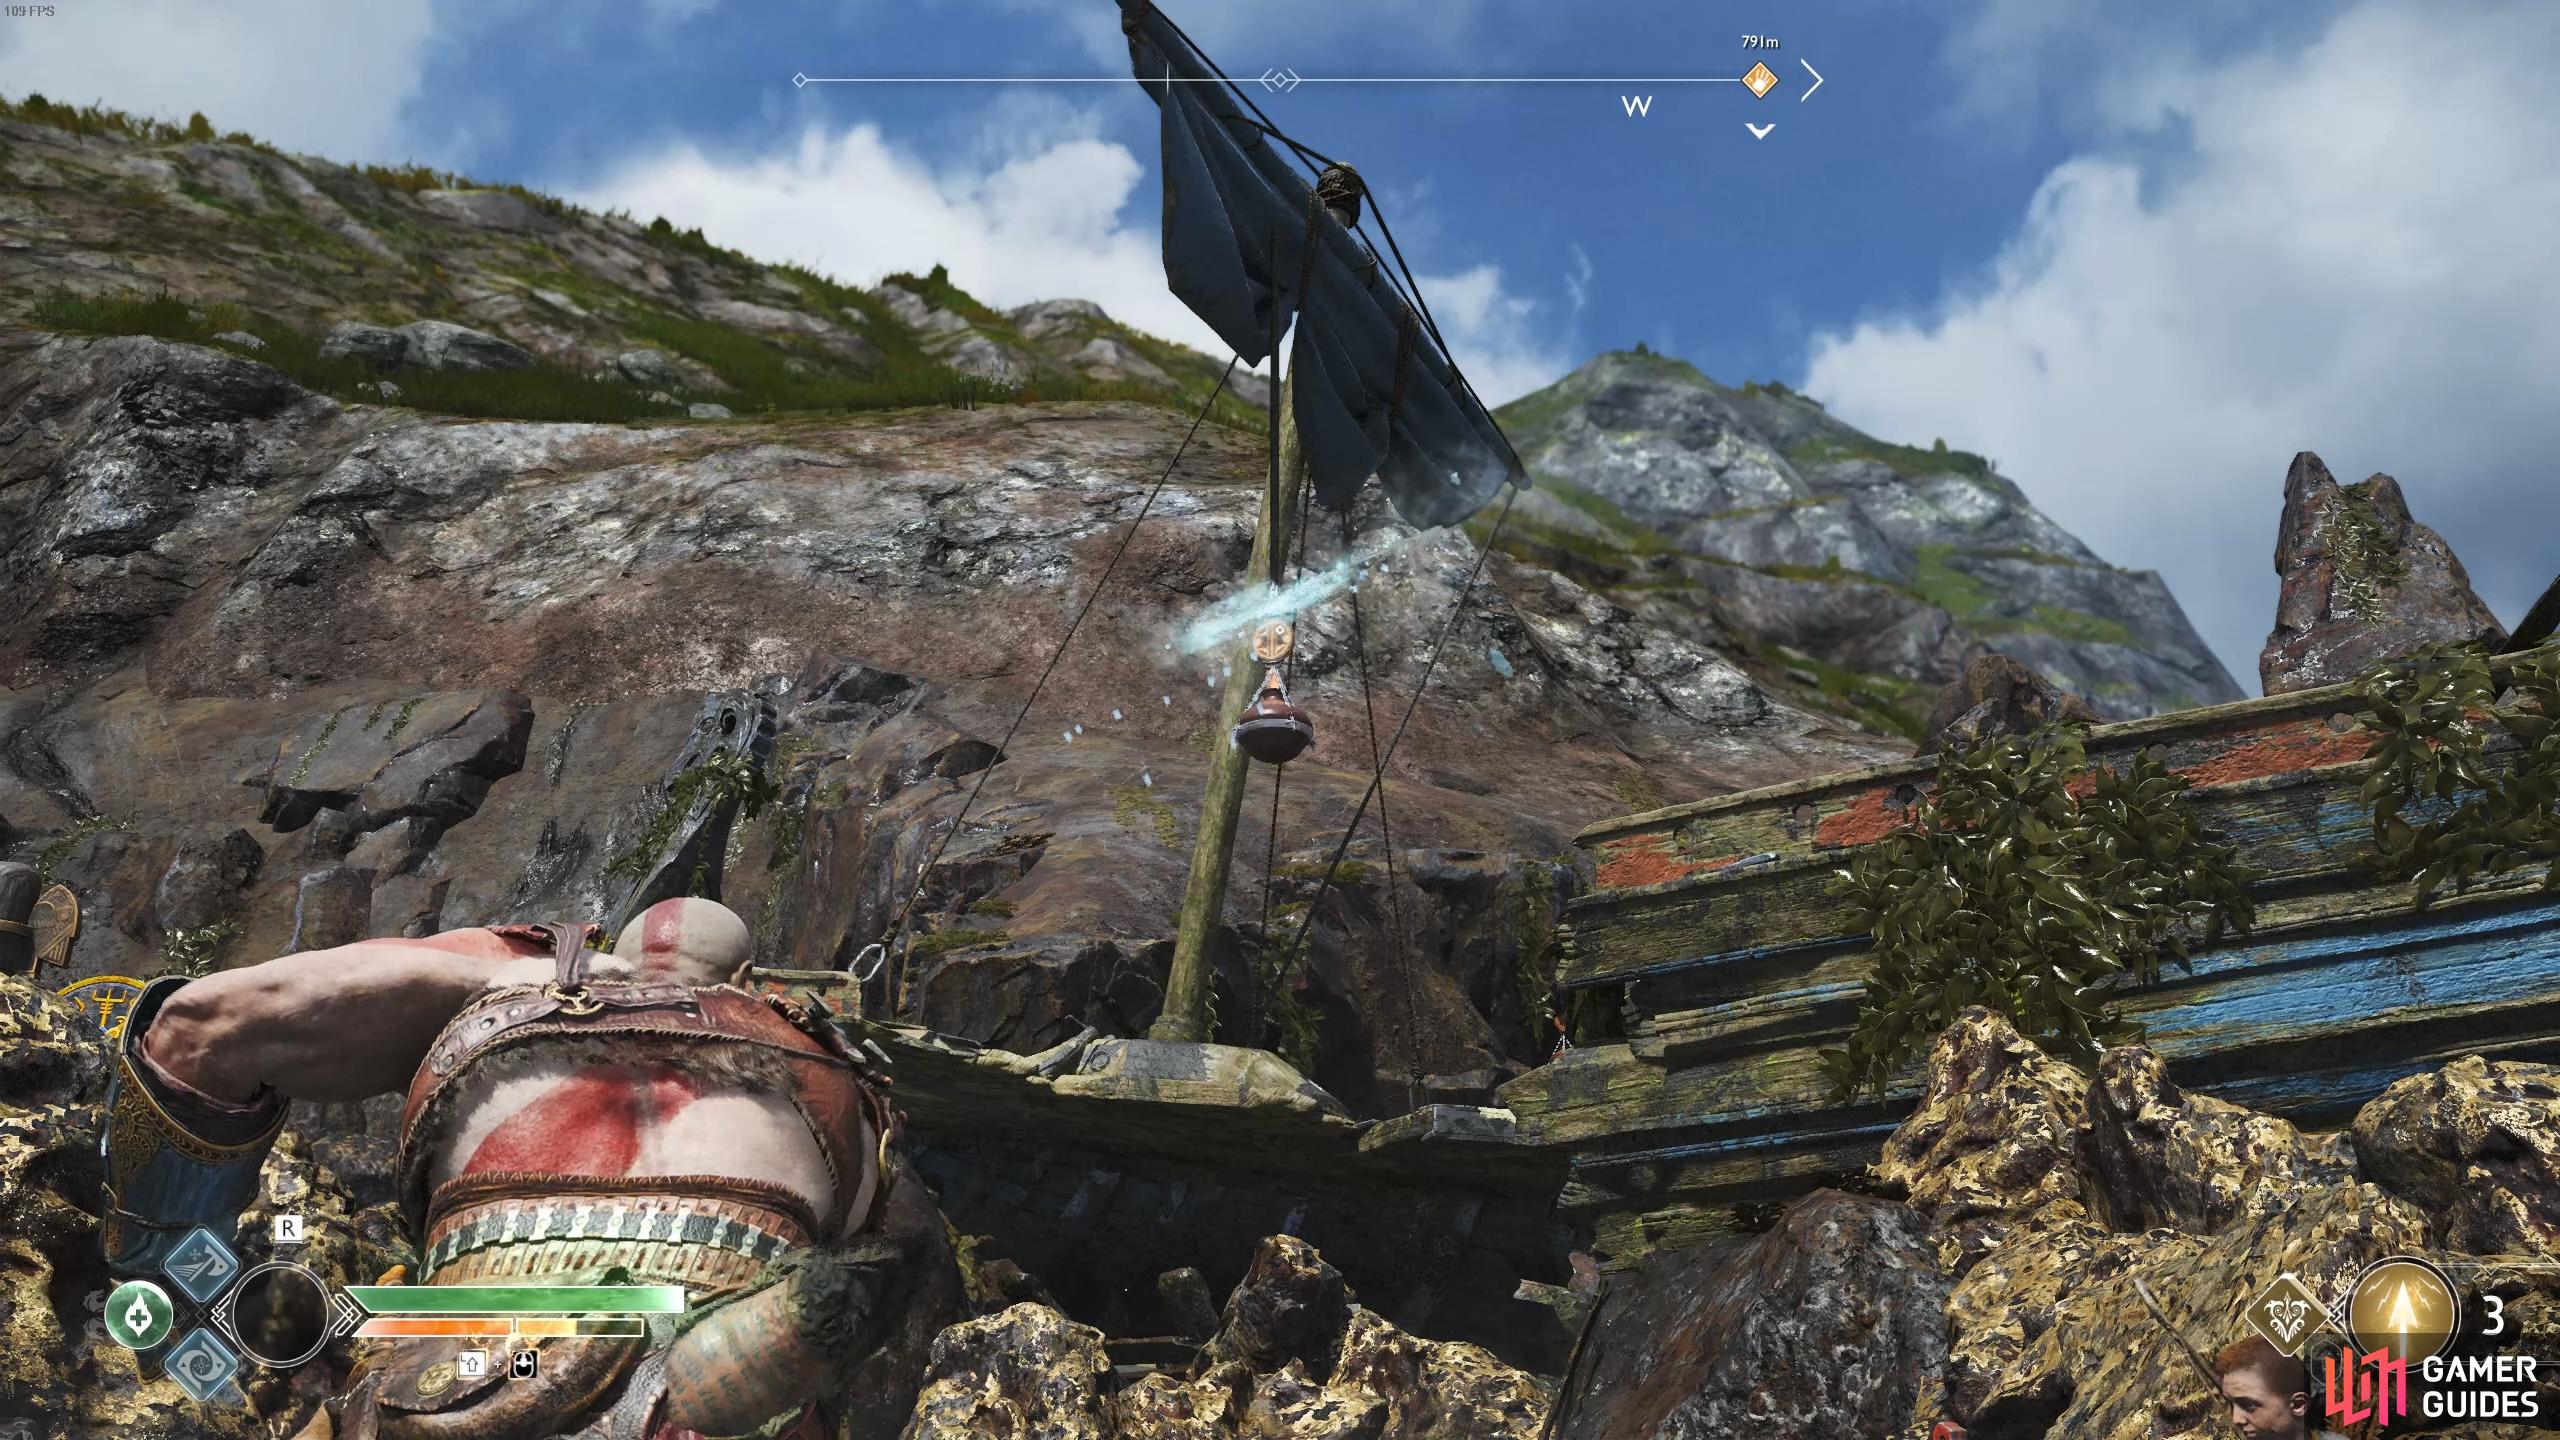
Row the boat southwest a little to the next dock at the Vanaheim Tower and take the elevator to the top. Have Atreus read the runes to light the brazier and then peer off the top to the southwest to spot a bomb you can strike in the distance before calling the elevator on this side and taking it down. Back on the boat, row along the side here to the next beach and dock once more.
Lookout Tower
Three Nightmares attack as you walk forward, dispatch them easily and then find the Mystic Gateway in front of you before you knock down a container and pick up the small sack of Hacksilver. Look to the left now and break the boards on the first ledge before using the axe to hit the Spinner lowering the spikes in this area. Before you climb the ledge, head to the right of the boat where the spikes were to find a Legendary Chest behind more spikes. Stand close to this chest and toss the axe back at the Spinner to lower the spikes allowing you to open the chest containing your second Niflheim Cipher Piece.
(1 of 2) Hit the Spinner twice to lower the spikes near the Legendary Chest.
Hit the Spinner twice to lower the spikes near the Legendary Chest. (left), You’ll find the next Niflheim Cipher Piece inside. (right)
Hit the Spinner again and then climb the ledge and scale the wall, turning around to hit the Spinner once more at the top. Leap over the gap and pick up the small sack of Hacksilver before scaling the next wall in front of you. Once you reach the area above, break the boards and open the Hacksilver chest before kicking the shortcut chain down to your left.
Ignore this, continue to scale the next wall and at the top, take the zipline down where a group of Nightmares and a Revenant attacks. Make use of a Shock charged Murder of Crows and kill the enemies. Check out the Jötnar Shrine that awaits here and then leap the gap and scale the wall at the other side. A Legendary Chest sits at the top of this area containing a Muspelheim Language Cipher Piece if you haven’t already completed the disc, otherwise you’ll obtain a random Enchantment.
Another Jötnar Shrine is hidden behind the remains of Thor’s statue.
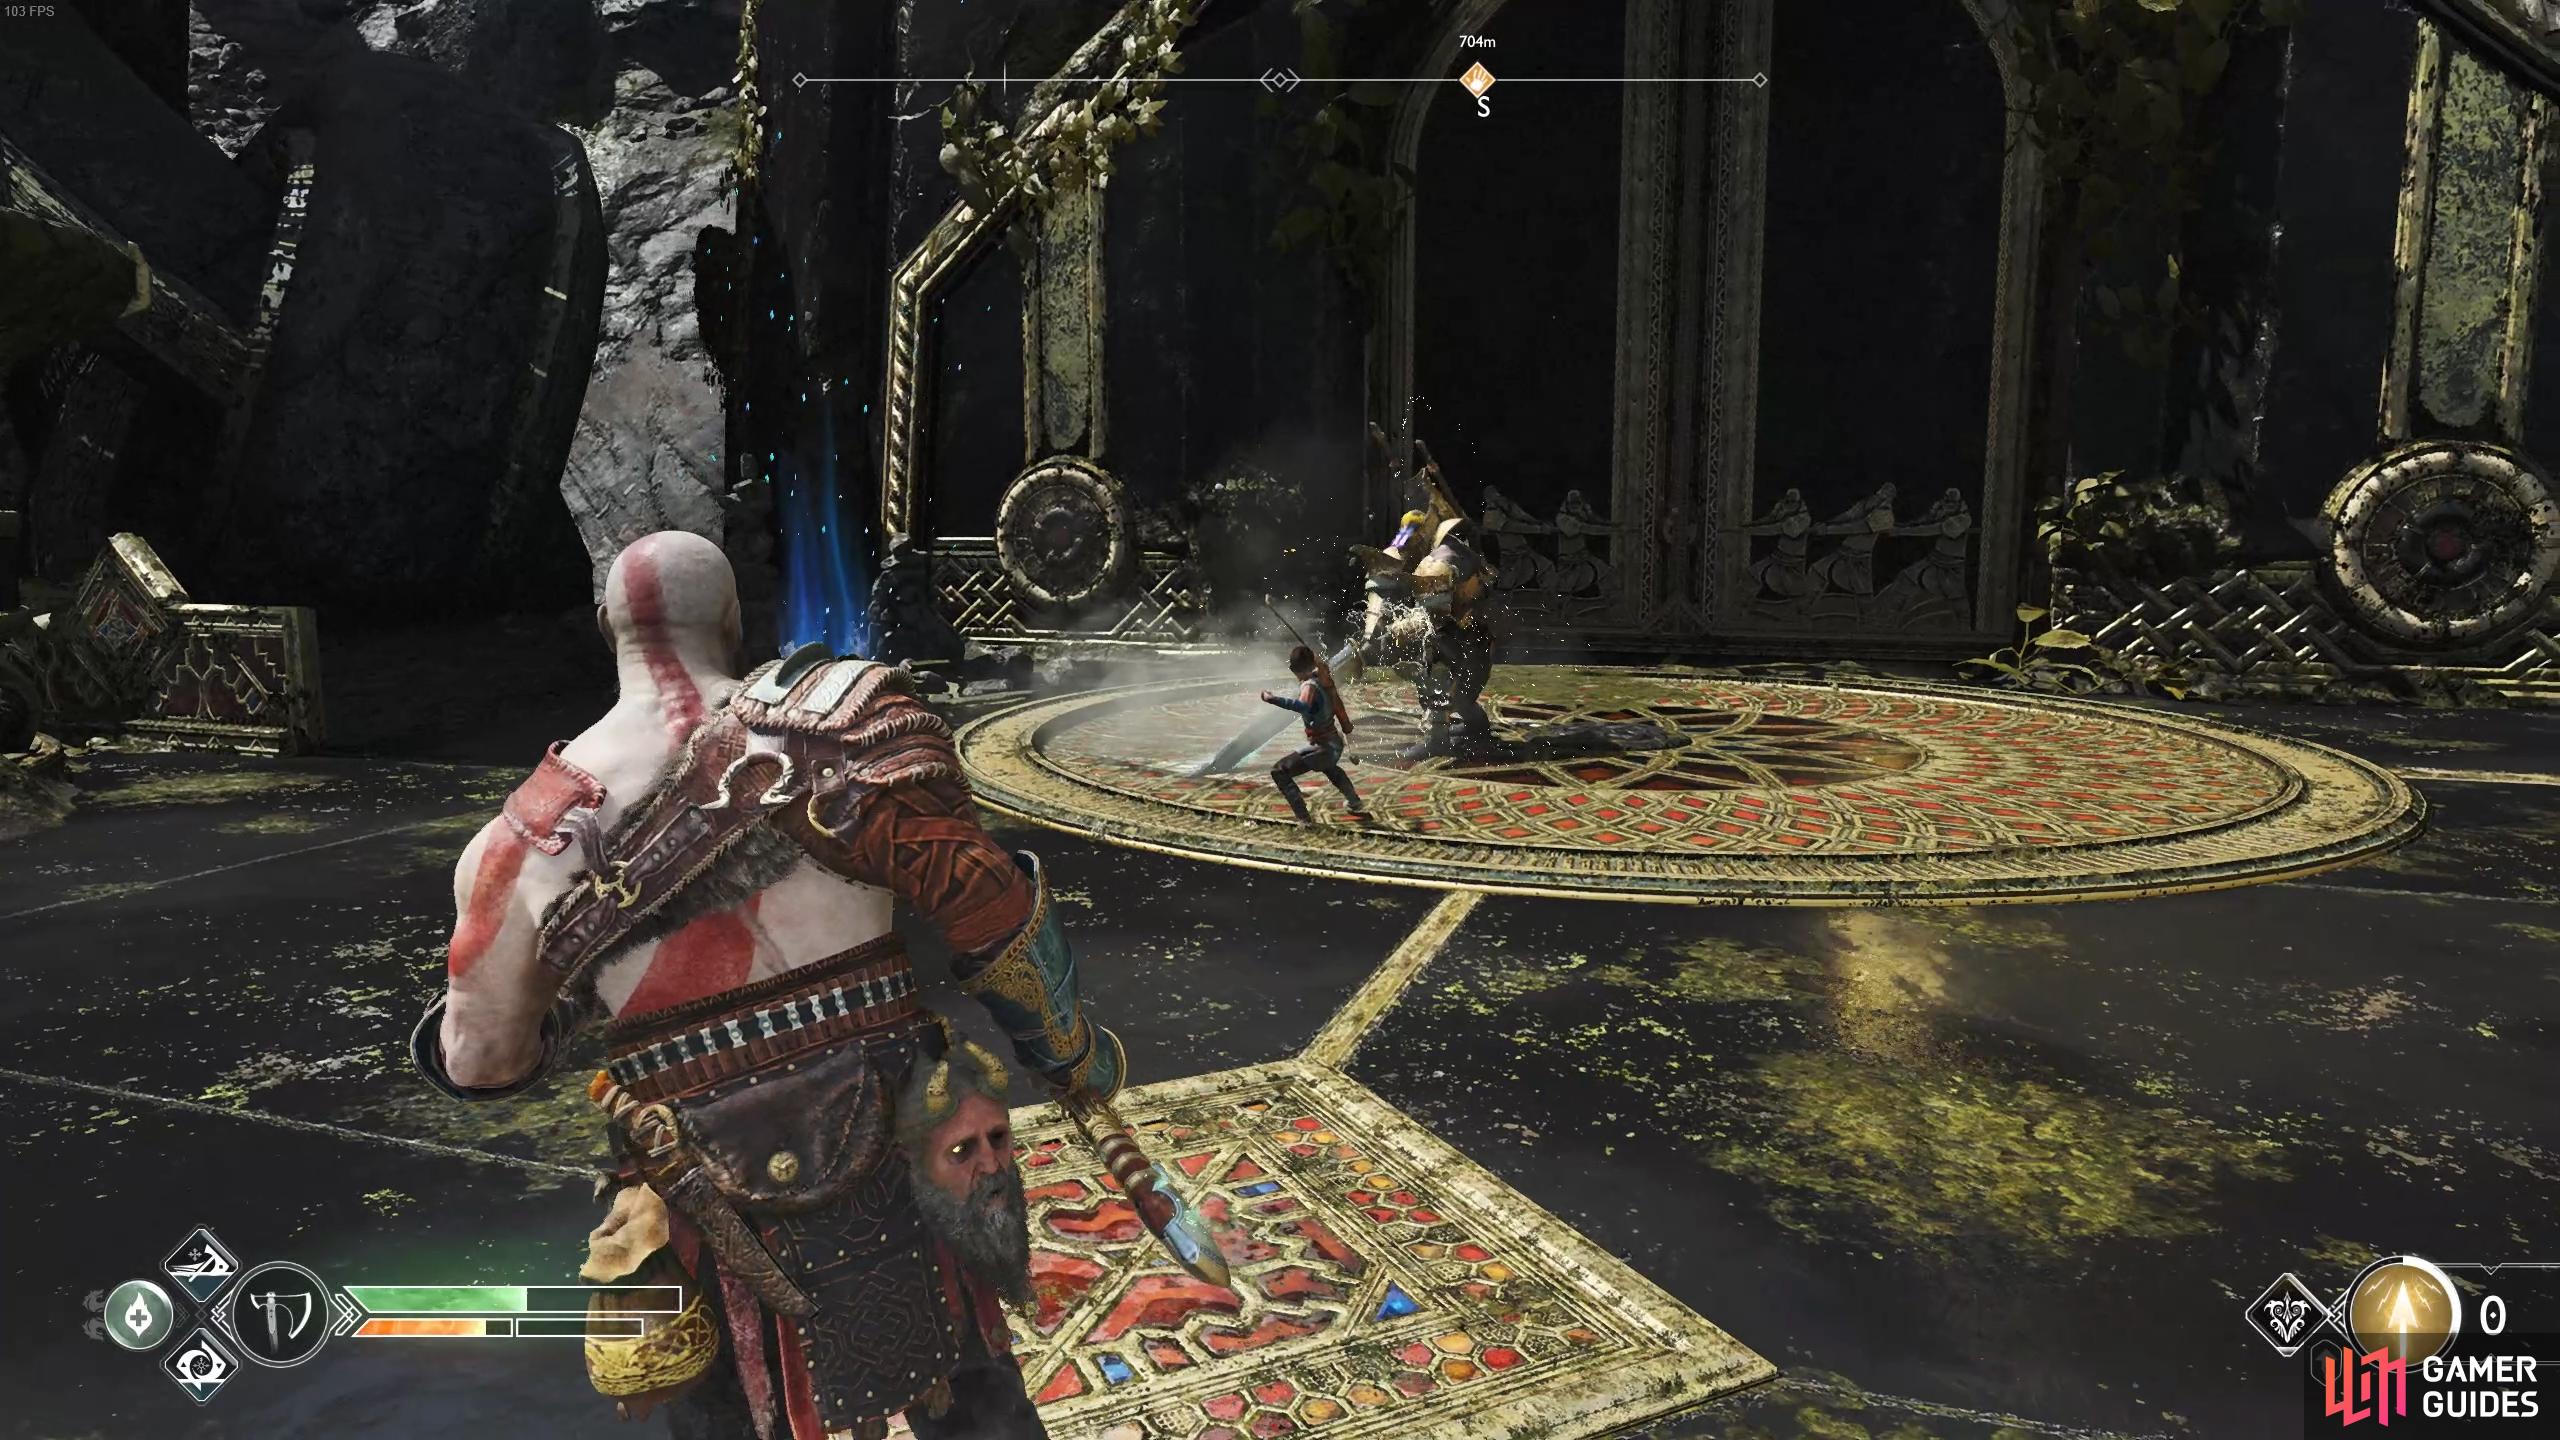
Open the doors in front to find yourself on Muspelheim Tower with a Traveller sat in front of you. You can grab the Mystic Gateway to the right and light another brazier without alerting the fearsome foe in front of you. The Traveller is a Level 6 enemy and will most likely defeat you with one or two strikes of his sword but you can take him out at this point. Make use of Runic Attacks and Summons and use Atreus’ arrows to gain his attention, allowing you to attack him from behind. It will be a long battle but play it safe and never over commit yourself and eventually the Traveller will fall. Make sure you pick up the spoils that he drops and then take the elevator down to your left and board the boat once more.
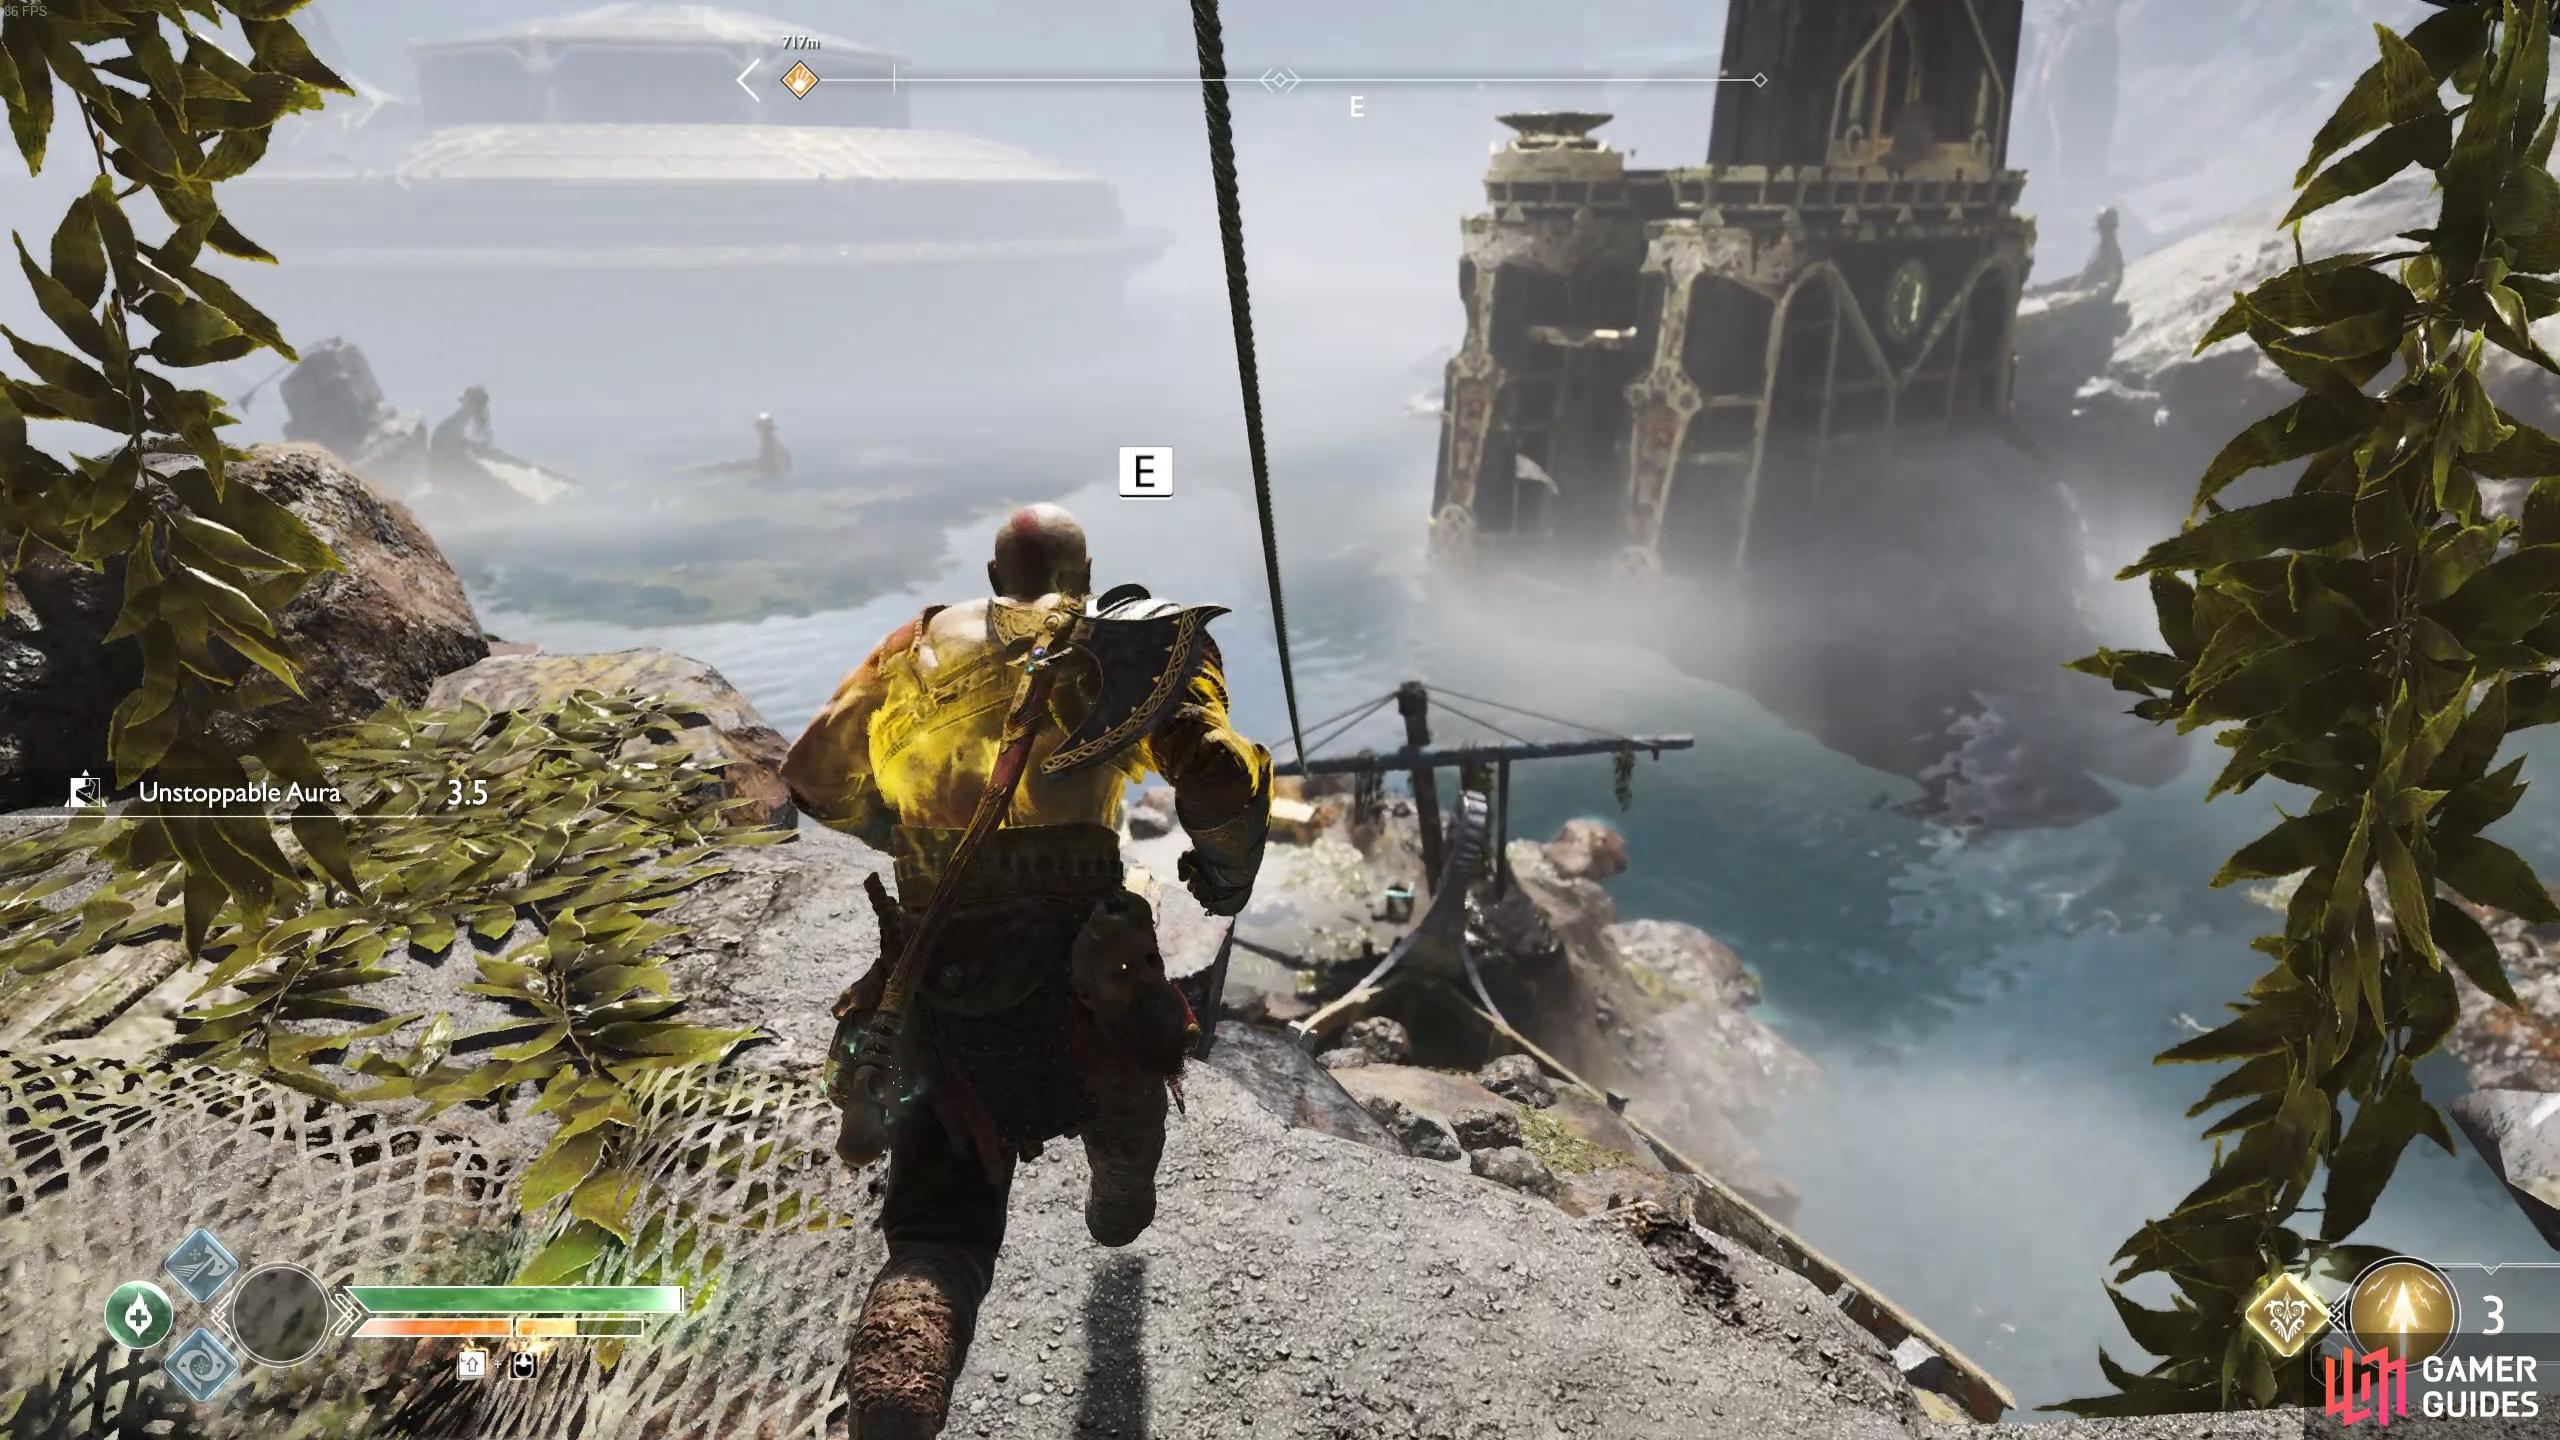
Be sure to grab the Yggdrasil’s Dew of Defence before you row out of this area and then continue around the Lake of Nine. Ignore the next opening to the southwest, you’ll be heading there shortly for Brok’s Favor. Instead, follow the rocks around toward the next tower and go down the side here to find a well hidden Yggdrasil’s Dew of Strength.
Head to the tower itself now and take the elevator up to the top where you can now attempt the Realm Tear at the top. You’ll be up against two Level 6 Heavy Draugrs and you’ll need to make use of Runic Attacks and Spartan Rage to take them down. Don’t take on both at the same time and allow Atreus to draw their attention. For extra security, make sure you have a Resurrection Stone on you. Once defeated, close the Realm Tear to obtain Dust of Realms and 1500 Hacksilver. You won’t be able to light the braziers here until you obtain the full Niflheim Language Cipher disc but you can overlook the edge where the Mystic Gateway is to spot a Raven on the ship.
Make use of Atreus as a distraction and prioritize your safety.
Return down the elevator and board the boat once more, rowing to the south to find a Yggdrasil’s Dew of Runic Power before docking the boat at the beach to the right.
Iron Cove
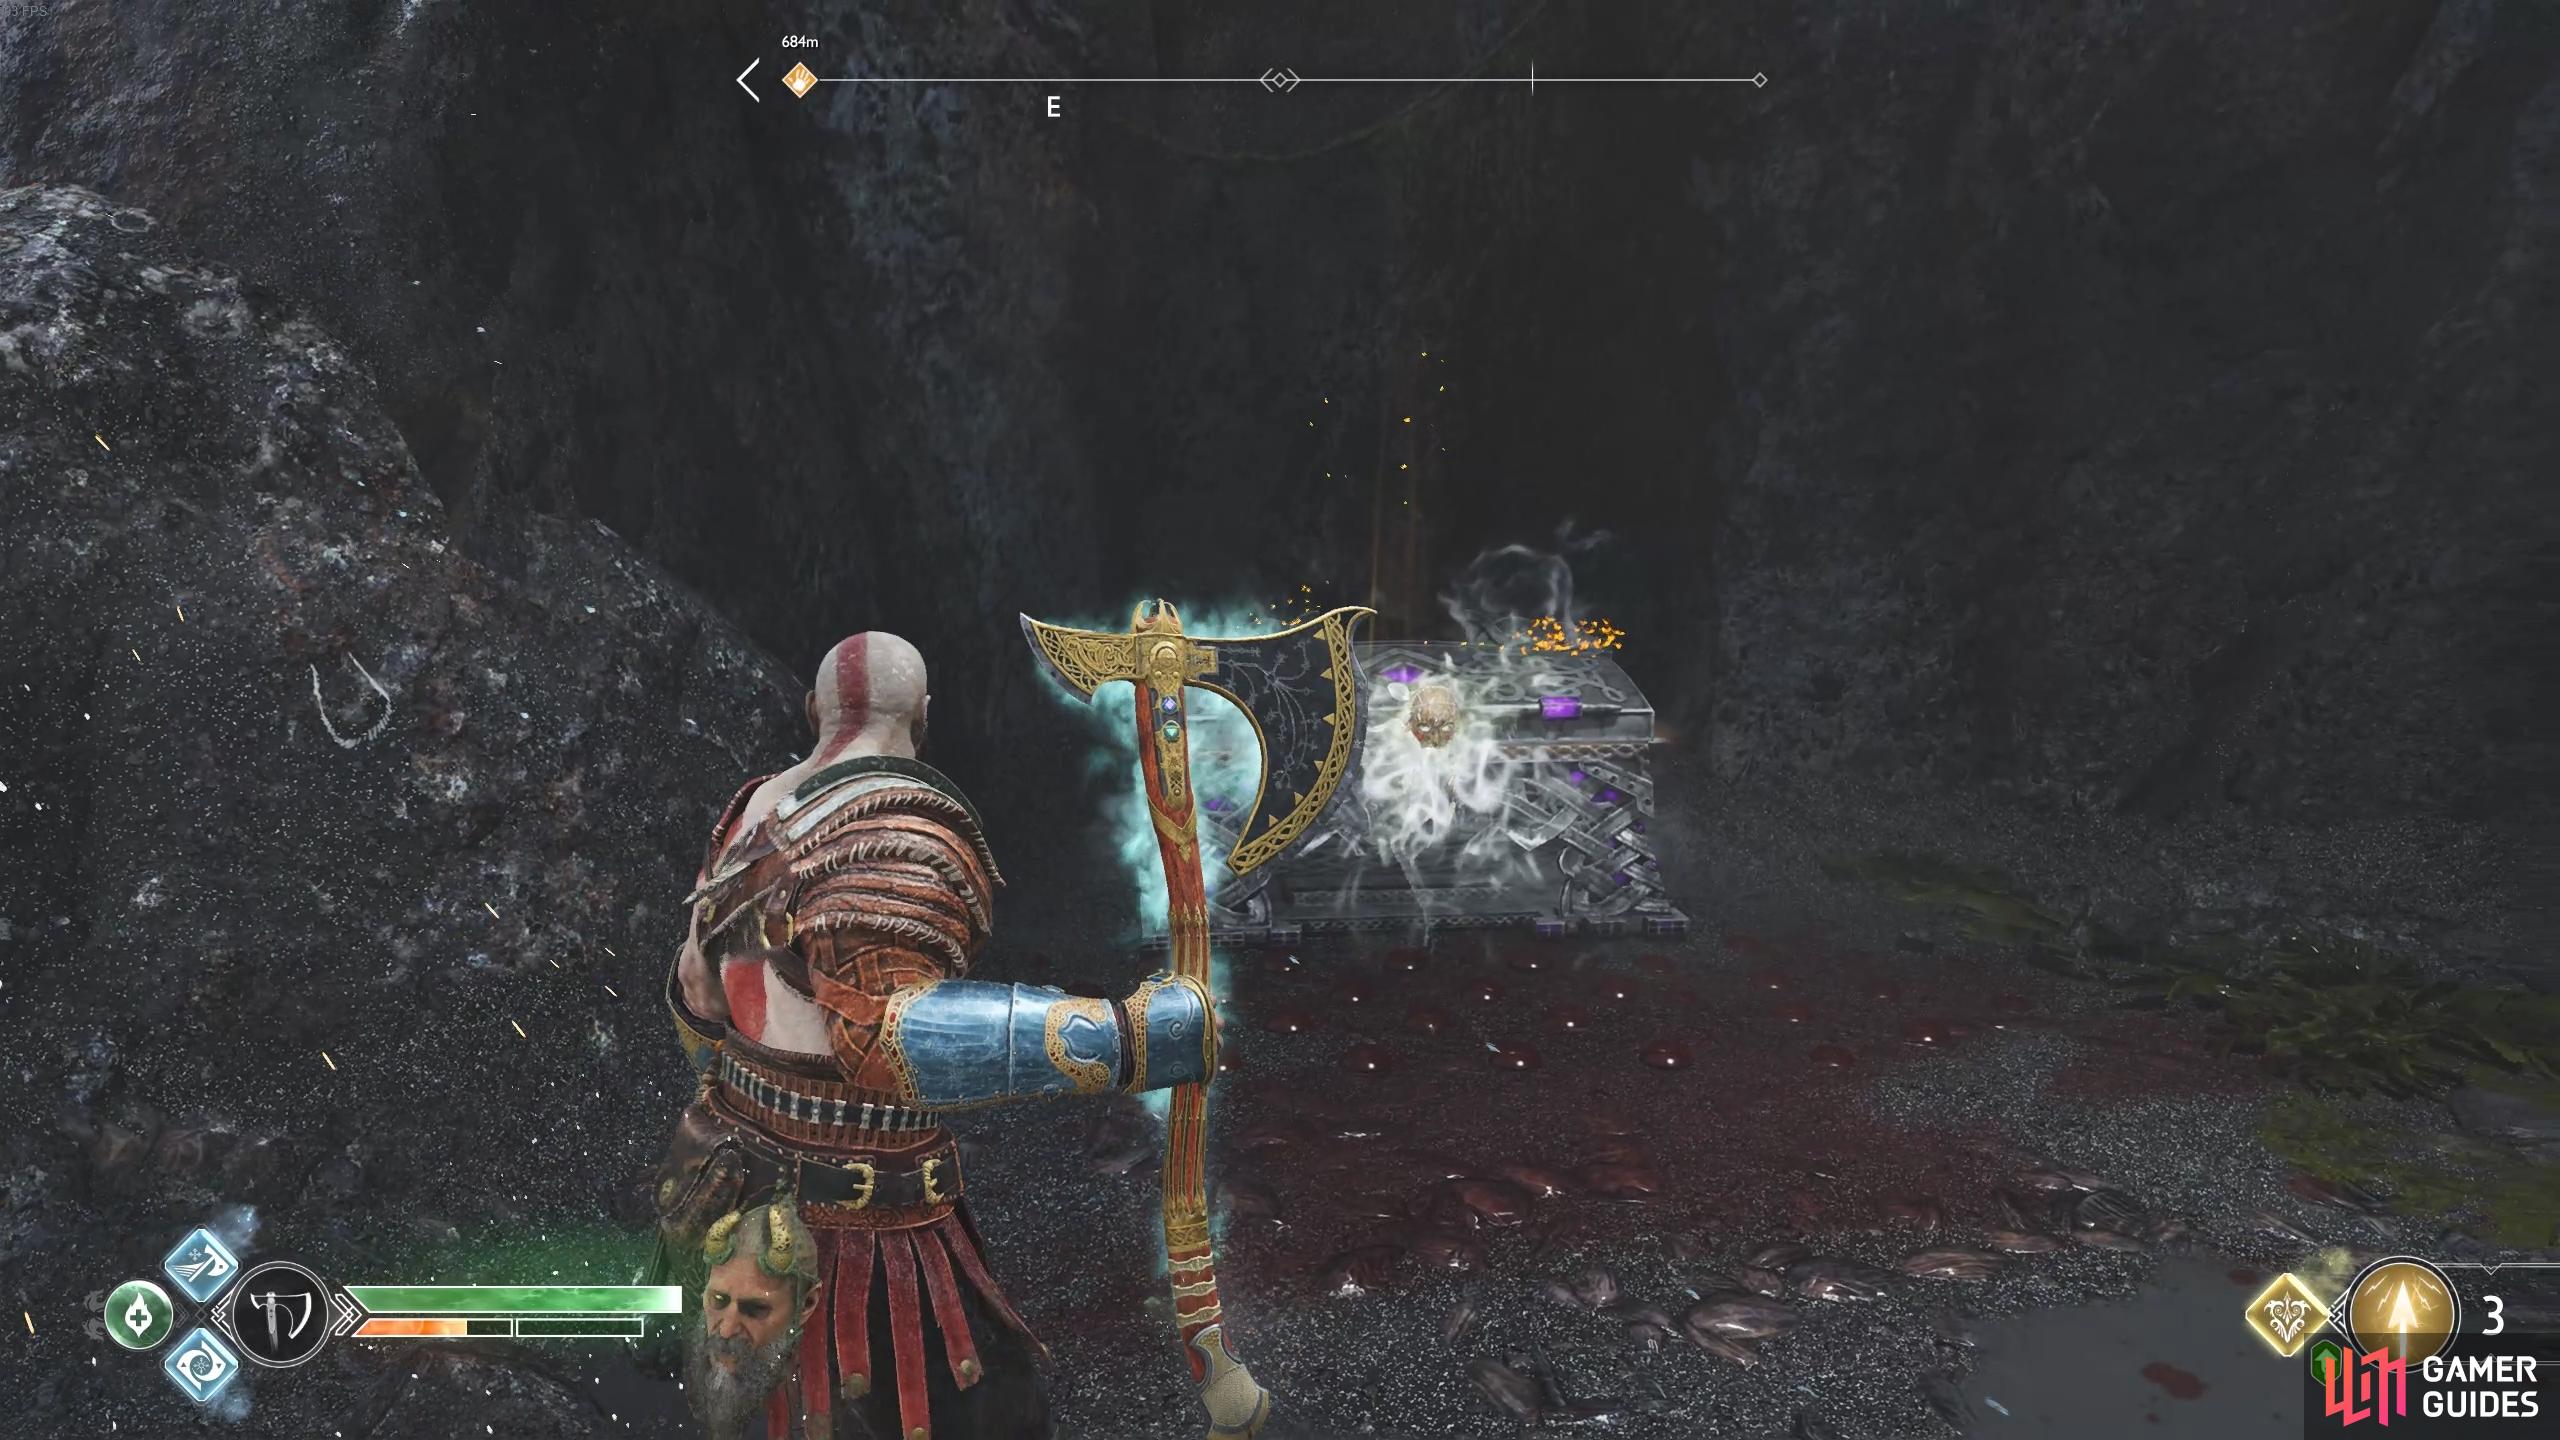
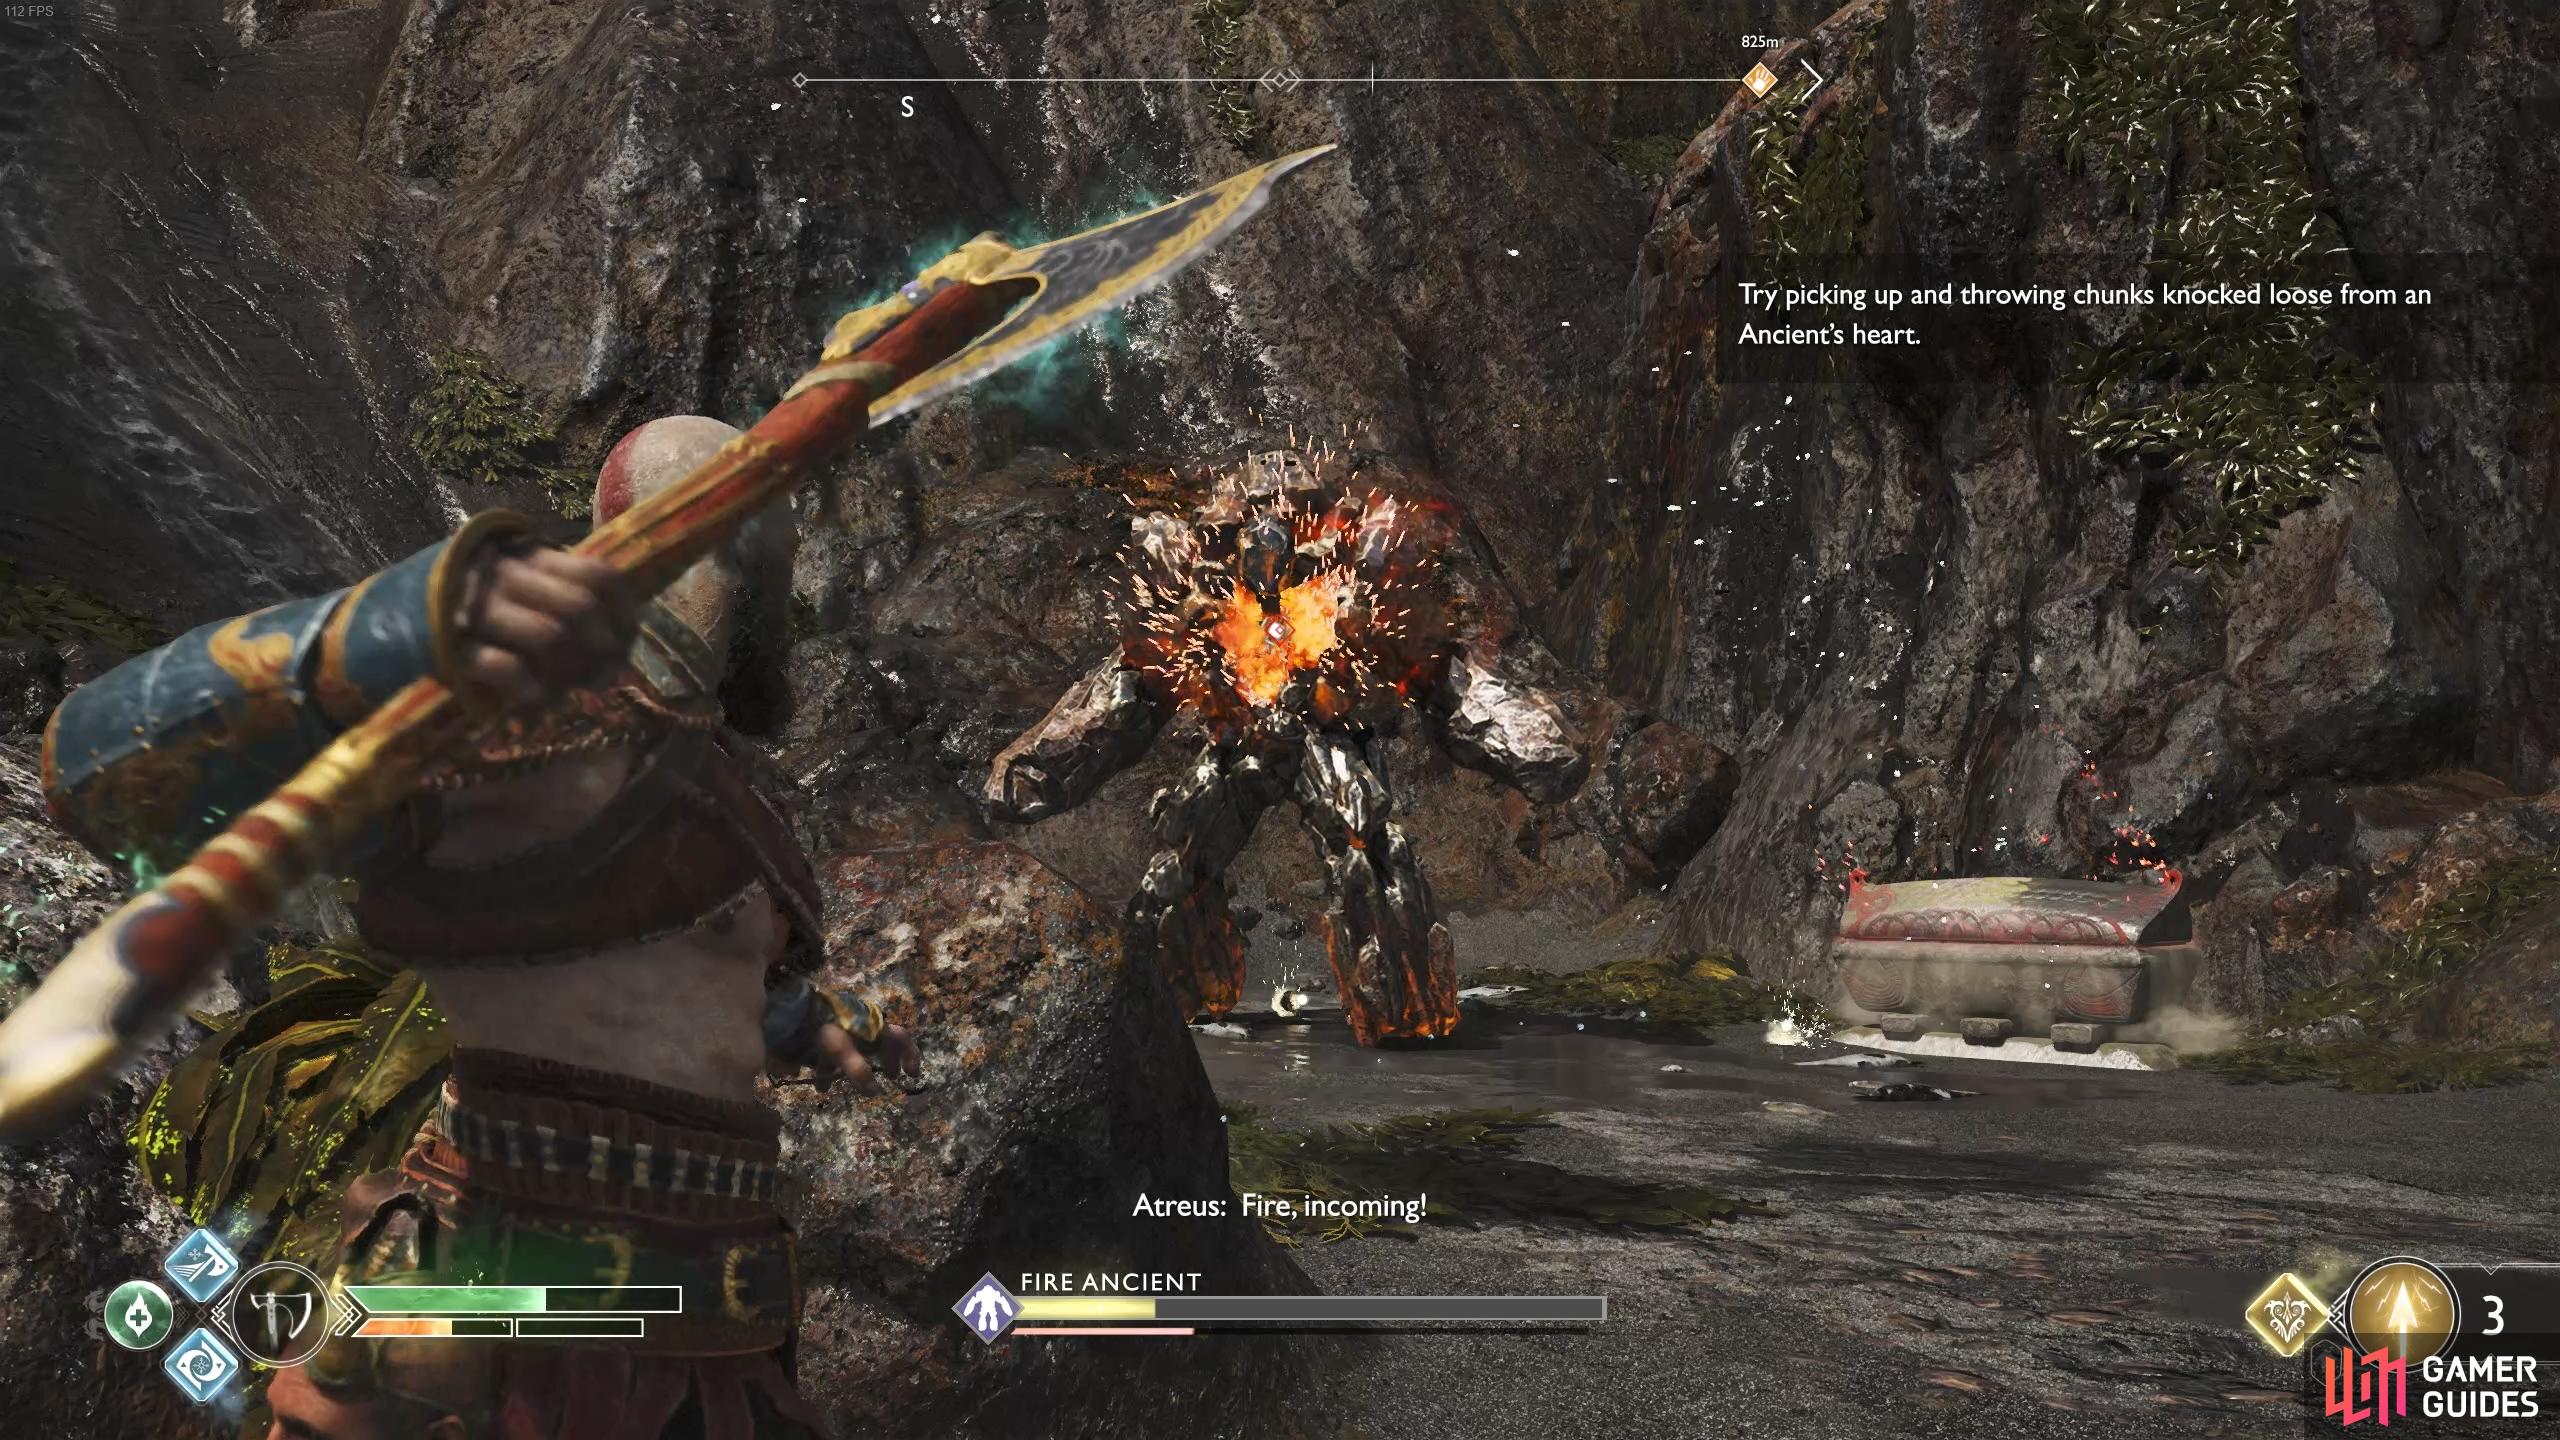
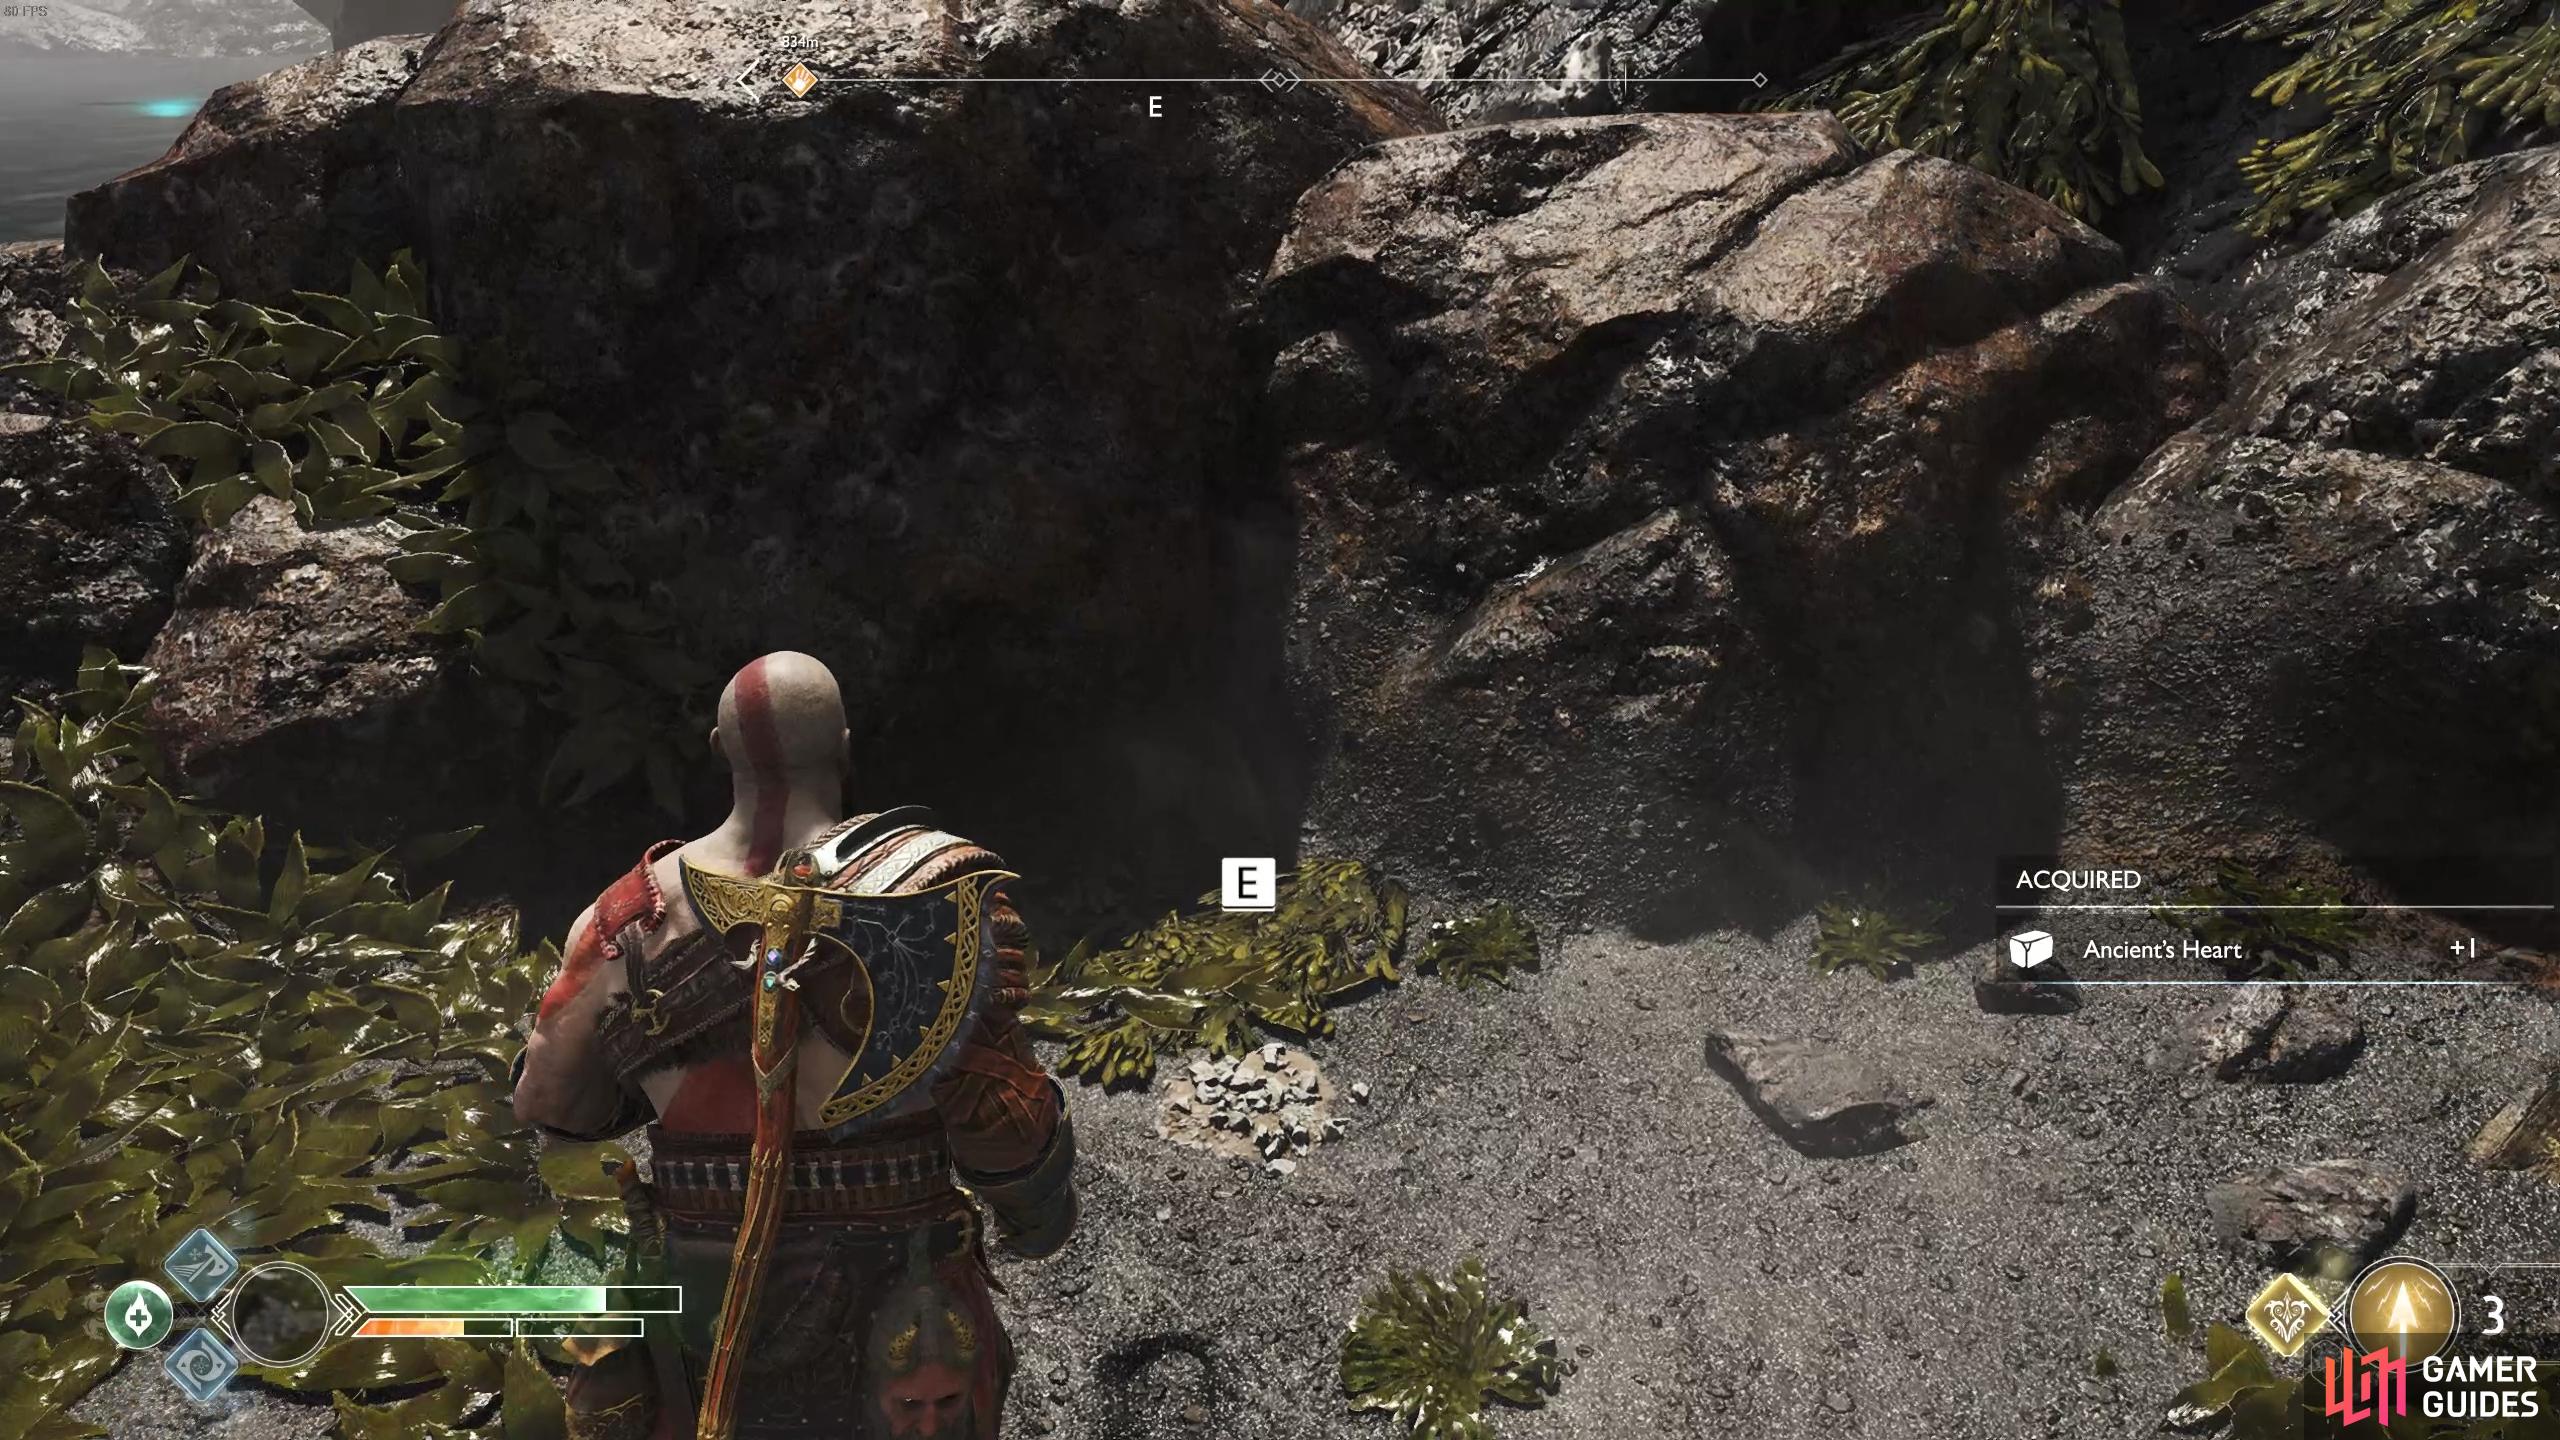
As you leave the boat, look to your left to spot a coffin blocked by debris. Toss the axe at the bomb to remove it and then prepare for a tough battle against a Fire Ancient. Like most Ancient’s, keep your distance and use axe throws to hit the core when it’s exposed, making sure to dodge the fireballs that it shoots at you. Loot the spoils upon it’s death and then open the coffin for some valuable resources.
(1 of 2) Remember to wait for the core to be exposed before you throw the axe.
Remember to wait for the core to be exposed before you throw the axe. (left), Don’t forget the Treasure Map before you leave this beach. (right)
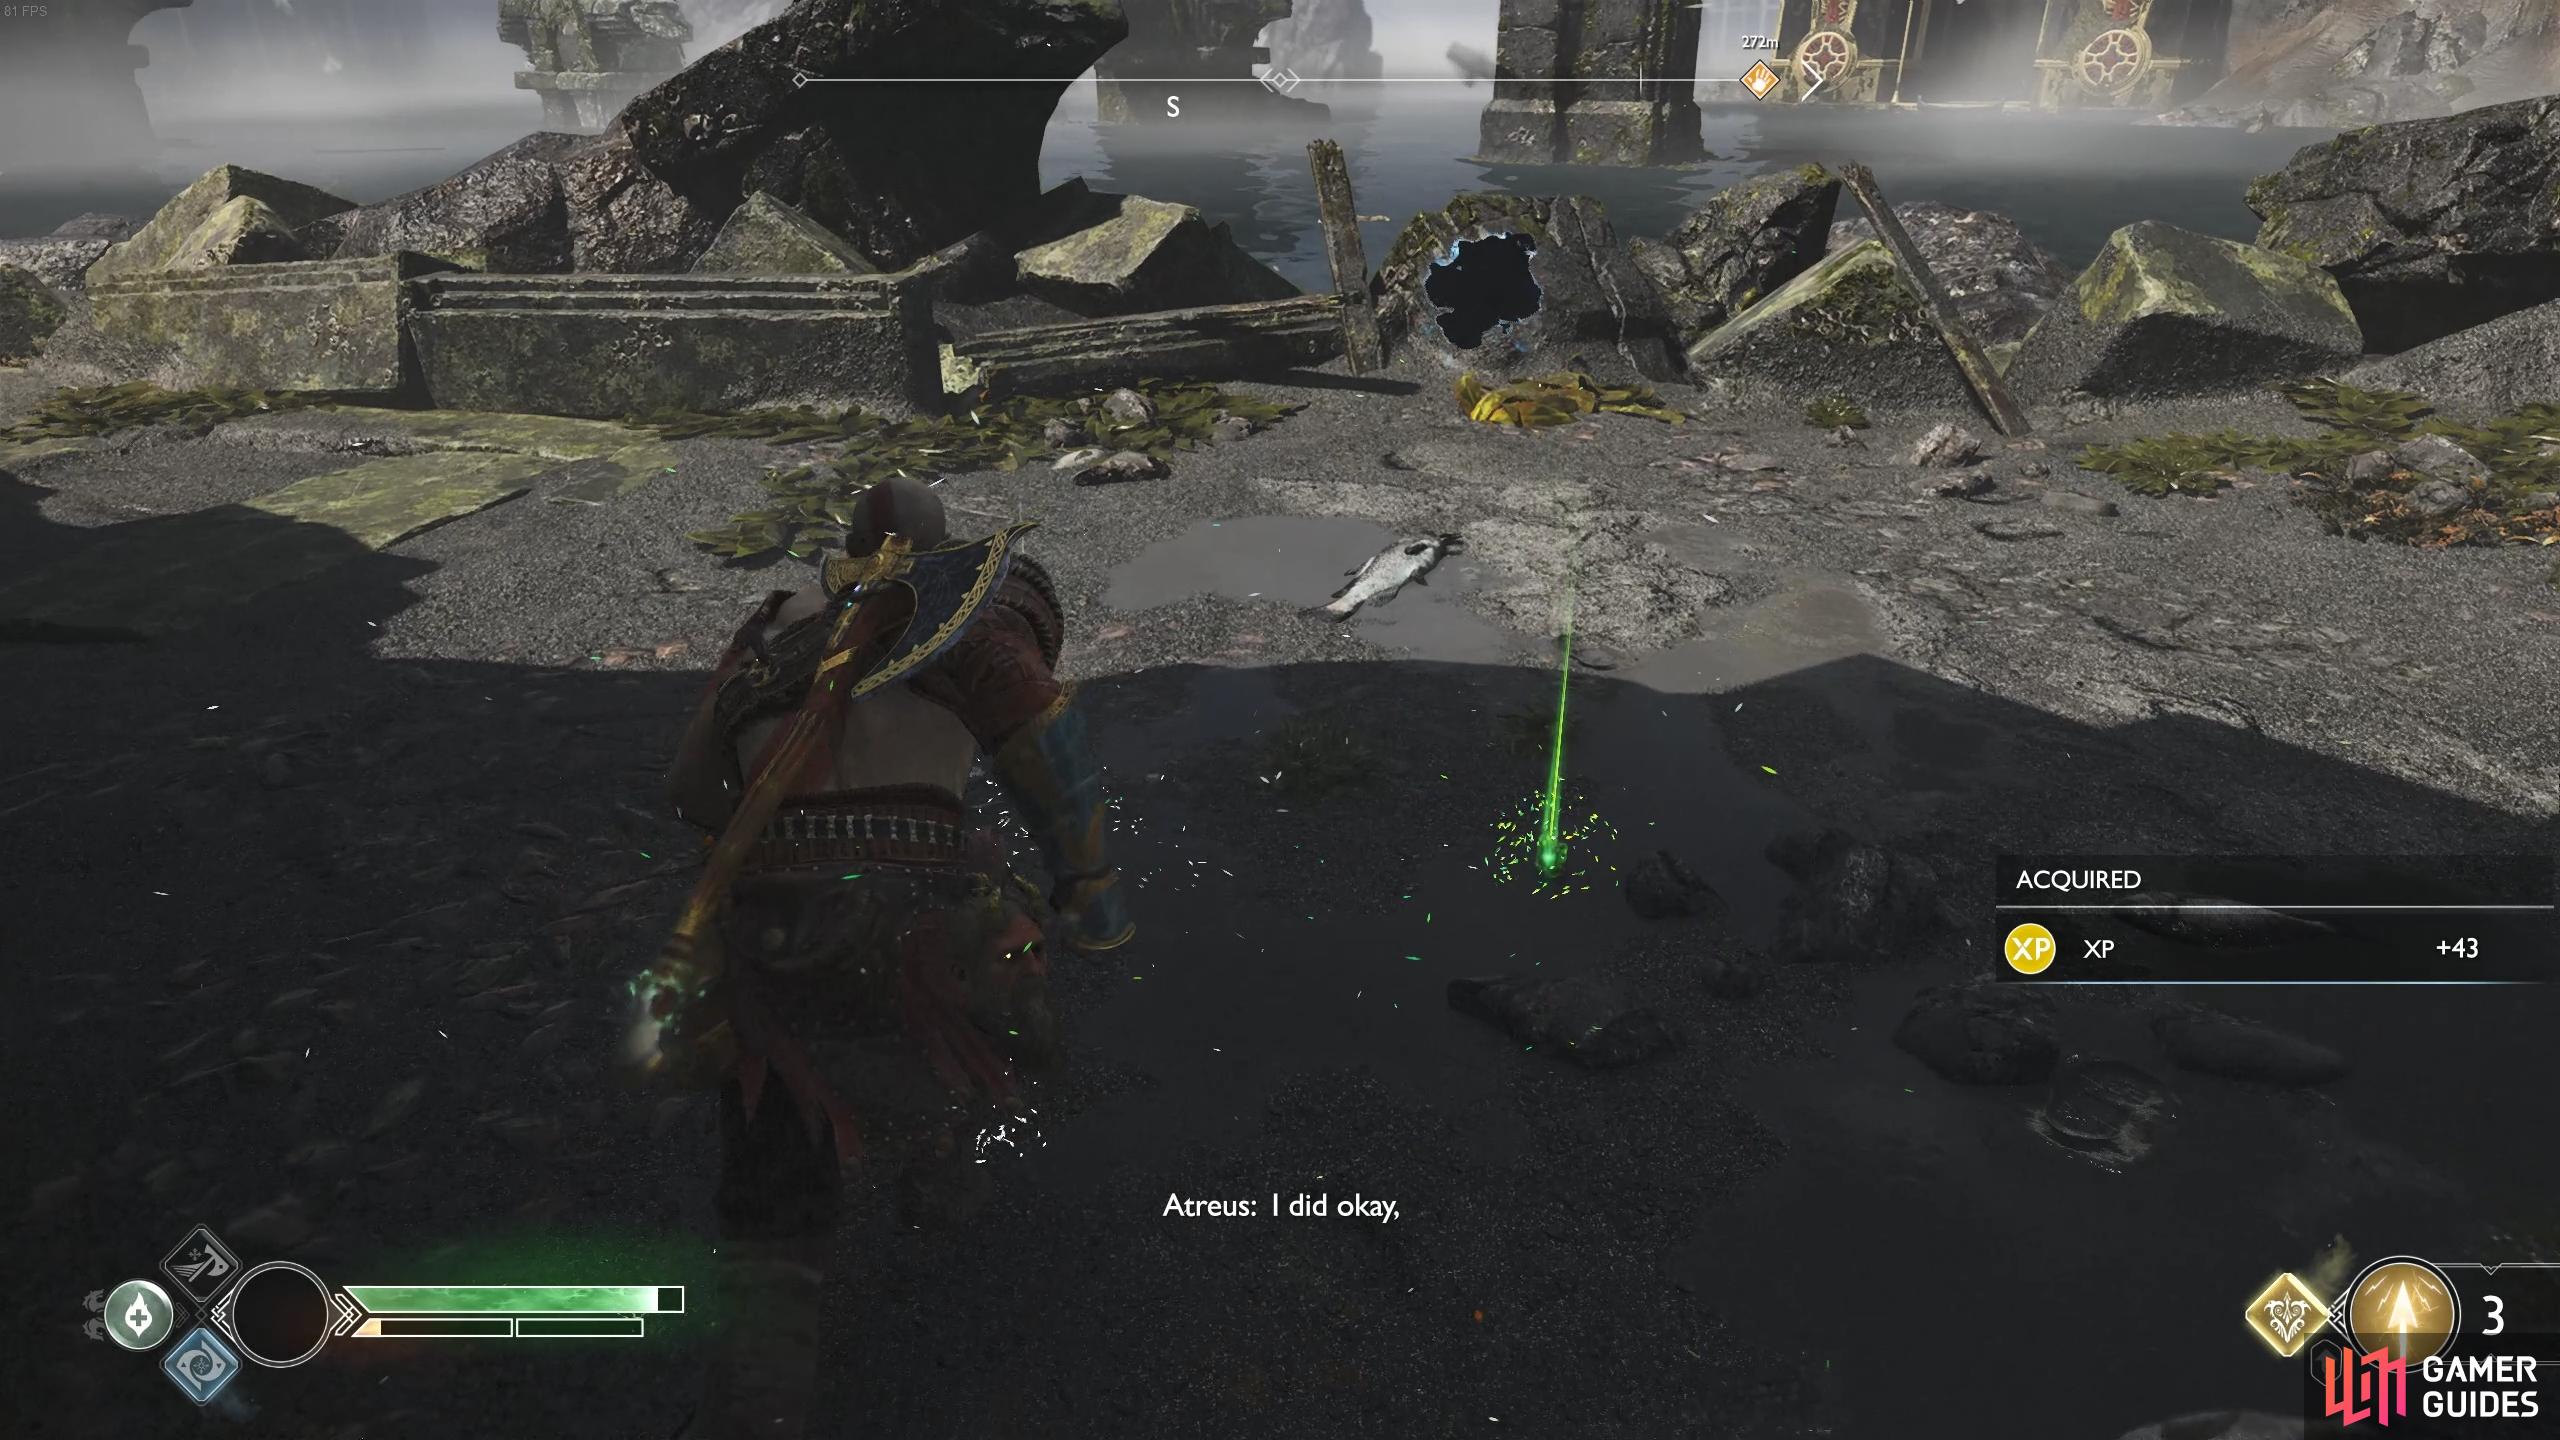
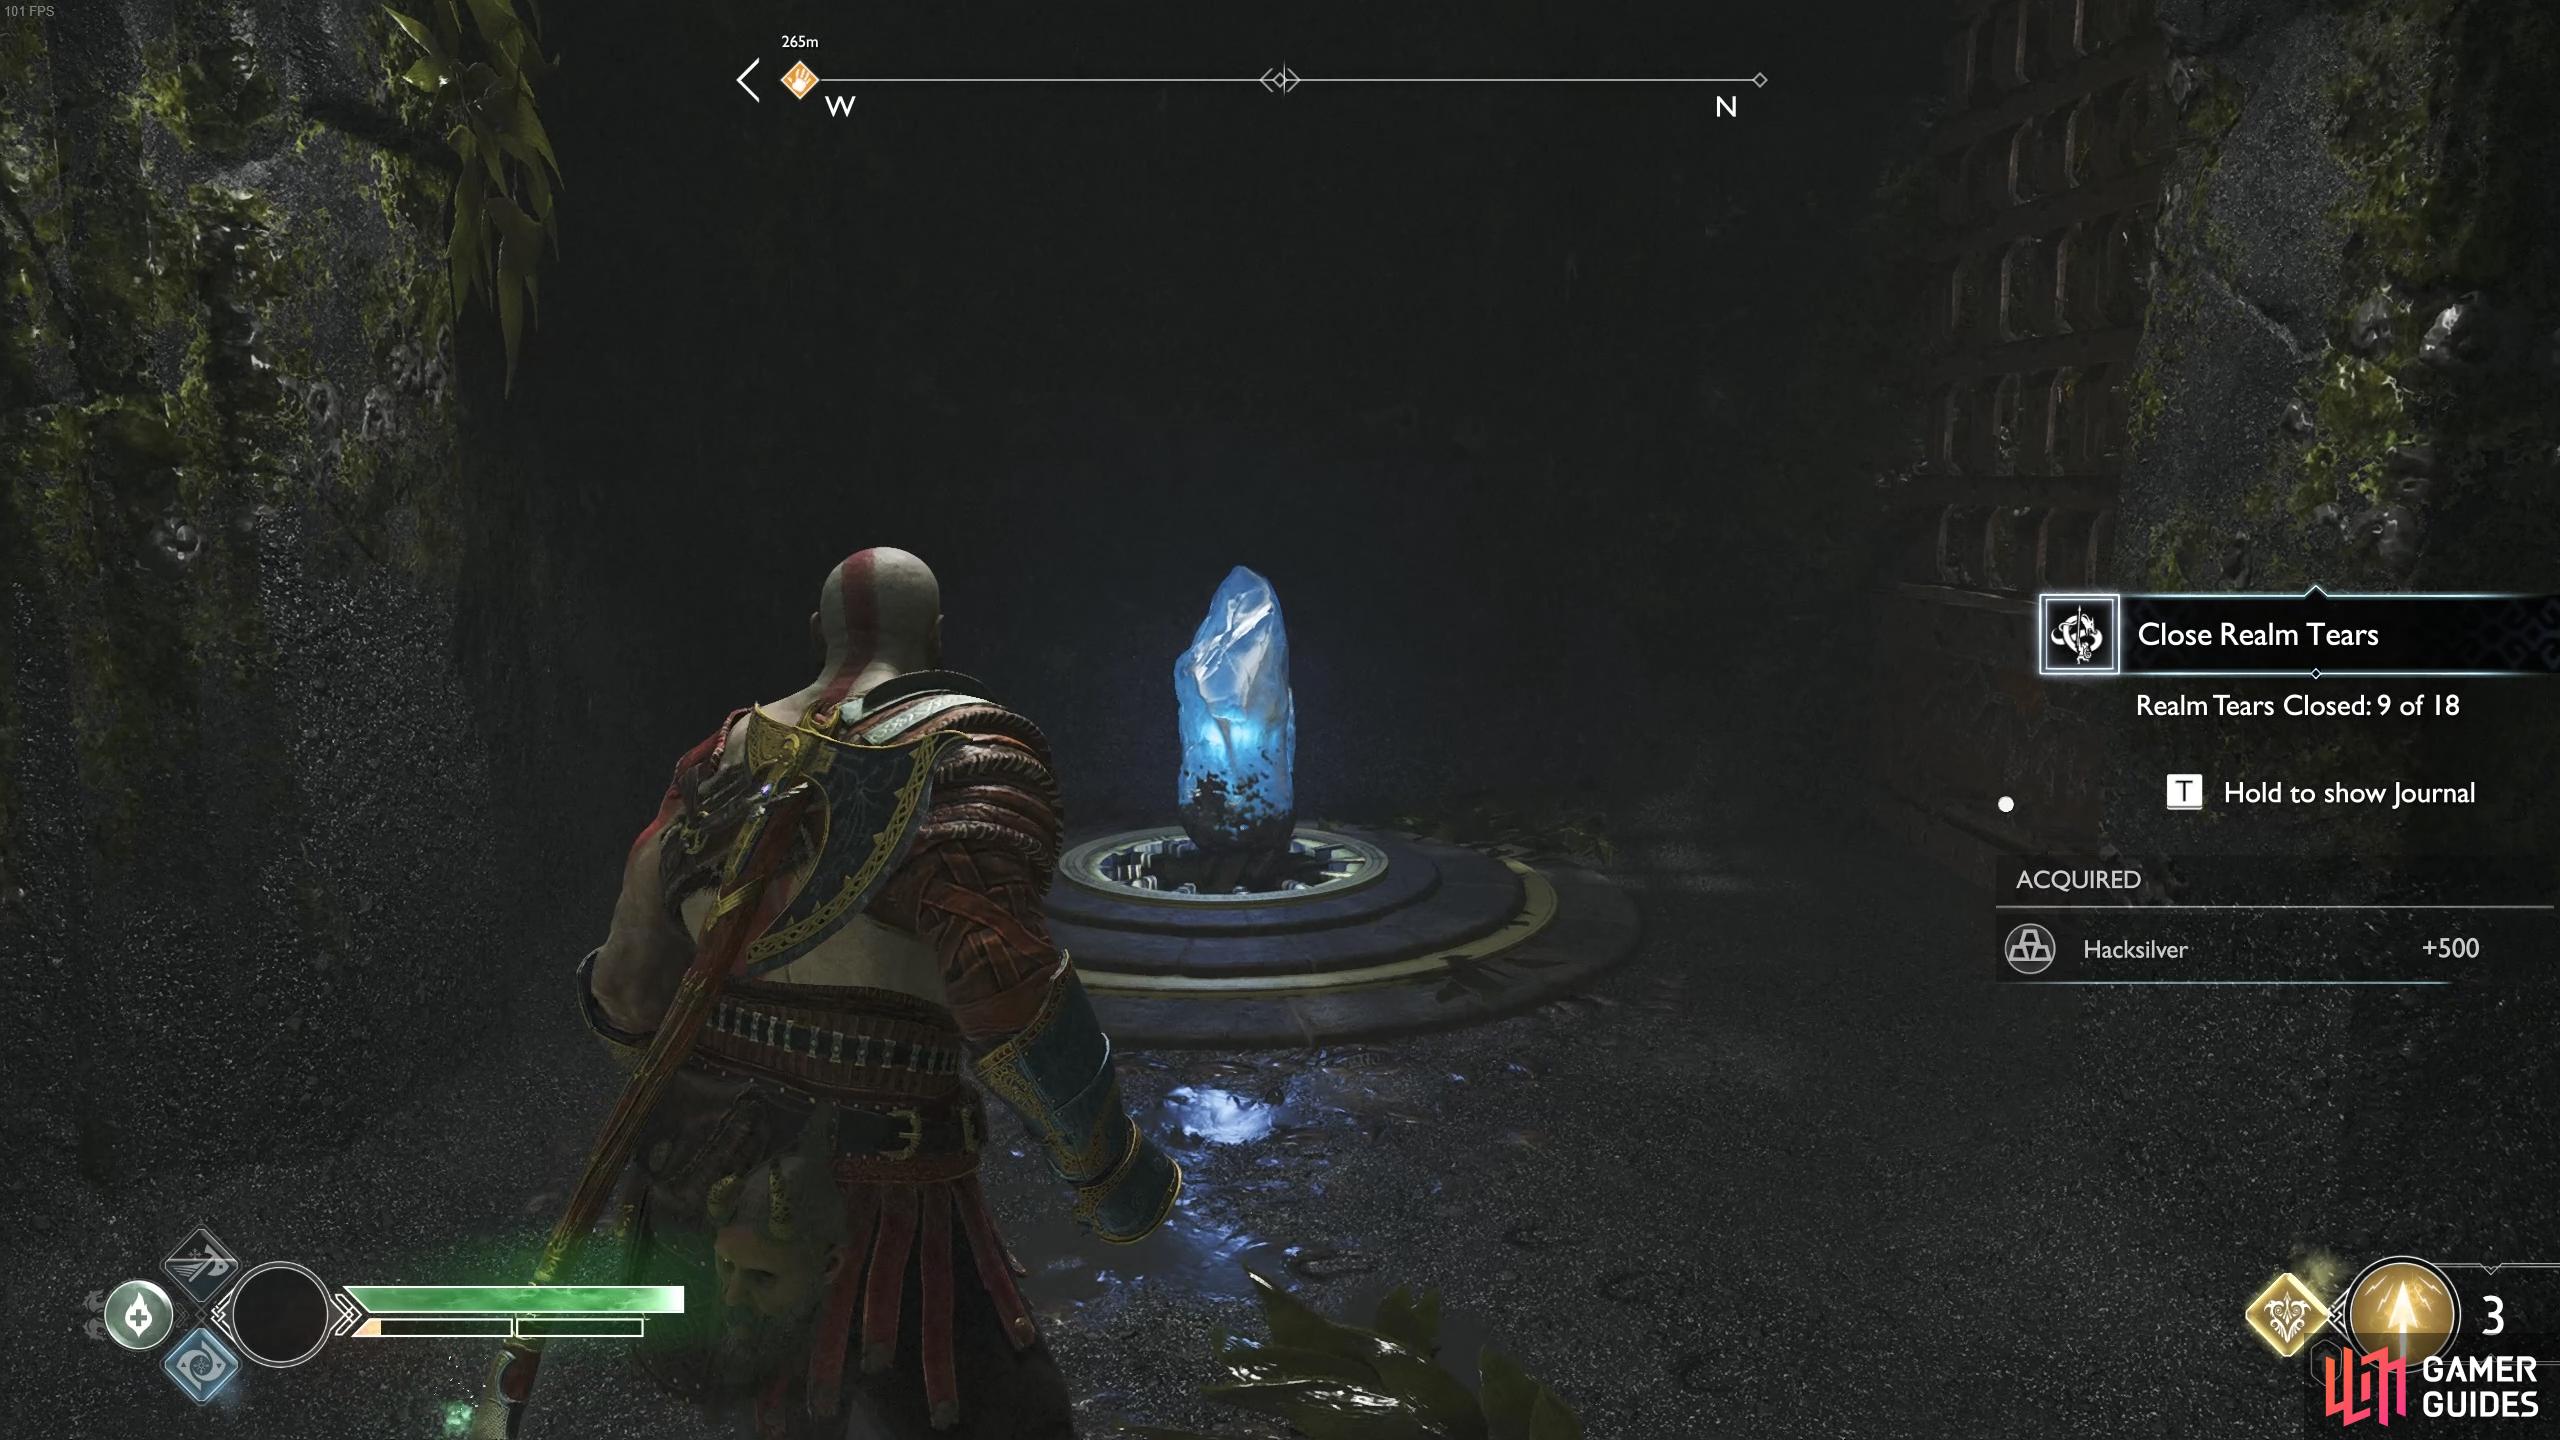
A little forward of your position is another Treasure Map, Creation Island and then jump back on to the boat. Row north to find a Yggdrasil’s Dew of Vitality and row around the rocks to the south to find a hidden beach in a cave. Head up this short path, defeating the Wolves and open the Realm Tear to obtain Dust of Realms and 500 Hacksilver.
There’s a hidden beach just around the rocks of the last beach you docked at, leading to a Realm Tear.
Once again, return to the boat and row north to the next world tree branch containing a Yggdrasil’s Dew of Vitality and row around the rocks to the north to dock at the beach at the Isle of Death.
Isle of Death
A nasty pair of Revenants await you on the beach, thankfully they stand near a bomb blocking some debris. Knock them back towards the debris and detonate the bomb to make quick work of them. Standing on the beach still, face the east to spot a bomb amongst the debris and strike it with the axe, allowing you access to the coffin.
(1 of 2) Stand near the boat to target the bomb behind the coffin.
Stand near the boat to target the bomb behind the coffin. (left), This Raven is hiding between the two platforms in front of the coffin. (right)
Move towards the rocks in front of you and look between them to spot a Raven hiding and then travel along the path where the Revenants were to reach another open area. Look to your right to see a bomb overhanging a coffin, knock this down to destroy the Scorn Pole and open the coffin before climbing the ledge behind you and leaping a gap over to the other side. There’s a small sack of Hacksilver here and then look for a bomb behind the coffin in front to destroy the Scorn Pole allowing you access to it.
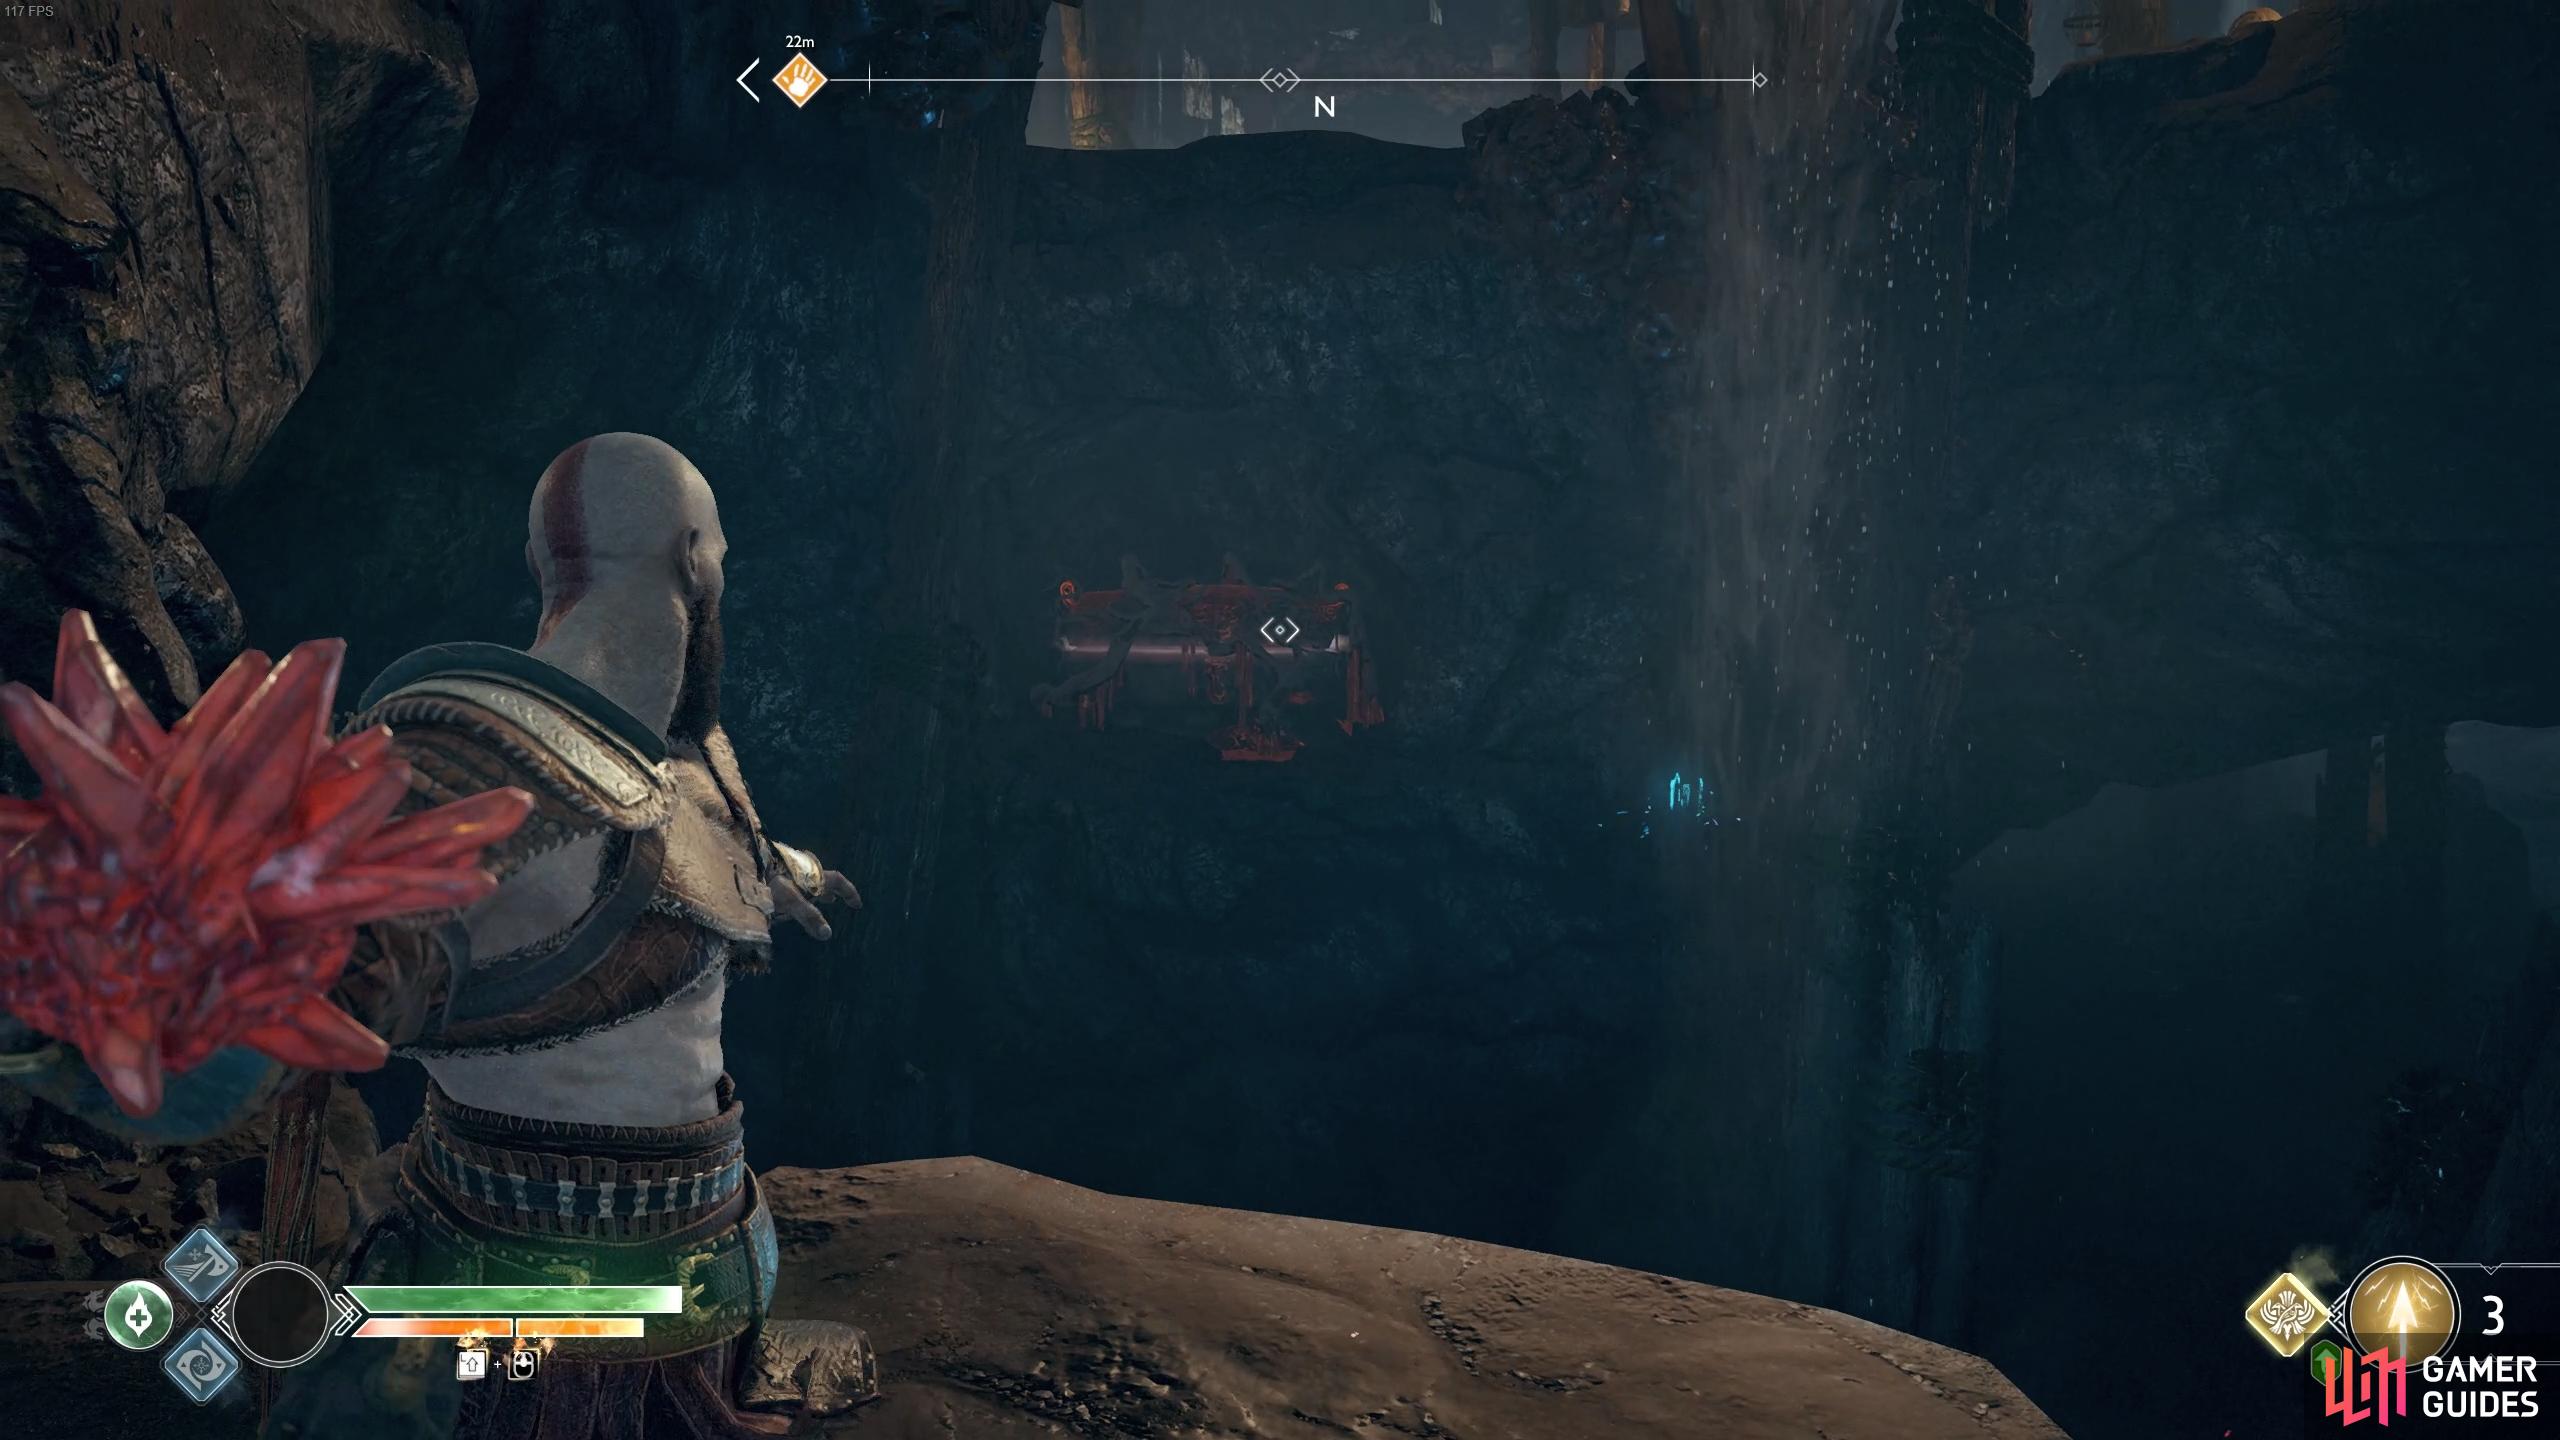
Scale the wall in this cave and take a left once you reach outside to climb another wall. Head under the hull of the ship and take the zipline down to a Legendary Chest containing the Ymir’s Breath Axe Pommel and a hacksilver chest. You can kick a chain down to reach the beach again and toss the axe at a bomb to remove the debris, do this and leap the gap. You can climb this ship now and find a Lore Marker on the top of it.
(1 of 2) Take this zipline down to a Legendary Chest.
Take this zipline down to a Legendary Chest. (left), Destroy the debris and climb the ship to find a Lore Scroll. (right)
Climb down from the ship and leap across the gap, scaling the wall once again to the top and taking the other zipline down, this will lead you back to the Iron Cove.
As you step forward, you’ll spot a bomb in front of you, strike this with the axe to destroy the Scorn Pole. Climb the ledge and at the top you’ll spot debris in front of you and to the sides. Begin by knocking down the bomb hanging in front and as you walk through you’ll meet your first Wulver, dangerous relentless beasts that you’ll need to be careful around. Thankfully these beasts are weak to Shock Arrows and you can pin this Wulver down and build it’s Stun Gauge to take it down safely.
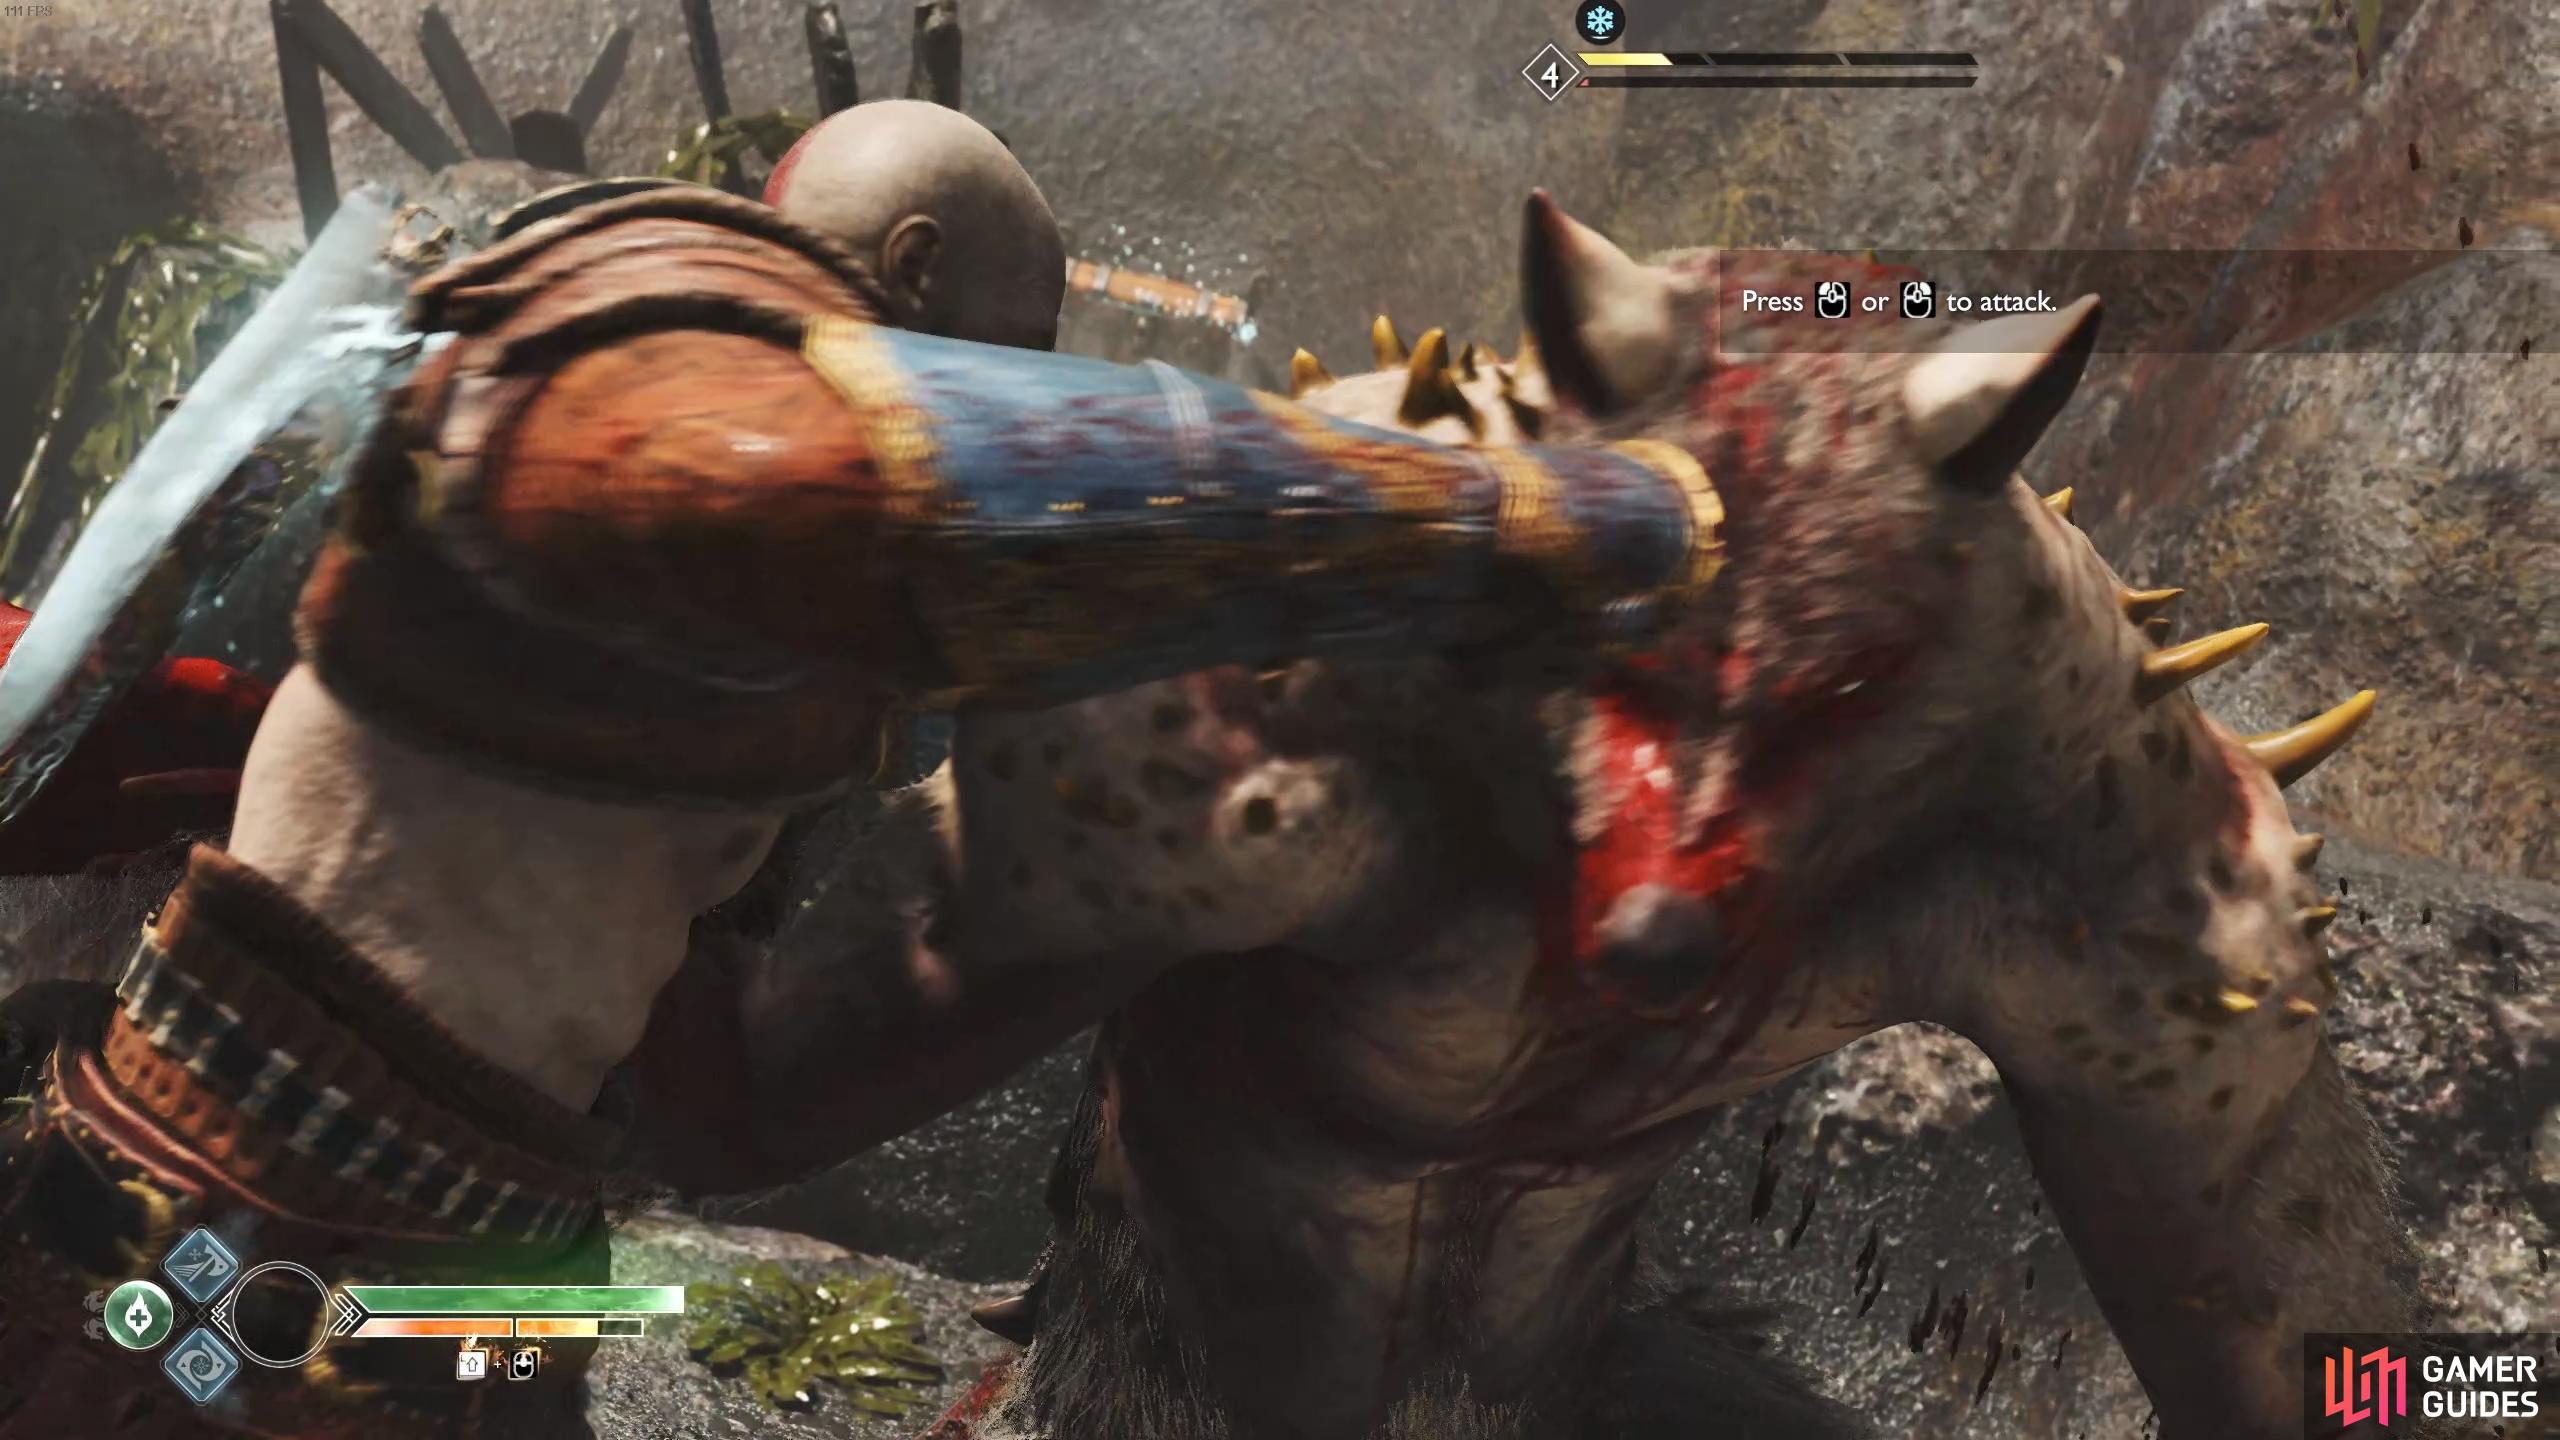
(1 of 2) Knock the bomb down to destroy the debris and push on further.
Knock the bomb down to destroy the debris and push on further. (left), Try to build the Stun Gauge and initiate a Stun Grab on these fearsome foes. (right)
With the Wulver dead, stand in the middle of the broken ship and look to the right to spot a Scorn Pole. If you stand to the side, you should be able to target the bomb nearby, do so and destroy the Scorn Pole and gain access to the side of the ship that you can climb. At the top you’ll find a small sack of Hacksilver and then turn to your left to spot a Raven circling around the rocks. Before you leave this side of the ship, look over the edge of the east side to spot a bomb amongst the debris below you.
(1 of 2) Stand here to spot the bomb among the debris.
Stand here to spot the bomb among the debris. (left), Look to the left once on top of the ship to spot this Raven. (right)
Leap to the other side and pick up another sack of Hacksilver and once again look off to the east side to spot the bombs in more debris, freeing up a Spinner. Turn to face the west now to spot a door locked by Nornir Runes, look above the debris to spot a bomb to the left that you should knock down along with another to the right.
Drop down and hit the Spinner that you just freed once (don’t forget the coffin while you’re down here) before walking forward to the west and looking down to the north to spot the next Spinner. Hit the left disc twice to unlock the next Rune on the door. To find the final rune, walk towards where you can scale the wall and turn to the left, the final Spinner rests on the platform here so hit the left disc twice to unlock the final Rune and the door in the process.
(1 of 3) Hit the first rune once to the left.
Climb up the wall and defeat the Poison Wolves before heading into the now unlocked door to find five sacks of Hacksilver, a Legendary Chest containing the Mists of Helheim Heavy Runic Attack gem and Pristine Ore of the Realm
Leave this vault and look to your right to spot another bomb that will allow you to destroy the Scorn Pole and debris in front of you. Grab the sack of Hacksilver to your left and then climb down the dock at the end to reach a coffin. Return to the wall you scaled earlier and head south to find a Hacksilver chest and strike the bomb blocking the debris from earlier. You can now access the beach and board the boat again.
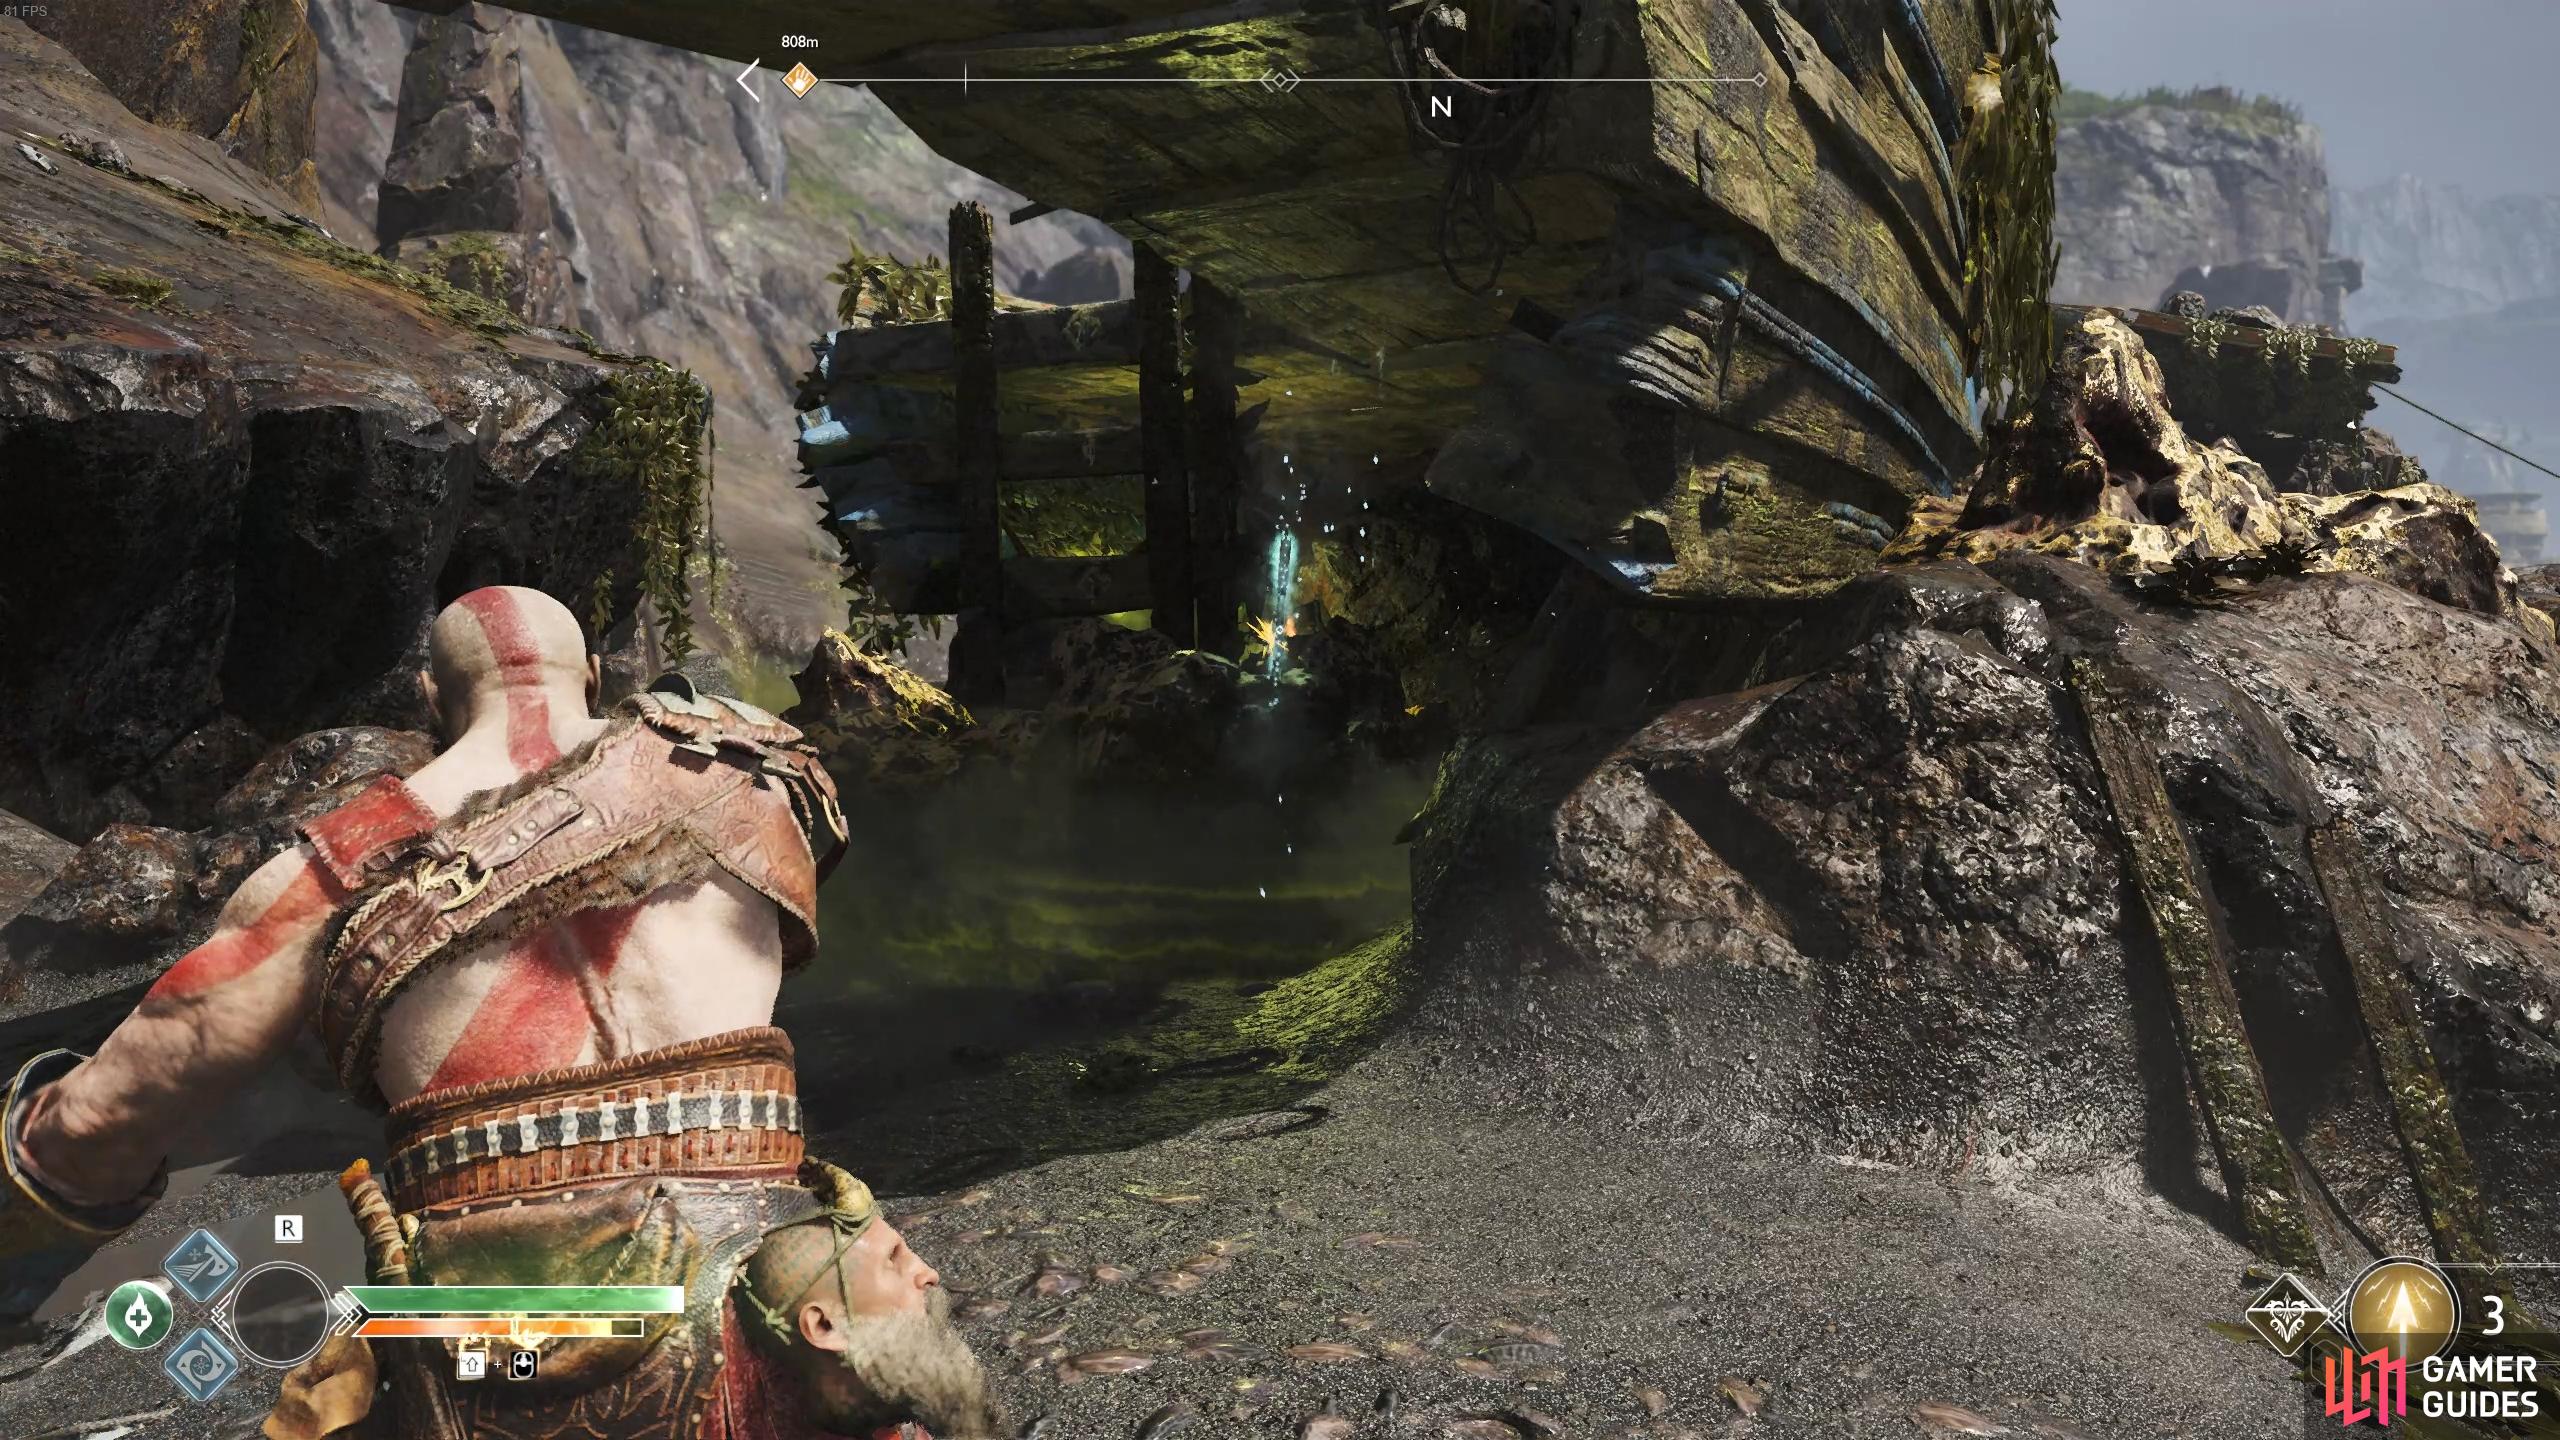
You’ve covered everything at the Iron Cove but there’s still more to do at the Isle of Death so sail over to the island once more. Head back into the cave again and scale the wall but this time instead of climbing the next wall, drop down the ledge to find a Mystic Gateway.
Climb the platform again and look to the east, you’ll notice discs you can strike with the Leviathan Axe on the lifts ahead. Striking the left disc will lower it while the right disc will raise it. Begin by lowering this first lift and use the rope to land on top of it. Use the switch on this lift to raise it to its highest position and take the next rope down.
Turn behind you and hit the left disc of the previous lift once before using the switch on your current lift. Take the rope back over and open the Realm Tear to obtain Dust of Realms and 500 Hacksilver. Raise the lift once more and lower the next one, taking the rope back over to it.
(1 of 2) Raise the second lift to take the rope down to the first.
Raise the second lift to take the rope down to the first. (left), Hit the left disc to lower this lift. (right)
Use the switch to take the lift up and then lower the next lift to your left and taking the rope over. Once again use the switch on this lift and take the final rope over to the cliff. Follow this path over to the nearby tower elevator and take it up to find another Traveller. This particular Traveller is too difficult for you at this stage, he’s Level 7 and will kill you with a single hit, it’s best to leave him be until later. You’ll need to return with the full Niflheim Language Cipher to light this brazier too so instead, take the other elevator down and board the boat once more.
Ignore the passage through the bones, this leads to Fafnir’s Ravine where you’ll be going after you finish your exploration of the smaller islands and continue around to dock at the next beach just before the next tower.
Forgotten Caverns
Head forward and speak to the Spirit to listen to his woes and accept the Favor, Dead Freight, requiring you to travel the Lake of Nine and defeat the Spirit’s Hel-Walker crews. Delve deeper into the caves and you’ll find a Hacksilver chest on your left along with a Mystic Gateway. A group of three Wolves await you in the center of this area, dispatch them and pick up the Treasure Map in front of another Hacksilver chest.
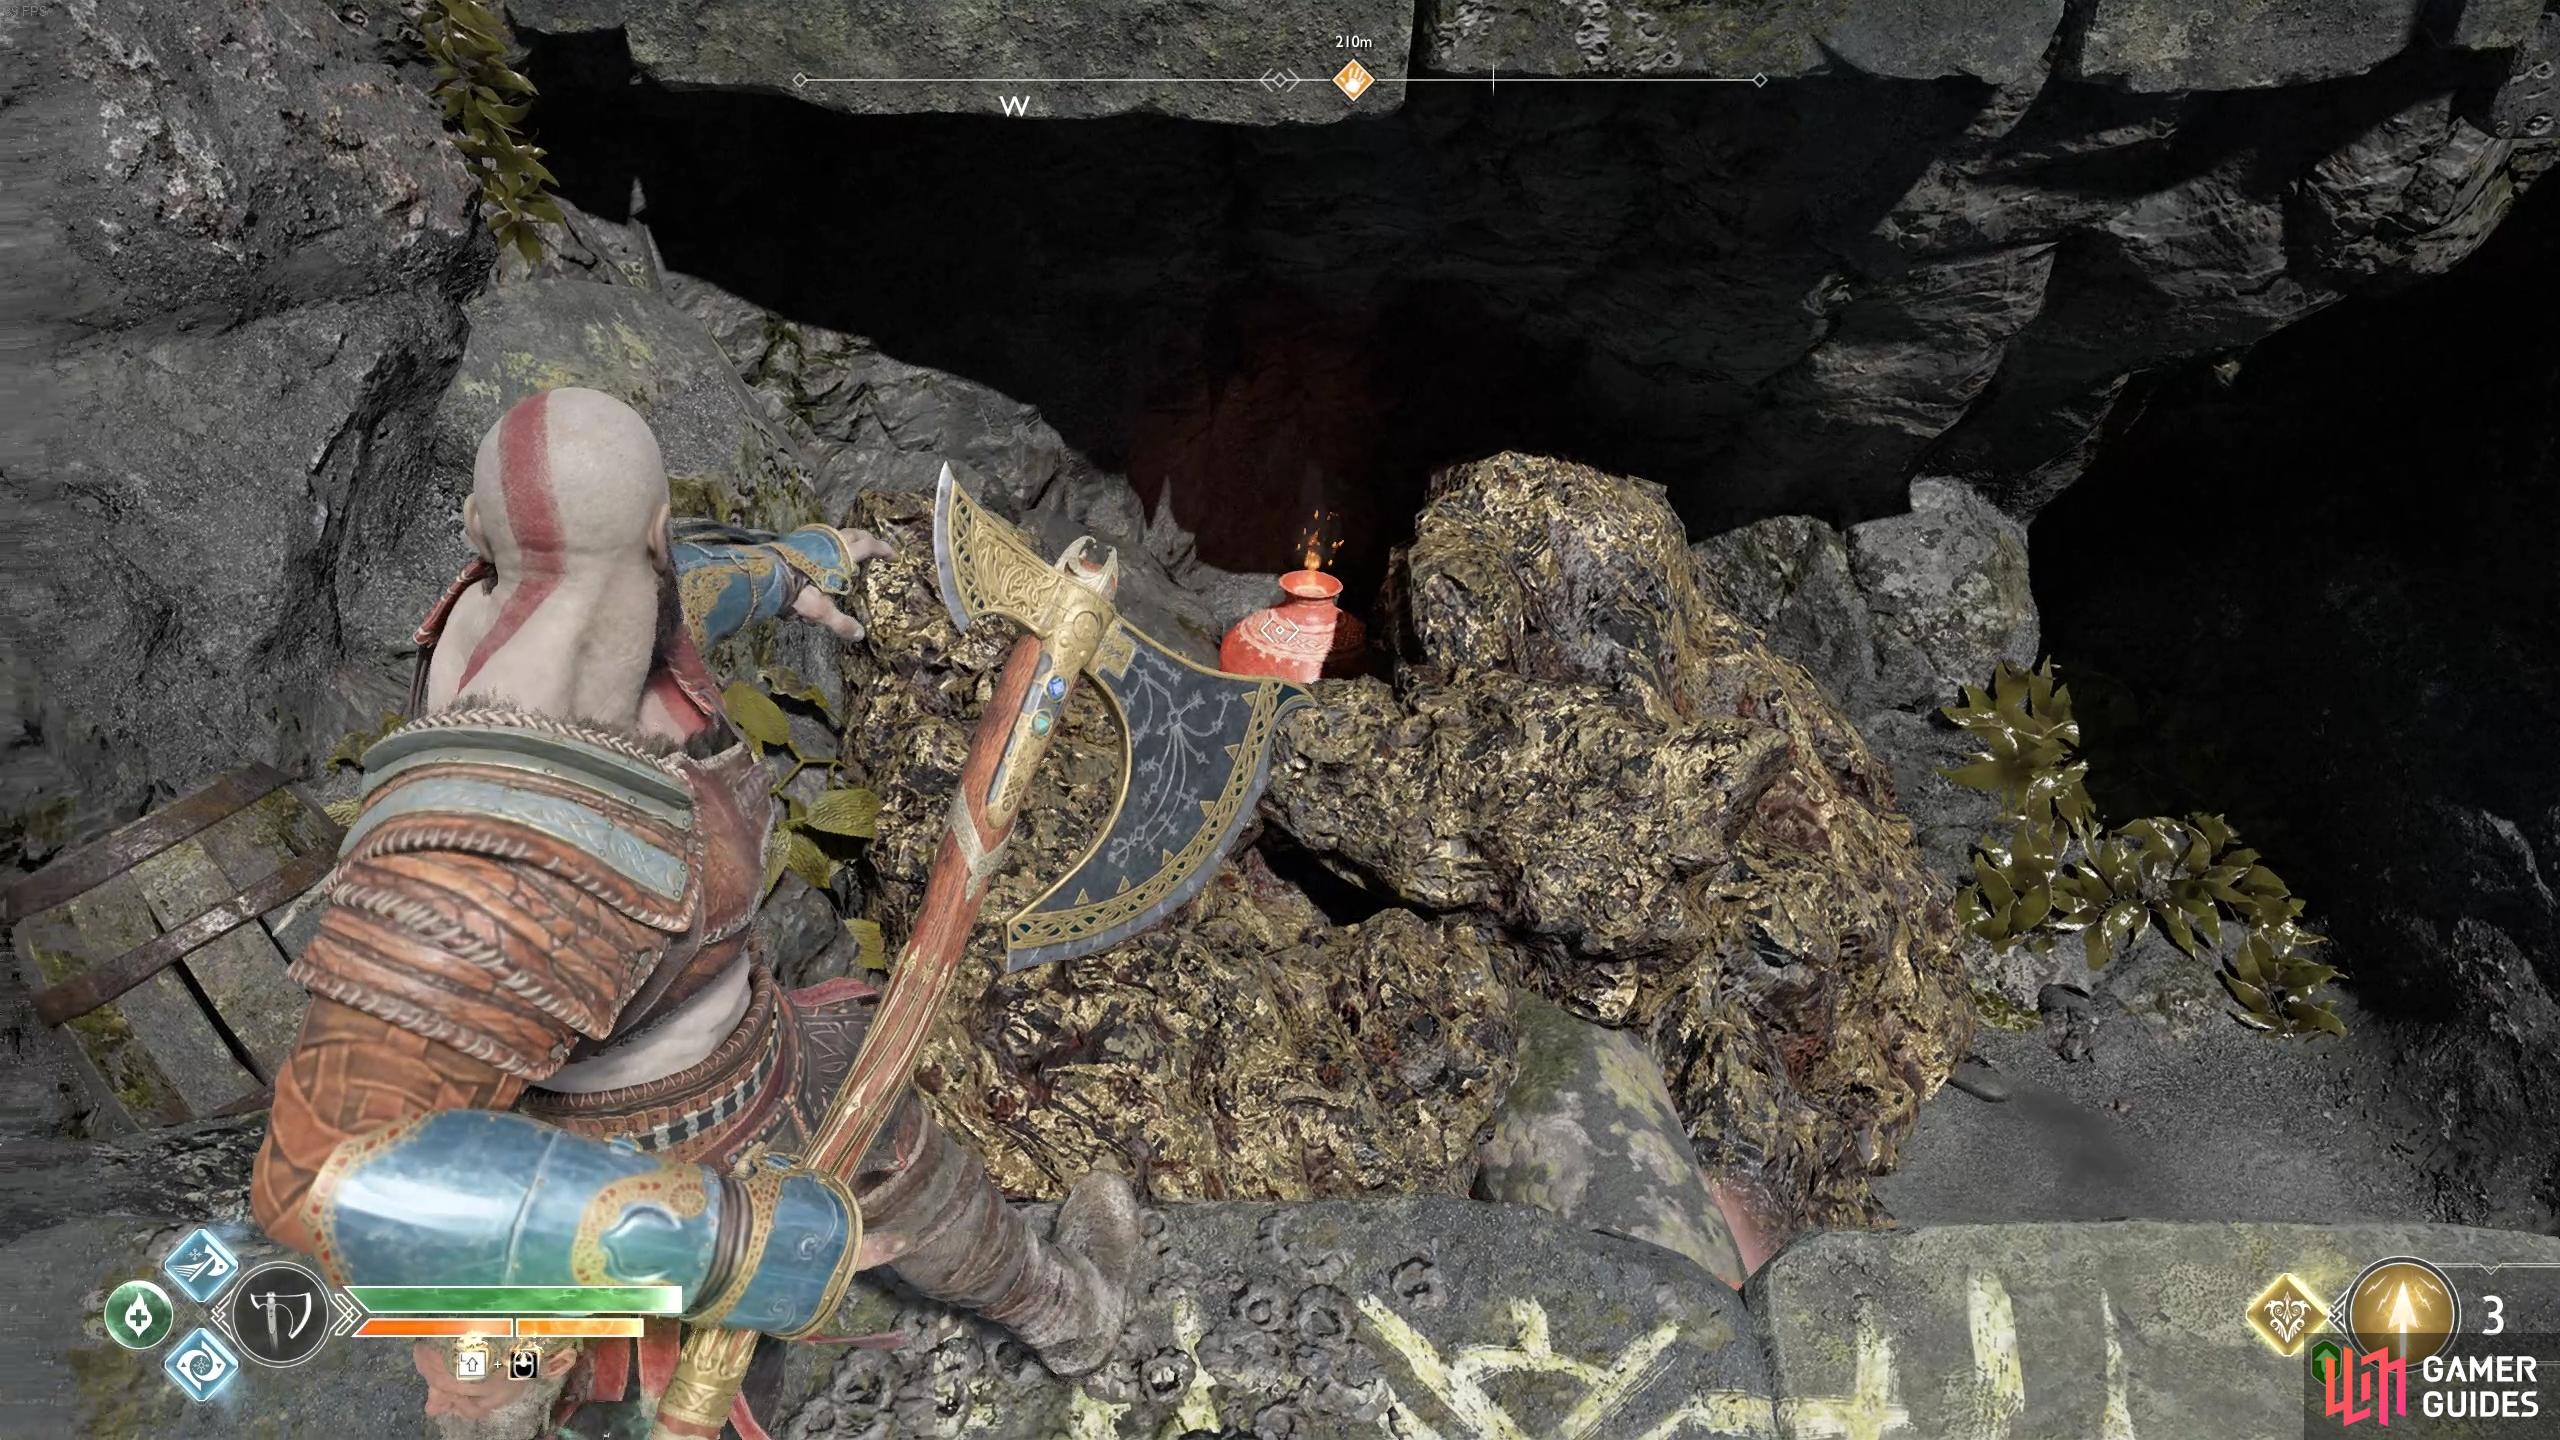
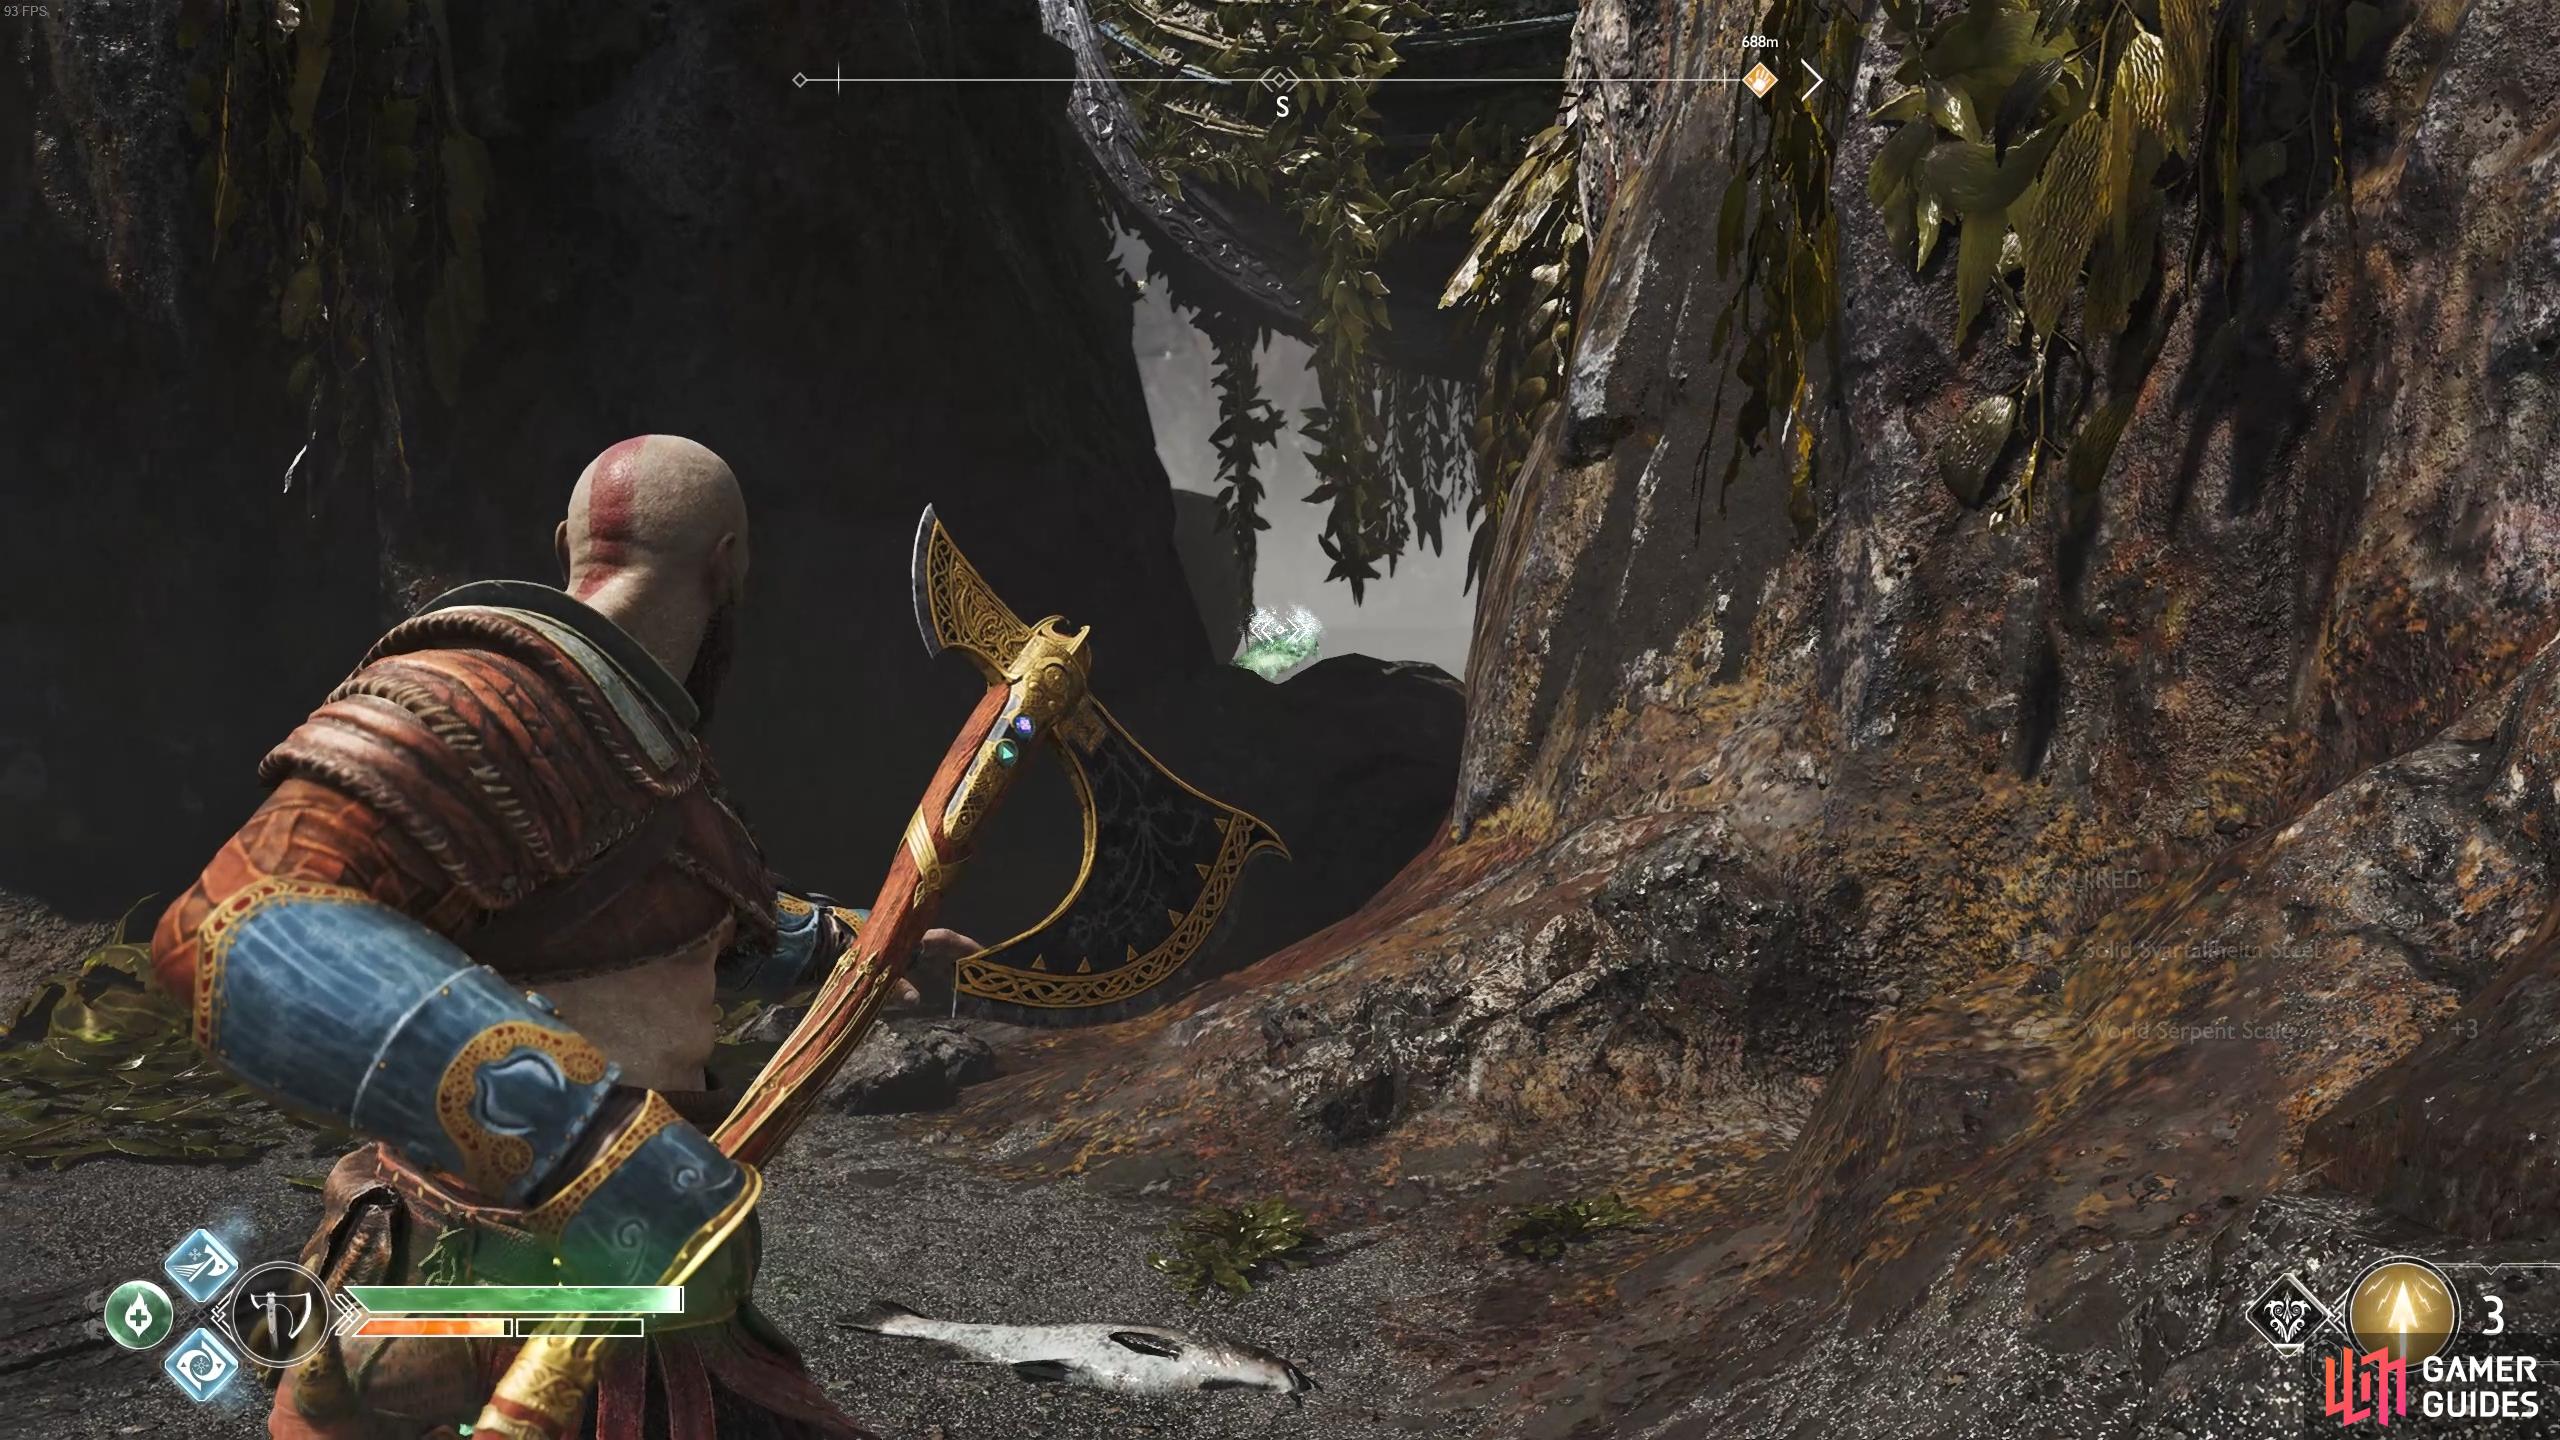
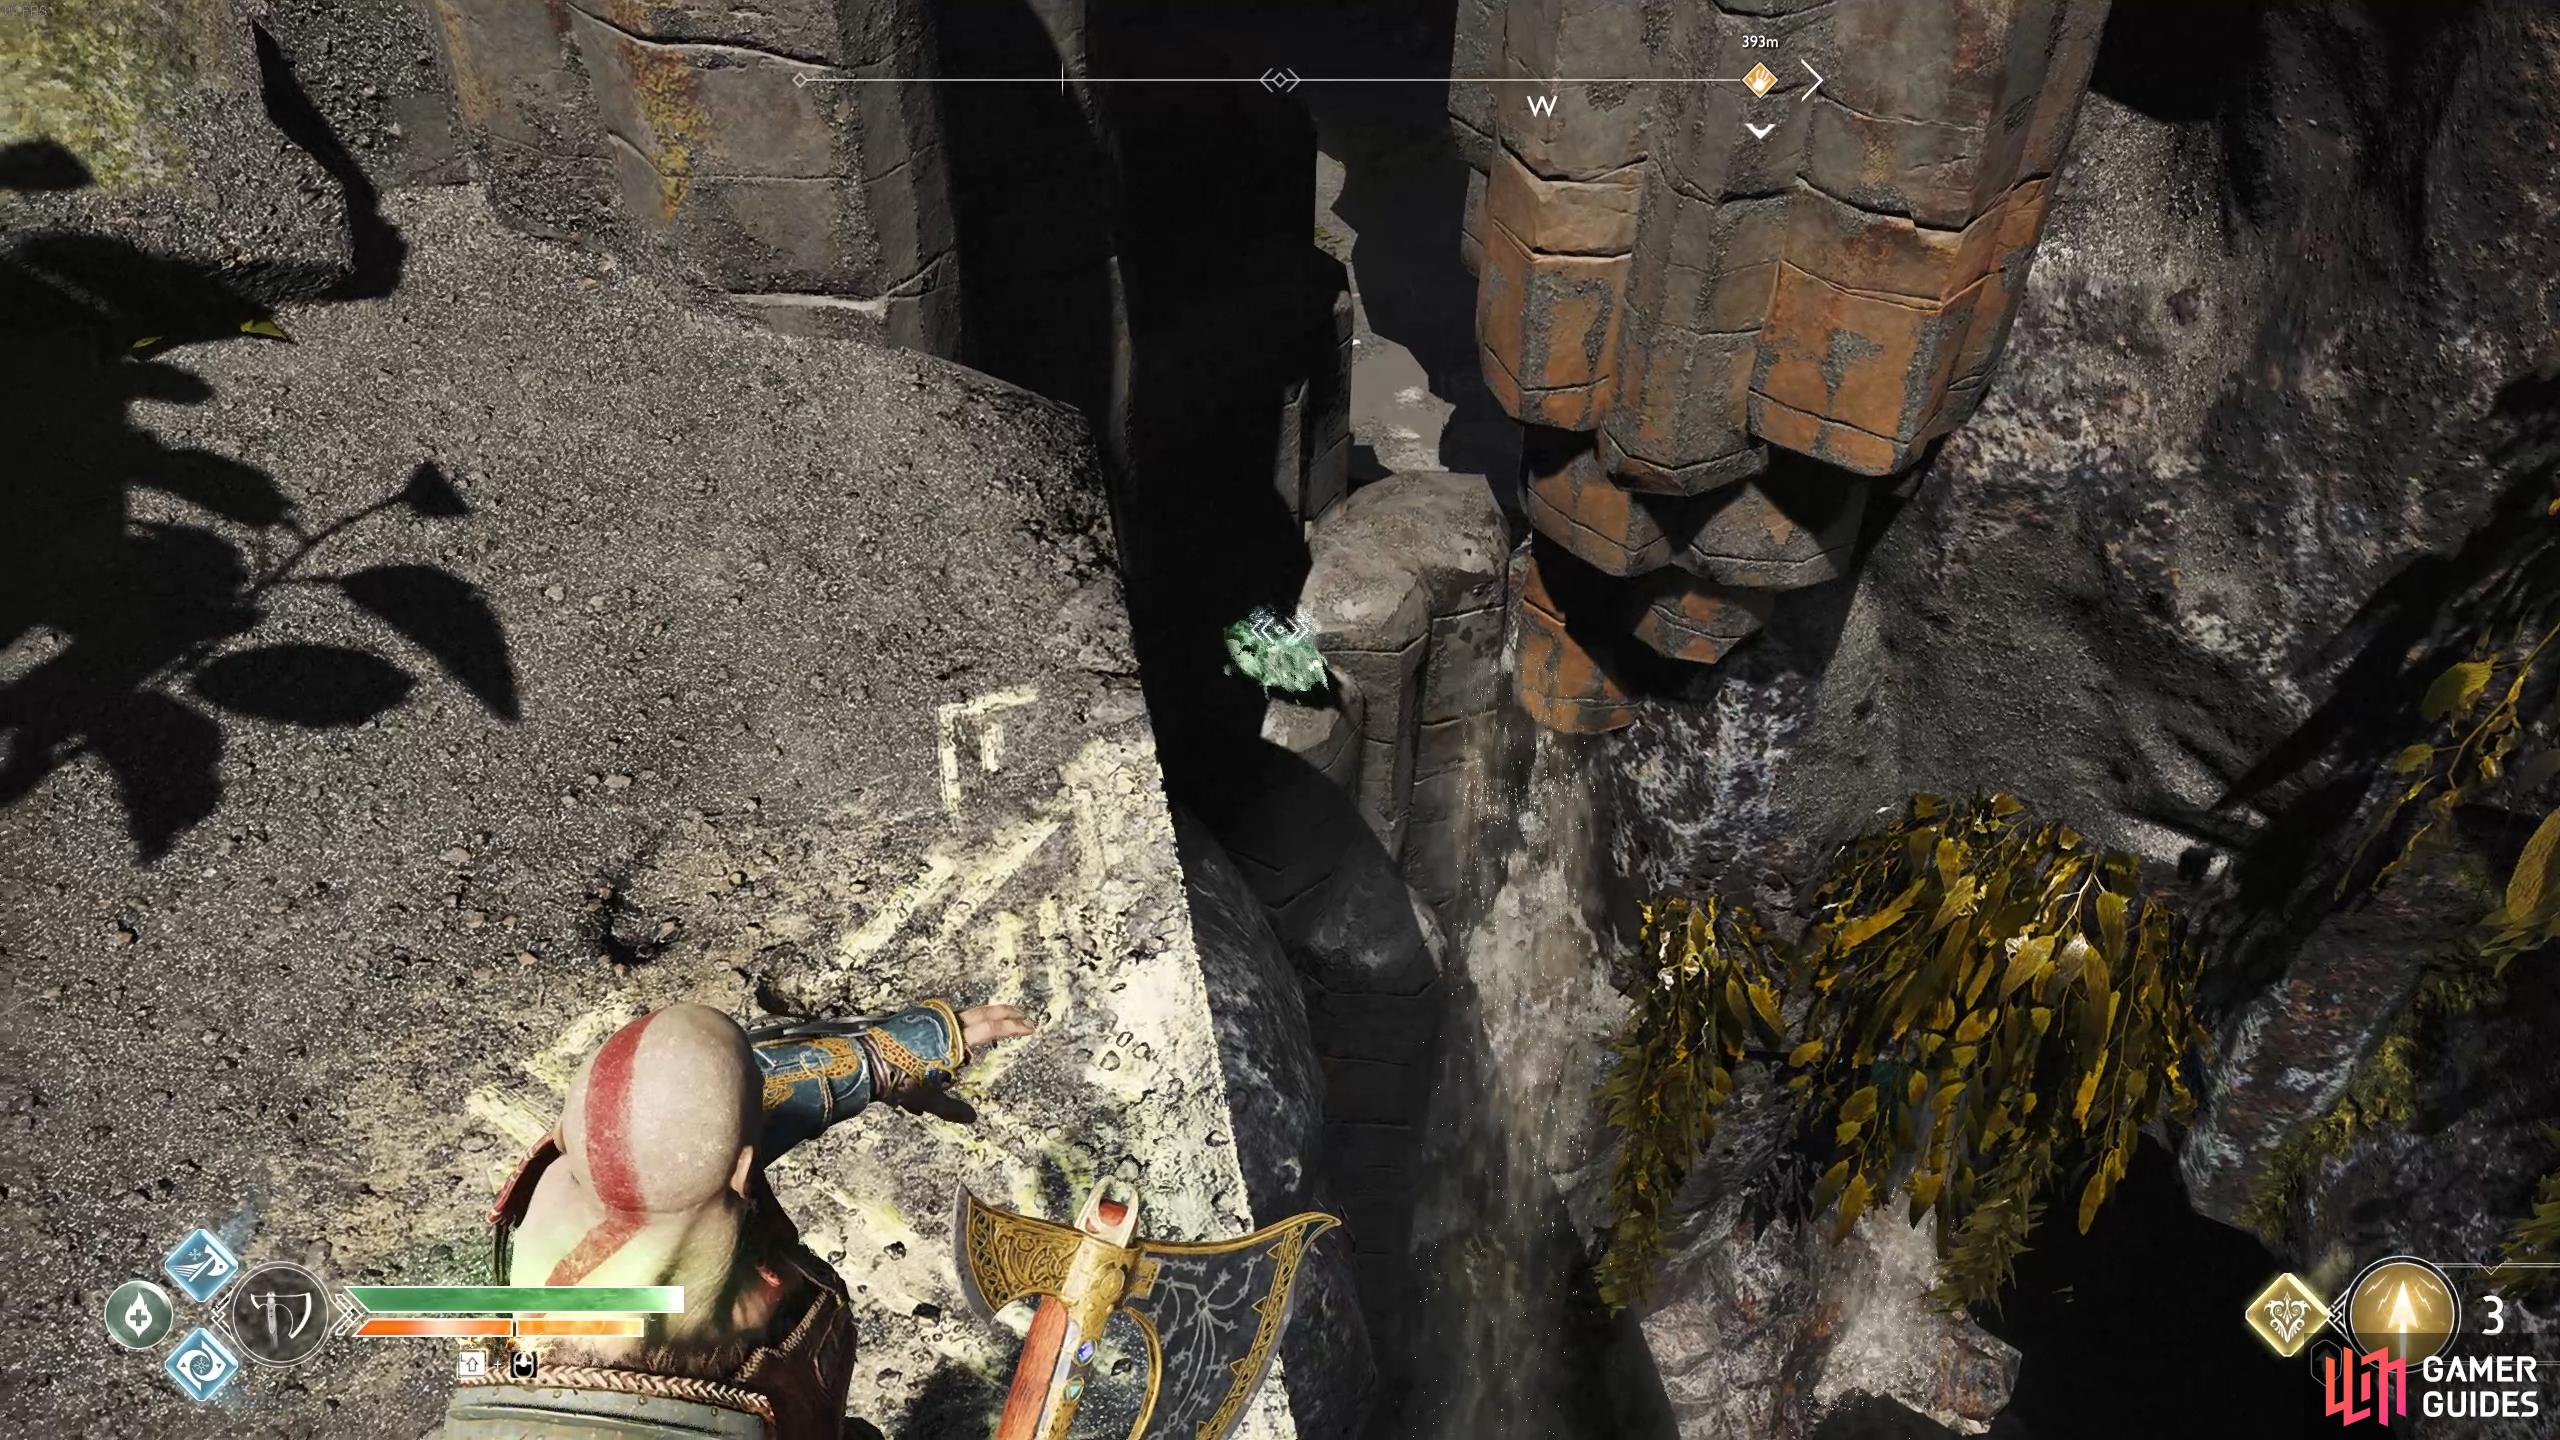
Scale the wall in this area and leap the gaps until you reach the next wall you can scale. Don’t do this just yet, you can find the second Gullveig Bone to the right of it. Return to the bottom now as the wall in front just leads to where you were on your first visit here.
(1 of 2) Find the Treasure Map at the back of the cave.
Find the Treasure Map at the back of the cave. (left), The second Gullveig Bone can be found once you scale the wall. (right)
Back on the boat, continue rowing the boat around the north and past the tower to find a hidden cave. Grab the Yggdrasil’s Dew of Luck and then dock on the nearby beach to the left (the right path leads to King’s Hollow, an area for later in your journey). Scale the only wall here and at the top turn around to hit the Raven you passed during your climb.
Climb the wall from the back of the caverns to find this Raven.
To the left of the large door in front of you is a Hacksilver chest and to the right is another Realm Tear against two Level 7 Wulvers, a battle that is well beyond your means for now so ignore it and open the doors in front of you instead. Another Traveller awaits in front of you here that is again too high level for you but do activate the Mystic Gateway before you take the elevator back down to the dock.
Continue rowing the boat to the north to find yet another world tree branch containing a Yggdrasil’s Dew of Defense just before another beach to dock at.
Ruins of the Ancient
You’ll find a Mystic Gateway to your right as you leave the boat and then you’ll notice the presence of a Soul Devourer just ahead. The stone giant won’t attack until you do first so make sure you’re in a good position and then initiate the battle.
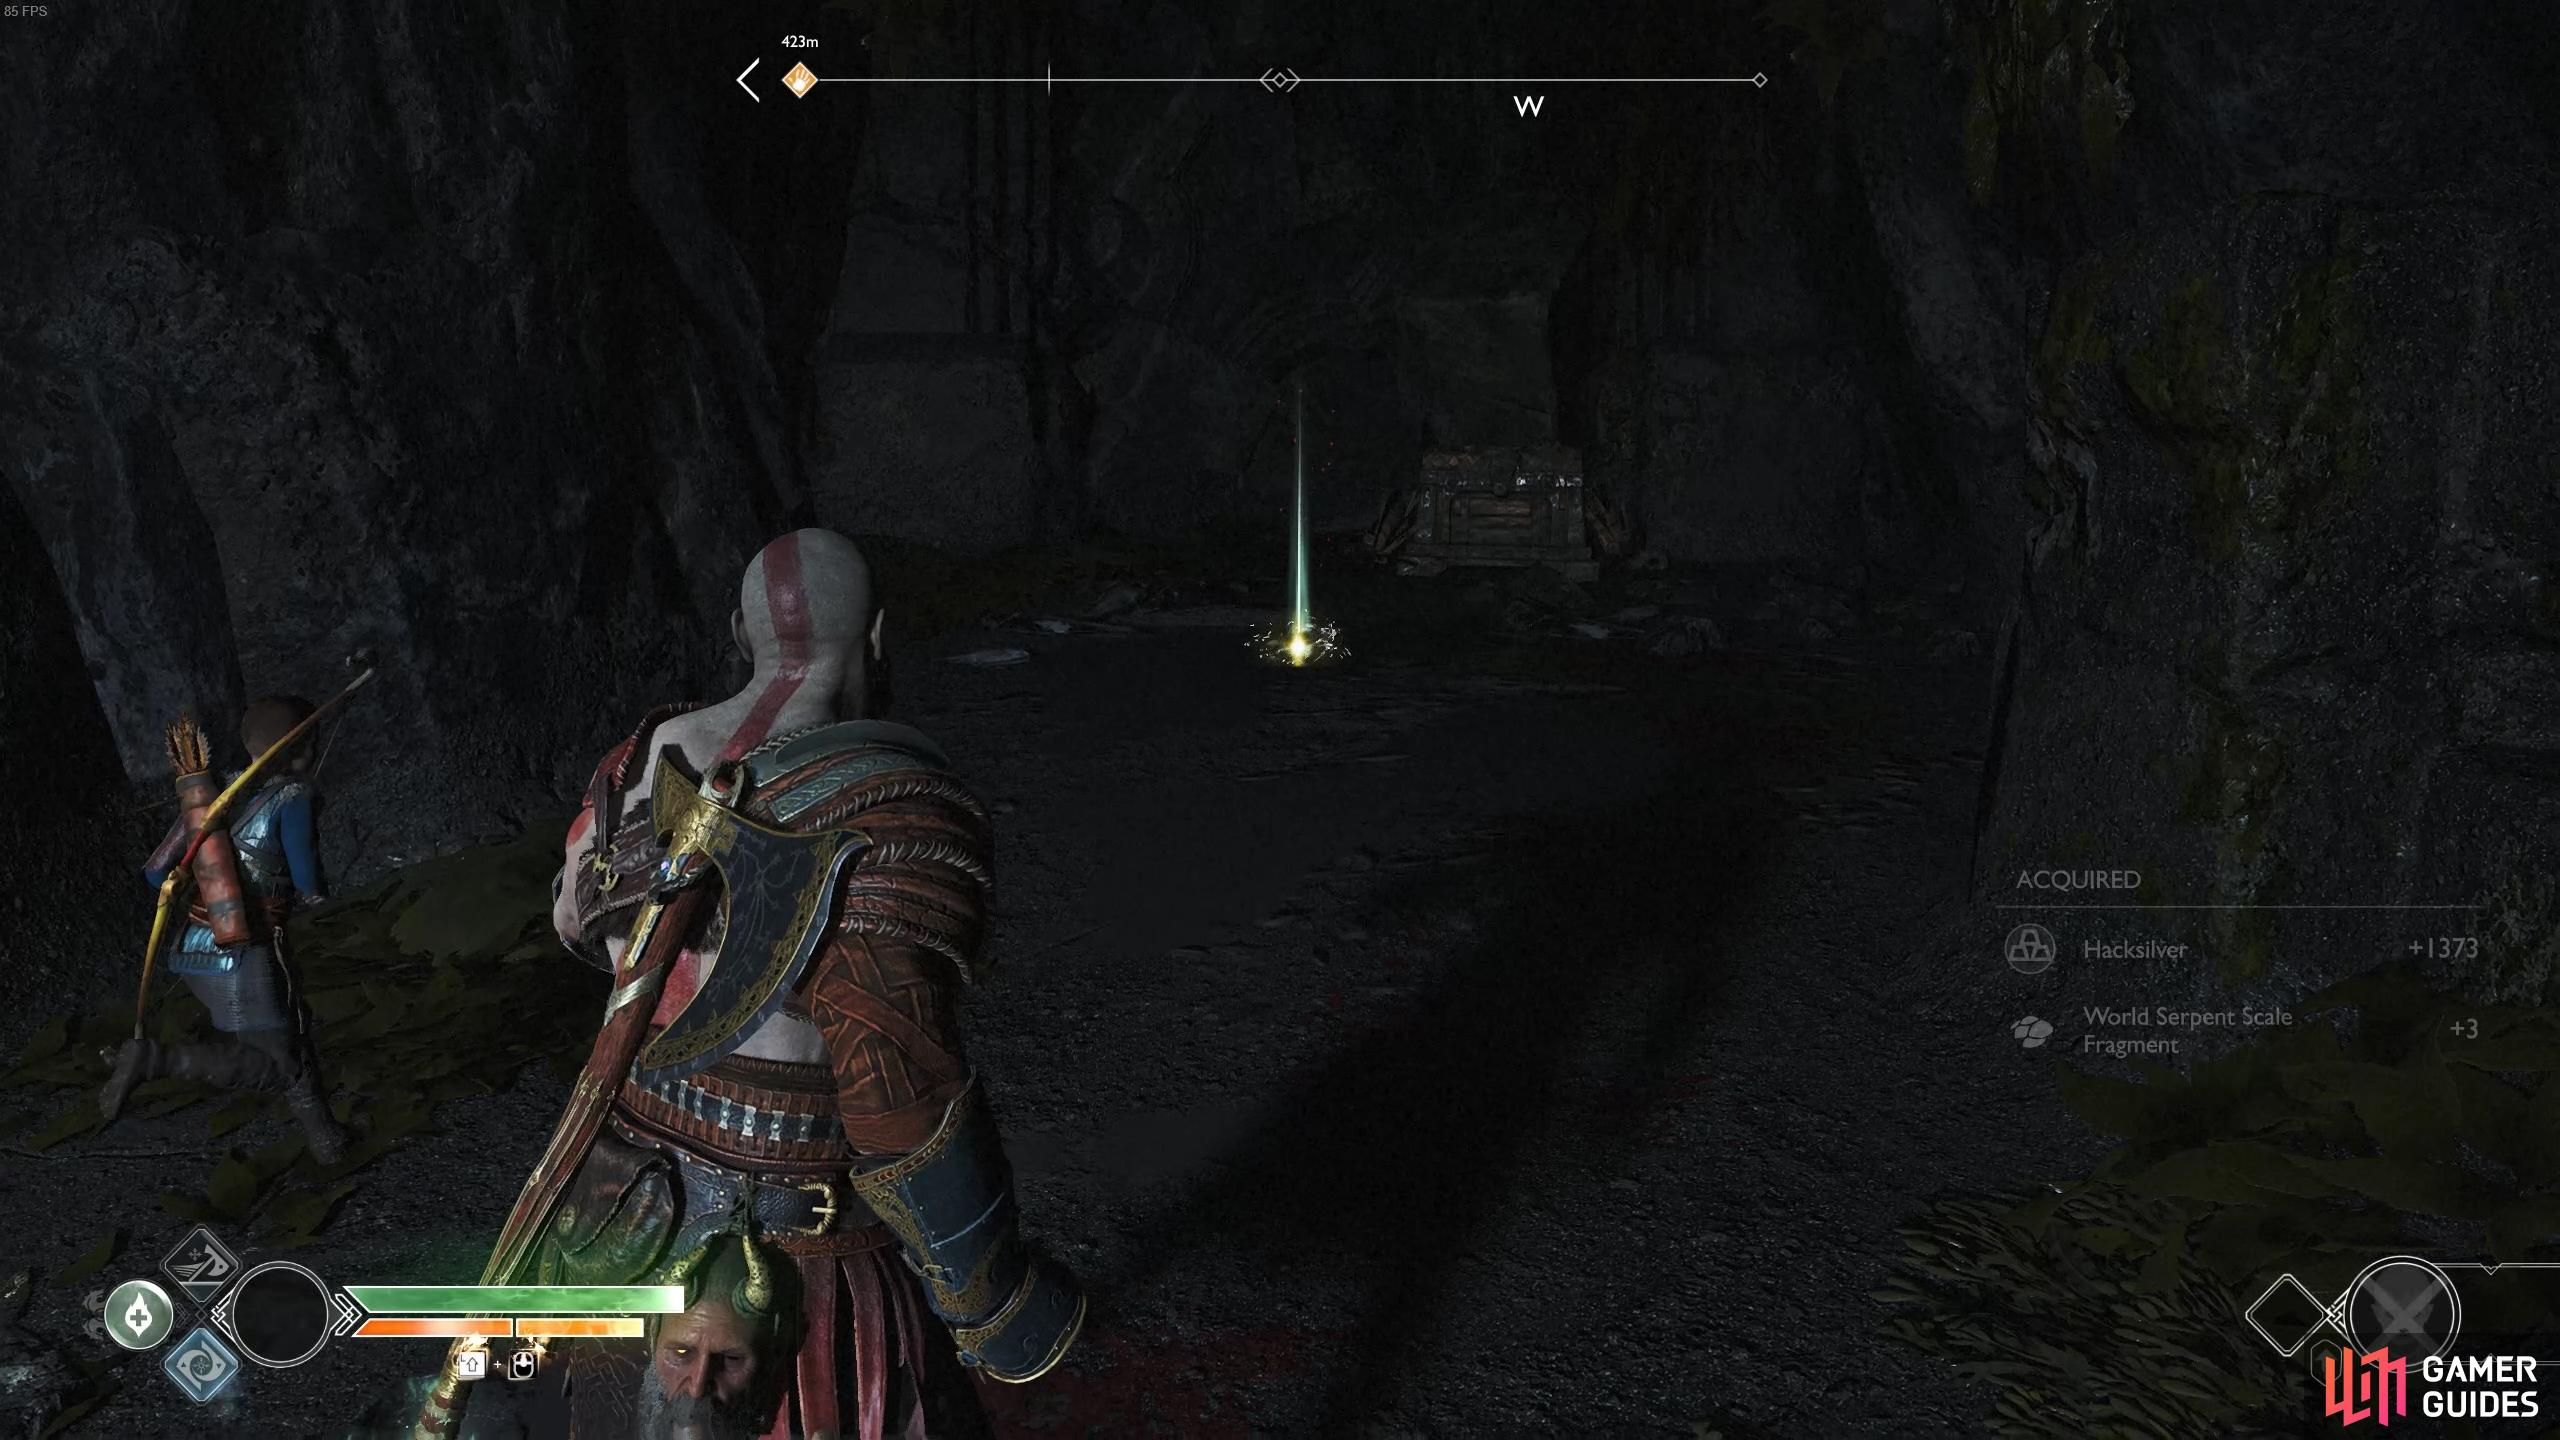
Soul Devourer’s share the same move set as their Ancient brethren so repeat the usual tactics. Use the stone pillar as cover as you wait for the core to become exposed before using continual axe throws to damage him, remembering to Stun Grab when the opportunity presents itself. Once the battle is over, pick up the spoils and open the Legendary Chest to obtain your third Niflheim Cipher Piece. Before you board the boat once more, don’t forget to pick up the Treasure Map from the beach along with the final Gullveig Bone in the corner.
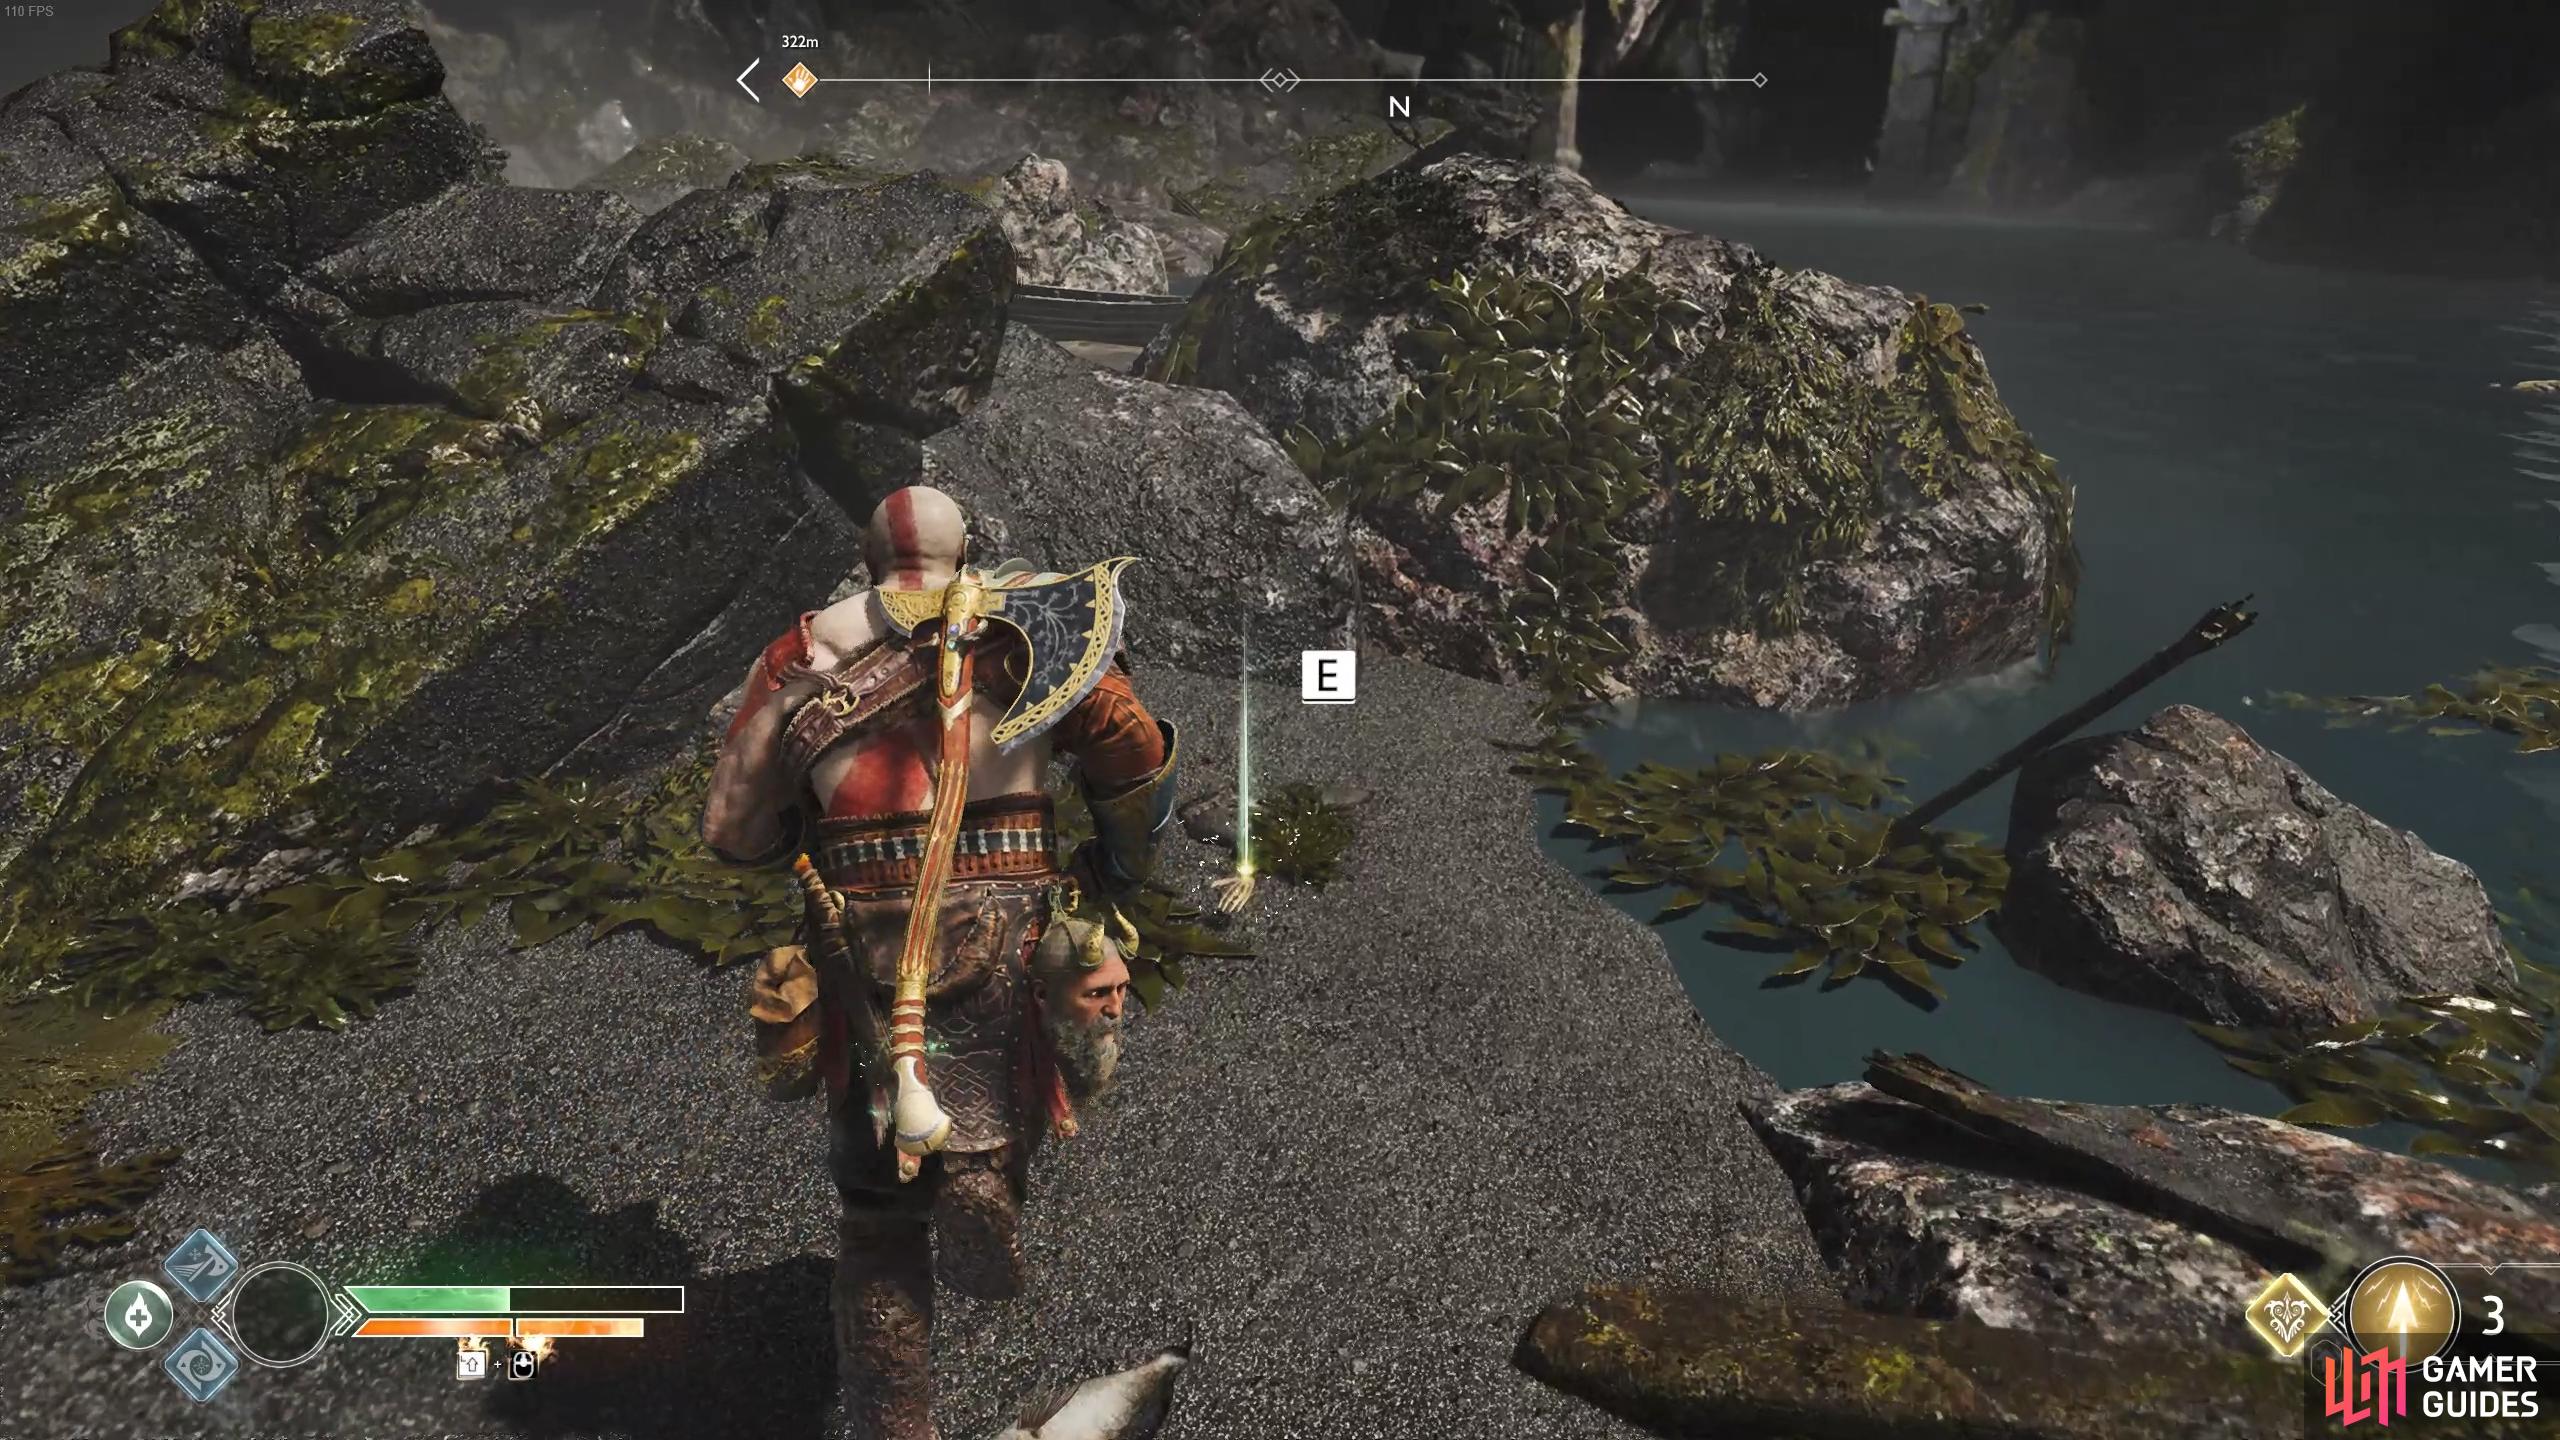
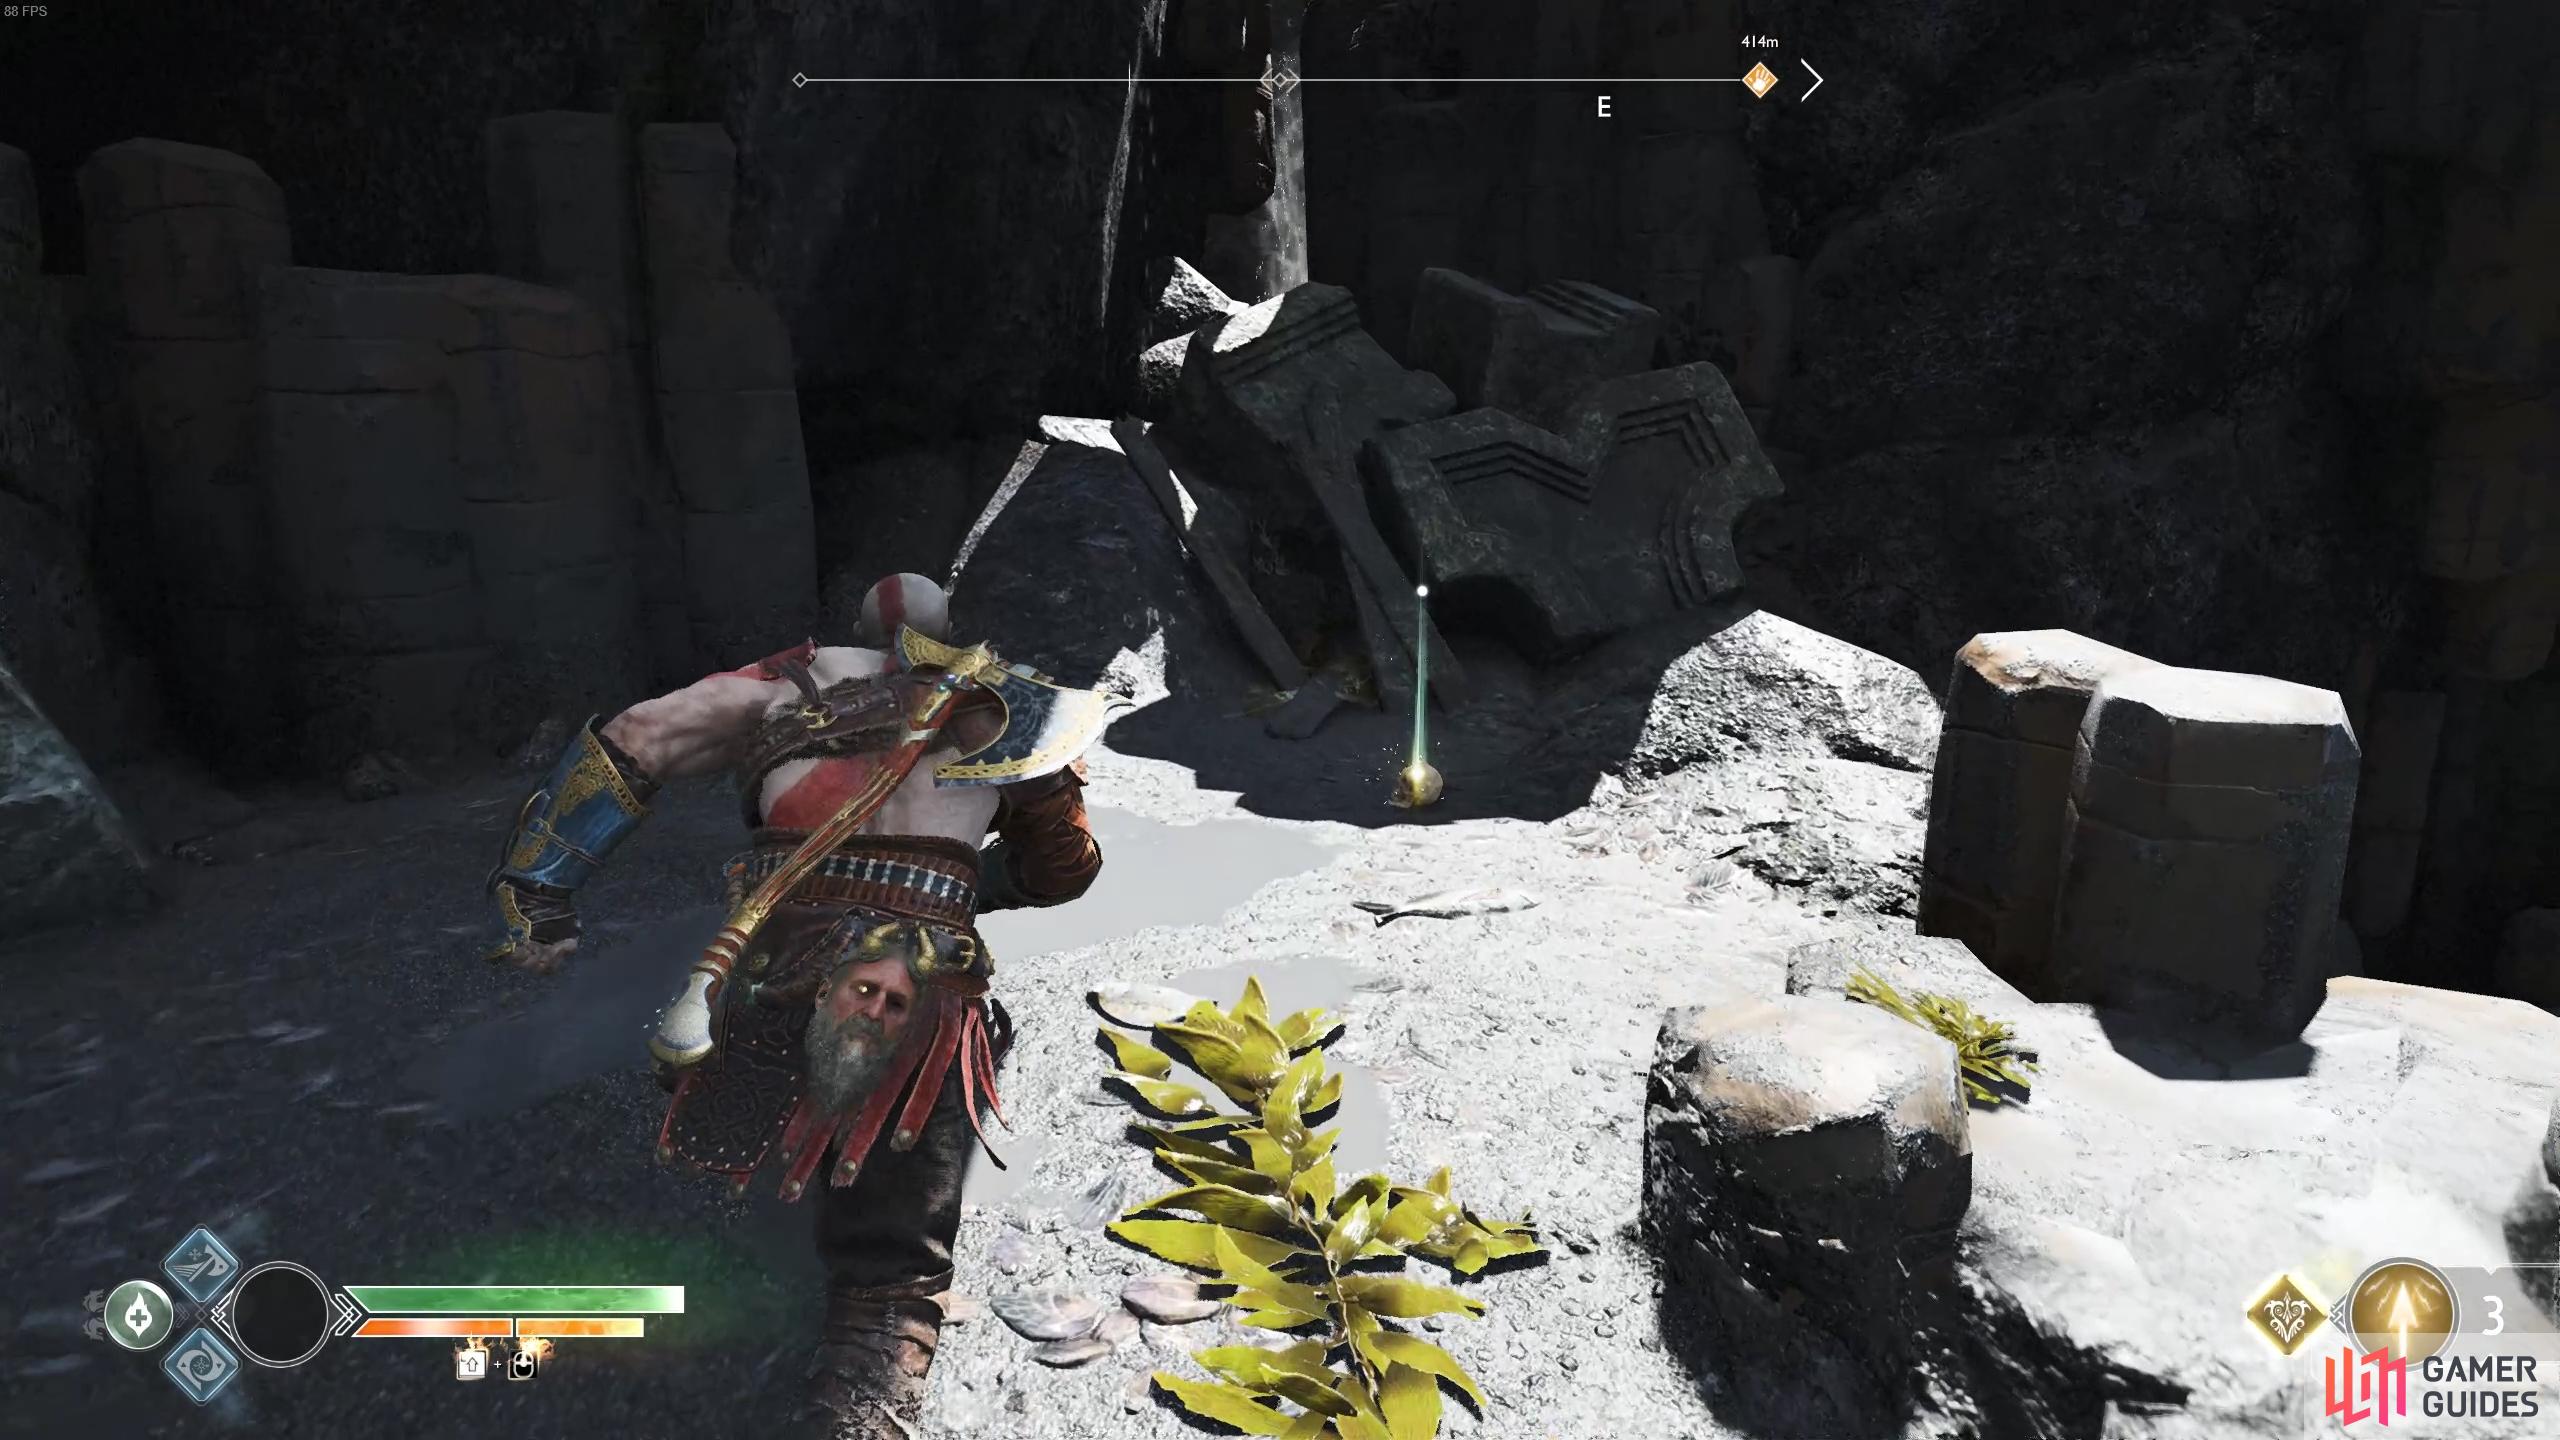
(1 of 2) You’ll find the final Gullveig Bone on the beach.
You’ll find the final Gullveig Bone on the beach. (left), Don’t miss the Treasure Map. (right)
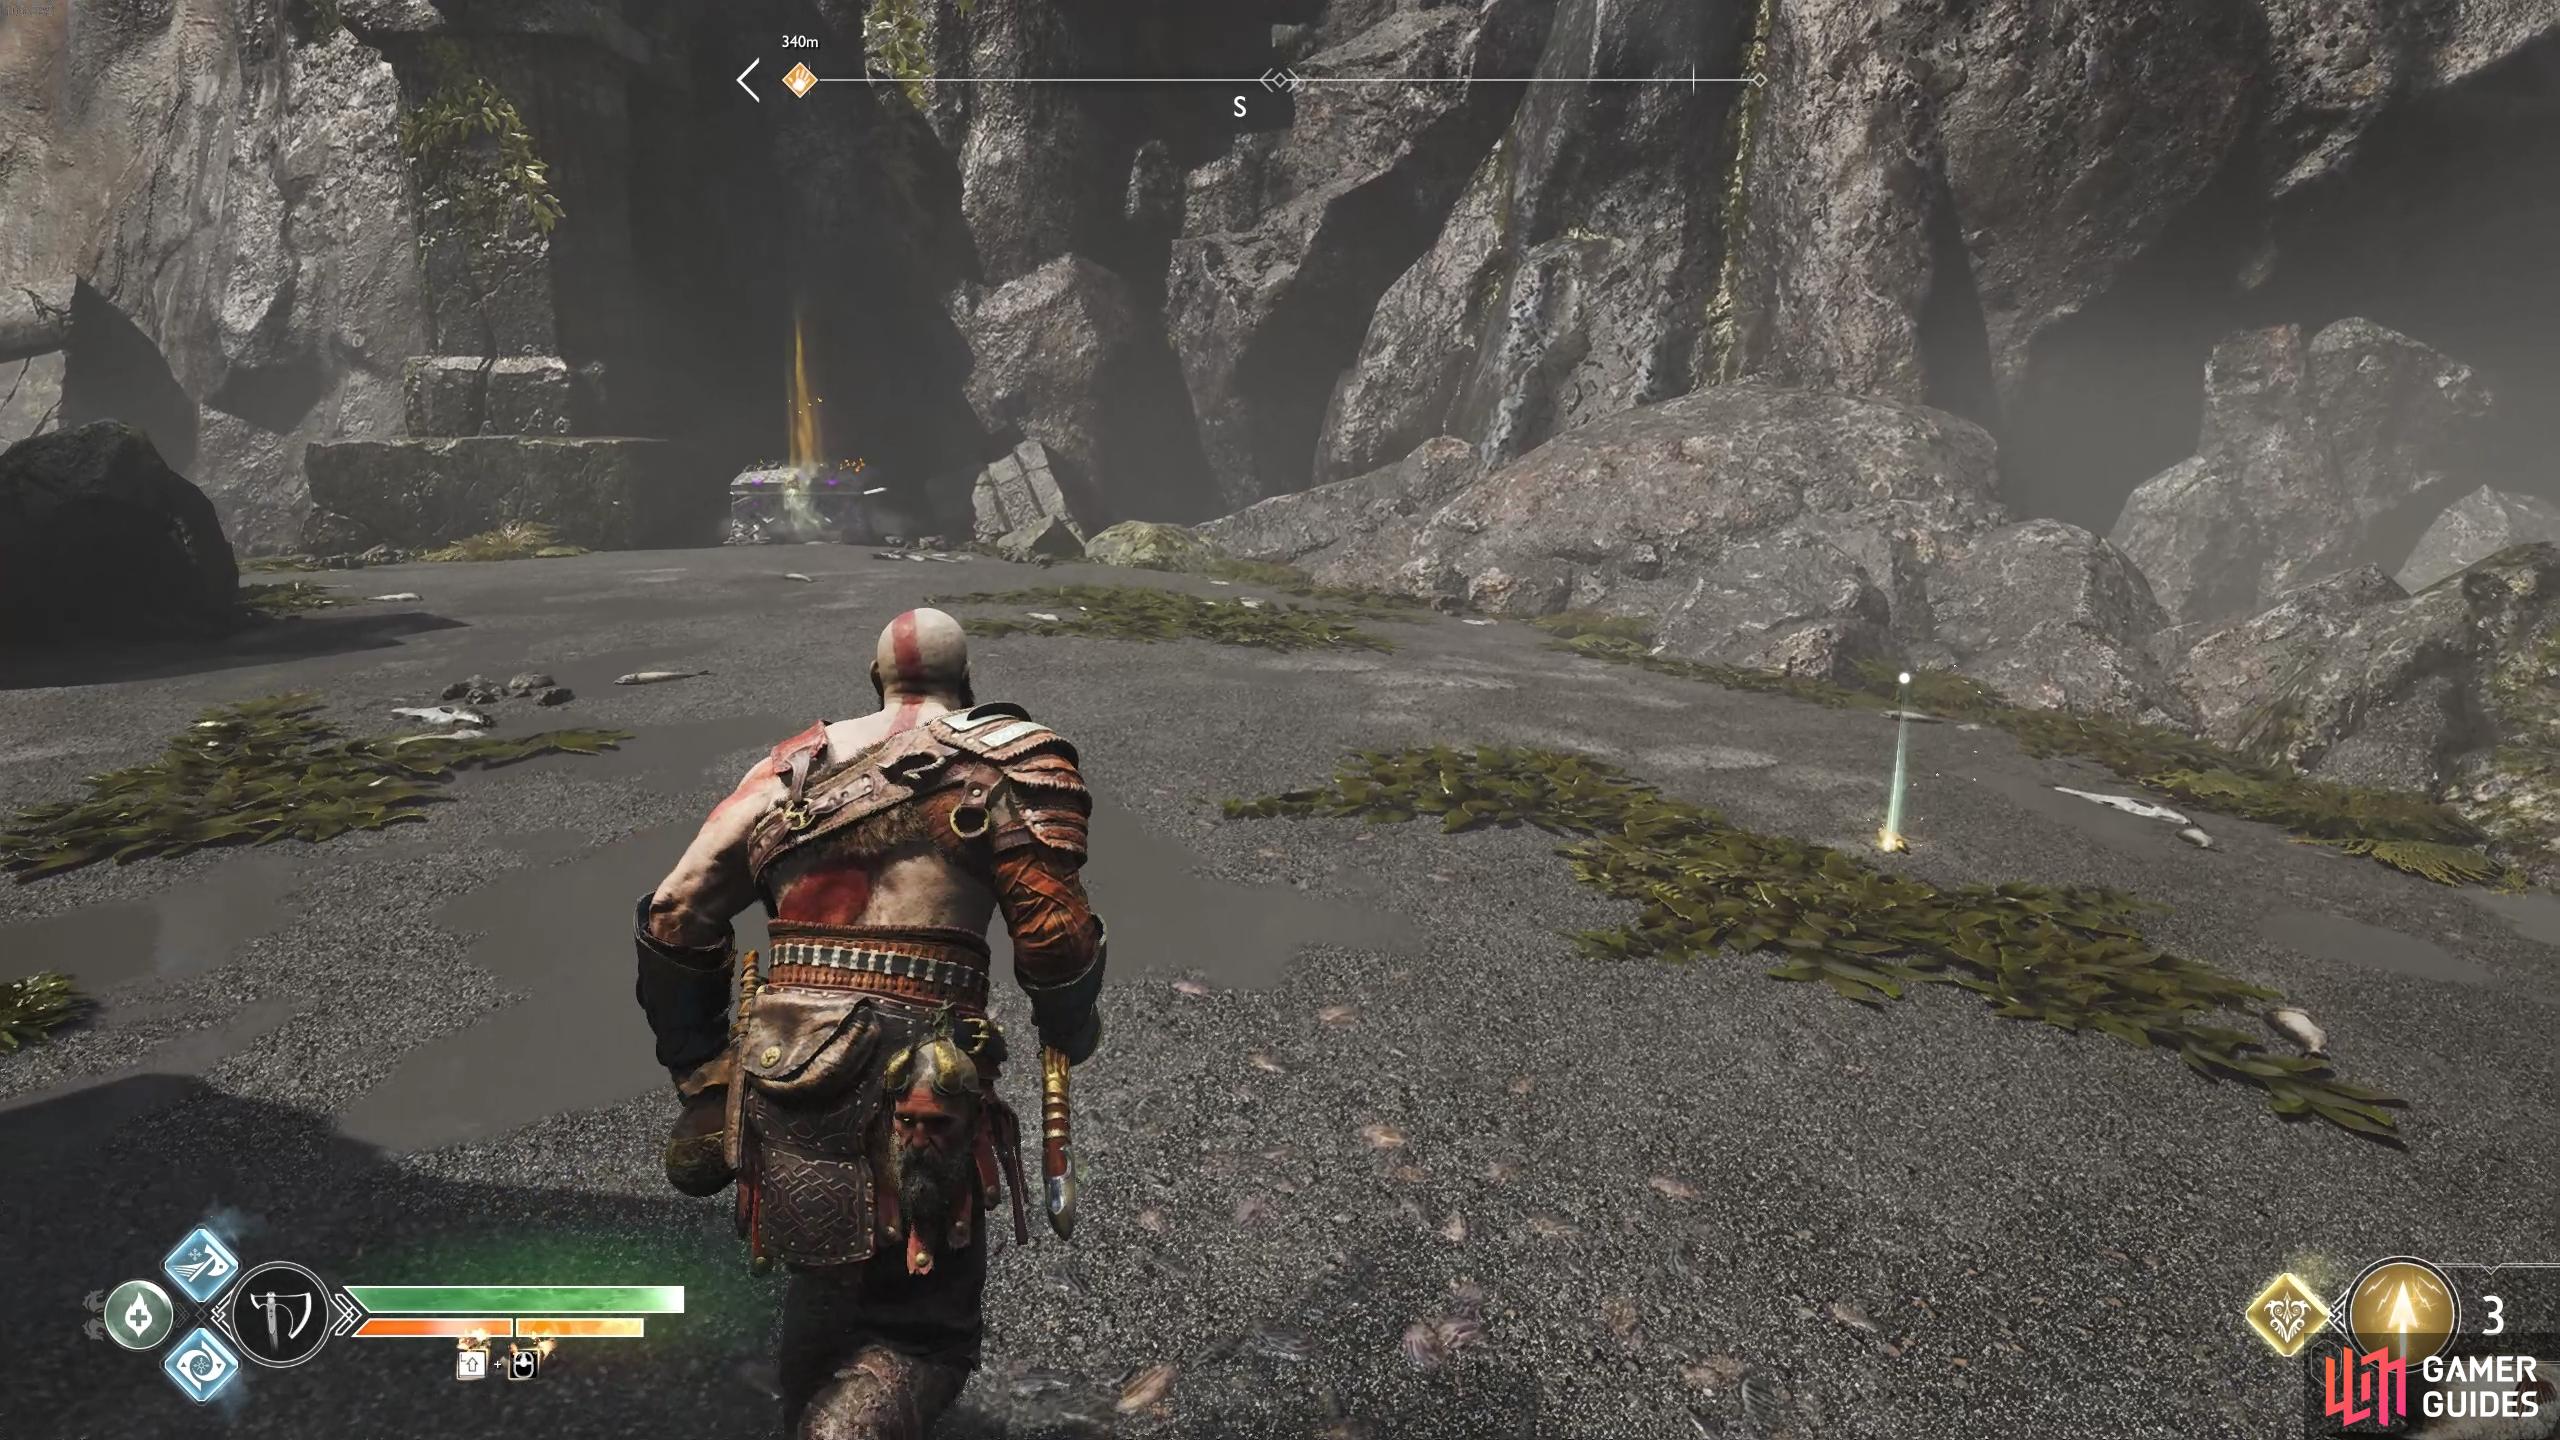
The passage through the cave to the north leads to Northri Gorge, an area you can’t access yet so ignore it for now and instead row east to the beach ahead.
Light Elf Outpost
As you depart from the boat you should notice on the map that you’ve now been to visit all of the small islands around the Lake of Nine and in turn, will unlock the Beneath the Surface achievement.
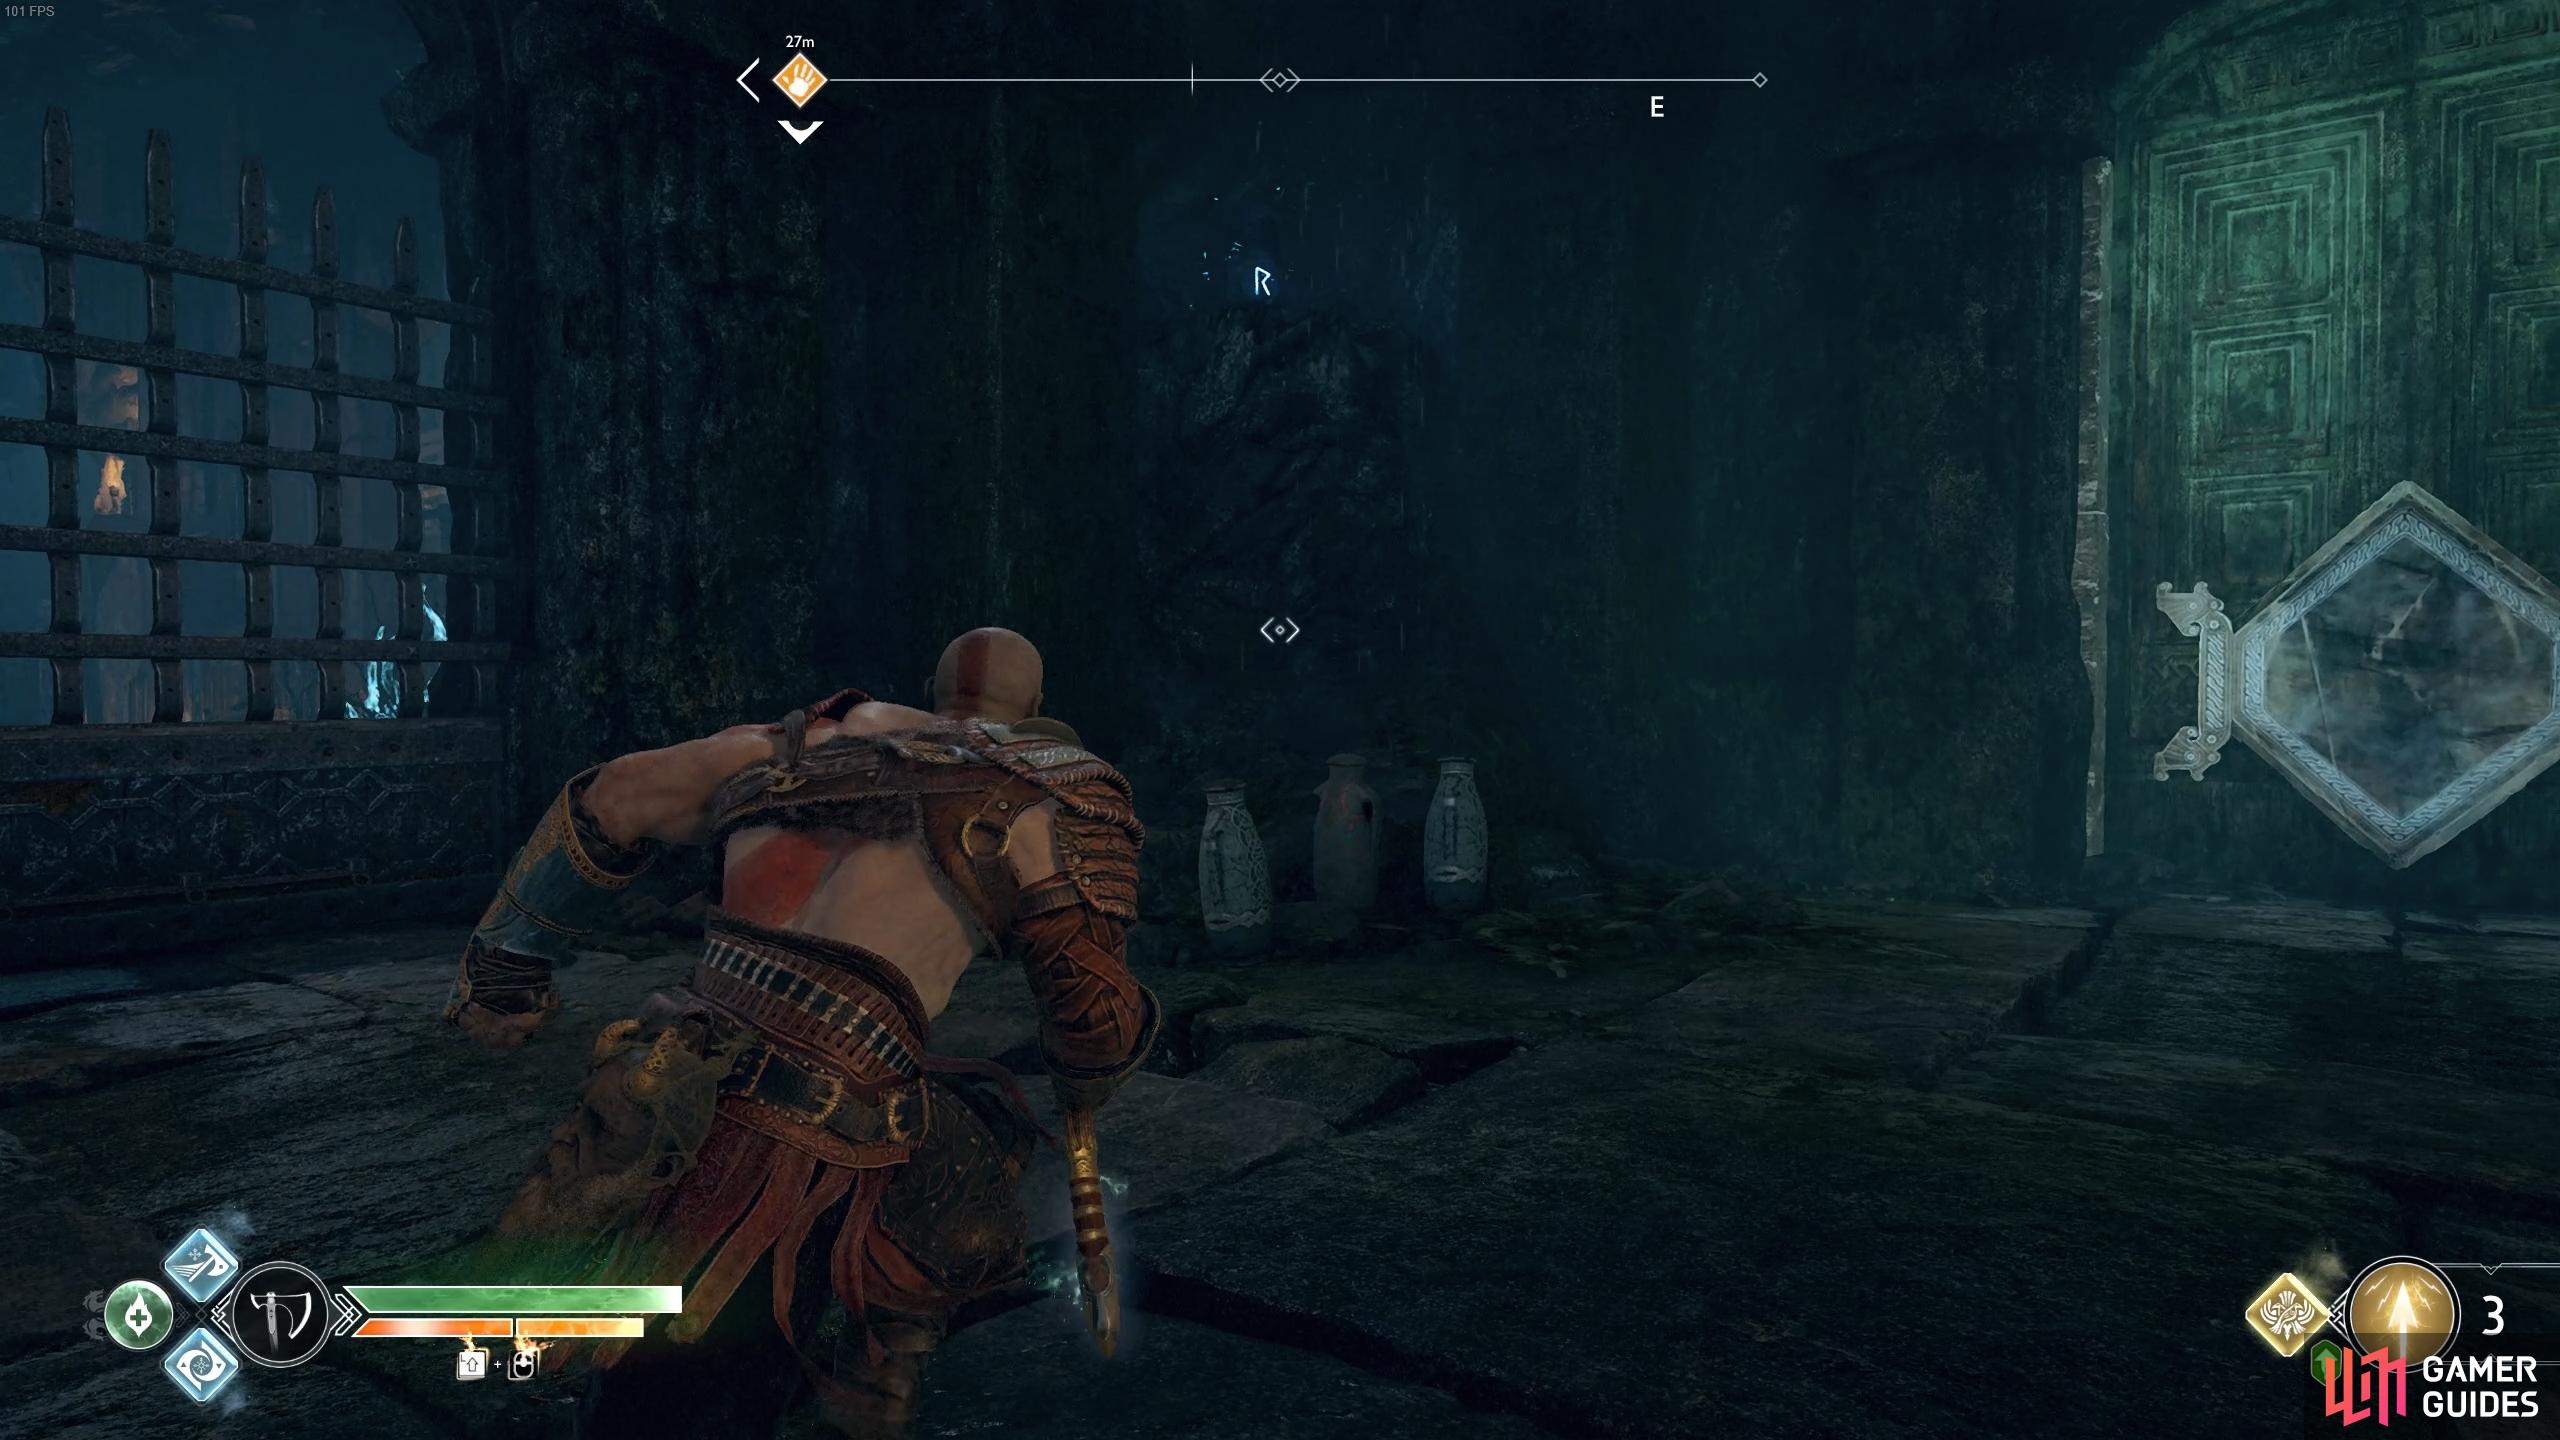
With that out of the way, proceed forward and you’ll be attacked by a Fierce Ogre and a group of Shadows. Focus on the Ogre while you have Atreus target the Shadows (or better yet, use the Murder of Crows Runic Summon). With the enemies dead, loot the spoils and then look to the right to see another mirror blocked door. This is not one of the Hidden Chambers needed for the Labor but does contain some loot so you’ll need to return later to obtain it.
Look across to the wall at the other side and break the wooden boards to reveal a Light Crystal, have Atreus shoot it with a Light Arrow and then cross the bridge. A Nornir Chest sits here but you’ll have to explore all of this island to find the Runes needed. Thankfully you can hit the first Rune from this location, look to the wall to the left of this chest to spot it.

(1 of 2) Break the wooden boards to reveal a Light Crystal.
Break the wooden boards to reveal a Light Crystal. (left), The first Rune can be found on the wall to the left of the chest. (right)
Turn around and follow the path, leaping over the gap in the process and passing under an archway. Take a left here and kick the chain down, taking it to the bottom and breaking the board to your left as a Viken attacks. Dispatch him and open the Hacksilver chest followed by the gate.
Open the Realm Tear now to obtain Dust of Realms and 500 Hacksilver and follow this path to another Hacksilver chest. Look to the left of this chest to spot more wooden boards to break and light the crystal behind it. Head back along the path, climb the wall and open the gate next to you. Head back to the first gate you opened and pick up the Light Crystal, carrying it with you up the light bridge and through the new gate you just opened.
(1 of 2) Don’t forget the enemy free Realm Tear.
Don’t forget the enemy free Realm Tear. (left), A Light Crystal hides behind the wooden boards. (right)
Drop the Light Crystal as you cross the light bridge you erected earlier and defeat the two Shadows at the end. As you reach the gap at the end, look up and to the left to spot a Light Crystal in the distance, hit this to create a bridge for later and then return to the Light Crystal you dropped. Carry this down to the pedestal at the end of the path and shoot it to create another bridge.
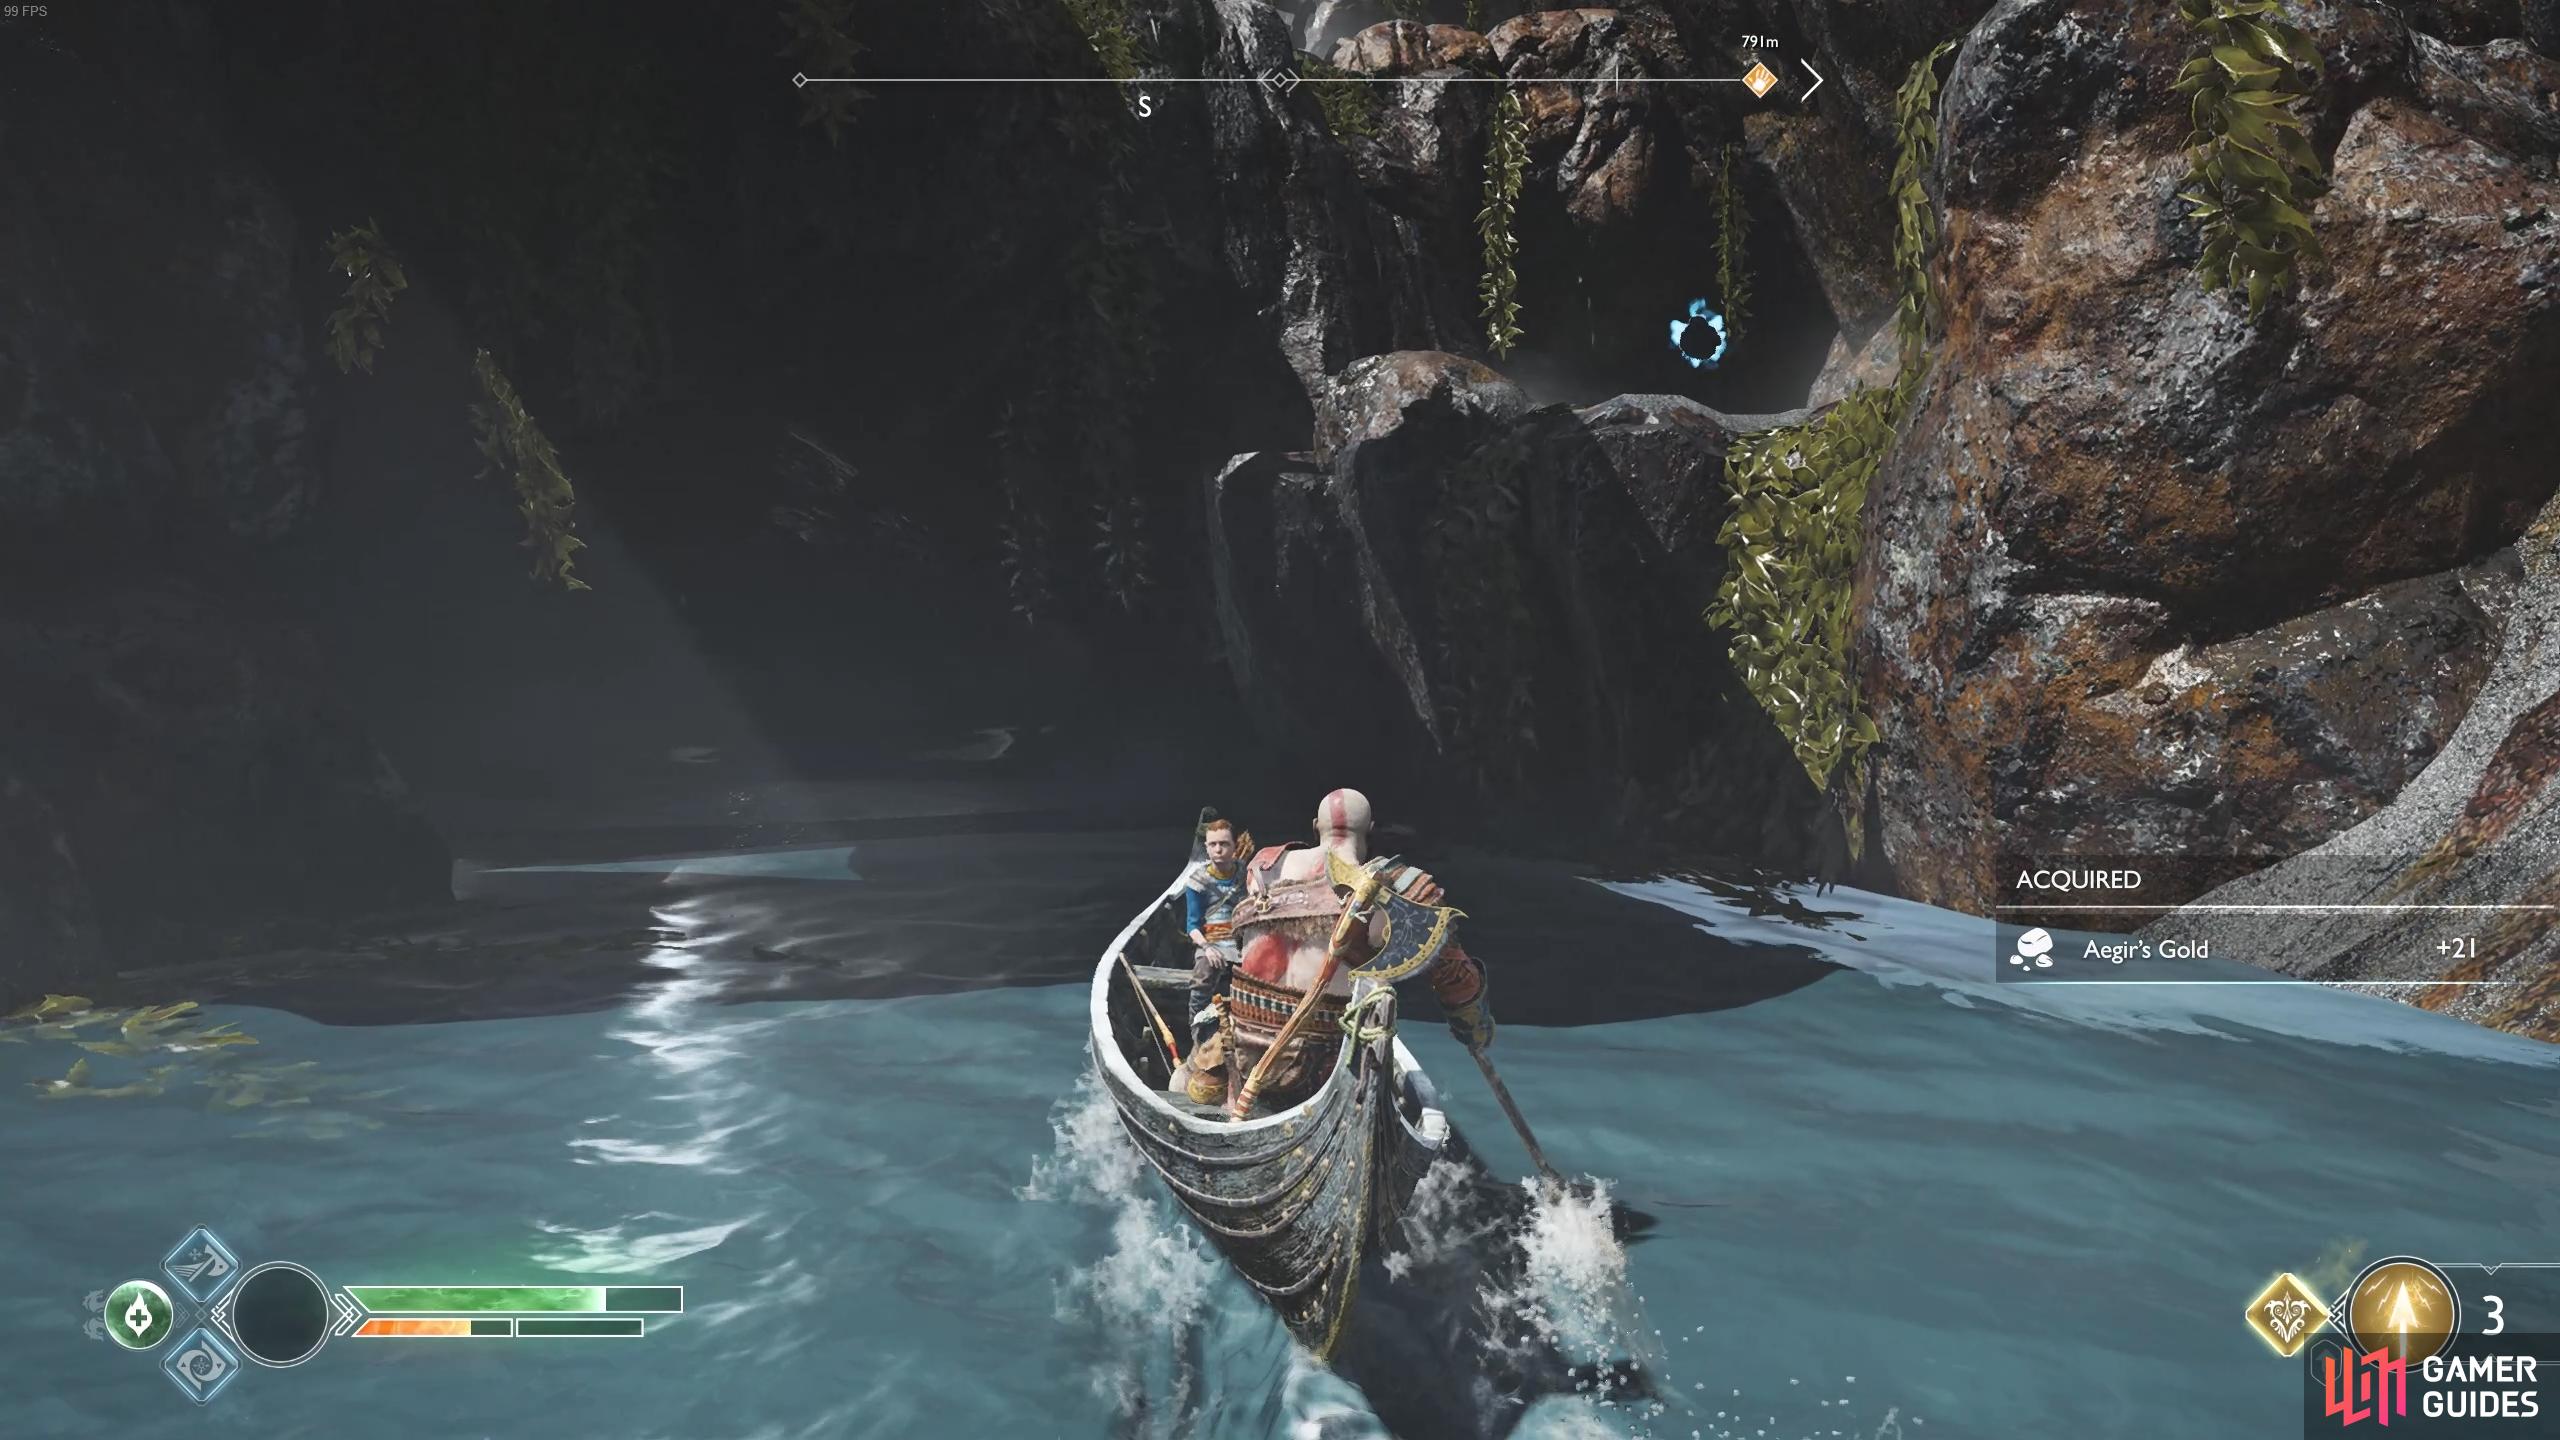
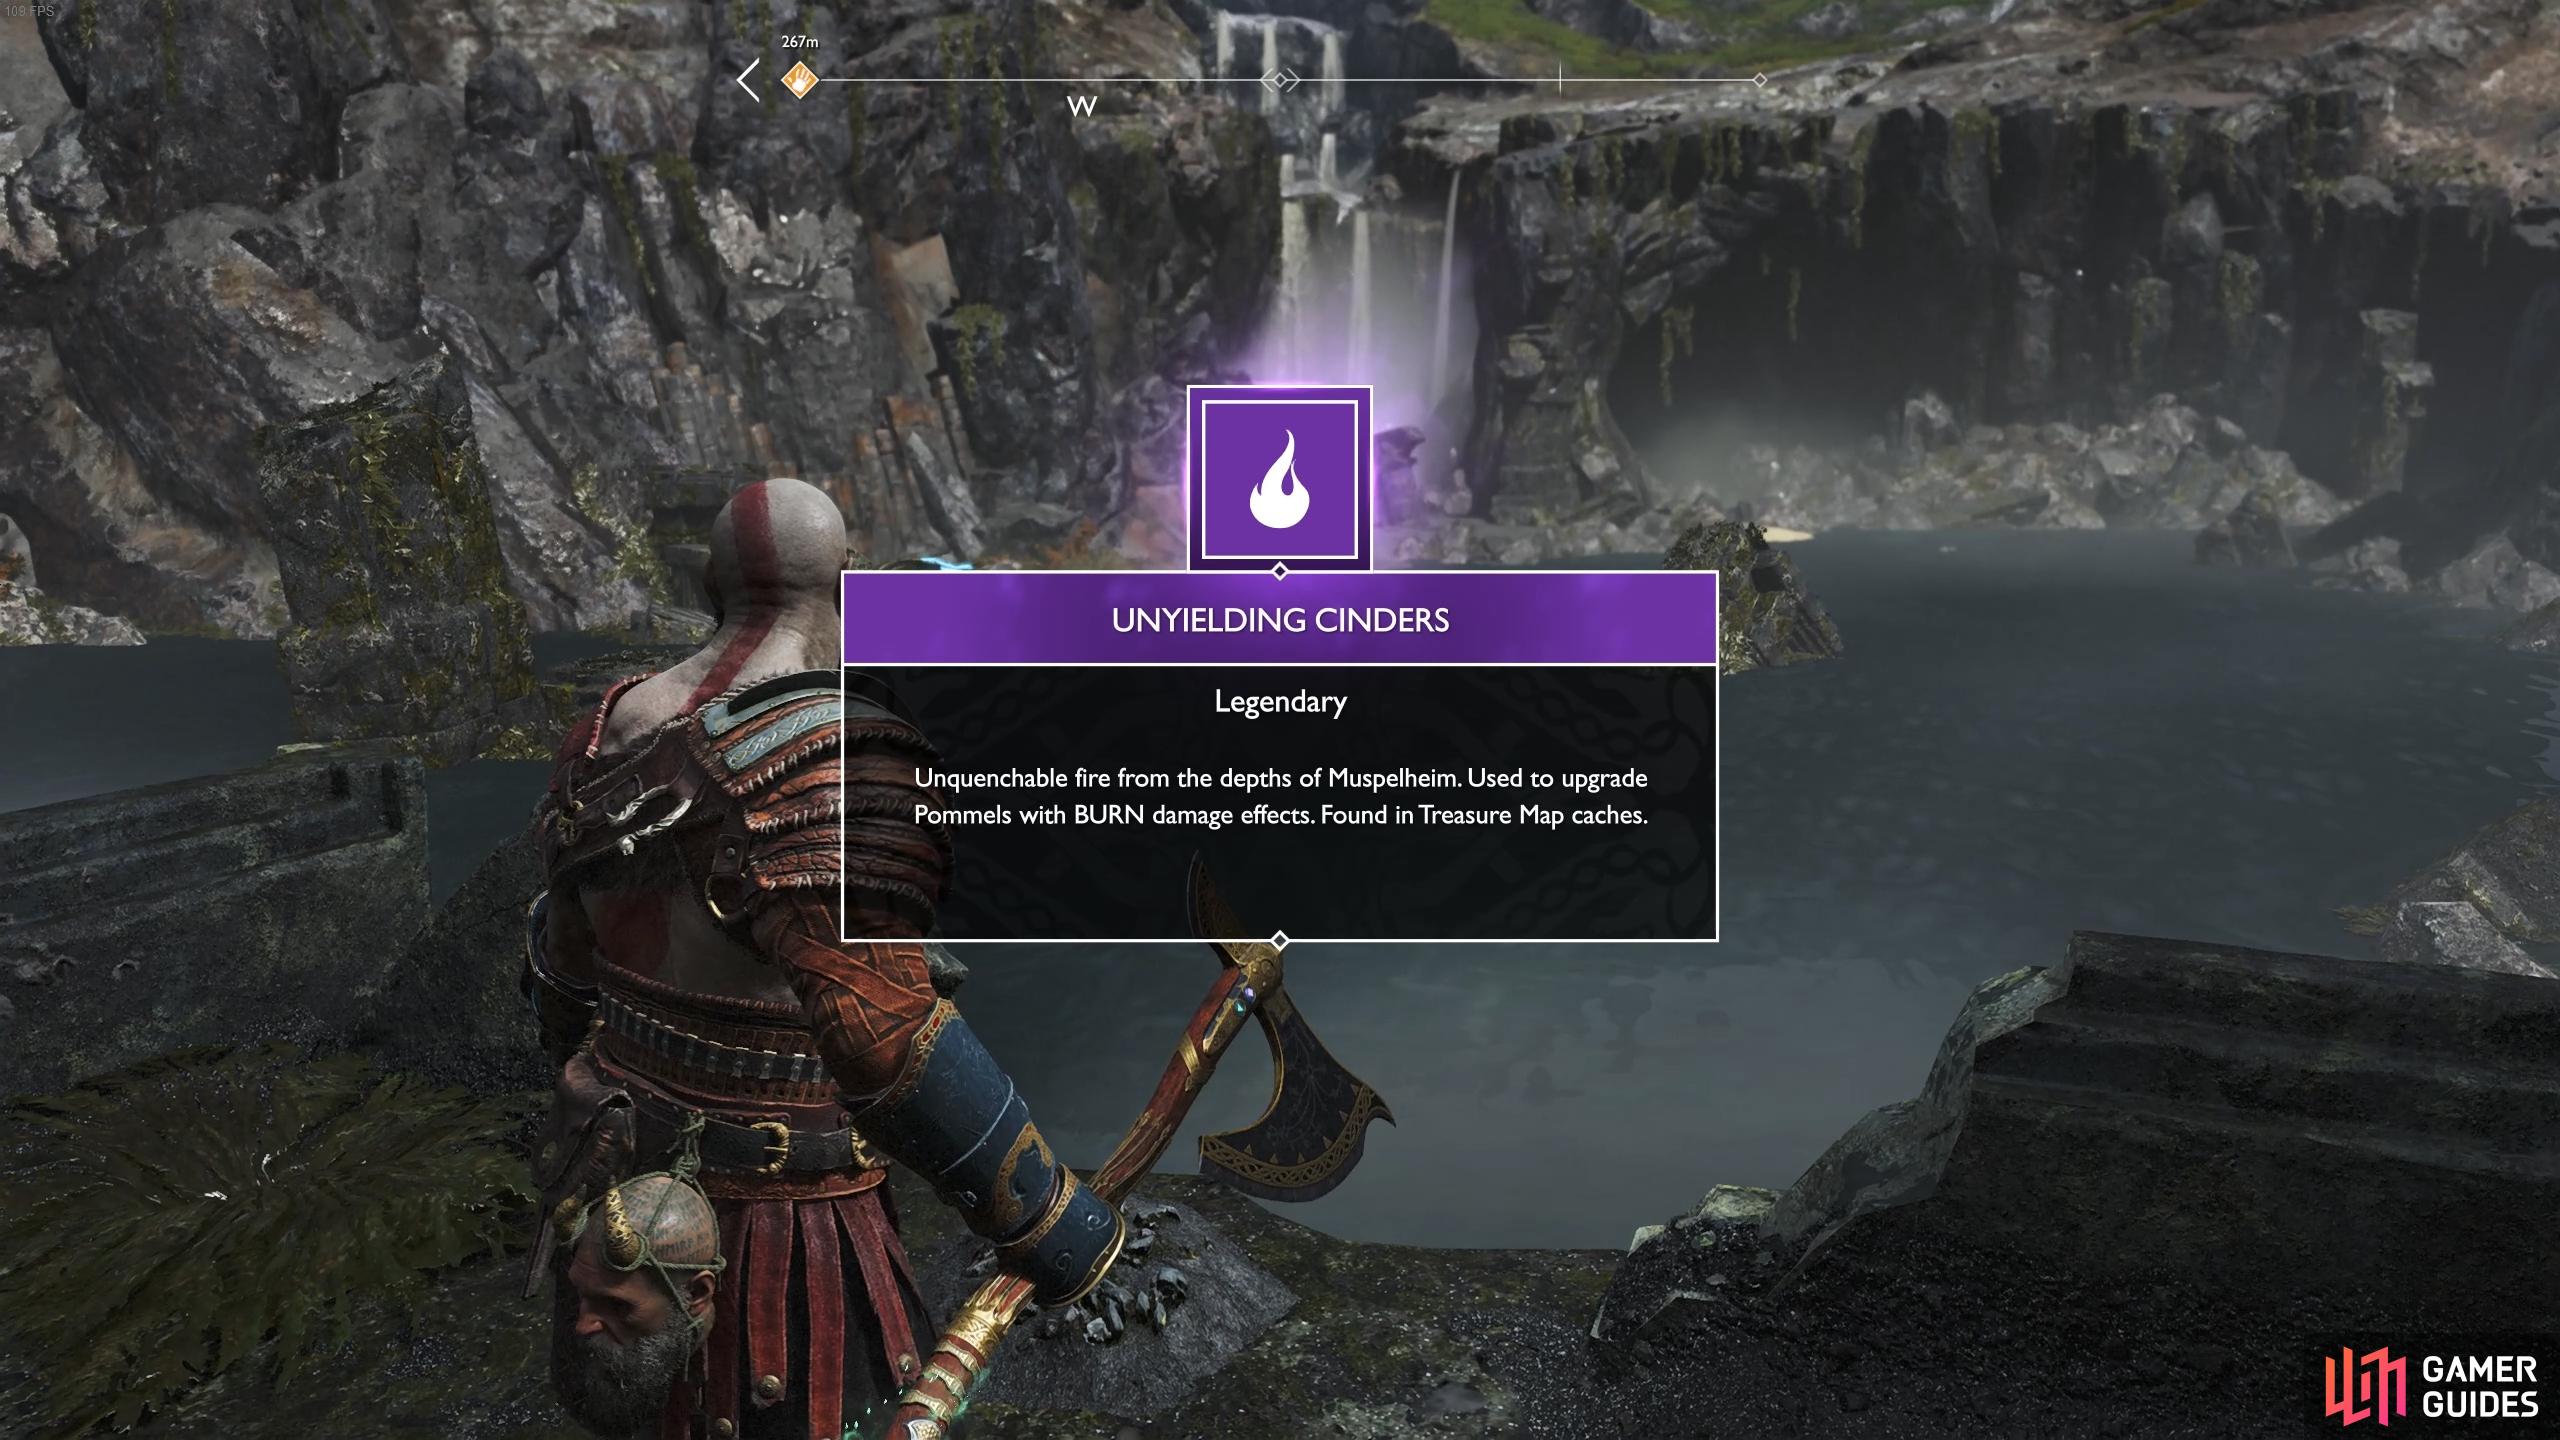
Head across this new bridge and defeat the two Shadows that spawn at the end before breaking the wooden boards on the left wall to kick down a shortcut chain. You can spot another Light Crystal in the air to the southwest, shoot this to create yet another light bridge for later. Return to the outer path and continue around, jumping the gap and stop when you reach the chain. In the wall to the left is the second Nornir Rune that you can hit with an axe throw. Climb down the chain now and approach the right edge to unearth the treasure related to the [Island of Light] Treasure Map containing an Unyielding Cinders, 5 Aegir’s Gold, 7 World Serpent Scale Fragments and 6000 Hacksilver.
(1 of 2) Look to the left of the chain to find the second Rune.
Look to the left of the chain to find the second Rune. (left), Check the edge at the bottom of the chain to find the Treasure from Island of Light. (right)
Open the gate next to you for a shortcut and then climb back up the chain and scale the wall ahead. Two Shadows with shields will attack with two Projectile hurling Shadows at the back, make use of the Murder of Crows Summon and then focus on the two shieldbearers nearby. Once they’re dead, begin heading along the light bridge to your left to find a chain you can kick down for a shortcut and a Light Crystal to pick up from a pedestal.
With the Light Crystal in hand, head back the way you came and take the right light bridge, dropping the Light Crystal once you’re on the other side. Turn around to face the light bridge you just crossed and look to the pillar to the left to find the final Nornir Rune, unlocking the chest below. Continue along this path and open the gate to find a sack of Hacksilver, a Legendary Chest containing the very useful Bitter Squirrel Runic Summon and Pristine Scales of the Realm.
(1 of 2) The final Rune can be seen from the Light Bridge at the top.
The final Rune can be seen from the Light Bridge at the top. (left), Bring the Crystal to the pedestal and light all the crystals to reveal a Realm Tear. (right)
Head out of this area and grab the Light Crystal you dropped a moment ago, bringing it into here and placing it into the pedestal. Have Atreus shoot this with a Light Arrow and then look up and hit the smaller Light Crystals to the north and south. This causes a Realm Tear to appear to the east however this is most certainly one you should leave alone for a long time, the battle consists of three Level 8 Hel-Walkers.
Instead, take the shortcuts back down to the now unlocked Nornir Chest and open it to obtain the last Iðunn Apple, unlocking the Iðunn’s Orchard achievement in the process.
There’s nothing left you can do at this area for now so return to the boat. You’ve explored all the smaller island so it’s time to finish a few smaller Favors before moving on to the ones requested by Brok and Sindri.
Deliver Gullveig’s Bones
Begin by heading back to the Mason’s Channel and deliver Gullveig’s Bones to the Spirit to get an unexpected outcome, it seems that the Spirit was in fact lying. Gullveig is a buffed up Poison Revenant joined by two Nightmares. Dispatch the Nightmares first and then use the usual tactics against Revenants to kill her once and for all. Loot the Hacksilver upon her death and you’ll receive the XP and Týr’s Offering for completing the quest too.
Use Shock Arrows to pin Gullveig down and attack with the axe.
Defeat the Hel-Walker Crew
Next on your list, head over to Niflheim Tower and take the elevator up to the top. You’ll find the first Hel-Walker crew here, this group consisting of two Hel-Reavers and a Hel-Reaver with a shield. Remember to go with your fists for these battles and you should be fine, a block breaker with a double tap of the 

Return to the boat again and this time dock on the Iron Cove. The next Hel-Walker crew is on the beach here and they may be accompanied by high level Wulvers if it’s been some time since your last visit. If this is the case, go into Spartan Rage and focus of the three Hel-Walkers before dashing back to the boat, this way you can avoid the battle with the Wulvers for now.
(1 of 2) Use your fists to inflict the most damage to Hel-Walkers.
Use your fists to inflict the most damage to Hel-Walkers. (left), If there are Wulvers present, ignore them and use Rune Attacks to finish the Hel-Walkers quickly. (right)
The final crew can be found by docking at the nearby Isle of Death. Head to the large open area at the back to meet the final crew, this time accompanied by a Hel-Viken. Focus your main attention on him as you use your fists to stun him along with a Shock charged Murder of Crows to put these sailors to rest.
Return to the boat and row it back to the Spirit awaiting you at the Forgotten Caverns. Although disappointed at not being able to carry out the task himself, the Spirit still thanks you and rewards you with another Týr’s Offering.
You’ve now been all around the Lake of Nine, picked up some great resources and unlocked many new recipes while gaining plenty of XP. It’s time to tackle the two larger Favors, starting with the one Sindri issued you back at Alfheim. Board the boat and row to the west of the Forgotten Caverns, taking the passage through the bones to reach Fafnir’s Ravine.
 Sign up
No Comments