Local Enemy Bestiary
| Enemy Name | Notes |
|---|---|
| Aculeate | Weakness to Ice |
| Angra Mainyu | Avoid at all costs unless you really want a fight! |
| Aquila | Flying |
| Big Bully Cap | Weakness to Fire |
| Bolt Drake | Weakness to Ice |
| Bully Cap | Weakness to Fire |
| Cactuar | Weakness to Water |
| Canis Major | None |
| Chocobo | None |
| Enemy Name | Notes |
|---|---|
| Chocobo | None |
| Elder Zurvan | Fairly high HP |
| Fly Eye | Flying |
| Gigas | Weakness to Gravity |
| Great Haunt | Holy + Variable weaknesses, fairly high HP |
| Guard Machina | None |
| Gucumatz | Weakness to Ice |
| Haunt | Holy + Variable weaknesses |
| Heavy Sallet | High HP |
| Hrimthurs | Weakness to Gravity |
| Killer Hound | None |
| King Takouba | Weakness to Fire, high HP |
| Enemy Name | Notes |
|---|---|
| Machina Hunter | None |
| Pop Fry | Weakness to Water |
| Sahagin | Weakness to Lightning |
| Sahagin Prince | Weakness to Lightning |
| Sallet | None |
| Sand Worm | Weakness to Water, high HP |
| Takouba | Weakness to Fire |
| Tawrich | None |
| Wasp Queen | Flying, fairly high HP |
| Zarich | None |
| Zu | High HP |
| Zurvan | Weakness to Fire |
There are several things you can do here. One is the continuation of the “The Cactuar Connection” mission. Remember that thing you started in Chapter 3 - Bikanel? You can find the remaining four Cactuars. #7 was found in the trees of Kilika Woods, east of the entrance, where you leapt up to them before. #8 is found on Mt. Gagazet’s Prominence area, in the greenery. #9 is found in Dona’s house.
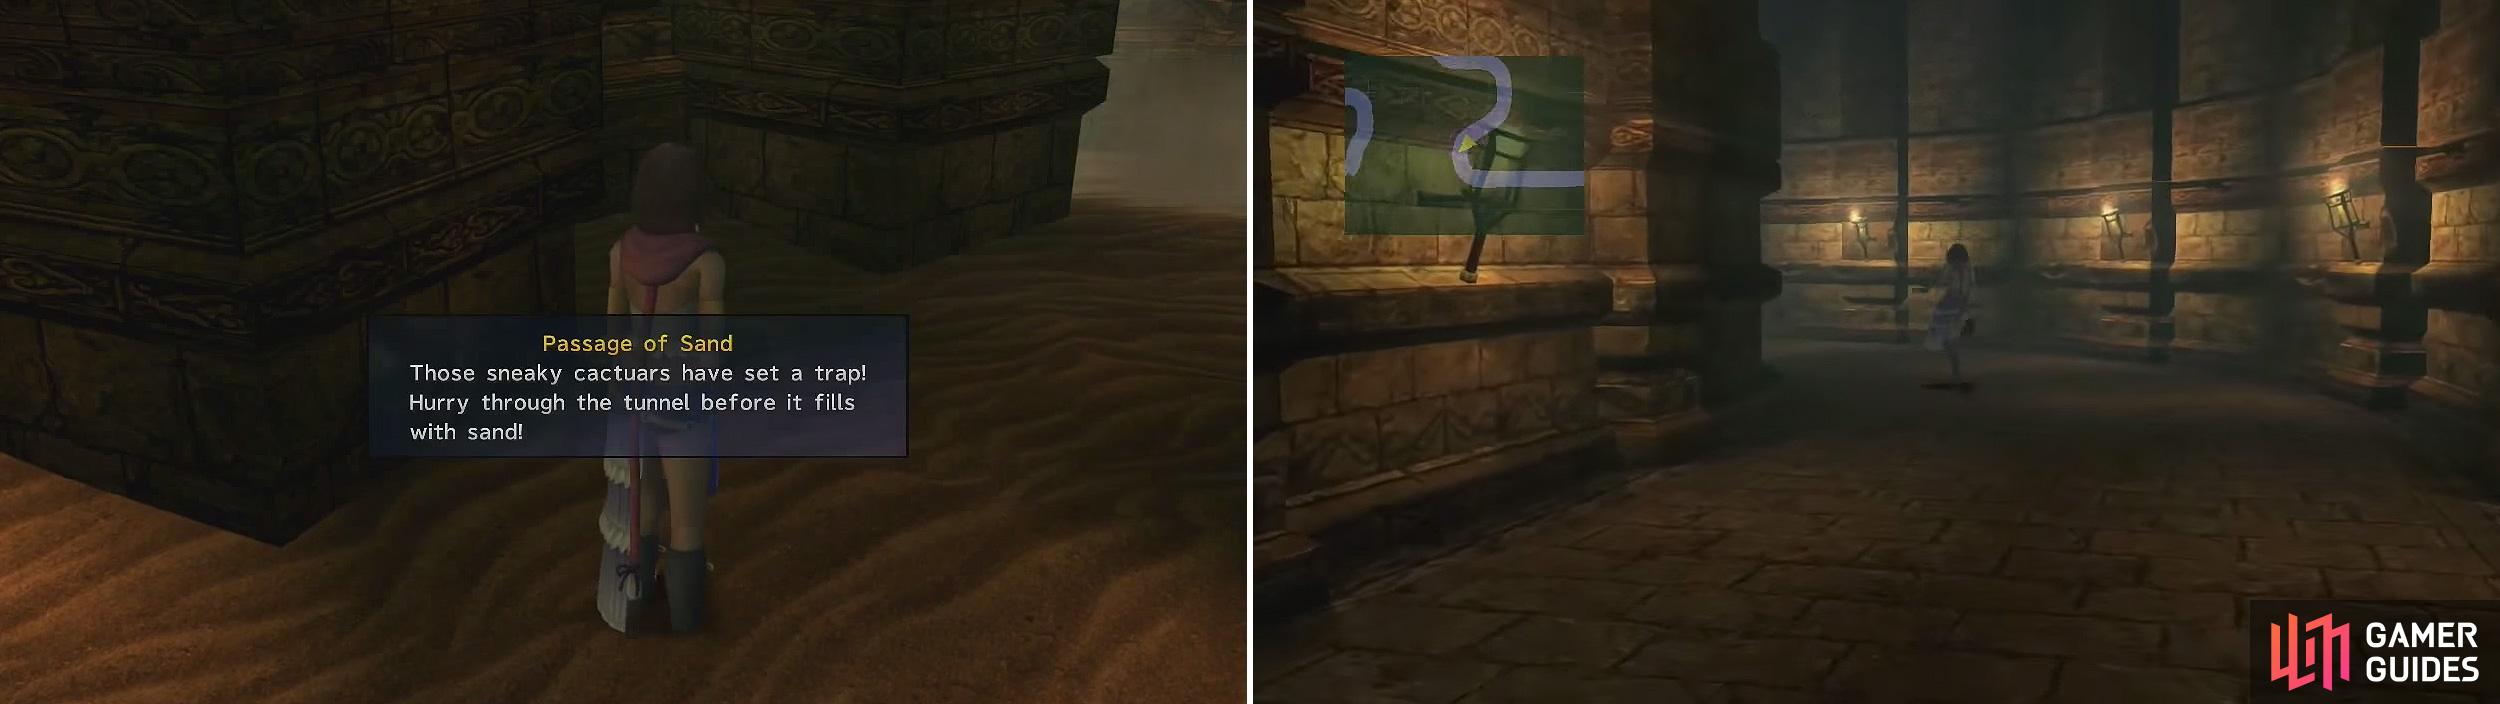
Having the pit fill up with sand (left) just pops you out somewhere else. Around this corner (right) is the final Cactuar after climbing out of the pit.
After that, delivering the ninth cactuar will then permit you to speak with the tenth one, of course. Speak with the red-marked one as per the minimap and pick “ We’ll look for him. “ to begin the final part. Save at the Save Sphere, then continue through the dungeon. You’ll have three forced battles on the way, two of which you can then escape from in battle if you want. The third is moderately difficult (the Heavy Sallet), but nothing more difficult than some of the random encounters here.
Past this, you’ll find an intersection. Go northeast for the chest, then return to the intersection and go southeast, afterwards getting into and out of the sand pit. (Note that going in and staying in will let you pop out somewhere else unharmed, making it a bit easier to plunder chests in this dungeon.) You’ll need to climb up two ledges, jump west a ledge, then jump to the north one. You’ll soon find the final Cactuar along this path.
BOSS - Jumbo Cactuar & Cactuar x2
| Jumbo Cactuar | Details (Oversoul) |
|---|---|
| Max HP / Max MP | 22,222 / 1,111 (33,333 / 1,111) |
| Elem. Weak / Resis / Immunity / Absorb | None / None / Gravity / None |
| EXP / GIL / AP | 0 / 0 / 10 (0 / 0 / 15) |
| Common Steals / Rare Steals | Stamina Tonic / Stamina Tonic x2 (Stamina Tonic x3 / Stamina x5) |
| Common Item Drops / Rare Item Drops | Stamina Tonic / Rabite Foot (Rabite Foot / None) |
| Cactuar x2 | Details (Oversoul) |
|---|---|
| Max HP / Max MP | 2,002 / 120 (7,777 / 777) |
| Elem. Weak / Resis / Immunity / Absorb | Water / None / Gravity / None |
| EXP / GIL / AP | 0 / 0 / 2 (0 / 0 / 3) |
| Common Steals / Rare Steals | None / None (None / None) |
| Common Item Drops / Rare Item Drops | None / None (None / None) |
Boss Analysis: The Jumbo Cactuar is not as big a threat as it would seem to be, especially if you fought it in FFX. In its non-Oversoul form, you’ll only see Hastega from it, and that’s it. It’s a bit nastier when Oversouled; it’s Magic will increase over time, for one thing, amplifying Firaga, Blizzaga, Thundaga, Waterga, Flare, and there’s also Demi. Most of these are easily reflected, though.
The Cactuars are probably ones you’re unfamiliar with right now. In their regular form, they can use an Attack and 1,000 Needles (1,000 flat damage). When they go Oversoul, they lose the latter. However, they’ll also gain the “-ga” Black Magics and various “ Meridian “ attacks; they’ll inflict 100 flat damage and some kind of ailment from Darkness, Silence, or Berserk, or they will indicate the target of the next “-ga” spell. (Burning Meridian means you’ll be hit with Firaga; Chilly = Blizzaga; Tingling = Thundaga; Drowning = Waterga.) Their most volatile attack will be the 3,000-Needle Special , though, which is three 1,000-Needles consecutively. Ouch.
Main Strategy: If you’re fighting the Oversoul of either or both Cactuars, then it would be very wise to open with Reflect as you’ll nullify a ton of their offense. Otherwise - and maybe even regardless of the Oversoul - this will be one of the easiest boss battles ever.
Without Oversoul, there’s not much set-up required. Since Jumbo Cactuar just throws up Hastega and will do nothing else, it’s easier to pick off the cannon-fodder Cactuars allying him. We managed to easily sweep those two out of the way by having three Dark Knights use Darkness, and that’s basically a win ahead of time: then it’s just a grind against the Jumbo Cactuar, who will just sit there.
In Oversoul, things are more interesting, but barely so. The Cactuars will basically kill themselves off over time when you have Reflect up on everyone, since most of their offense will be the “-ga” Black Magics. The Jumbo Cactuar will be no threat due to Reflect, either: the only thing that would get through is Demi, which can’t kill you. Thus, again, it is wisest to quickly kill off the Cactuars and then sit there for a few minutes until Jumbo Cactuar accidentally Flares itself into oblivion.
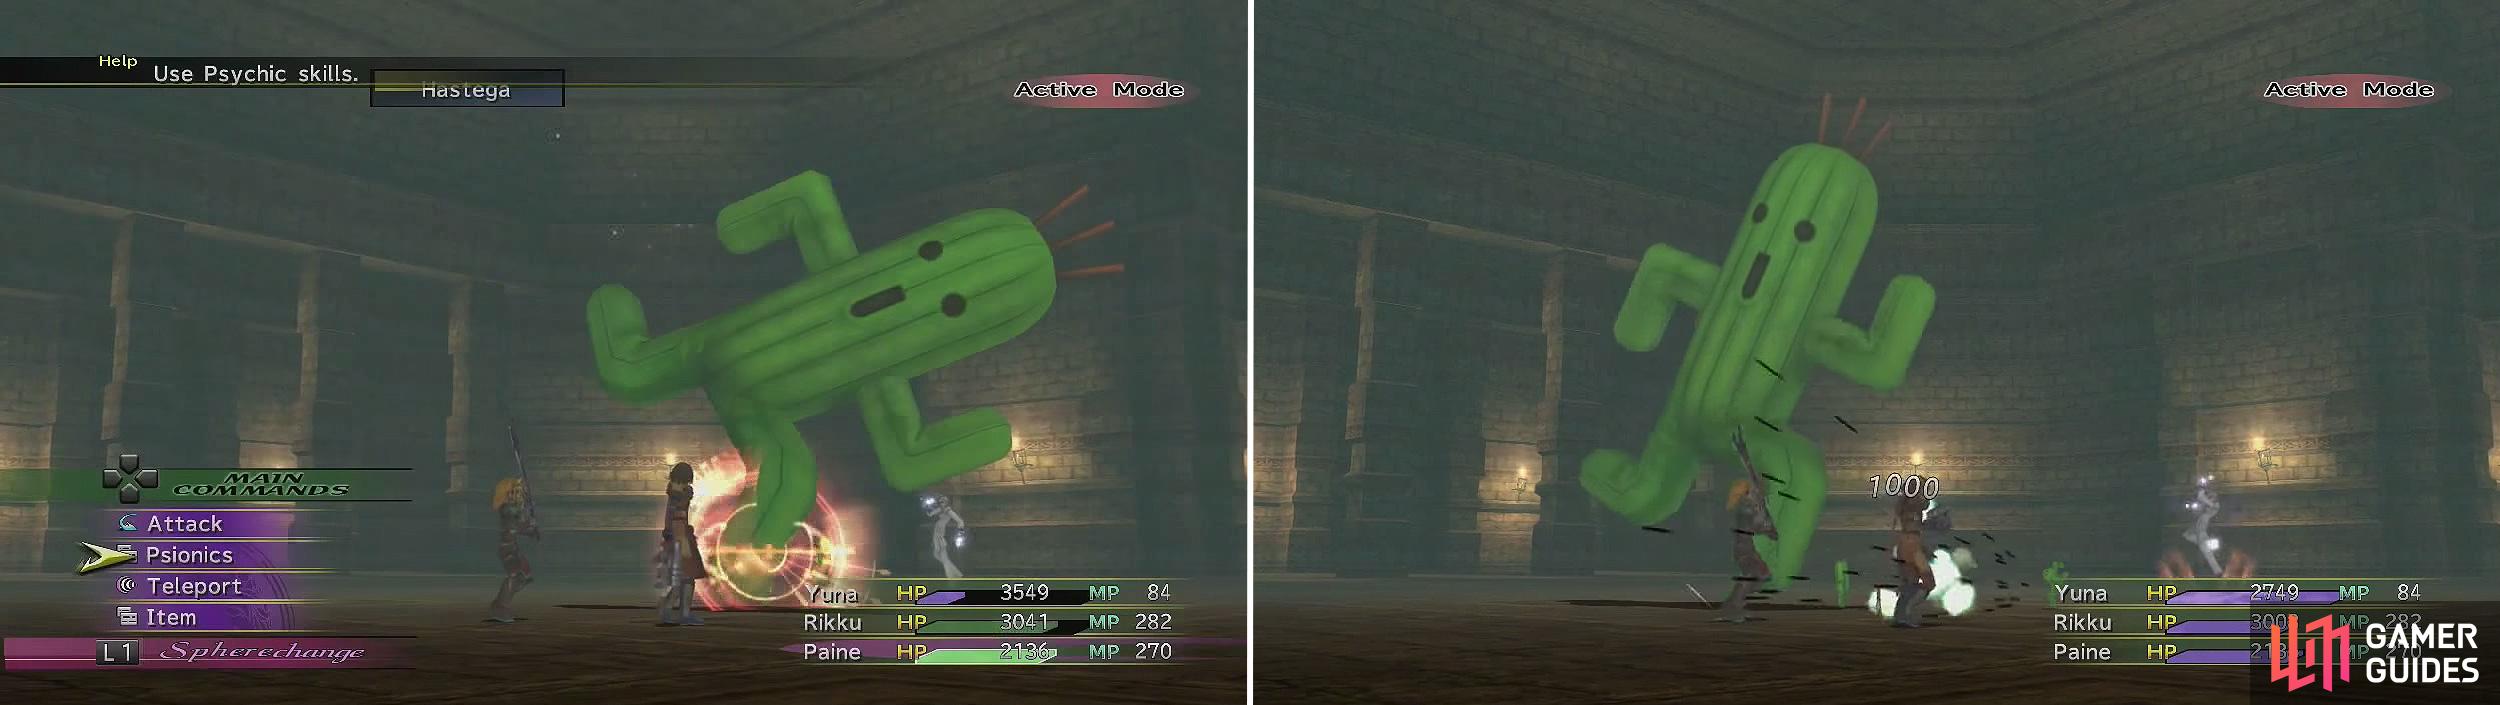
The only thing Jumbo Cactuar will do is Hastega (left). The little ones are more dangerous with 1000 Needles (right) and 3000 Needles Special so kill them quickly.
After the battle, you’ll finally end up having the tenth and final Cactuar! Return to the entrance of the cave. Save there and then exit the cave. There will another scene, and you’ll be offered another sidequest: to kill off the monster you ousted from the Cactuar Nation. Opt to do so and you’ll be back on the Celsius; heal, then head back down.
BOSS - Angra Mainyu
| Angra Mainyu | Details |
|---|---|
| Max HP / Max MP | 333,444 / 9,999 |
| Elem. Weak / Resis / Immunity / Absorb | None / None / Gravity / None |
| EXP / GIL / AP | 5,000 / 5,000 / 30 |
| Common Steals / Rare Steals | Megalixir / None |
| Common Item Drops / Rare Item Drops | Ribbon / None |
| Tawrich | Details |
|---|---|
| Max HP / Max MP | 5,440 / 9,999 |
| Elem. Weak / Resis / Immunity / Absorb | None / None / Gravity & Magic / None |
| EXP / GIL / AP | 0 / 0 / 0 |
| Common Steals / Rare Steals | None / None |
| Common Item Drops / Rare Item Drops | None / None |
| Zarich | Details |
|---|---|
| Max HP / Max MP | 5,440 / 9,999 |
| Elem. Weak / Resis / Immunity / Absorb | None / None / Gravity & Physical / None |
| EXP / GIL / AP | 0 / 0 / 0 |
| Common Steals / Rare Steals | None / None |
| Common Item Drops / Rare Item Drops | None / None |
Boss Analysis: The Angra Mainyu is the main feature of this fight of course, and also has the most on its offense. It can use several magic spells: Curaga, Bio, Demi, Osmose, and Dispel, as well as Full-Life when the Tawrich or Zarich die. It will also use Perdition’s Flame , which hits 10 times on random targets, each removing 3/16 (16.75%) of the target’s maximum HP. This means it takes 6 hits to kill (and 5 more than likely), so it’s pretty likely someone will die from that, and it’s a near-certain Game Over (unless both girls have over 15/16 HP) with two left, and certain with one. Unnatural Selection will also be used to cause an ejection of the party in sixty seconds.
The Tawrich has two moves of its own: an Attack, and Bloody Breath , which throws out Darkness, Silence, Confusion, and Poison. The Zarich can use the Glimmer of Despair to lower your MP as well as lower your Strength, Magic, Defense, and Magic Defense, the latter two significantly; it can also use Firaga, Thundaga, Blizzaga, and Waterga.
Main Strategy : This battle is easiest fought with two Dark Knights and a Gun Mage. One Dark Knight should be equipped with Ragnarok/Ribbon and the other with a Twist Headband (and Star Pendant if you lack the Poisonproof passive ability); this helps you avoid losing control and to prevent some damage. Have the Gun Mage wield the Shmooth Shailing or White Cape accessory; you’ll need them to be using the White Mage class later on, and you can also be Silenced here.
Now, opening the battle can be pretty difficult when you’re being pounded on. The Dark Knights are solely there for the role of offense: the Darkness ability hits everyone and ignores their Evasion (no need to worry about Darkness as an ailment), and it also is neither physical or magical, meaning that it will hit both the Tawrich and the Zarich without being nullified. If you happen to throw up Haste on the party somehow (such as a Chocobo Wing), that makes things a lot easier in avoiding the aforementioned ailment-based attacks.
The Gun Mage is there initially to open with Mighty Guard to help reduce the damage you receive, and to quickly do so. After that, it’s probably best for them to switch to a White Mage; after all, unless you’re on New Game+, you won’t be having more than one Ragnarok, and that means one Dark Knight is getting hurt pretty badly: be sure to throw up Curaga a lot!
From there on out, it’s mostly a grind. What damage you get is readily healed by Curaga, and what ailments you do get are likely to be immaterial since you prevented Confusion on everyone (hopefully) and Silence as well for the White Mage.
For finishing off the battle, you’ll earn the Mercurial Strike Garment Grid ! Finally, you’re done with Bikanel… There are still some things to get, though. First, you need to send any kind of Chocobo to Bikanel; the odds are, it’ll run off, but you’ll be allowed into the Central Expanse for digging. There, you’ll be digging on a Chocobo. Digging on the white Xs will eventually get you to the Desert Key ; this unlocks the chest in the camp that contains the Horn of Plenty Garment Grid . Also head to the Cactuar Nation for a scene with a couple of Cactuars. Speak with Marnela again after, and that will end this section: the entrance of the dungeon from before is sealed, and then you’re done.

 Sign up
No Comments