
Once you view the cutscene with the sled, you will arrive right at the final path leading to Macalania Temple. There will a chest right next to the entrance, which contains a Mega-Potion. Go onto the next screen and follow the trail all the way to the actual temple entrance, where a short scene will play out. Head inside after it’s over and speak to Tromell by the entrance to have him give you a Shell Targe. When you go to the center of the lobby of the temple, you will run into Shelinda, starting another scene. When regaining control, you will find two chests in the main room, one on the left side (5,000 Gil) and another in the lower right corner that’s being hidden by the camera (2 X-Potions).

This chest is obscured by the camera, so you won’t see it until you get close enough
Approach the little hallway to the right of the stairs for a quick scene, then follow your party into the room at the end for another scene. Open the chest in the back of the room for 2 Remedies, then speak to the one NPC in the back of the room to receive 2 Hi-Potions. Exit and enter the room on the other side of the stairs to find a chest in the back, with this one containing 3 Phoenix Downs. Go through the doors at the top of the stairs and keep moving forward until you get some scenes and the next boss battle.
BOSS - Seymour
The battle against Seymour comes in three phases, with the first and third phases being pretty similar. During the first phase, Seymour will have two Guado Guardians with him, who can be quite annoying and should be your first priority. Note that at the beginning of the battle, Seymour will cast Shell on himself, while the Guado Guardians will use Protect on themselves. If you attempt to attack Seymour with physical attacks, then the Guardians will take the hit for him. Of course, him having Shell on also means that magic attacks won’t do much damage, either. To add to this, whenever the Guardians are damaged, they will use a Hi-Potion on themselves.
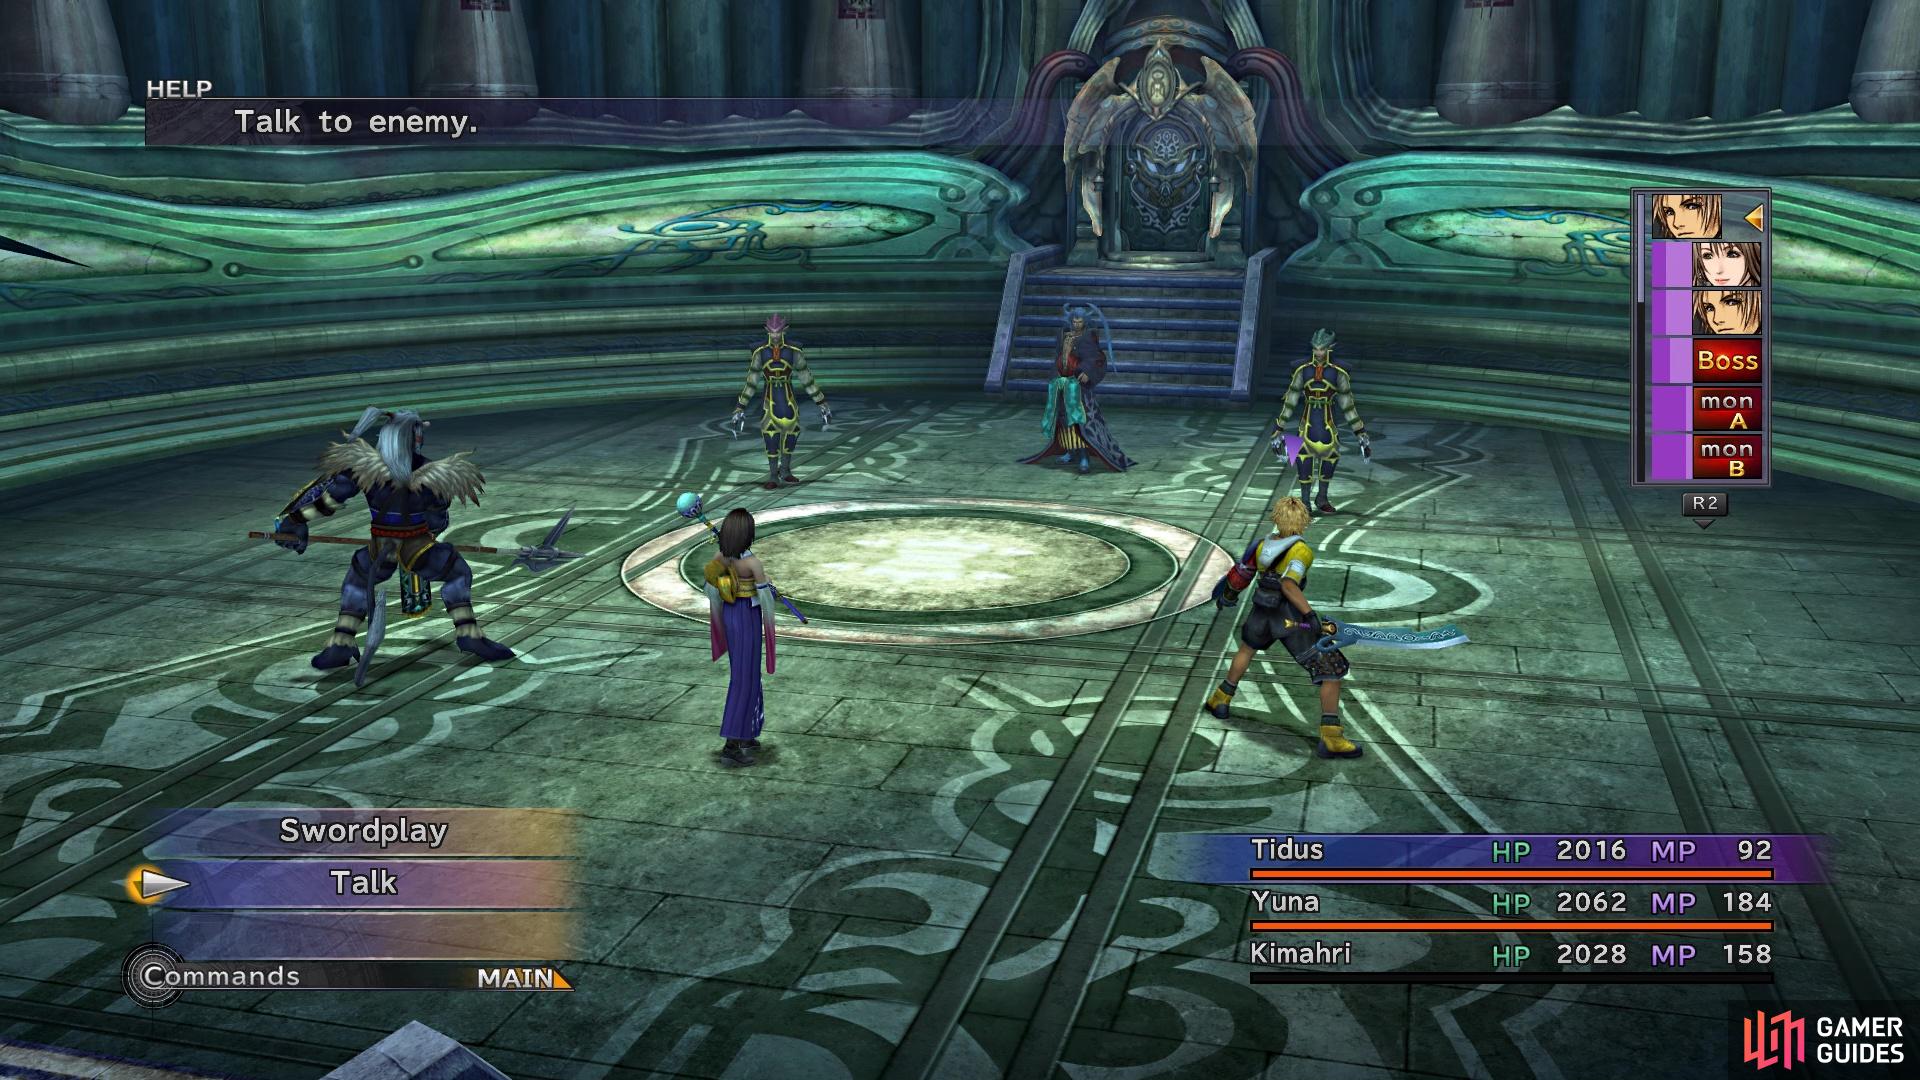
(1 of 2) You have special Trigger Commands with Tidus, Yuna and Wakka
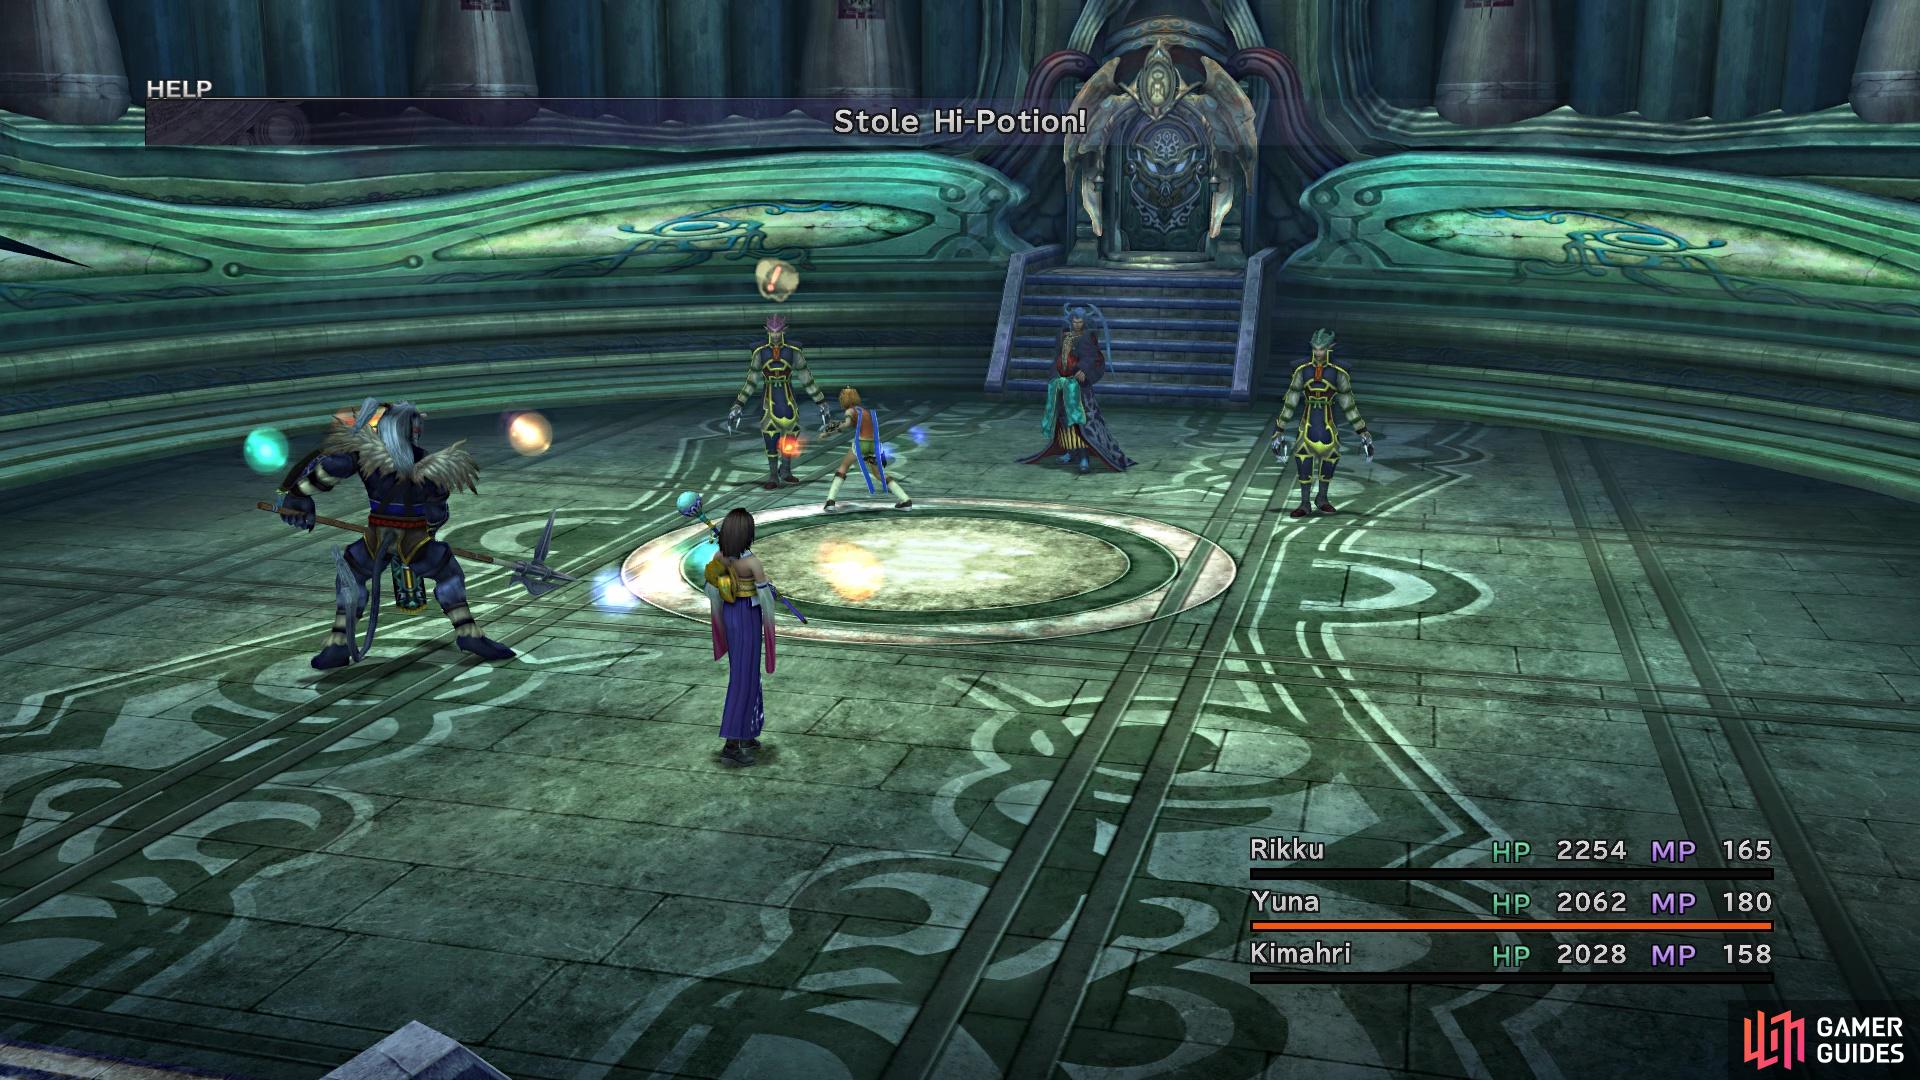
You have special Trigger Commands with Tidus, Yuna and Wakka (left), Stealing the Hi-Potions from the Guardians will stop them from using them (right)
The Guardians also have access to Remedies, so they will use them if Seymour or they are afflicted with a status ailment (like Poison or Silence). The first order of business is to get rid of the Guardians, but the Auto-Potion makes things complicated. However, you can stop them from using Hi-Potions by using Steal on them, completely removing them for the remainder of the battle. For offense, the Guardians can use either Thunder or Blizzard, but they also have something called a Shremedy, which has a chance to inflict Confusion. You will want to cure this ASAP, since you don’t have a heavy attacker turning on one of your own party members.
Note that the Guardians are susceptible to Petrify, so if you happen to have a Petrify Grenade or Kimahri has Stone Breath, then that can take care of them very quickly. Moving onto Seymour, he is a lot more predictable, as he will blast your party with elemental spells. Thankfully, these spells are in a specific order, too, so you can anticipate what is coming next. He will use the second tier spells (-ra), but if you are using an Aeon, then he will upgrade those to the third tier (-ga). He does the spells in the following order: Blizzara, Thundara, Watera and Fira.
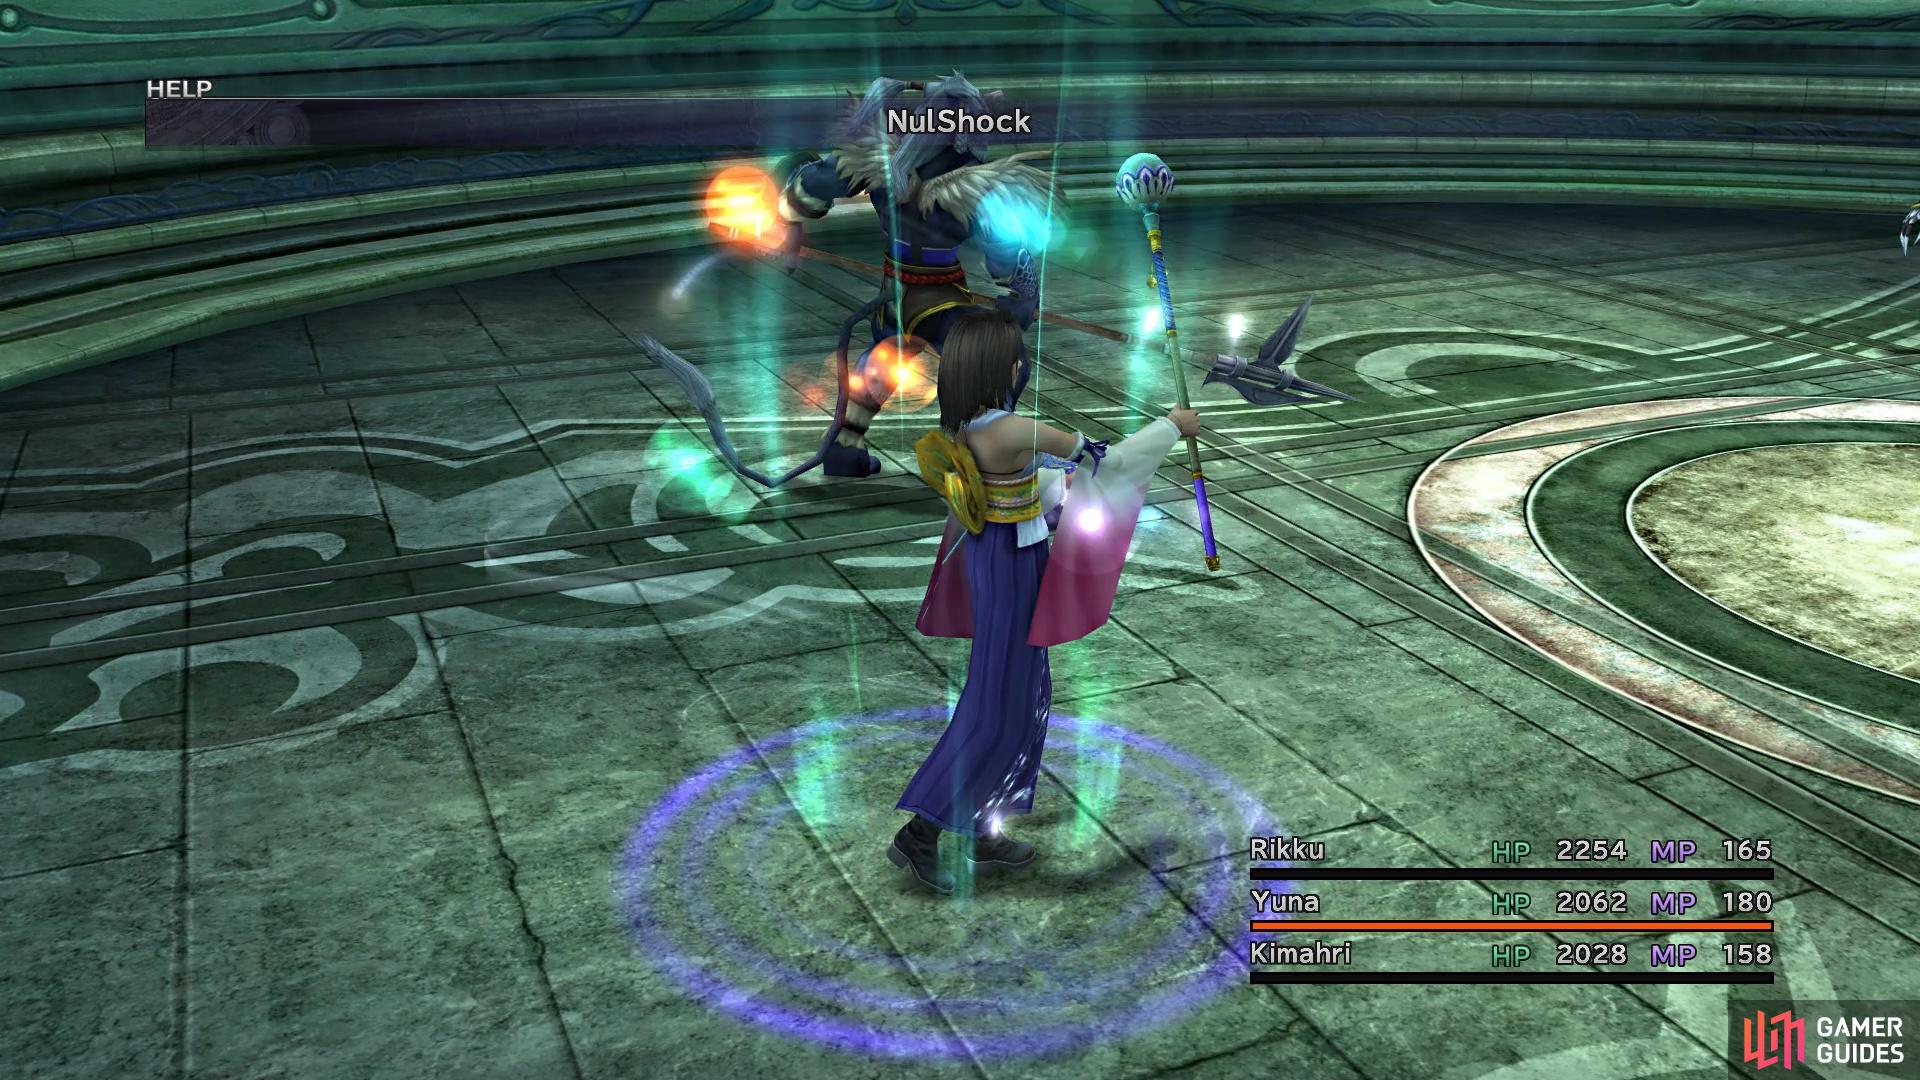
(1 of 2) Due to Seymour’s pattern, you can prepare defenses ahead of time
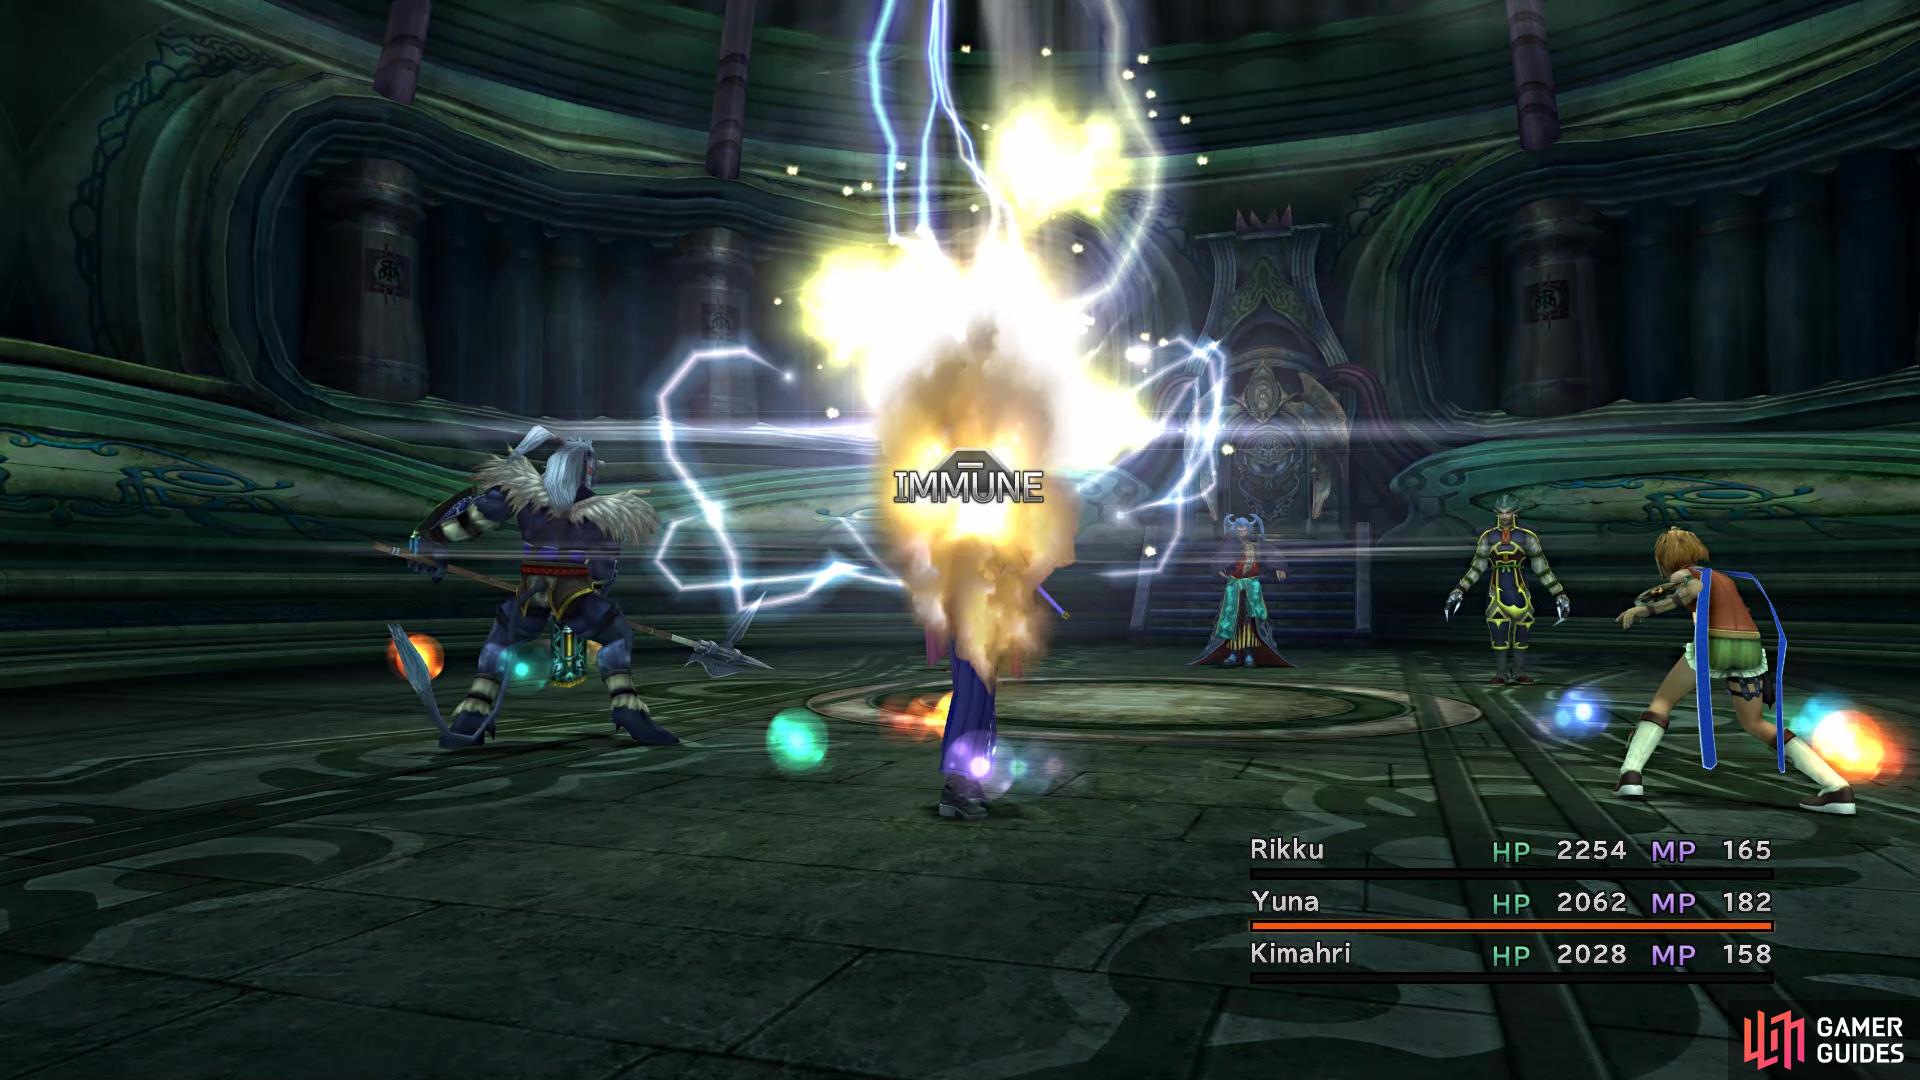
Due to Seymour’s pattern, you can prepare defenses ahead of time (left), essentially negating his offense (right)
He will not deviate from this order at all, so you can do things much easier by having Yuna cast the respective Nul spell for the upcoming elemental attack (Seymour’s spell only hits a single character). At the beginning of the battle, by the way, Tidus, Yuna and Wakka will have a Trigger Command they can use on Seymour to talk with him. Tidus will gain some Strength from this, while Yuna and Wakka will get some Magic Defense. So, first get rid of the Guado Guardians, then you can focus on Seymour. Once his HP goes under 3,000, then he will summon Anima and the second phase will begin. Note that any Guado Guardian still alive will be gone.
BOSS - Anima
Anima has a lot more HP than Seymour, and could potentially one-hit KO your characters. The reason for this is because Pain can inflict Instant Death, and you are definitely not far enough in the game to get any kind of protection against that. Anima will alternate between using Pain and Boost, with the latter not actually increasing the rate at which her Overdrive charges. However, it still does make it so she takes more damage, so that’s something to take into account in a little bit. Once her Overdrive is full, Anima will use Oblivion, which can hurt a lot. Because of the potential for Instant Death from Pain, it’s best to avoid using your actual characters against Anima.
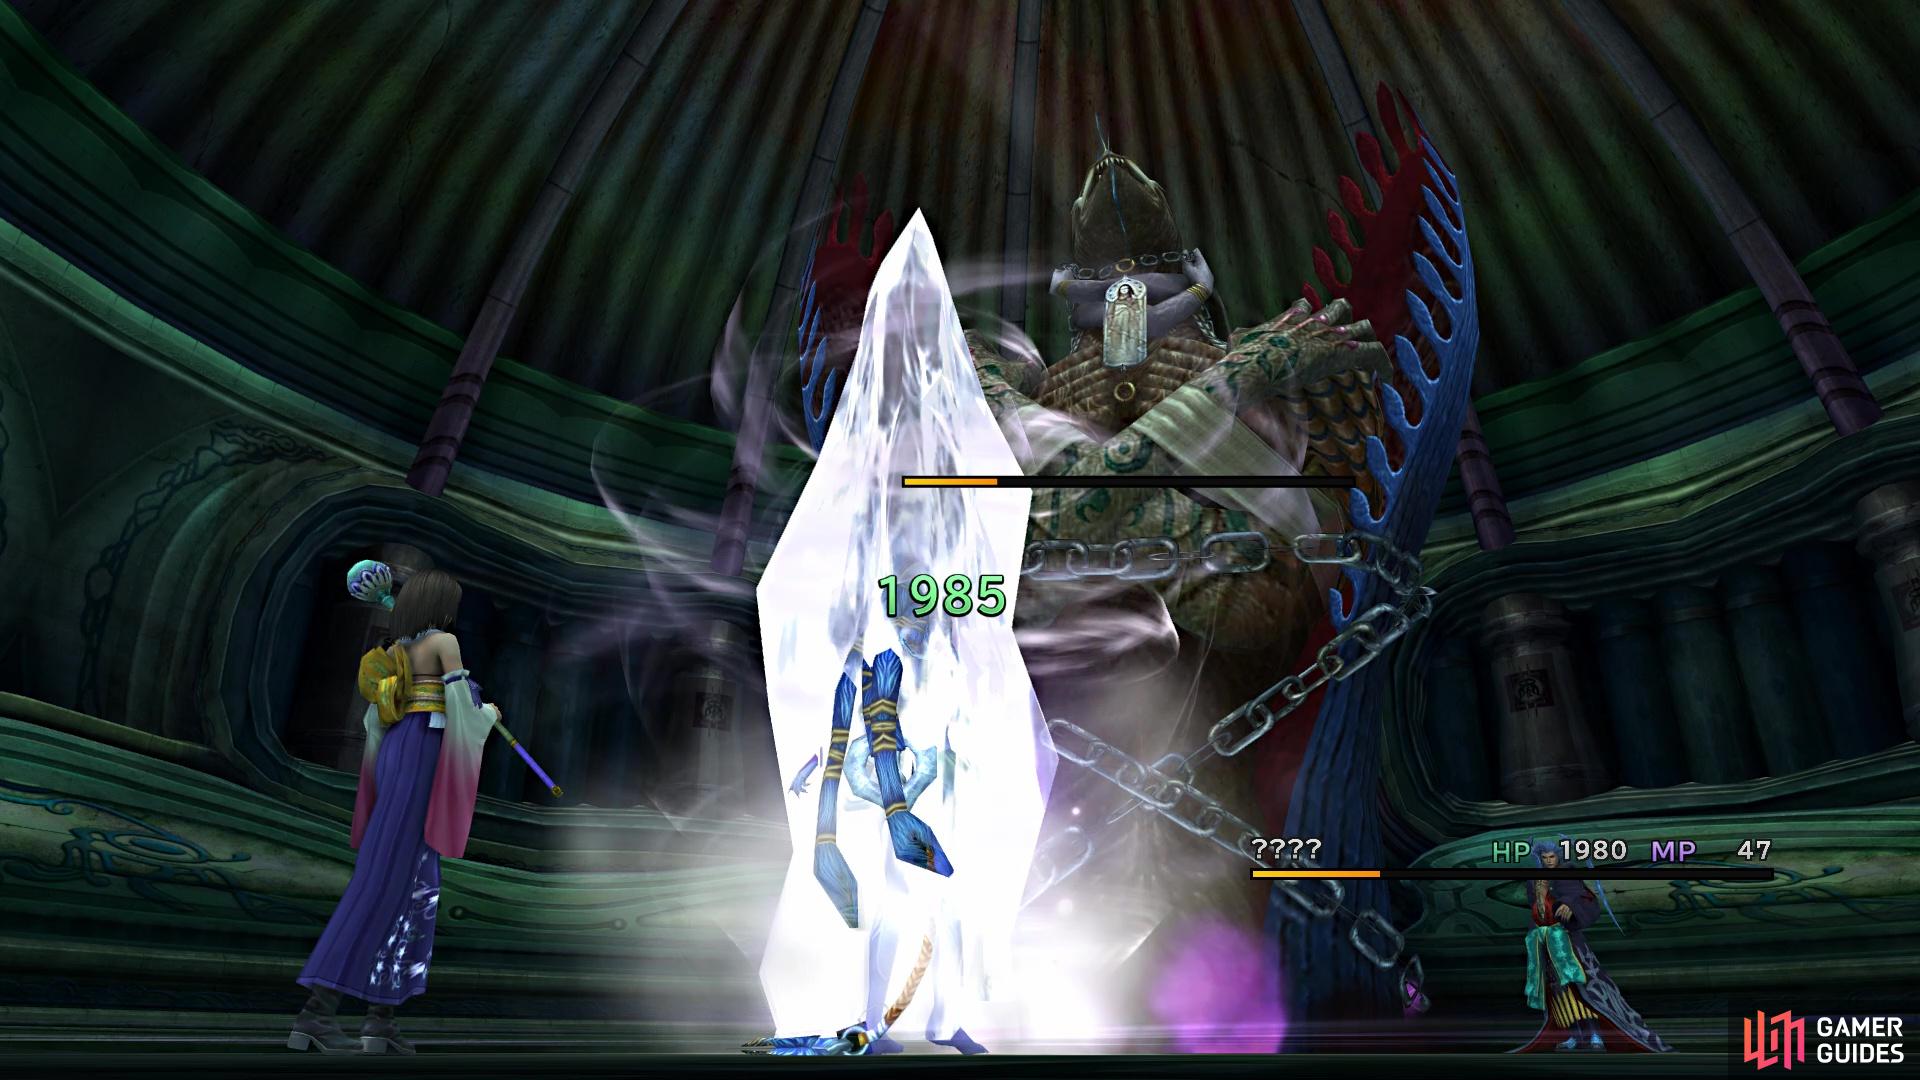
Once Anima is summoned, you will be told about using your newest Aeon. Navigating to the bottom of the summon menu shows the new Aeon, simply named ??? (fans of the series will recognize this summon as Shiva). The best thing about Aeons is that they have protect against ailments, which includes Instant Death, so you only have to worry about the damage portion. Since Shiva is ice-elemental, you can use her Black Magic ice spells to heal herself. You can simply use Blizzard/Blizzara to keep her topped off, then attack physically on the turns that Anima uses Boost.
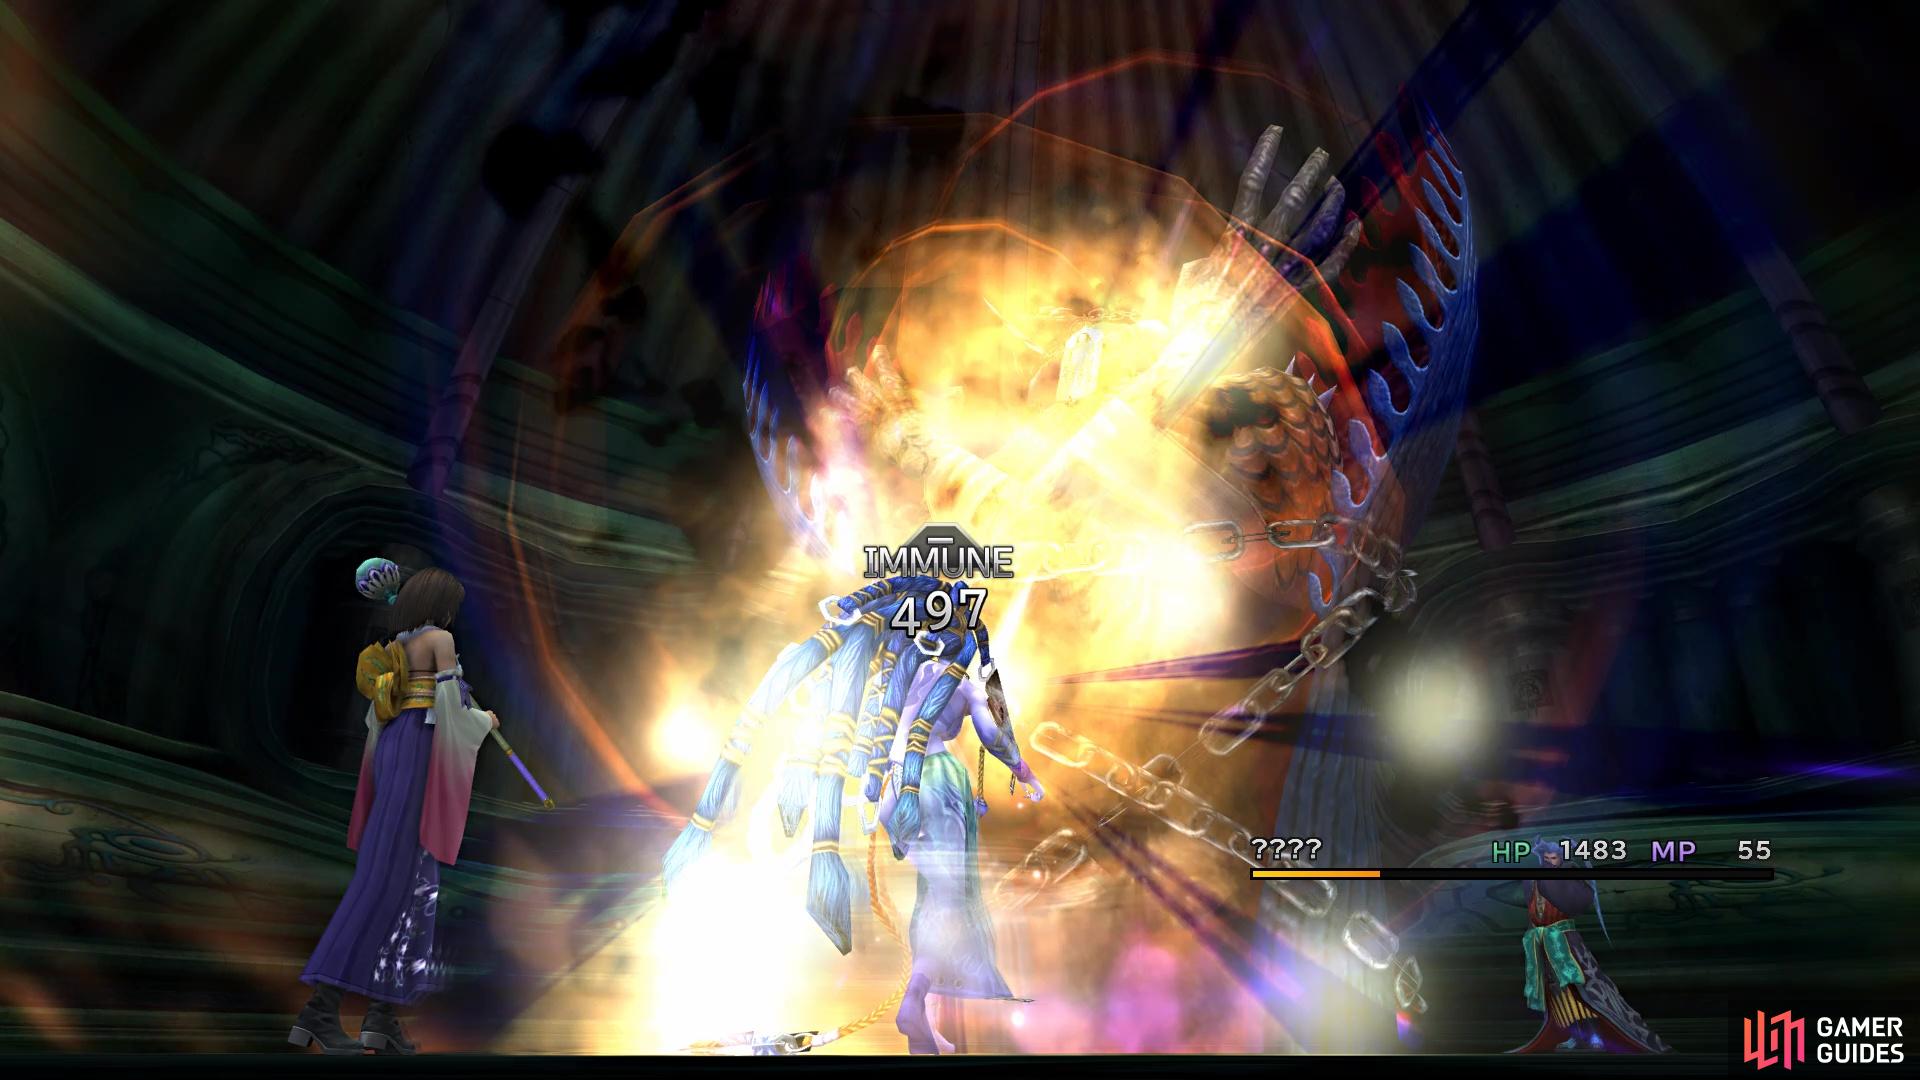
(1 of 3) Aeons are immune to the instant death from Pain
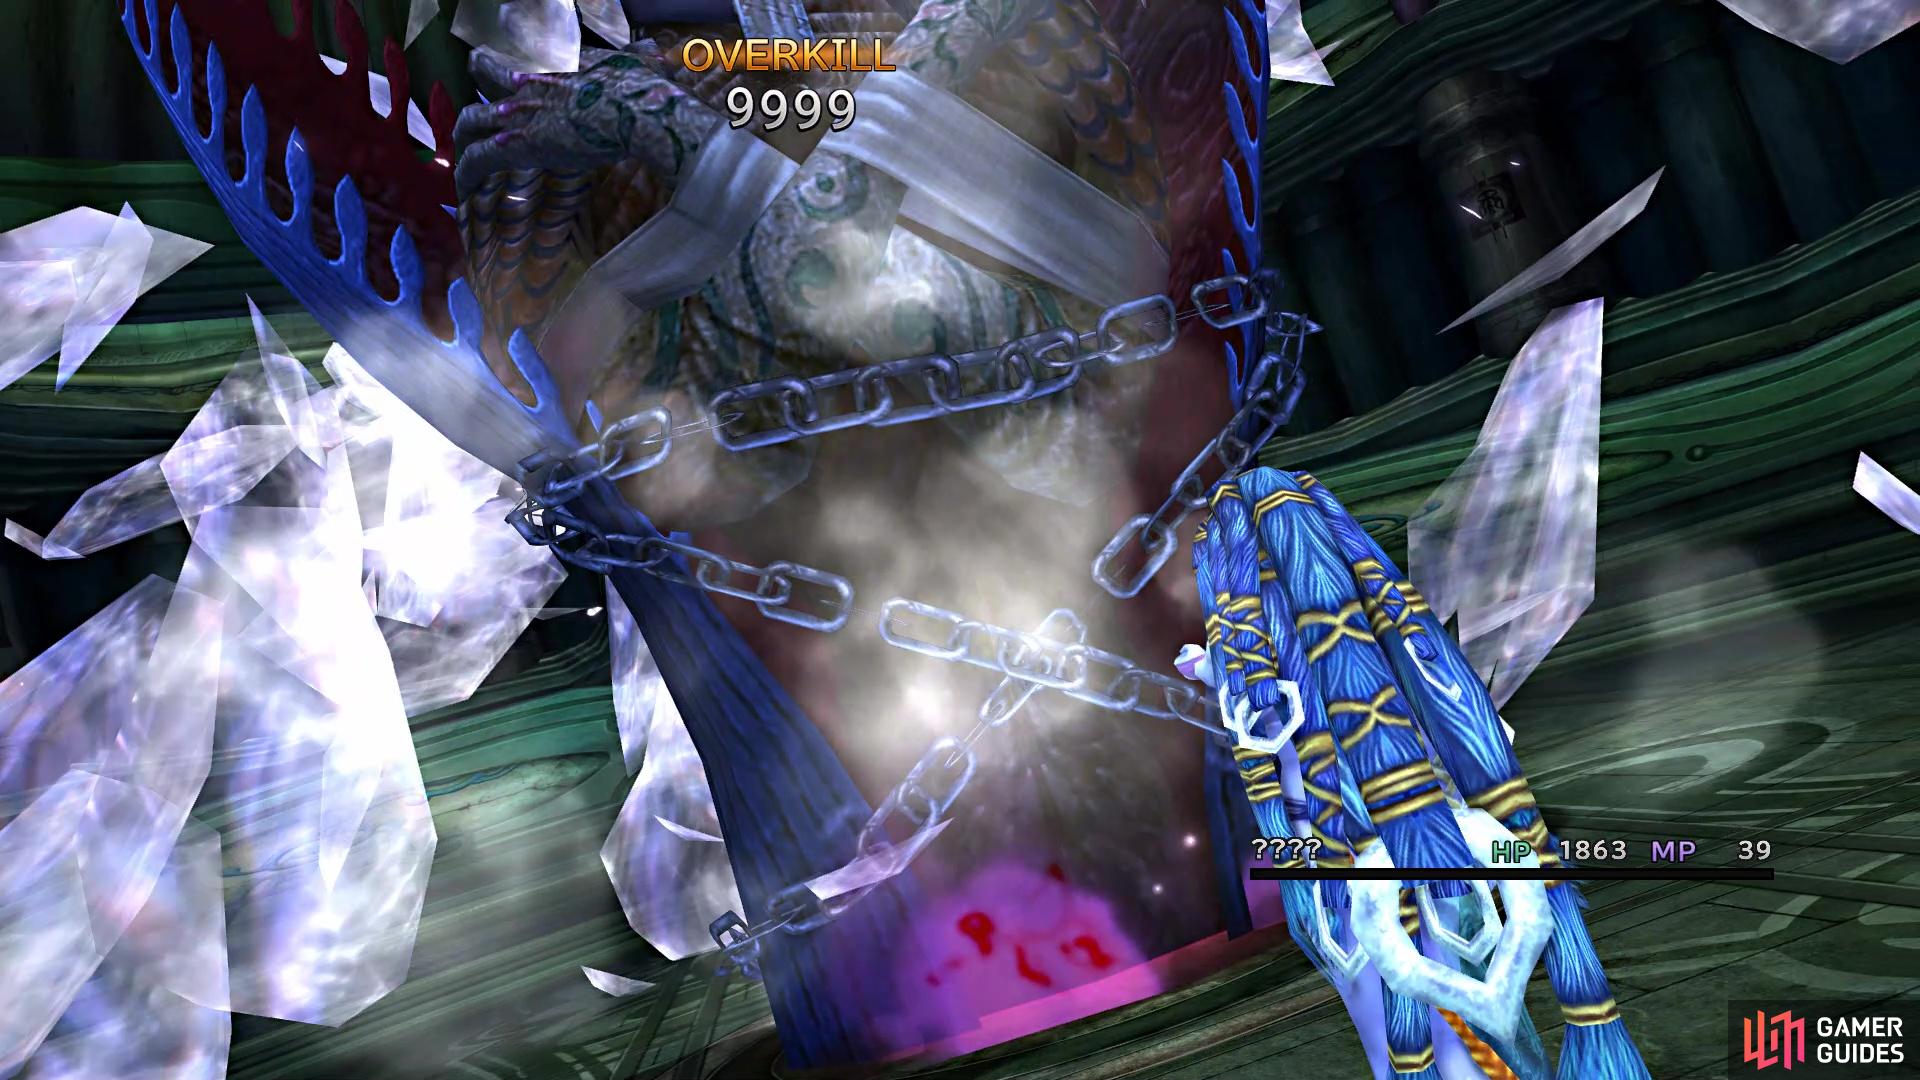
When Shiva’s Overdrive is full, have her use Diamond Dust on Anima, which has the potential to reach the max damage cap (right now) of 9,999. Note that Anima will probably get two to three turns after using Diamond Dust, so Shiva might get defeated before gaining another turn. If not, though, follow the strategy above and perform another Diamond Dust to pretty much put Anima down for good.
BOSS - Seymour (Third Phase)
After defeating Anima, Seymour will return to the battle arena, with full health. Thankfully, the Guardians will not return, so it will just be your party and Seymour. While Seymour’s tactics haven’t largely changed from the first phase, he will be able to cast two spells of the same element in a single turn now (ex. Multi-Blizzara). If an Aeon is out, he will use, as an example, Blizzaga and then Thundaga. Note that his magics are stronger during this phase, but the same strategy as before will apply here.
Upon winning the battle, there will be a cutscene, then you will be in the room alone. To your left and right are doors, with the left leading to the Cloister of Trials, so you will be going in that direction.

 Sign up
No Comments