
You have finally reunited your entire party, including Yuna. Some scenes will play out, then you’ll regain control right by a Save Sphere. Save your game, then check O’aka’s wares (he’s to the right of the sphere) in case you need a restock on items. The upcoming battle might require a few Softs, so make sure you have some on hand, just to be on the safe side. As you run down the corridor, you will get into random encounters with the same enemies from the wedding portion, minus the Warrior Monk with the rifle. If you can Overkill the enemies, the battles with the YAT and YKT enemies do give some decent AP, so you could gain some Sphere Levels here (minus Kimahri). If you’re close to Reflect on Yuna, you might want to do this, as that spell can come in handy in the upcoming boss battle.
When you’re ready to go, run down the corridor and at the end, you will find another Save Sphere. Beyond that will be the boss battle.
BOSS - Seymour Natus
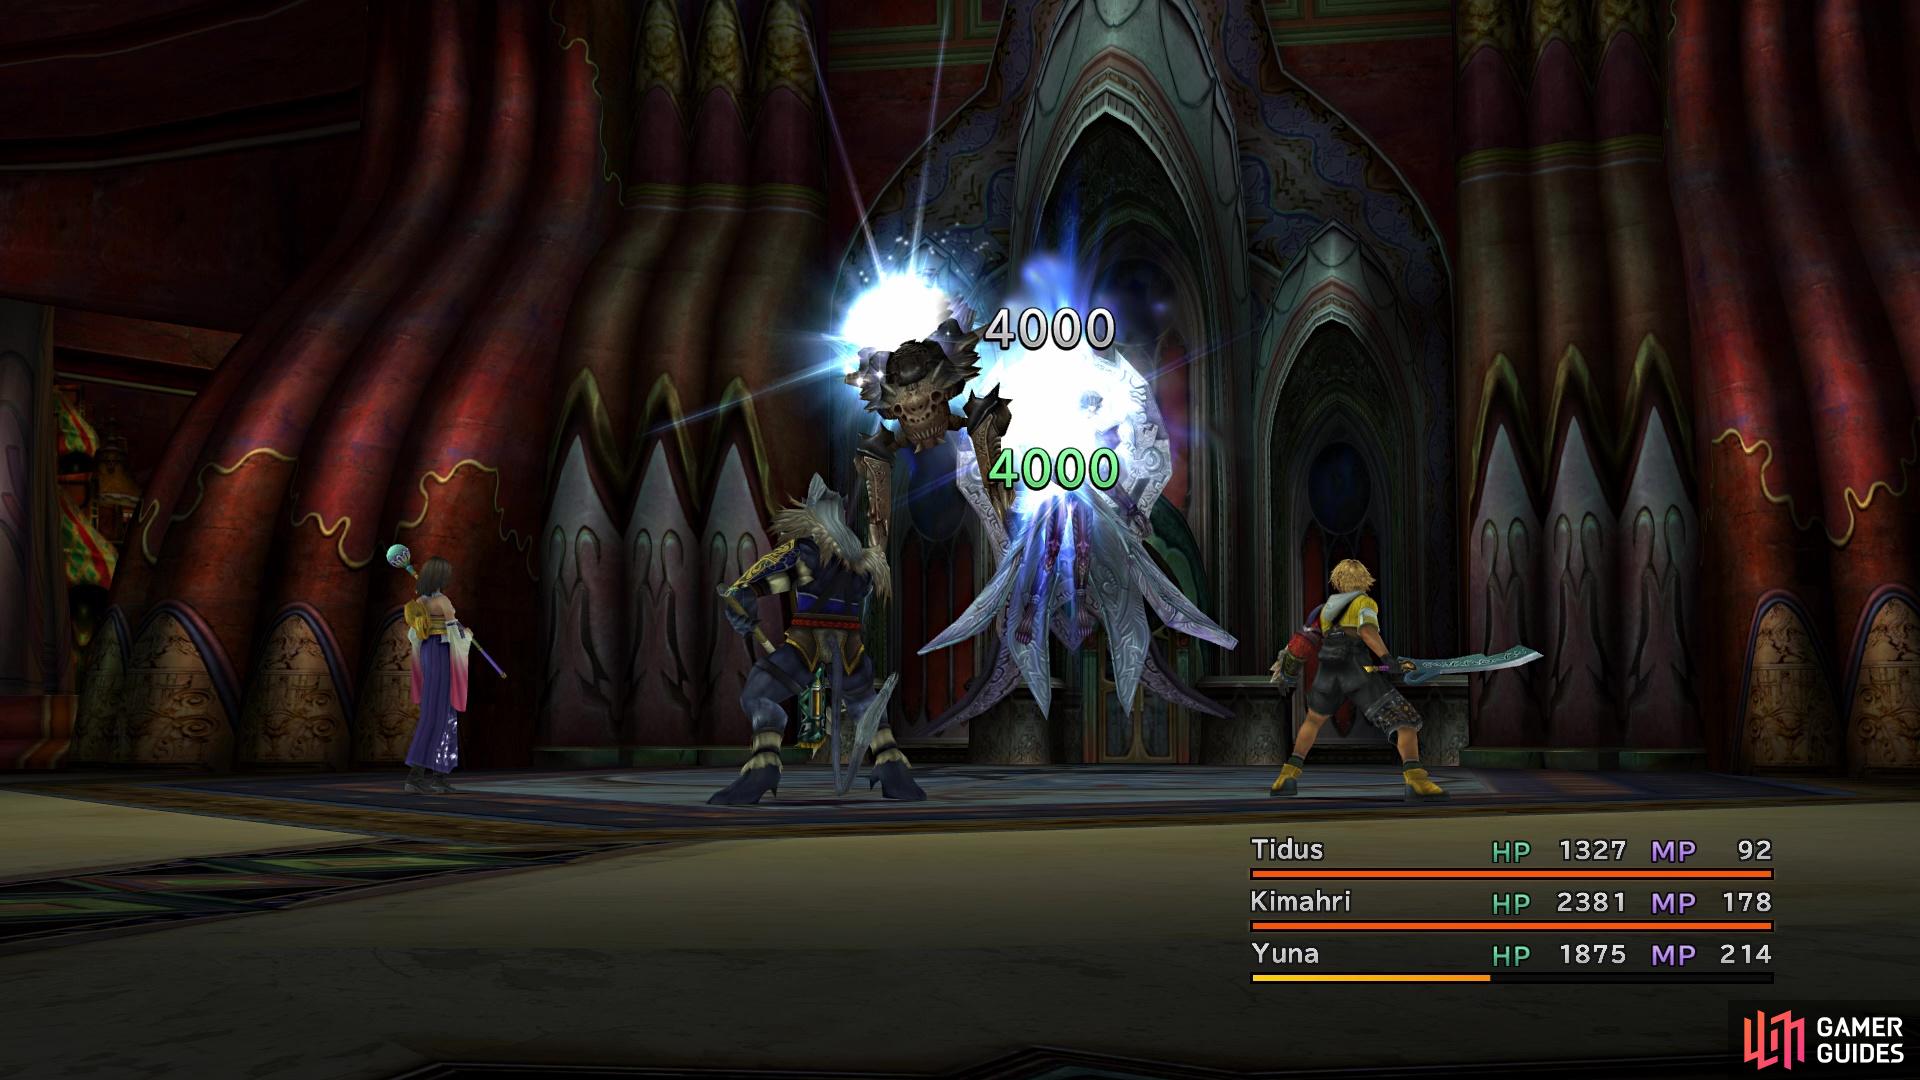
The battle against Seymour here is a bit more complicated when compared to others thus far. He is accompanied by an enemy called Mortibody, which will always be present during the fight. It starts out with 4,000 HP and upon depleting that, it will siphon HP from Seymour. After doing it once, the maximum HP it has will decrease by 1,000 and it will continue doing this throughout the entire party, with 1,000 HP being the minimum it will have. To add fuel to the fire, you will have to be careful with buffs in this battle, as if all three characters have the same buff, then Mortibody will use Desperado to deal damage and remove all of your buffs.
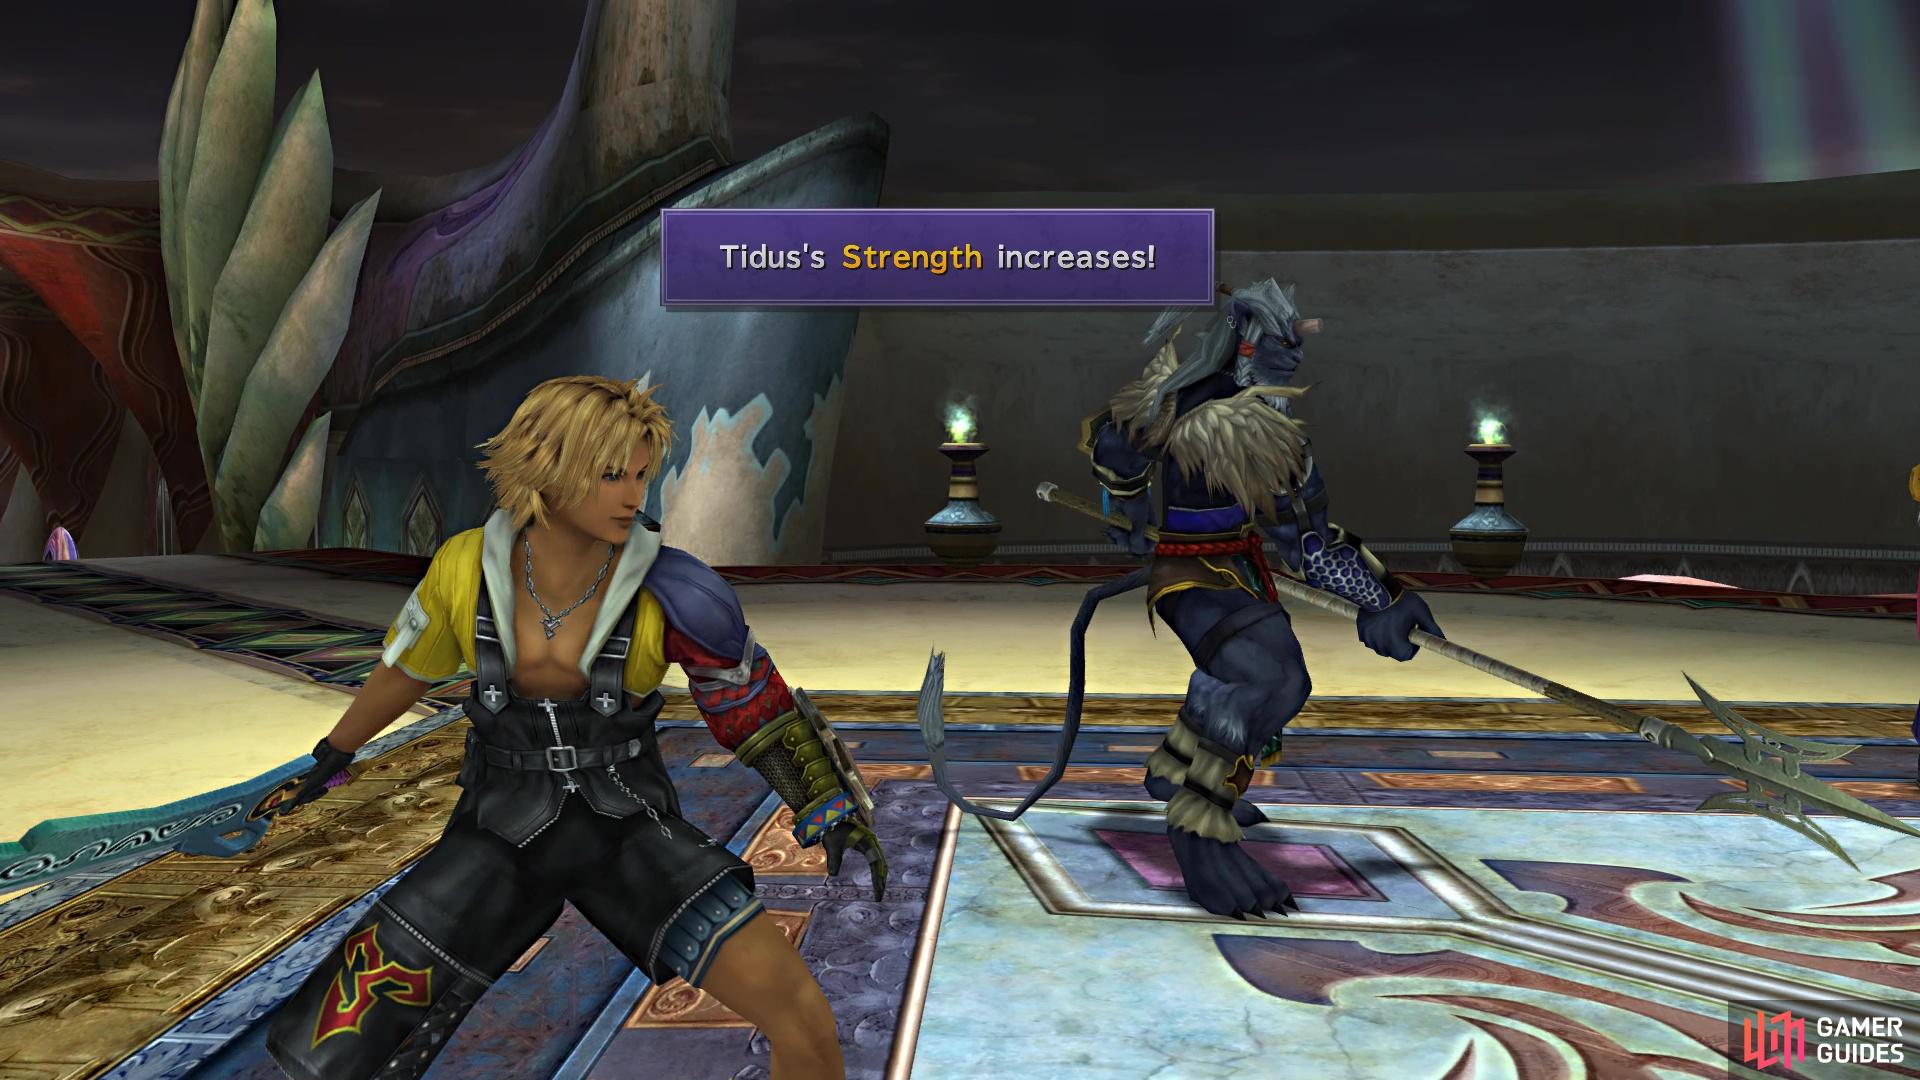
(1 of 3) Use the Trigger Commands to get some stats for Tidus, Auron and Yuna
What’s even more is that if there are four or more buffs that include Haste, Shell, Reflect and any of the Nul spells, then there’s a chance Mortibody will use Desperado on its turn. This is a small chance if there’s four buffs, which increases as you put more. You also won’t be able to use Aeons in this battle for a prolonged period, as Seymour will use Banish on the turn right after the Aeon’s. If you have Yuna’s Overdrive full, you can use Grand Summon to have the Aeon use their Overdrive before it is Banished; you might also just have the Aeon’s Overdrive already filled.
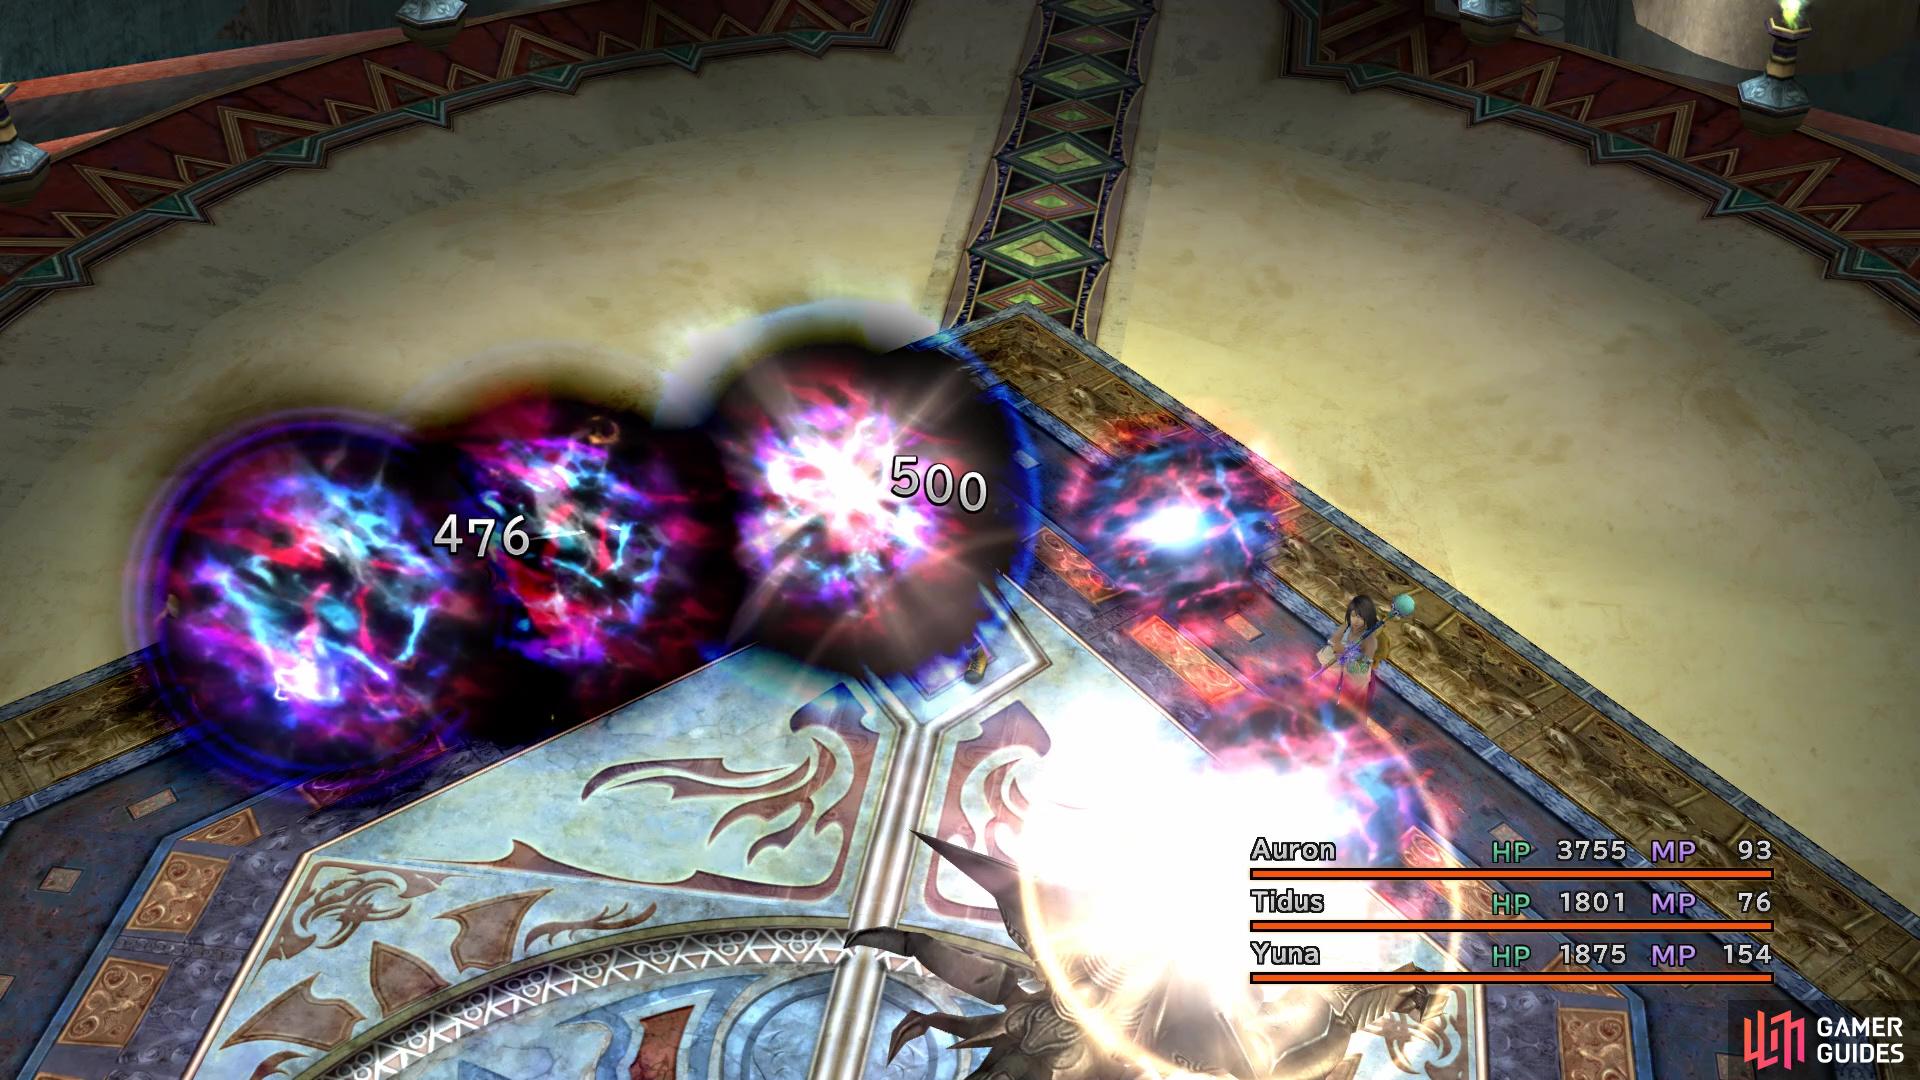
The first thing you should do in the fight is do the Trigger Commands, as Auron and Tidus will both gain Strength, while Yuna will get Magic Defense. The fight will take place in three phases, all of which are based around Seymour’s HP value. The first phase is the elemental one, where the Mortibody will use the first tier of spells (Blizzard, Thunder, Water and Fire, in that order) that hits all characters, and Seymour will use the Multi version of the second tier, meaning he will cast two times. Since you can’t use Shell on everyone, you will have to put it on your two weakest (magic defense-wise) characters. You can’t use NulElement here, since that would trigger Desperado, so you will just have to bear the brunt of the damage and use someone like Al Bhed Potions to heal.
Once Seymour’s HP dips below 24,000, he will enter the second phase of the fight, which has the potential to be a very dangerous phase. First and foremost, Seymour will cast Protect on himself. Seymour will begin using Break here, which will petrify a character. This, in itself, is not too bad, but Mortibody will begin using Shattering Claw on its turns, which can shatter a petrified character. So, you will want to make sure you can get a turn order in which Seymour and Mortibody go back-to-back. Remember that shattered characters are ejected from the battle, which means they receive no AP, plus you will be reduced to only two characters for the rest of the battle.
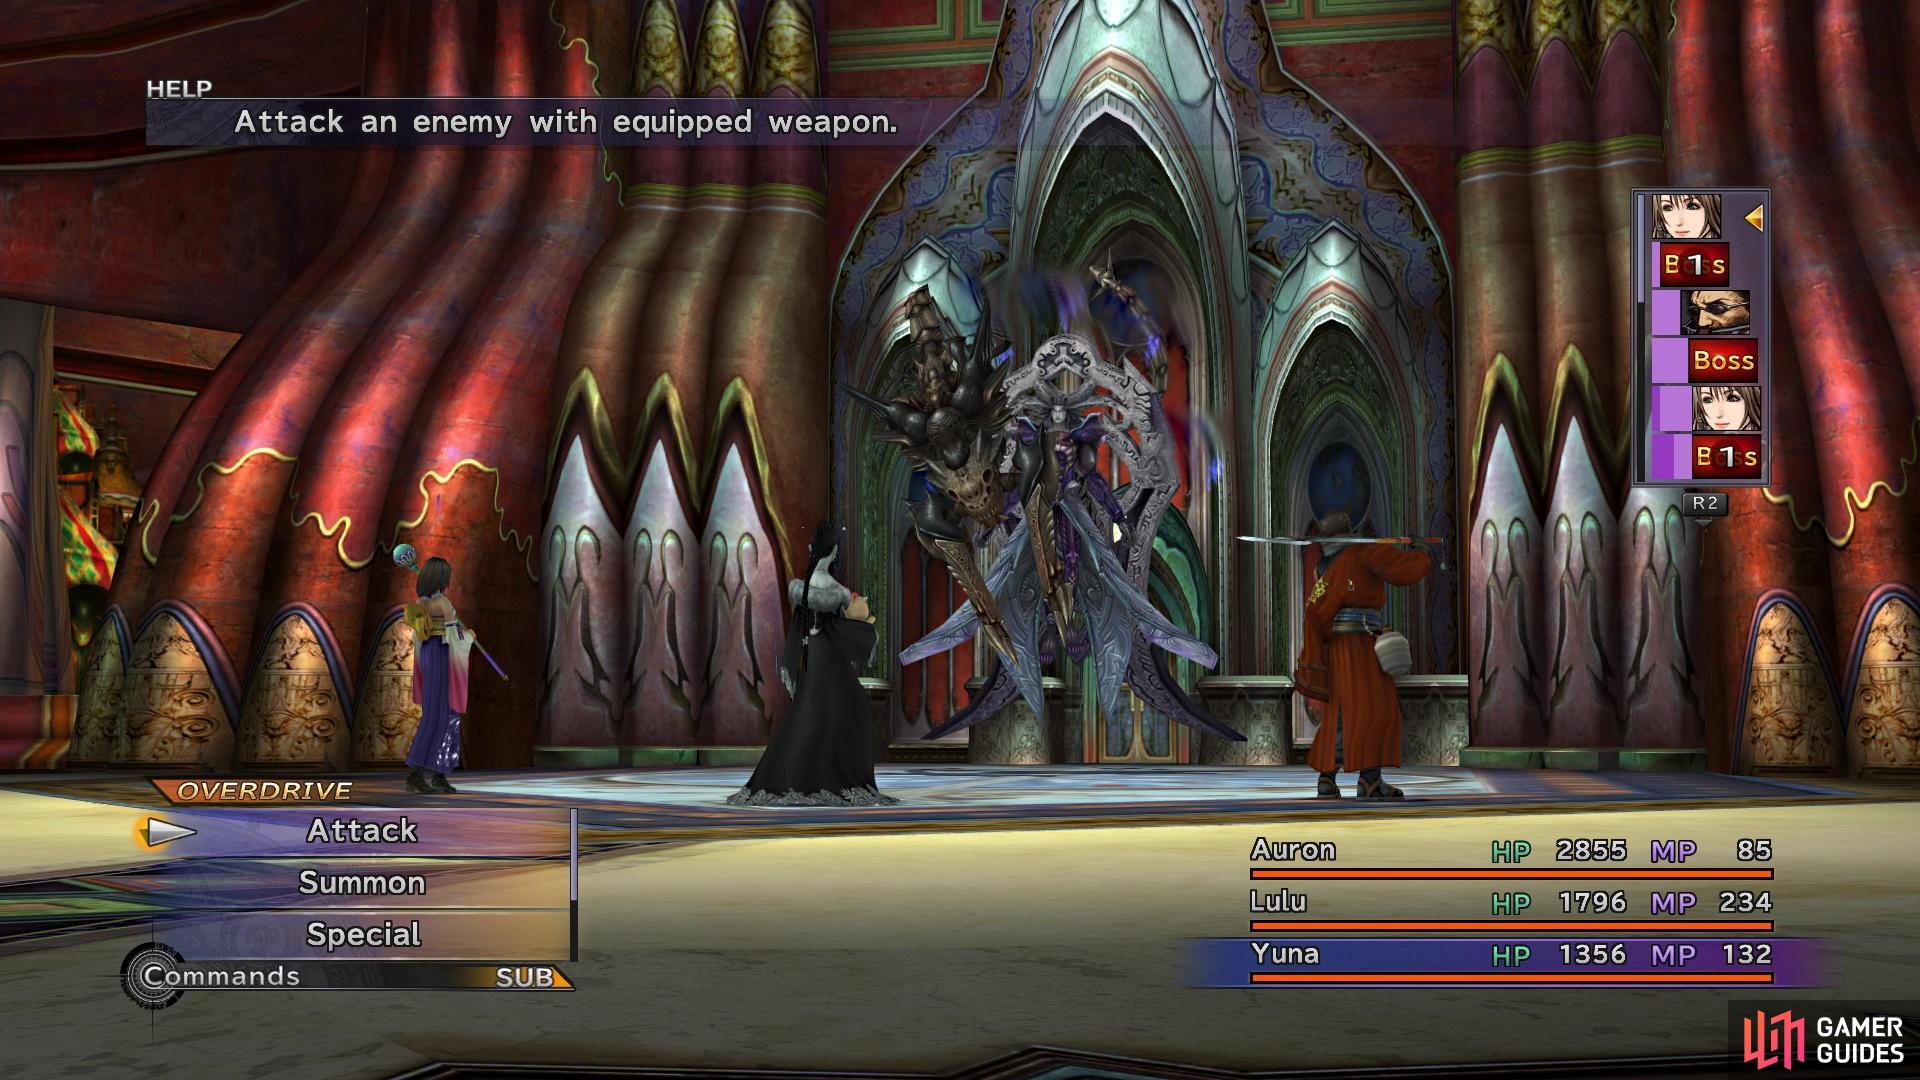
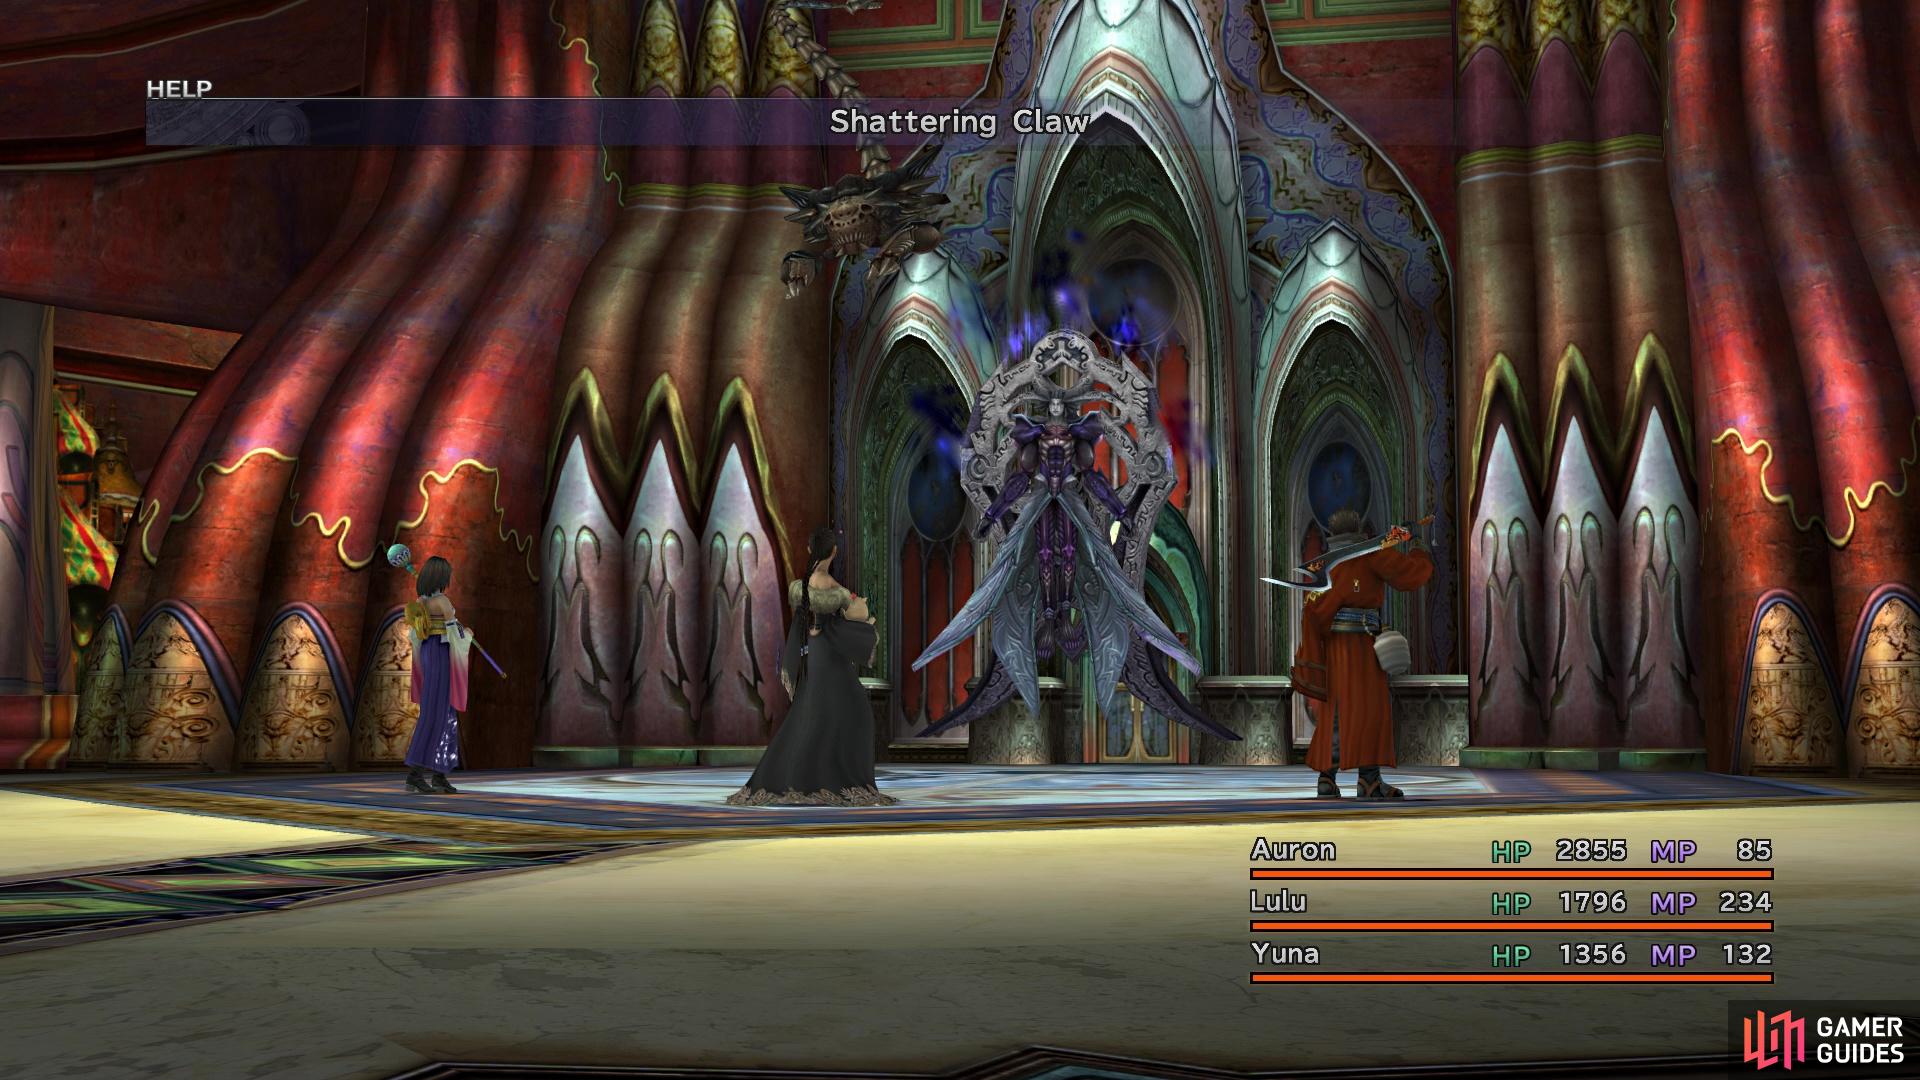
(1 of 4) Seymour will begin using Break in the second phase
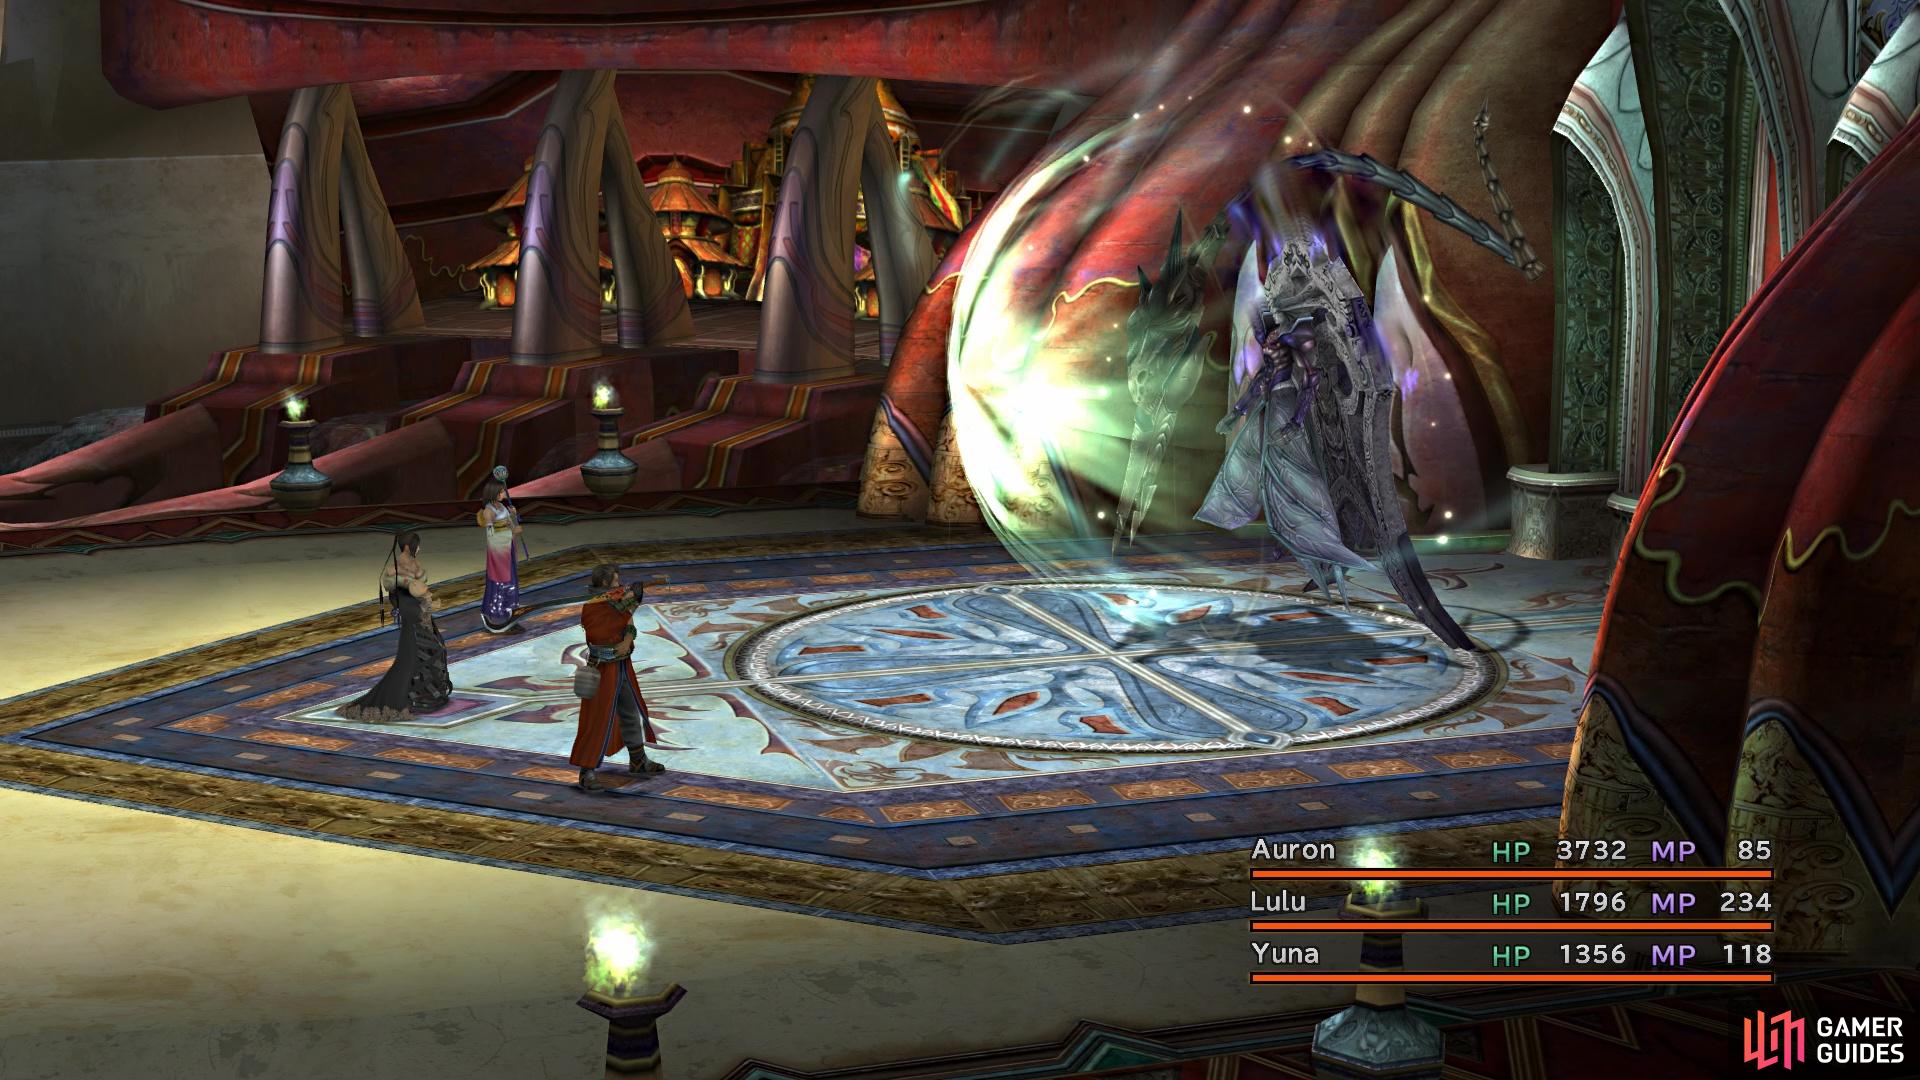
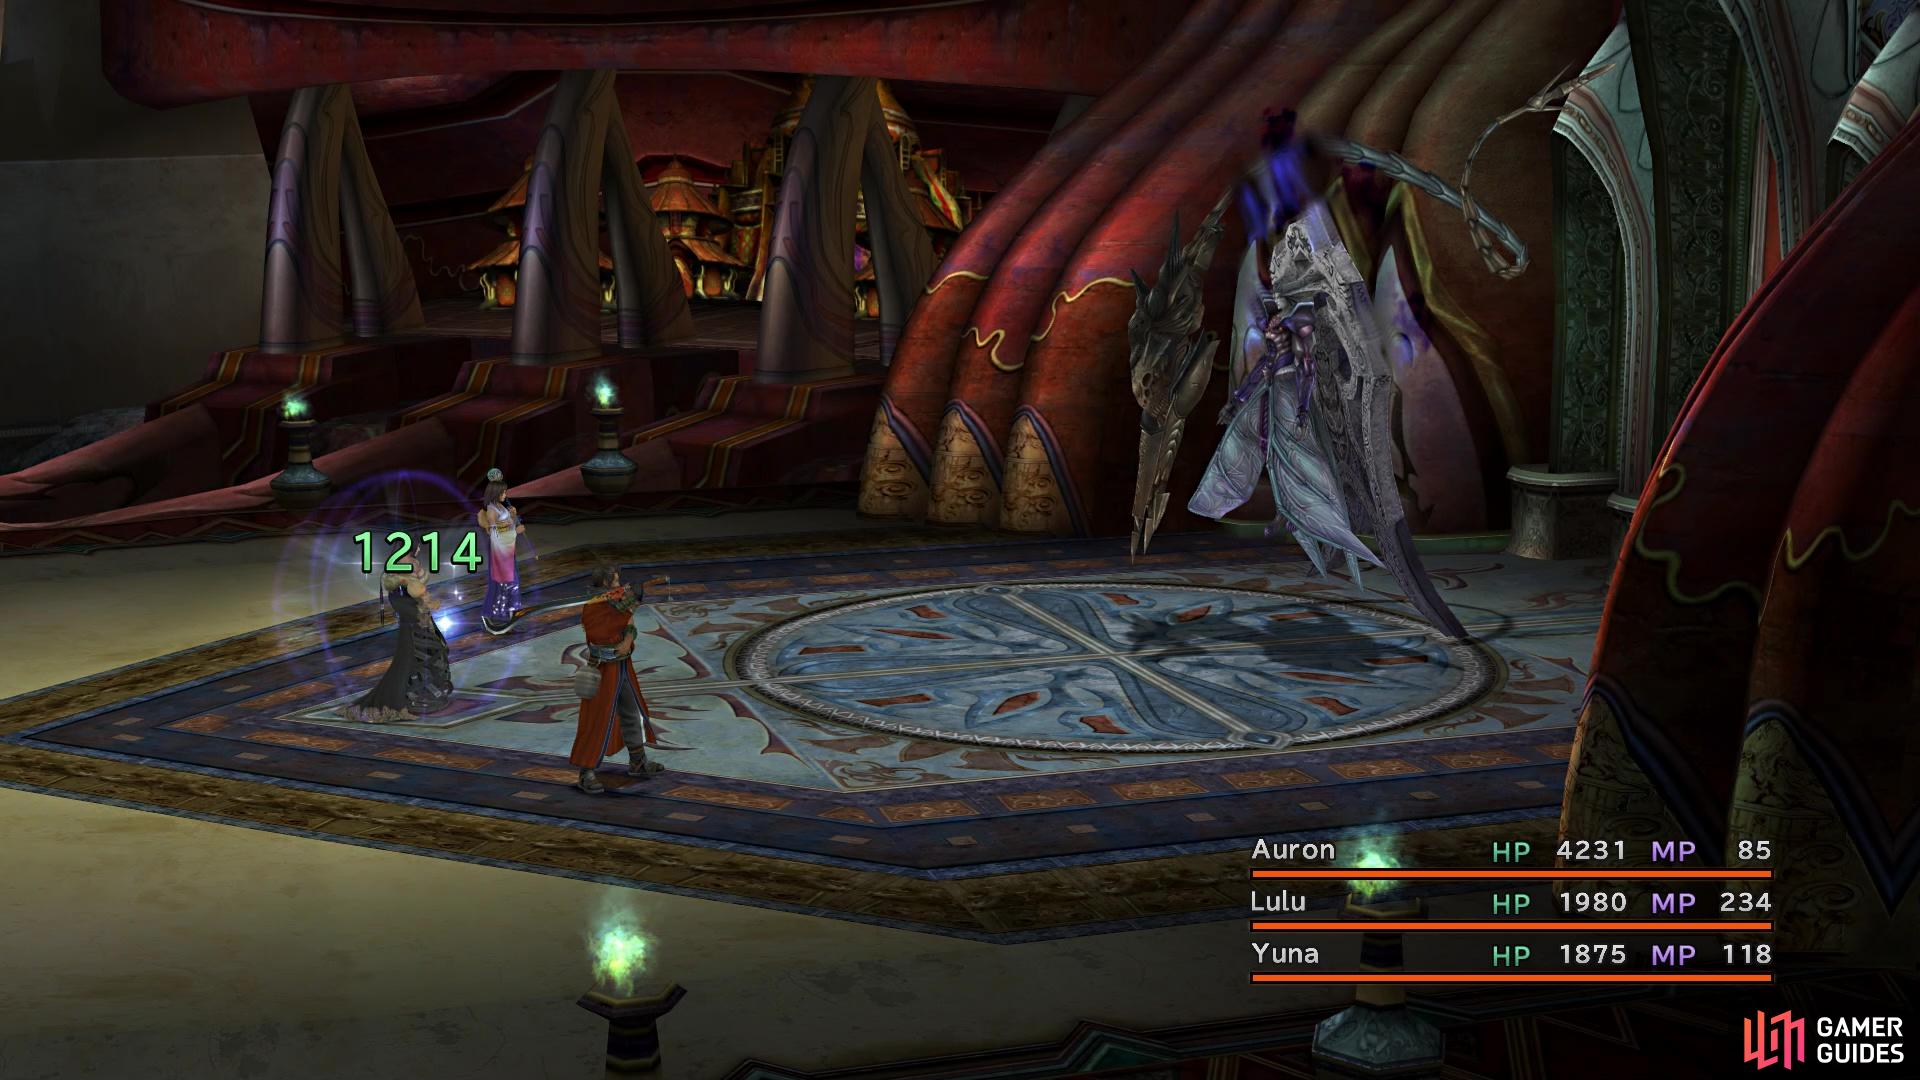
There are two ways to get rid of the Protect, either with Dispel or by using Ixion’s Aerospark. The third phase begins once Seymour’s HP reaches 12,000 or below. He will begin using Flare now, which does a lot of damage, possibly even one-shotting some of your characters. Since Flare is non-elemental, the only thing you can really do is cast Shell on two of your characters, then hope the third doesn’t get nuked down. Of course, Lulu should have Focus, which does increase magic defense (it stacks five times). Meanwhile, Mortibody will cast Cura on Seymour in this stage, which is something you don’t want at all. The easiest thing to do is cast Reflect on Seymour to make Cura bounce back to your party.
After finally dealing with Seymour  Natus, the party will be back in Macalania Woods. Exit the screen and continue straight south, where you will find Yuna. Approach here for a lengthy scene, then attempt to leave for more scenes. When you do regain control, head back to the screen where you just left and open the chest on the left side for a Lucid Ring. Return to the crossroads and go right this time, where you’ll find a Save Sphere and the exit to the Calm Lands.

 Sign up
No Comments