
At the beginning of the trials, move forward and you will find nothing but a pedestal. Push this onto the area in front of you to make it turn into a “platform,” that will descend into another area below you. The basic gist of Cloister of Trials will be riding around on this platform and coming to points where the glyphs will send you in another direction. As you will see from the beginning, you will have to press the button to confirm your direction, but the first bit will be a little simple at first. Timing the button press is a little more difficult, as you have a short window in which to do it. It might take you a few attempts to get to the right area, so be prepared for that.
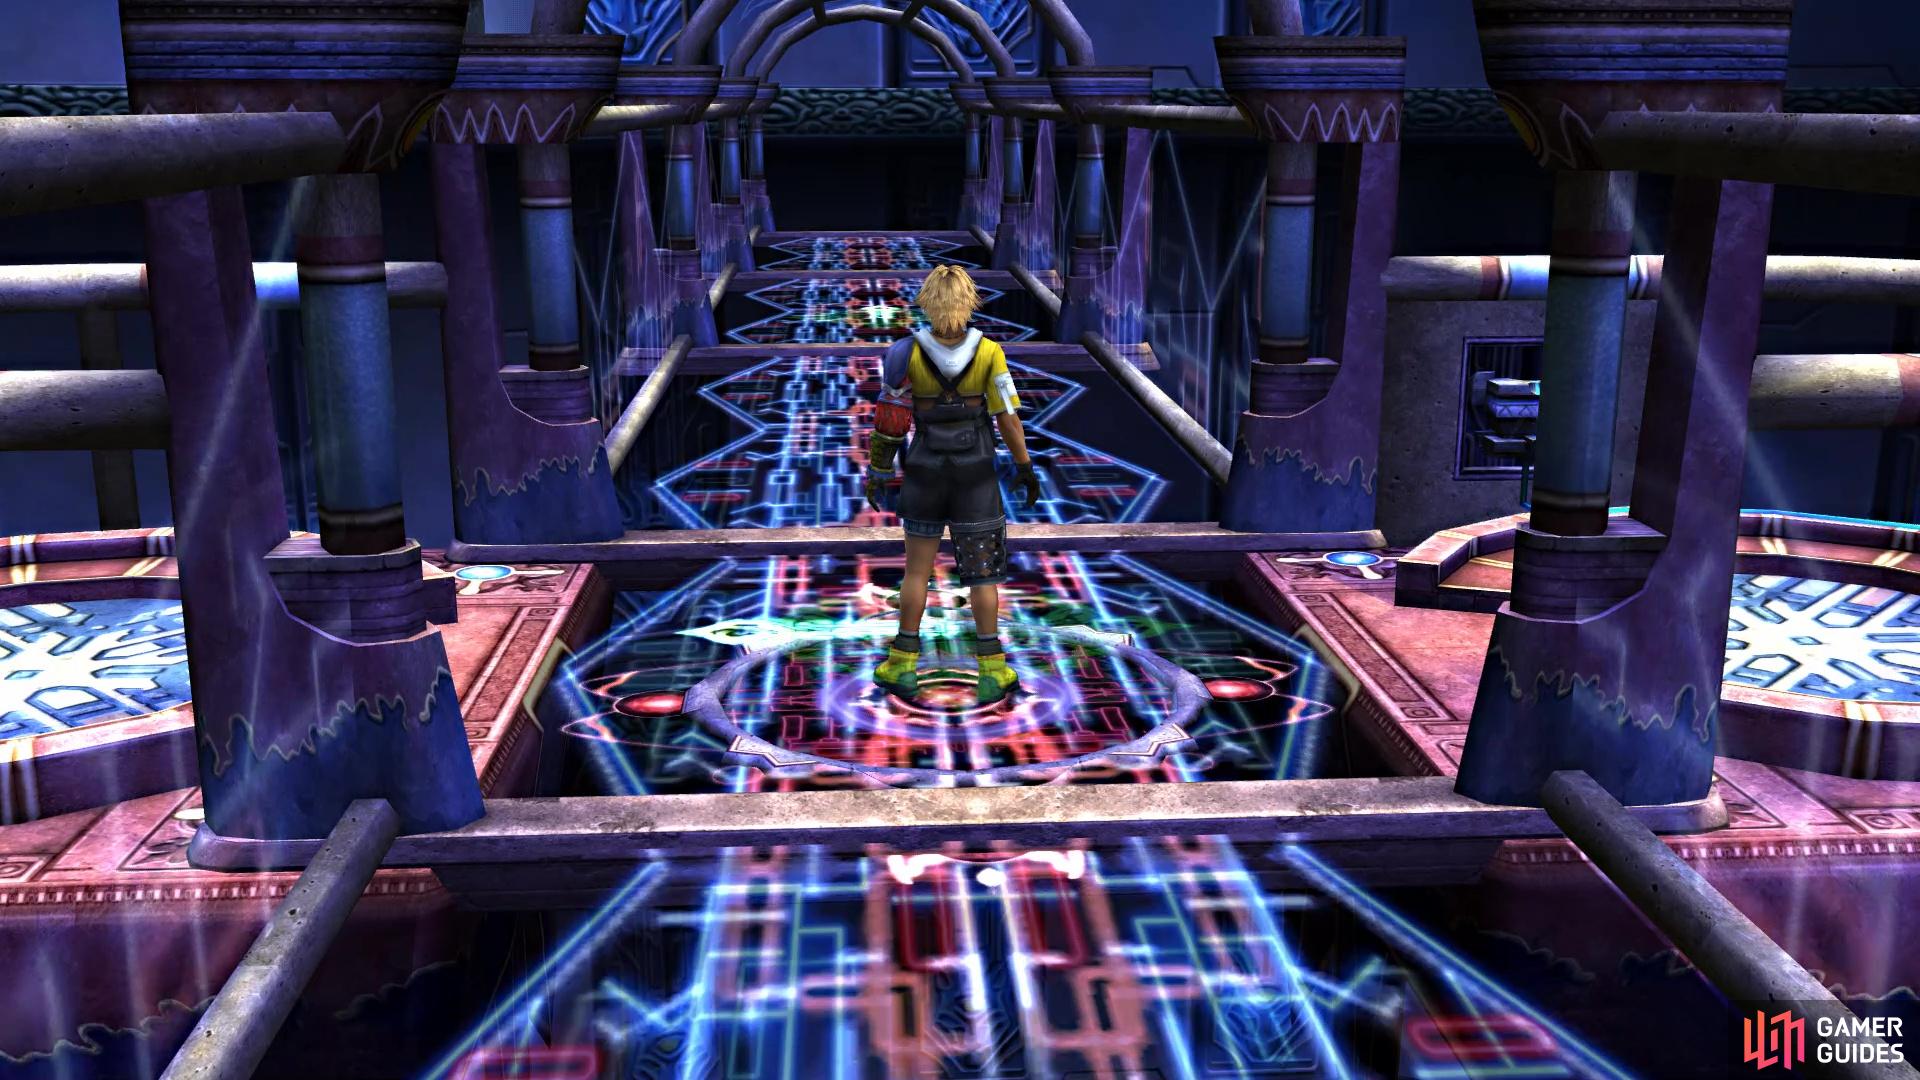
(1 of 2) You will have to time the button press when the green arrow is pointing in the right direction
You will have to time the button press when the green arrow is pointing in the right direction (left), If done right, you will stop at the designated area (right)
For now, press the button to confirm your direction, which will be forward. Ignore the first glyph, with the second one shortly after that. The arrows on the glyph will alternate between left and right, so you will want to time the button press to go left. When you stop, grab the Bevelle Sphere from the other pedestal, then push the main one back onto the track. Note that you do not need to place the sphere you grabbed into the main pedestal, and will never have to do that to complete the entire trial. Back on the track, you can time a button press on the next glyph to head backwards, but if you don’t see it, you will just ride off and start from the very first glyph, with the sphere still in your hand.
Either way, your next stop will be opposite of the first stop, where you will deposit the Bevelle Sphere into the receptacle. Doing this will cause a piece of the missing track a little ways away to appear, which you will be going to shortly. Back at the beginning, you will be taking the first right this time, so do that and ignore the glyph at the four-way intersection, opting to go straight. The track will take you down and around, to a dead end with another Bevelle Sphere. Return to the intersection with the three arrows, with you facing a different direction here, and go right.
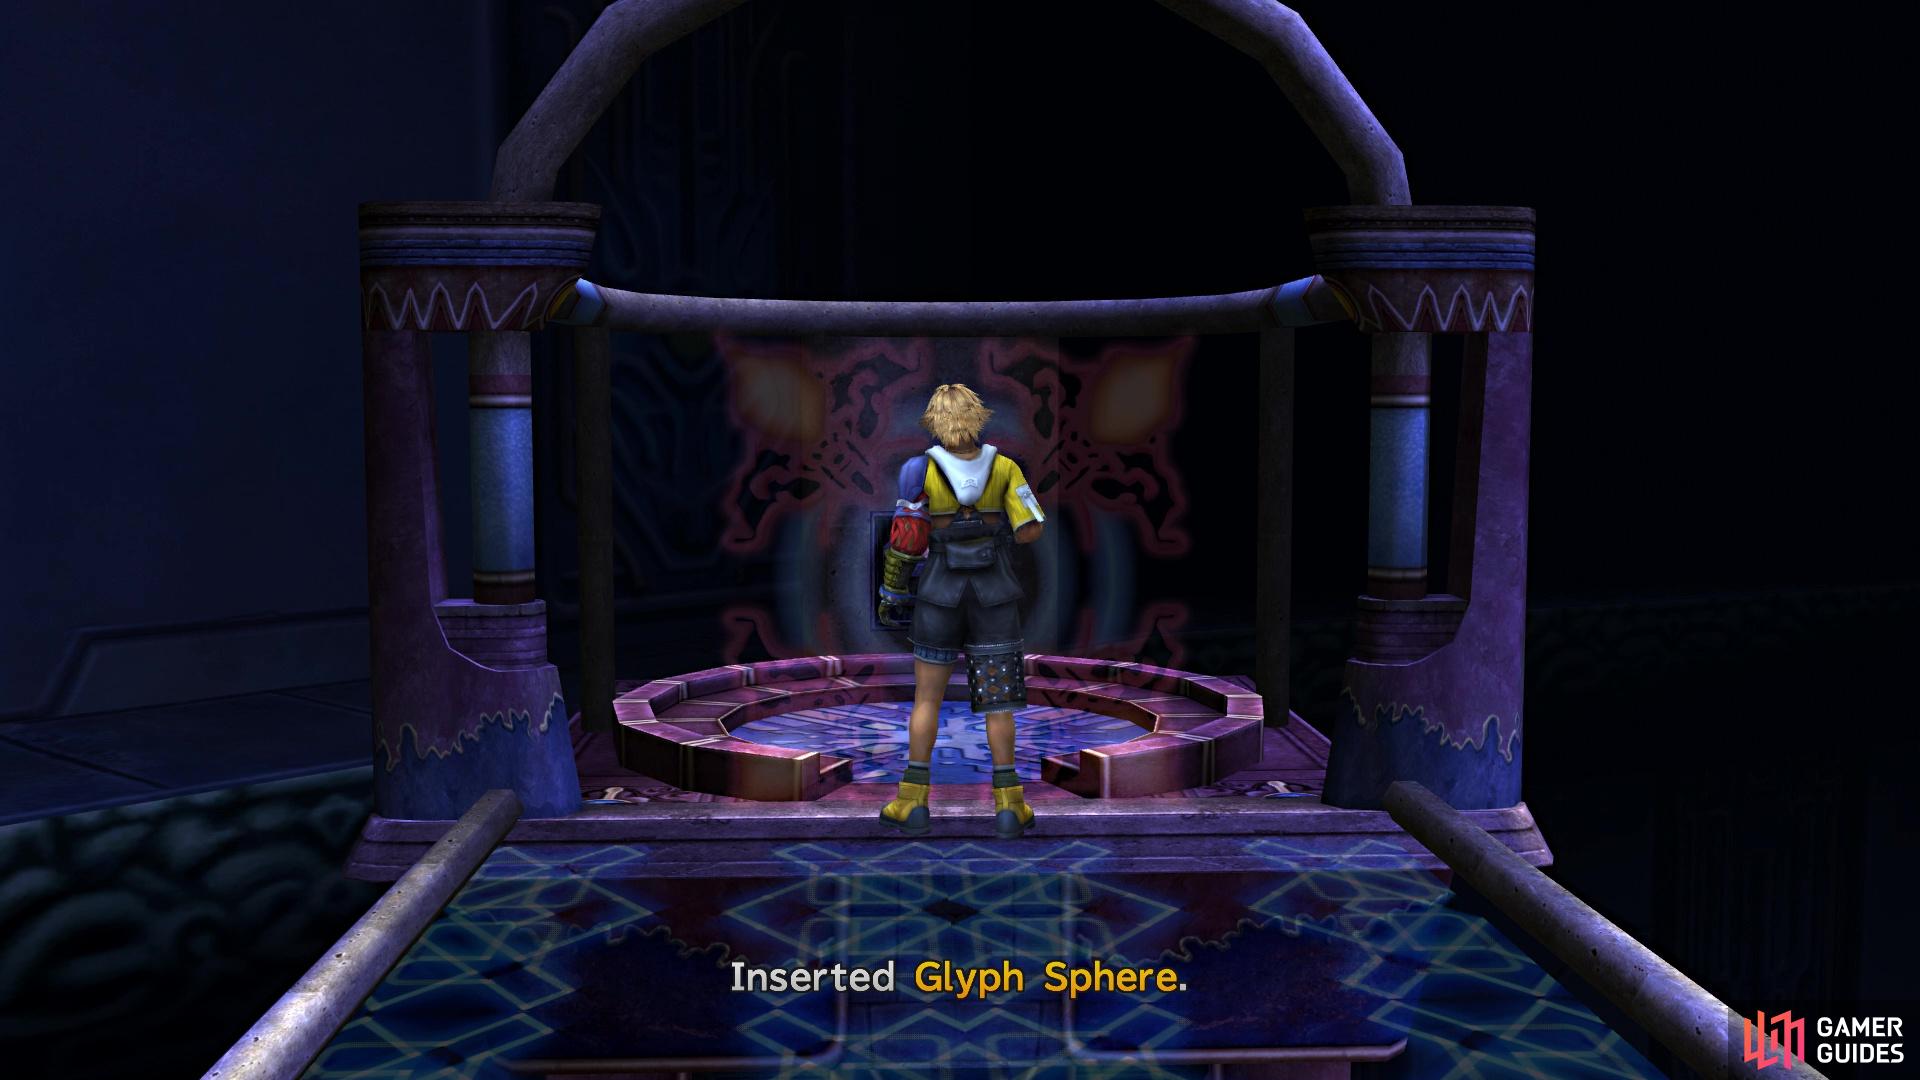
Before you do that, though, let’s take a quick look at what you will be doing. There will be three stops, all of which will be on the right. The first one will end up taking you to the end of the trials, which the middle and far ones will be holding something else for you to do. The farthest stop will be the first one, so head there and place the Bevelle Sphere in the hole to create a bridge next to you. Don’t cross it yet, though, instead going back on the track and stopping at the middle stop. Here, run to the end and grab the Glyph Sphere off of the wall, then return to the farthest stop once more.
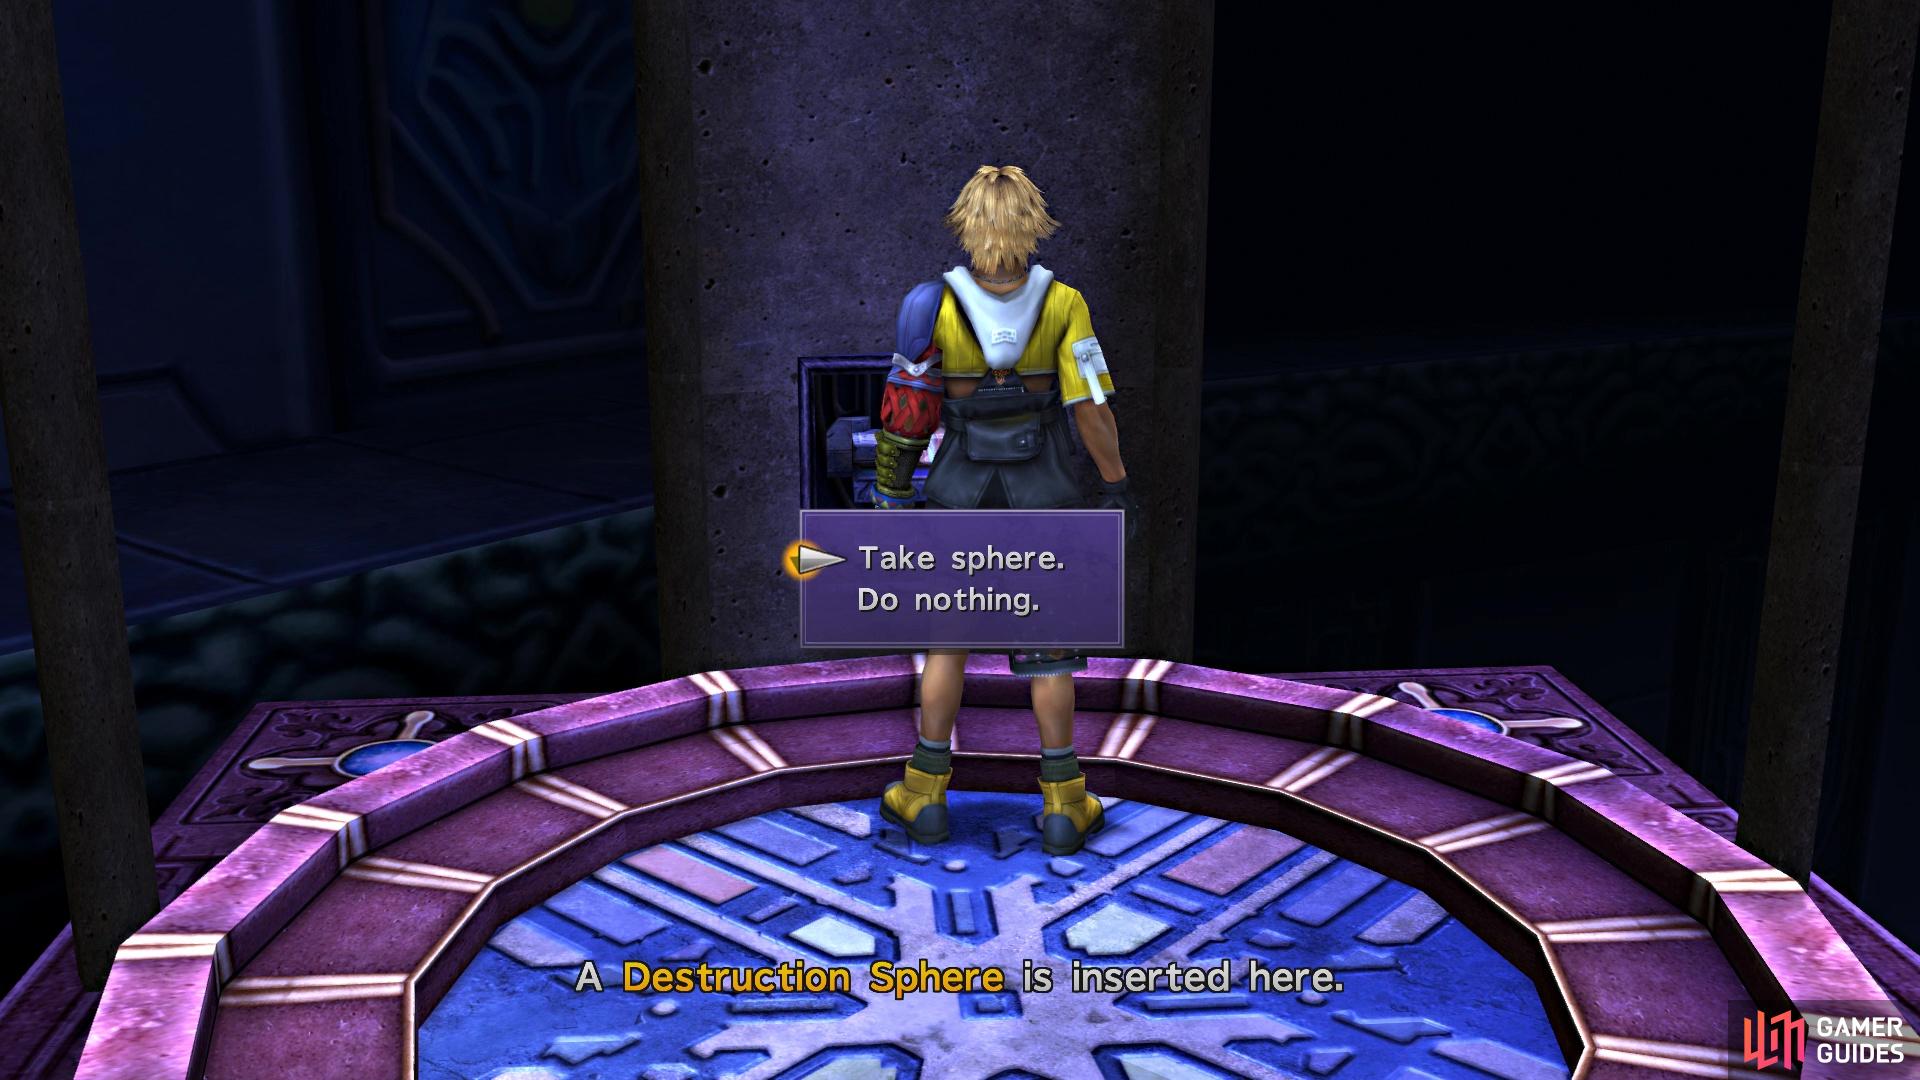
Cross the bridge, with the Glyph Sphere in hand, and place it in the hole to remove a wall blocking the very end there. Take the Destruction Sphere from the wall, then return to the middle stop, putting the sphere in the wall there (where the Glyph Sphere was located). Double back to the farthest stop and grab the Bevelle Sphere you placed there earlier. At the beginning of this second track, you will finally be taking the closest right turn, putting you on a track that will take you to a new area. You’re getting close to being done now, but you will need to be careful up here.
(1 of 2) Place the Glyph Sphere here to remove the wall
Place the Glyph Sphere here to remove the wall (left), allowing access to the Destruction Sphere (right)
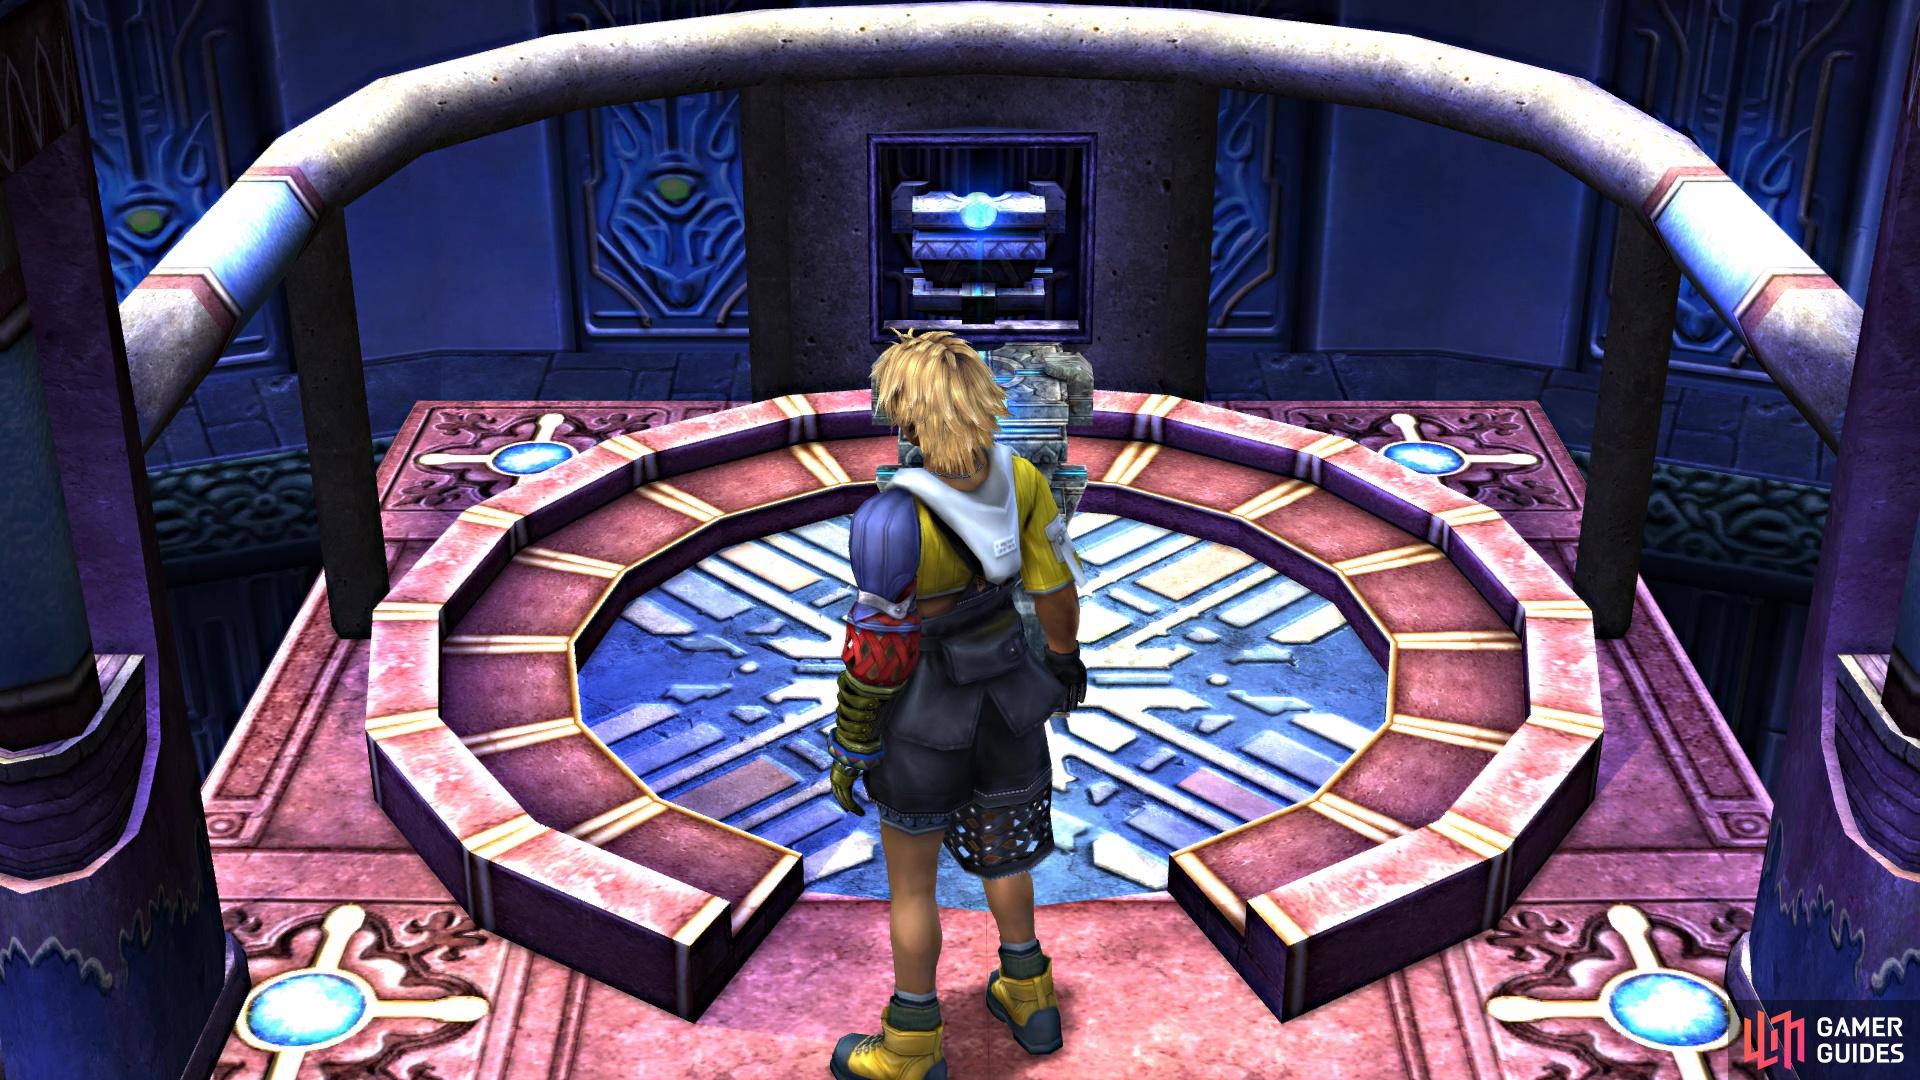
Go up the stairs and to the end, where you will see a few things. There’s a hole in the wall straight ahead, so put the Bevelle Sphere in it. You will also see a chest to the right, but if you go too far, you will exit the Cloister of Trials. Approach it carefully to open the chest, which contains a HP Sphere. Underneath where the chest was is something you can step on, so do that to cause the pedestal to appear on this level. Push it to the left to reach the chest on that side, which is holding a Knight Lance. You can now exit to the right of the first chest.
You will enter the Chamber of the Fayth, where some scenes will take place. You will receive the next Aeon, Bahamut (the default name). Eventually, you will be sent to Via Purifico, the next dungeon, but you won’t have your full party.

 Sign up
No Comments