

The Manglegrove
| Items | Area |
|---|---|
| Mini Medal | Marshlands, next to the vine, chest |
| New Sparkly Spots | Area |
|---|---|
| Belle Cap | Marshlands |
| Spellbound Bough | Marshlands |
| Spellbound Bough x2, Fatalistick | Marshlands, Tree gathering point |
| Royal Soil | Marshlands |
| New Monsters | HP |
|---|---|
| Vicious Sham Hatwitch | ~92 |
| Vicious Bubble Slime | ~90 |
| Chewlip | ~336 |
As you enter The Manglegrove via the entrance close to The Last Bastion, you’ll see from taking a look at the map that the bridge to the Costa Valor has been repaired. Most of the monsters that you’ve already fought in Heliodor return here with one or two new Vicious types to add to your growing Bestiary.
Begin by heading west until you reach the large open field and then take the vine down to the southwest. After you reach the bottom, look north to discover a chest containing a Mini Medal. Head south from this location to find a Sparkly Spot containing a Belle Cap. Stick to the west side as you head north to find the next Sparkly Spot housing a Spellbound Bough before continuing north to a Tree gathering point containing two Spellbound Boughs and a Fatalistick. Finally, head east into the corner here to find the final new Sparkly Spot containing a Royal Soil.
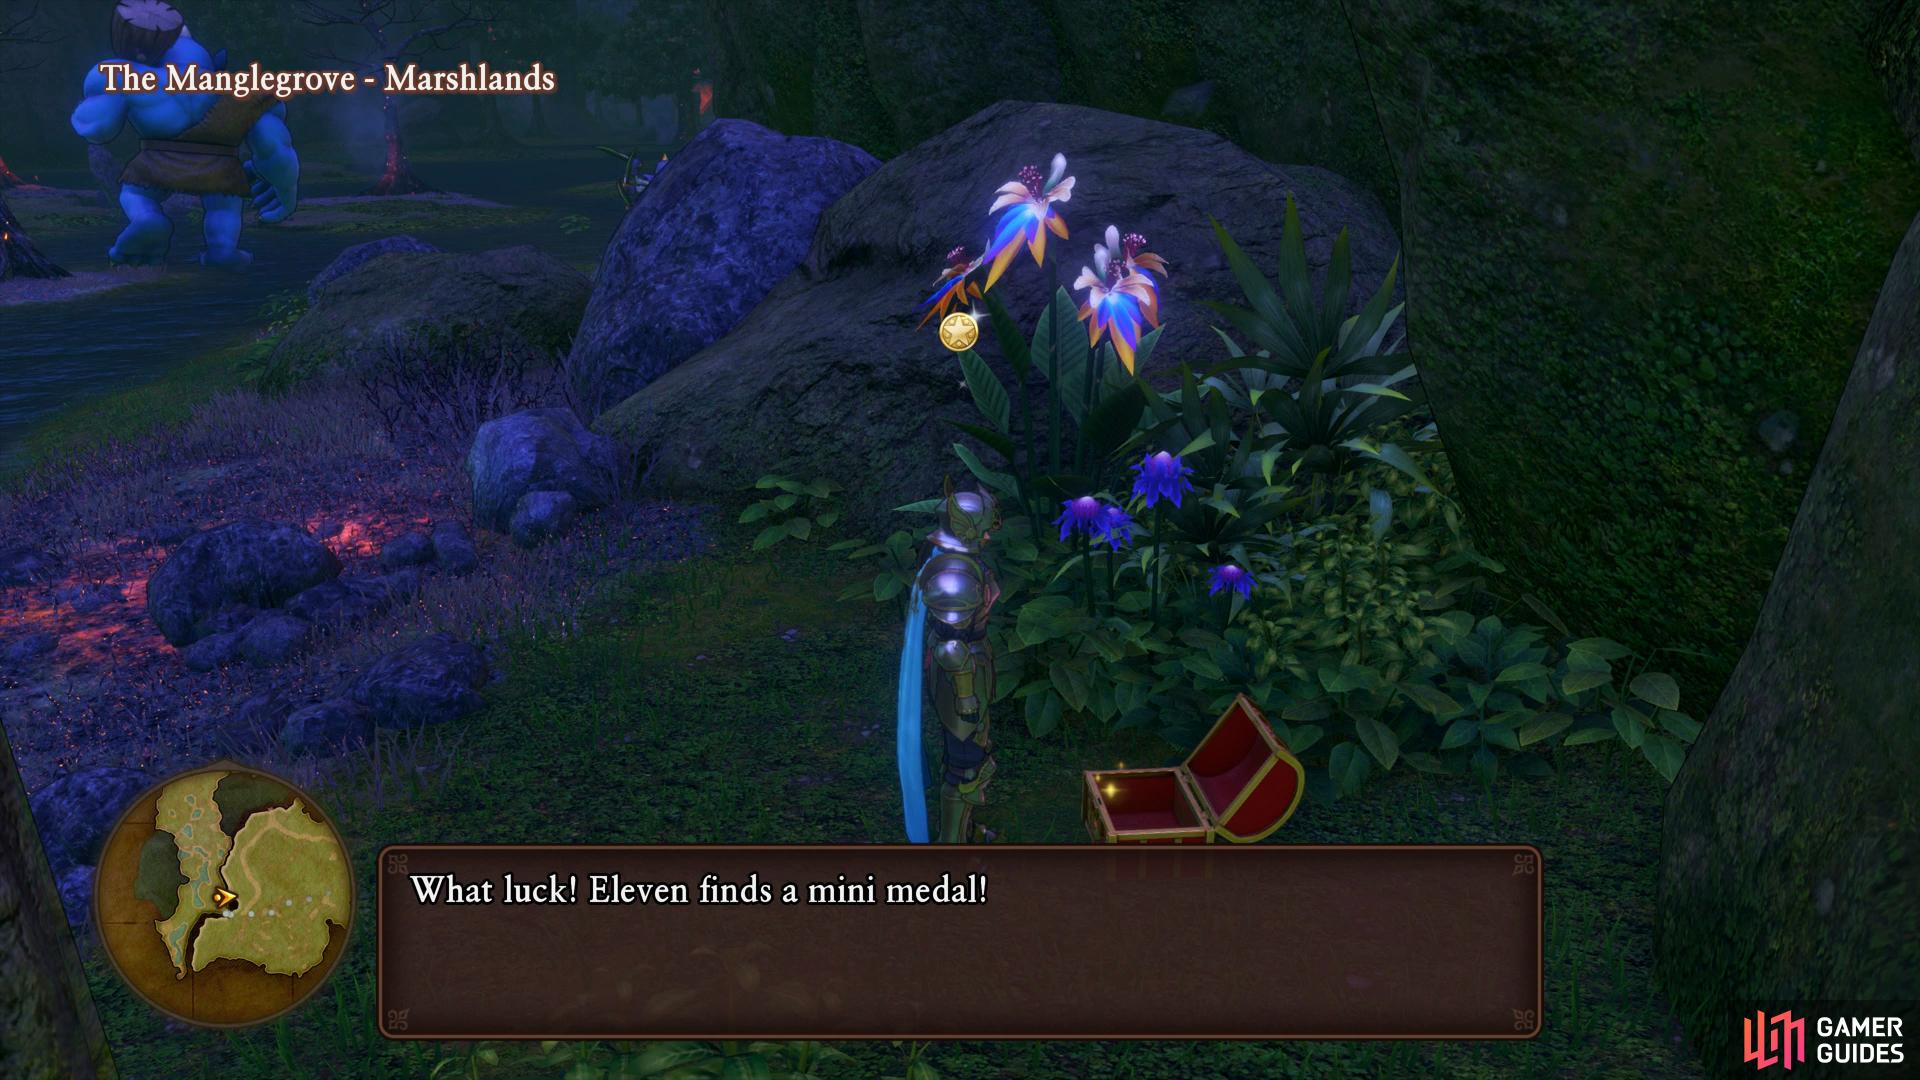
(1 of 2) You’ll find a Mini Medal in the only new chest here
You’ll find a Mini Medal in the only new chest here (left), use the forge to upgrade the Shield of Heliodor to +3. (right)
Climb the ledges to the north and then make a quick detour to the Campsite to register it to your Zoom list and access the forge. Begin by making a King’s Axe for Hendrick if you have the materials (if not, upgrade his current axe) and some Magic Armor (at +3) for Hendrick first and then the Hero if you have left over materials. Finally, rework Hendrick’s shield to +3 along with the Shield-Bearer accessory (along with equipping it on him). Leave the Camp and make your way over to the northwest, taking the bridge over to the Costa Valor. Not much has changed here in the Costa Valor save for a landslide blocking the way to Puerto Valor so ignore it for now and head north into Mount Pang Lai.
Mount Pang Lai
| Items | Area |
|---|---|
| Mini Medal | Entrance, in the long grass, chest |
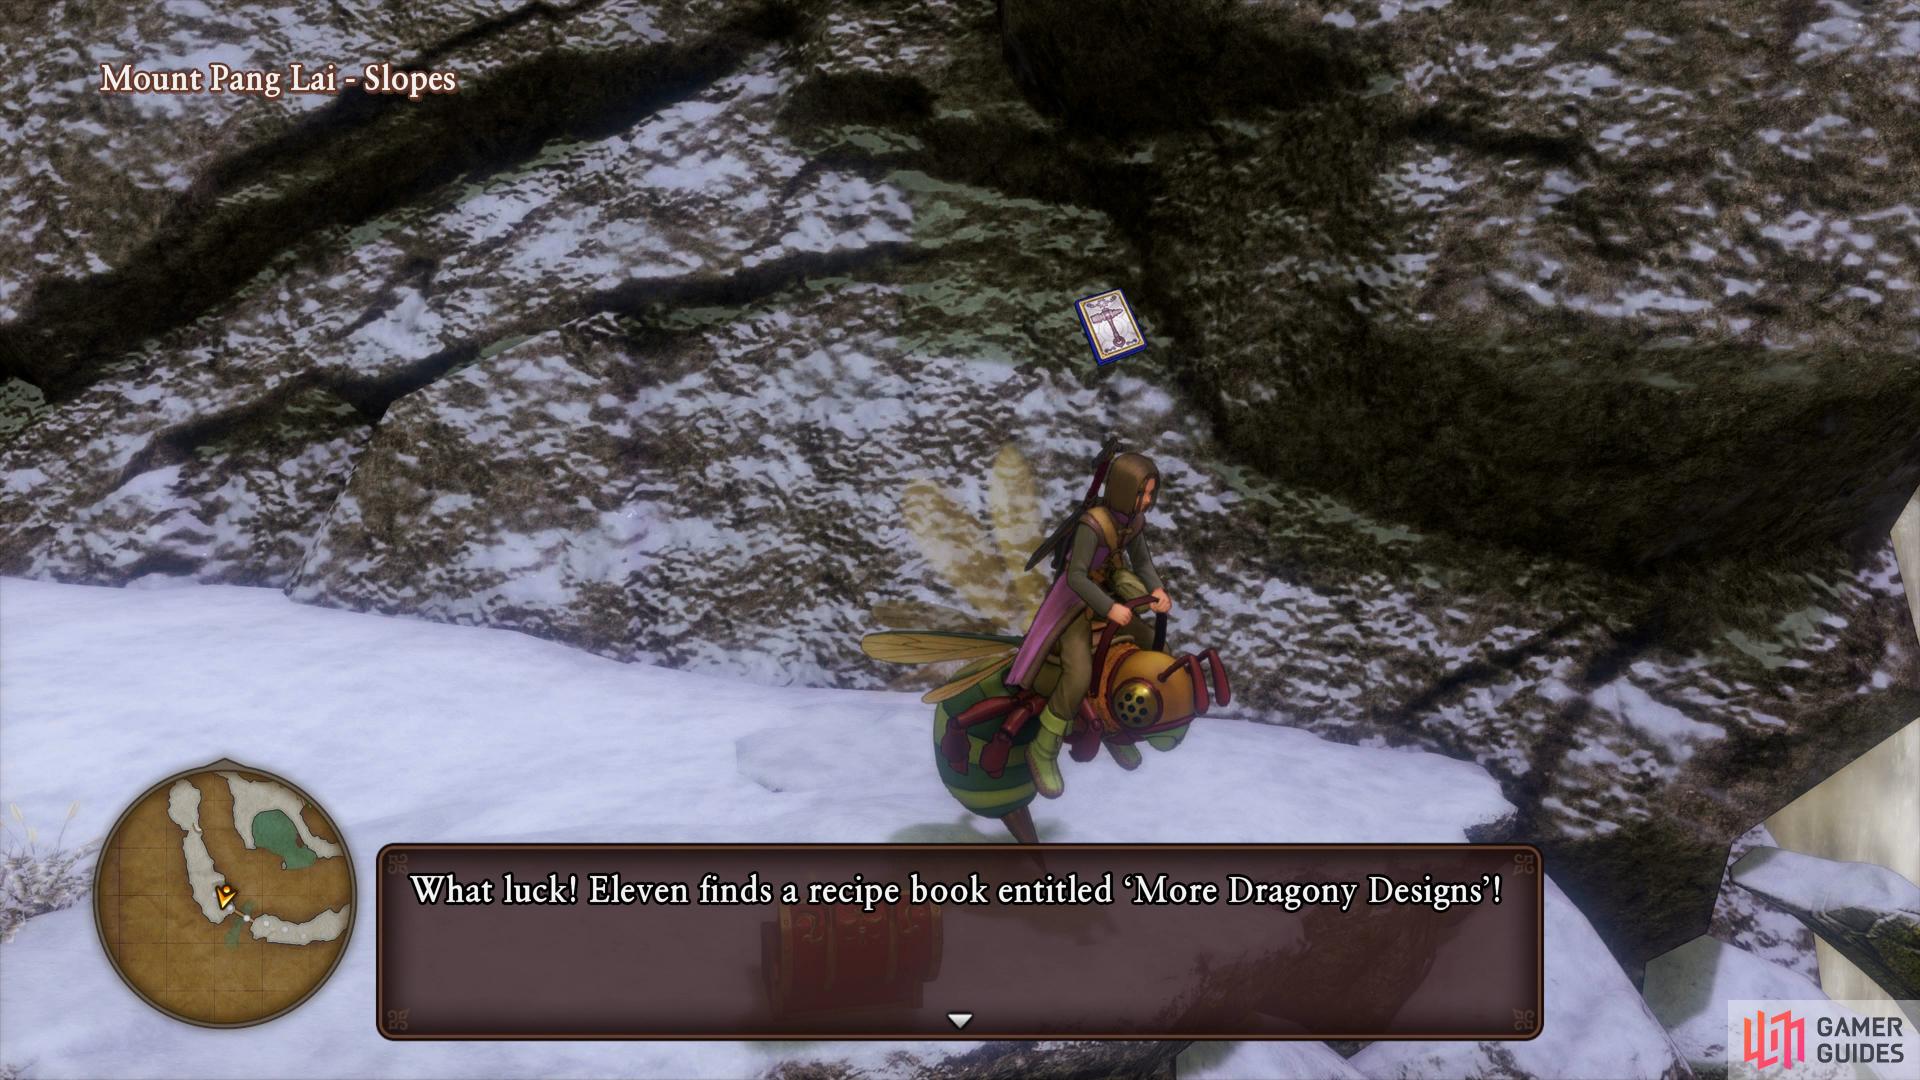
| More Dragony Designs | Slopes, past the bridge, chest |
| Staff of Antimagic | Slopes, east of town, chest |
| Sparkly Spots | Area |
|---|---|
| Spellbound Bough | Entrance |
| Dieamend | Entrance |
| Rockbomb Shard | Base Cave |
| Fresh Water | Base Cave |
| Mythril Ore | Base Cave |
| Mythril Ore | Base Cave |
| Mythril Ore | Base Cave |
| Enchanted Stone | Base Cave |
| Enchanted Stone | Slopes |
| Lunaria (Night Only) | Slopes |
| Monsters | HP |
|---|---|
| Vicious Bodkin Fletcher | ~128 |
| Lump Shaman | ~129 |
| Vicious Gnawchid | ~349 |
| Gleeful Grublin | ~151 |
| Dragon Rider (Mount) | ~168 |
| Rockbomb | ~300 |
| Honeyhead Horknight (Mount) | ~136 |
| Boreal Serpent | ~480 |
| Tantamount | ~320 |
To reach the area that the King mentioned back at The Last Bastion, you’ll need to trek up the mountain. Begin by following the path until it opens up, coming back on yourself to the south to find the first Sparkly Spot containing a Spellbound Bough. Follow this path to the northwest to find a hidden chest containing a Mini Medal among the long grass. Continue to follow the path up to the Camp to rest along with saving your game. Head east from the camp and shimmy around to a Sparkly Spot containing a Dieamend before entering the Base Cave.
Follow the linear path until you come across a glittering Dragon Rider, defeat it and mount it to gain the ability to fly around the area by holding the [R2] button to Flap higher. Using the dragon, fly up the ledges and then search the western wall for a Sparkly Spot containing a Rockbomb Shard. Continue along and up to the next open area, heading to the northwest to find another Sparkly Spot containing some Fresh Water.
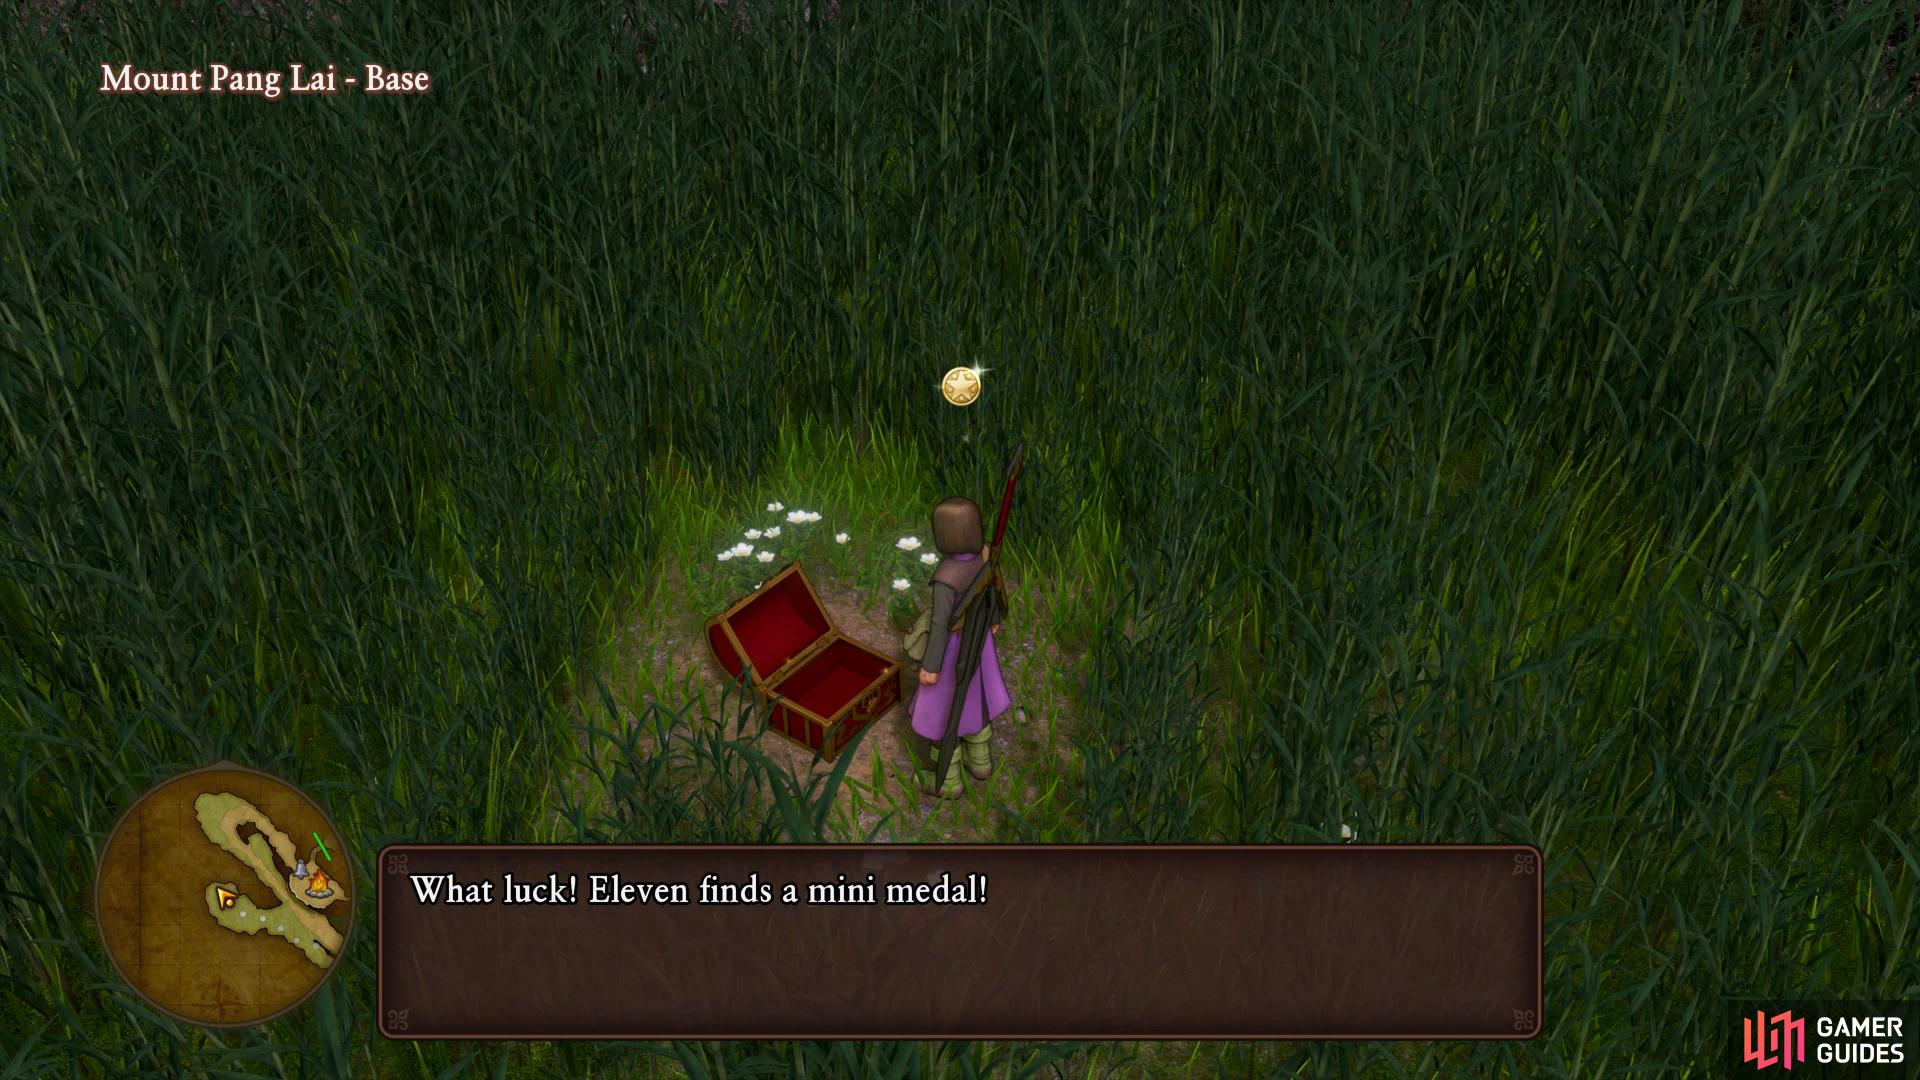
(1 of 2) There’s a chest hidden in the long grass at the Base of the mountain
There’s a chest hidden in the long grass at the Base of the mountain (left), while on the slopes you can find a new Recipe Book. (right)
Fly over towards the edge of the water and grab the Mythril Ore from the Sparkly Spot before flying over the water to the east where you’ll find three more Sparkly Spots containing two more Mythril Ores and an Enchanted Stone. Fly back over the water and head up to the Slopes.
Back out on the snowy path, head forward and defeat one of the glittering Honeyhead Horknights to grab yourself another mount. Continue along across the bridge and open the chest on your way to obtain a new Recipe Book, More Dragony Designs. Continue up the path and ignore the entrance to the town for now, instead opting to fly over the water to a Sparkly Spot containing another Enchanted Stone. If it’s currently night time, you’ll find a Sparkly Spot containing a Lunaria to the west of this location. Finally, follow the path to the east to discover the final chest containing a Staff of Antimagic. With all the items looted on the mountain, head back to the entrance of the town and head inside.
Angri-La

| Items | Area |
|---|---|
| 80G | Lower Level, pot |
| Ethereal Stone | Lower Level, Inn, chest |
| Seed of Therapeusis | Middle Level, outside, pot |
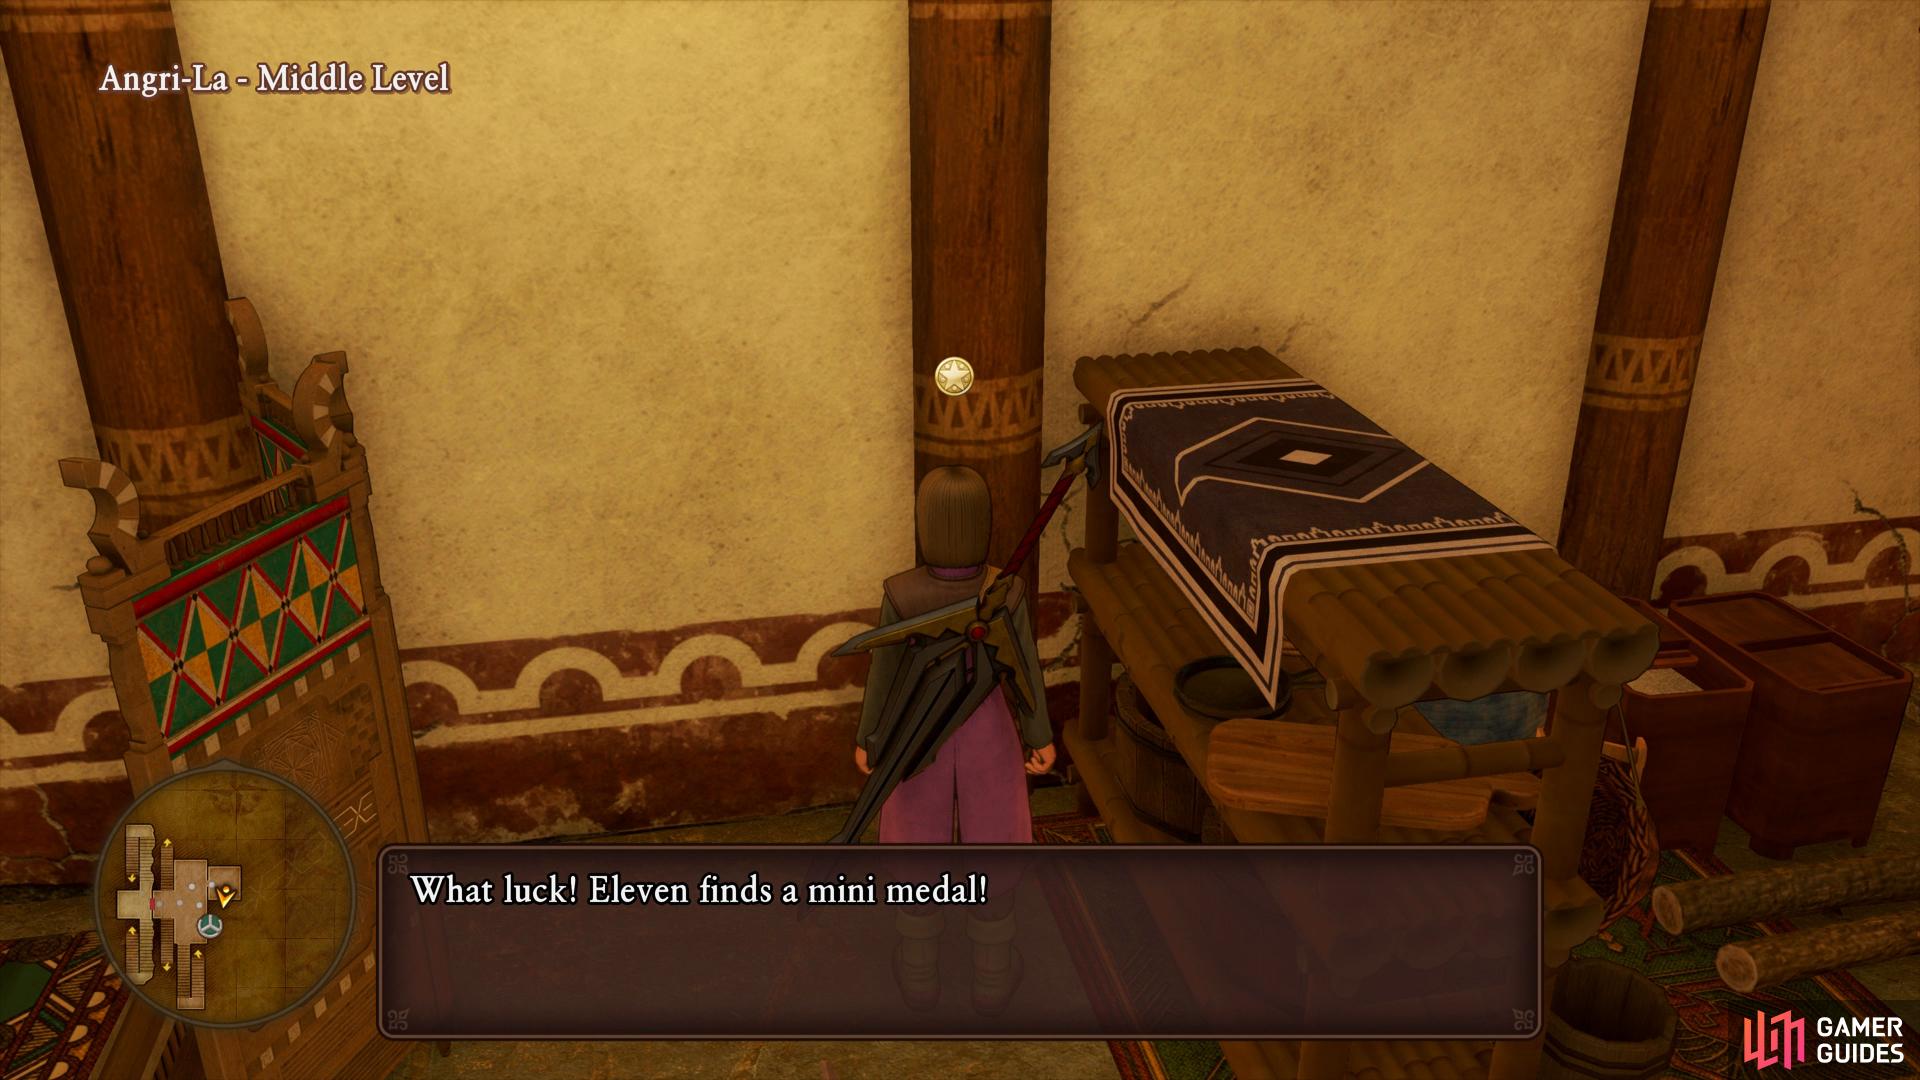
| Mini Medal | Middle Level, north room, pot |
| Magic Water | Upper Level, Grand Master’s Chamber, wardrobe |
As you enter Angri-La, you are surrounded by monks before the High Lama steps in. After the pleasentries are exchanged he will ask you to meet him in the High Hall. Before heading straight there however, take the time to explore Angri-La and loot the items here.
Head into the Lower Level and search opposite the Inn to find some pots to smash containing 80G before heading into the Inn itself to find a chest housing an Ethereal Stone. Make use of the Inn should you need it and then check out the Item shop, purchase some Dragon Hides and Horns if you don’t have many as they’ll be useful for the Recipe Book you just picked up. You can also consider purchasing an Ice Axe for Hendrick if you didn’t have the materials for the King’s Axe.
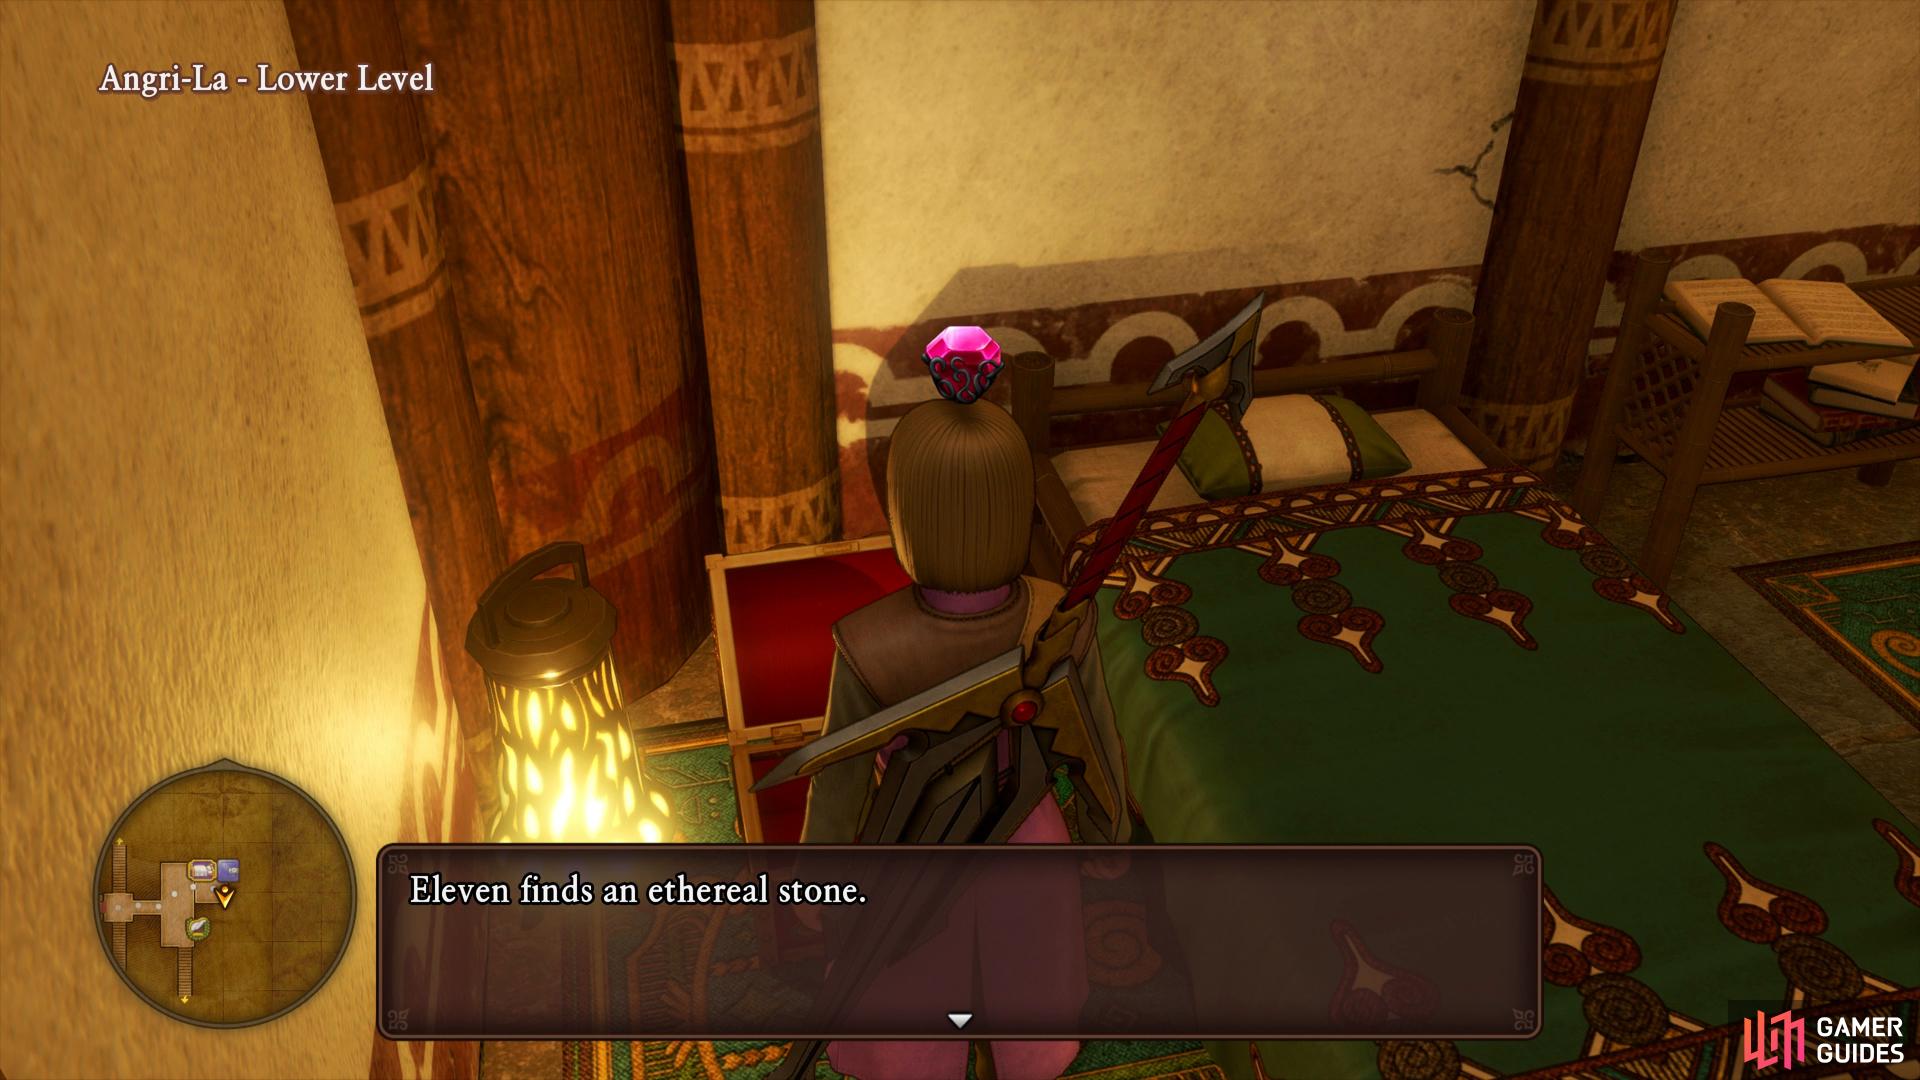
(1 of 2) There’s a chest hidden in the Inn
There’s a chest hidden in the Inn (left), while a pot on the Middle Level houses a Mini Medal. (right)
Head up to the Middle Level next and search outside to find some pots to smash containing a Seed of Therapeusis. Head inside and search inside the room north of the Priest to find another pot with a Mini Medal before saving your game if you need to. Head up the stairs to the Upper Level now and enter the High Hall to meet up with the High Lama.
The High Lama will tell you of the duty of Angri-La, to train the young Prince’s of Dundrasil for six years. After the exchange, head up the stairs and into the Grand Master’s Chamber where you’ll find a wardrobe containing a Magic Water. Return down the stairs and follow the High Lama east to the Field of Discipline, he’ll teach you some more of Erdea’s history before you spend the night feasting away in Angri-La.
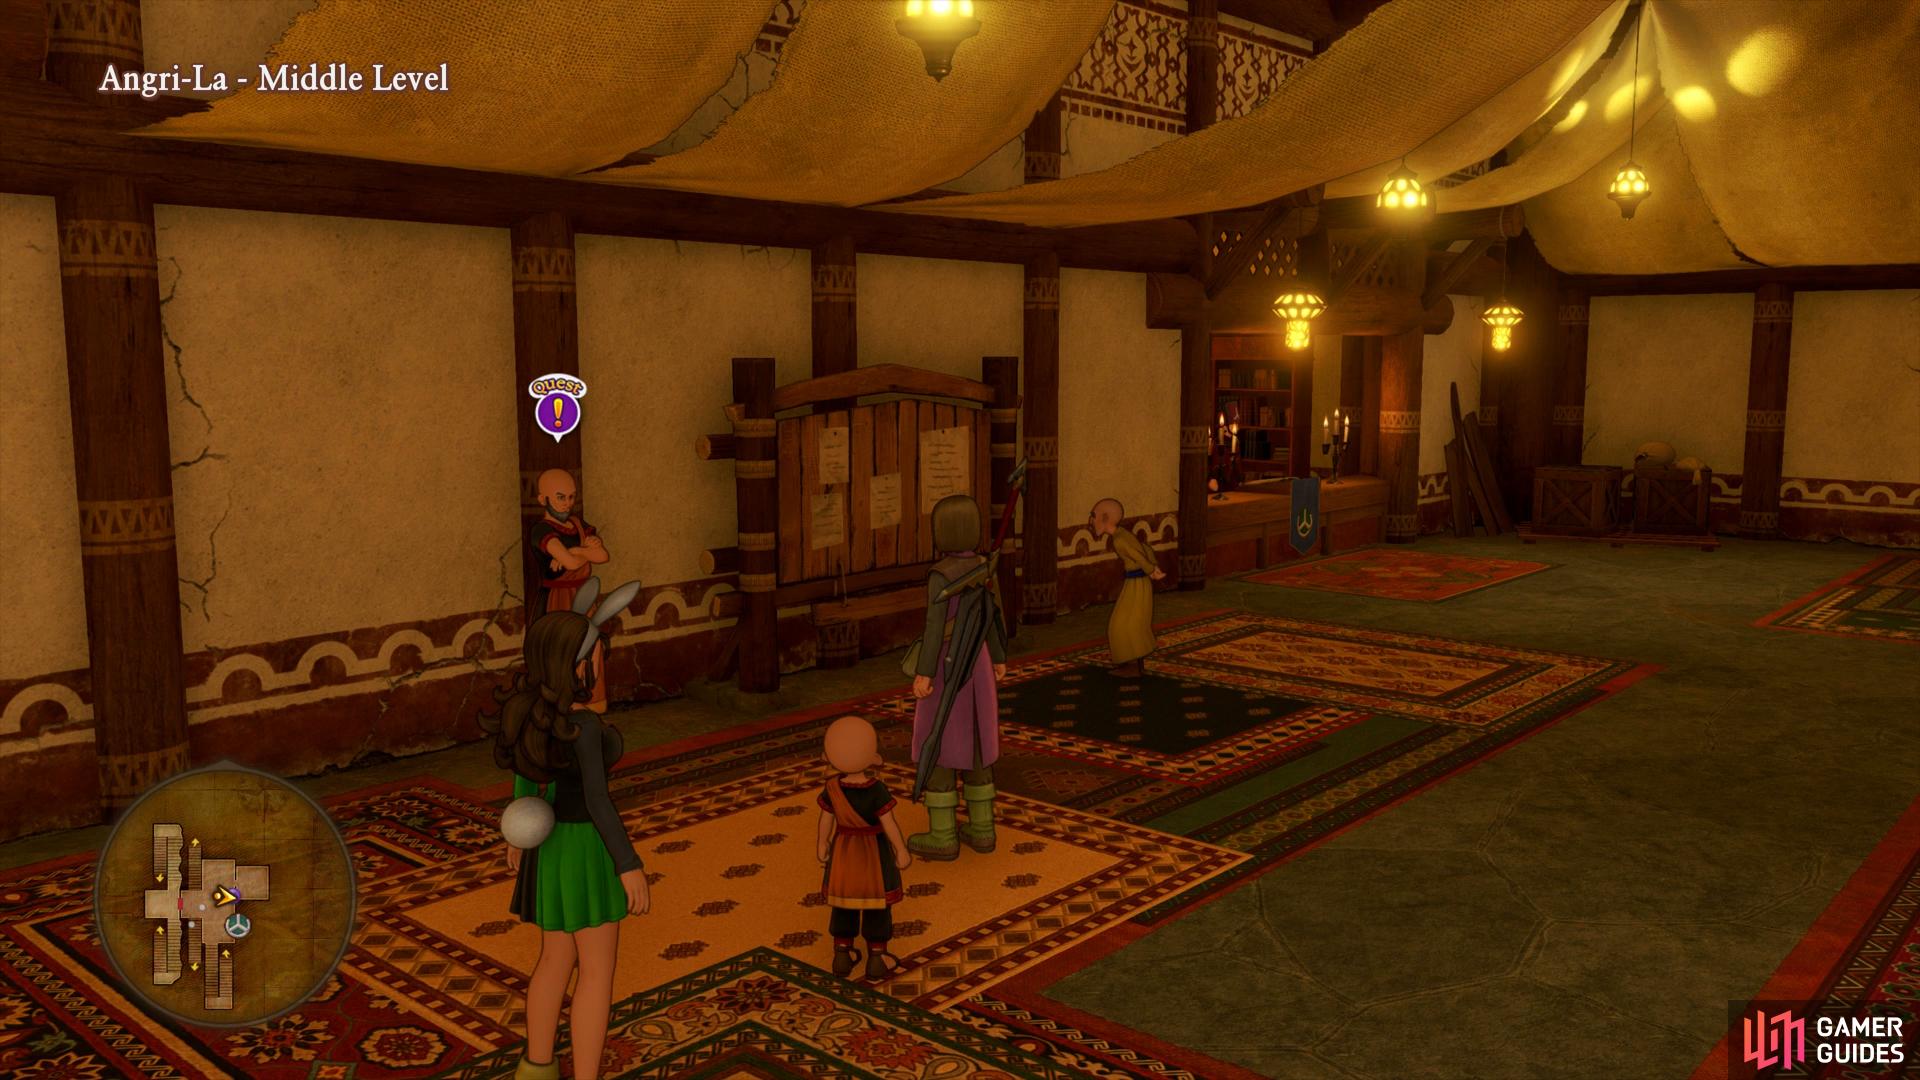
(1 of 2) Speak to the man before heading off to the mountain
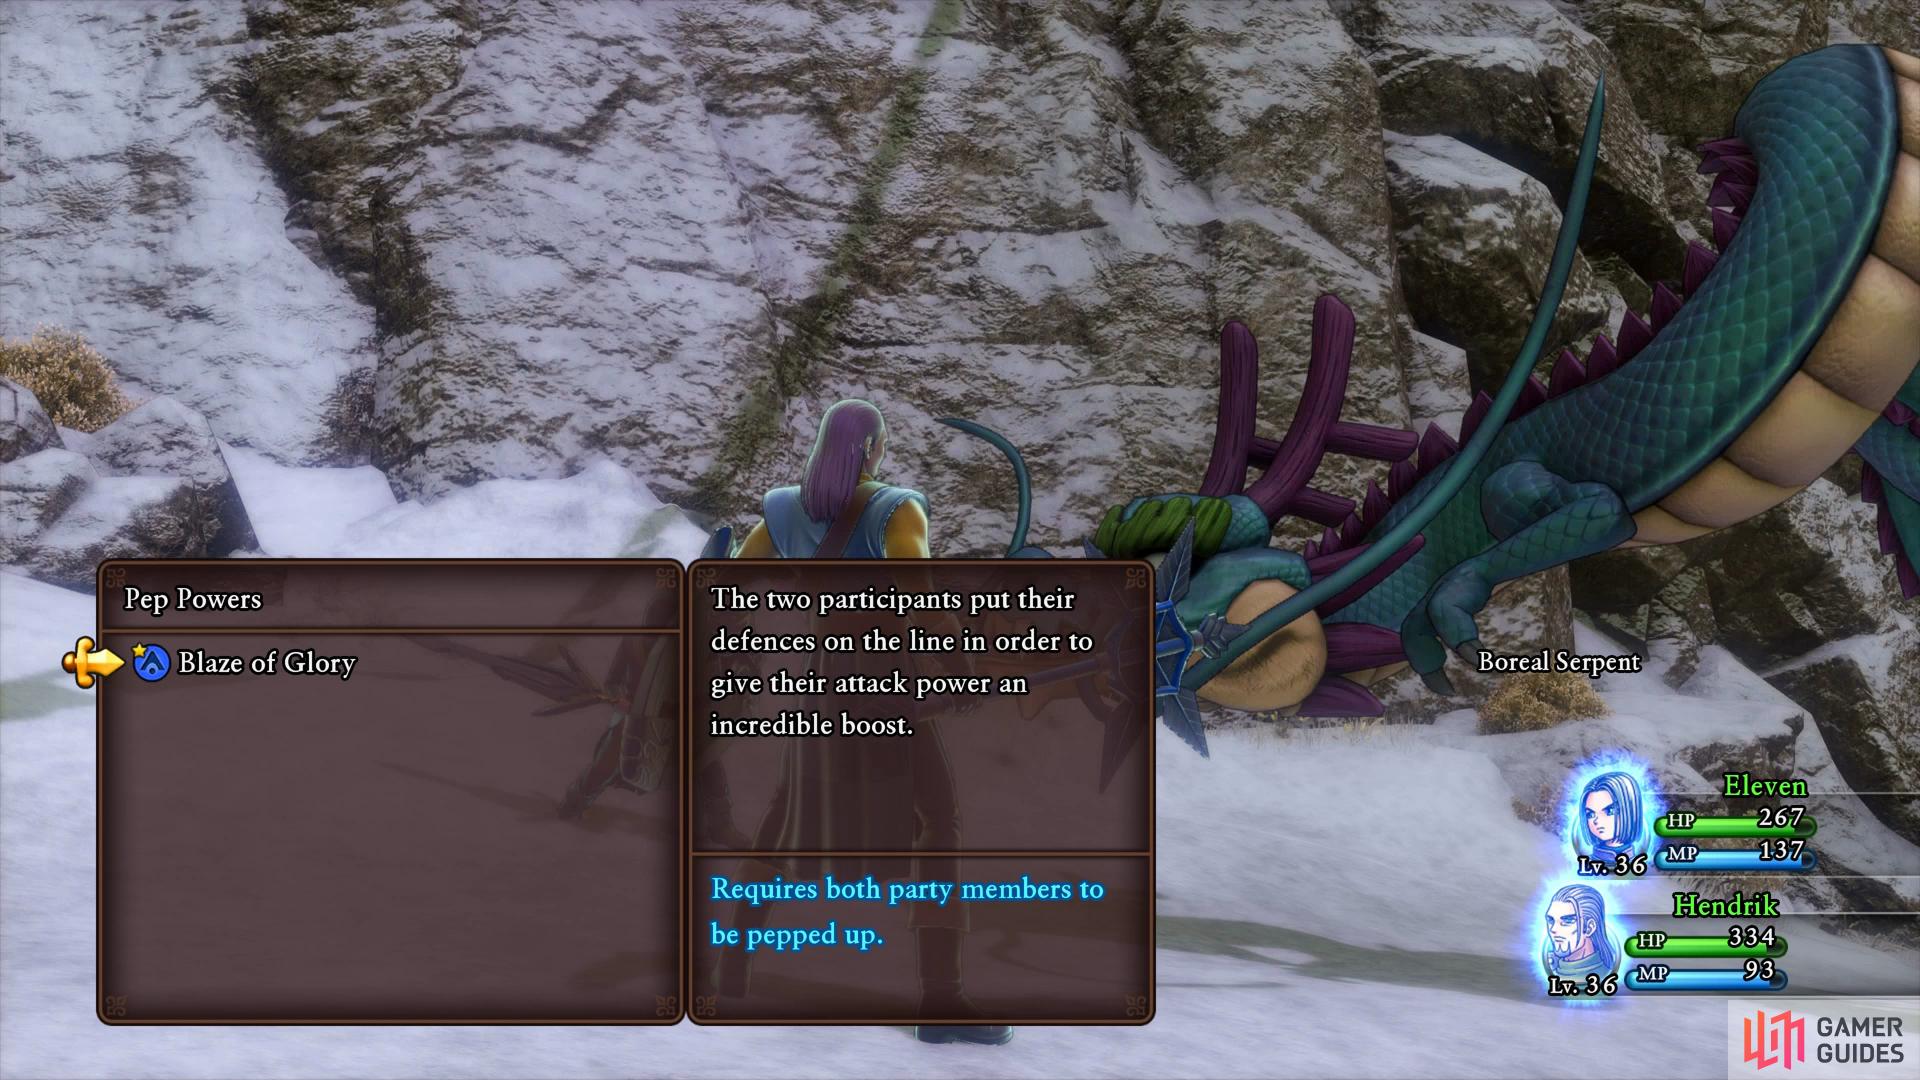
Speak to the man before heading off to the mountain (left), use the Pep Power Blaze of Glory against a Boreal Serpent outside. (right)
The next morning, head outside to discover that a disciple is delivering grave tidings to the High Lama. A hermit is at the top of the mountain infested with monsters and Hendrick and the Hero offer their assistance in retrieving him. Before setting off for Mount Pang Lai, head back down to the Middle Level and speak to the man near the priest who will offer you a challenge, agree to accept Quest 27 - Understanding Angri-La. You’ll need to head out to the mountain path and defeat a Boreal Serpent with the Pep Power Blaze of Glory, an easy enough endeavour. Once successful, return to the man to complete the quest and obtain a Mystic.
Regardless if you’ve finished the quest or not, make your way out of Angri-La and head to the cave to the east, the man will now let you pass to enter the Summit Tunnel.
Summit Tunnel
The path to the top of the mountain is short and there’s only one chest to find. On top of that, there are no new monsters to fight here too (other than Black Dragons you fought back in Heliodor) so you should know what to expect.
Begin by following the path until you reach the first glittering Dragon Rider, defeat it to snag yourself a mount and begin following the path until you reach a large lake. Fly over to the northwest and land on the small island, a chest rests here containing a Sorcerer’s Ring. Fly back over the lake and follow the linear path back outside to the Summit.
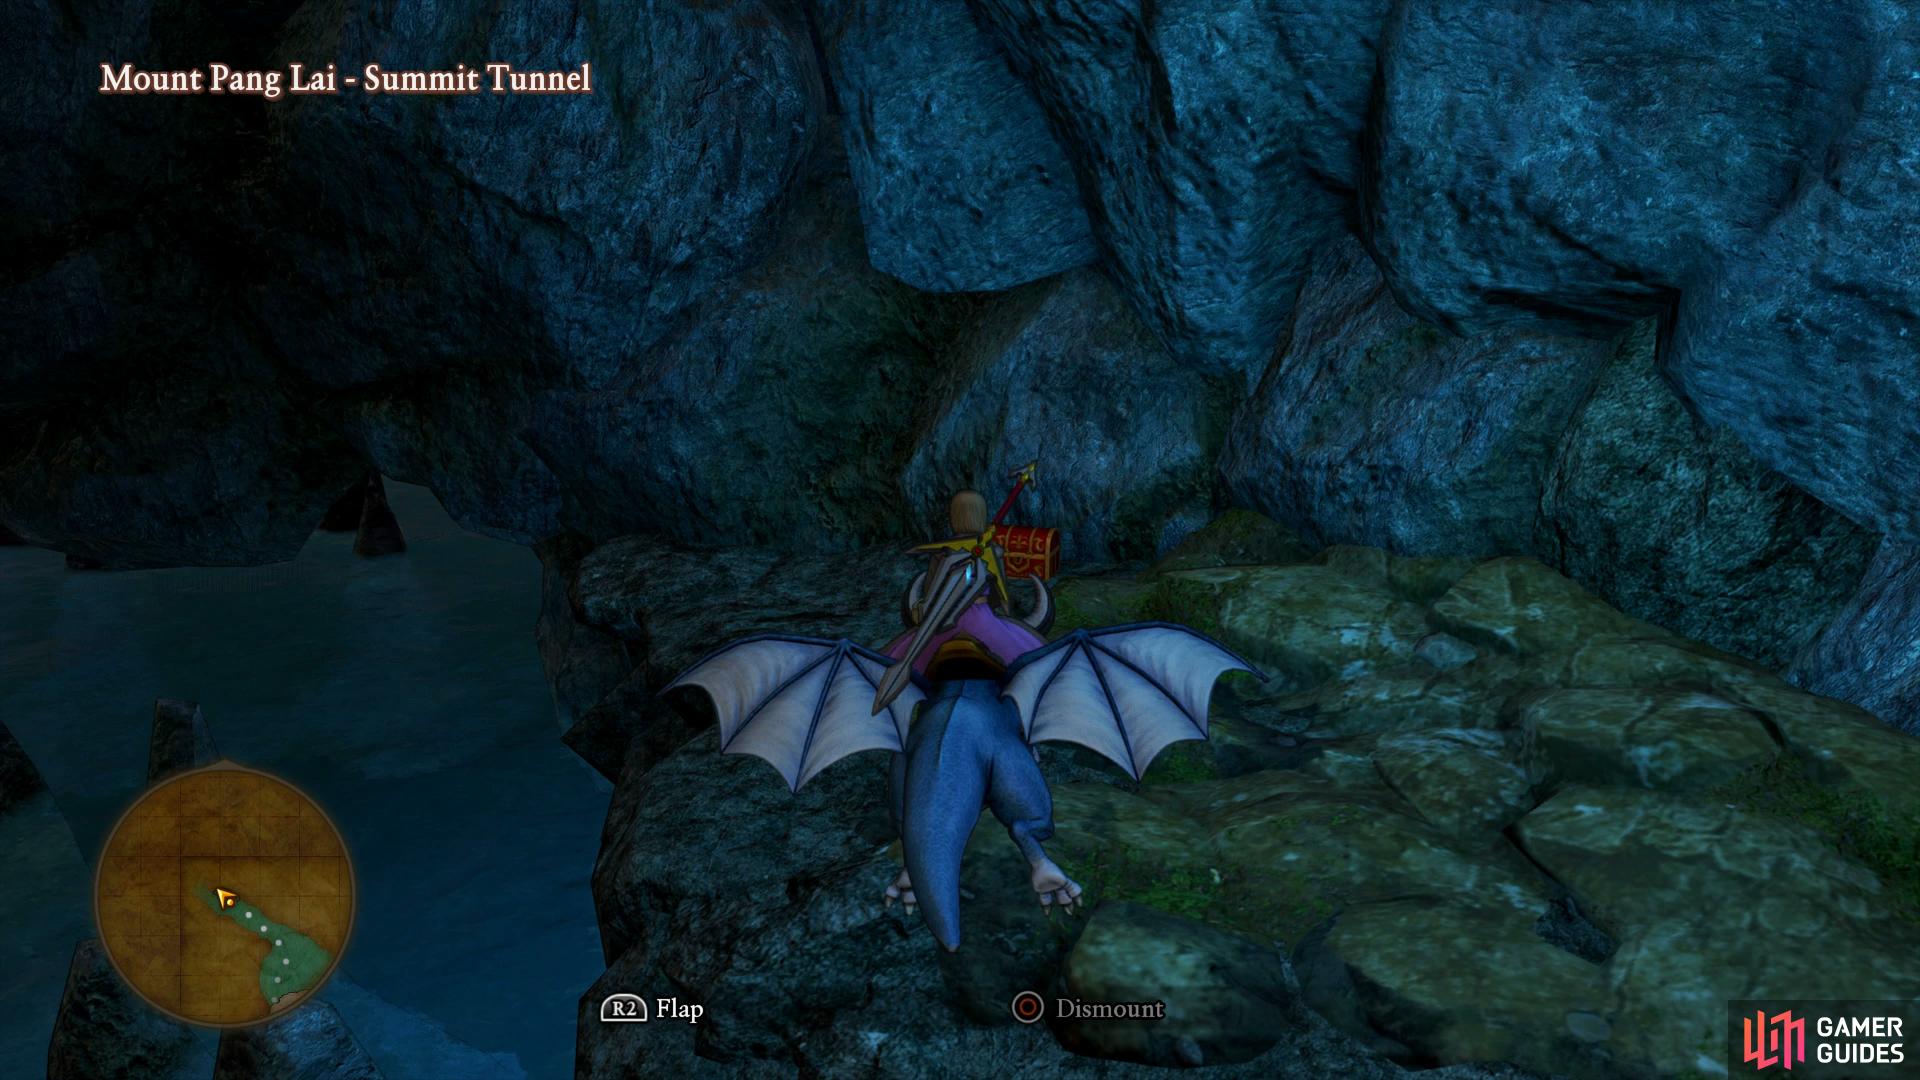
You’ll need to a mount to reach this chest.
Follow the steps to the top and when you regain control of the Hero, make use of the Camp. At long last there’s a new Greatsword for you to forge for the Hero in the form of the Wyrmfang and consider reworking the Ice Axe for Hendrick if you purchased it. Be sure to rest at the Camp and save your game before approaching the hermit. After the revelation of discovering that the hermit is in fact Rab, the Hero decides to go into deep meditation to try and bring him back.
The Void
This dark gloomy place looks similar to the Fields of Discipline back in Angri-La. Head forward and speak to the woman who will inform you of what the Void is. Head through the door in front of you to meet up with Rab who is deep in training. As Rab learns the secret technique from the Age of Heroes, Grand Master Pang wishes to teach the Hero a technique too. In order to expedite your training you’ll need to spar against Rab, make sure you’re prepared and then speak to Pang to begin.
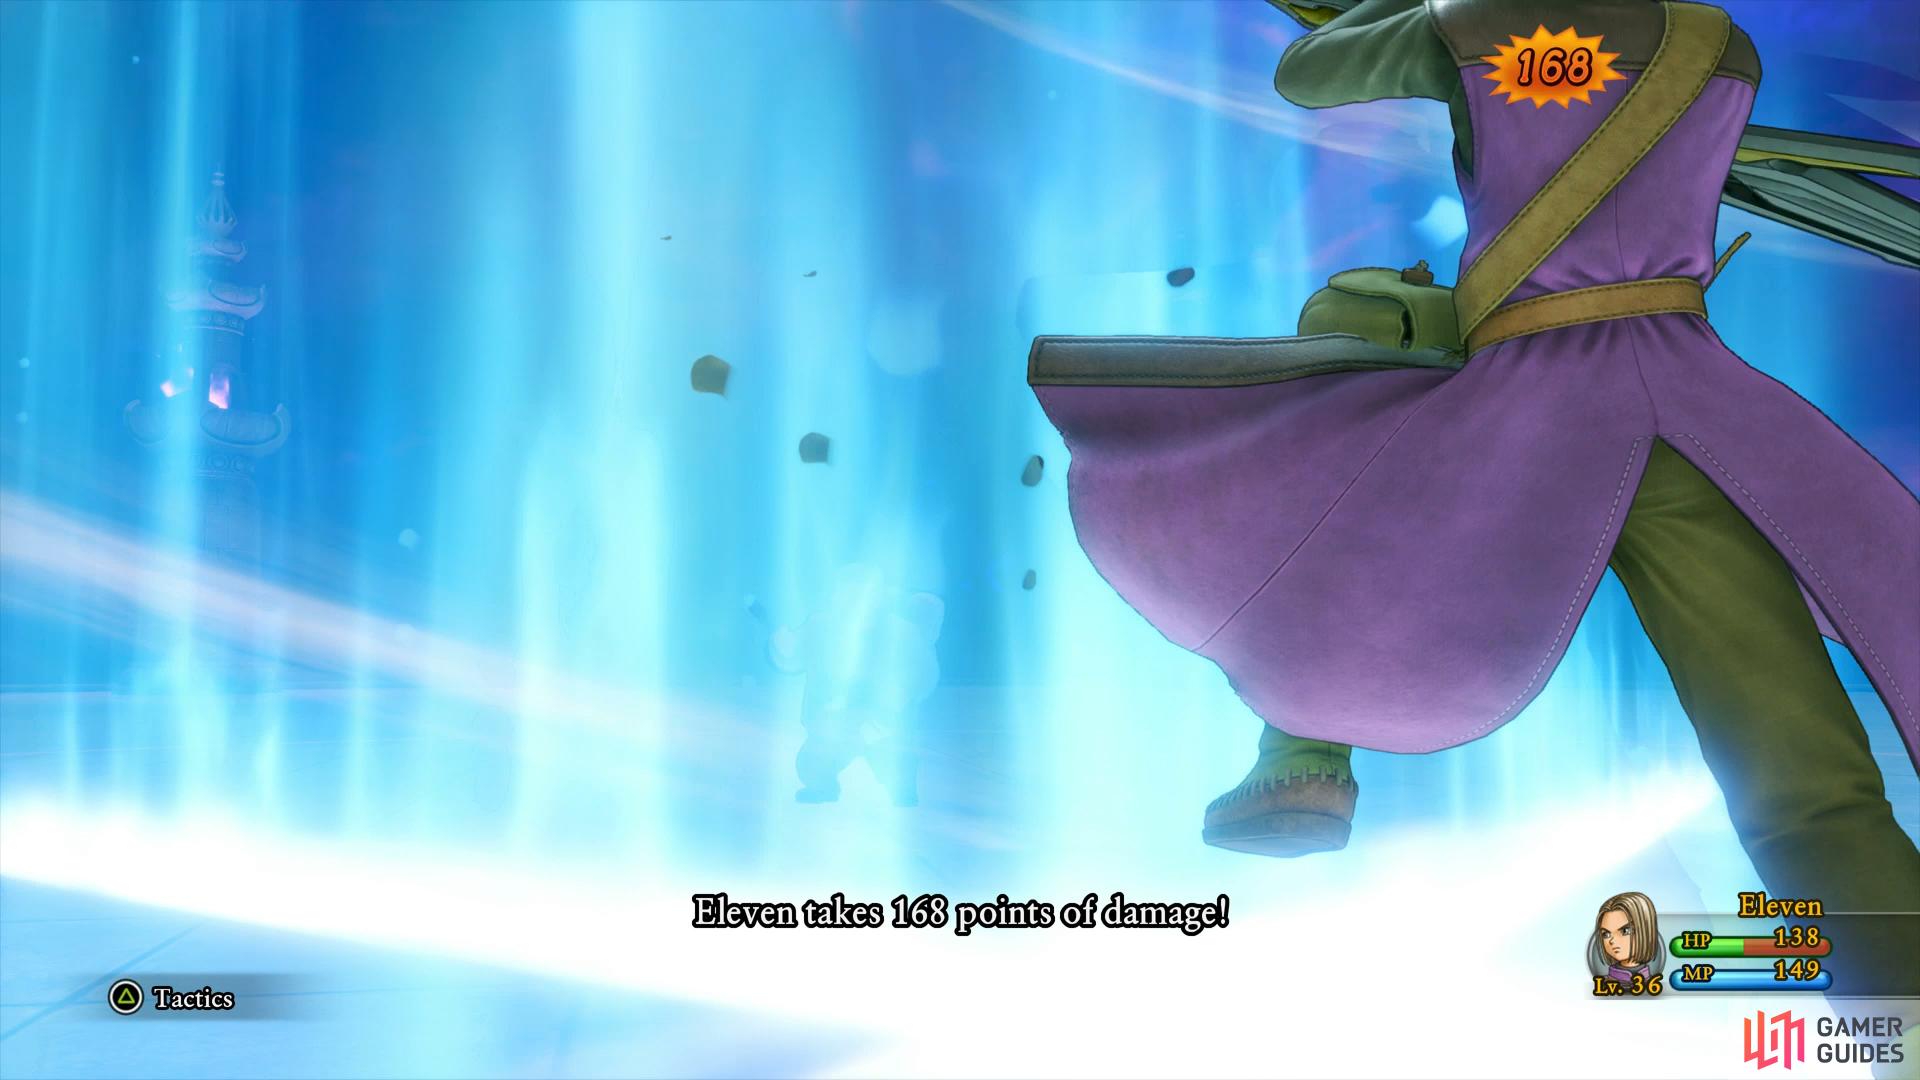
Boss: Rab

The battle against Rab is a rather unique one in that your objective is not to defeat him but rather continue using your new skill, Quadraslash, to increase its power with each cast. Rab only has 500 HP but can summon copies of himself with an additional 100 HP each.
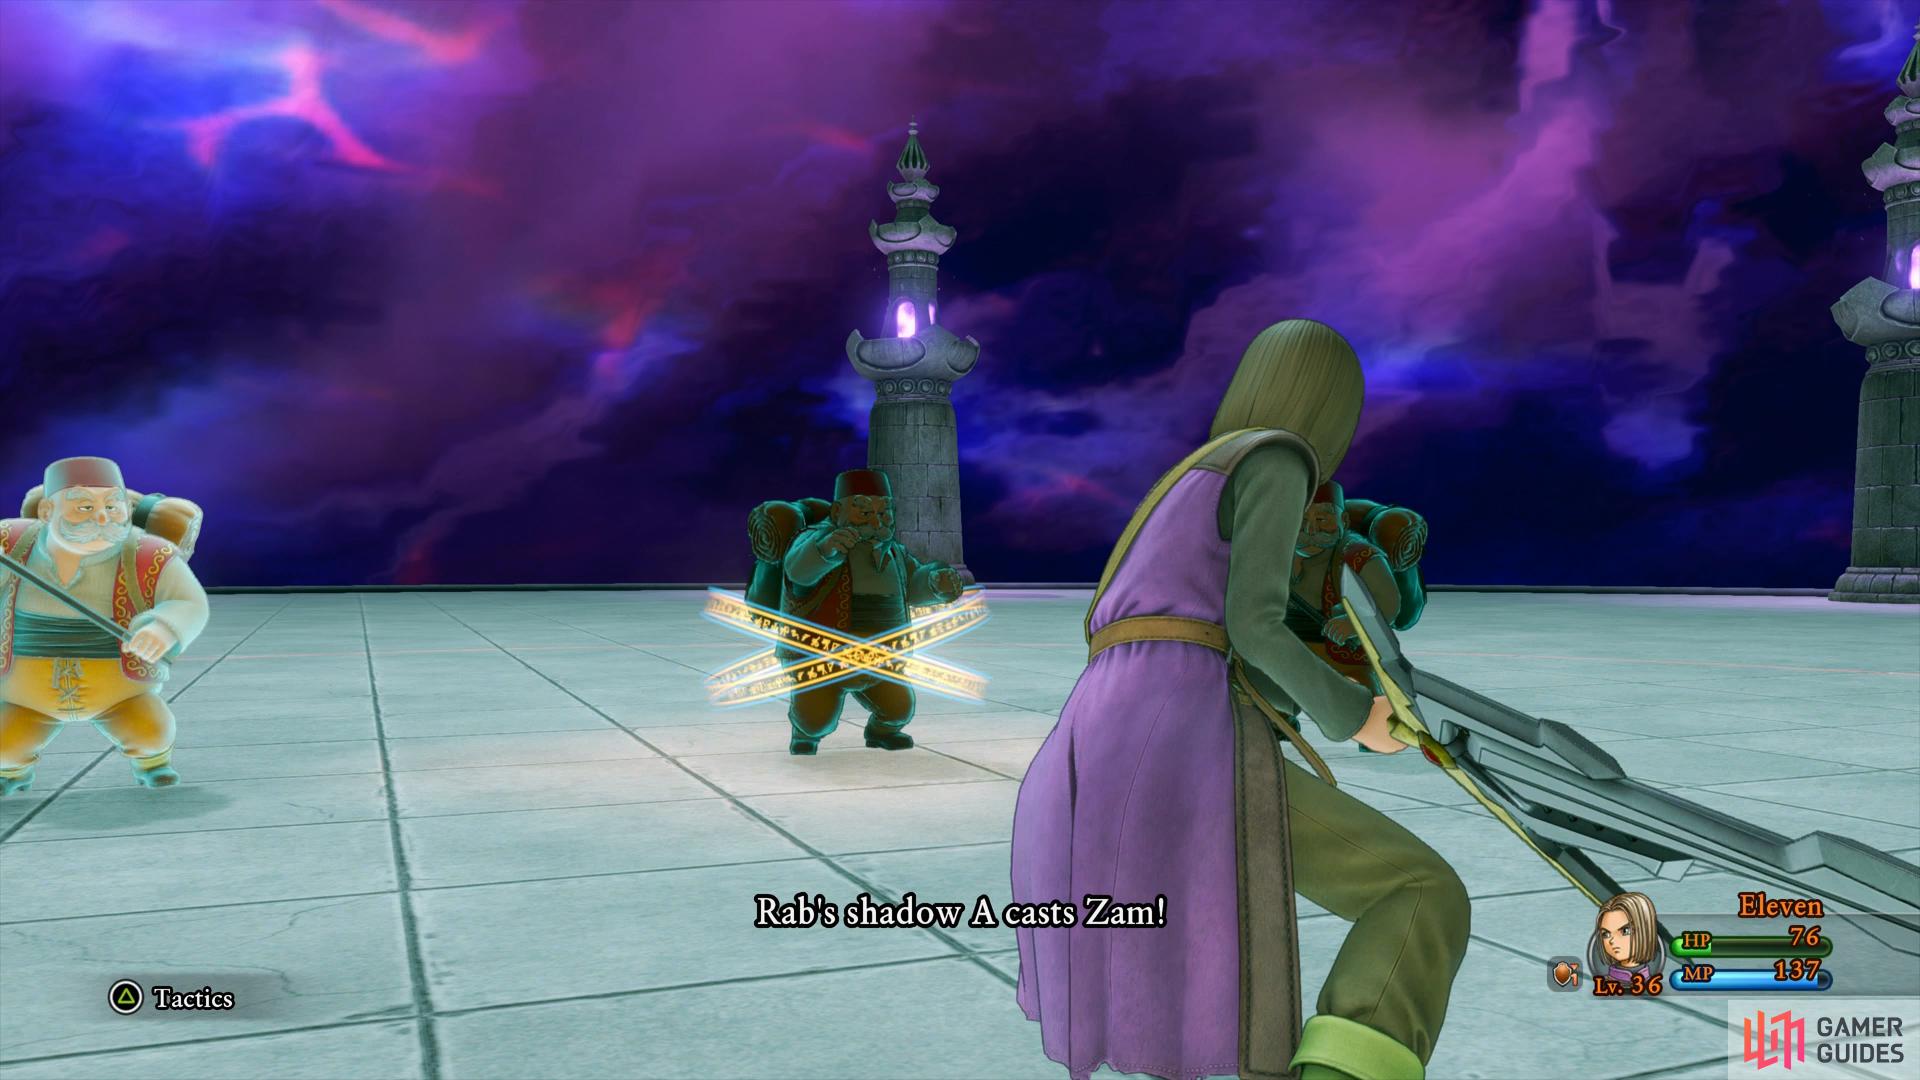
(1 of 2) Pearly Gates will do huge damage if you’re not defending
Pearly Gates will do huge damage if you’re not defending (left), his copies will hit you with Zam and Kasap. (right)
Rab’s most damaging attack is his new skill, Pearly Gates however you can prepare for this in advance. On the combat round before using this, he will prepare himself, this is your cue to defend for the next round and limit the damage. If your HP drops below 150 then be sure to use Moreheal on yourself before returning to casting Quadraslash. After using the skill for the fifth time you will defeat Rab and power up the skill.
Mordegon finally catches up with you here in the Void however Rab and the Hero combine their new techniques to unlock another secret power and push him back. Upon waking up, the Hero falls into a deep sleep and is taken back to the Temple to recover. Once you regain control, head down the stairs and out of the High Hall to meet up with Rab (who has rather quickly regained his weight) and the others. You’ll gain direction on where to head next as Rab suggests to head out to look for your missing companions. Rab will also rejoin the party with an expanded Character Builder.

A Disciple Worthy of the Name
Awarded for overcoming a taxing trial and mastering a secret skill.

10
With Rab’s new Character Builder, consider taking him to the left of the Enlightenment tree to obtain the very useful hidden panels there. There’s also a new side activity available for you now, the [Wheel of Harma] found where the Field of Discipline is however you won’t be able to handle the harsh restrictions until your party sits around Level 50+ so ignore it for now.

 Sign up
No Comments